E1120G - COBB Subaru 20g Turbocharger
- Brandyn Mowat

E1120G - COBB Subaru 20g Turbocharger

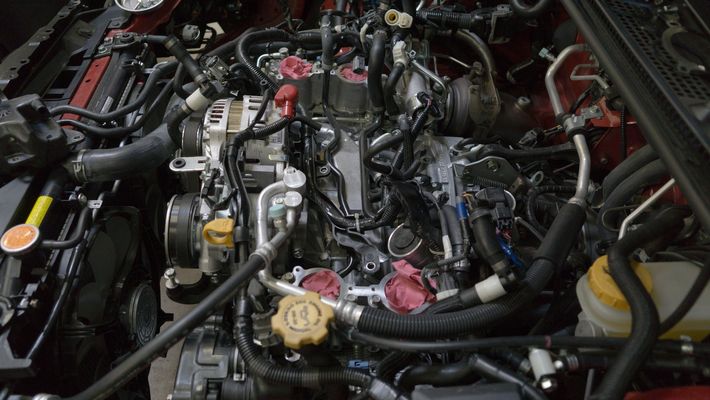
Congratulations on your purchase of the COBB Tuning 20g Turbocharger! The following instructions will assist you through the installation process. Please read them BEFORE beginning the install to familiarize yourself with the steps and tools needed. If you feel you cannot properly perform this installation, we HIGHLY recommend you take the vehicle to a qualified and experienced automotive technician.
IMPORTANT! Installing this kit will require custom tuning or utilizing an appropriate Stage Power Package map if you have a matching mechanical configuration. Please consult with COBB or an authorized ProTuner in your area if you have any questions!
If your vehicle had a previous turbo or other engine failure there may still be metal debris in the oiling system. It's important to ensure the oiling system is clean and metal-free so make sure to replace items that need to be (like oil coolers) and properly flush and clean out the rest of the systems.
Table of Contents
Parts List
- COBB 20G Turbocharger
- Turbo to Uppipe Gasket
- Turbo to Downpipe Gasket
- (2) m8x1.25 bolts
- (2) WRX Top Mount Intercooler Spacers
- (3) Mounting flange studs
- (3) Mounting flange nuts
- Hose and clamps for wastegate to compressor outlet
Tools Needed
Hand Tools
Misc.
Wrenches
Prep
- Park your car in a flat level area
- Give your car time to cool down.
- If your car is older or you live in a rusty climate, take some time to spray some penetrating oil on the exhaust bolts the night before and to check for any damage that may need to be repaired while you're doing this job.
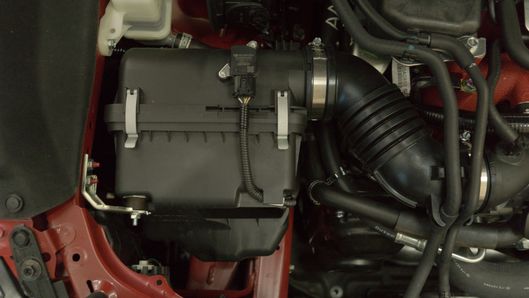
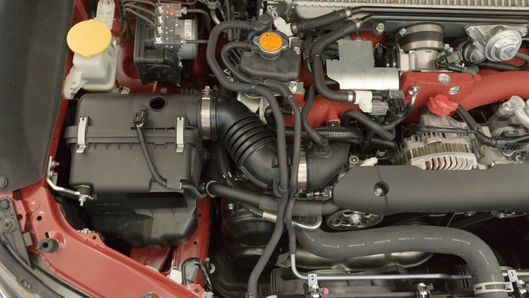
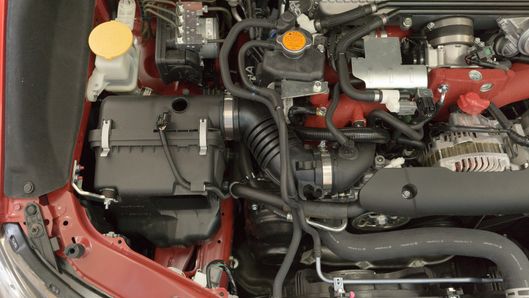
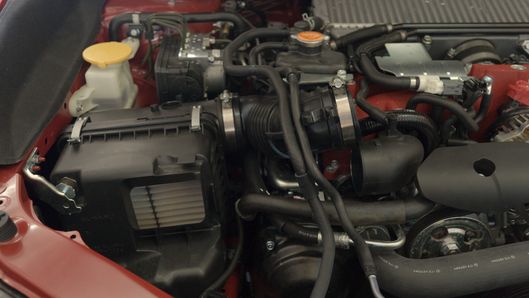
Intake Removal
- Remove the (2) plastic retainers that hold down the intake snorkel using a flat head screwdriver.
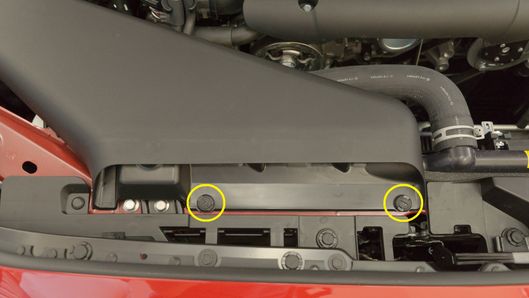

- Remove the intake snorkel from the engine bay.
- Remove the (2) Phillips head screws holding down the MAF sensor using a Phillips head screwdriver.
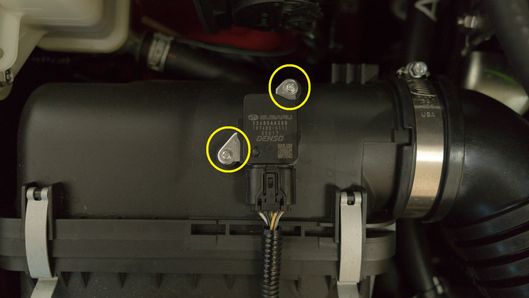
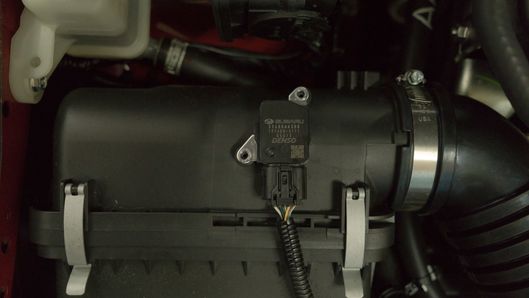
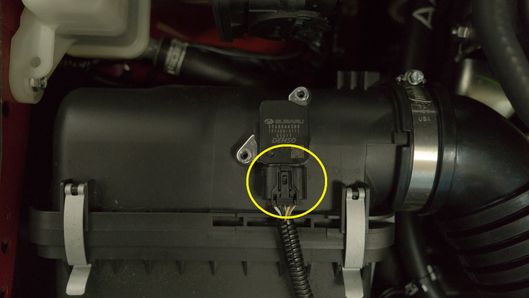
- Gently remove the MAF sensor and unclip the MAF sensor harness then set the sensor somewhere safe.
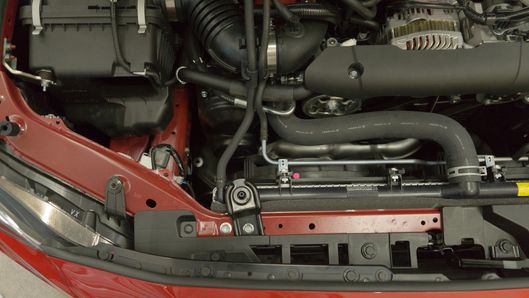
- Release the vacuum hoses from the clips on the intake elbow.
- Loosen the (2) hose clamps on the intake elbow.
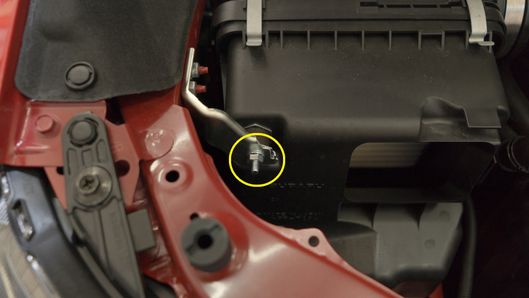
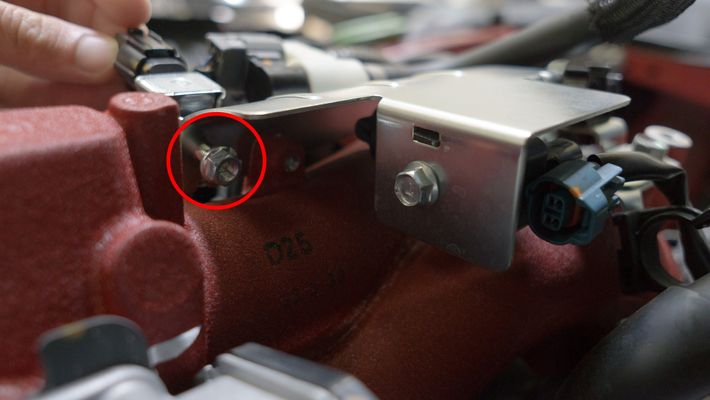
- Remove the 10mm bolt that holds the bottom of the airbox to the chassis using a 10mm socket and 6" extension.
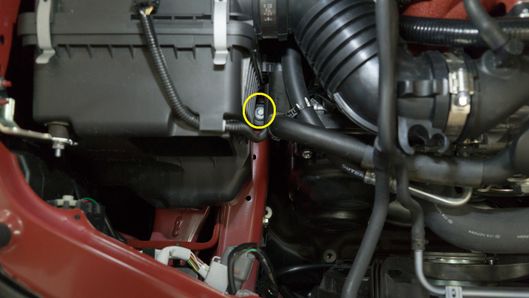
- Remove the 10mm nut holding the airbox to the airbox bracket.
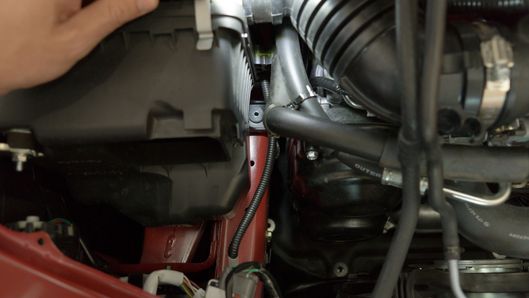
- Gently lift and remove the airbox, being cautious of the other vacuum hoses in the engine bay.

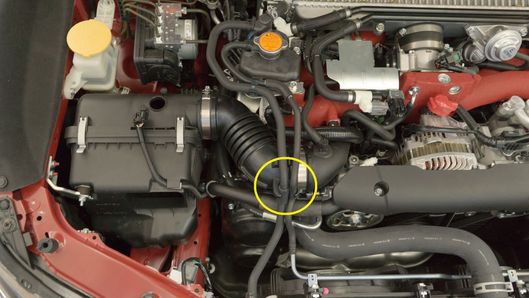
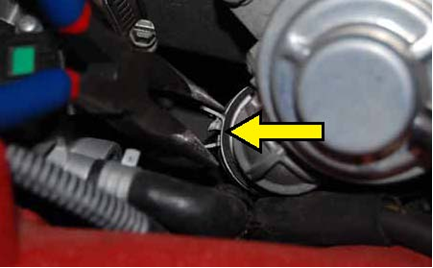
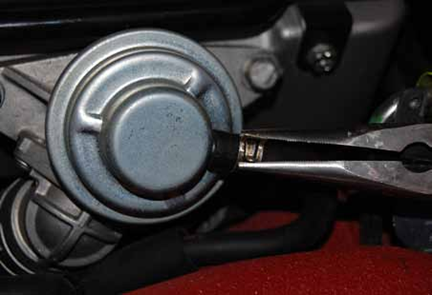
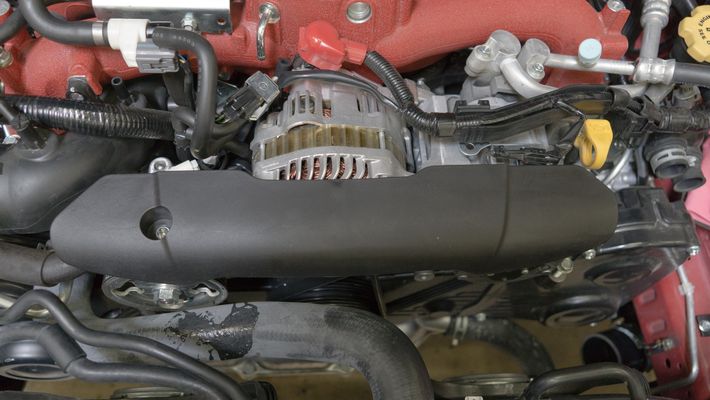
Top Mount Removal
Using a 12mm socket with ratchet, remove the 2 bolts that hold the bypass valve in place and remove it from the car.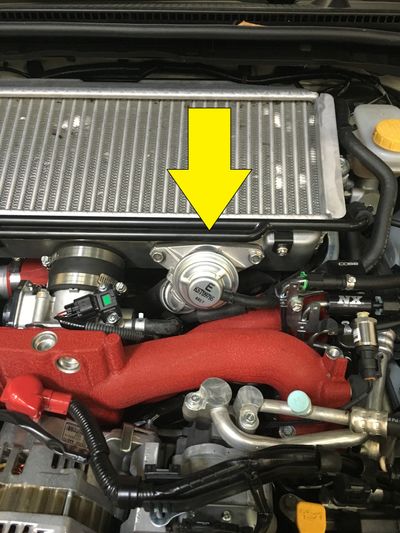


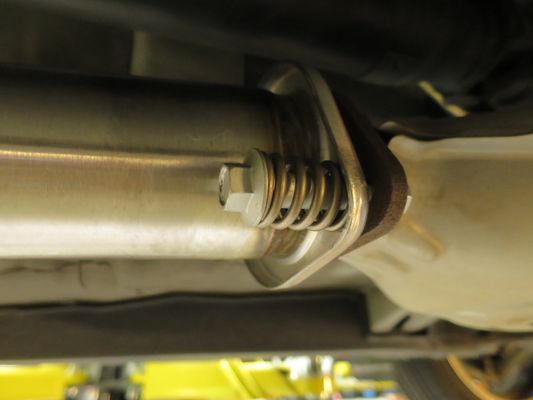
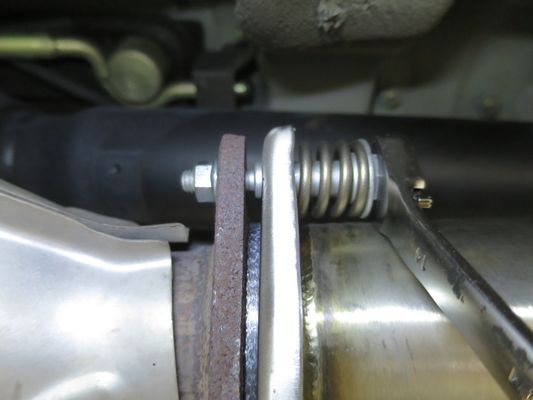
Downpipe Removal
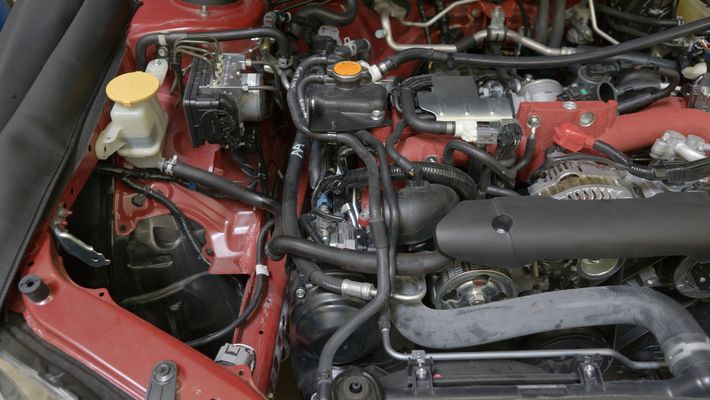
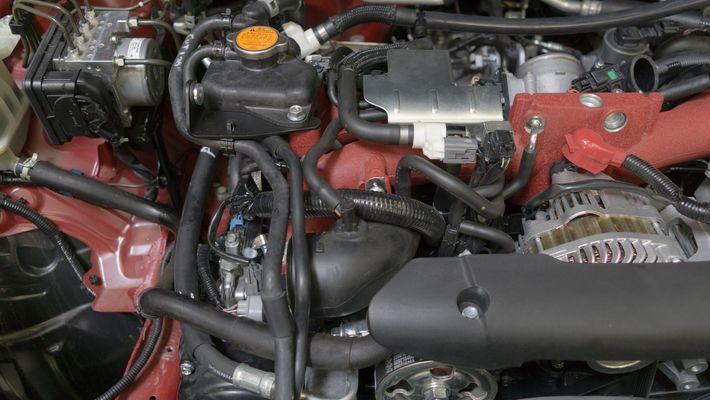
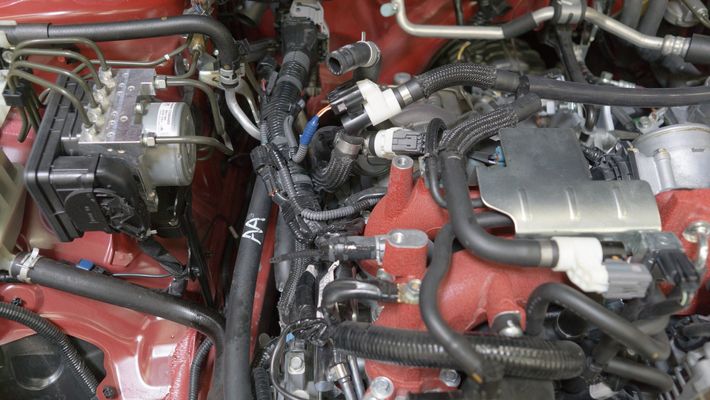
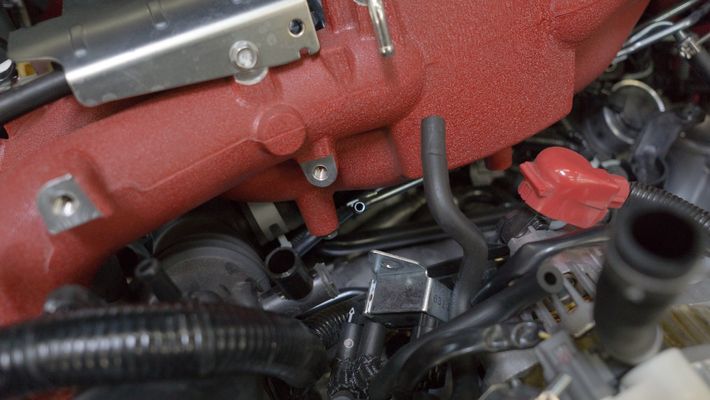
Intake Manifold Removal
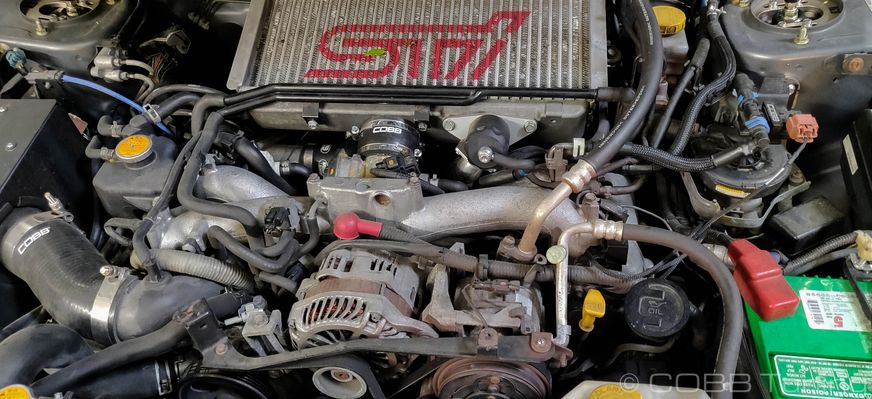
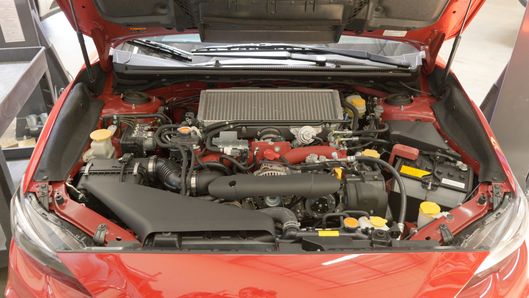
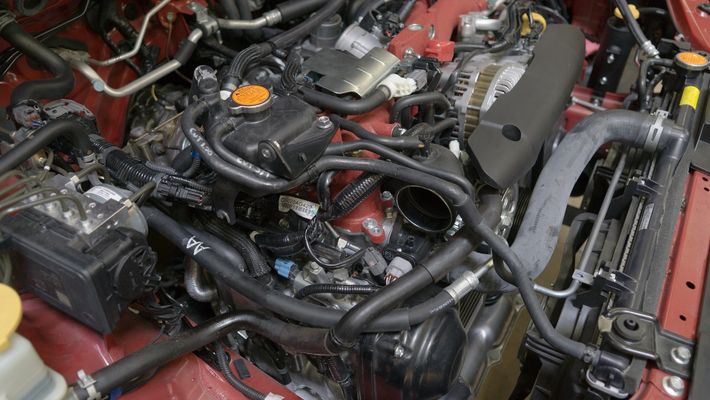
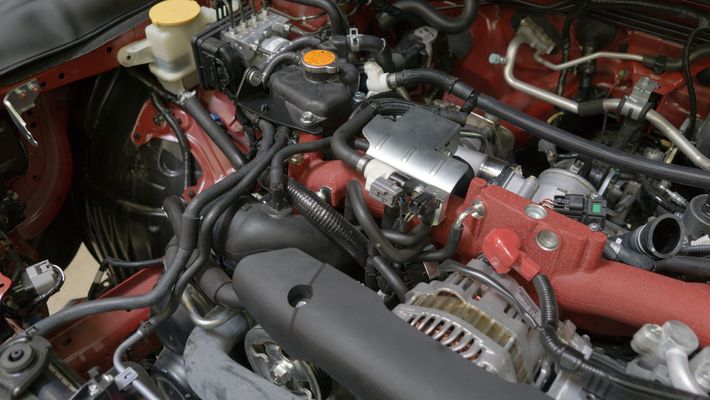
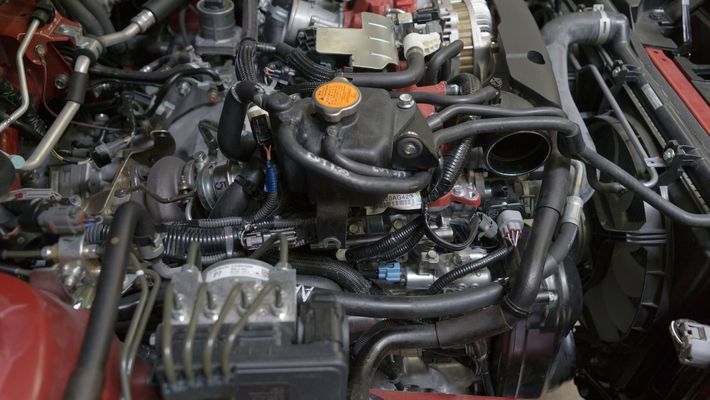
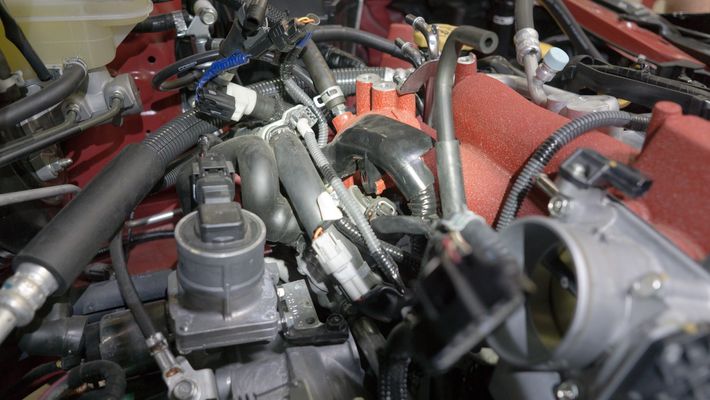
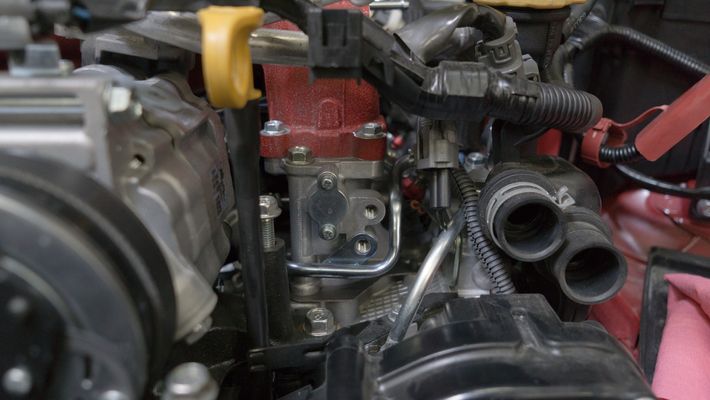
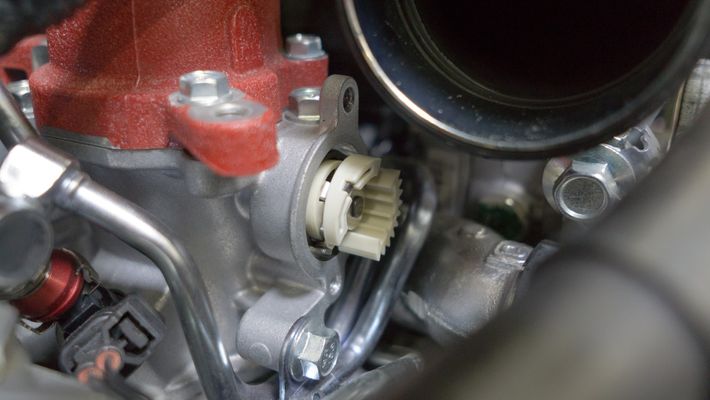
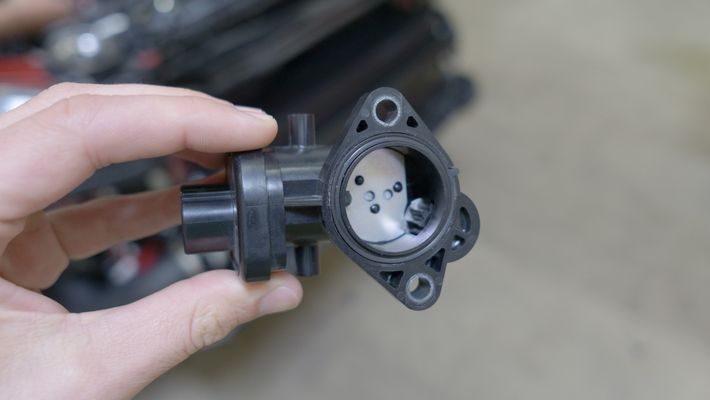
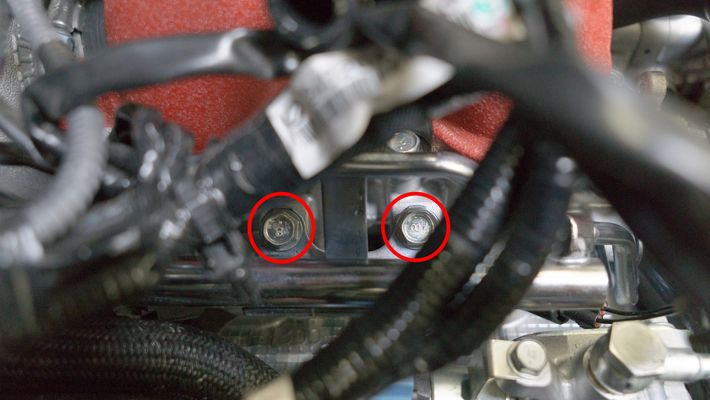
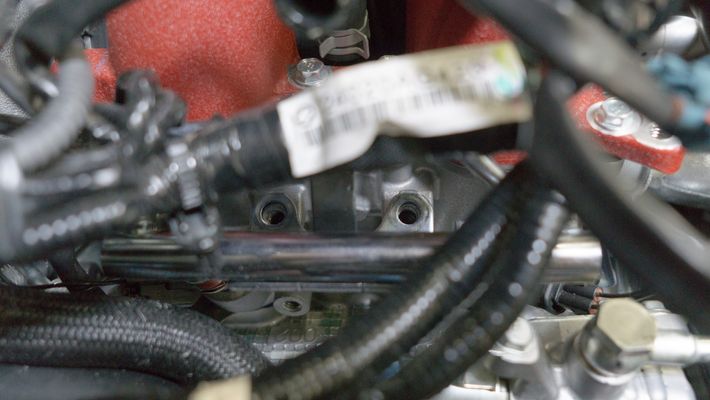
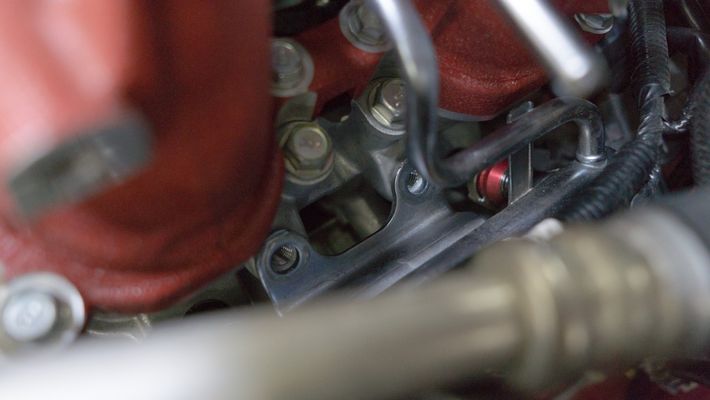
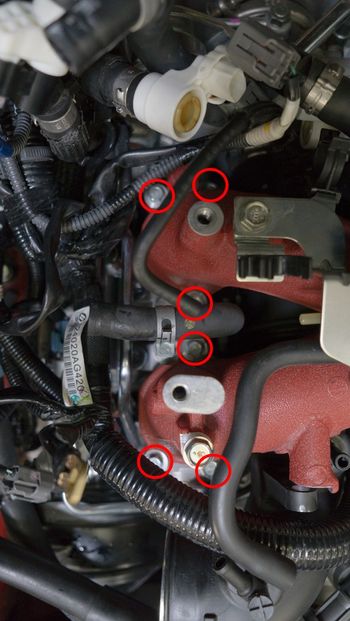
We perform this removal on a 2017 STI. While this is incredibly similar to the other models of EJ engines used over the years there may be small differences from vehicle to vehicle. Remove the top and bottom coolant lines going to the overflow reservoir using a pair of pliers. Using a proper hose clamp can help reduce any spillage of fluids and reduce the amount of time required to bleed the cooling system later on. Disconnect the fuel lines from the intake manifold. We typically recommend marking the lines with some sort of tape or colored zip tie to ensure you put them back in the same place. Gently and carefully remove the TGV from the manifold. BE CAREFUL TO VERIFY THE POSITION OF THE GEARS AND DO NOT DAMAGE THE O-RING. It helps to take a picture in order to verify its orientation. or mark it using a marker. This needs to be back in the original orientation when you go to put it back together. Remove the (6) 10mm bolts securing the intake manifold on the driver's side After the bolts are loose, you can use a magnet to remove them easier. Gently lift the fuel rail, pushing down on the injectors to keep them seated. You cannot completely remove the intake manifold yet. This step is for gaining clearance to the underside, so do not force it. A small amount of fuel will spill, so it's a good idea to have a rag handy to catch it. Gently remove the intake manifold. Be cautious of the TGV gears and the (2) intake manifold gaskets.NOTE: You may need to move the wiring harnesses around to allow clearance for the intake manifold. Once removed, we recommend covering the exposed ports to prevent foreign material contamination.

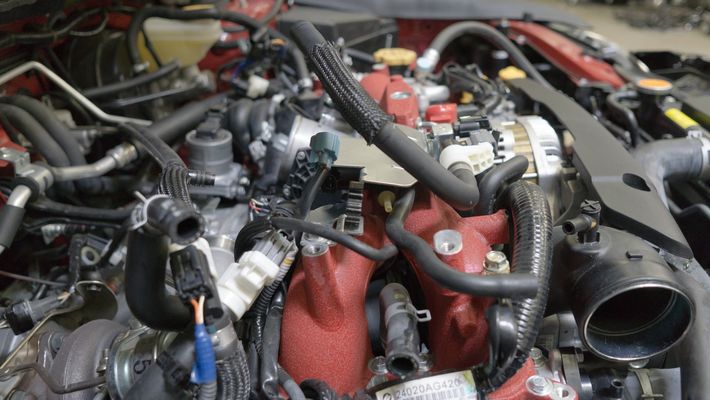

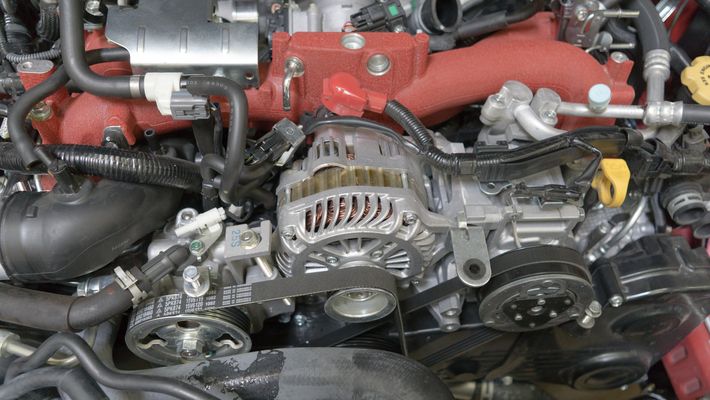


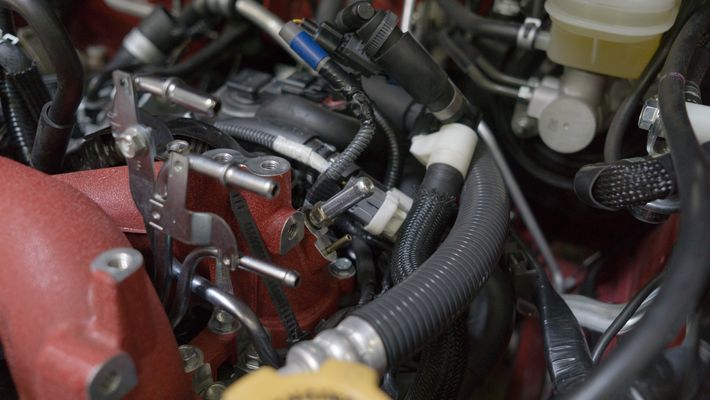


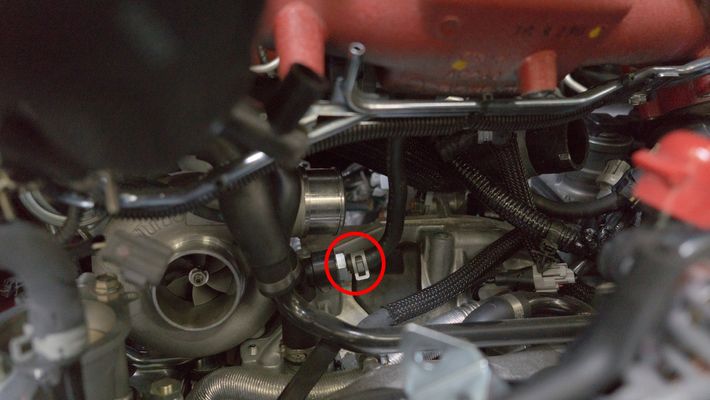
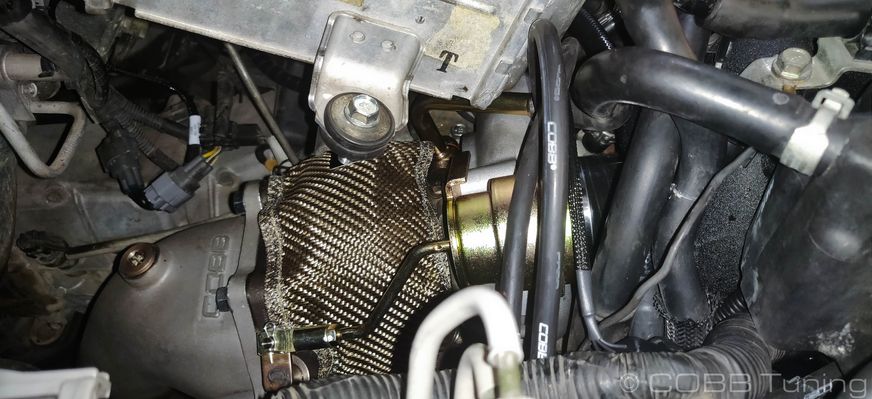
Turbo Removal
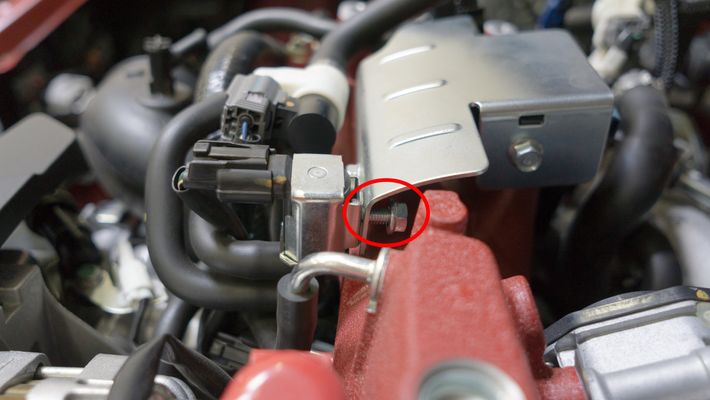
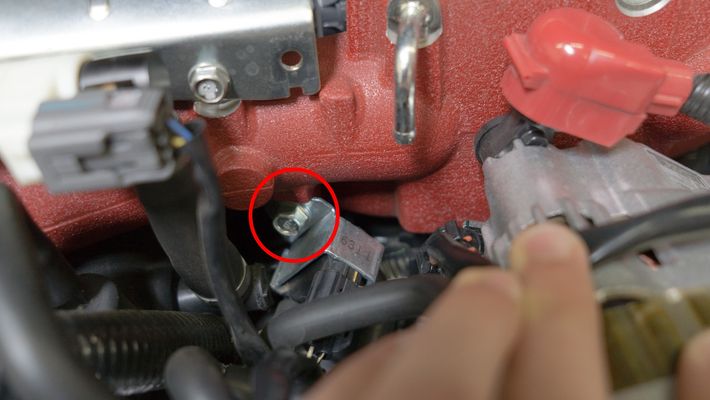
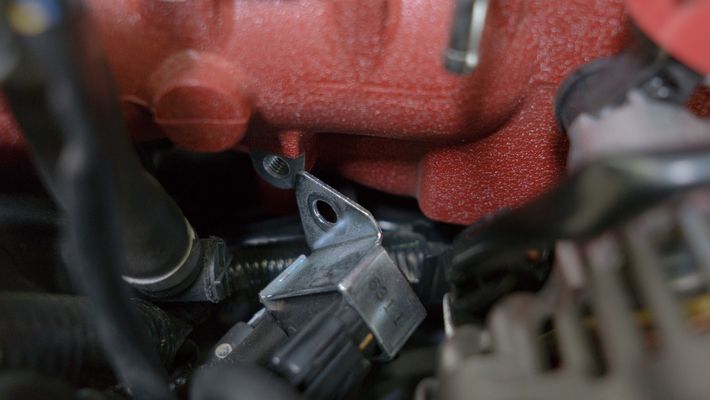
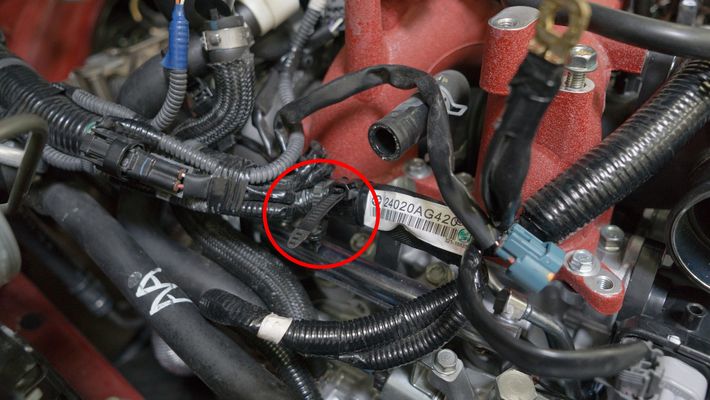
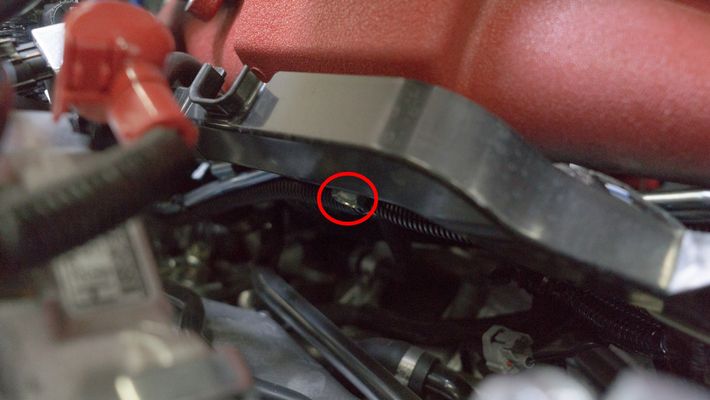
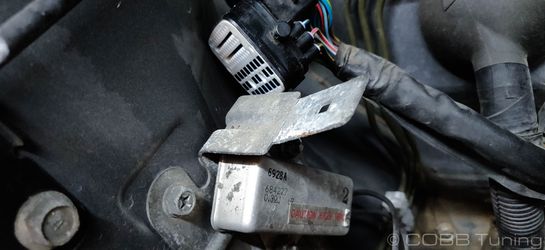
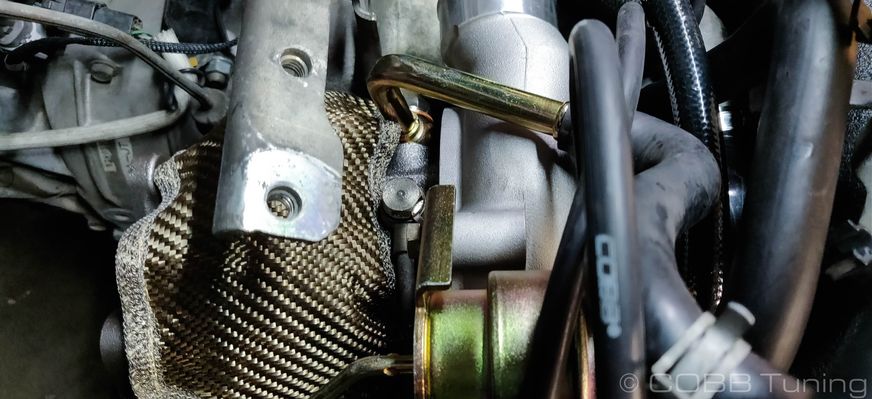
- While working on the turbo, watch out for this bracket that had the wiring harness attached to it. It's really sharp.
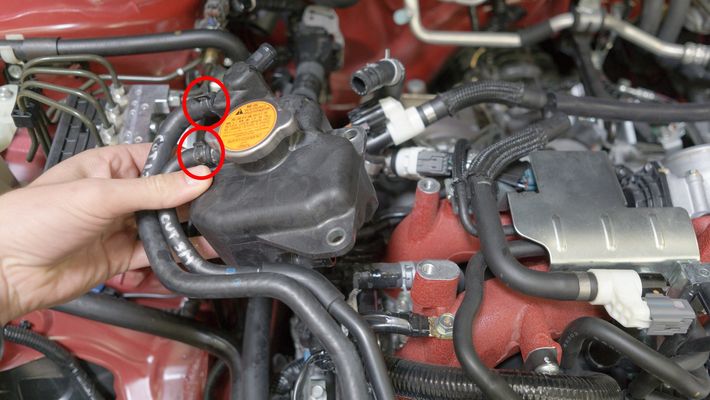
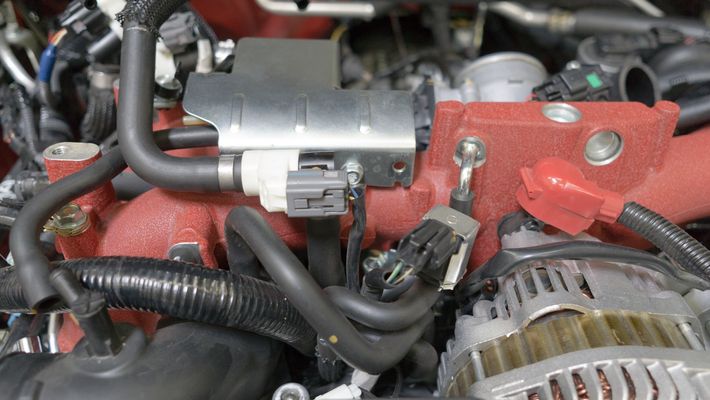
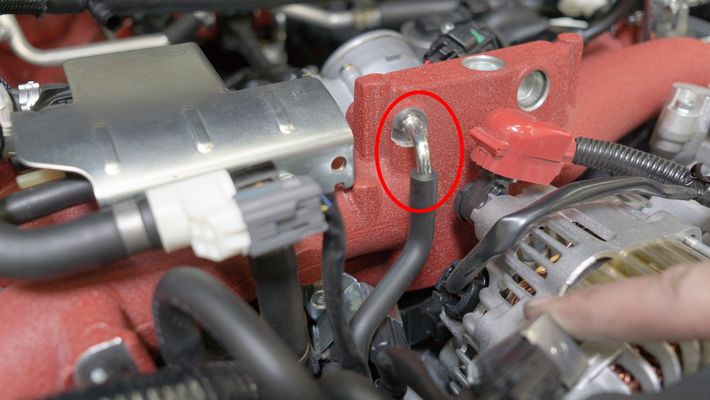
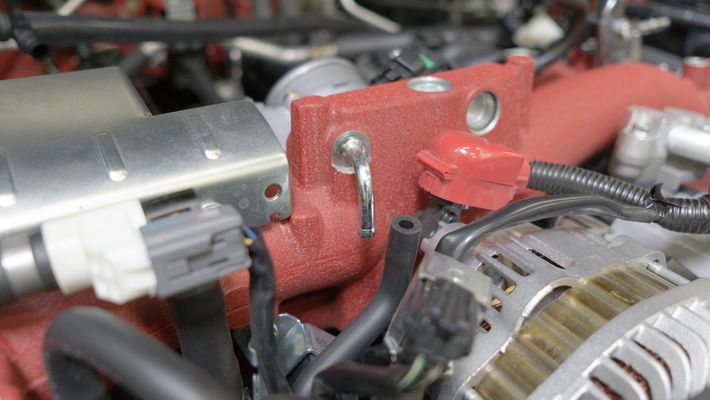
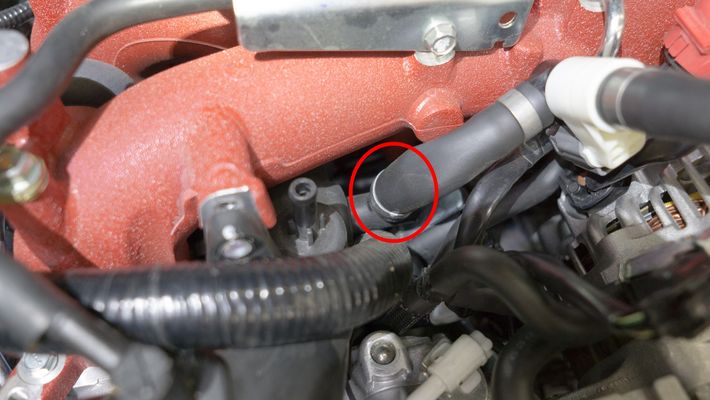
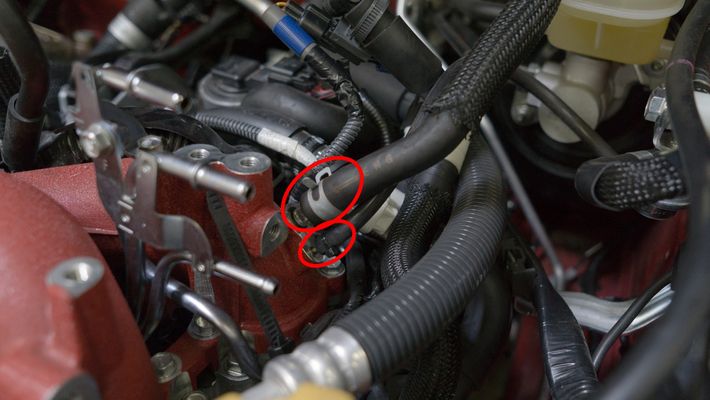
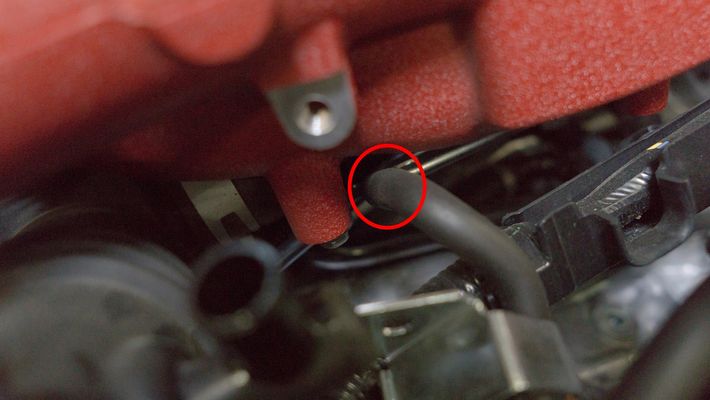
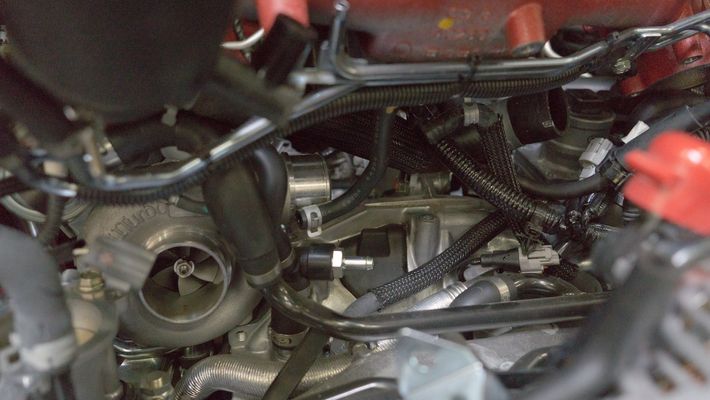
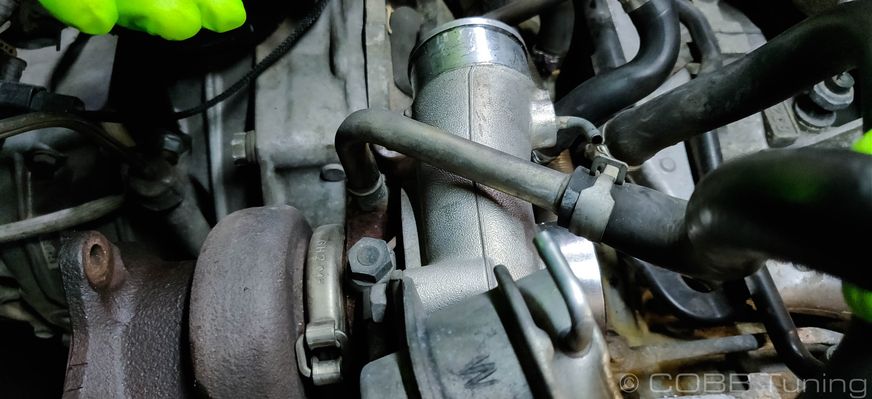
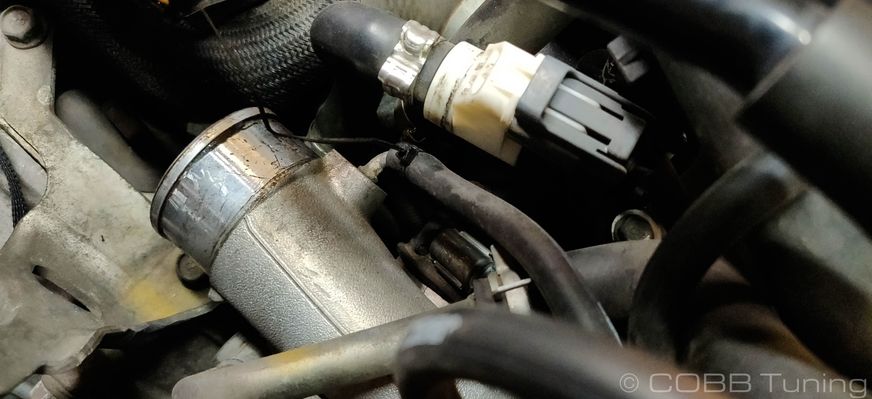
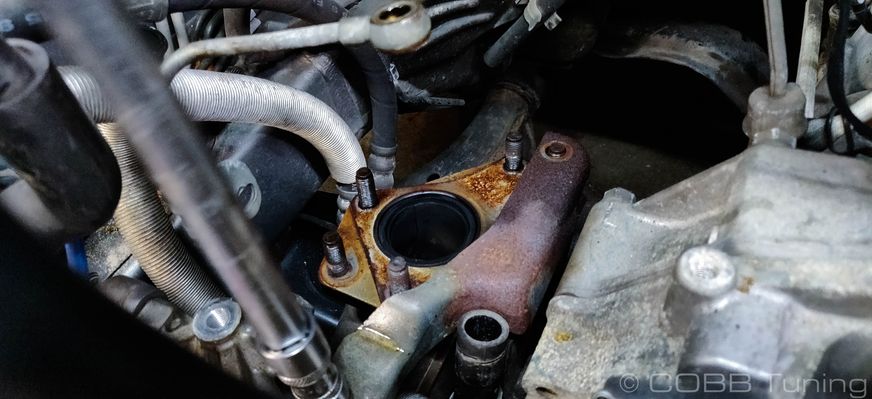
- Make sure the cooling line leading from the top of the turbo to the expansion tank was removed.

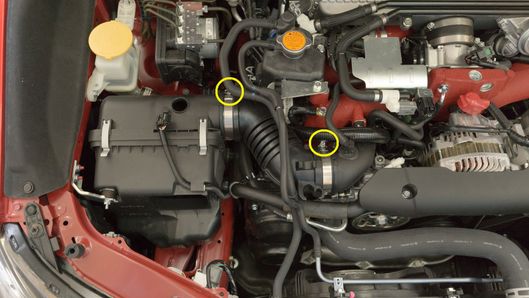
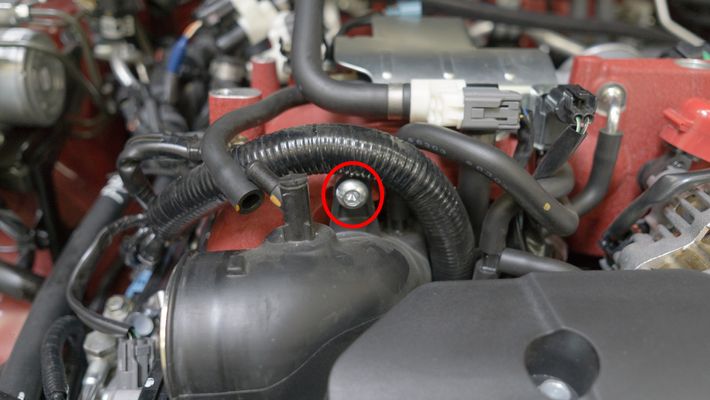
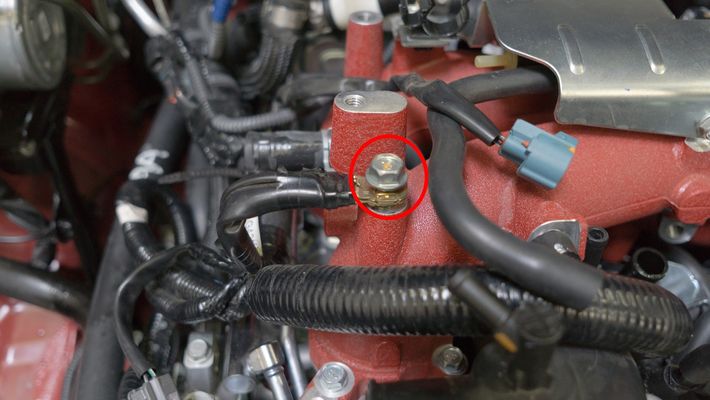
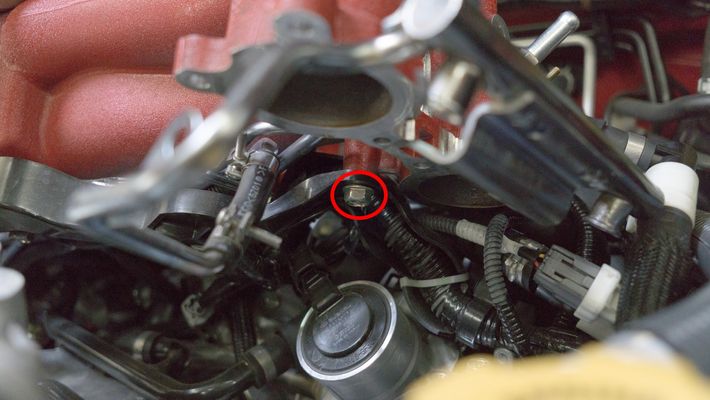
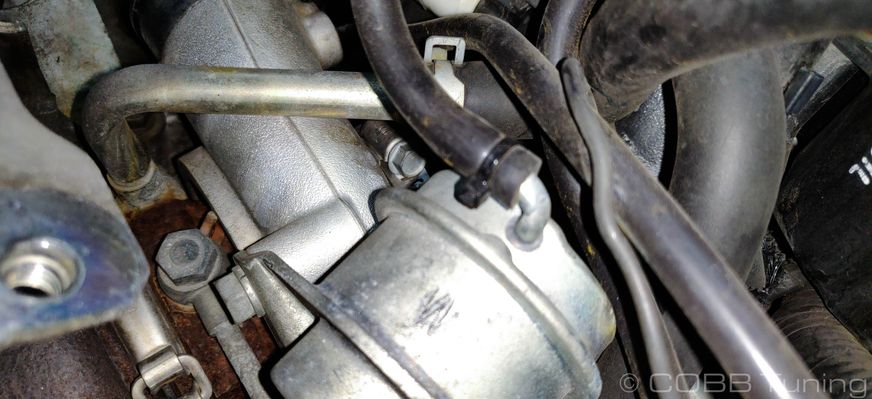
- Undo the 10mm holding the oil line to the side of the turbocharger.

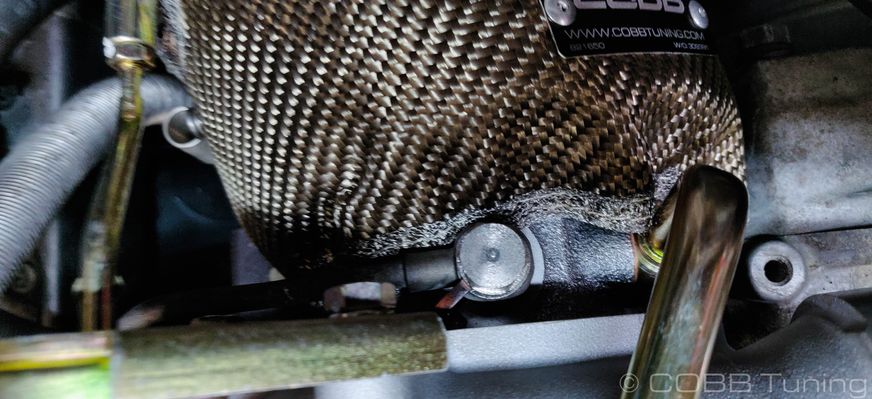
- Remove the banjo bolt on the top of the turbo using your 14mm. Make sure not to let the crush washers from the banjo bolt fall into the engine if you didn't block the intake ports!
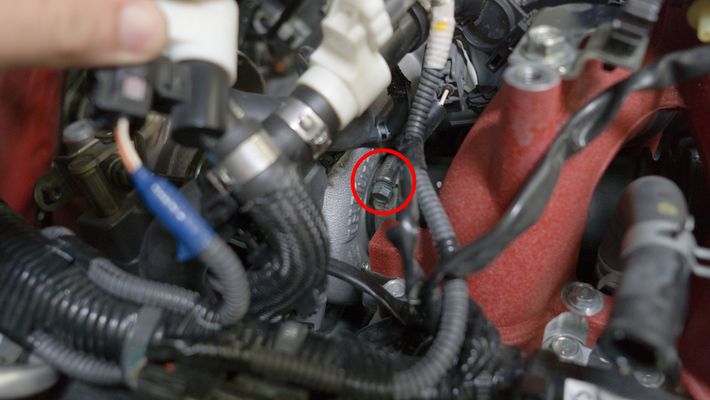
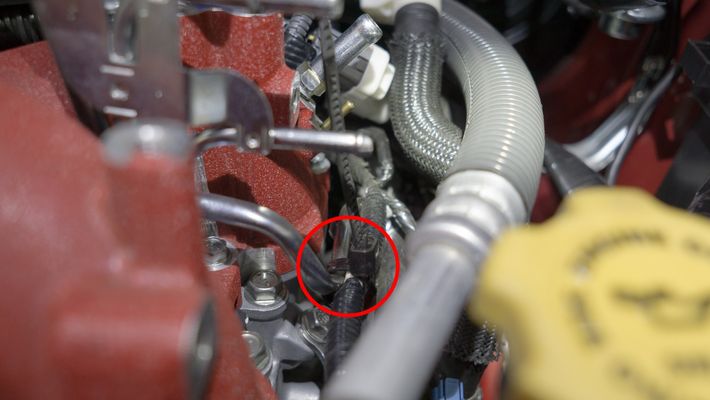
- Undo the lower coolant line using a pair of pliers. It's the line going over to the passenger's side with the metal shielding on it. Not the one at the bottom of the picture.
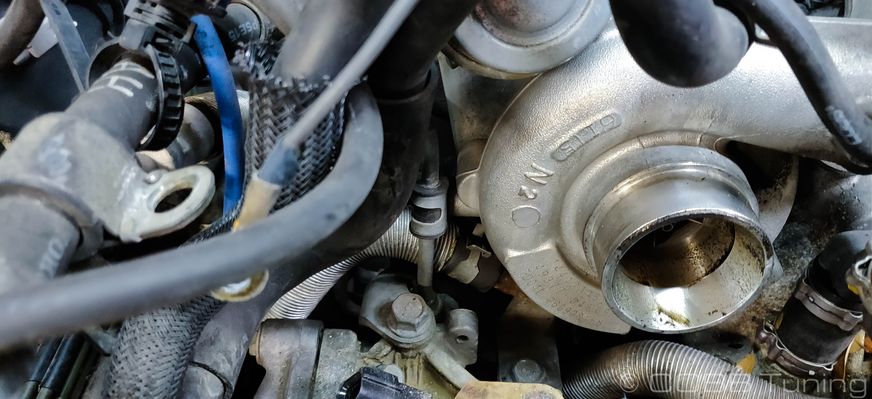
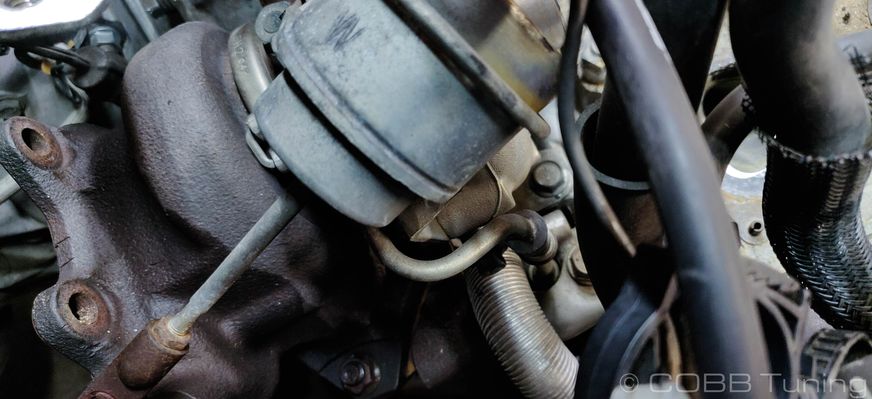
- Slide the oil return hose clamp down and off the fitting. It's pretty difficult to remove the hose from the turbo but it should pop off easily when going to actually pull out the turbo itself.
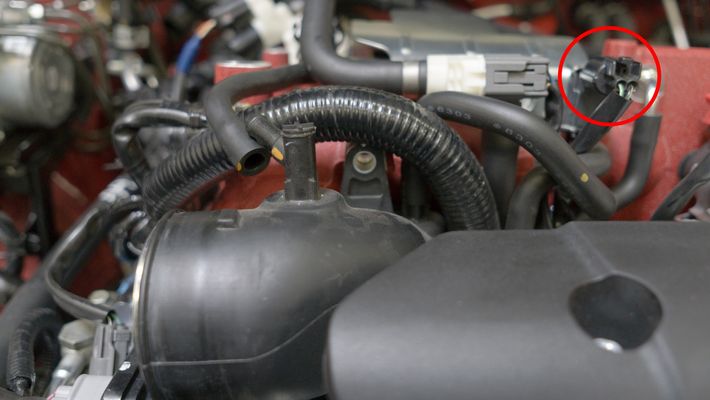
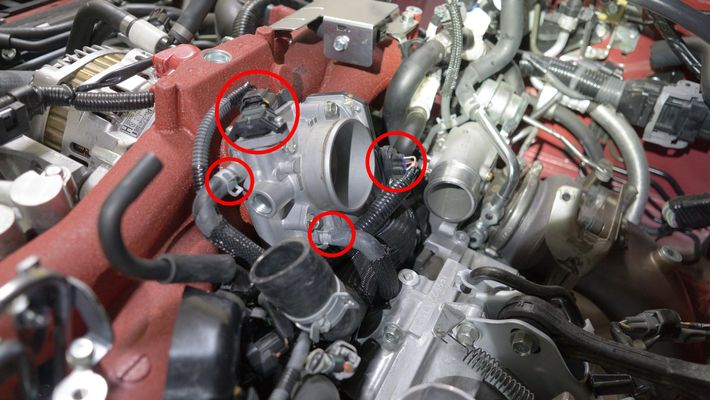
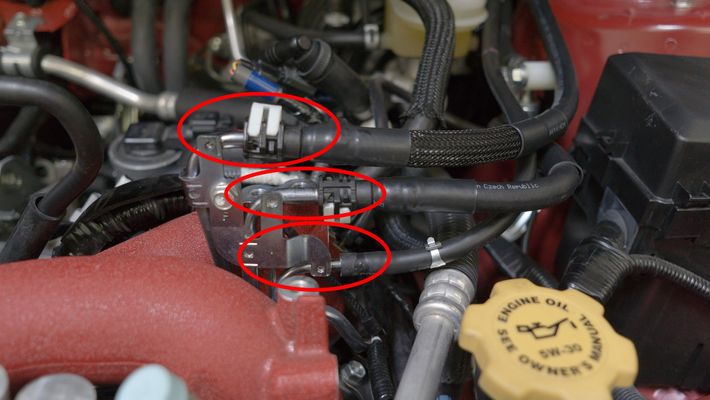
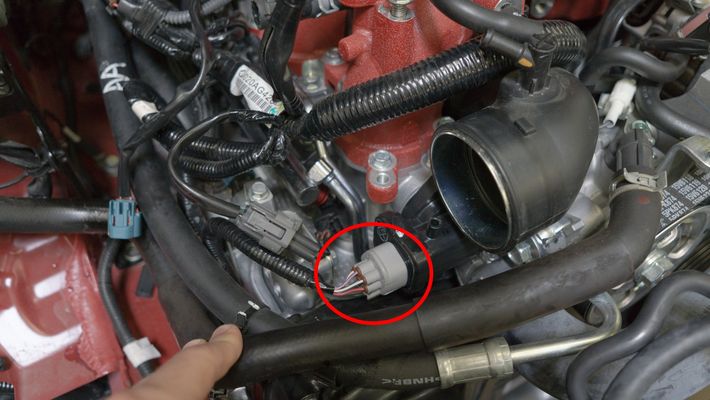
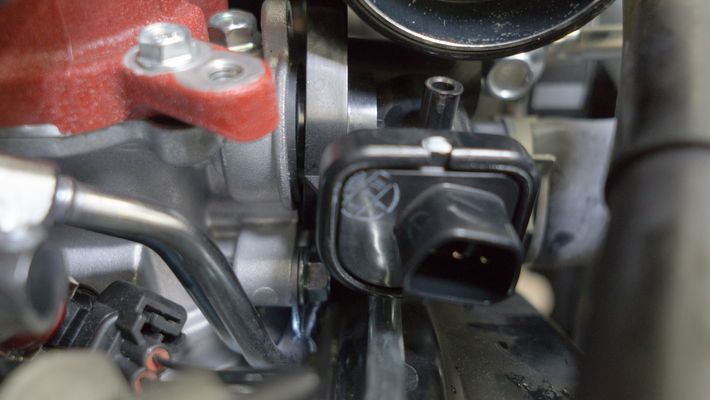
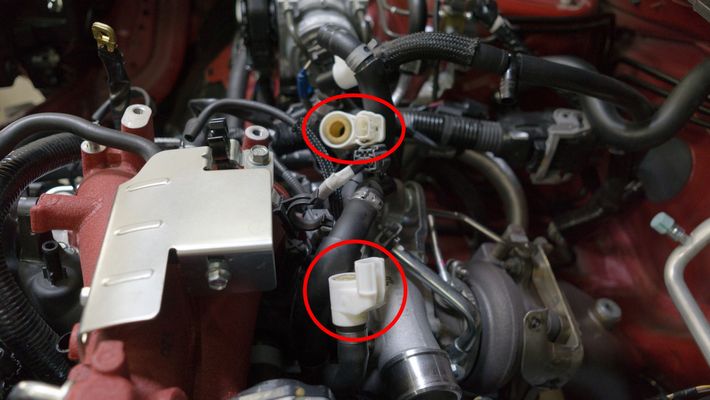
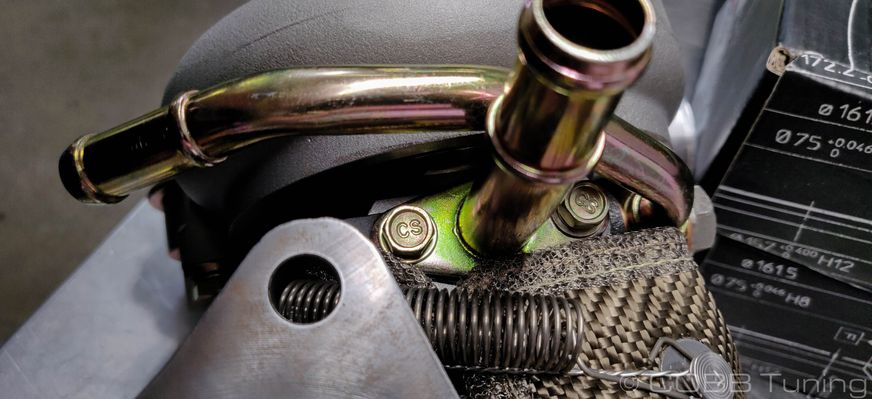
- Remove the vacuum lines from the compressor housing and wastegate actuator, making sure to mark them so you know which goes where upon reinstall.
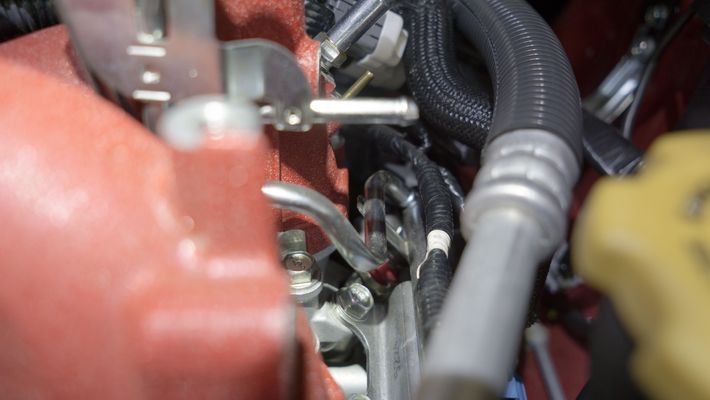
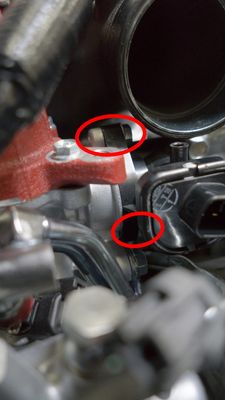
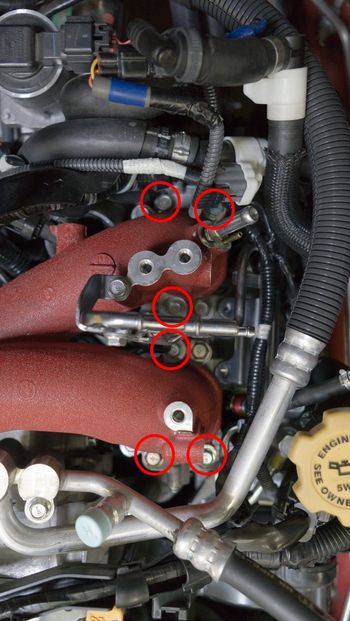
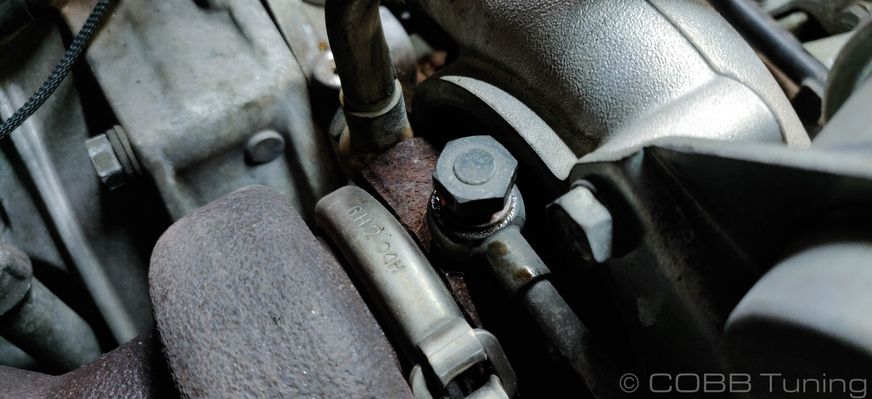
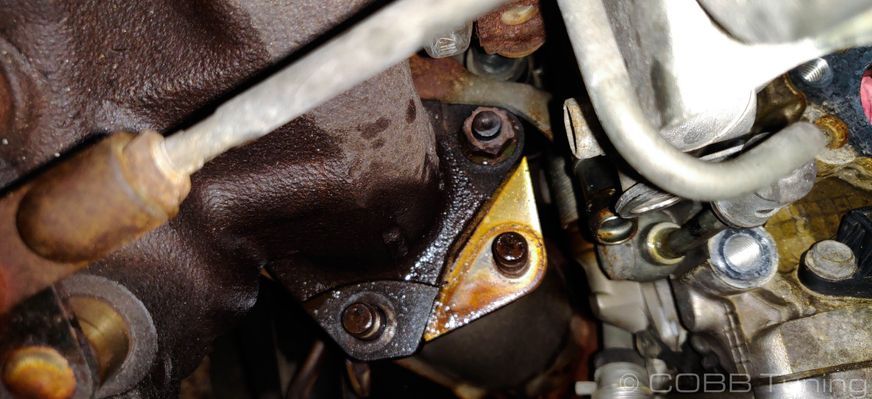
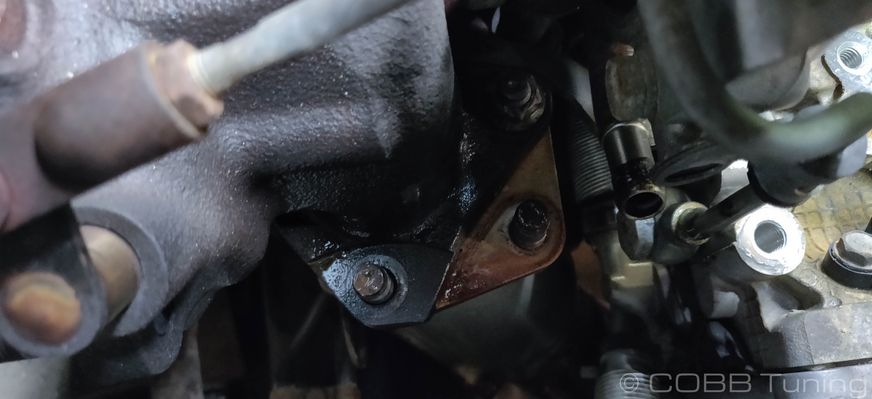
- Undo the three lower bolt in this picture at the rear of the turbo using your 14mm.

- On the passenger's side of the turbo remove the remaining two bolts holding the turbocharger in place.
- Carefully remove your antiquated power-adder from the car.
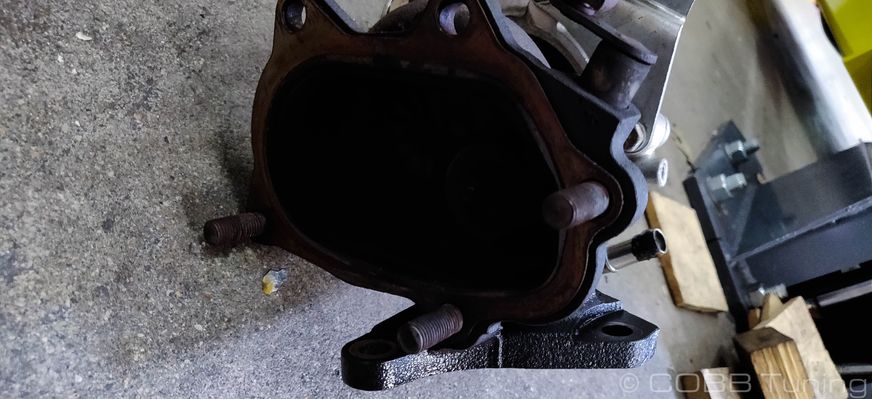
- Make sure to remove the old uppipe gasket from the uppipe.
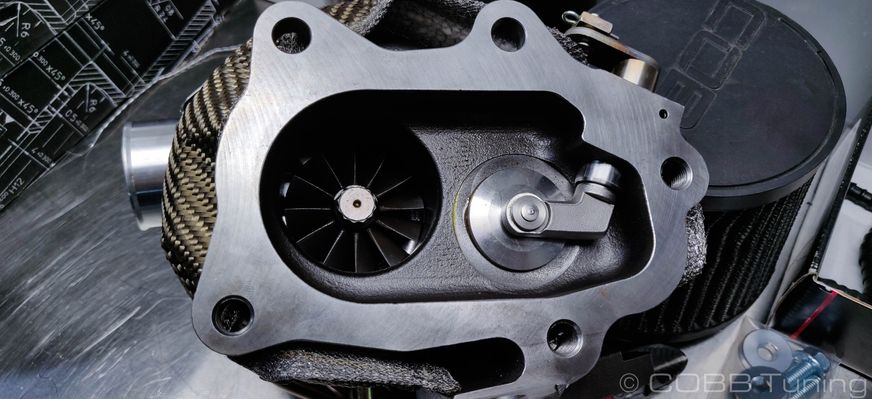
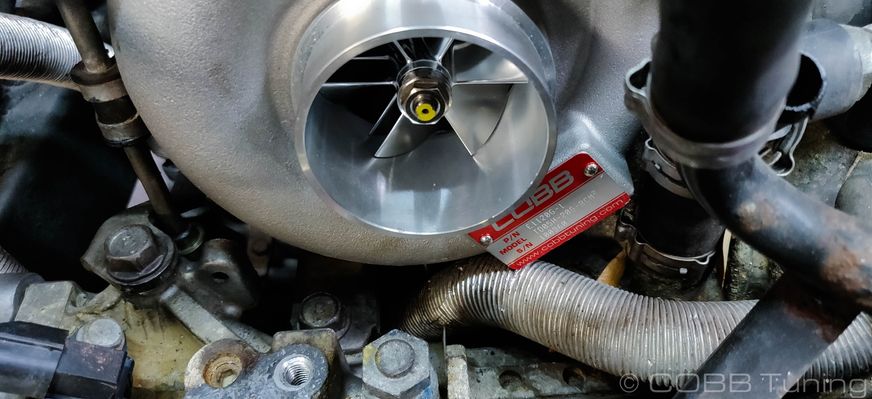
COBB 20g Installation
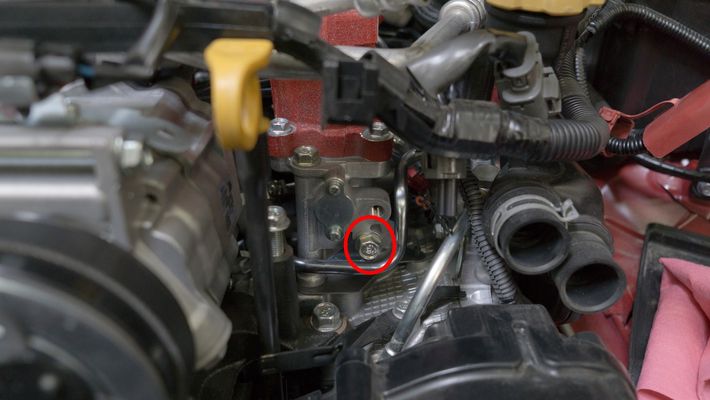
- Double check that the cooling fittings are tightened on the new turbo using your 17mm. Be careful not to overtighten,
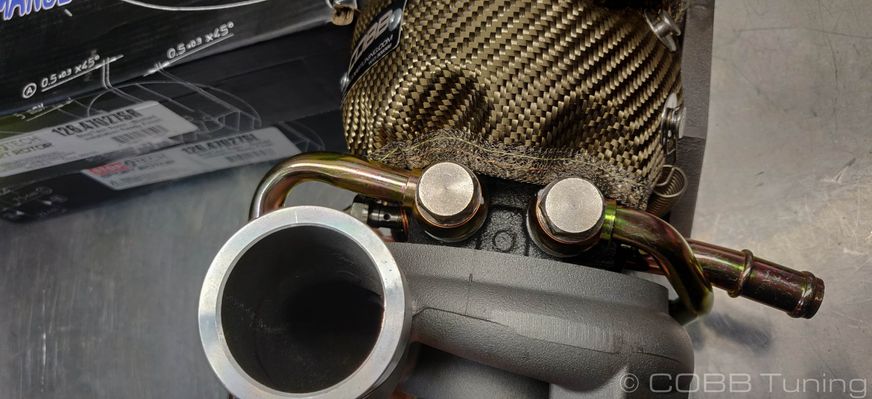
- Double check the oil drain line with your 10mm. Be careful not to overtighten,
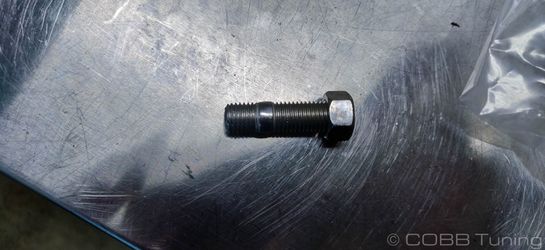
- Remove the banjo bolt and the two crush washers for installation later.
- Install the provided studs short thread end first into the bottom three holes. Use anti-seize on the threads to ensure easy removal later on.
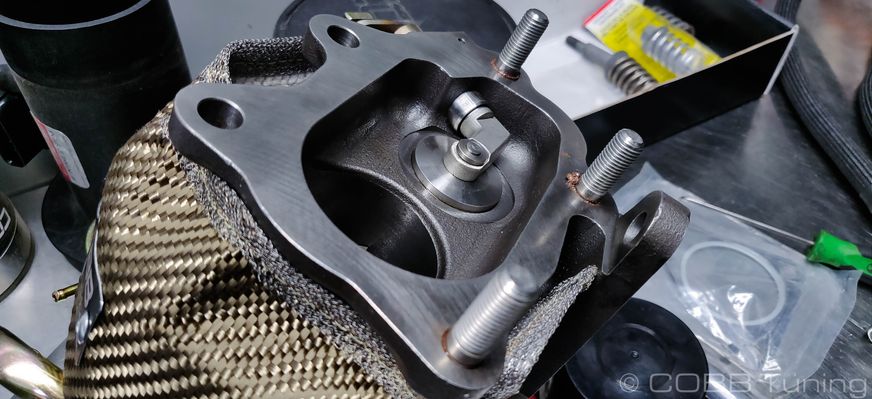
- Add the new gasket onto the uppipe.
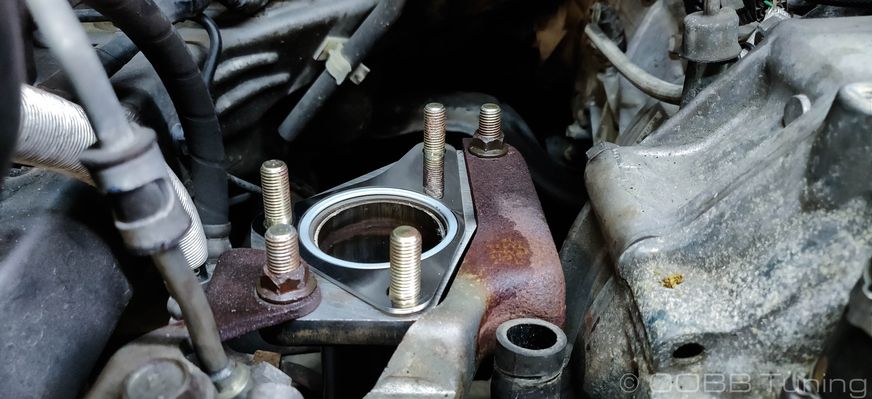
- Lower the new turbo in place making sure to get the oil drain line onto the fitting. (It sometimes helps to move the clamp back to where it was when installed to the old turbo. This means you just need to push the line up to get it to seat on the turbo's drain fitting.
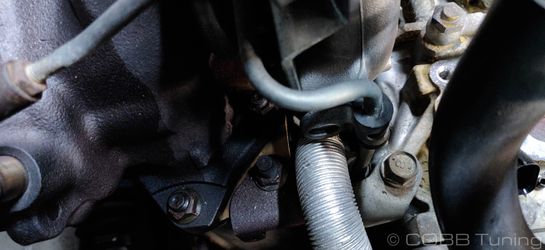
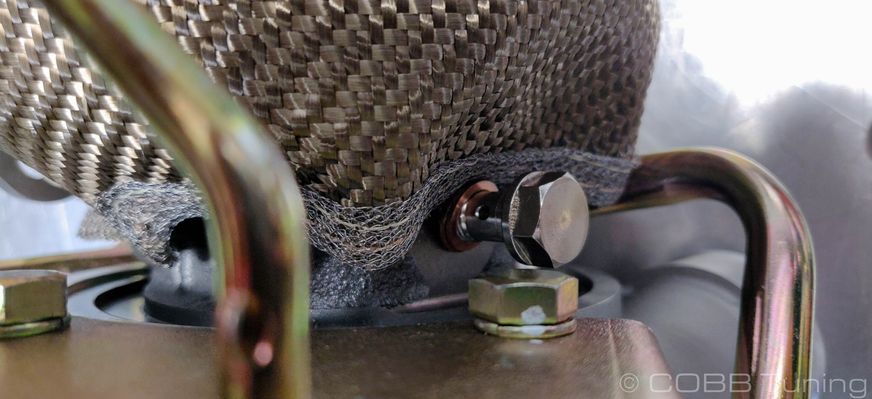
- From underneath or using long pliers up top, get the oil return line into place and clamped.

- Pop the lower coolant line on.
- Using the provided banjo bolt and crush washers, install the factory hard oil feed line. You should have one crush washer on either side of the fitting. Make sure the original crush washer isn't stuck to the banjo bolt as two crush washers stacked will leak!
 |
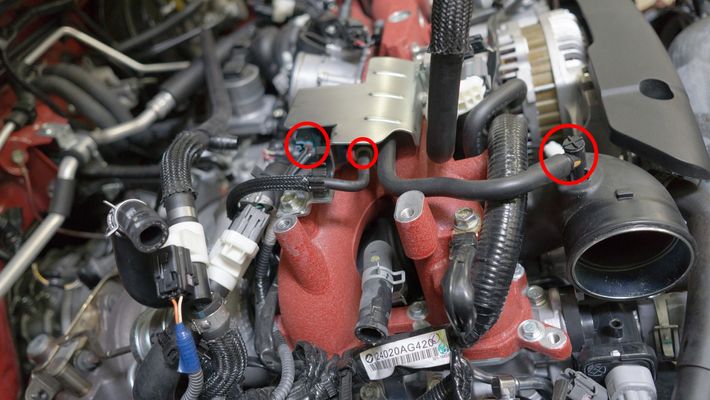
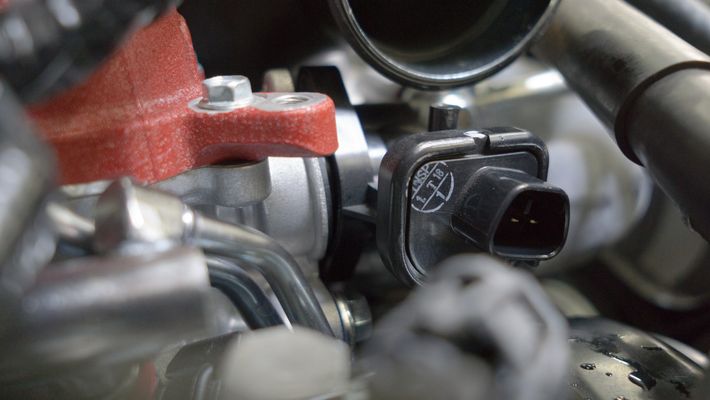
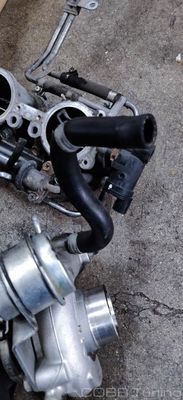
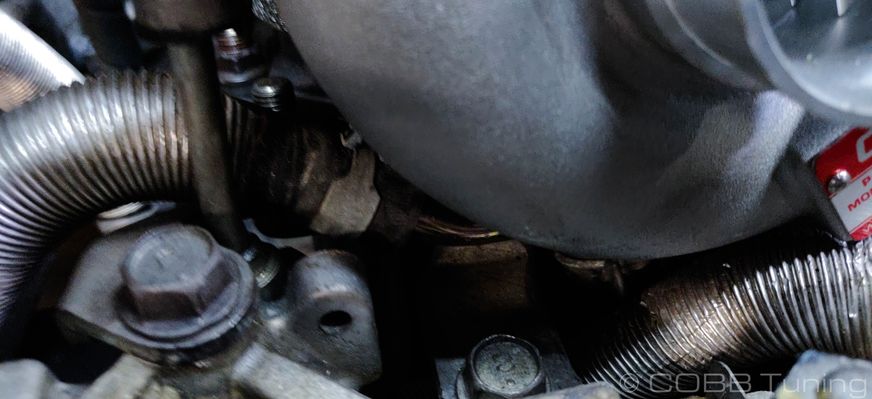
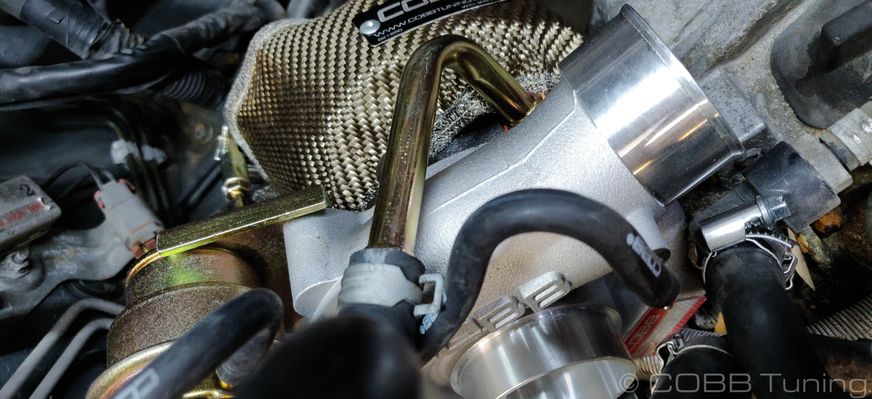
| - Add the vacuum lines for the EBCS going to the compressor housing and the wastegate.
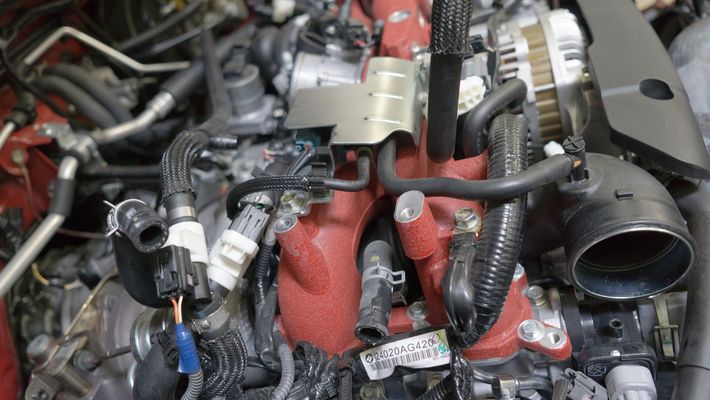
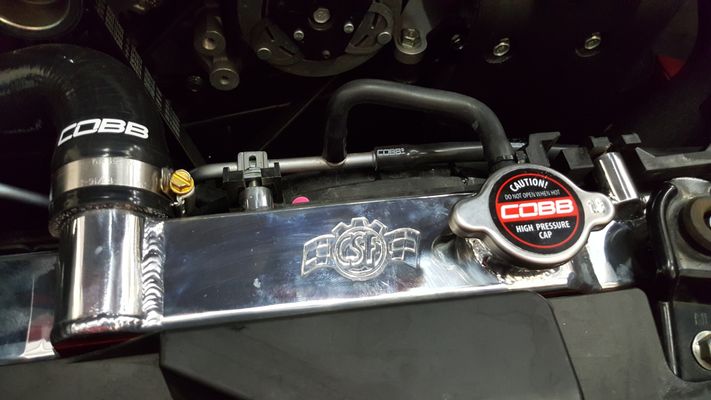
- At this point you can go ahead and start reinstalling the rest of the parts onto the car (The turbo inlet, Intake manifold assembly, as well as the downpipe and top mount intercooler)

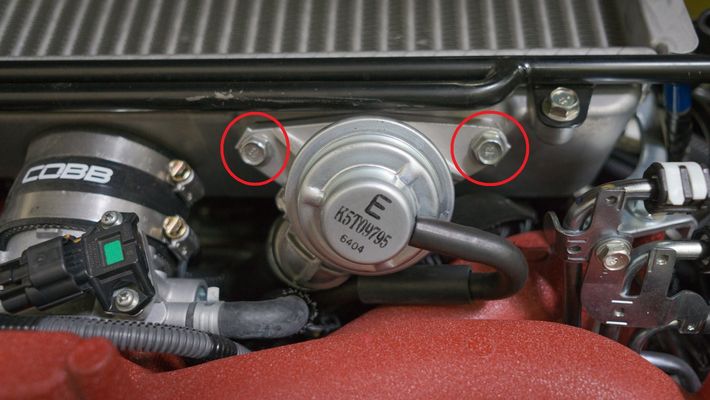
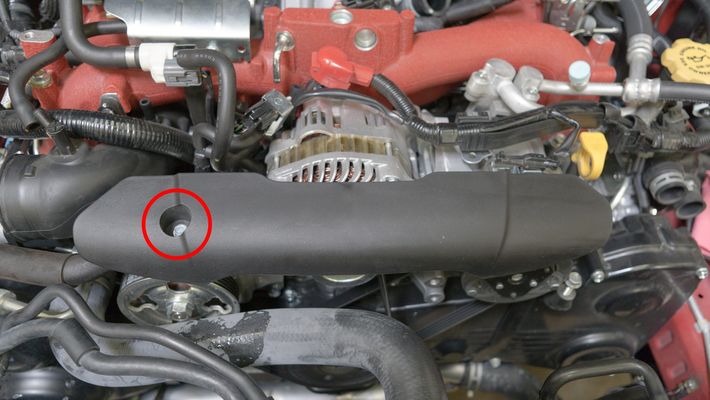
- With the later model cars where your intercooler sits more directly over the turbocharger (2015+) use the provided spacers and longer bolts underneath the mounting pad for the intercooler in order to gain the clearance needed to mount it over the turbo.


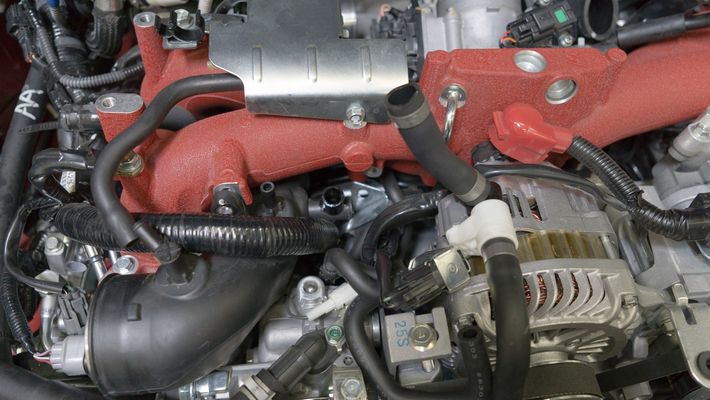
- With everything installed you can go ahead and add the remaining top coolant line from the turbo to the expansion tank.
Prime the Oiling and Cooling Systems
It is absolutely critical to ensure the cooling and oiling systems are filled and primed correctly in order to avoid damaging the internals of the turbocharger when the car is first started
Perform an oil change, install a fresh oil filter and fill the engine with fresh oil.
If an oil change is NOT performed prior to priming the oiling system any damage that occurs in the future will not be covered under warranty.
- With everything installed start filling up the radiator slowly, make sure to keep checking for leaks as you go and adjust hoses/tighten as needed.
- Once the radiator is filled up squeeze the hoses to try and get rid of as many air bubbles as possible, be careful as squeezing too hard too quickly can get coolant all over your engine bay.
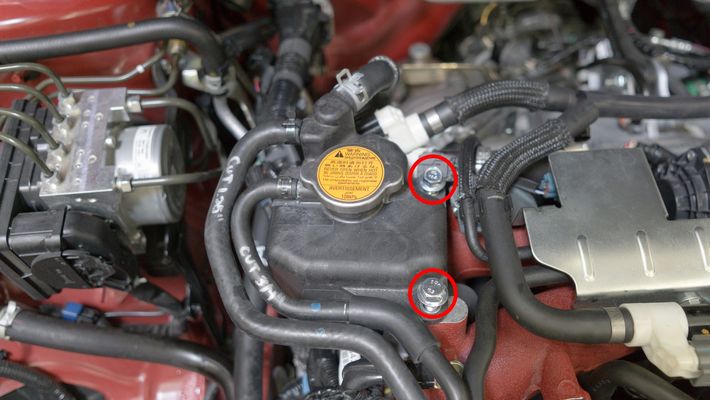
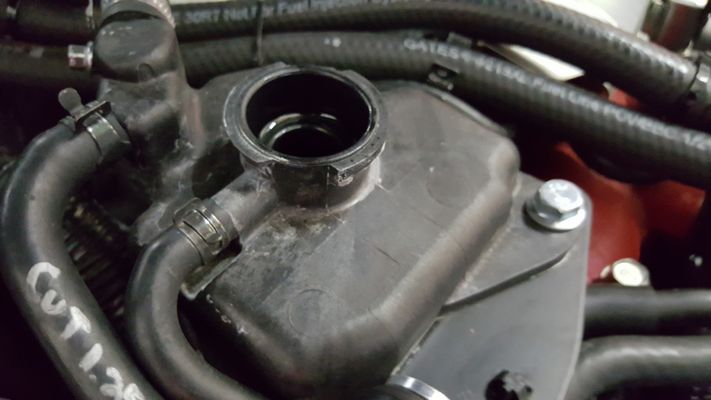
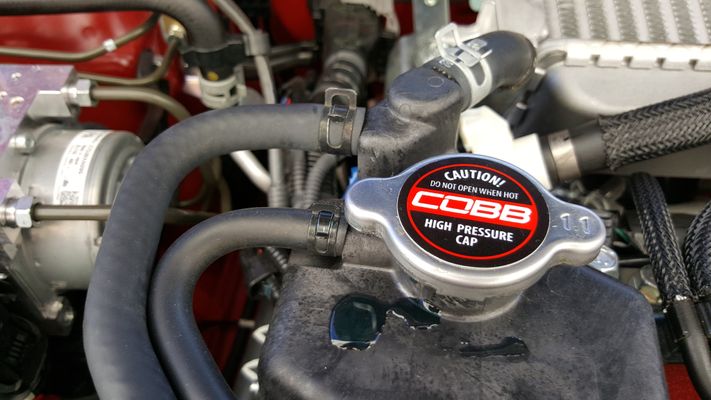
- With as many of the air bubbles removed as you can go ahead and put the radiator cap back on. Keep in mind that the radiator cap and coolant reservoir cap typically look very similar, however the reservoir cap will be rated at a lower pressure so when in doubt refer to the stamped numbers that refer to the pressure rating in BAR.
- Now head up to the coolant reservoir and fill it up from there.
- In order to ensure the turbo doesn't fail prematurely it's critical to ensure that it gets not only coolant, but oil. In order to prime the oiling system start by unplugging the crankshaft position sensor.
With the crank sensor disabled crank over the car for 5 seconds then let it sit for 30 seconds. Repeat this process until your engine oil light is off. (It may be a good idea to have your car on a charger when doing so to avoid a dead battery)
Failing to properly prime the oiling system can cause a failure and will NOT be covered under warranty.
- Take this chance to flash a map with 20g support to the car.
- With that done, you can re-enable your fuel system in anticipation of the first start.
- Fuel system enabled, key the ignition into the ON position. Check for leaks from the fuel system as you've had a bunch of stuff off the car.
- IT'S TIME!!! Give it a crank and see if it starts. Once it's running, check for leaks but don't let it get too hot yet before turning it off. Make sure to stop running the car if you see any fluids coming out, or hear any odd sounds. There will be a small amount of oil etc. that likely burns off of the turbo itself as it was oiled before being packaged.
- Now it's time to bleed the coolant. This is an important step and can get a little bit time consuming, however any pockets of air can cause issues with overheating or incorrect coolant temperature settings.
- While not necessary, a coolant bleeding funnel like this one can make things a whole lot easier as they come with fittings to mount directly to the cap and allow the system to bleed and fill itself at the same time.
Keep in mind that any coolant in the funnel will get just as hot as the rest of the coolant in the engine so use caution to avoid burns.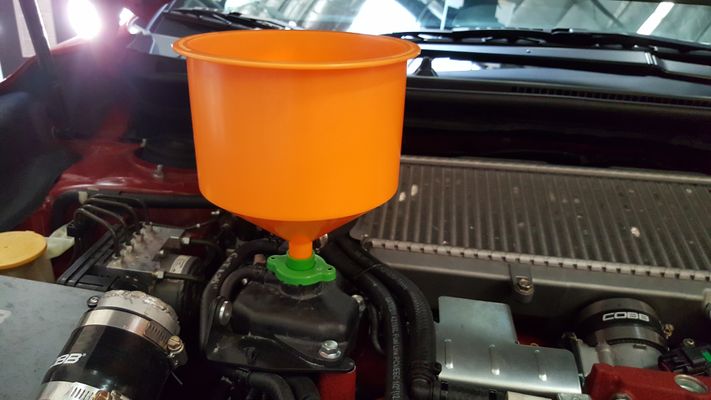
- With the system full turn on the vehicle and crank up the heater all the way. By having the heater on the coolant can circulate through the heater core which will remove air bubbles from that portion of the system. Make sure to keep an eye on your coolant levels at the tank or in the funnel so that the car doesn't add any more bubbles into the system.
- Once the coolant stops bubbling you're all done with the bleeding! This can take a while (it took around 30 minutes on our car). While it's bleeding make sure to keep an eye on the coolant temperature in order to make sure your car isn't overheating and that the fans are cycling on and off properly.
While idling the radiator will got very hot quickly, be careful to avoid burns.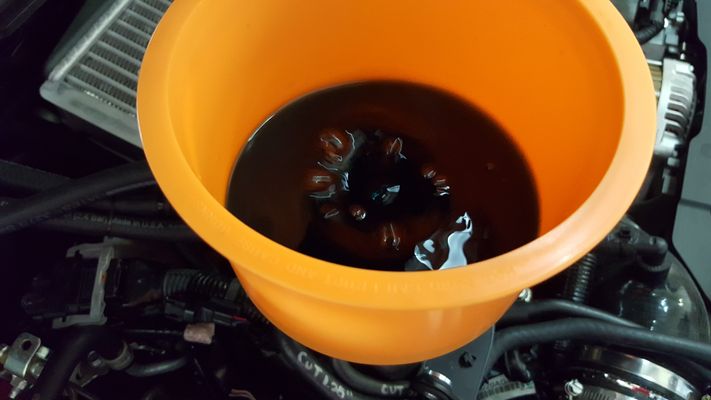
- Place the plug securely down in the funnel and remove it from the car. Put remaining coolant back in the bottle.
- Reinstall the Coolant reservoir cap.
- Go out and enjoy!
Links
Related content
Copyright 2025 © COBB Tuning Products LLC. All Rights Reserved. | www.cobbtuning.com