800655 - GR Coolant Overflow Reservoir
- Brandyn Mowat

800655 – Subaru GR Coolant overflow Tank
Subaru Impreza WRX, WRX STI 2008 - 2014
Congratulations on your purchase of the COBB Tuning GR Coolant Reservoir! The following instructions will assist you through the installation process. Please read them BEFORE beginning the install to familiarize yourself with the steps and tools needed. If you feel you cannot properly perform this installation, we HIGHLY recommend you take the vehicle to a qualified and experienced automotive technician.
Table of Contents
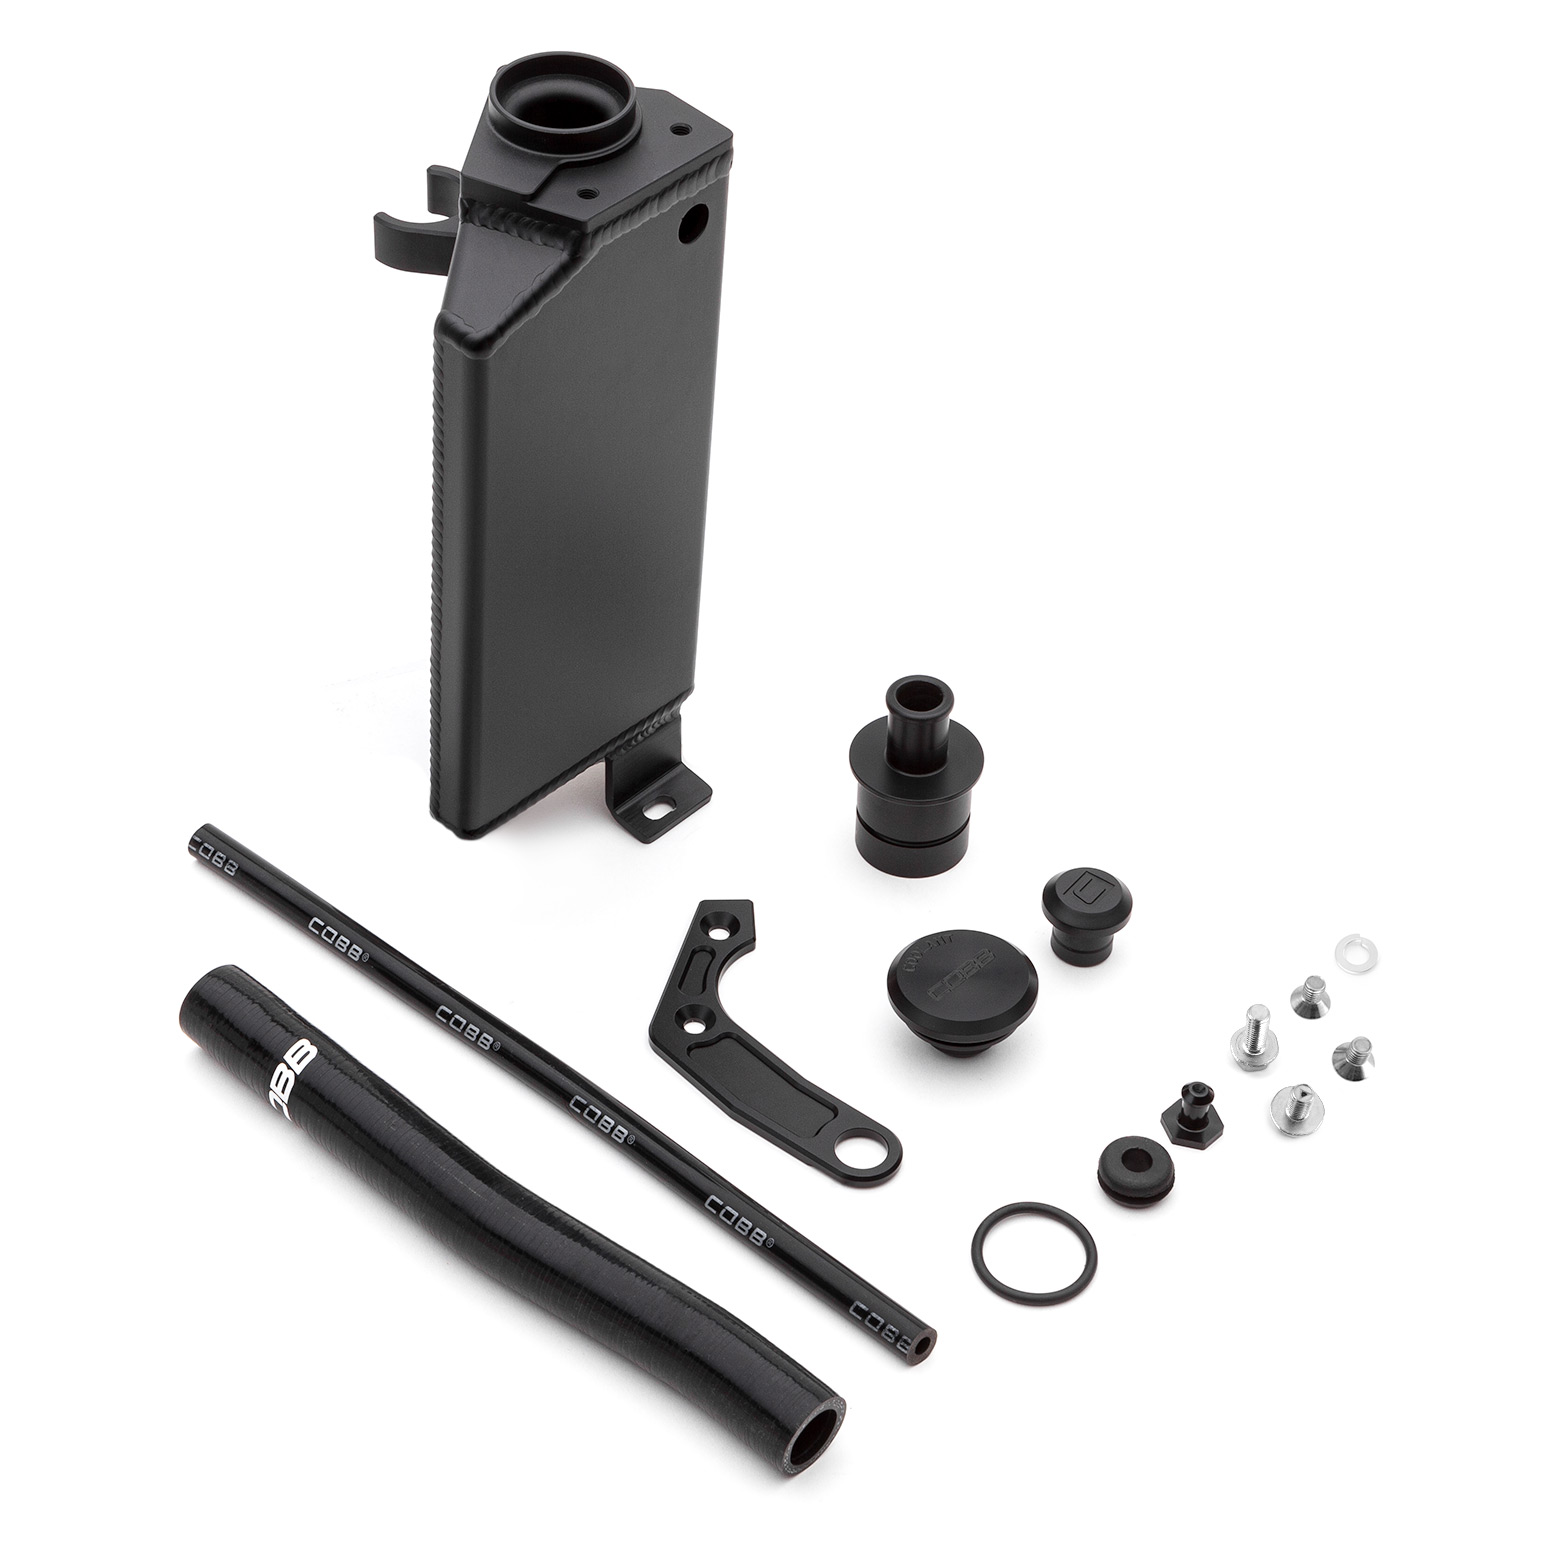
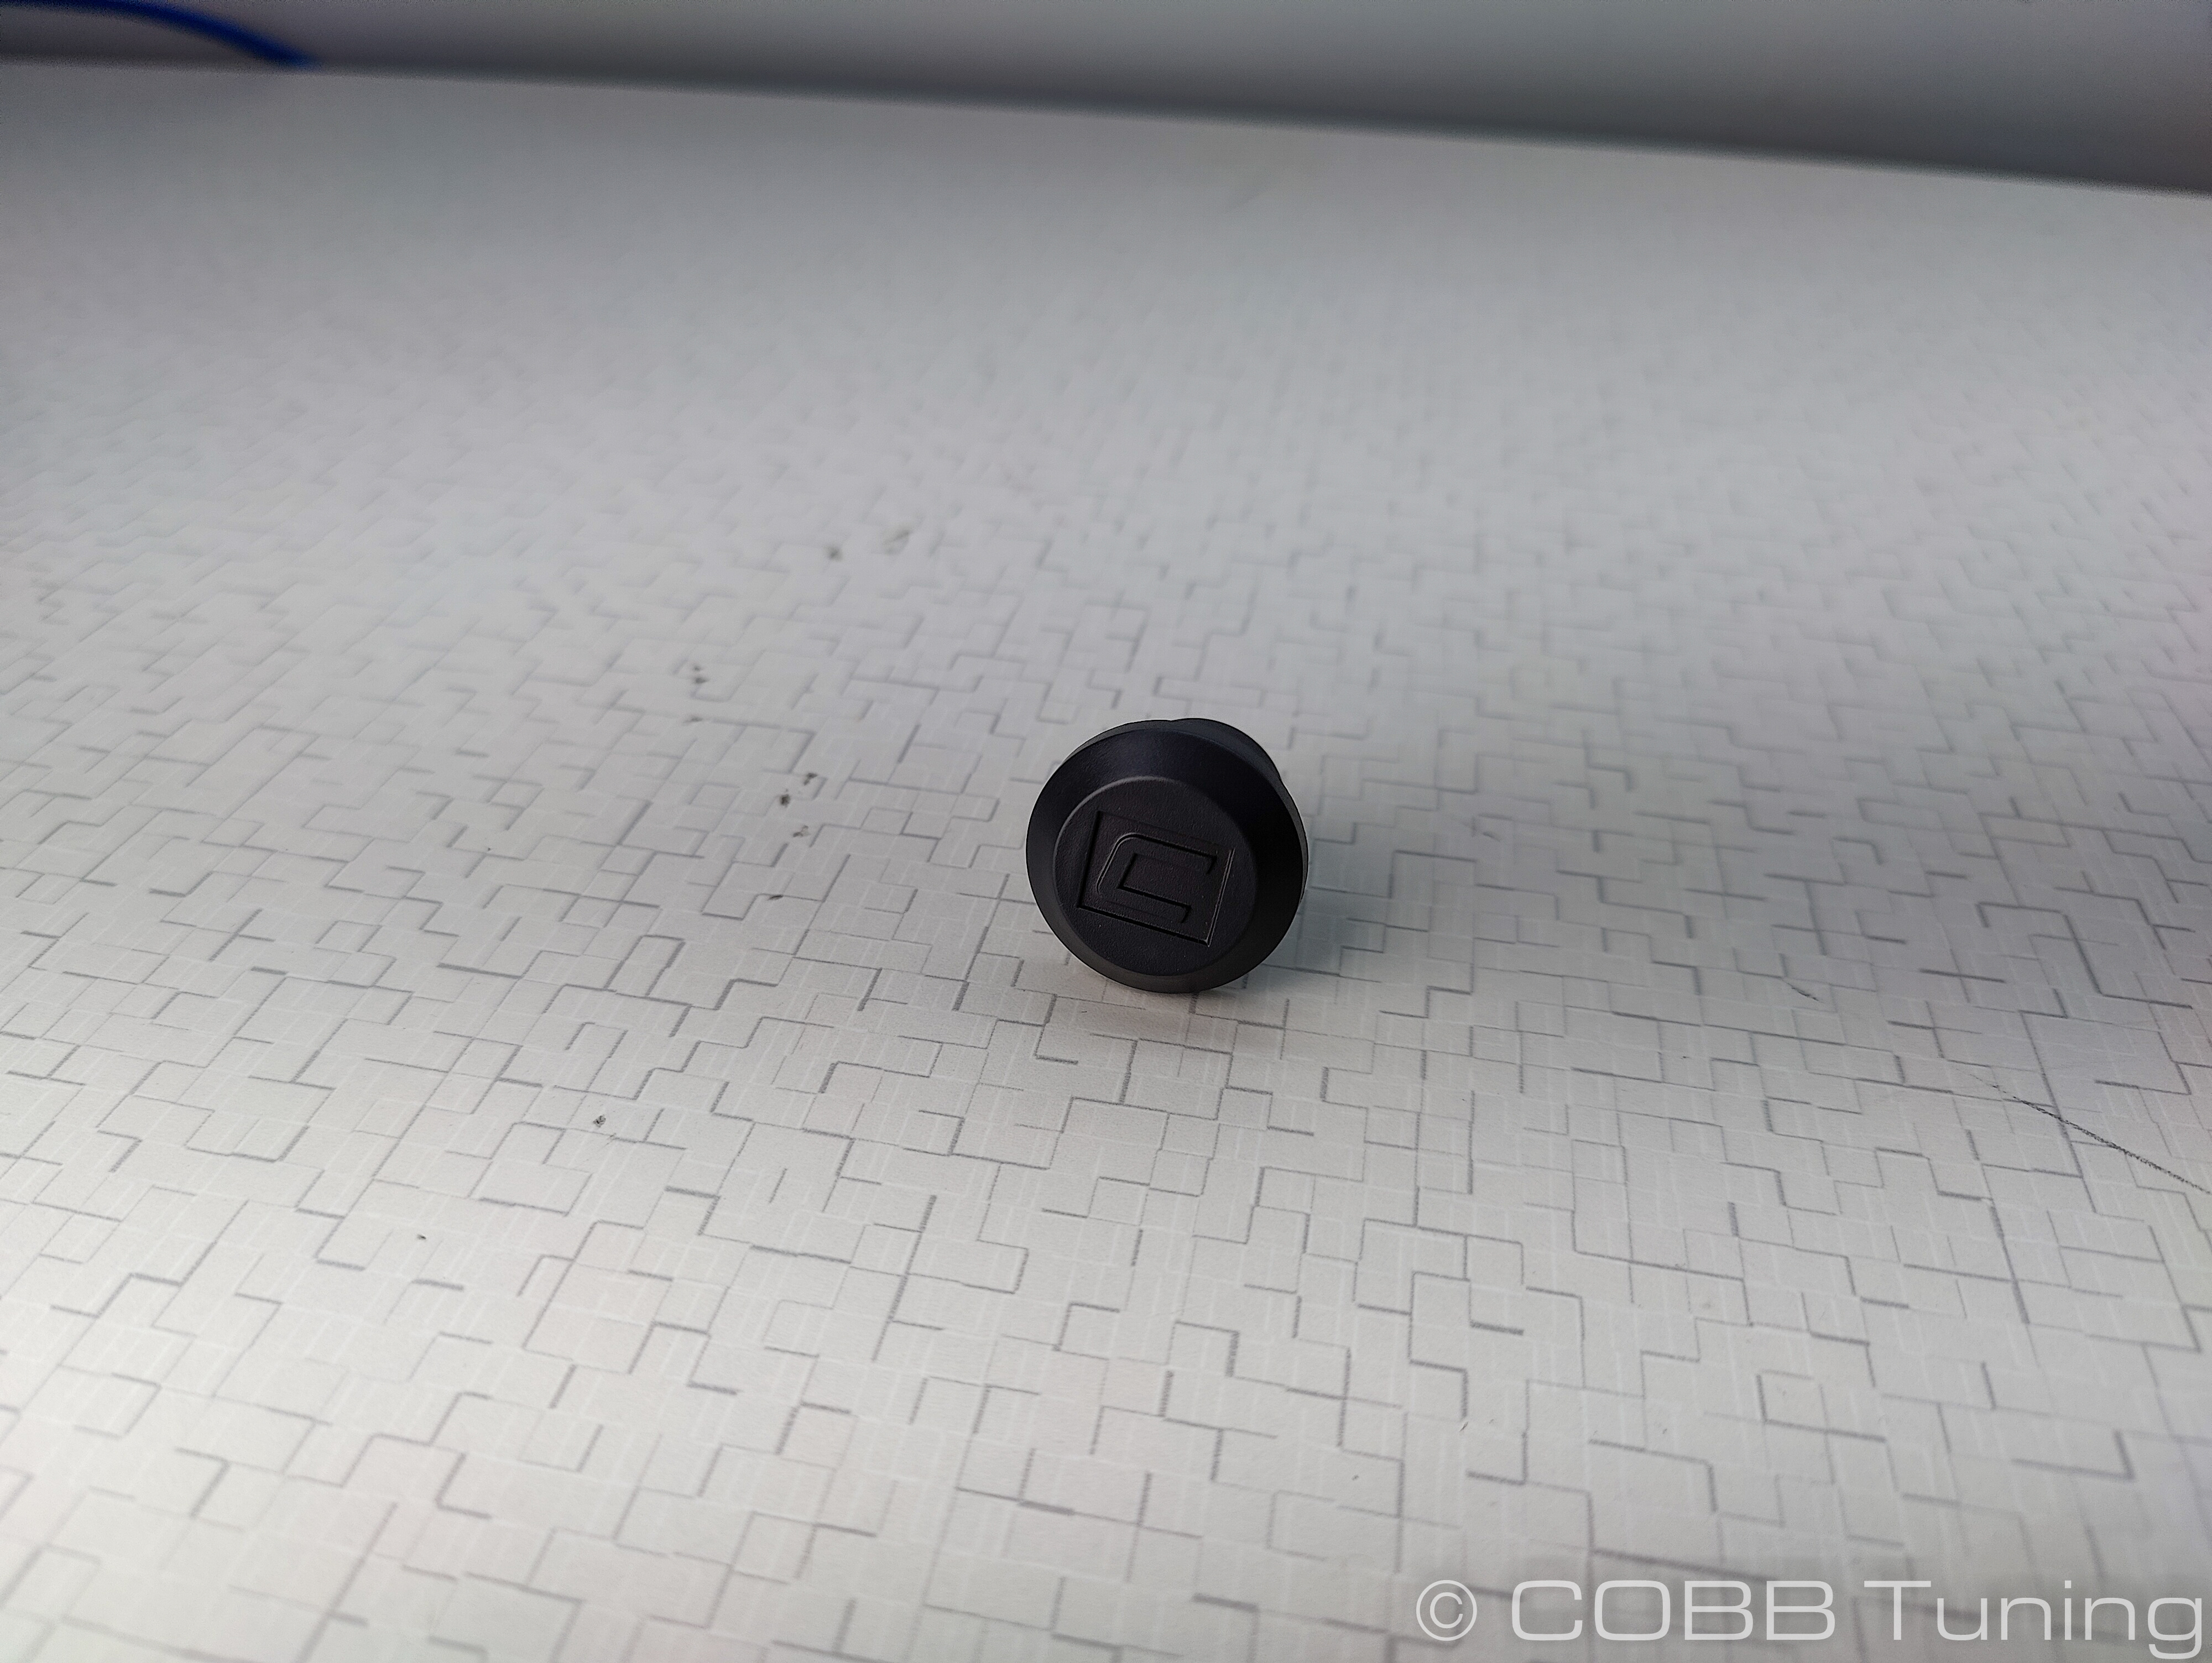
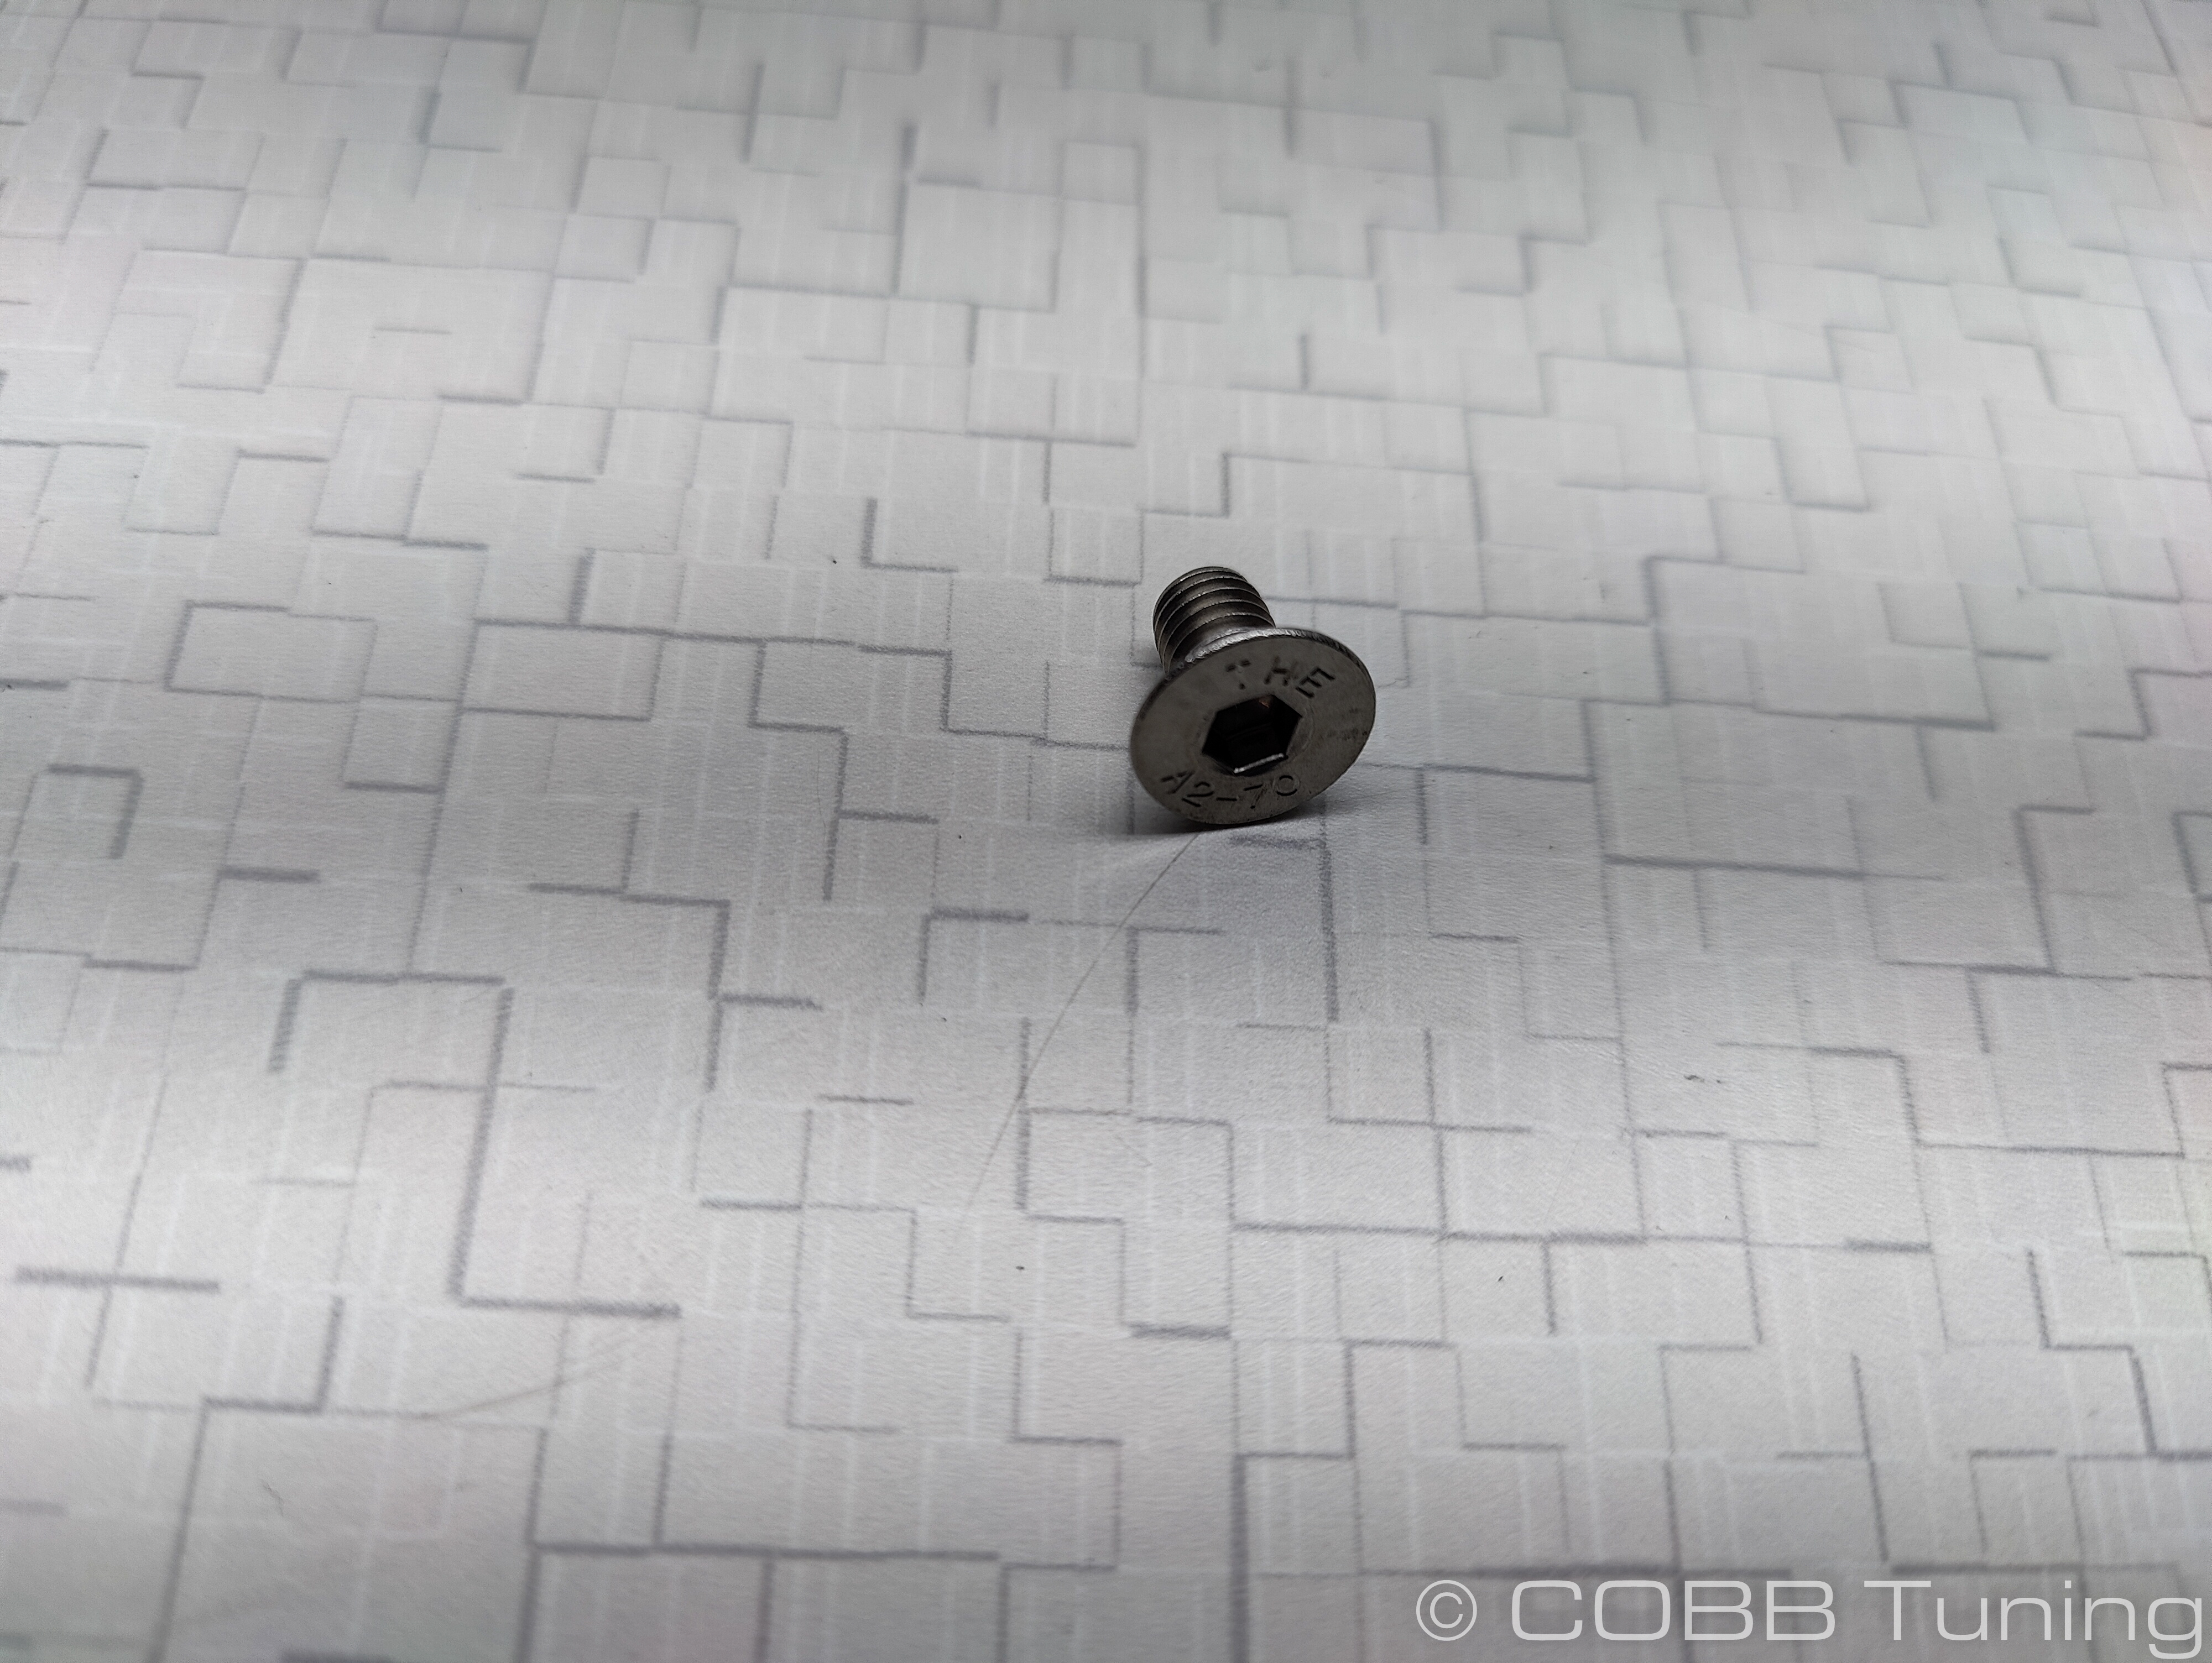
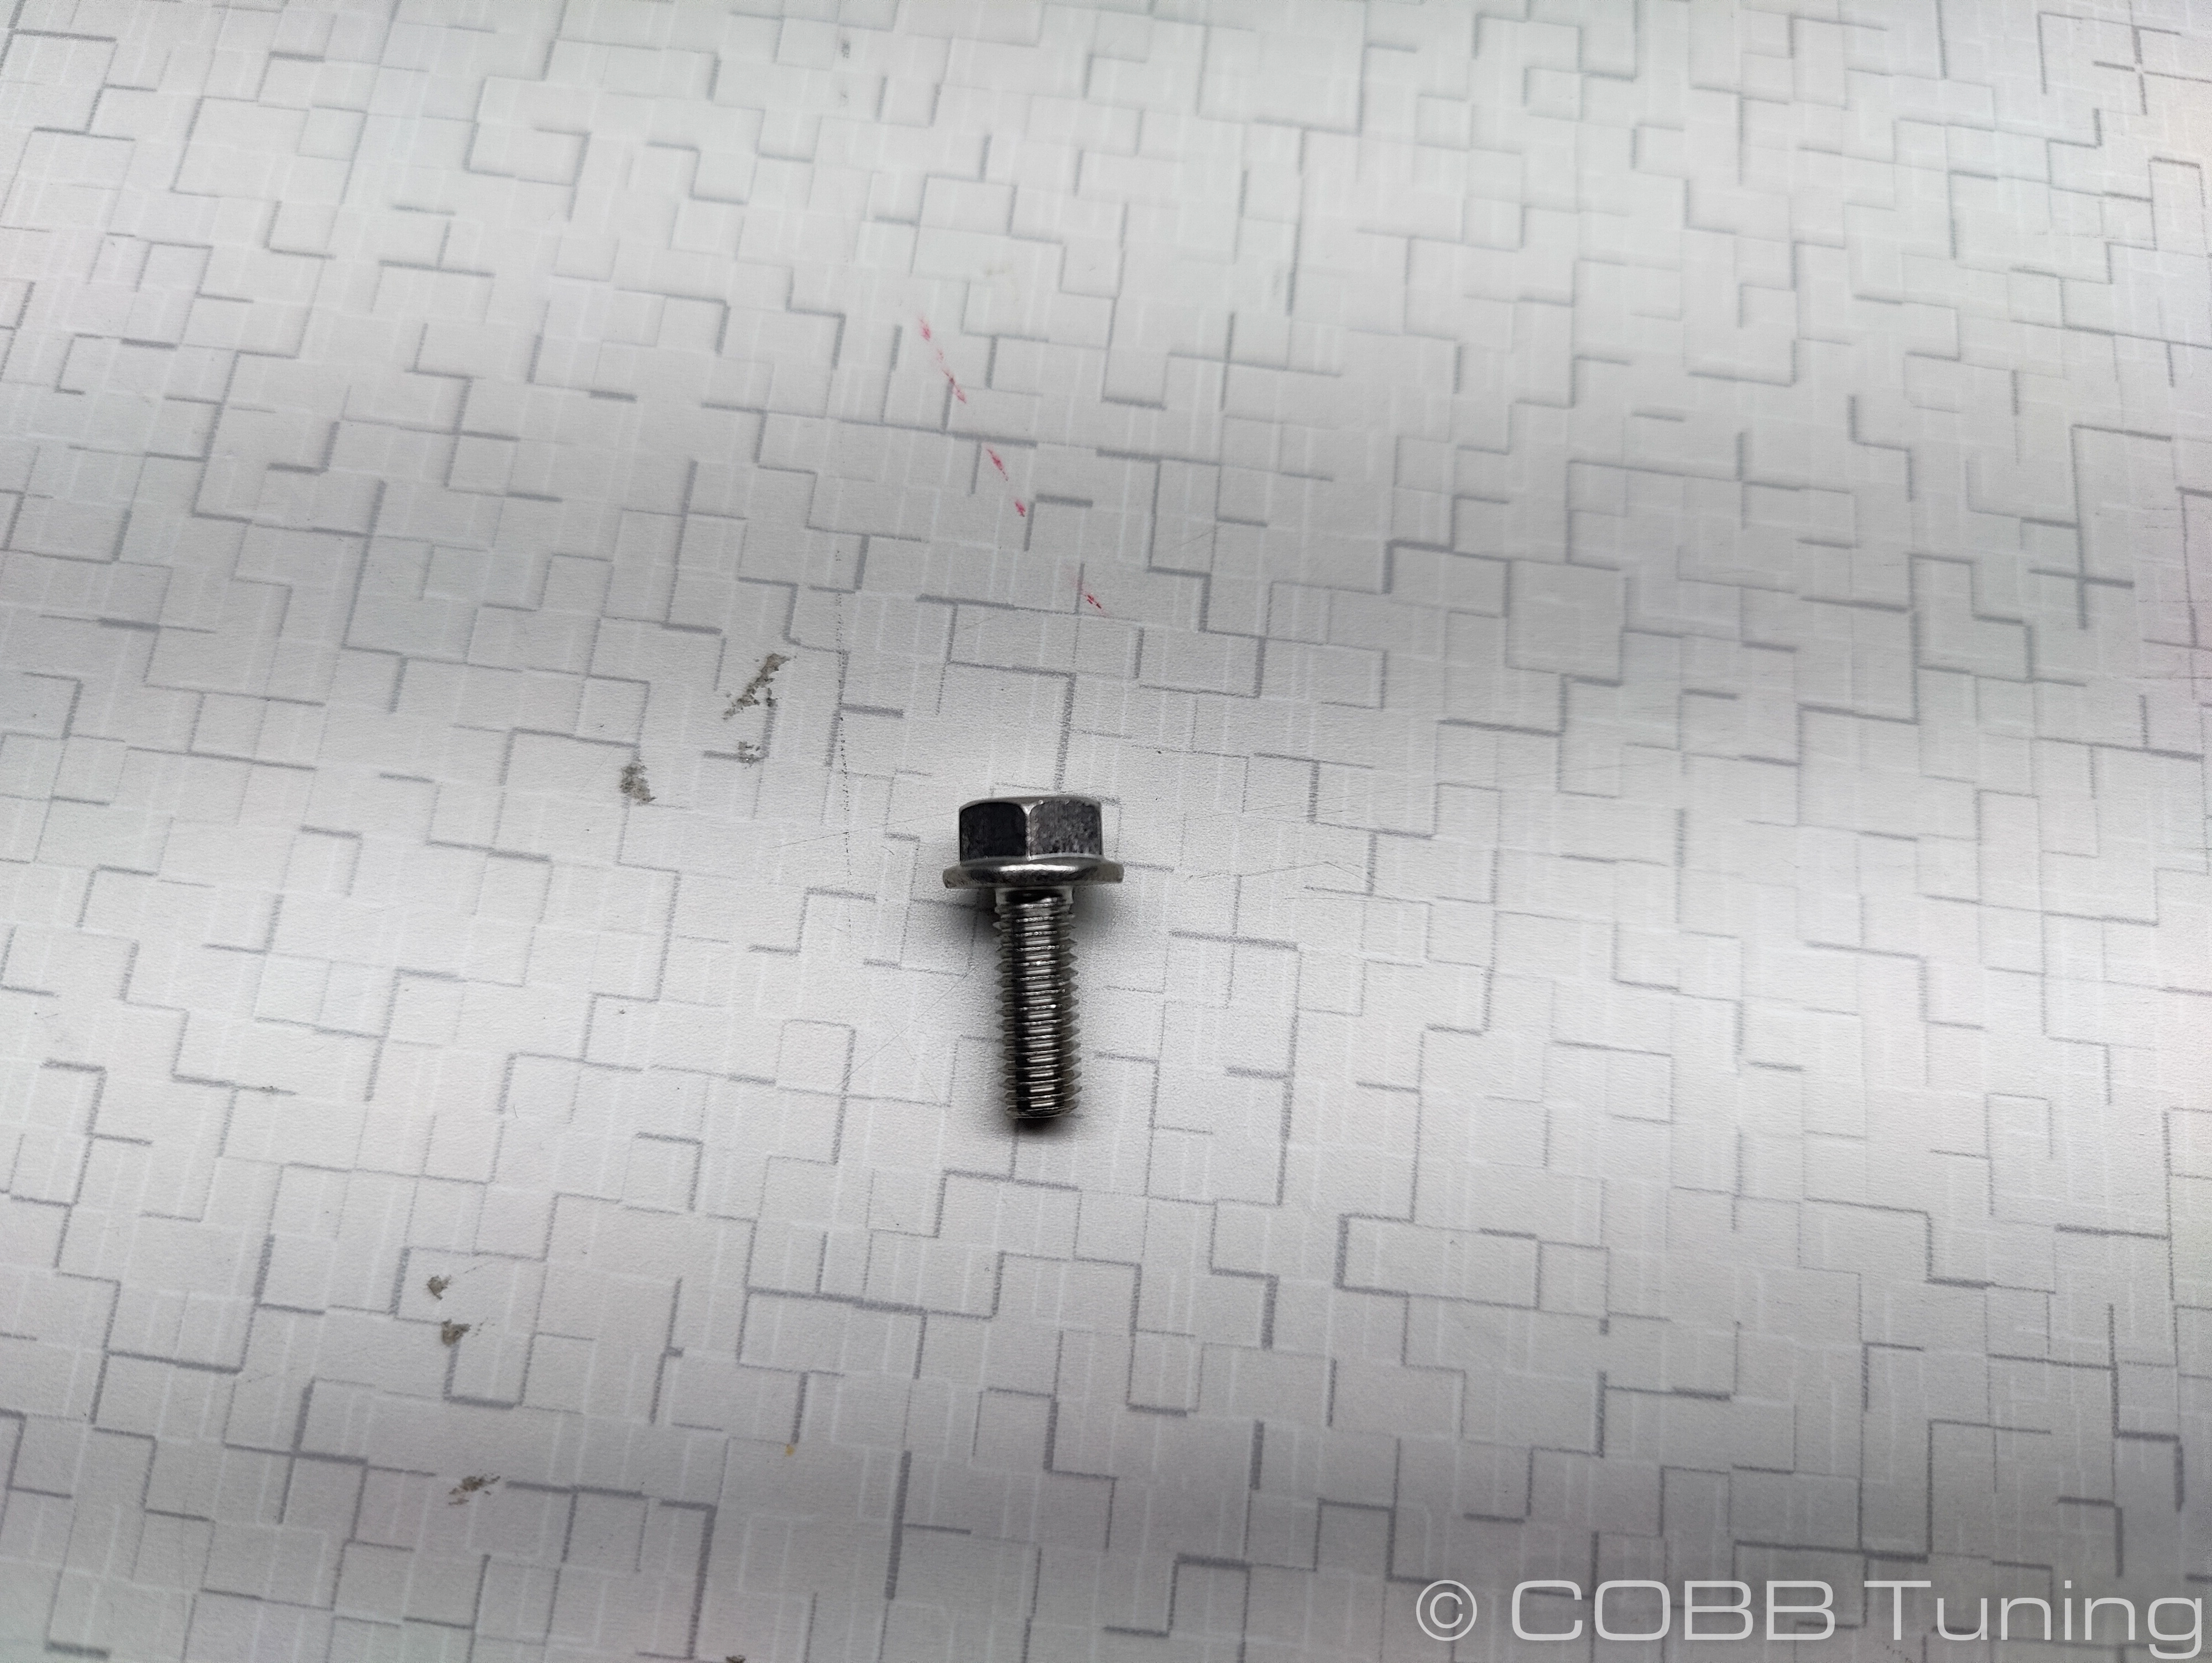
Parts List


Tools Needed
Sockets
3/8"
- 3/8" ratchet
- 3/8" 12" extension
- 3/8" 6" extension
- 3/8" 10mm socket
Wrenches
- 10mm combination wrench
Section 1
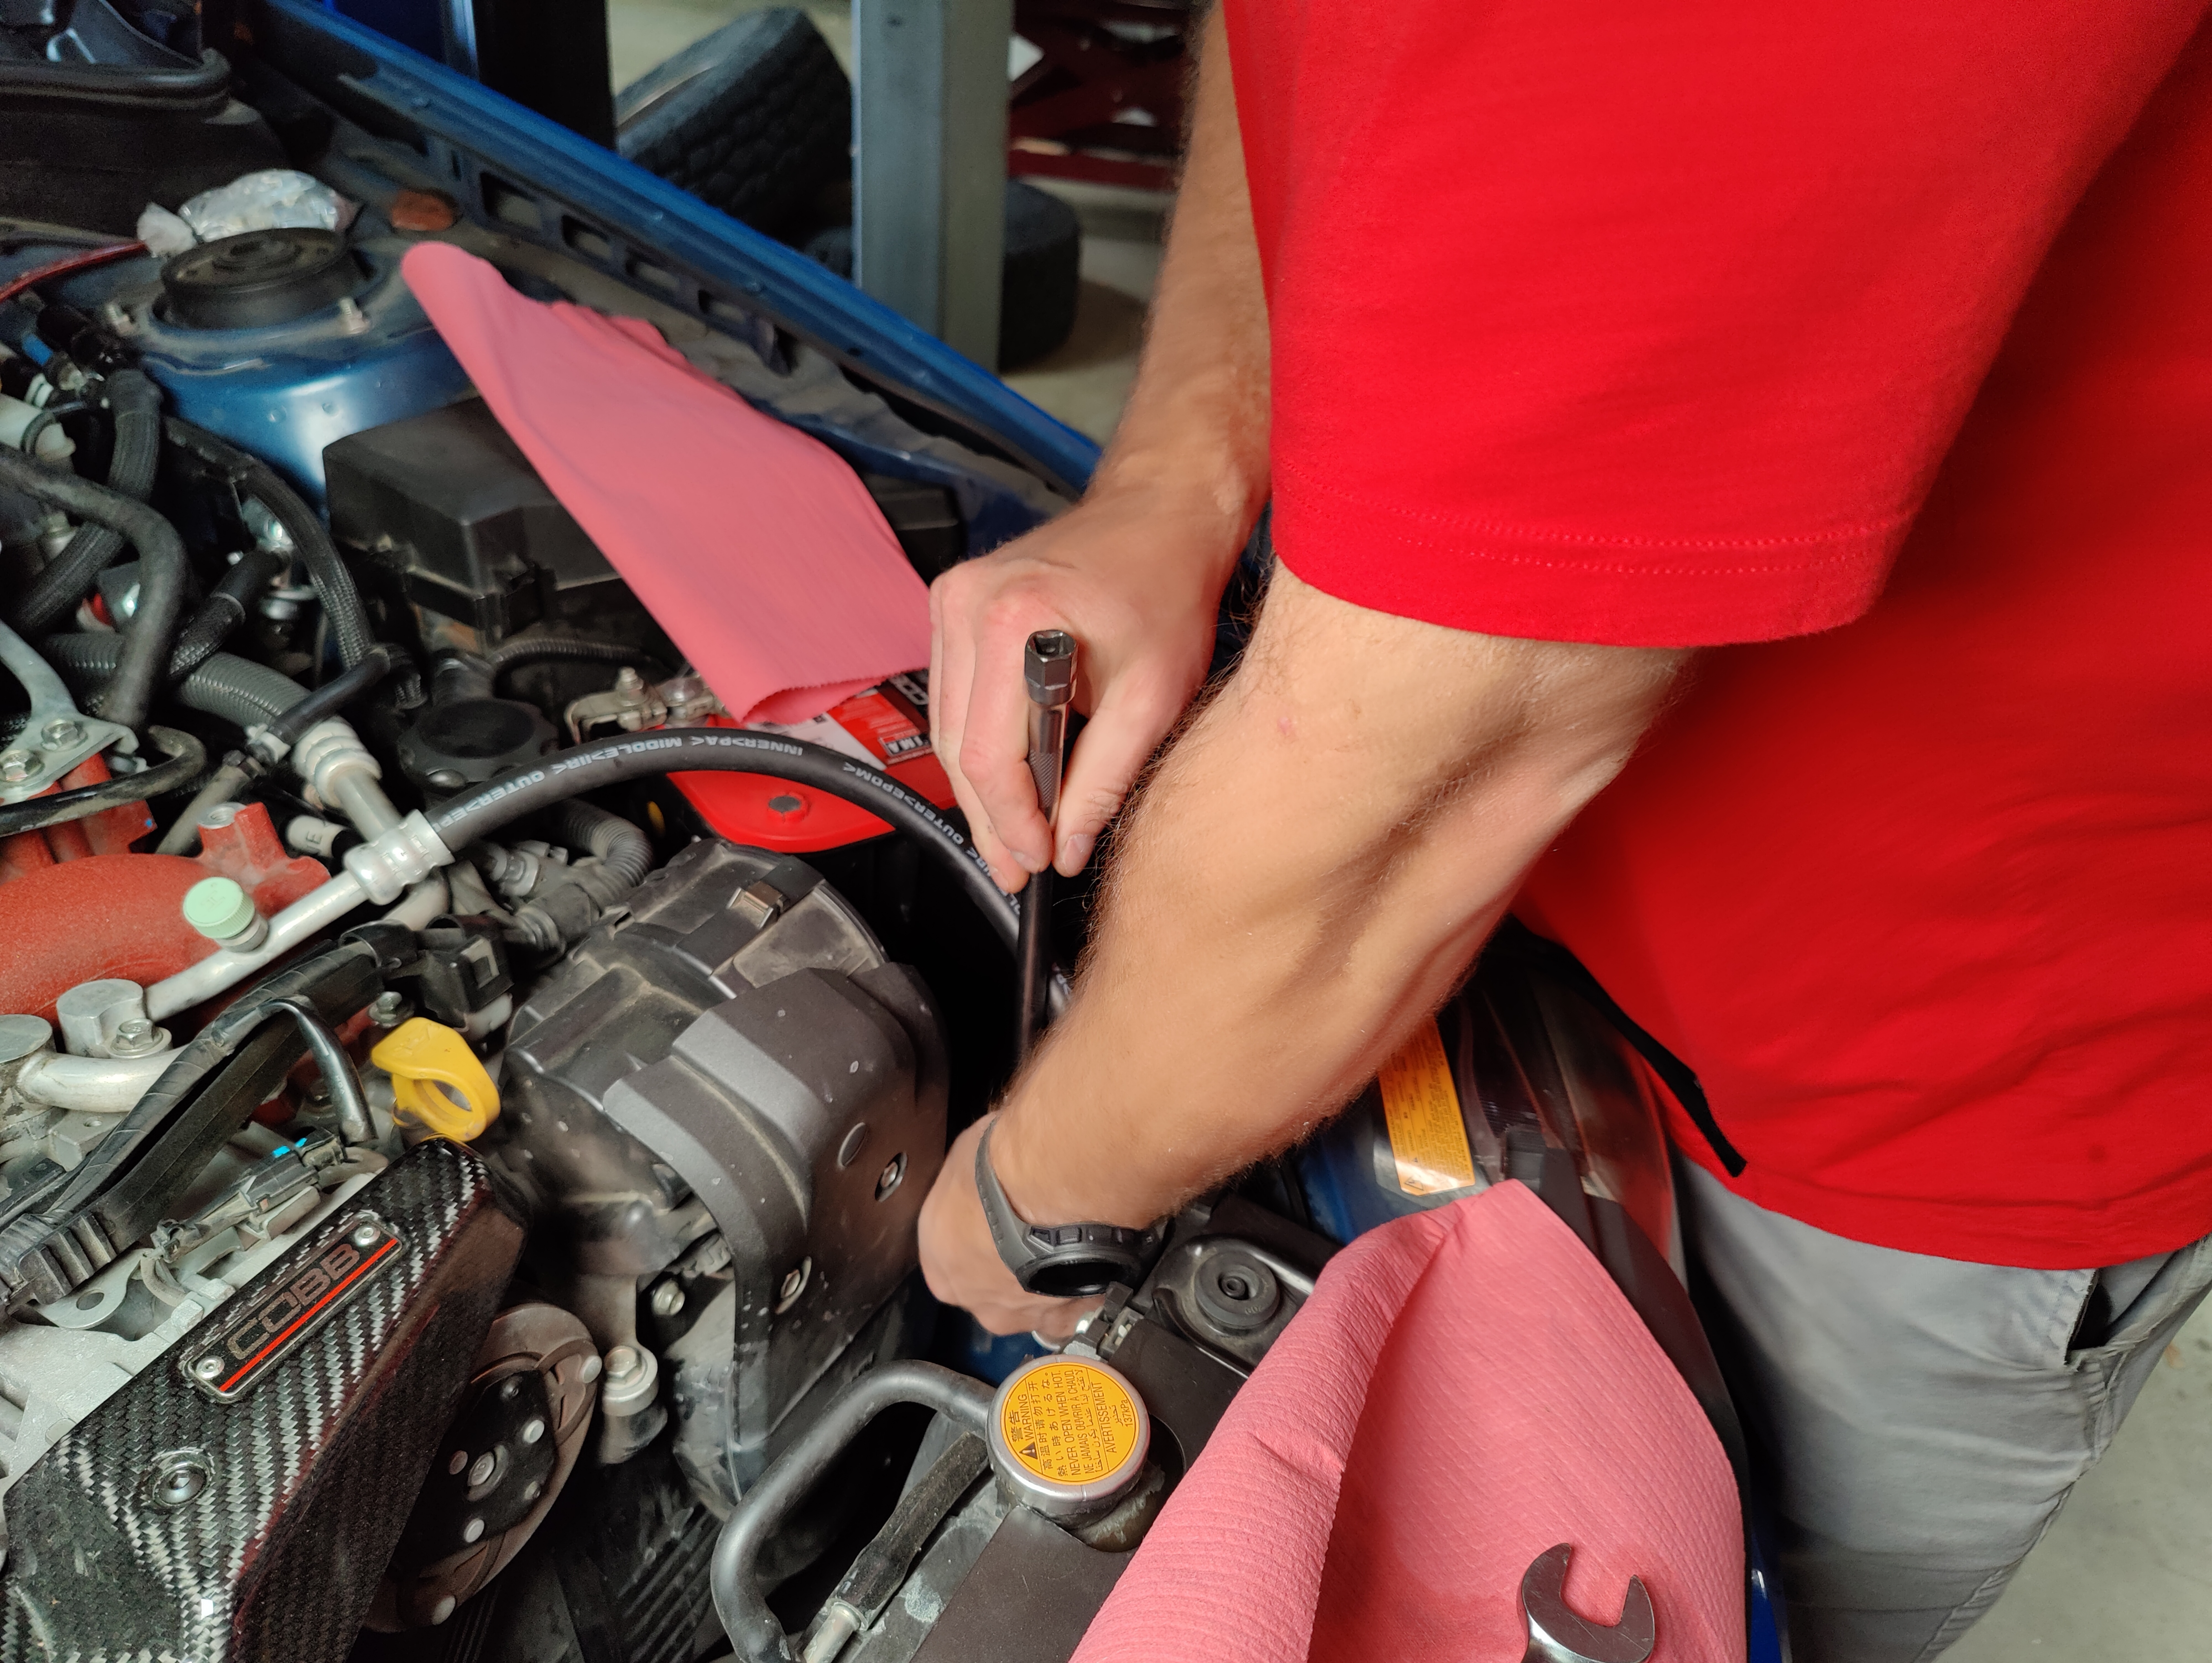
- Park your car in a flat, level area and allow it to cool down properly.
- Using a 10mm wrench, remove the negative terminal of the battery.
- As long as things are cooled down and the radiator hoses easily squeeze and don't feel as though there's pressure you should be okay to start.
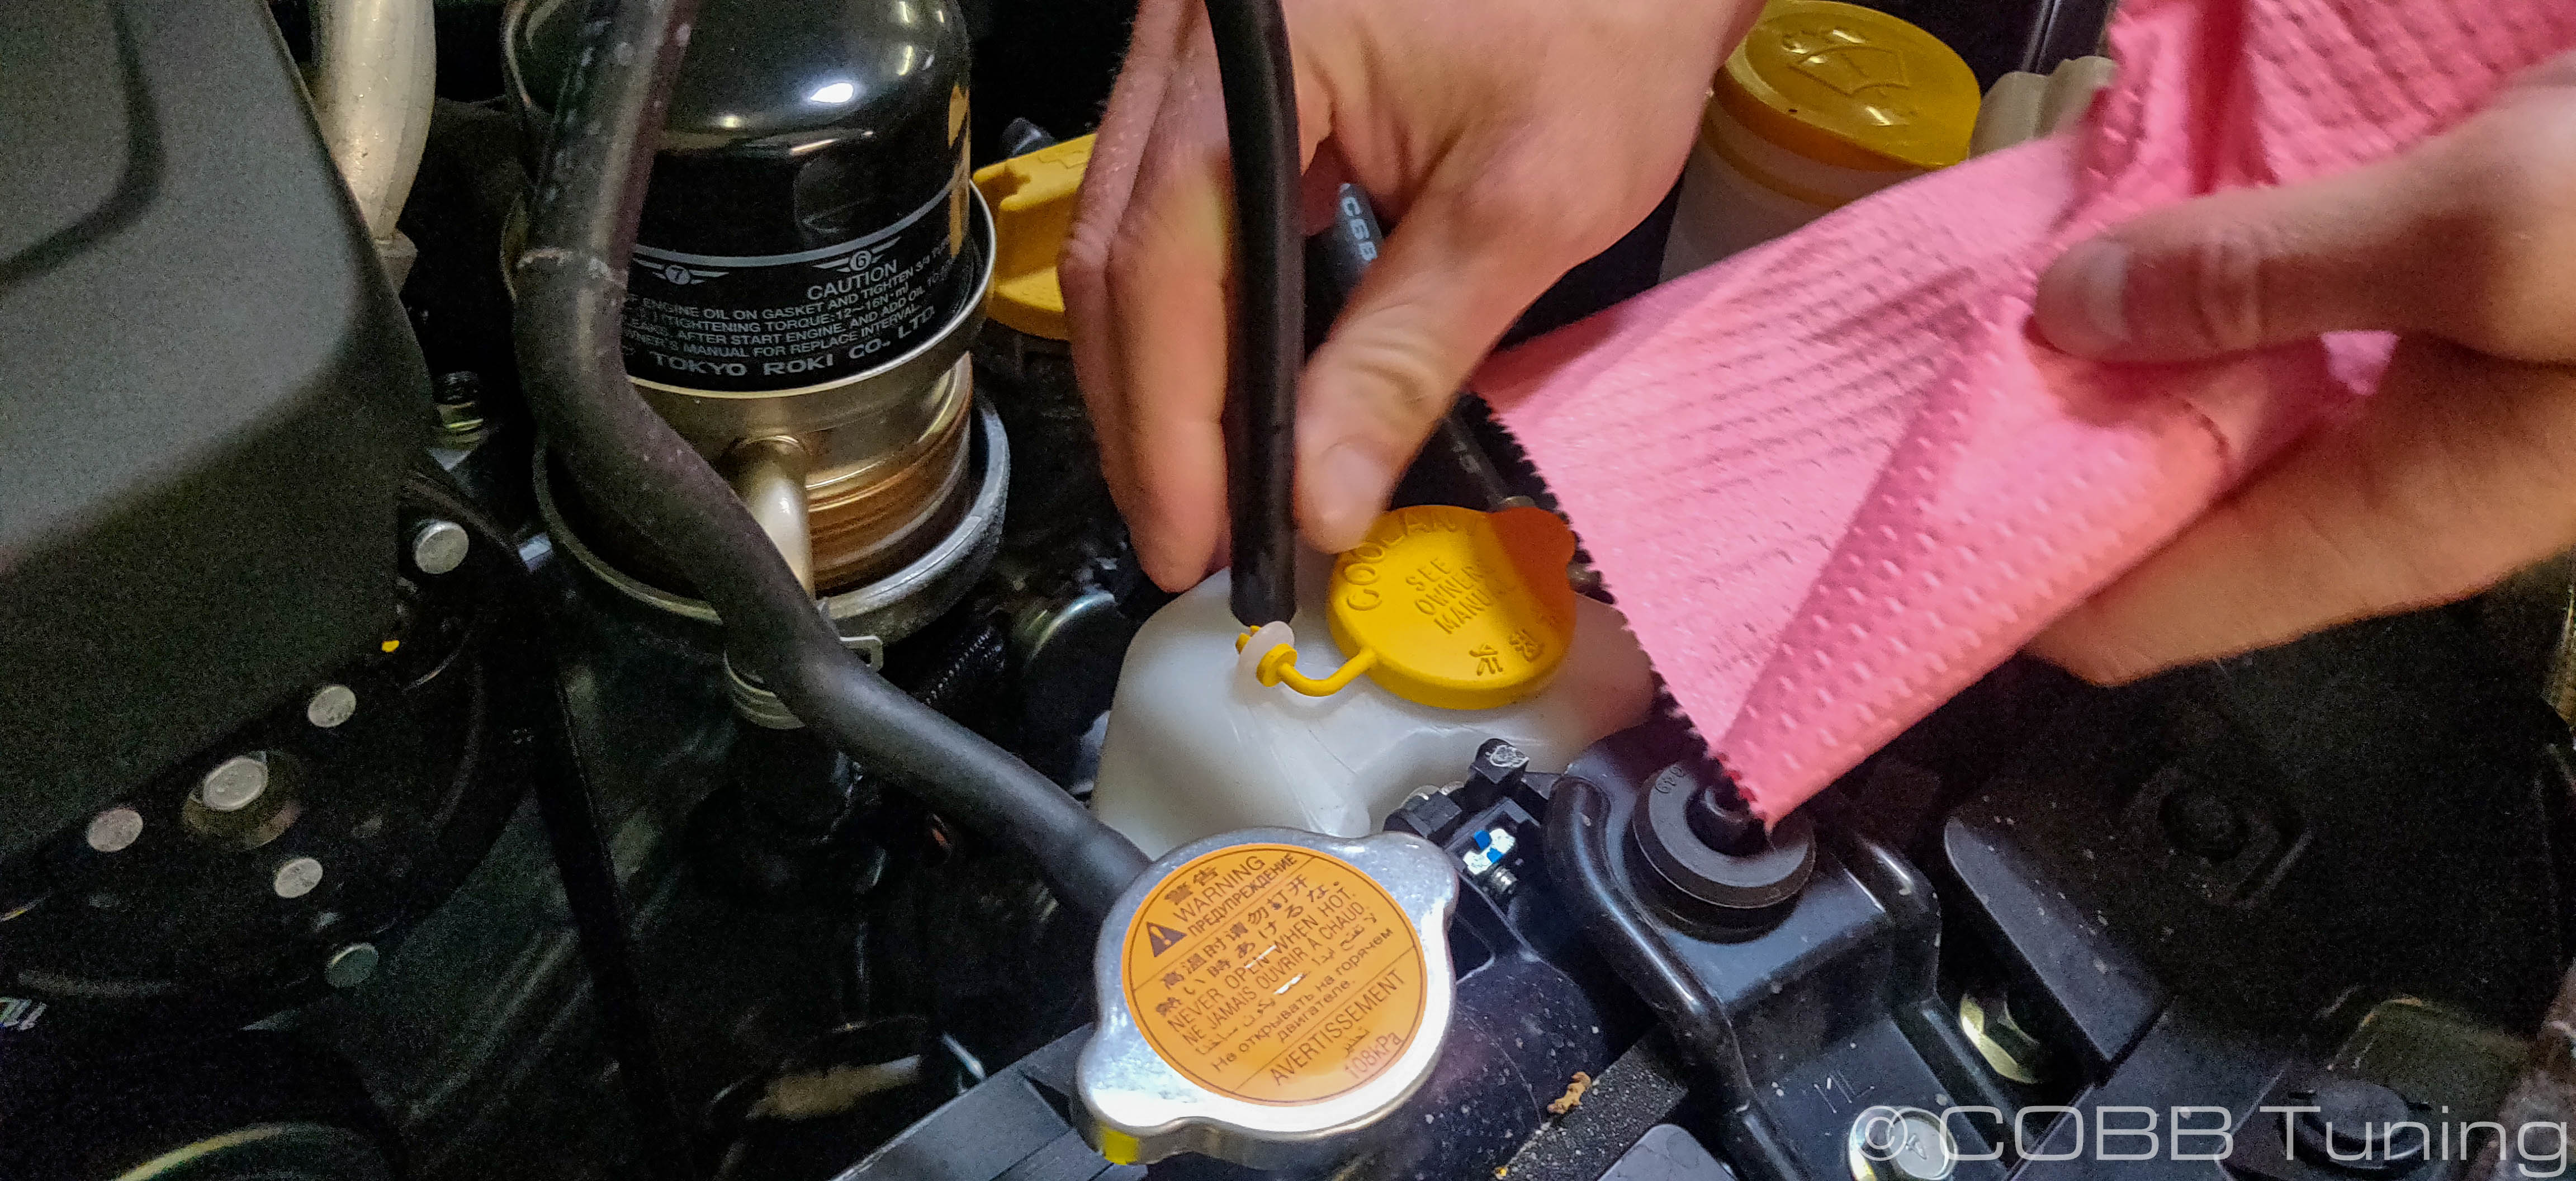
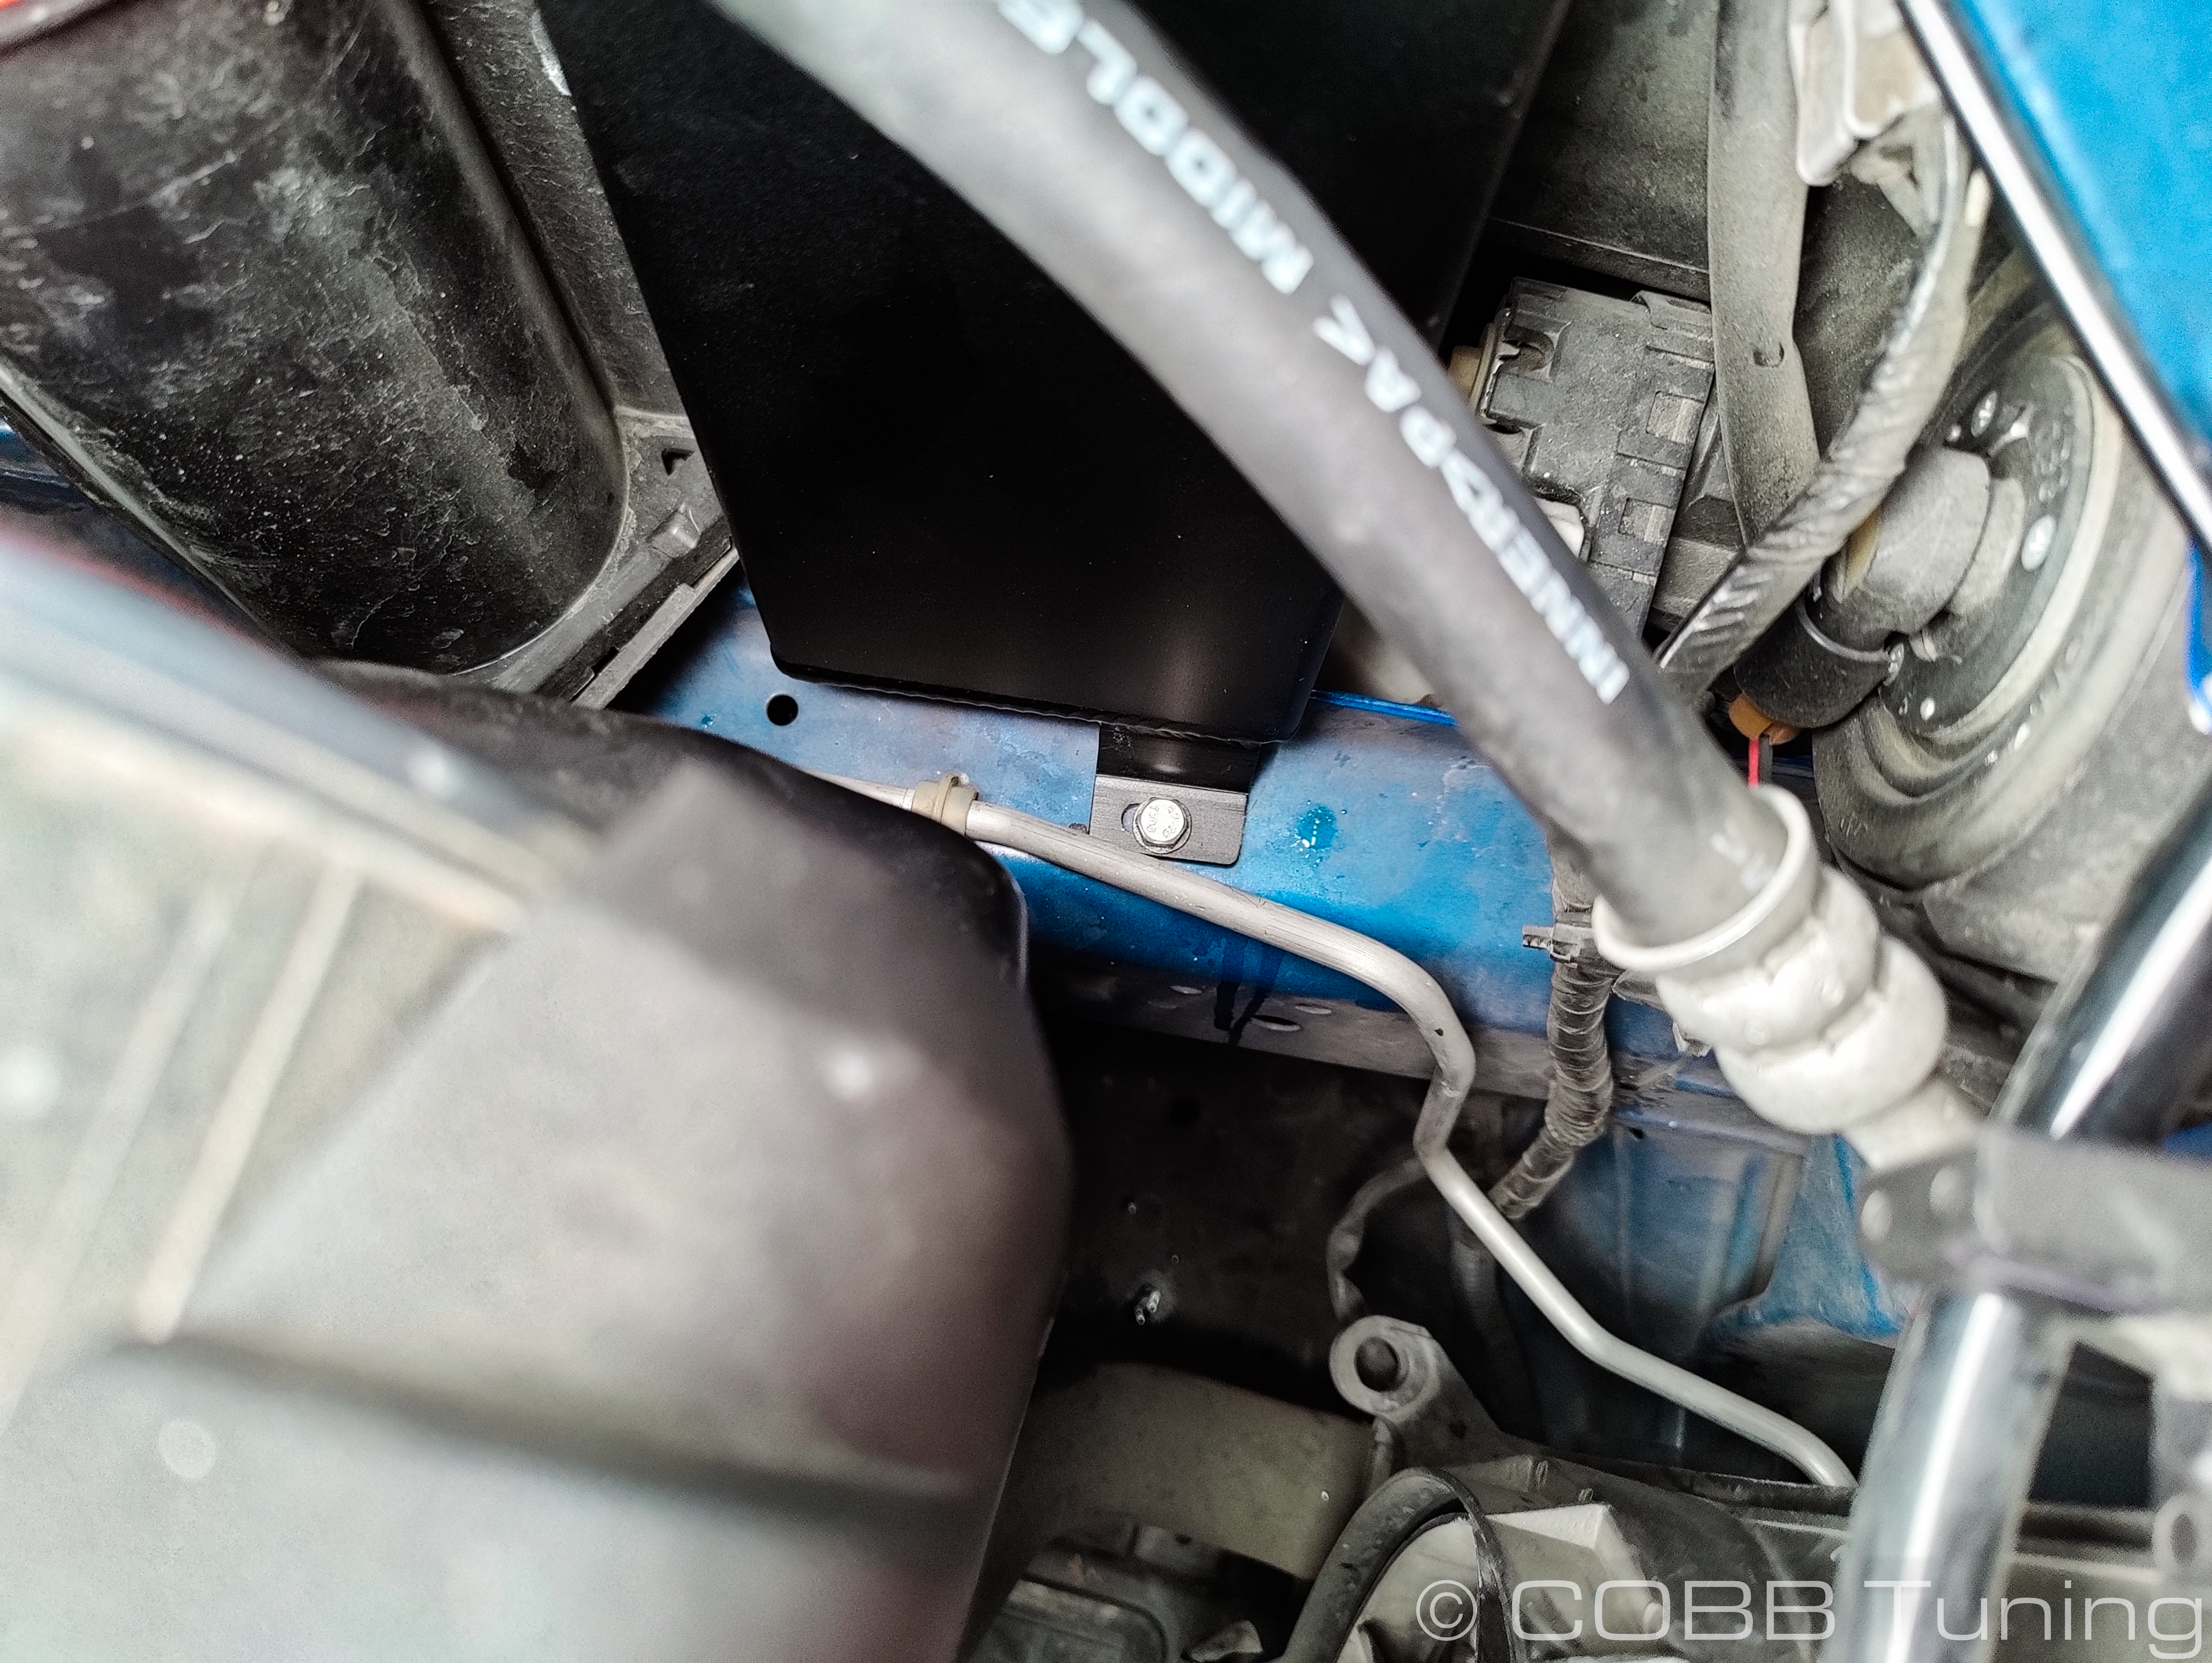
- Pull the hose gently out of the coolant overflow tank, most of the fluid should drain back into the tank. If not lift the end of the hose upward to get it to drain back into the radiator.
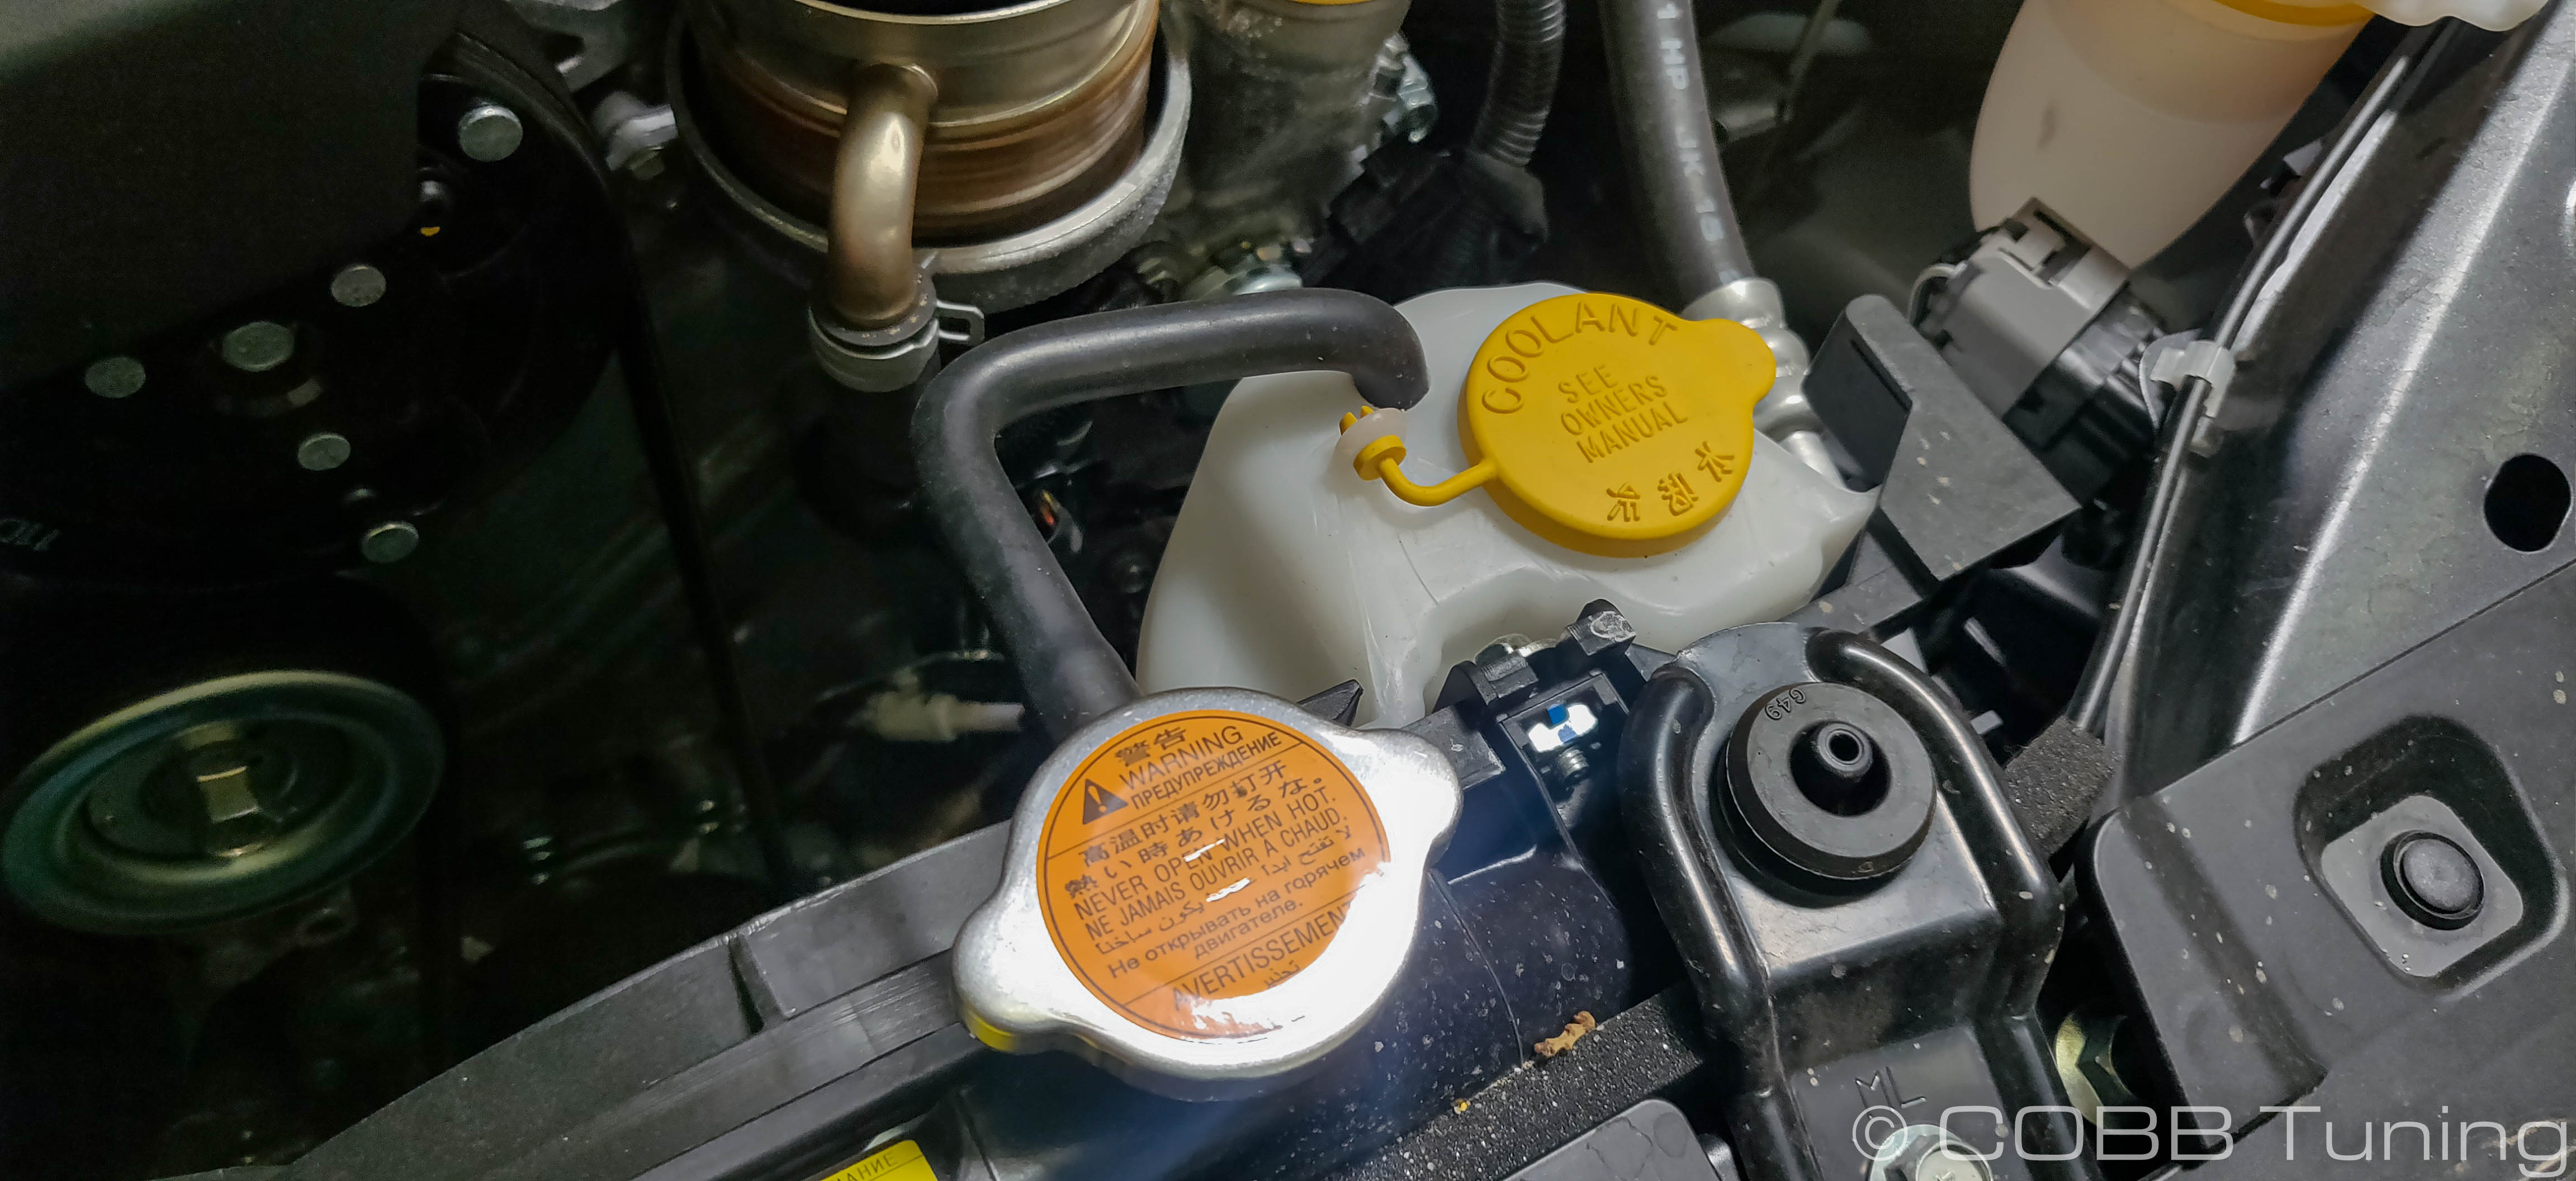
- On the side of the overflow tank that is towards the headlight (not the radiator) you'll notice the end of the tank is underneath a small tab. press this in to release the coolant tank and rotate it counter clockwise to free it from the fan shroud. you can then lift up and remove it from the car.
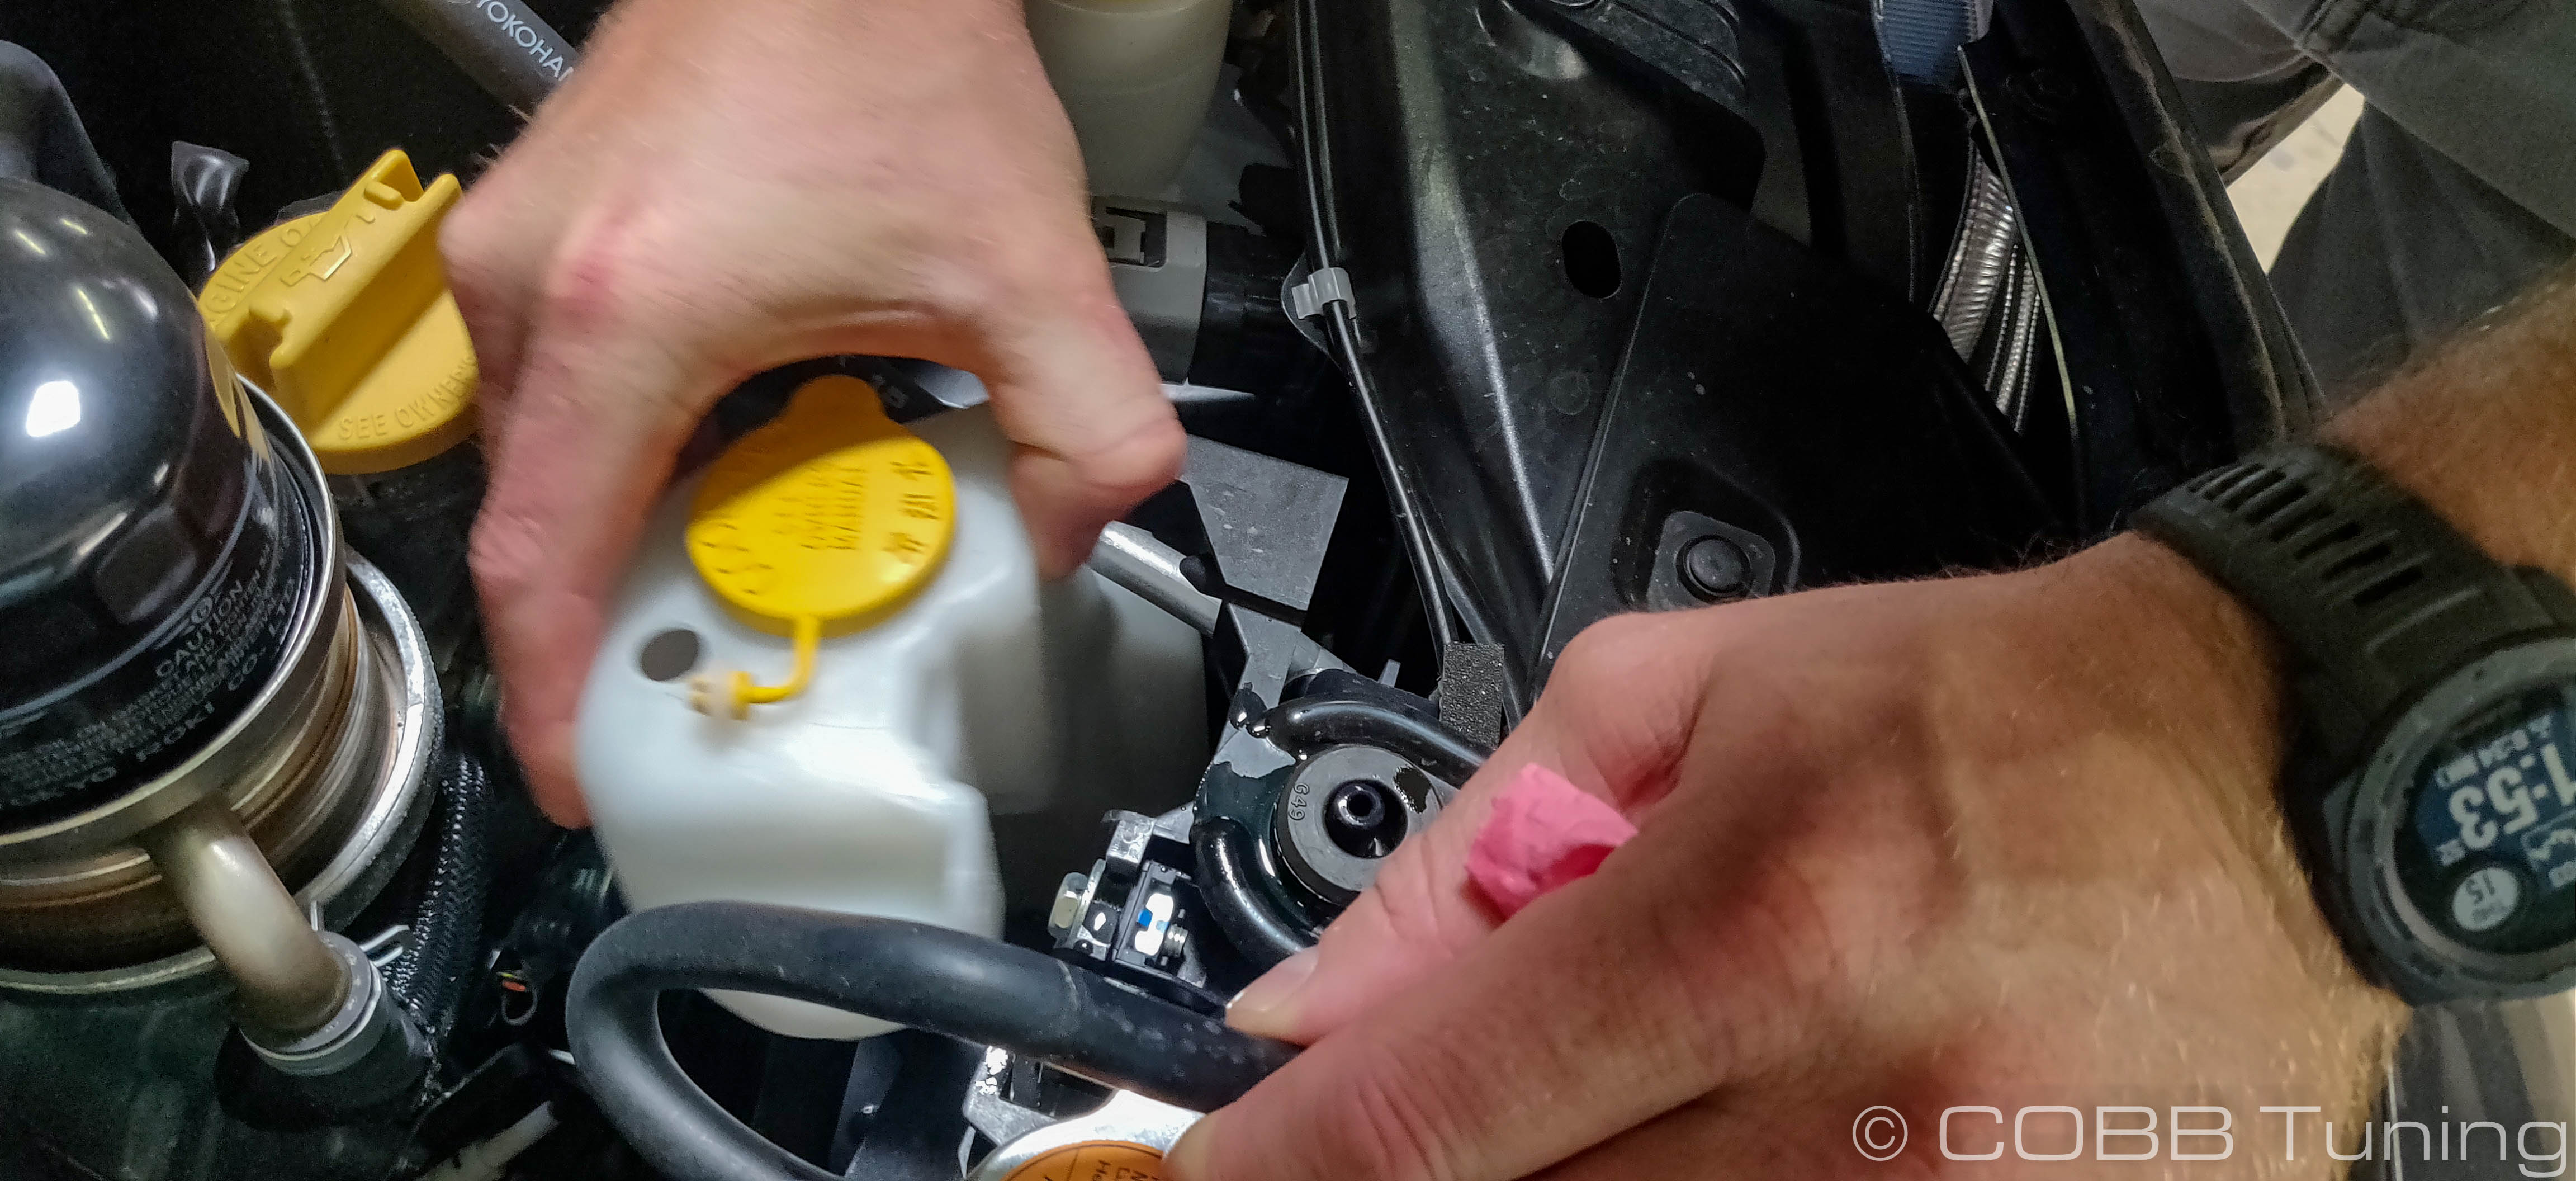
- You'll want to set this somewhere safe and upright so the coolant inside doesn't spill. Don't get rid of it as we'll use it later.
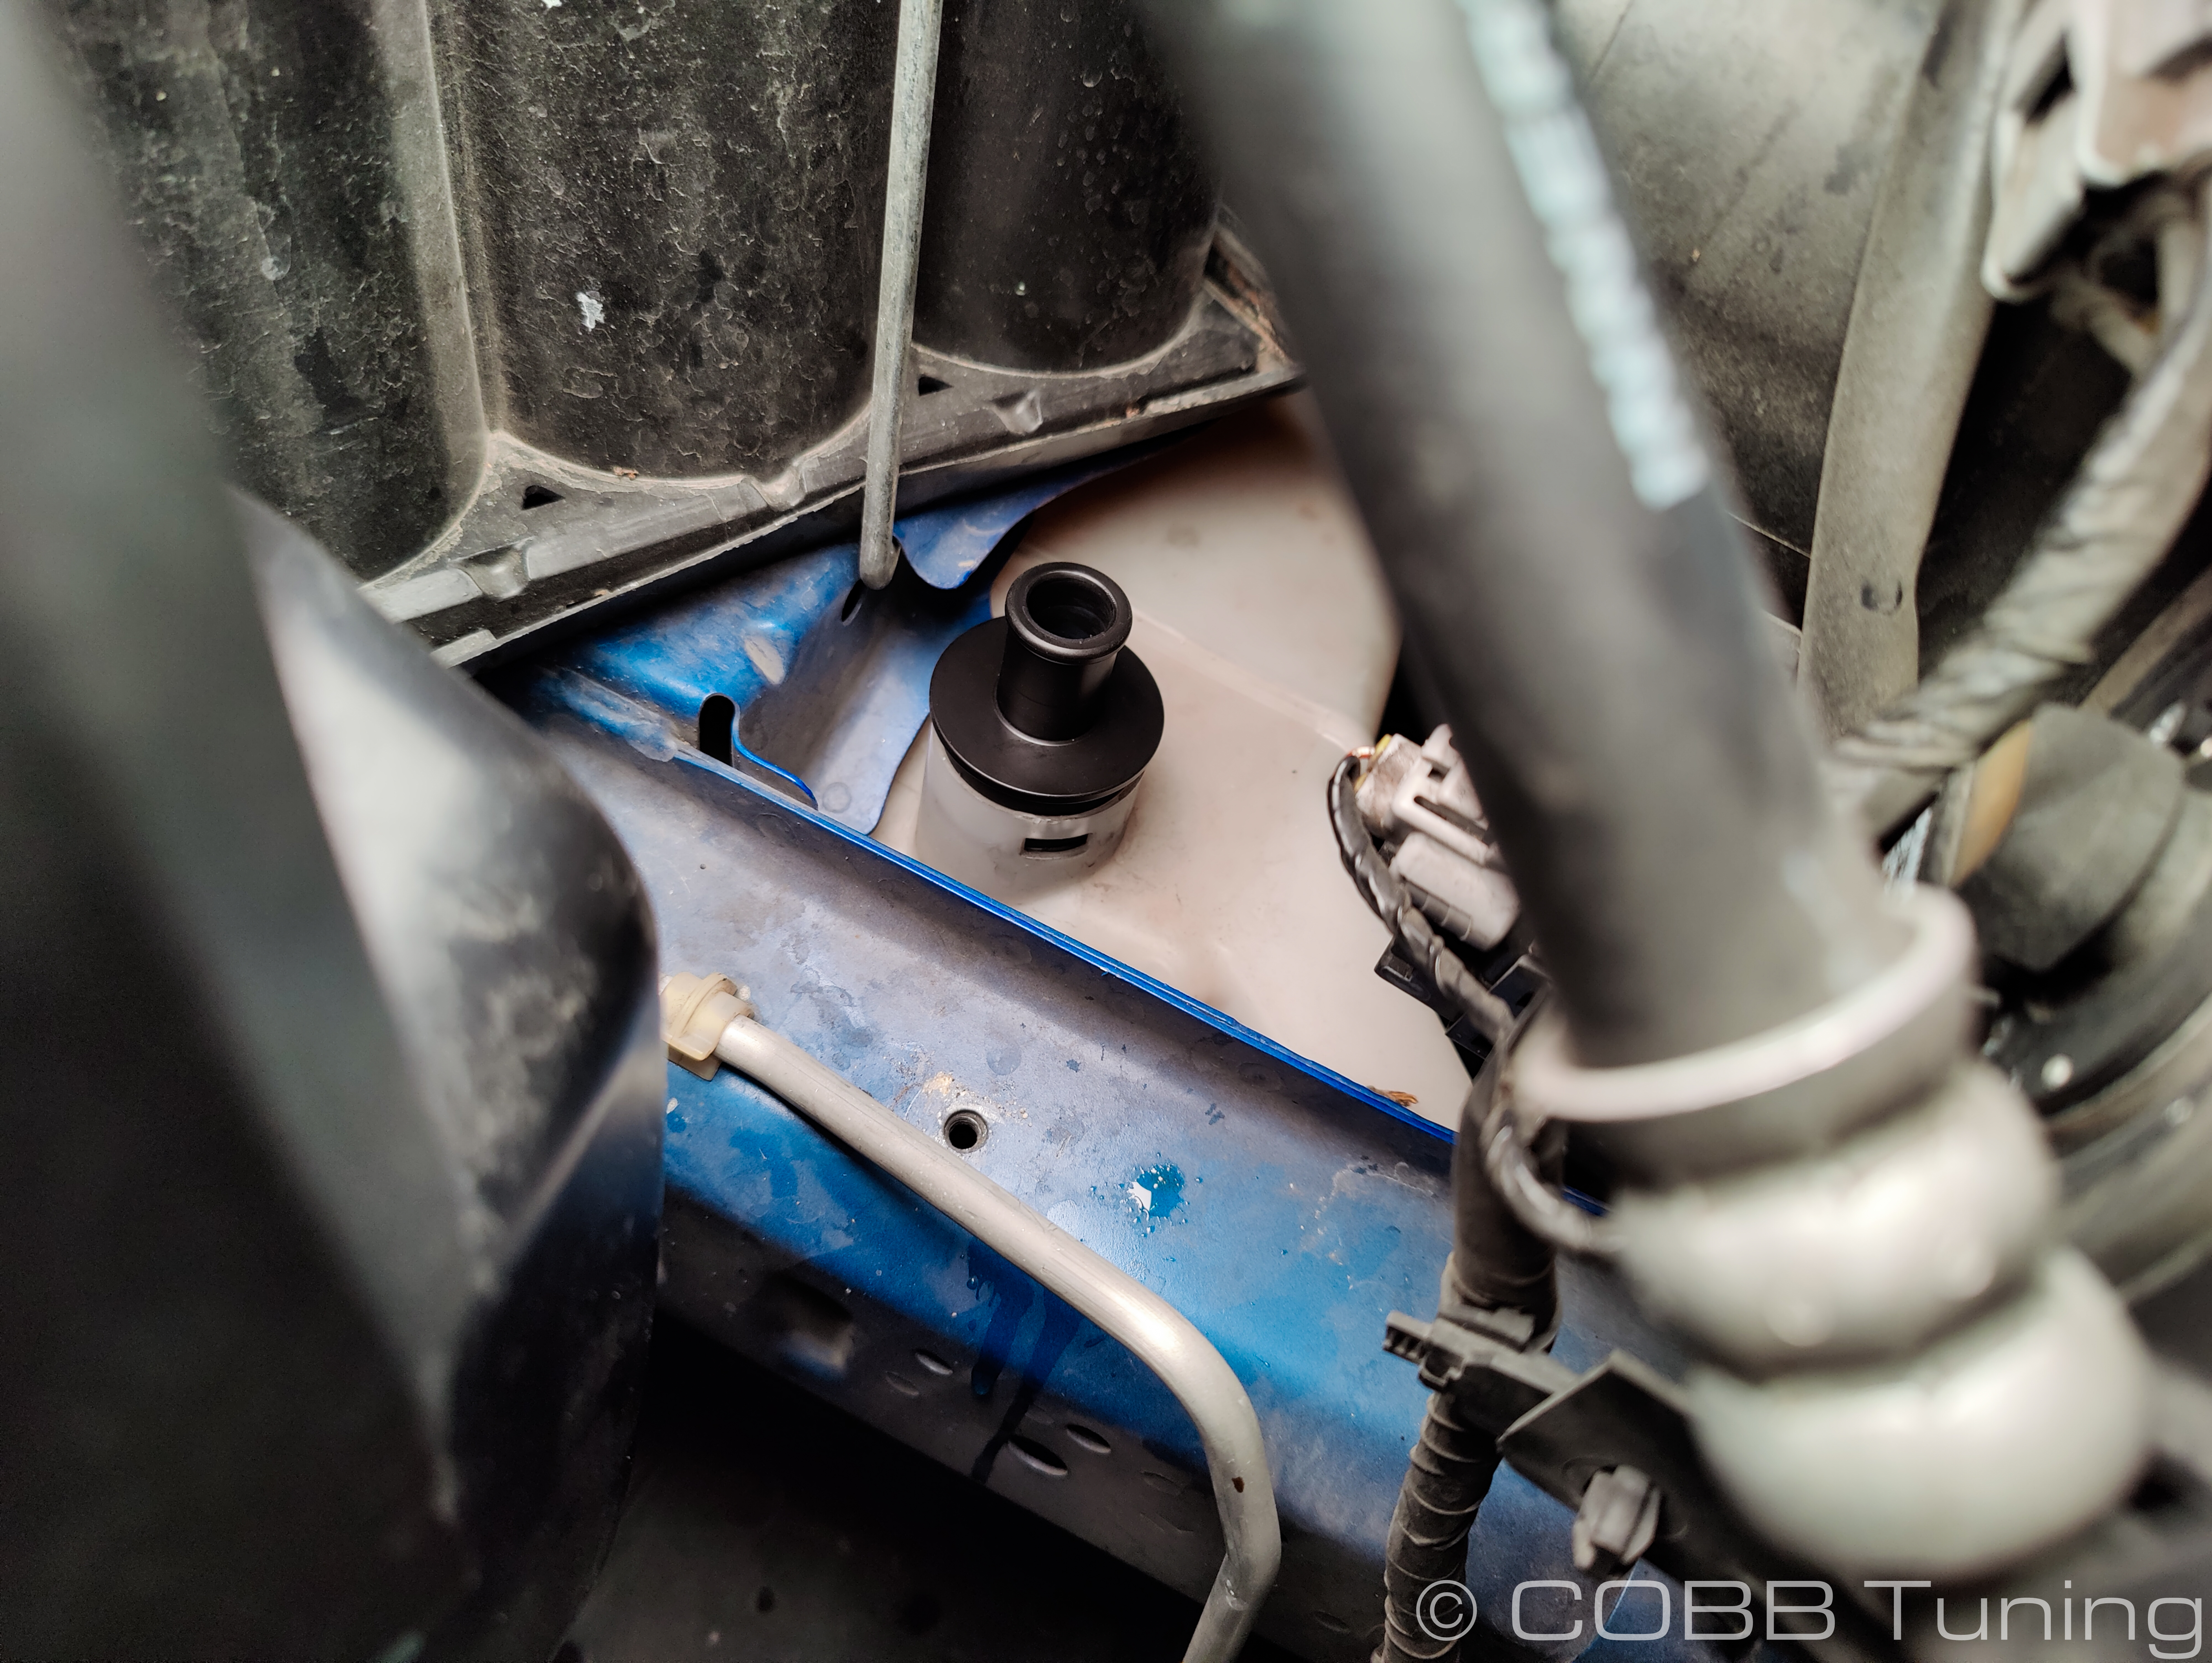
- Using a phillips screwdriver undo the clip for the washer fluid fill spout. In some cases if the center just spins in place without backing out you'll need to use a trim tool or screwdriver to gently lift the center of the tab out.
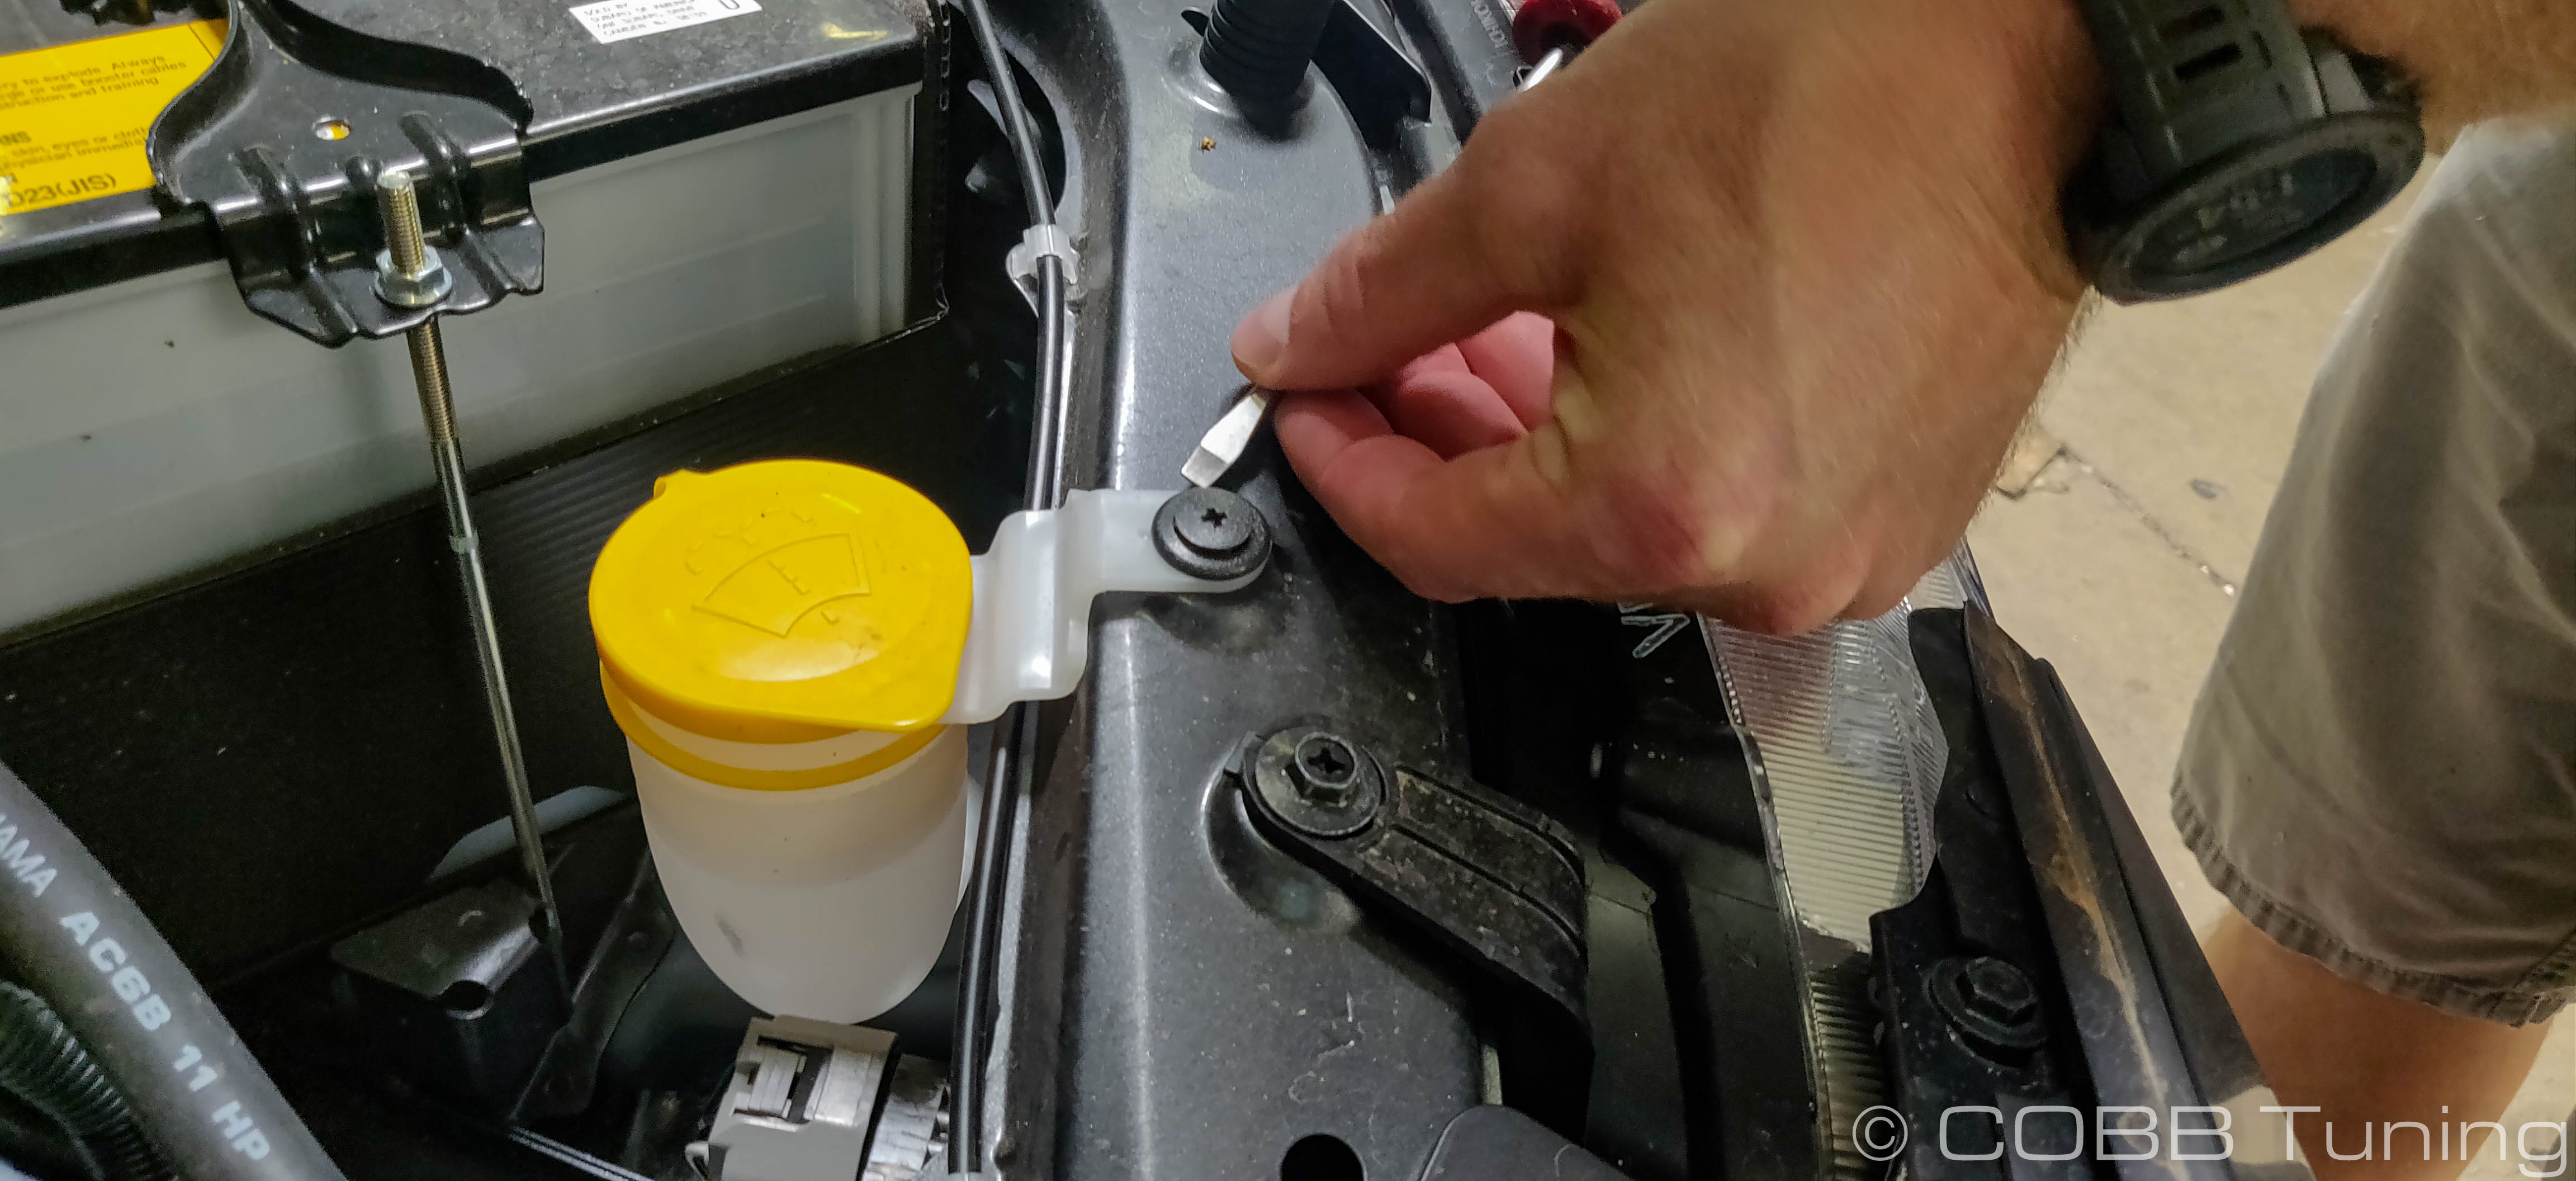
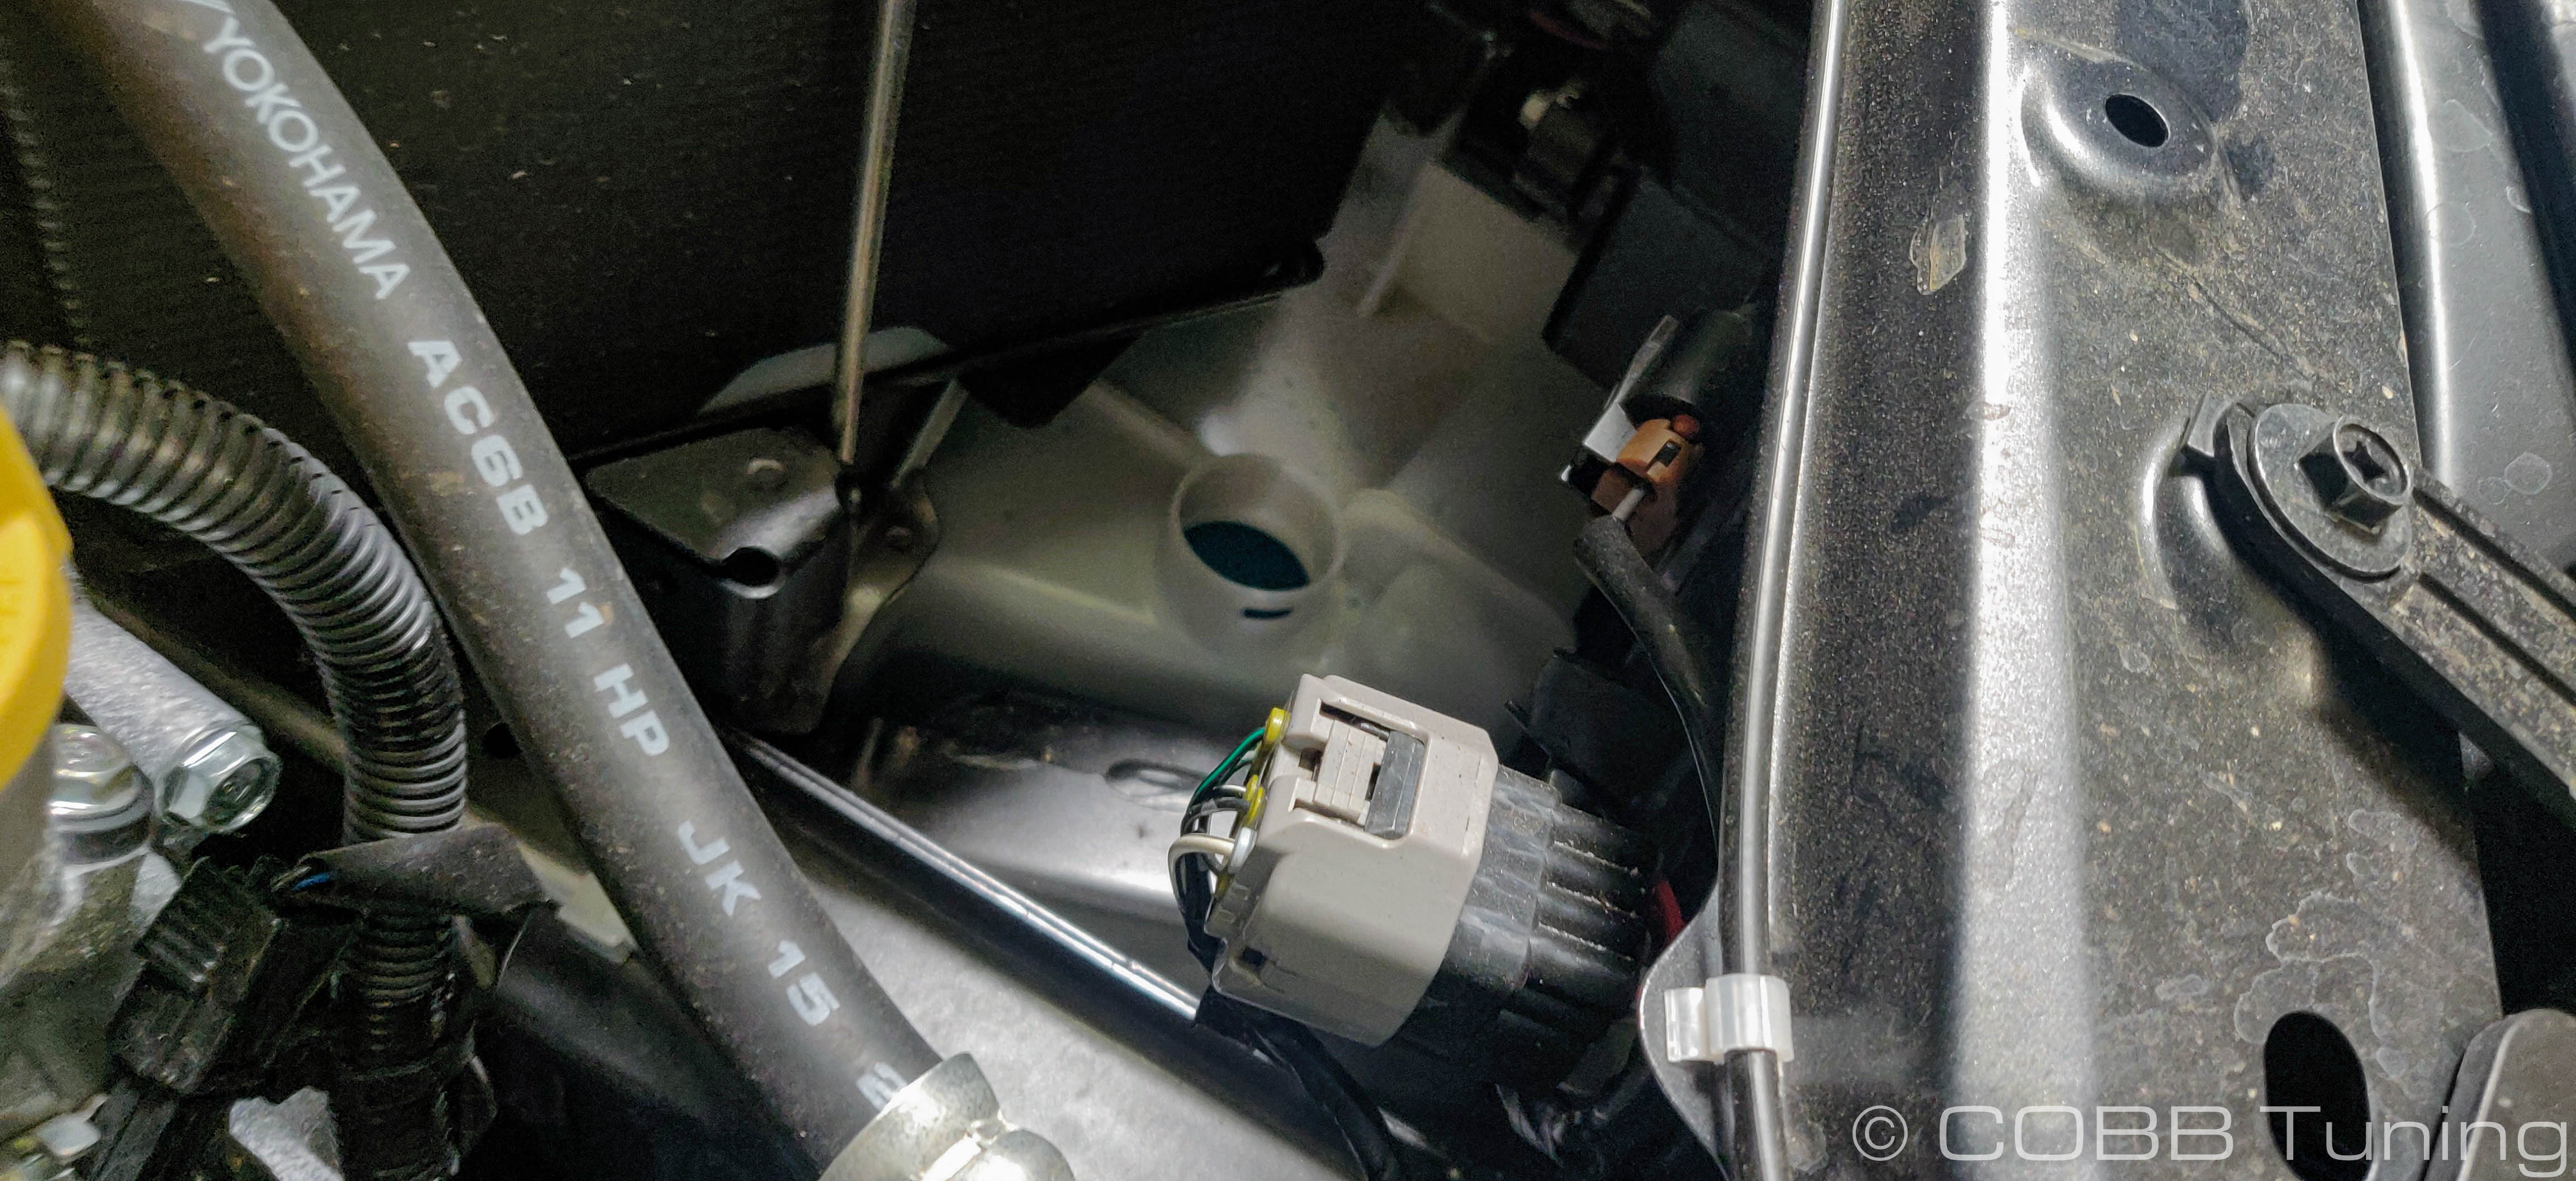
- Grab the fill tube and gently lift upward. It should release from the lower half of the tank.
Washer Fluid Fill Tube Assembly
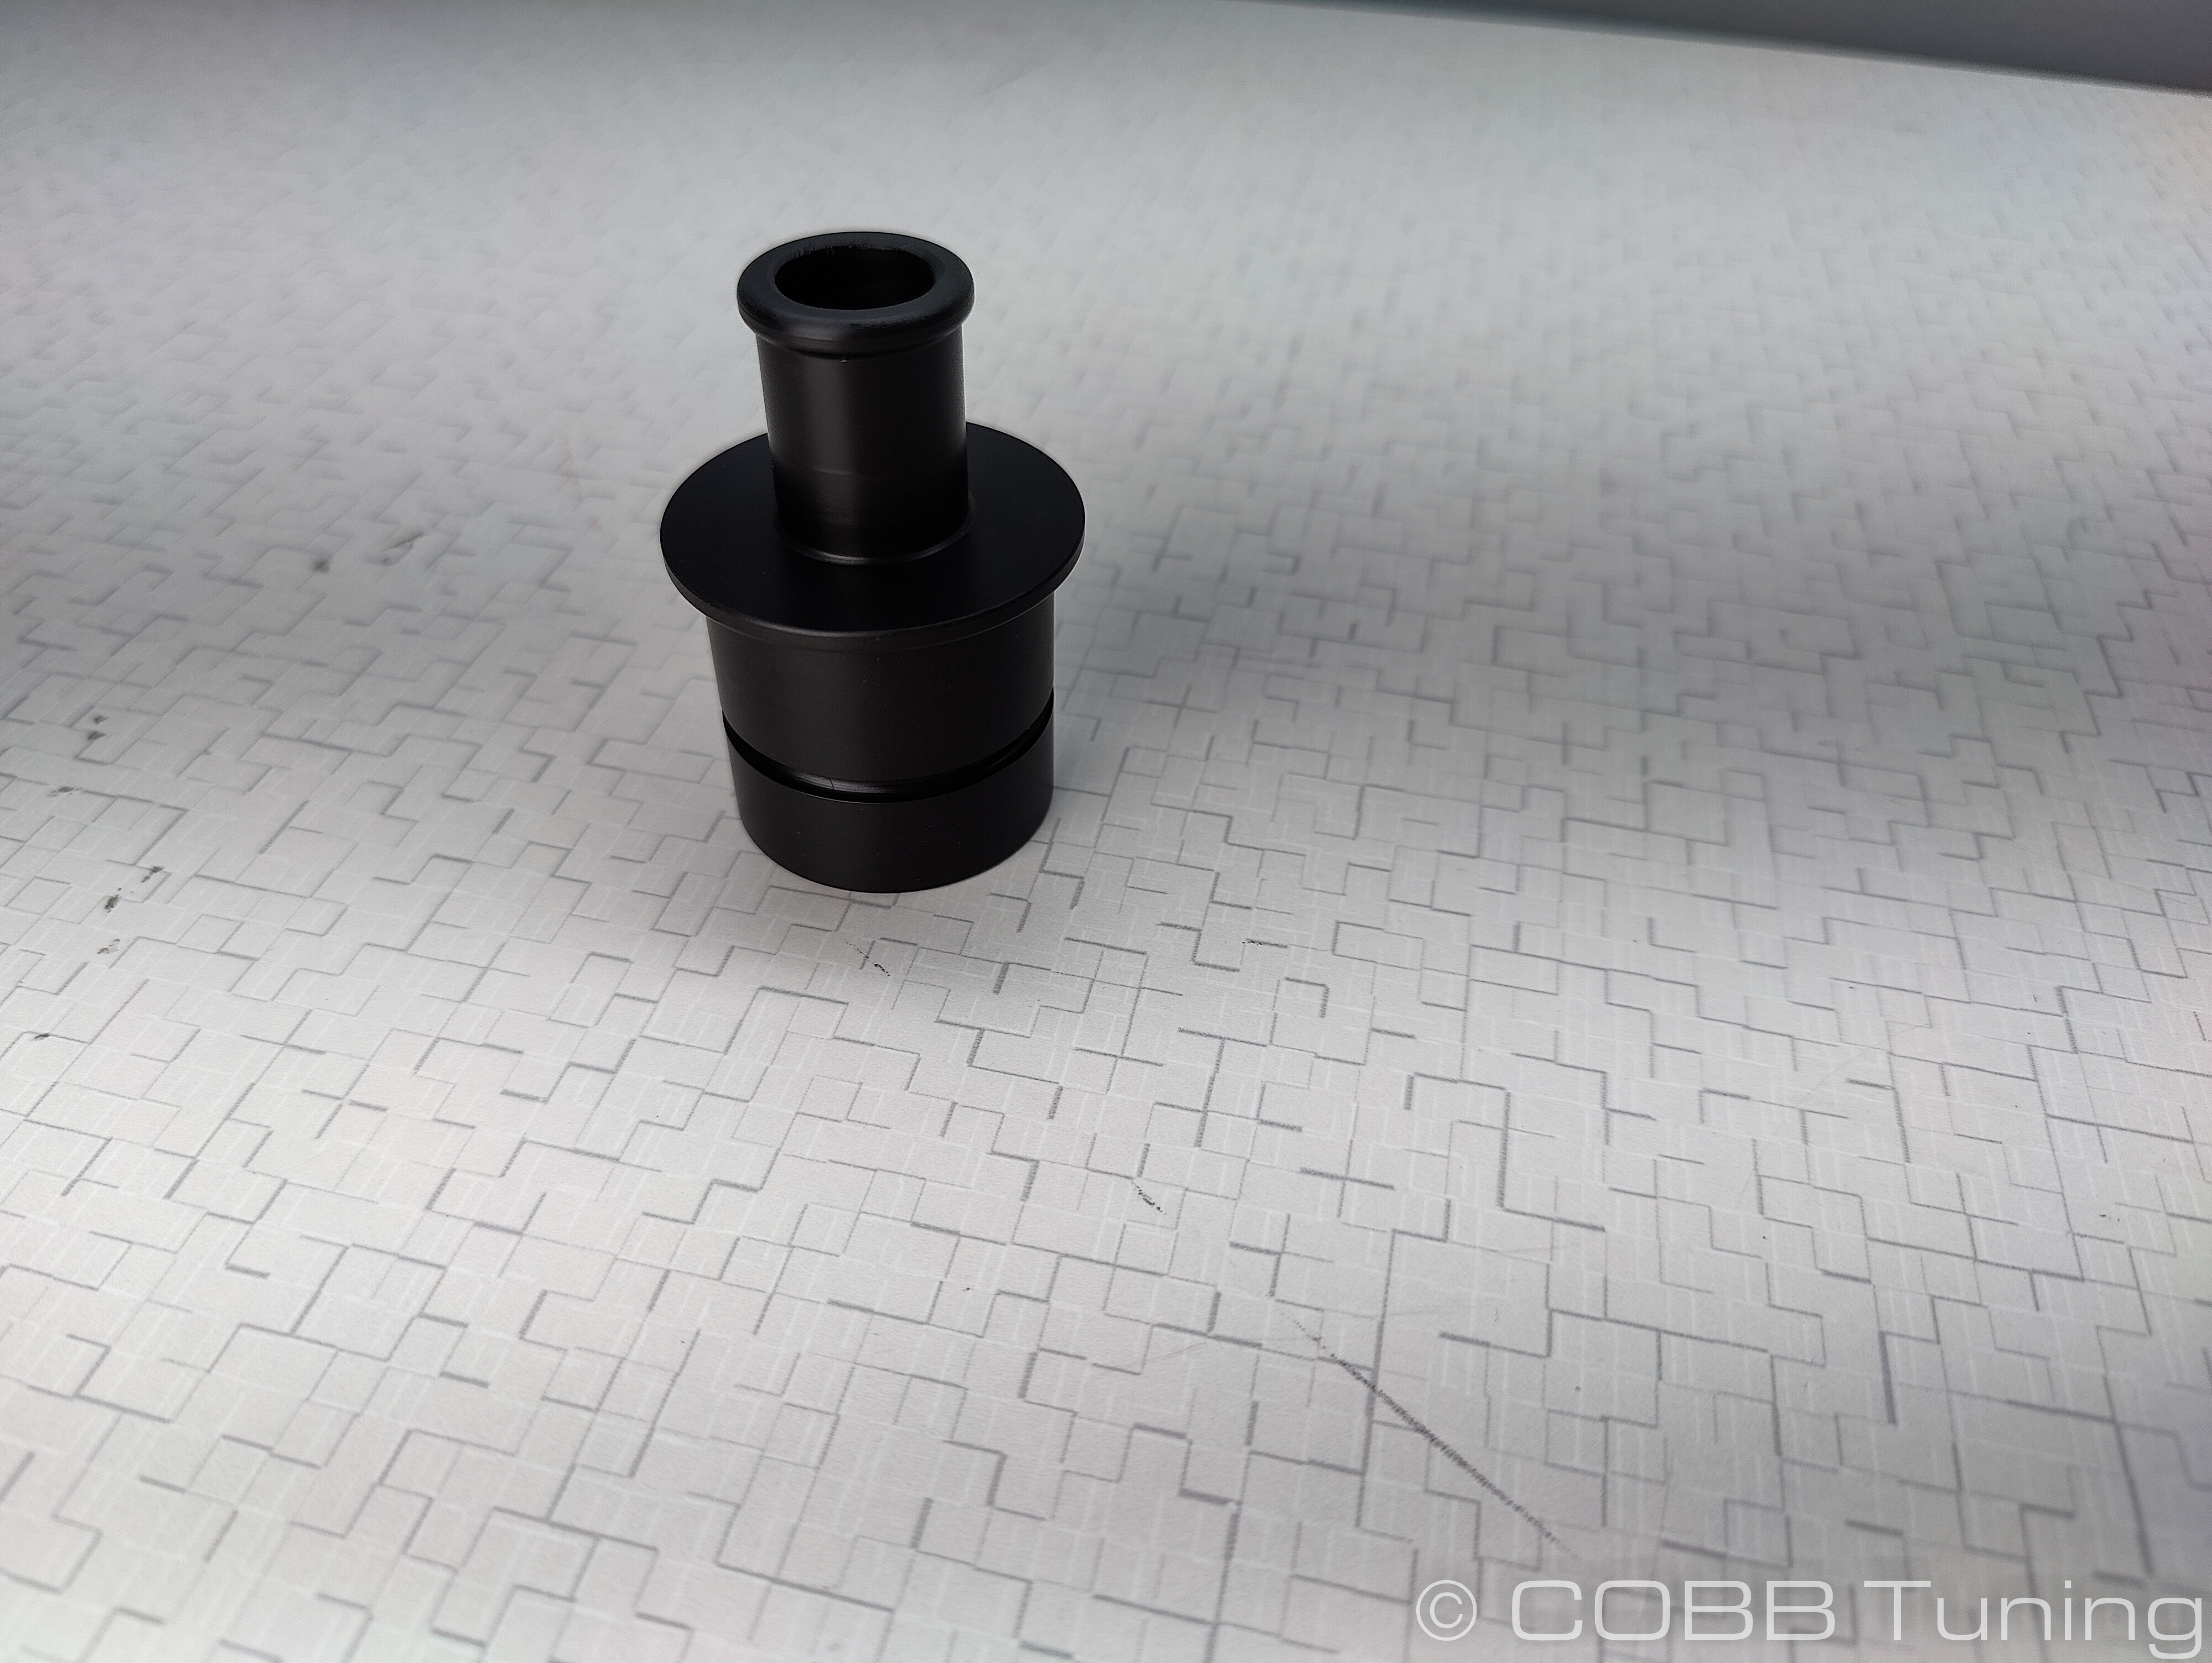
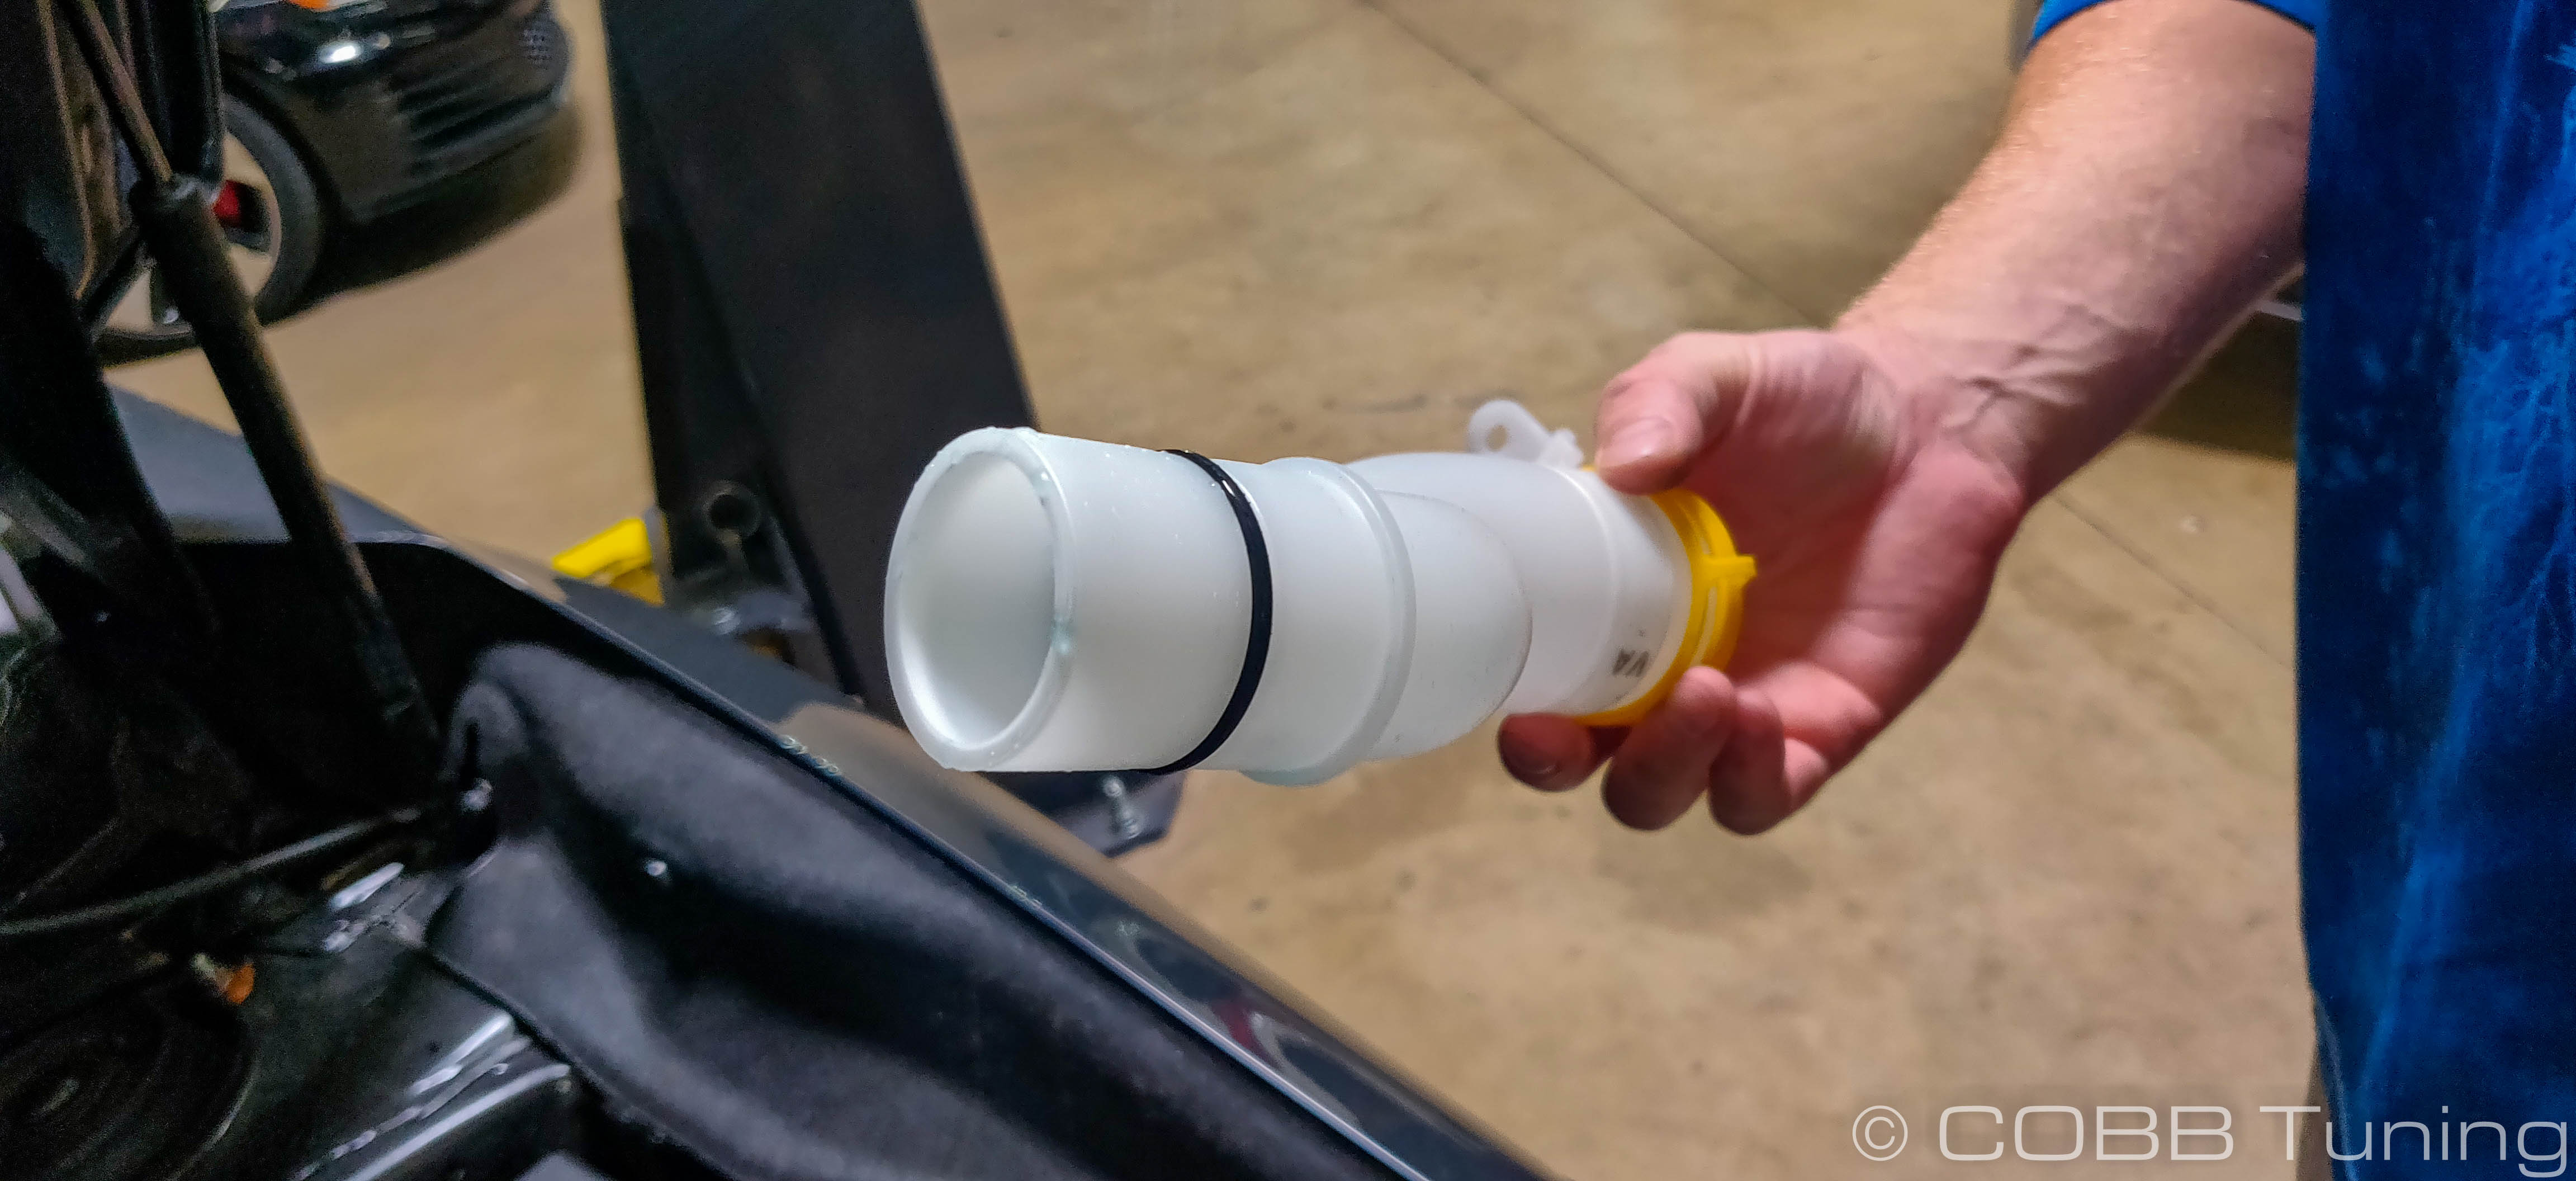
- Remove the o-ring from the stock fill tube and install it around the COBB fill tube adapter.
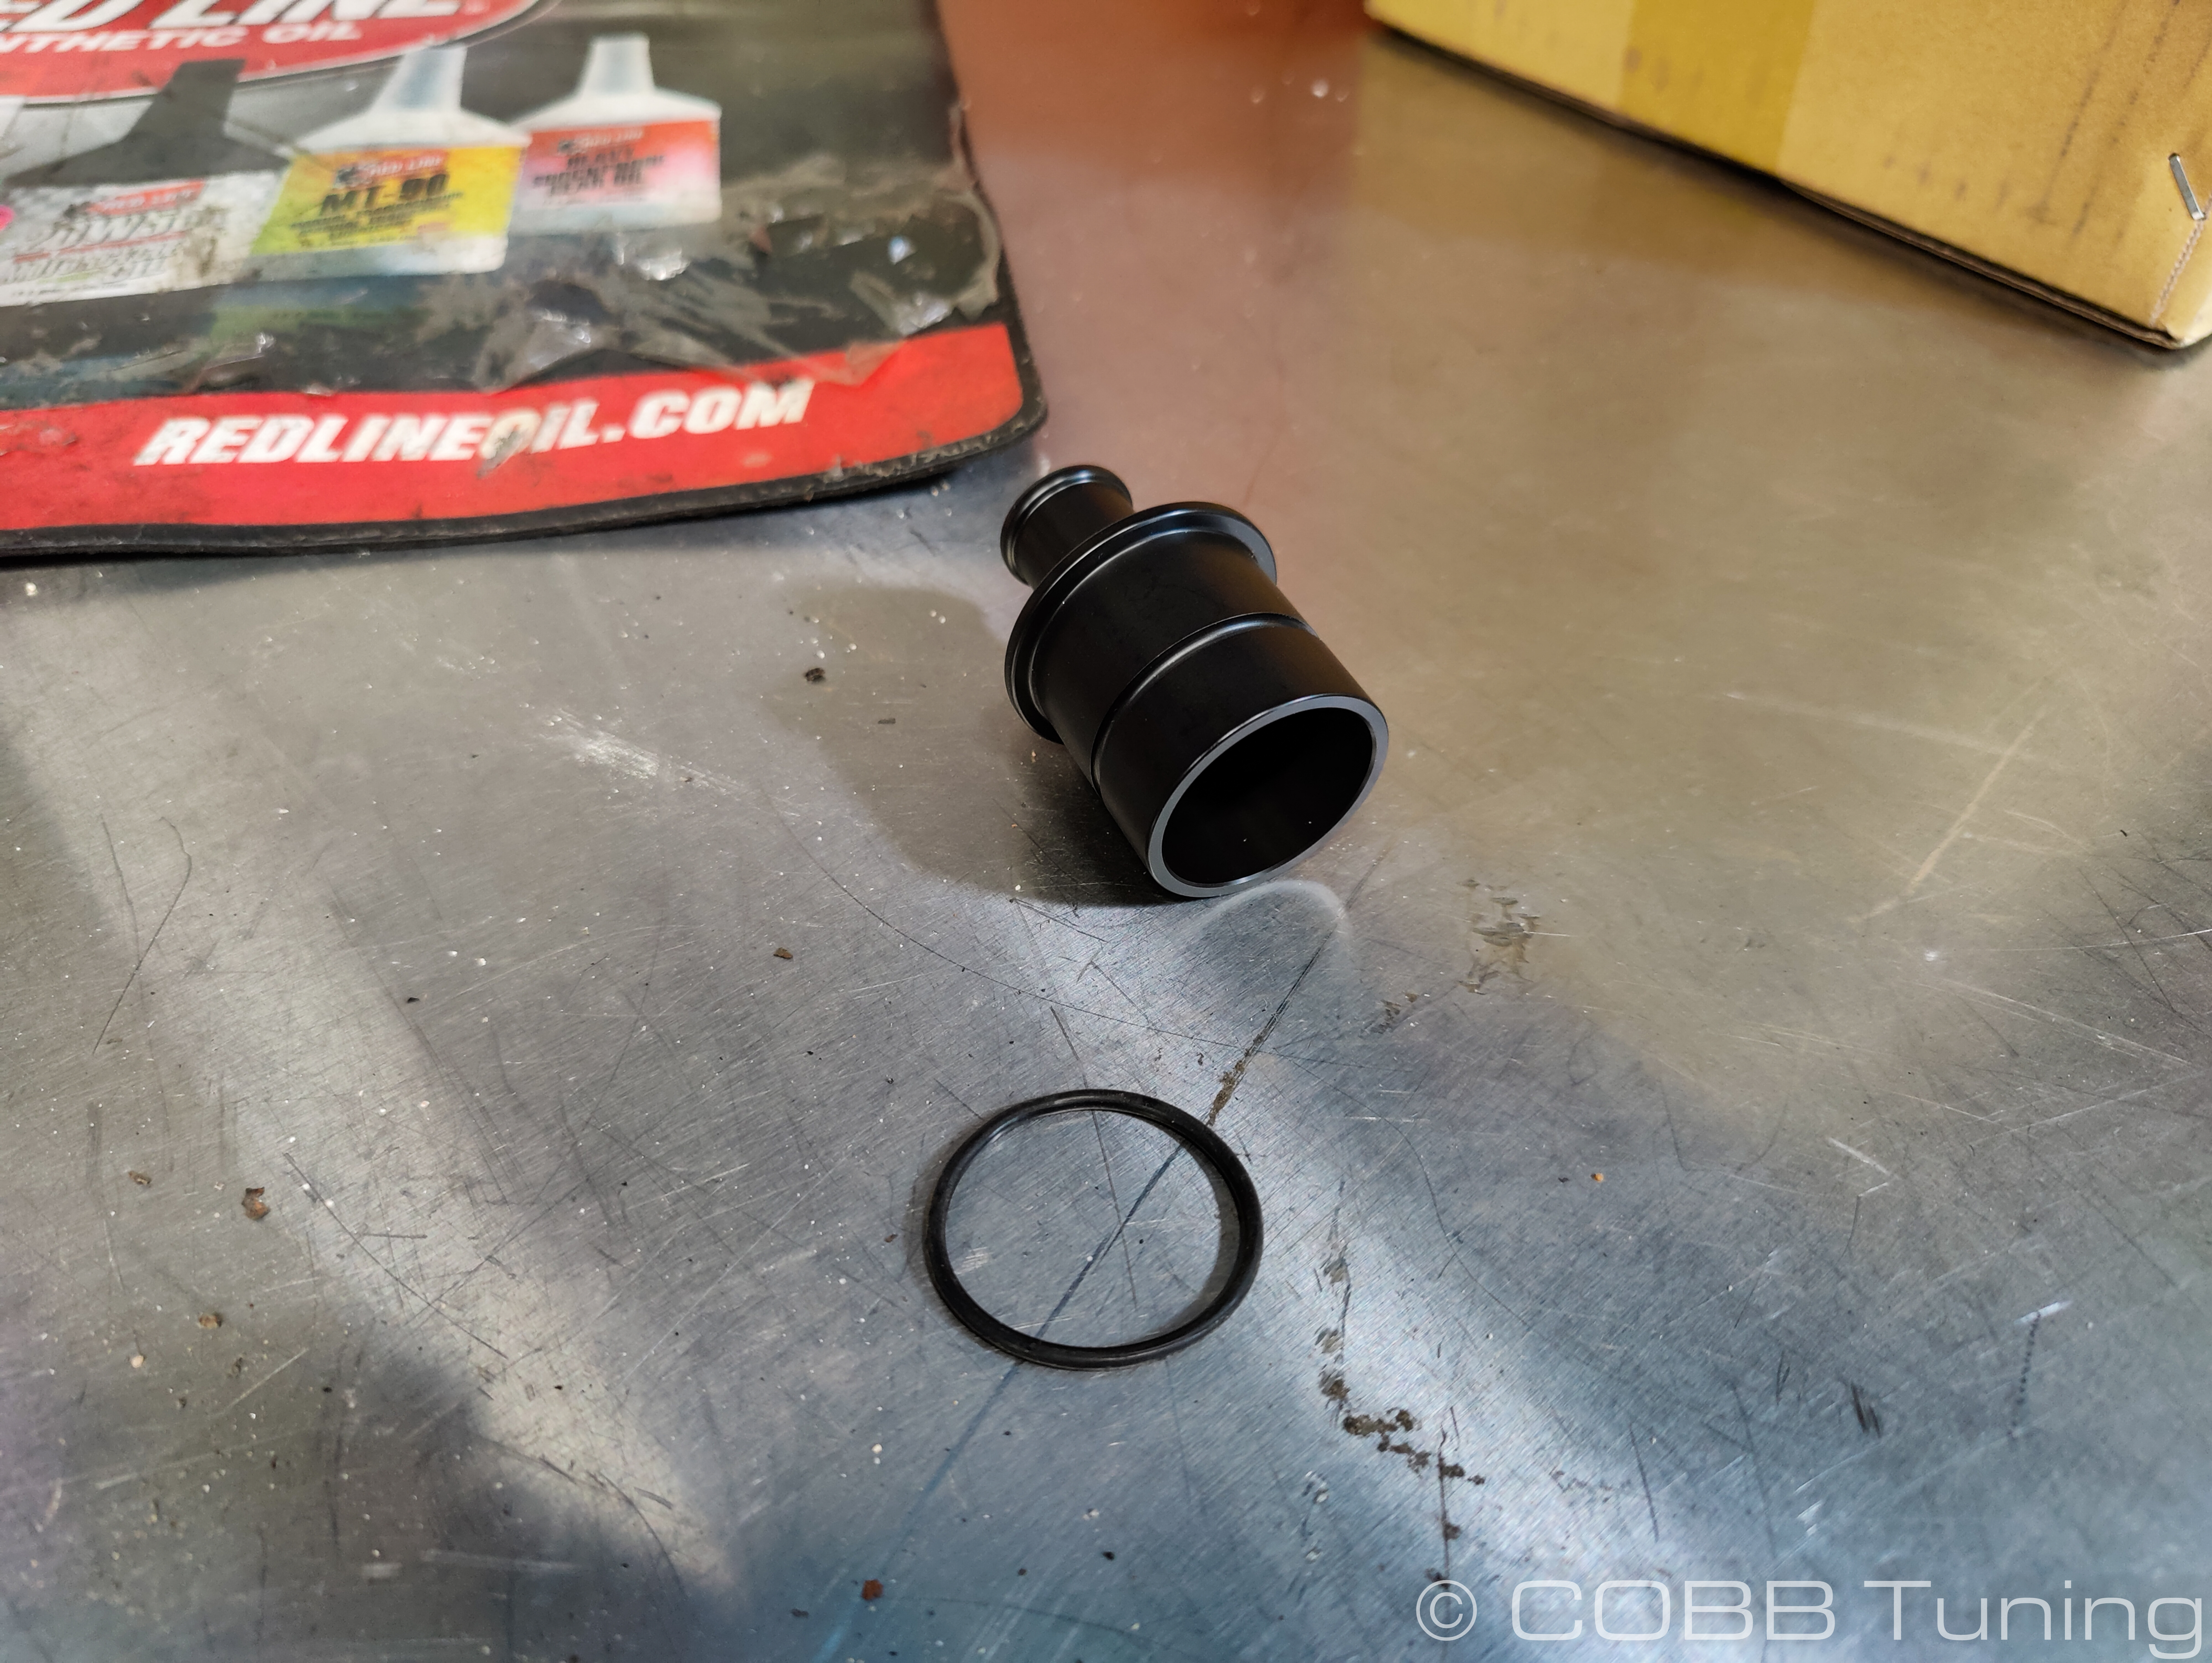
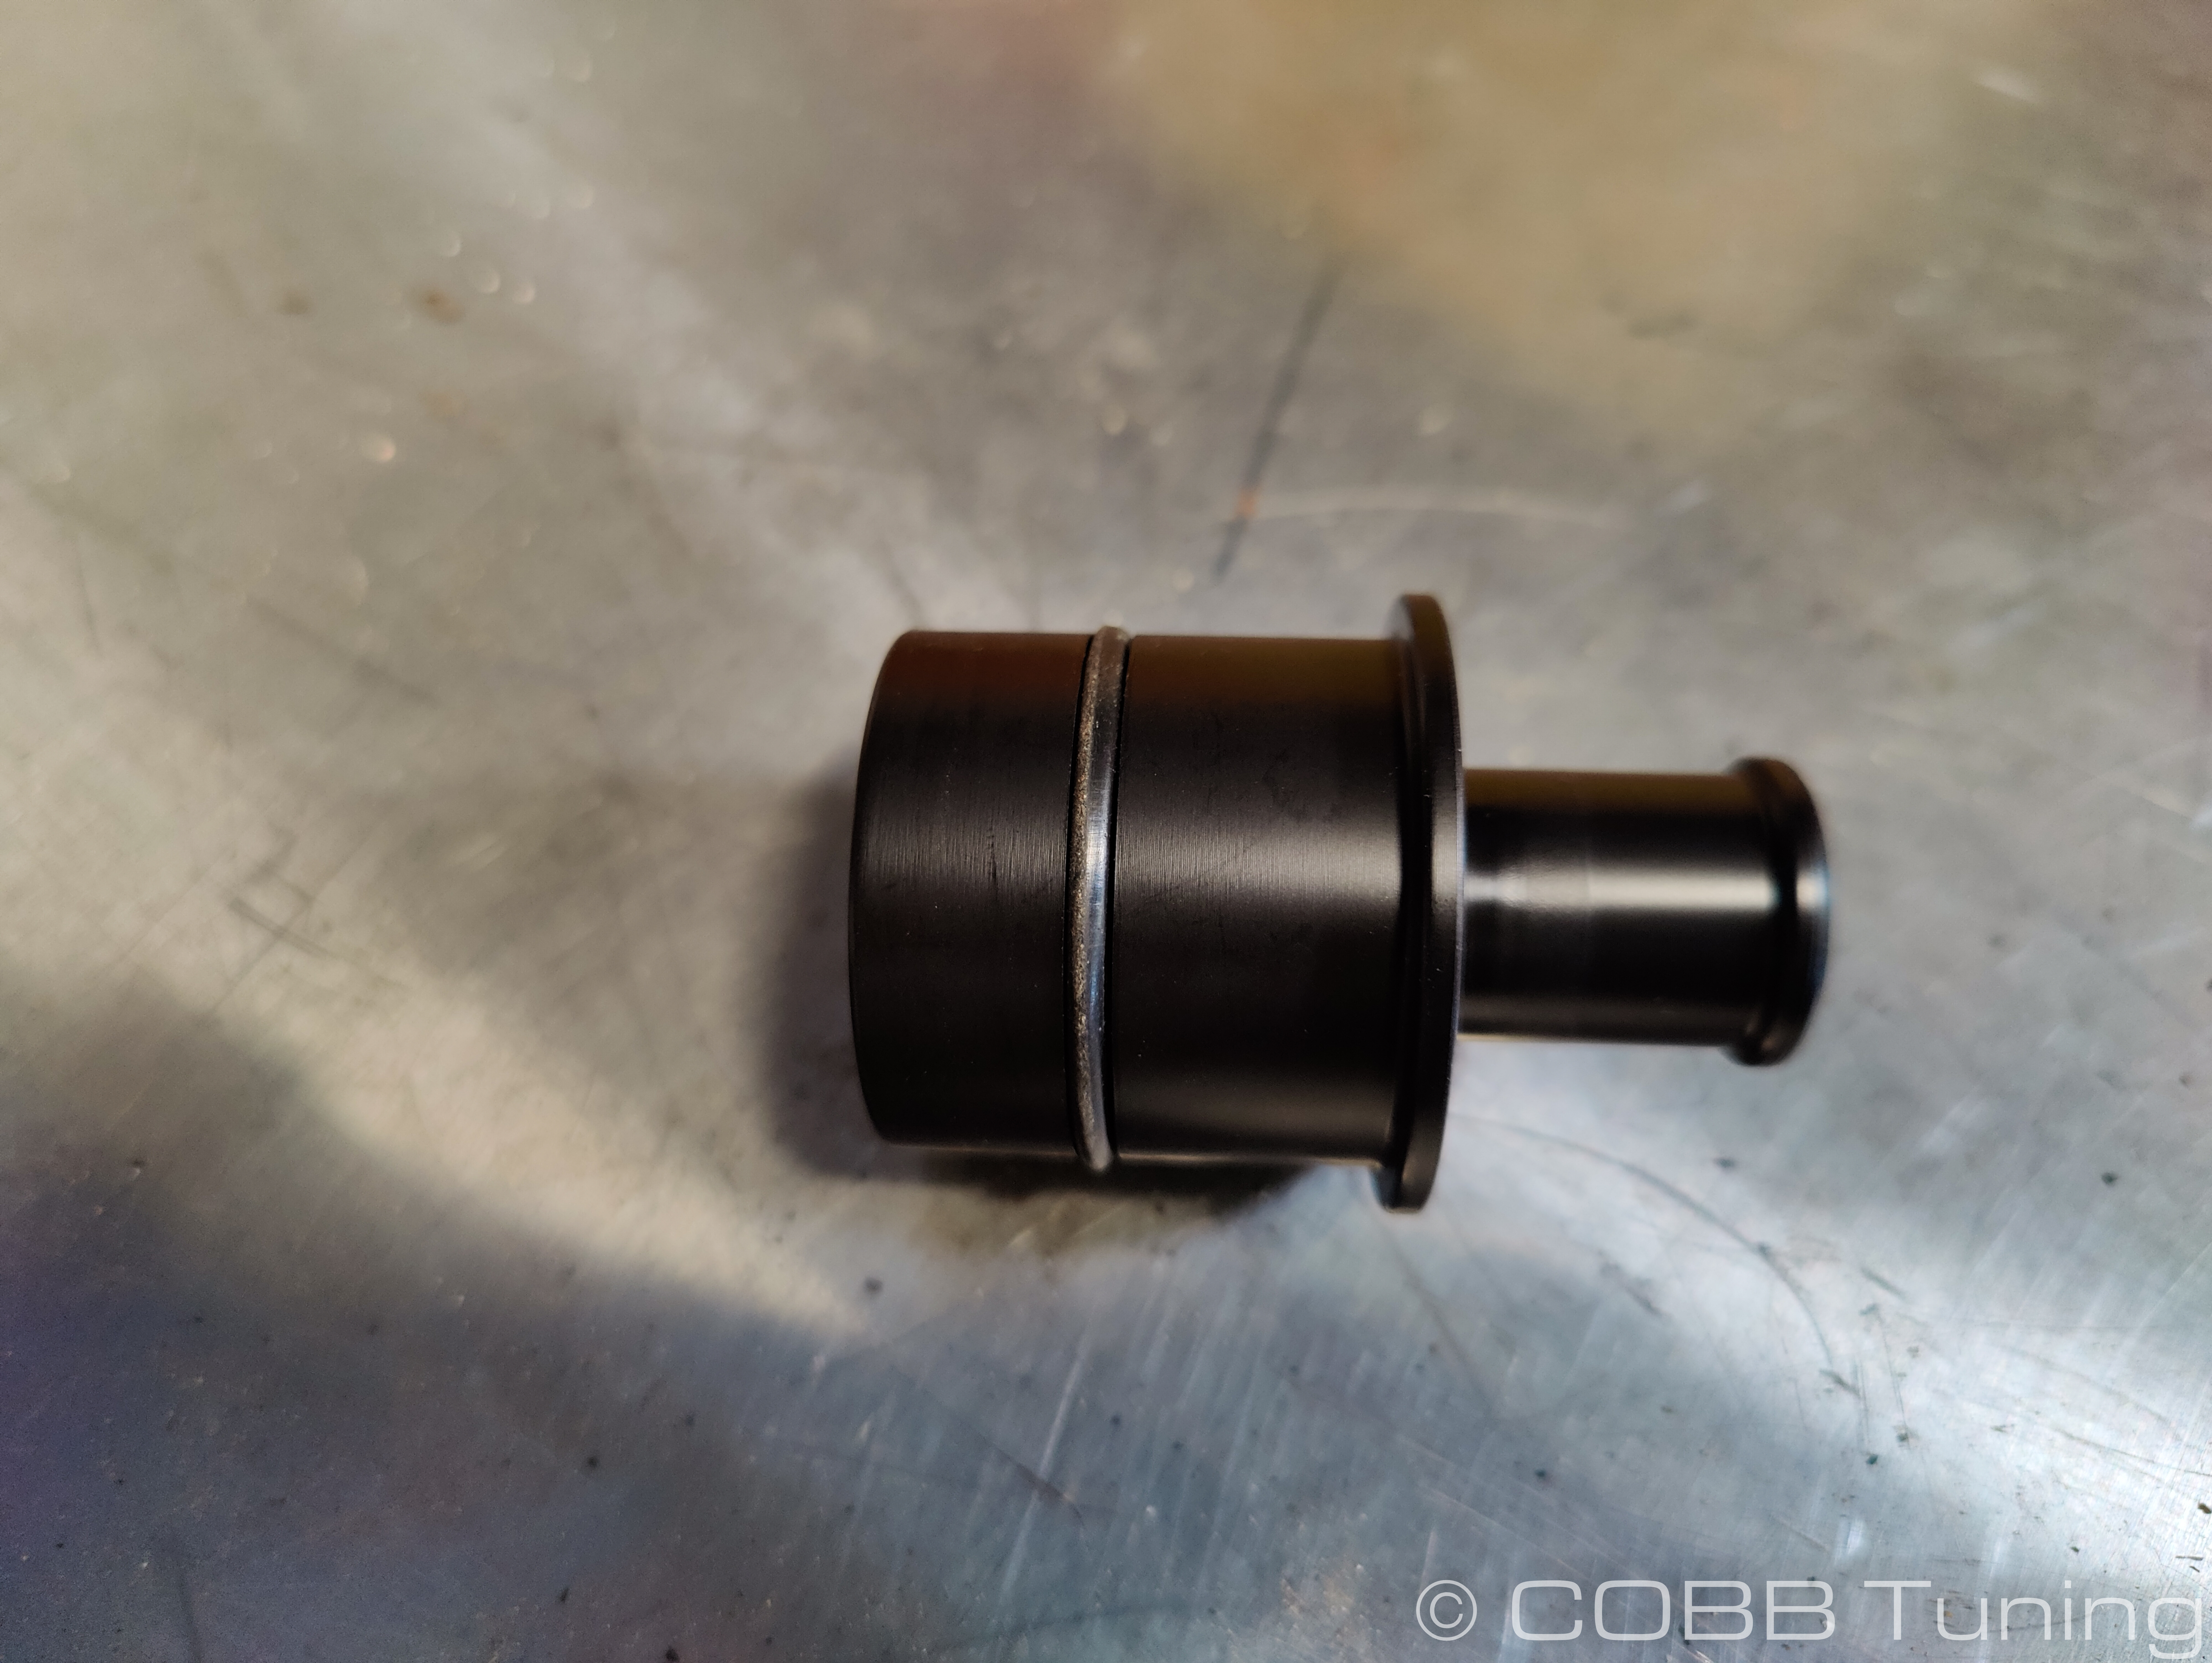
- Gently push this into the washer fluid tank.
- You can now install the washer fluid fill tube onto that fitting. Make sure the writing with the COBB logo are at the top.
- Install the washer fluid fill cap into the tube.
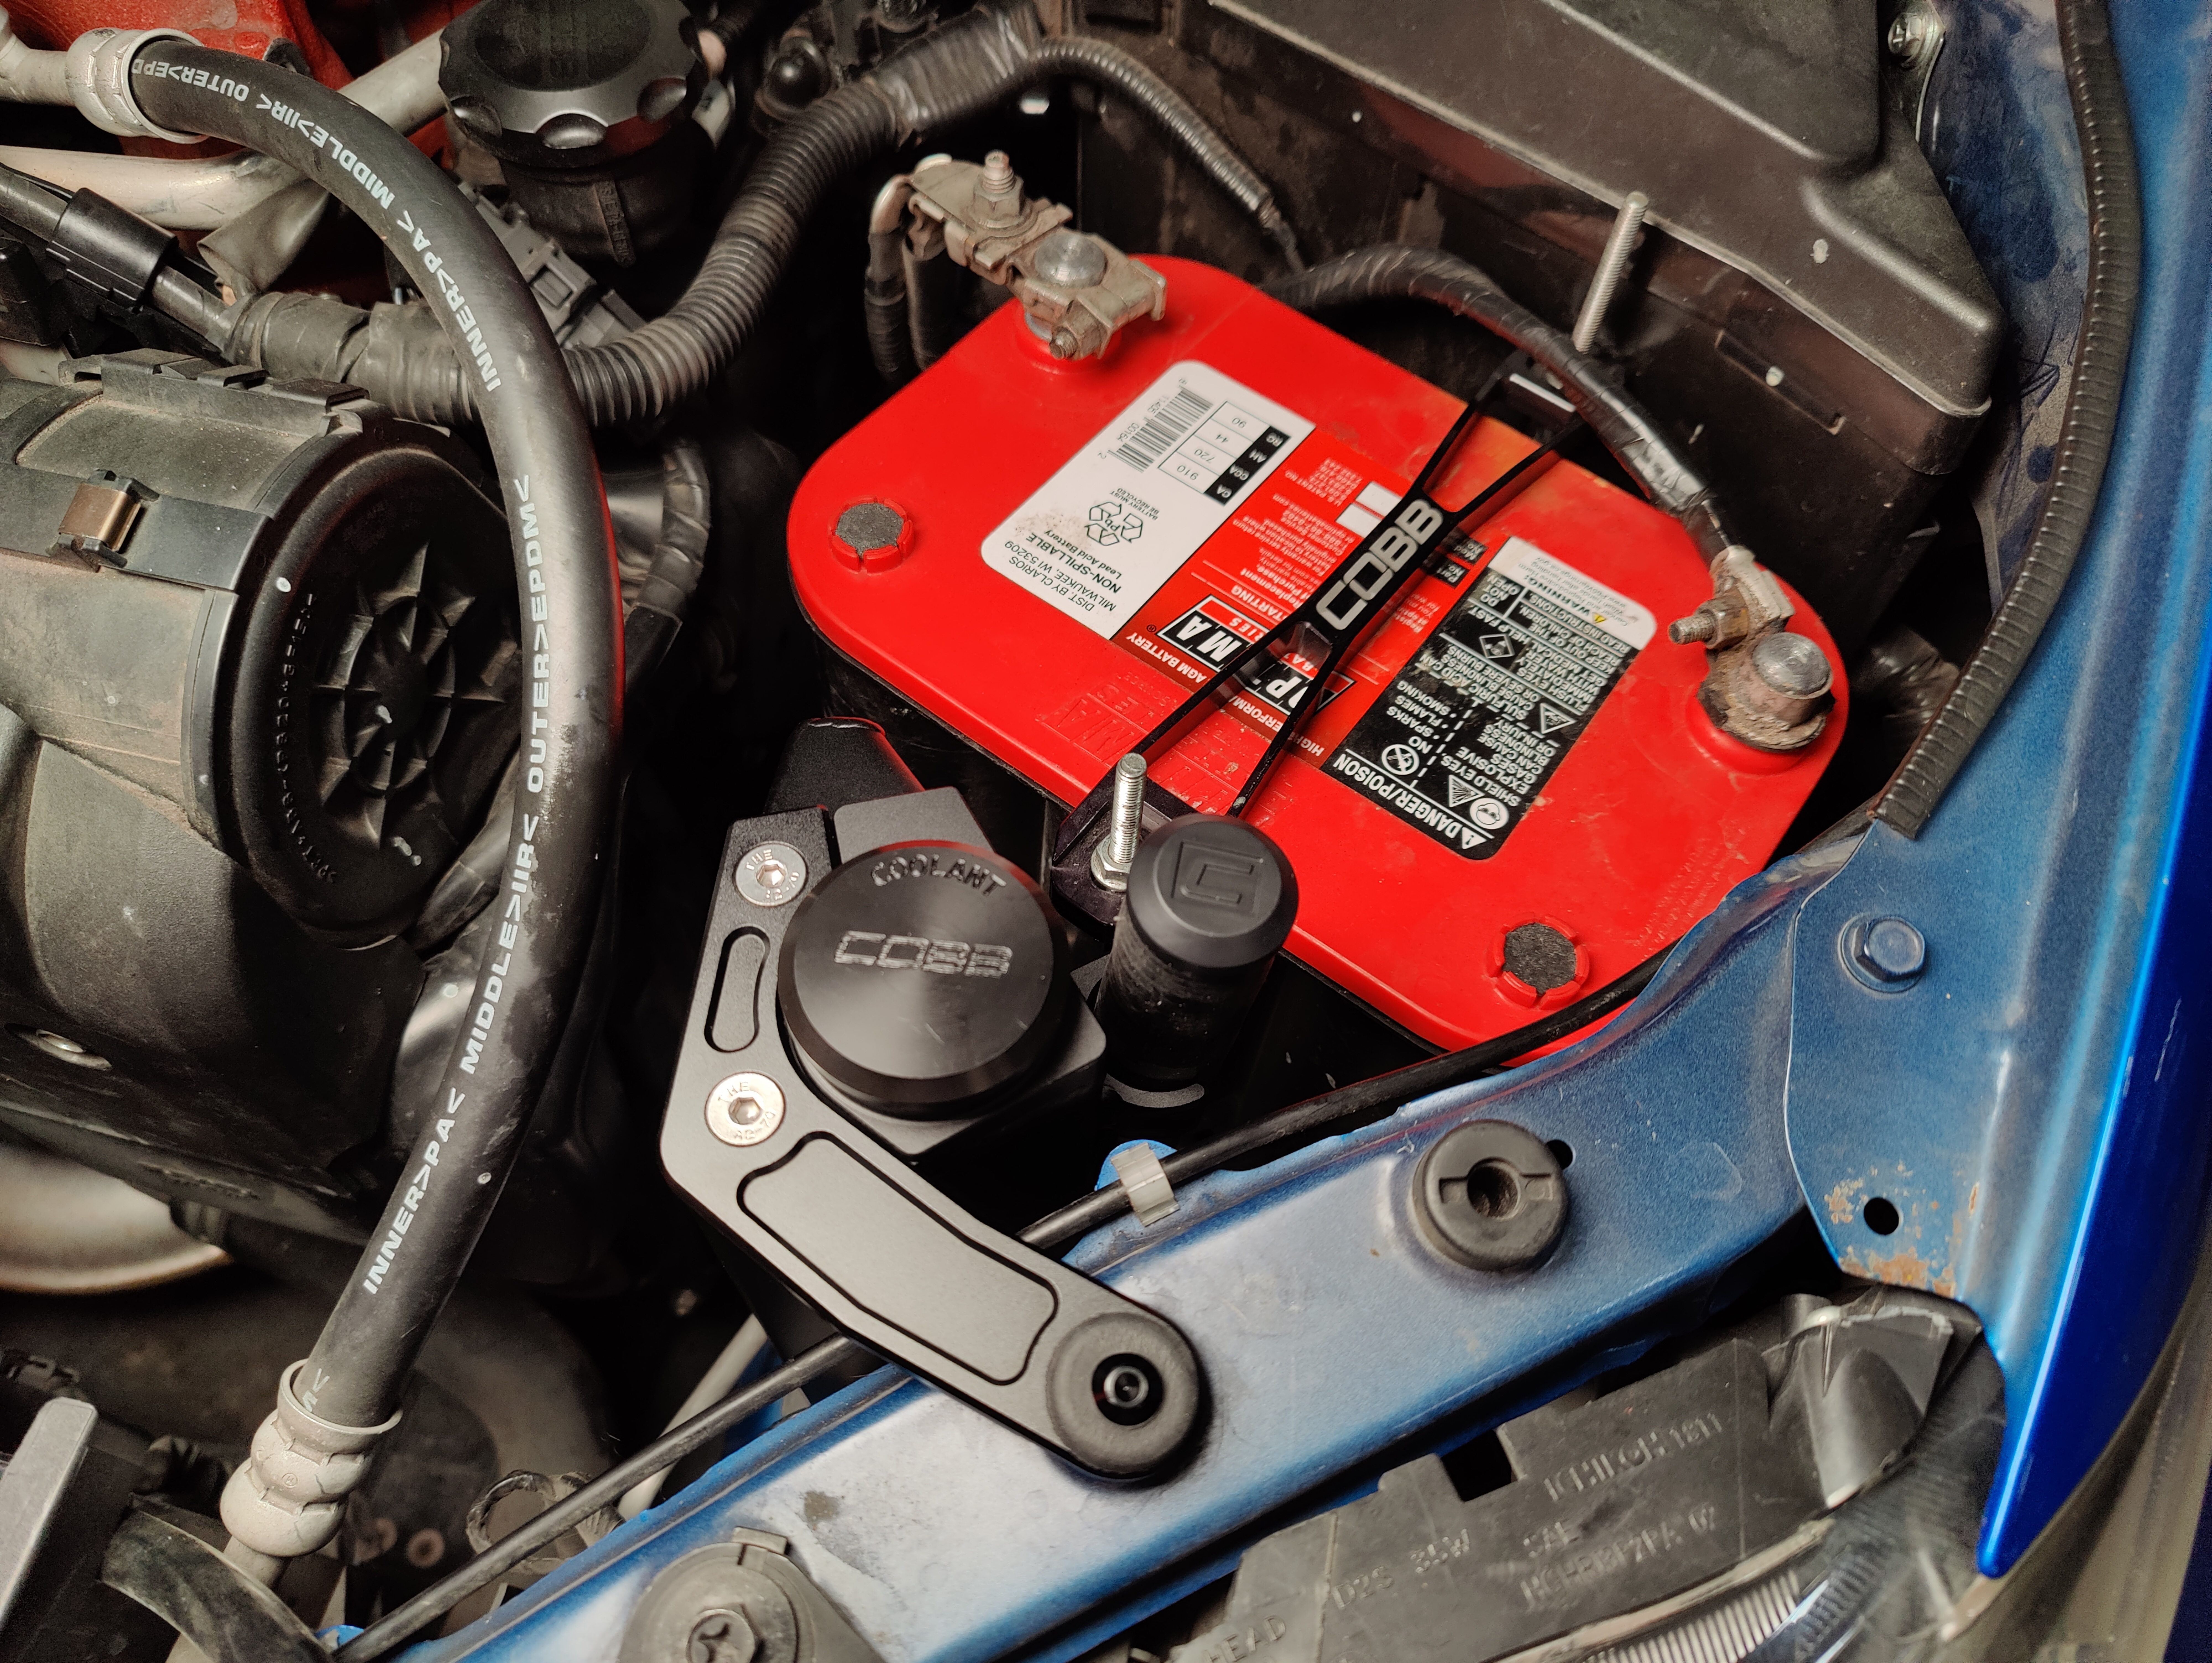
Coolant Overflow Install
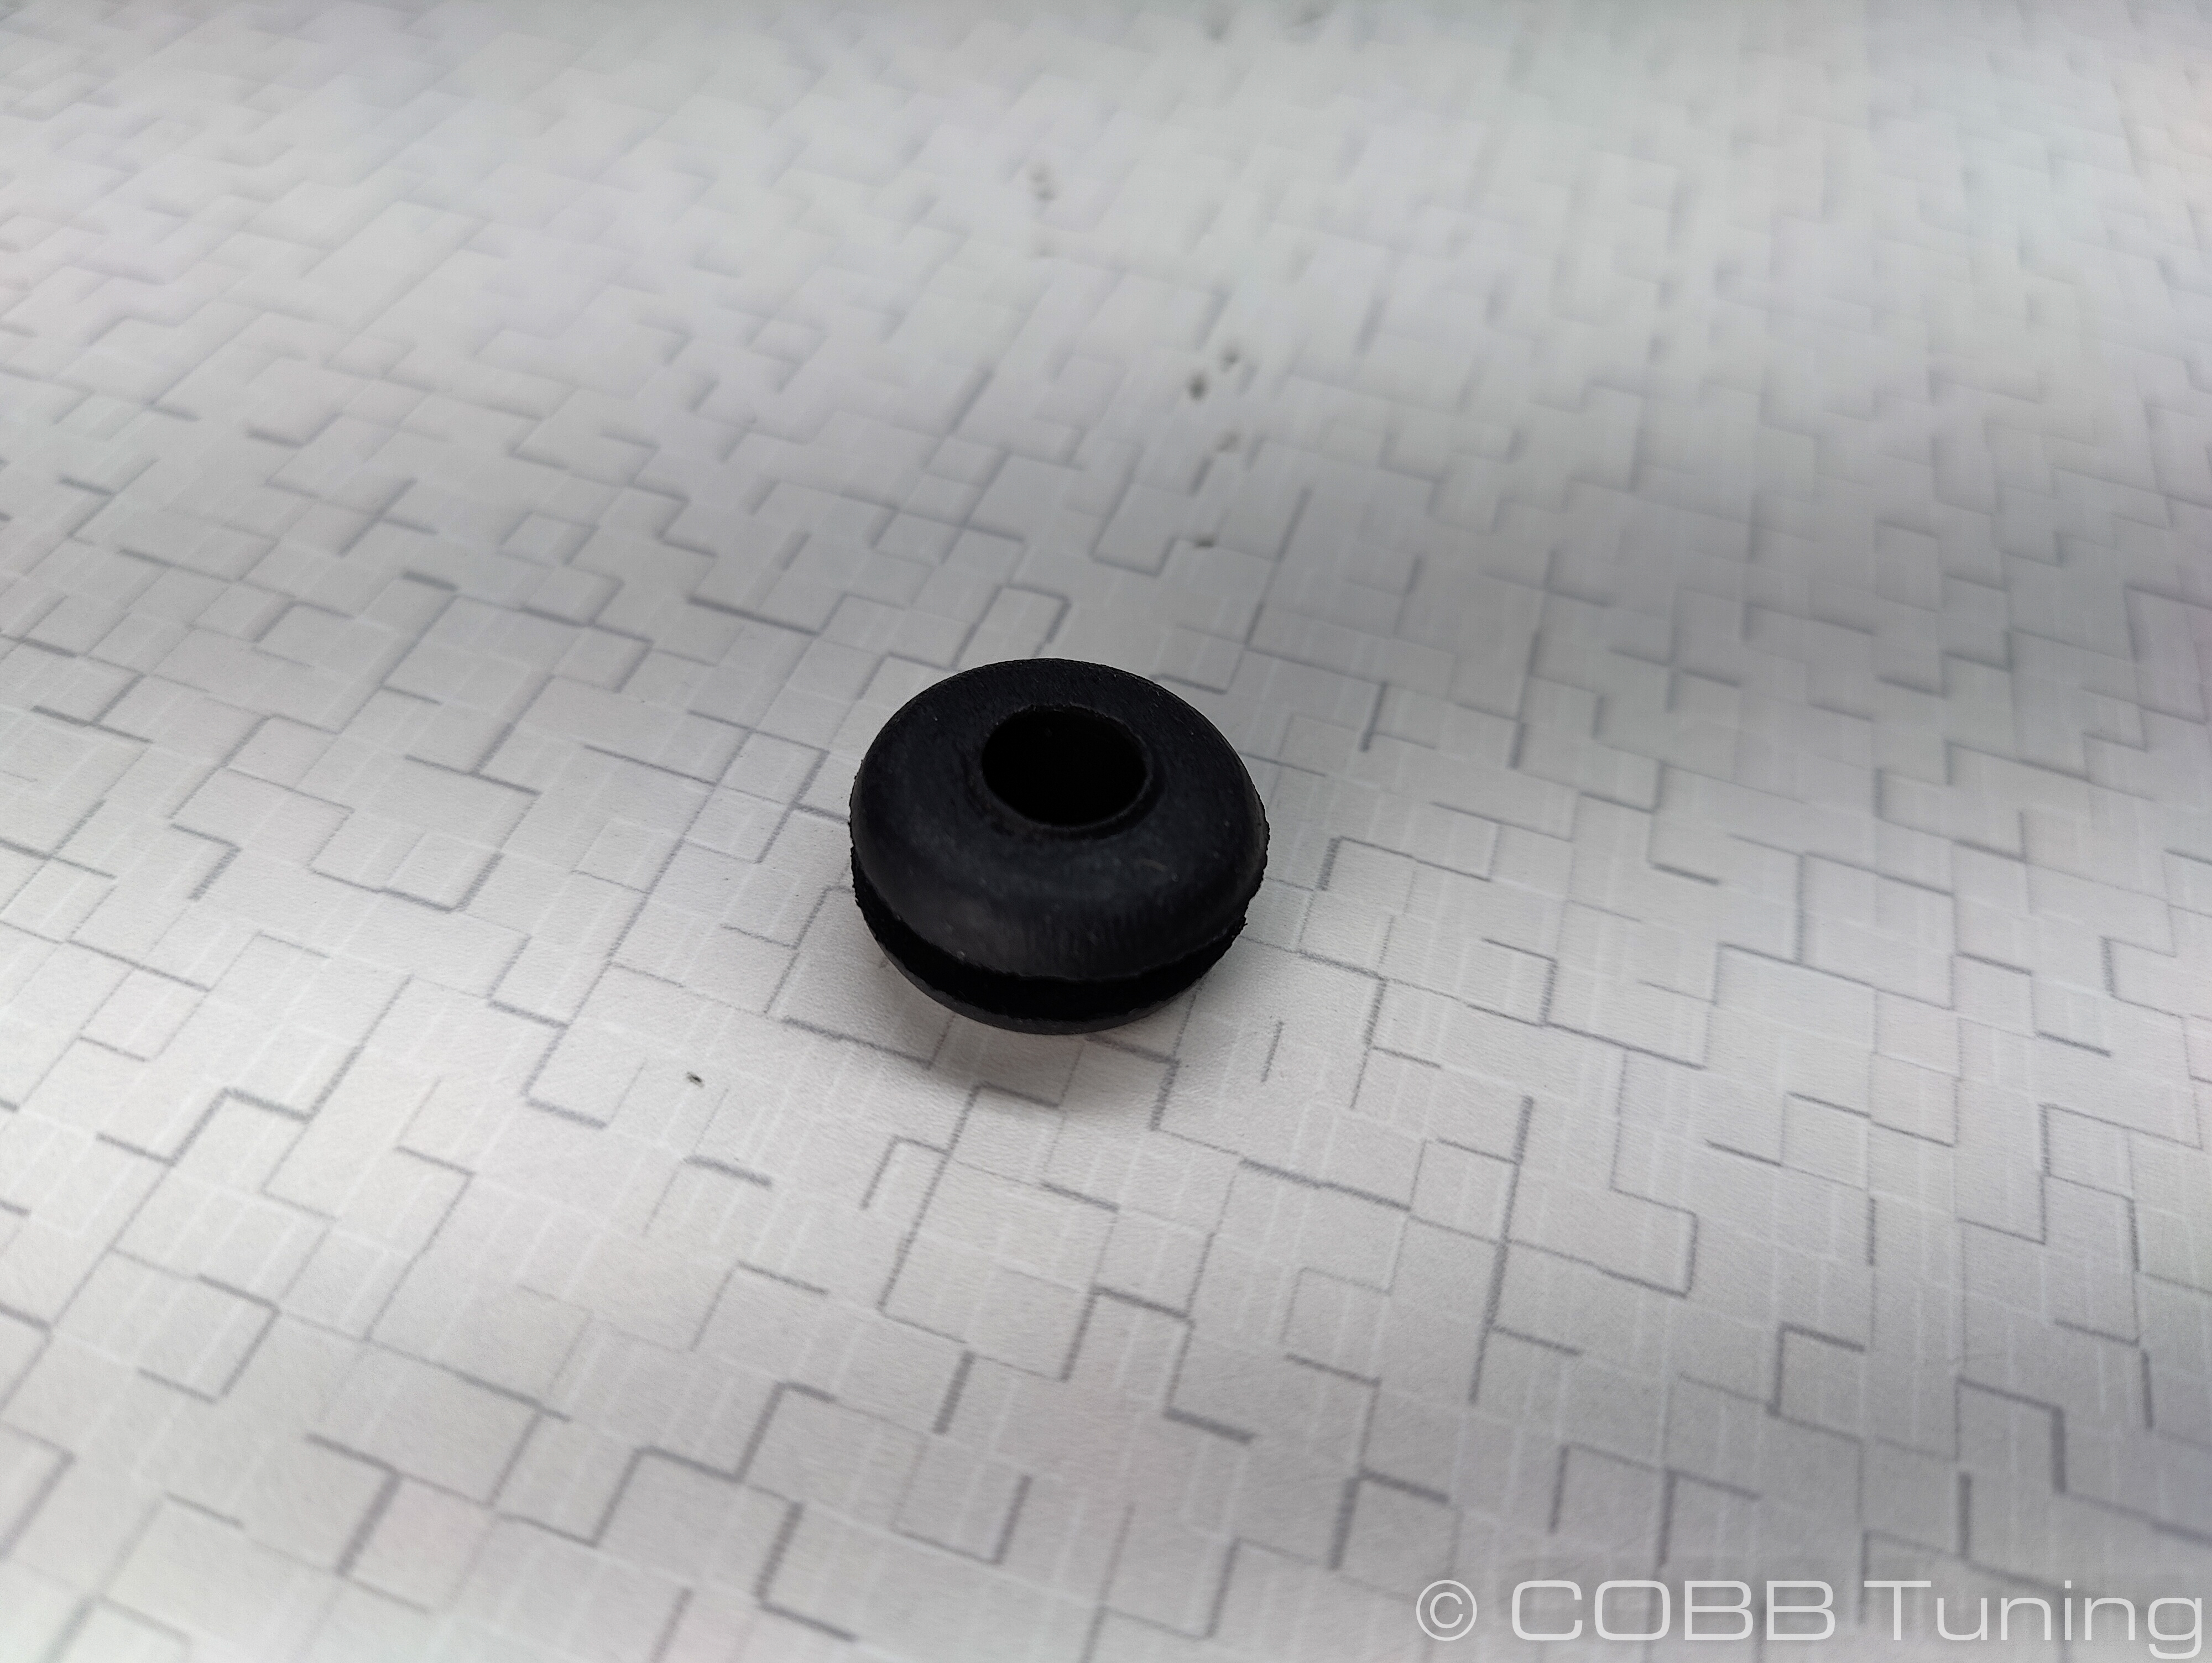
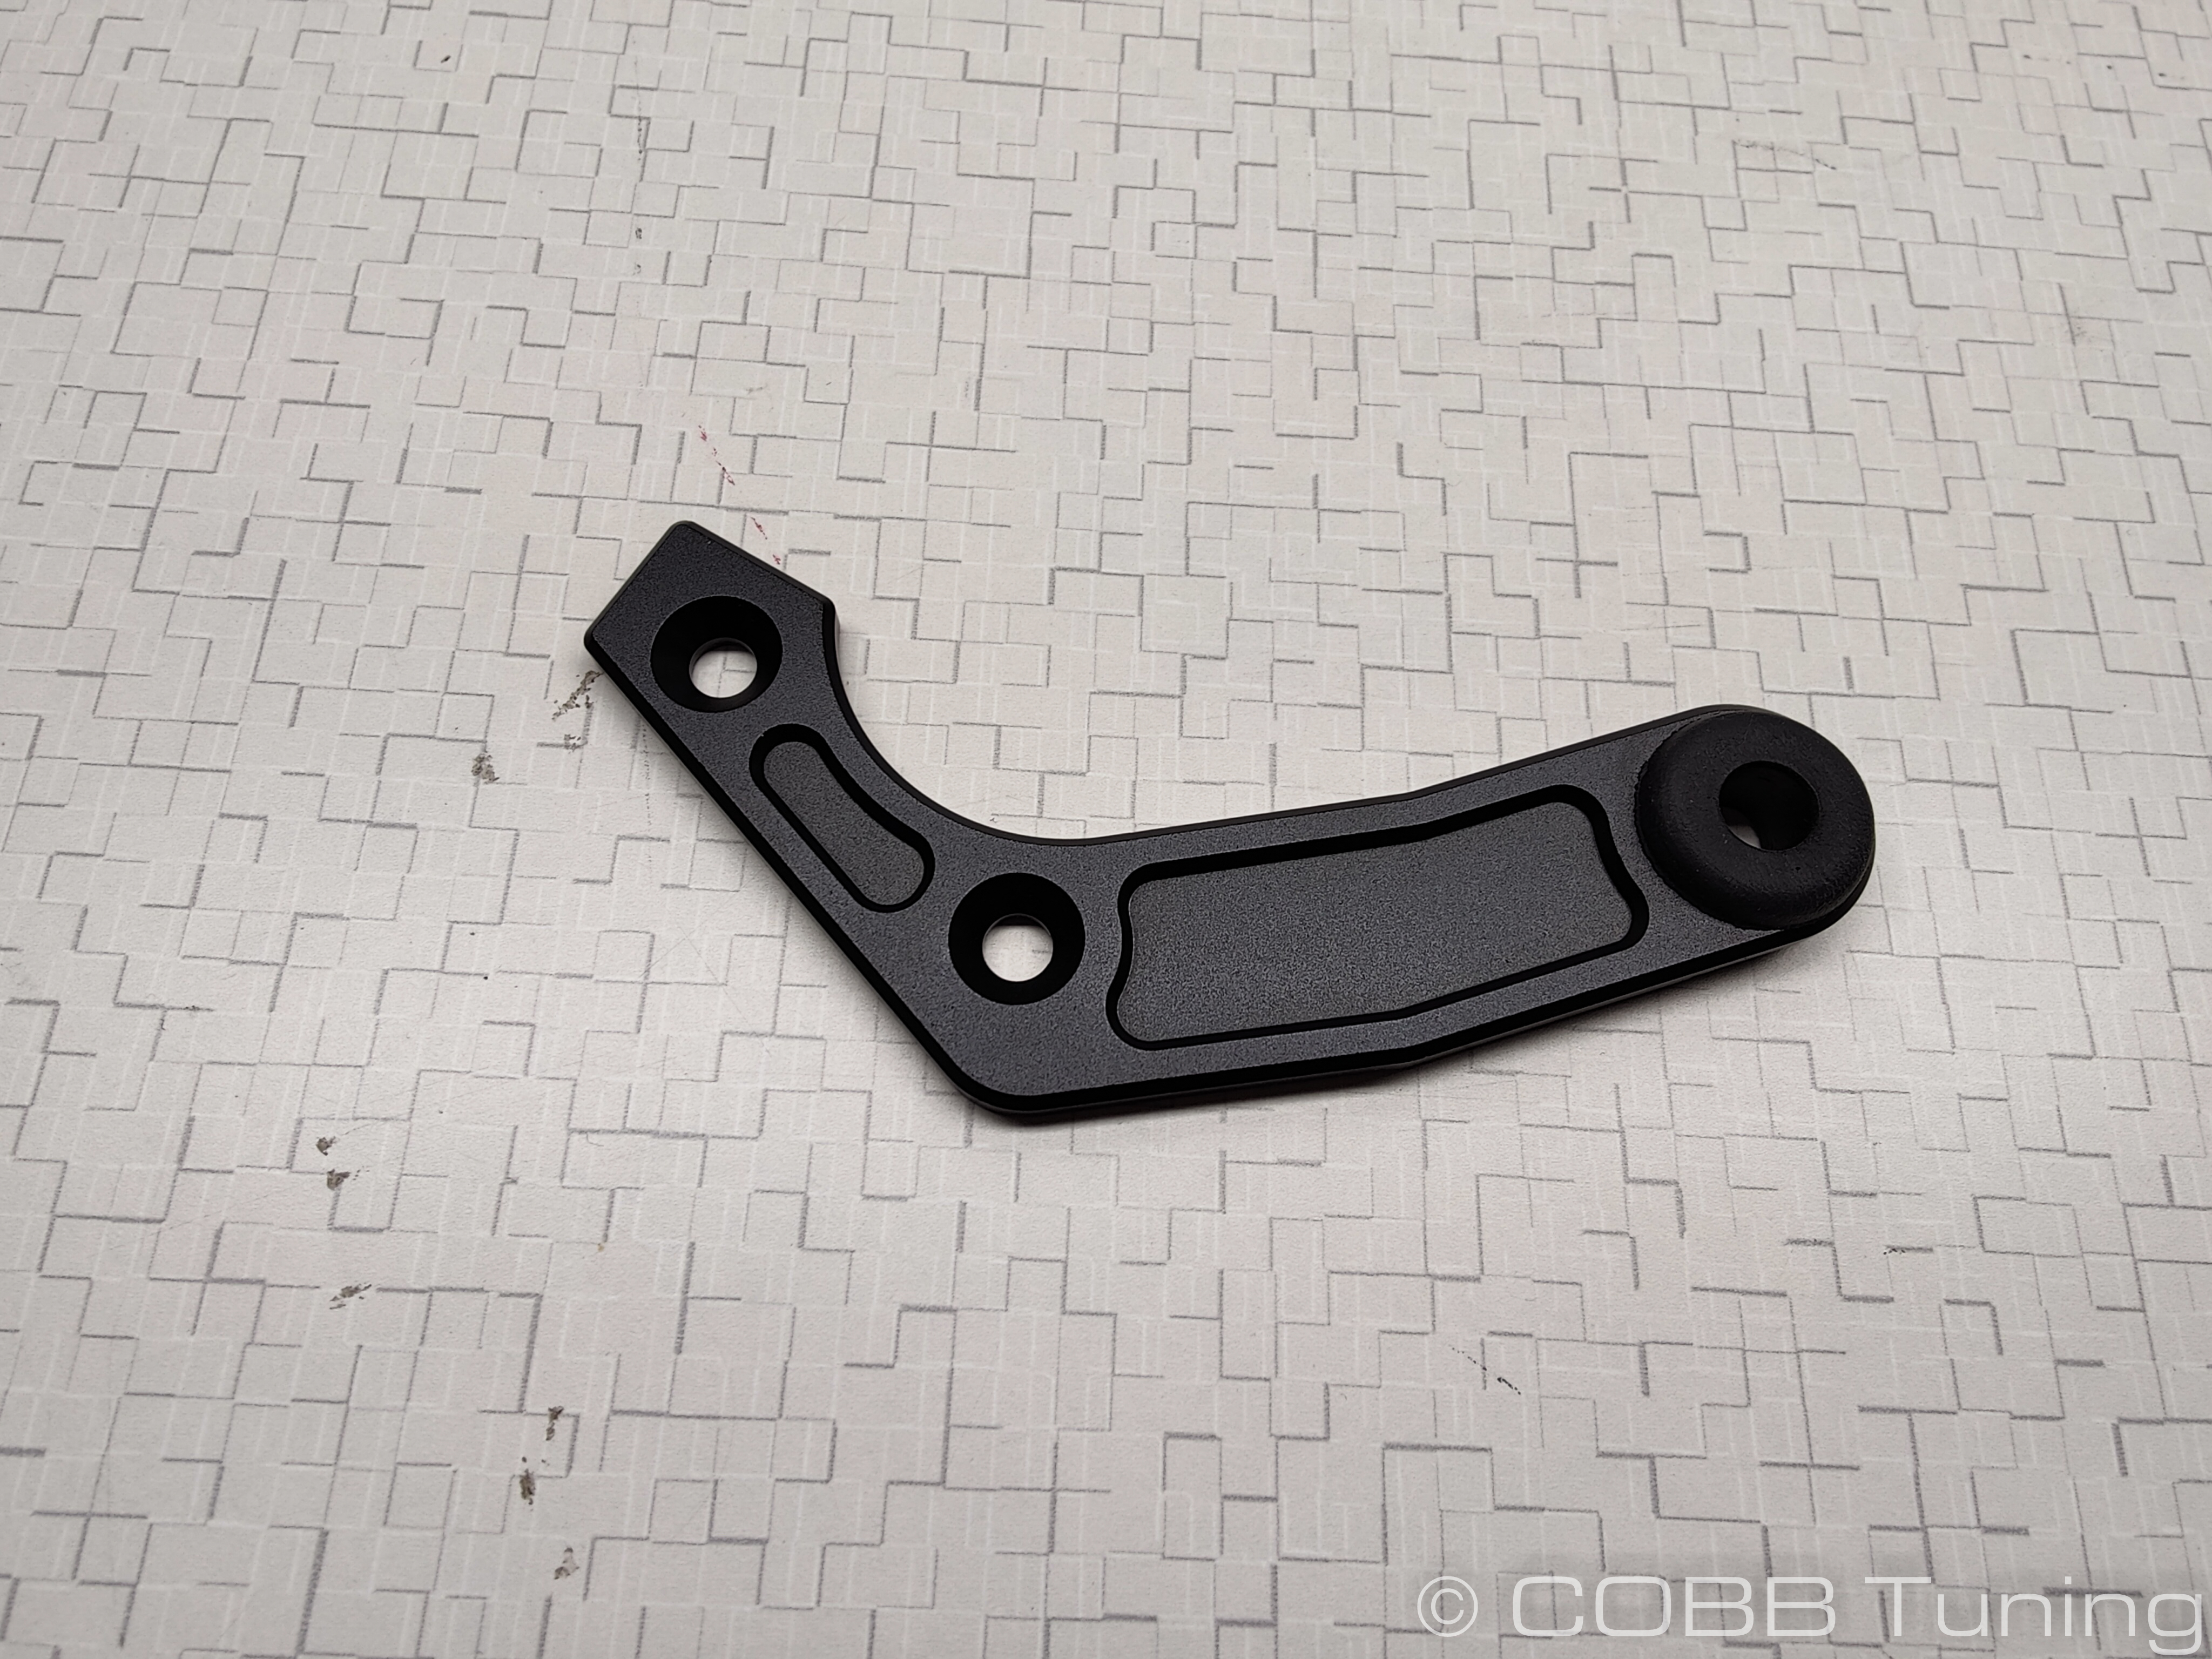
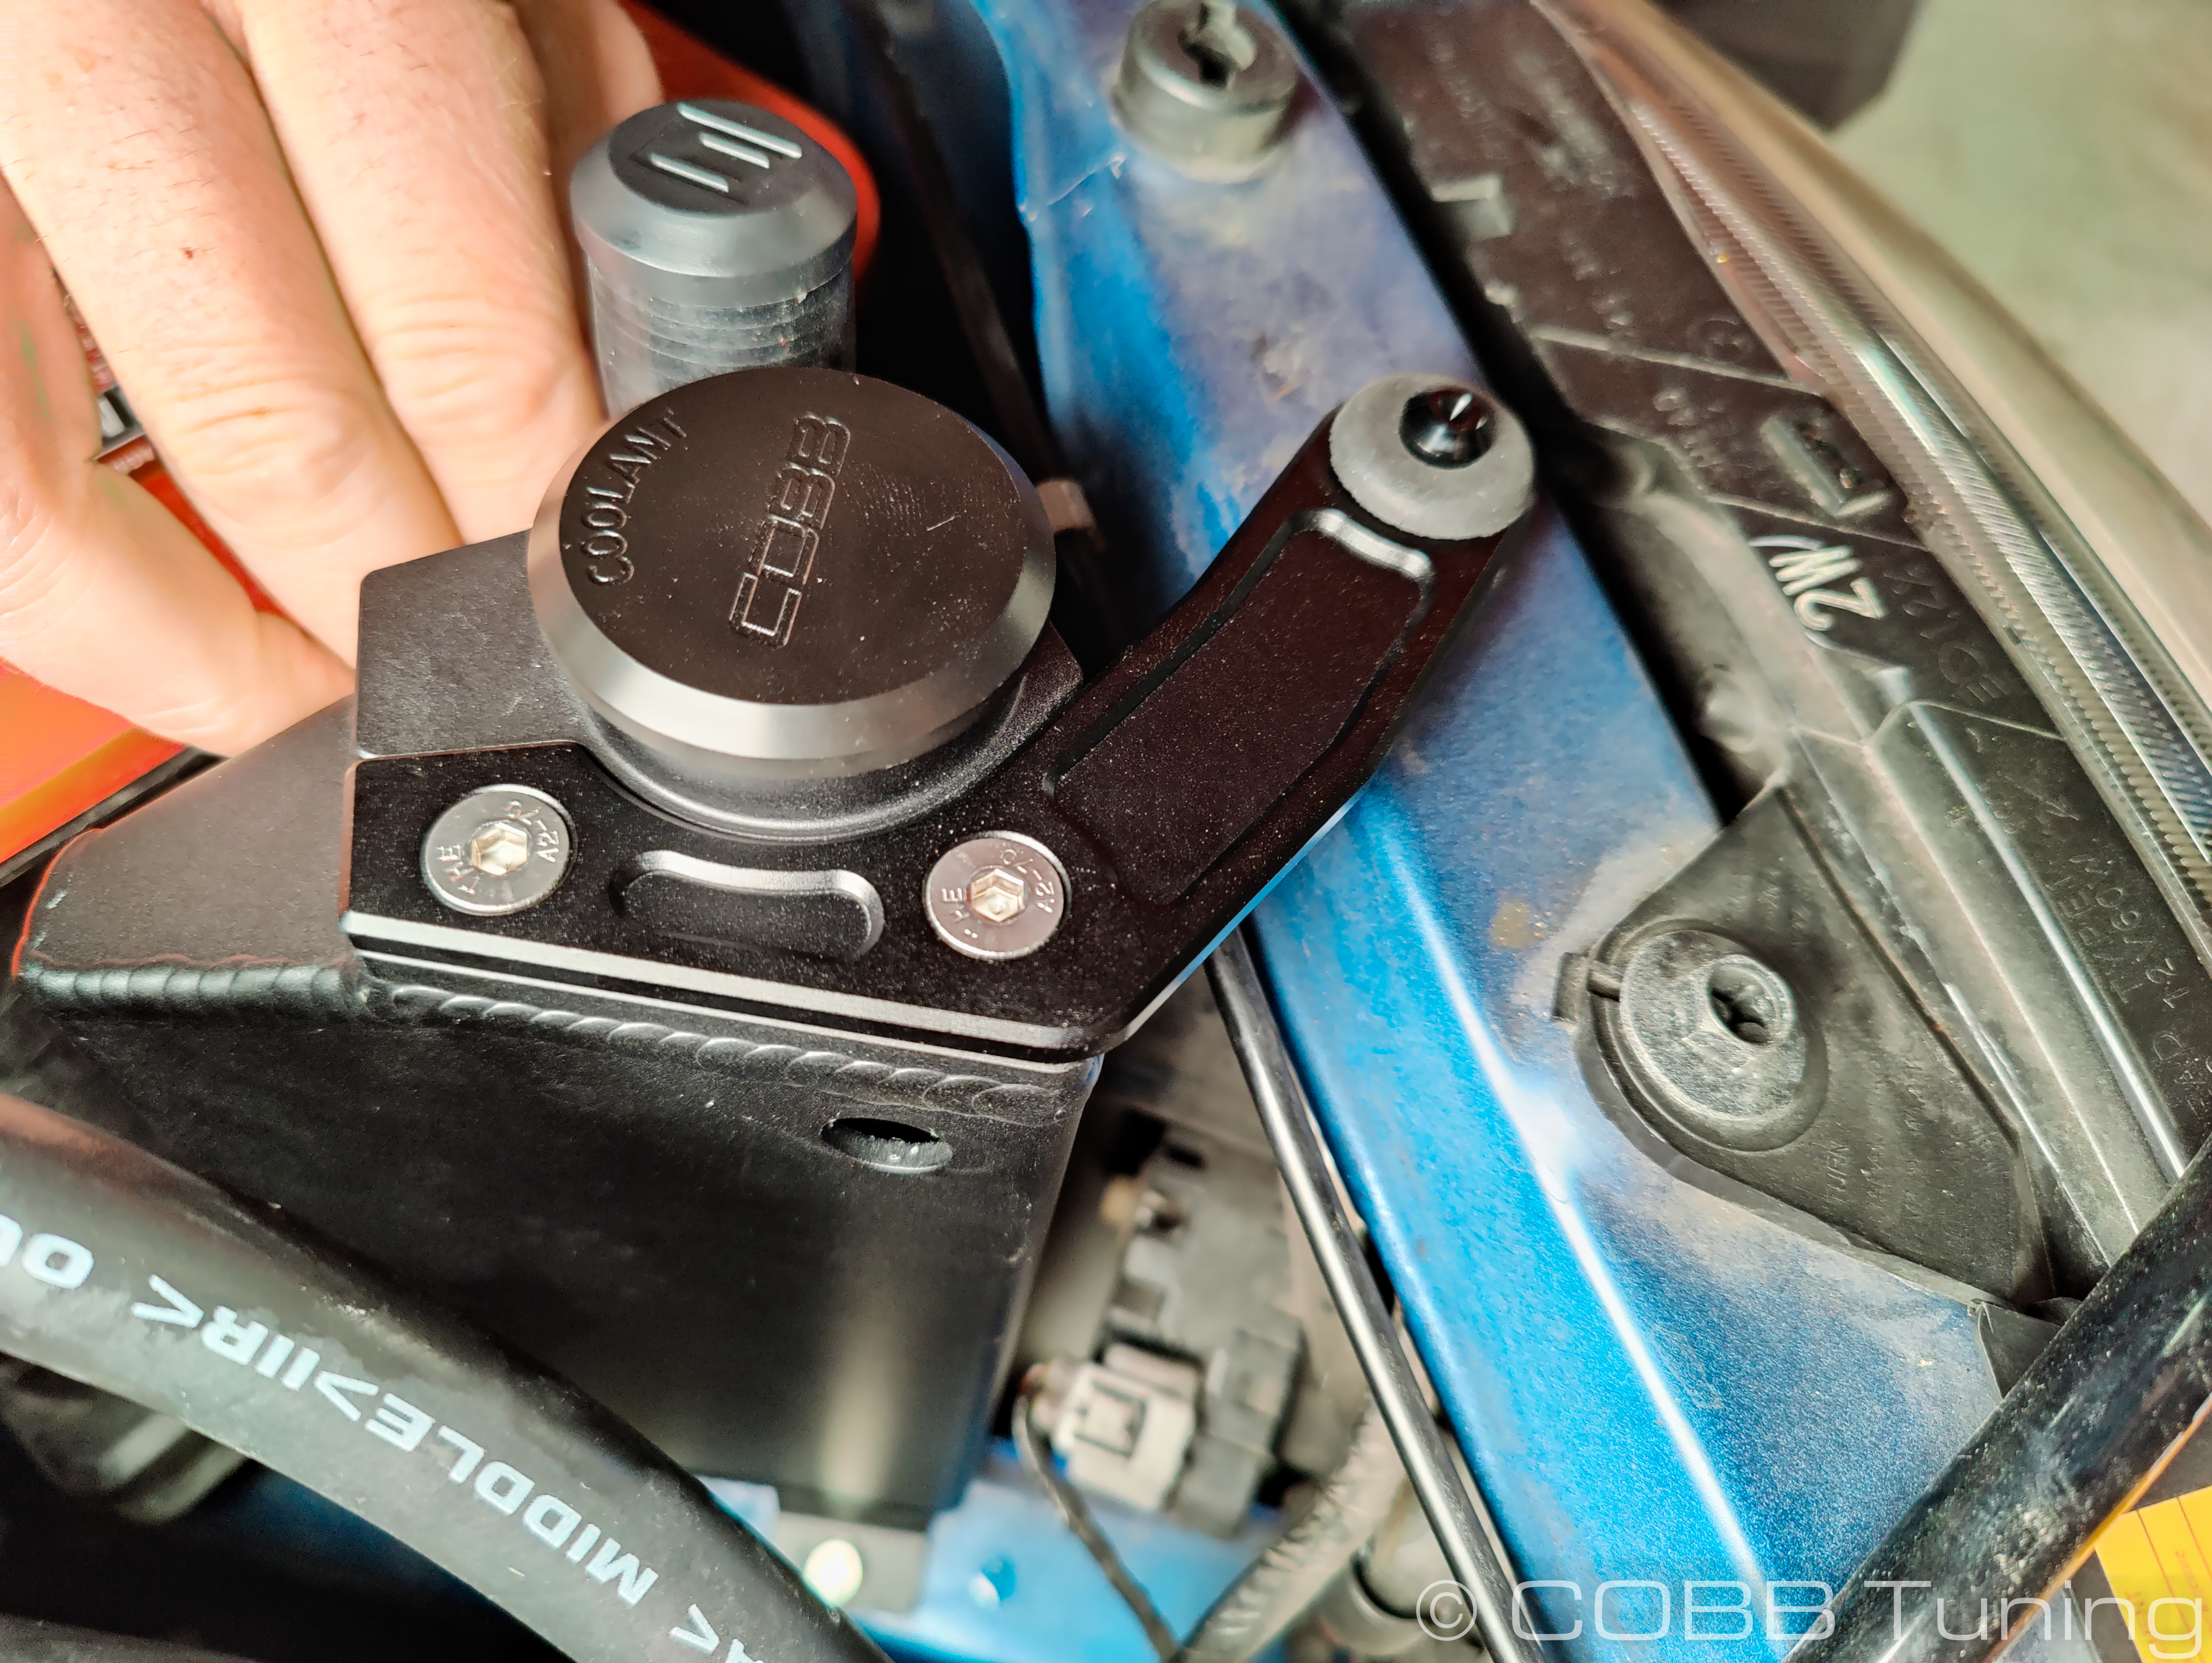
- Install the rubber grommet into the billet top bracket.
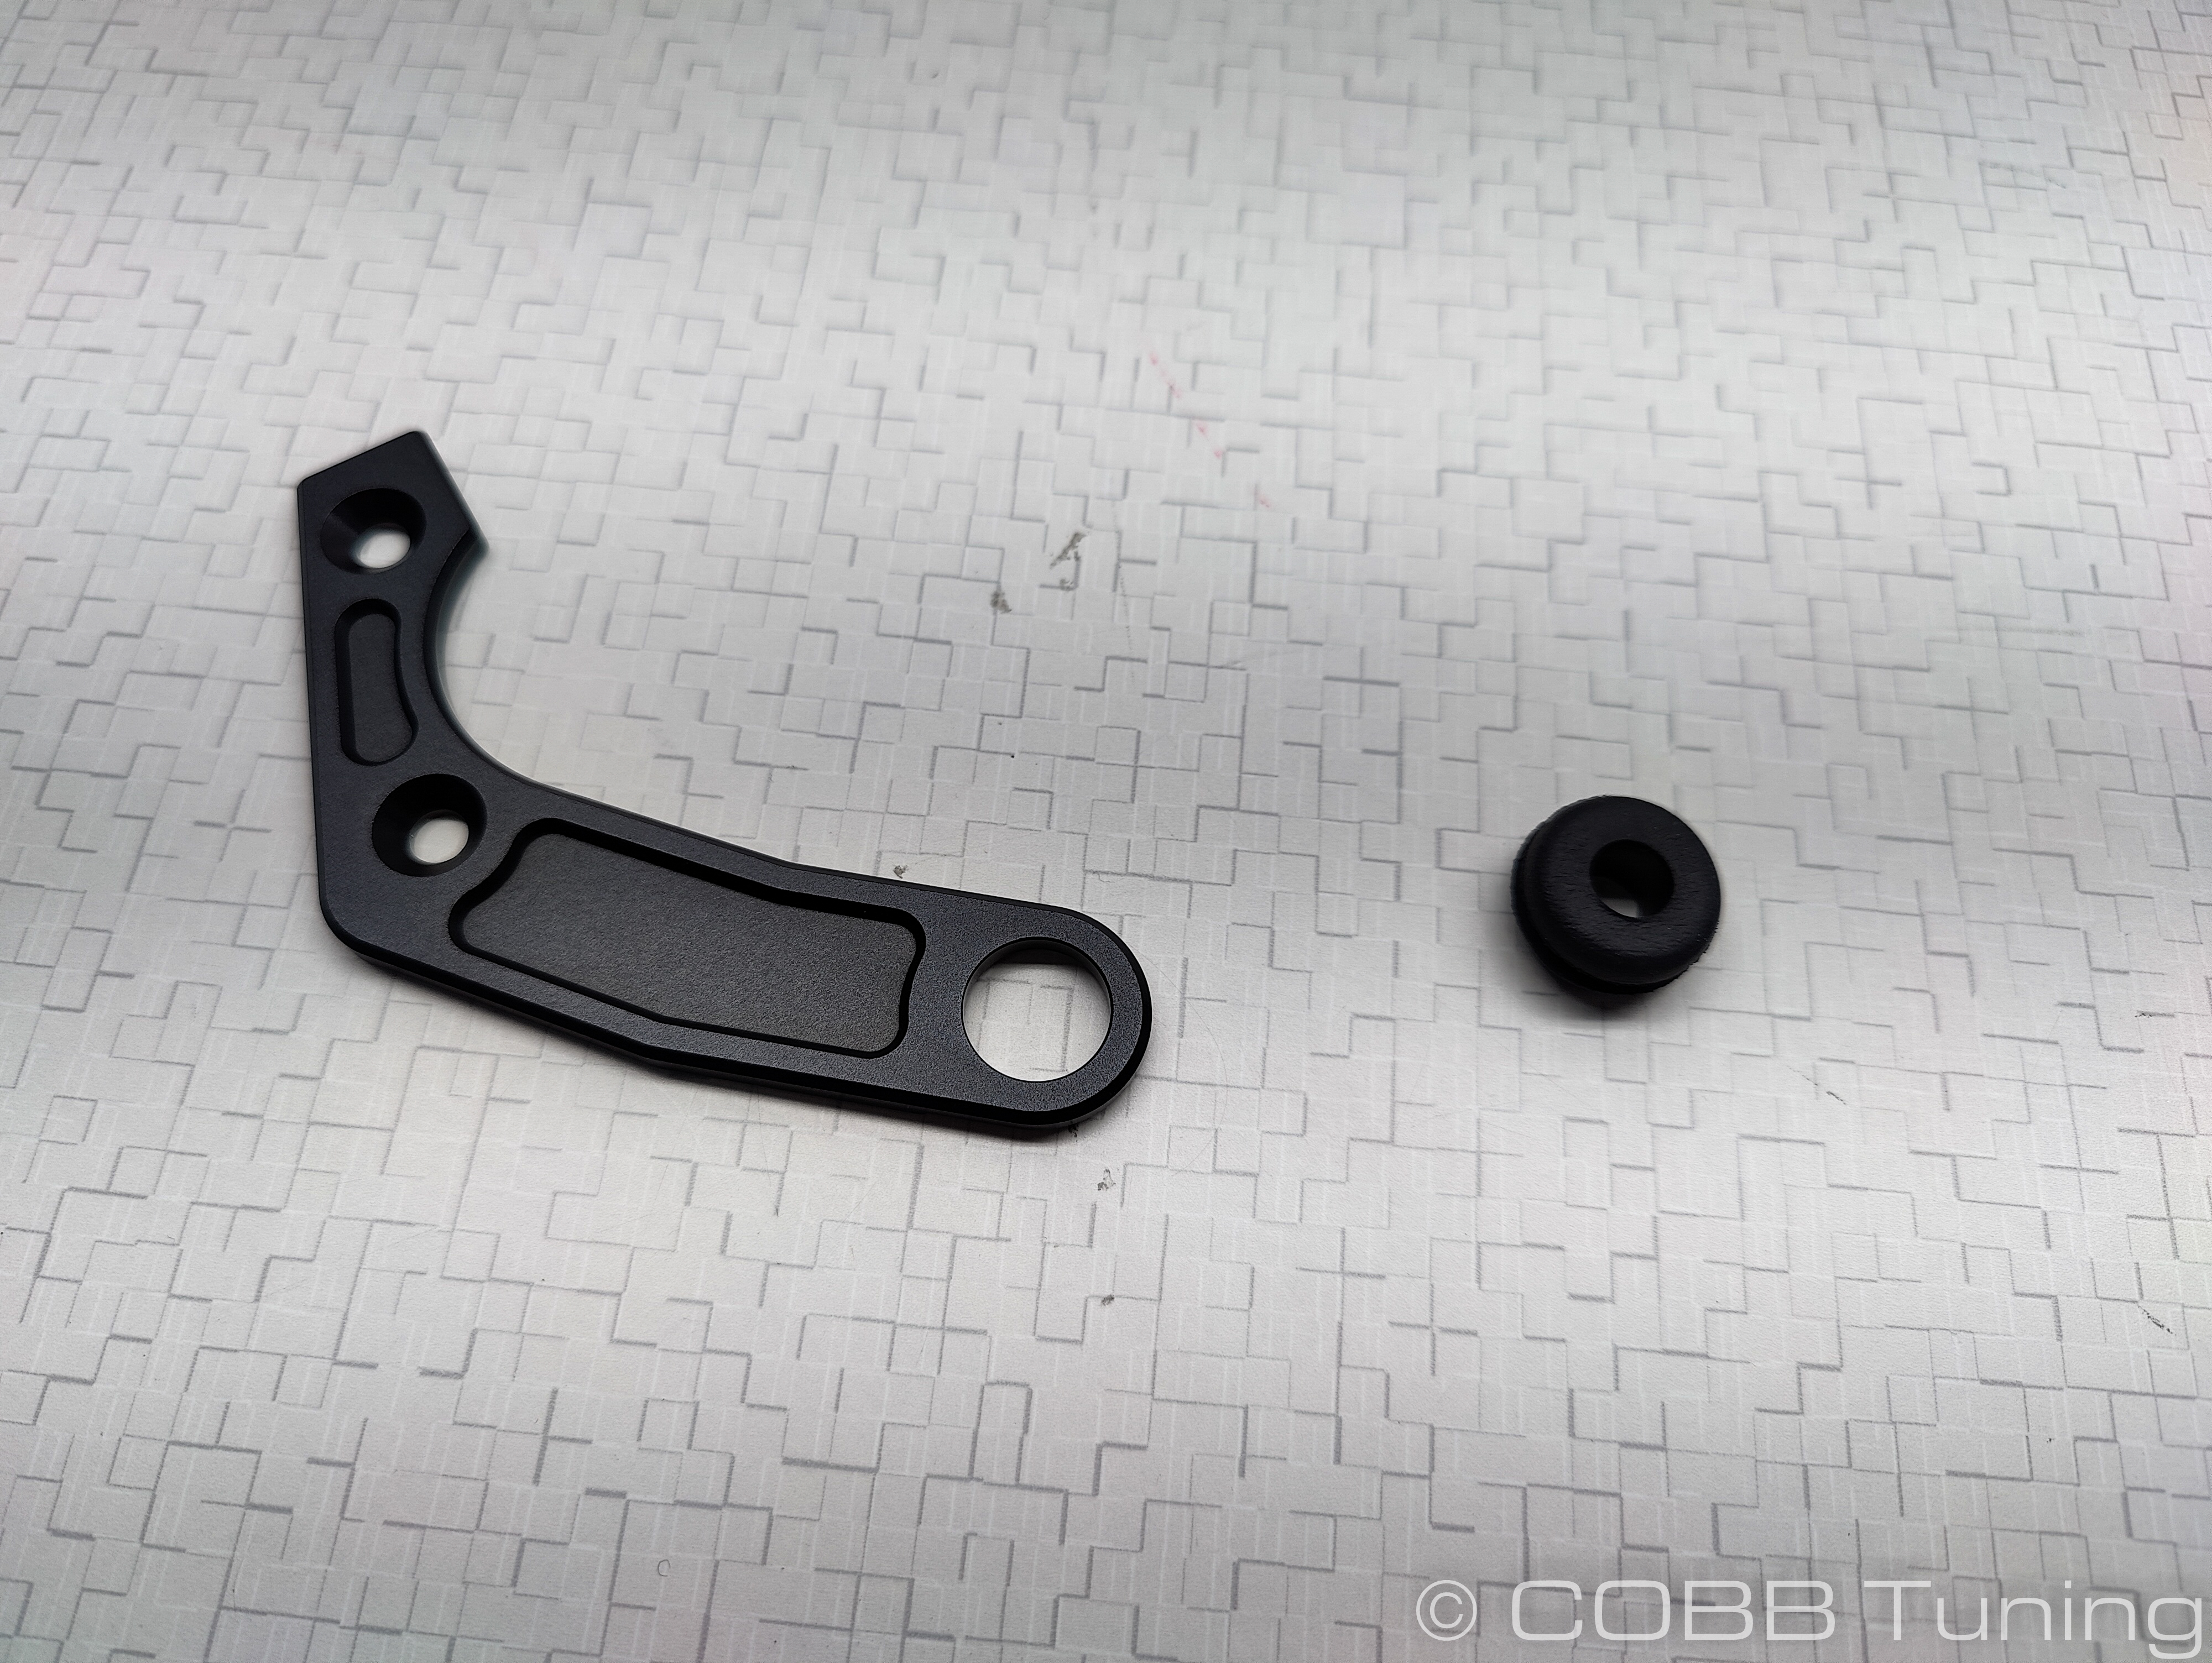
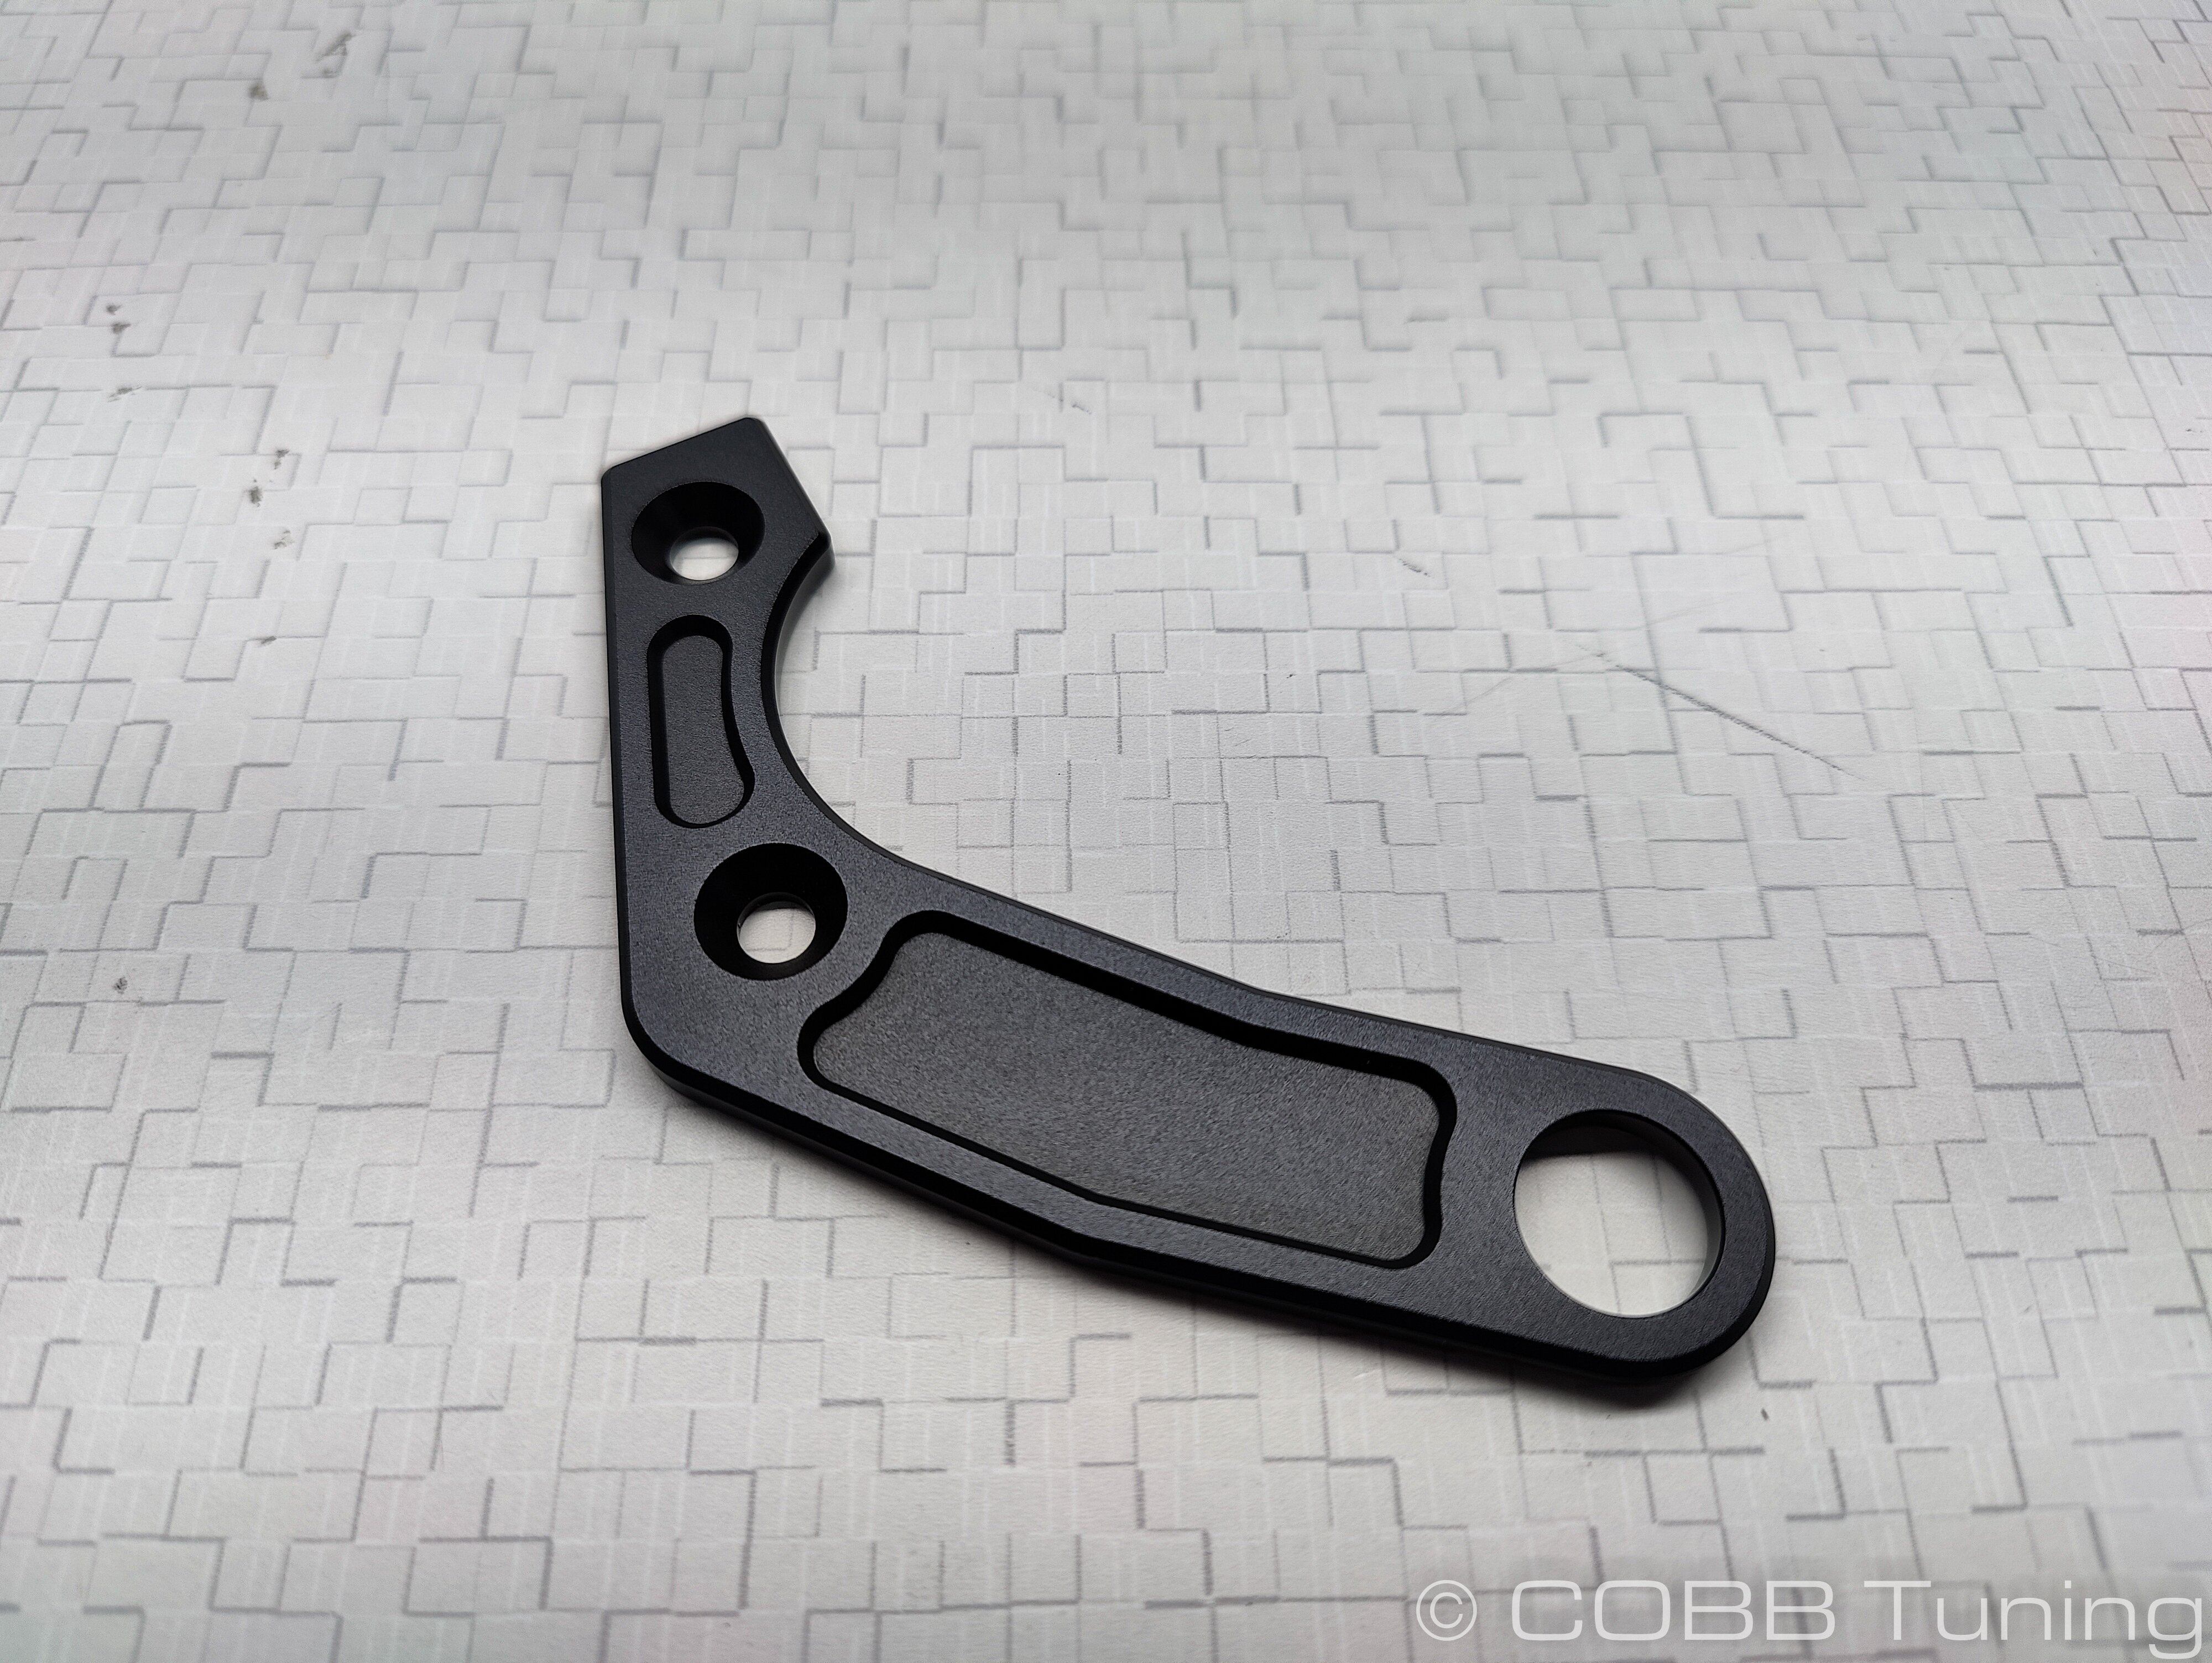
- Grab the shorter of the two provided m6x1.0 bolts. Install the bolt upward through the hole the trim clip for the washer fill tube was originally in. Screw the billet mounting pin in place on top. Screw it on hand tight using a 10mm socket on the bolt and a 17mm holding the stud in place.
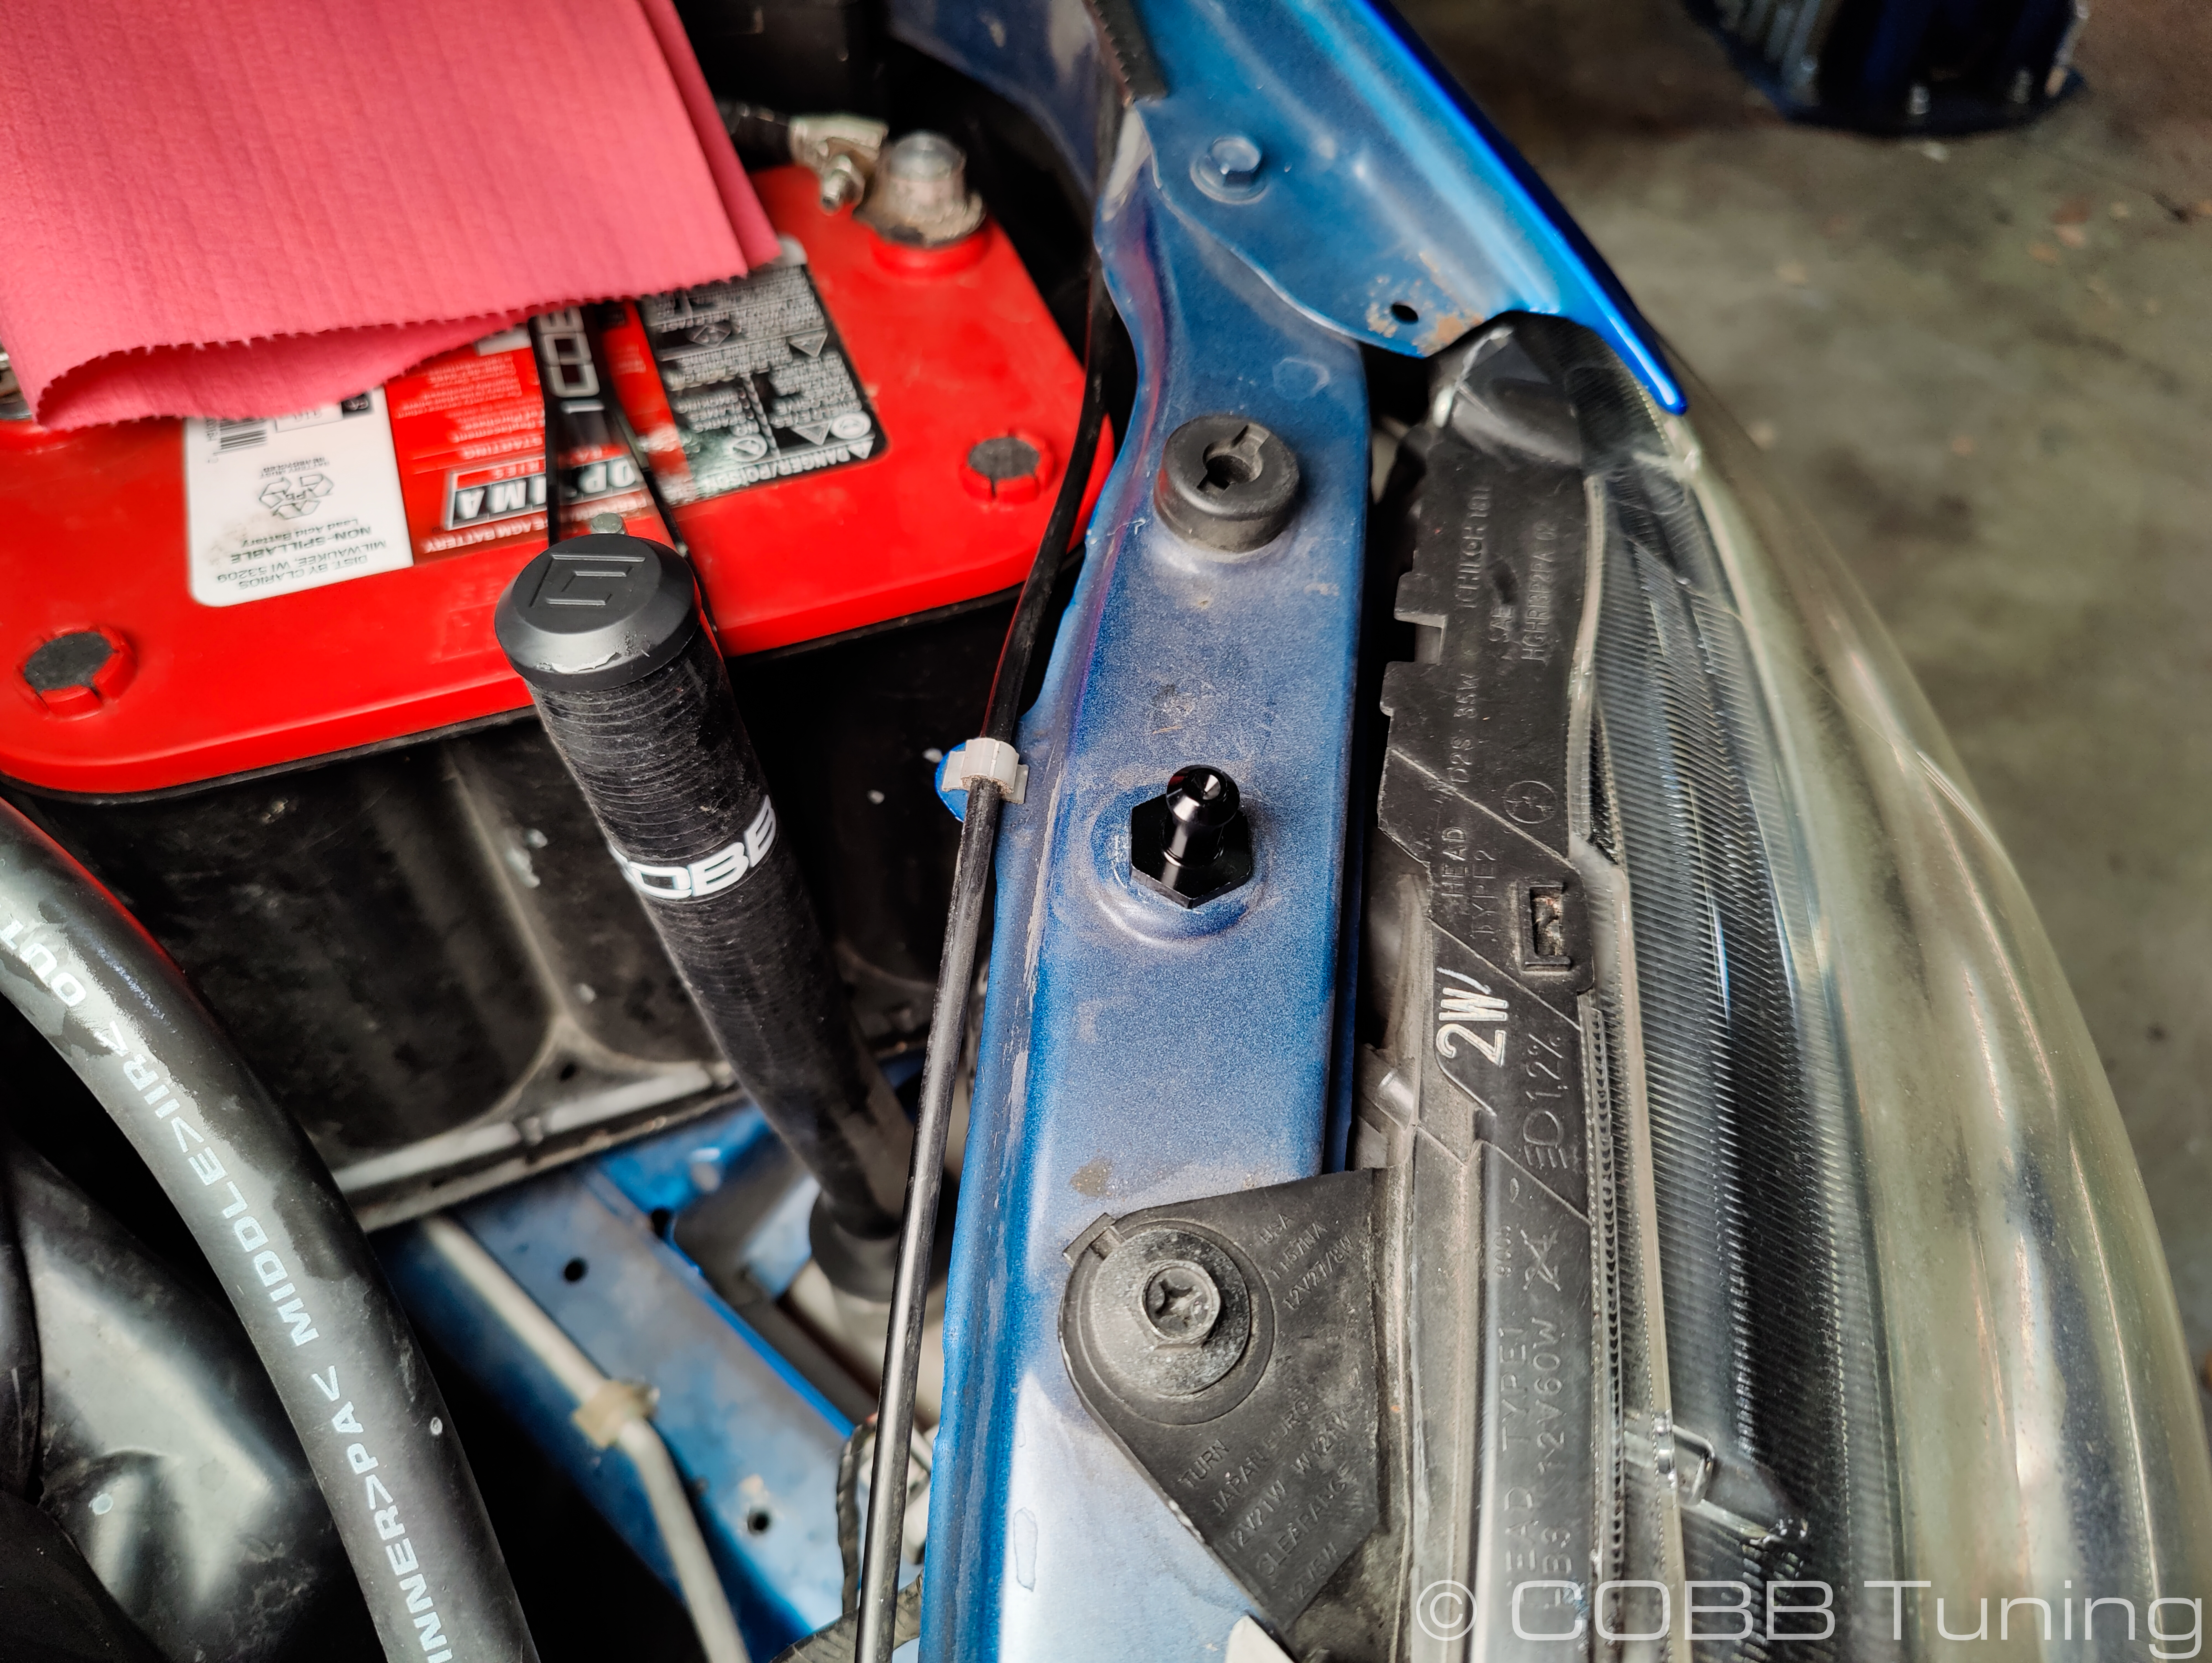
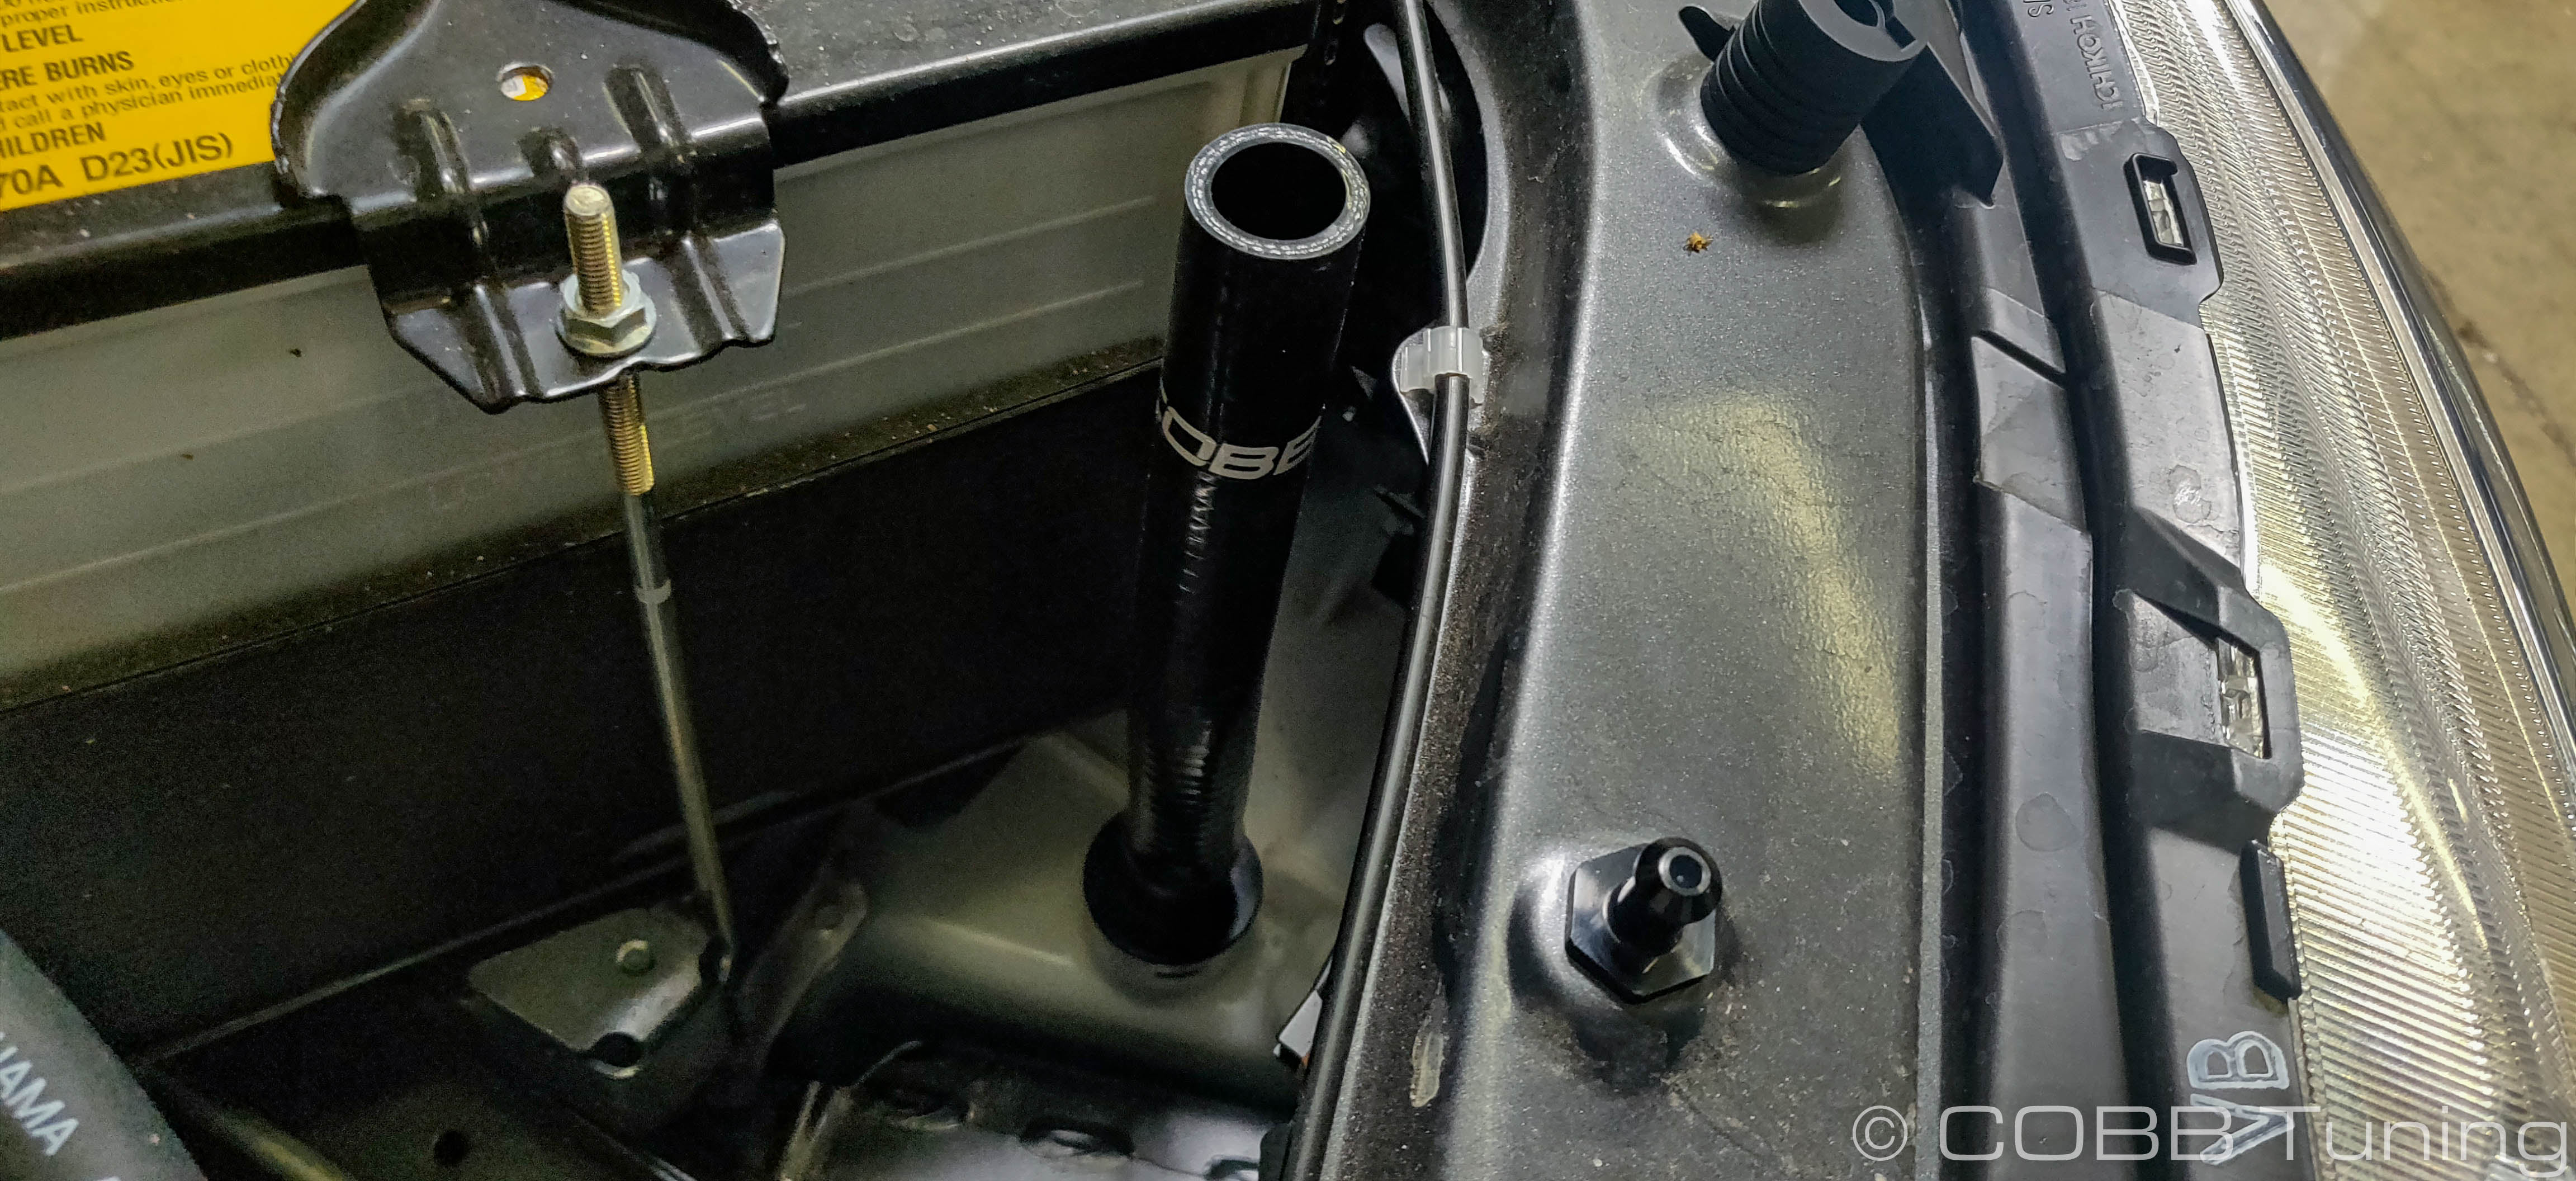
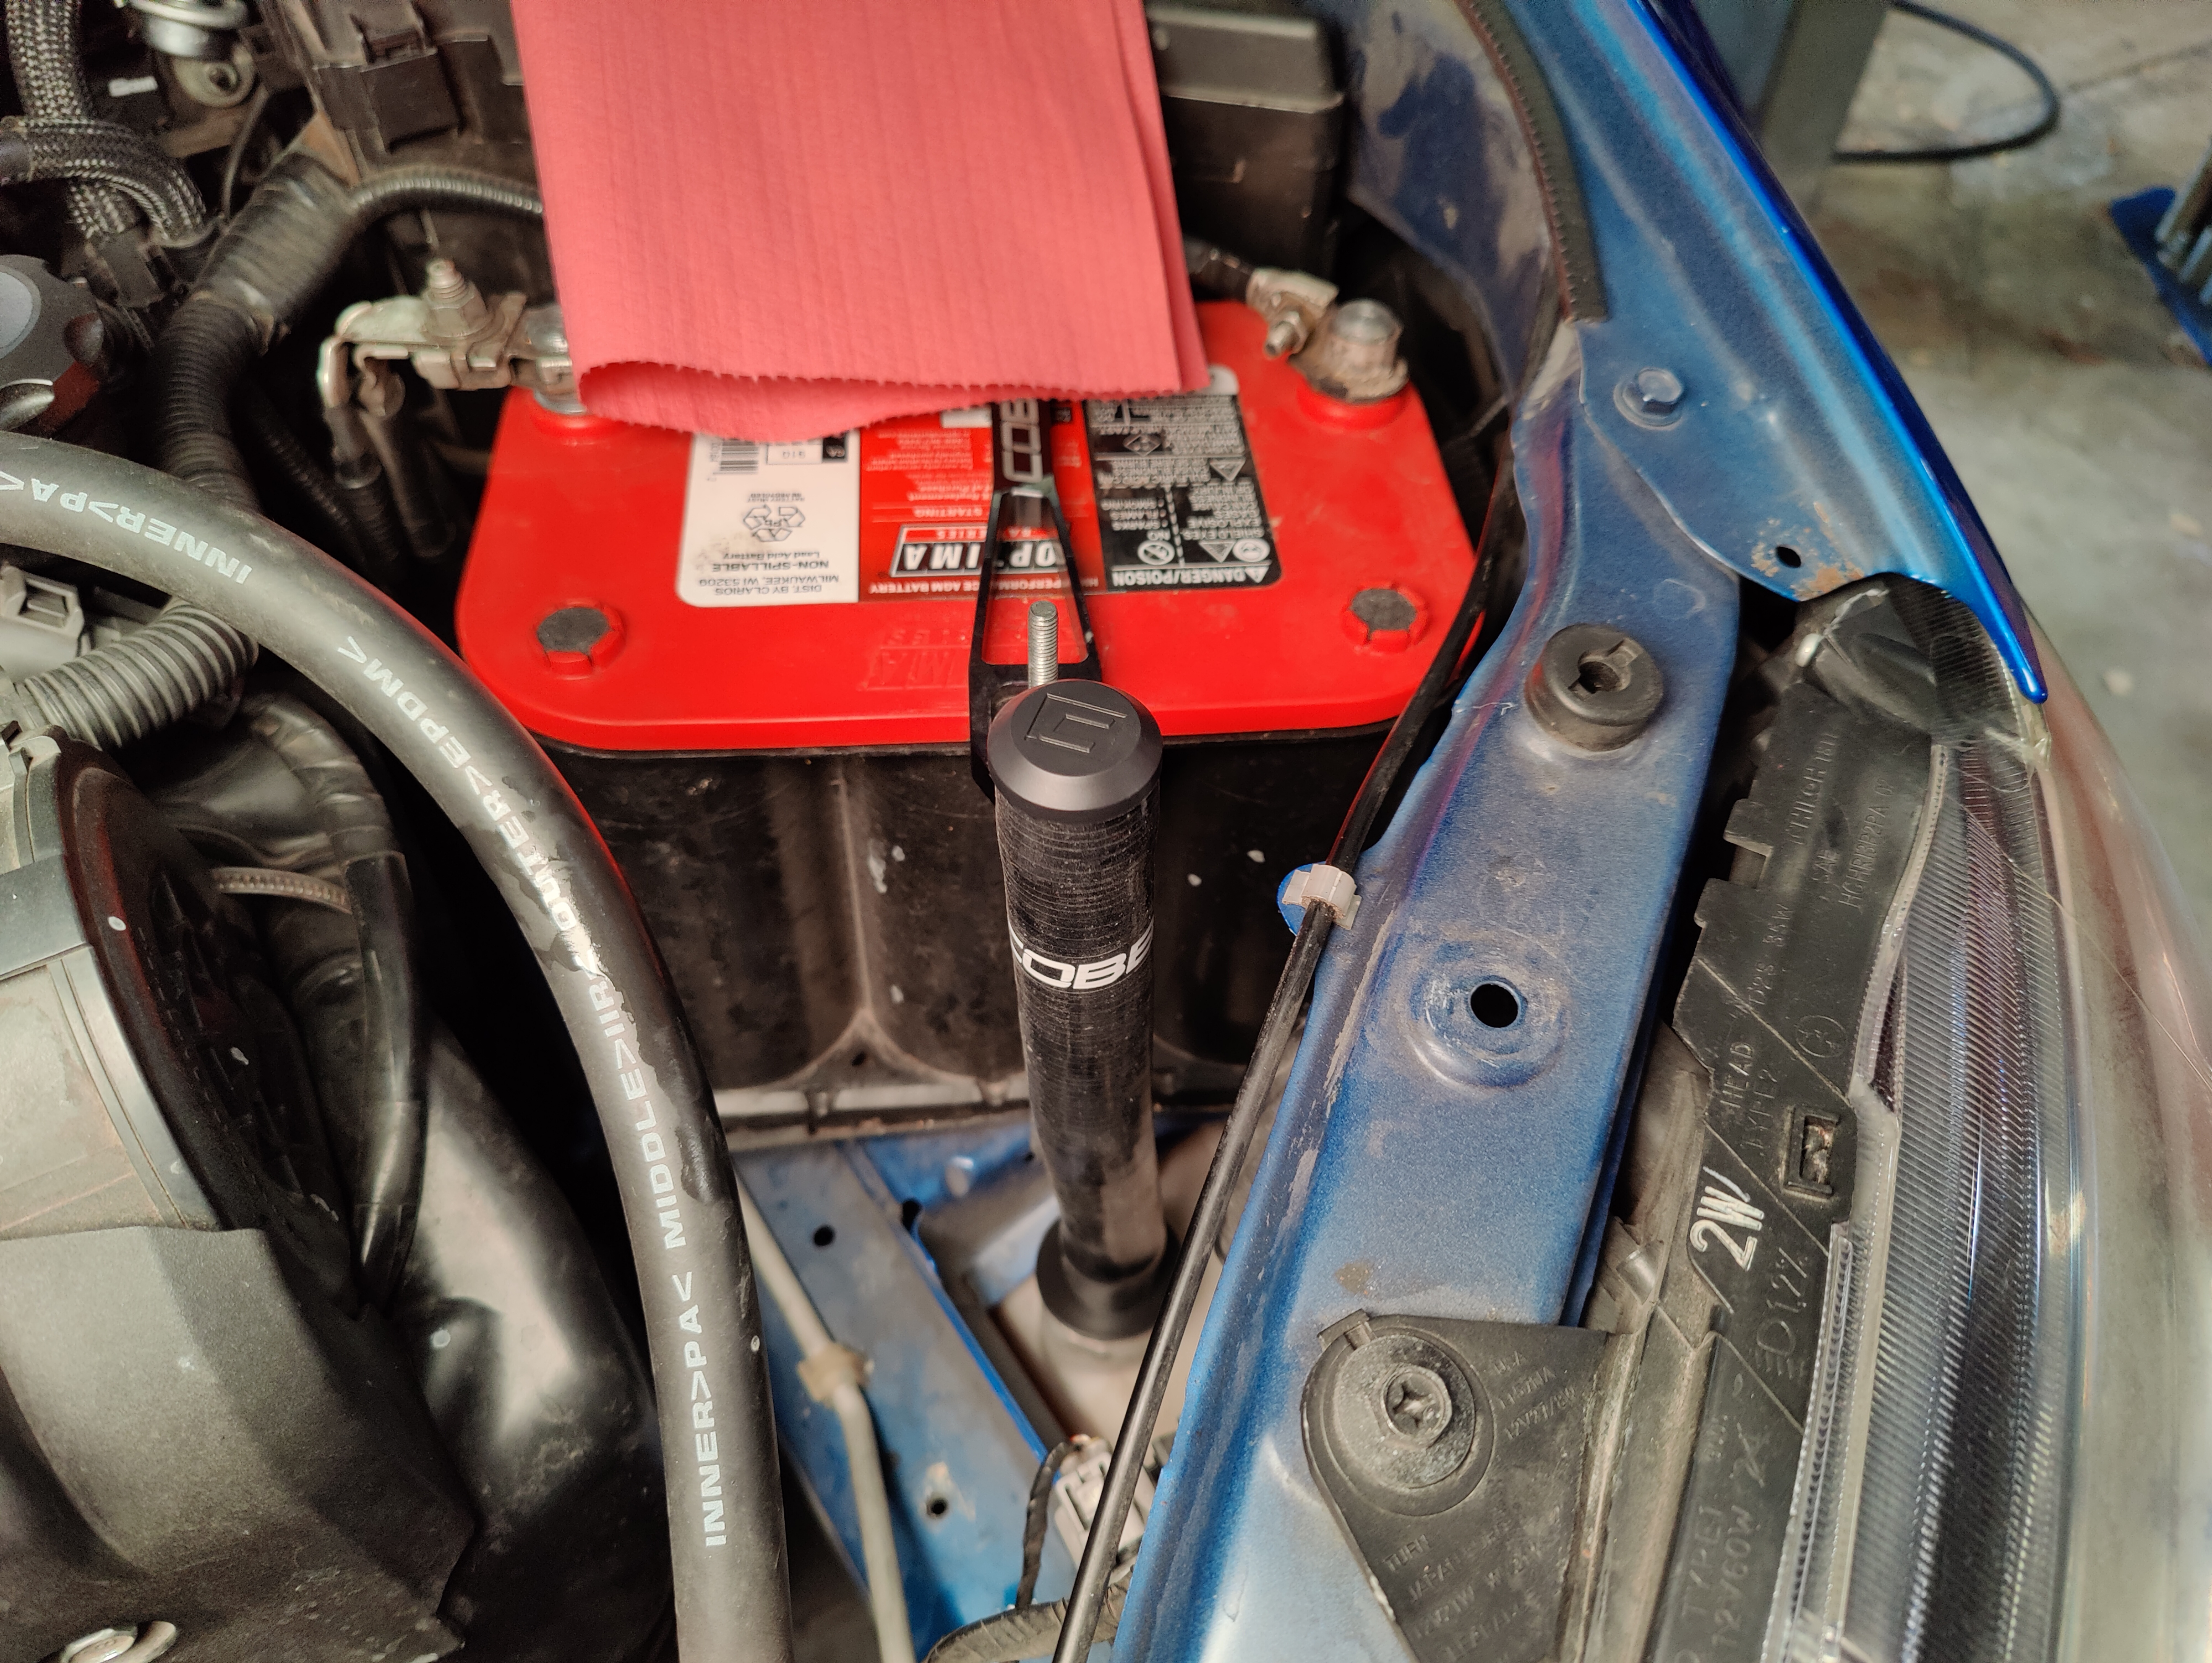
- Using the longer m6x1.0 bolt install the overflow tank to the unoccupied bolt hole on the frame rail behind the headlight. Leave it loose for the time being.
- Push the grommet in the billet bracket over the trim pin then slide it over atop the overflow tank. Using the two allen bolts and an m4 allen wrench install the tapered bolts through the bracket into the overflow.
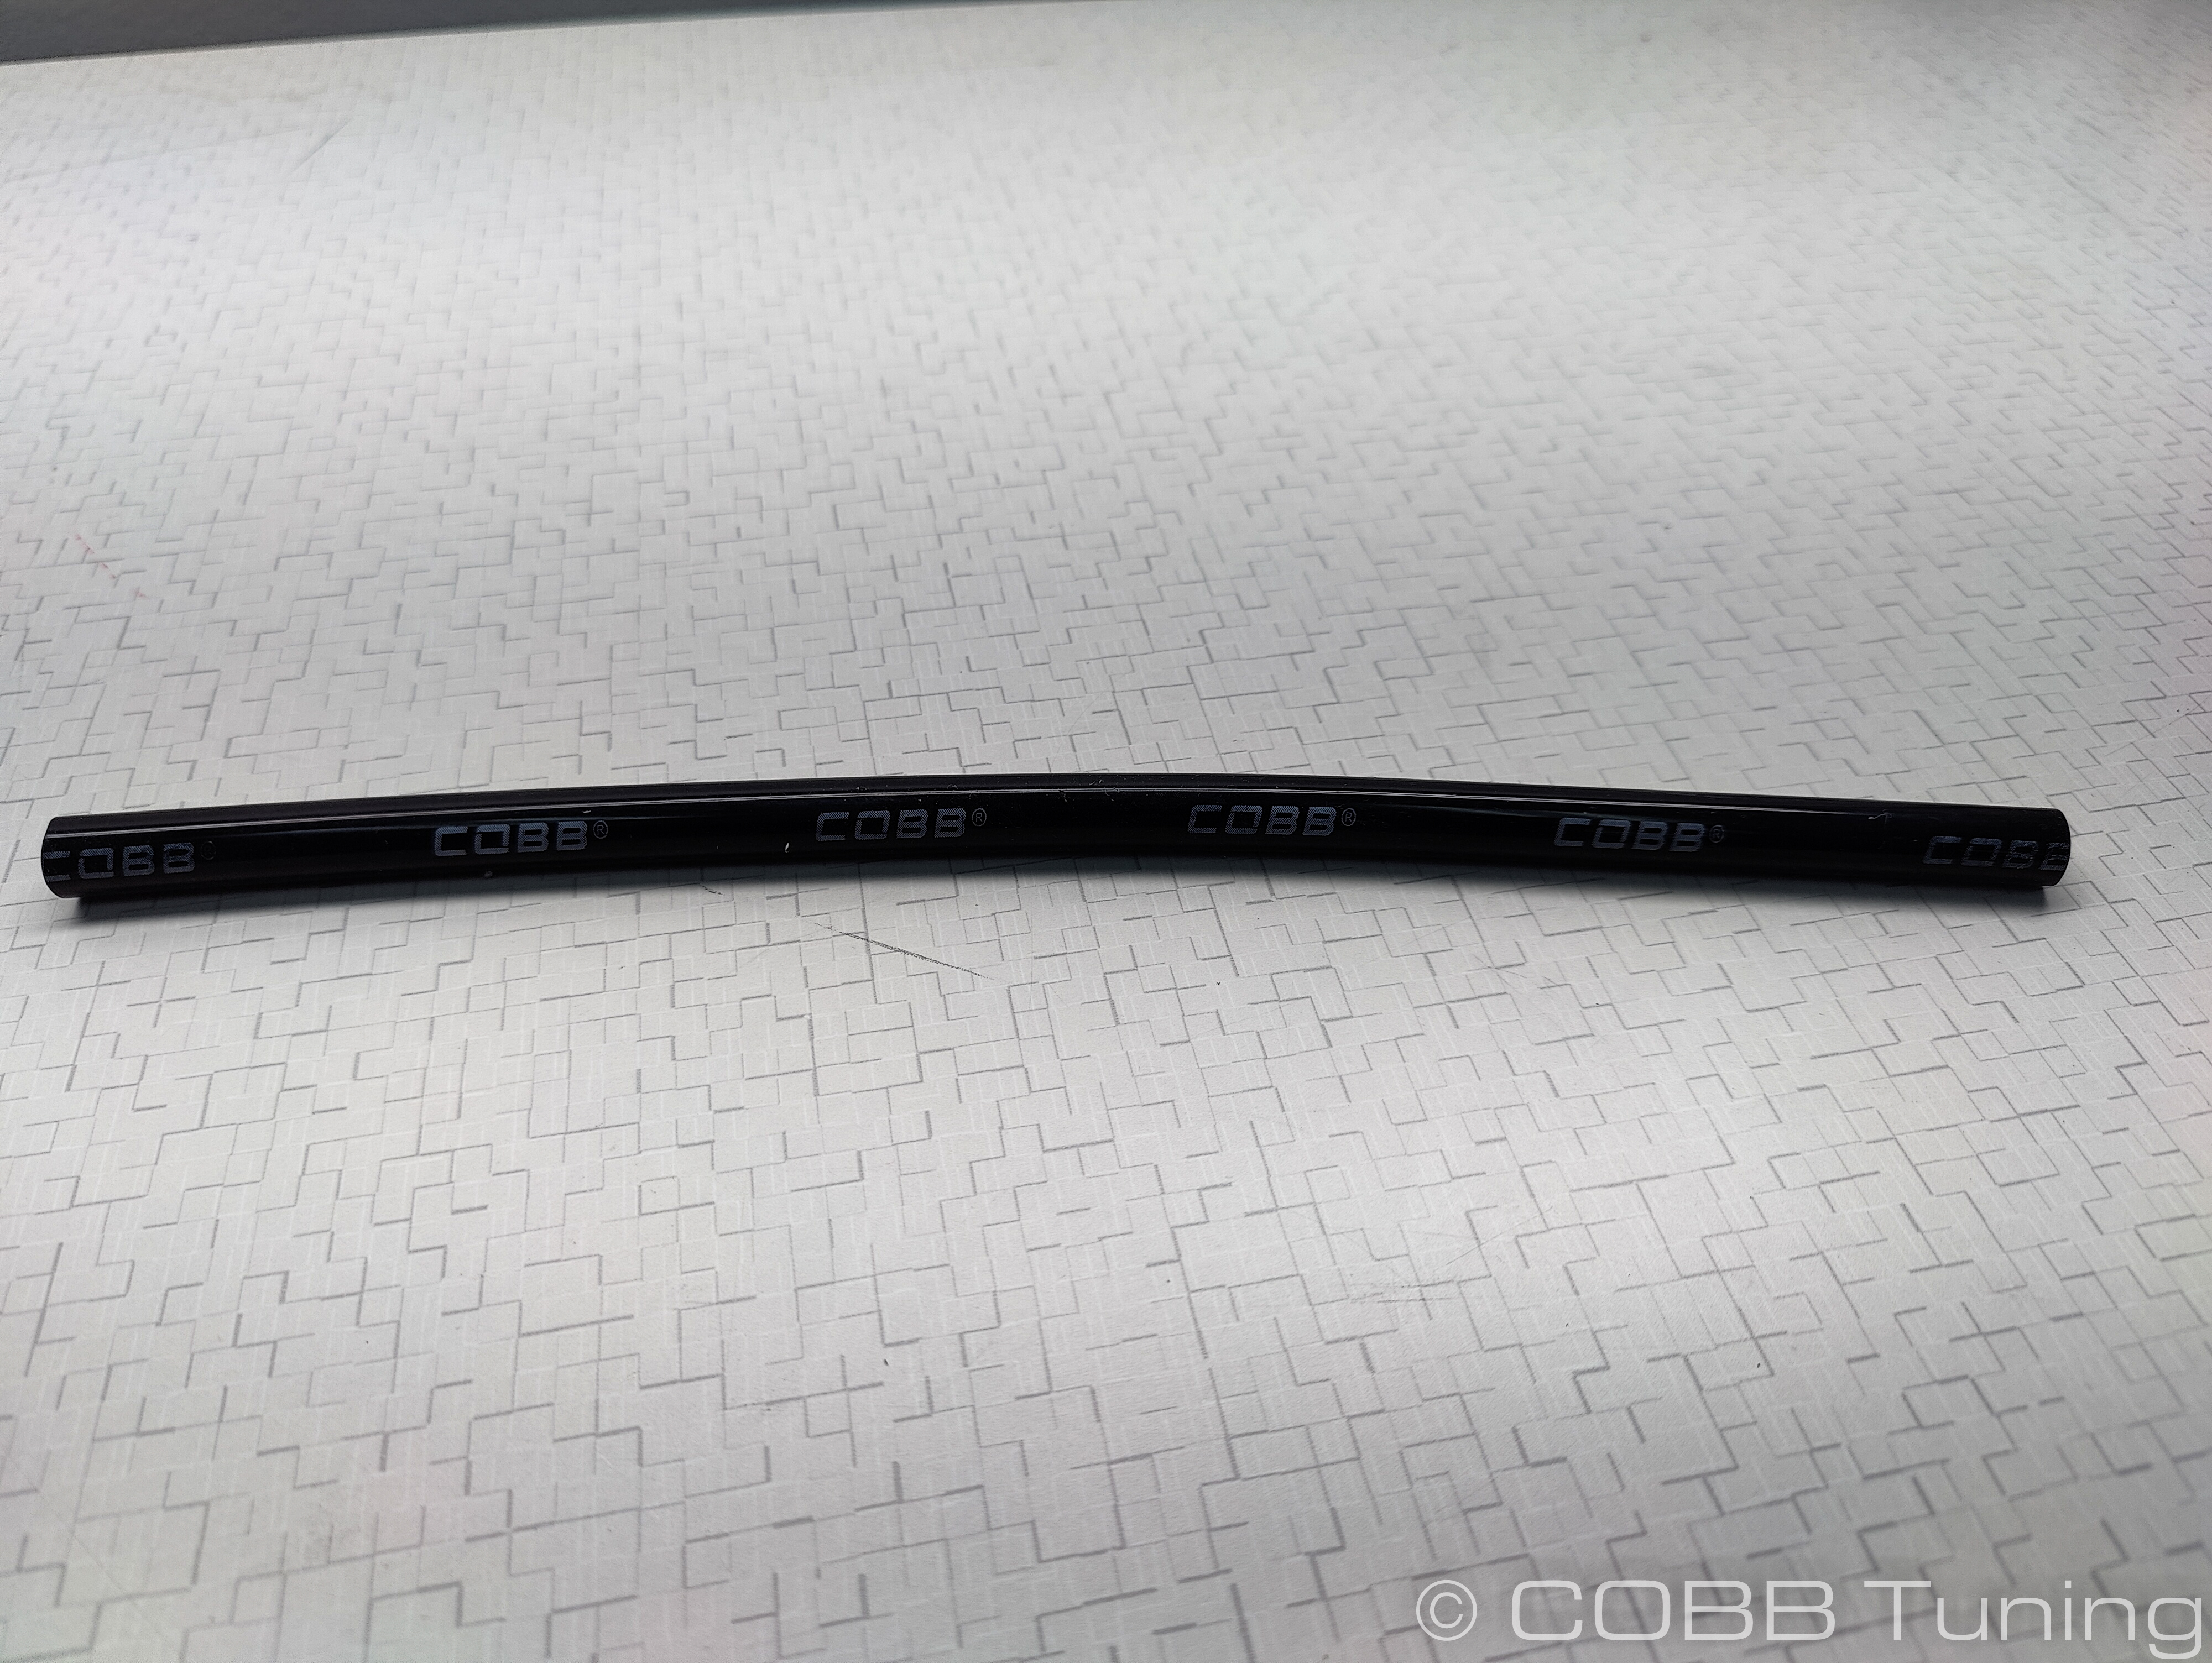
- Cut the end of the provided hose at an angle, this keeps it from creating suction against the bottom of the tank.
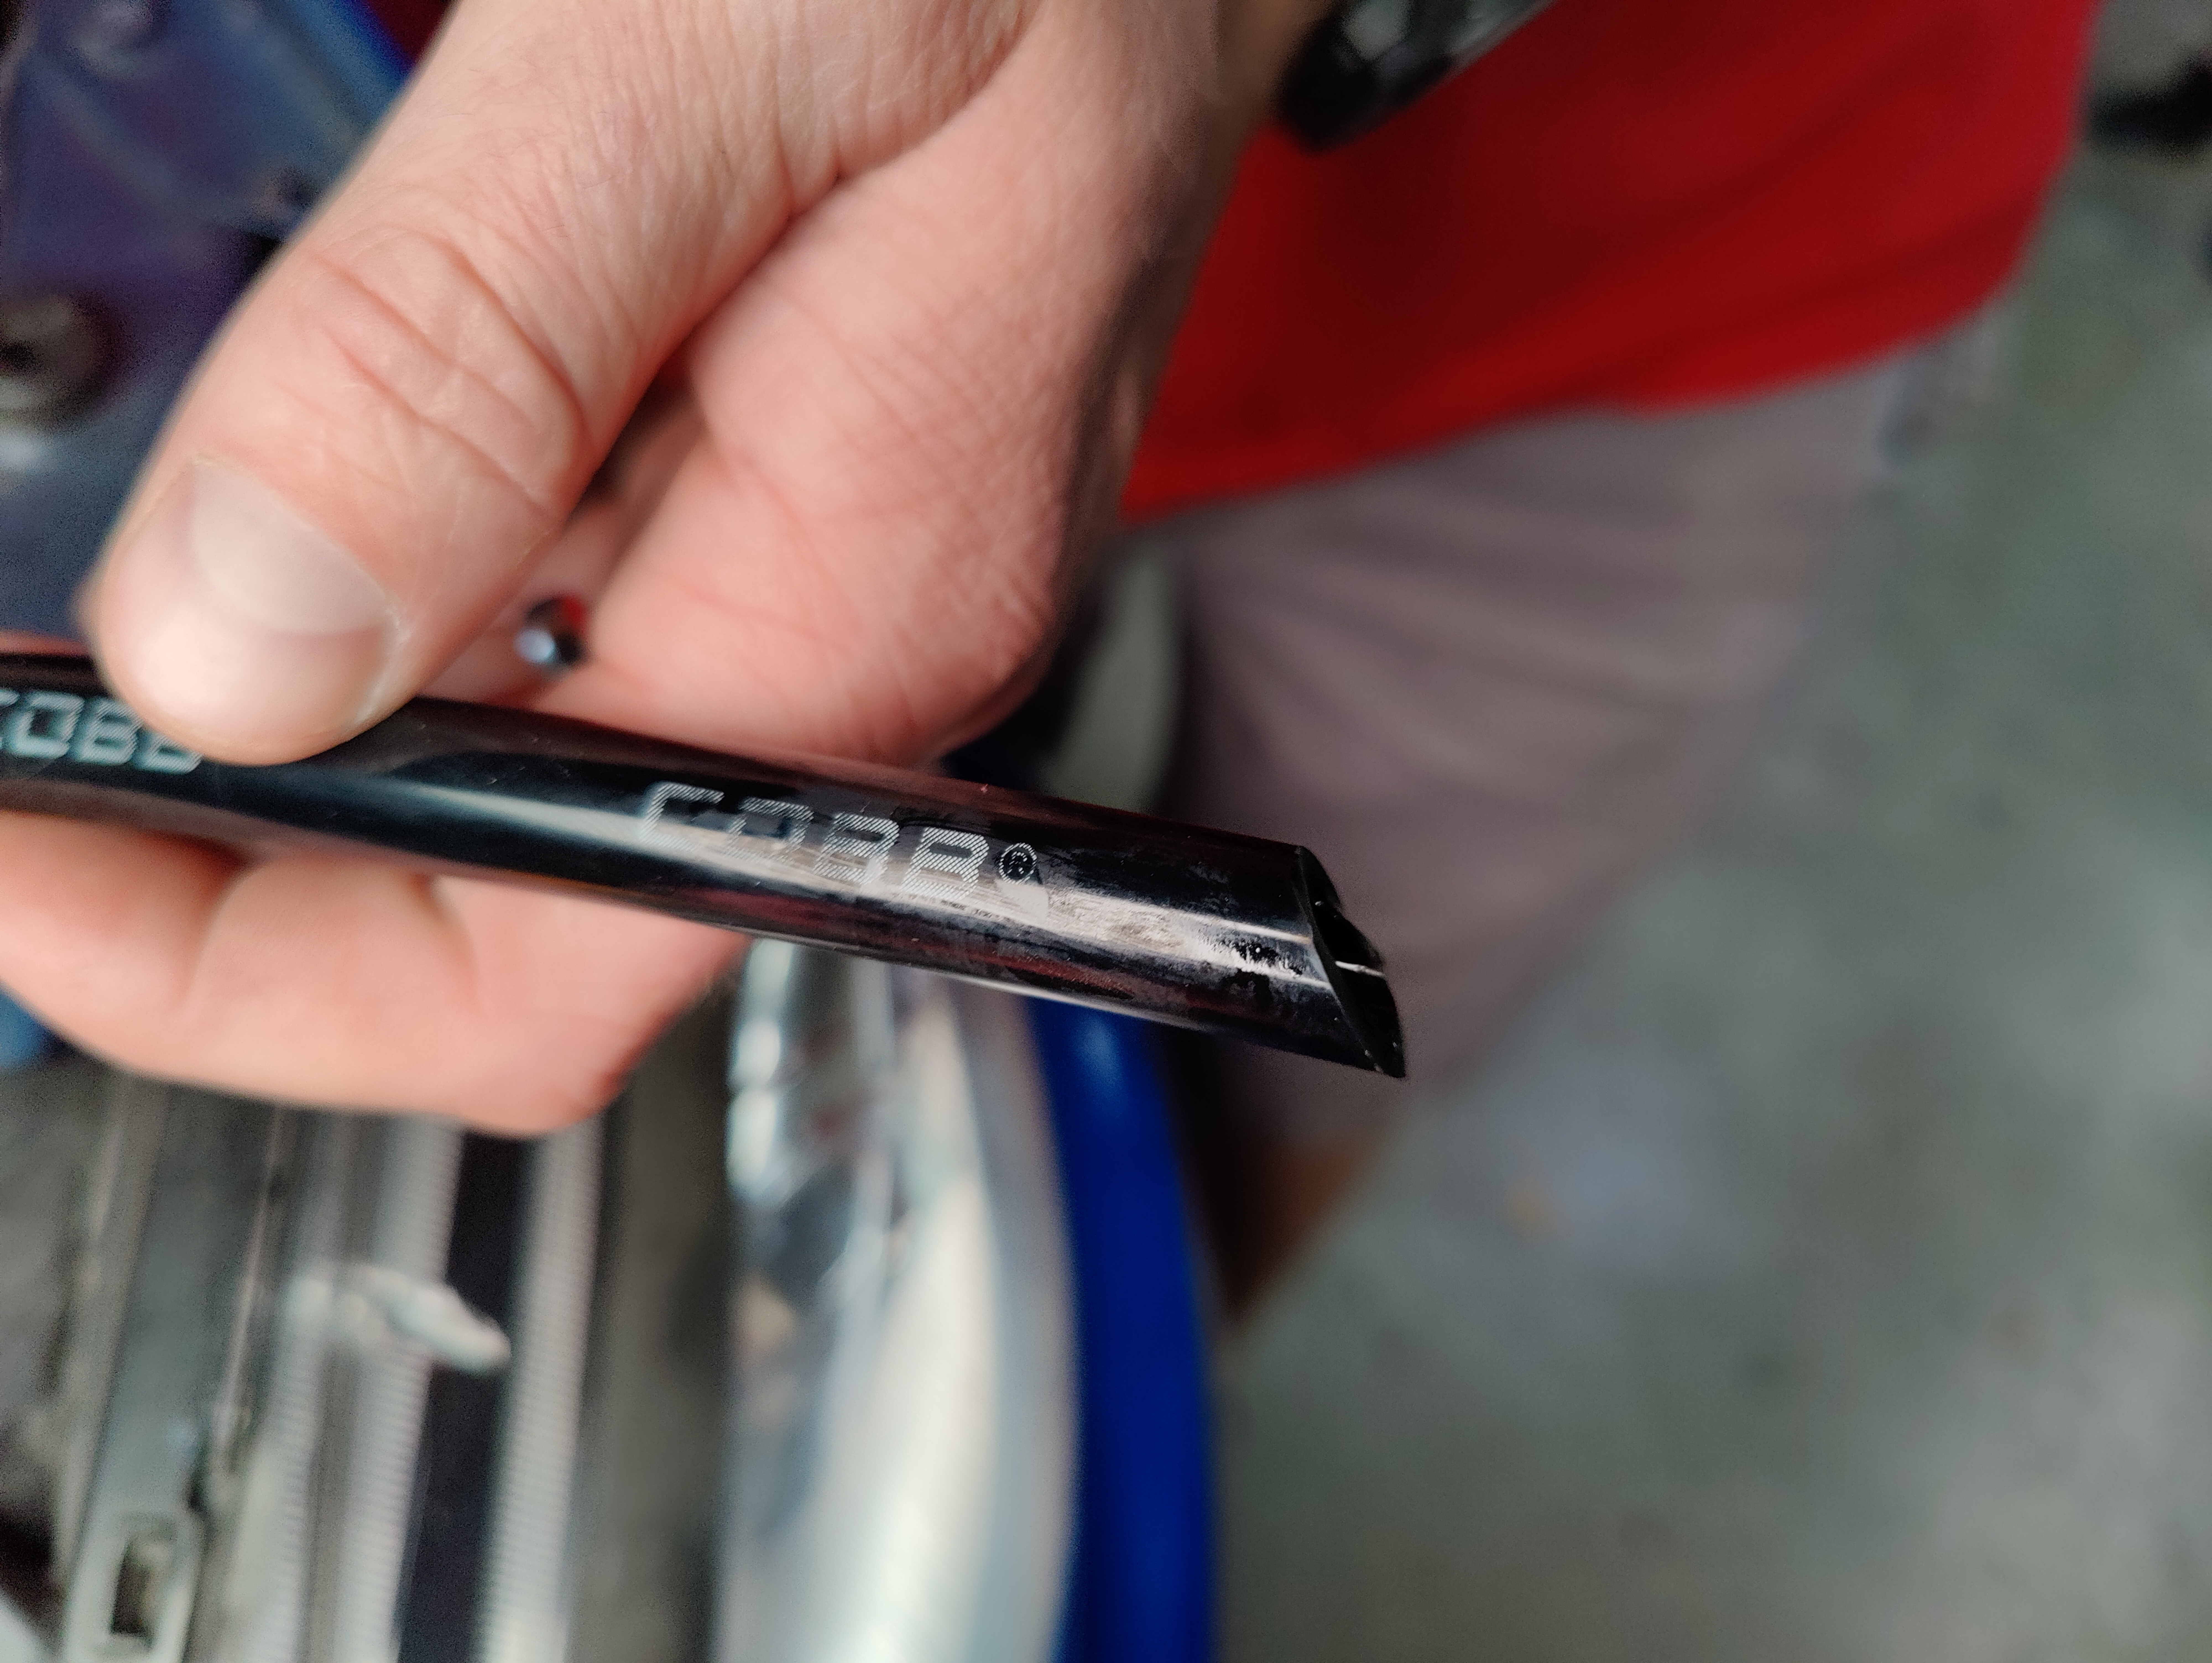
- Install the straight cut end of the hose onto the radiator and feed the slash cut end into the tank.
- Add the fluid from your radiator overflow into the new tank. If you're doing a complete refill of the system you'll typically want to keep the overflow around 1/3 of the way full.
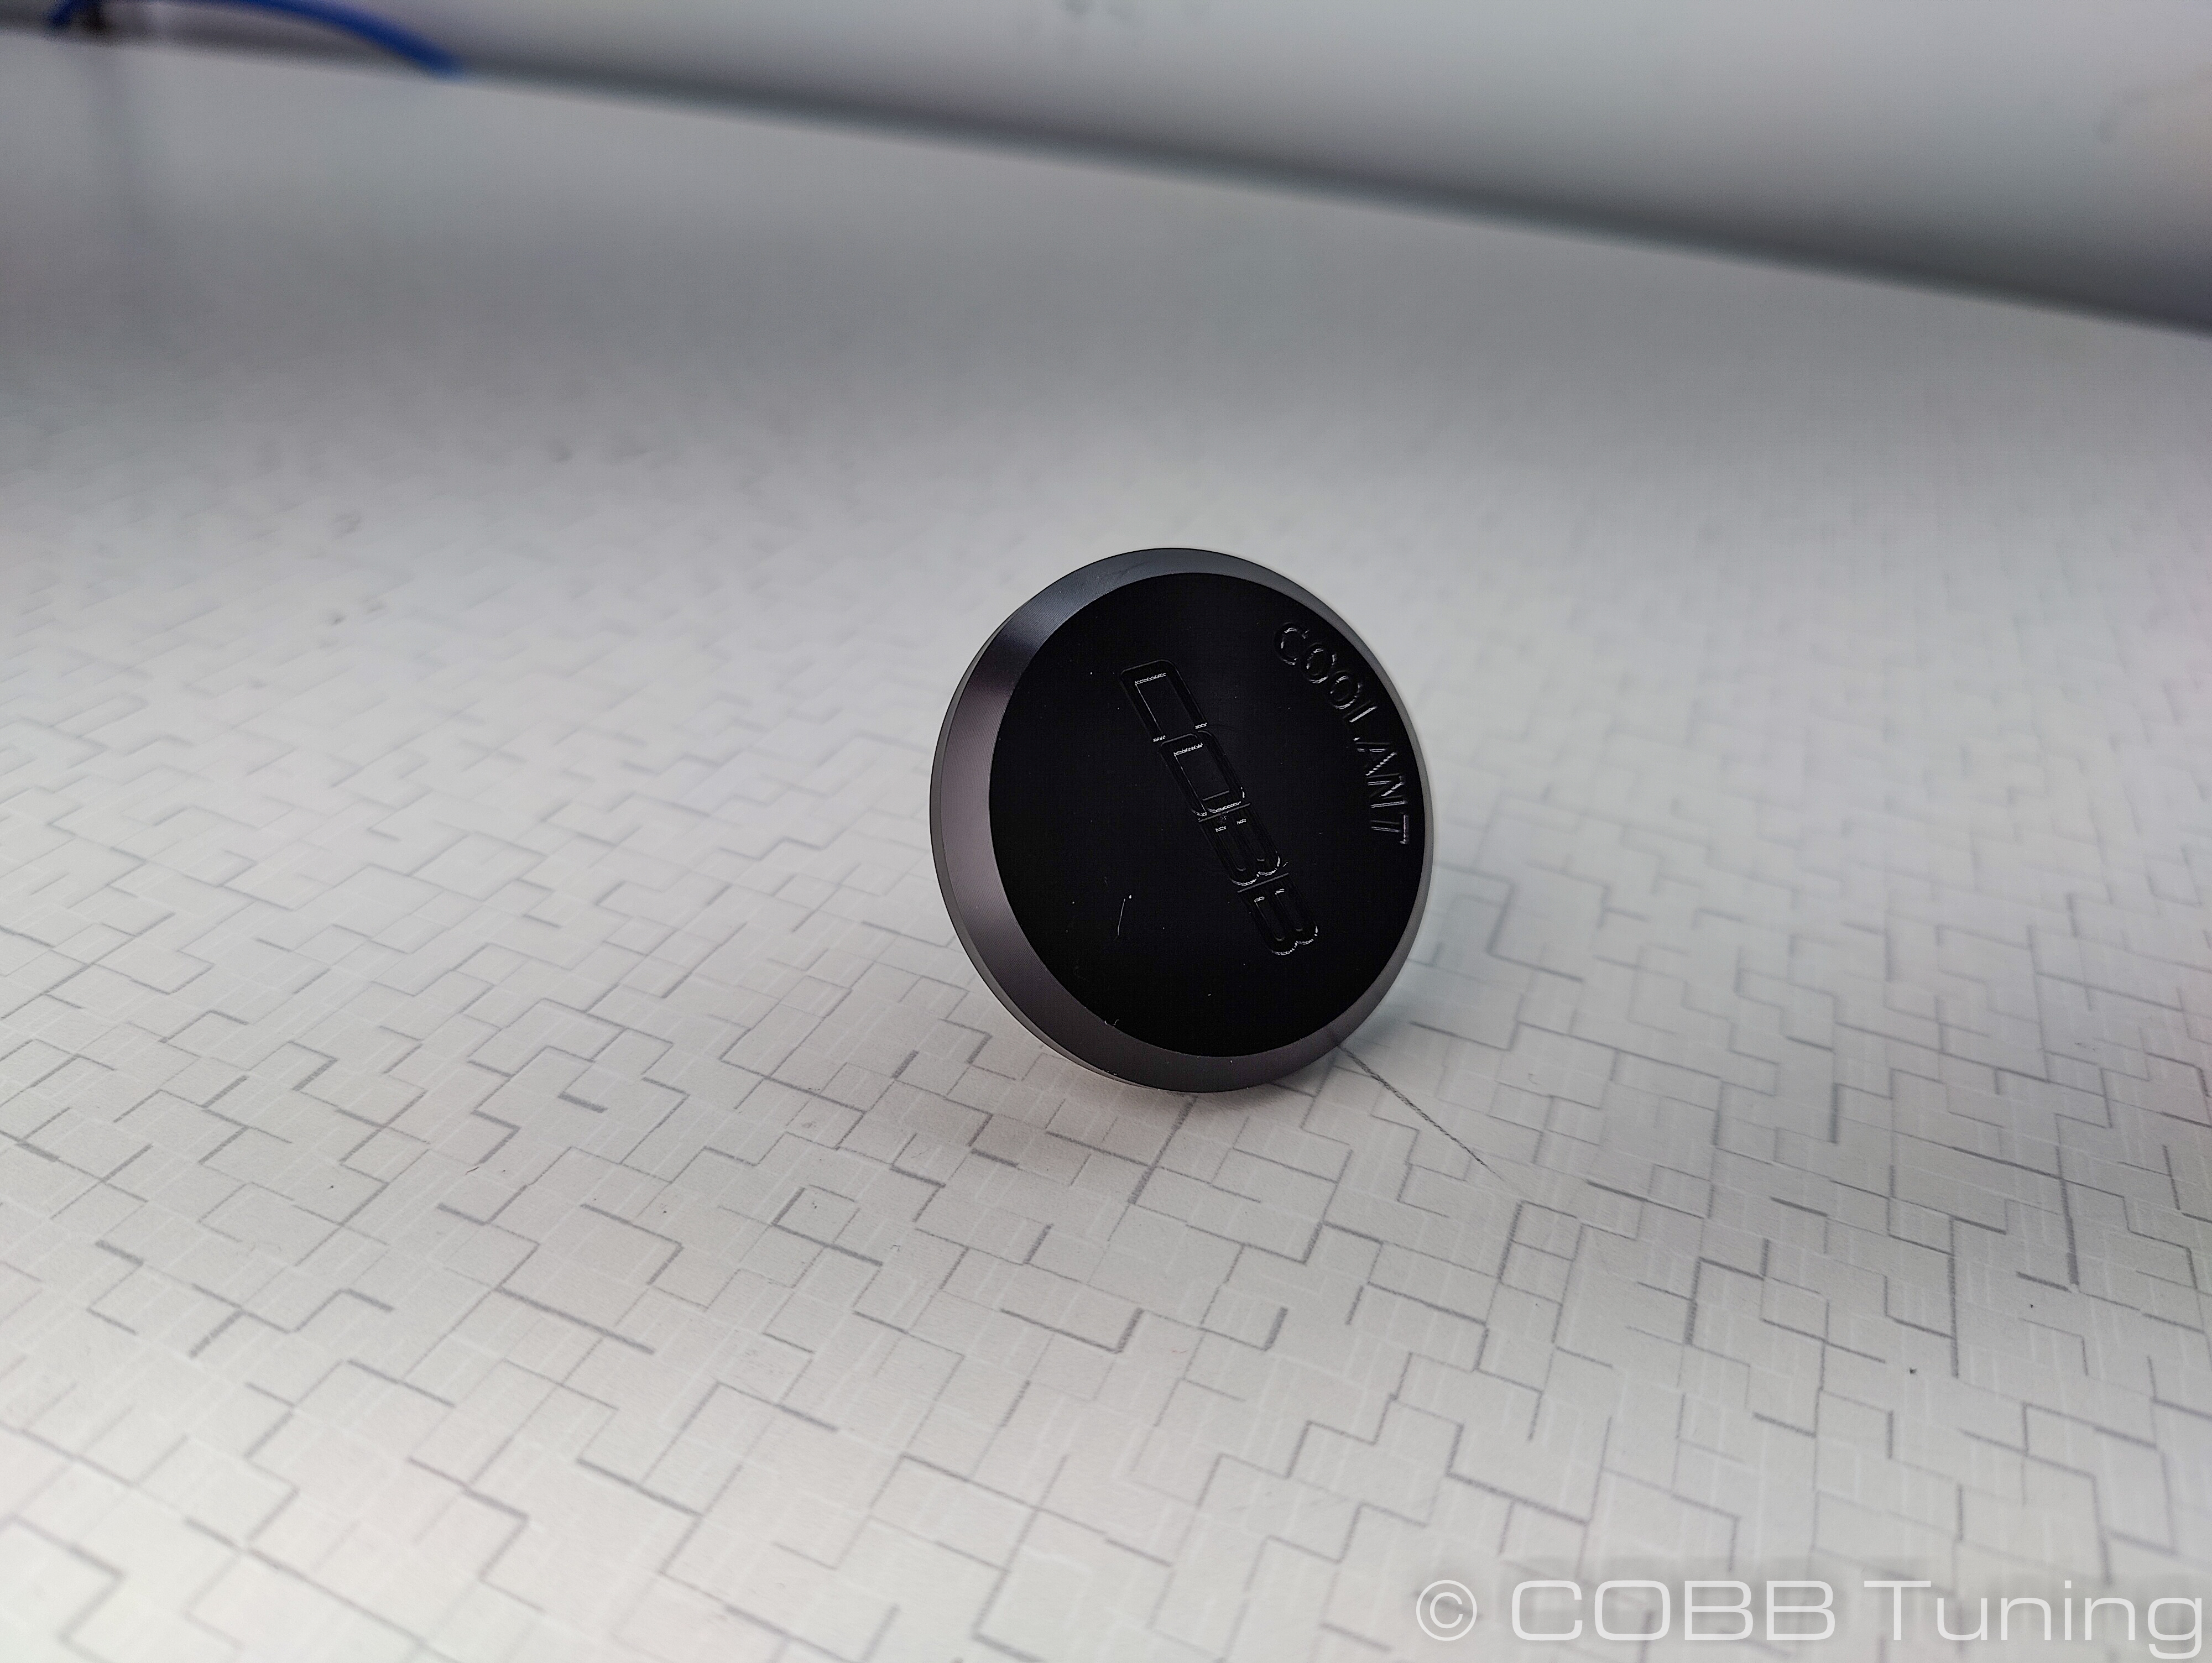
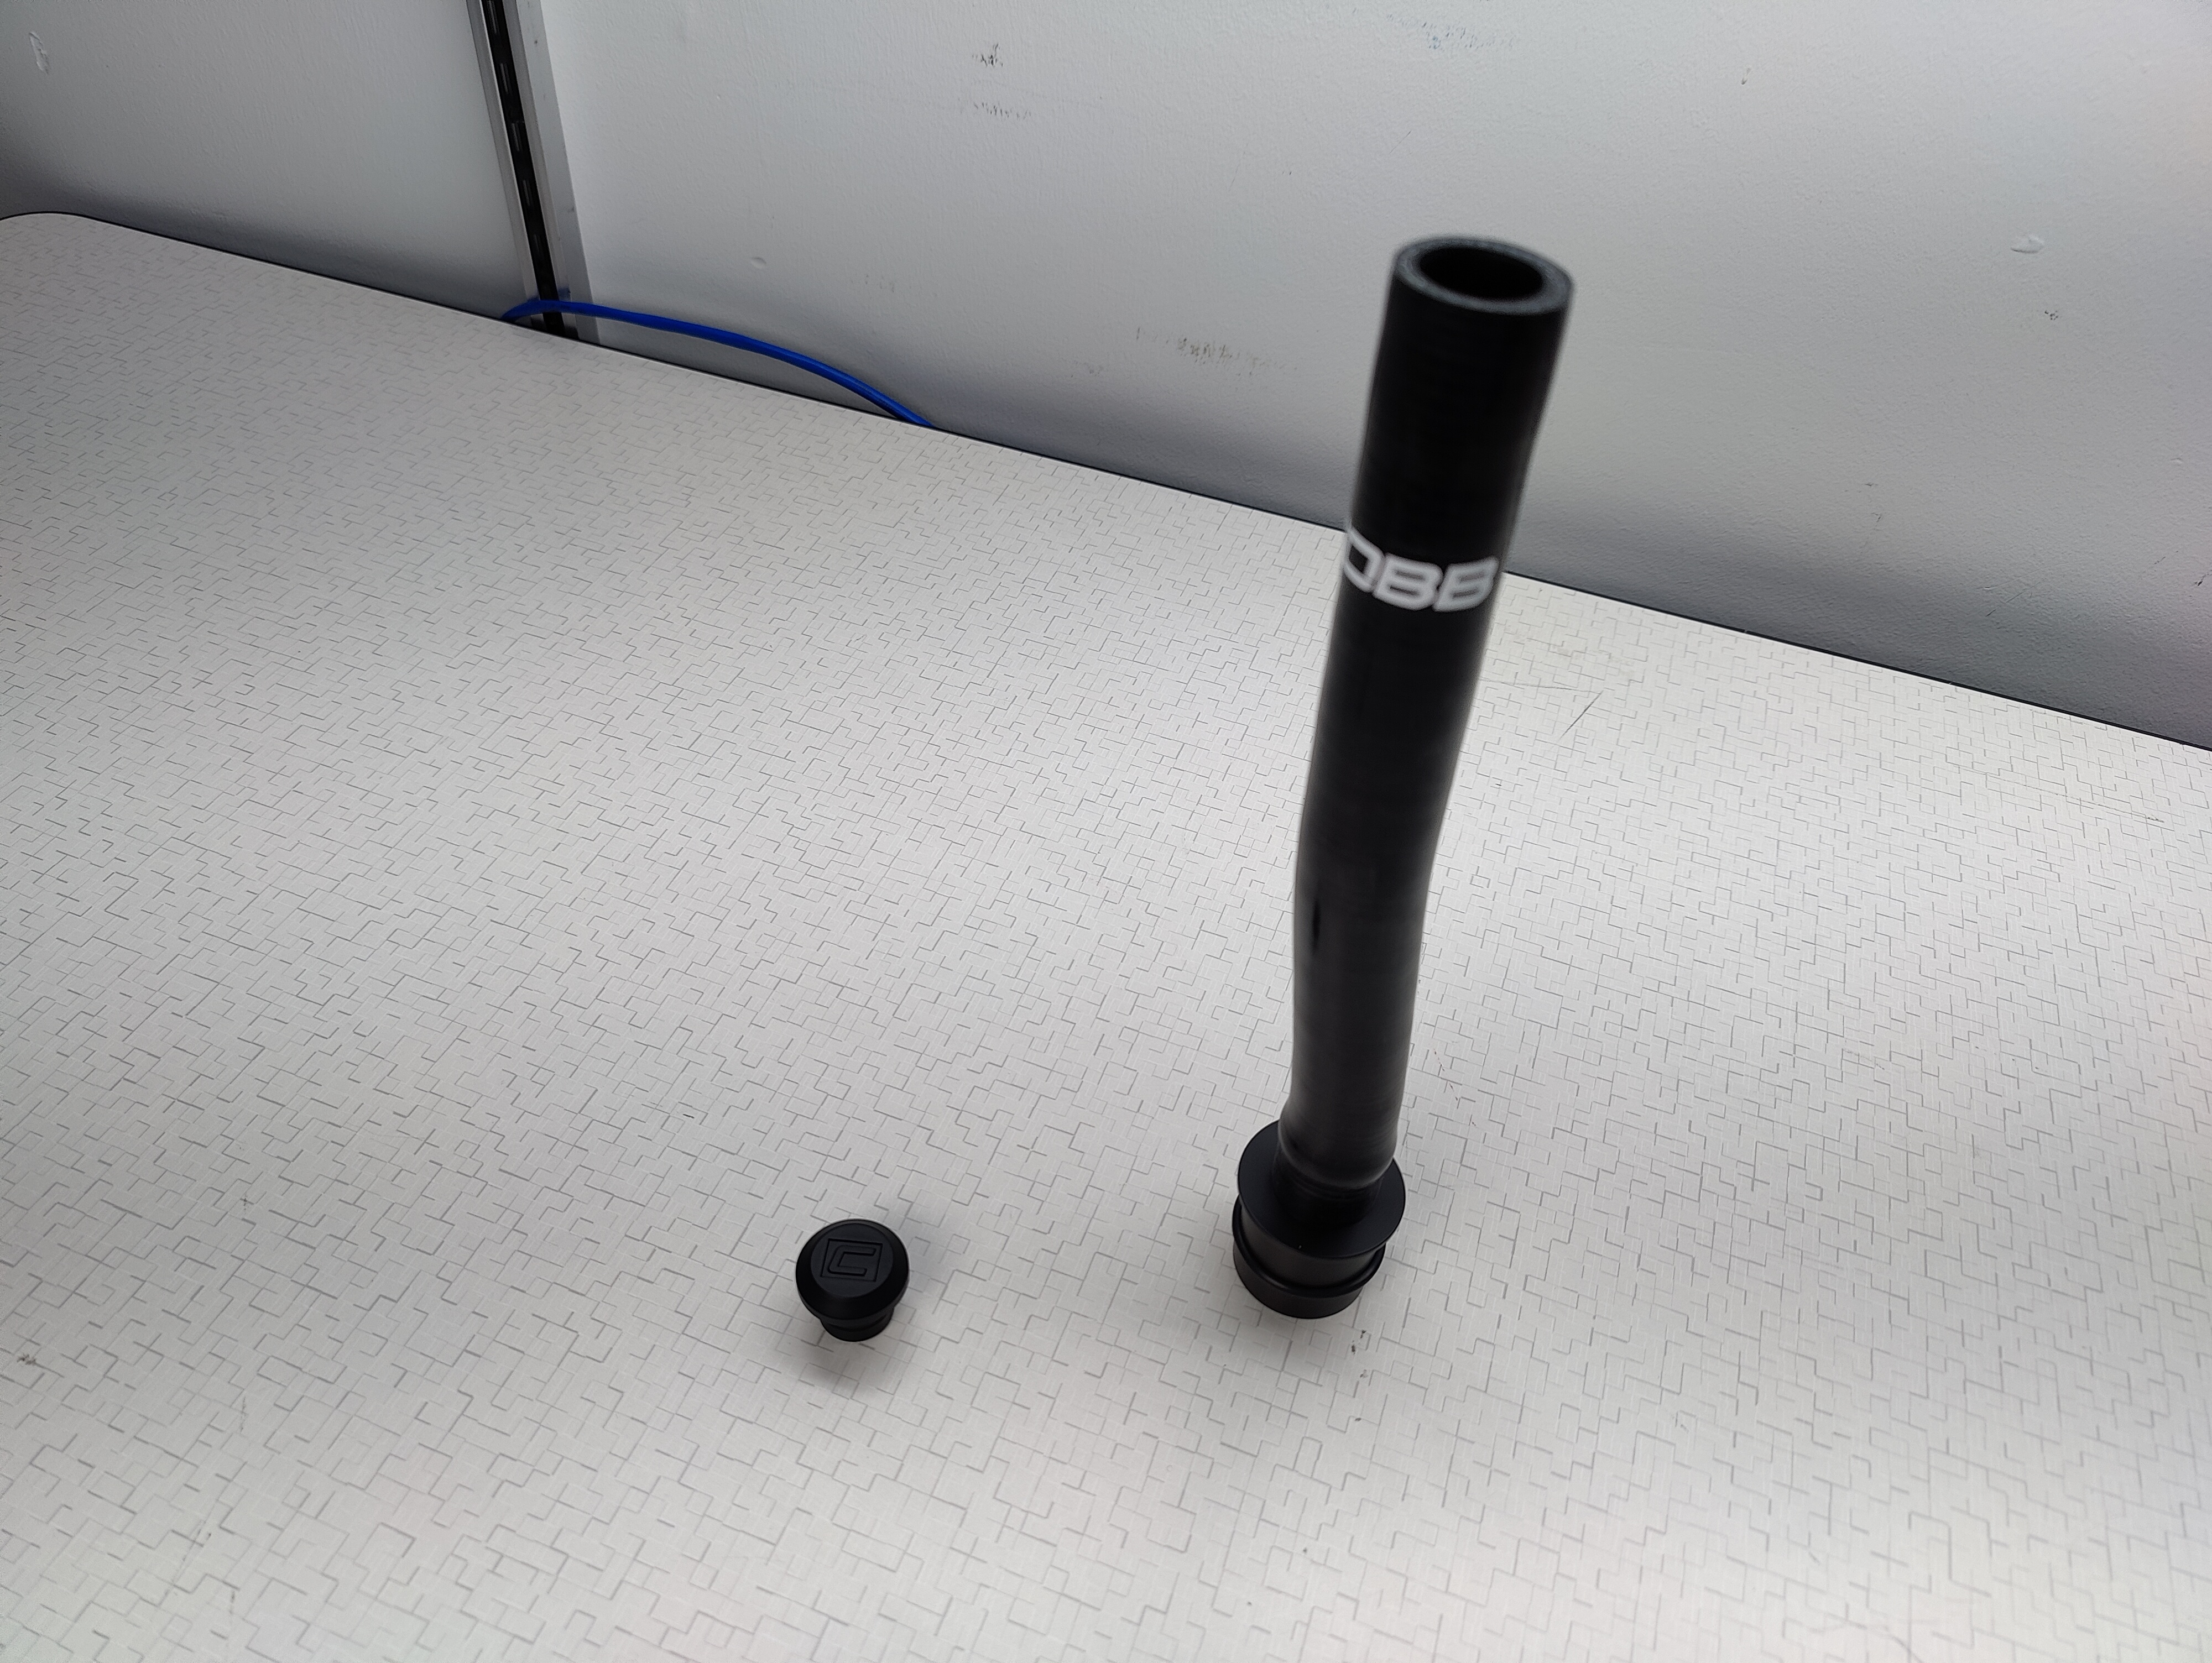
- Install the provided o-ring onto the new delrin coolant overflow cap.
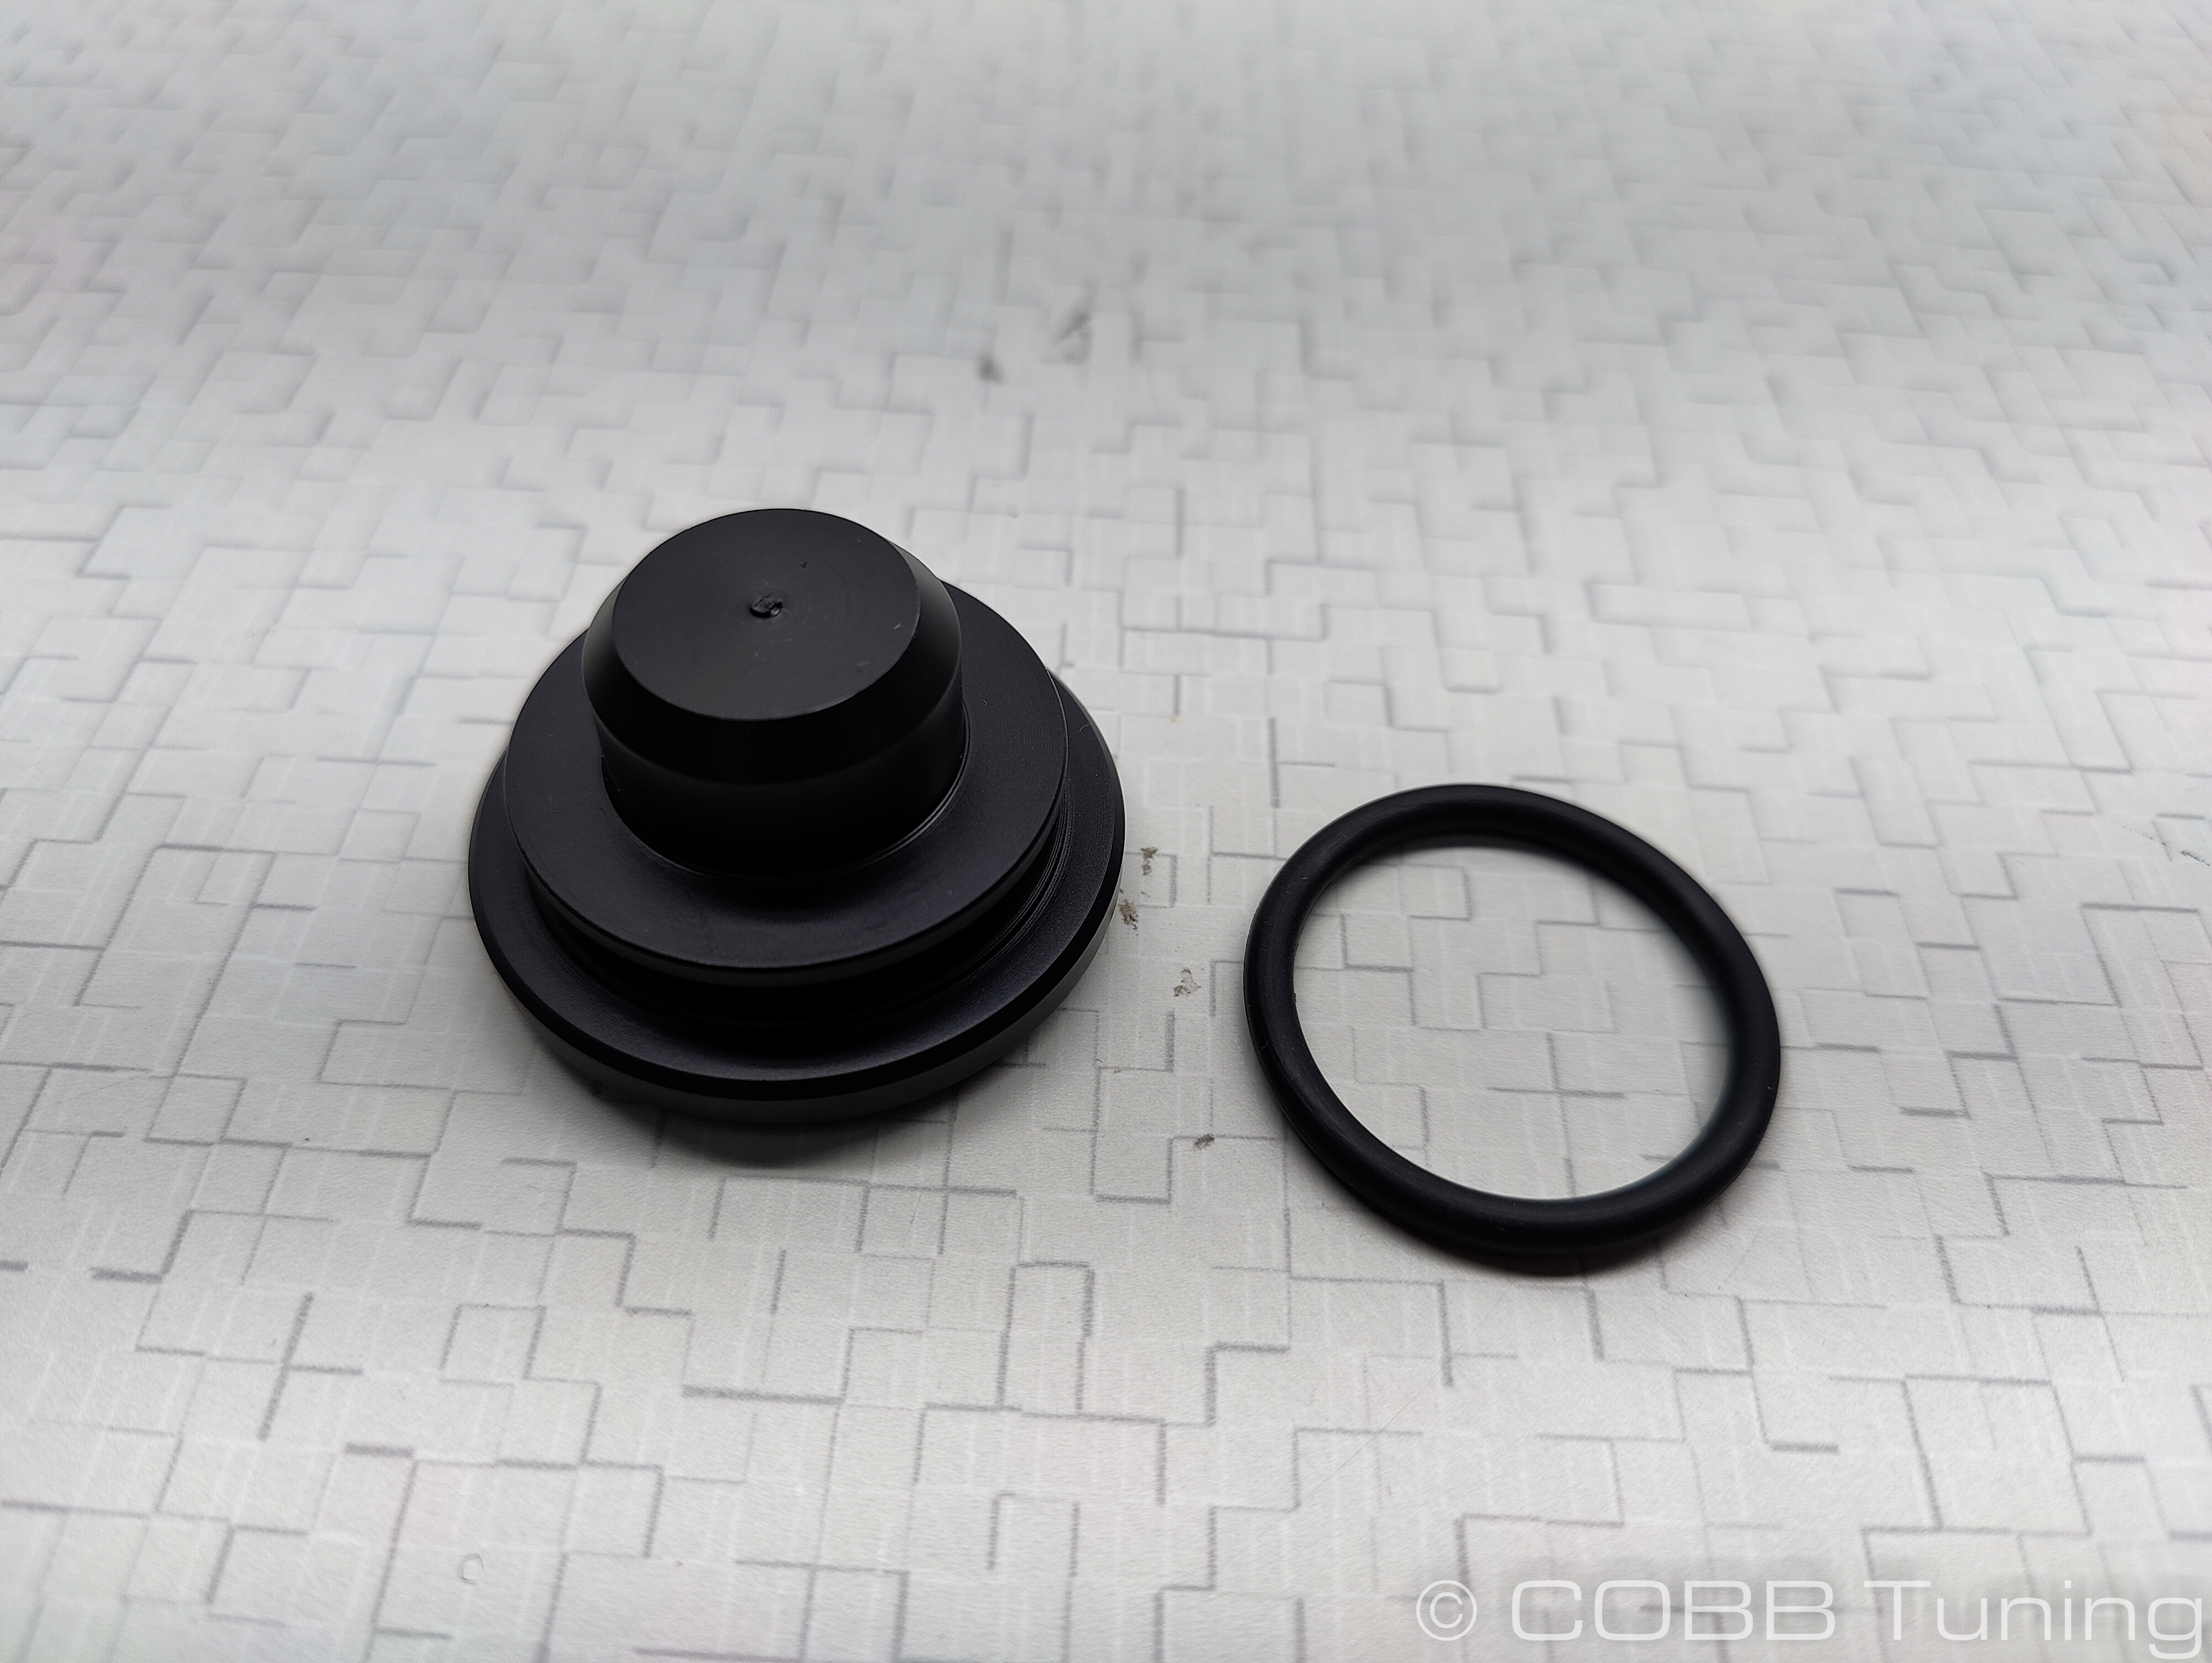
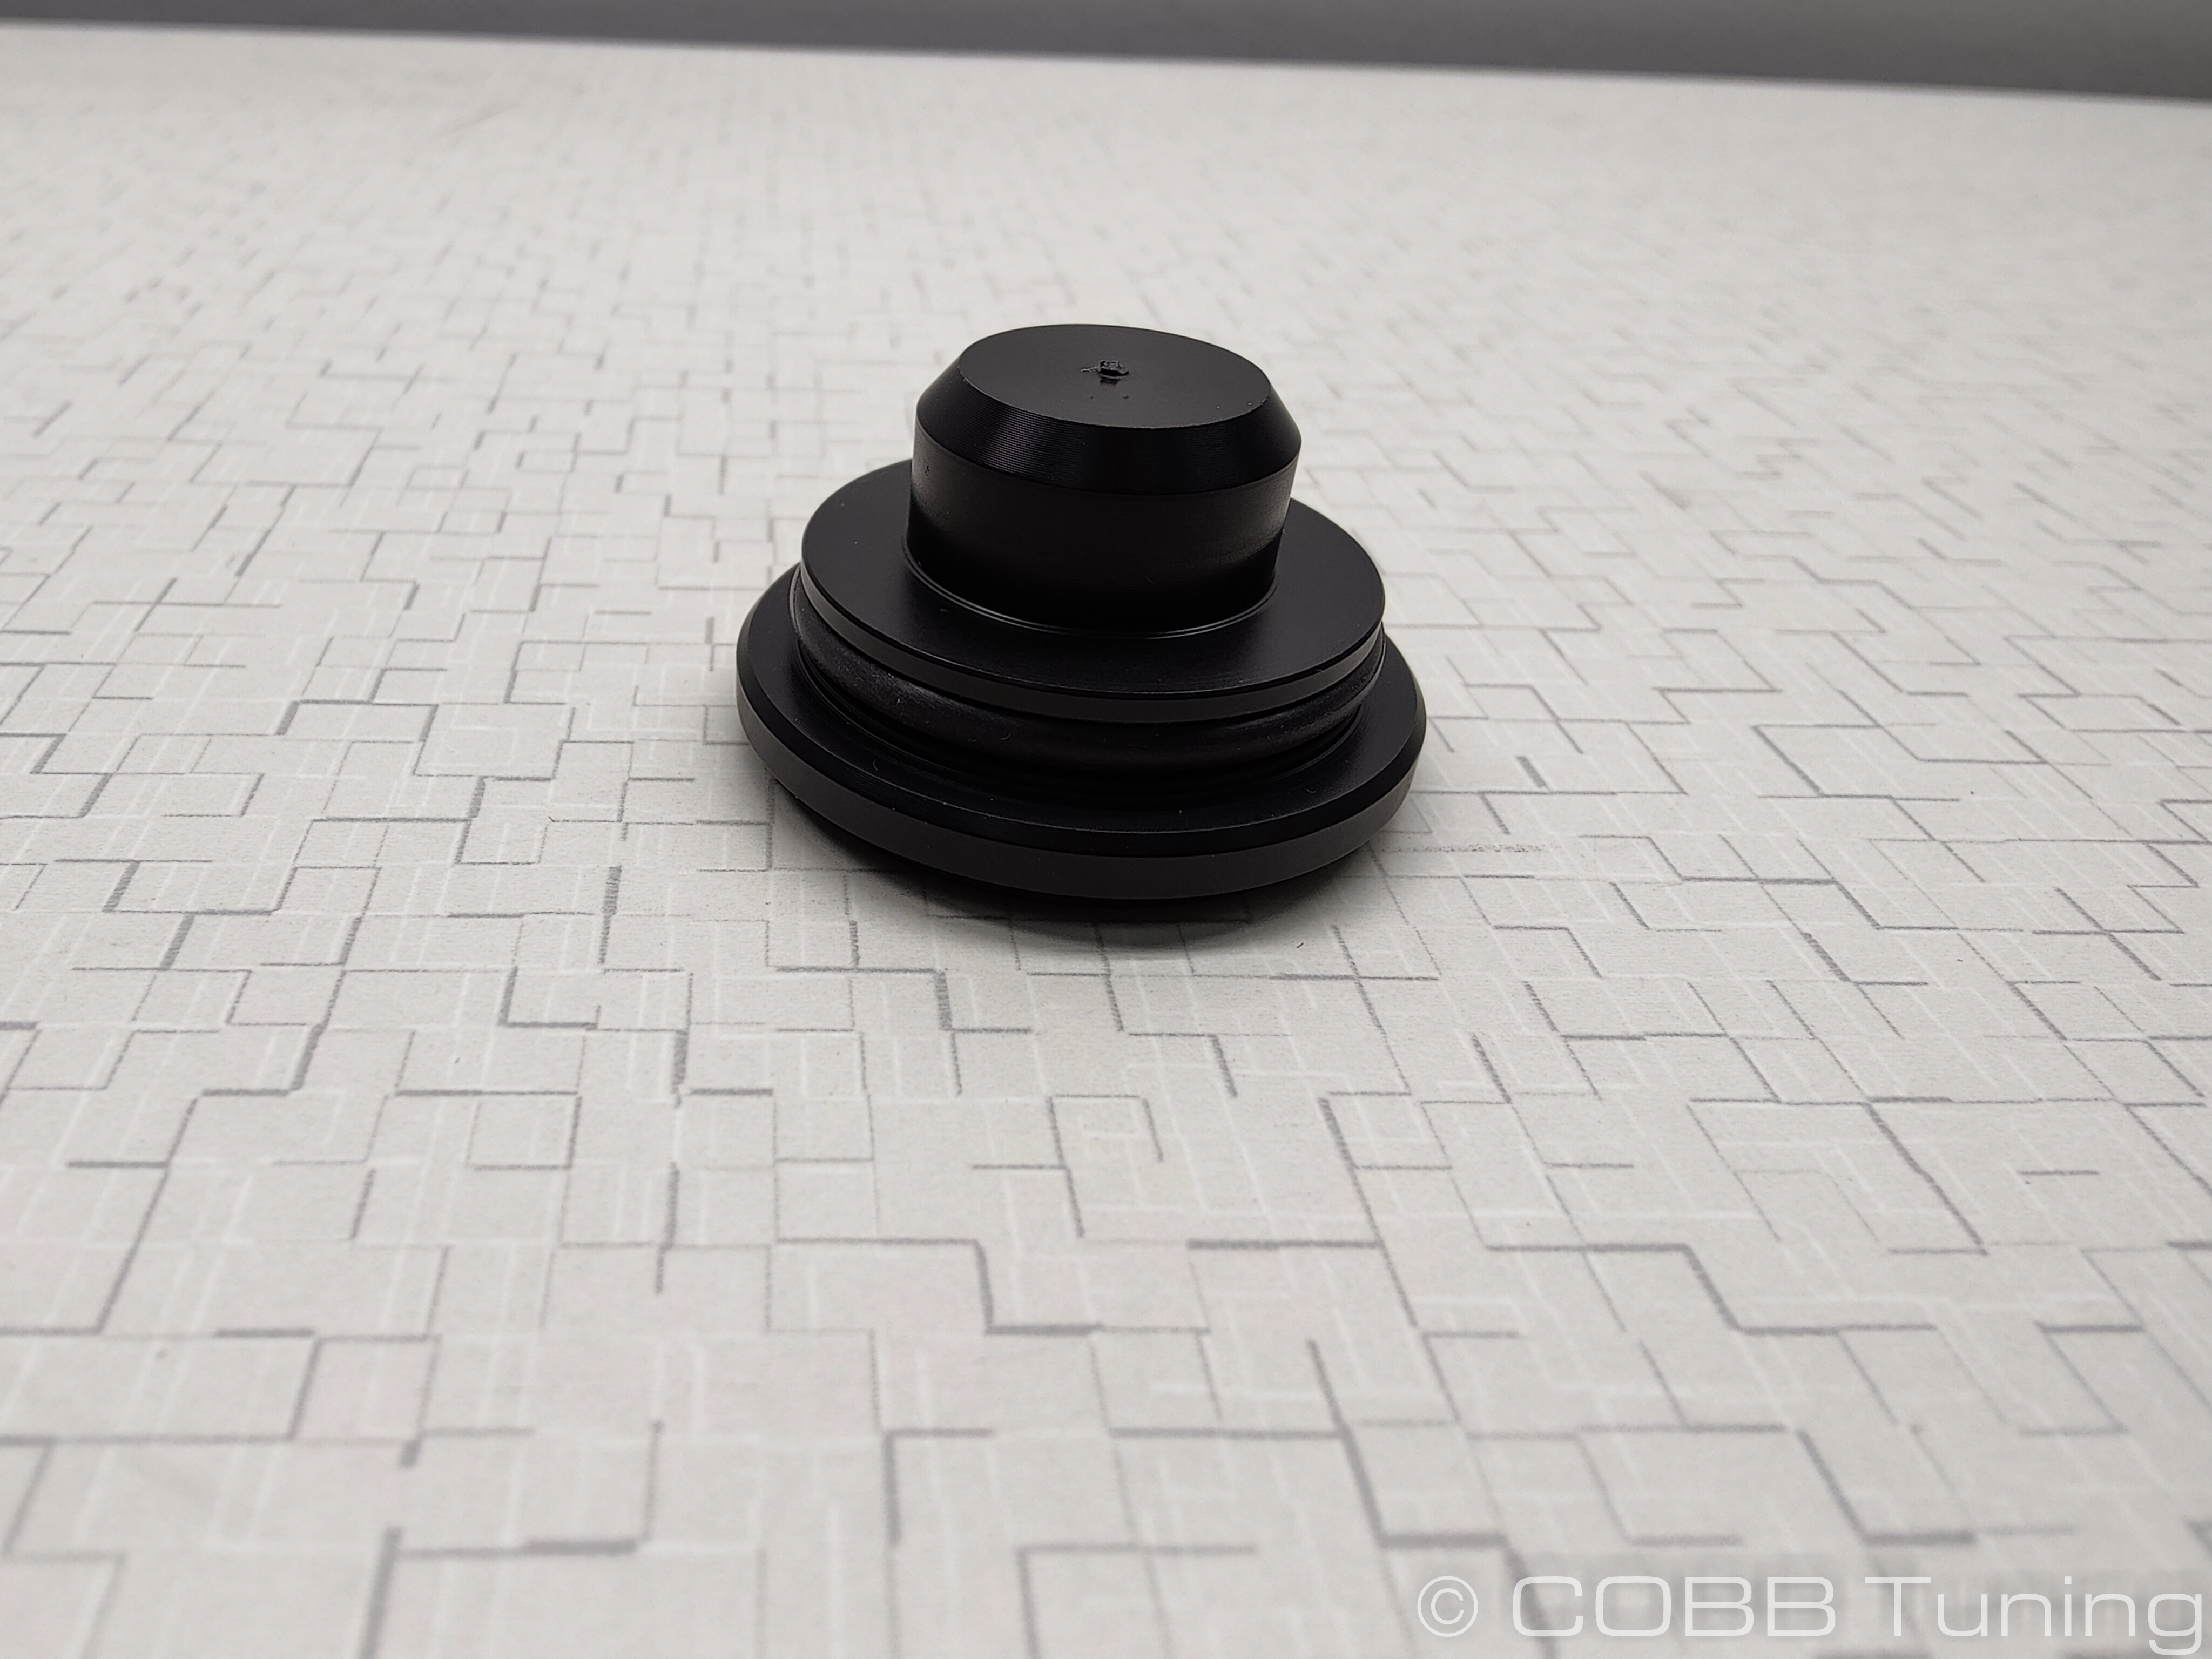
- Install it into the overflow.
- You're all done, go out and enjoy!
Contact Us:
COBB Customer Support
Web Support and Tech Articles: COBB Tuning Customer Support Center
Email: support@cobbtuning.com
Phone support available 9am to 6pm Monday-Thursday. 9am to 4pm Friday (CST)
866.922.3059
return to www.cobbtuning.com
Copyright 2025 © COBB Tuning Products LLC. All Rights Reserved. | www.cobbtuning.com