CB-3199K - Transmission Isolator Bushing
- Brandyn Mowat

CB-3199K - Transmission Isolator Bushing
WRX 2008-2021
WRX STI 2008-2021
Type RA 2018
S209 2019
LGT/OBXT 2005-2009
LGT Spec B 2006-2009
Congratulations on your purchase of the COBB Tuning Transmission Isolator Bushing! The following instructions will assist you through the installation process. Please read them BEFORE beginning the install to familiarize yourself with the steps and tools needed. If you feel you cannot properly perform this installation, we HIGHLY recommend you take the vehicle to a qualified and experienced automotive technician.
Table of Contents
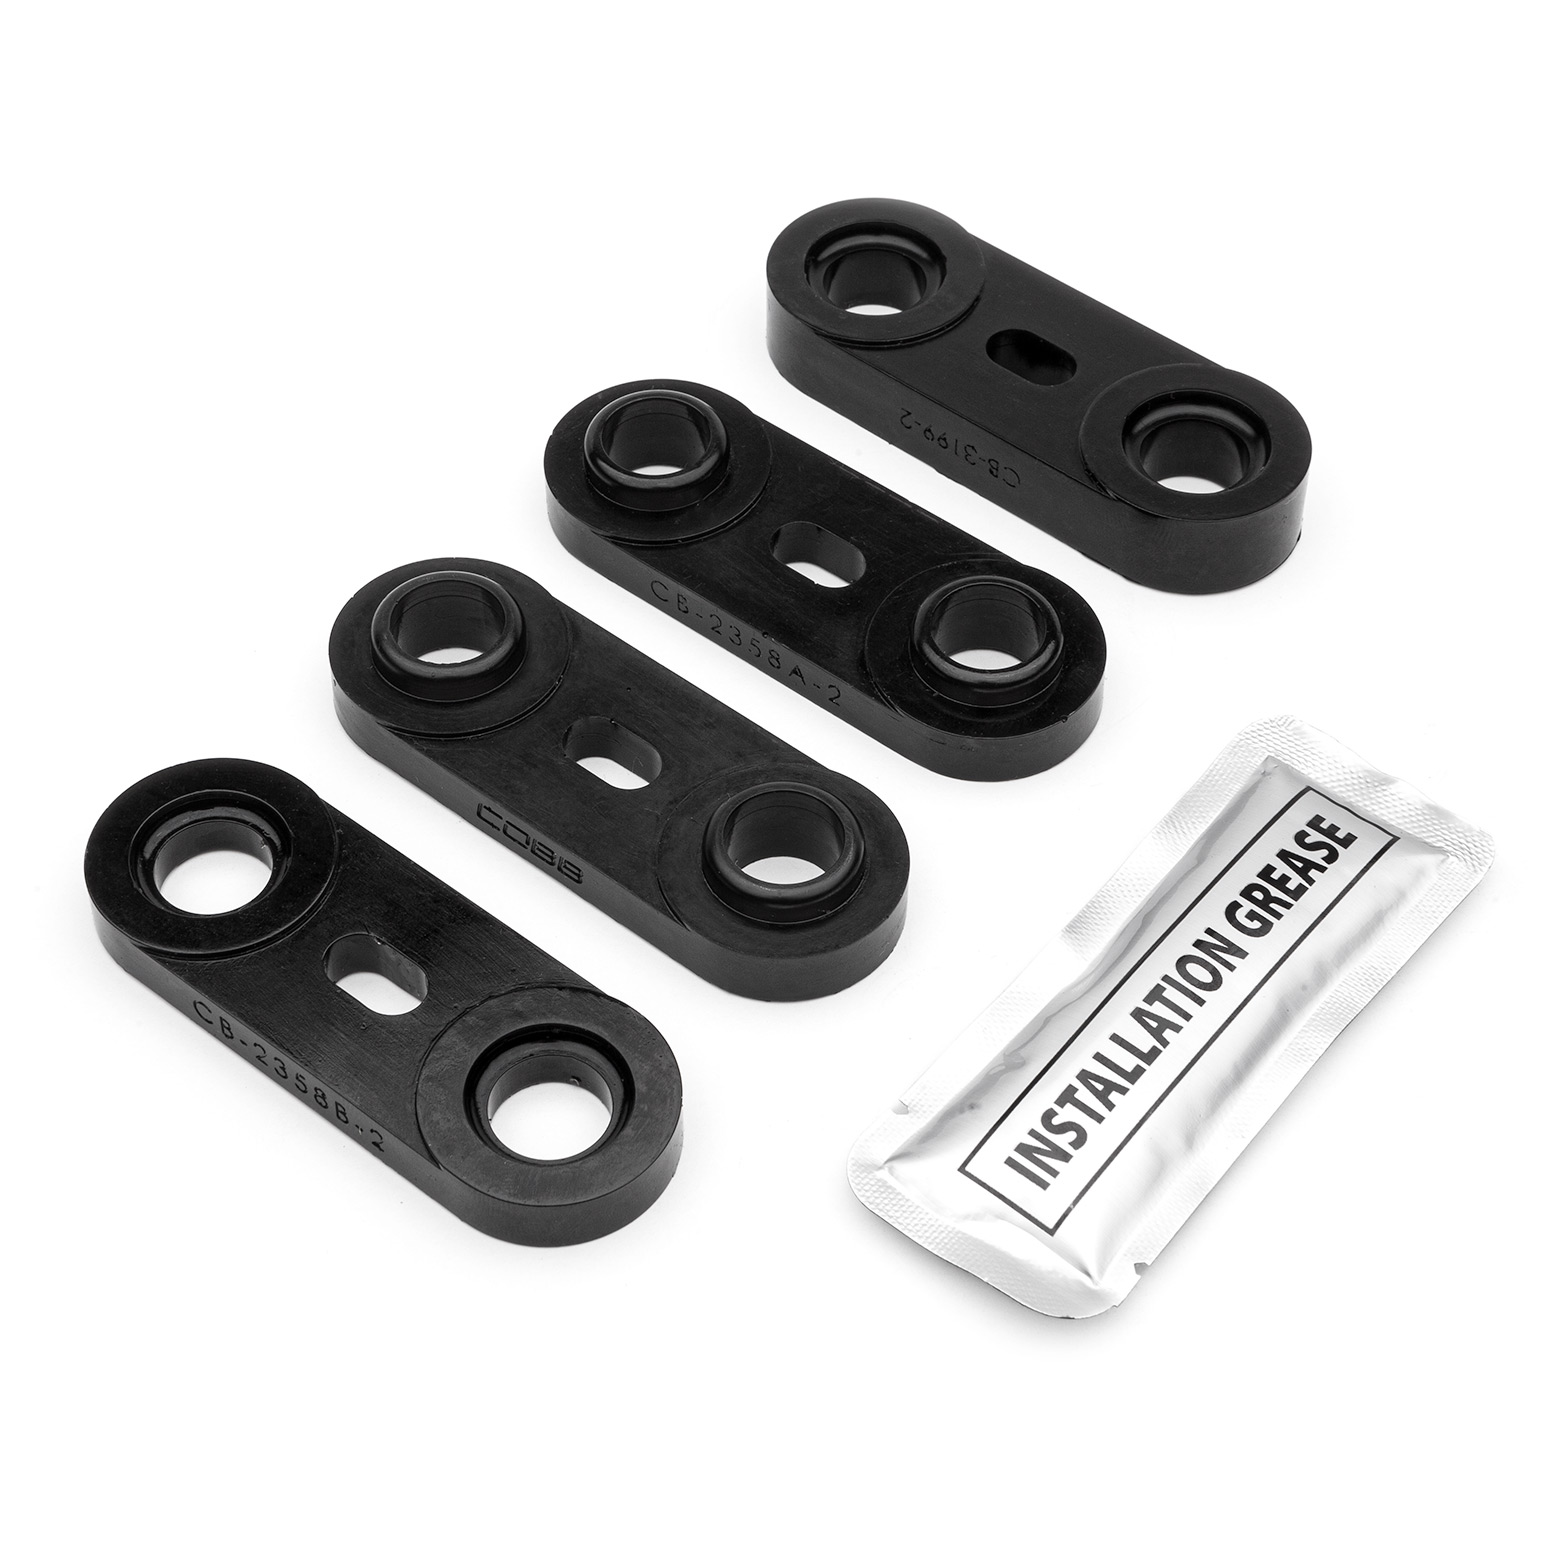
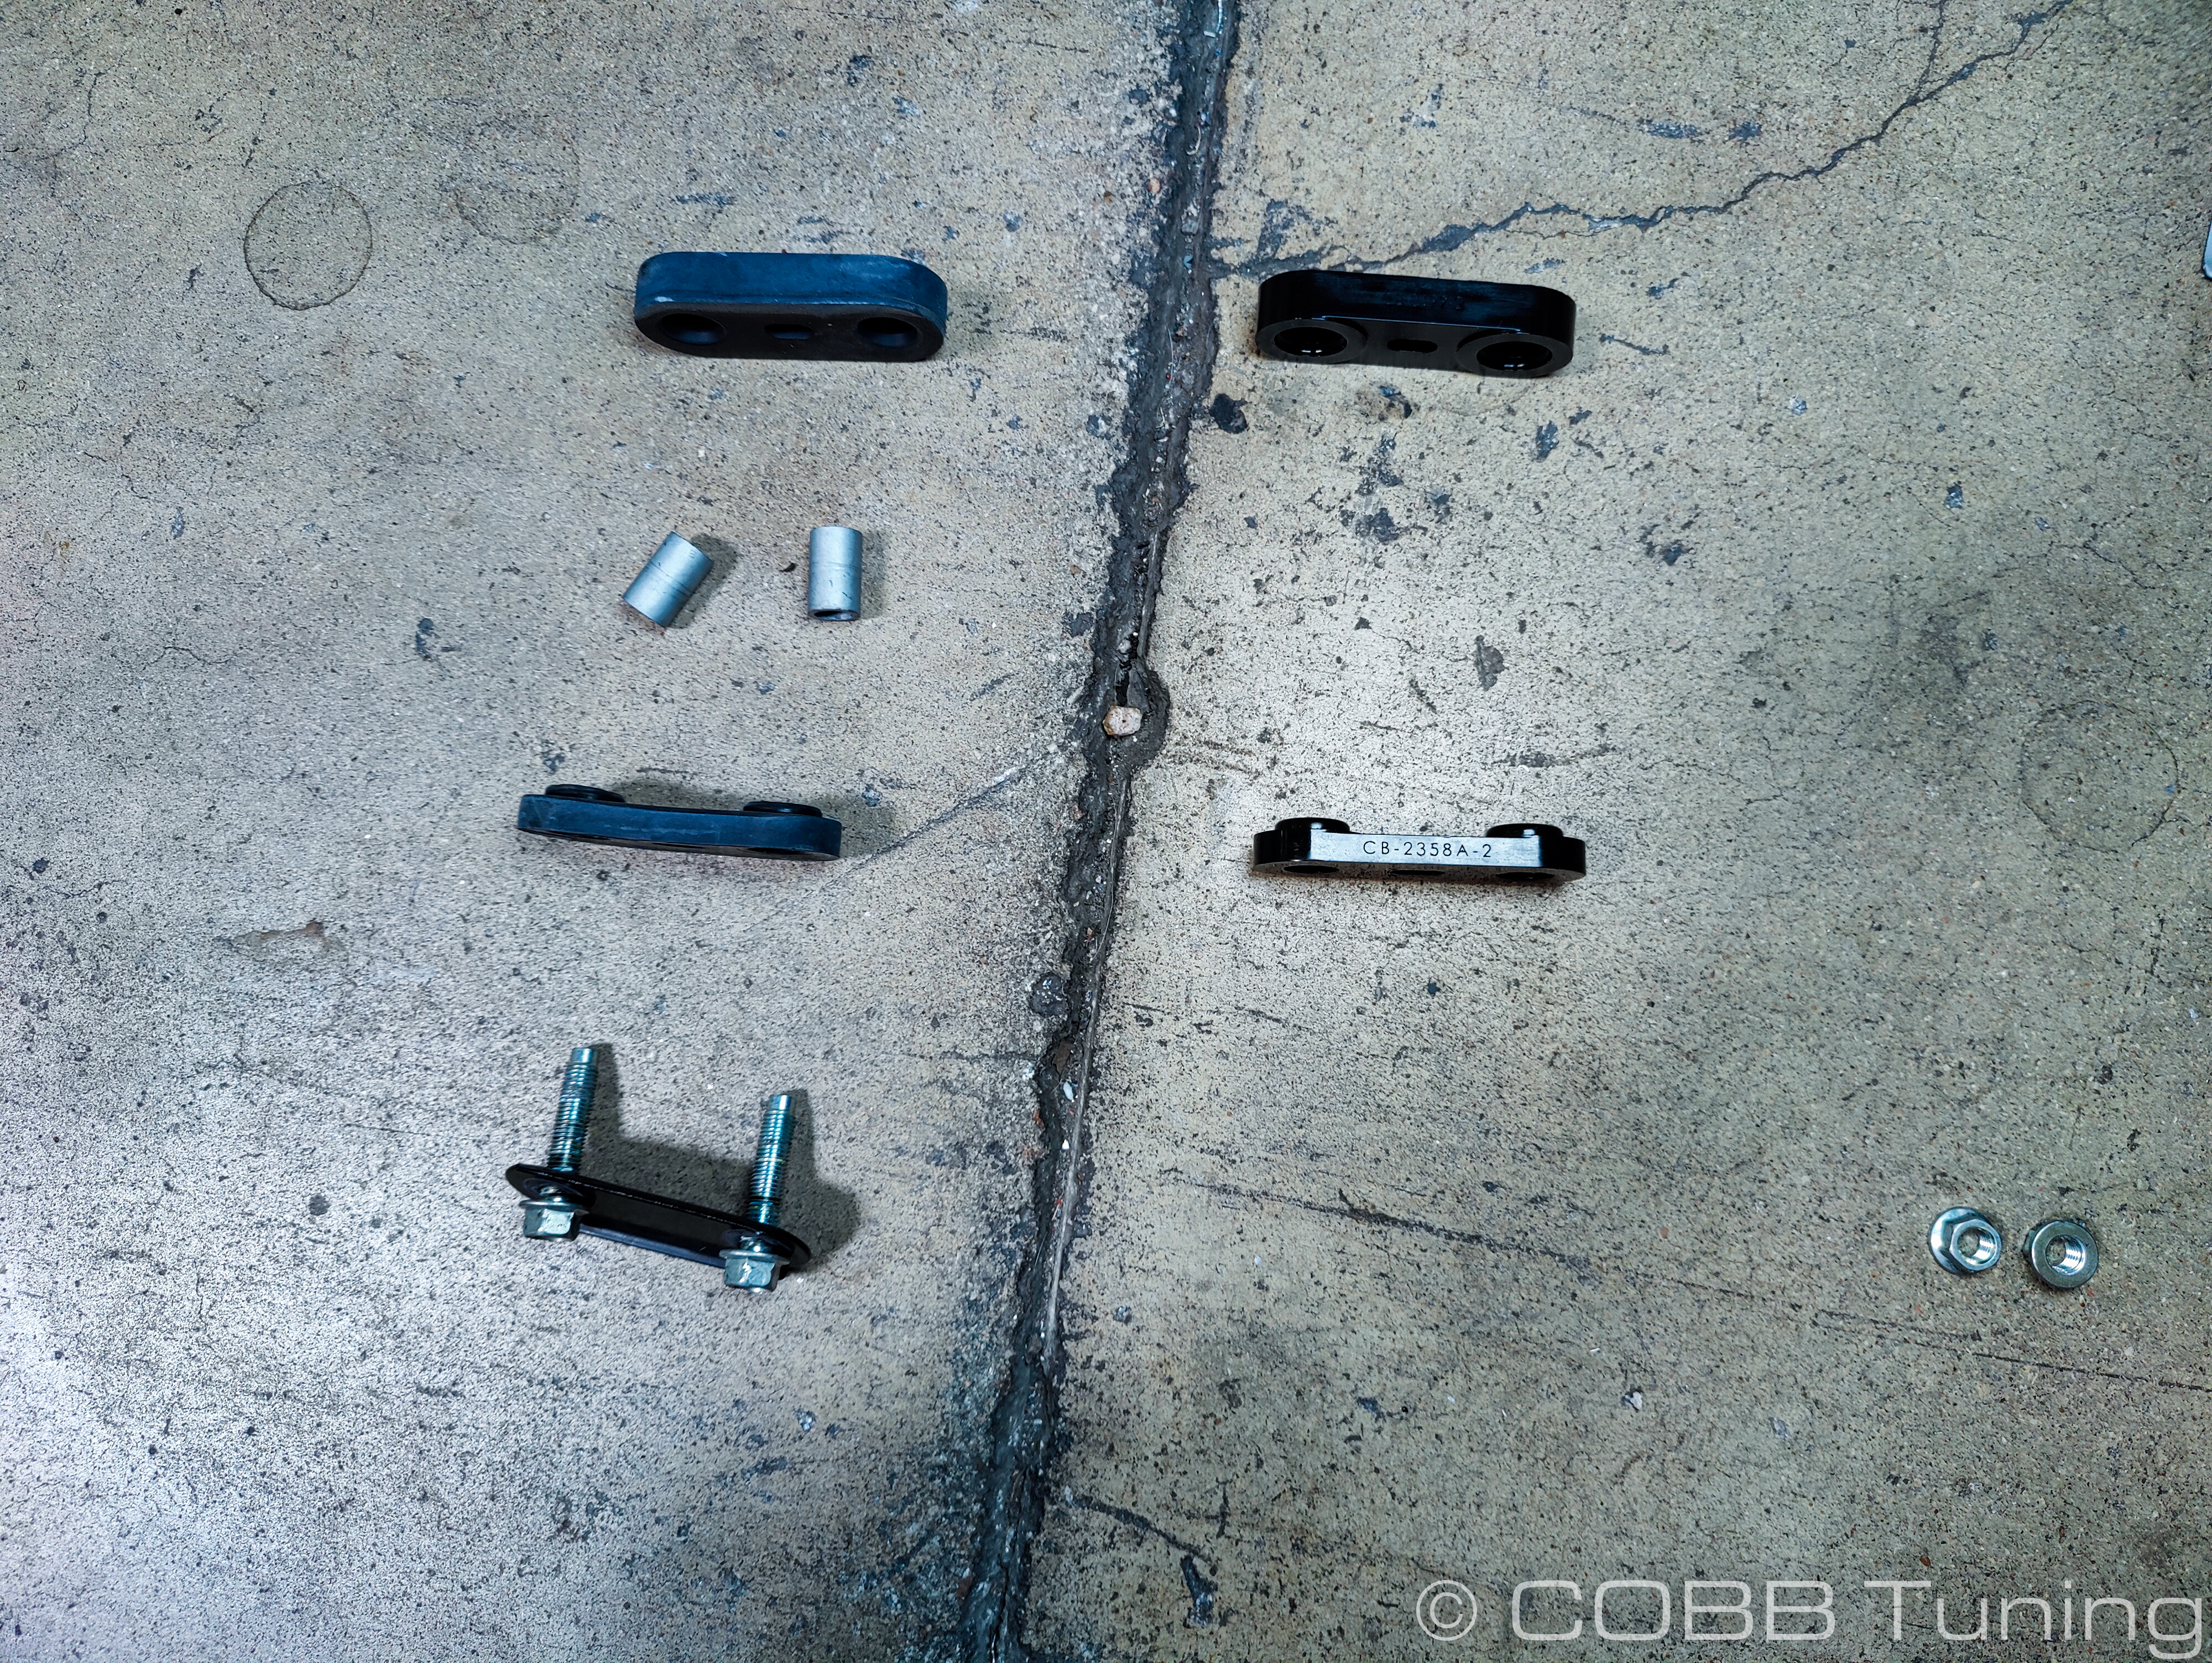
Parts List
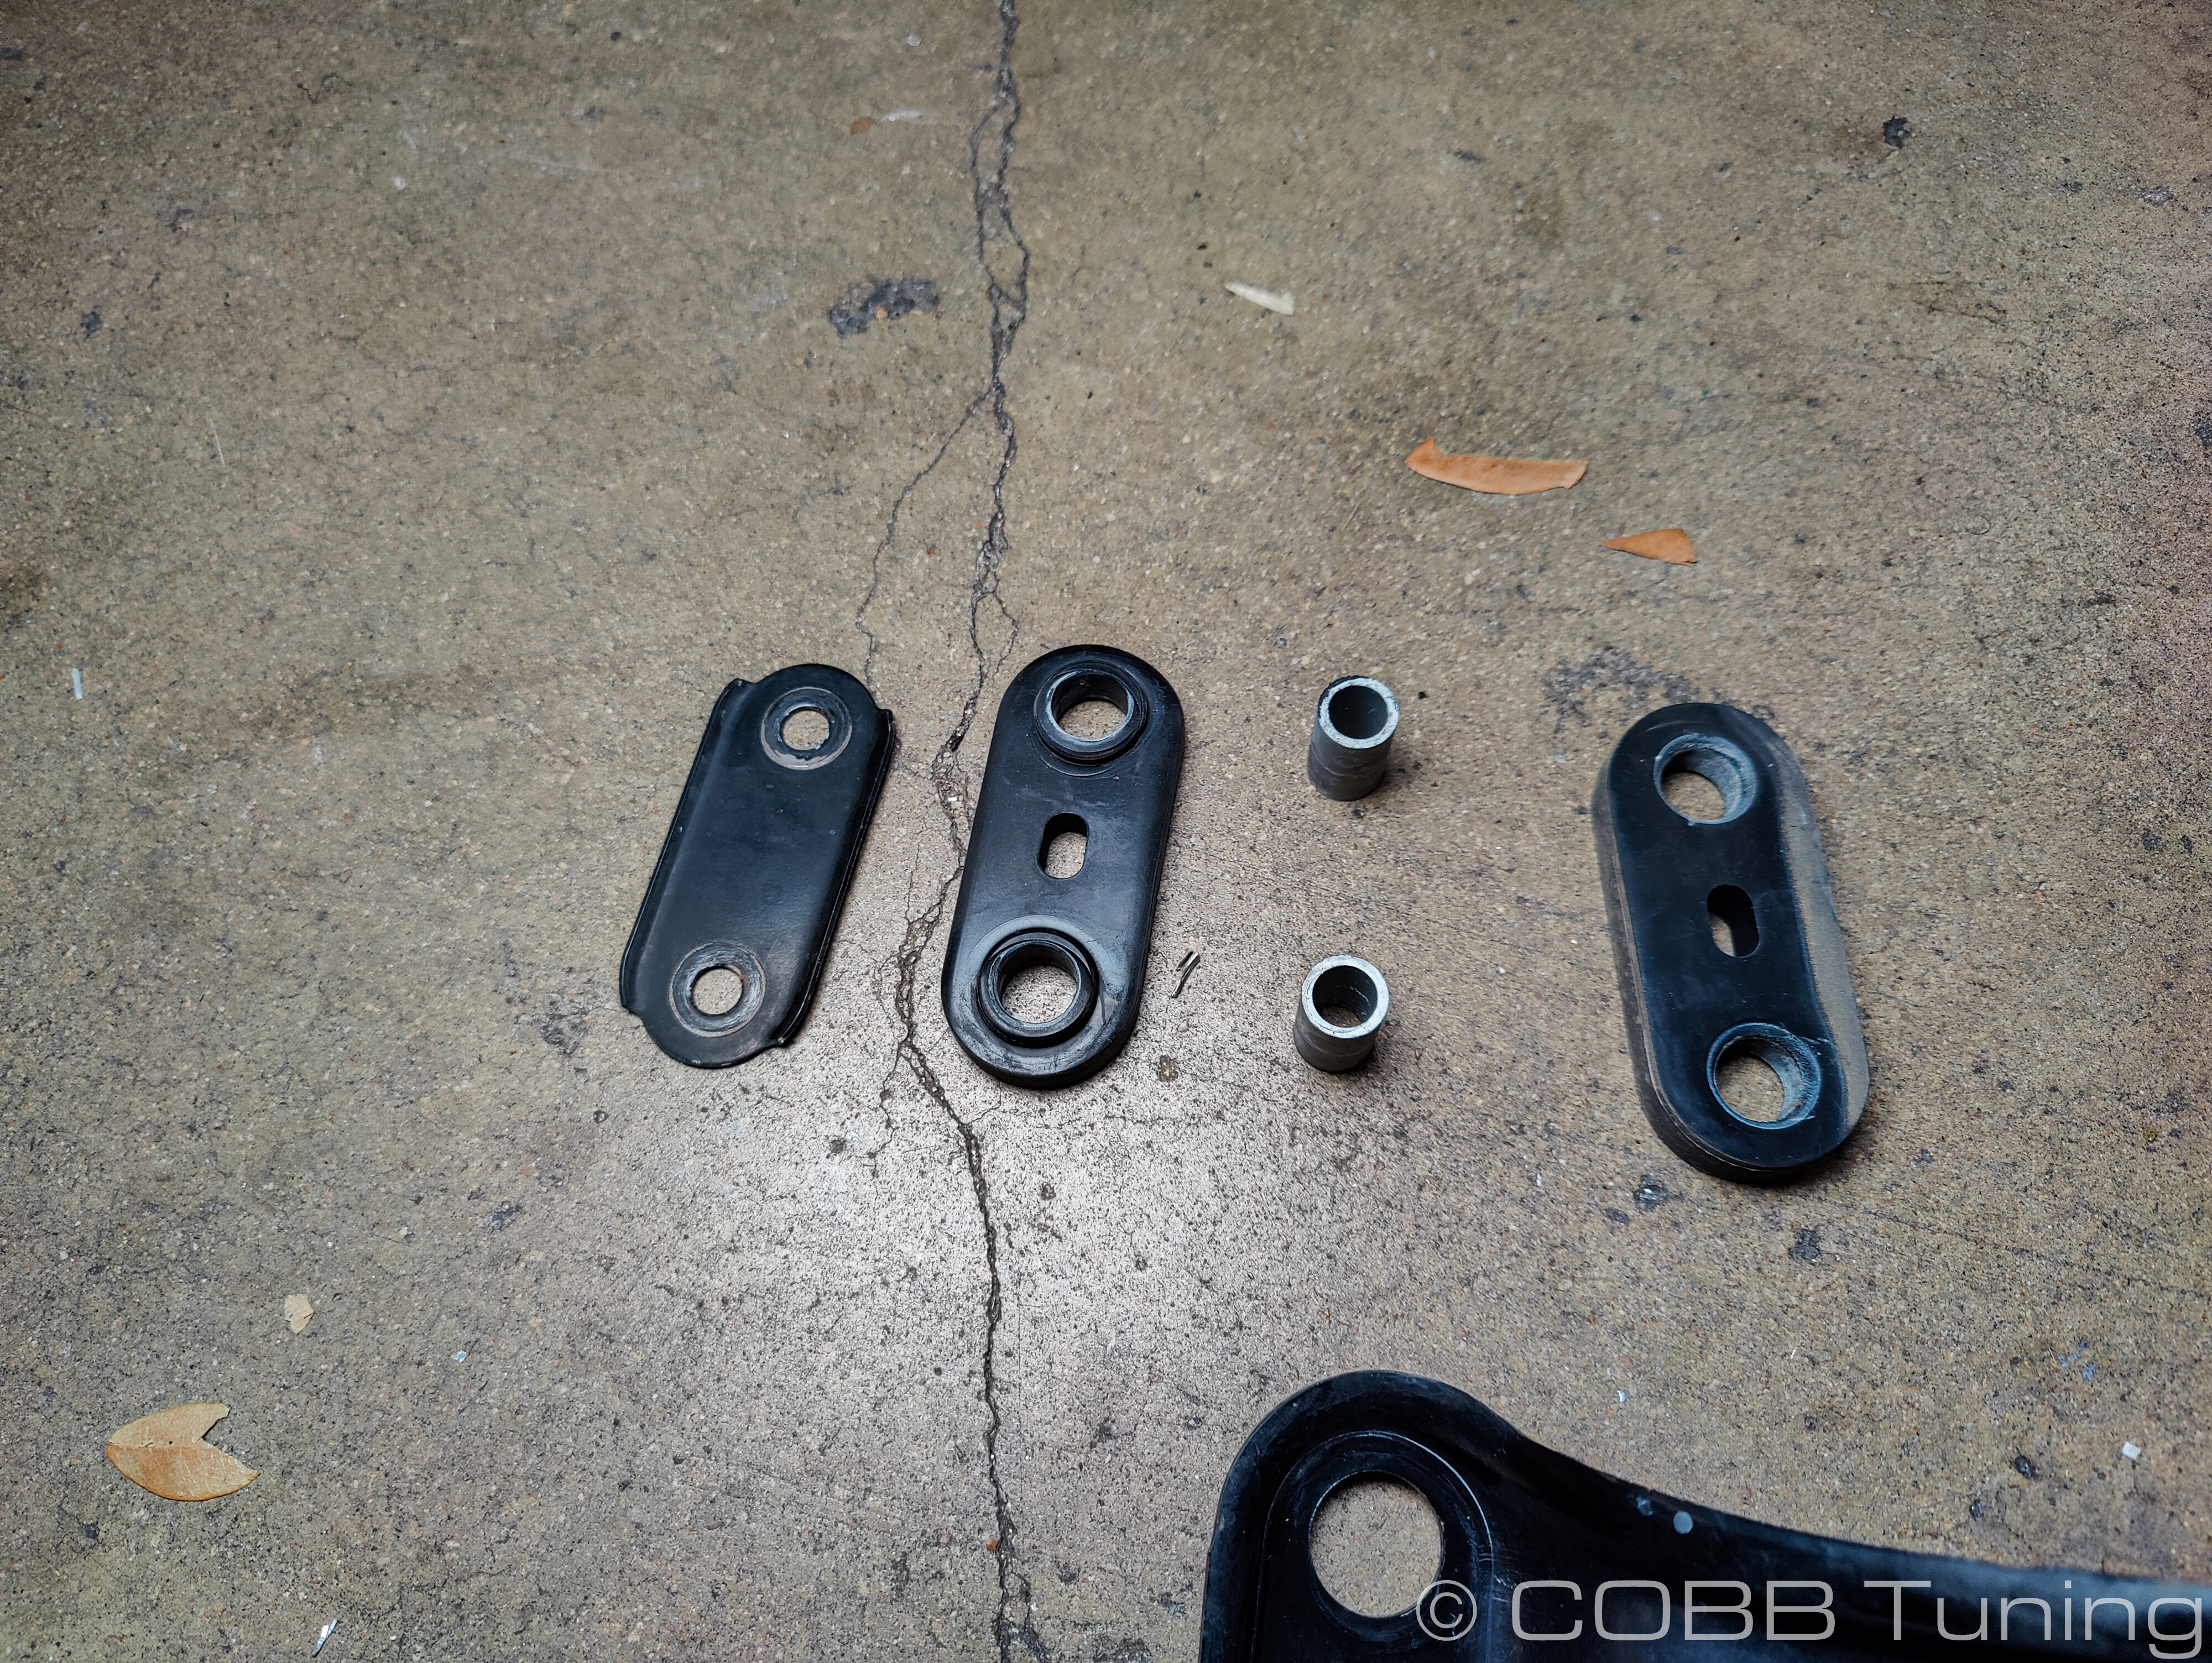
3199 - Thick Indented Bushing
(2) 2358A Thin Protruding Bushings
2358B Thin Indented Bushing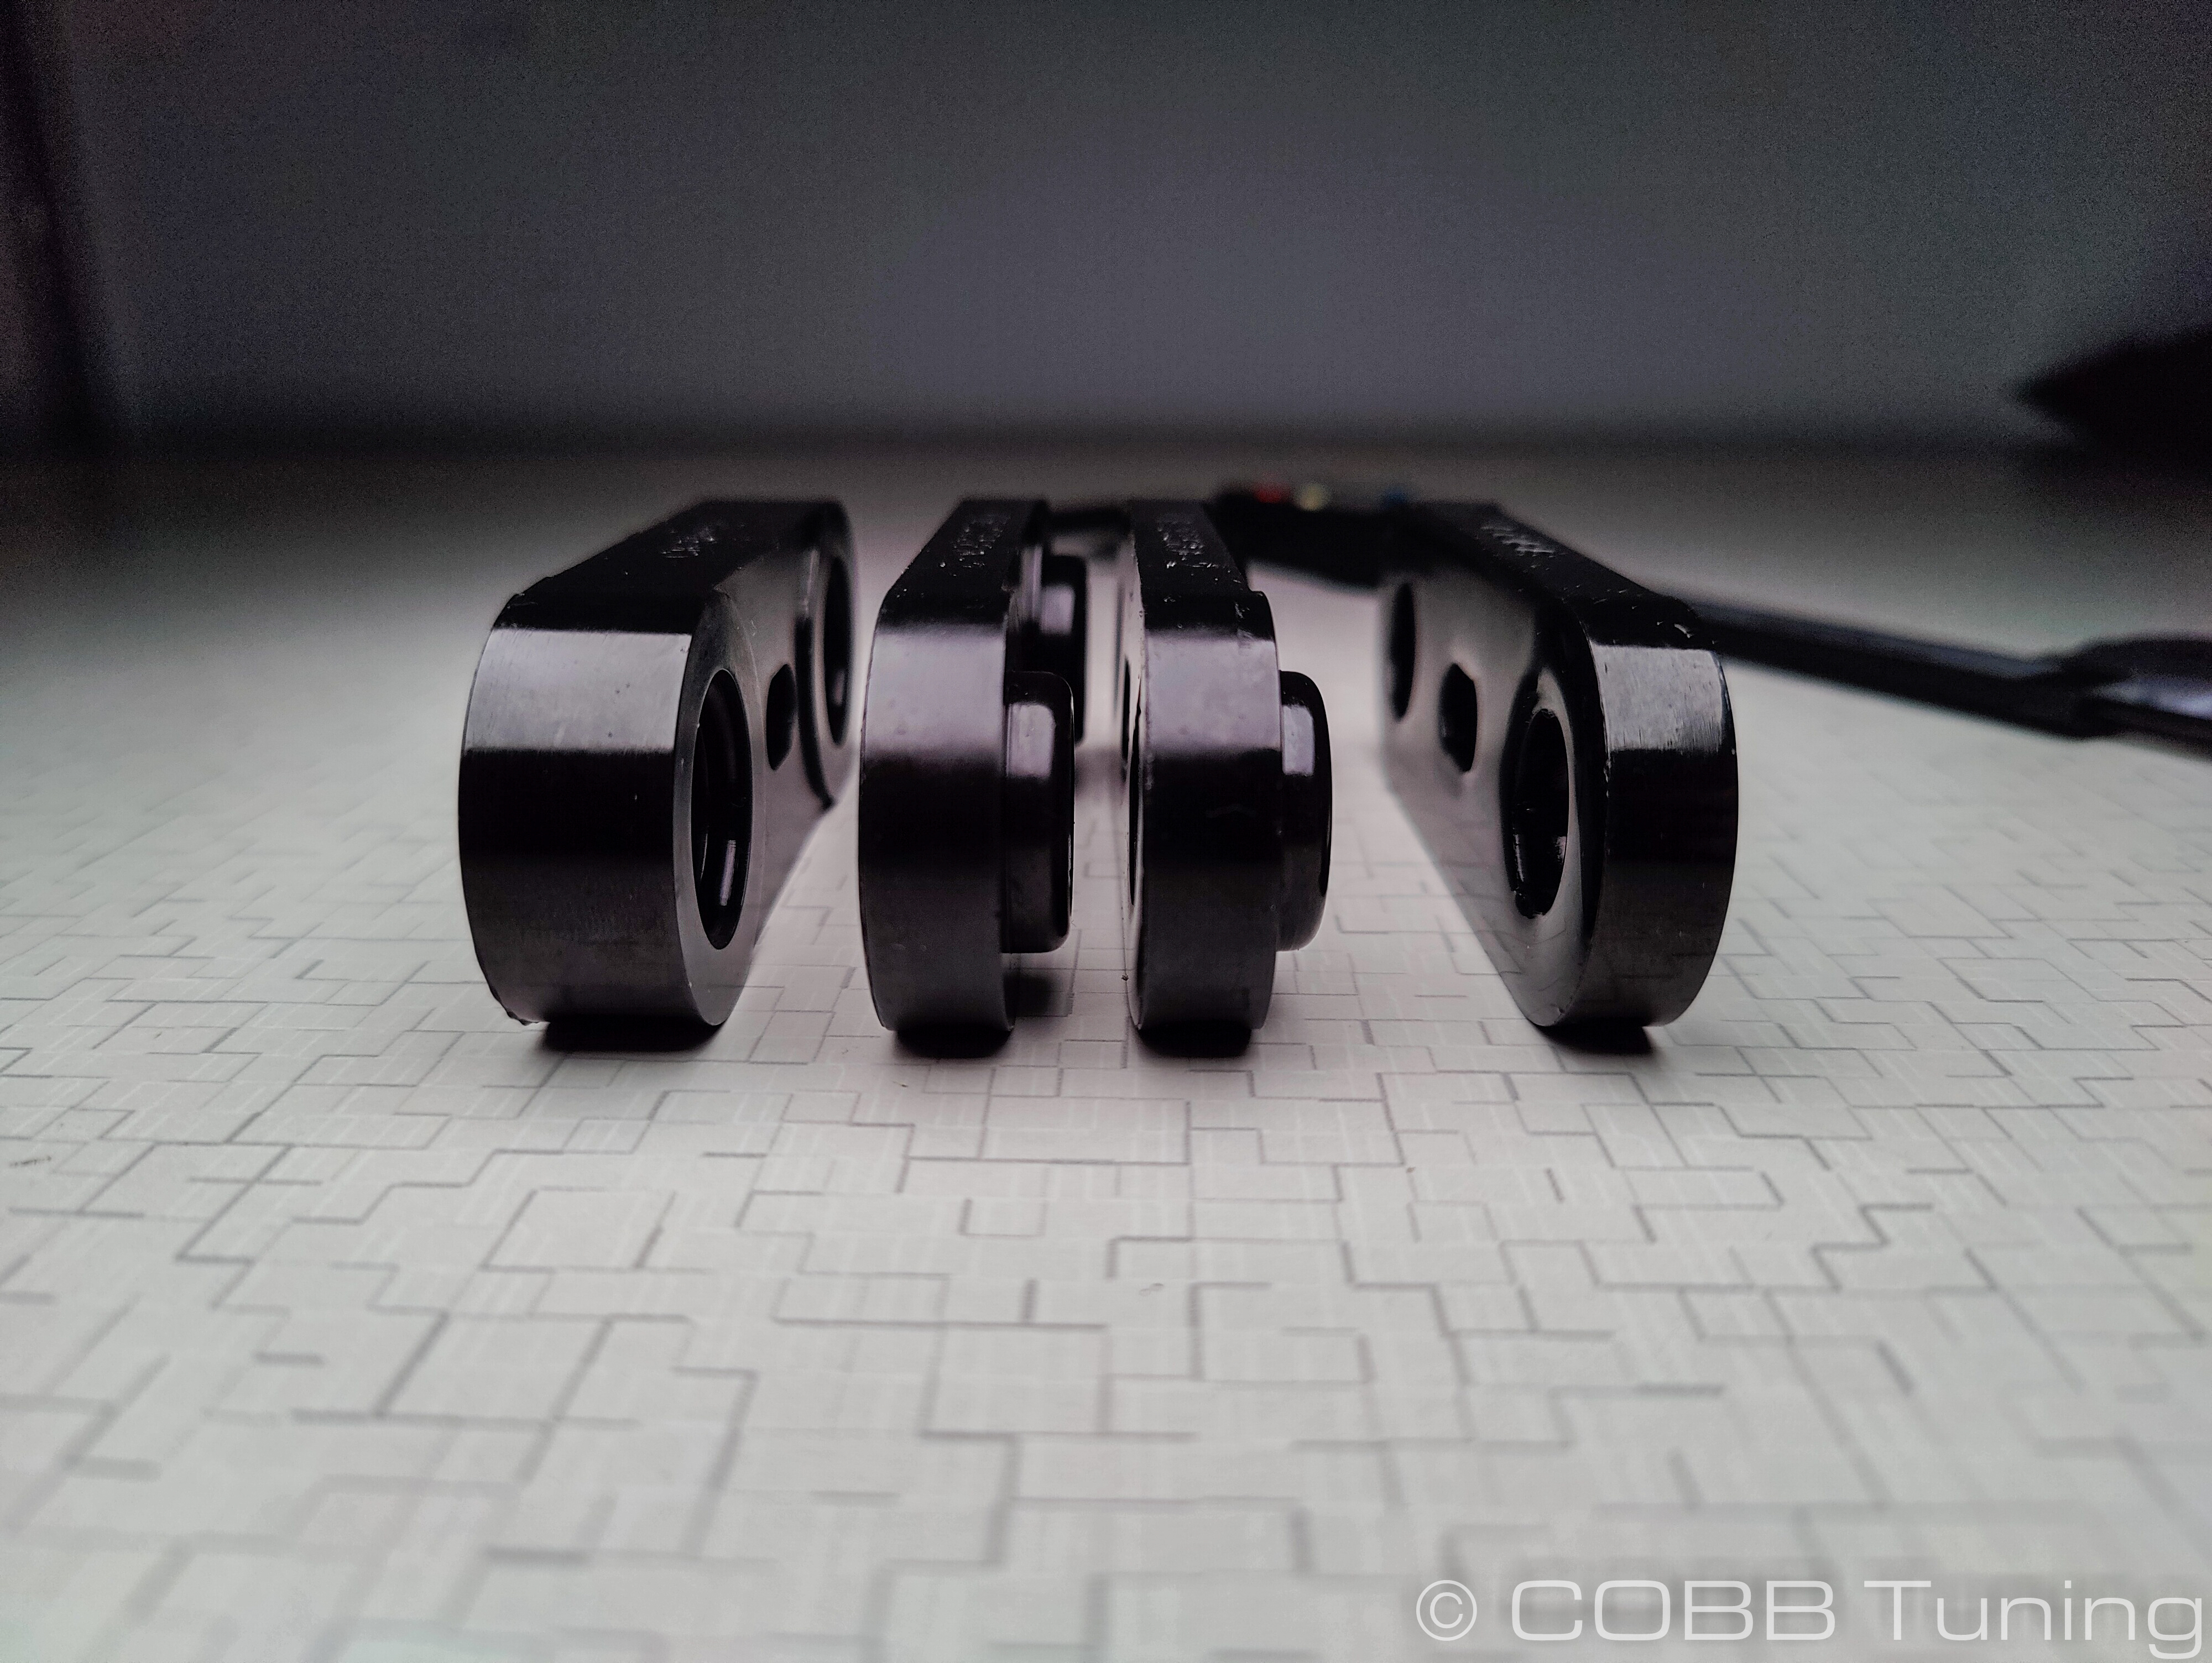
Tools Needed
Sockets
3/8"
- 3/8" ratchet
- 3/8" 12" extension
- 3/8" 6" extension
- 3/8" 14mm socket
- 3/8" 17mm socket
Disassembly
- Park your car in a flat, level area and allow it to cool down properly.
- Lift and support your vehicle properly.
- Put a jack underneath to support the transmission.
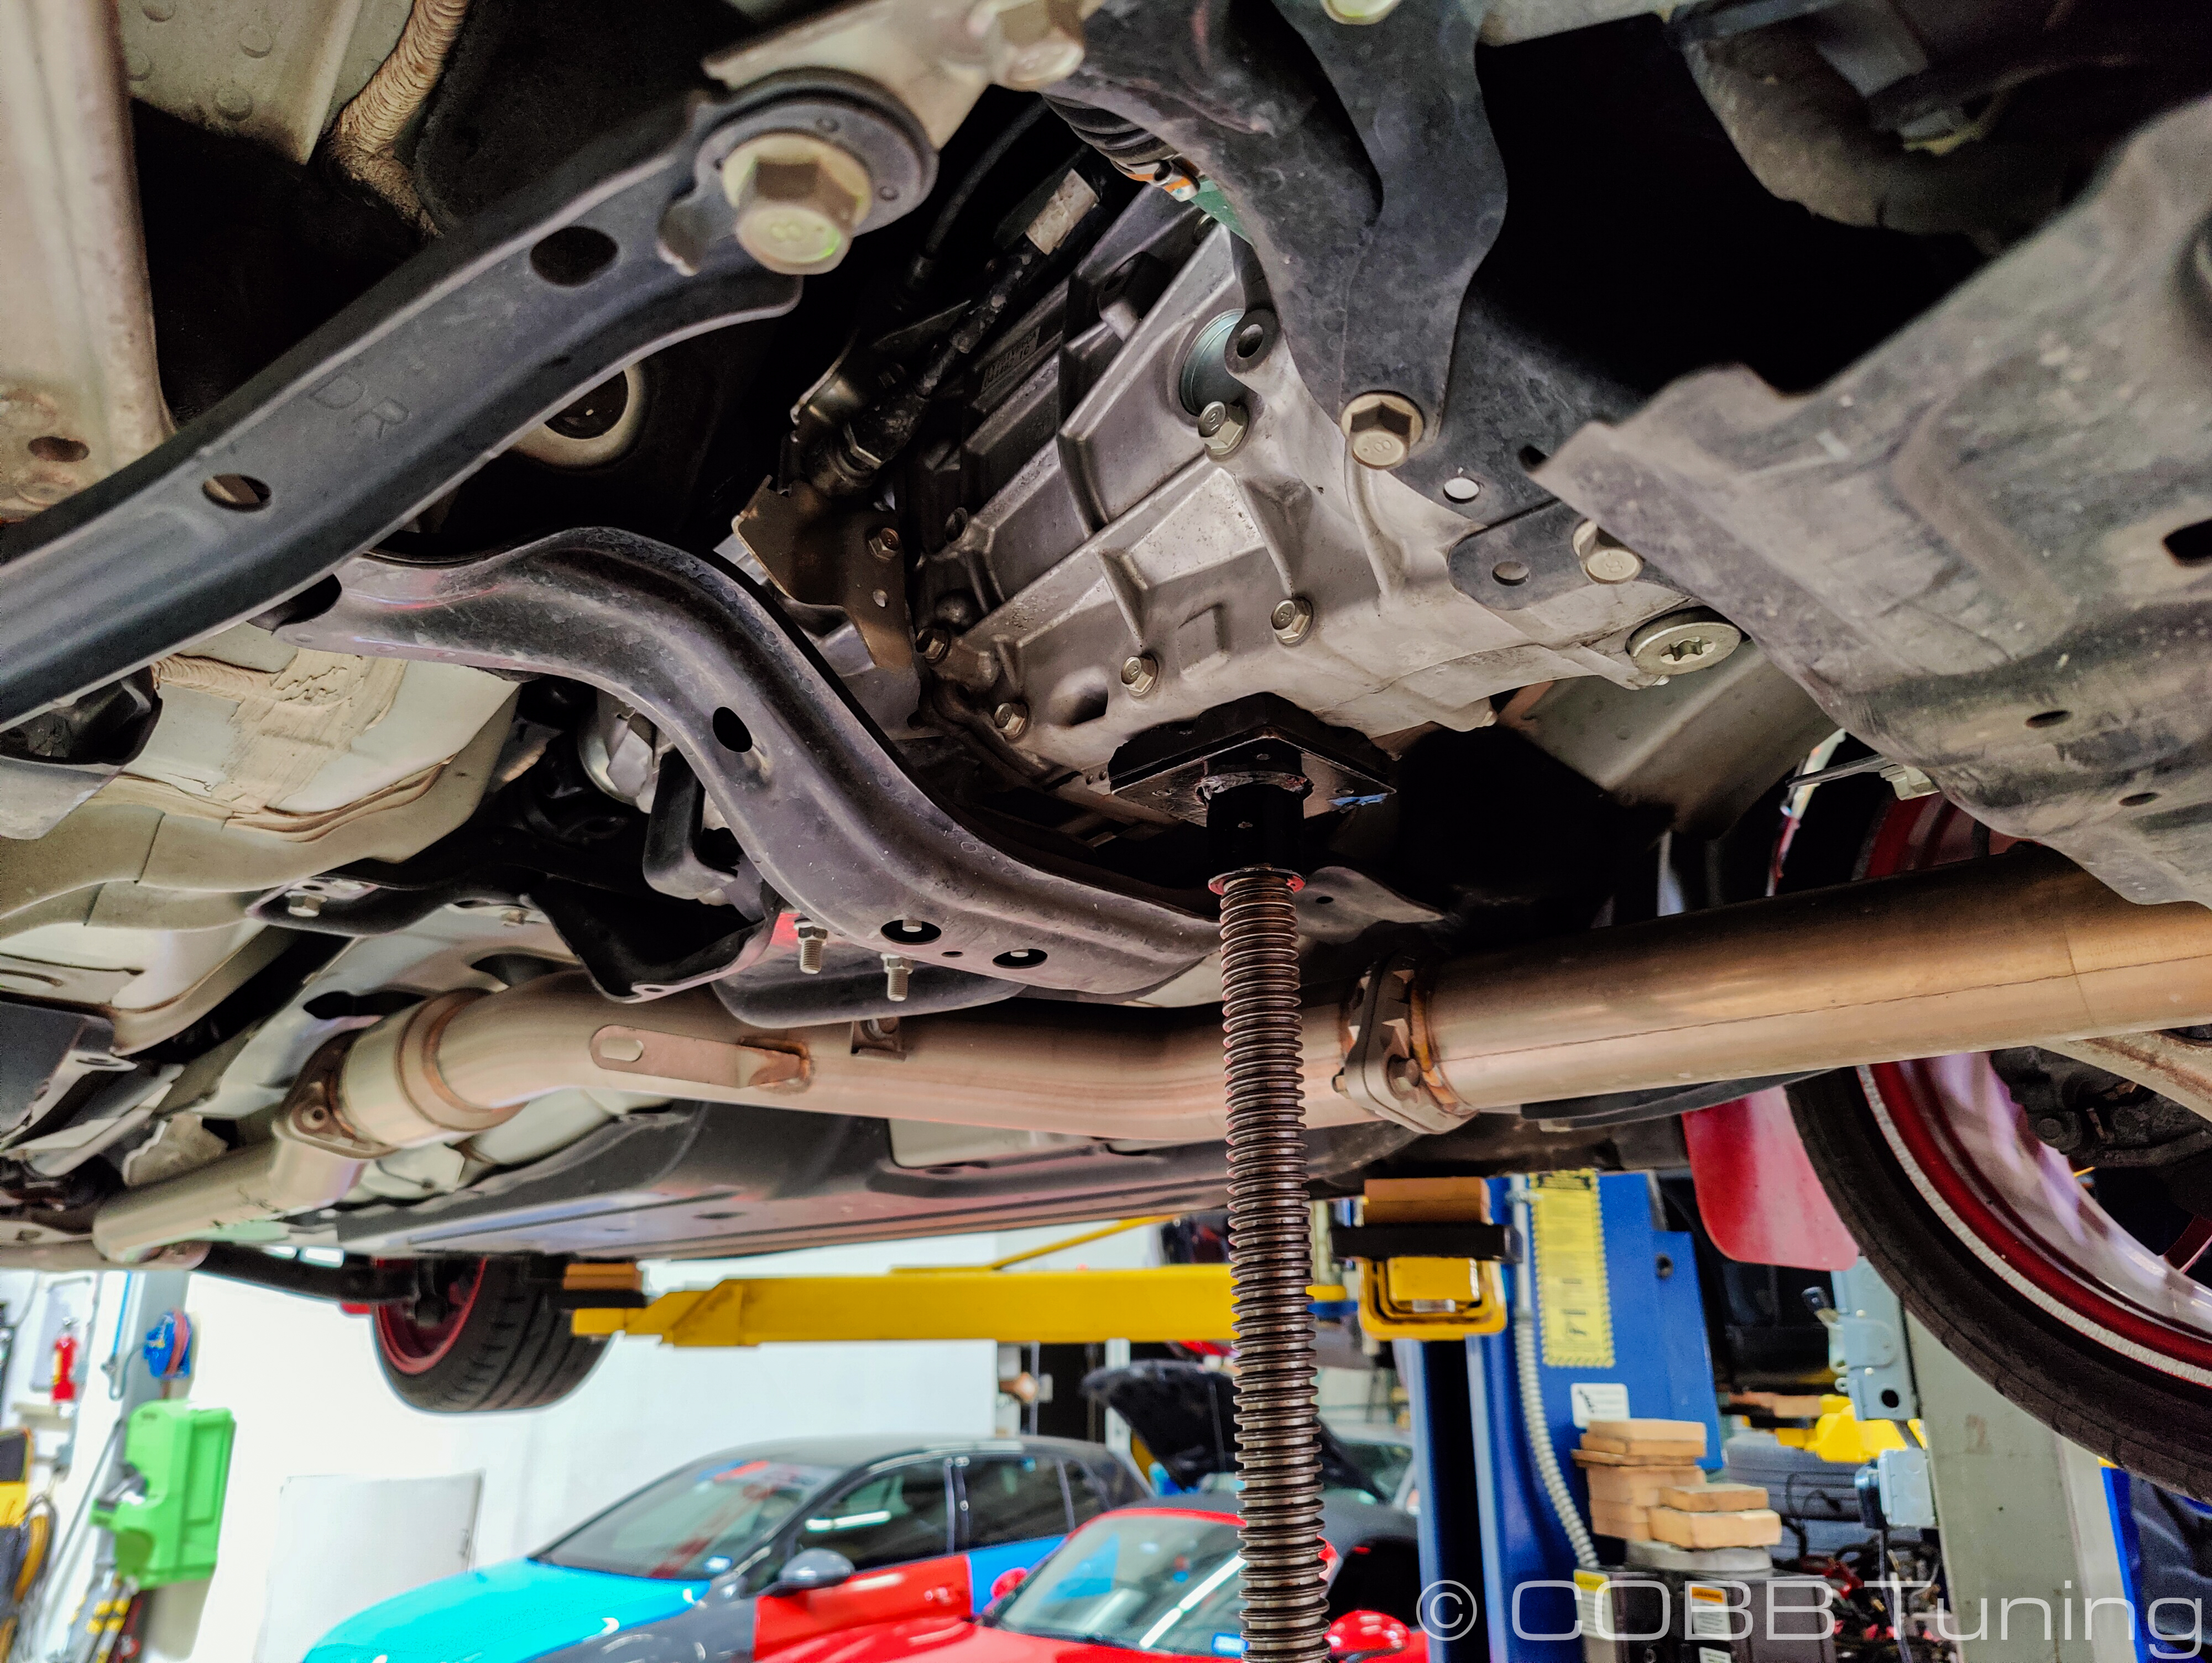
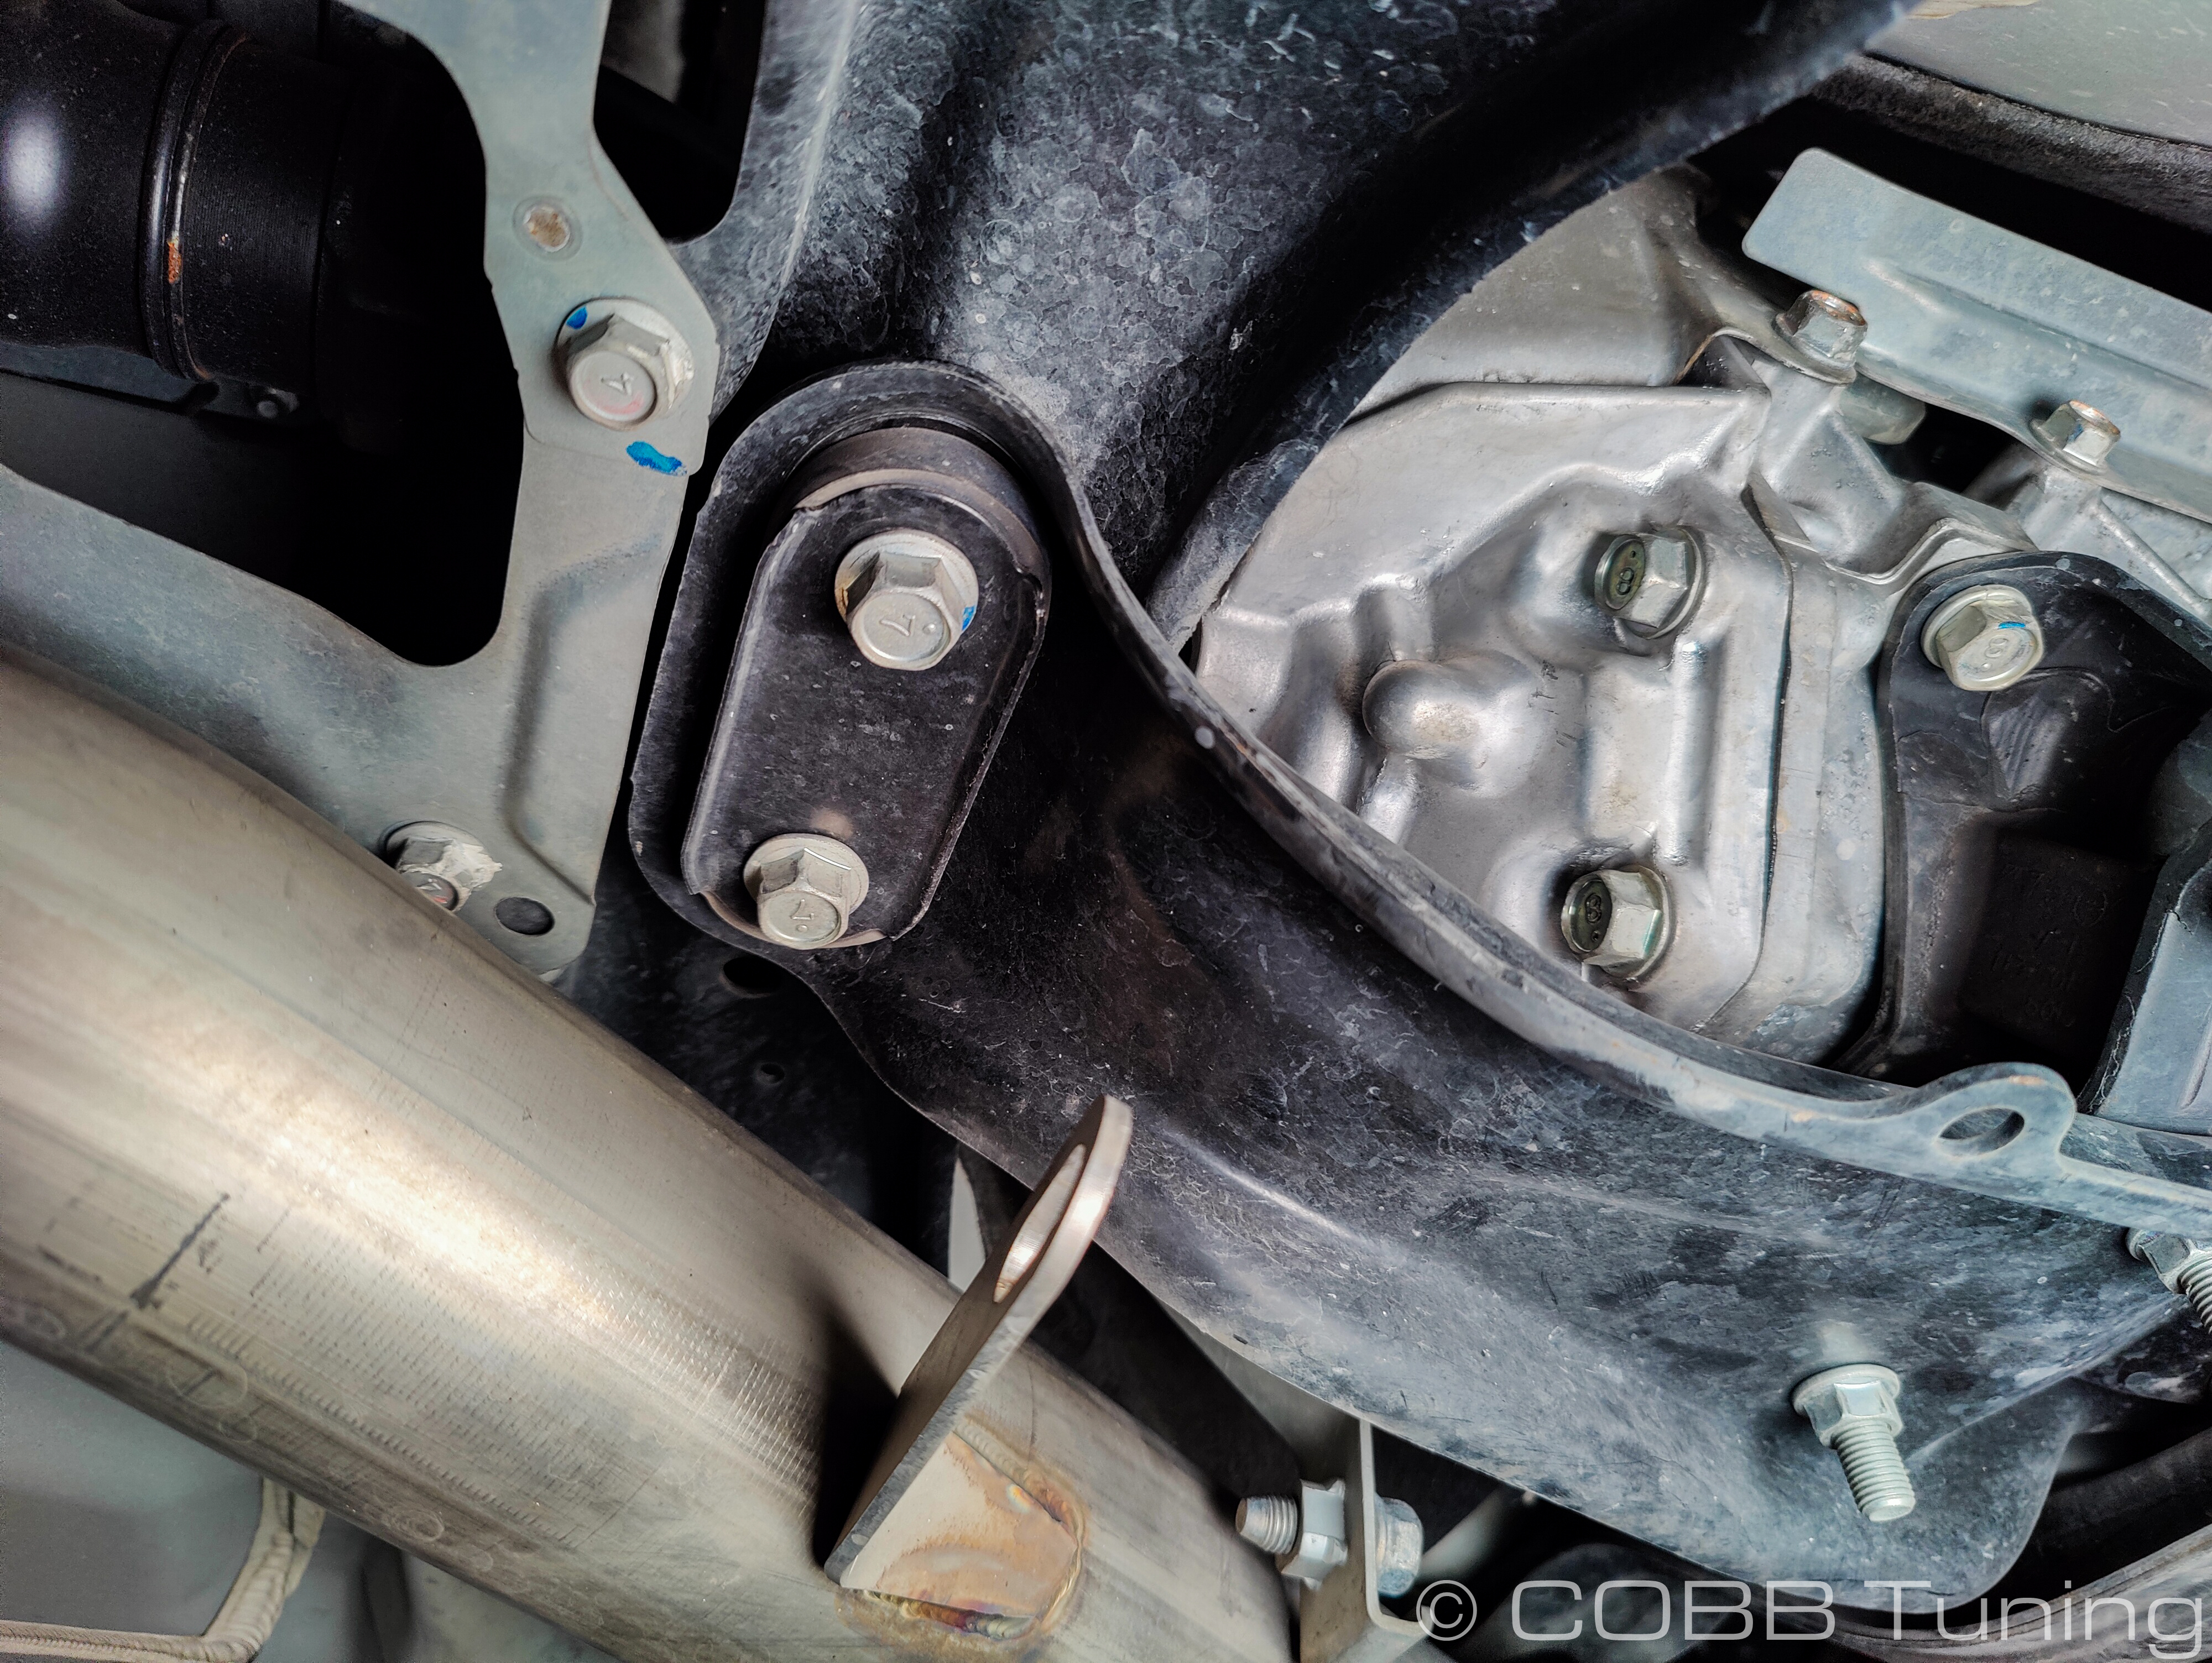
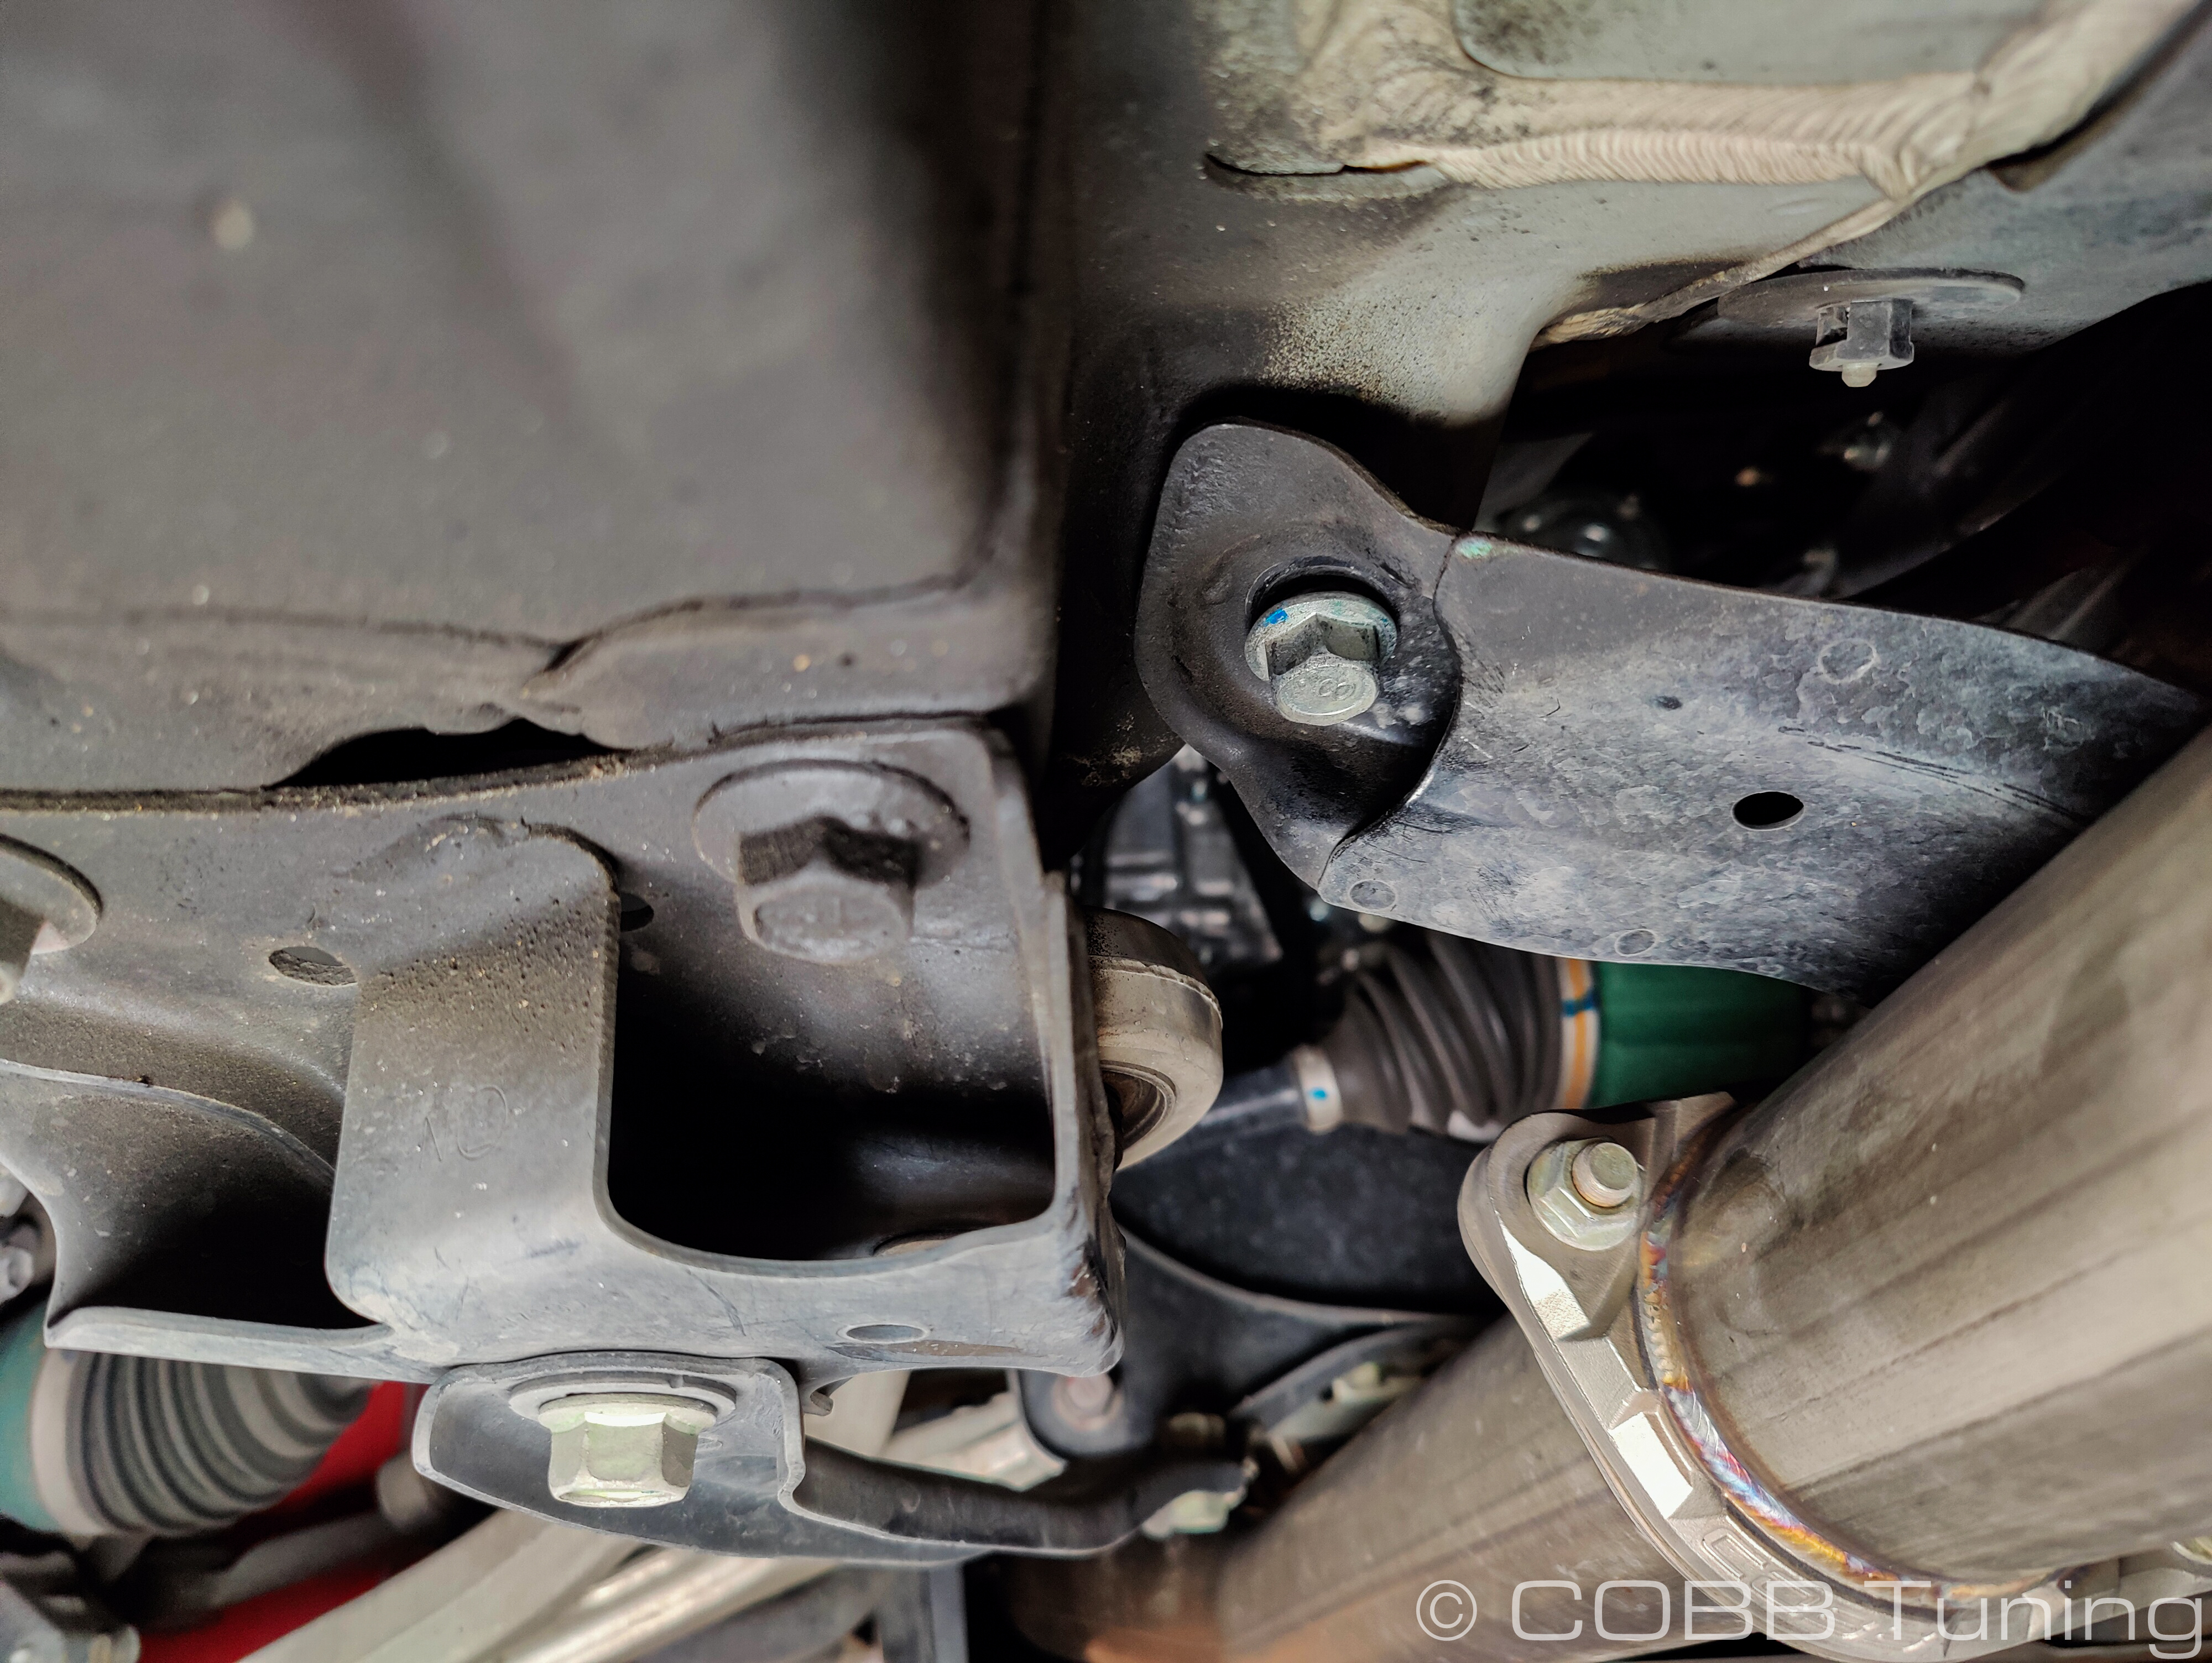
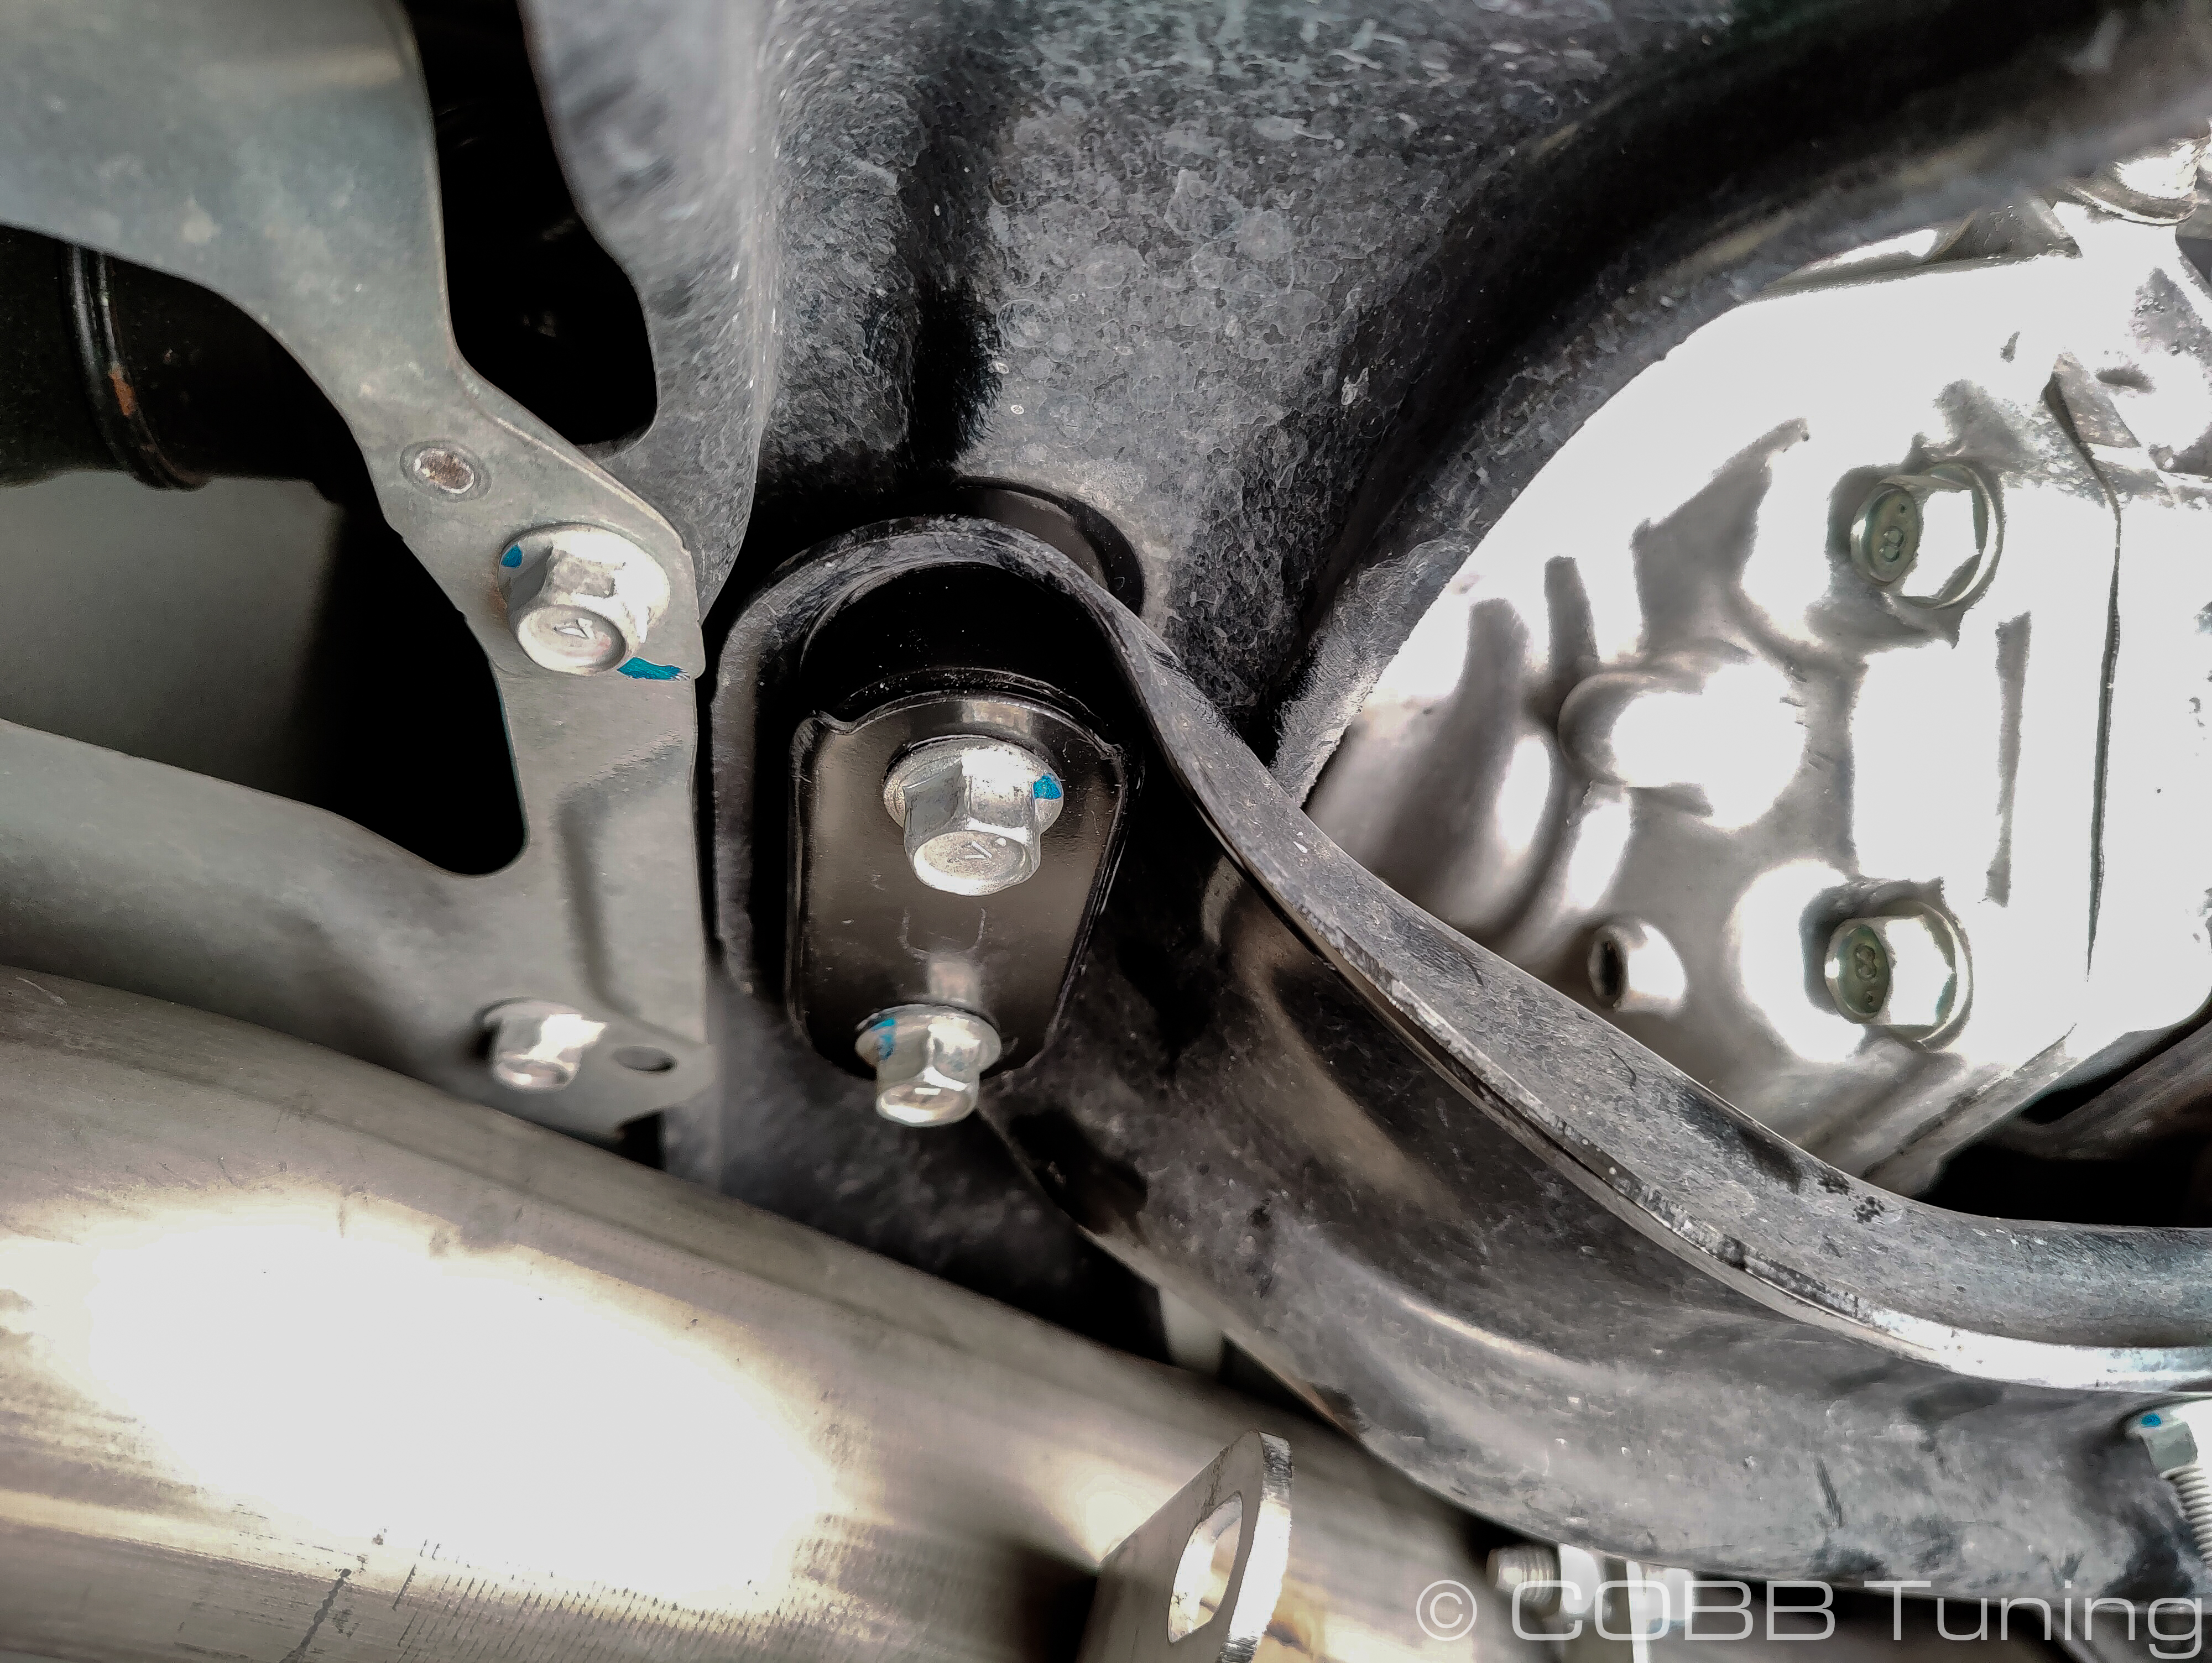
- Remove the two 14mm nuts in the middle of the north/south portion of the crossmember where they go to the transmission mount.
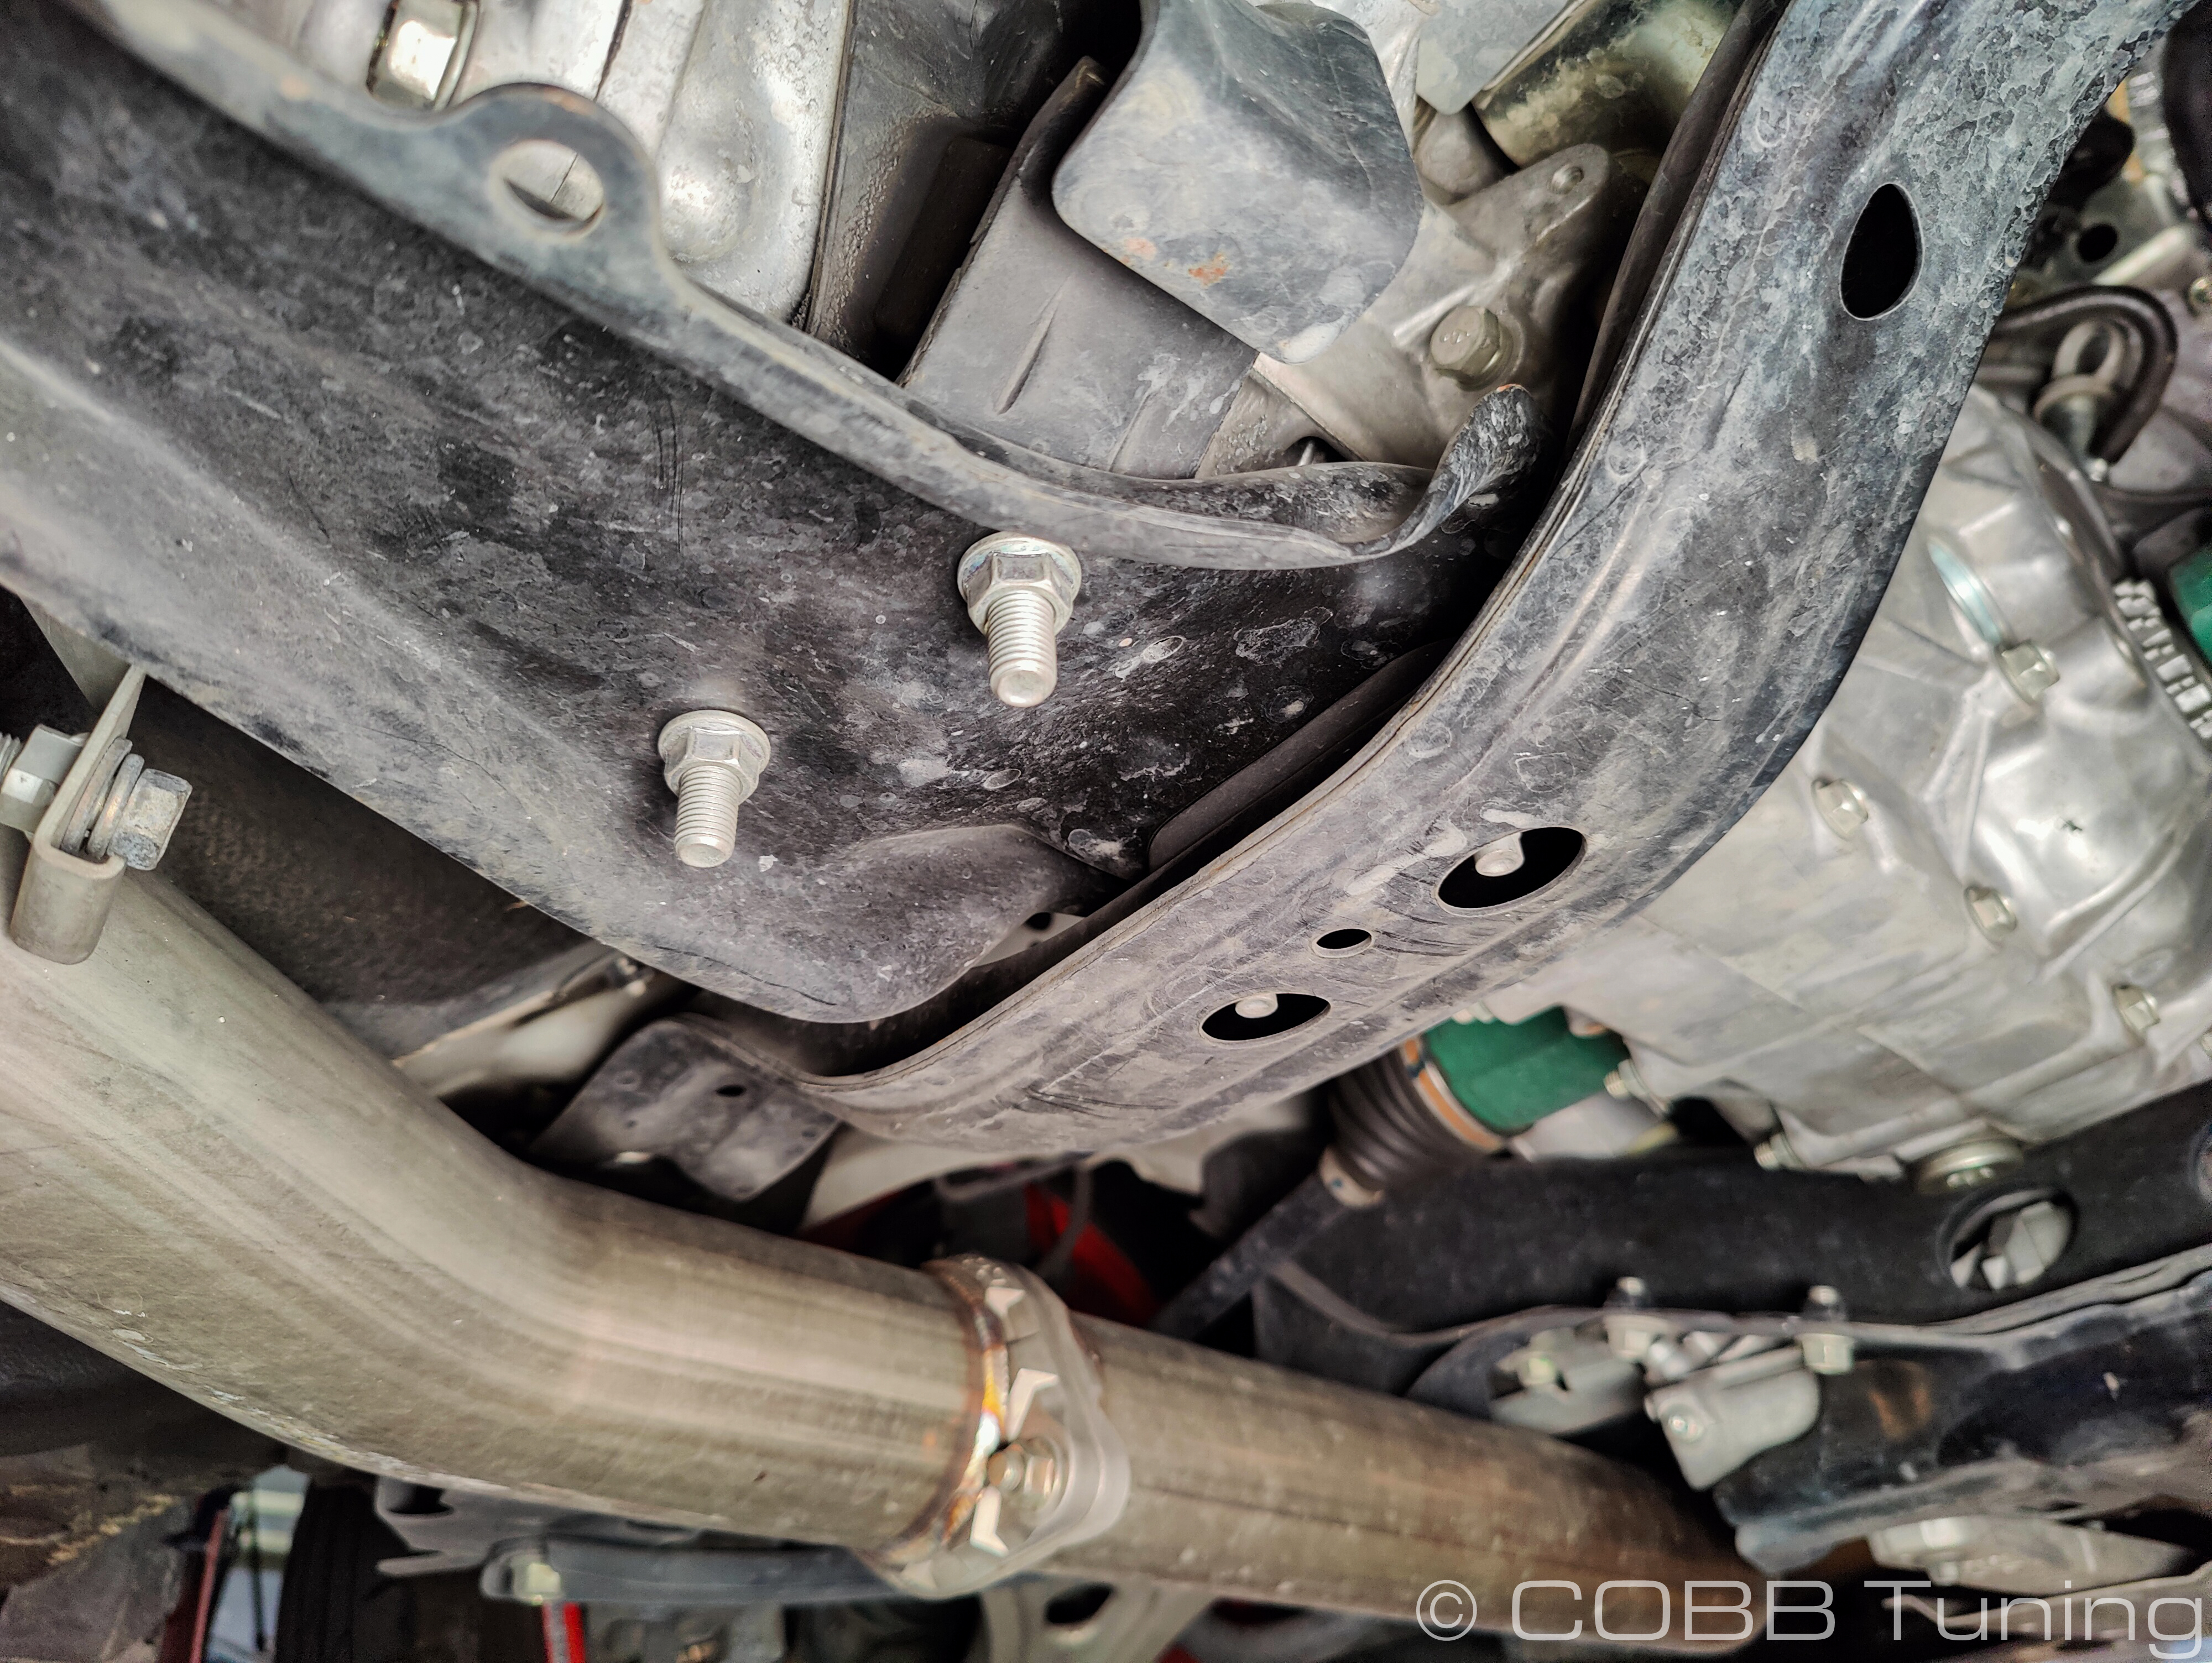
- Remove the rear 2 14mm bolts going up into the rear transmission crossmember. The metal plate along with the bushing below and above may come off now (or in a moment) as you undo bolts.
- Move to the front and take the two 14mm nuts off the front studs where they go into the crossmember.
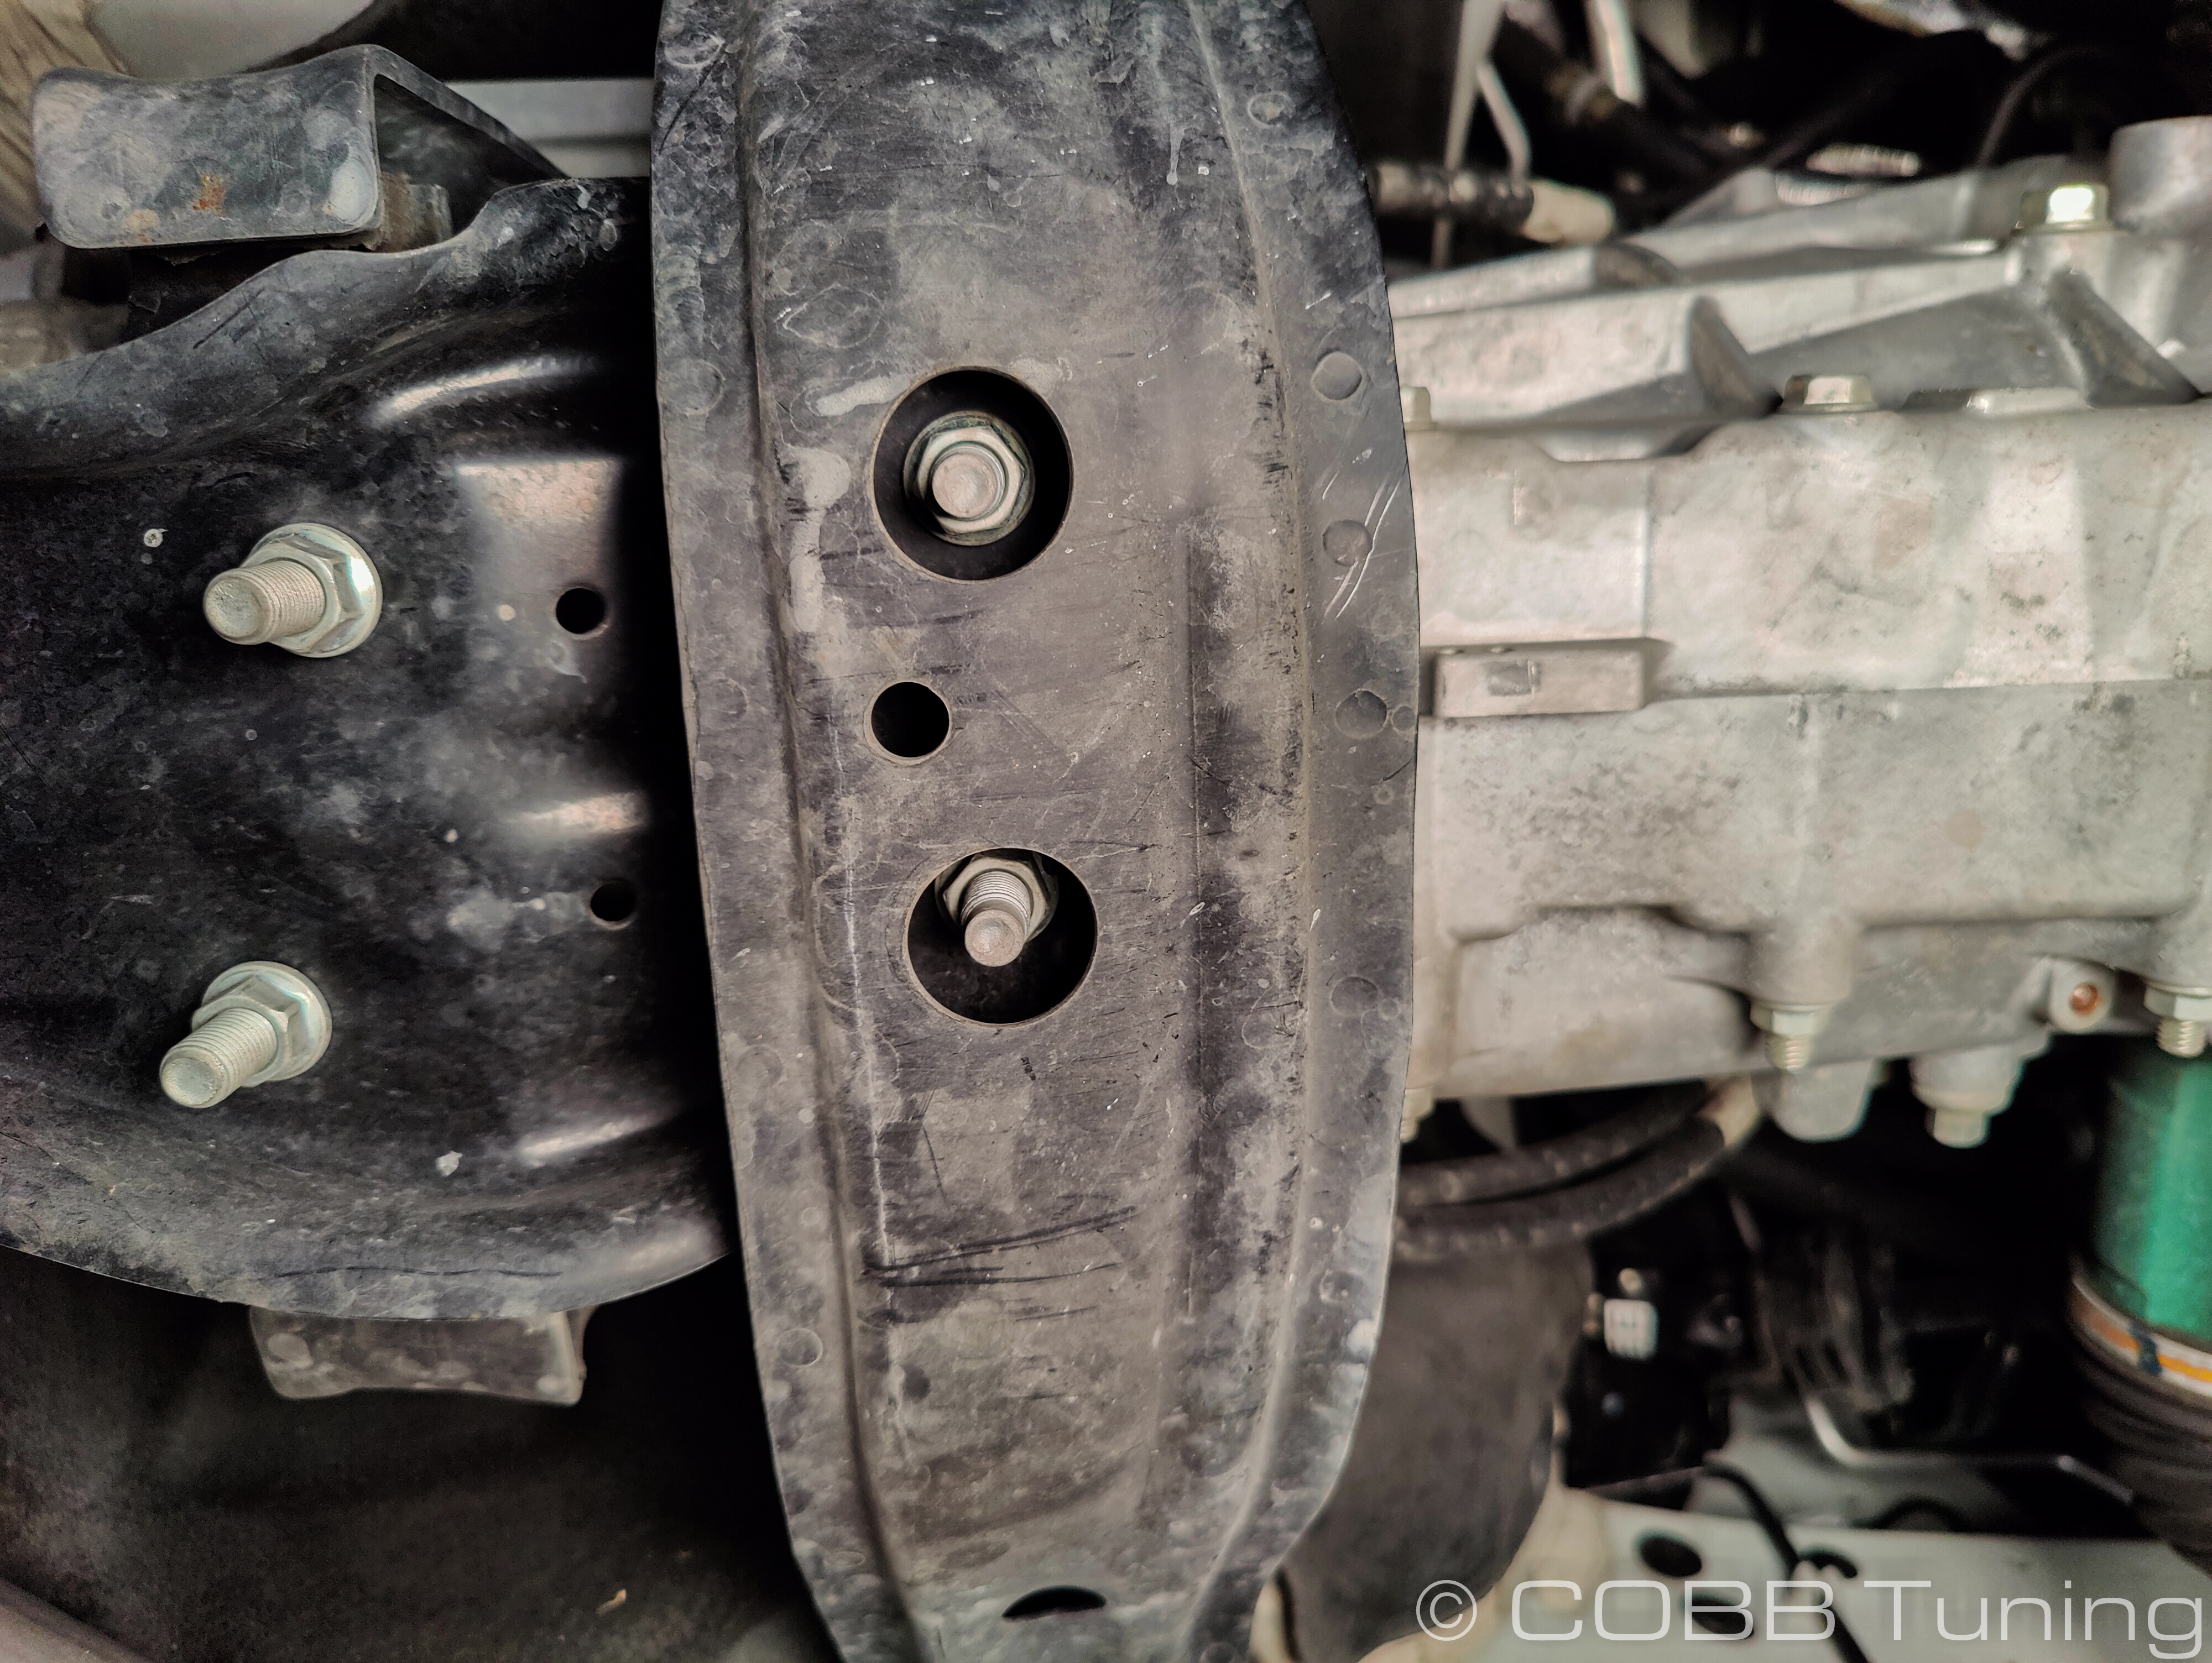
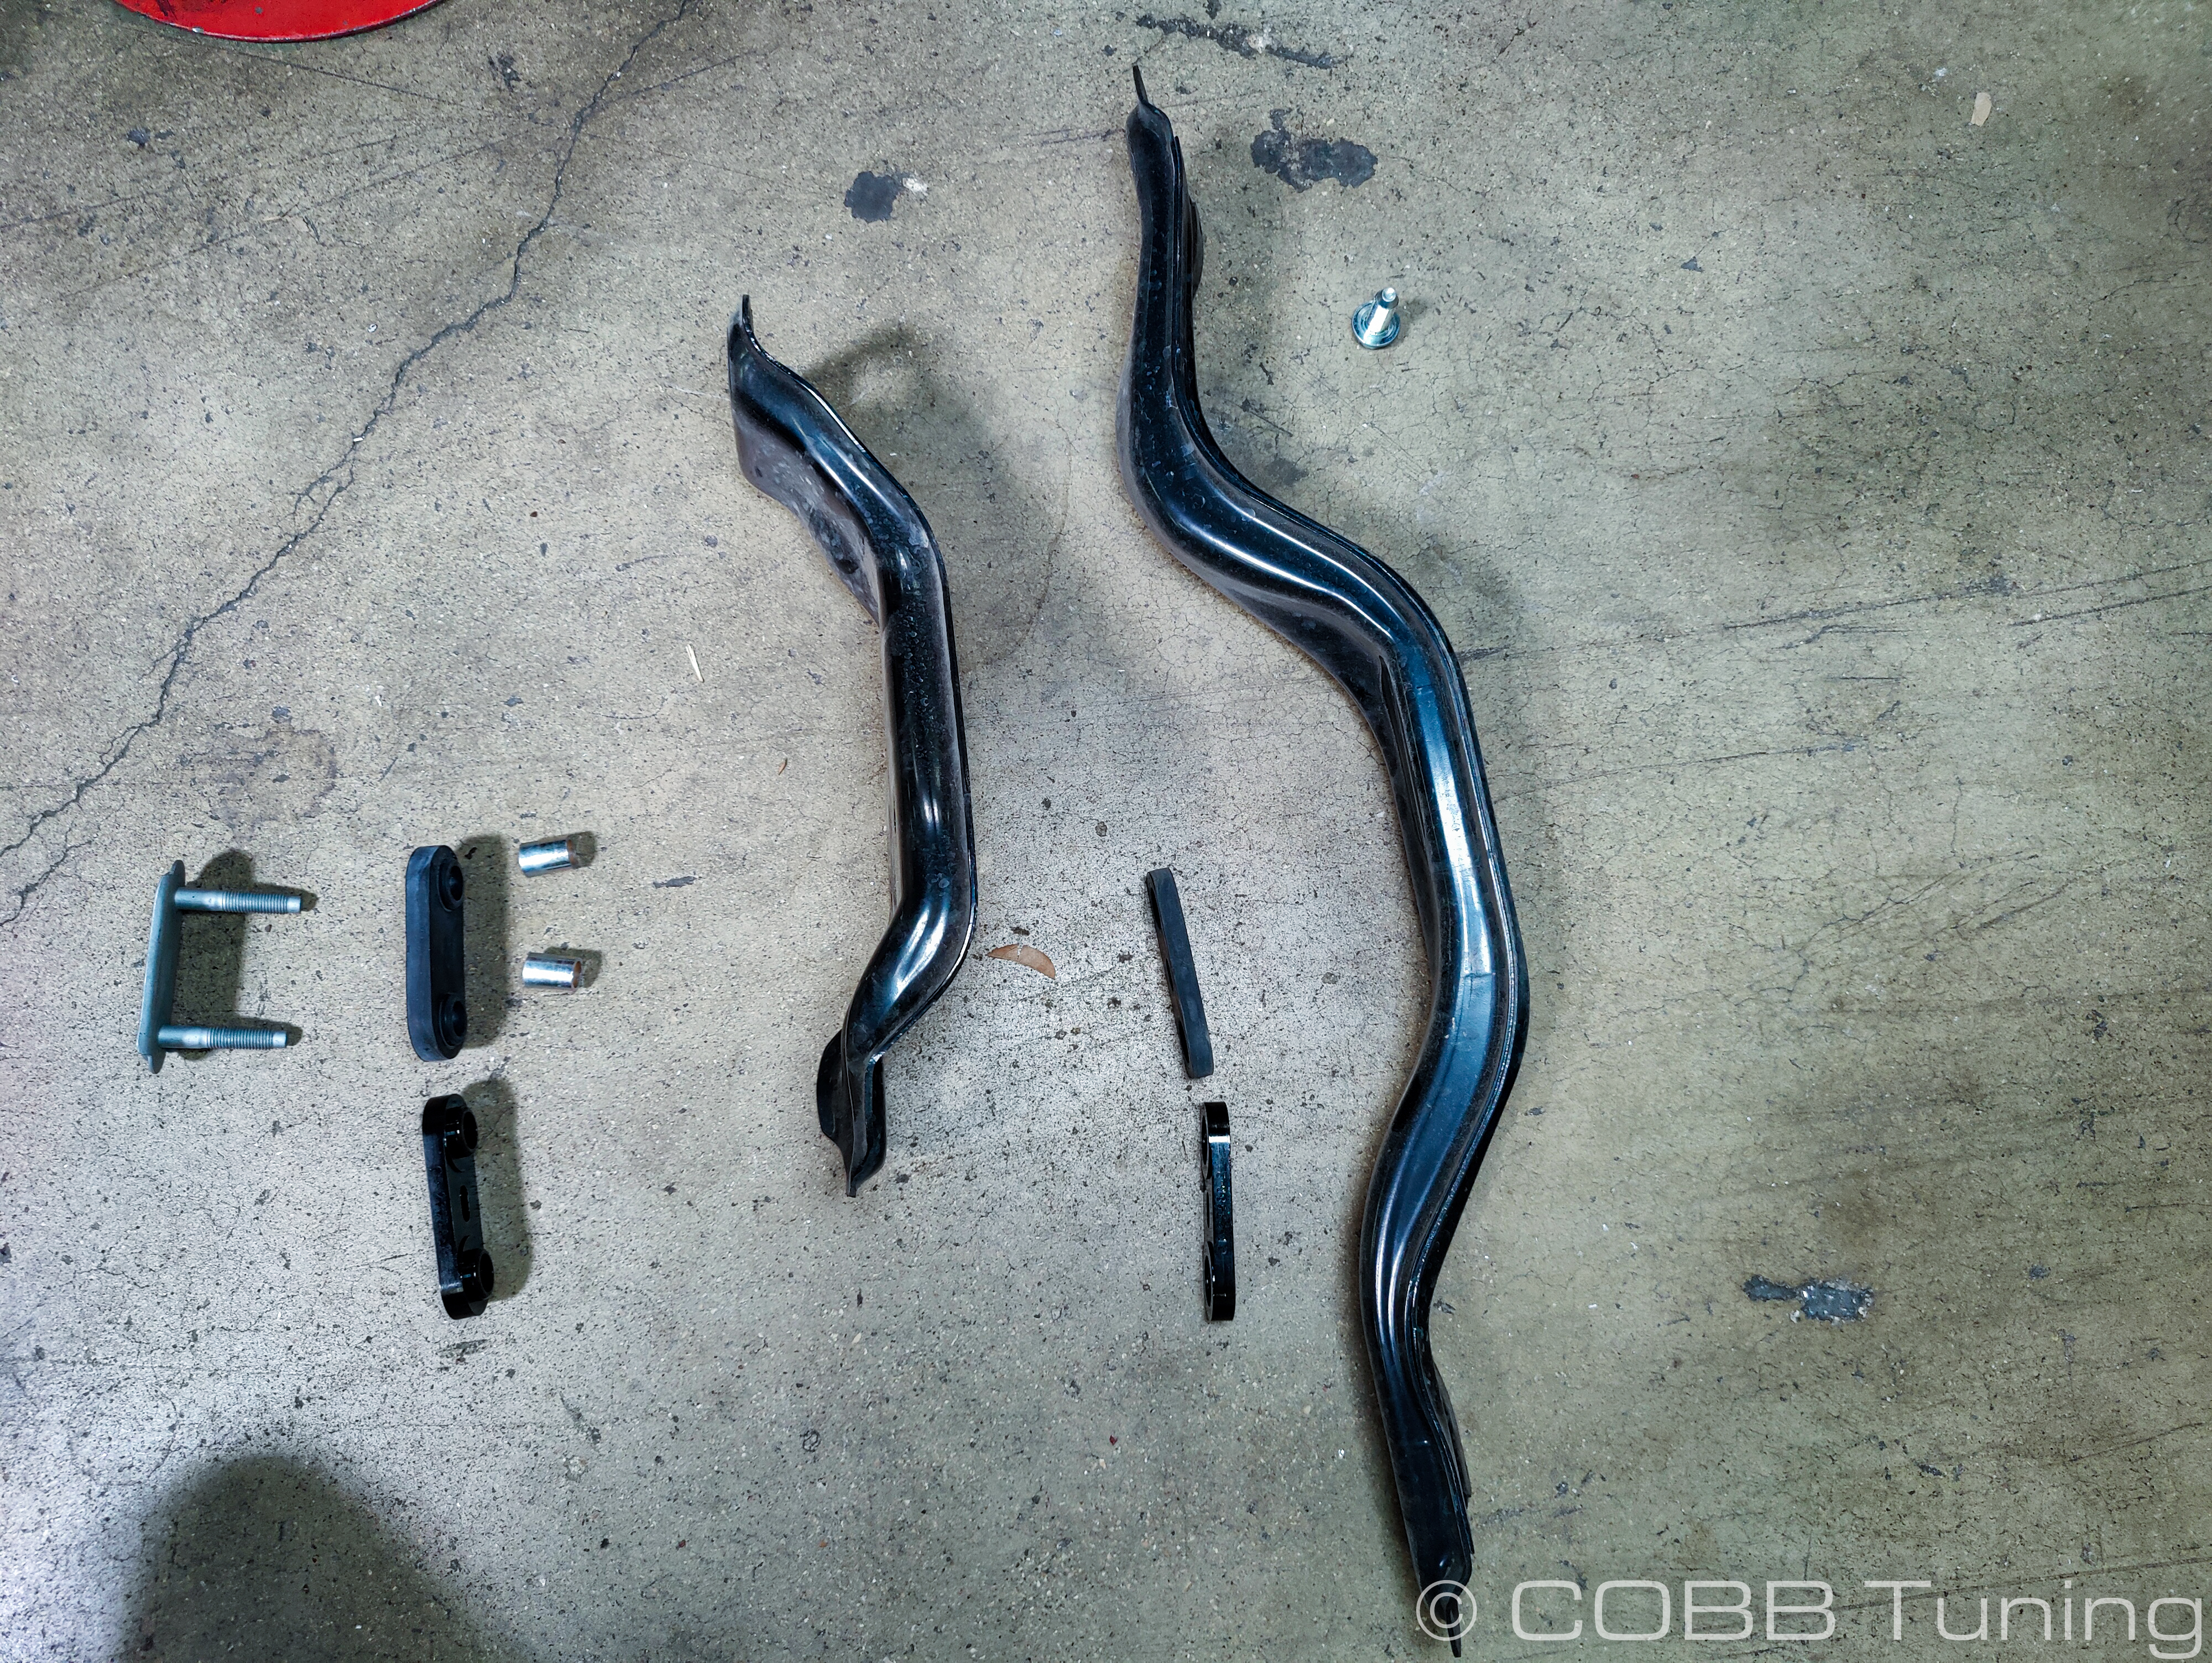
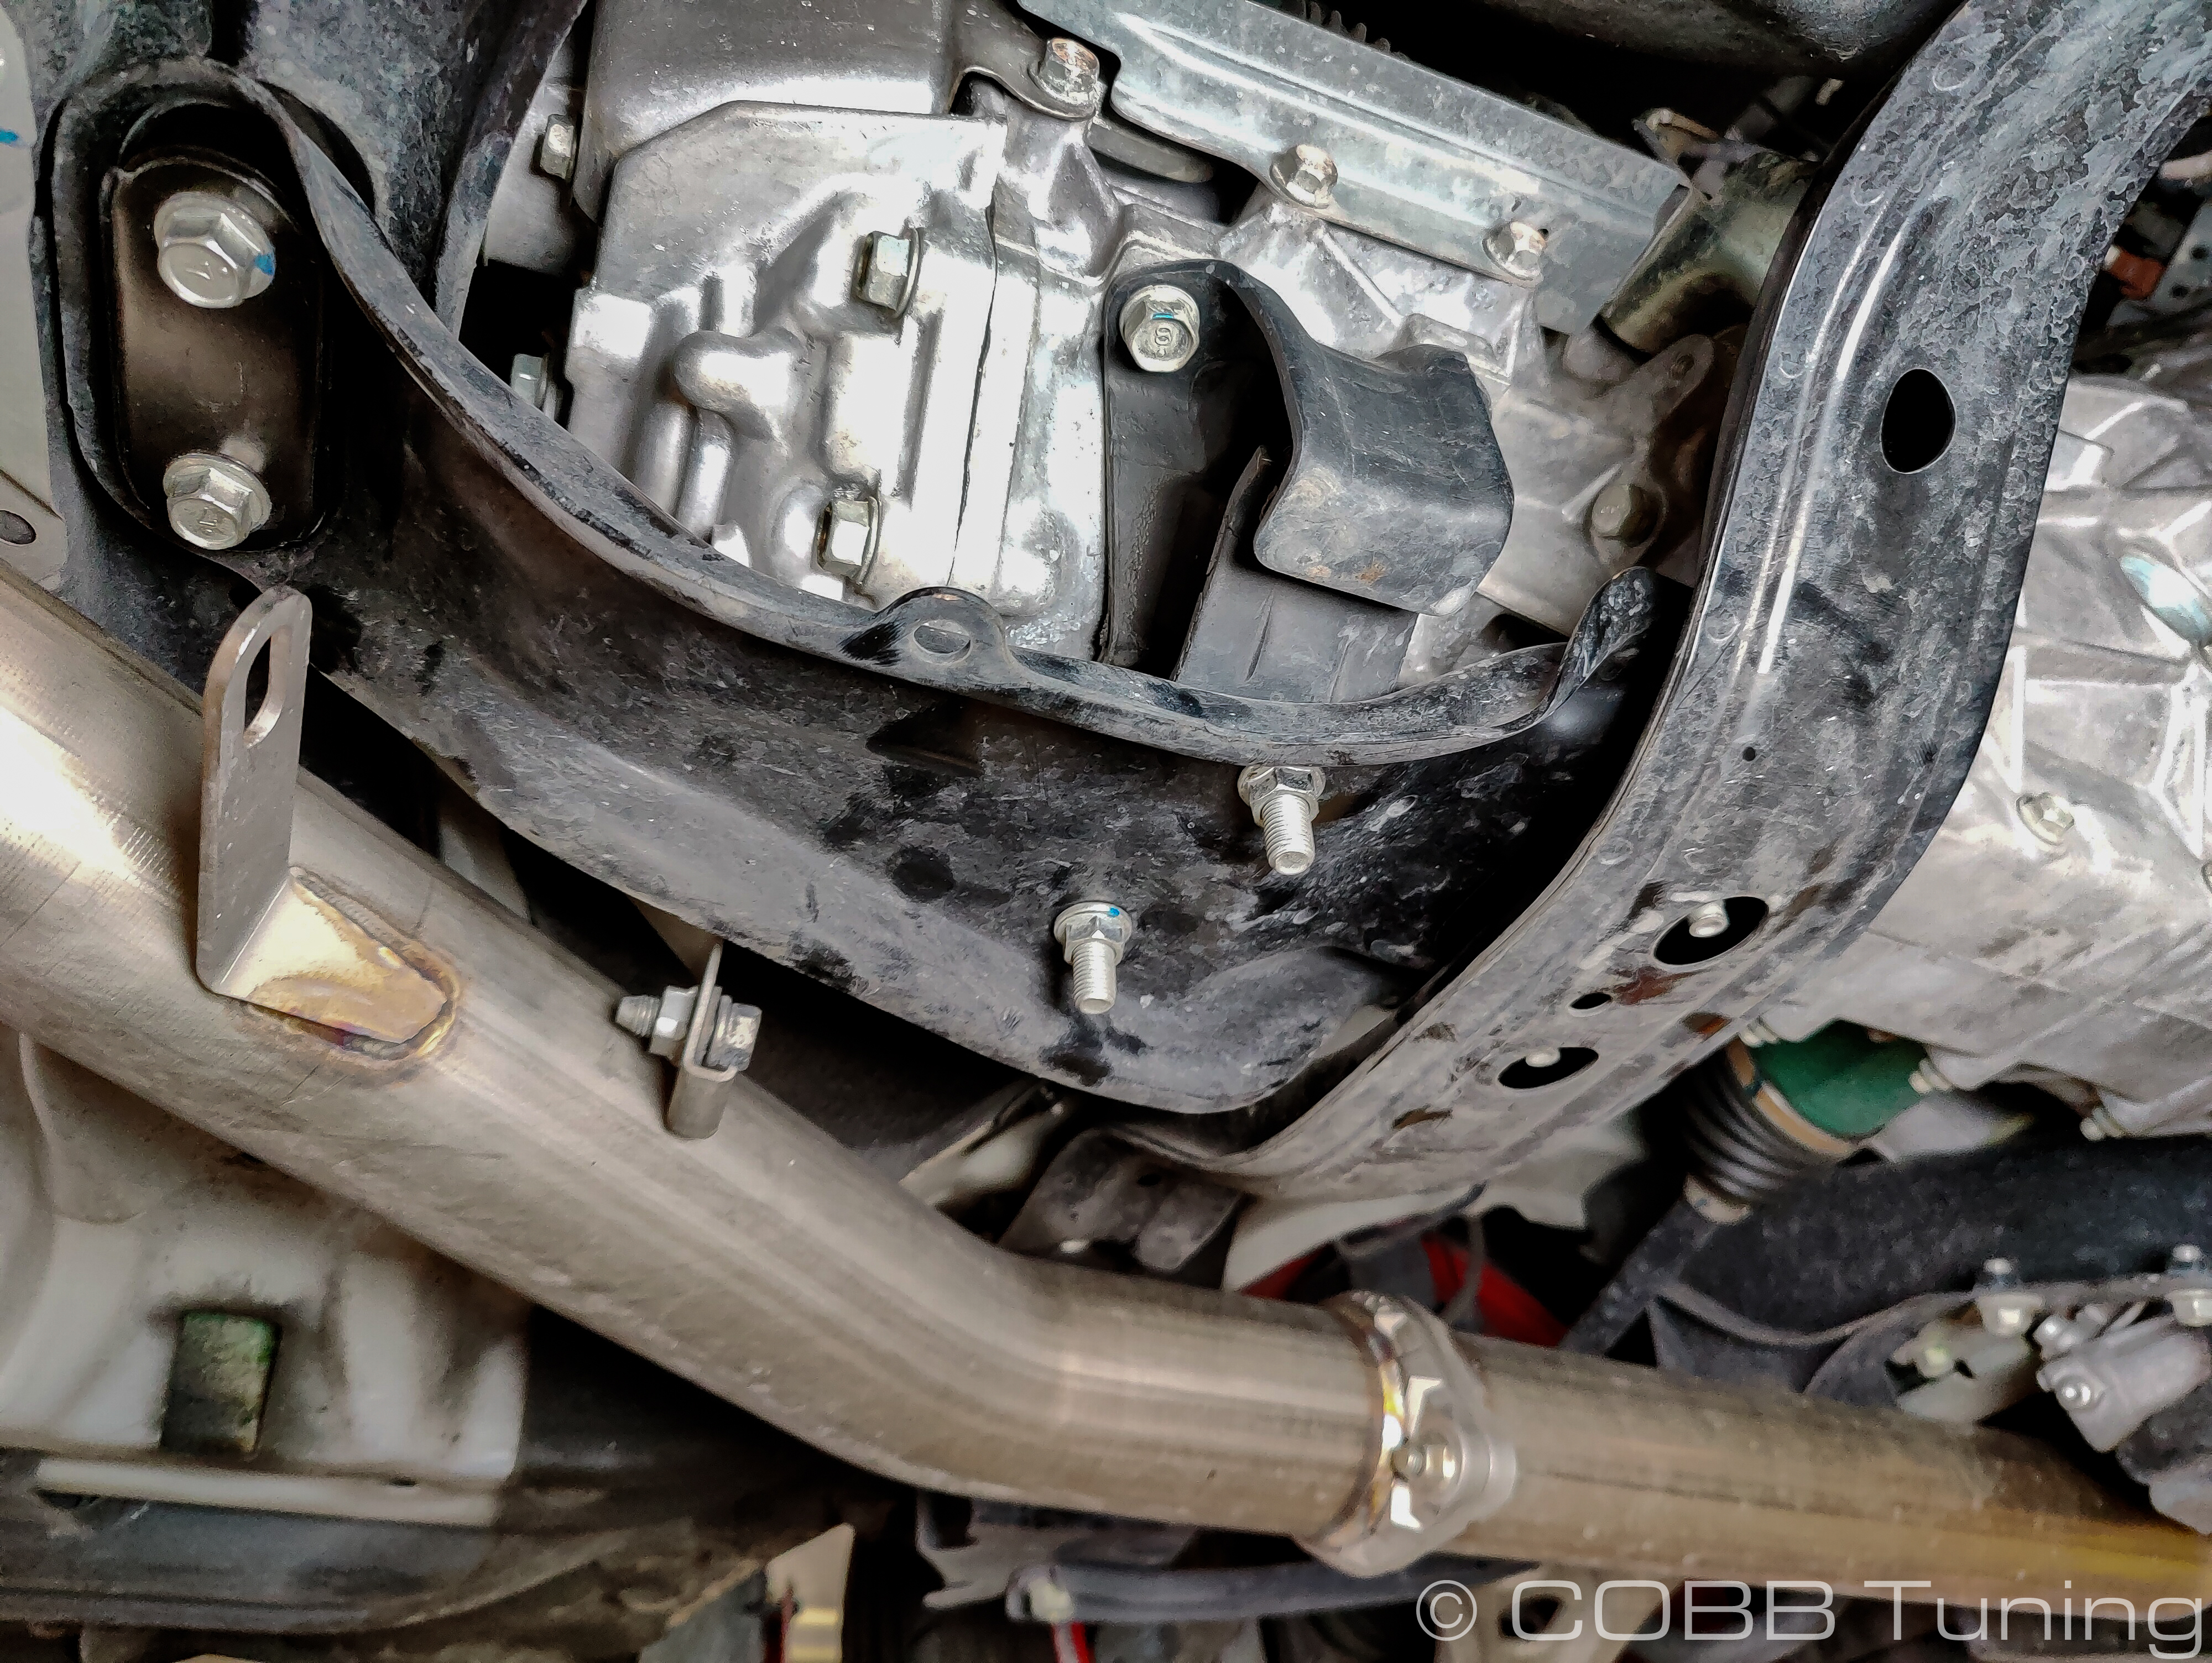
- To make things easier we can remove (or at least drop down) the crossmember to get everything out. In some cases you may be able to wiggle the plate with the studs out but it will make it easier this way. Grab your 17mm socket and undo the driver and passenger's side bolts of the crossmember to free thigns up.
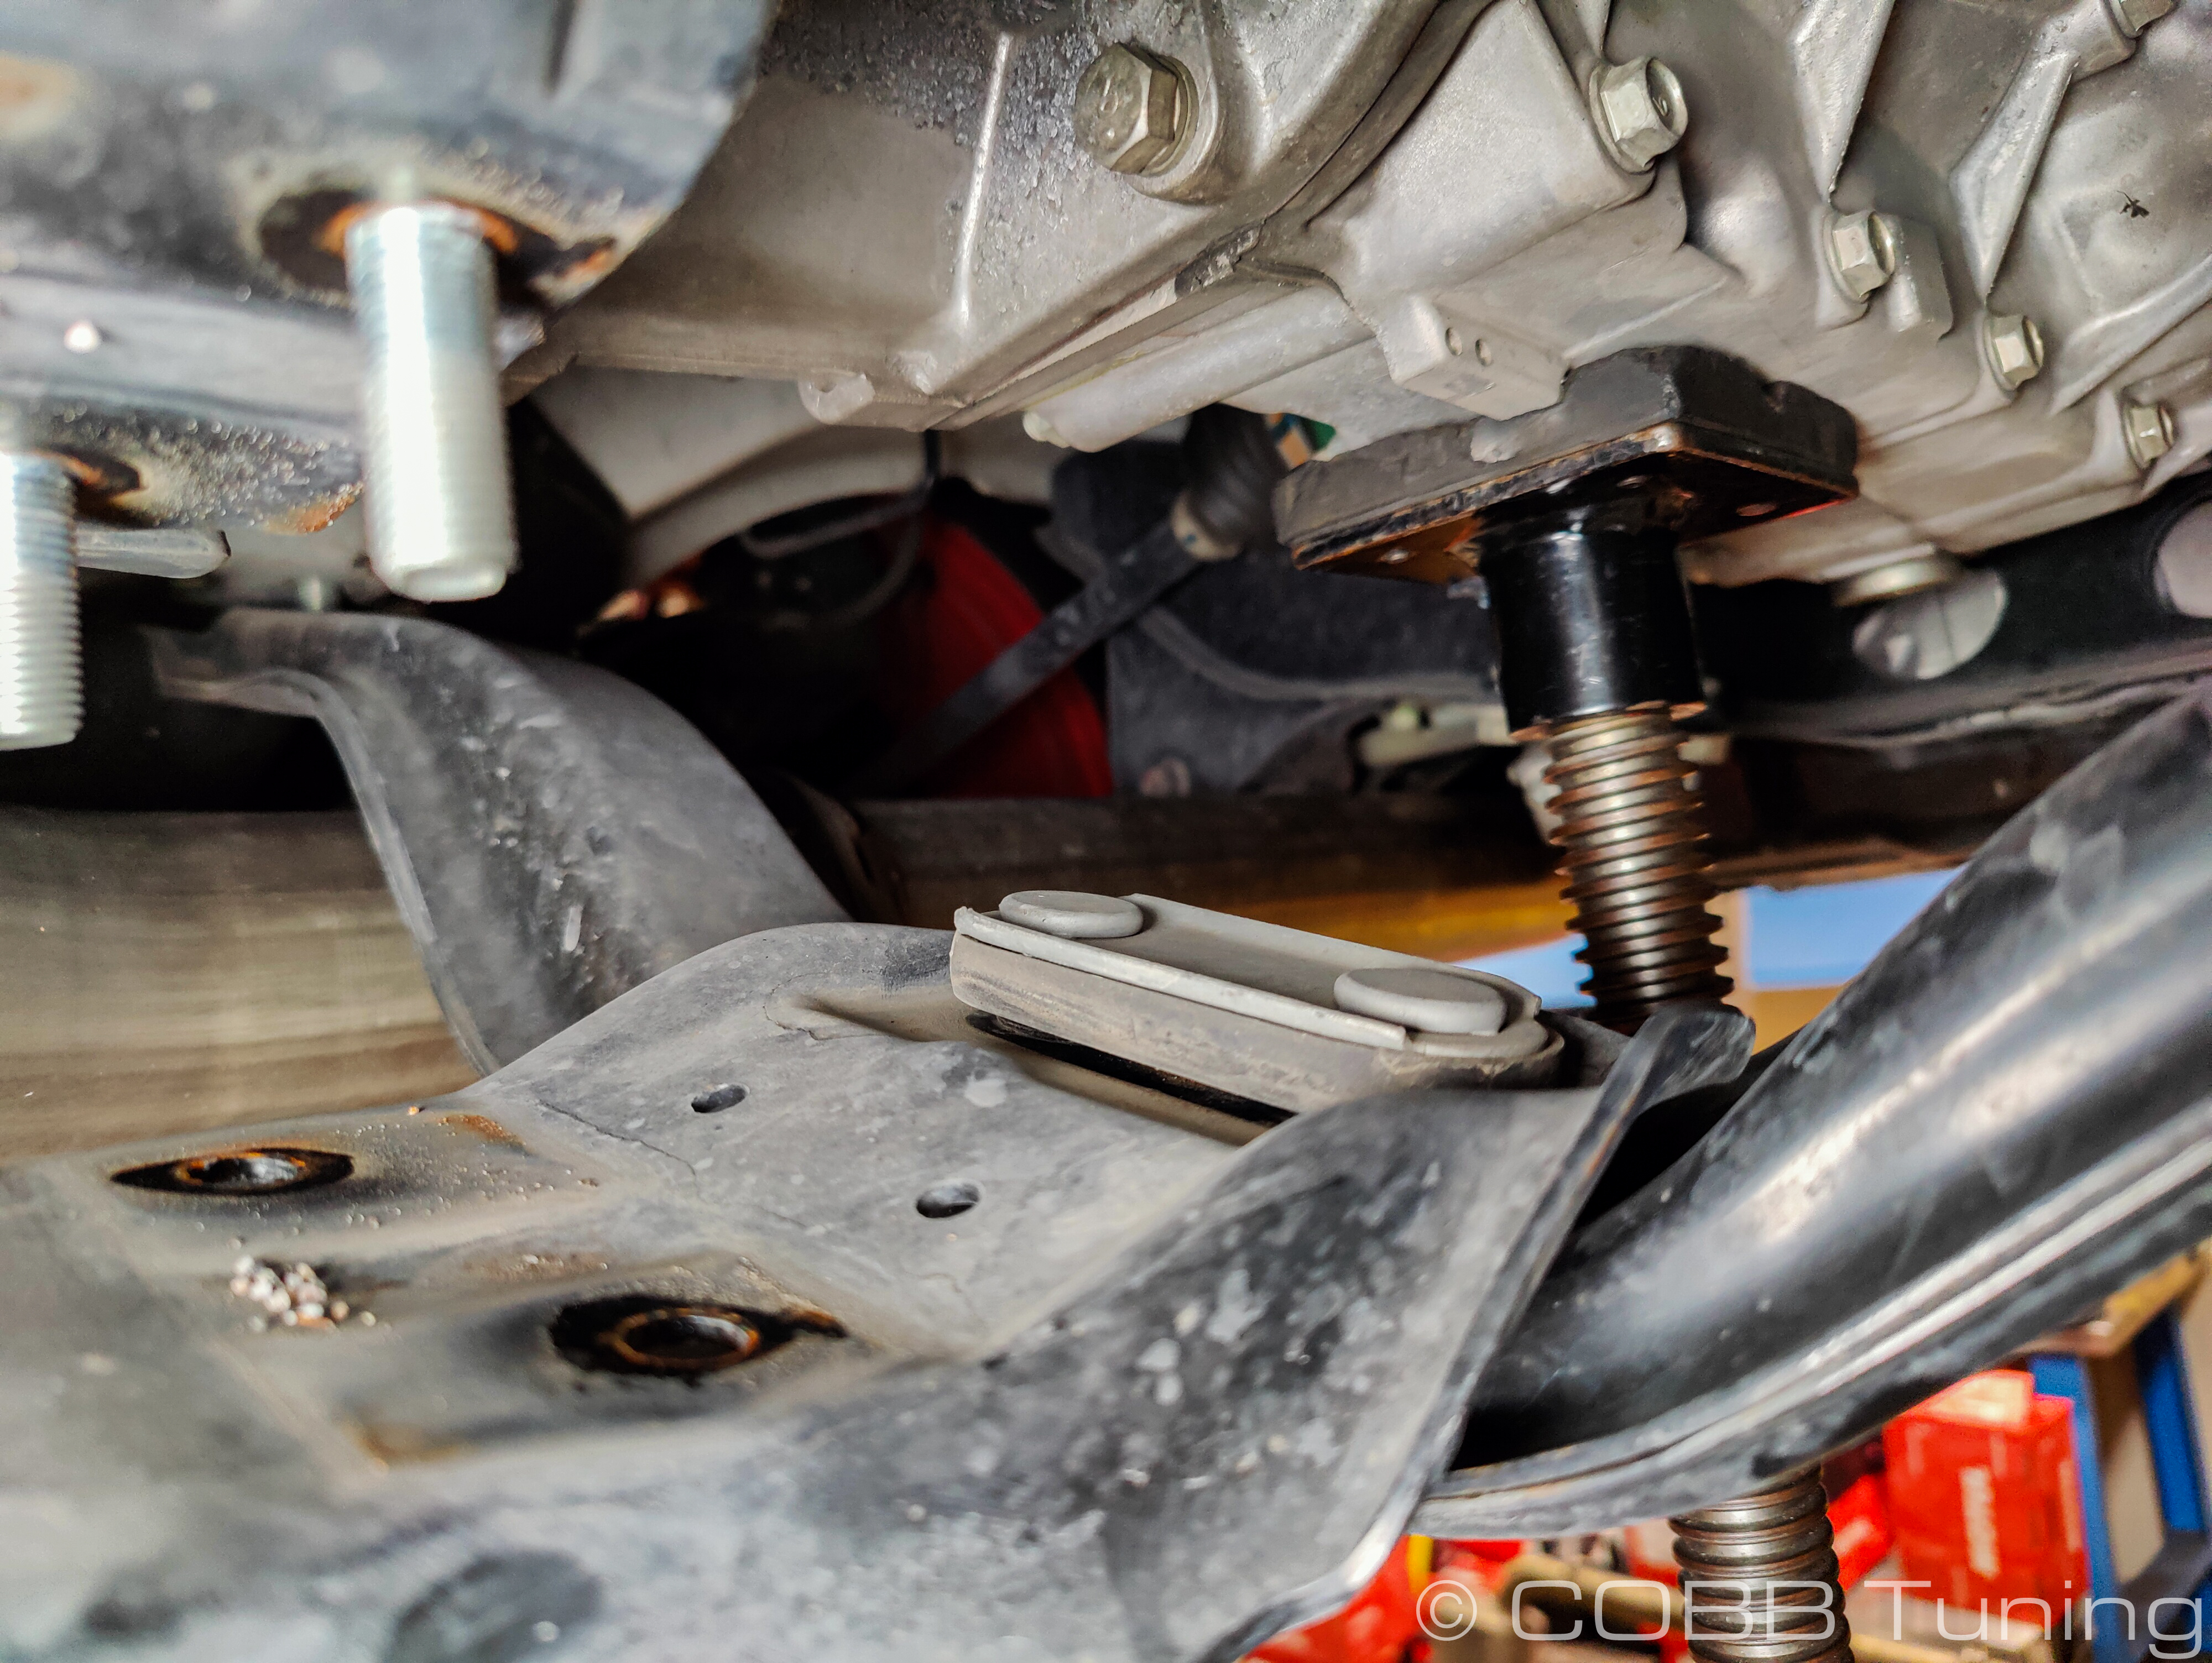
- You can now lift out the crossmember along with the two bushings and the plate with the studs in it.
Installation of Bushings
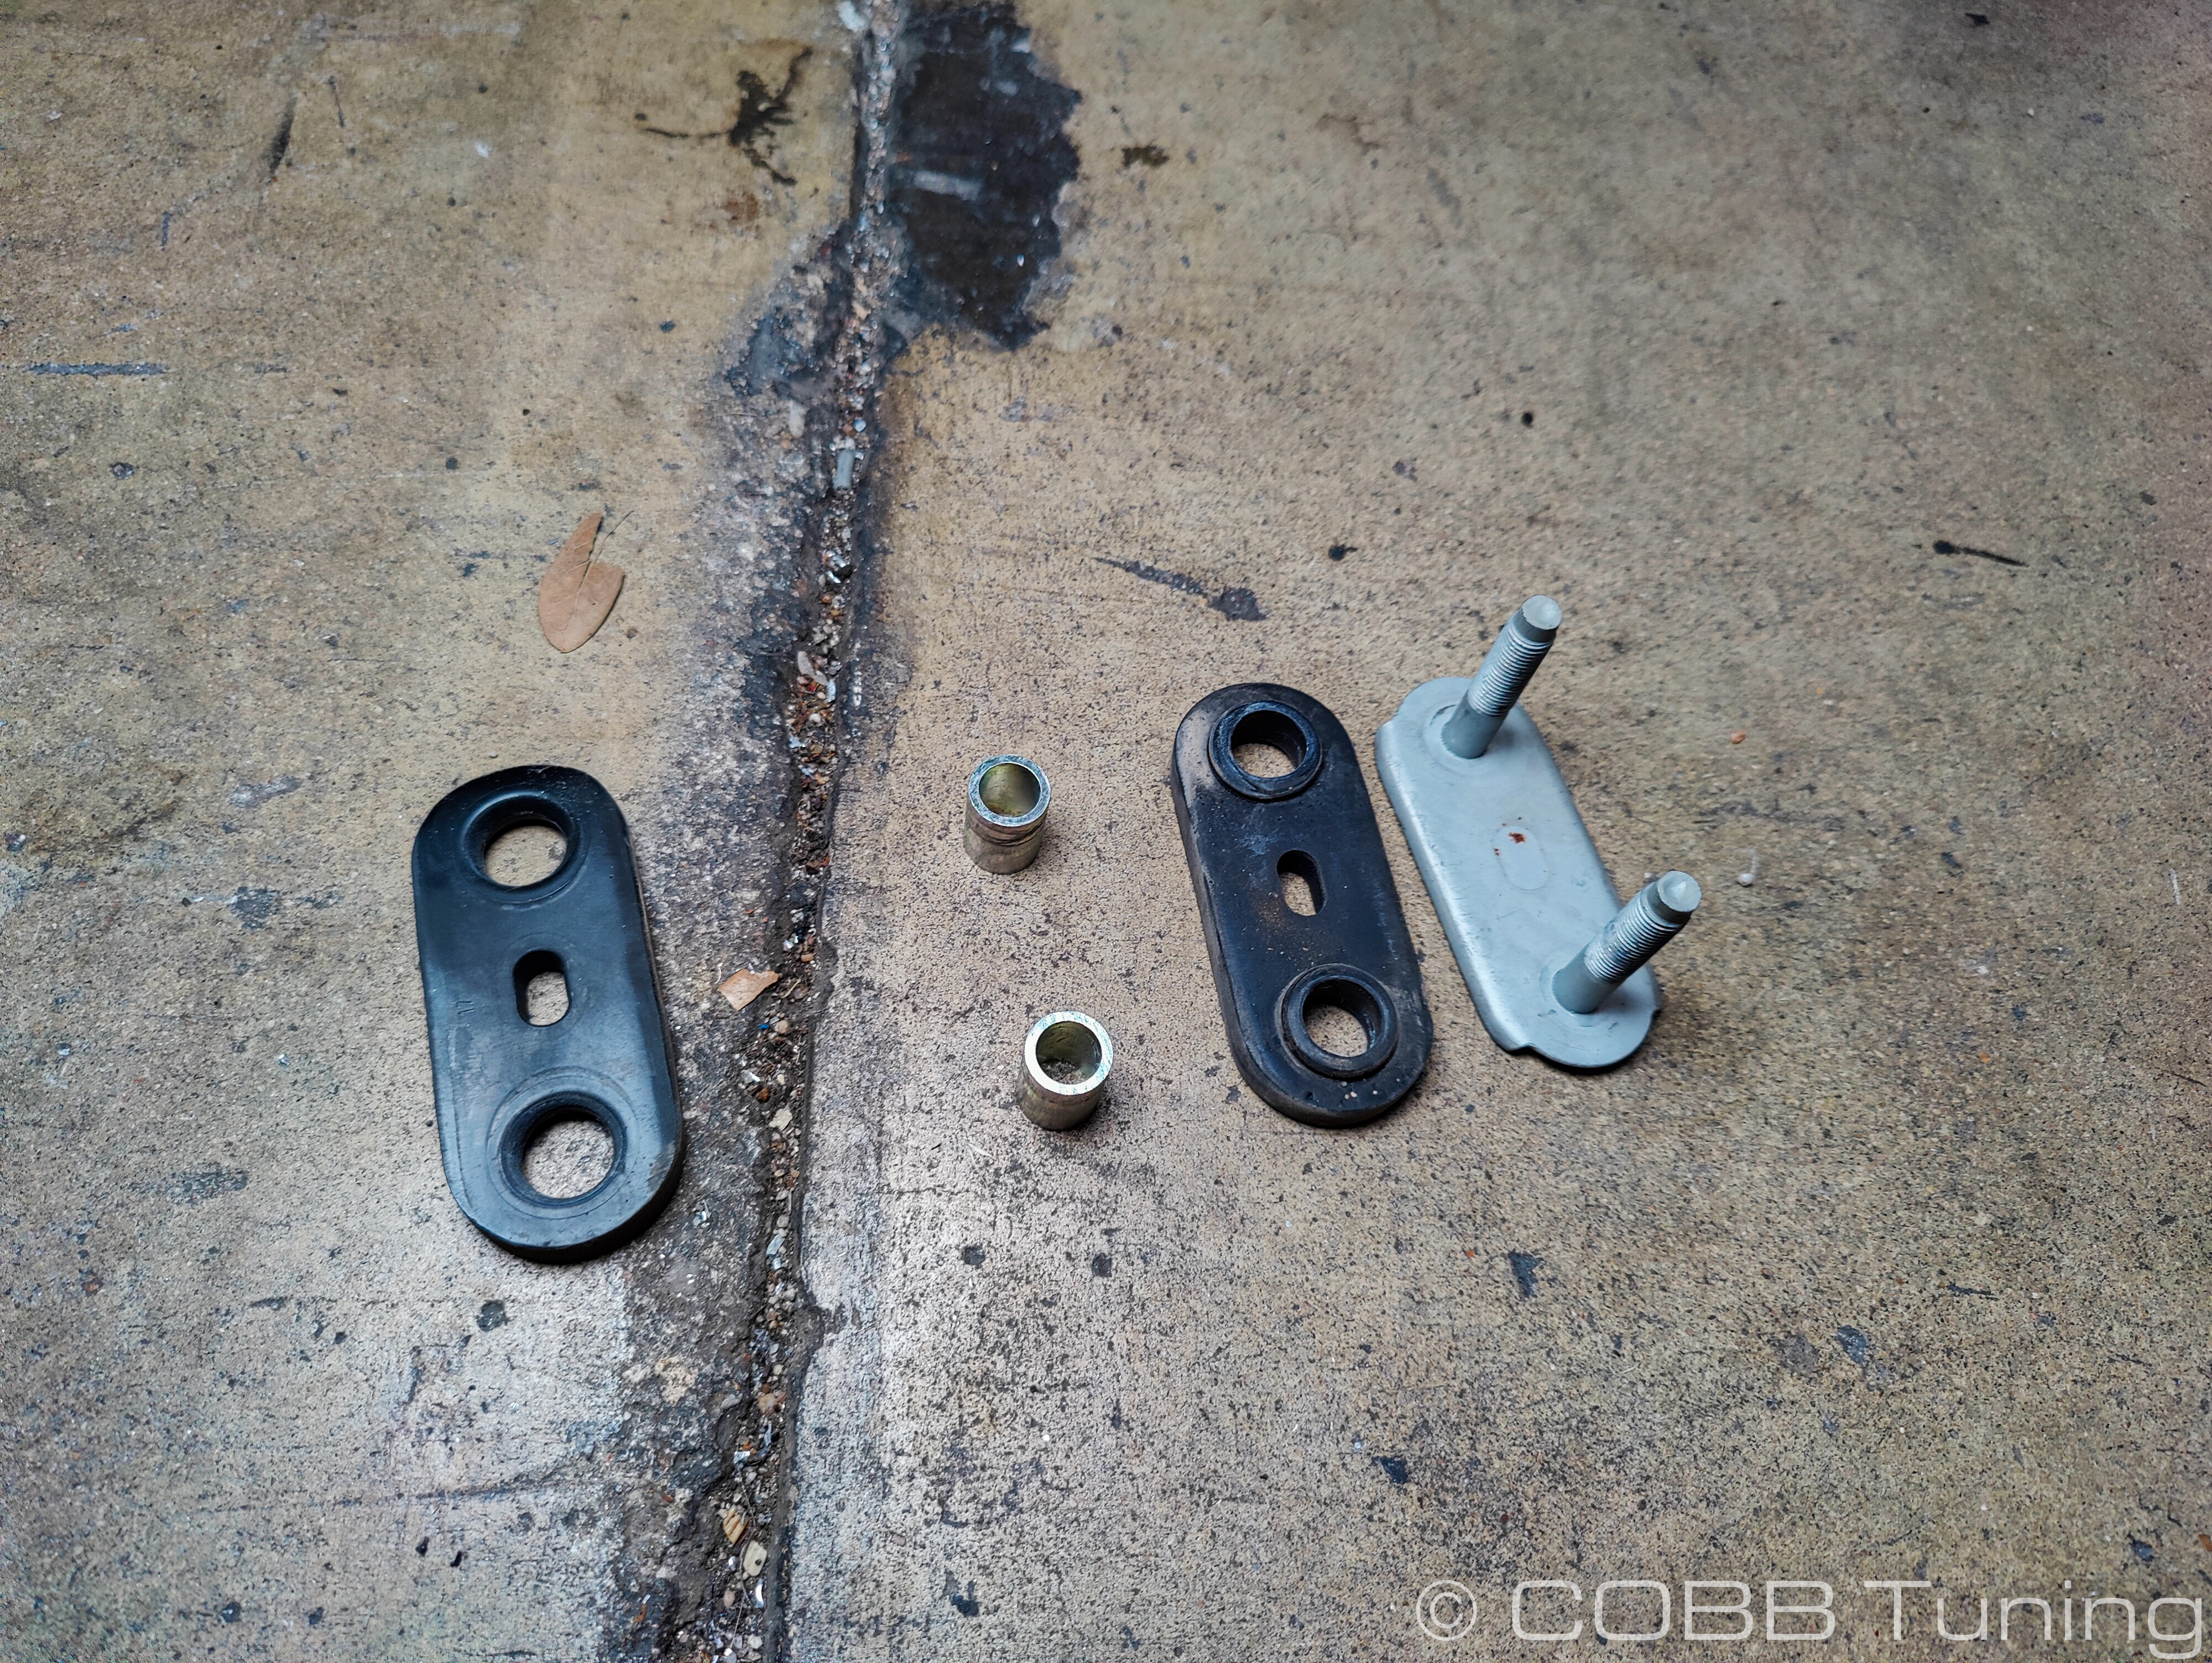
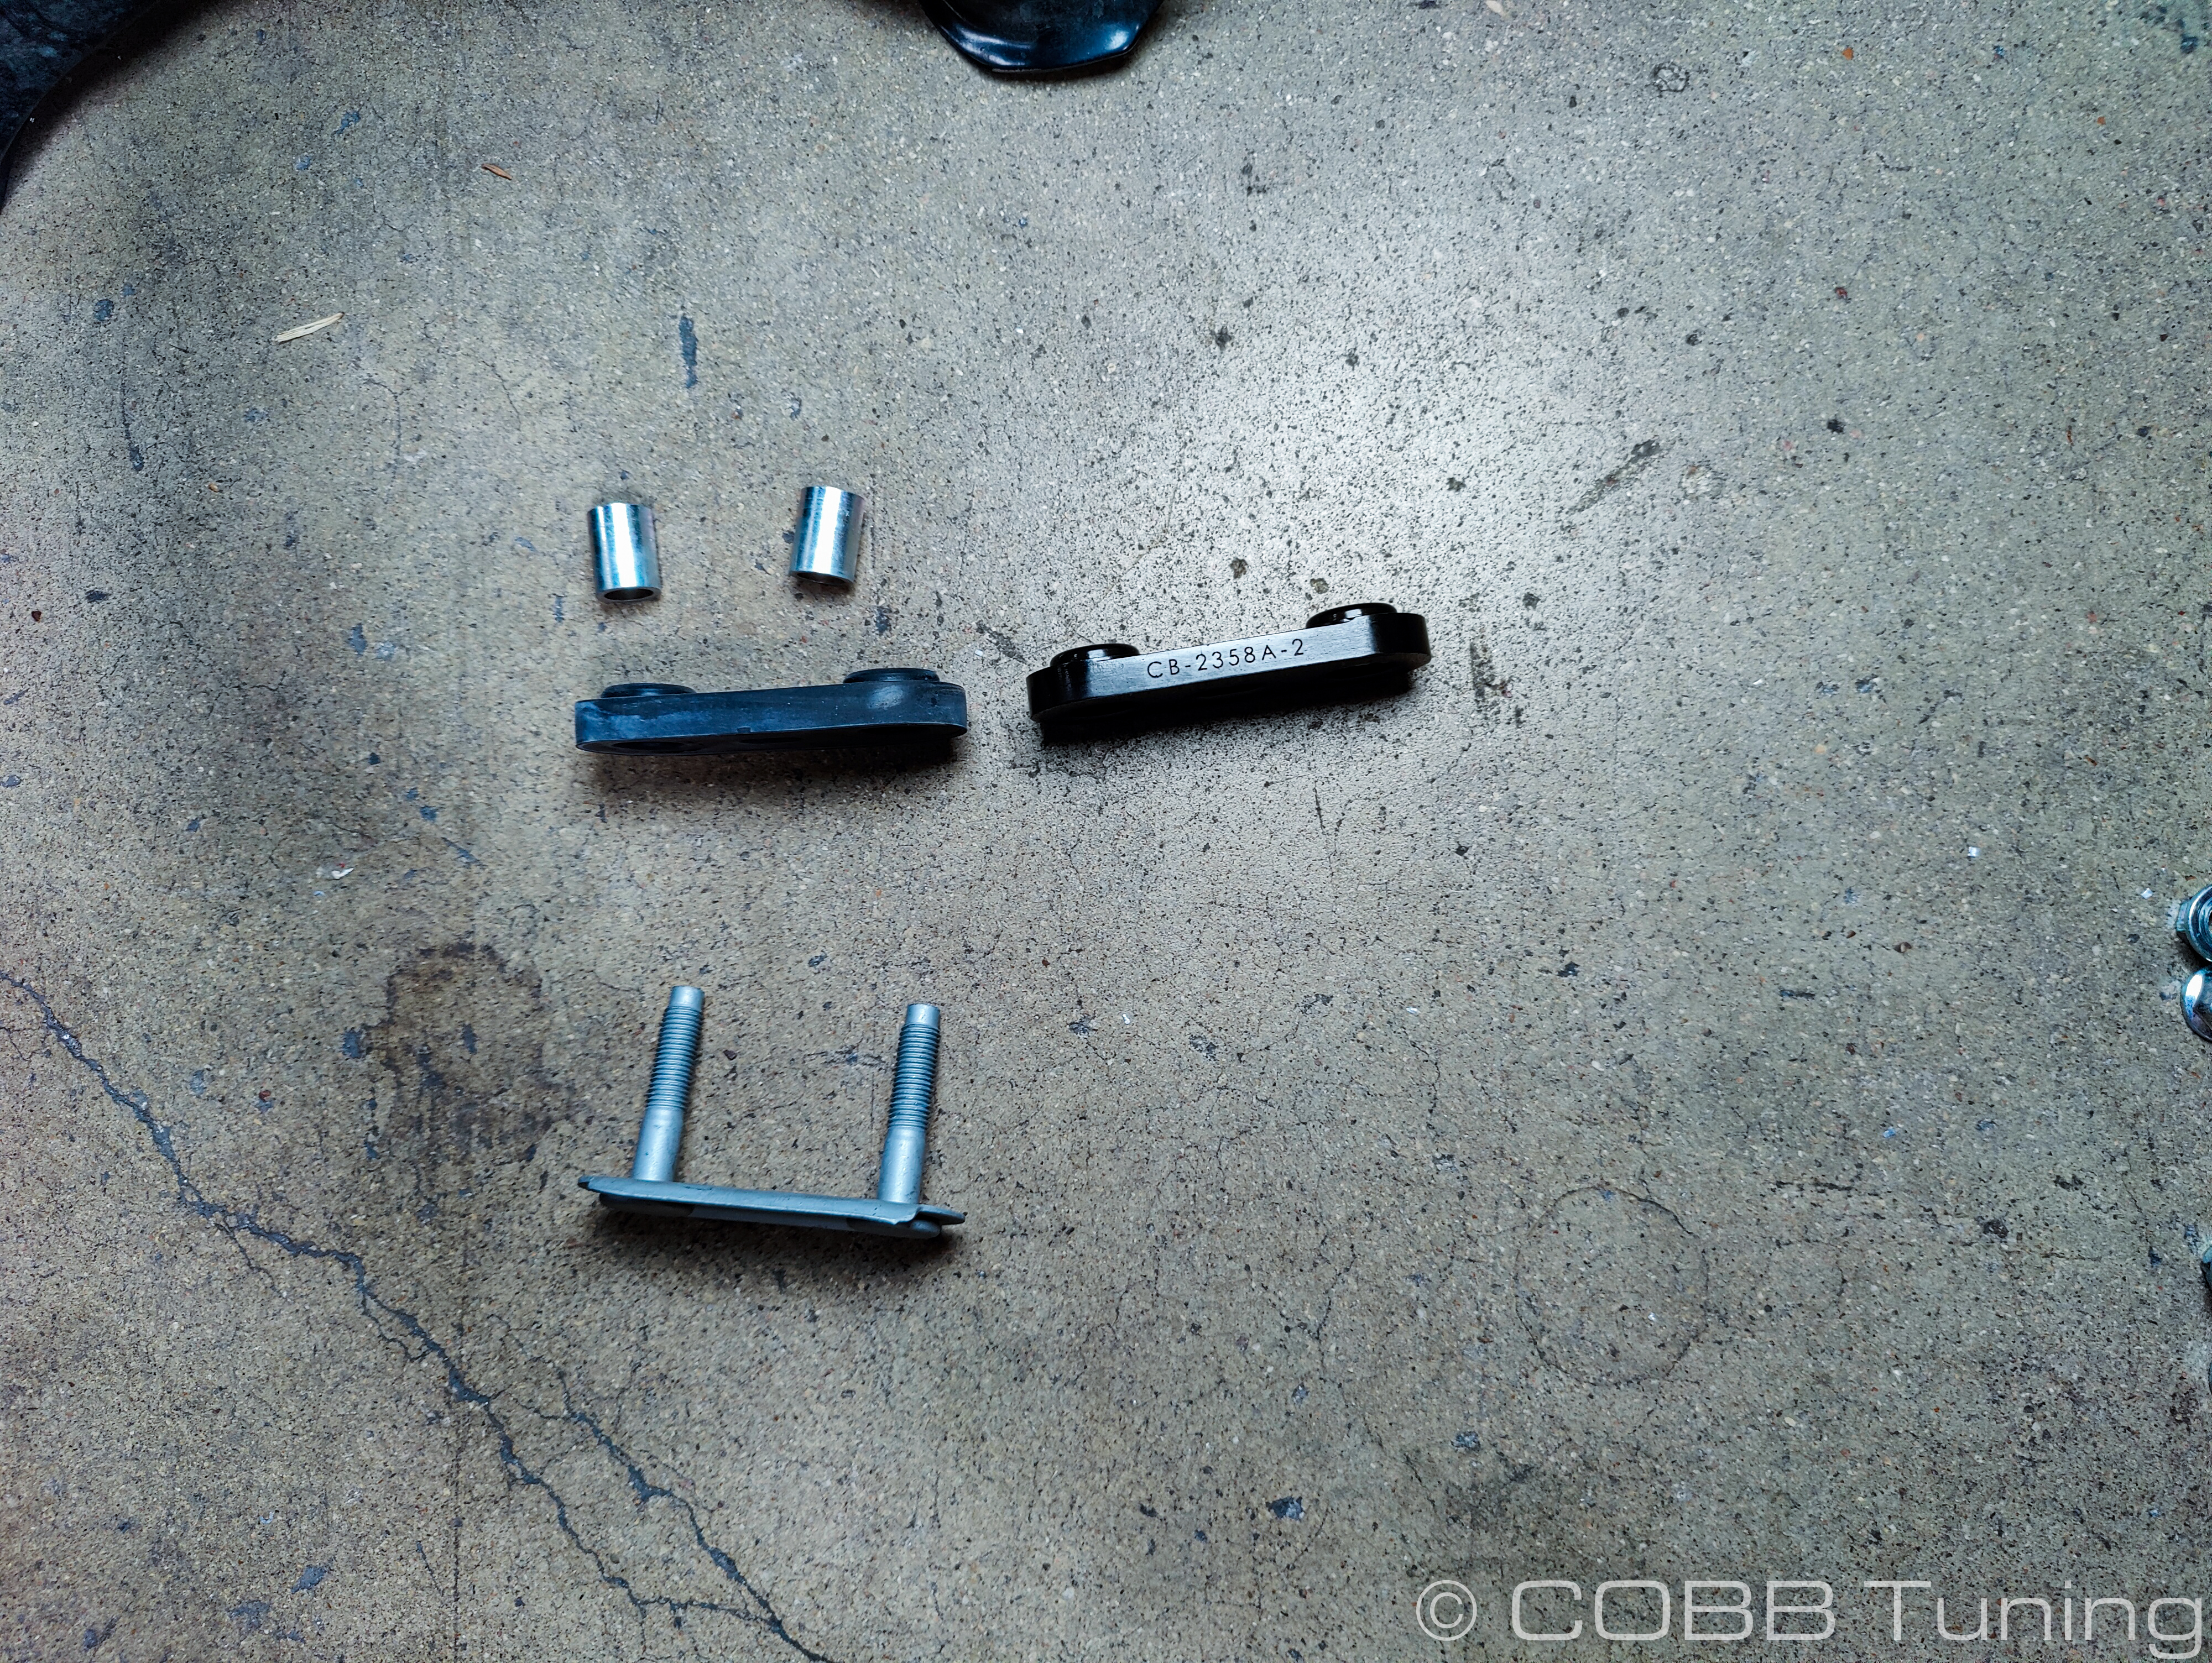
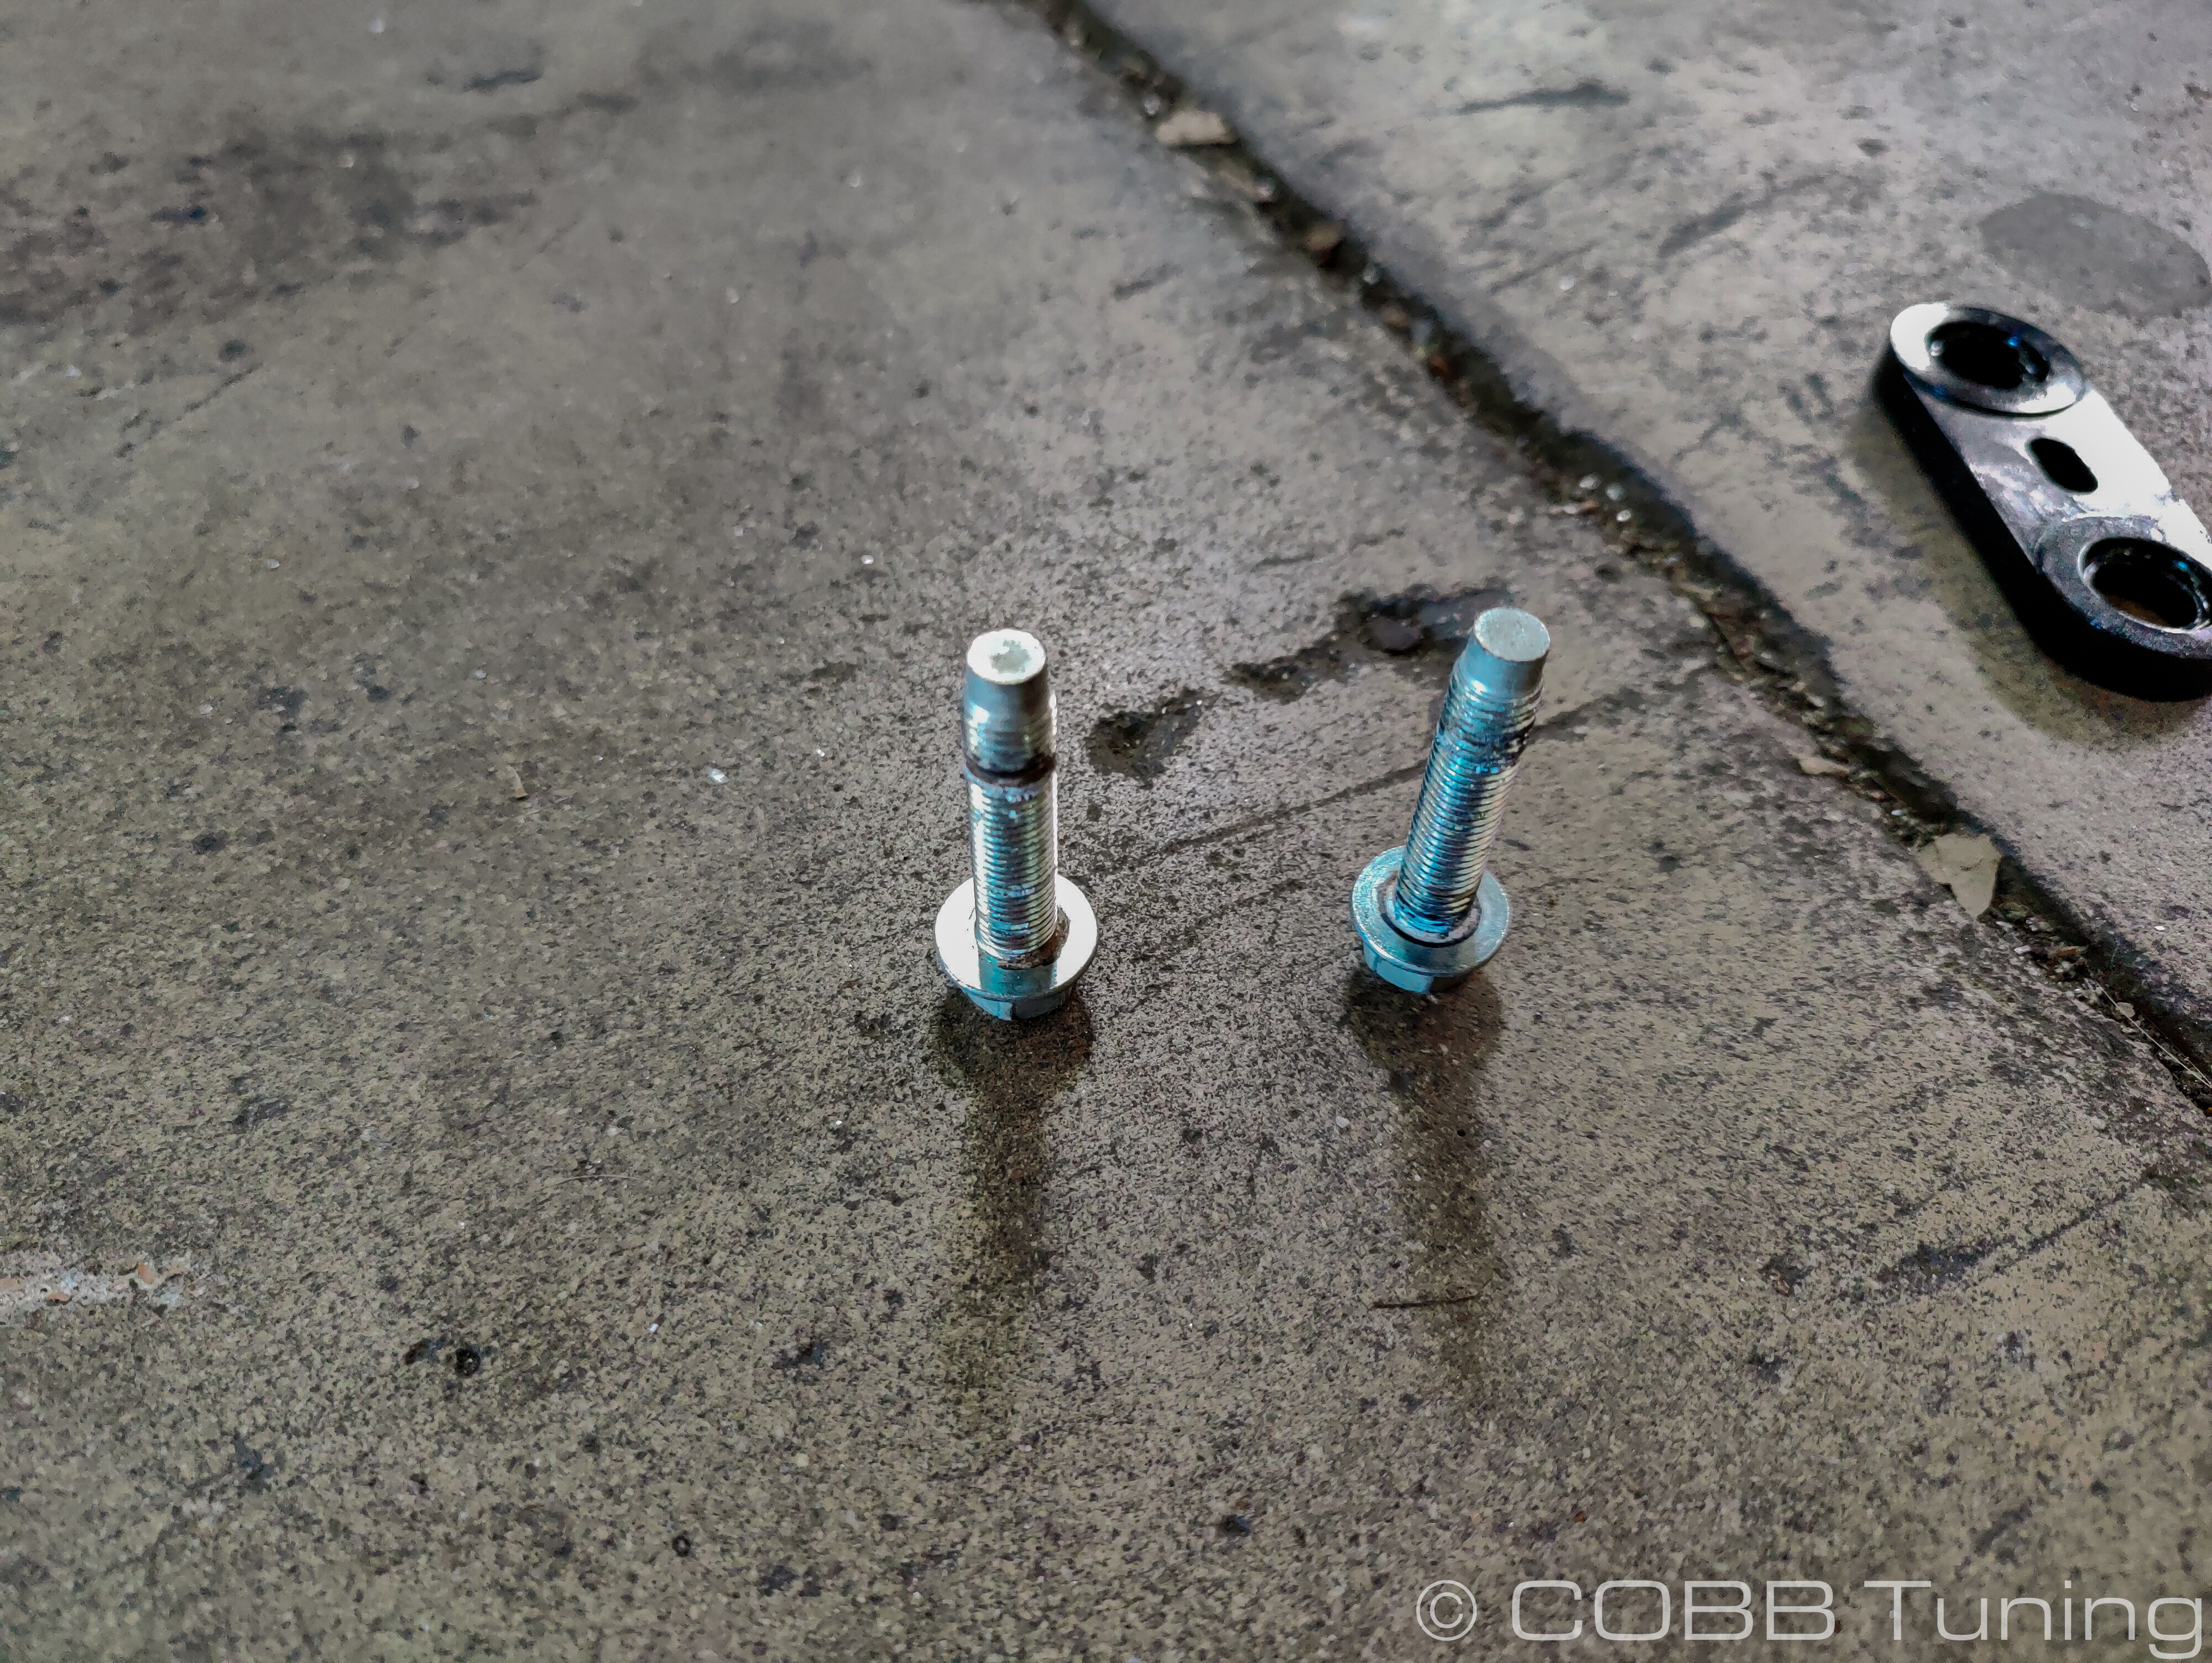
- For the front set with the plate and captive studs. Remove the two metal spacers and add a thin layer of grease to the outside.

- We'll be swapping the bushings with the 2358A on the side with the plate/studs and the 2358B Bushing between the two crossmembers.
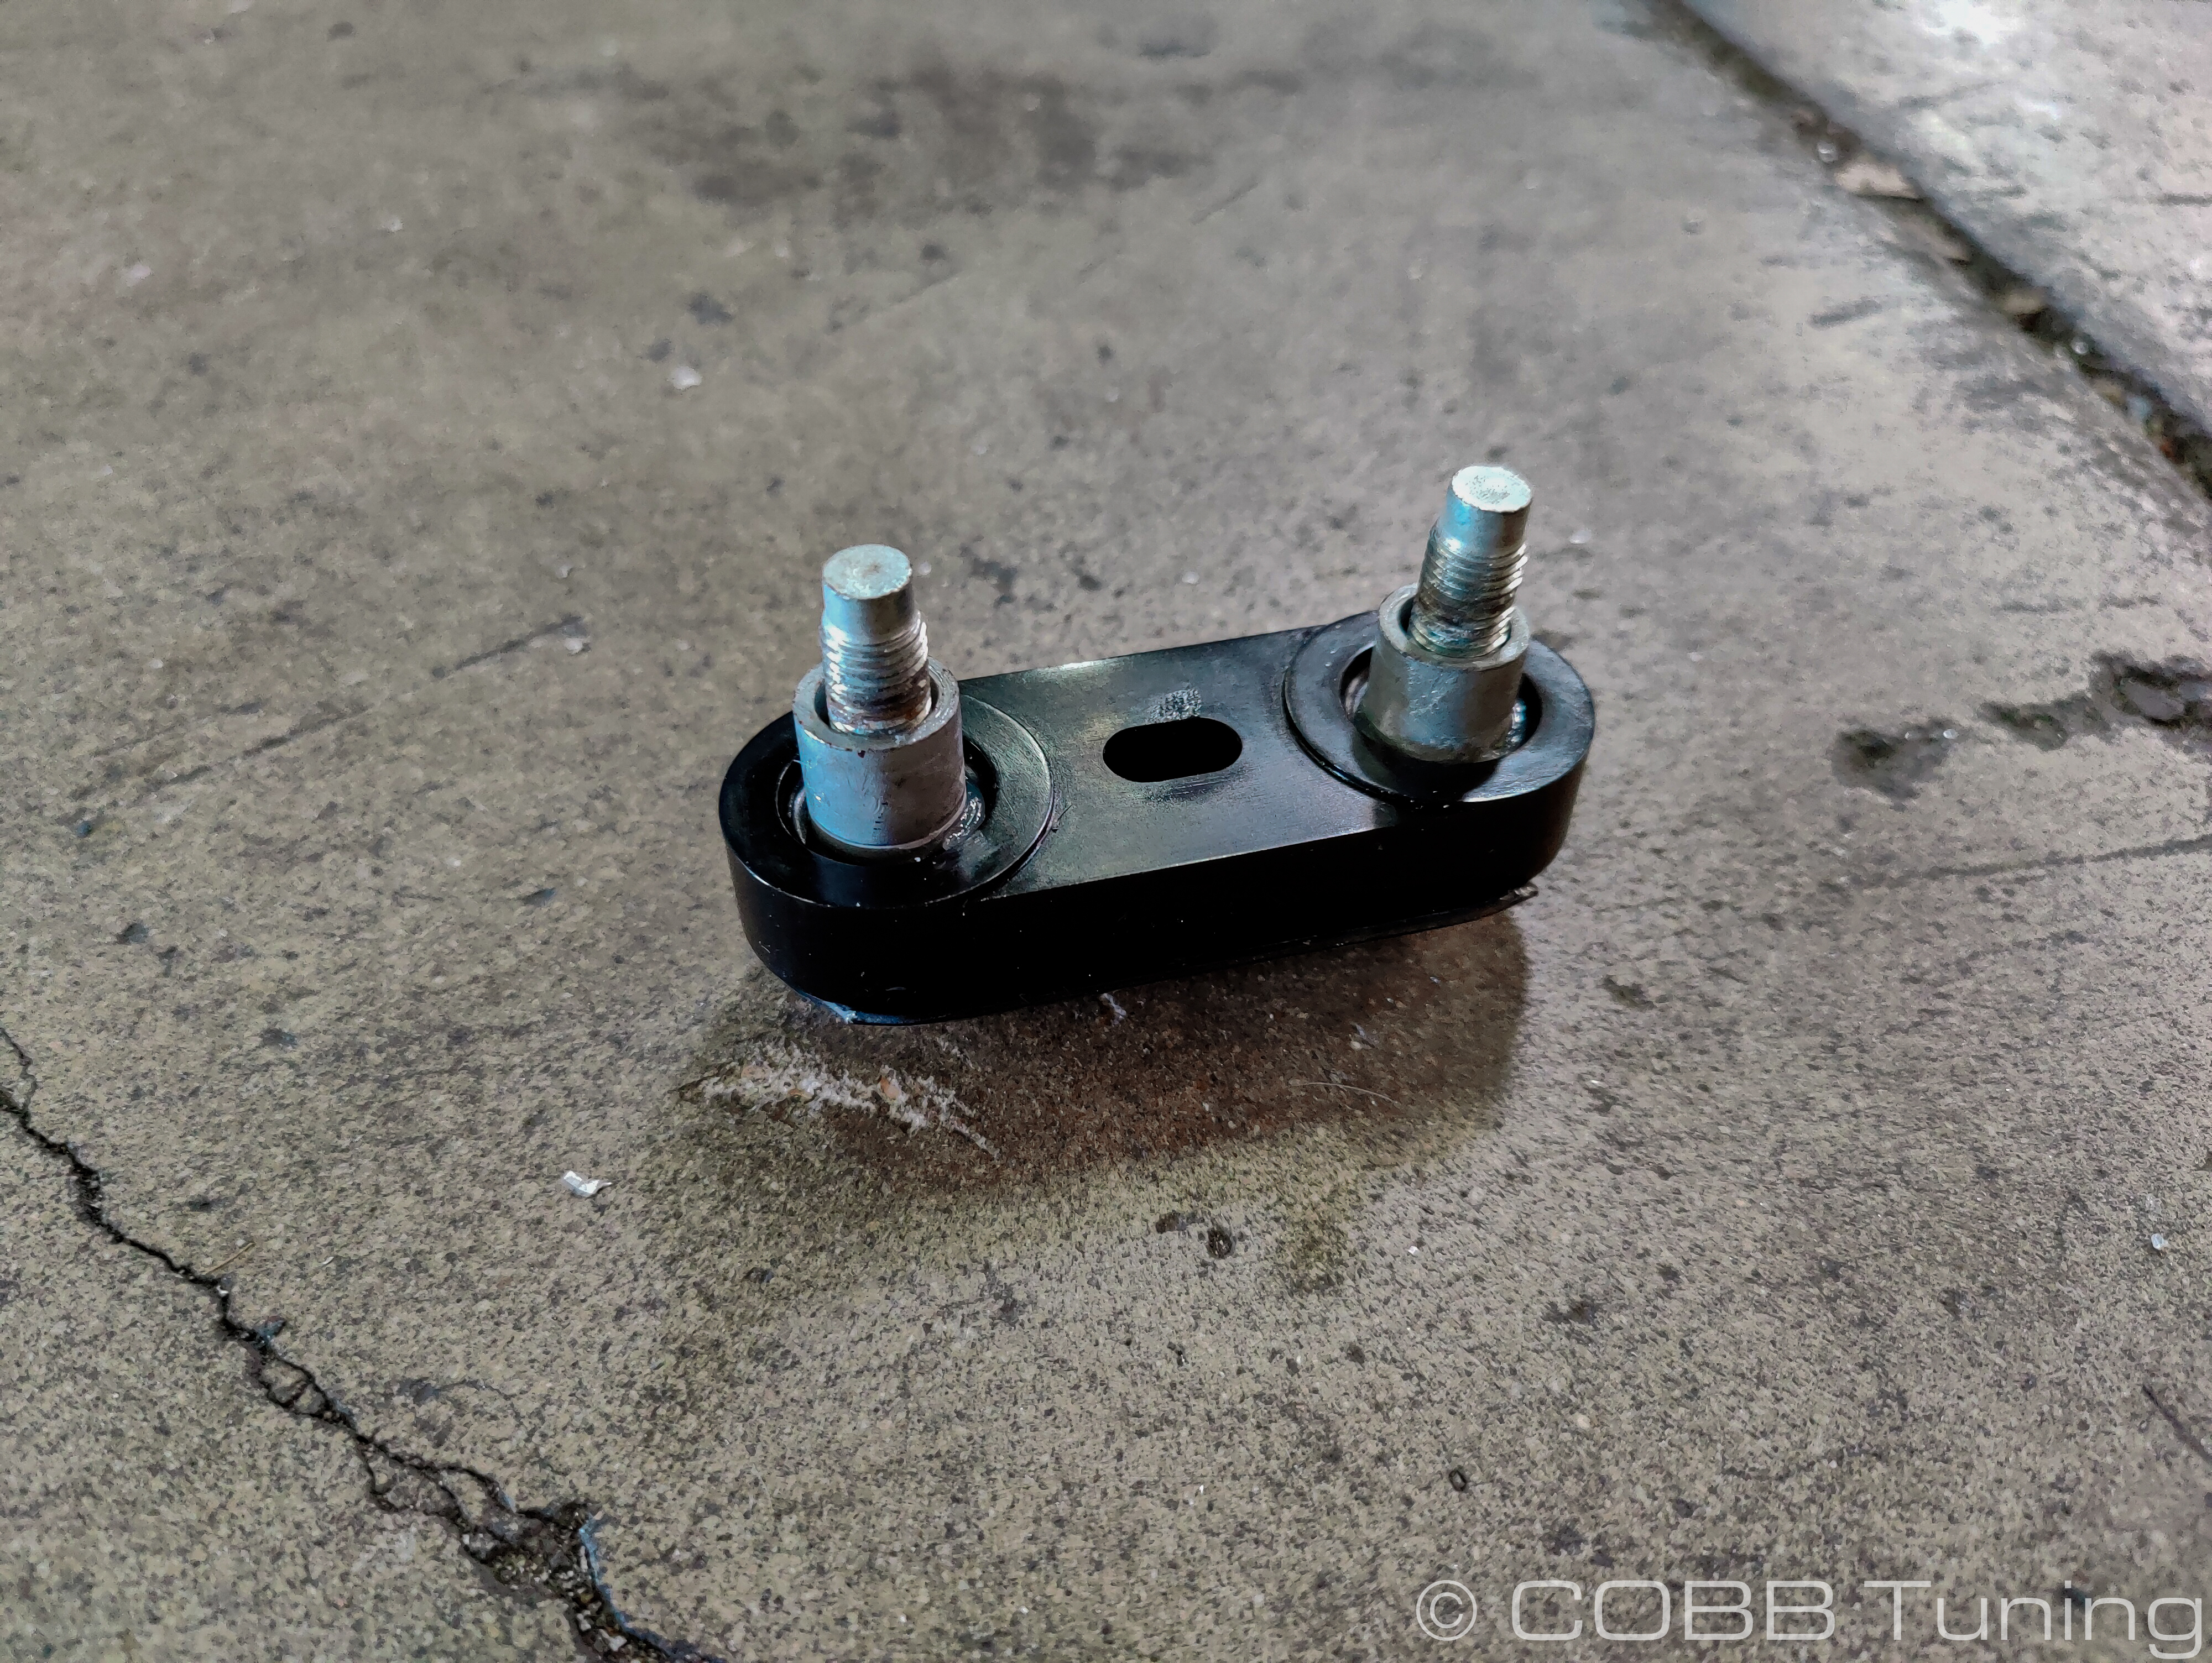
- Slip those into the thinner bushing with the protruding parts (2358A)
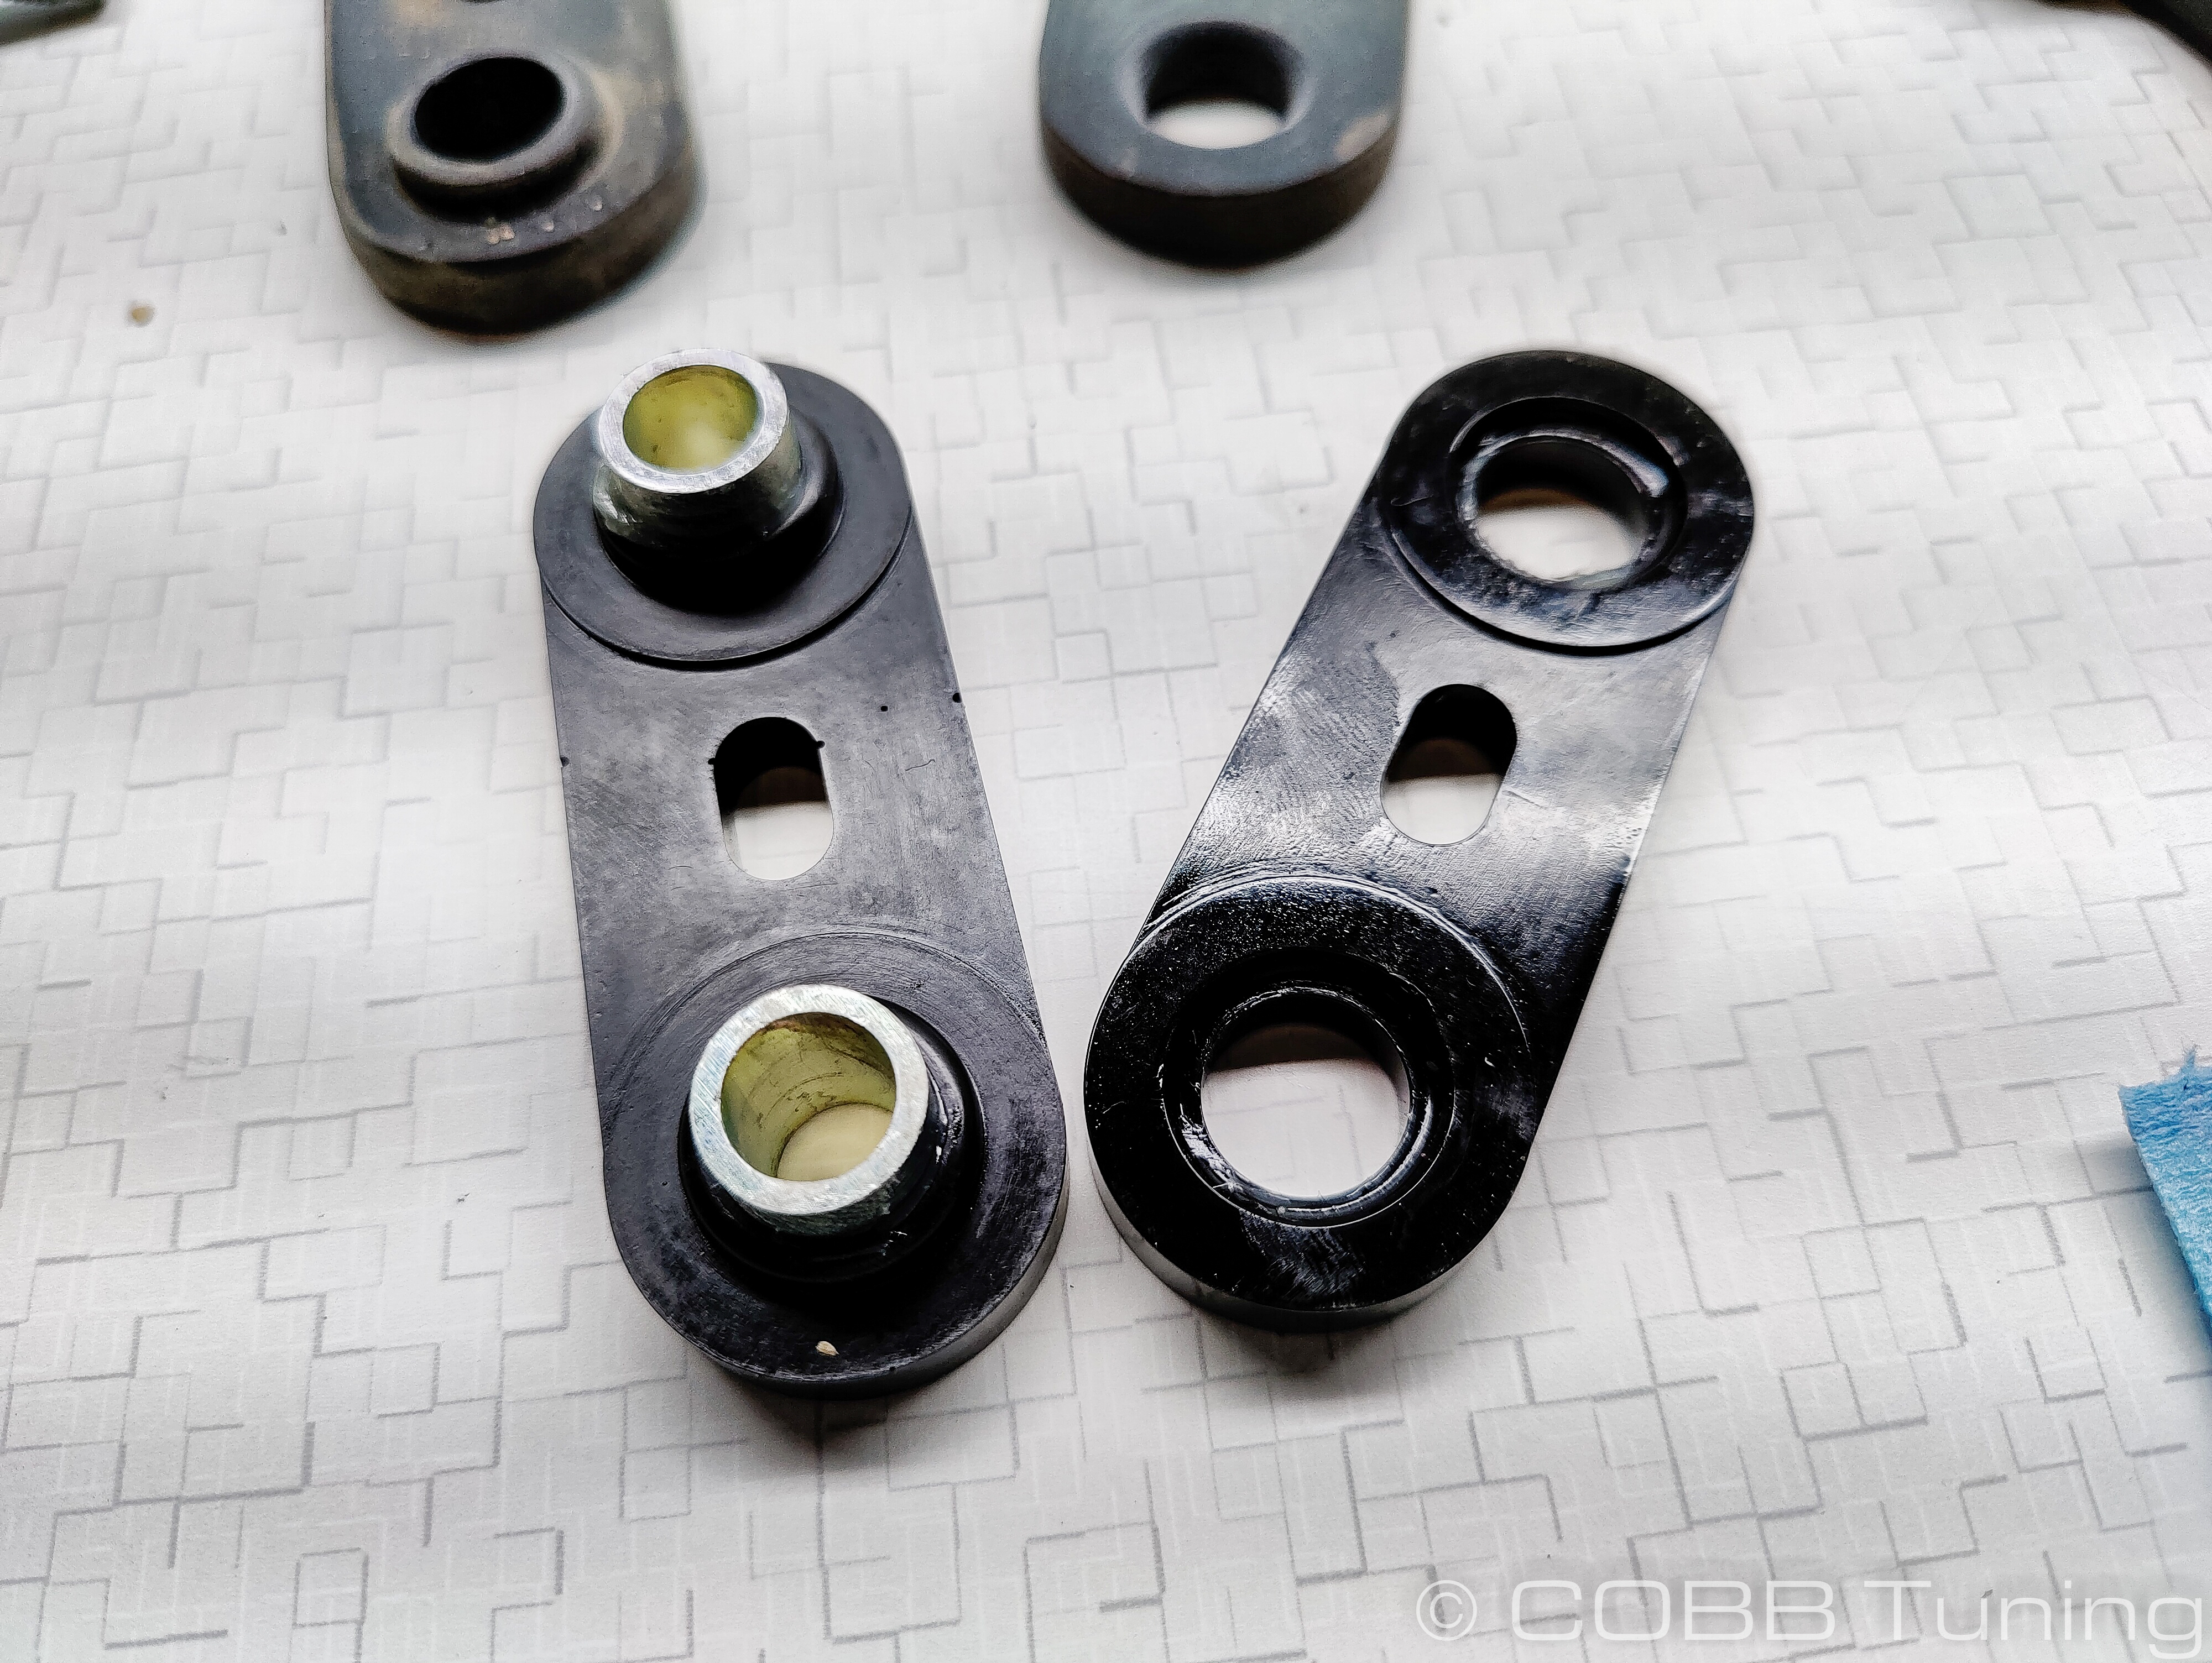
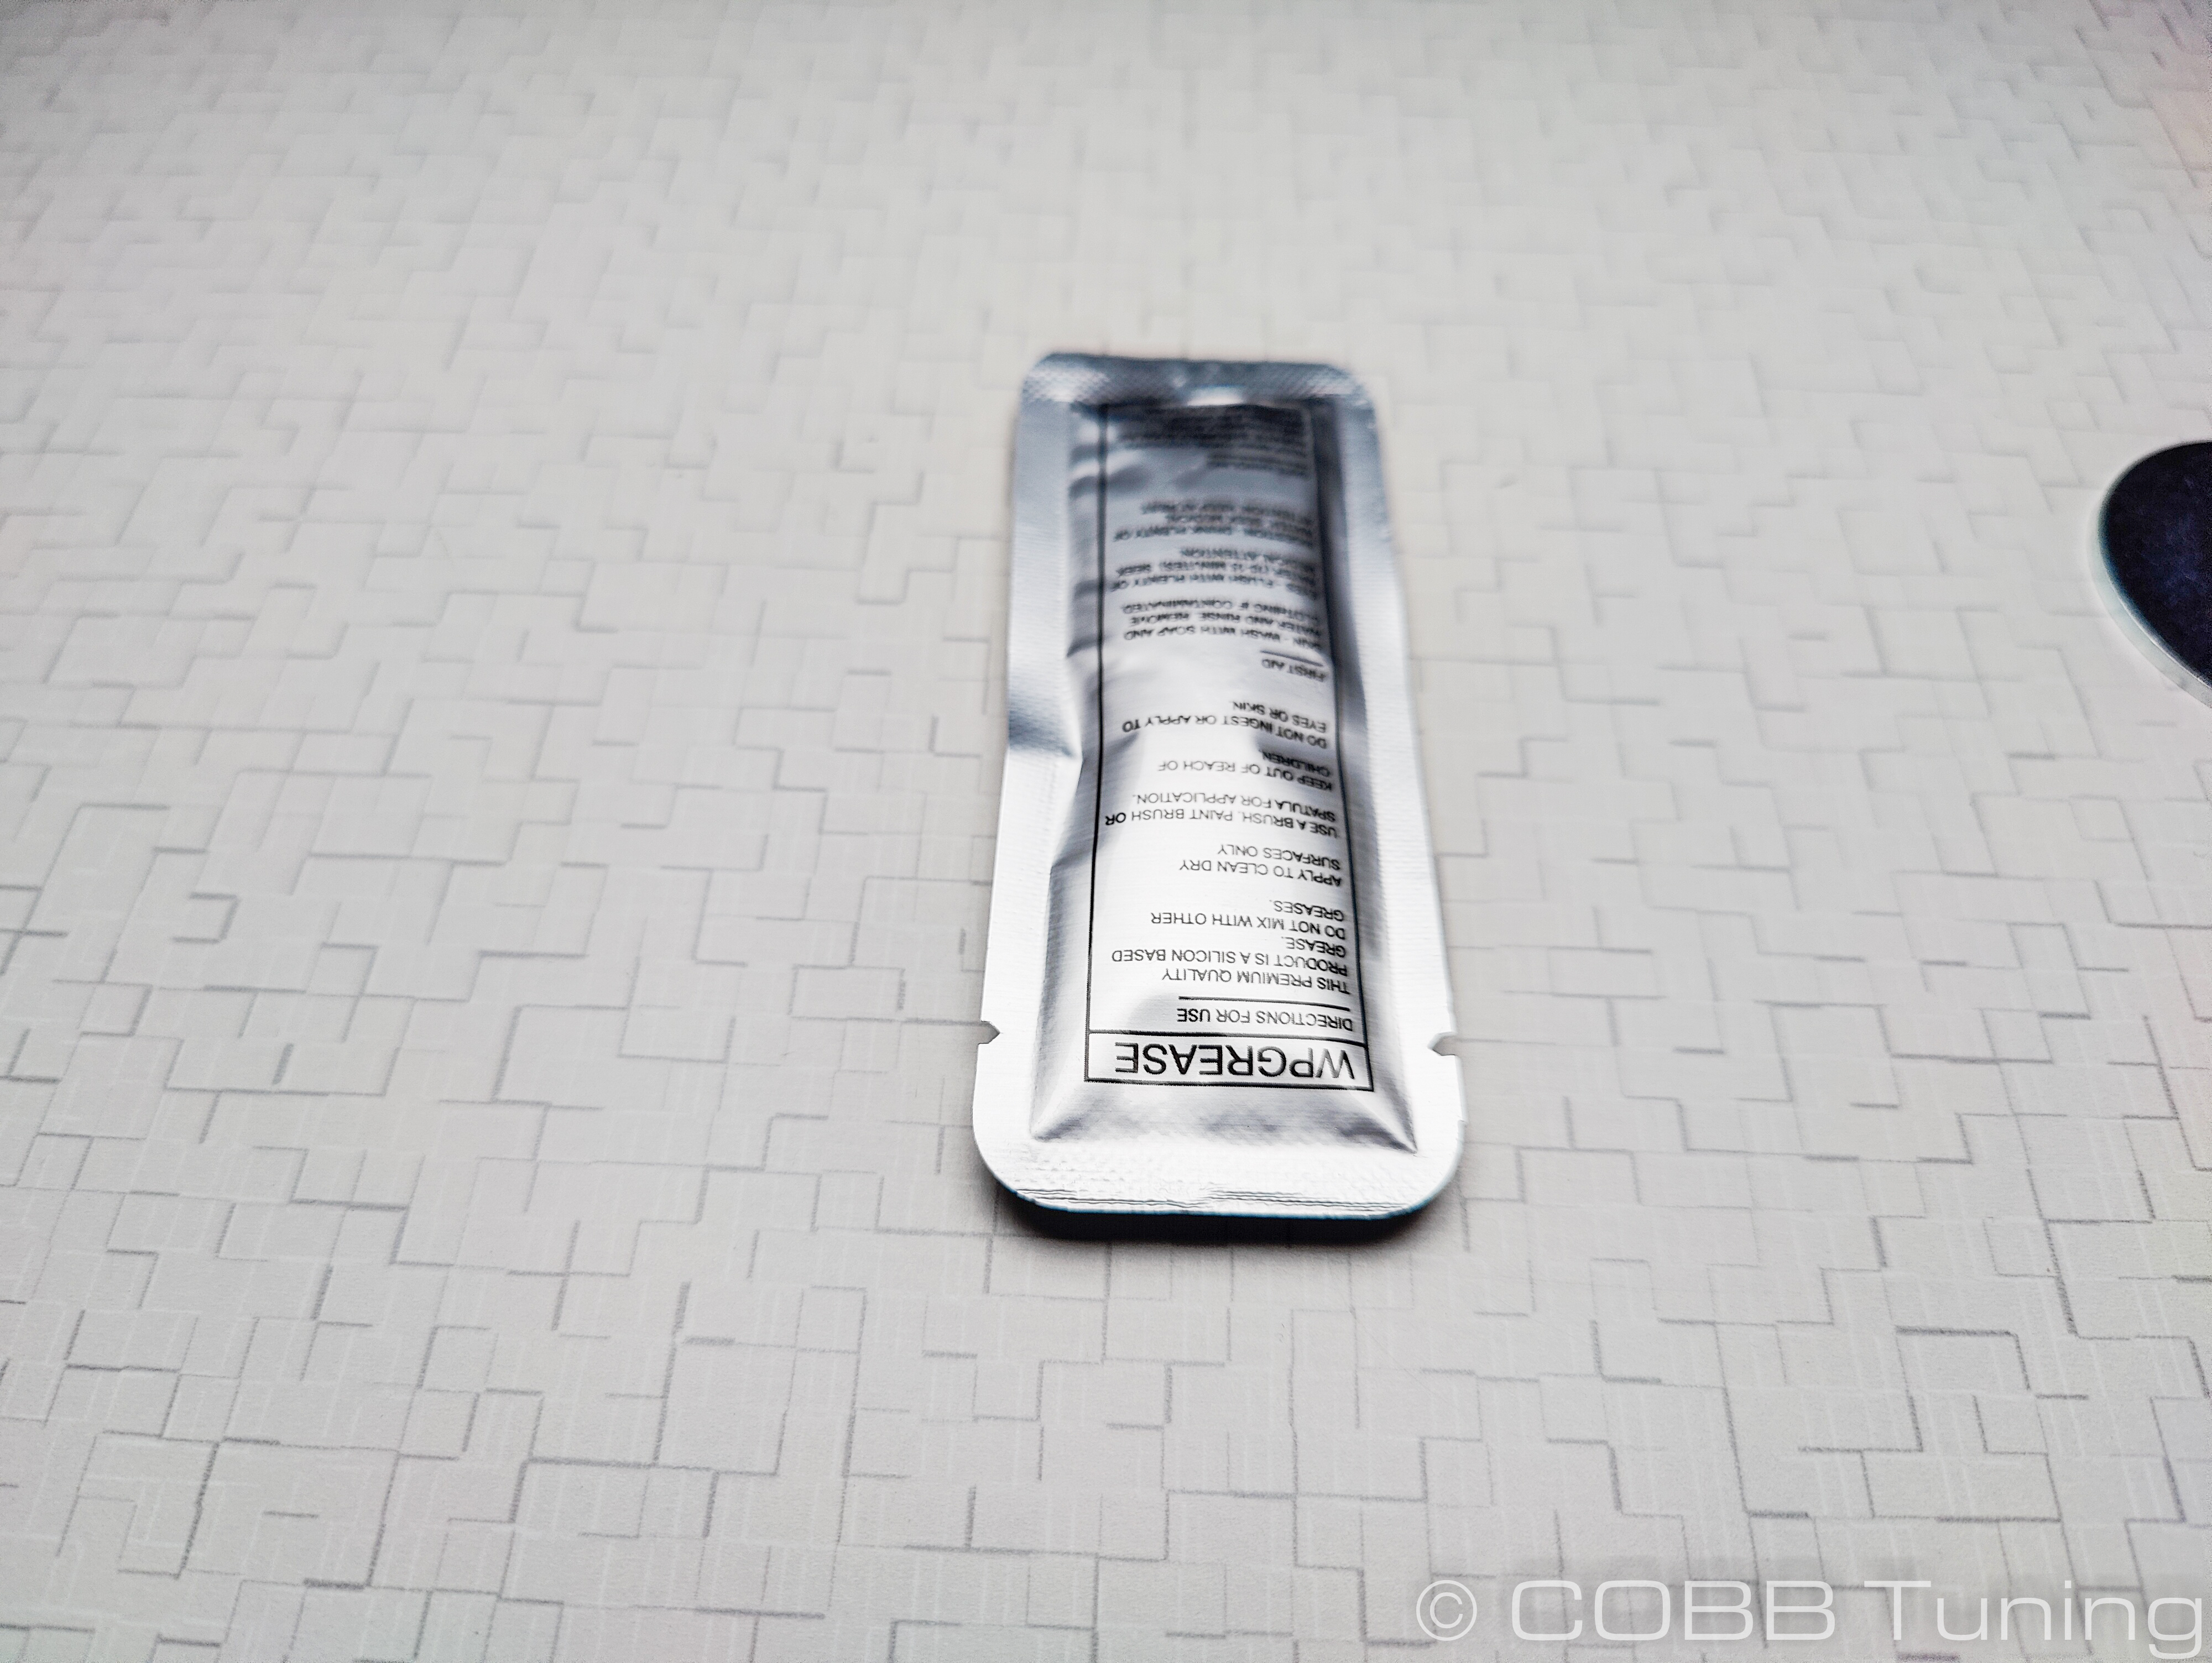
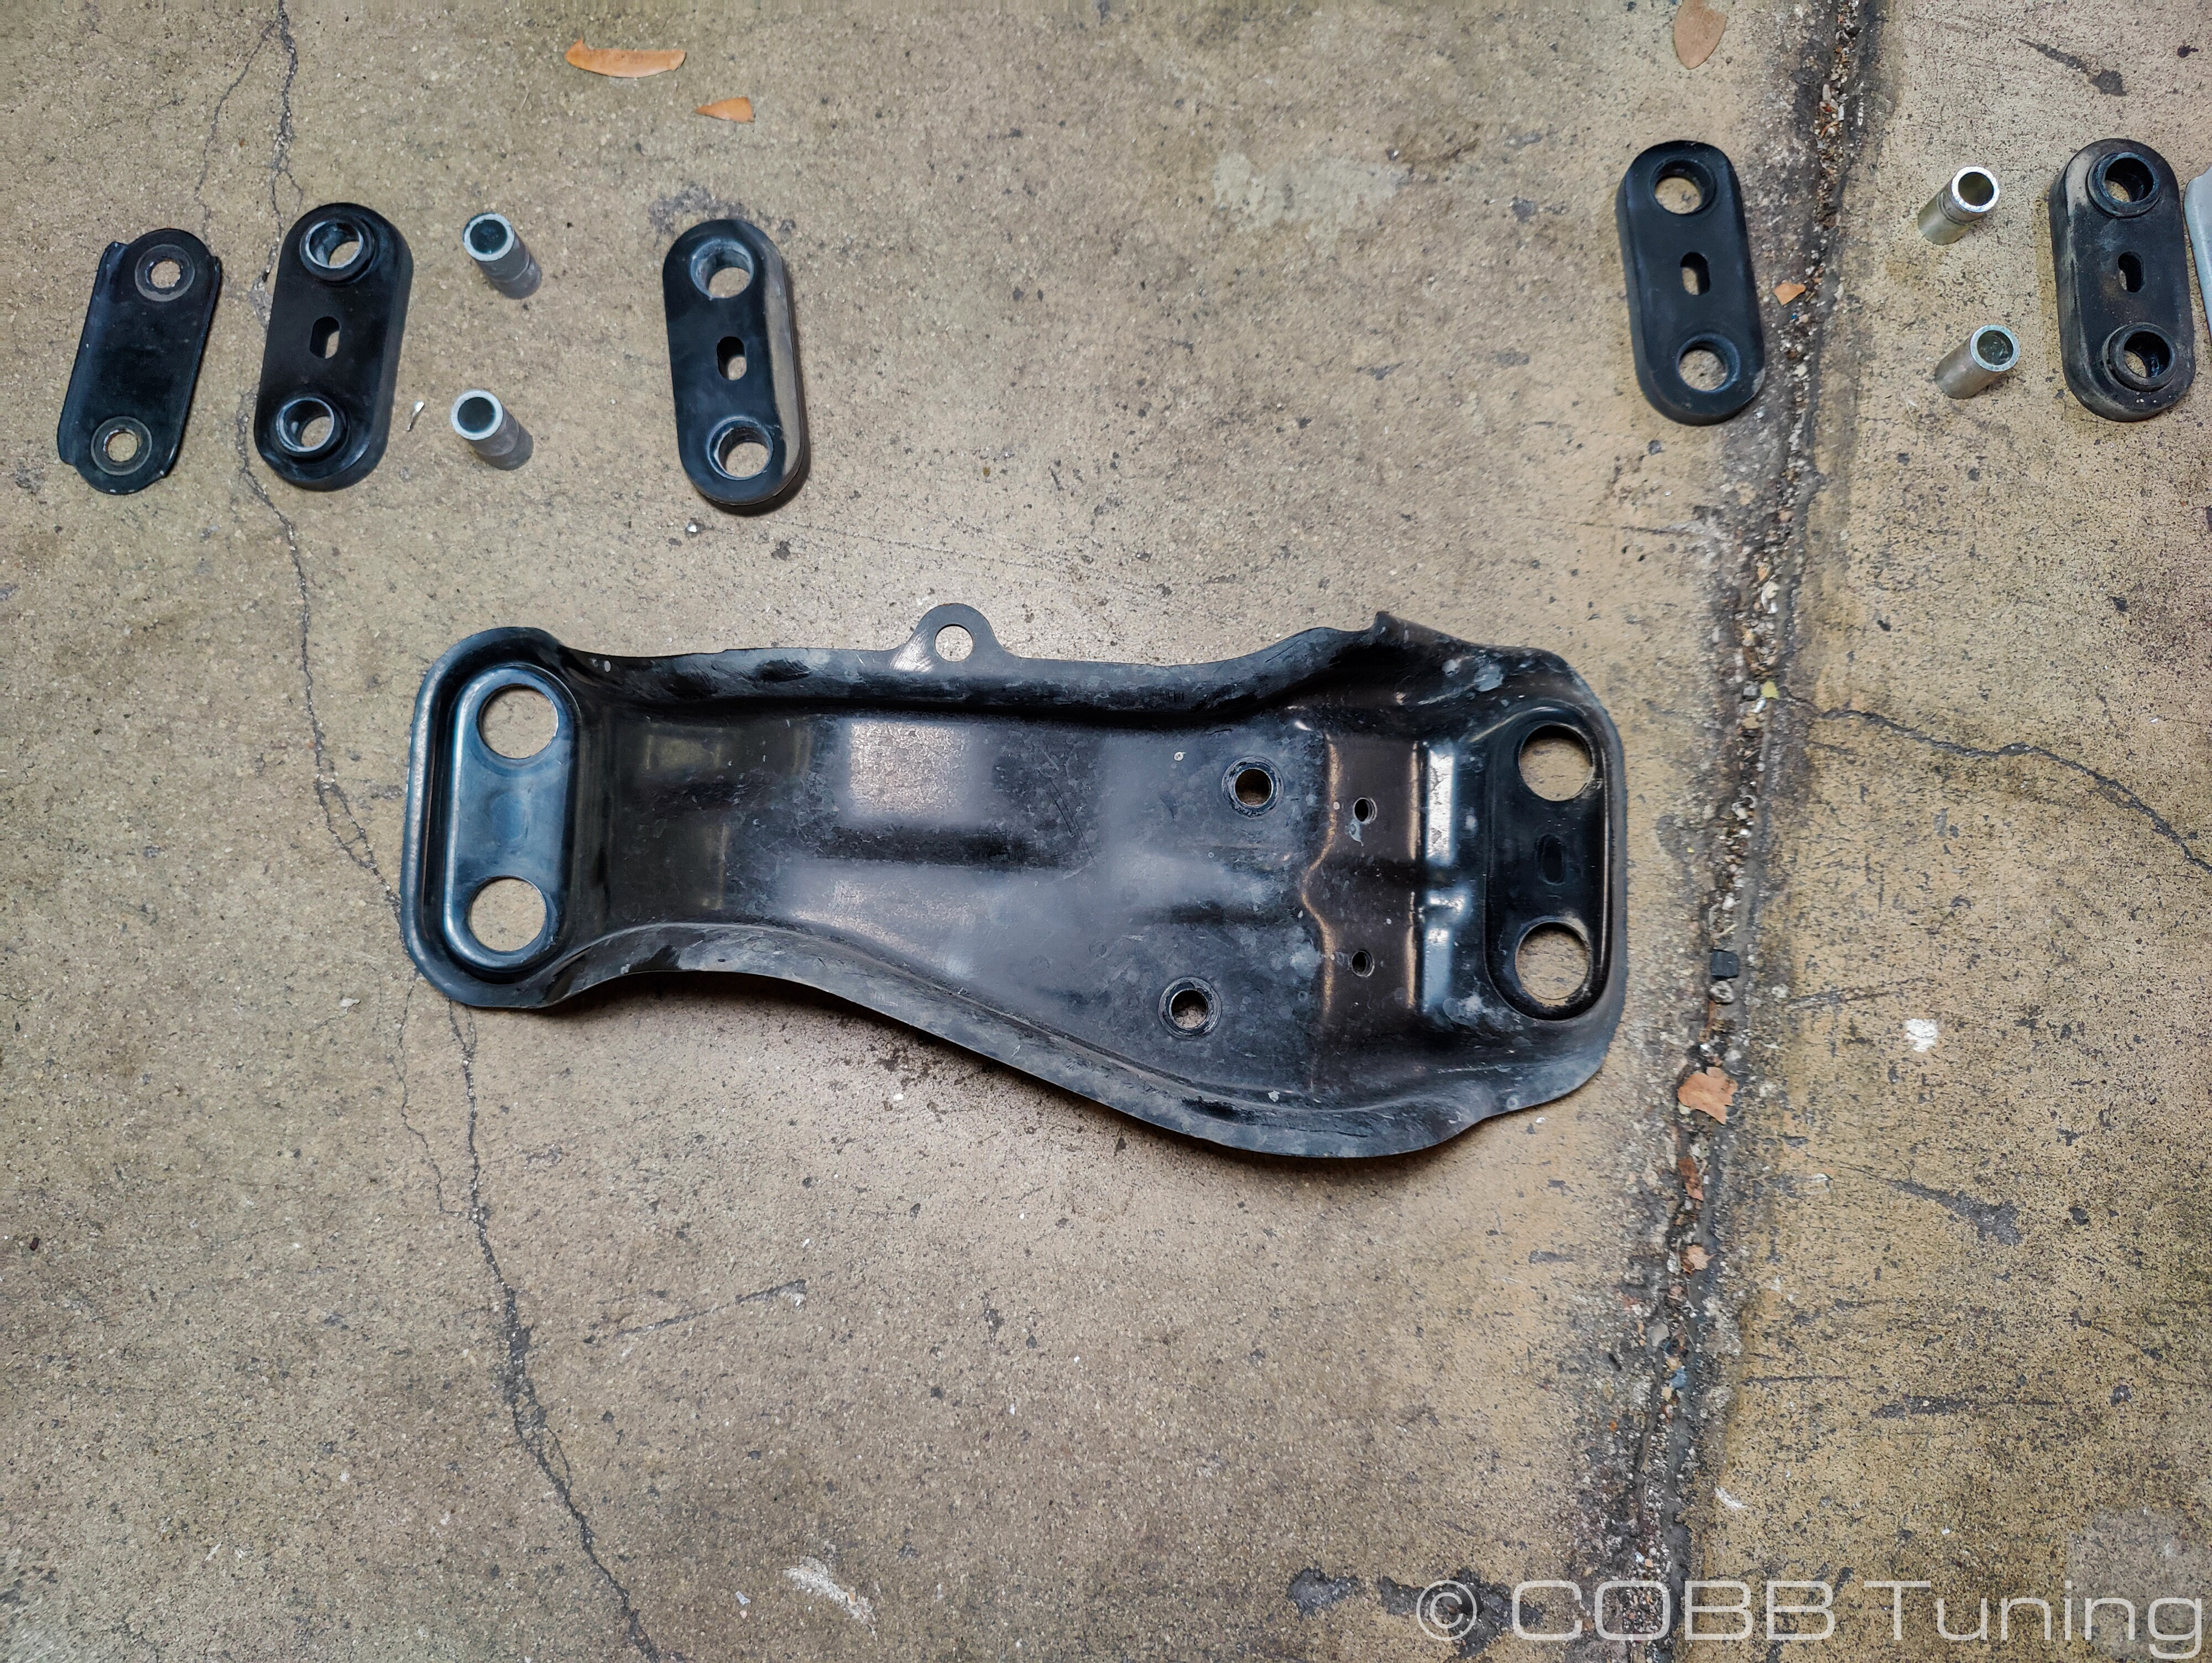
- This can get slipped onto the plate with studs and then go into the front of the bracket we removed facing down. Add a thin coat of the provided grease to the top and bottom sides to prevent squeaking.

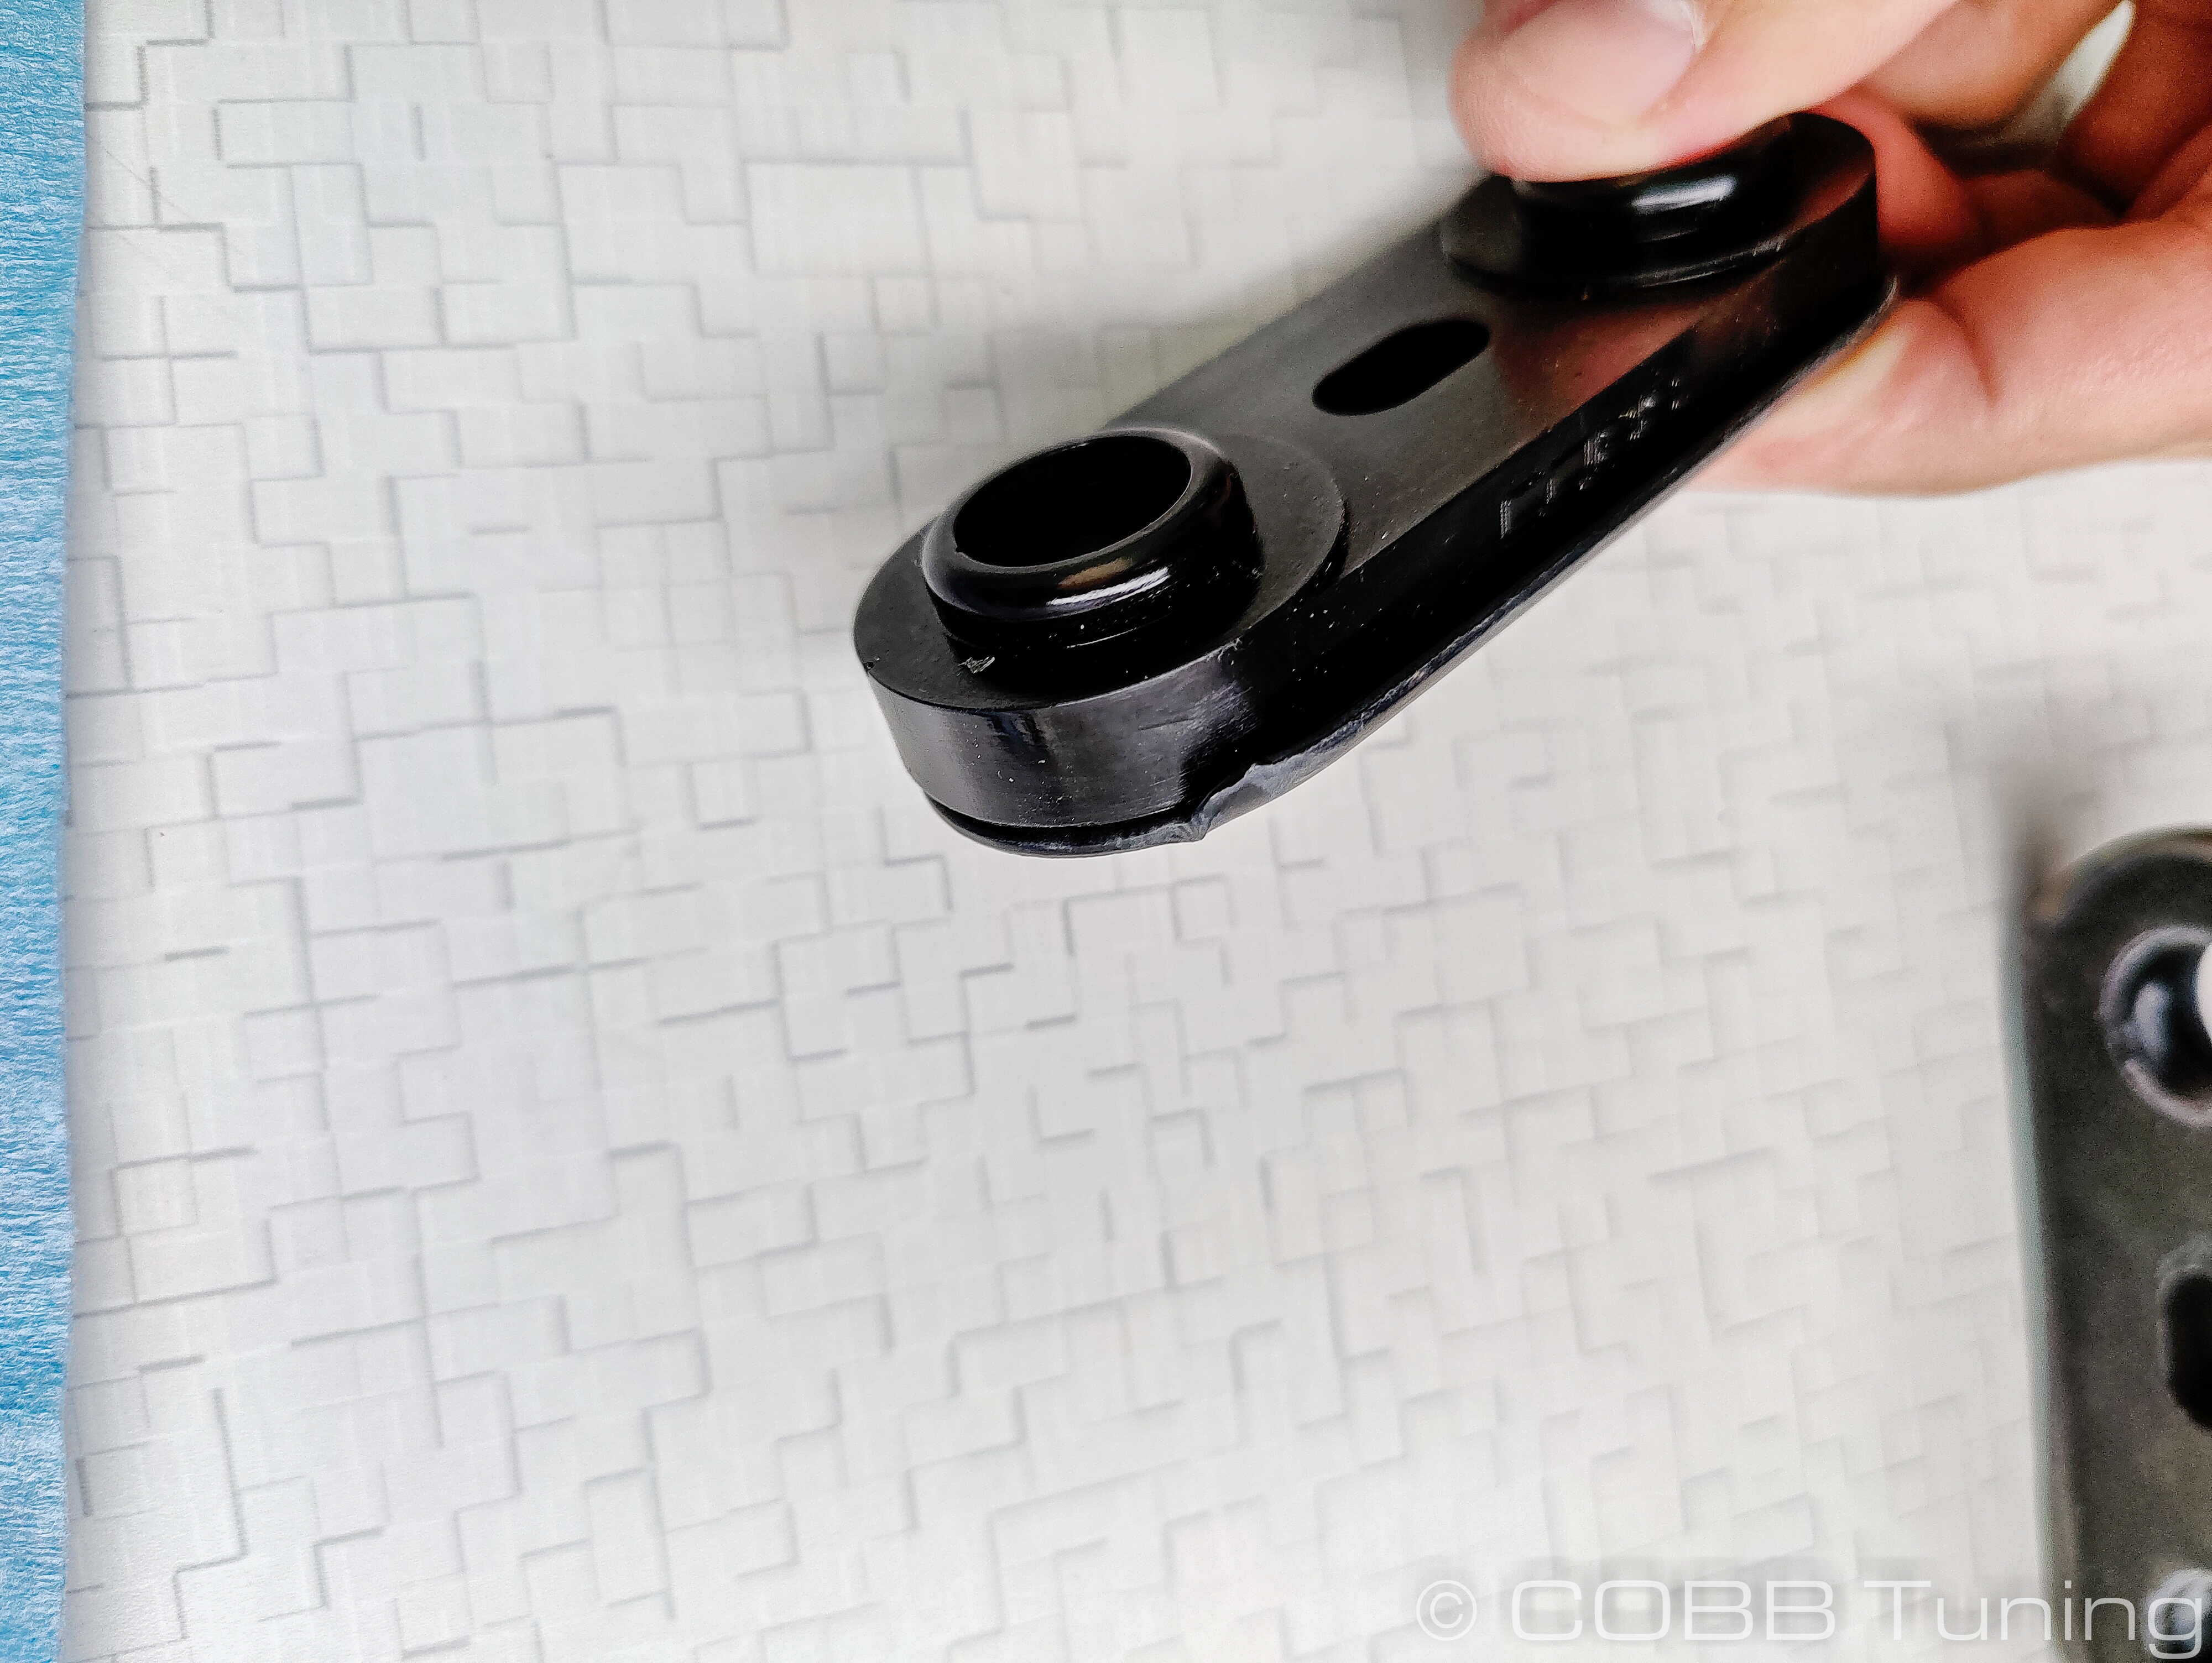
- For the rear position, the thick indented bushing (3199) will go on top of the bracket you're installing. The remaining 2358B will go on the bottom side with the bolts and plate.
- Grab the 2358B, add a thin coat of the provided grease to the top and bottom sides then set it on the convex side of the bracket. Apply the same grease to the 3199
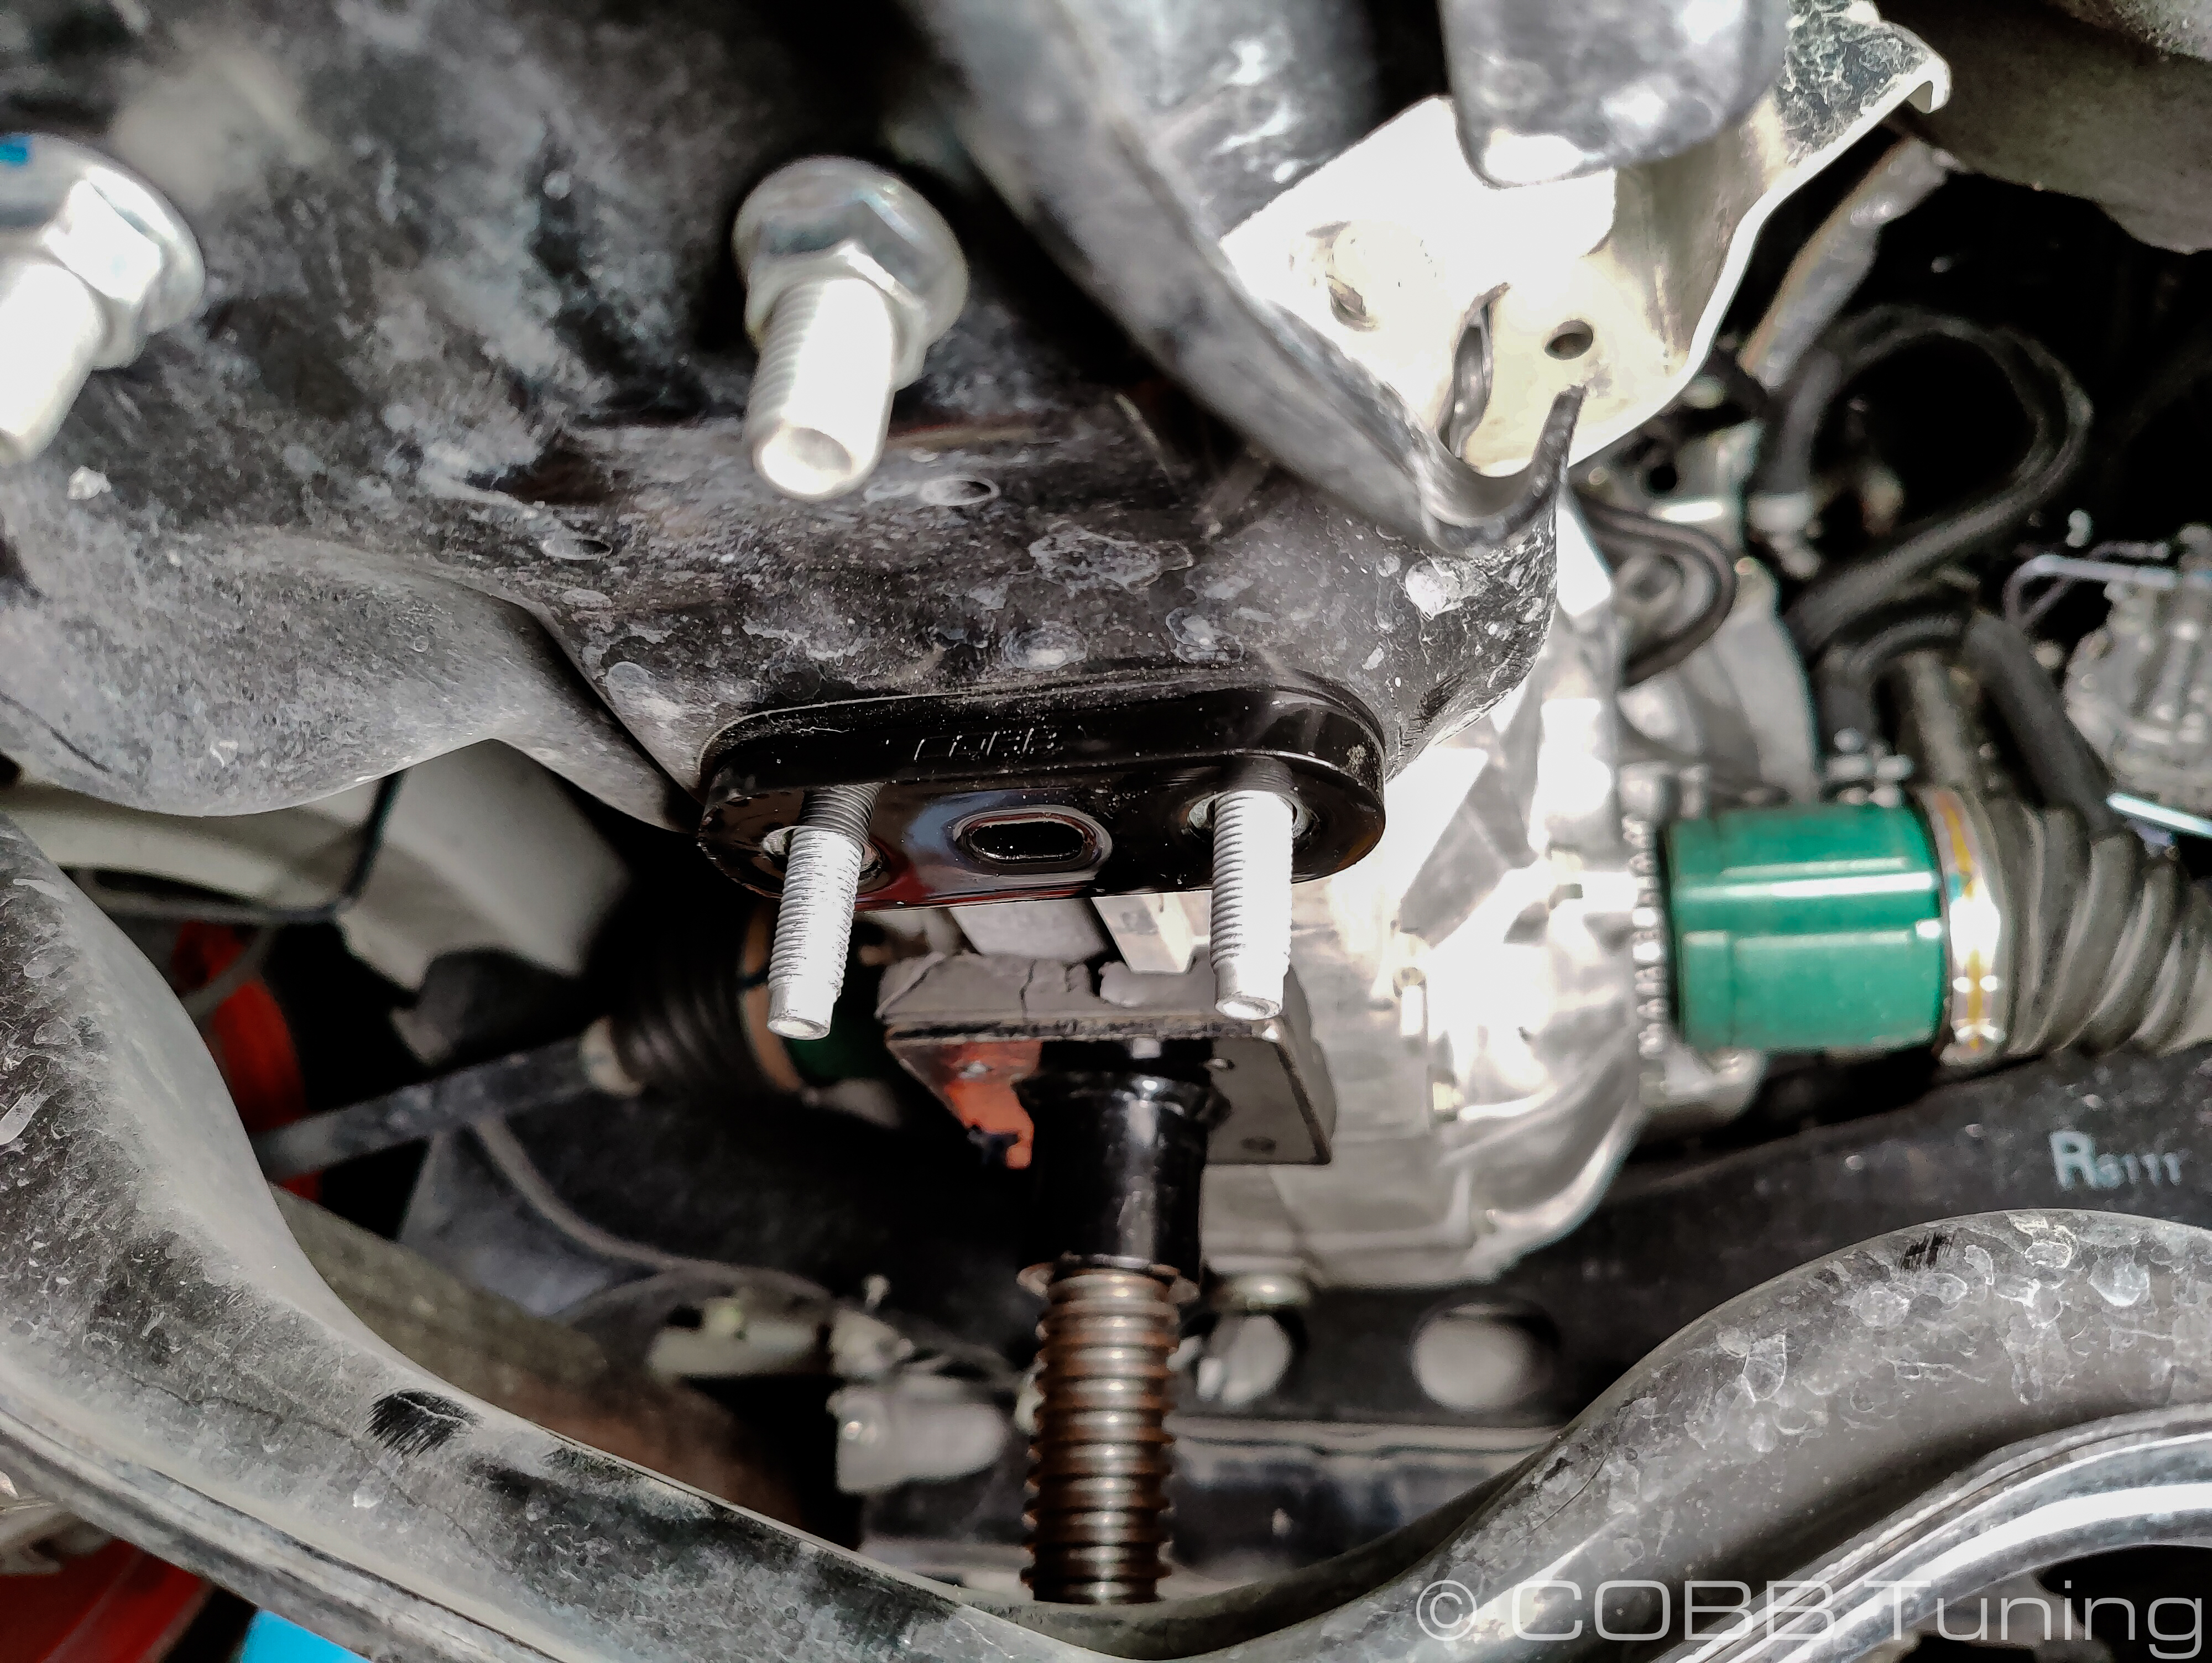
- Now we can add the assembly to the car. With the thick protruding bushing above the bracket in the back, install the matching plate with bolts through it into the other crossmember.
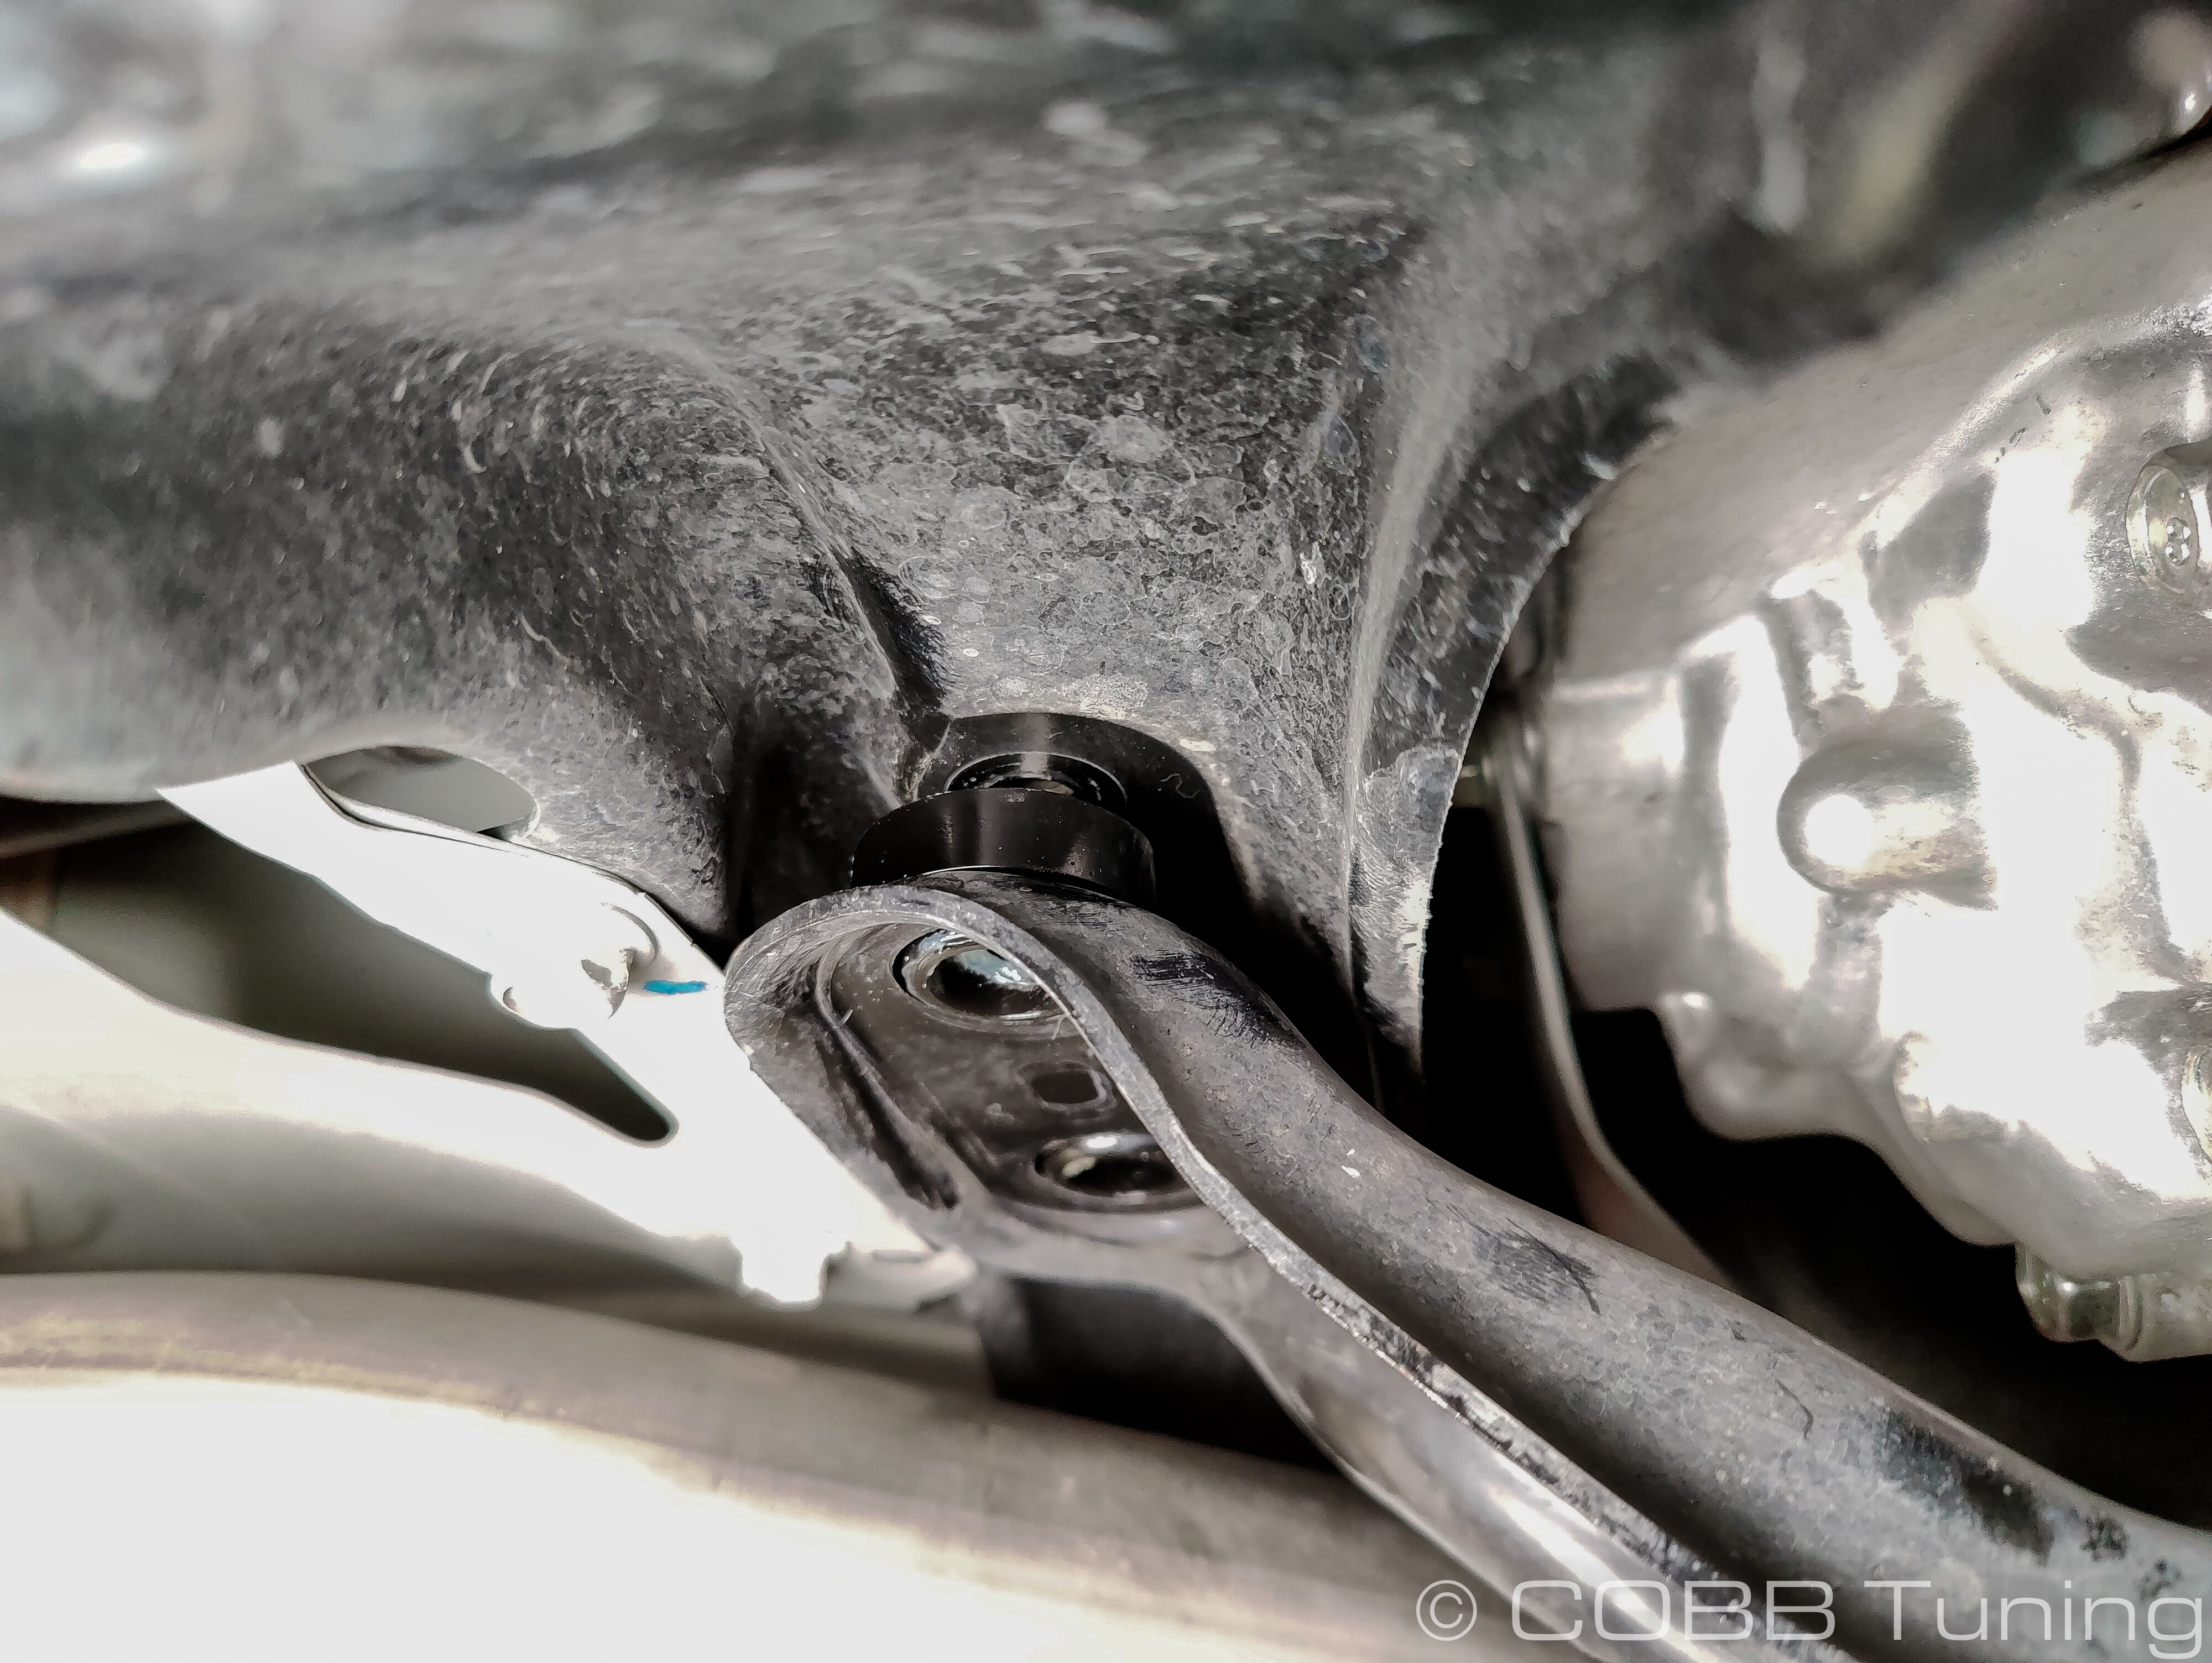
- Grease the two remaining spacers and add them to the remaining thick bushing. Set the metal plate on the two bolts, then add the bushing assembly.
- Install the bushing assembly vertically in the rear of the crossmember.
- Put the remaining indented thin bushing facing up onto the studs in the front.
- You can now swing the crossmember in place and add the nuts onto the bottom of the bushing, as well as the two bolts holding the crossmember in place.
Everything can now be tightened down. before you drop the jack and go for a drive!
If you run into squeaking, adding additional grease wherever the urethane bushing is touching a metal surface may help.
Contact Us:
COBB Customer Support
Web Support and Tech Articles: COBB Tuning Customer Support Center
Email: support@cobbtuning.com
Phone support available 9am to 6pm Monday-Thursday. 9am to 4pm Friday (CST)
866.922.3059
return to www.cobbtuning.com
Related content
Copyright 2025 © COBB Tuning Products LLC. All Rights Reserved. | www.cobbtuning.com