VA WRX STI Front Swaybar
- Brandyn Mowat

CB-099FZ-26 – COBB 26mm VA WRX STI Front Sway Bar
2015 - 2021 Subaru WRX STI
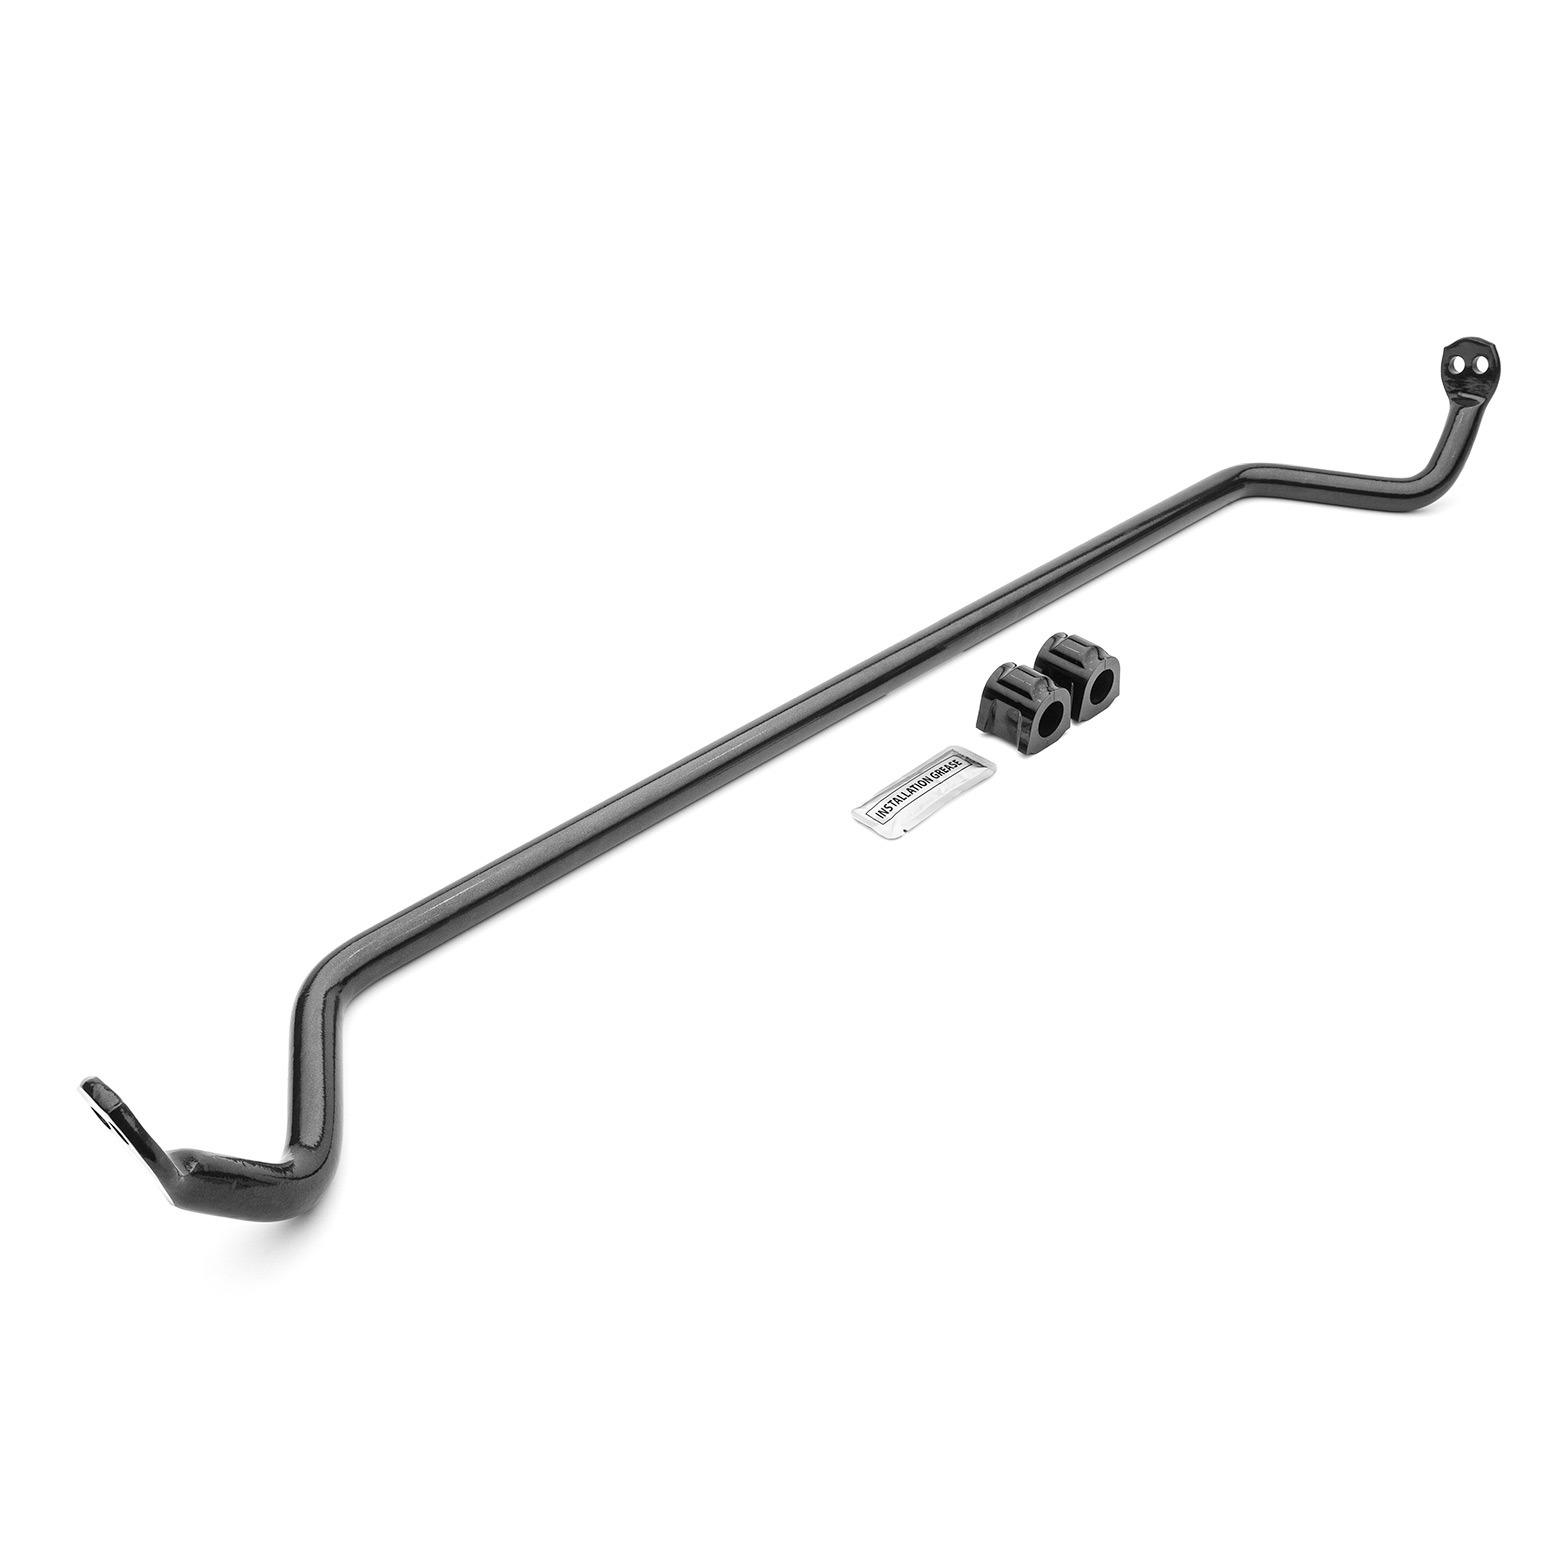
Congratulations on your purchase of the COBB Tuning Rear sway bar! The following instructions will assist you through the installation process. Please read them BEFORE beginning the install to familiarize yourself with the steps and tools needed. If you feel you cannot properly perform this installation, we HIGHLY recommend you take the vehicle to a qualified and experienced automotive technician.
Table of Contents
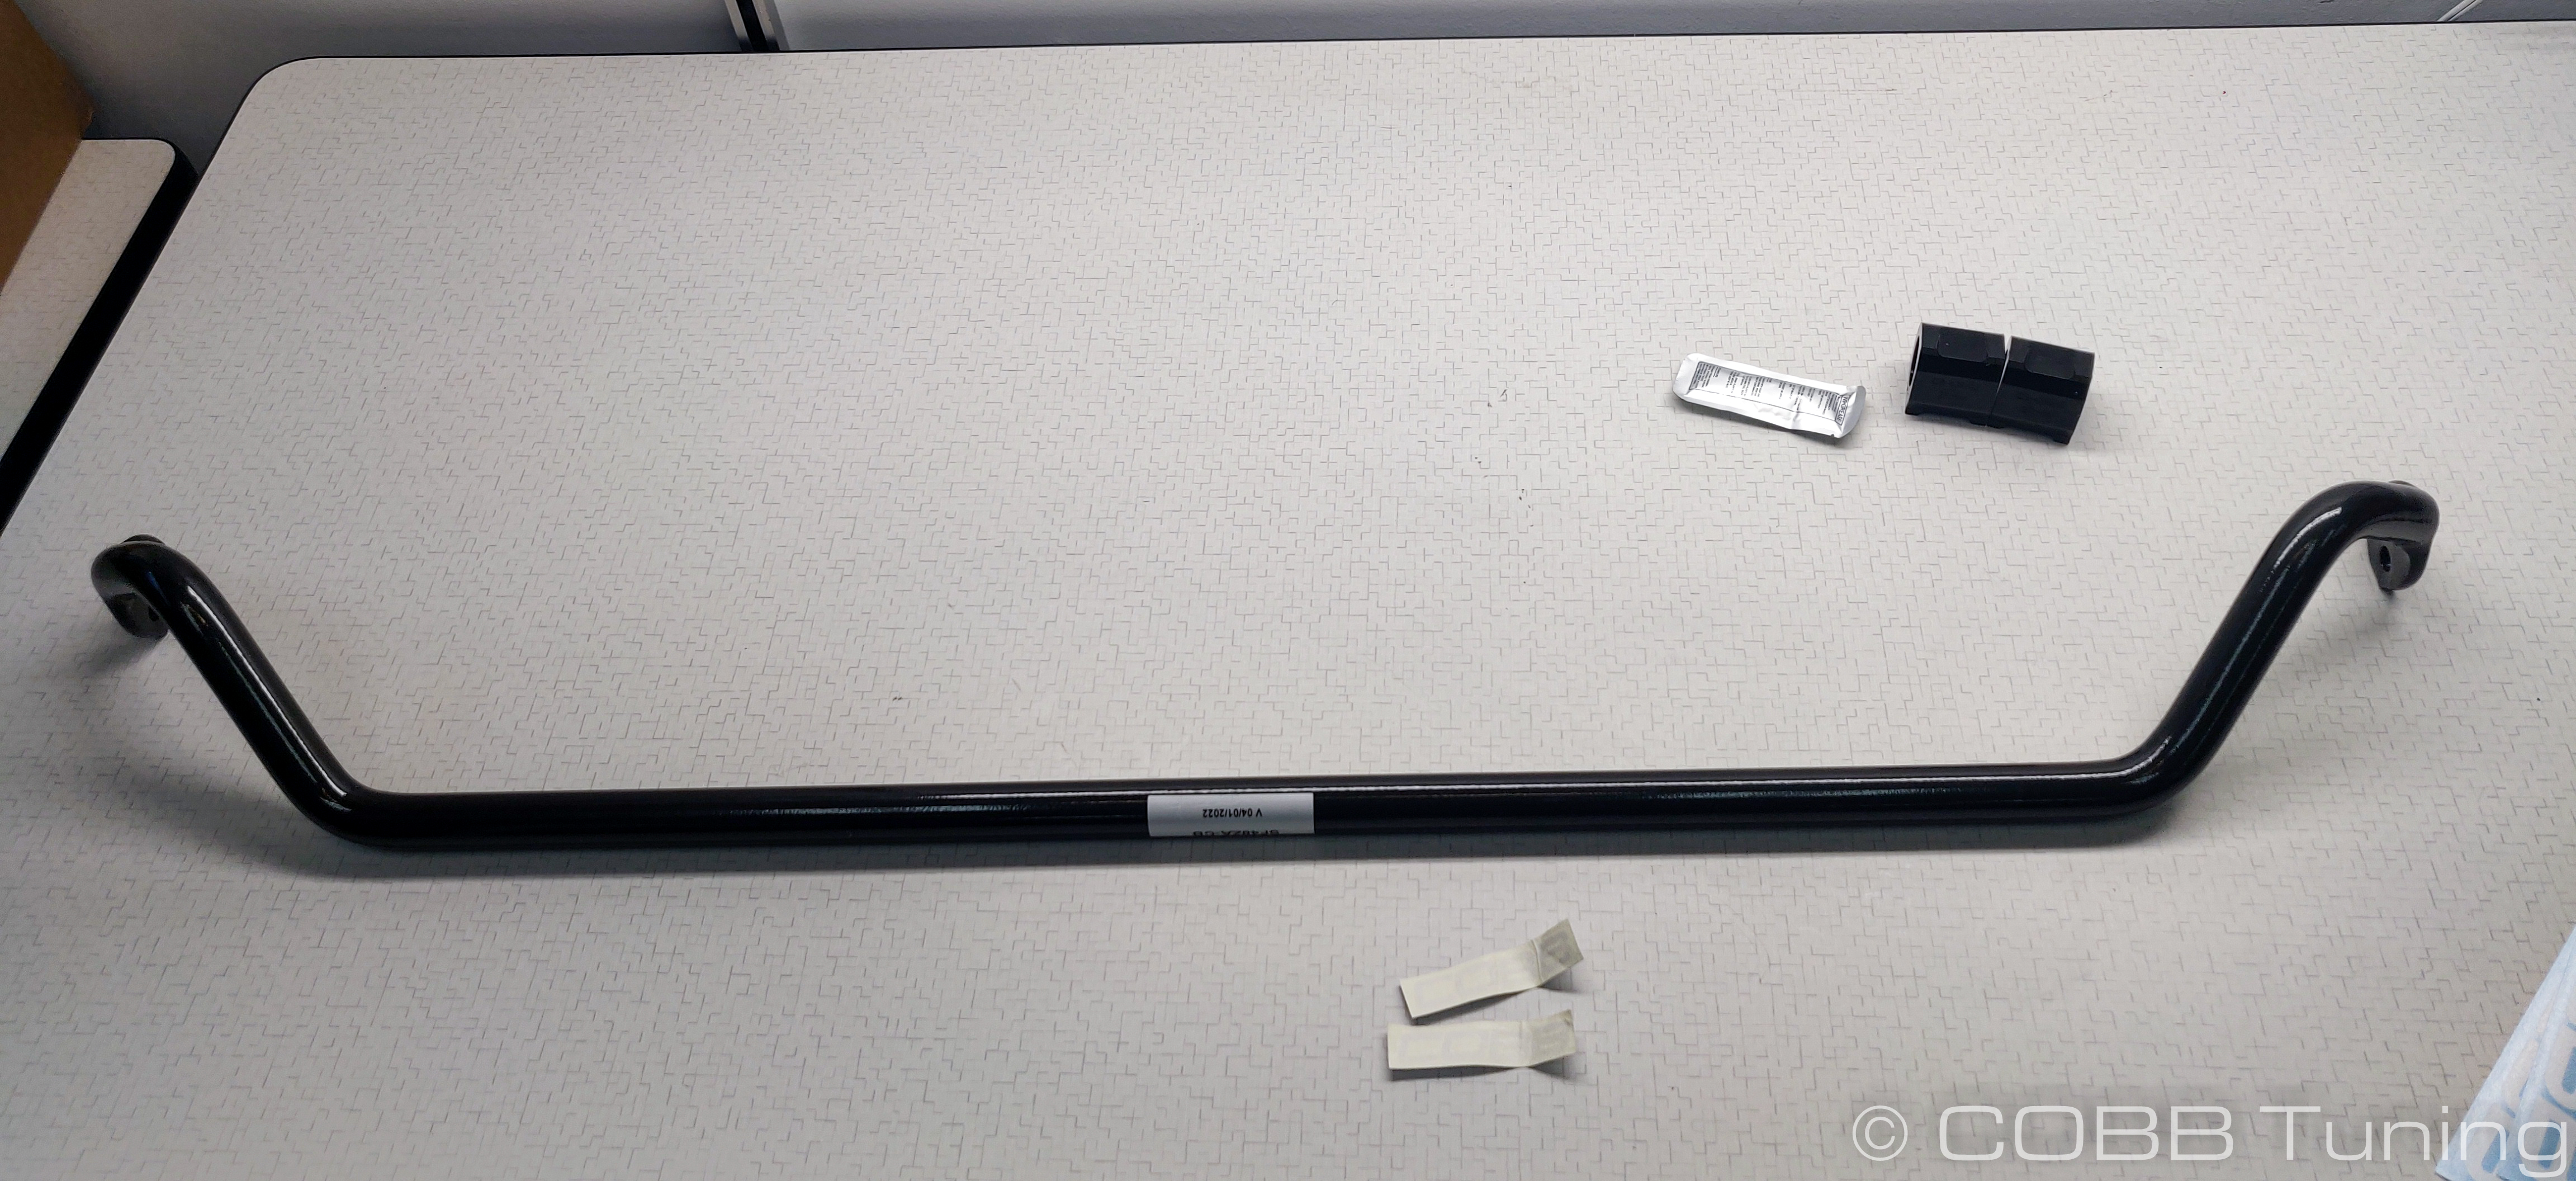
Parts List
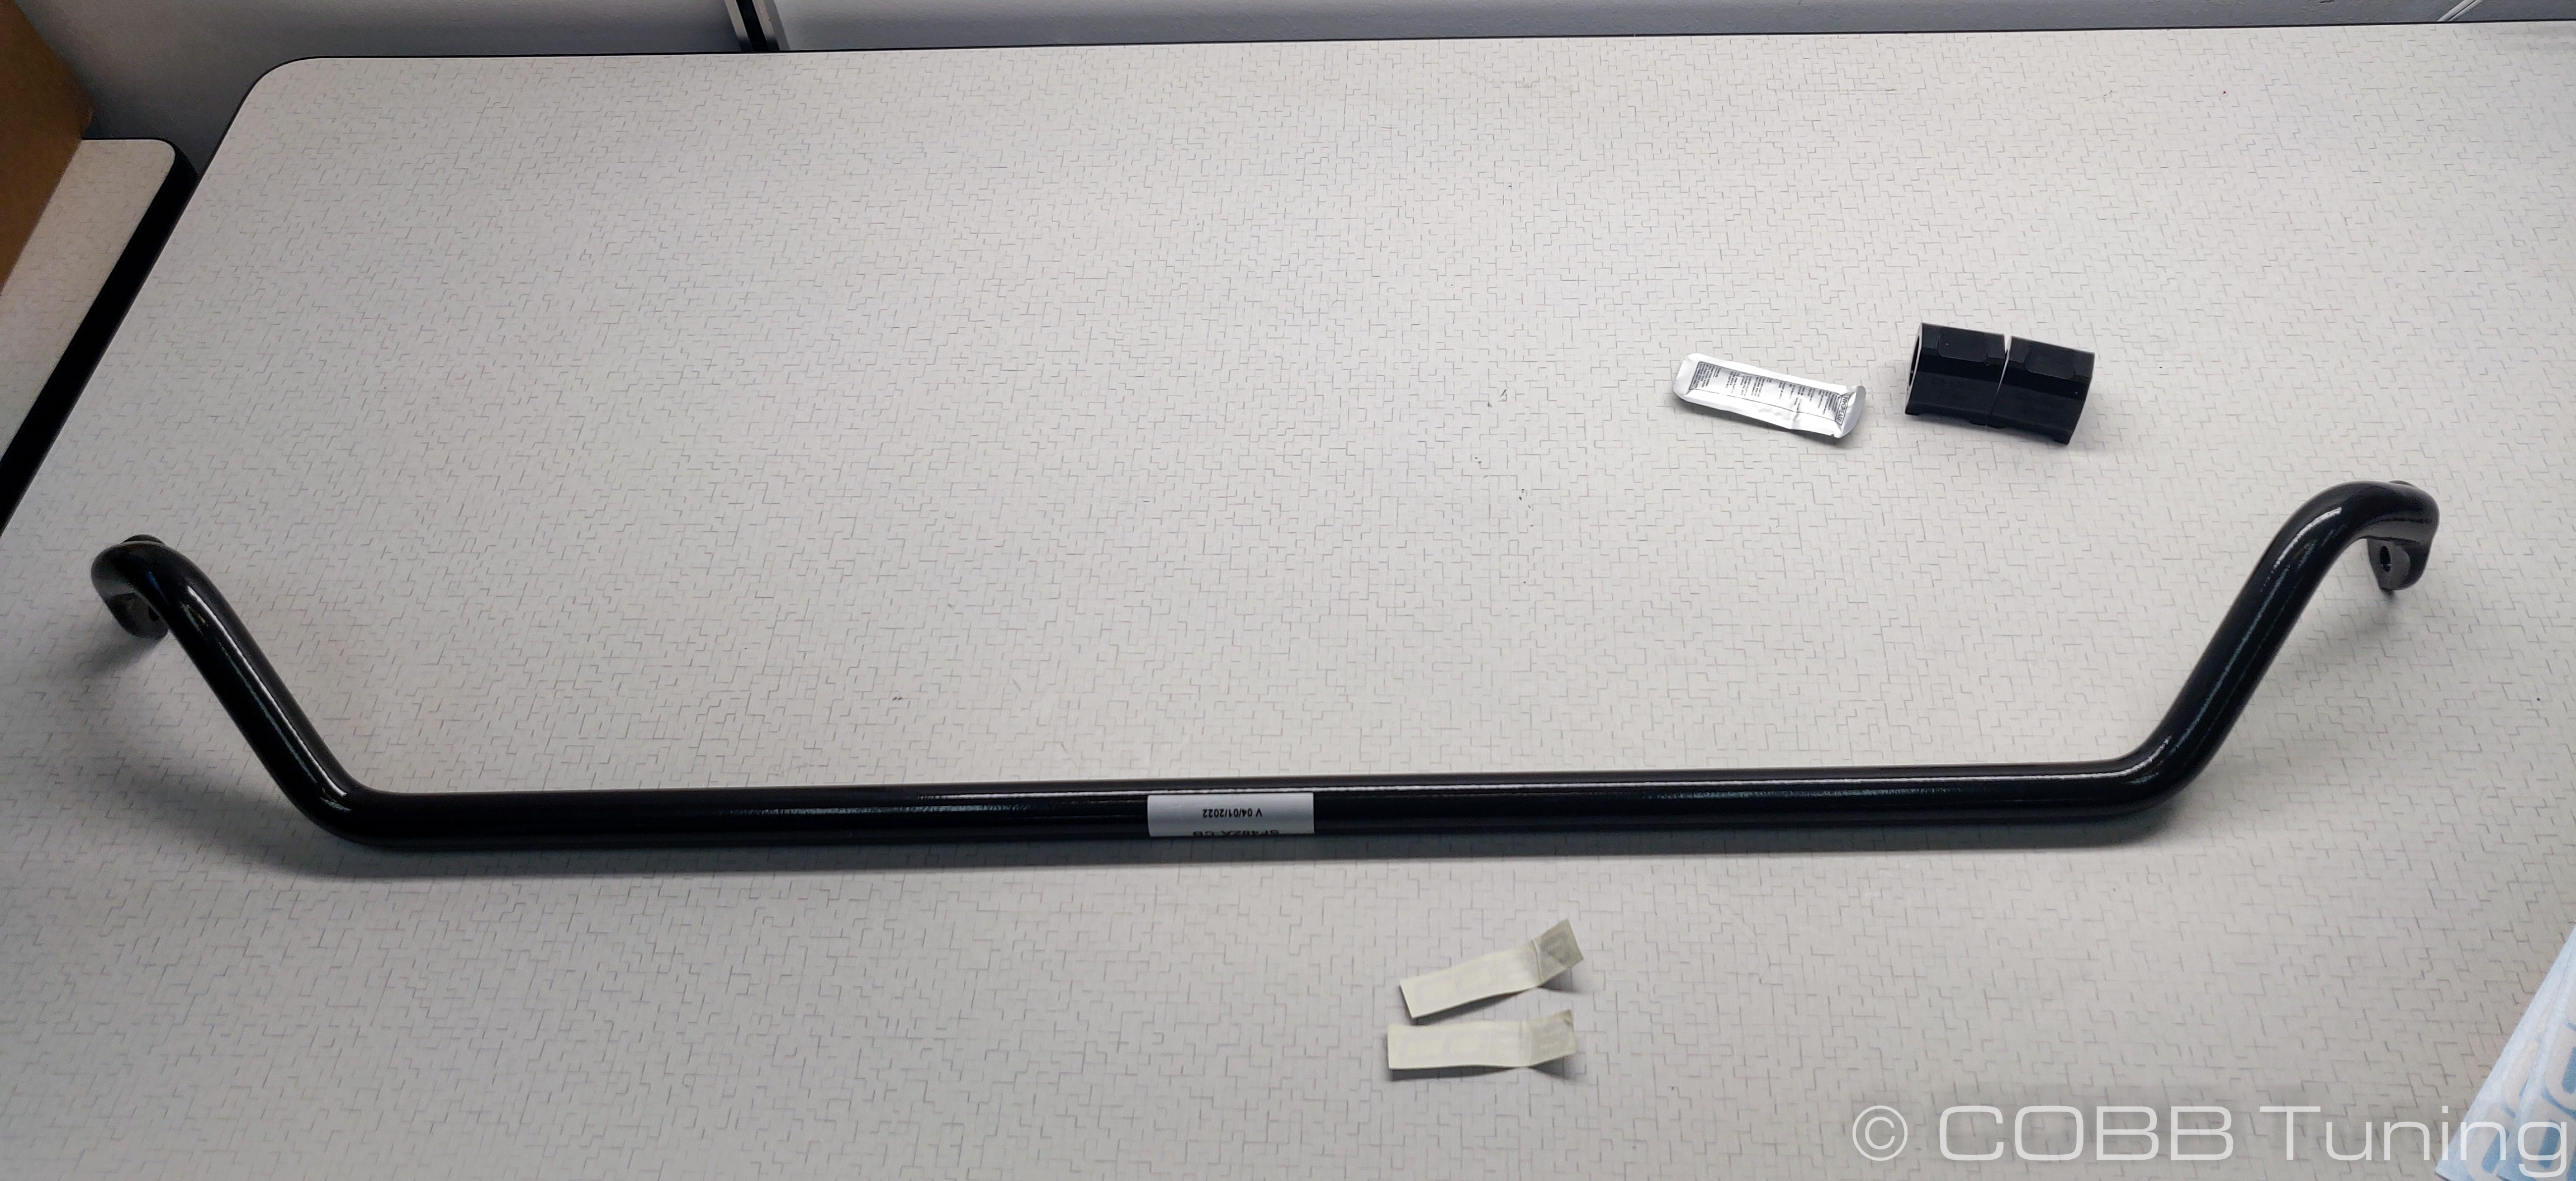
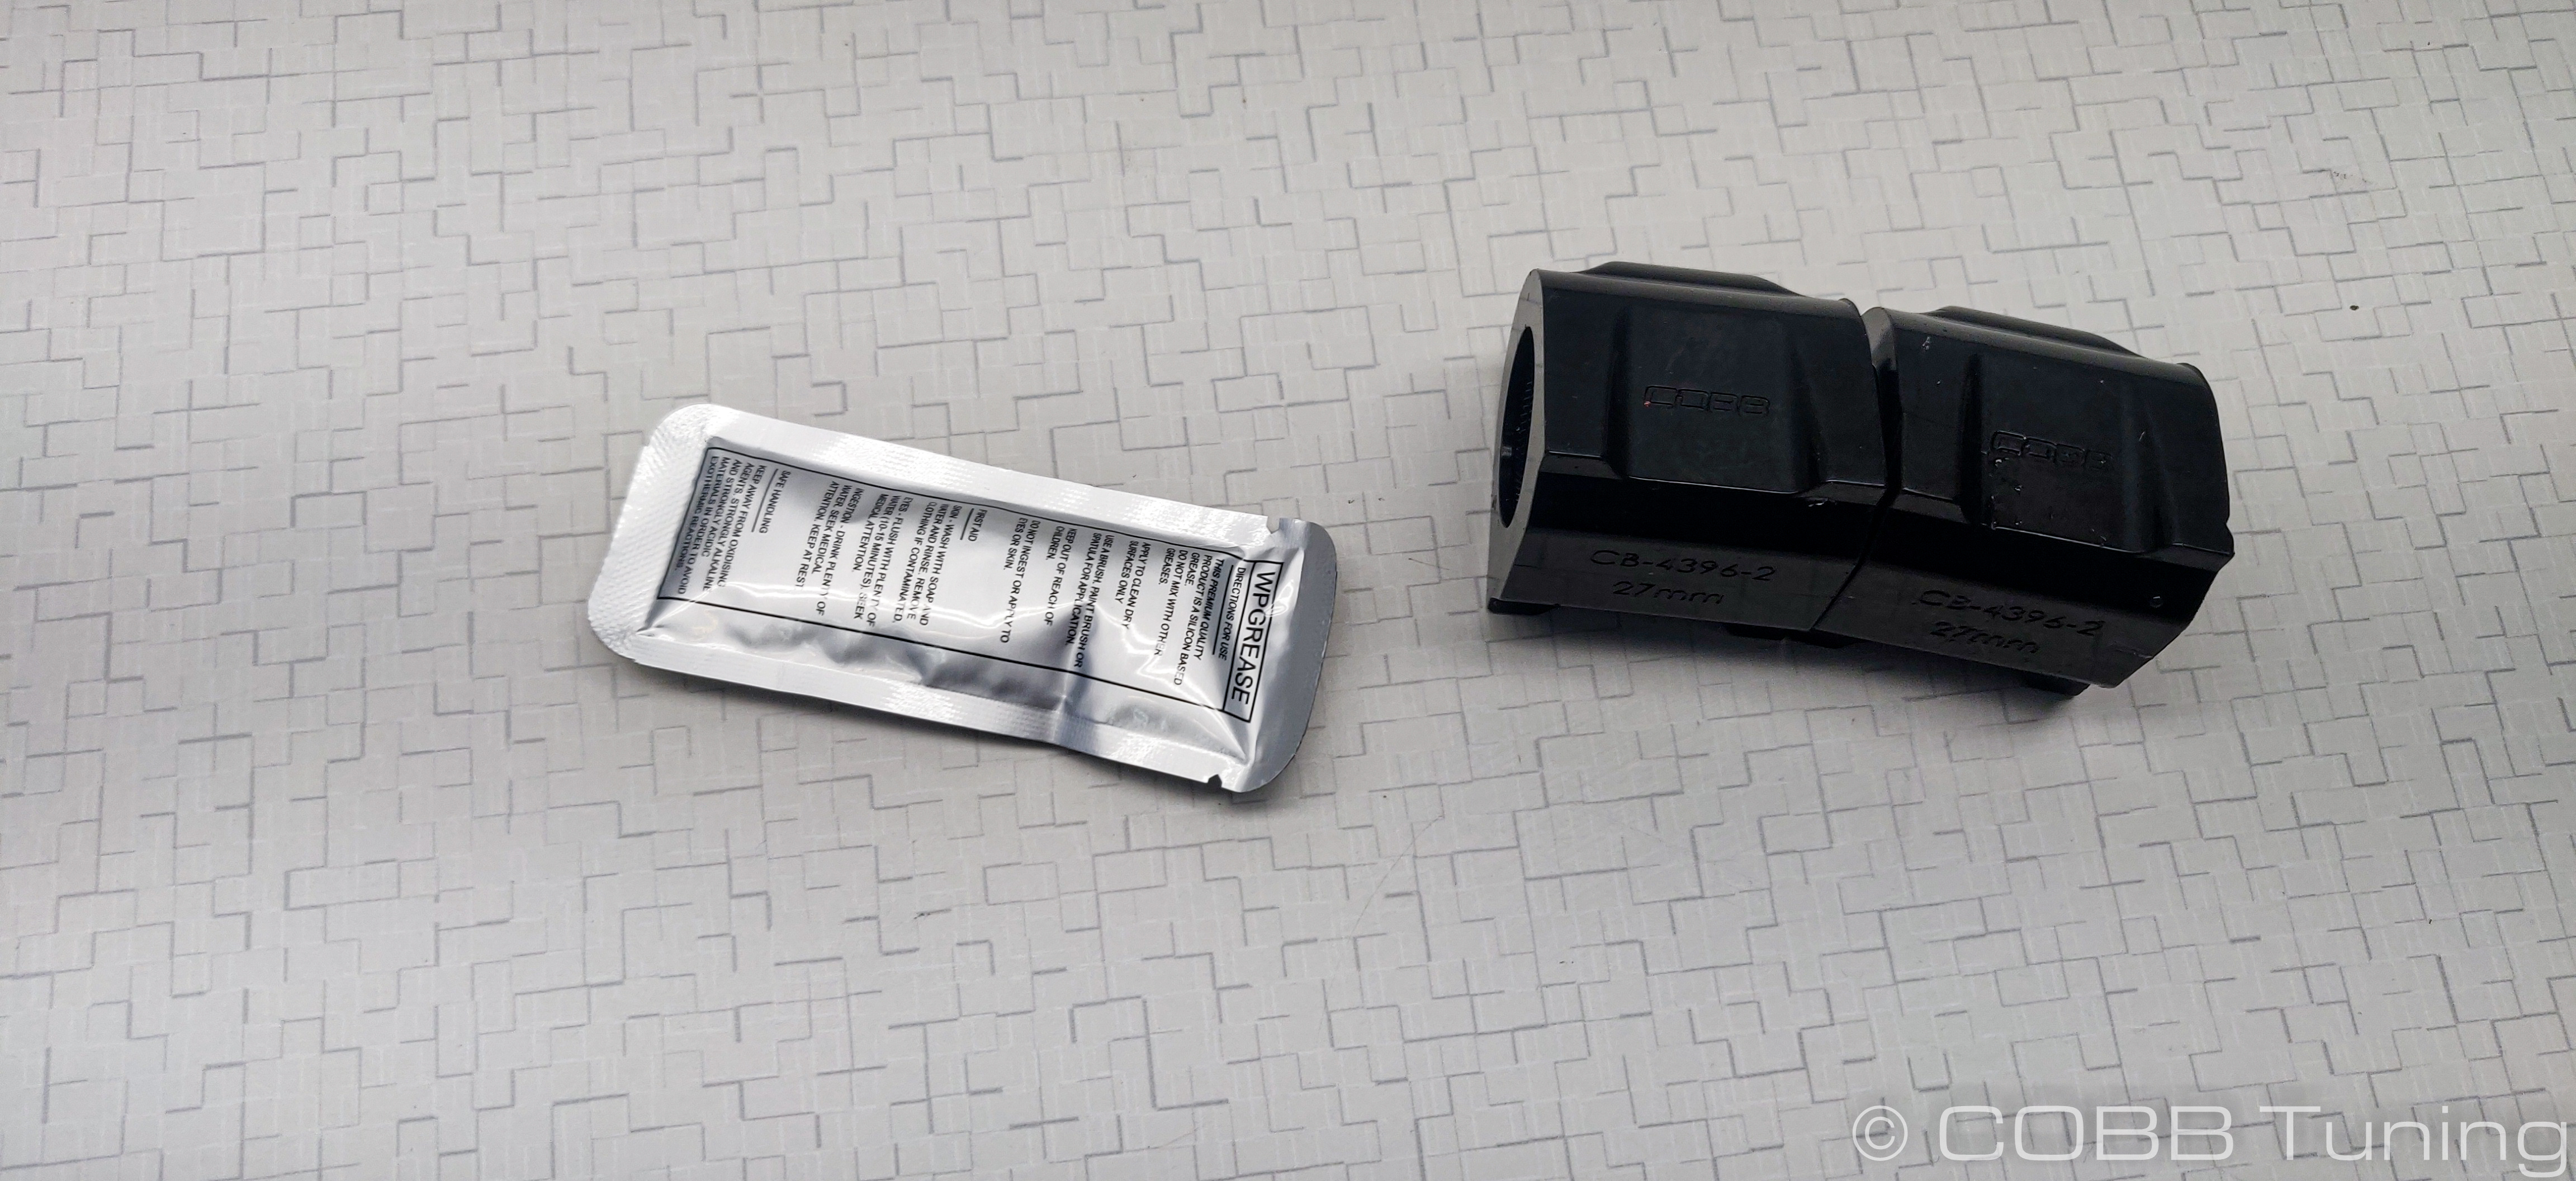
Tools Needed
Sockets
3/8"
- 3/8" ratchet
- 3/8" 6" extension
- 3/8" 12mm socket
- 3/8" 14mm Socket
- 3/8" 17mm socket
Hand Tools
- 6mm Allen Key
Wrenches
- 17mm combination wrench
Stock Swaybar Removal
- Park your car in a flat, level area and allow it to cool down properly.
- Using a 10mm wrench, remove the negative terminal of the battery.
- Jack your car up and support it properly, either using a lift, ramps, or jack and jack stands.
- Lay a blanket or cardboard down under the car, or grab a creeper. In this case his name is Andrew
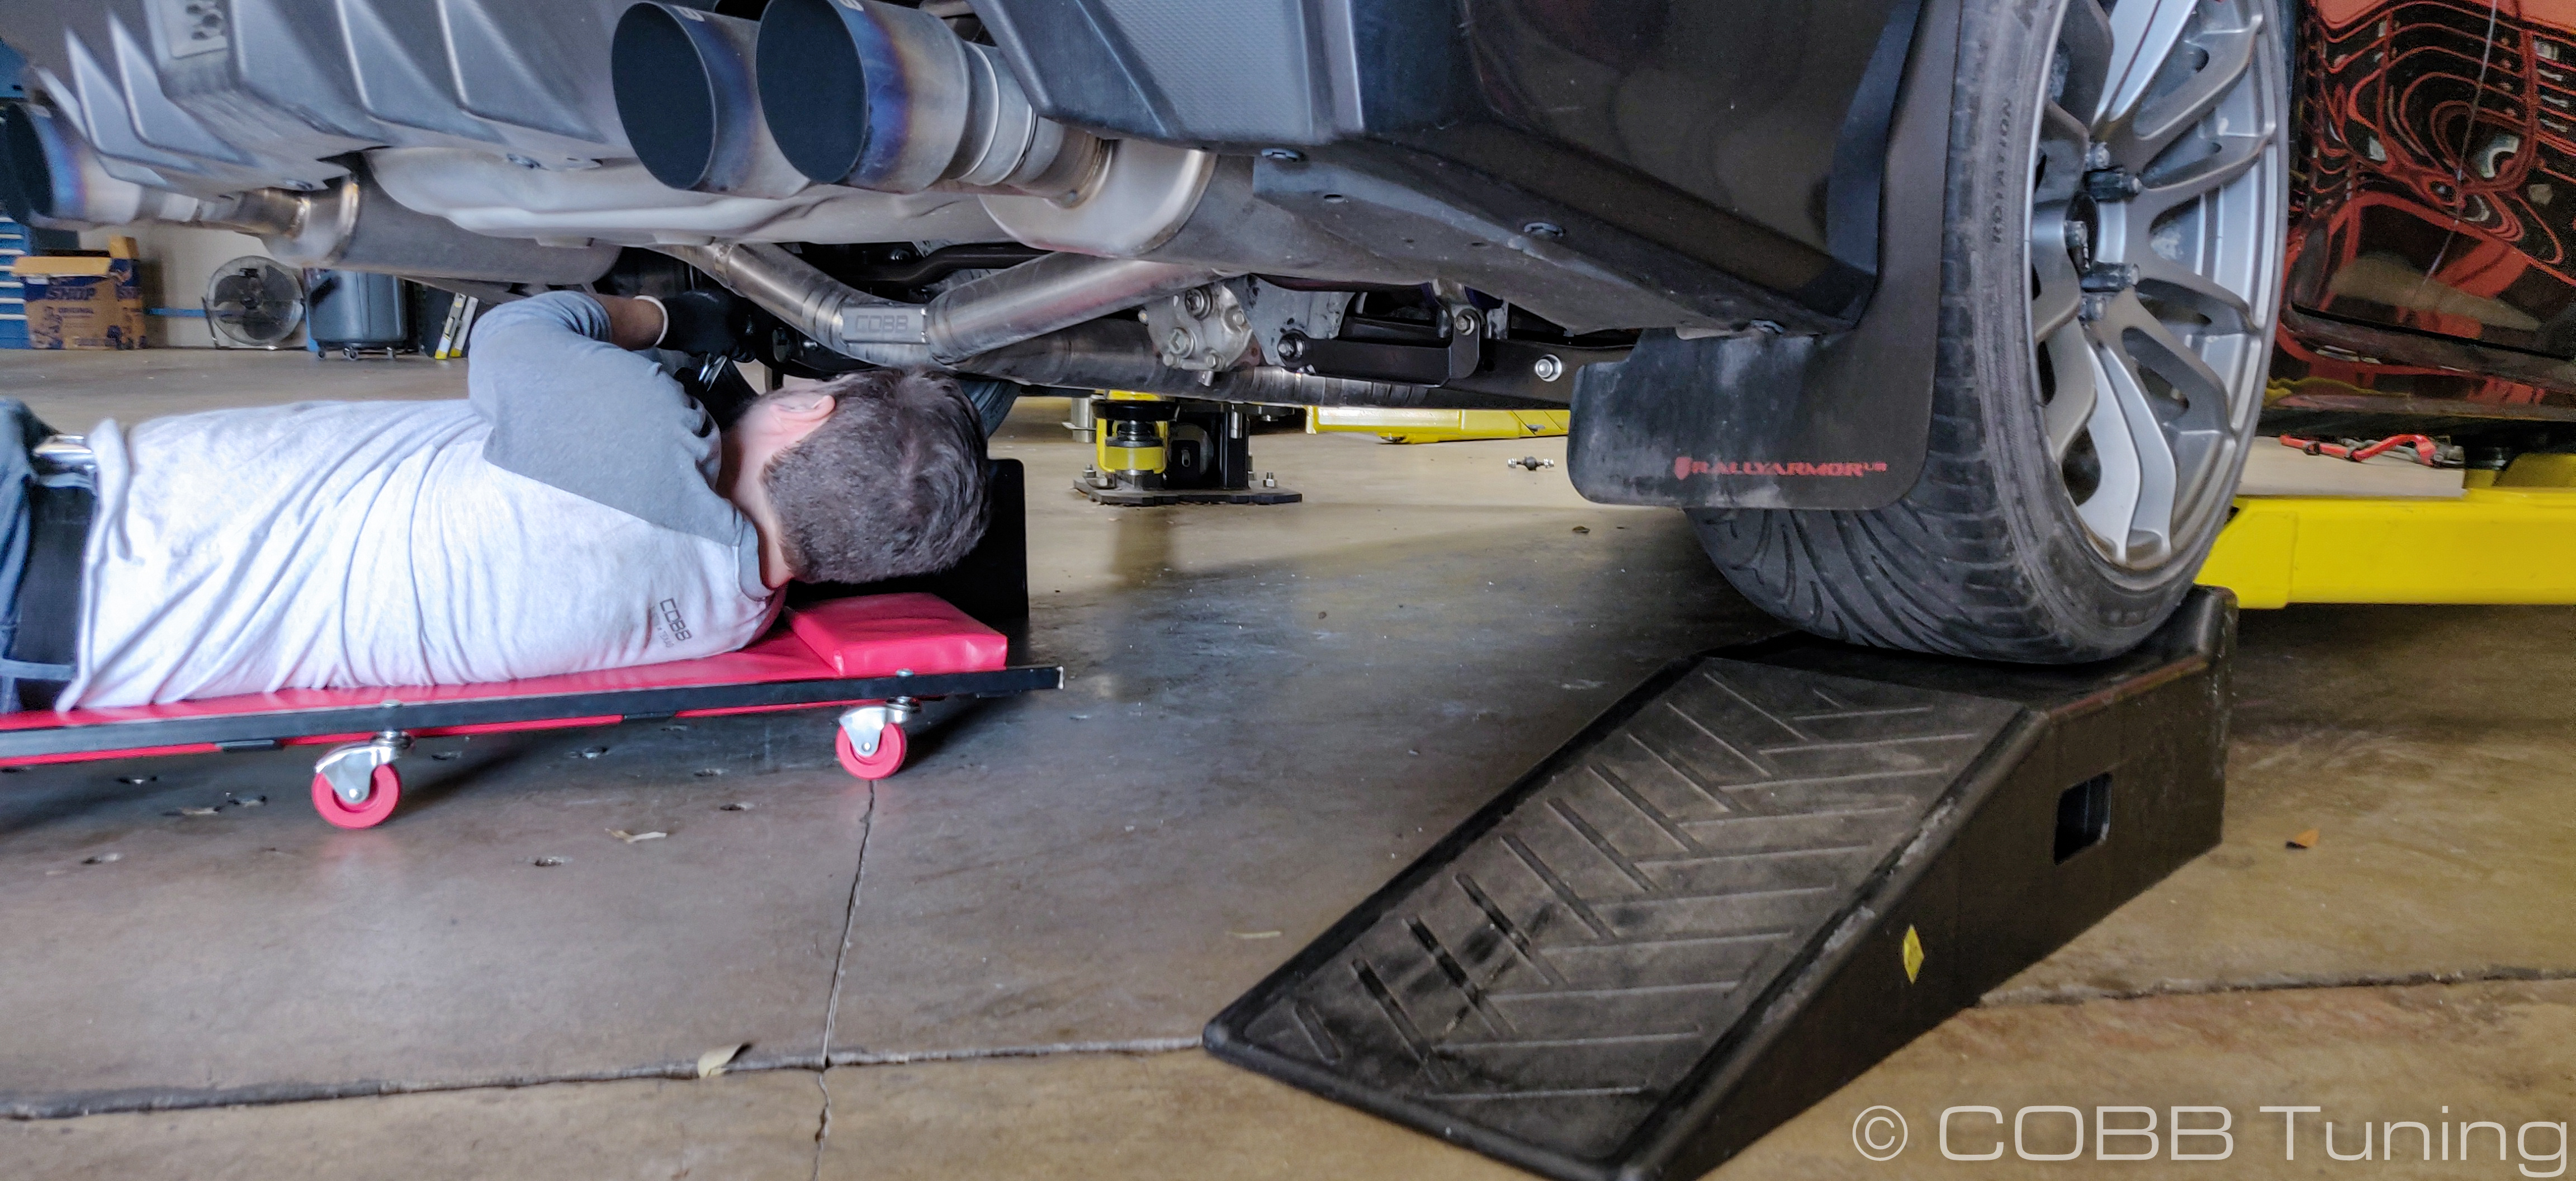
- Remove the plate covering the steering rack / Swaybar using your 12,14, and 19mm sockets.
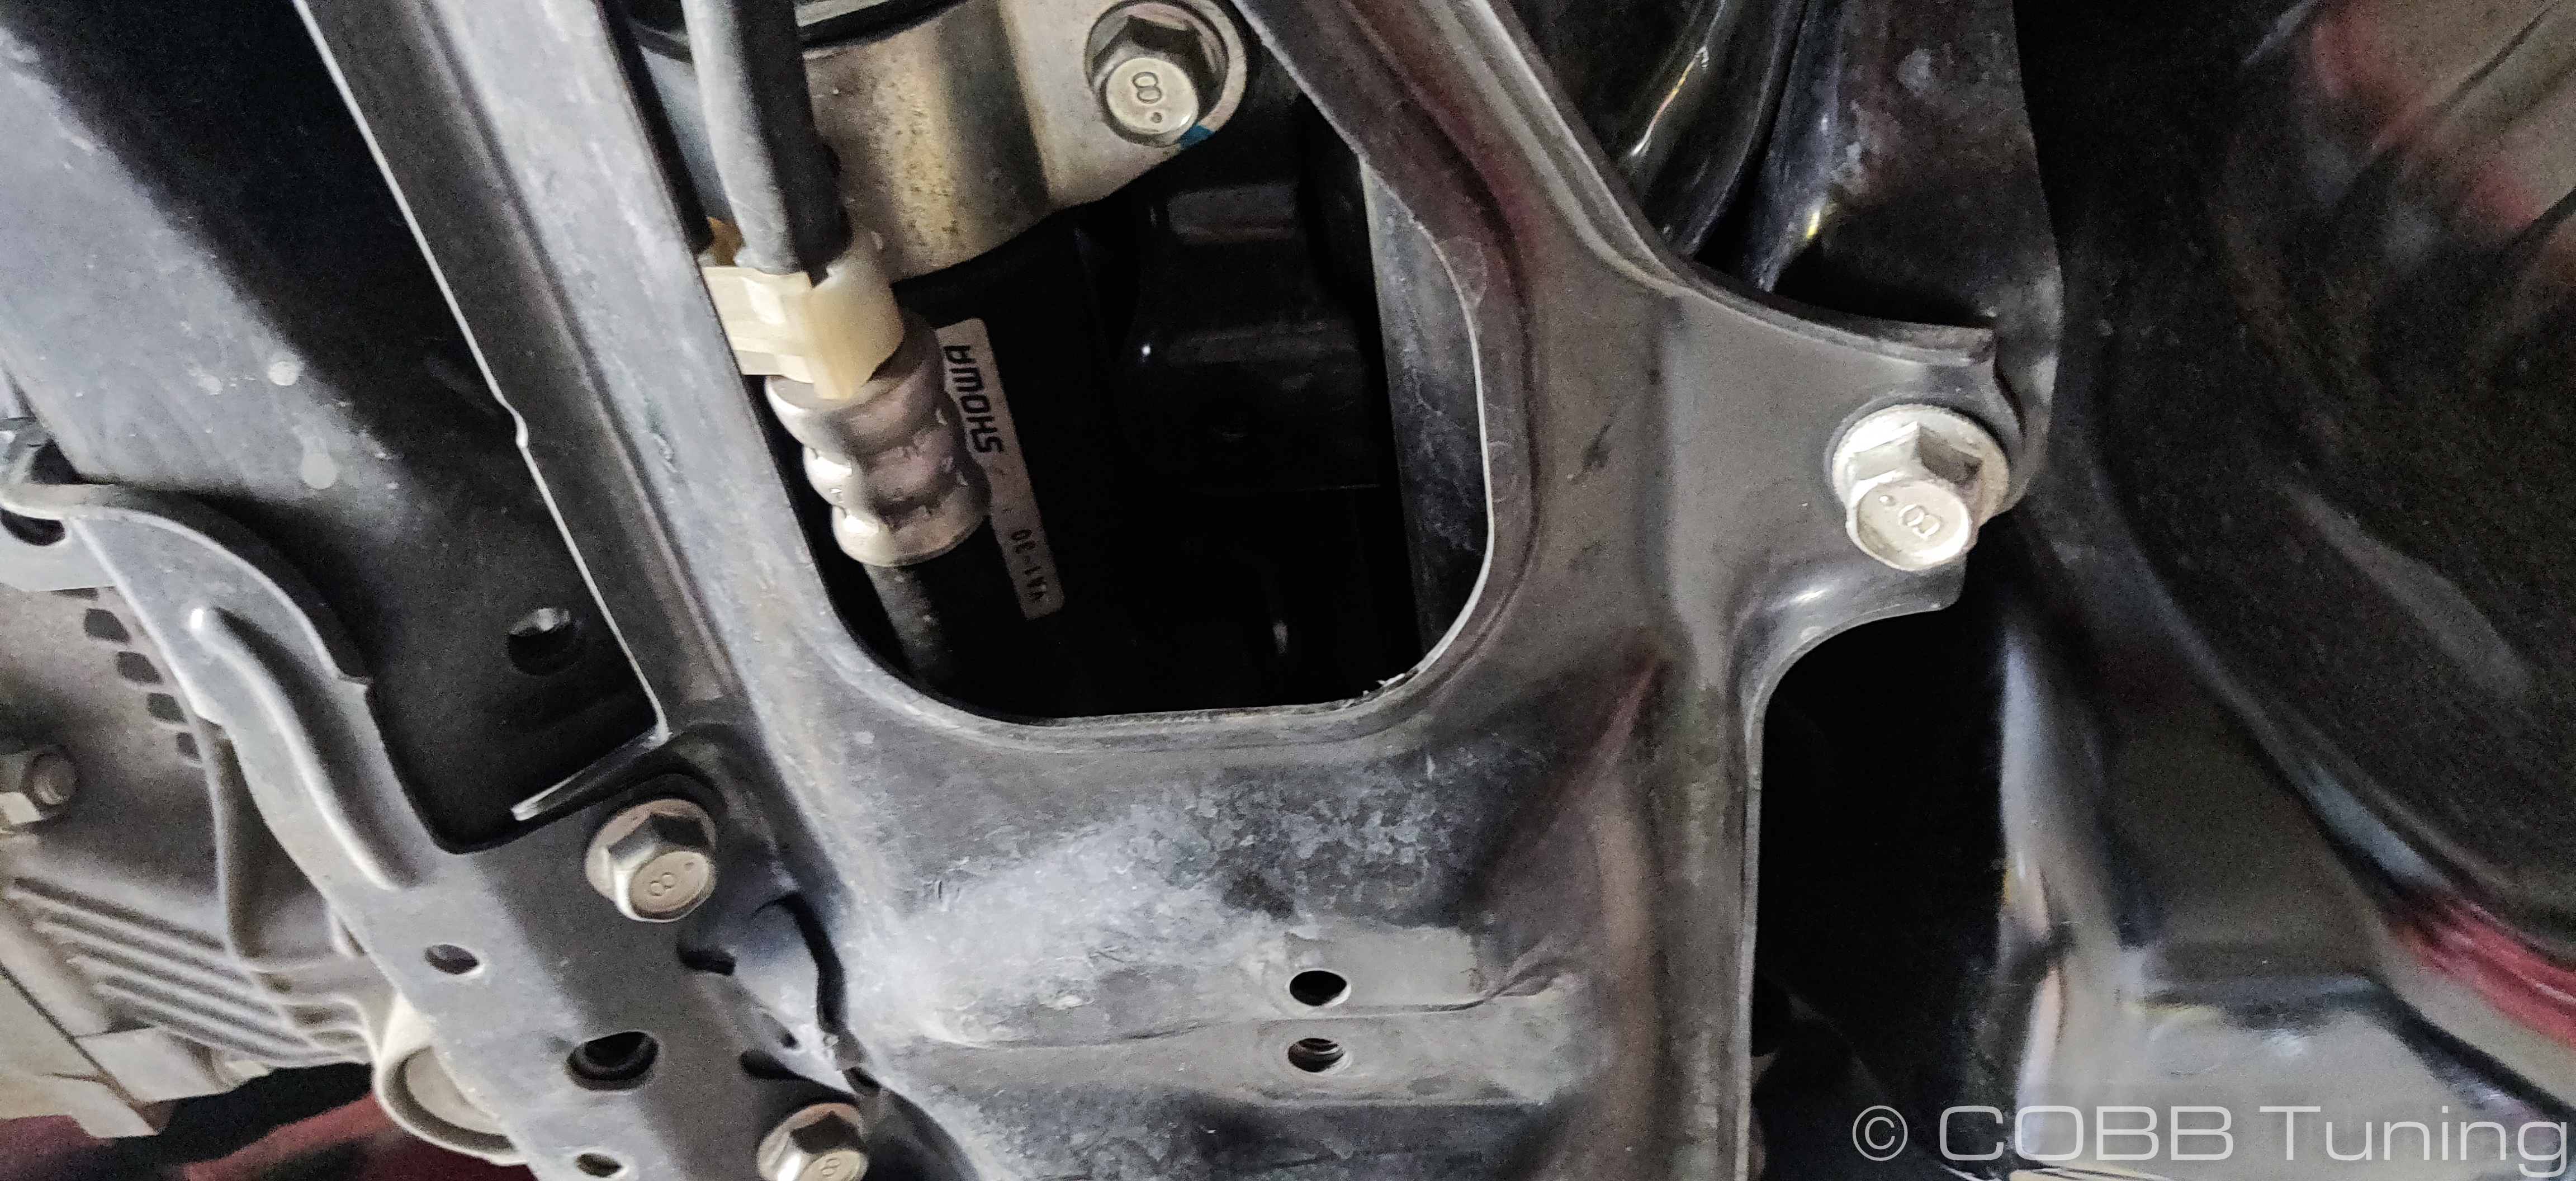
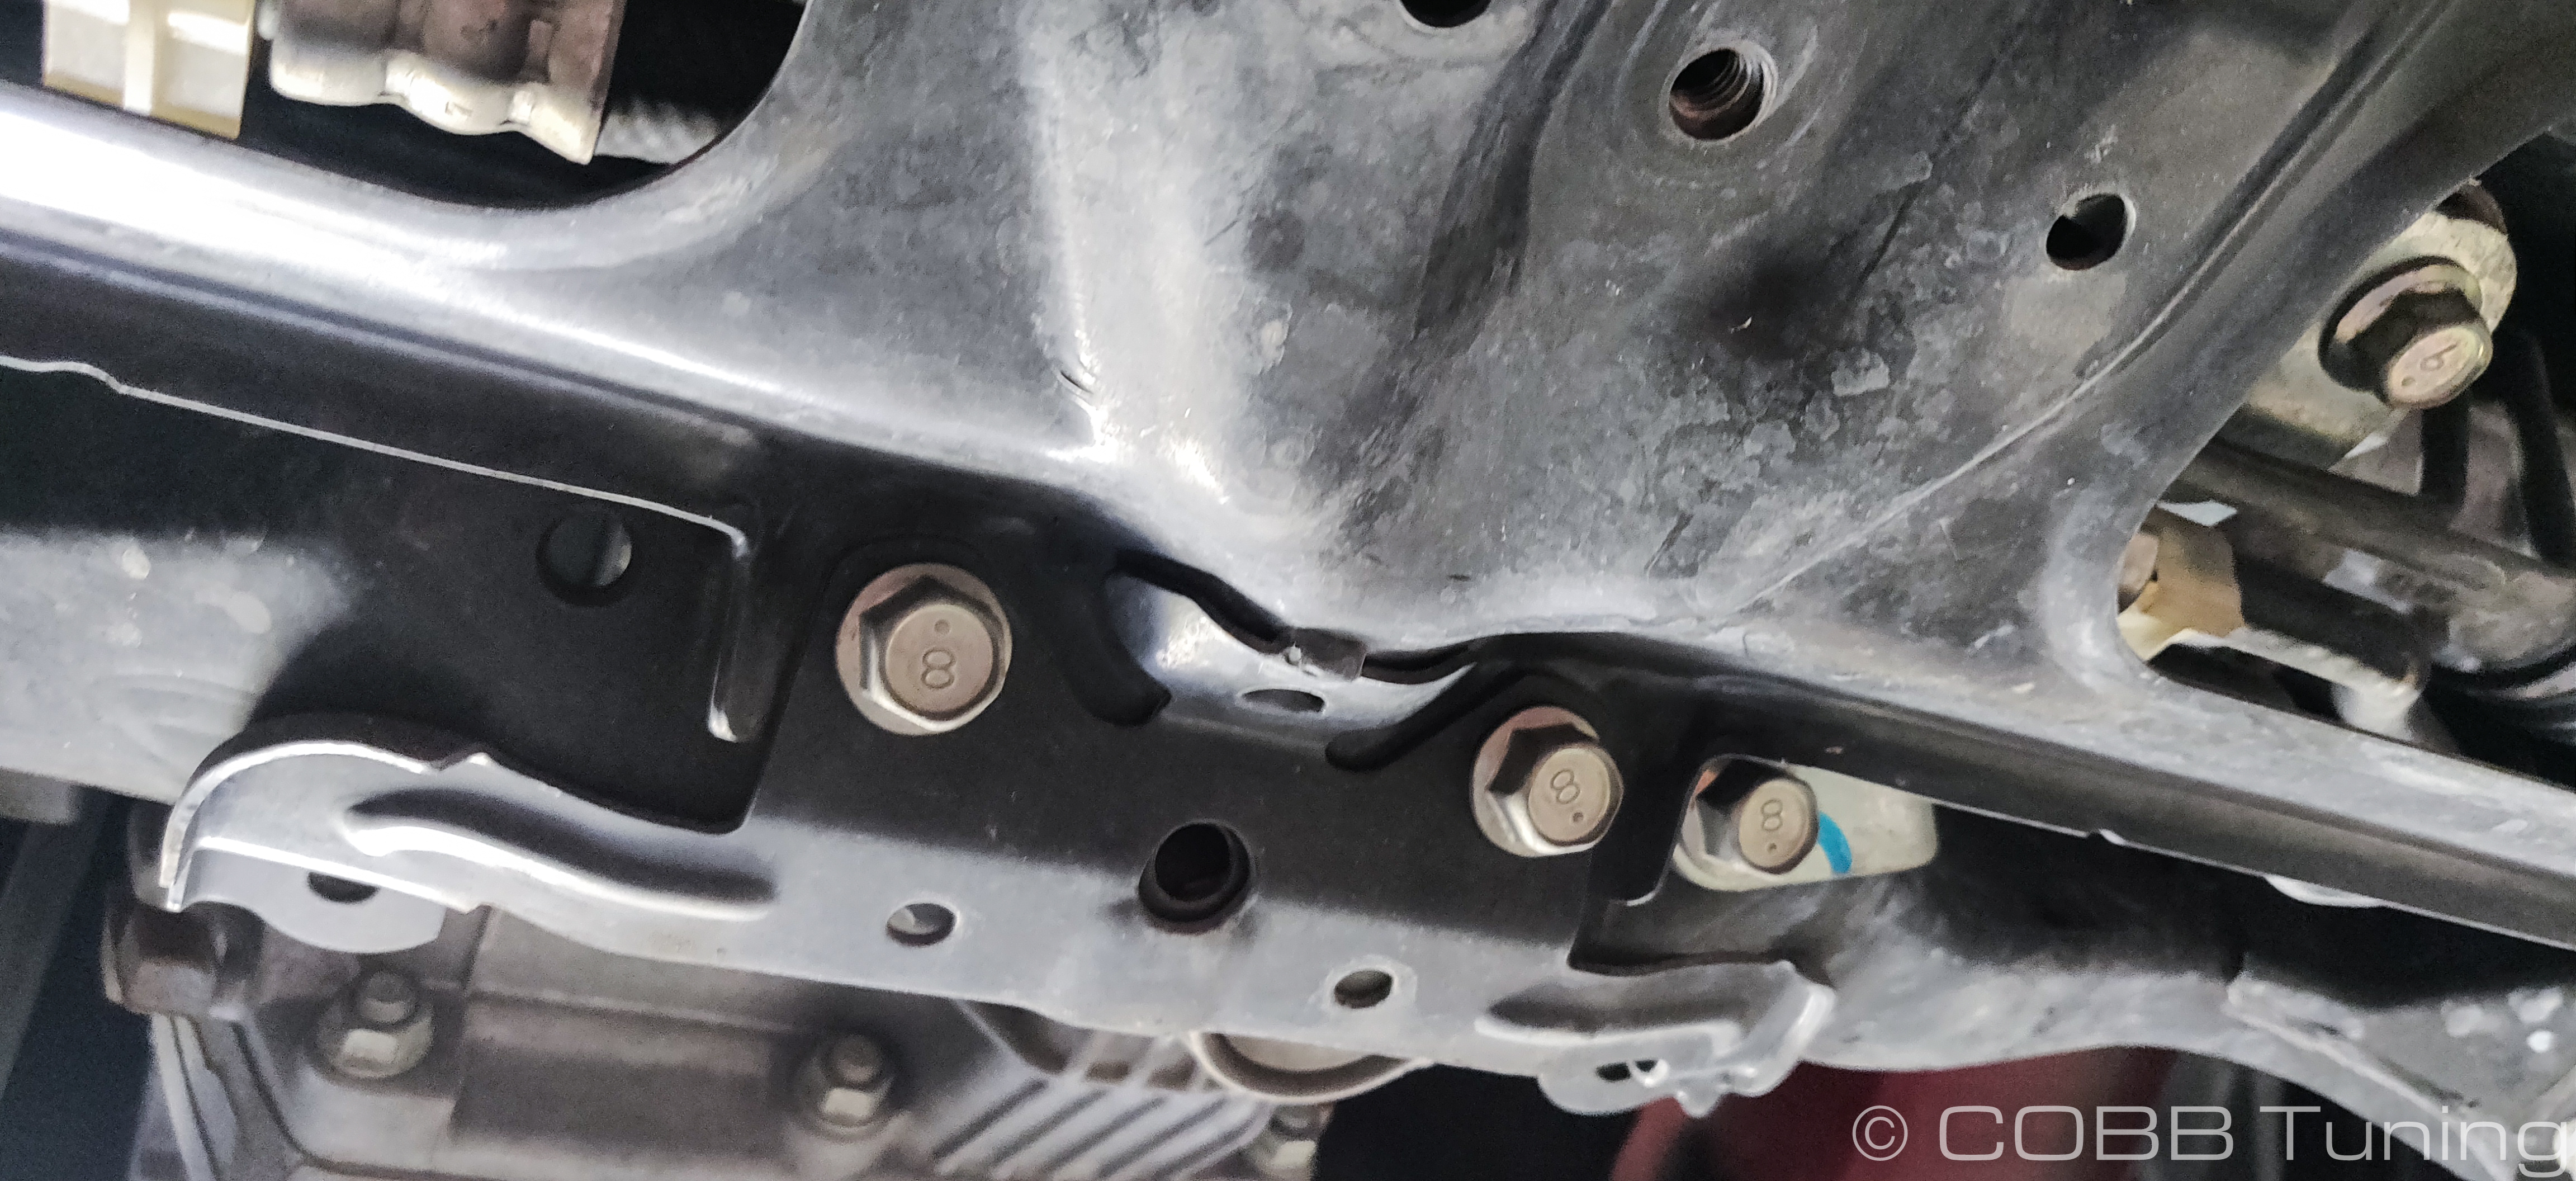
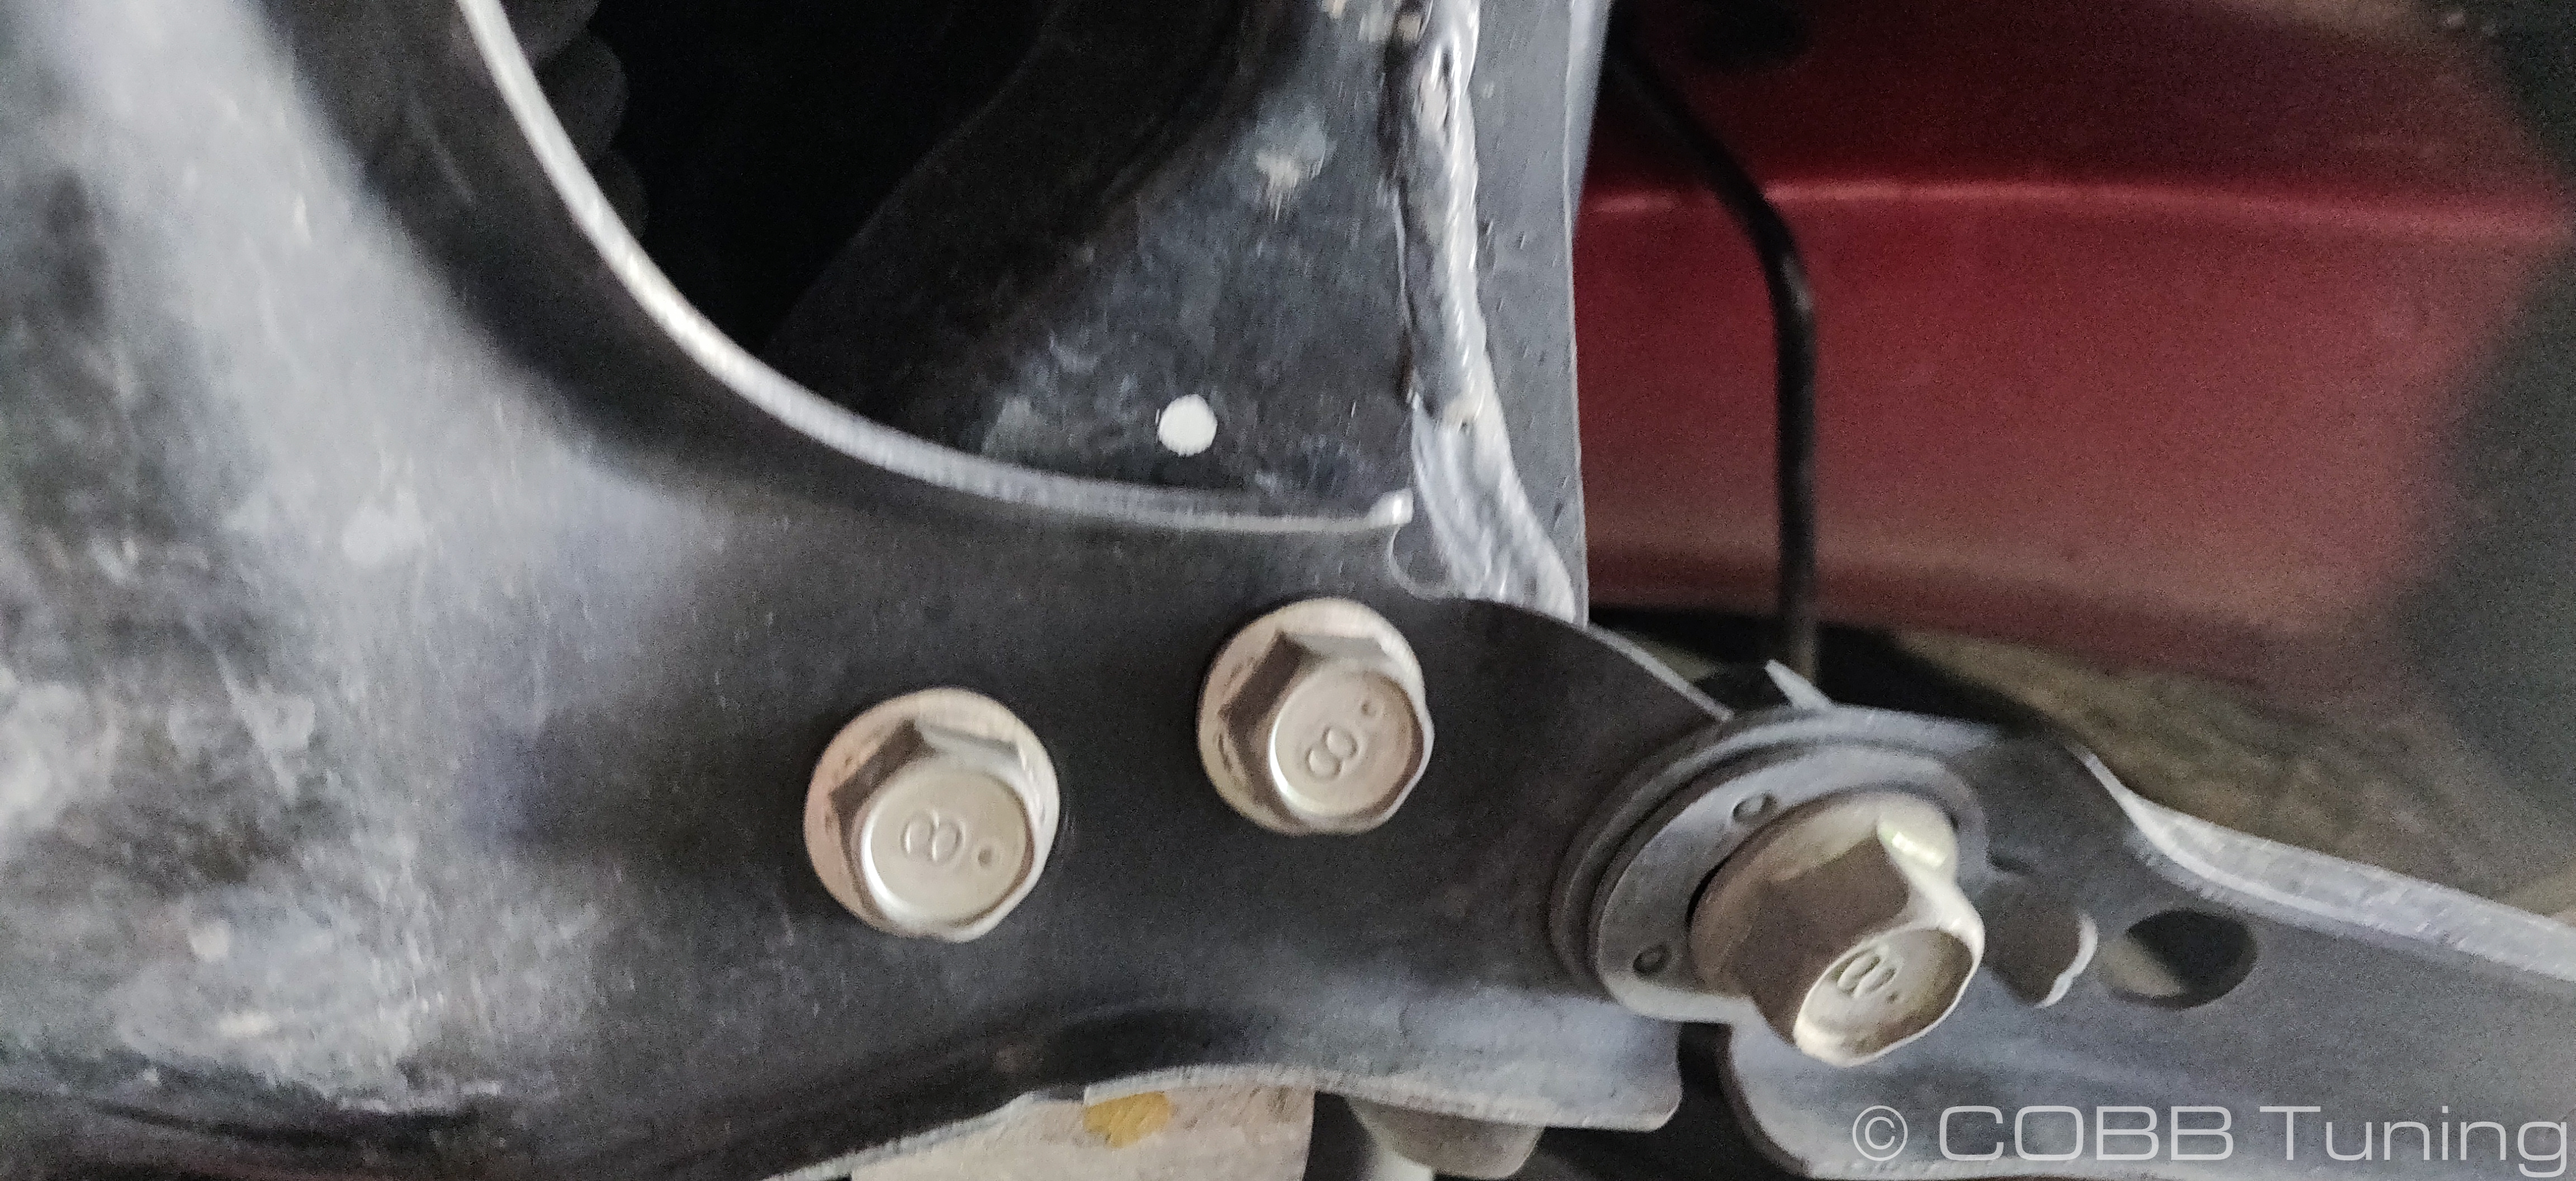
- You can either remove the sway bar by itself, or with the end links together as one piece (if you're replacing the end links as well). It can give you easier access if they're rusty or otherwise tough to remove.
Either way it's best to start with loosening the sway bar from the control arms so you don't have to worry about holding it up. Use a 17mm wrench to undo the nut while using a m6 allen wrench to hold the center of the endlink and keep it from spinning.
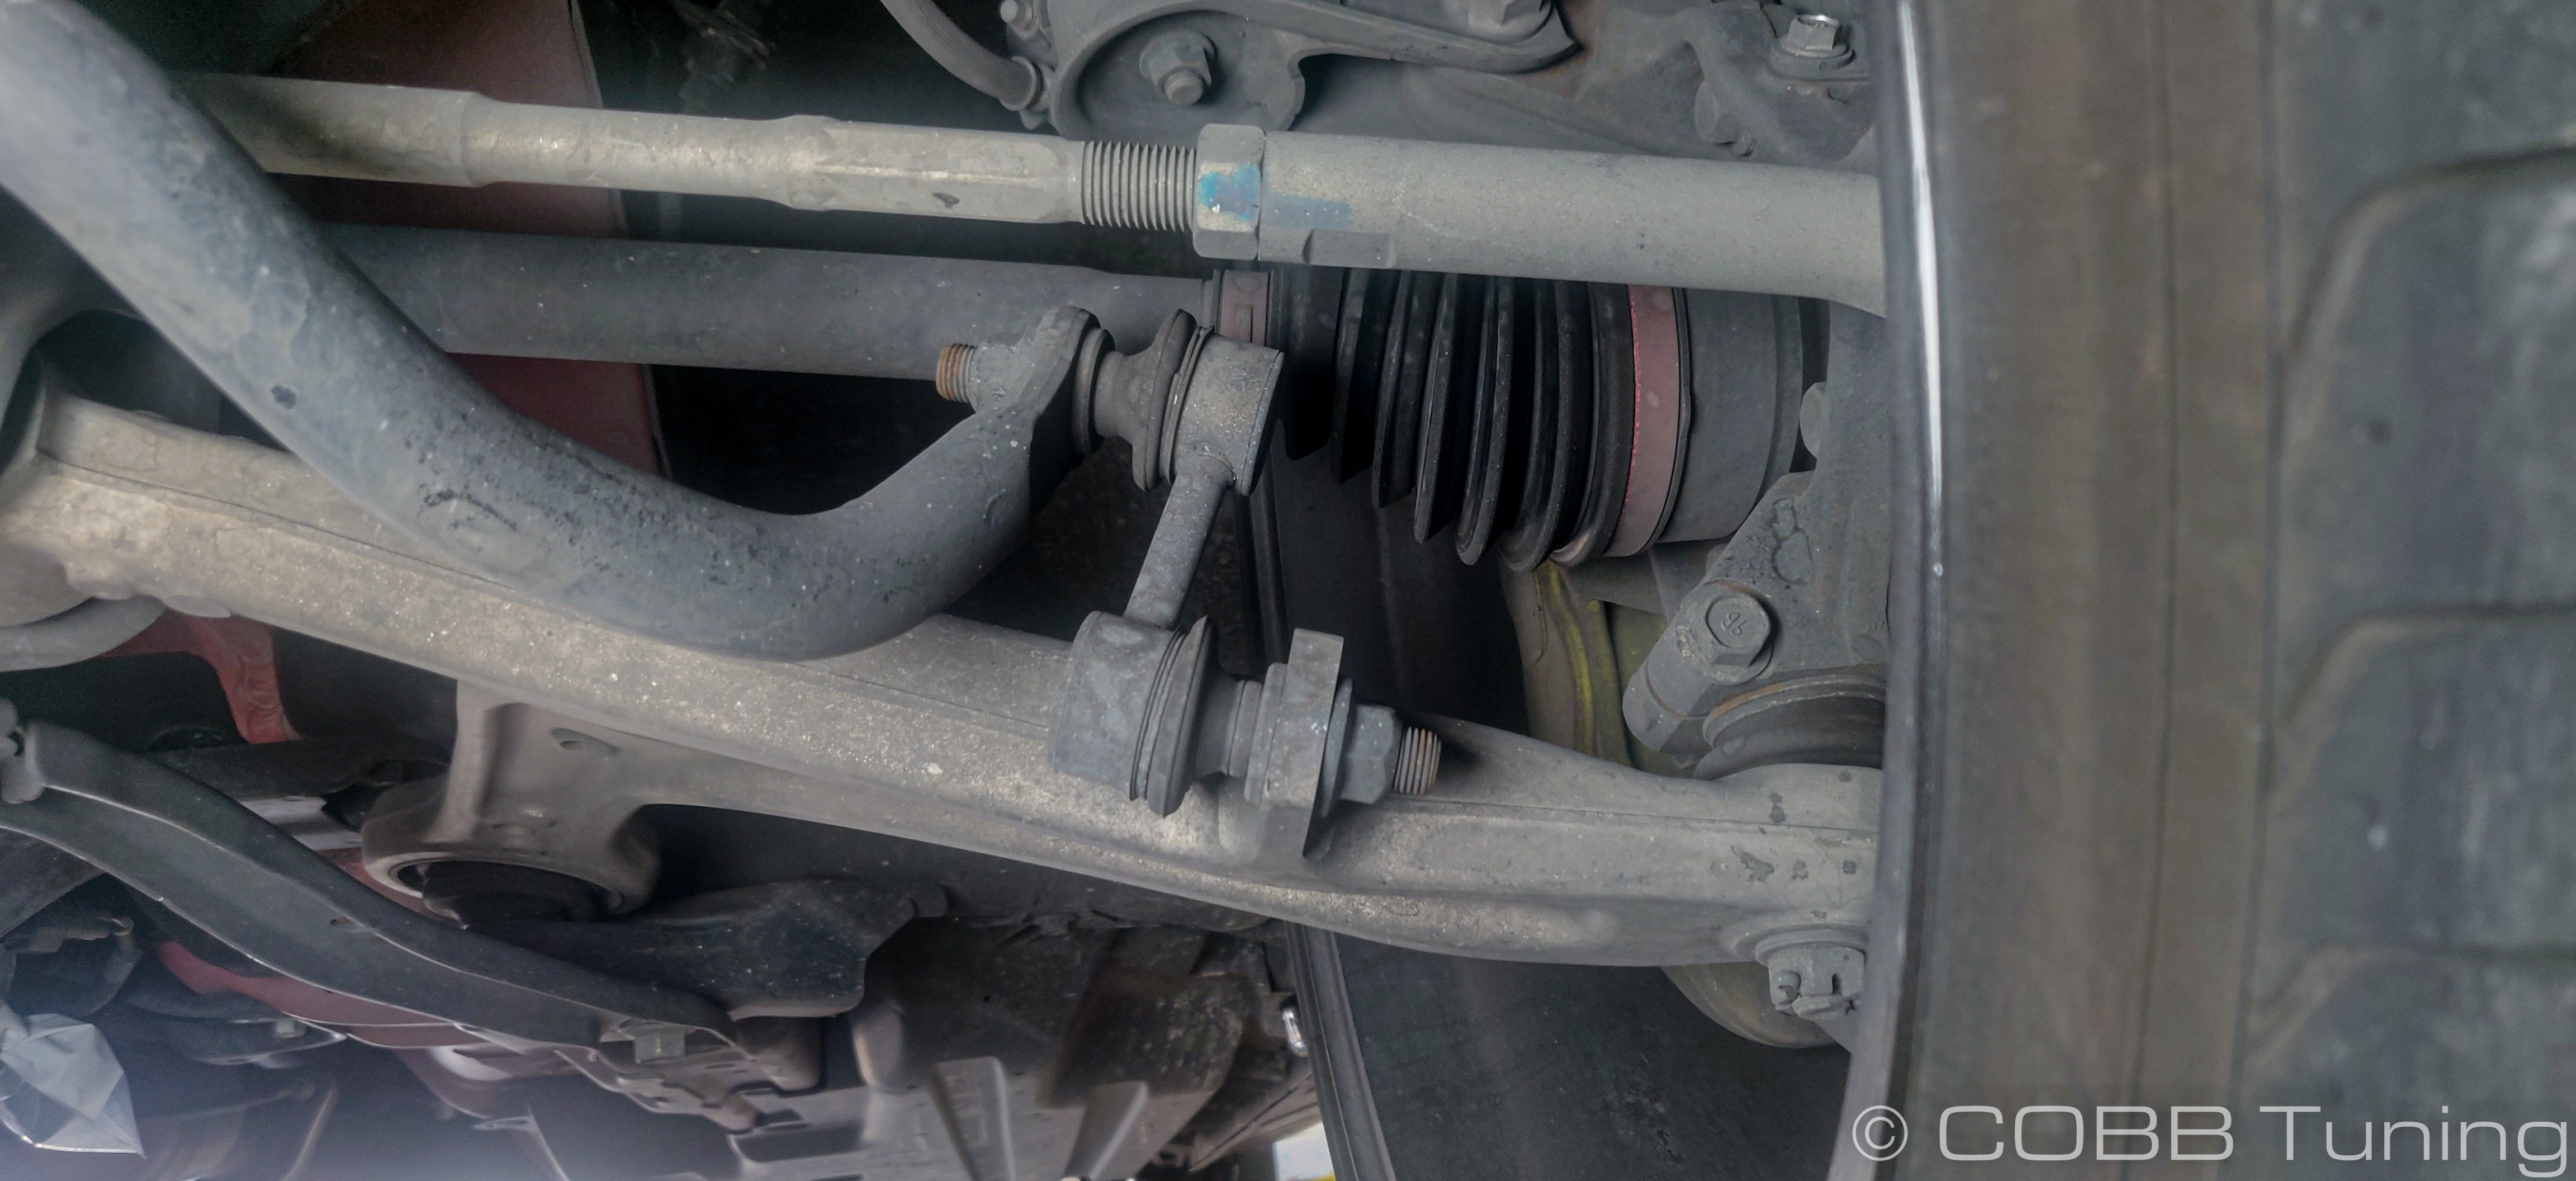
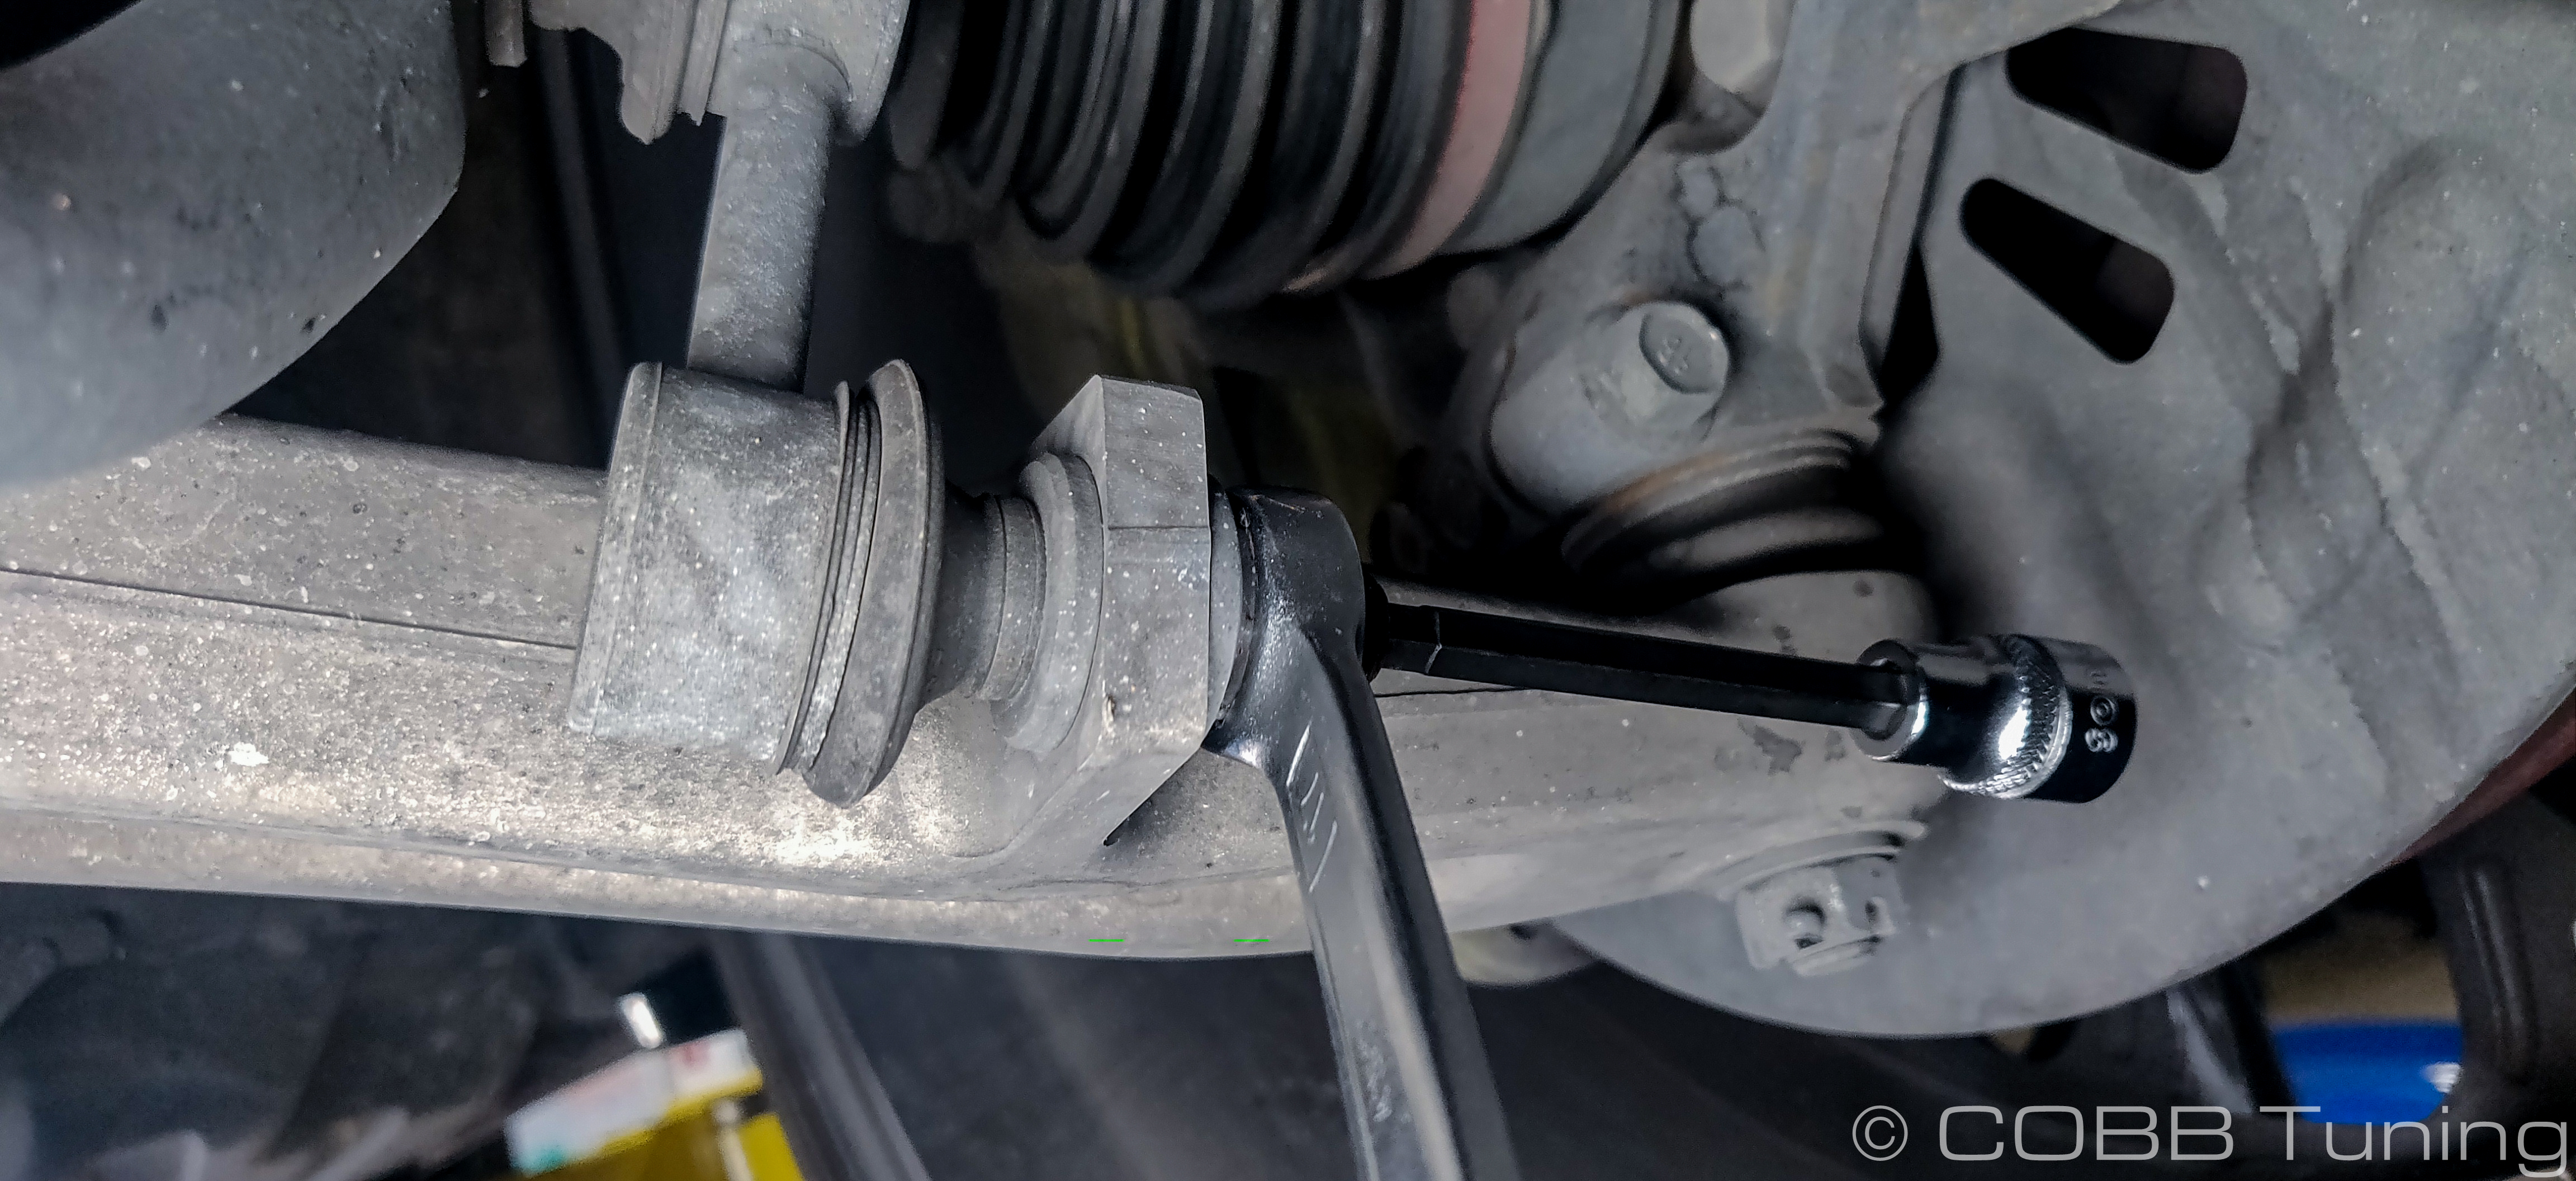
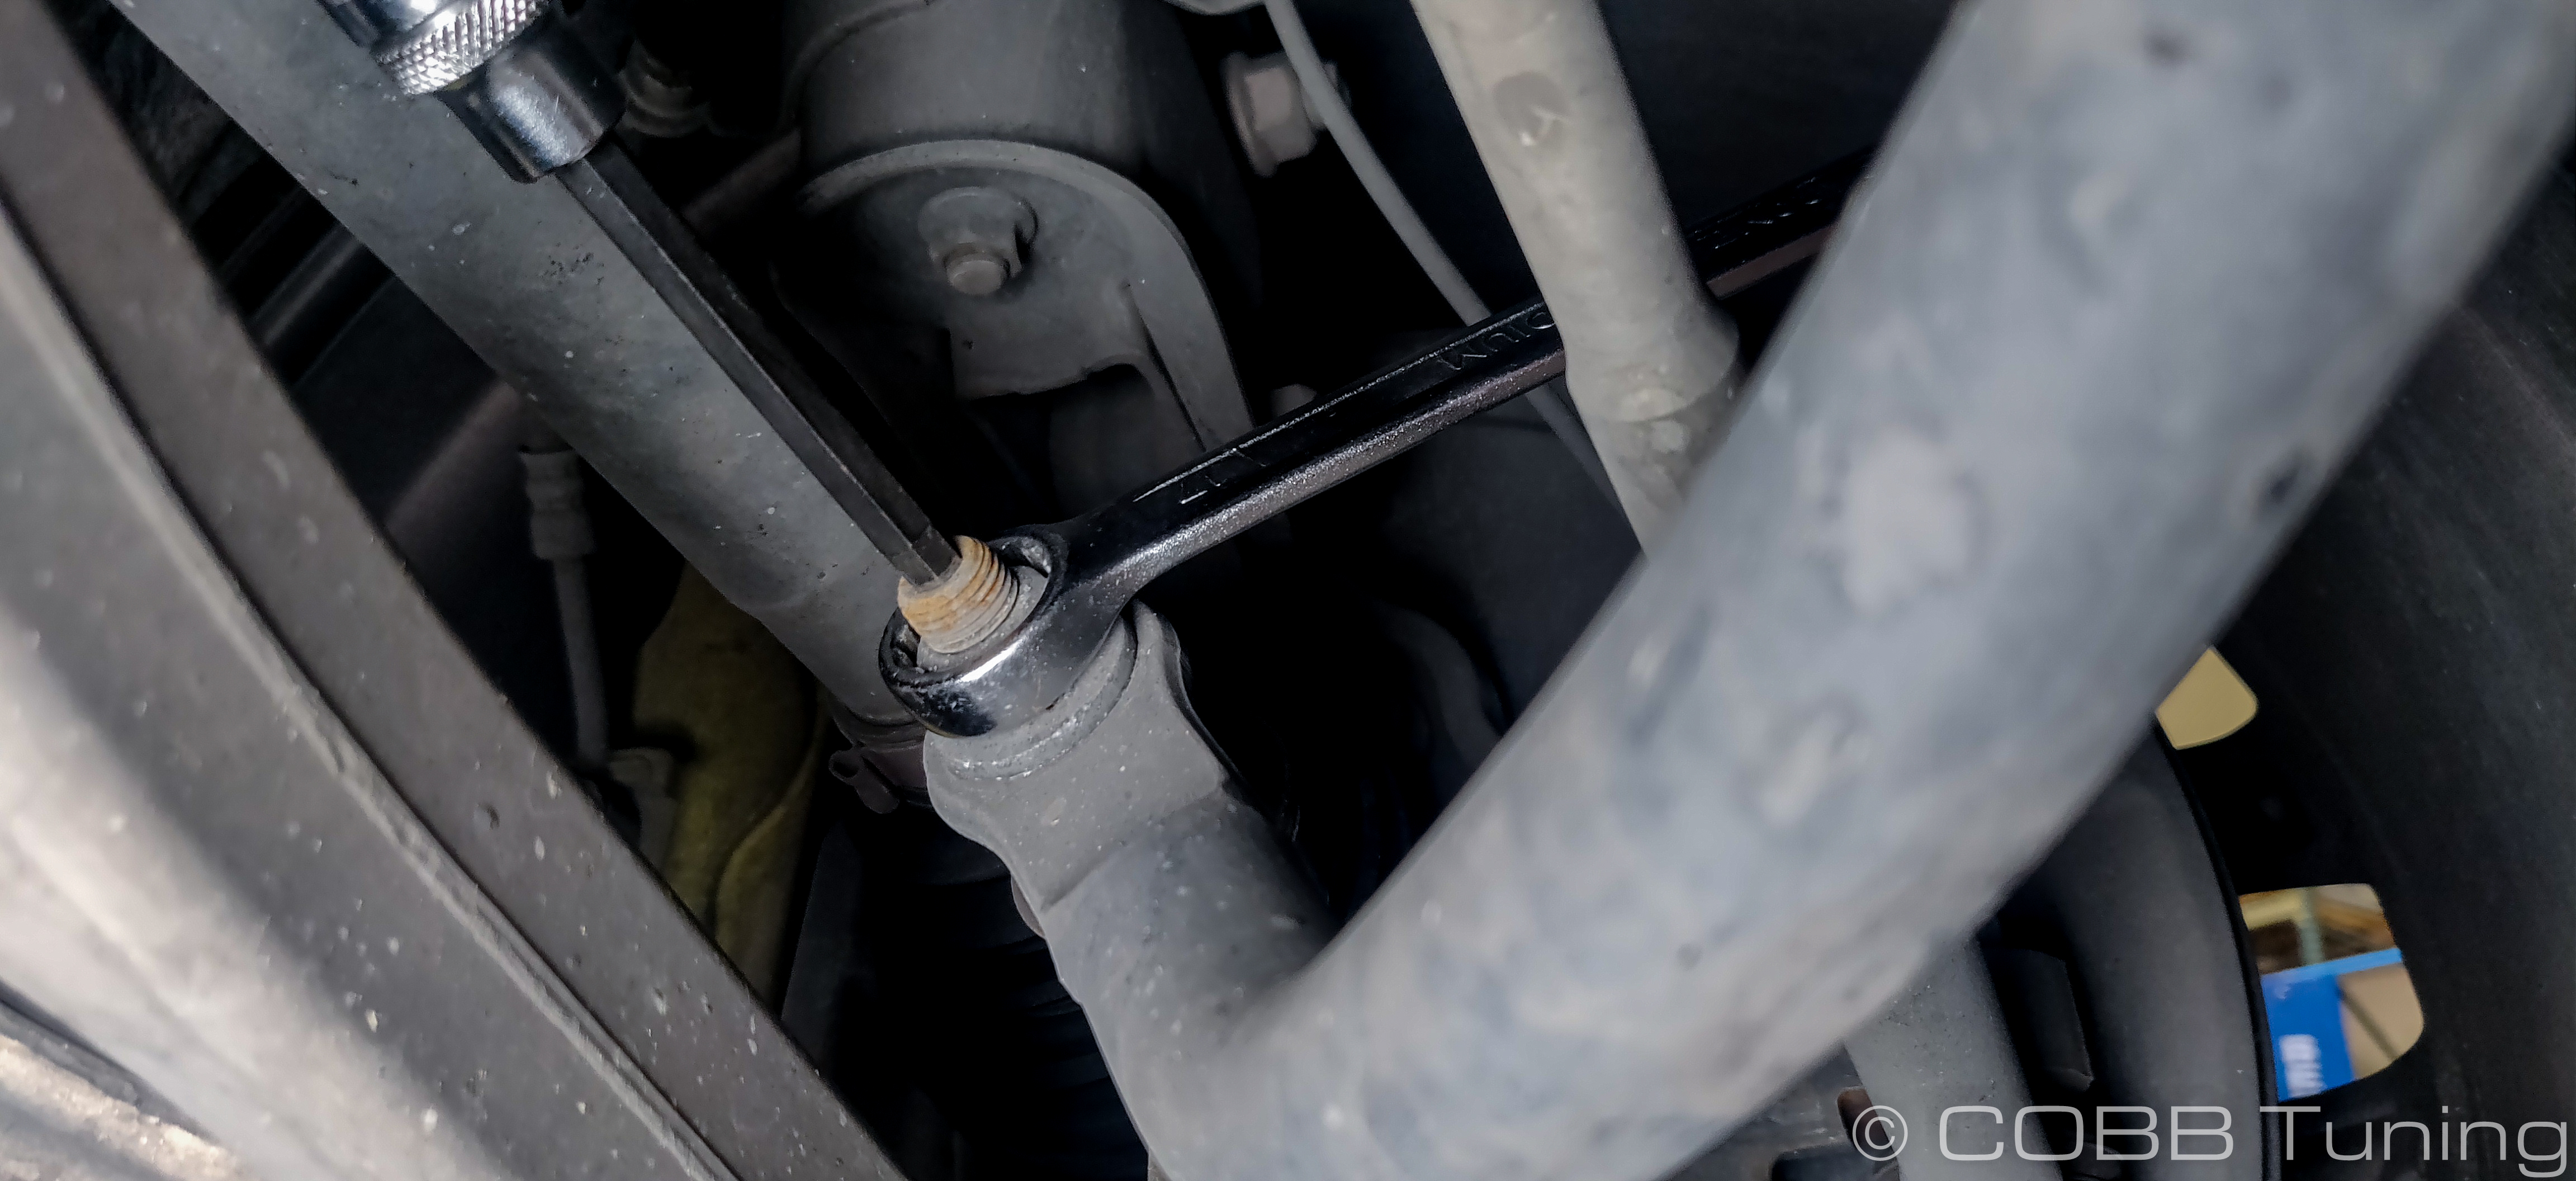
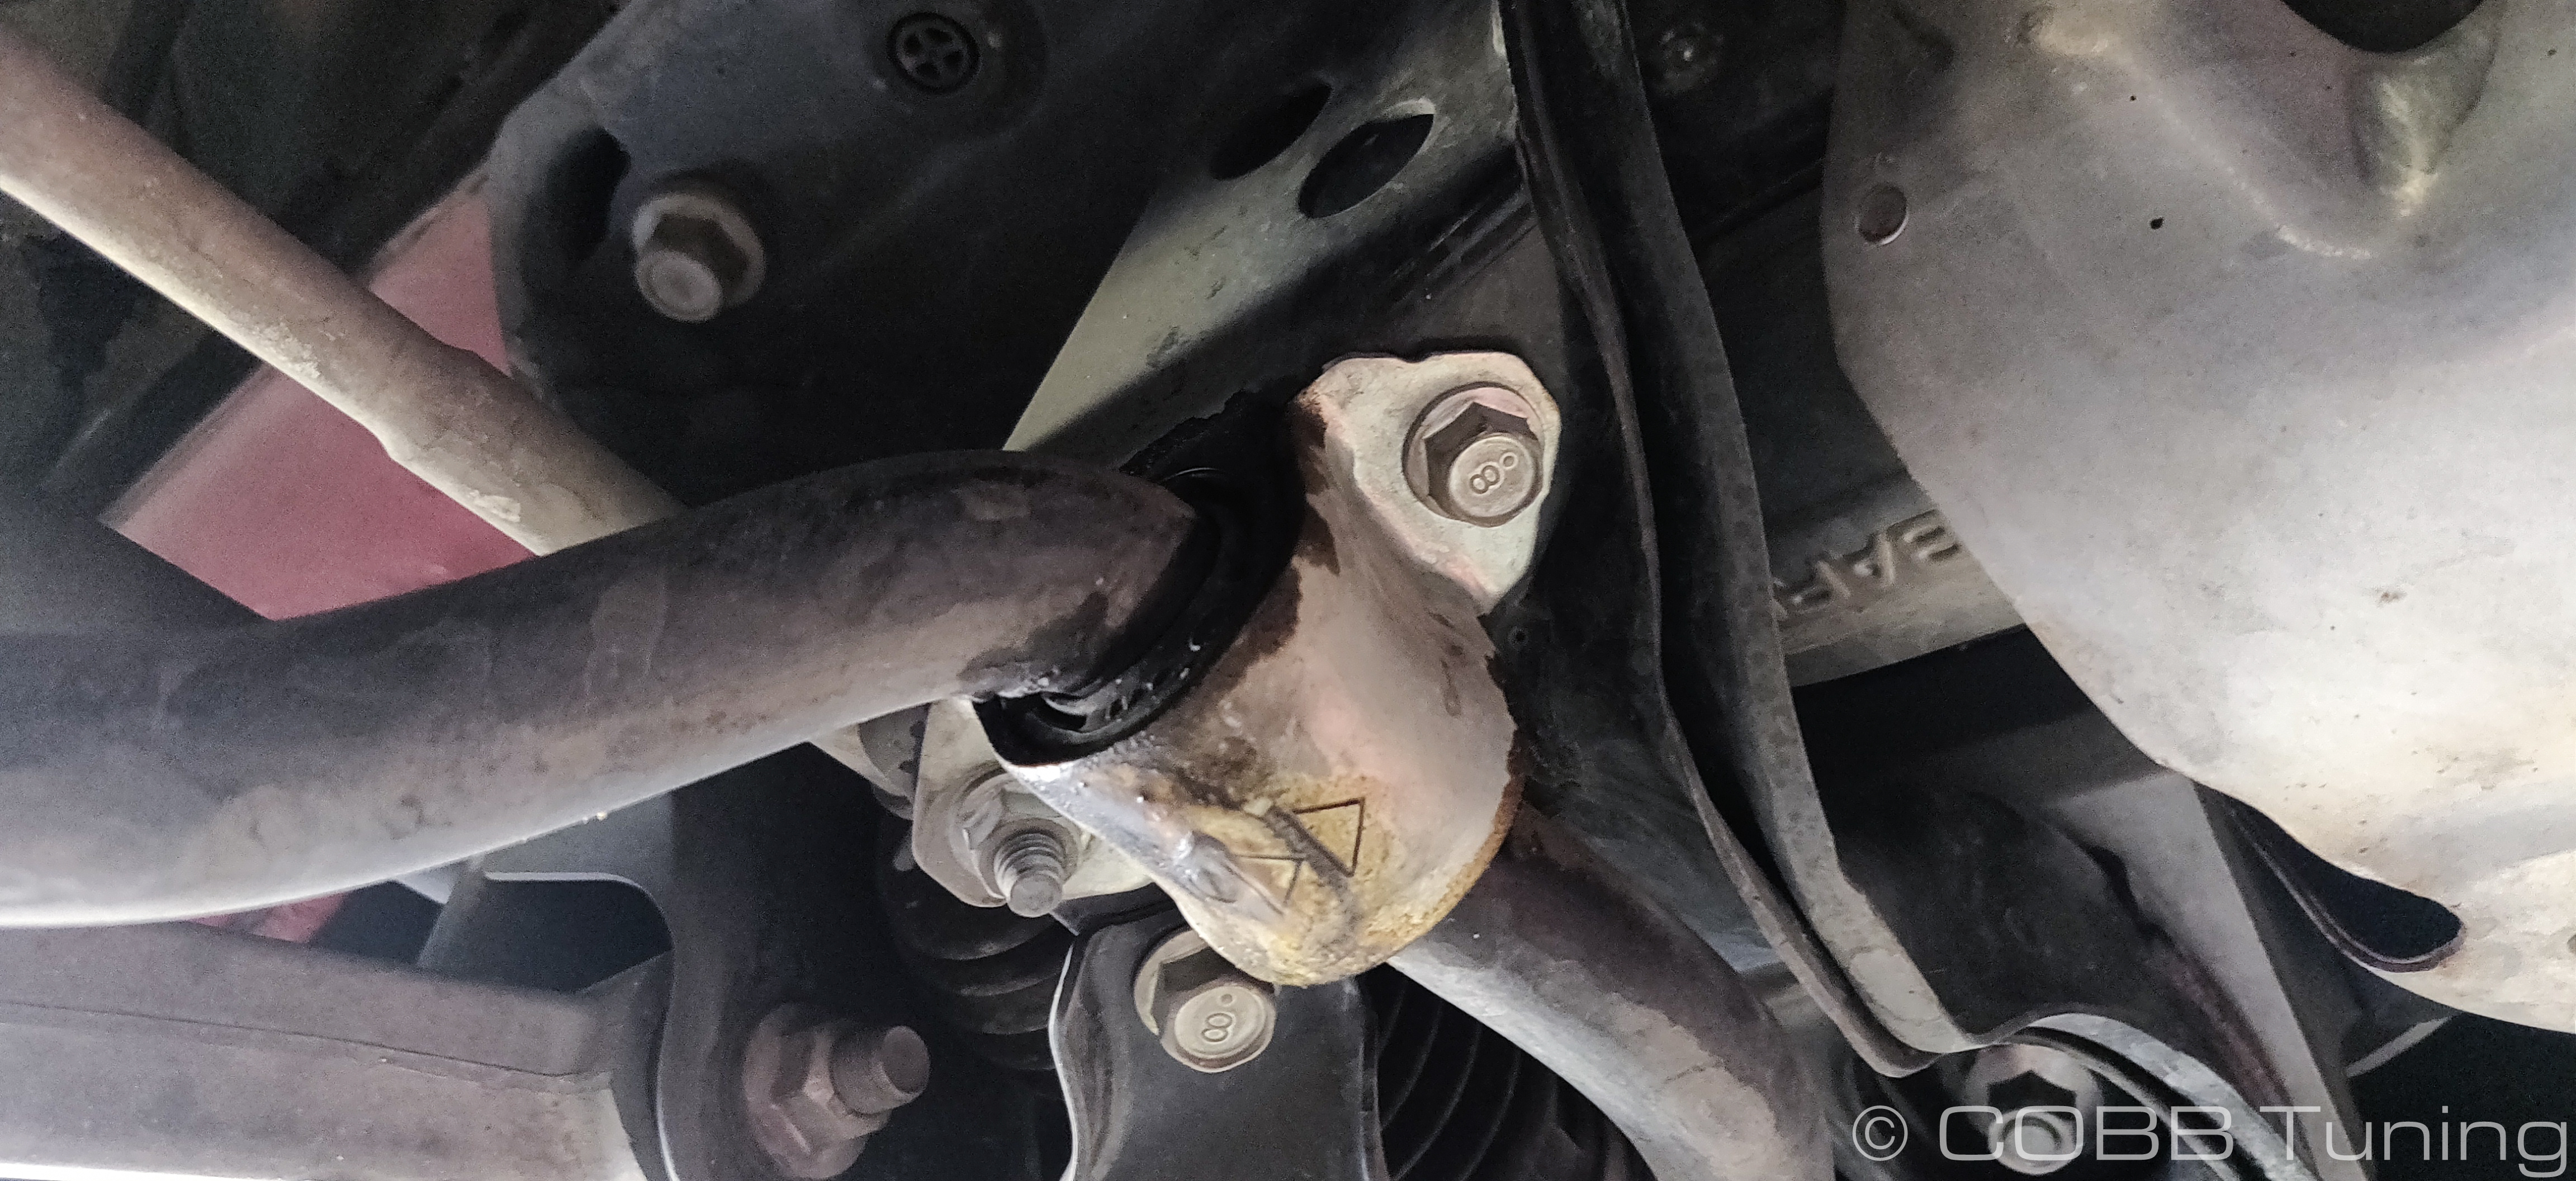
- With the end links loosened on both side, undo the two 12mm fasteners holding the sway bar to the subframe and drop it out of the car.
Pre-Assembly
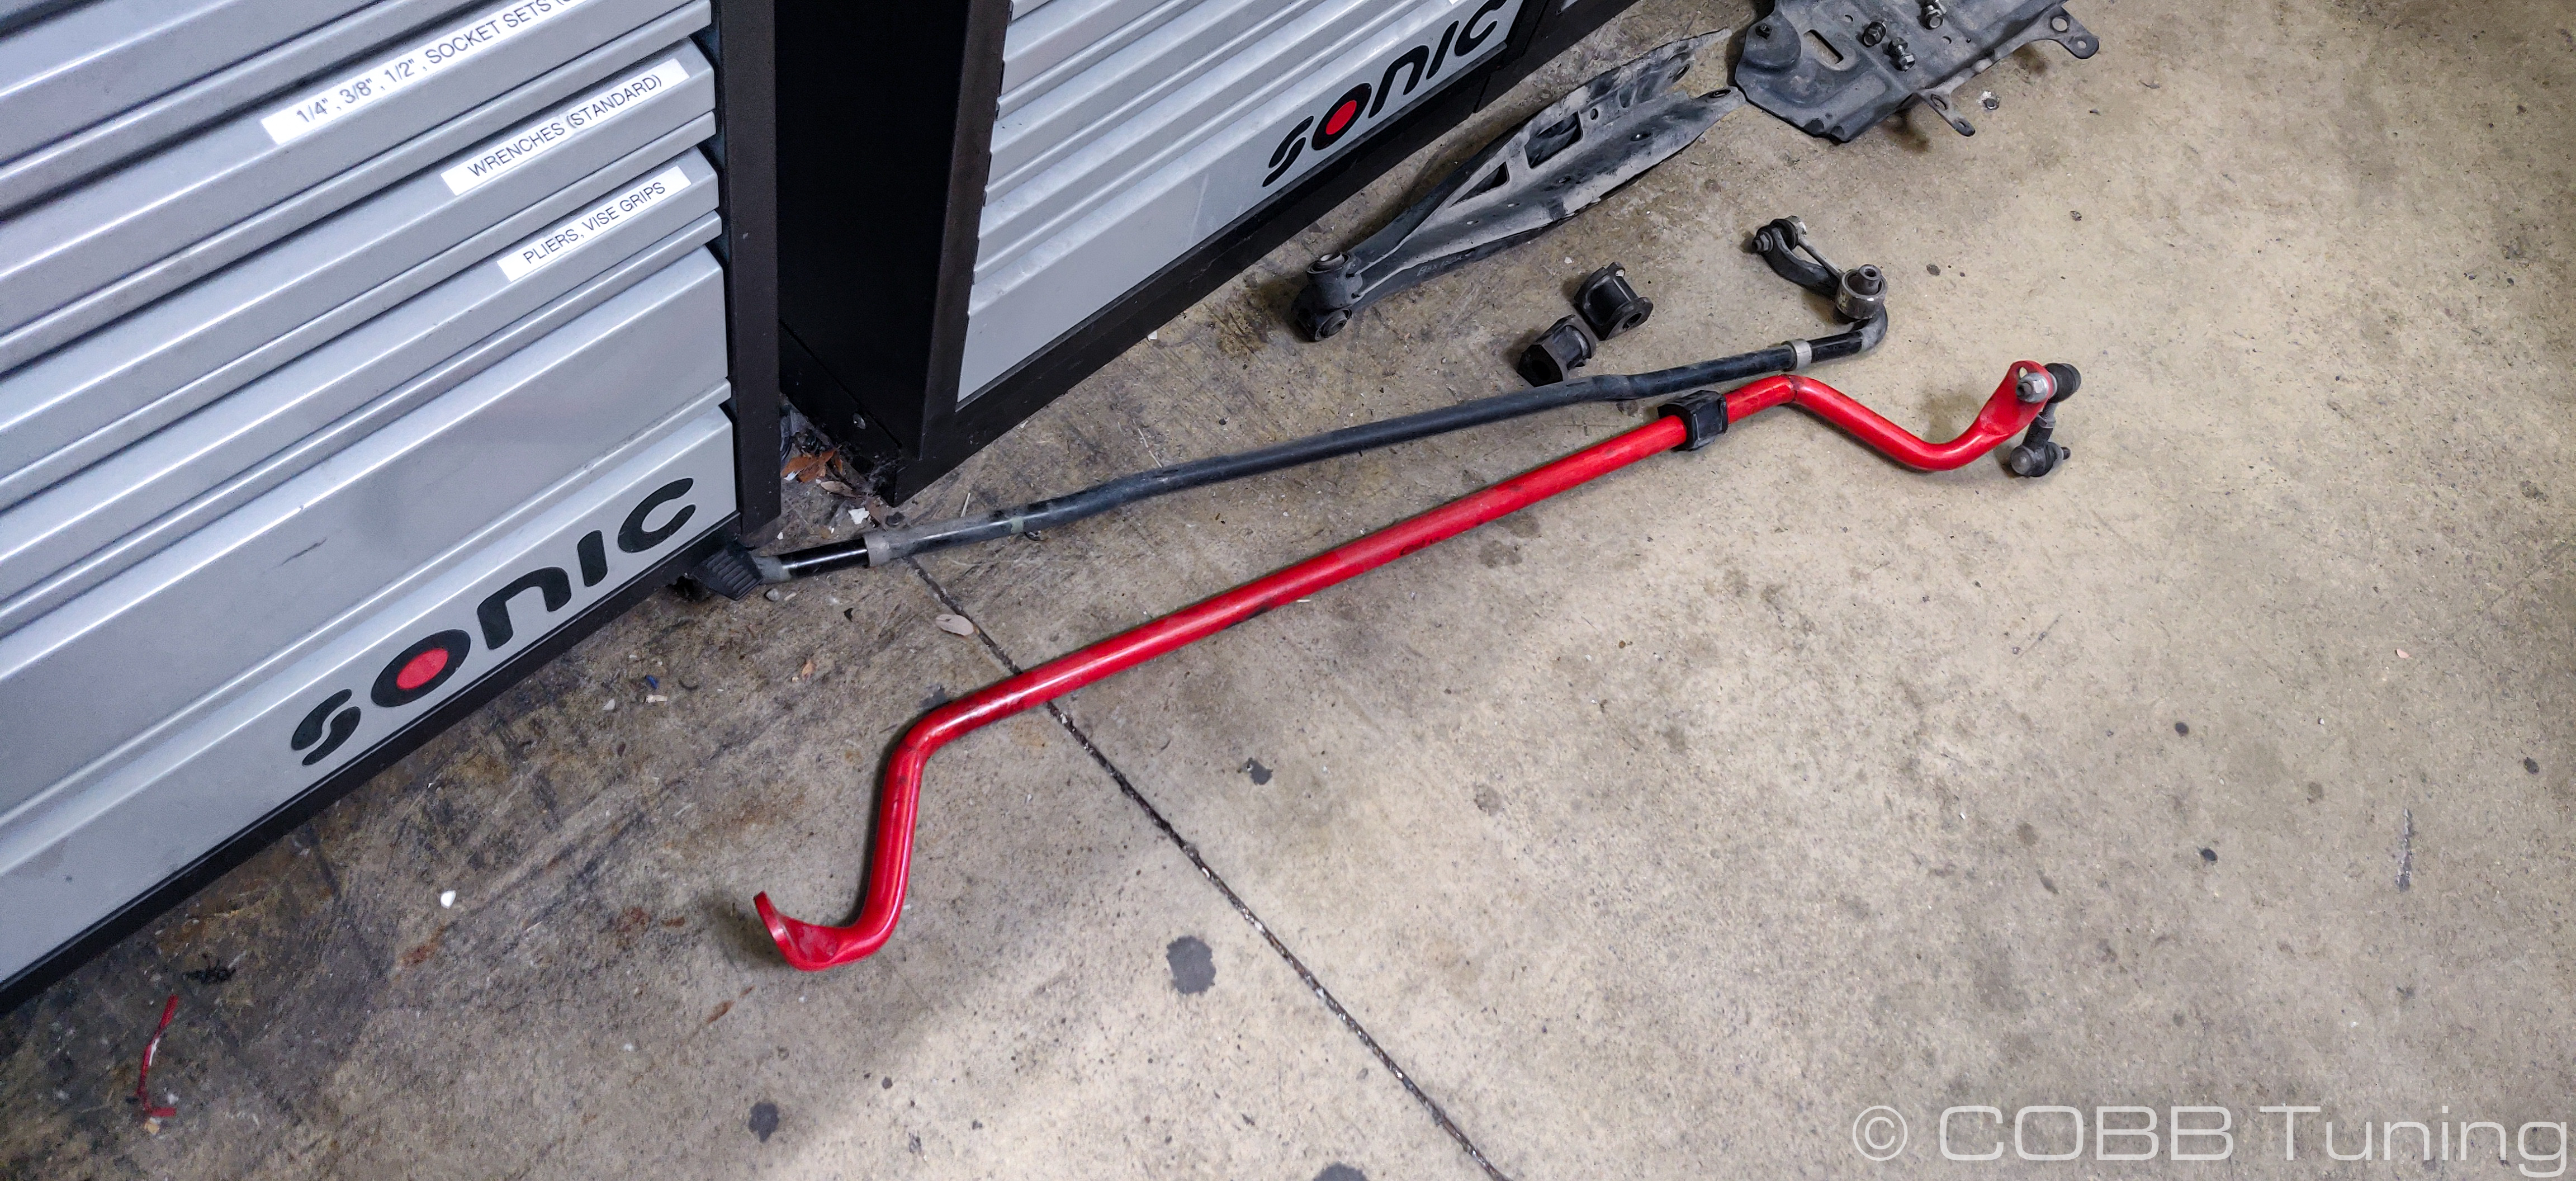
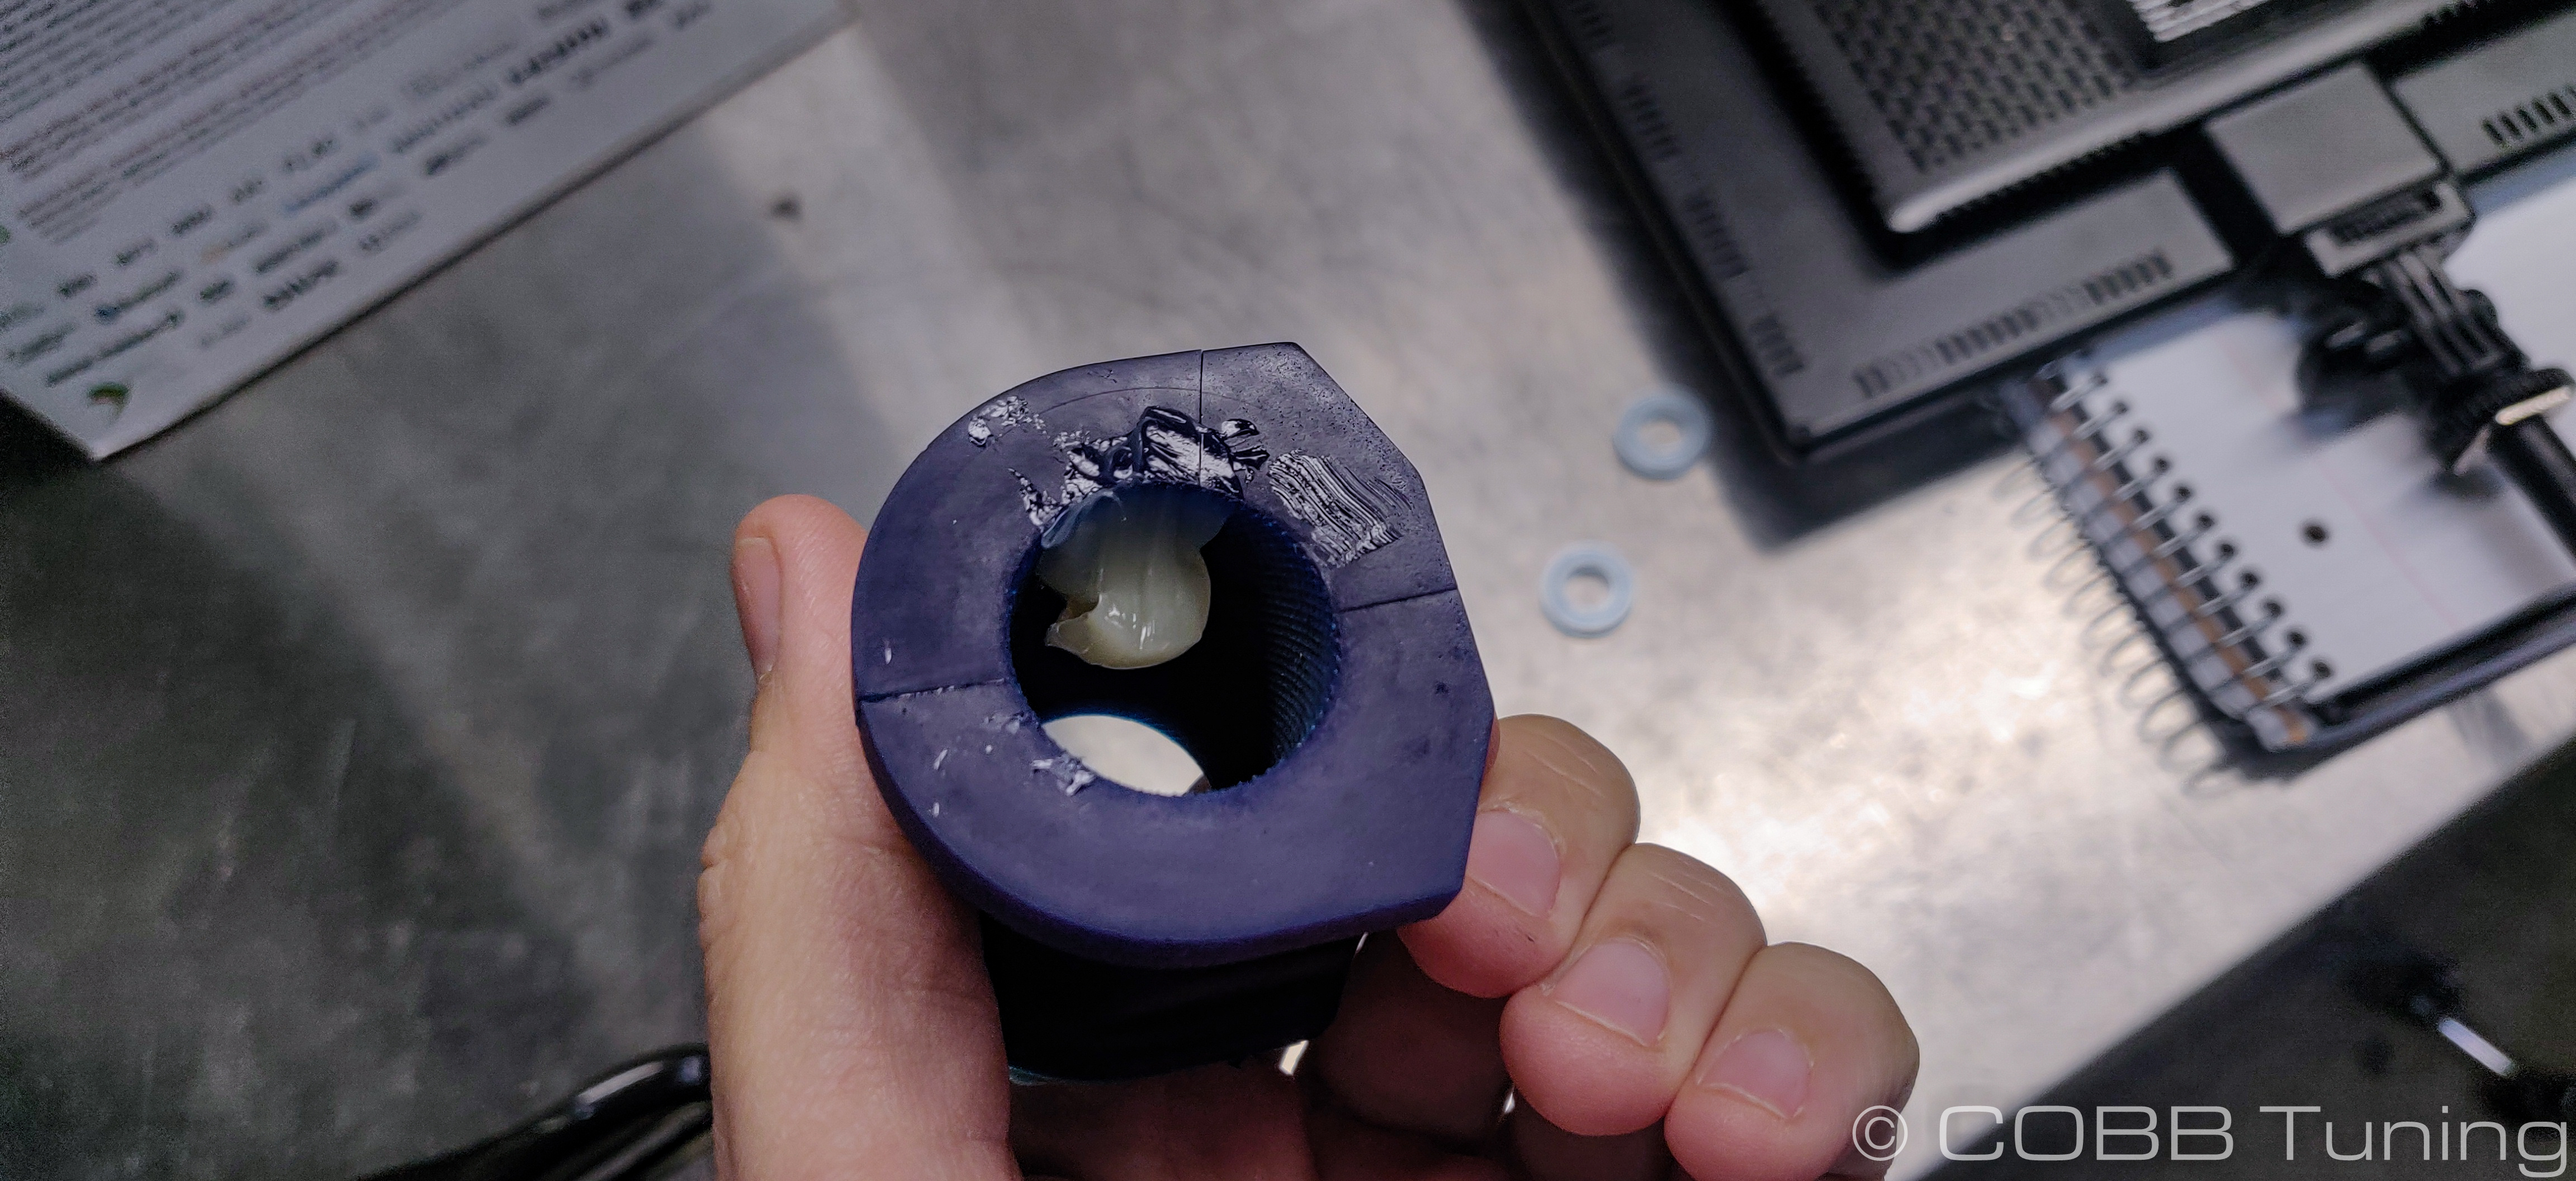
- Take a moment and apply some of the supplied silicone grease to the inside of the provided swaybar bushings.
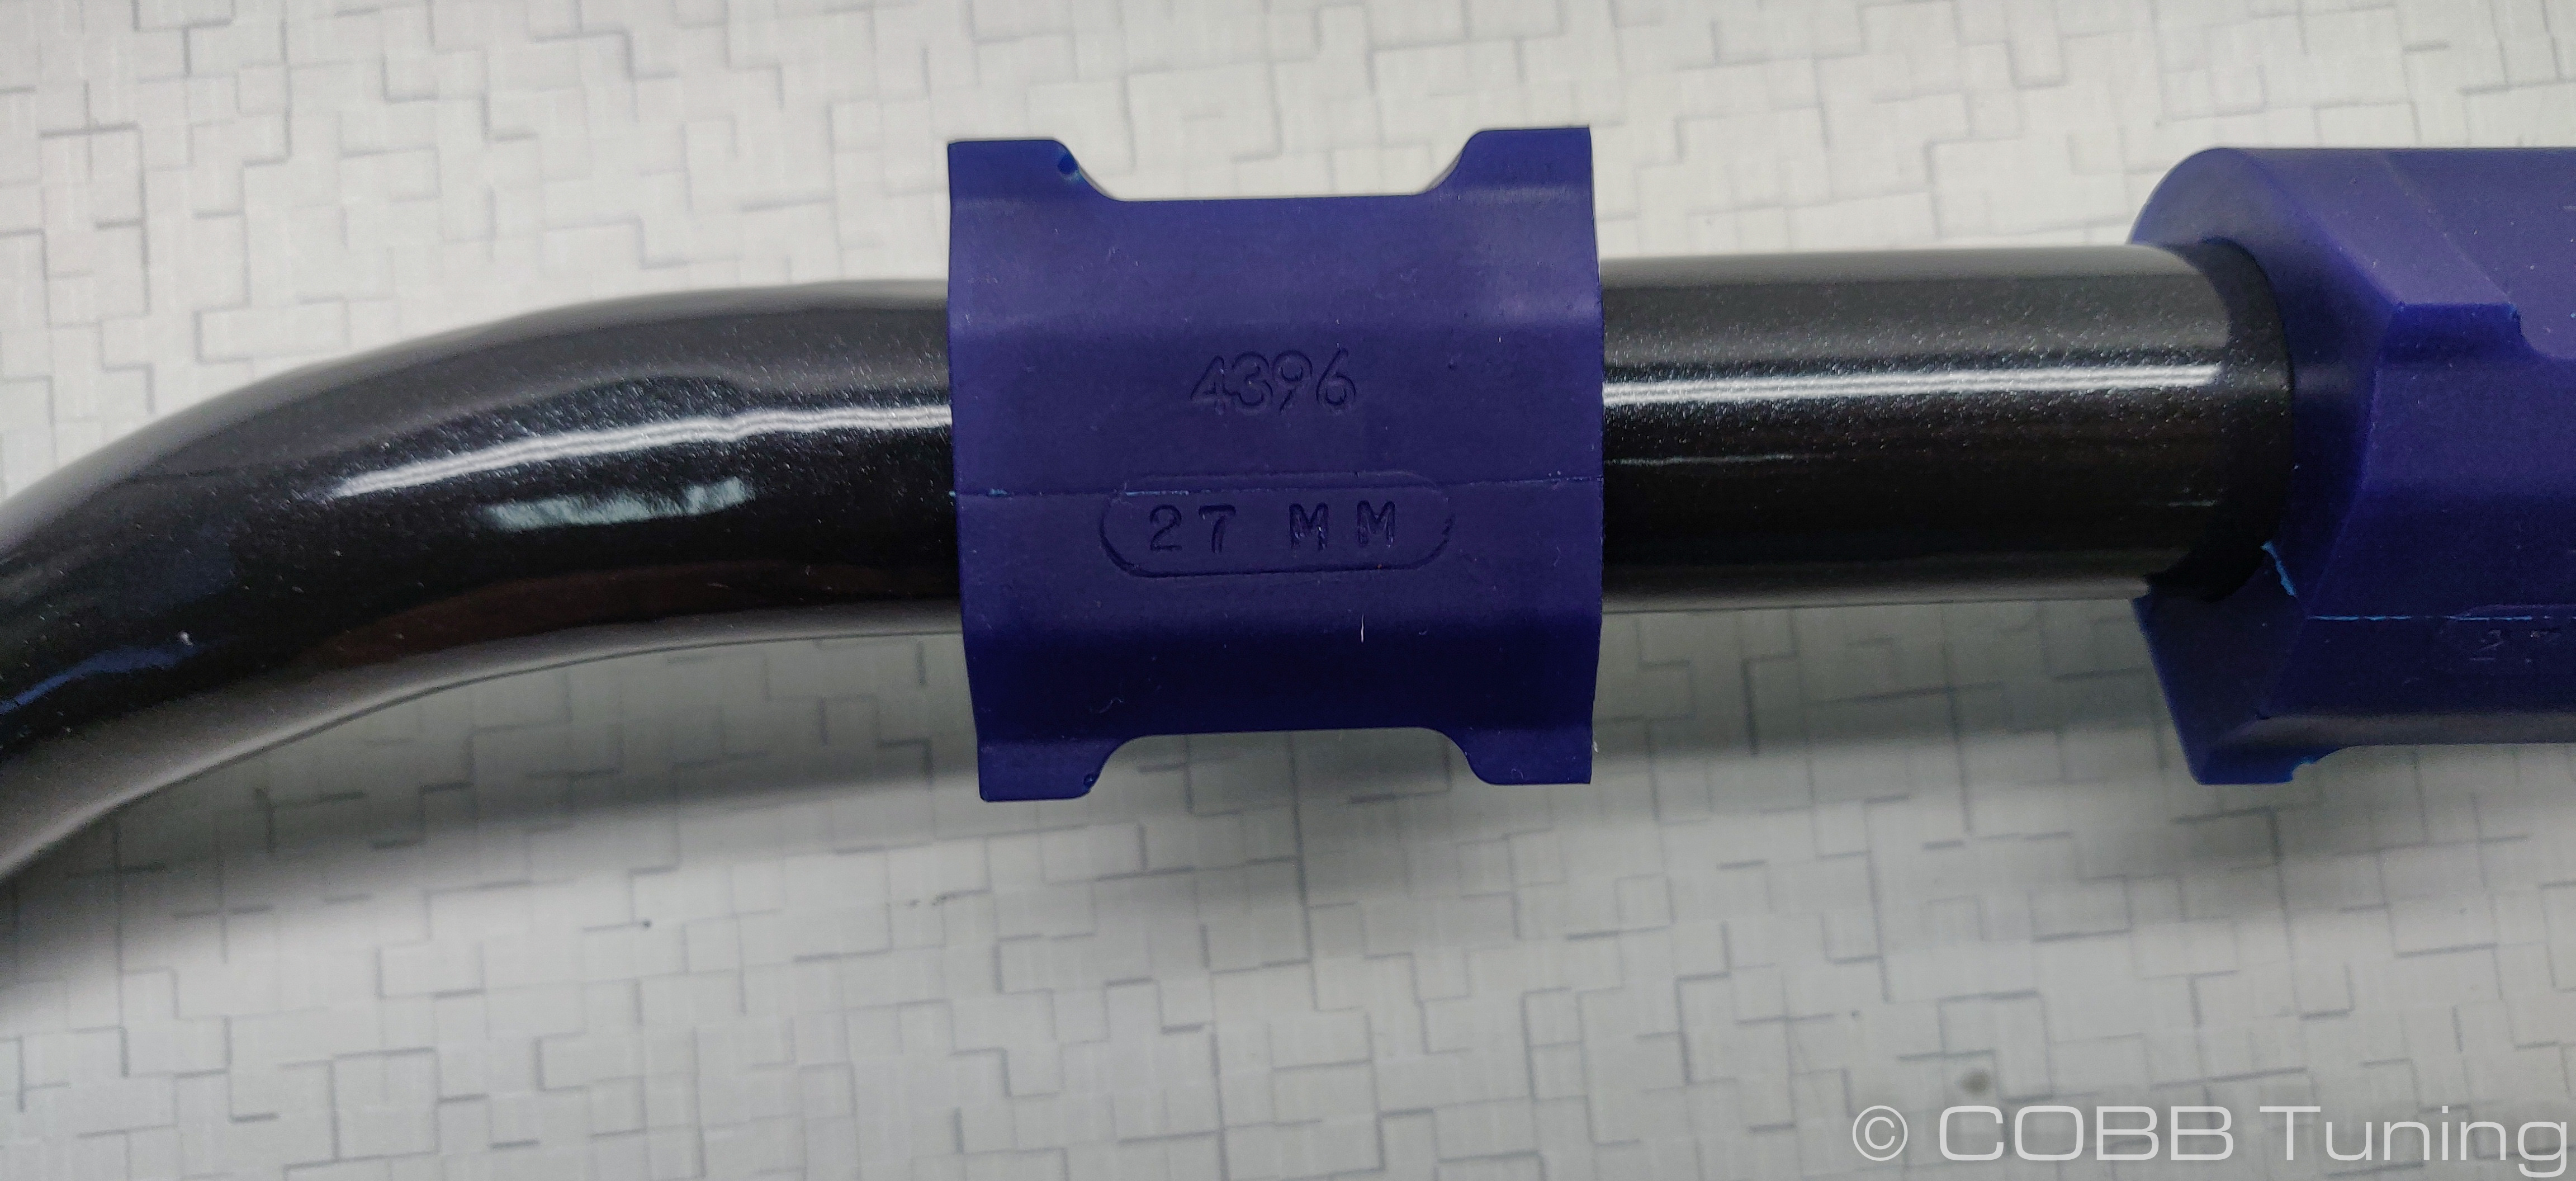
- Slip these bushings onto the swaybar in the general area the old ones were.
Installation
- Fish the rear swaybar around the exhaust. Install the swaybar bushing brackets loosely for now.
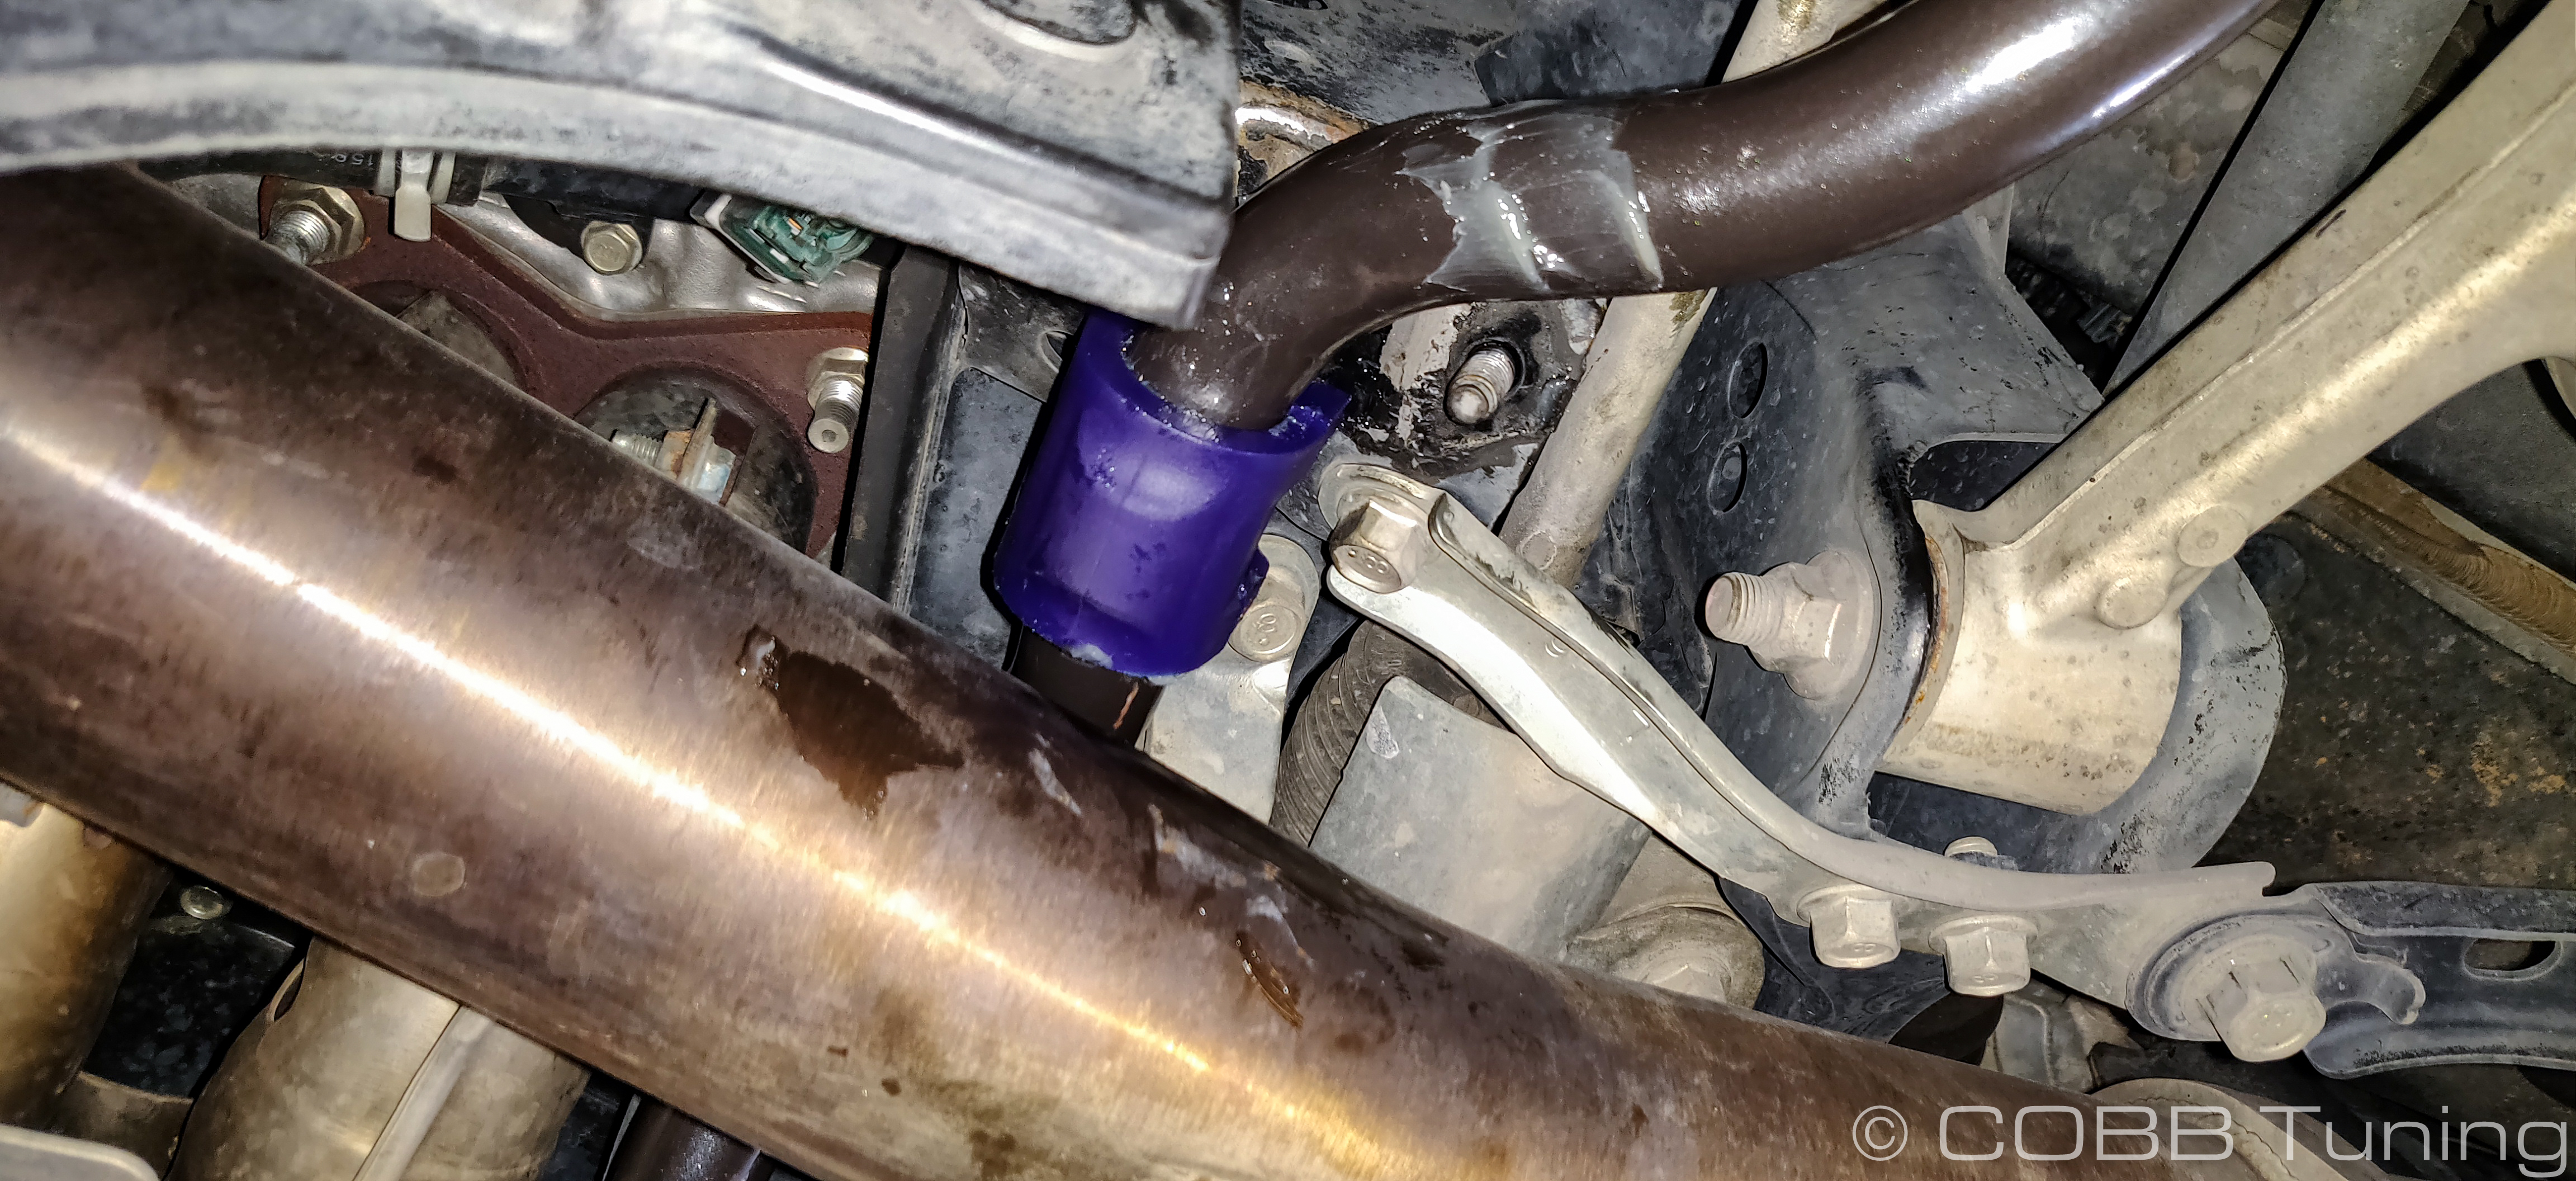
- Loosely slip your end links into the sway bar and control arms. You can go ahead and tighten up all of the sway bar bolts.
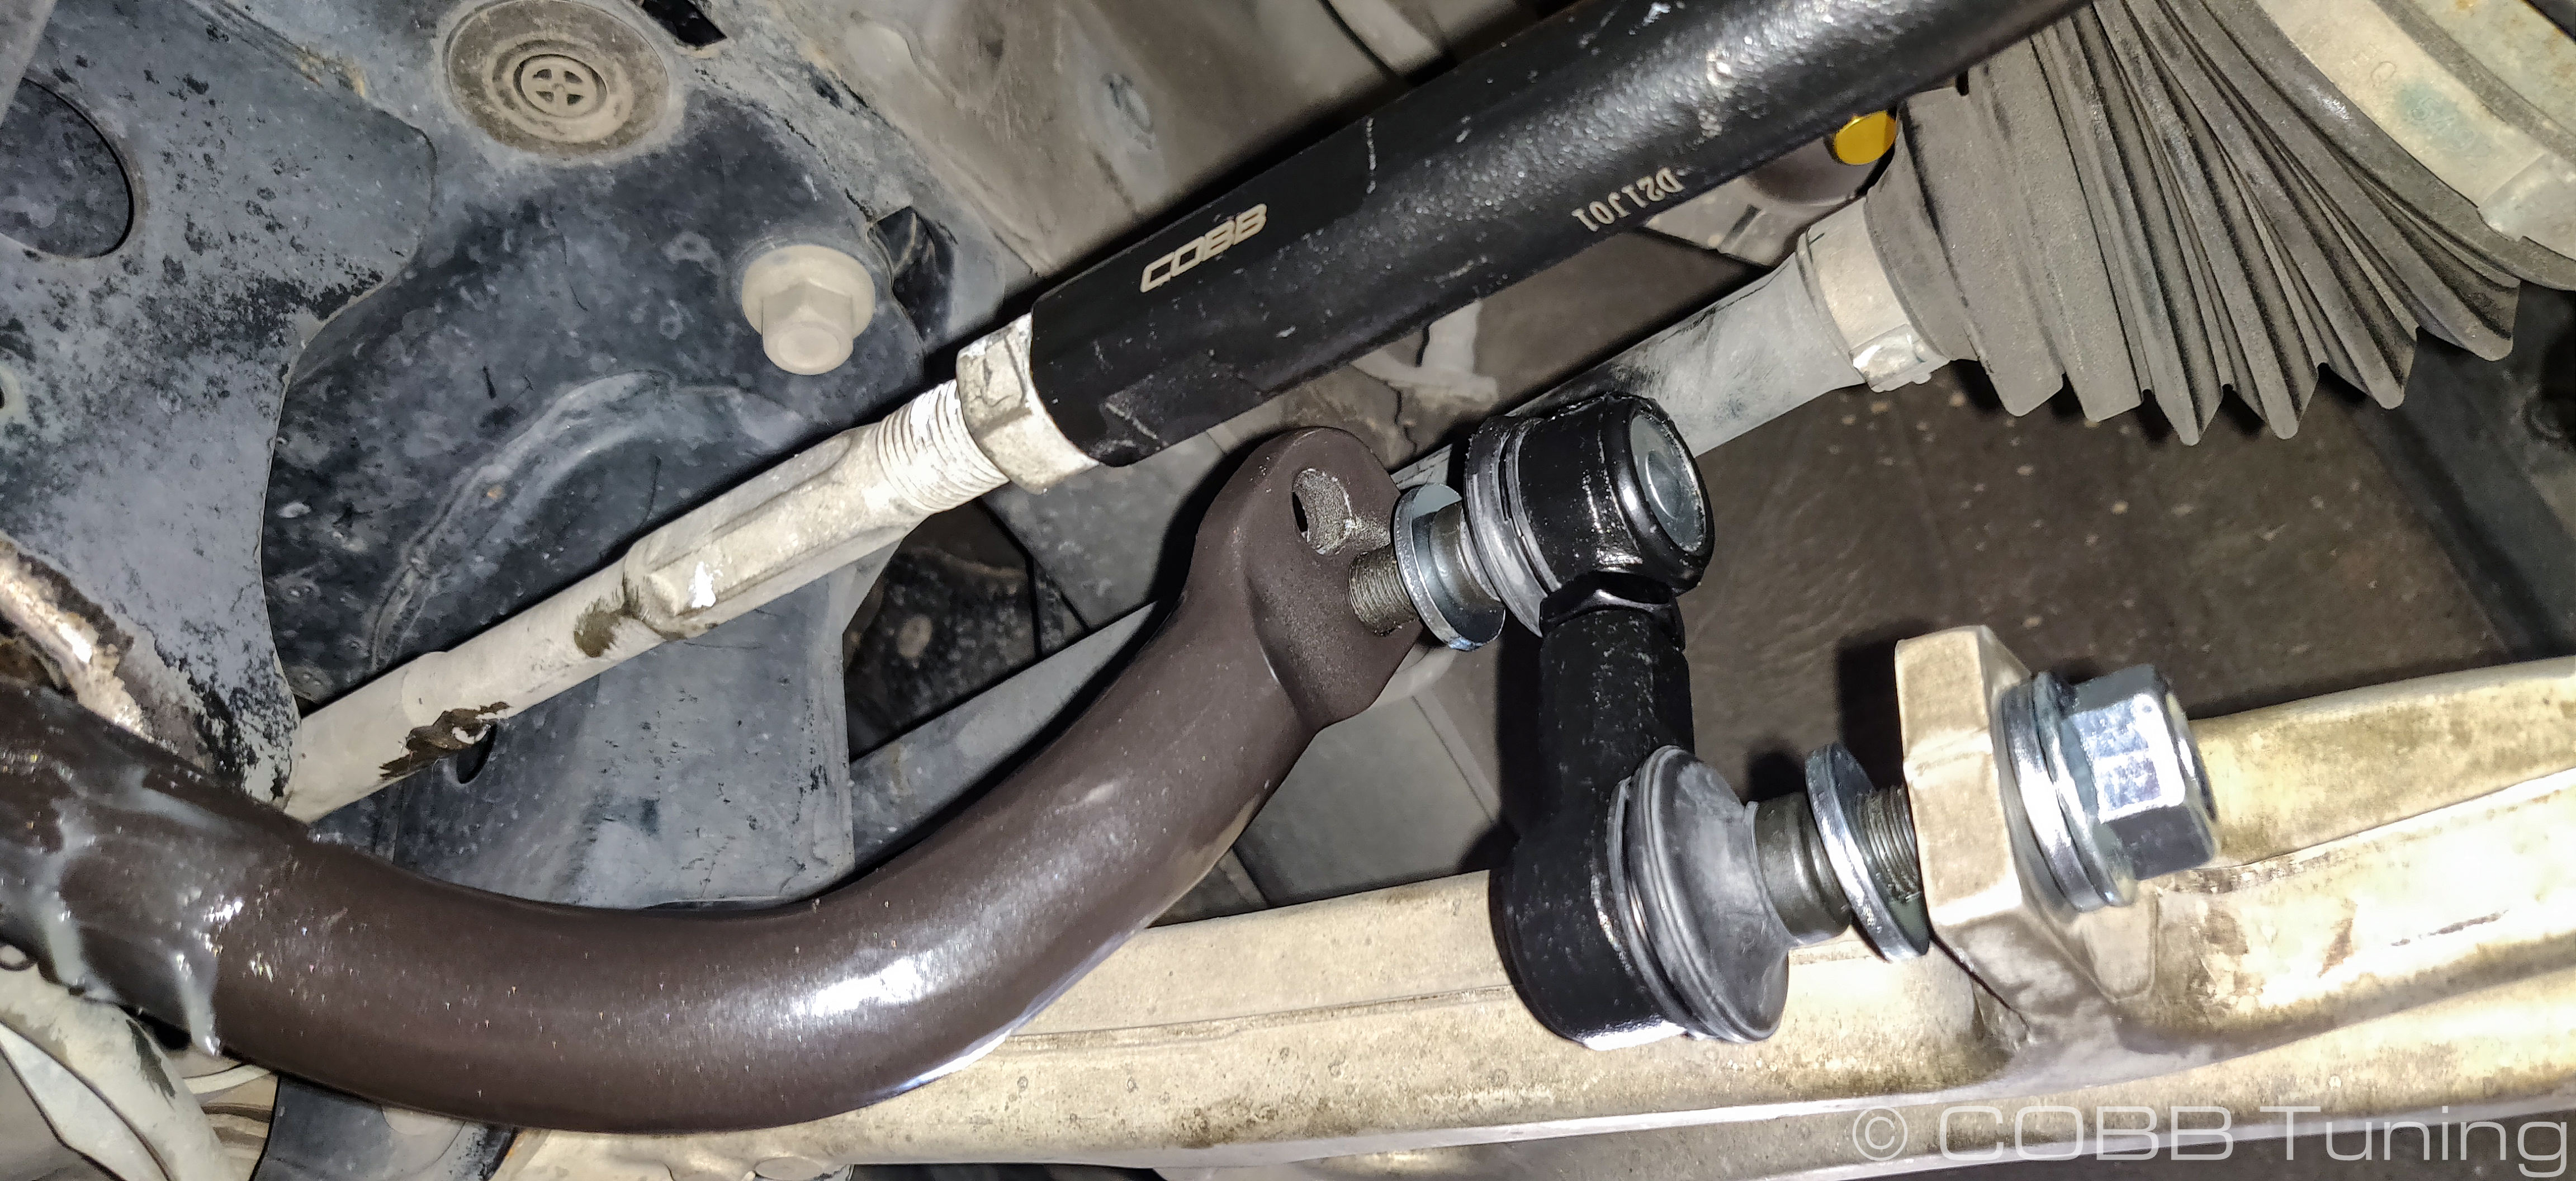
- Now you can go ahead and reinstall the covers/braces and drop the car back down on it's wheels.
- Go out and Enjoy!
Links
Contact Us:
COBB Customer Support
Web Support and Tech Articles: COBB Tuning Customer Support Center
Email: support@cobbtuning.com
Phone support available 9am to 6pm Monday-Thursday. 9am to 4pm Friday (CST)
866.922.3059
return to www.cobbtuning.com
Related content
Copyright 2025 © COBB Tuning Products LLC. All Rights Reserved. | www.cobbtuning.com