GR TI Hatchback Catback
- Brandyn Mowat

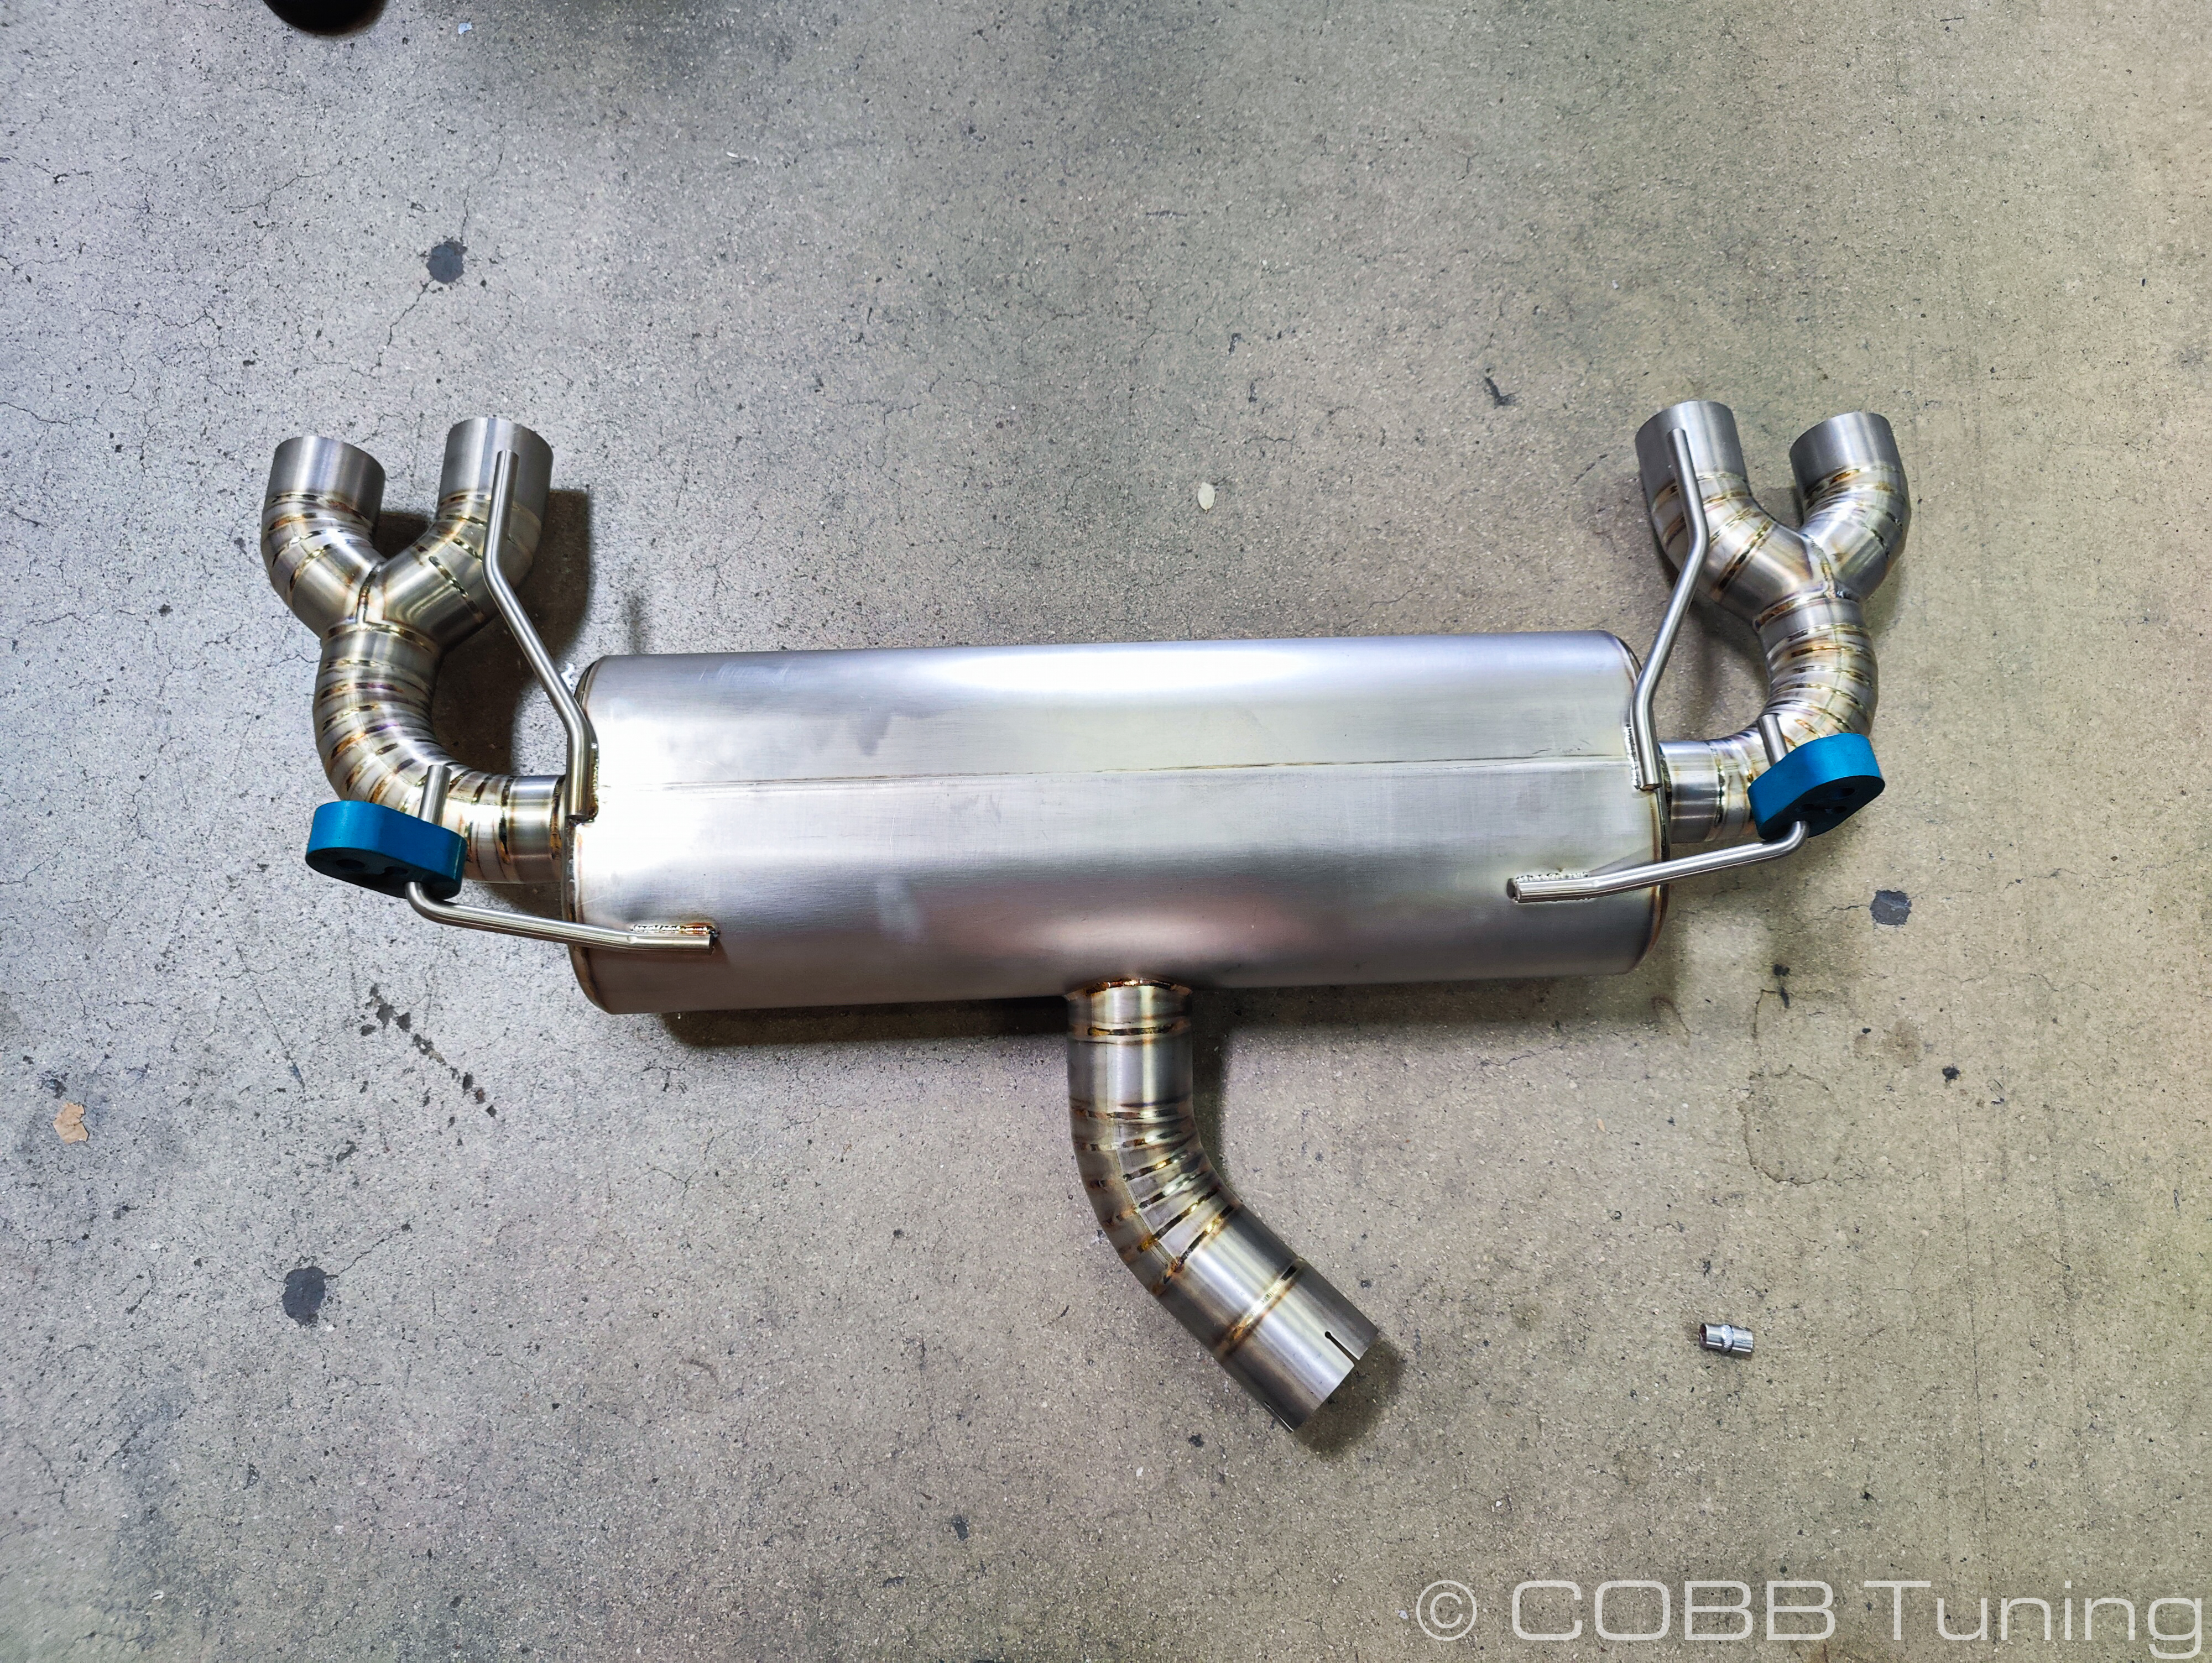
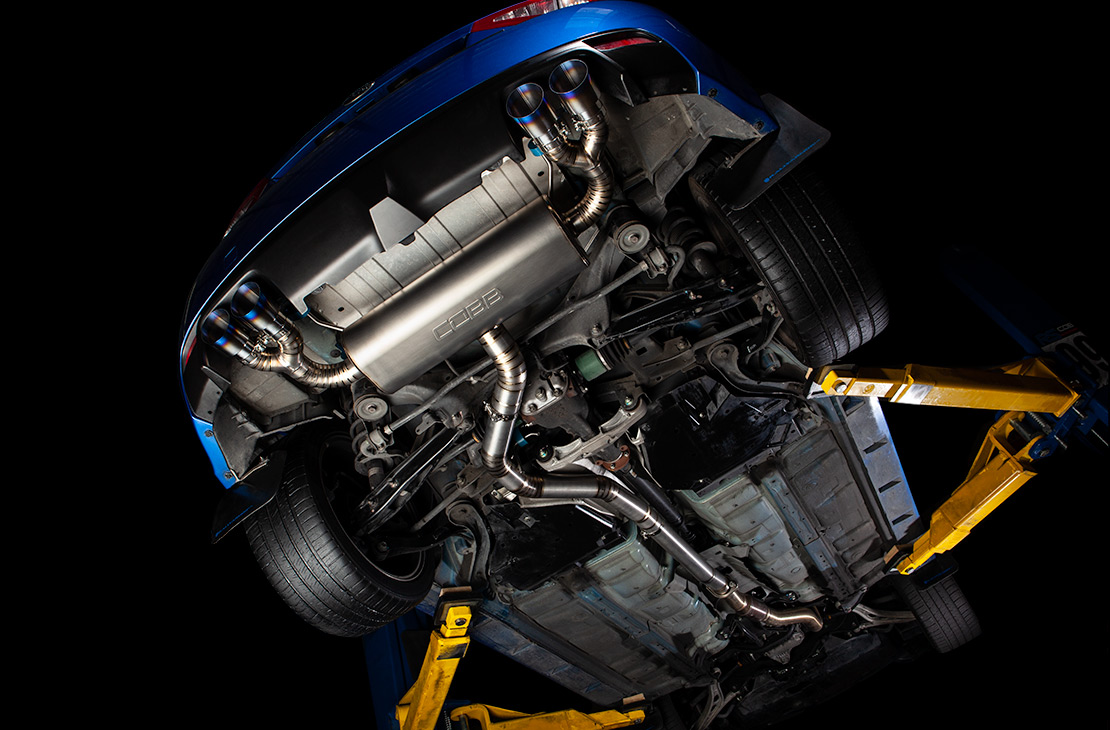
515150 - GR Hatchback Catback
WRX Hatchback 2011 - 2014
WRX STi Hatchback 2008 - 2014
Congratulations on your purchase of the COBB Tuning Subaru STI Catback. The following instructions will assist you through your installation process. Please read them first BEFORE beginning the install and familiarize yourself with the steps and tools needed. If you feel that you cannot properly perform this installation, we HIGHLY recommend you take the vehicle to a qualified and experienced automotive technician.
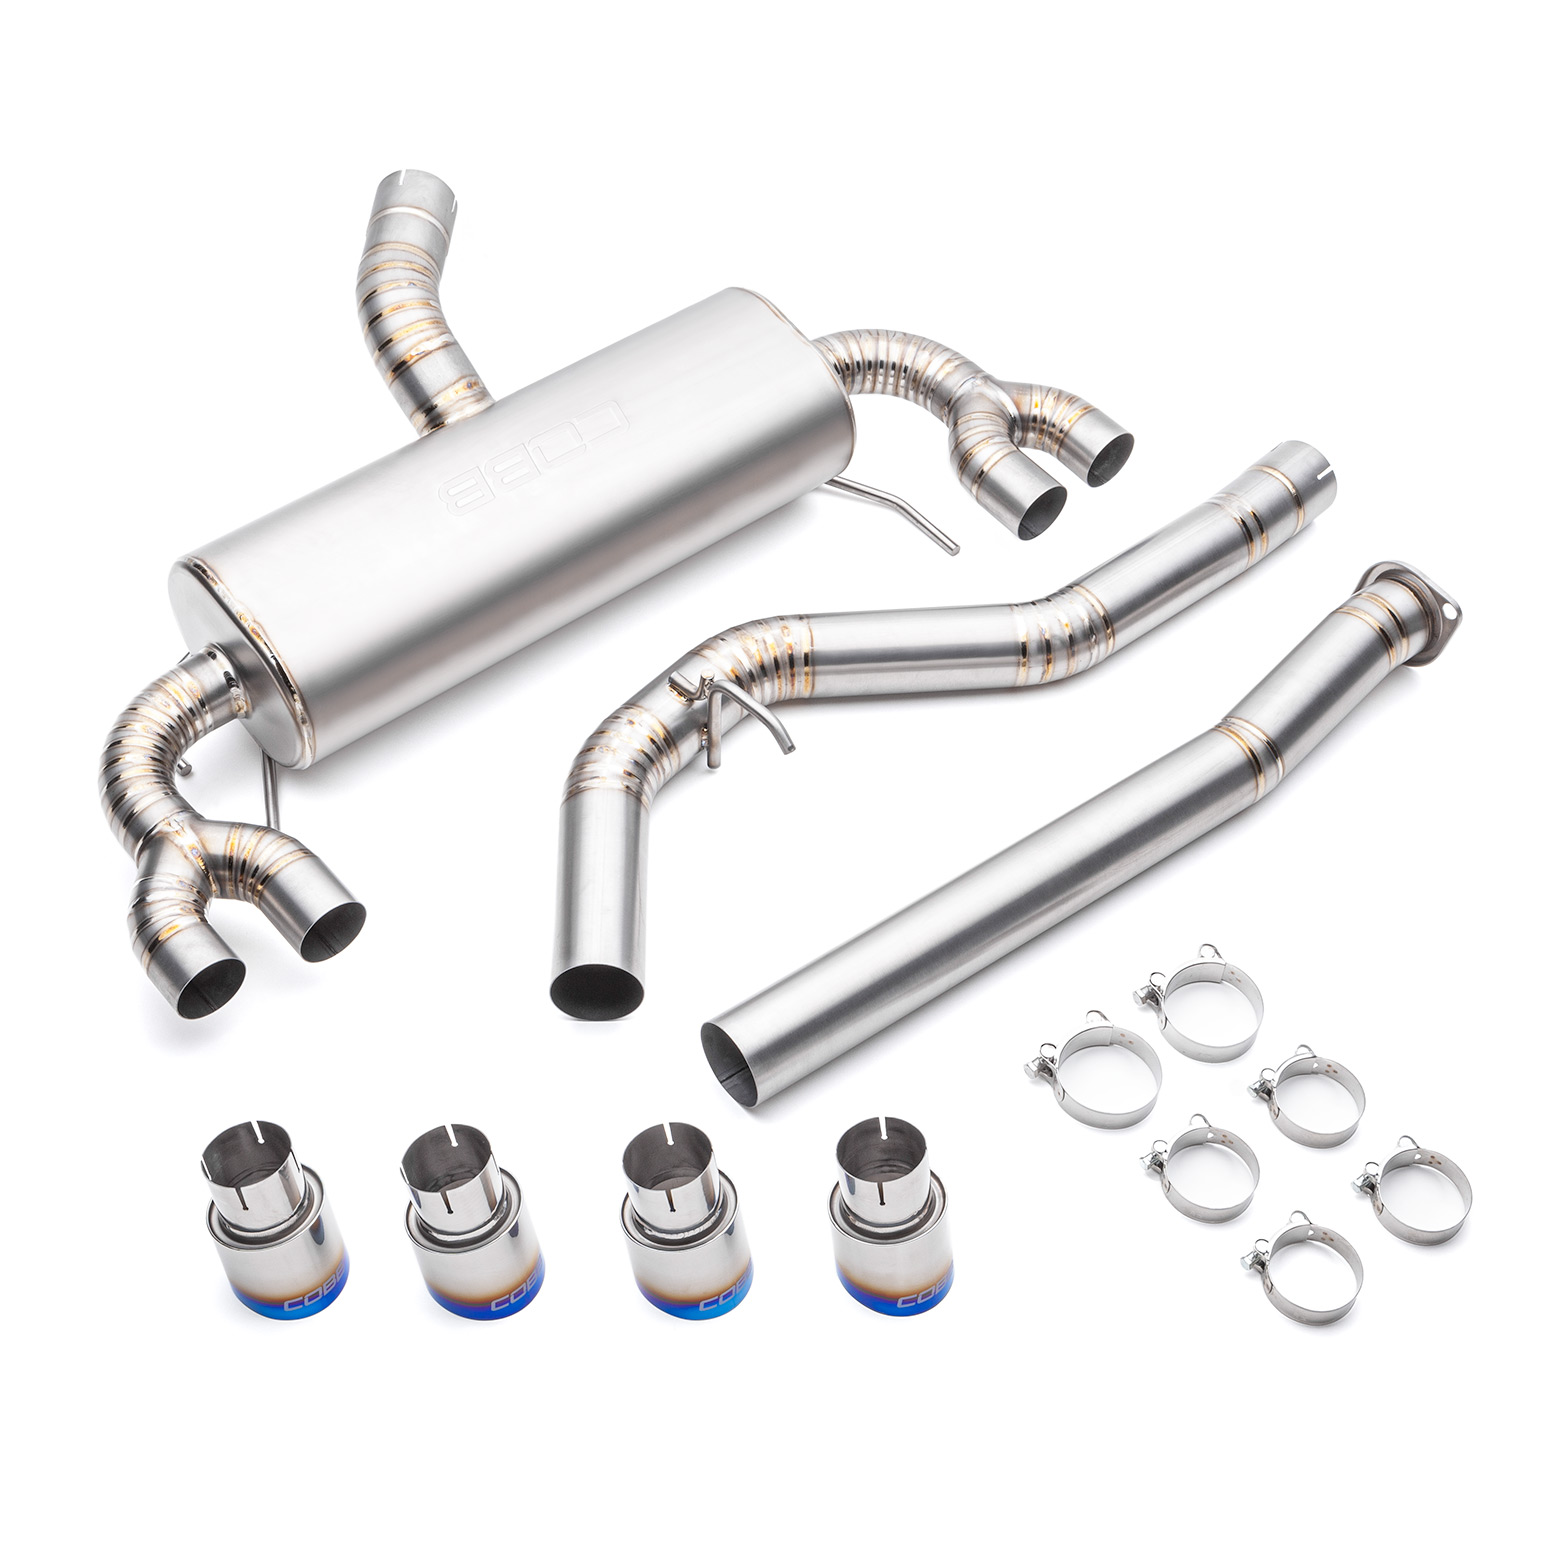
Part List
Tools Needed
Sockets
3/8"
3/8" ratchet
3/8" 6" extension
3/8" Socket Swivel
3/8" 12mm socket
3/8" 13mm socket
3/8" 14mm socket
Wrenches
- 12mm combination wrench
- 14mm combination wrench
Optional
- Exhaust Pliers
- Silicone Lubricant Spray
Removal of Stock Catback
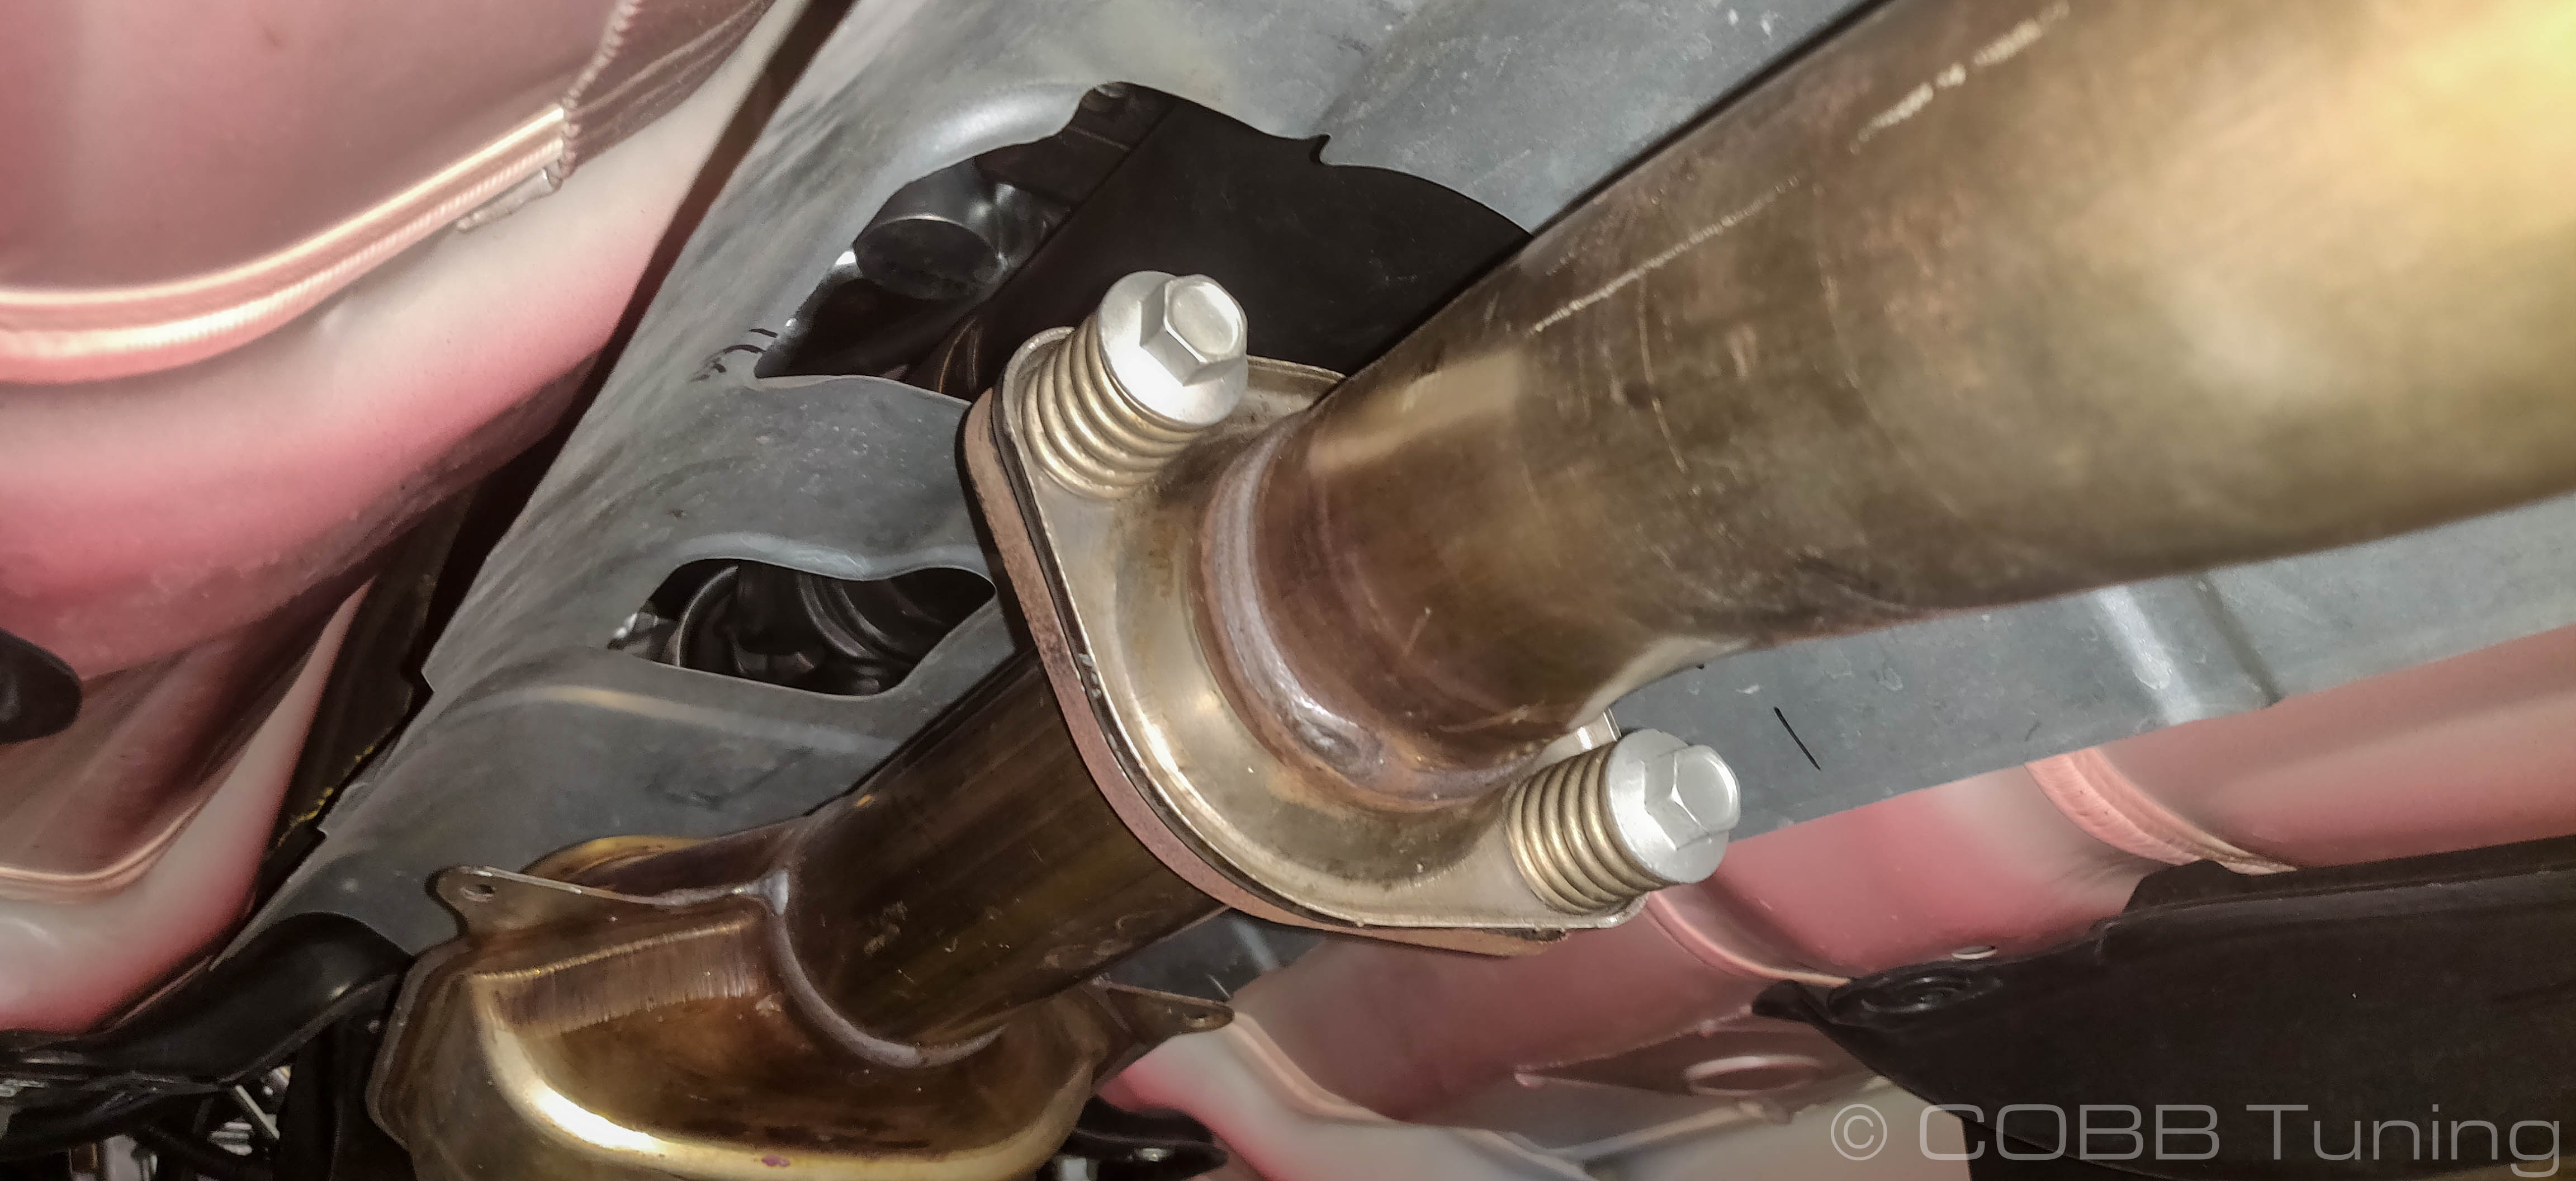
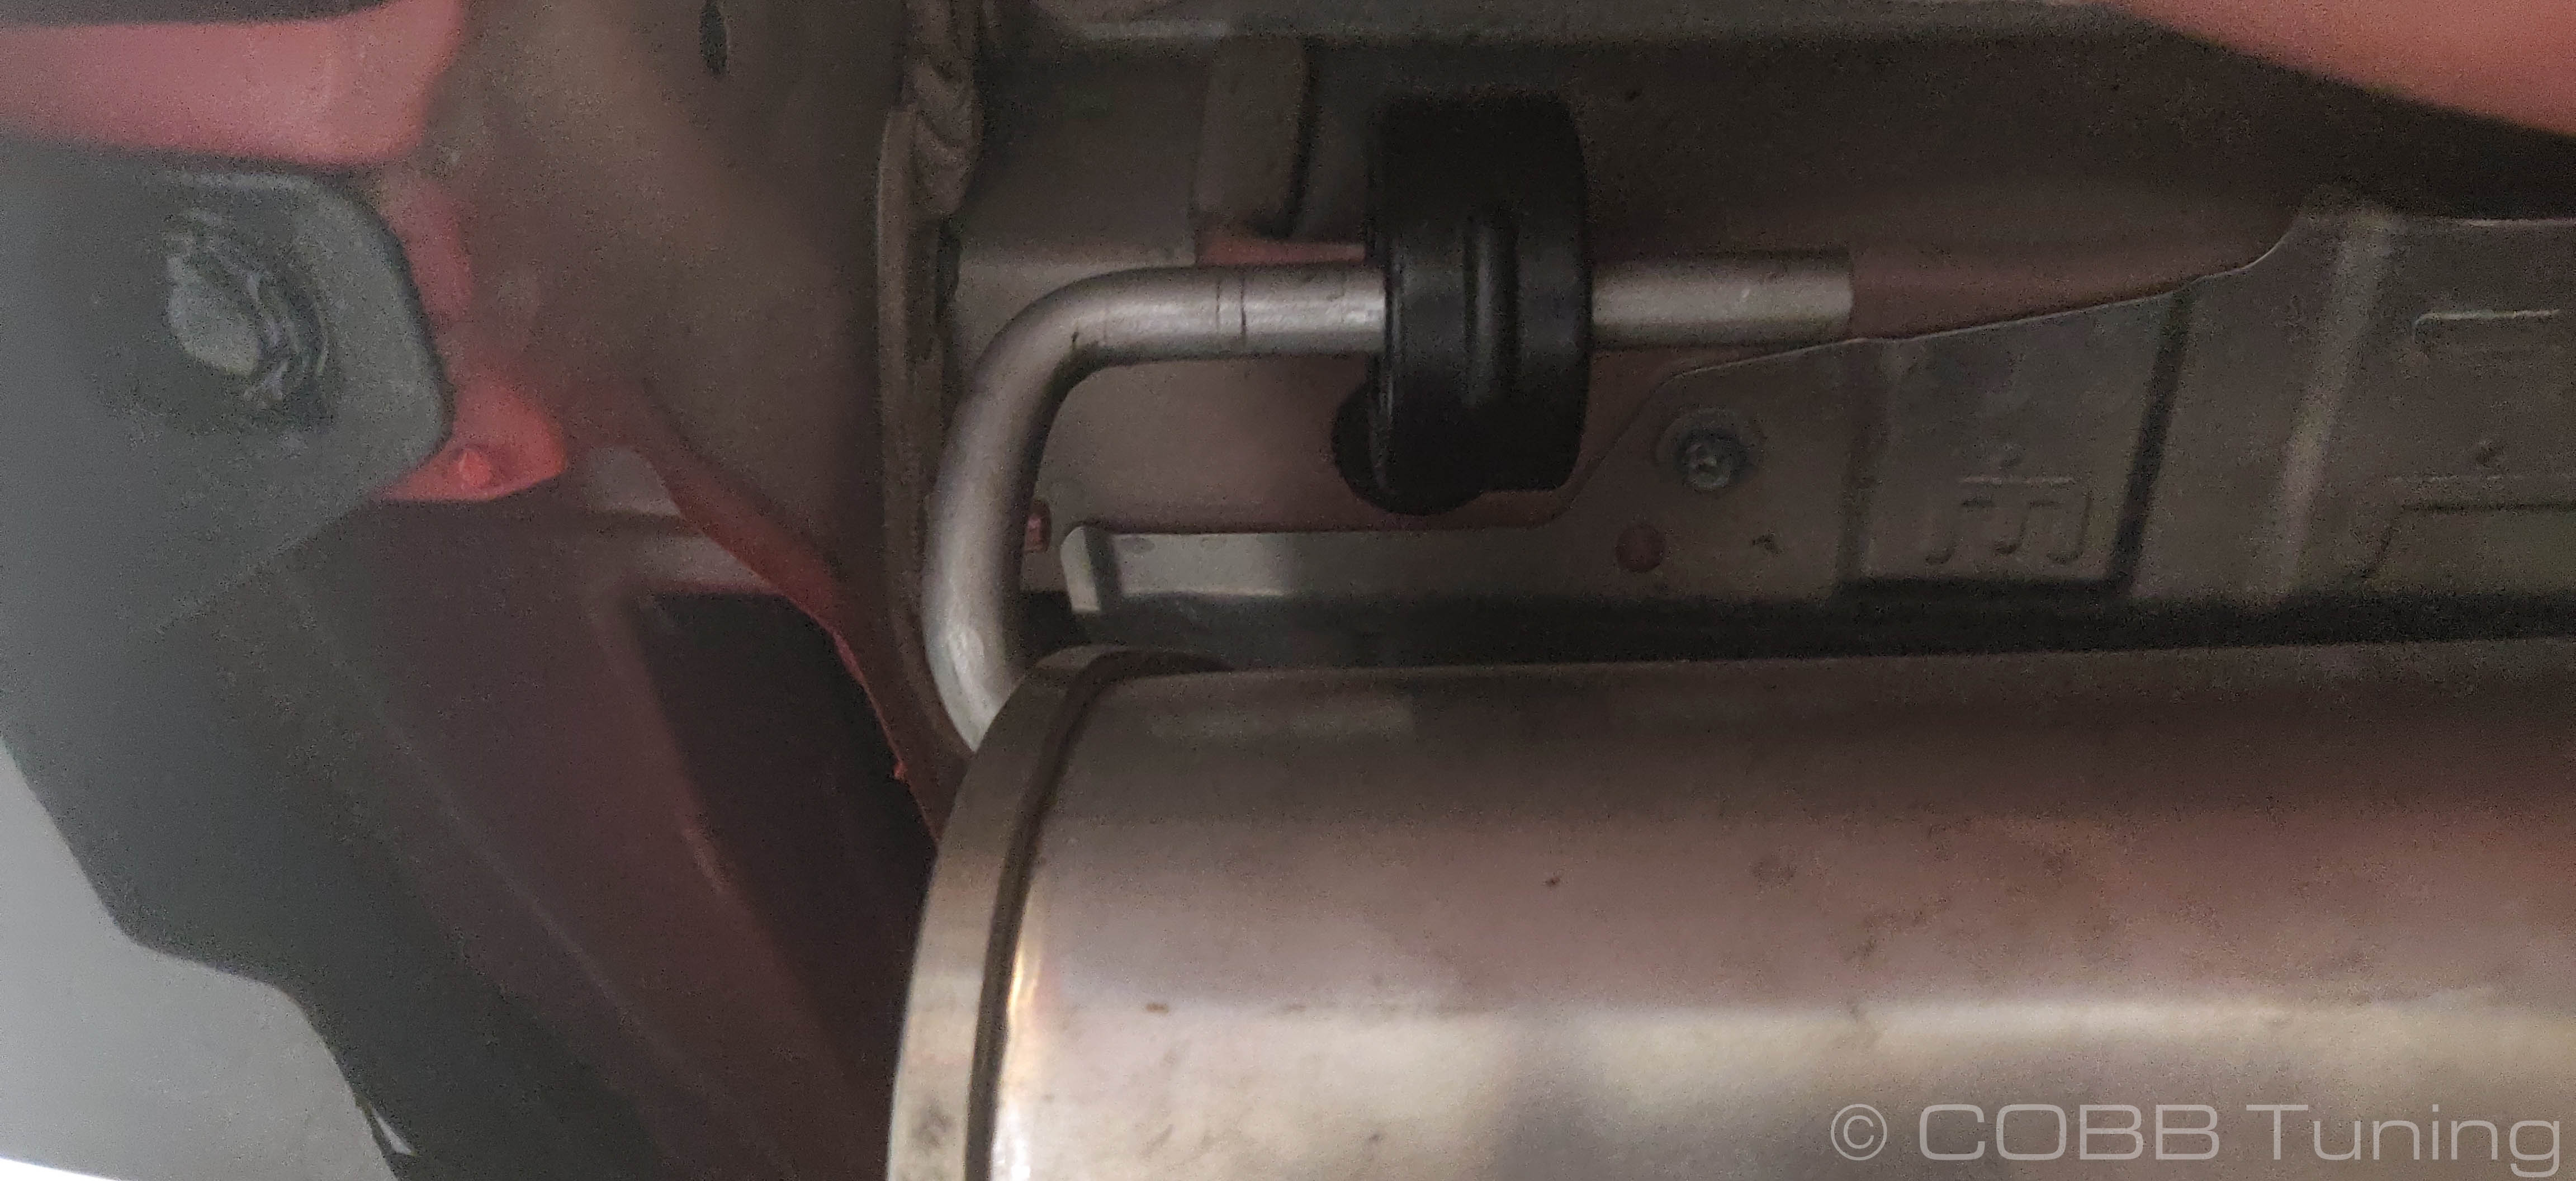
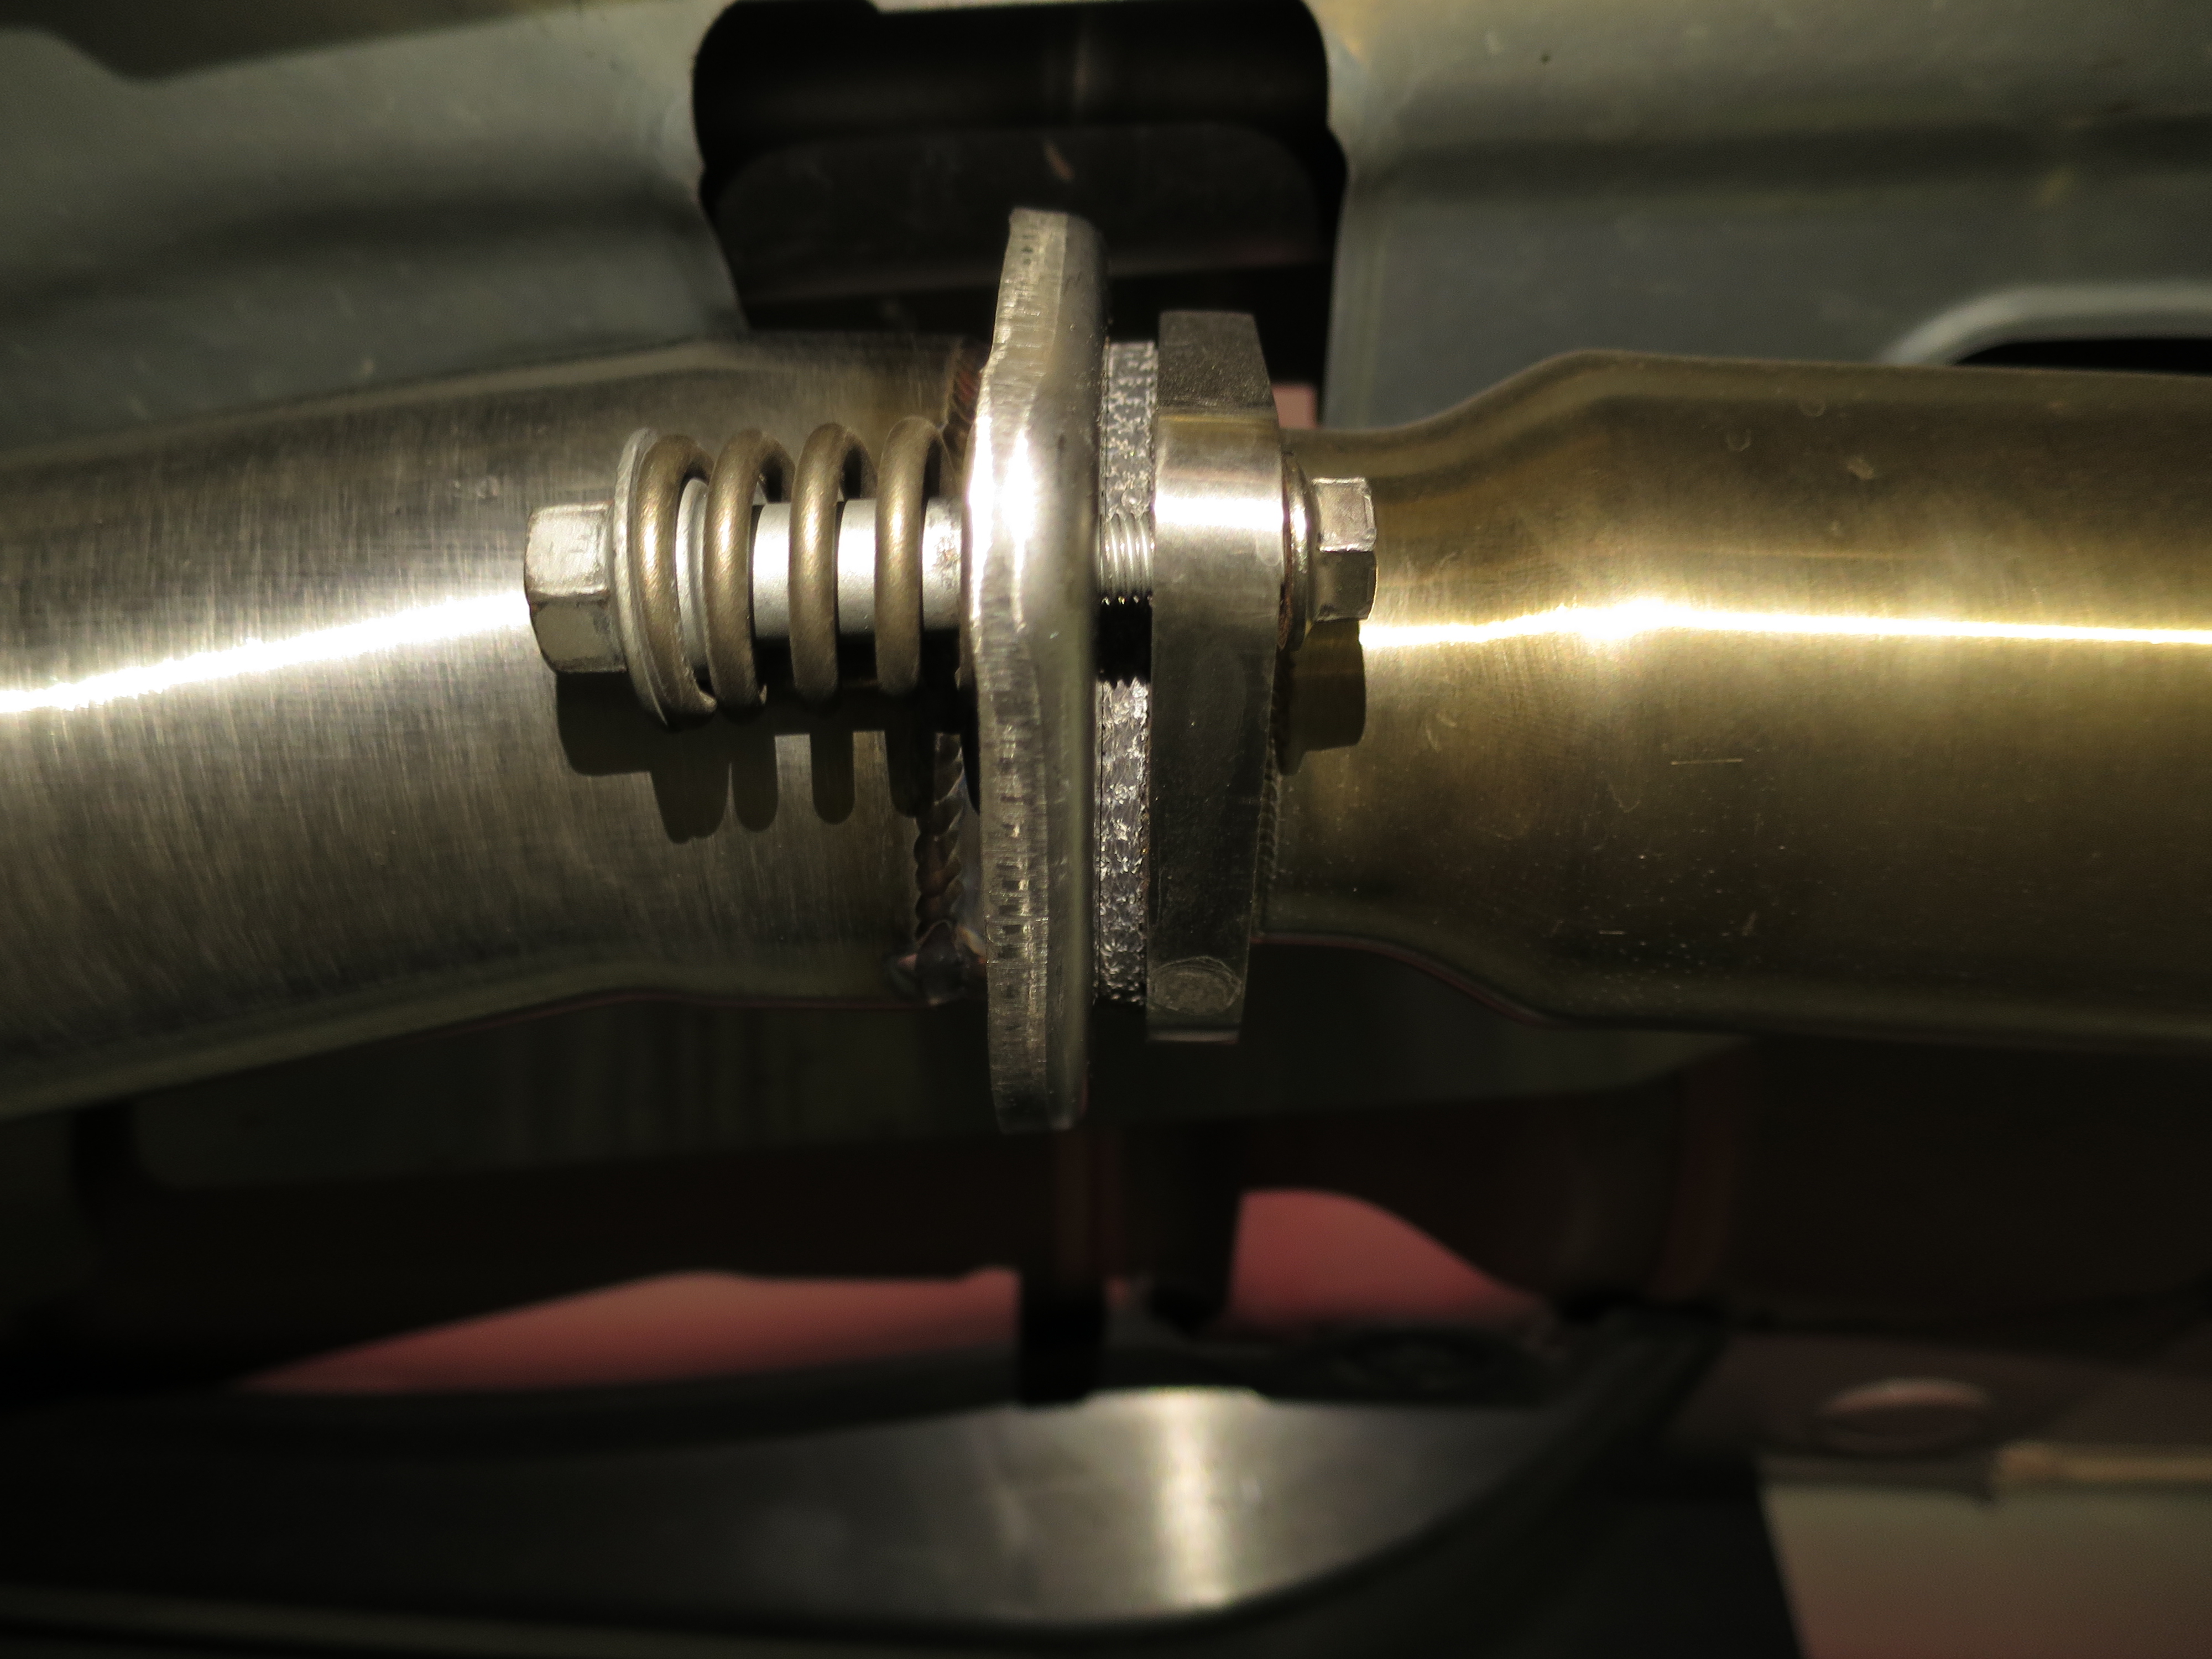
- Begin the removal process by loosening and removing the spring bolts holding the stock catback to the downpipe. Use a 14mm and 12mm to do so. NOTE: Keep this hardware, it will be used during the installation of the COBB Catback.
- Go ahead and take the donut gasket off of the end of the downpipe so that it is not damaged by potentially falling to the ground.
- There are 5 exhaust mounts that need to be removed from the hangers so that the stock catback can be uninstalled. Remove the 4 hangers in the back that support the muffler first and then remove the hanger that is supporting the center of the catback. It is recommended that two people are used for this job!
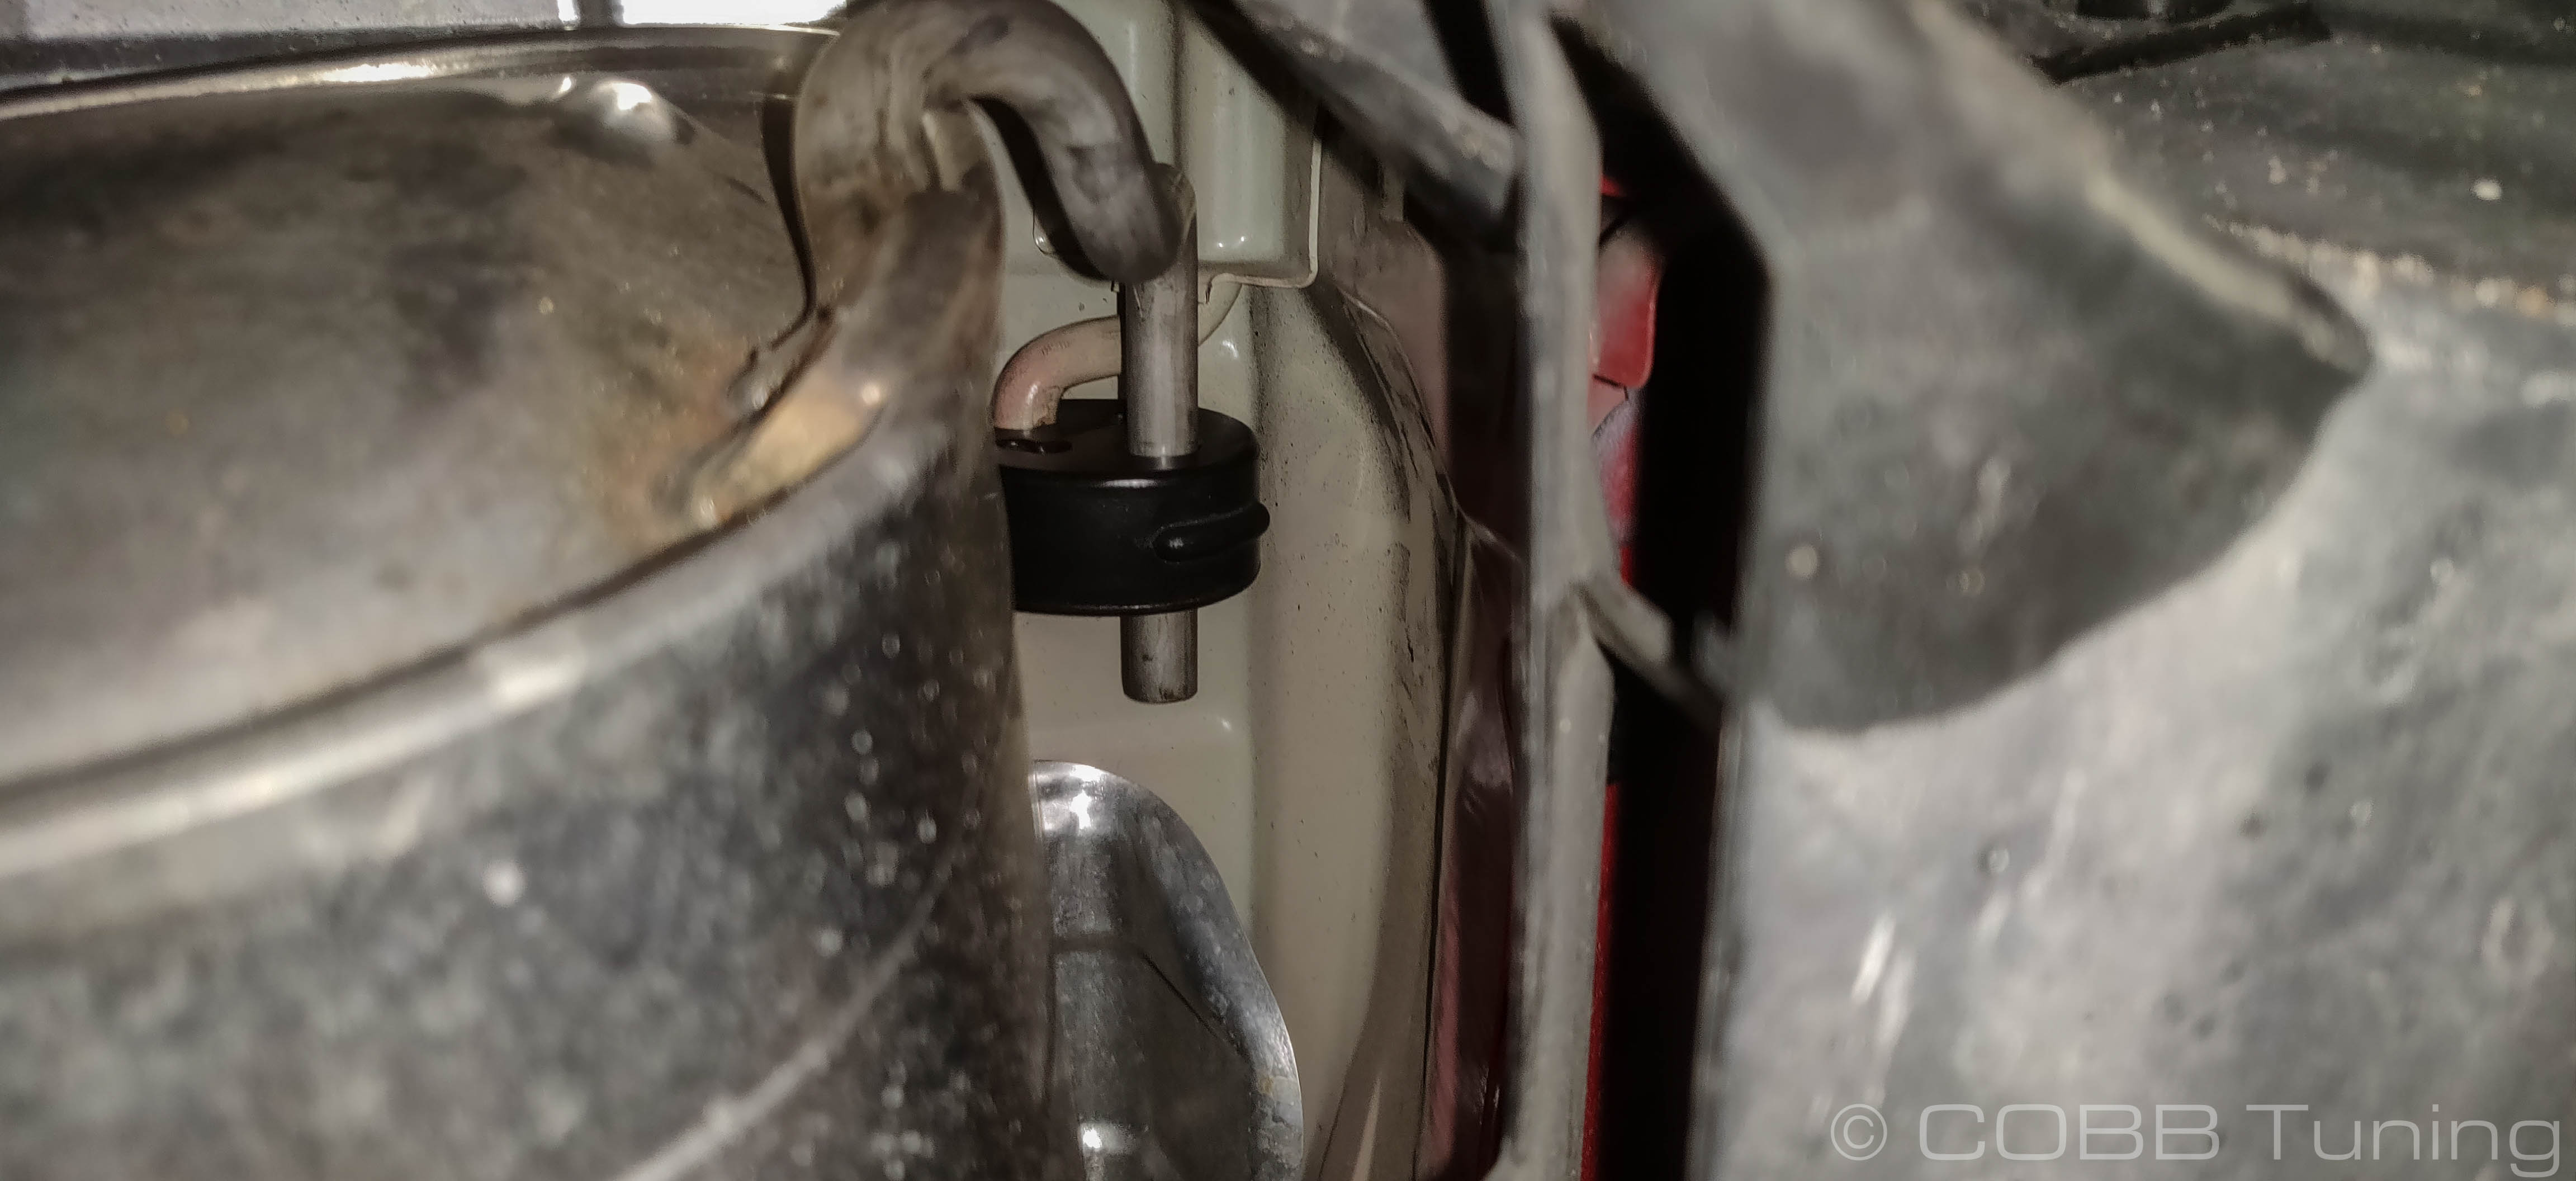
- Once the exhaust is removed from the hangers, the catback should fall out of place.
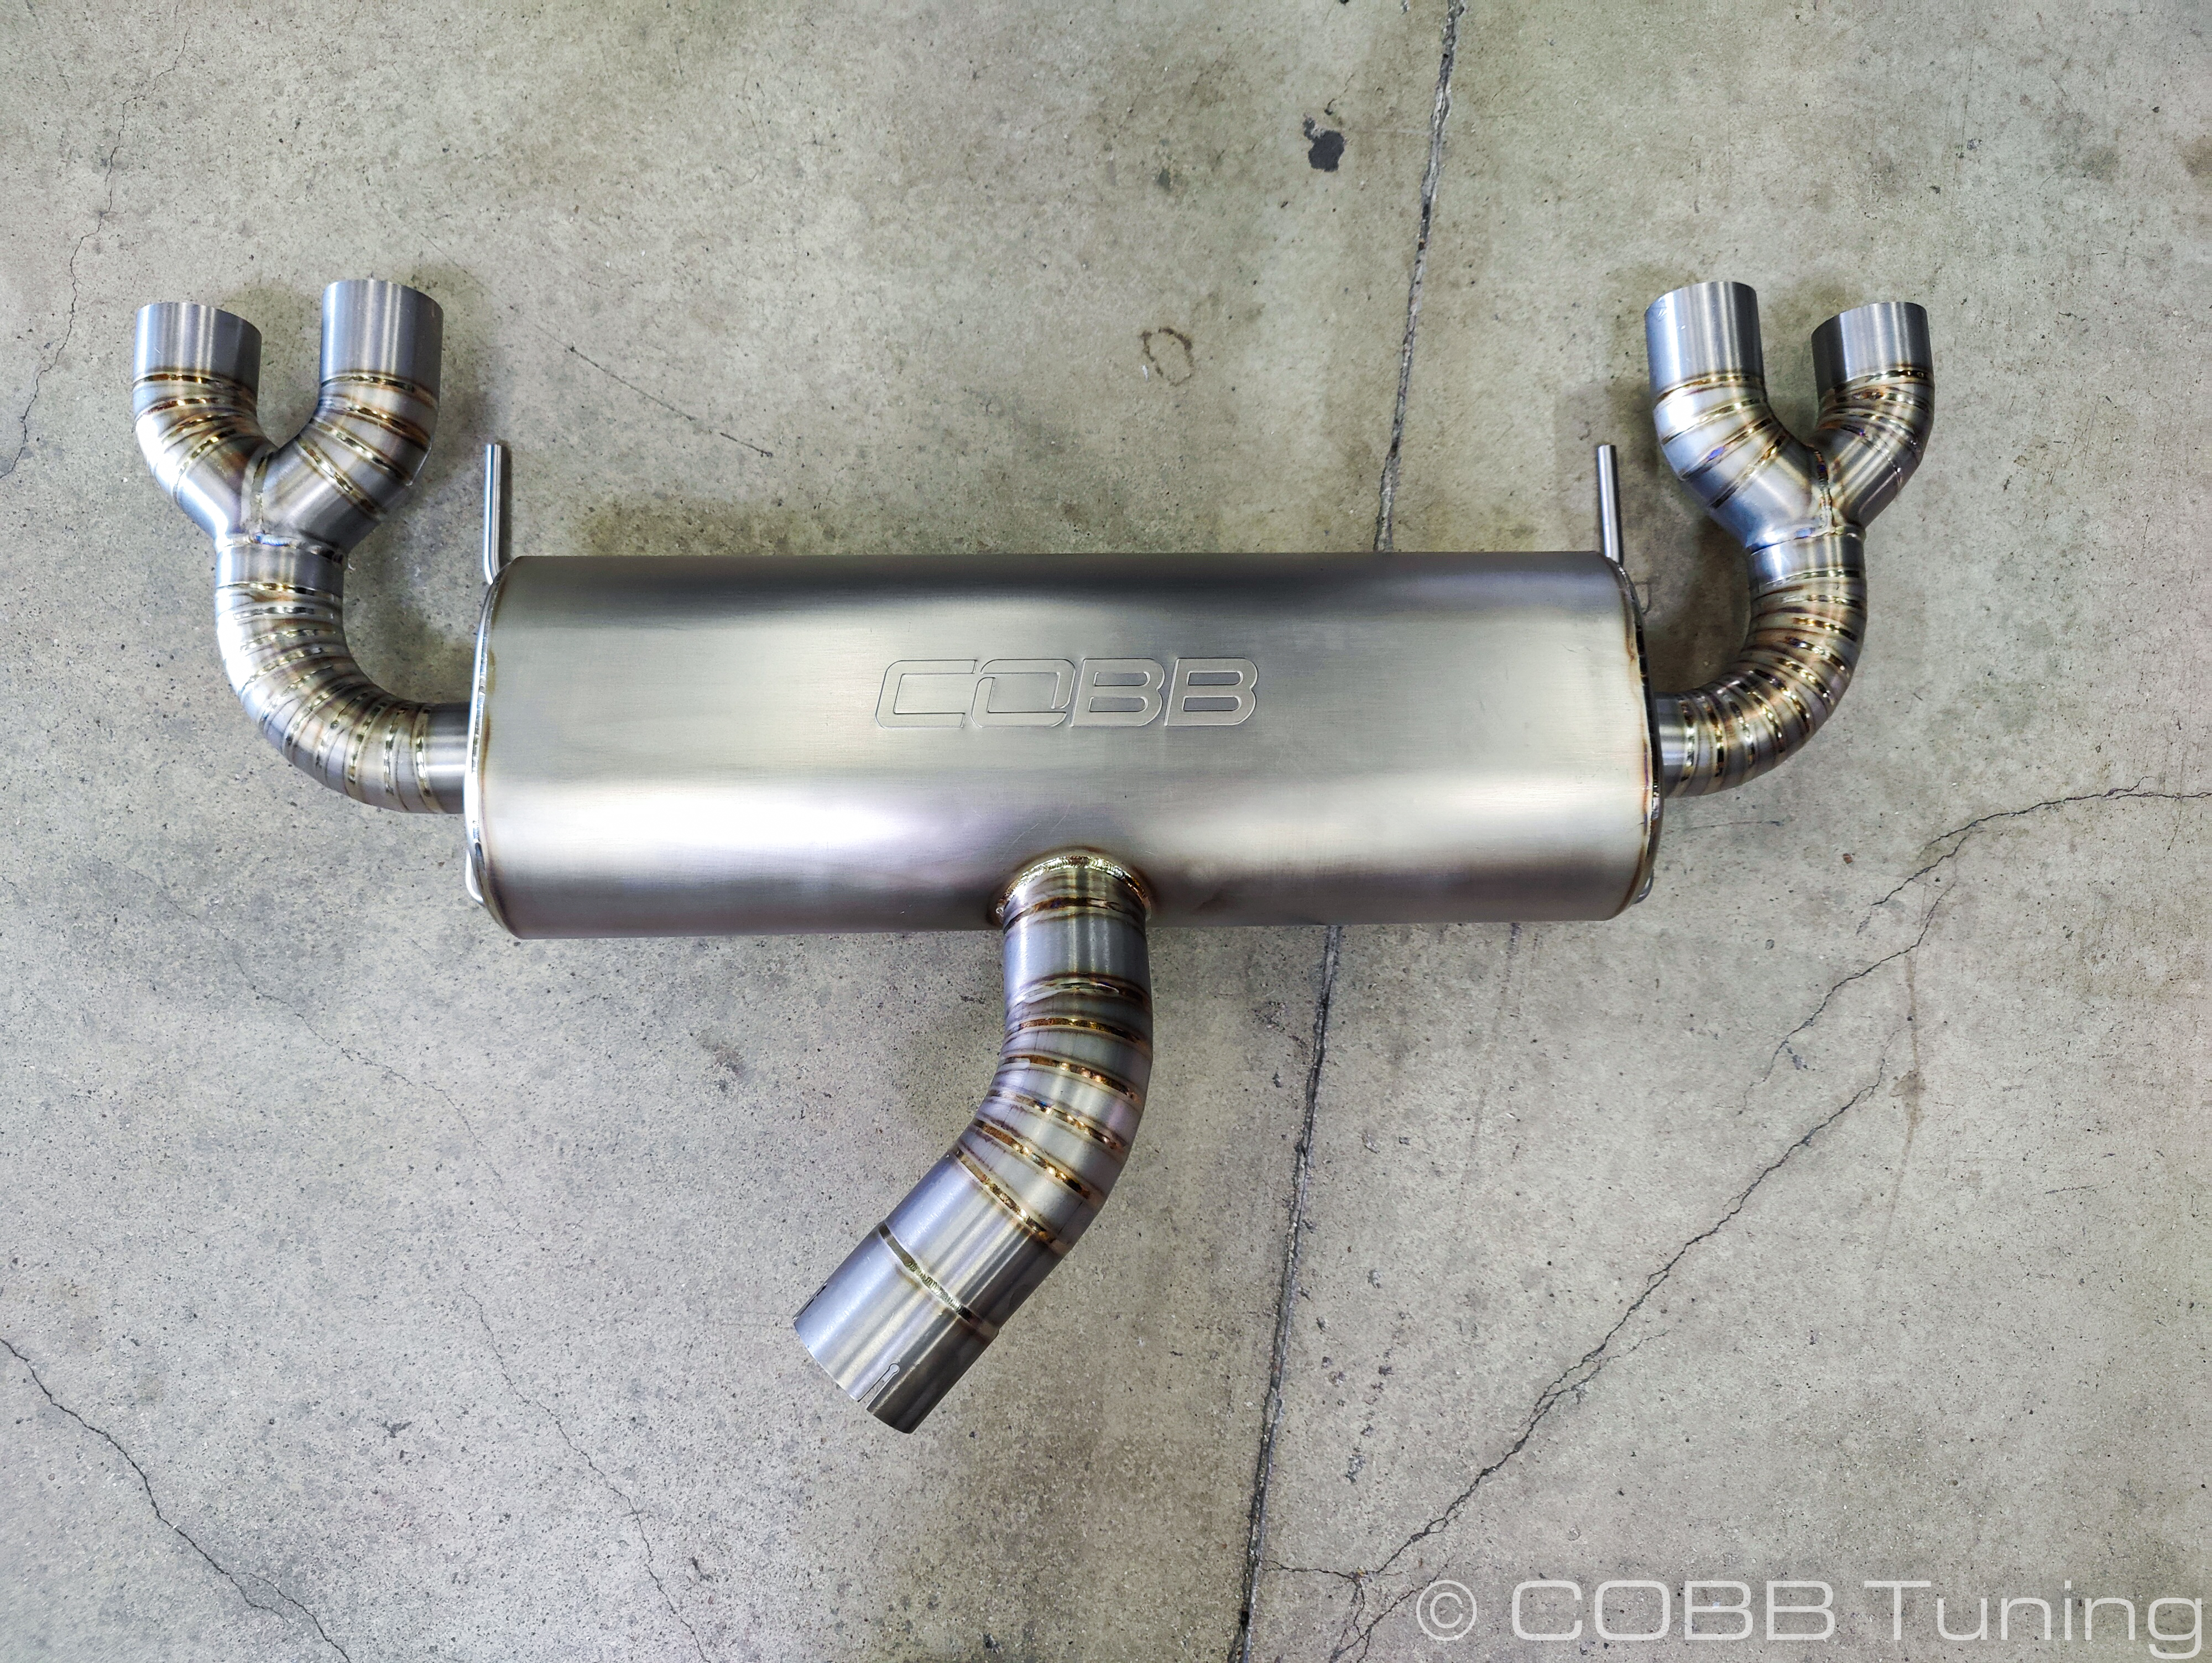
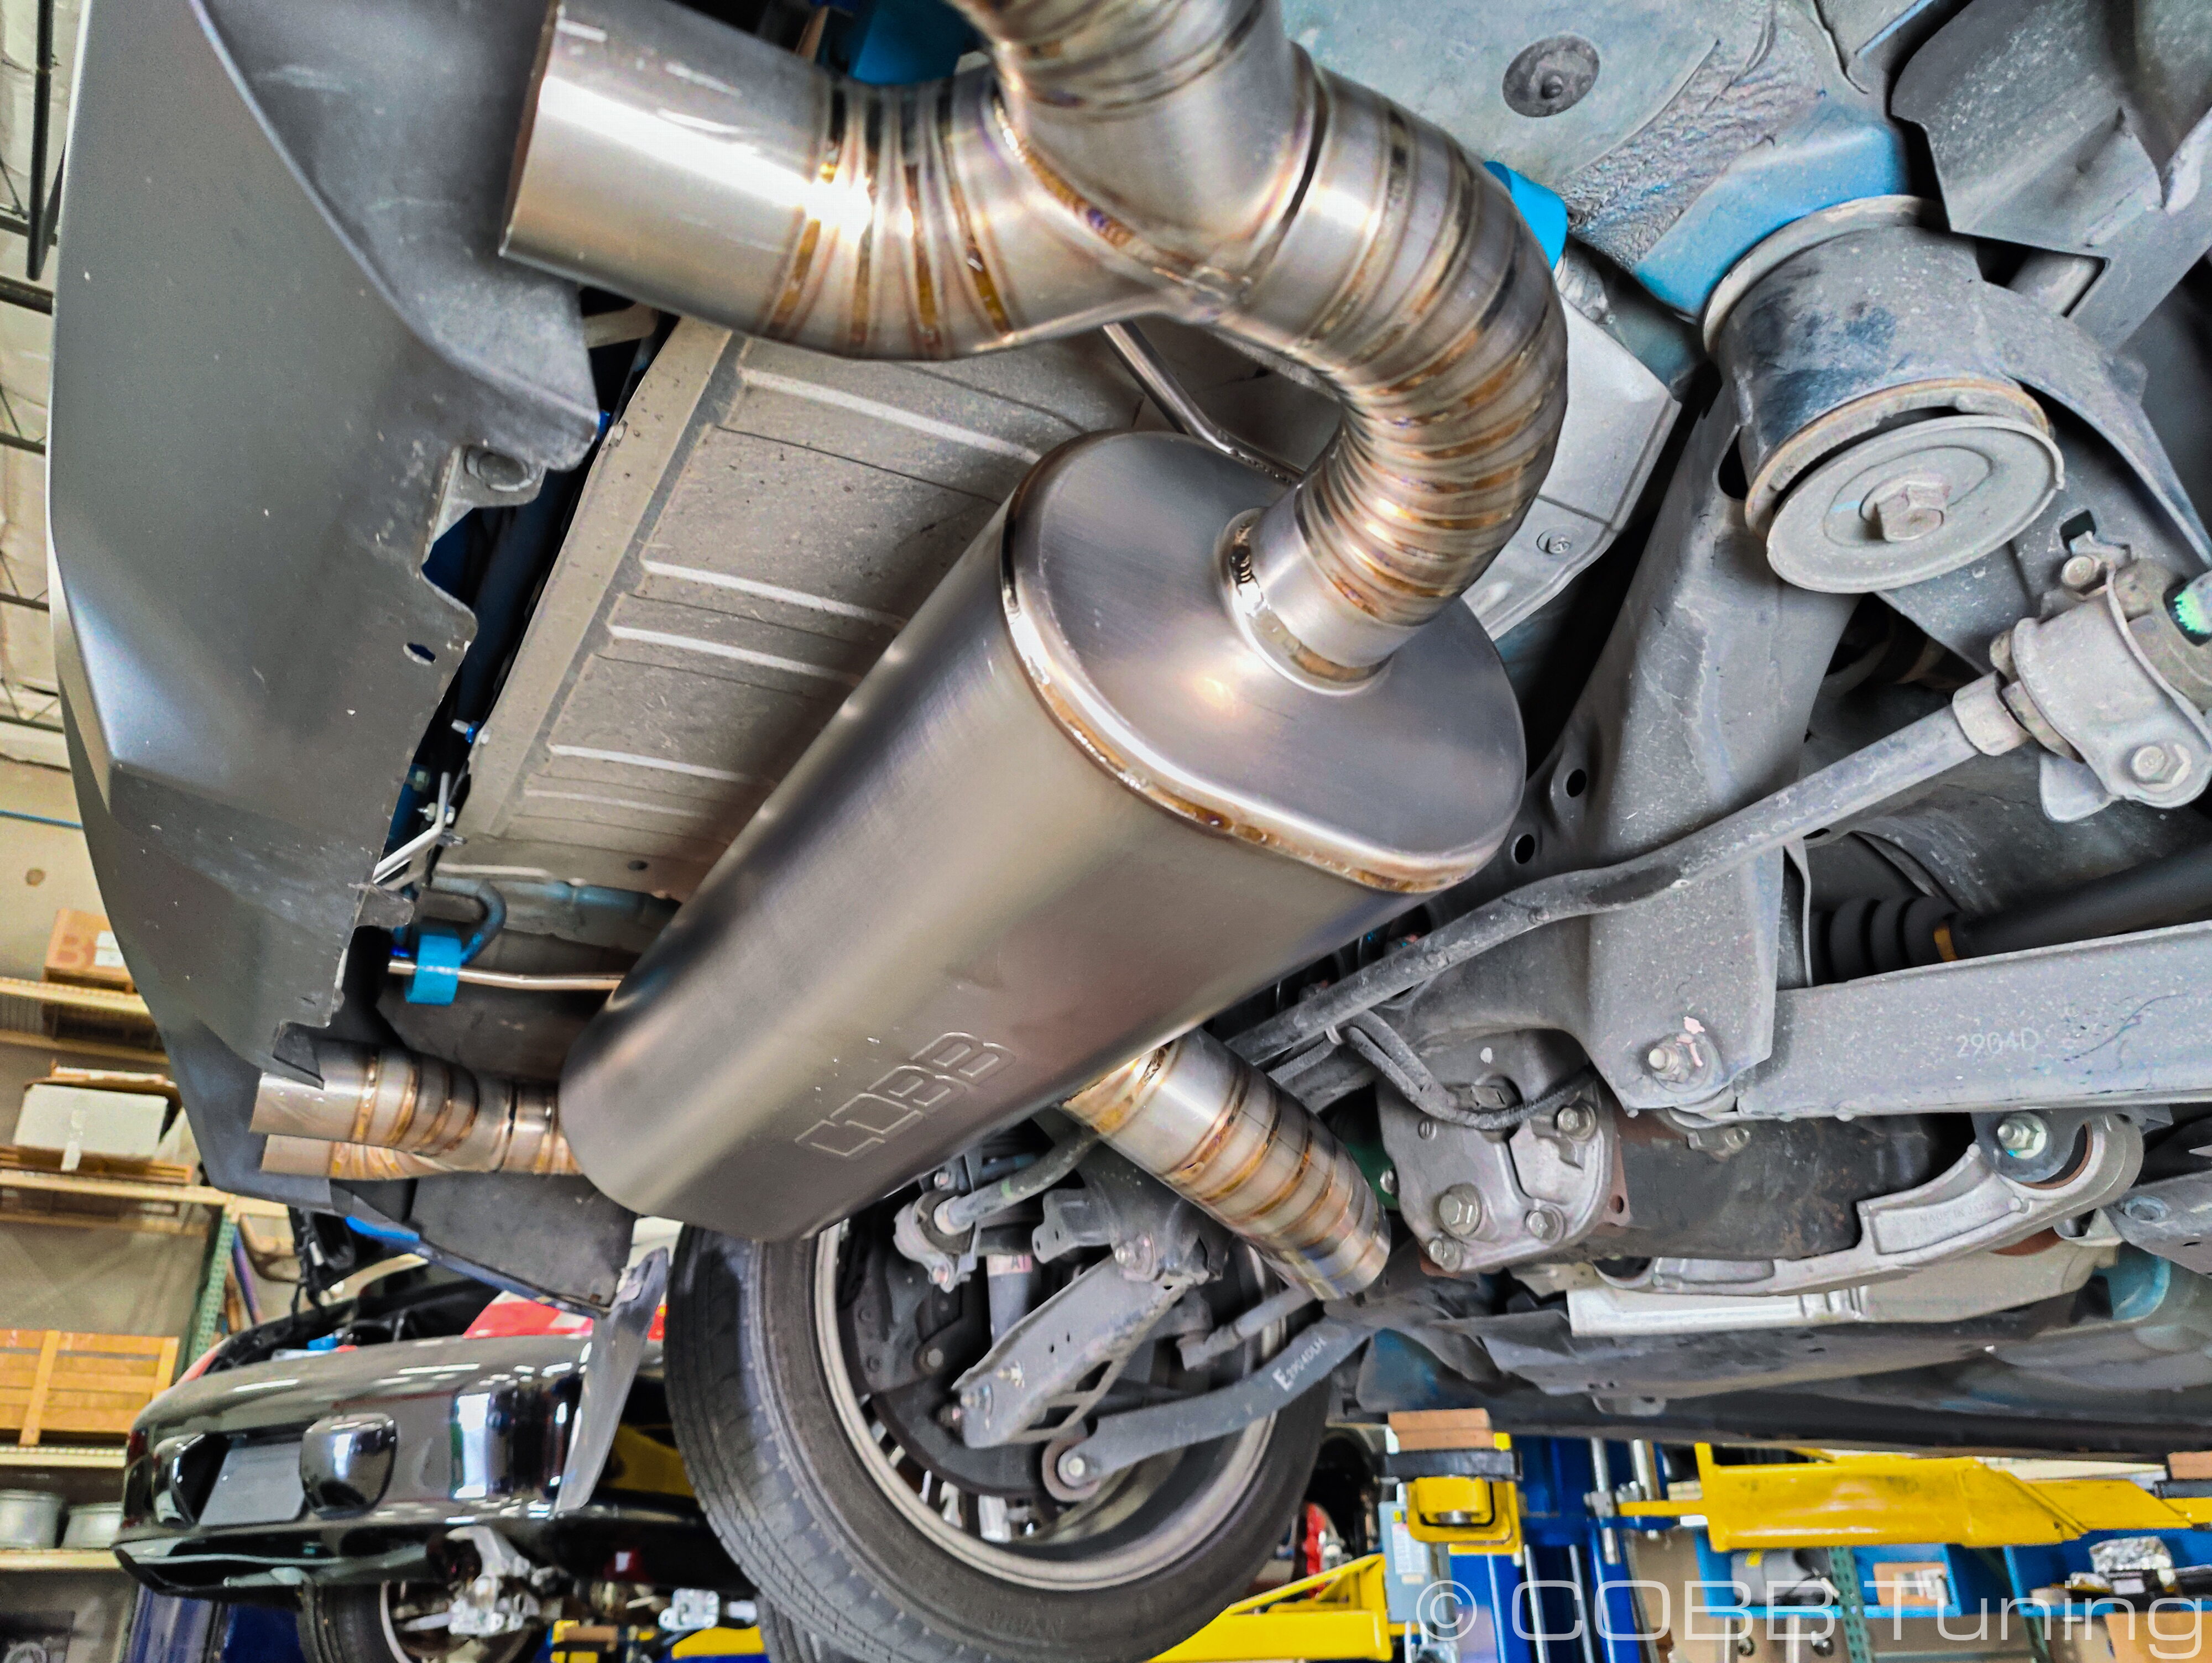
Installation of COBB STI/WRX Catback
- To install the COBB Catback, it is easiest to install two of your hangers onto the forward mounts for the exhaust.
- You can now slide it up and forward working the muffler mounts into the rearward exhaust hangers and the hangers onto the mounts on the chassis.
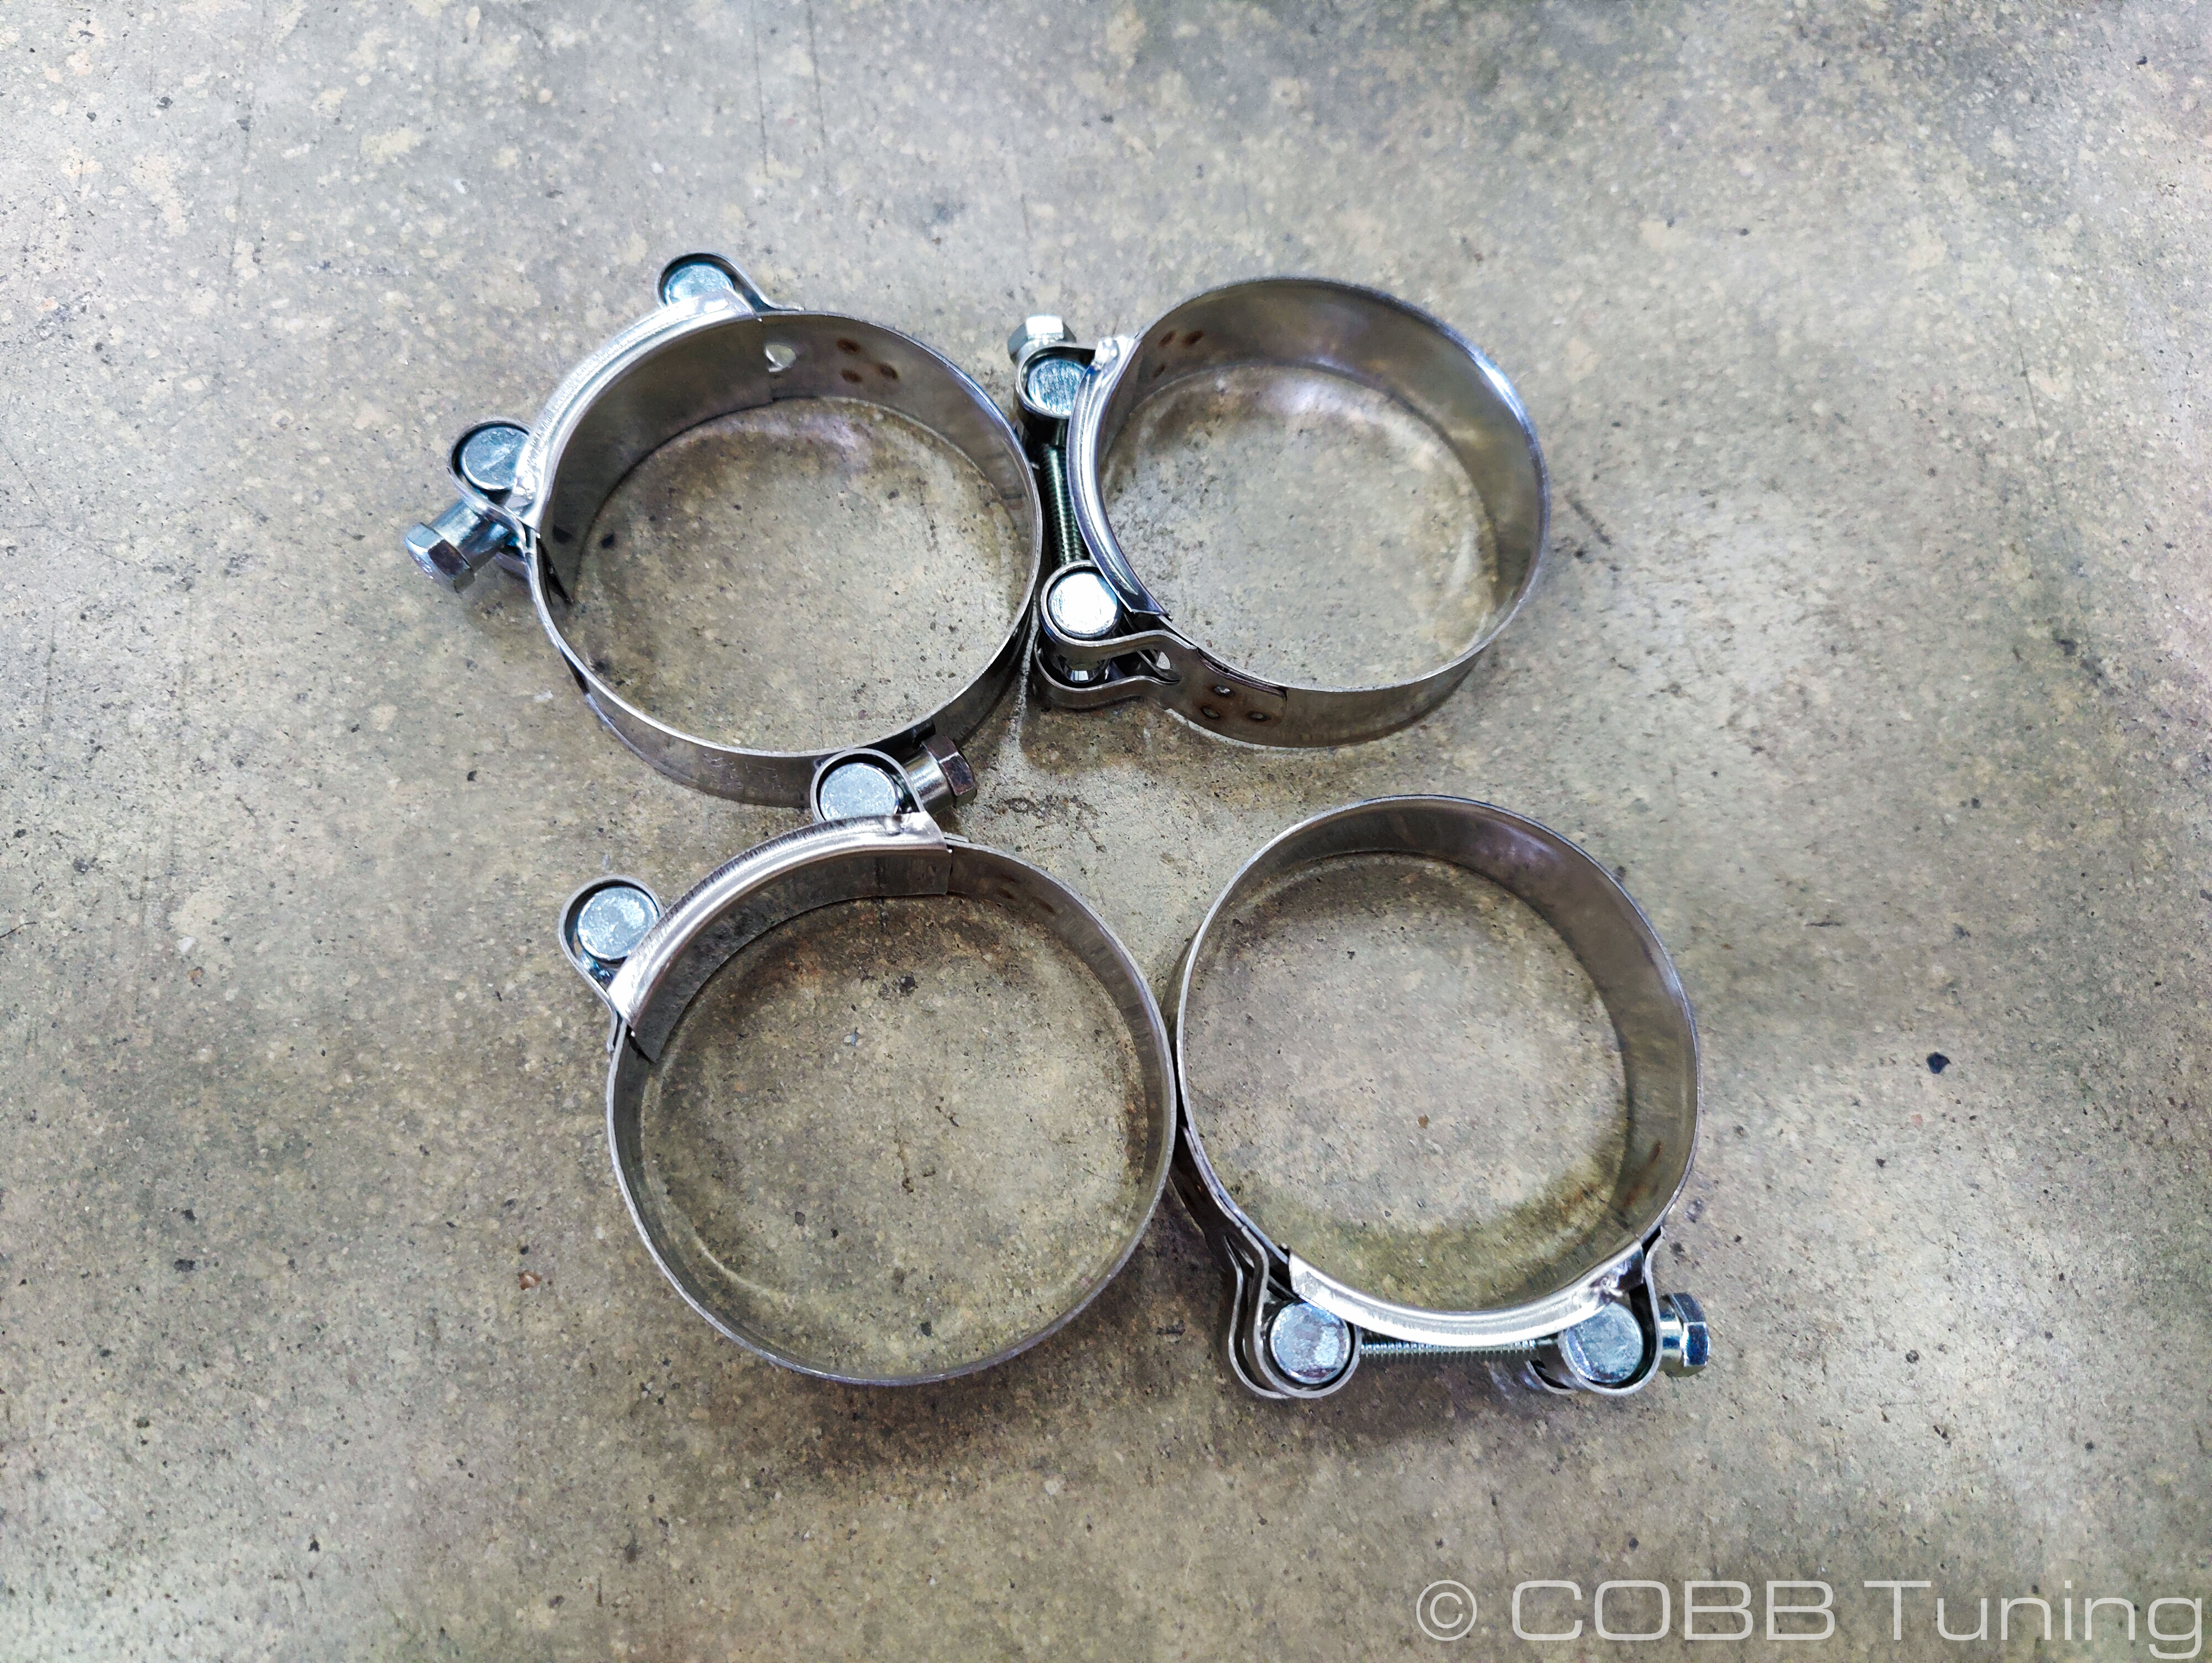
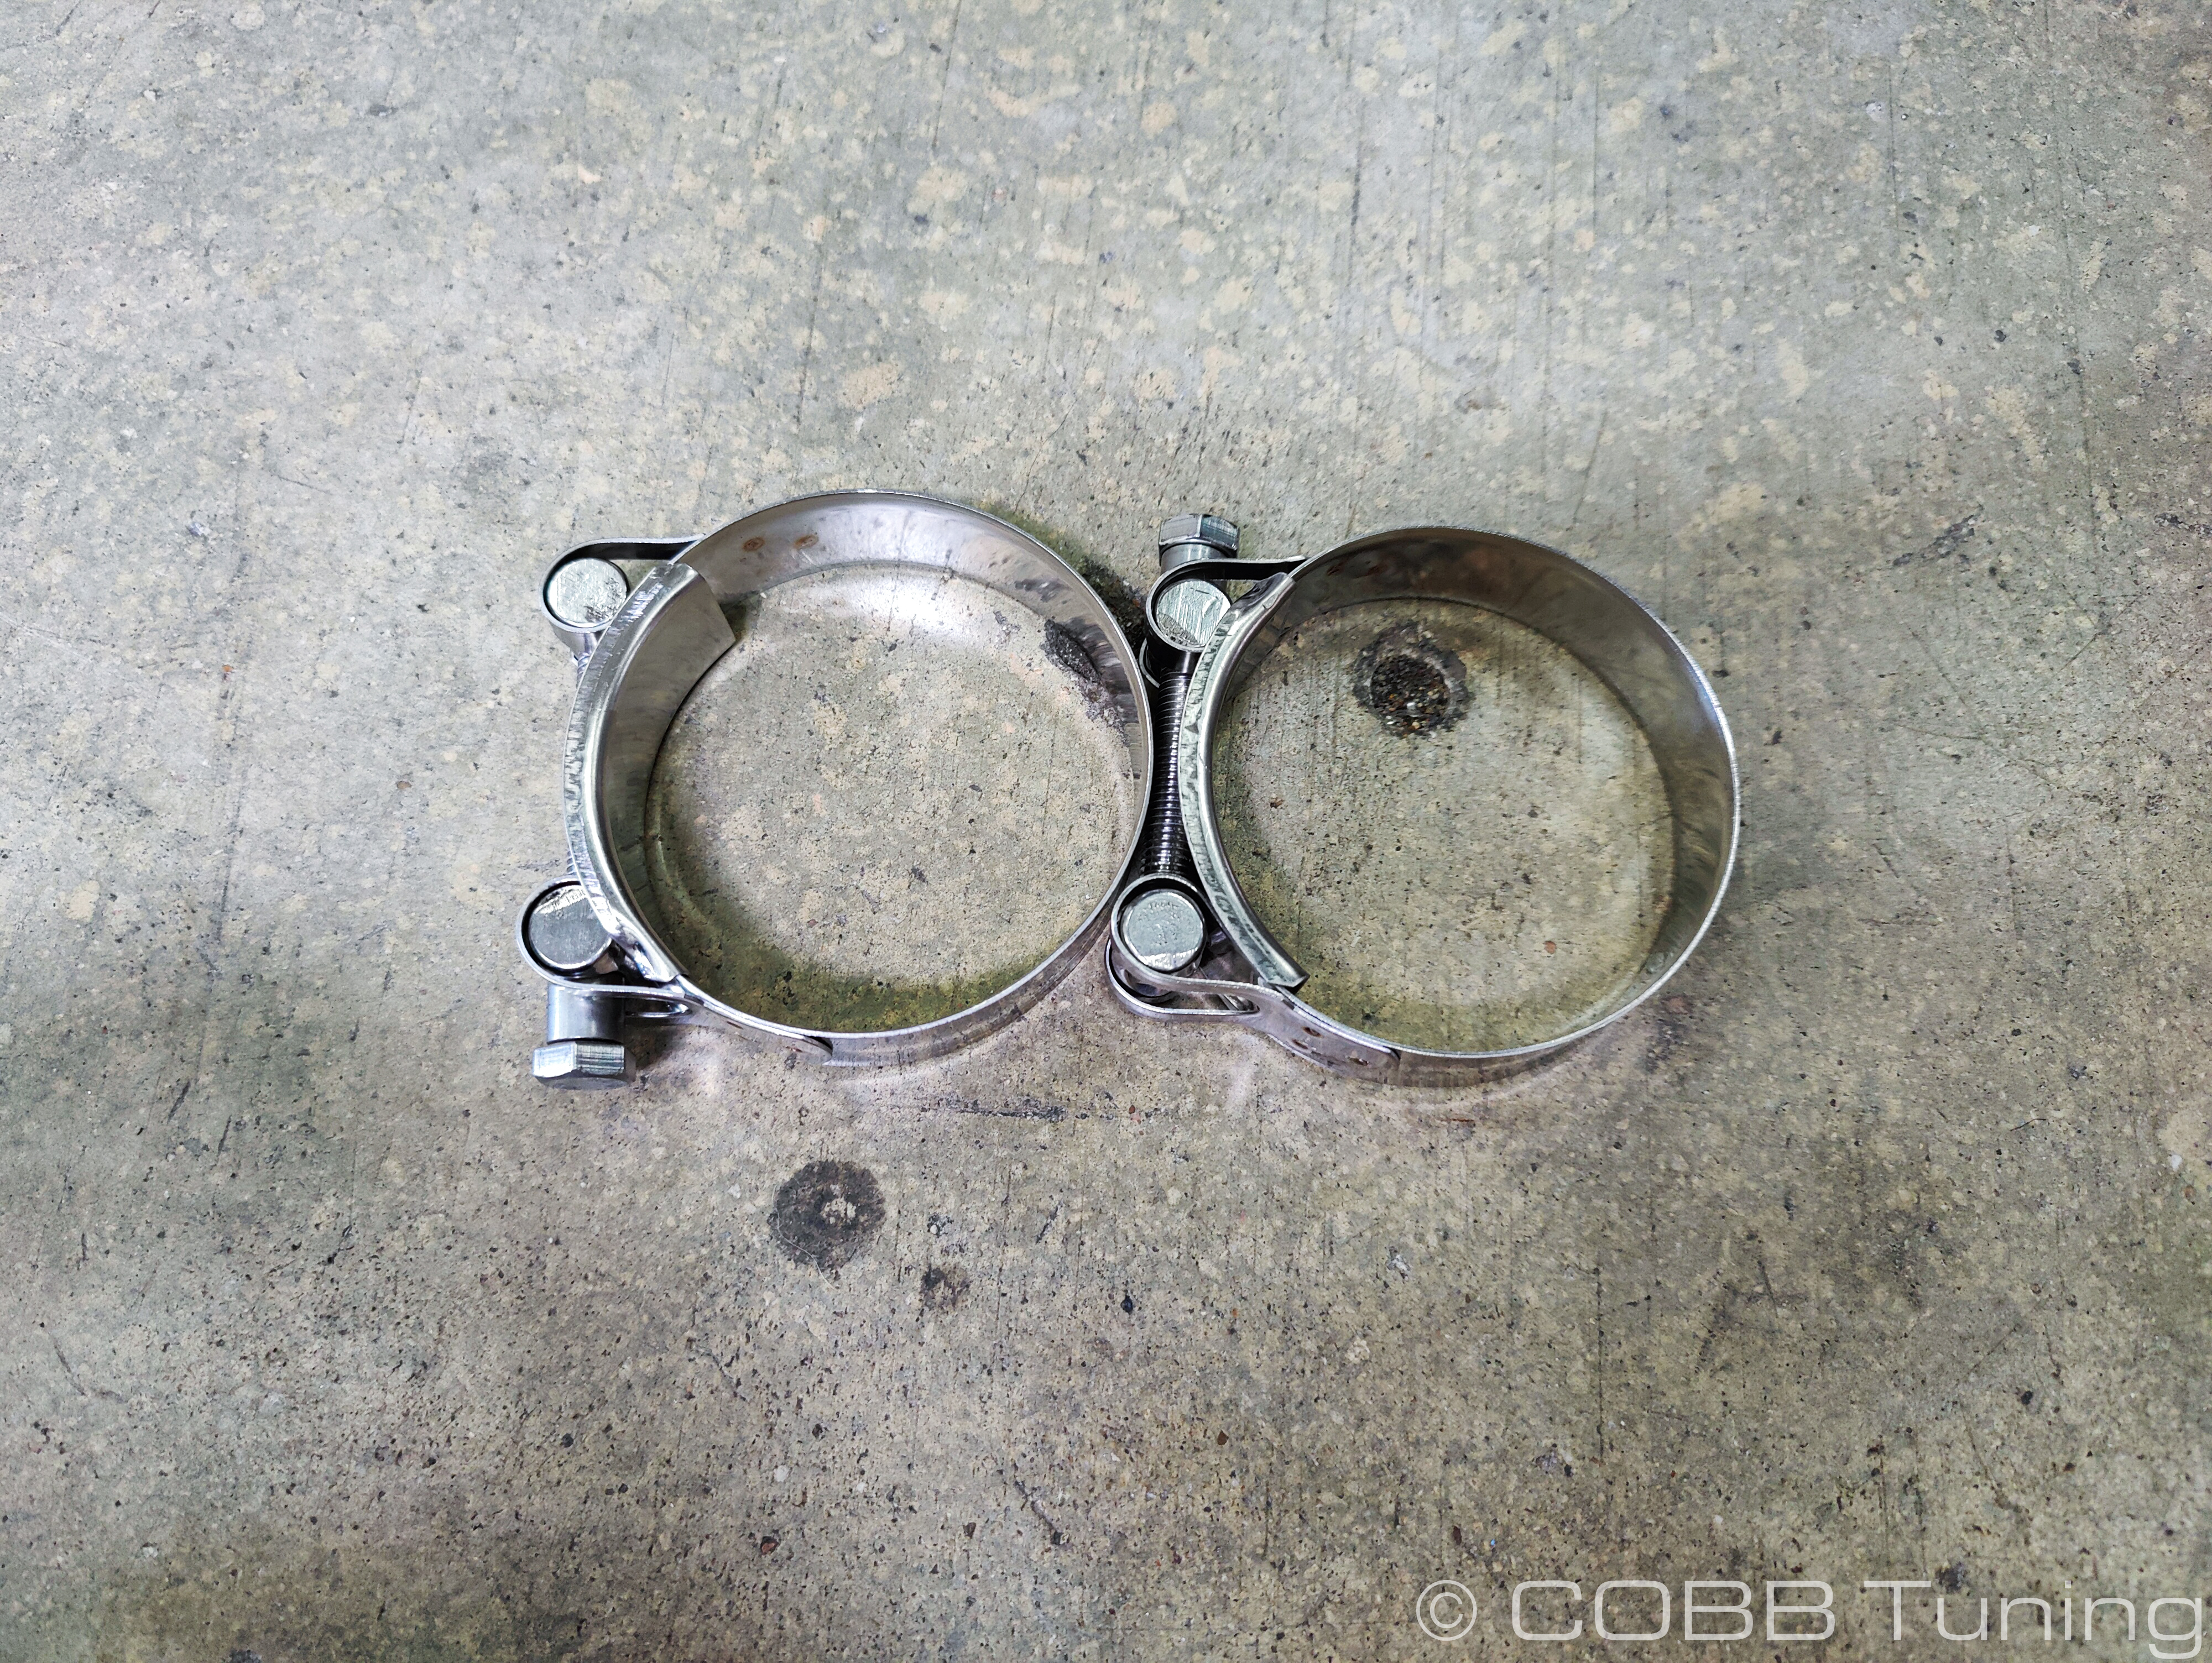
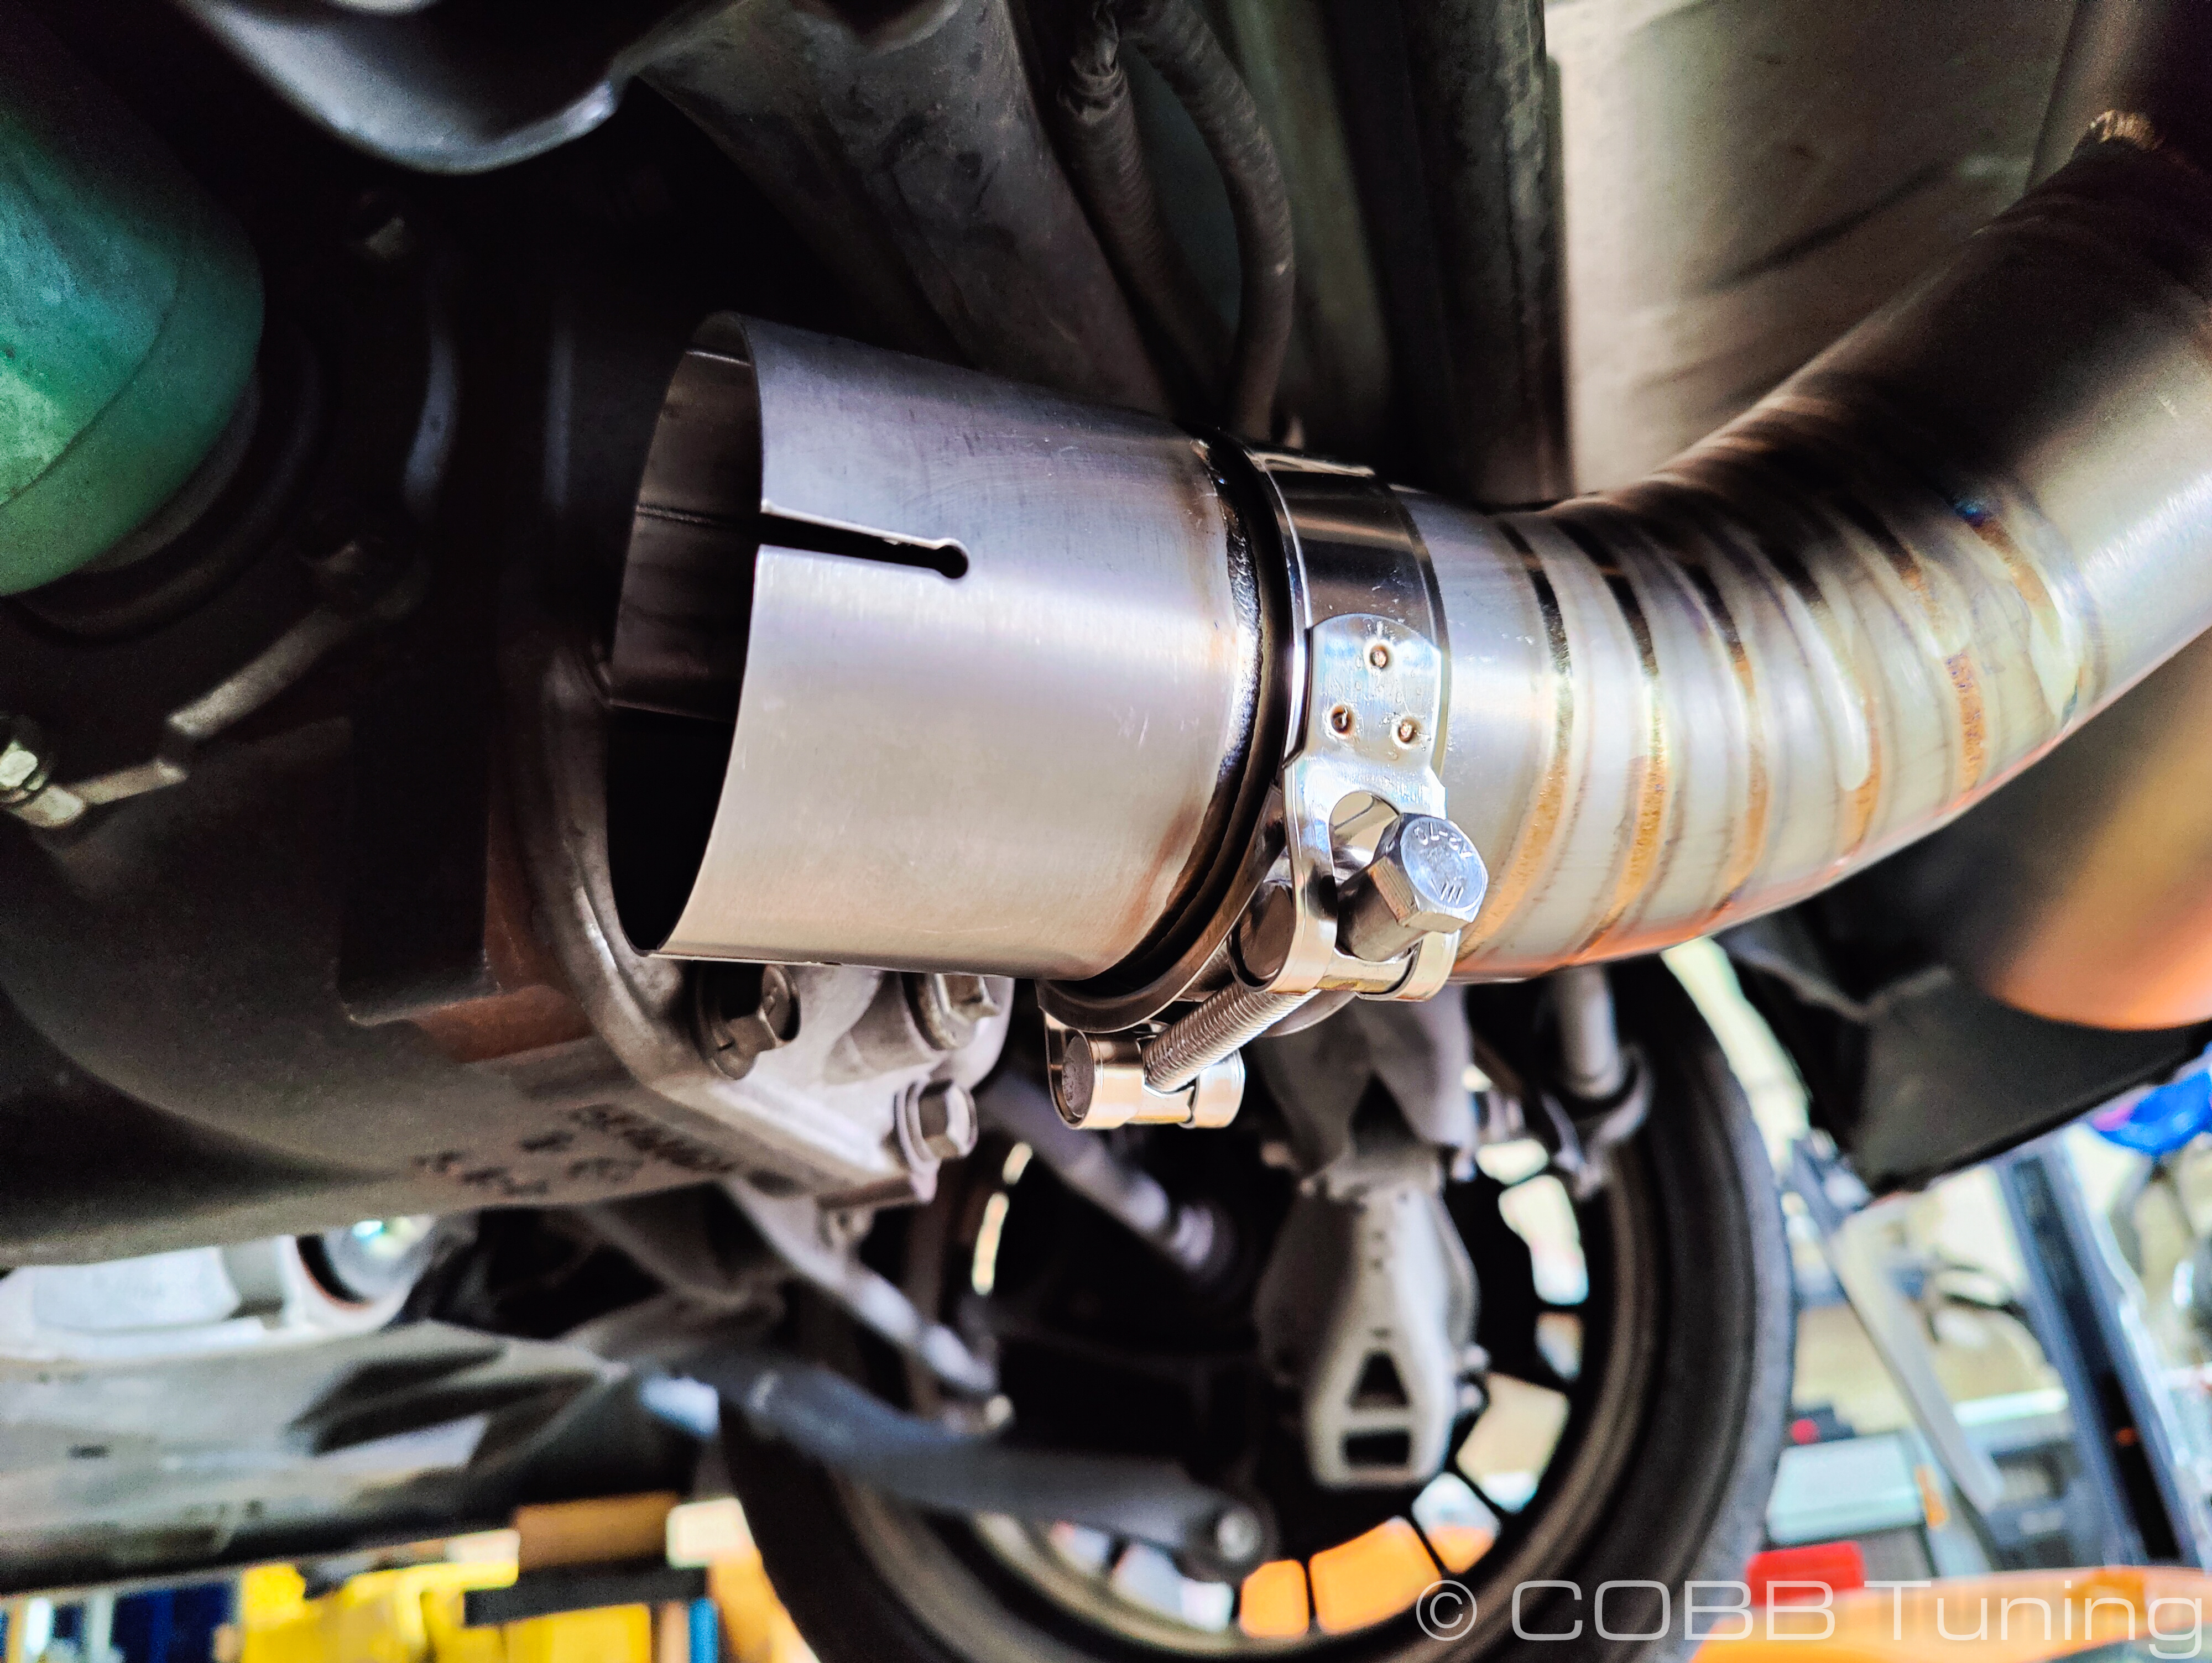
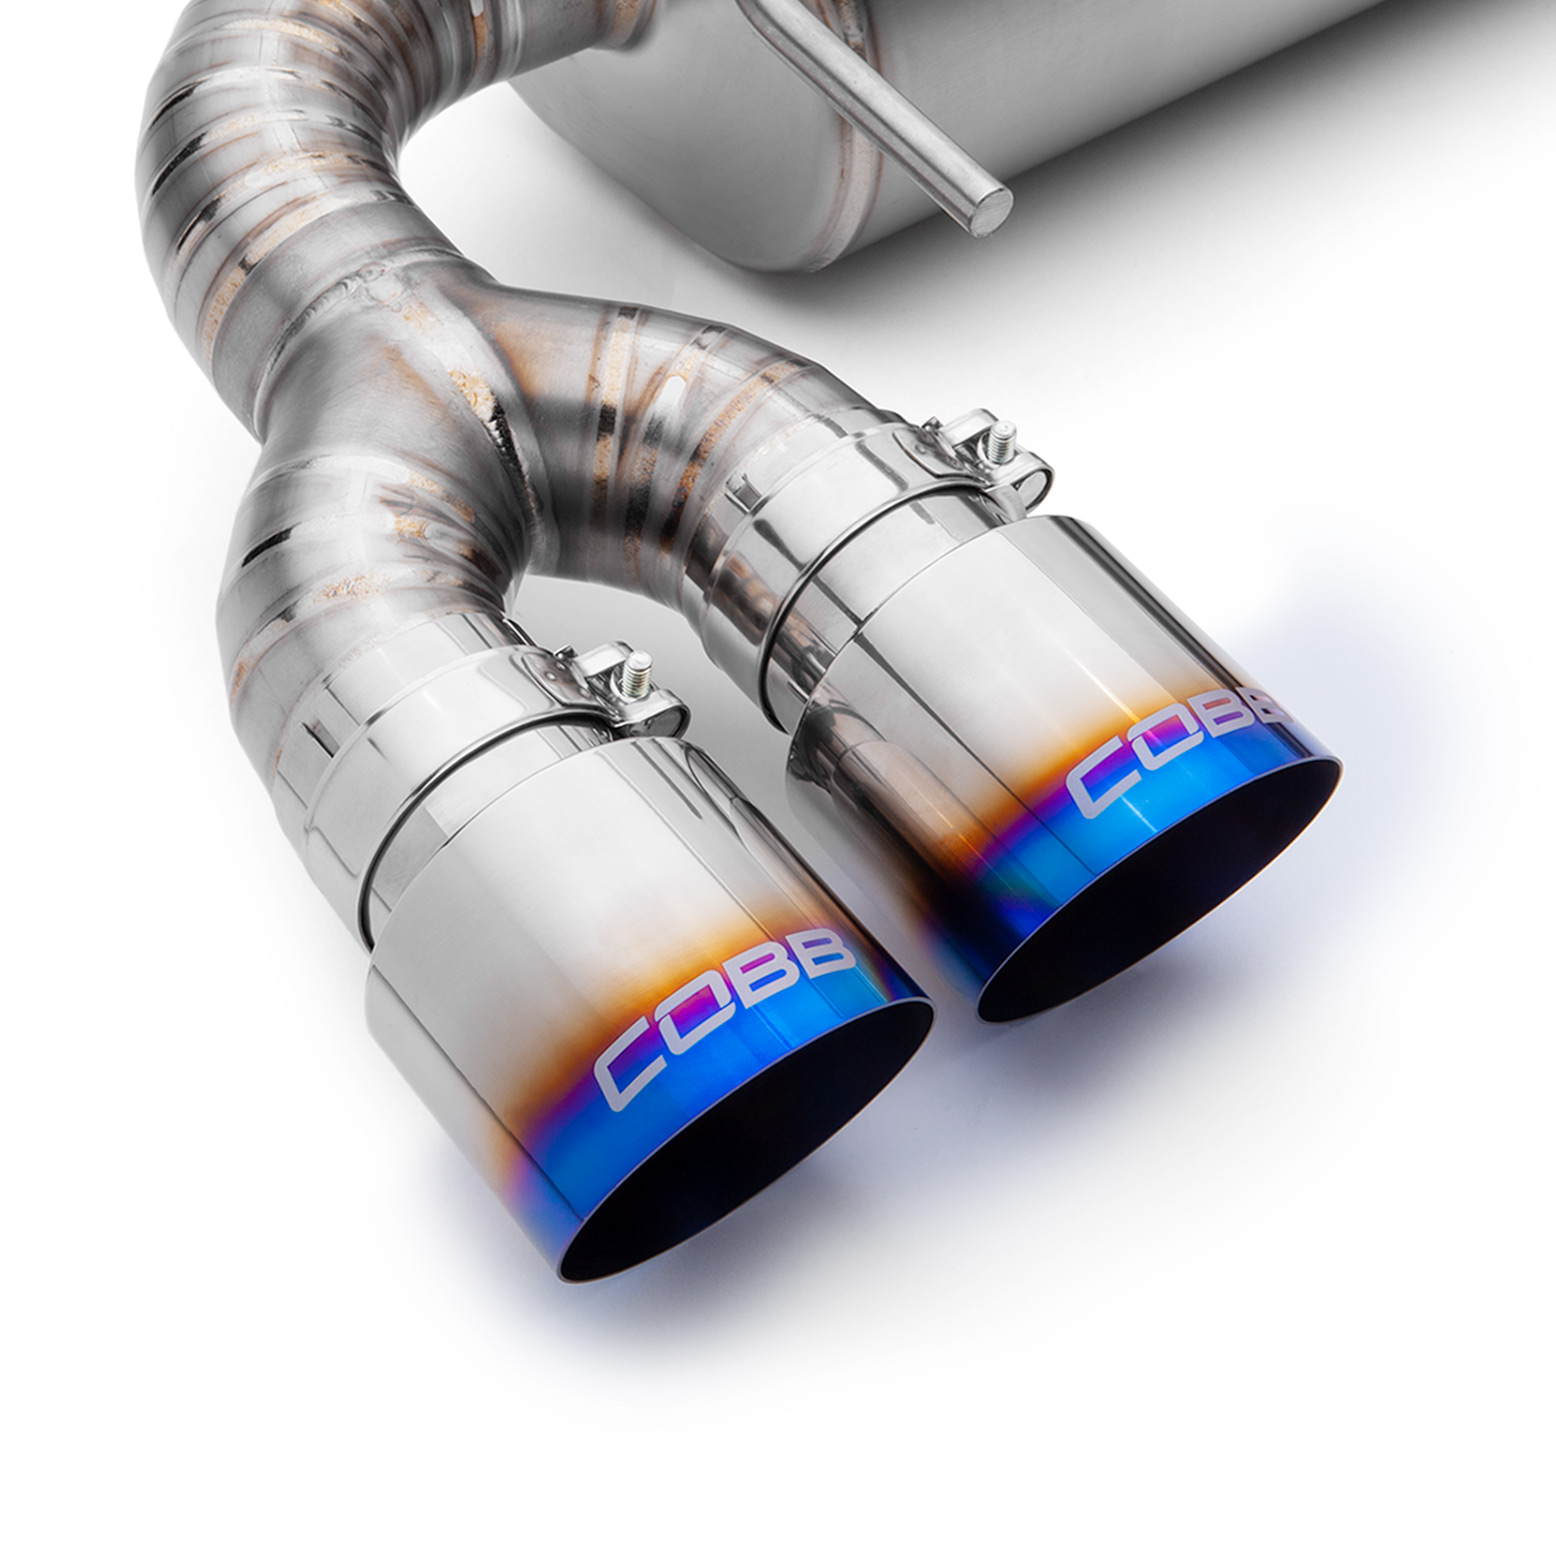
- Slip one of the larger clamps over the end of the muffler.
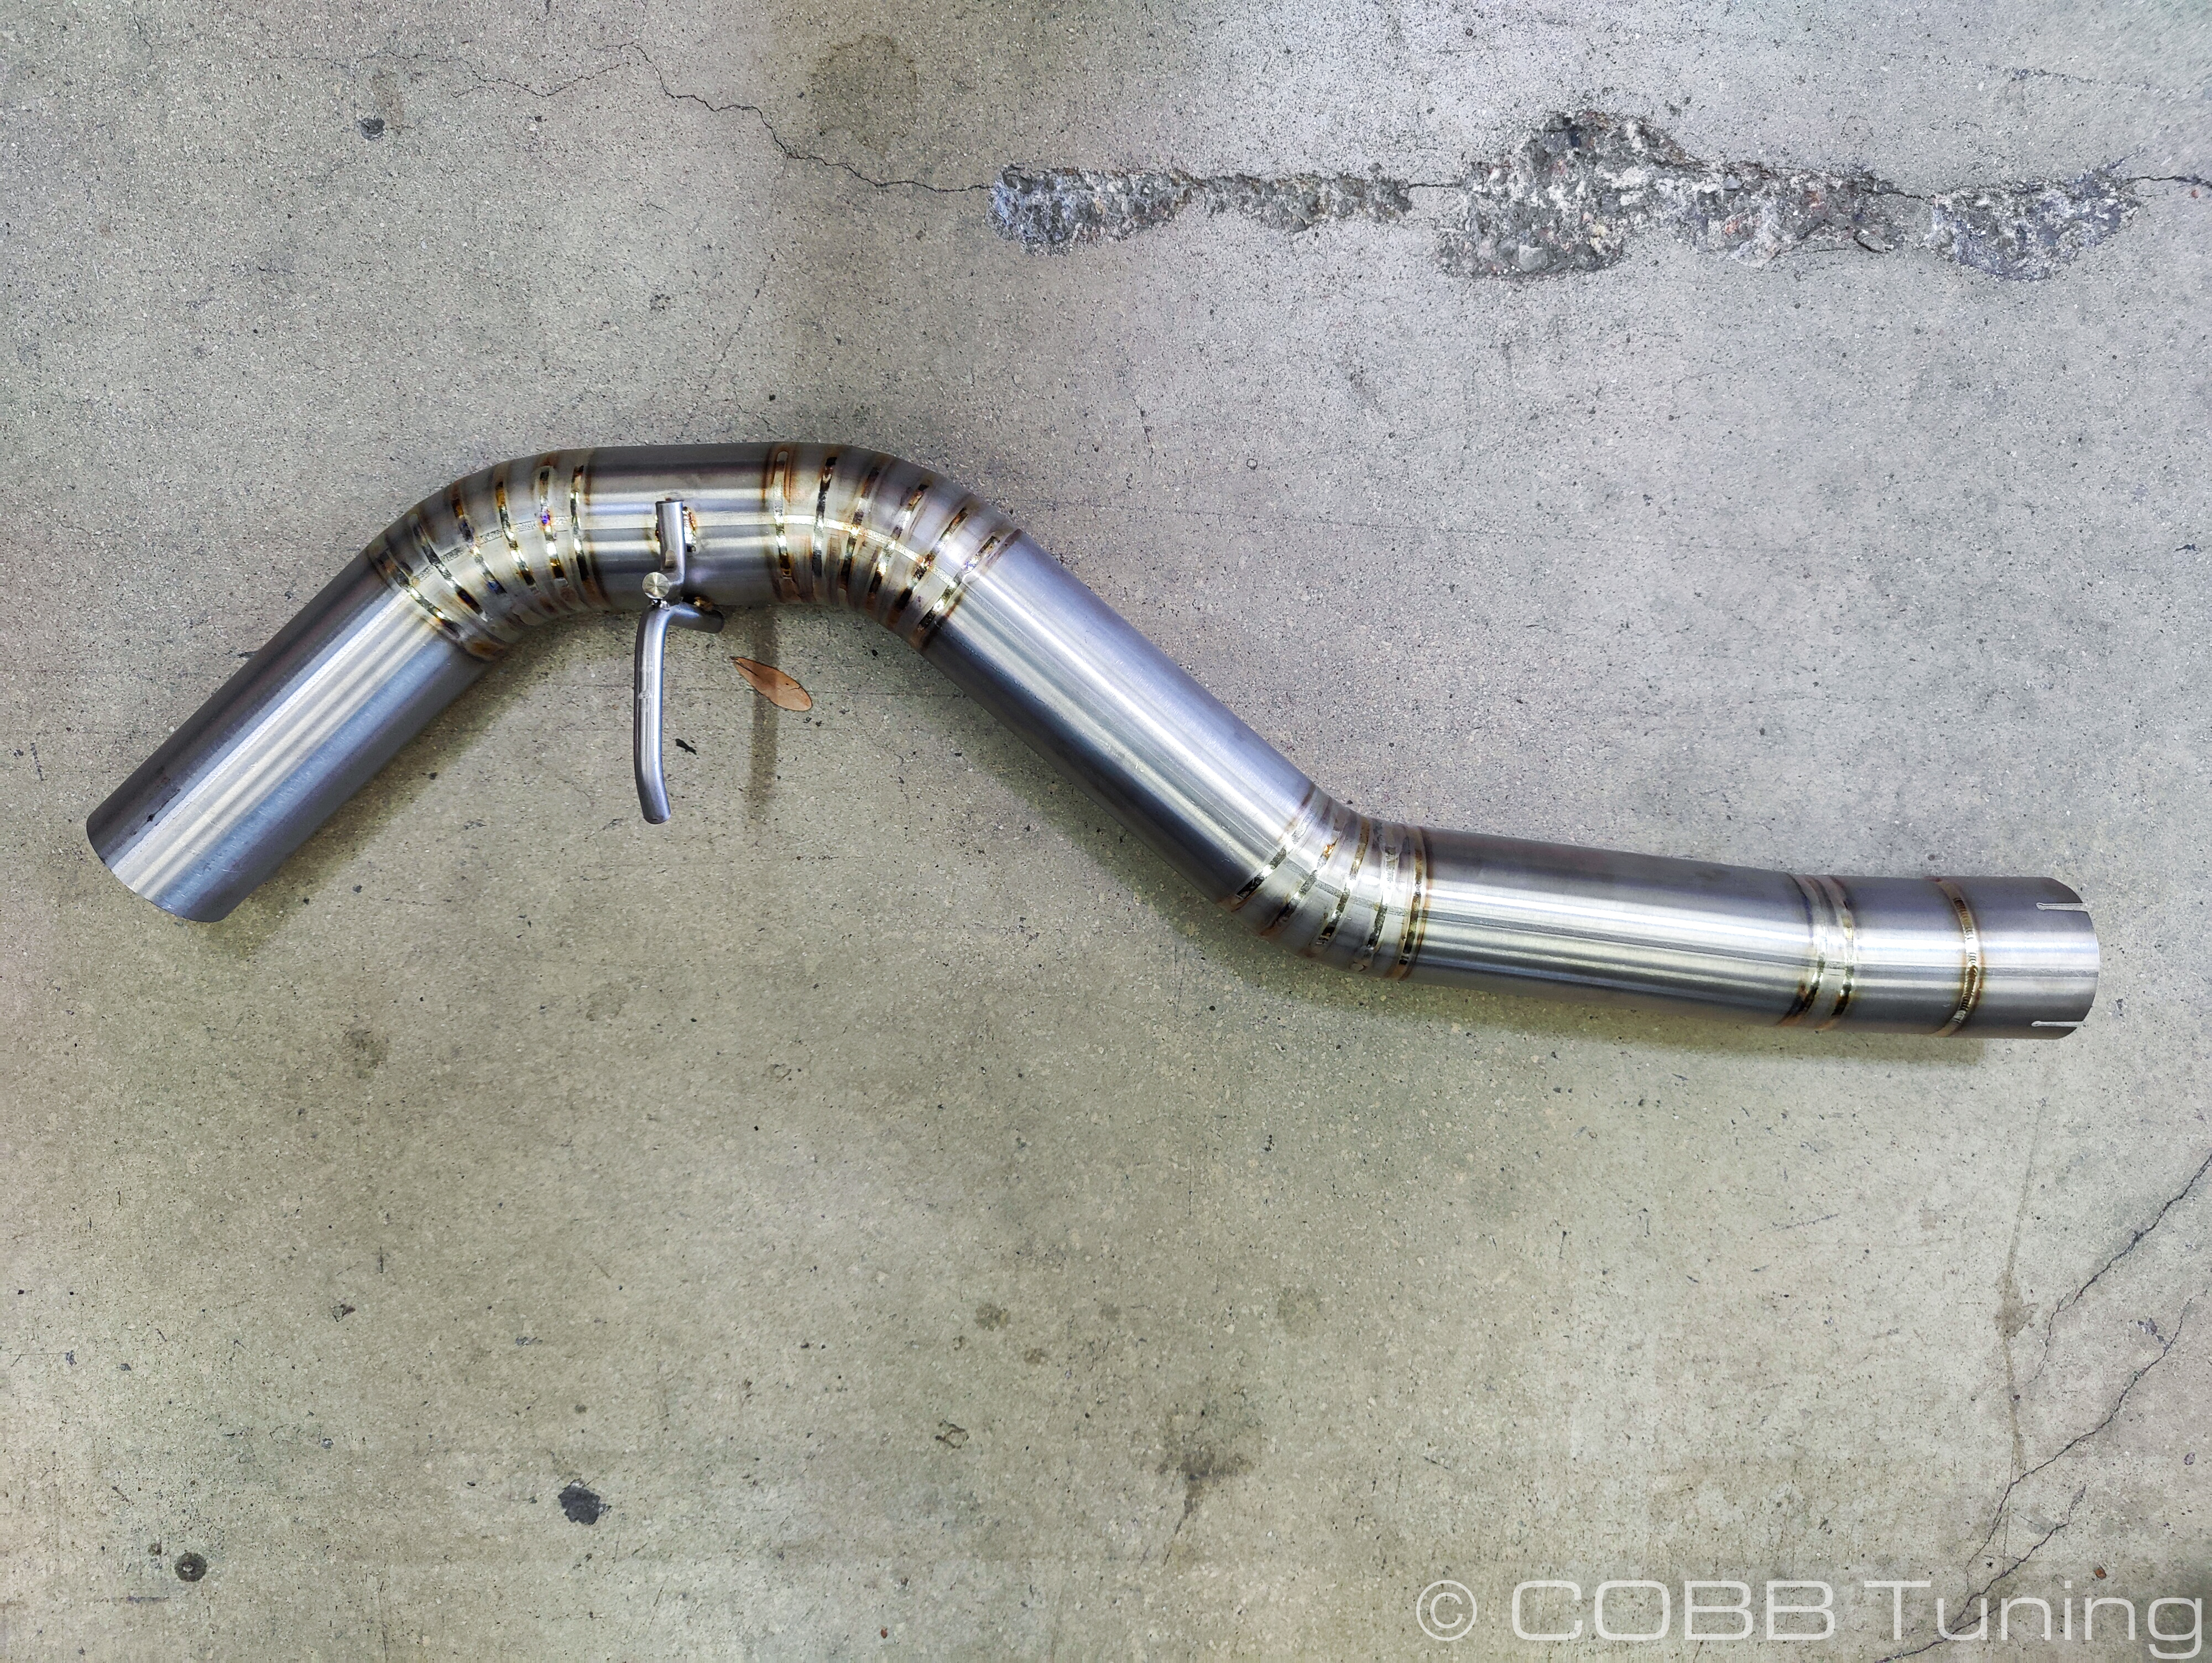
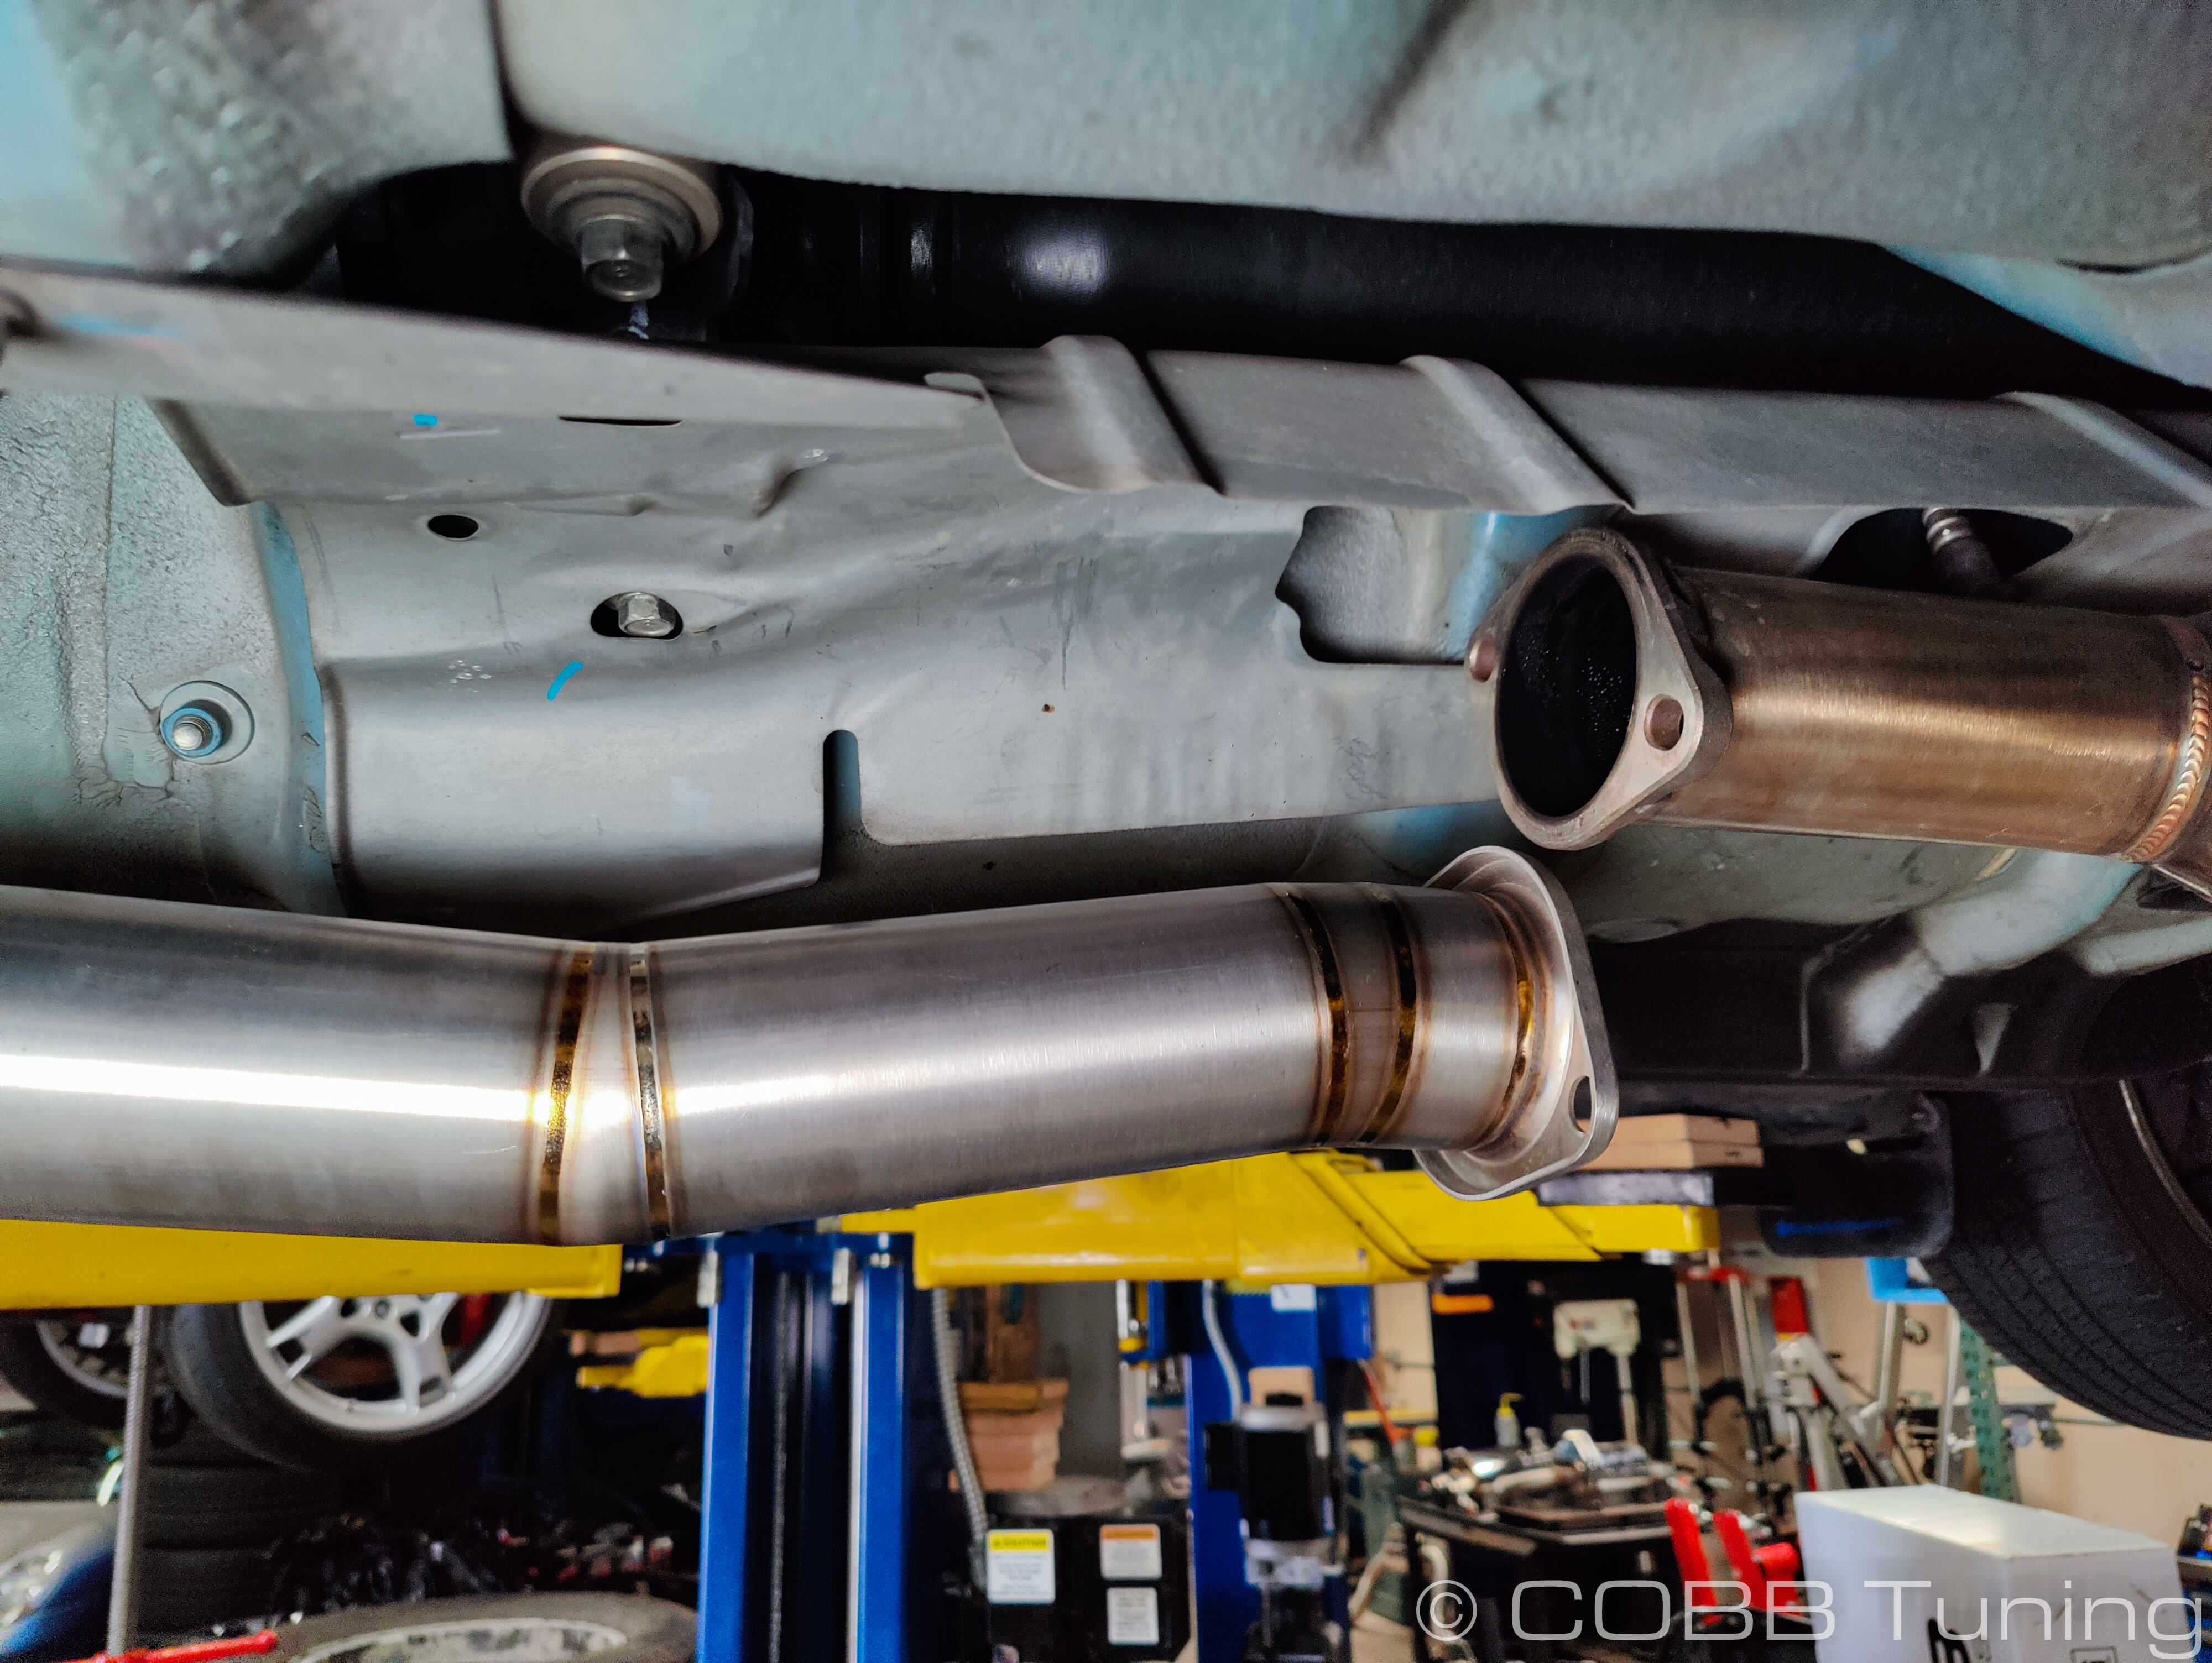
- Slip the axle section into the muffler, mount the exhaust hanger on the axle section to the one just towards the front of the differential.
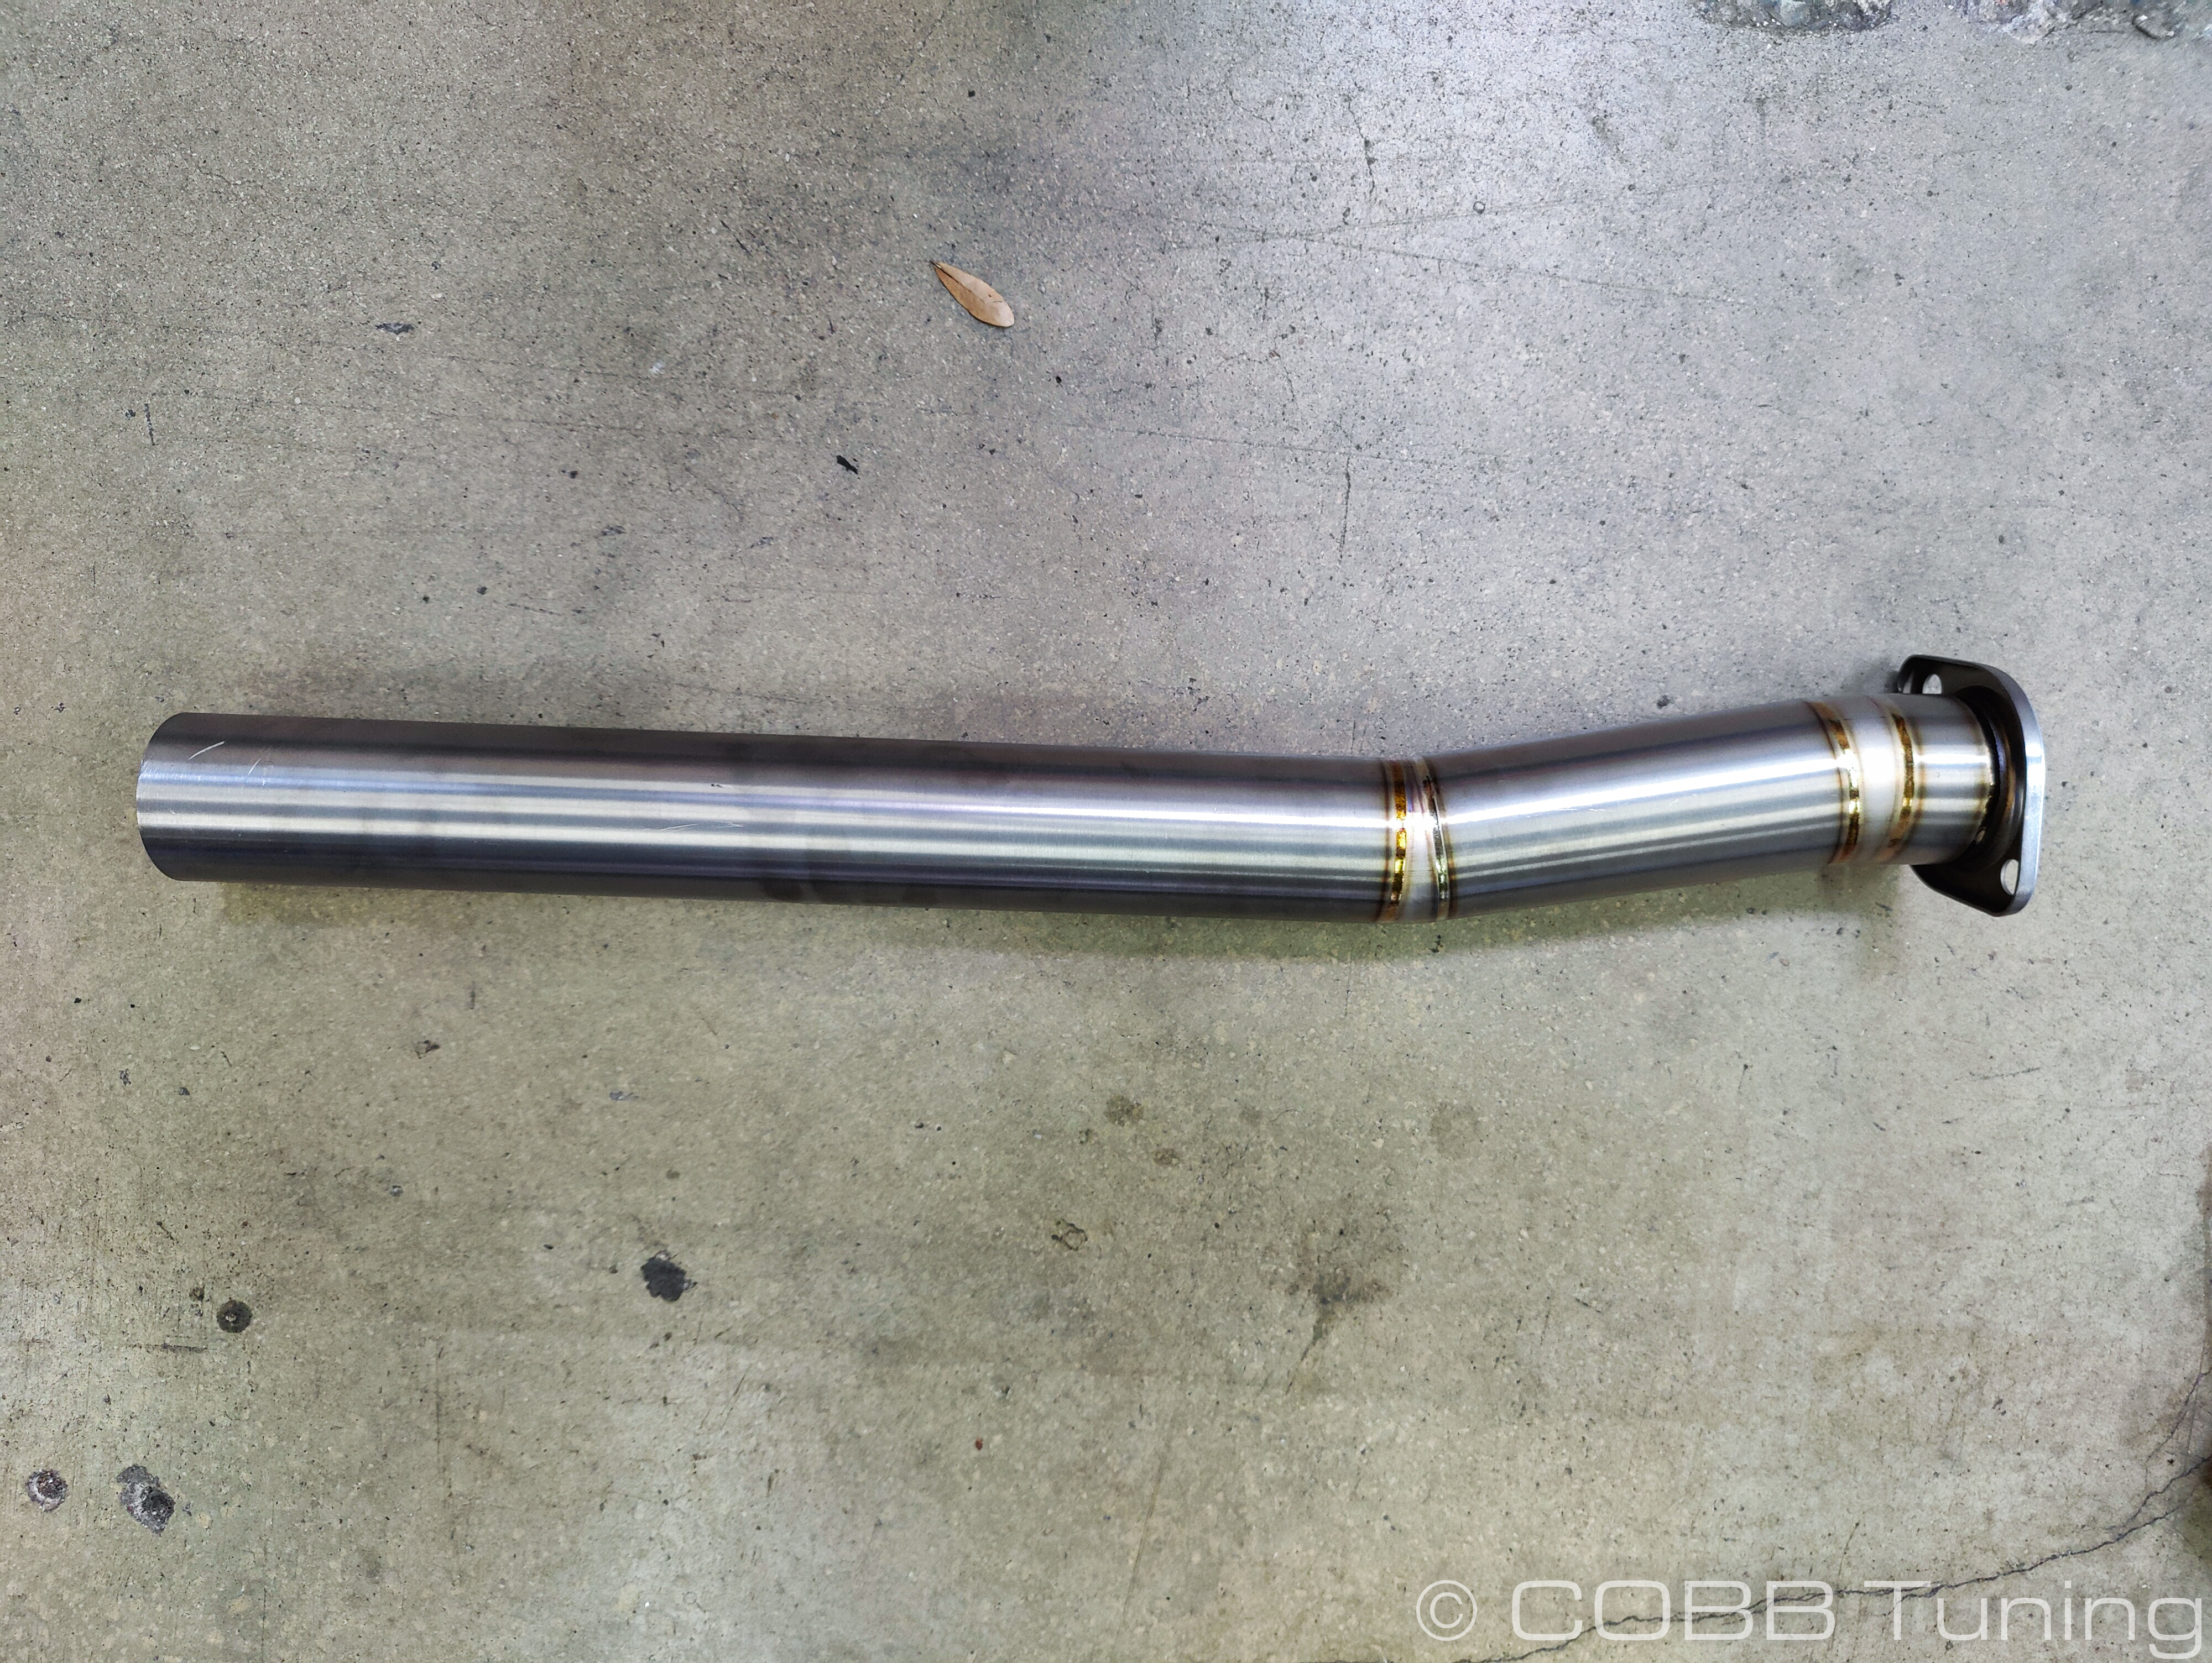
- Put the last large clamp over the end of the axle section then slide the front section in, it should come close to the stock downpipe.
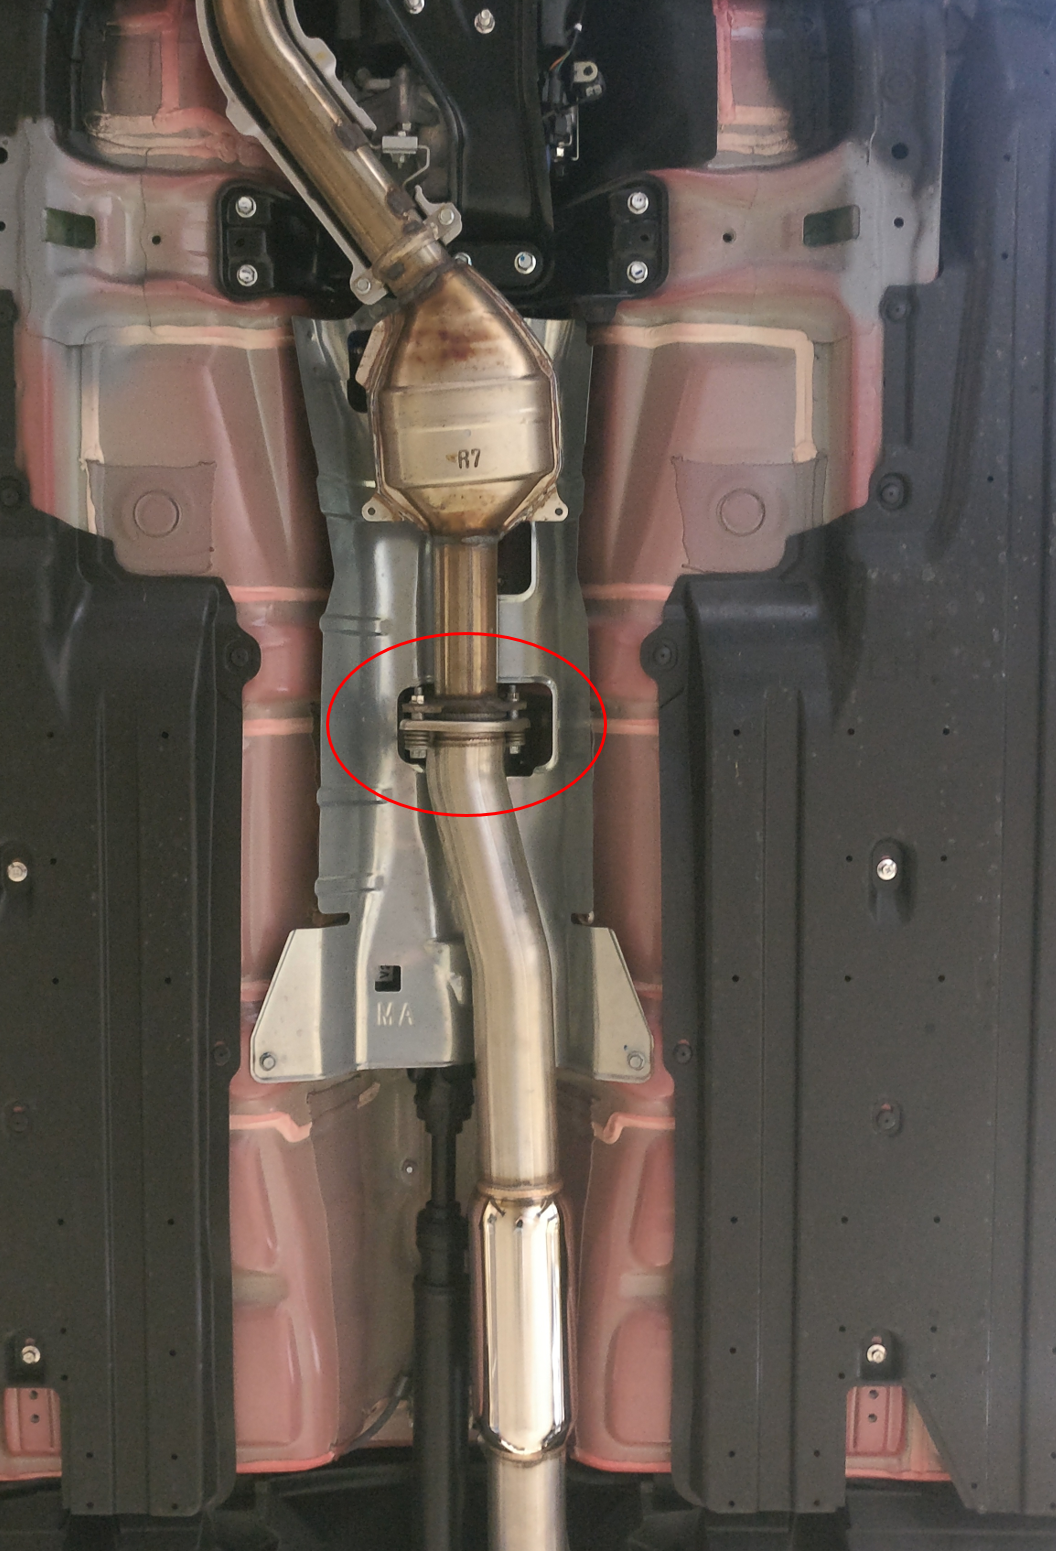
- With the catback being supported by the hangers, you can now place the donut gasket onto the downpipe. Next use the spring bolts you saved from before to bolt the COBB catback to the downpipe.
- With the front bolted, slide the exhaust around a little bit to get it situated where there isn't much tension on the hangers, and it's fairly centered in the rear bumper. Then go ahead and tighten the clamps with your 13mm socket.
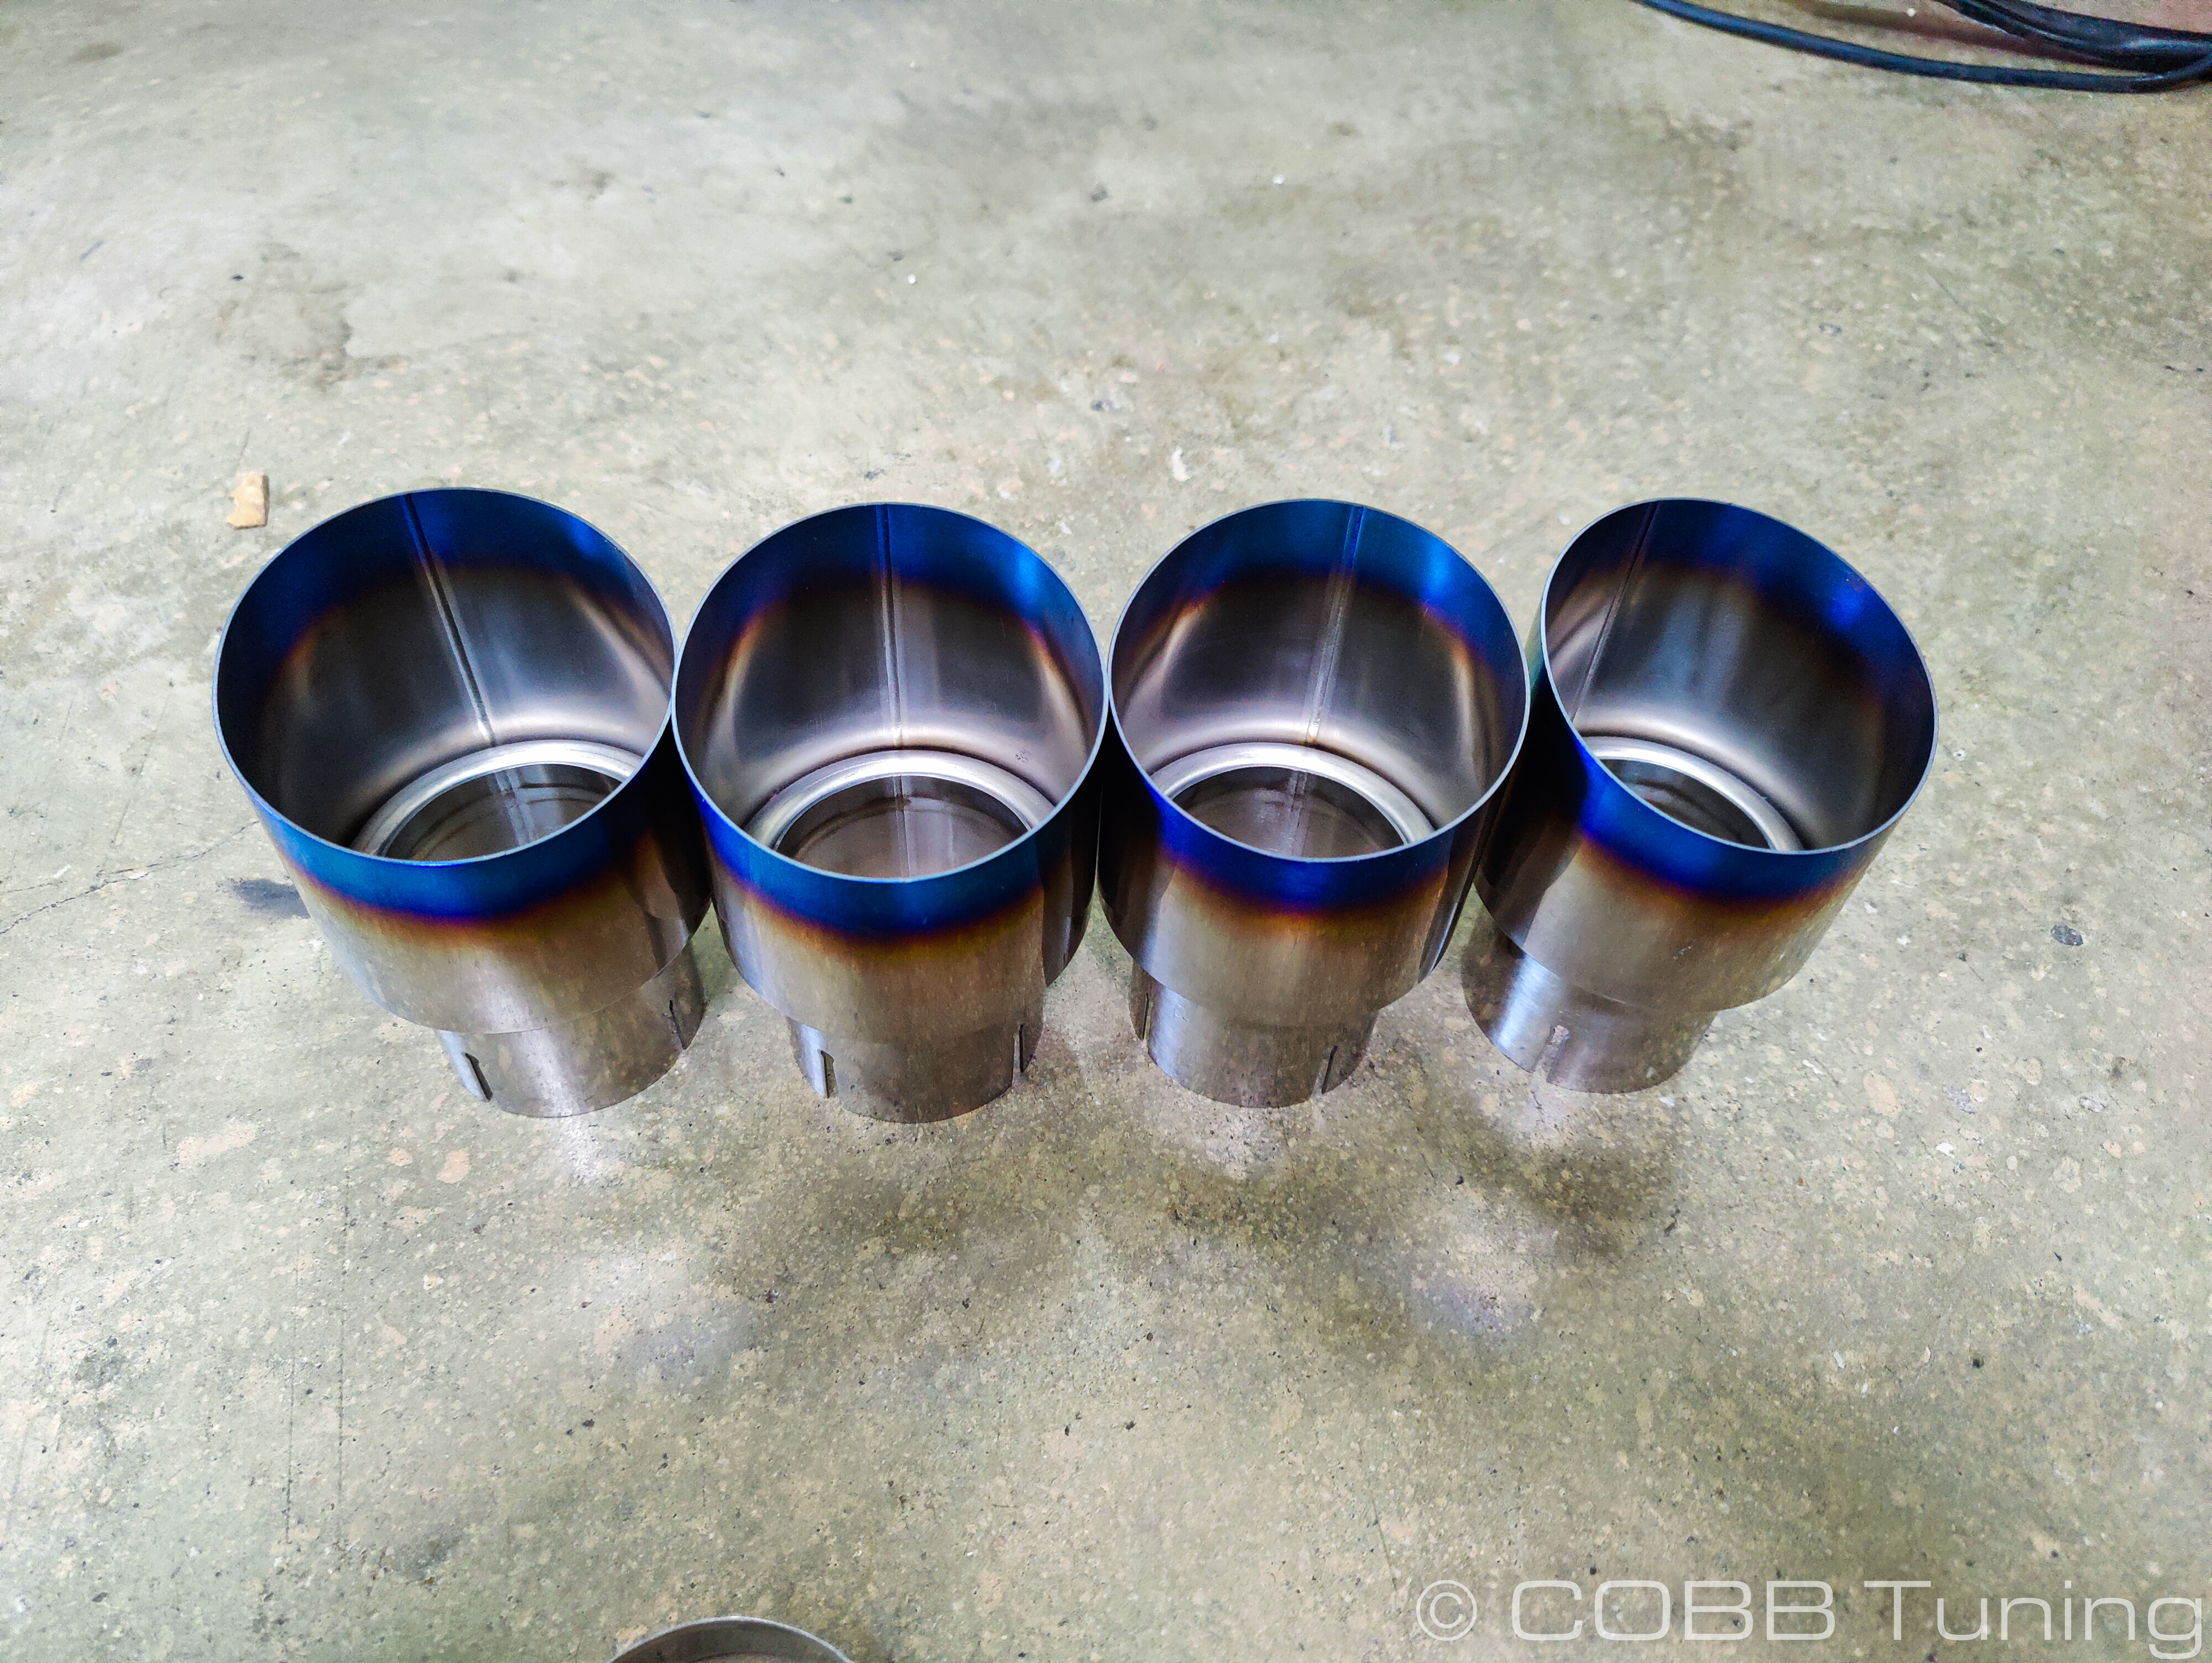
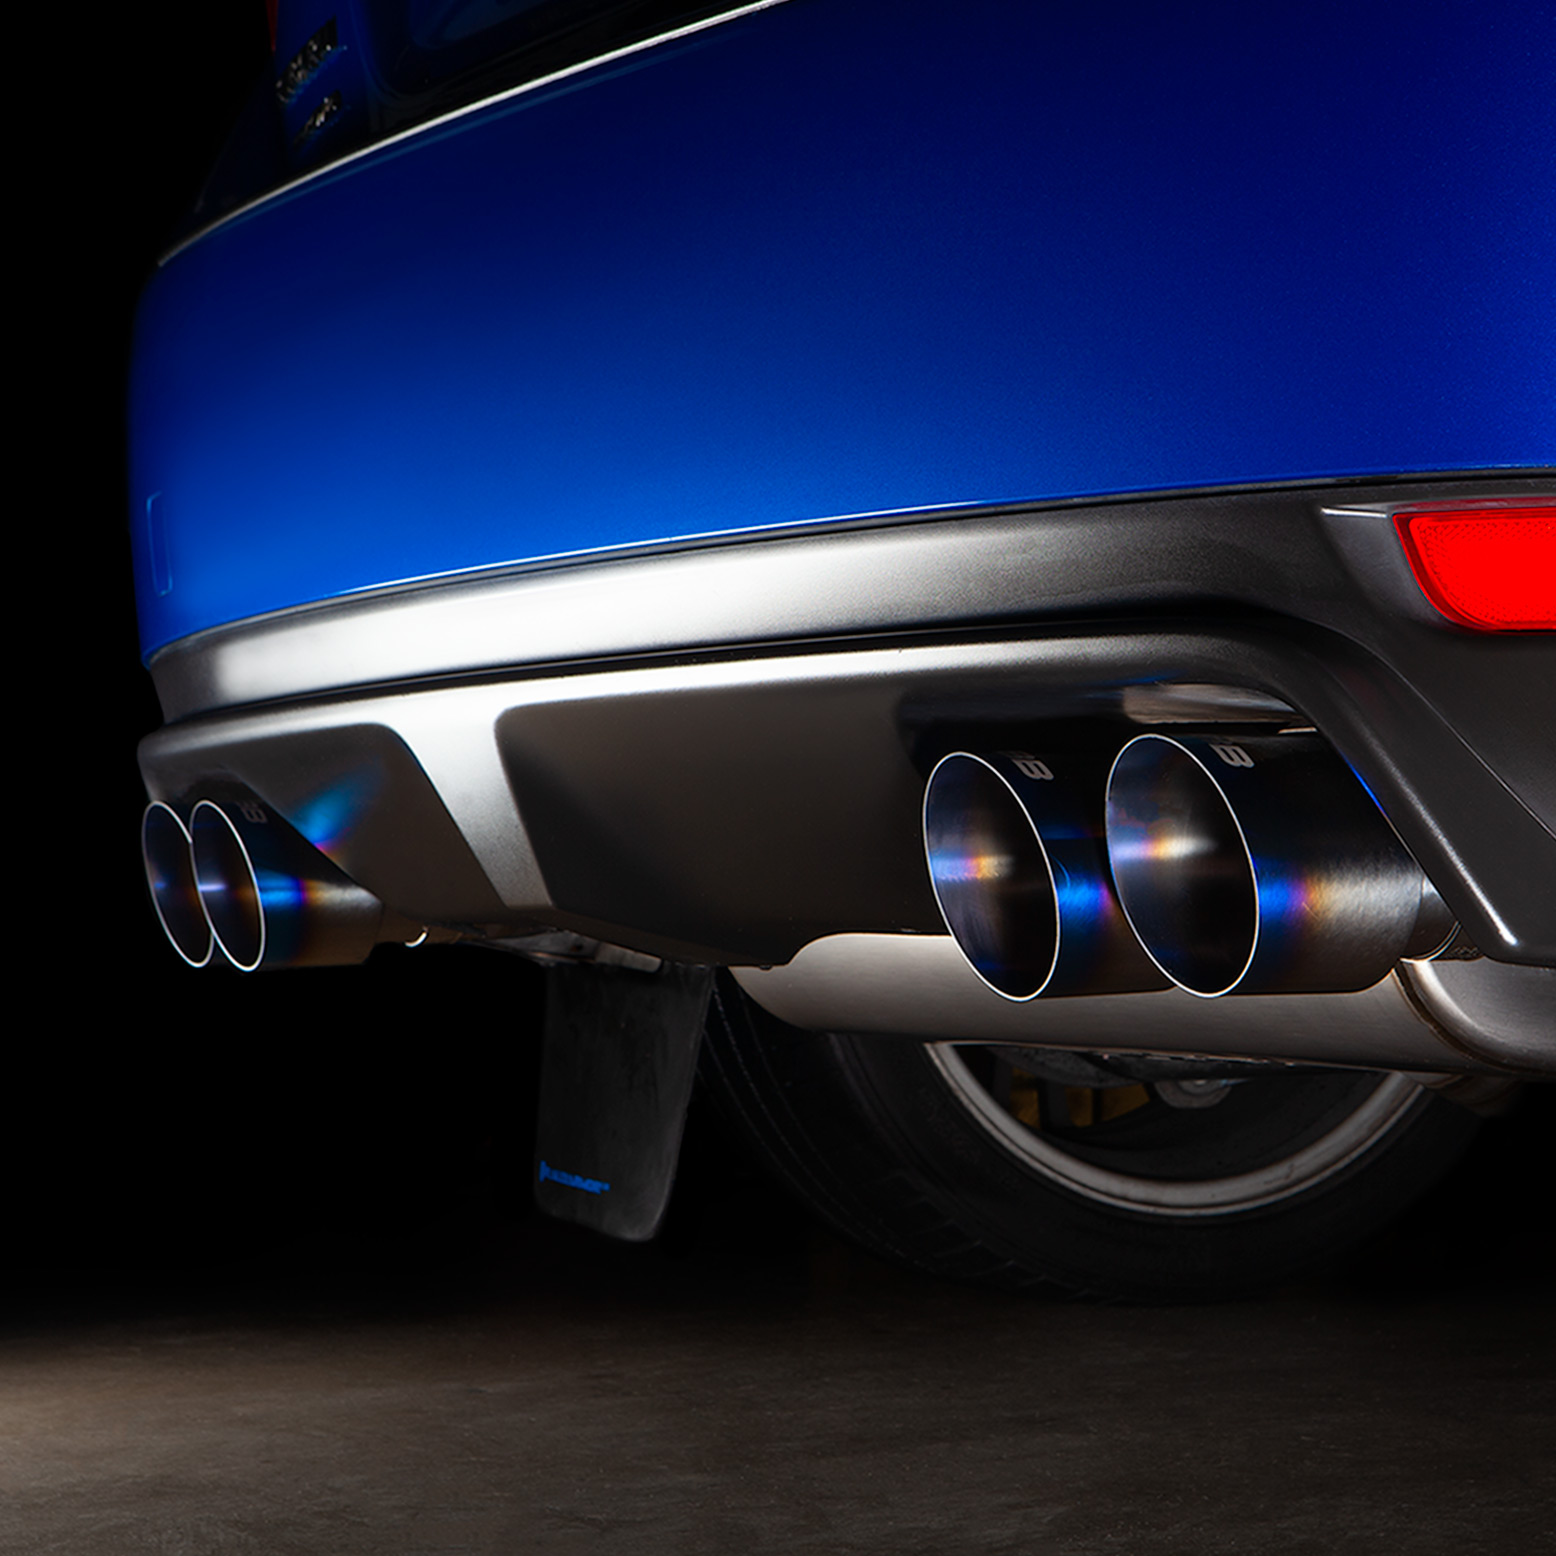
- With one of the smaller clamps installed over the tip, slide the tips on to the 4 outputs from the muffler, adjust them to your taste and then tighten the clamps using a 10mm socket.
- Double check to make sure that all of the nuts and bolts are nice and tight! Enjoy your new COBB Catback!
Links
COBB Product Install Instructions for Subaru Vehicles
Main Installation Instruction Repository for Subaru Parts
Calibration Map Notes for Subaru Vehicles
Link to Subaru Map Notes to see what map you should be on given the parts you've added
COBB Customer Support Web Support and Tech Articles: COBB Tuning Customer Support Center Email: support@cobbtuning.com Phone support available 9am to 6pm Monday-Thursday. 9am to 4pm Friday (CST) 866.922.3059 return to www.cobbtuning.comContact Us:
Copyright 2025 © COBB Tuning Products LLC. All Rights Reserved. | www.cobbtuning.com