745450 - DIT Turbo Inlet
- Brandyn Mowat

745450 - DIT Turbo Inlet
2015 - 2021 DIT WRX
2014 - 2018 Forester XT
Congratulations on your purchase of the COBB Tuning DIT WRX Turbo Inlet! The following instructions will assist you through the installation process. Please read them BEFORE beginning the install to familiarize yourself with the steps and tools needed. If you feel you cannot properly perform this installation, we HIGHLY recommend you take the vehicle to a qualified and experienced automotive technician.
Table of Contents
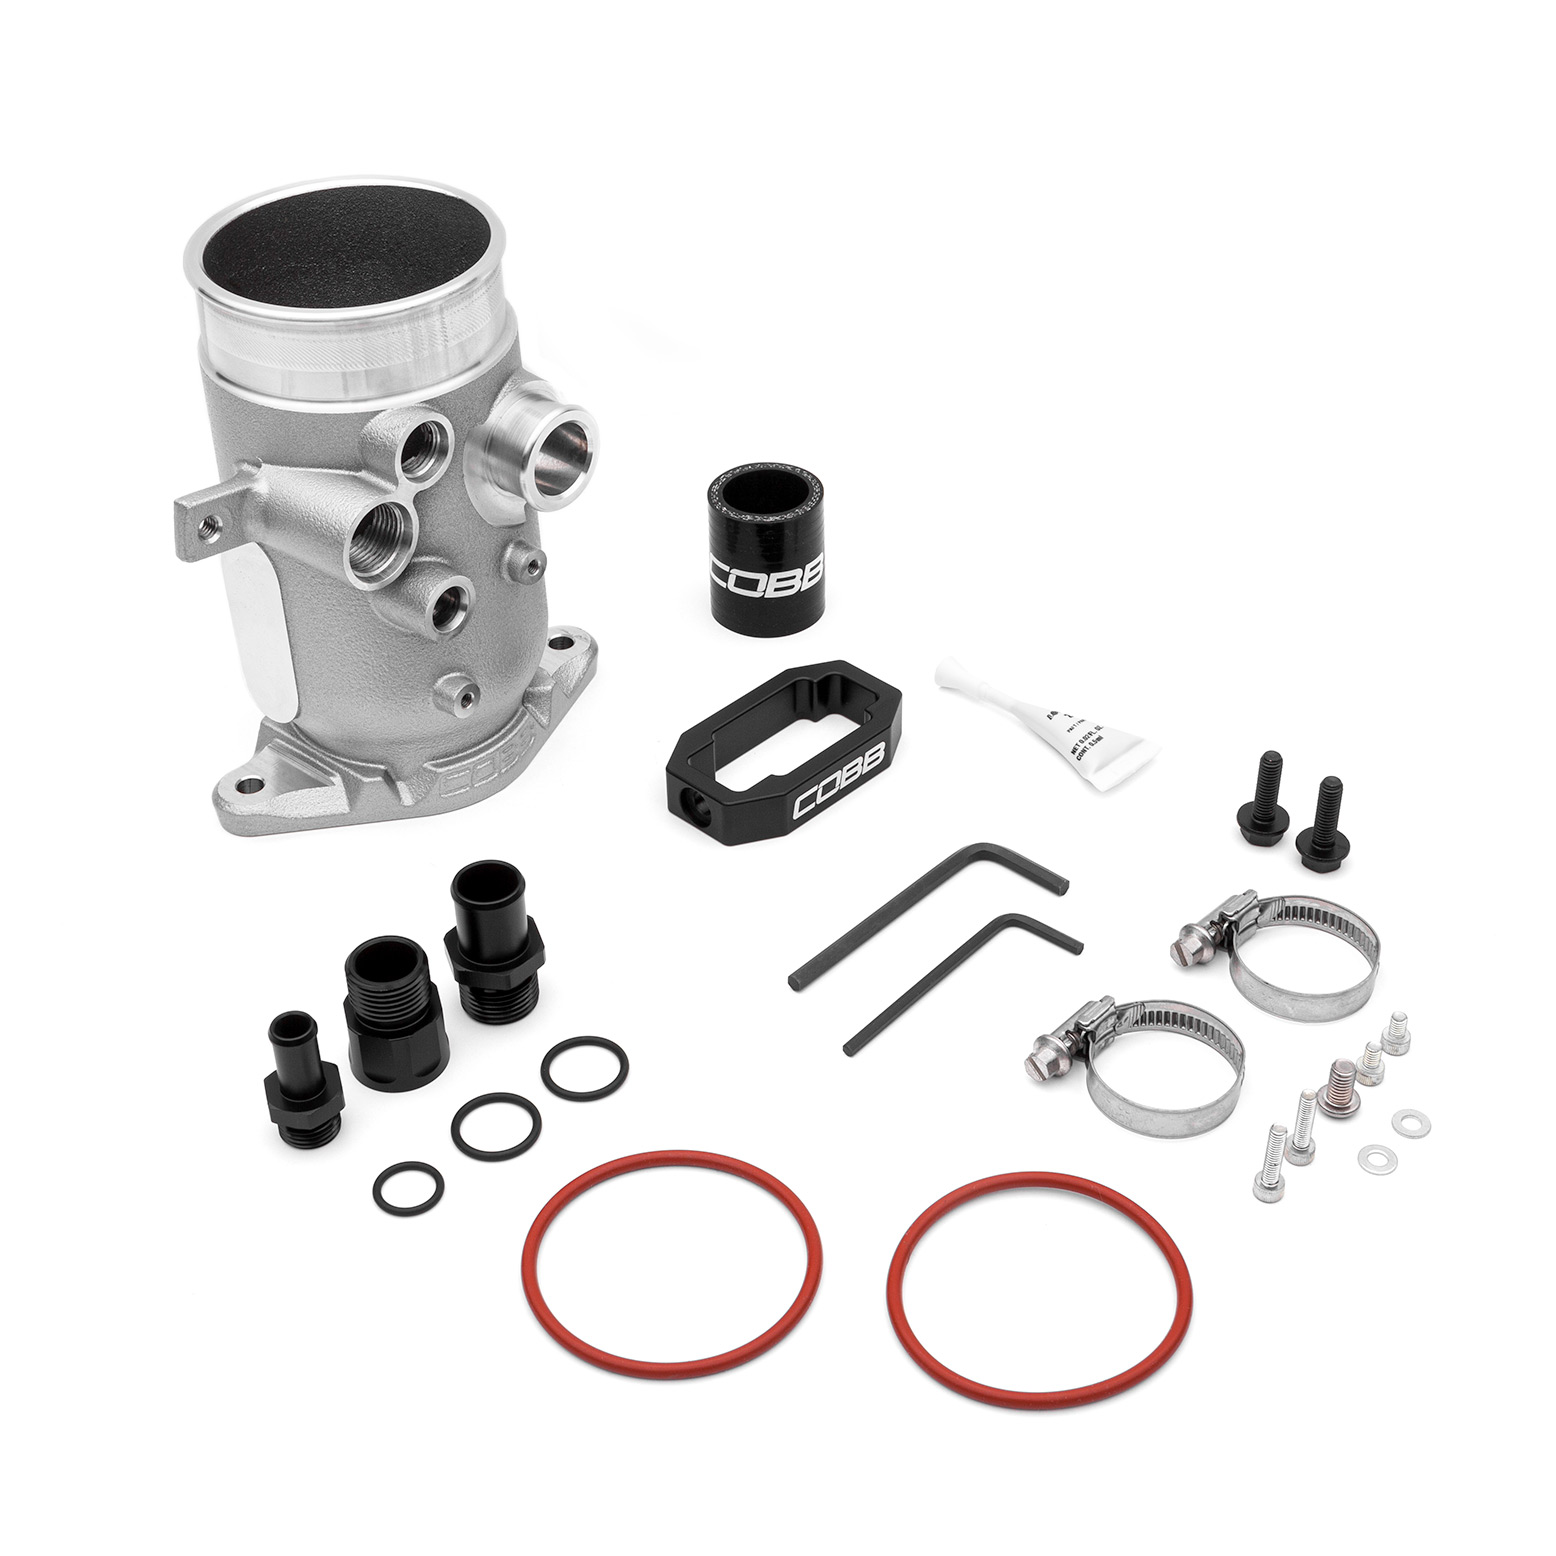
Parts List

Used in COBB EBCS Installation Only
Packet of Loctite
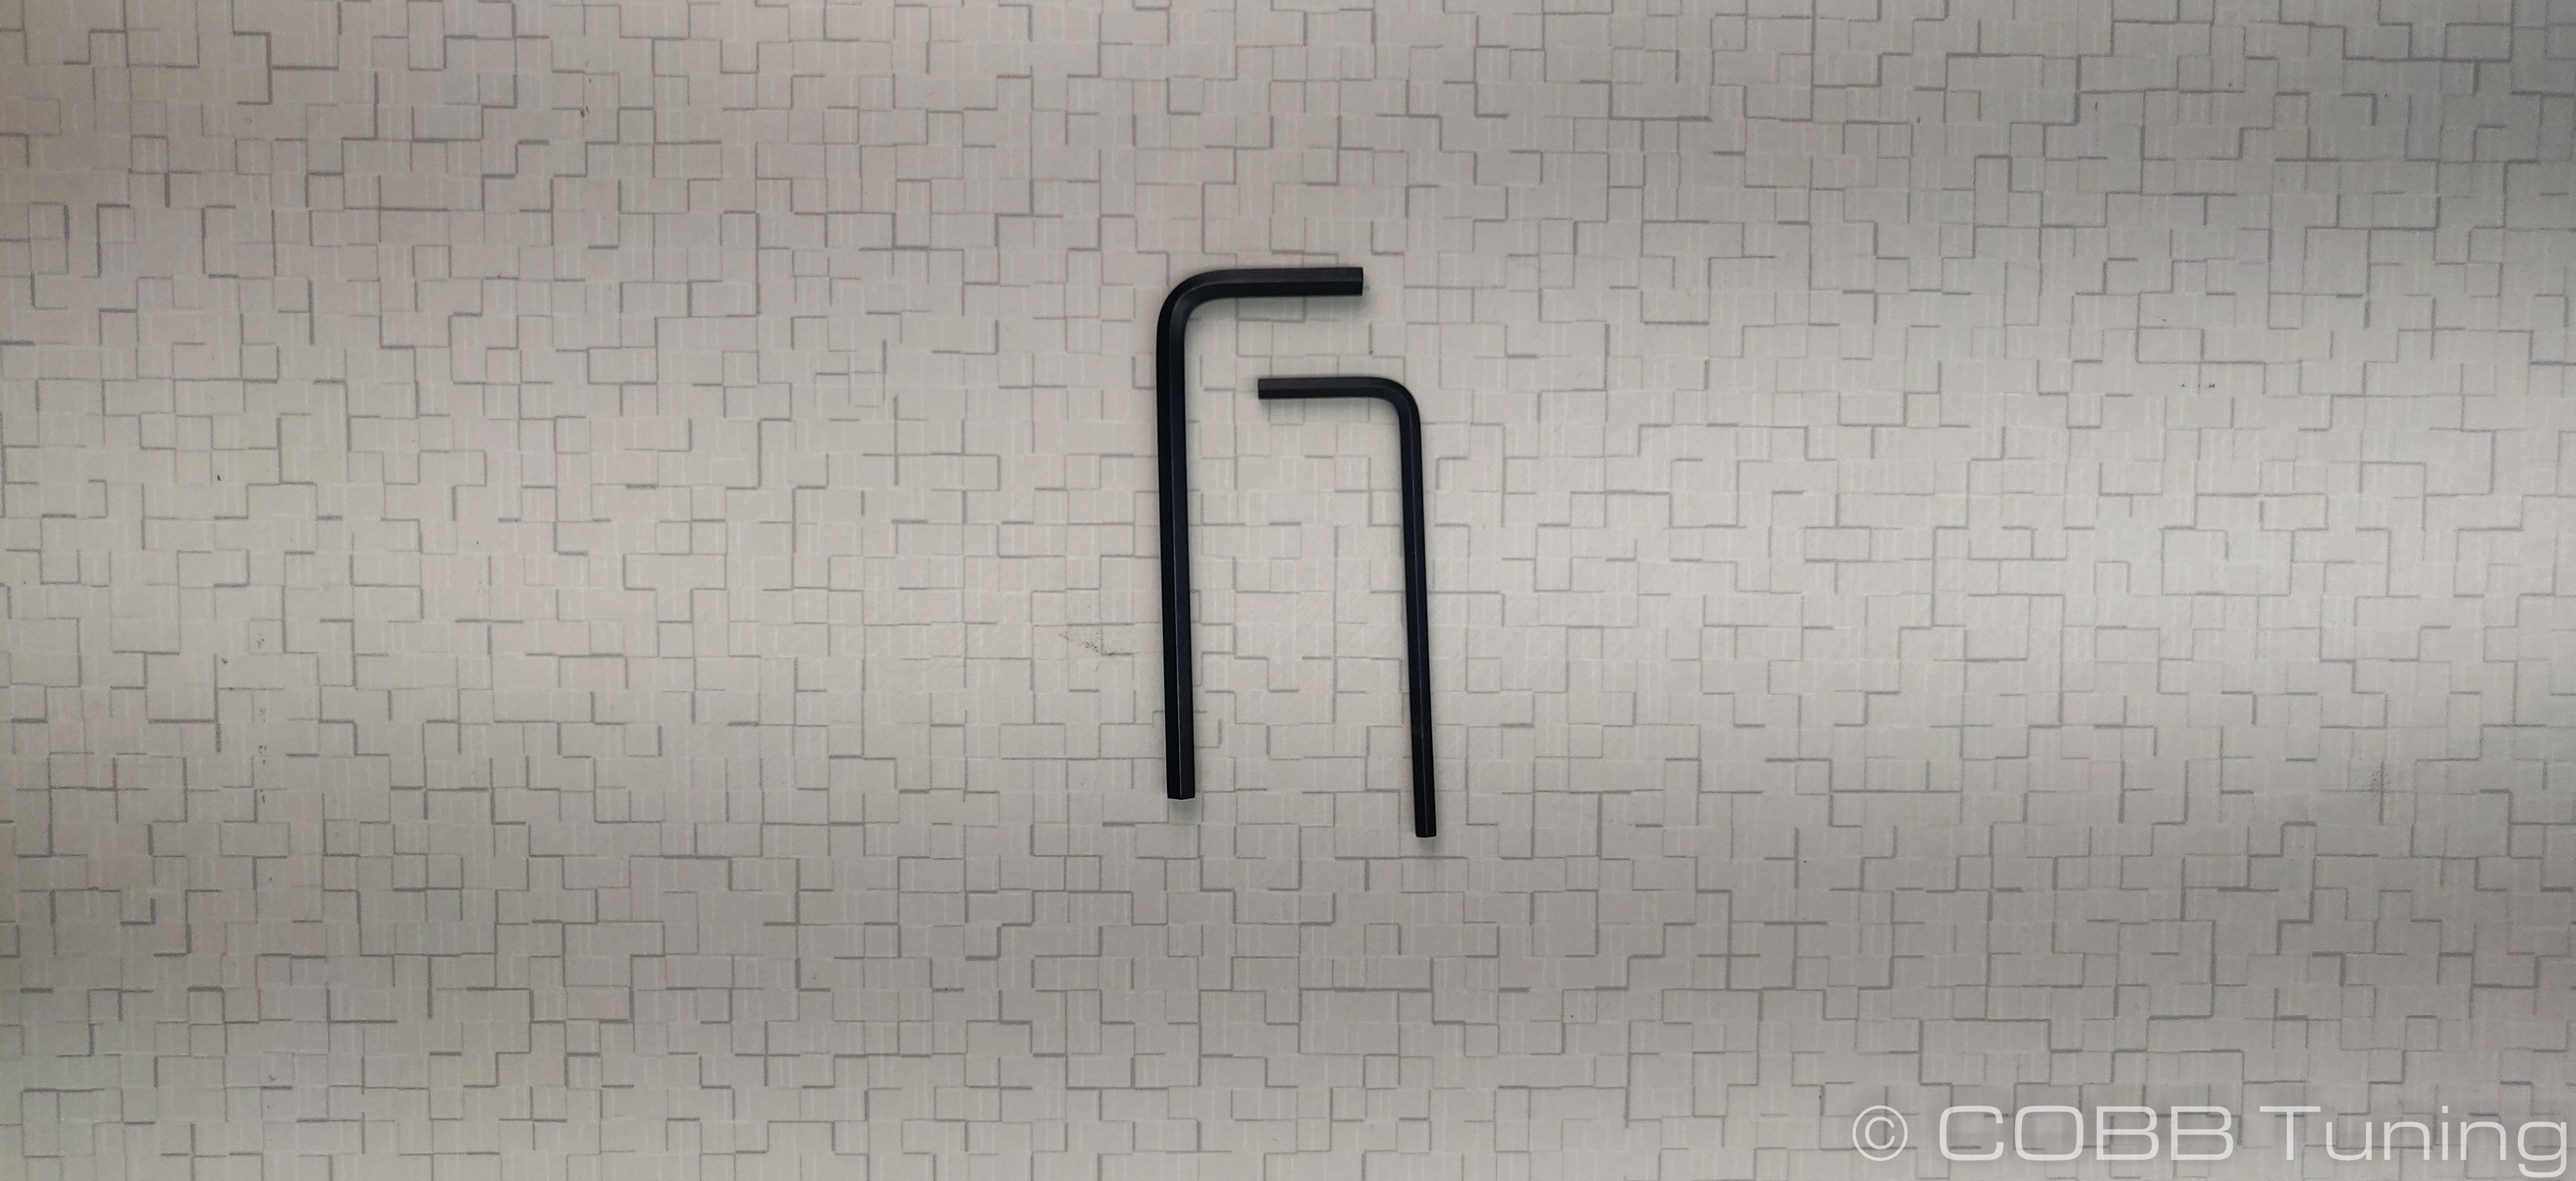
Tools Needed
Sockets
3/8"
- 3/8" ratchet
- 3/8" 12" extension
- 3/8" 6" extension
- 3/8" 7mm socket
- 3/8" 8mm socket
- 3/8" 10mm socket
- 3/8" 12mm socket
1/2"
- 1/2" ratchet
- 1/2" breaker bar*
- 1/2" 16" extension*
- 1/2" 14mm socket*
- 1/2" 23mm deep socket
- Torque Wrench
Hand Tools
- Phillips head screwdriver
- Flathead screwdriver
- Pick
Pre-Installation Prep
- Park your car in a flat, level area and allow it to cool down properly.
- Using a 10mm wrench, remove the negative terminal of the battery.
- Lift and support the vehicle safely using either a jack and stands or a lift.
Undertray Removal
- Inspect the new components included with the COBB kit. If anything appears out of place, please contact COBB immediately and do not proceed with the installation.
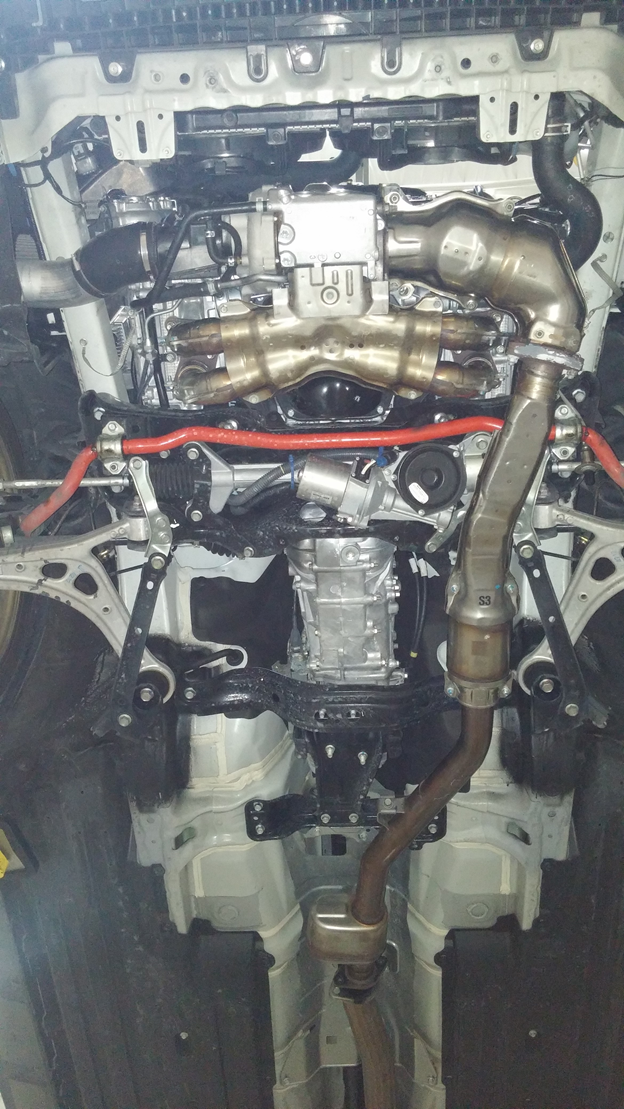
- Begin by placing the car on the lift and raising it to where you can now access the bottom of the vehicle.
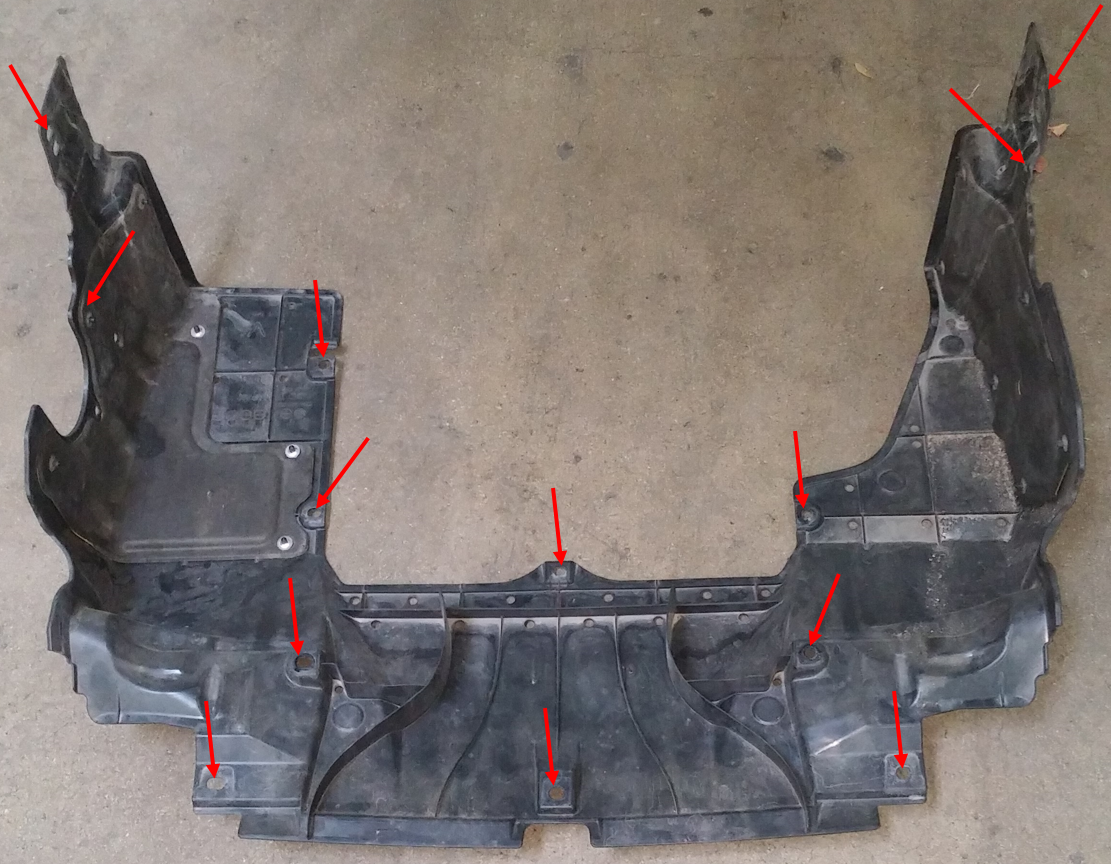
Next, remove the plastic under tray by using the flathead screwdriver to remove the pushpins and the 12mm socket to remove the two bolts holding the under tray to the car. Recommended: Take pictures of where each pushpin is for your future reference.

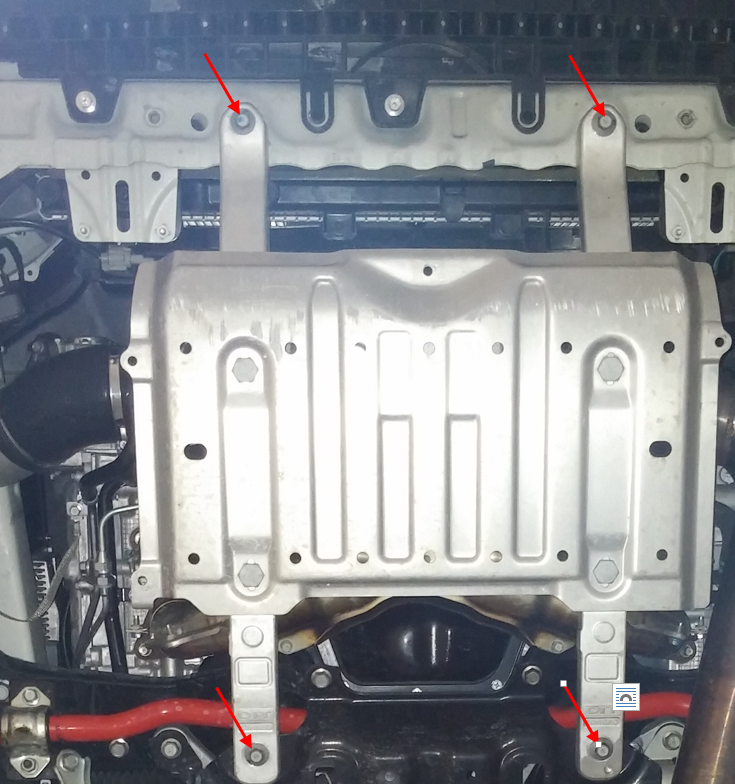
- Once the under tray is uninstalled, remove the skid plate by using a 12mm socket to loosen the bolts fastening it to the car.
- With the under tray and skid plate removed, you should now be looking at an open bottom side of the car!
Stock Inlet Housing Removal
- Remove the coupler from your intake going to the inlet. In some cases it may be easier to remove some/most of your intake to do so.
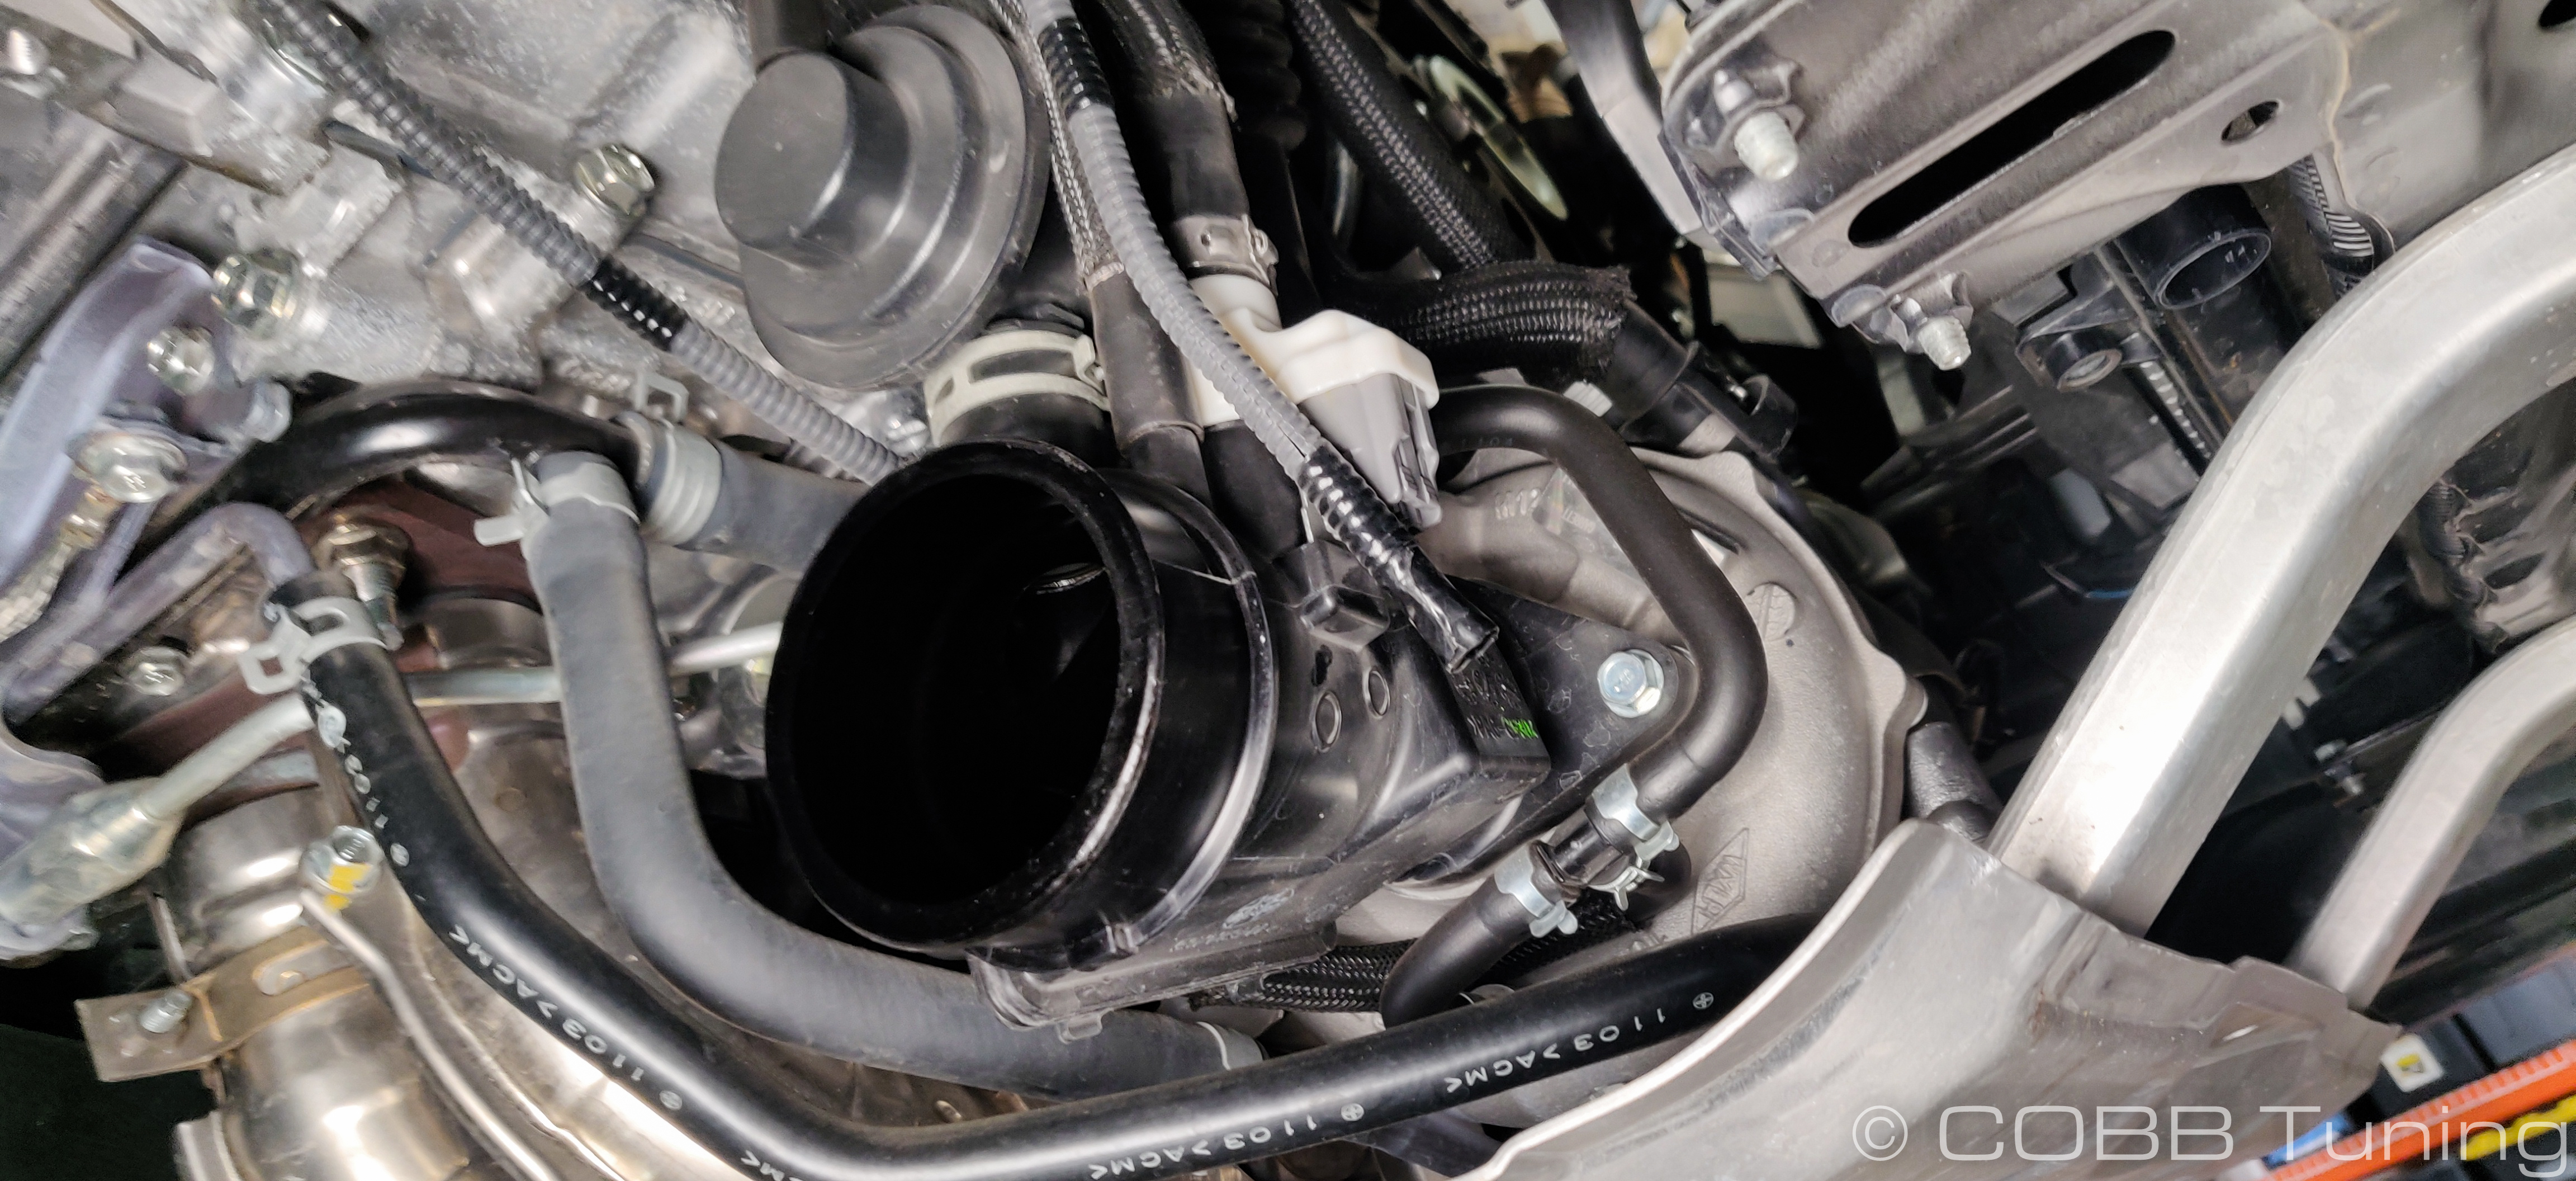
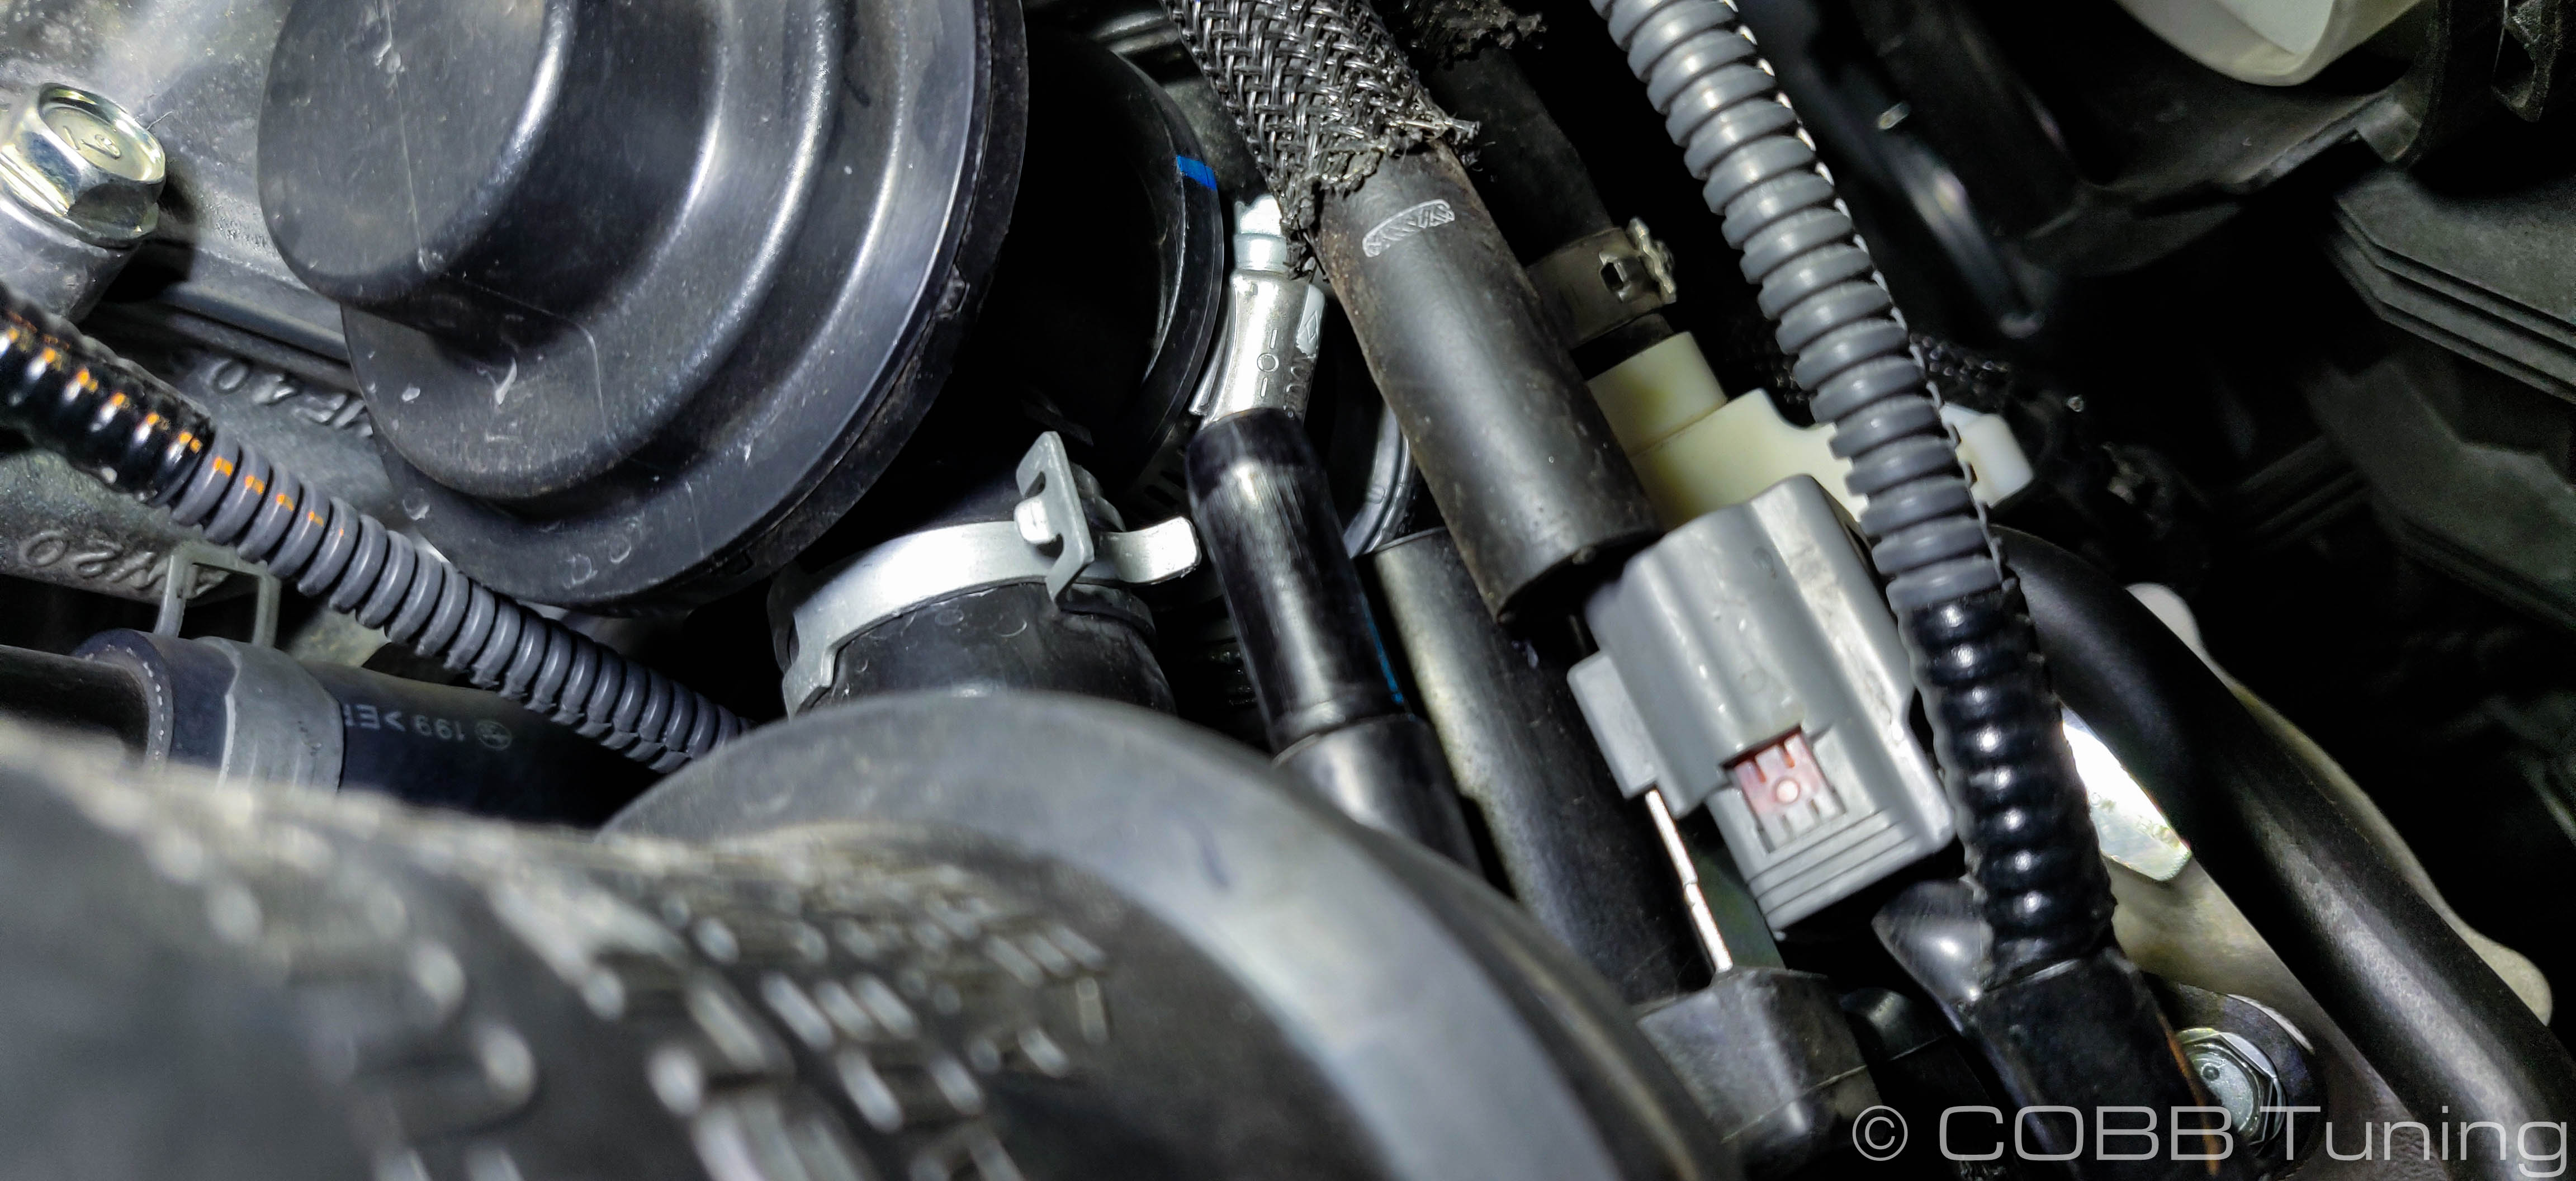
- For models with the white pcv connector Push in the grey connector tab and lift upwards to remove the pcv hose.
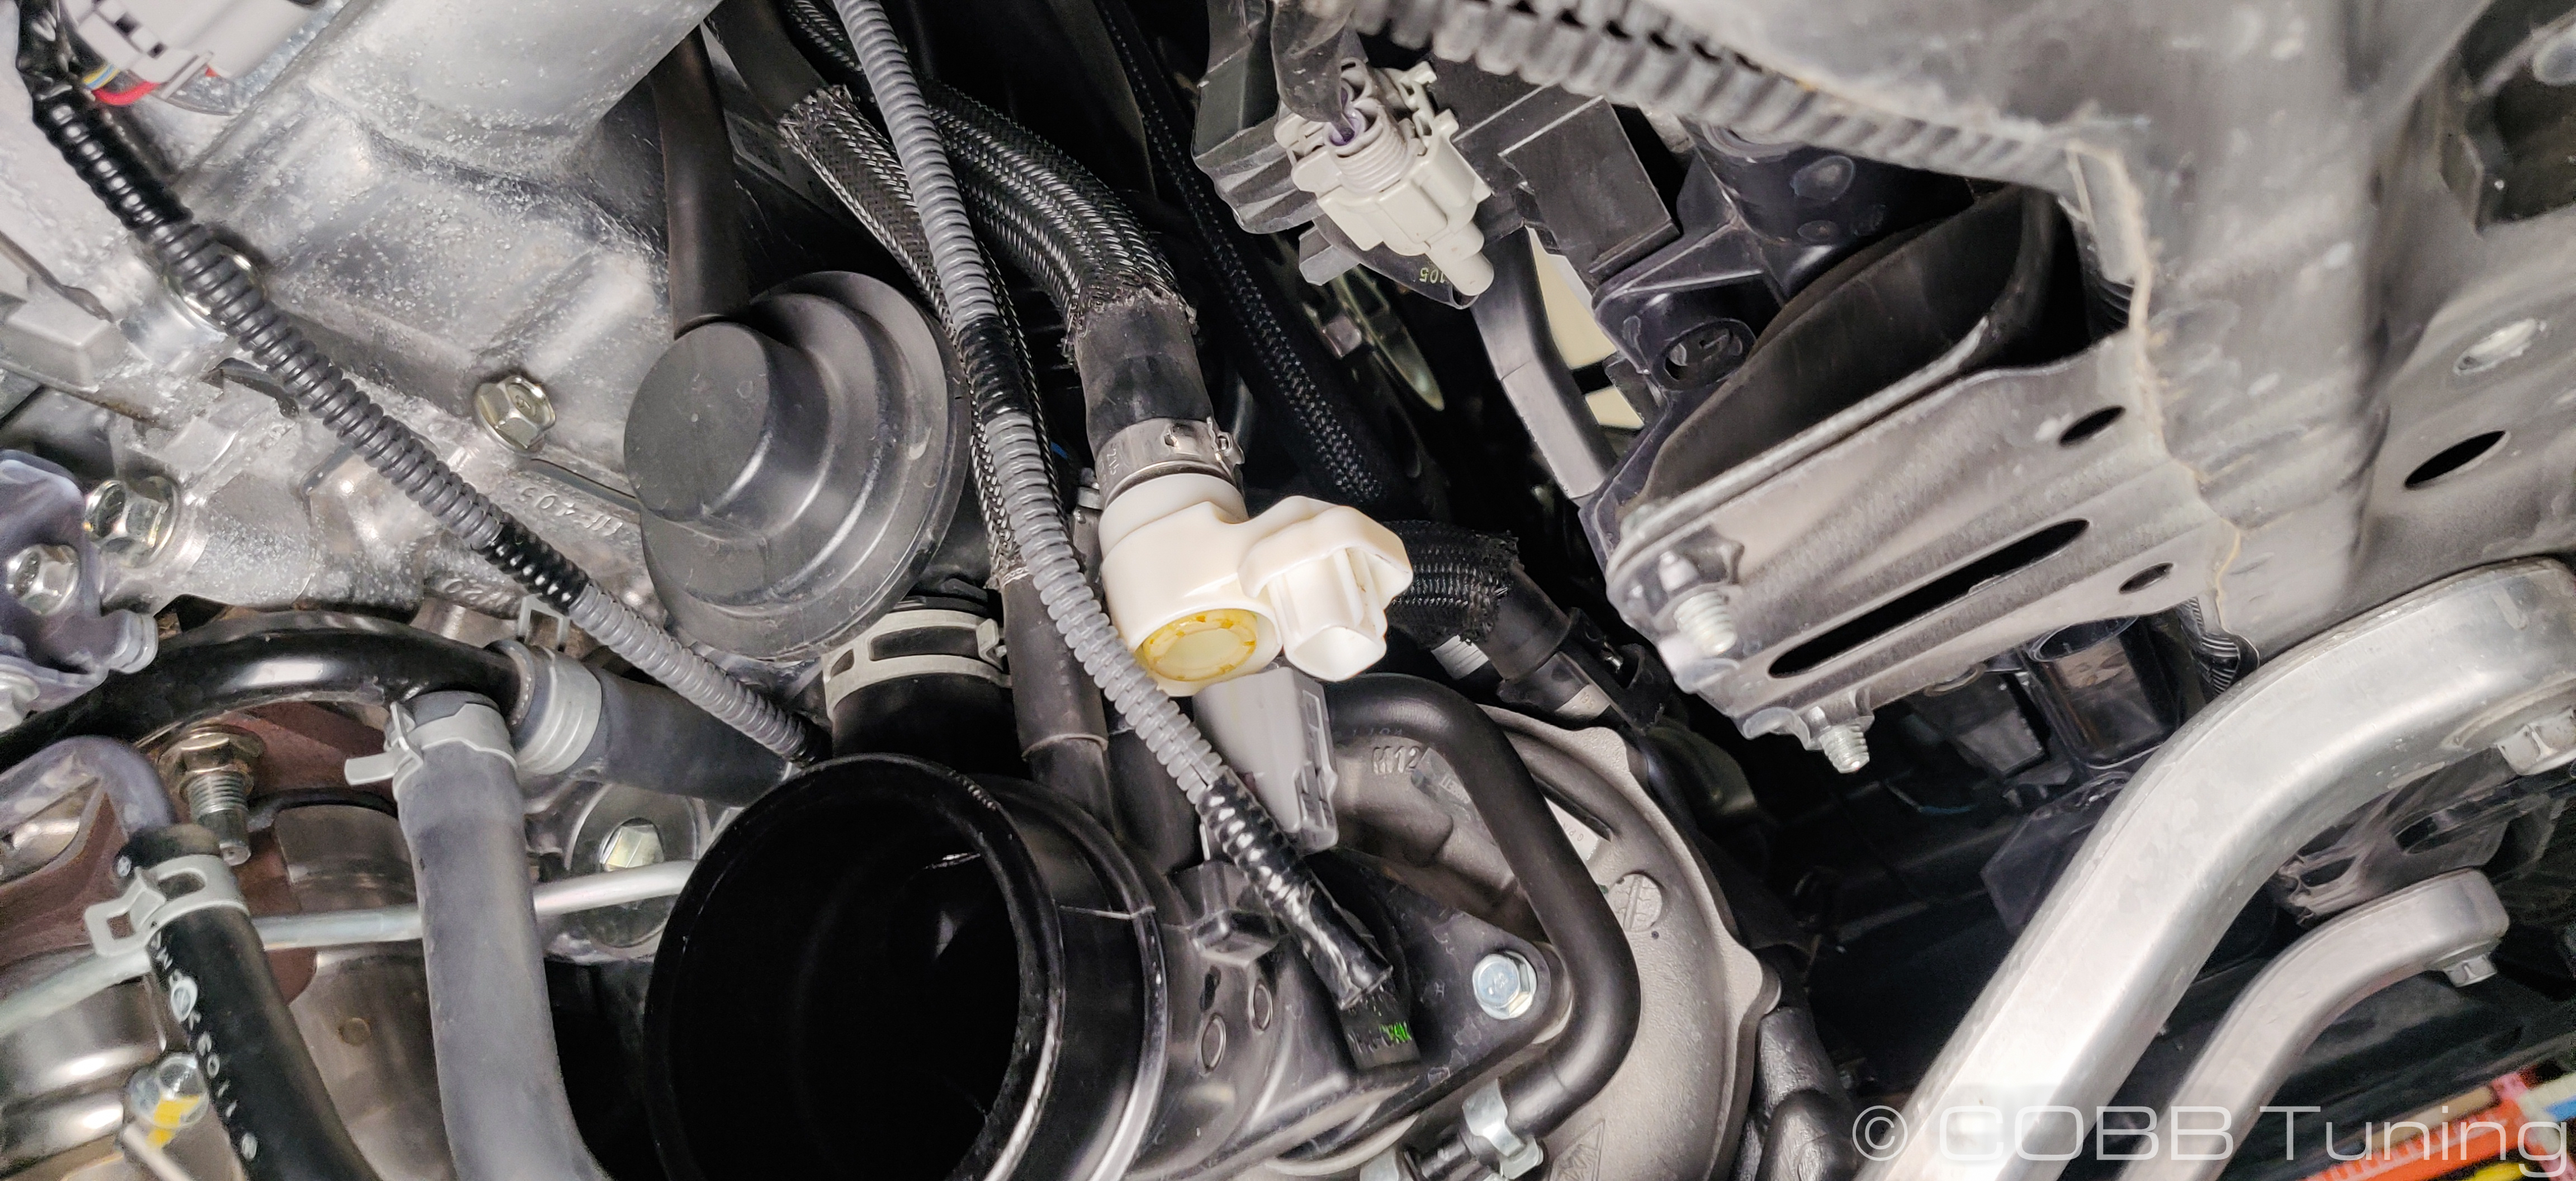
- For vehicles without the white connector you'll simply remove the hose clamp to remove the hose occupying that position.
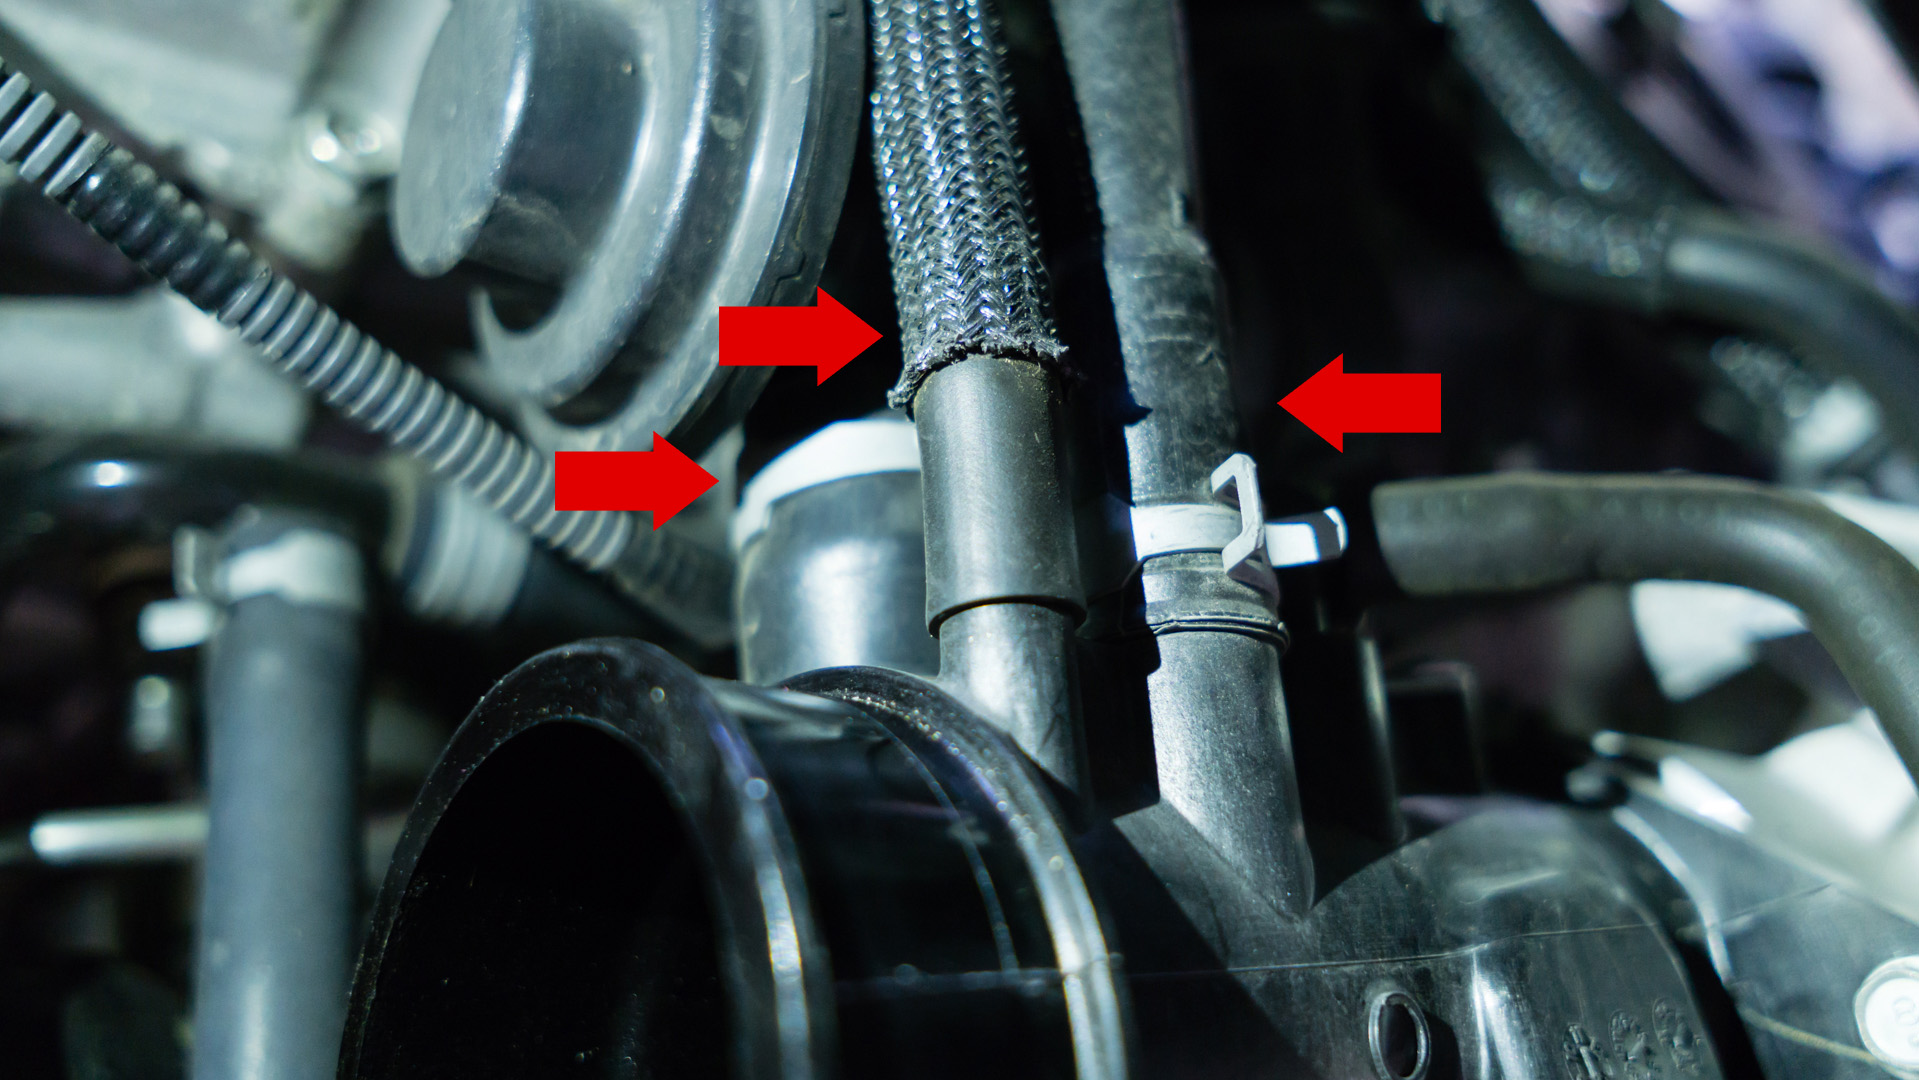
- Remove the smaller hose using your hands or gently using pliers.

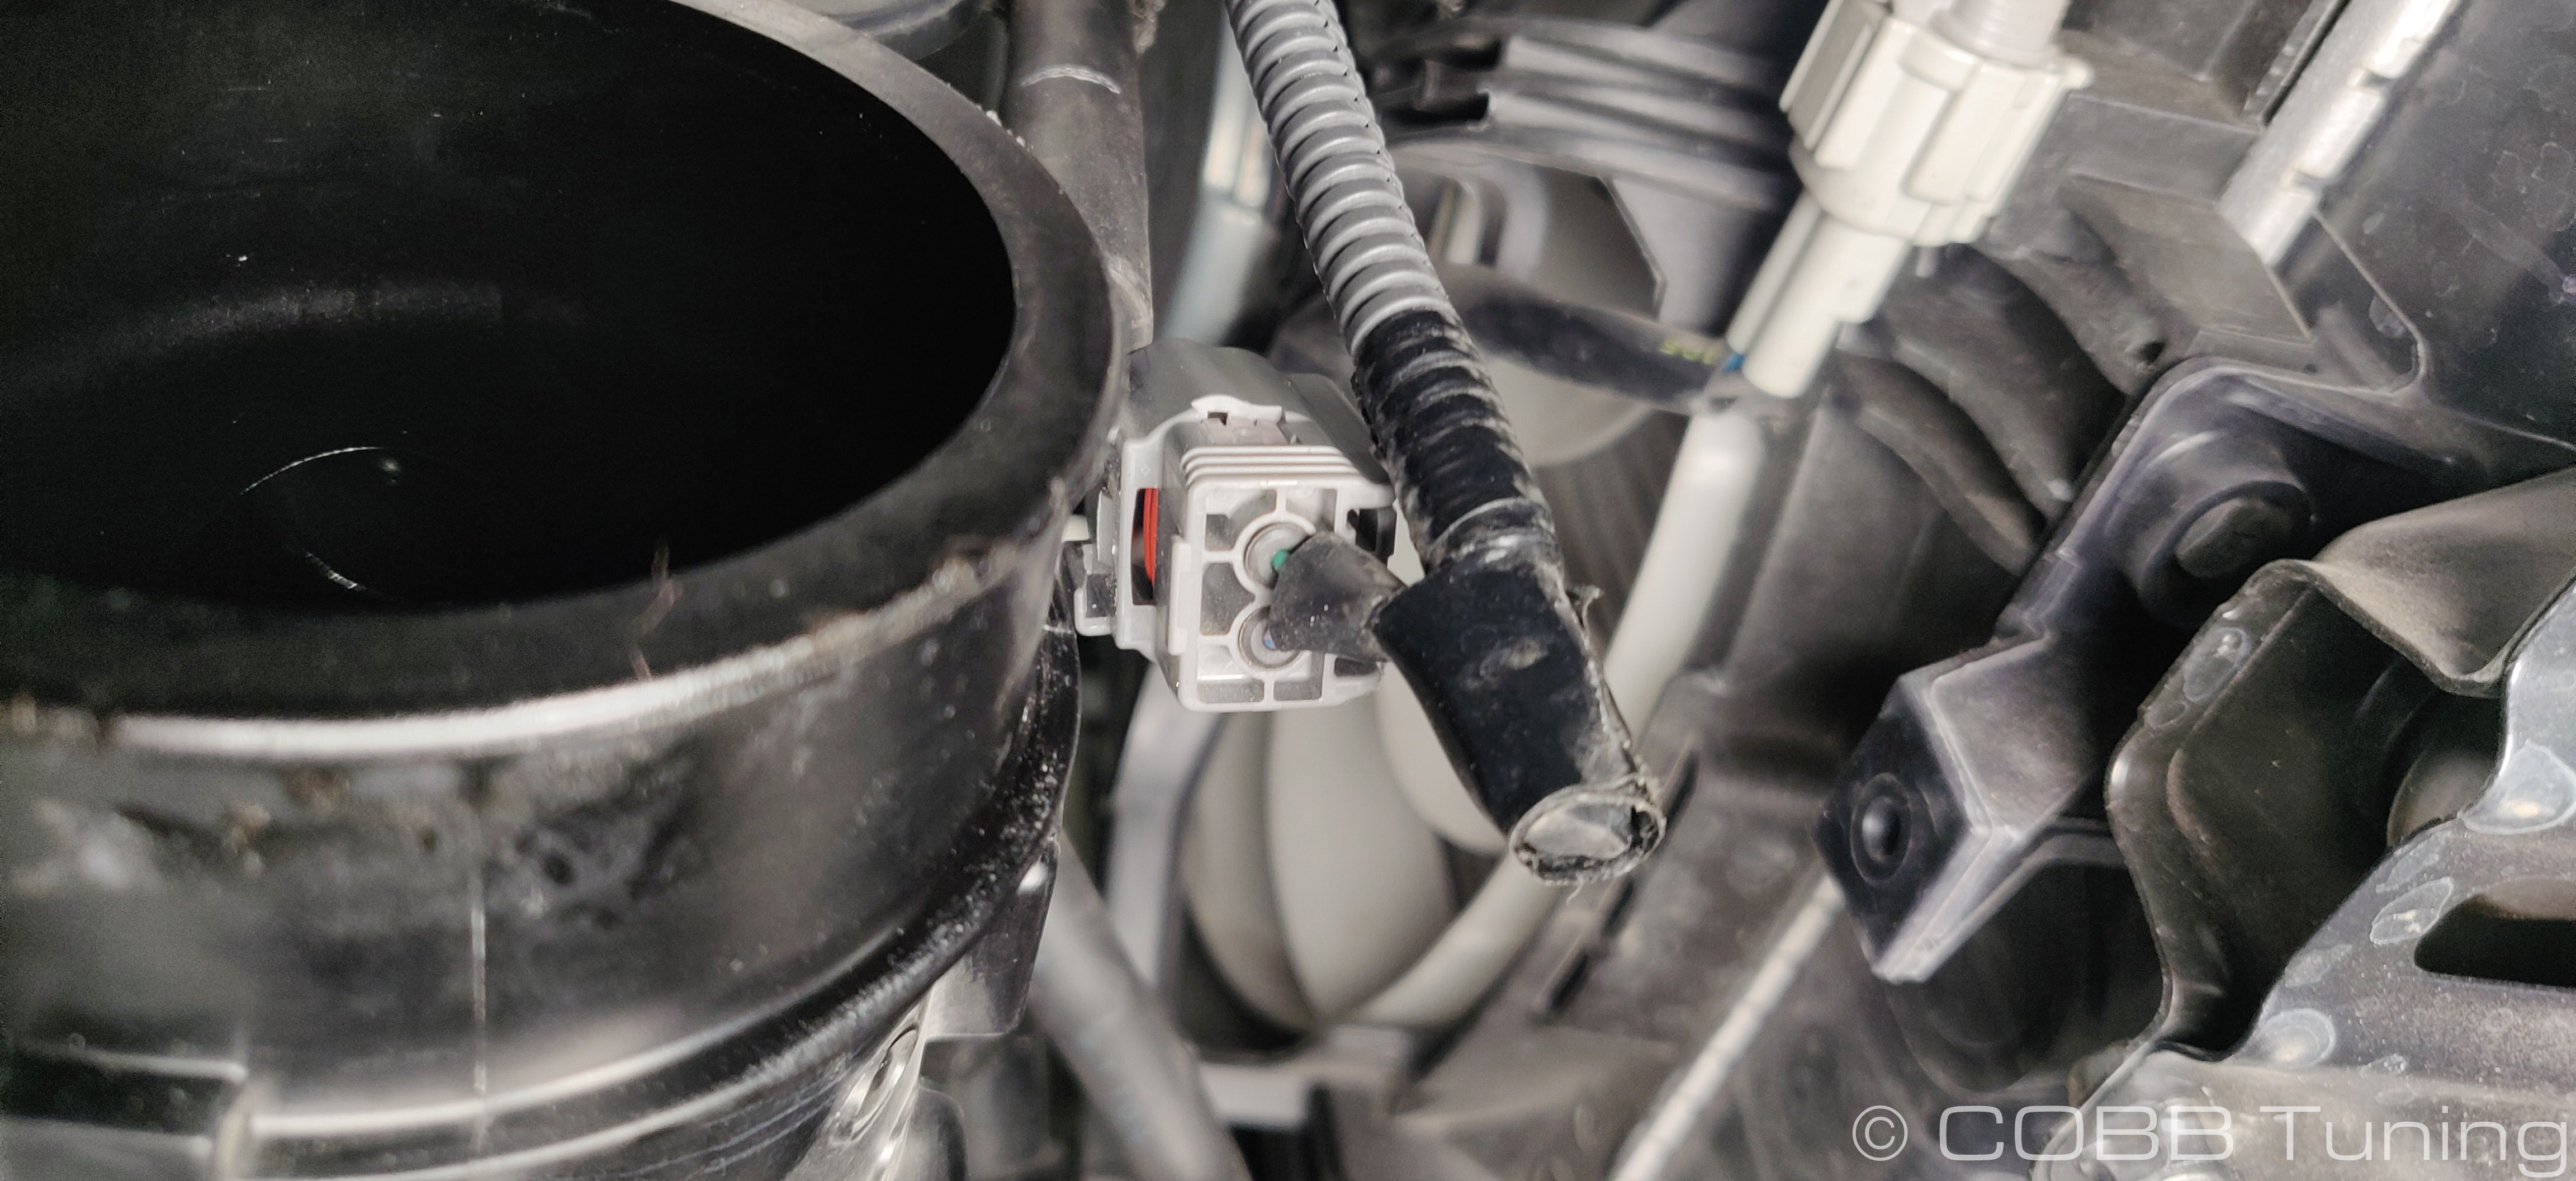
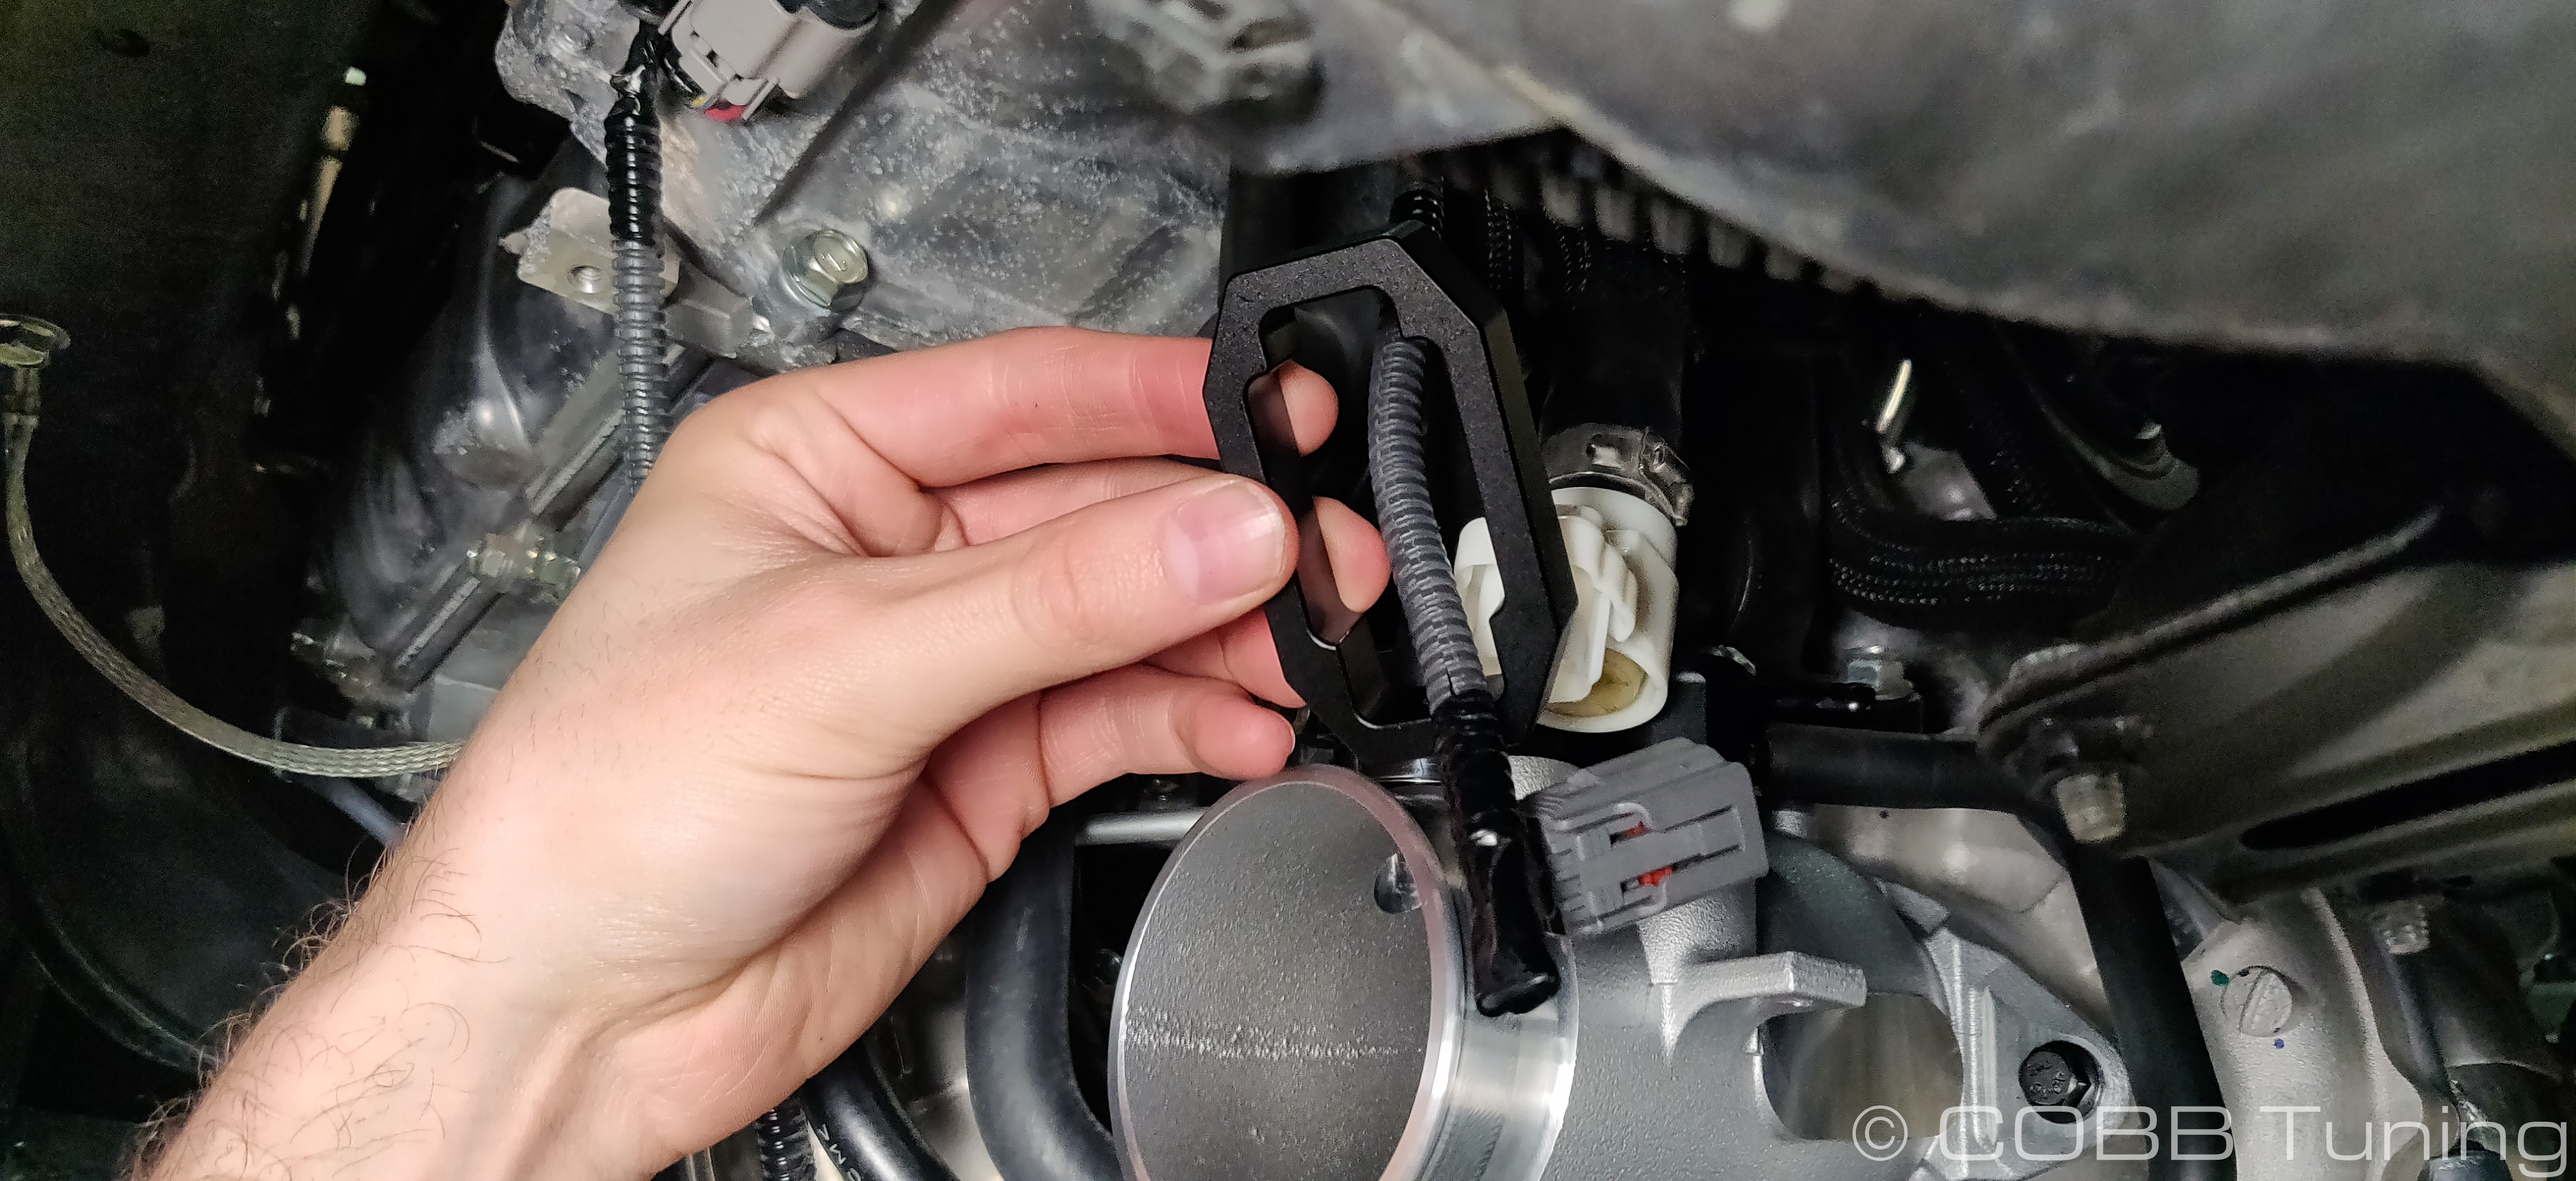
- Using a pick or small screwdriver stick it into the bottom slot of the grey connector and gently pull downwards to remove it from the mount on the side of the inlet.
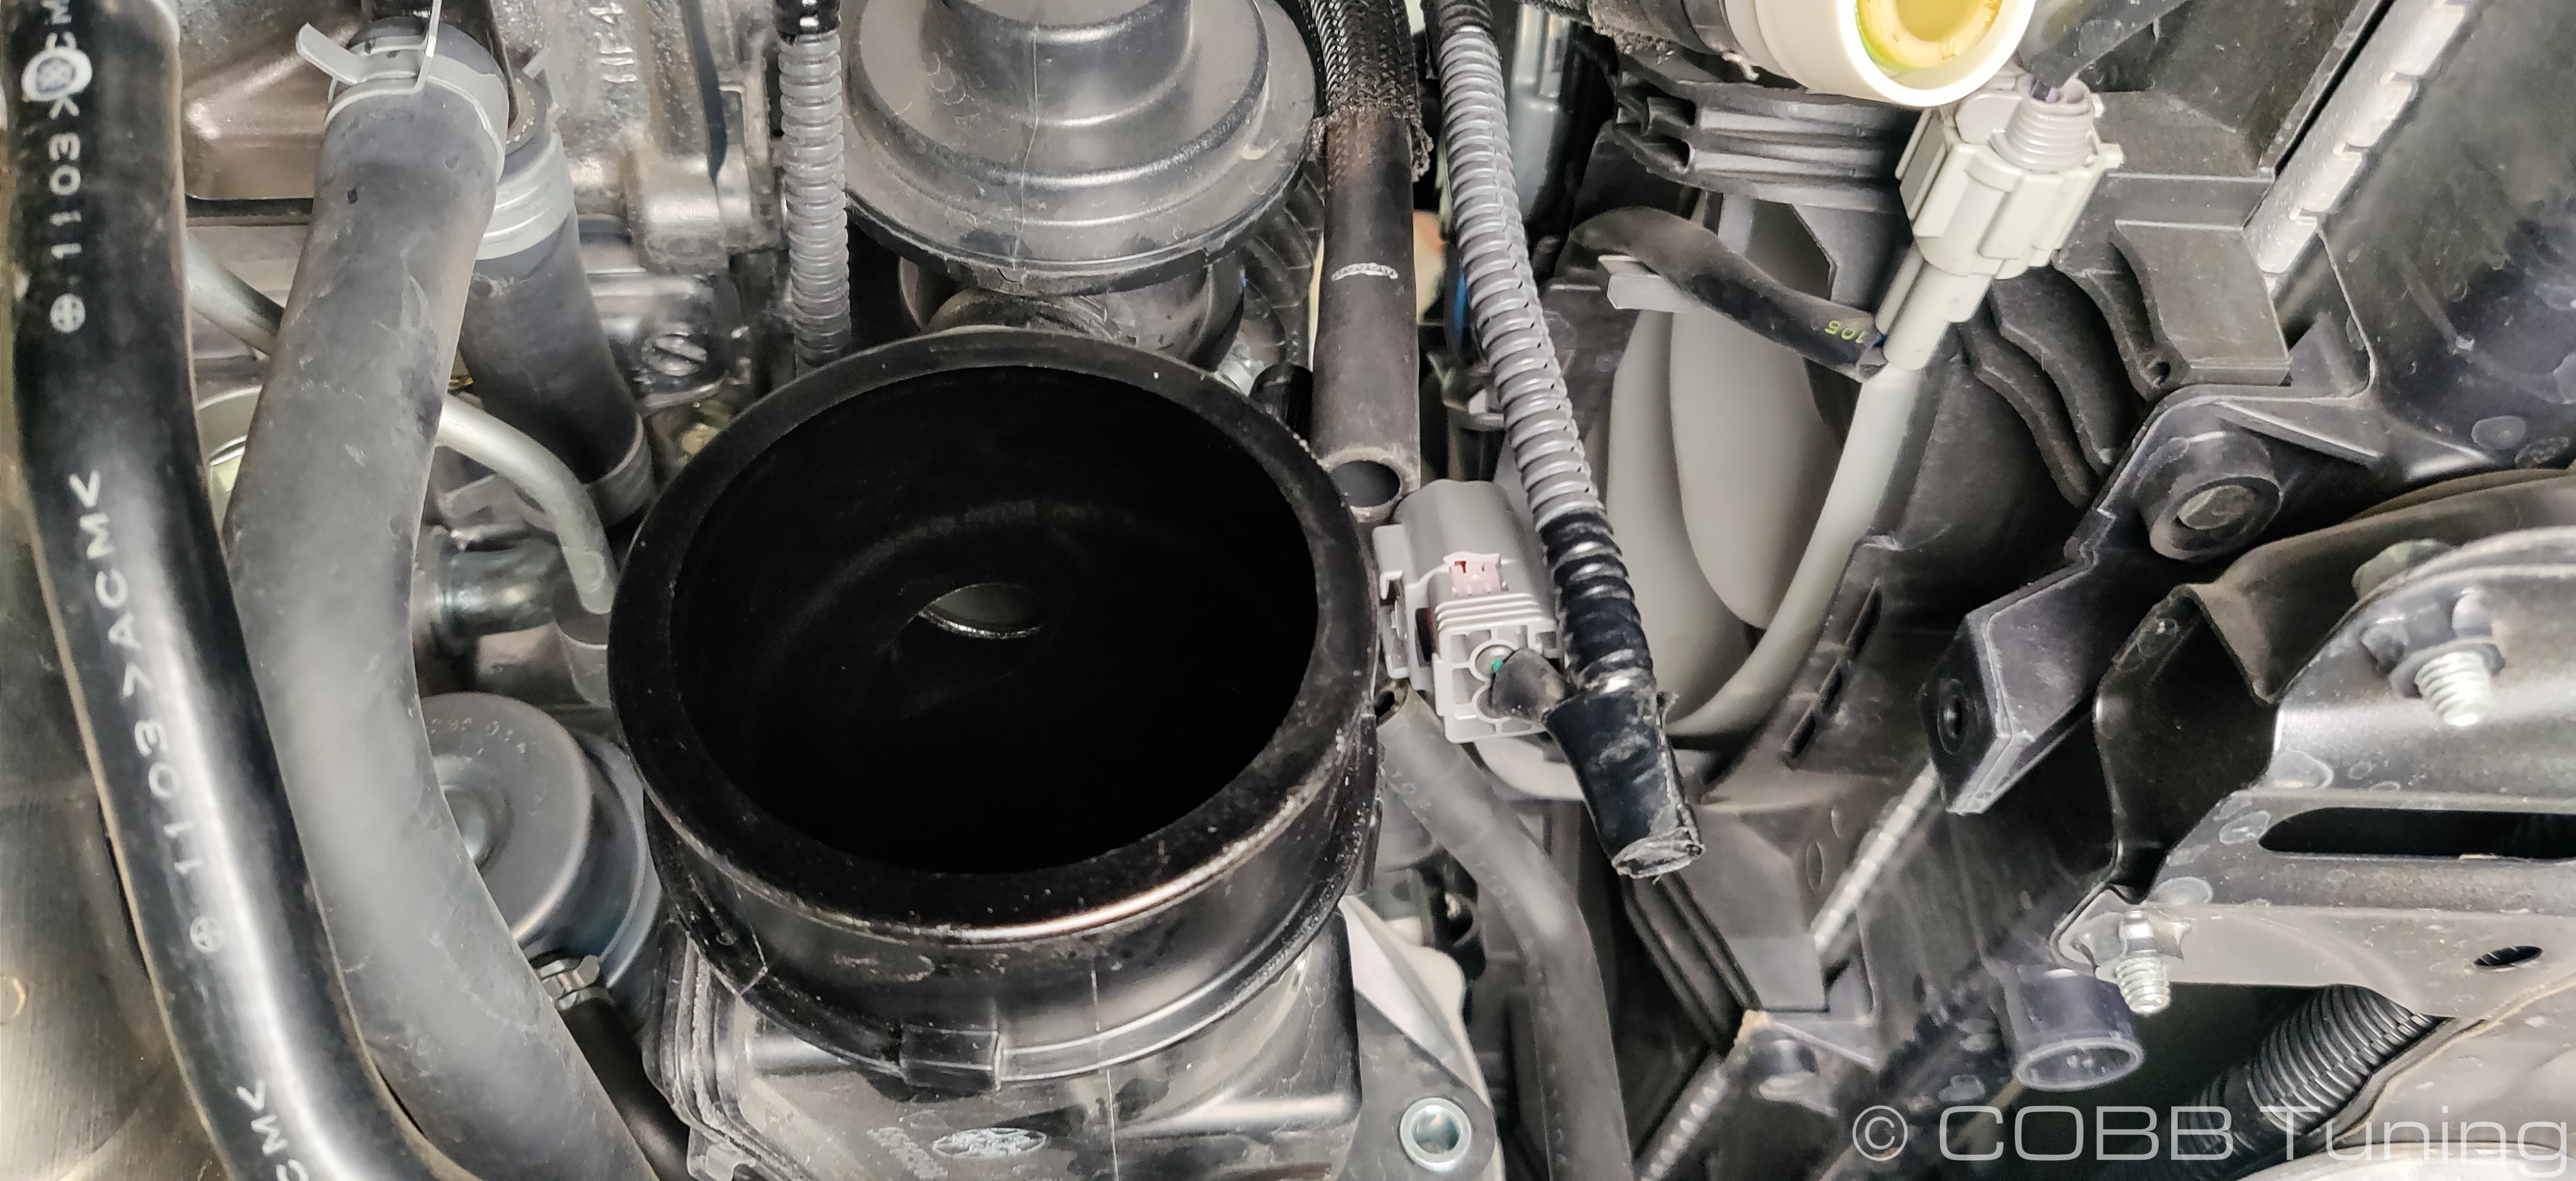
- Remove the vacuum line from the top of the factory BPV
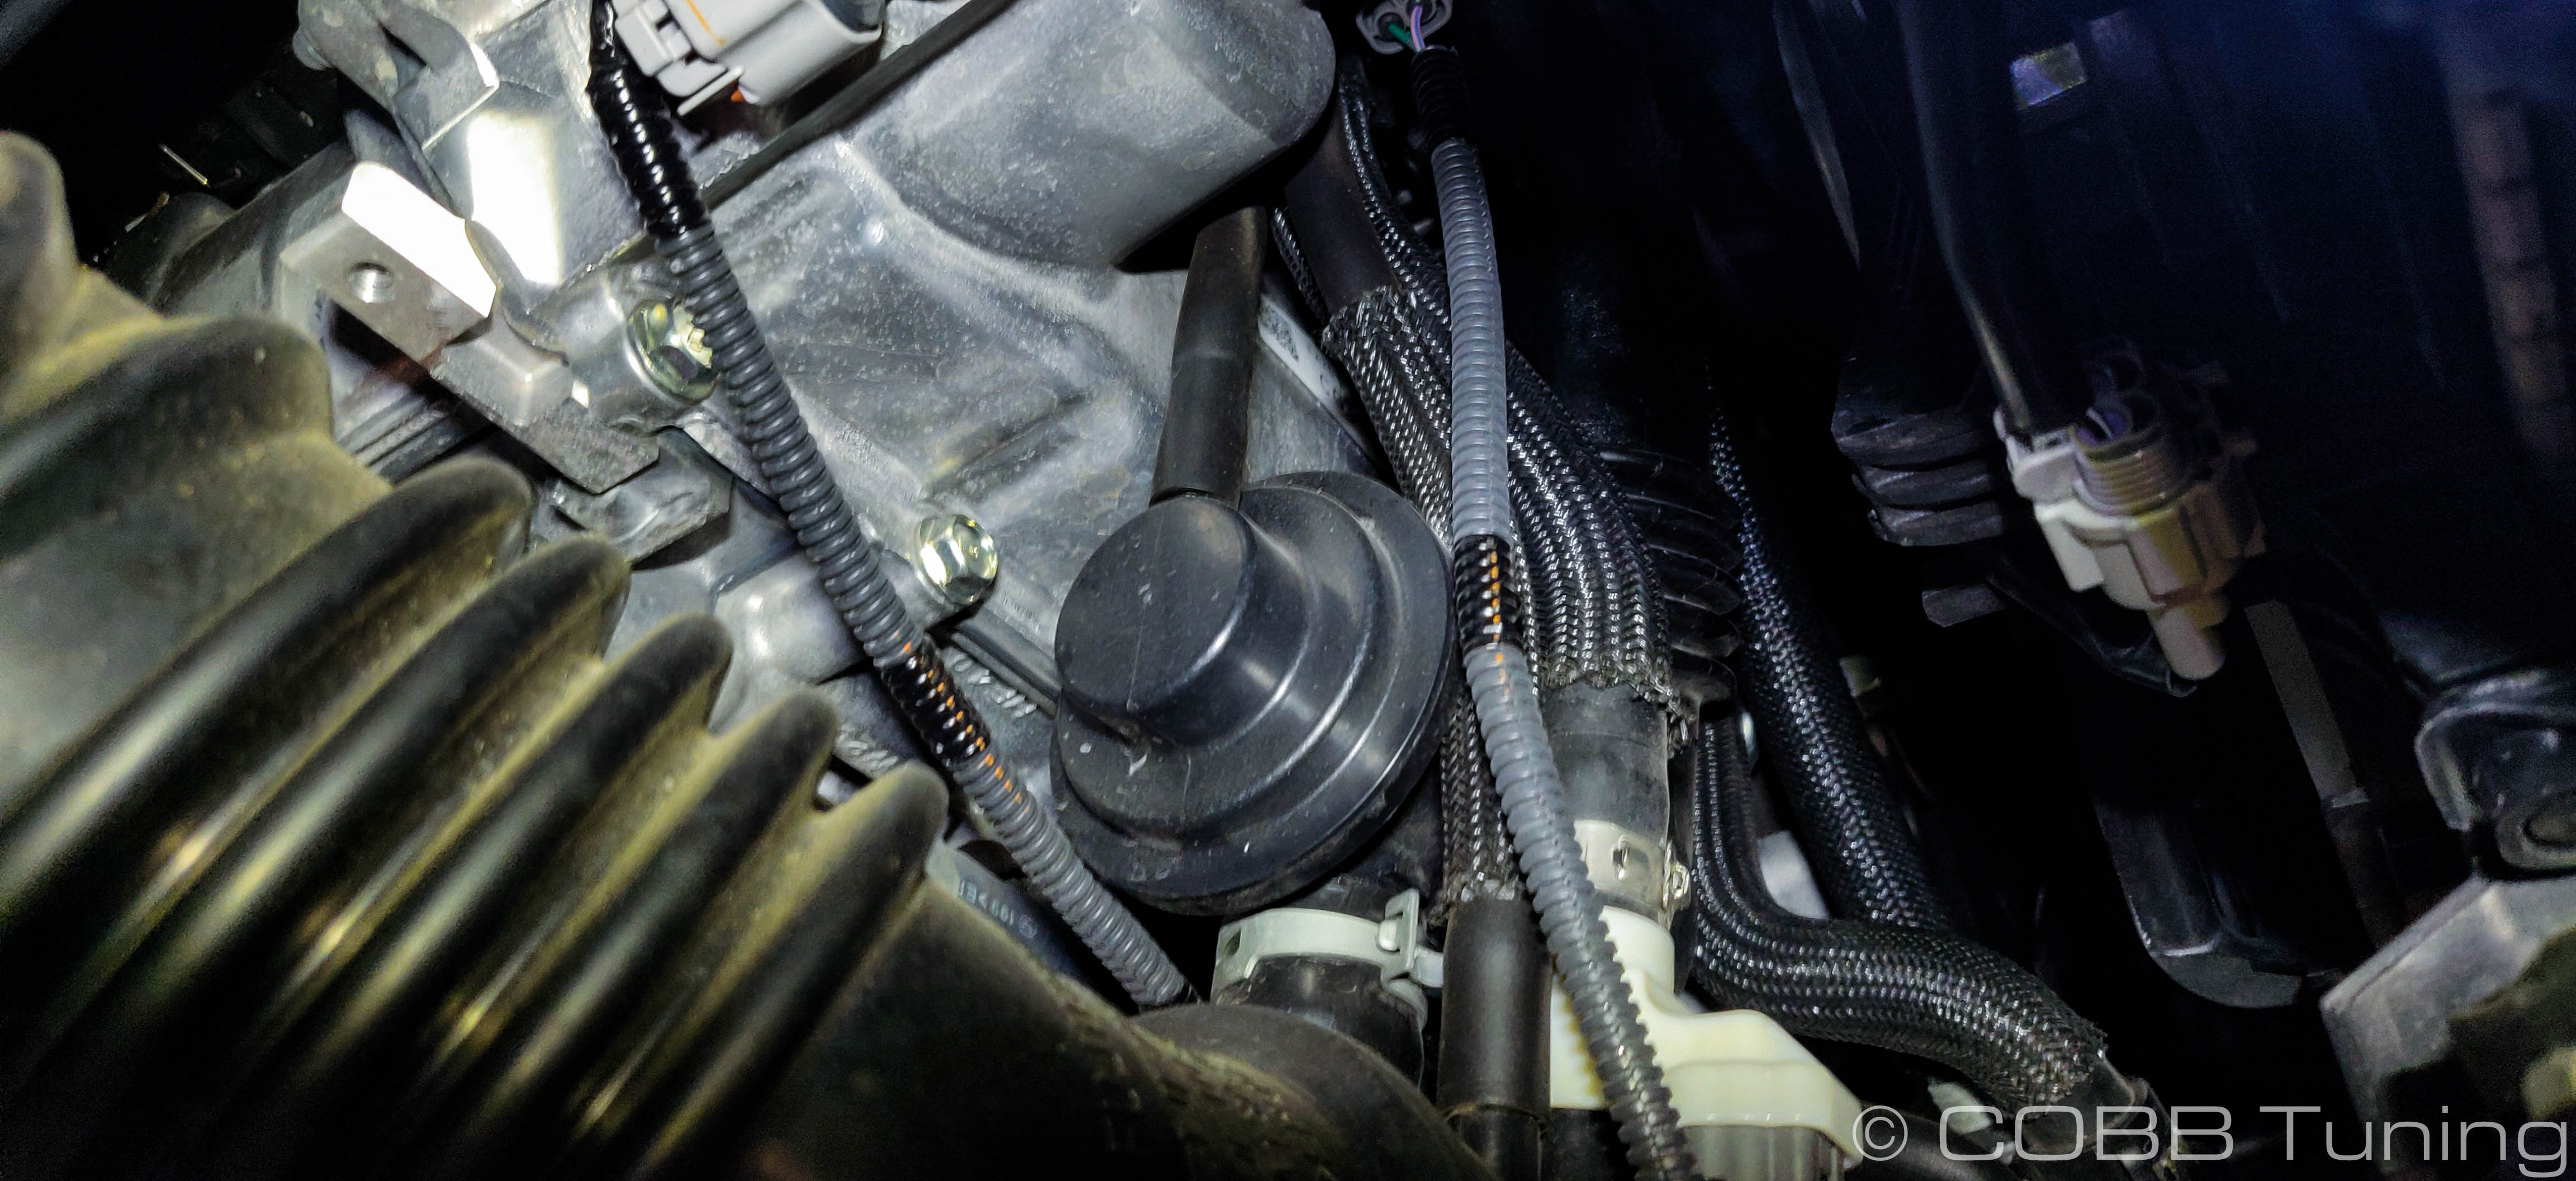
- Undo the hose clamp holding the bypass valve to the recirculation tube/charge pipe.
- Remove the hose and electrical connector from the electronic boost control solenoid.
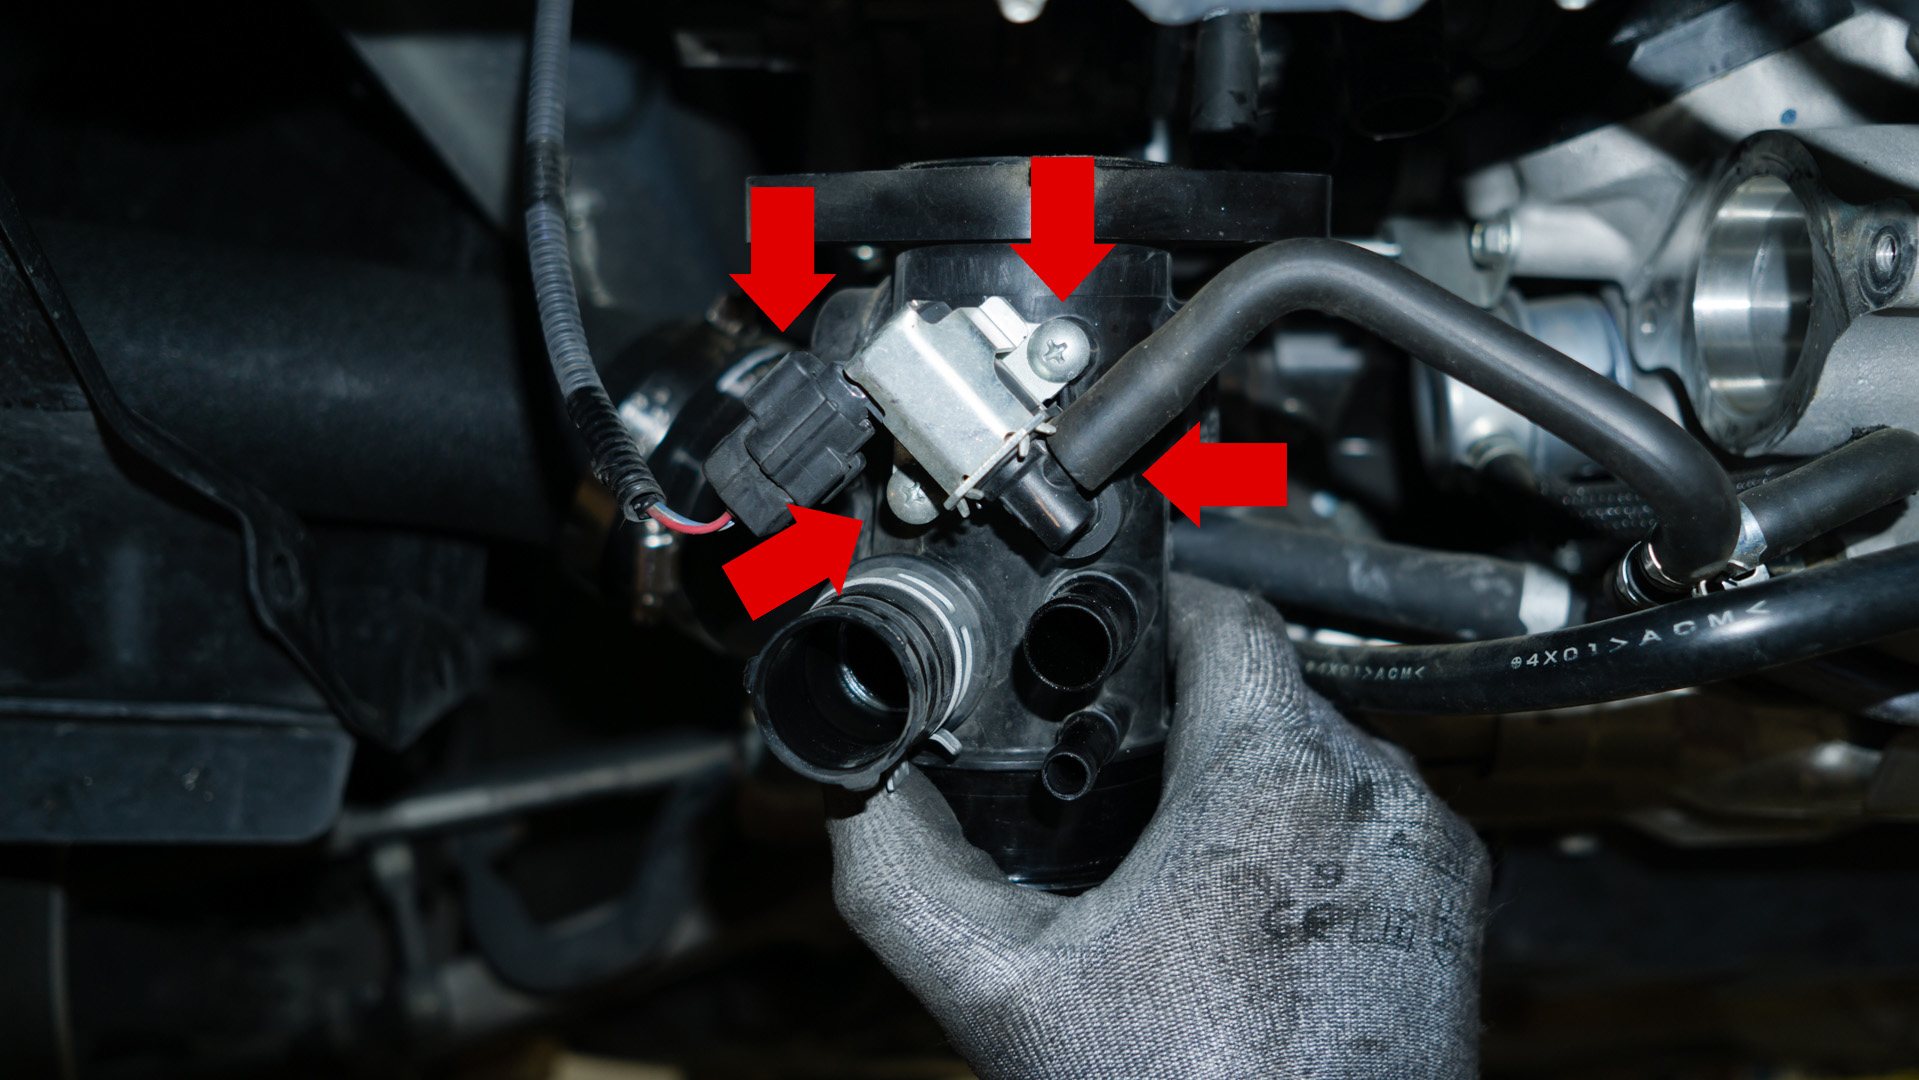
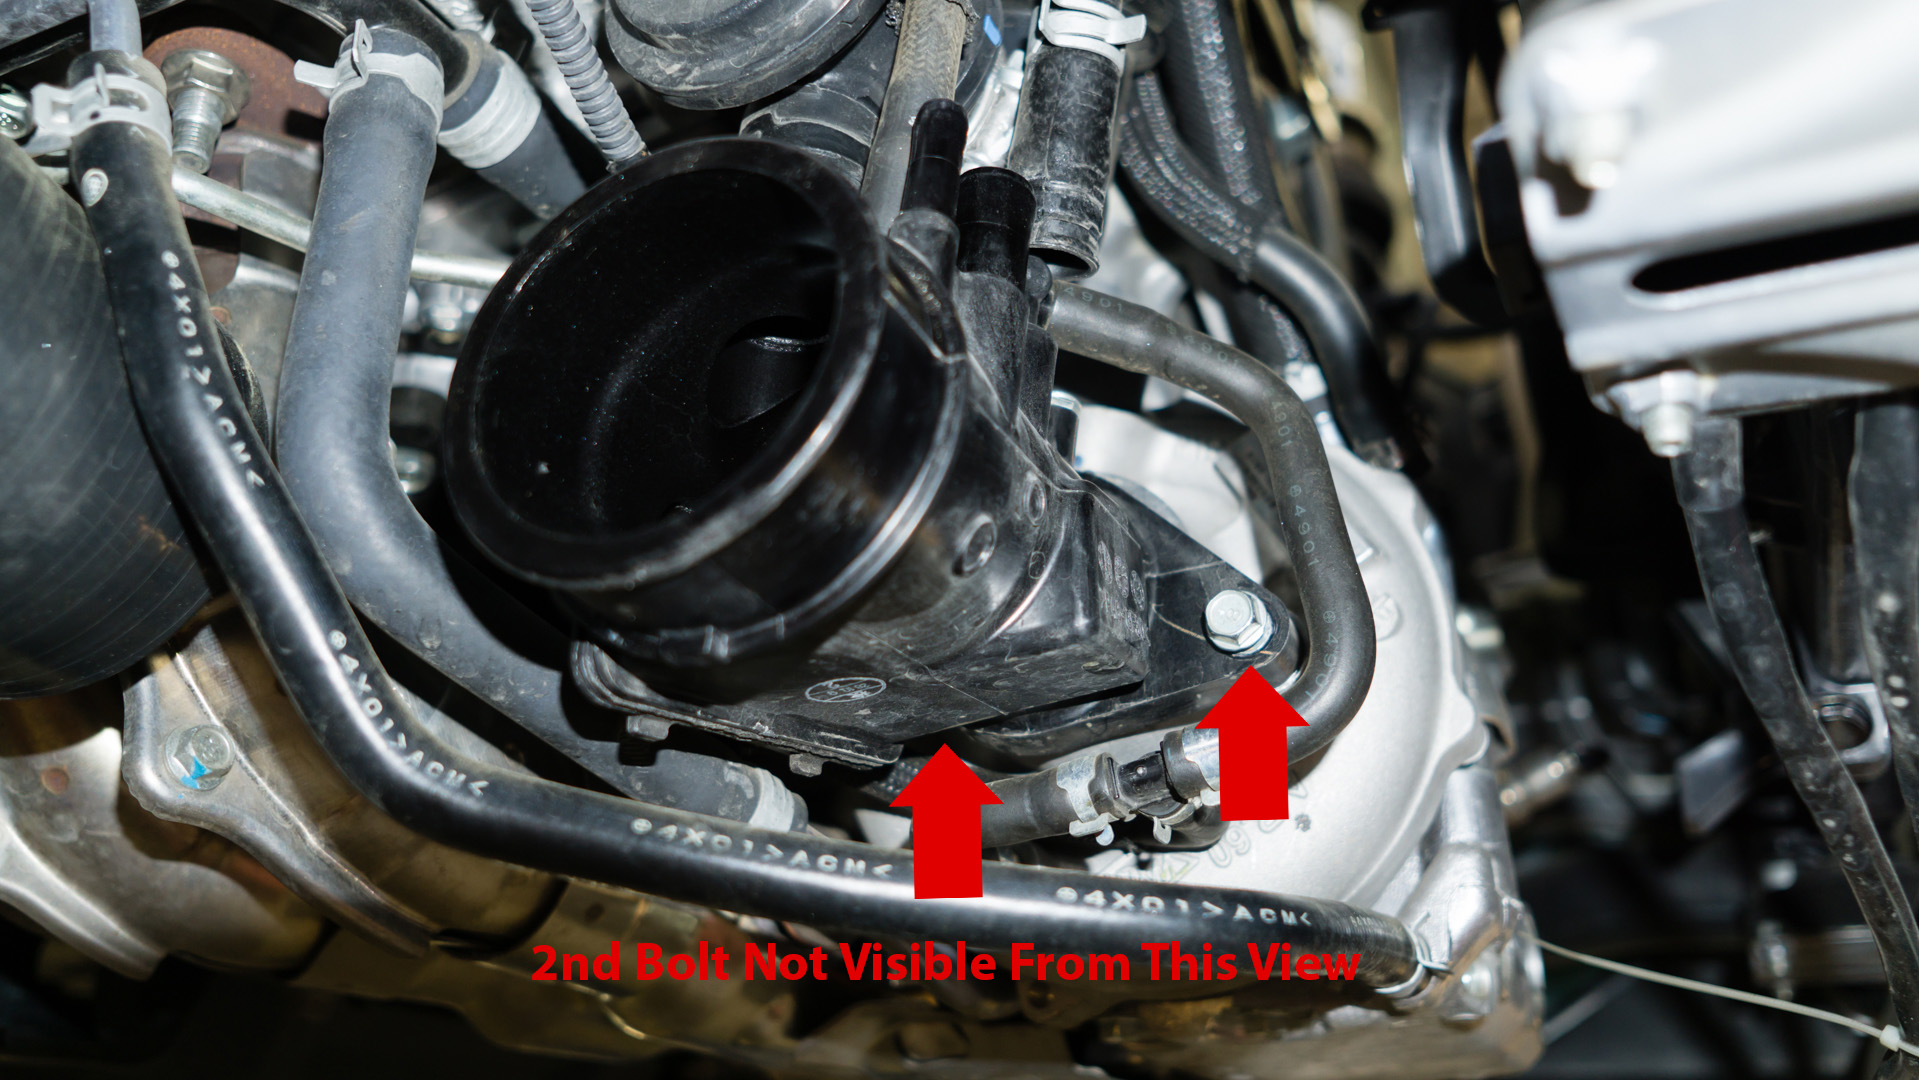
- Using a 10mm and an extension remove the two bolts holding the inlet to the turbo. Using a long extension and getting some of them from above can be easier.
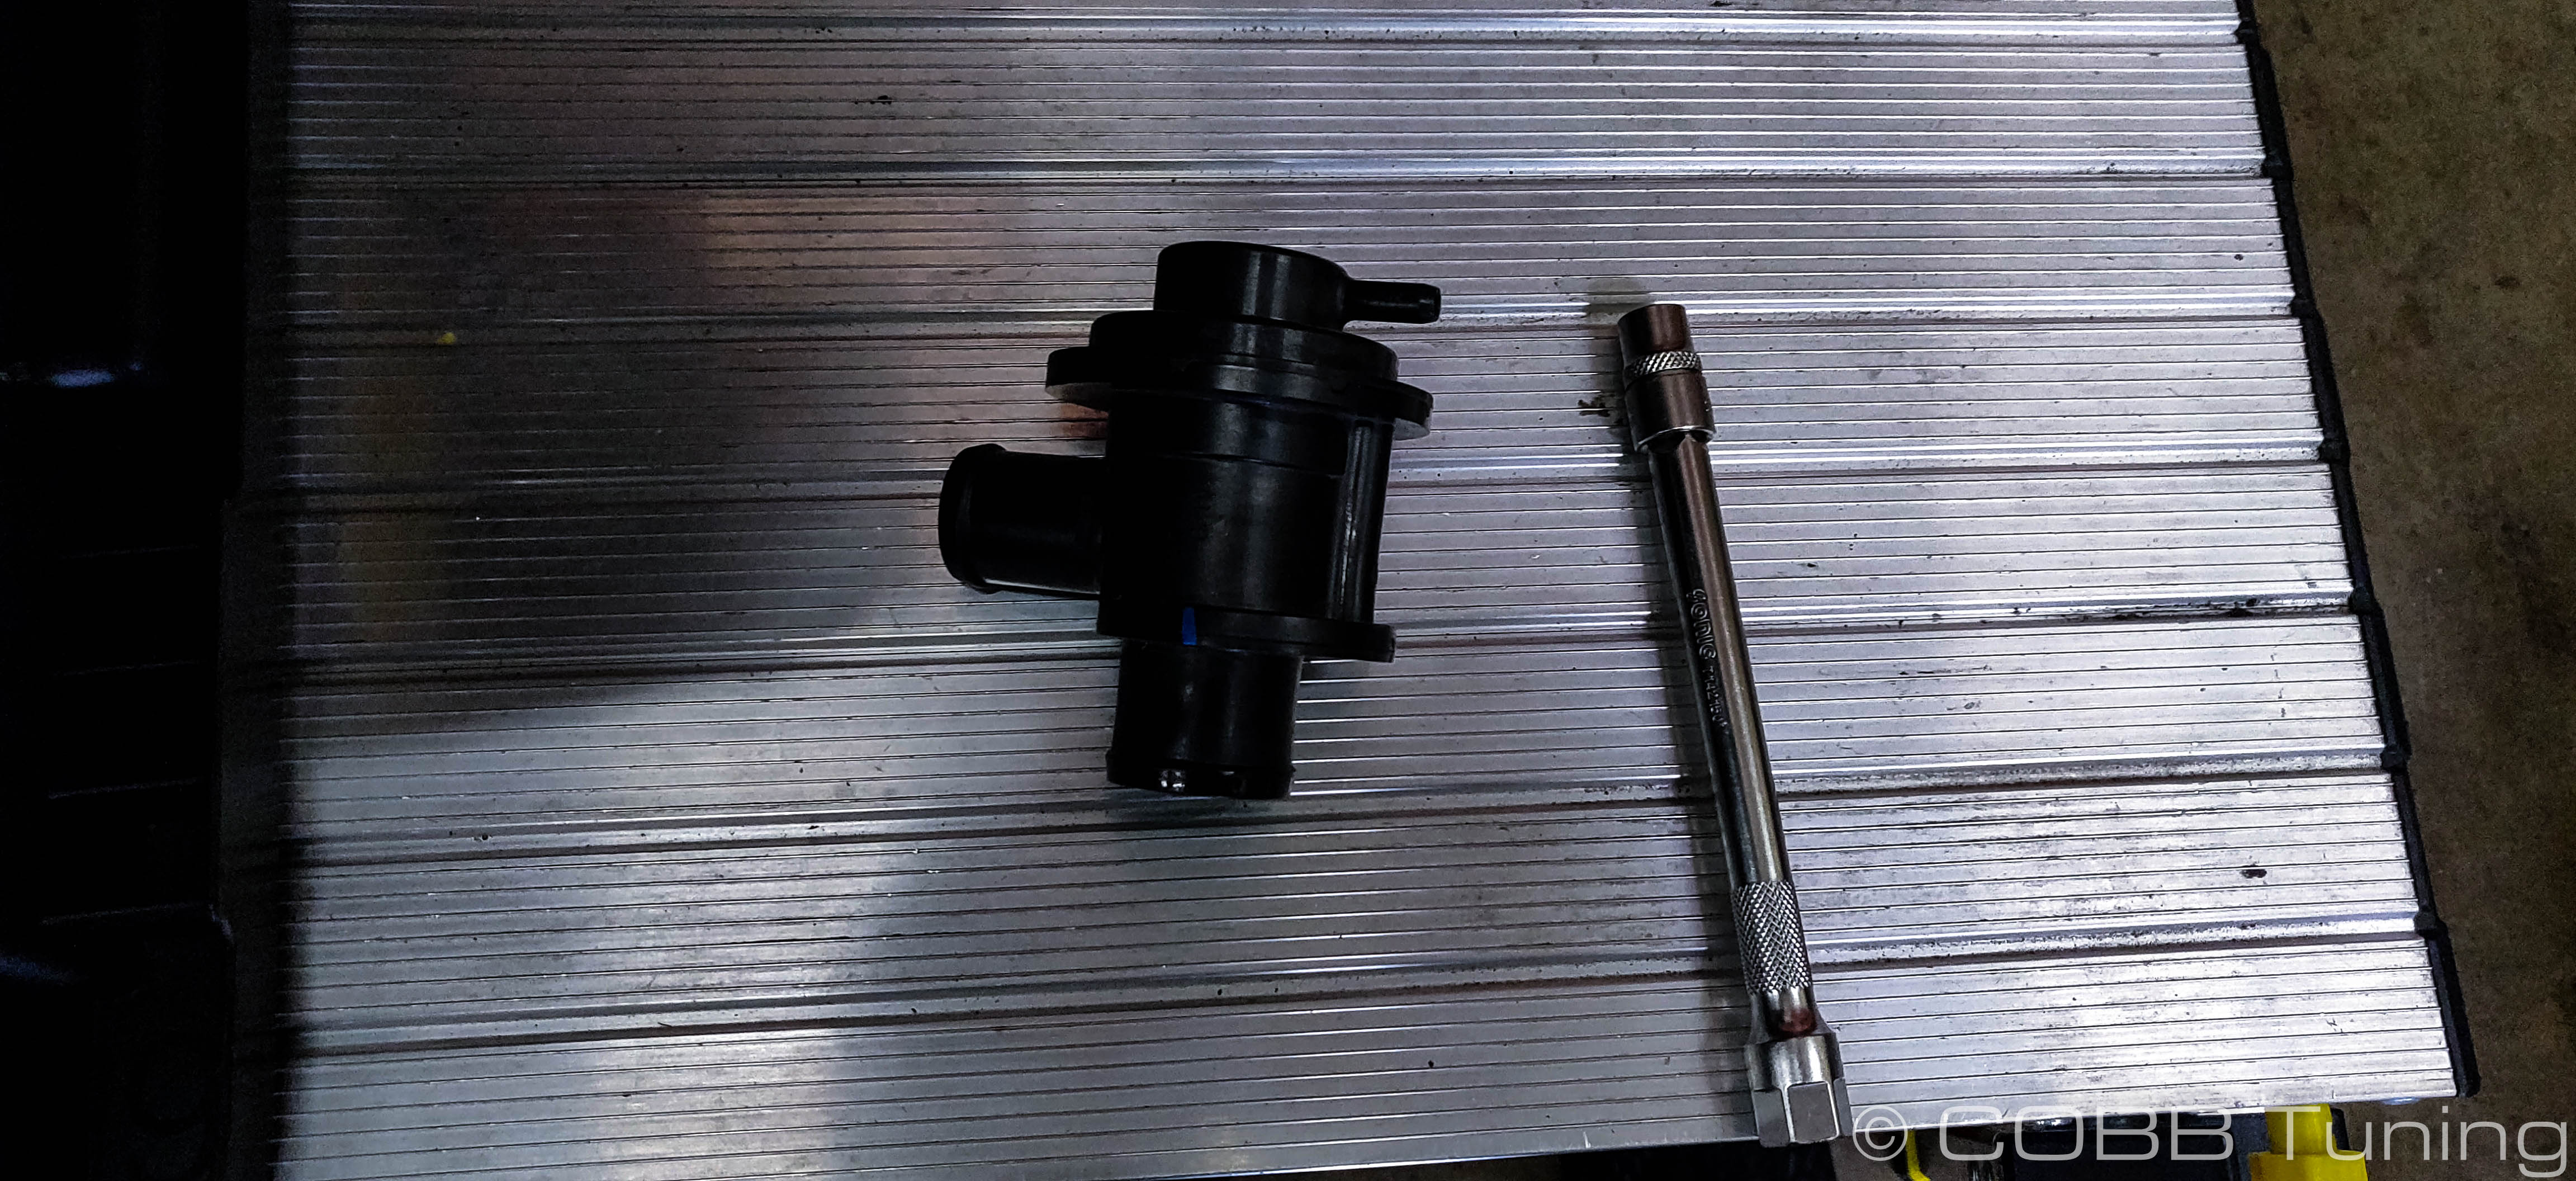
- With the inlet out of the car and your hands dirty, now is a good time to remove the EBCS and factory bypass valve from the stock inlet.
Pre-Assembly
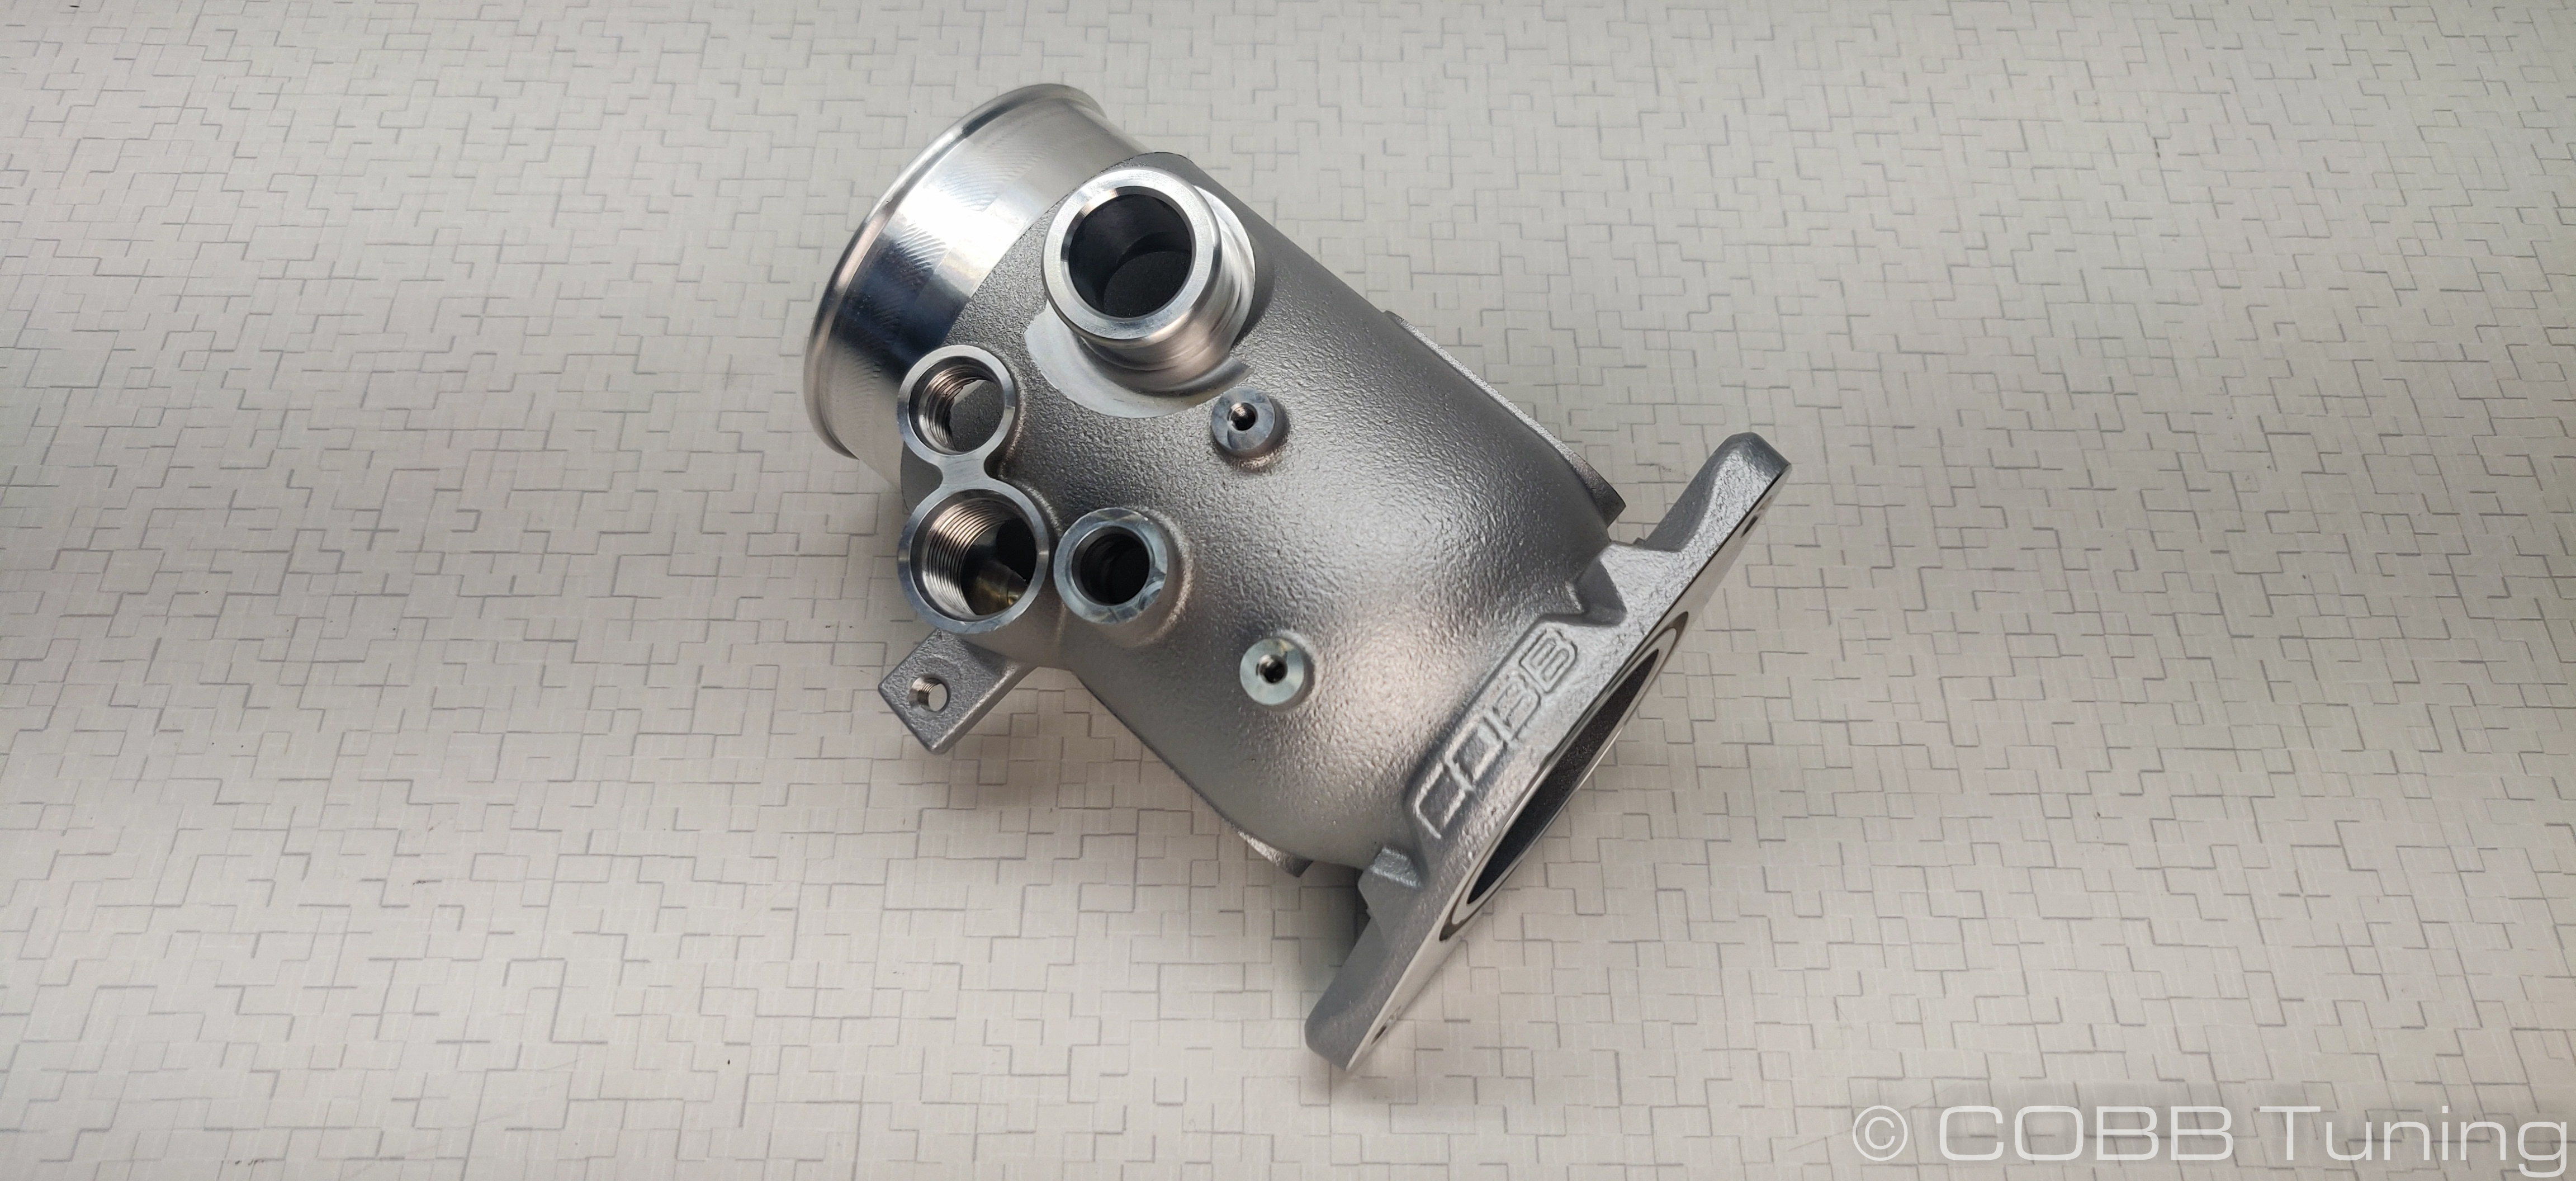
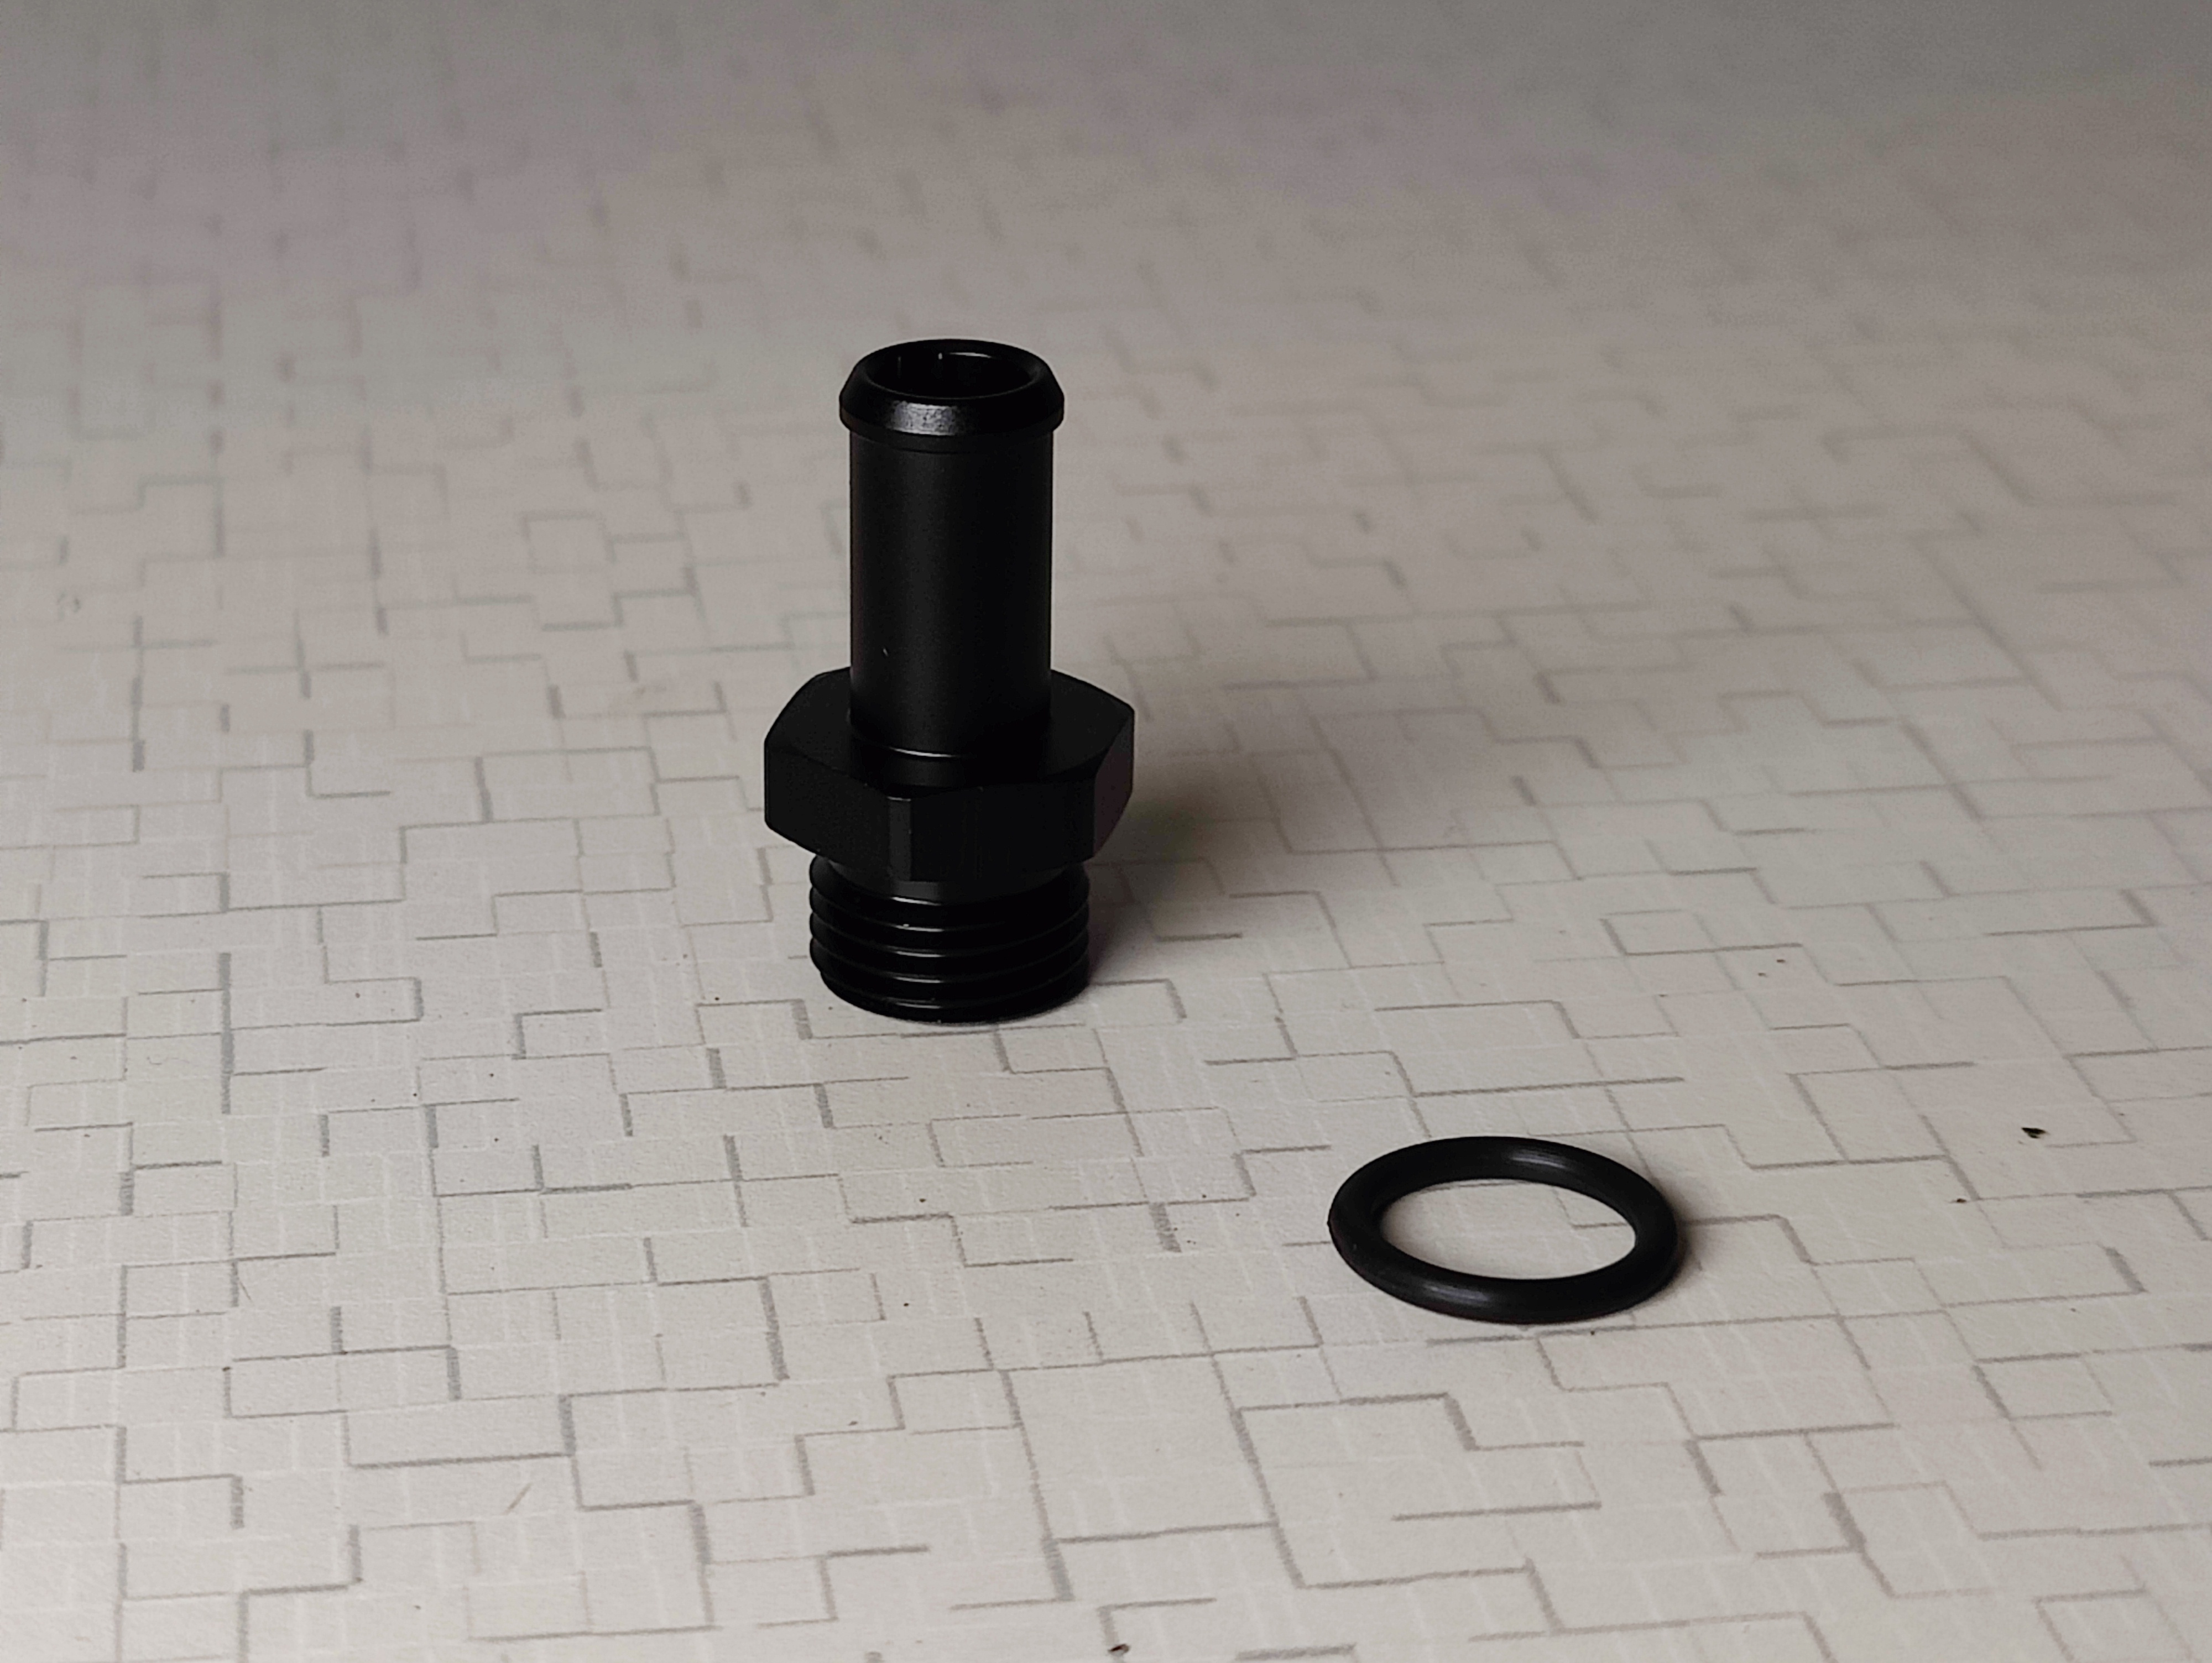
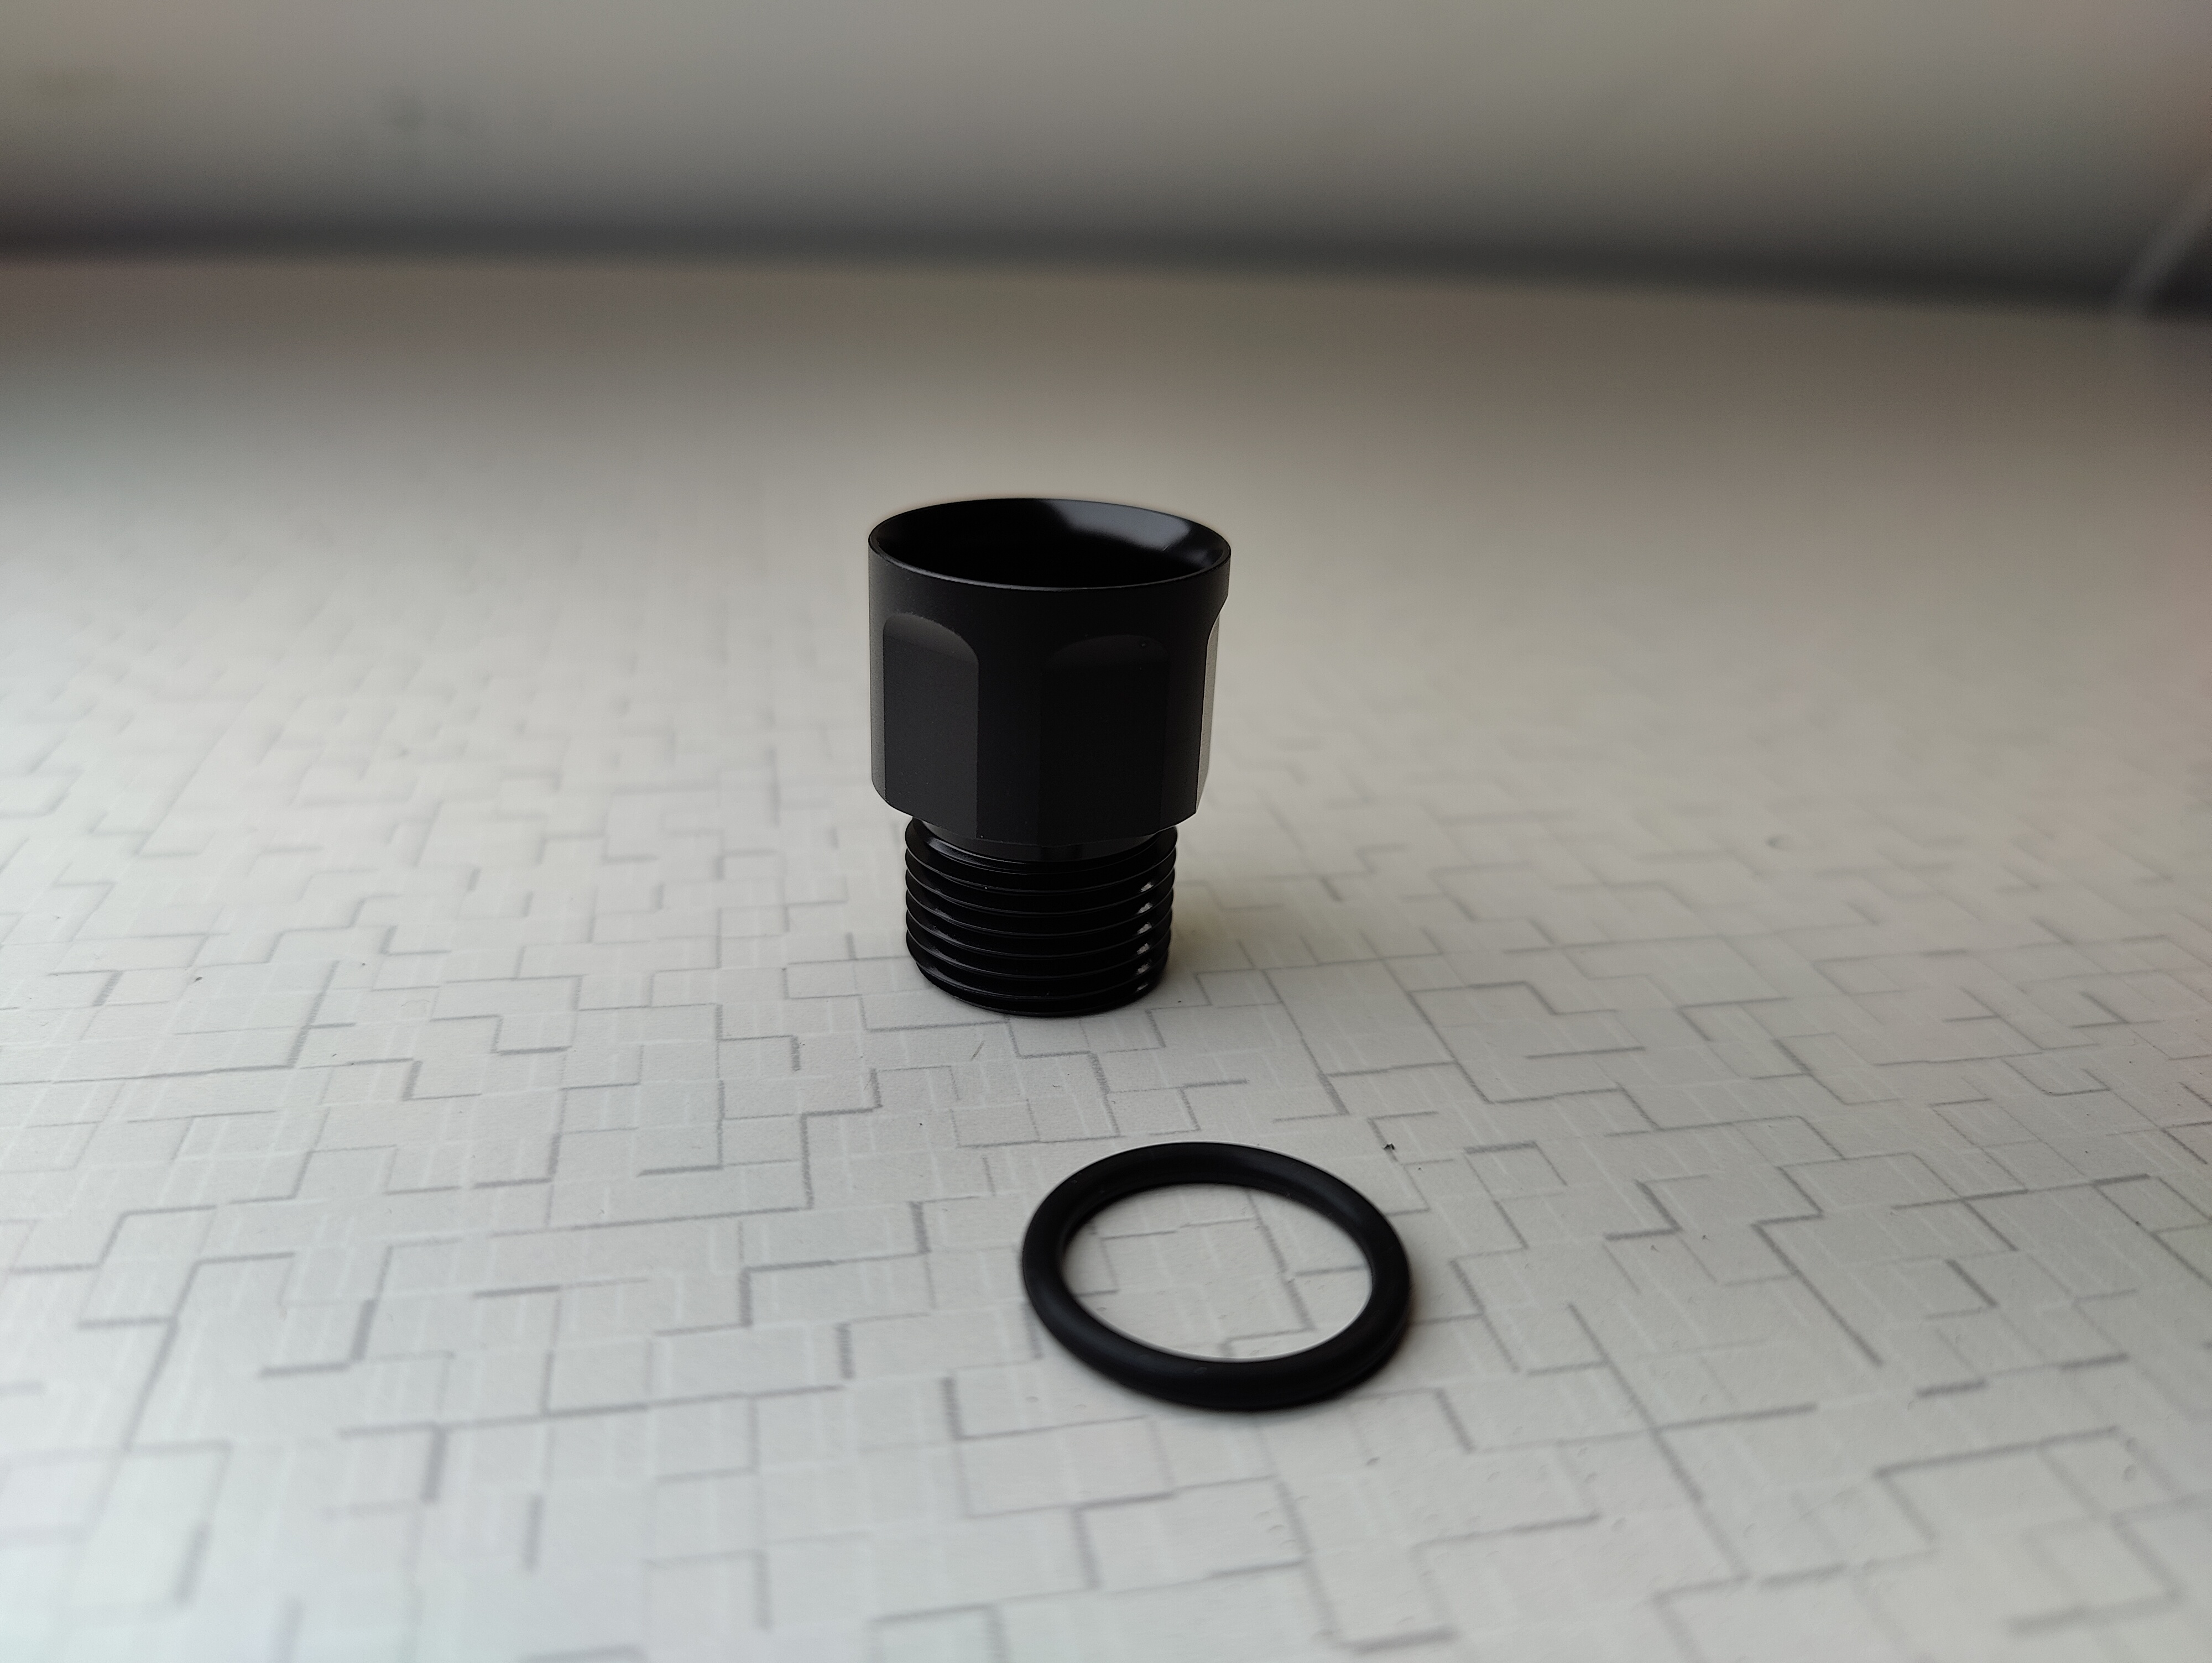
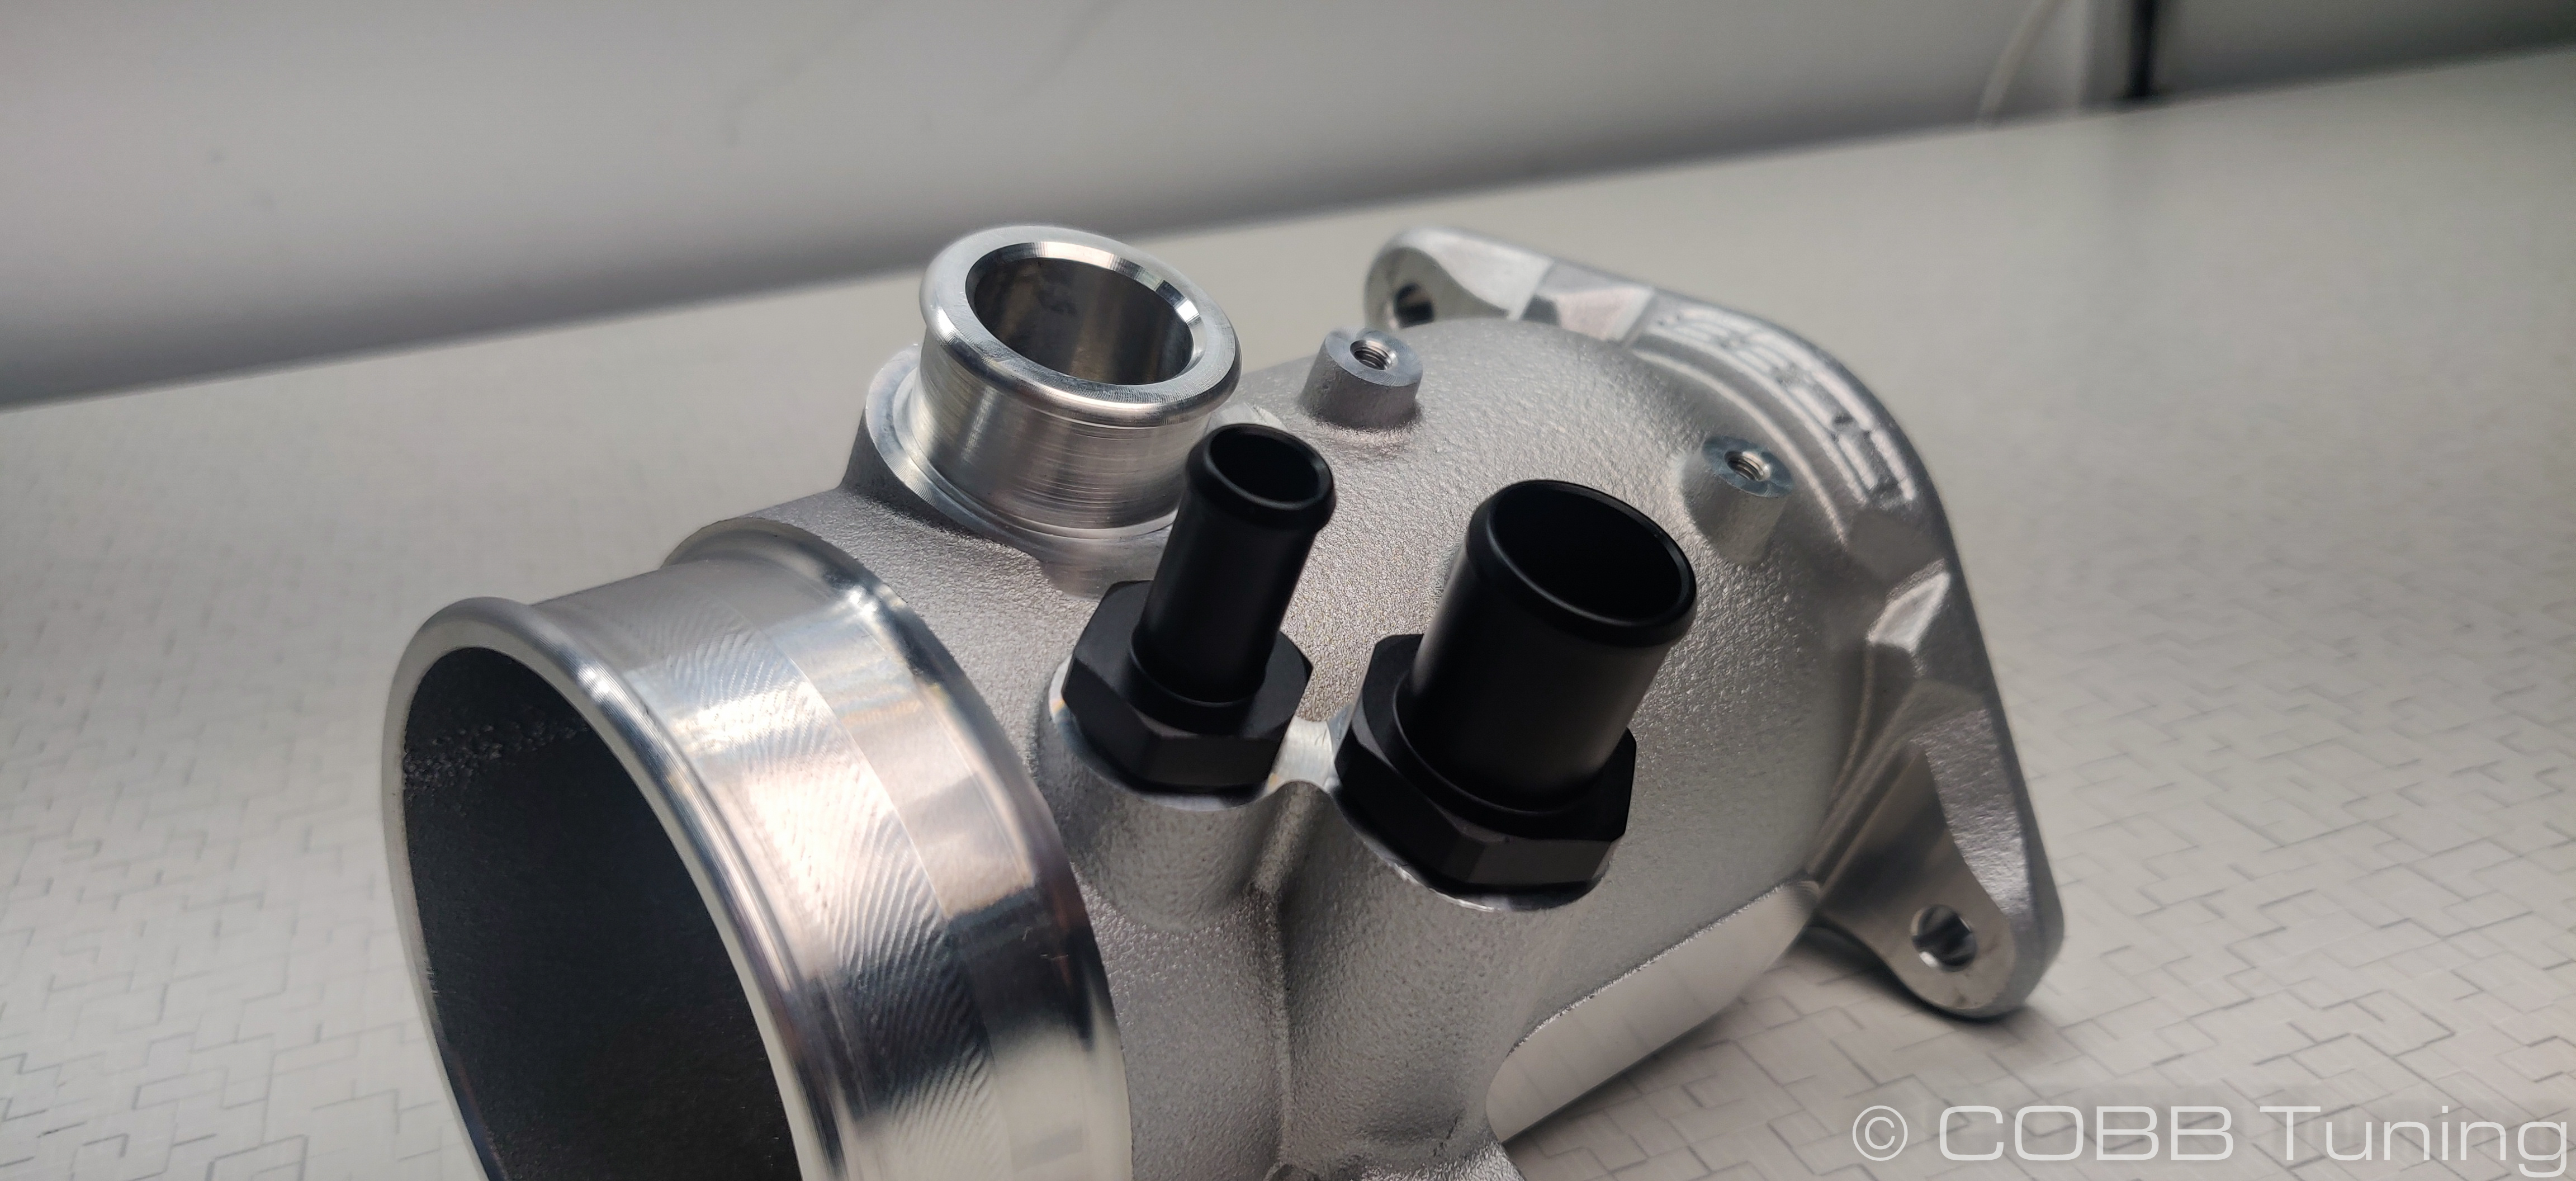
- Install the provided o-rings onto your -orb fittings.
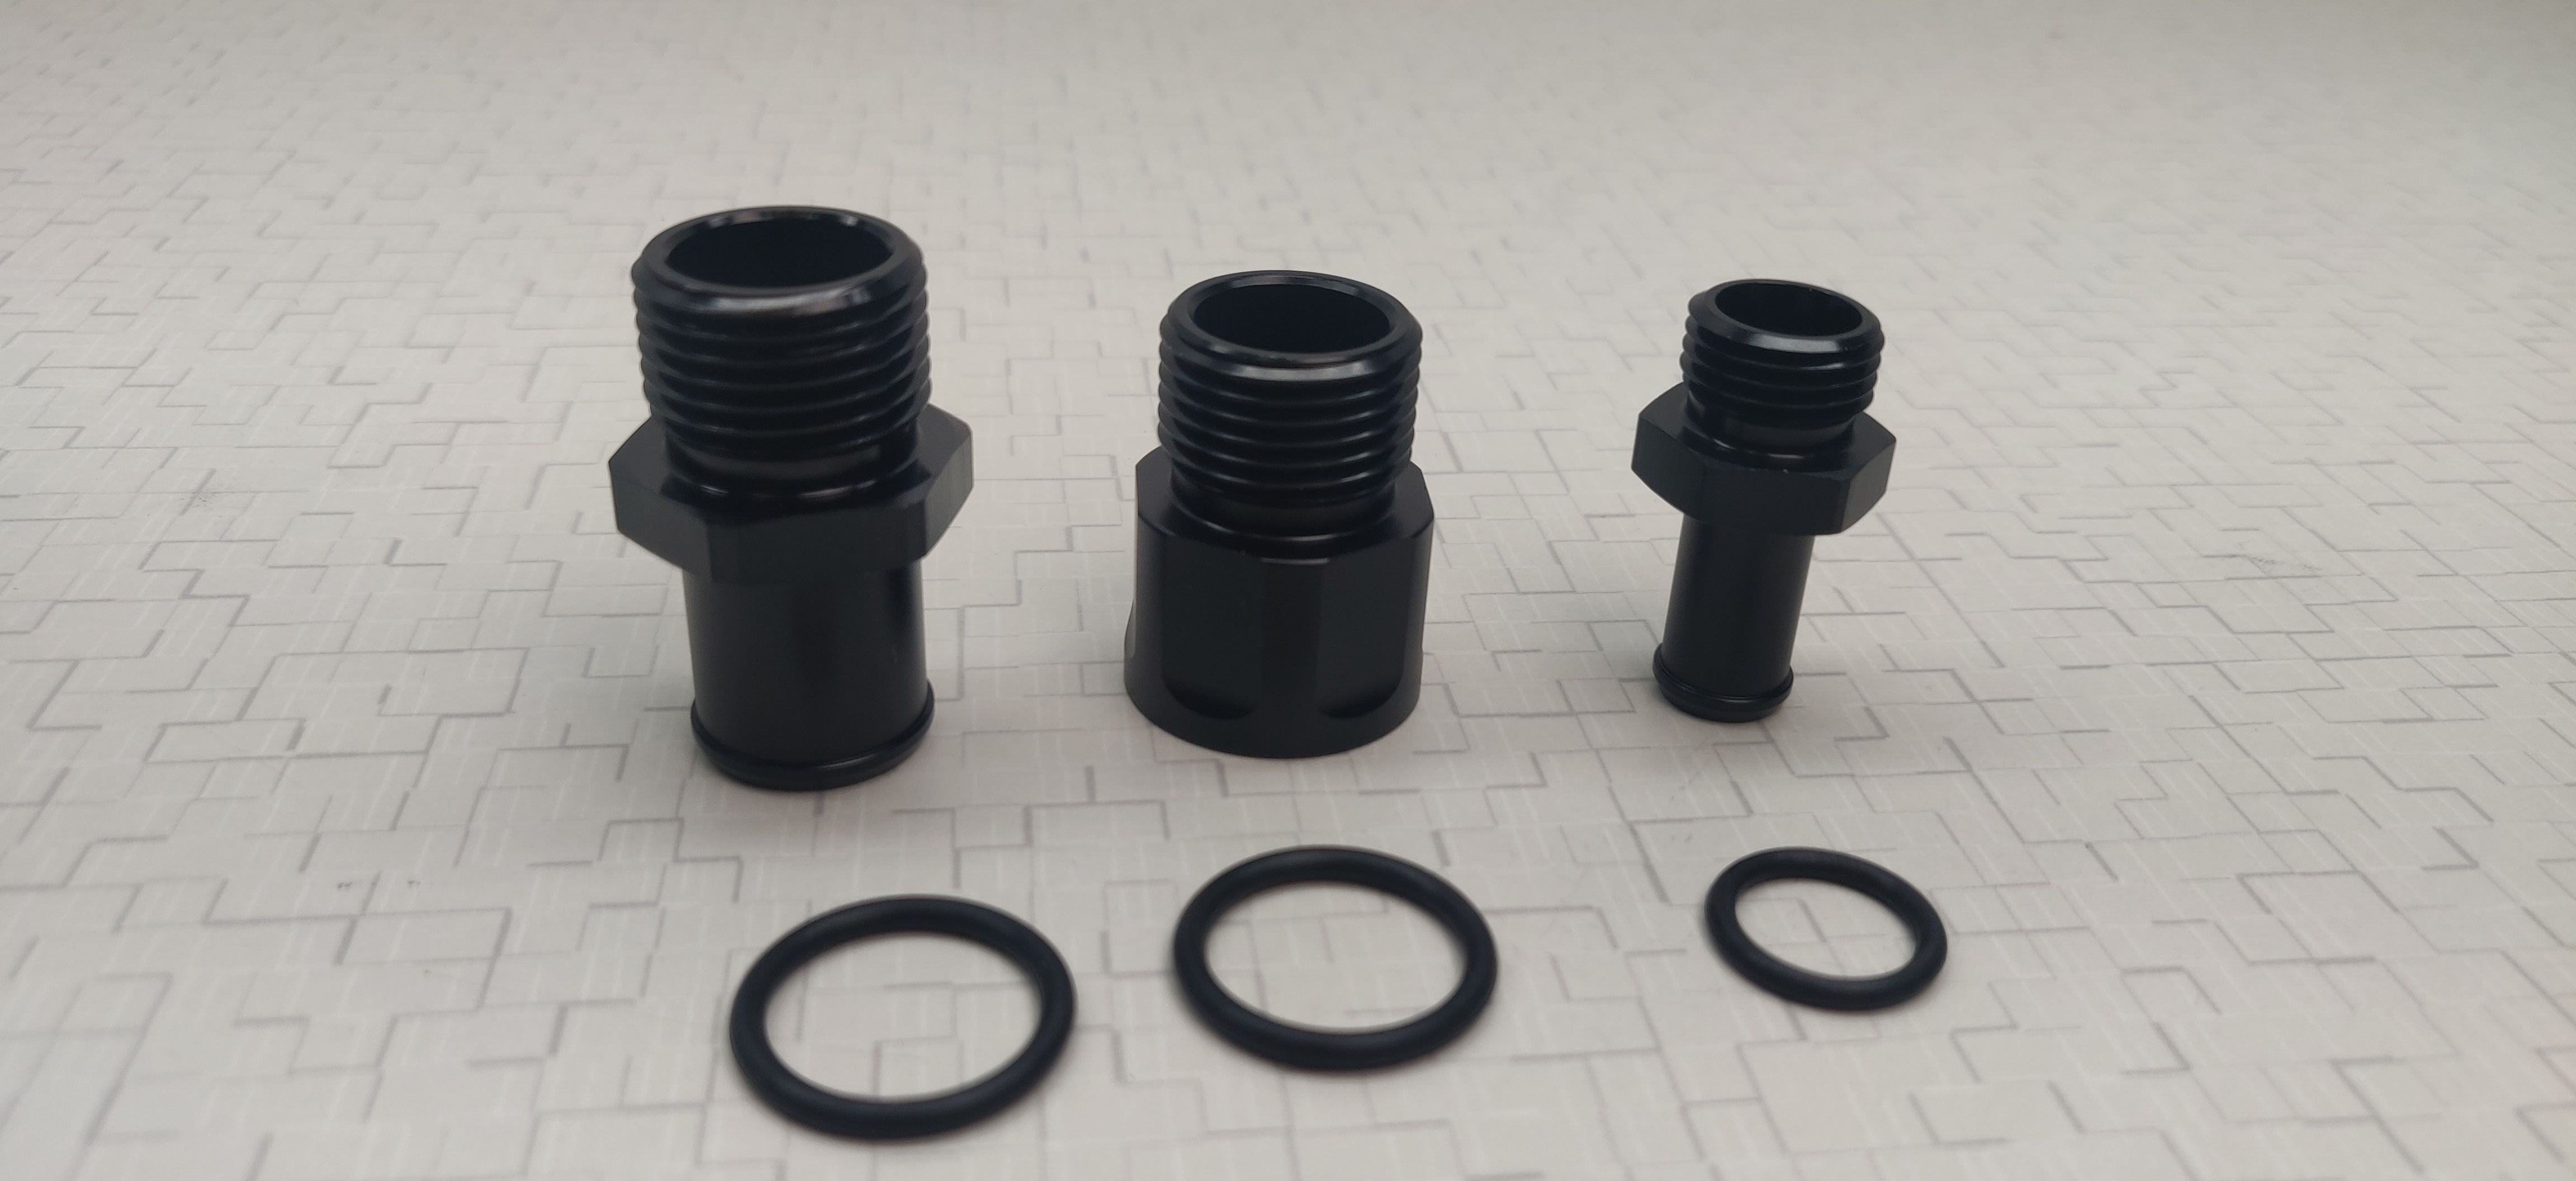
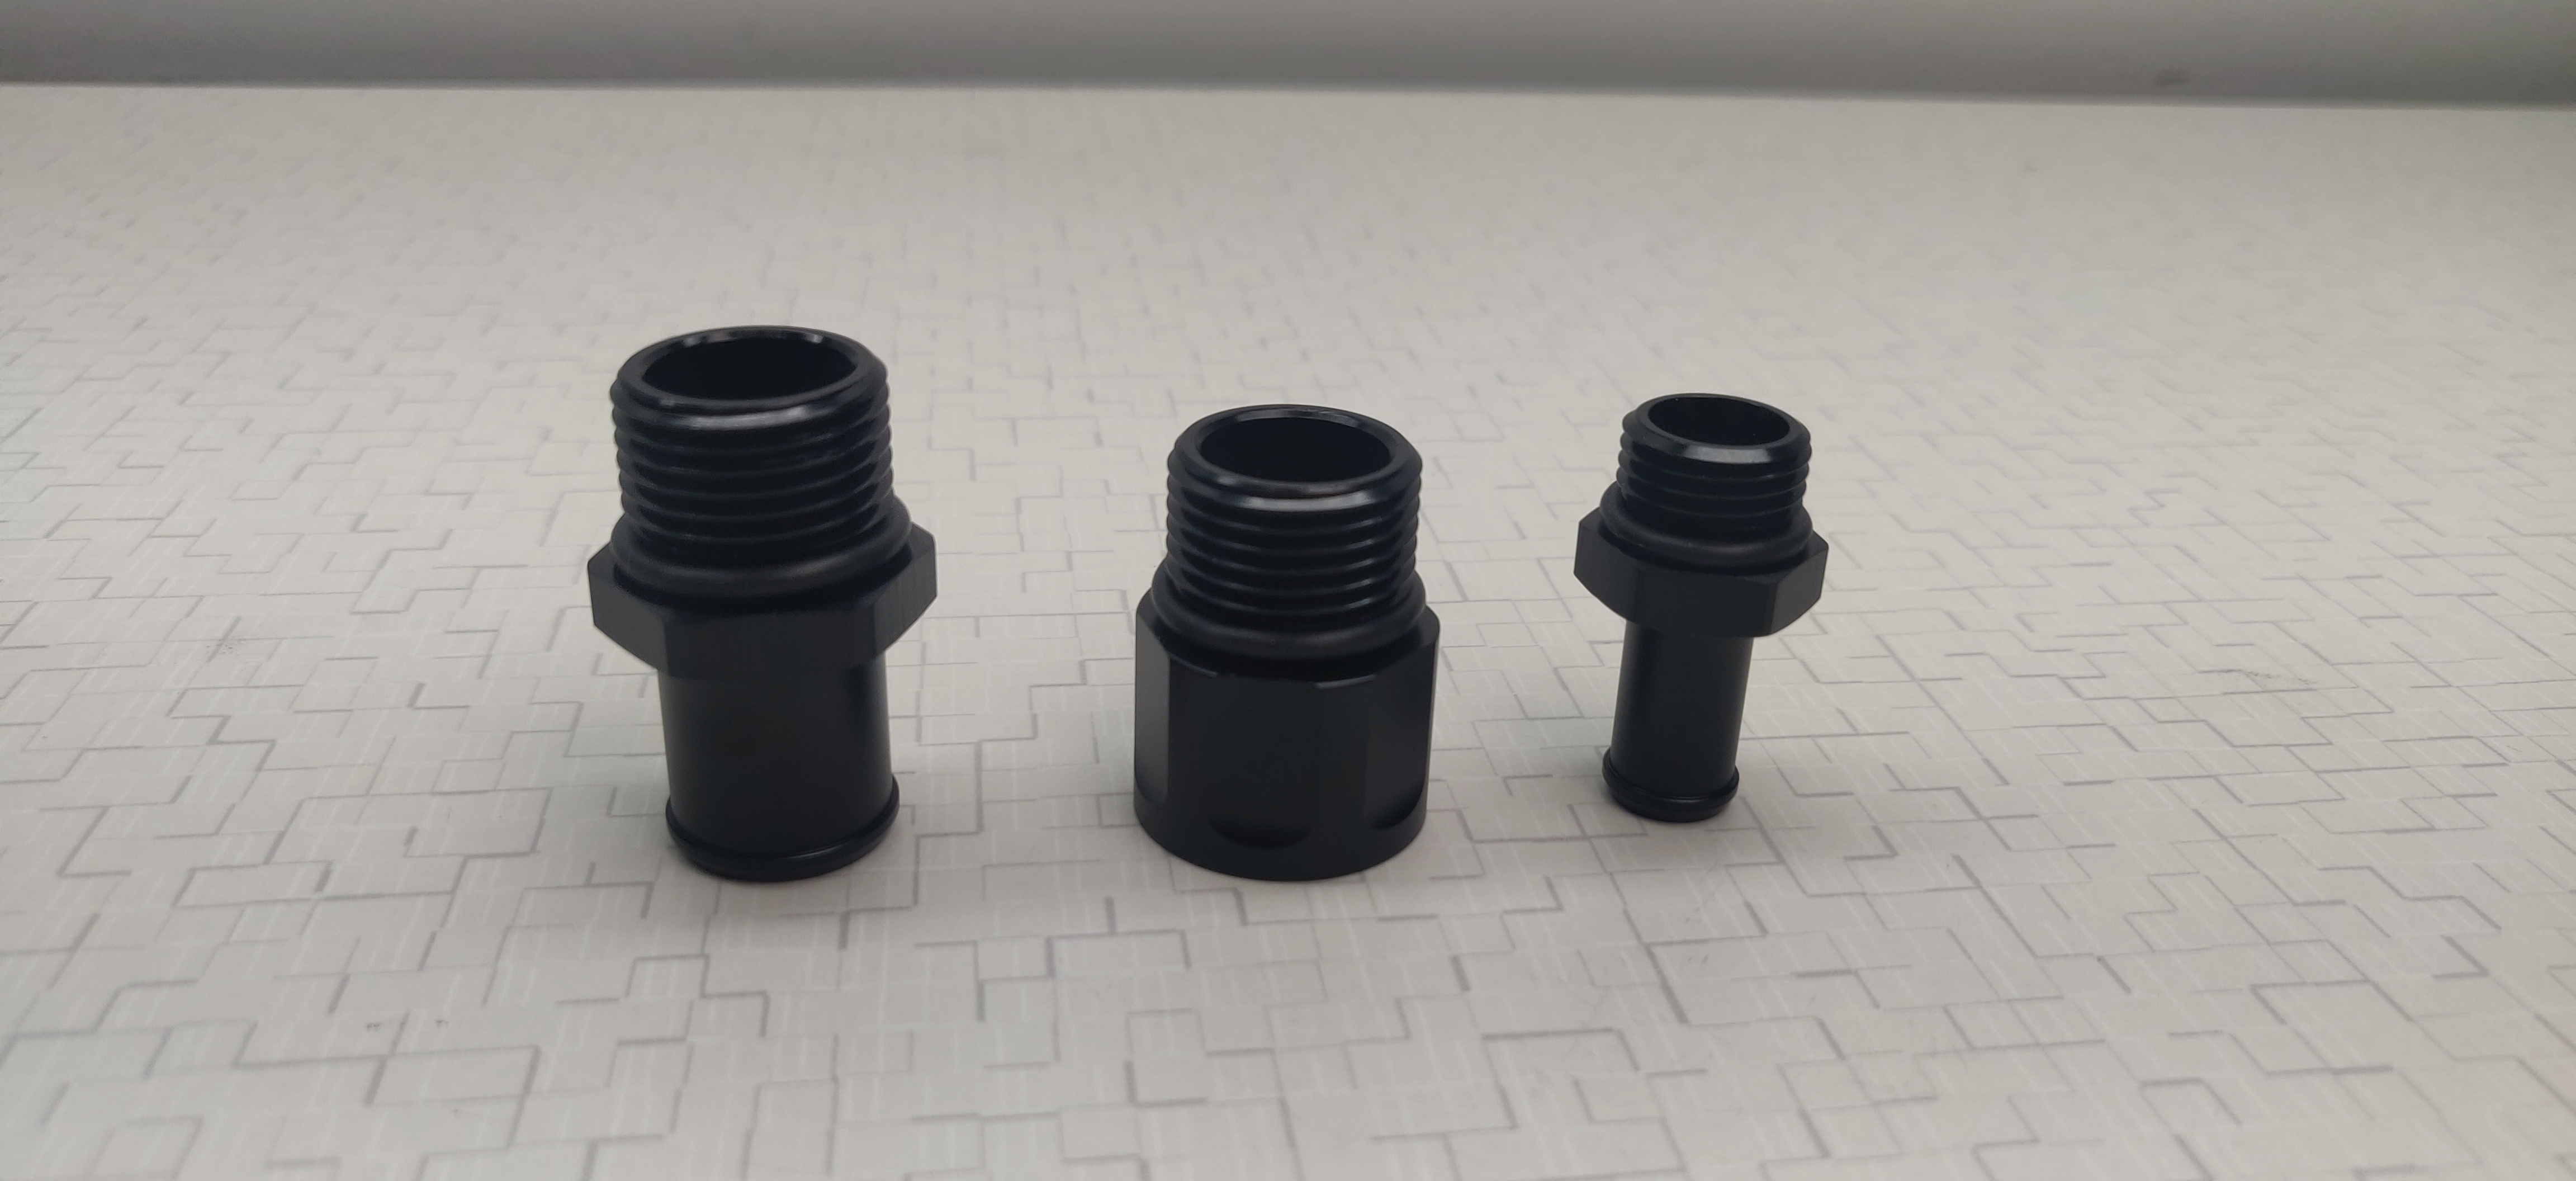
- Install the smaller fitting in the port away from the turbo flange. Use a small amount of the provided thread sealer on the threads before installing.
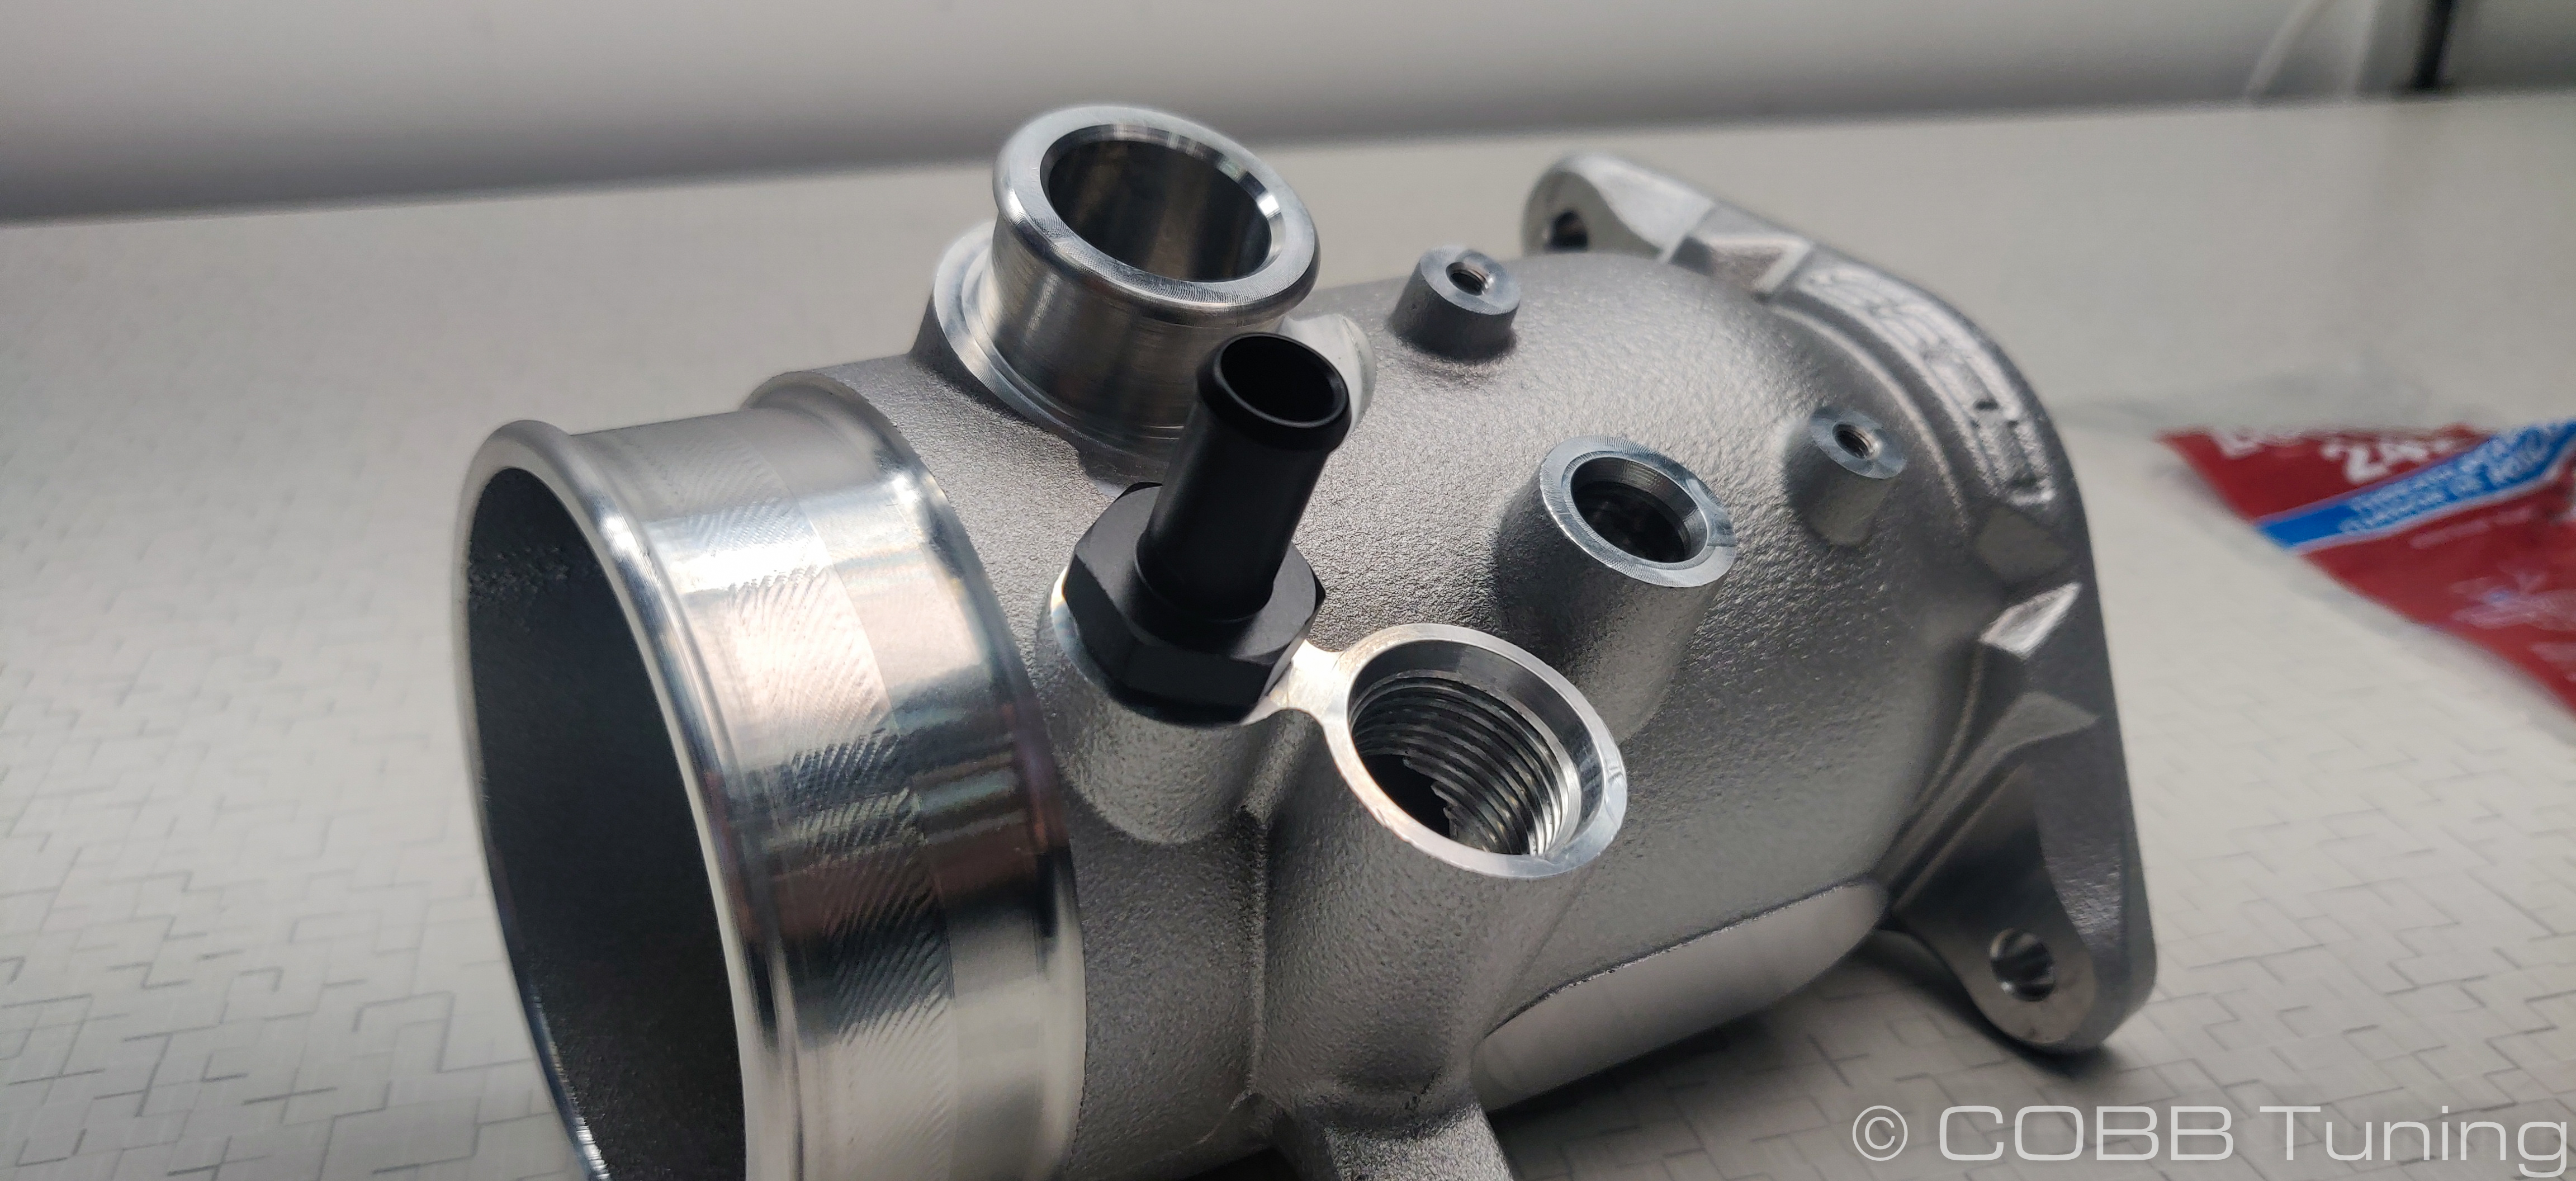
- Figure out which second fitting you'll end up using.
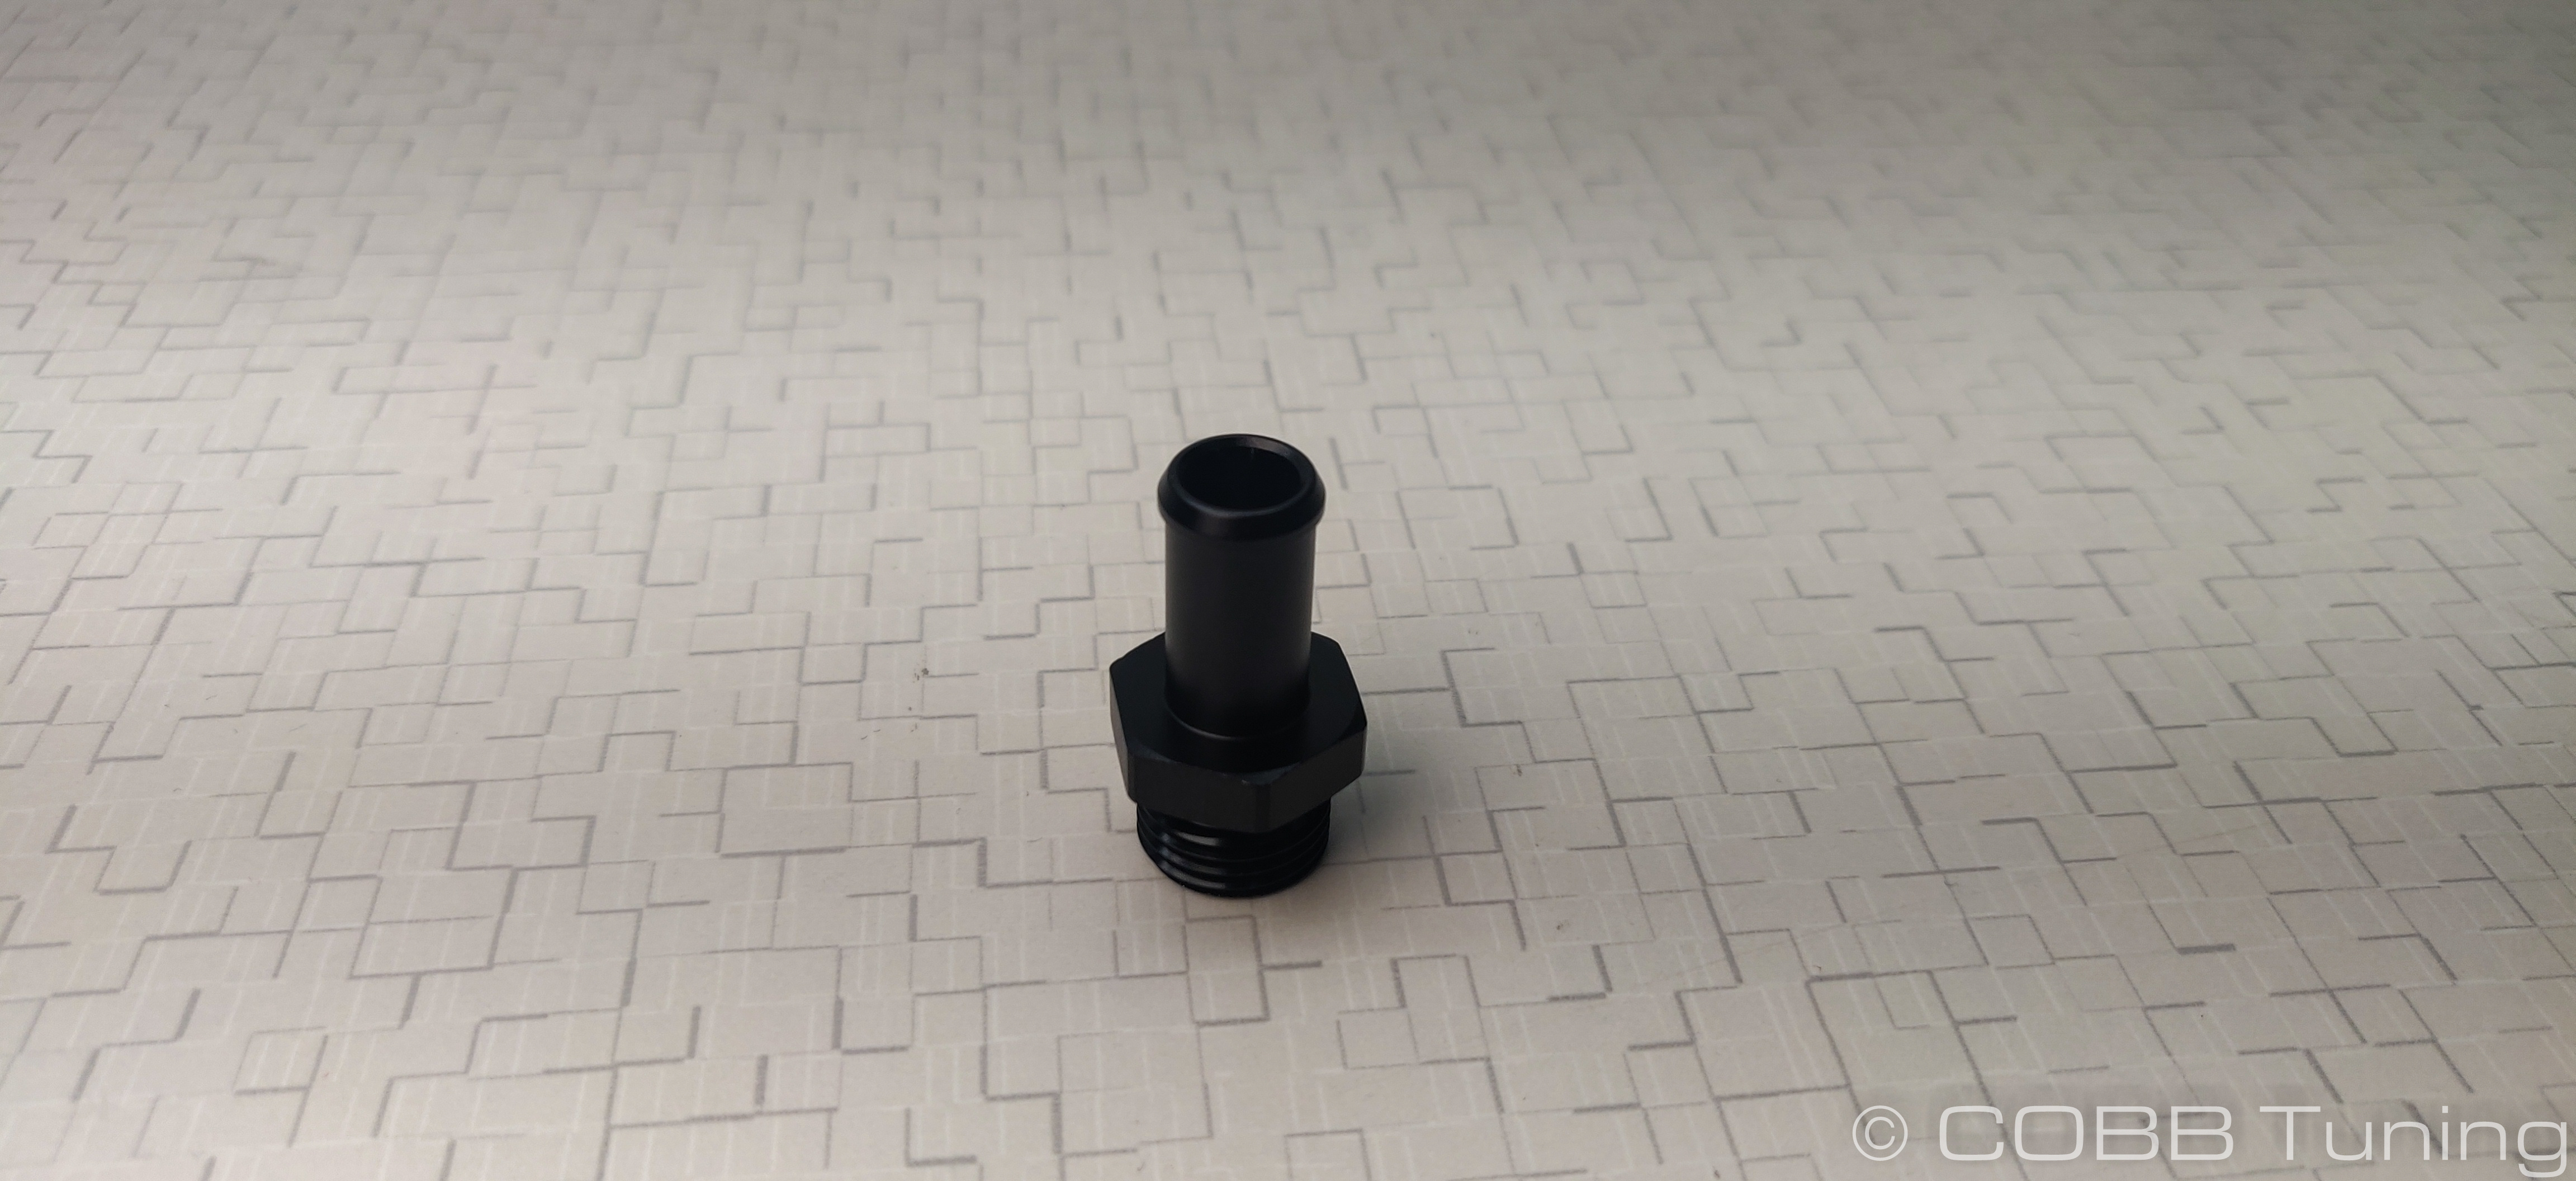
If you have the newer car with the white PCV connector you'll be using the provided adapter
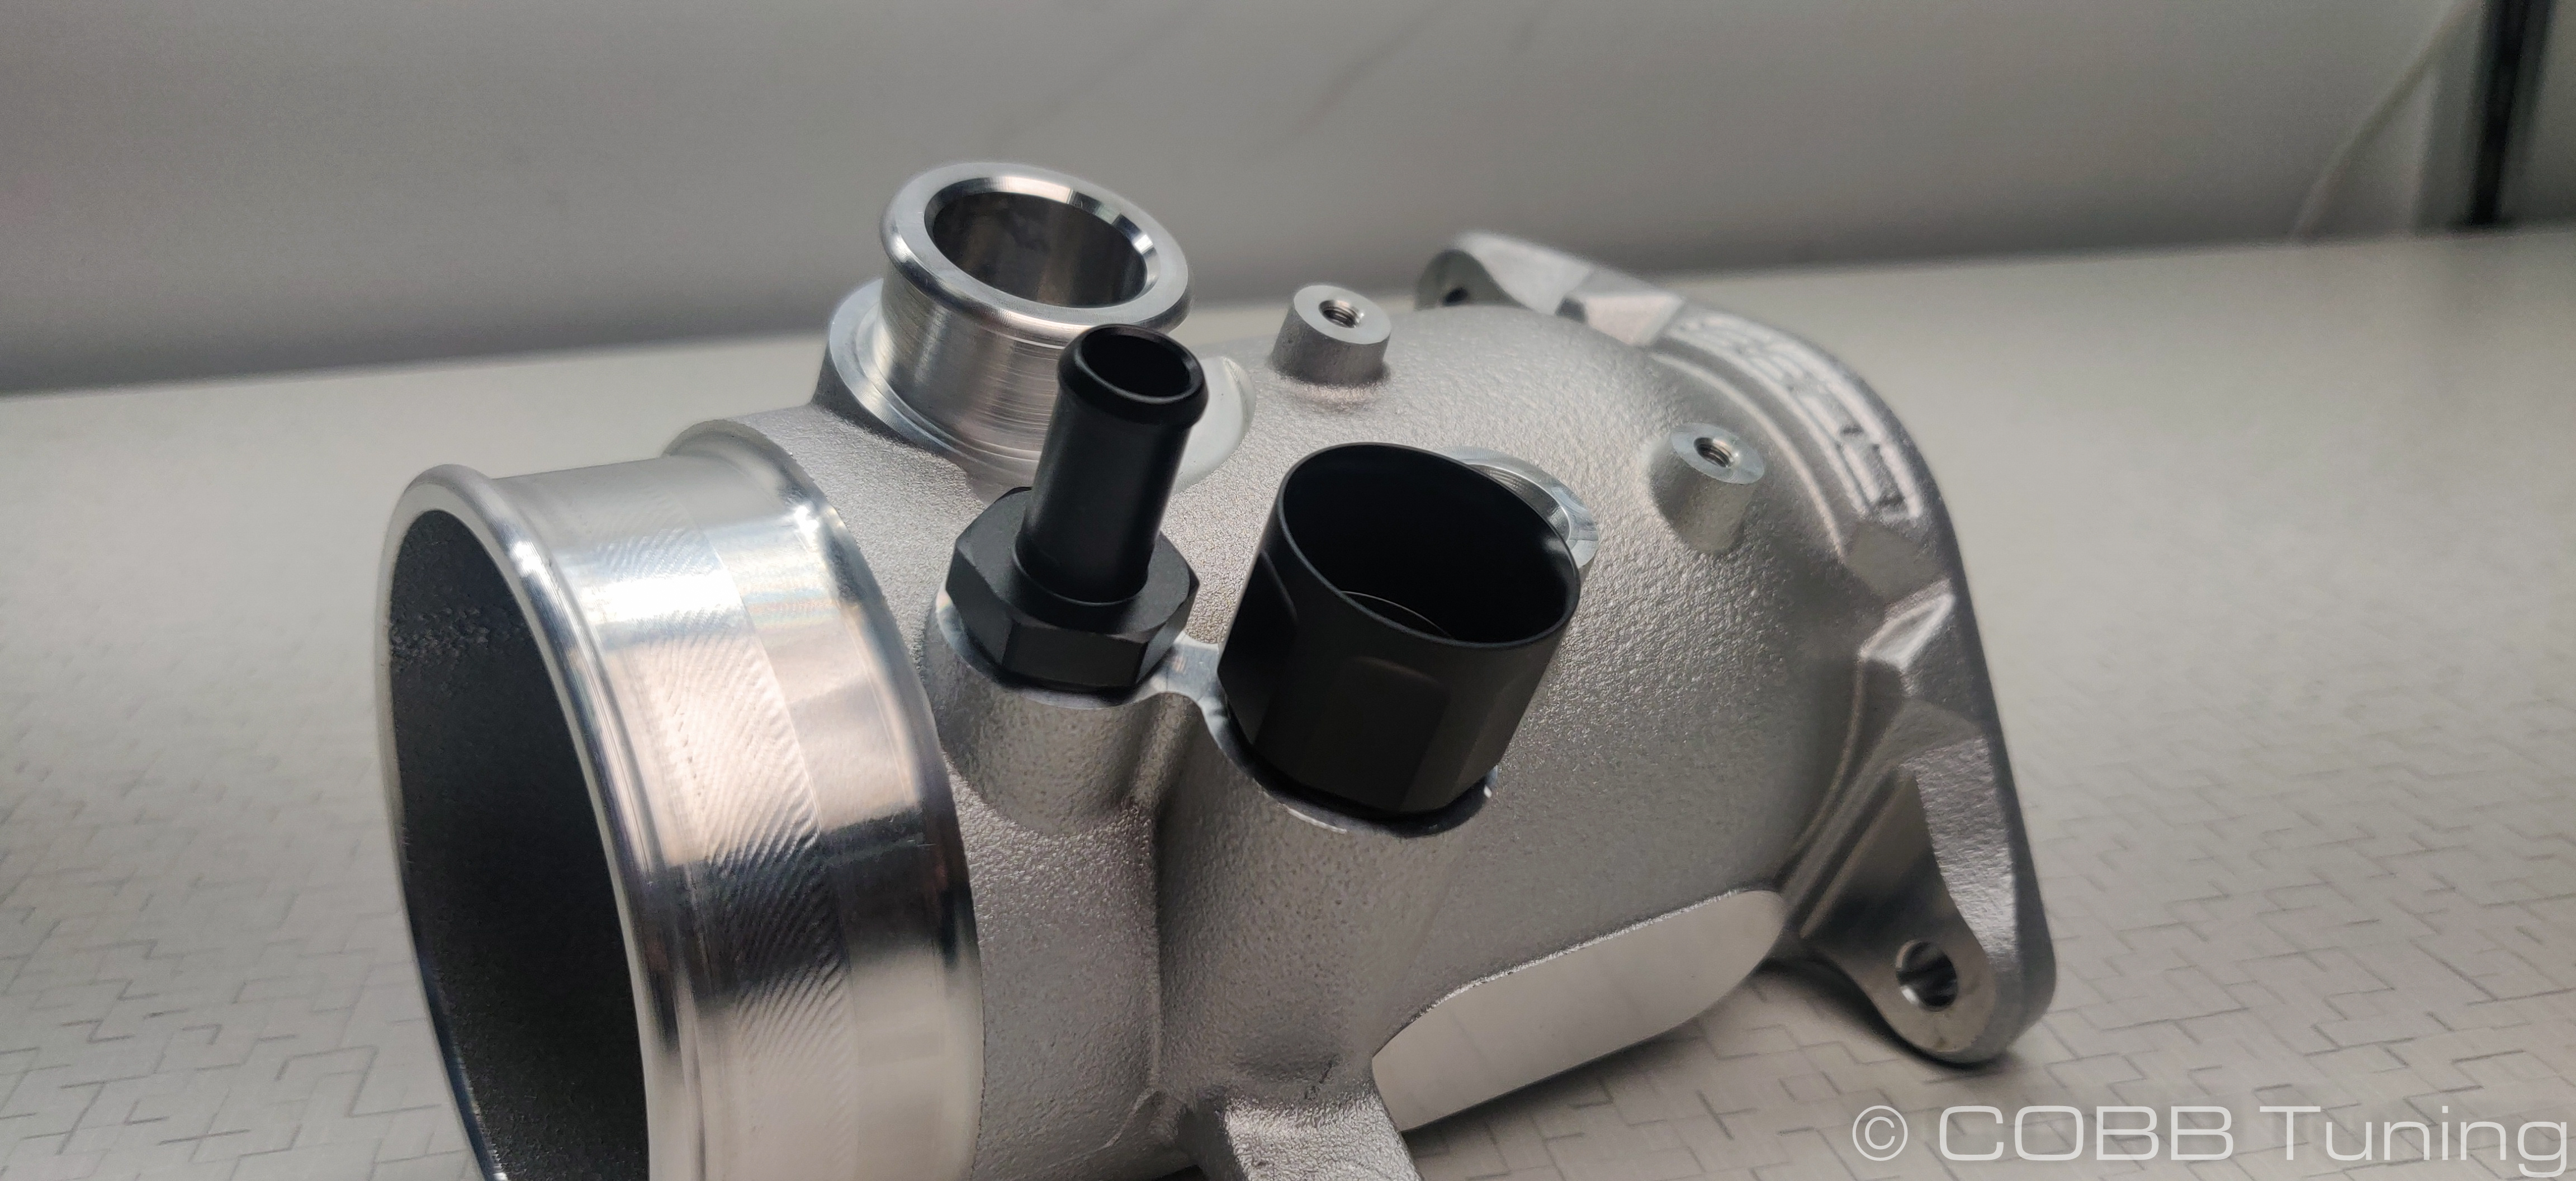
If you have an older car without that fitting and connector use the large barbed fitting in it's place.
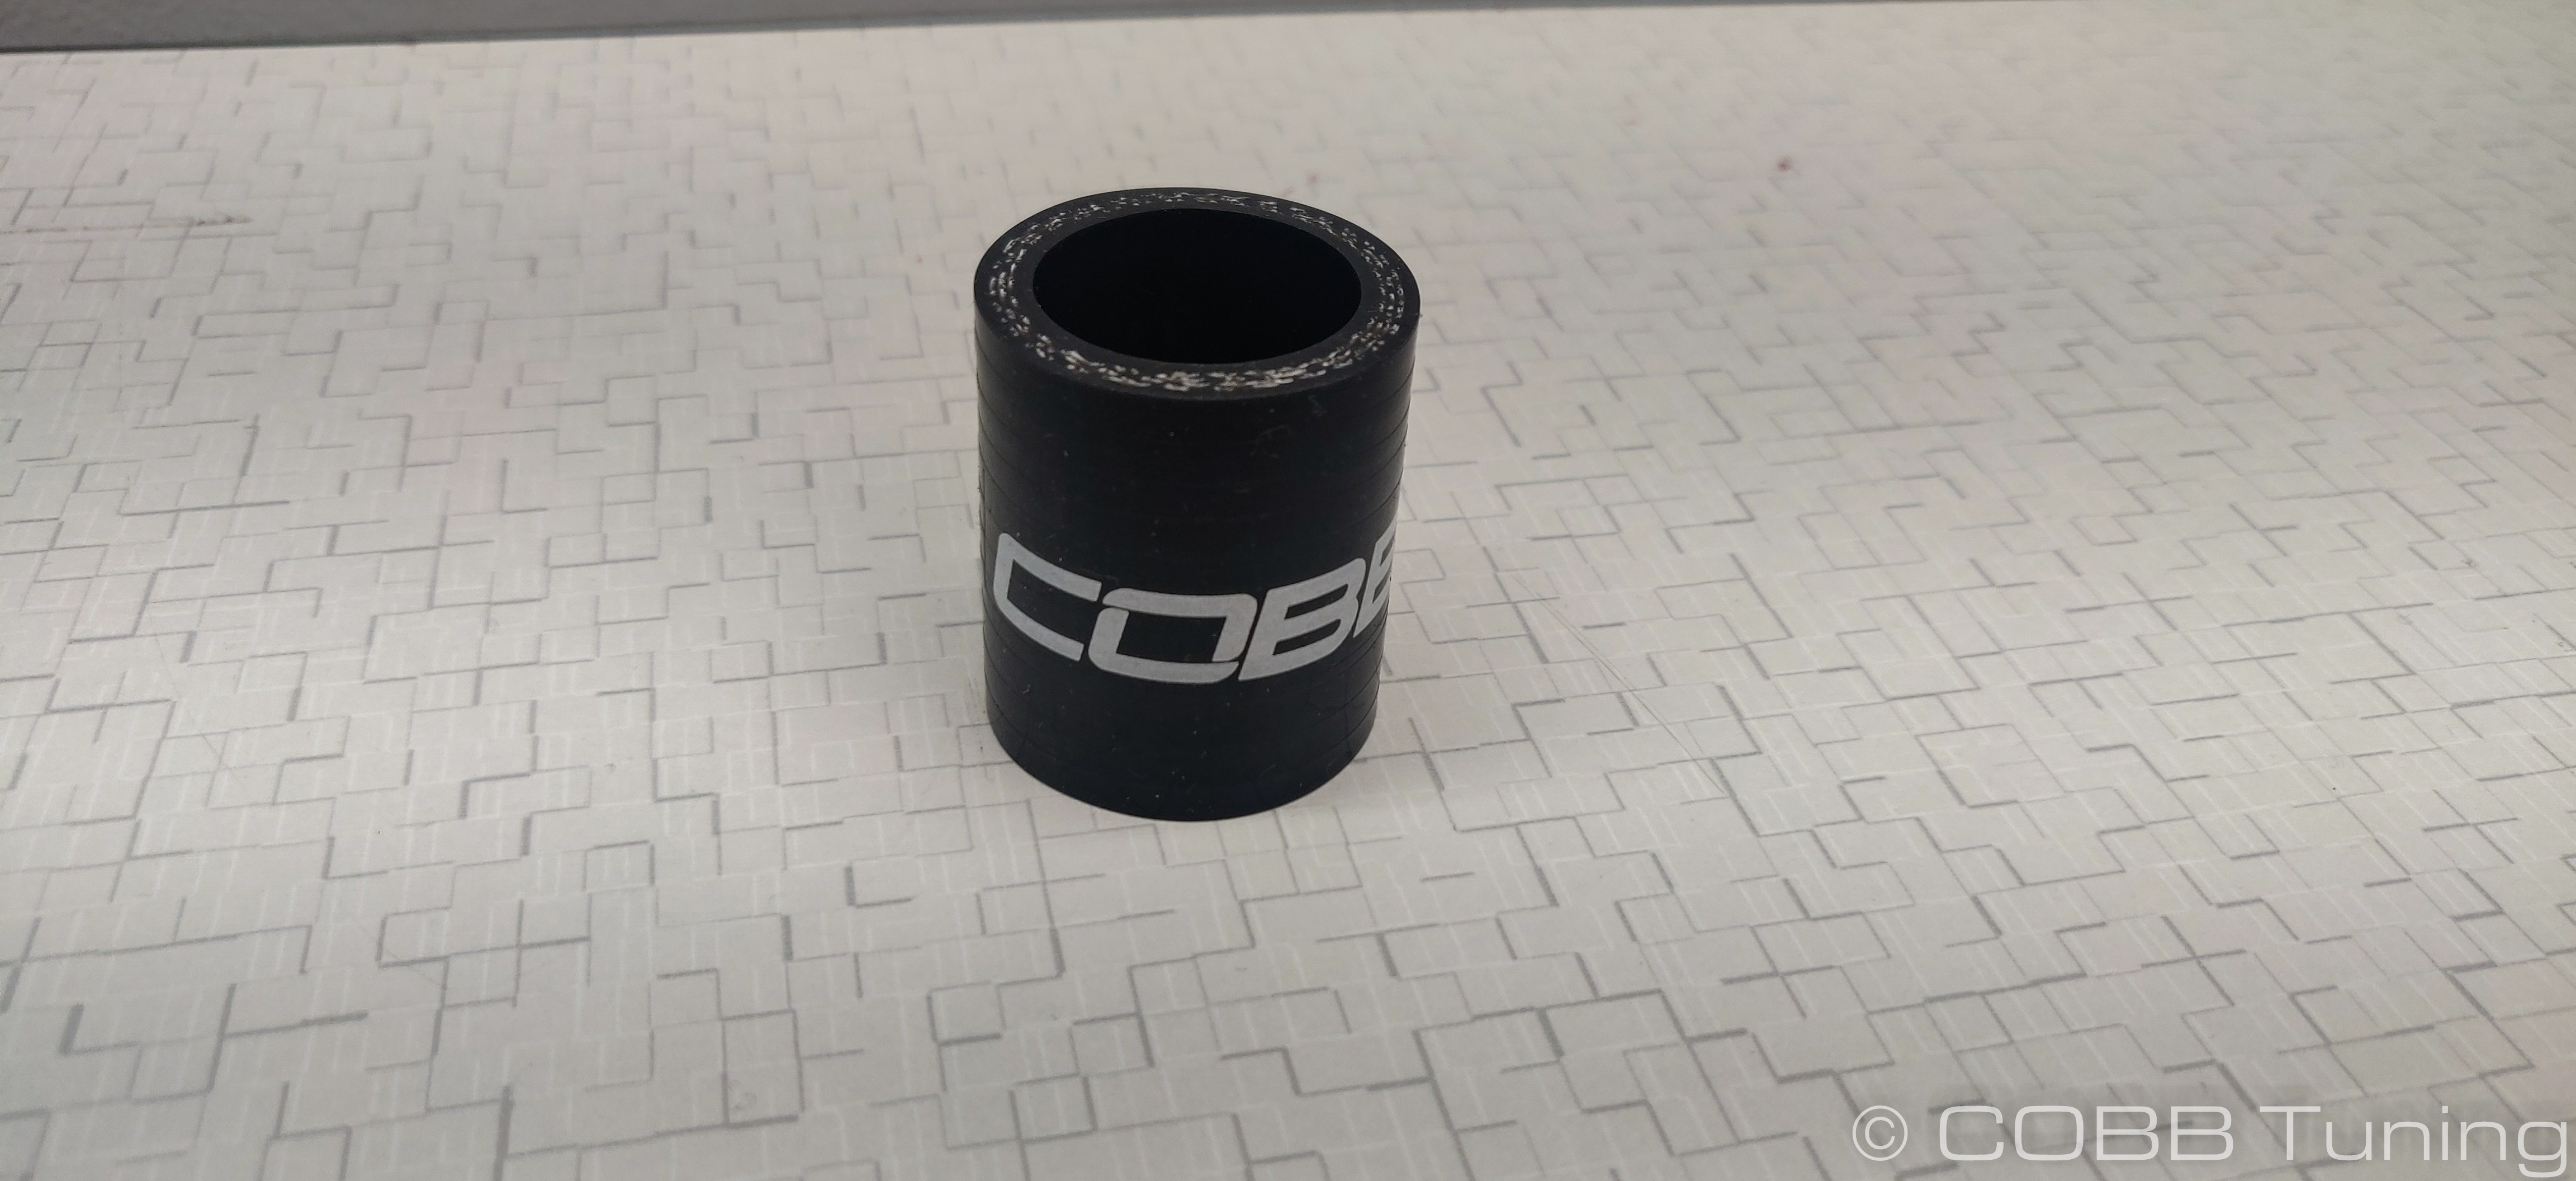
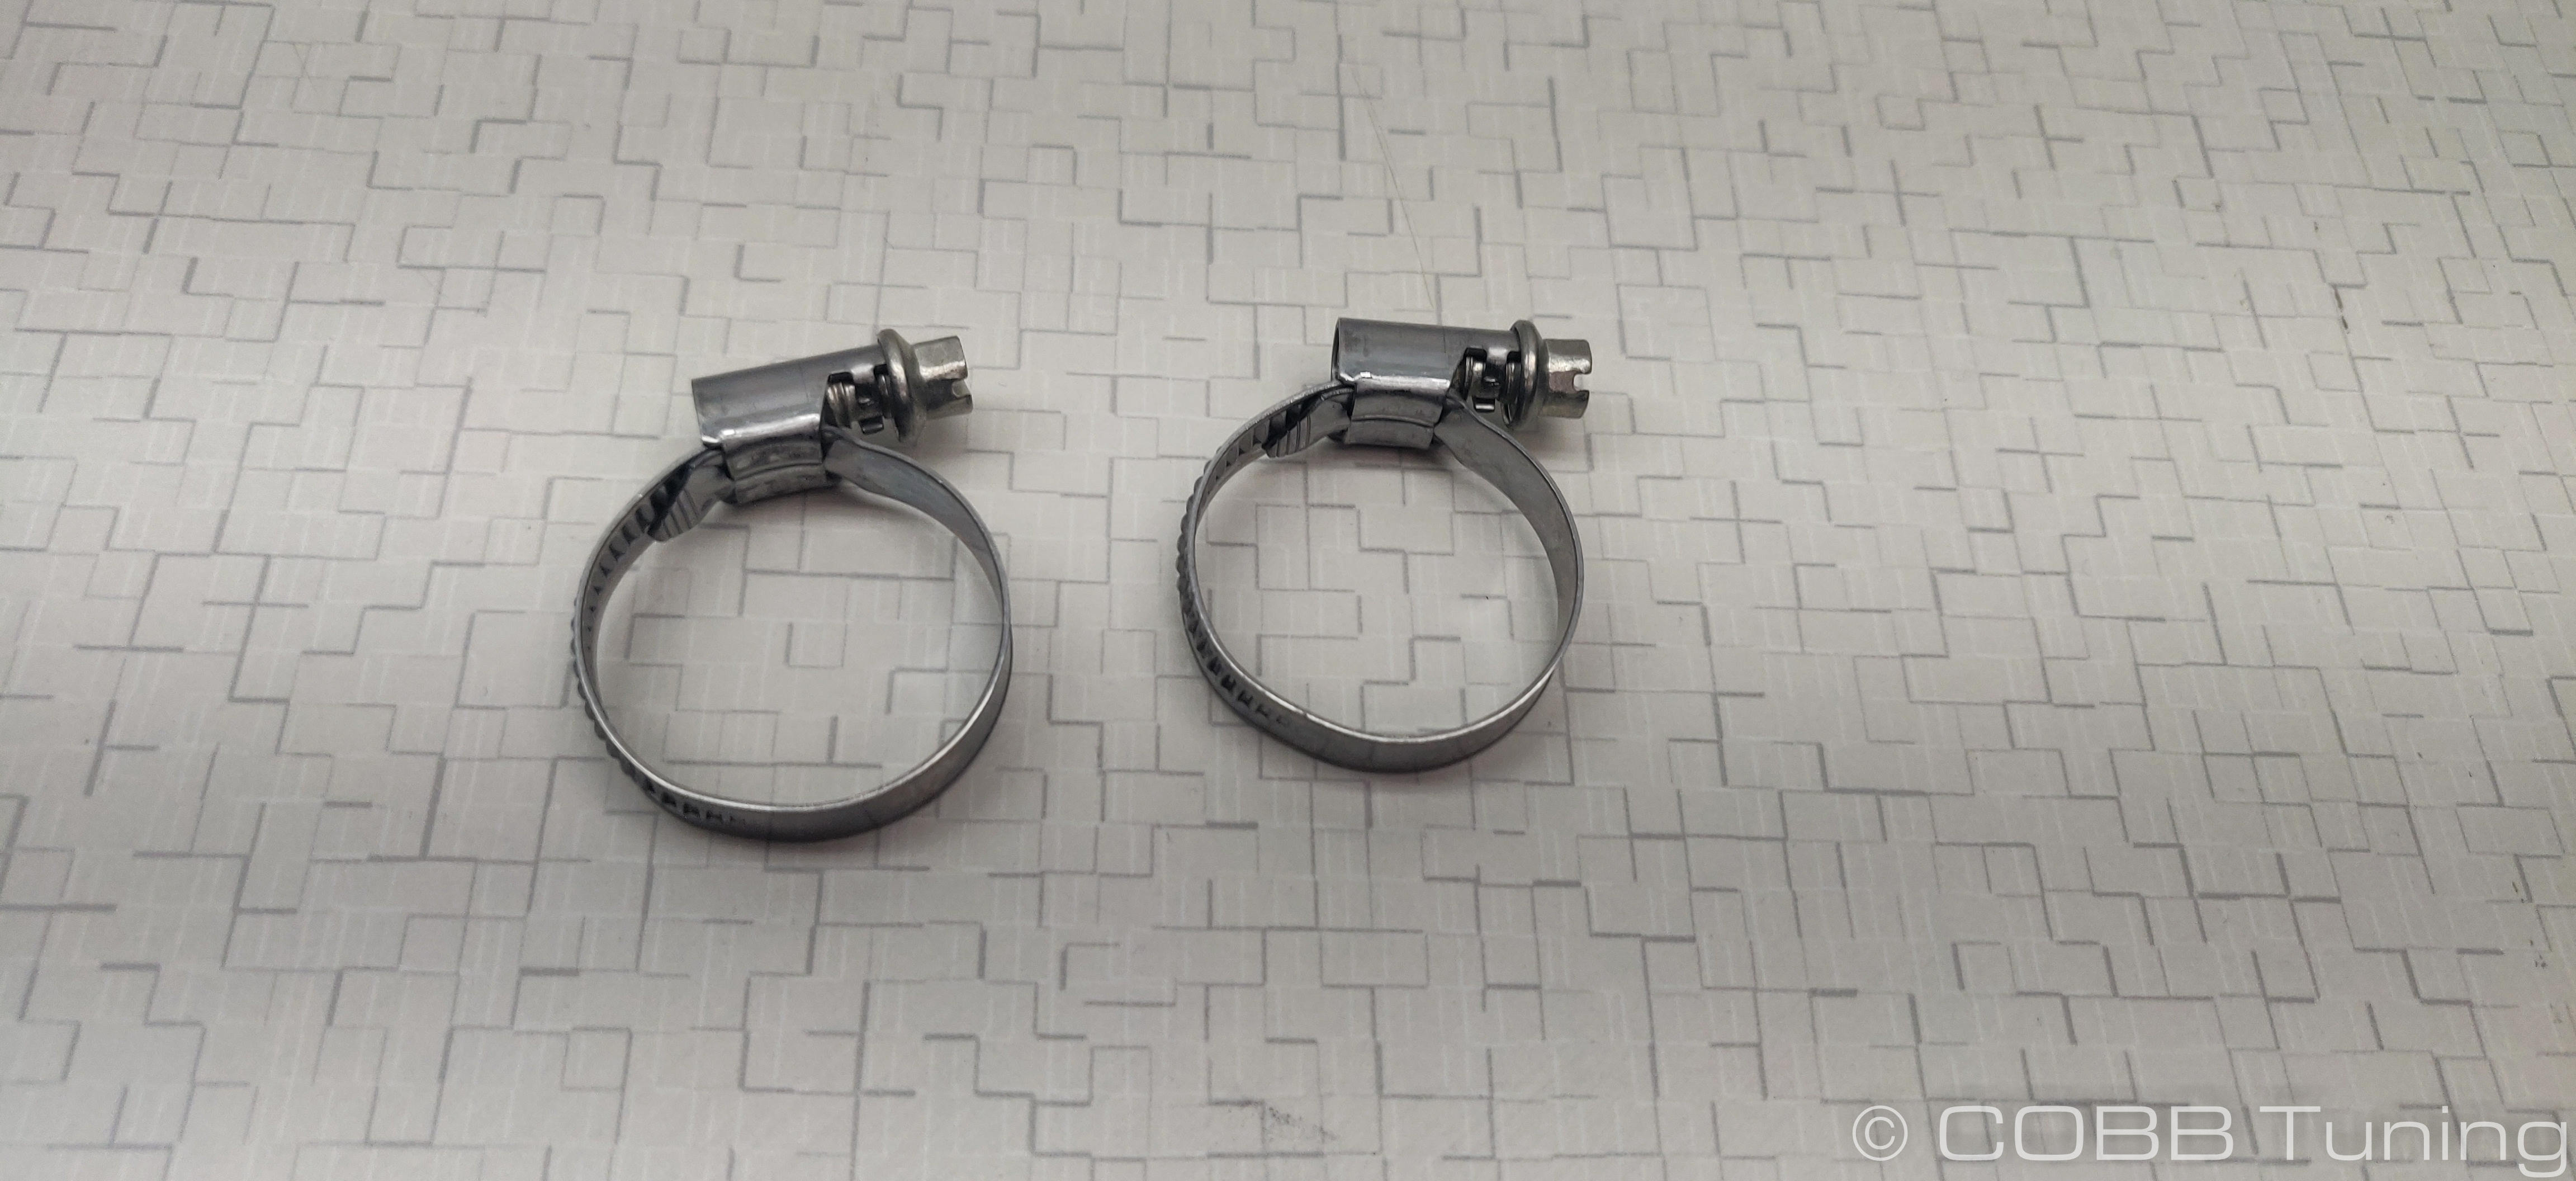
- Install the 1" bypass valve hose to the inlet with a hose clamp.
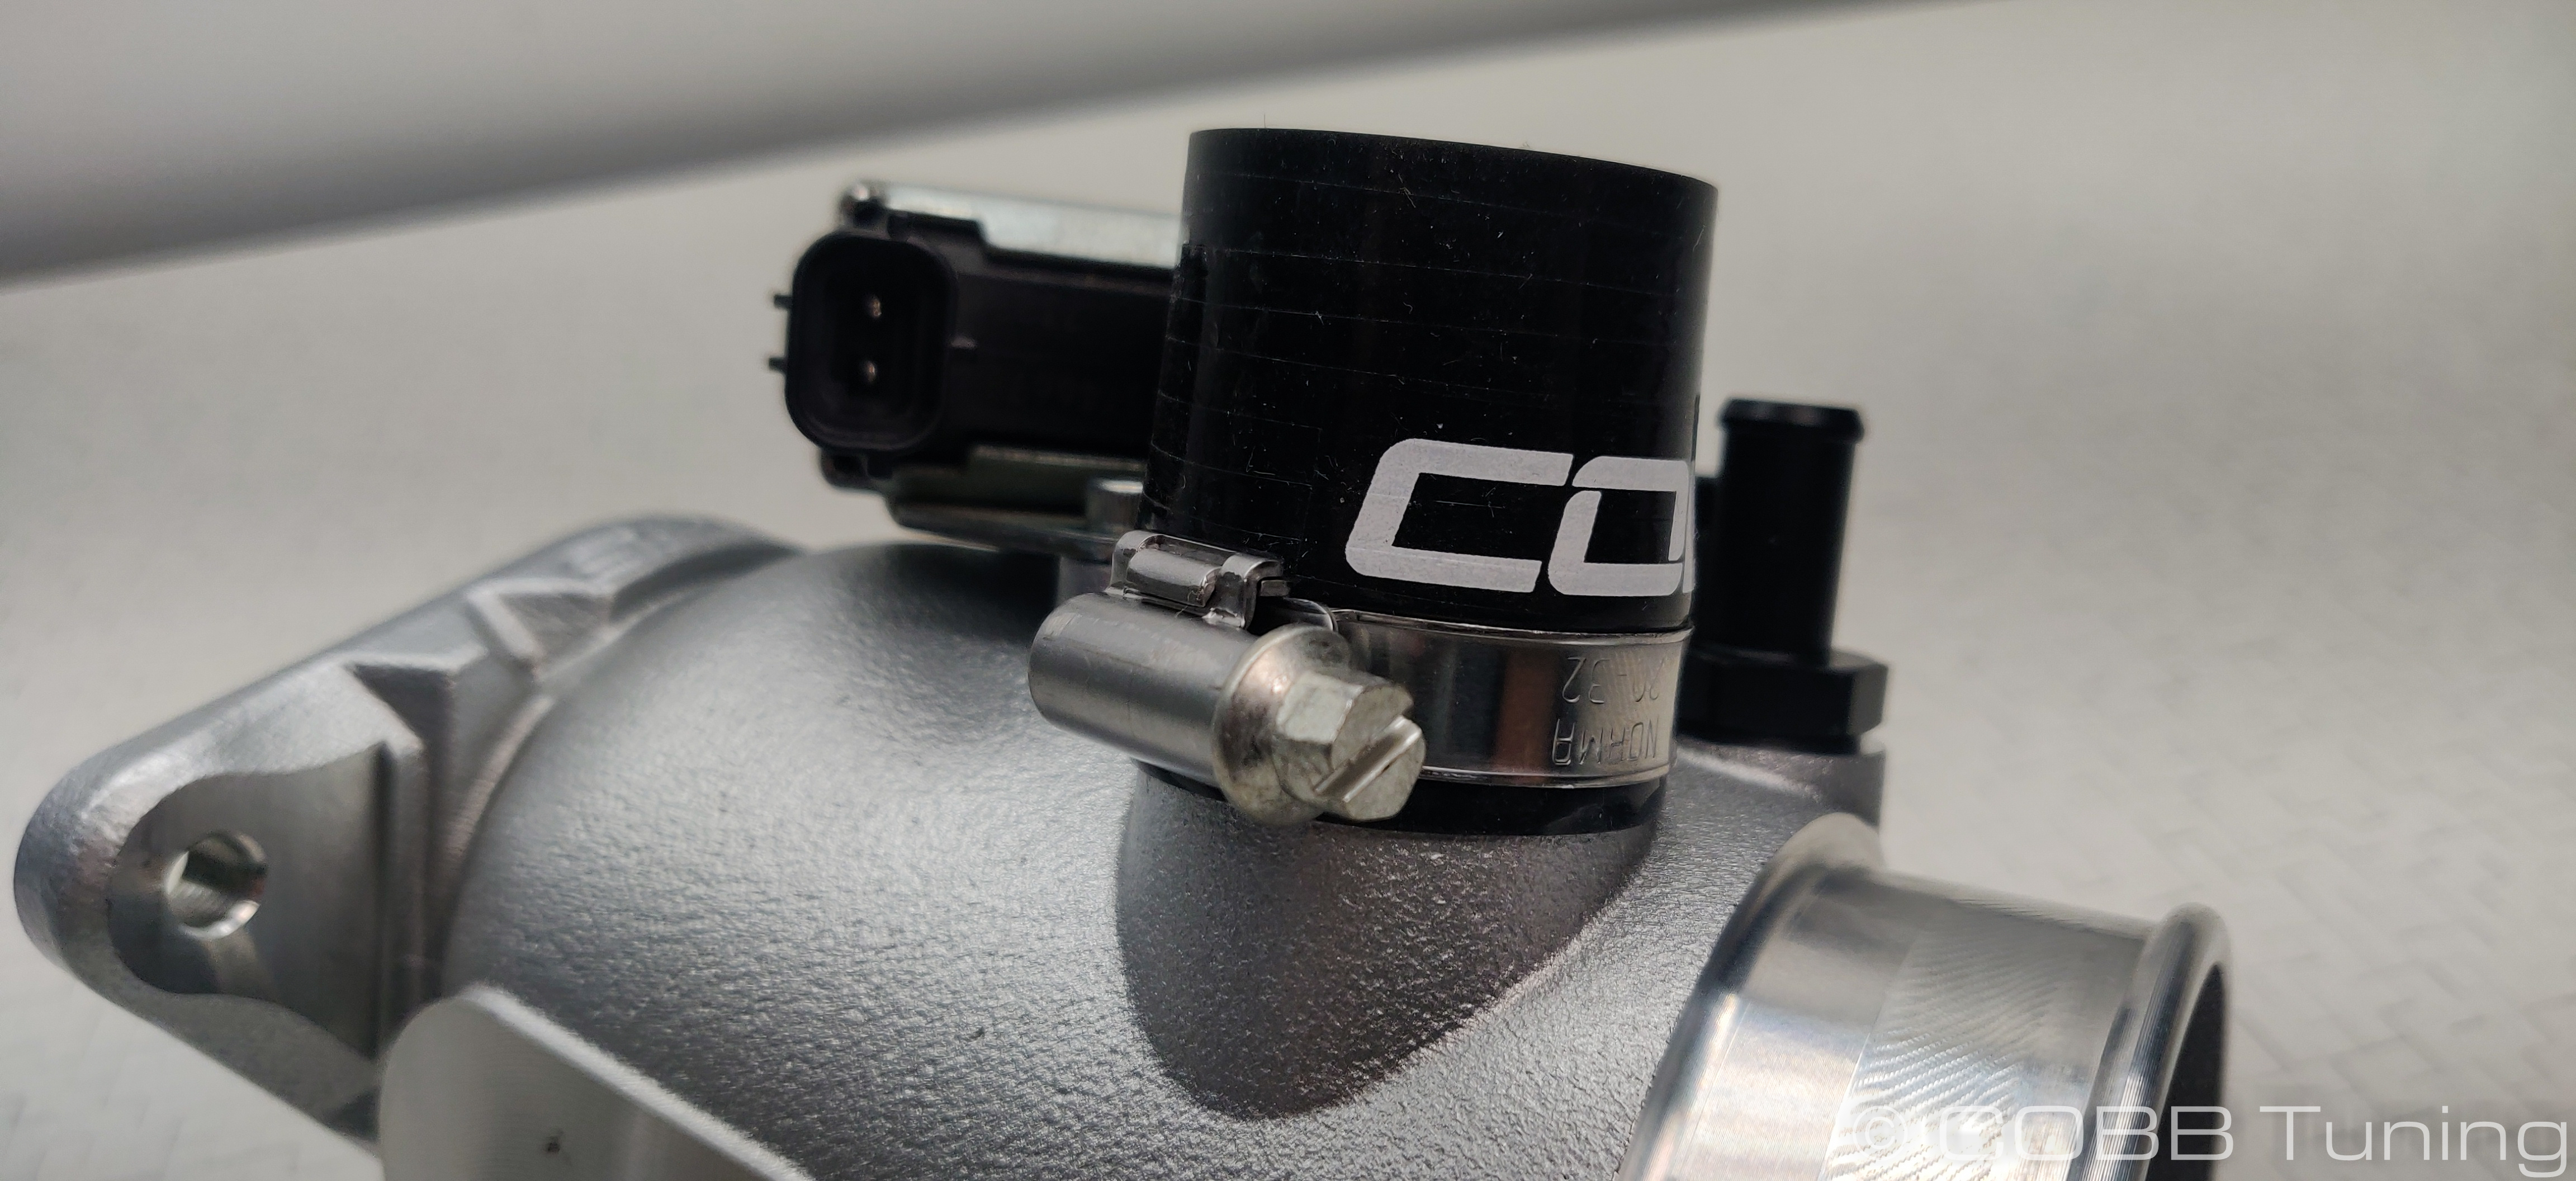
- Pre-install the hose clamp on the other end but leave it loose for installation later. It's recommended to reinstall the bypass valve to the charge piping etc. at this time since that side tends to be stiffer to get the bypass valve into than the new silicone side.
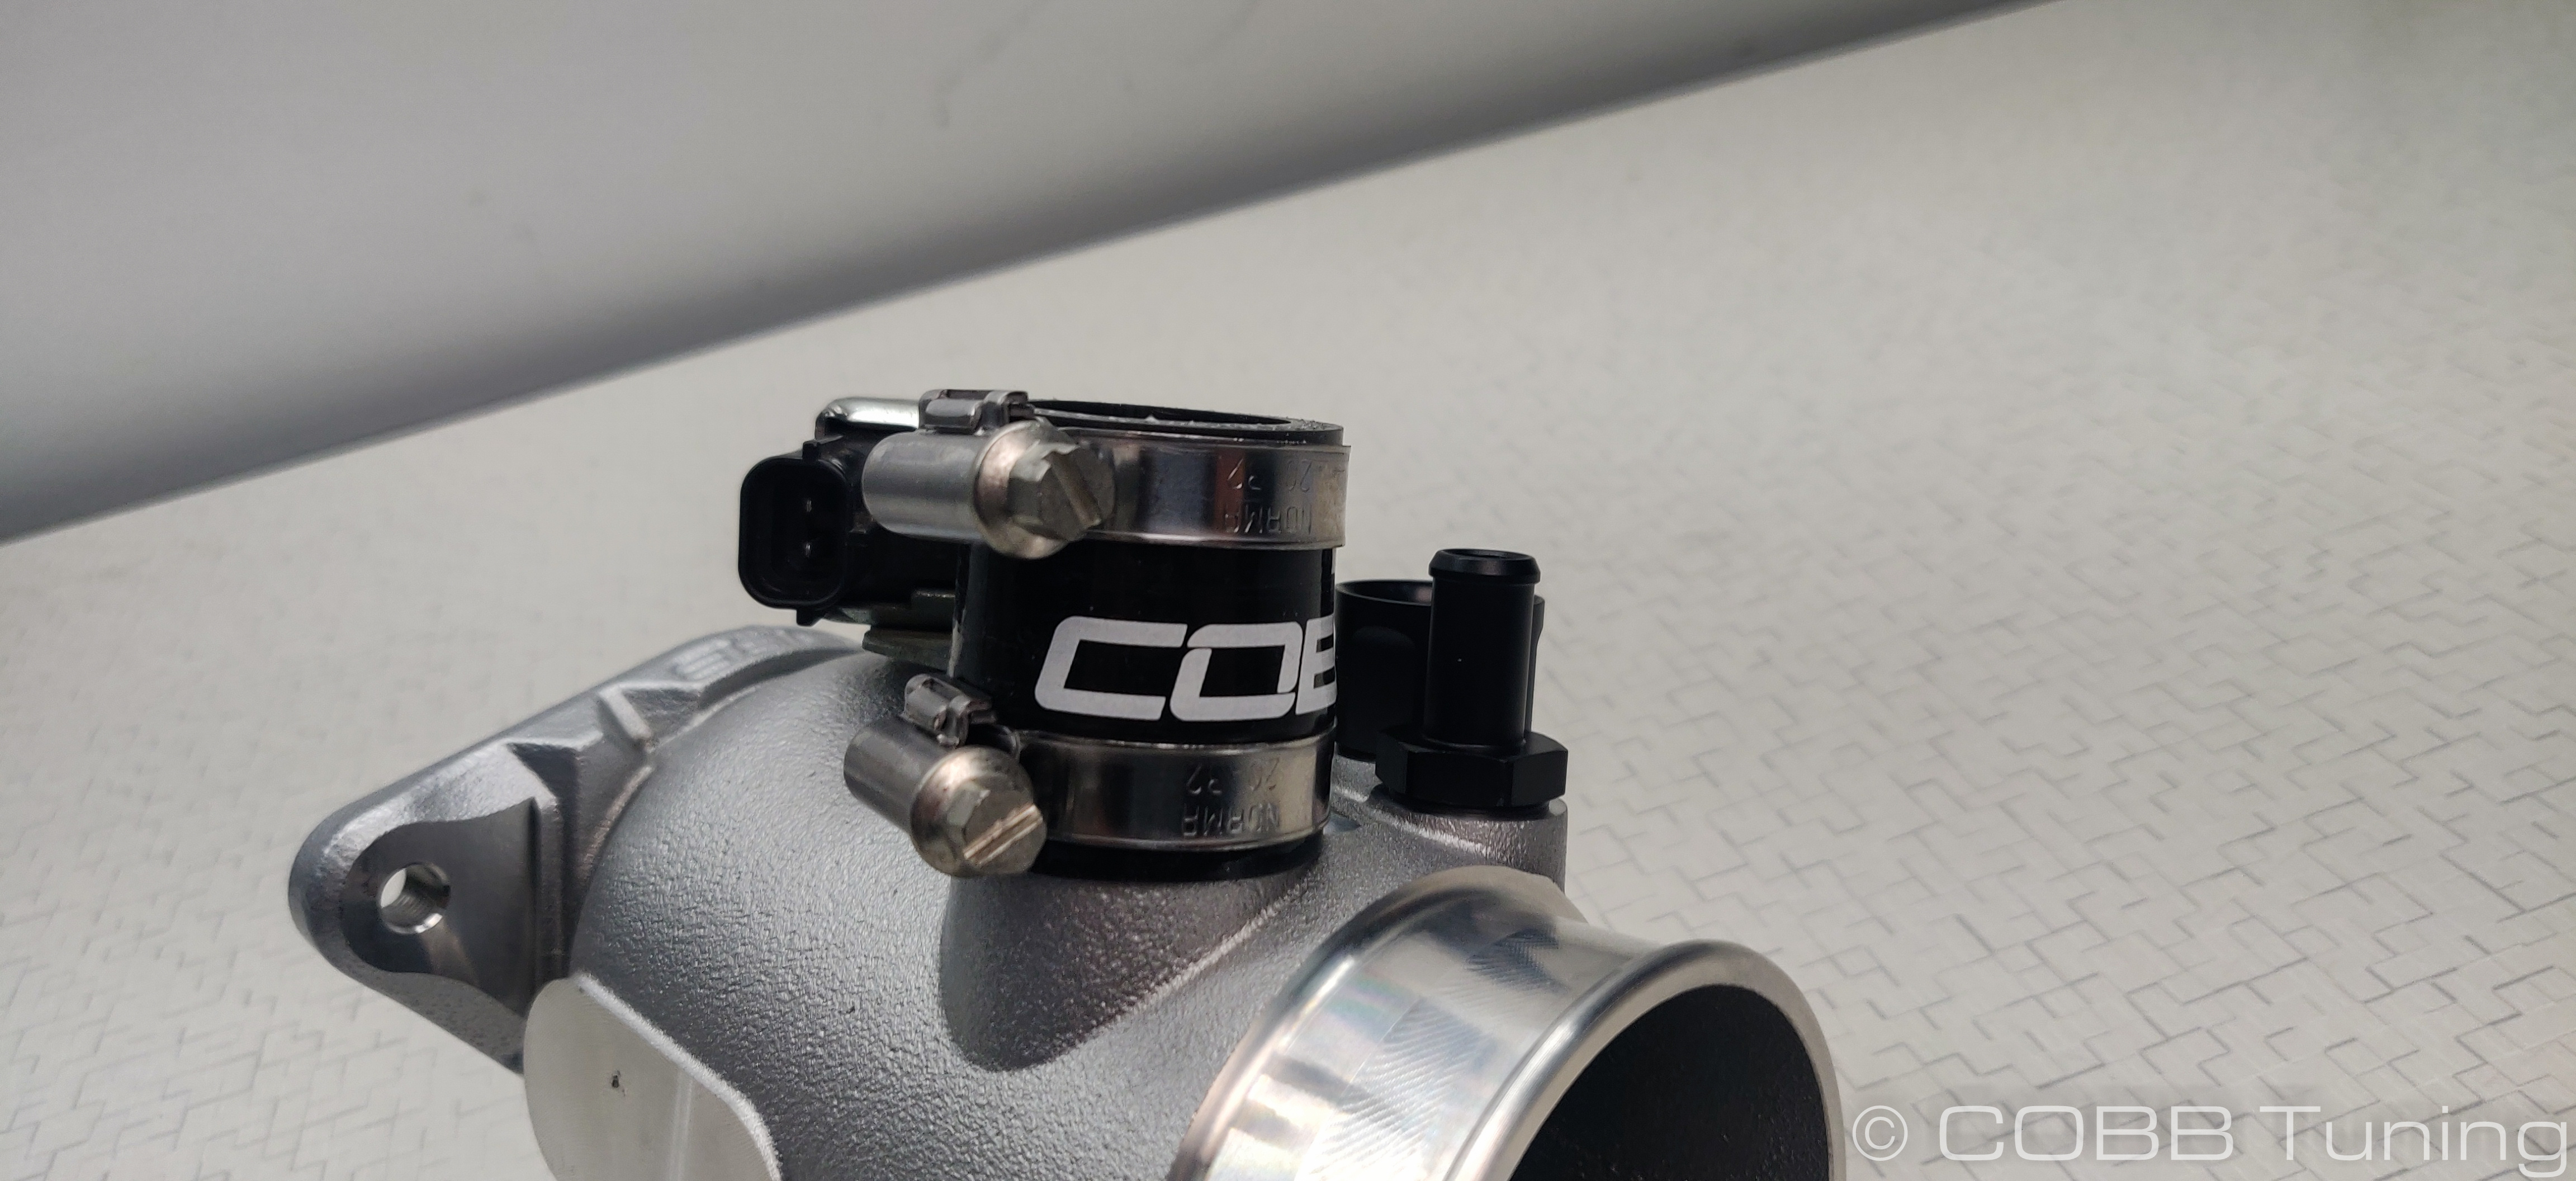
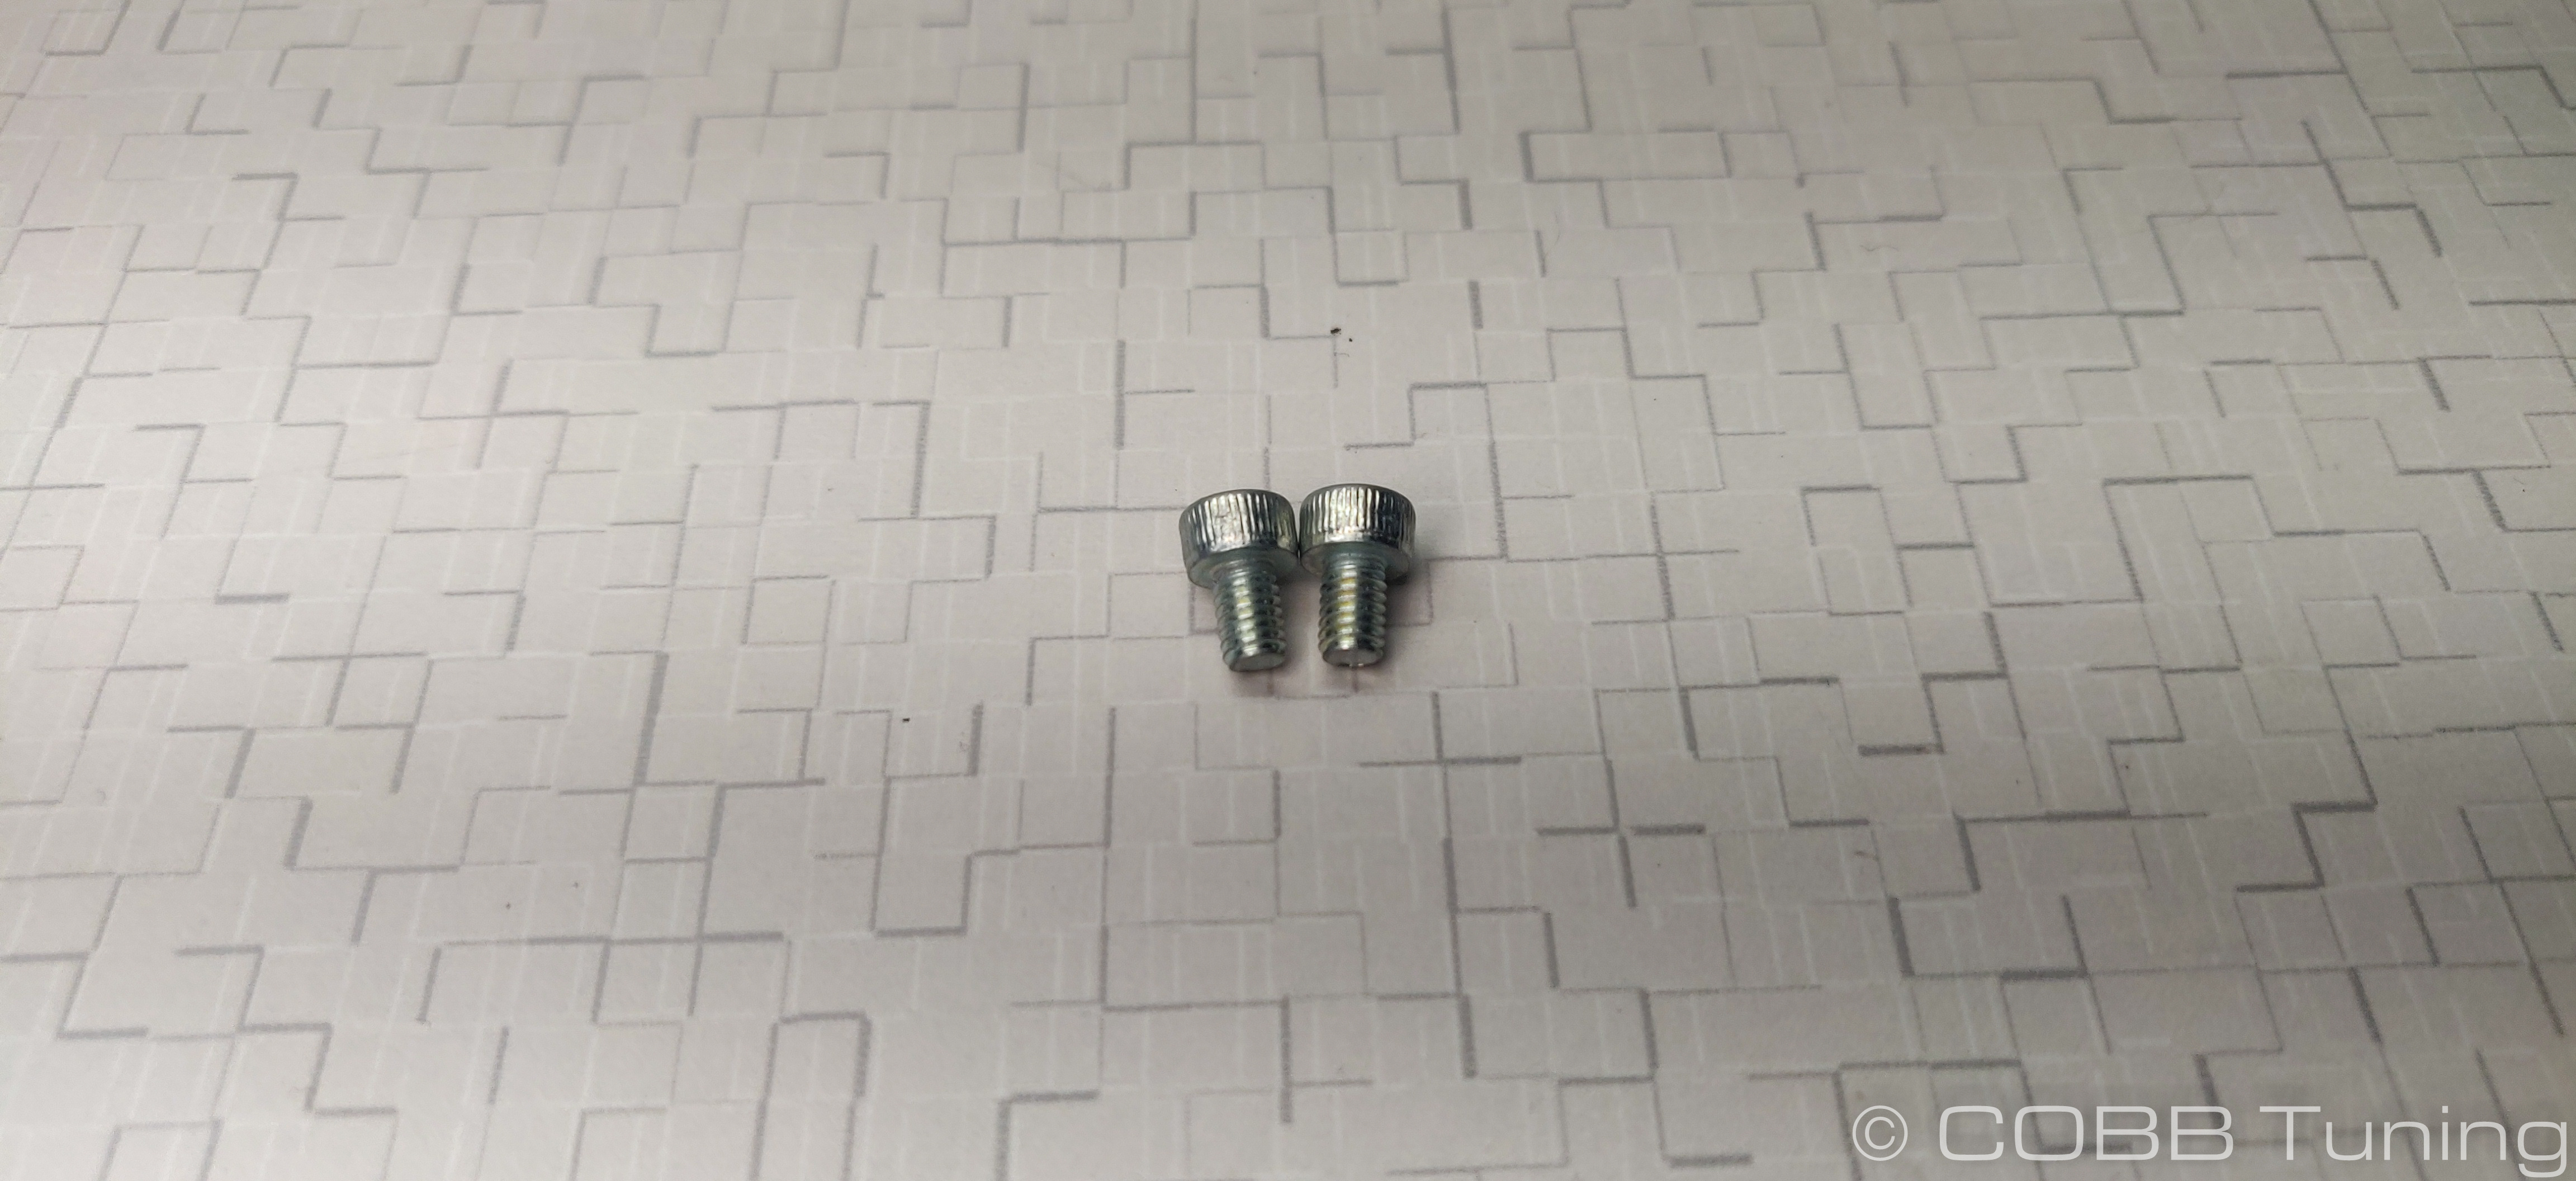
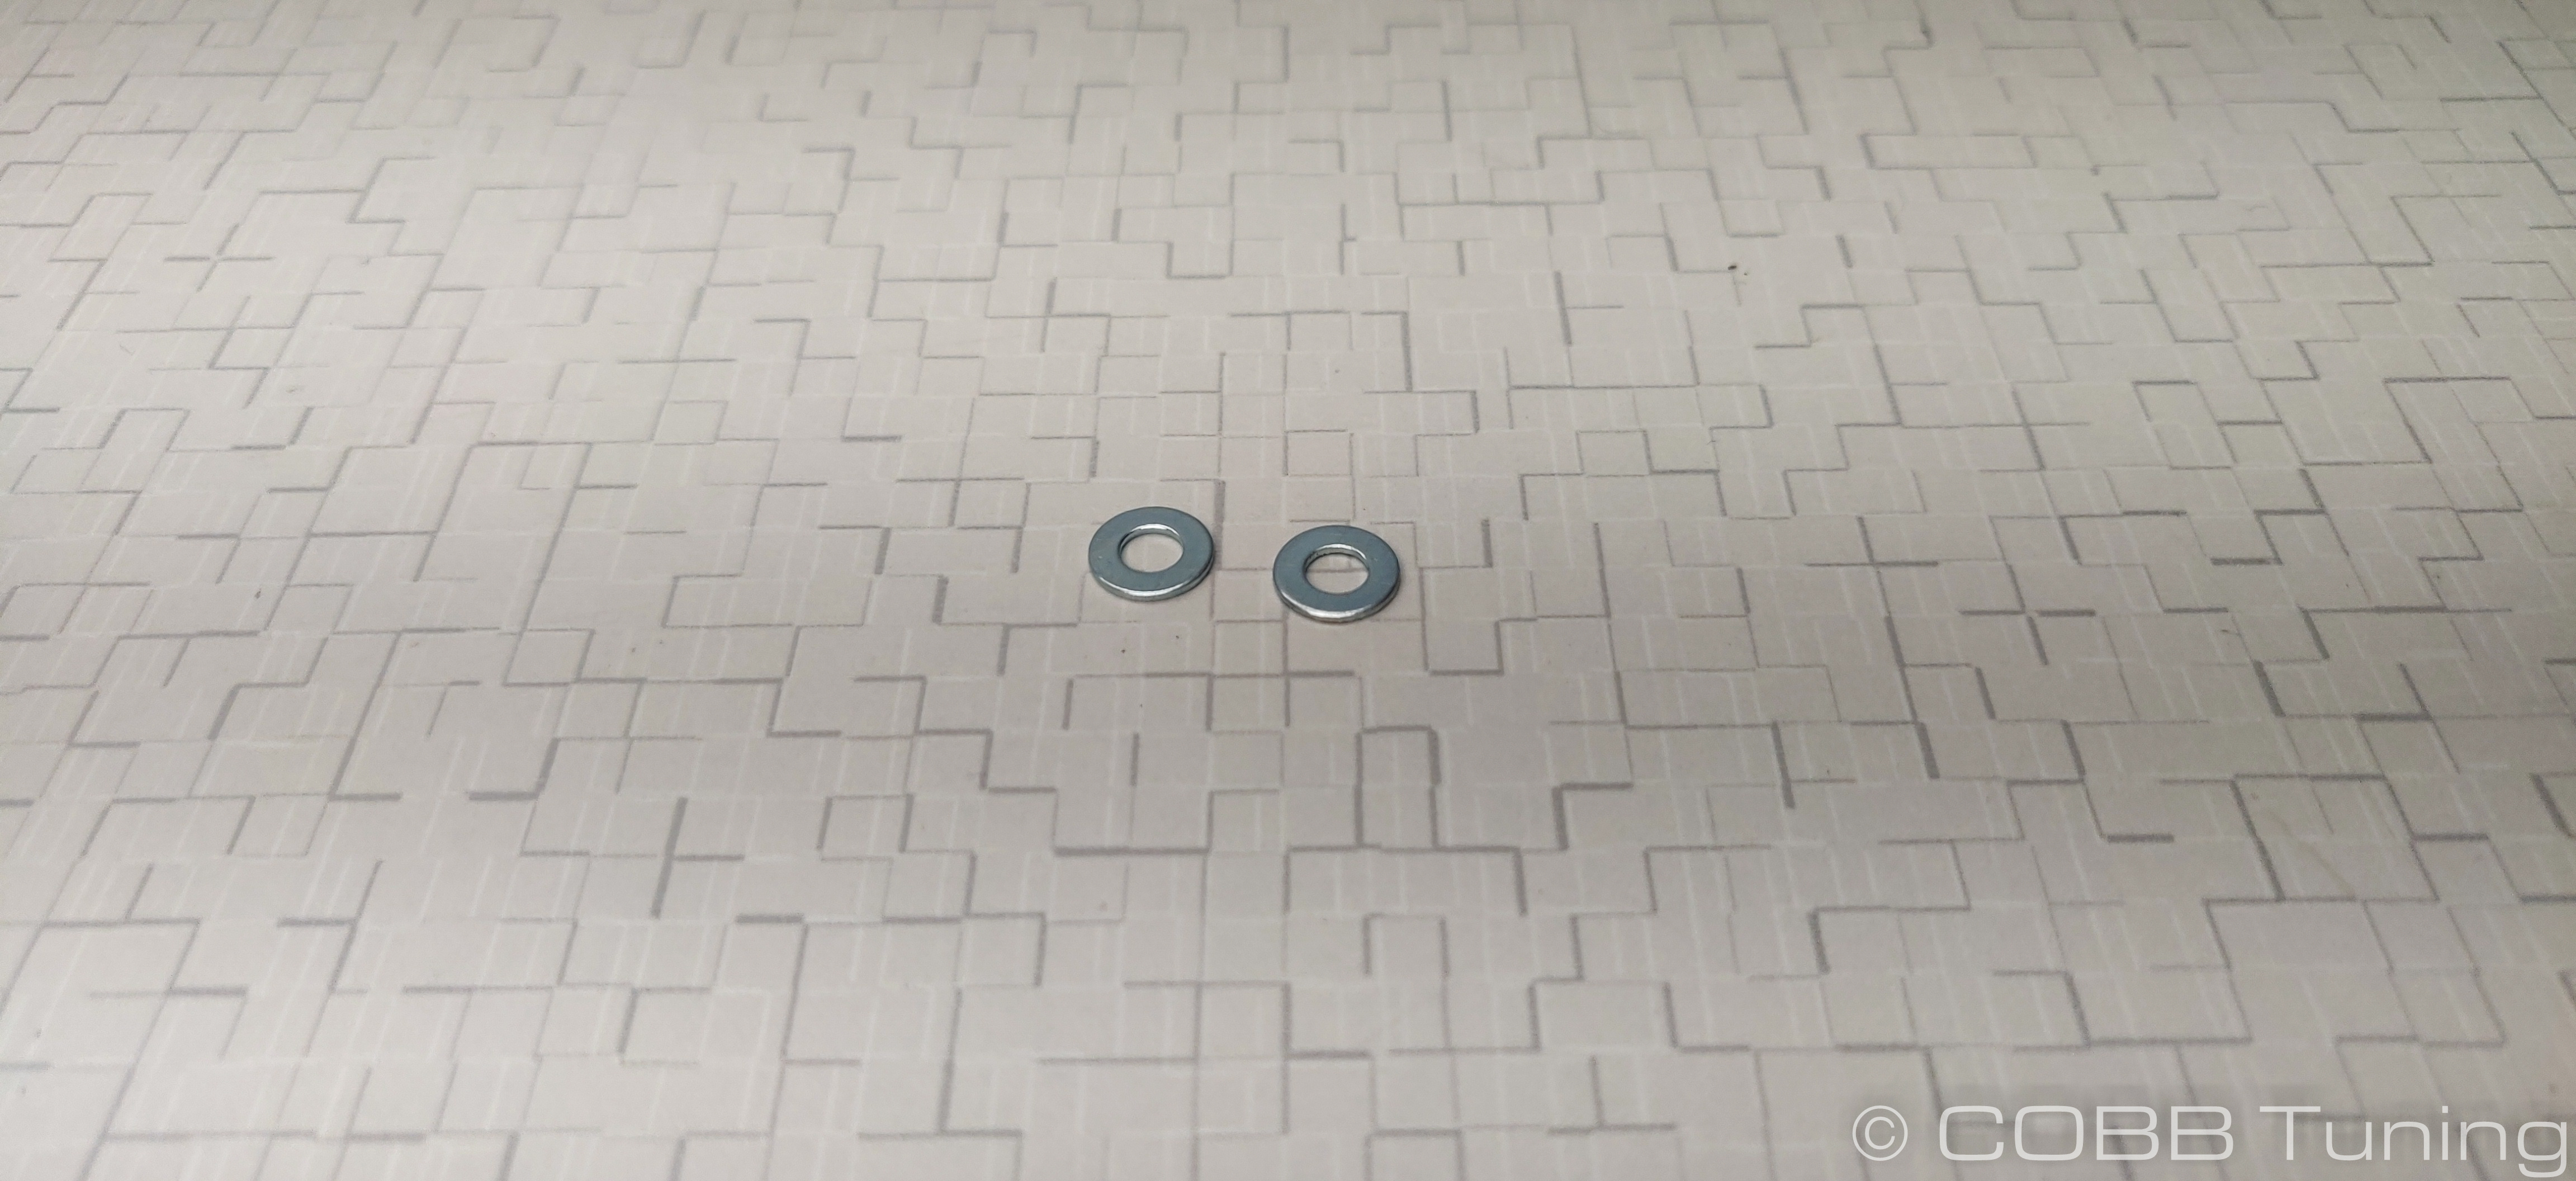
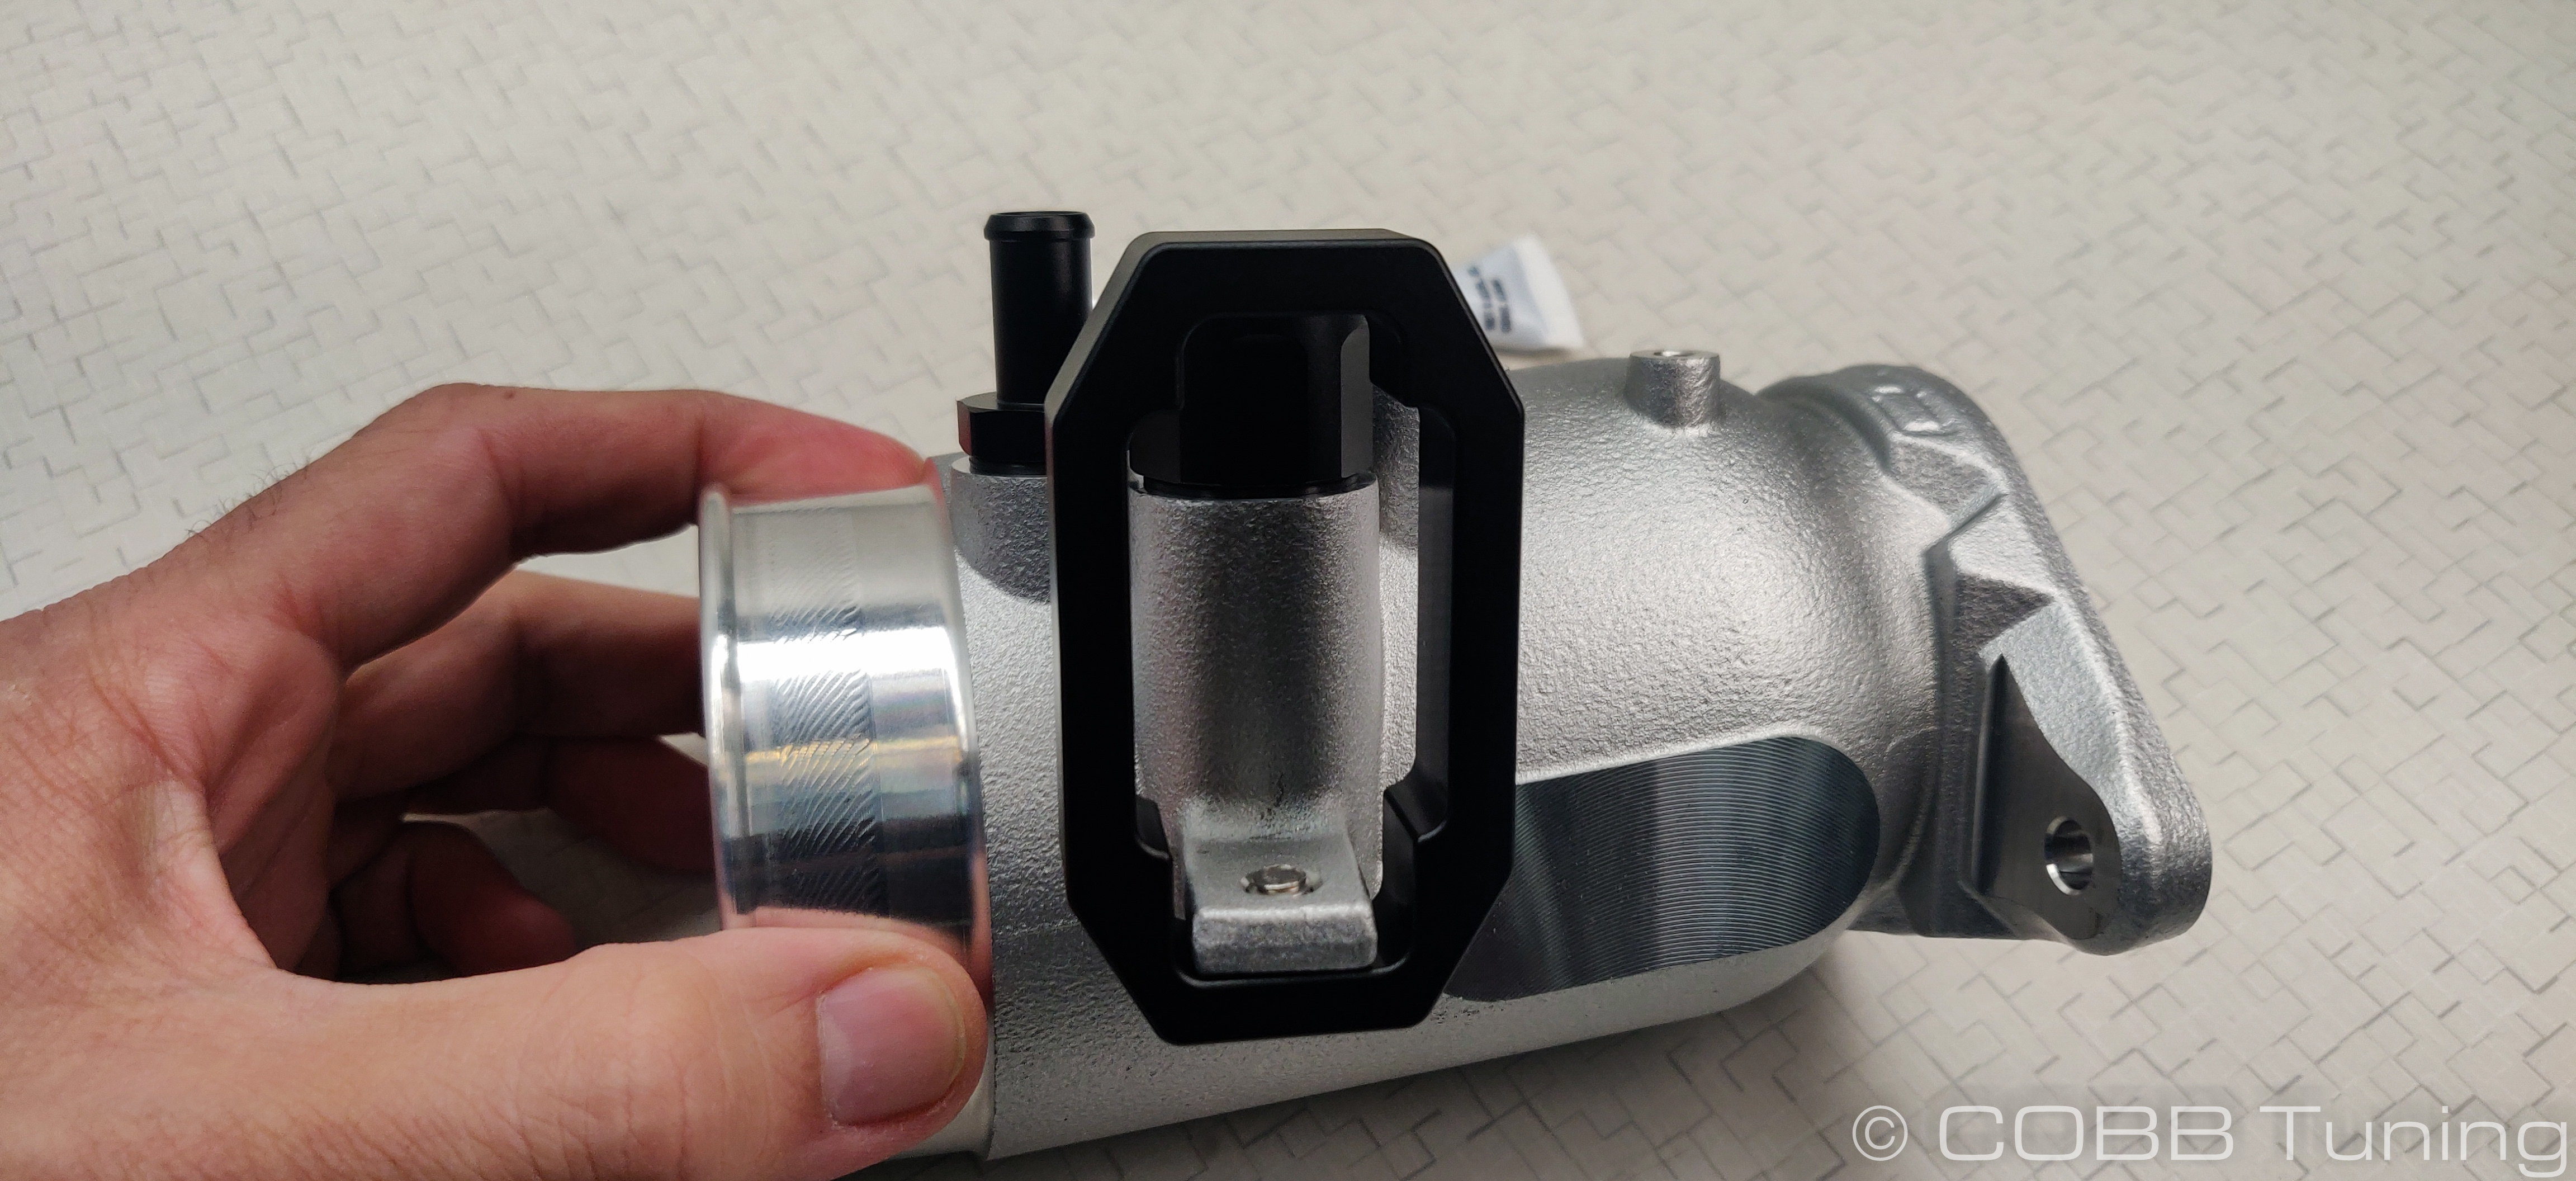
- Install the stock bypass valve onto the inlet. You'll use the shorter allen bolts and washers to do so.
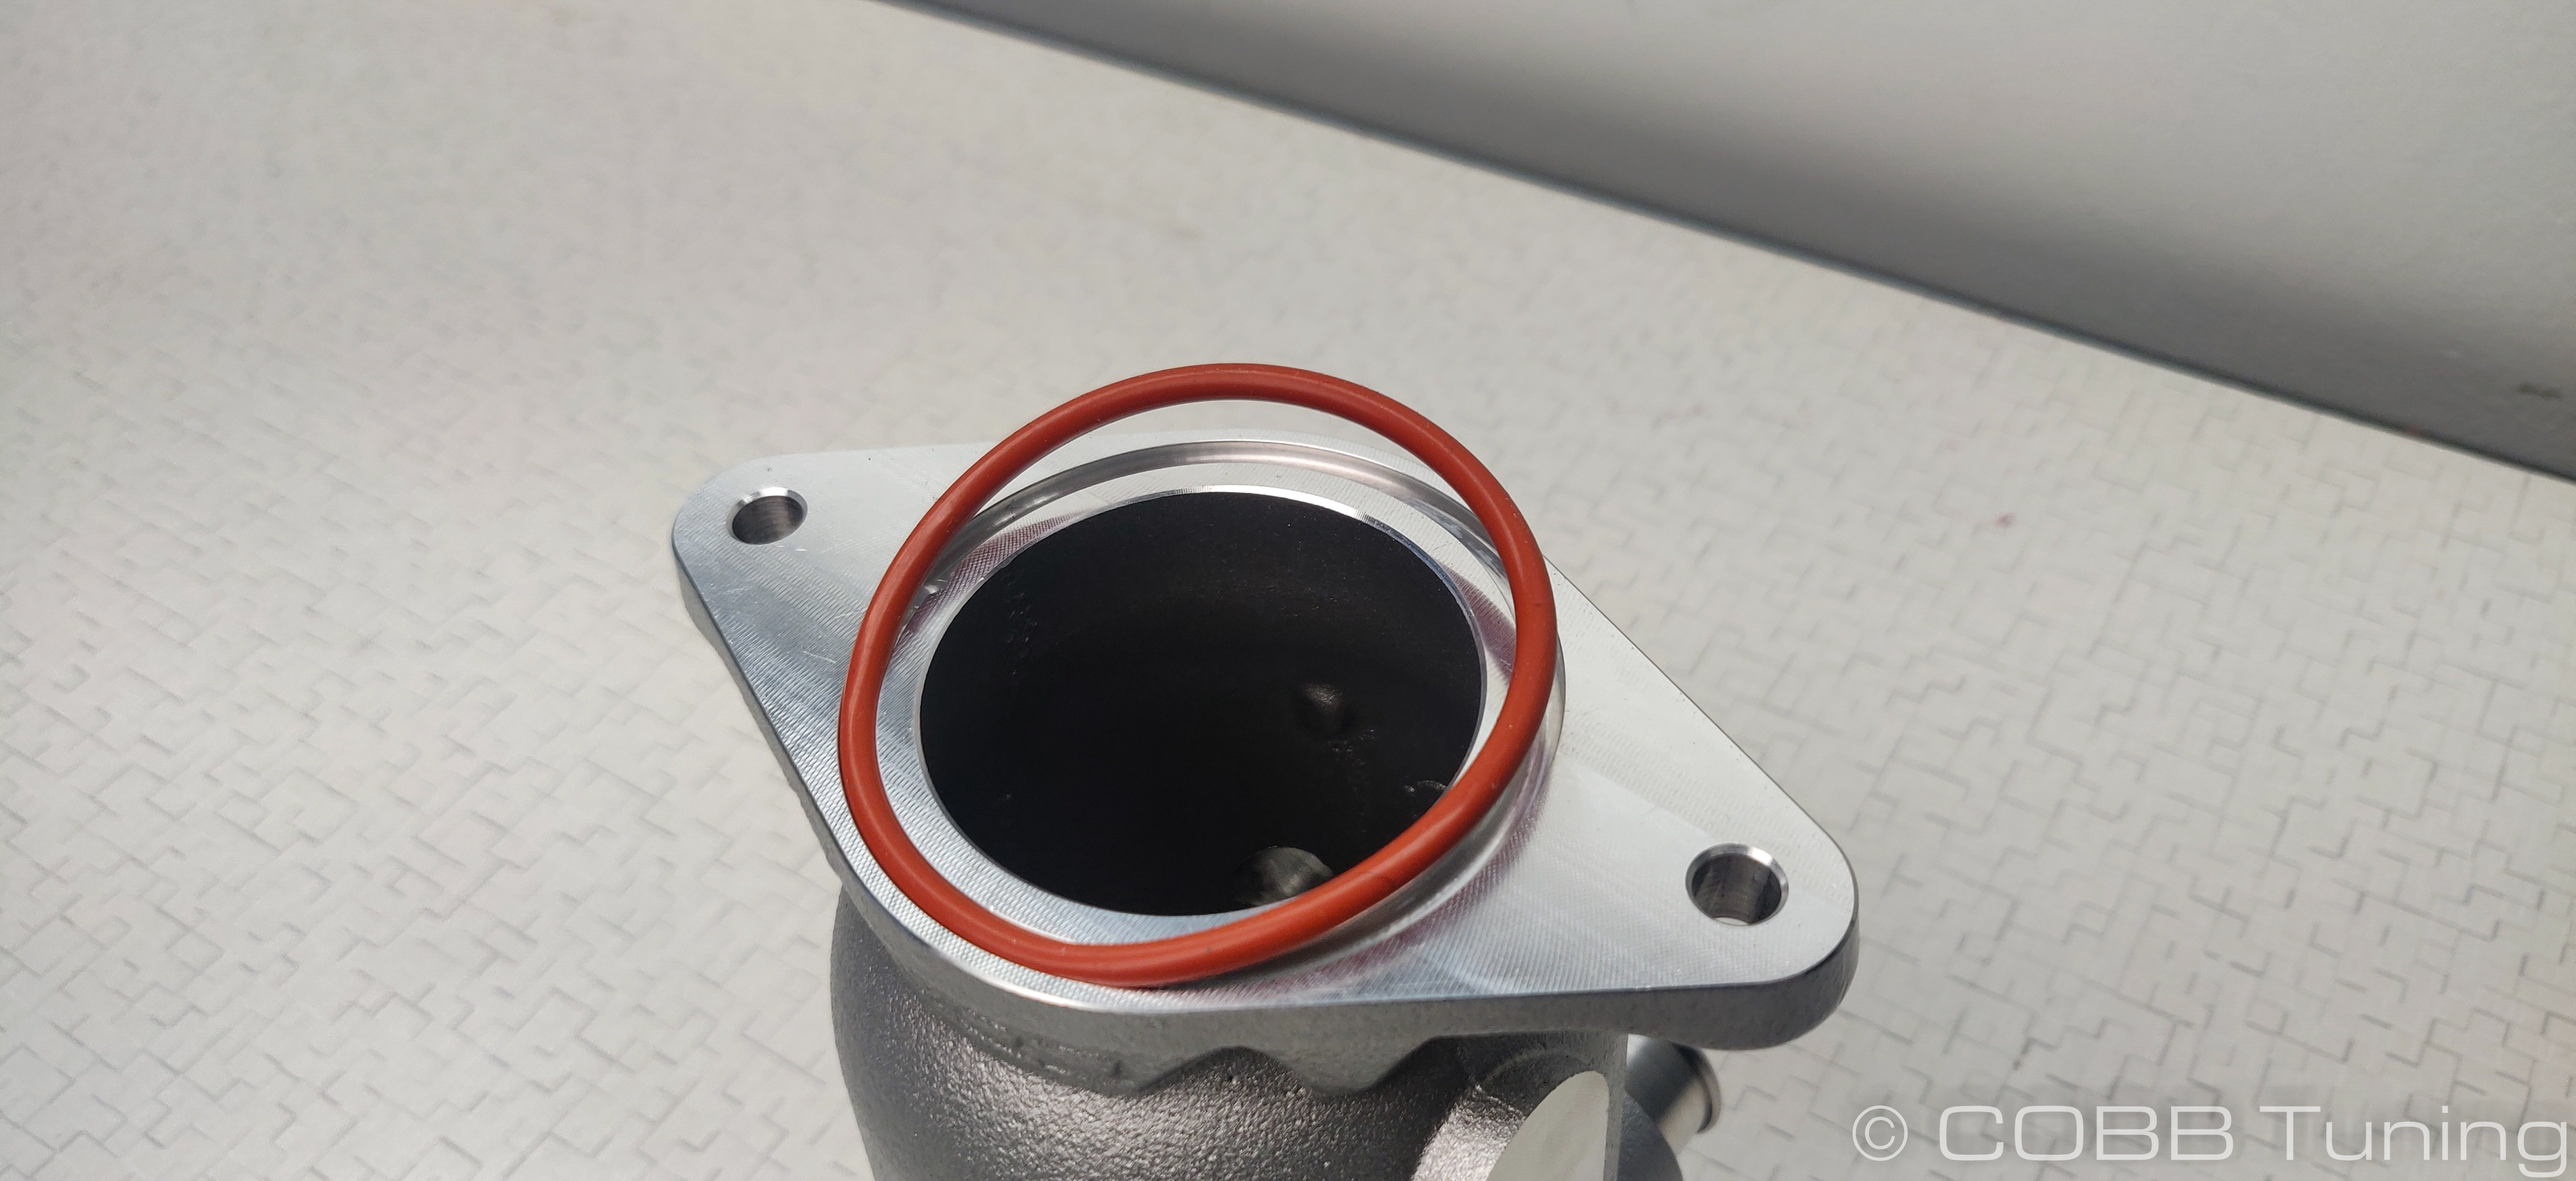
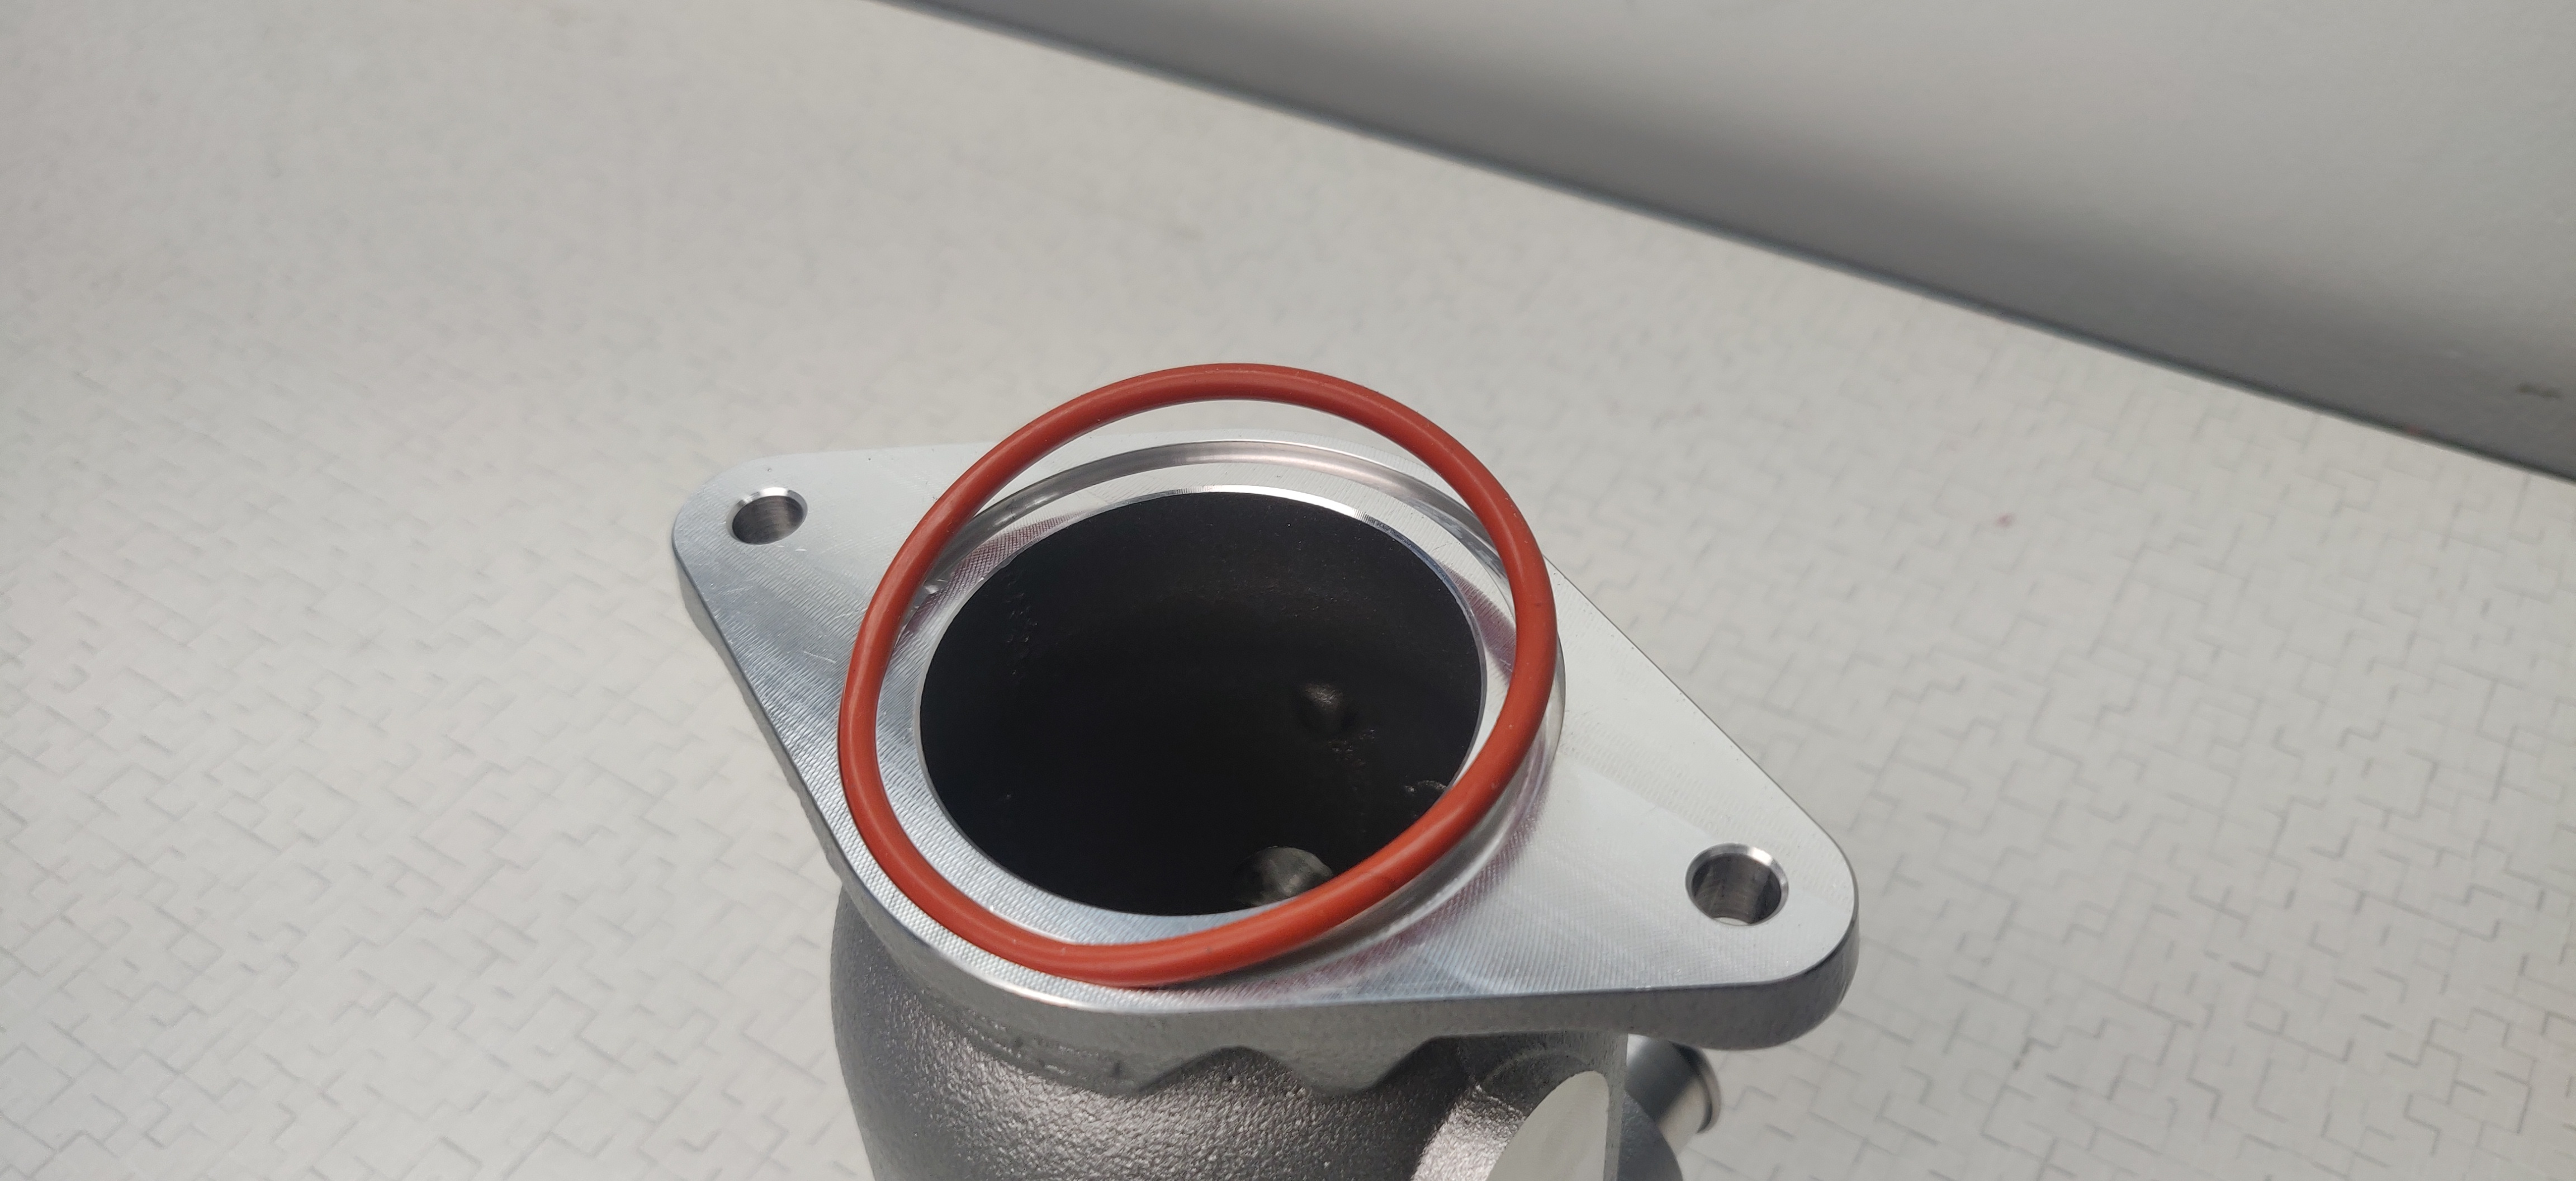
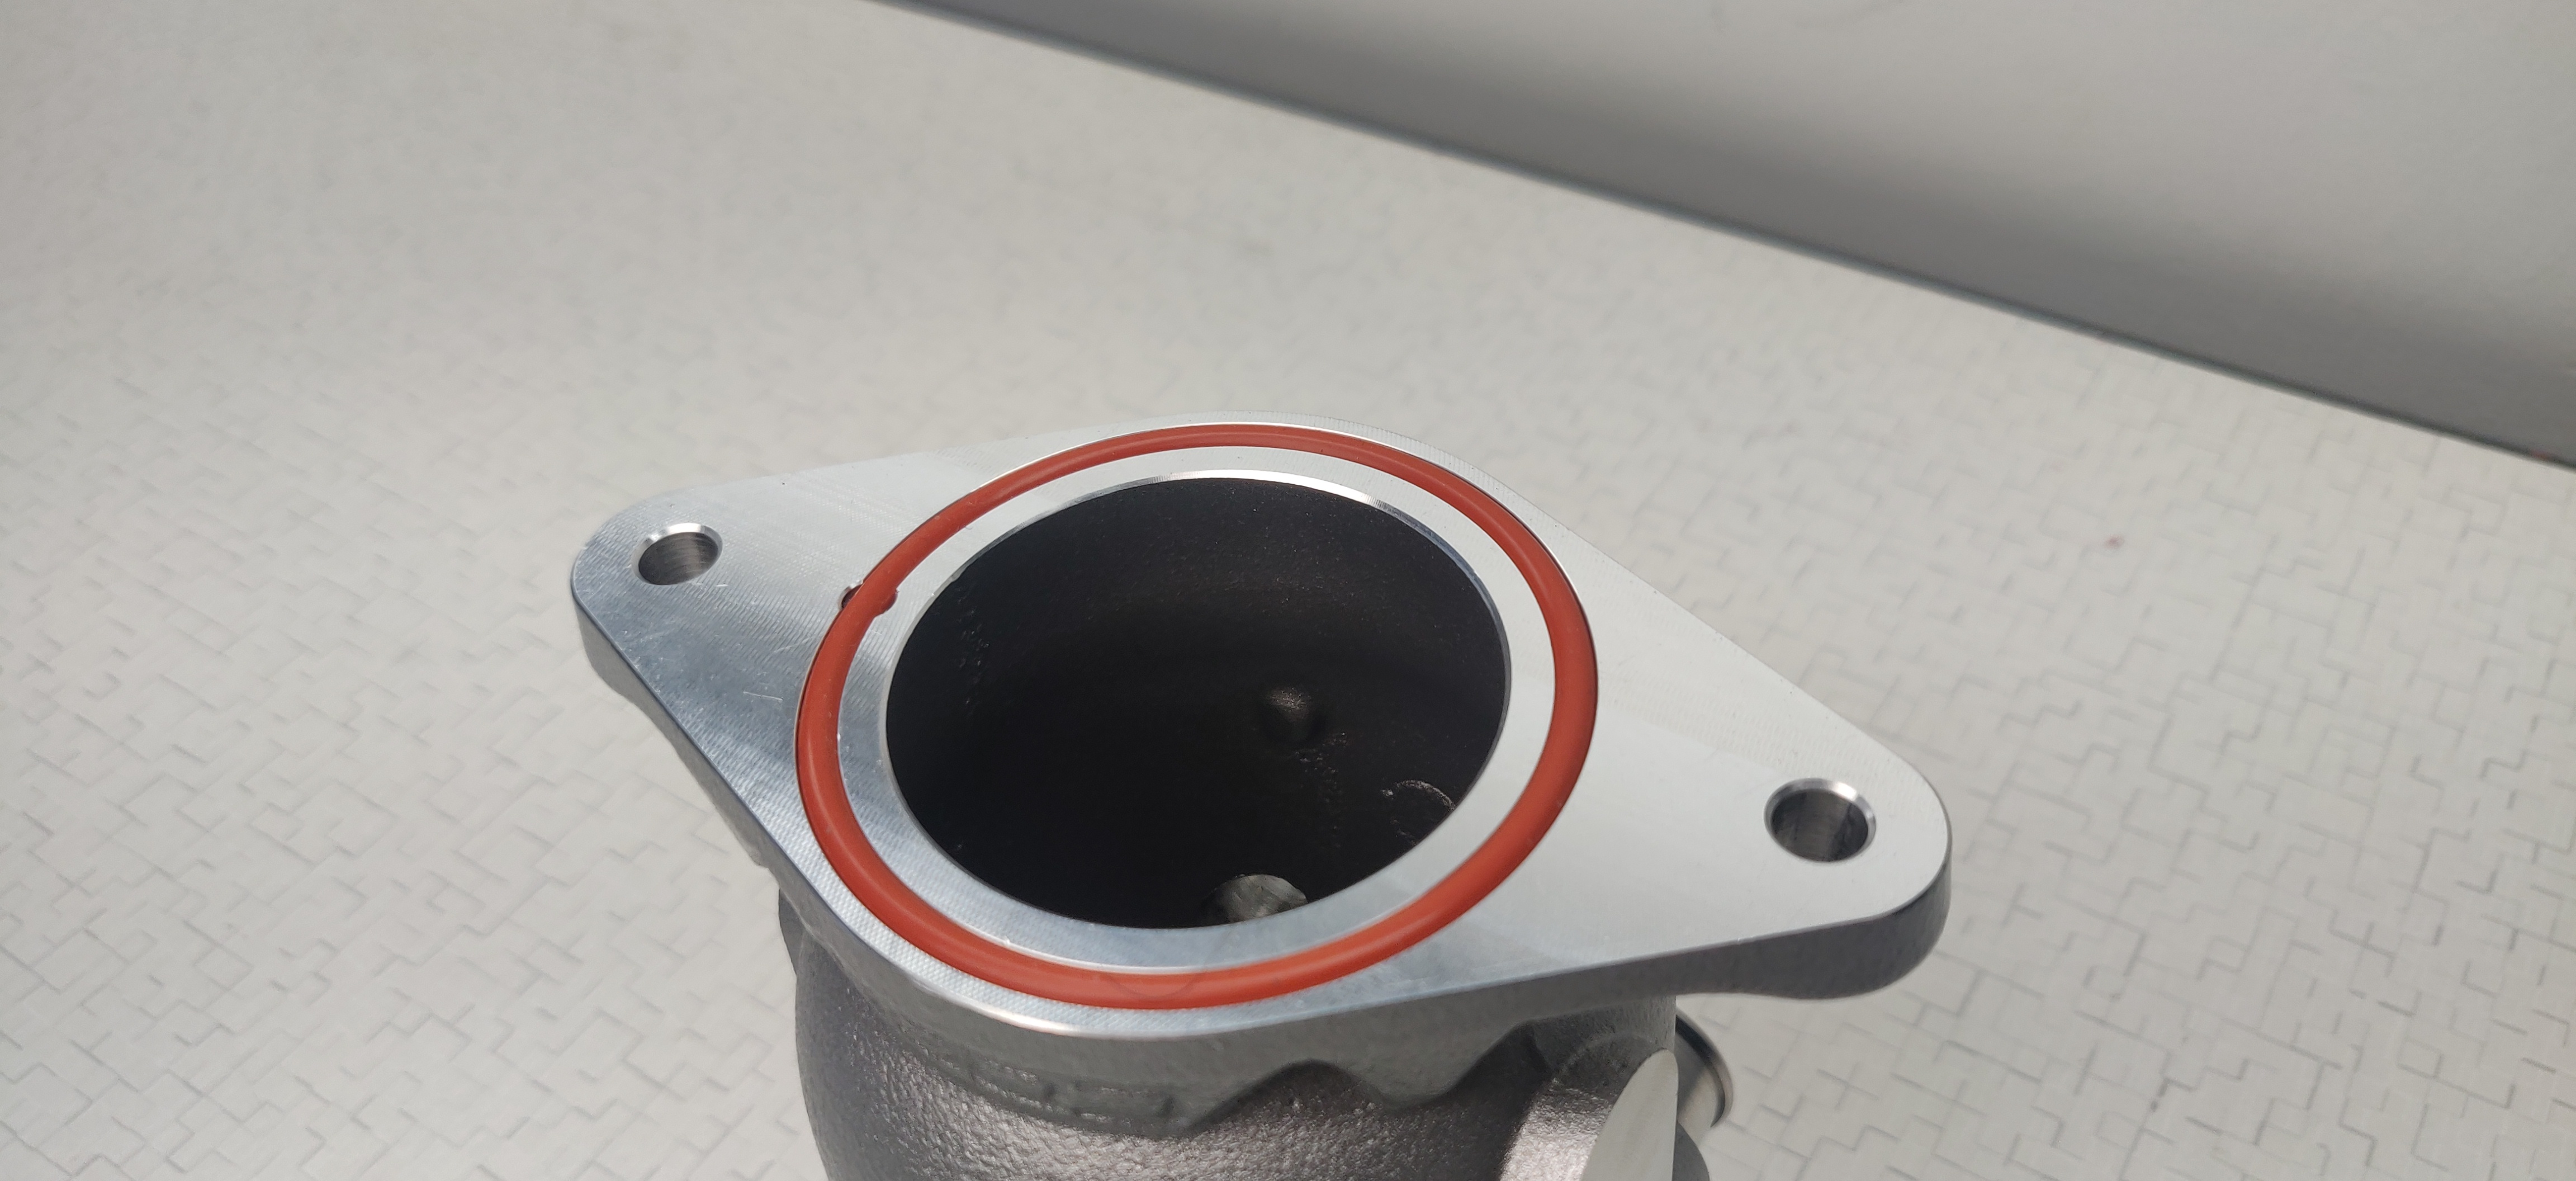
- Seat the o-ring into the inlet flange so it's even everywhere.
Installation
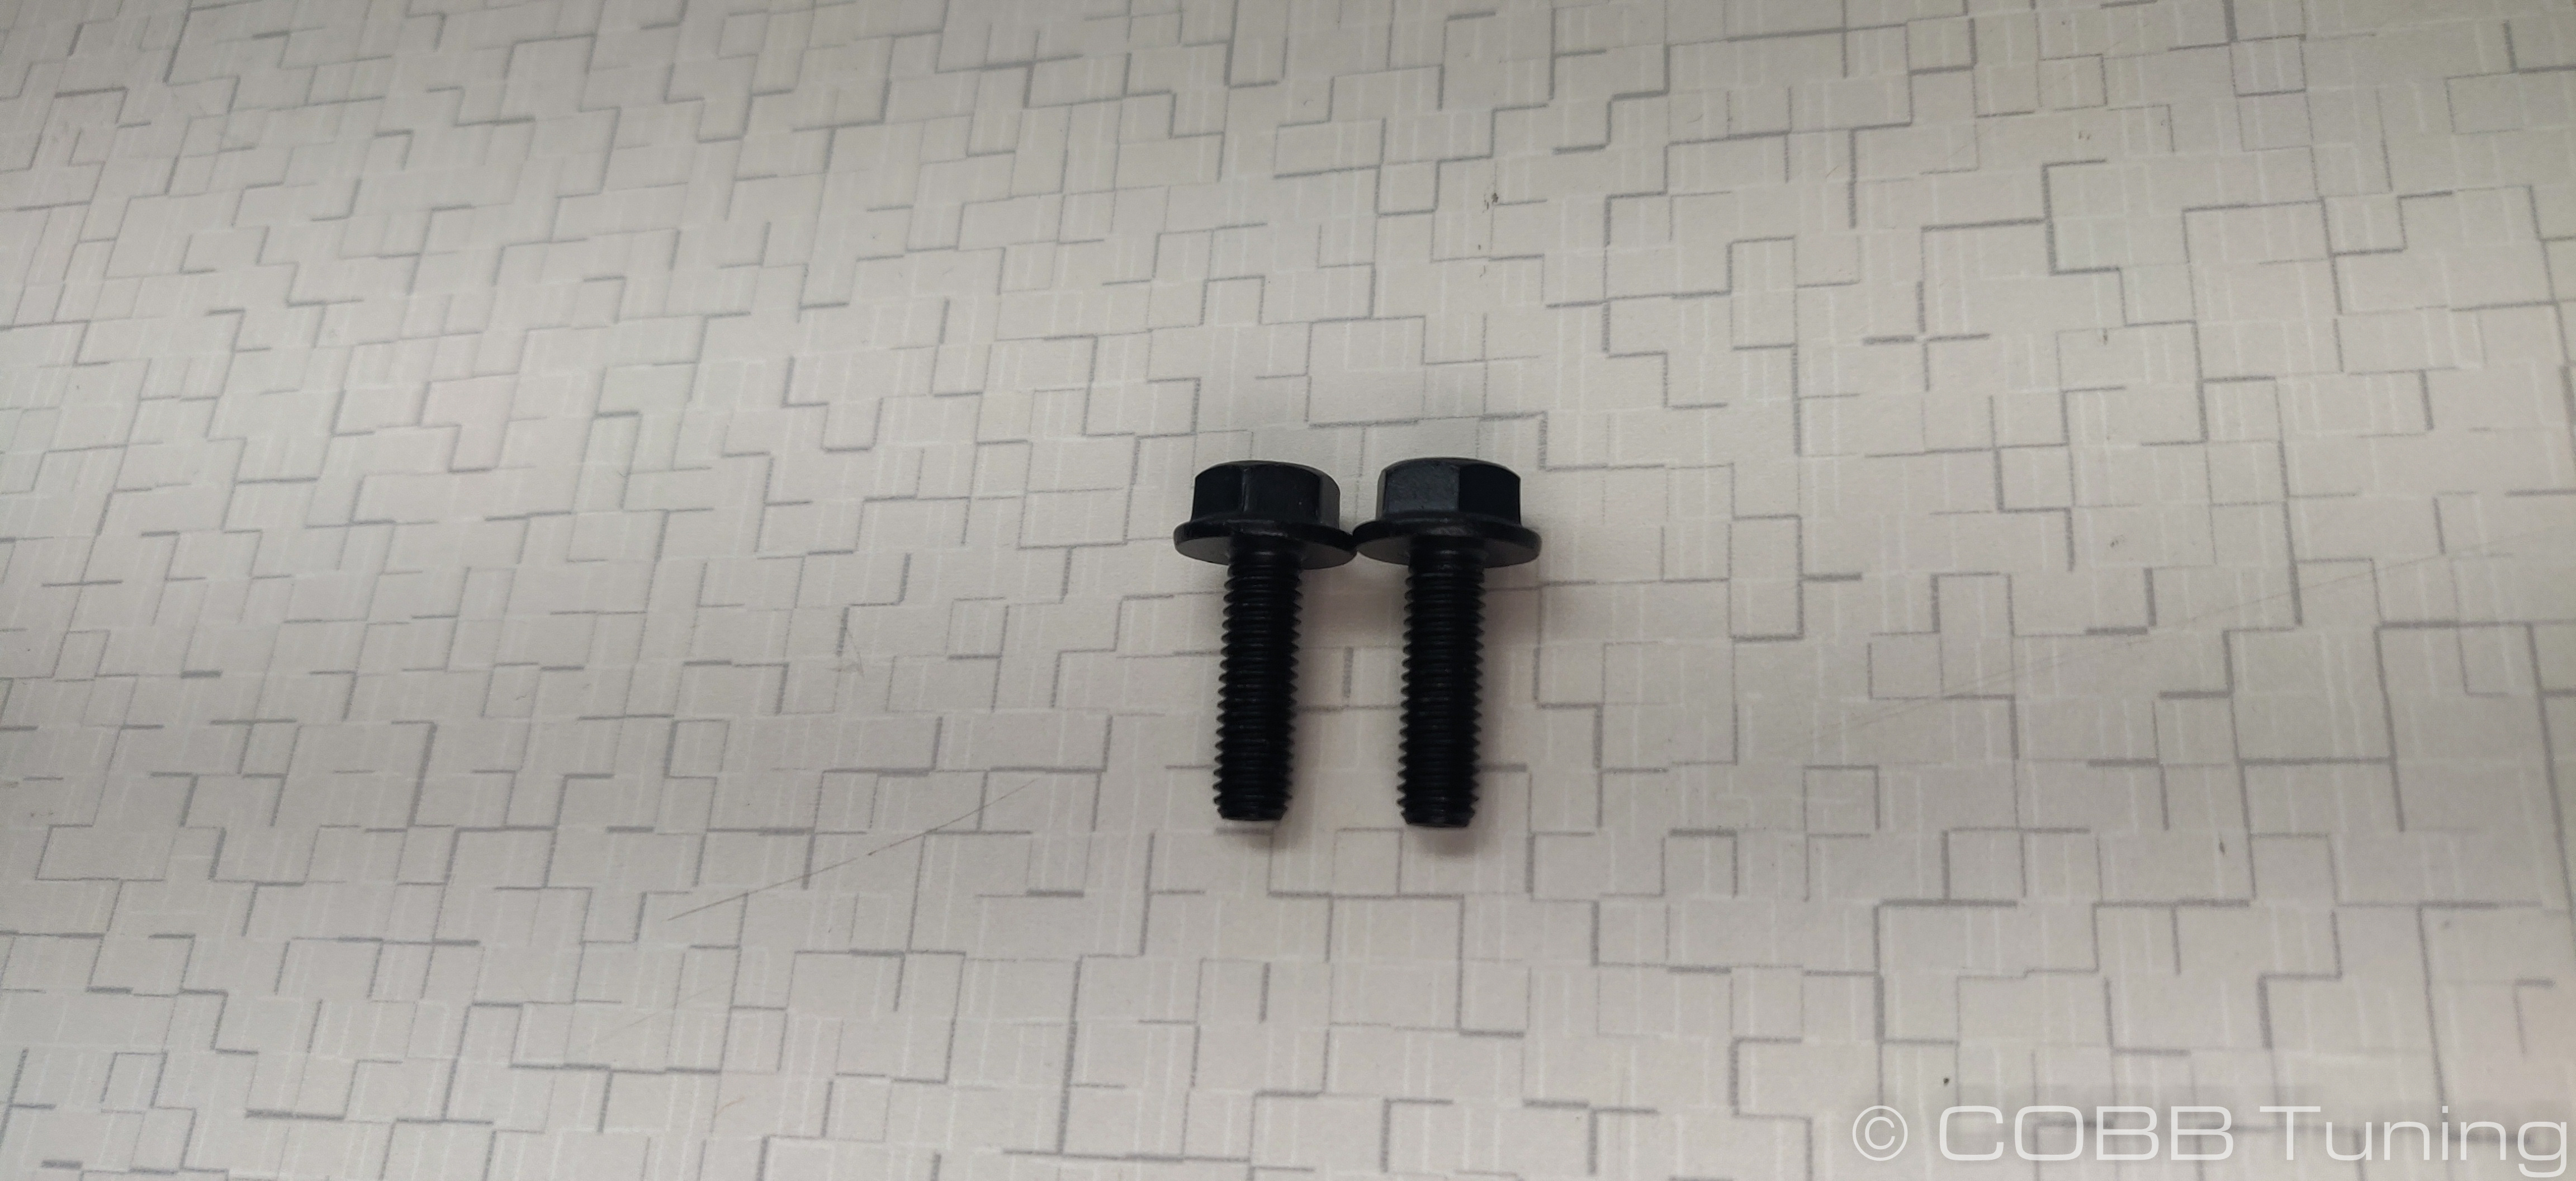
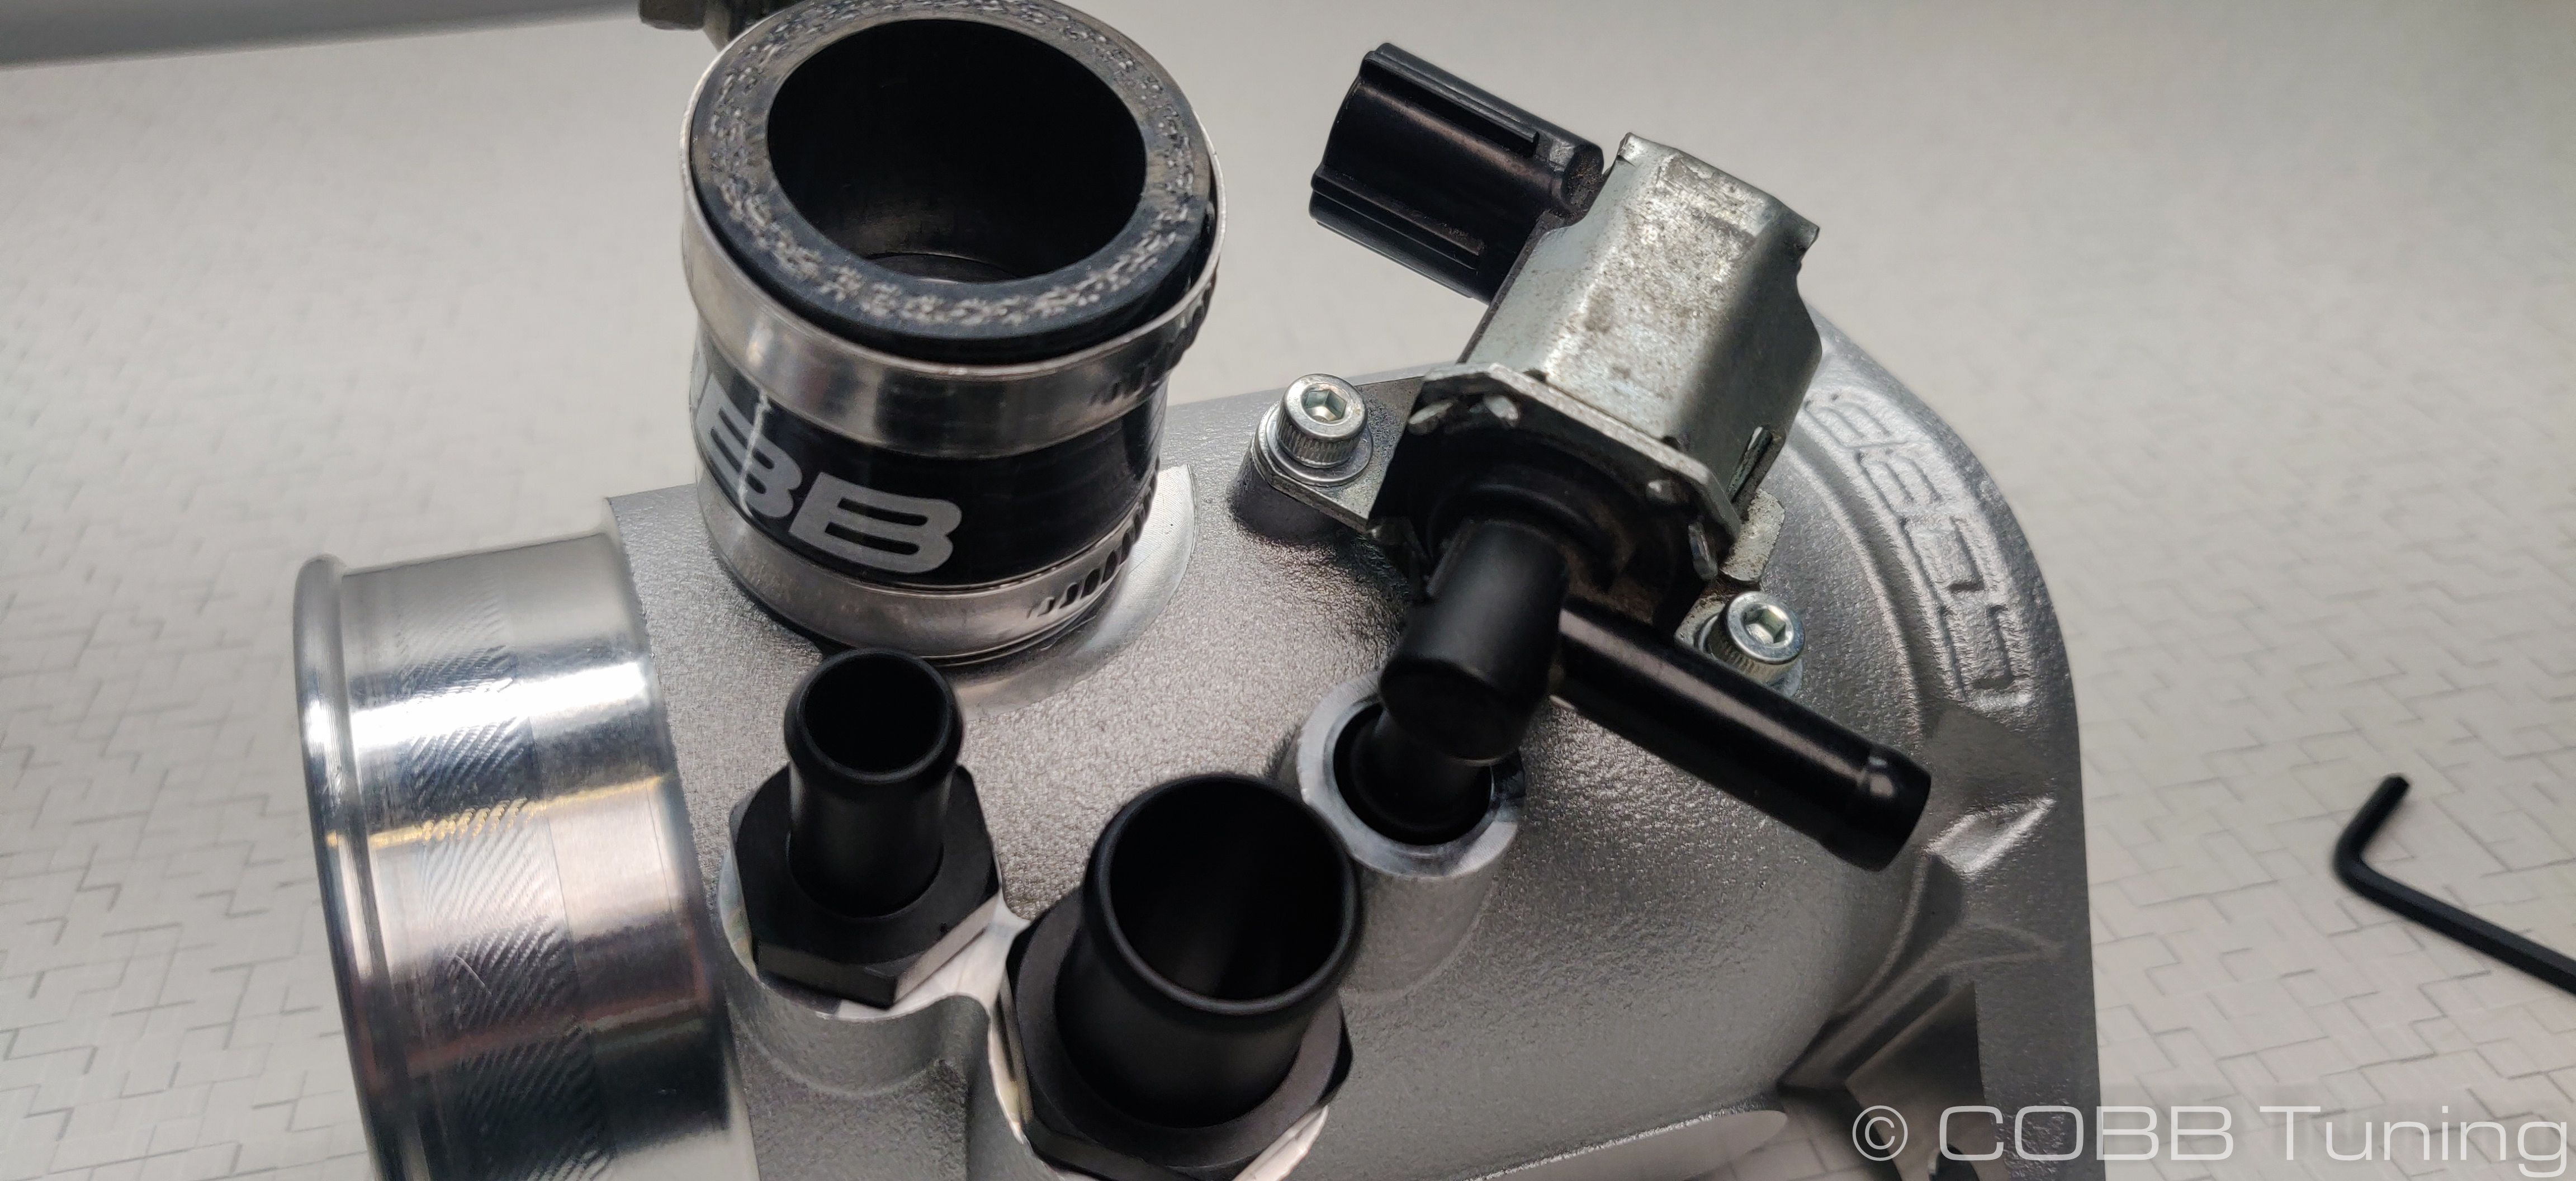
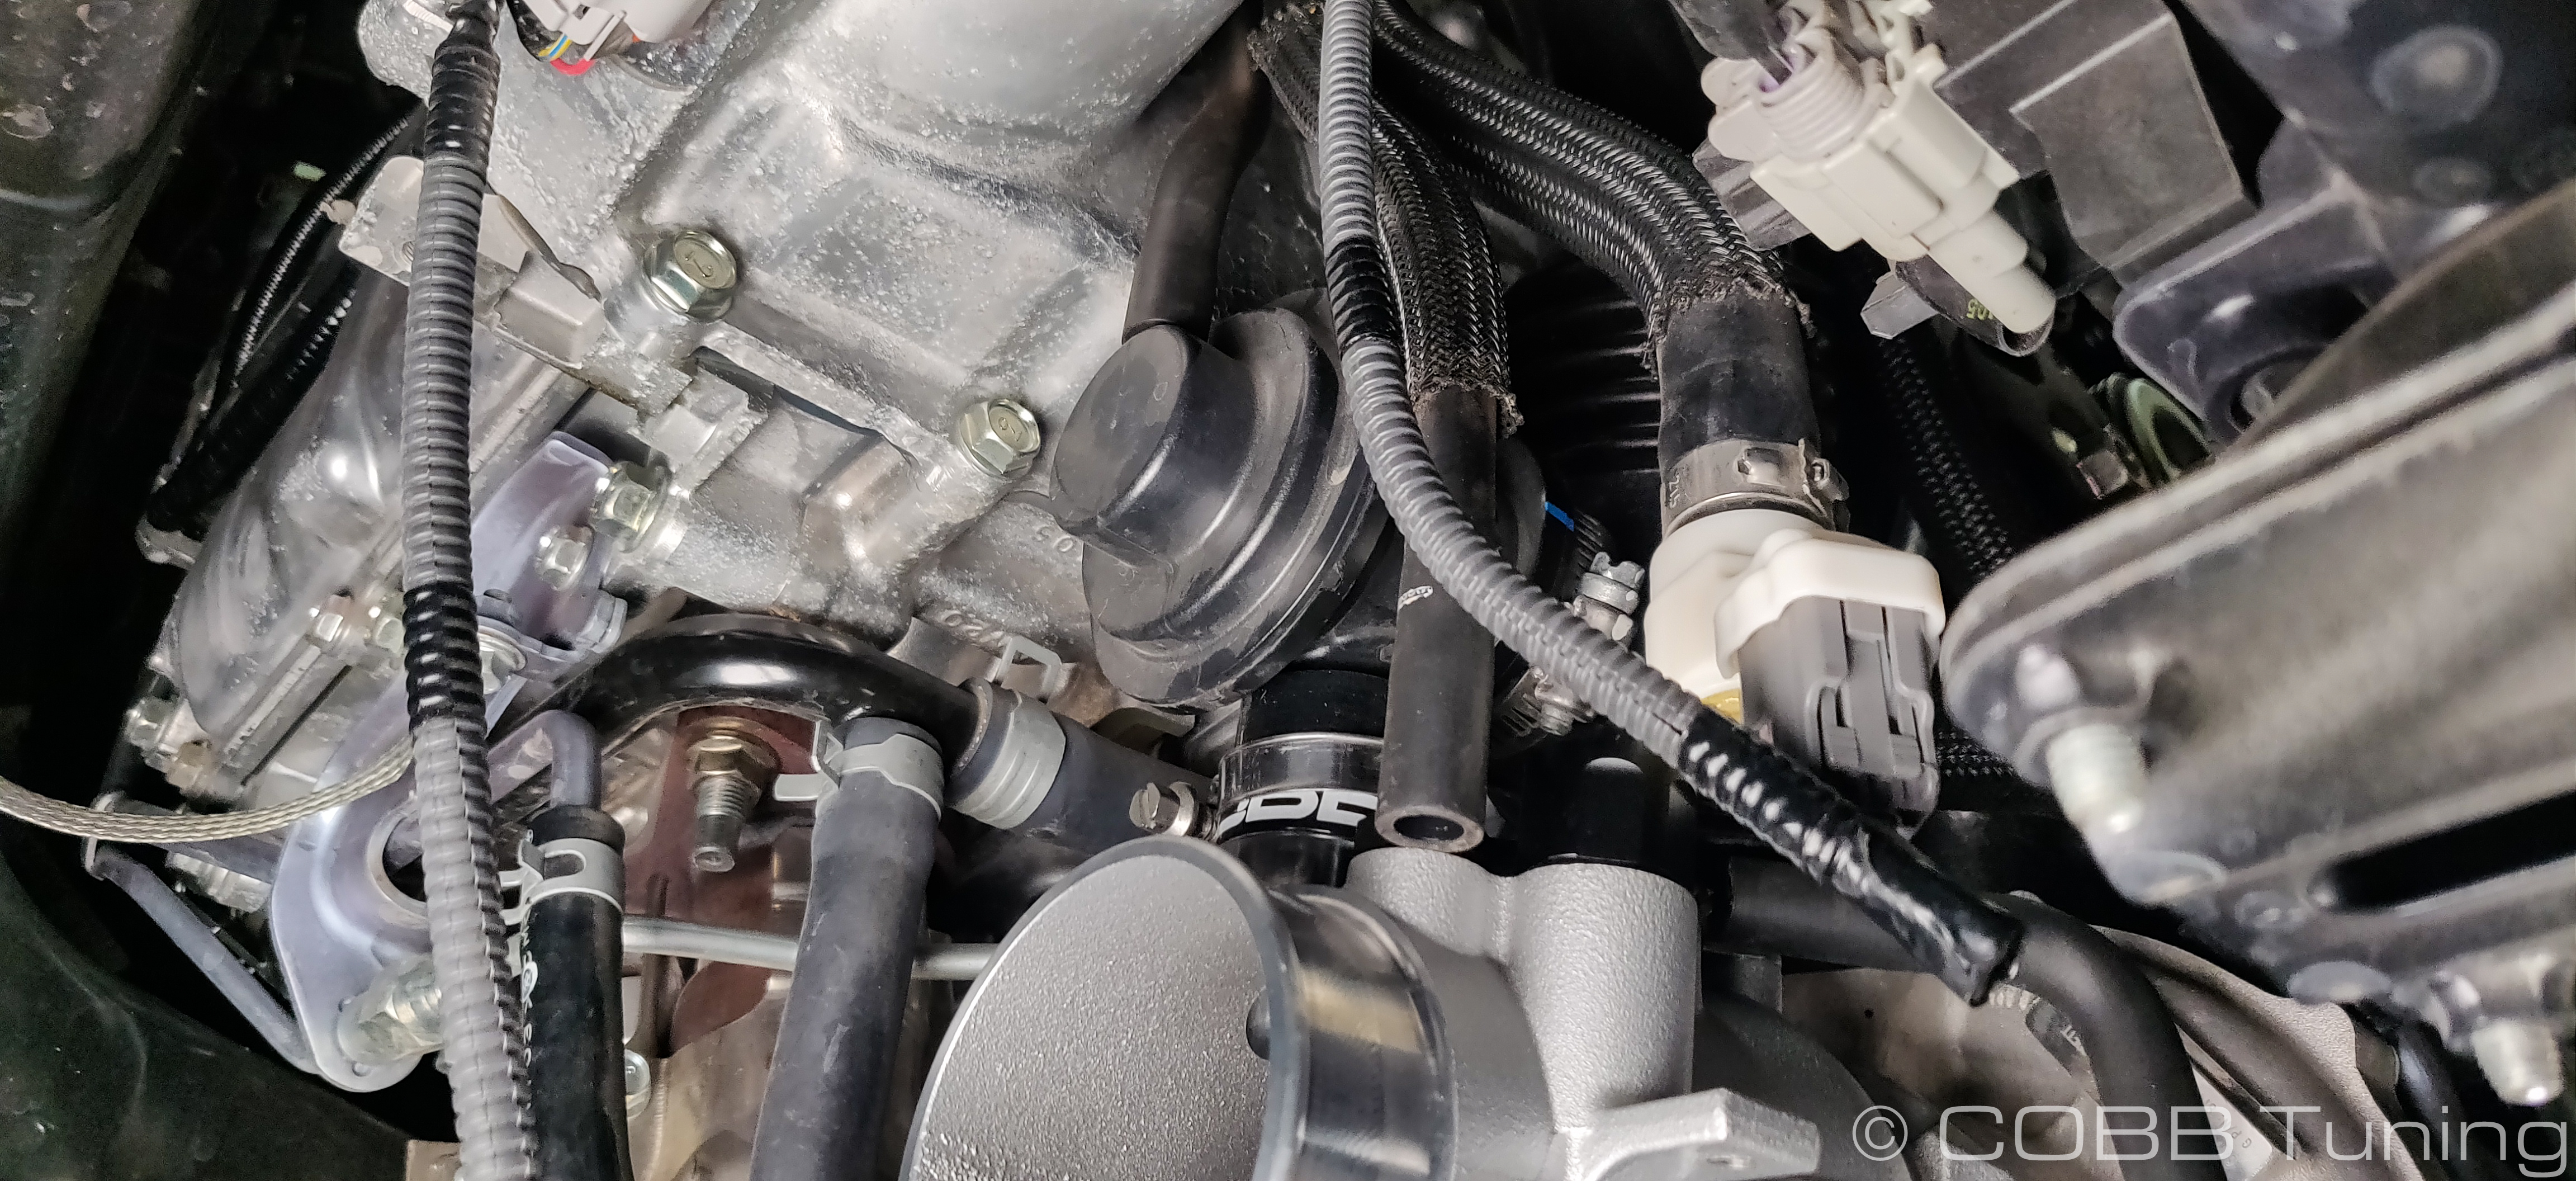
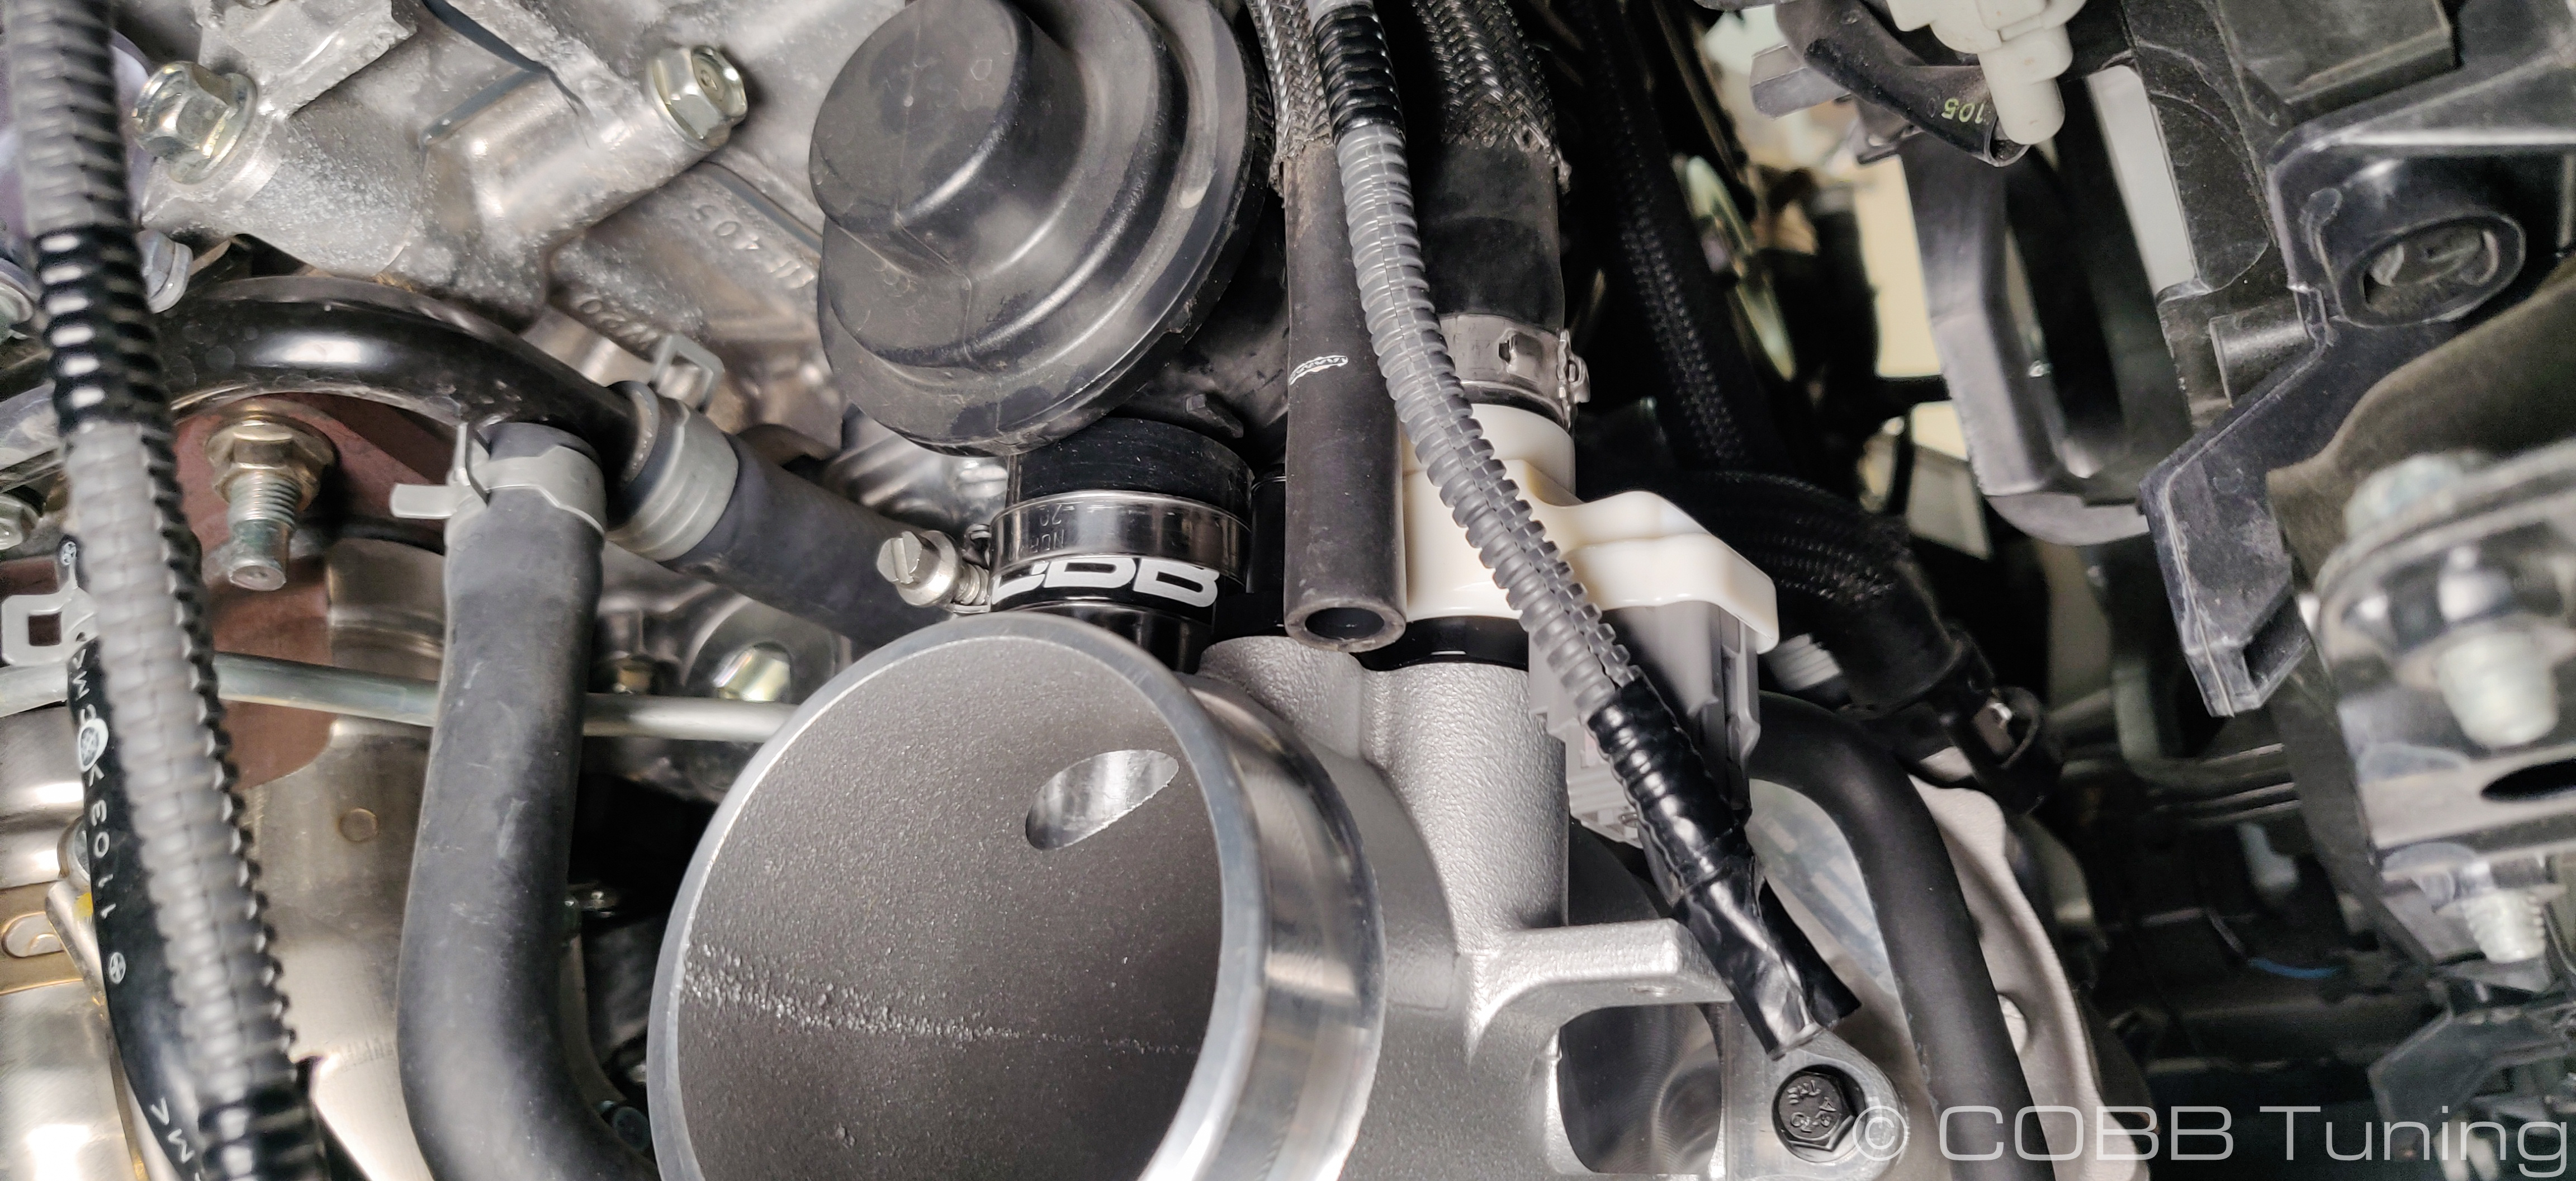
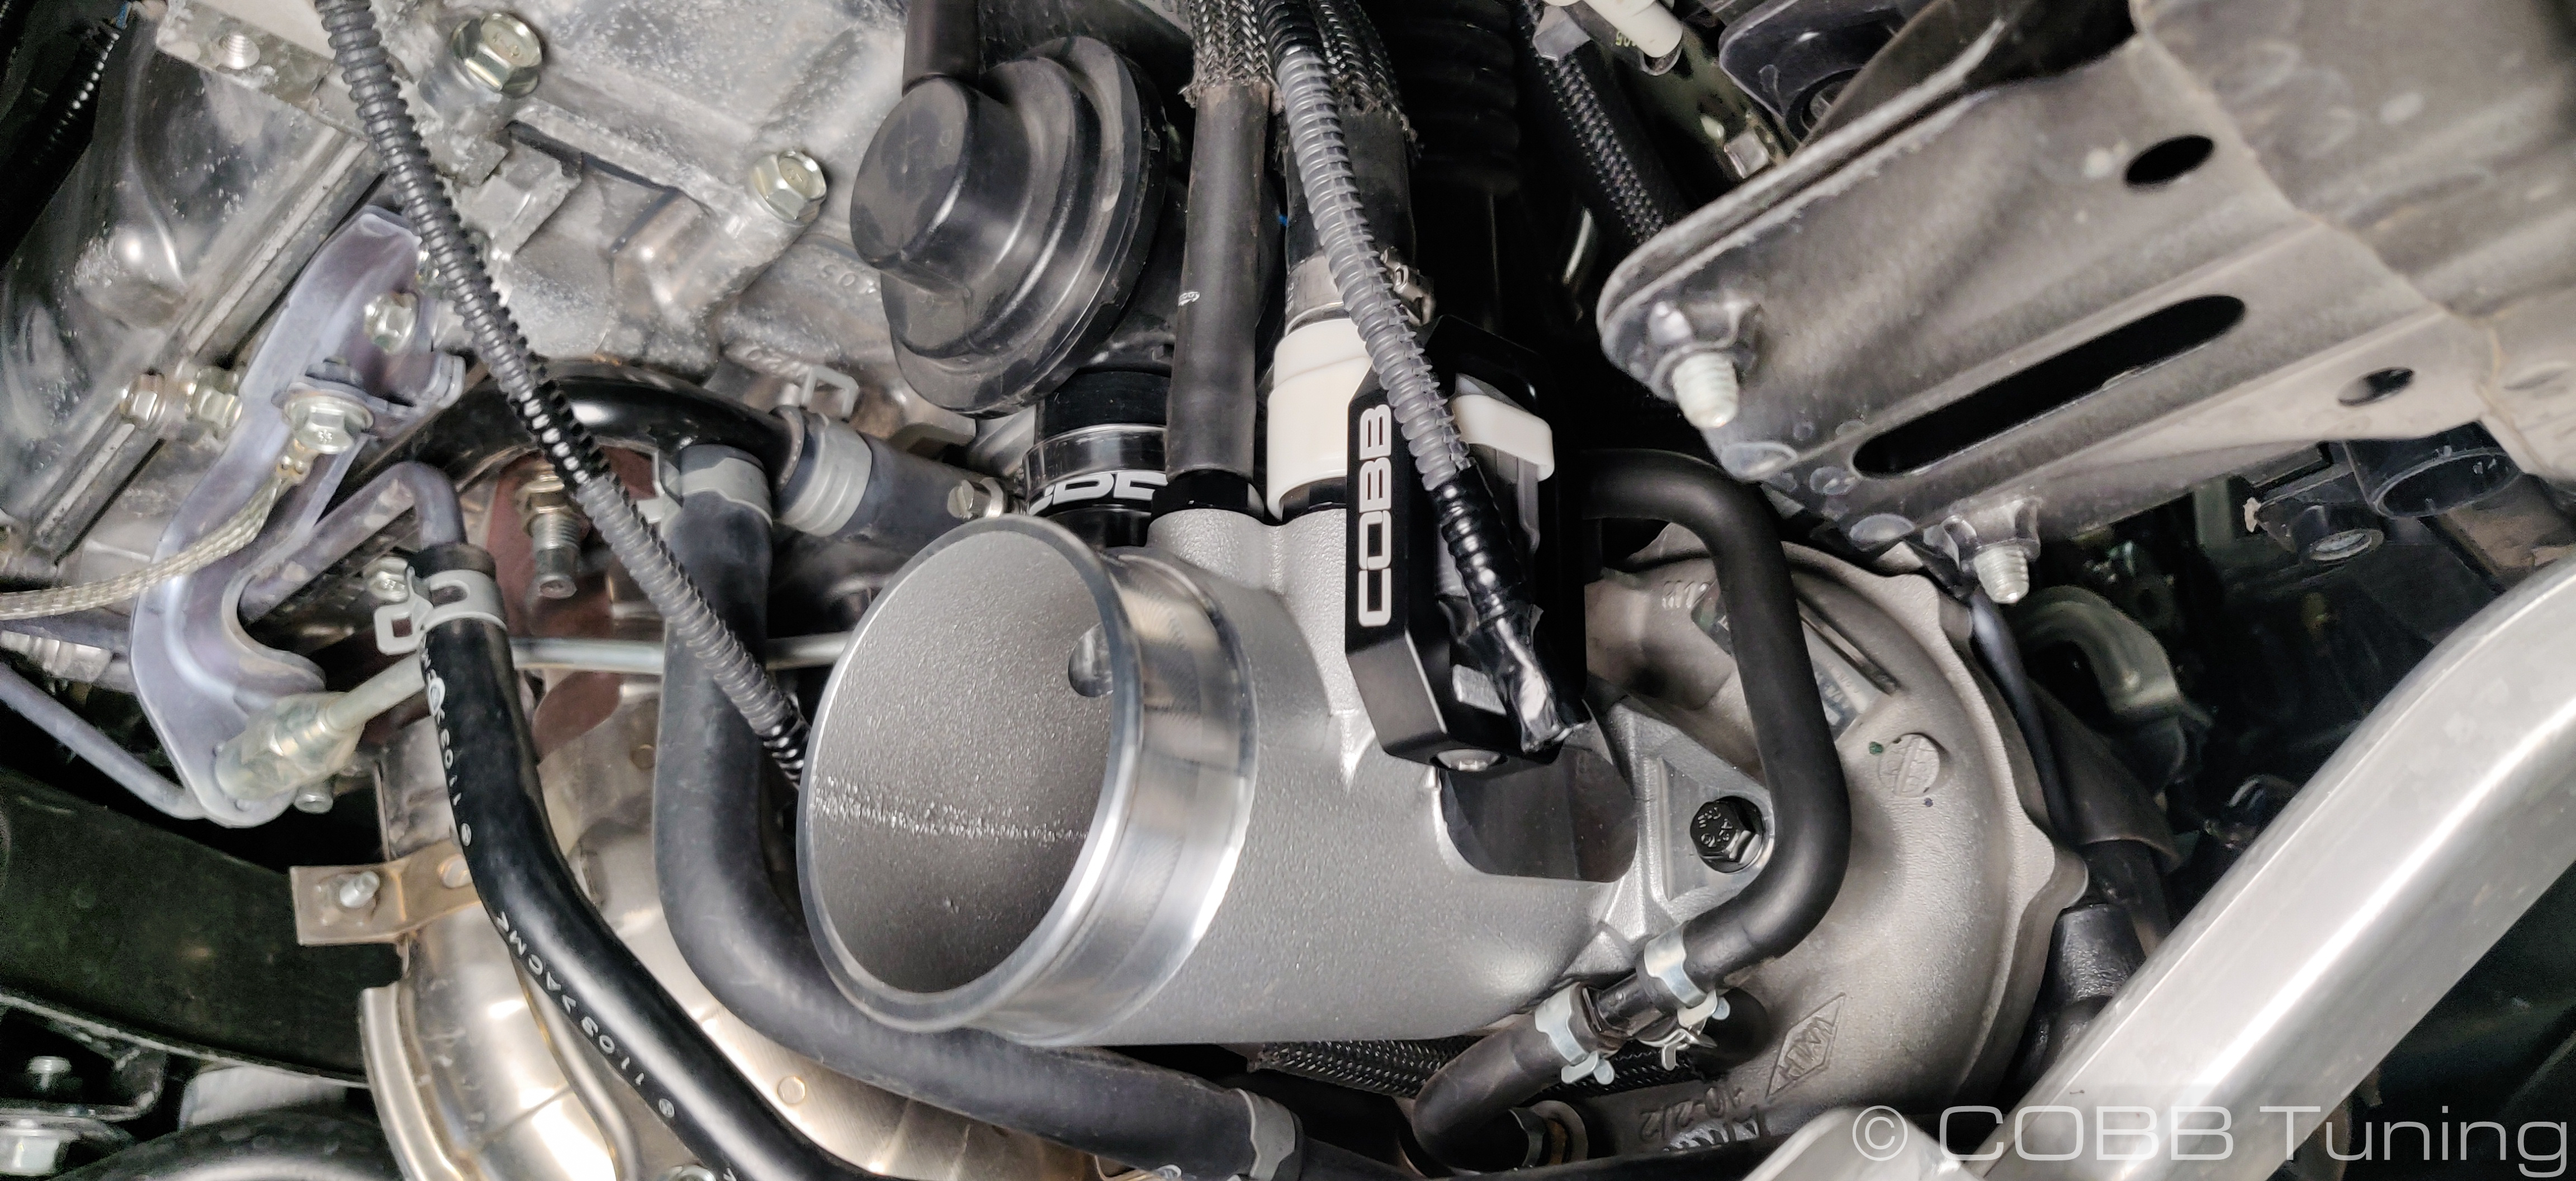
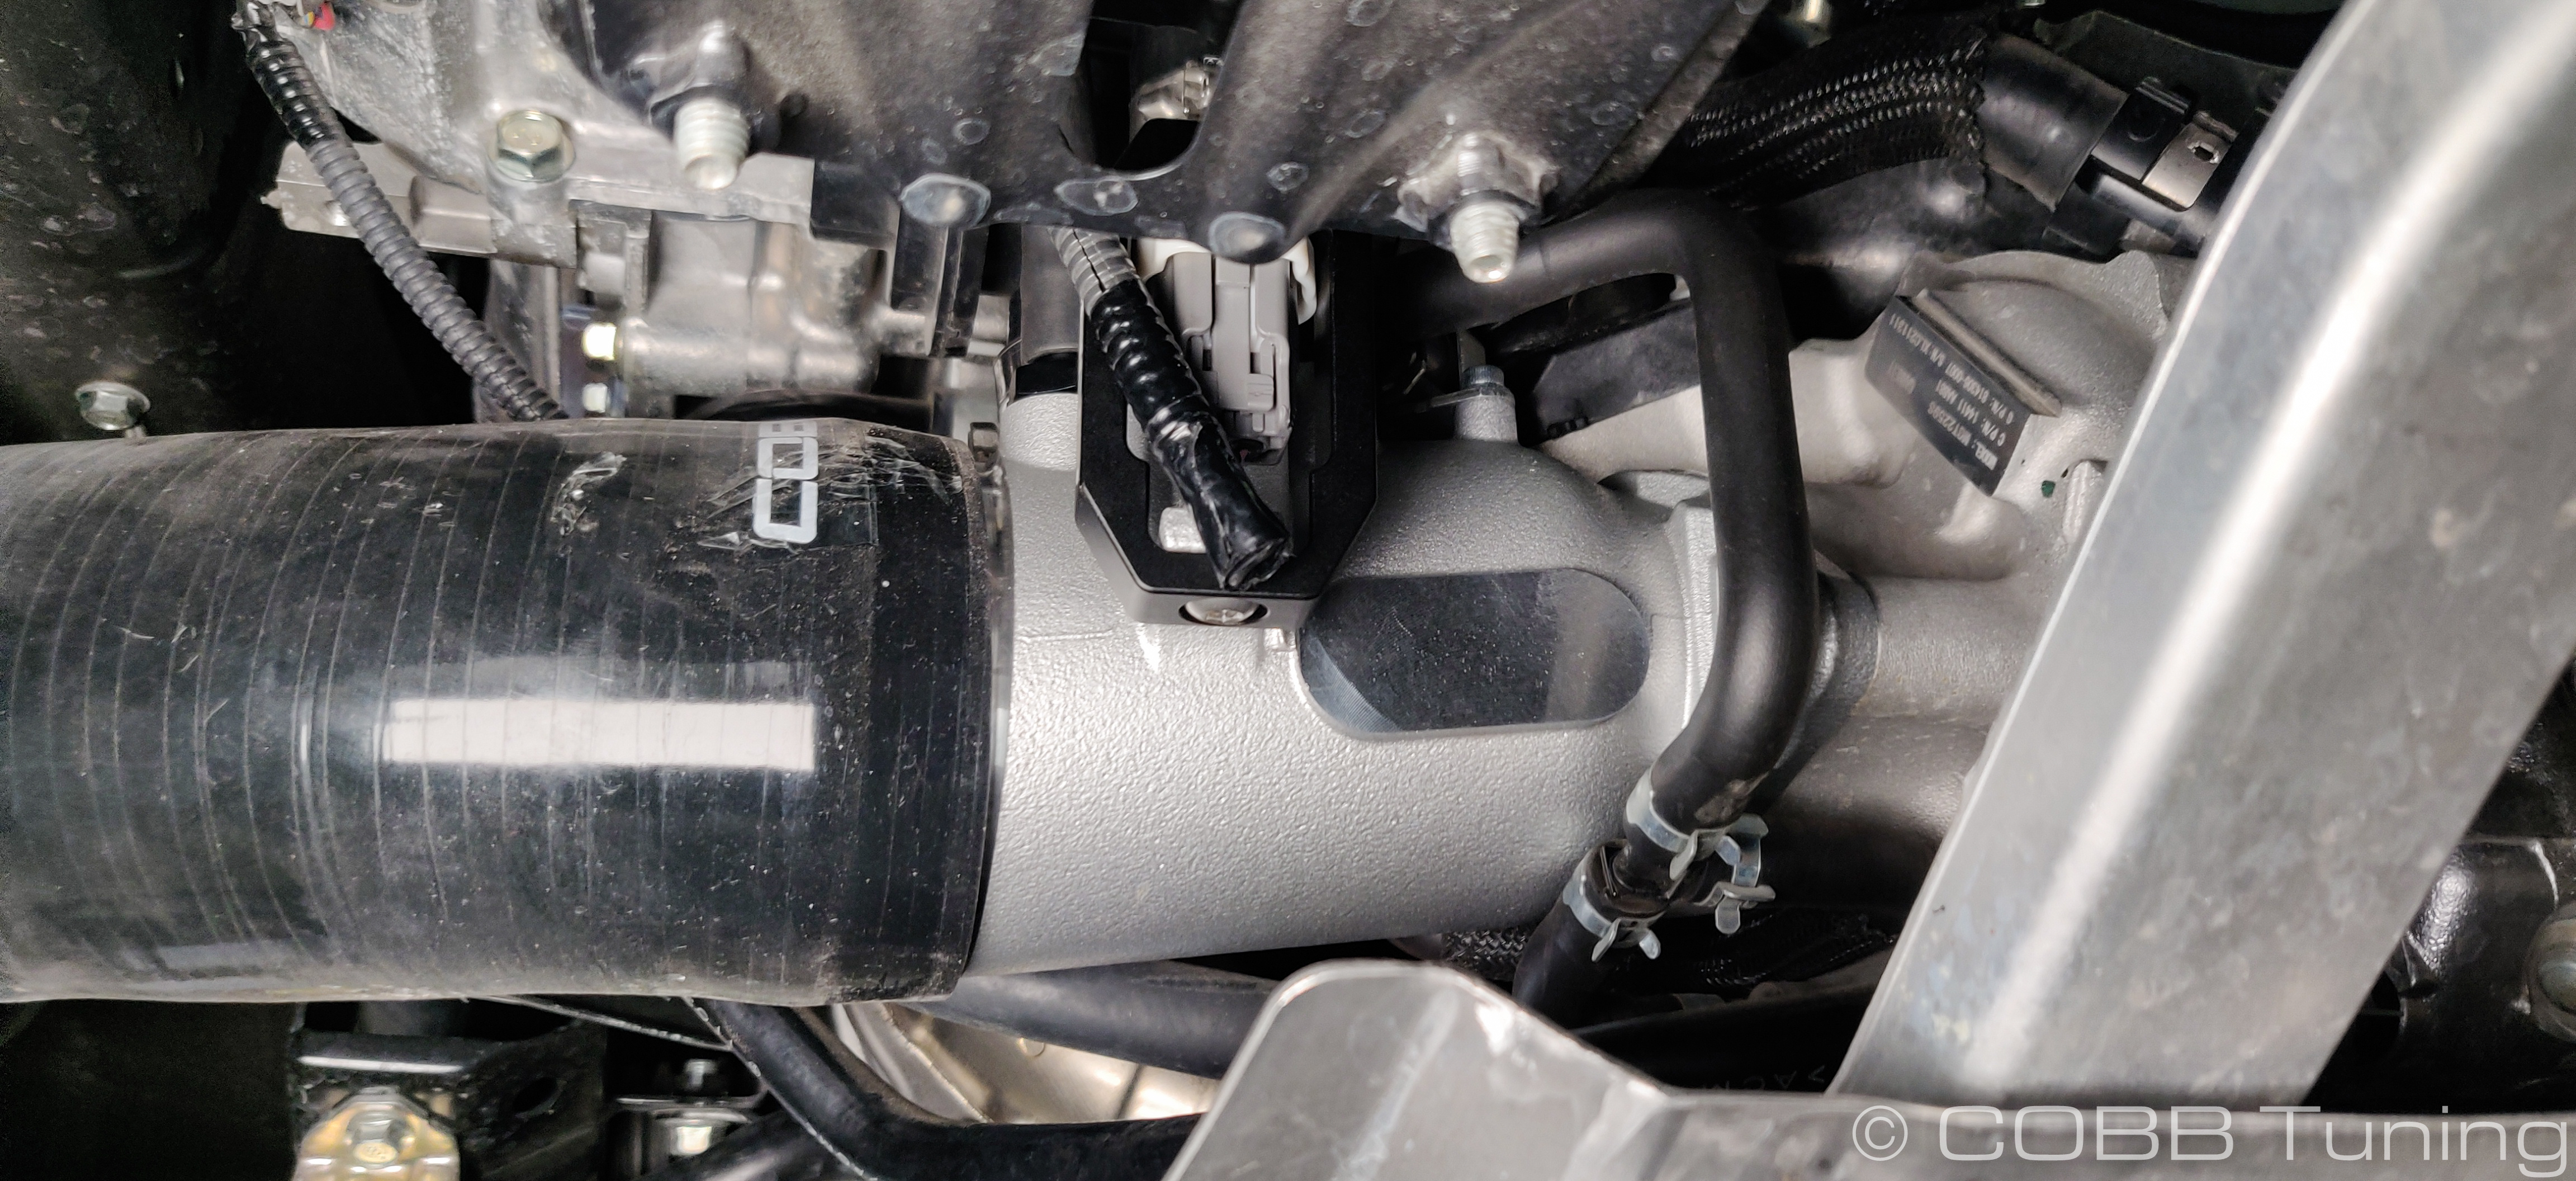
- Swing the inlet into place on the turbo and bypass valve at the same time. Bolt the inlet into place using the provided black stainless bolts.

- Re-connect the bypass valve electronics and vacuum connection at this time, then work forward to tighten the bypass valve clamp, reinstall the smaller vacuum line, and then the PCV hose.
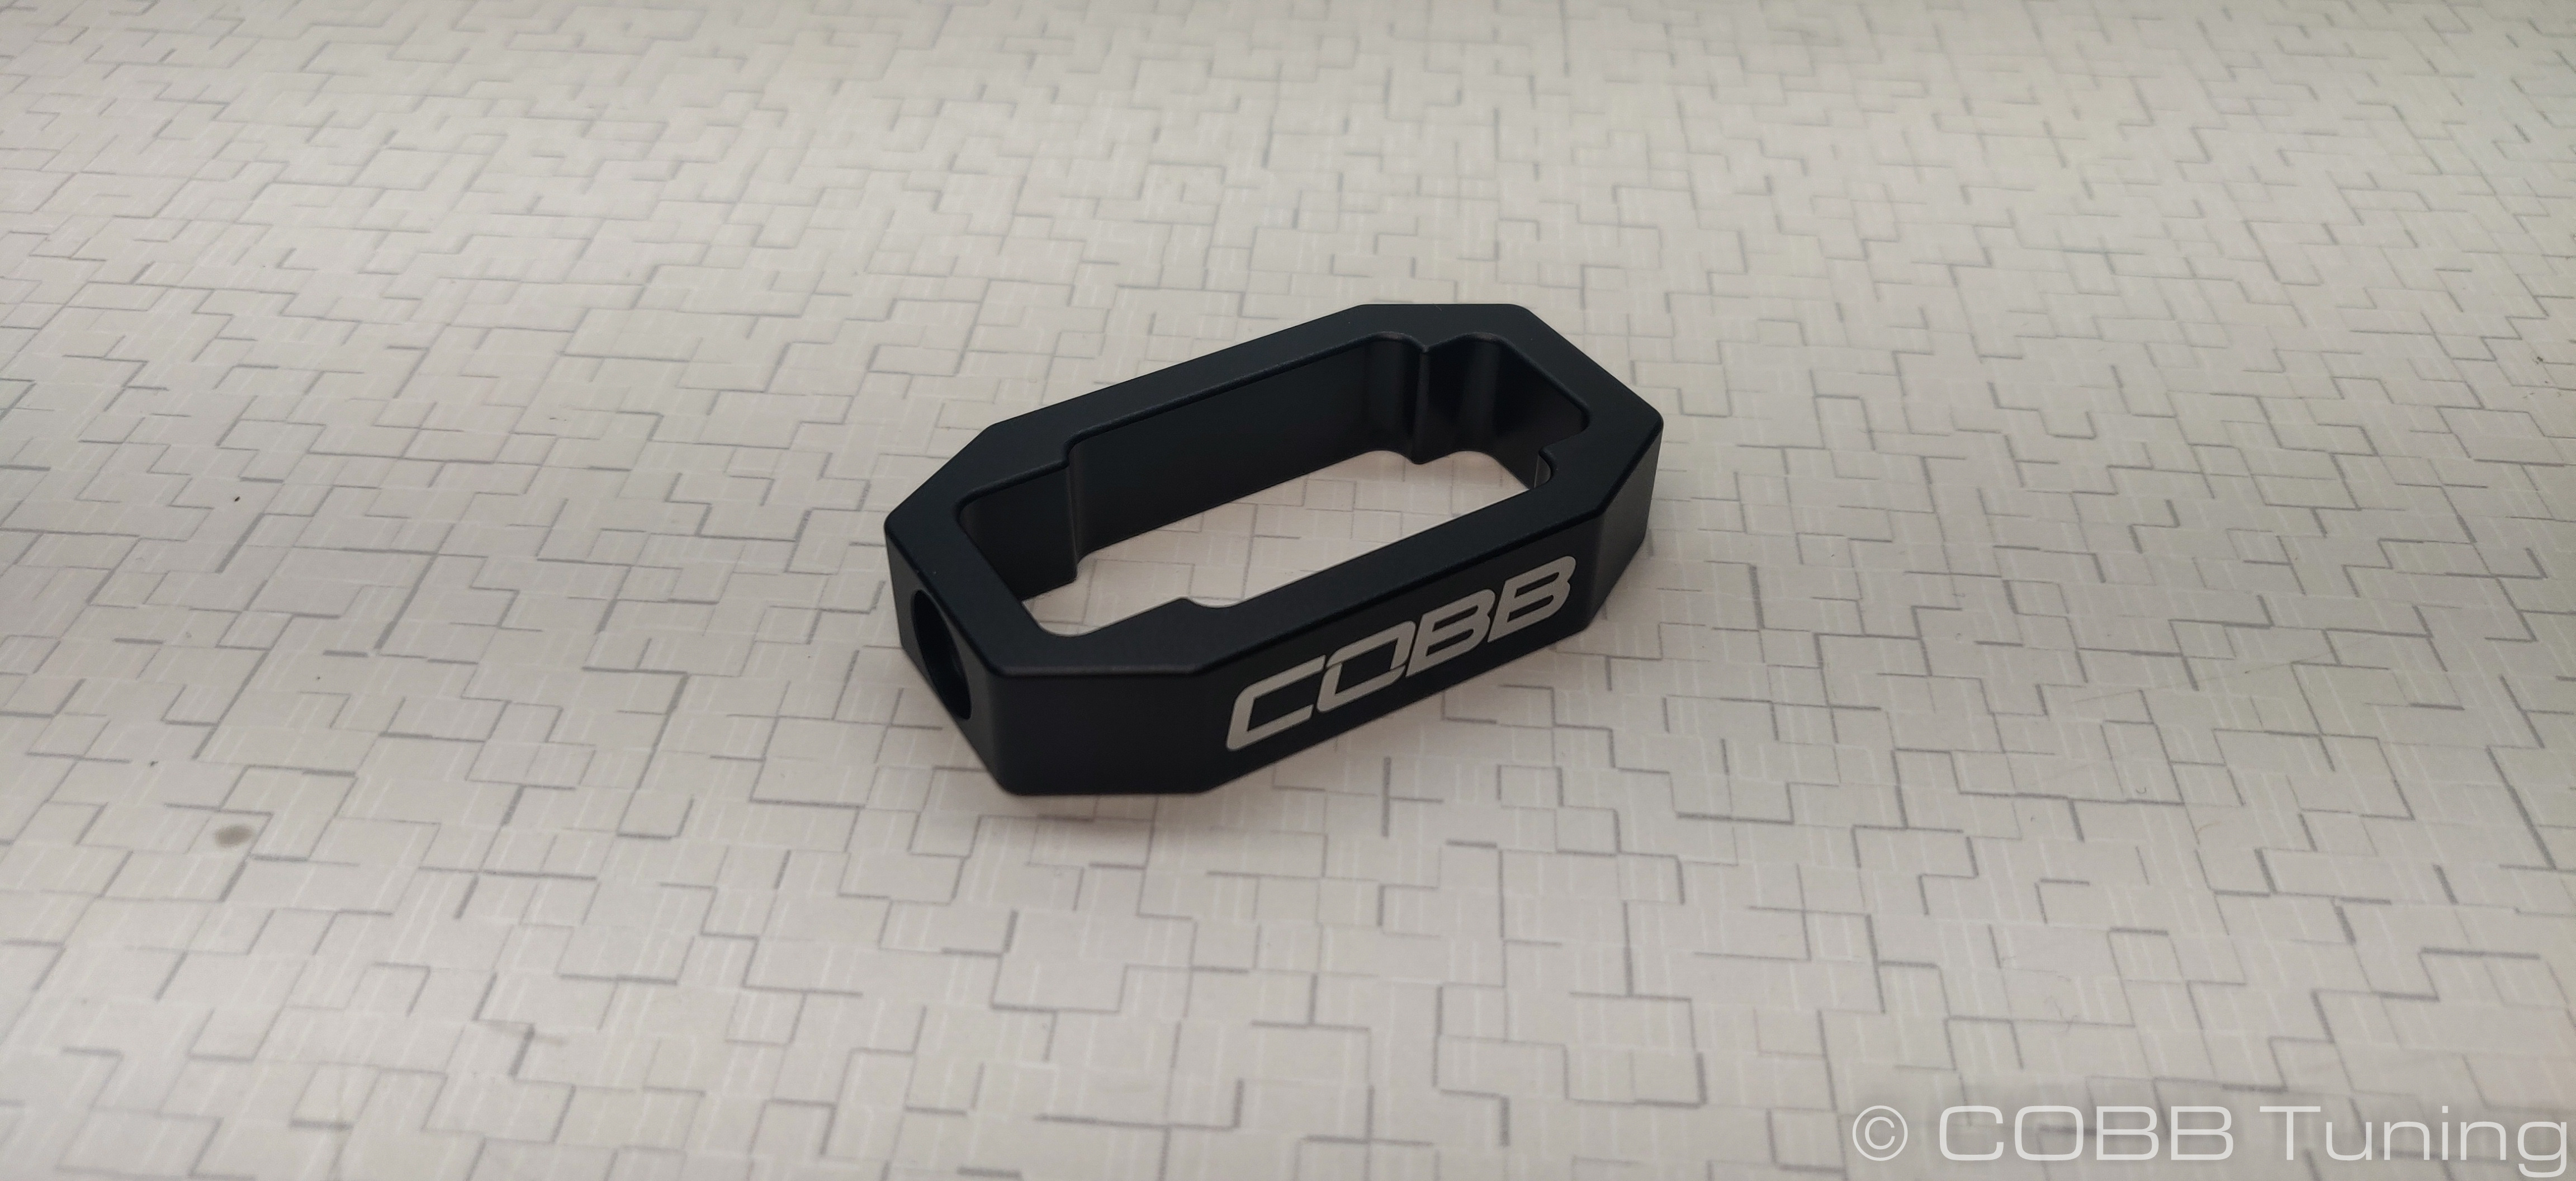
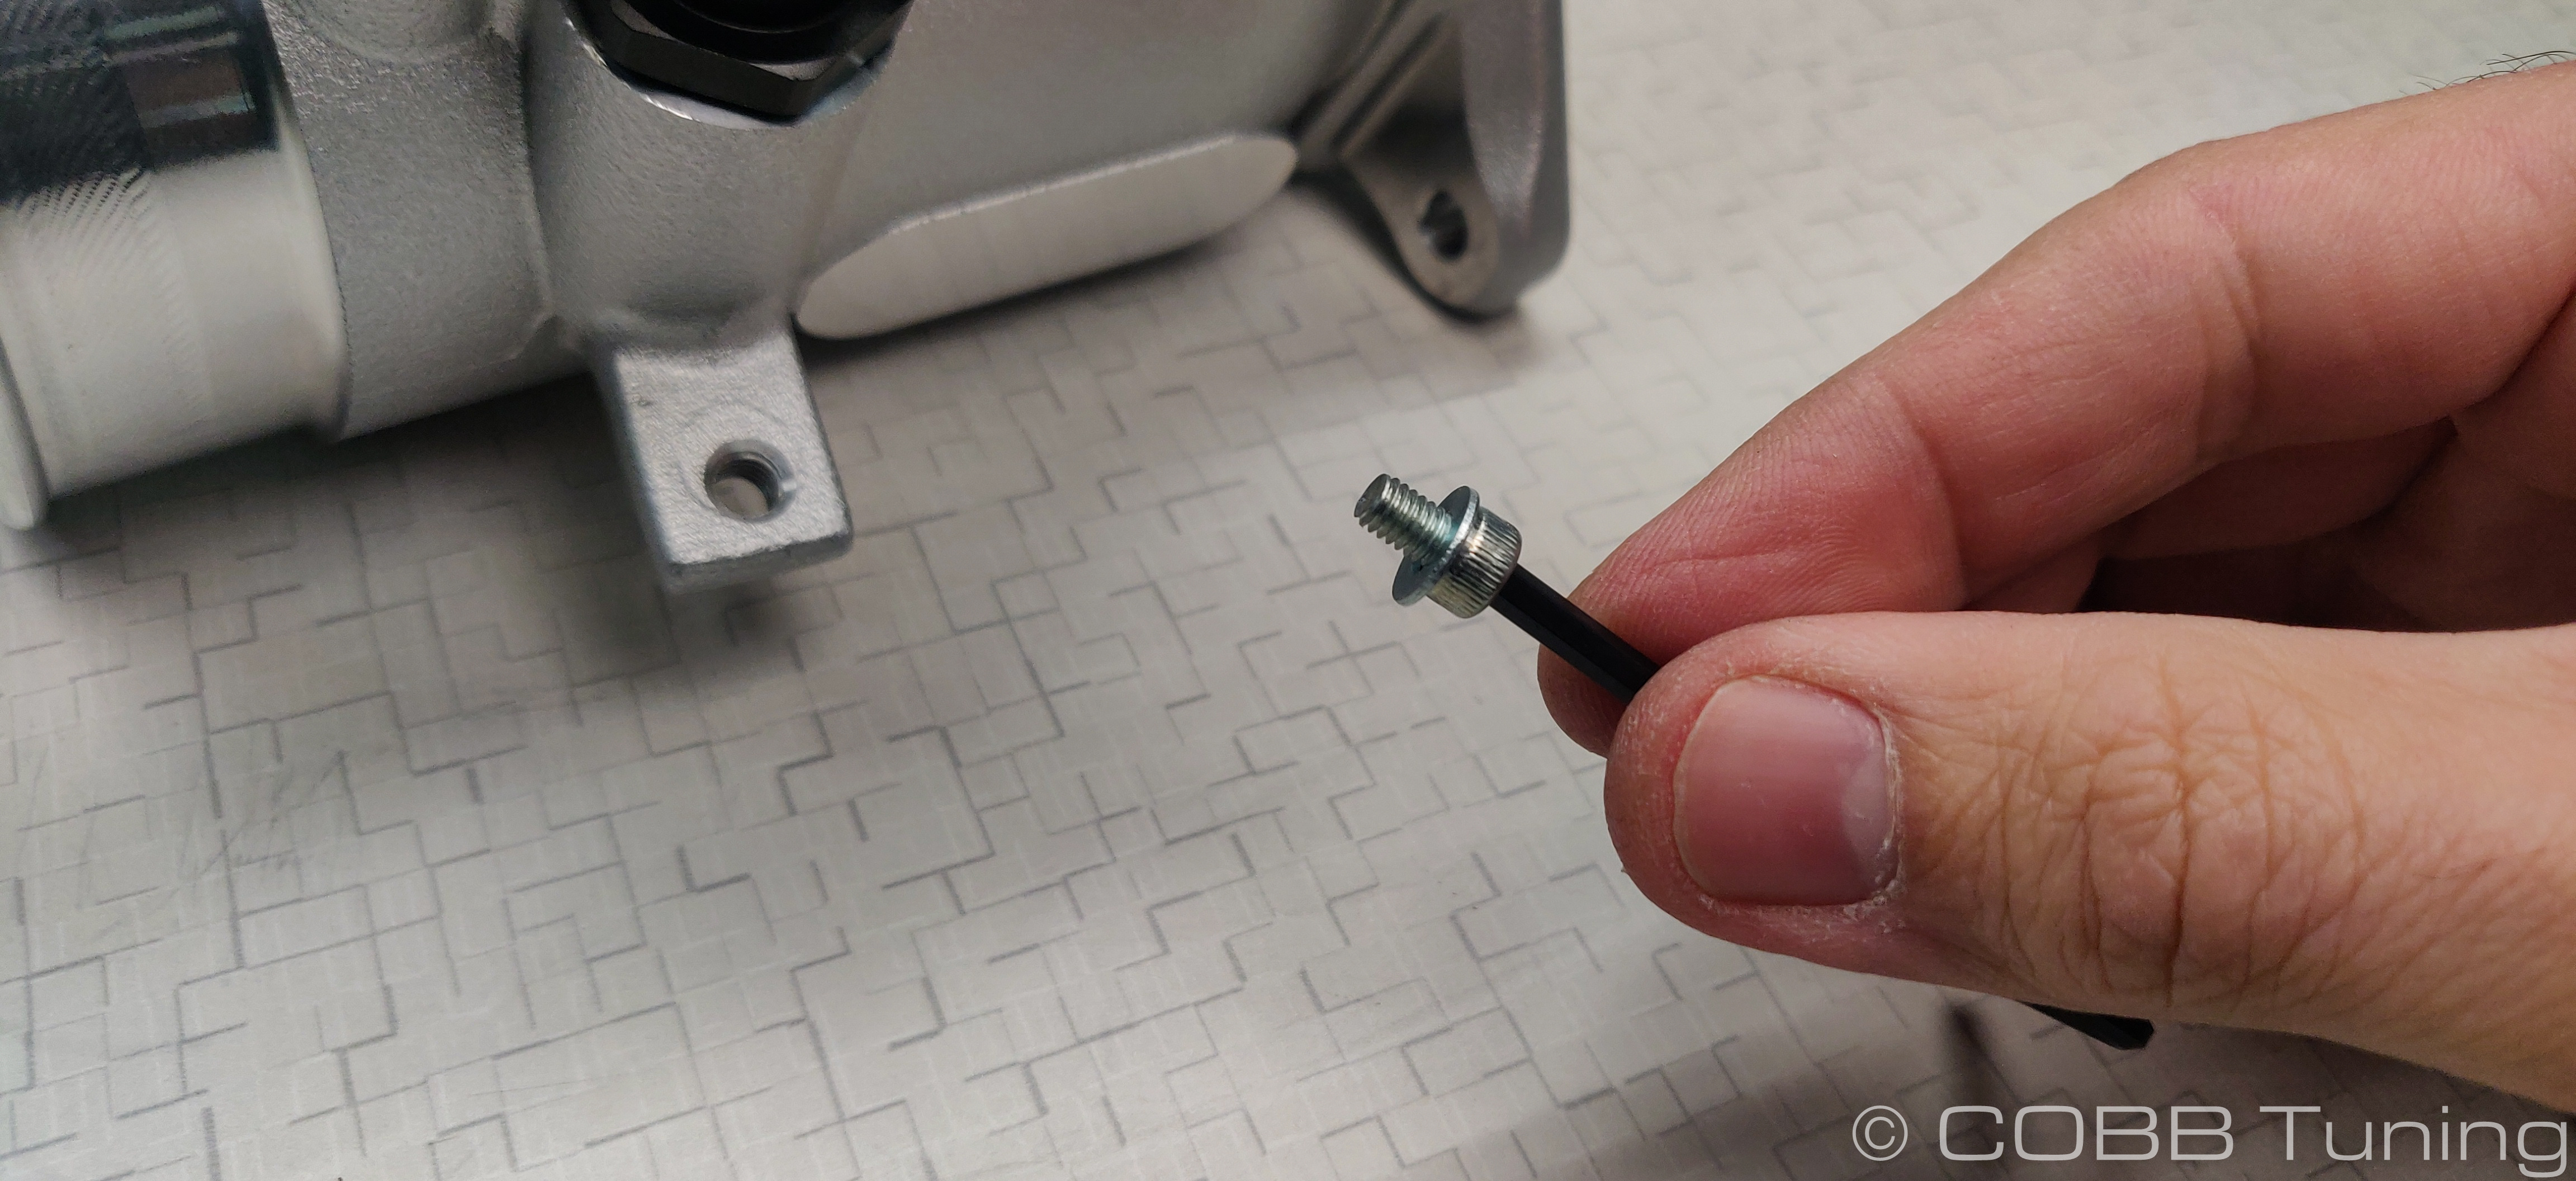
- If you have the white pcv connector, slide the provided pcv retainer clamp over the wiring and then plug it into the hose.
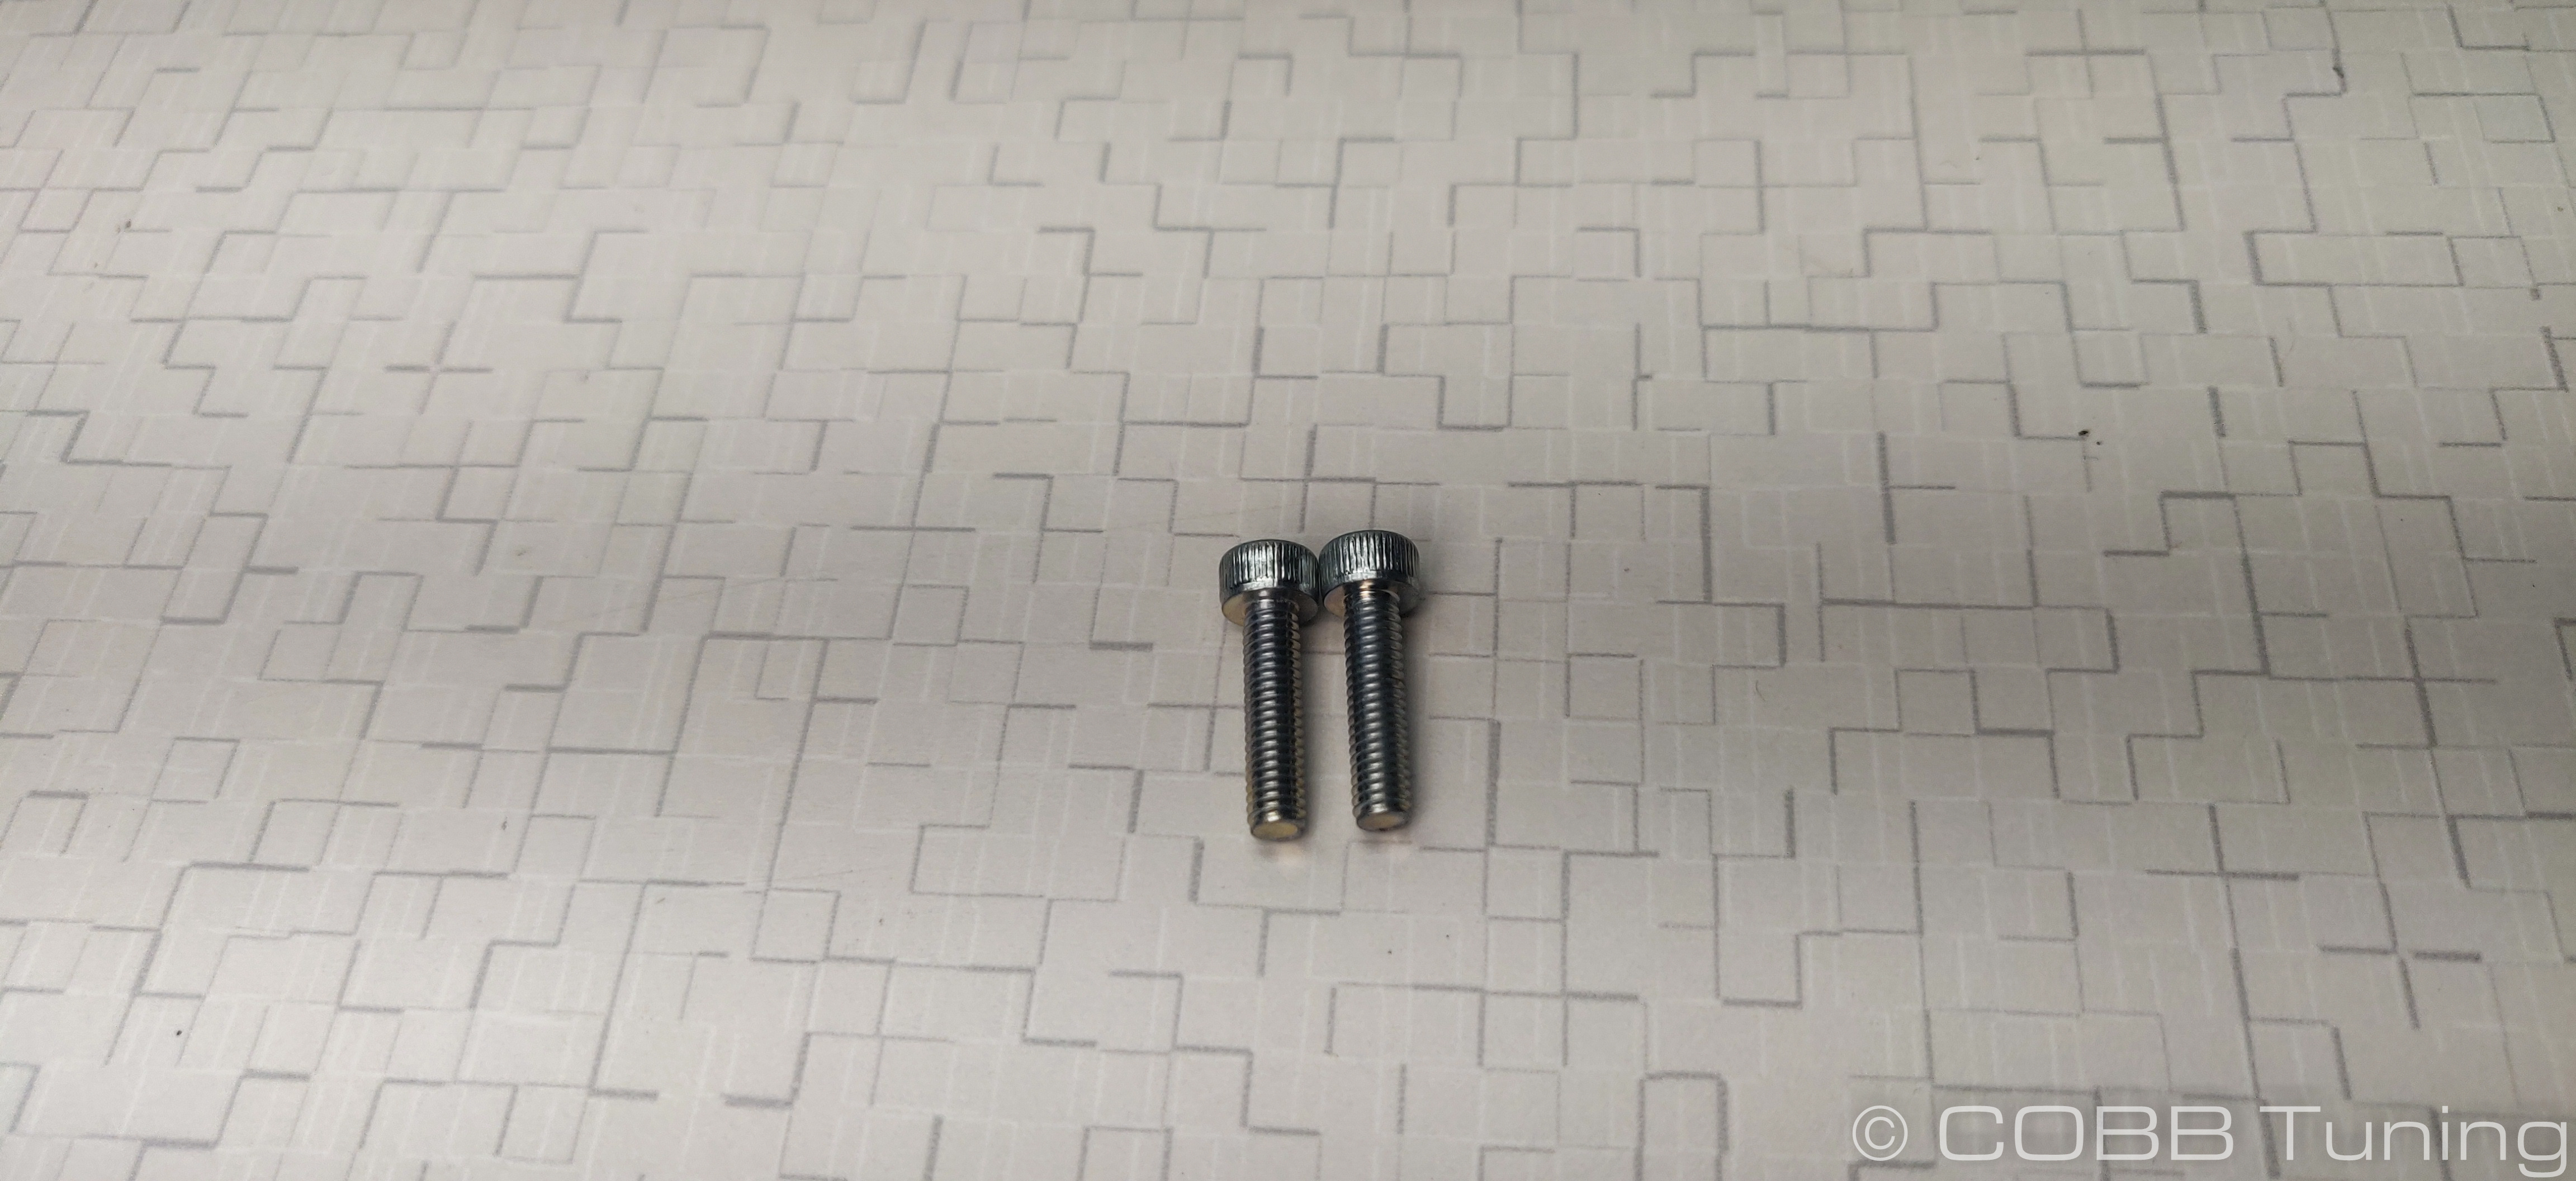
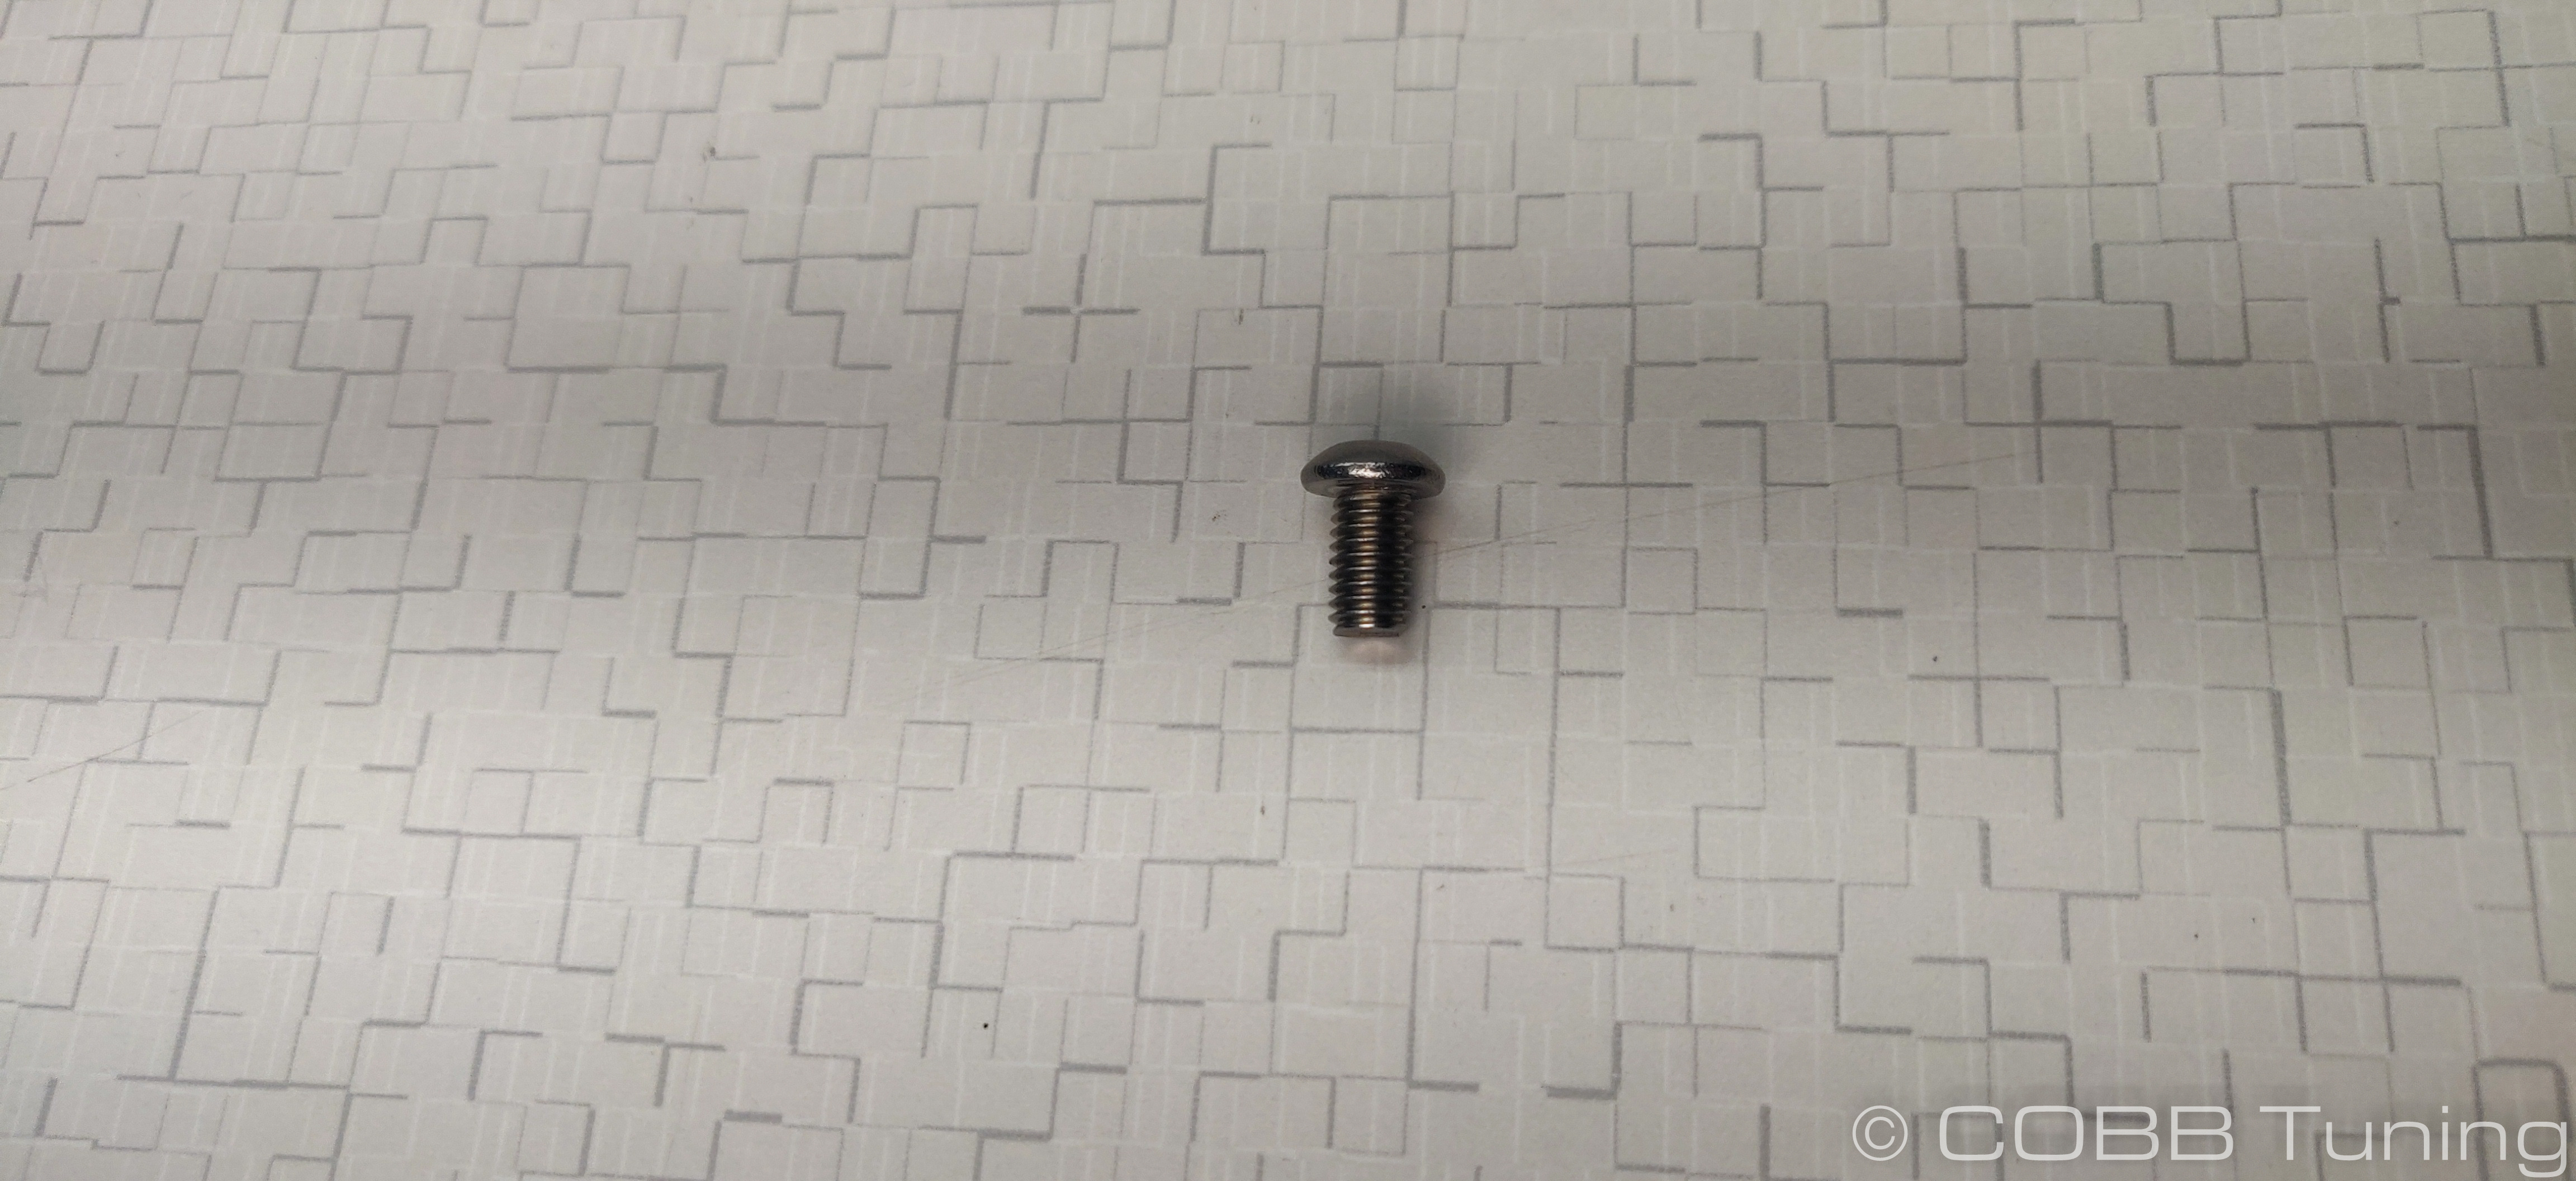
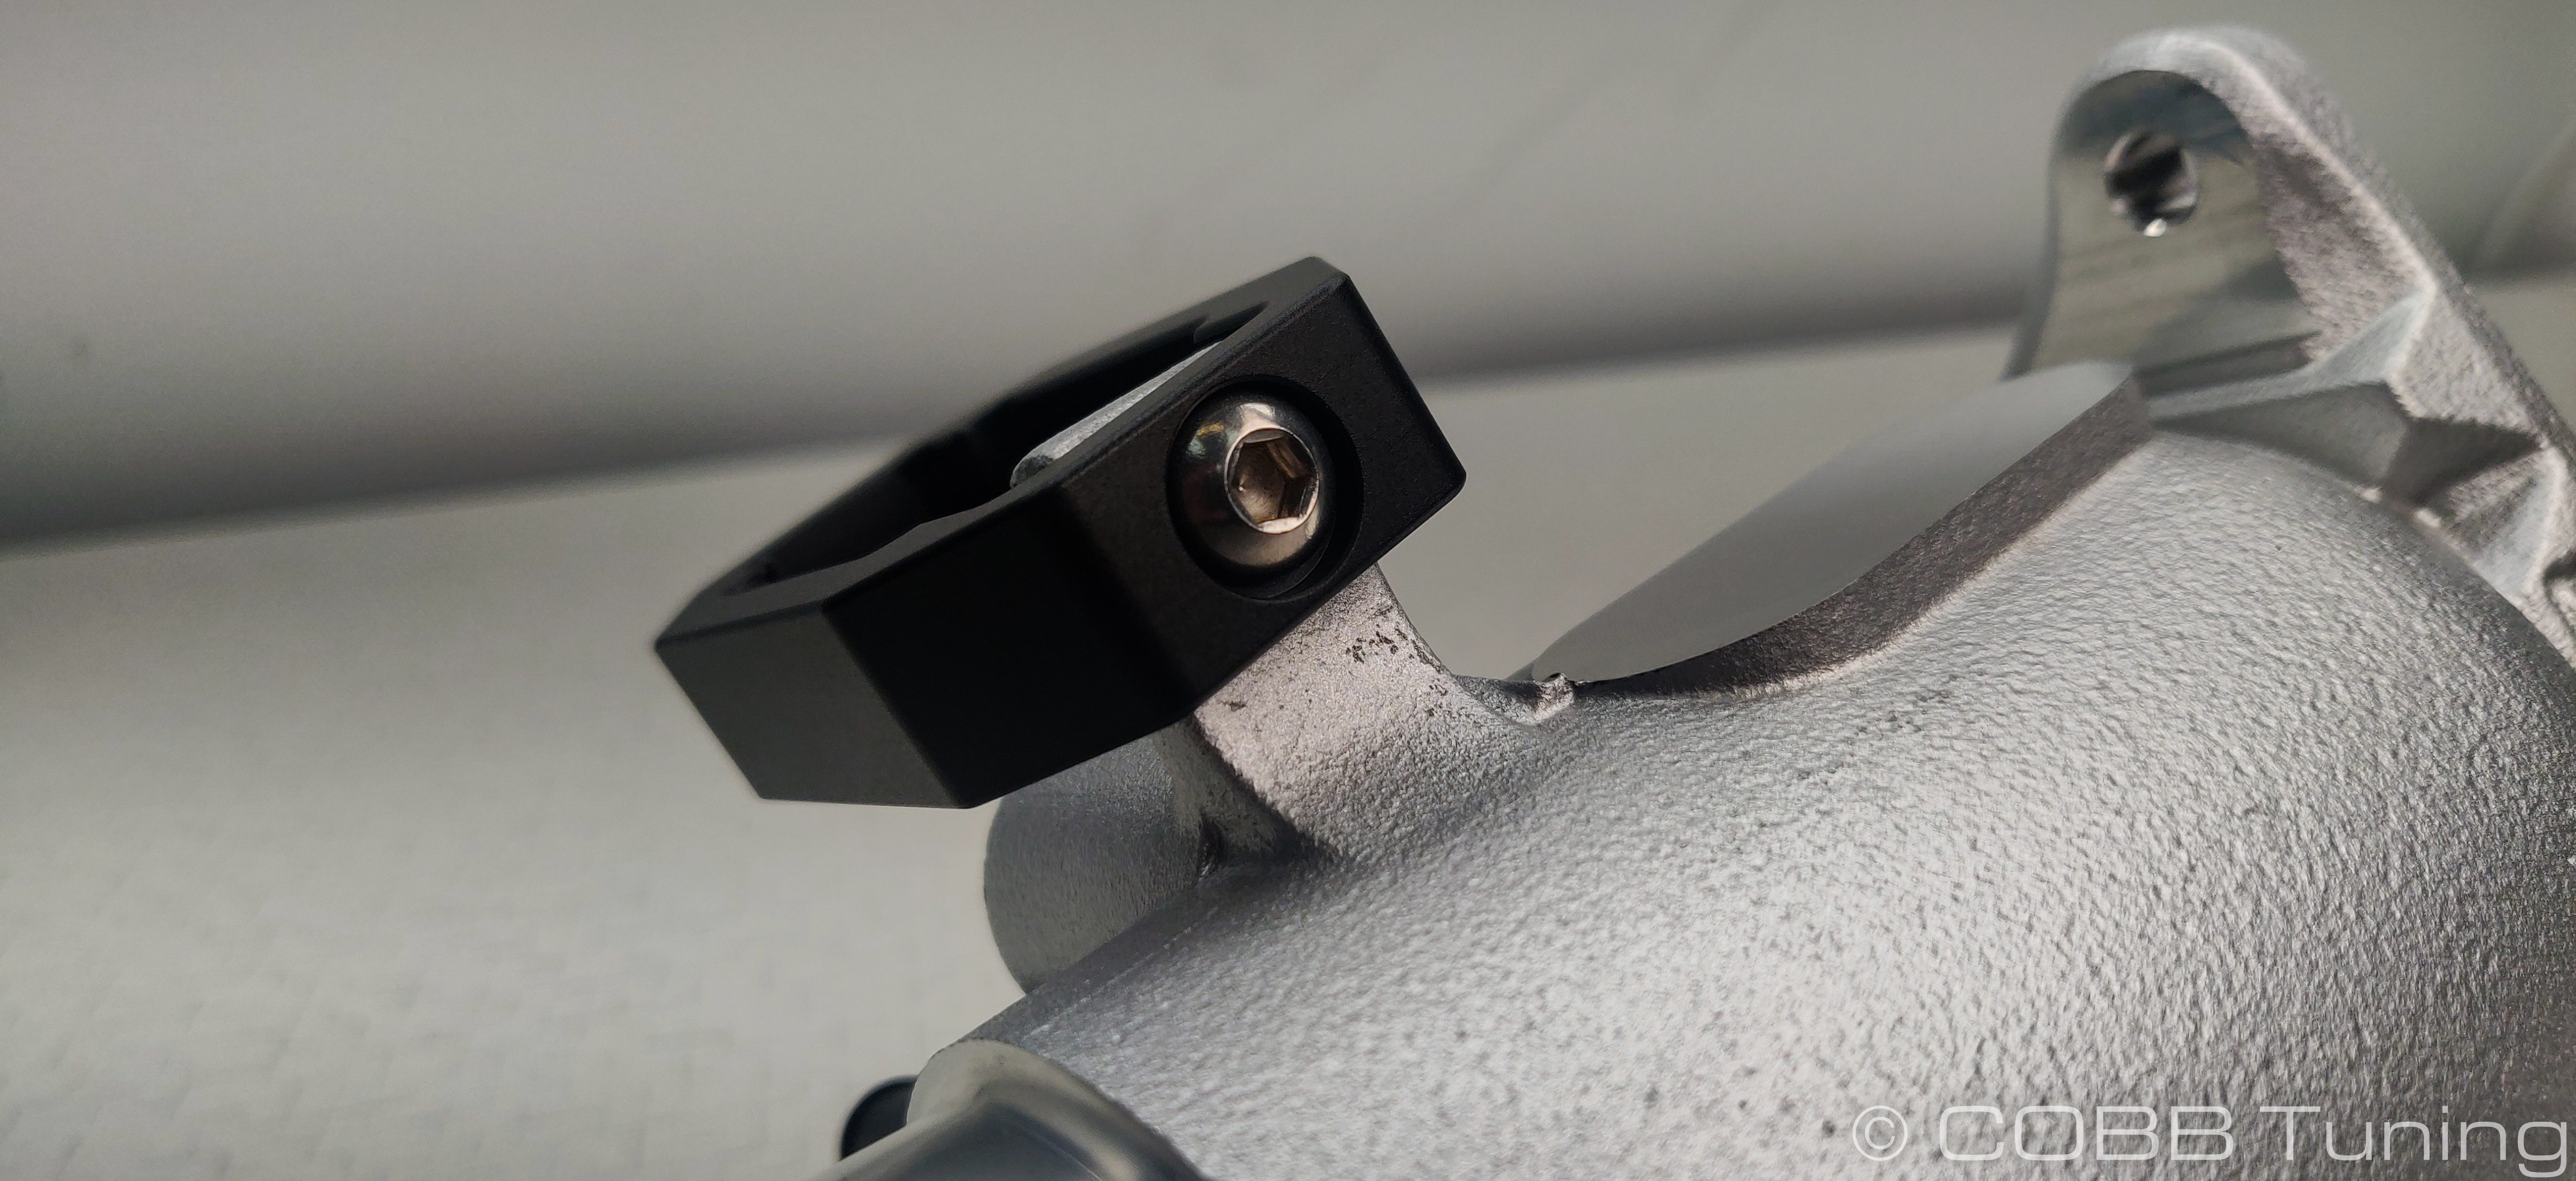
- Move the hose down onto the inlet fitting. You can then use the small button head allen to secure the pcv connector to the inlet by screwing it up from the bottom. Using a small dab of loctite on the bolt can help this from backing out in the future.
- With all the connections back in place and secured, you can reinstall your intake and skid plate.
CARB Sticker Application
(Where Applicable)
- Apply the supplied CARB sticker in a clear, easy to find location. Typically underhood, or on the radiator core support.
Links
COBB Customer Support Web Support and Tech Articles: COBB Tuning Customer Support Center Email: support@cobbtuning.com Phone support available 9am to 6pm Monday-Thursday. 9am to 4pm Friday (CST) 866.922.3059 return to www.cobbtuning.comContact Us:
Related content
Copyright 2025 © COBB Tuning Products LLC. All Rights Reserved. | www.cobbtuning.com