800630 - Subaru Radiator Overflow GD Subaru WRX, WRX STI

800630 - Subaru Radiator Overflow GD Subaru WRX, WRX STI
WRX/STI 2004-2007
Congratulations on your purchase of the Subaru Overflow Bottle for WRX, WRX STI 2004-2007. The following instructions will assist you through your installation process. Please read them first entirely BEFORE beginning the install and familiarize yourself with the steps and tools needed. If you feel that you cannot properly perform this installation, we HIGHLY recommend you take the vehicle to a qualified and experienced automotive technician.
Part List
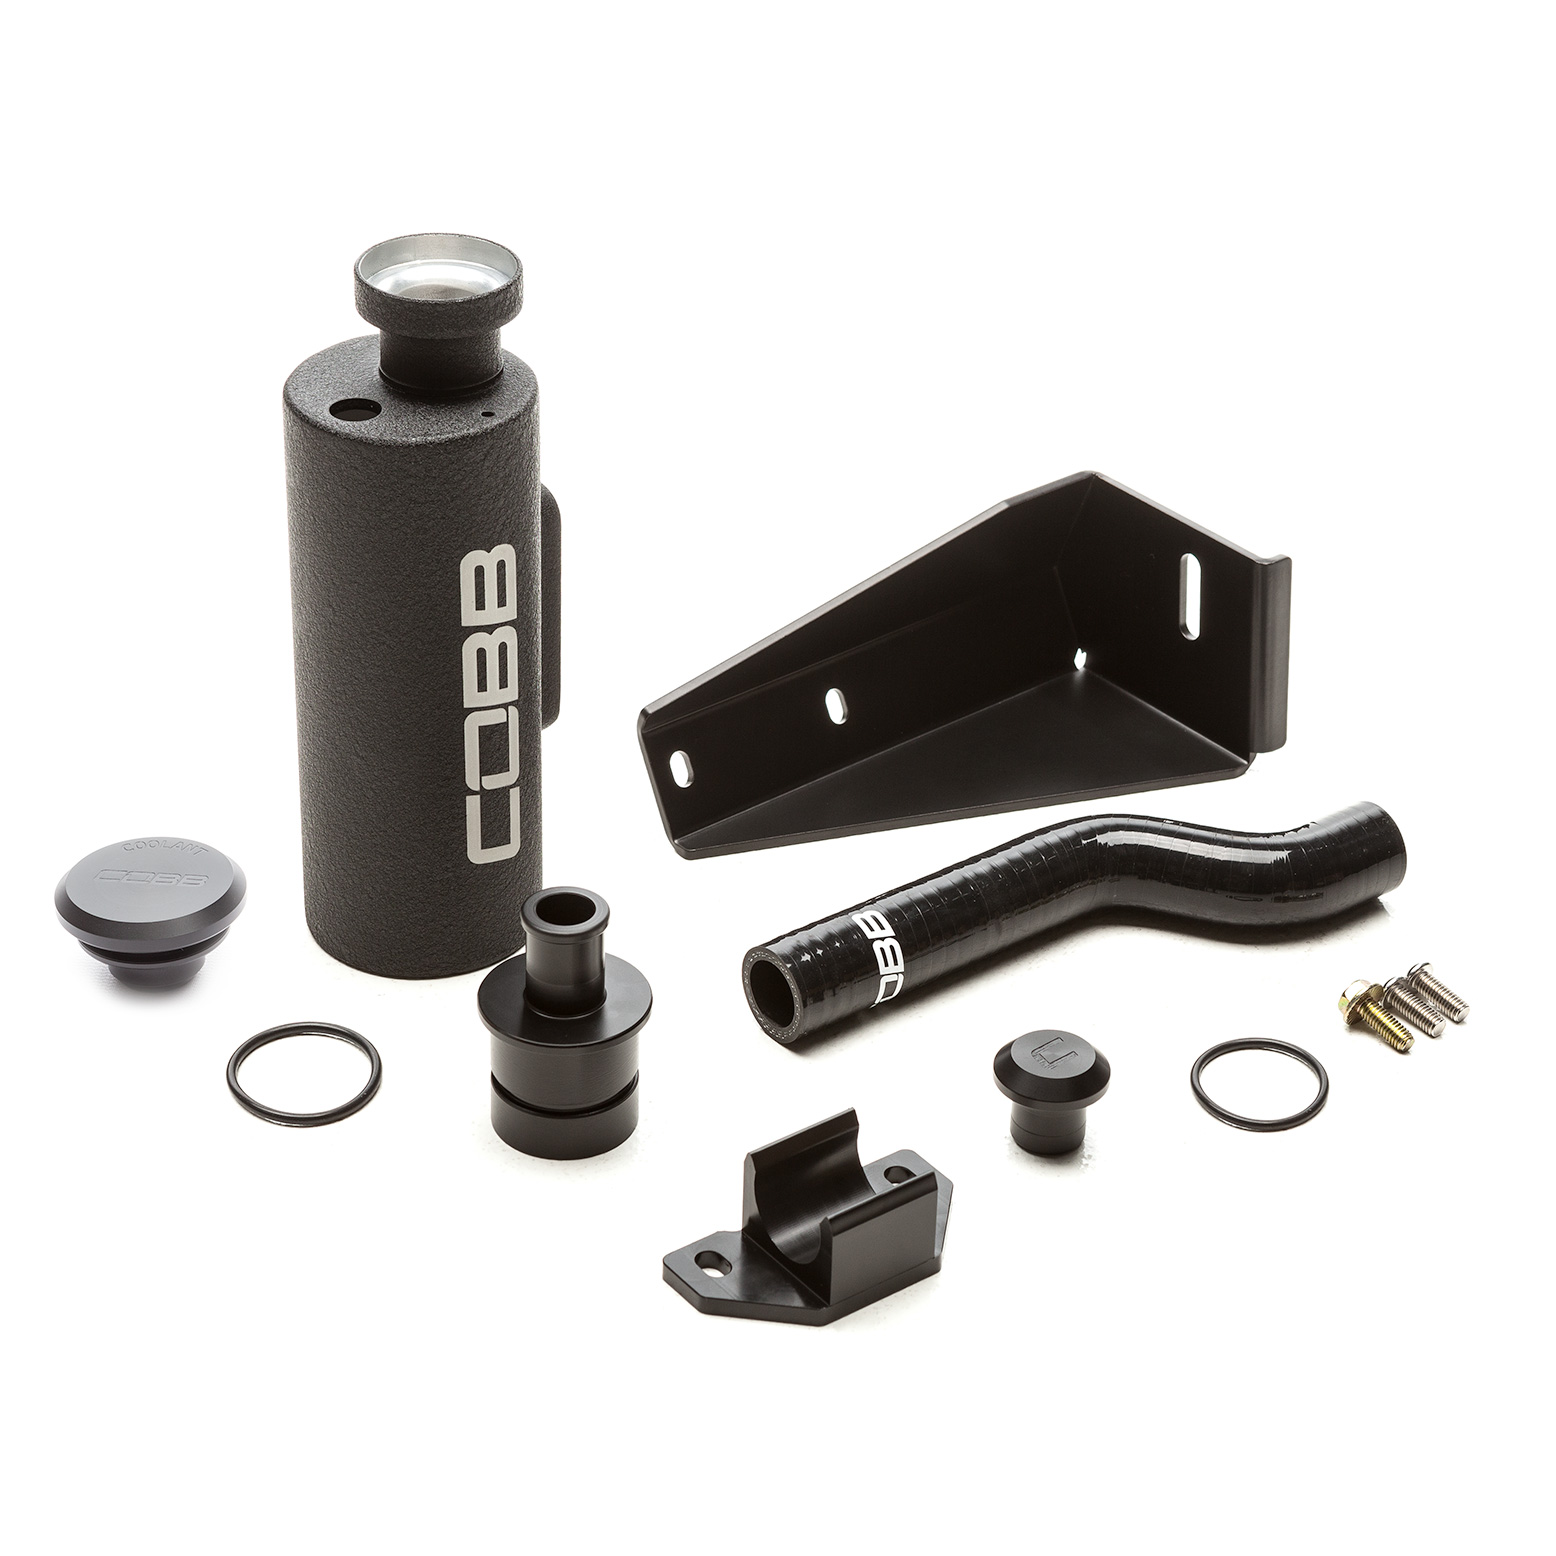
Overflow Tank/ Washer Fill Relocation
- Overflow Tank
- Overflow Tank Mounting Bracket
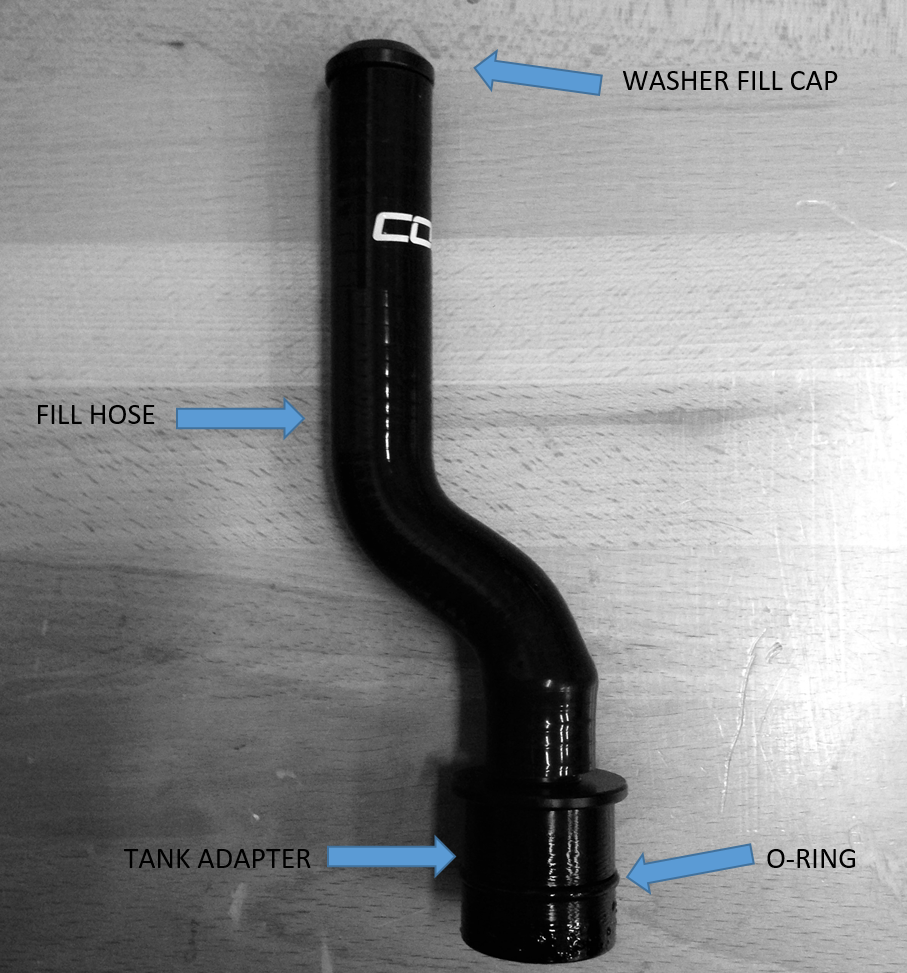
- Silicone Washer Fill Hose
- Washer Fill Hose Clamp
- Washer Fill Hose Tank Adapter
- -124 O-ring
- M6x12 Button Head Hex Screws
- Washer Fill Cap
Tools Needed
- 10mm Socket
- 12mm Socket
- 3/8" Drive Ratchet
- Various length 3/8" Extensions
- Pliers
- Flat Blade Screwdriver
- Phillips Screwdriver
- Plastic Clip removal Tool
- Air Saw, rotary cutting tool, or utility knife
Removal / Installation of Coolant Tank and Windshield Washer Reservoir
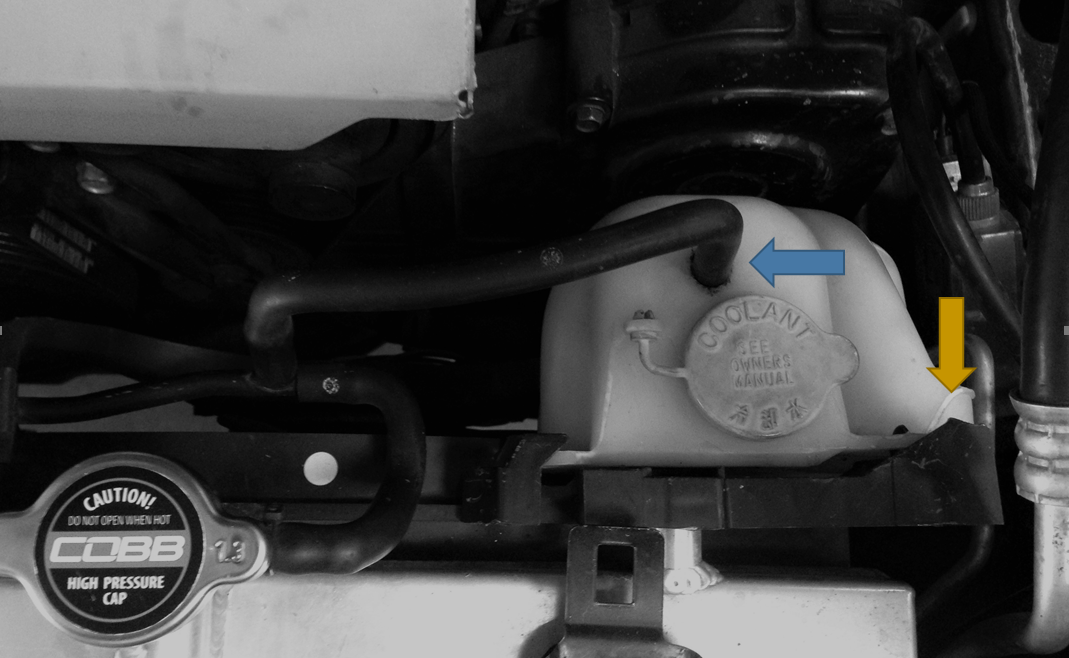
- To remove the coolant reservoir, first remove the rubber hose running into the top of the reservoir itself (blue arrow.) Then press the clip on the right side of the reservoir (yellow arrow) and pull straight up to remove it.
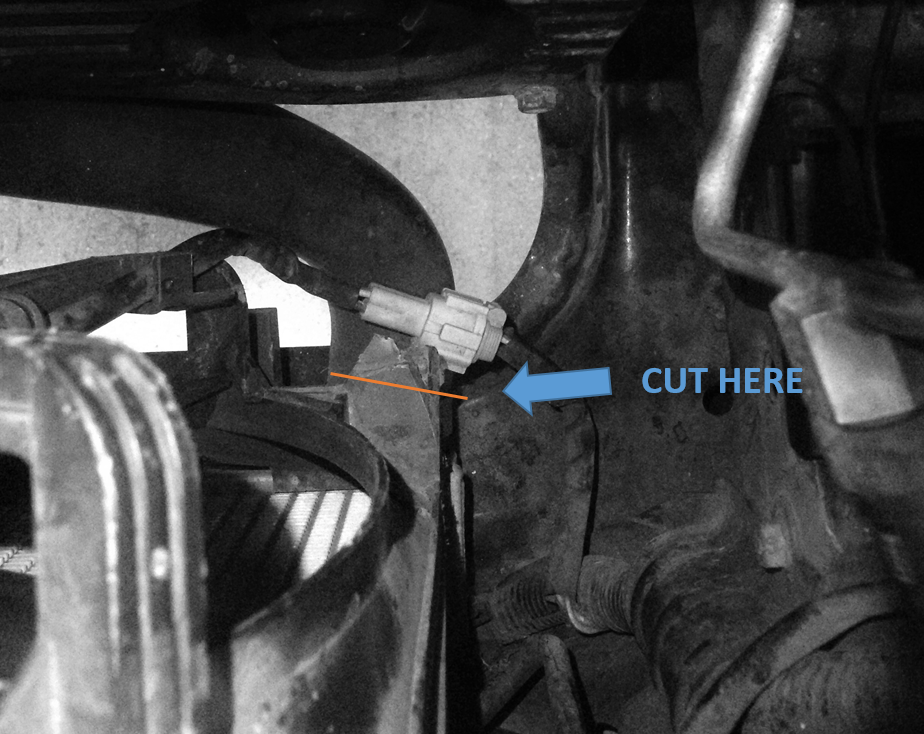
- The driver's side of the radiator fan shroud will need to be trimmed to make room for the cold side piping. Mark and cut along the orange line using an air saw or rotary tool.
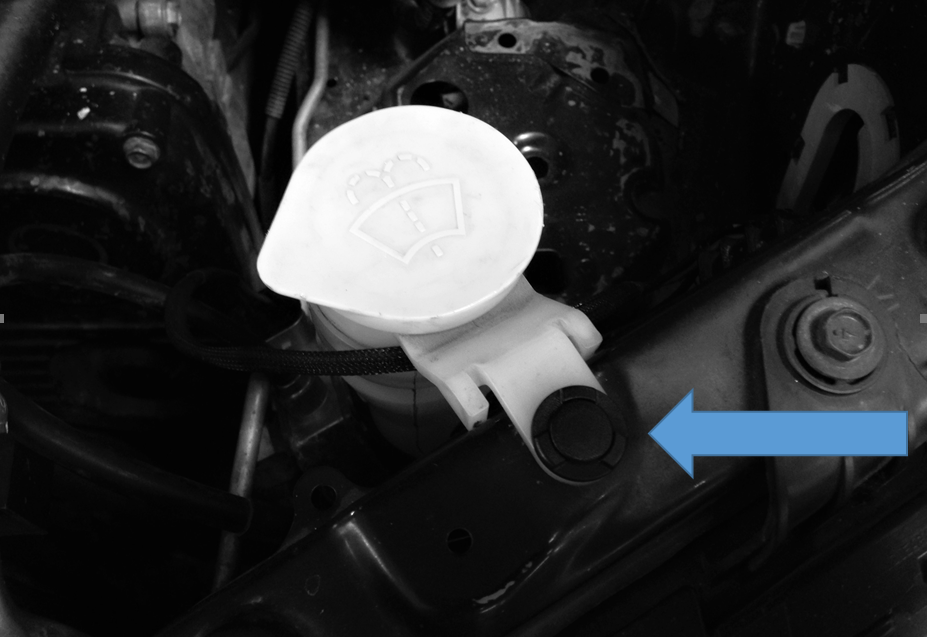
FOR 2006-2007 YEAR MODELS ONLY (For 2004-2005 year models, skip to step 8) - If the vehicle is a 2006-2007 model, the washer fluid reservoir needs to be removed. Remove the push pin holding the washer fill hose from the core support near the driver's side headlight.
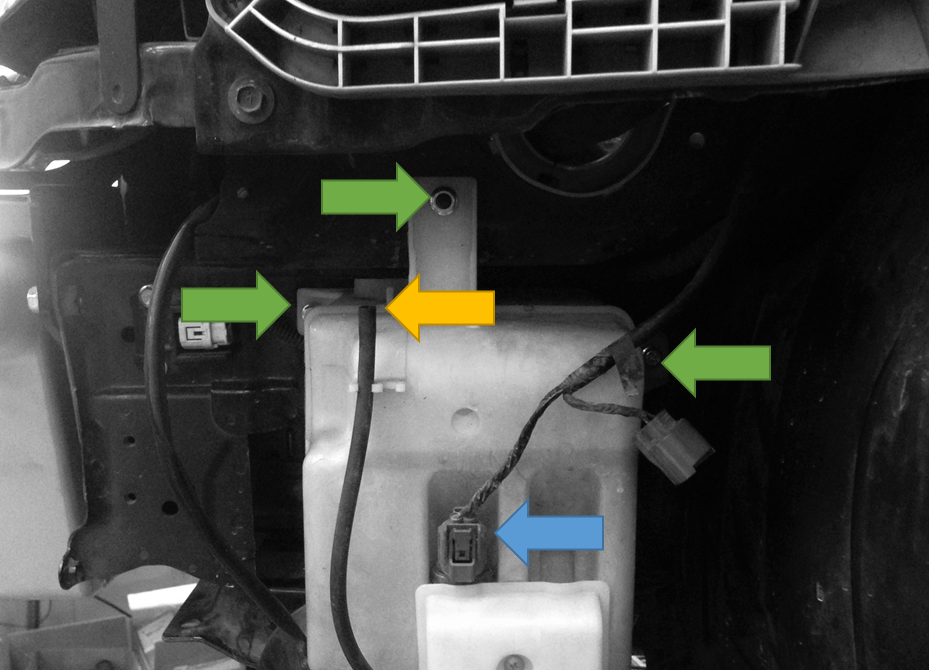
- Unplug the washer pump harness (blue arrow) and disconnect the washer line at the elbow (yellow arrow.) Then using a 10MM socket with an extension remove the two nuts and bolt that attach the washer tank to the car (green arrow.) The assembly including the neck should come out from the bottom of the car.
 '
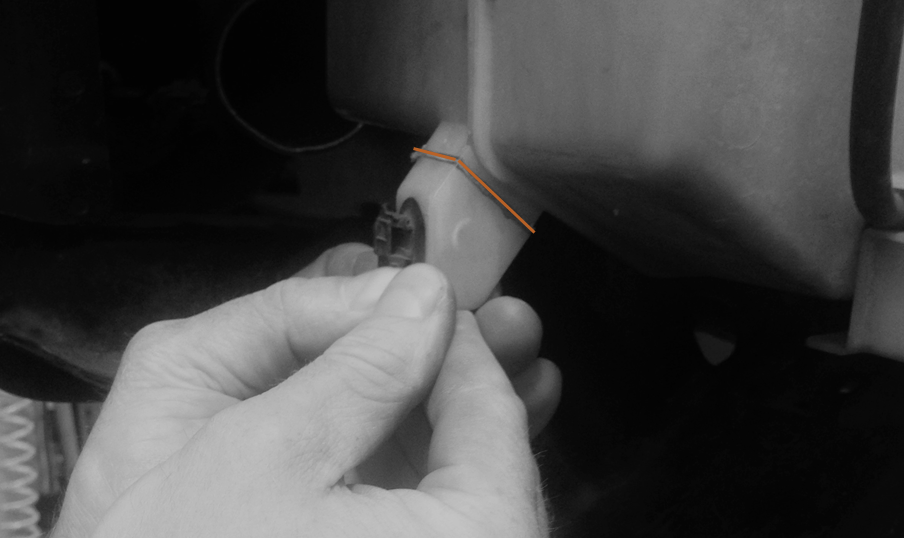
' - The washer fluid reservoir will need to be modified to clear the cold side piping. Using an air saw or rotary tool, mark and cut along the orange line to remove the tab.
- With the washer bottle out of the car, remove the factory fill neck by pressing in the tab wish a screwdriver and pulling upward. Then install the new hose assembly into the washer tank with the hose pointing toward the side that mounts to the car.
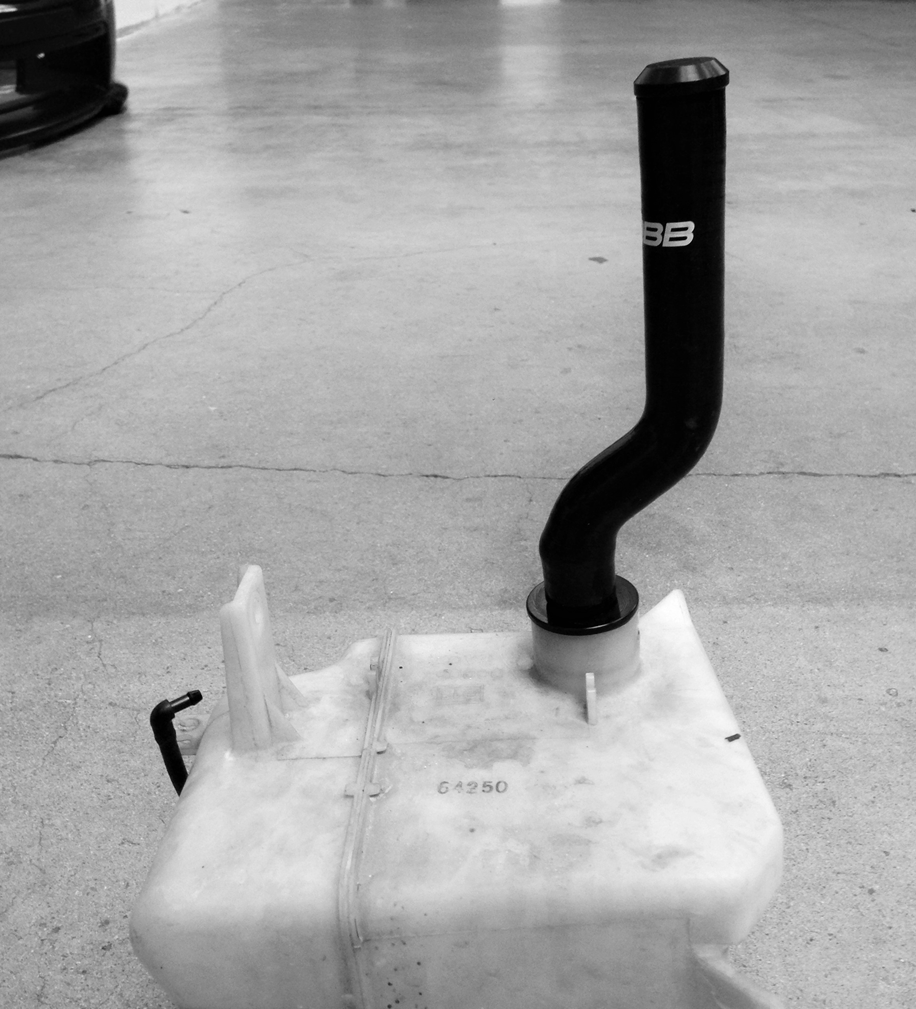
- With the new hose assembly in place, bolt the reservoir back in the car and reconnect the washer line and washer pump wiring.
- Install the coolant mounting bracket onto the driver's side frame rail. Tighten the M6 Flange head bolt using a 10MM Socket.
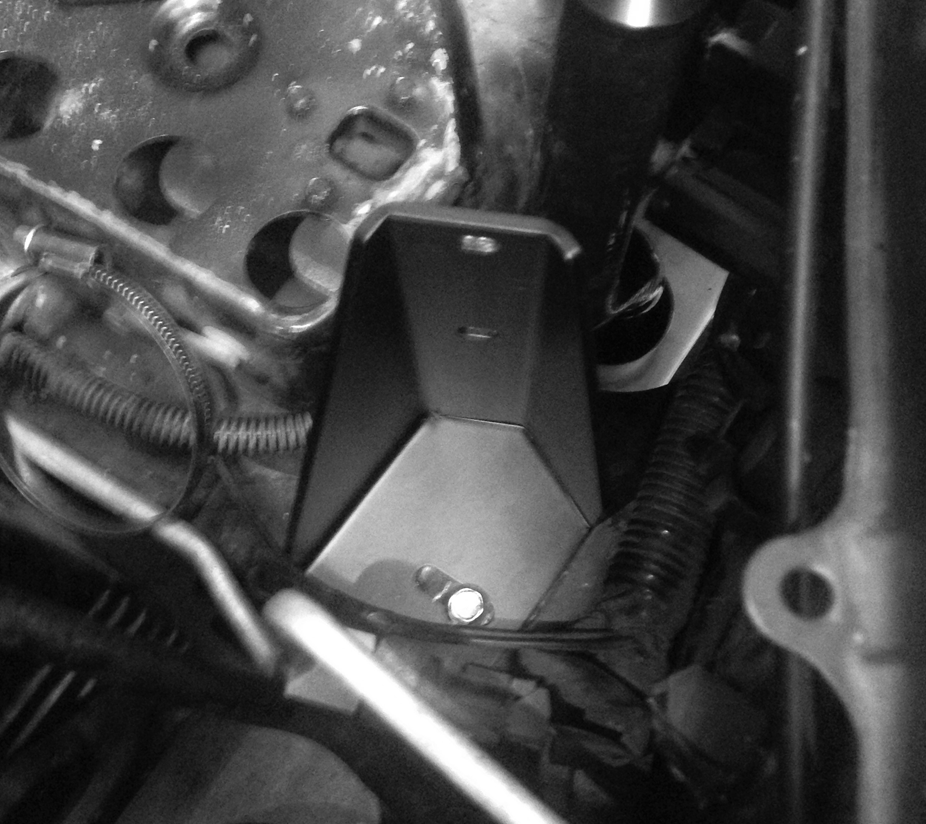
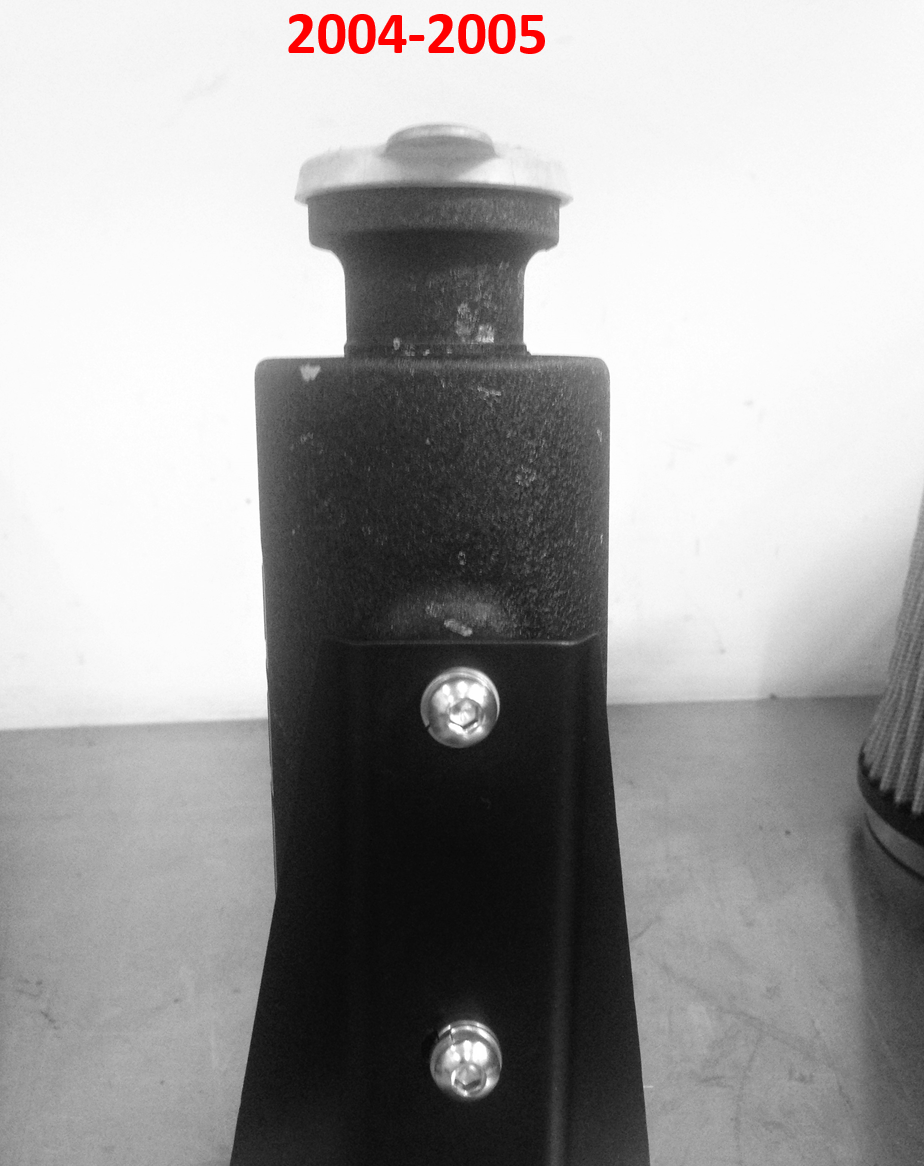
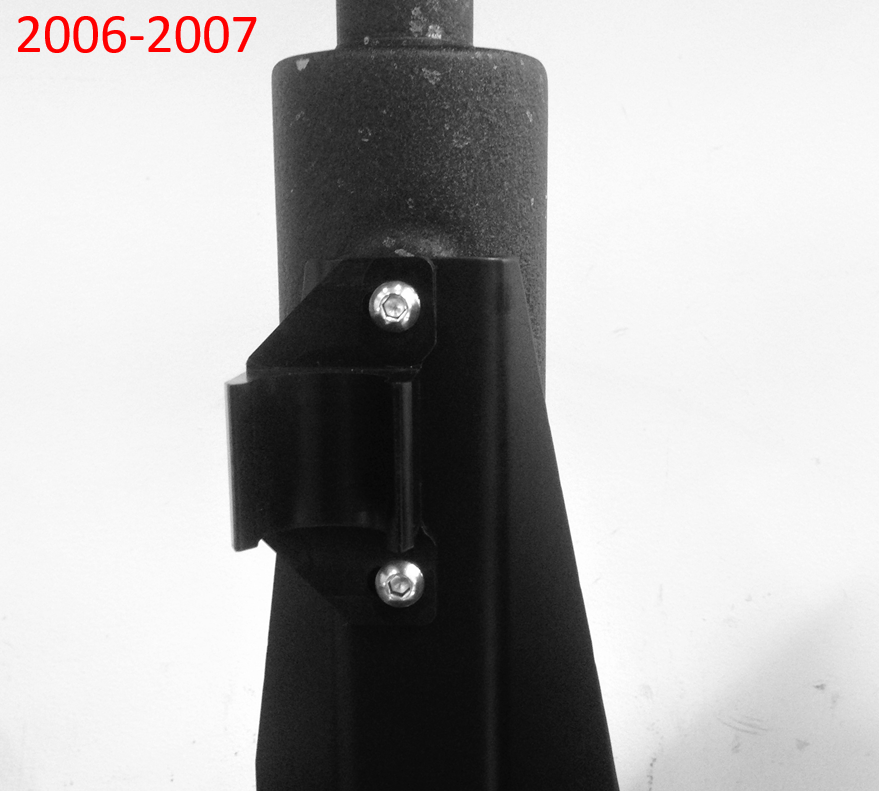
- Now install the new coolant overflow reservoir. Fasten the assembly together using M6x12 button head screws. Tighten using the supplied 4MM hex key. If the car is a 2006-2007 year model, also install the washer hose clamp. Then clamp the hose in the bracket.
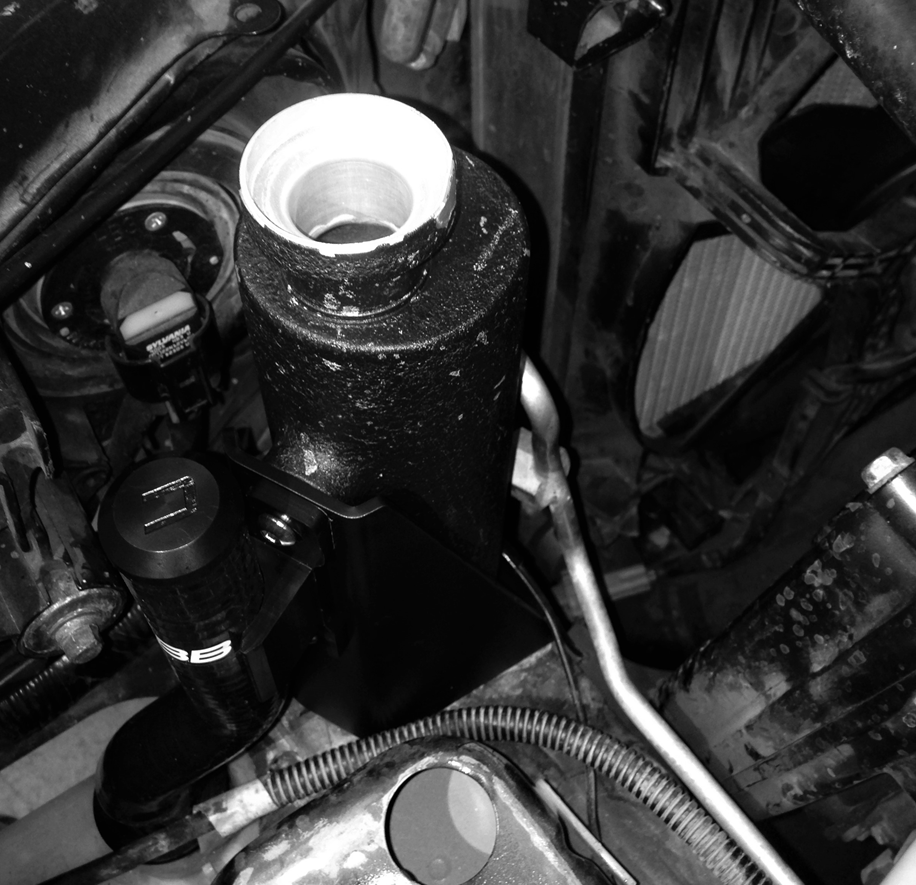
- The finished should look like this in the car.
Links
COBB Product Install Instructions for Subaru Vehicles
Main Installation Instruction Repository for Subaru Parts
Calibration Map Notes for Subaru Vehicles
Link to Subaru Map Notes to see what map you should be on given the parts you've added
Contact Us:
COBB Customer Support
Web Support and Tech Articles: COBB Tuning Customer Support Center
Email: support@cobbtuning.com
Phone support available 9am to 6pm Monday-Thursday. 9am to 4pm Friday (CST)
866.922.3059
return to www.cobbtuning.com
Copyright 2024 © COBB Tuning Products LLC. All Rights Reserved. | www.cobbtuning.com