CSF7042 - CSF 2-Row Subaru Aluminum Radiator
CSF7042 - CSF 2-Row Subaru Aluminum Radiator
- Brandyn Mowat
Owned by Brandyn Mowat
Last updated: Jun 16, 2021

CSF7042 - CSF 2-Row Subaru Aluminum Radiator
Subaru Impreza WRX 2008-2014
Subaru WRX STI 2008-2021
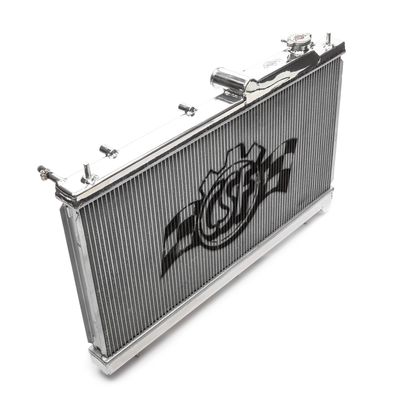
Congratulations on your purchase of the CSF Subaru GR Radiator! The following instructions will assist you through the installation process. Please read them BEFORE beginning the install to familiarize yourself with the steps and tools needed. If you feel you cannot properly perform this installation, we HIGHLY recommend you take the vehicle to a qualified and experienced automotive technician.
Table of Contents
Parts Included
- CSF 2-Row Subaru Aluminum Radiator
Parts Needed
- Manufacturer recommended coolant
Tools Needed
Stock Radiator Removal
- Put your car on a safe level area and allow it to cool down. When in doubt let it sit longer, as coolant can hold heat for quite some time and severe burns are possible if you don't take your time.
- Using a flat-blade screwdriver loosen the plastic clips retaining the air inlet scoop and then remove them using a trim tool. Once both are taken out remove the whole assembly from your engine bay.
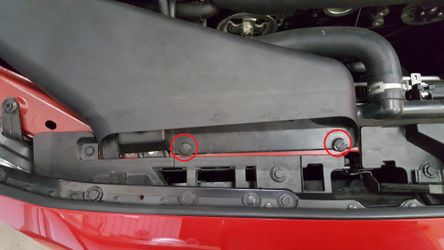
- Now is a good time to remove the coolant reservoir cap above the head of the engine. This will help the coolant drain out a little bit more easily.
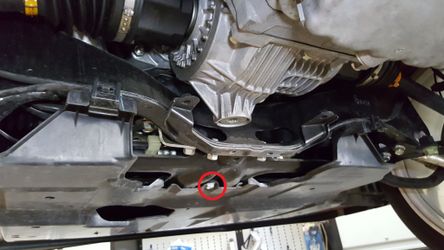
- Lifting the car up and supporting it on jack stands, start to remove the under tray by removing the two 12mm bolts at the front and single 12mm bolt at the rear
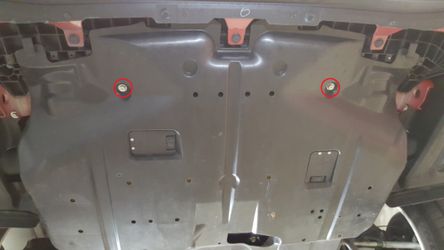
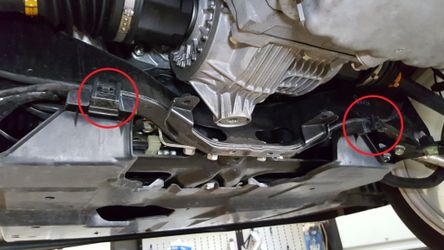
- Next remove the two clips at the rear by pulling down on the bottom part and gently rocking the clip towards the rear of the car. They can be a bit tight, but make sure you don't pull hard enough to break them as they can get brittle over time.
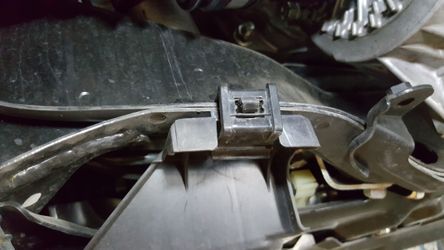
- On each side remove the three trim clips by pulling outward on the middle component to loosen, and then gently pry the lower half out. After all of them are removed you can lower and remove the skid tray from your vehicle. Set it somewhere out of the way.
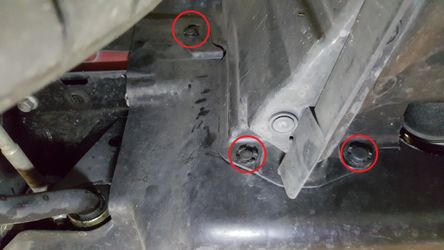
- Next position a drain pan or container to collect the coolant and remove the drain plug using a phillips head screwdriver
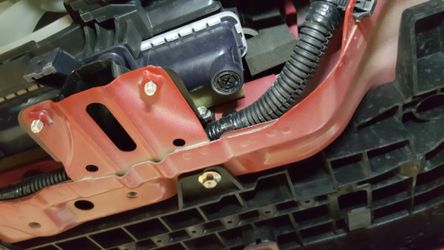
- Using the drain plug can take a long time, however it's generally the cleanest way to do it. If you're impatient (or it's done draining) you can start on the lower radiator hose. Using needlenose pliers squeeze the spring clamp together until it locks in place fully expanded. A good way to get the hose loose at this point is to gently try twisting it back and forth to break the seal between the lower hose and the radiator. The stock hose clamp is small enough that it can be difficult to remove with the lower hose so oftentimes it's easier to hold the clamp over the radiator fitting while pulling the lower hose free. Even if the radiator is completely drained more coolant will come out at this point since the hose will also drain additional coolant from the engine block as well.
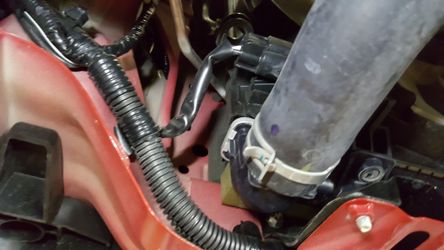
- Once completely drained unhook the fan connections on both sides of the vehicle.
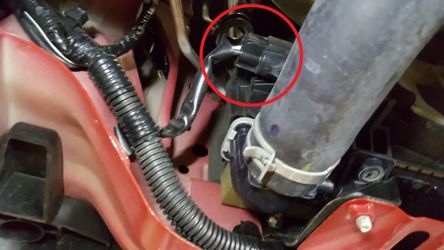
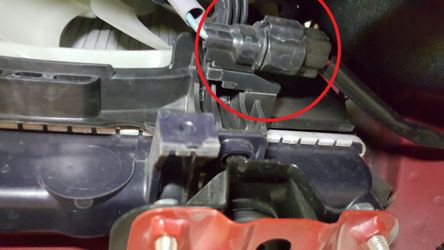
- Next go back up to the top side of the engine bay. Remove these two bolts on the radiator fans to allow the crossover pipe to come free.
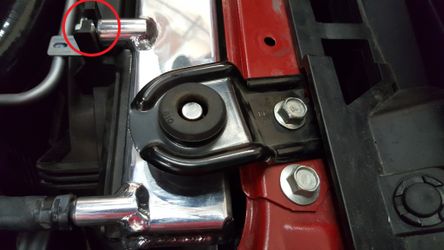
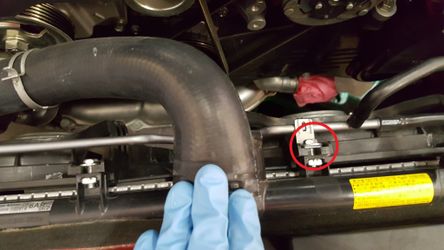
- Use your pliers to remove the spring clamp and pull this hose off and out of the way.
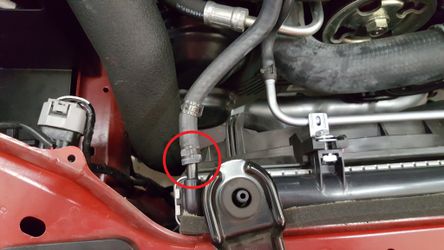
- Use your pliers again to remove the clamp and pull the upper radiator hose free.
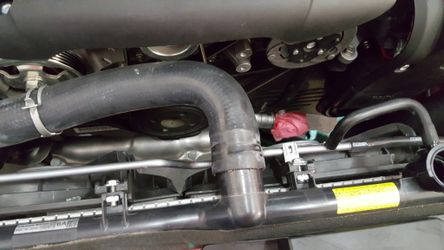
- Remove the upper radiator mounts using a 12mm socket.
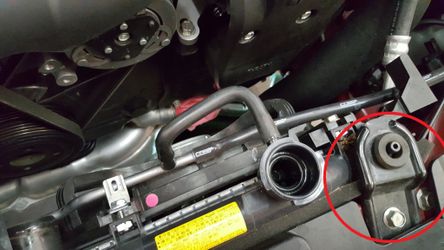
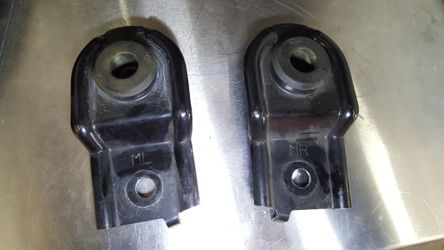
- The radiator mounts are different side to side but they are also marked appropriately as ML (Driver's Left USDM) and MR (Driver's Right USDM)
- It's now time to carefully pull the radiator free. Go slow at first to make sure nothing is still attached. It's a good idea to dump it out the rest of the way in your drain pan once it's removed from the car as there can still be some coolant left over inside.
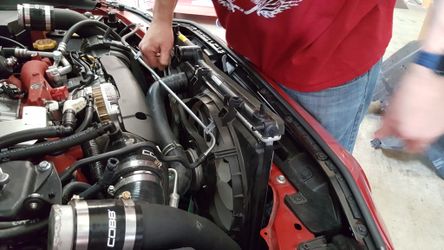
- Remove the remaining two bolts holding the fan to the radiator and pull each one upward and out to remove from the stock radiator.
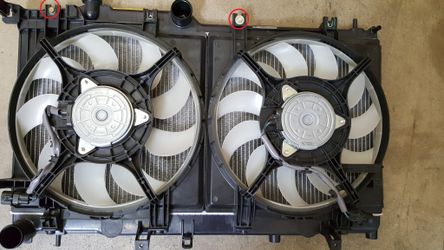
- Take a second and double check to make sure the rubber mounts aren't still attached to the lower radiator and that they're still seated correctly on the vehicle side. Once done you can set the stock radiator aside.
CSF Radiator Installation
- Install the fans back onto the stock radiator making sure everything is in place before tightening to avoid breaking. Only install the two bolts for now.
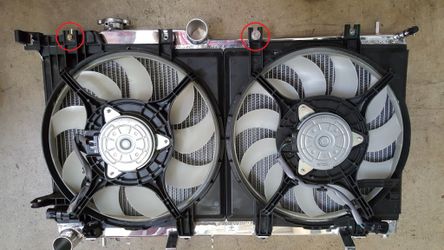
- Once it's all together it's time to install the new radiator. Take your time and make sure the lower mounts are lined up correctly. The new radiator should sit flush when installed properly.
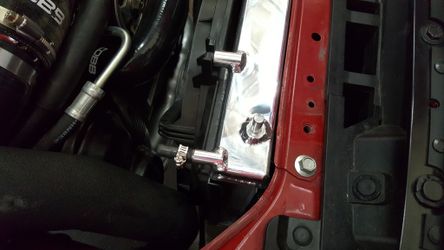
- Reinstall the upper radiator mounts
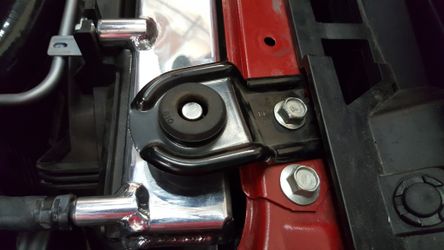
- Remove the cap covering the fitting and reattach the coolant reservoir line.
- Reinstall the crossover hose.
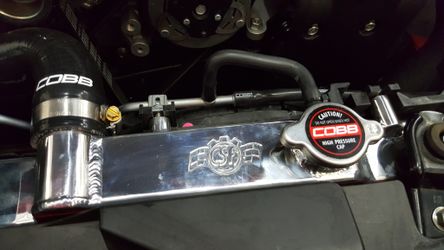
- On some vehicles you may need to trim the upper radiator hose as the thicker core can angle the hose back enough to hit the belt. Usually you'll want to trim it back on the radiator end as trimming it on the engine side can pull it even closer to the belt. Trim with a sharp knife or hose cutter.
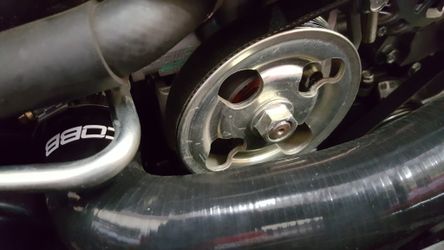
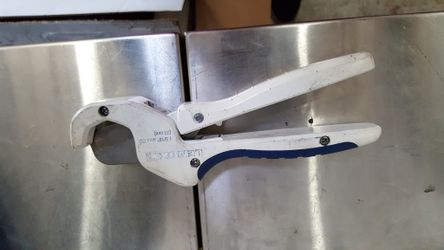
- Tighten the upper radiator hose down. Make sure the hose clamp is past the barb before you tighten it down.
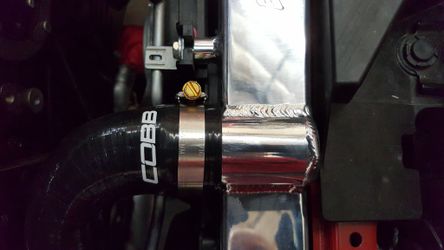
- Moving underneath re-connect the fan wiring.
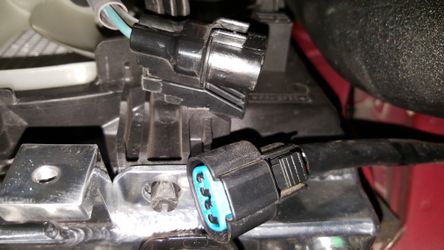
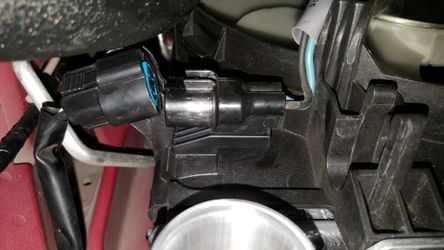
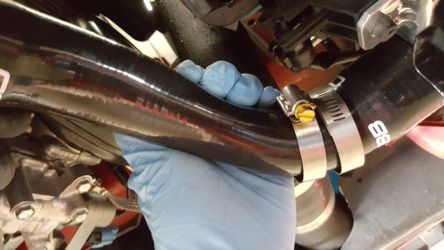
- Test fit the lower radiator hose. Like the top, this may need a little trimming as well. Make sure there aren't any sections that are strained or bent due to the length this is usually a sign it is too long. Once it's on fasten it securely at both ends. Make sure the hose clamp is past the barb before you tighten it down as tightening it on top of the barb can cause leaks or damage to the hose itself.
Bleed Cooling System
- With everything installed head back up top and start filling up the radiator slowly, make sure to keep checking for leaks as you go and adjust hoses/tighten as needed.
- Once the radiator is filled up squeeze the hoses to try and get rid of as many air bubbles as possible, be careful as squeezing too hard too quickly can get coolant all over your engine bay.
- With as many of the air bubbles removed as you can go ahead and put the radiator cap back on. Keep in mind that the radiator cap and coolant reservoir cap typically look very similar, however the reservoir cap will be rated at a lower pressure so when in doubt refer to the stamped numbers that refer to the pressure rating in BAR.
- Now head up to the coolant reservoir and begin to fill it up from there.
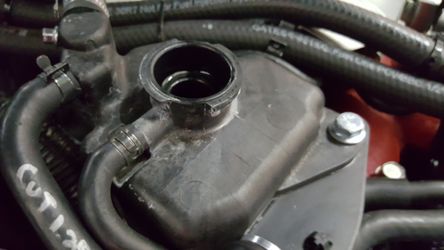
- Now it's time to bleed the coolant. This is an important step and can get a little bit time consuming, however any pockets of air can cause issues with overheating or incorrect coolant temperature settings.
- While not necessary, coolant bleeding funnel like this one can make things a whole lot easier as they come with fittings to mount directly to the cap and allow the system to bleed and fill itself at the same time.
Keep in mind that any coolant in the funnel will get just as hot as the rest of the coolant in the engine so use caution to avoid burns.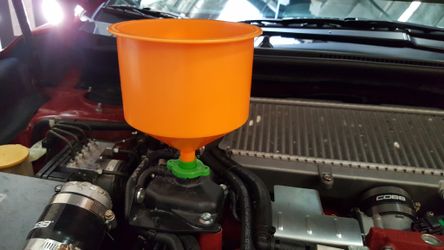
- With the system full turn on the vehicle and crank up the heater all the way. By having the heater on the coolant can circulate through the heater core which will remove air bubbles from that portion of the system. Make sure to keep an eye on your coolant levels at the tank or in the funnel so that the car doesn't add any more bubbles into the system.
- Once the coolant stops bubbling you're all done with the bleeding! This can take a while (it took around 30 minutes on our car). While it's bleeding make sure to keep an eye on the coolant temperature in order to make sure your car isn't overheating and that the fans are cycling on and off properly.
While idling the radiator will got very hot quickly, be careful to avoid burns.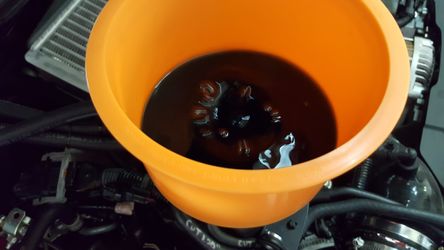
- Place the plug securely down in the funnel and remove it from the car. Put remaining coolant back in the bottle.
- Reinstall the Coolant reservoir cap.
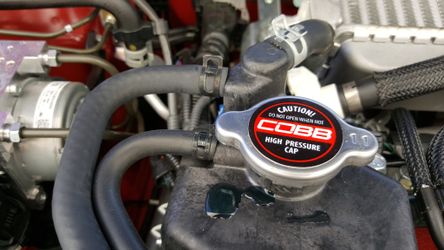
- After the car cools down again it's time to go ahead and re-install the skid tray with the three bolts, 6 trim clips. and two plastic latches.
- Go out and enjoy!
Copyright 2025 © COBB Tuning Products LLC. All Rights Reserved. | www.cobbtuning.com