712450 - COBB Subaru Silicone Turbo Inlet Install
- Brandyn Mowat
- Billy Brooks

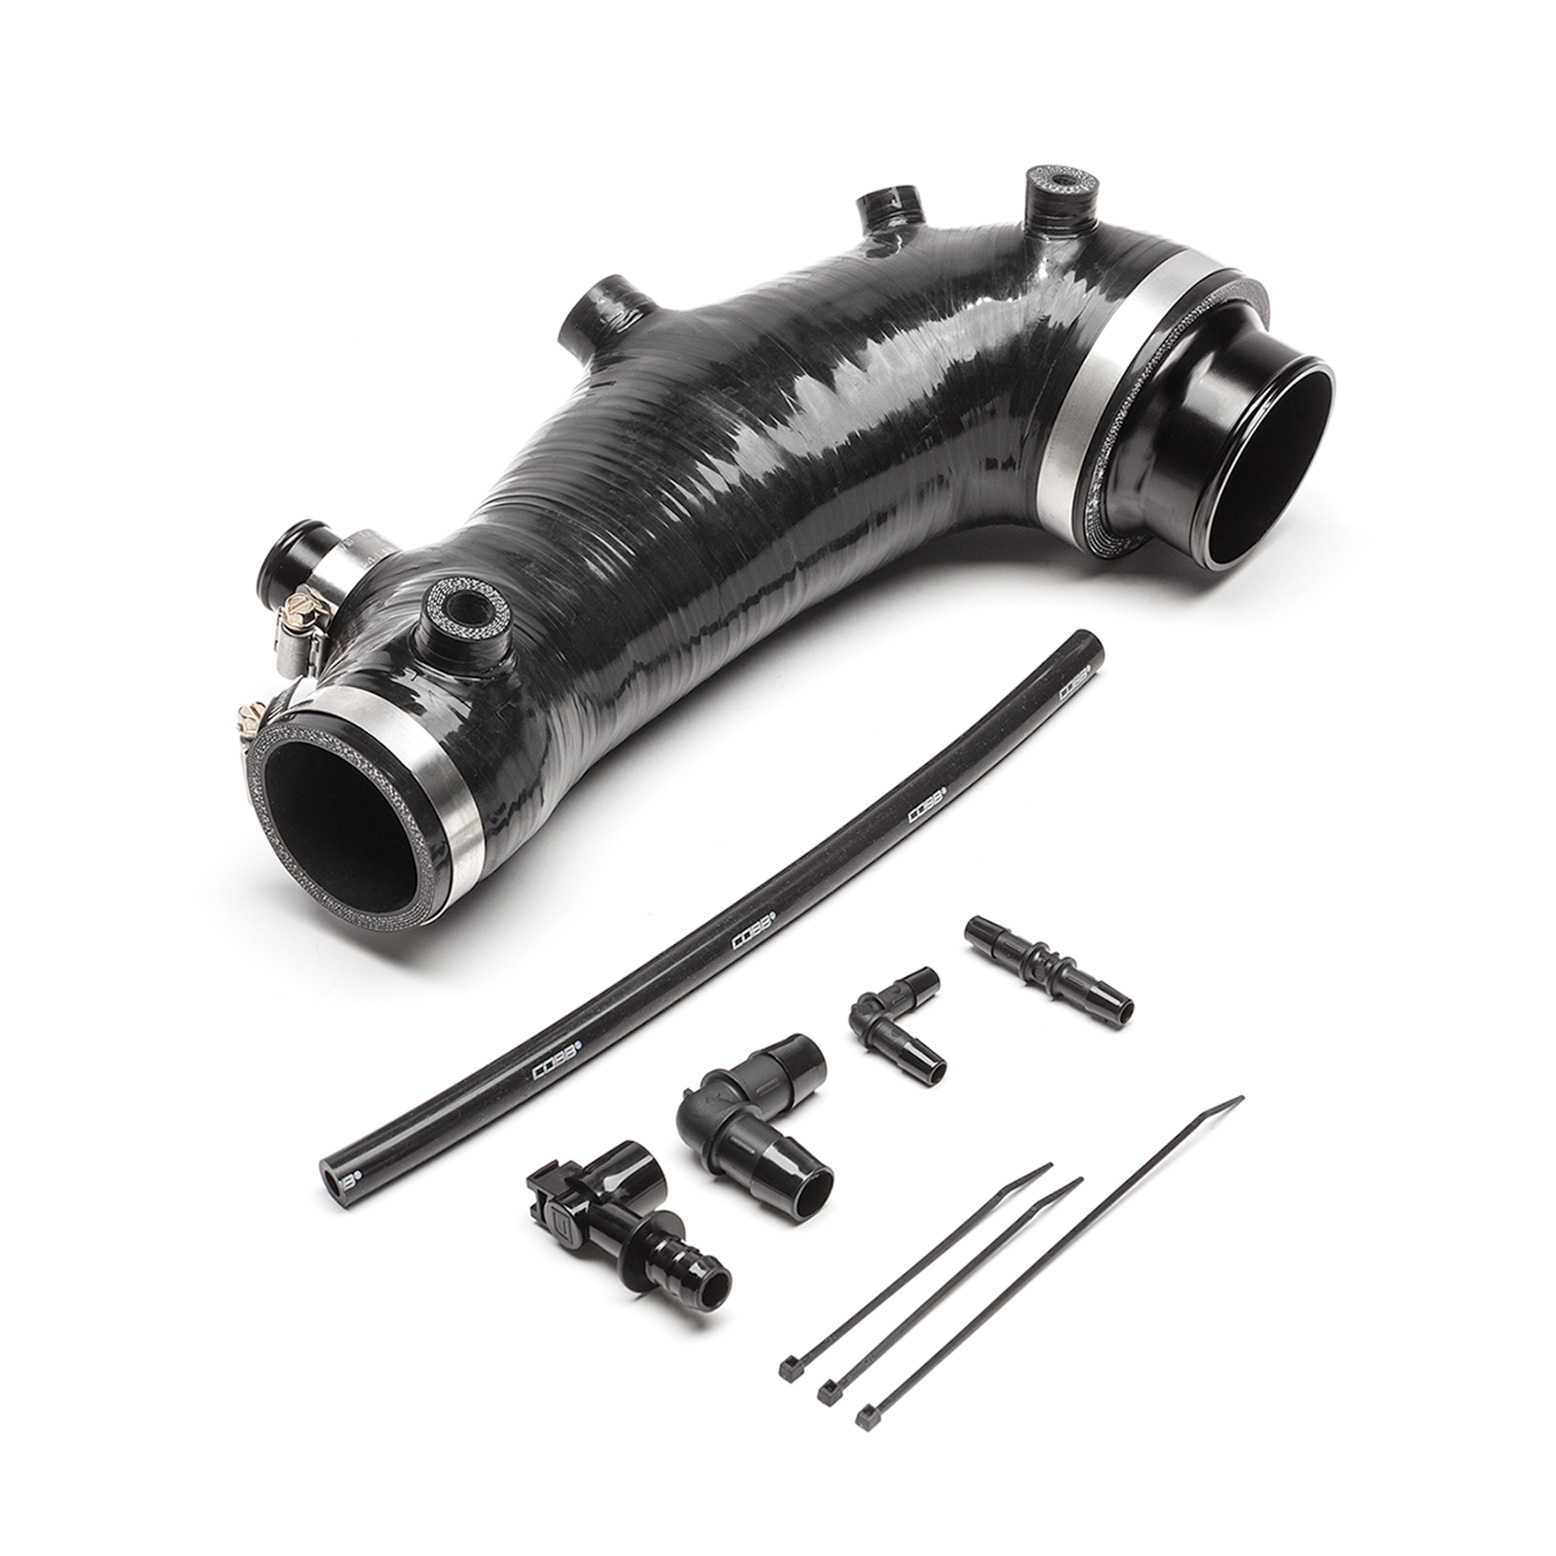
712450-BK – COBB Silicone Turbo Inlet
Subaru WRX STI 2008 - 2021
Subaru Forester XT 2004 - 2008
Congratulations on your purchase of the COBB Tuning Subaru Silicone Turbo Inlet! The following instructions will assist you through the installation process. Please read them BEFORE beginning the install to familiarize yourself with the steps and tools needed. If you feel you cannot properly perform this installation, we HIGHLY recommend you take the vehicle to a qualified and experienced automotive technician
IMPORTANT! Installing this kit will require custom tuning or utilizing an appropriate Stage Power Package map if you have a matching mechanical configuration. Please consult with COBB or an authorized ProTuner in your area.
Quick Reference:
- WRX 2002 - 2007
- WRX STI 2004 - 2020
- Forester XT 2004 - 2008
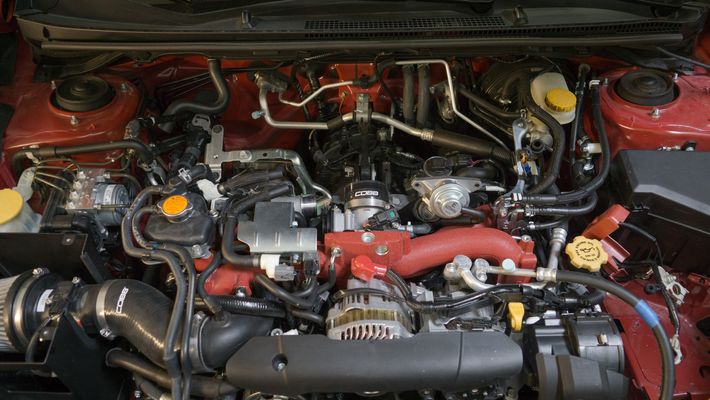
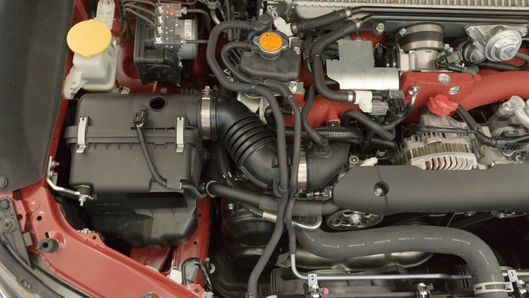
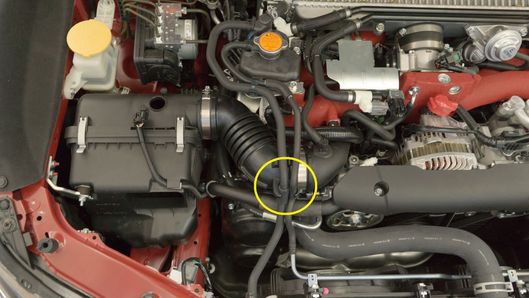
- Locate your stock bypass valve.
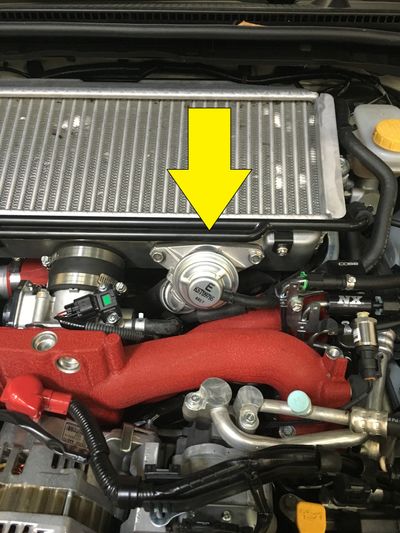
- Using a pair of pliers, remove the return line from the bypass valve.
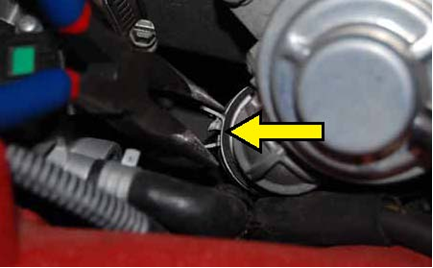
- Remove the vacuum line from the factory bypass valve.
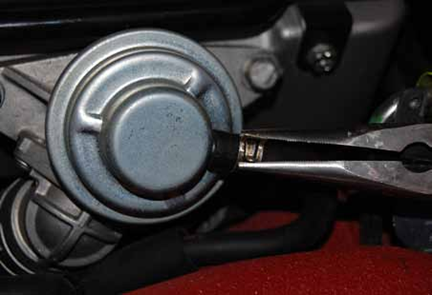
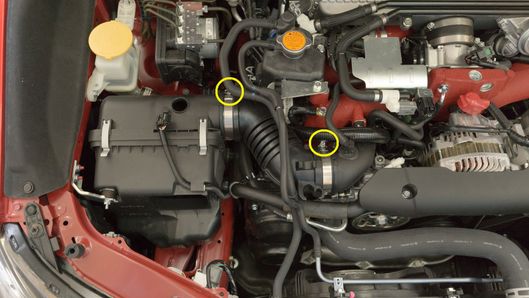
Using a 12mm socket with ratchet, remove the 2 bolts that hold the bypass valve in place and remove it from the car.
TIP: Make sure to keep an eye on the factory gasket behind the BPV. It can fall when you remove the valve and end up in difficult to reach locations!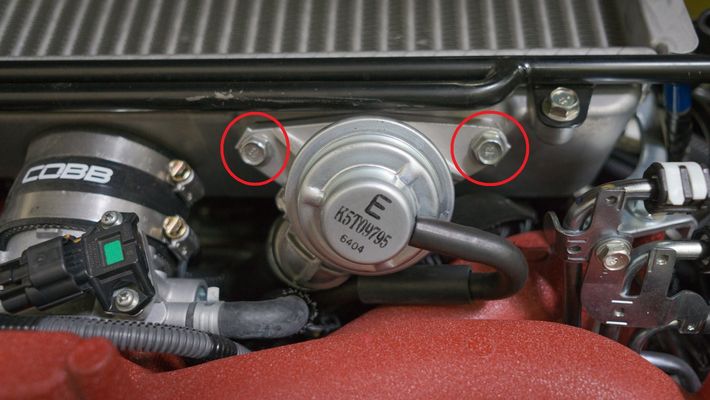
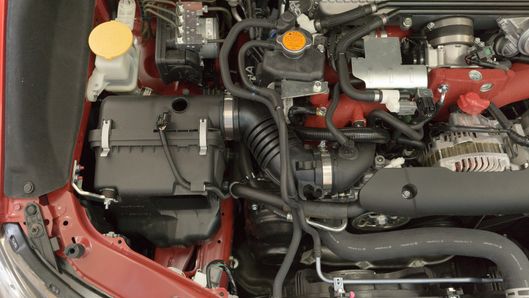
- Remove the bypass valve.
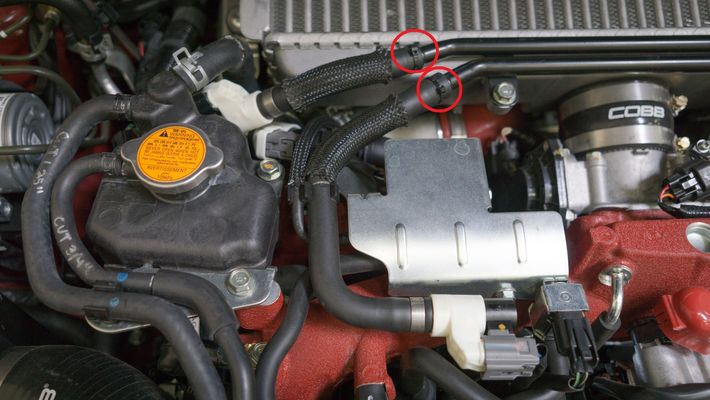
- Remove breather tubes from intercooler. Dikes can be helpful when removing the metal clamps or zip ties.
- Loosen the turbo outlet clamp using a screwdriver or appropriately sized socket (Typically 7-8mm) along with the (2) throttle body clamps using a screwdriver or 8mm socket.

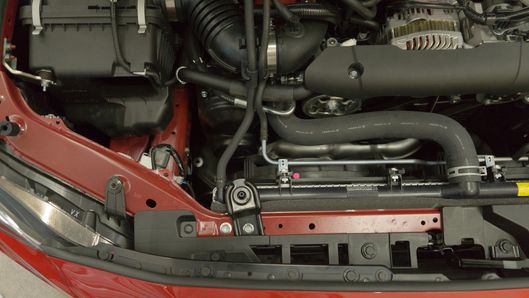
- Remove the two bolts holding the intercooler in place
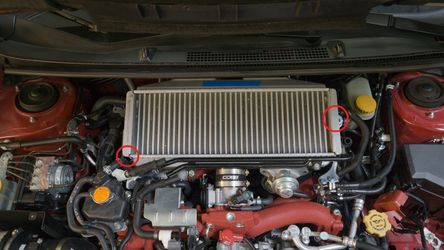

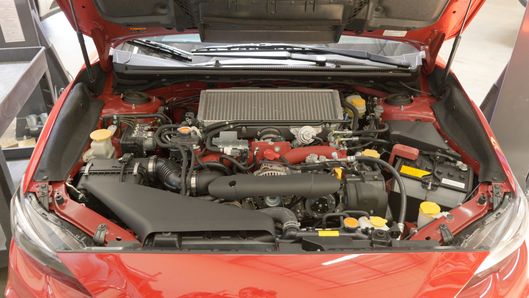
- Gently wiggle TMIC free from engine bay by sliding it back and then out. Be careful to not damage your windshield wiper cowl.
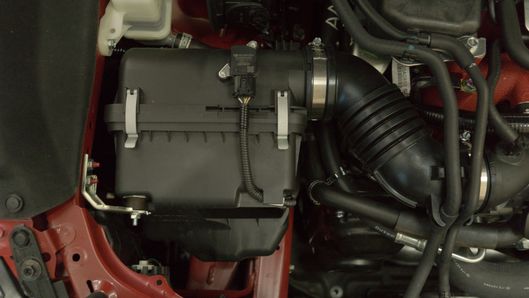
- Remove the (2) plastic retainers that hold down the intake snorkel using a flat head screwdriver.
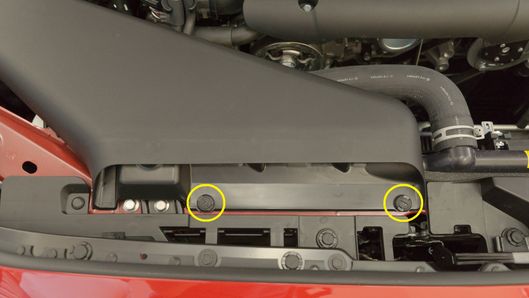

- Remove the intake snorkel from the engine bay.
- Remove the (2) Phillips head screws holding down the MAF sensor using a Phillips head screwdriver.
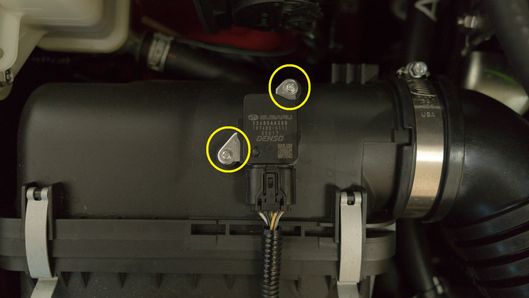
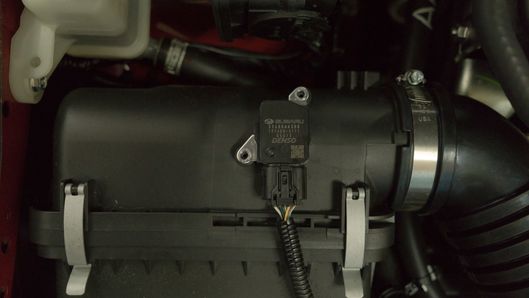
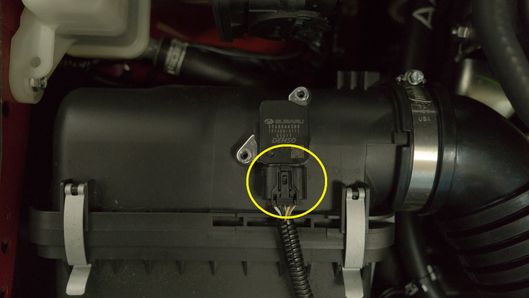
- Gently remove the MAF sensor and unclip the MAF sensor harness then set the sensor somewhere safe.
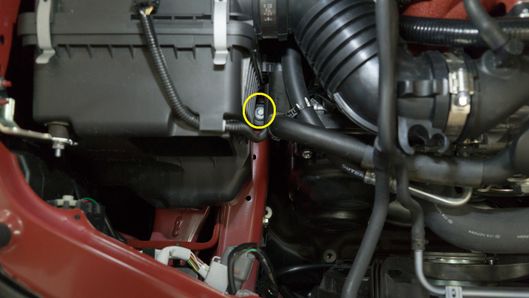
- Release the vacuum hoses from the clips on the intake elbow.
- Loosen the (2) hose clamps on the intake elbow.
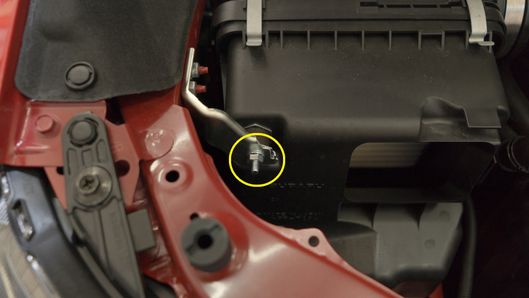
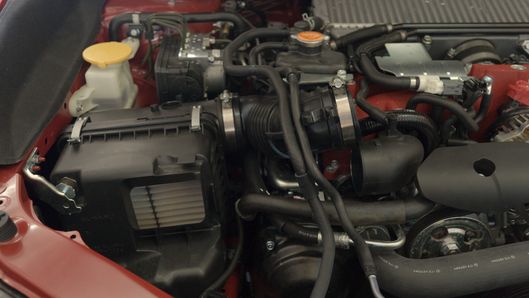
- Remove the 10mm bolt that holds the bottom of the airbox to the chassis using a 10mm socket and 6" extension.
- Remove the 10mm nut holding the airbox to the airbox bracket.
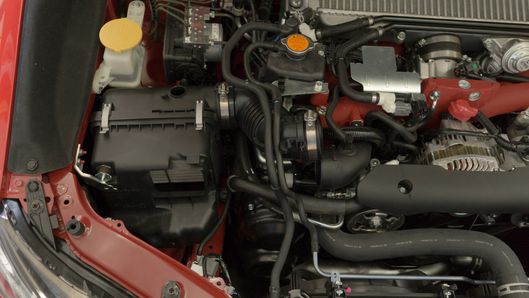
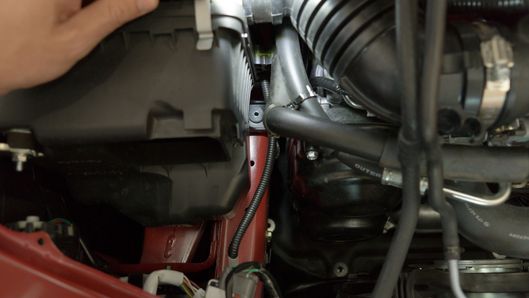
- Gently lift and remove the airbox, being cautious of the other vacuum hoses in the engine bay.

While not necessary removing the intake manifold can make the installation easier in some ways particularly if you are doing the work at the same time you plan on installing fuel system upgrades. Removing the intake manifold streamlines the install of fuel injectors, rails and lines. For more information on how to do so check out our guide Subaru WRX & STI Intake Manifold Removal (EJ)
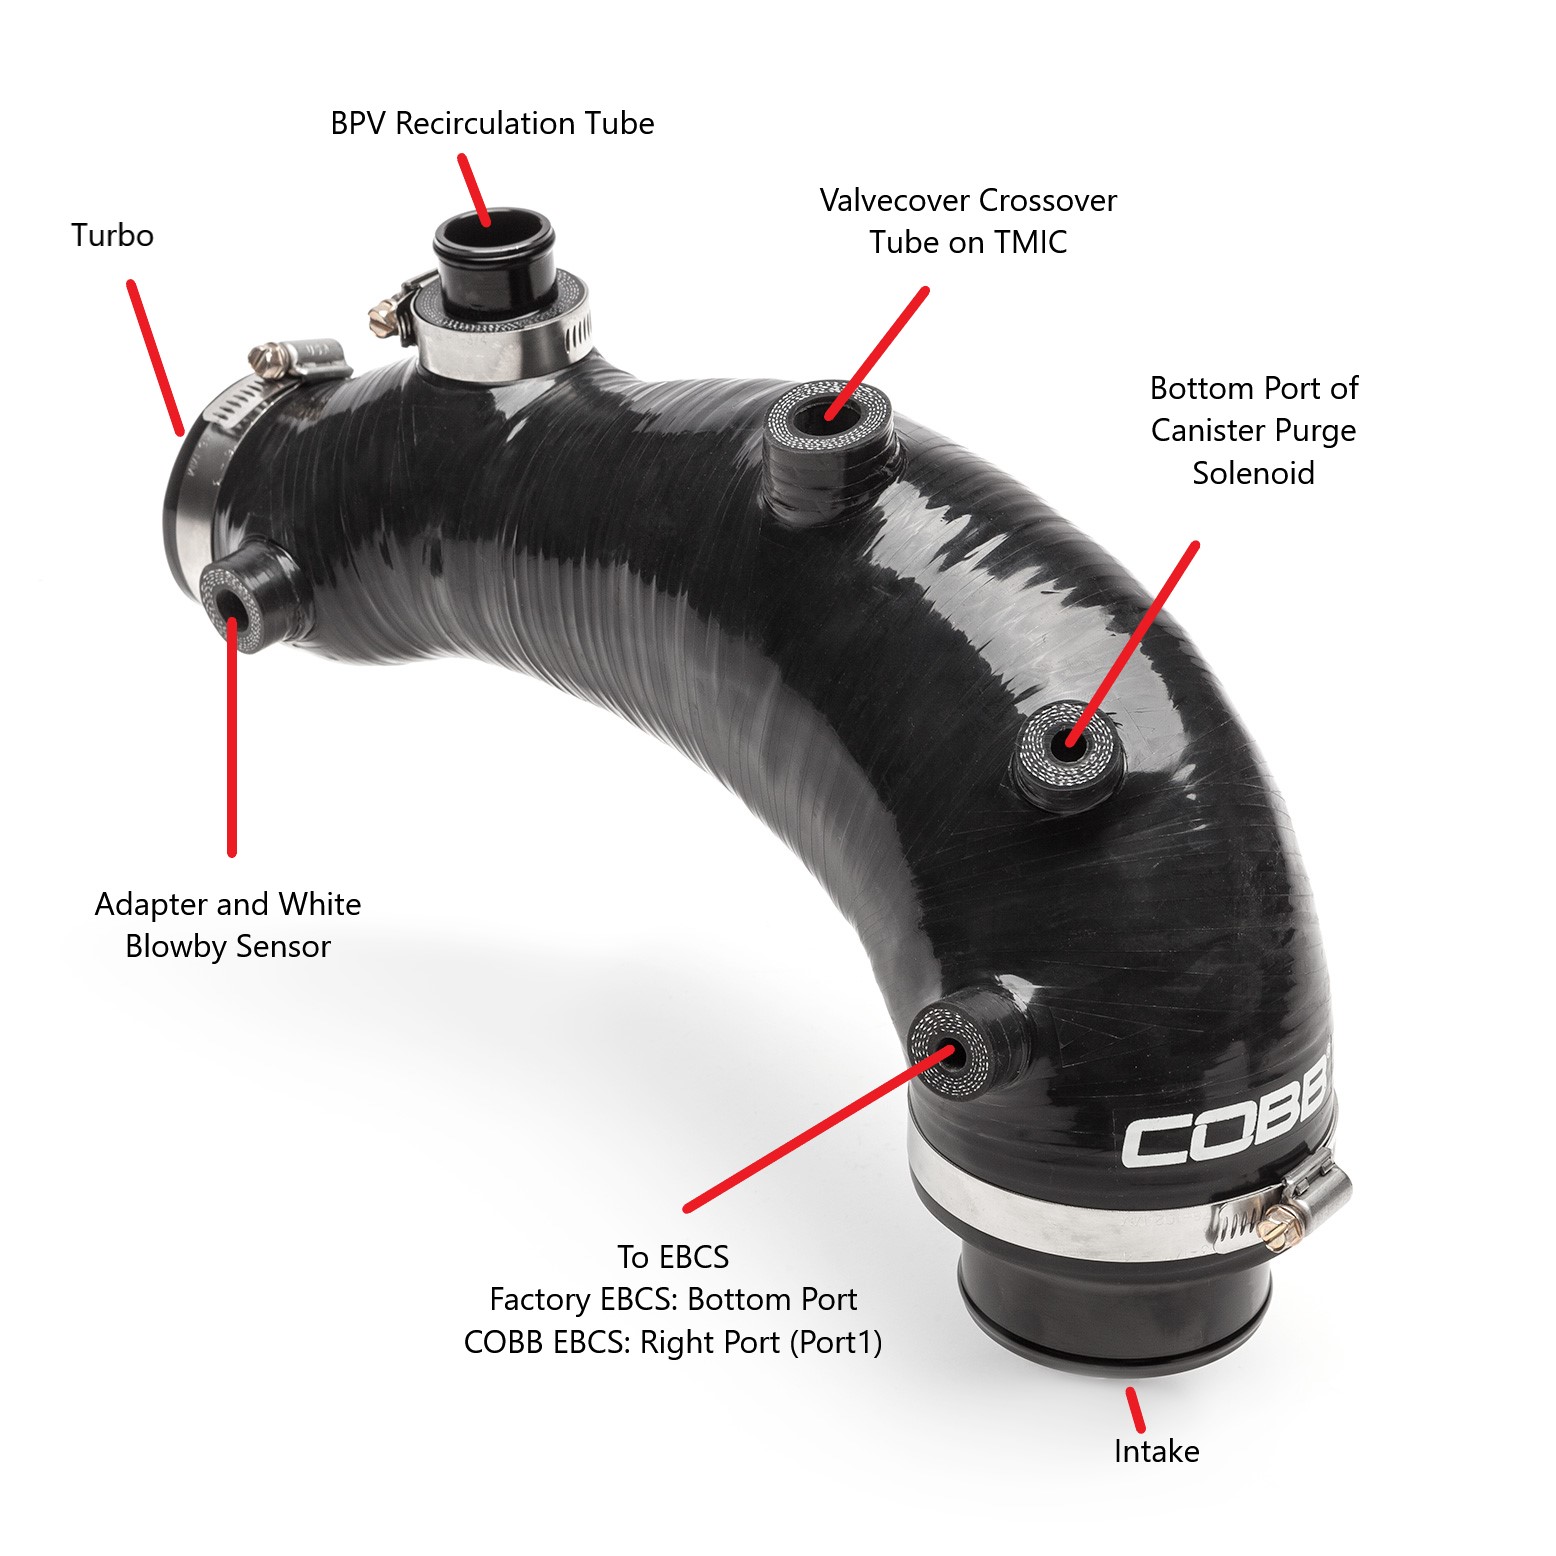
Inlet Hose Removal
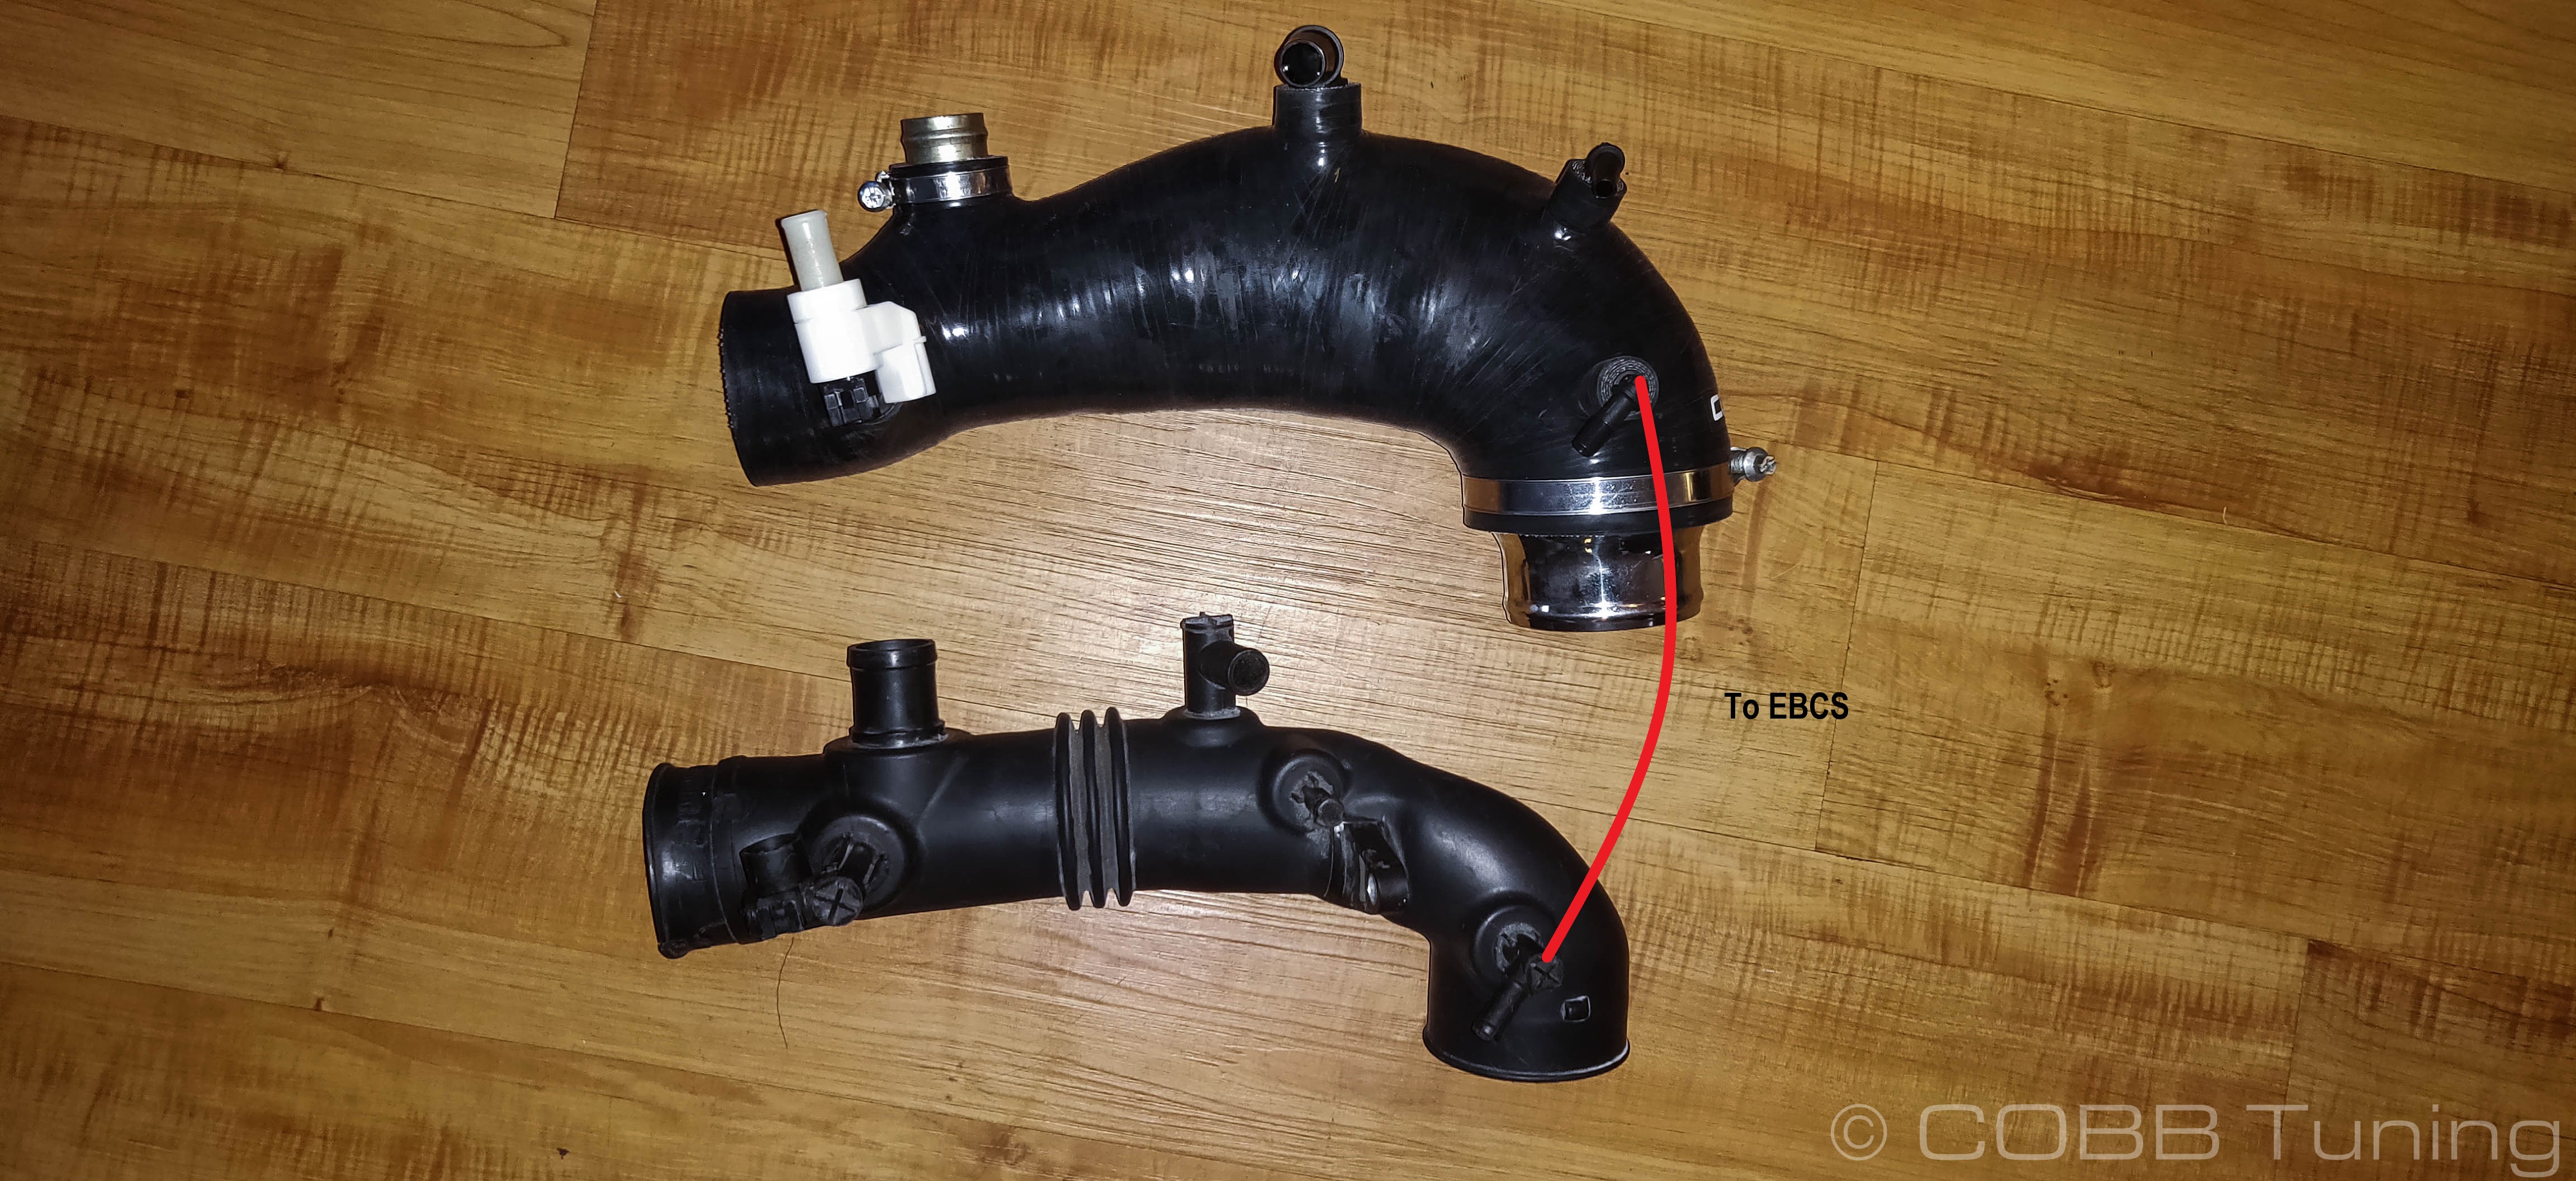
- Remove the EBCS line from the front port of the turbo inlet

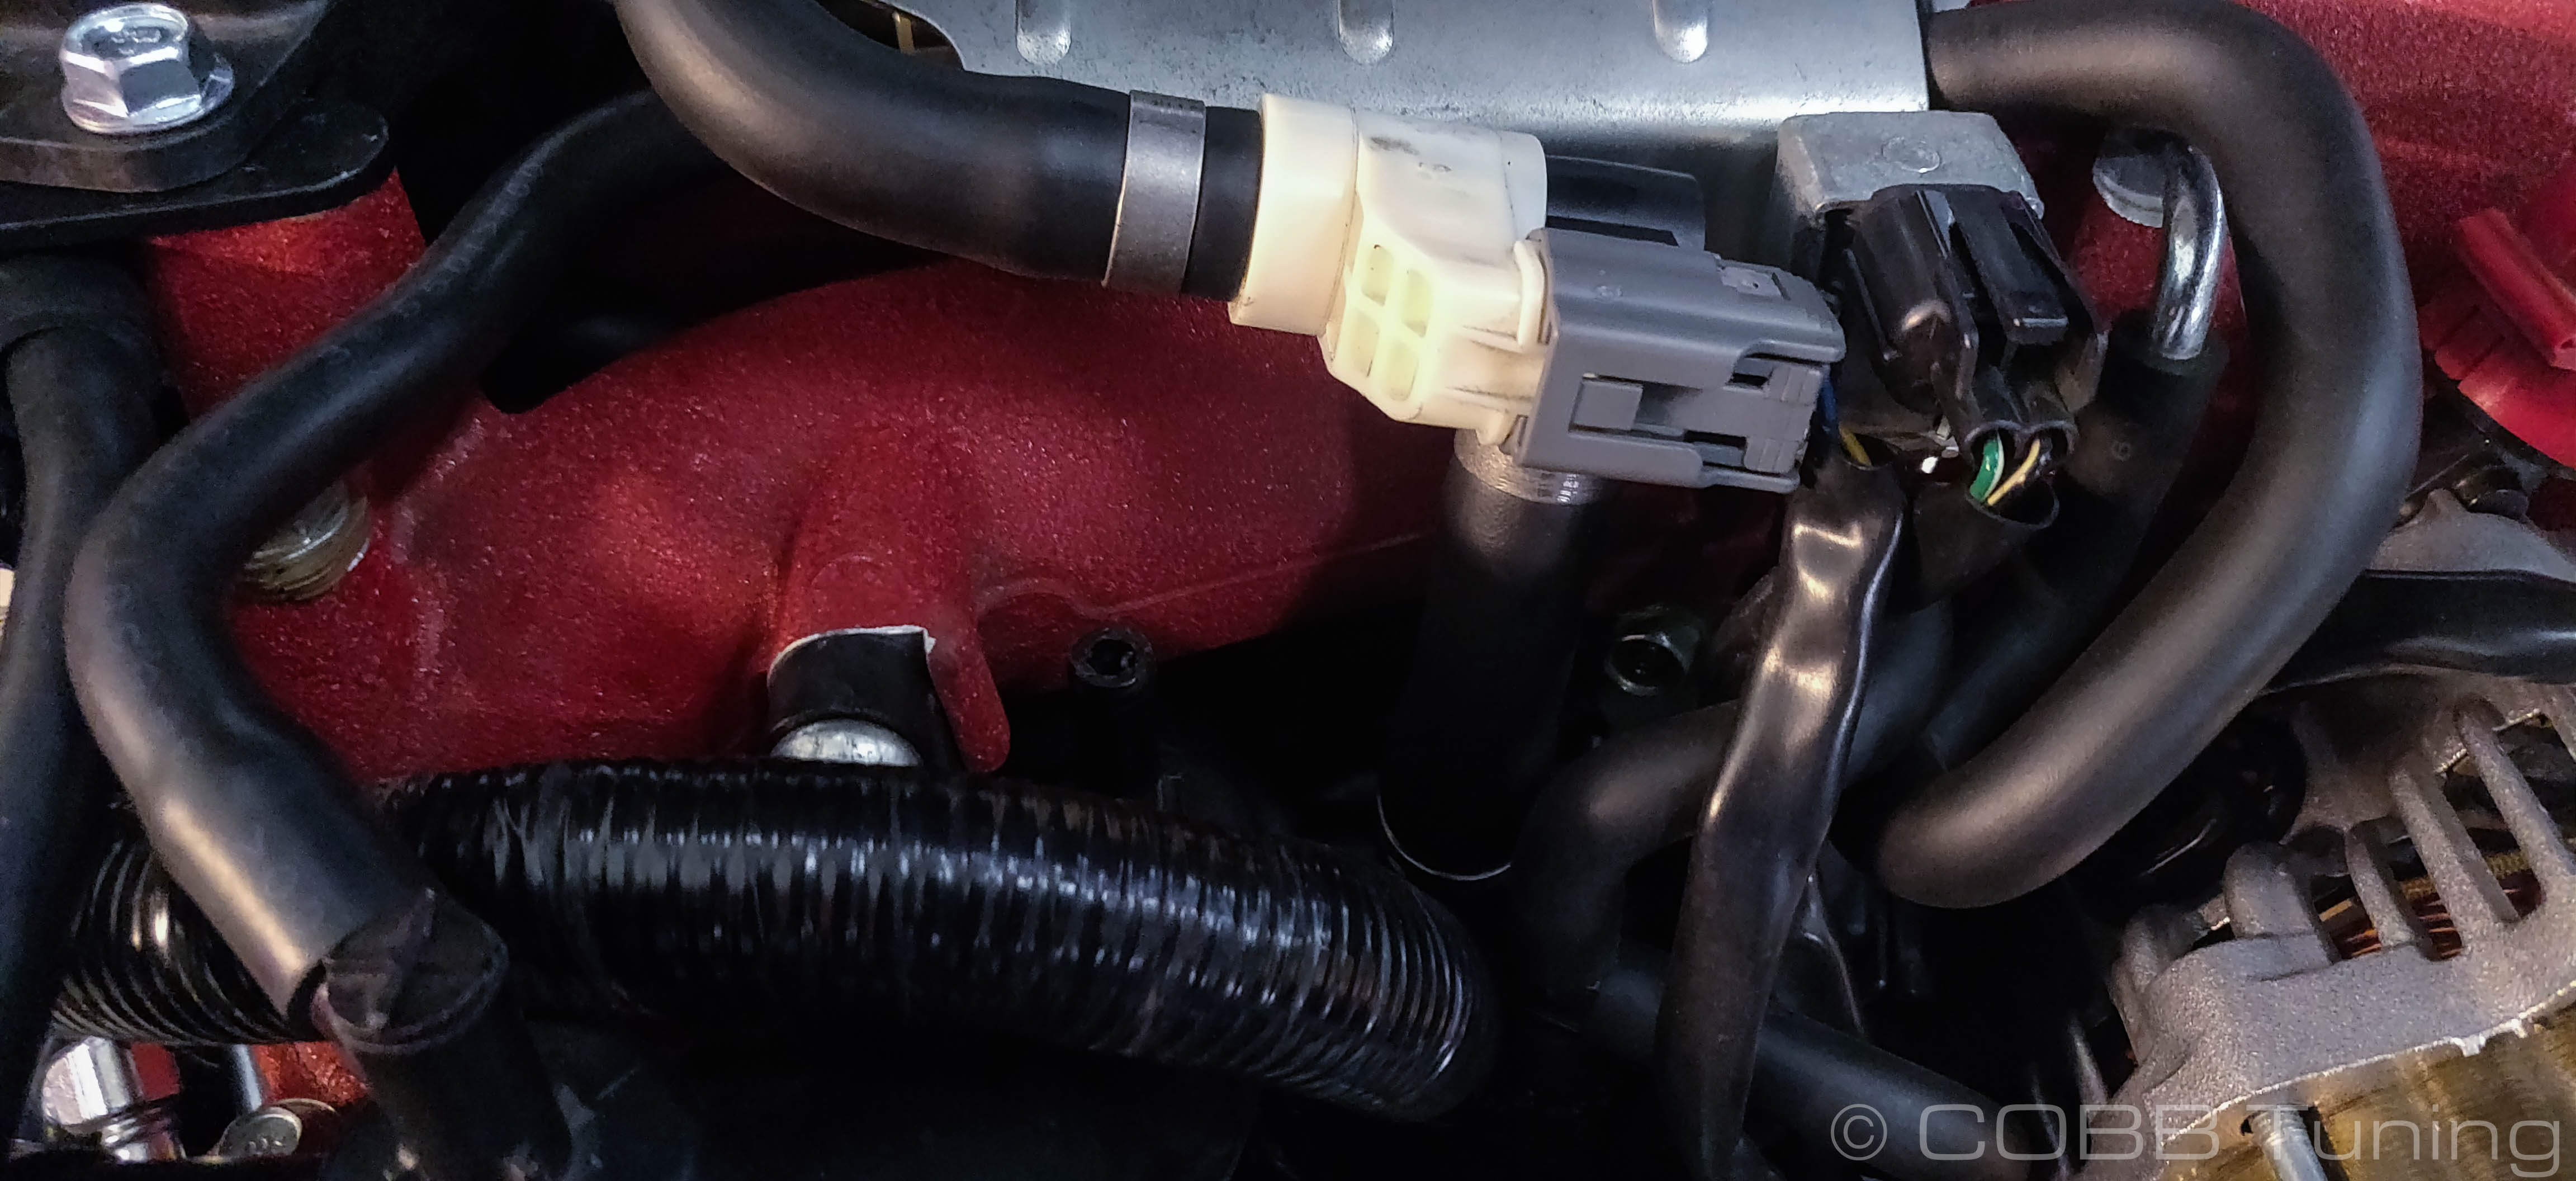
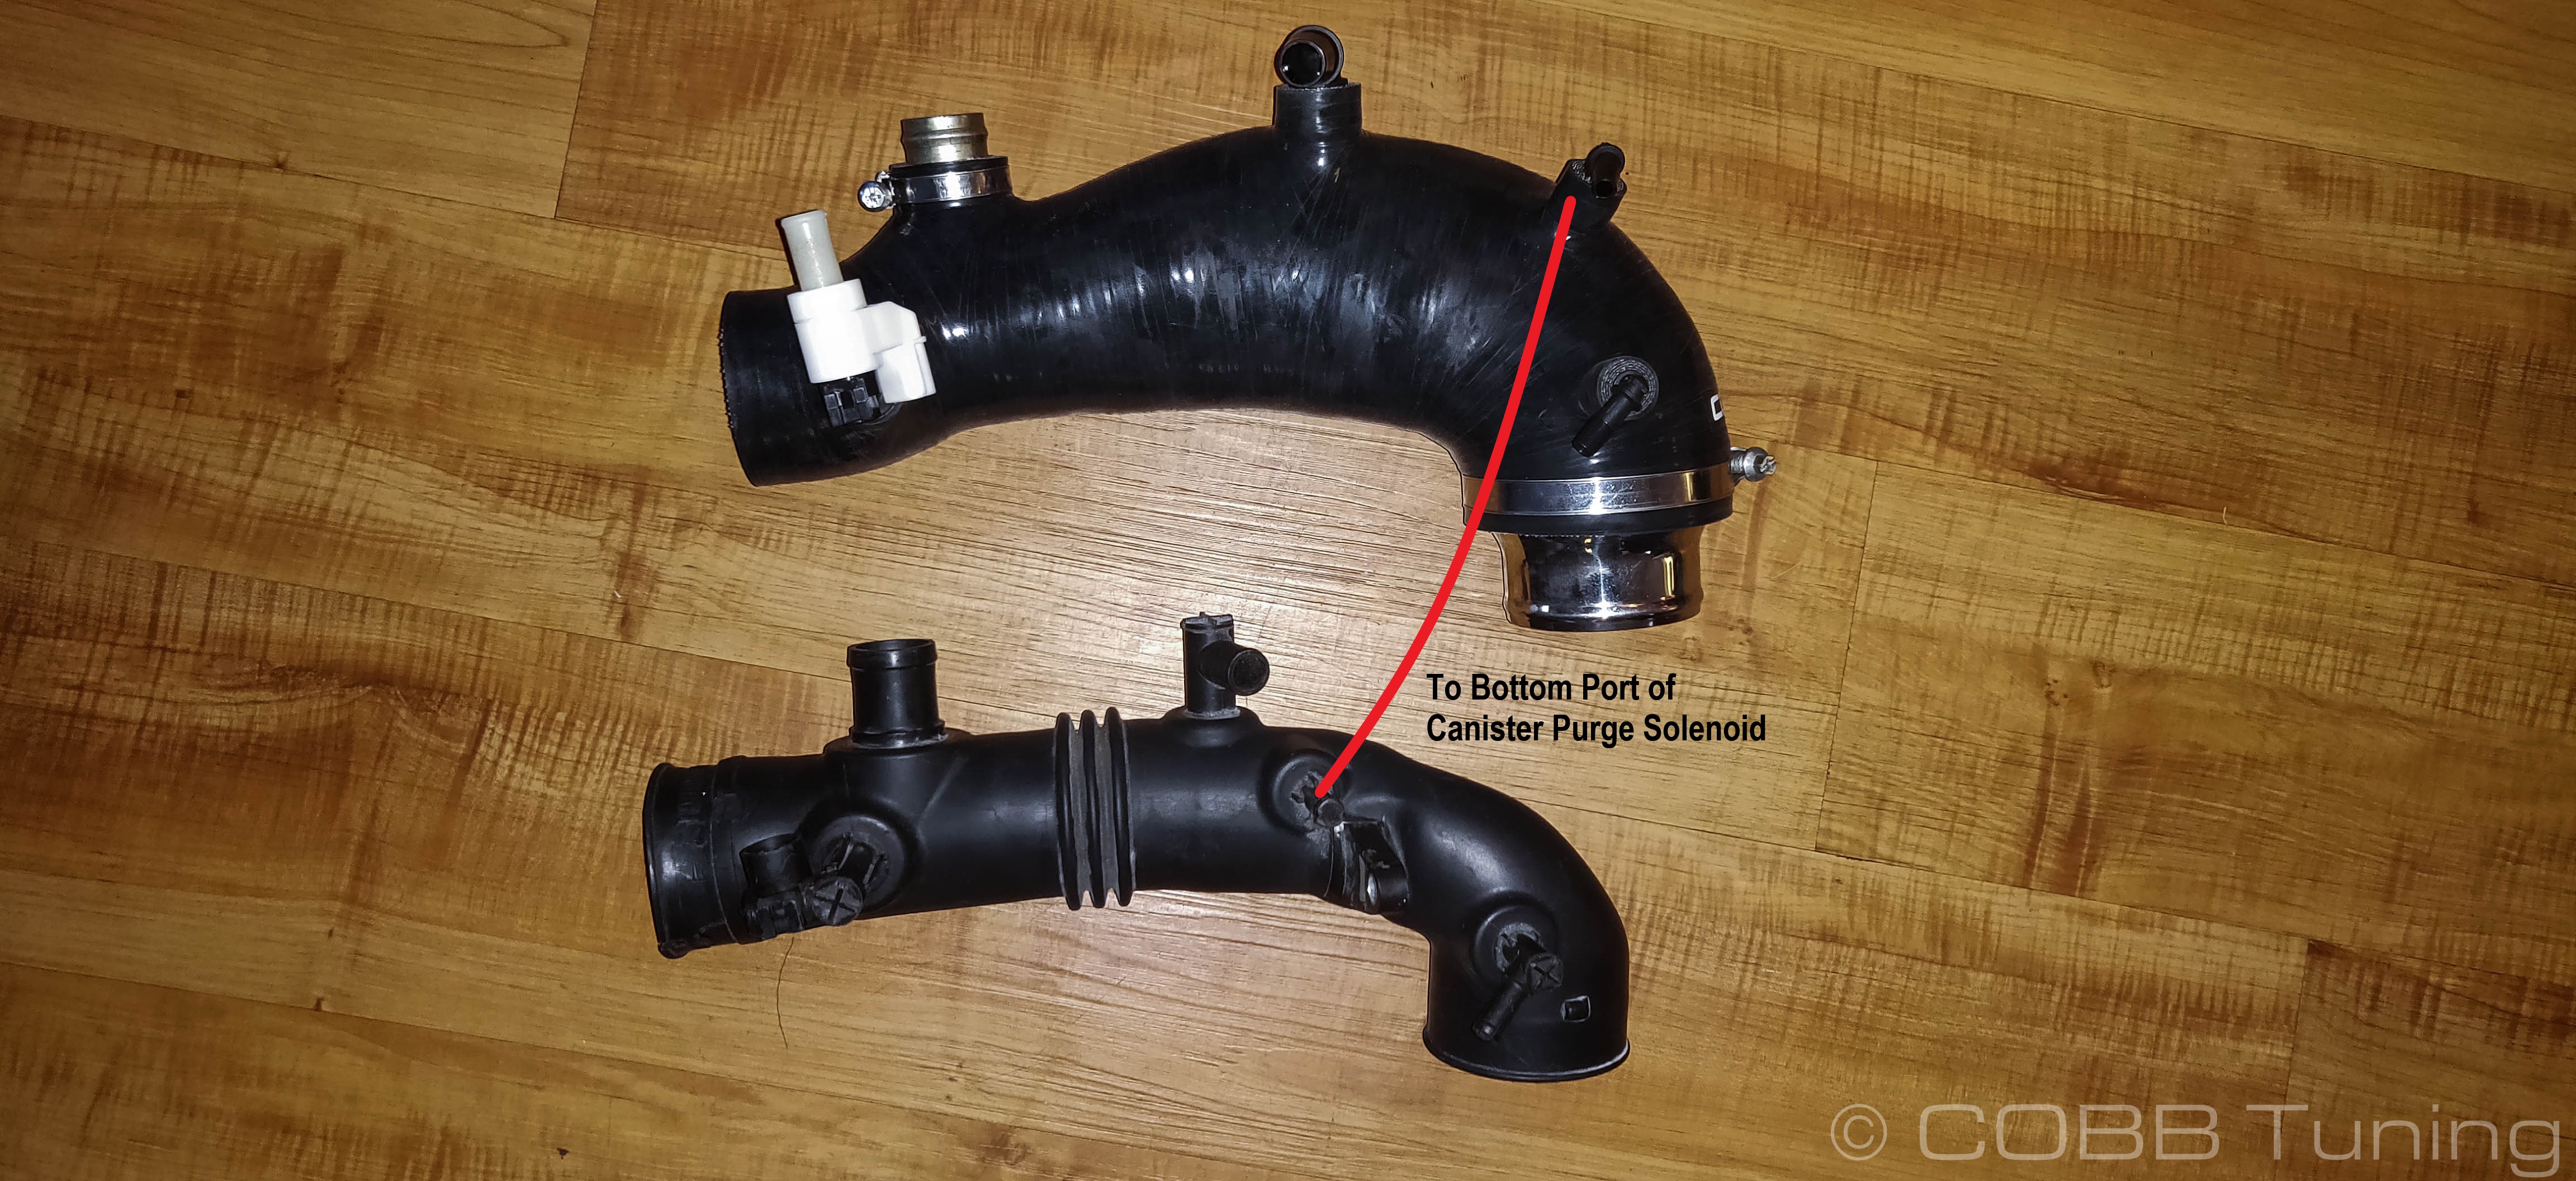
- Pop off the line going to the second port. The other end should go to the lower port of the canister purge solenoid.

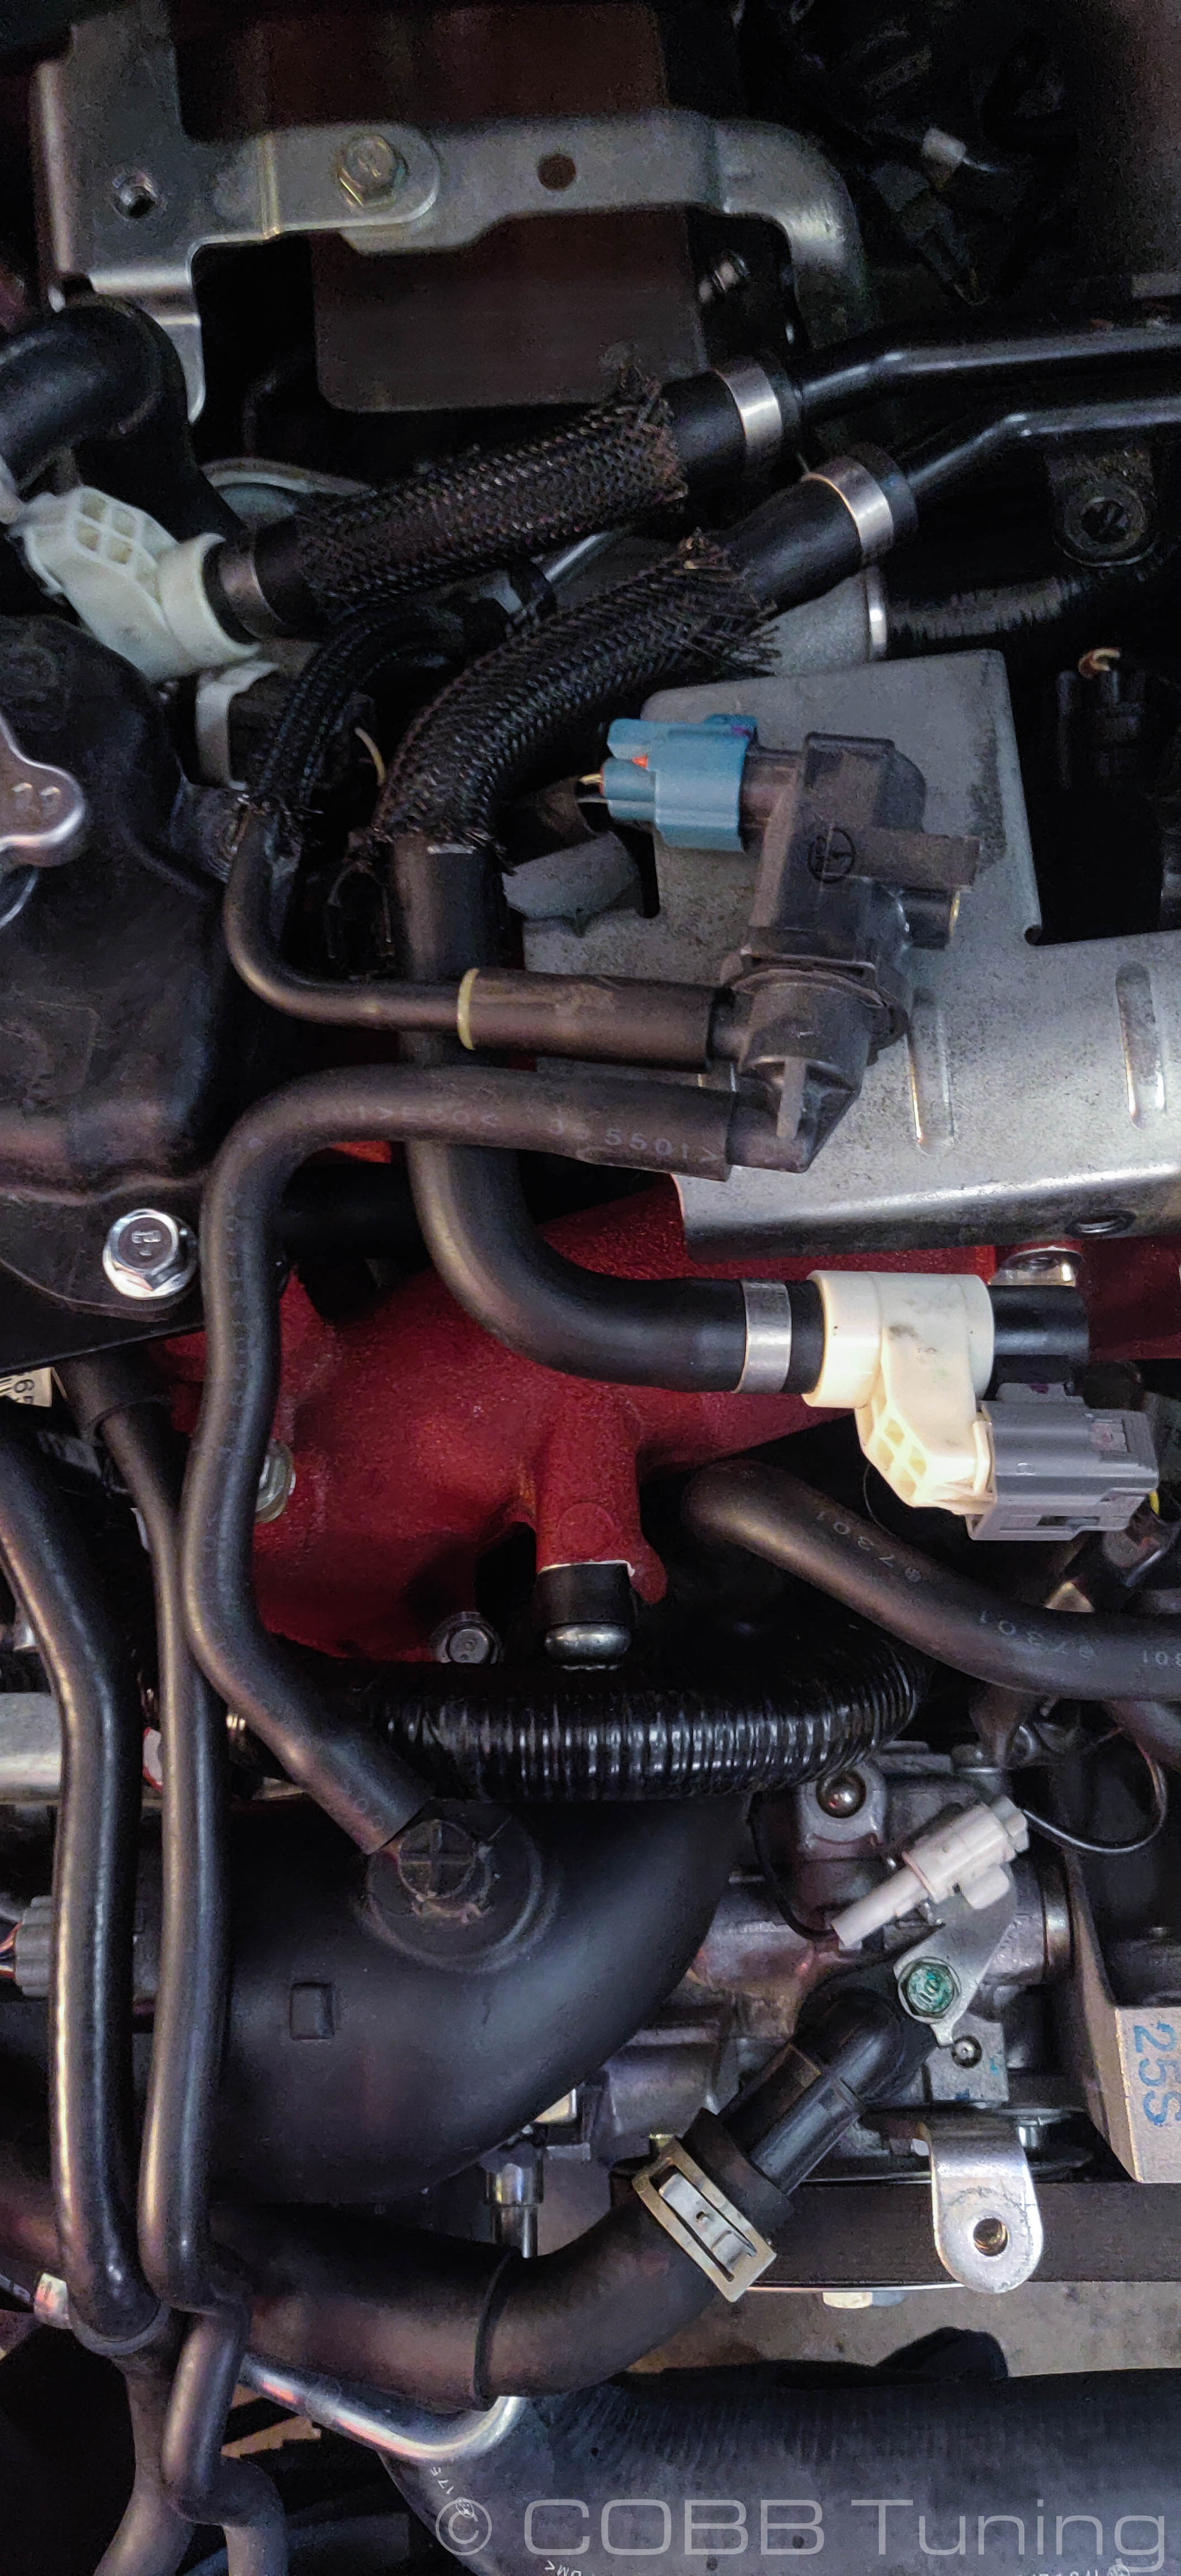
- Take off the larger hose behind that line that goes up into a blow-by sensor before attaching to the PCV crossover tube.
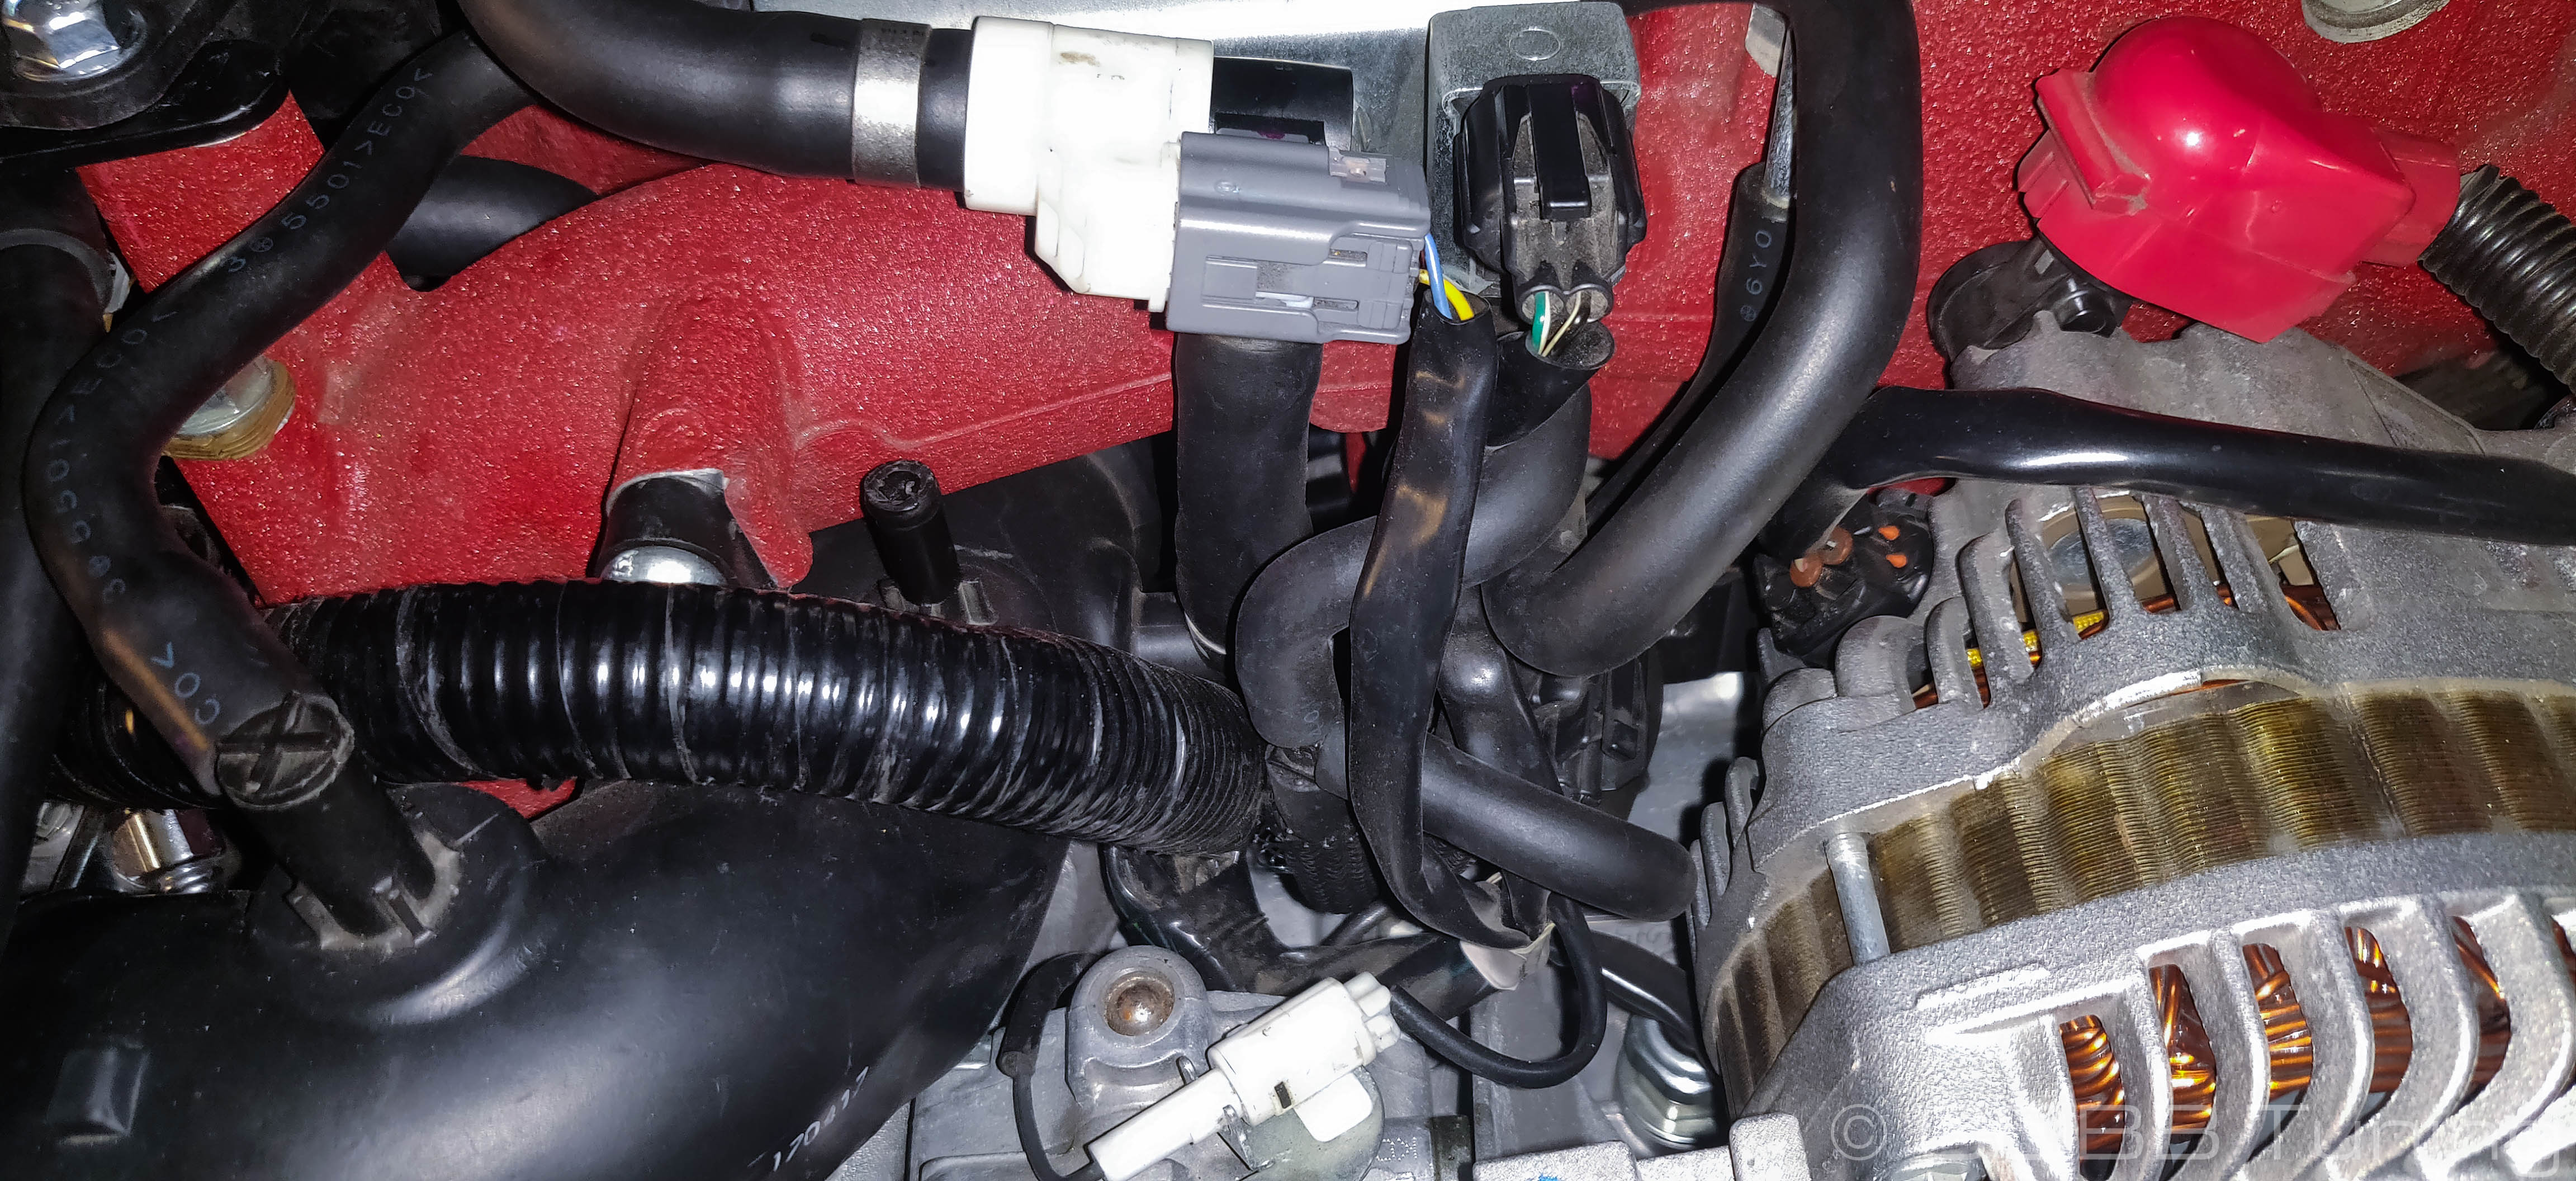
- Locating the blow-by sensor towards the rear of the inlet, squeeze the release tab on the electrical connector while pulling outwards to remove the sensor from the inlet.
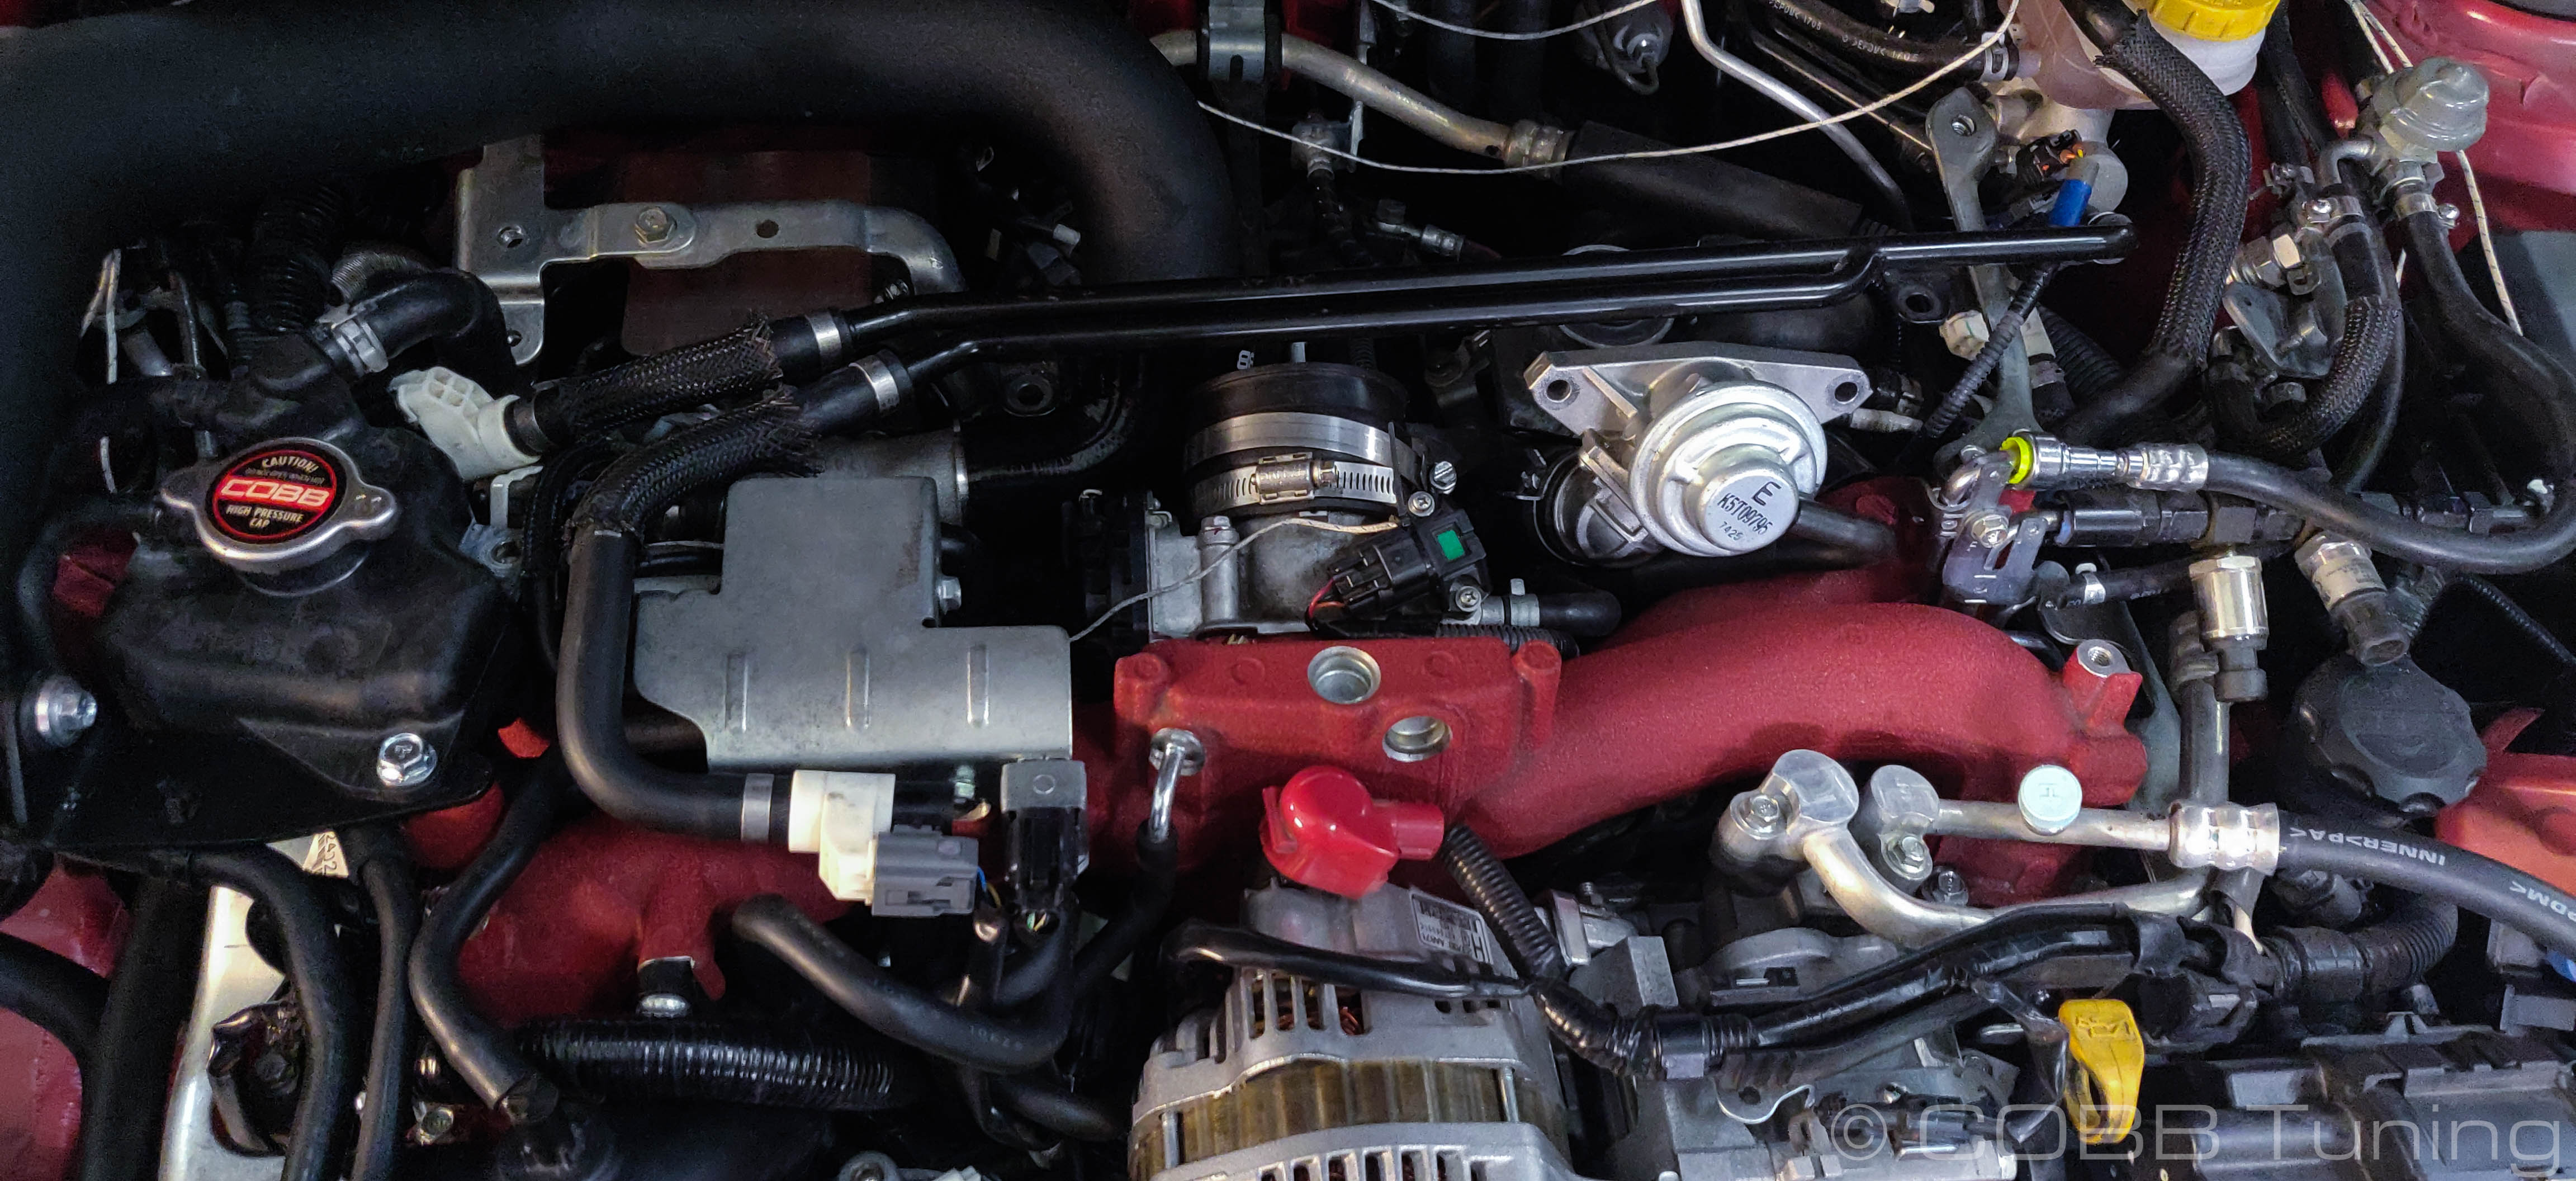
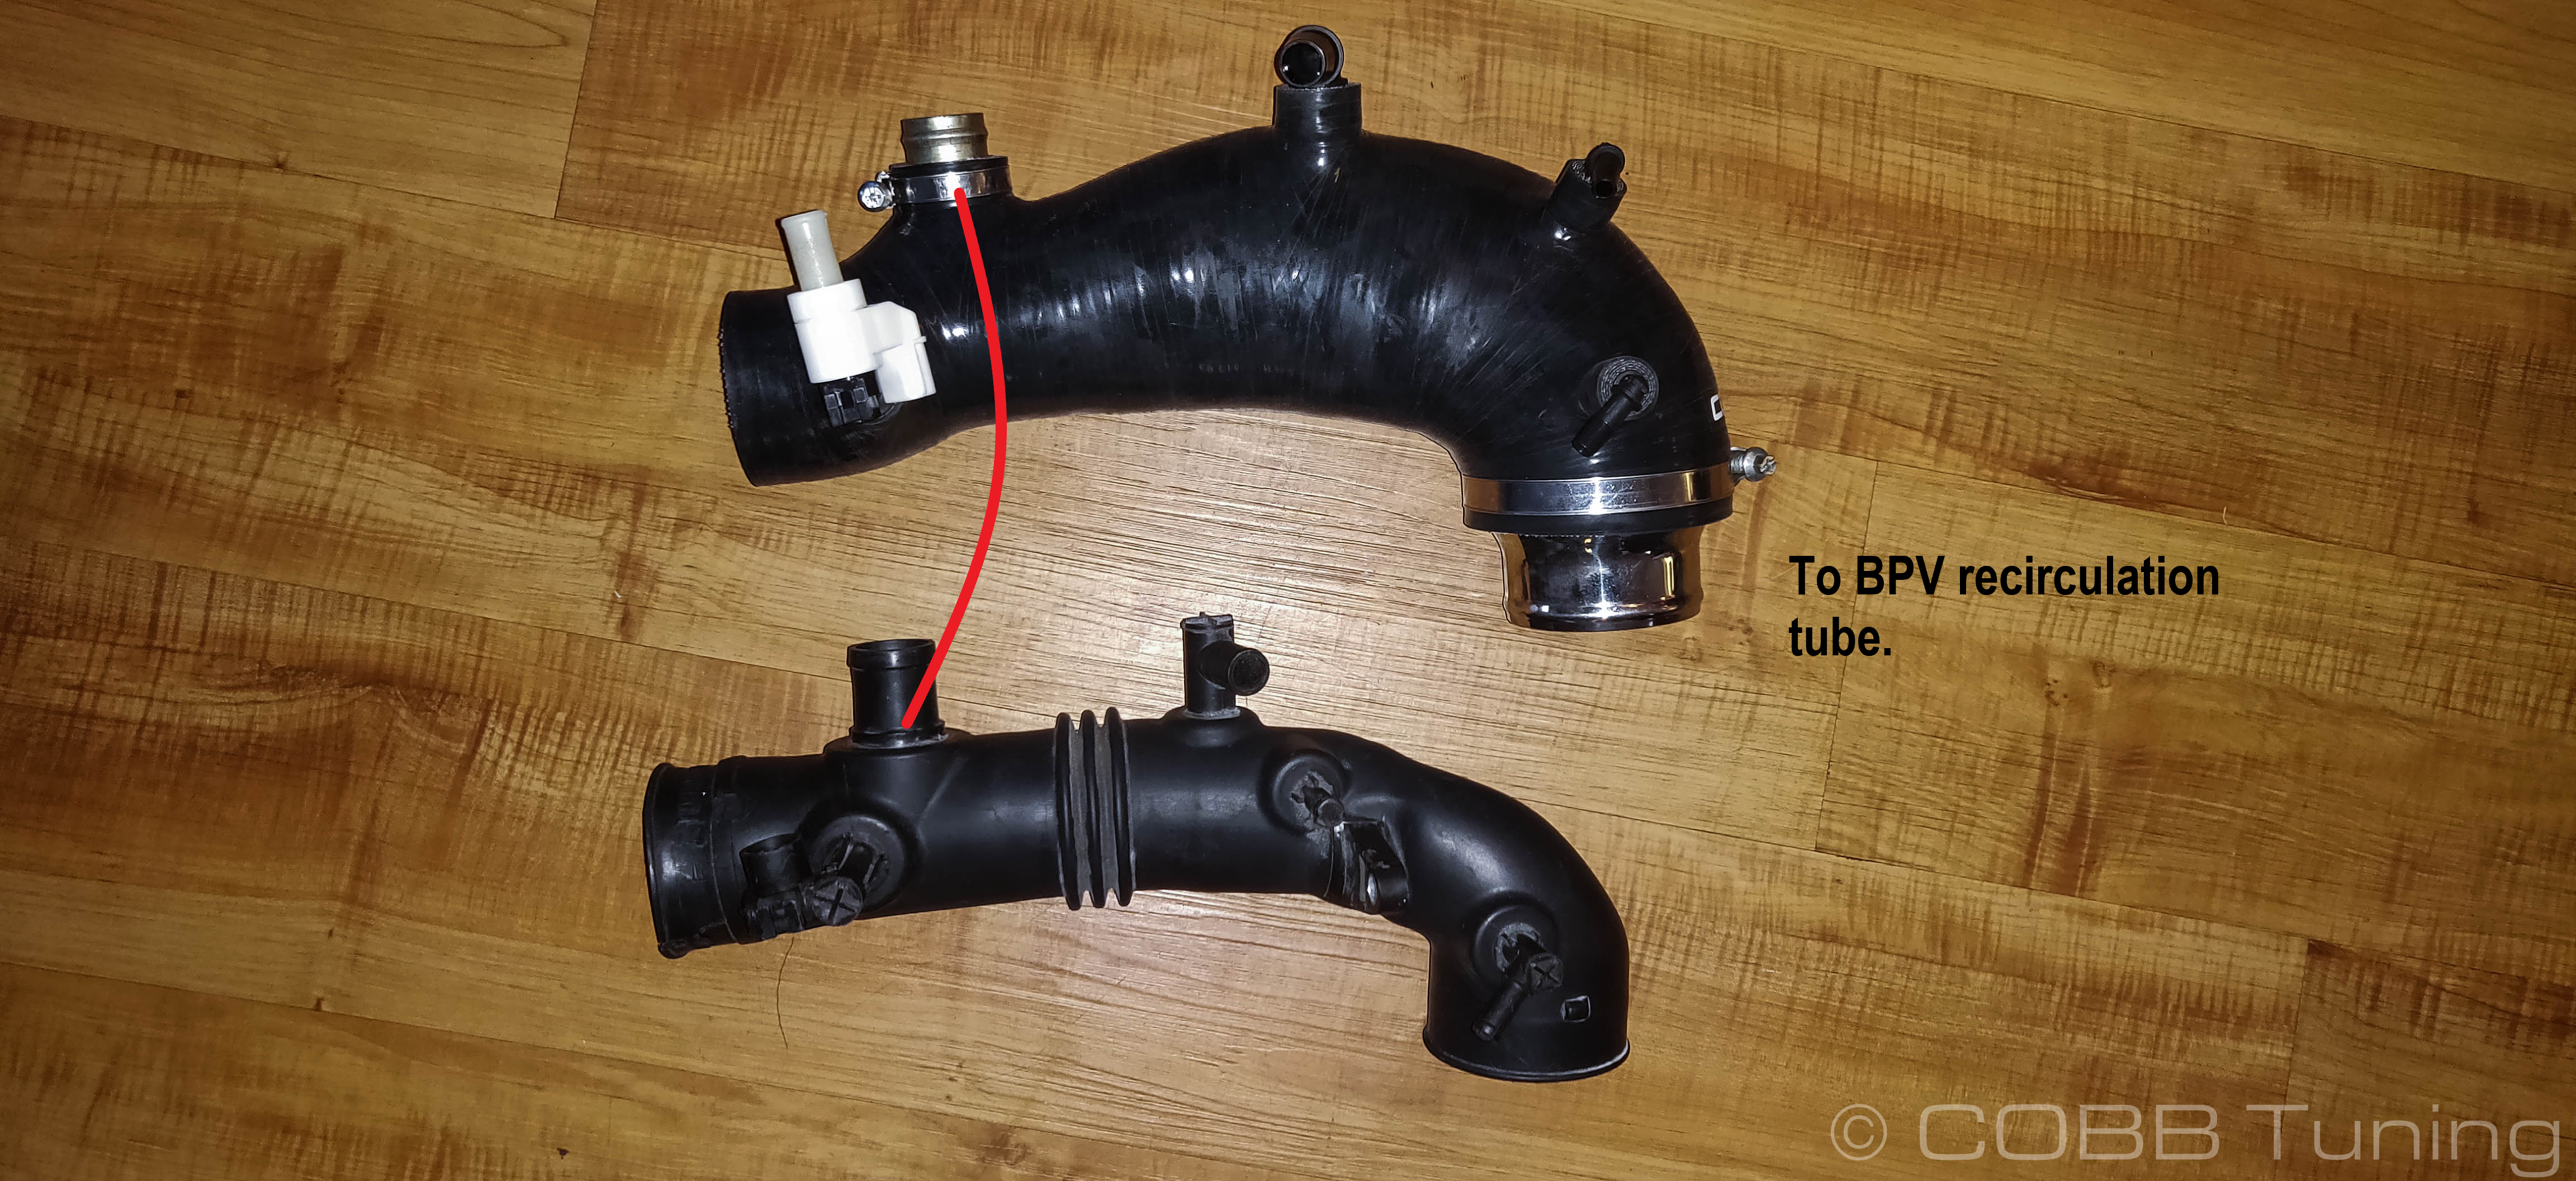
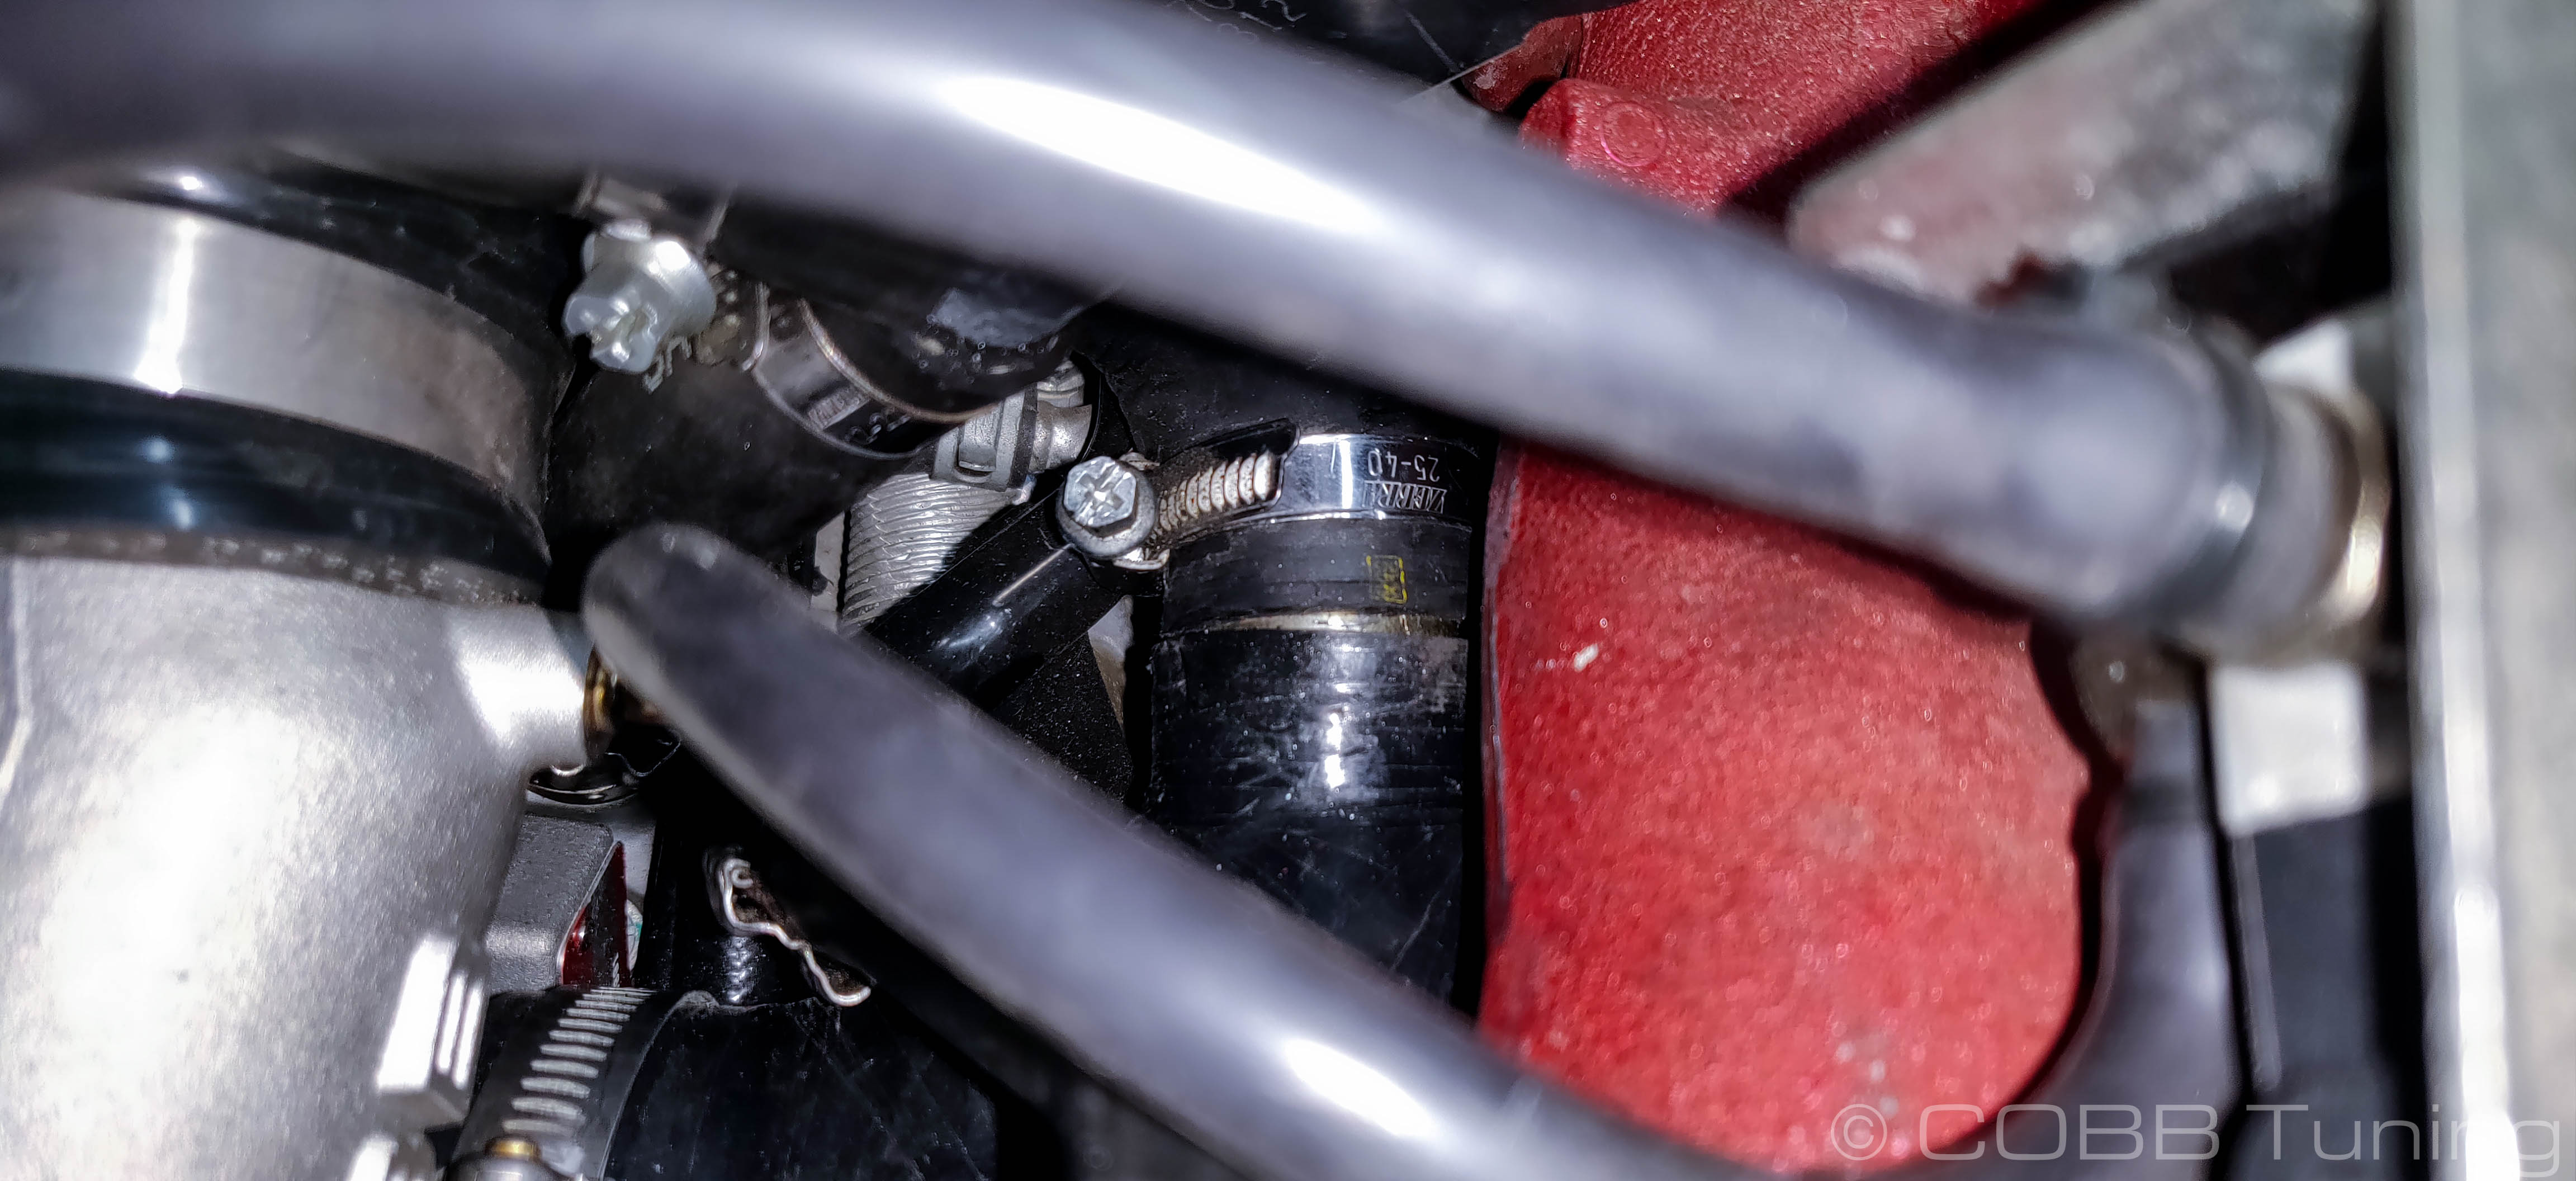
- Using pliers remove the hose clamp holding the BPV recirculation tube on and take it off of the inlet.
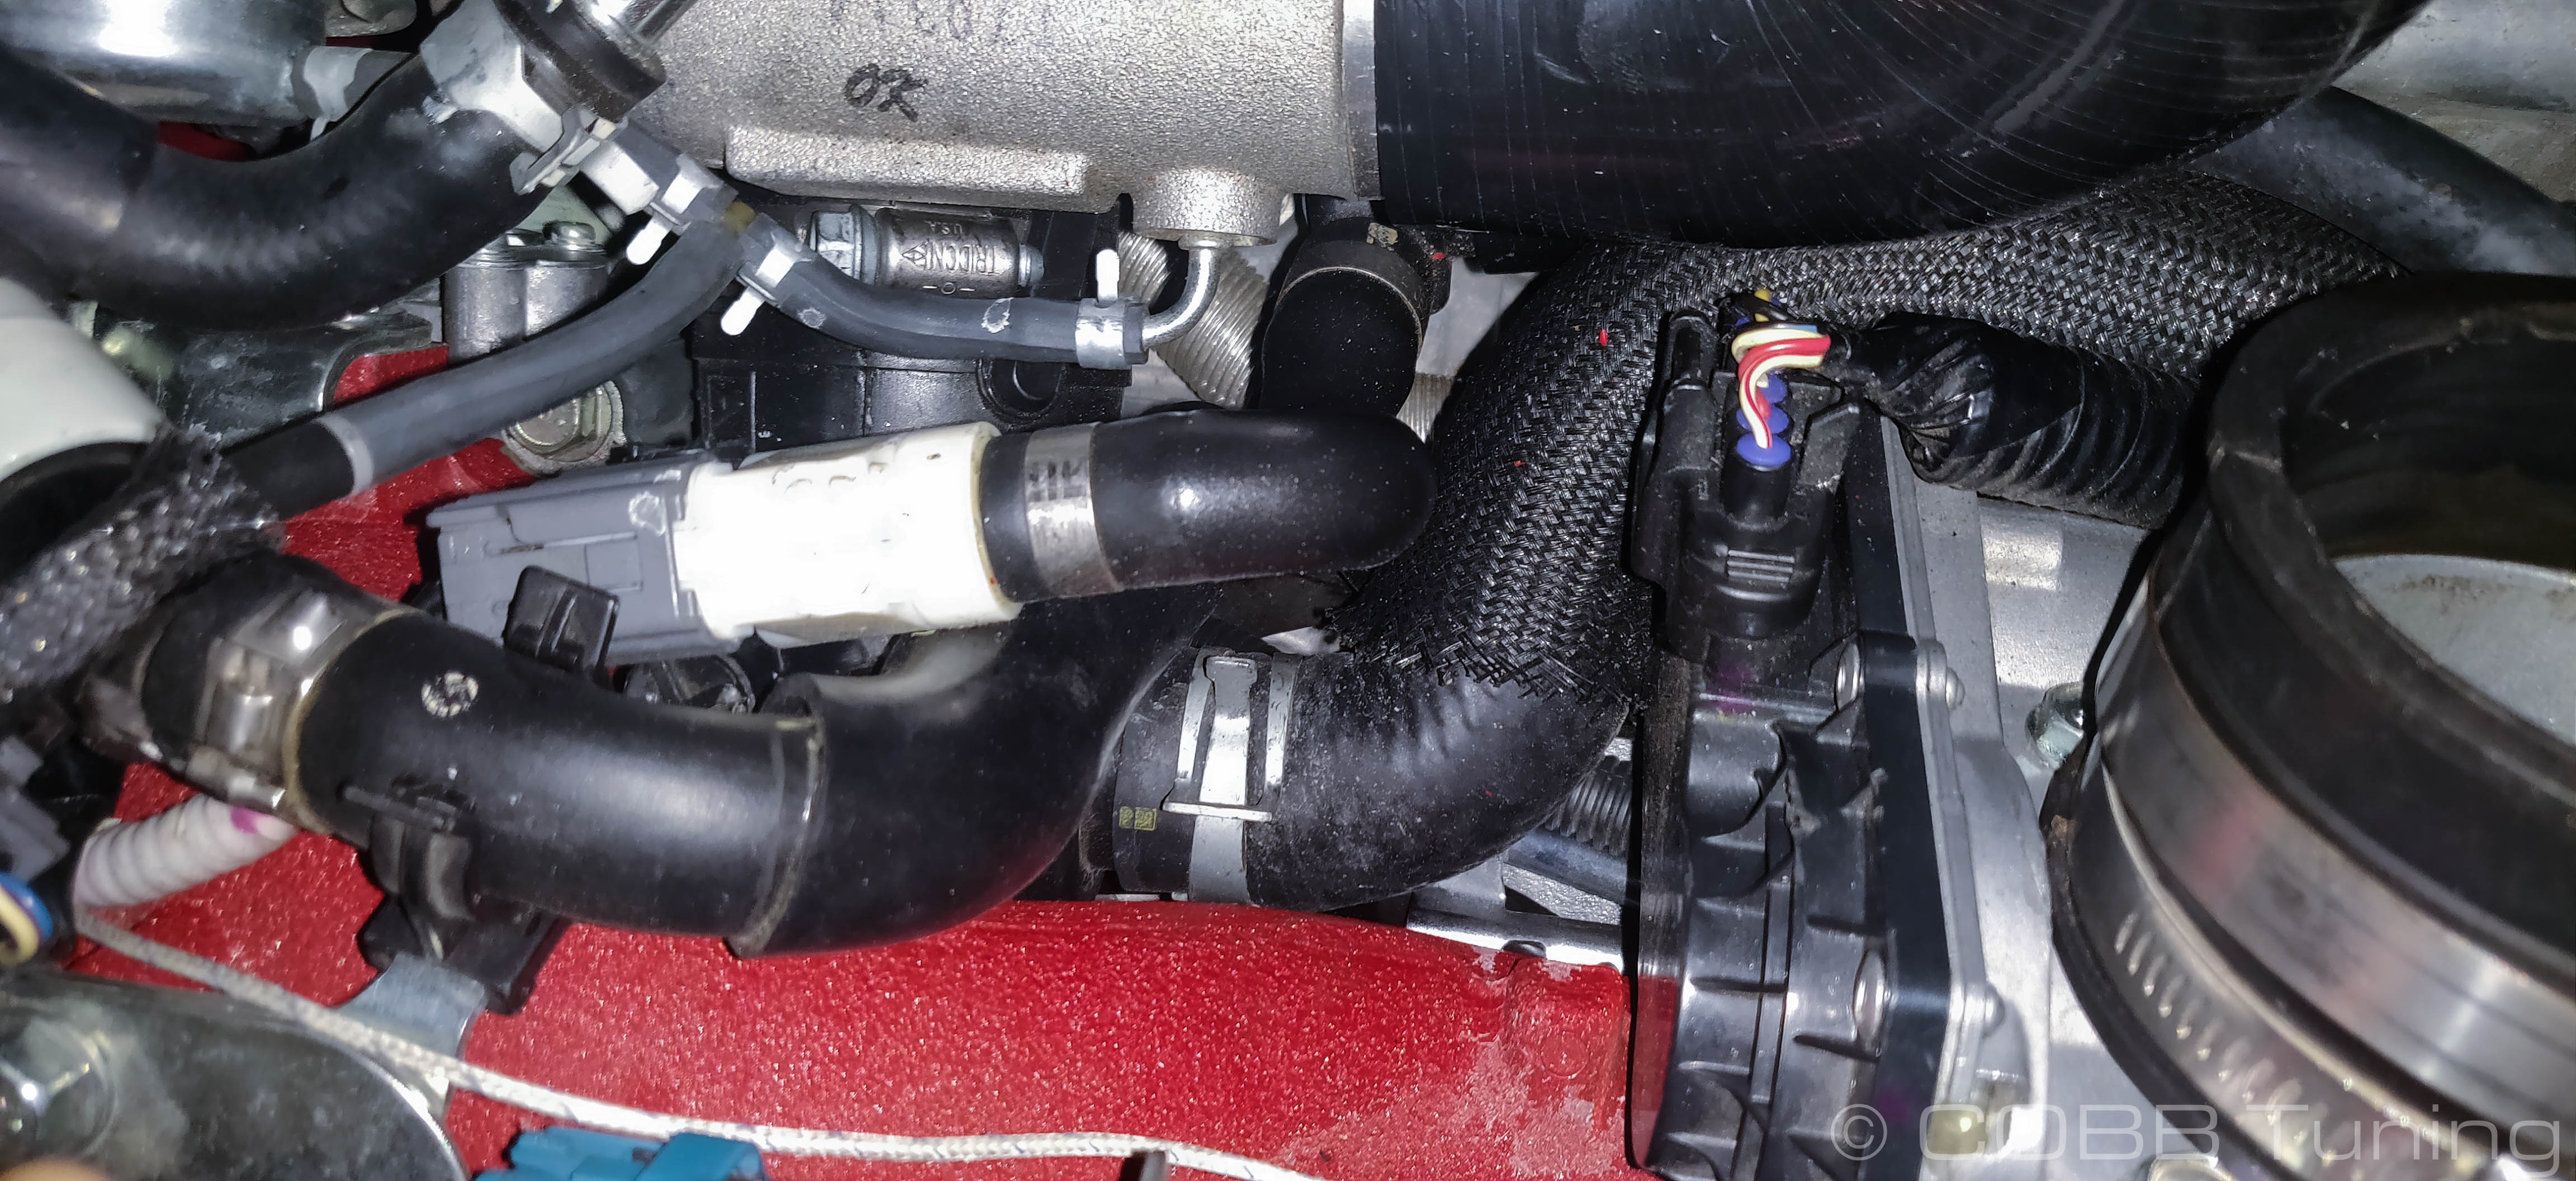
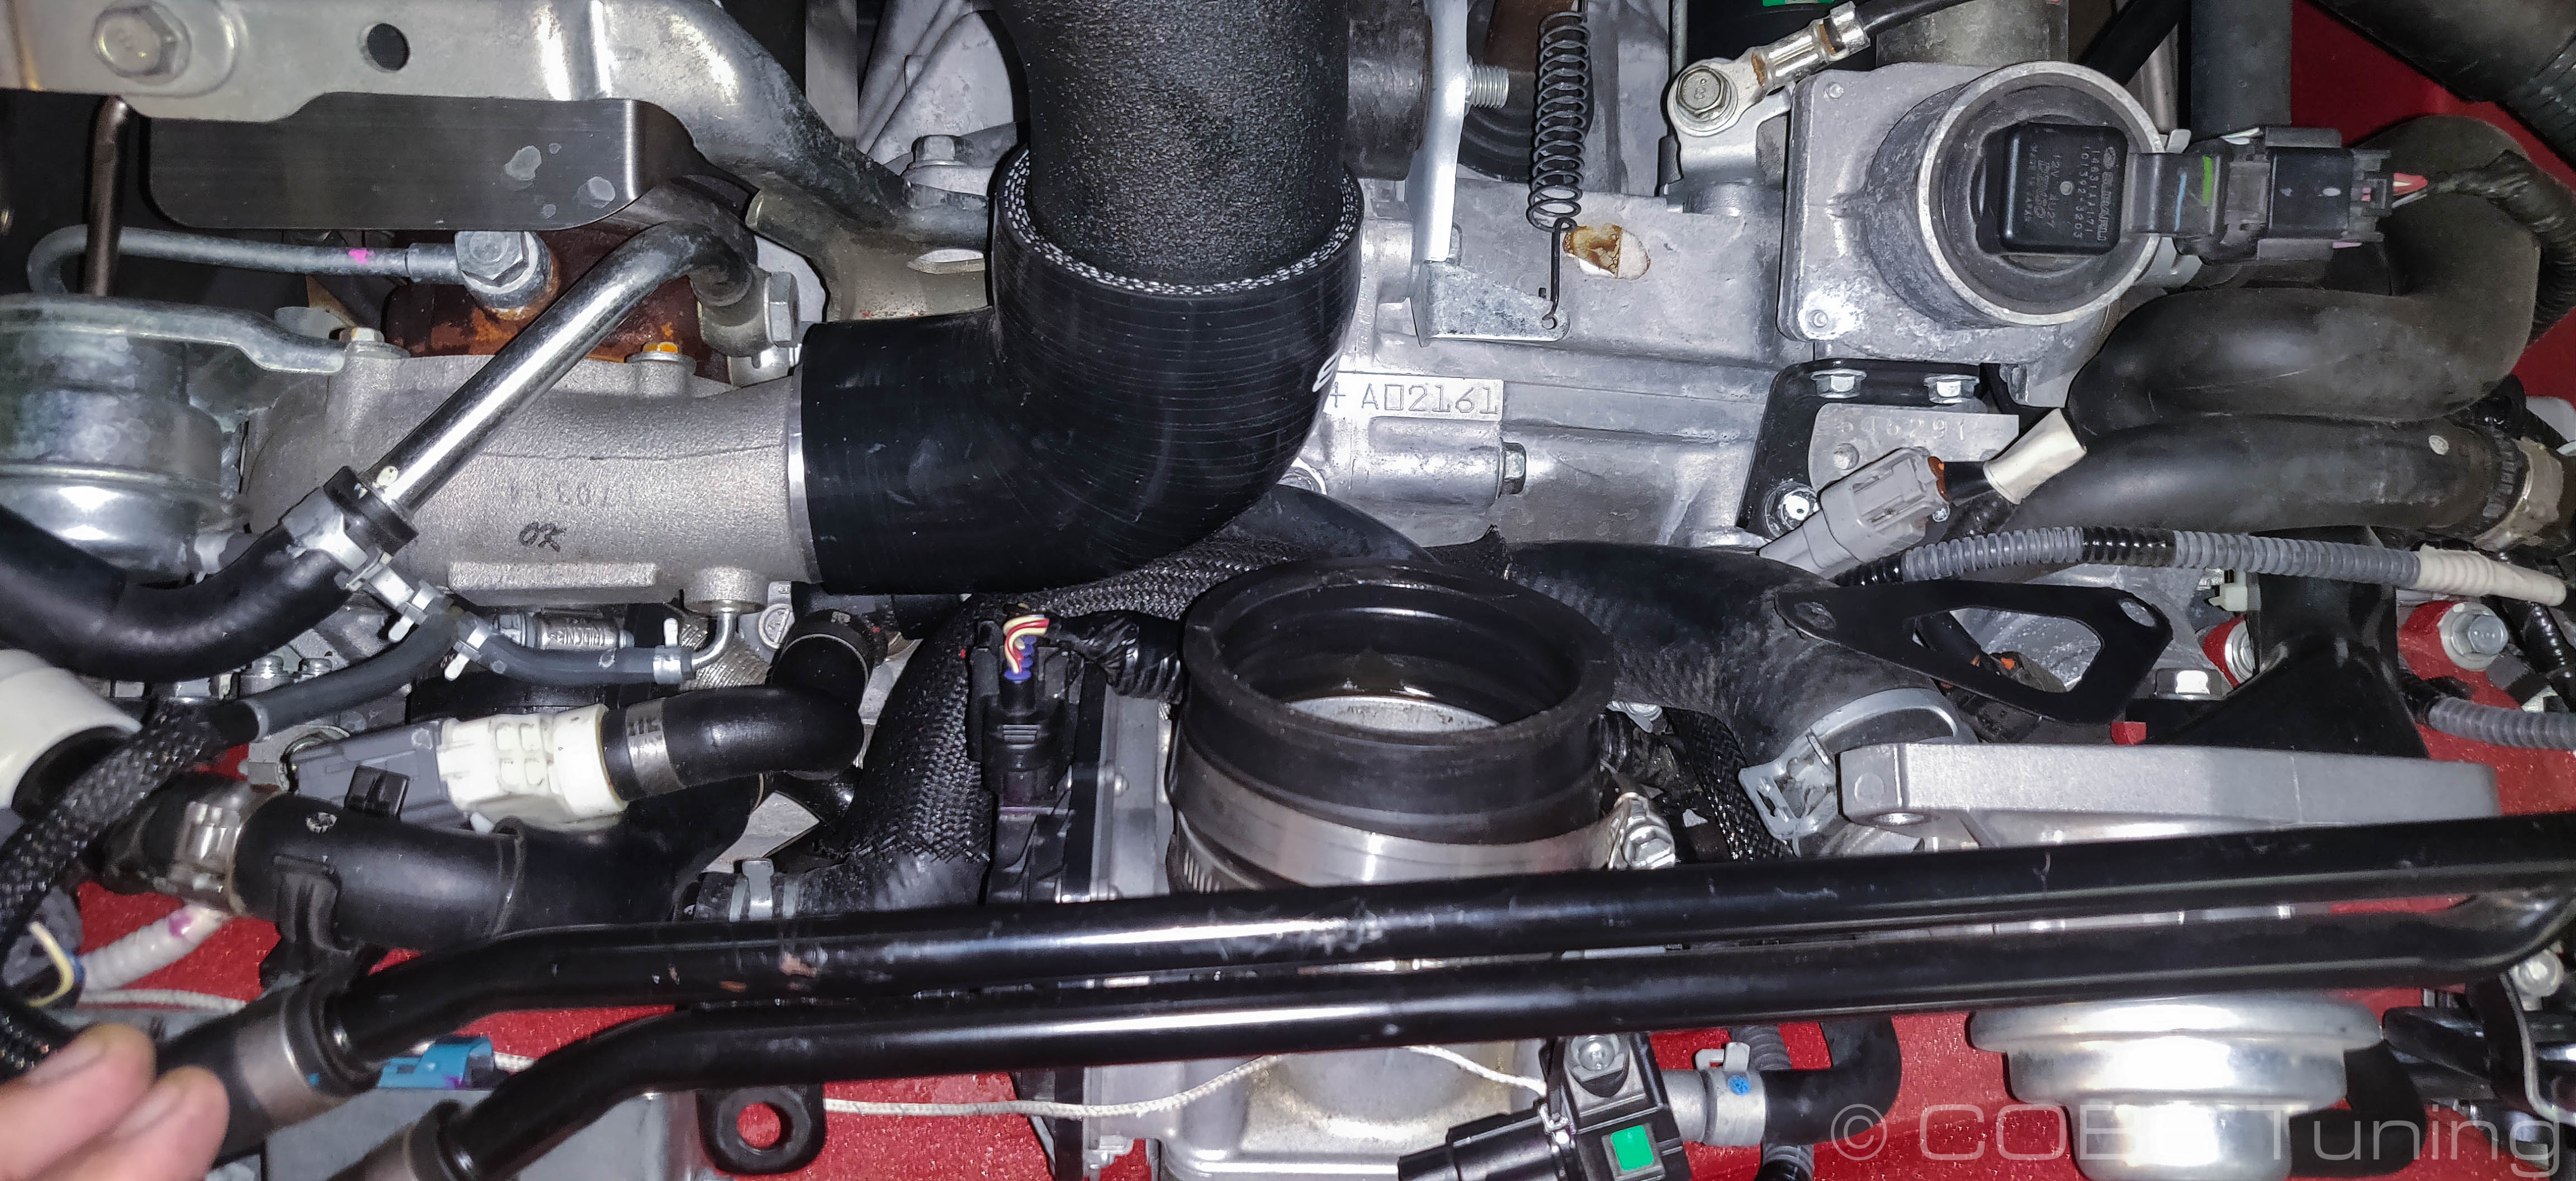
- Using a 7 or 8mm socket and extension remove the hose clamp holding the inlet onto the turbo.
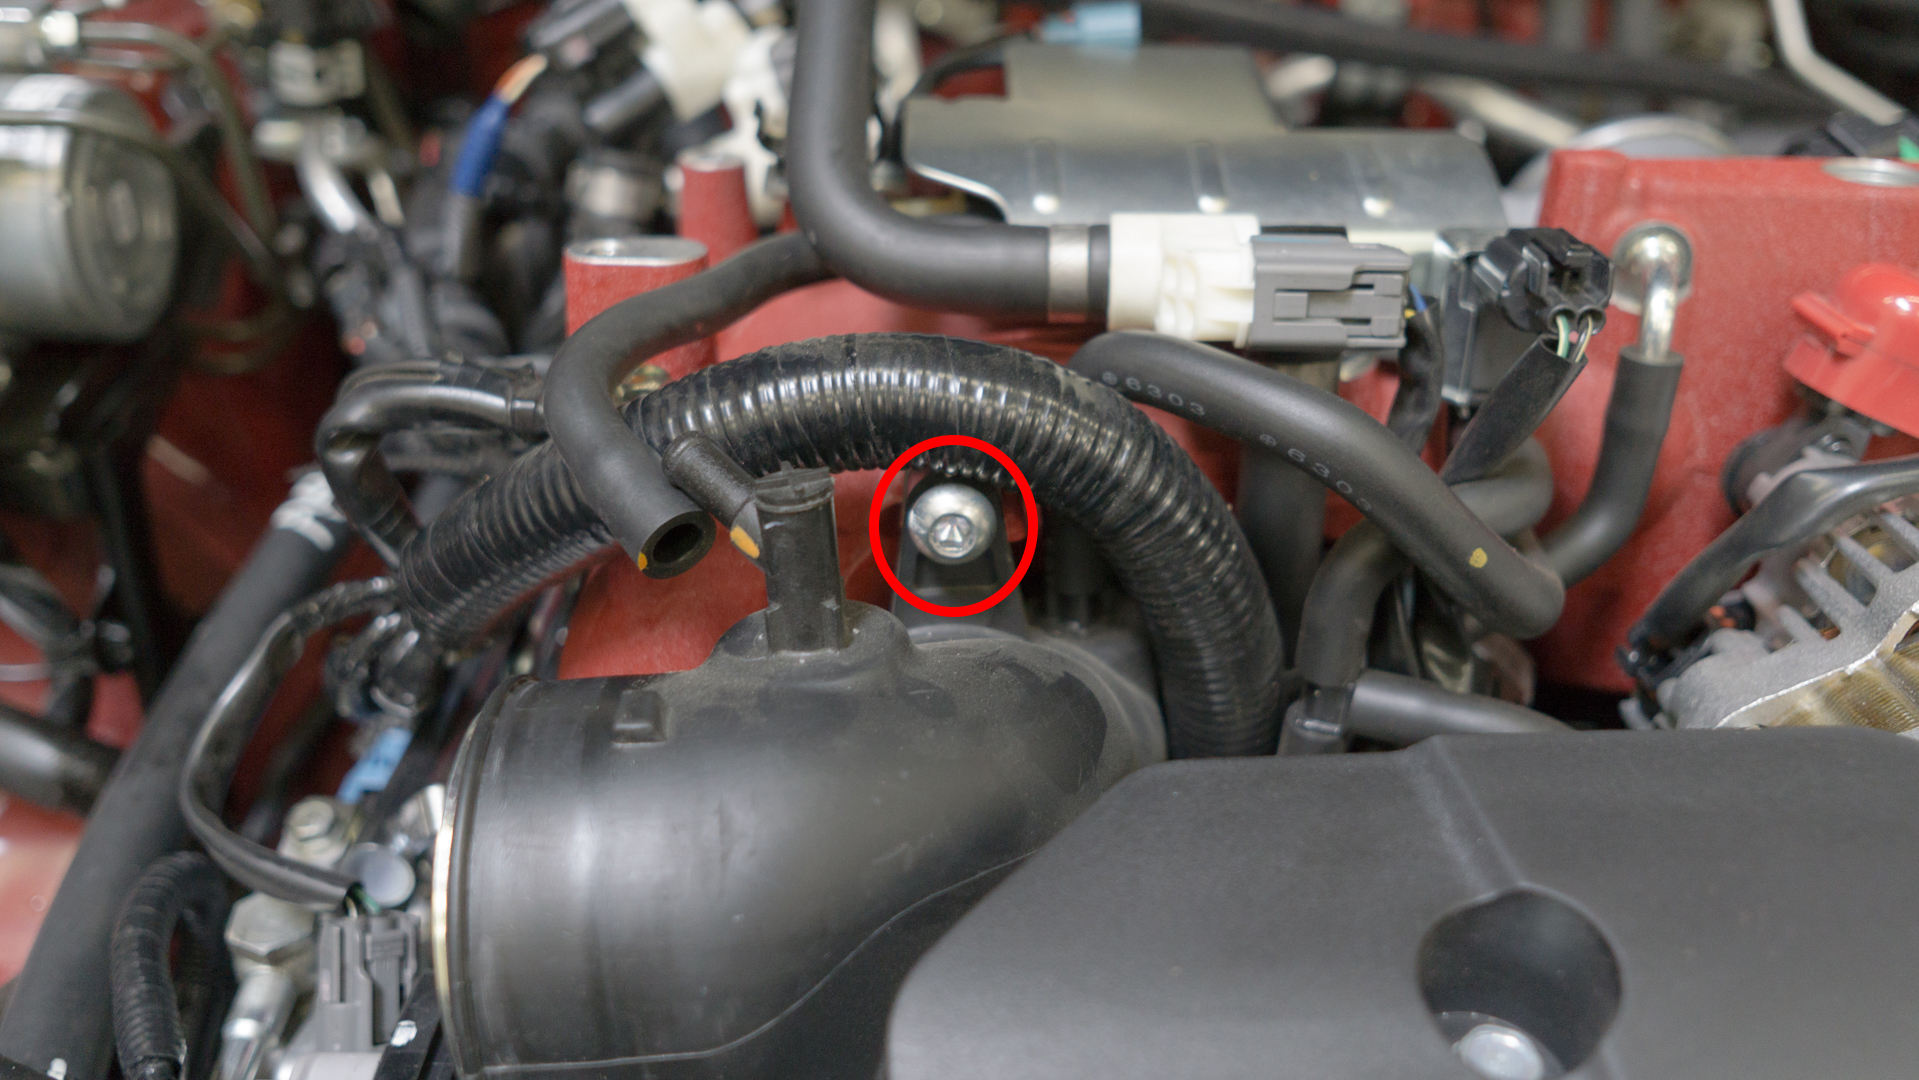
- Remove the 6mm hex head bolt on the front of the intake manifold holding the turbo inlet on.
- Finagle the turbo inlet forward and out from under the manifold. If your inlet is already cracked or broken, breaking the inlet can make it much easier to get out.
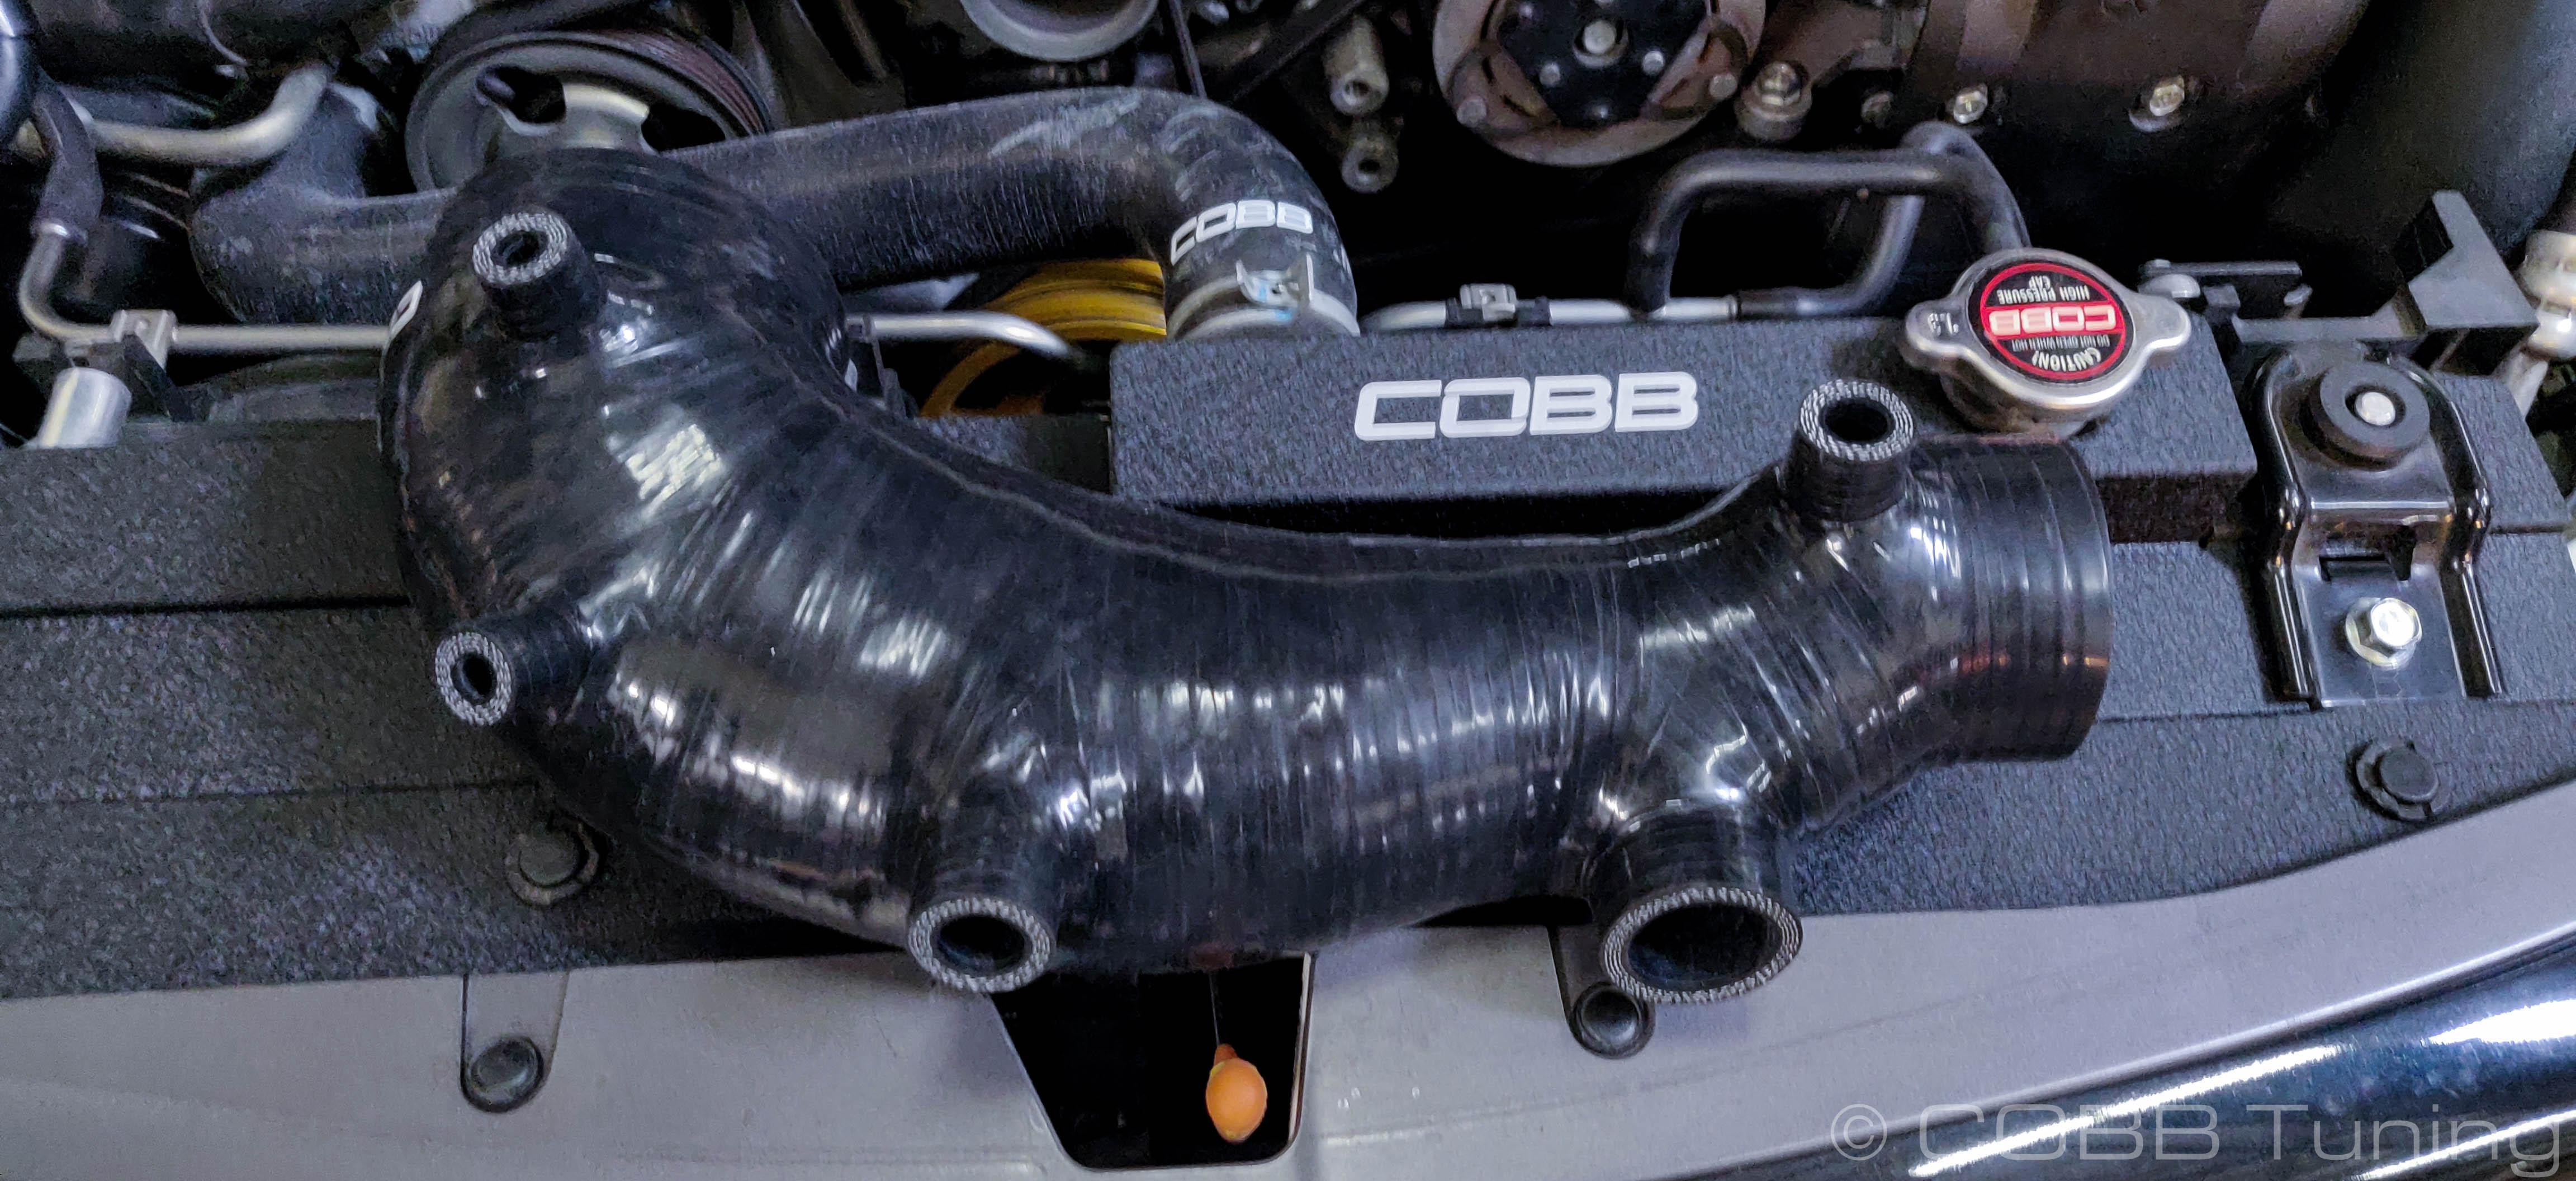
COBB Turbo Inlet Installation
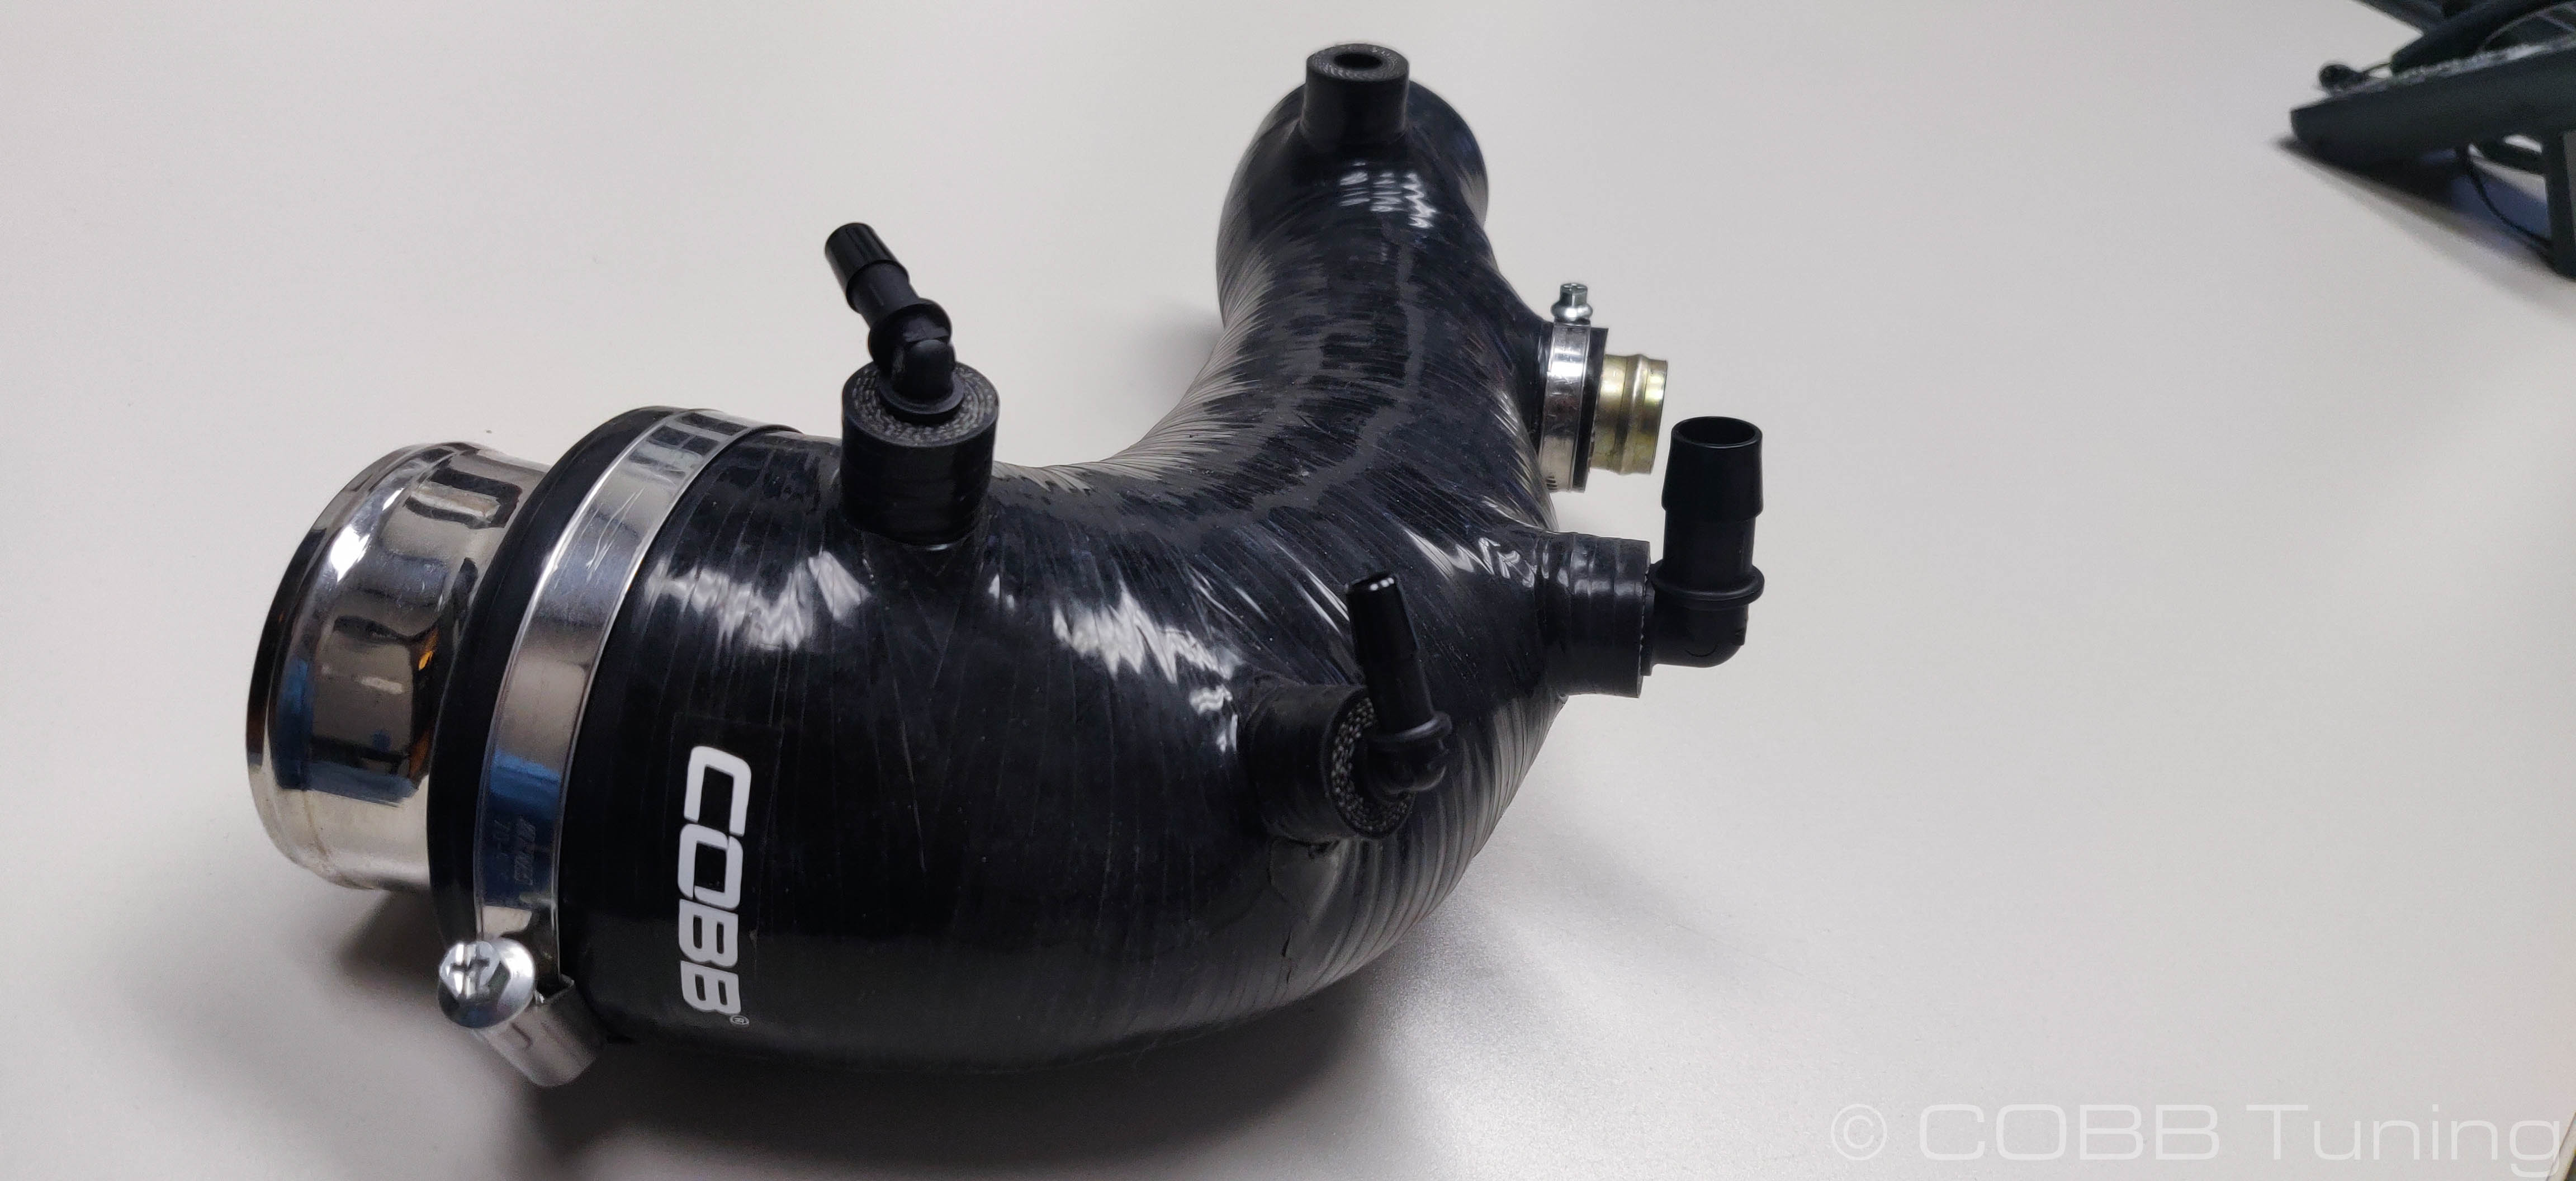
- Before installation make sure the most of the fittings are installed.
- Install the 2 smaller barbed 90 degree fittings to the front two ports. These are for the EBCS and Purge Solenoid
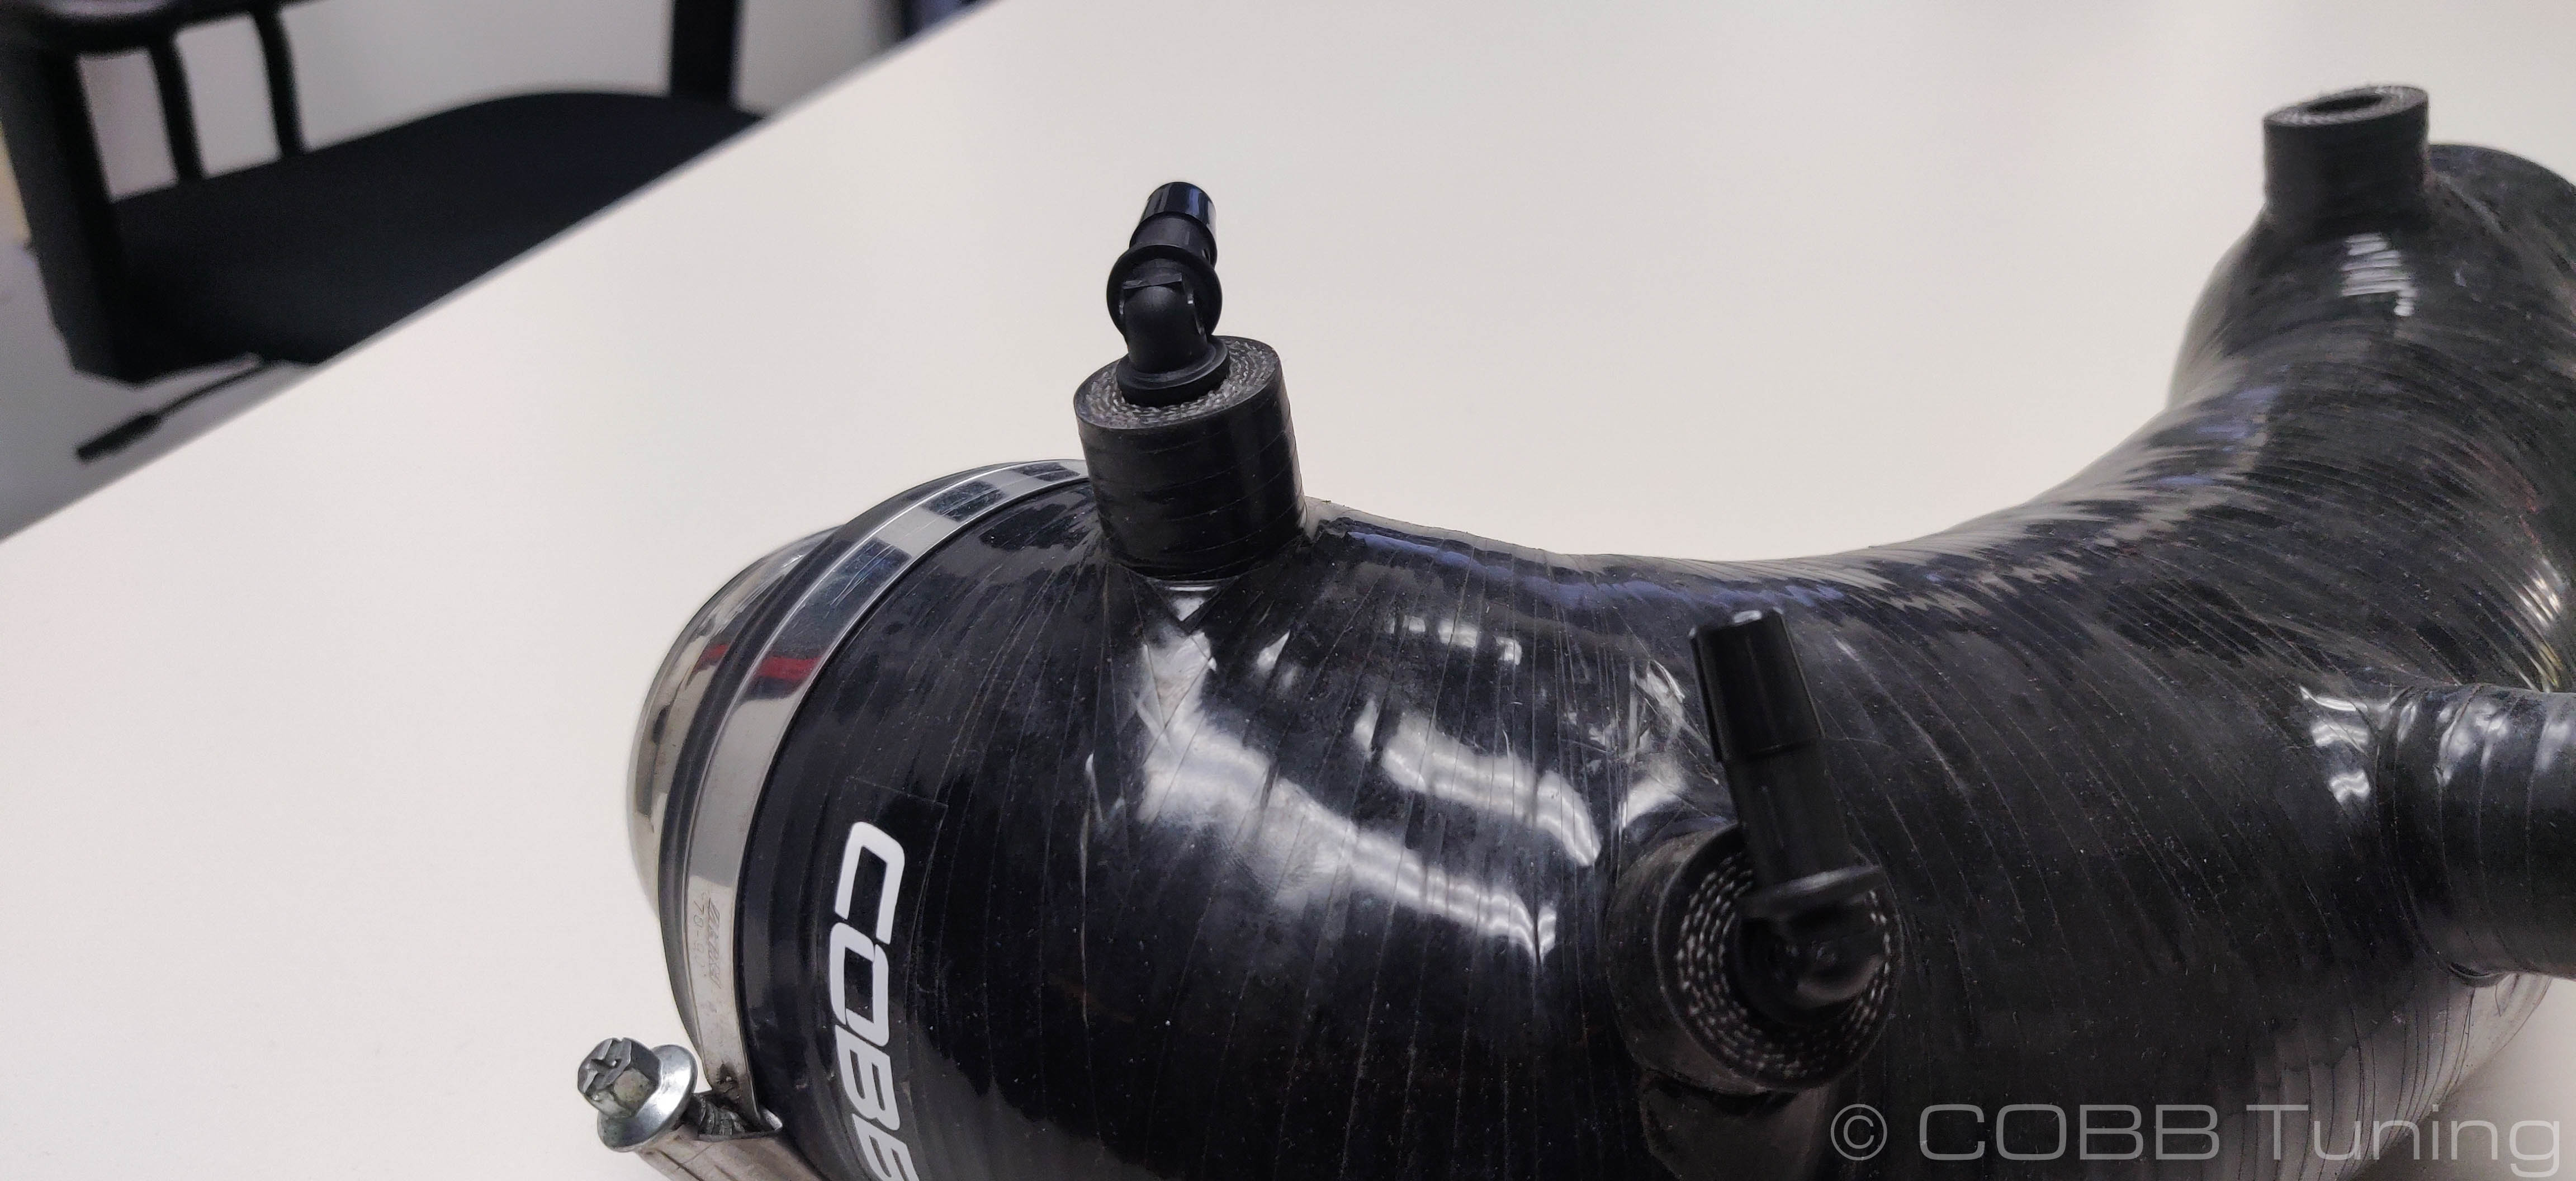
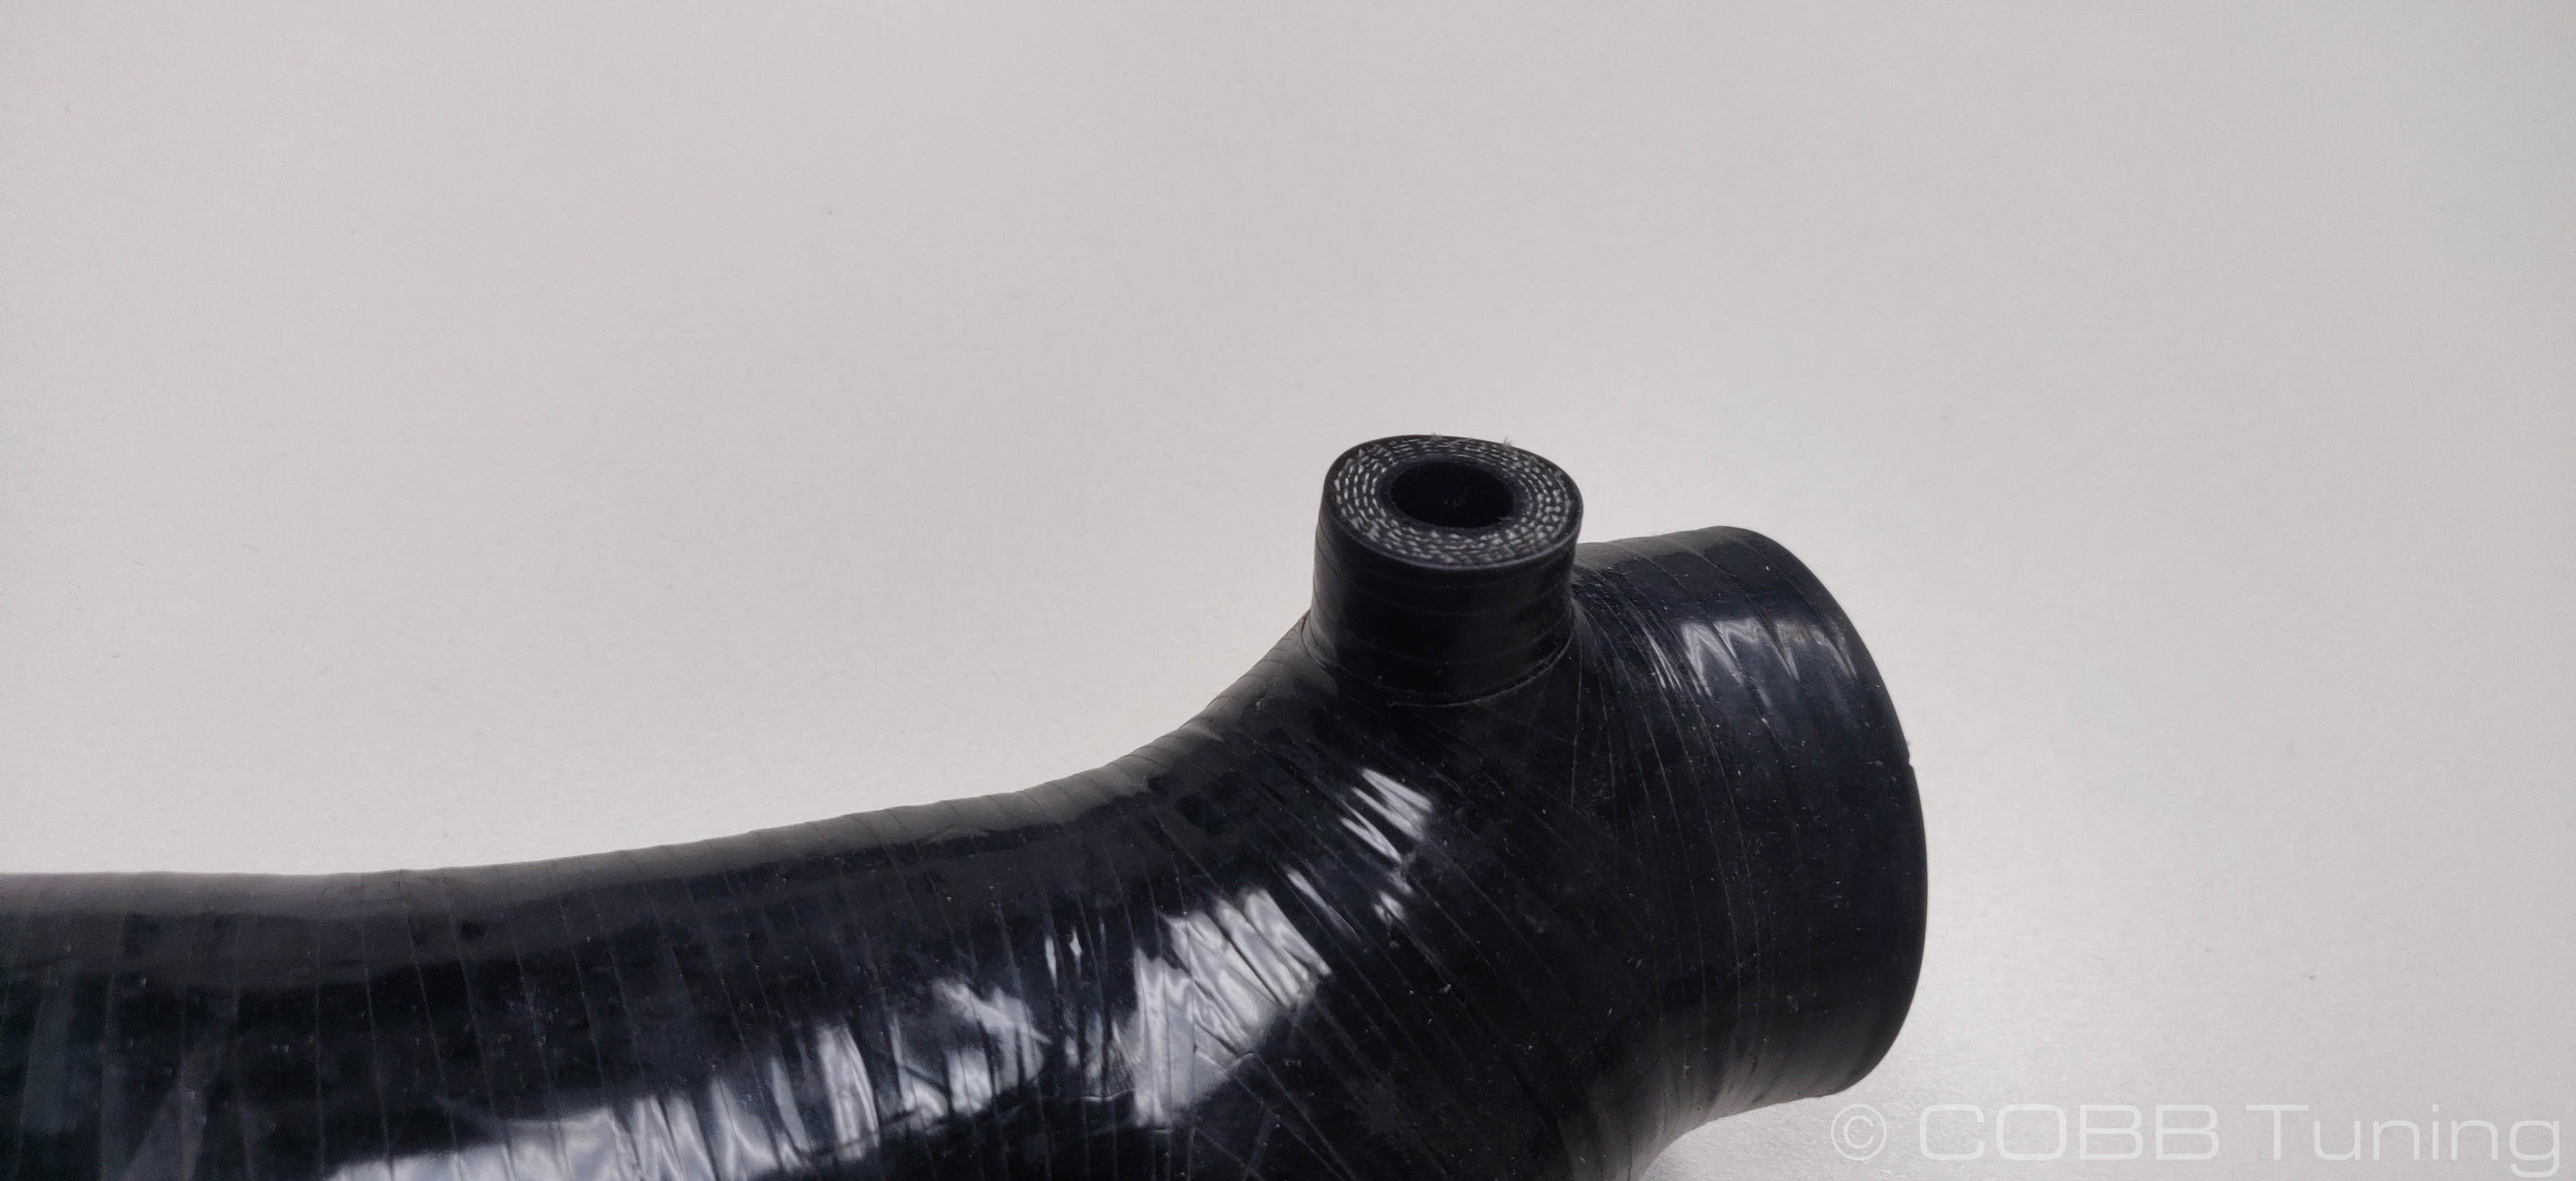
- Install the larger barbed fitting onto the middle port in the side of the inlet.
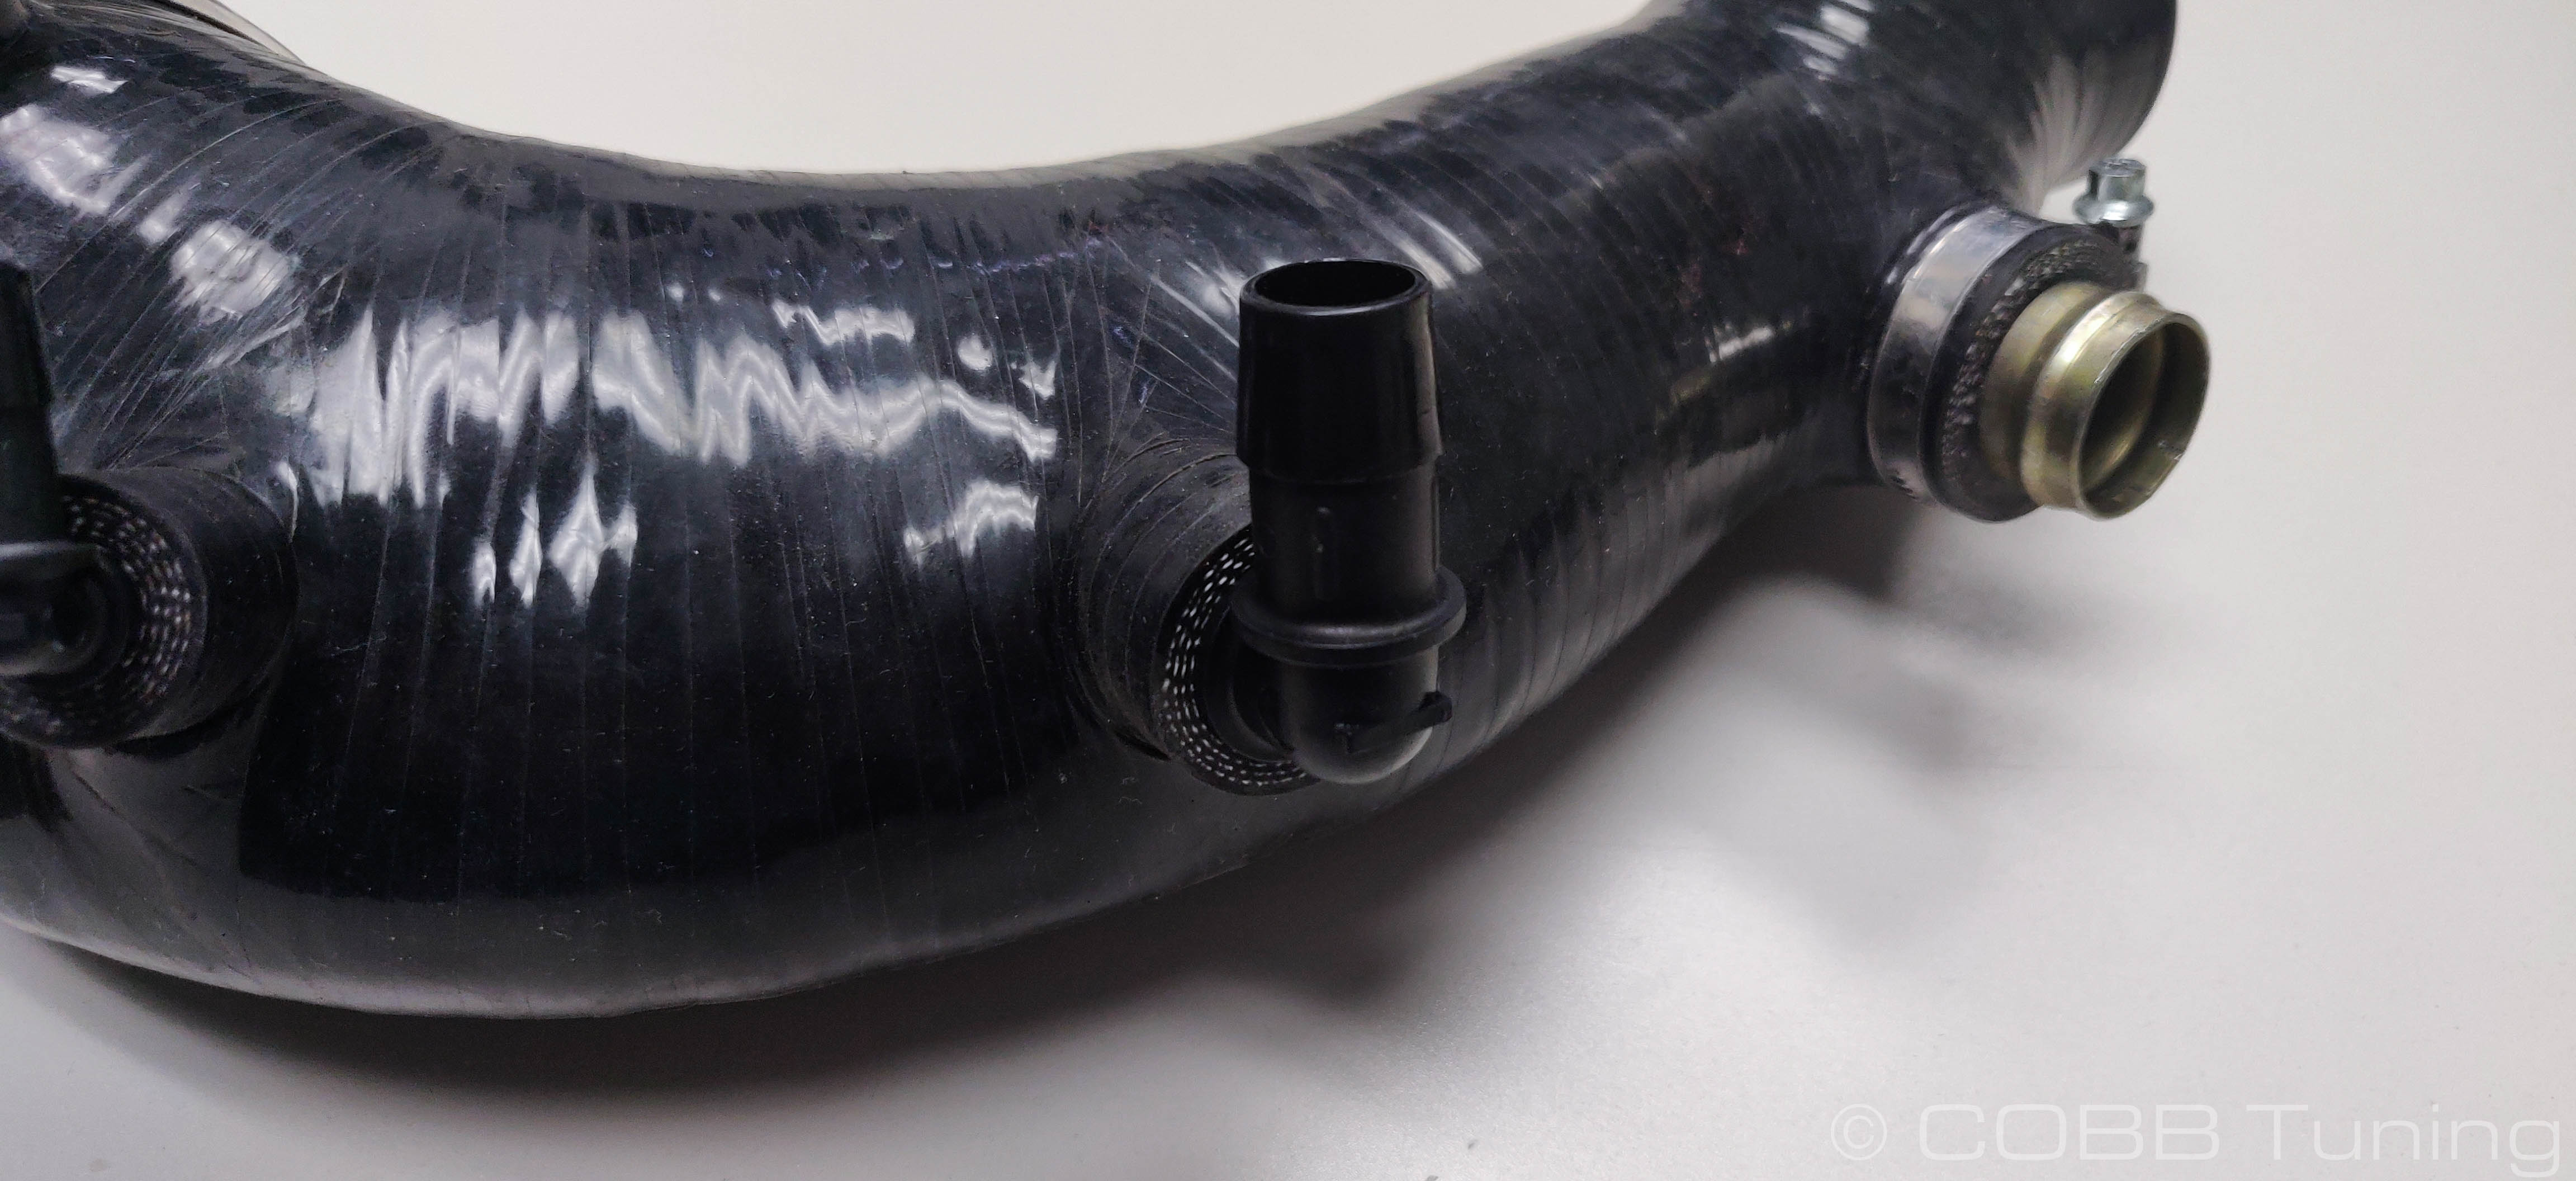
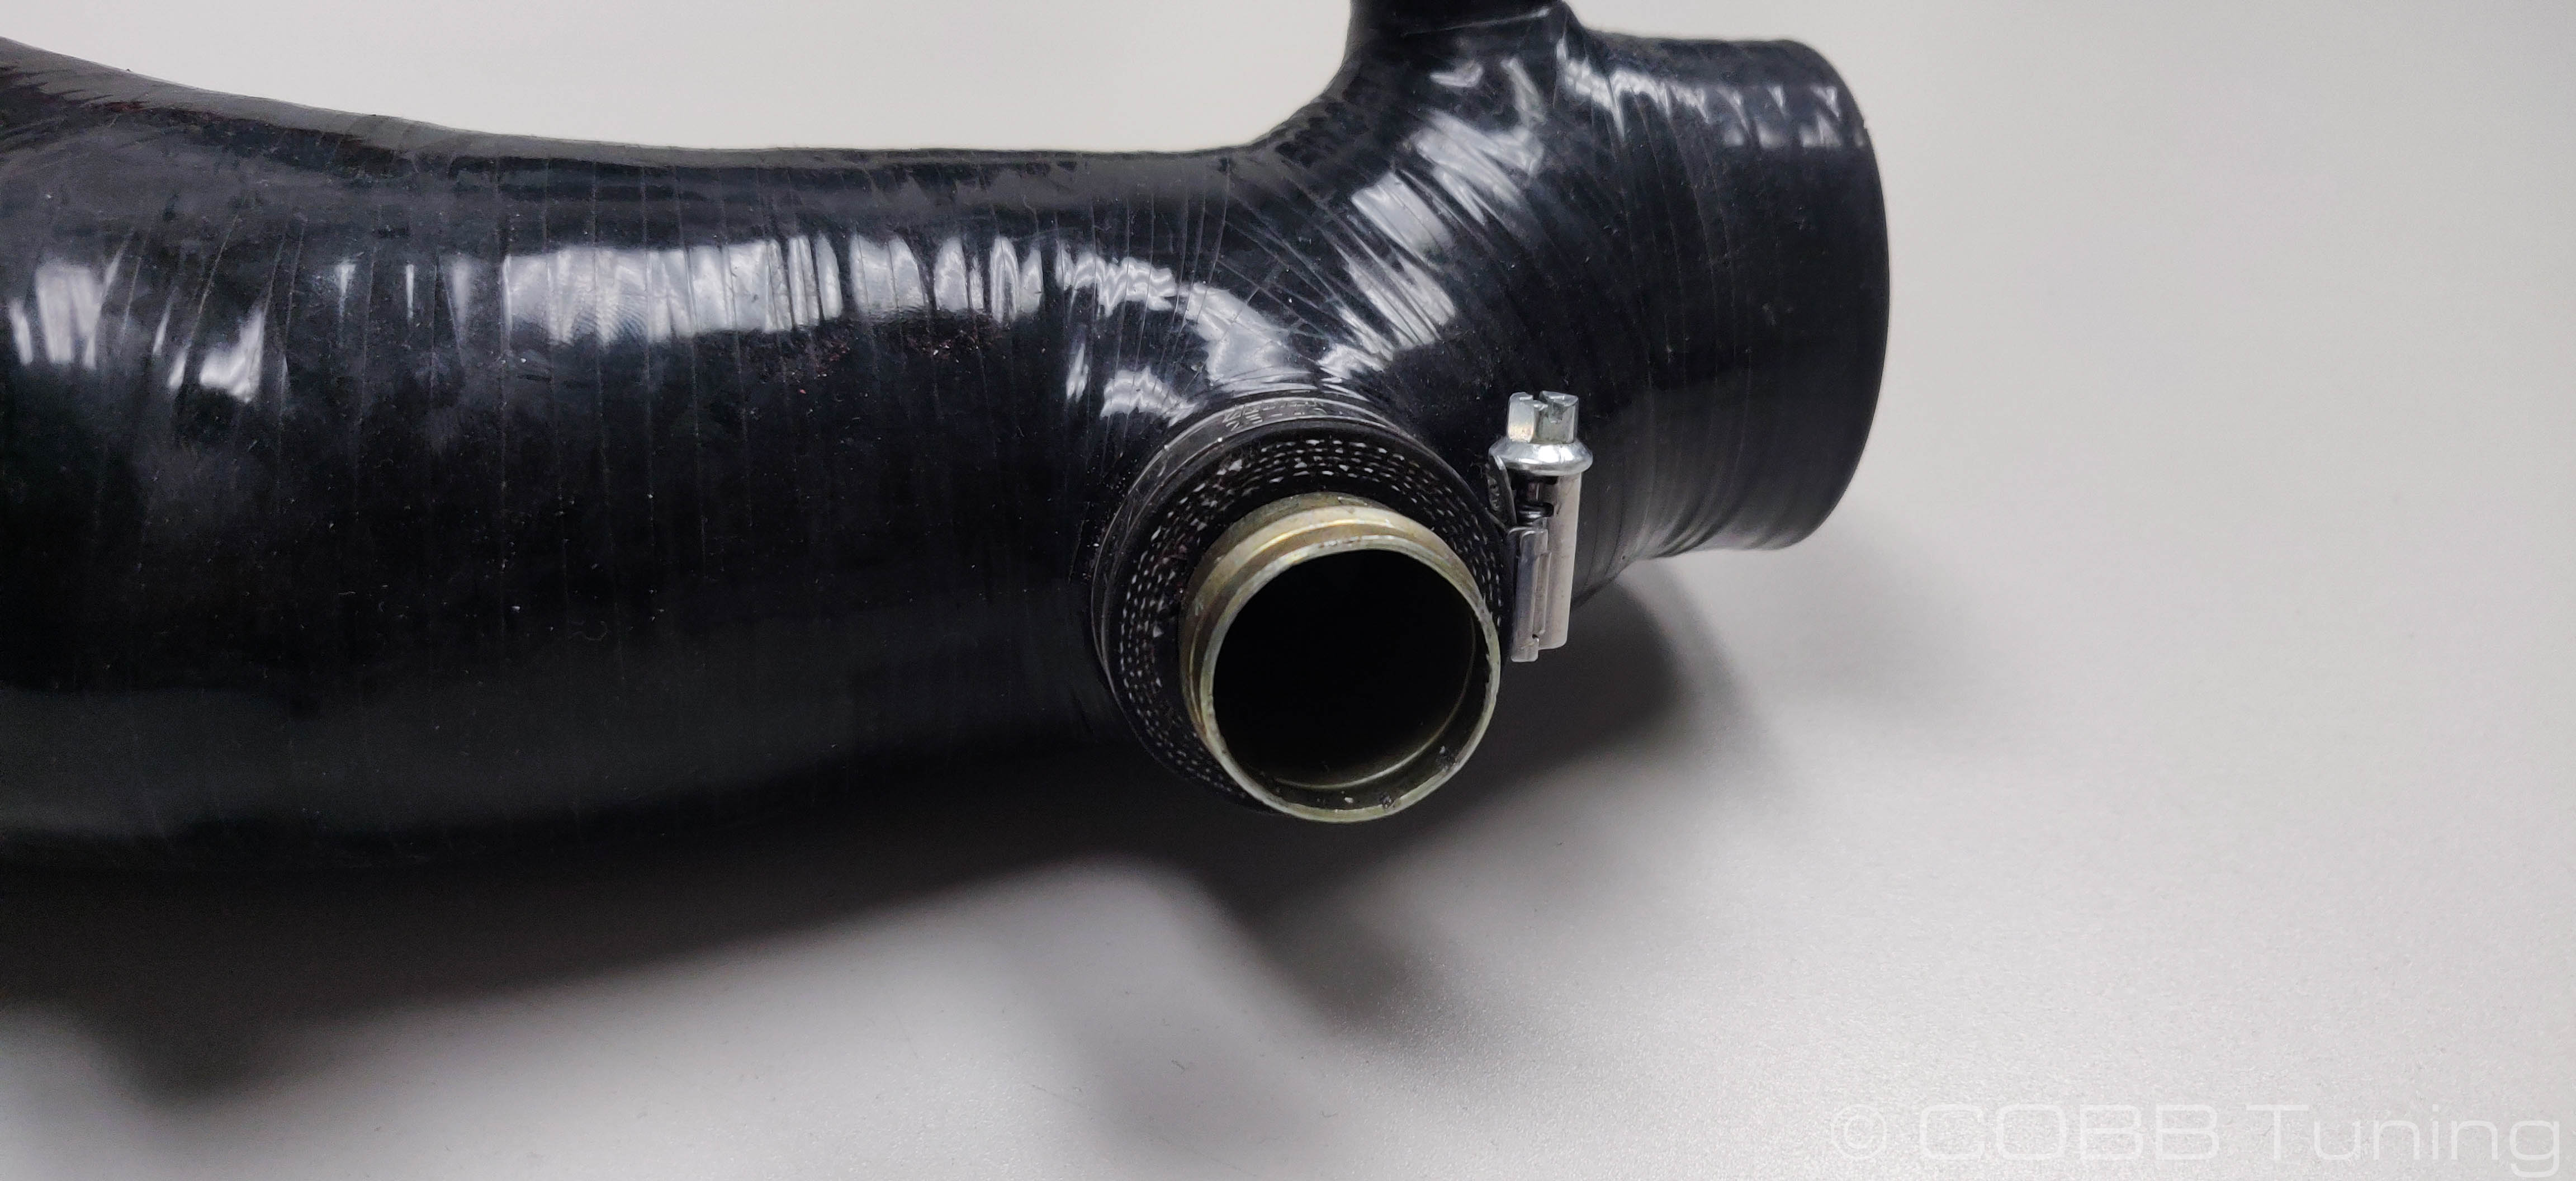
- Install the large metal fitting for the EBCS recirculation into the rear side fitting of the inlet.
- Leave the top port in the rear empty for now.
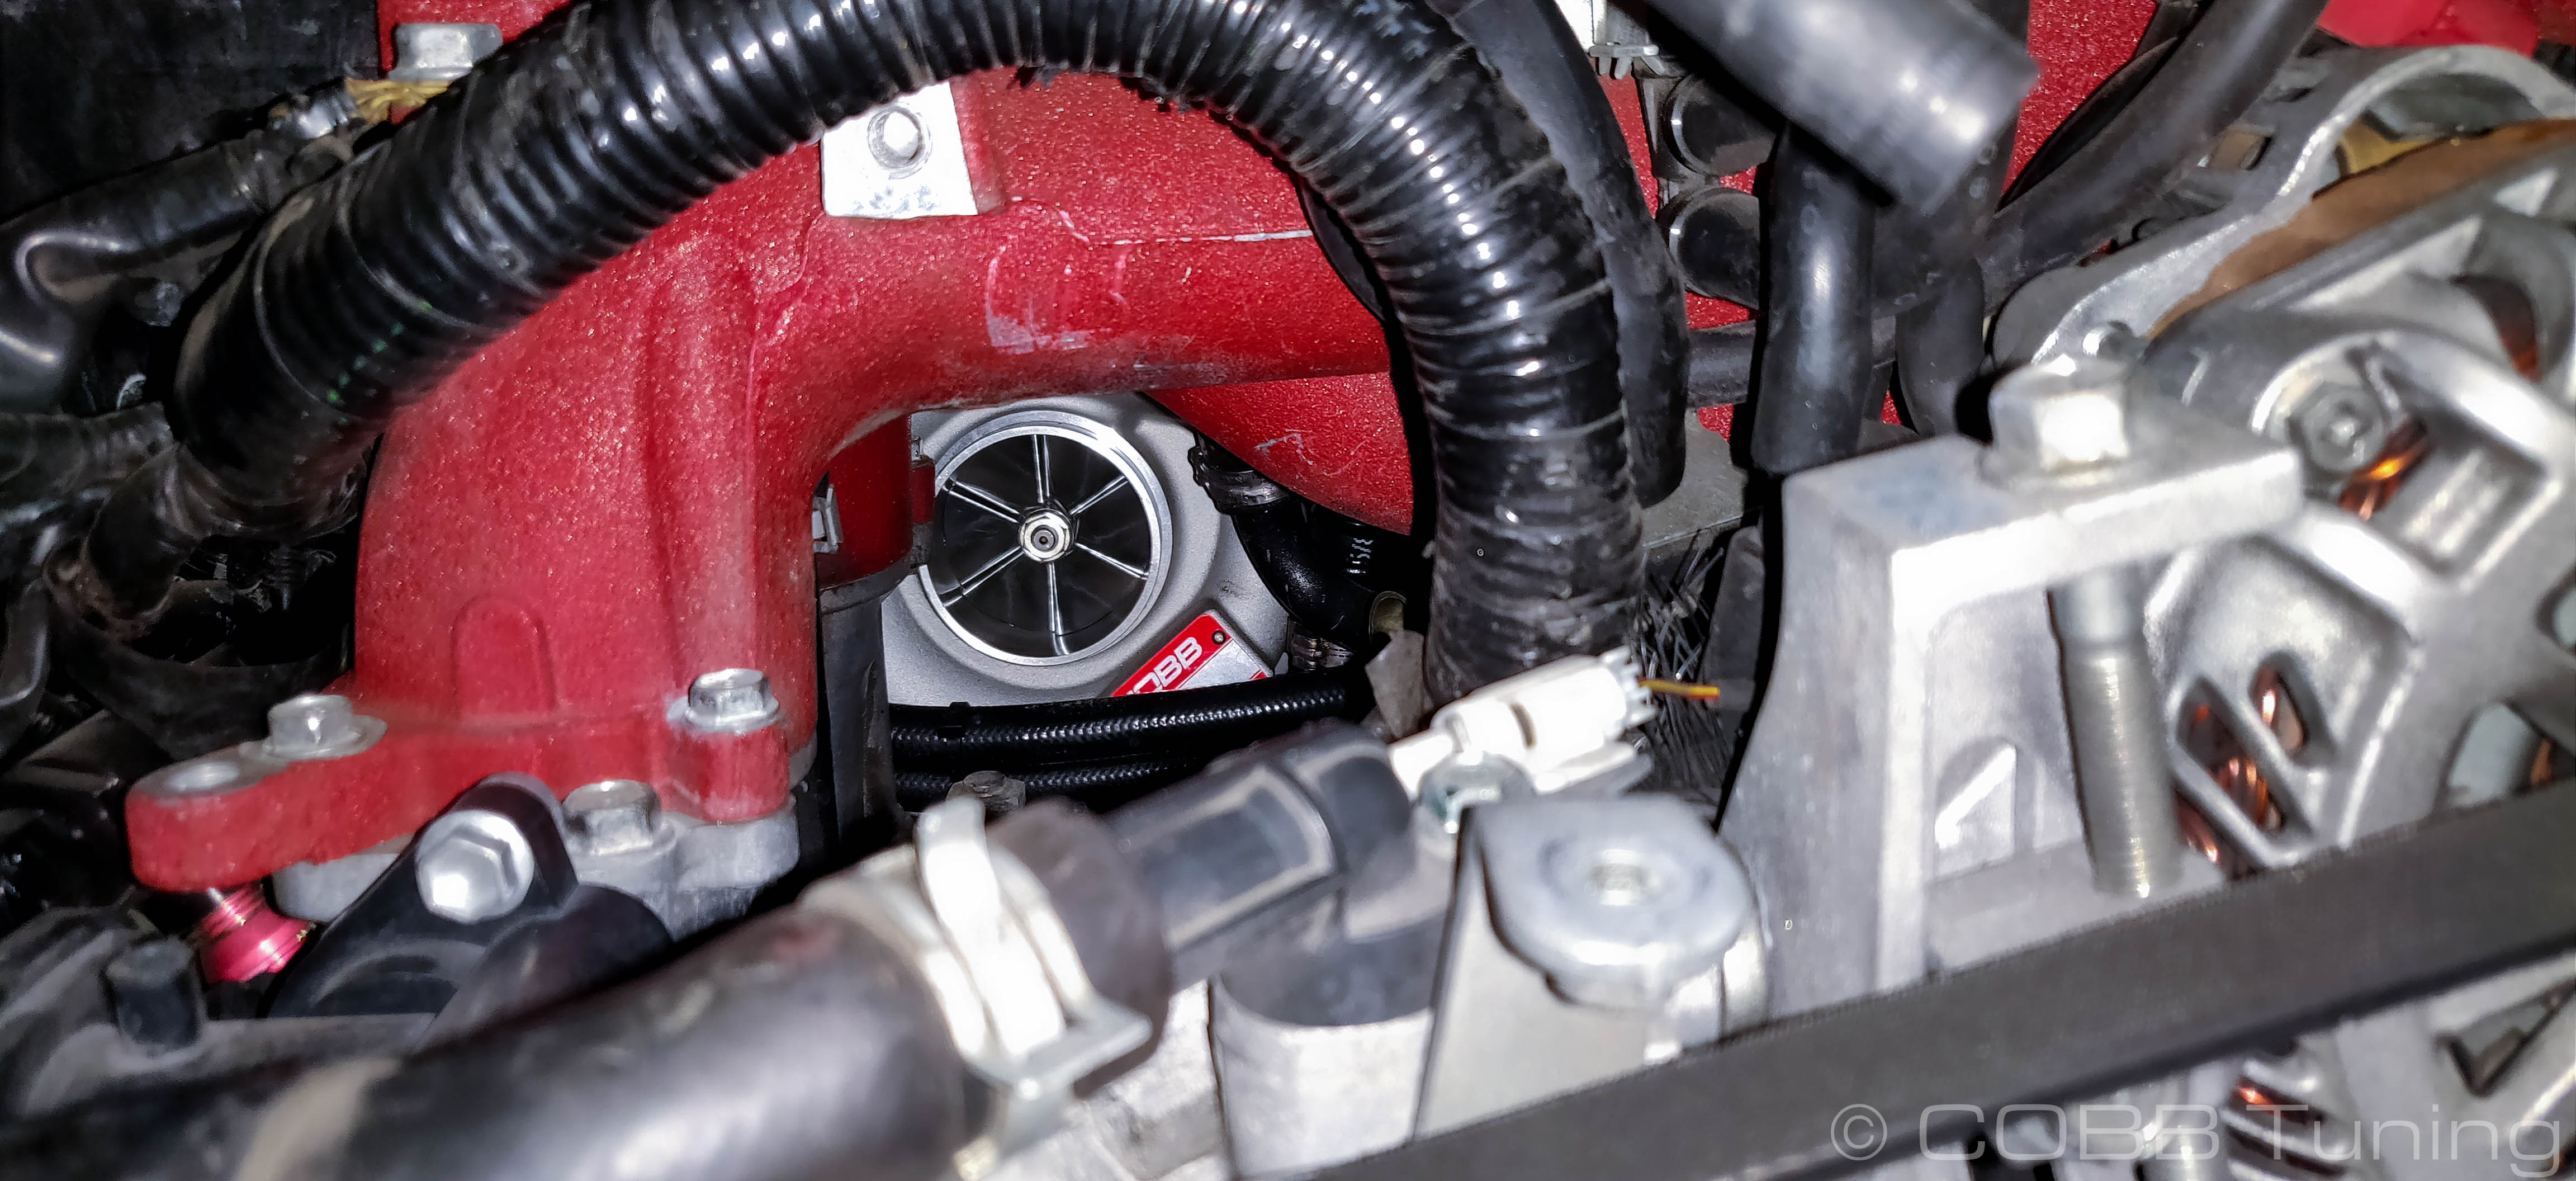
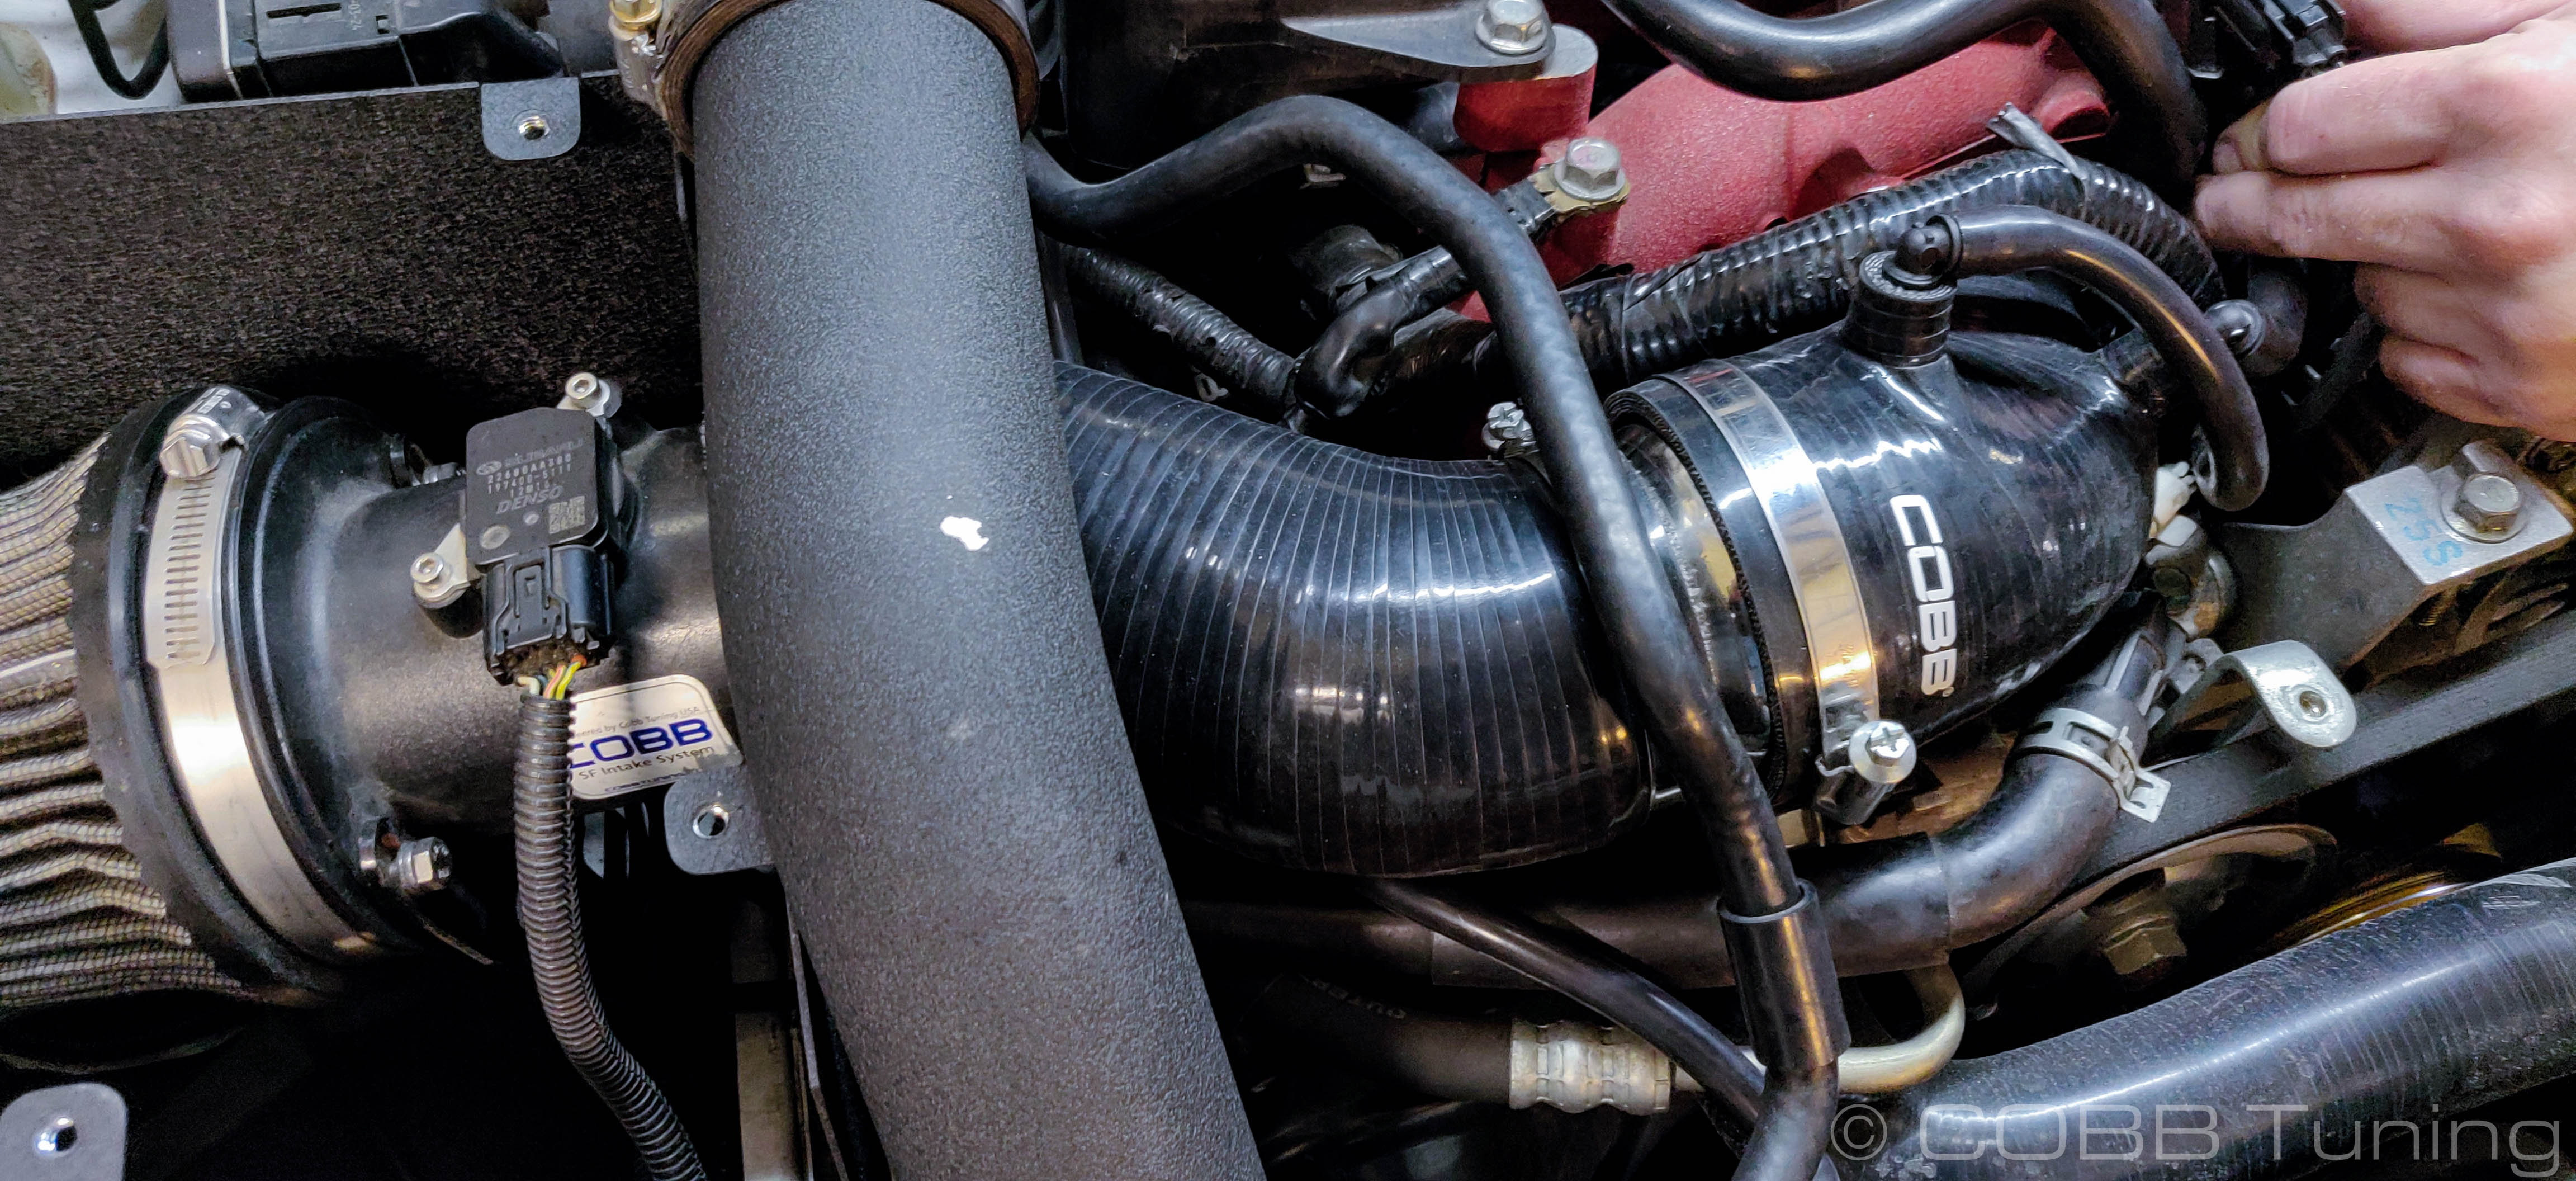
- Making sure to have a hose clamp over the rear of the inlet (we prefer it positioned toward the center of the car facing upwards for ease of access). Finagle the inlet into place over the turbos inlet snout before tightening down the hose clamp with an 8mm socket.

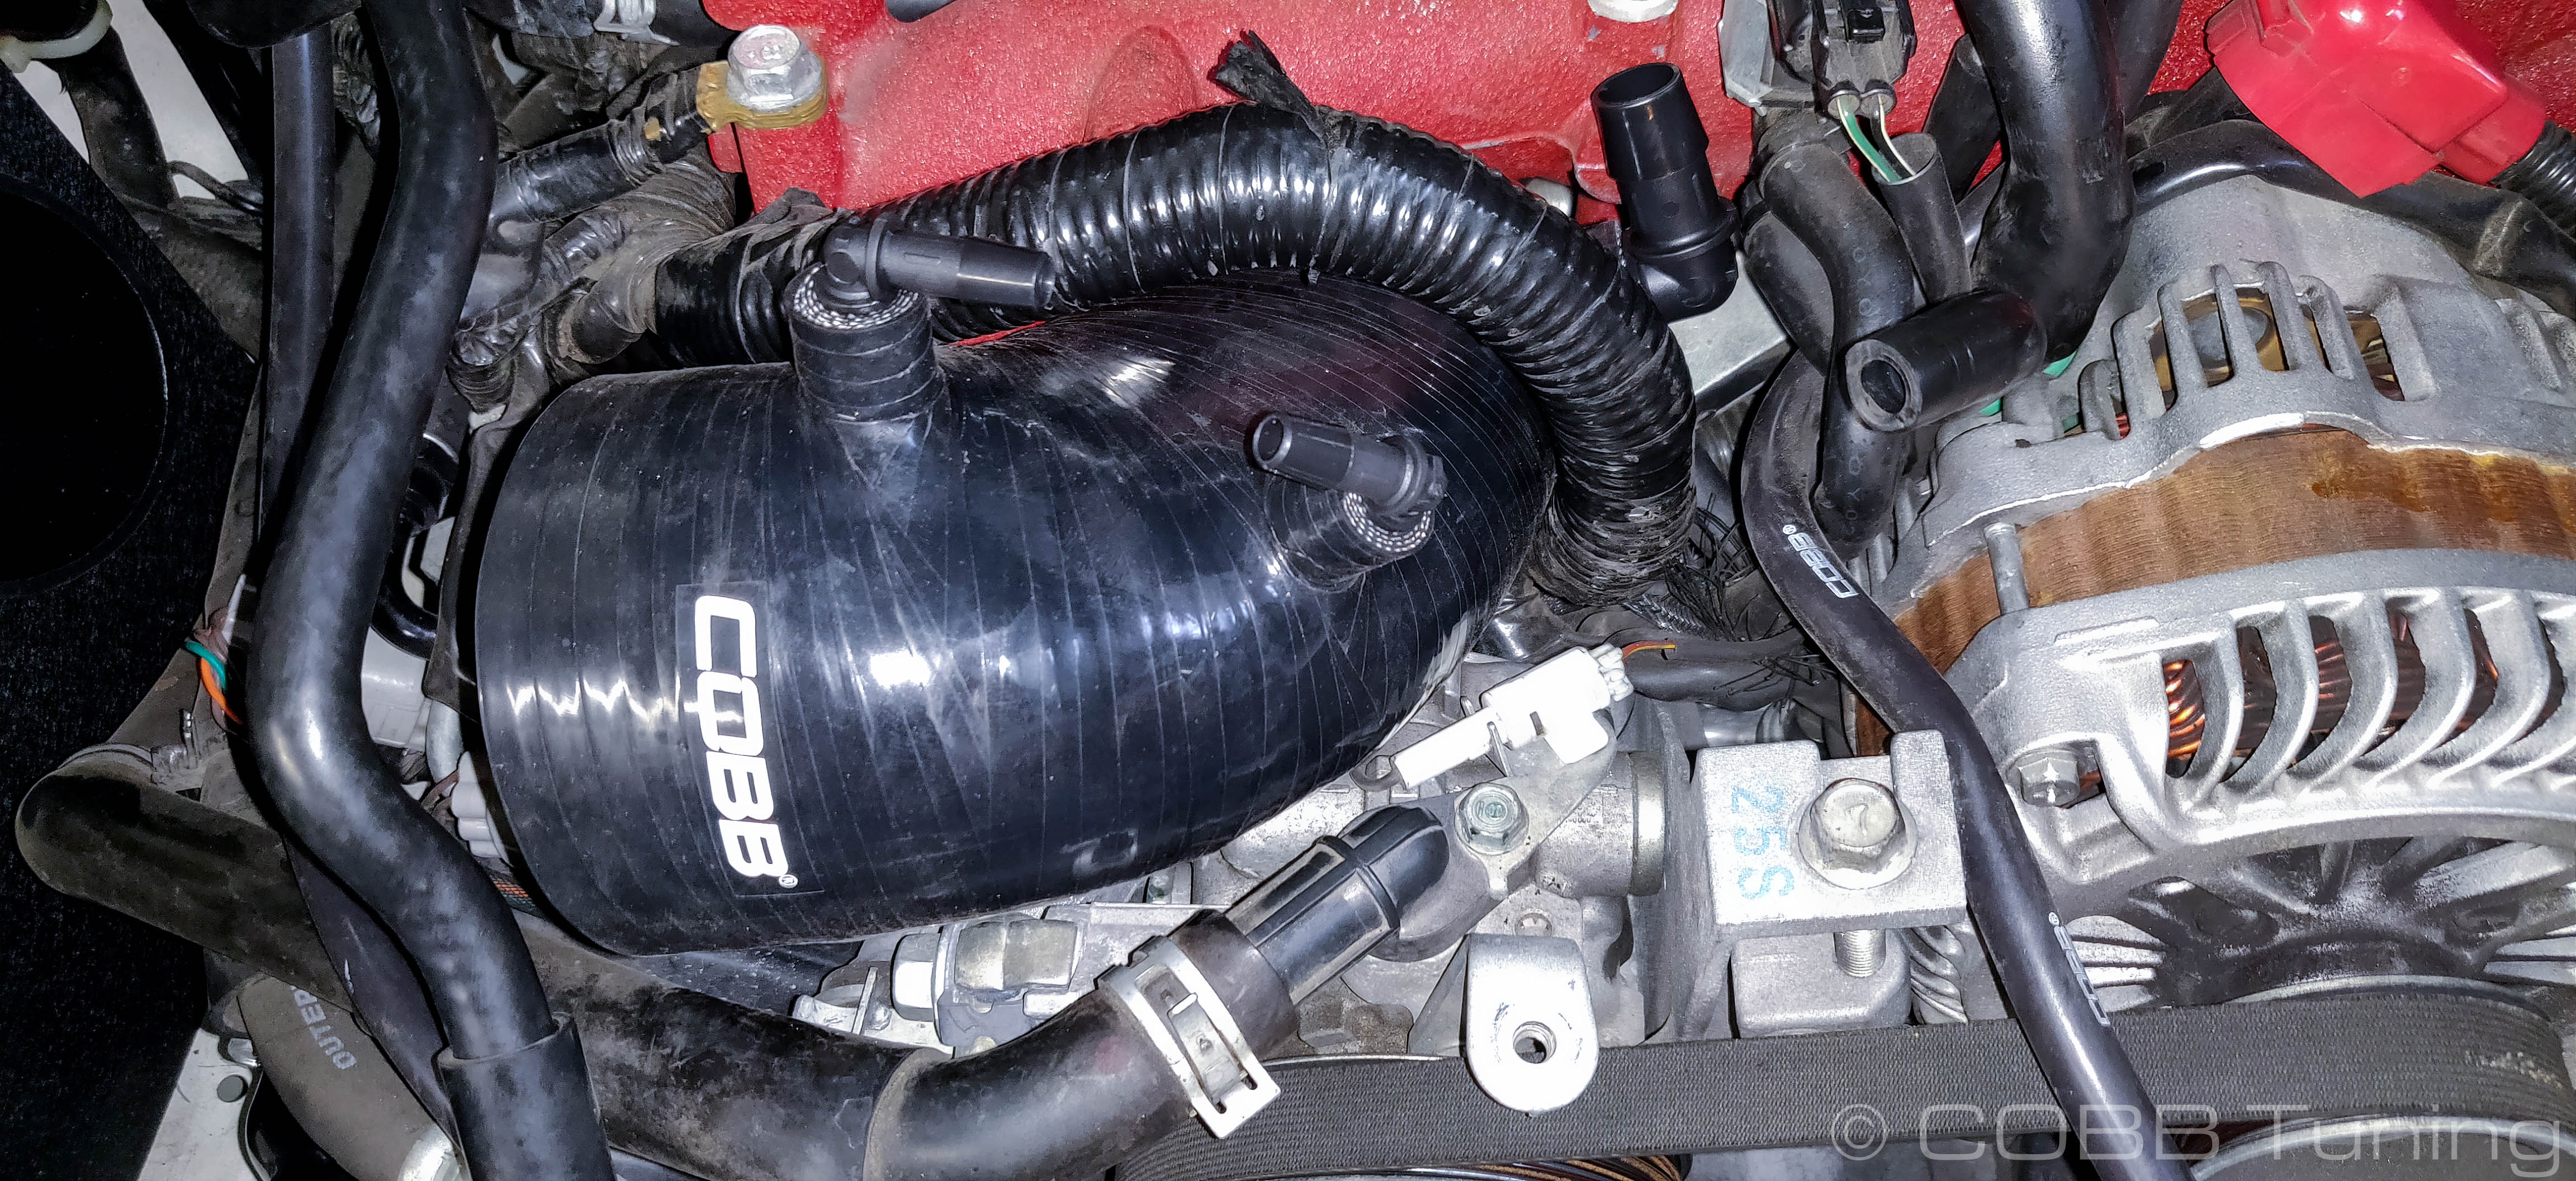

- Re-Install the BPV recirculation hose making sure to route it so it will not interfere with the intercooler when reinstalled (if applicable)
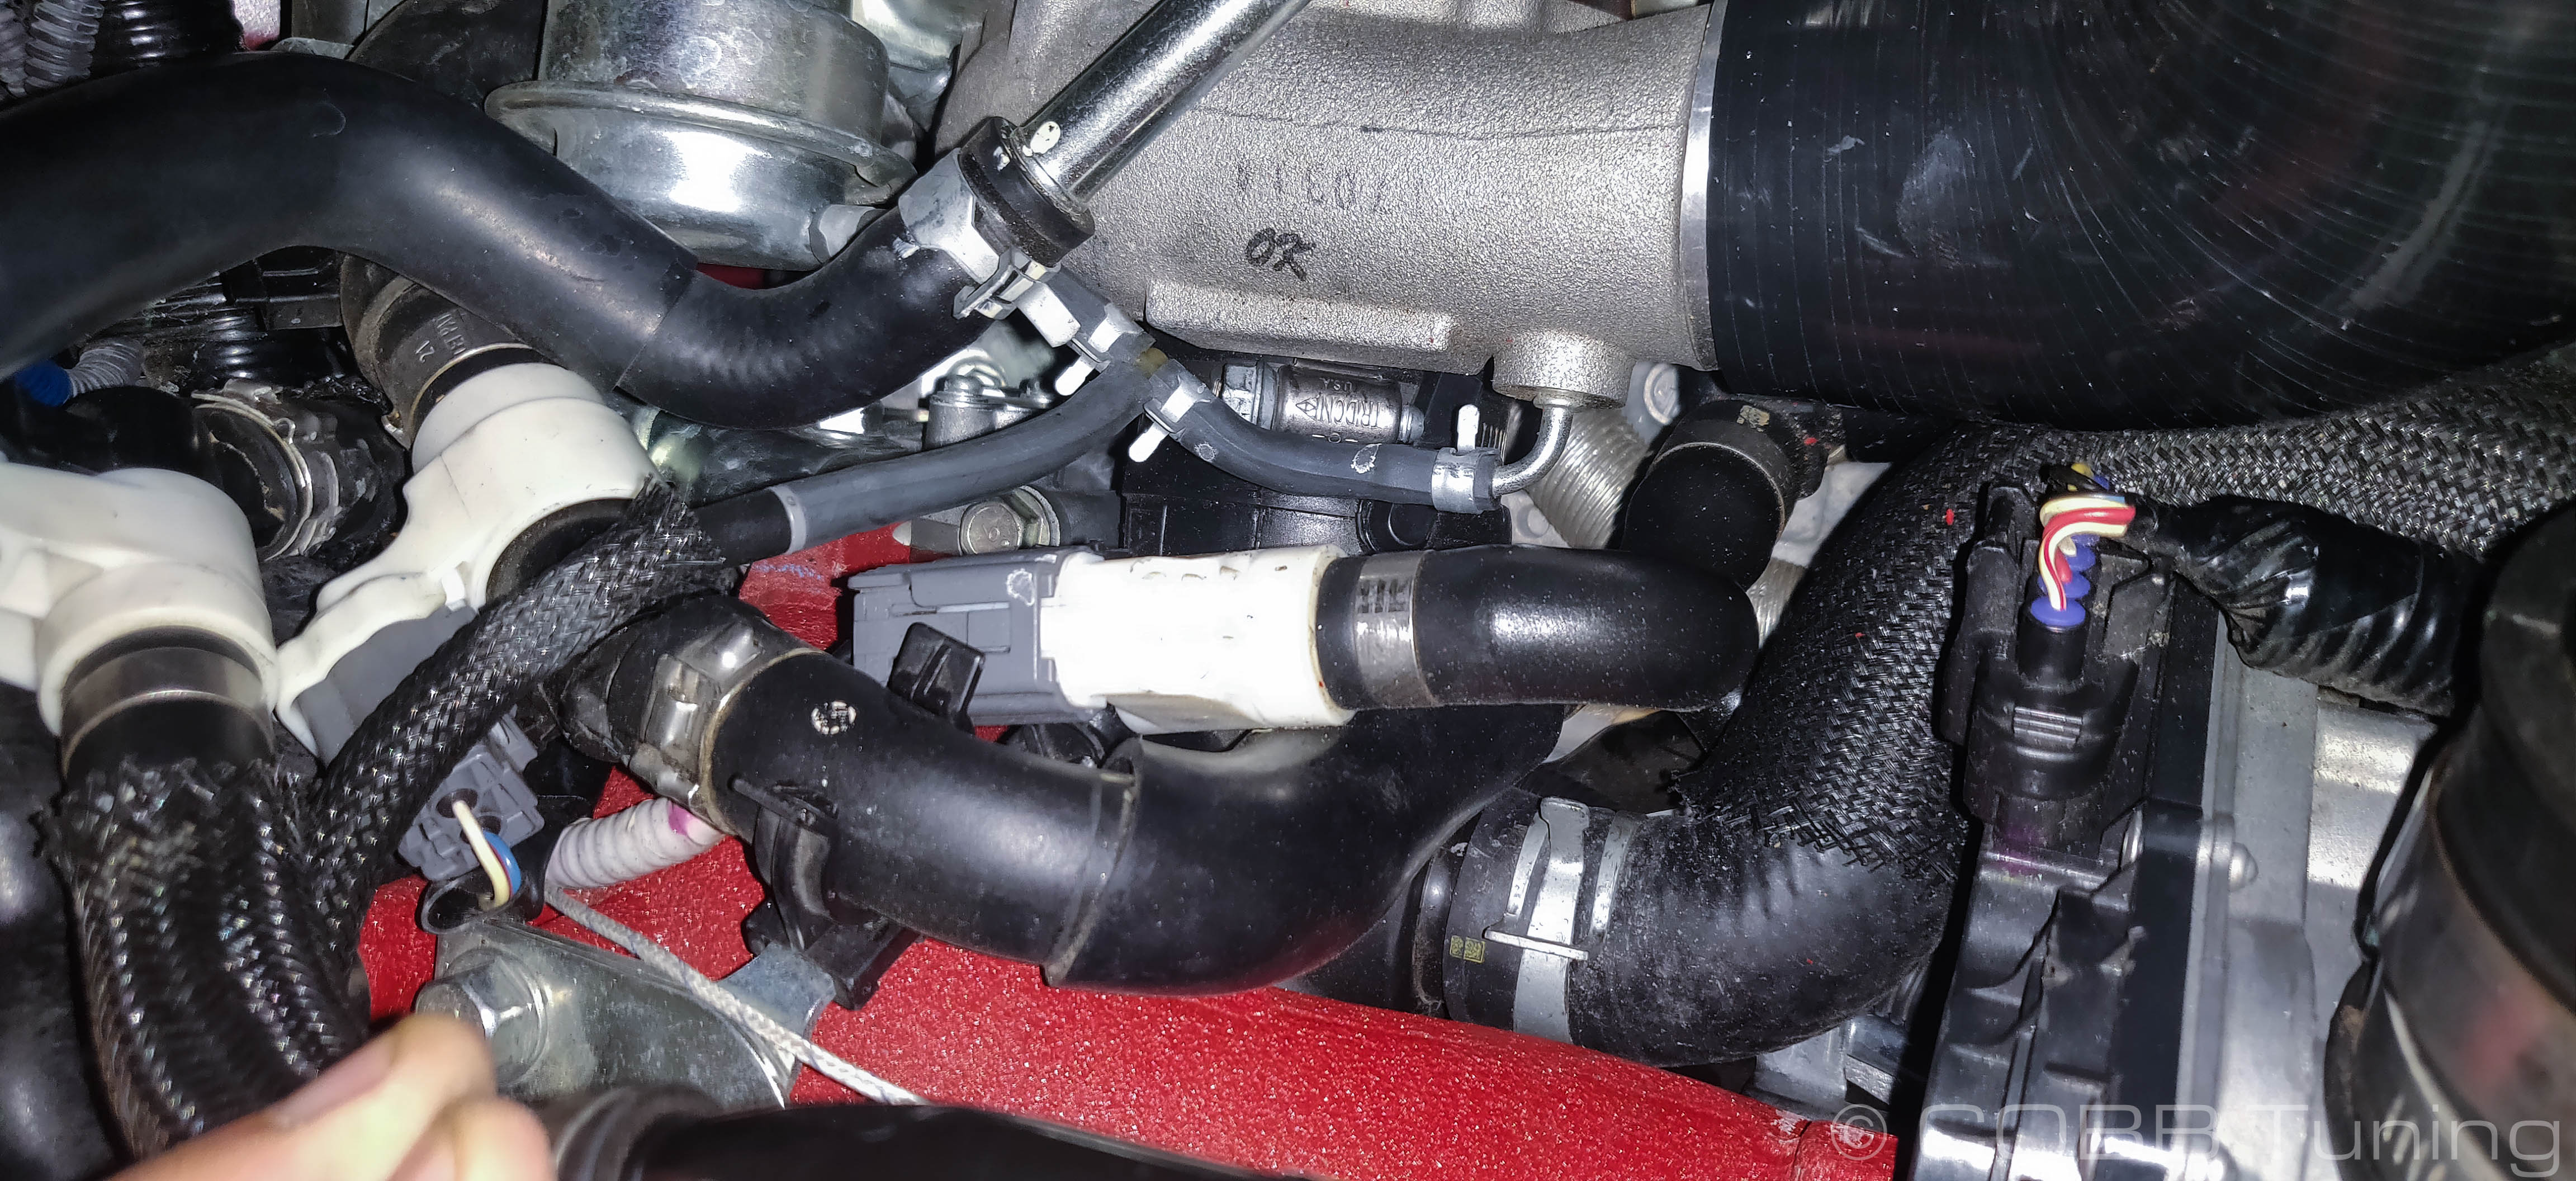
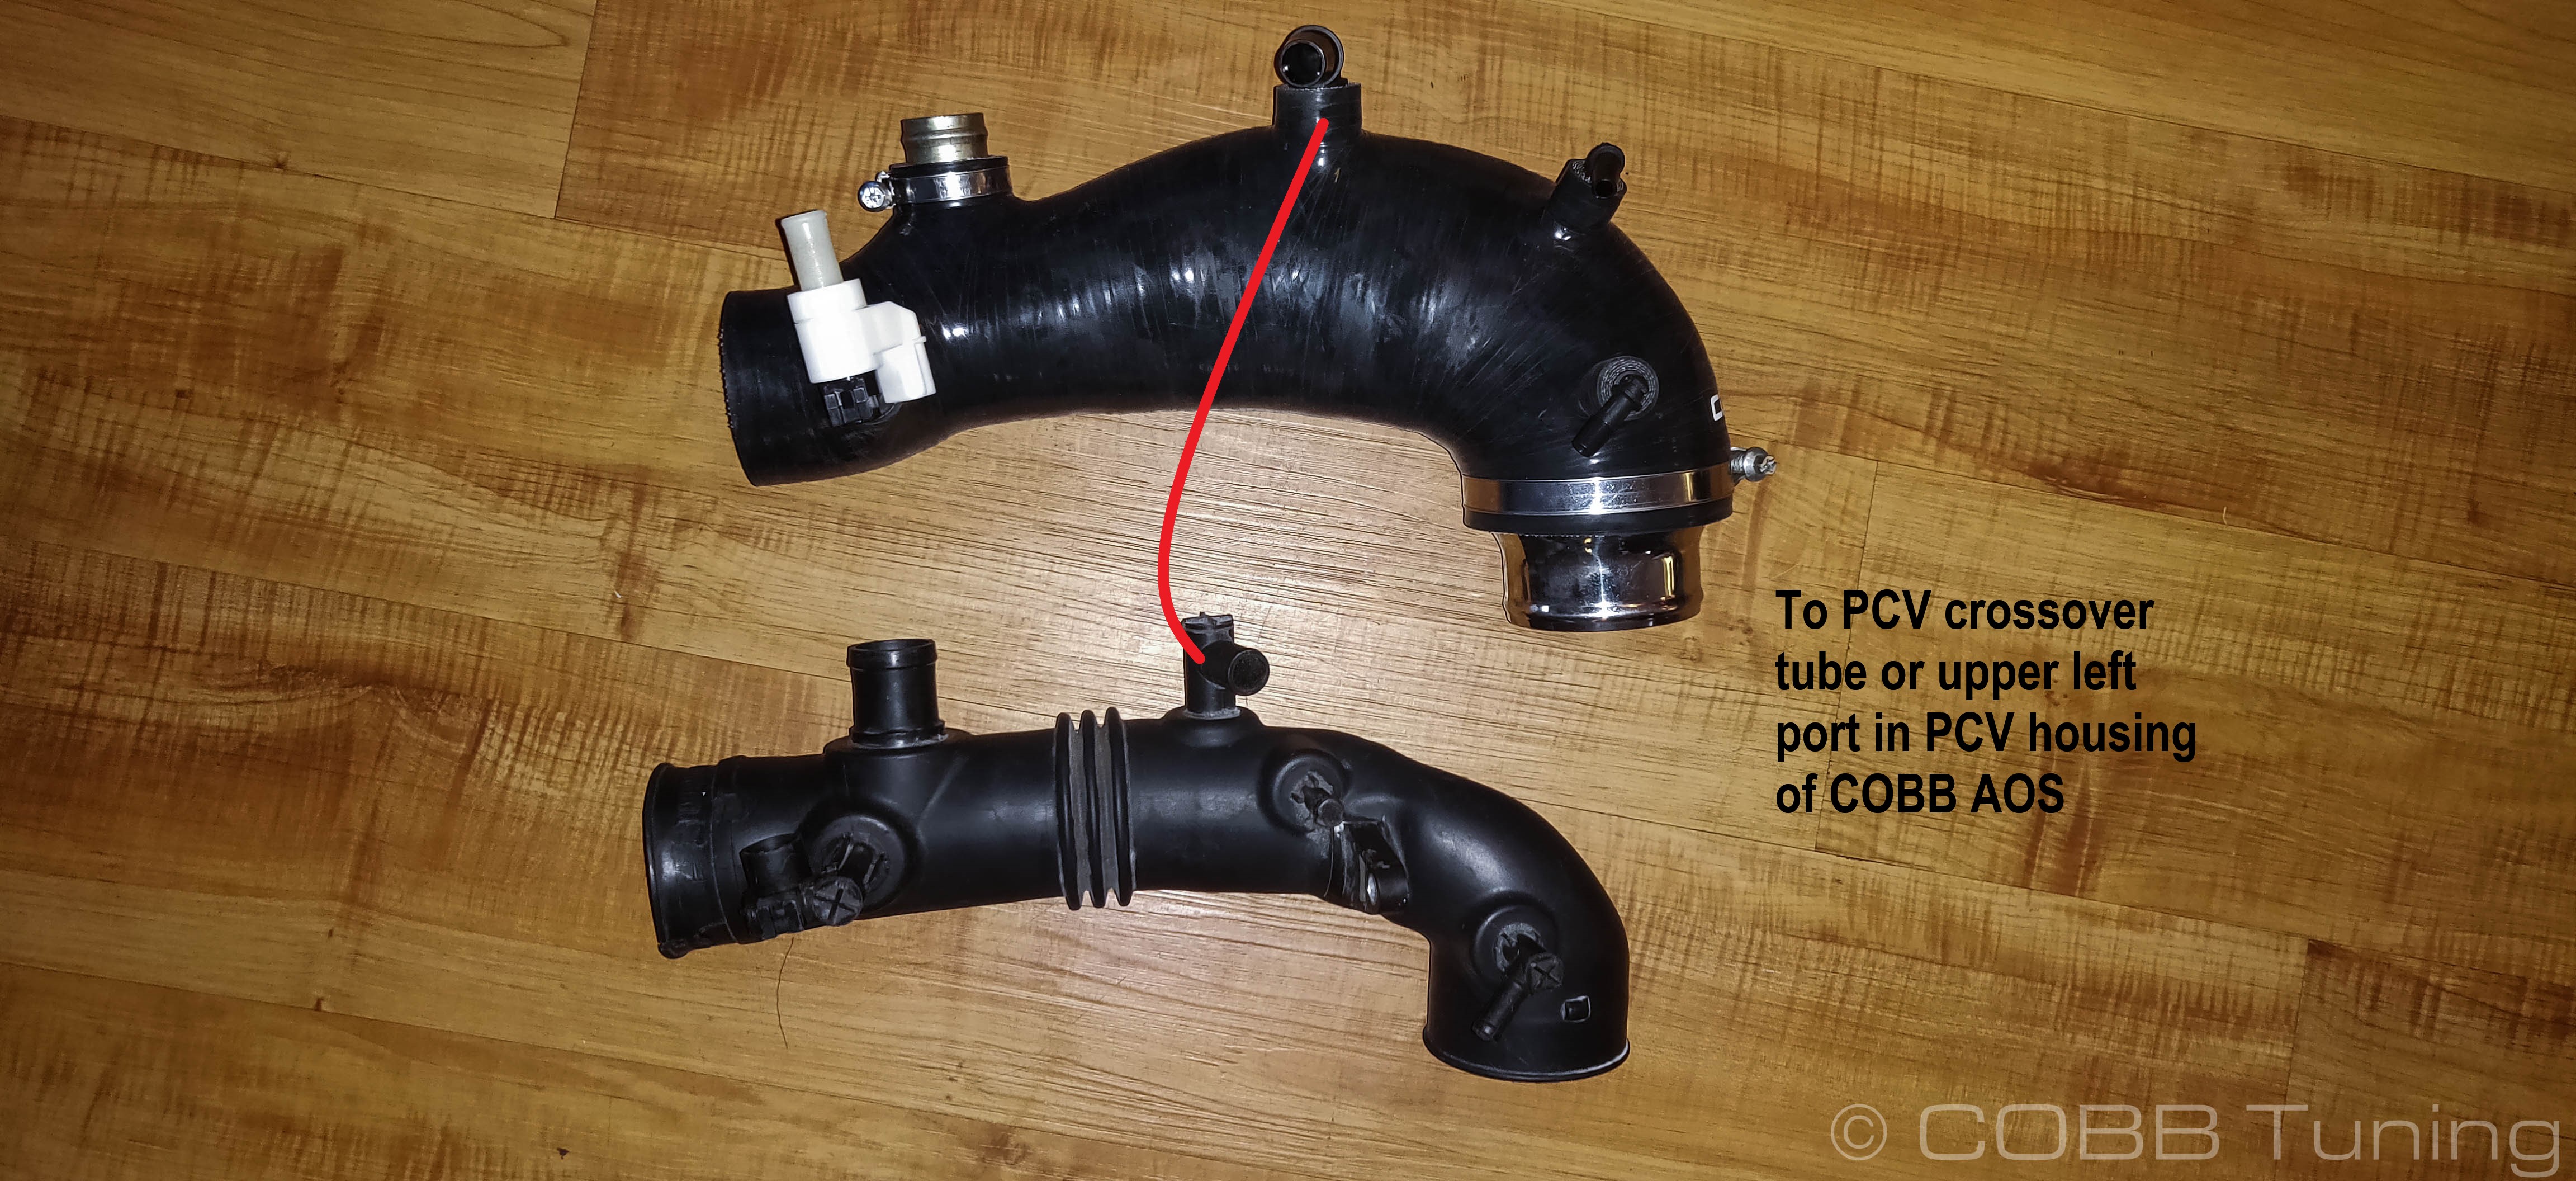
- Install the PCV Crossover tube onto the larger side fitting. The other end goes up to the PCV crossover Tube
- Install the canister purge solenoid line to the rear smaller fitting on the inlet. The other end should go to the bottom port of the canister purge solenoid.
- Install the EBCS line onto the front most fitting of the inlet. After reaching the EBCS this fitting should go on to tee into the wastegate line of the turbo.
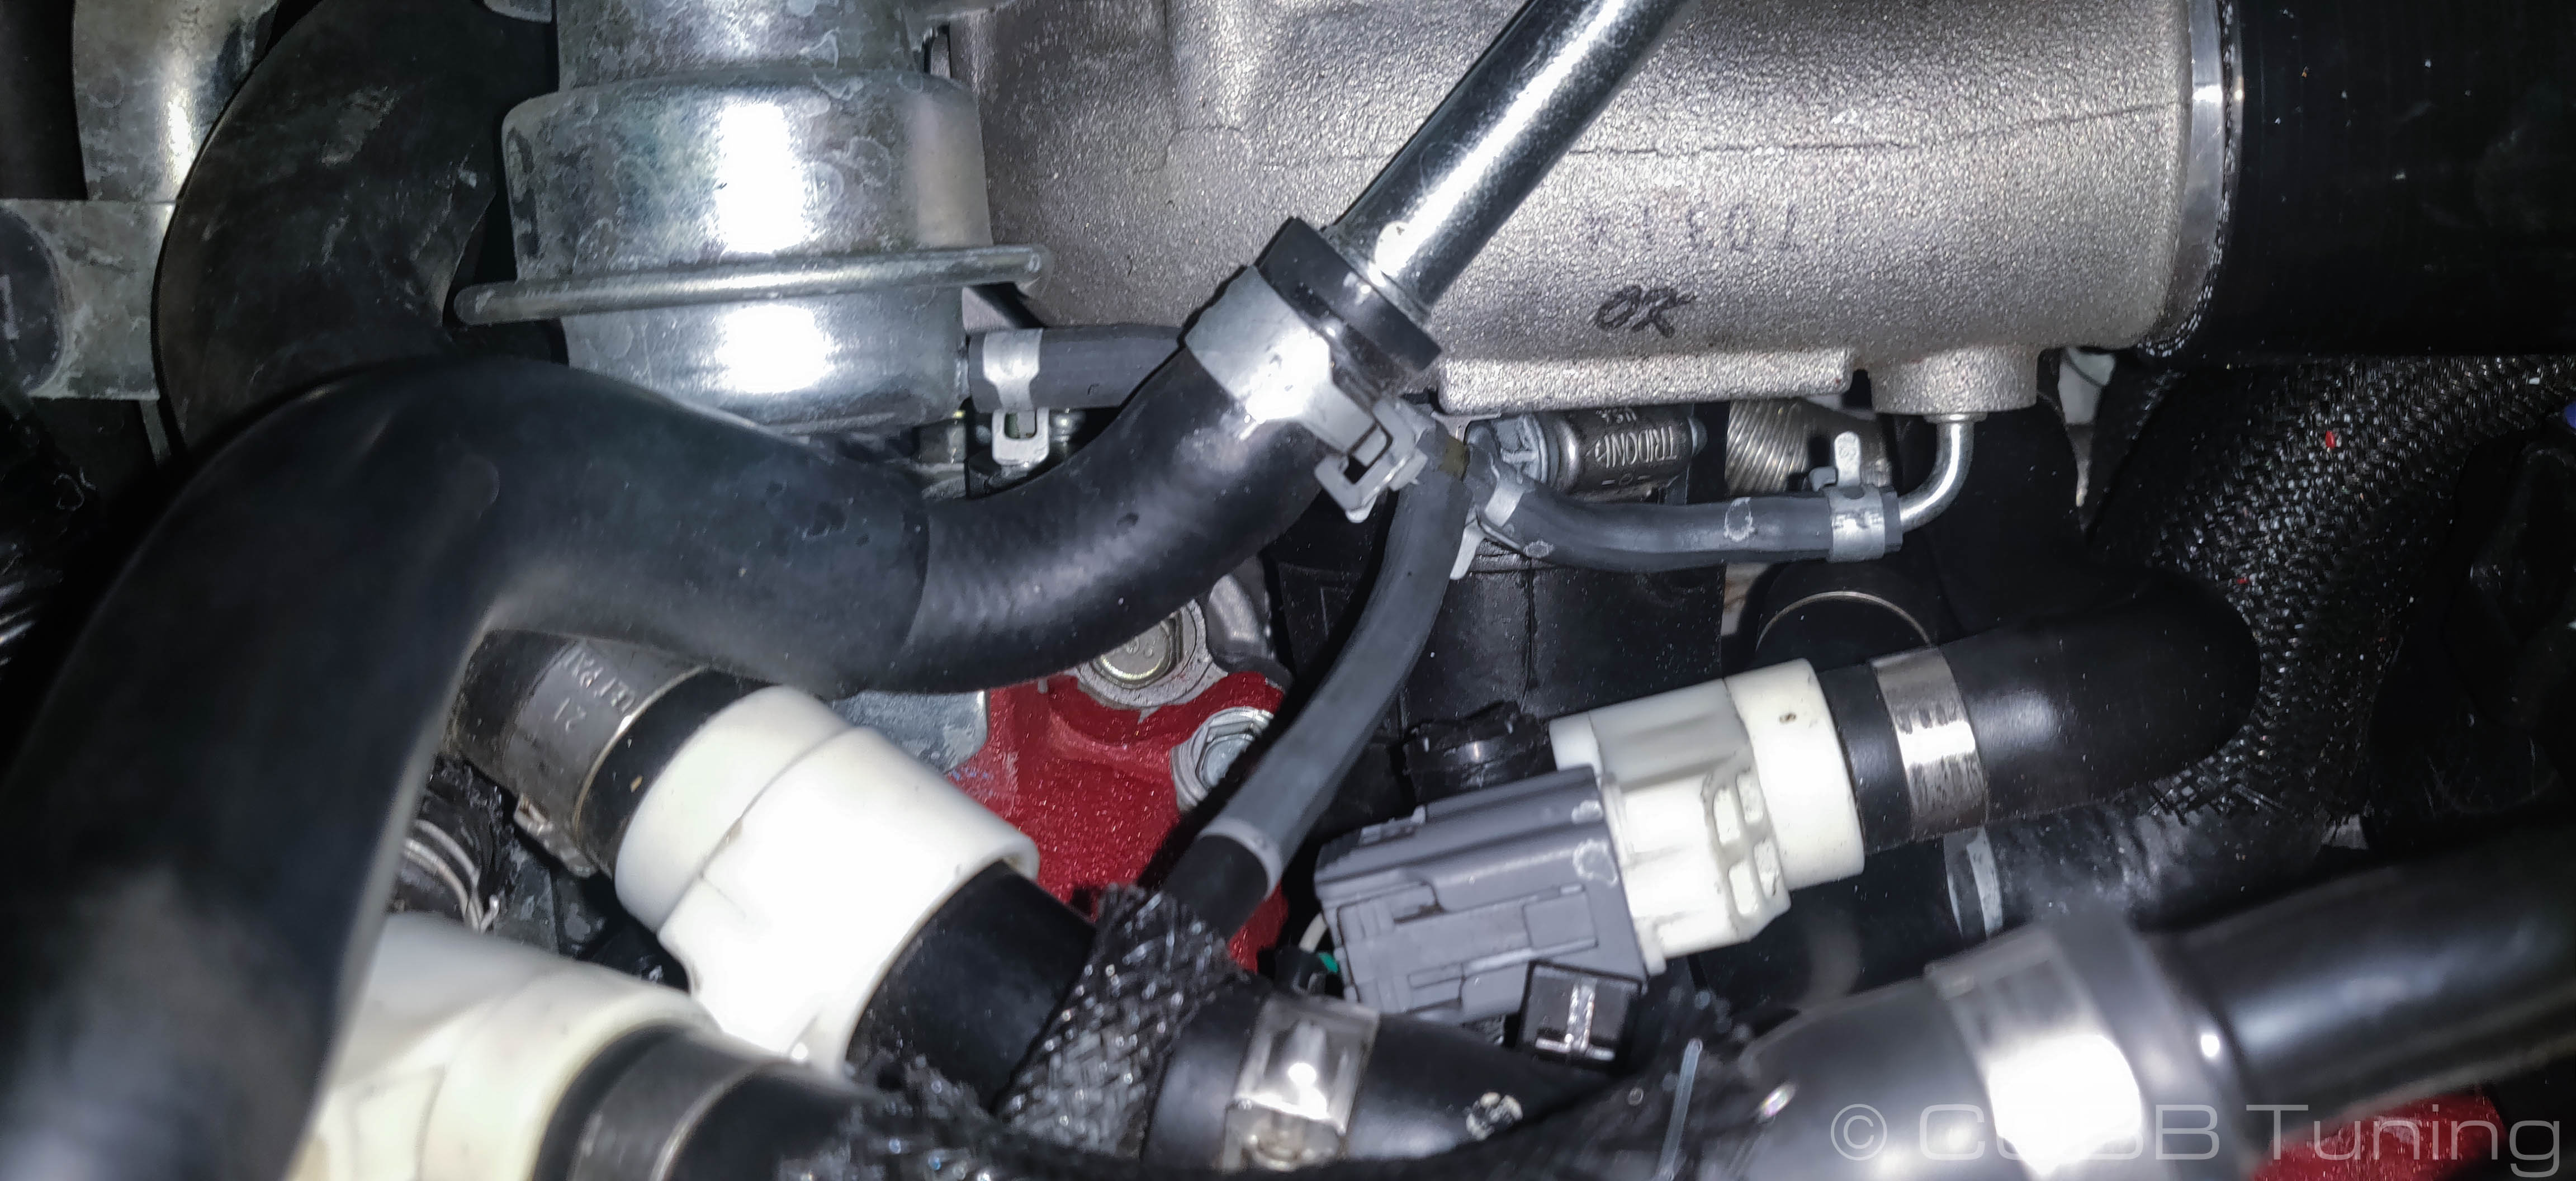

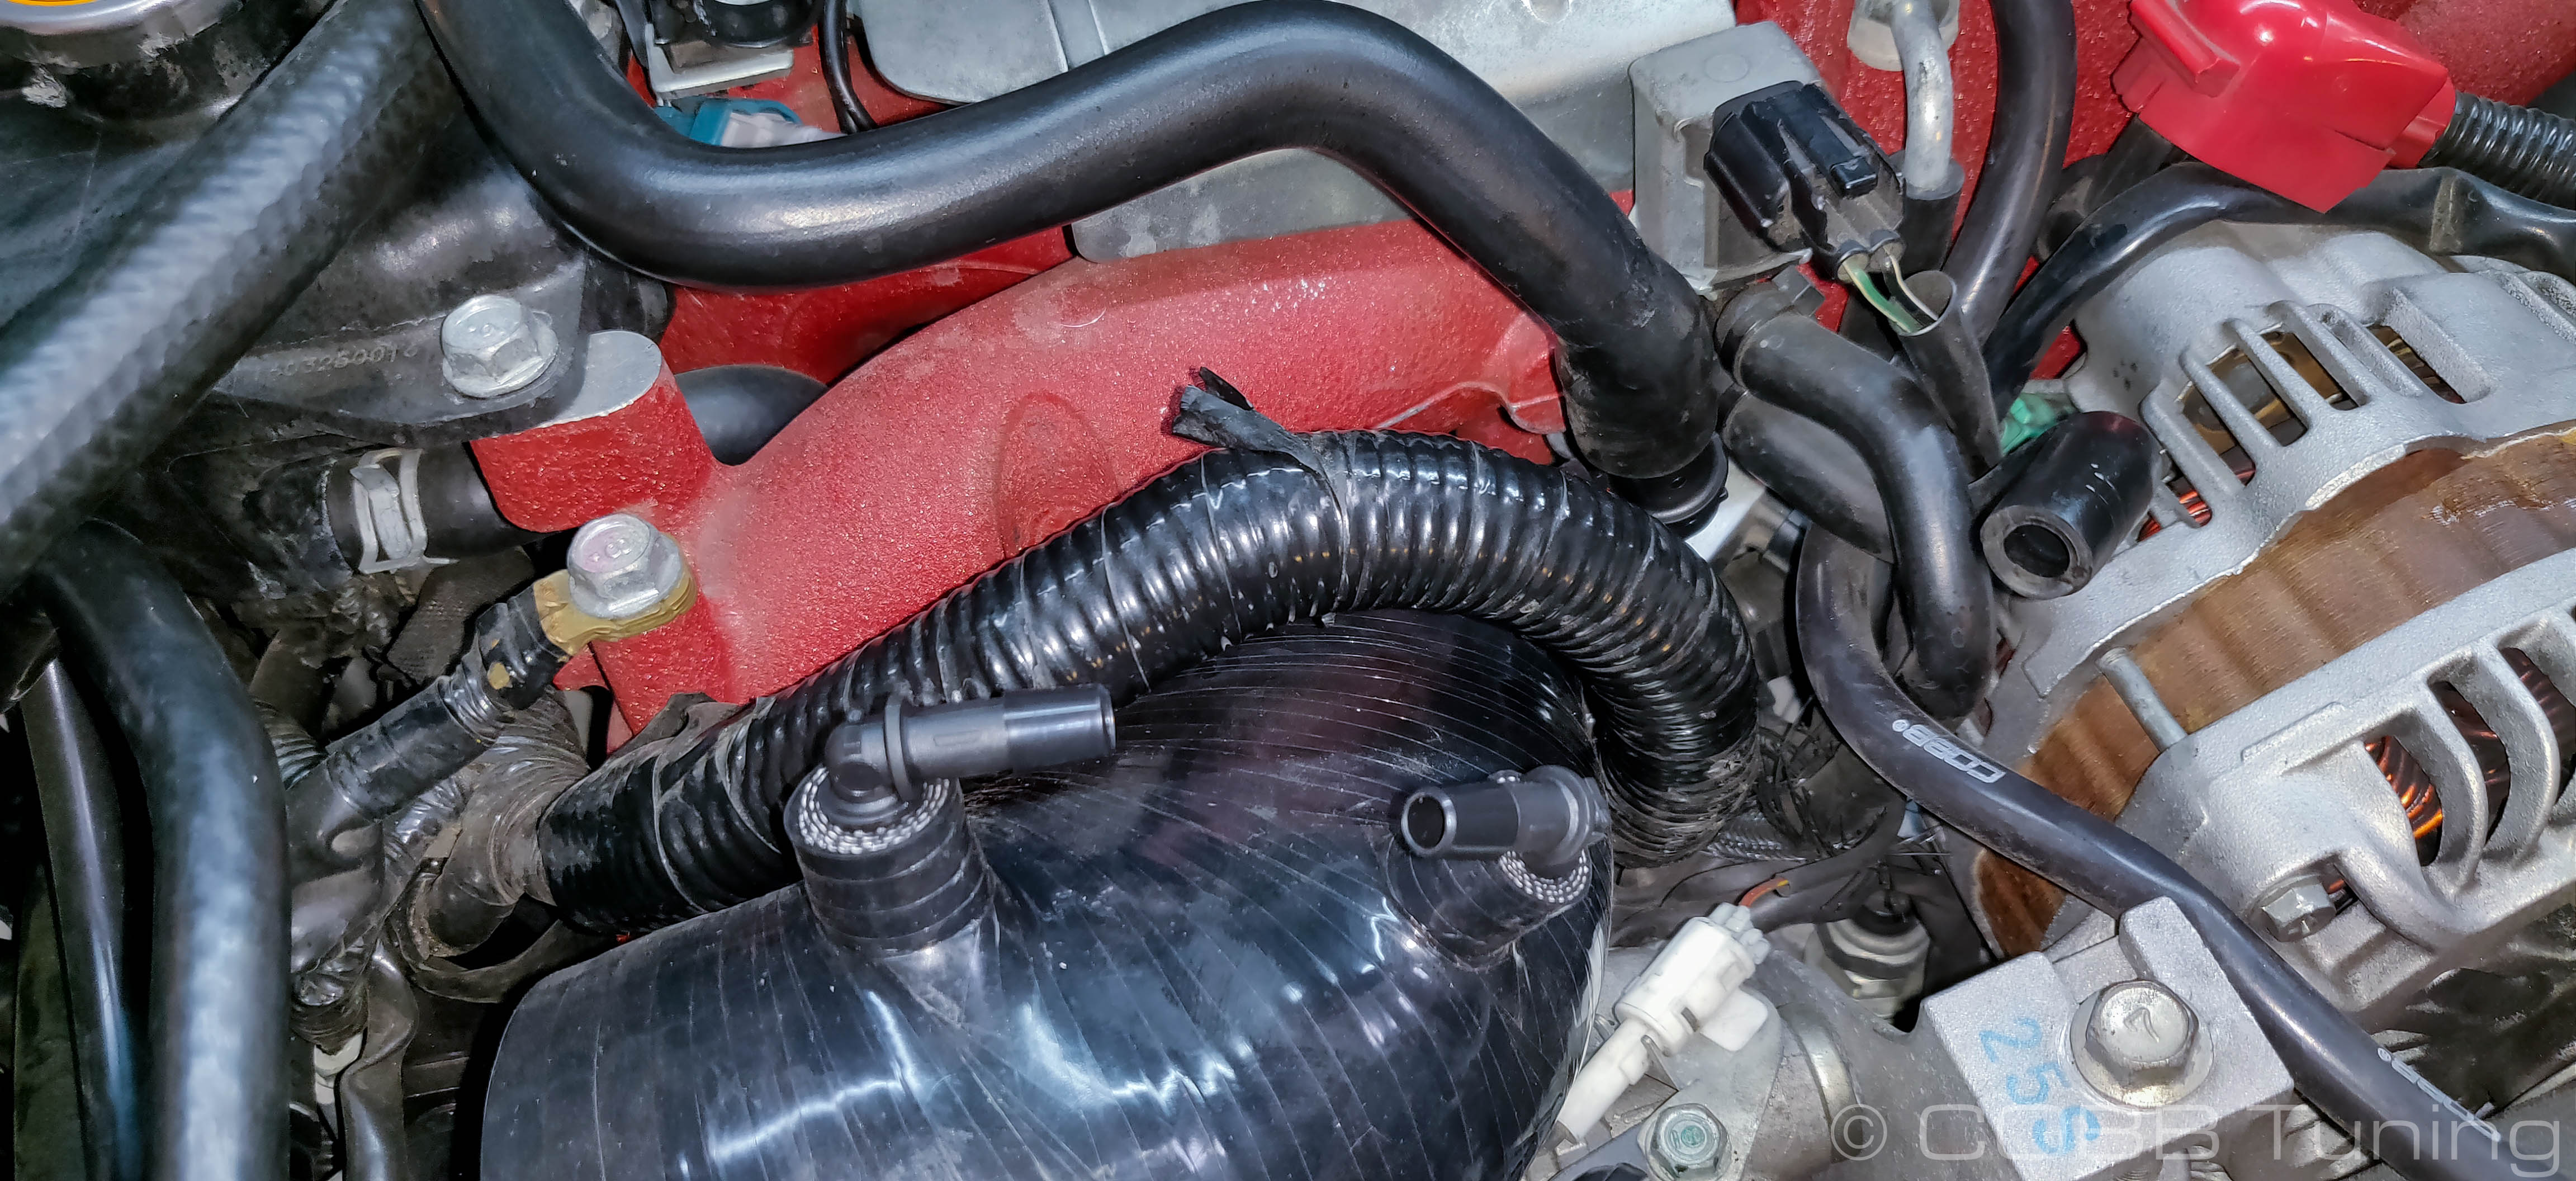
- Pop the blow by sensor fitting into the rear of the inlet.
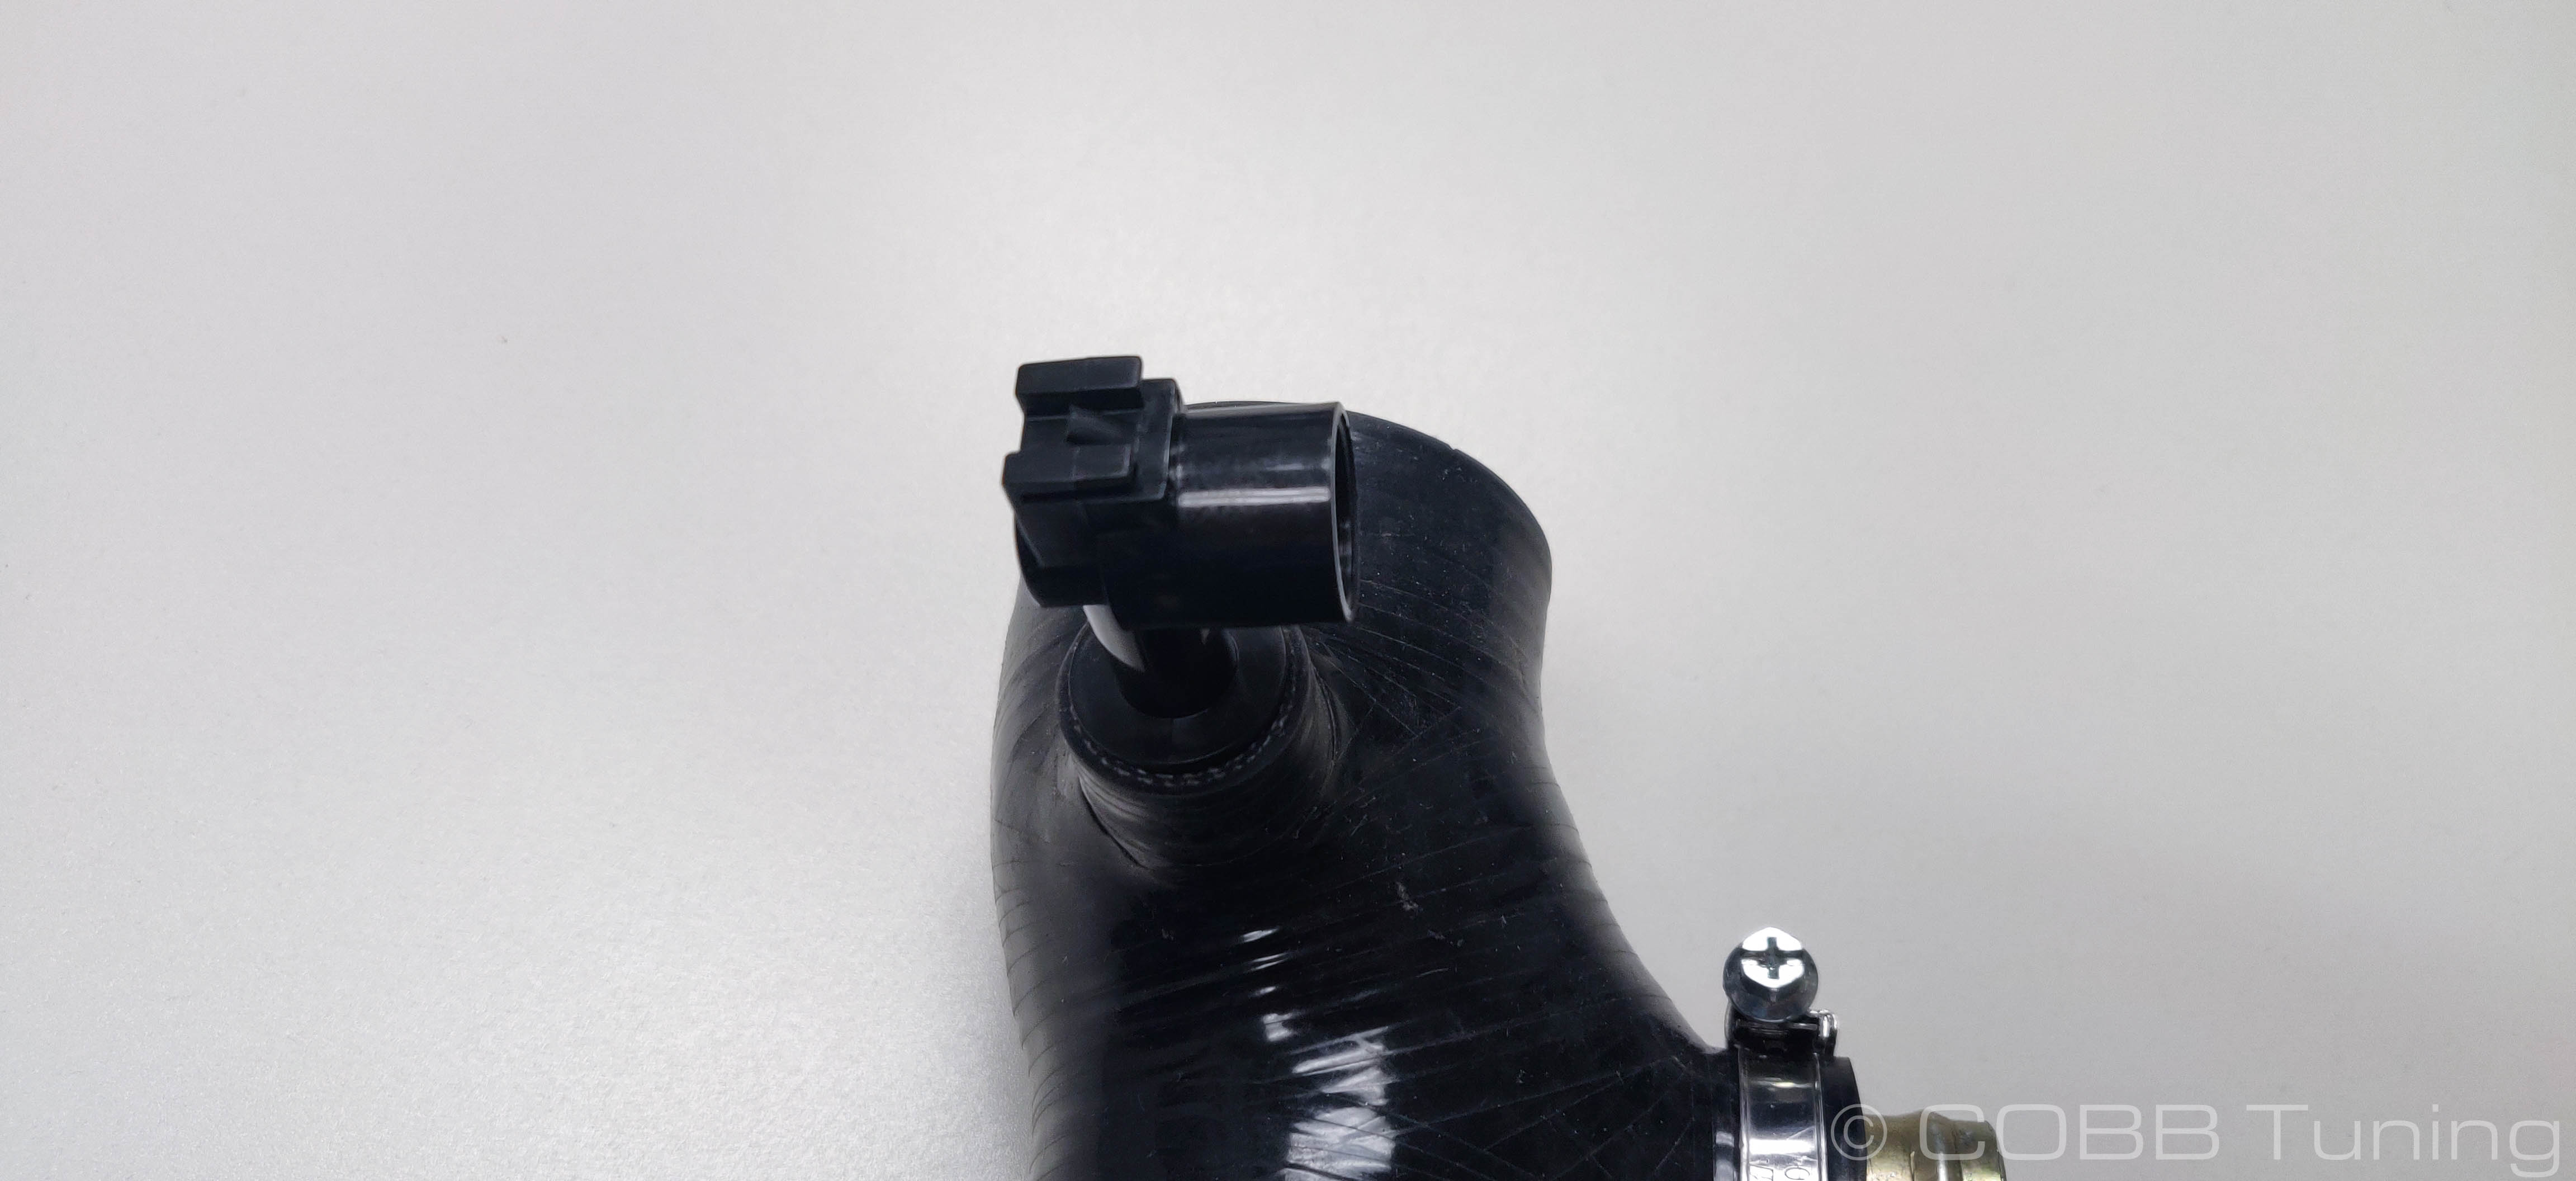
- Install the white blow-by sensor onto the fitting you just installed.
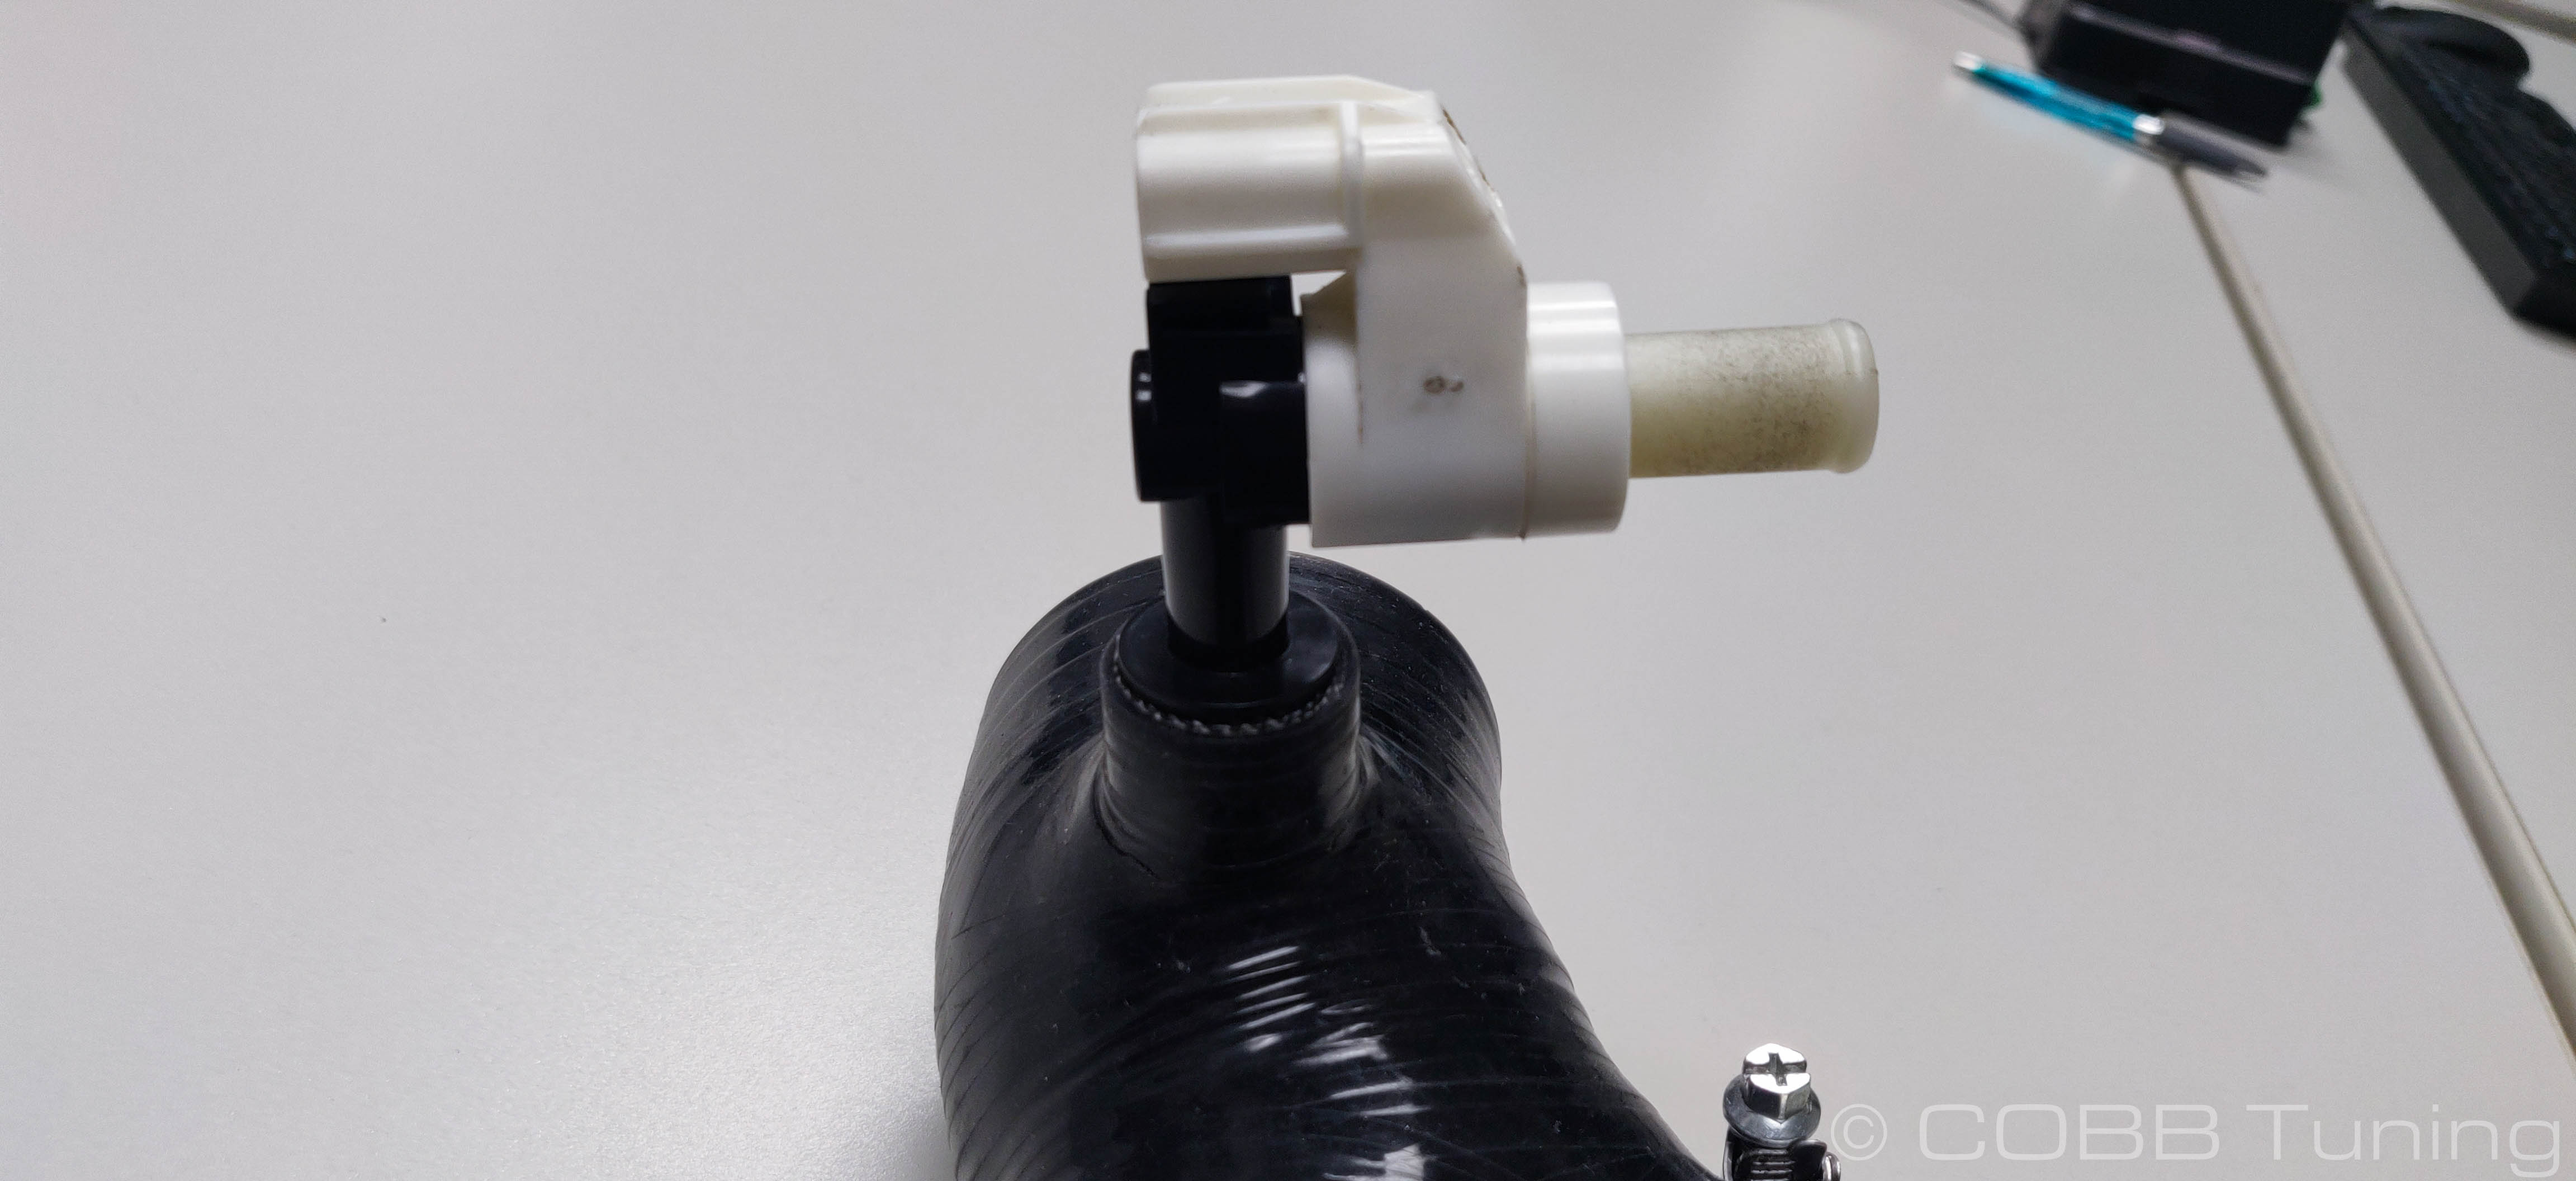
- reinstall the wiring connector onto the sensor.
- Reinstall any stock components you removed
- Check for any leaks from the removed items
- Flash a map that supports the parts you just added.
- You're all good! Go out and enjoy!
CARB Sticker Installation (Where Applicable)
Install the supplied CARB sticker on an easily viewable space that won't be susceptible to large amounts of heat. We recommend on the radiator core support, or the underside of the hood.
Links
COBB Product Install Instructions for Subaru Vehicles
Main Installation Instruction Repository for Subaru Parts
Calibration Map Notes for Subaru Vehicles
Link to Subaru Map Notes to see what map you should be on given the parts you've added
Contact Us:
COBB Customer Support
Web Support and Tech Articles: COBB Tuning Customer Support Center
Email: support@cobbtuning.com
Phone support available 9am to 6pm Monday-Thursday. 9am to 4pm Friday (CST)
866.922.3059
return to www.cobbtuning.com
Copyright 2025 © COBB Tuning Products LLC. All Rights Reserved. | www.cobbtuning.com