725350 - Subaru Redline Carbon Fiber Intake
- Brandyn Mowat

725350 - Subaru Redline Carbon Fiber Intake
Subaru WRX STI 2015 - 2021
Subaru WRX STi S209-2019
Subaru WRX STi Type RA-2018
Congratulations on your purchase of the COBB Tuning STI Redline Intake! The following instructions will assist you through the installation process. Please read them BEFORE beginning the install to familiarize yourself with the steps and tools needed. If you feel you cannot properly perform this installation, we HIGHLY recommend you take the vehicle to a qualified and experienced automotive technician.
Table of Contents
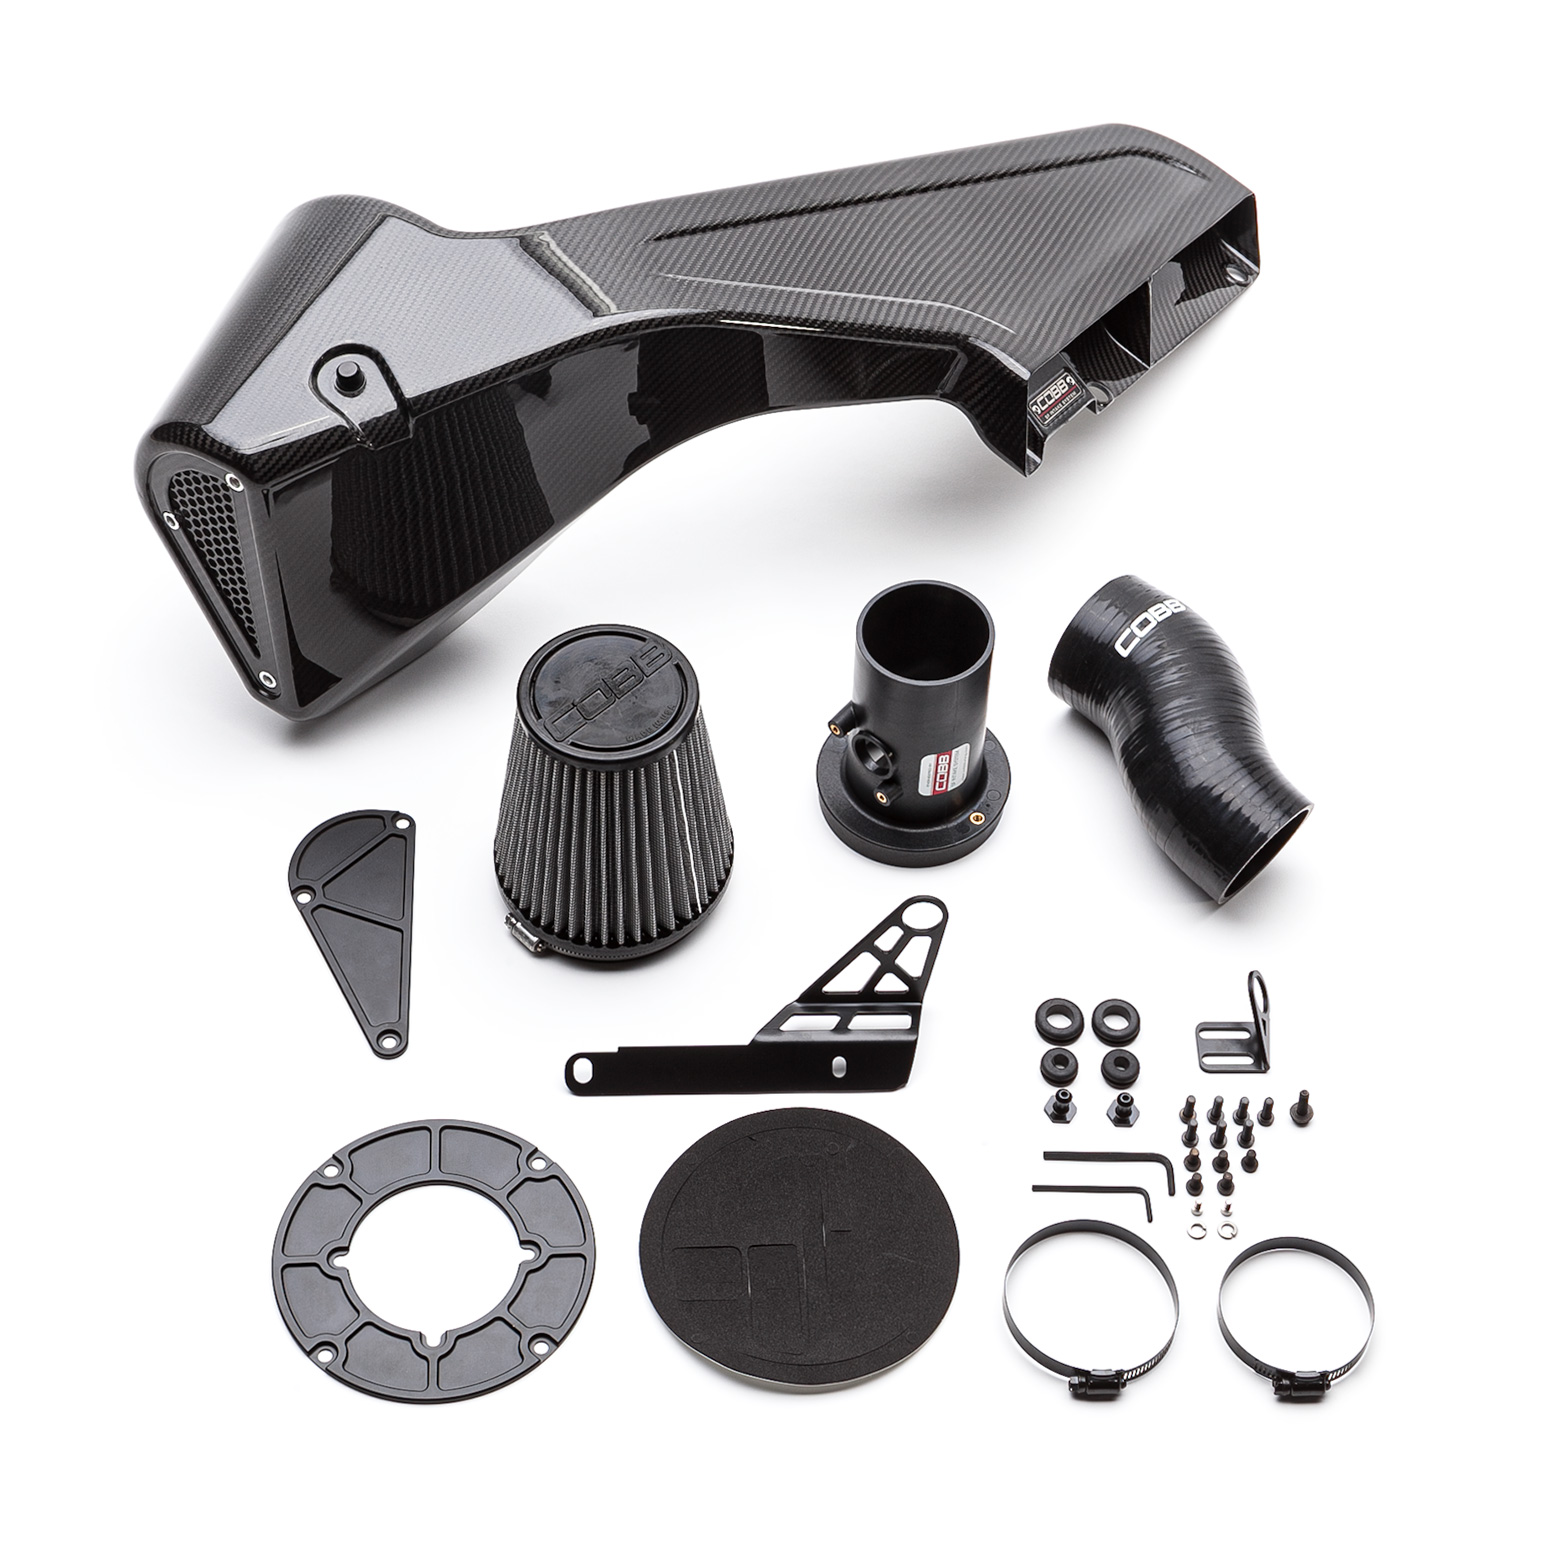
Parts List
- Composite MAF Housing
- Carbon SF Intake
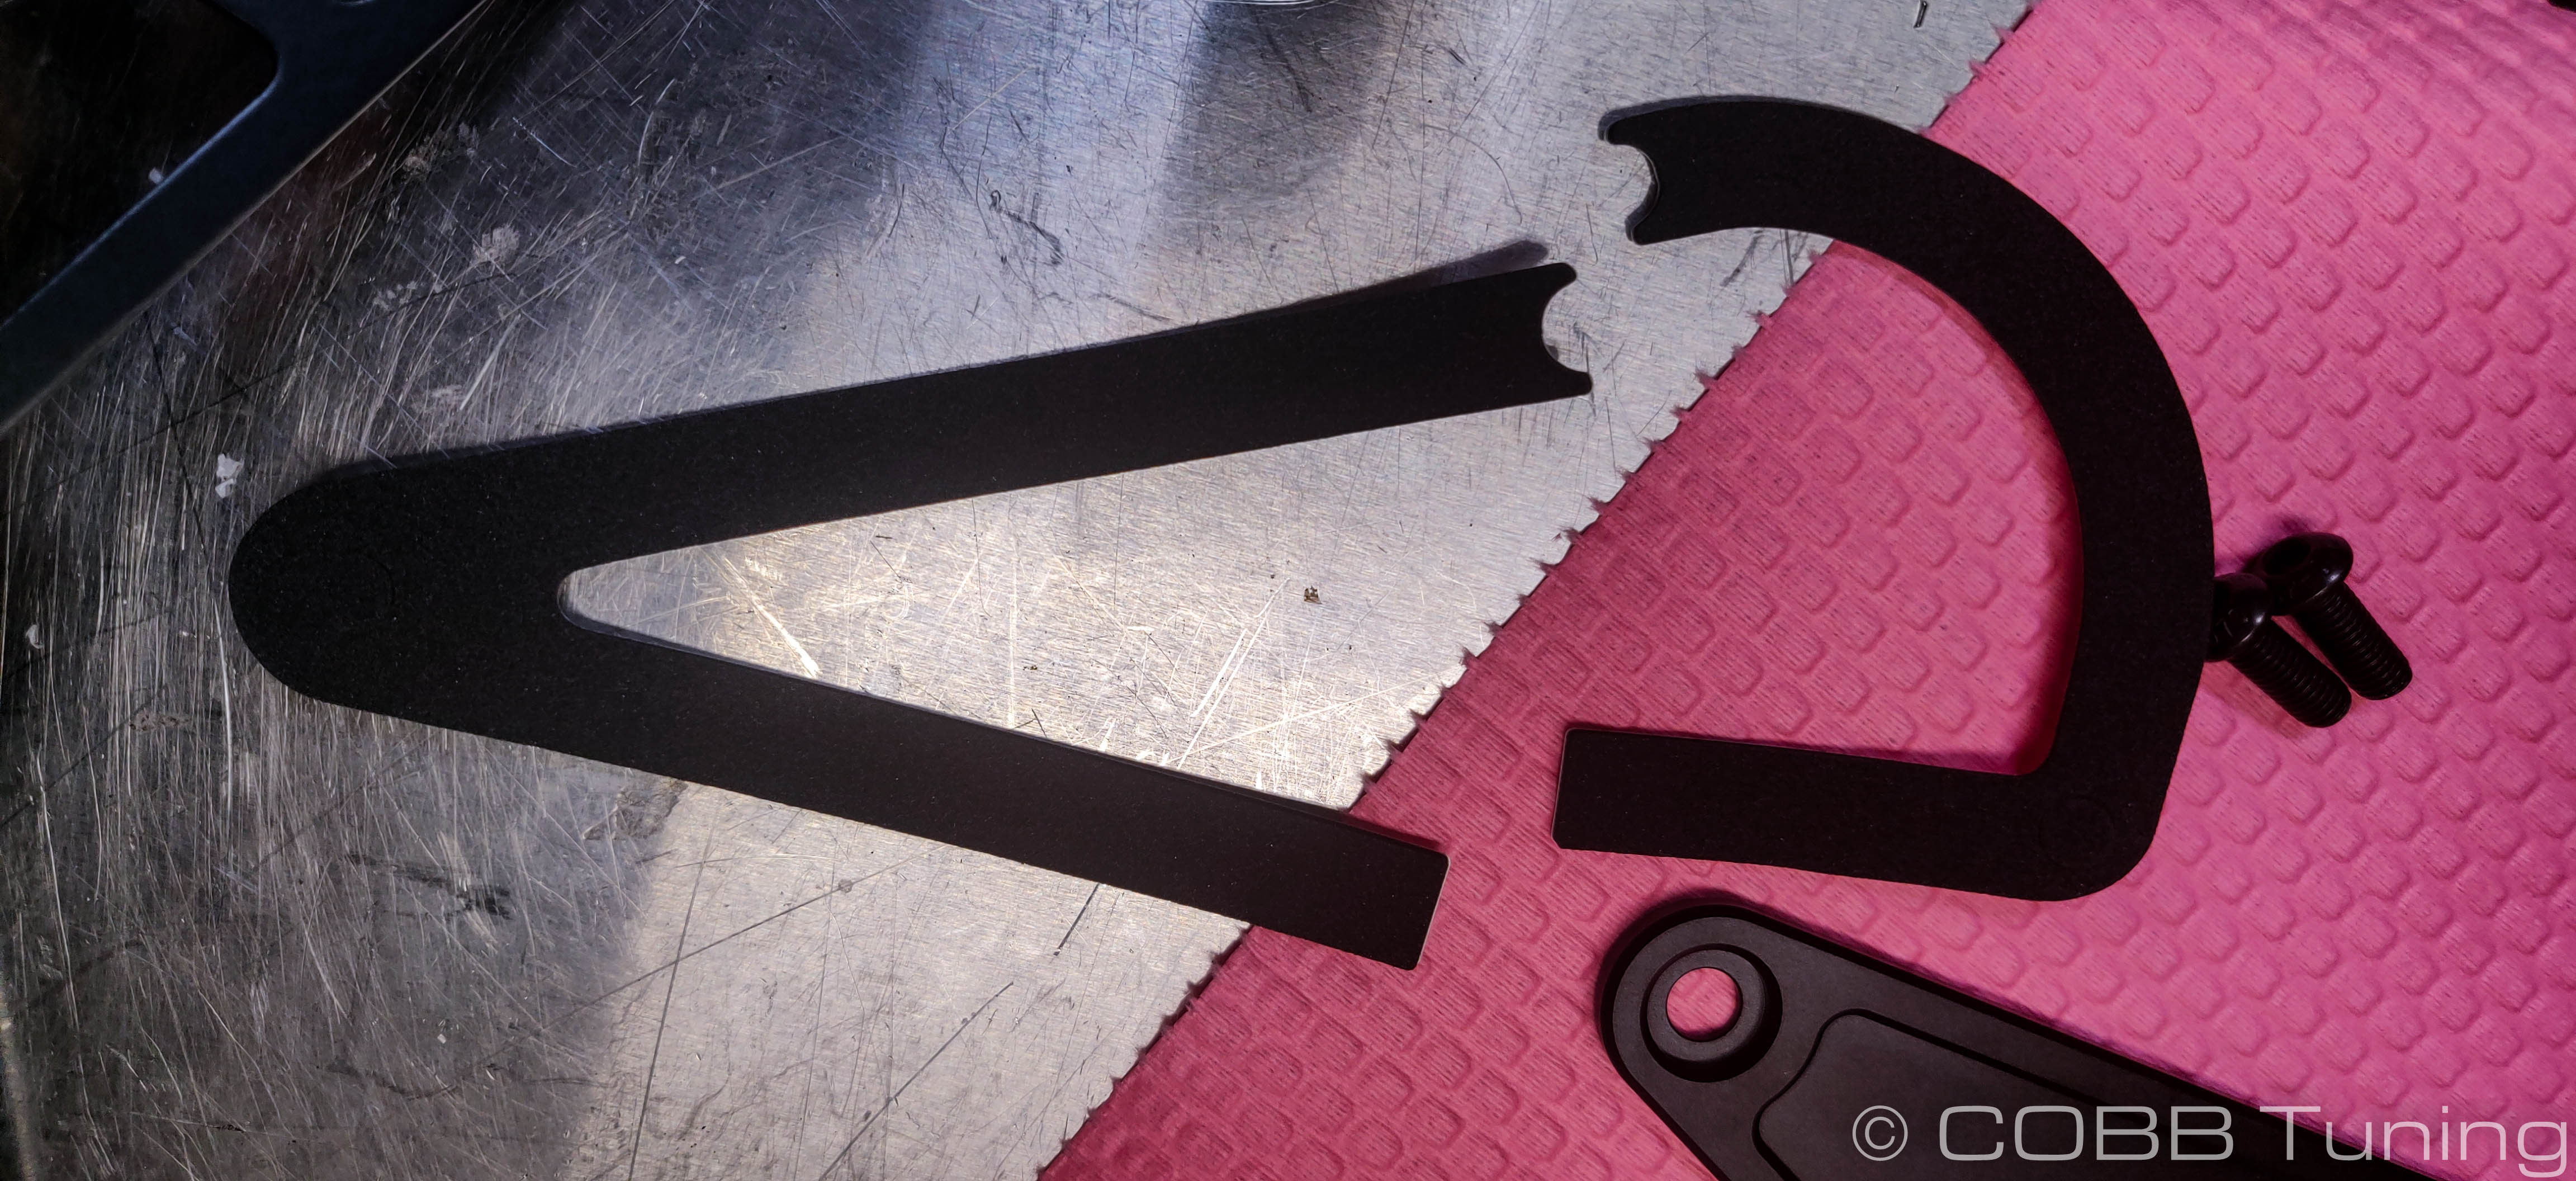
- Upper Mounting Bracket
- Lower Mounting Bracket
- MAF Housing Adapter Plate
- Rear Block-Off Plate
- (2) Retention Pins
- (2) 7/8" EPDM Grommet
- (2) 5/8" EPDM Grommet
- (2) #48 Black Stainless Hose Clamp
- STI Post MAF Silicone
- Precut Gasket Sheet
- 7V2101 Intake Filter
- 725350-HW Intake Hardware Kit
- M4 Hex Key
- M3 Hex Key
- (5) M6x10mm SS Black Oxide Button Head Bolts
- (7) M6x16mm SS Black Oxide Button Head Bolts
- (2) M4x6mm MAF SEnsor
- M6x20mm Flange Head Black Oxide Bolt
- (2) 6mm Lock Washer for
Tools Needed
Sockets
3/8"
Hand Tools
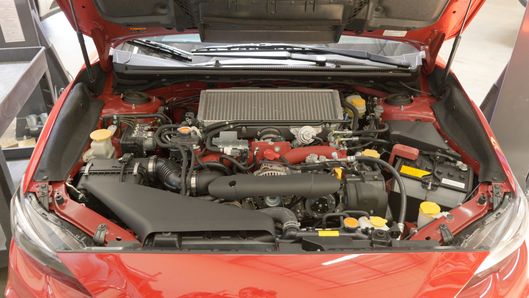
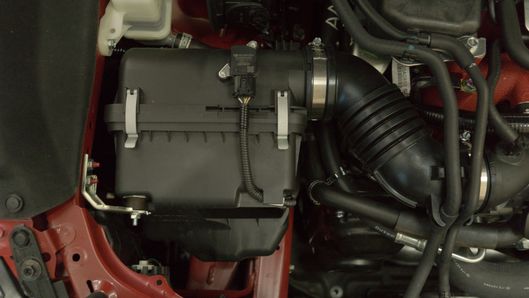
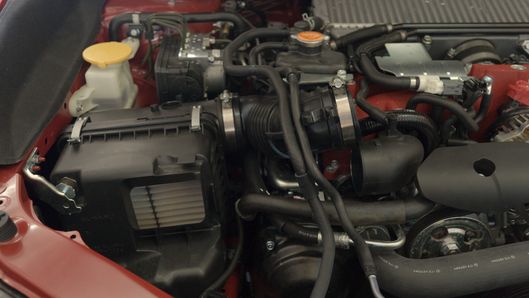
Stock Intake Removal


Carbon Intake Pre-Assembly
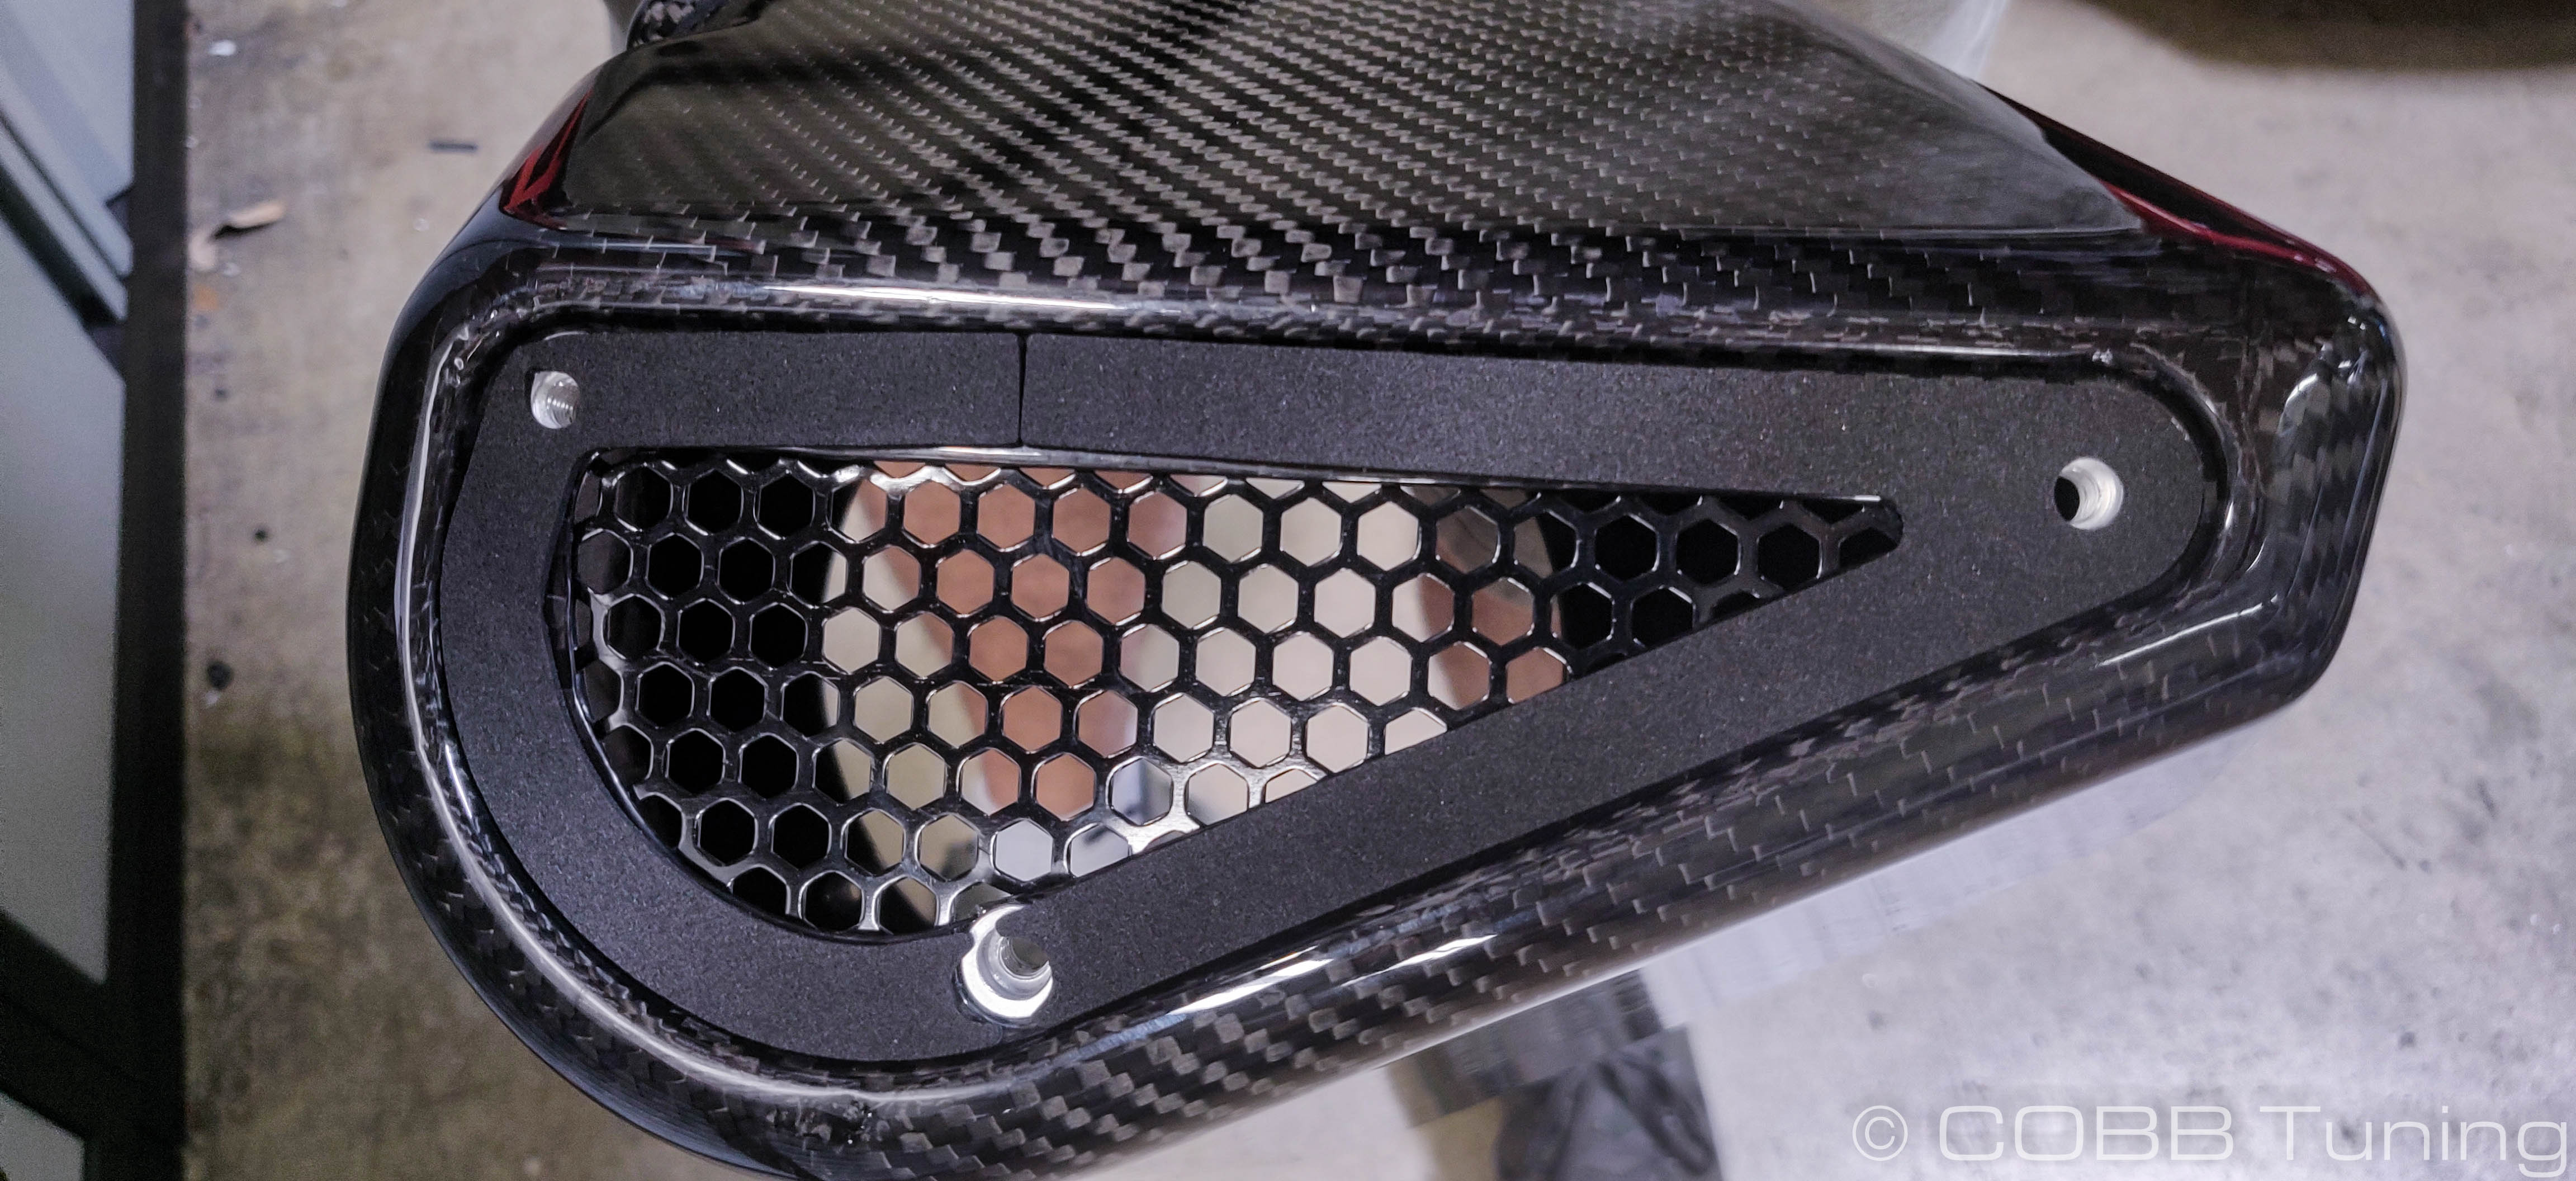
- Carefully separate the large ring gasket away from the rest of the gaskets on the pre-cut sheet. Remove the pieces that are inside of the pre-cut holes. This can be installed on the large opening of the air filter housing. Make sure to line up the pre-punched holes with the threaded inserts.
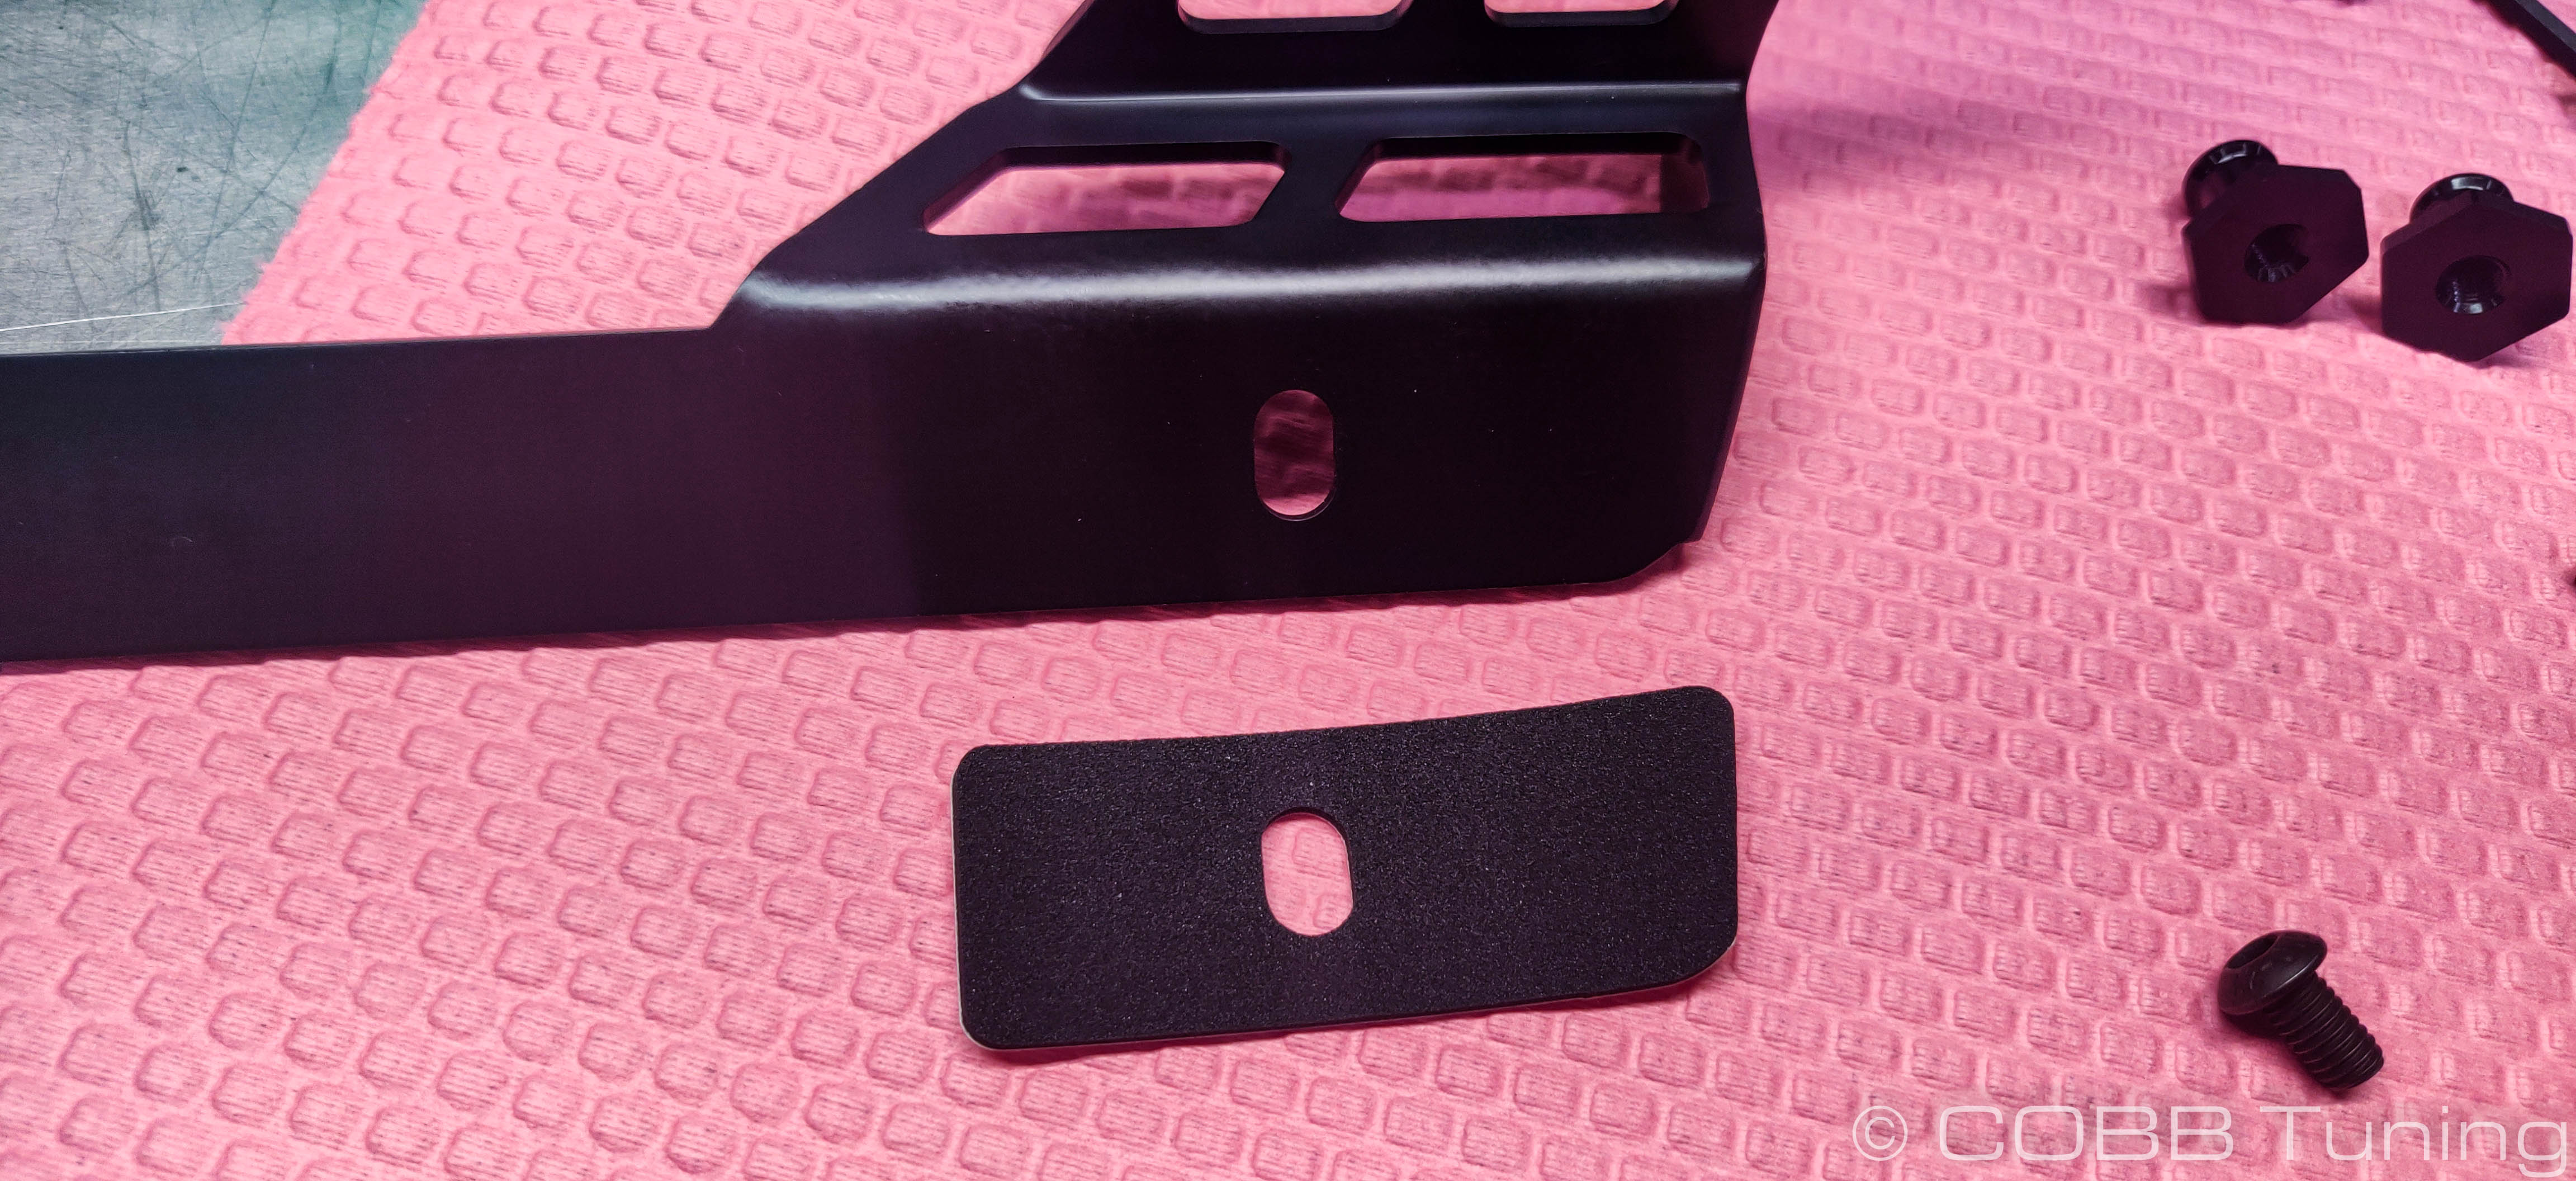
- Remove these two pre-cut pieces as well from the gasket sheet. Remove the sections from the pre-cut holes in the two pieces.
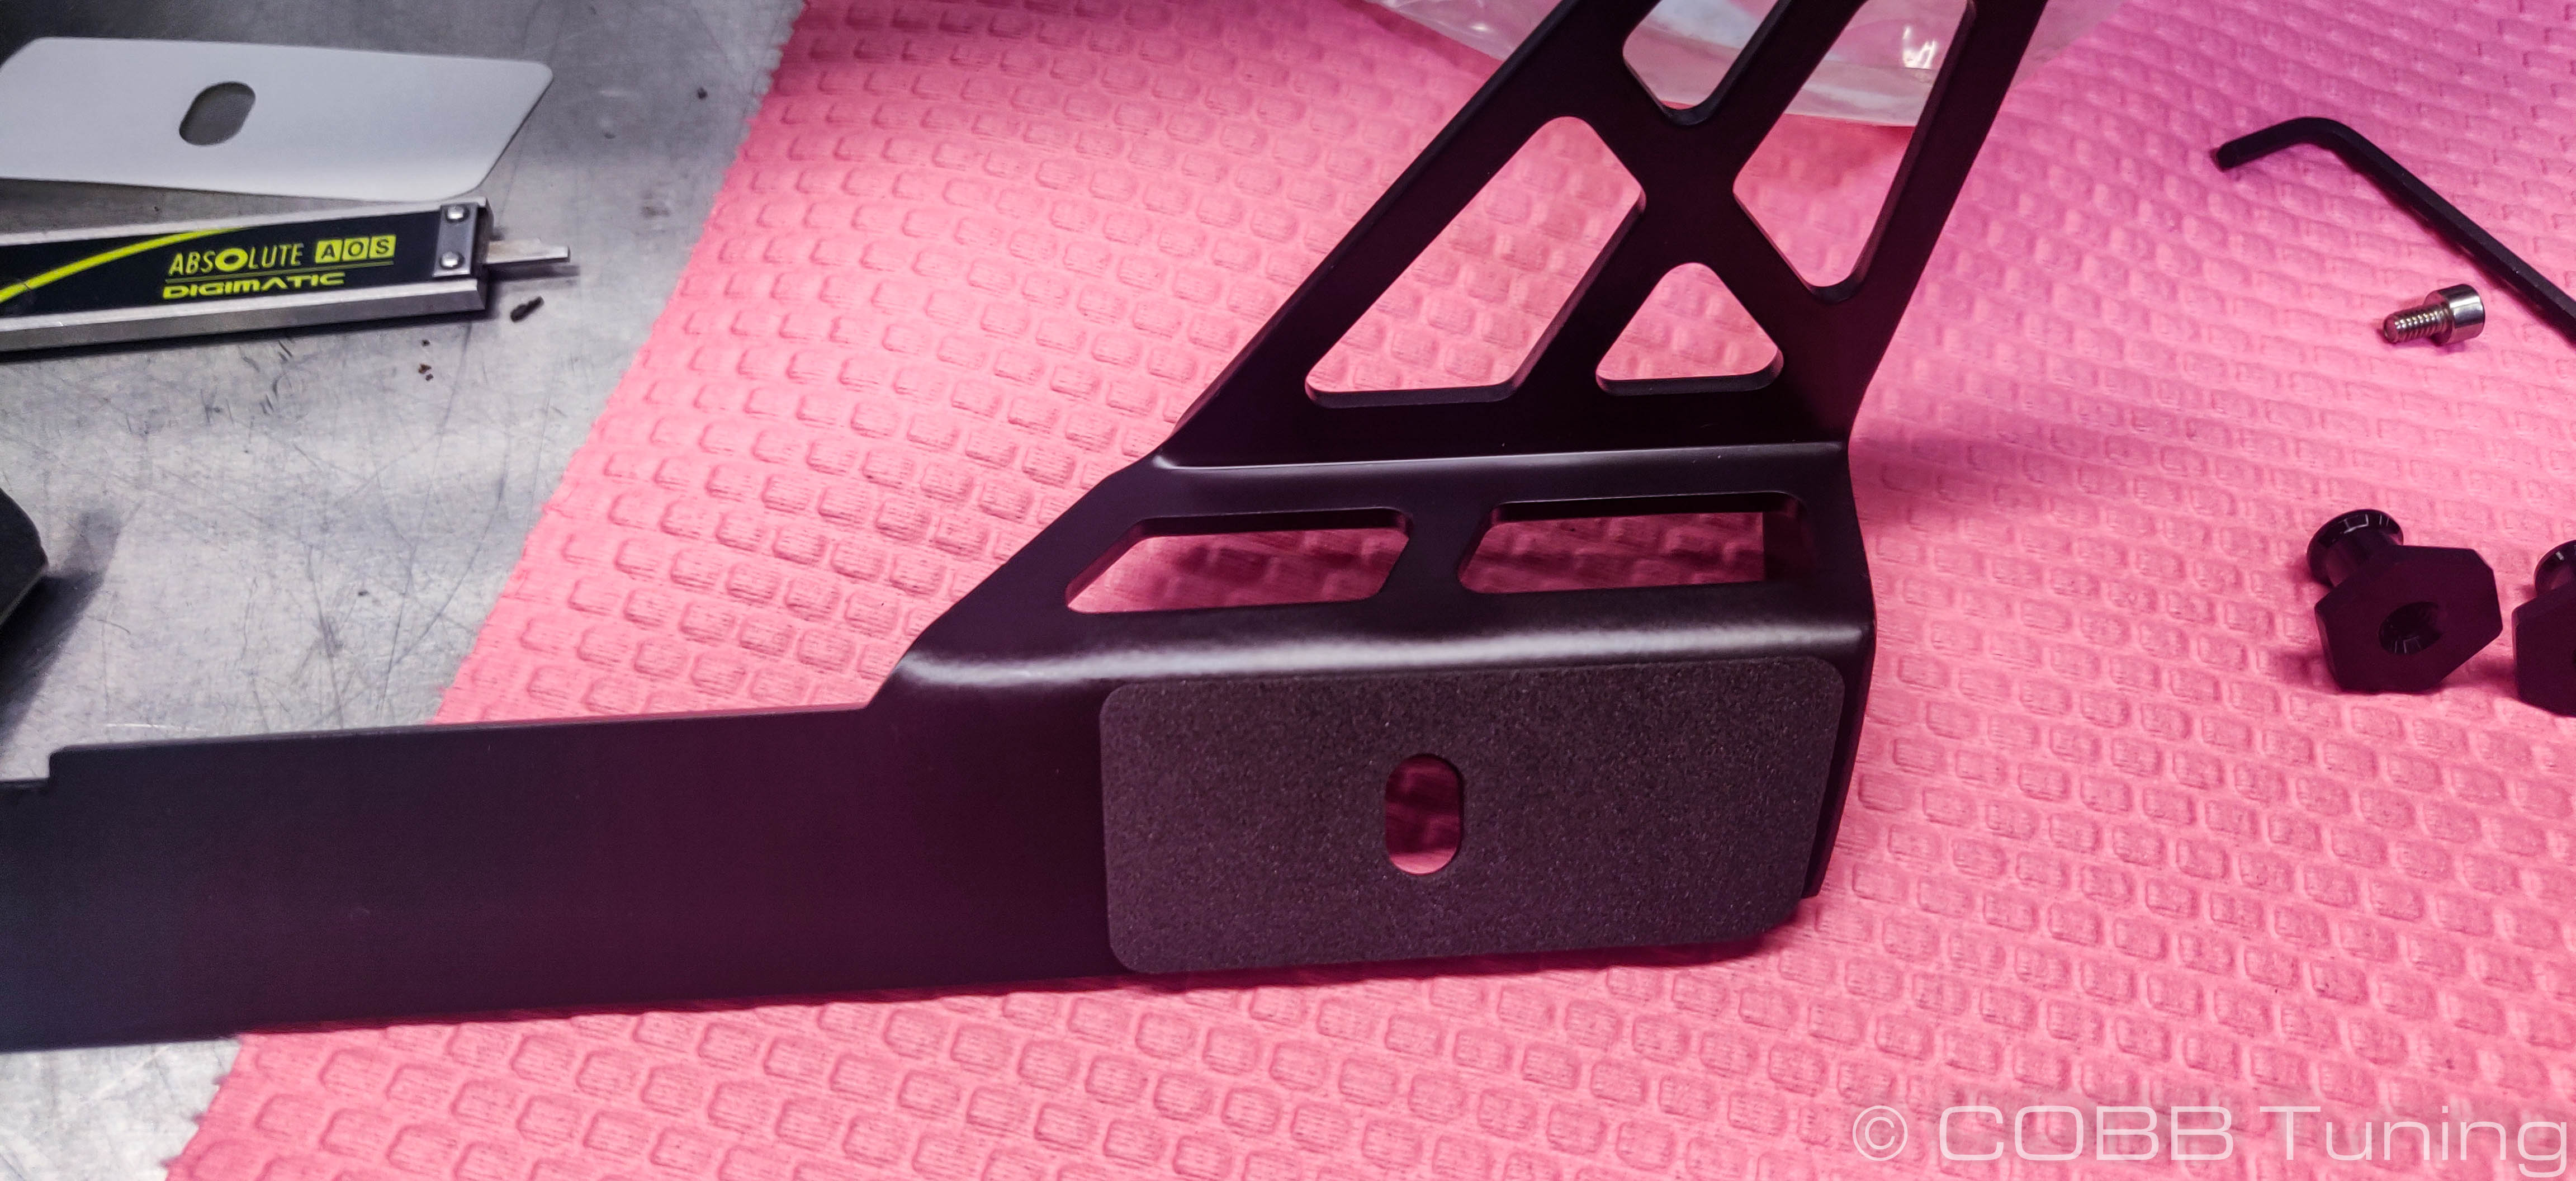
- This can be put on the rear block-off plate mounting area. Make sure to once again line up the holes with the existing threaded parts. Feel free to put it on straighter than I did.
- If you want to put on the rear blockoff plate now is a good time to do so. Using your supplied 4mm allen key and the three 15mm long allen bolts, screw it in place hand tight. While it should be hand tight it doesn't need to be insanely tight as overtightening could cause damage.

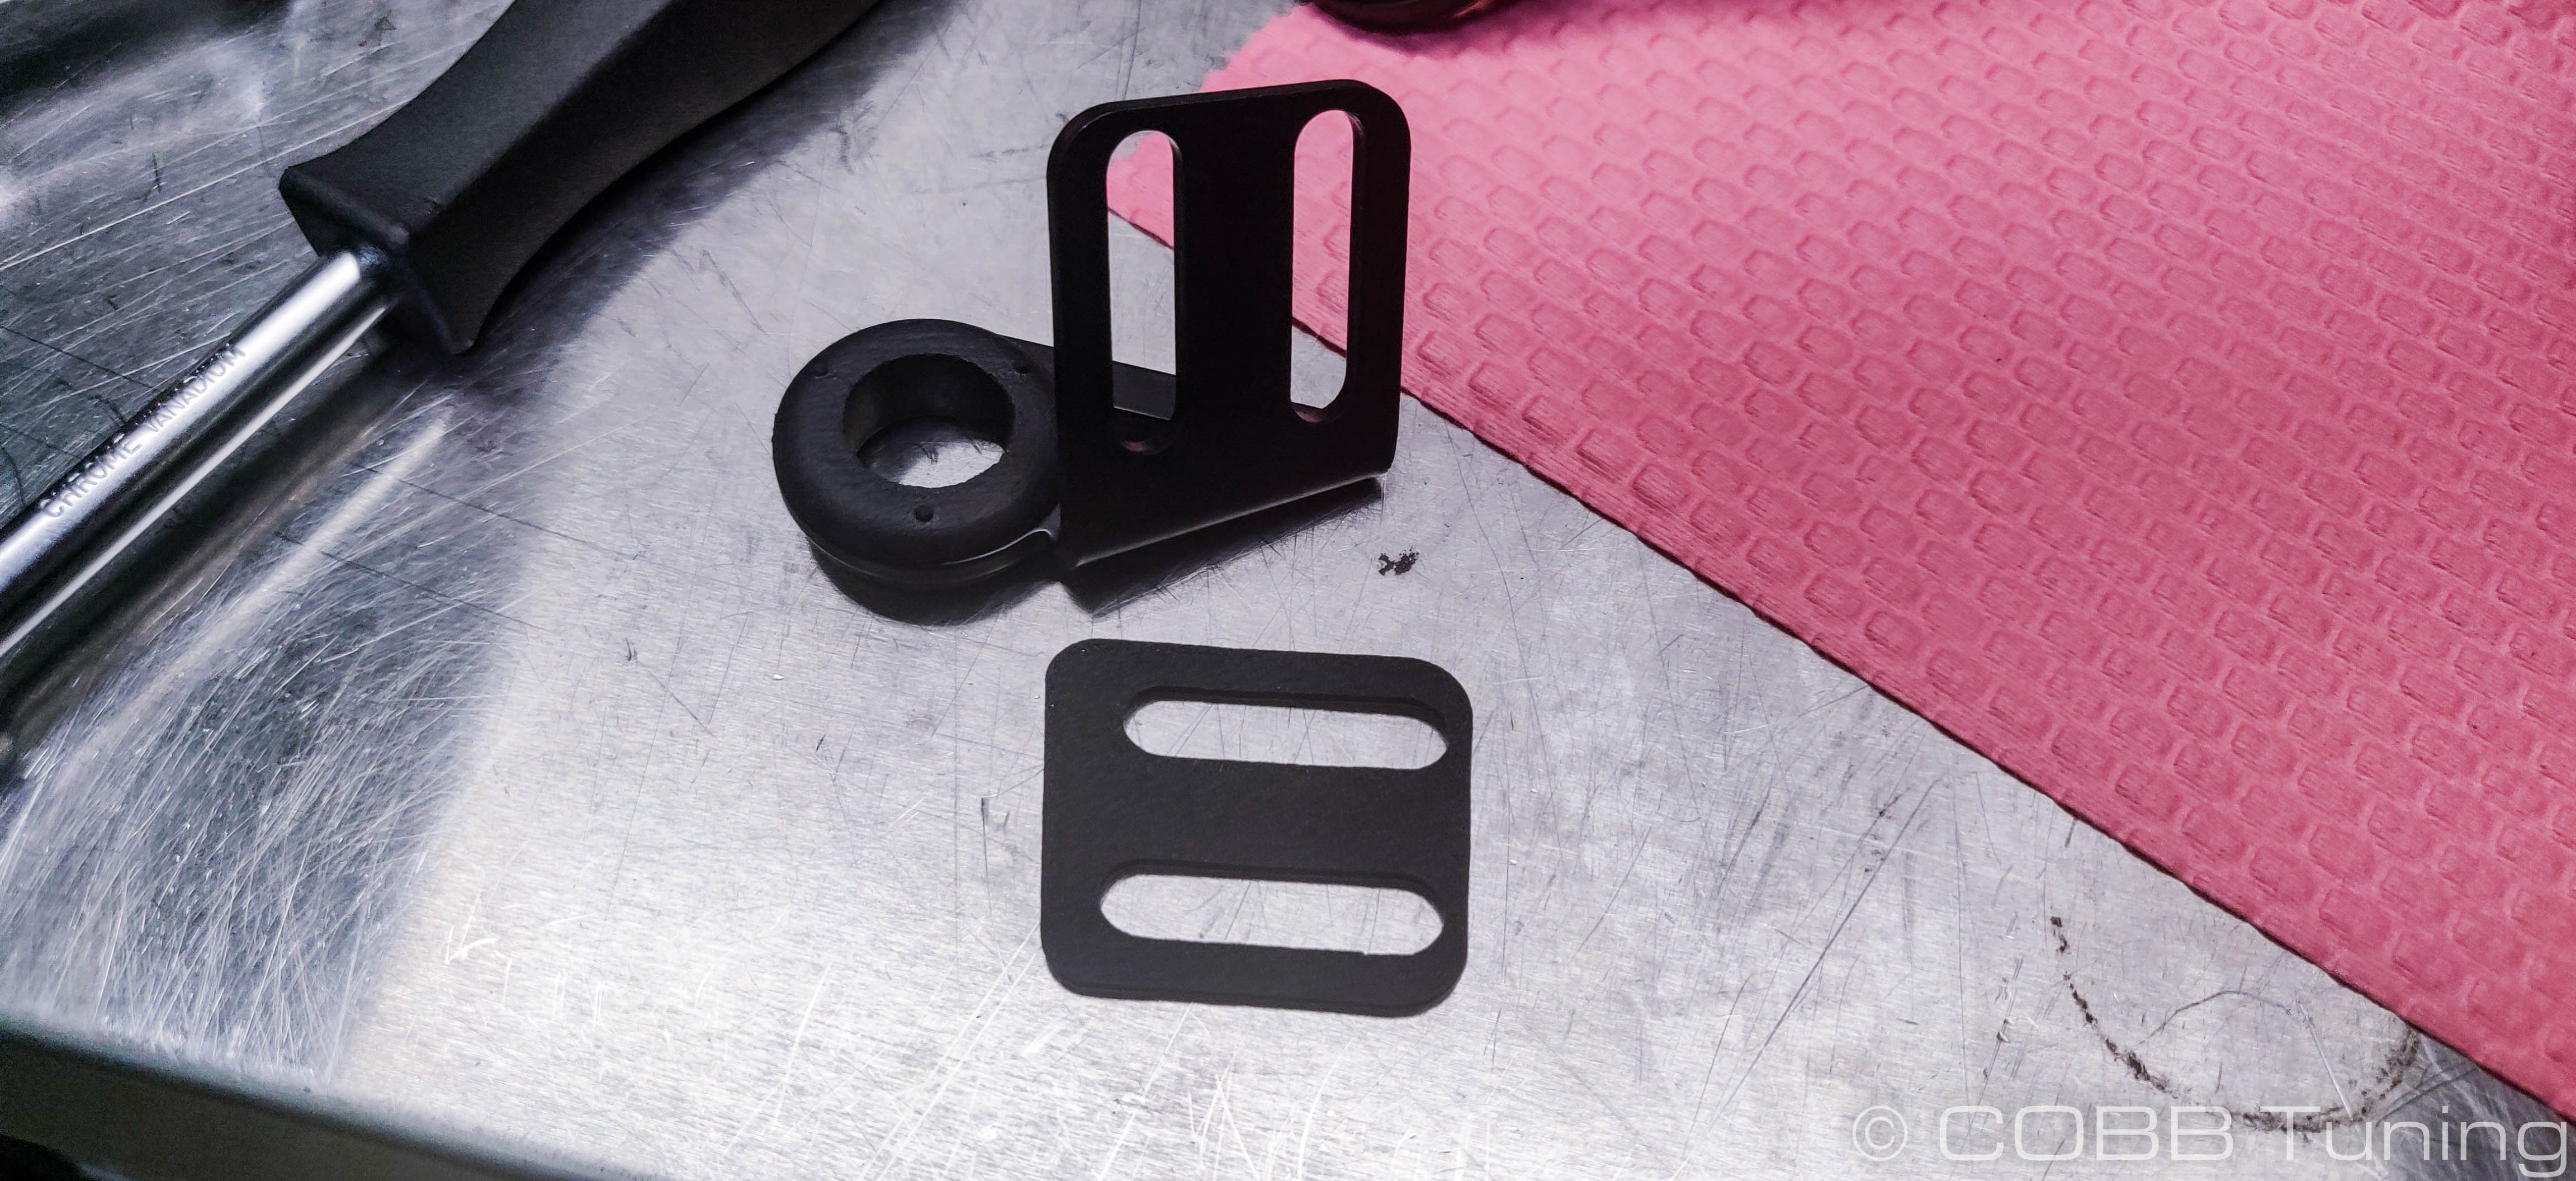
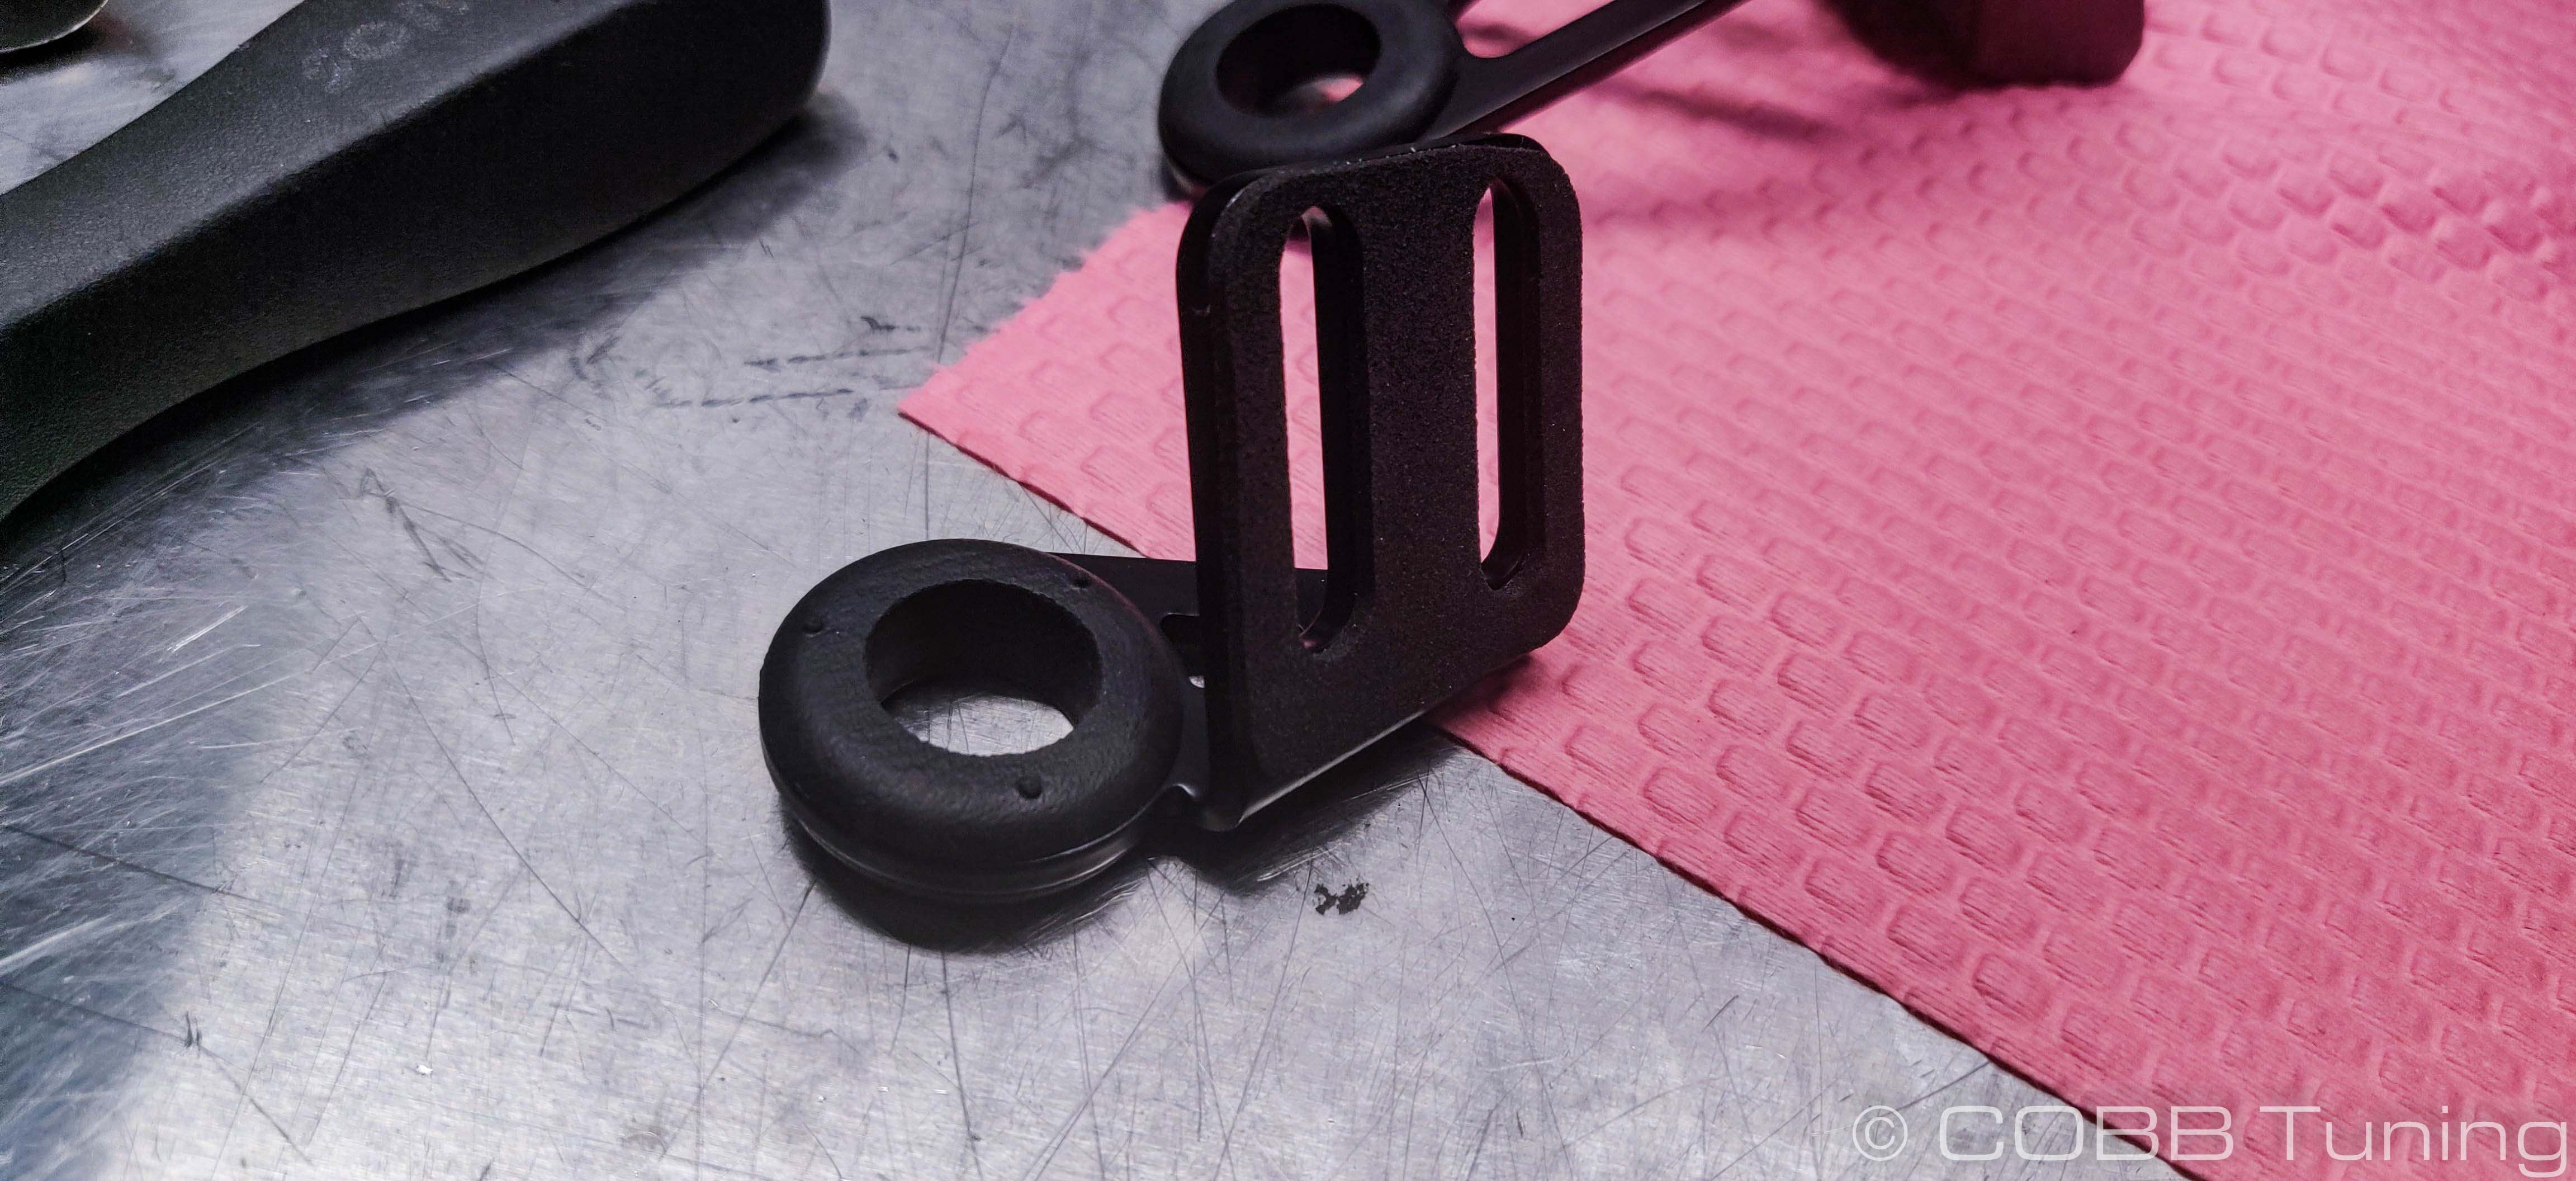
- Take the smaller mounting bracket and pop one of the provided rubber grommets of the larger size into the big opening.
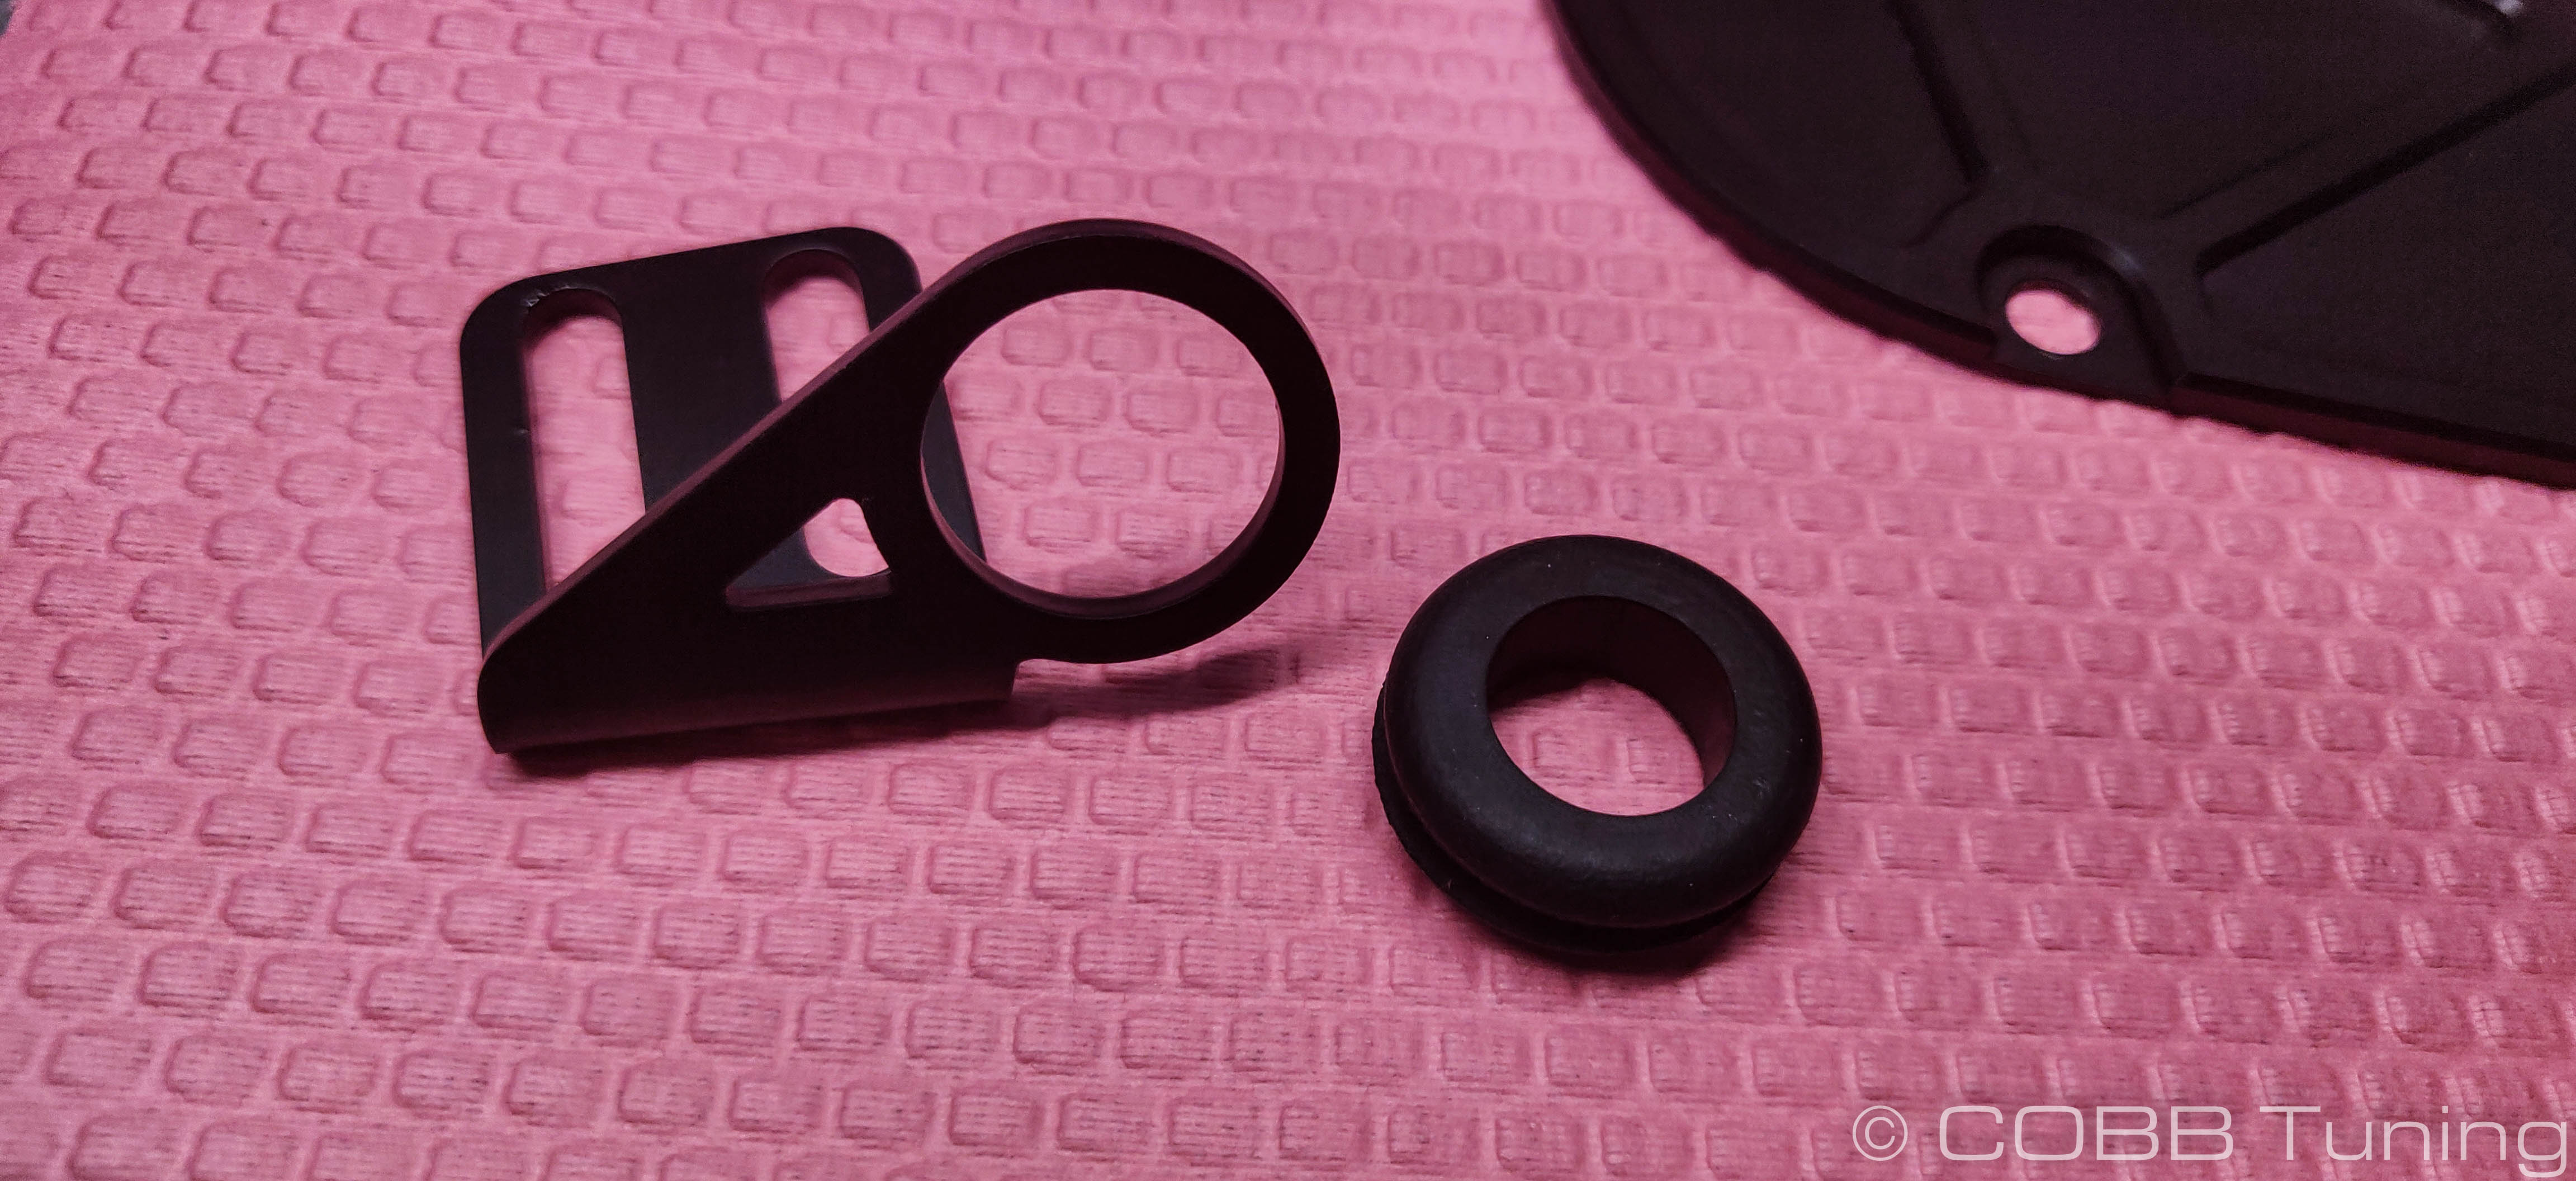
- Pop out the pre-cut gasket with the two long slots. This will get installed onto the same bracket on the side facing away from the bend / Grommet.
- Like you just did on the smaller bracket, Install the remaining large grommet into the long mounting bracket.
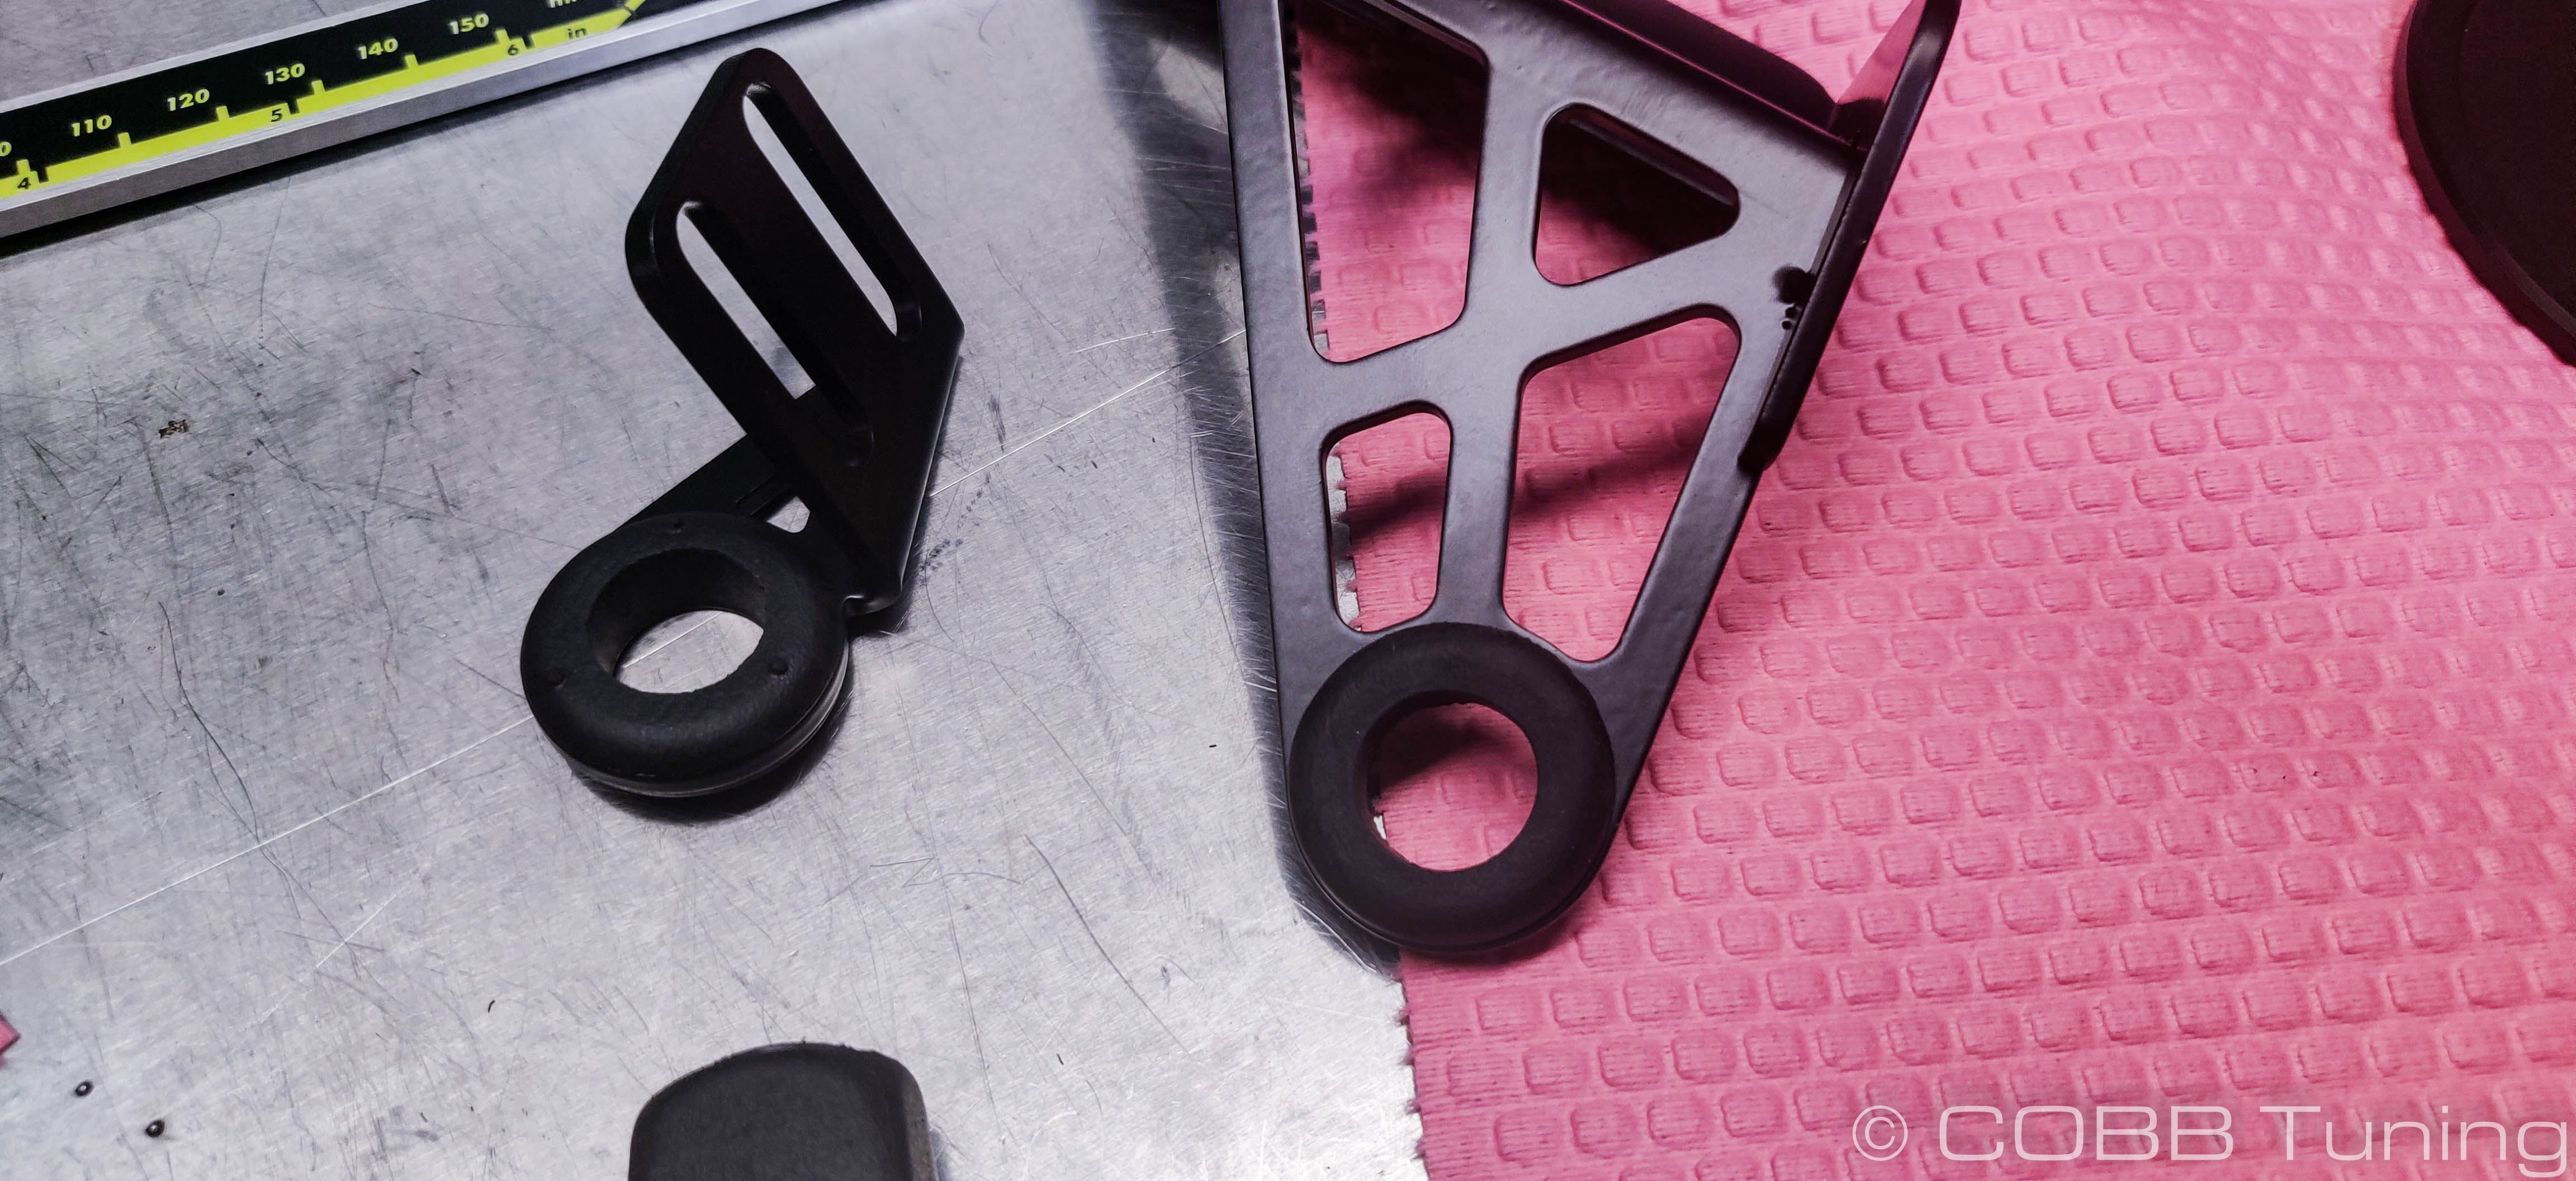
- Take the last remaining pre-cut gasket piece. It should have a single hole in it. This will attach to the larger mounting bracket.
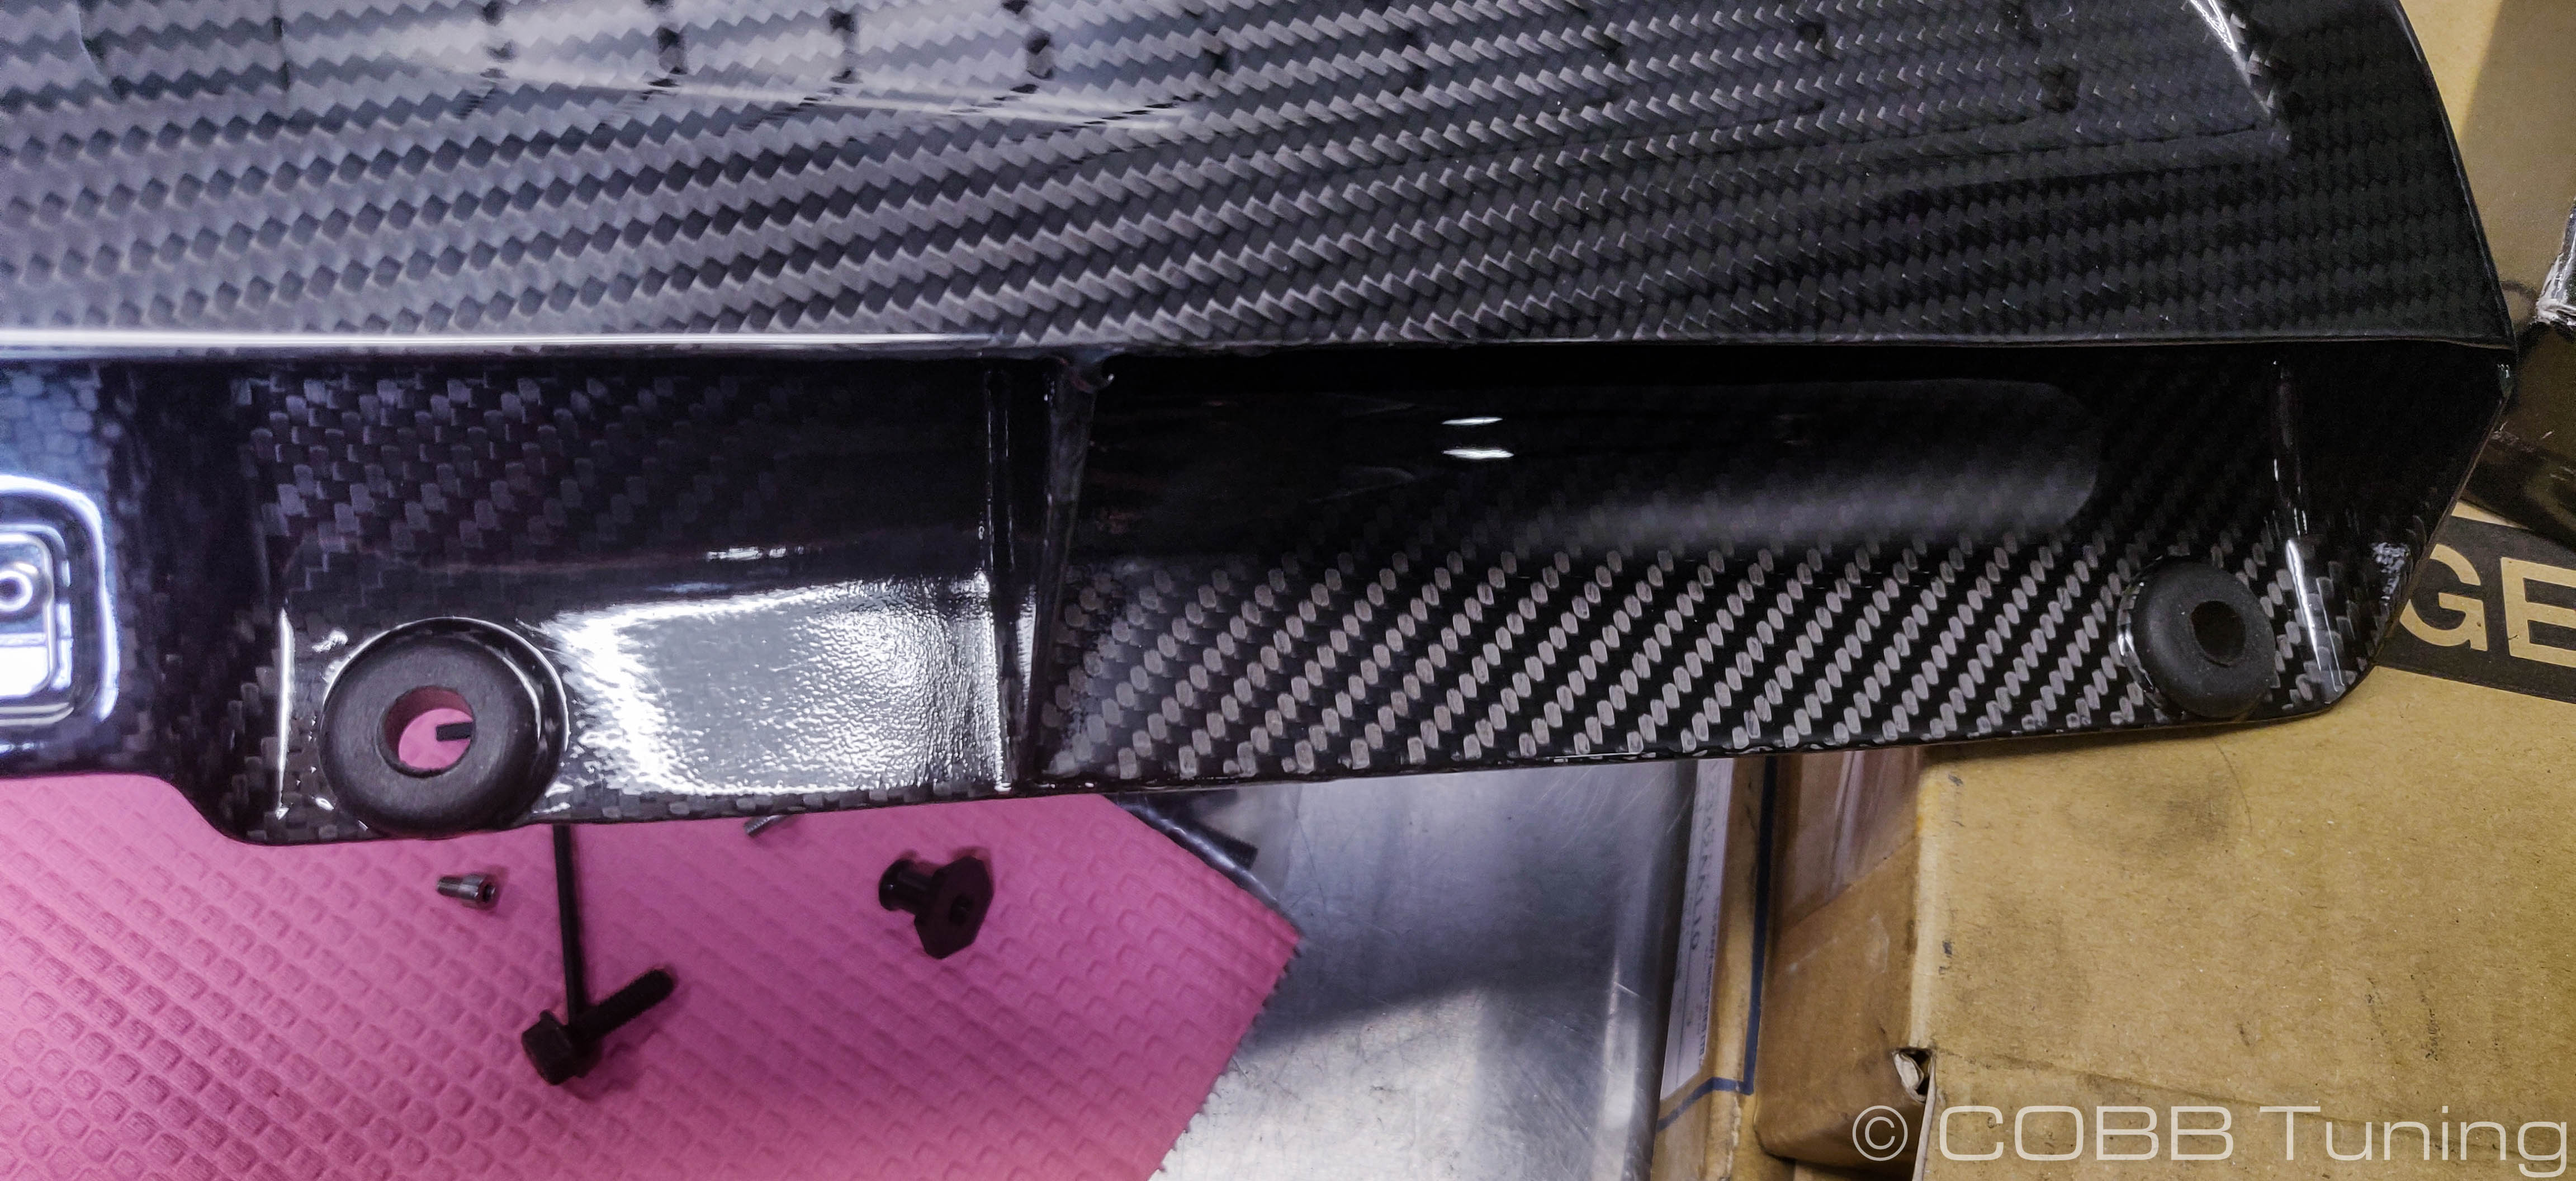
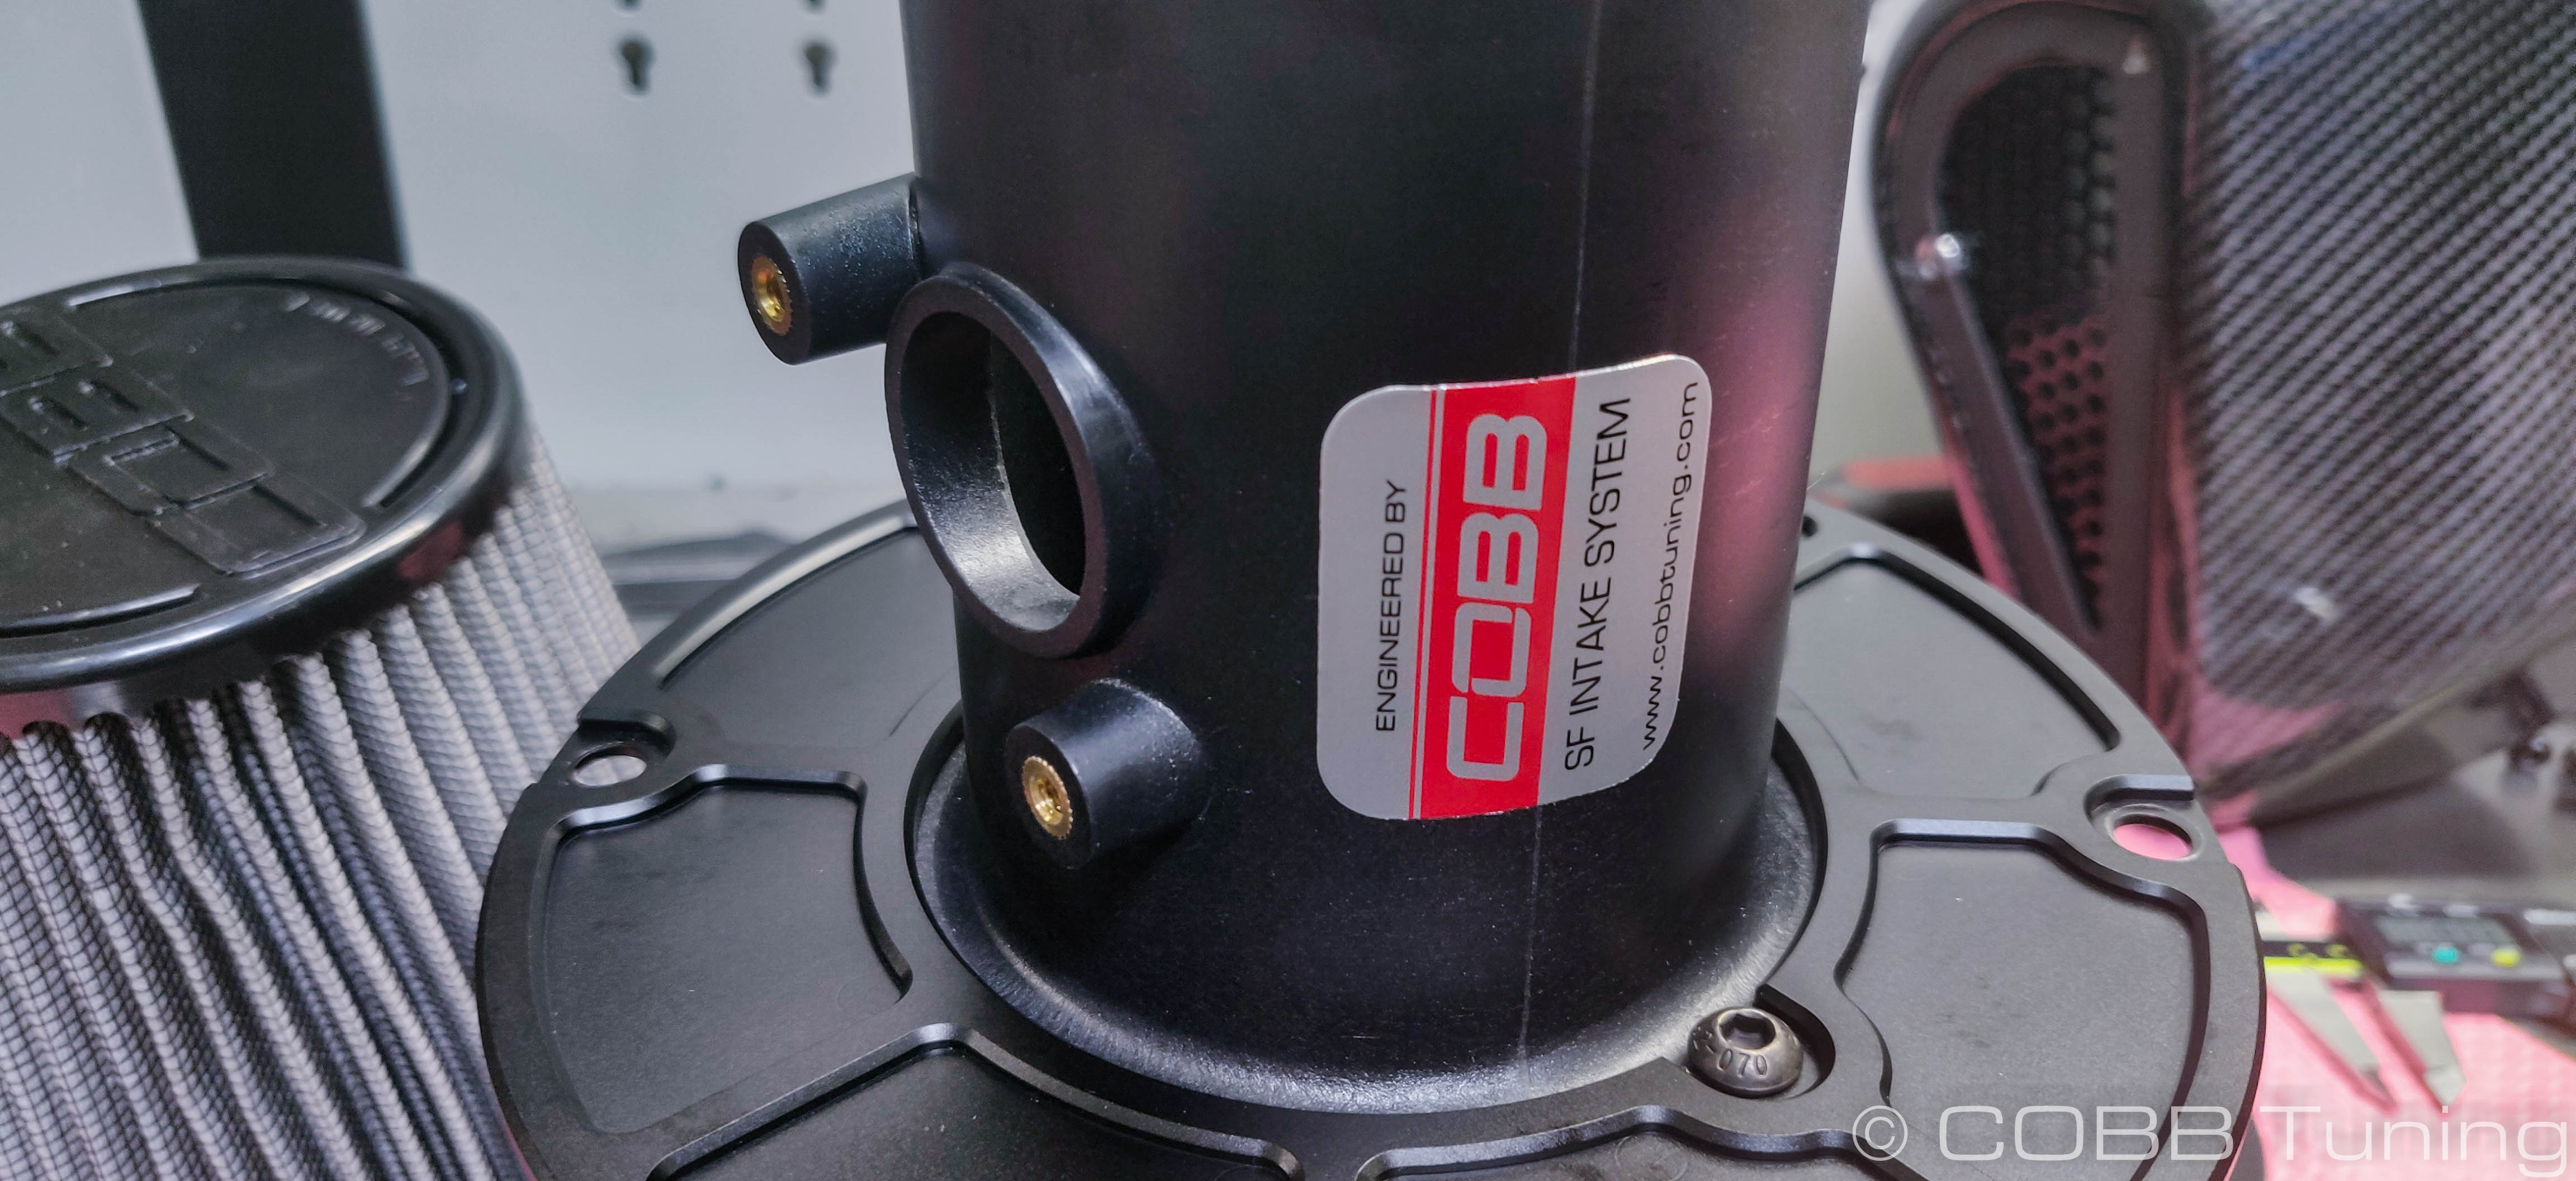
- Taking the two smaller grommets, they can get installed into the hold down points on the snorkel.

- Grab the supplied round aluminum mounting plate and slip it over the MAF housing with the machined side facing away from the velocity stack
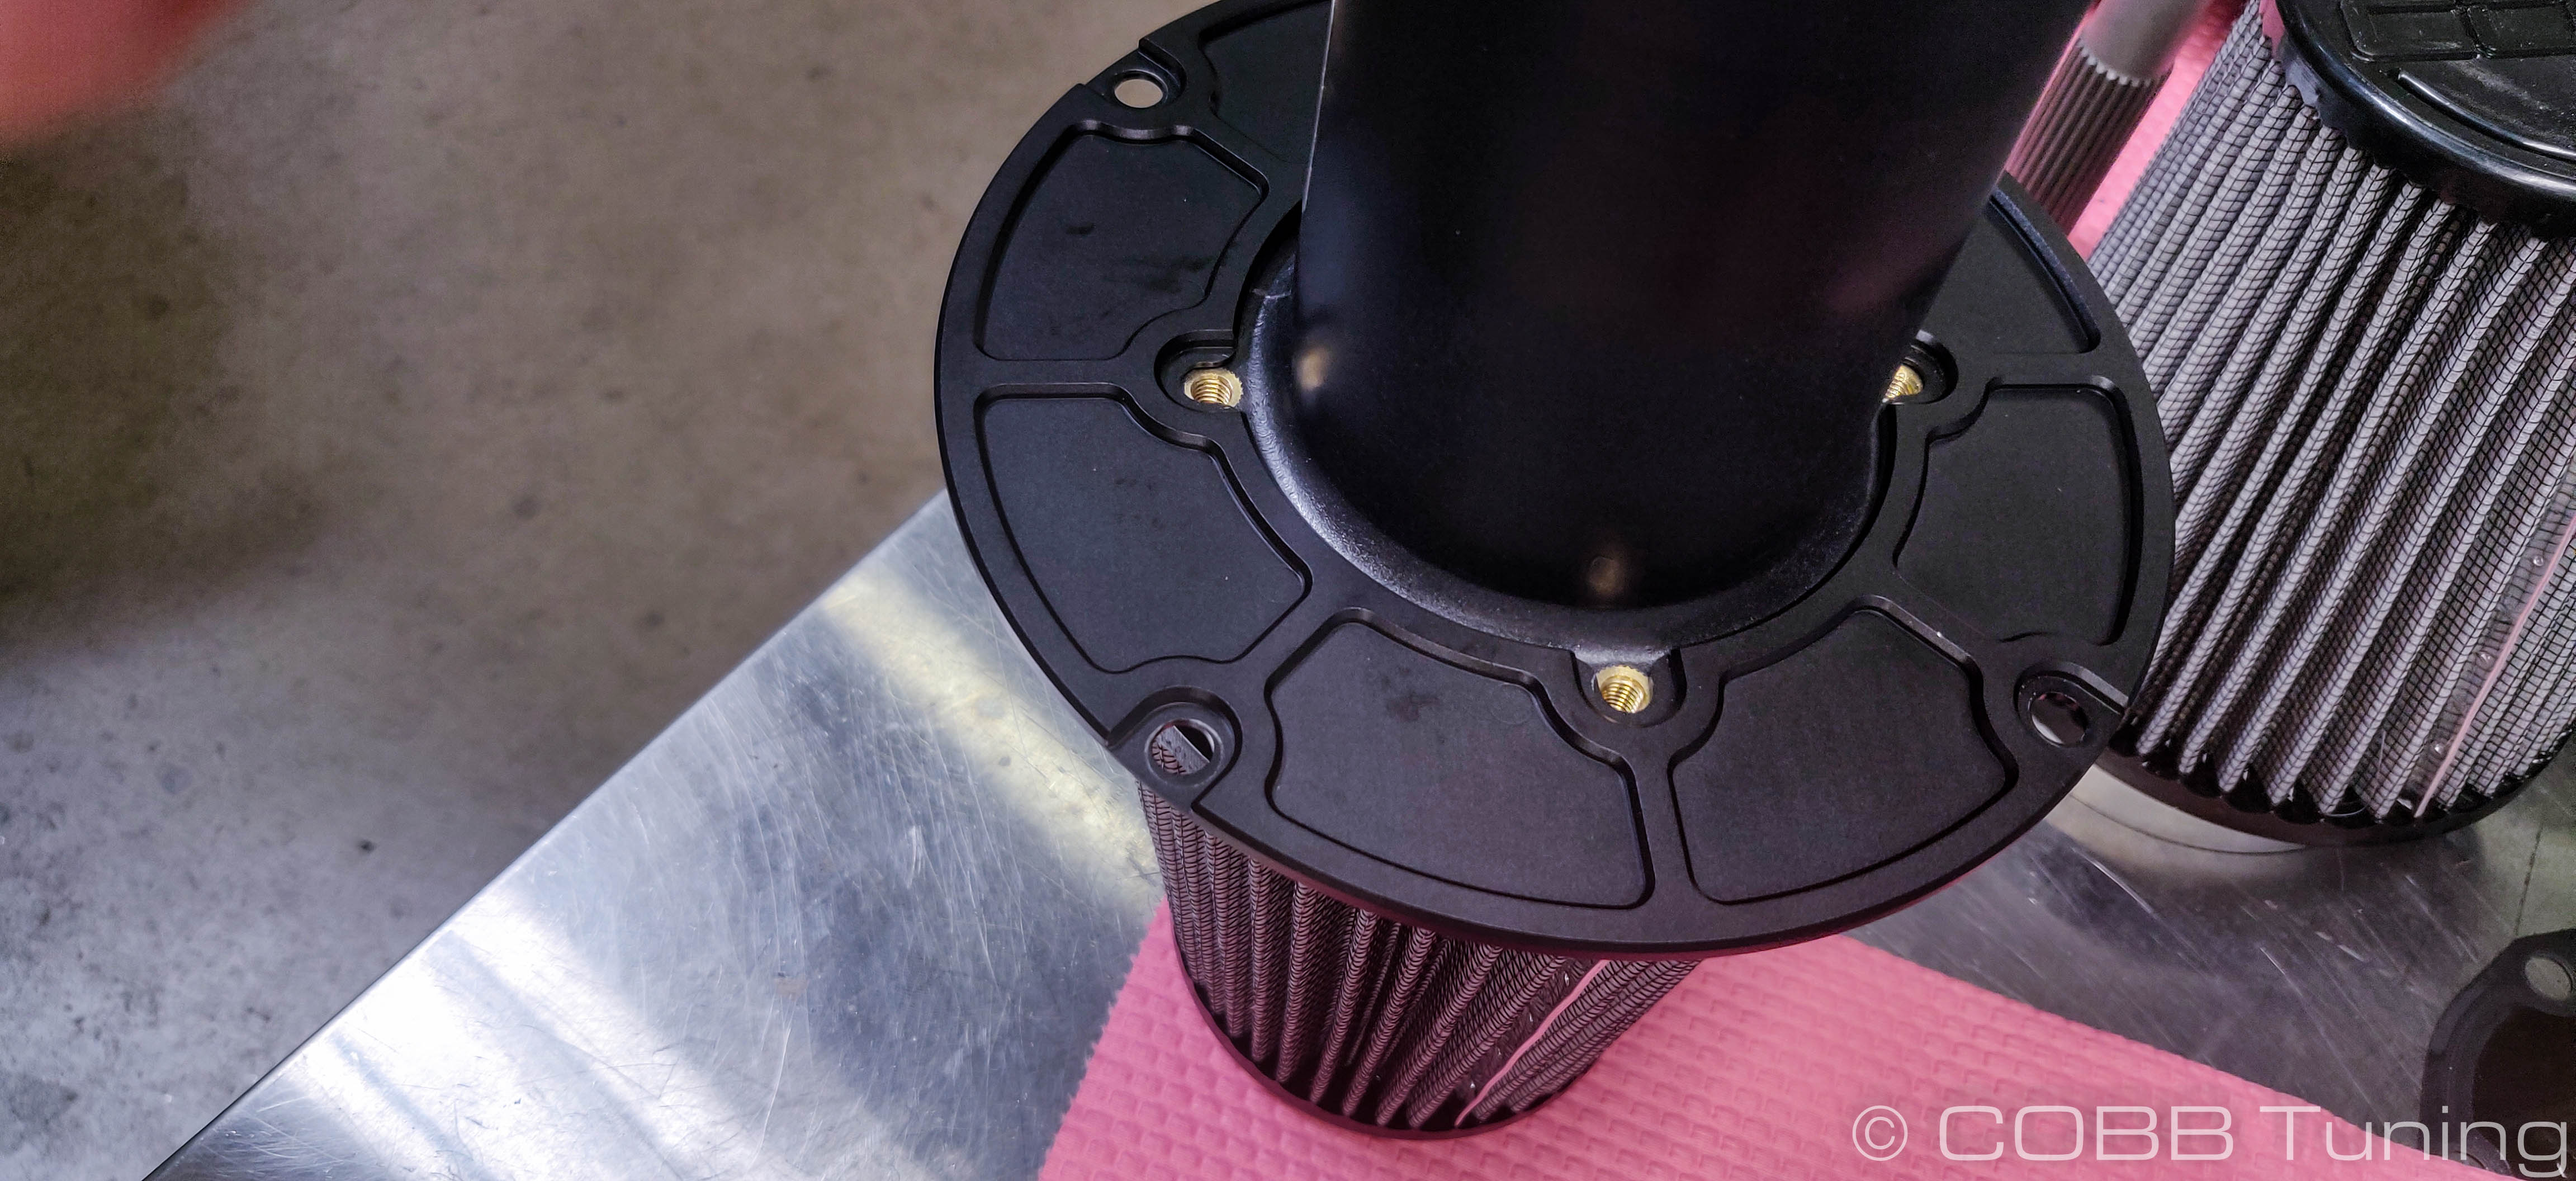
- Using 3 of the shorter (10mm) allen bolts along with the 4mm allen wrench provided, screw down the adapter plate to the MAF housing. The three bolt holes should line up with the threaded inserts on the three sides that don't have the MAF opening.
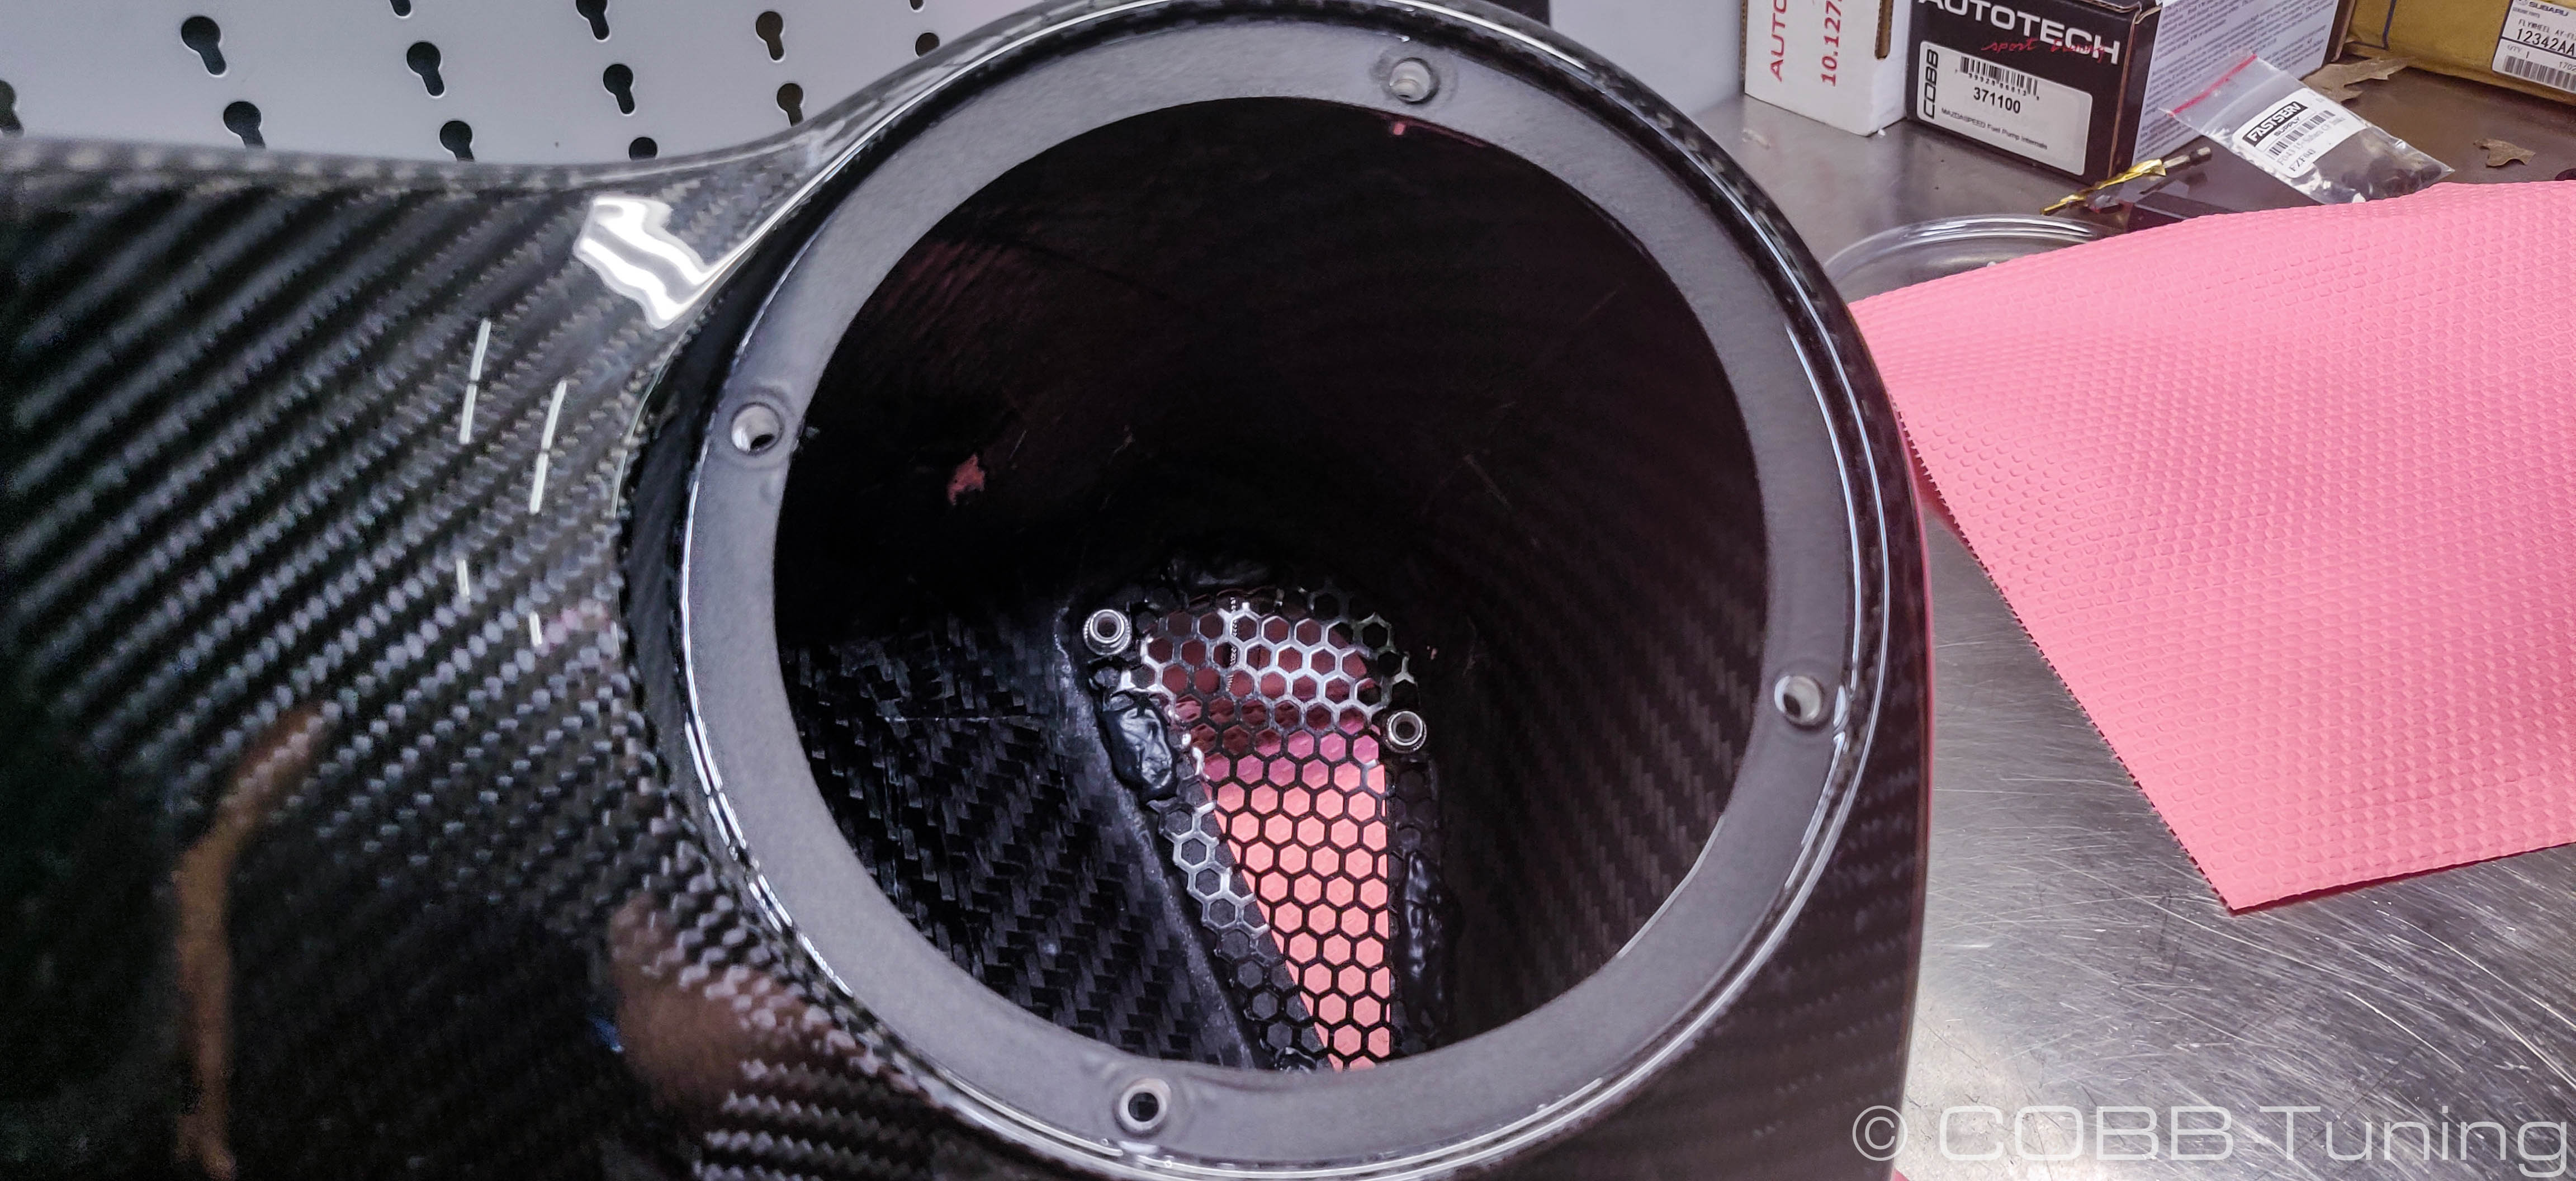
- Using a 7mm socket or your screwdriver, install the supplied air filter onto the velocity stack.
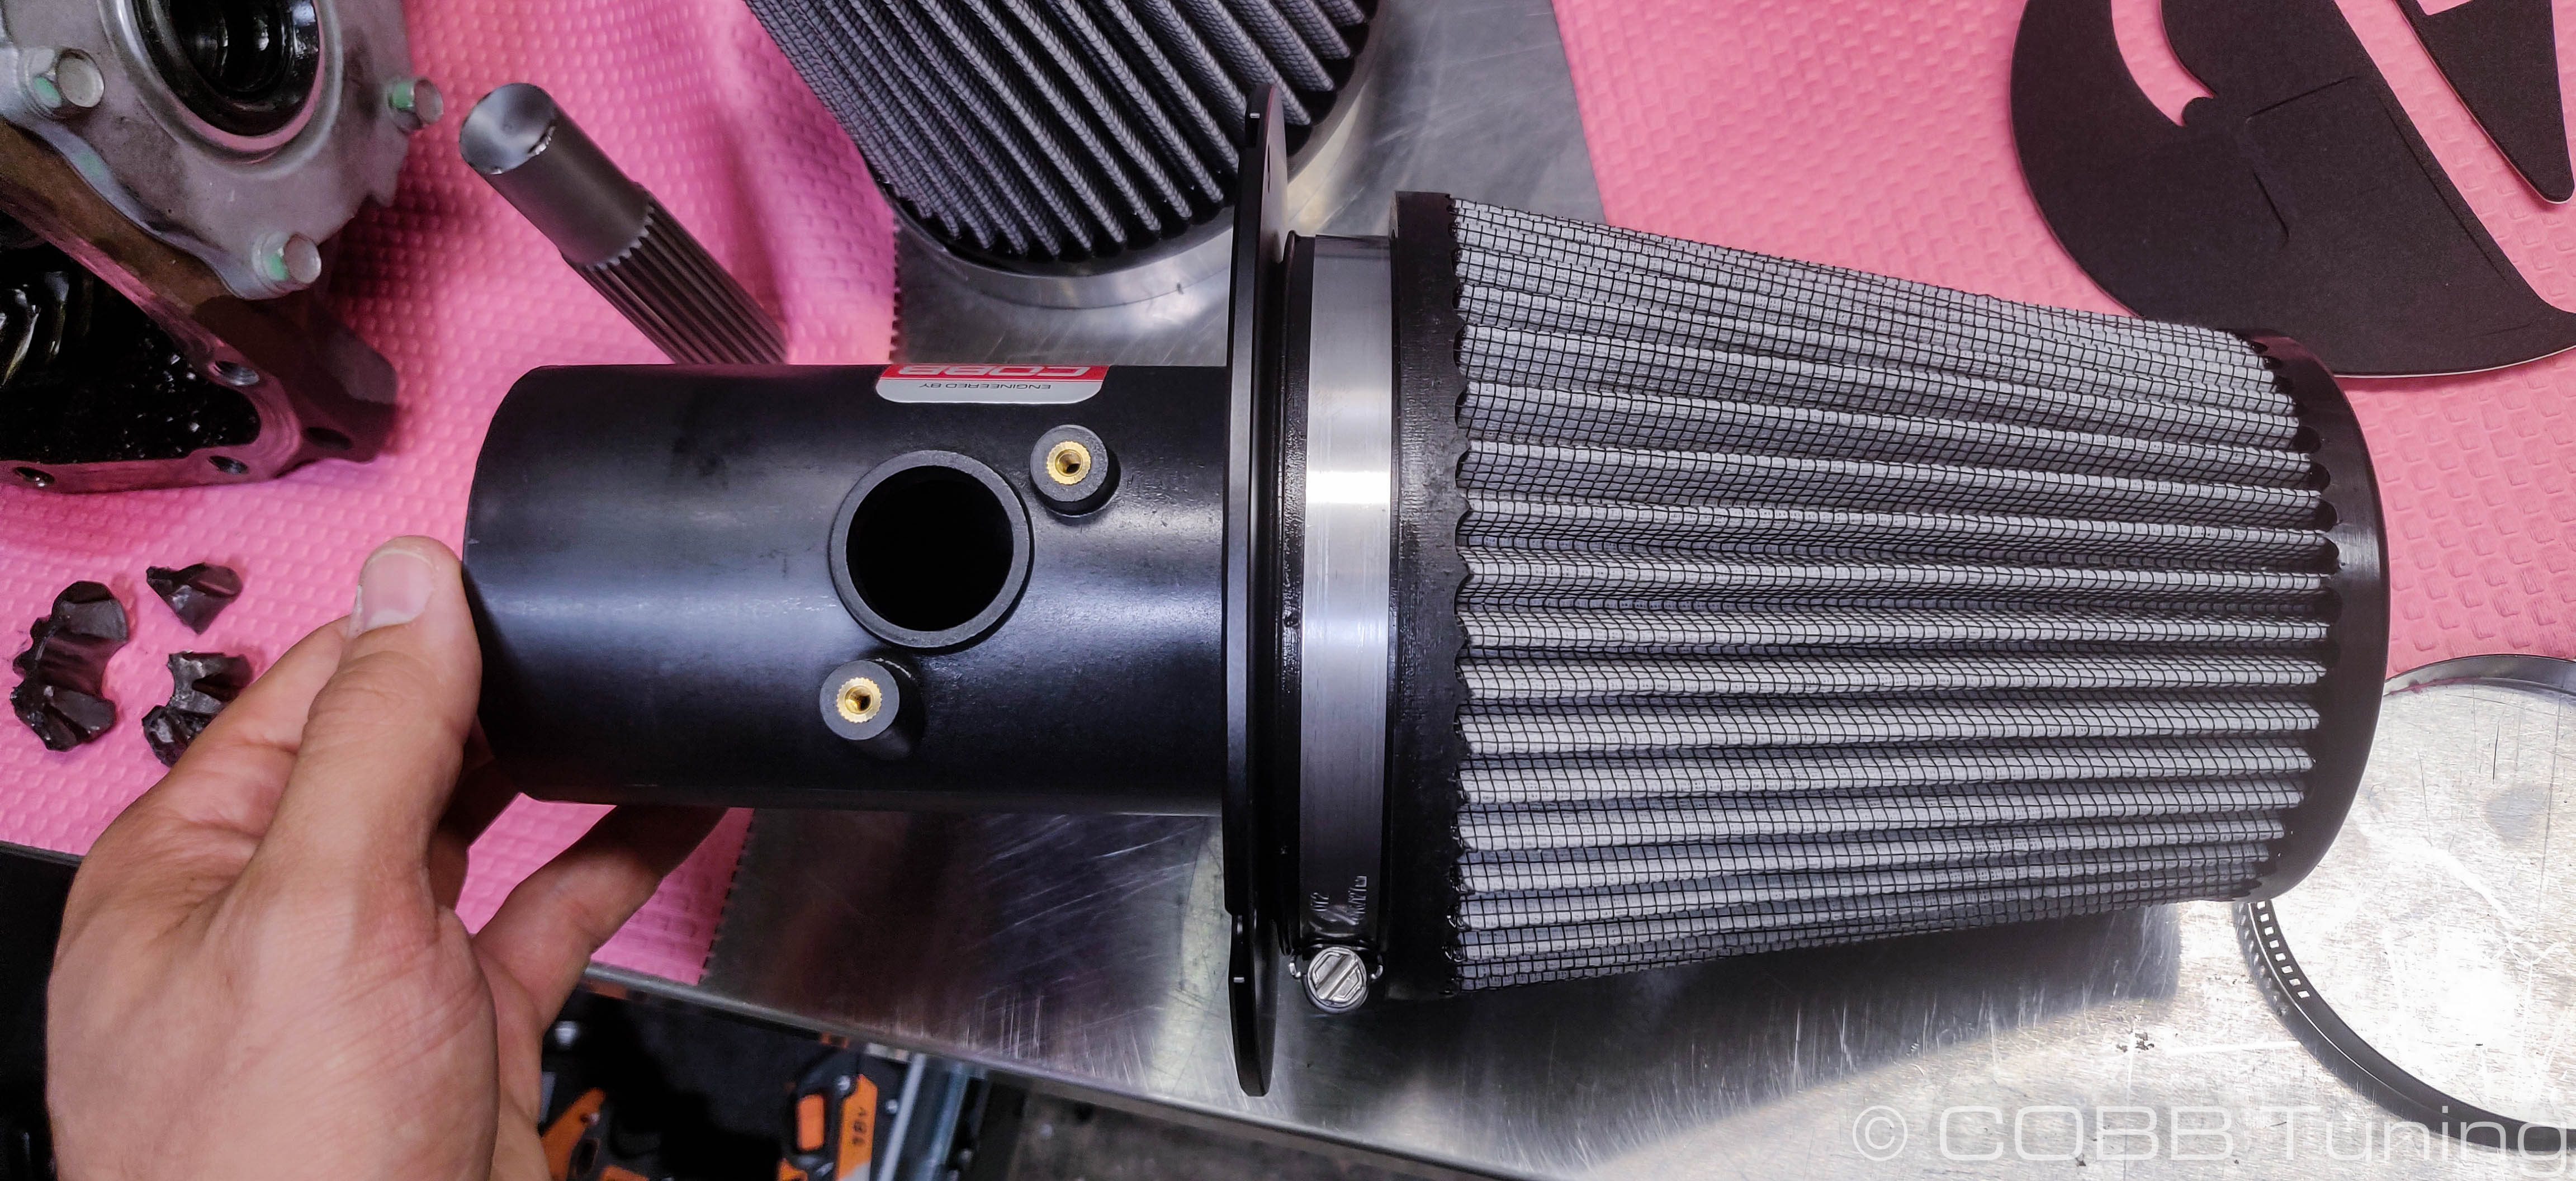
- Install it into the airbox with the MAF opening towards the top side. Secure it using the 4 remaining Allen Bolts
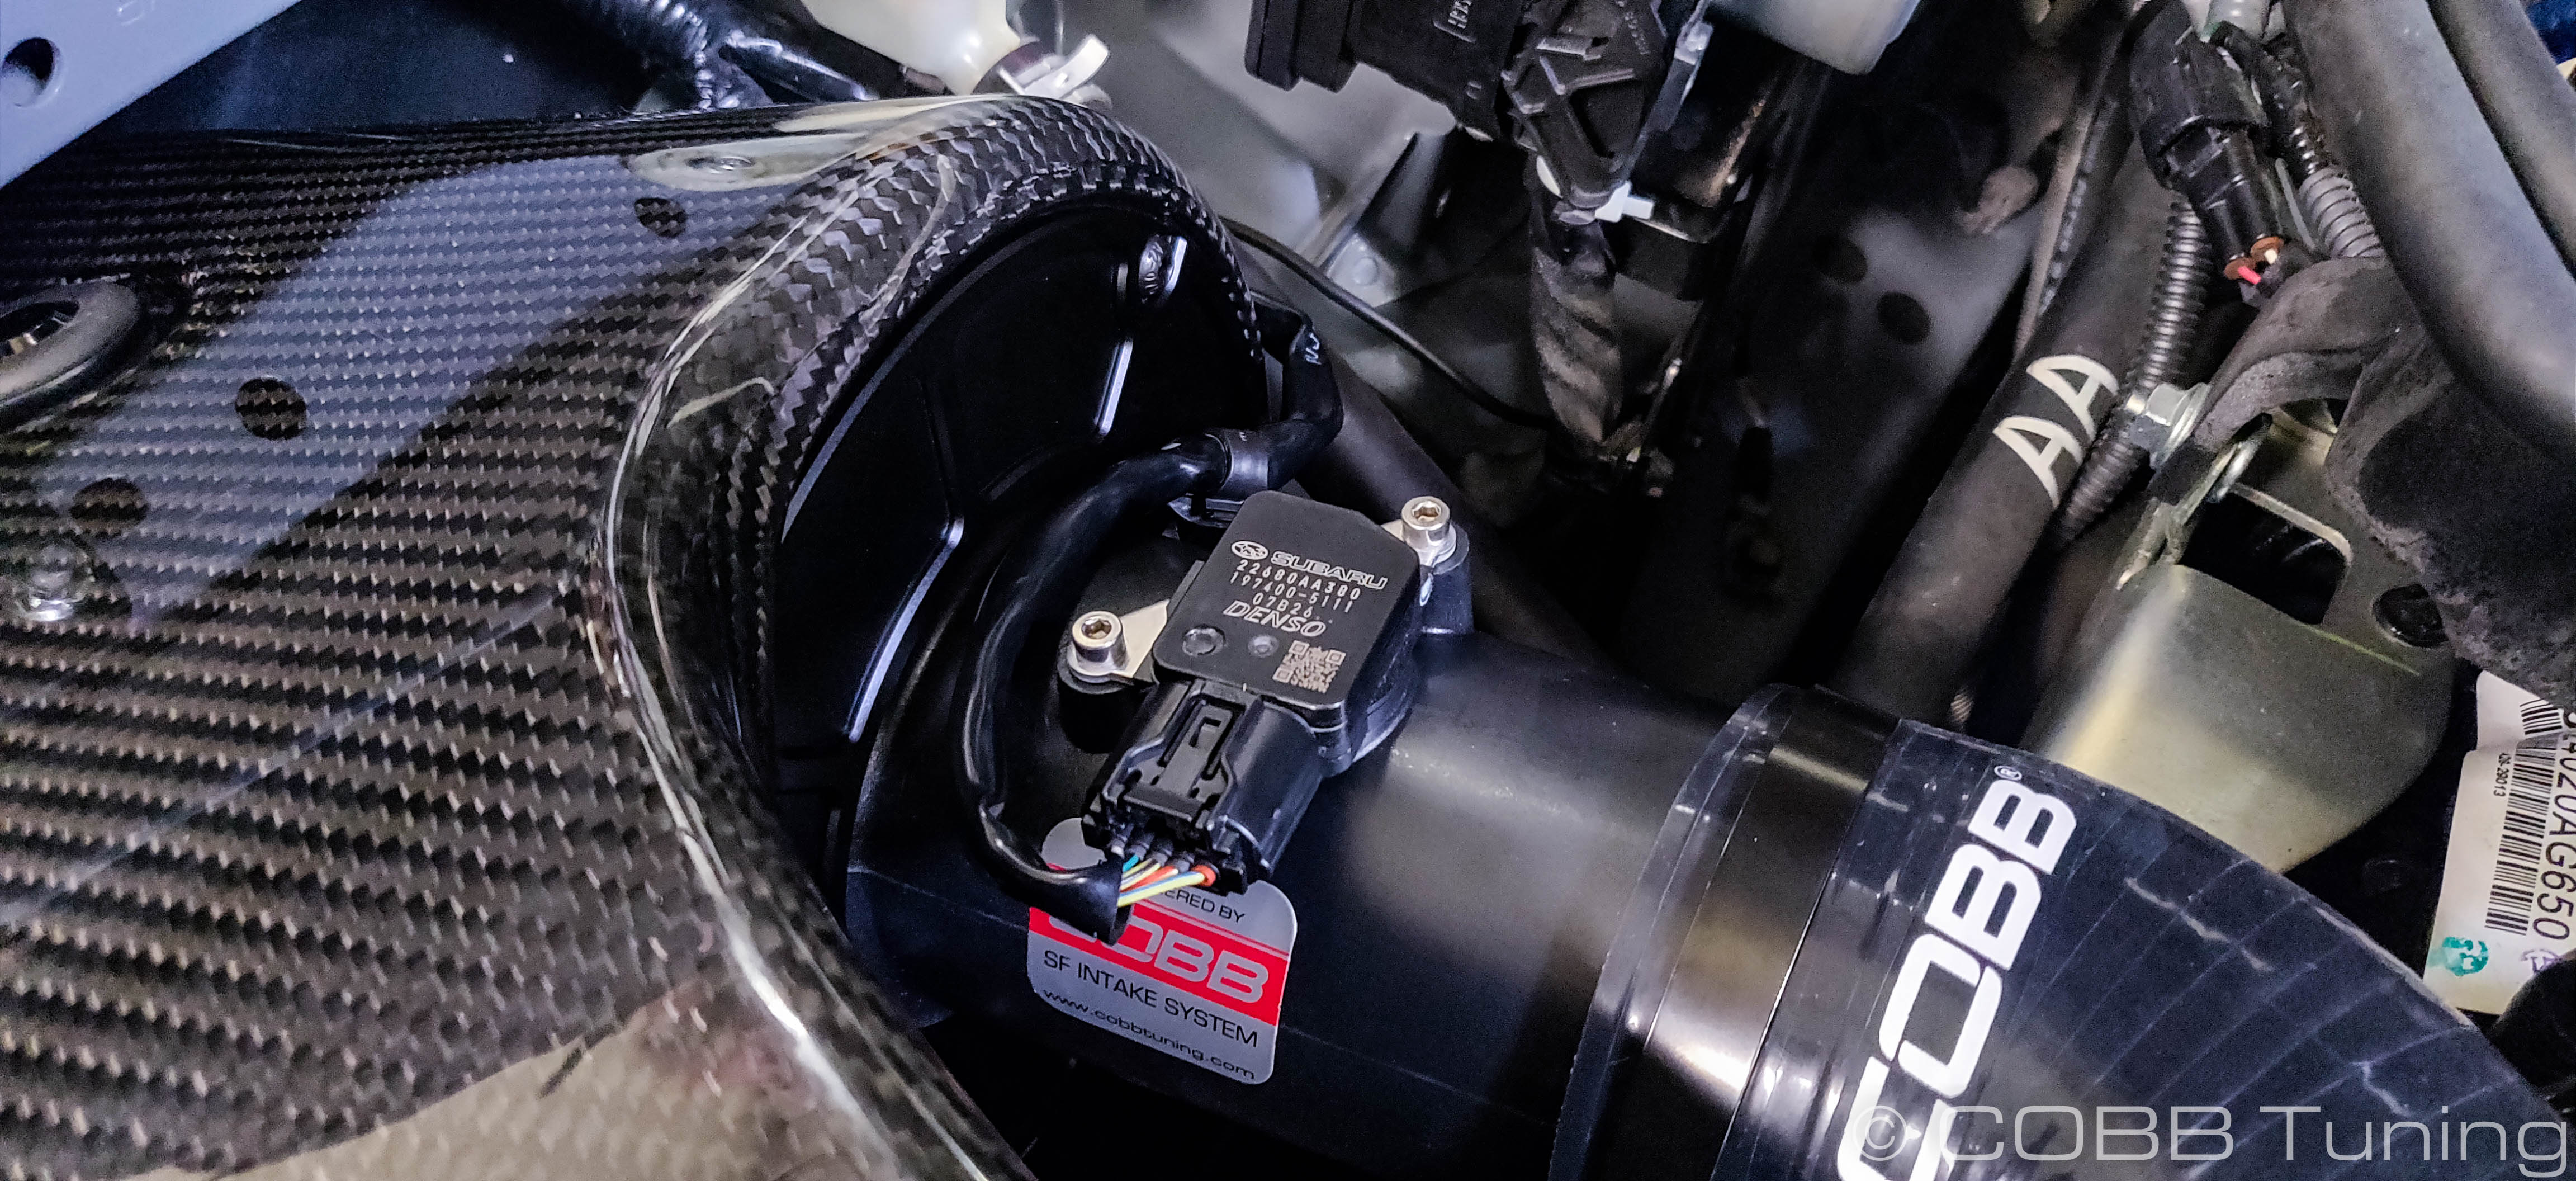
- Install the silicon coupler onto the maf housing. The words should be able to be read as if the air filter was the top.
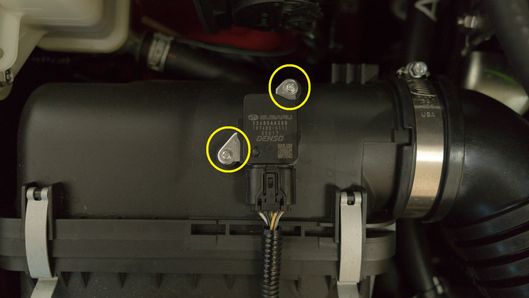
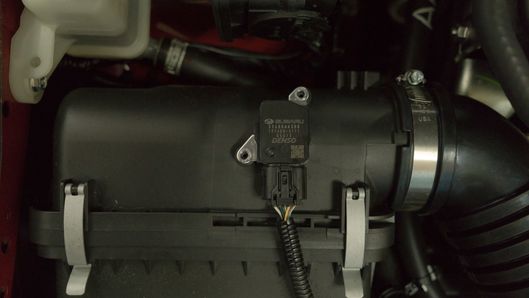
- Using the small provided silver colored allen bolts, install the MAF sensor onto the MAF housing.
- Slip two hose clamps over the silicon but leave them loose for now.
Engine Bay Prep
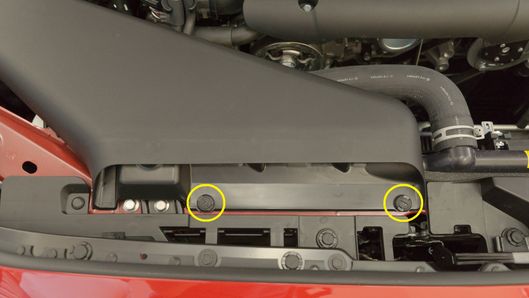
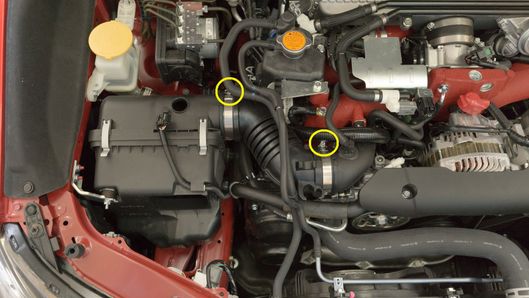
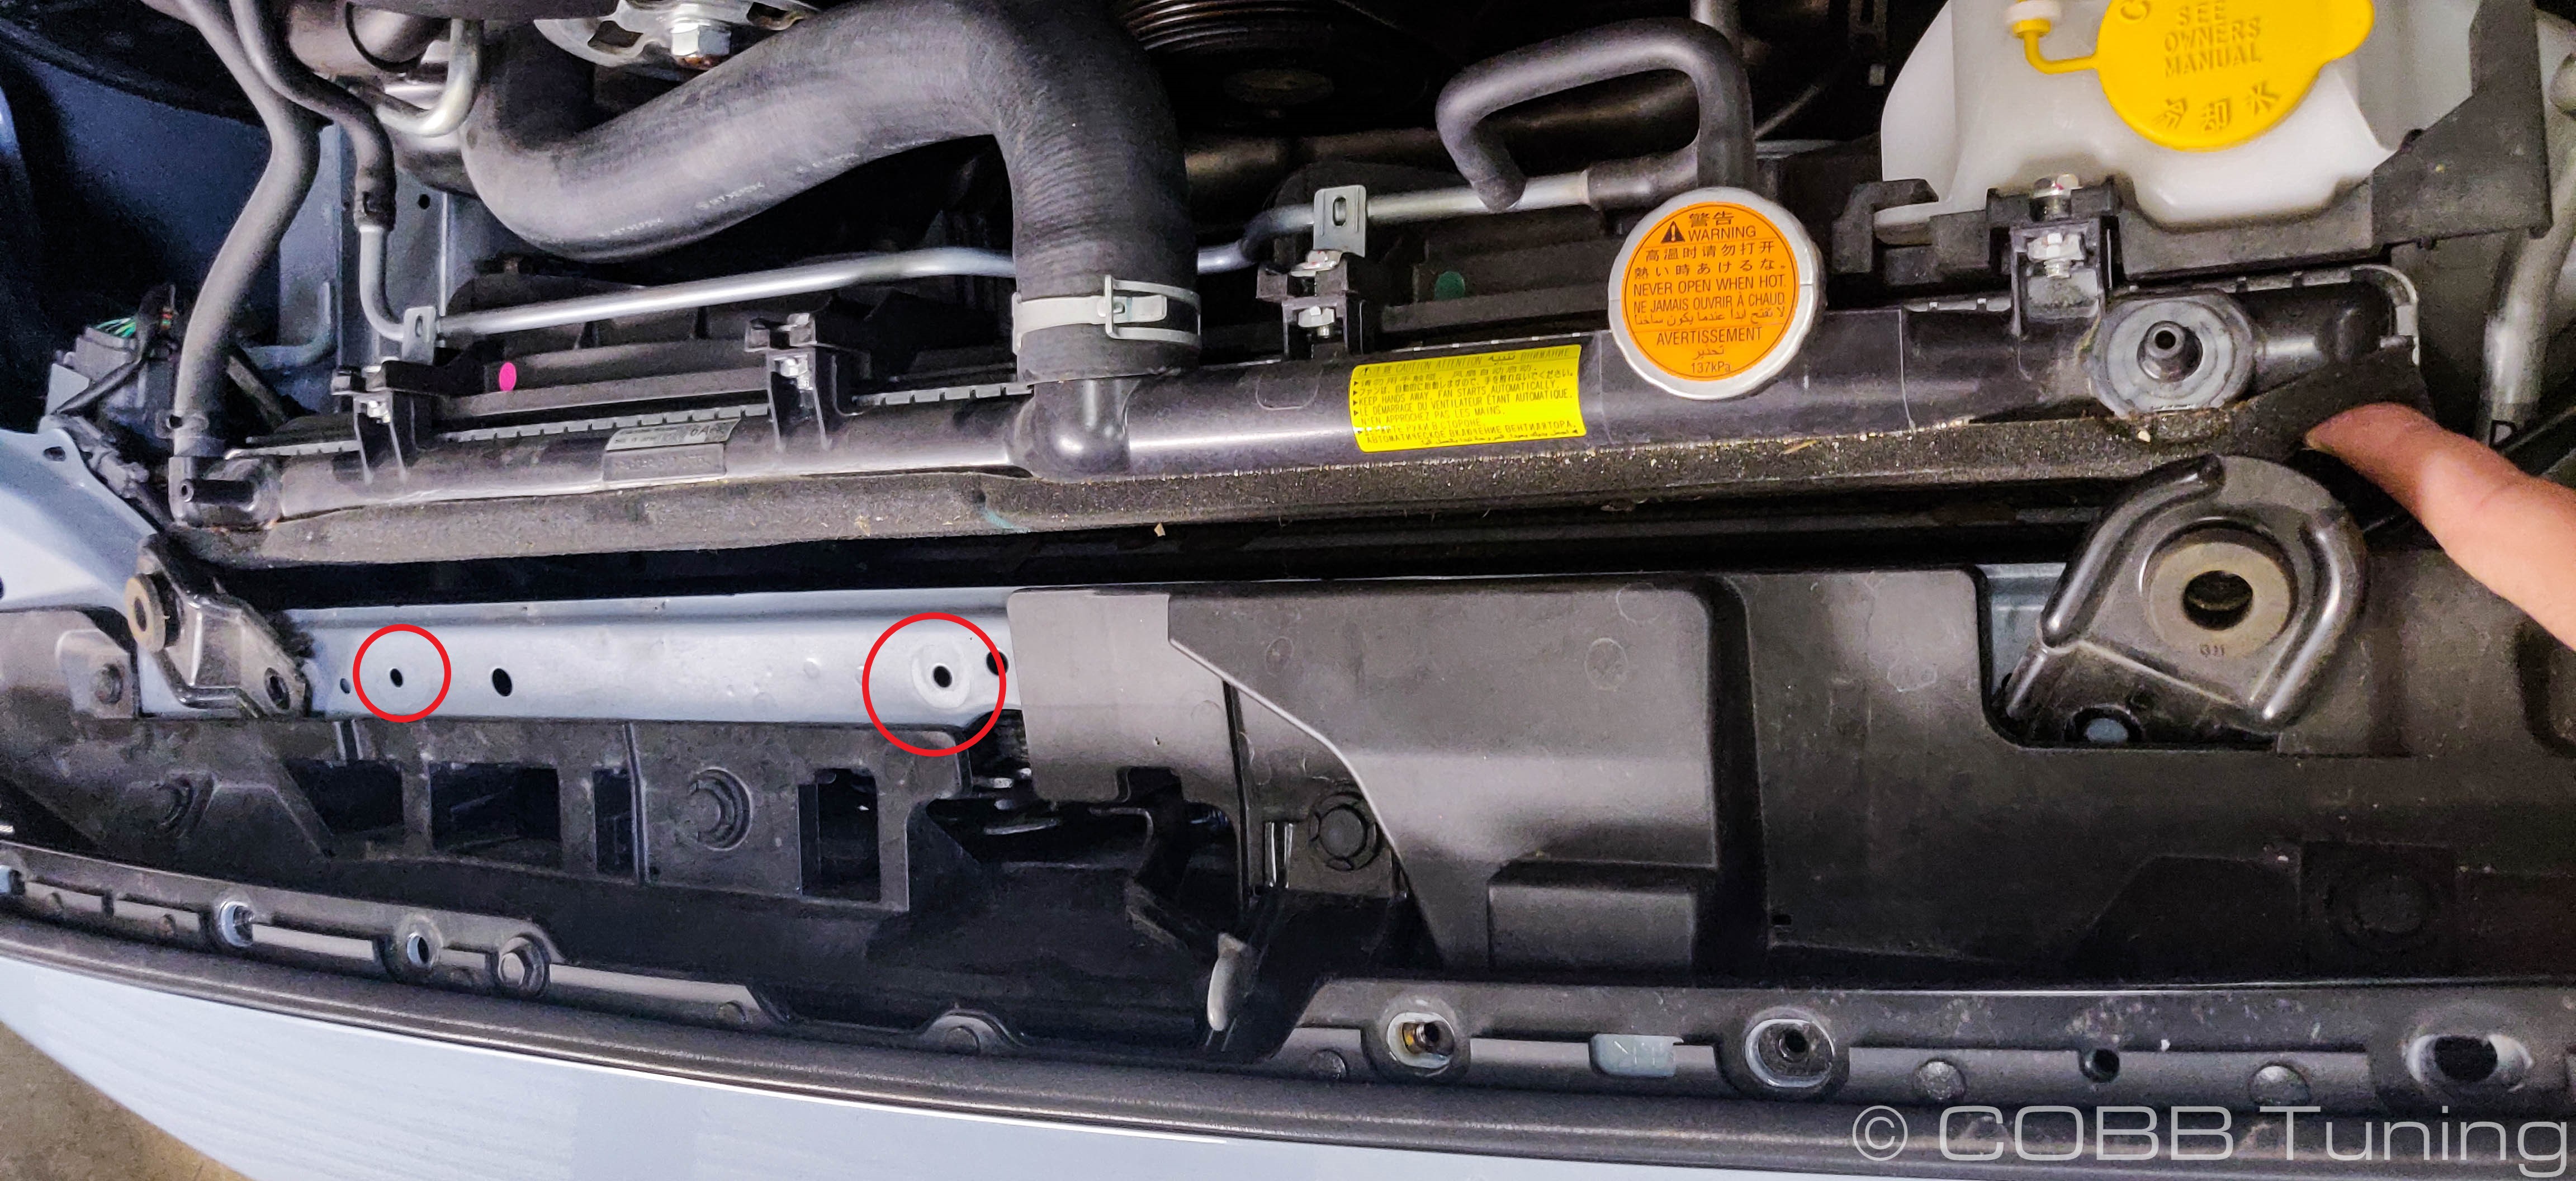
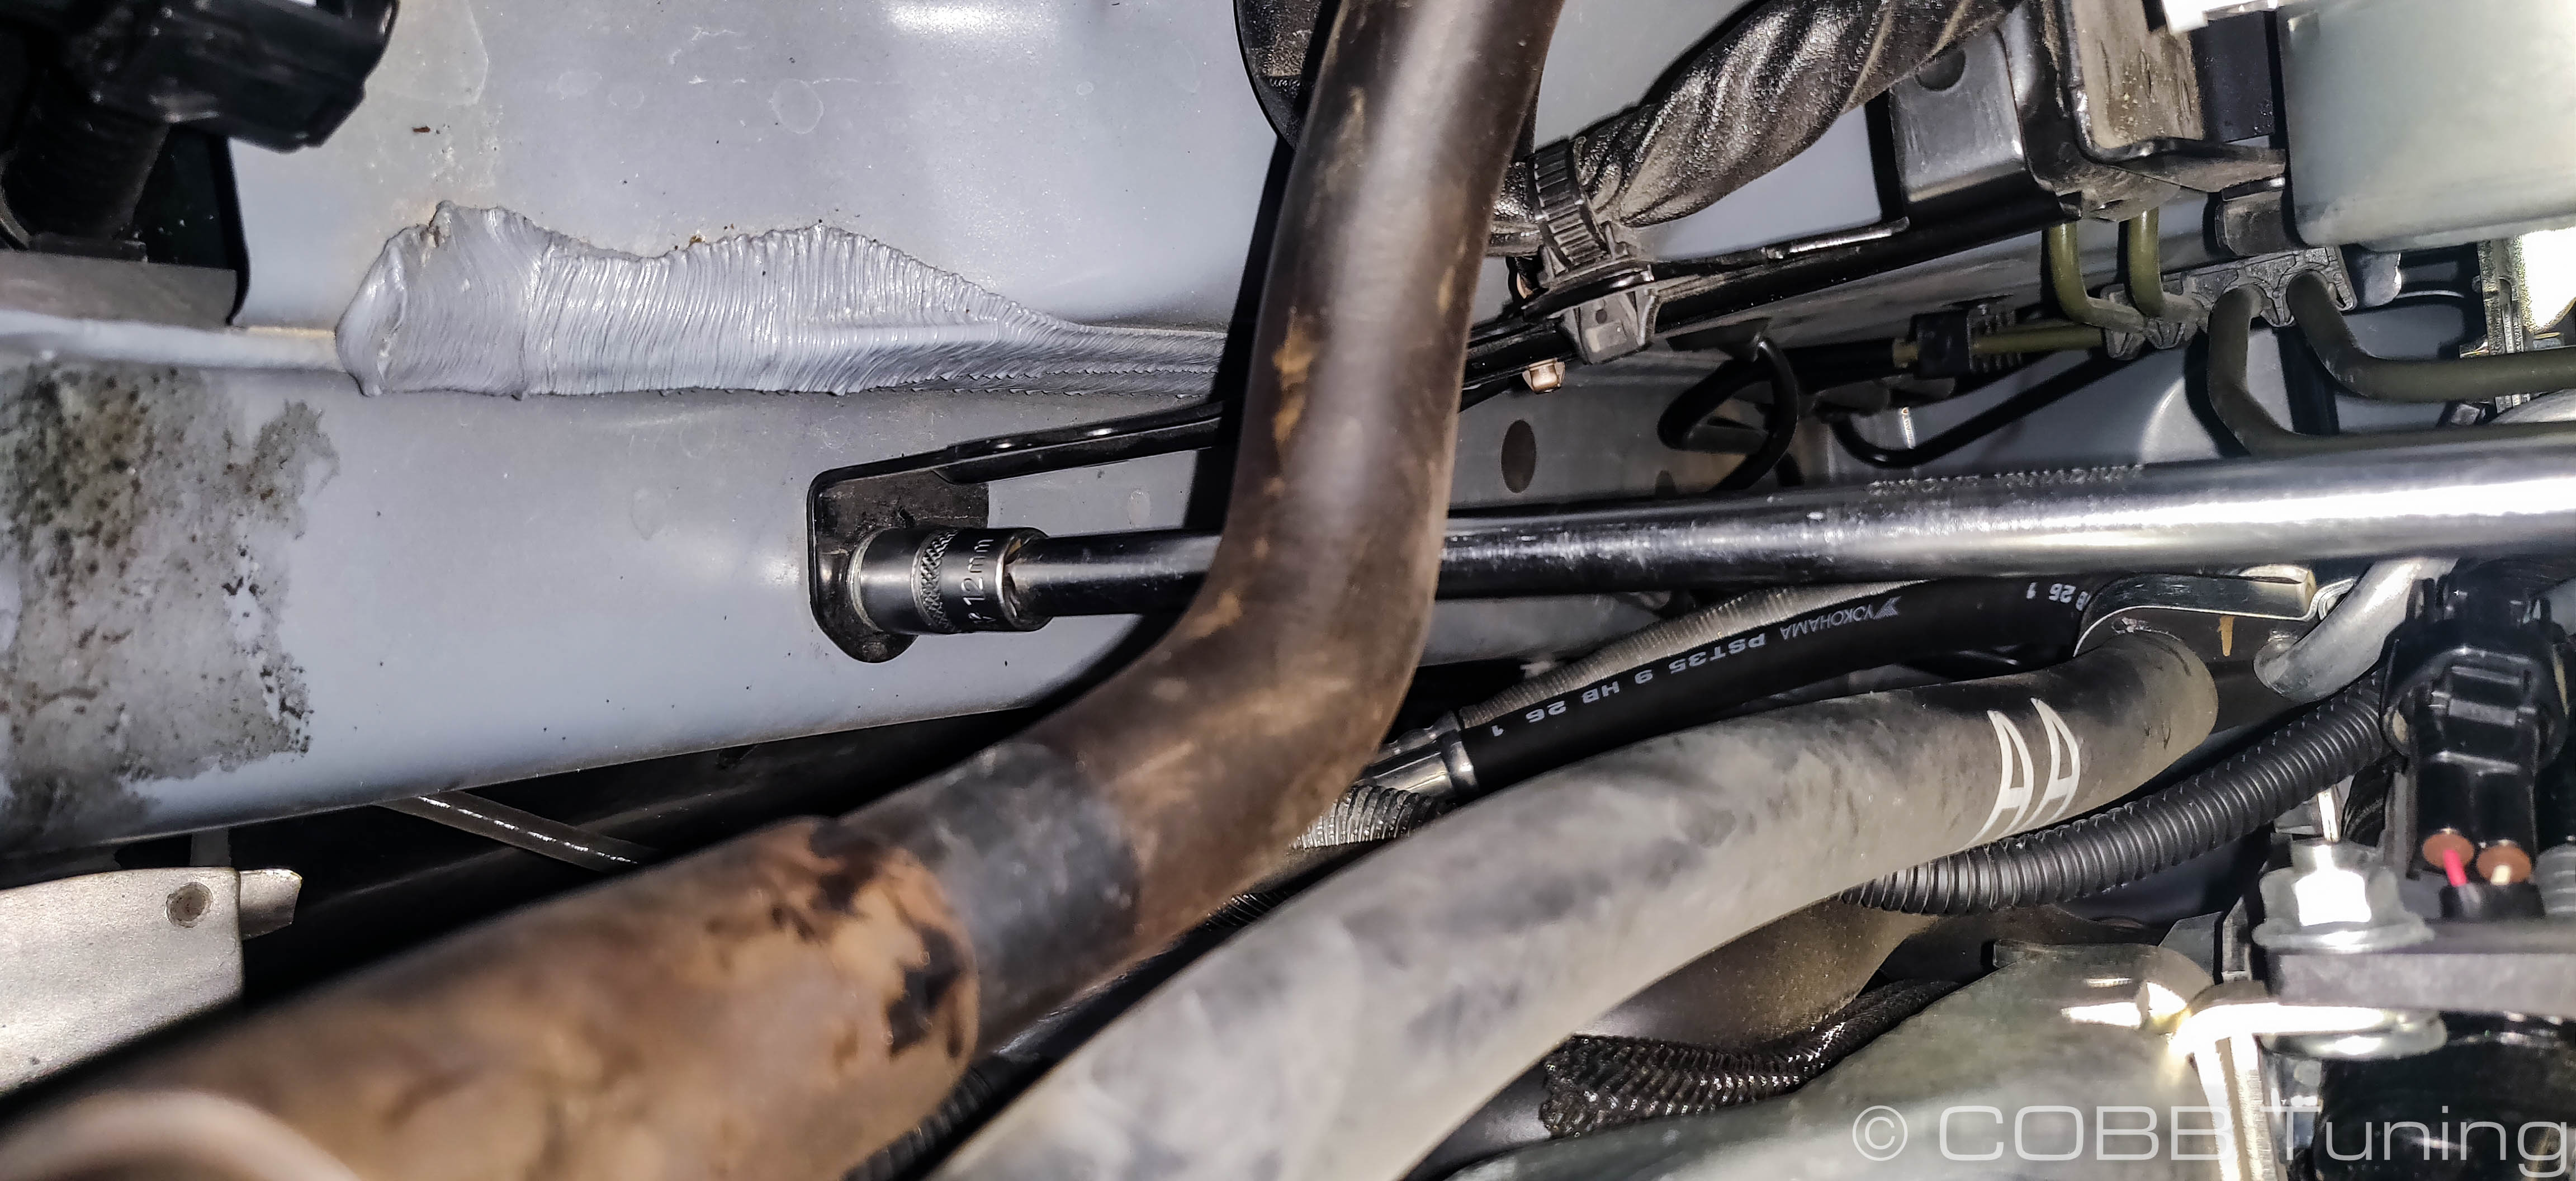
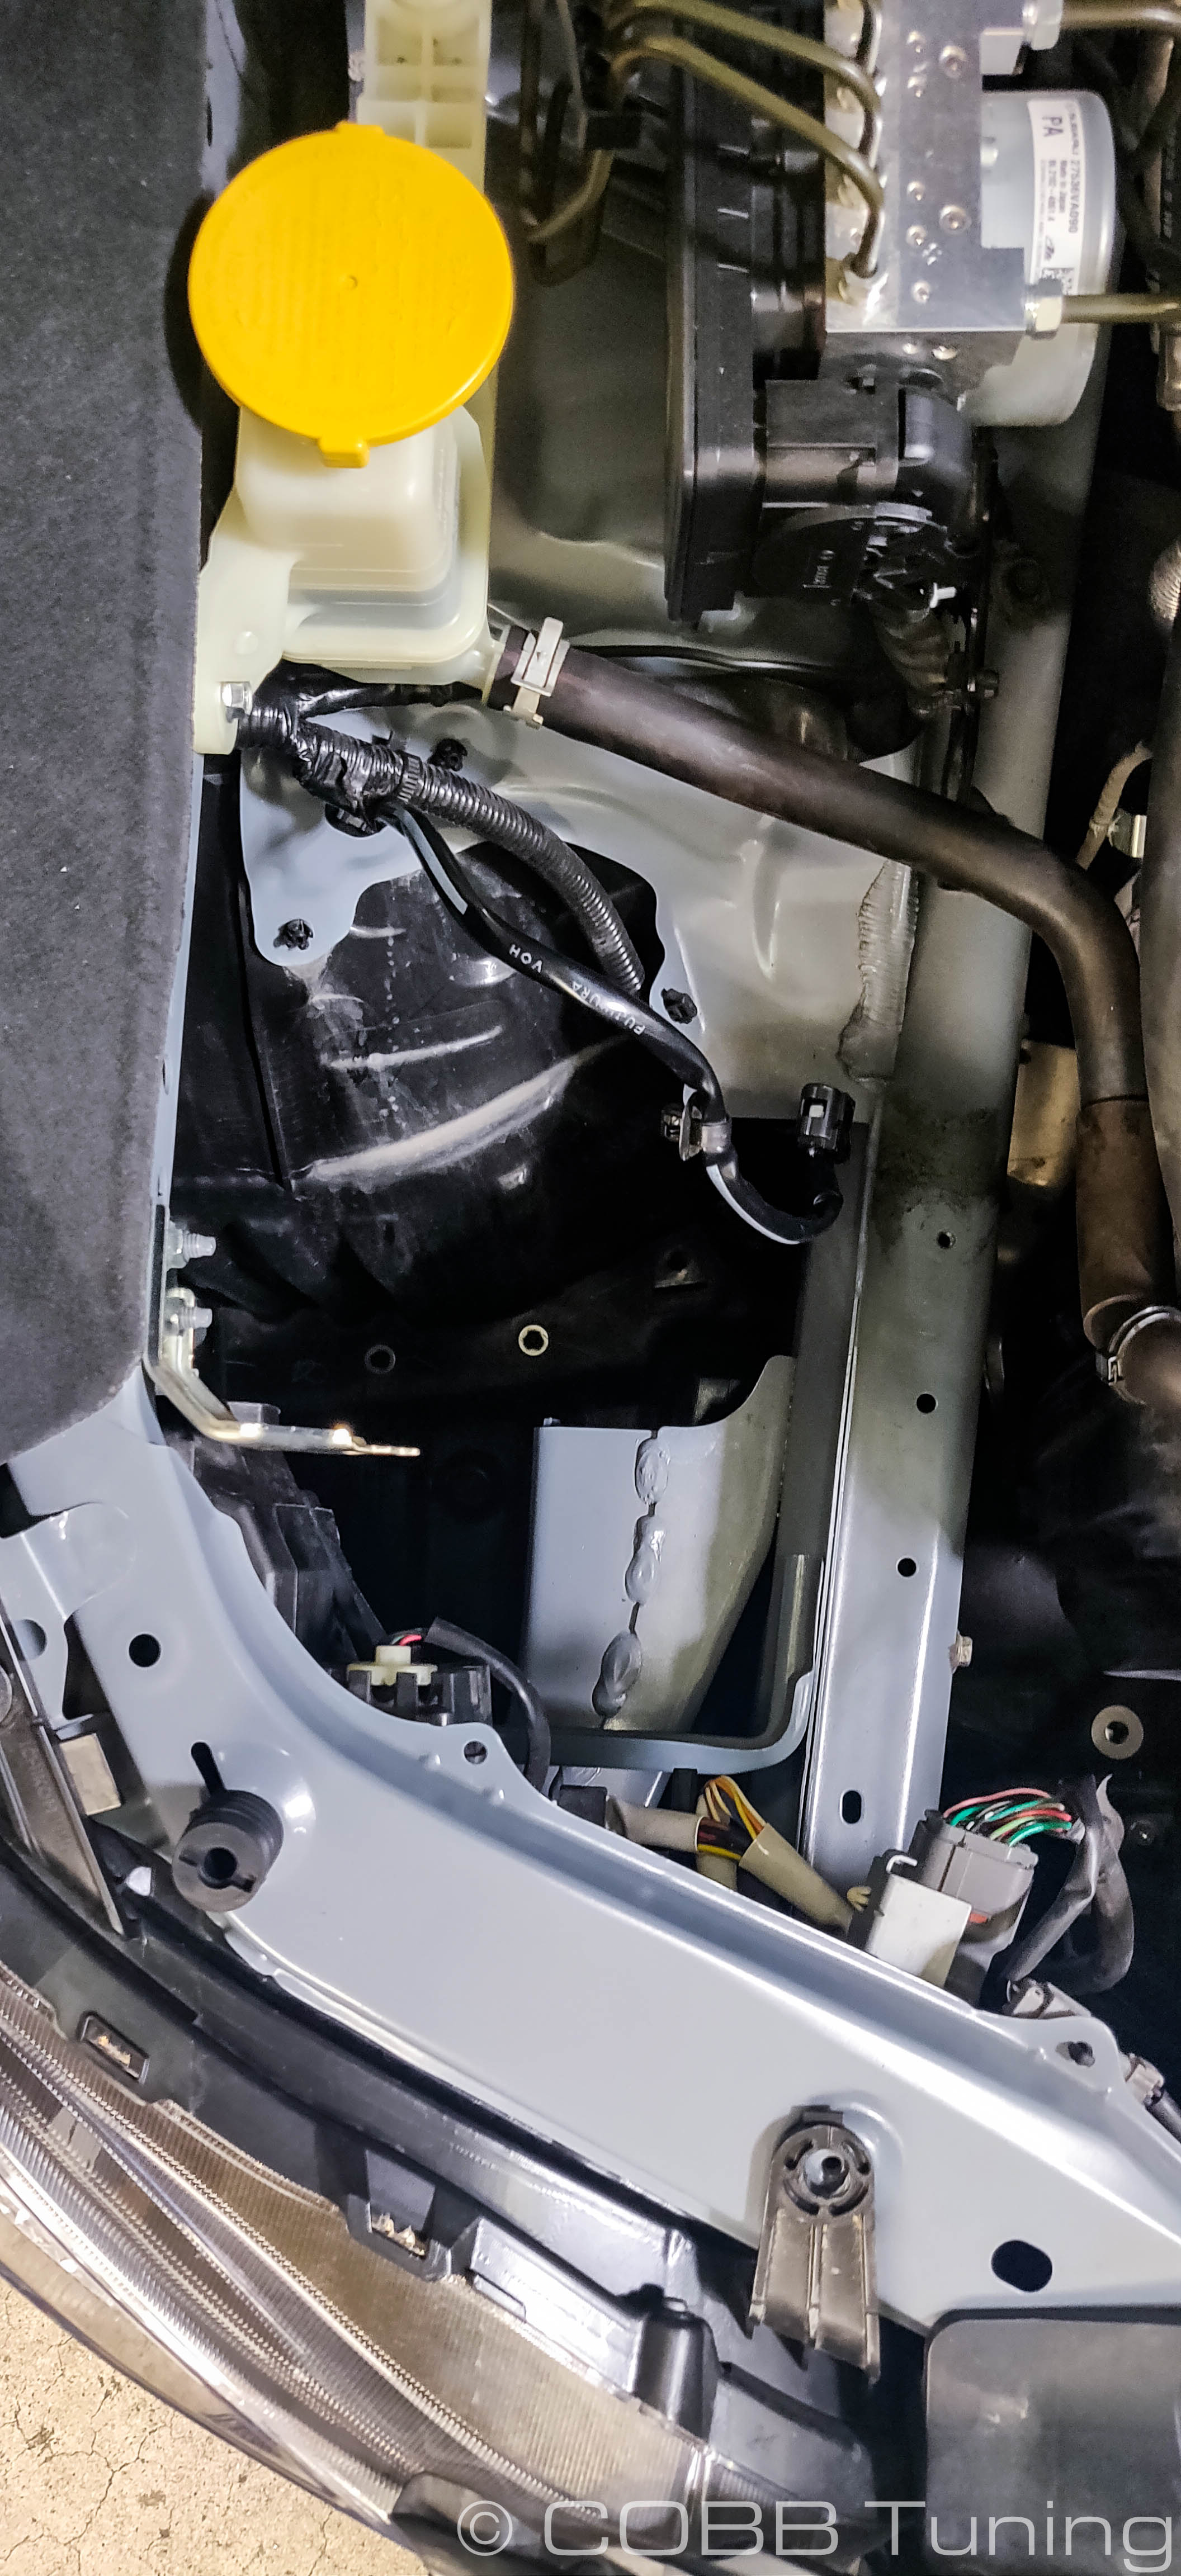
- Take your 12mm wrench or socket and remove the upper radiator mounts on both ends.
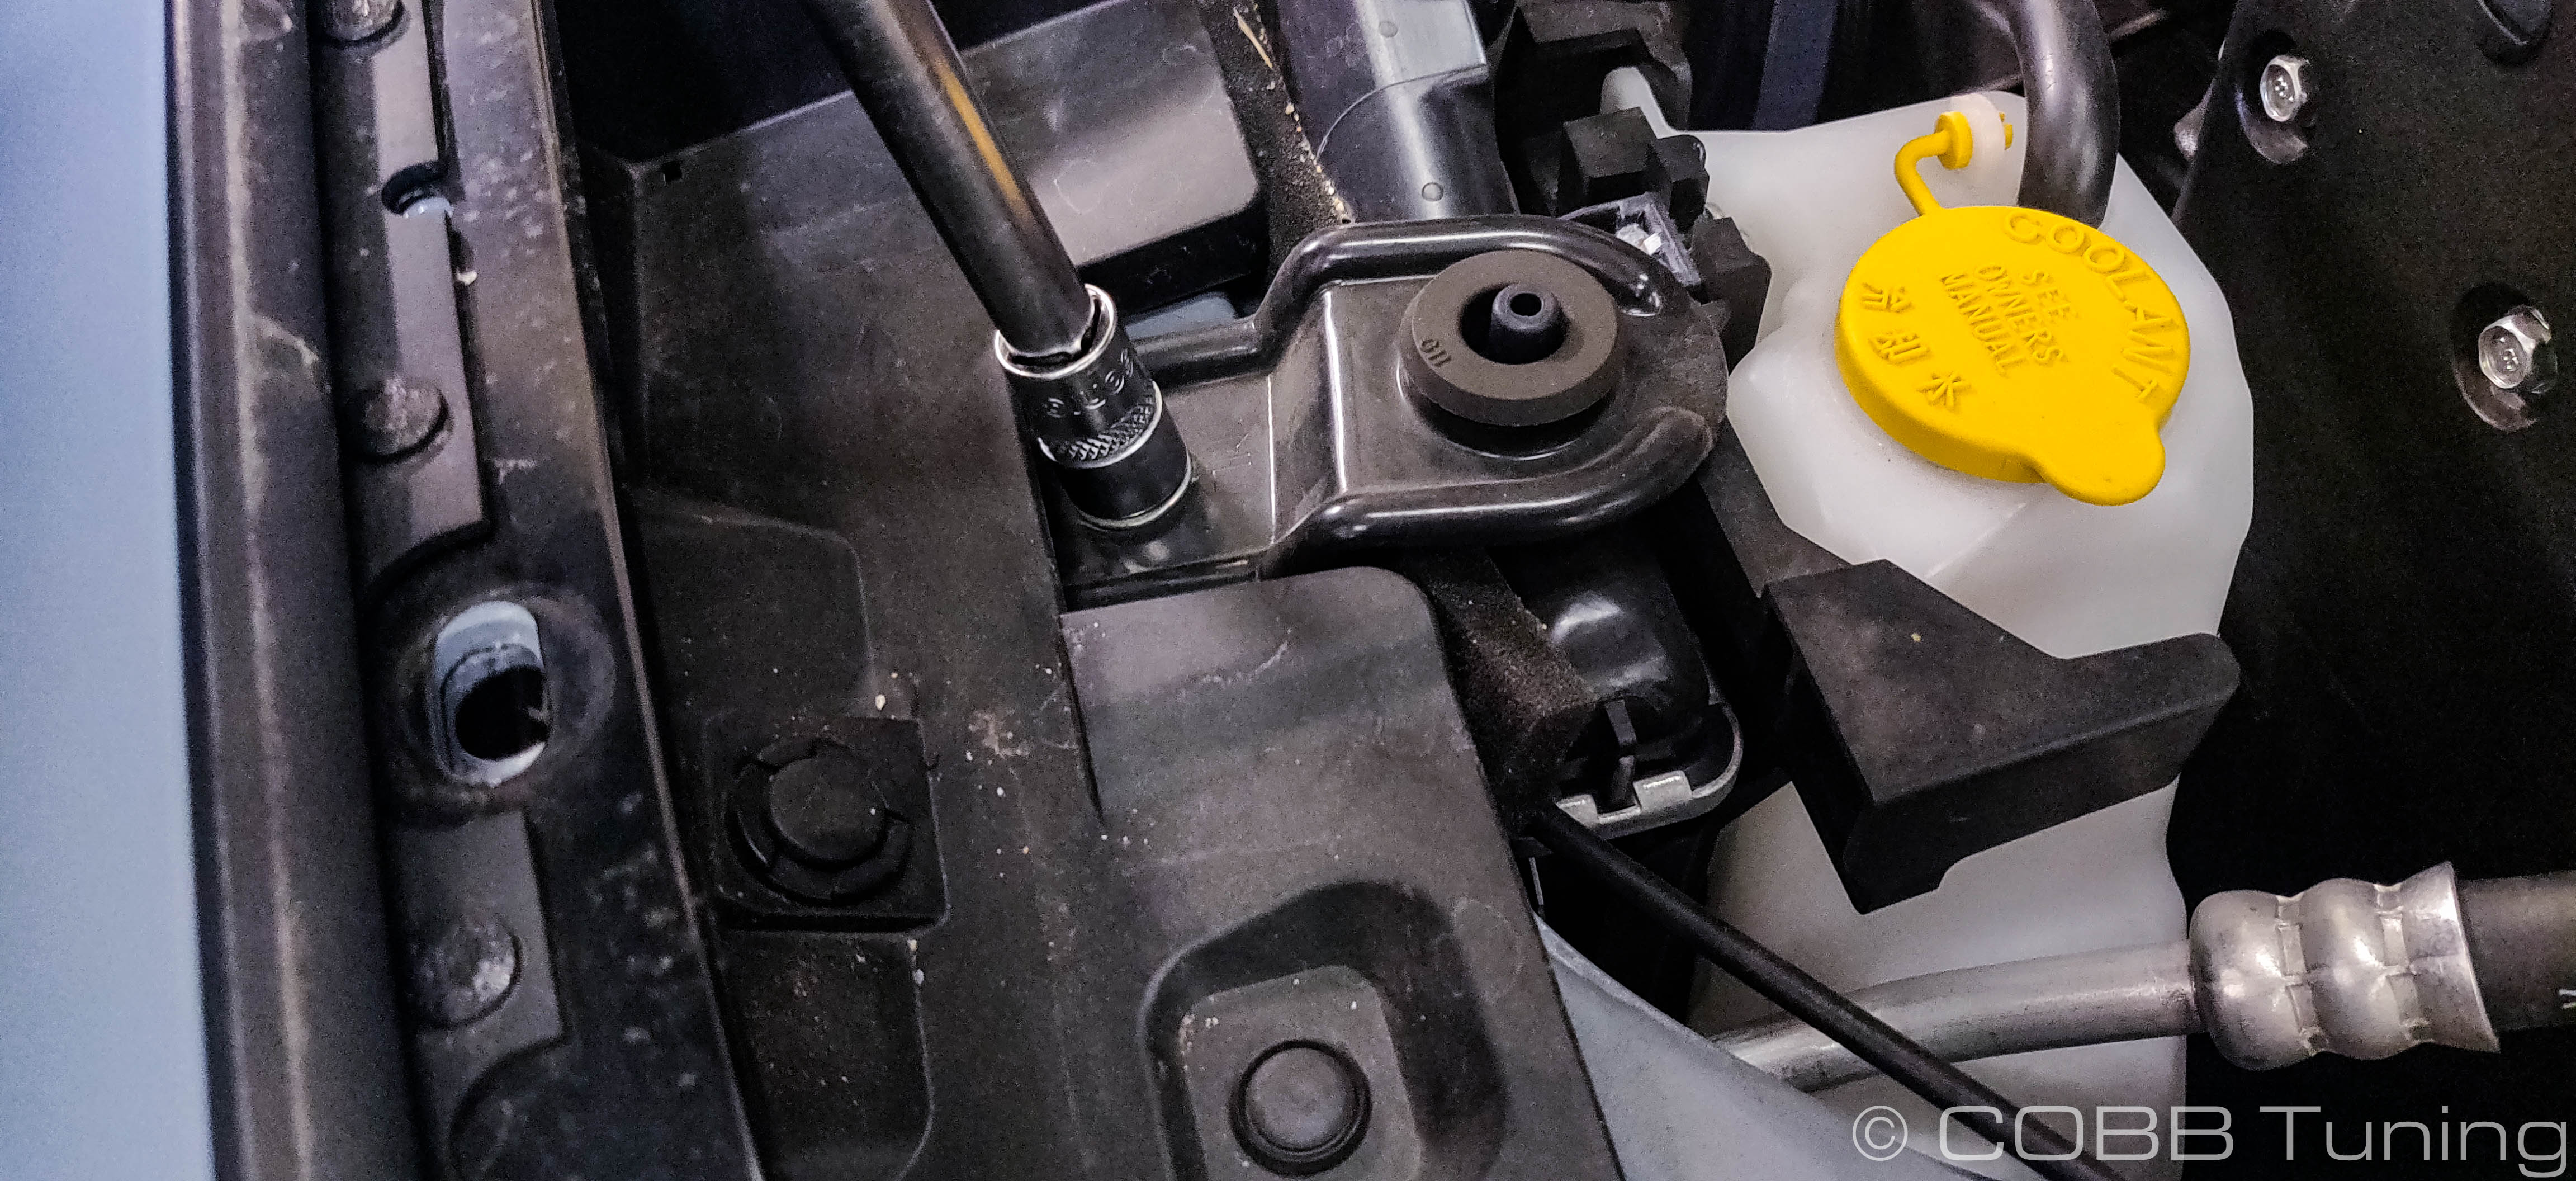

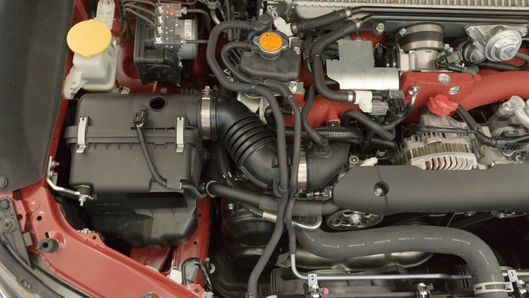
- Note the positions where the original snorkel sat. They'll typically have a light colored ring around them from rubbing.
- Taking two of the shorter allen bolts, add a washer to each one. These will go along with the supplied mounting pins.
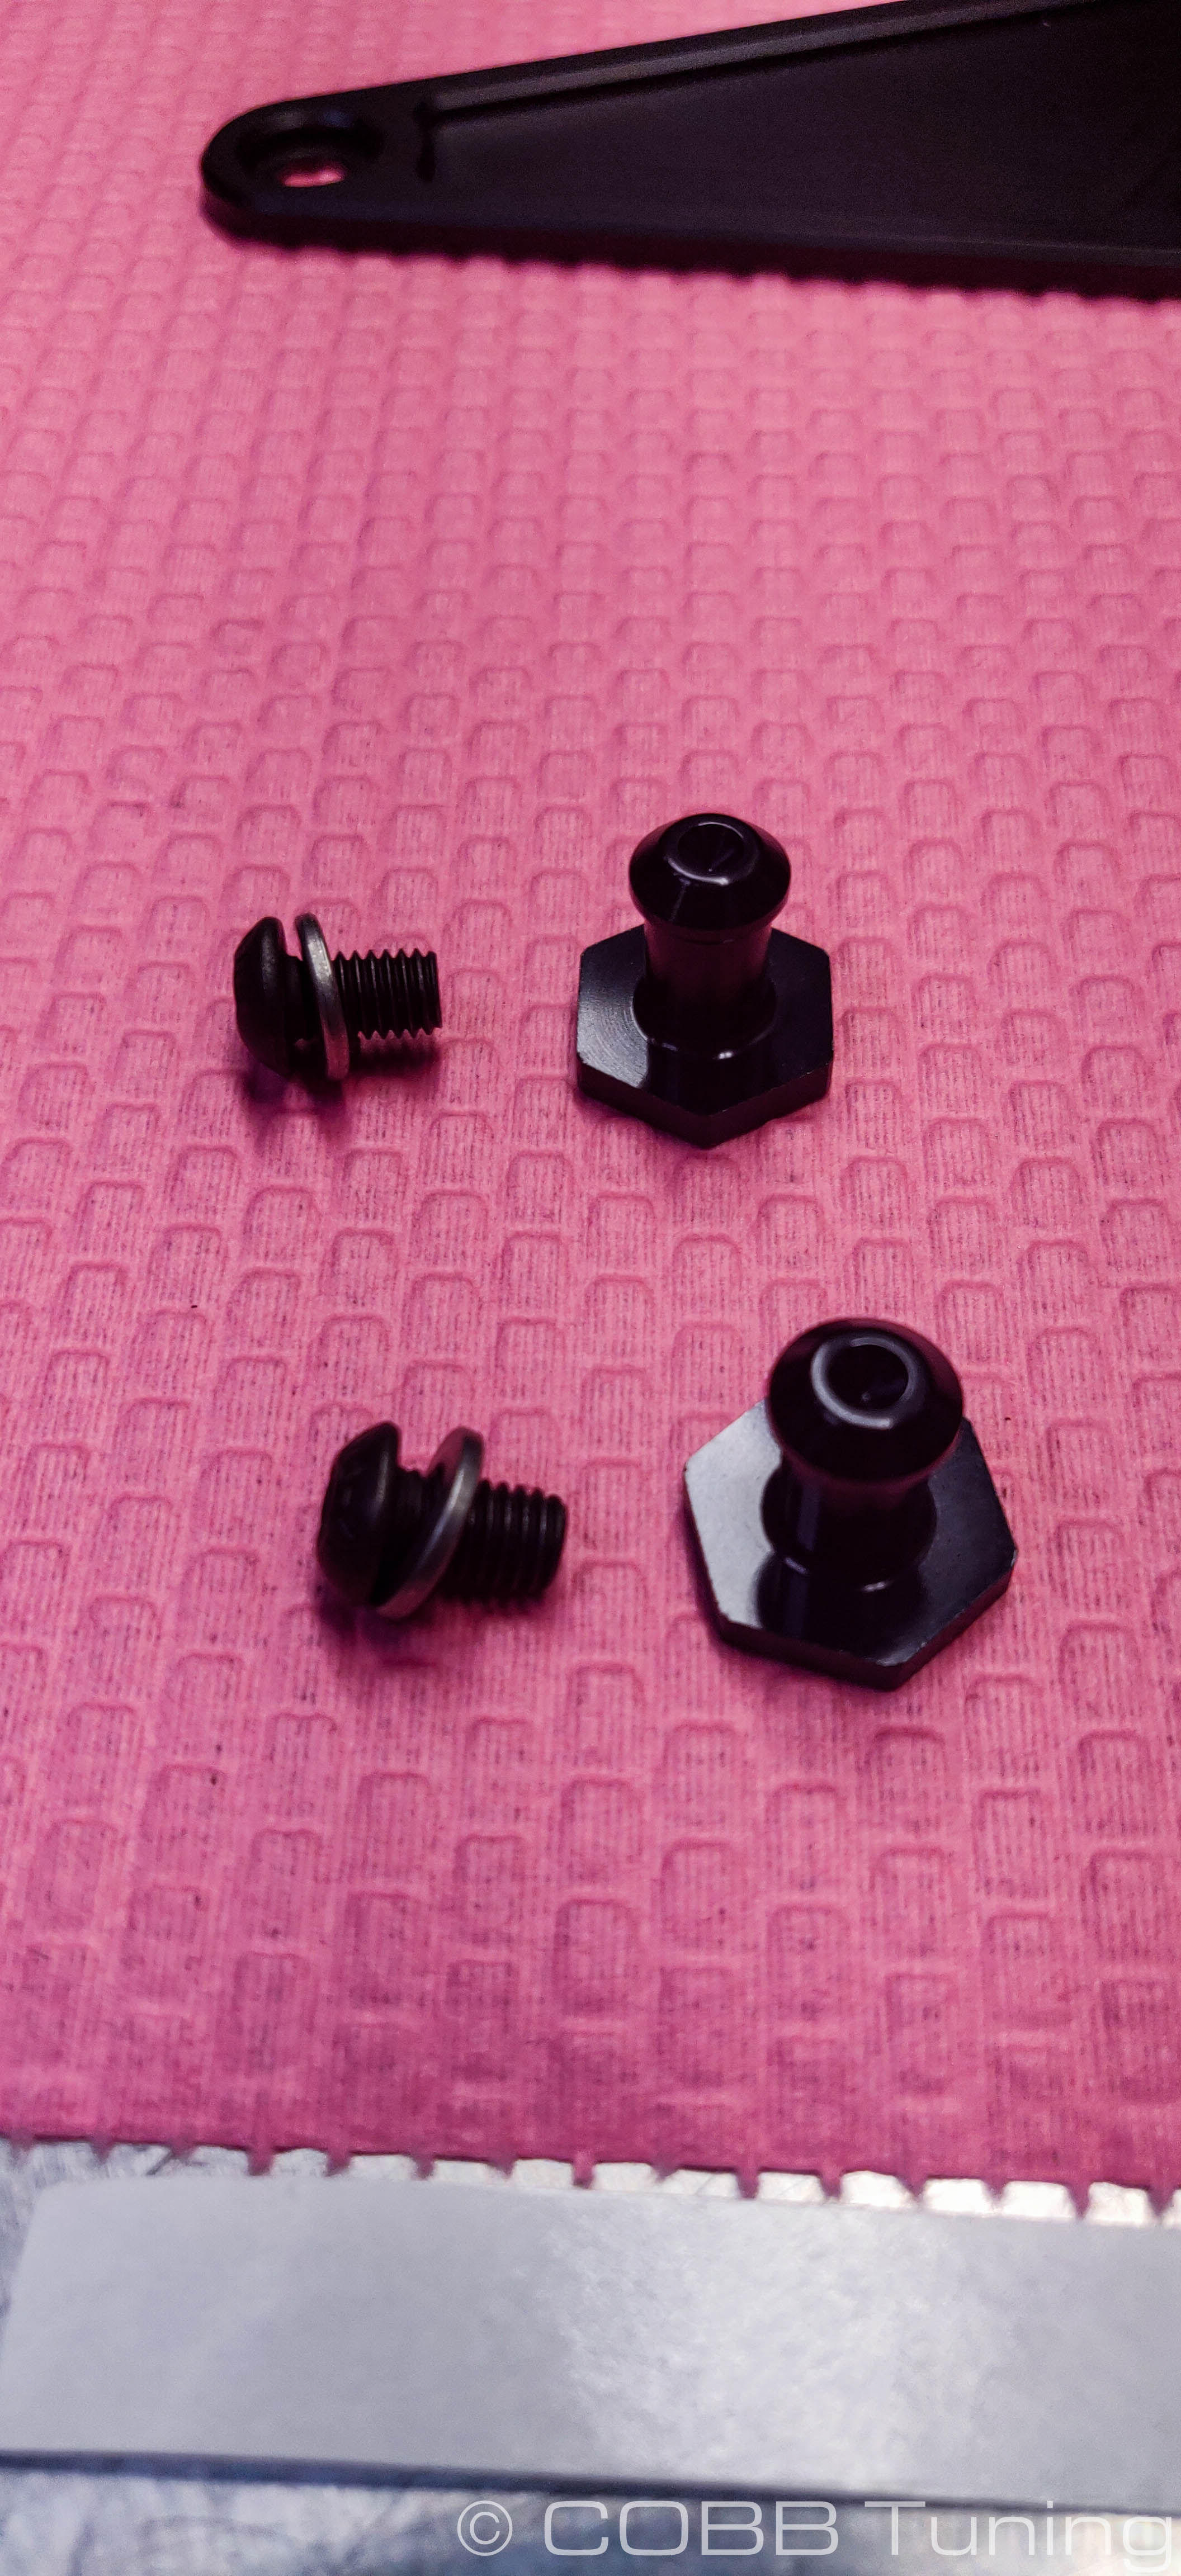
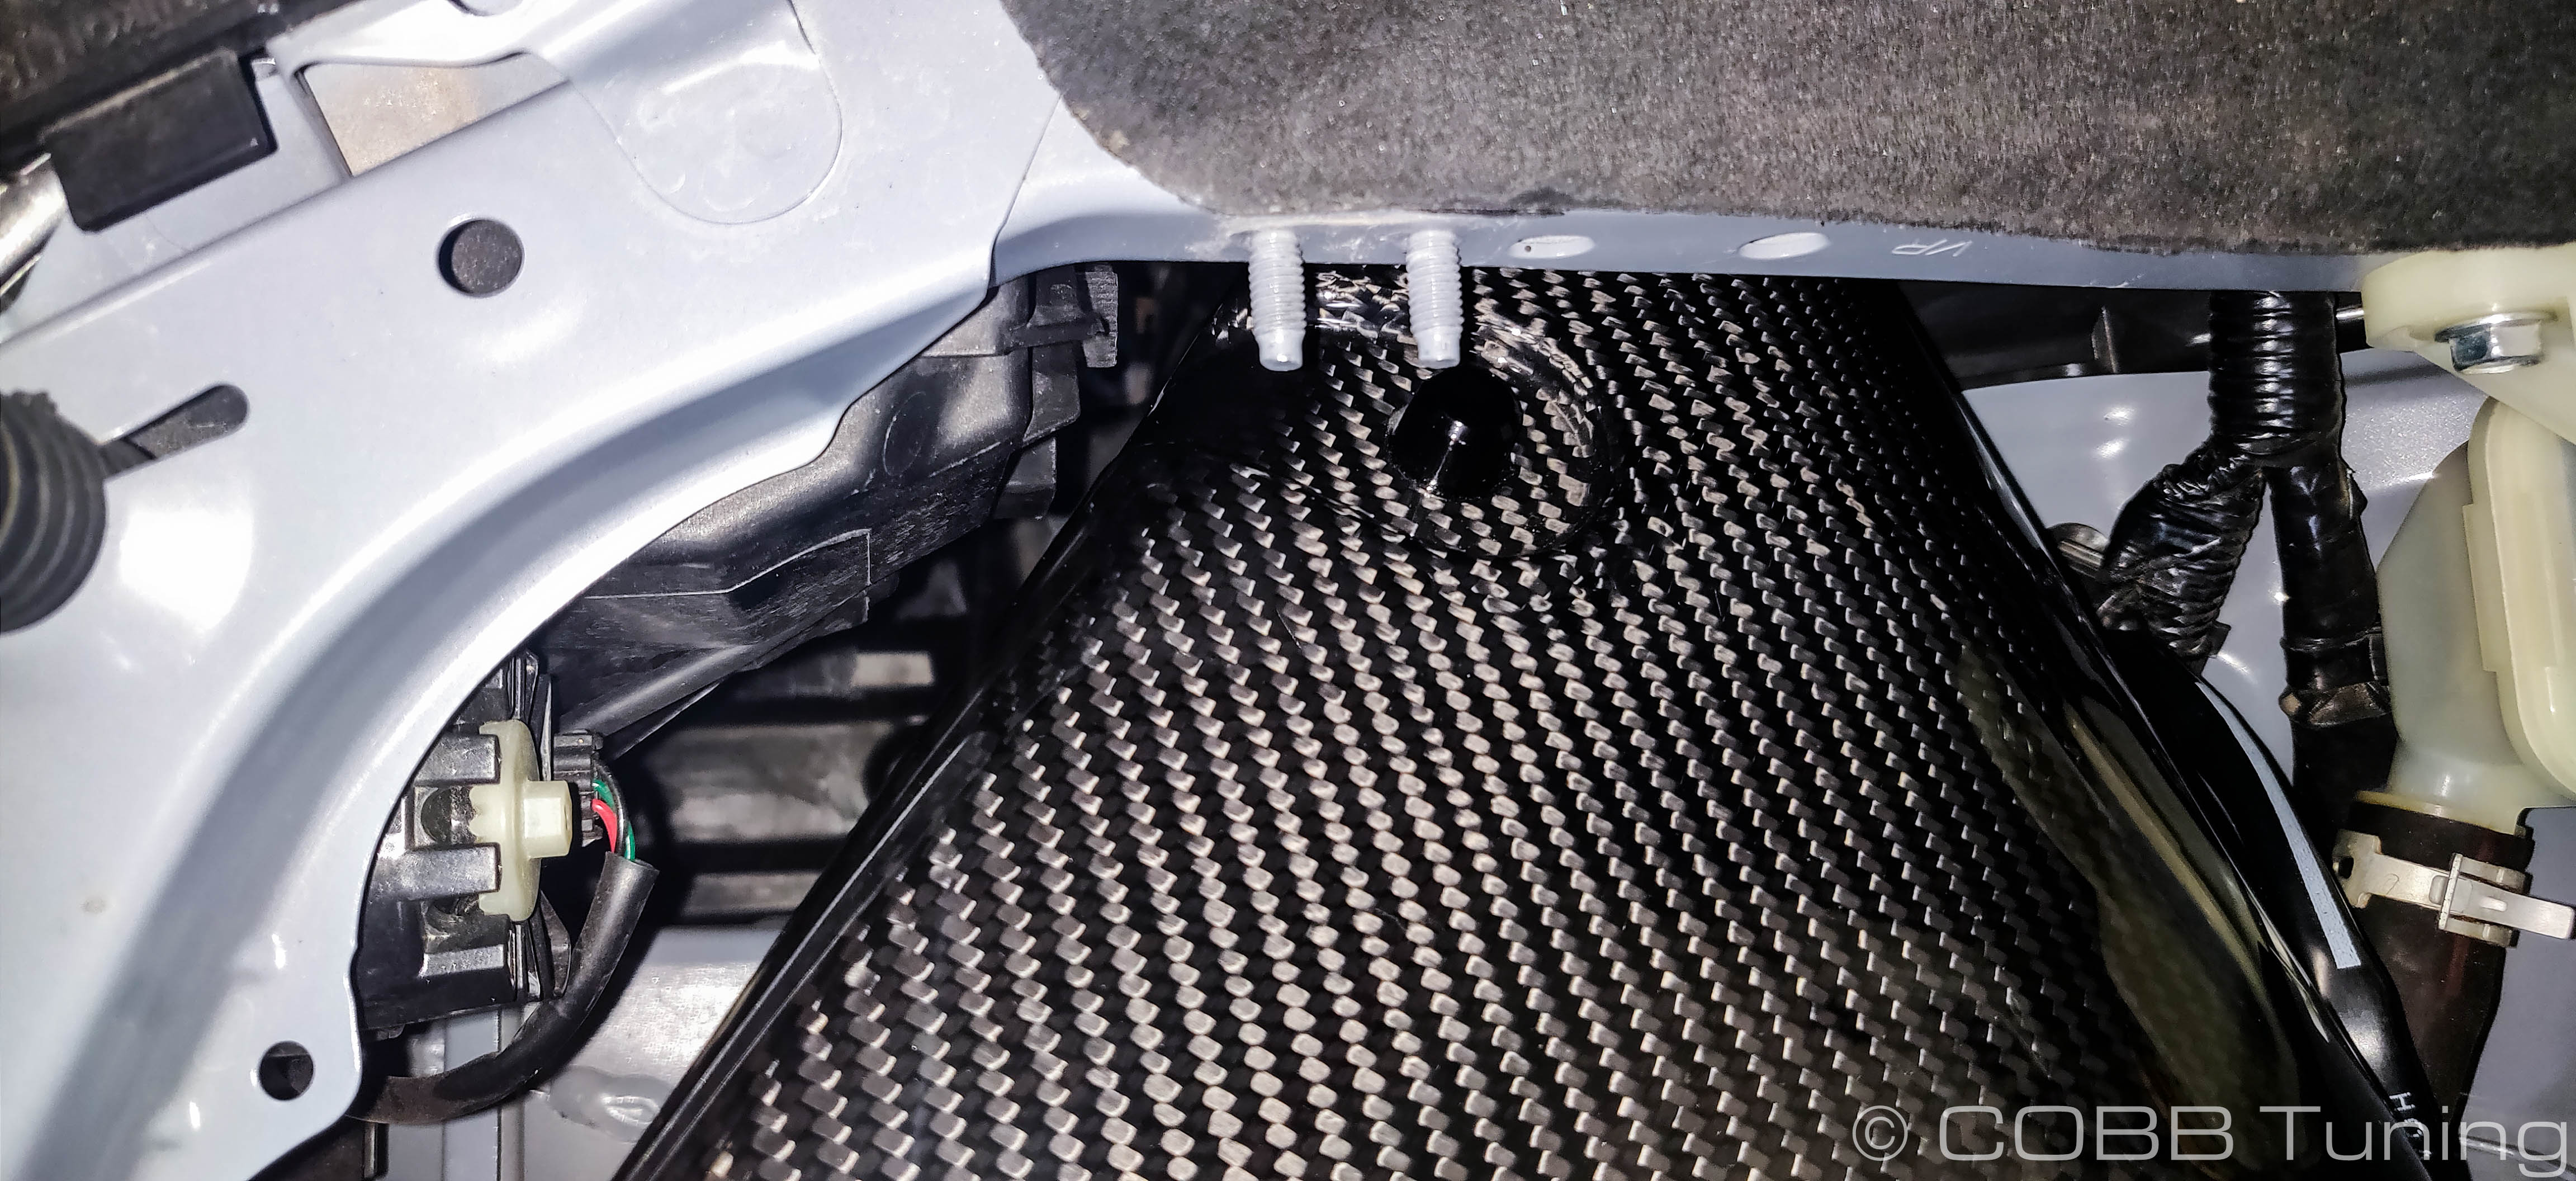
- Stick the bolt and washer onto the short end of your allen key. (A little tape can hold it in place so you don't lose it into the depths of the engine bay.) You'll now gently hold the radiator out of the way, and poke the allen bolt up through the previously noted mounting holes.
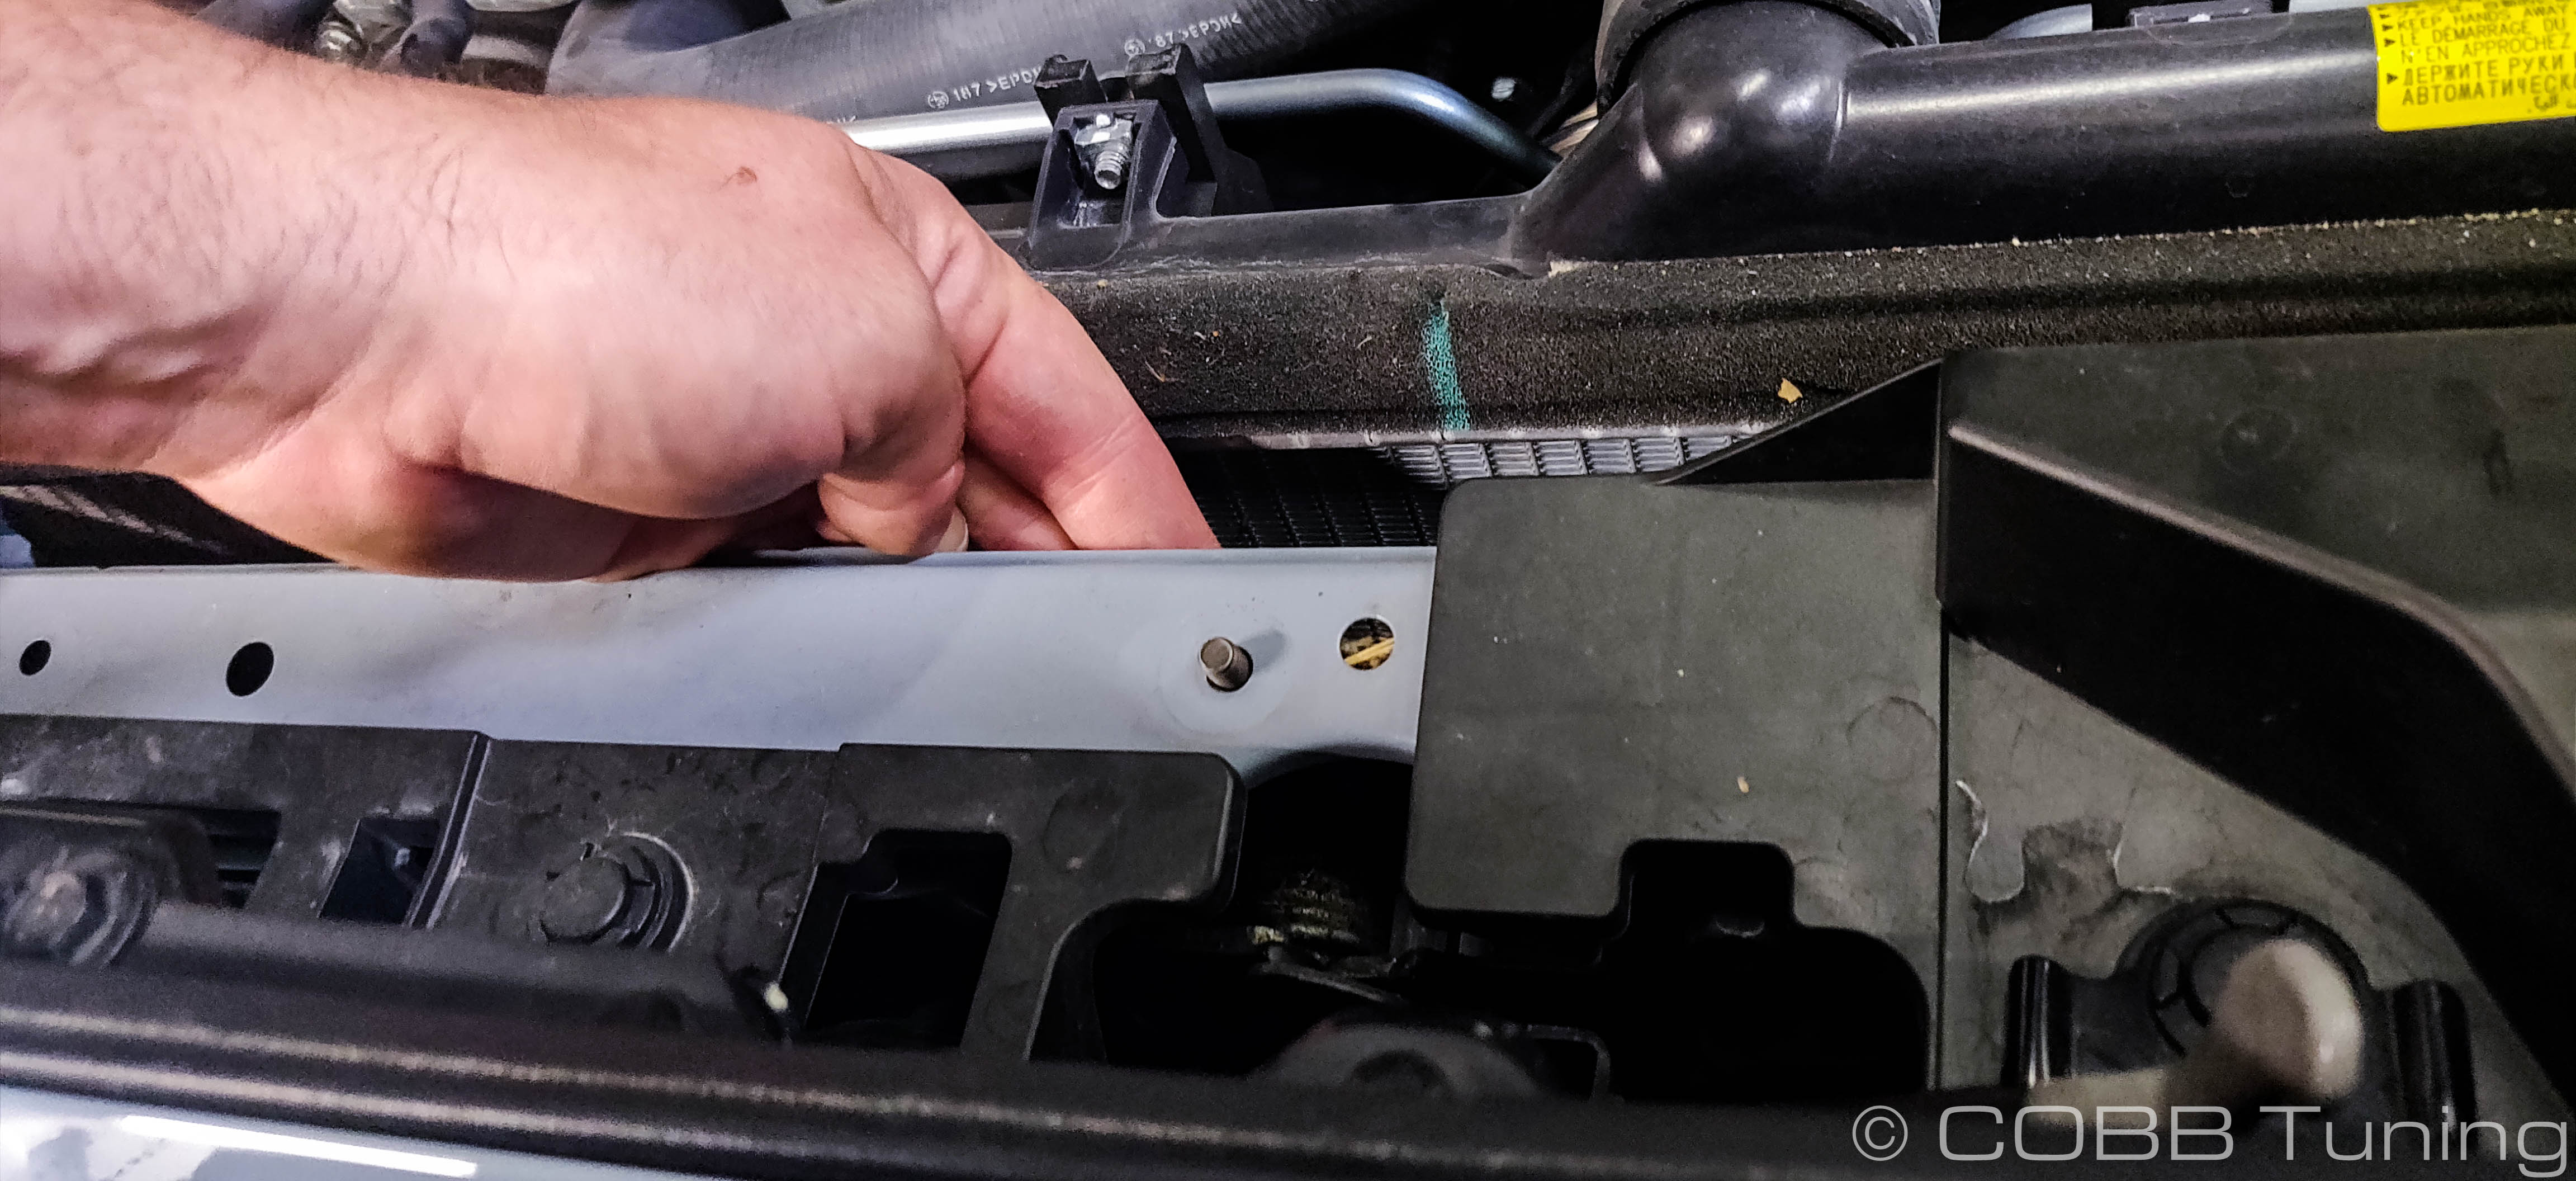
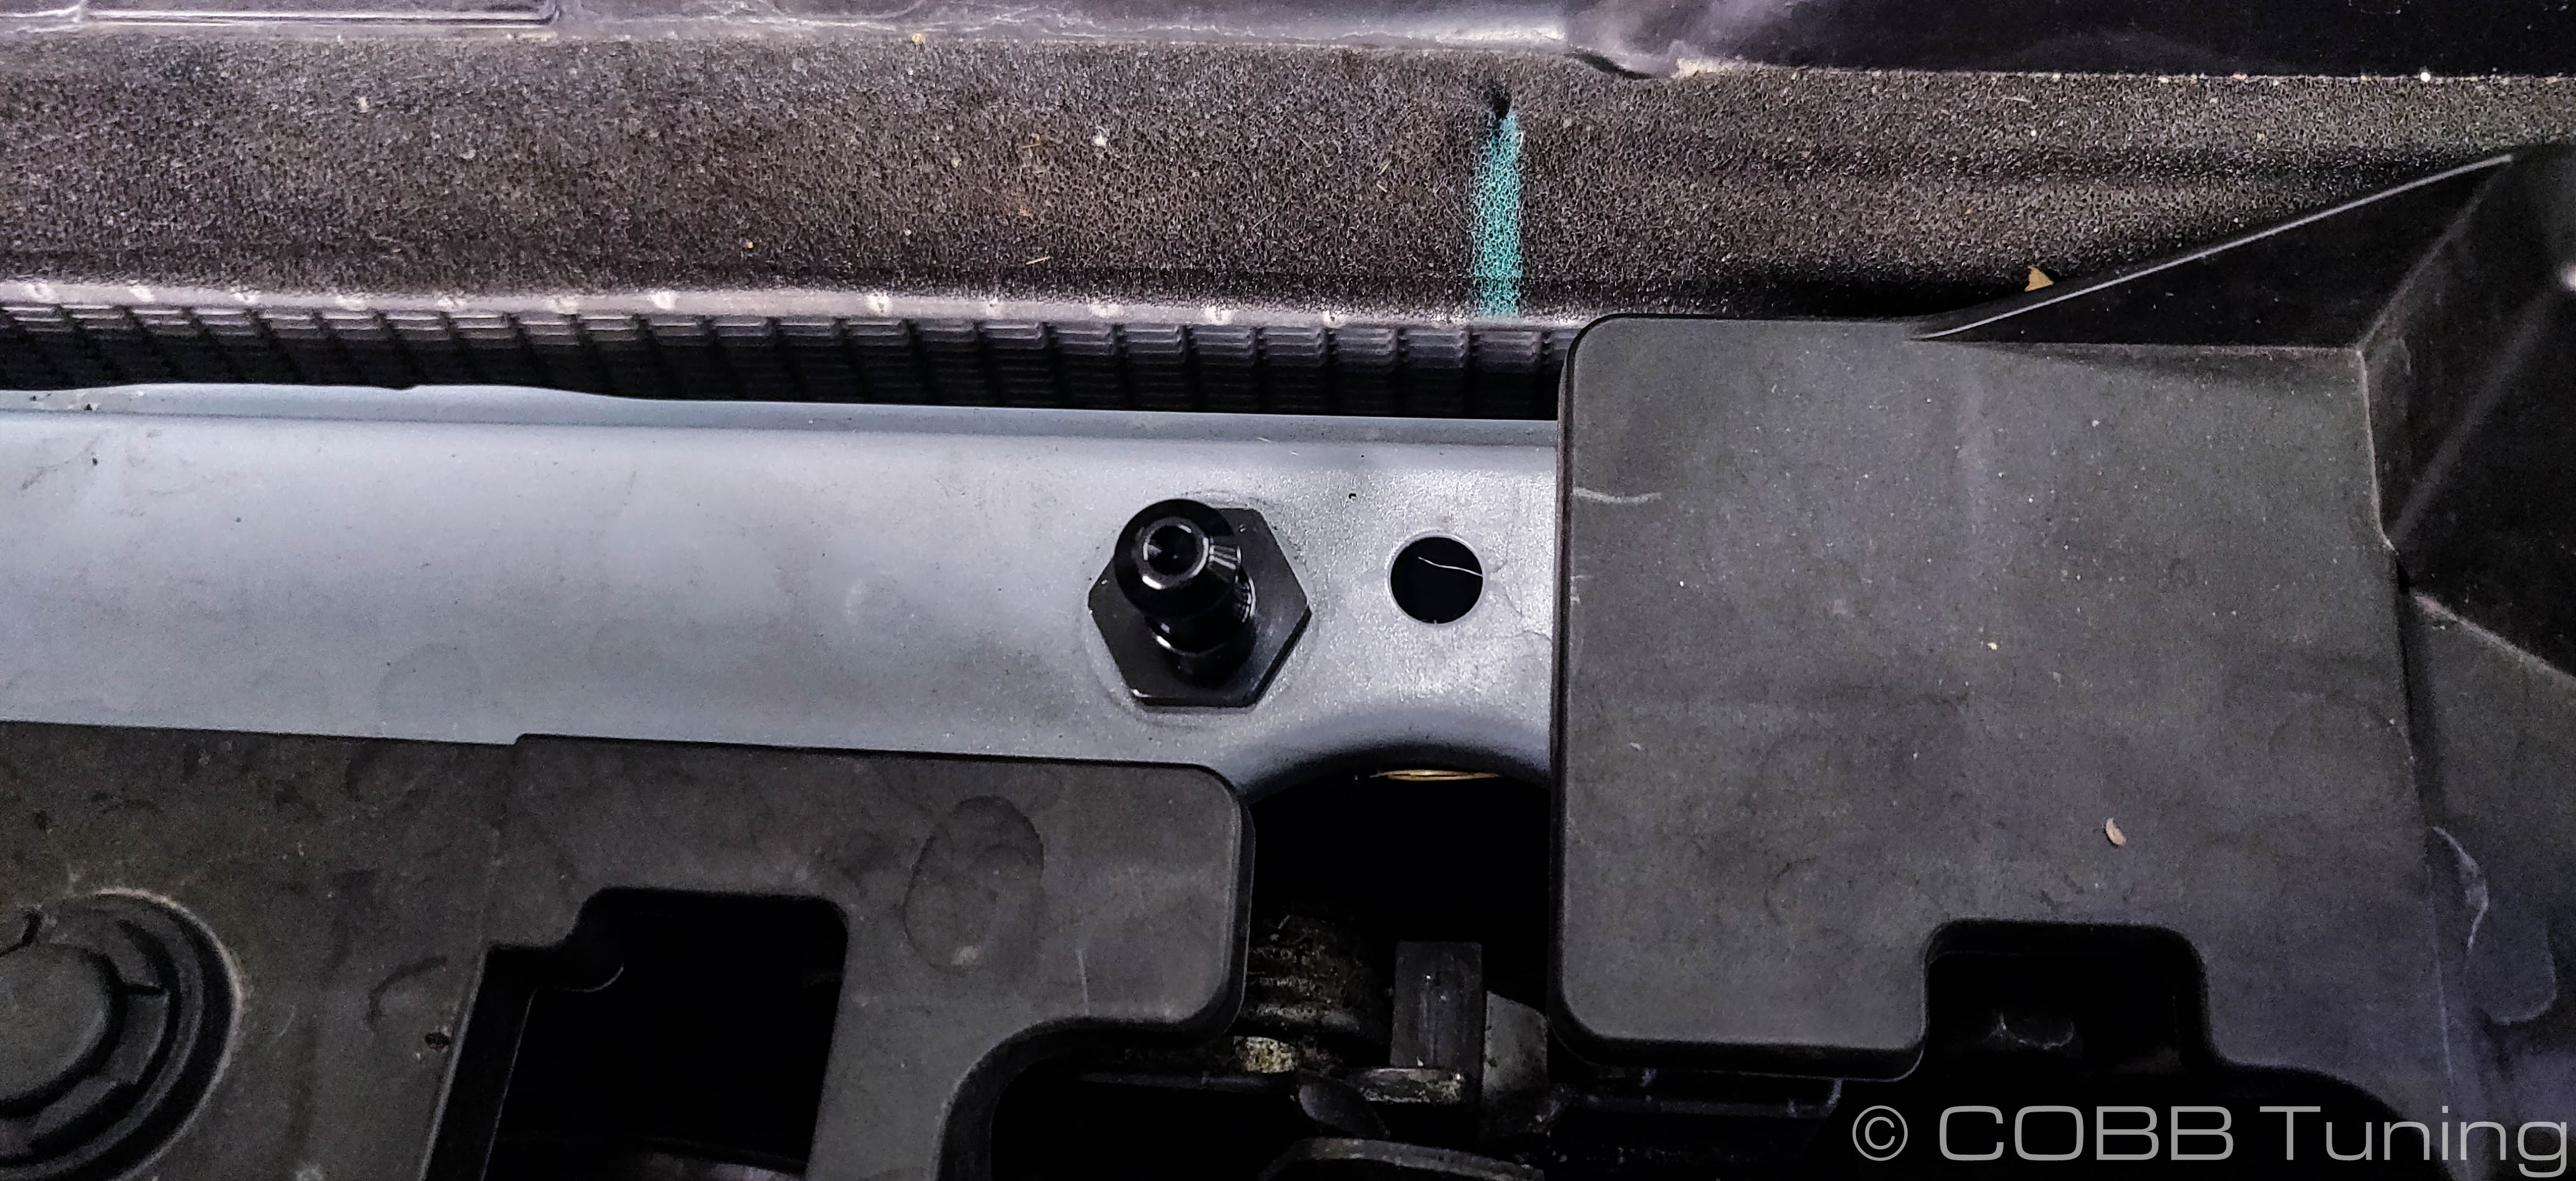
- You can now use your hands to put the pin onto the bolt. Then tighten it down with a 17mm wrench.
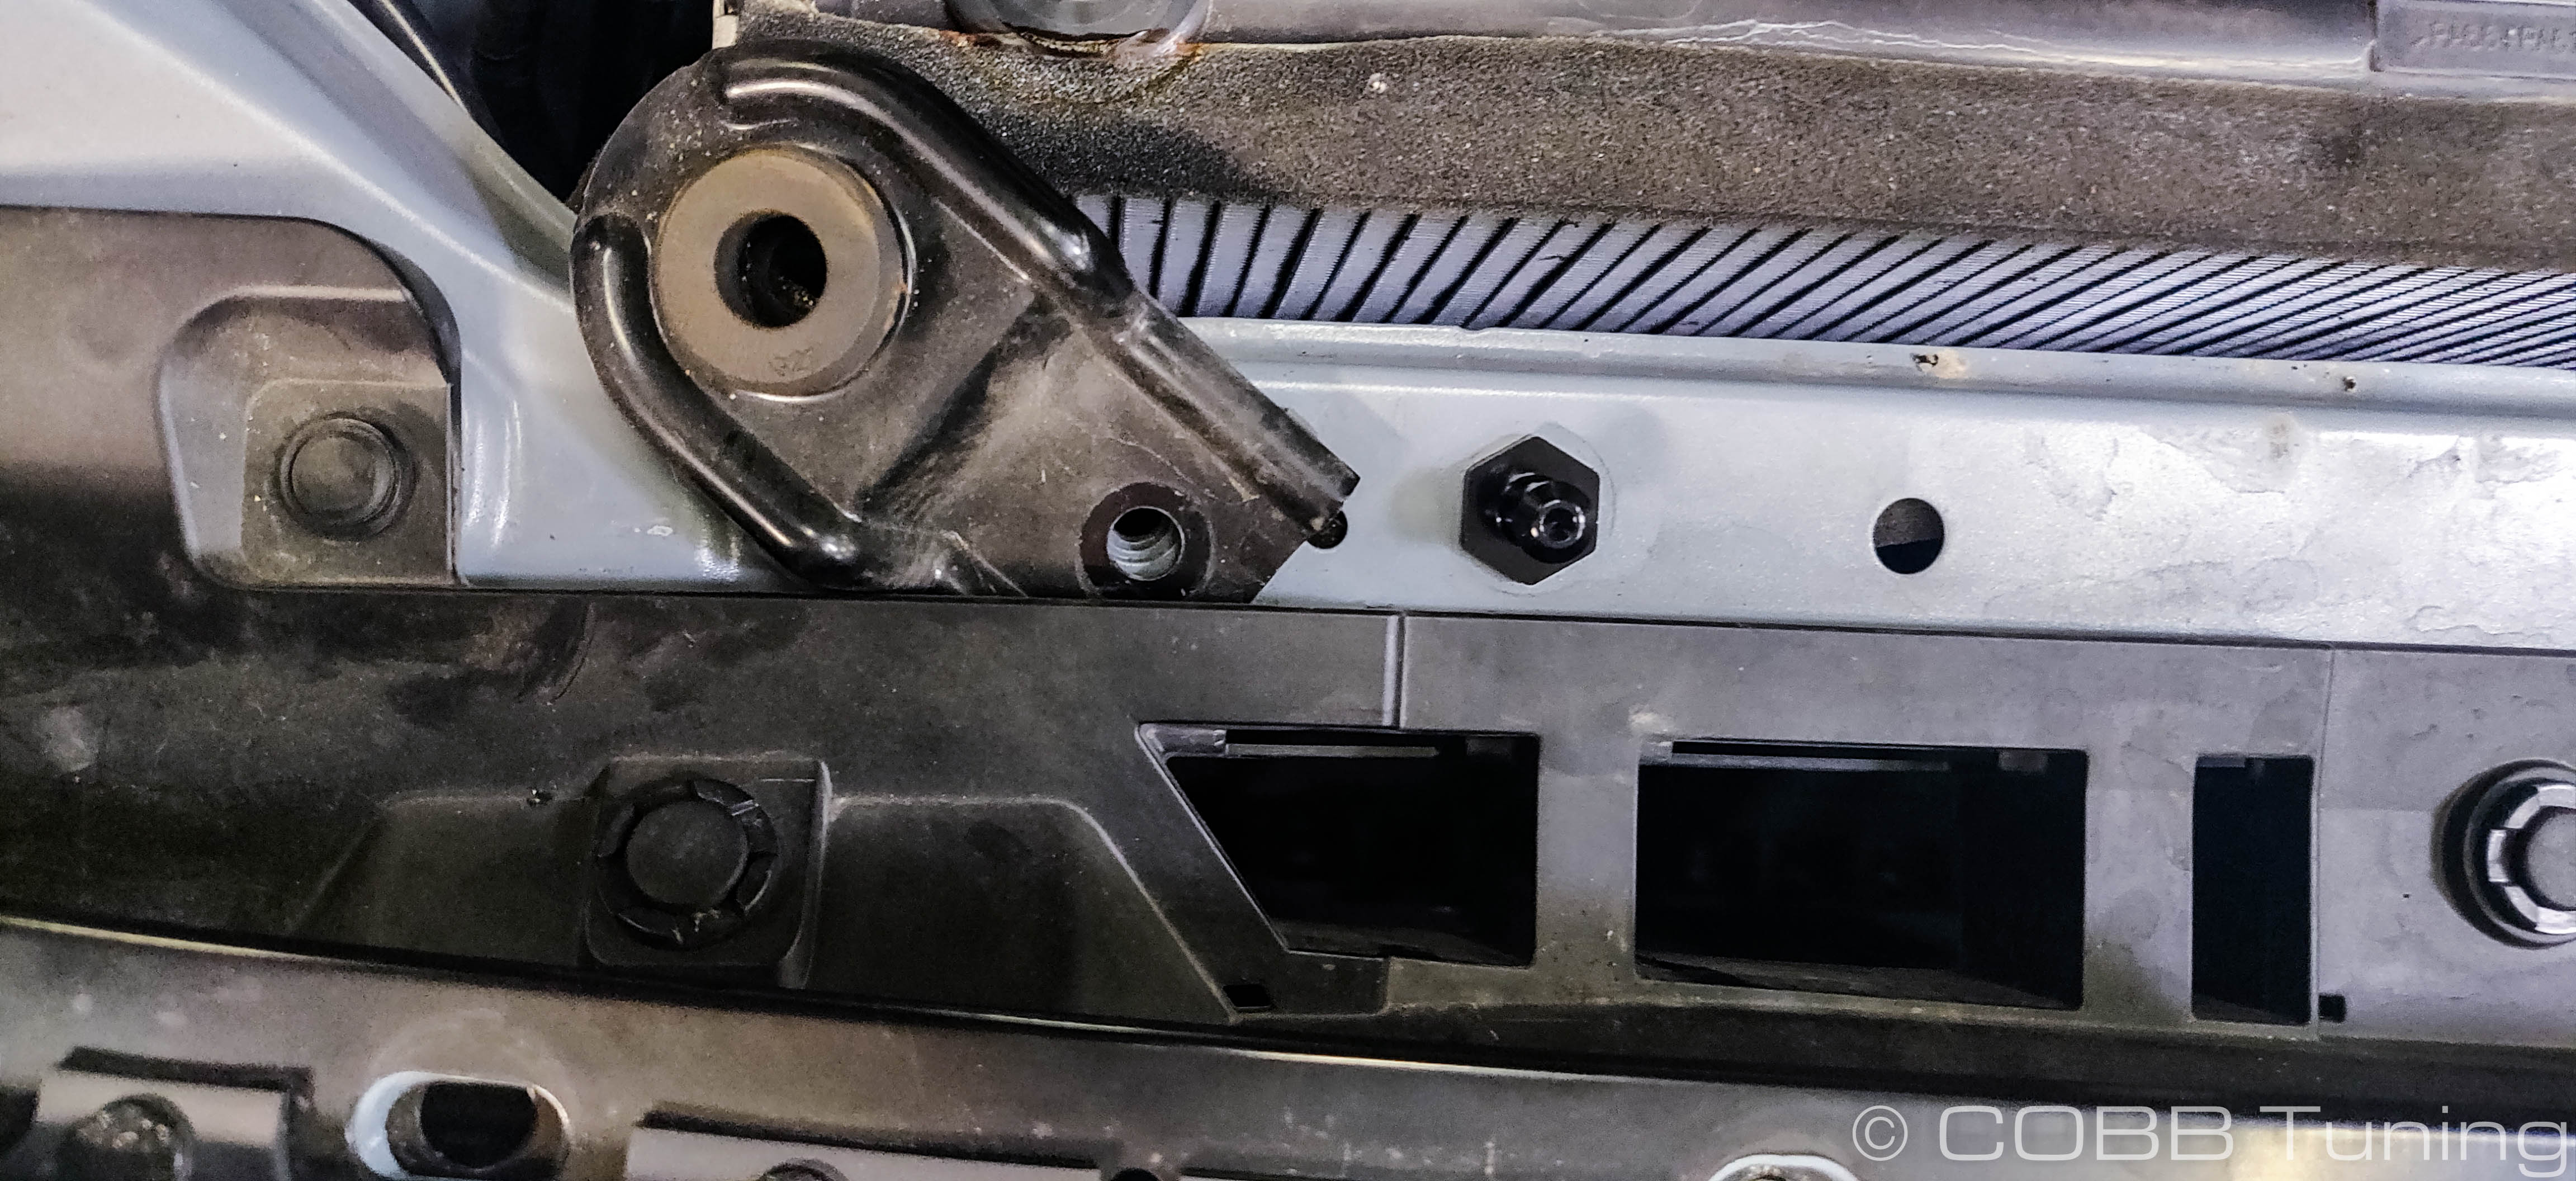
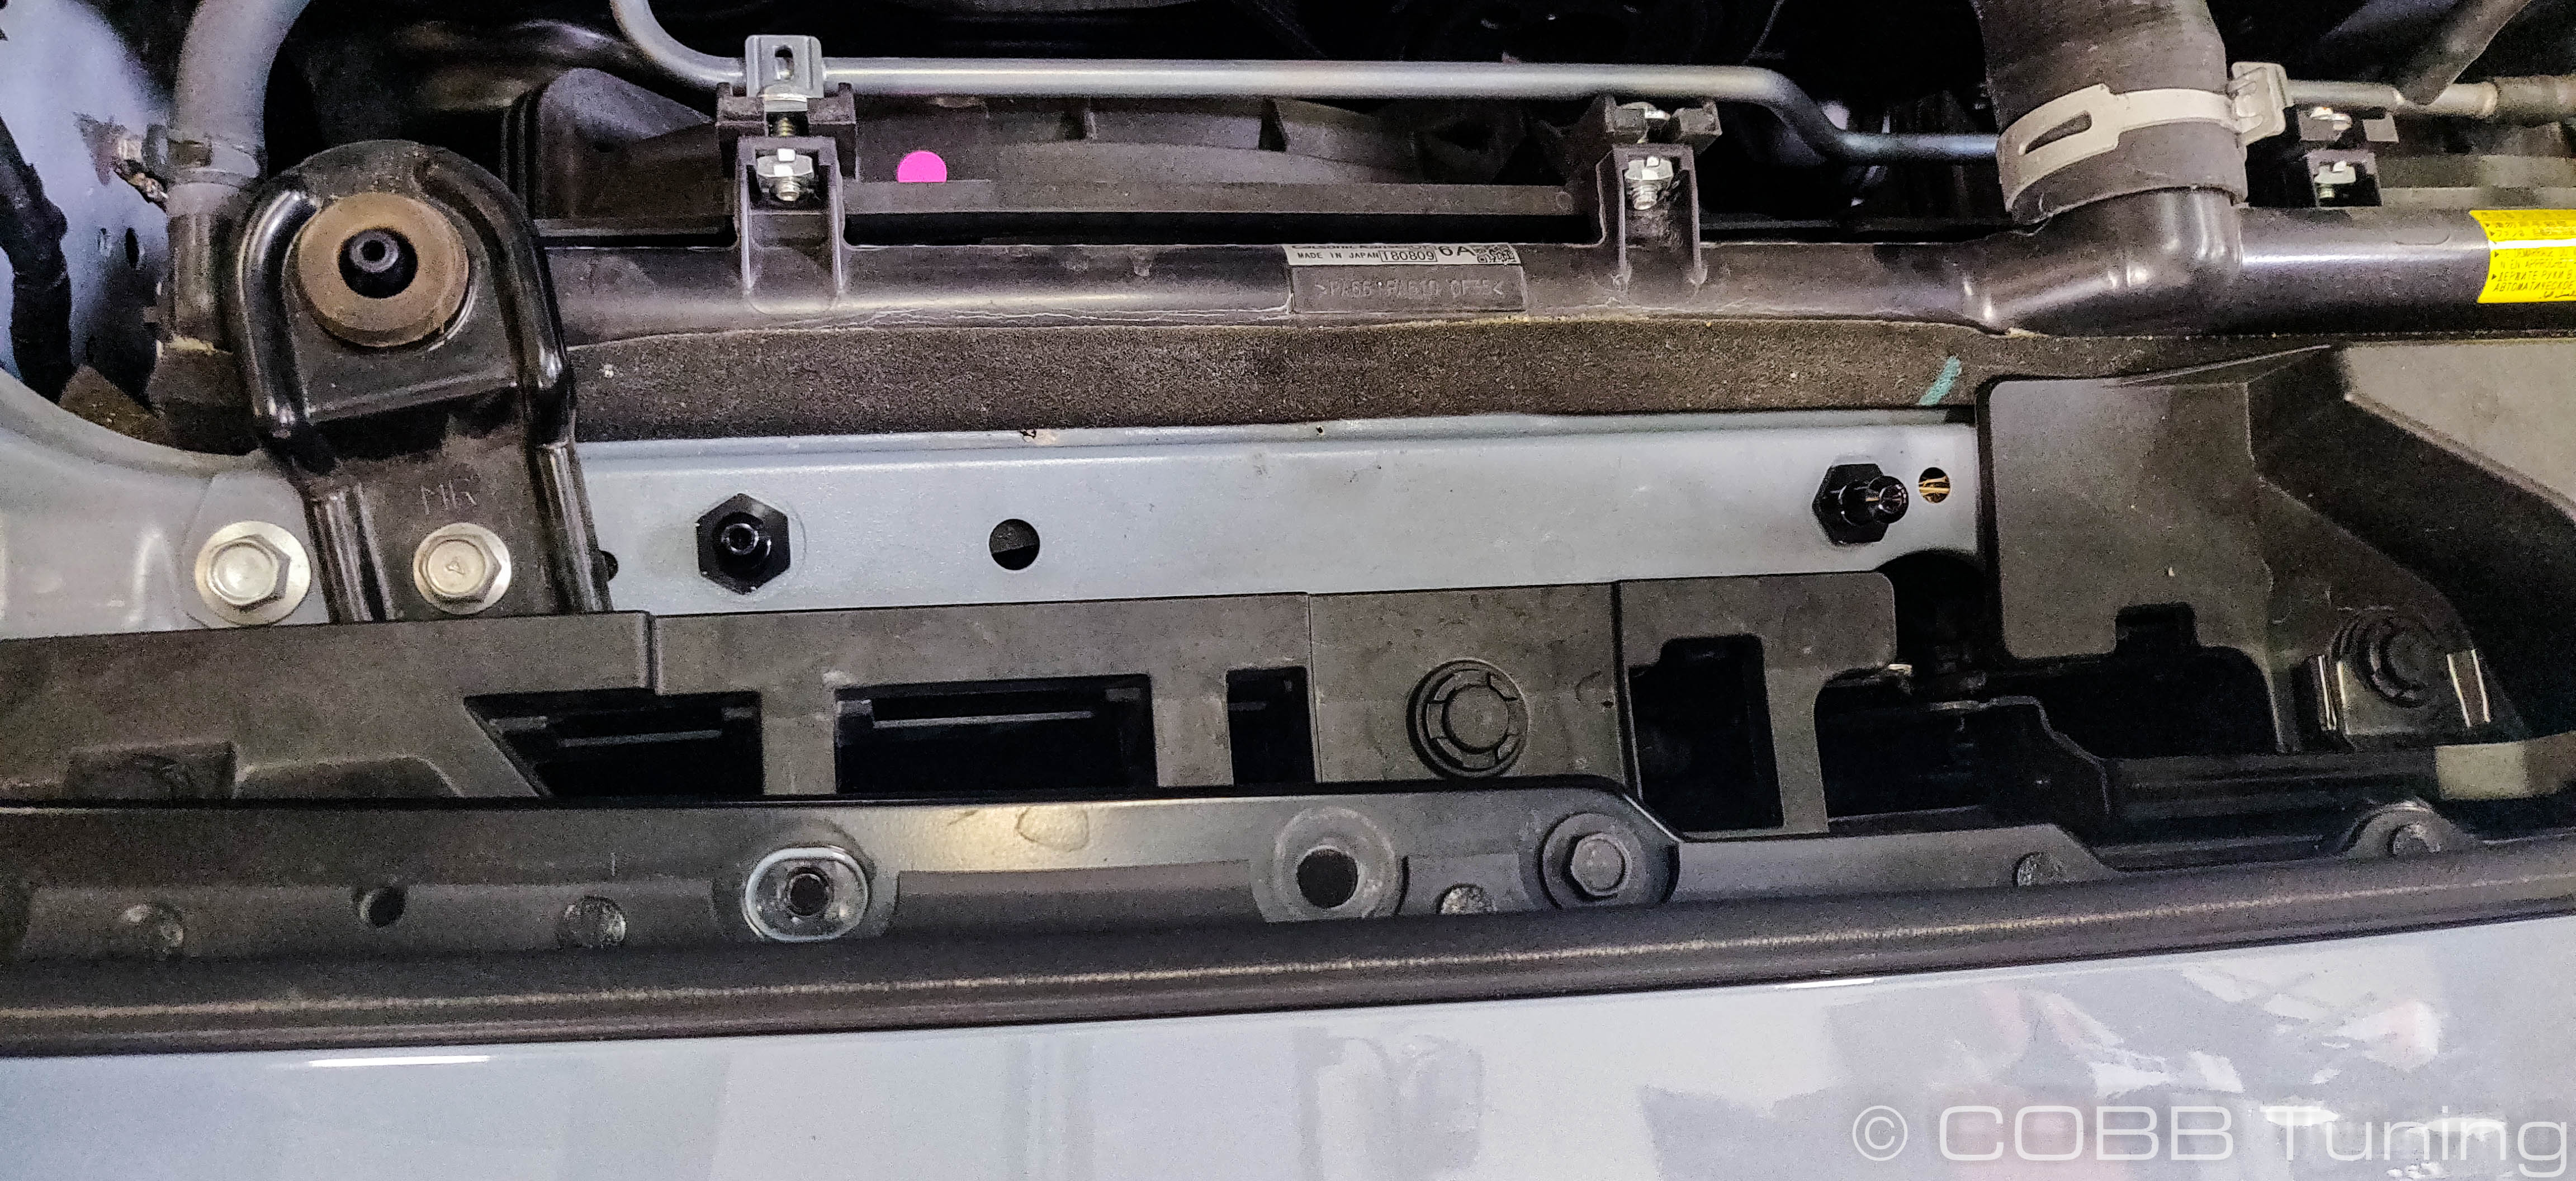
- You can now re-install the upper radiator supports.
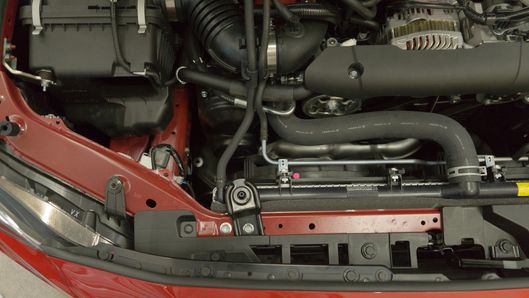
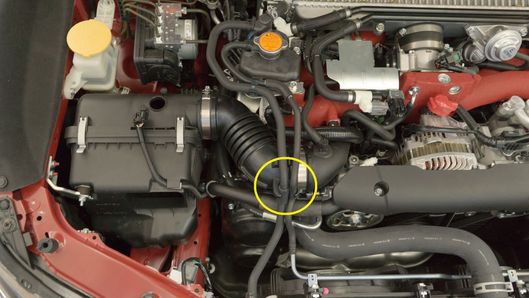
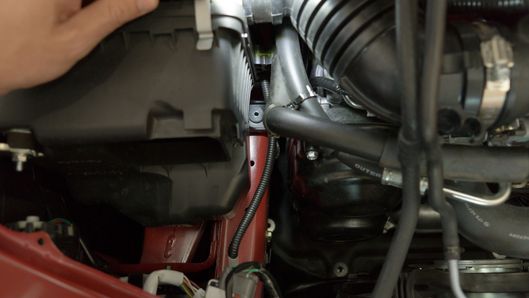
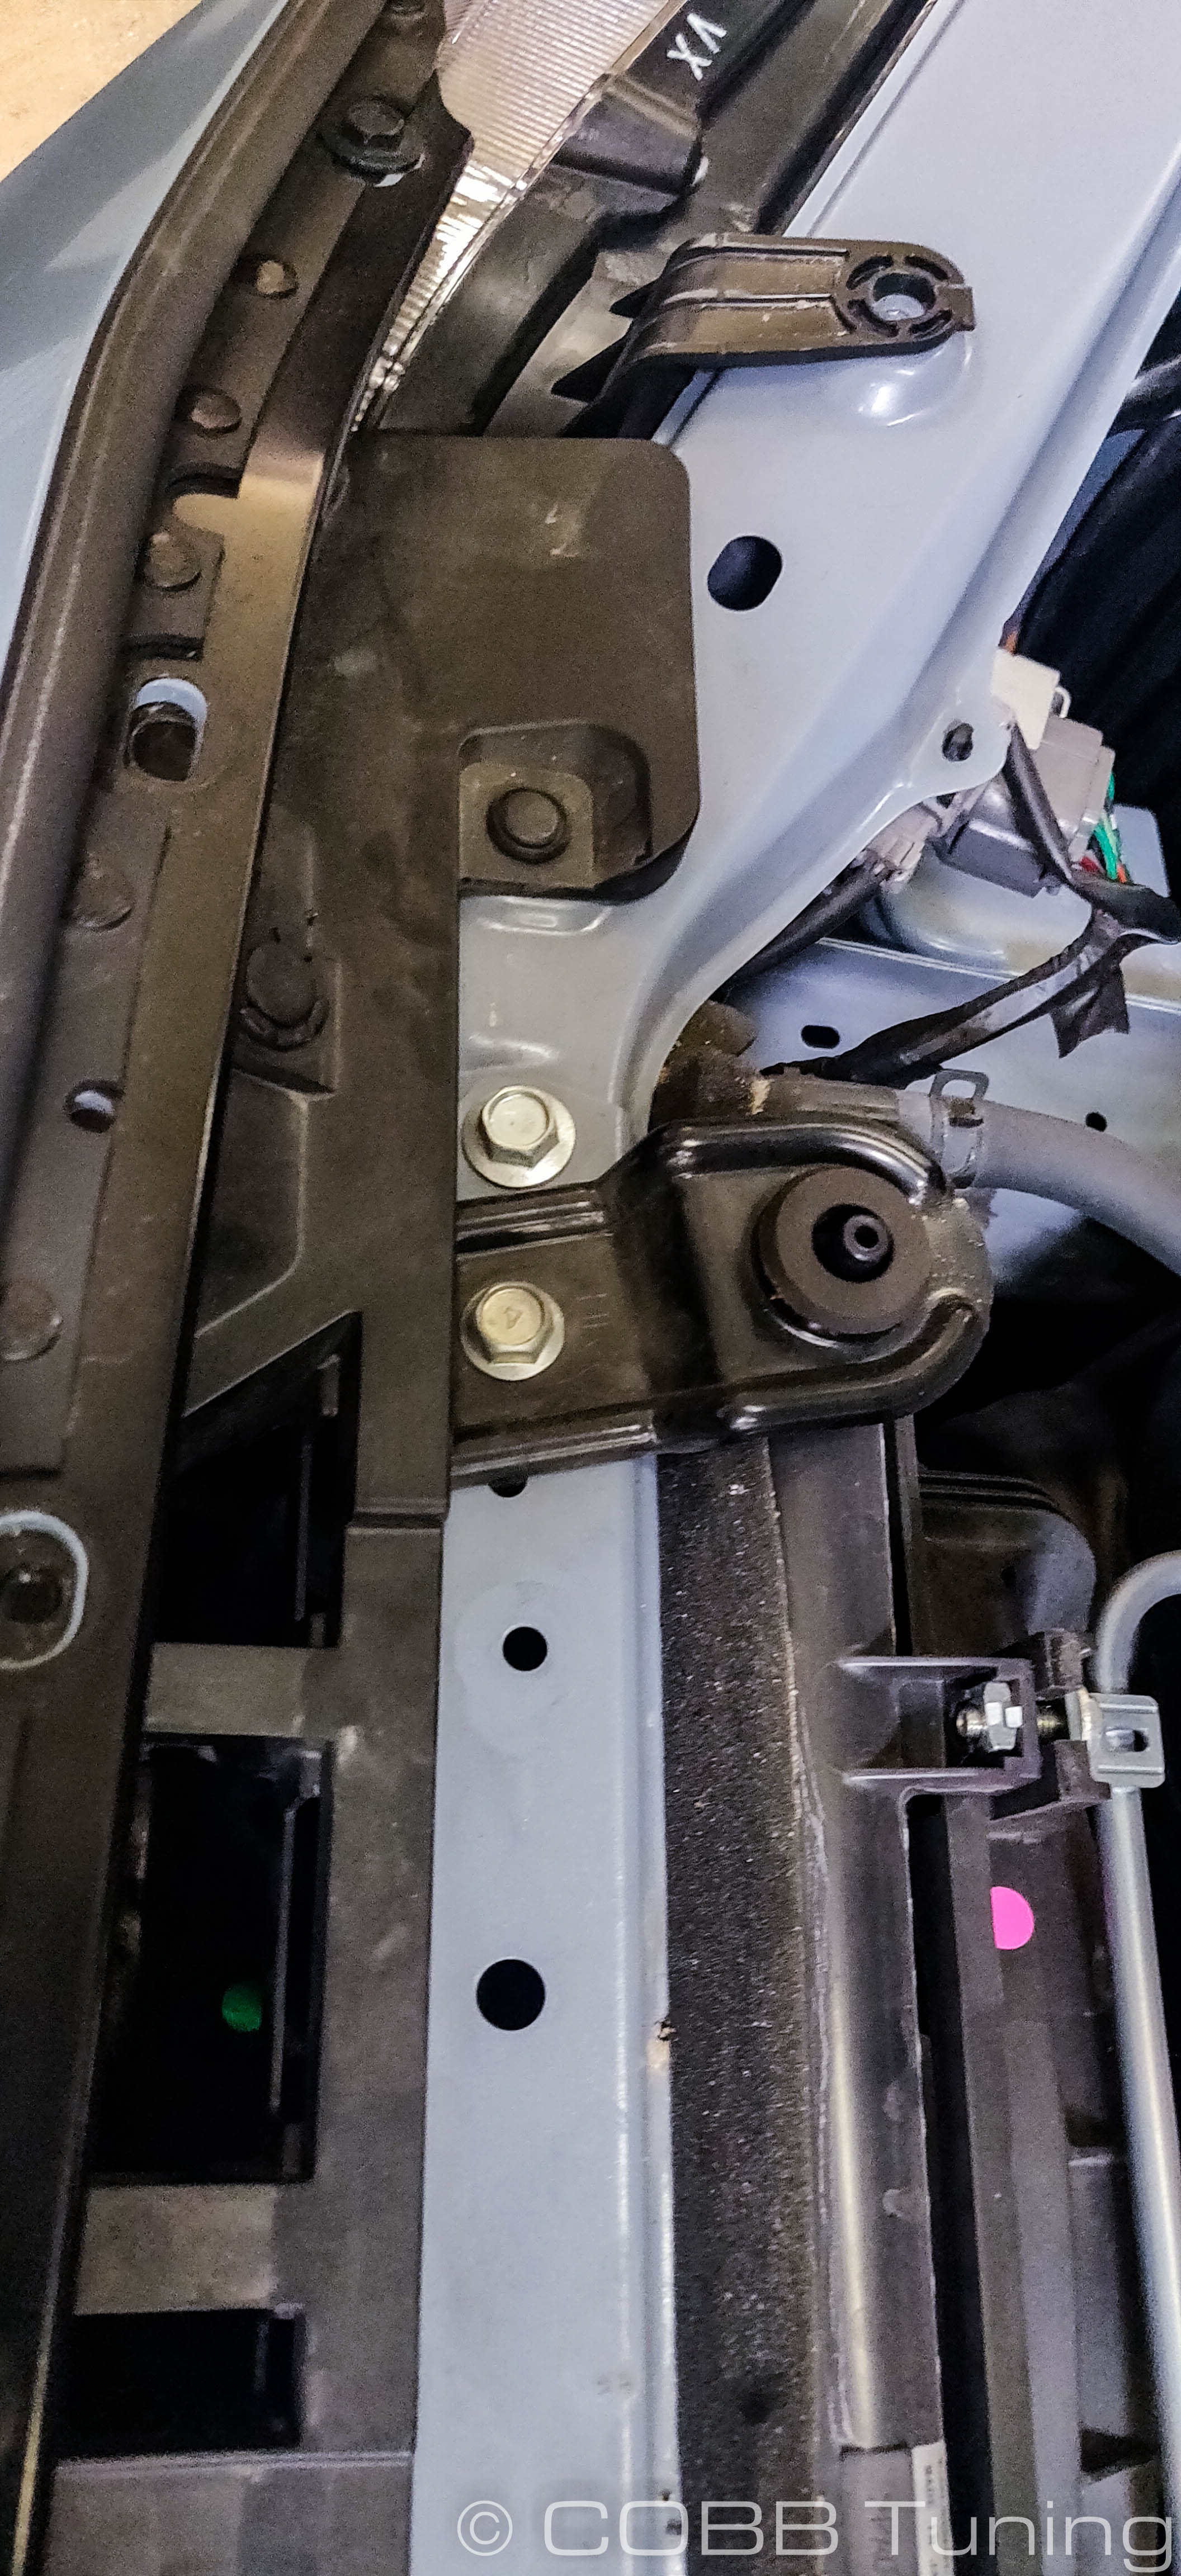
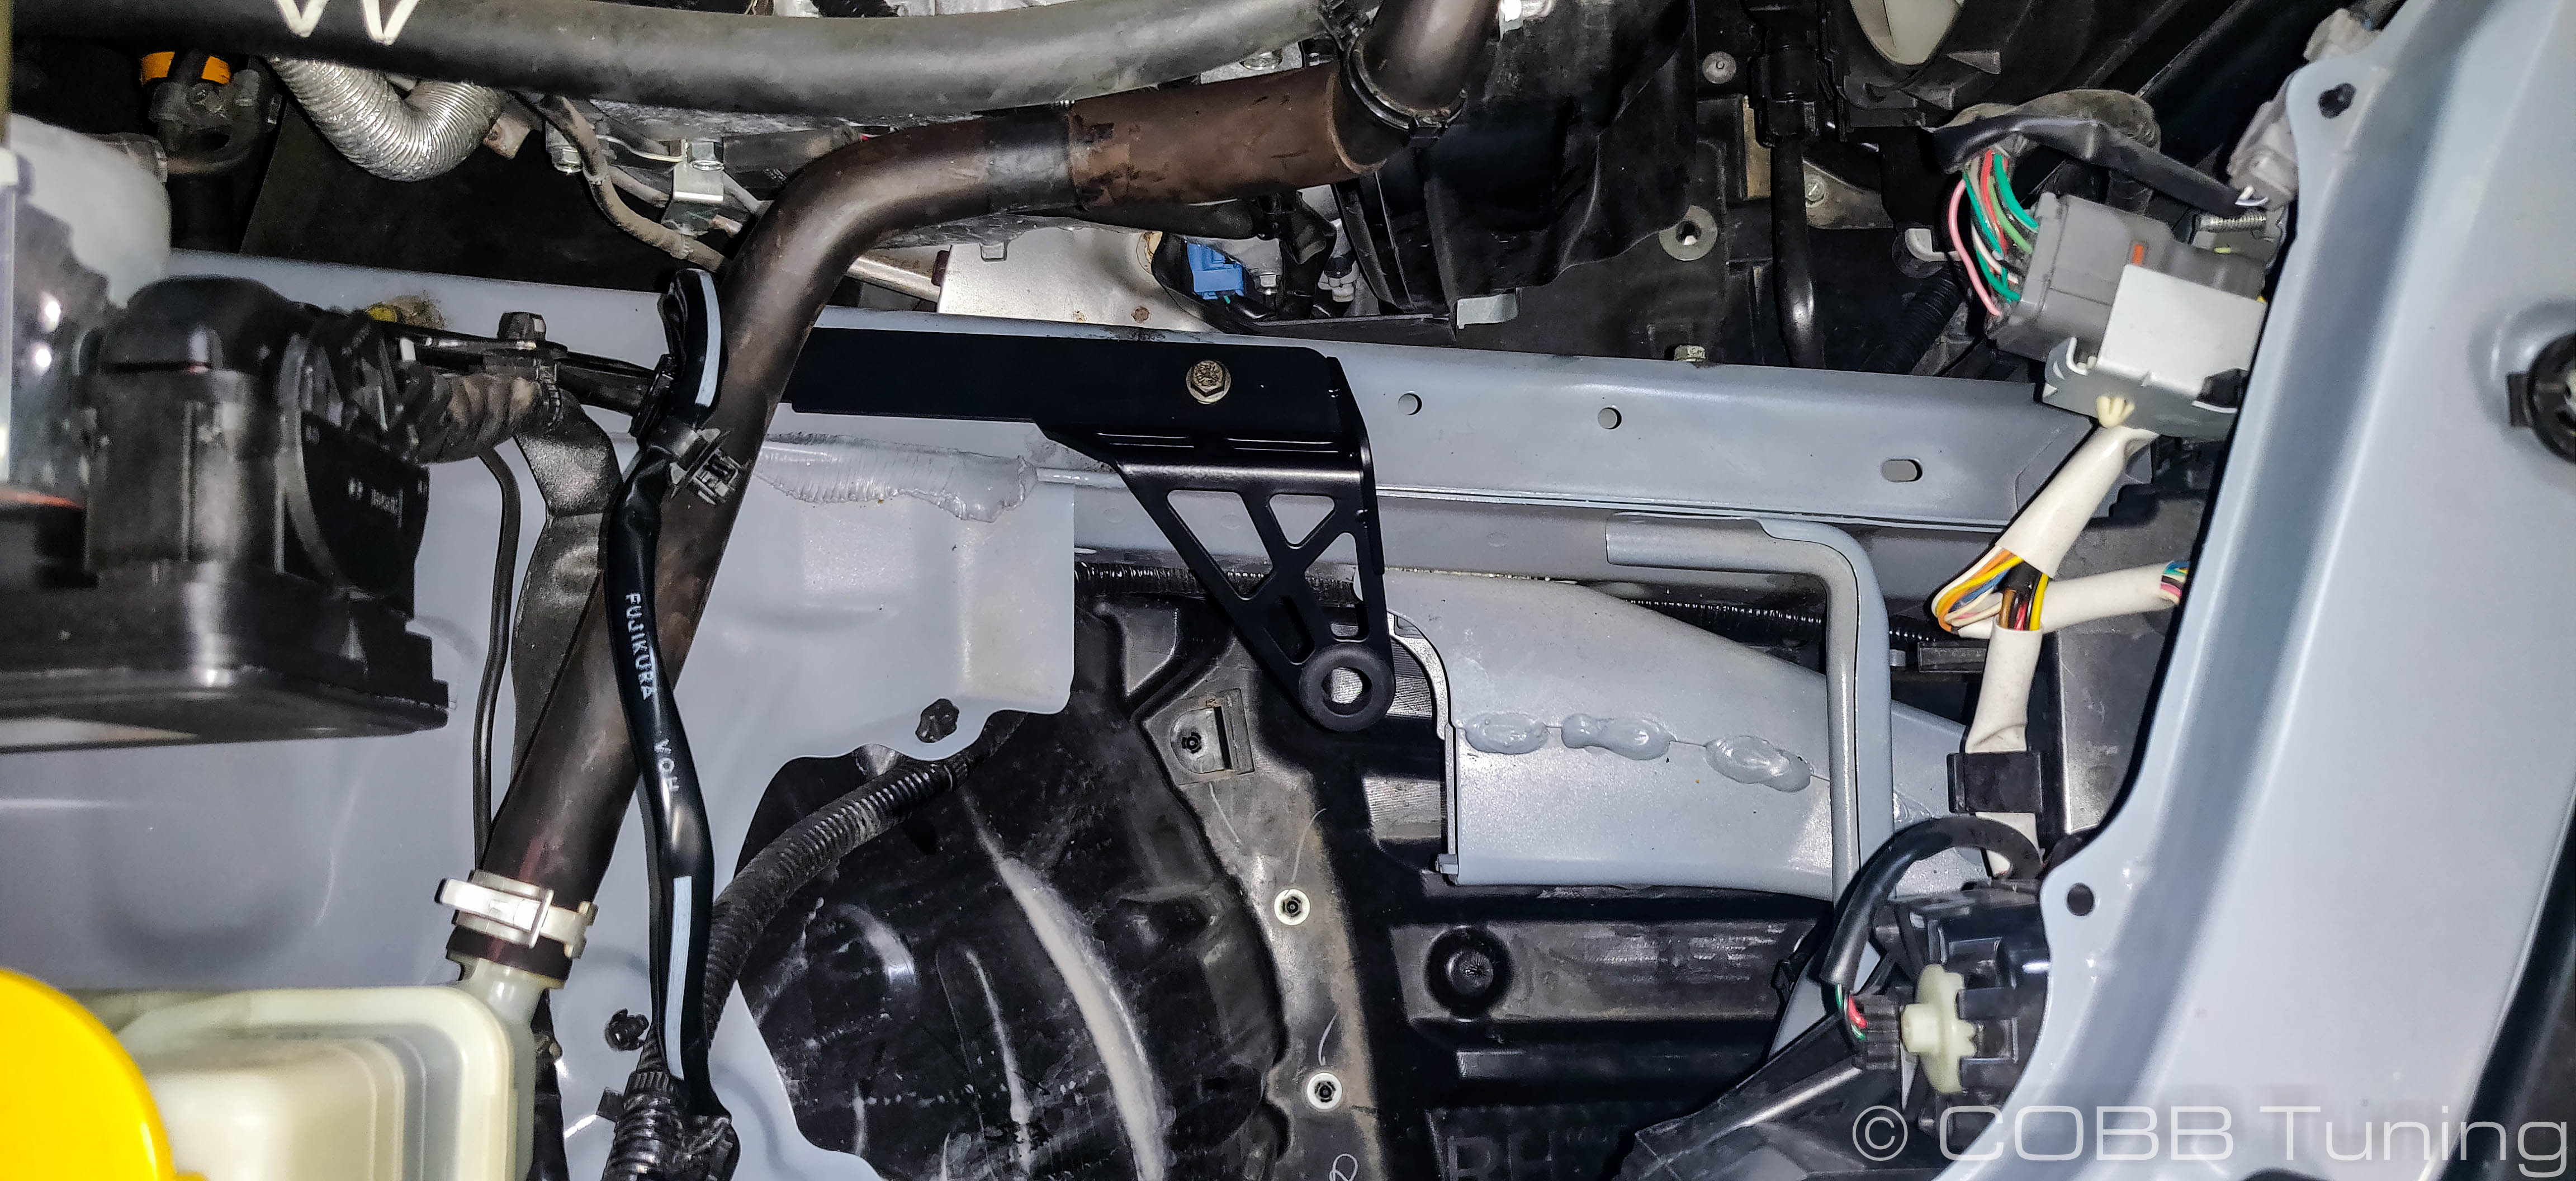
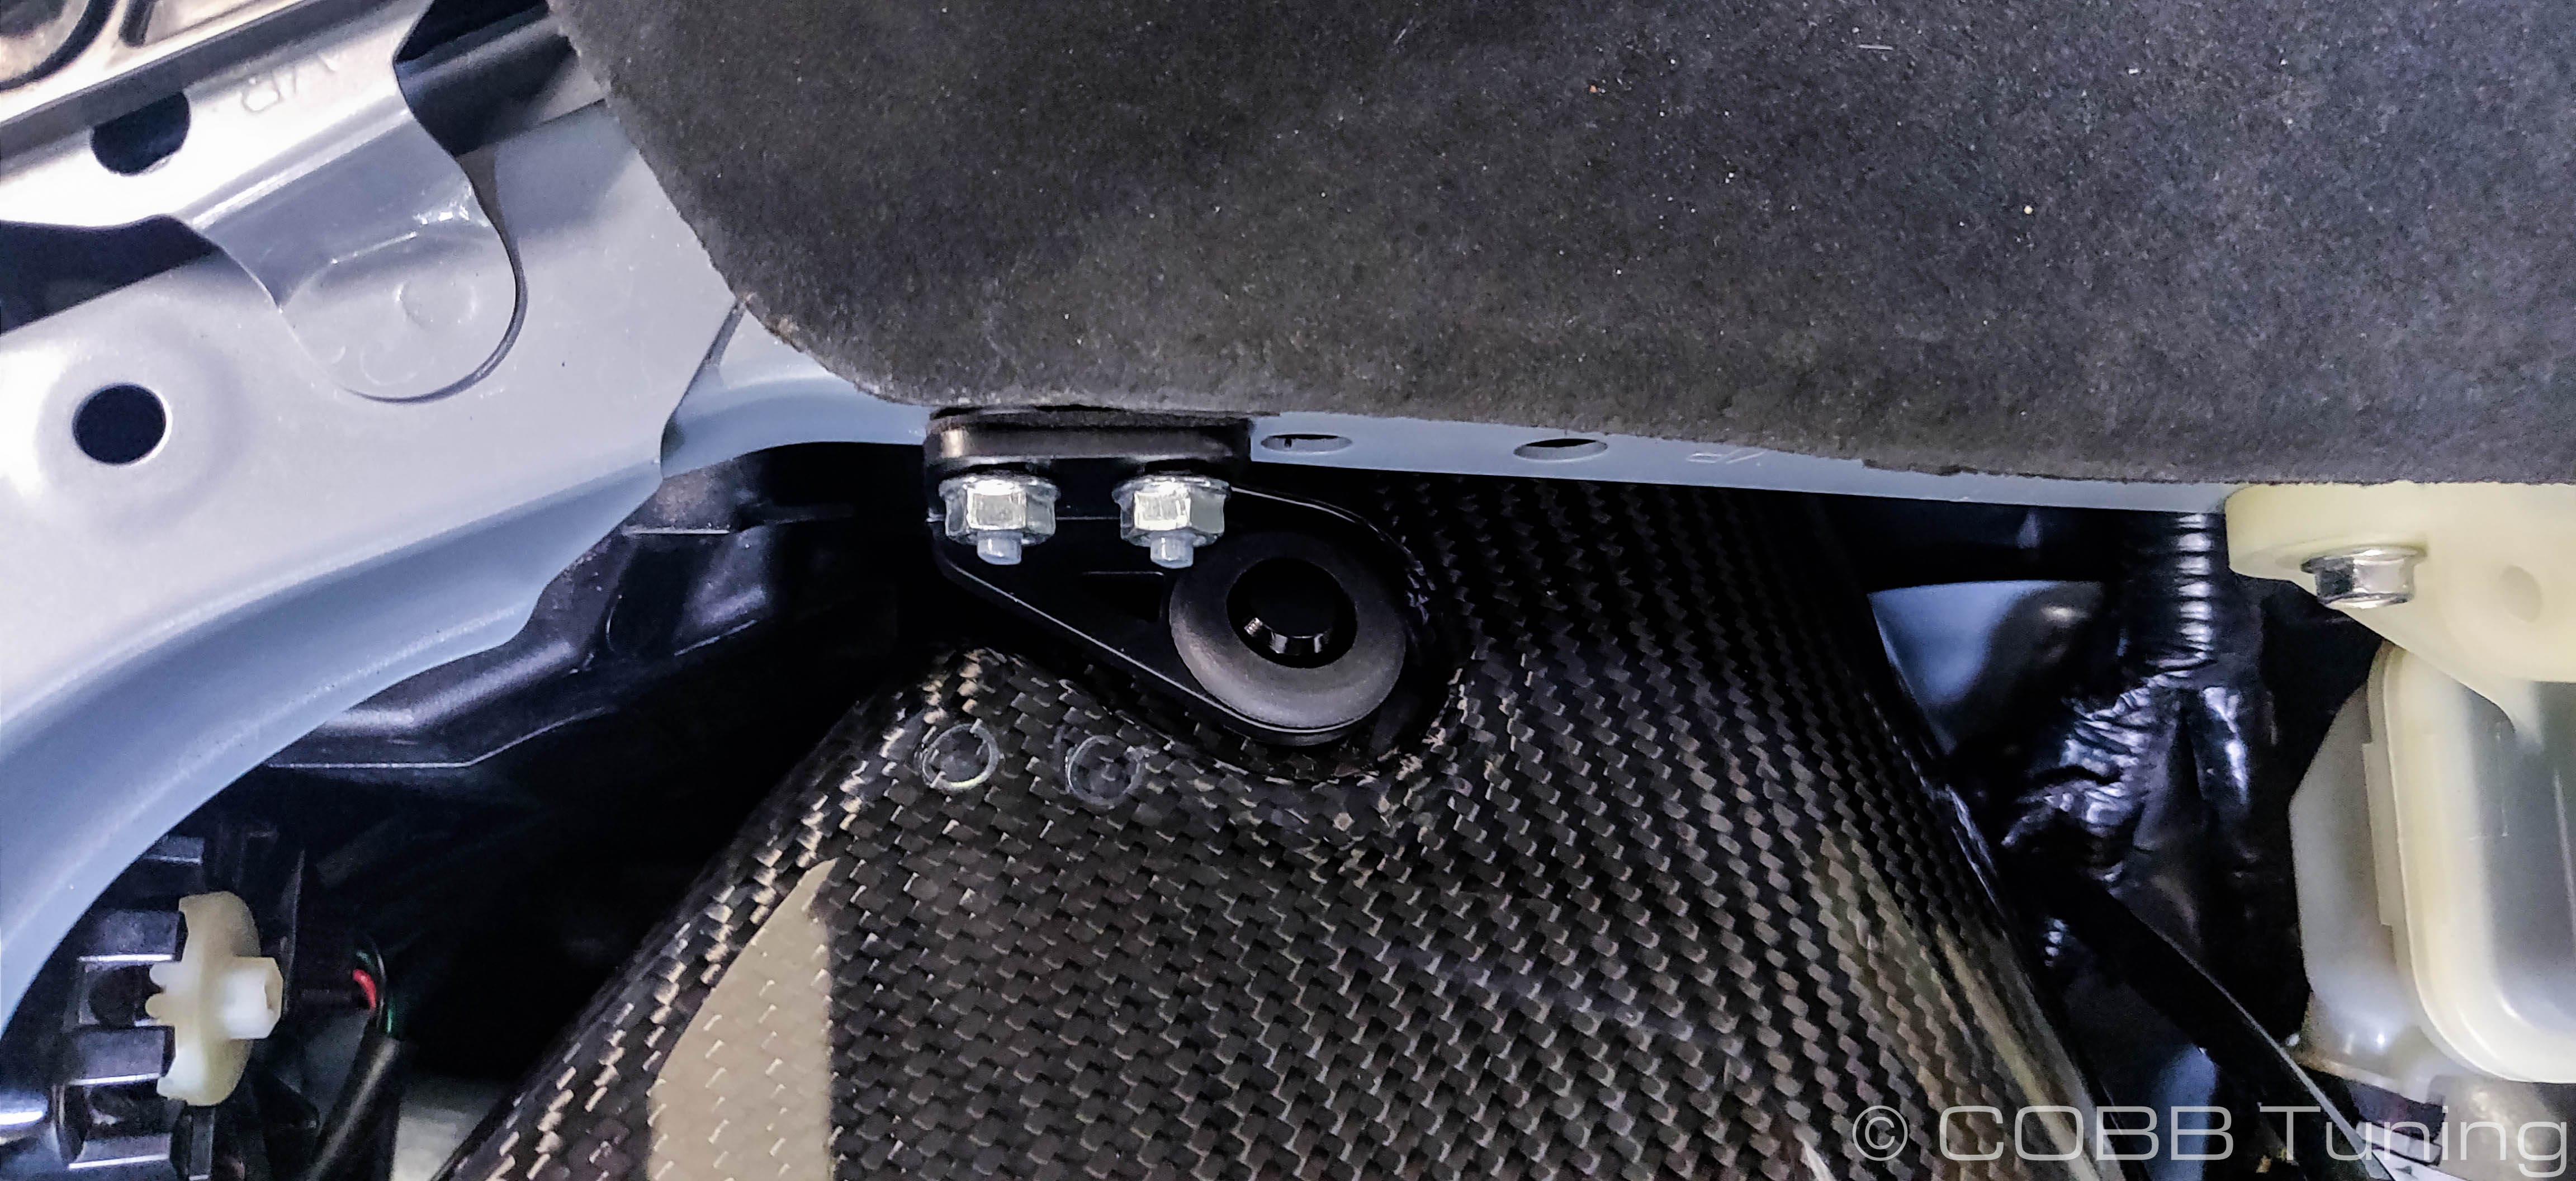
- Using a 10mm wrench remove the bolt holding the tall black bracket to the framerail near where the intake was originally installed
- Slip the long bracket on top of that bracket then loosely put the bolt back in place.
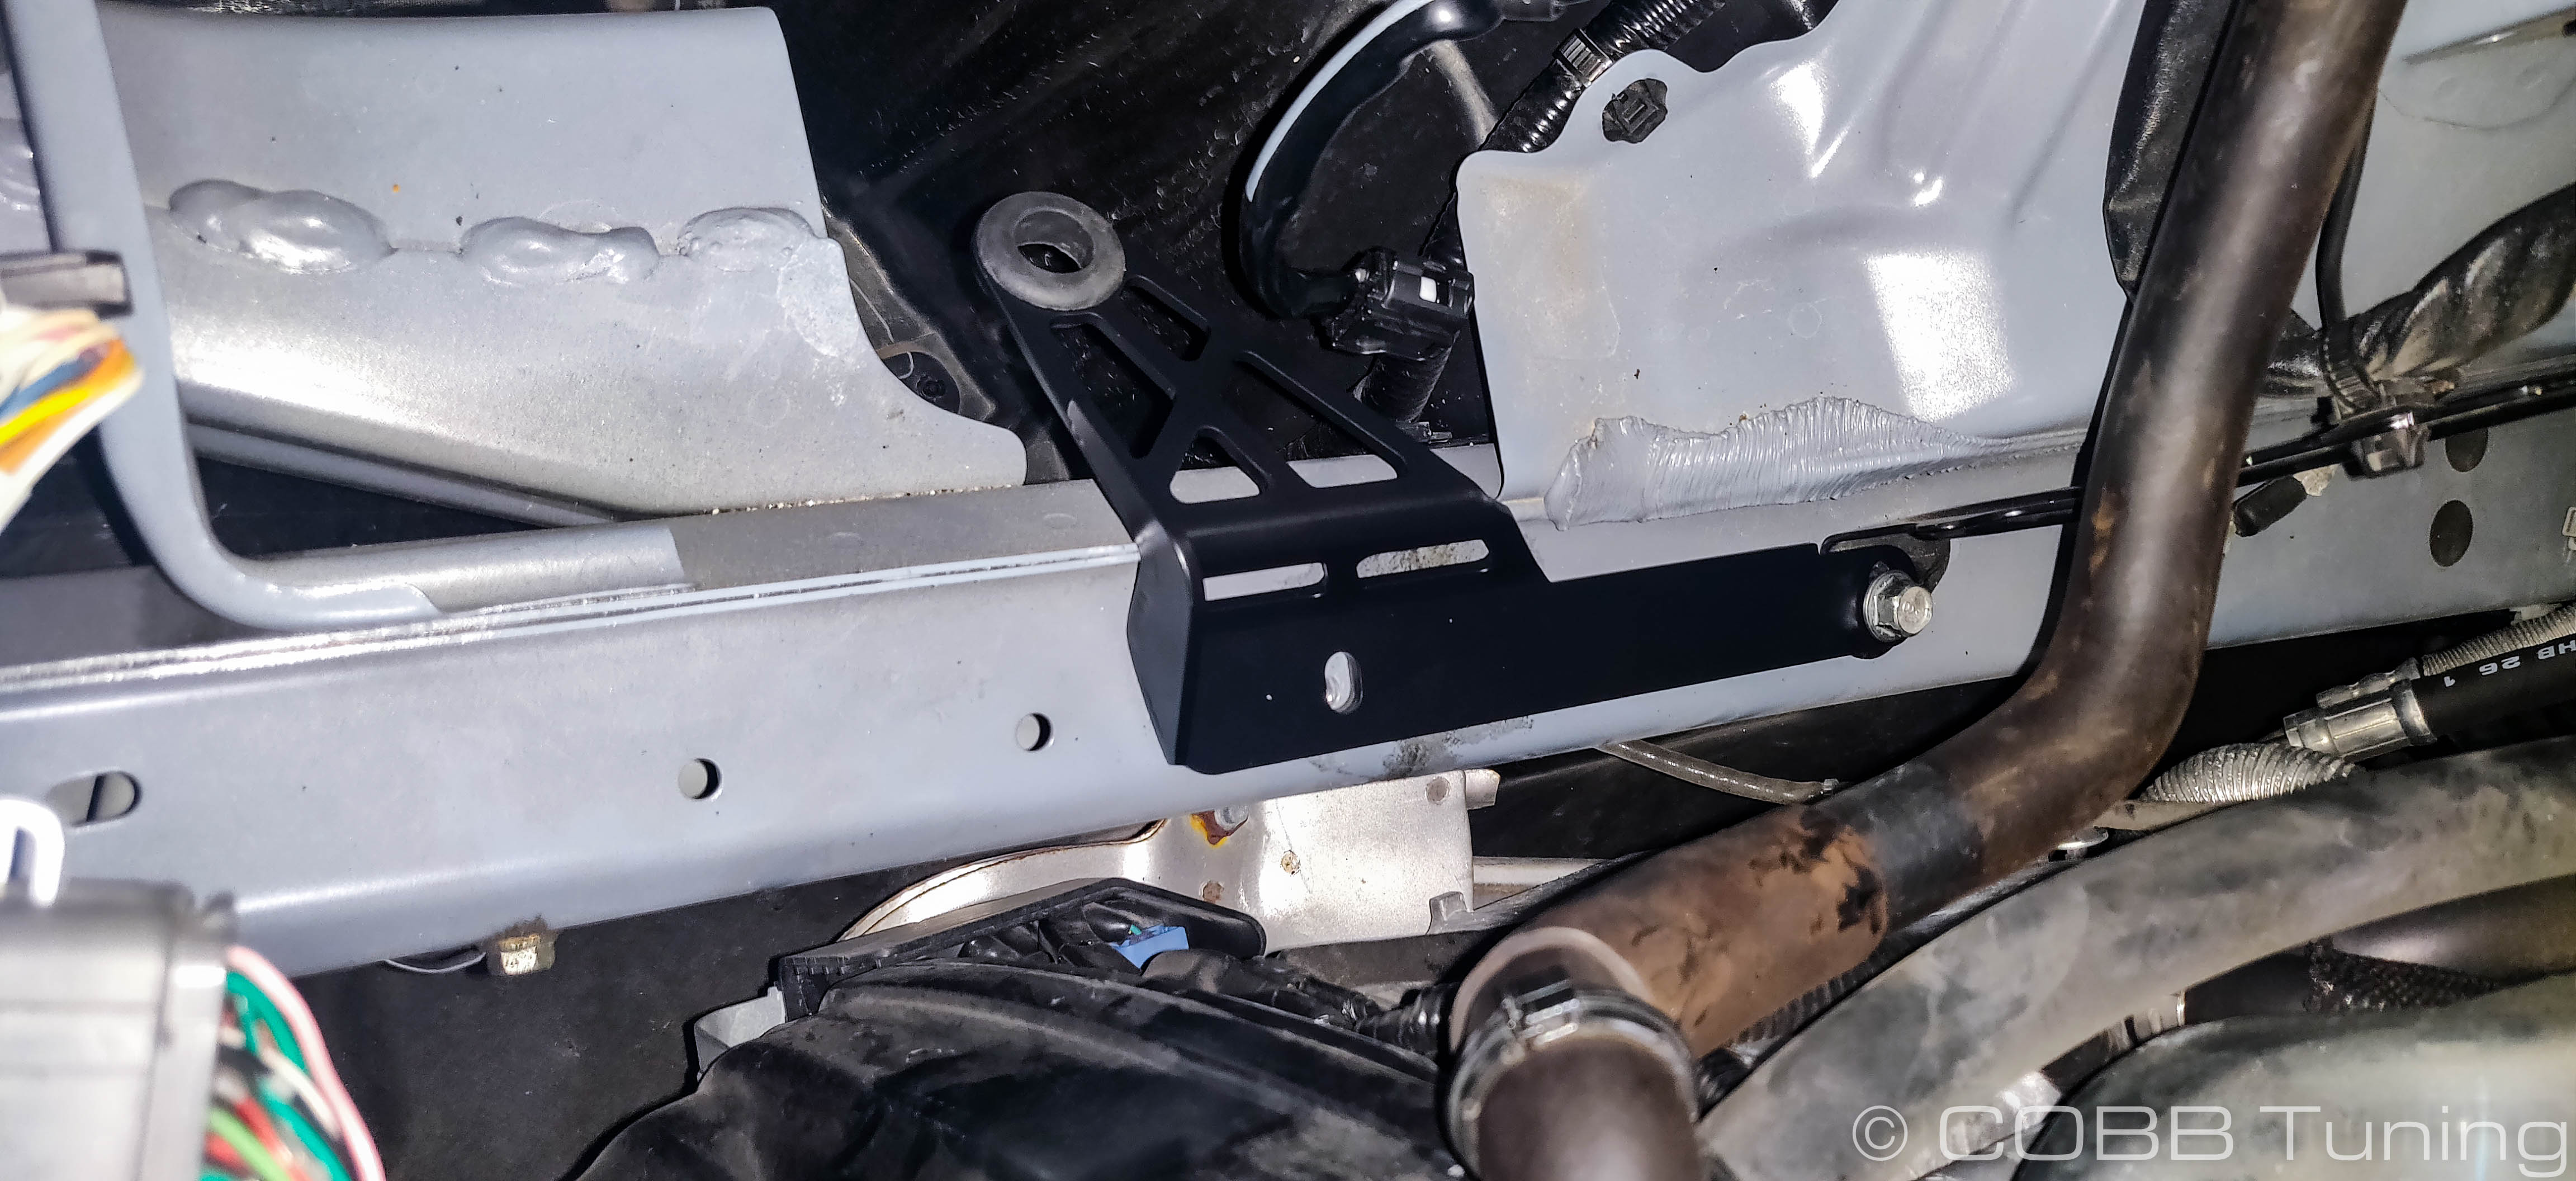
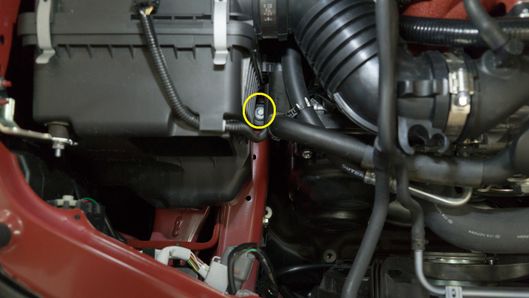
- Take the original intake hold-down bolt and loosely install it into the second slotted hole in the lower bracket.
Intake Installation
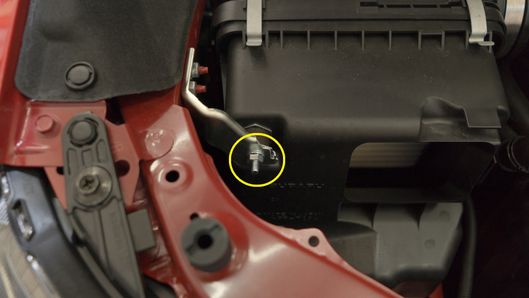
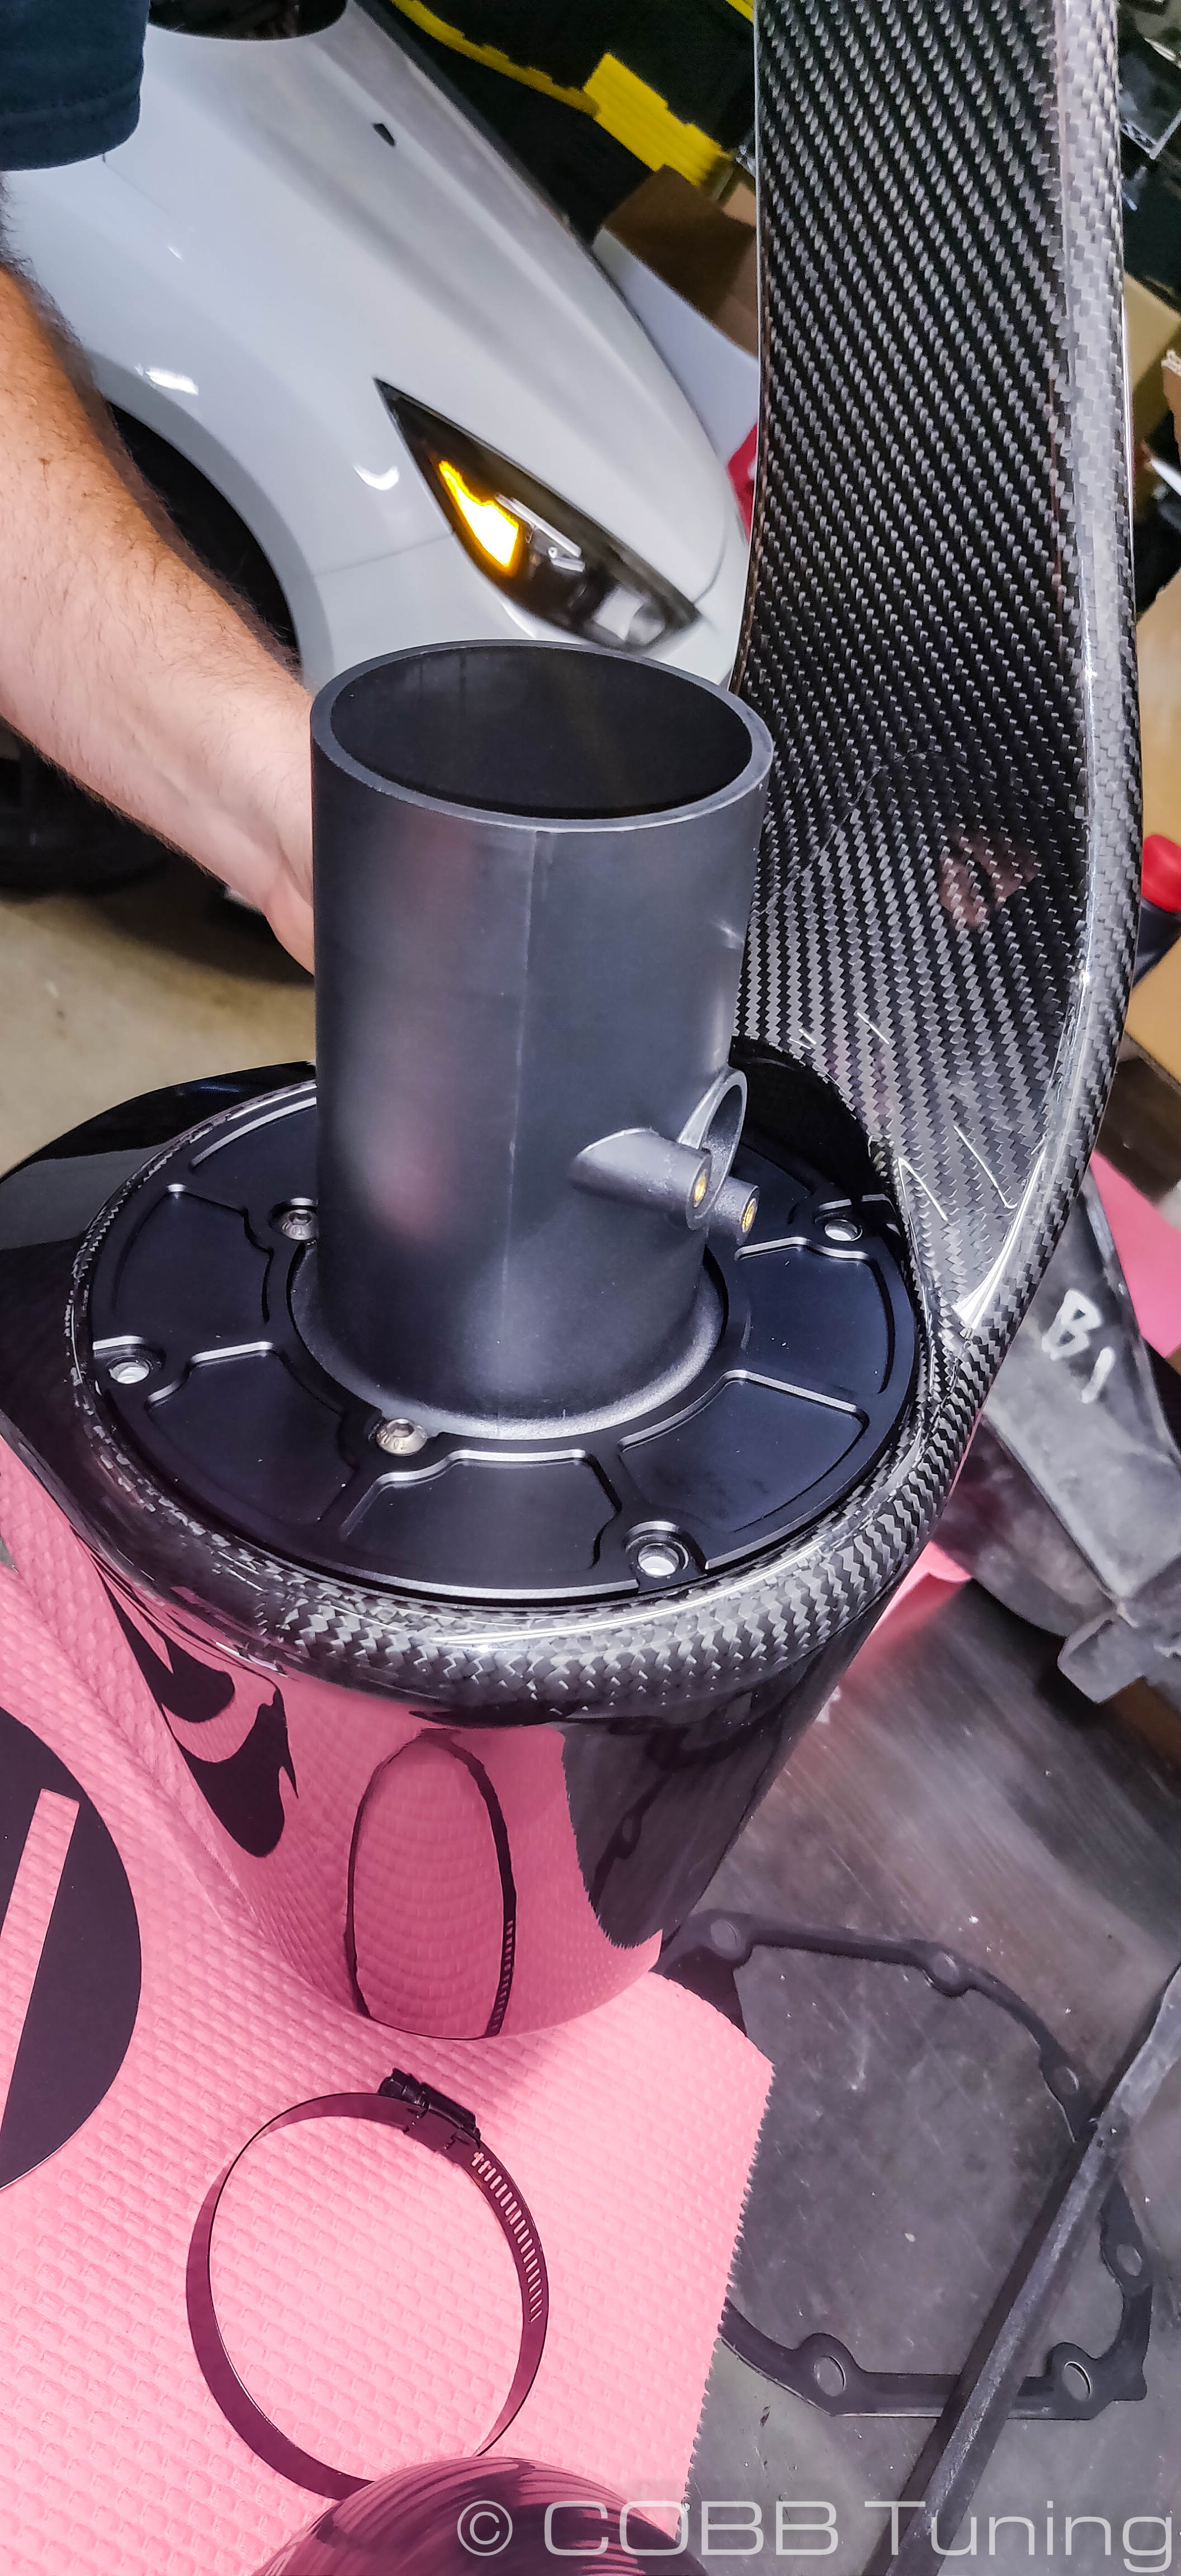
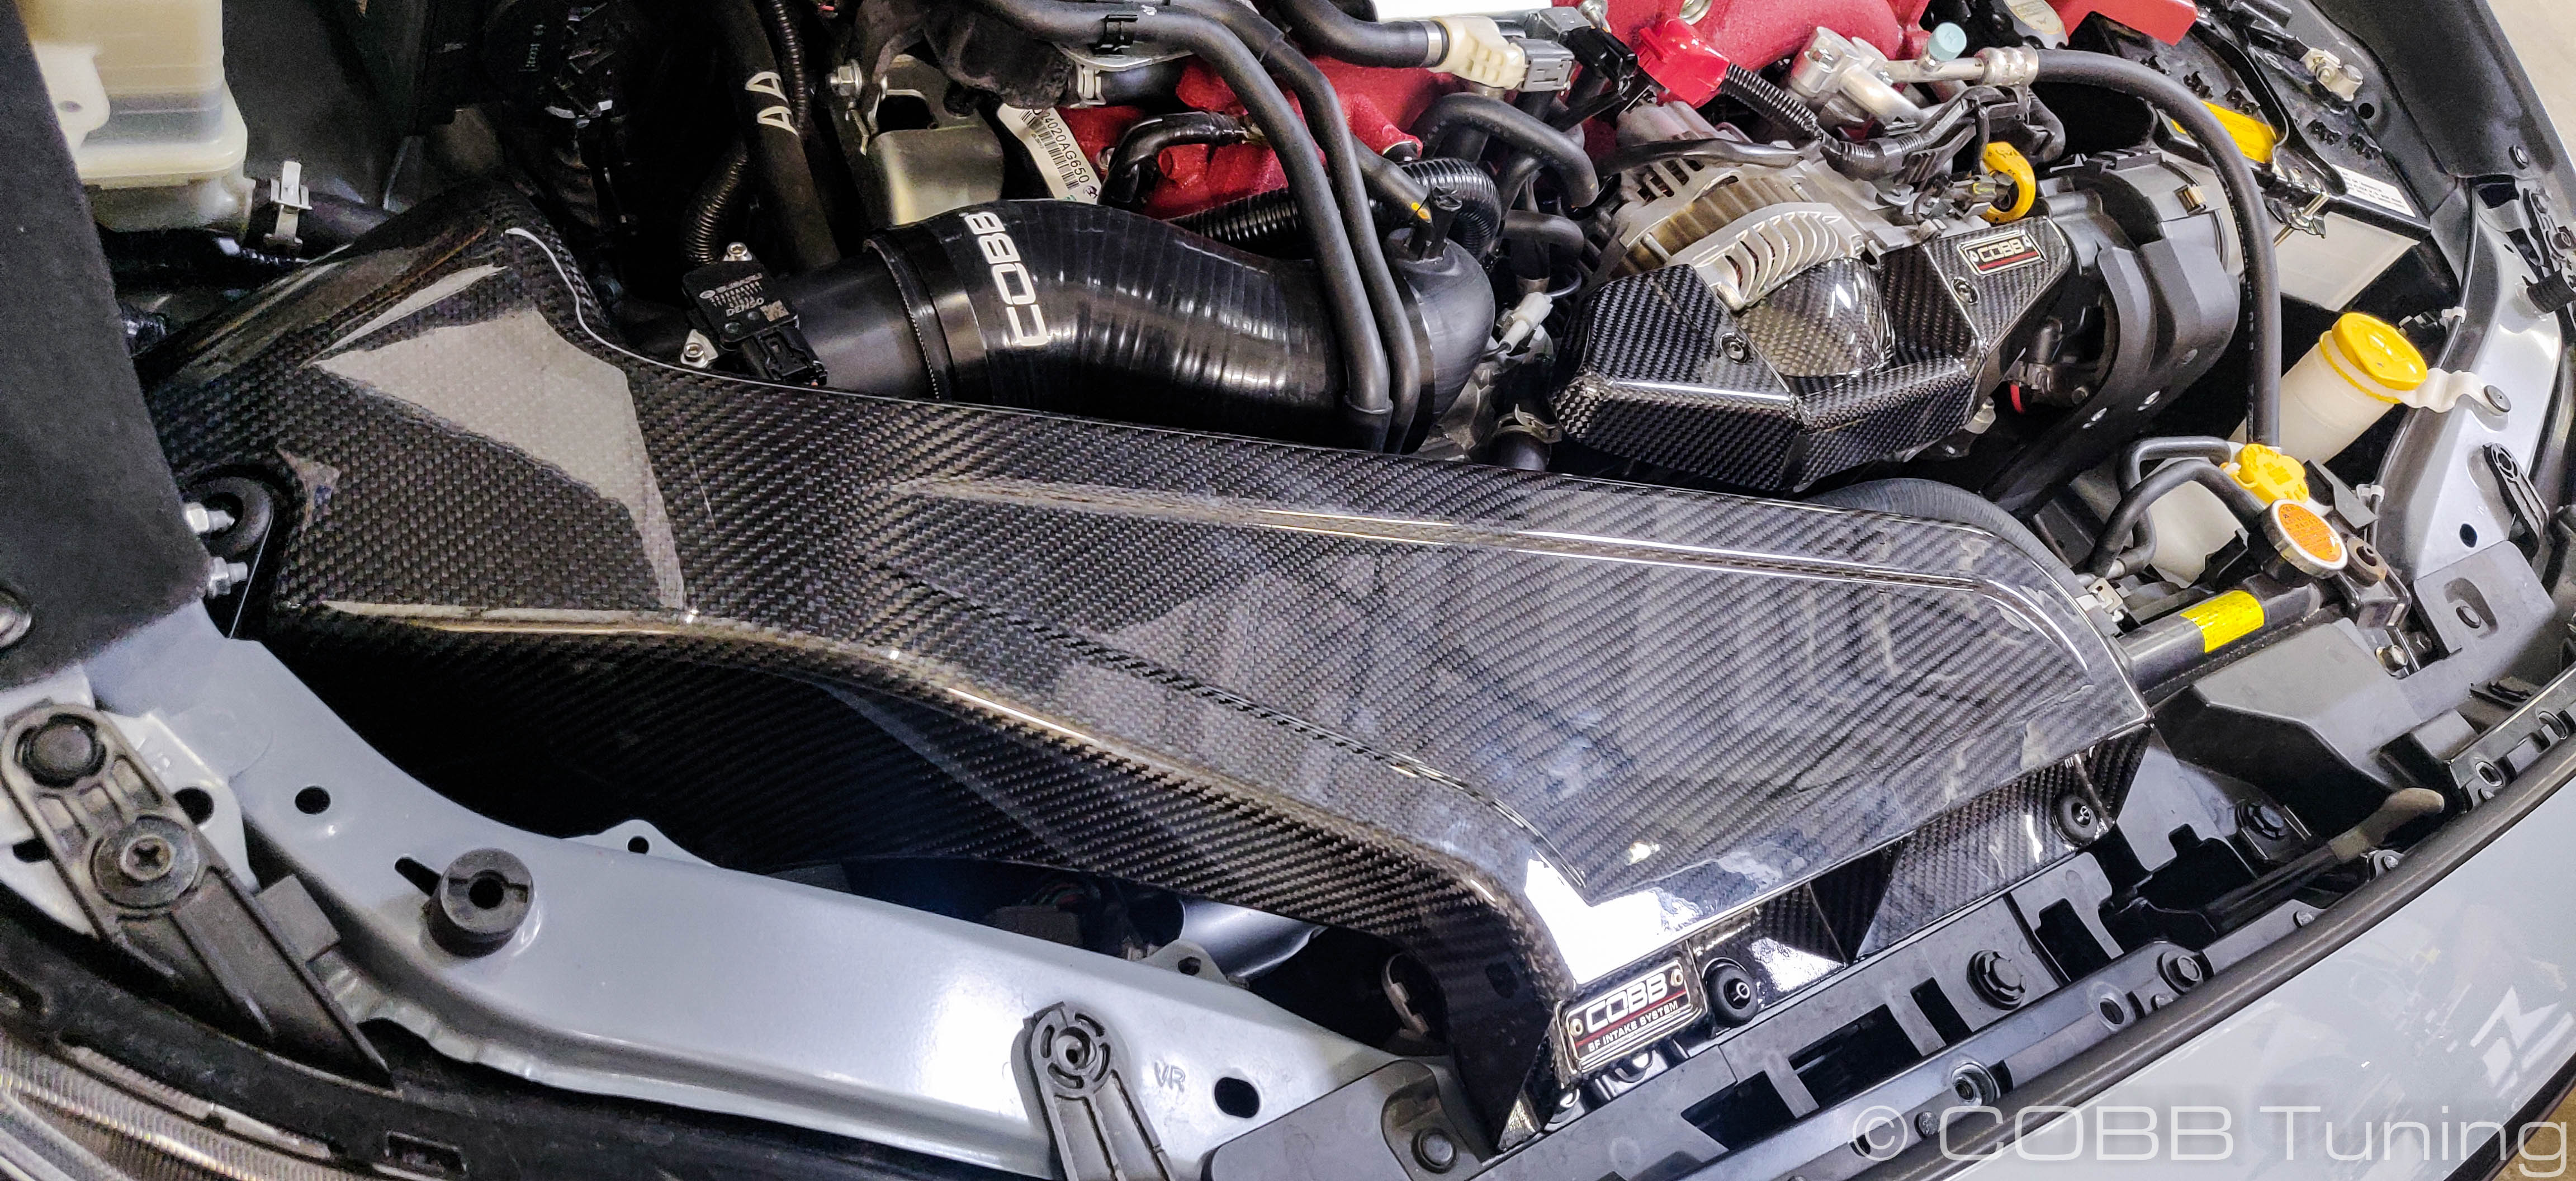
- Carefully poke your intake into place. Getting the front nose down a little bit, then sneaking the silicon coupler on before pushing it down the rest of the way works fairly well. The pin on the bottom of the air filter housing should sit into the grommet on the lower bracket.
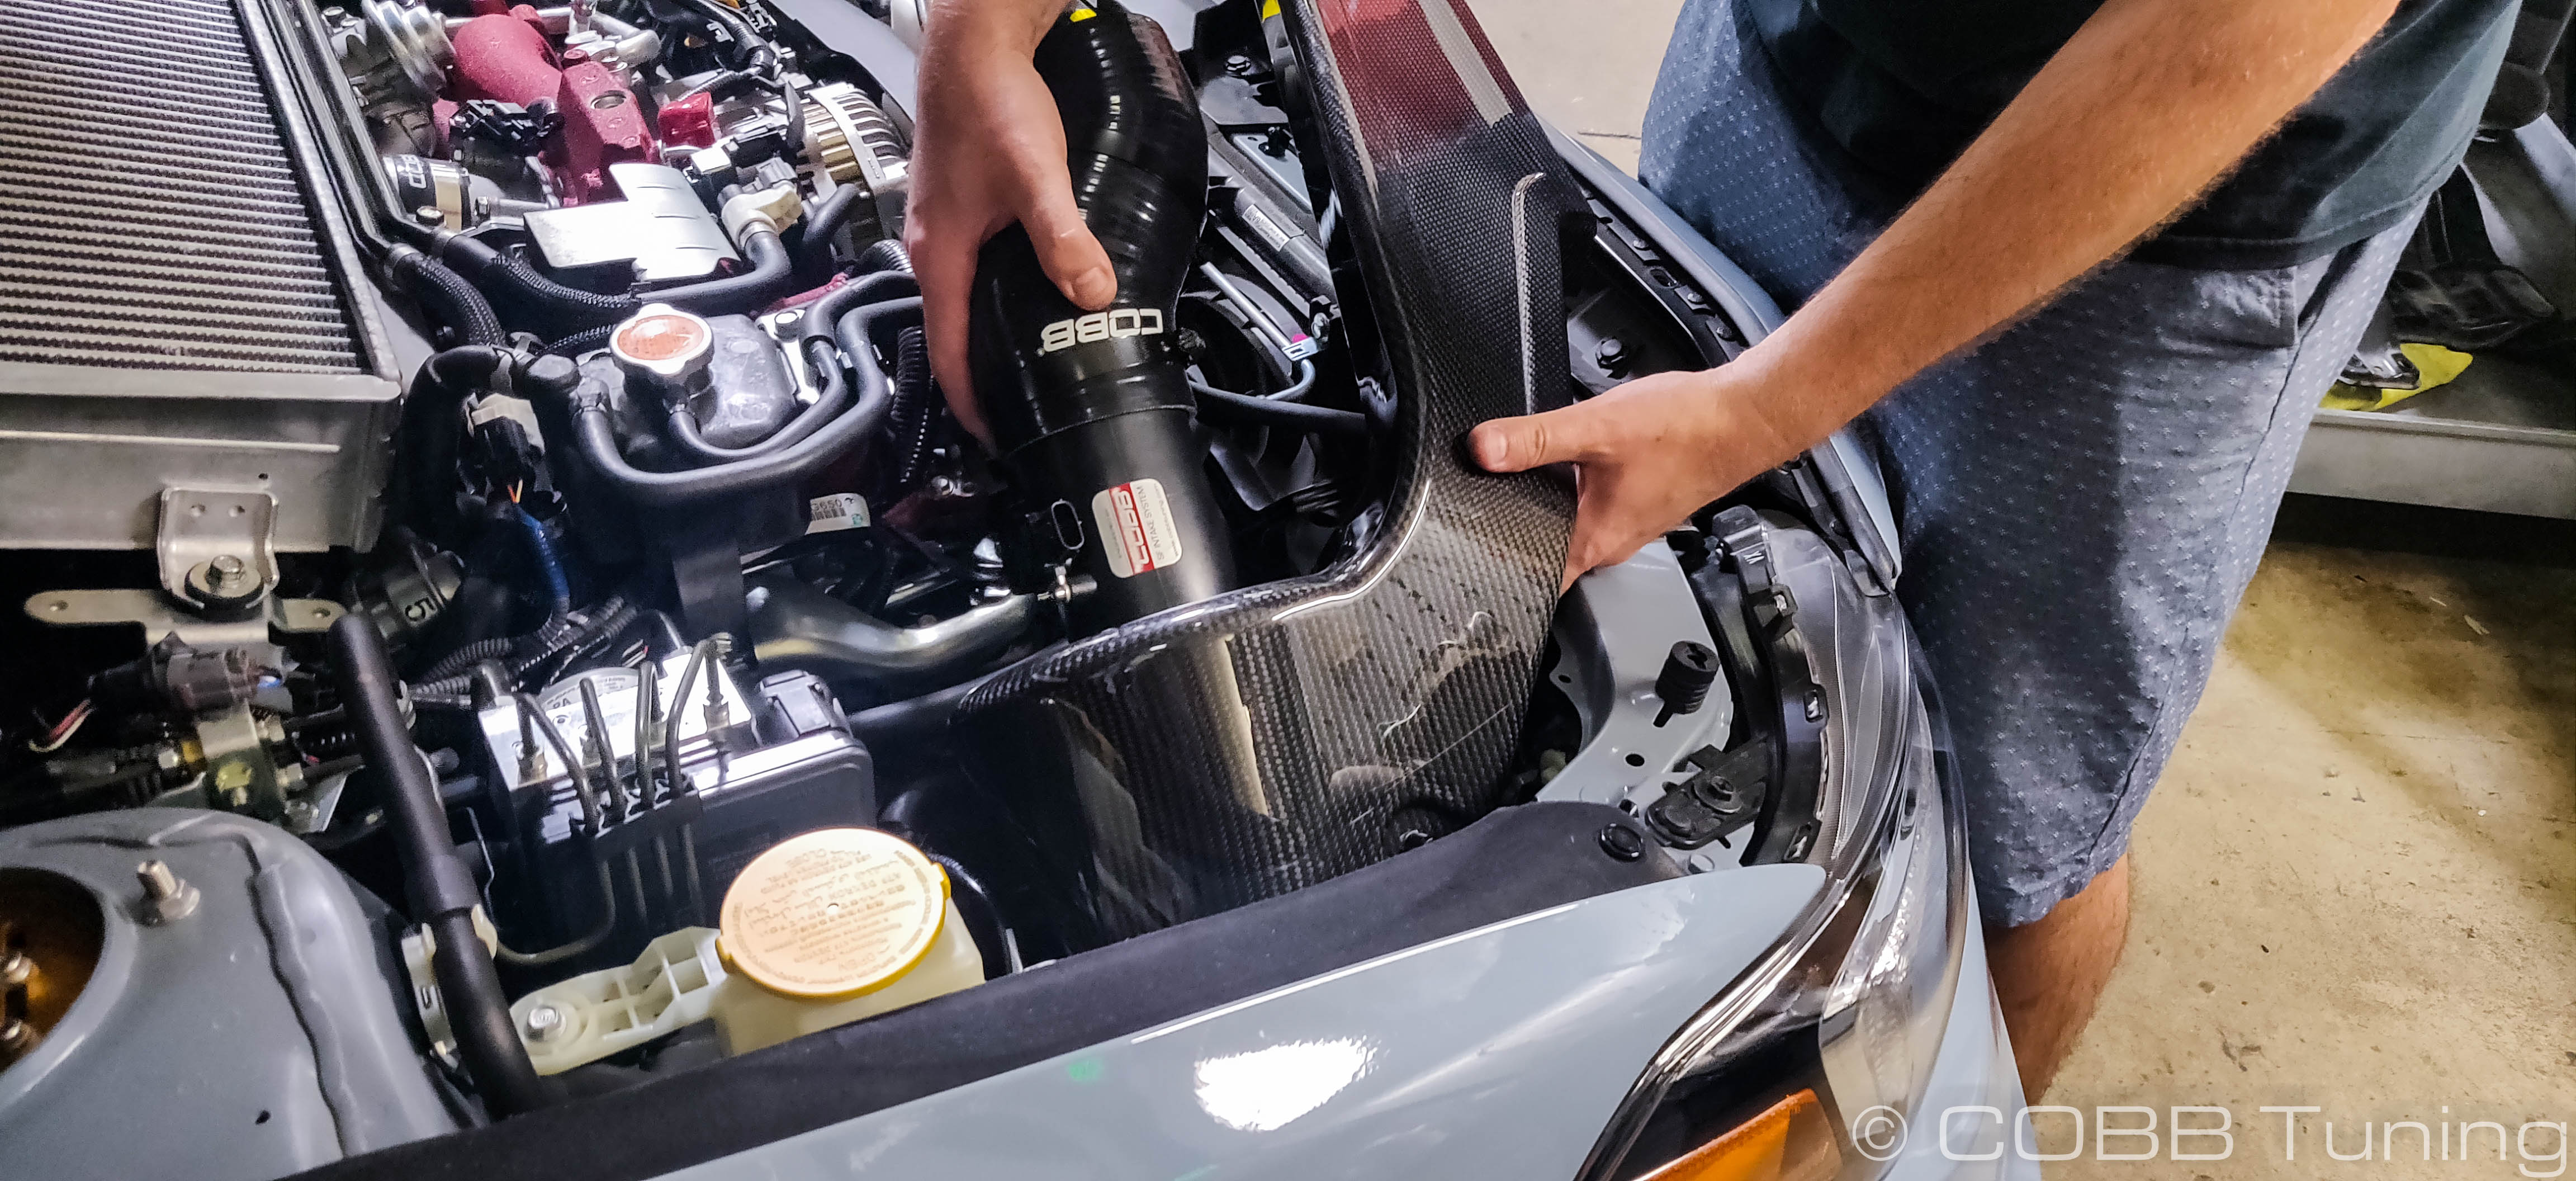
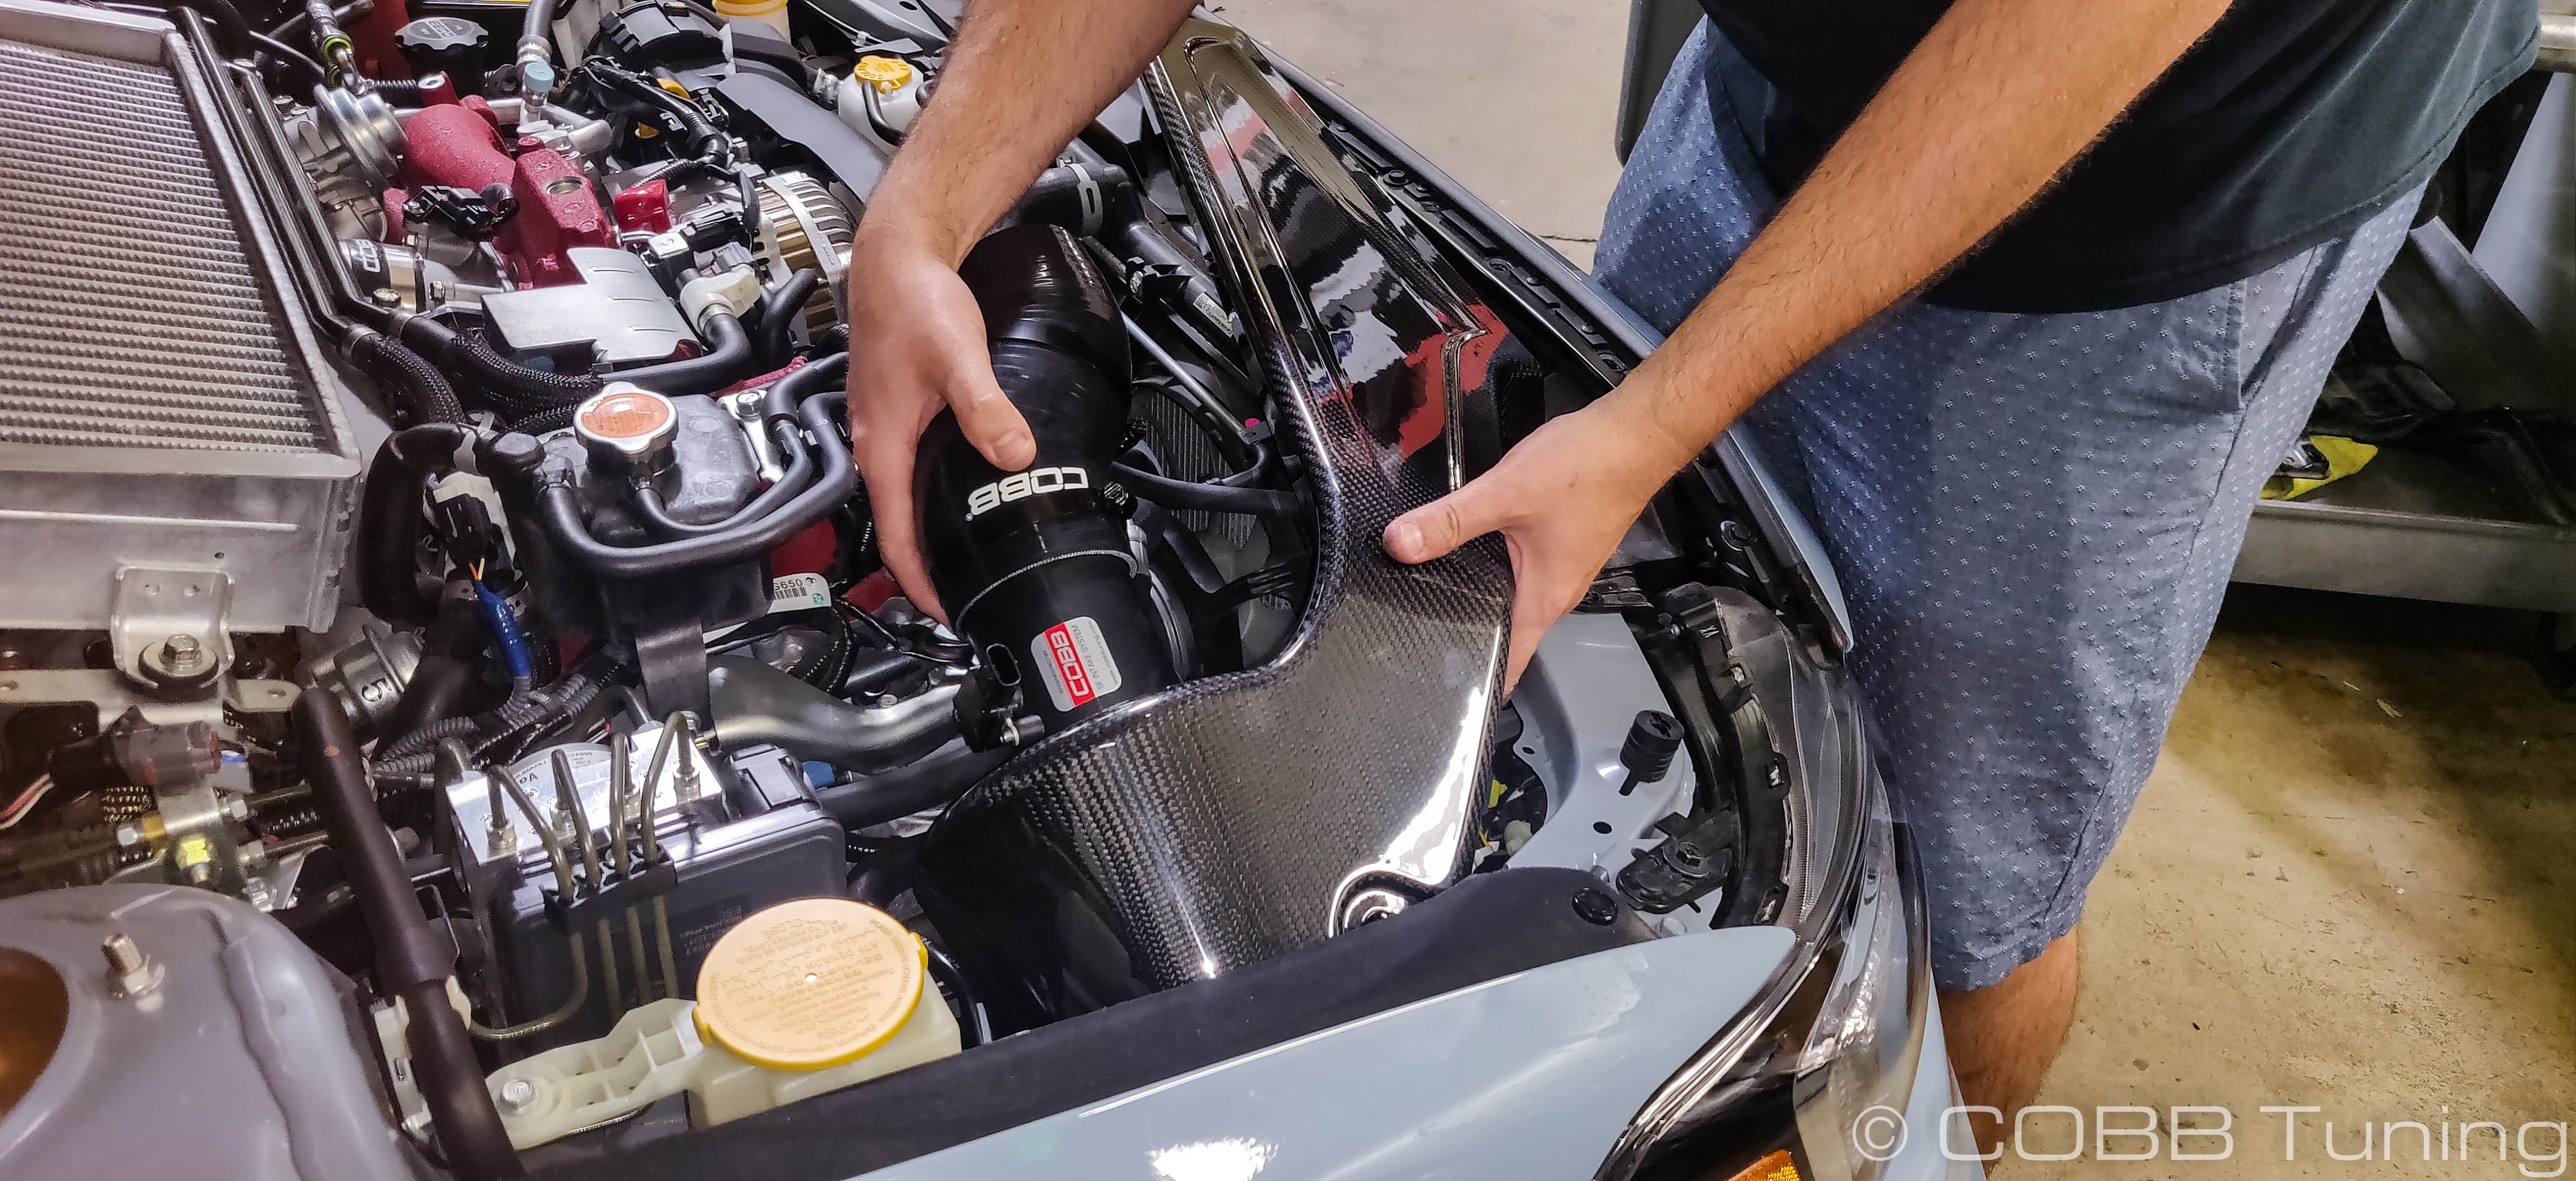
- With the intake sitting on the lower bracket, gently get the silicon coupler onto the inlet, then work the grommets on the snorkel down onto the newly installed mounting pins.
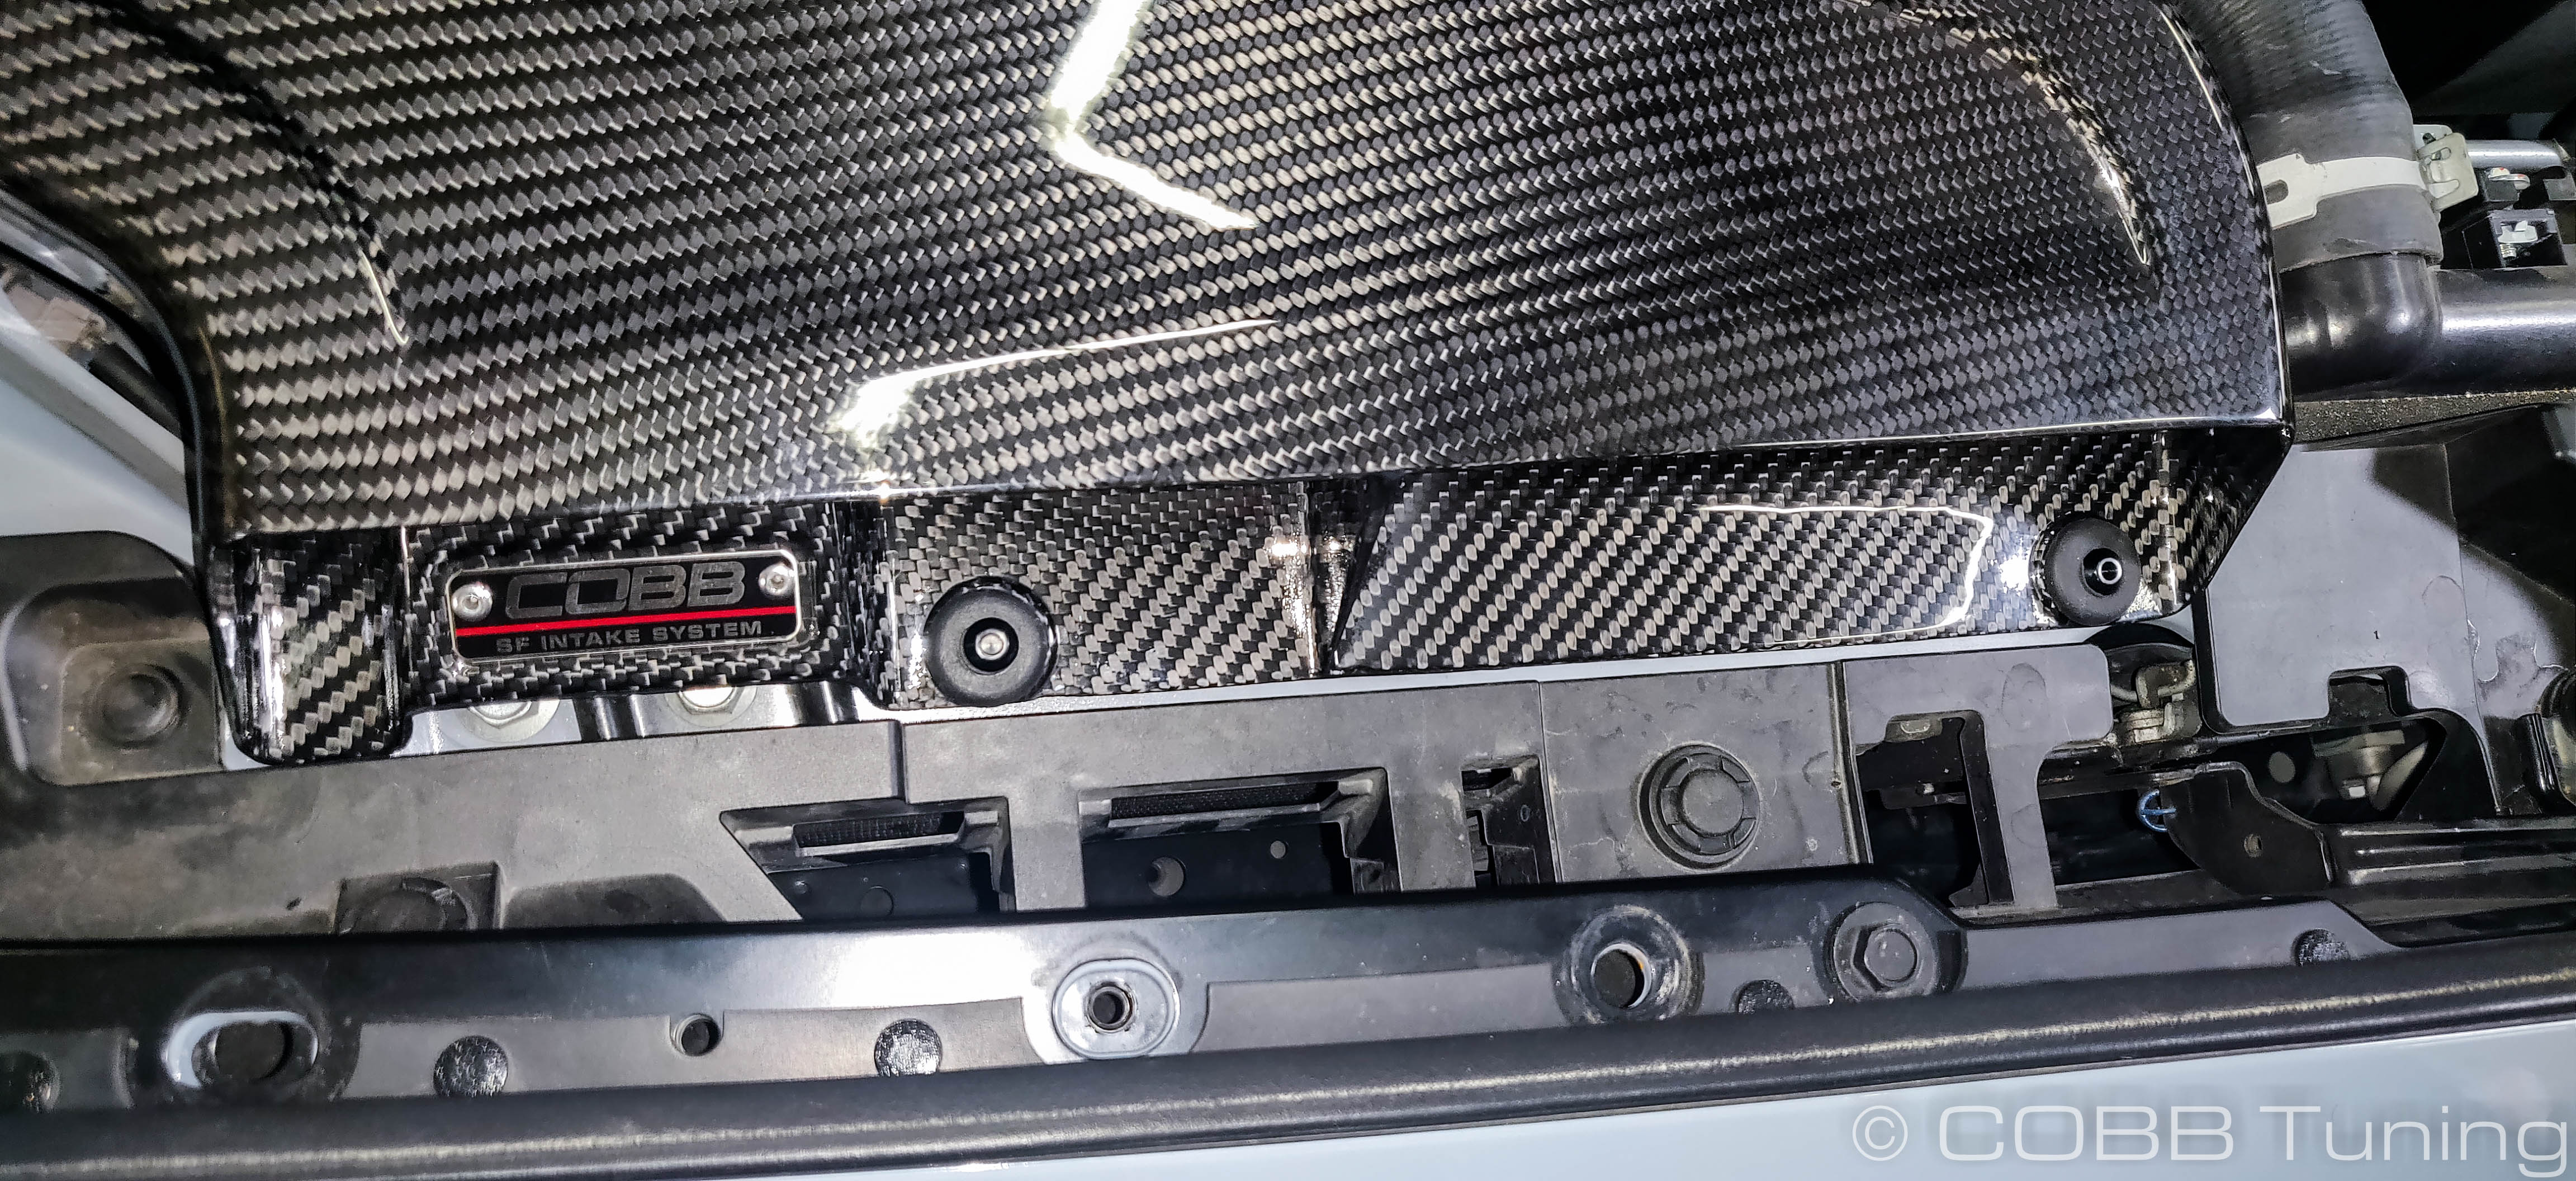
- Those mounting points should get the intake fairly close to where it needs to be. Now is a good time to loosely install the upper bracket using the two factory nuts. This gets put in the same spot you removed the original upper support from the intake.
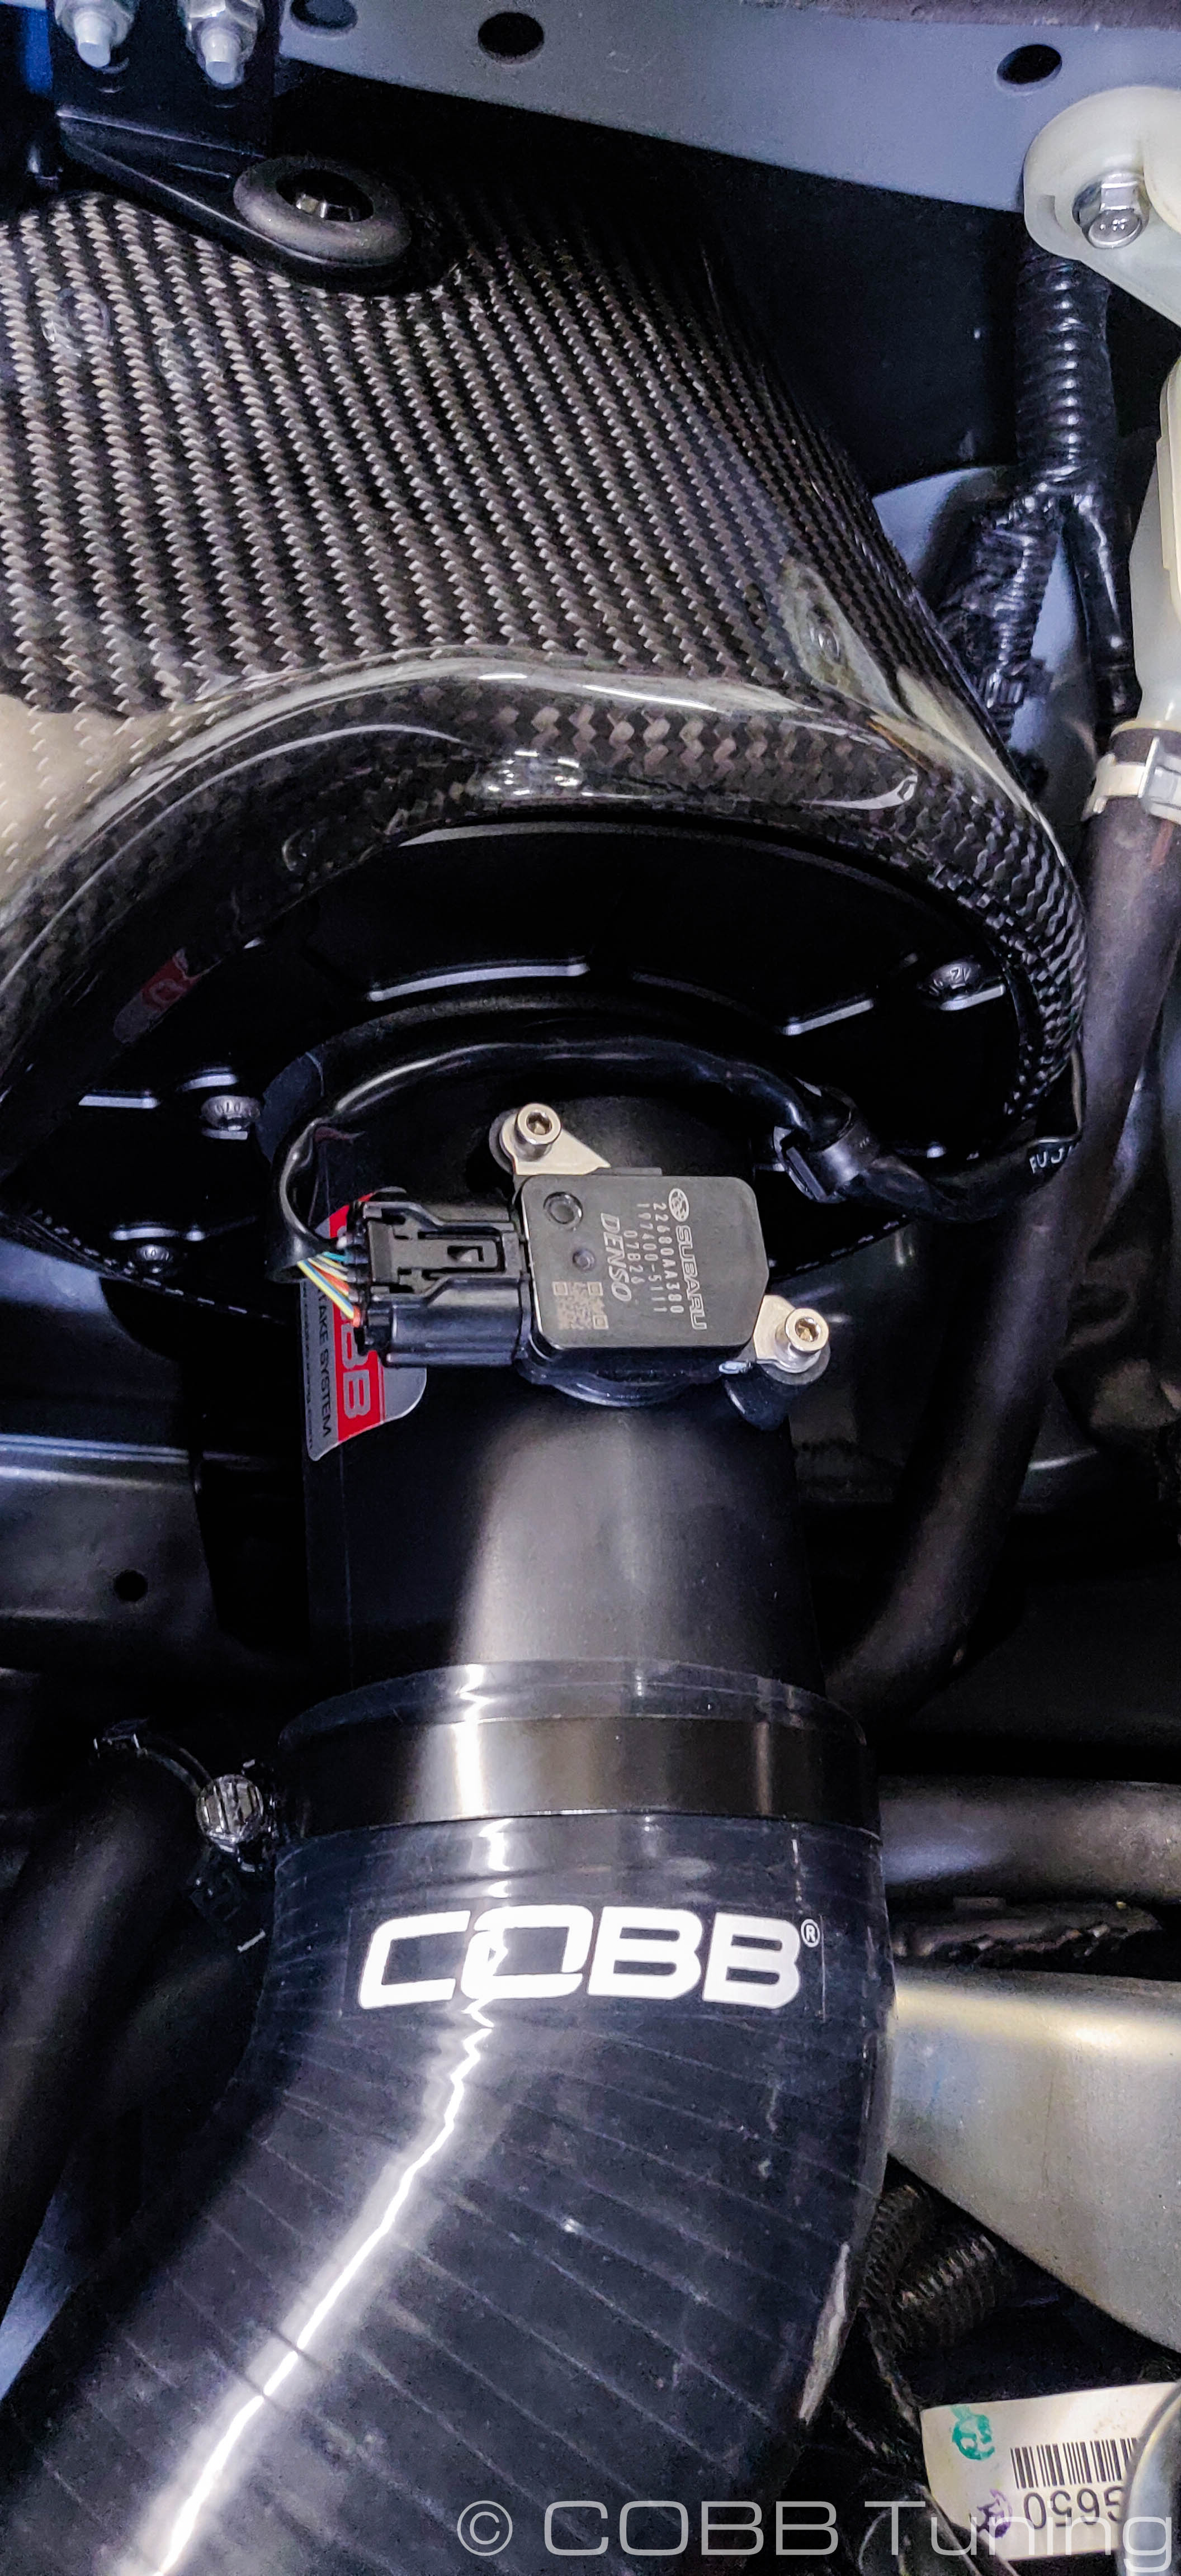
- Now go ahead and tighten down the long lower bracket, then the upper bracket, before finally tightening down the hose clamps on the silicon coupler.
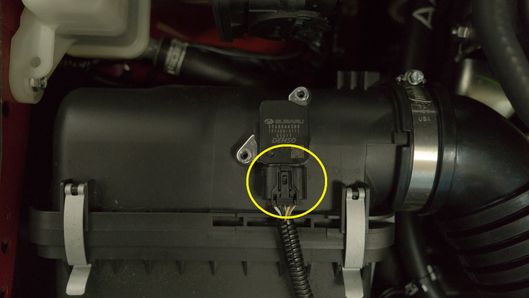
- You can now go ahead and plug in the MAF sensor. If it doesn't reach, double-check the routing. It may be that you need to remove a clip holding the harness to the body.
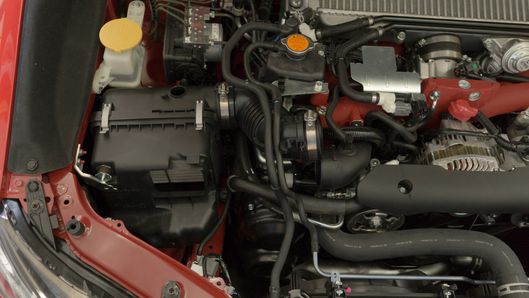
You're all done! Go out and Enjoy!
Rear Block-Off Plate
If you want slightly more noise from the intake / bypass valve You'll want to leave the vent open (at the expense of some hot air from the engine bay going into the intake). If you want all of the air to come from the snorkel at the front you'll want to leave the panel in place.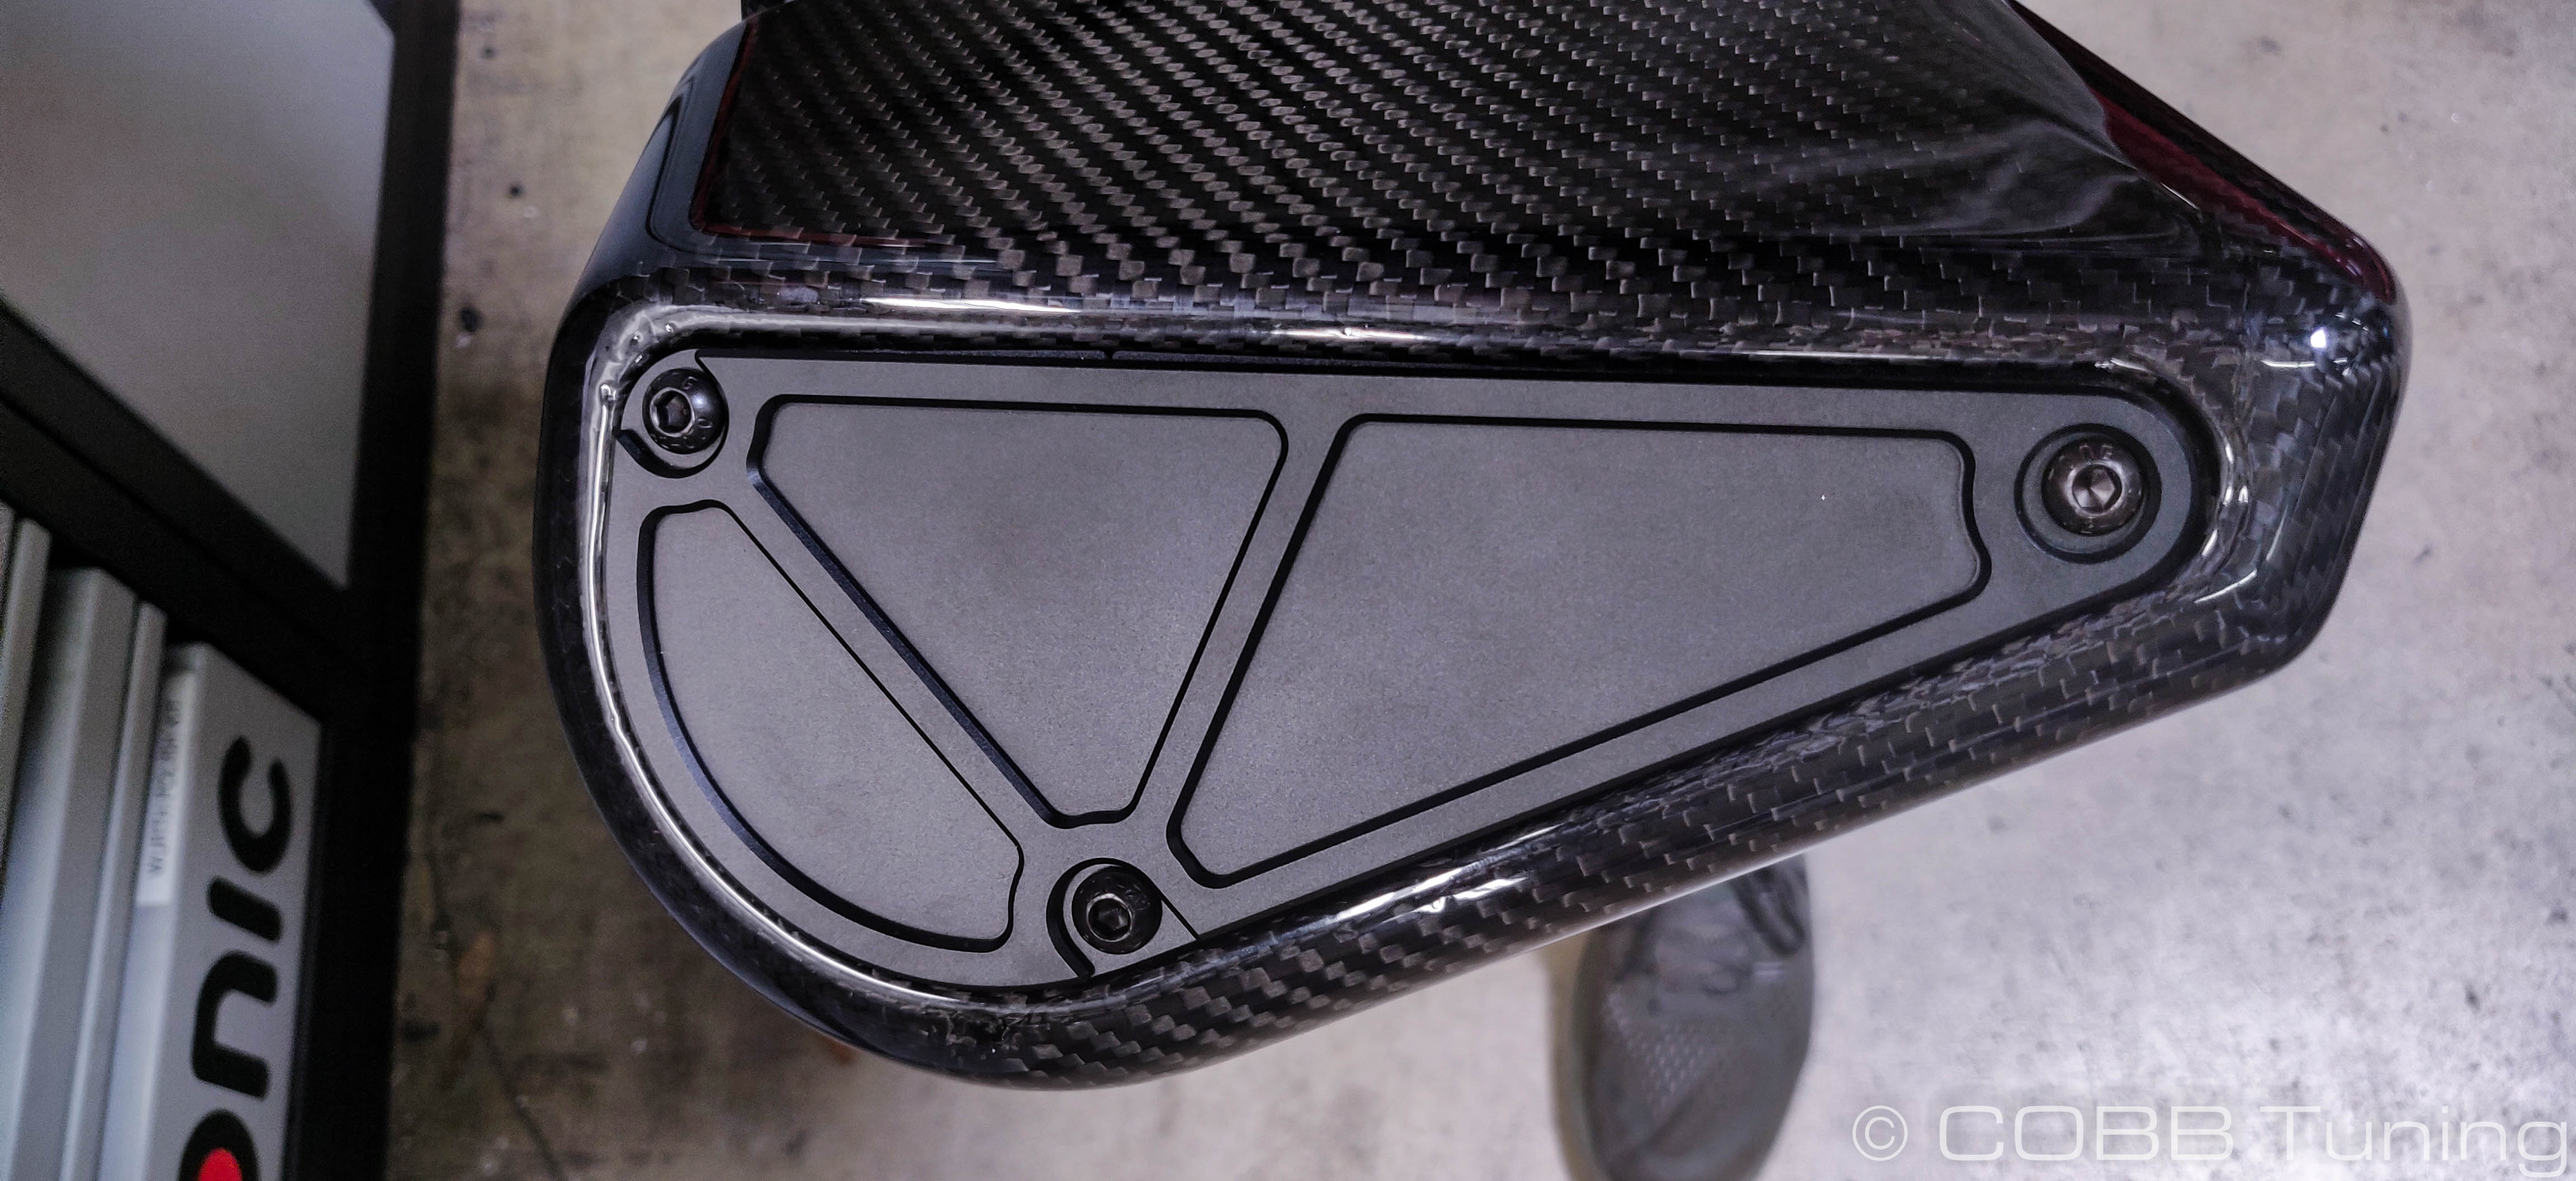

CARB Sticker Application
(Where Applicable)
- Apply the supplied CARB sticker in a clear, easy to find location. Typically underhood, or on the radiator core support.
Links
Map Notes for VA STI North American and ADM Spec
COBB Customer Support Web Support and Tech Articles: COBB Tuning Customer Support Center Email: support@cobbtuning.com Phone support available 9am to 6pm Monday-Thursday. 9am to 4pm Friday (CST) 866.922.3059 return to www.cobbtuning.comContact Us:
Related content
Copyright 2025 © COBB Tuning Products LLC. All Rights Reserved. | www.cobbtuning.com