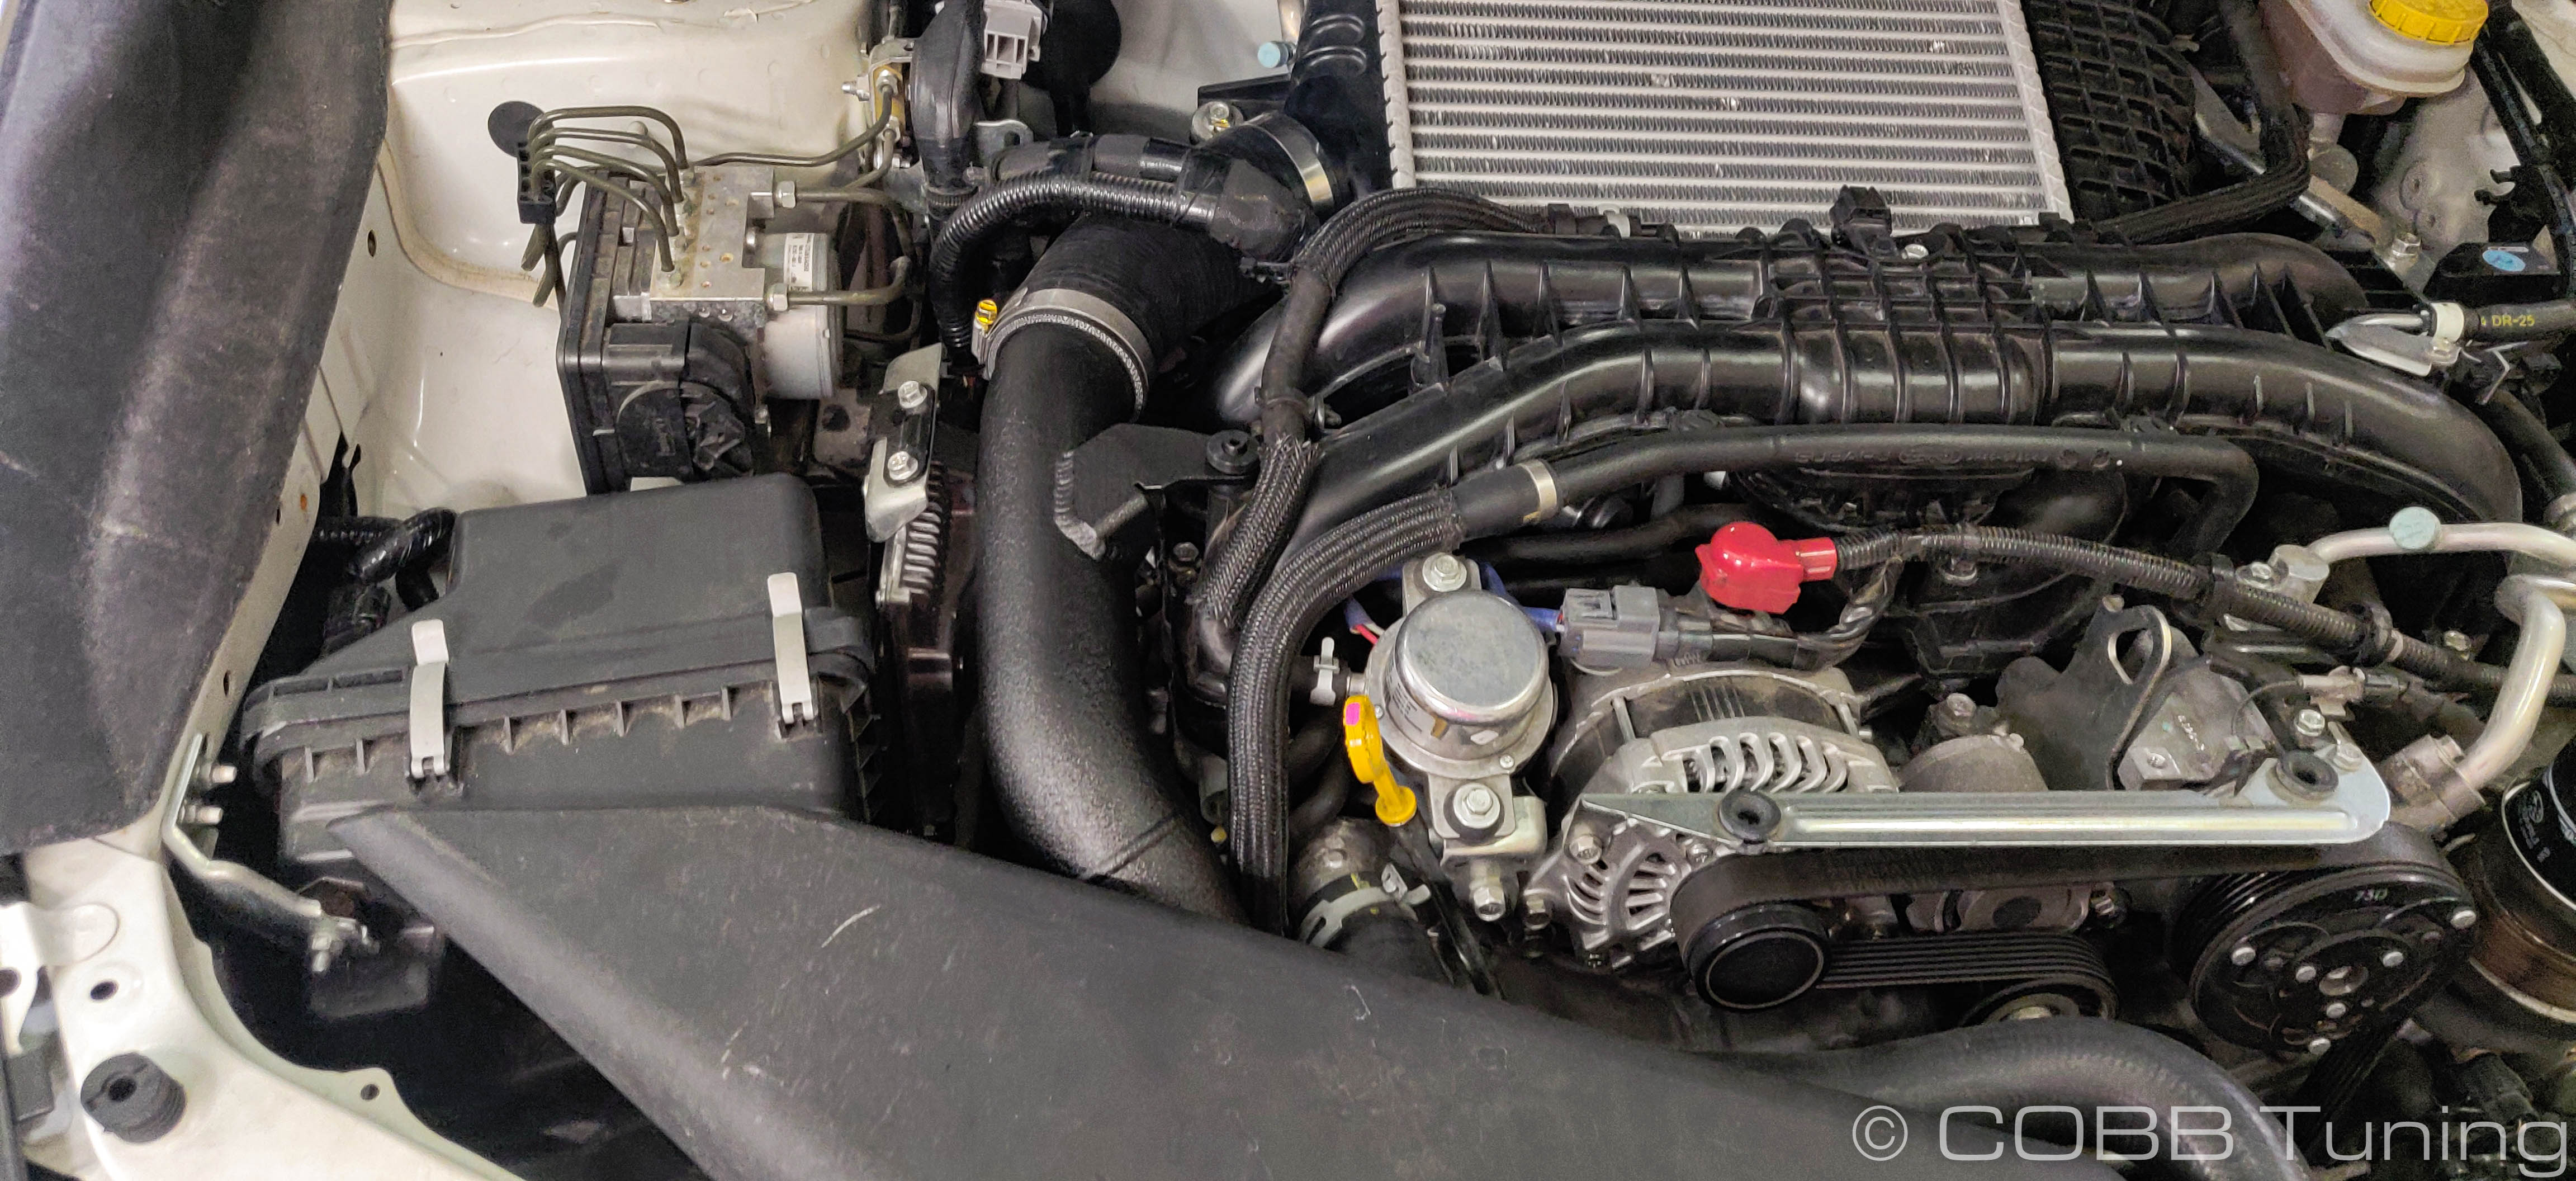
742110 - VA WRX Charge Pipe
742110 – VA WRX Charge Pipe
Subaru WRX 2015 - 2021
Congratulations on your purchase of the COBB Tuning VA WRX Charge Pipe! The following instructions will assist you through the installation process. Please read them BEFORE beginning the install to familiarize yourself with the steps and tools needed. If you feel you cannot properly perform this installation, we HIGHLY recommend you take the vehicle to a qualified and experienced automotive technician.
Table of Contents
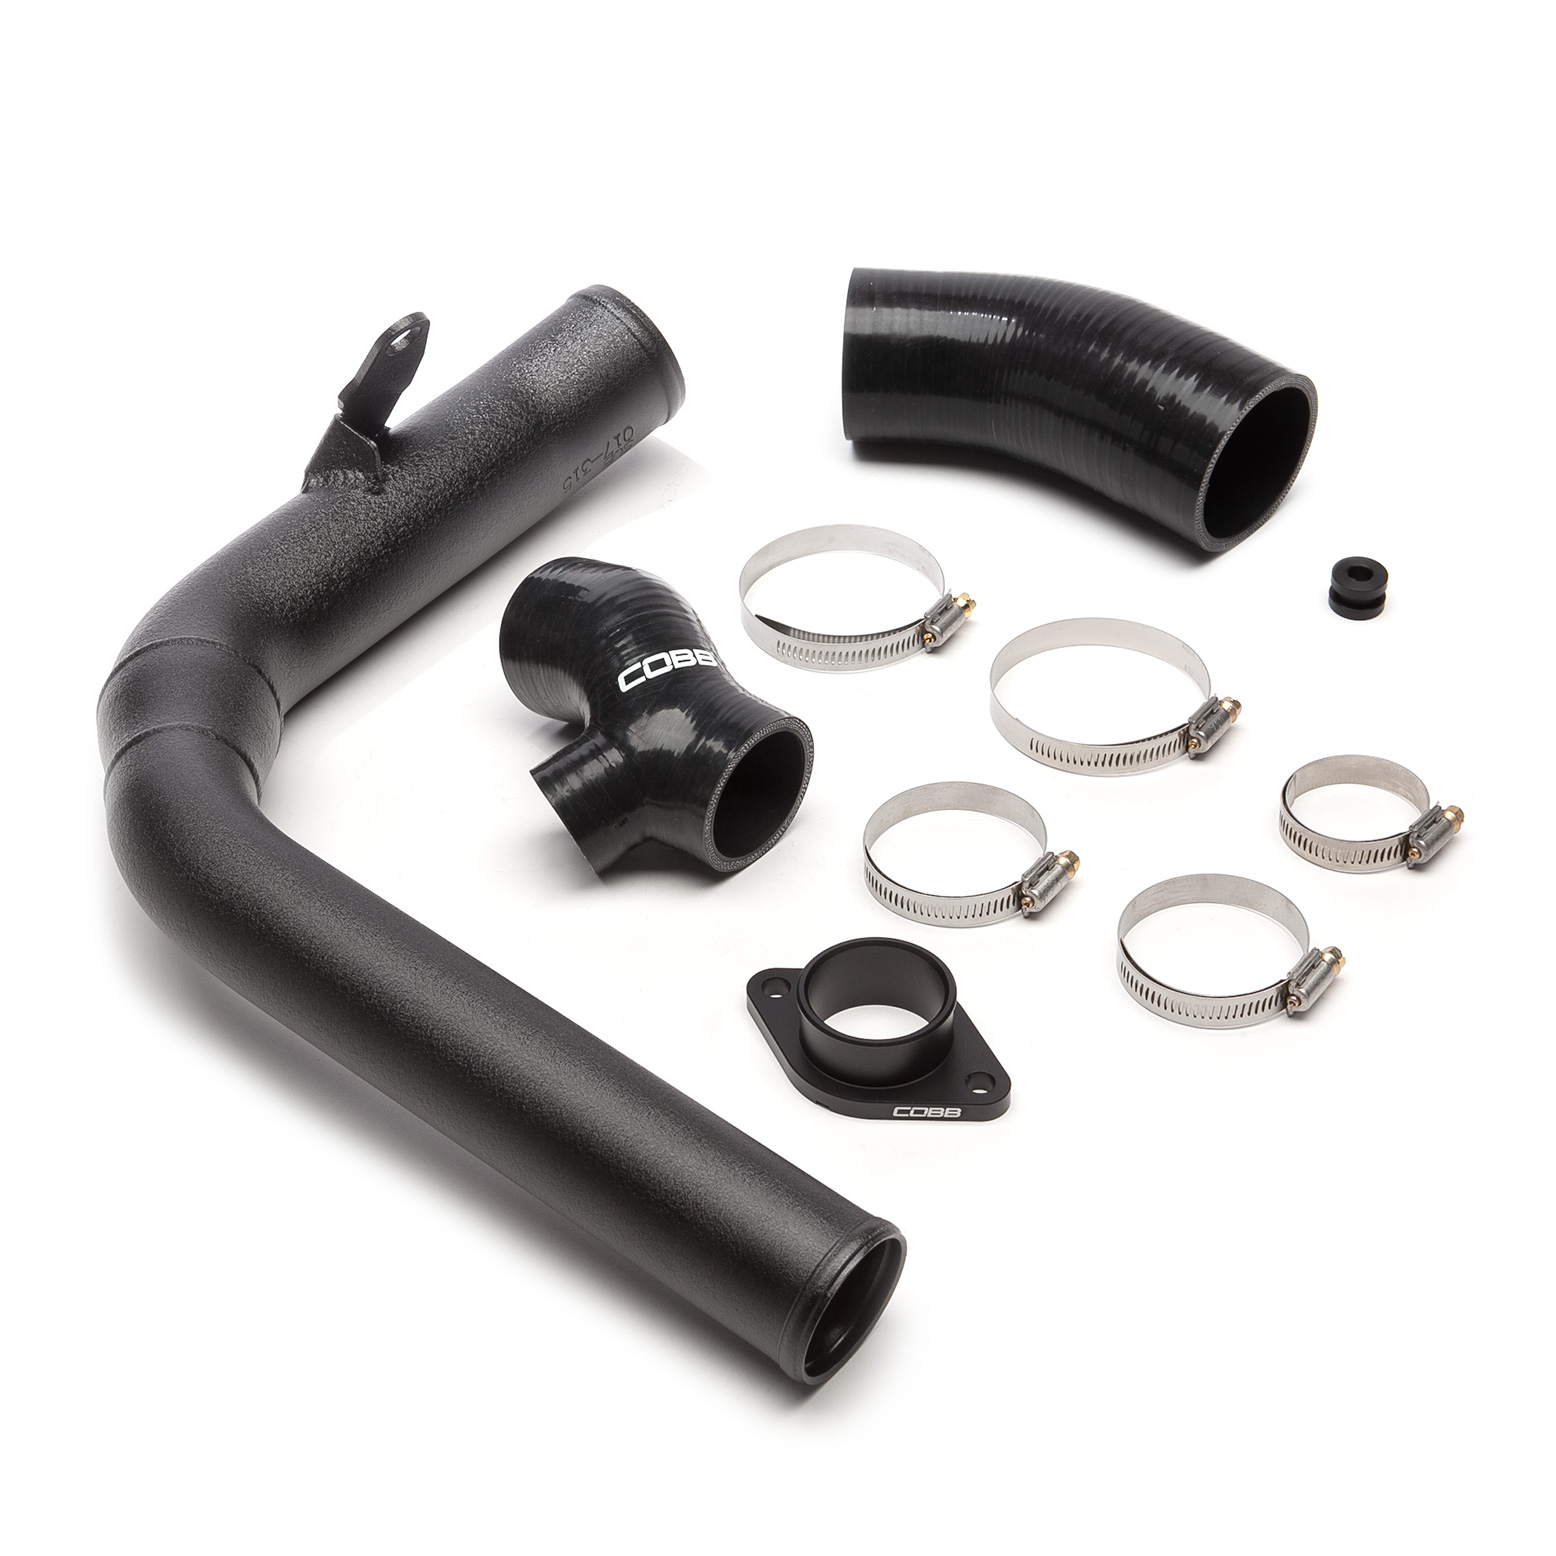
Parts List
- Turbo Outlet Adapter
- Turbo Adapter to Charge Pipe Silicon
- Charge Pipe to Stock Intercooler Silicon
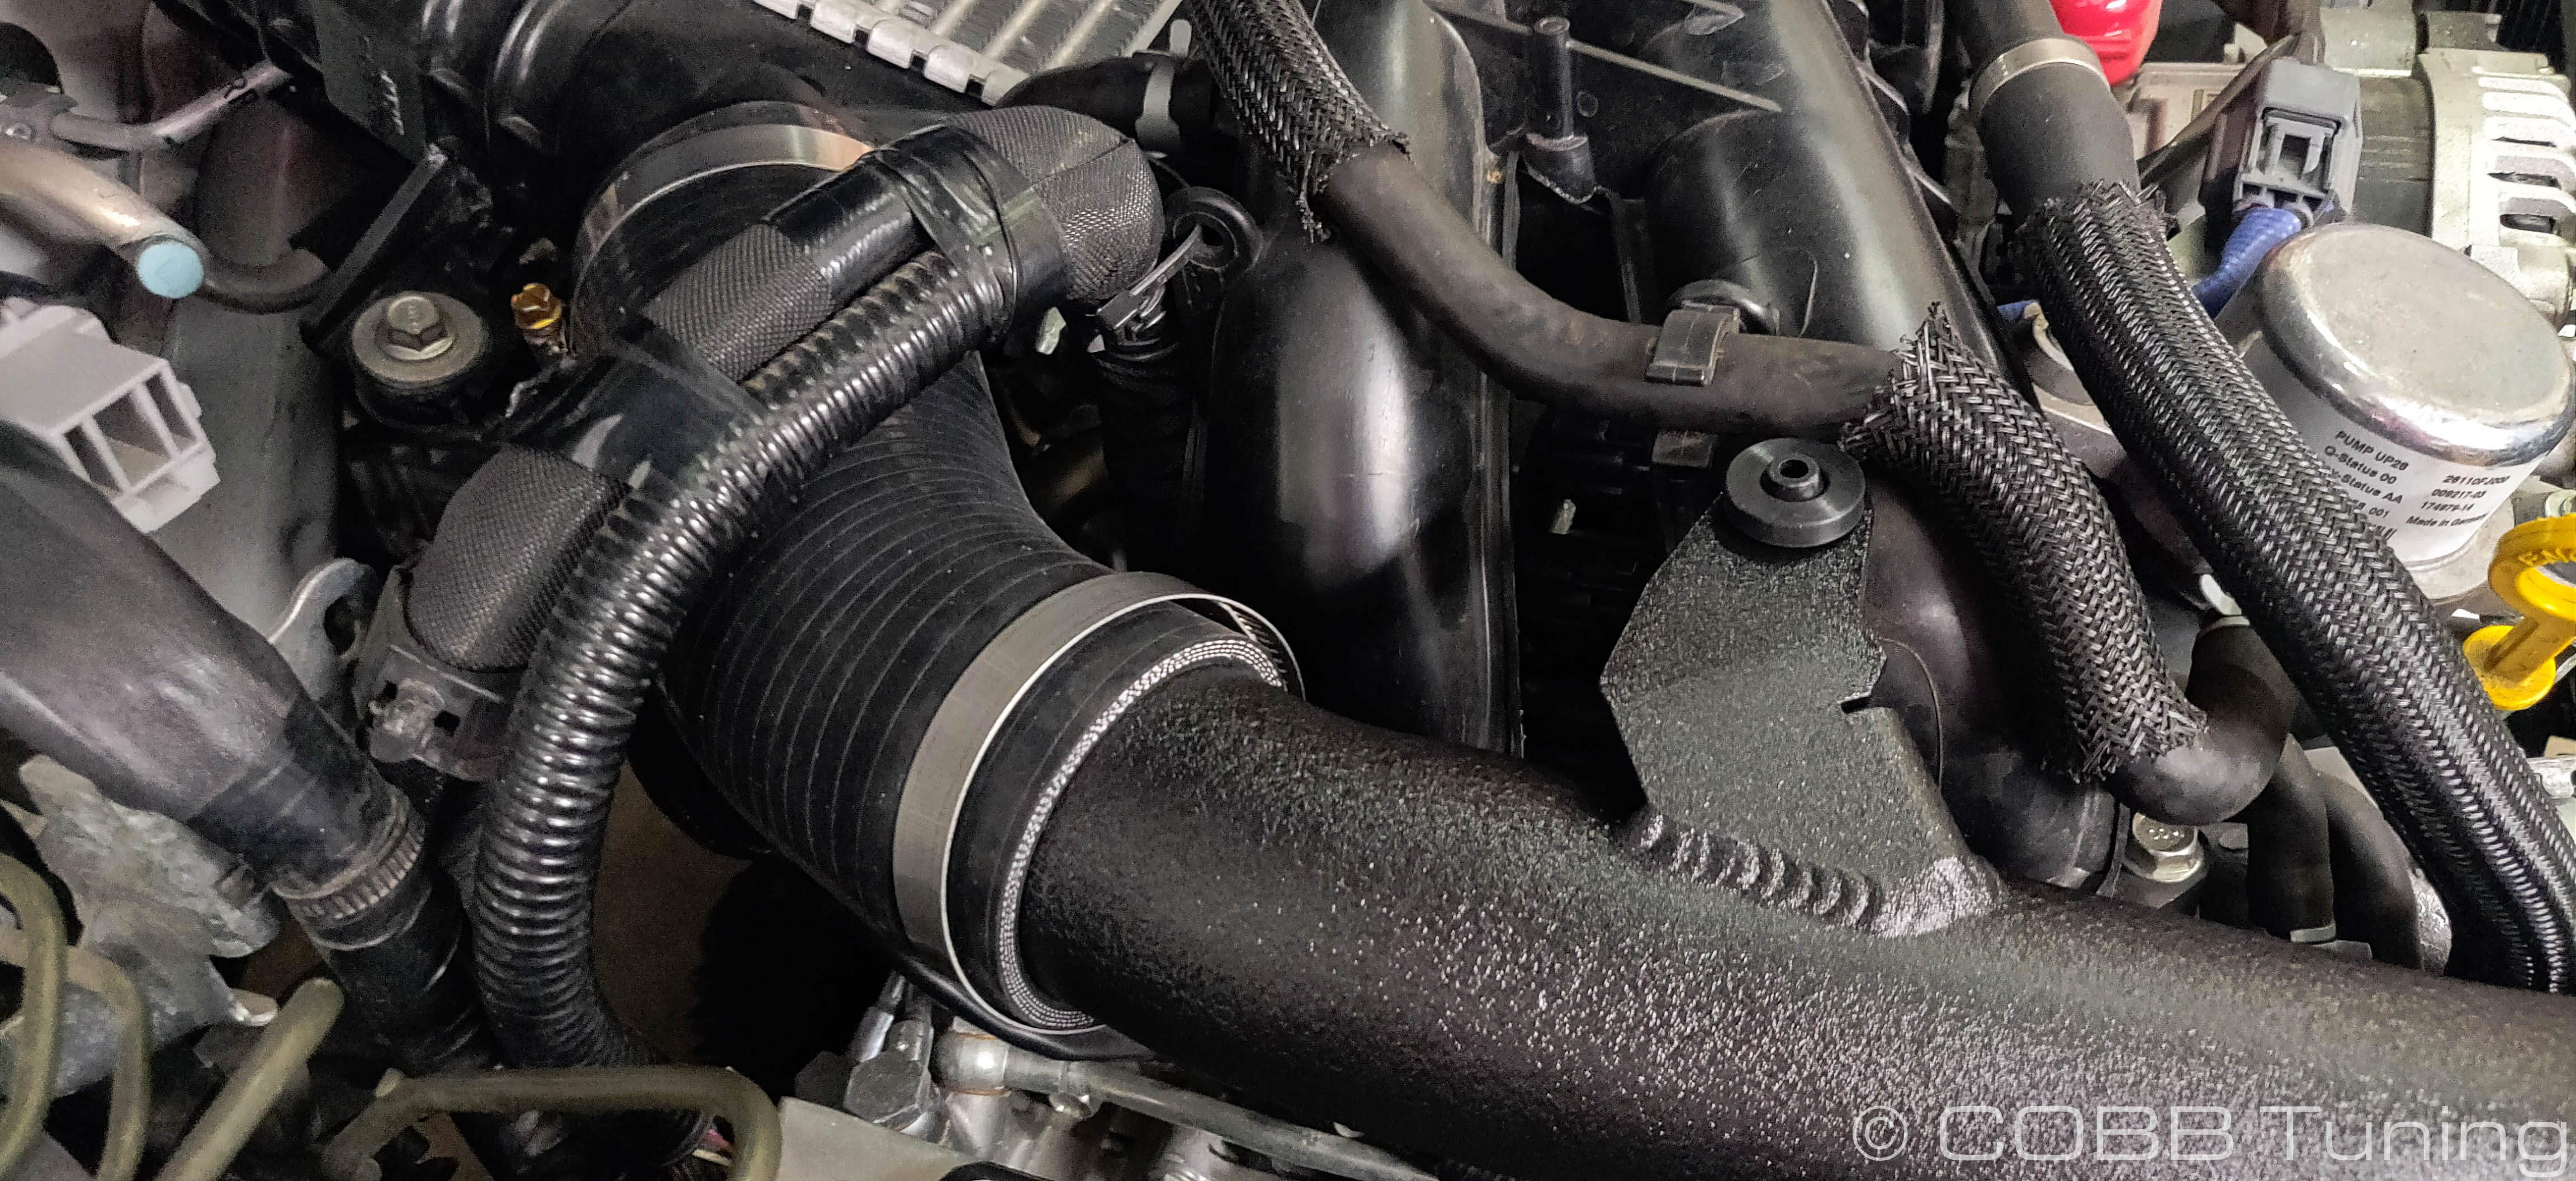
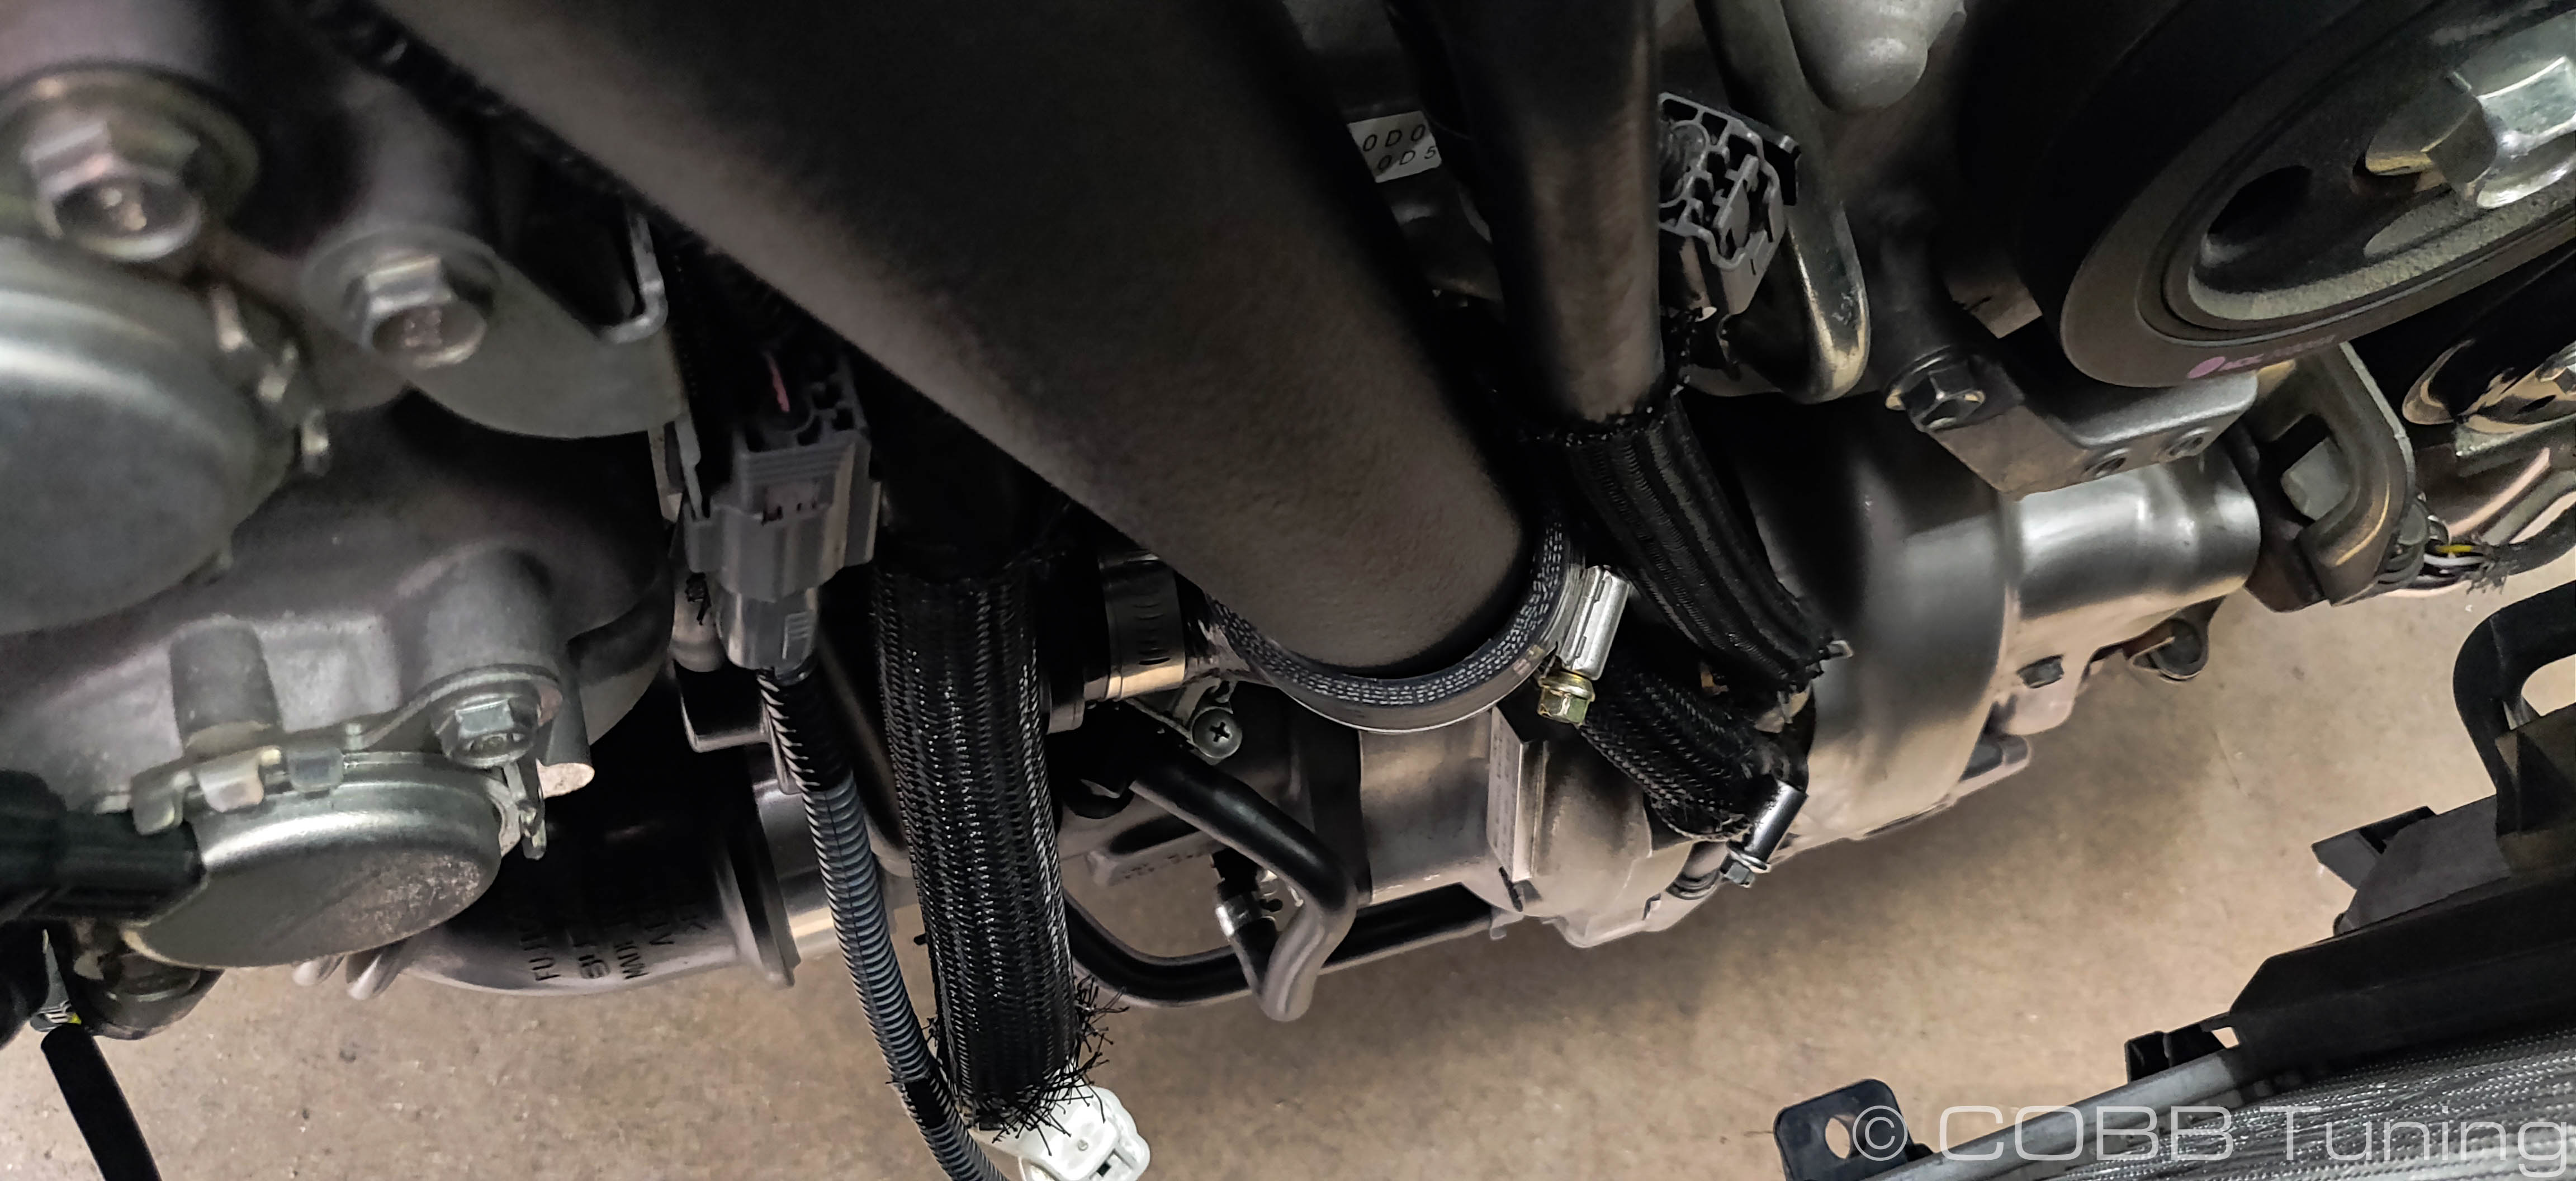
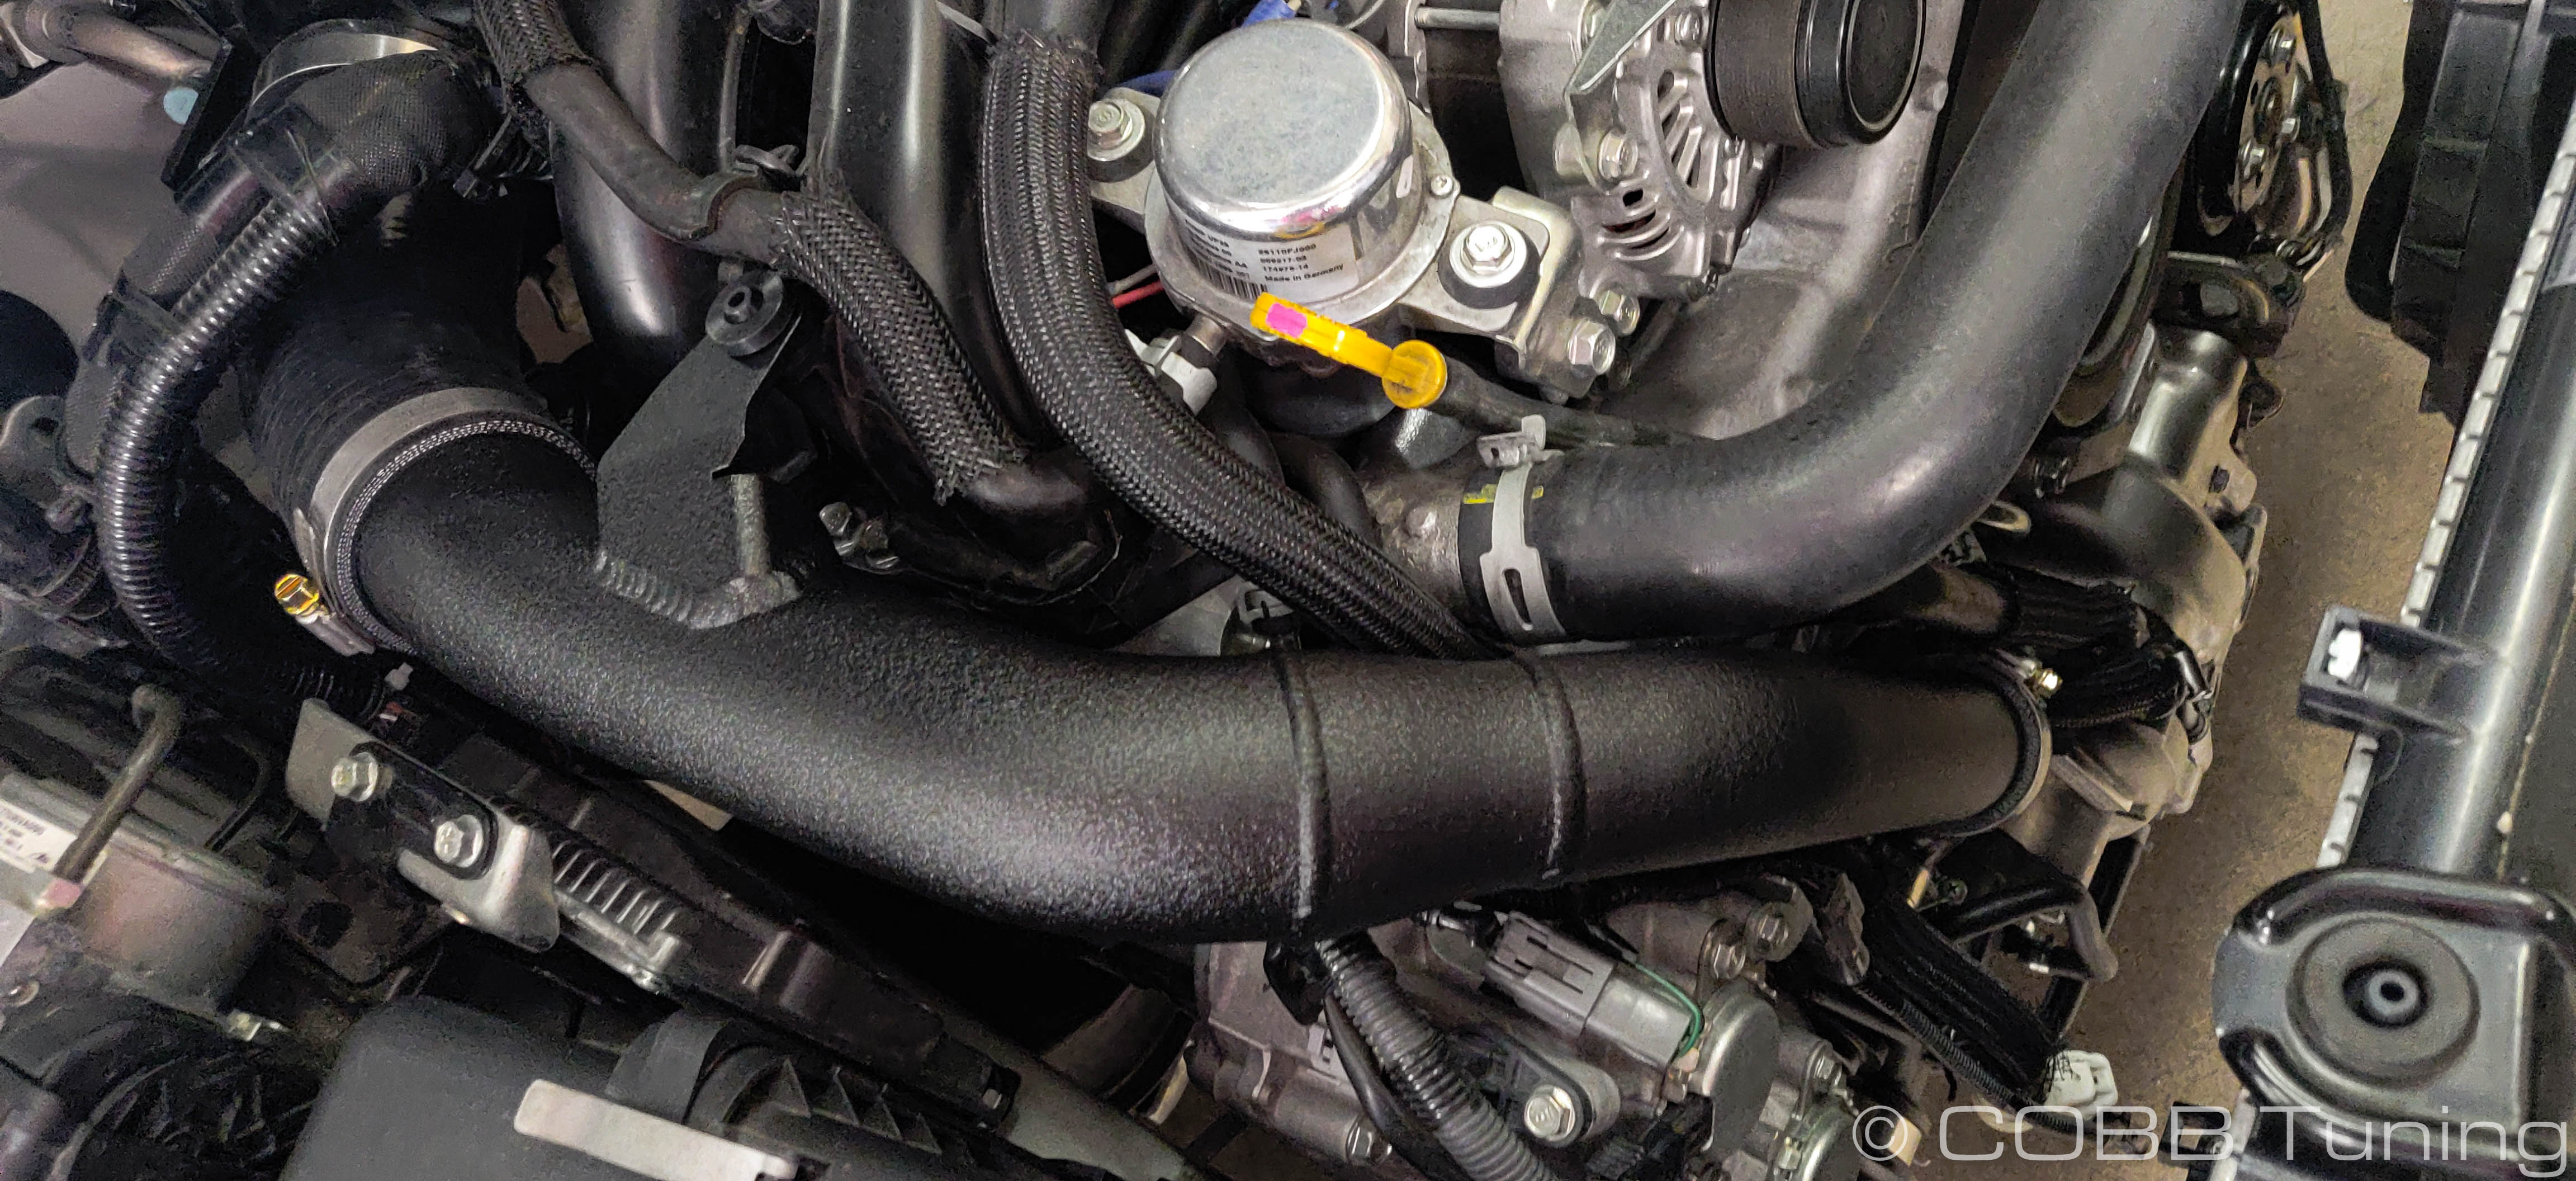
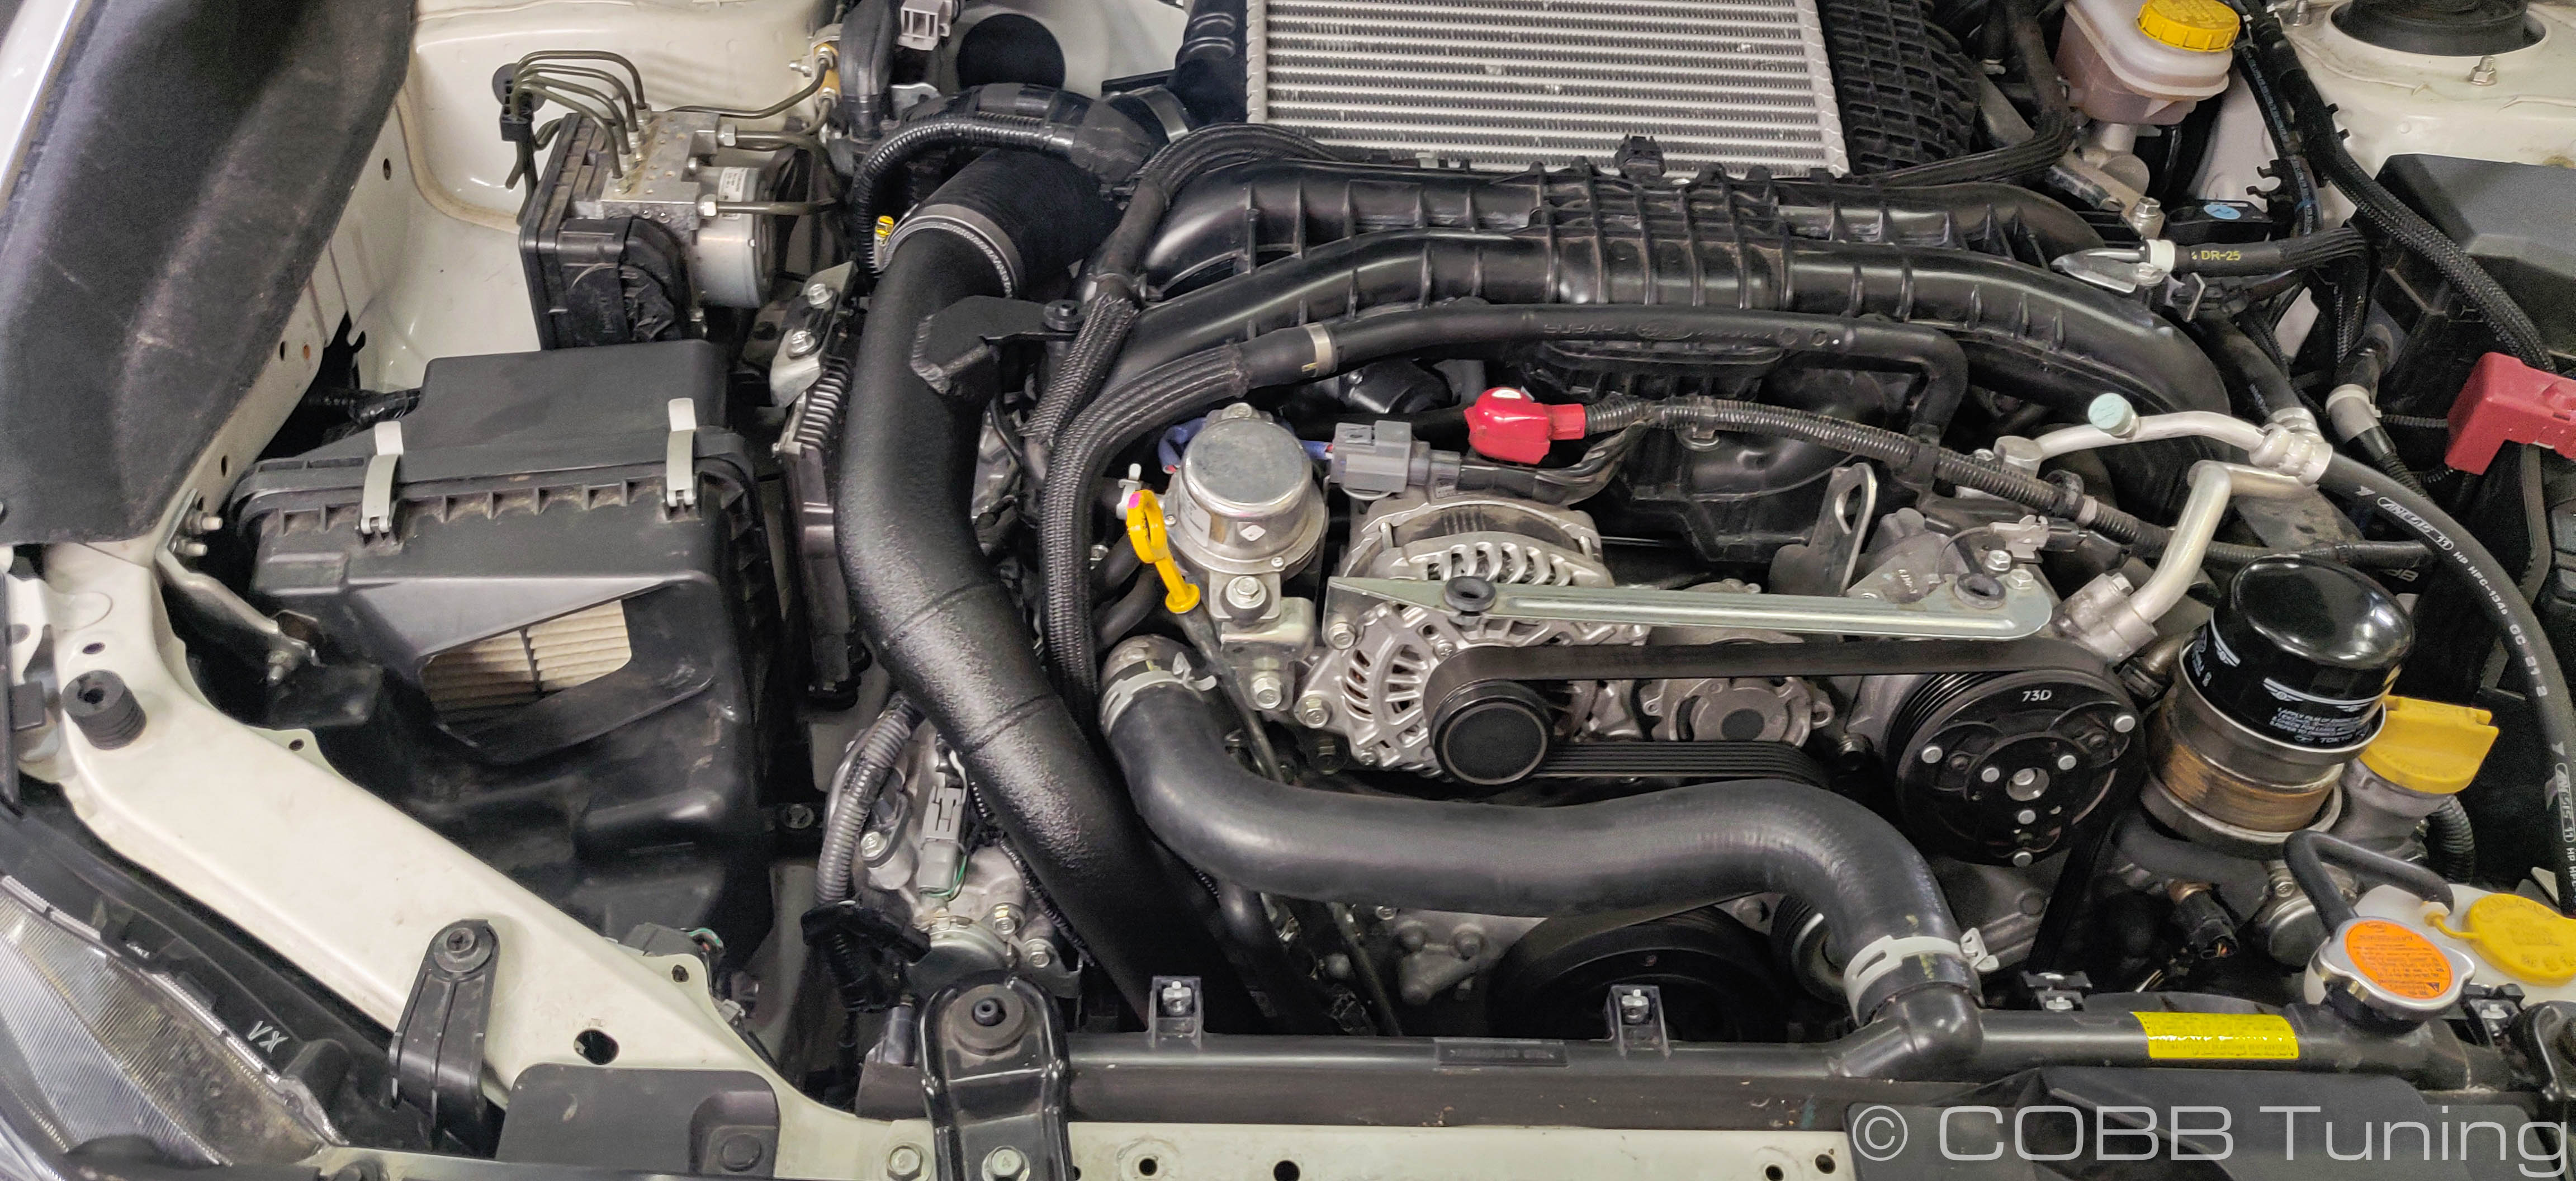
- VA WRX Charge Pipe
- Rubber Grommet
- #24 Hose Clamp
- (2) #32 Hose Clamp
- #44 Hose Clamp
- #48 Hose Clamp
Tools Needed
Sockets
3/8"
Hand Tools
Before you Begin
- Park your car in a flat, level area out of the way.
- With the vehicle turned off and cooled down, use a 10mm wrench to disconnect the negative terminal of the battery.
- If a lift isn't available, use a jack and properly support the vehicle with jack stands.
Undertray Removal
- Inspect the new components included with the COBB kit. If anything appears out of place, please contact COBB immediately and do not proceed with the installation.
- Begin by placing the car on the lift and raising it to where you can now access the bottom of the vehicle.
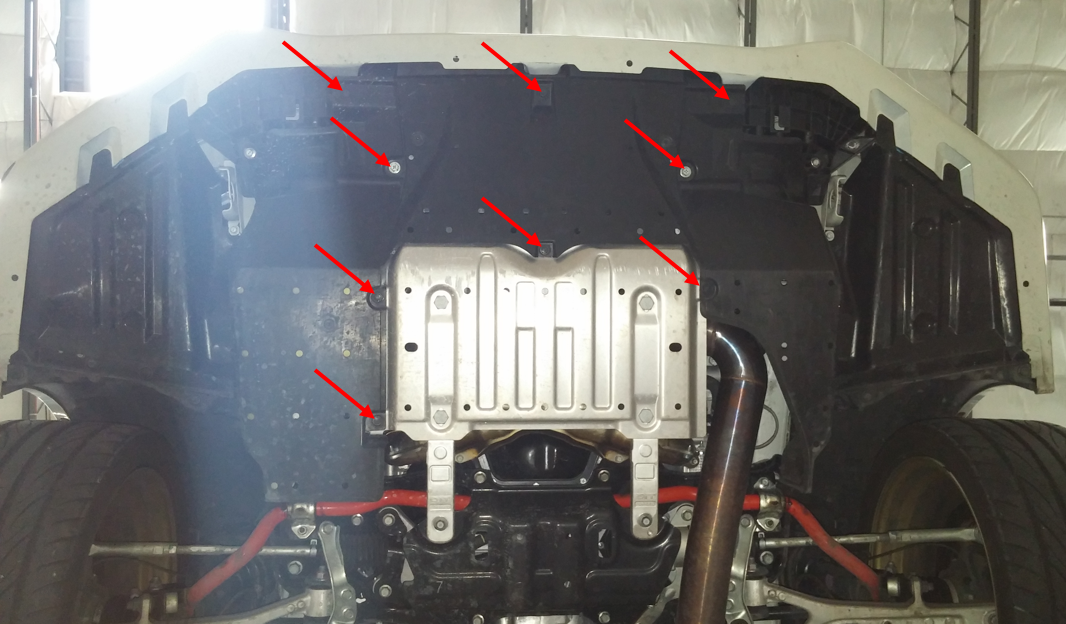
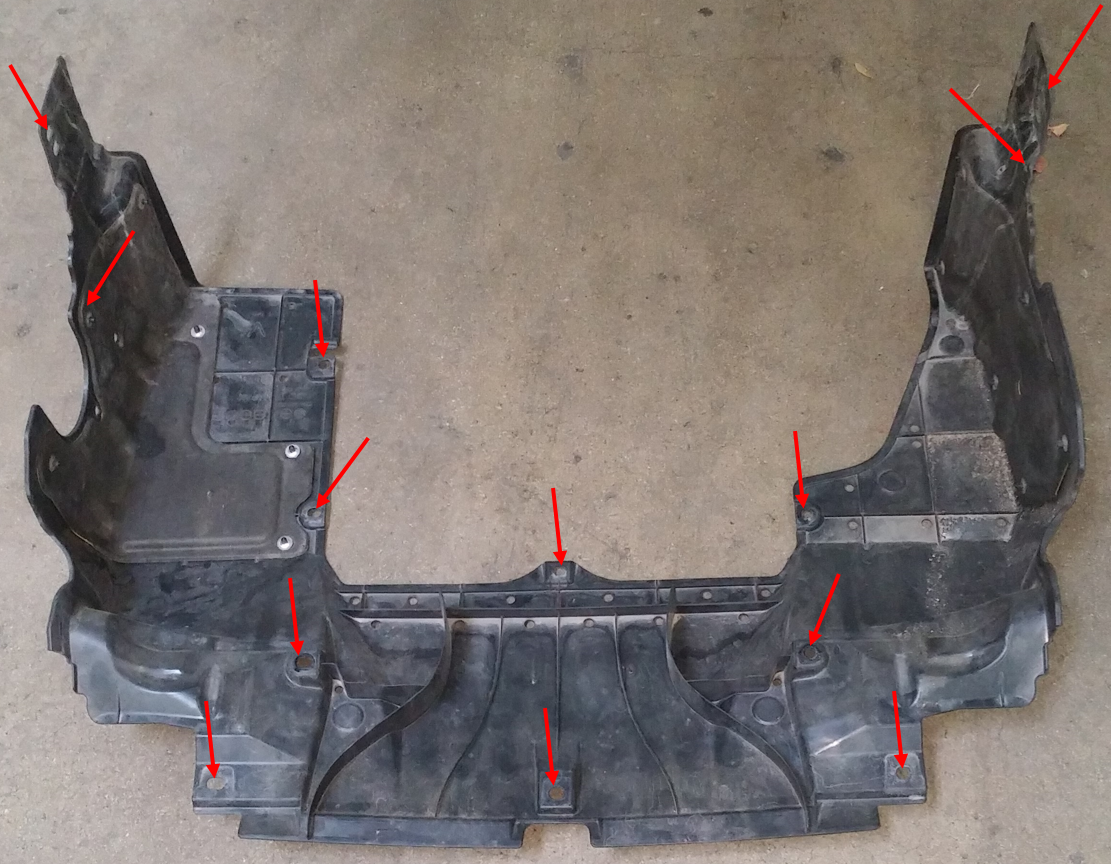
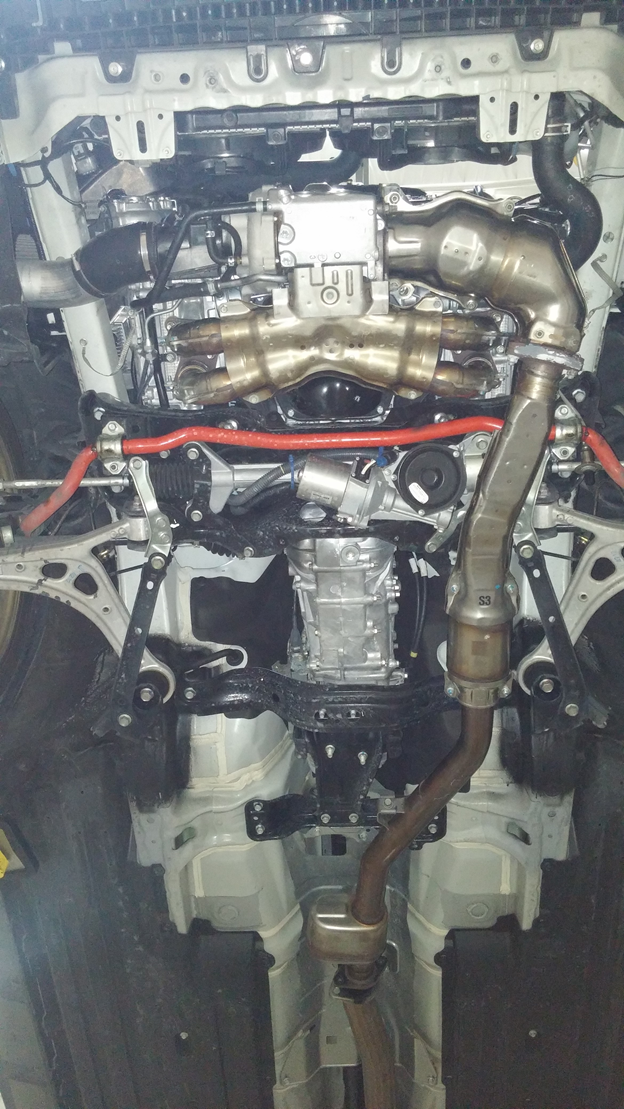
Next, remove the plastic under tray by using the flathead screwdriver to remove the pushpins and the 12mm socket to remove the two bolts holding the under tray to the car. Recommended: Take pictures of where each pushpin is for your future reference.
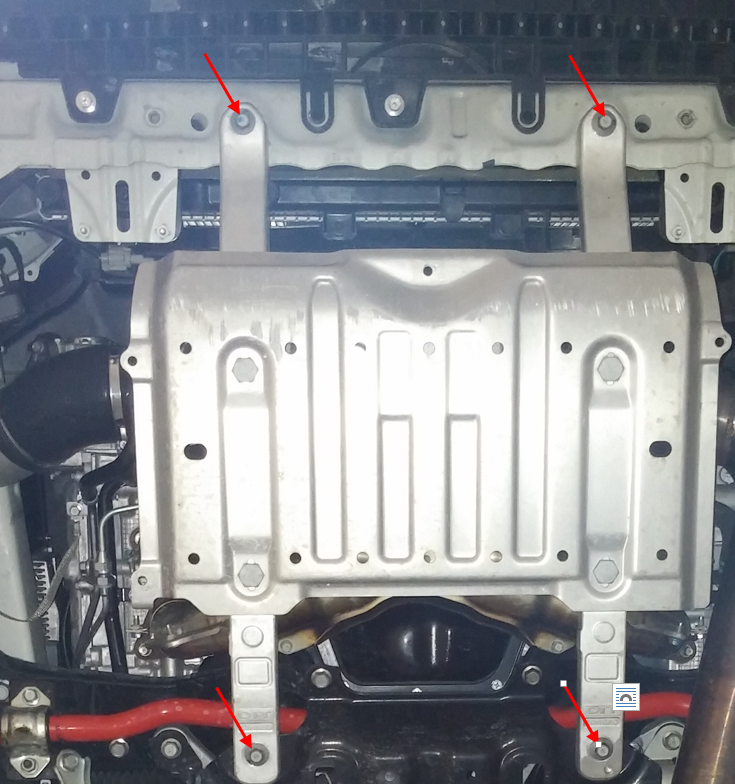
- Once the under tray is uninstalled, remove the skid plate by using a 12mm socket to loosen the bolts fastening it to the car.
- With the under tray and skid plate removed, you should now be looking at an open bottom side of the car!
Charge Pipe Removal
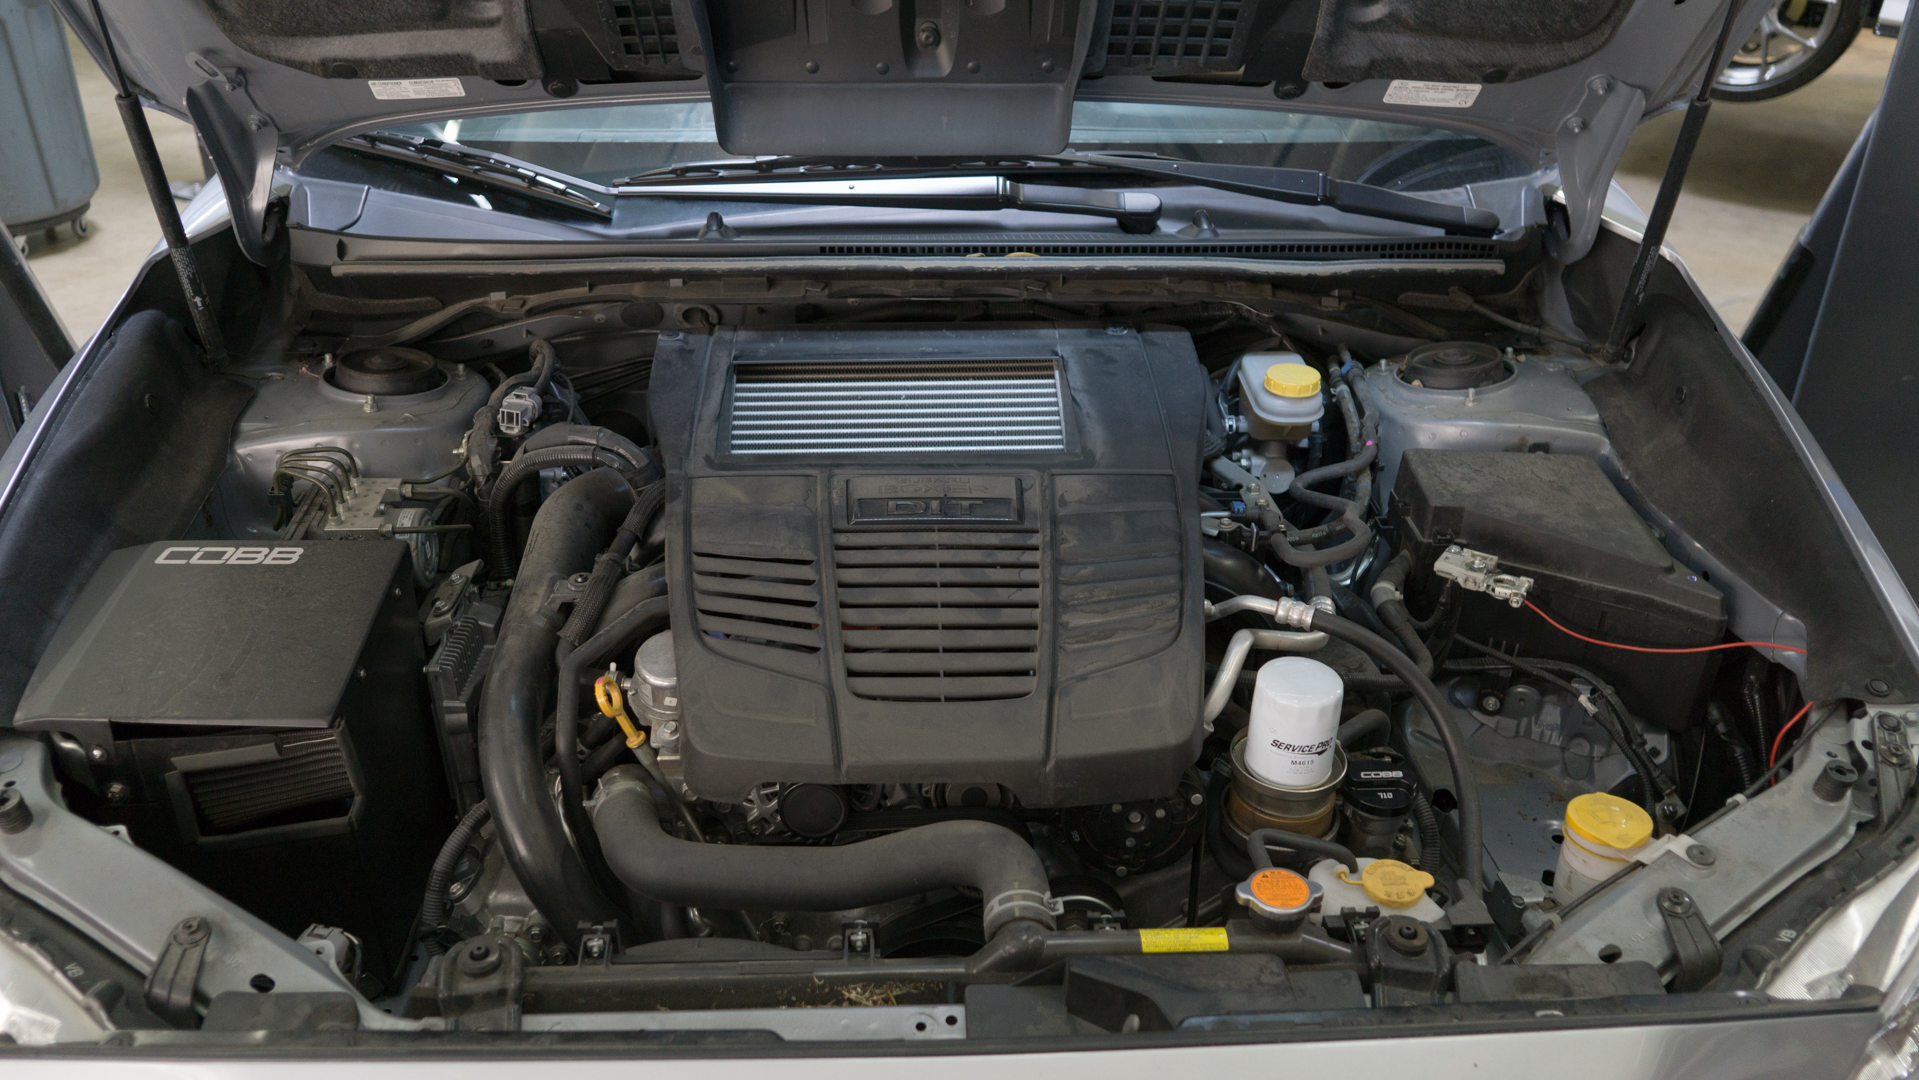
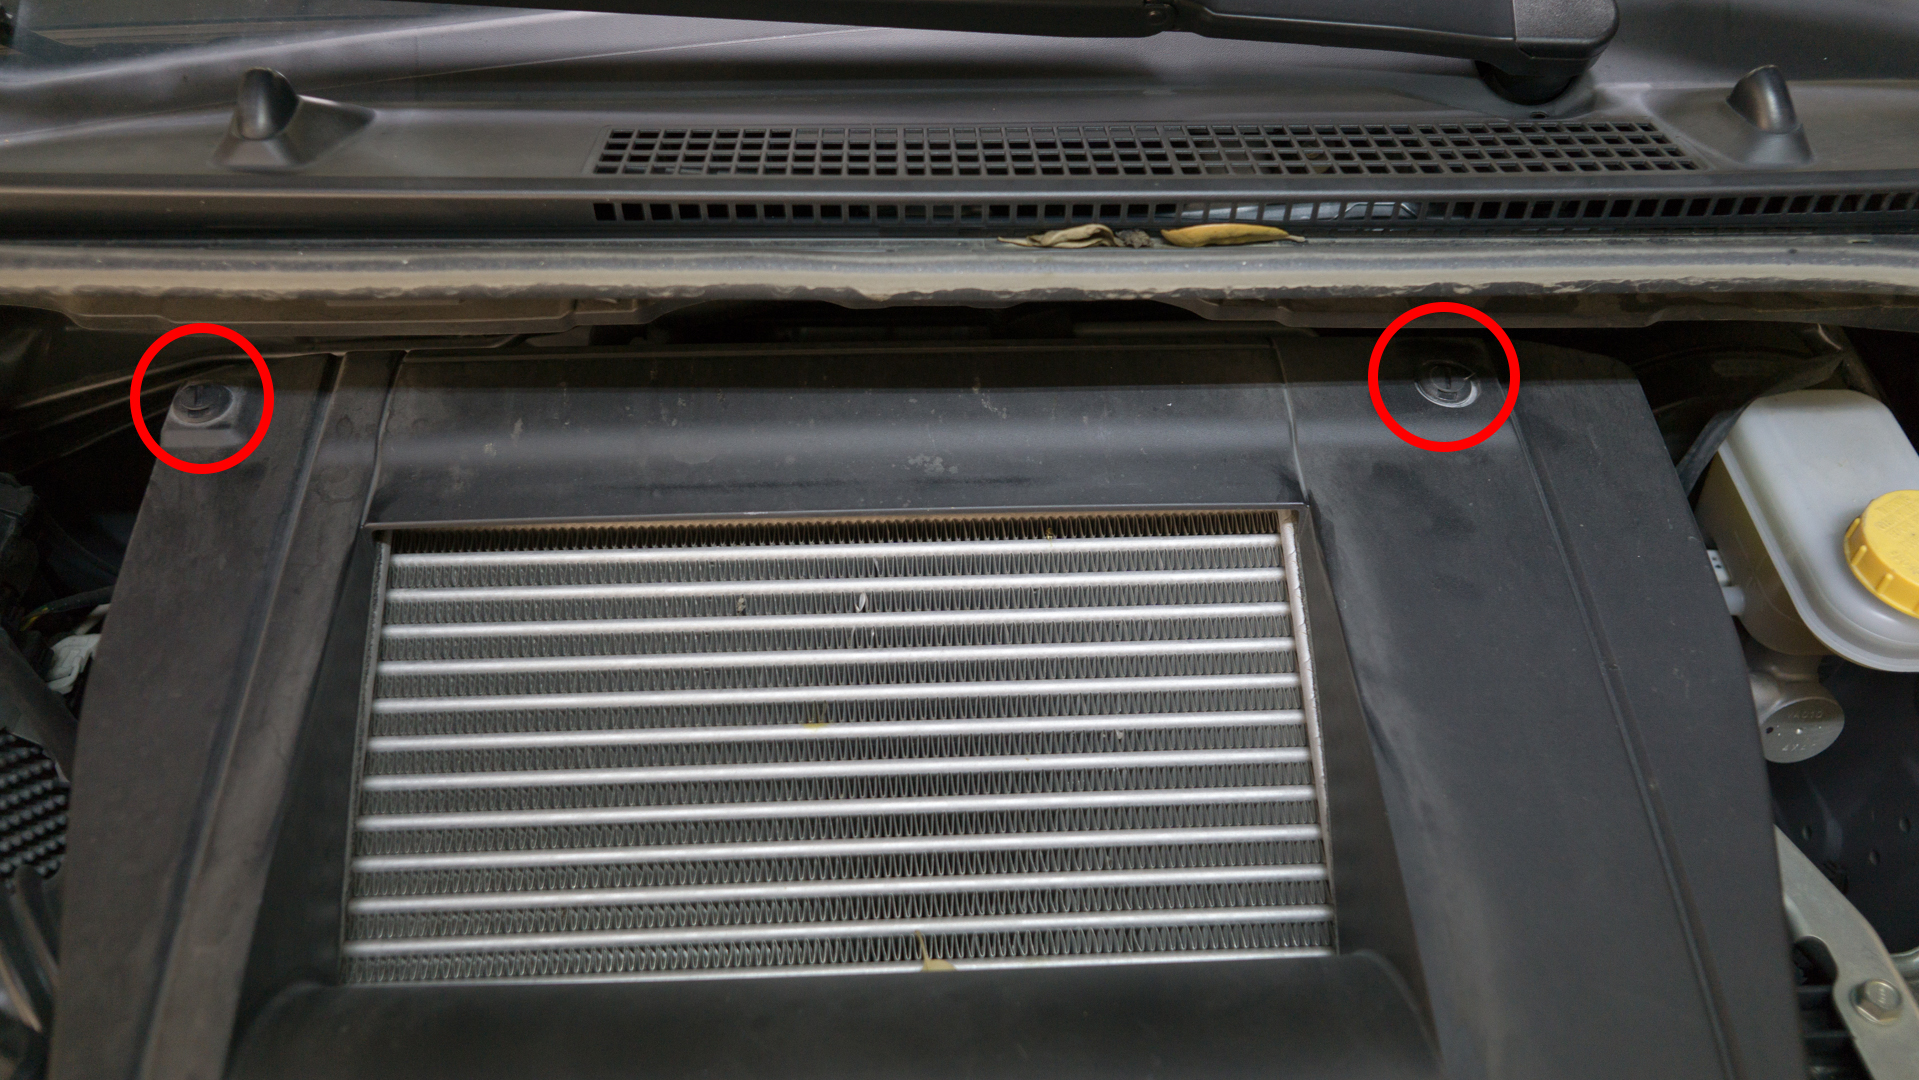
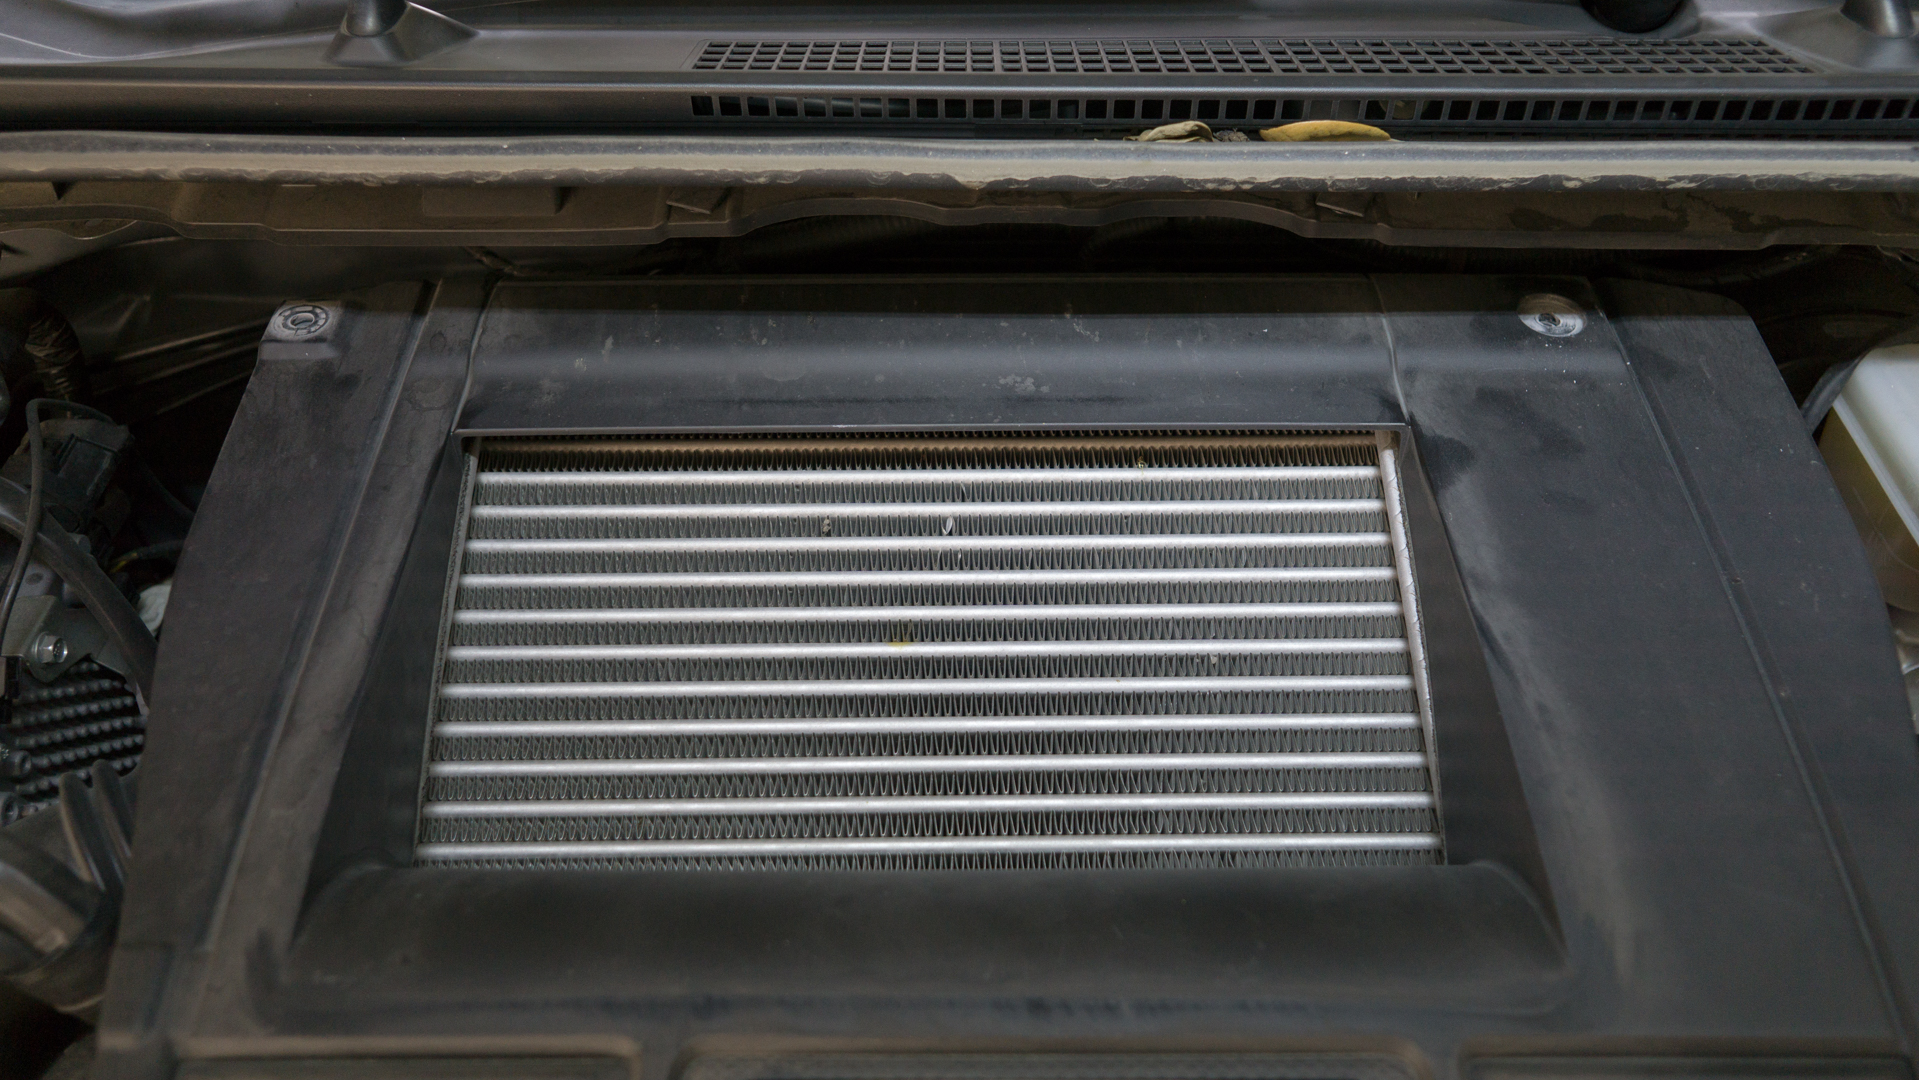
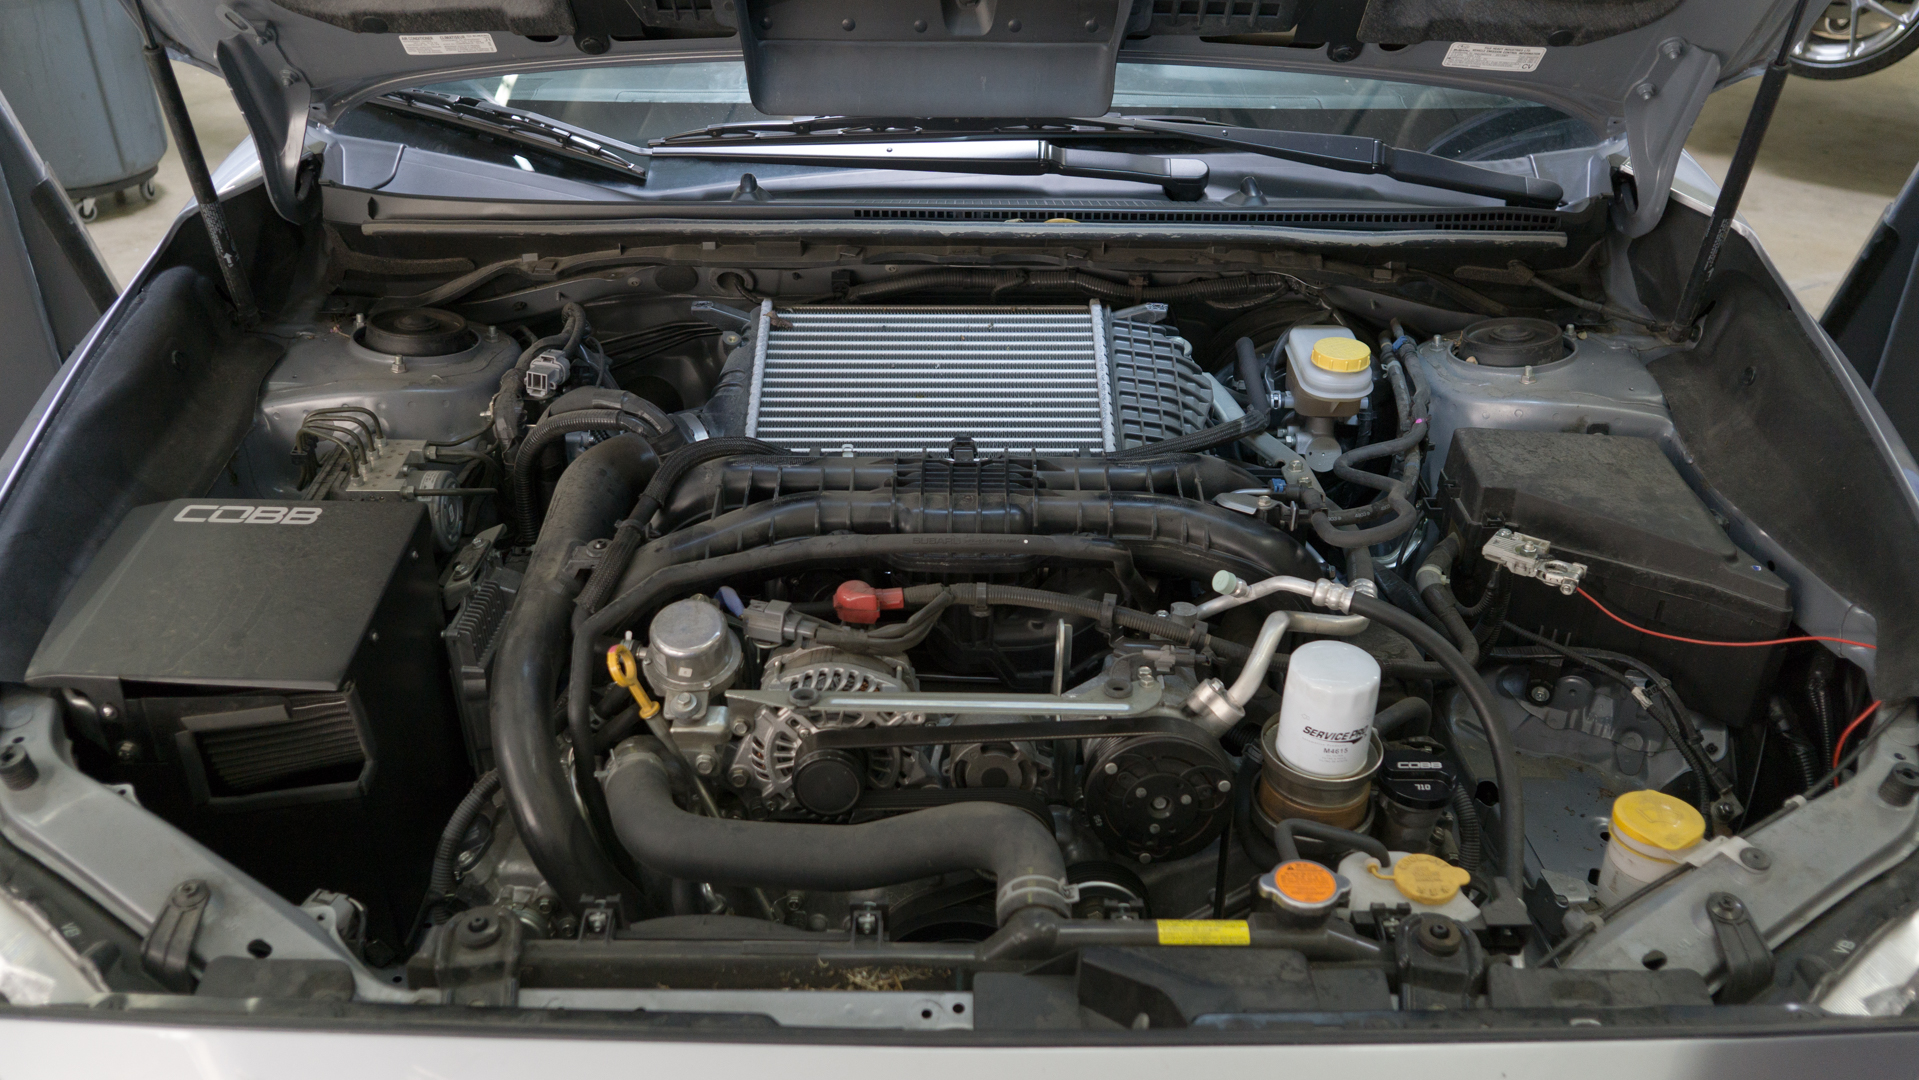
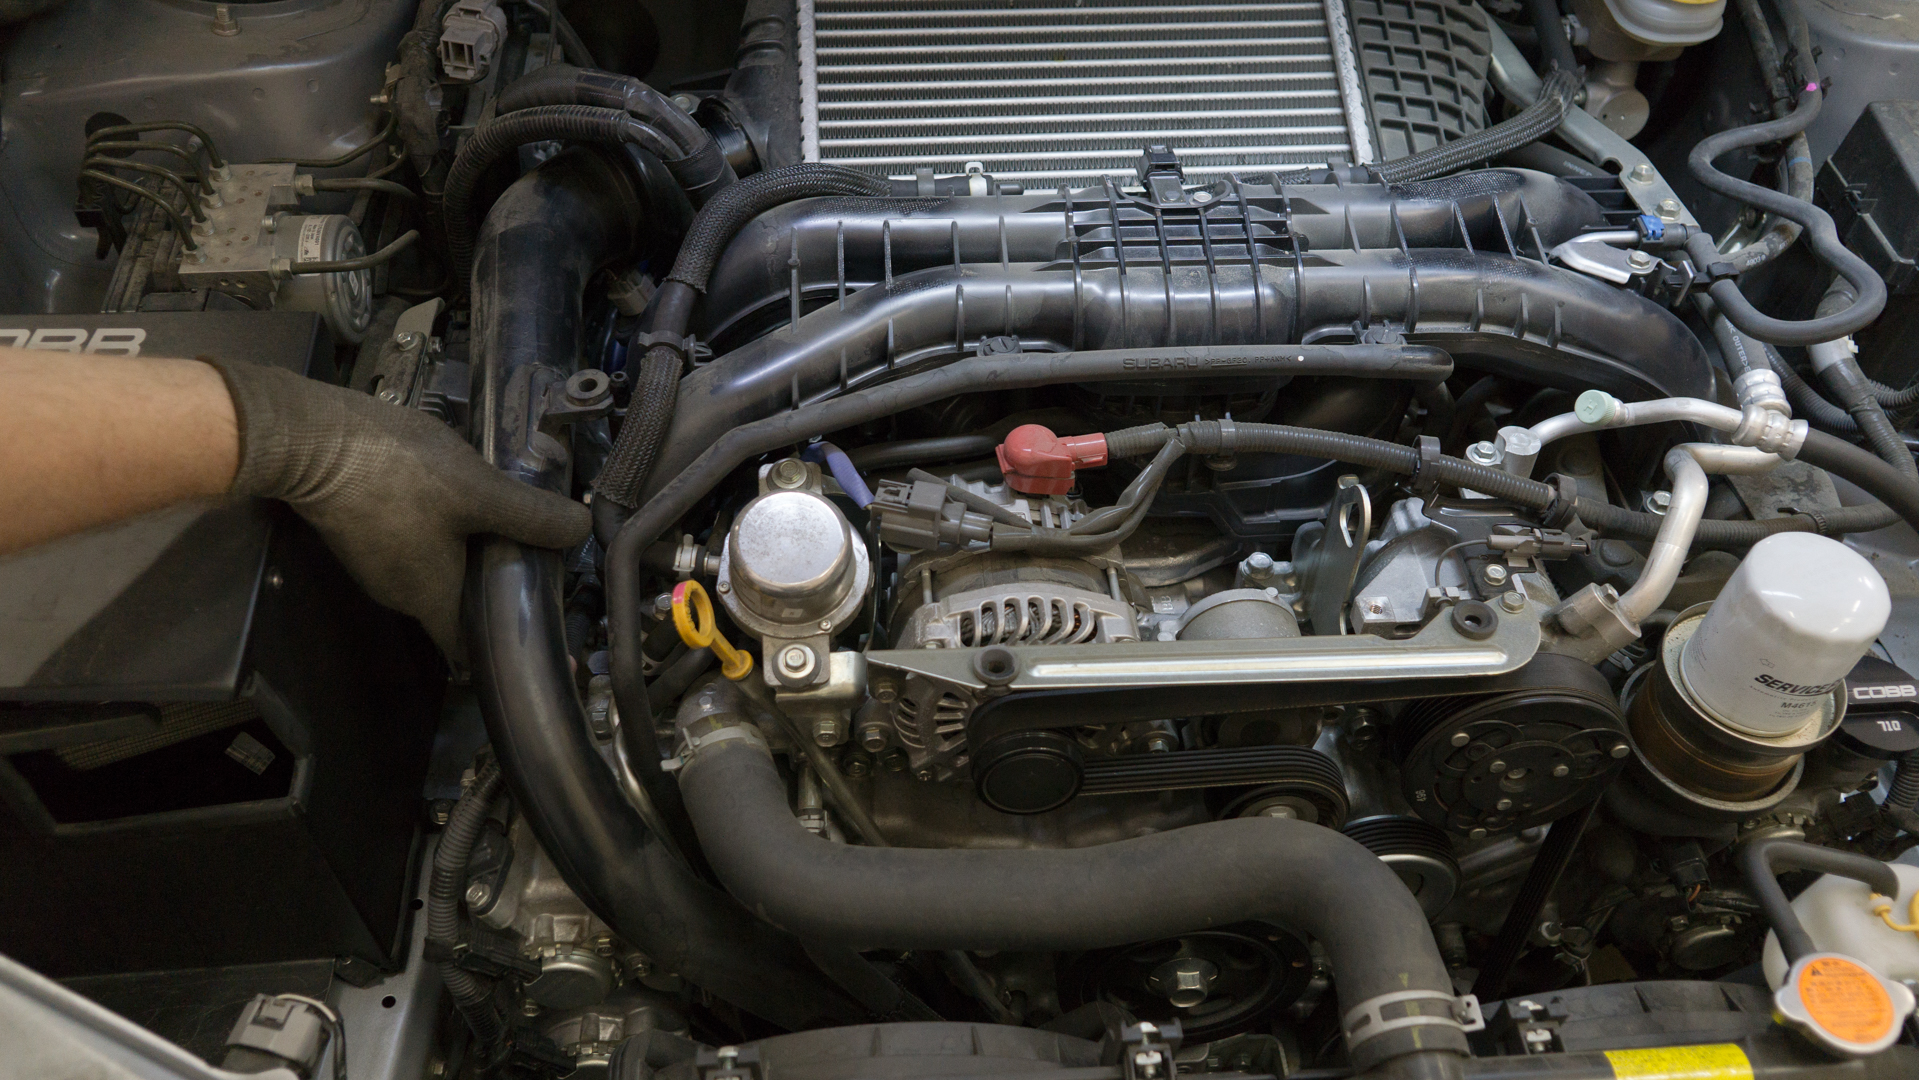
- Remove the two trim clips from the top corners of the engine cover by pulling out on the center portion using a trim tool or flat-blade screwdriver.
- Remove the engine cover by lifting from the back and pulling it towards you at the front.
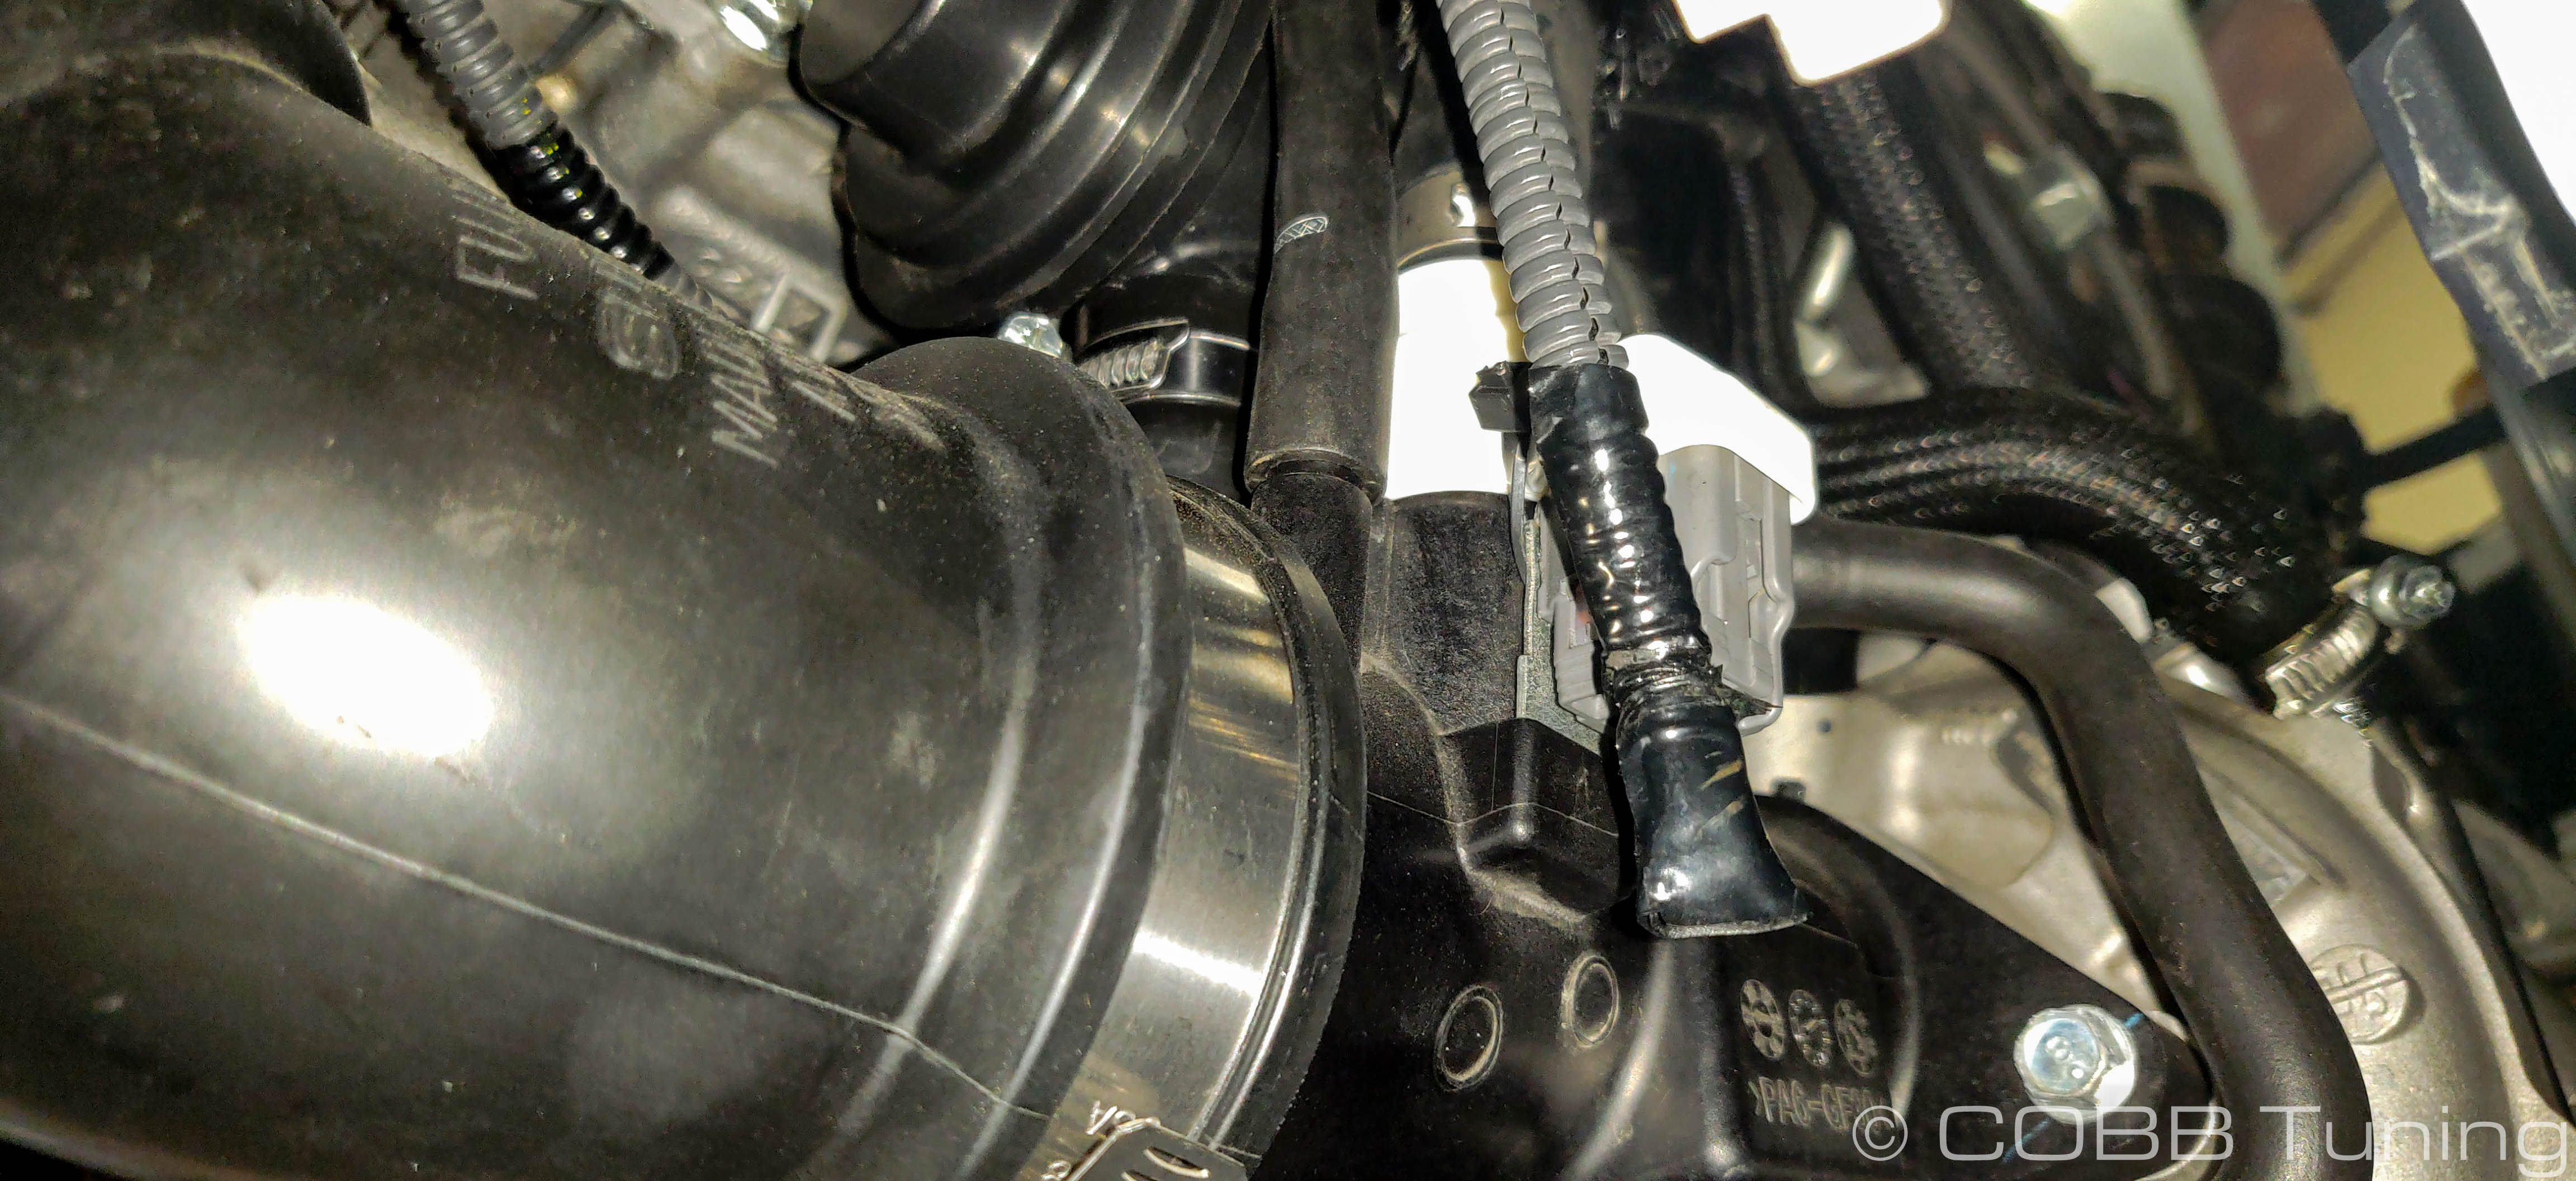
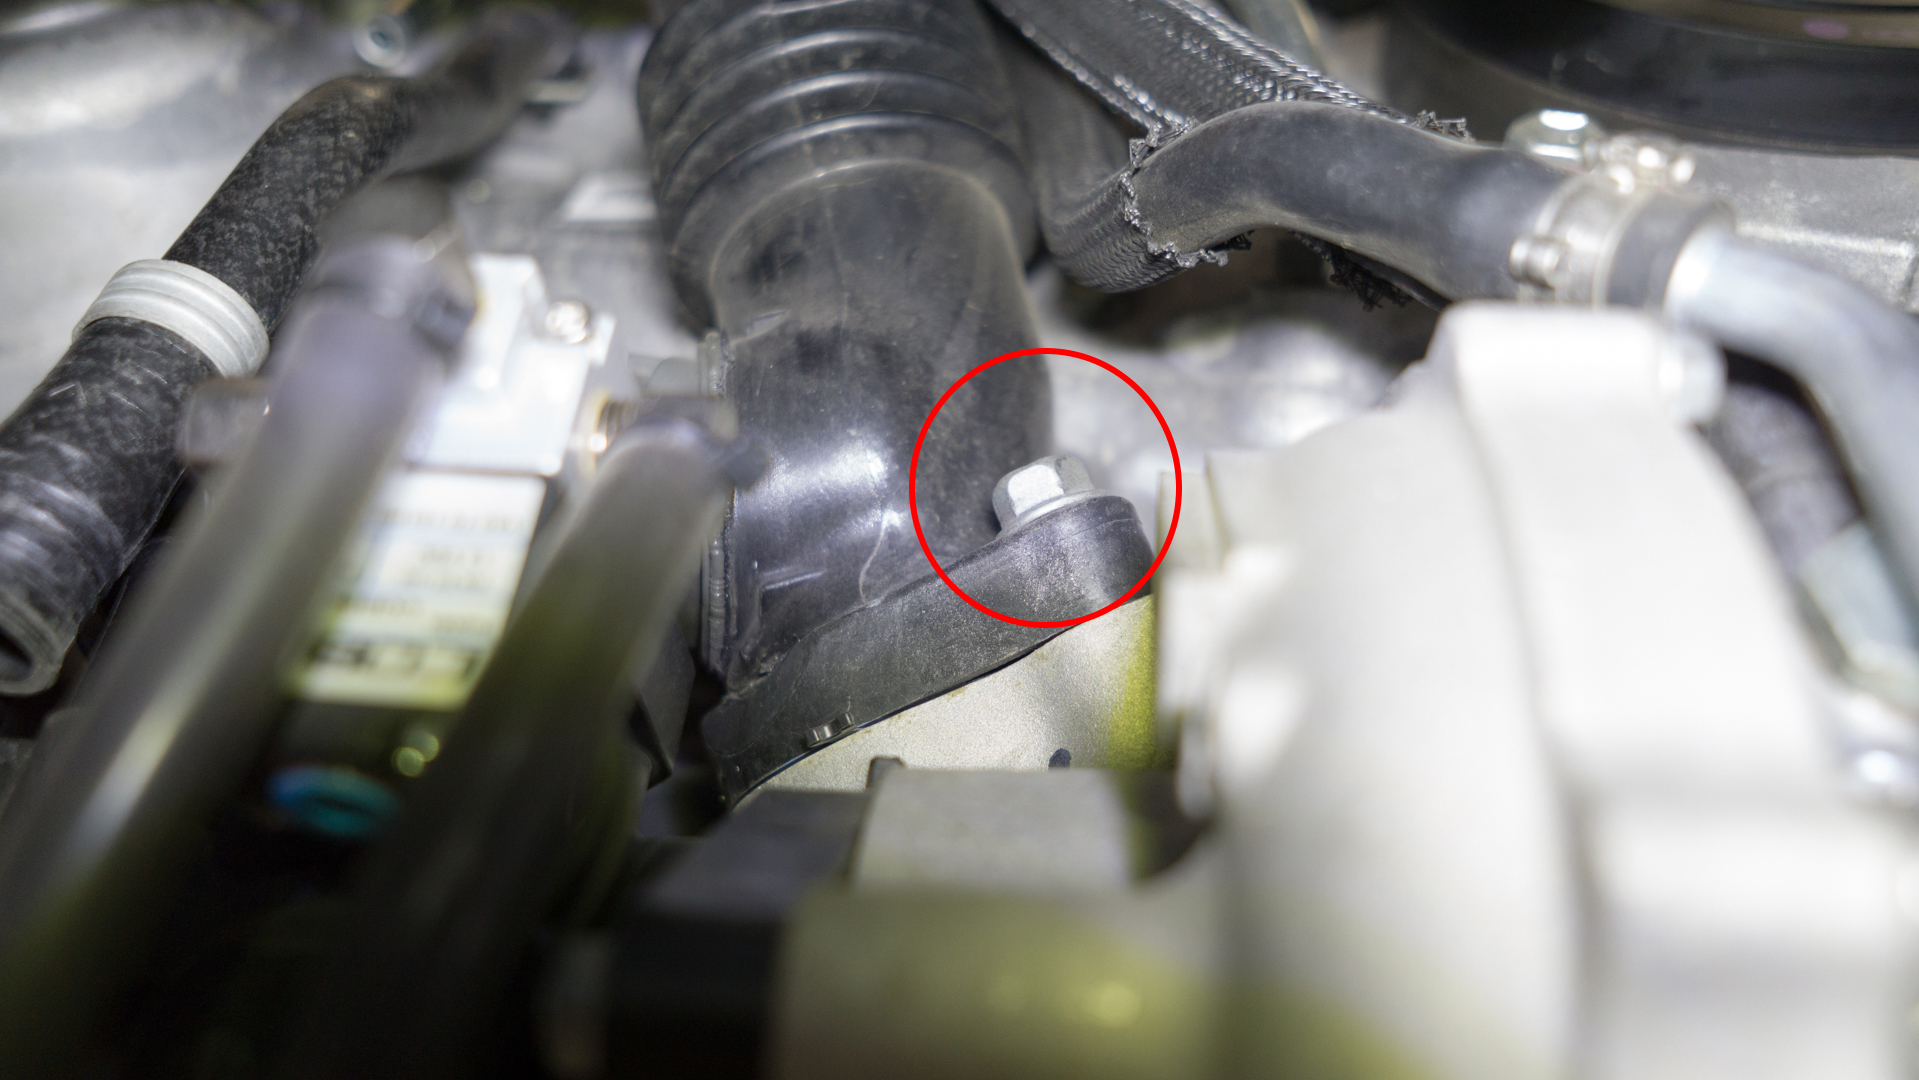
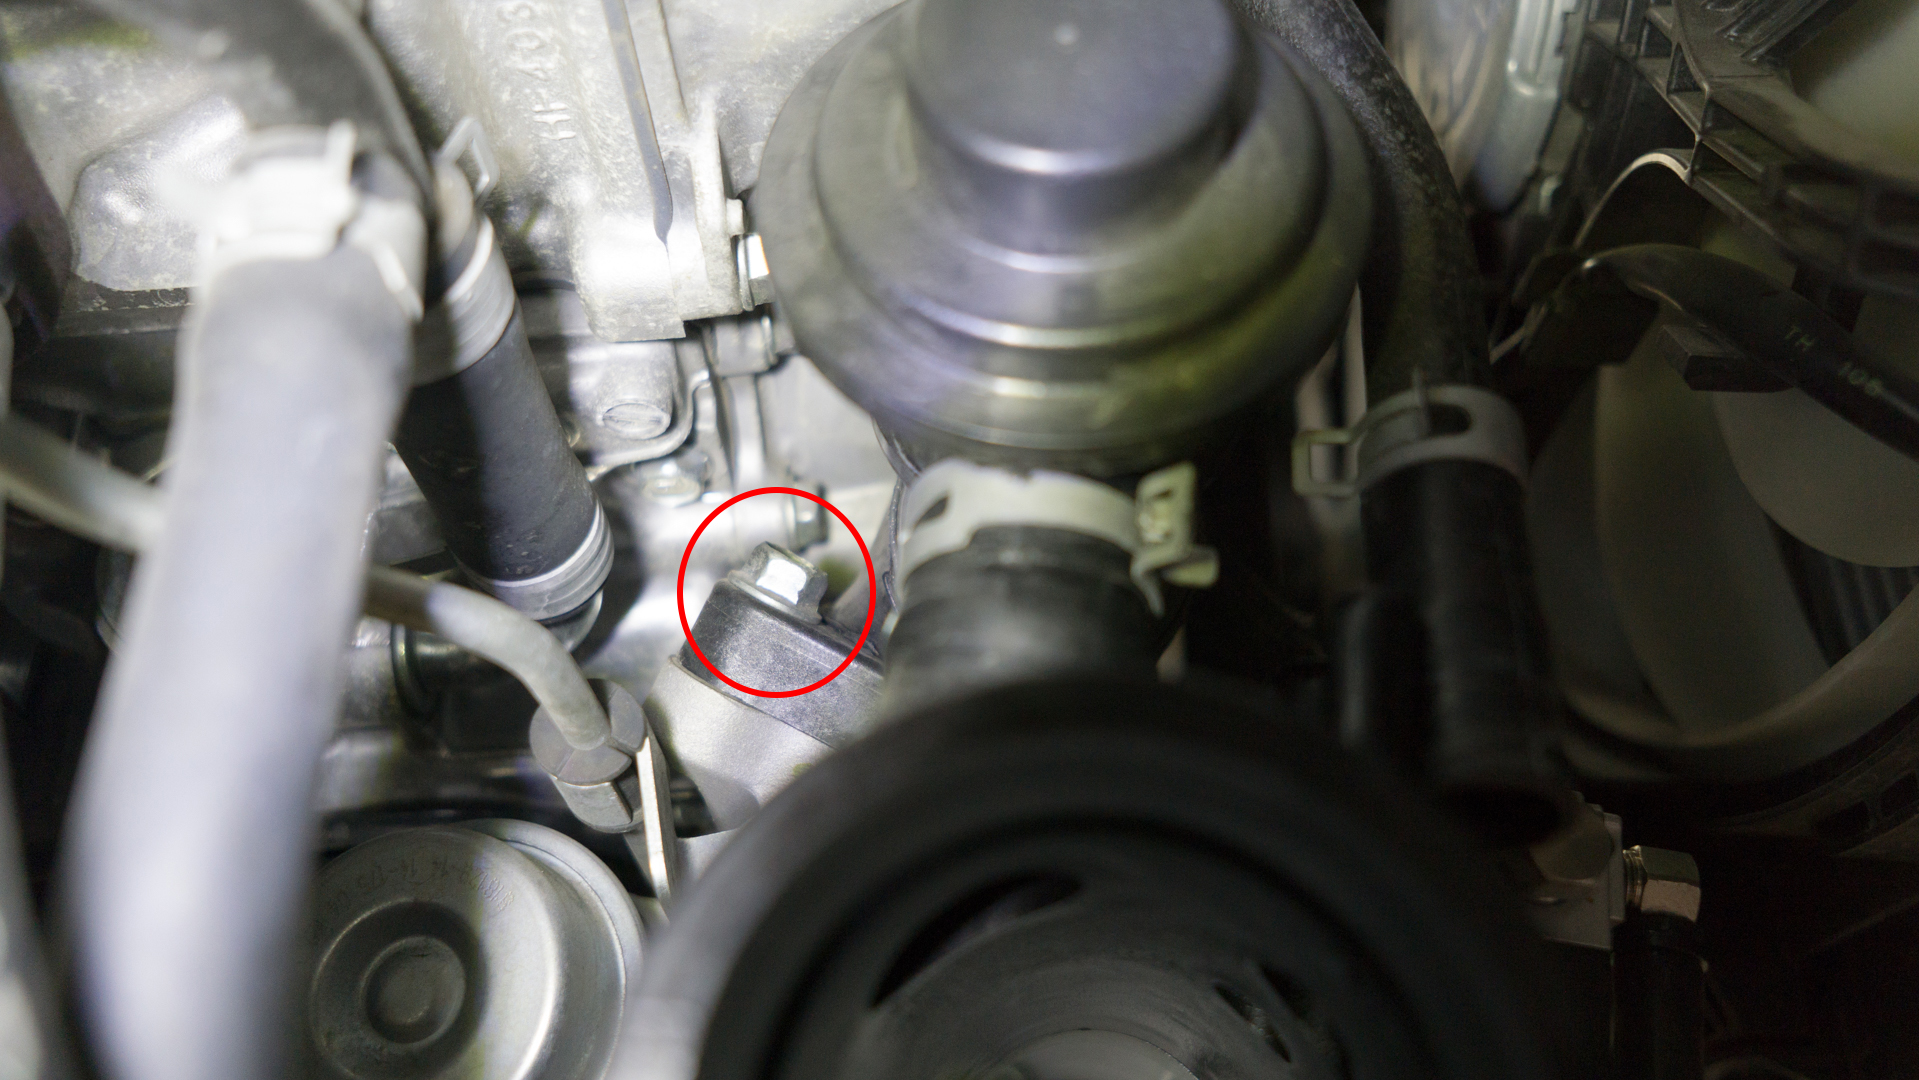
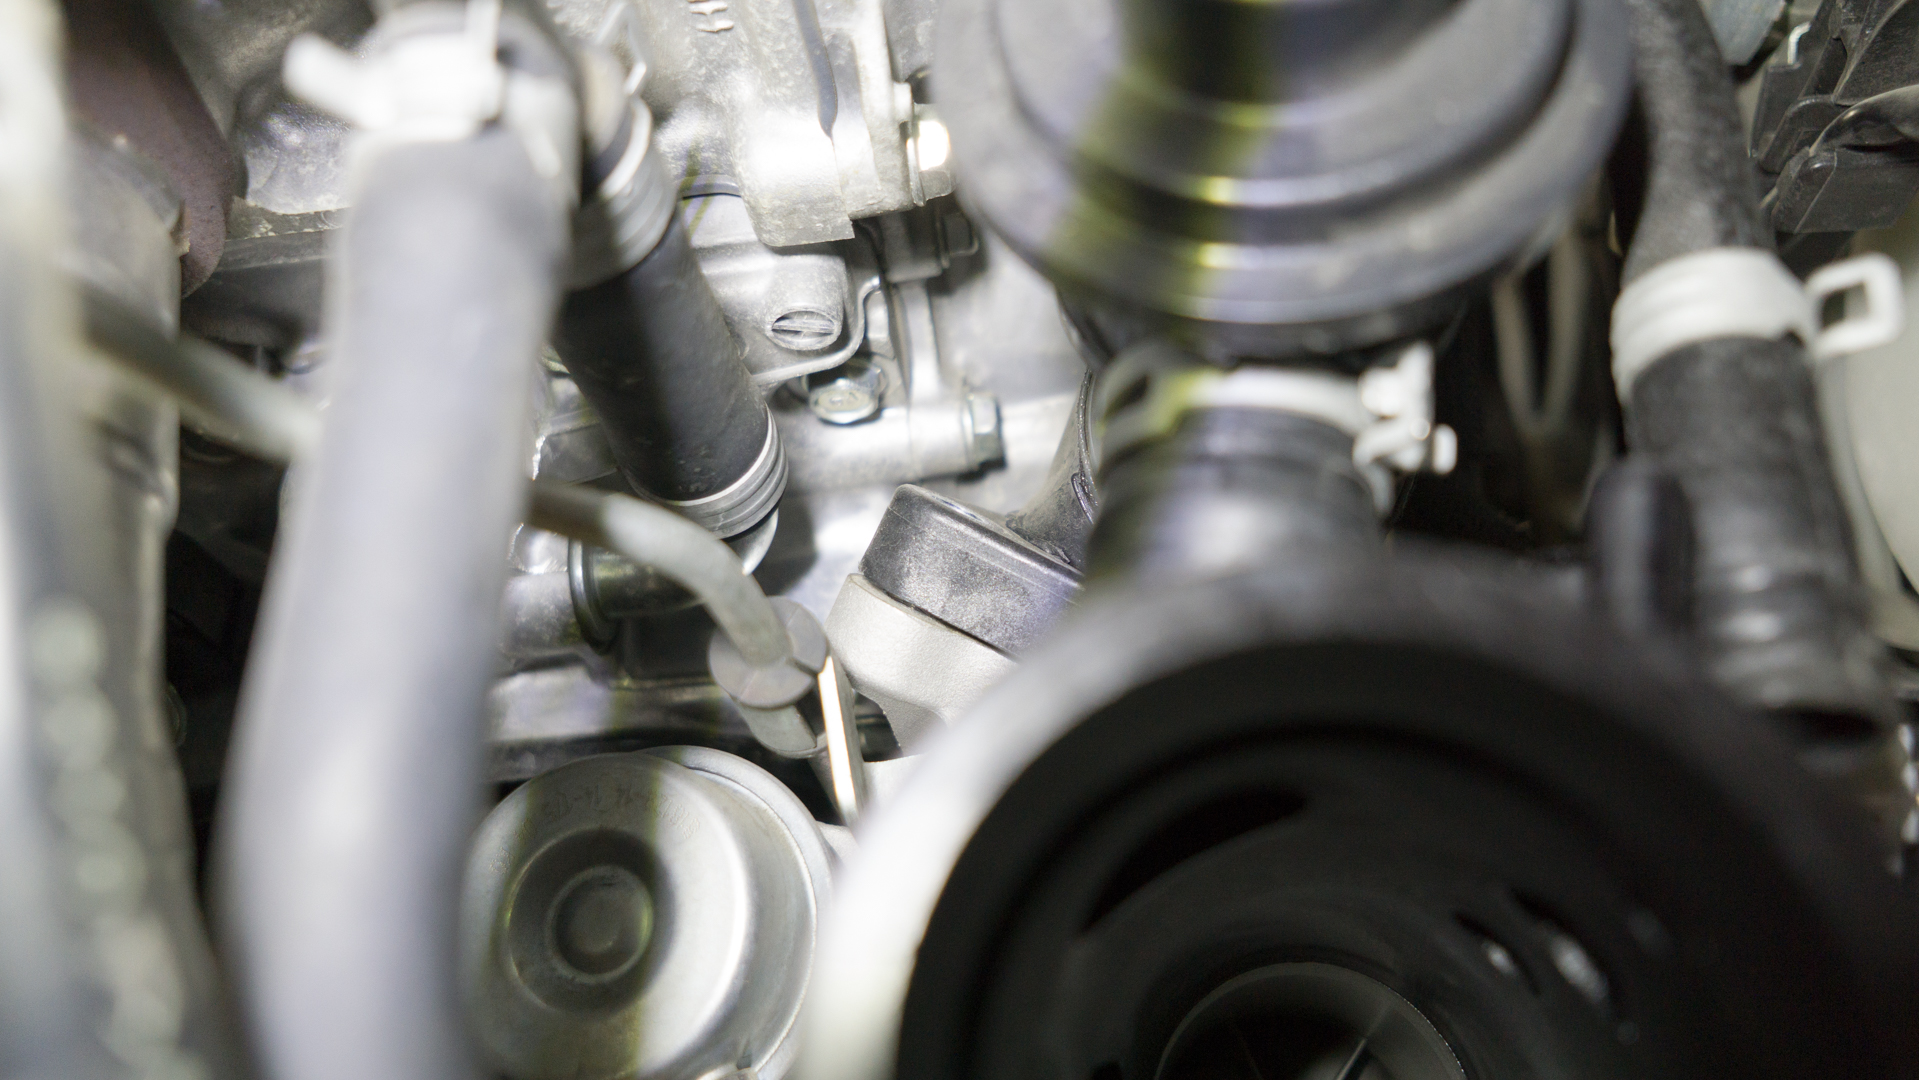
- Remove (2) 12mm bolts on the factory hot pipe to turbo. You will need a 6" extension for one of the bolts.
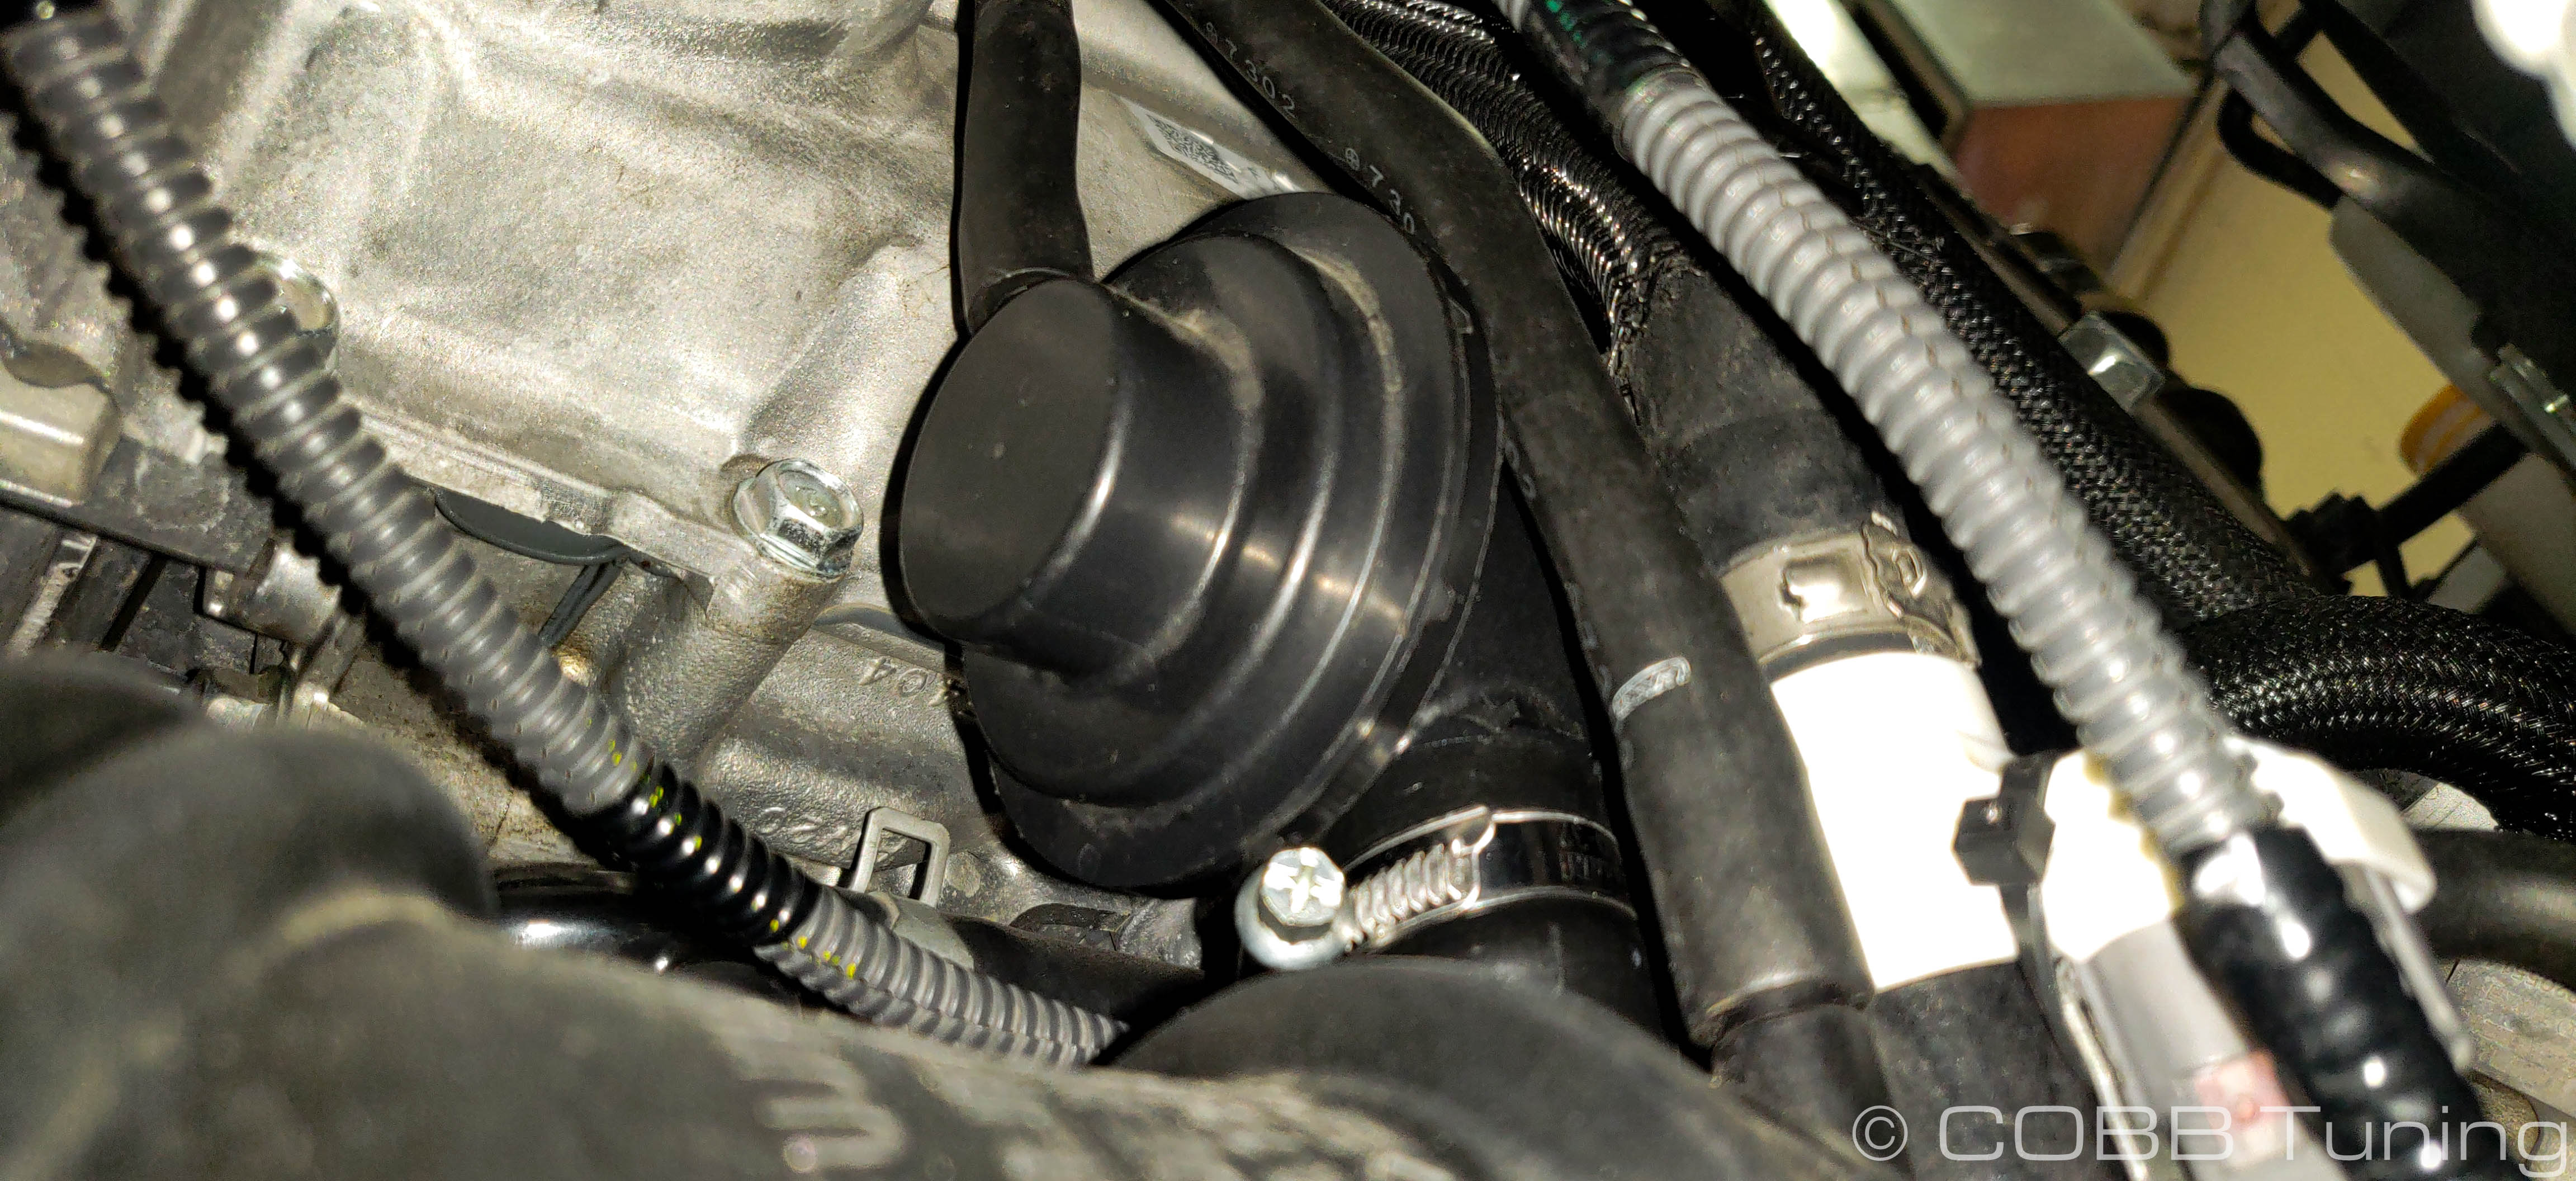
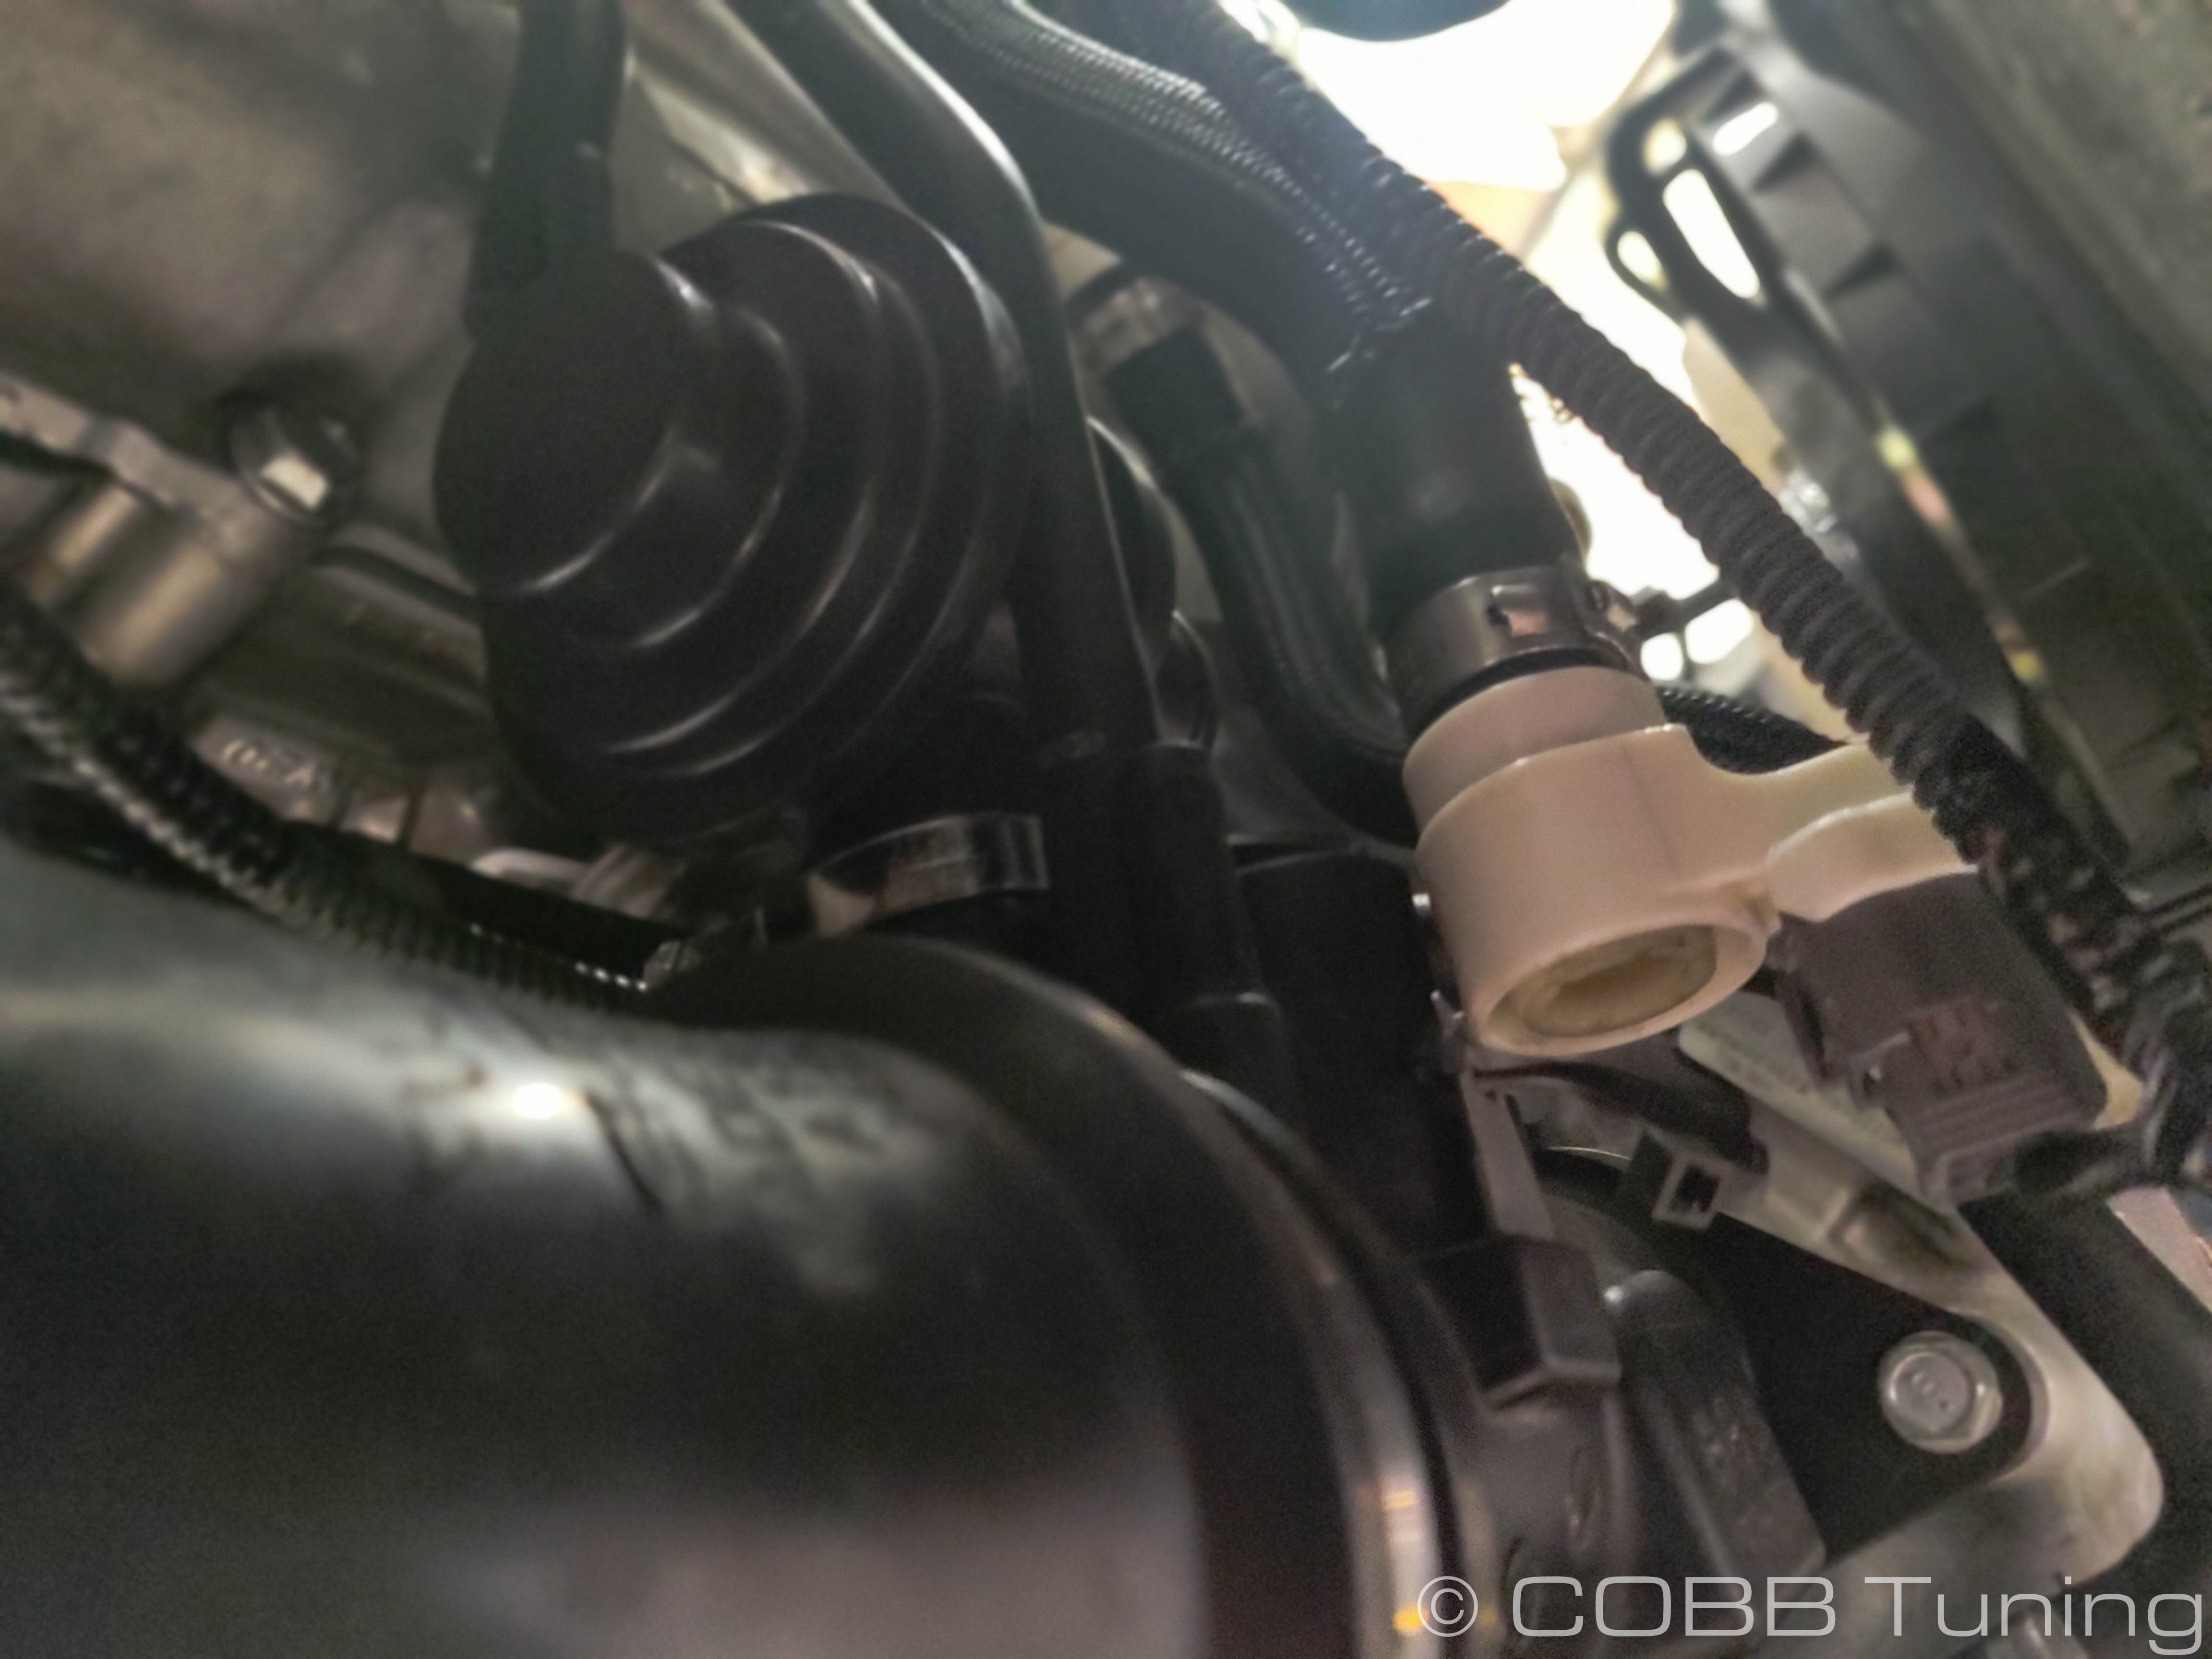
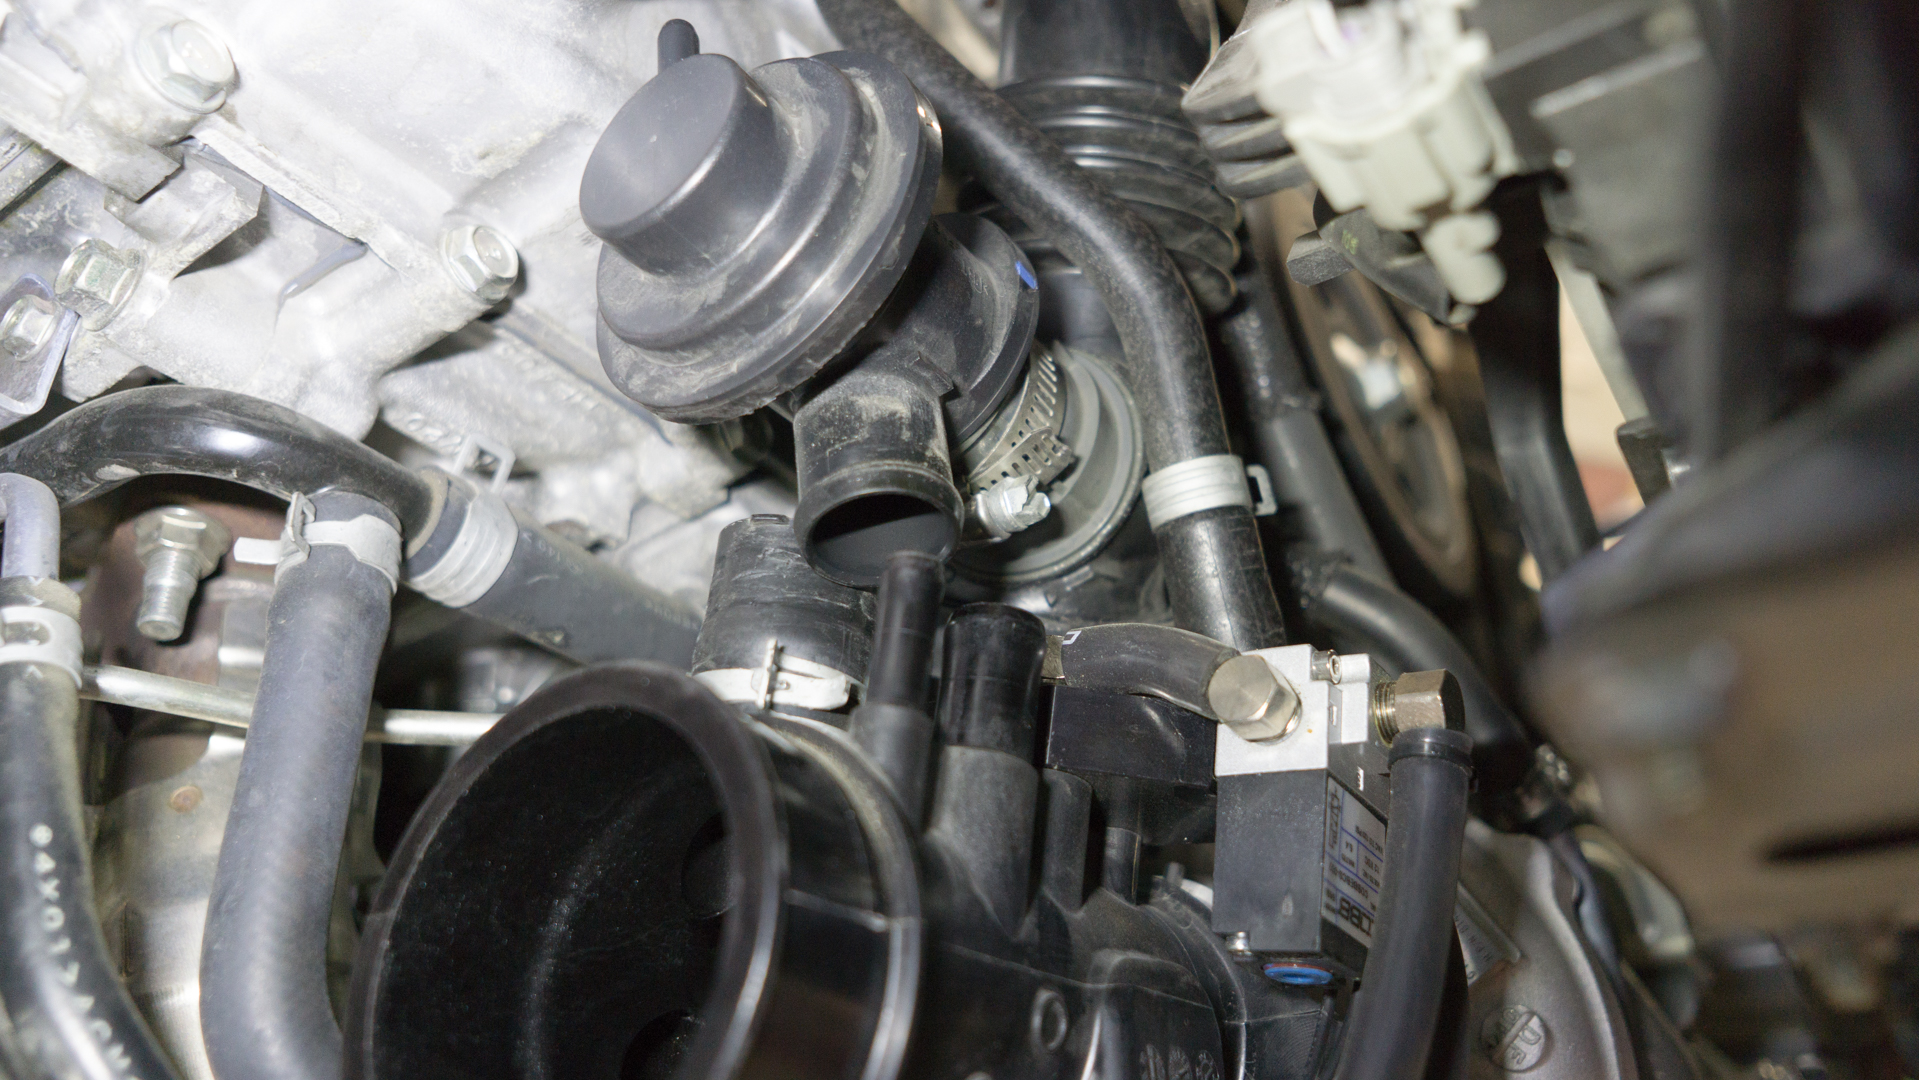
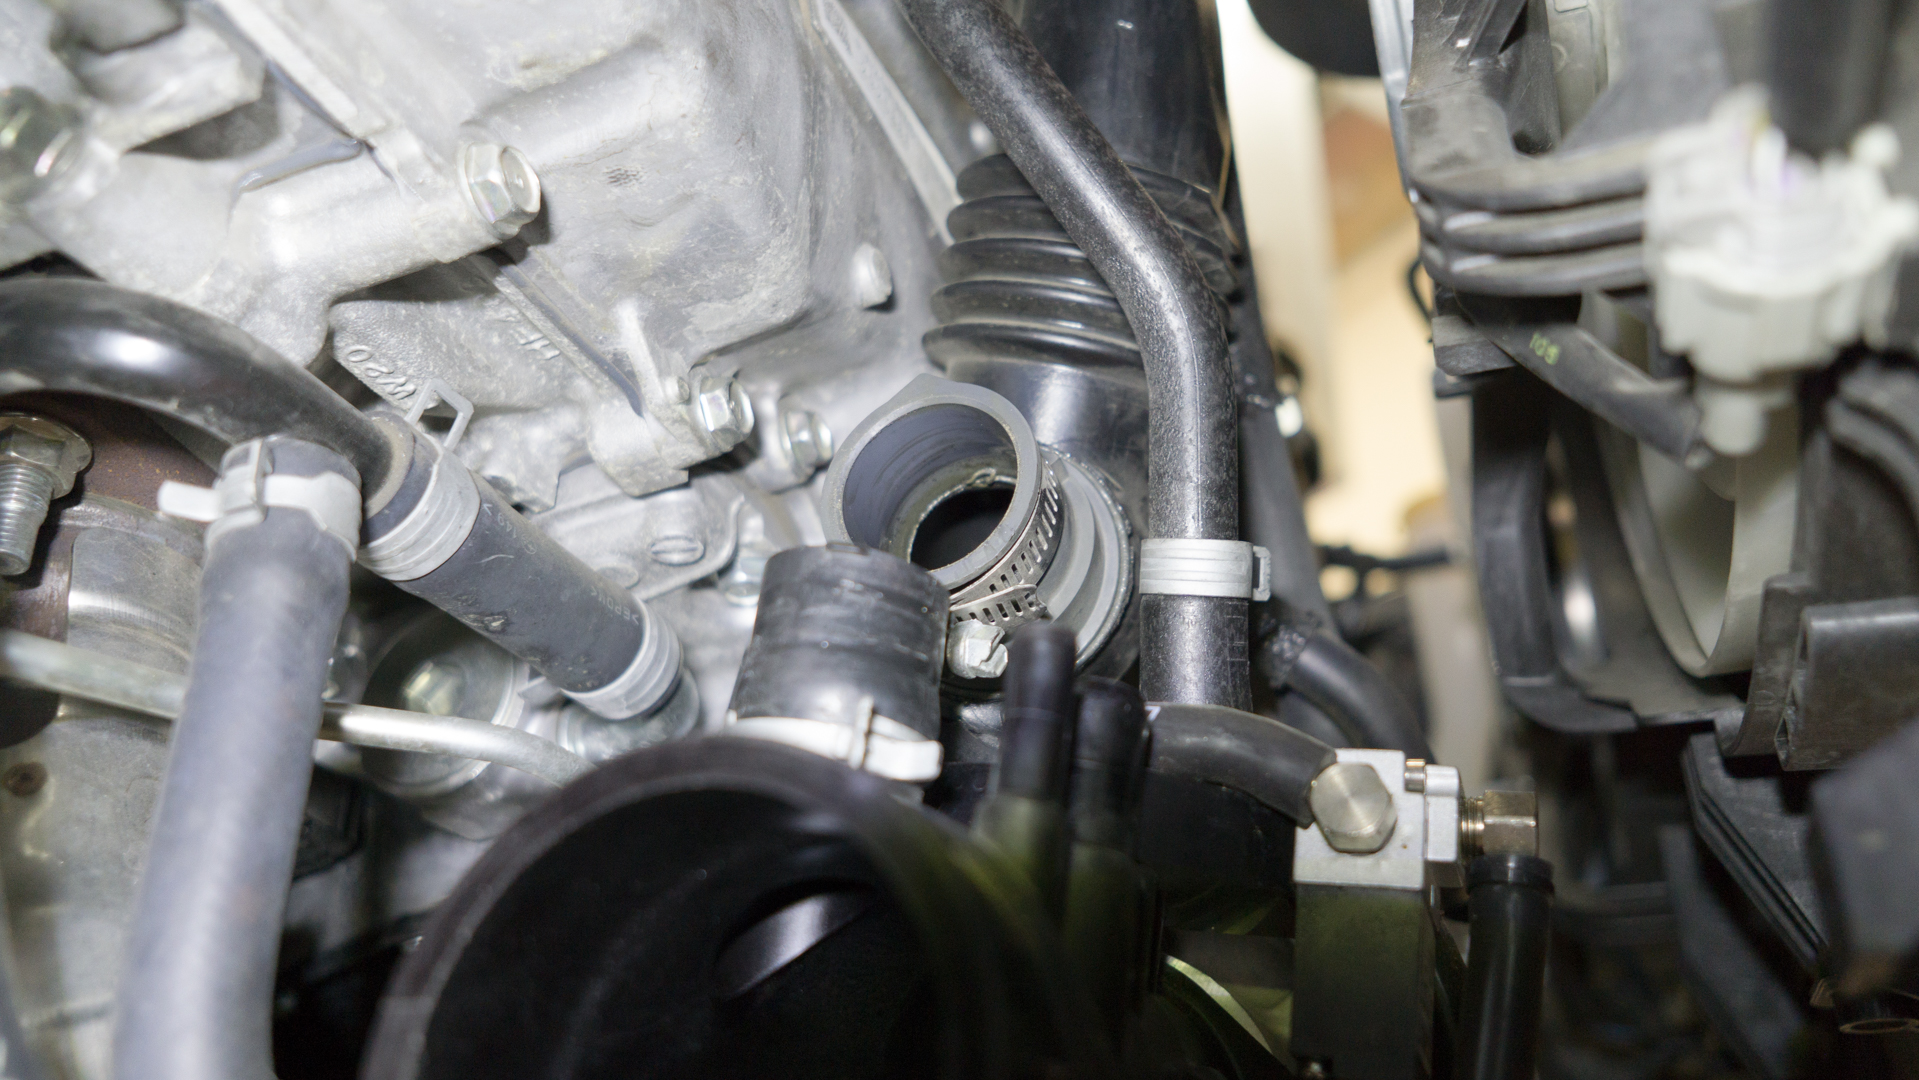
- Applying a small amount of pressure, remove the BPV from the turbo inlet.
- Pull the BPV away from the factory hot pipe.
COBB Charge Pipe Installation
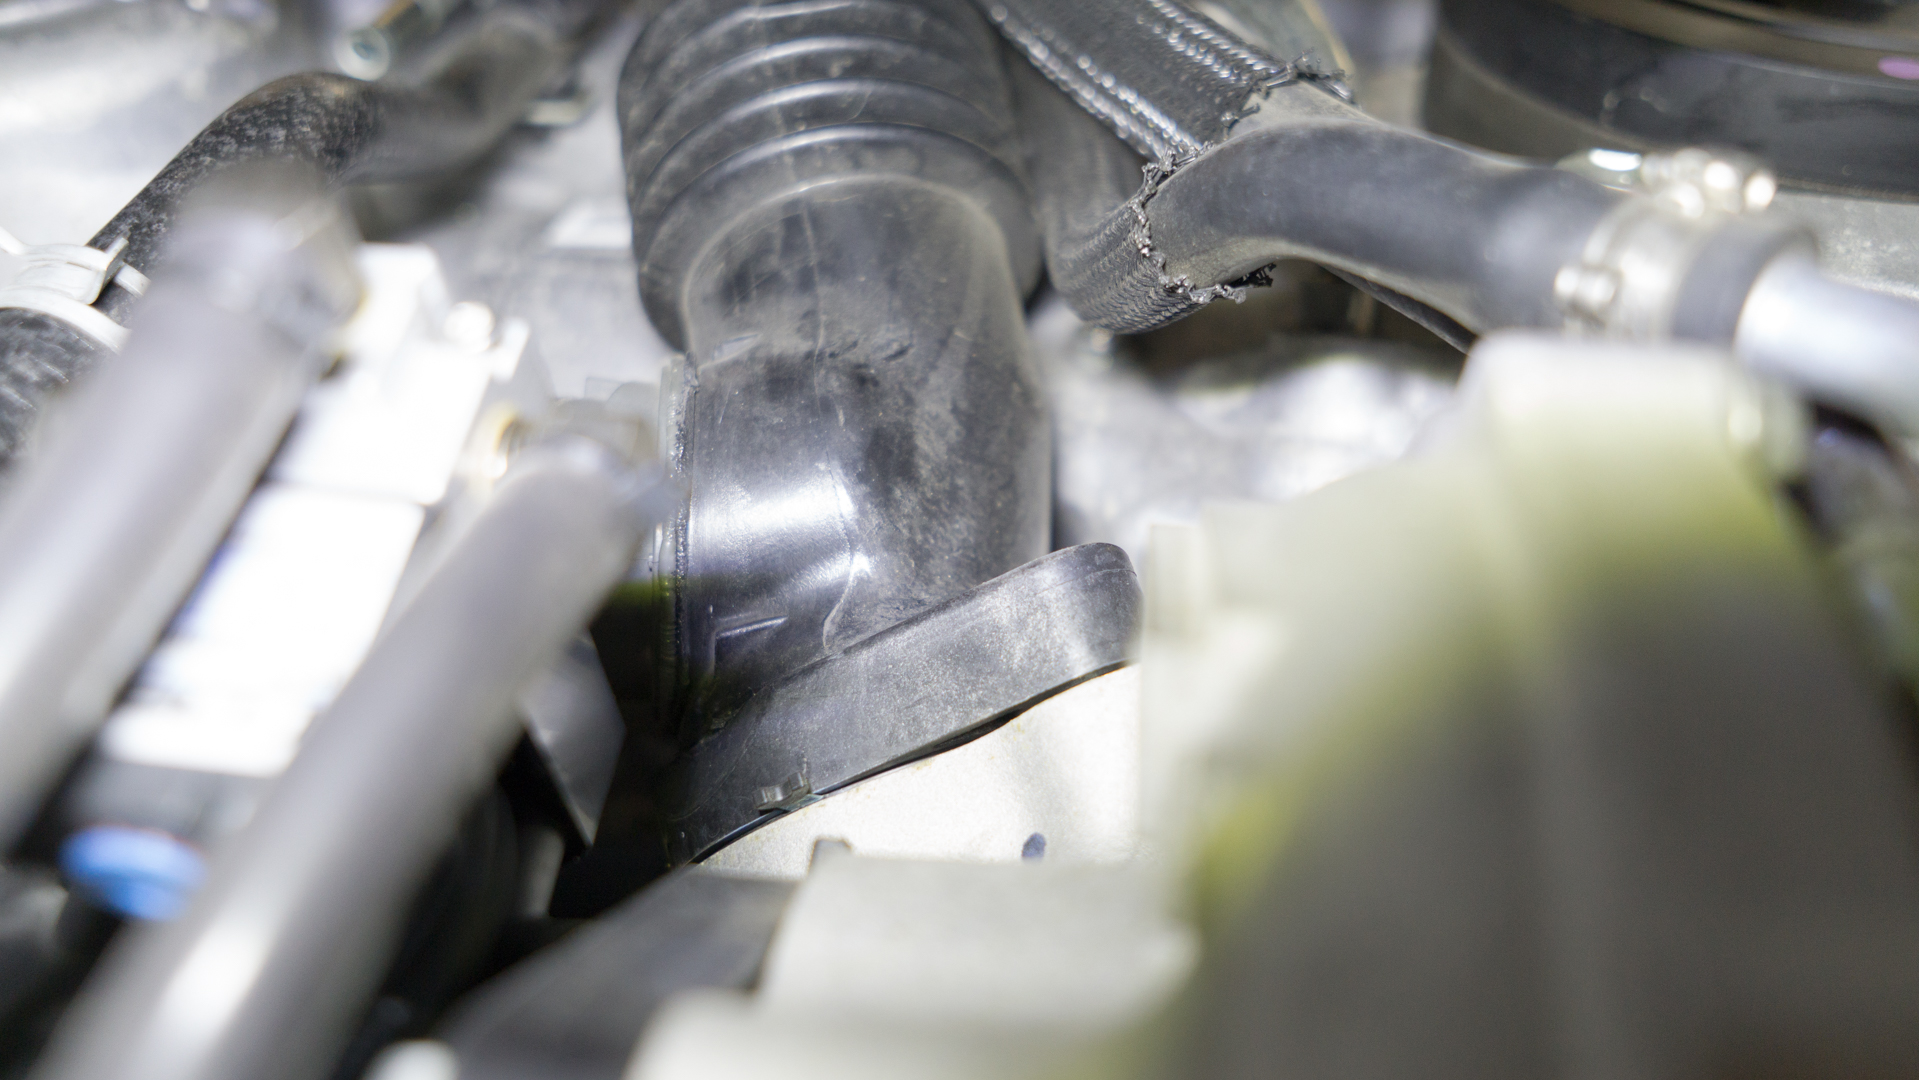
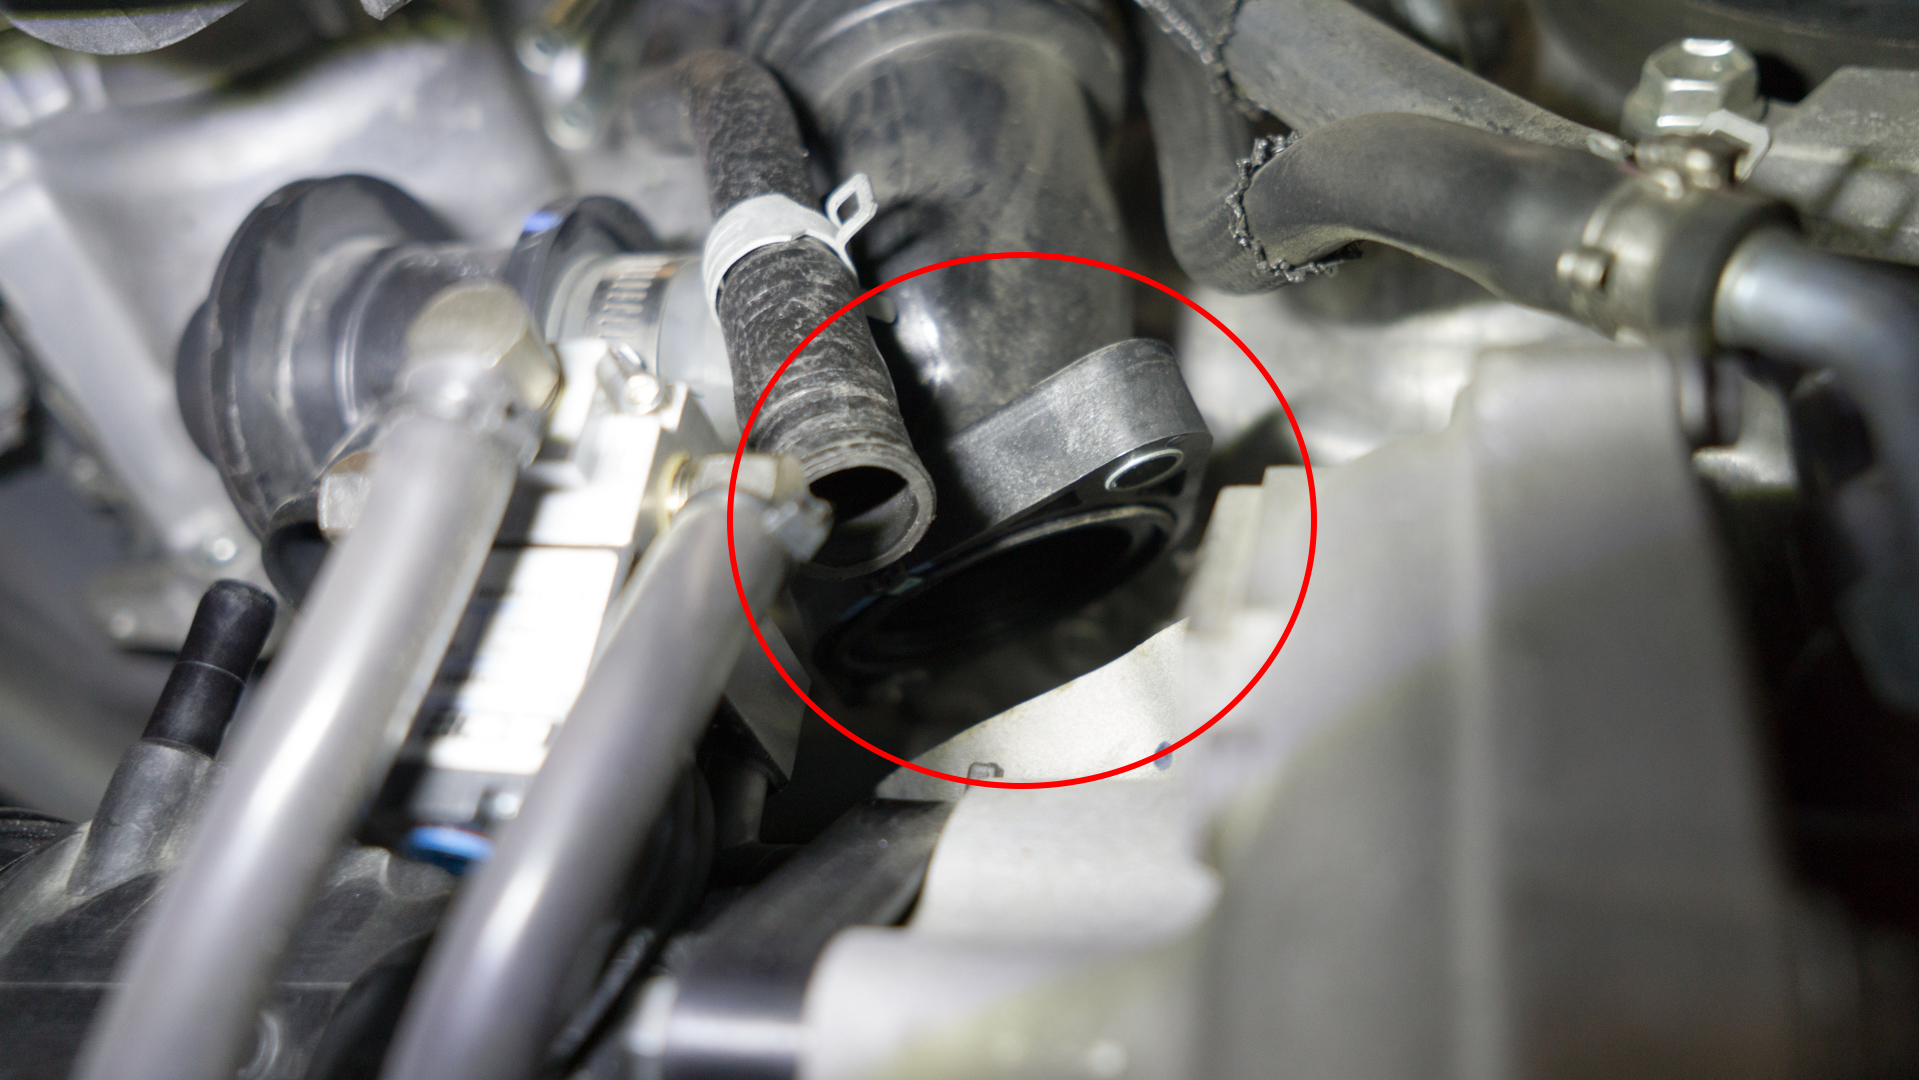
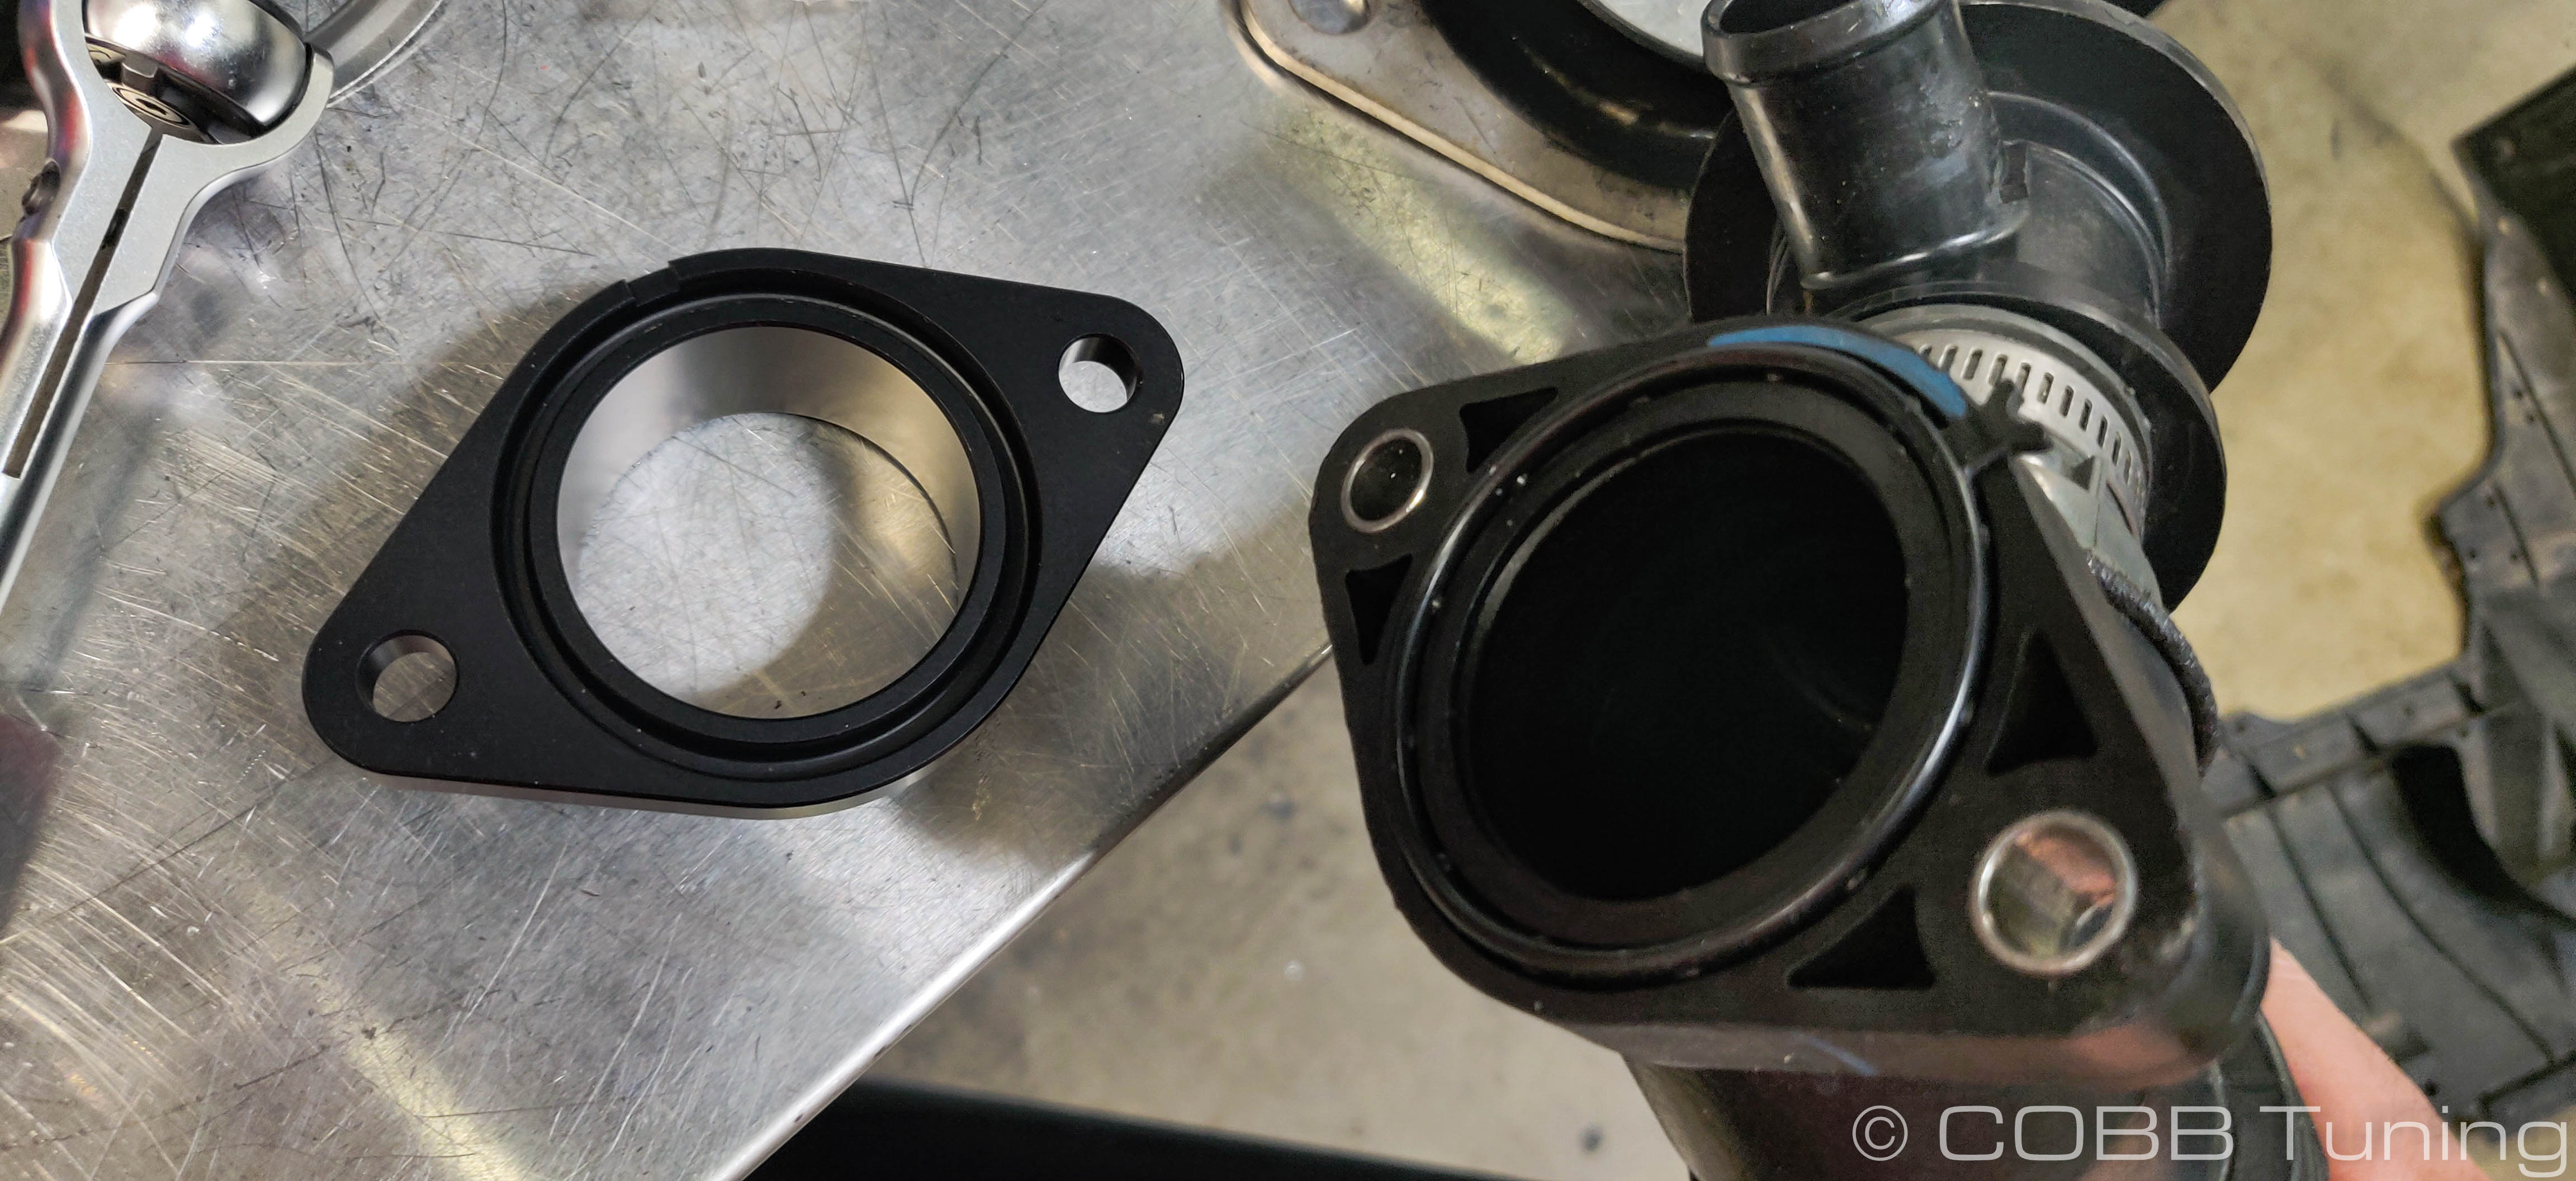
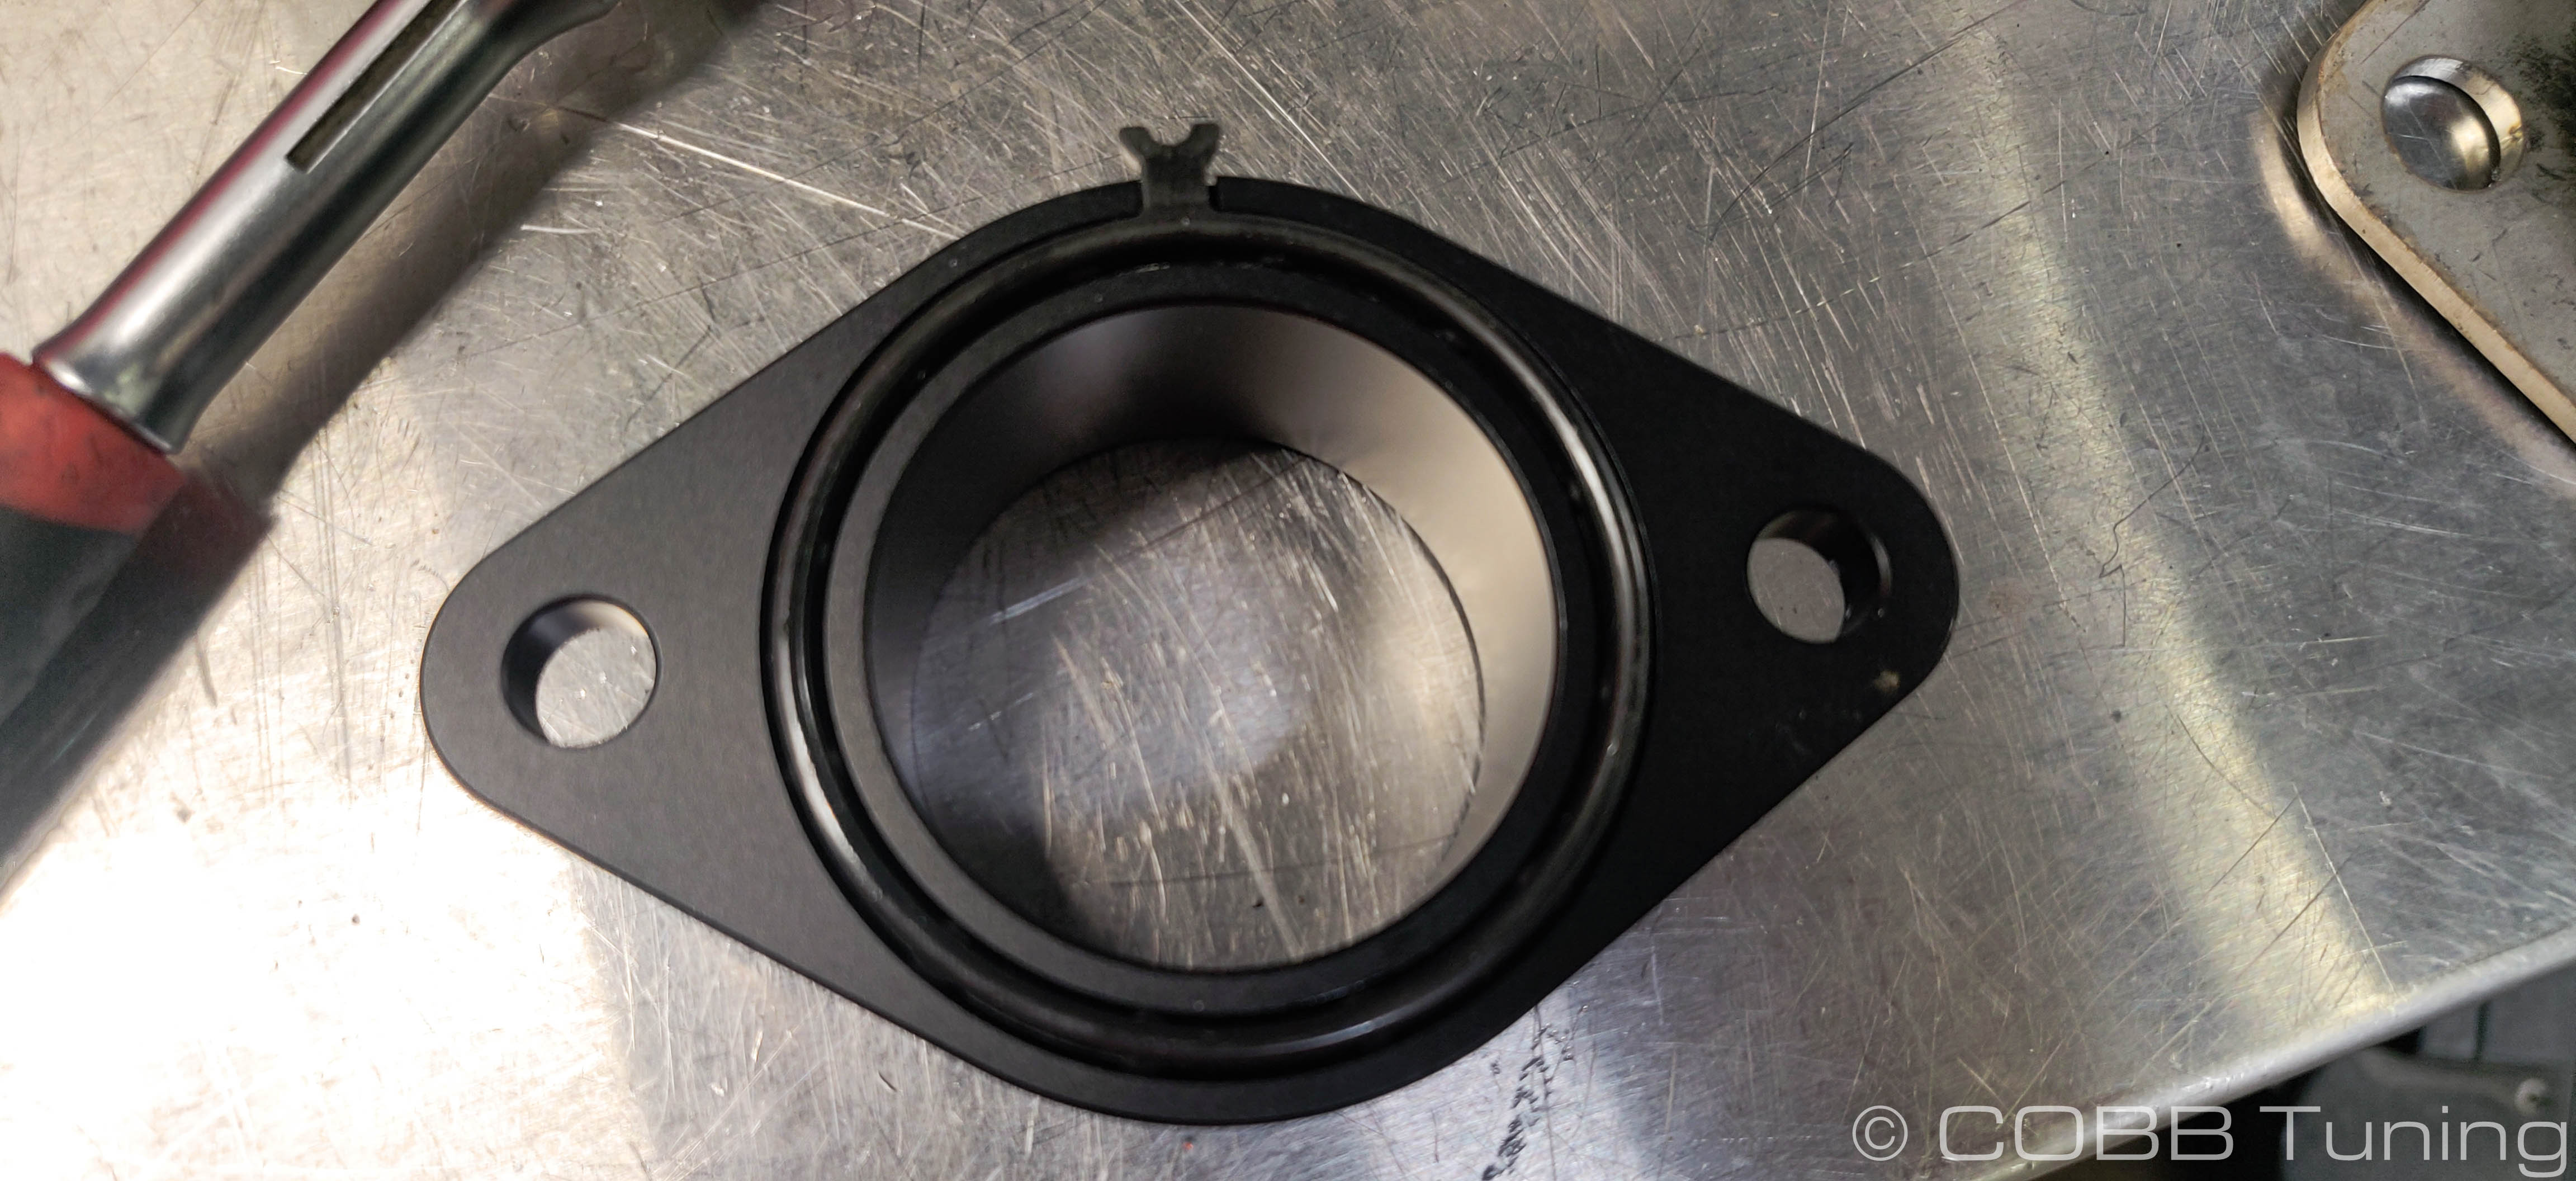
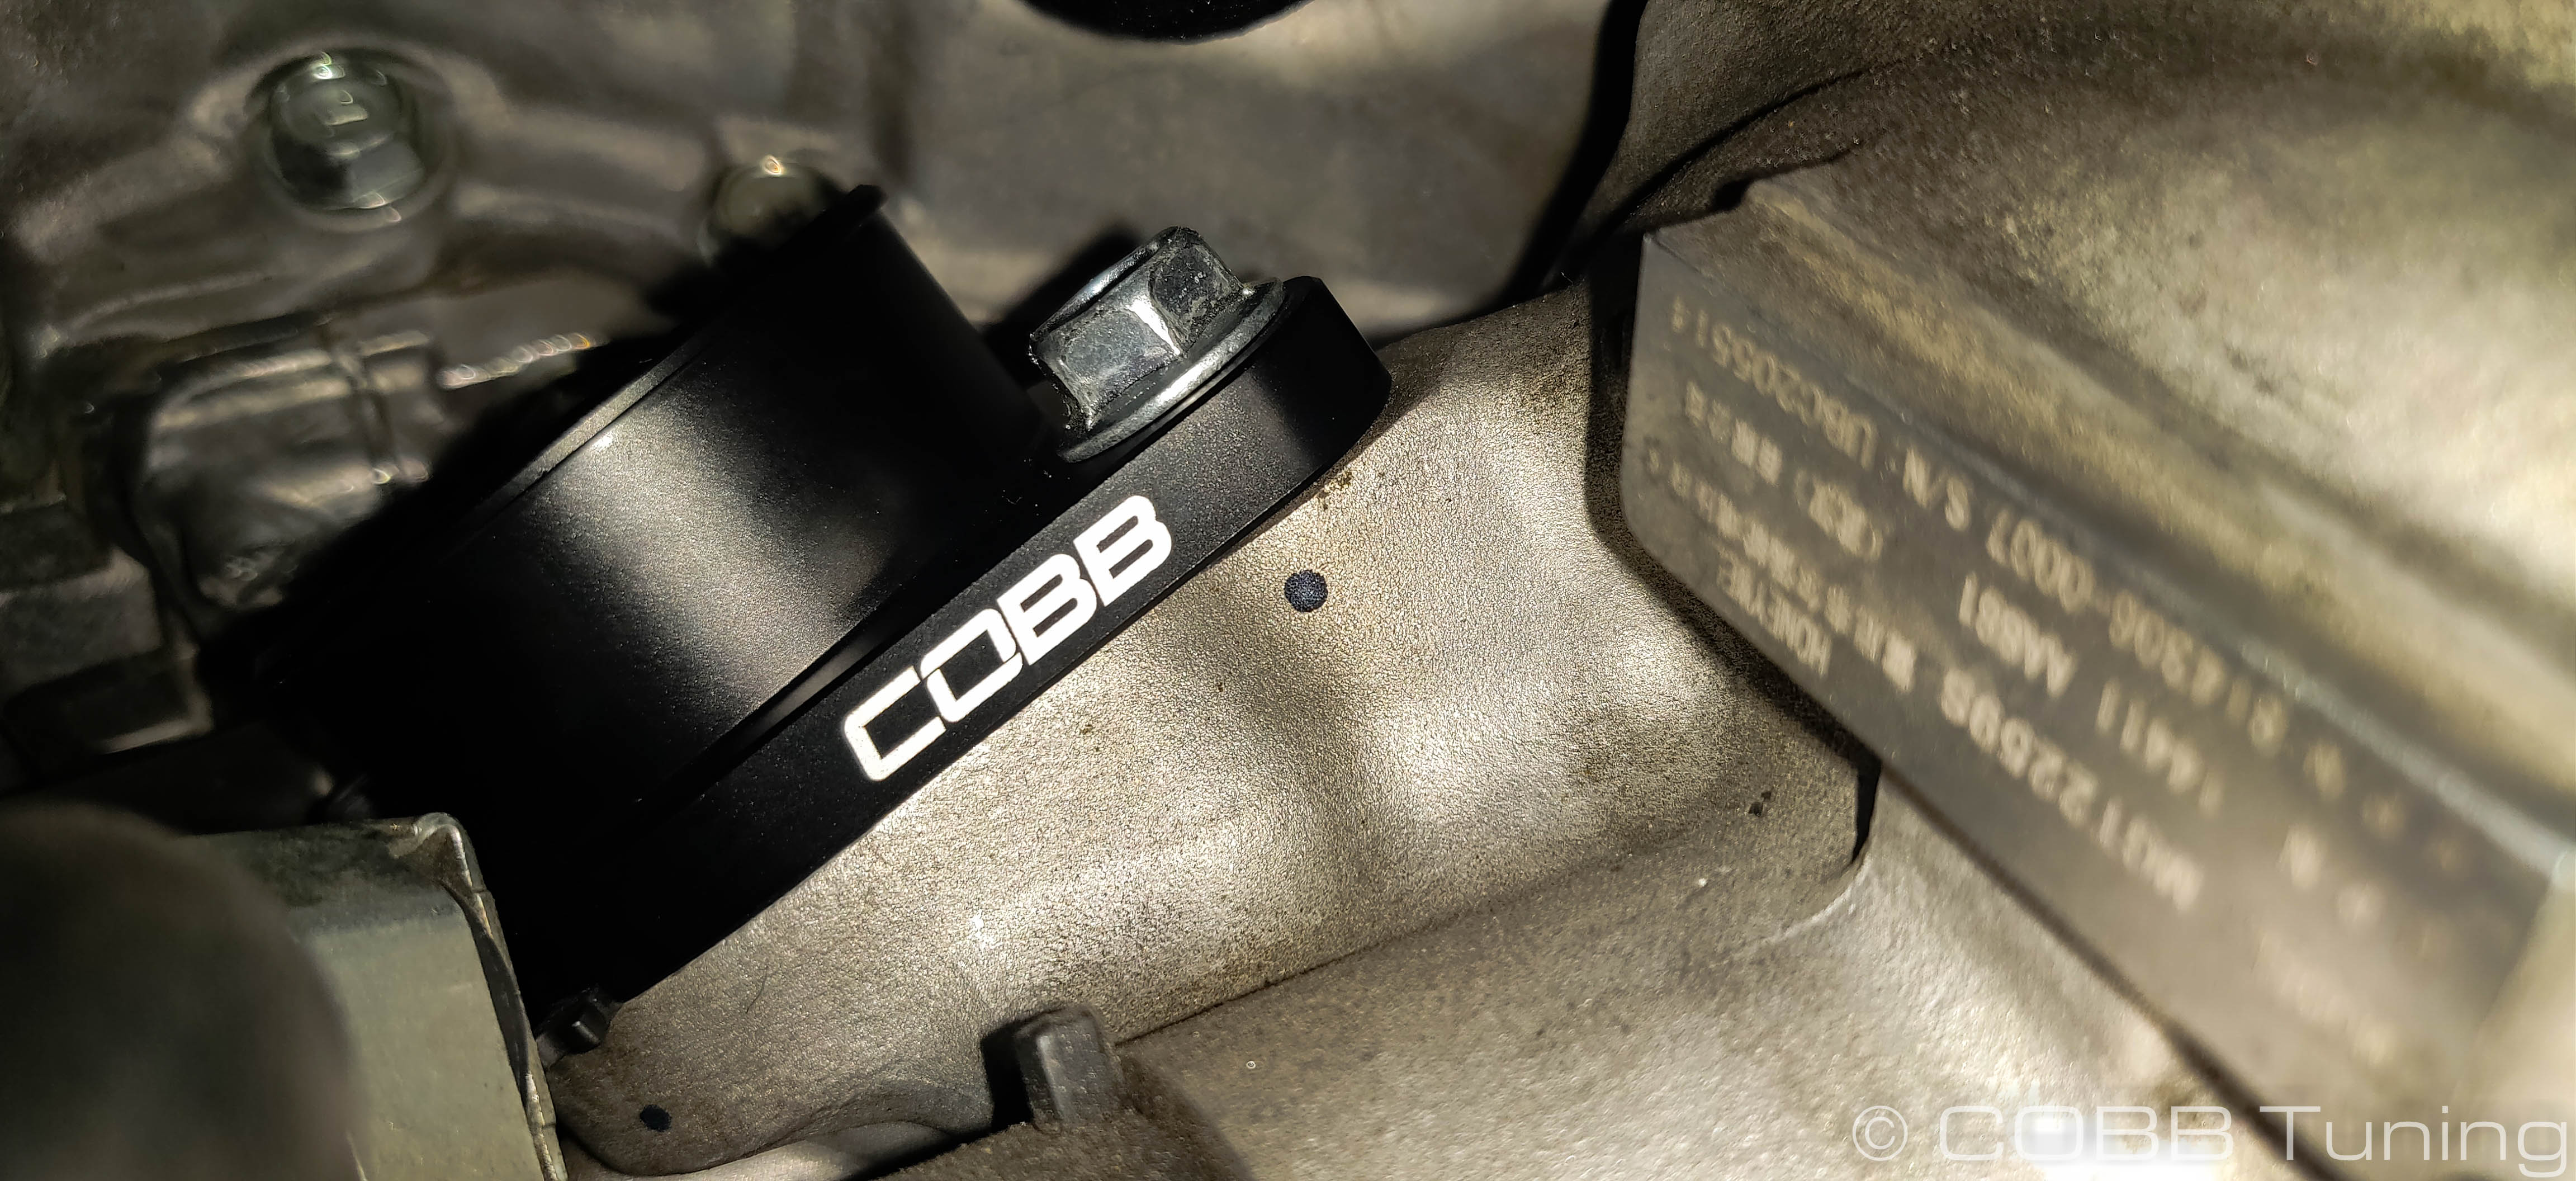
- Move over the stock charge pipe gasket from the stock unit to the COBB flange adapter. Make sure the tab is lined up with the slot in the base.
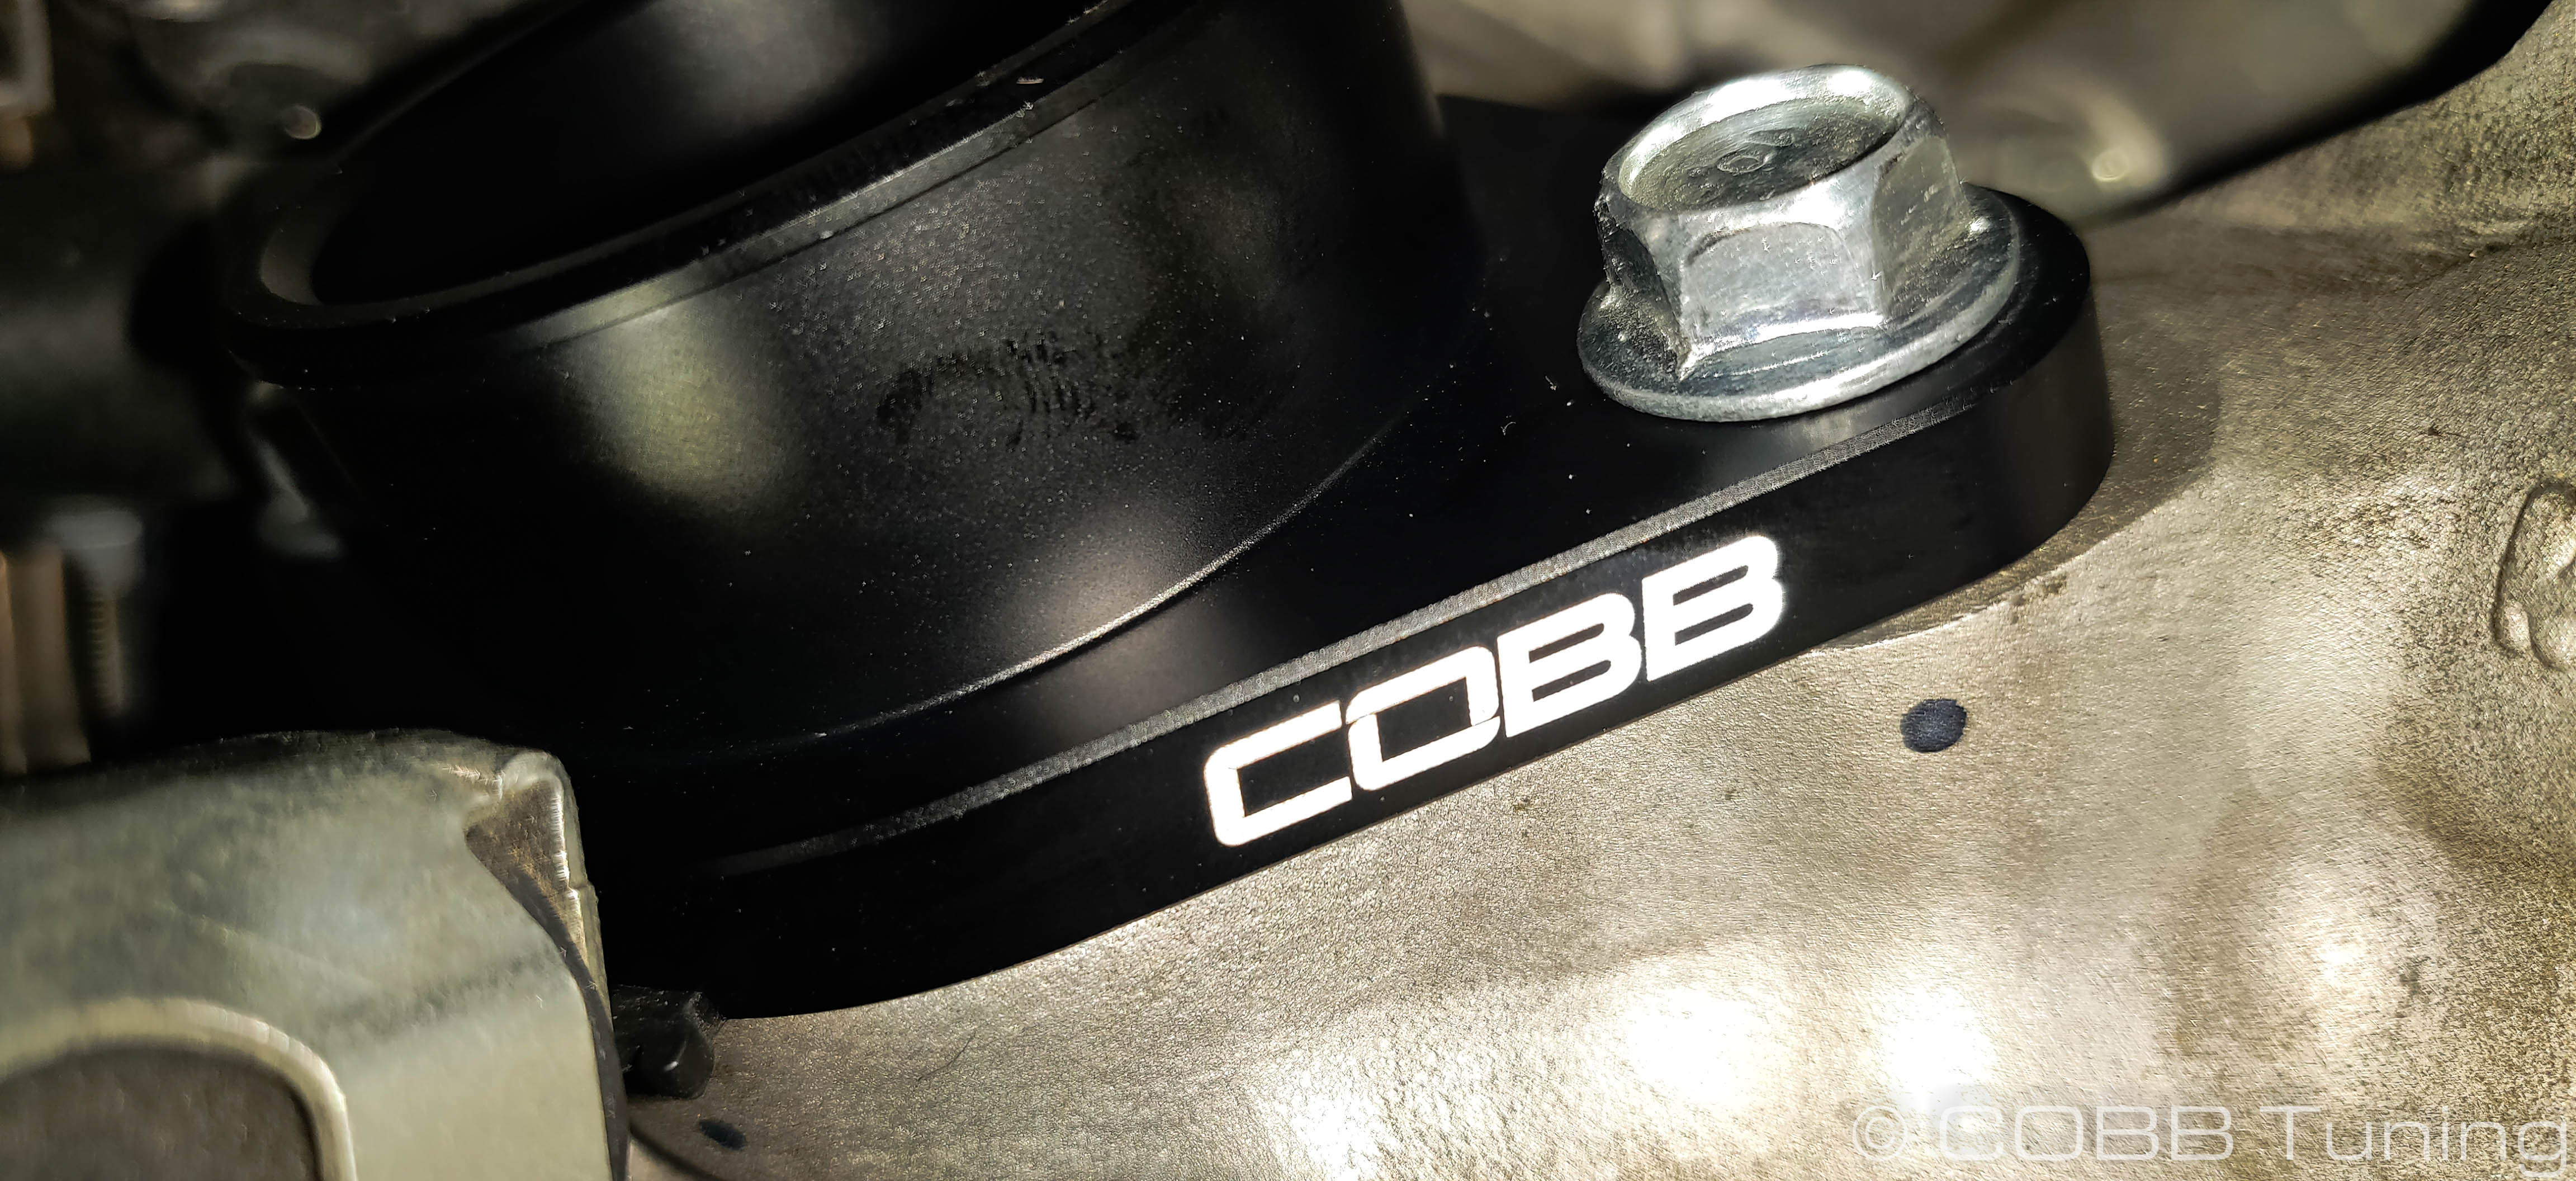
- Using the 12mm stock bolts, bolt the flange onto the turbo. Make sure not to over-tighten as it could damage the turbo itself. Factory torque spec is 16 NM or 11.8 ft / lbs.
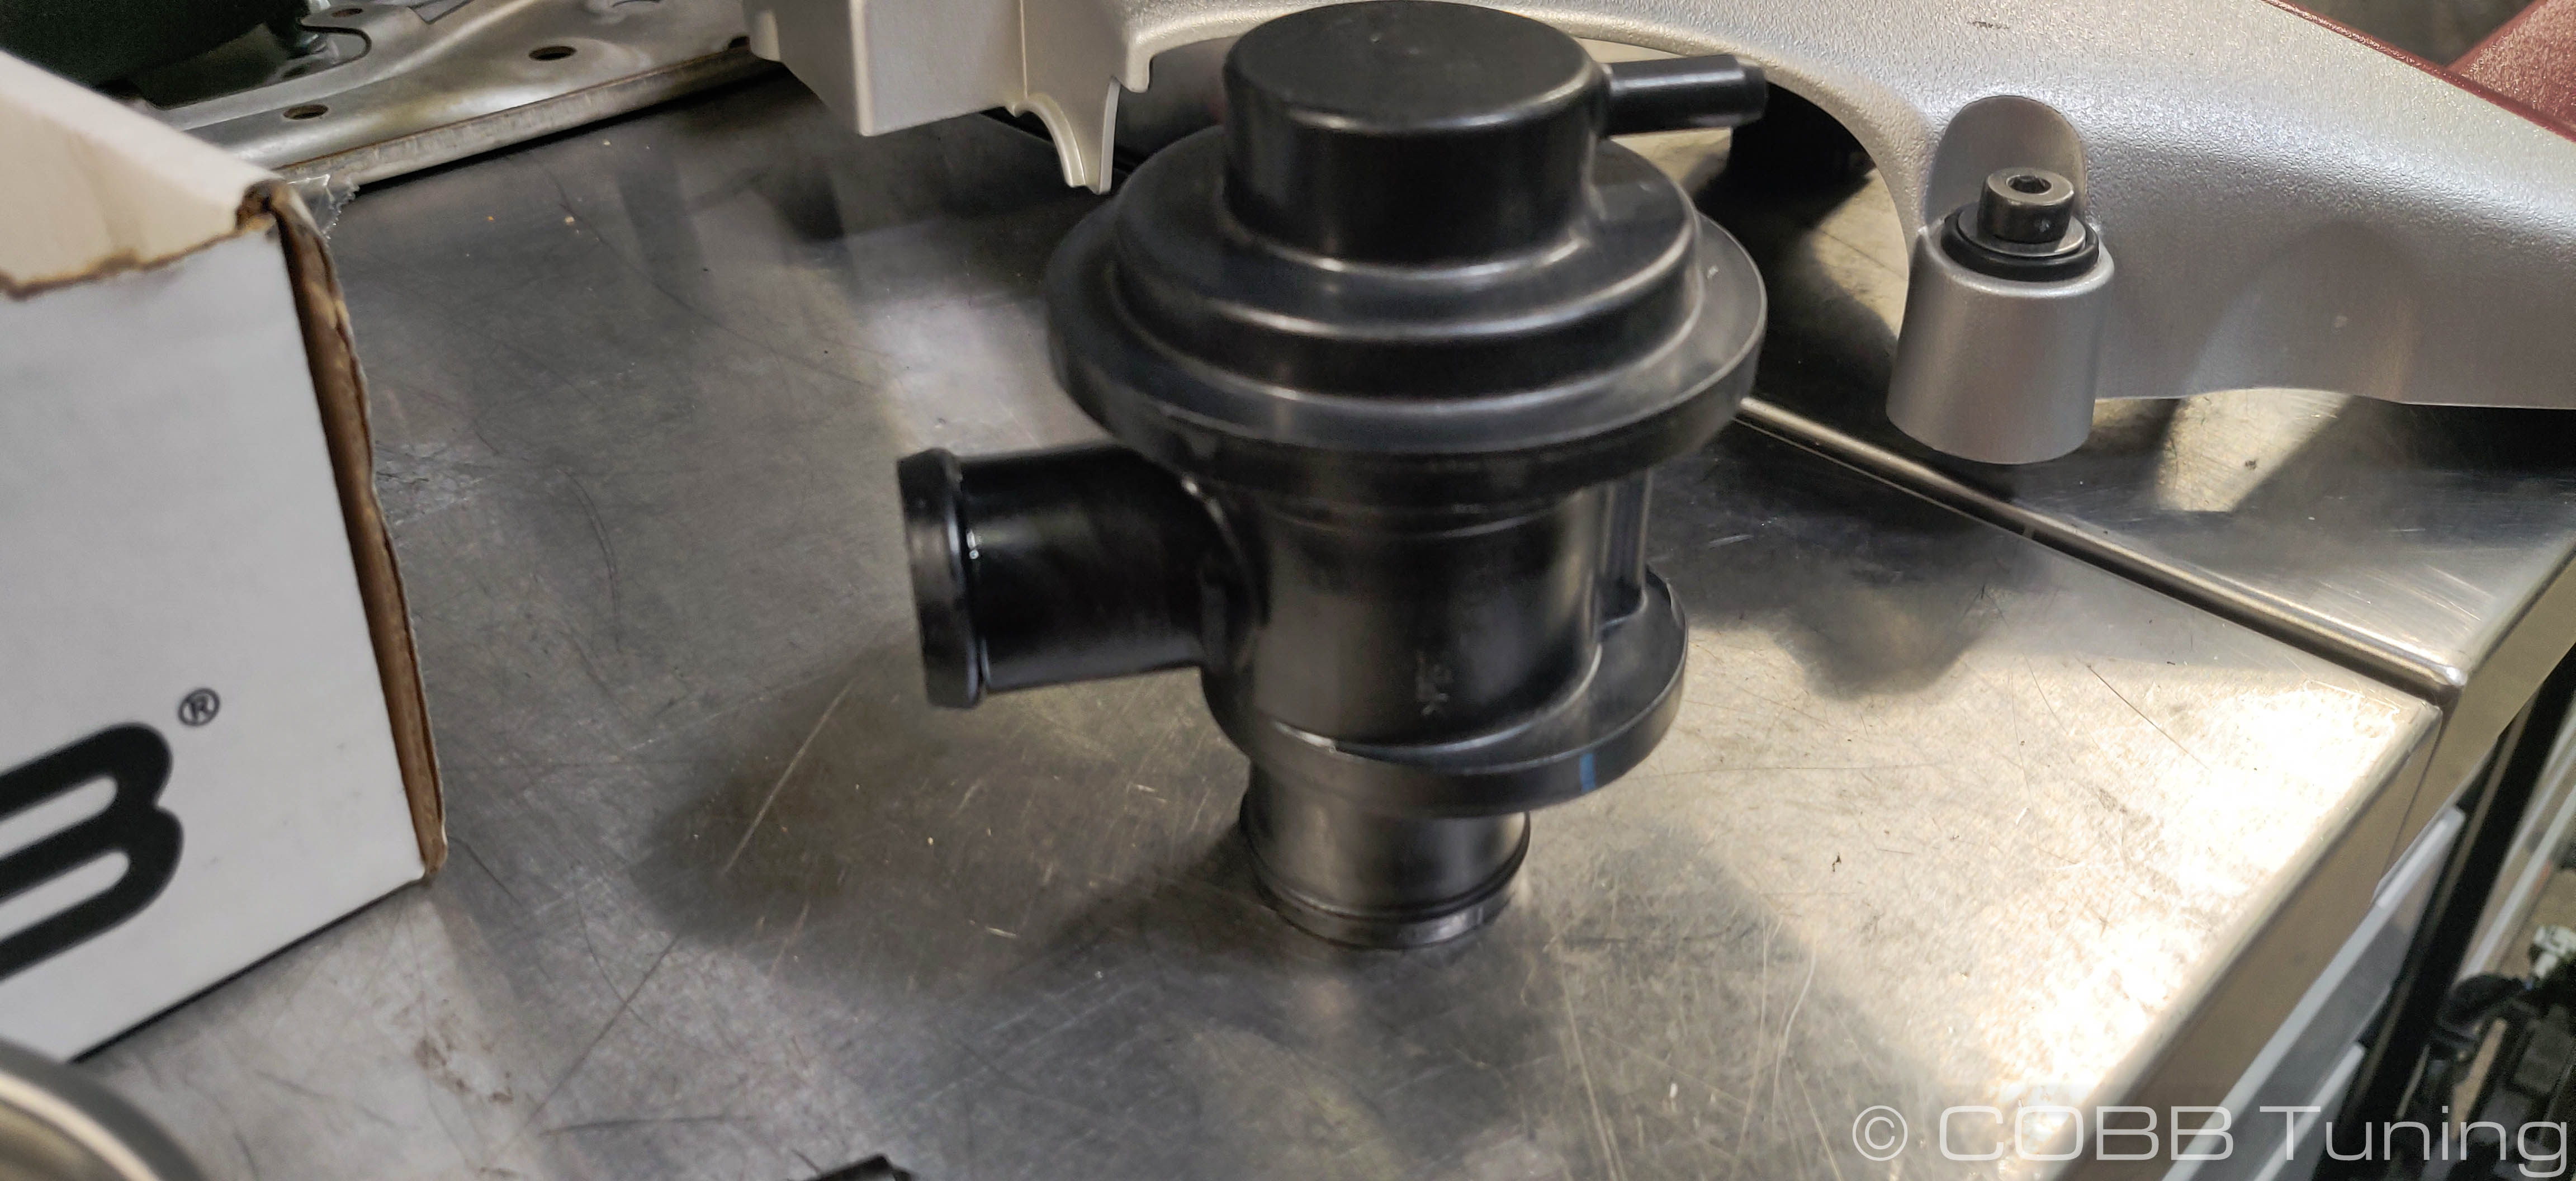
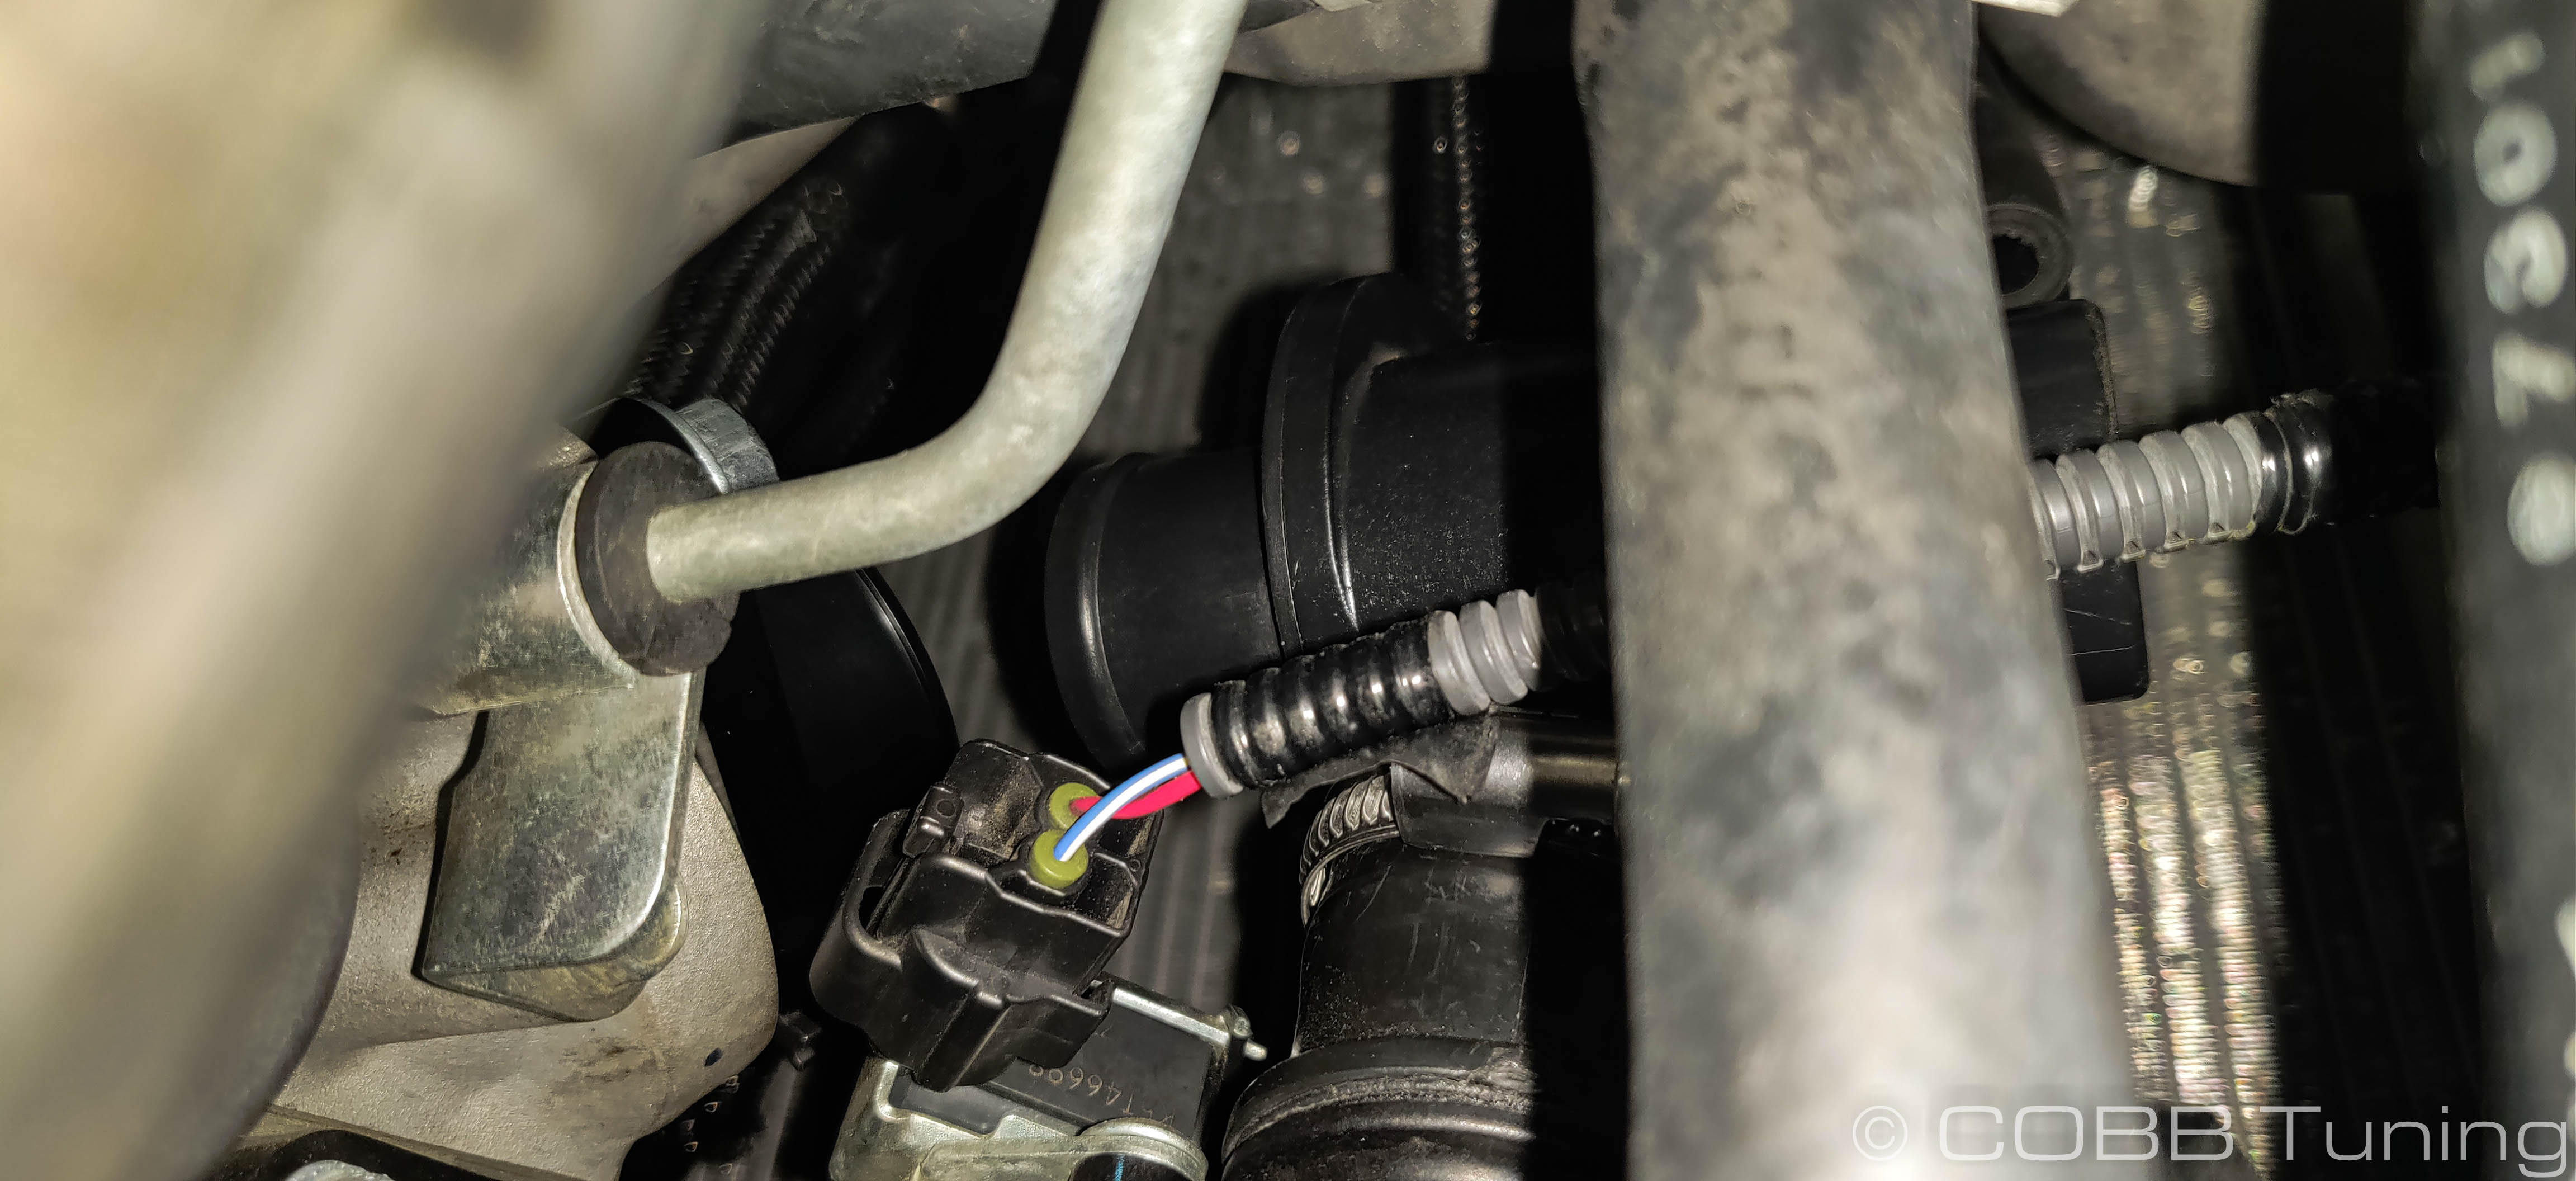
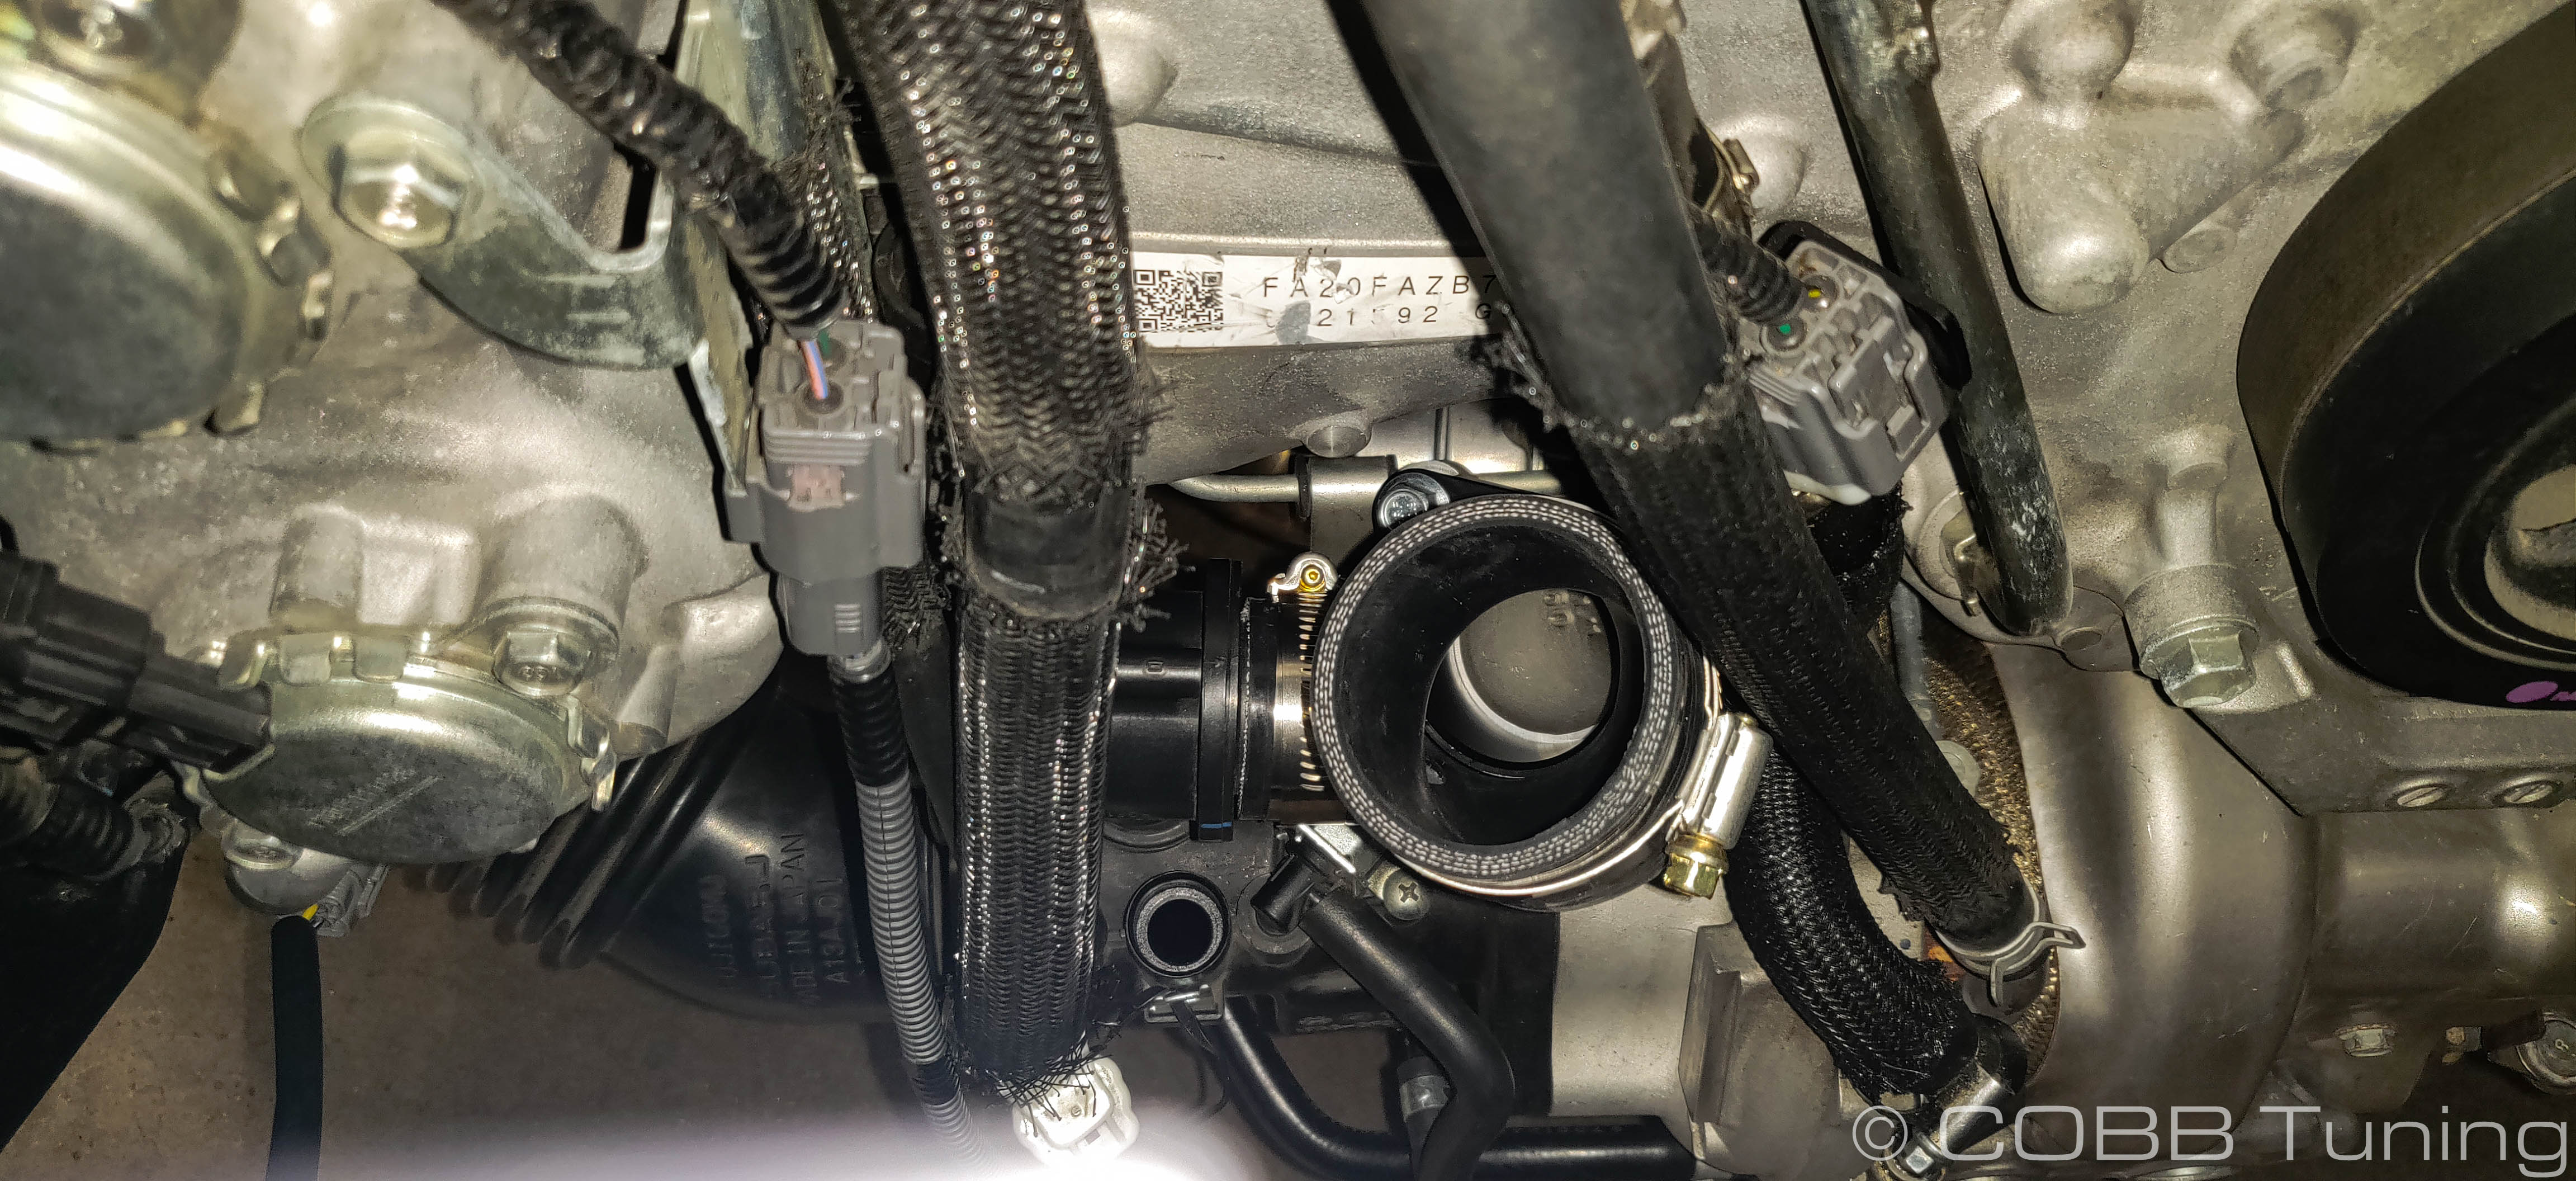
- You can now go ahead and stick the stock bypass valve back onto the turbo inlet and clock it close to where it was stock. Don't tighten the clamp down quite yet though.
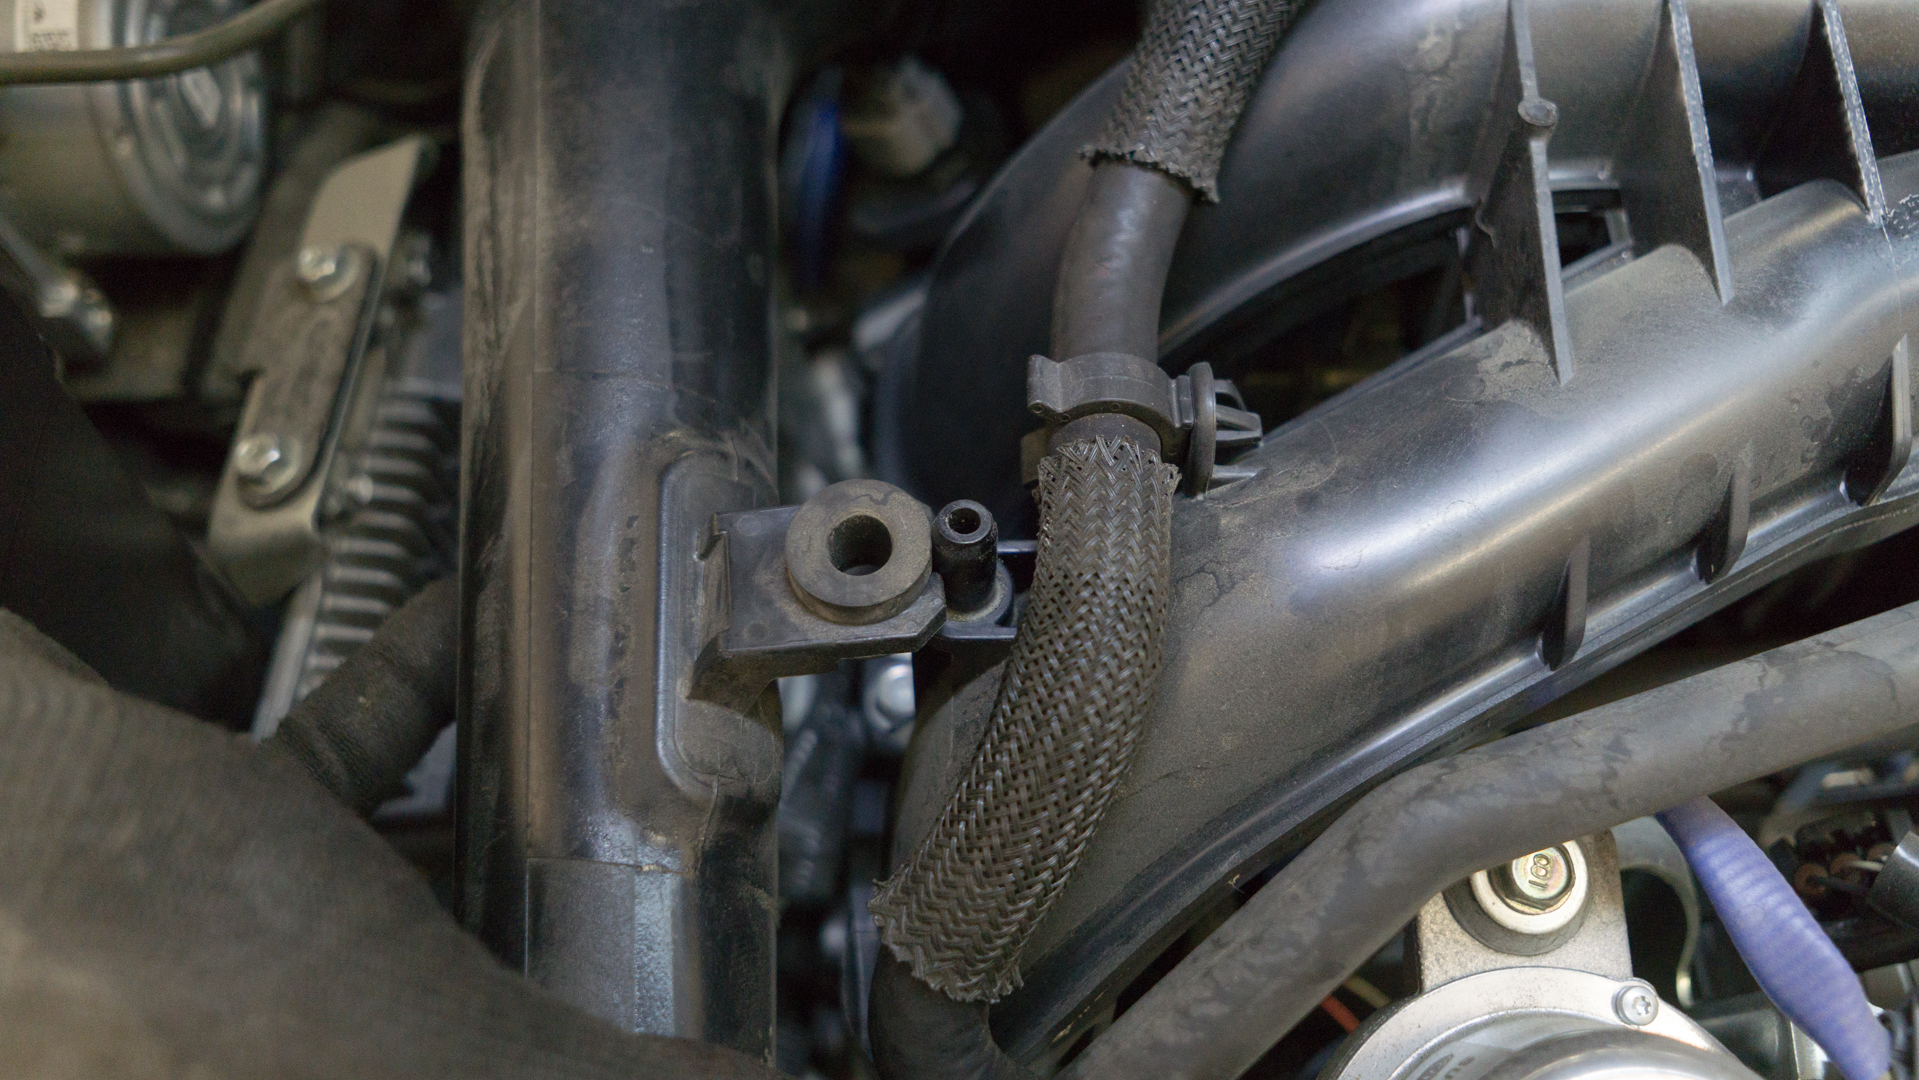
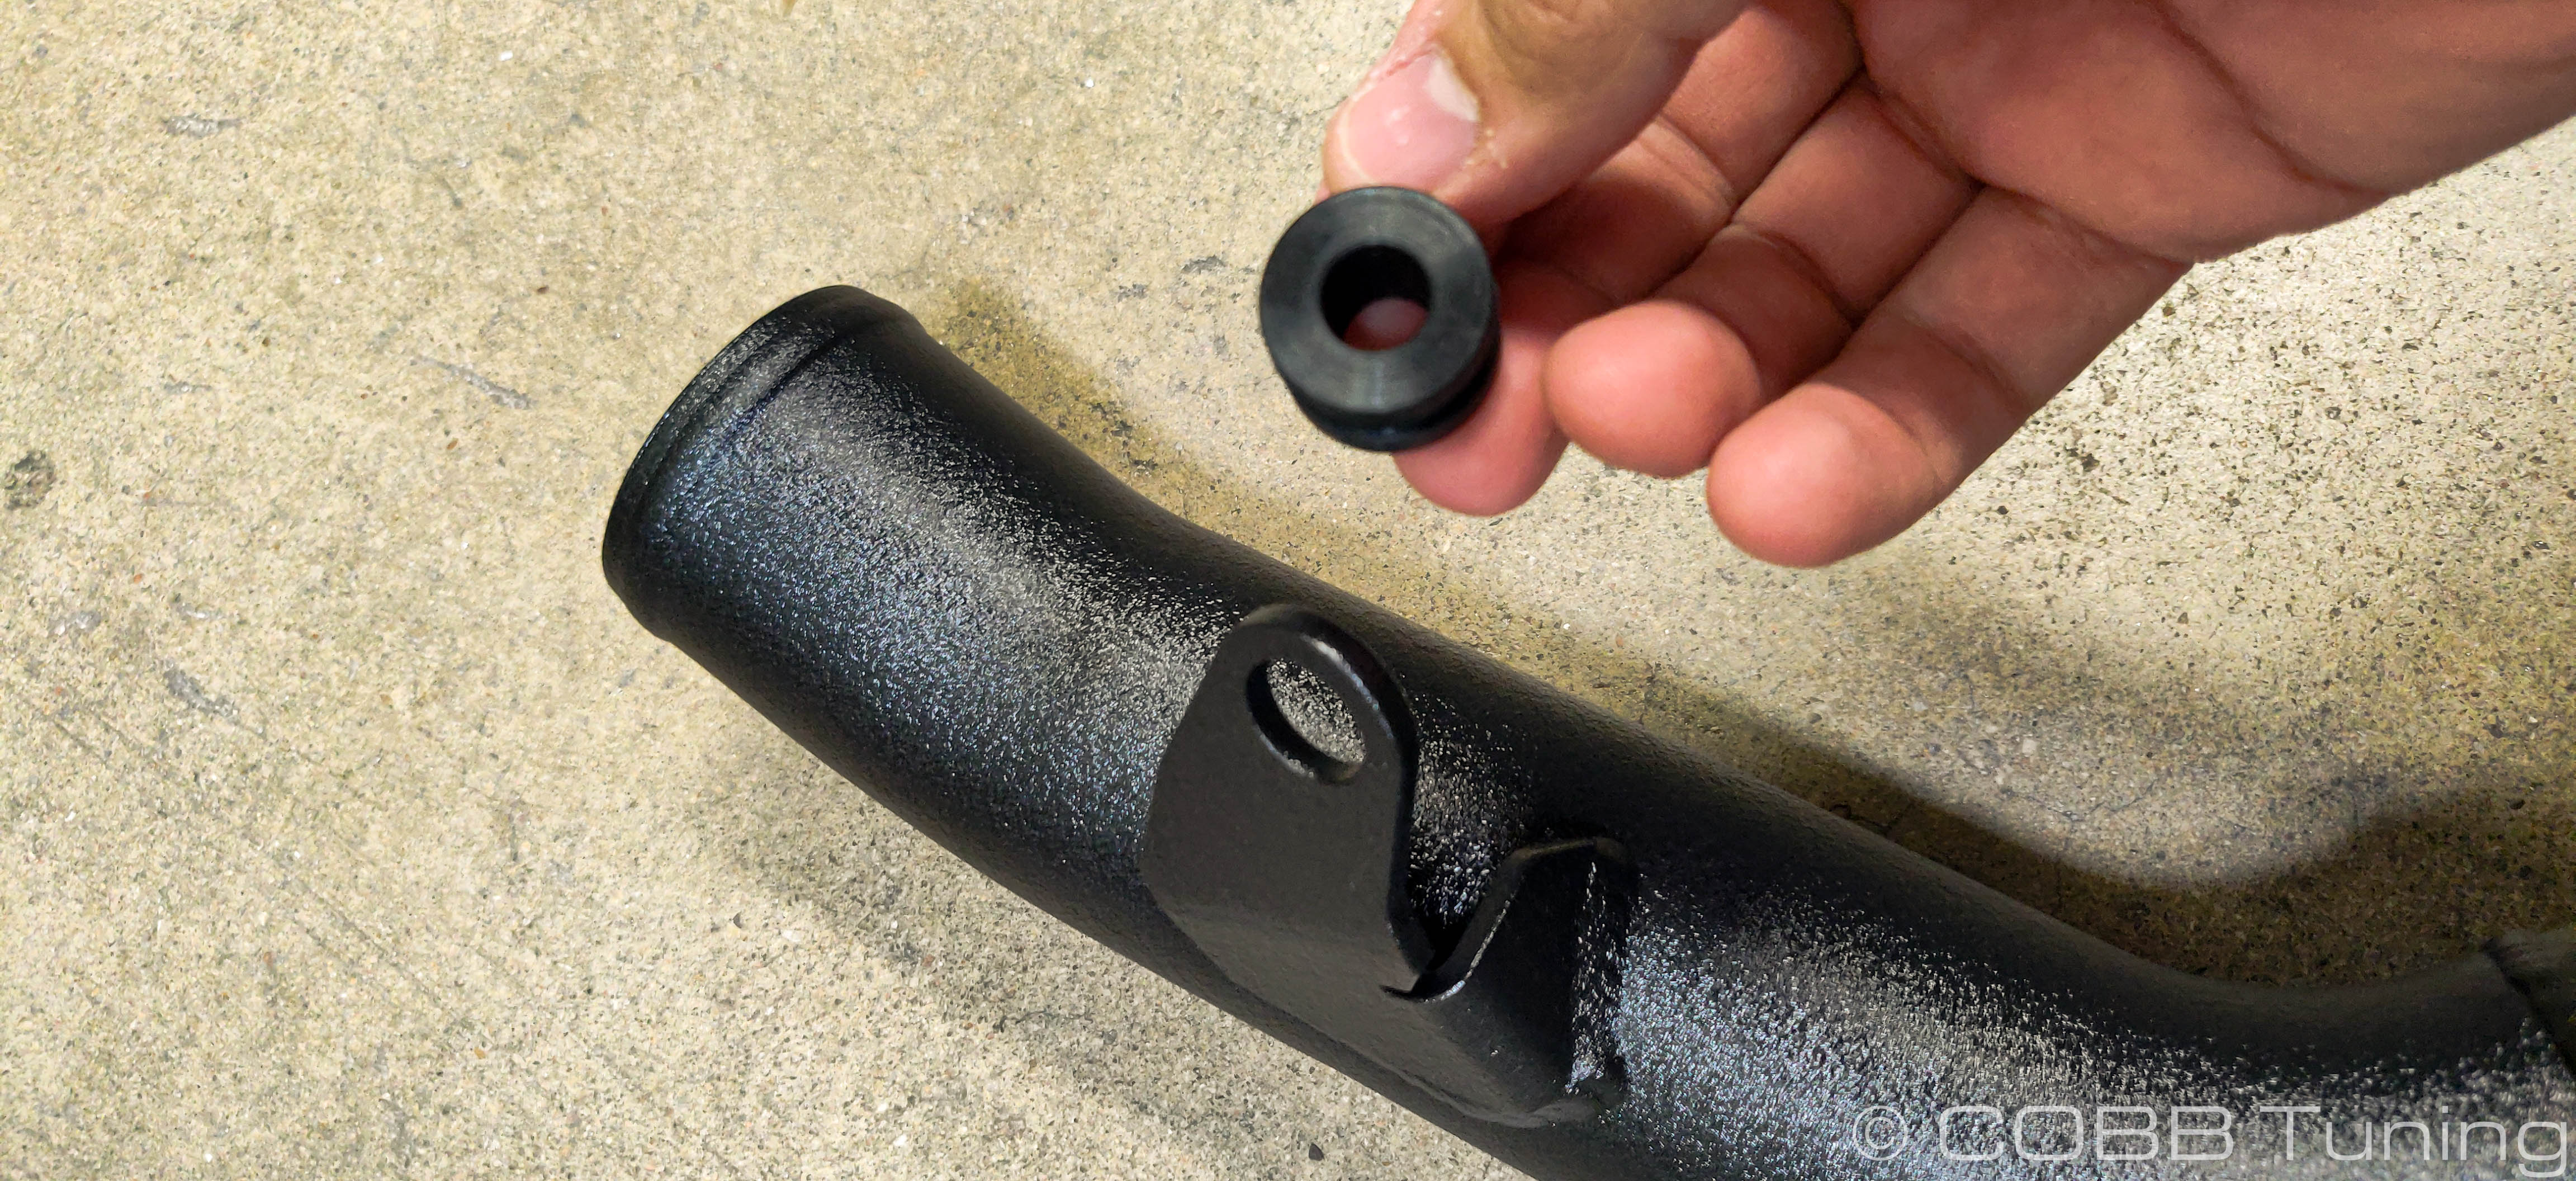
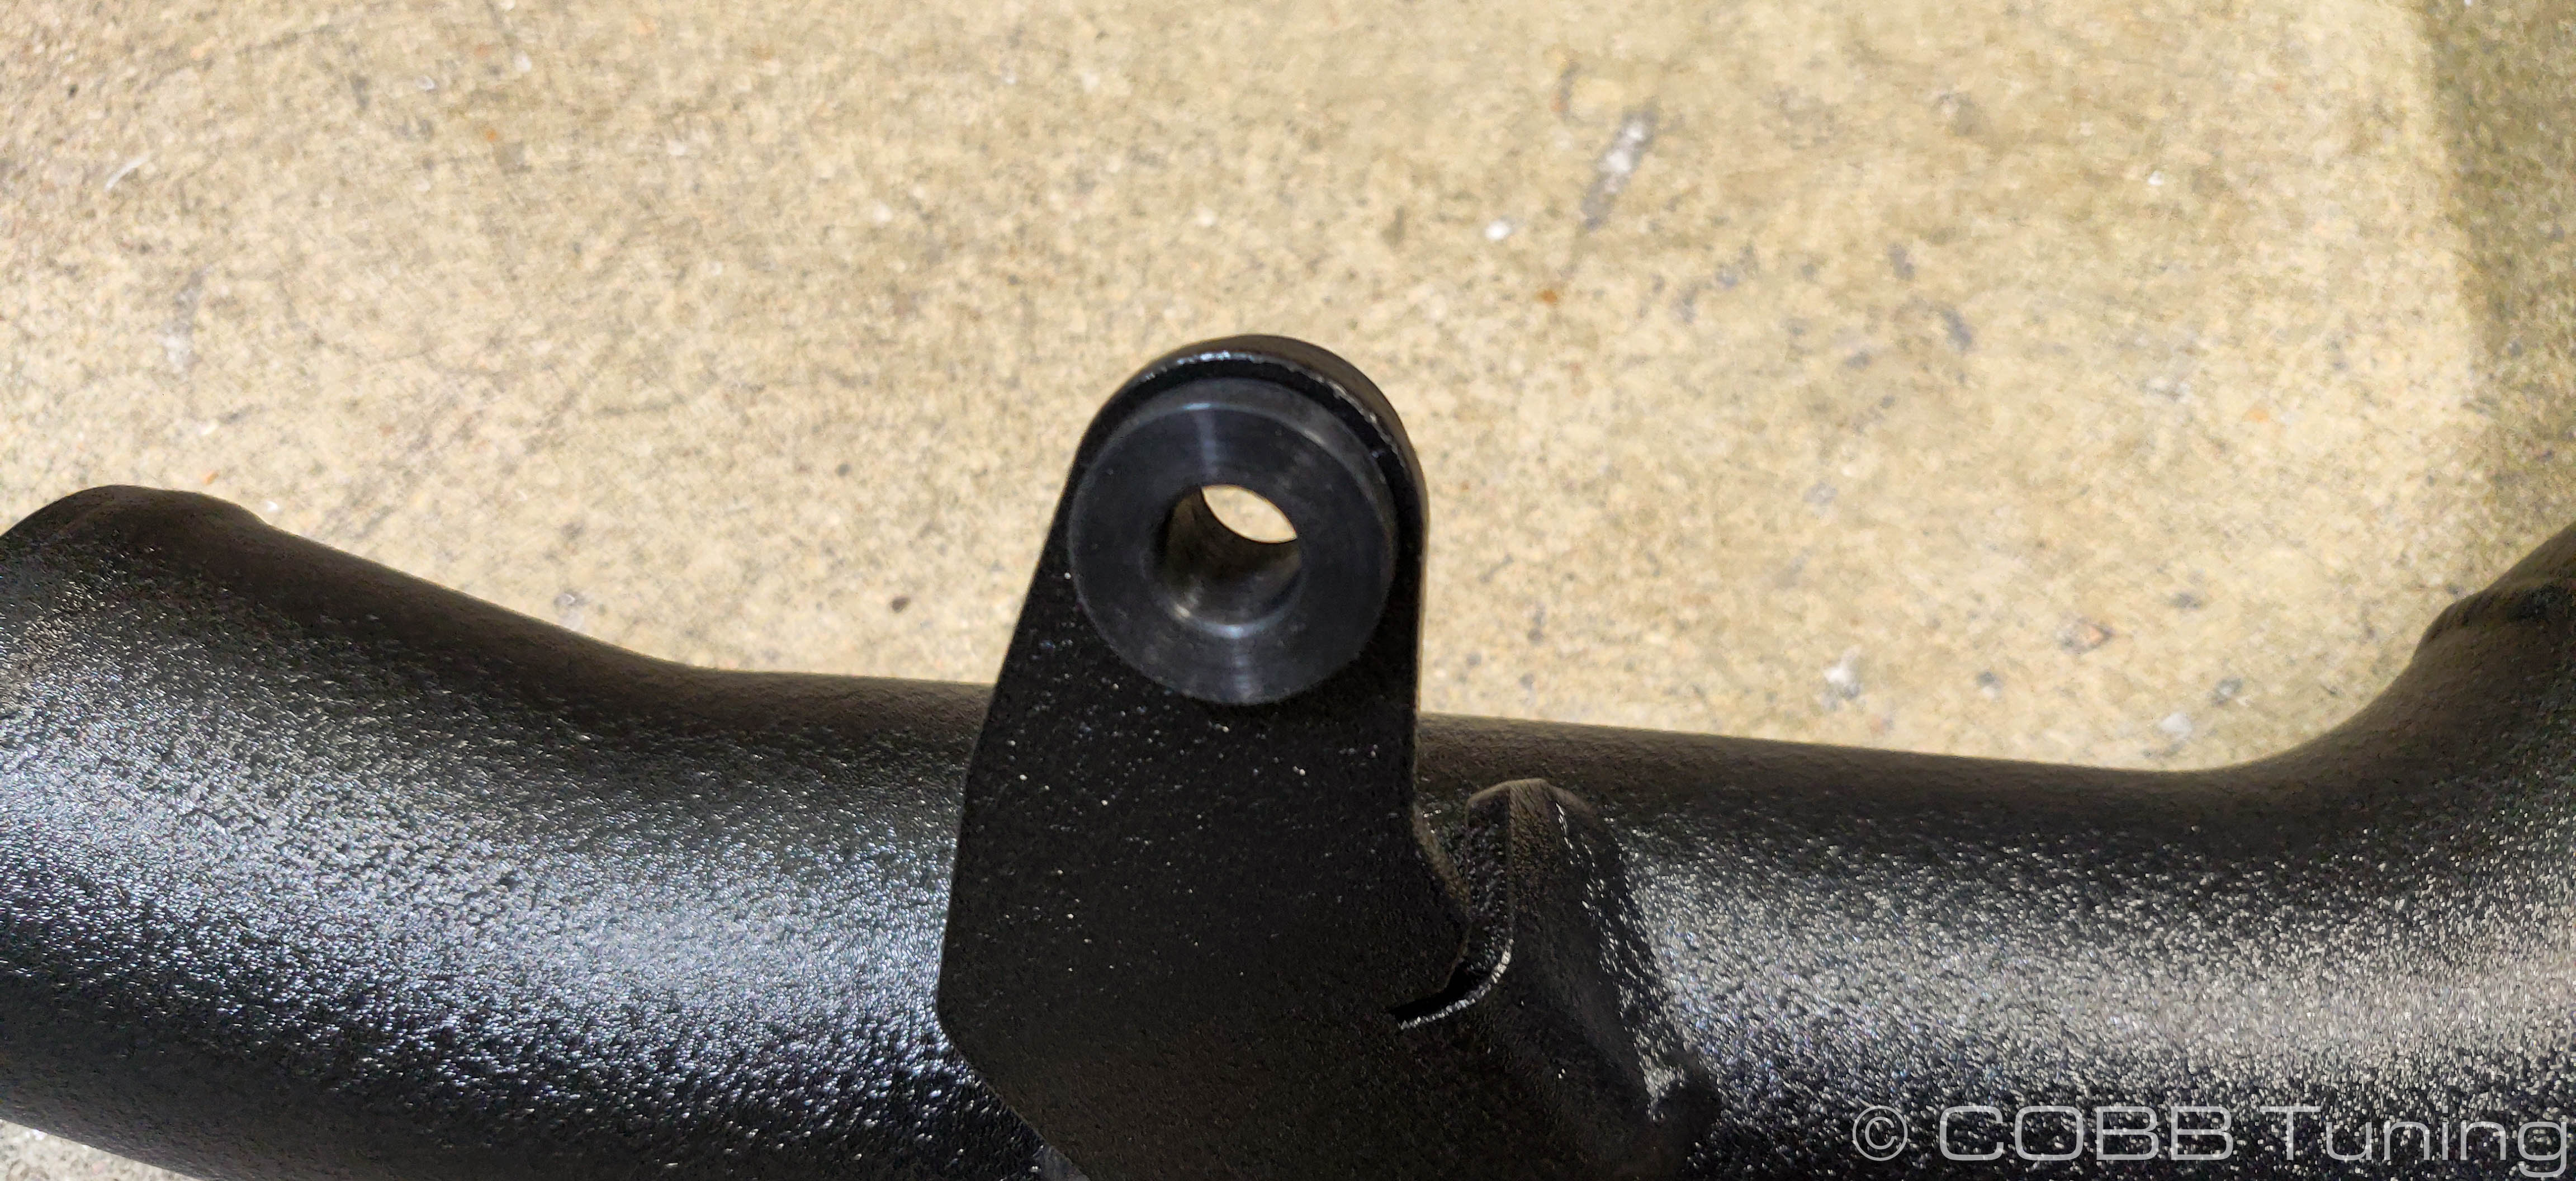
- Push the supplied grommet into the hole in the charge pipe support bracket.
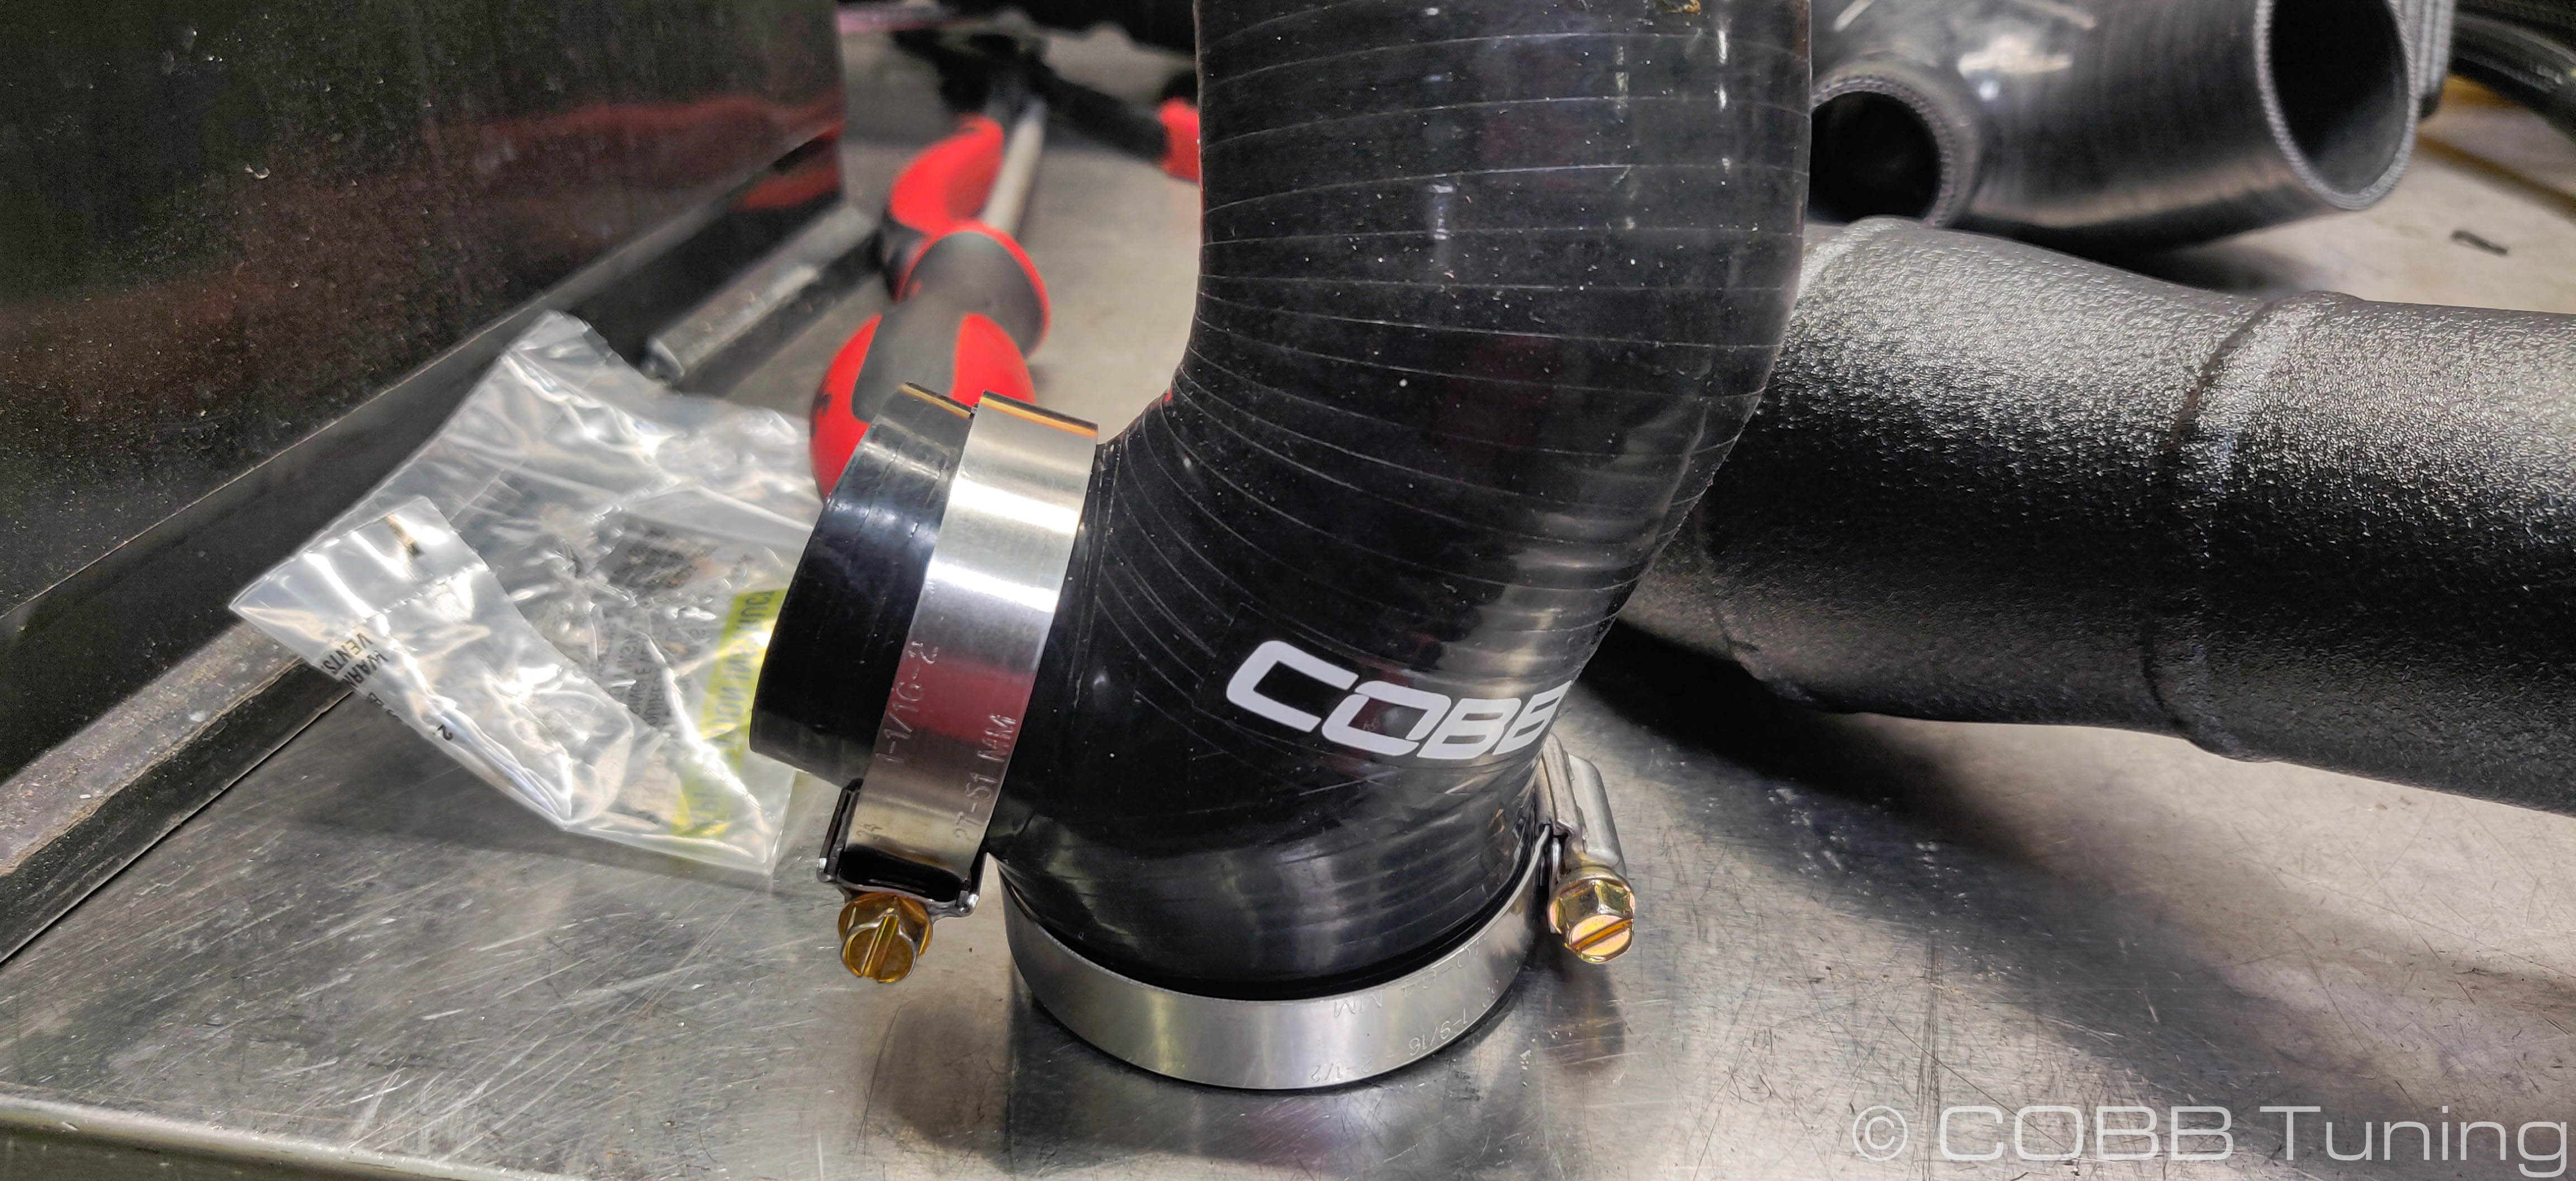
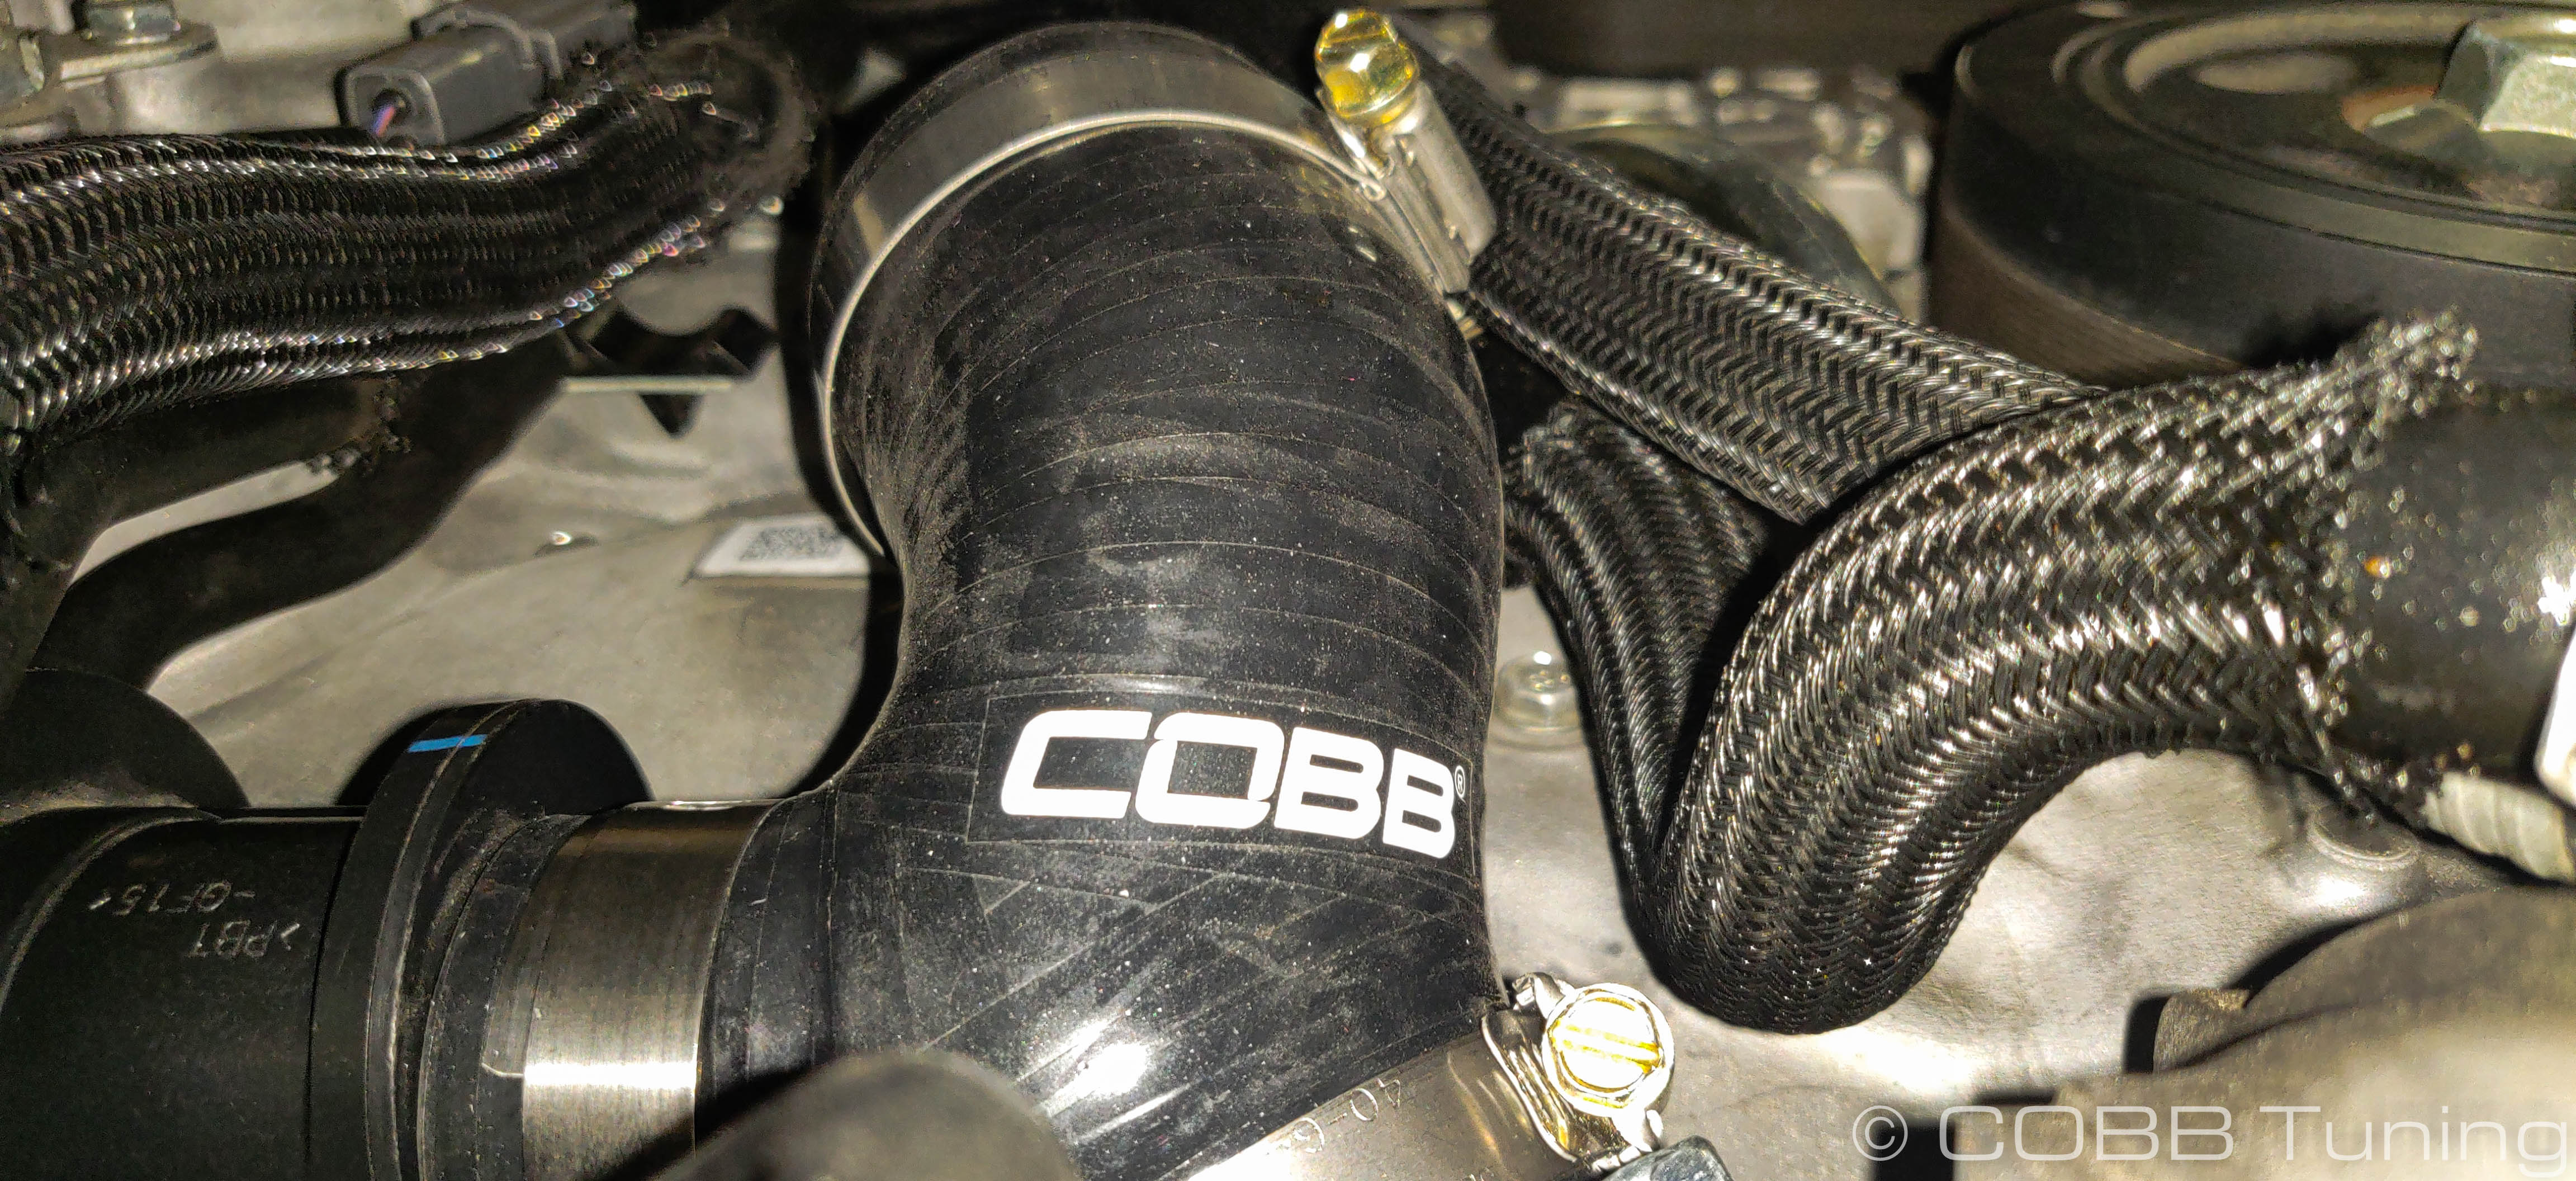
- Put a number #32 clamp on the shorter end of the charge pipe BPV coupler and a smaller #24 clamp on the BPV side. Push it over the BPV nose then onto the inlet flange adapter before tightening down the clamps.
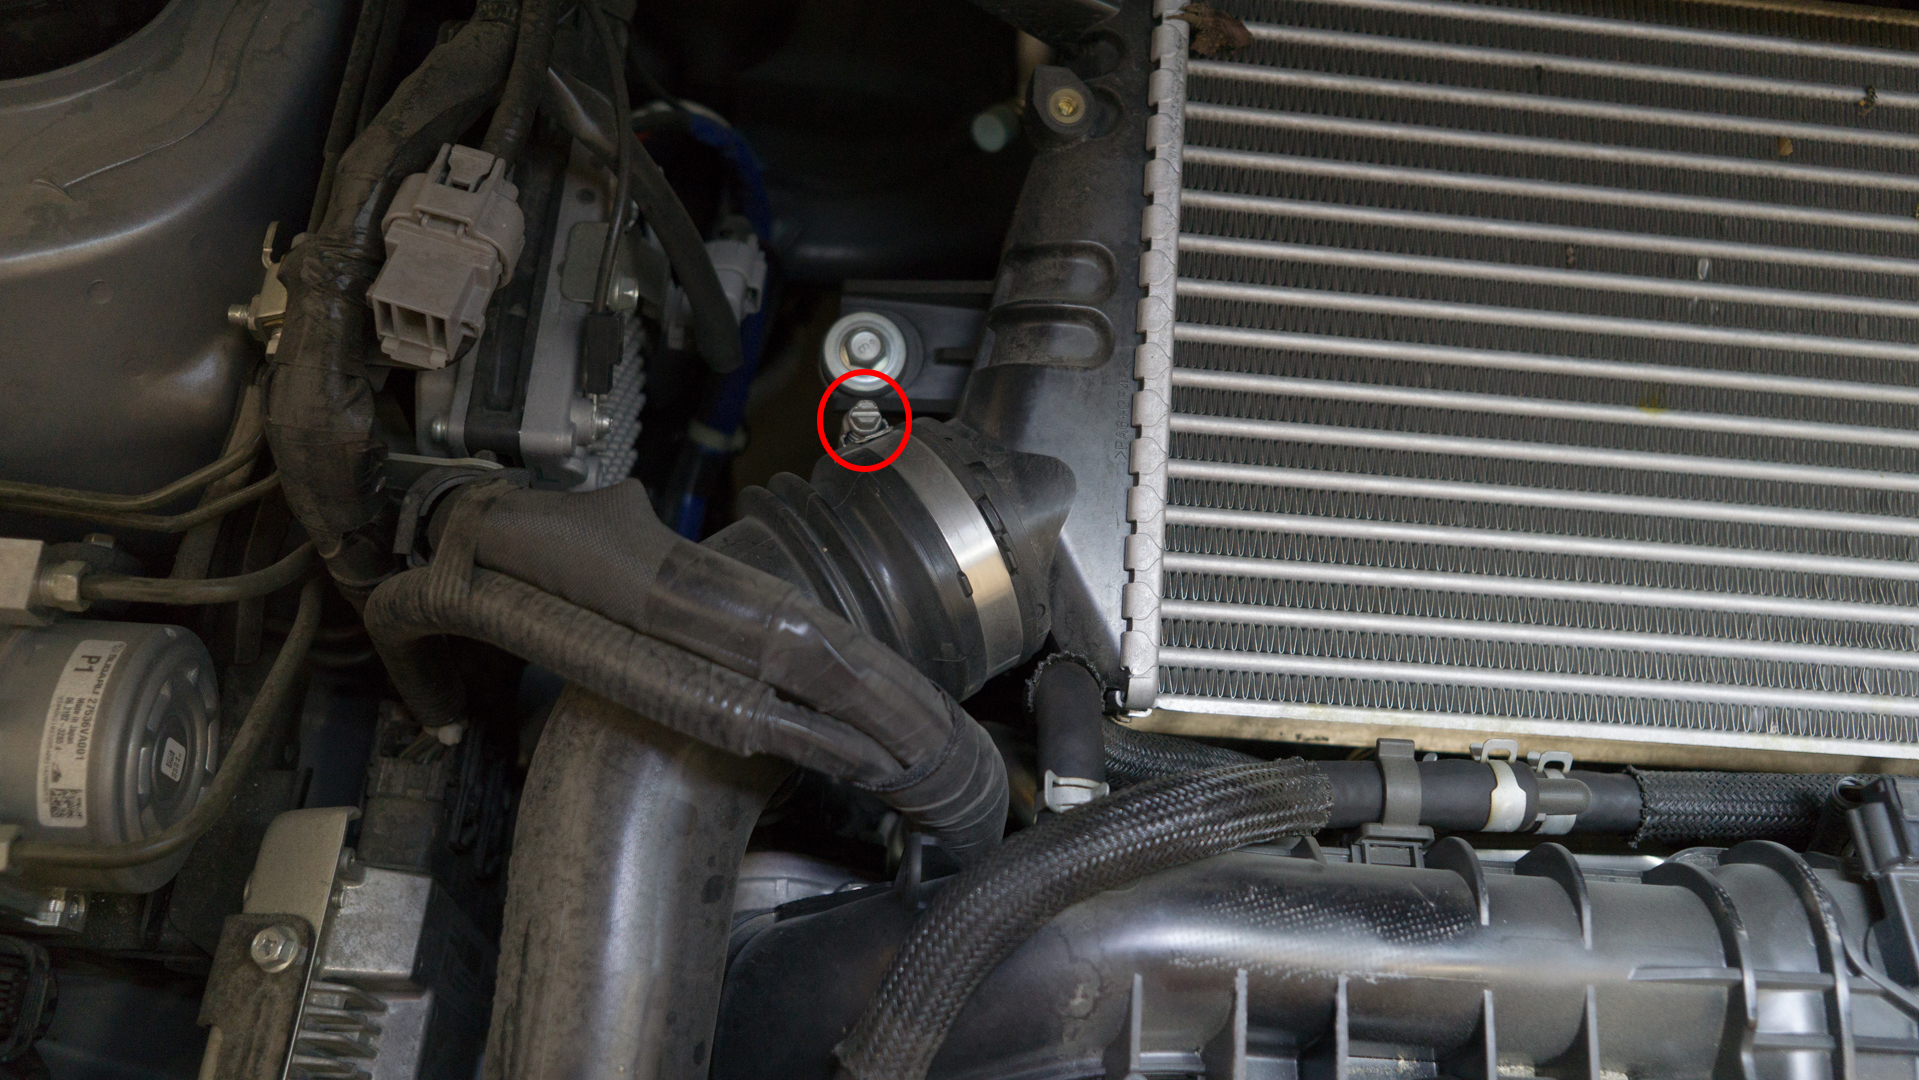
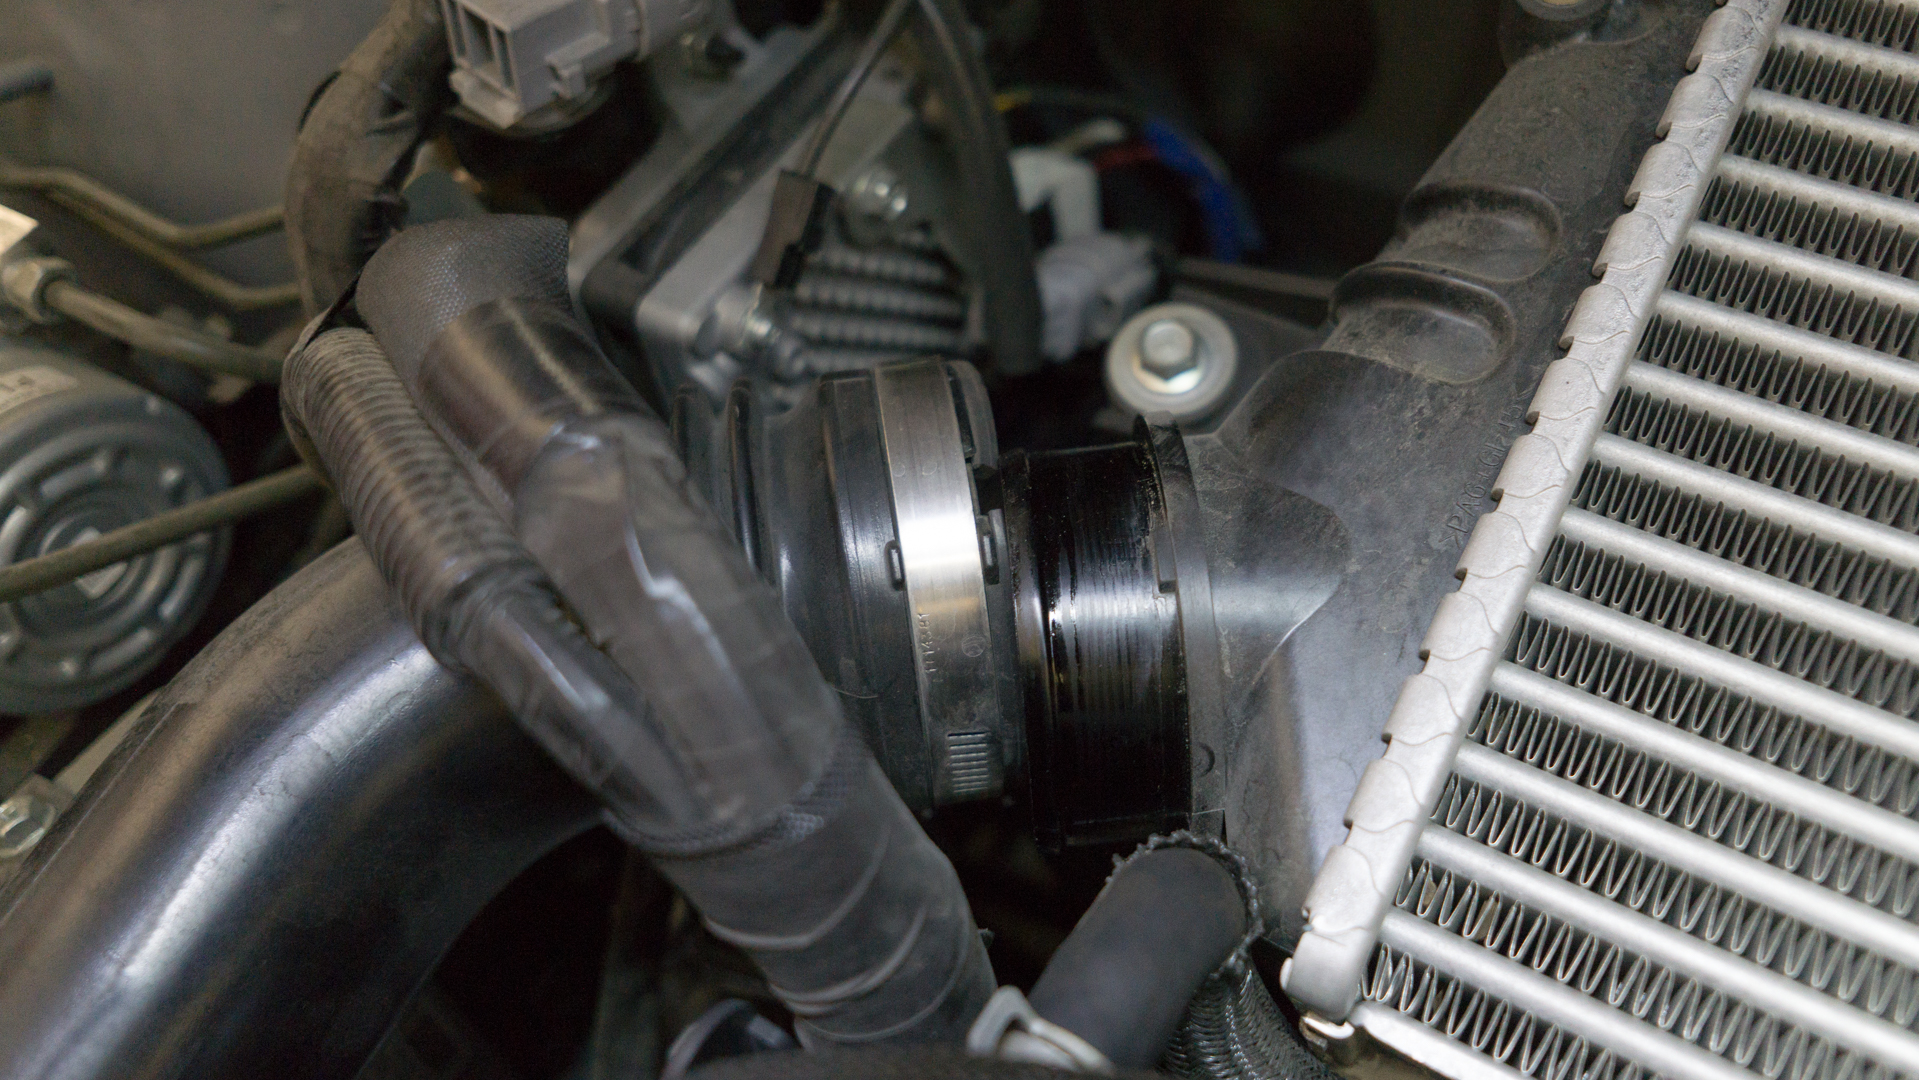
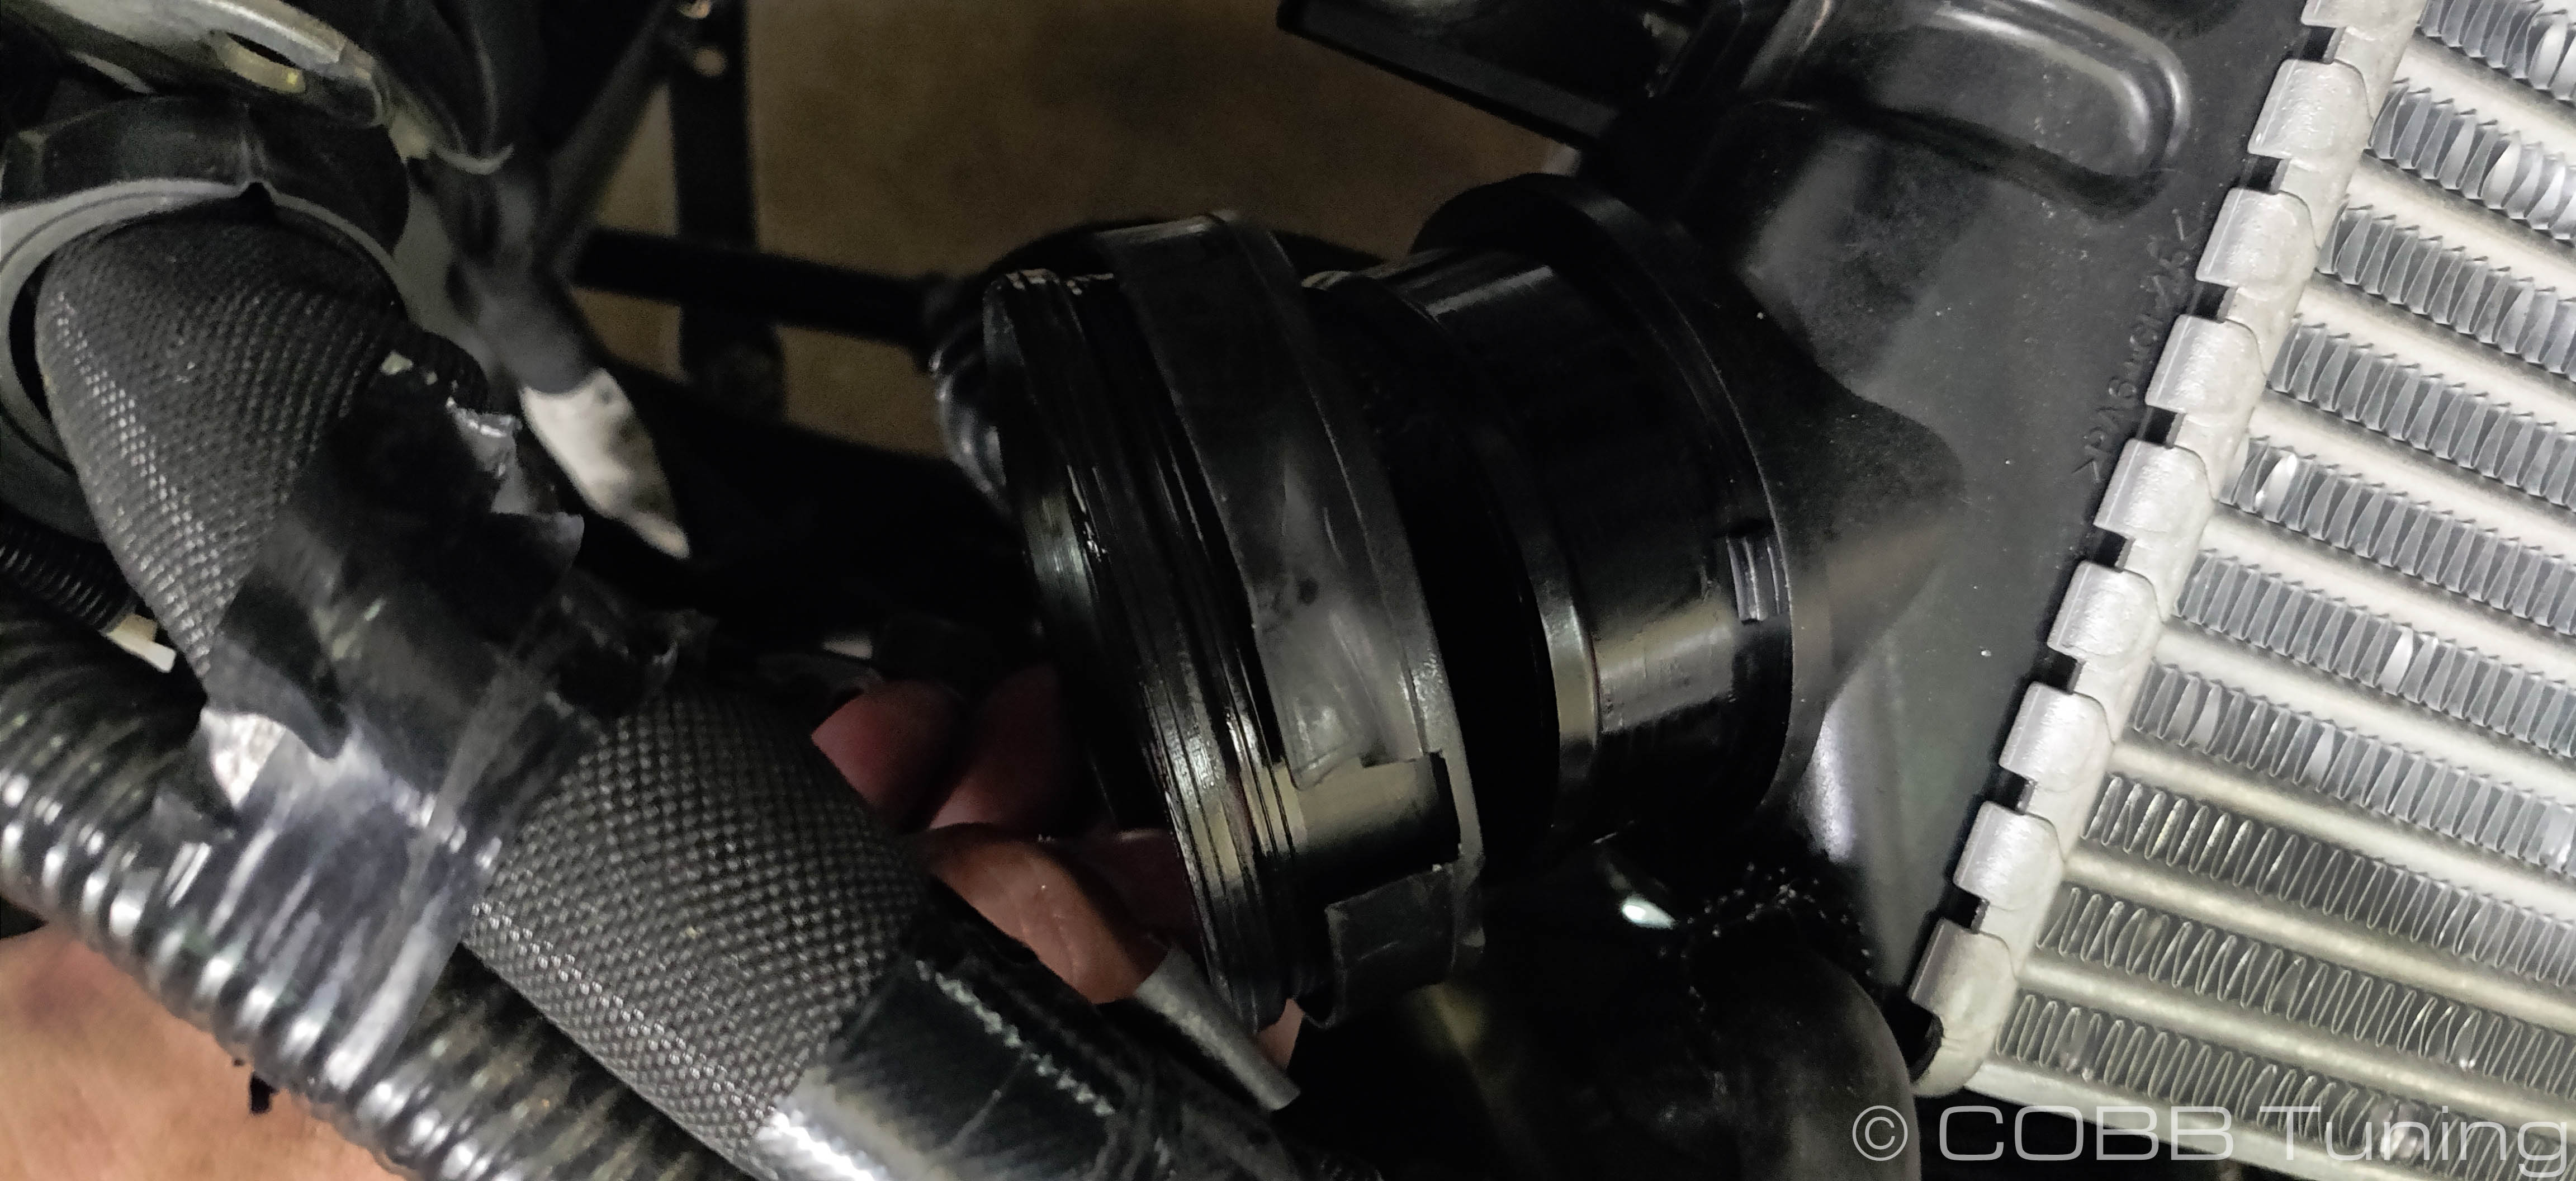
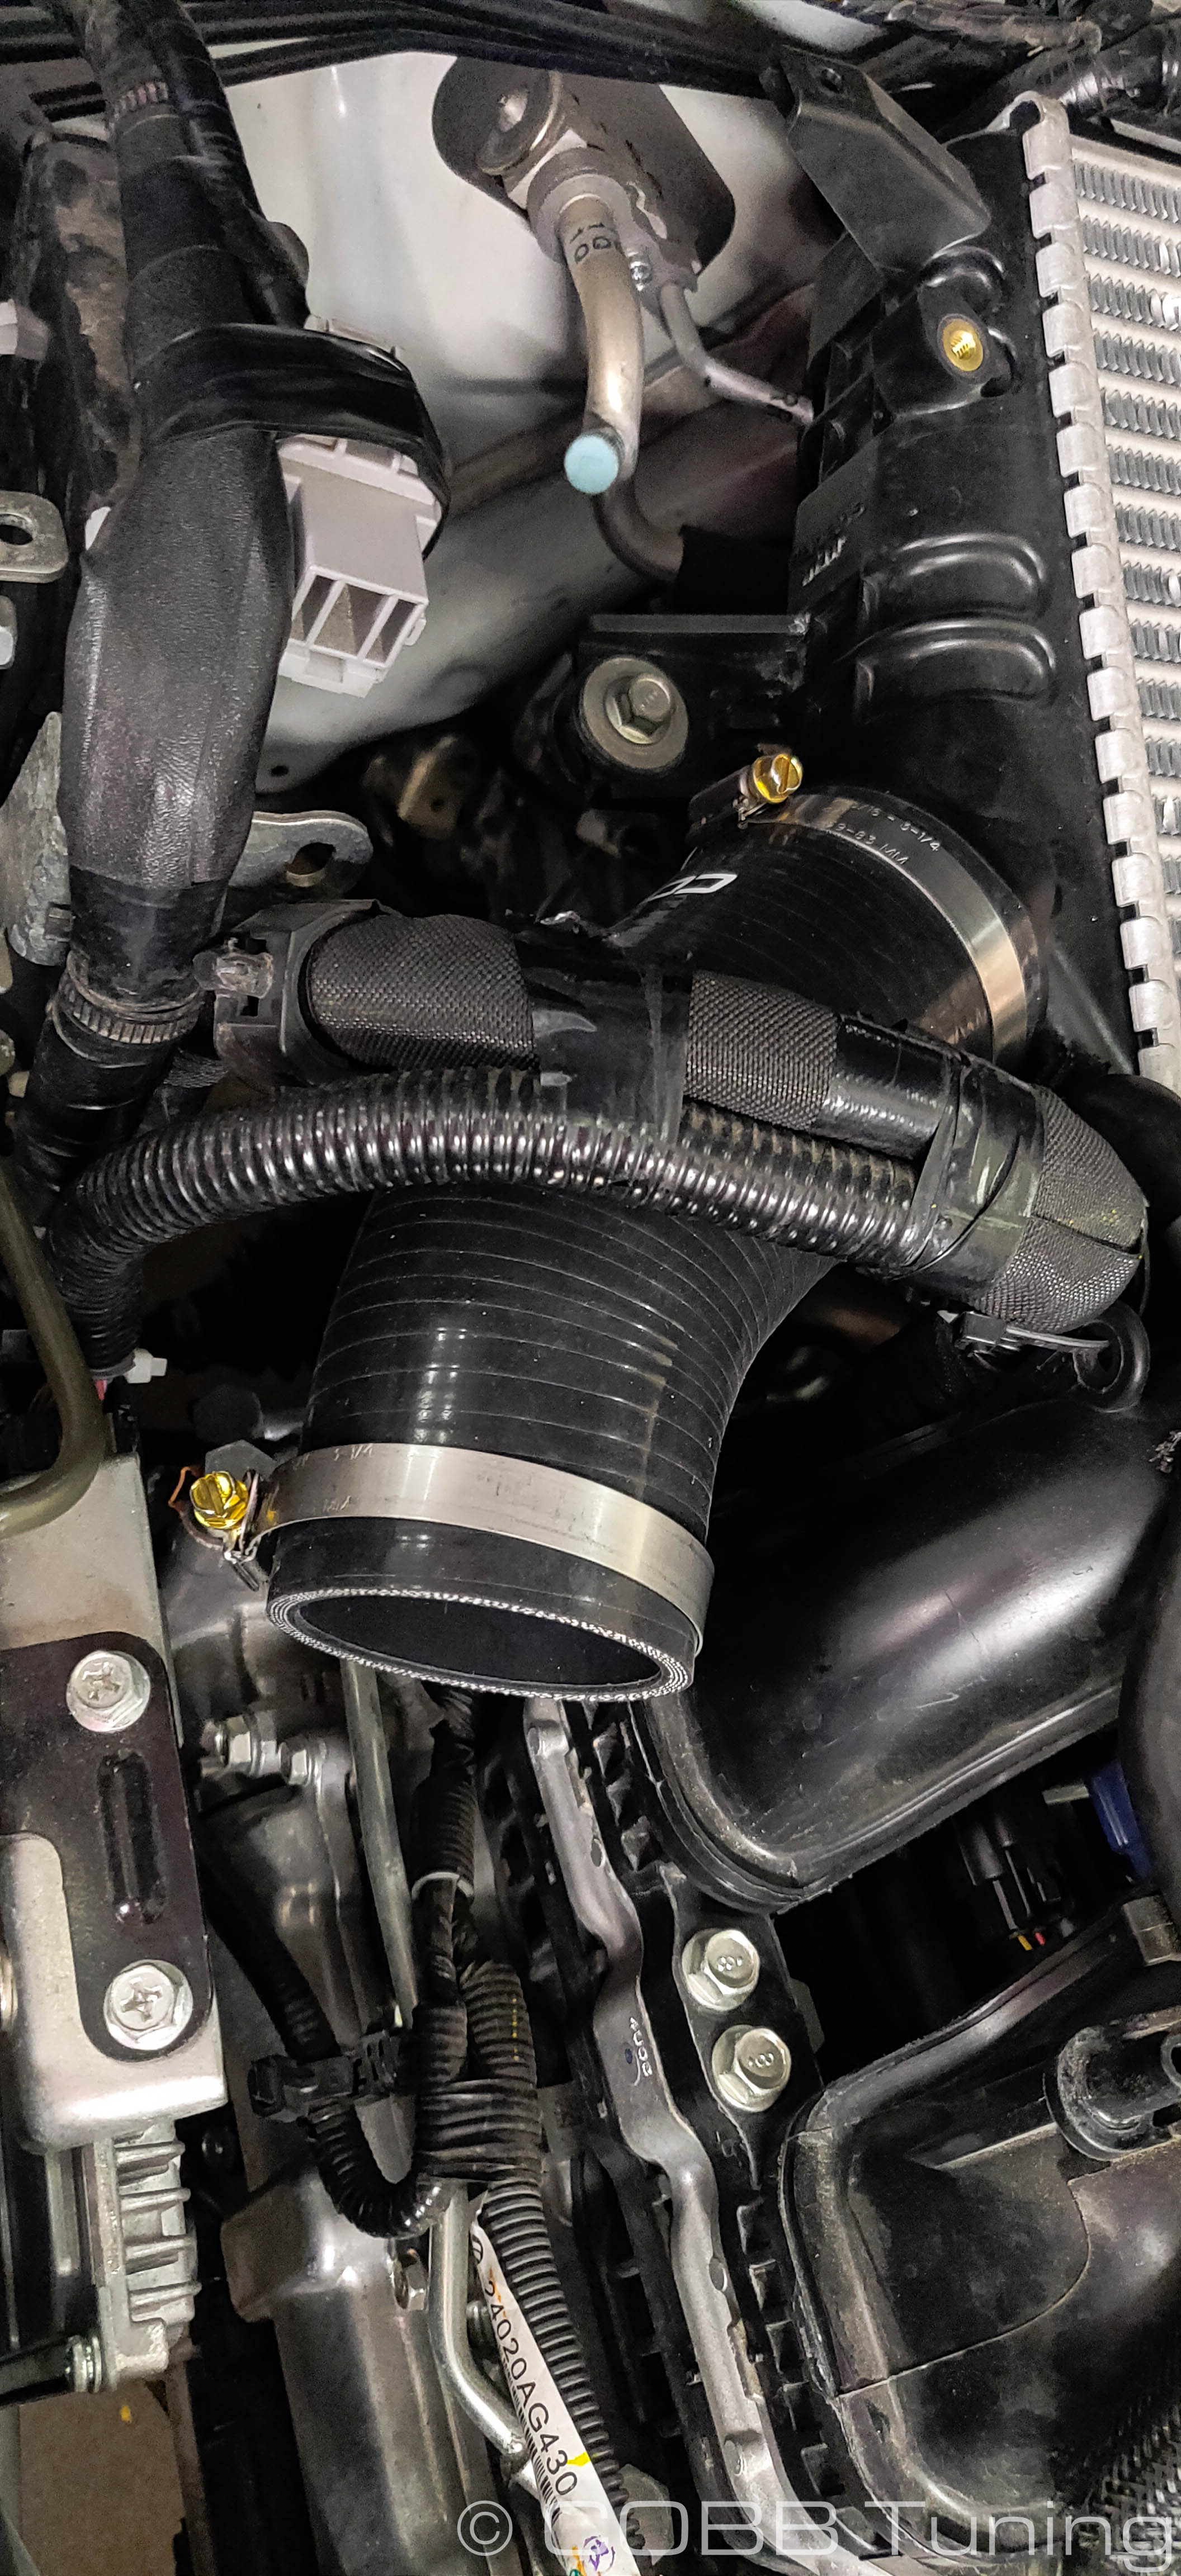
- Use the larger #48 clamp on the large end of the elbow and install it onto the factory top mount intercooler.
- After putting the remaining #32 clamp over the turbo side coupler and a #44 clamp on the top mount coupler, gently fit the COBB Charge Pipe into place. Starting with the intercooler side and then pushing it down onto the turbo side. Once it's loosely in both couplers, work the support bracket over the stud on the intake manifold before tightening down the hose clamps.
- Reinstall the fan (make sure to plug it in) and intake snorkle.
- Start the car up and make sure you don't get any codes for leaky couplers etc.
- You're all done! Go out and enjoy!
CARB Sticker Application
This product is 50 state legal and has a CARB EO. For details and other carb legal parts check out our page CARB Executive Orders for COBB Products
(Where Applicable) The product information label is required to aid inspection of the vehicle under the California Smog Check Program.
Apply the supplied CARB sticker in a clear, easy to find location. Typically underhood, or on the radiator core support.
Links
Contact Us:
COBB Customer Support
Web Support and Tech Articles: COBB Tuning Customer Support Center
Email: support@cobbtuning.com
Phone support available 9am to 6pm Monday-Thursday. 9am to 4pm Friday (CST)
866.922.3059
return to www.cobbtuning.com
Copyright 2024 © COBB Tuning Products LLC. All Rights Reserved. | www.cobbtuning.com

