512510, 514510 - Subaru Turbo Heatshield
- Brandyn Mowat

512510, 514510 –Subaru Turbo Heatshield
Subaru Impreza WRX 2002 - 2014
Subaru Impreza 2.5GT 2009
Subaru Forester XT 2004 - 2008
Subaru WRX STi 2004 - 2021
Subaru Legacy GT, Spec B 2005 - 2009
Subaru Outback XT 2005 - 2009
Subaru Forester XT 2009 - 2013
Congratulations on your purchase of the COBB Tuning Subaru Heatshield! The following instructions will assist you through the installation process. Please read them BEFORE beginning the install to familiarize yourself with the steps and tools needed. If you feel you cannot properly perform this installation, we HIGHLY recommend you take the vehicle to a qualified and experienced automotive technician.
Table of Contents
Parts List
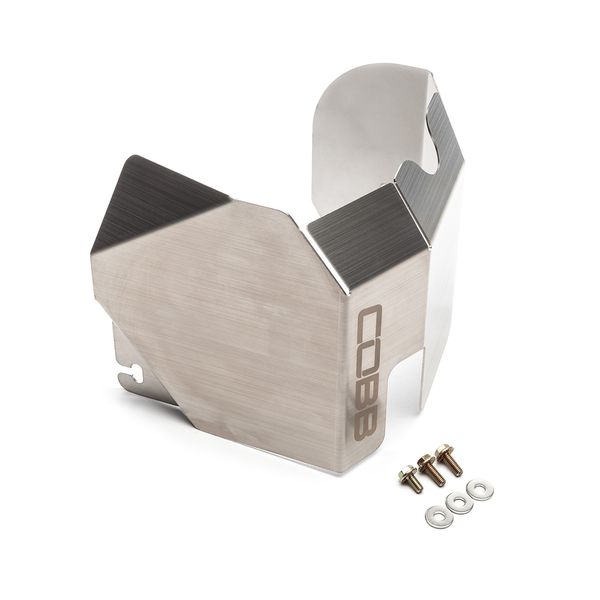
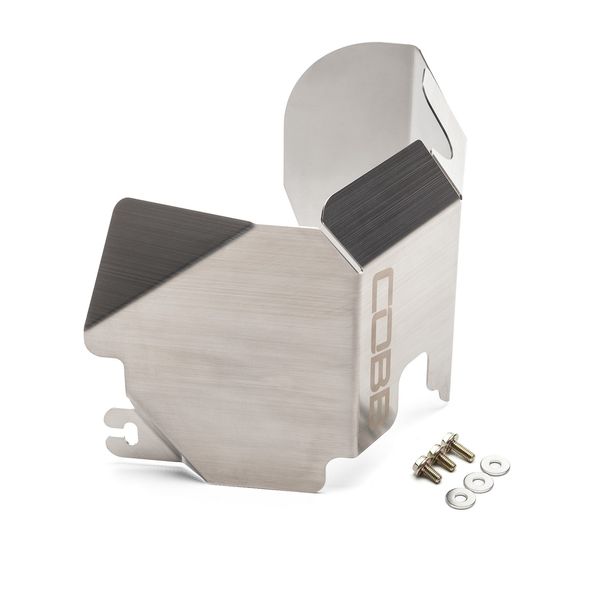
- COBB Subaru Heatshield
- (2) m6 x 12mm Hex Bolt
- m6 x 16mm Hex Bolt
- (3) m6 Fender Washer
Tools Needed
Sockets
3/8"
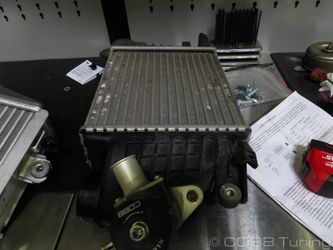
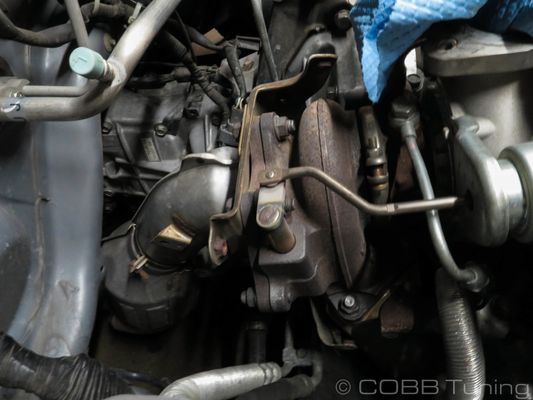
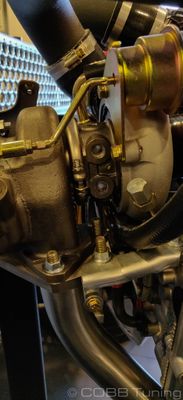
Remove the Top Mount Intercooler
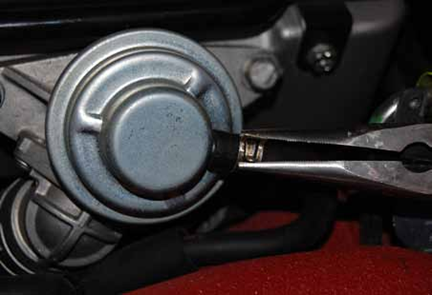
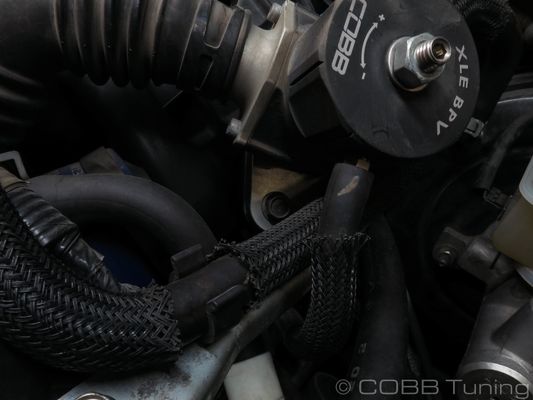
Using a 12mm socket with ratchet, remove the 2 bolts that hold the bypass valve in place and remove it from the car.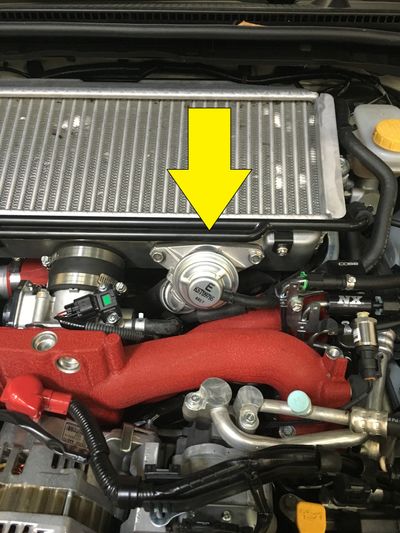


This removal applies to the following vehicles
- 2008 - 2014 WRX
- 2005 - 2009 Legacy GT
- 2005 - 2009 Outback XT
- 2008 - 2013 Forester XT
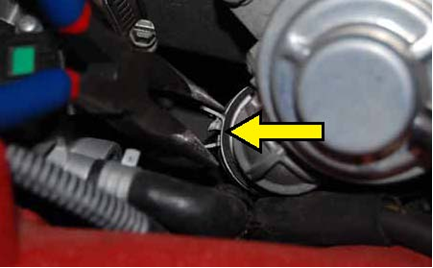
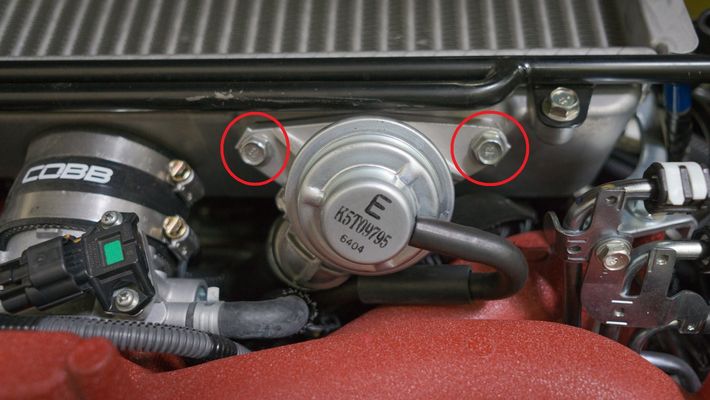
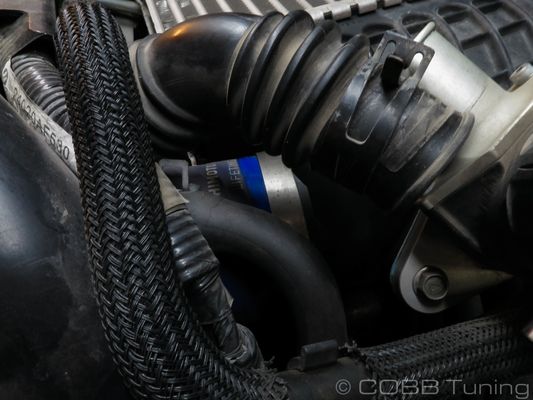
- Locate the factory BPV and remove the recirculation hose by squeezing down the hose clamp with your pliers.

- Remove the vacuum reference line from the rear port of the BPV
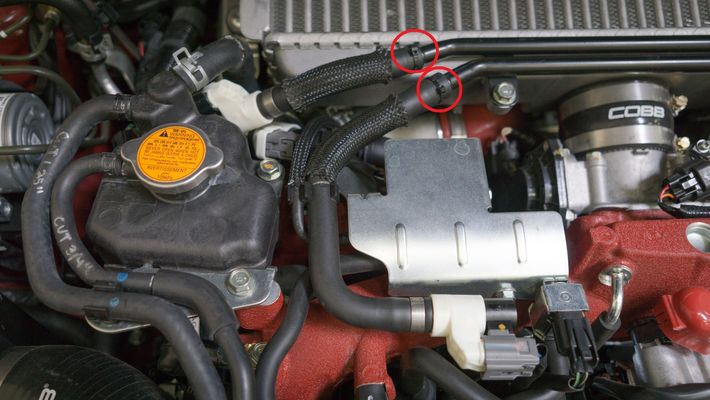
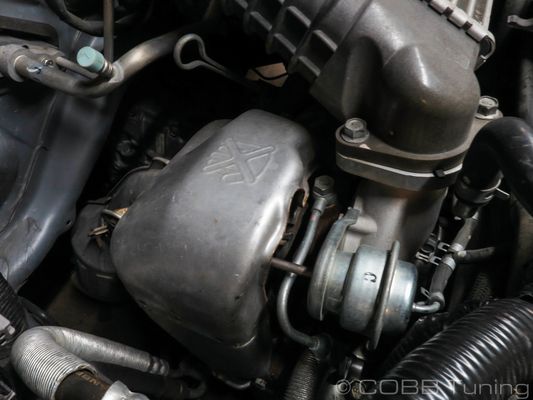
- Moving to the other side, unbolt the flange where it meets the turbo using a 12mm socket.

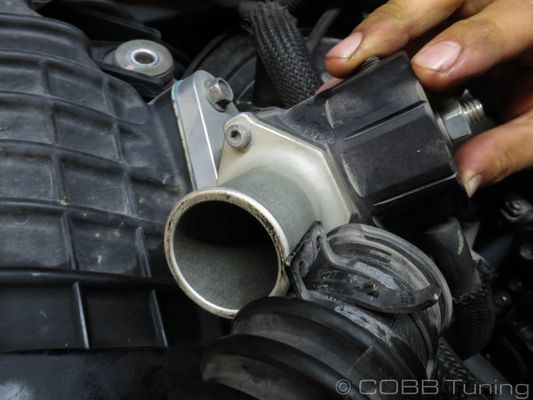
- Undo the hose clamp attaching the throttle body coupler to the intercooler. This will typically require a phillips screwdriver, 7 or 8mm socket.
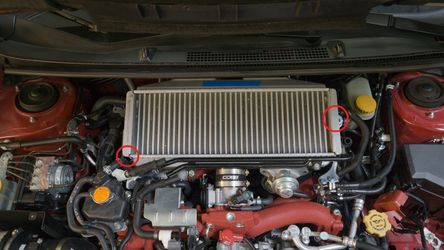
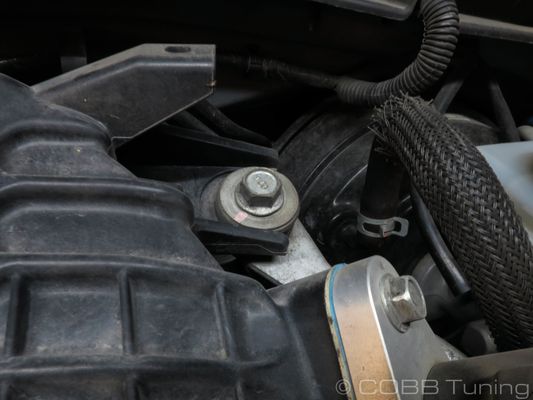
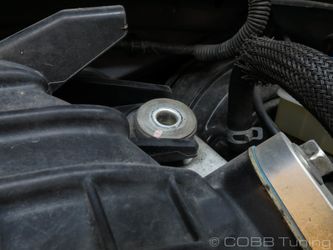
- Unbolt the remaining 12mm bolt going to the intercooler support bracket and remove the intercooler from the car.
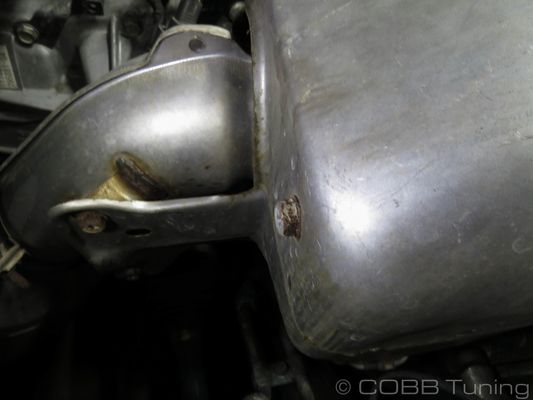
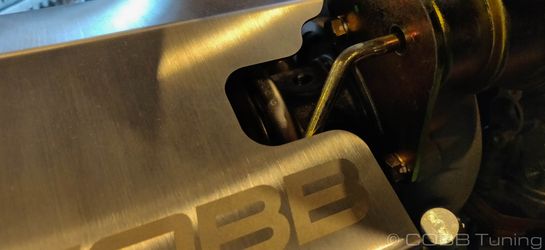
Remove Factory Heatshield
It may be worth spraying down the bolts with a penetrating oil and allowing them to sit for a little while in order to allow them to come lose more easily without any breakage. With those items removed you can now remove the heatshield from the car. It may require re-clocking the transmission dipstick in order to have the clearance needed to remove the heatshield easily.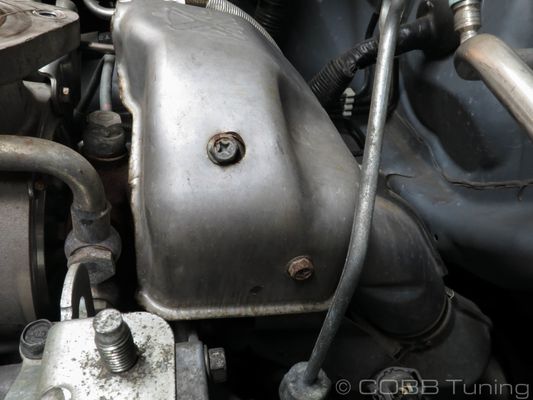
Turbo Heat Shield Installation
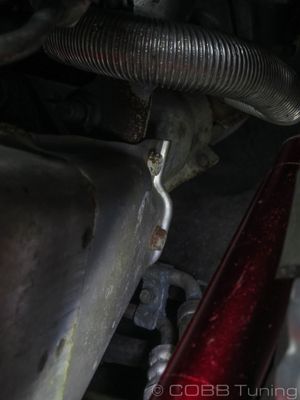
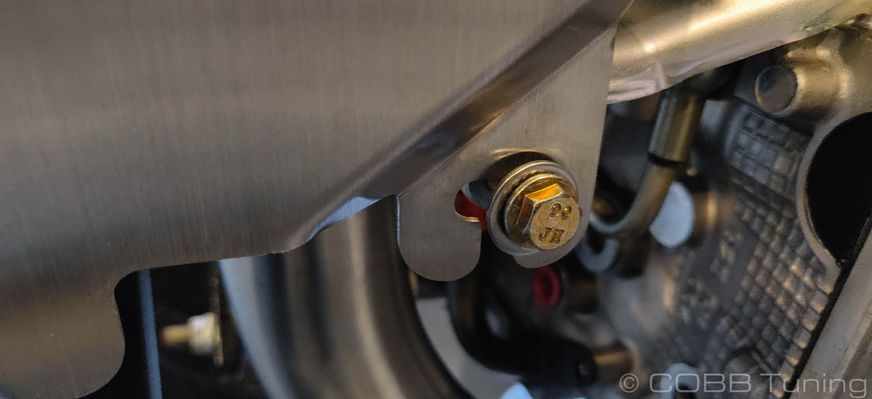
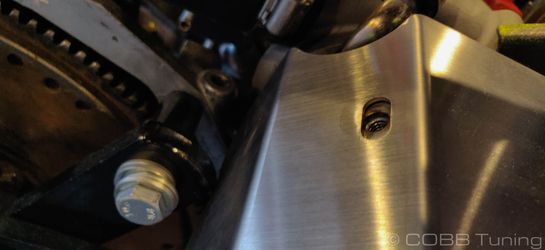
- Hand install one of the supplied 10mm bolts along with a washer into the lower up-pipe/turbo support bracket.
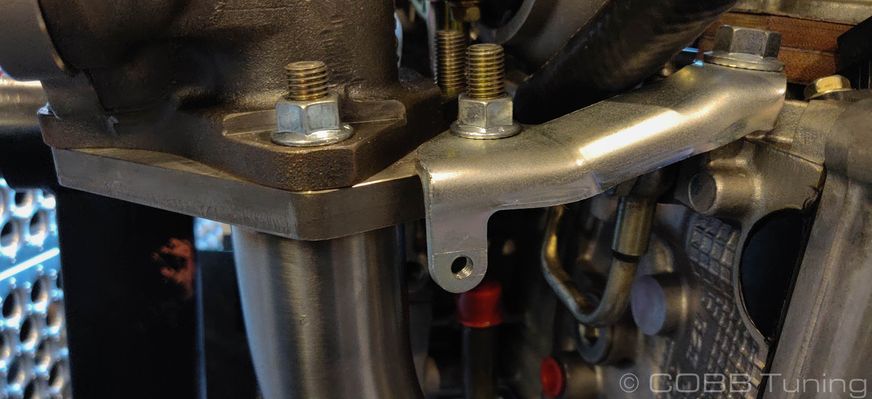
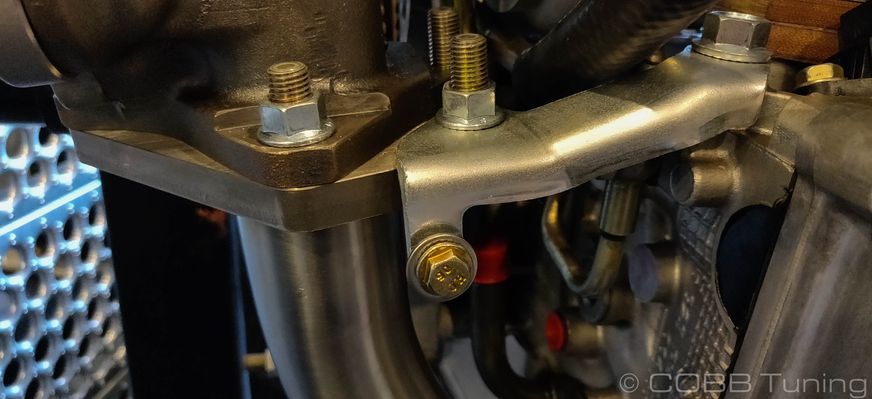
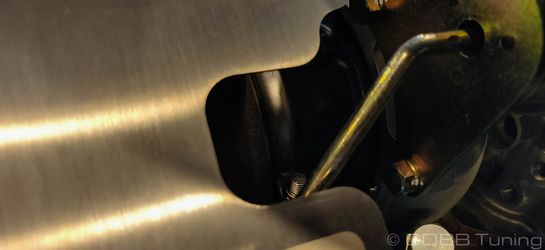
- Slide the heat shield into place with the cutout over the loosened bolt on the lower mount.
- Loosely install the other two bolts on the top and inside of the heat shield.

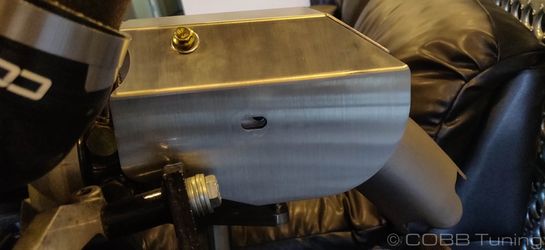
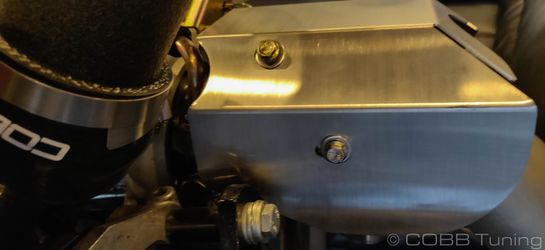
- Slide the heat shield around a little bit to make sure the wastegate arm isn't hitting the bracket and then tighten down each bolt with a 10mm socket.
- Reinstall the intercooler in the reverse order of removal.
- Go out and enjoy!
Links
Calibration Map Notes for Subaru Vehicles
Related pages
Copyright 2025 © COBB Tuning Products LLC. All Rights Reserved. | www.cobbtuning.com