512260 - Subaru SS 2" Uppipe
- Brandyn Mowat

512260 - Subaru SS 2" Uppipe
WRX STI 2005 - 2021
WRX 2007 - 2014
Forester 2006 - 2014
Legacy 2006 - 2009
Outback 2006 - 2009
Congratulations on your purchase of the COBB Tuning SS Uppipe! The following instructions will assist you through the installation process. Please read them BEFORE beginning the install to familiarize yourself with the steps and tools needed. If you feel you cannot properly perform this installation, we HIGHLY recommend you take the vehicle to a qualified and experienced automotive technician.
Table of Contents
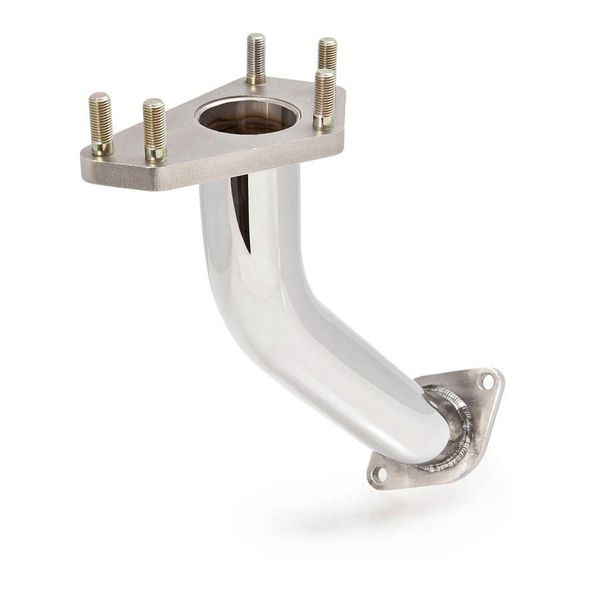
Parts List
- COBB 2" Stainless Steel Uppipe
Tools Needed
Stock Exhaust Removal
Before beginning it may be useful to spray down all of your exhaust bolts and the O2 sensor with penetrating oil to allow it to come out more easily. This is particularly more important if your vehicle is older or has higher mileage.
- Jack your car up in a flat level area. Allow it to cool down.
- Up top, unplug your front oxygen sensor connector.
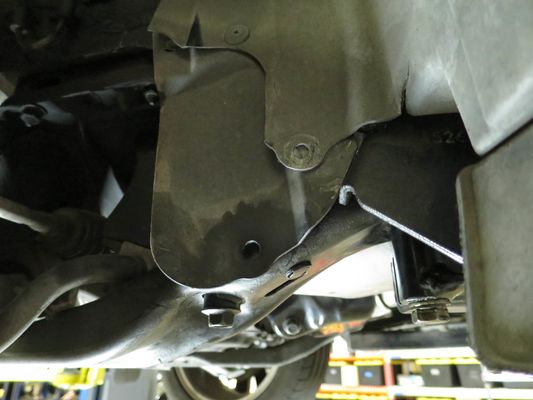
- Behind the passenger's side wheel (USDM) undo the two trim clips and slide the access cover out of the way.
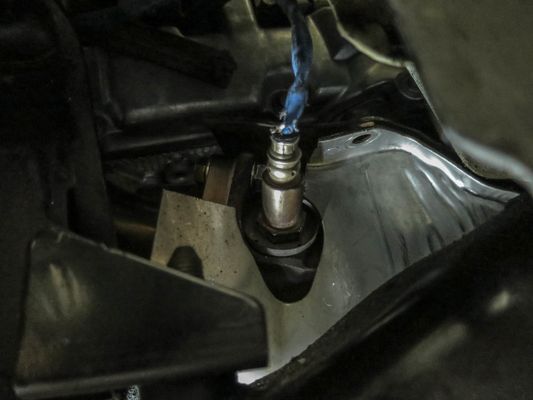
- Now using your 22mm oxygen sensor socket, remove the O2 sensor from the manifold.
- Remove the 4 12mm bolts holding the heat shield in place on the manifold.
- Remove the two 14mm nut and bolt combinations holding the uppipe to the manifold.
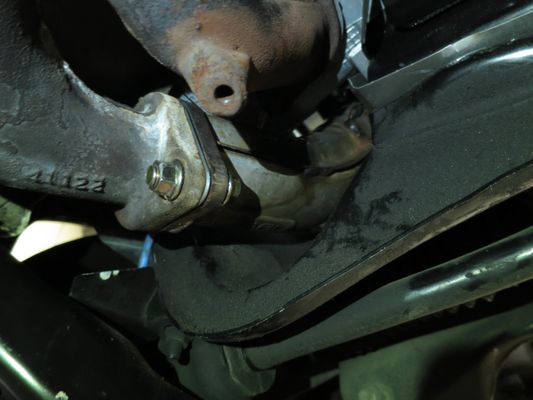
- Remove the three 14mm nuts holding the manifold to the head.
- WRX 2002 - 2007
- WRX STI 2004 - 2020
- Forester XT 2004 - 2008
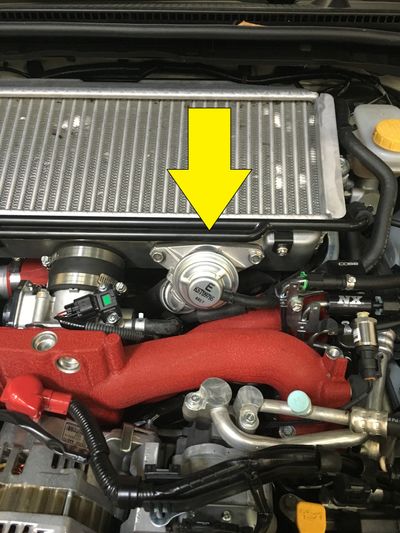
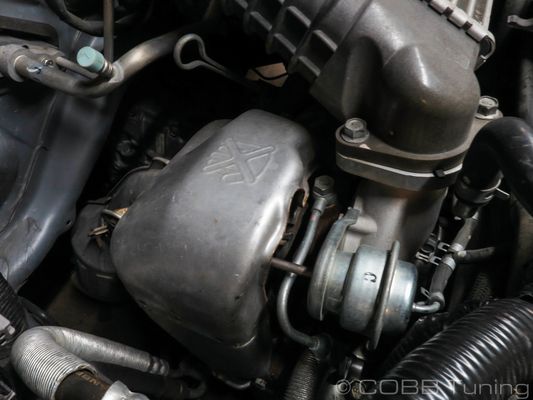
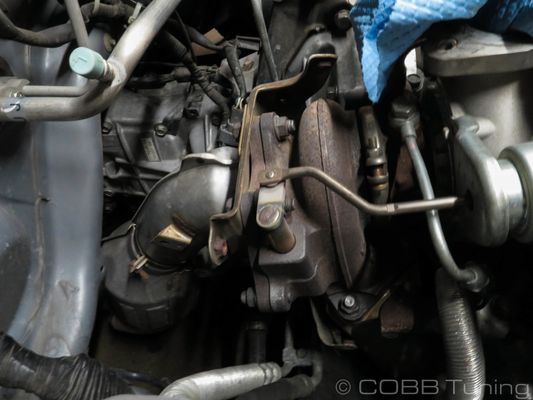
- Locate your stock bypass valve.
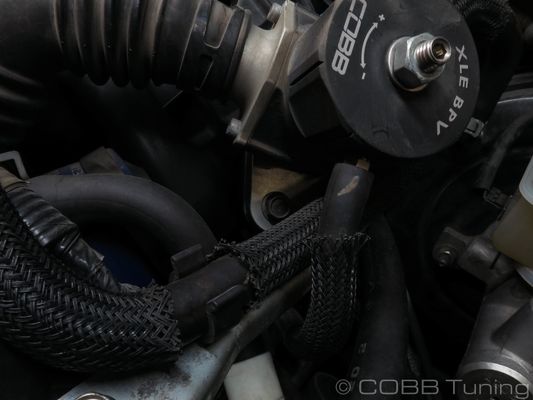
- Using a pair of pliers, remove the return line from the bypass valve.
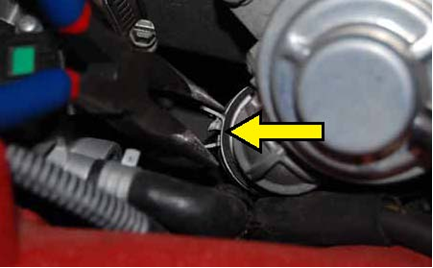
- Remove the vacuum line from the factory bypass valve.
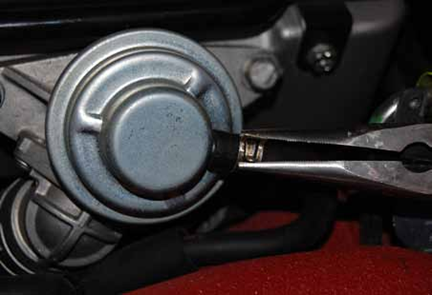
Using a 12mm socket with ratchet, remove the 2 bolts that hold the bypass valve in place and remove it from the car.
TIP: Make sure to keep an eye on the factory gasket behind the BPV. It can fall when you remove the valve and end up in difficult to reach locations!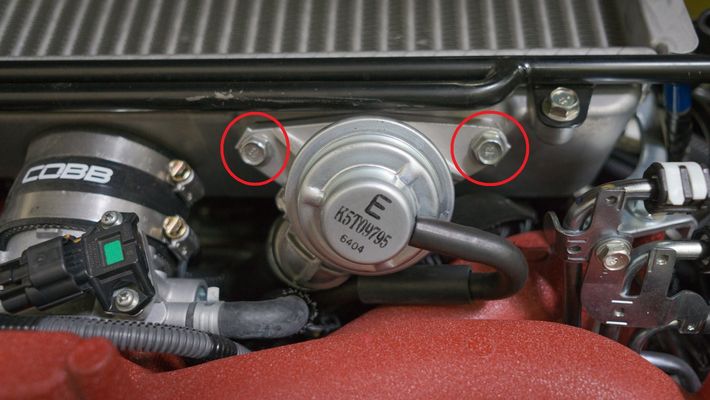
- Remove the bypass valve.
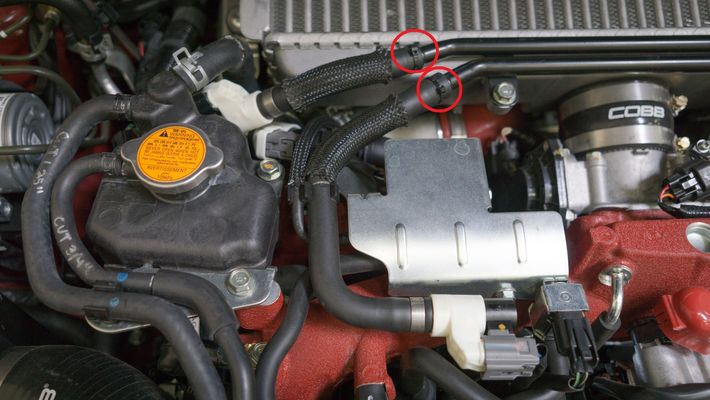
- Remove breather tubes from intercooler. Dikes can be helpful when removing the metal clamps or zip ties.
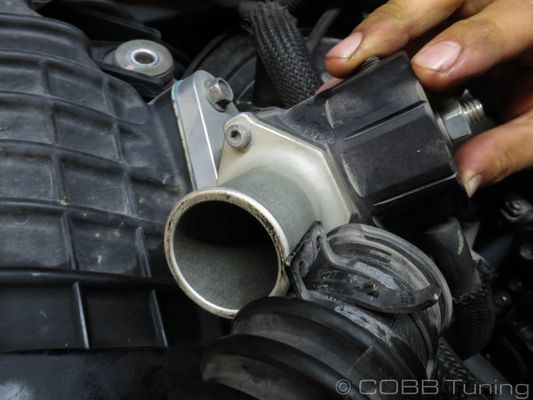
- Loosen the turbo outlet clamp using a screwdriver or appropriately sized socket (Typically 7-8mm) along with the (2) throttle body clamps using a screwdriver or 8mm socket.

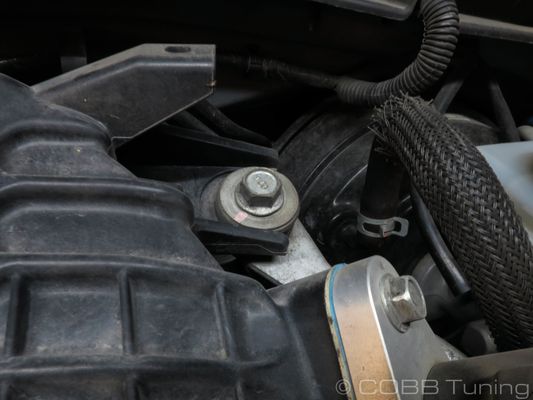
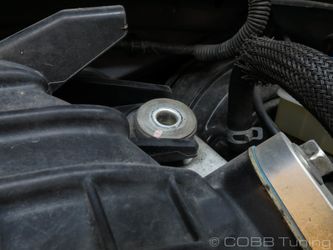
- Remove the two bolts holding the intercooler in place
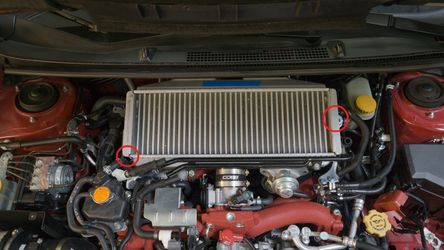

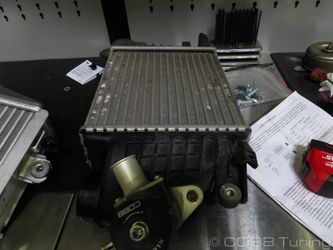
- Gently wiggle TMIC free from engine bay by sliding it back and then out. Be careful to not damage your windshield wiper cowl.
This removal applies to the following vehicles
- 2008 - 2014 WRX
- 2005 - 2009 Legacy GT
- 2005 - 2009 Outback XT
- 2008 - 2013 Forester XT
- Locate the factory BPV and remove the recirculation hose by squeezing down the hose clamp with your pliers.

- Remove the vacuum reference line from the rear port of the BPV
- Moving to the other side, unbolt the flange where it meets the turbo using a 12mm socket.

- Undo the hose clamp attaching the throttle body coupler to the intercooler. This will typically require a phillips screwdriver, 7 or 8mm socket.
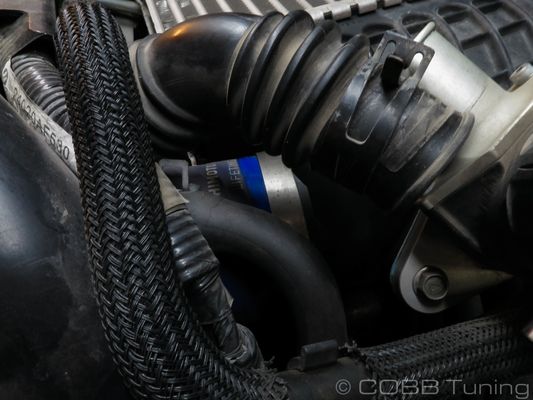
- Unbolt the remaining 12mm bolt going to the intercooler support bracket and remove the intercooler from the car.
It may be worth spraying down the bolts with a penetrating oil and allowing them to sit for a little while in order to allow them to come lose more easily without any breakage.
- Using your 10mm socket remove the two bolts from the driver's side of the heat shield.
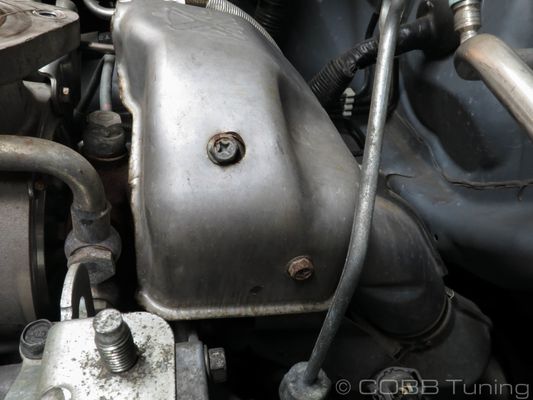
- Followed down by the one on the rear passenger's side.
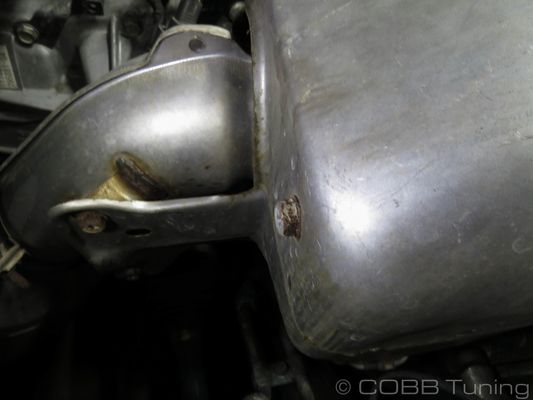
- And the two low down near to the passenger's side frame rail.
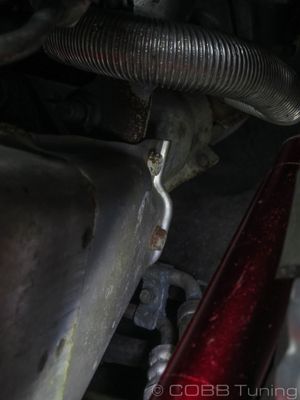
With those items removed you can now remove the heatshield from the car.
It may require re-clocking the transmission dipstick in order to have the clearance needed to remove the heatshield easily.
- Now is a good time to check out the heat shield bracket as the factory units are quite prone to cracking and damage. Replace yours as needed.
- Apply penetrating oil to the bolts on the downpipe. Allow it to sit for a reasonable amount of time before removing.
- Using a 14mm wrench remove the two 14mm nuts and bolts as well as the three 14mm nuts attaching the downpipe to the turbo. Save these as well as the bracket that held the heatshield for reuse with the COBB Downpipe.
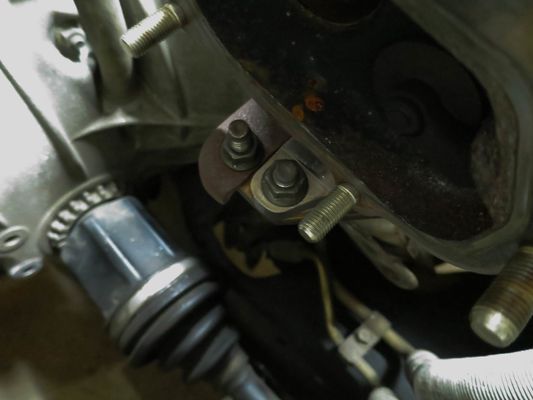
- Remove the 14mm bolt holding the downpipe to the transmission under the car. This bolt is not used on the COBB downpipe. On some vehicle there may be additional heat shielding preventing access to the bolt, these can be removed.
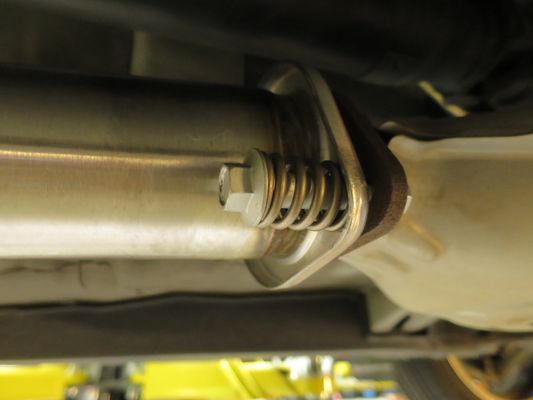
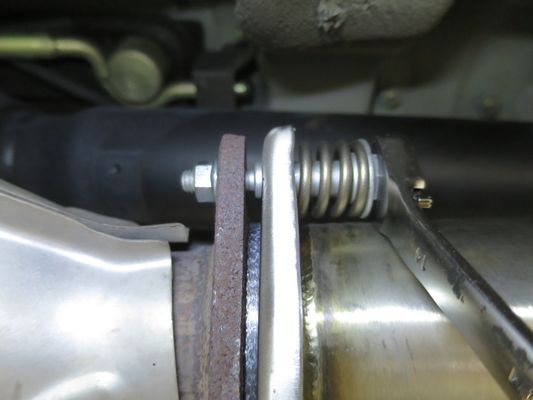
- Remove the spring bolts holding the downpipe to your cat-back. Save them for reuse later.
- Disconnect the rear O2 sensor wiring harness from the connector attached to the transmission.
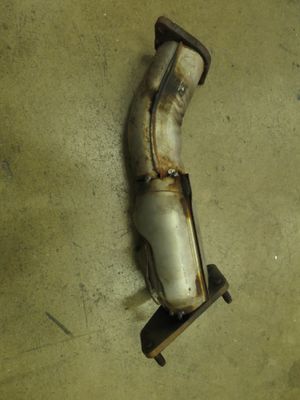
- Now that the downpipe is completely loose you should be able to remove it from the car with a little wiggling. If you're having a hard time you can remove the rear piece and remove it in two sections.
- With the downpipe out of the way you should be able to get to the 5 bolts holding the up-pipe in up top, two are on underneath where the downpipe connected to the turbo, and three are on the passenger's side of the turbo.

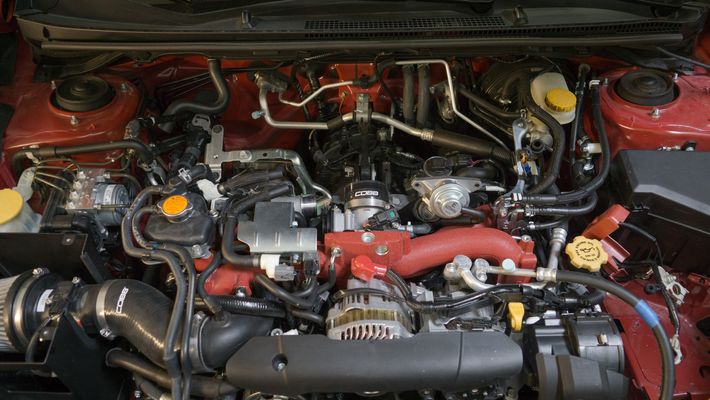
- With that done, you should be able to pull the manifold and up-pipe out the bottom of the car.
- Before moving on, check over all of your gaskets and make sure they are in good condition.
COBB Uppipe Install
- With the gasket in place, slip the up-pipe into place from the bottom, you can sometimes get it to stay in place, but it will help to have a friend to get a nut in place to hold it up.
- Apply a small amount of anti-seize to the threads of each fastener before installation.
- Install the manifold and loosely bolt it down to the manifold, crossover pipe, and uppipe making sure to install gaskets as you go.
- Once everything but the downpipe is in, go through starting from the cylinder head and torque everything down to factory Specs.
- With those tightened up, fit the downpipe in place and torque down to the exhaust.
- Re-install the top mount intercooler making sure everything is seated appropriately to avoid leaks.
- Flash a tune for your new Uppipe
- Go out and enjoy!
CARB Sticker Application
This product is 50 state legal and has a CARB EO. For details and other carb legal parts check out our page CARB Executive Orders for COBB Products
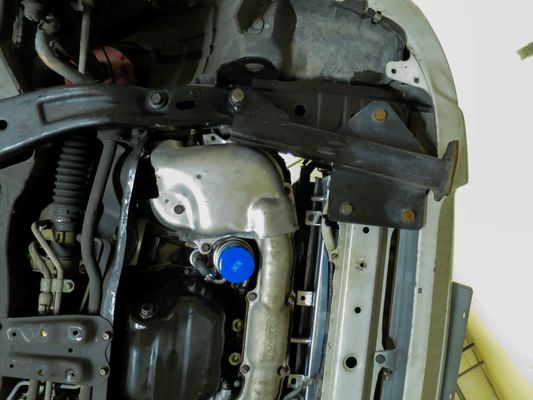
(Where Applicable) The product information label is required to aid inspection of the vehicle under the California Smog Check Program.
Apply the supplied CARB sticker in a clear, easy to find location. Typically underhood, or on the radiator core support.
Links
COBB Product Install Instructions for Subaru Vehicles
Main Installation Instruction Repository for Subaru Parts
Calibration Map Notes for Subaru Vehicles
Link to Subaru Map Notes to see what map you should be on given the parts you've added
Contact Us:
COBB Customer Support
Web Support and Tech Articles: COBB Tuning Customer Support Center
Email: support@cobbtuning.com
Phone support available 9am to 6pm Monday-Thursday. 9am to 4pm Friday (CST)
866.922.3059
return to www.cobbtuning.com
Related pages
Copyright 2025 © COBB Tuning Products LLC. All Rights Reserved. | www.cobbtuning.com