724450 - COBB Silicone Turbo Inlet (Plastic Manifold Cars)
- Brandyn Mowat

724450 - COBB Silicone Turbo Inlet (Plastic Manifold Cars)
Subaru Legacy GT, Outback XT 2005 - 2009
Subaru WRX 2008 - 2014
Subaru Impreza GT 2009
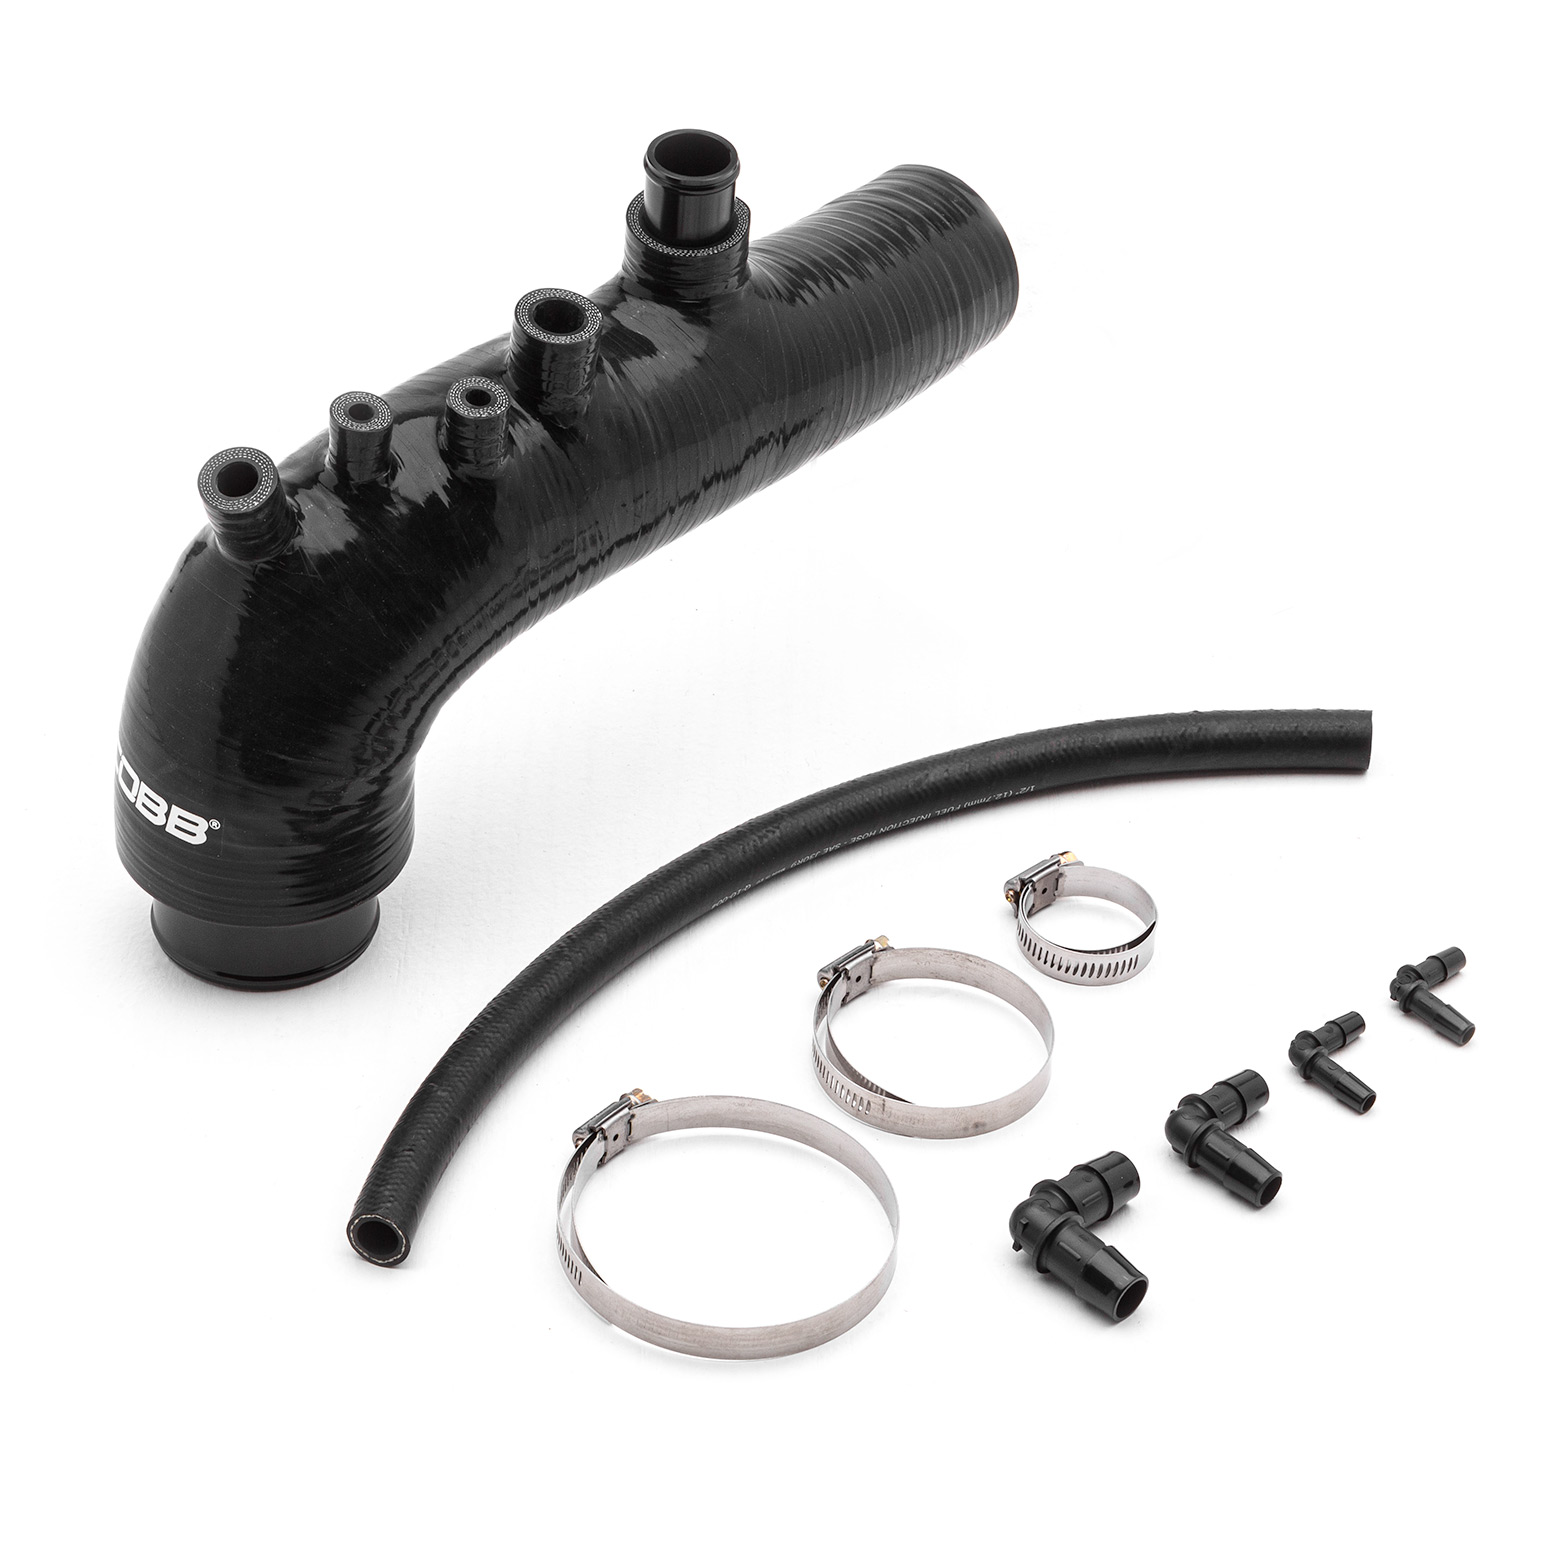
Congratulations on your purchase of the COBB Tuning Subaru Silicone Turbo Inlet! The following instructions will assist you through the installation process. Please read them BEFORE beginning the install to familiarize yourself with the steps and tools needed. If you feel you cannot properly perform this installation, we HIGHLY recommend you take the vehicle to a qualified and experienced automotive technician.
NOTE: This methodology of installing a turbo inlet hose is more involved, as we remove the intake manifold. However, due to our turbo inlet hose being packaged with fuel system upgrades, removing the intake manifold streamlines the install of fuel injectors, and thus, we prefer this approach.
IMPORTANT! Installing this kit will require custom tuning or utilizing an appropriate Stage Power Package map if you have a matching mechanical configuration. Please consult with COBB or an authorized ProTuner in your area.
This removal applies to the following vehicles
- 2008 - 2014 WRX
- 2005 - 2009 Legacy GT
- 2005 - 2009 Outback XT
- 2008 - 2013 Forester XT
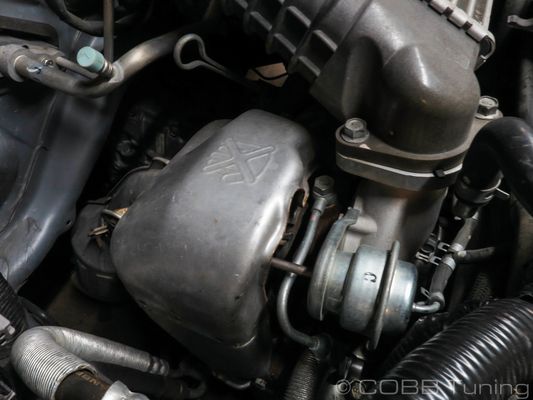
- Locate the factory BPV and remove the recirculation hose by squeezing down the hose clamp with your pliers.

- Remove the vacuum reference line from the rear port of the BPV
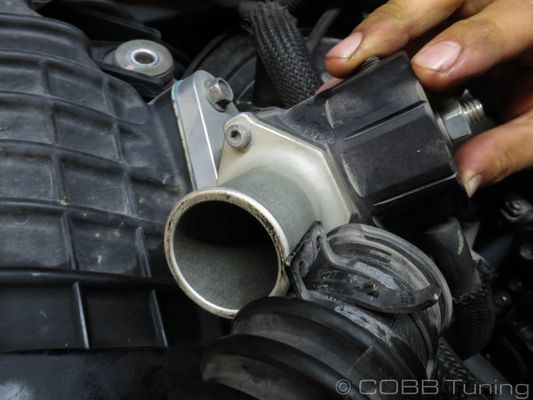
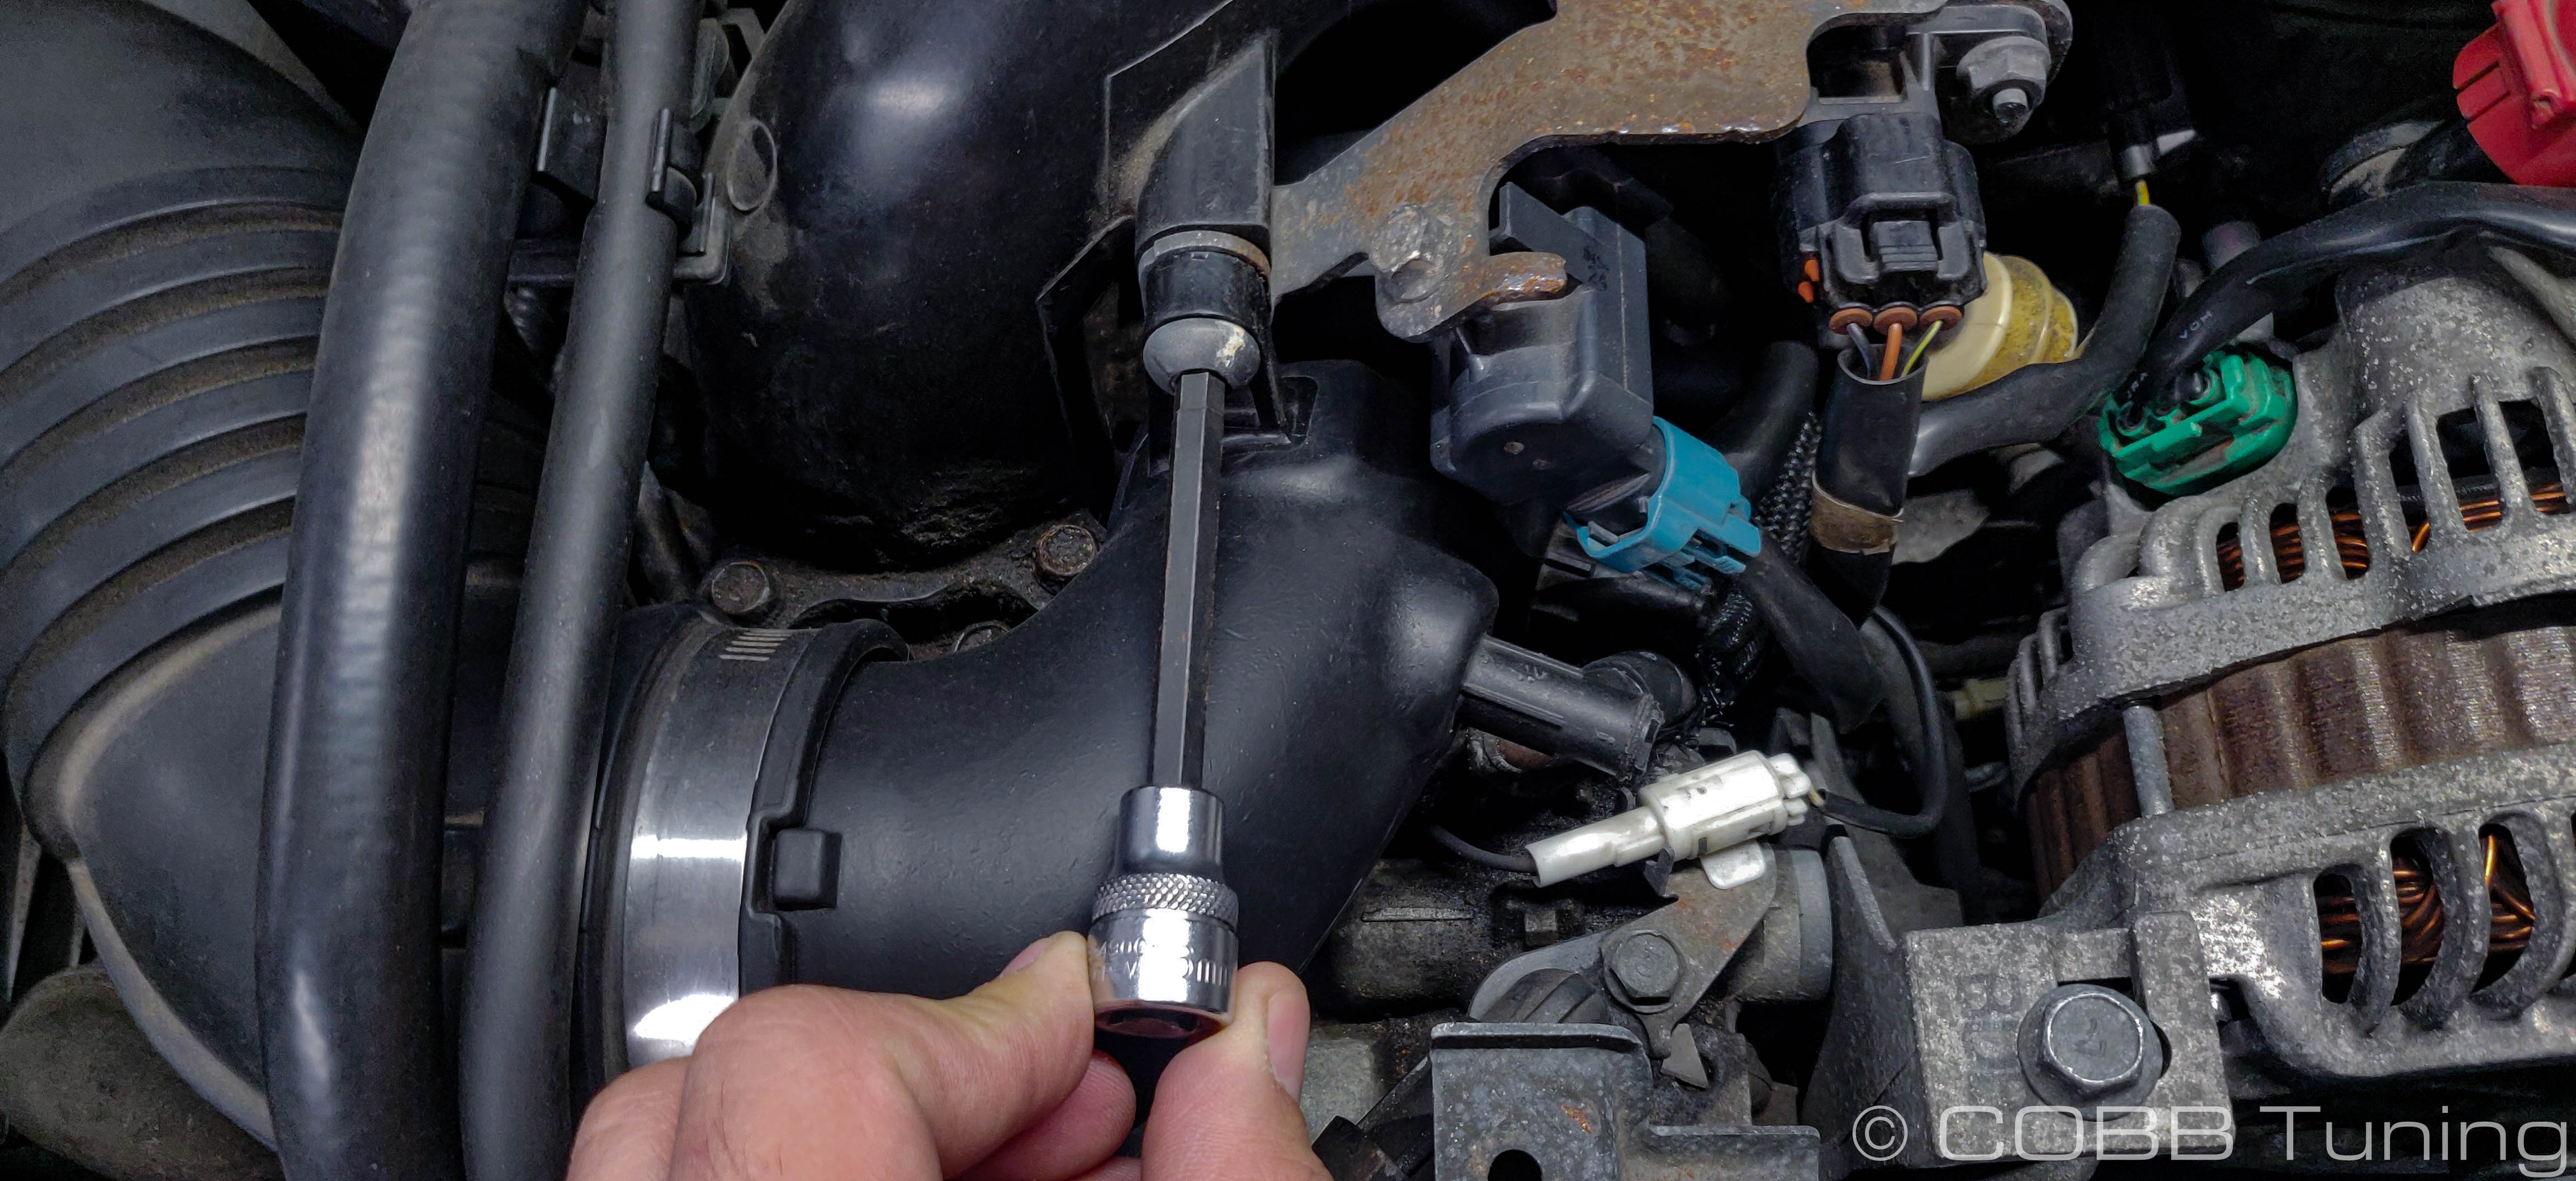
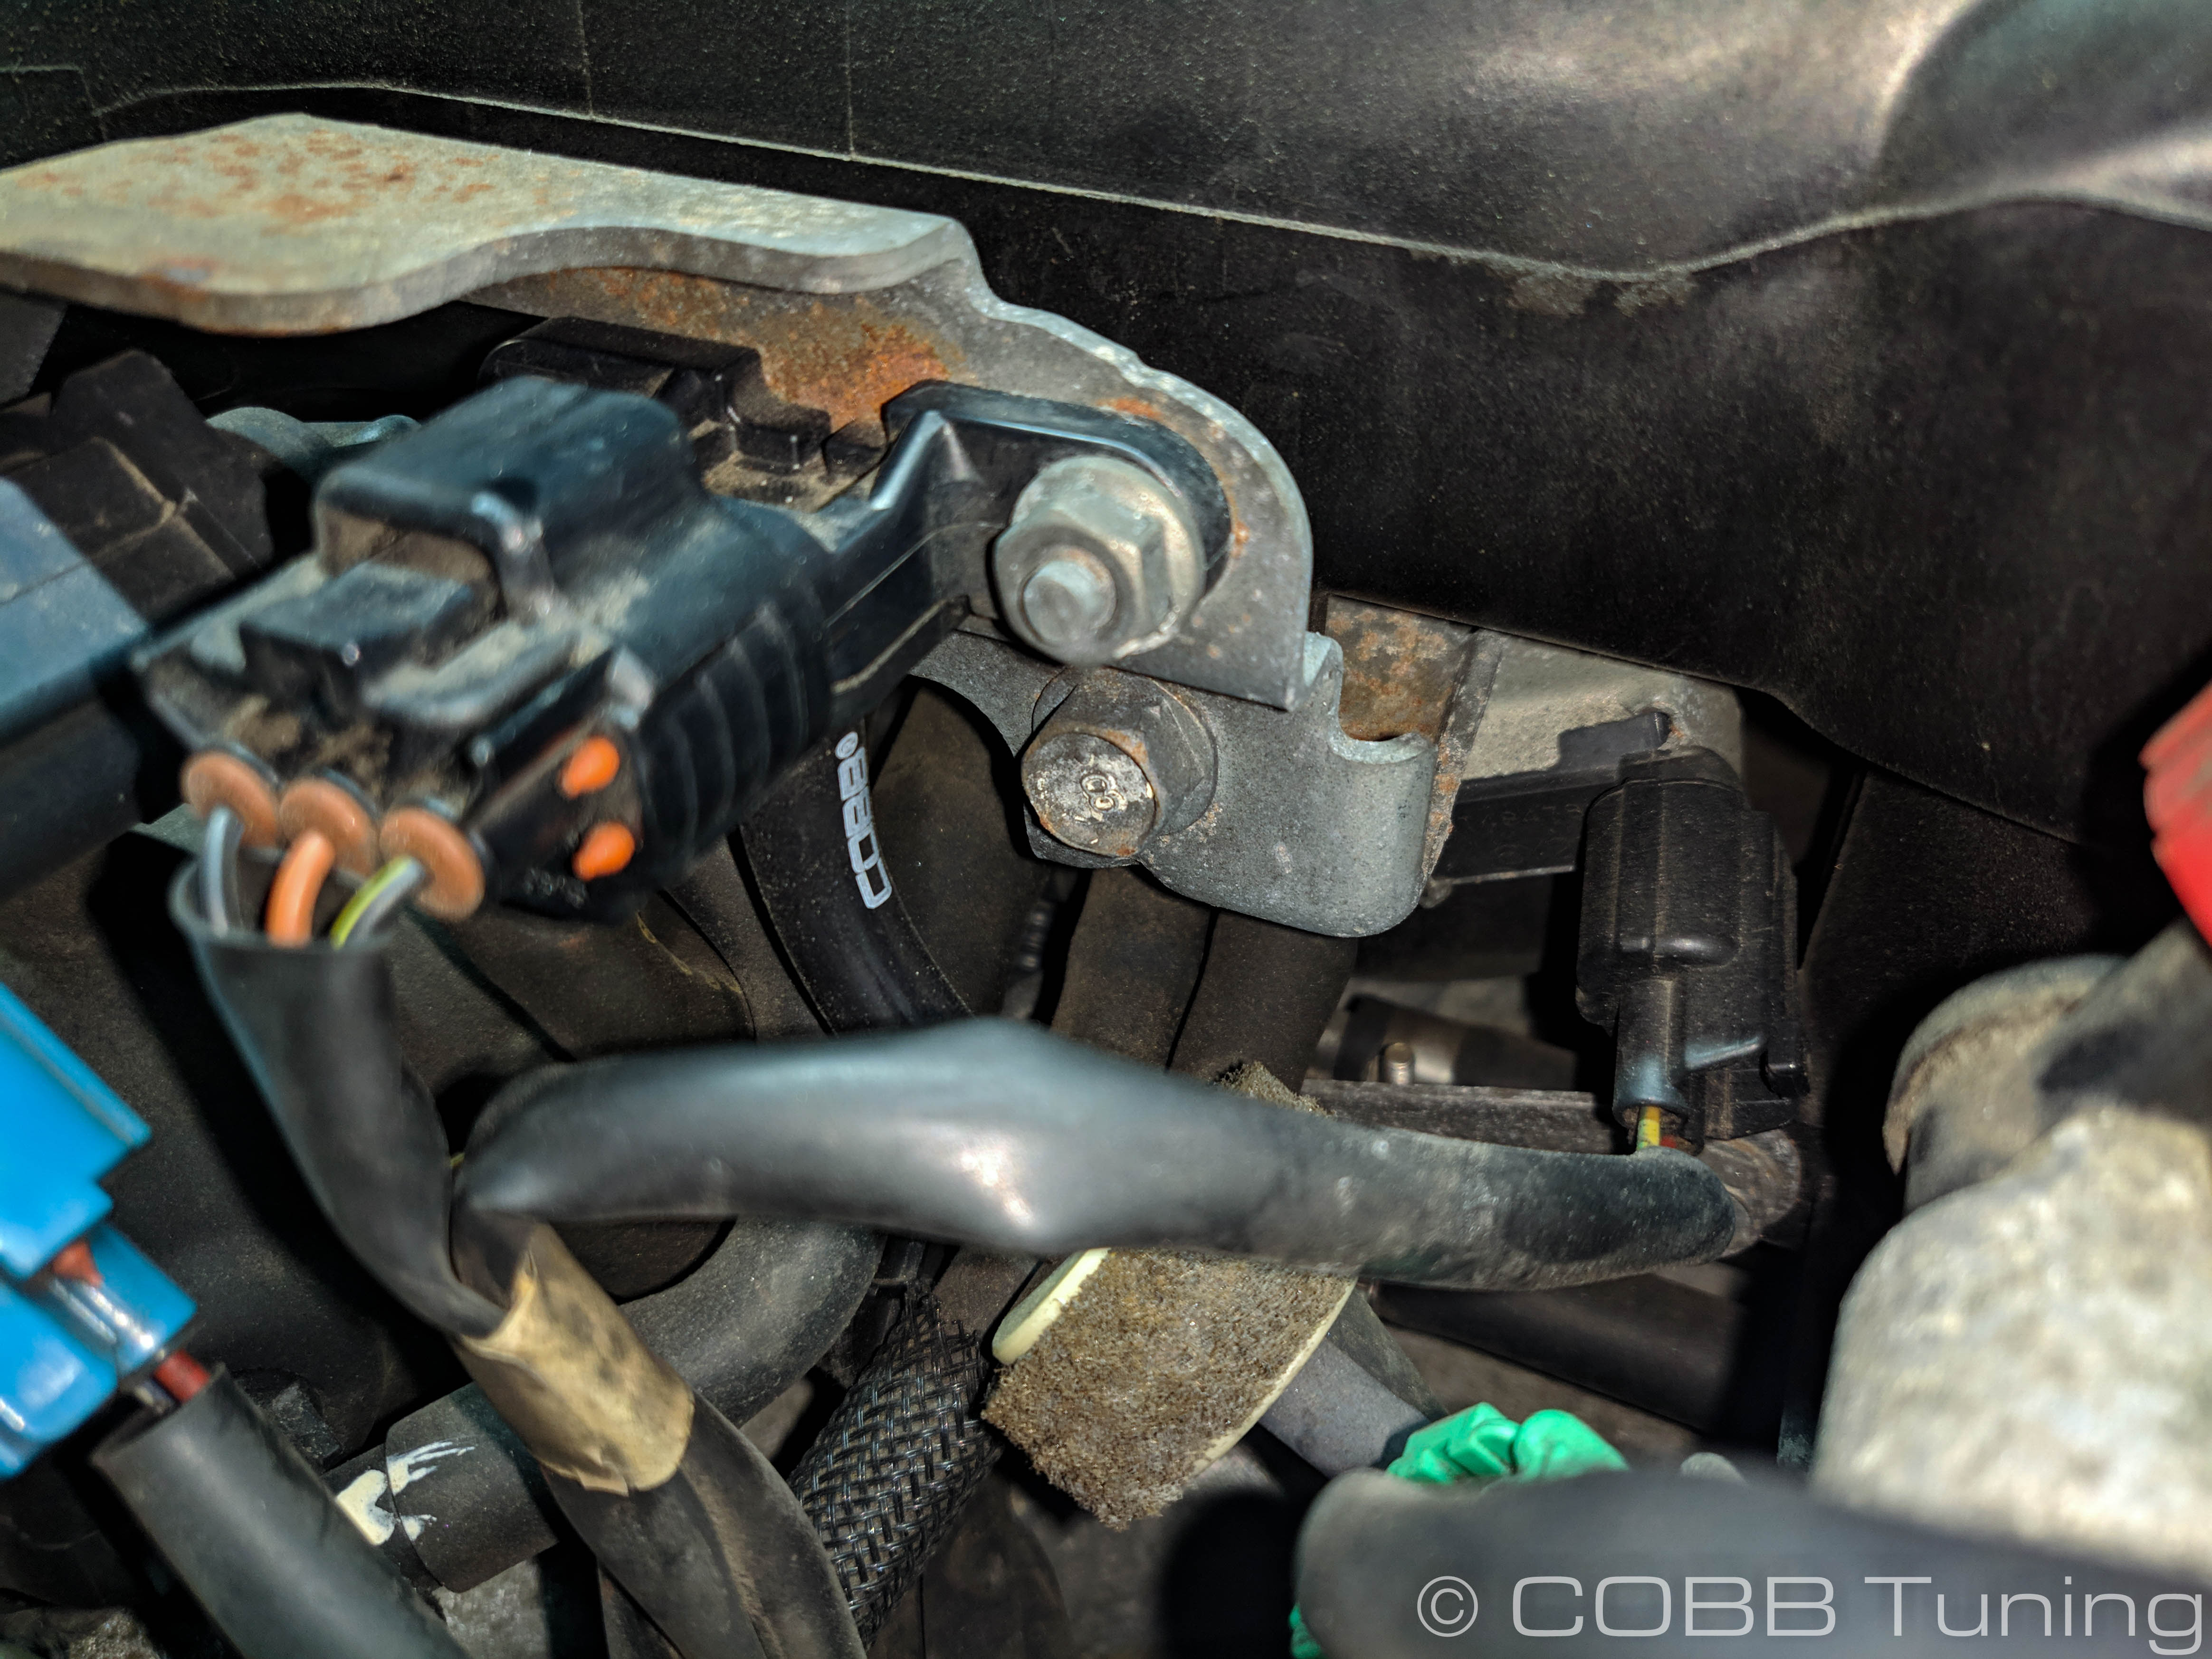
- Moving to the other side, unbolt the flange where it meets the turbo using a 12mm socket.

- Undo the hose clamp attaching the throttle body coupler to the intercooler. This will typically require a phillips screwdriver, 7 or 8mm socket.
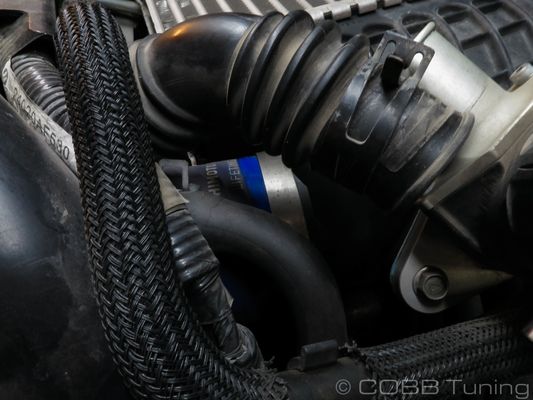
- Unbolt the remaining 12mm bolt going to the intercooler support bracket and remove the intercooler from the car.
While not strictly necessary, removing the intake manifold can make many things easier throughout the process as you can move many things out of your way all at once, and more easily see what is going on underneath as well.
Stock Inlet Hose Removal
- Park your car in a flat, level area and allow it to cool down.

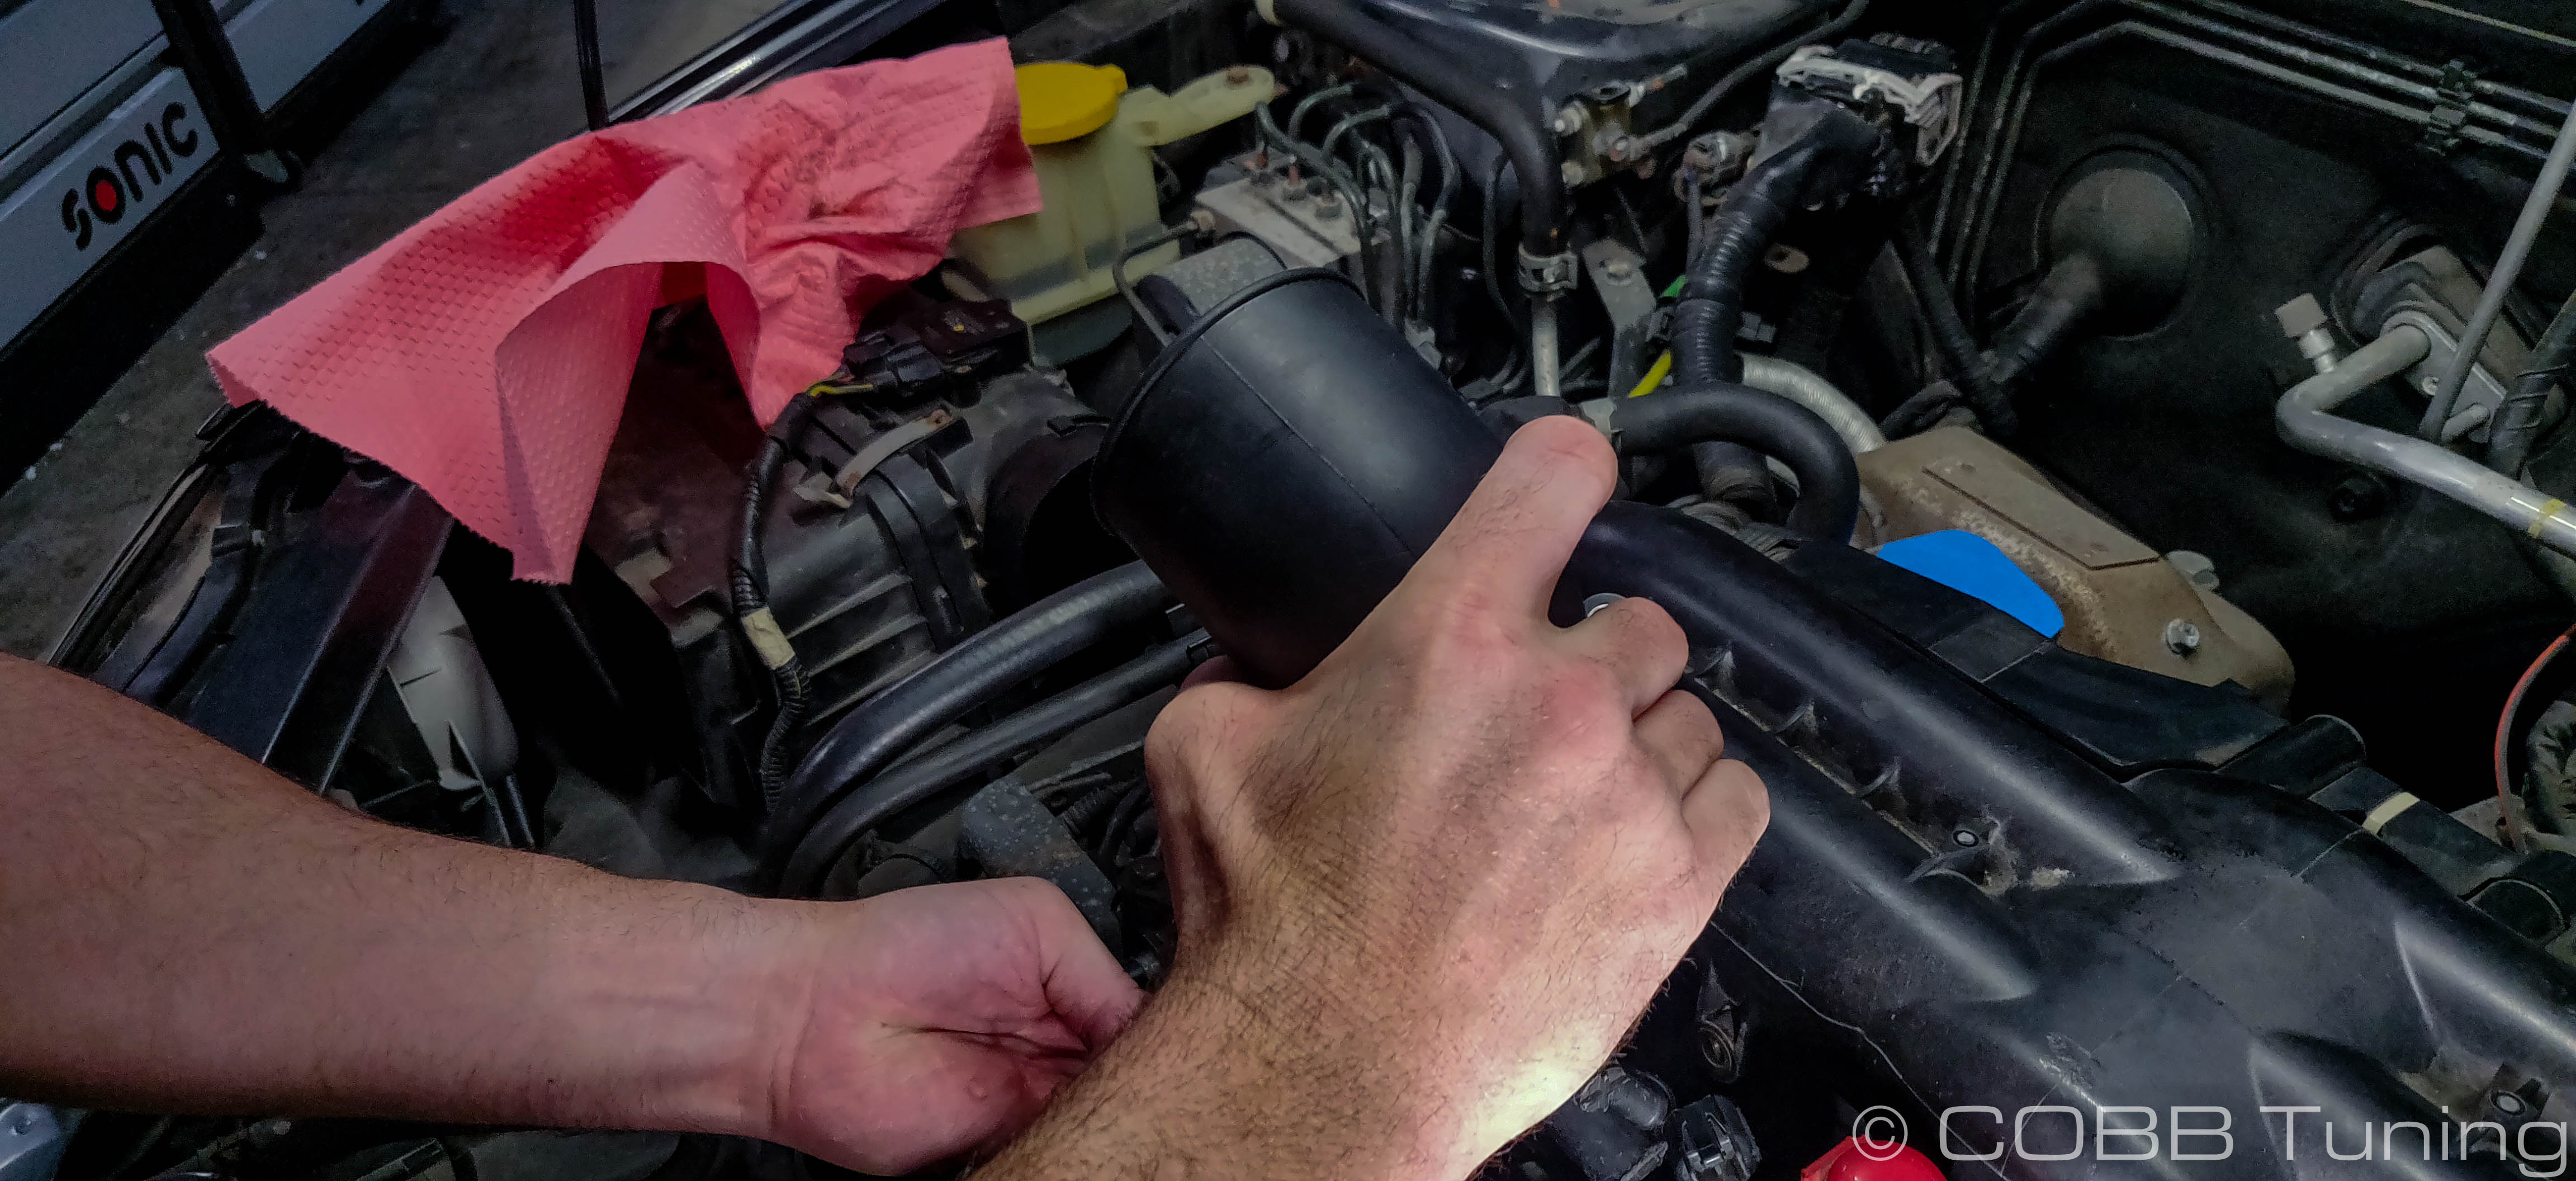
- Remove the two clips holding the factory snorkel in place and remove it from the car.

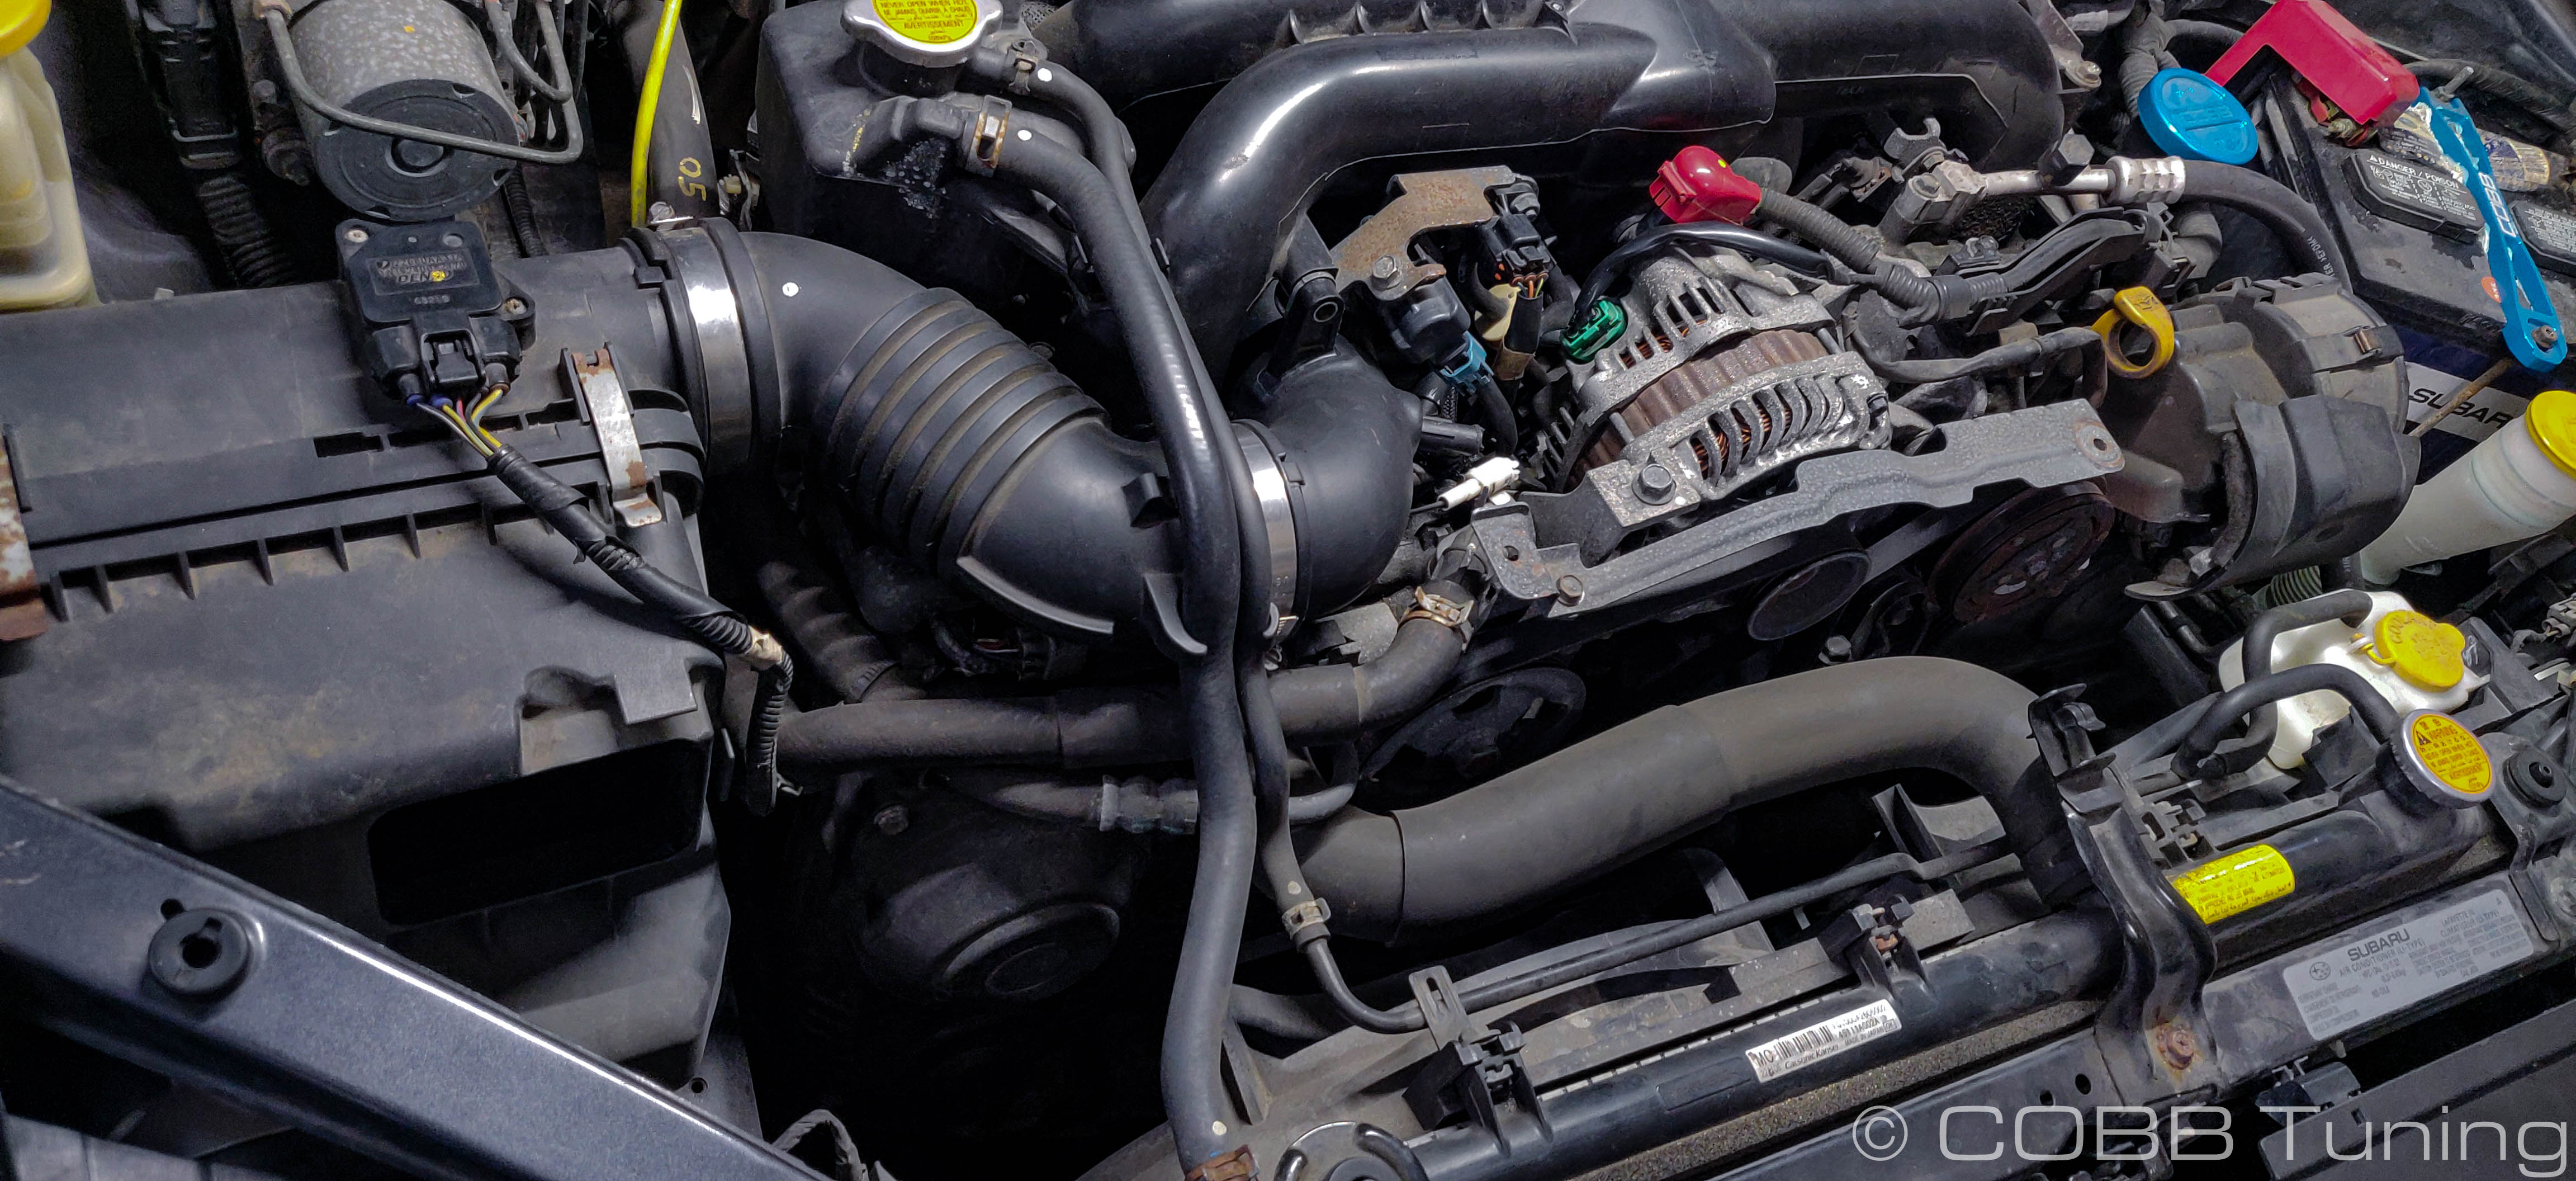
- Using a 7mm, 8mm or phillips screwdriver (depending on your clamps) loosen the hose clamps on either end of the post MAF hose.
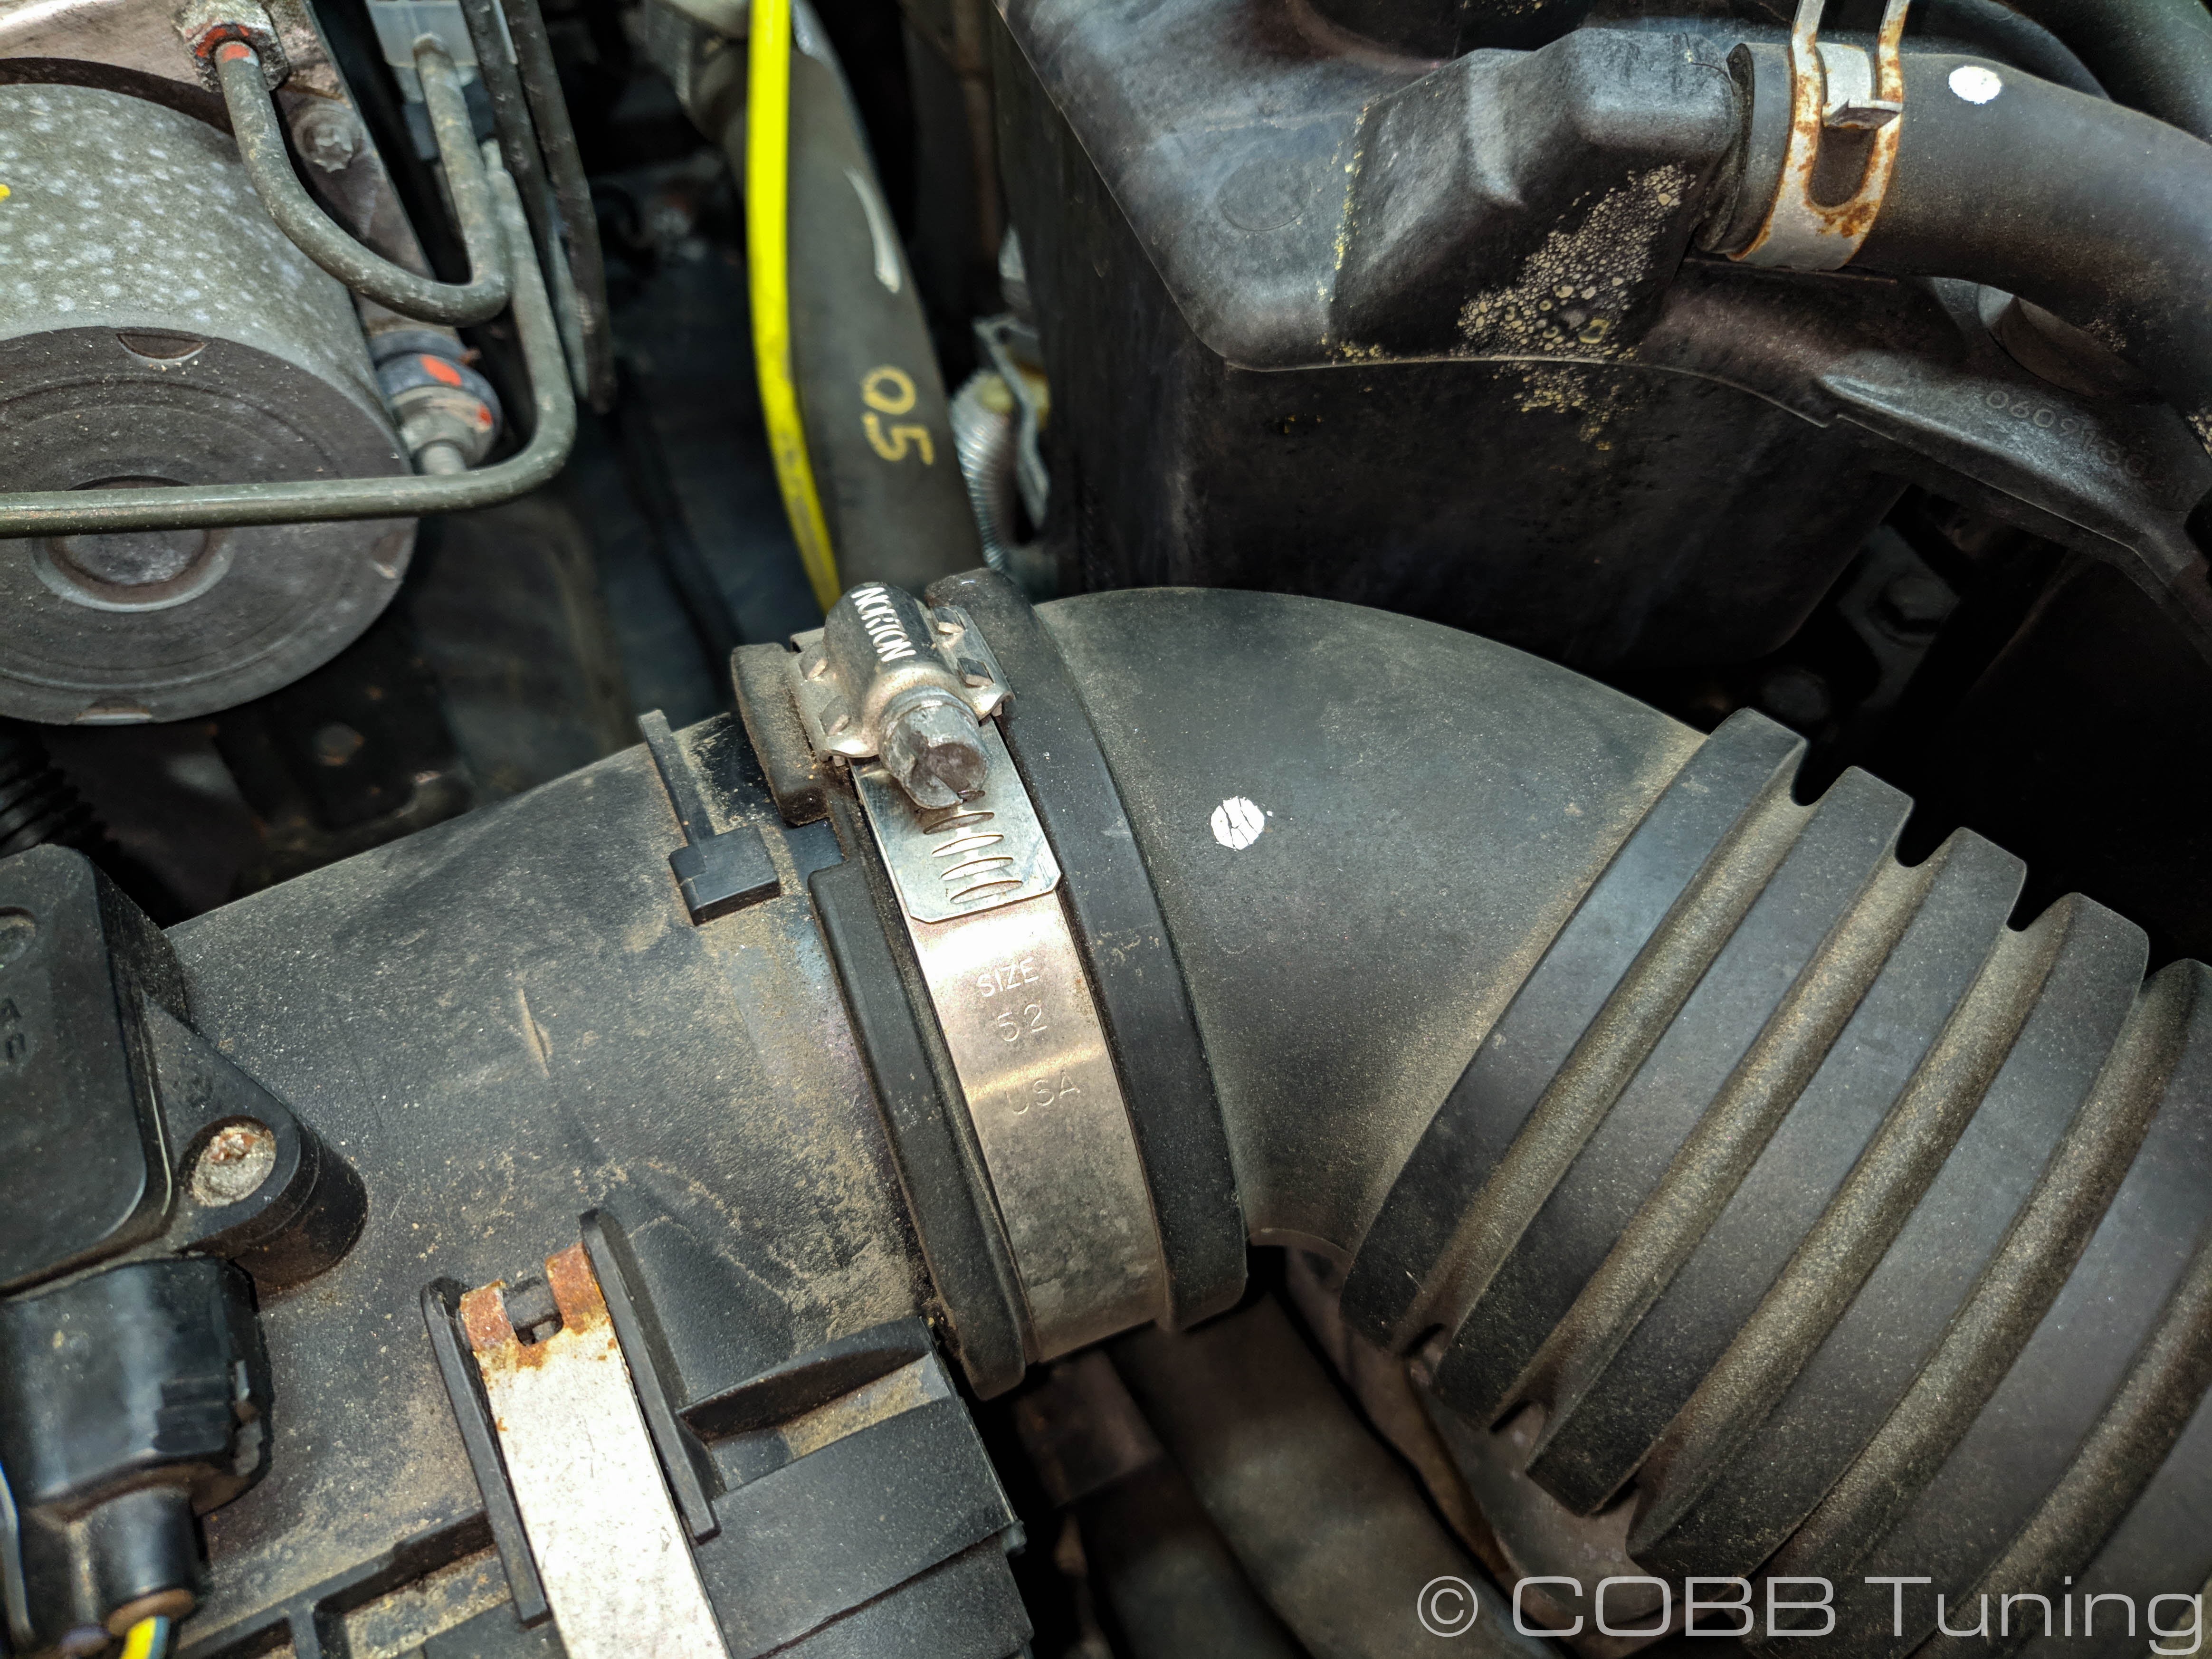
- You can then remove the post MAF hose from the car.
- Remove the front two hoses on the inlet.

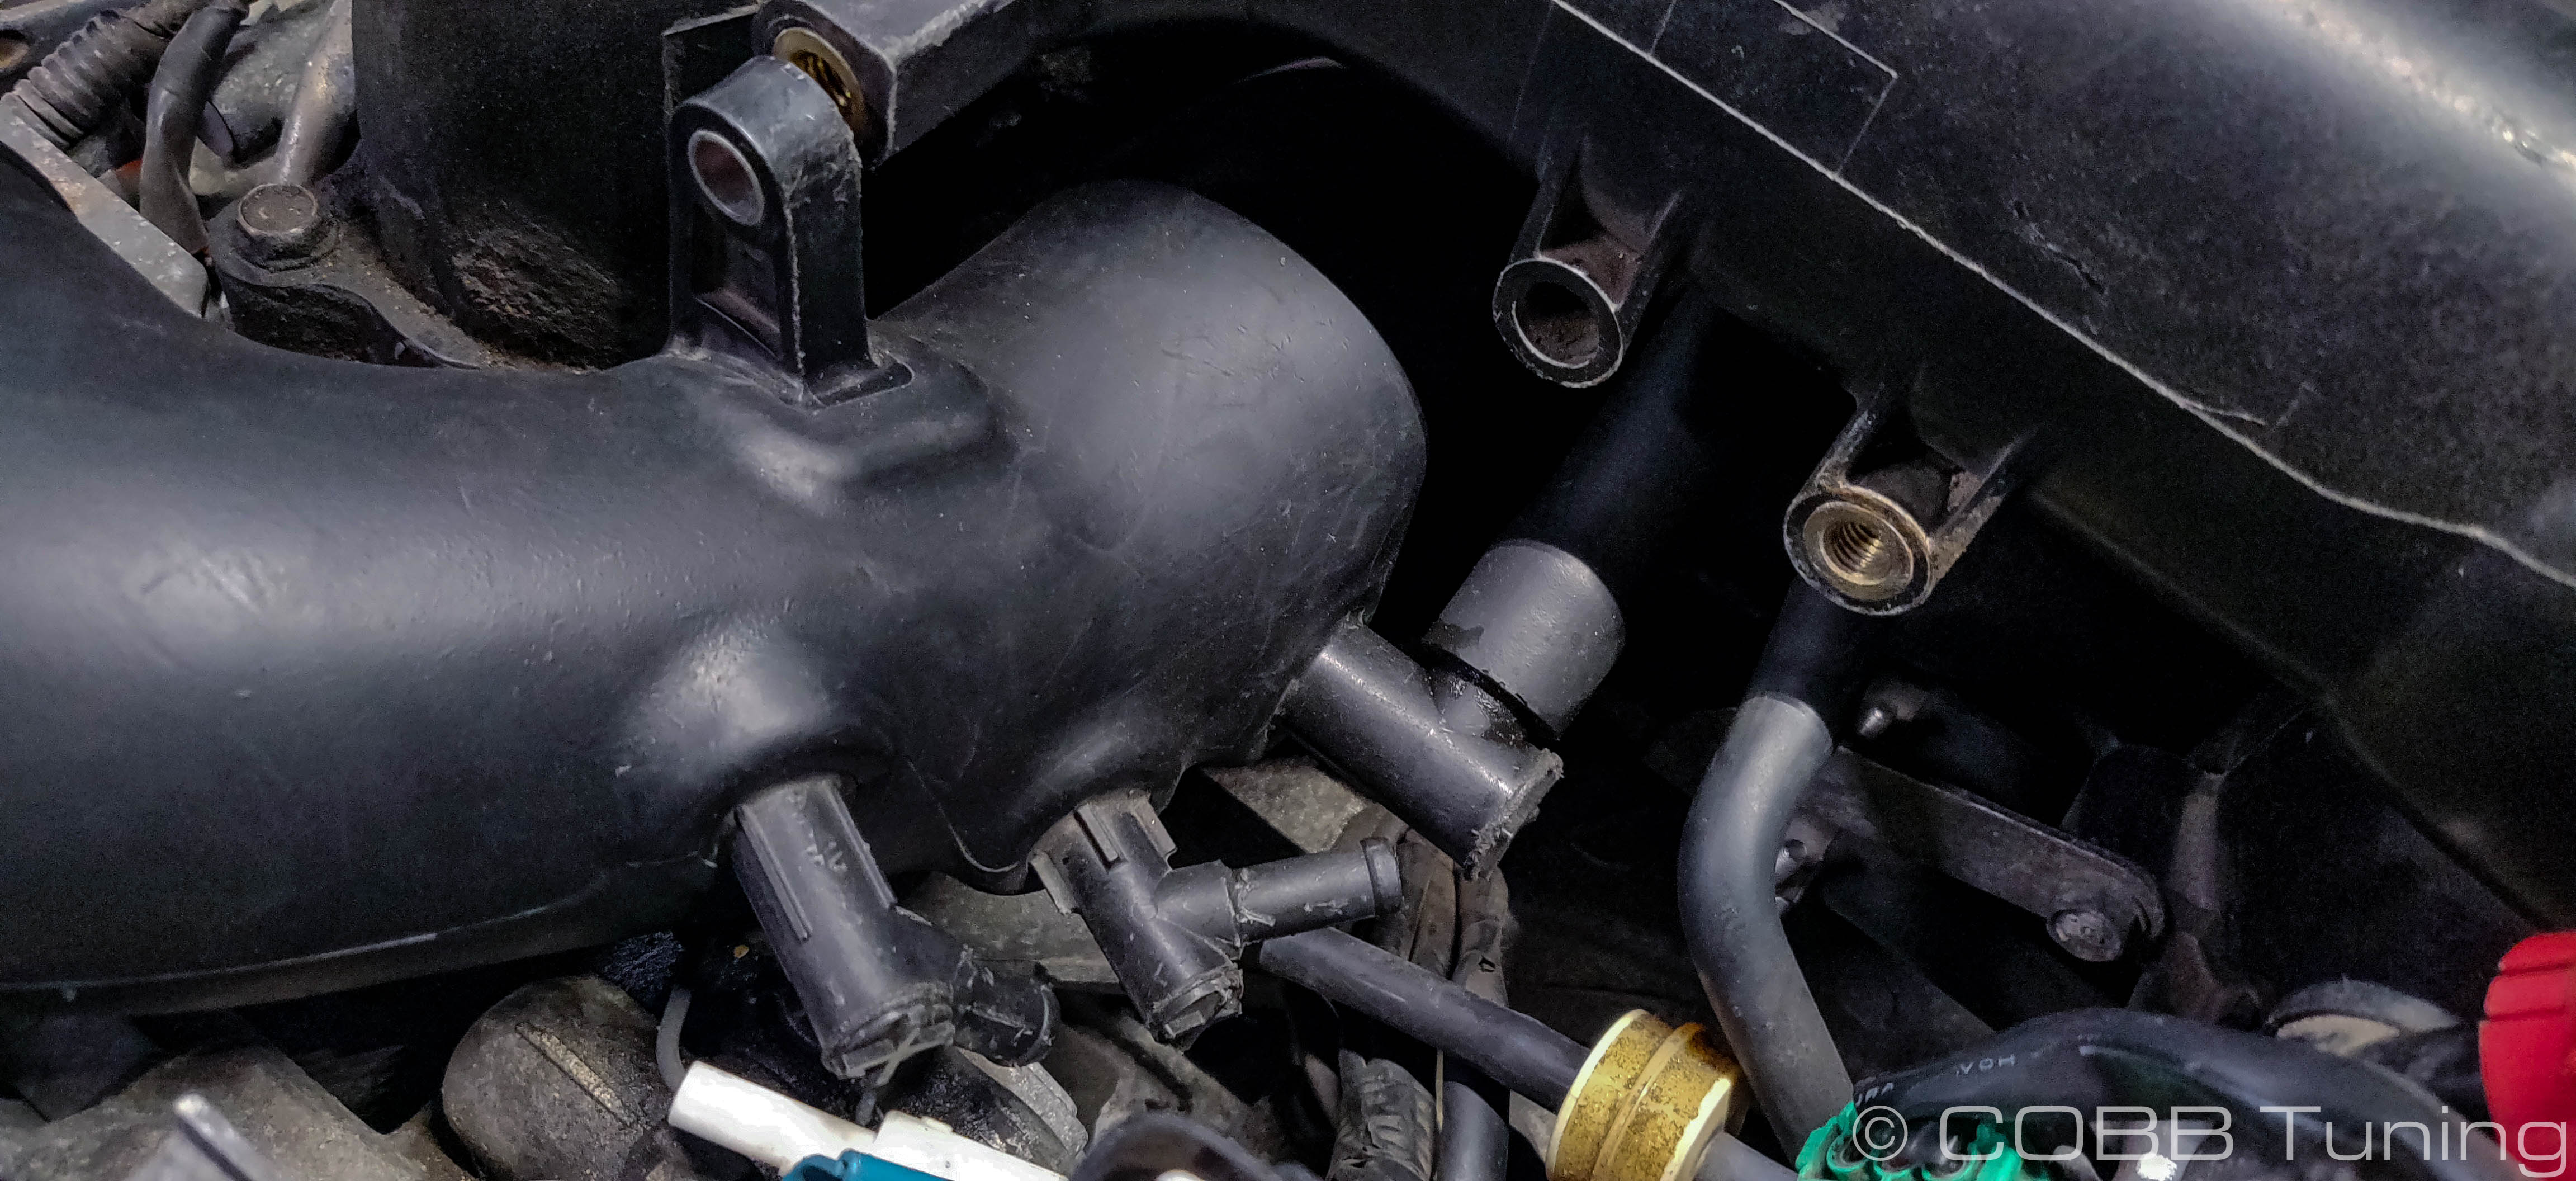
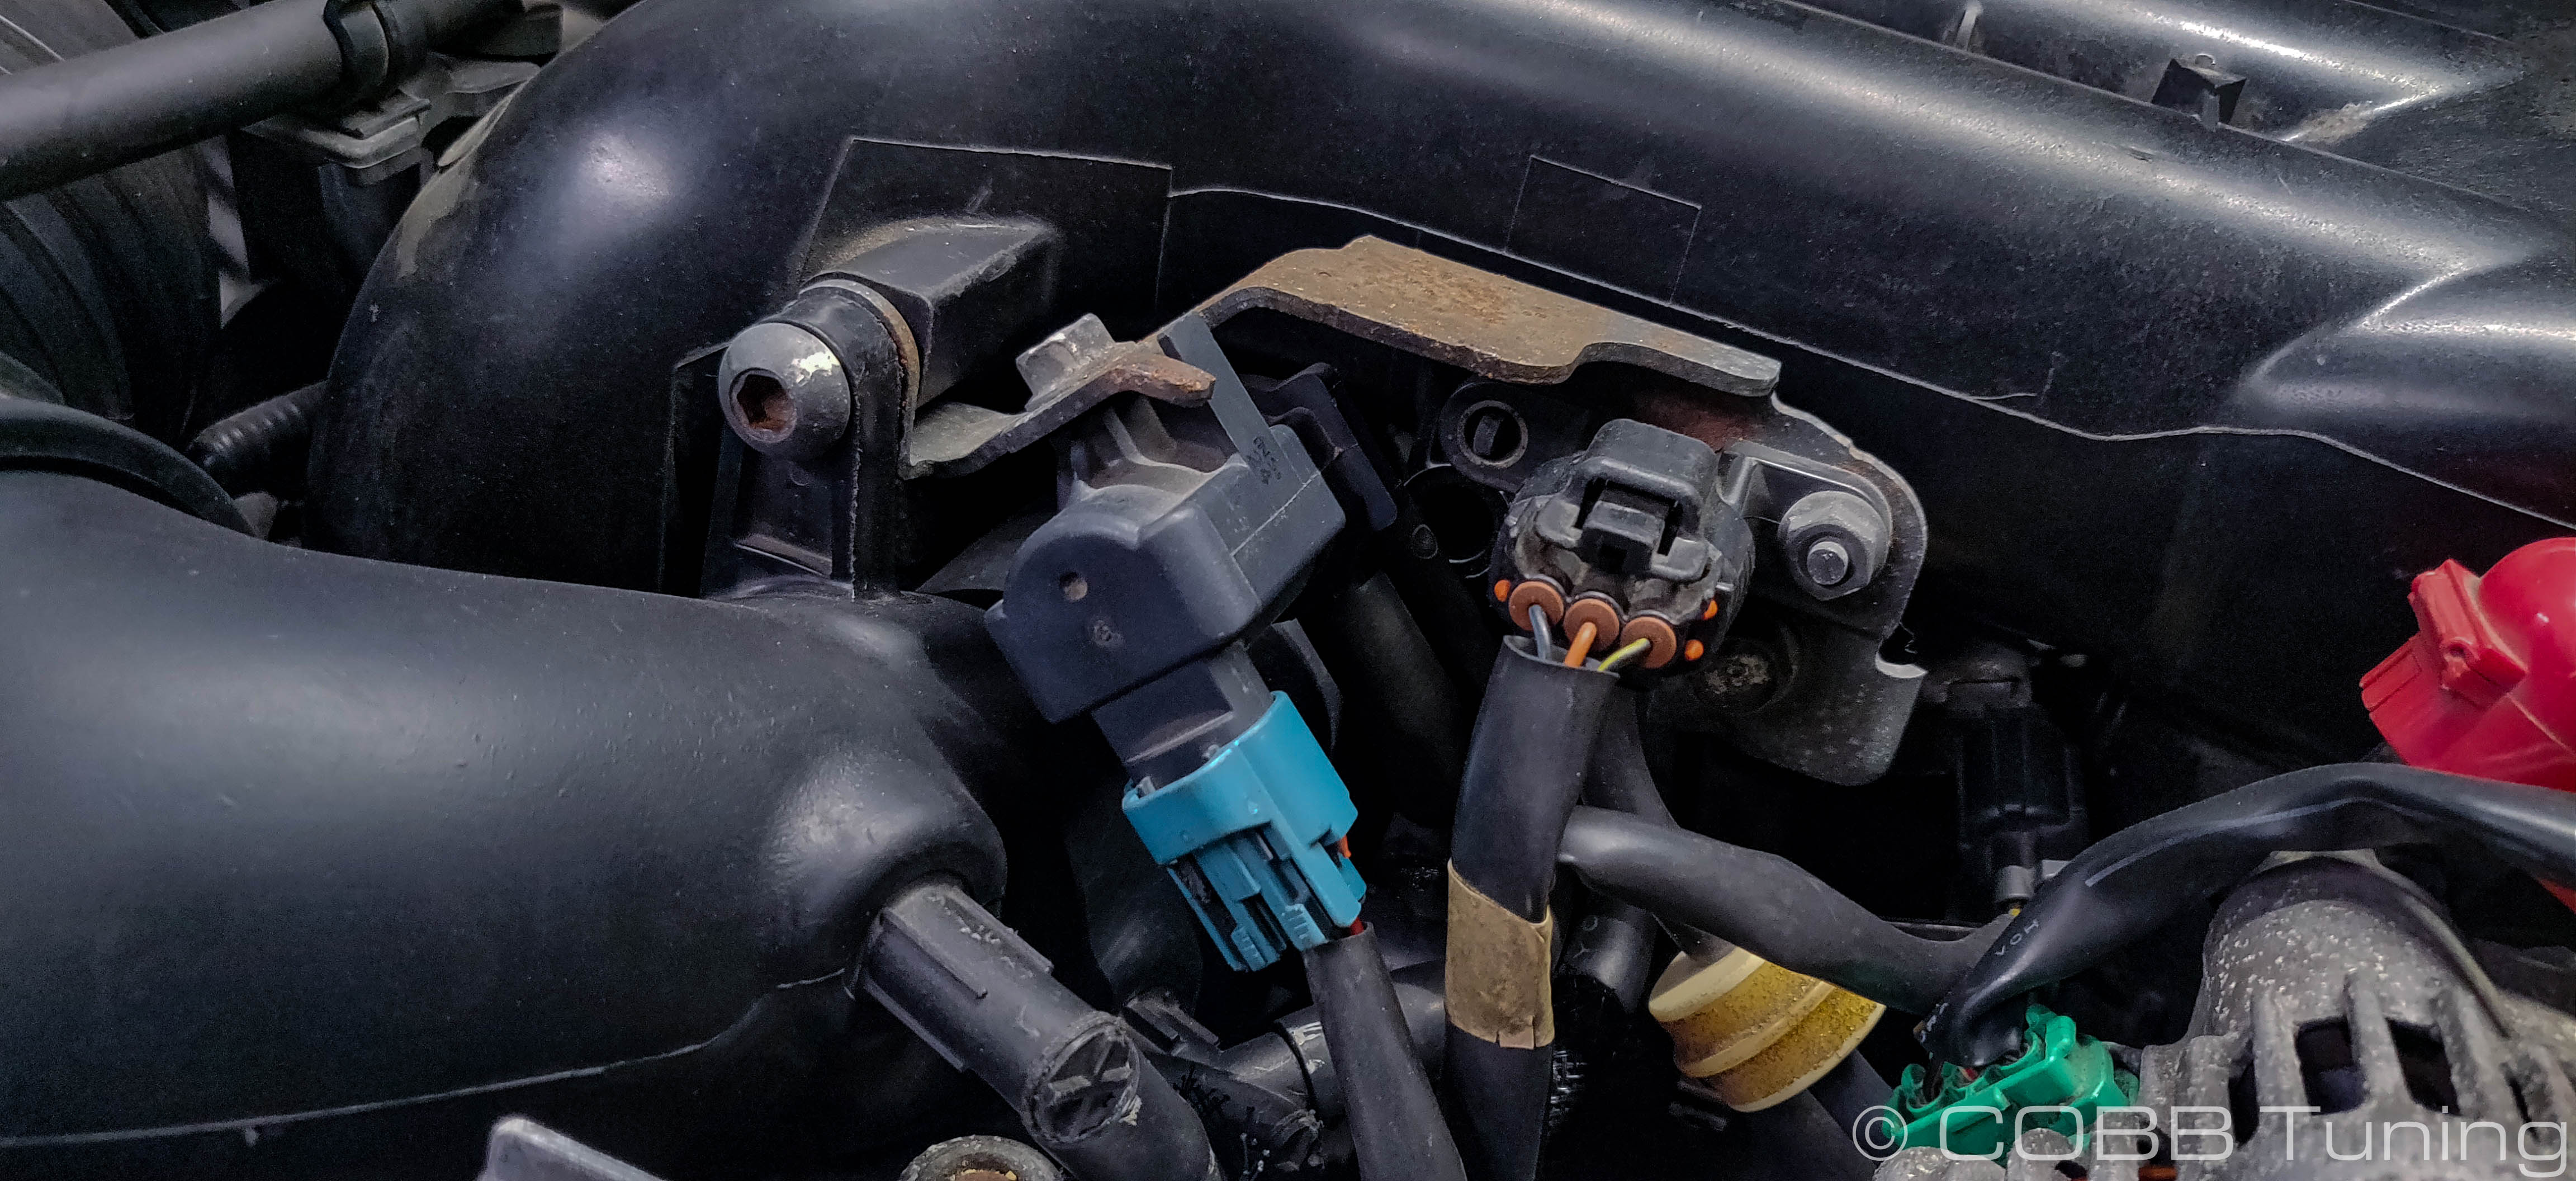
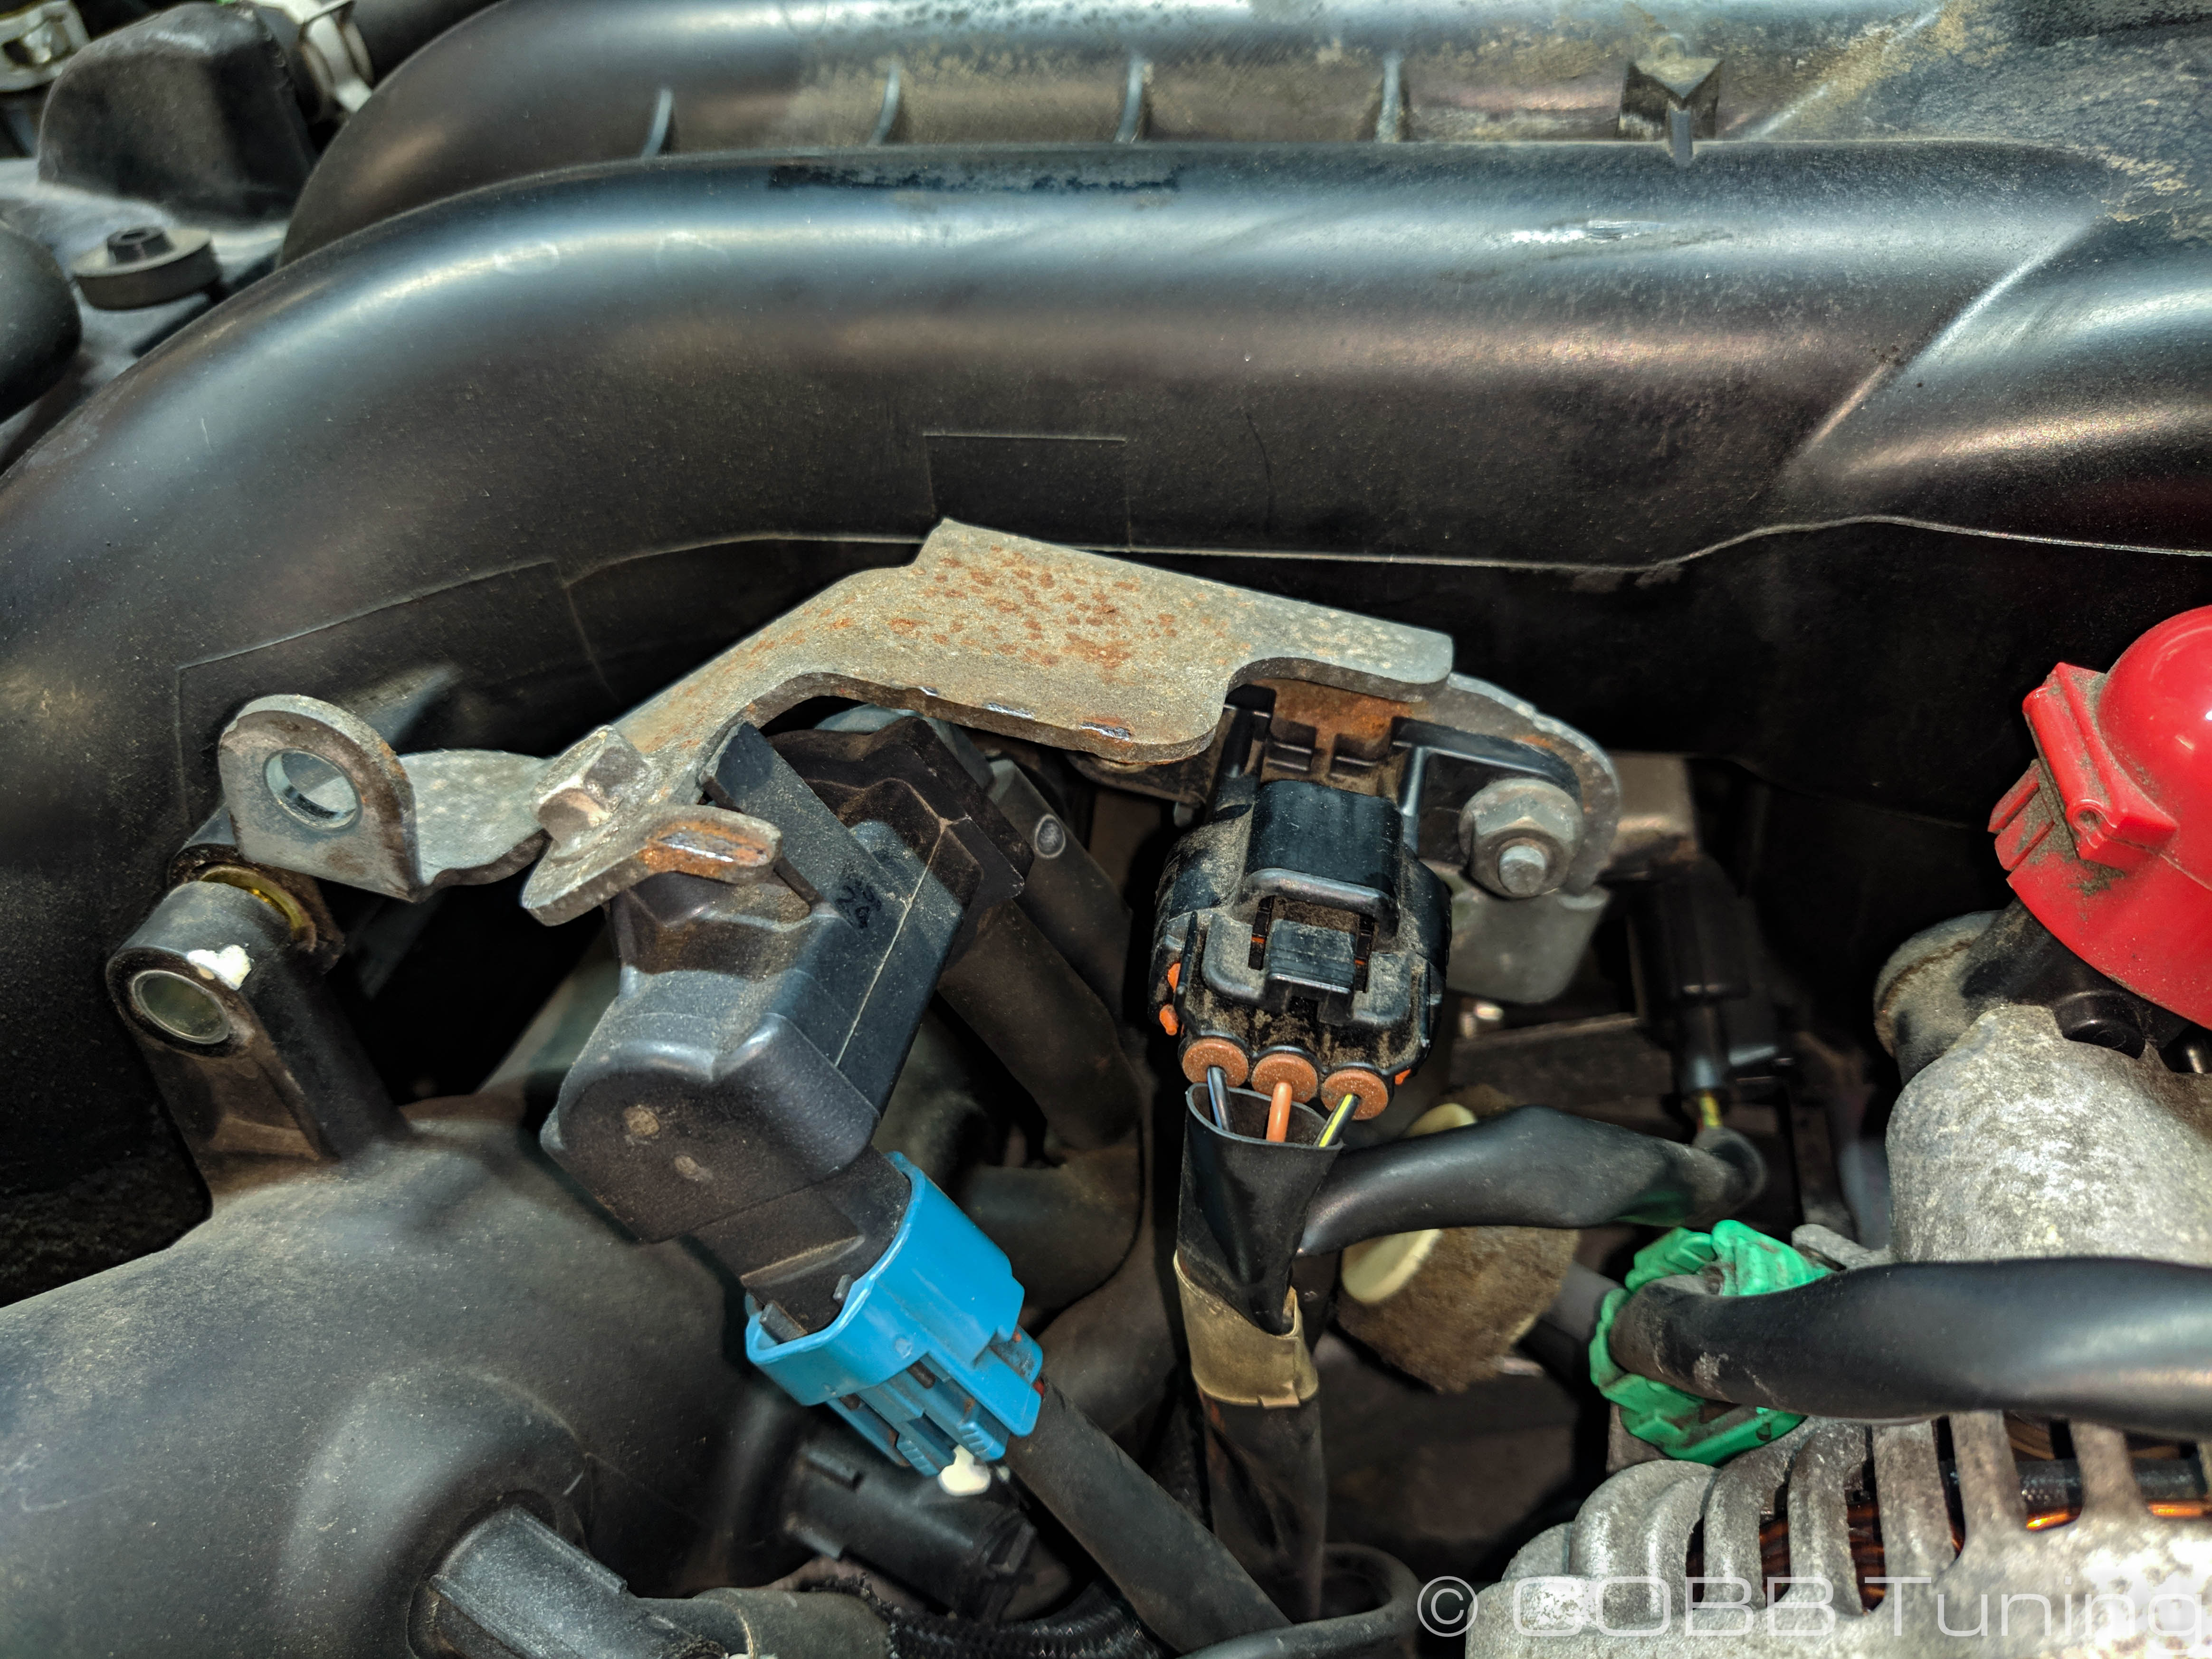
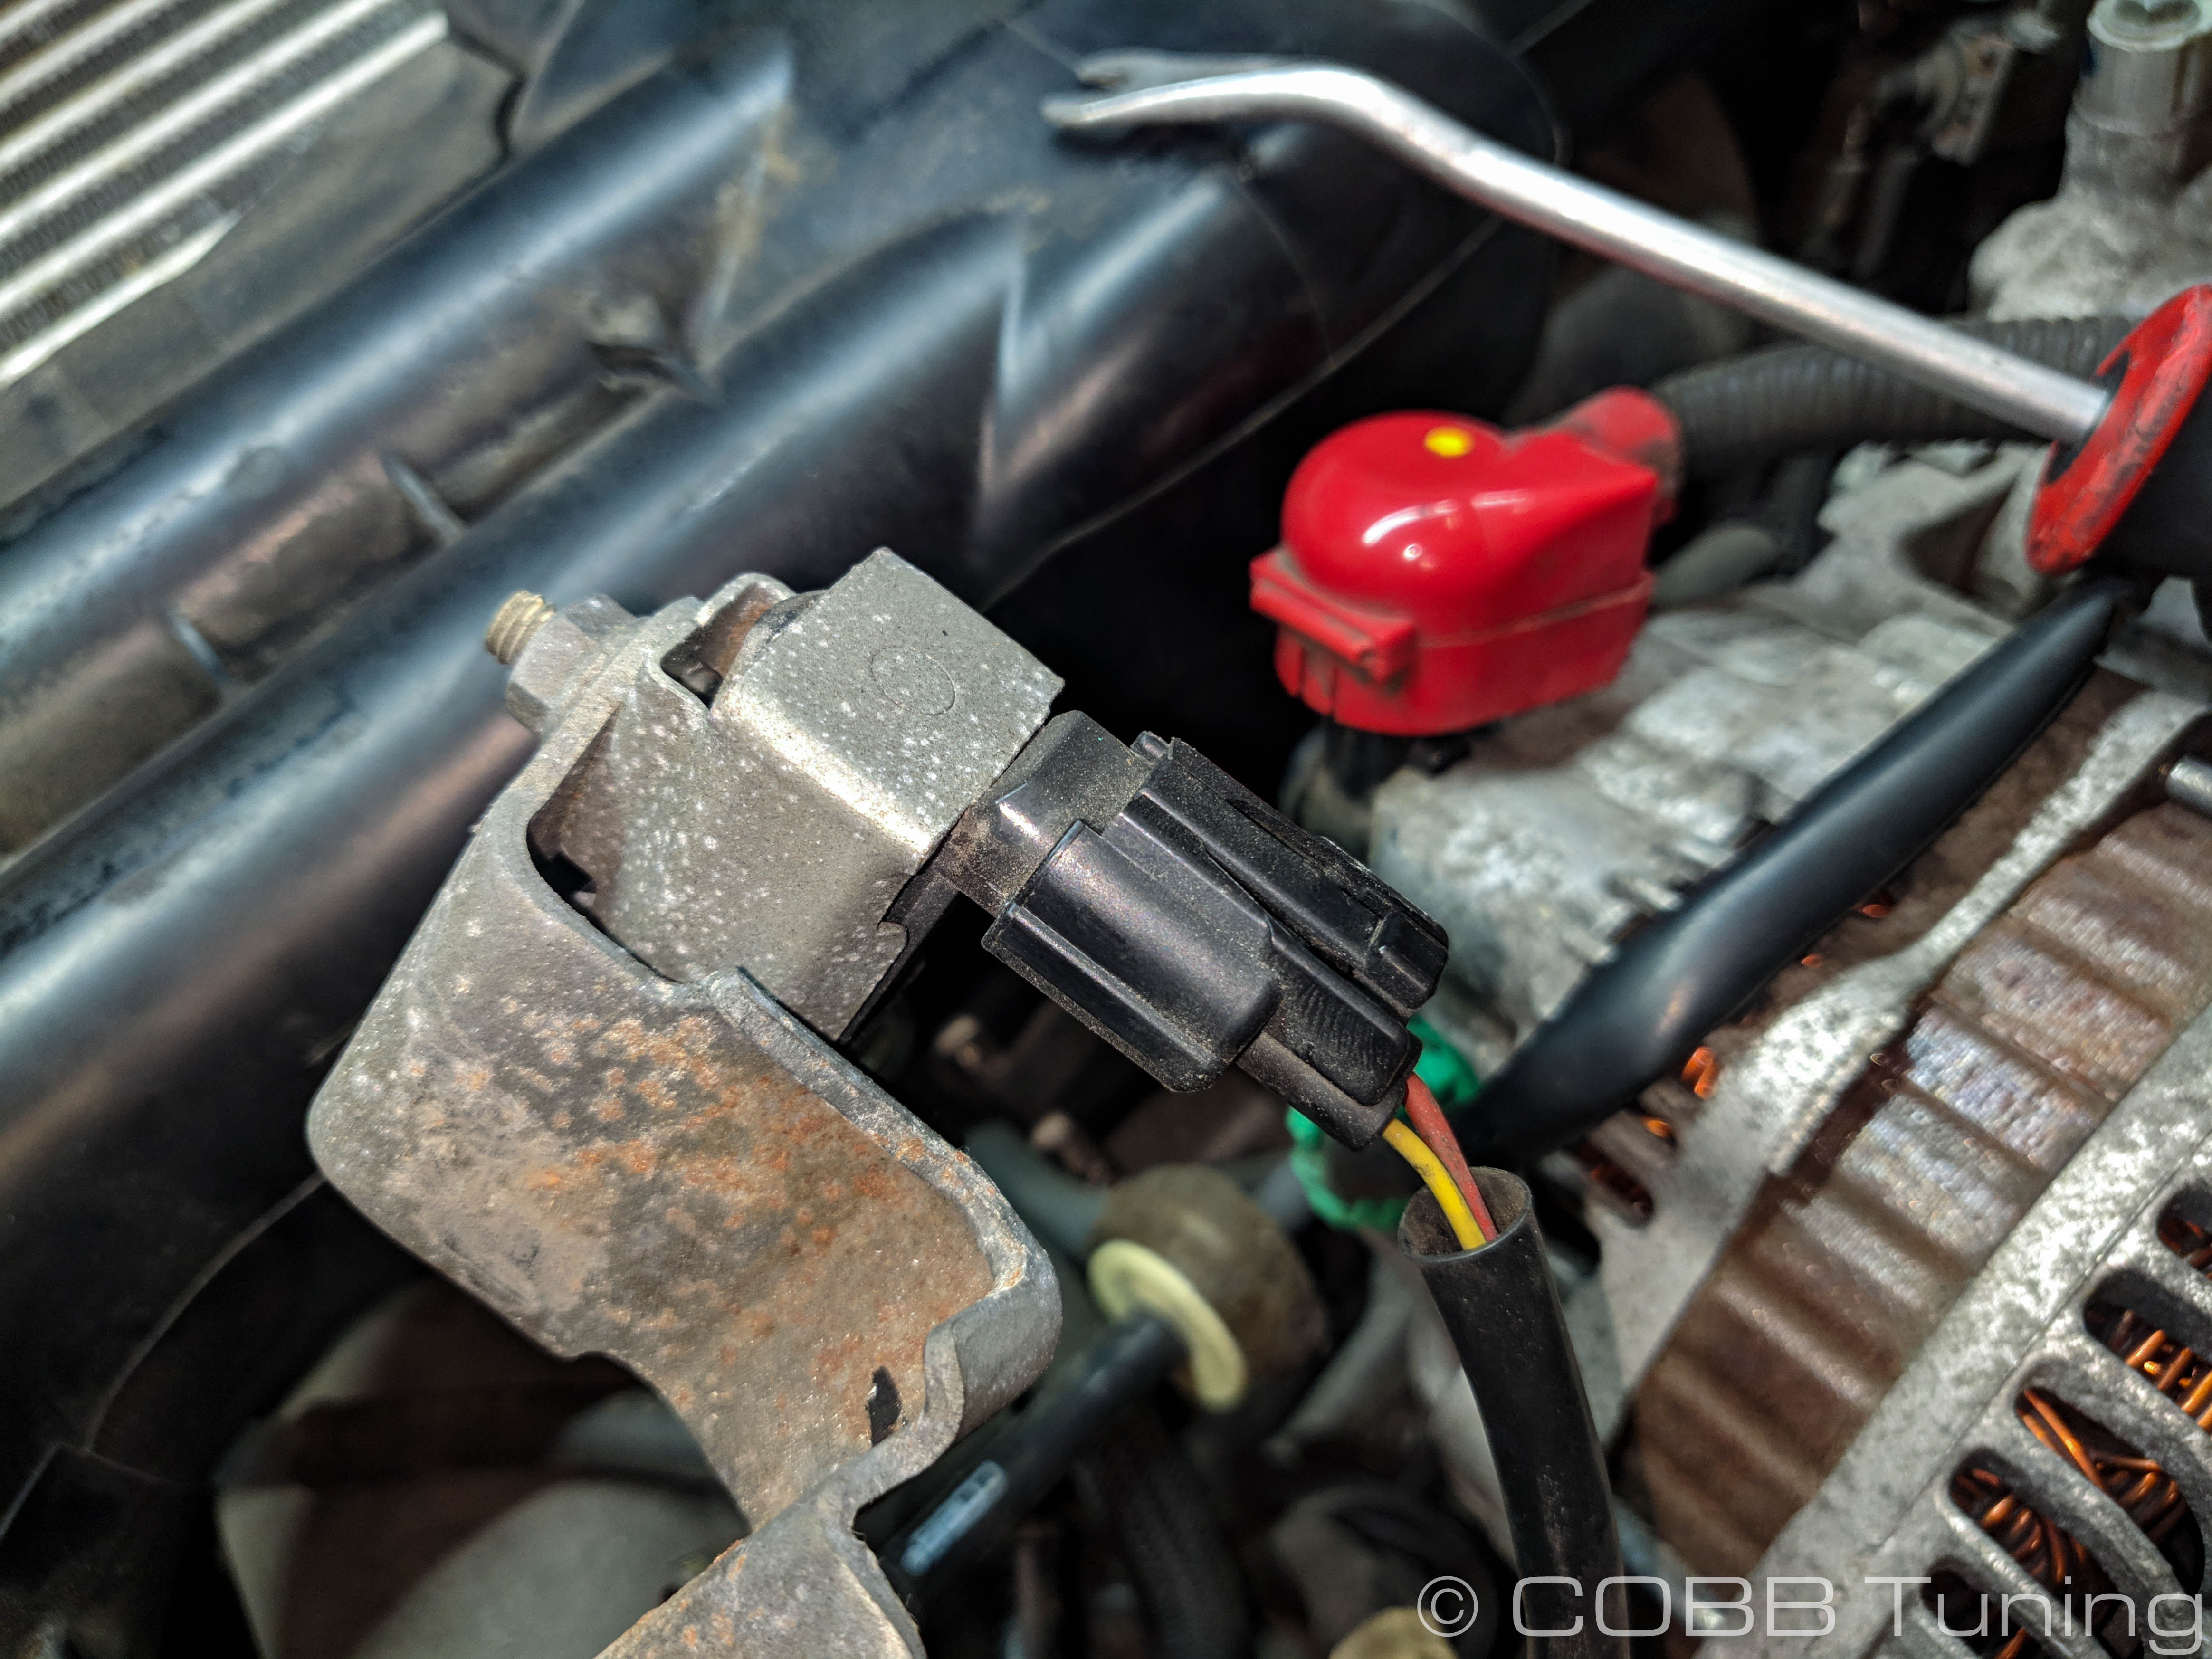
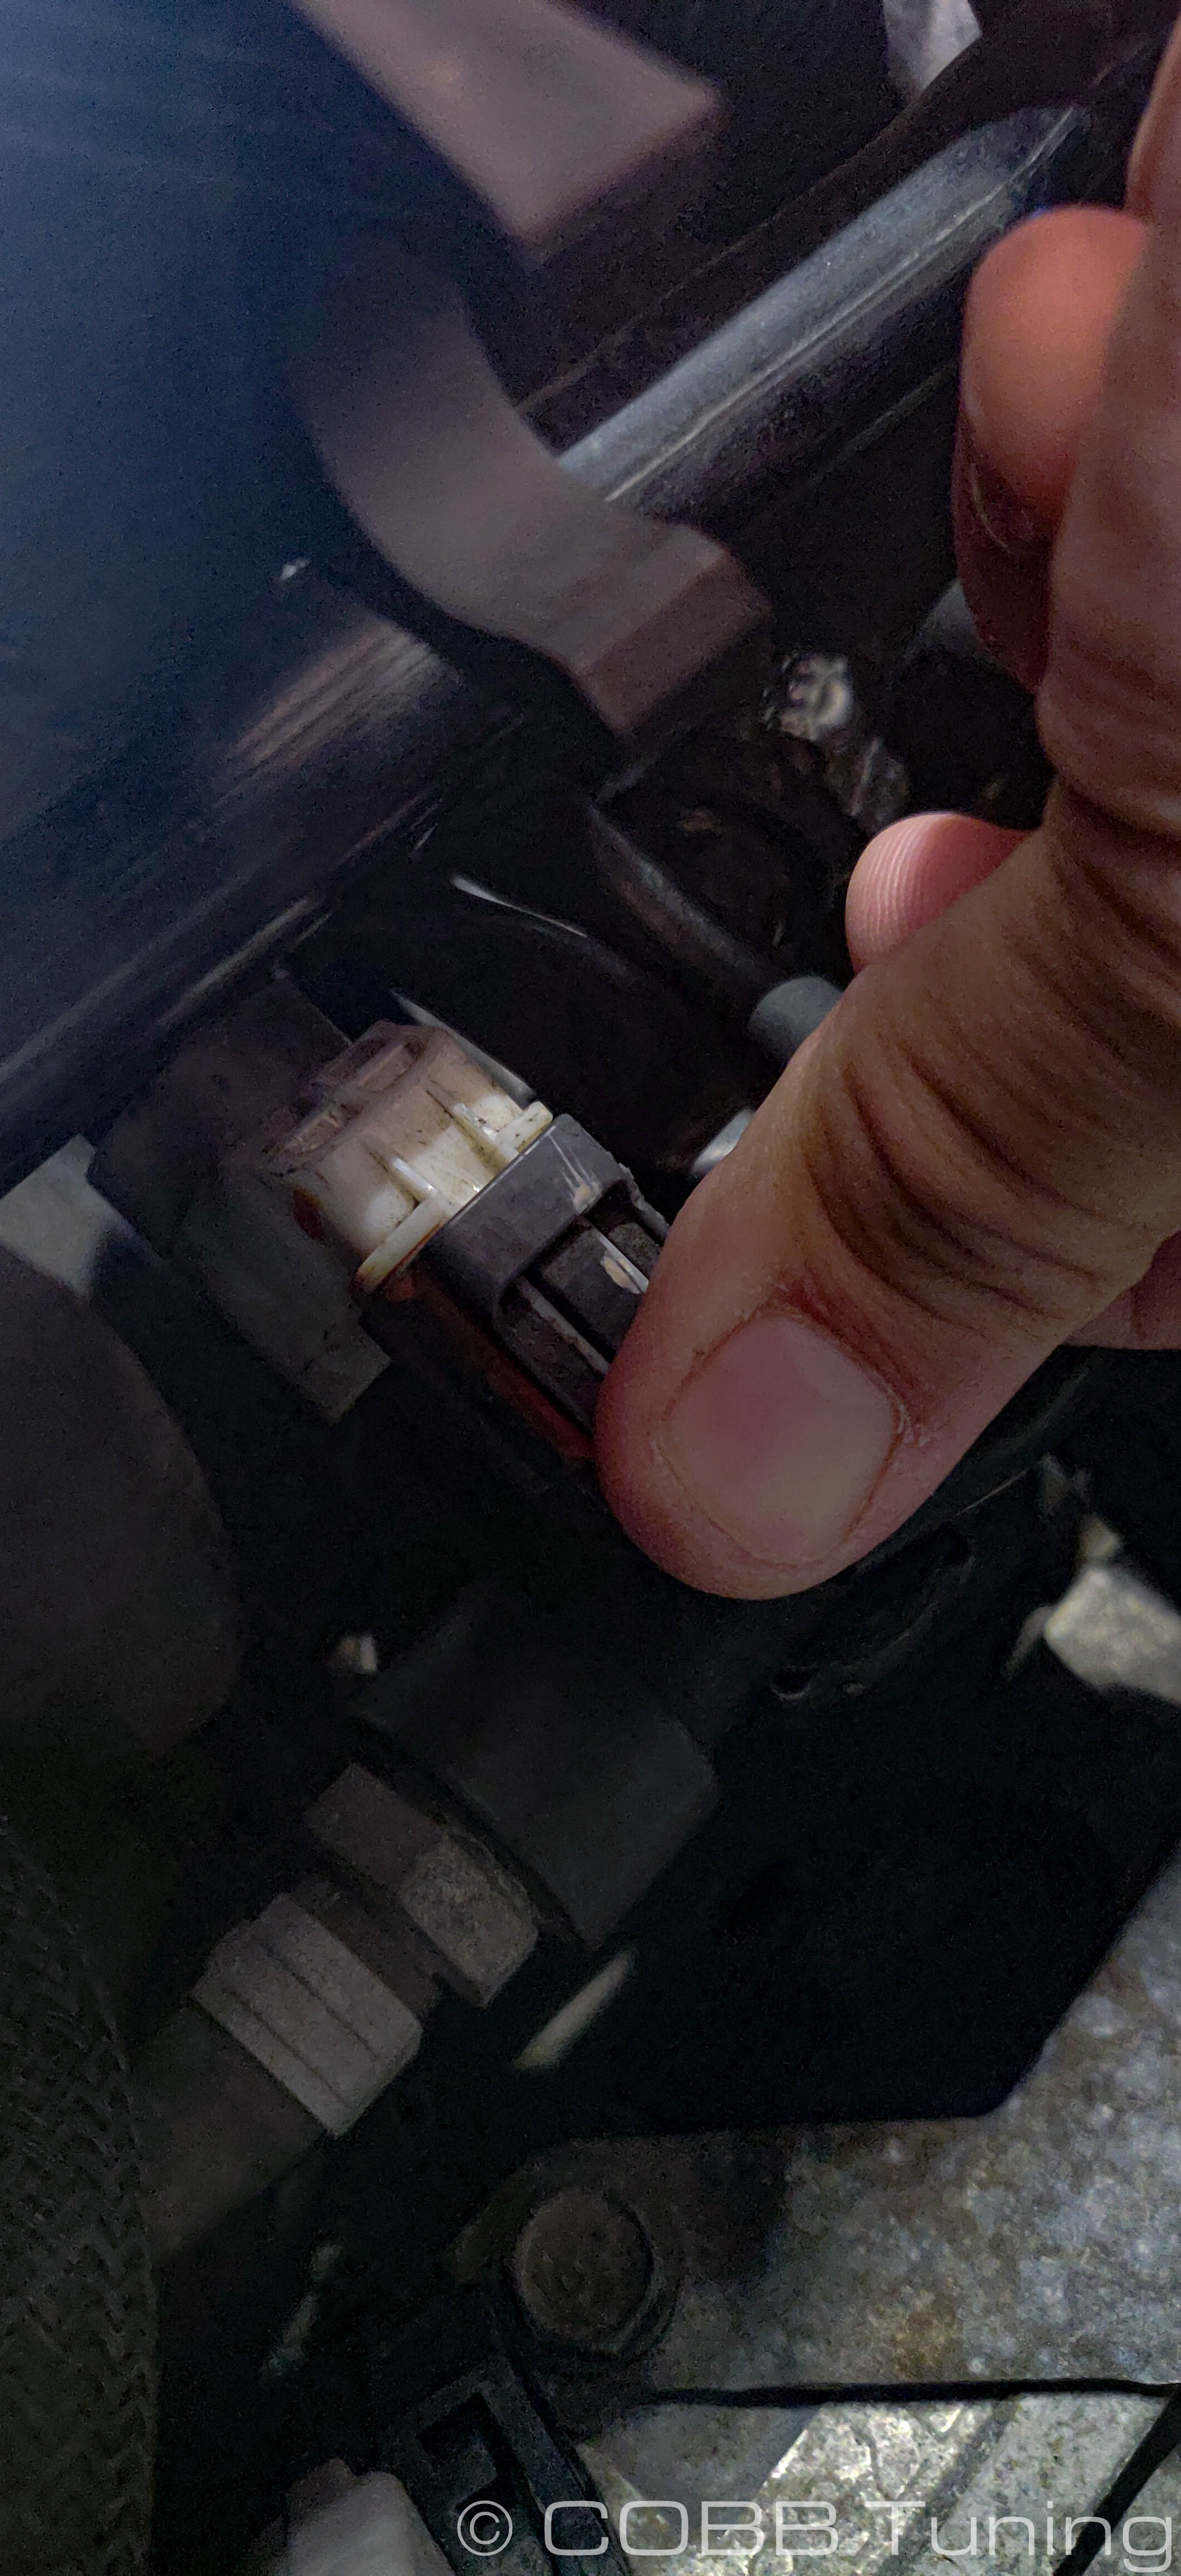
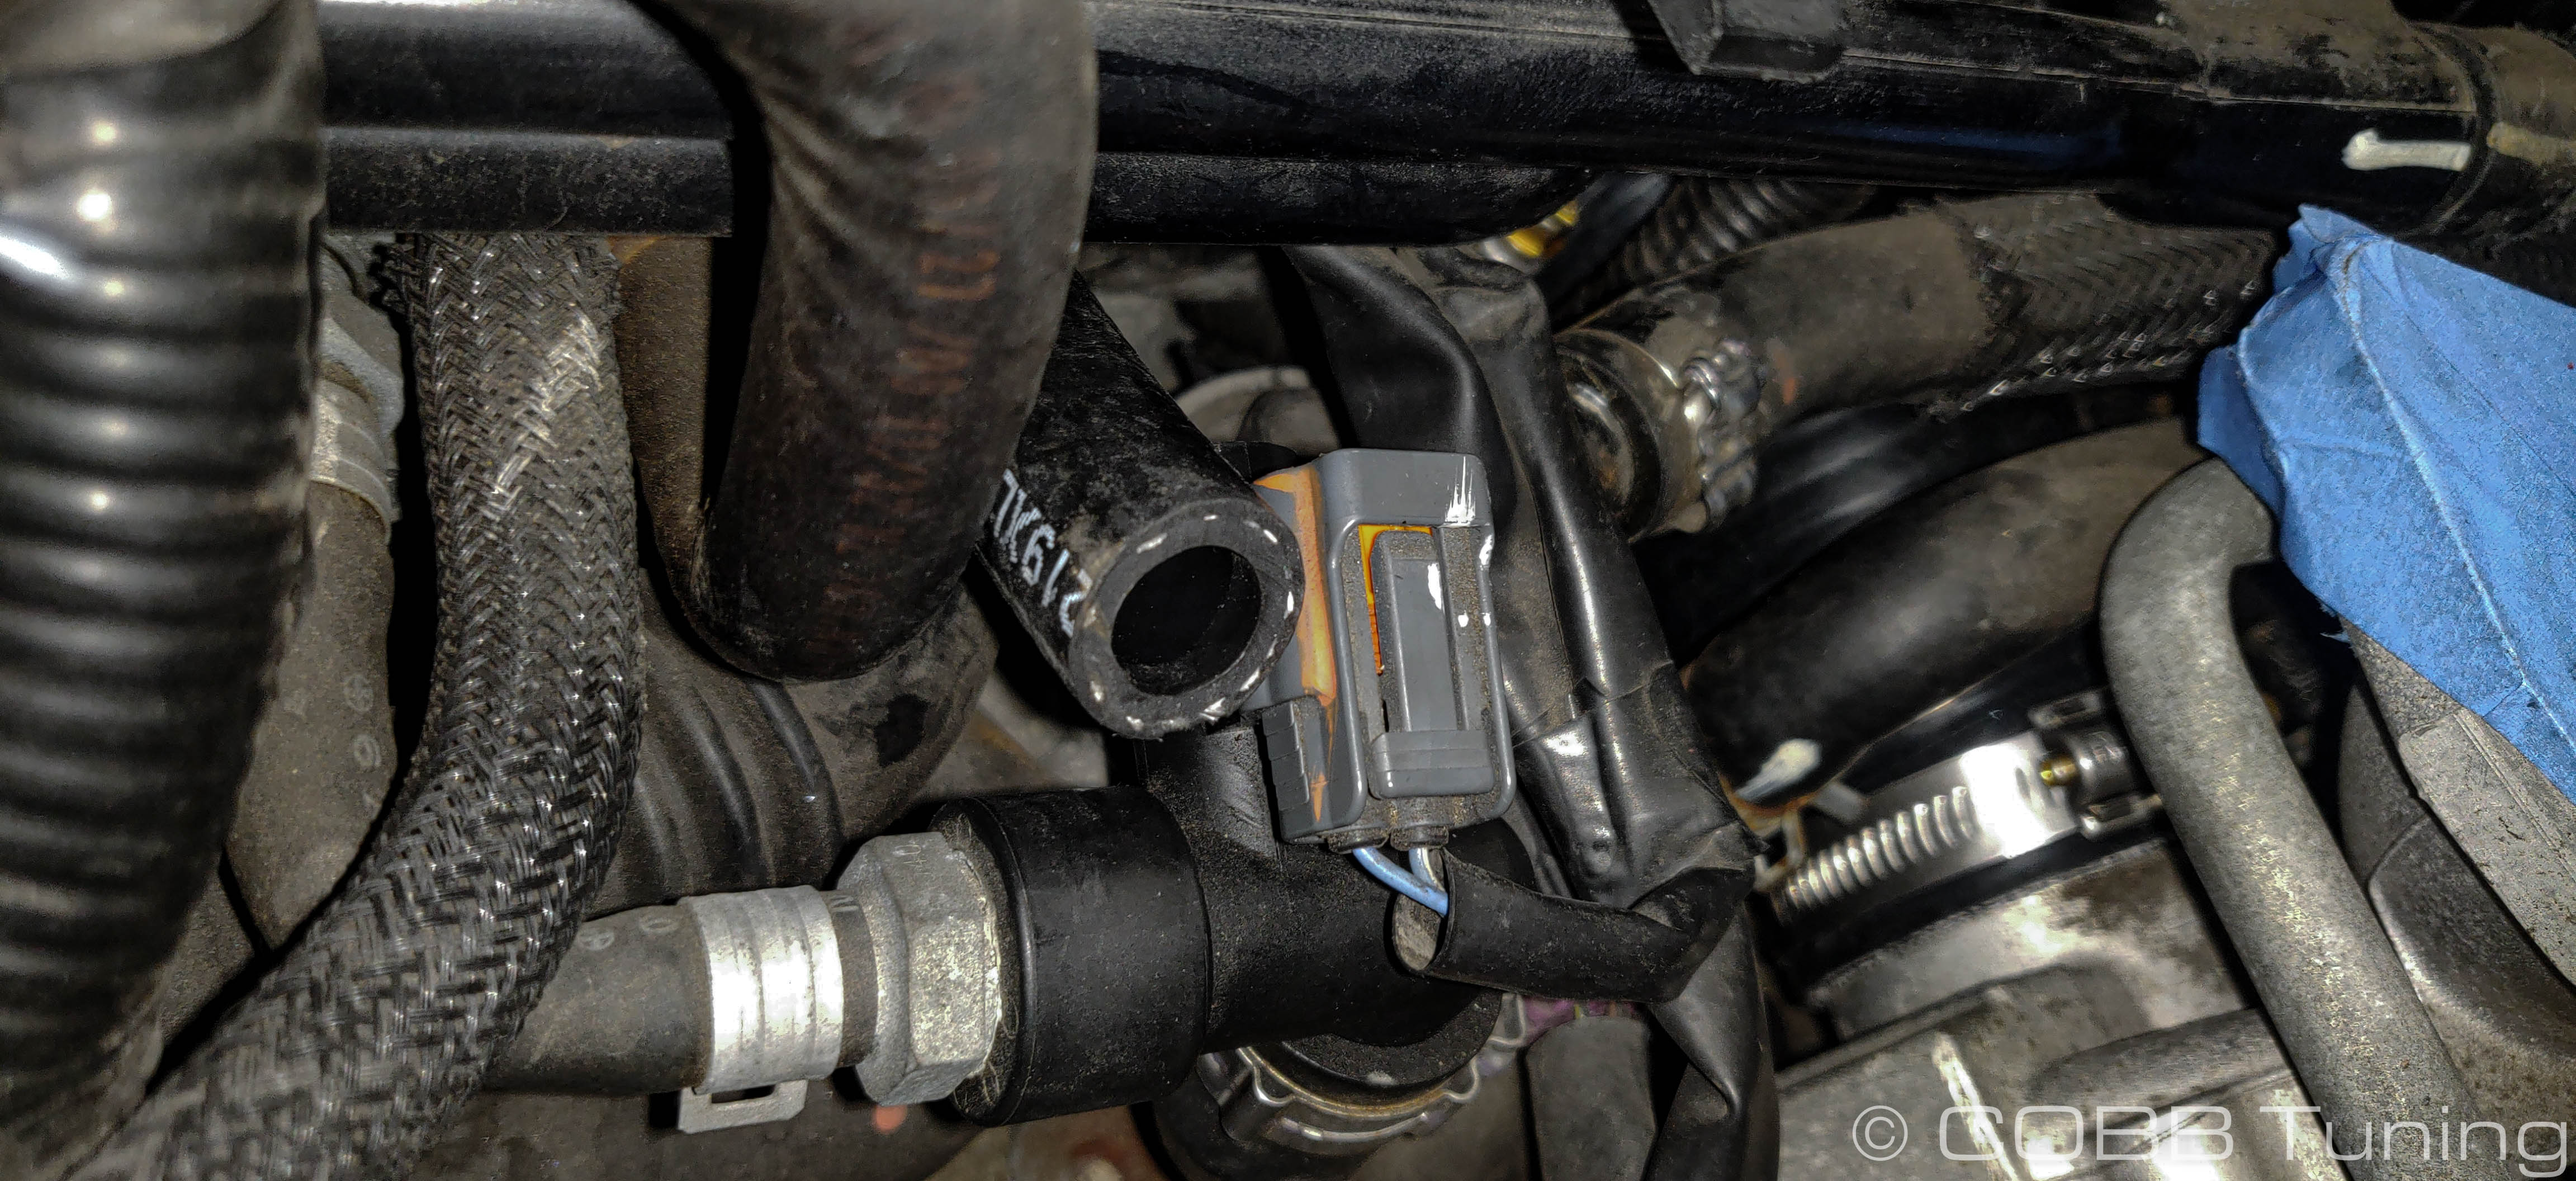
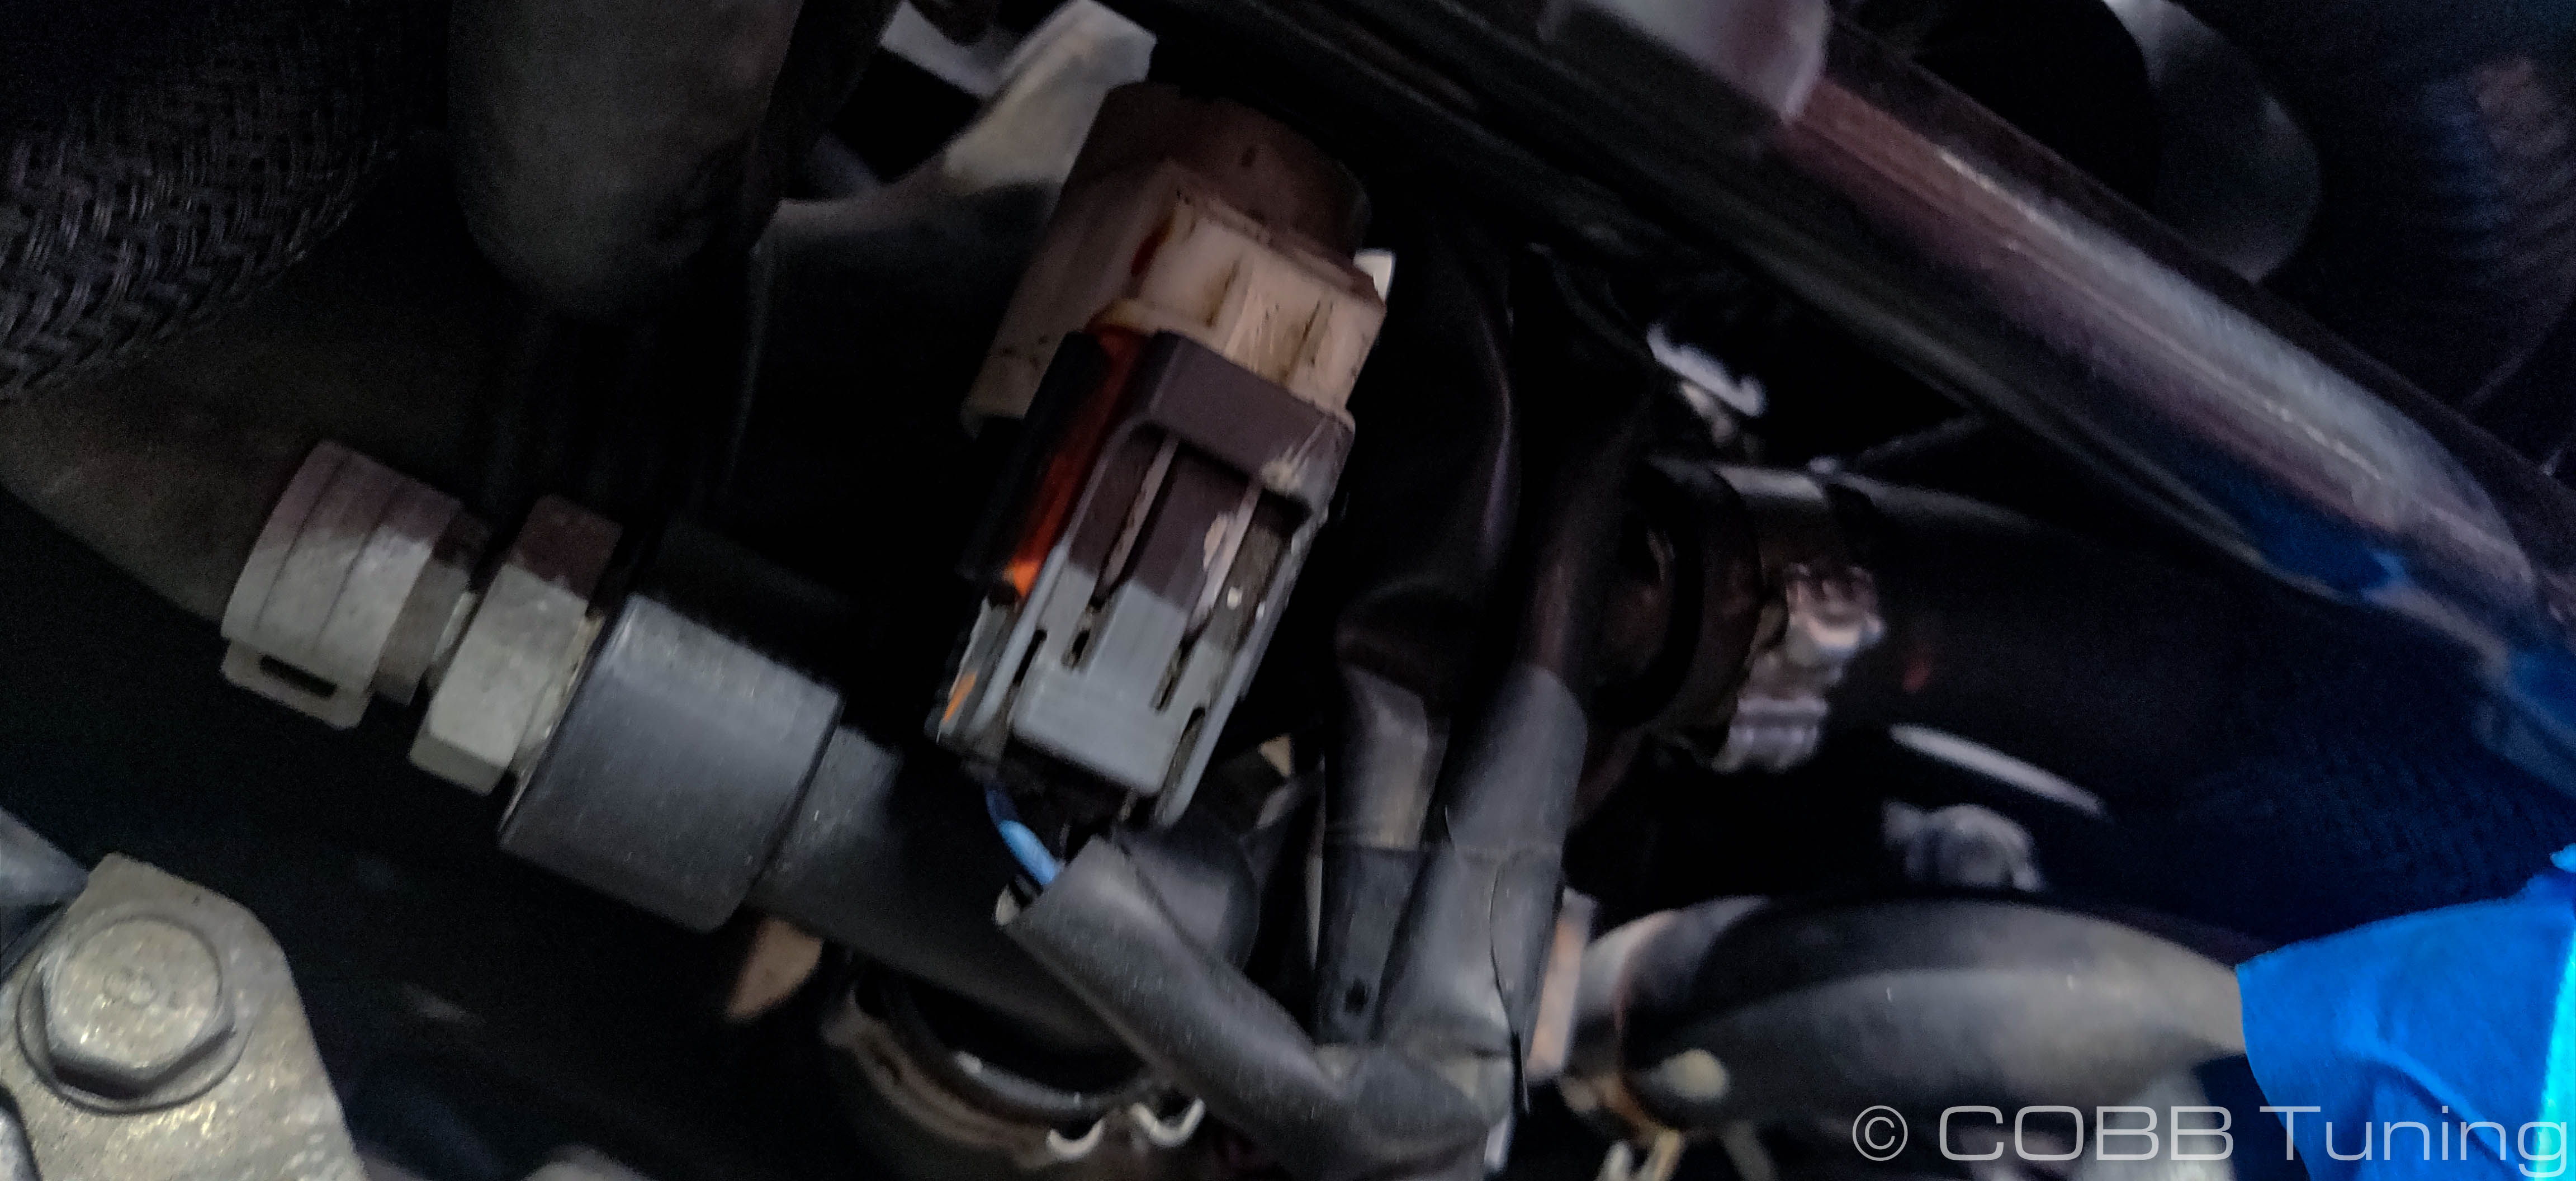
- Unplug the electrical connections for the visible solenoid and the MAP sensor.
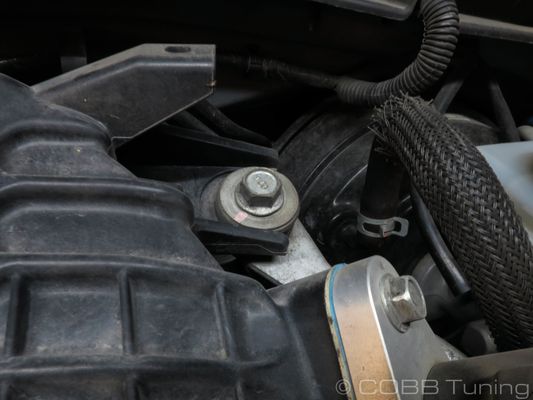
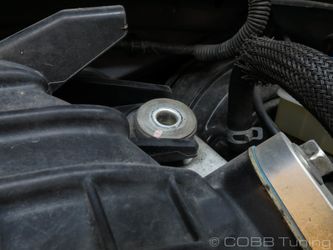
- Using a 6mm allen wrench or allen socket, Undo the bolt holding the inlet and solenoid bracket in place.
- Undo the 12mm bolt on the bottom right of the sensor/solenoid bracket.
- Mark the vacuum lines going to the solenoids and map sensor so you know which one goes where, then remove them from the fittings on each sensor.
- Unplug the rear solenoid electrical connector now that it's more easily accessible.
- Remove the bracket and sensors from the vehicle.
- Remove the 3rd from the front vacuum line now that it's exposed.
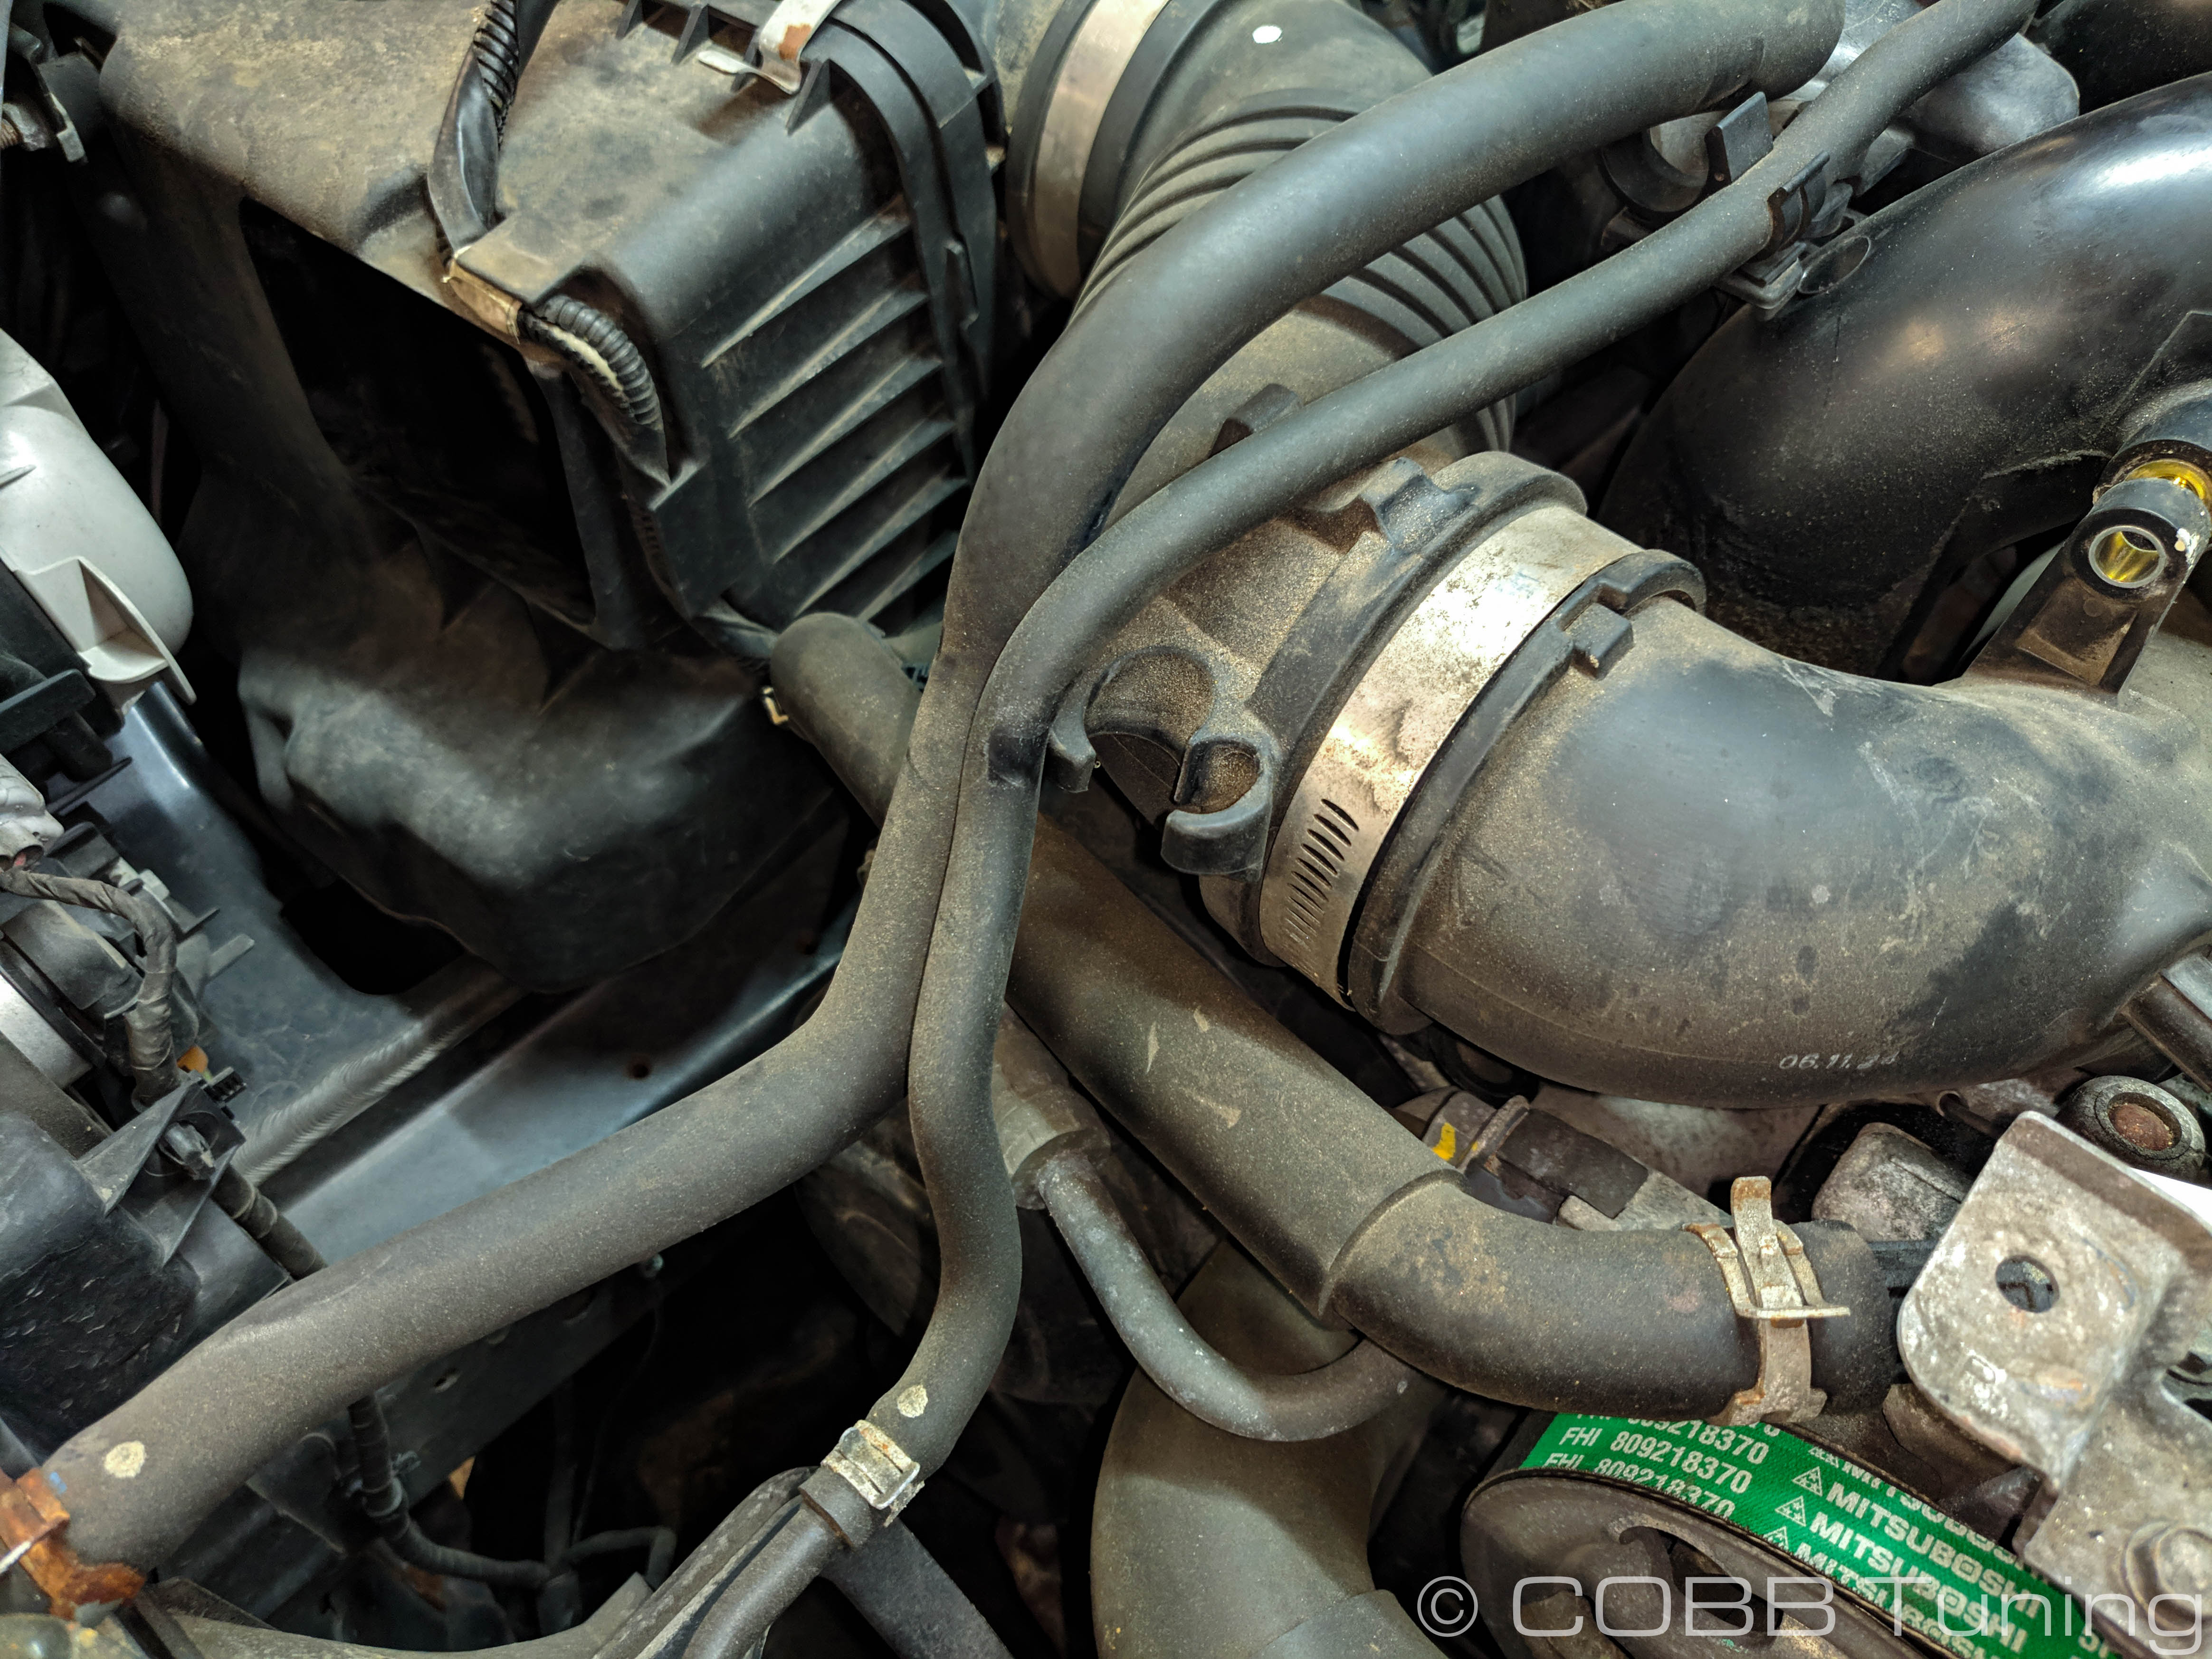
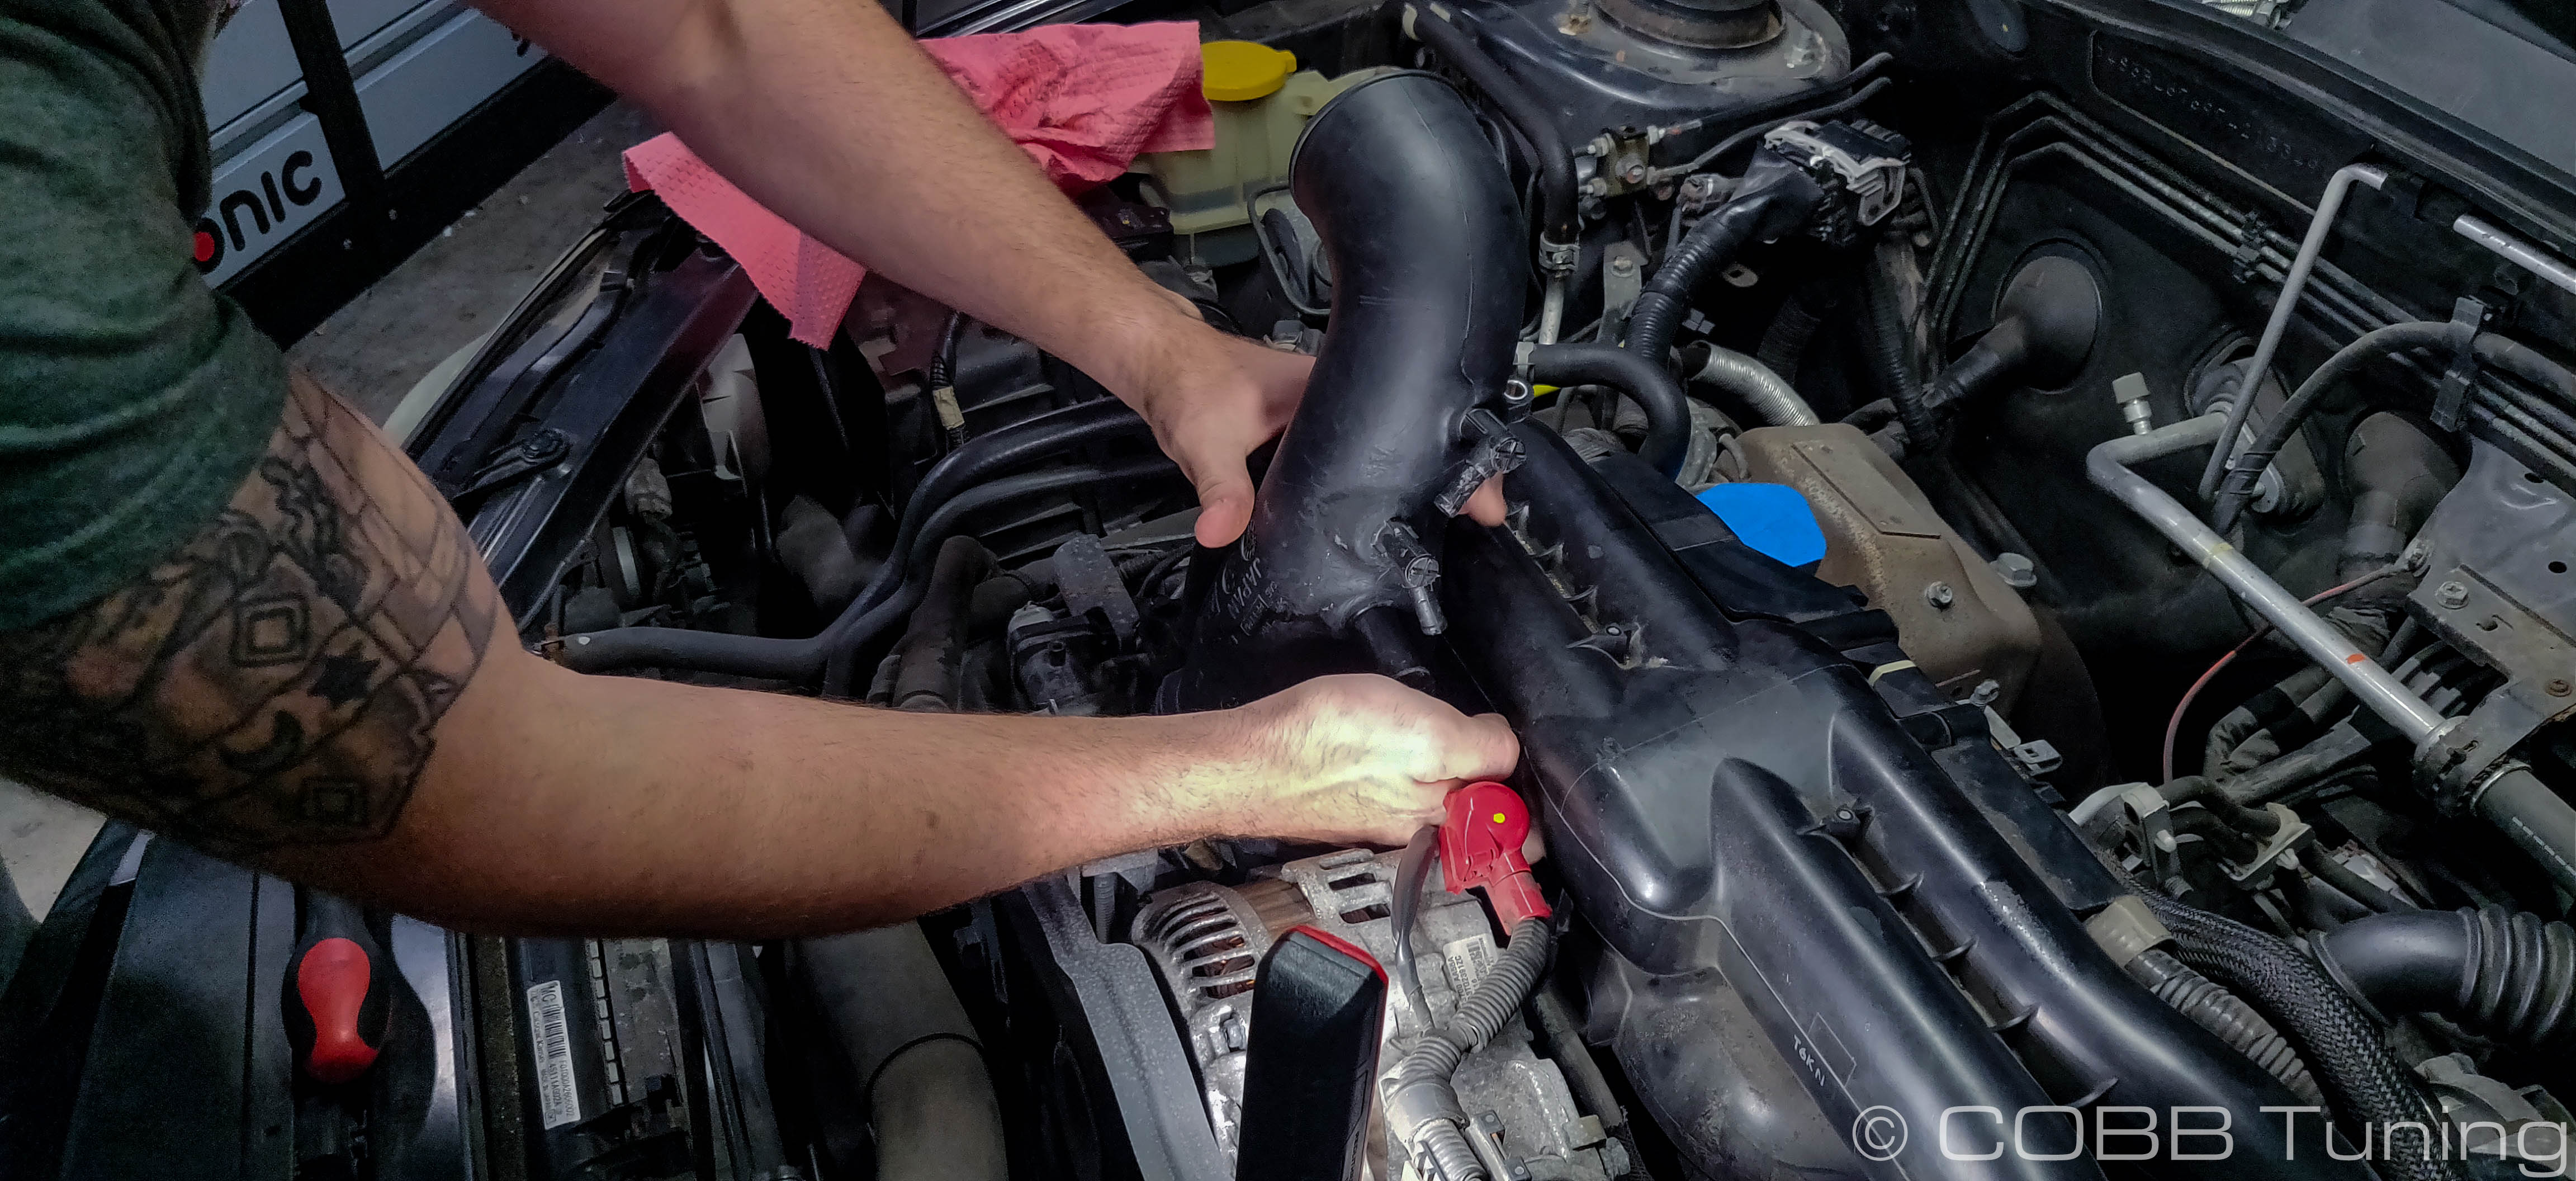
- Moving to the back, loosen up the hose clamp going from the inlet to the turbocharger.
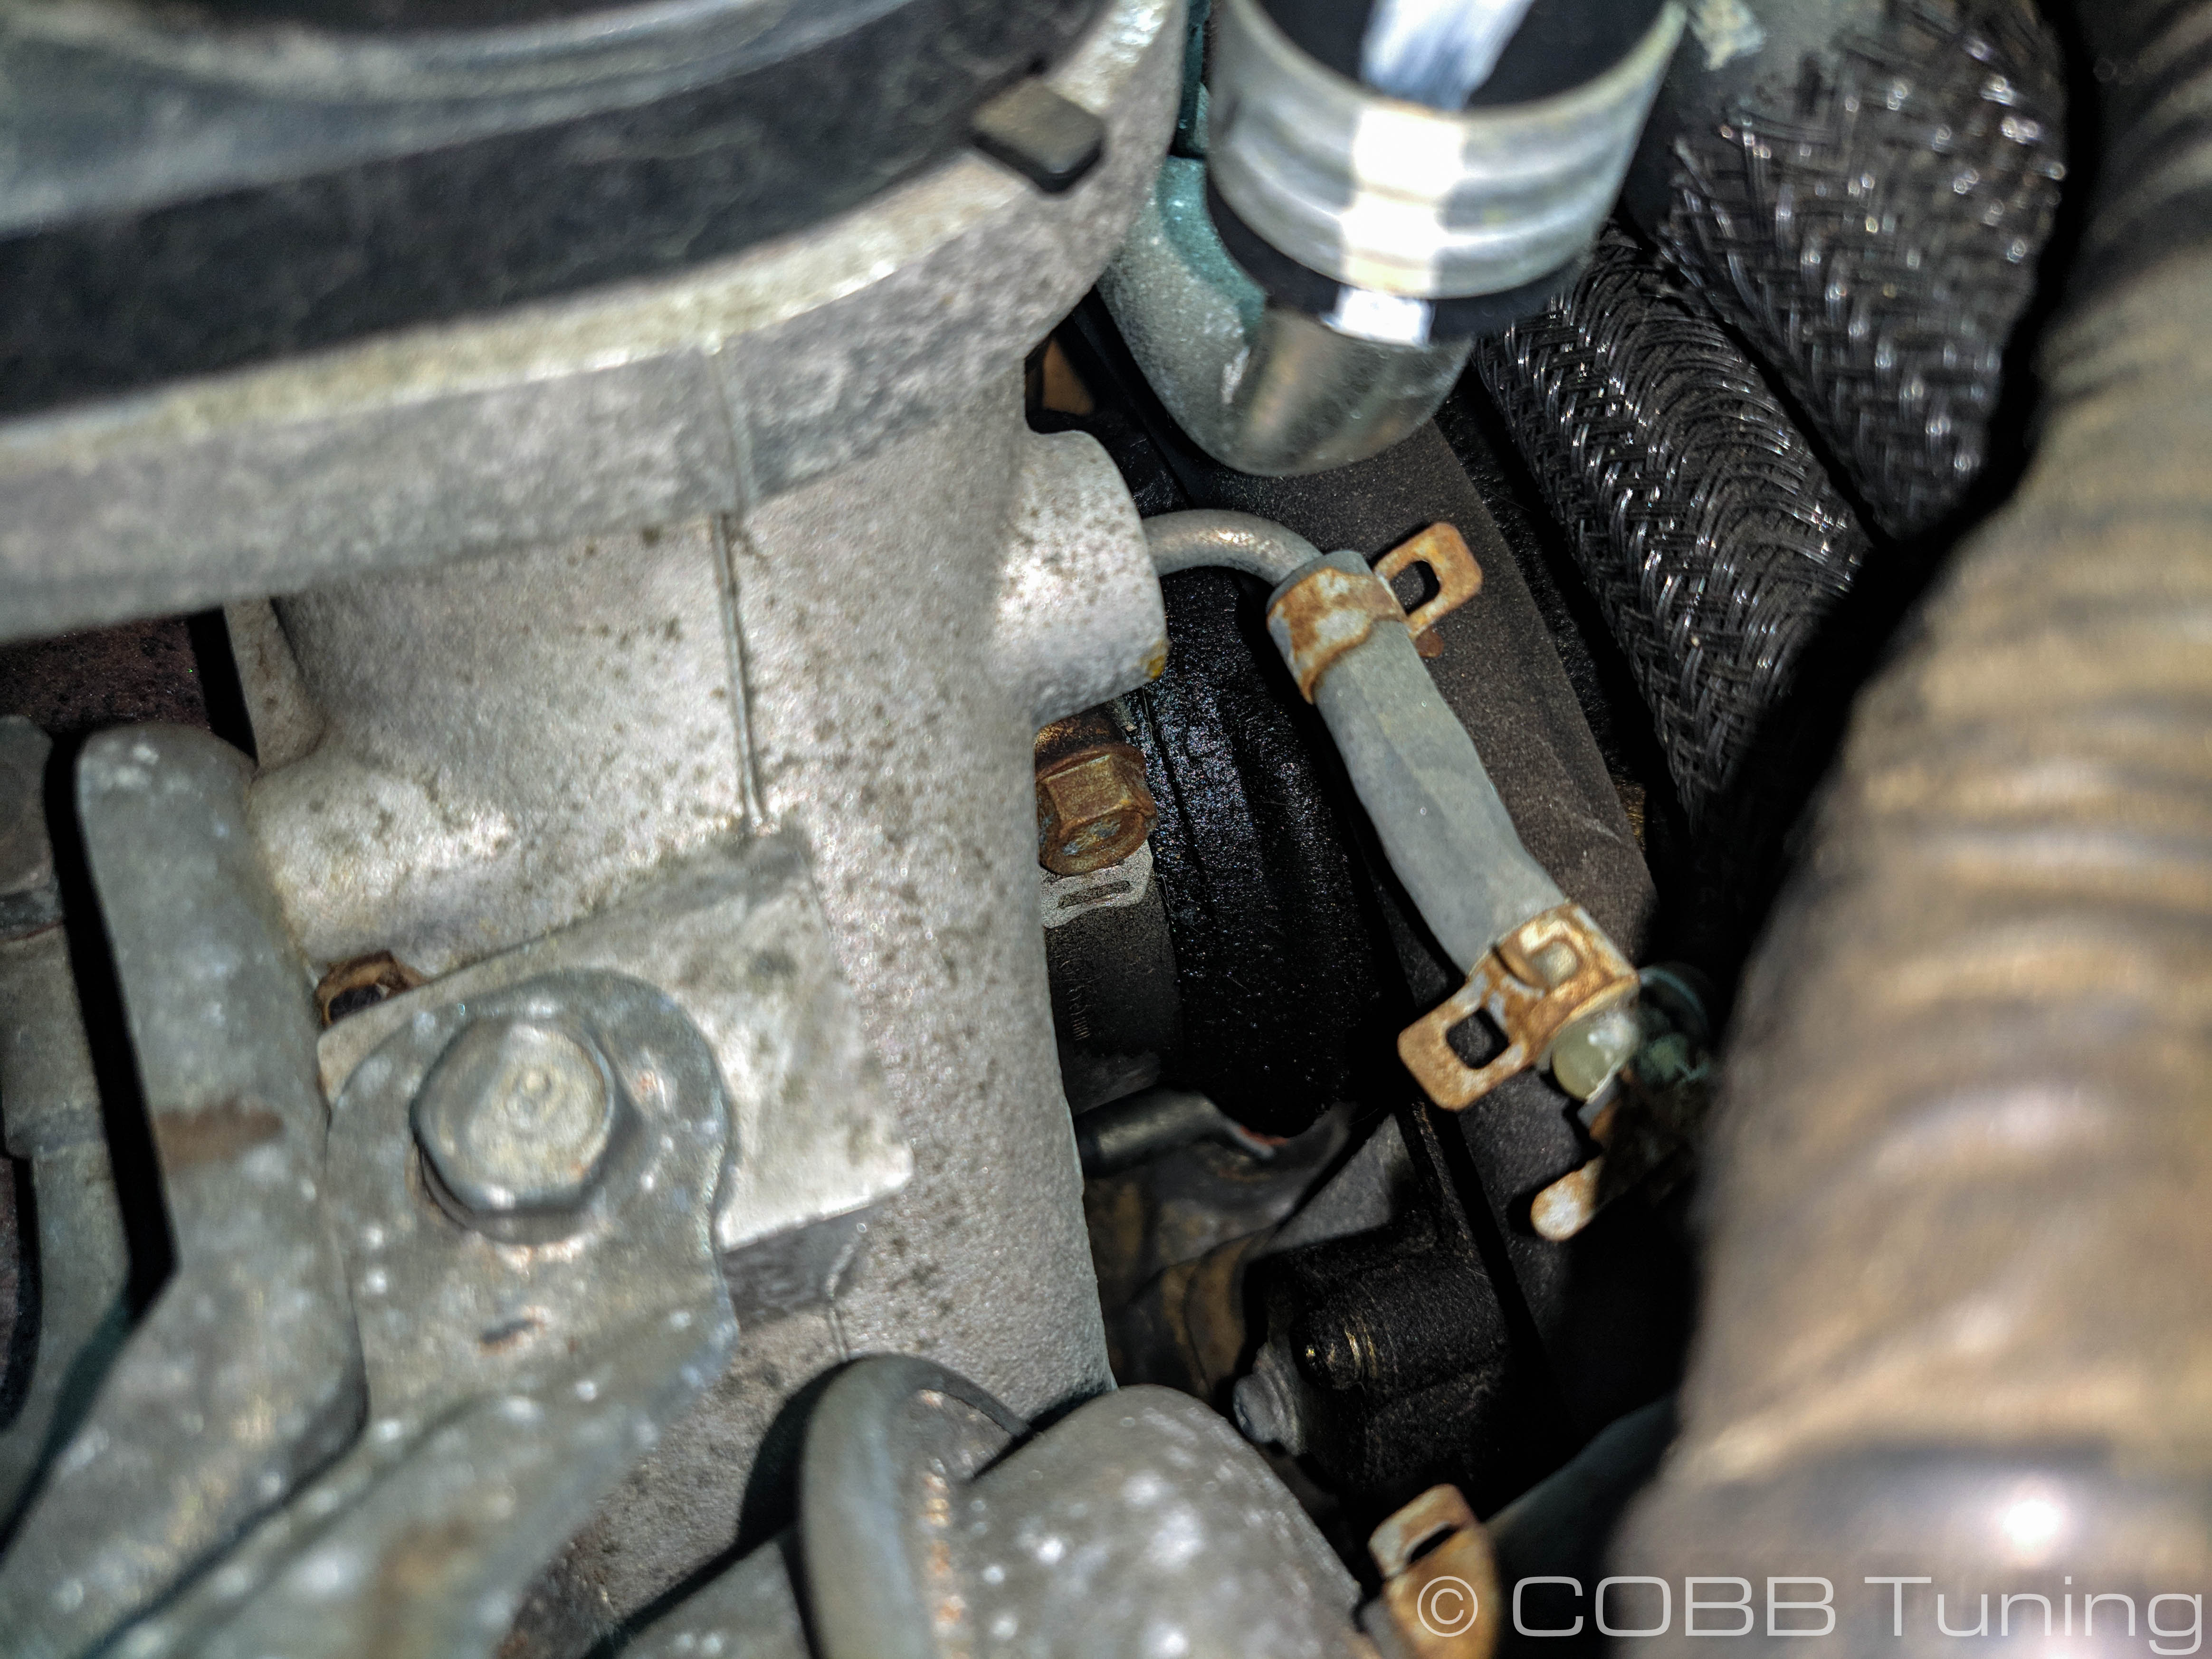
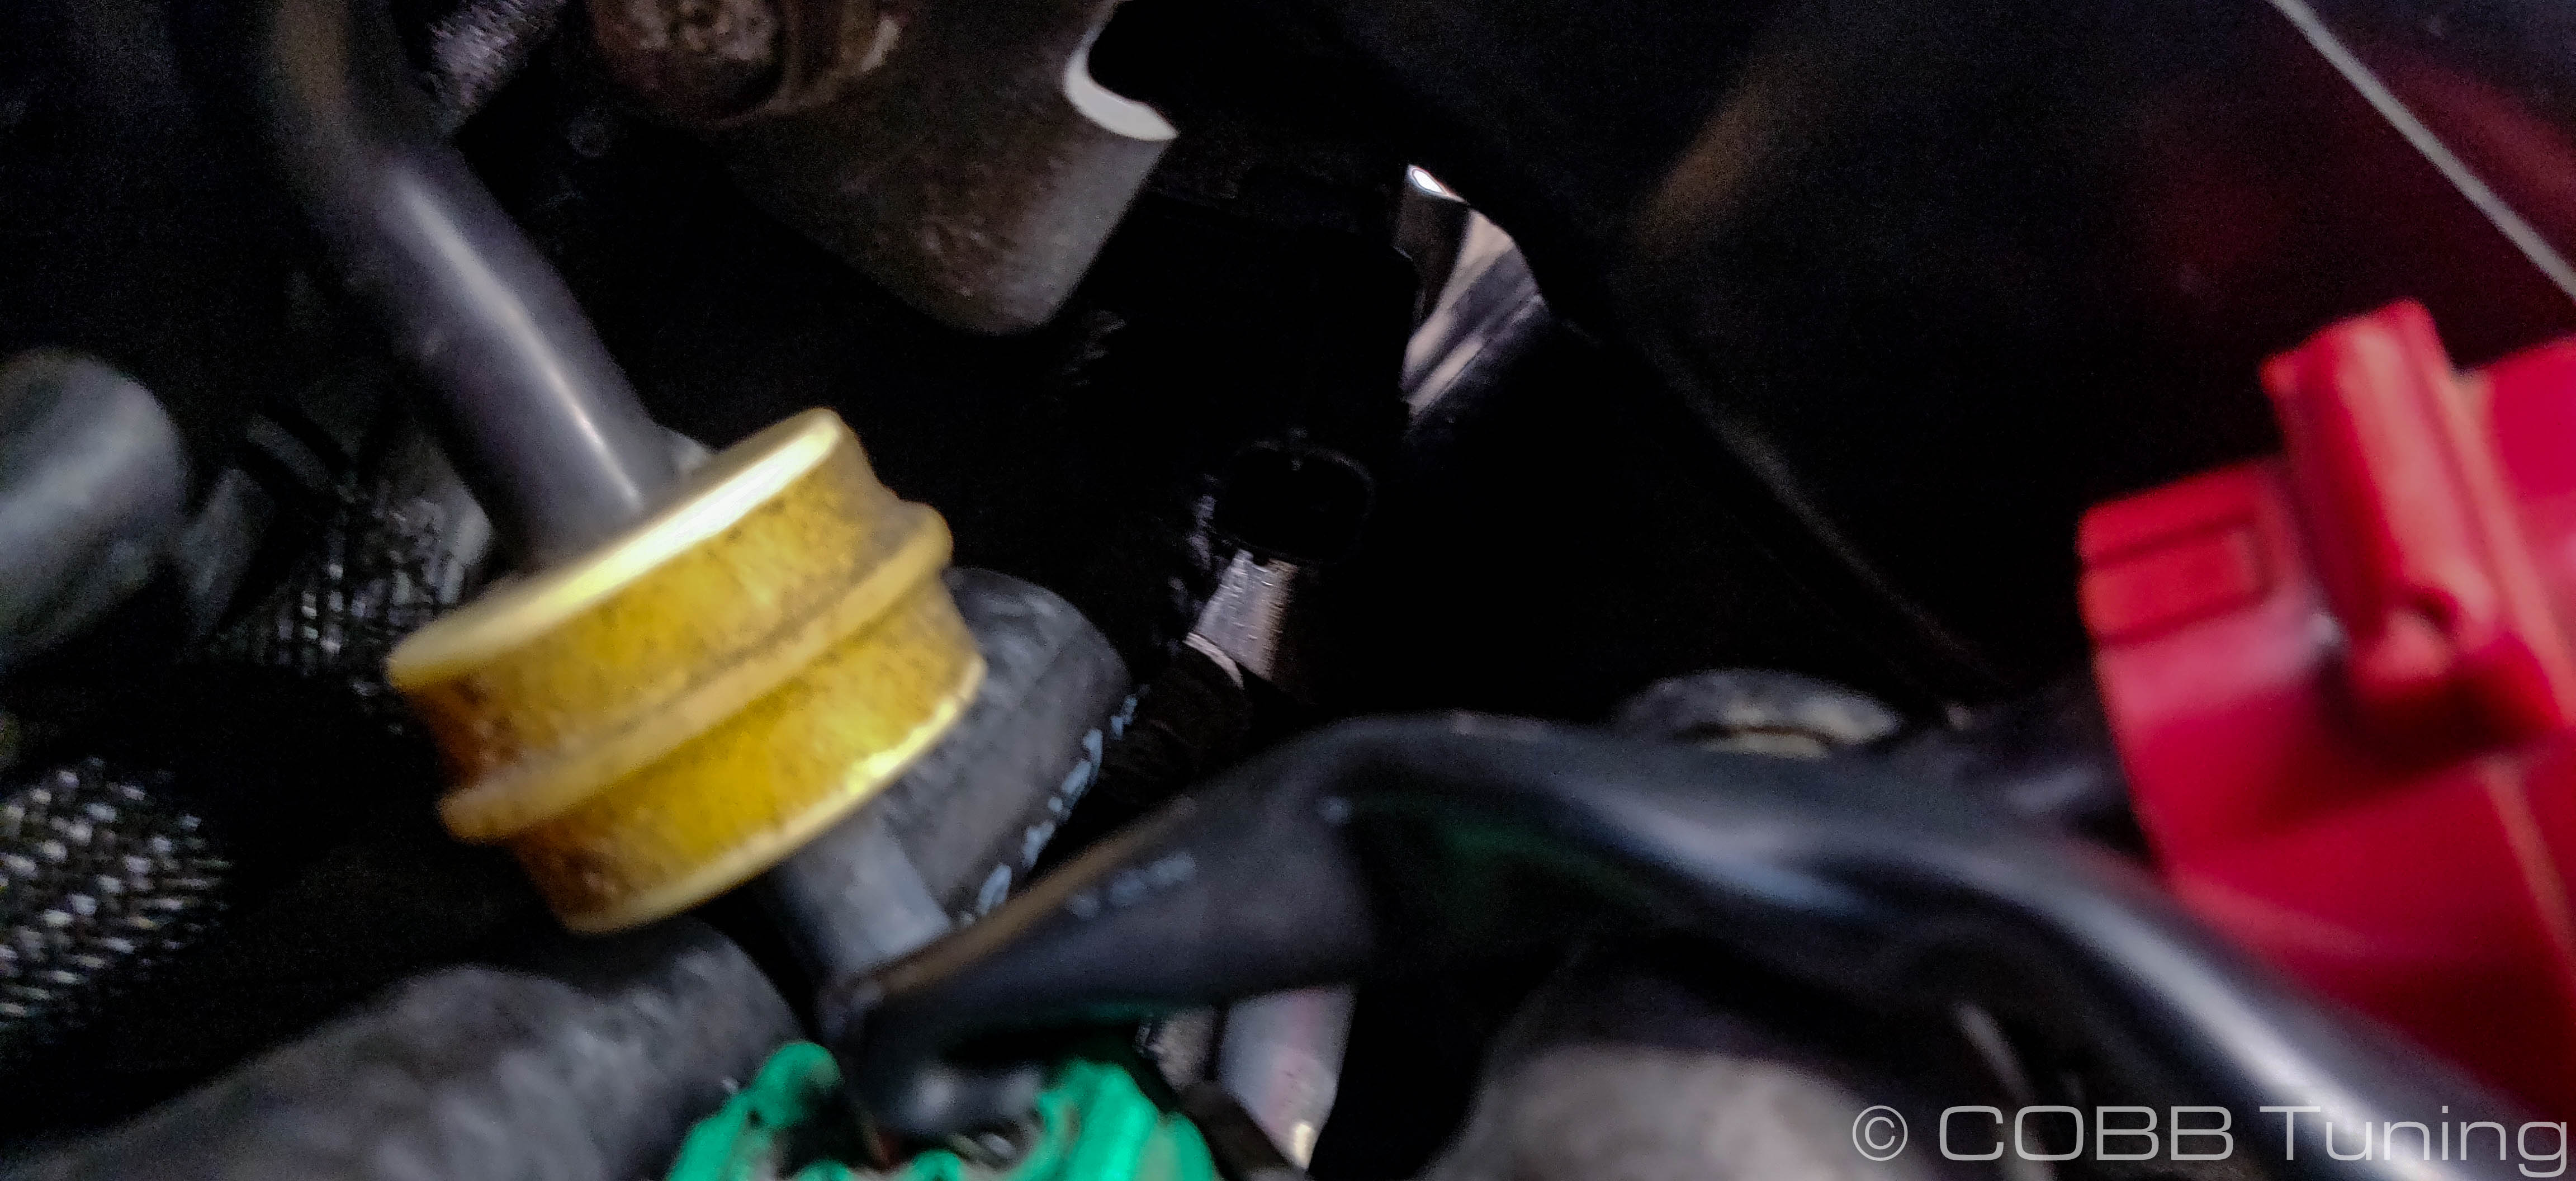
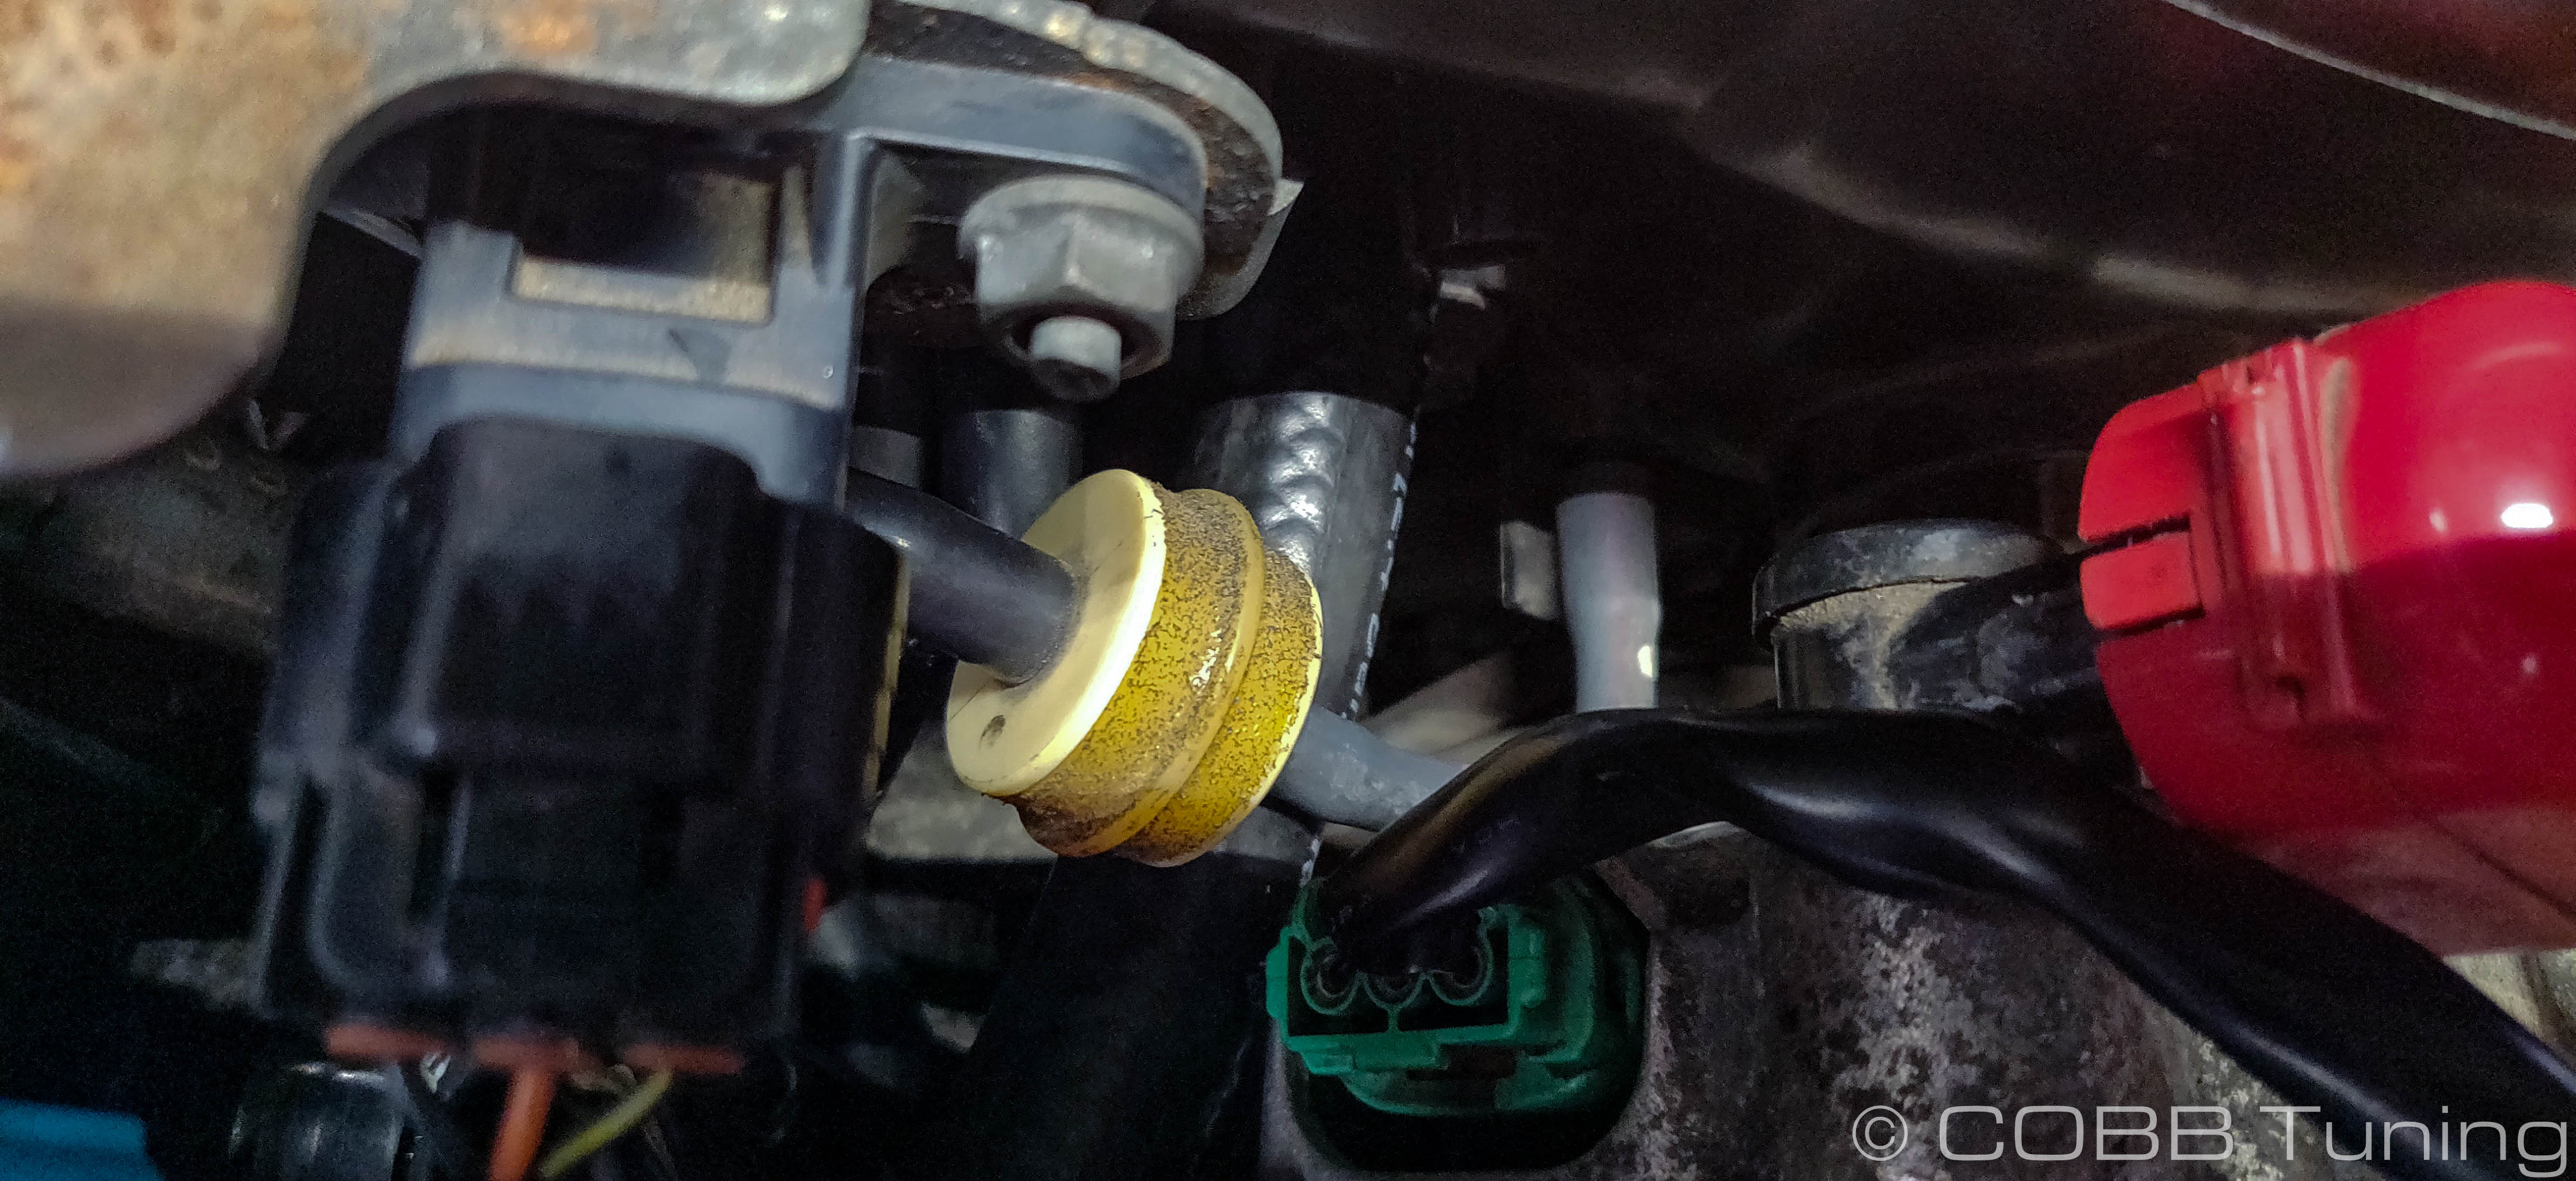
- At this point you'll need to remove the squeeze-type clamp holding the BPV recirculation tube on to the turbo inlets large rear fitting. It's fairly tight but some long pliers and a screwdriver to move the clamp to the correct orientation can help if you haven't removed the entire intake manifold.

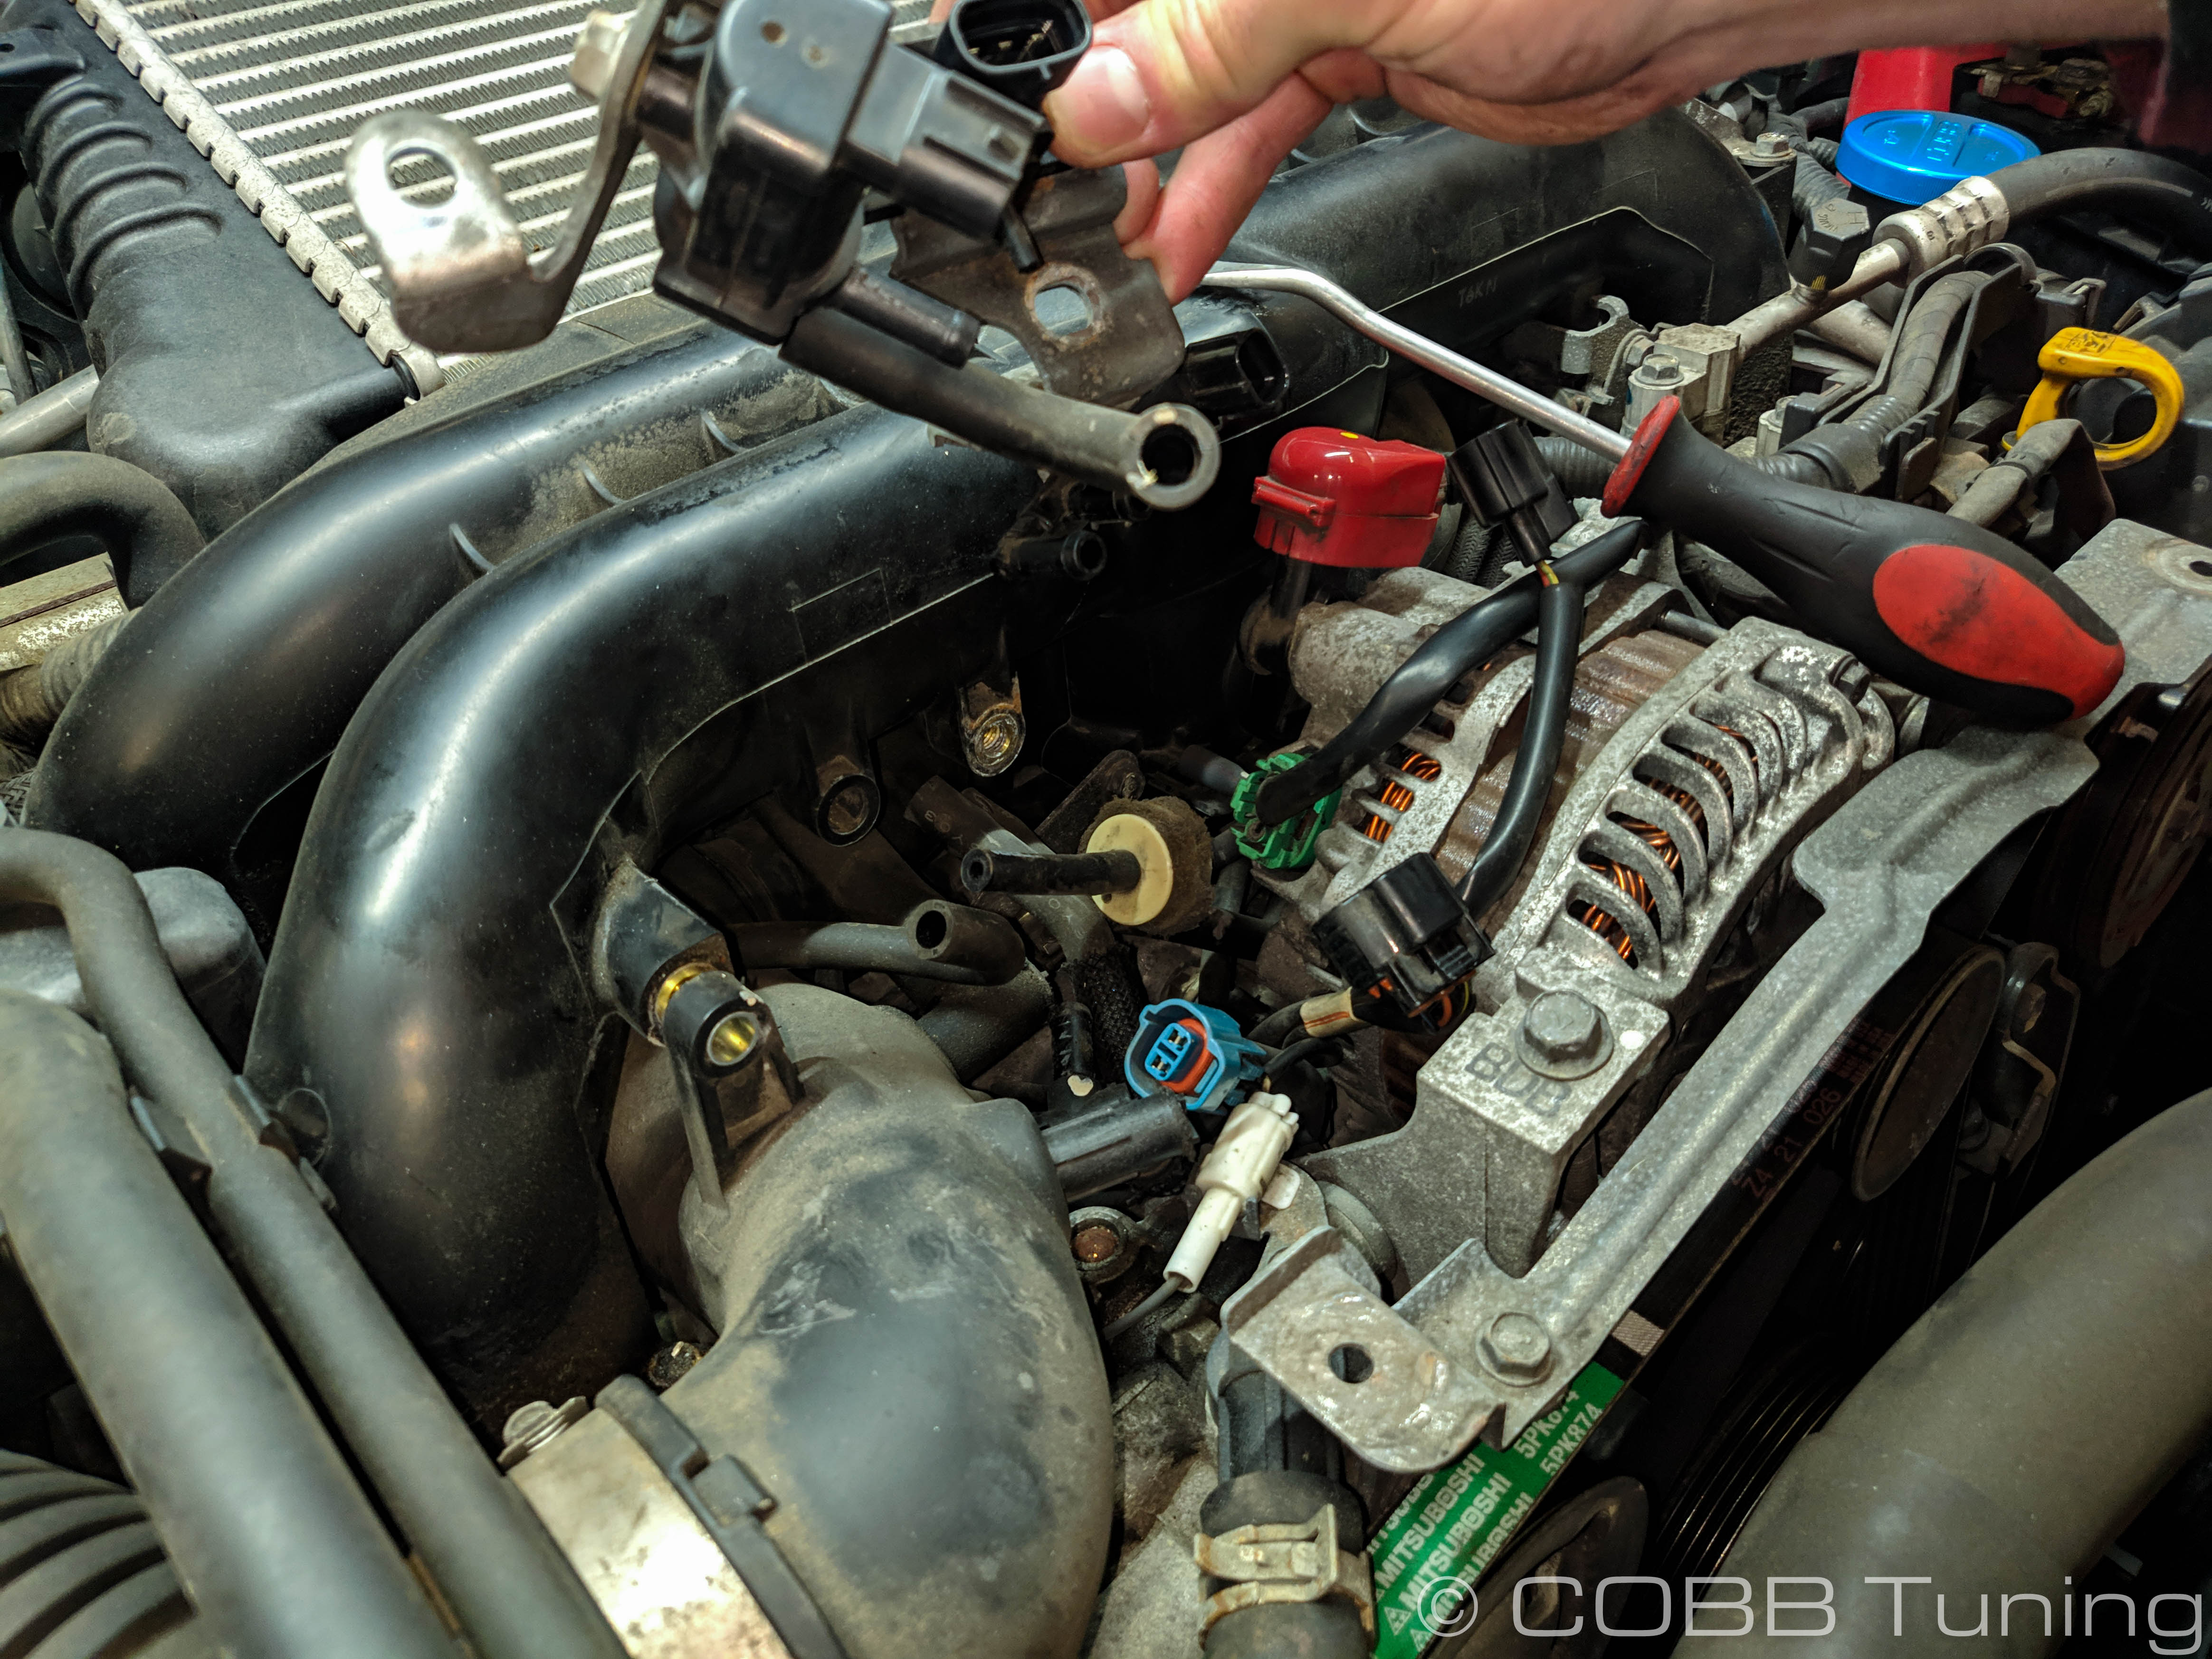
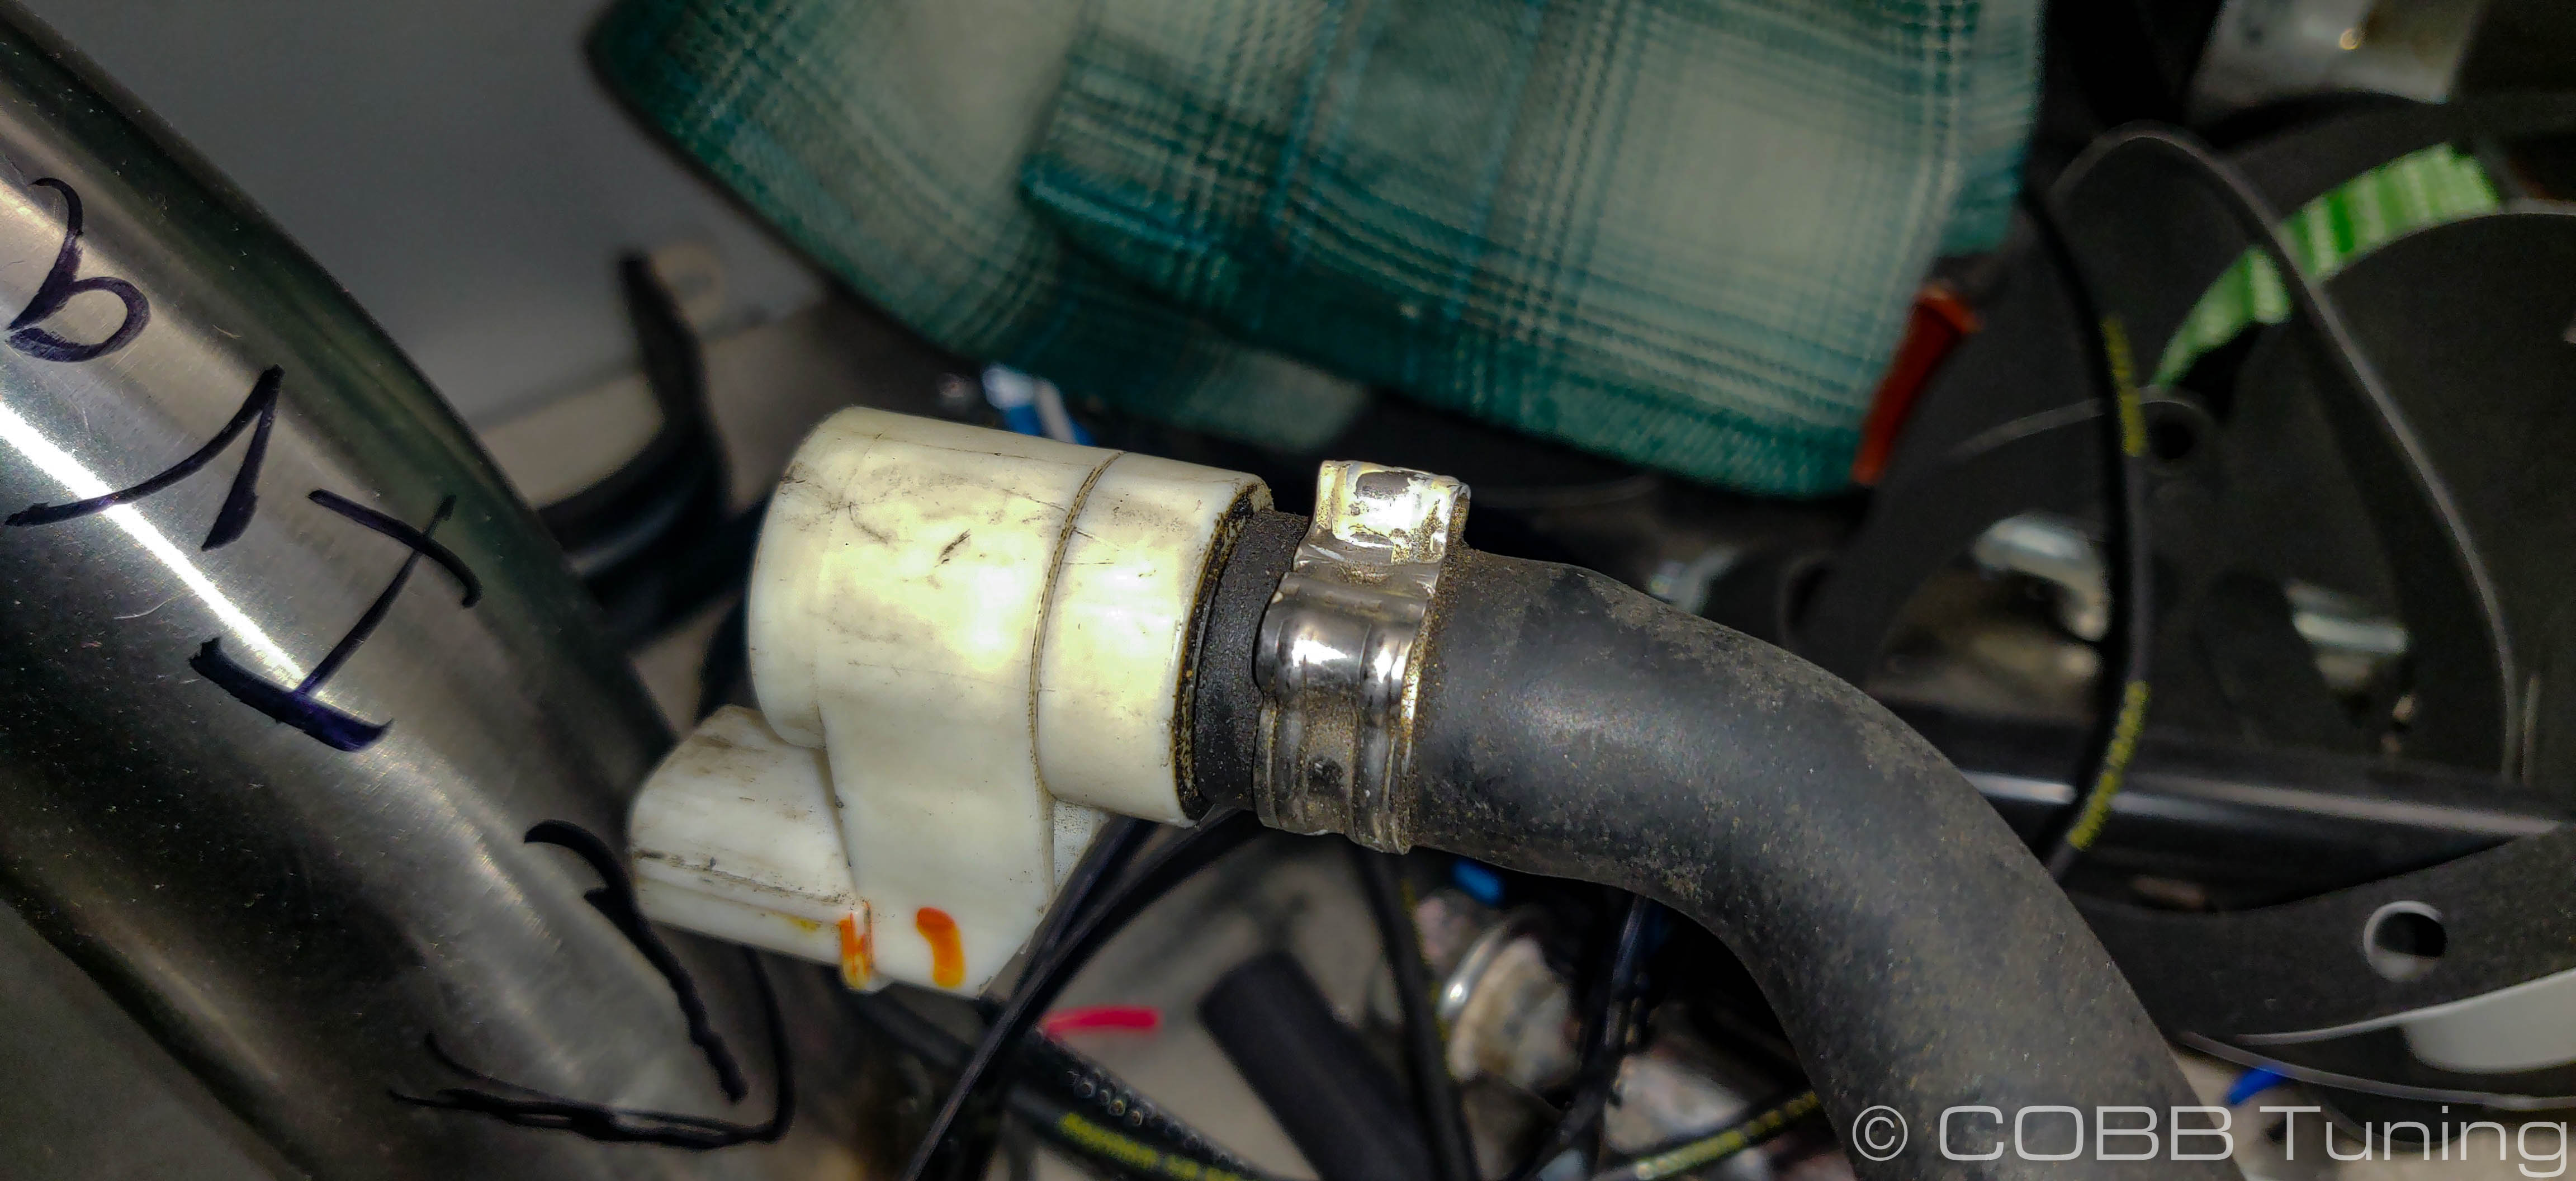
- Unplug the rear crank breather sensor in the back and push the line forward to take it off.

- With that out of the way, pull the inlet forward slightly and upwards. You should be able to slowly work it out without breaking anything off.
Inlet Hose Installation
Doing this install can give you access to many fuel and vacuum lines you wouldn't be able to get to otherwise. So if you have an older car, replacing some of those lines with the appropriate quality hose is easy to do right now. Just make sure you carefully note what lines go where before unhooking or removing lines as getting things mixed up can have some horrible effects. Take pictures early and often in the process to make sure you get it right.
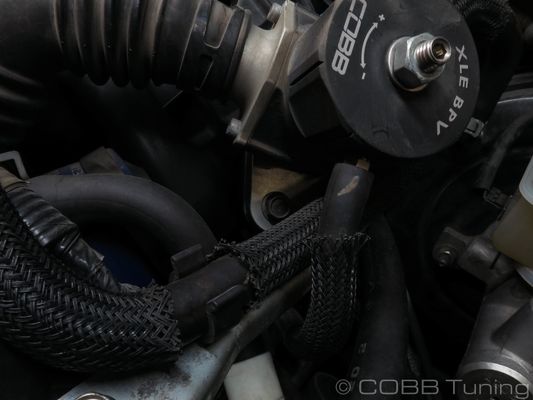
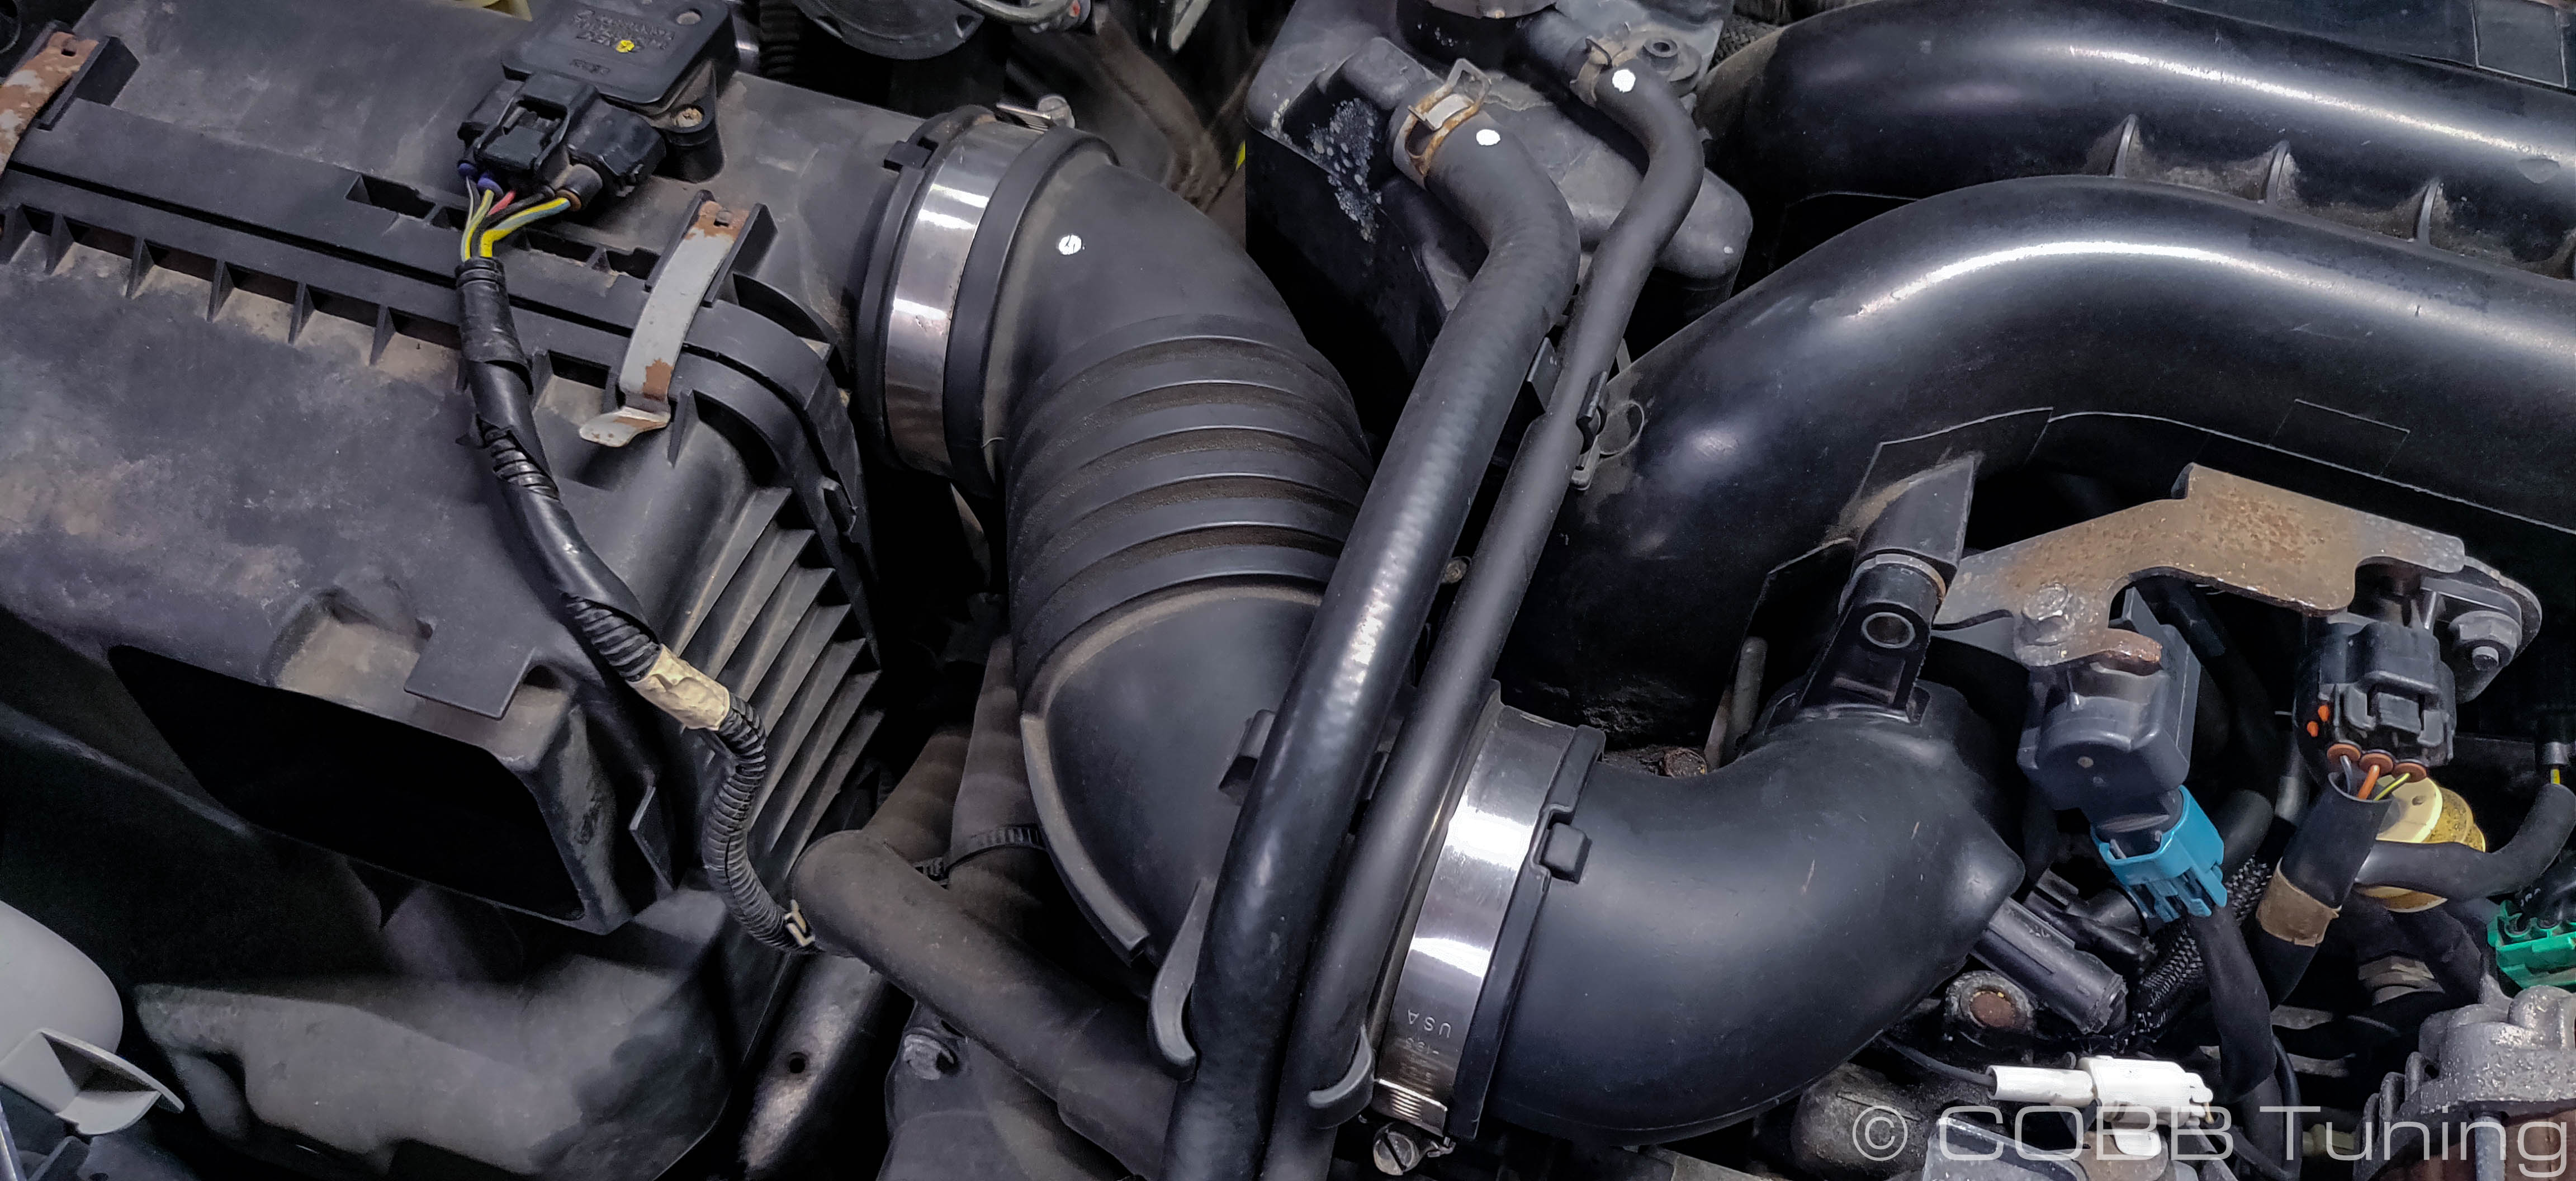
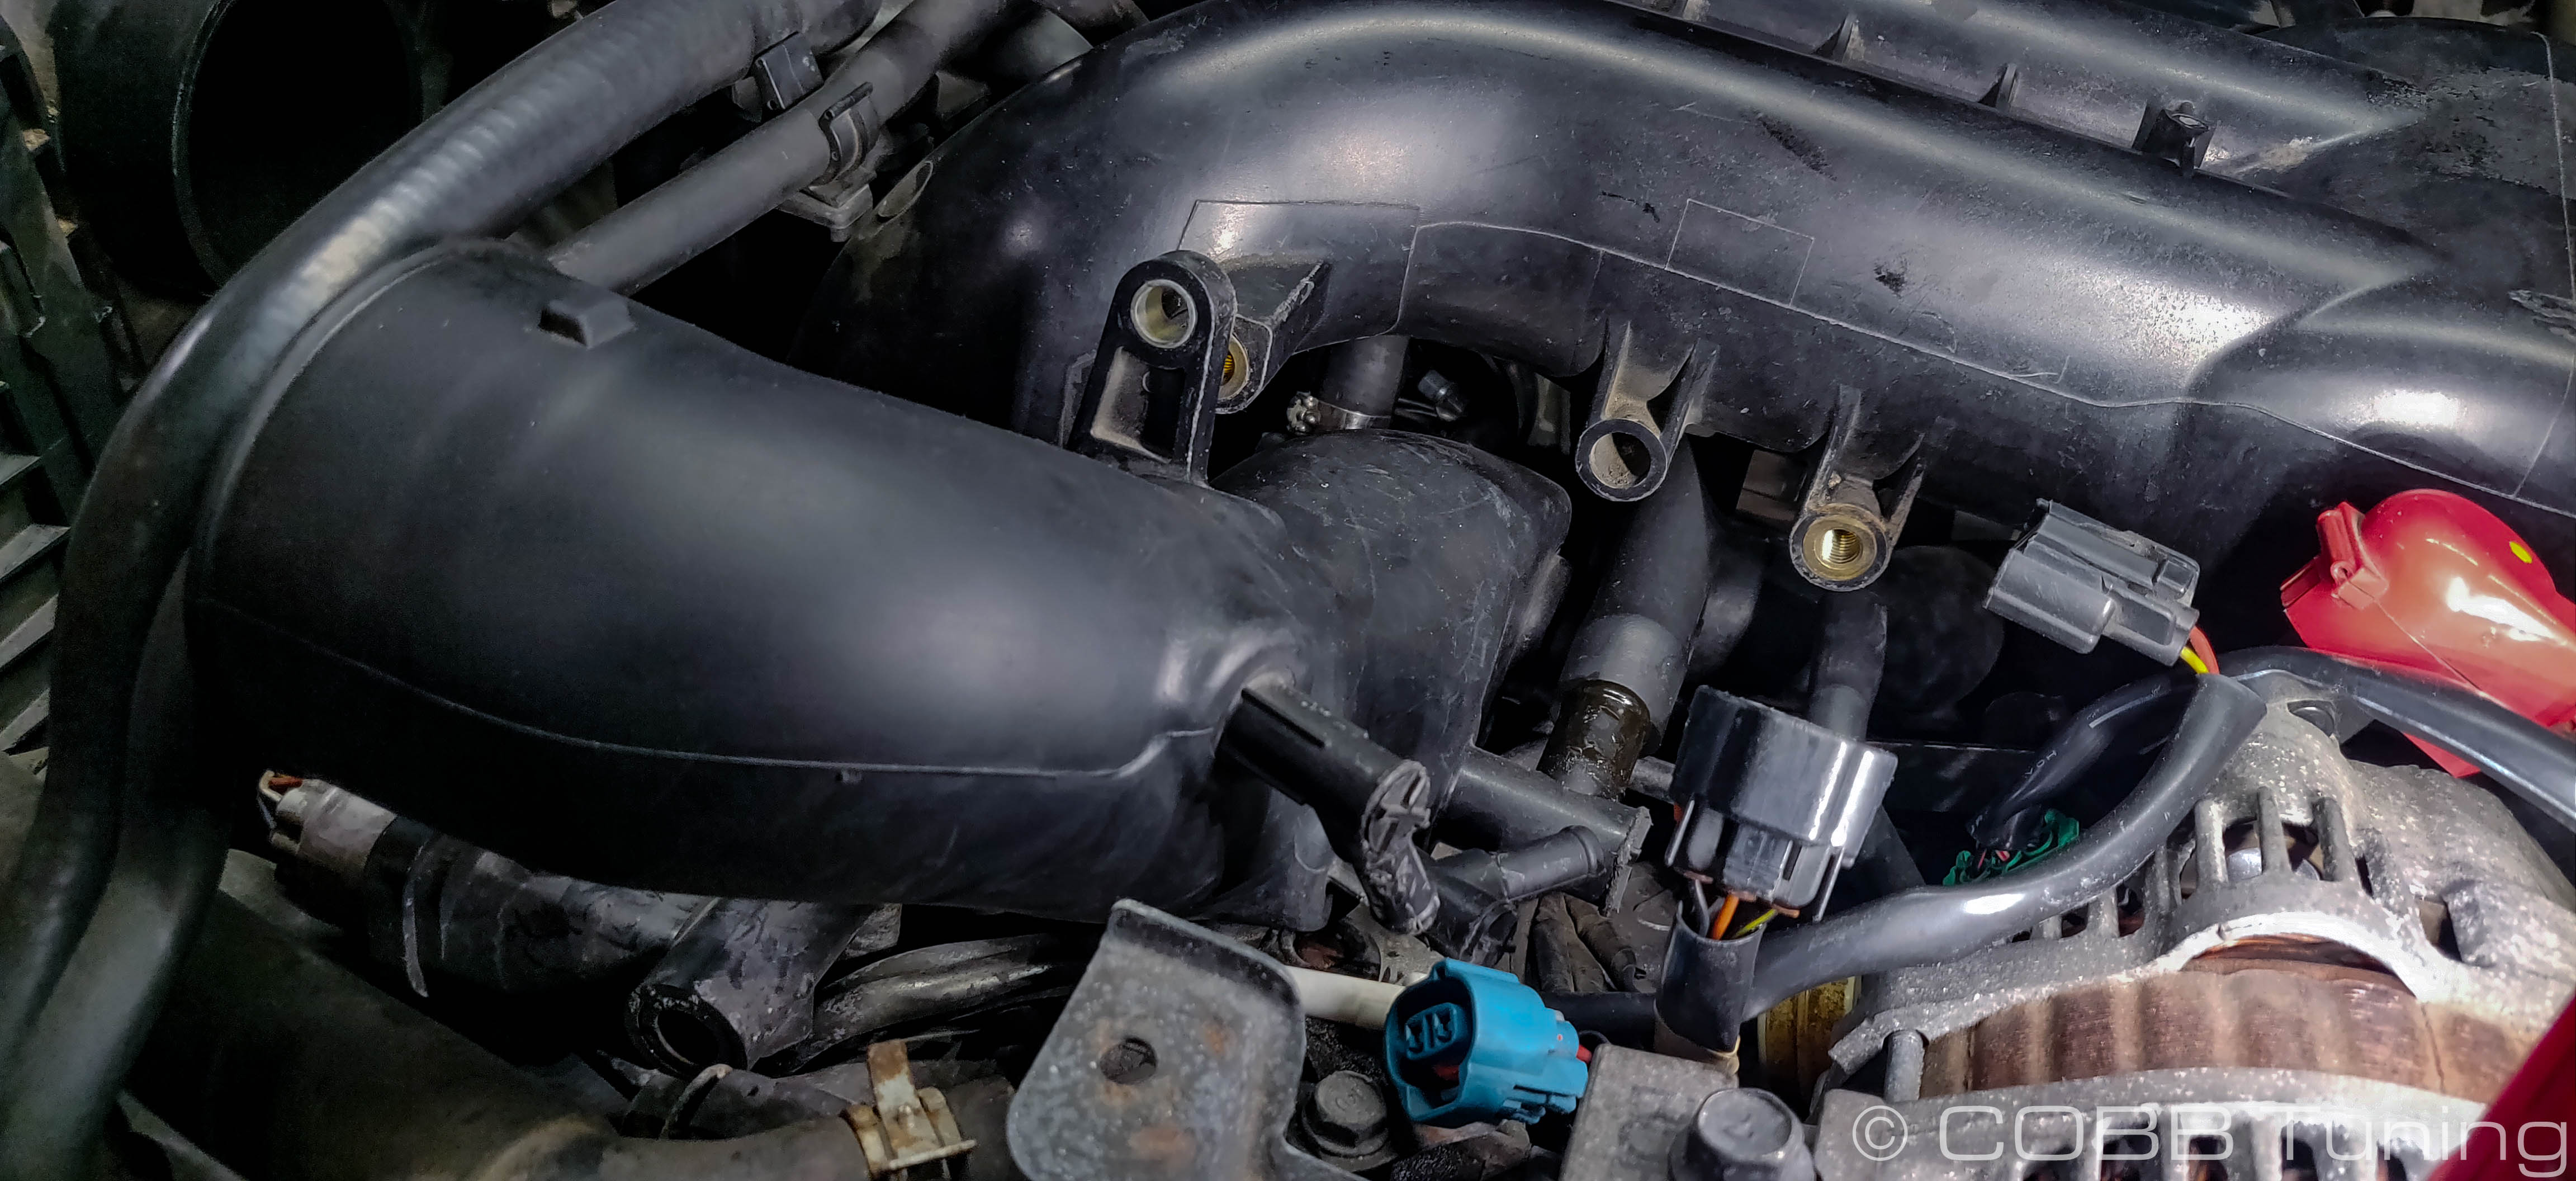
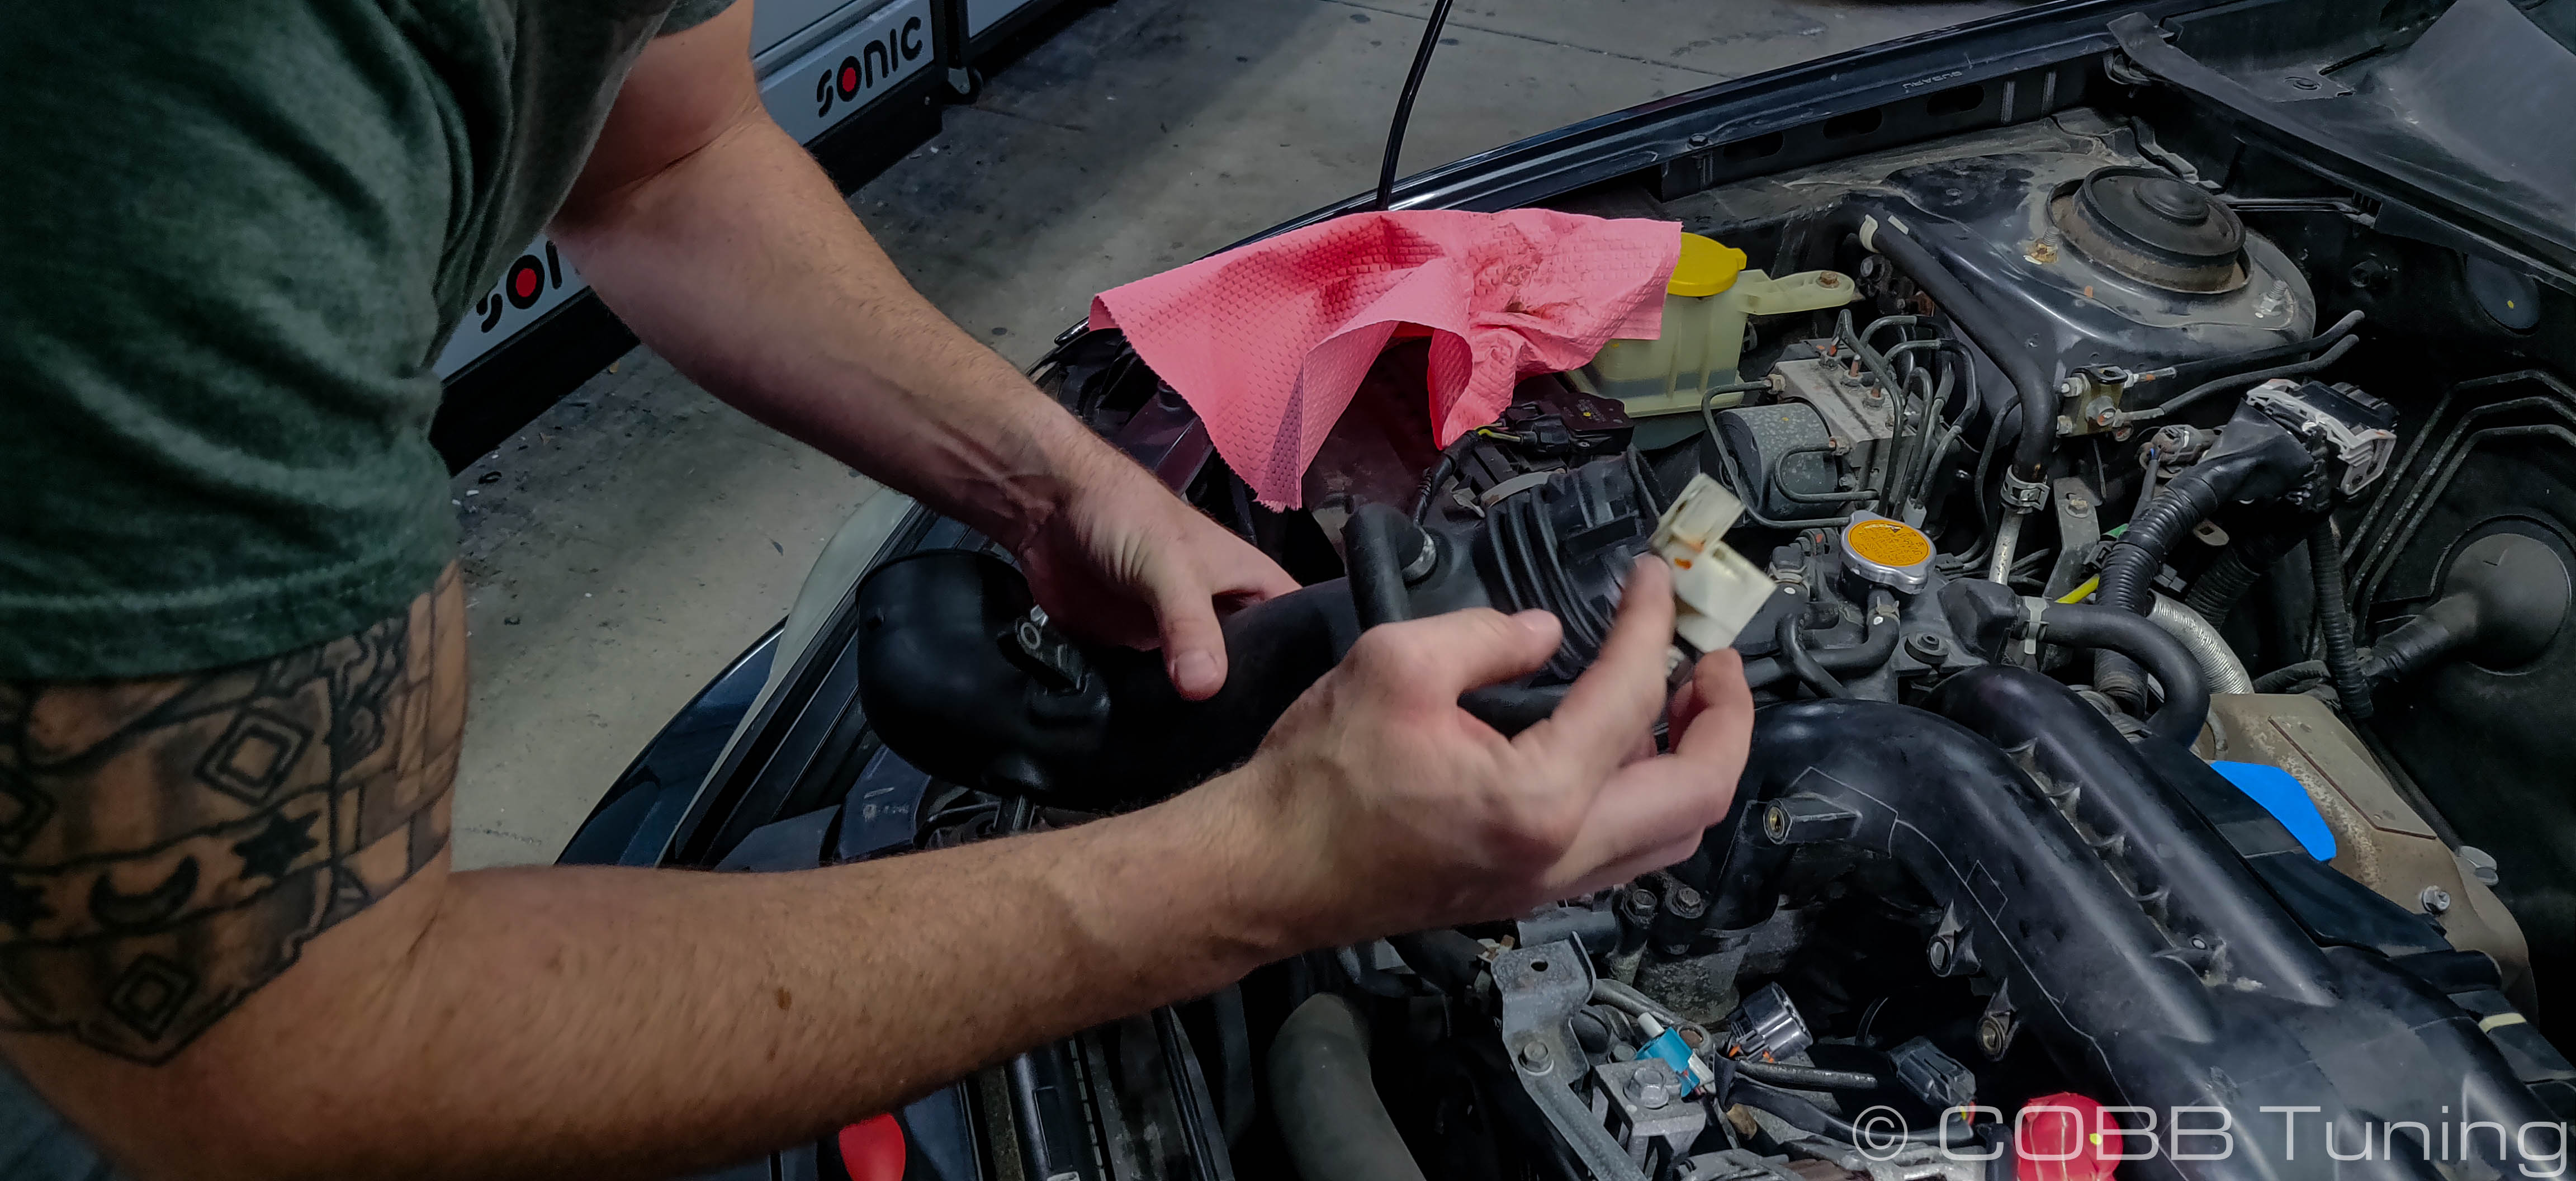
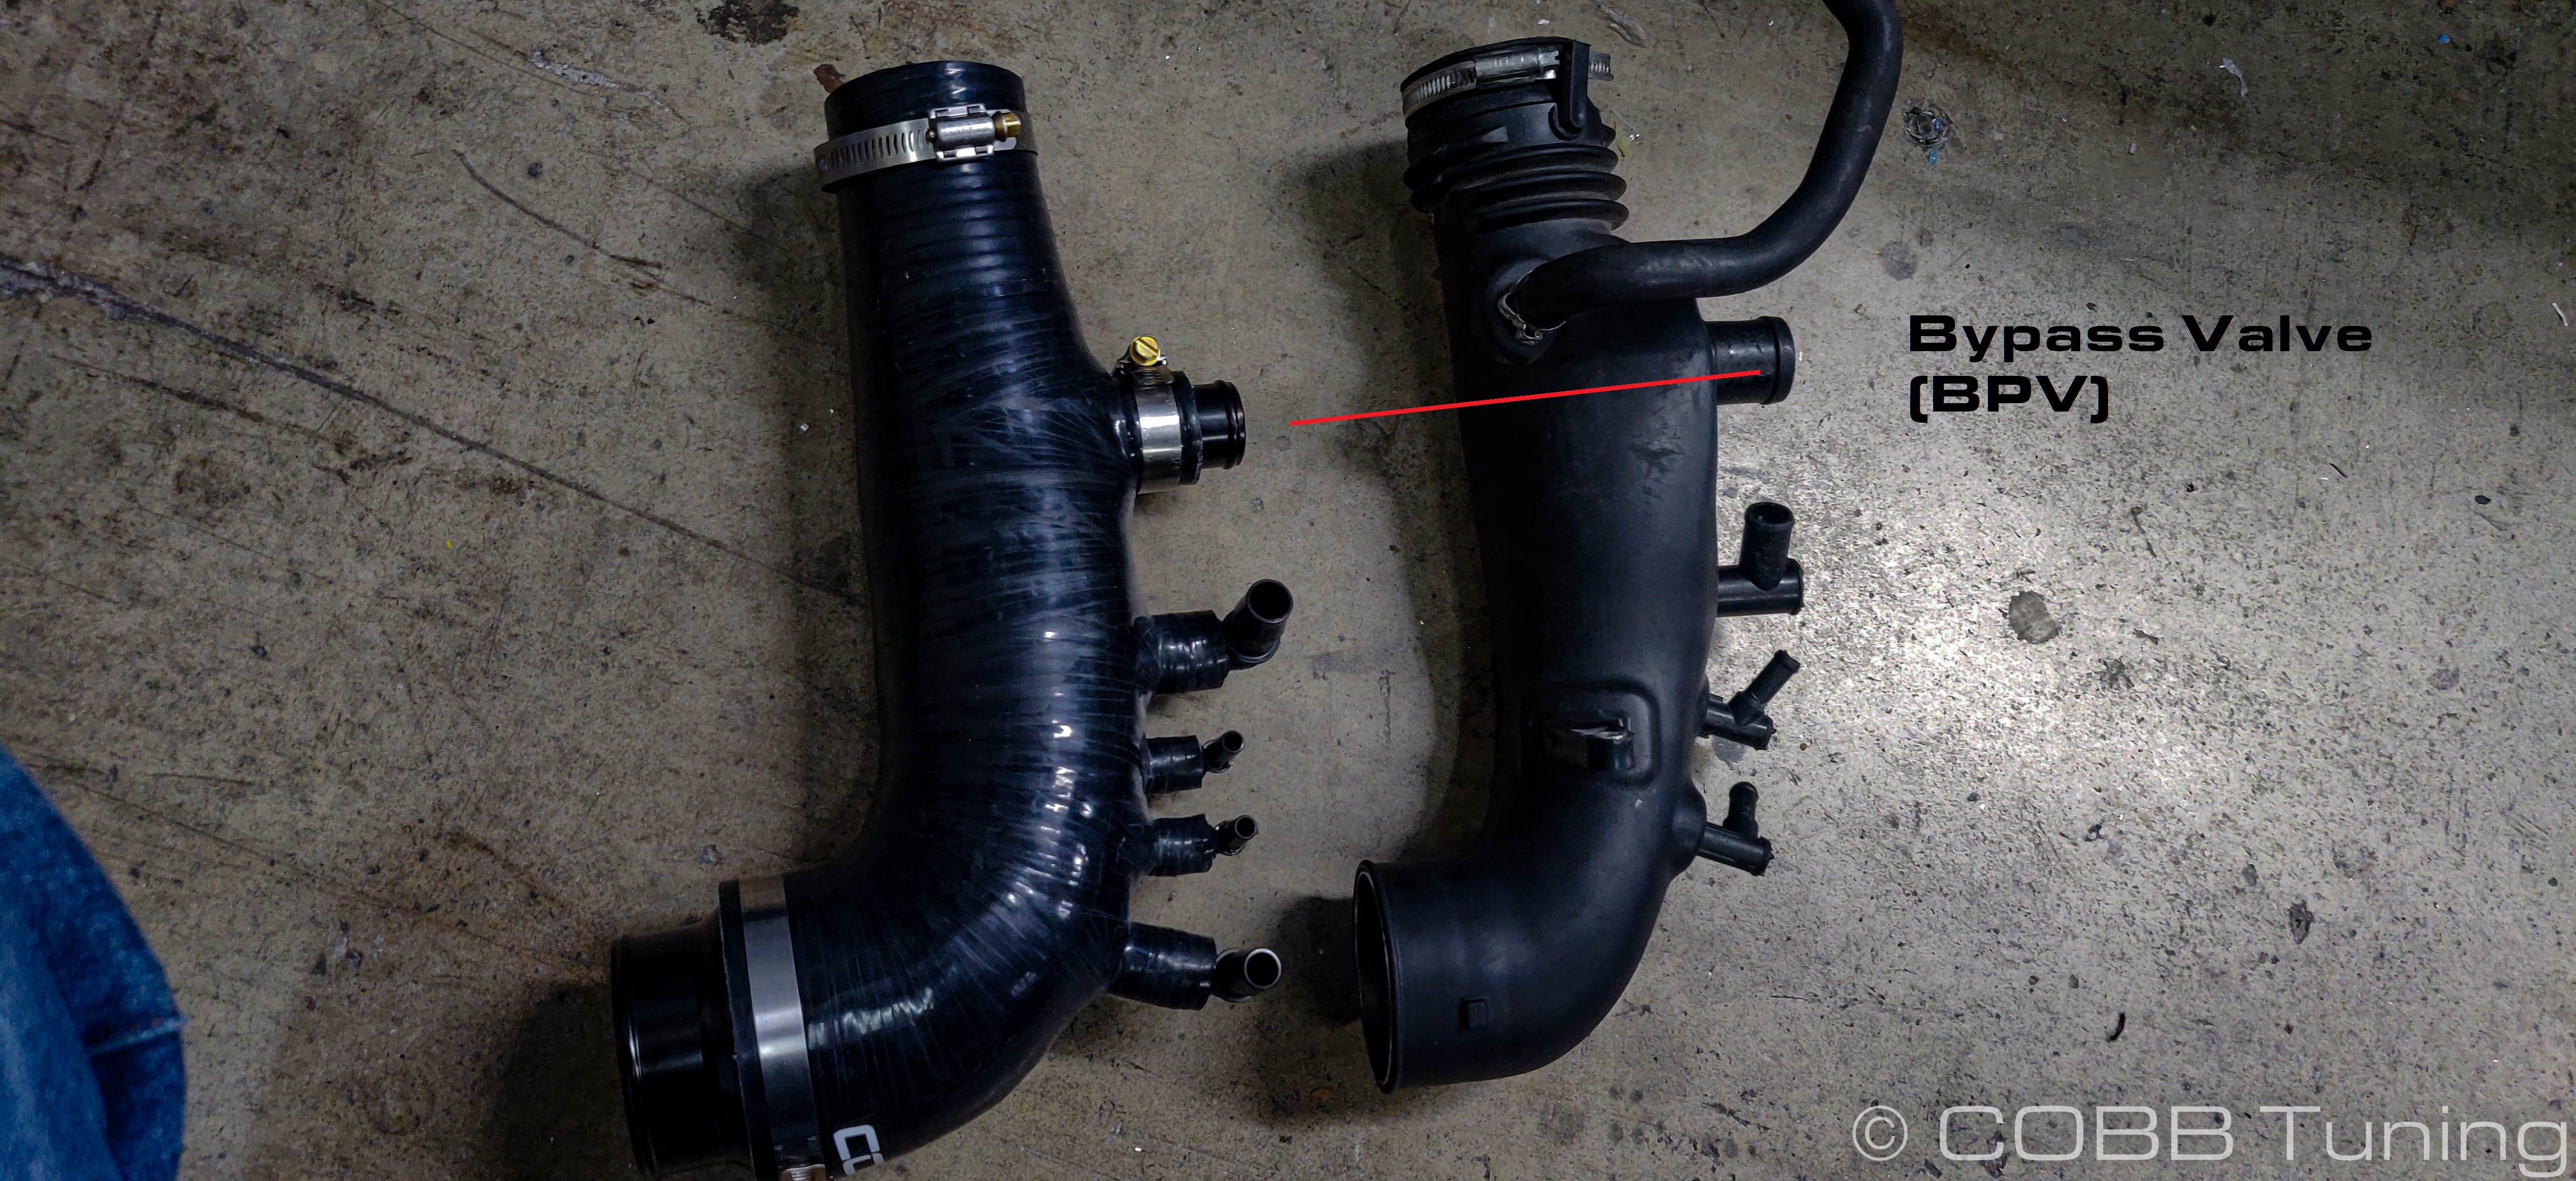
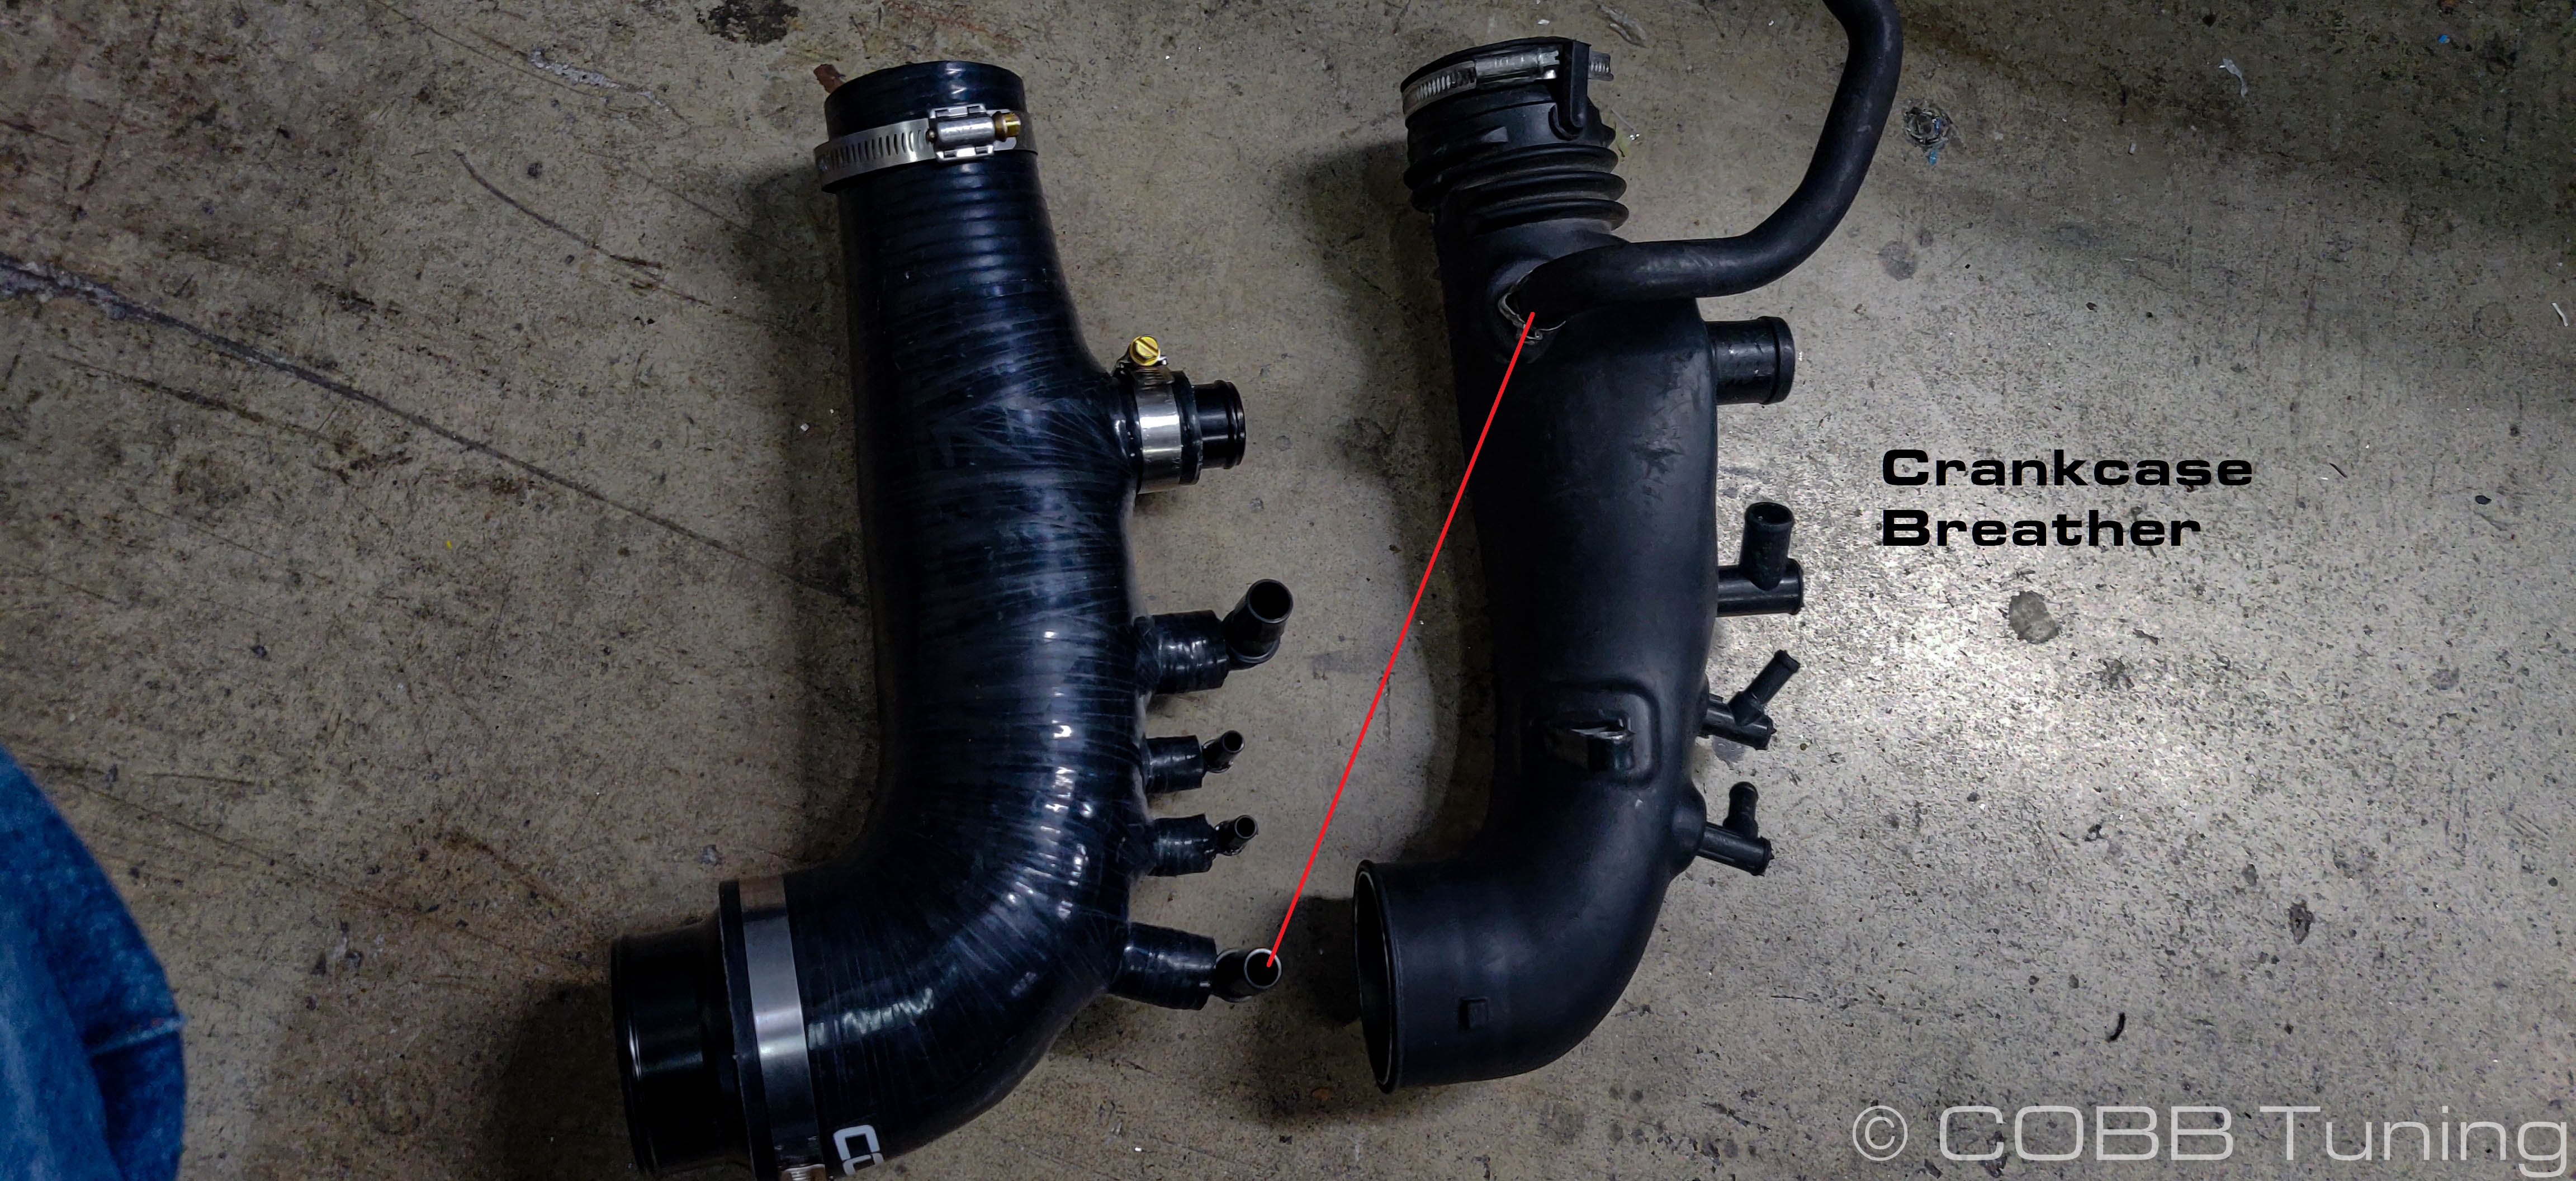
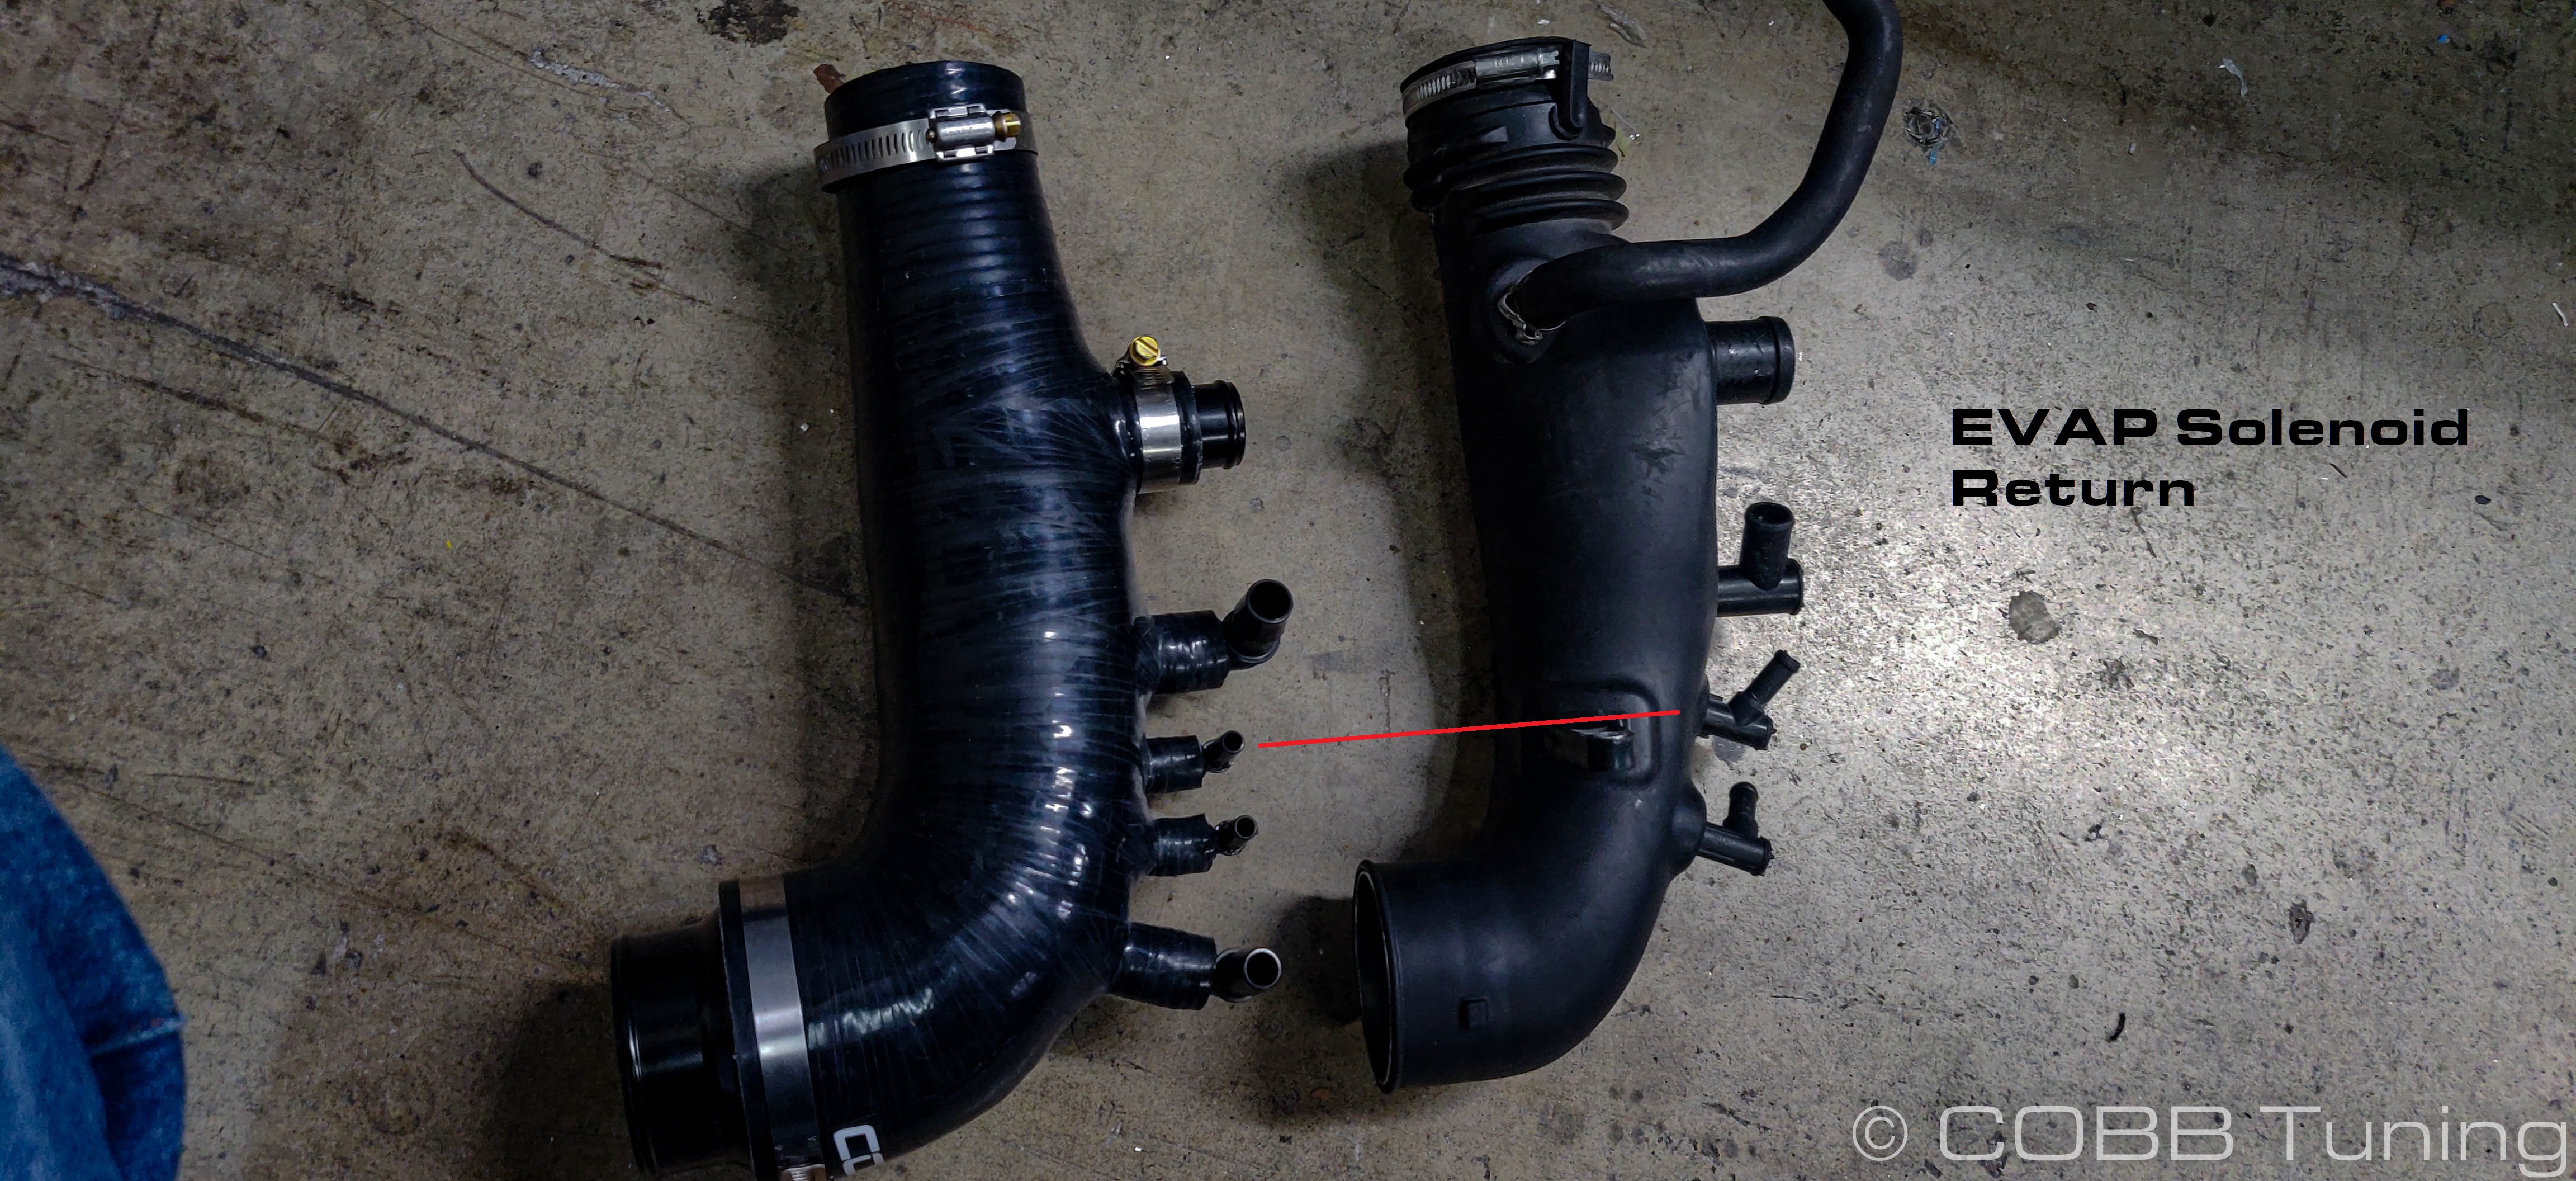
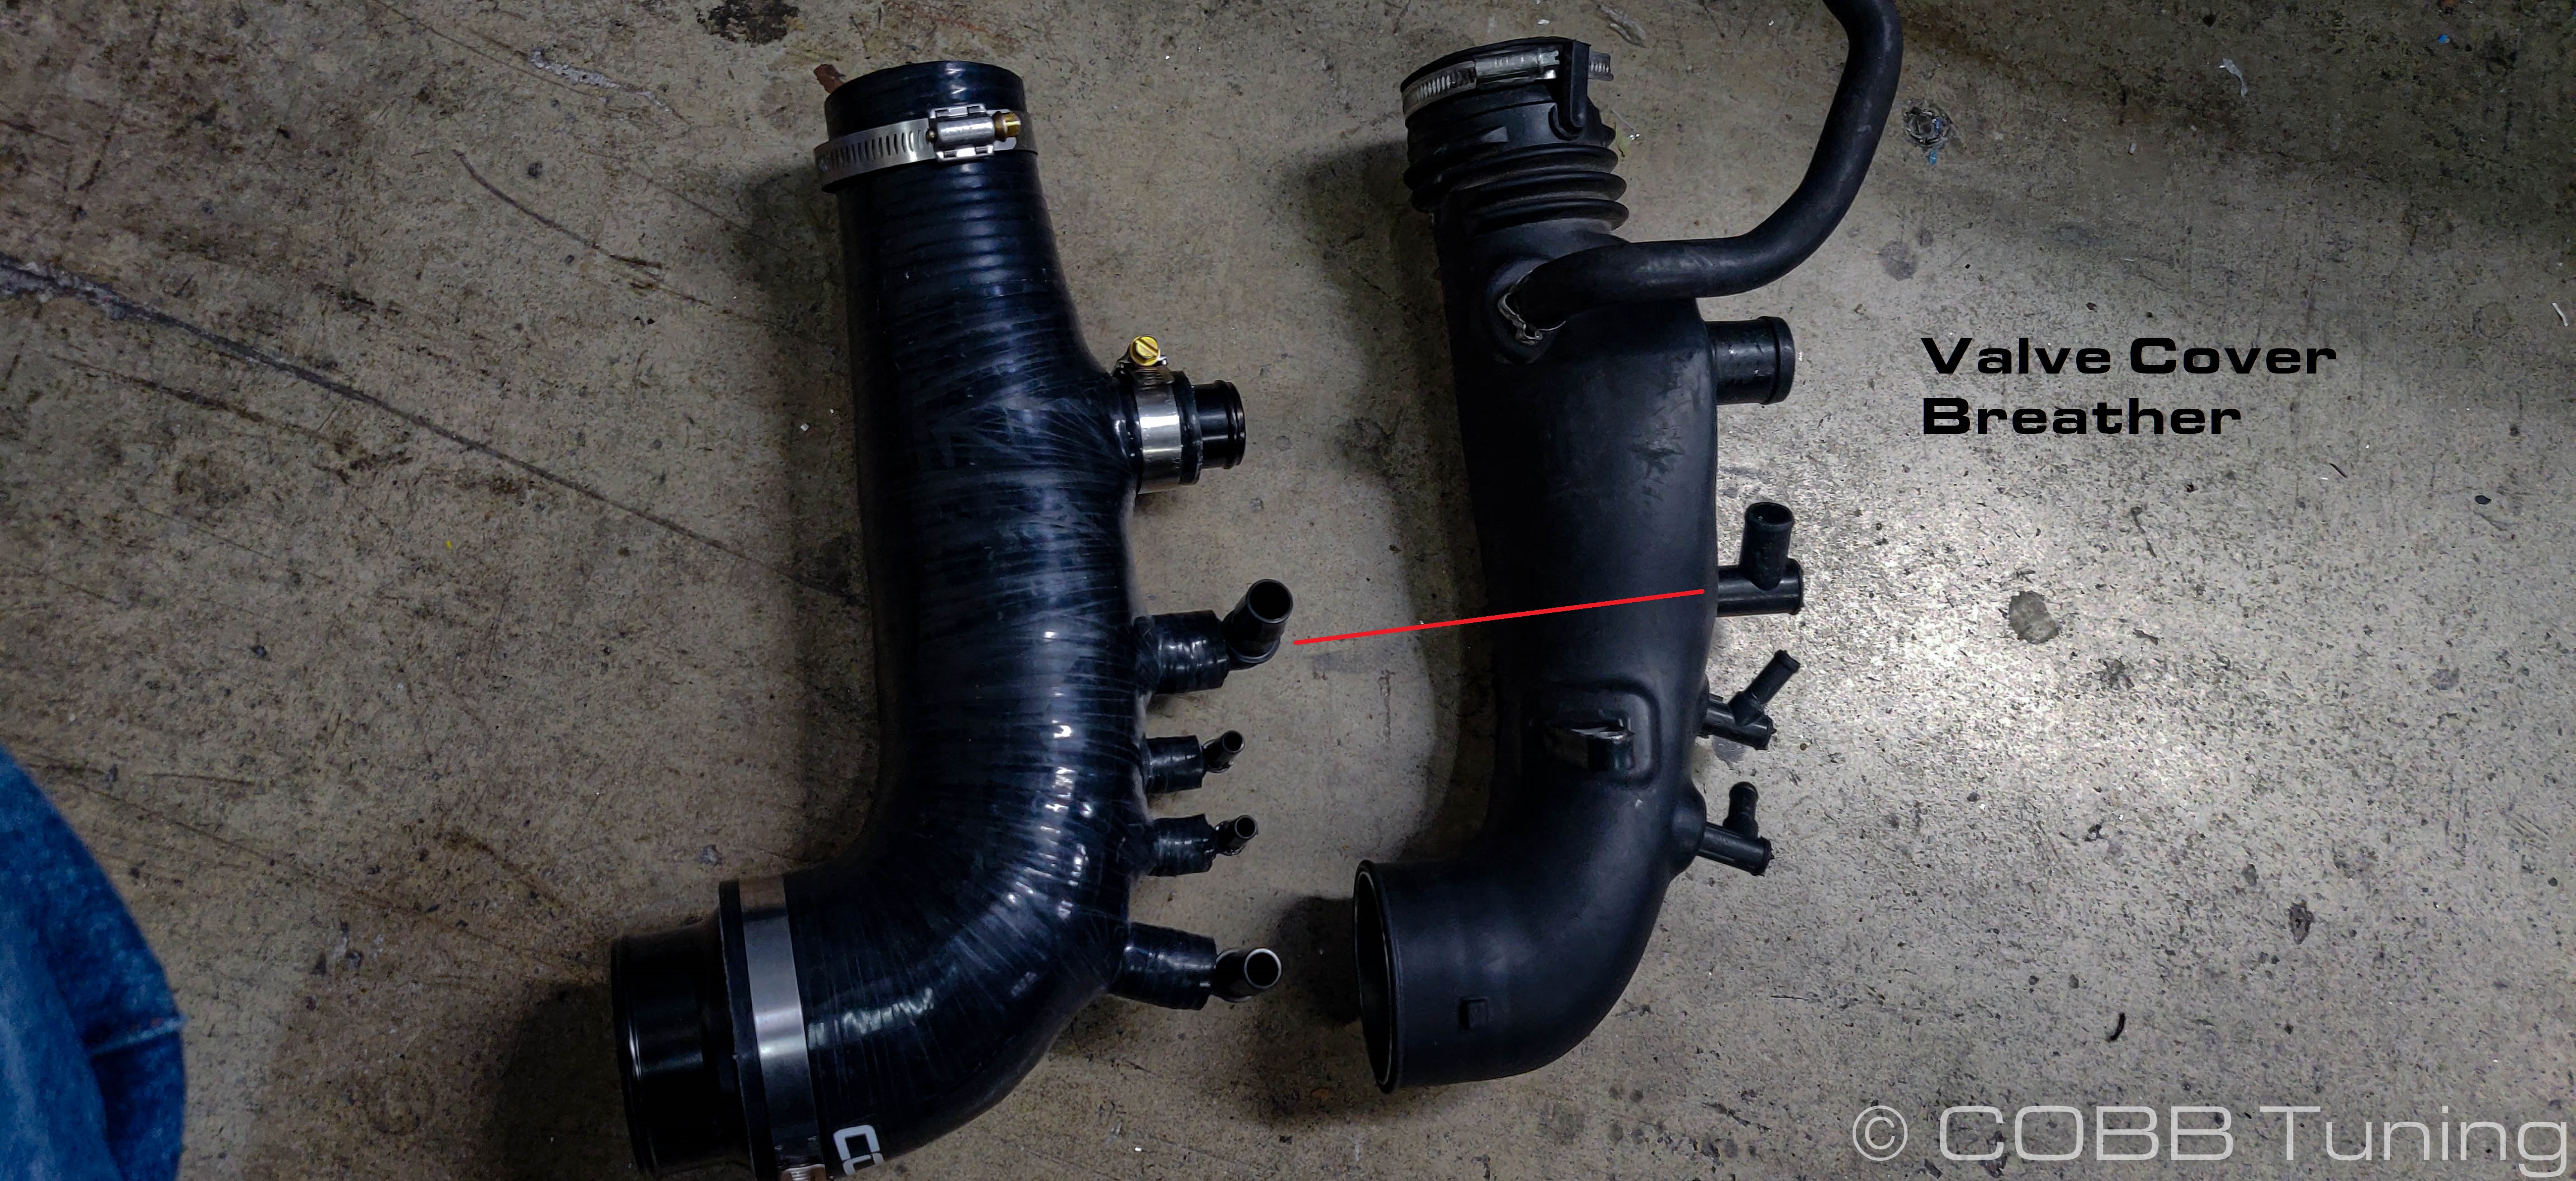
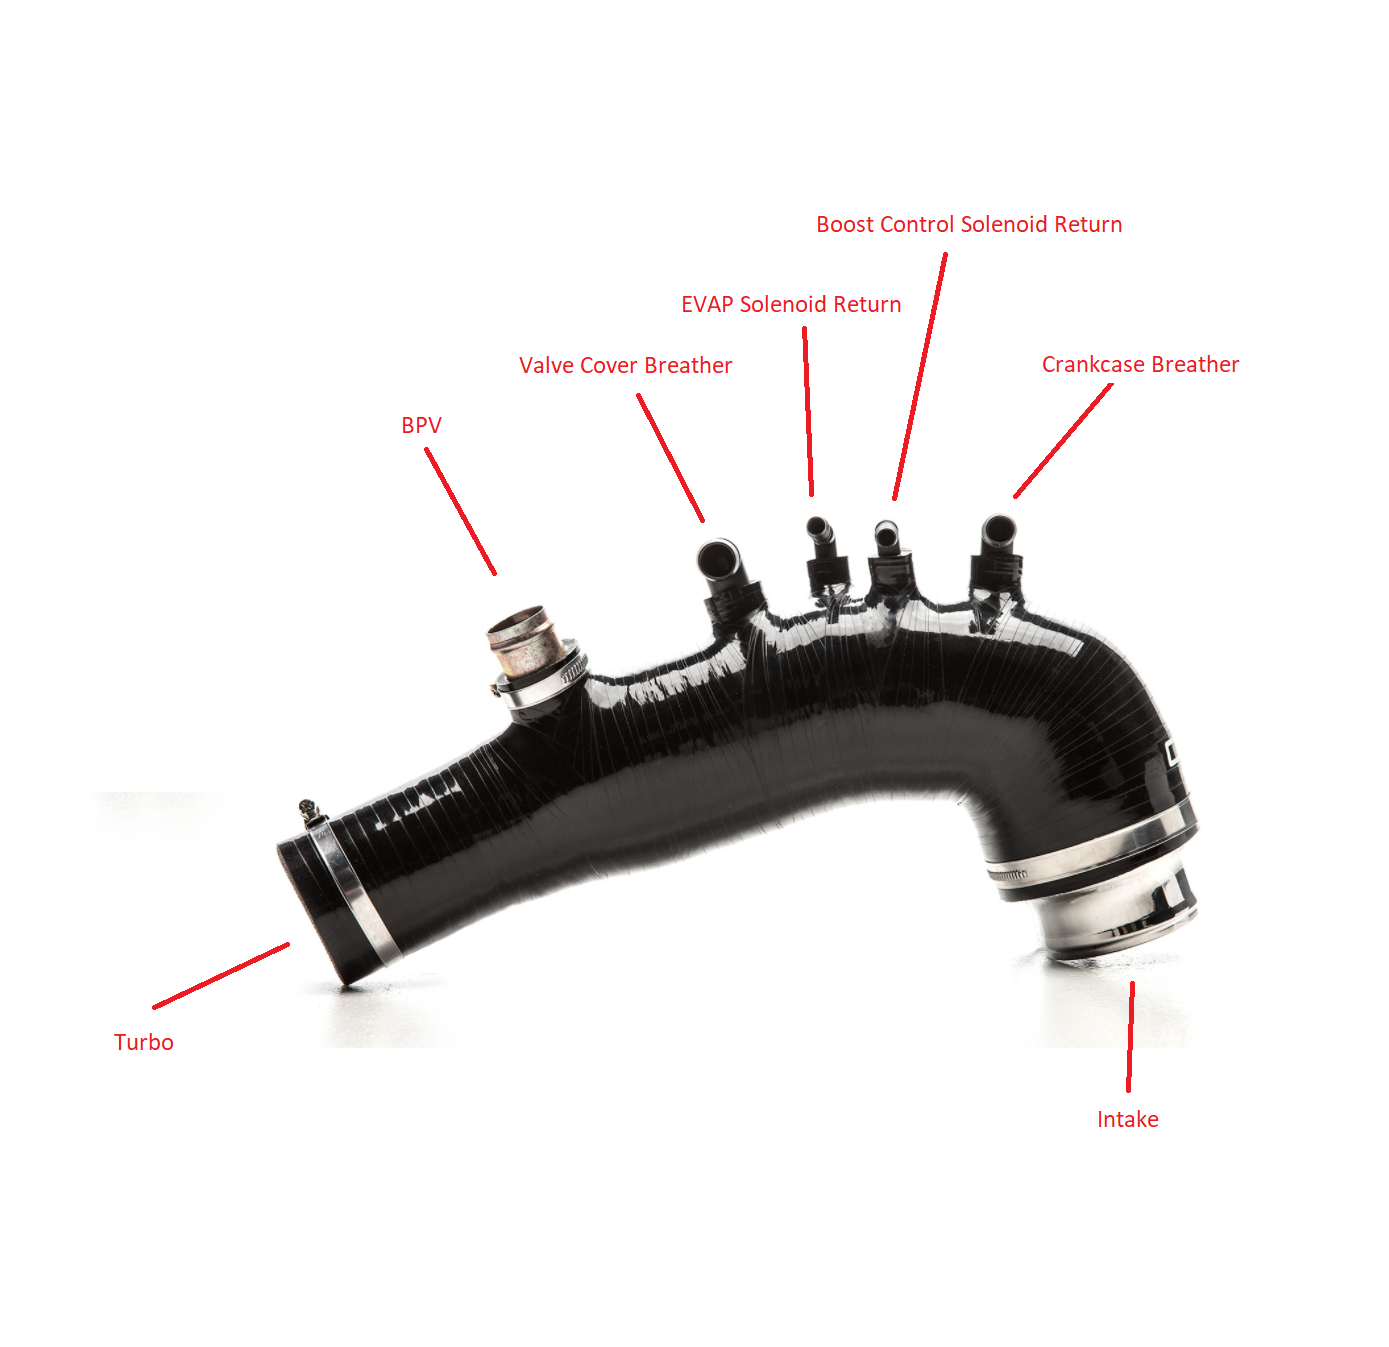
- As you can see the inlets are fairly similar, except due to the increased diameter of the COBB unit, the top port going to your blow-by sensor was re-routed to the front most fitting of the new inlet. On Legacy GT models it may be necessary to adjust the air injection solenoid bracket, loosening it to allow you to get the inlet in before tightening it back down or potentially tweaking the bracket can get things to fit a bit better. Additionally the Recirculation hose for the bypass valve can get fairly tight, we recommend trying to get it on fairly early in the process and making sure it doesn't get kinked after installing the rest of the hose.

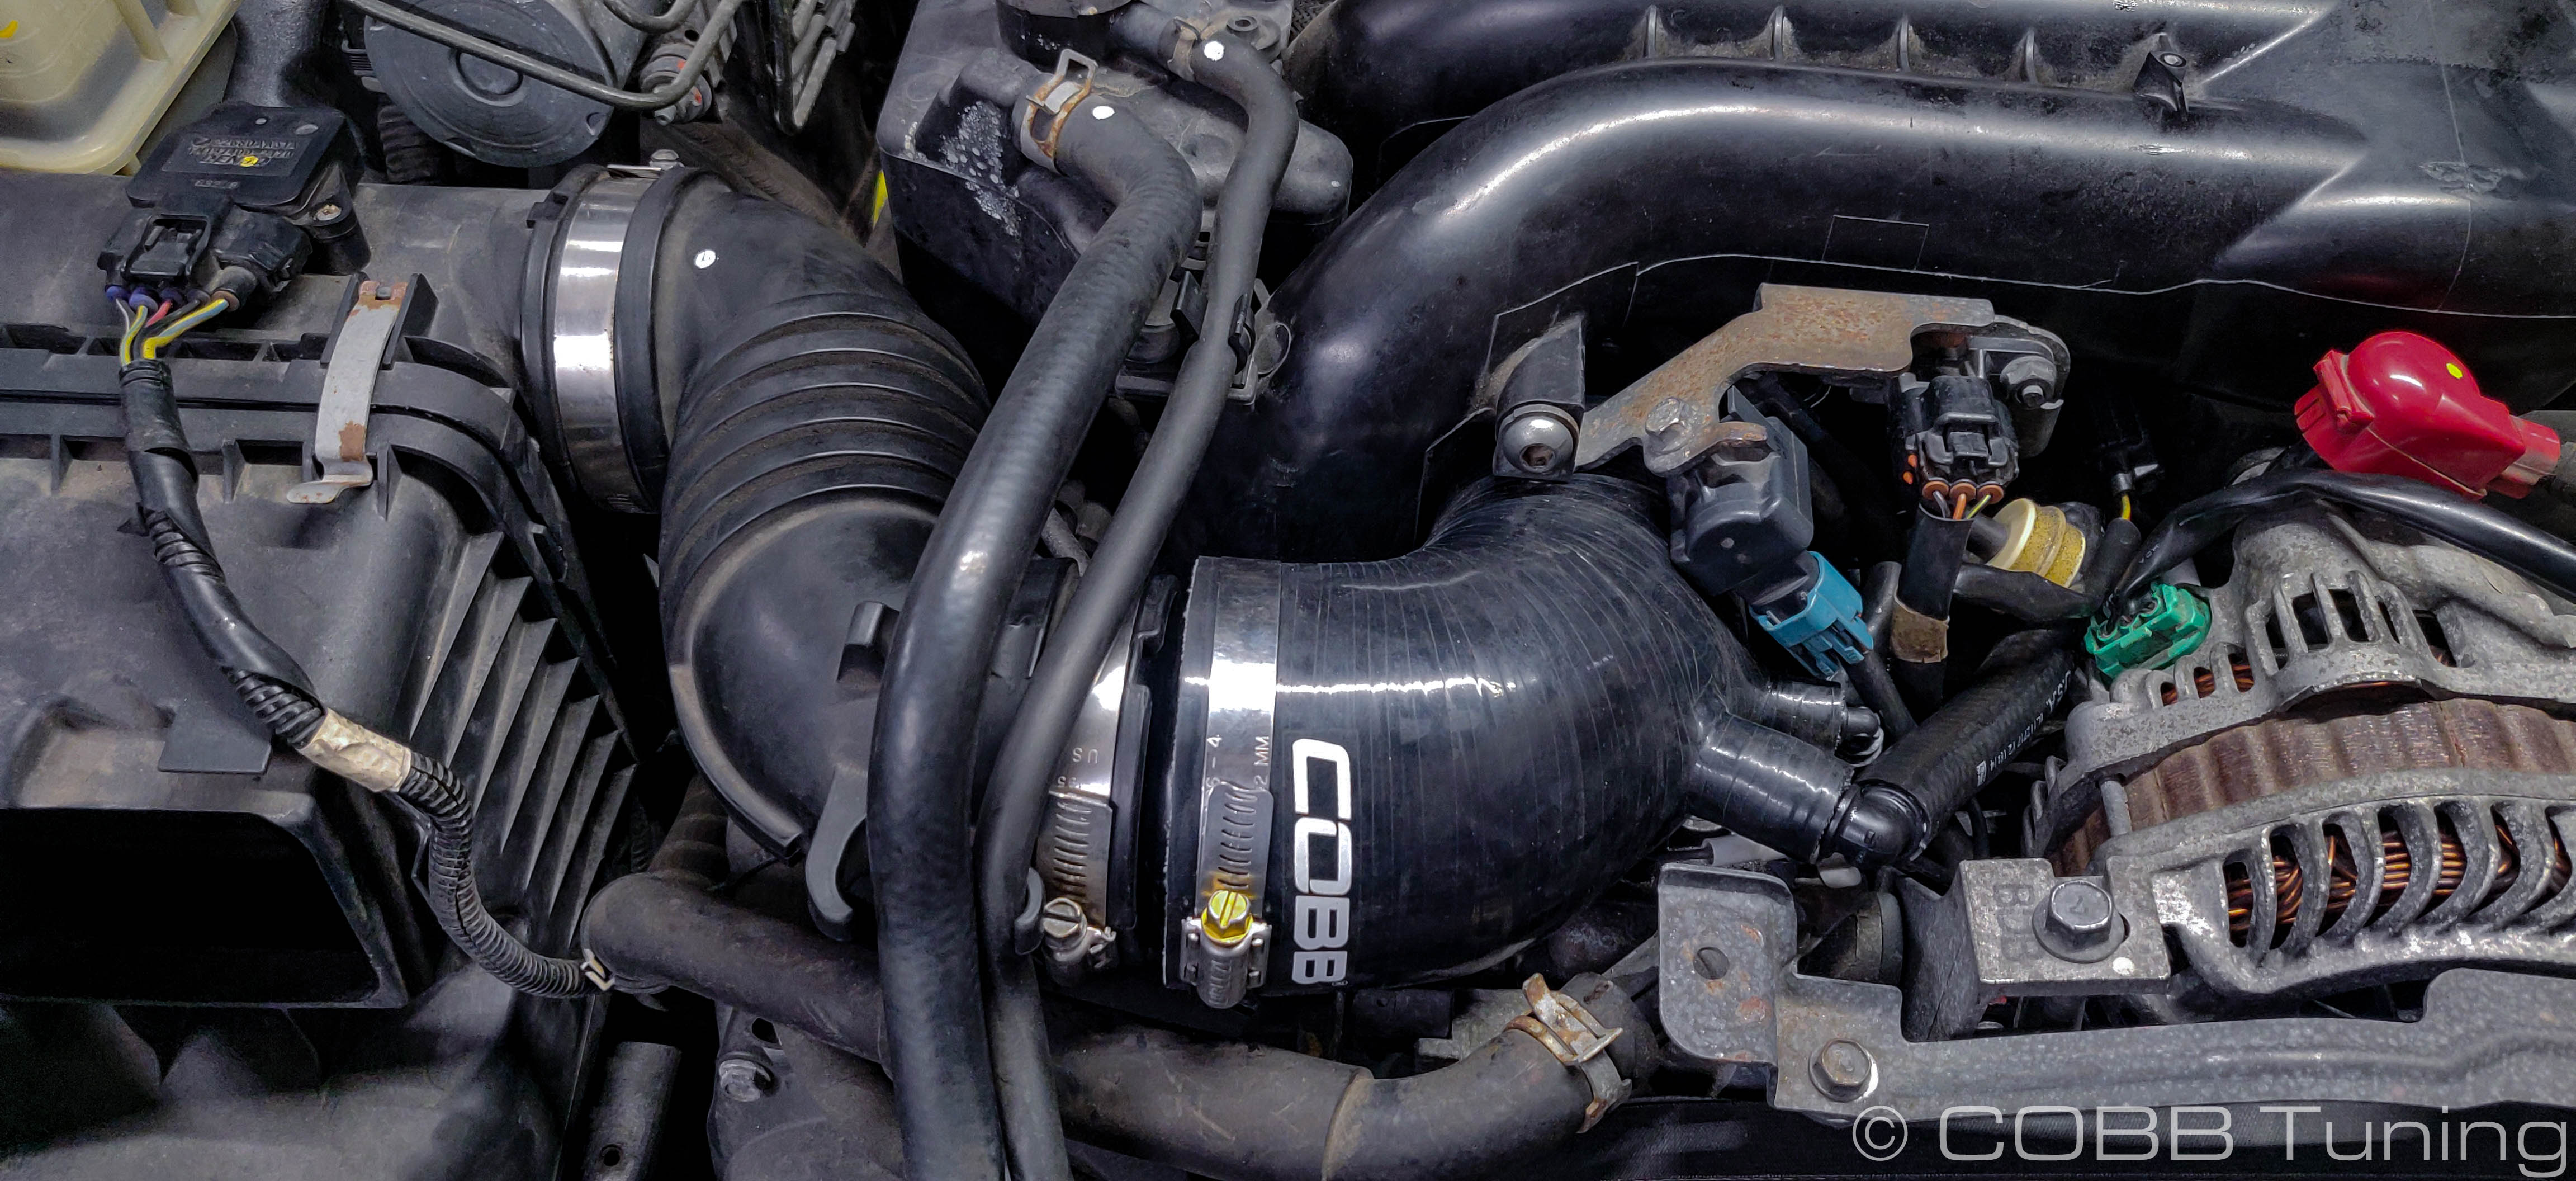
- Proceed in the reverse order to re-install your intake manifold and intake system. A small amount of silicone lubricant spray can help the inlet go on over the turbo housing much more easily.
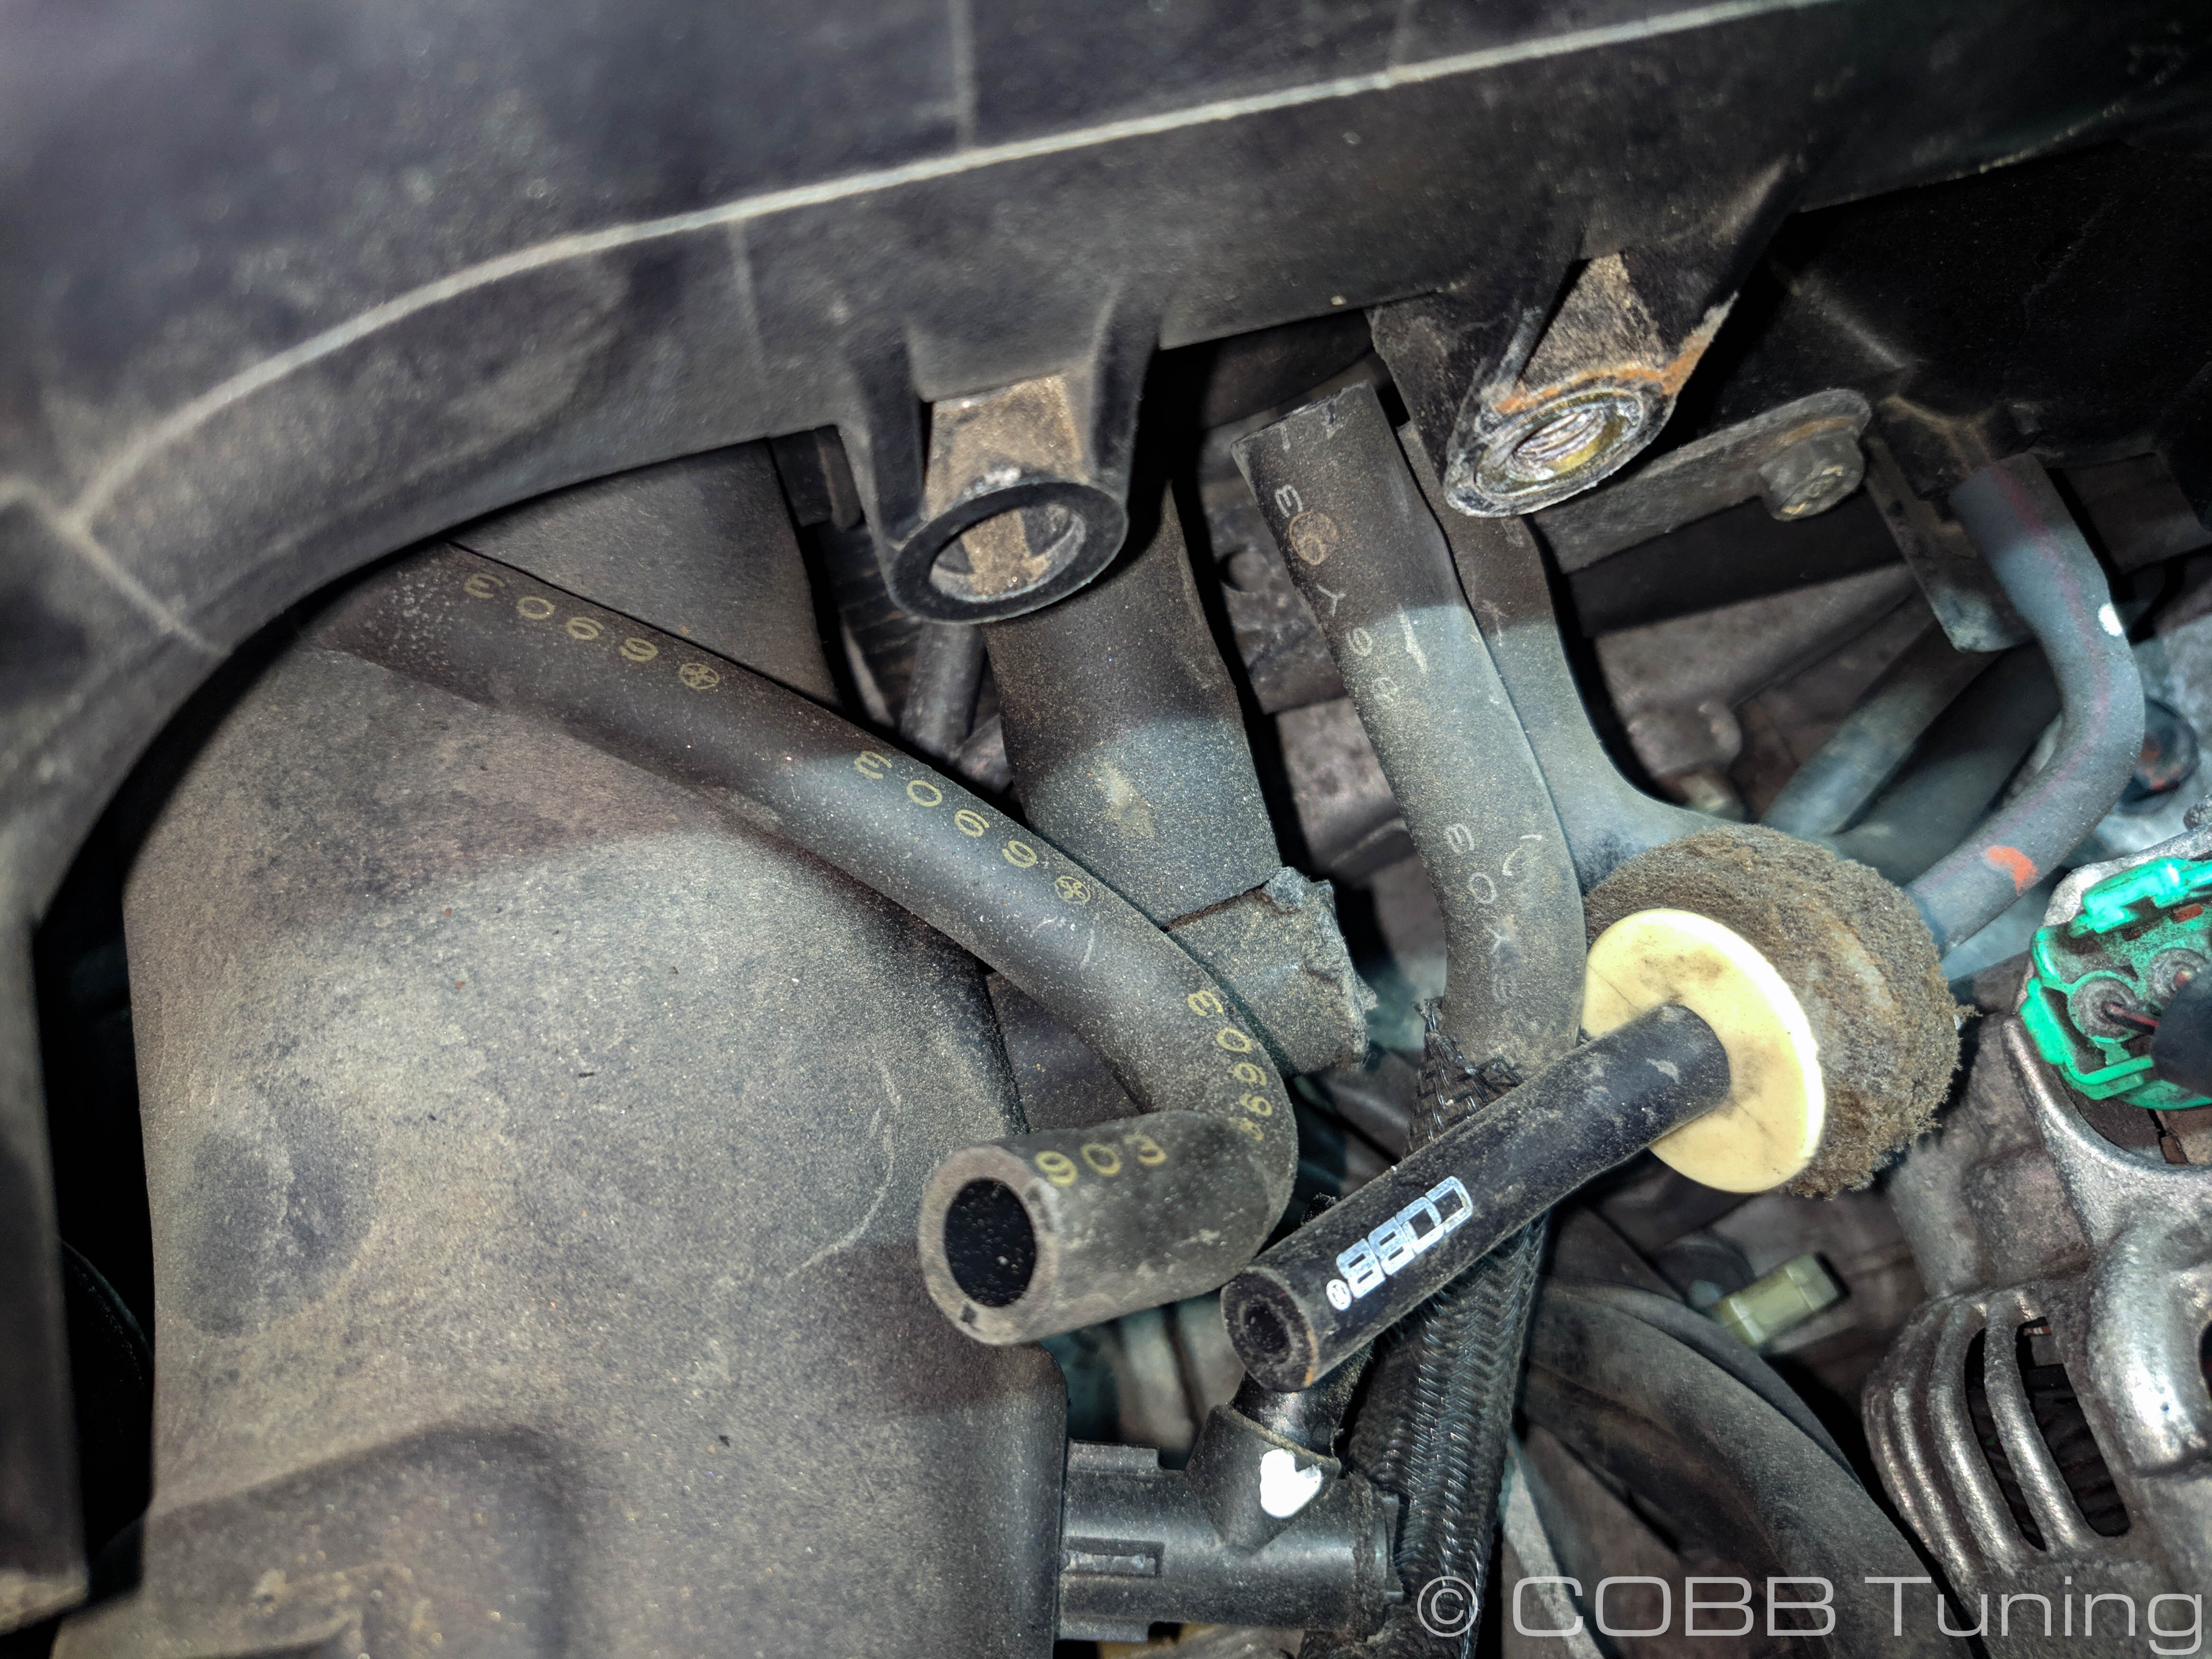
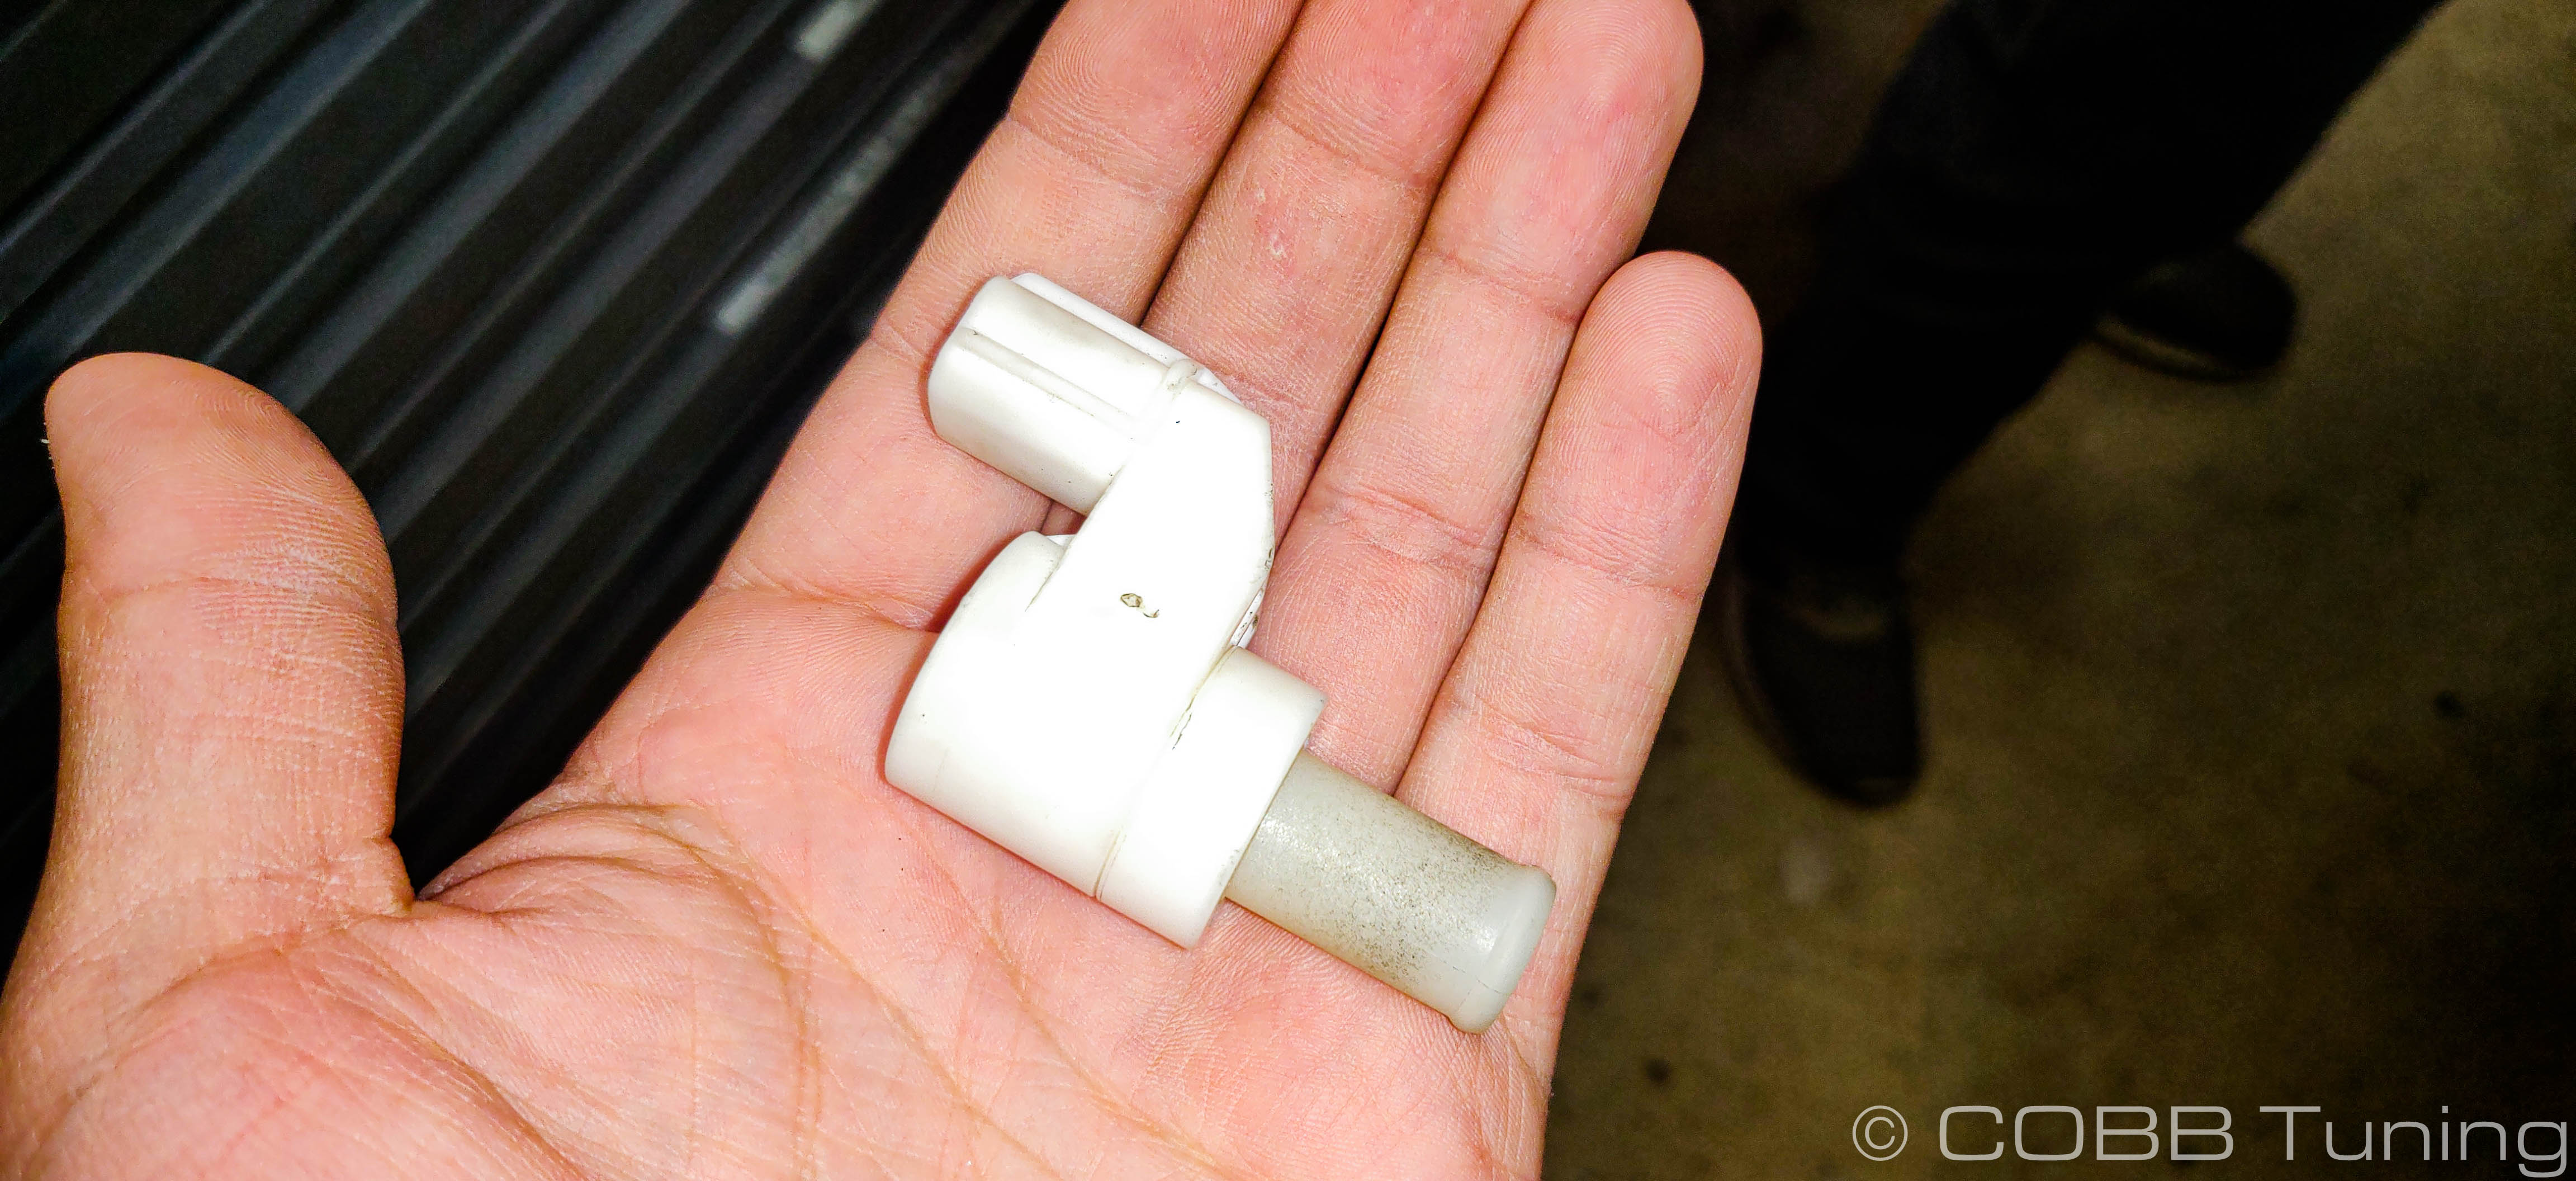
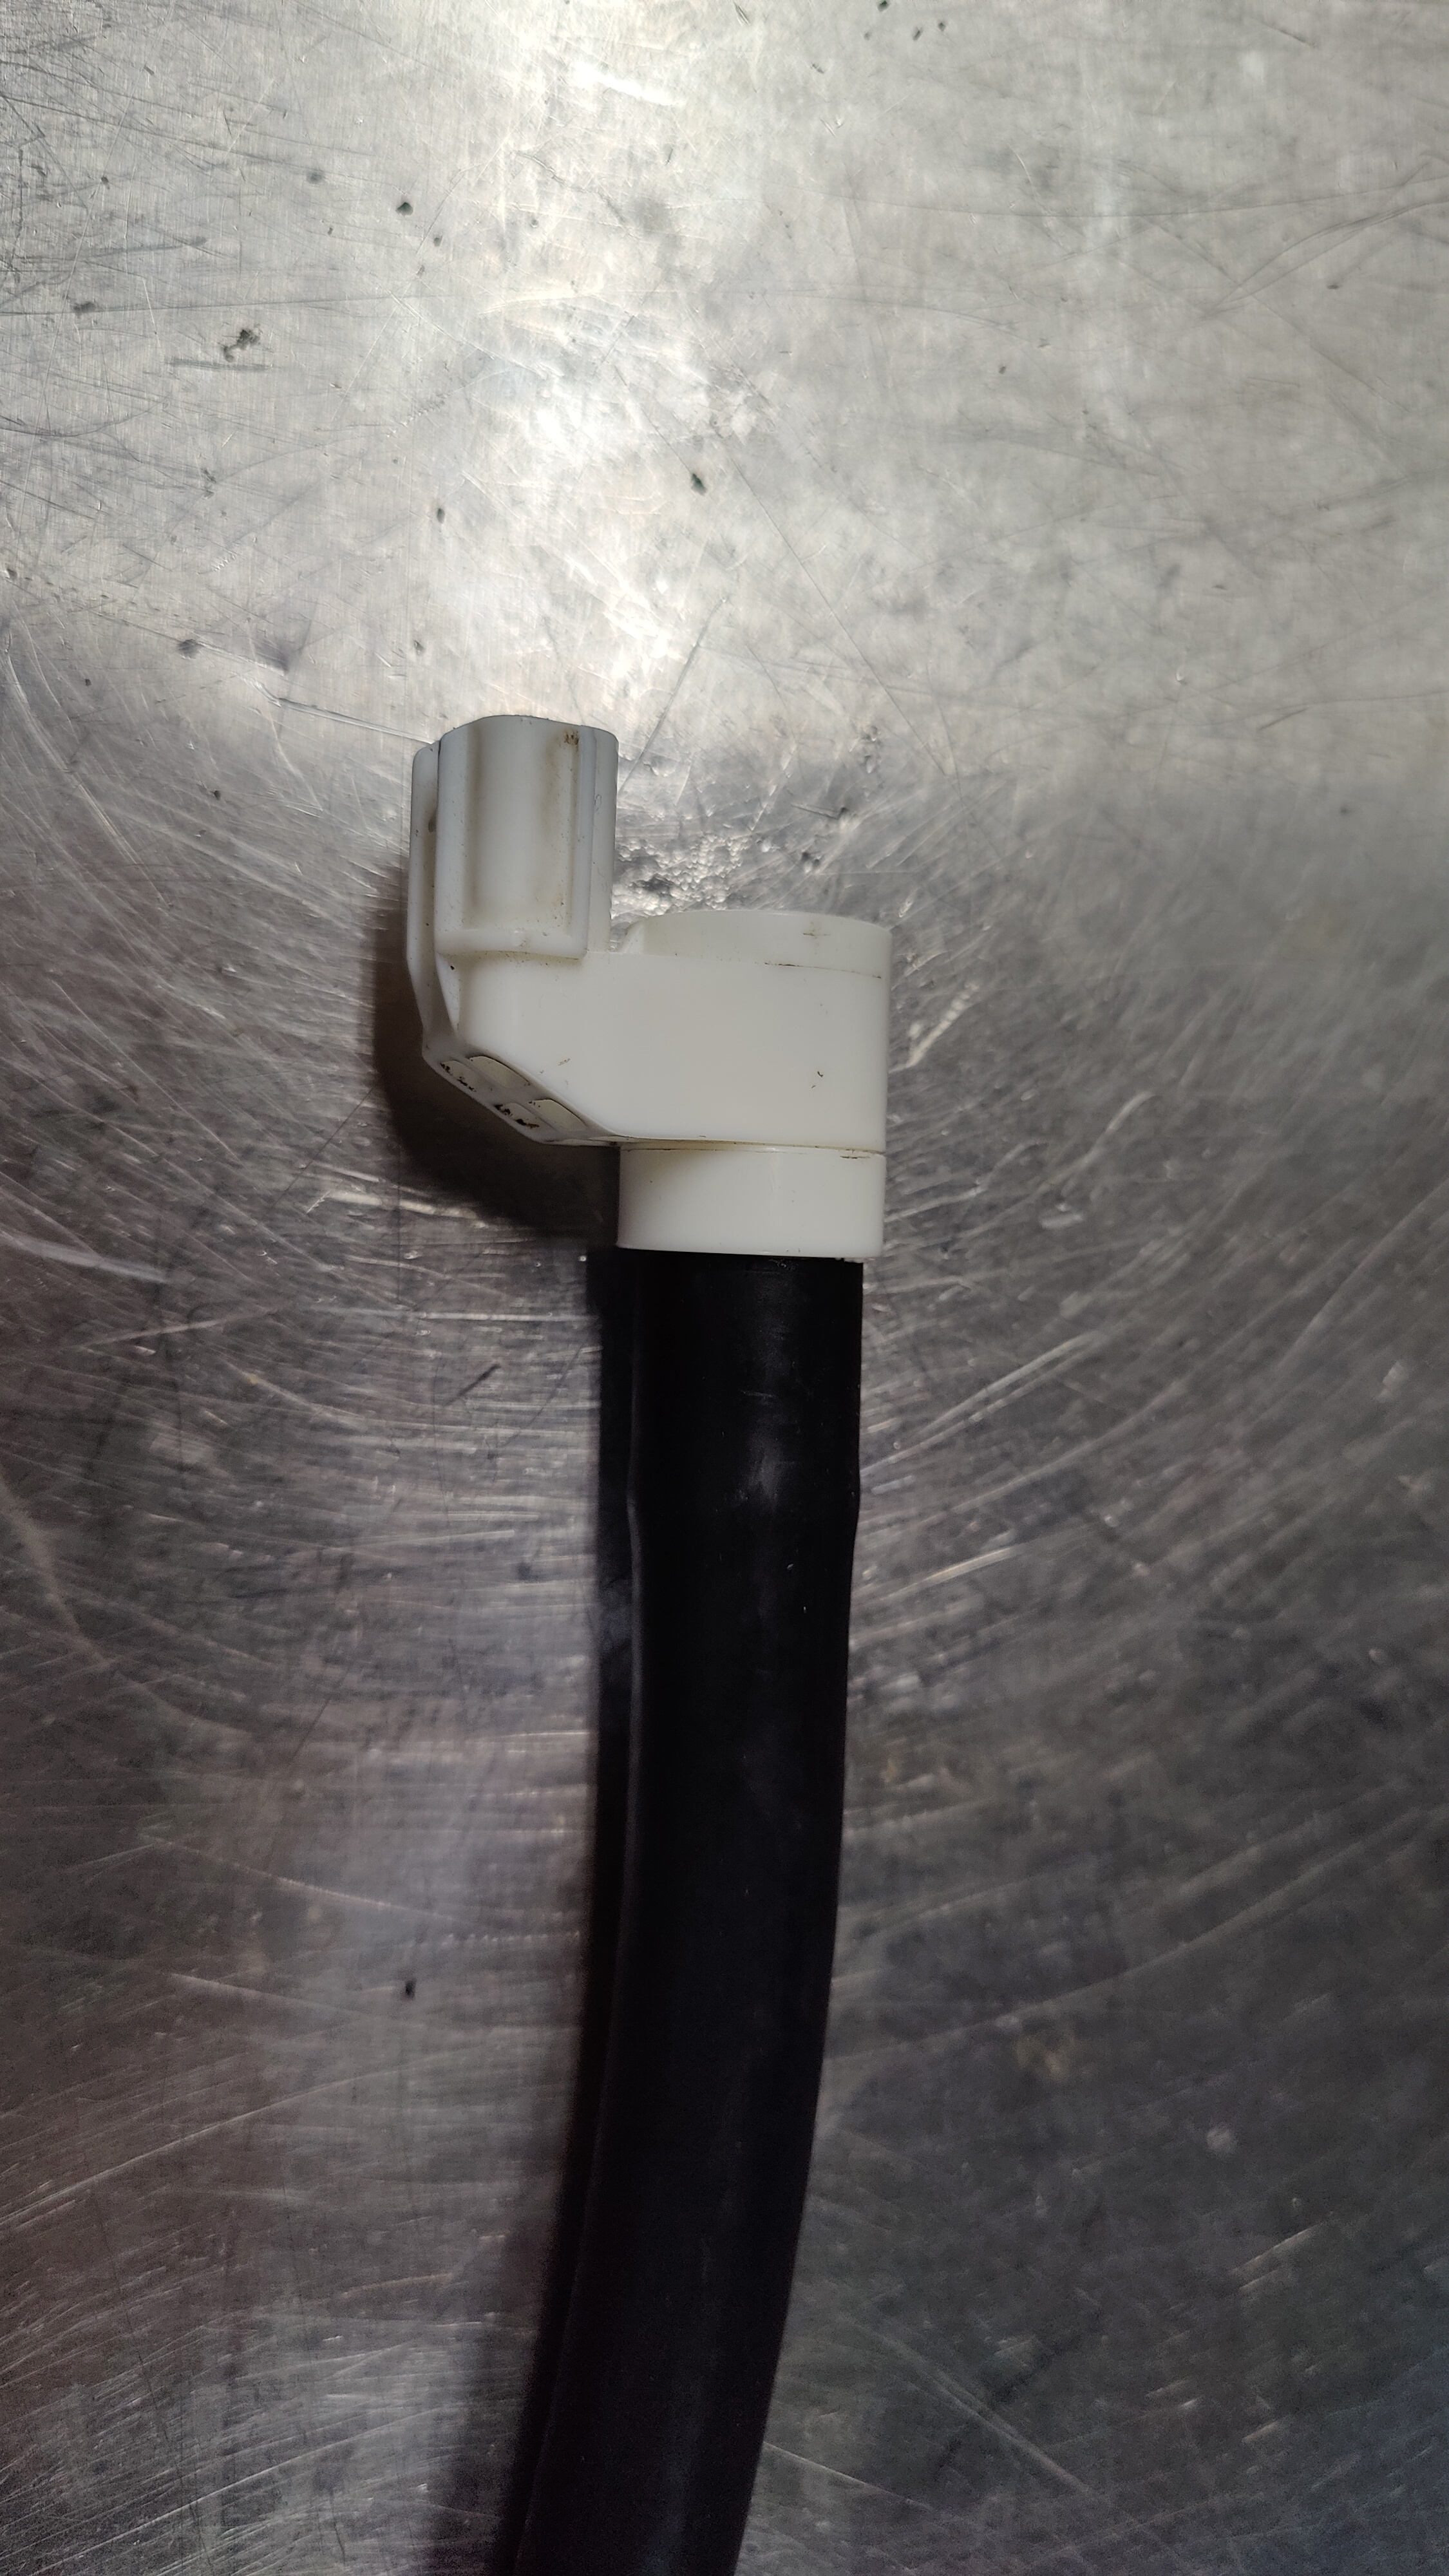
- Pry open the factory clamps and remove the blow-by sensor from the factory line. This can then be installed in the supplied vacuum line.
- With the inlet in place under the manifold, route the length of vacuum line under the intake manifold and connect the hose with the factoryblow-by sensor back to the fitting it was initally removed from.
- Once it's connected in the back, you can cut the line to fit in the front, and hook it up. Make sure to route it under the MAP sensor line to avoid it pulling downwards on that hose.
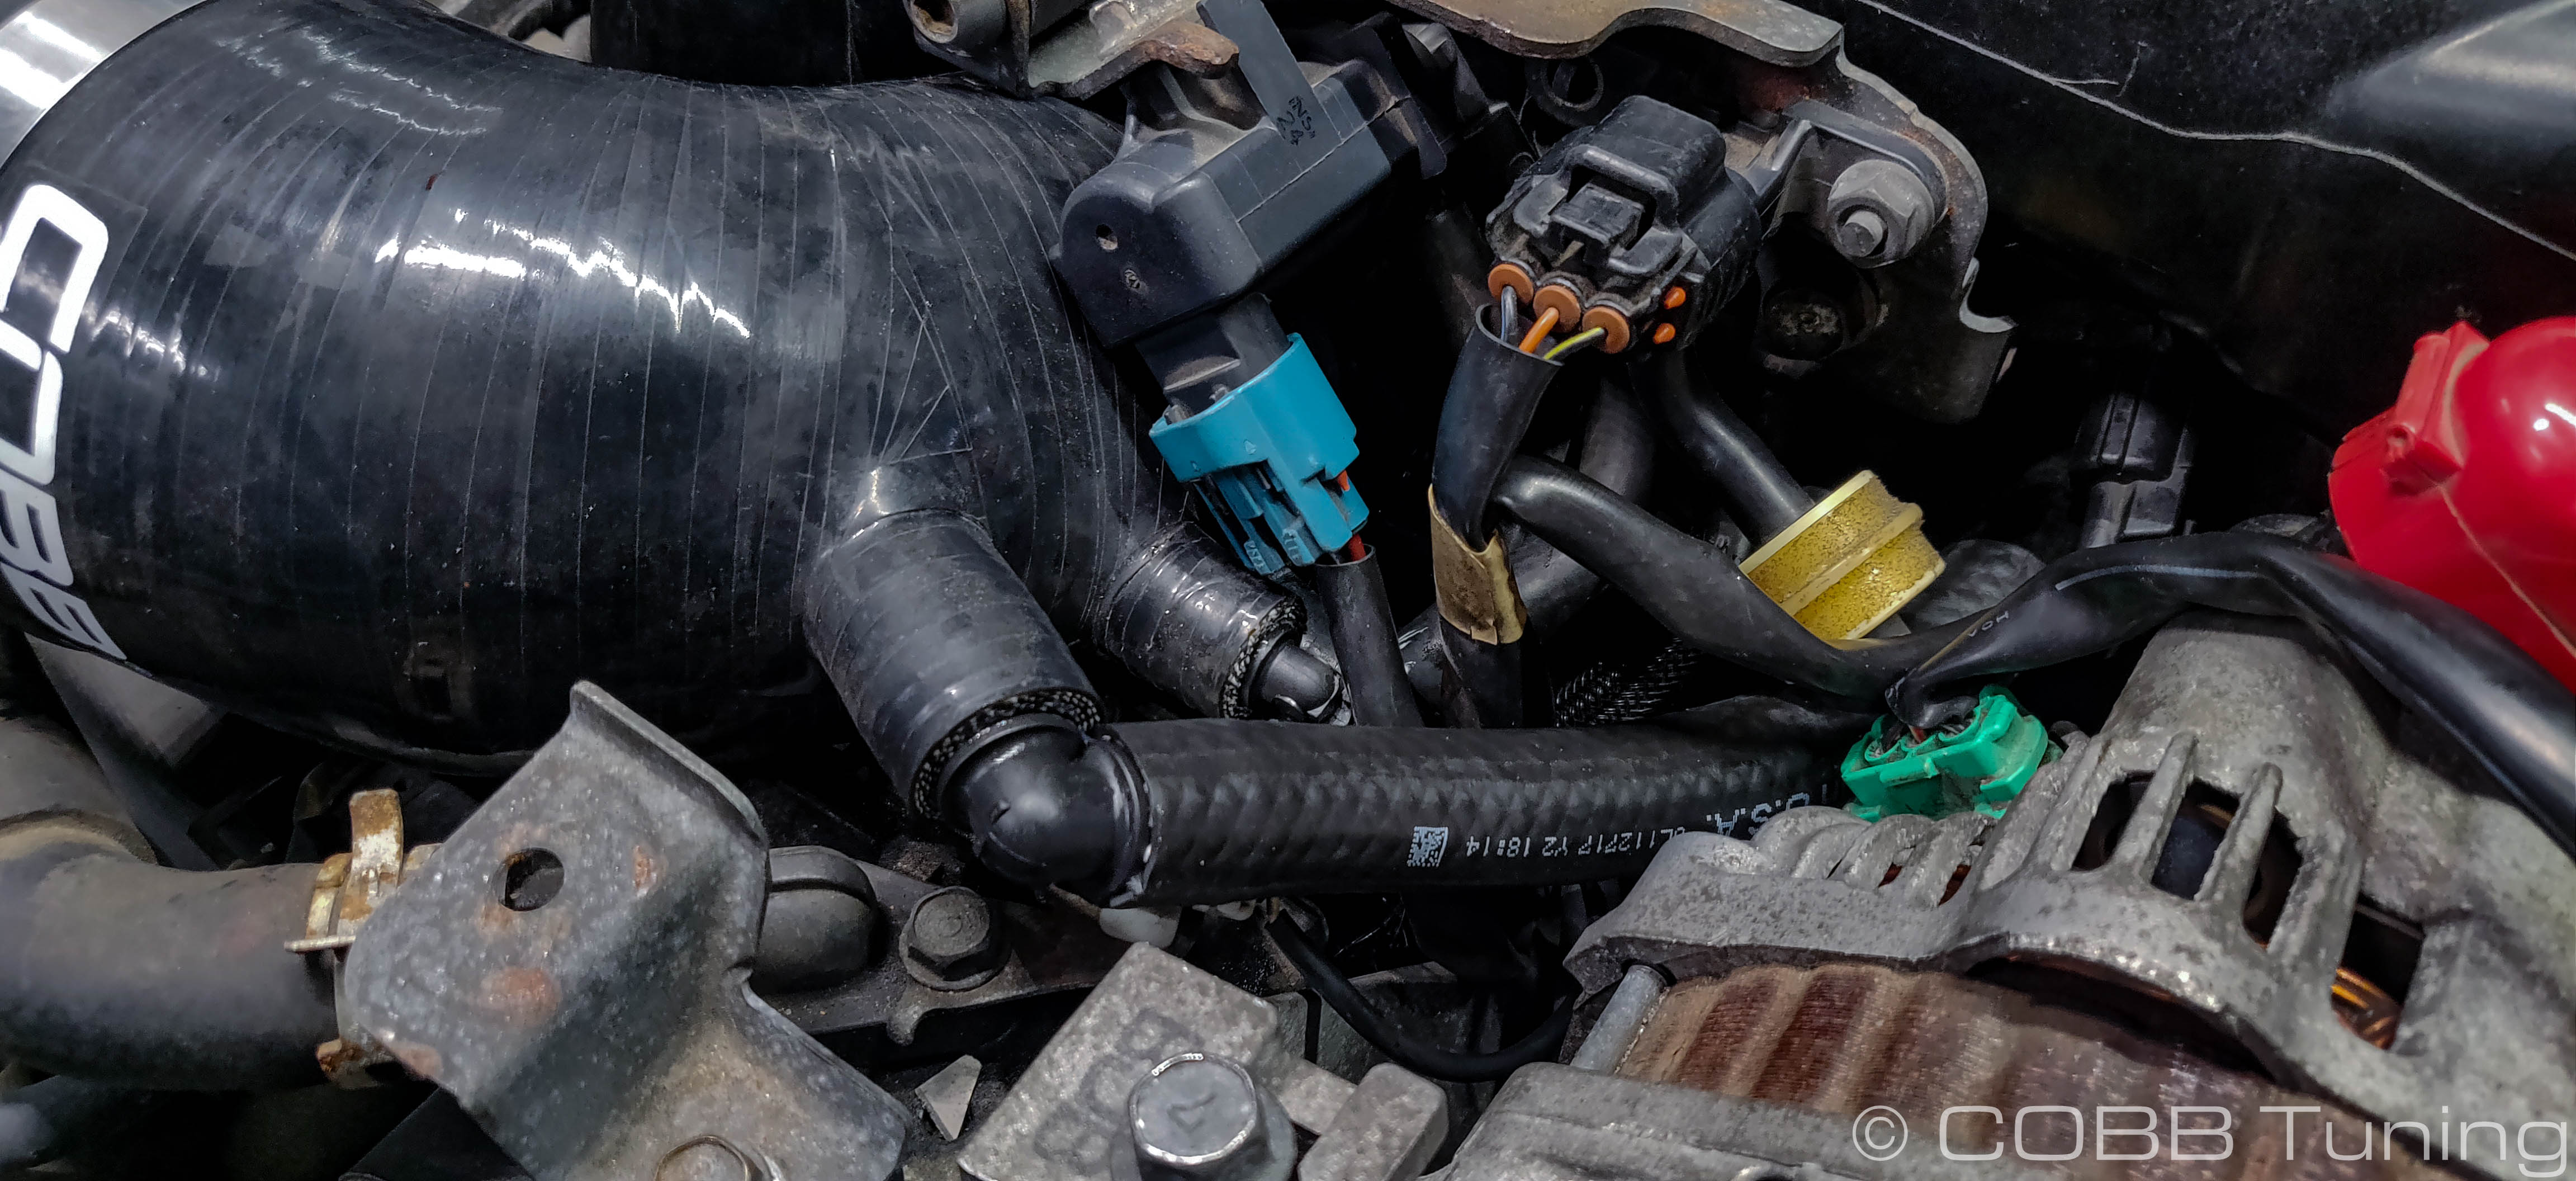
- Make sure that the MAP sensor reference line doesn't come off of the intake manifold when you're plugging it back in.
- From there you can re-attach the bracket with the solenoids, re-connect the vacuum lines and electrical connectors.
- We recommend conducting a pressurized smoke test to verify you have no leaks at this point.
- You can go ahead and re-install the Post-MAF hose and intake duct.
- You're all Done! Go out and enjoy!
Turbo Inlet Vacuum Hose Placement Quick Reference Guide
WRX Turbo Inlet Hose Placement
Links
COBB Product Install Instructions for Subaru Vehicles
Main Installation Instruction Repository for Subaru Parts
Calibration Map Notes for Subaru Vehicles
Link to Subaru Map Notes to see what map you should be on given the parts you've added
COBB Customer Support Web Support and Tech Articles: COBB Tuning Customer Support Center Email: support@cobbtuning.com Phone support available 9am to 6pm Monday-Thursday. 9am to 4pm Friday (CST) 866.922.3059 return to www.cobbtuning.comContact Us:
Copyright 2025 © COBB Tuning Products LLC. All Rights Reserved. | www.cobbtuning.com