LF BPV Rebuild Kit
- Brandyn Mowat

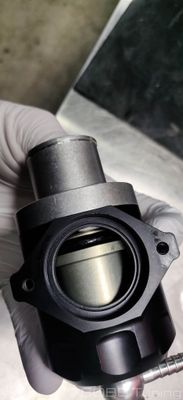
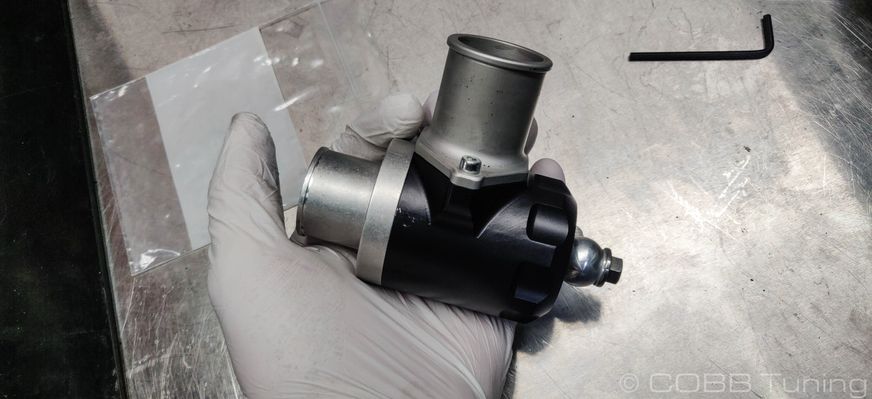
LF BPV Rebuild
.jpg?version=1&modificationDate=1596812686940&cacheVersion=1&api=v2&width=400&height=400)
Congratulations on your purchase of the COBB Tuning LF BPV Rebuild Kit! The following instructions will assist you through the installation process. Please read them BEFORE beginning the install to familiarize yourself with the steps and tools needed. If you feel you cannot properly perform this installation, we HIGHLY recommend you take the vehicle to a qualified and experienced automotive technician.
Table of Contents
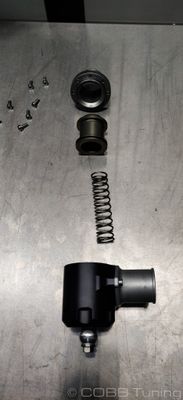
Parts List
- (2) medium diameter thin o-rings
- Small diameter extra thick piston o-ring
- medium thickness snout o-ring
- m3 hex key
- (9) 4x10mm socket headed cap screws
- lubricant packet (1ml)
- Yellow Coated Spring
- For 2015-2020 Subaru WRX DIT vehicles ONLY
- Standard LF BPV Spring
- All Other Platforms.
Tools Needed
Hand Tools
Pick
BPV Disassembly
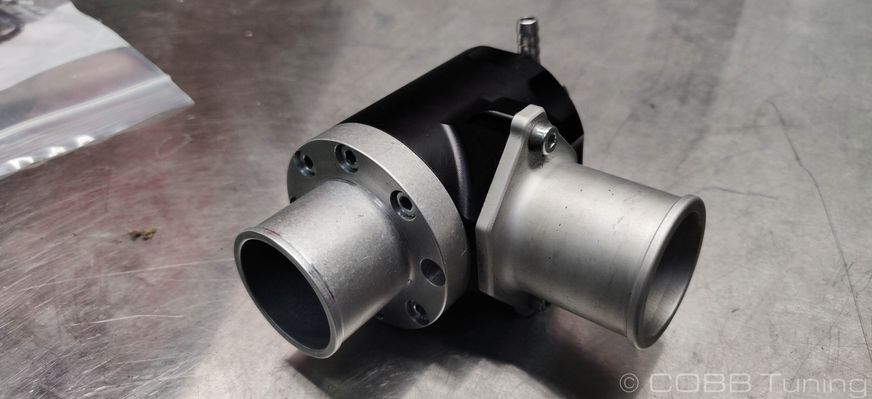
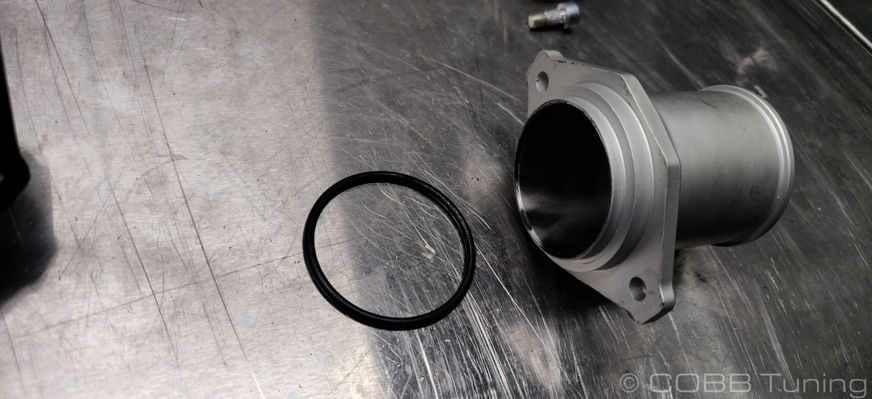
- Remove the LF BPV from your vehicle and find a clean, clear work space.
- Using the provided Allen key, slowly back out each screw on the bottom a half turn at a time. This should allow the spring to decompress a little bit.
- Hold down the bottom piece to the body as you get to the end. This should keep tension on the bottom component and keep the spring from popping the bottom off, this is important to keep from hurting yourself.
- When the last screws are removed you can slowly let off pressure and remove the components in order.
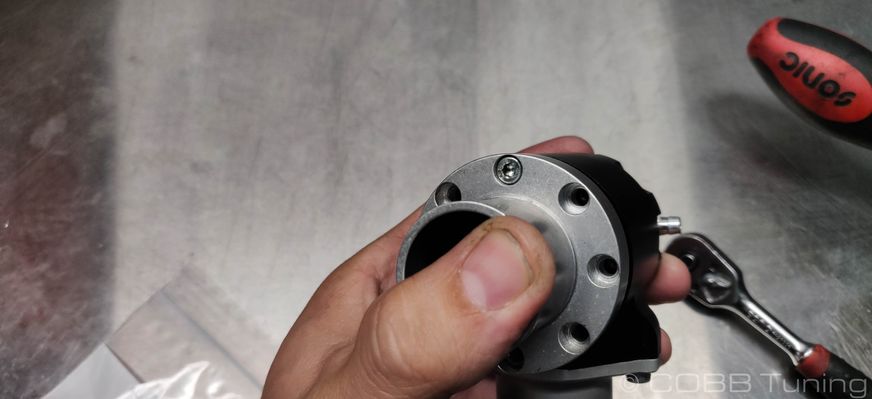
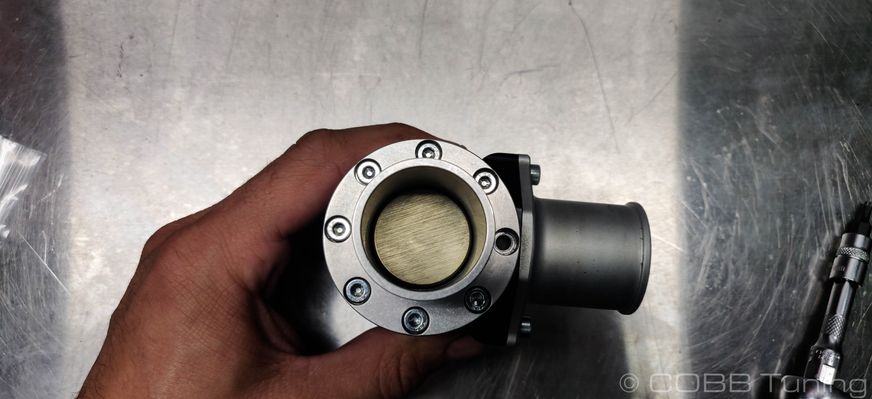
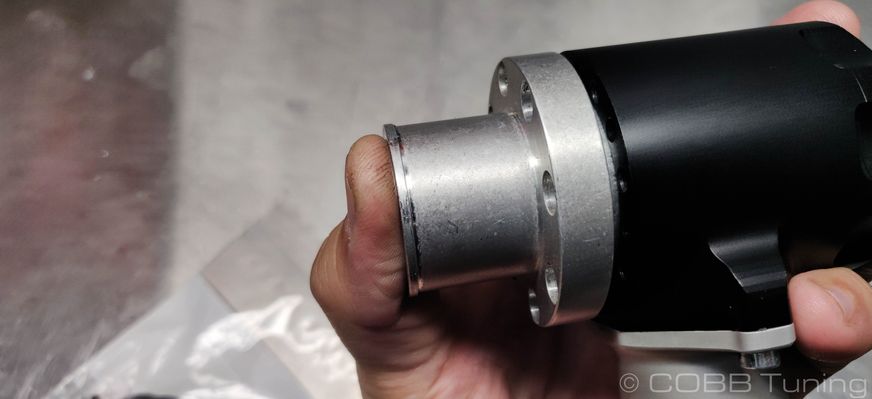
- Remove the two bolts on the front snout of the BPV.

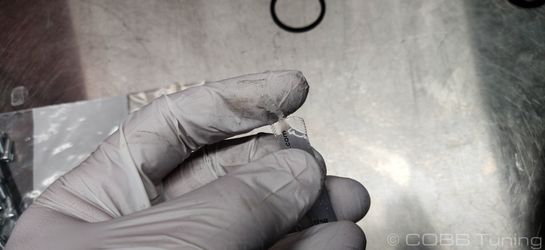
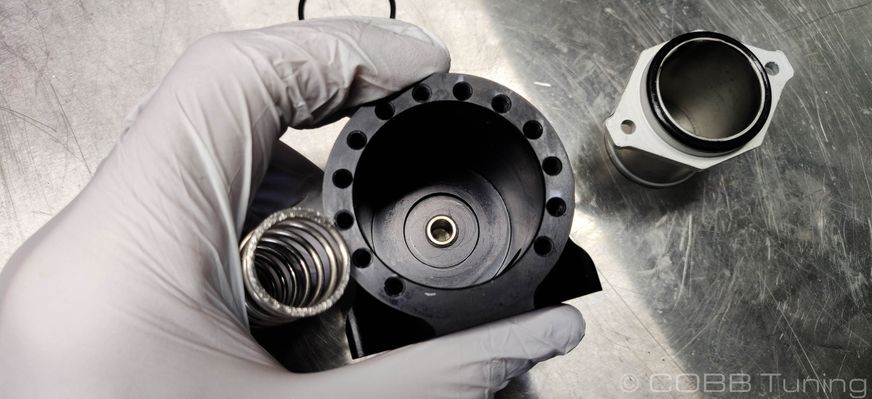
- Wipe down each component with a lint free rag.
- Lube each o-ring using the provided super-lube packet.
- Going one at a time remove and replace the o-ring from each part. The front snout requires the medium thickness one all the way on the left.
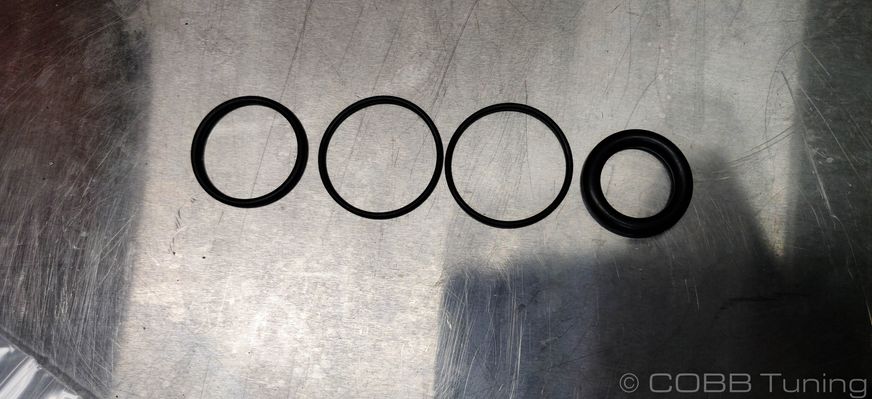
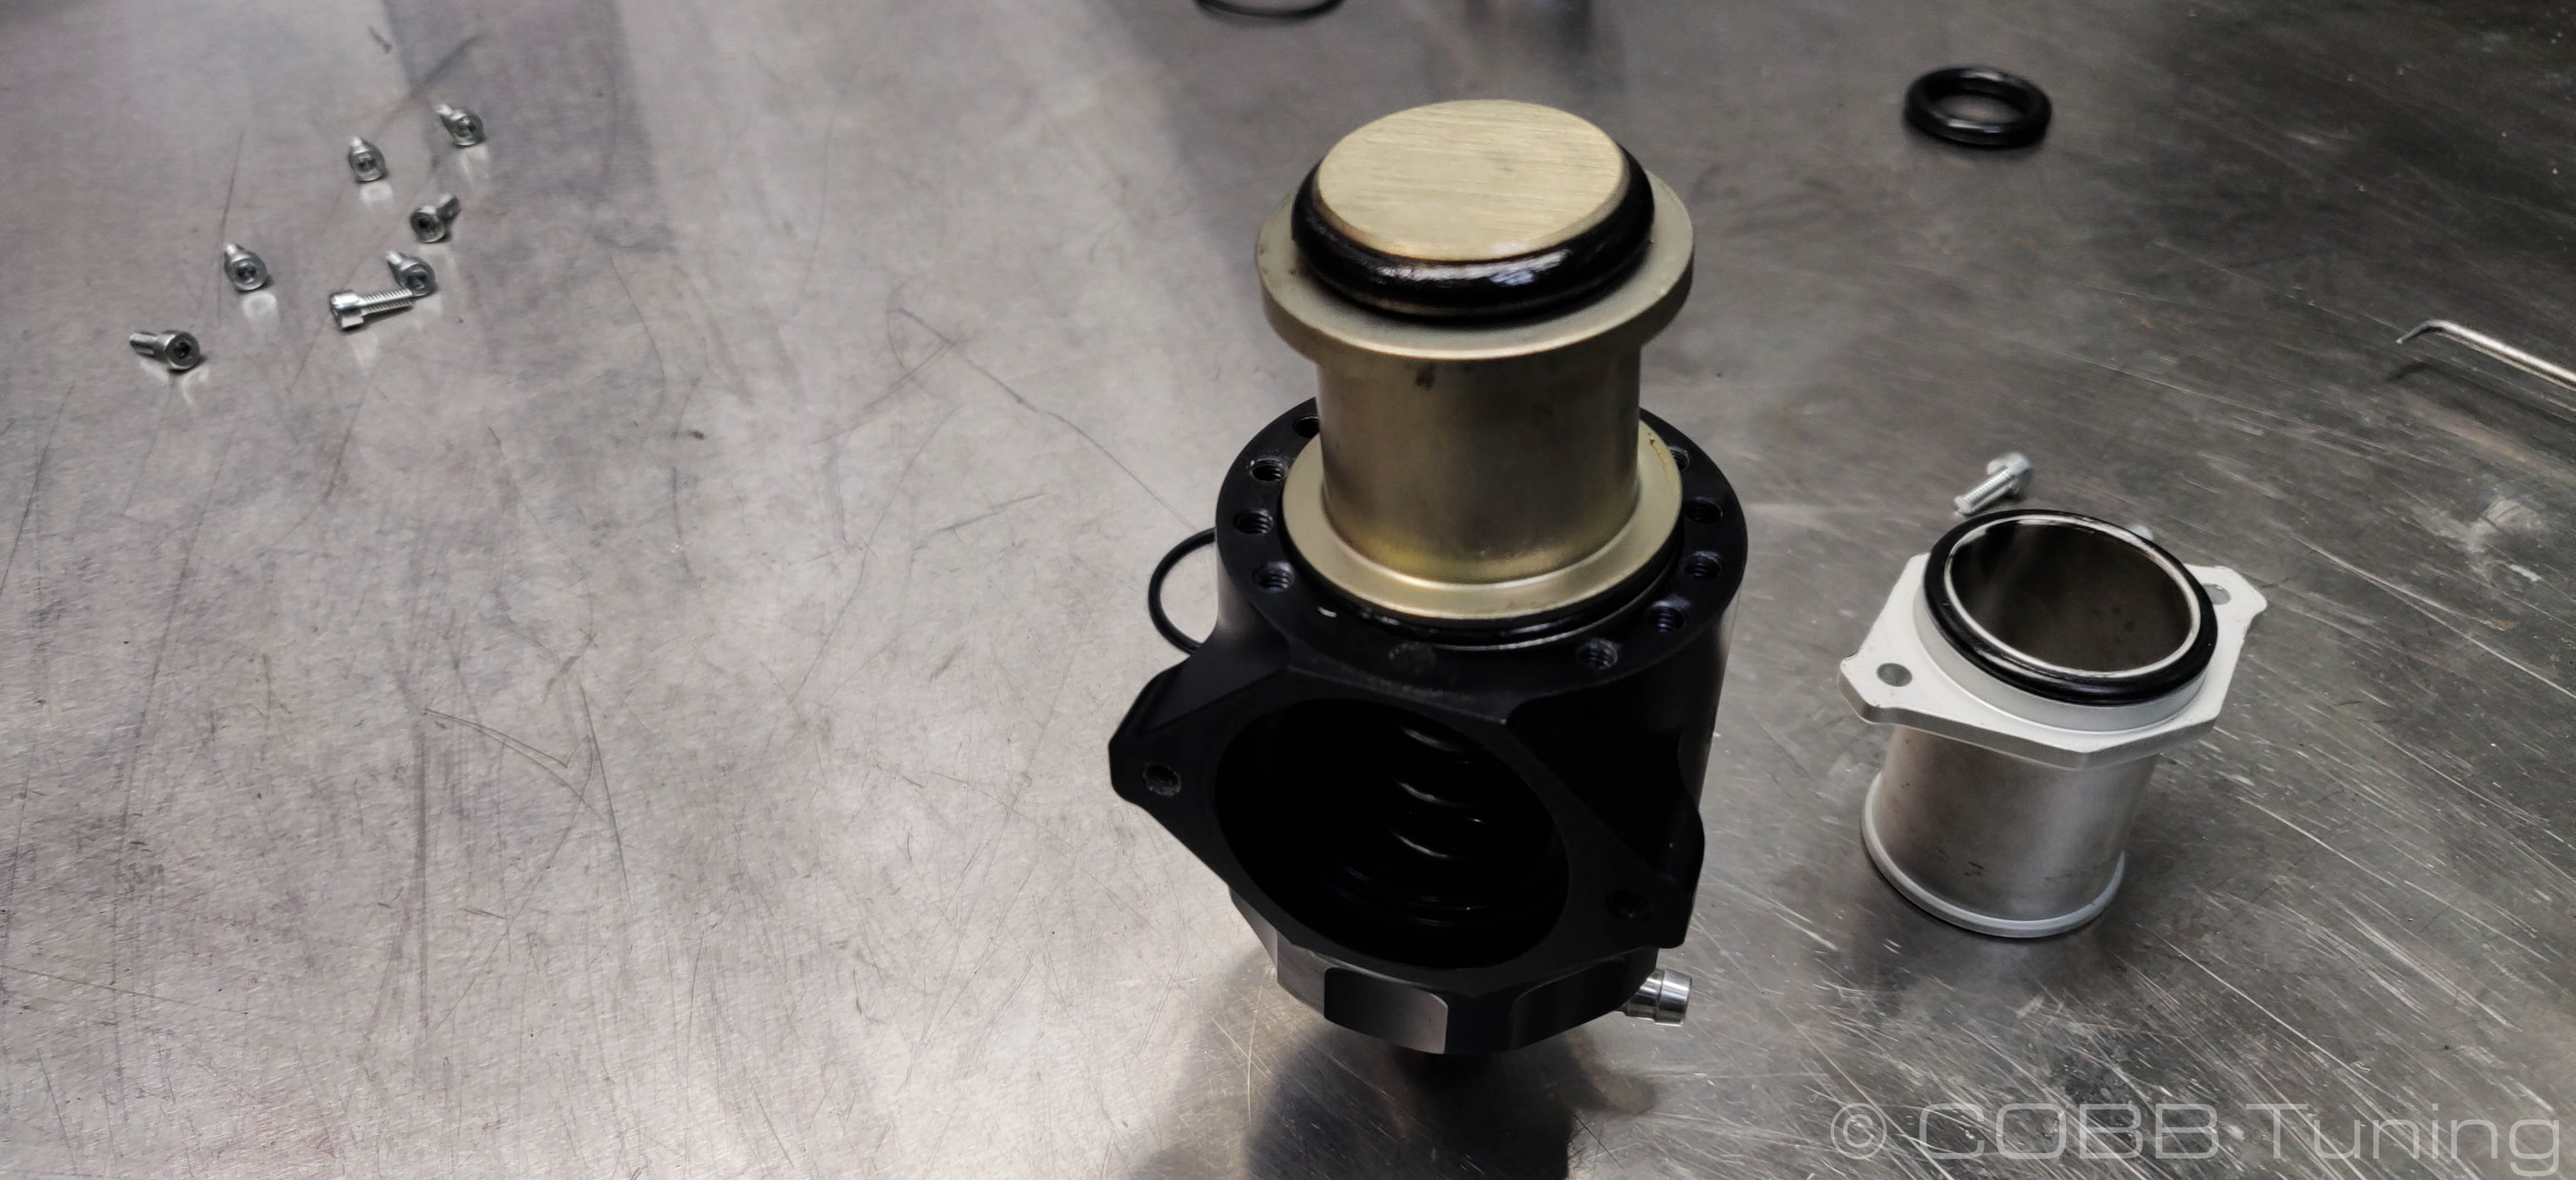
- The top of the piston requires one of the two middle o-rings which are the same size, as well as the large o-ring for the bottom seal.

- Use the remaining middle o-ring around the bottom plate.


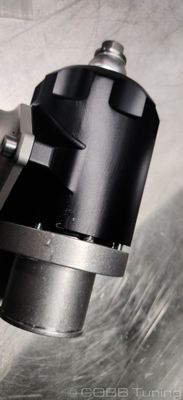
- Reassemble the BPV. line up the spring into the spring pocket on the top of the BPV.

- Add the piston on top of the spring and line it up with the inside of the bpv.
- Press down the plunger using the baseplate, making certain that it goes down straight to avoid it scarring the walls of the bpv. Slowly cycle the plunger to make sure it moves smoothly.
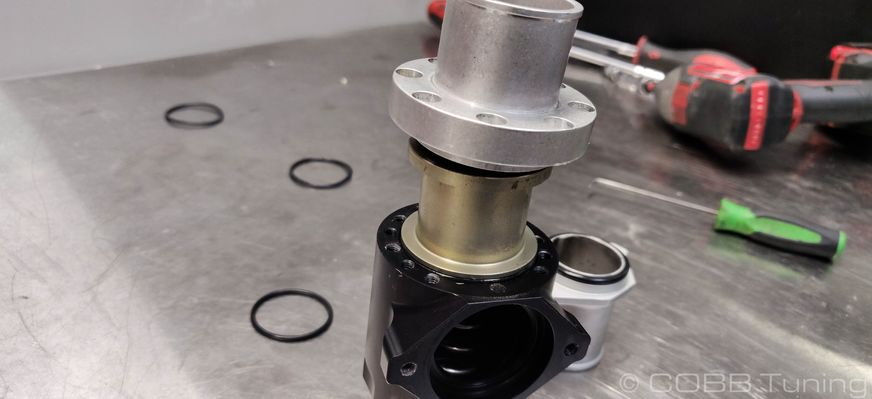
- With it compressed line up the bolt holes and bolt the bottom plate down using the provided allen key.
- If you need to adjust the top bolt, re-torque to 60 in/lbs
- Cycle it a few times using your finger to make sure it moves smoothly, If not disassemble it and check for correct installation of components and that no foreign contaminants are found in anything.
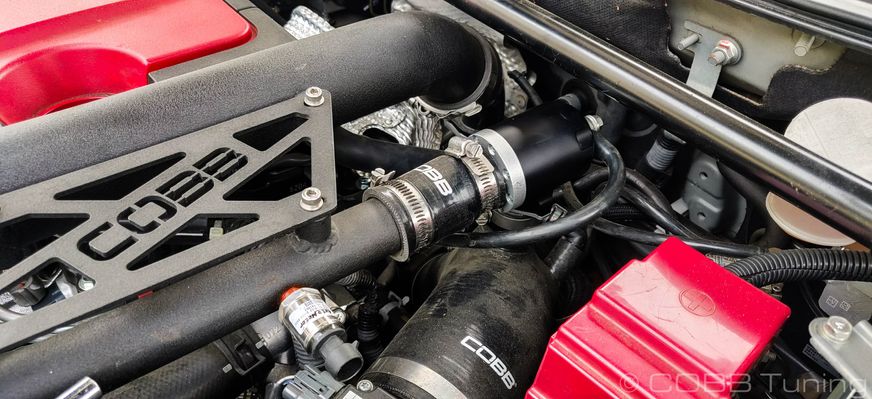
- Reinstall the bpv.
- Go out and enjoy!
Links
COBB Customer Support Web Support and Tech Articles: COBB Tuning Customer Support Center Email: support@cobbtuning.com Phone support available 9am to 6pm Monday-Thursday. 9am to 4pm Friday (CST) 866.922.3059 return to www.cobbtuning.comContact Us:
Related content
Copyright 2025 © COBB Tuning Products LLC. All Rights Reserved. | www.cobbtuning.com