Mazdaspeed 3 2007-2009
- Brandyn Mowat
Owned by Brandyn Mowat
Last updated: Dec 09, 2021

862010 - COBB Rear Wiper Delete
Mazdaspeed 3 Gen 1

Table of Contents
Parts List
- Wiper Delete Top
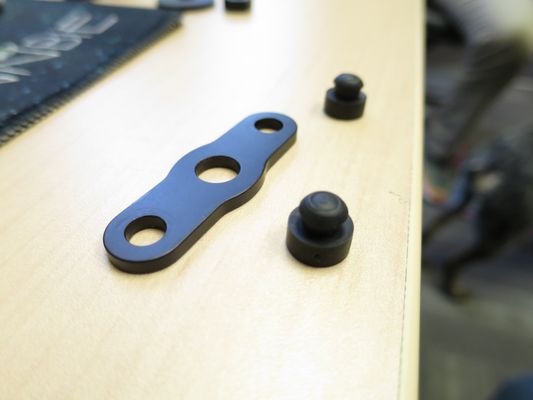
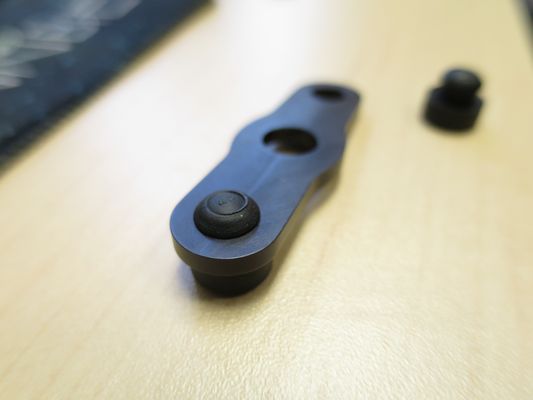
- Wiper Delete Backing
- O-ring seal
- M8 x 1.25 nylon nut
- (2) Push in Bumpers
- (3) 4" Zip Ties
- (3) 6" Zip Ties
- Set of 3 different sized Rubber Washers
Tools Needed
3/8" ratchet
3/8" 10mm socket
3/8" 12mm socket
- 3/8" 13mm socket
- Trim removal tool
Rear Wiper Removal
- Pop off the wiper spindle cover.
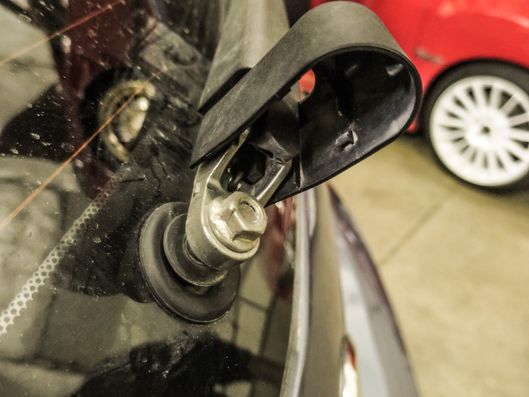
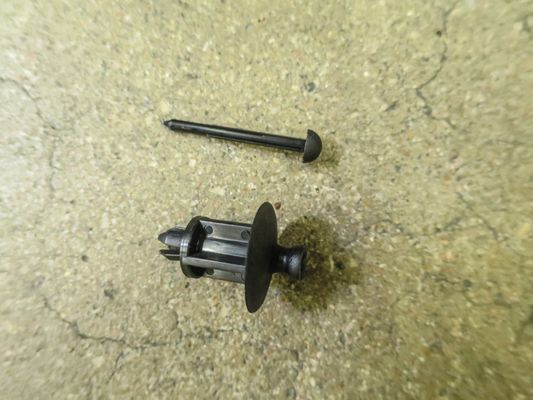
- Using a 12mm Ratchet, remove the nut holding the wiper assembly in place.
Note: At this point it's a good idea to use a permanent marker to mark the spindle and wiper arm to allow for easier re-installation in the future. - Remove the wiper arm, sometimes on older vehicles a small puller can be a big help.
Note: Be very careful not to break the windshield wiper if you choose to pry against the glass or by allowing the arm to snap down quickly. We chose to use a tool like this which is a Lisle Tool 54150 Battery Terminal/Wiper Arm puller.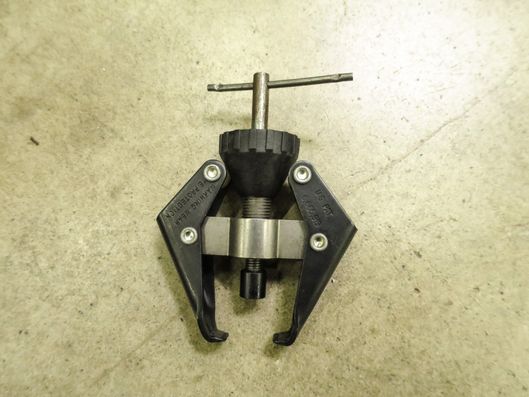
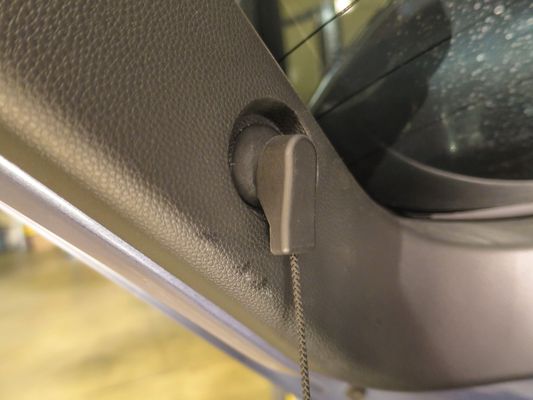
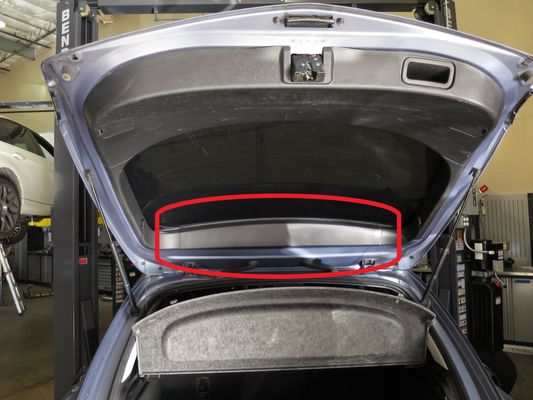
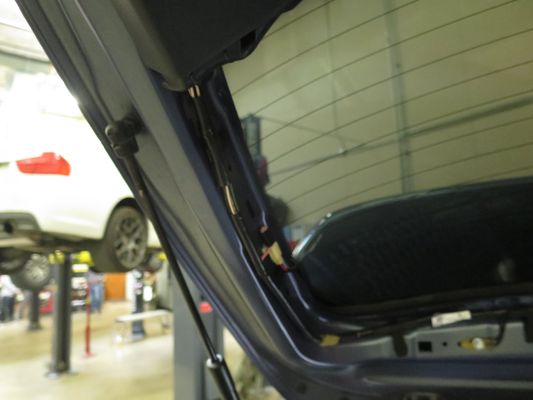
- Flipping over to the inside remove the strings connecting the package tray to the rear hatch.
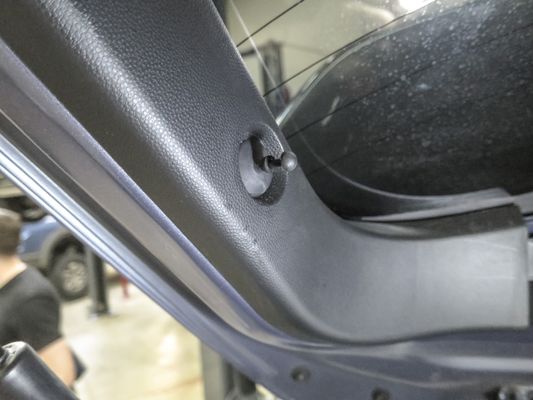
- Next up, pull out the center section of the ball socket since it's actually a clip, then remove the lower half using your trim tool.
- Carefully remove the Center section of trim by working from the outside ends towards the inside and gently pulling outwards.
- Remove the trim clips holding the side panels on by popping out the center of the rivet first and then removing the base
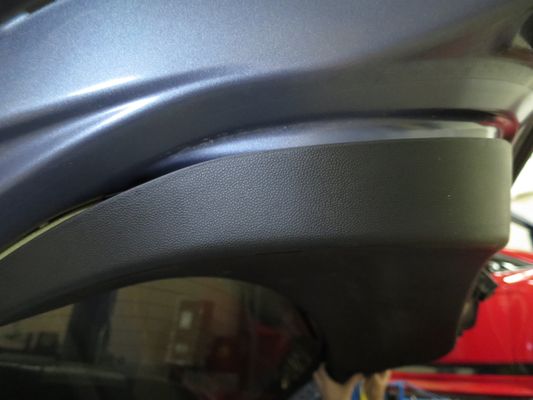
- Now you can go ahead and remove the side panels
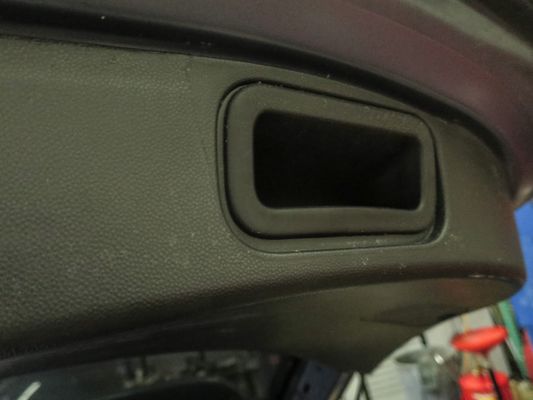
- Go ahead and remove the handle in the bottom of the door trim by gently prying outward with your trim tool
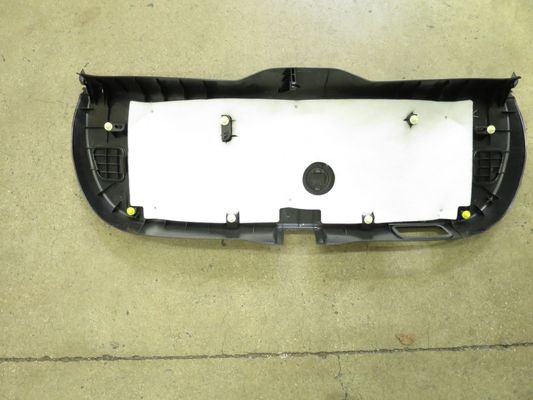
- With that out of the way the only things holding the main rear trim panel on to the hatch is the pop clips on each corner under where the side panels were.
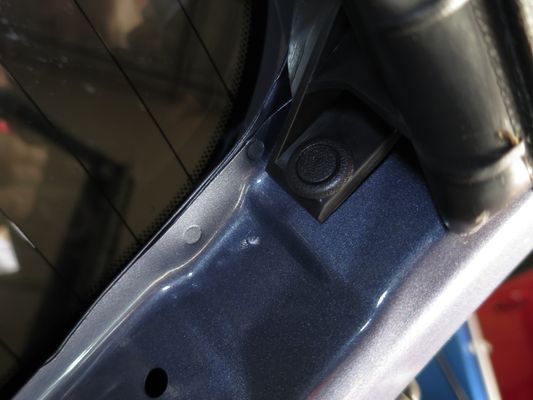
- Work around the sides slowly to pop the hidden clips holding the trim panel to the car and remove it from the car
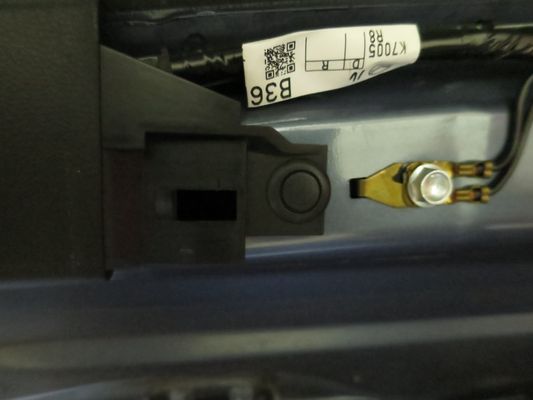
- Unplug the harness from the wiper motor by gently depressing the tab
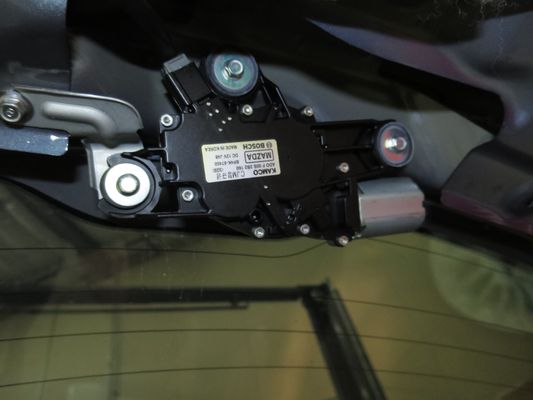
- Using a 10mm socket remove the 3 bolts holding the wiper motor to the car and remove the entire assembly.
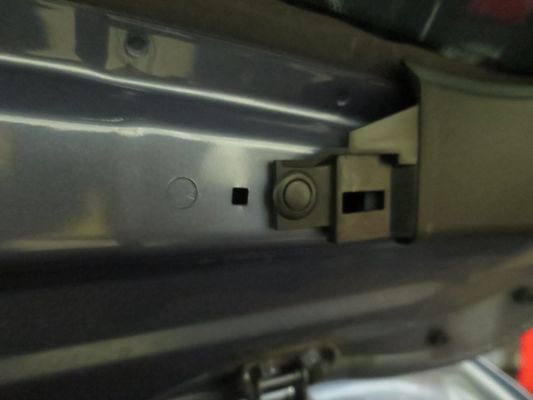
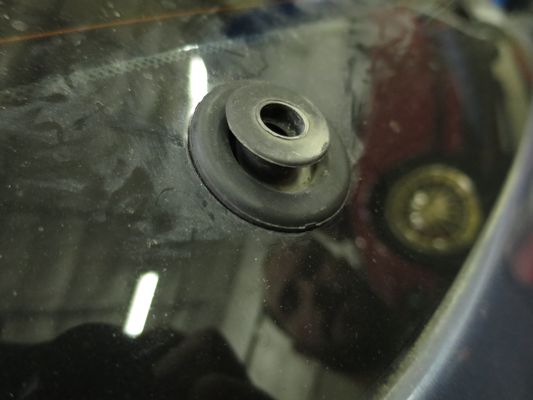
- Using your fingers carefully remove the grommet from the glass.
Installing the COBB Rear Wiper Delete
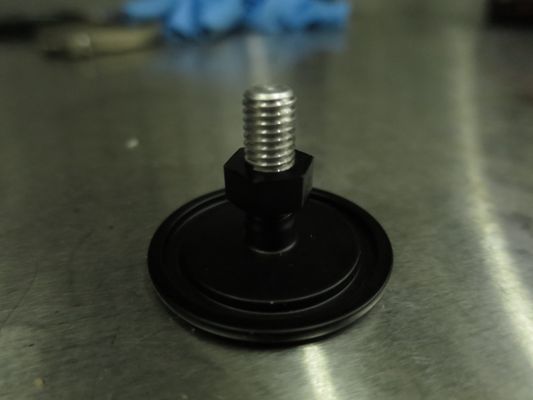
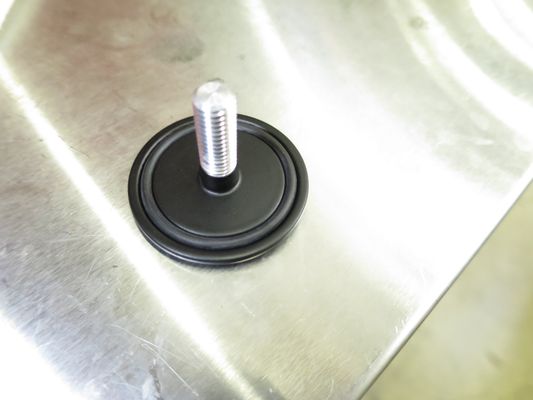
- Using a 13mm socket run the plastic nut down the threads on the delete and then remove, this is to loosen the threads a little bit to make getting it started by hand a little bit easier.
- Clean the rear glass on the outside to improve the quality of the seal.
- Install the o-ring into the wiper delete (a small amount of silicone lubricant on the o-ring can ensure a tighter seal later.
- Install the small end of the rubber bumpers into the hold down bar.
- Next up you'll slide the appropriate rubber washer on to the threads. This helps eat up the space between the delete and the glass and makes it easier to keep centered. For the Mazdaspeed you'll use the largest one.
- Holding the delete in place with one hand, get the bar on the back with the flat side of the bumpers towards the glass, and start slowly tightening the nut.
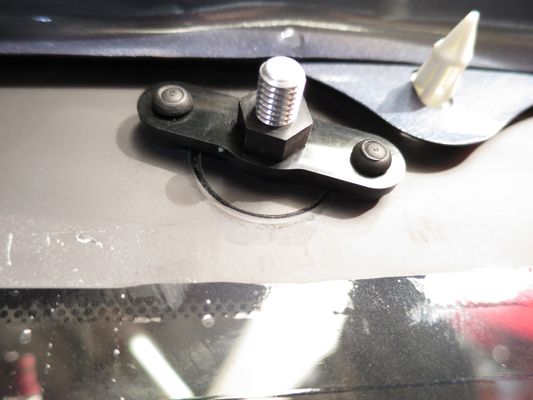
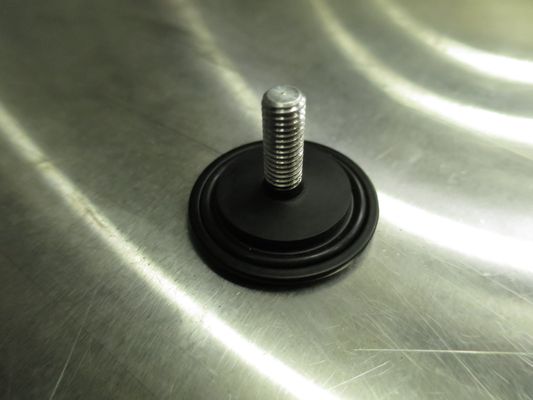
- Once it's close to tight, get the logo angled to your liking and tighten it down using the socket in your hand, DO NOT USE A RATCHET. Tightening more can make it look more flush but be careful not to over-tighten or it can shatter the glass.
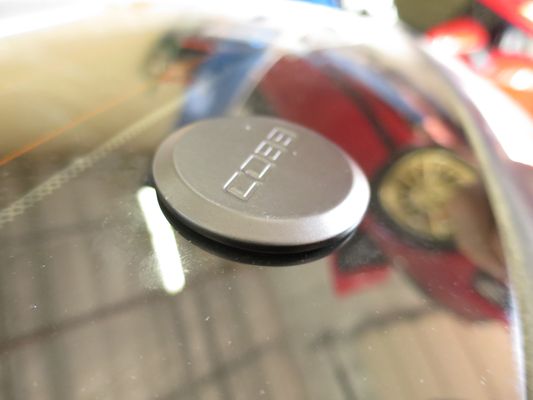
- Once you're happy with the angle and it's tight, you can zip tie up the wiring so it doesn't rattle.
- After trimming the excess off the zip tie you can reinstall the interior in the reverse order of removal.
- You're all done! Go out and enjoy!
Contact Us:
COBB Customer Support
Web Support and Tech Articles: COBB Tuning Customer Support Center
Email: support@cobbtuning.com
Phone support available 9am to 6pm Monday-Thursday. 9am to 4pm Friday (CST)
866.922.3059
return to www.cobbtuning.com
, multiple selections available,
Copyright 2025 © COBB Tuning Products LLC. All Rights Reserved. | www.cobbtuning.com