Volkswagen Titanium, Stainless Cat-back Exhaust
- Brandyn Mowat

5V2140 - Volkswagen Titanium Cat-Back Exhaust MK7 GTI
2014-2017 GTI
5V2160 – Volkswagen Titanium Cat-back Exhaust MK7.5 GTI
2018-2021 GTI
5V4100 - Volkswagen Stainless Cat-Back Exhaust MK8 GTI
2022-2023
5V4160 - Volkswagen Titanium Cat-Back Exhaust MK8 GTI
2022-2023
Congratulations on your purchase of the COBB Tuning MQB Titanium Exhaust! The following instructions will assist you through the installation process. Please read them BEFORE beginning the install to familiarize yourself with the steps and tools needed. If you feel you cannot properly perform this installation, we HIGHLY recommend you take the vehicle to a qualified and experienced automotive technician.
Table of Contents
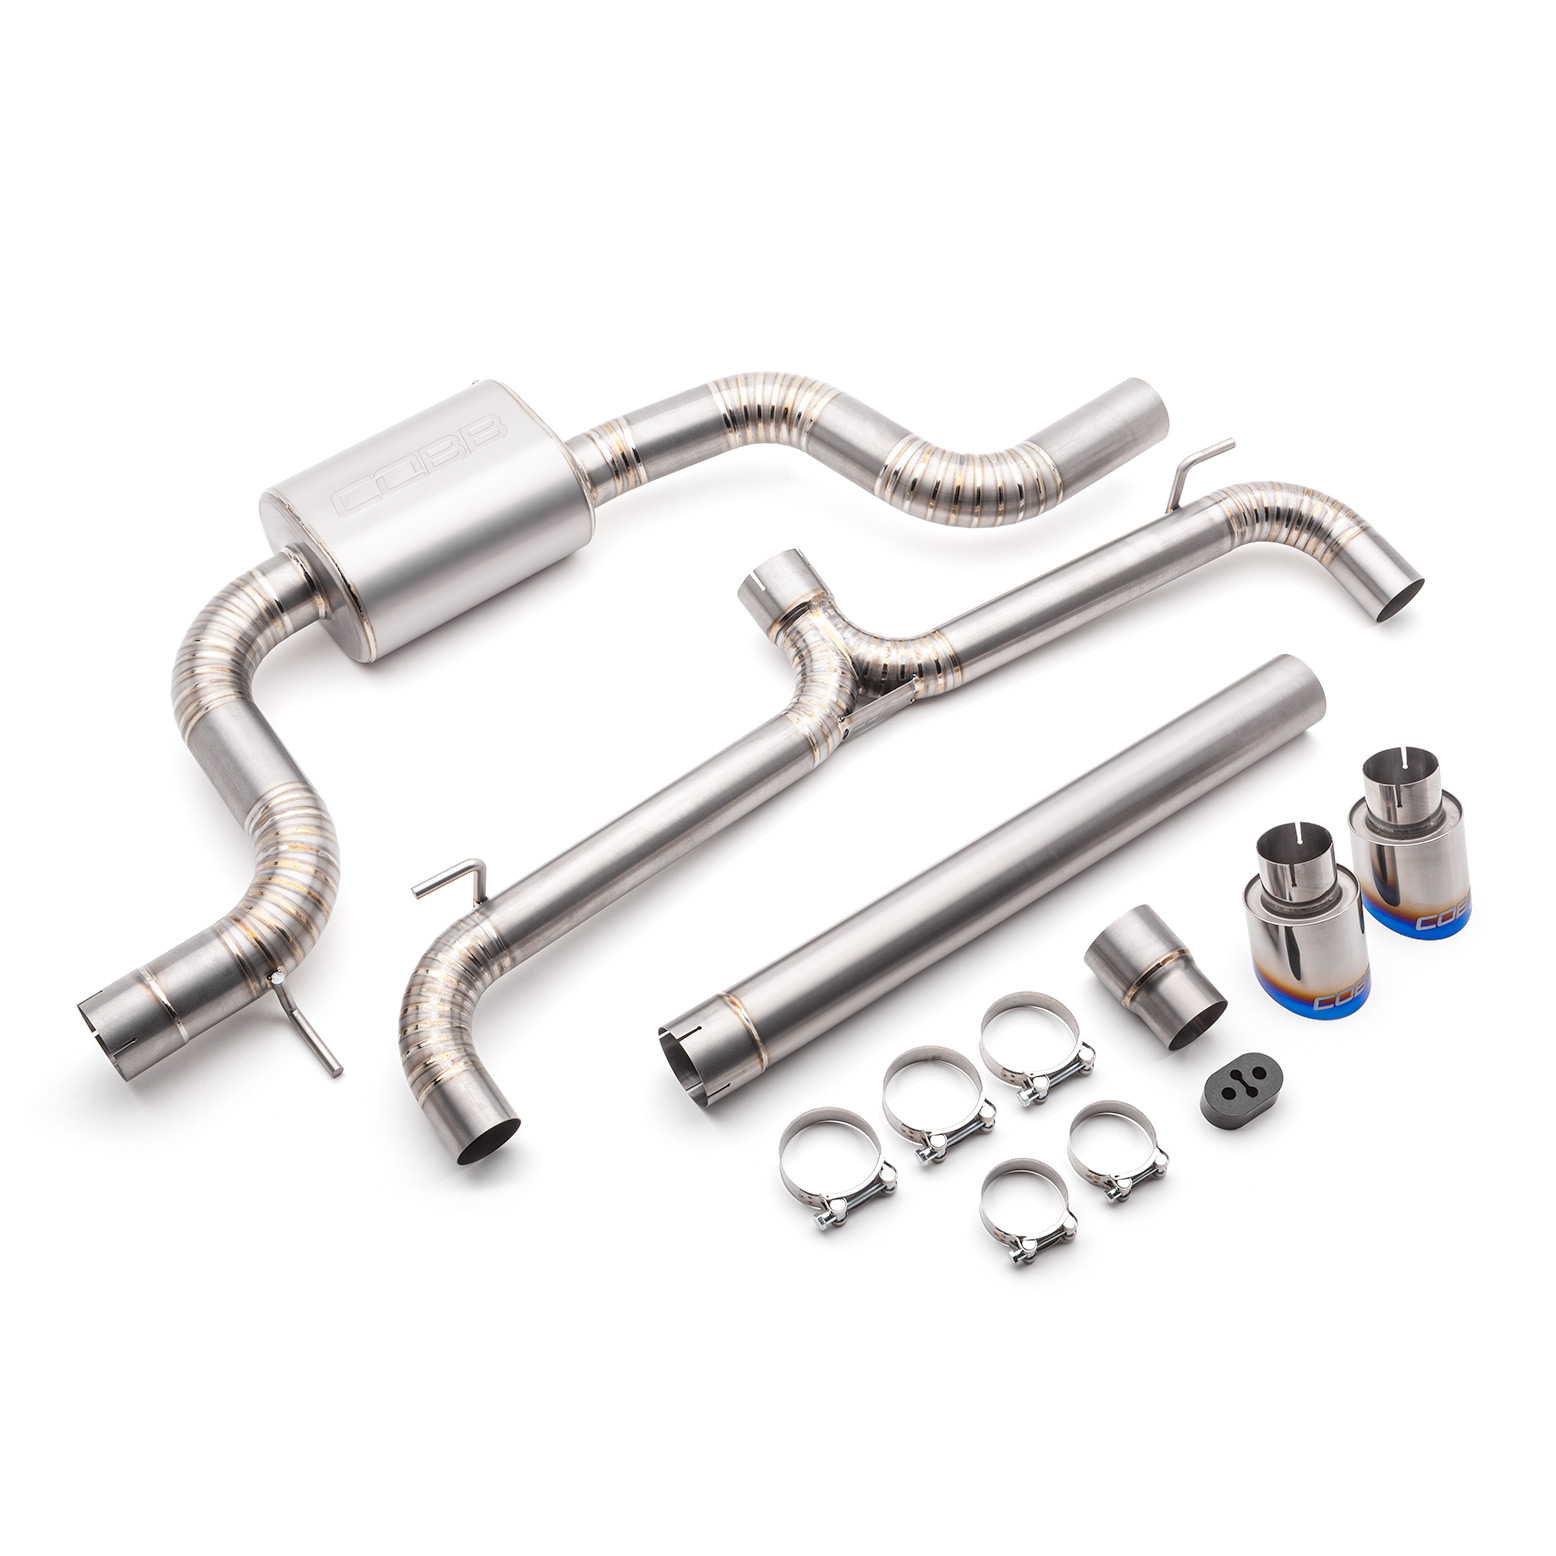
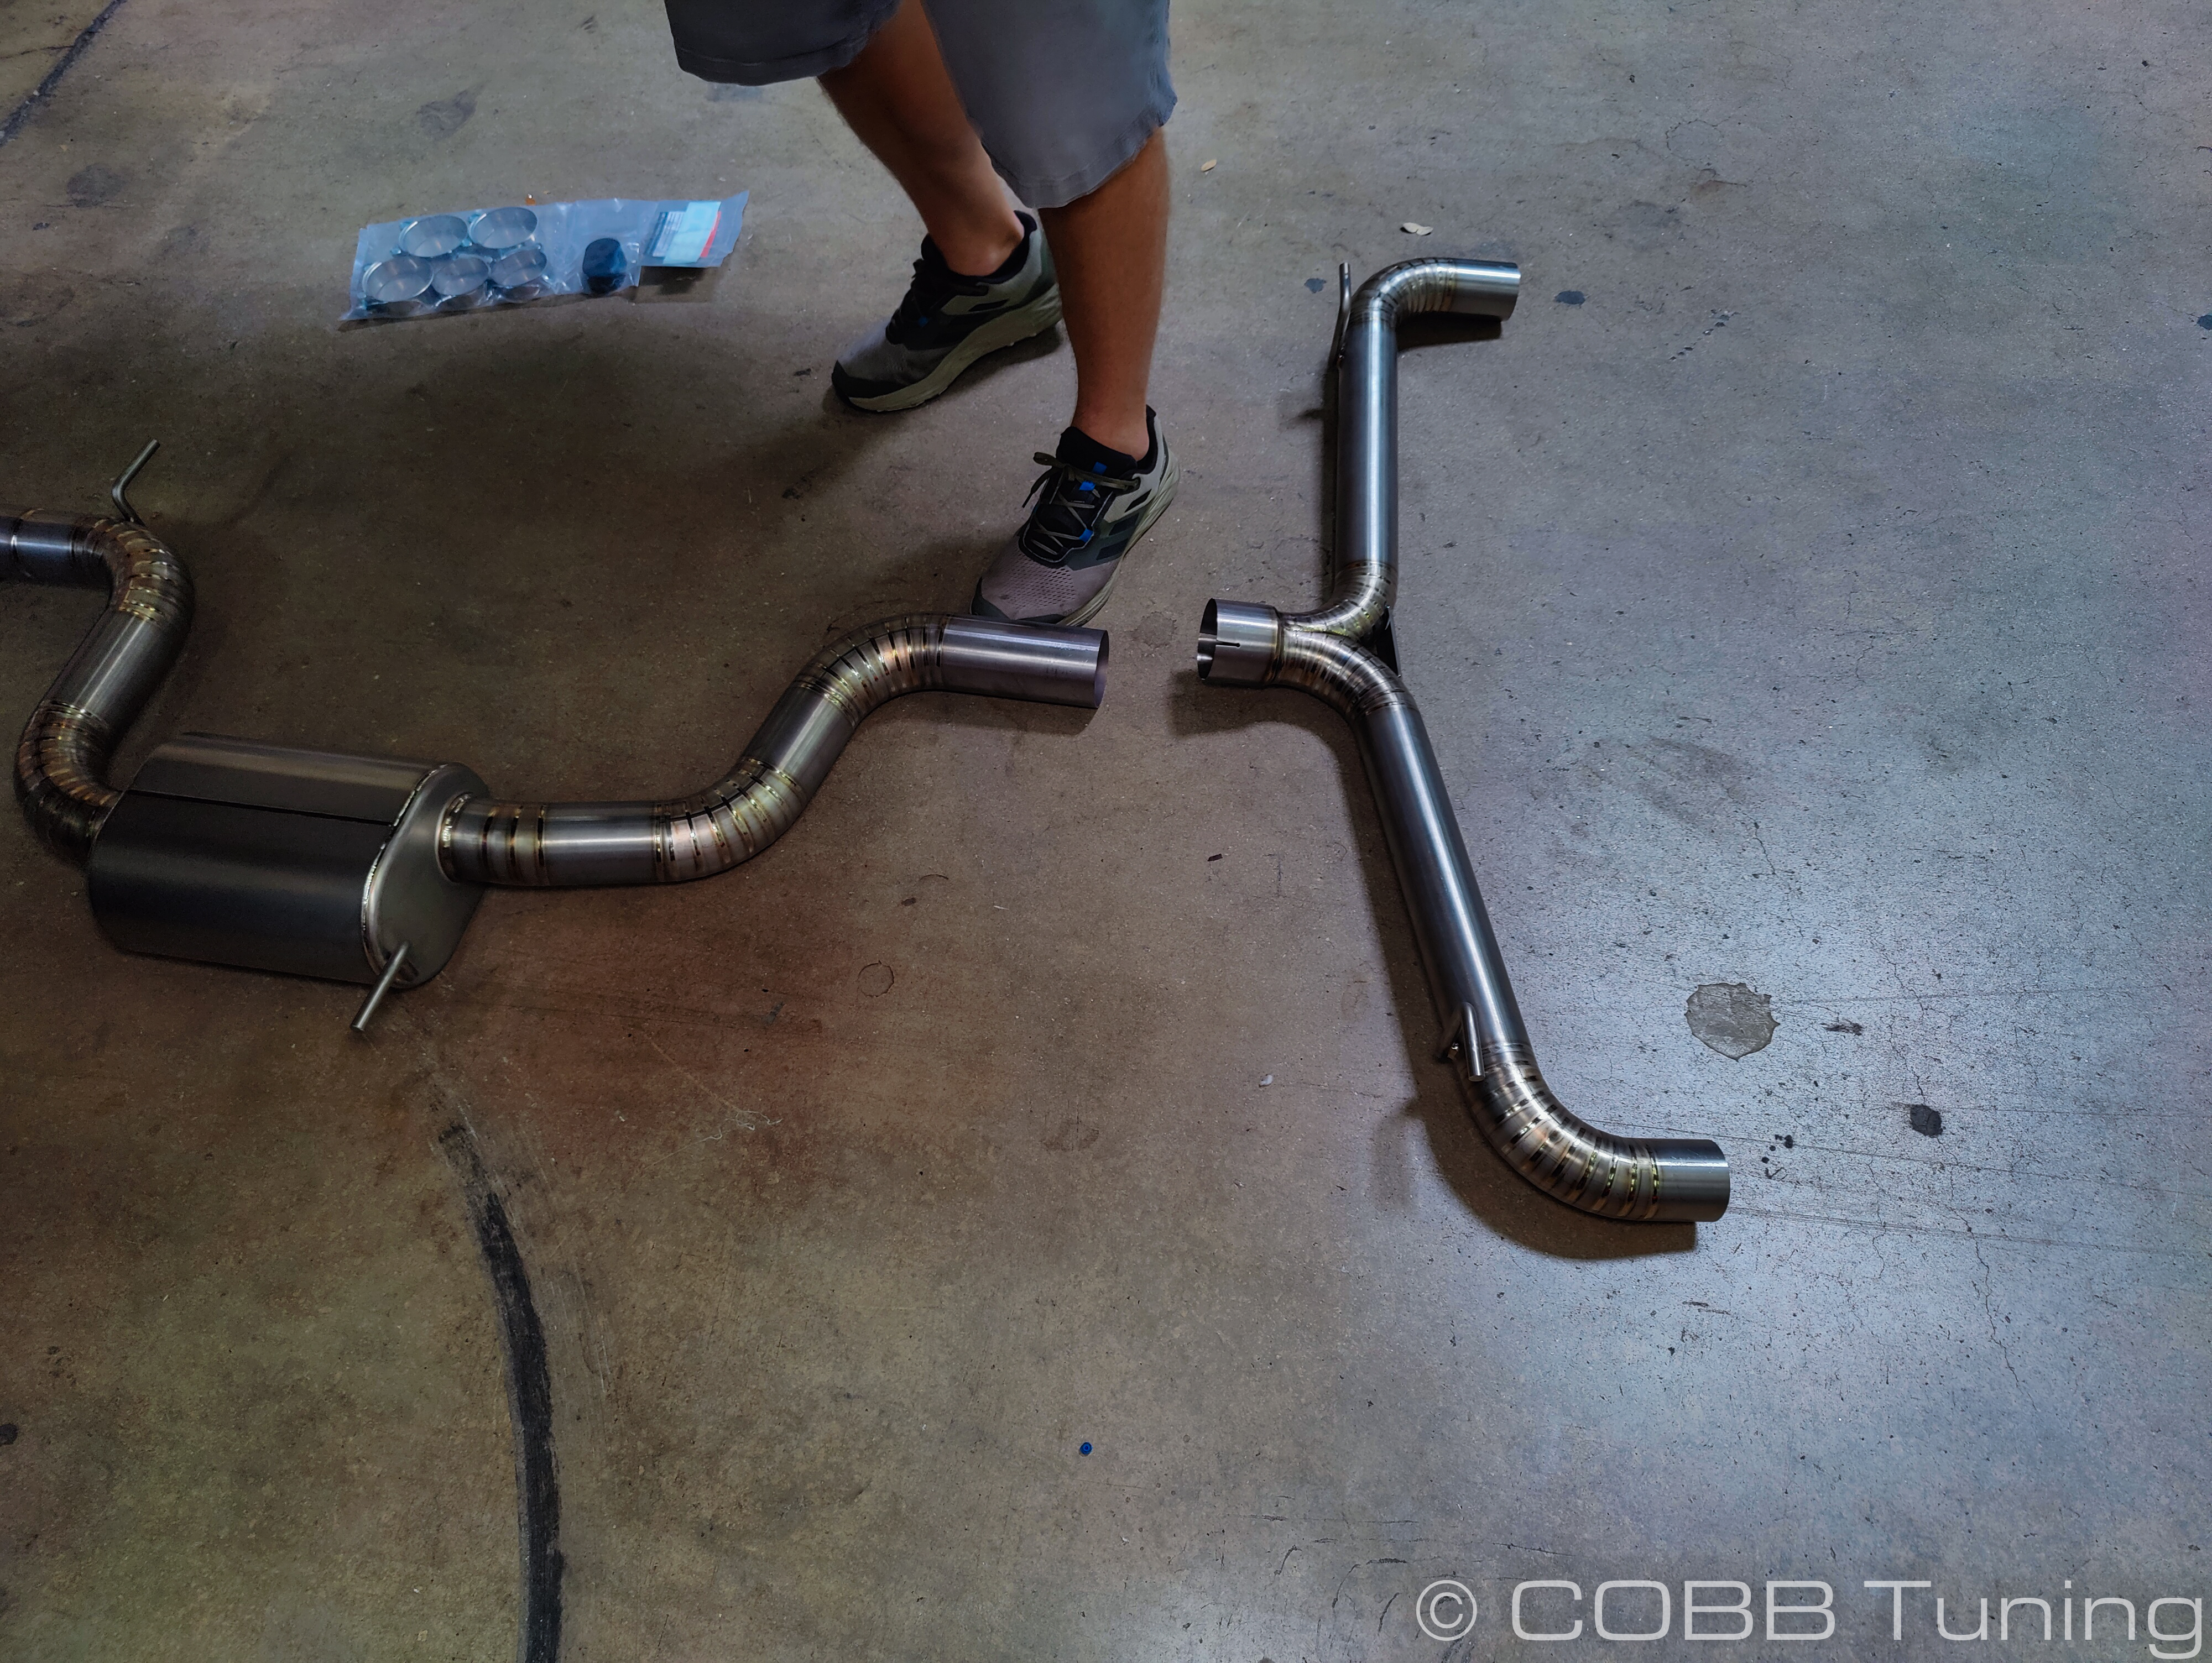
Parts List
- Midpipe
- Exhaust reducer
- Muffler Section
- Rear Section
- (2) 64-67mm clamps
- (3) 74-79mm clamps
Tools Needed
Sockets
3/8"
- 3/8" ratchet
- 3/8" 12" extension
- 3/8" 6" extension
- 3/8" 10mm socket
- 3/8" 13mm socket
Hand Tools
- Exhaust Hanger Pliers
Section 1
- Park your car in a flat, level area and allow it to cool down properly.
- Lift and support your car properly using either a lift, or a jack and stands. Do not support your car just on jack stands.
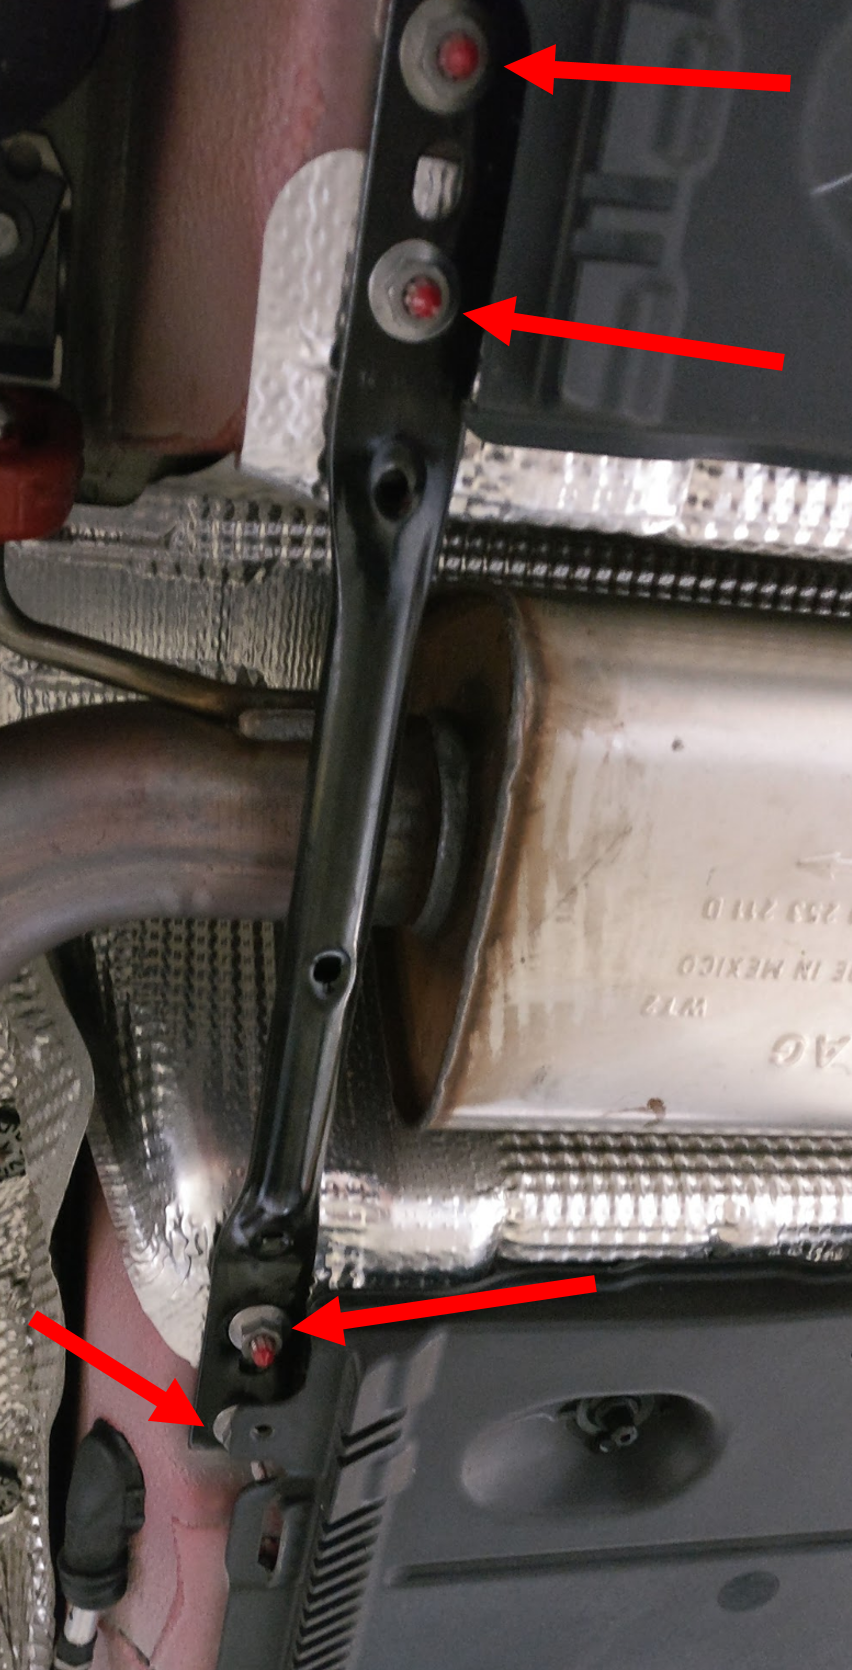
- Using your 13mm wrench, remove the front cross brace.
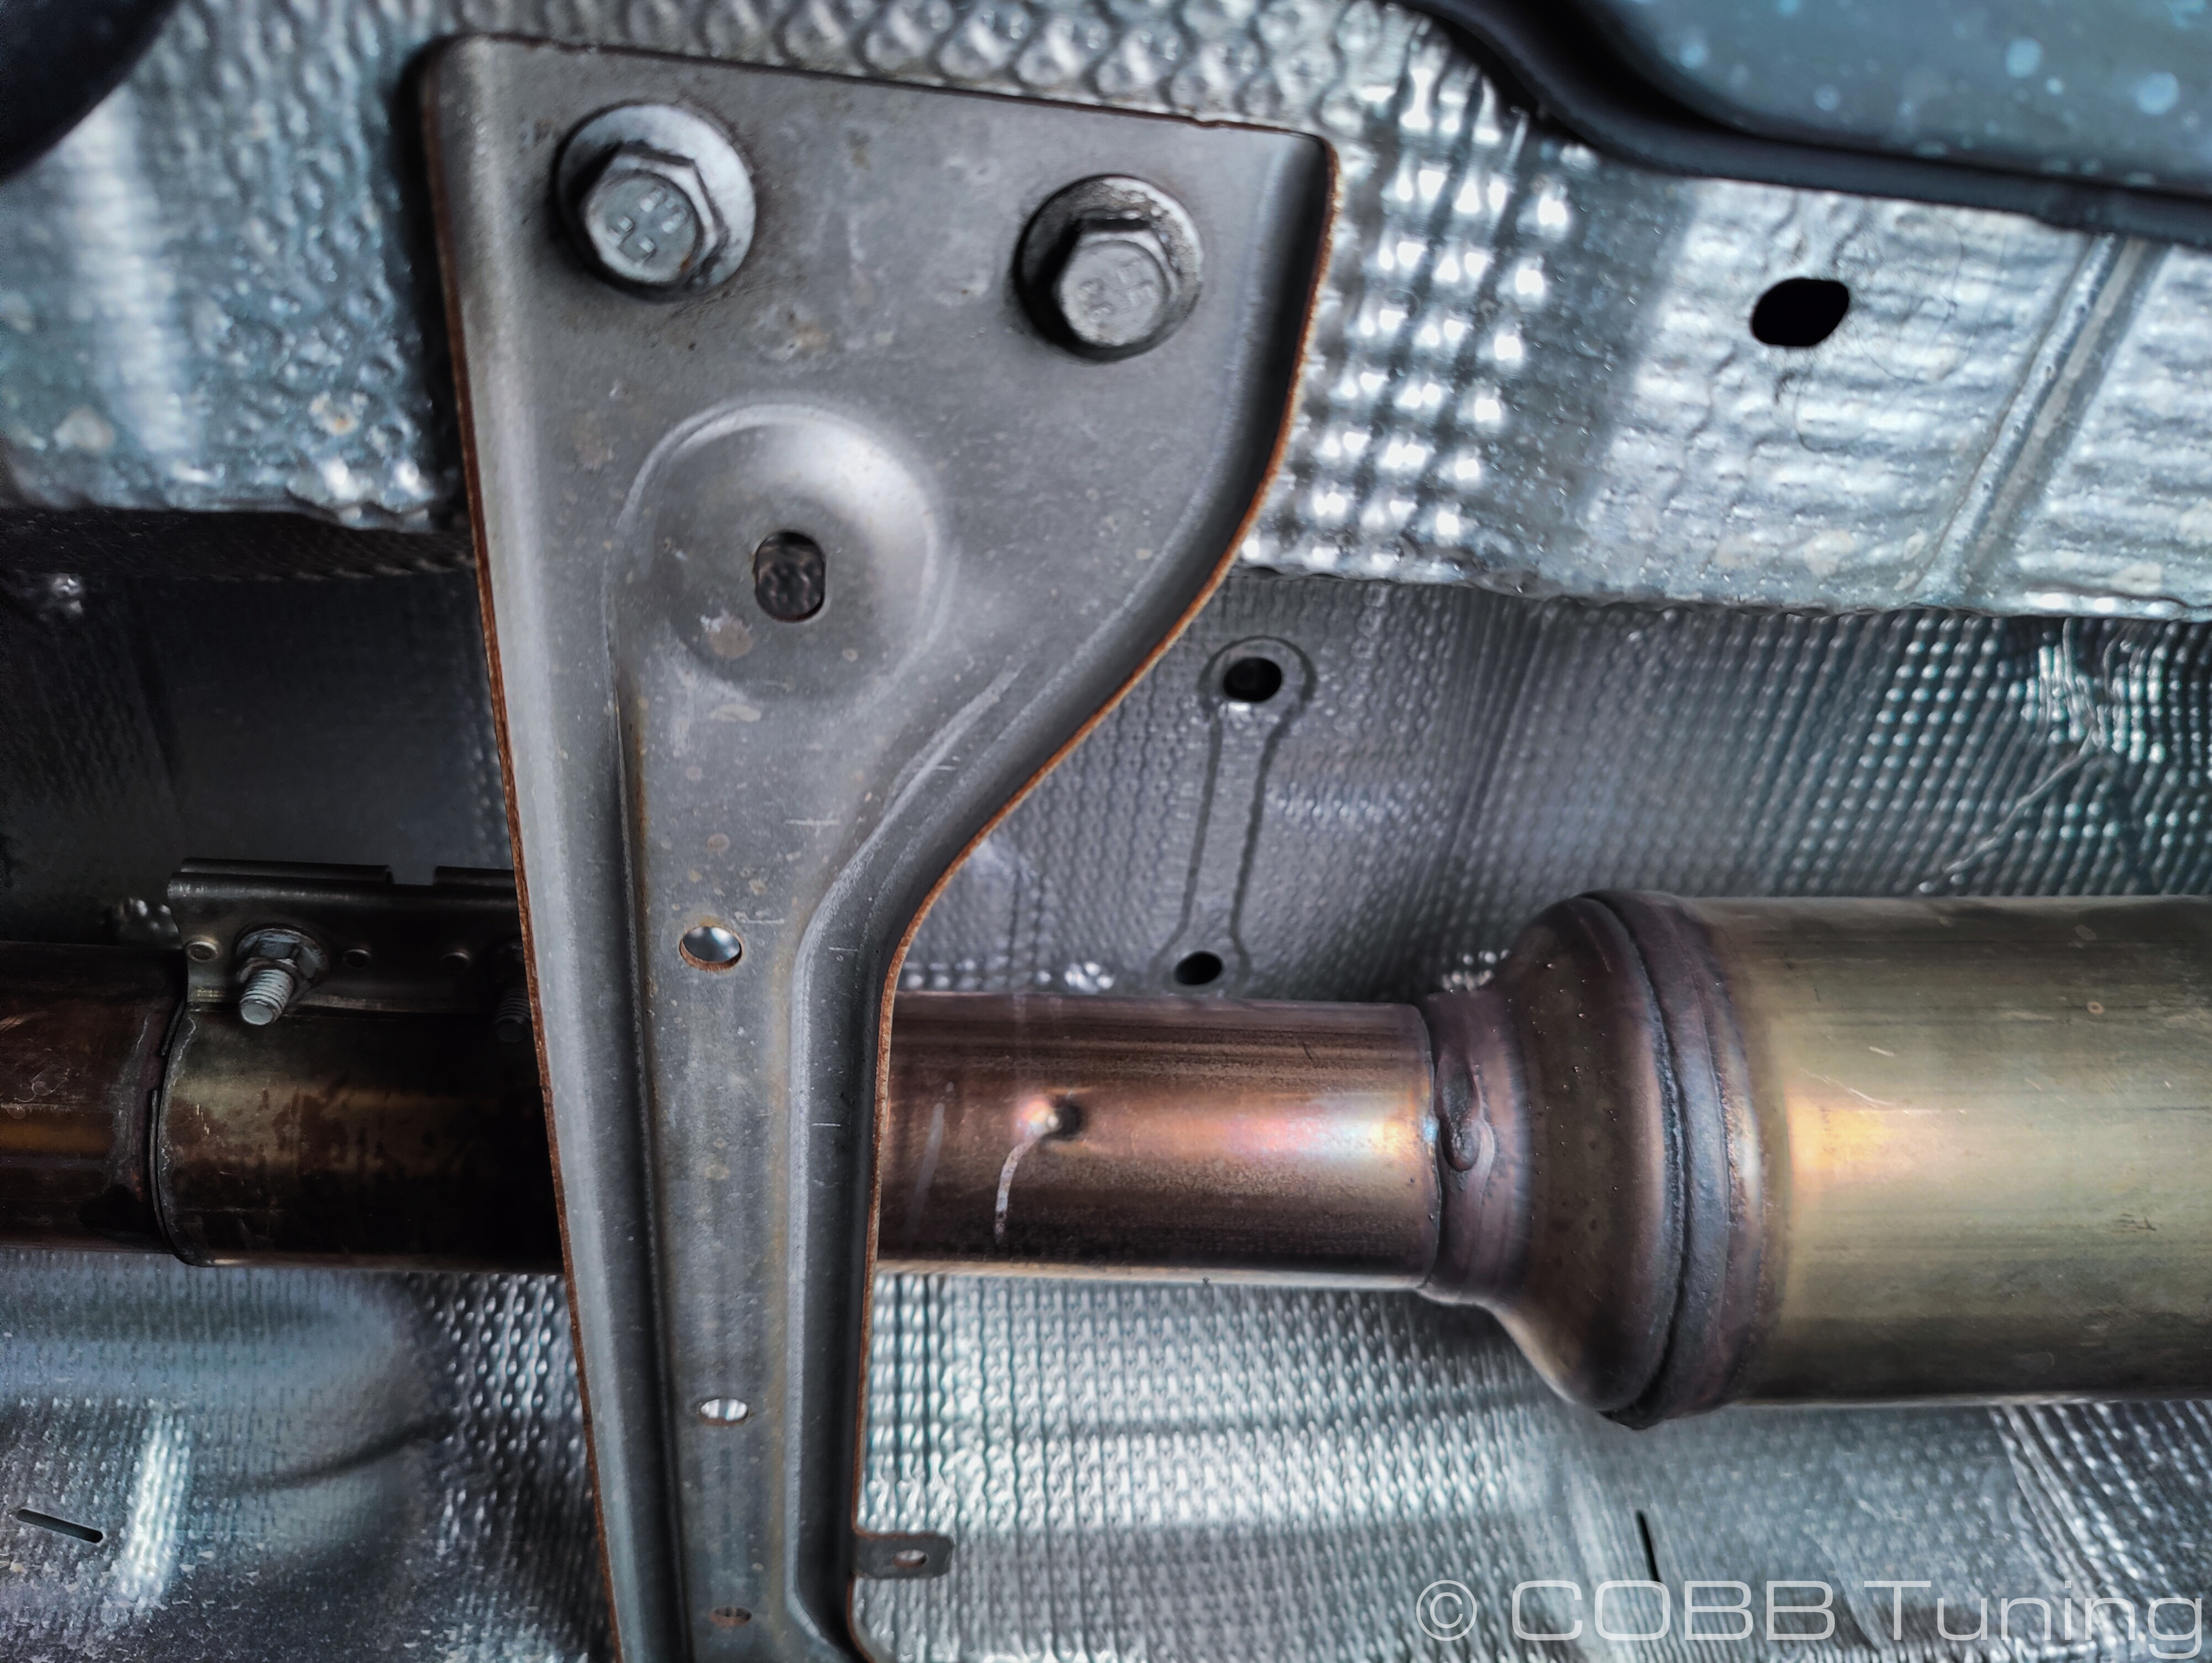
- Near the rear of the car remove the rear cross brace as well. On some cars you'll need to sneak under it with a wrench or remove the undertray if you don't want to bend the plastic.
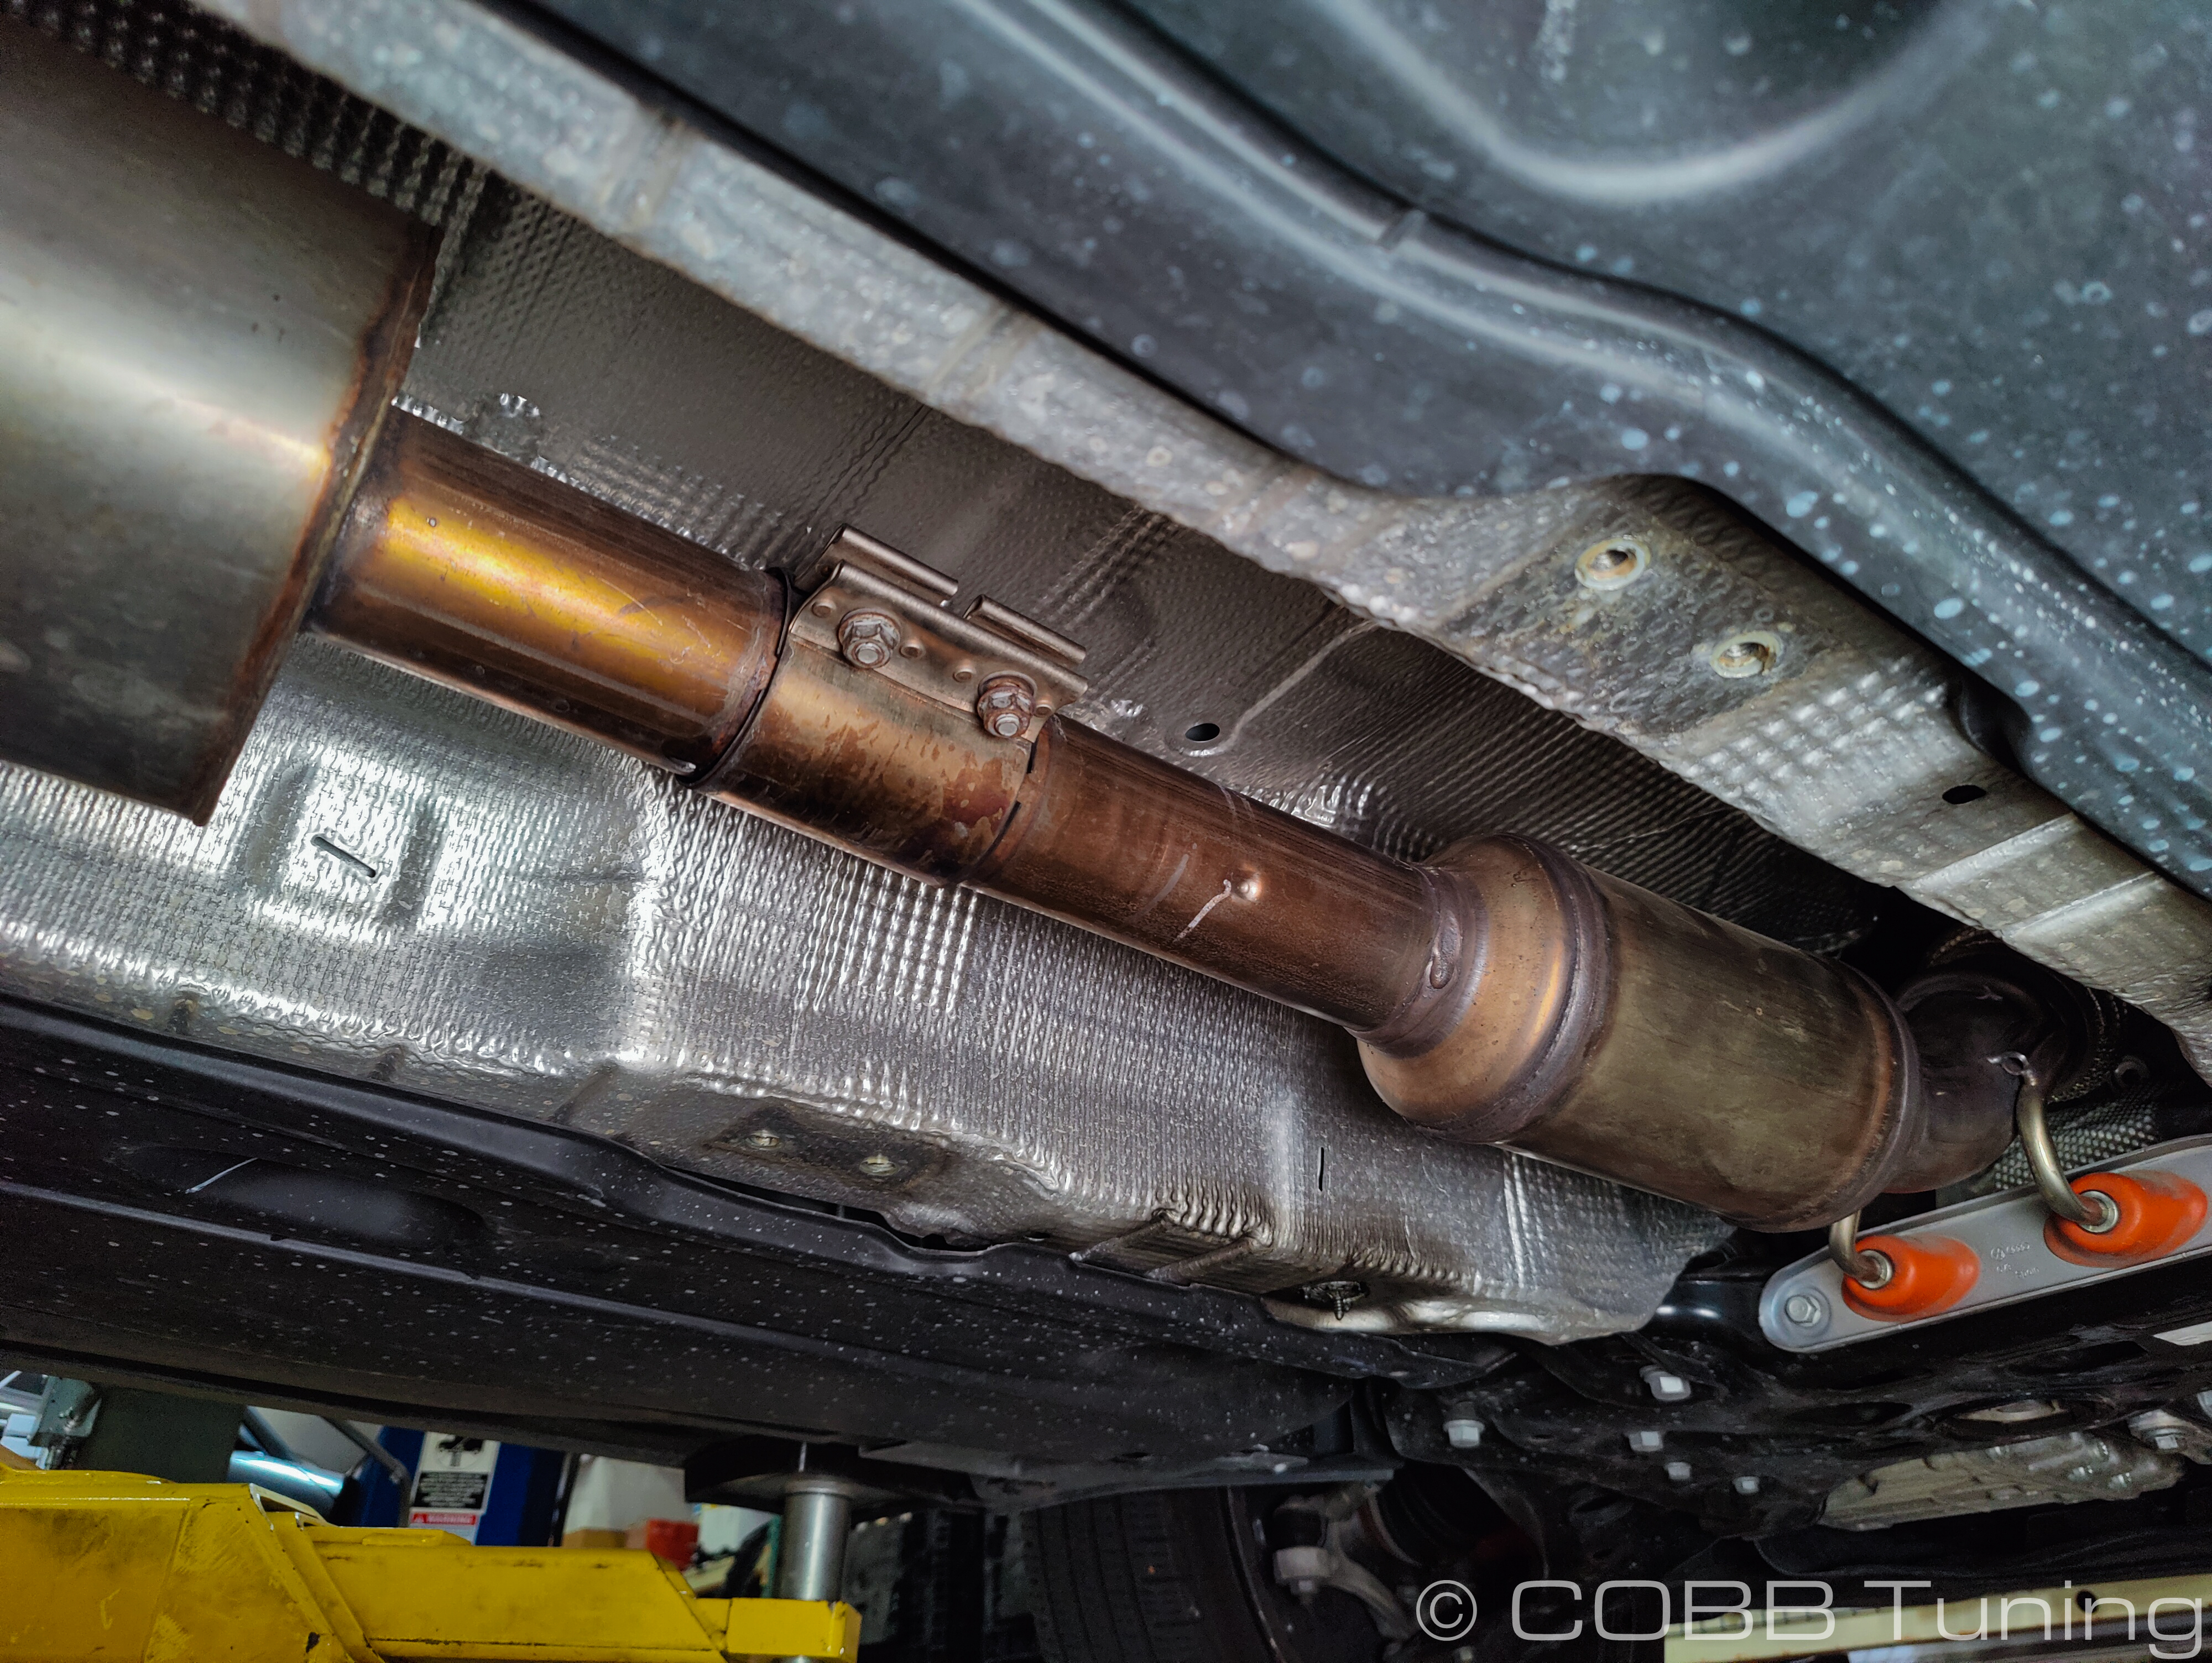
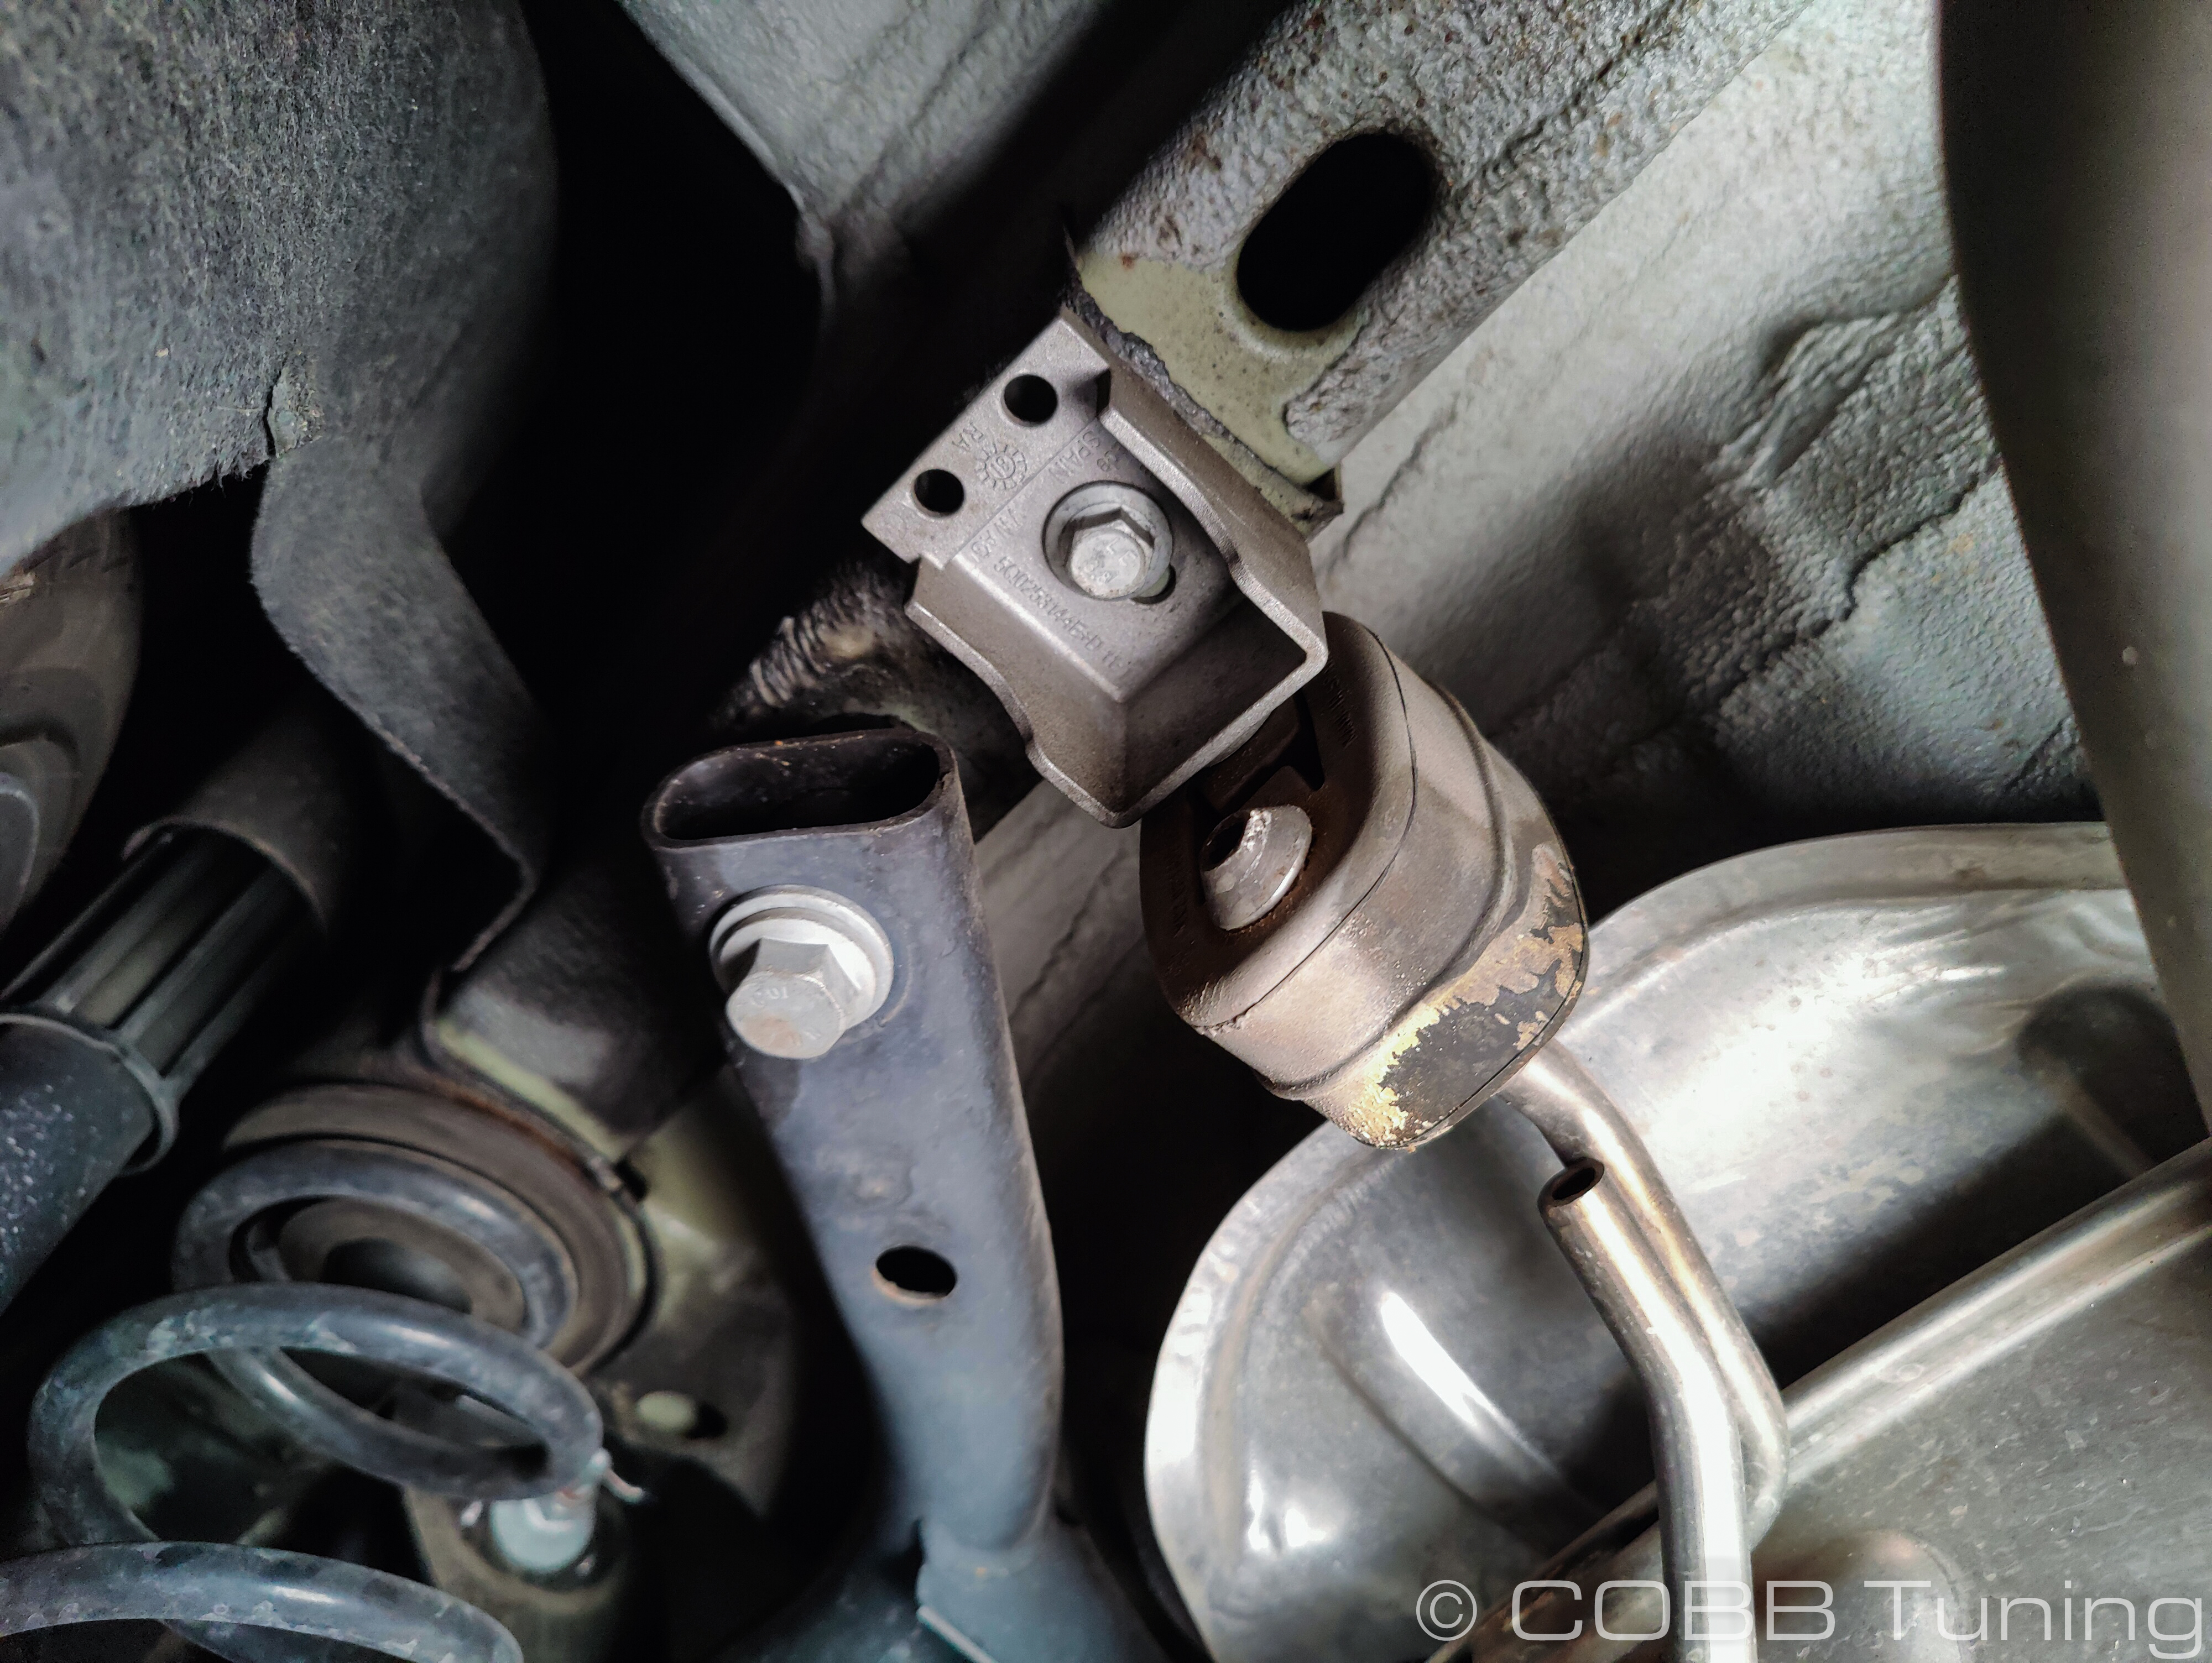
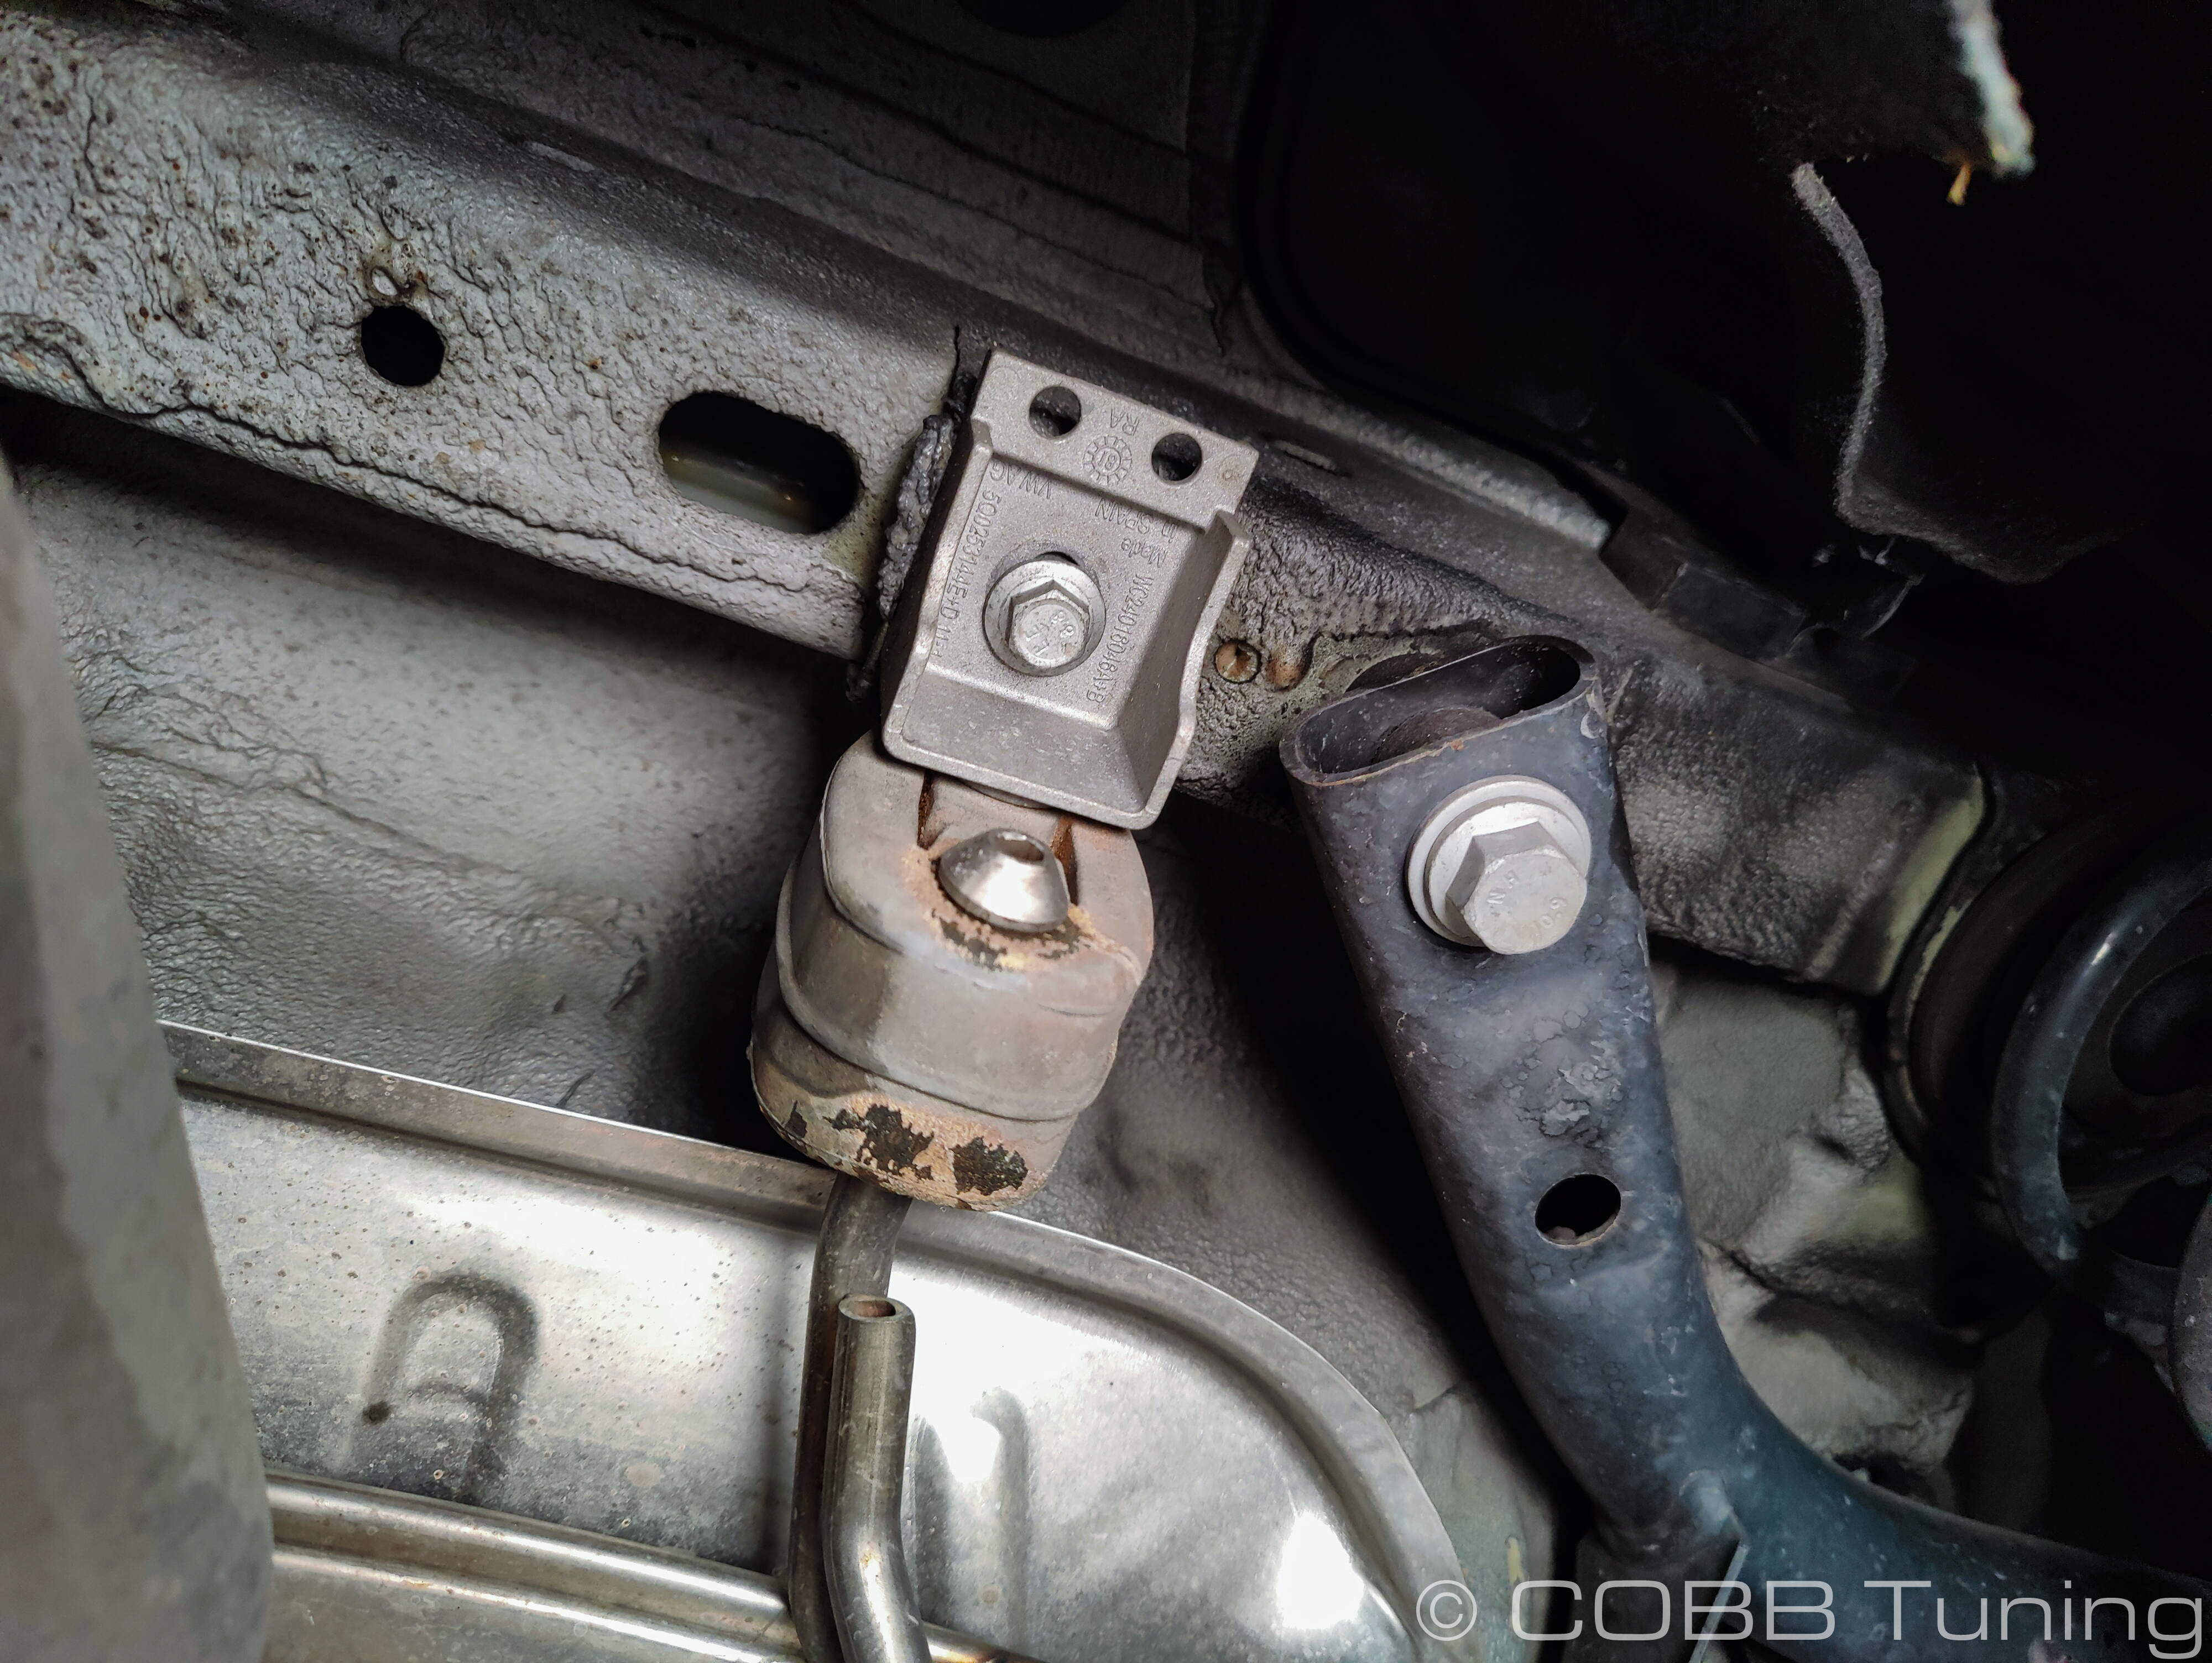
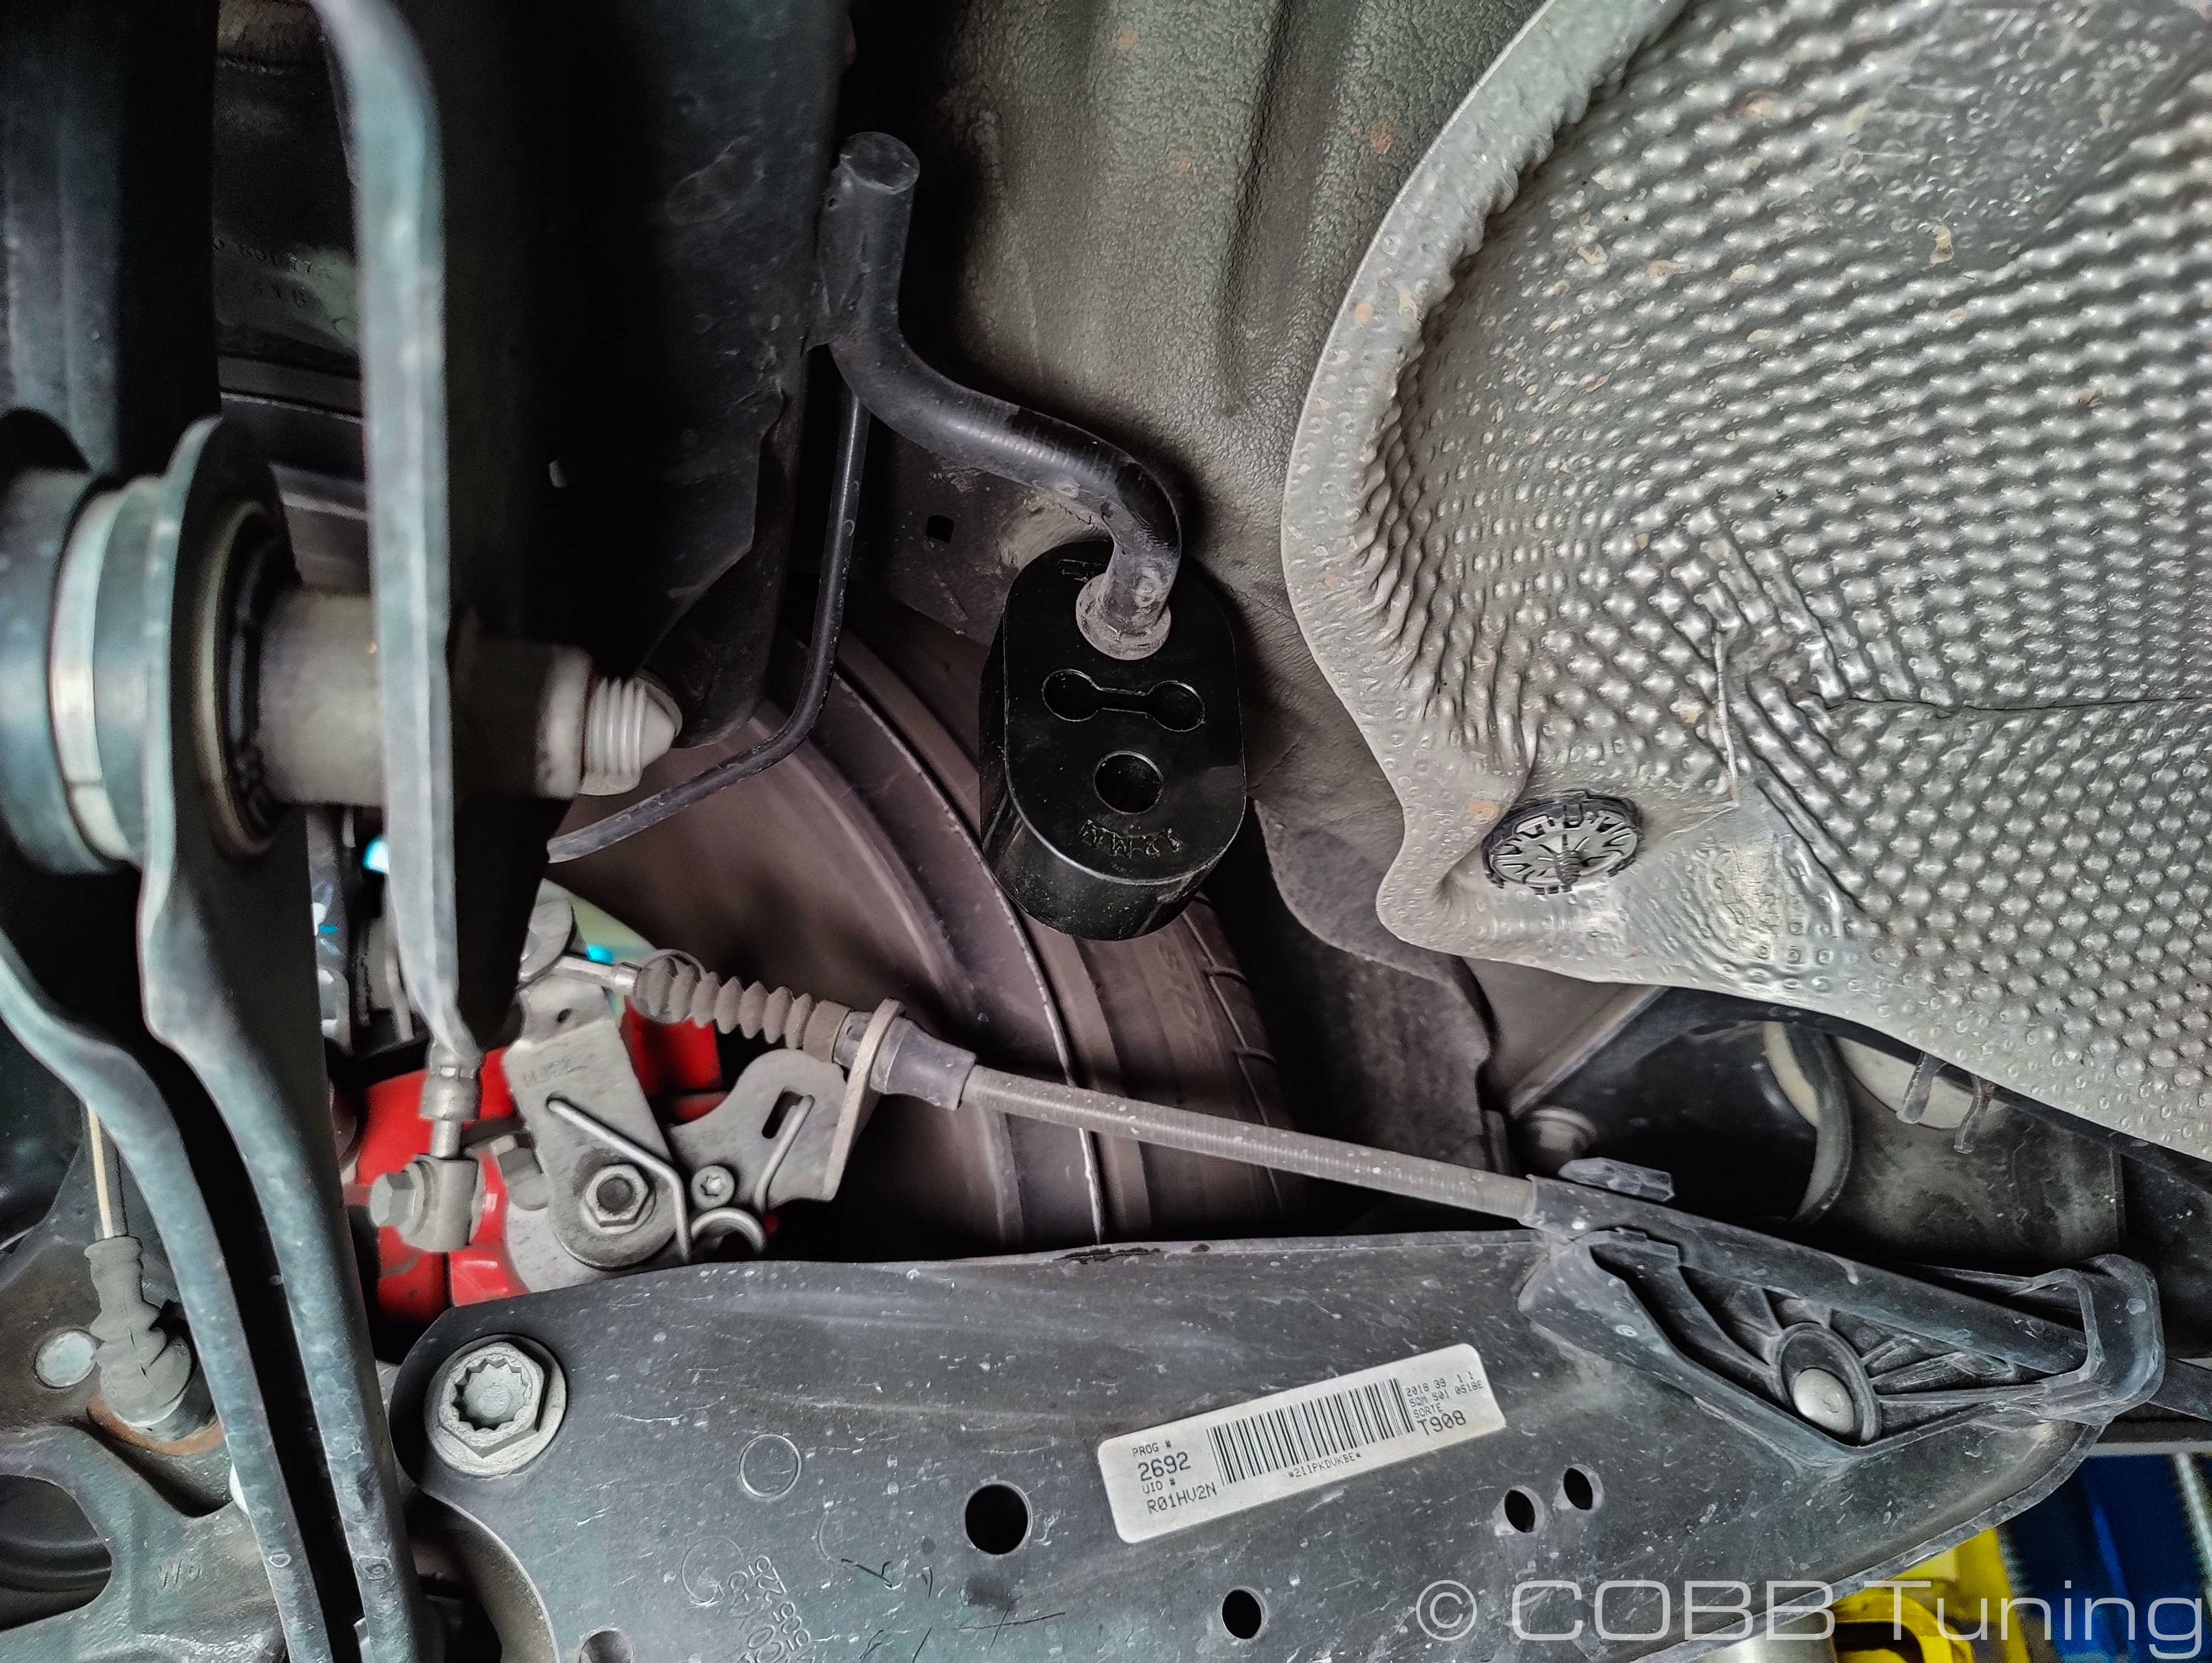
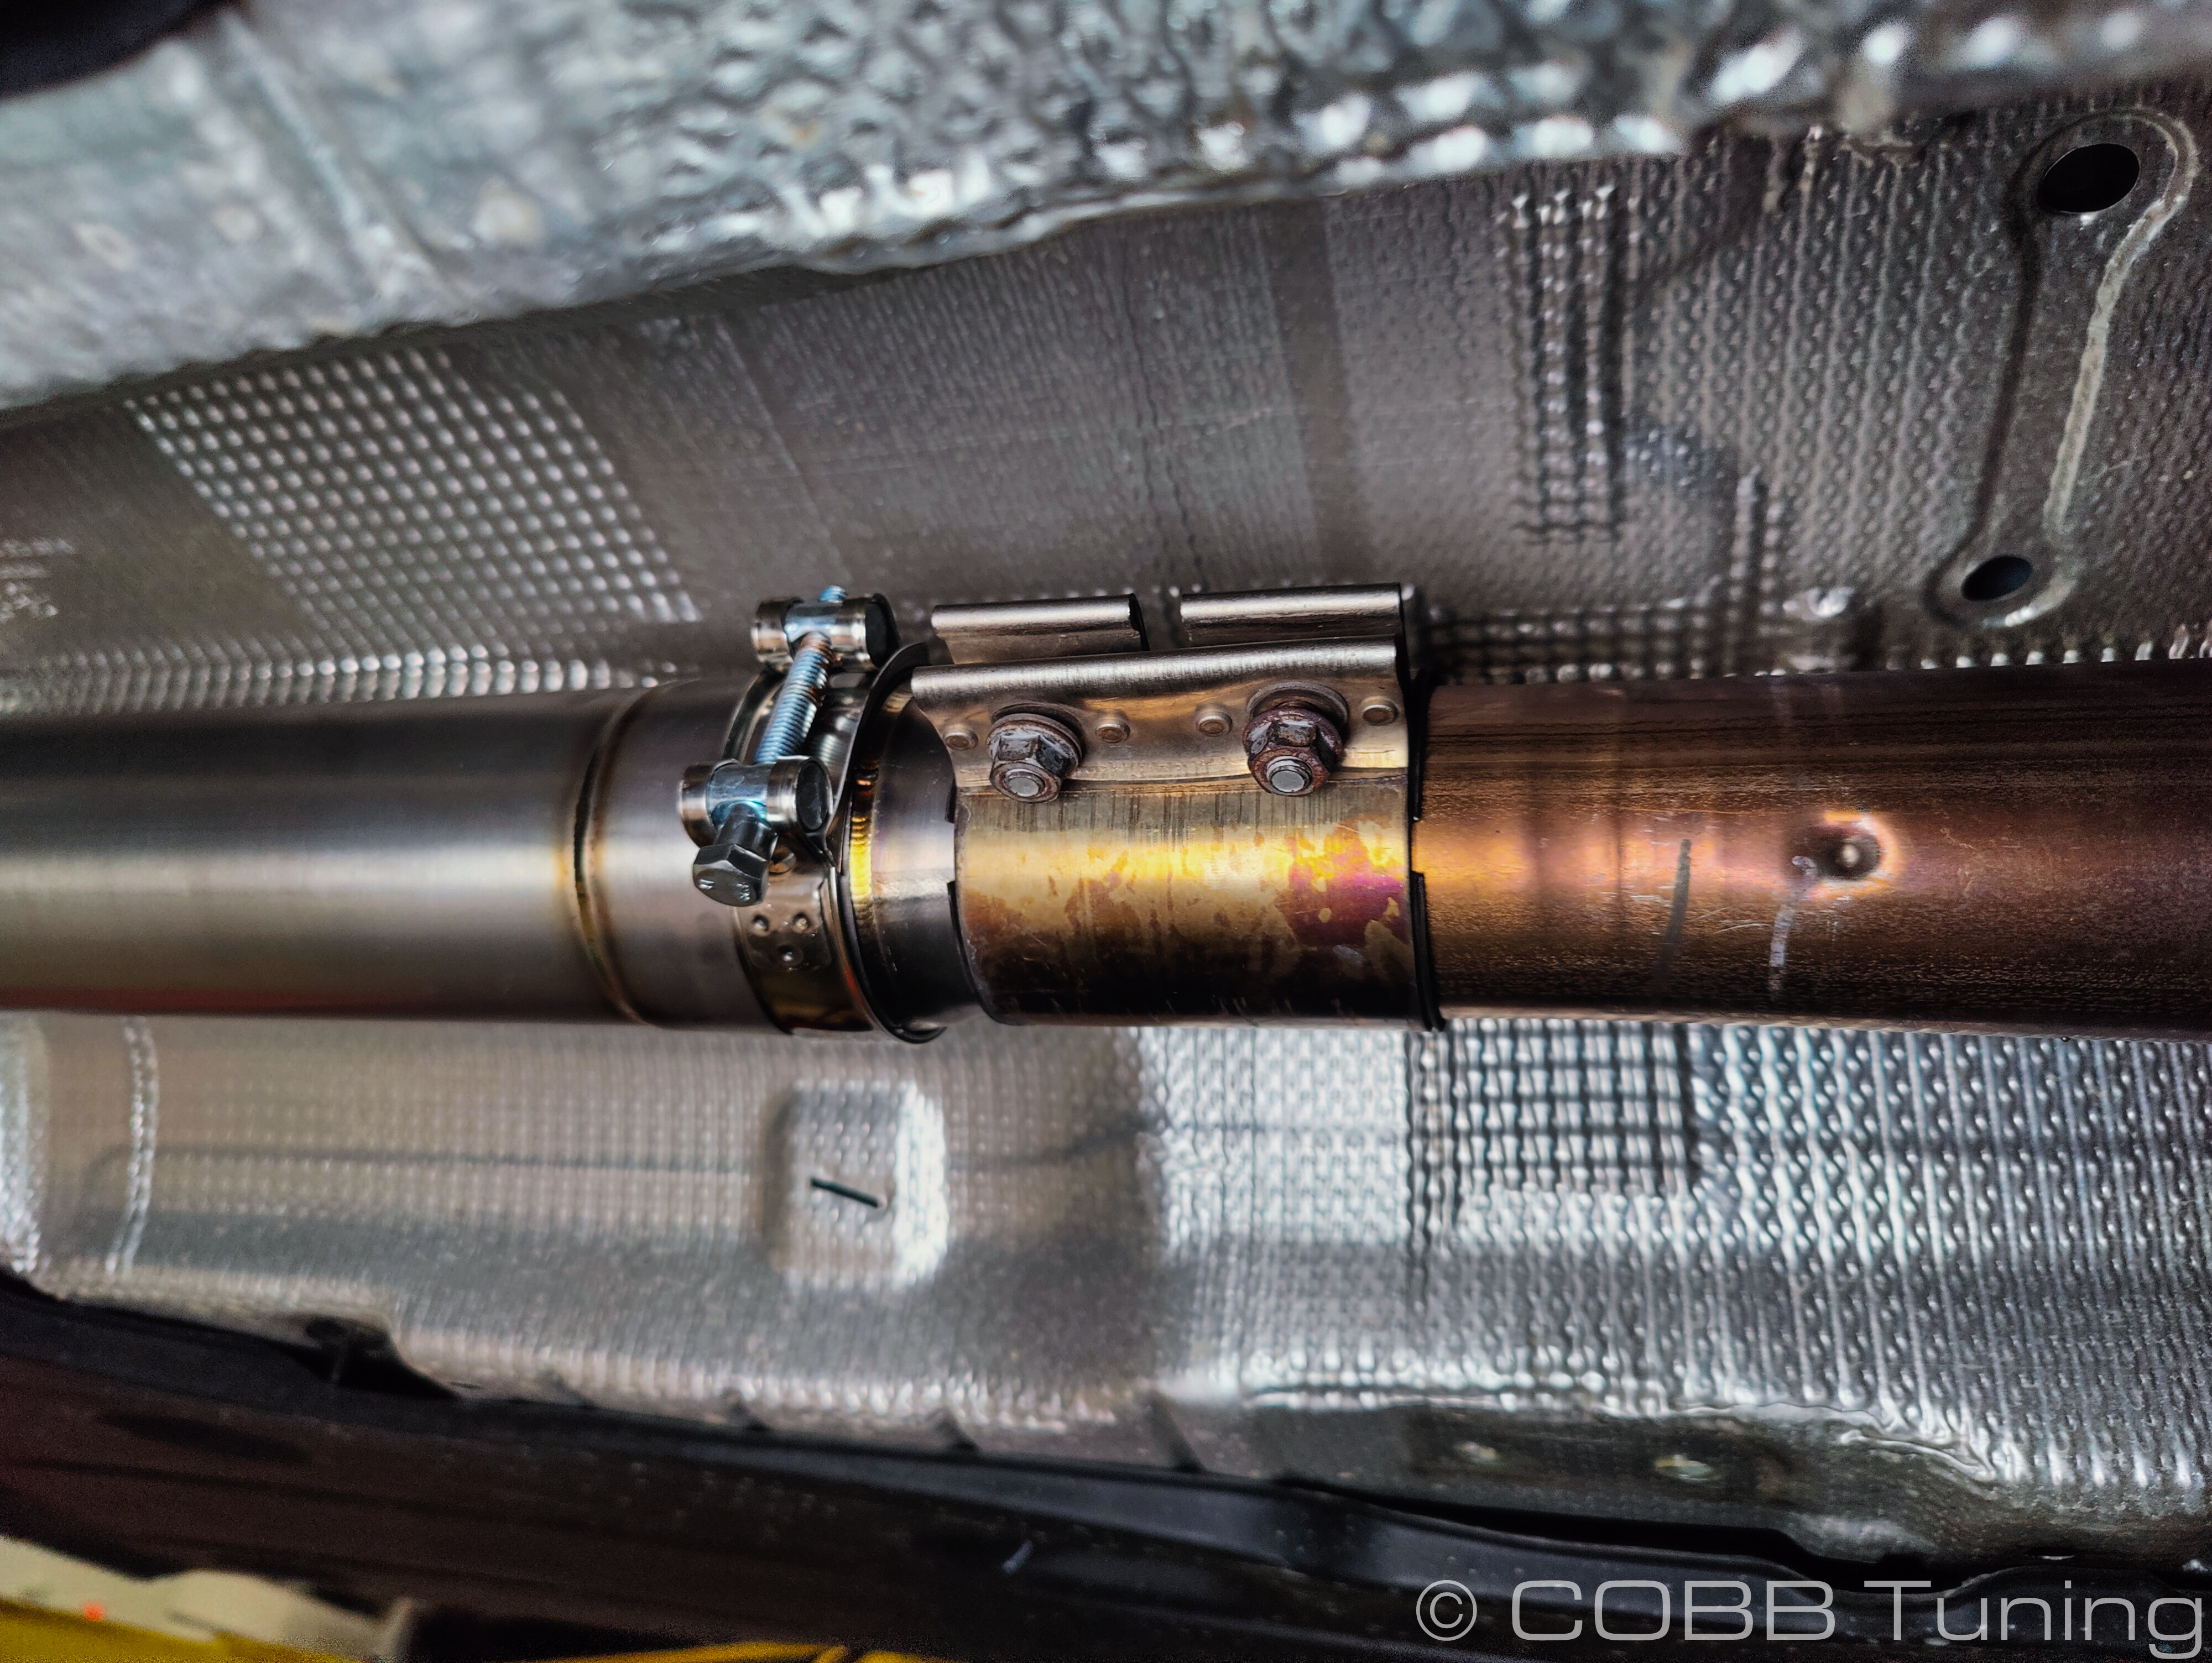
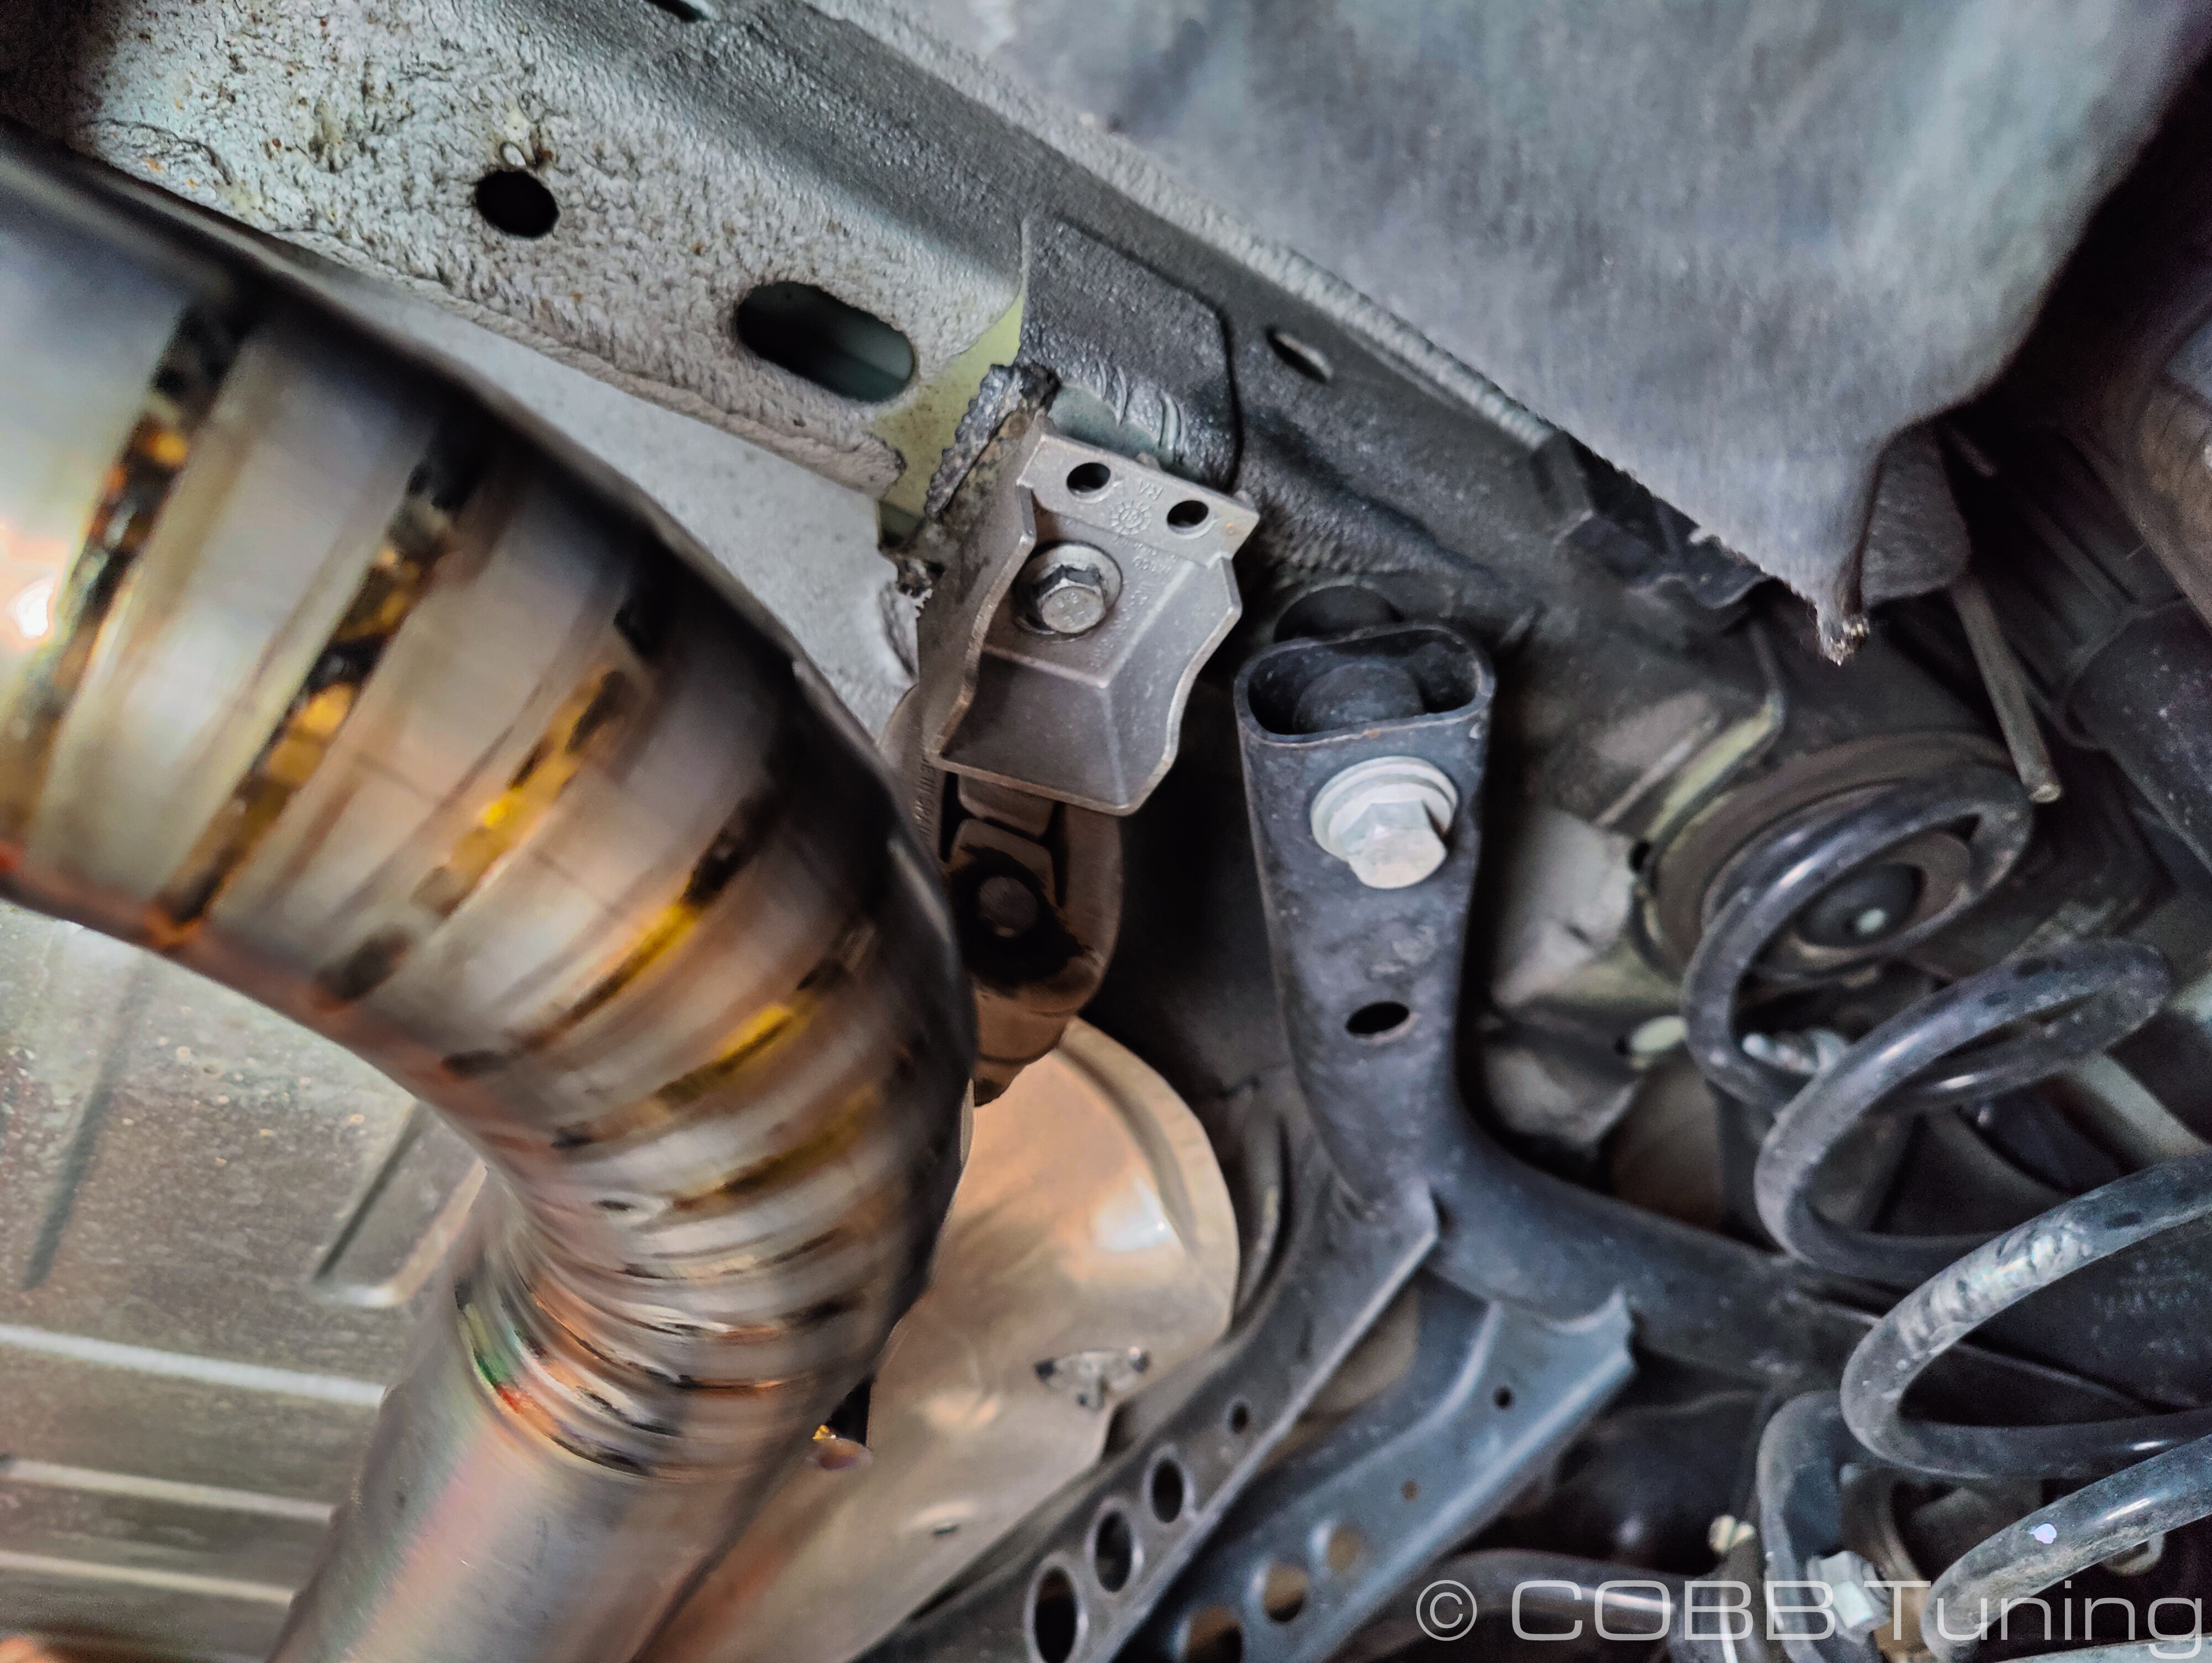
- Undo the front exhaust joint. I'd recommend loosening the nuts until the clamp is free and breaking it loose from the pipes,but leaving it loose enough that it will support the front of the exhaust.
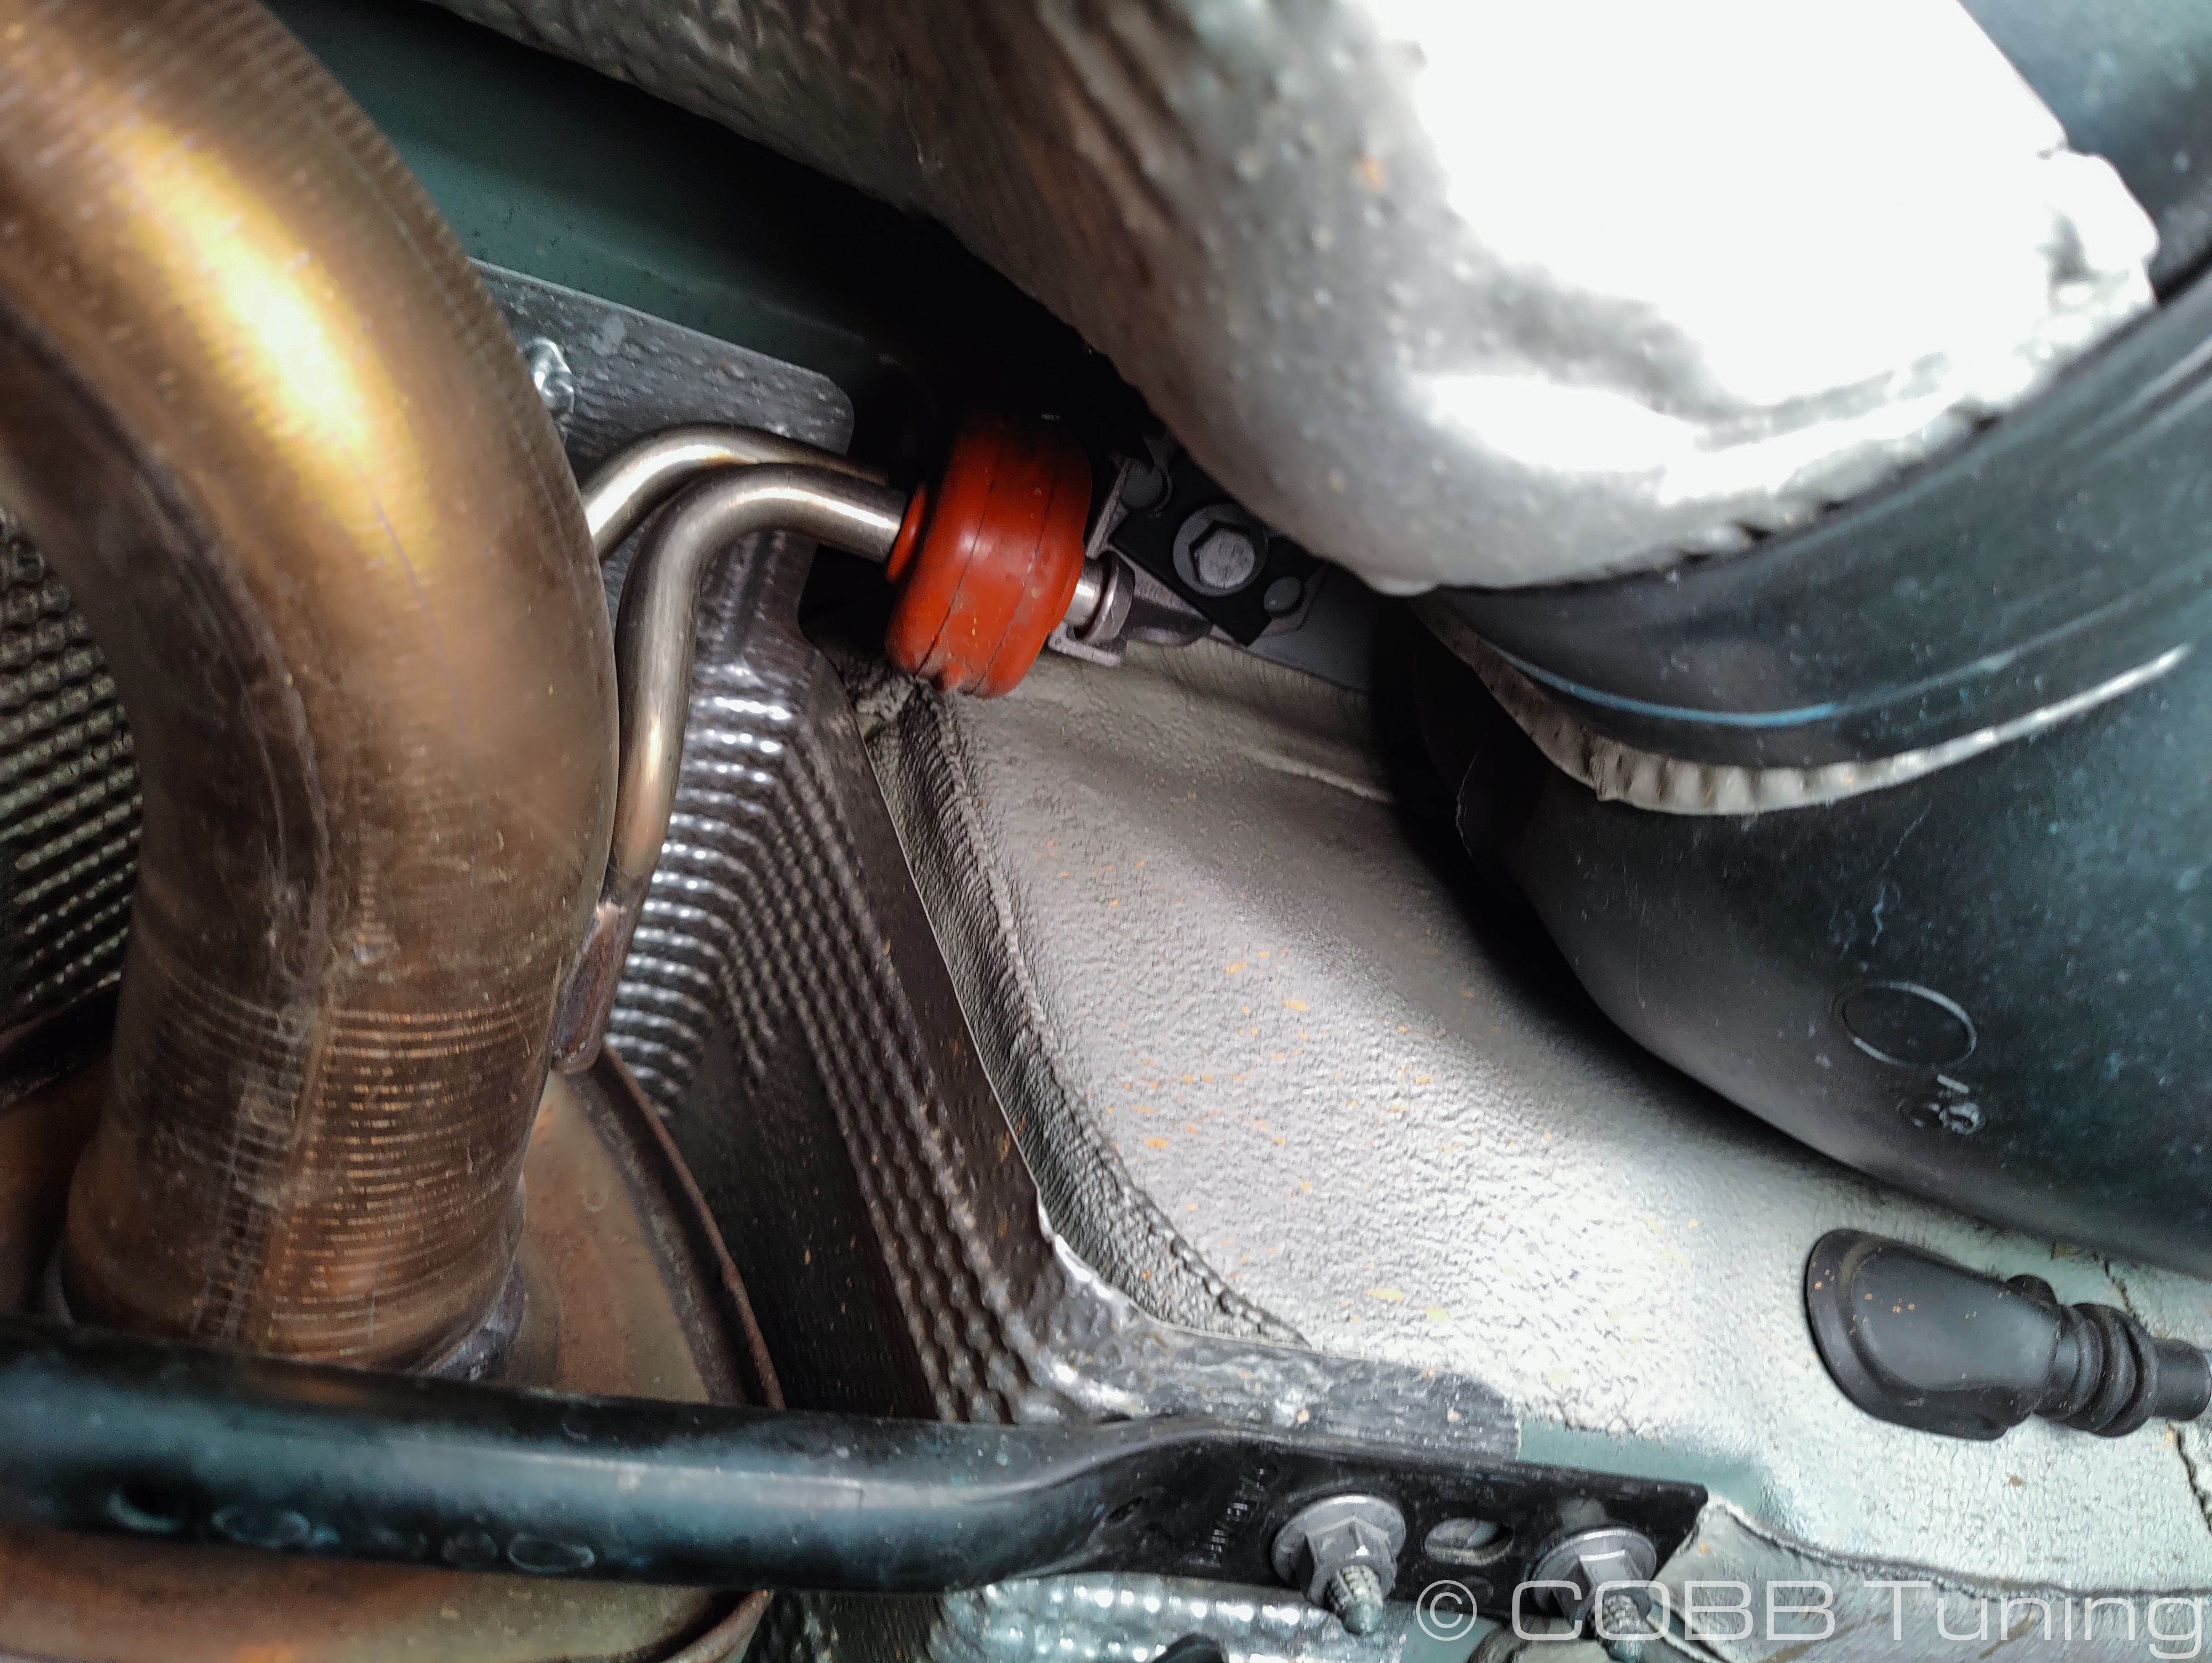
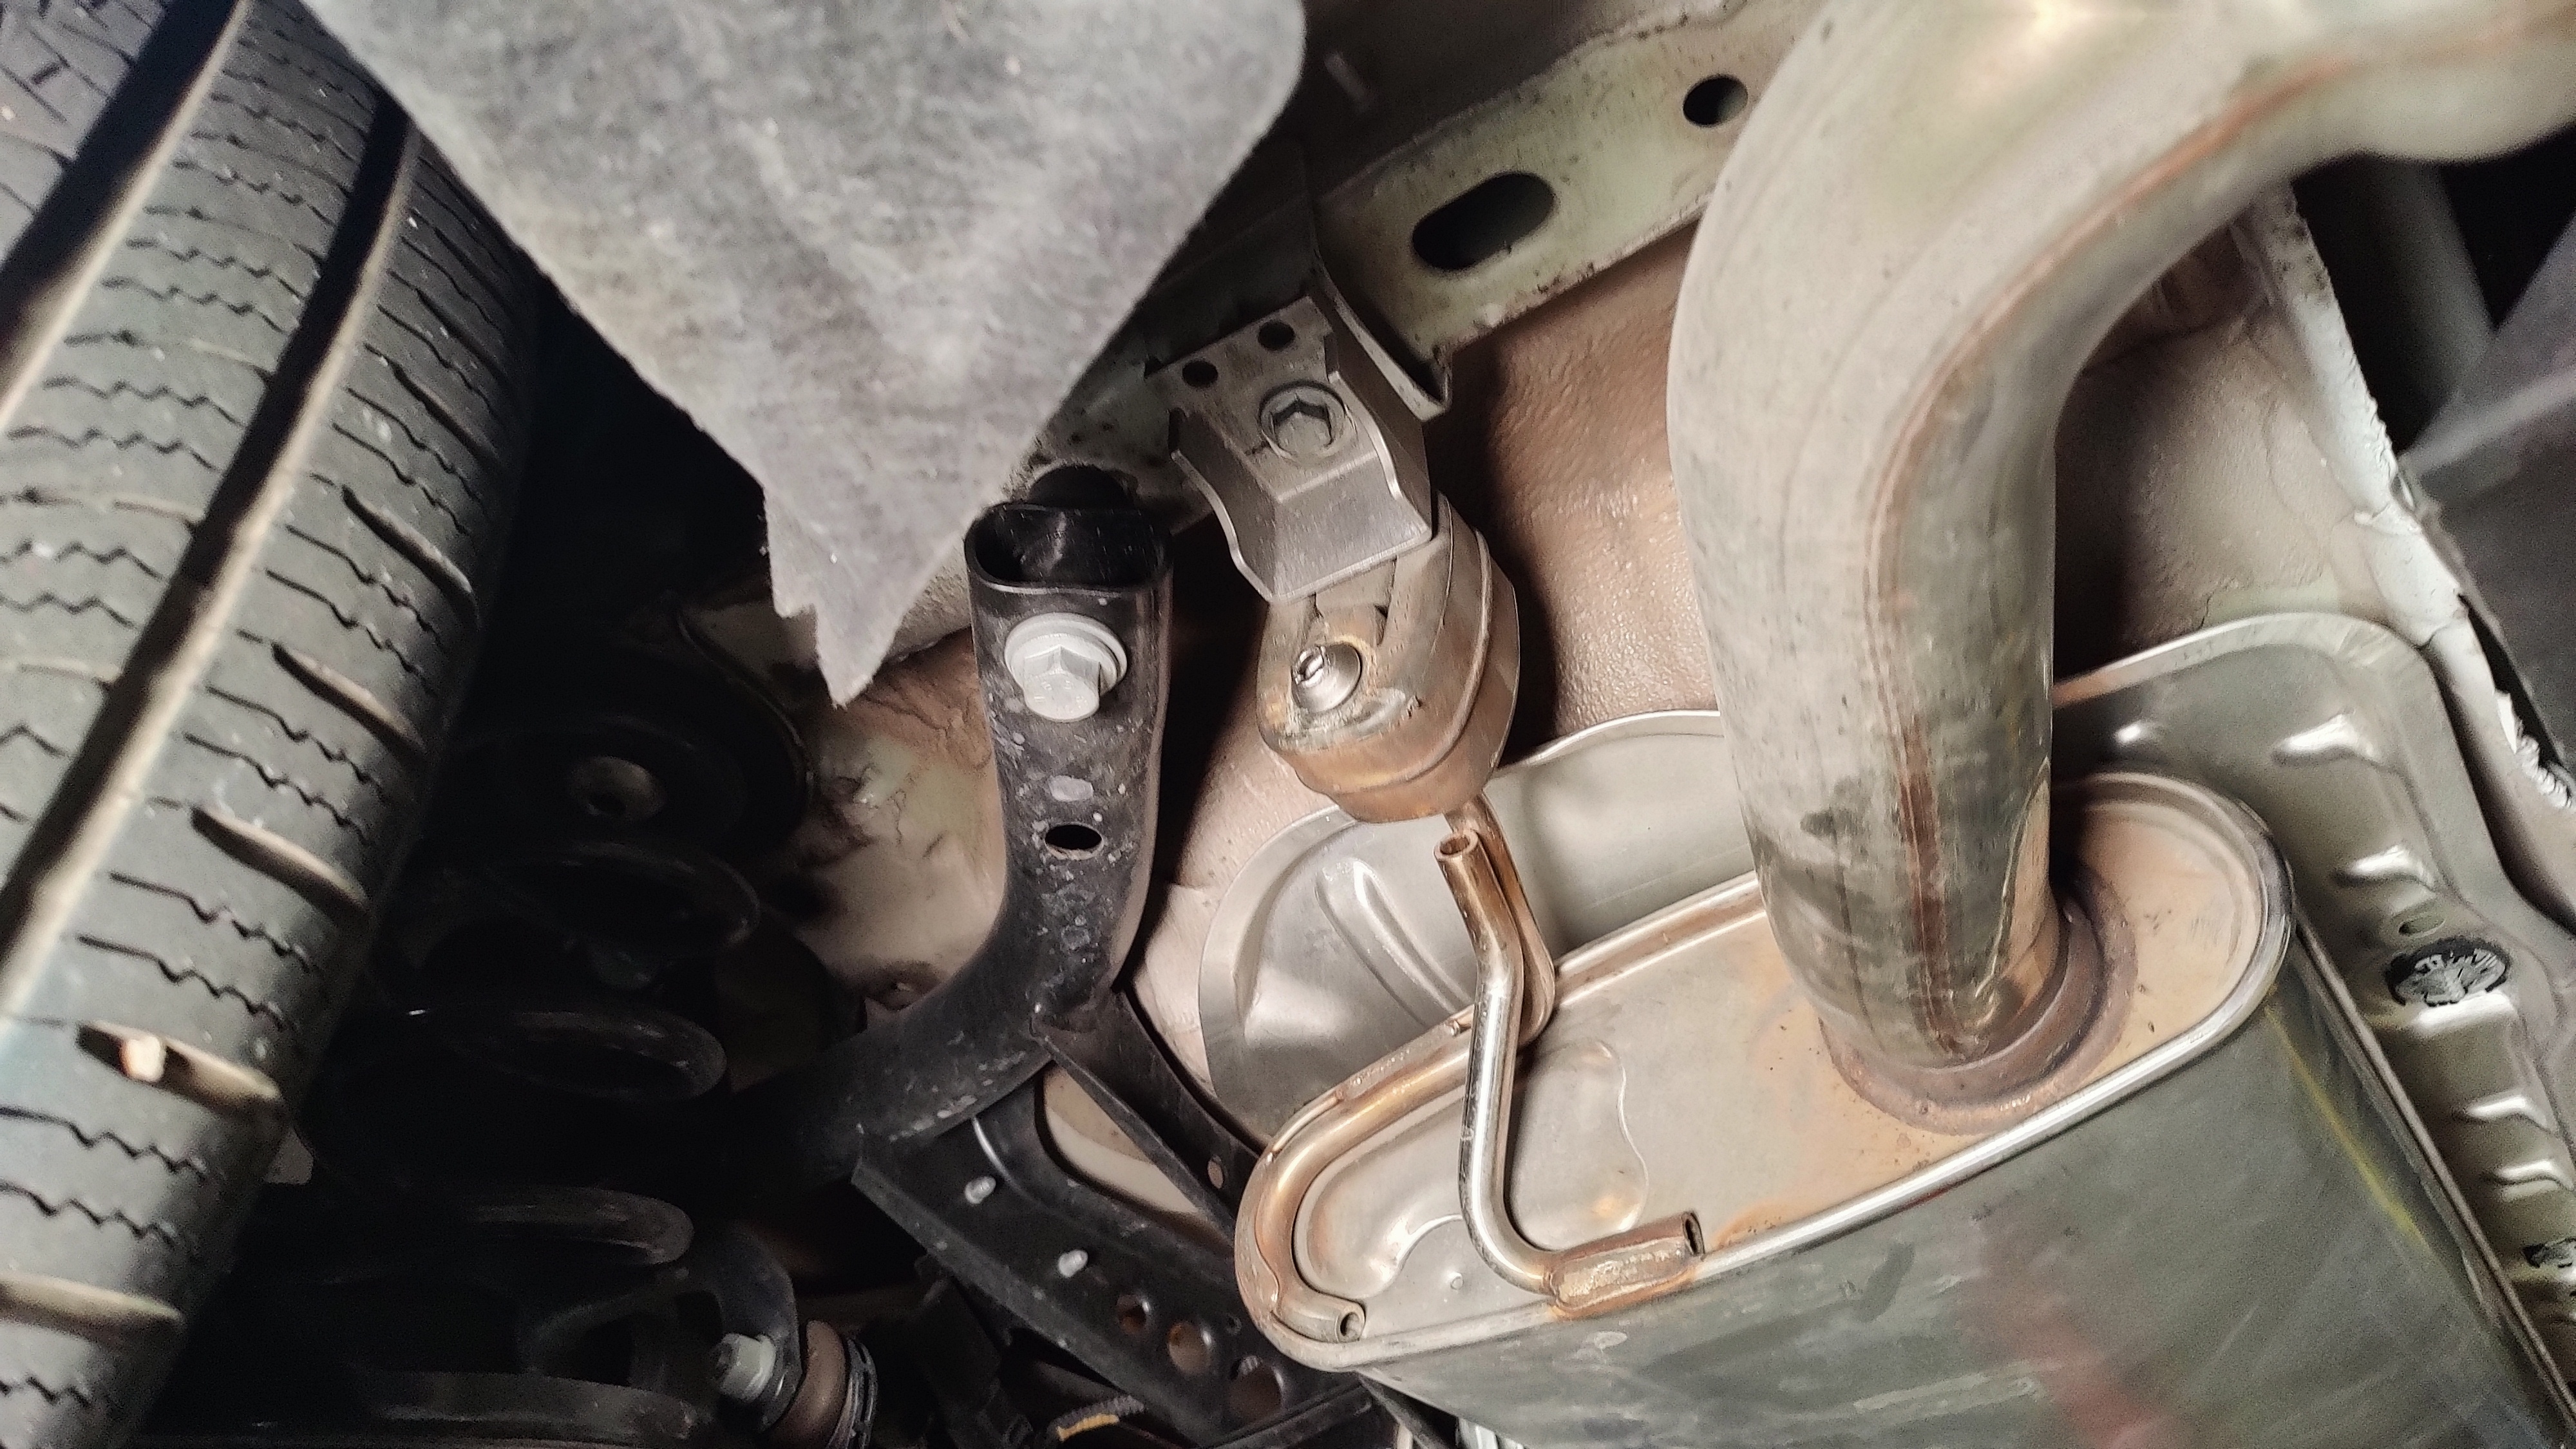
- Work the middle exhaust hanger off using your exhaust pliers (or your hands)
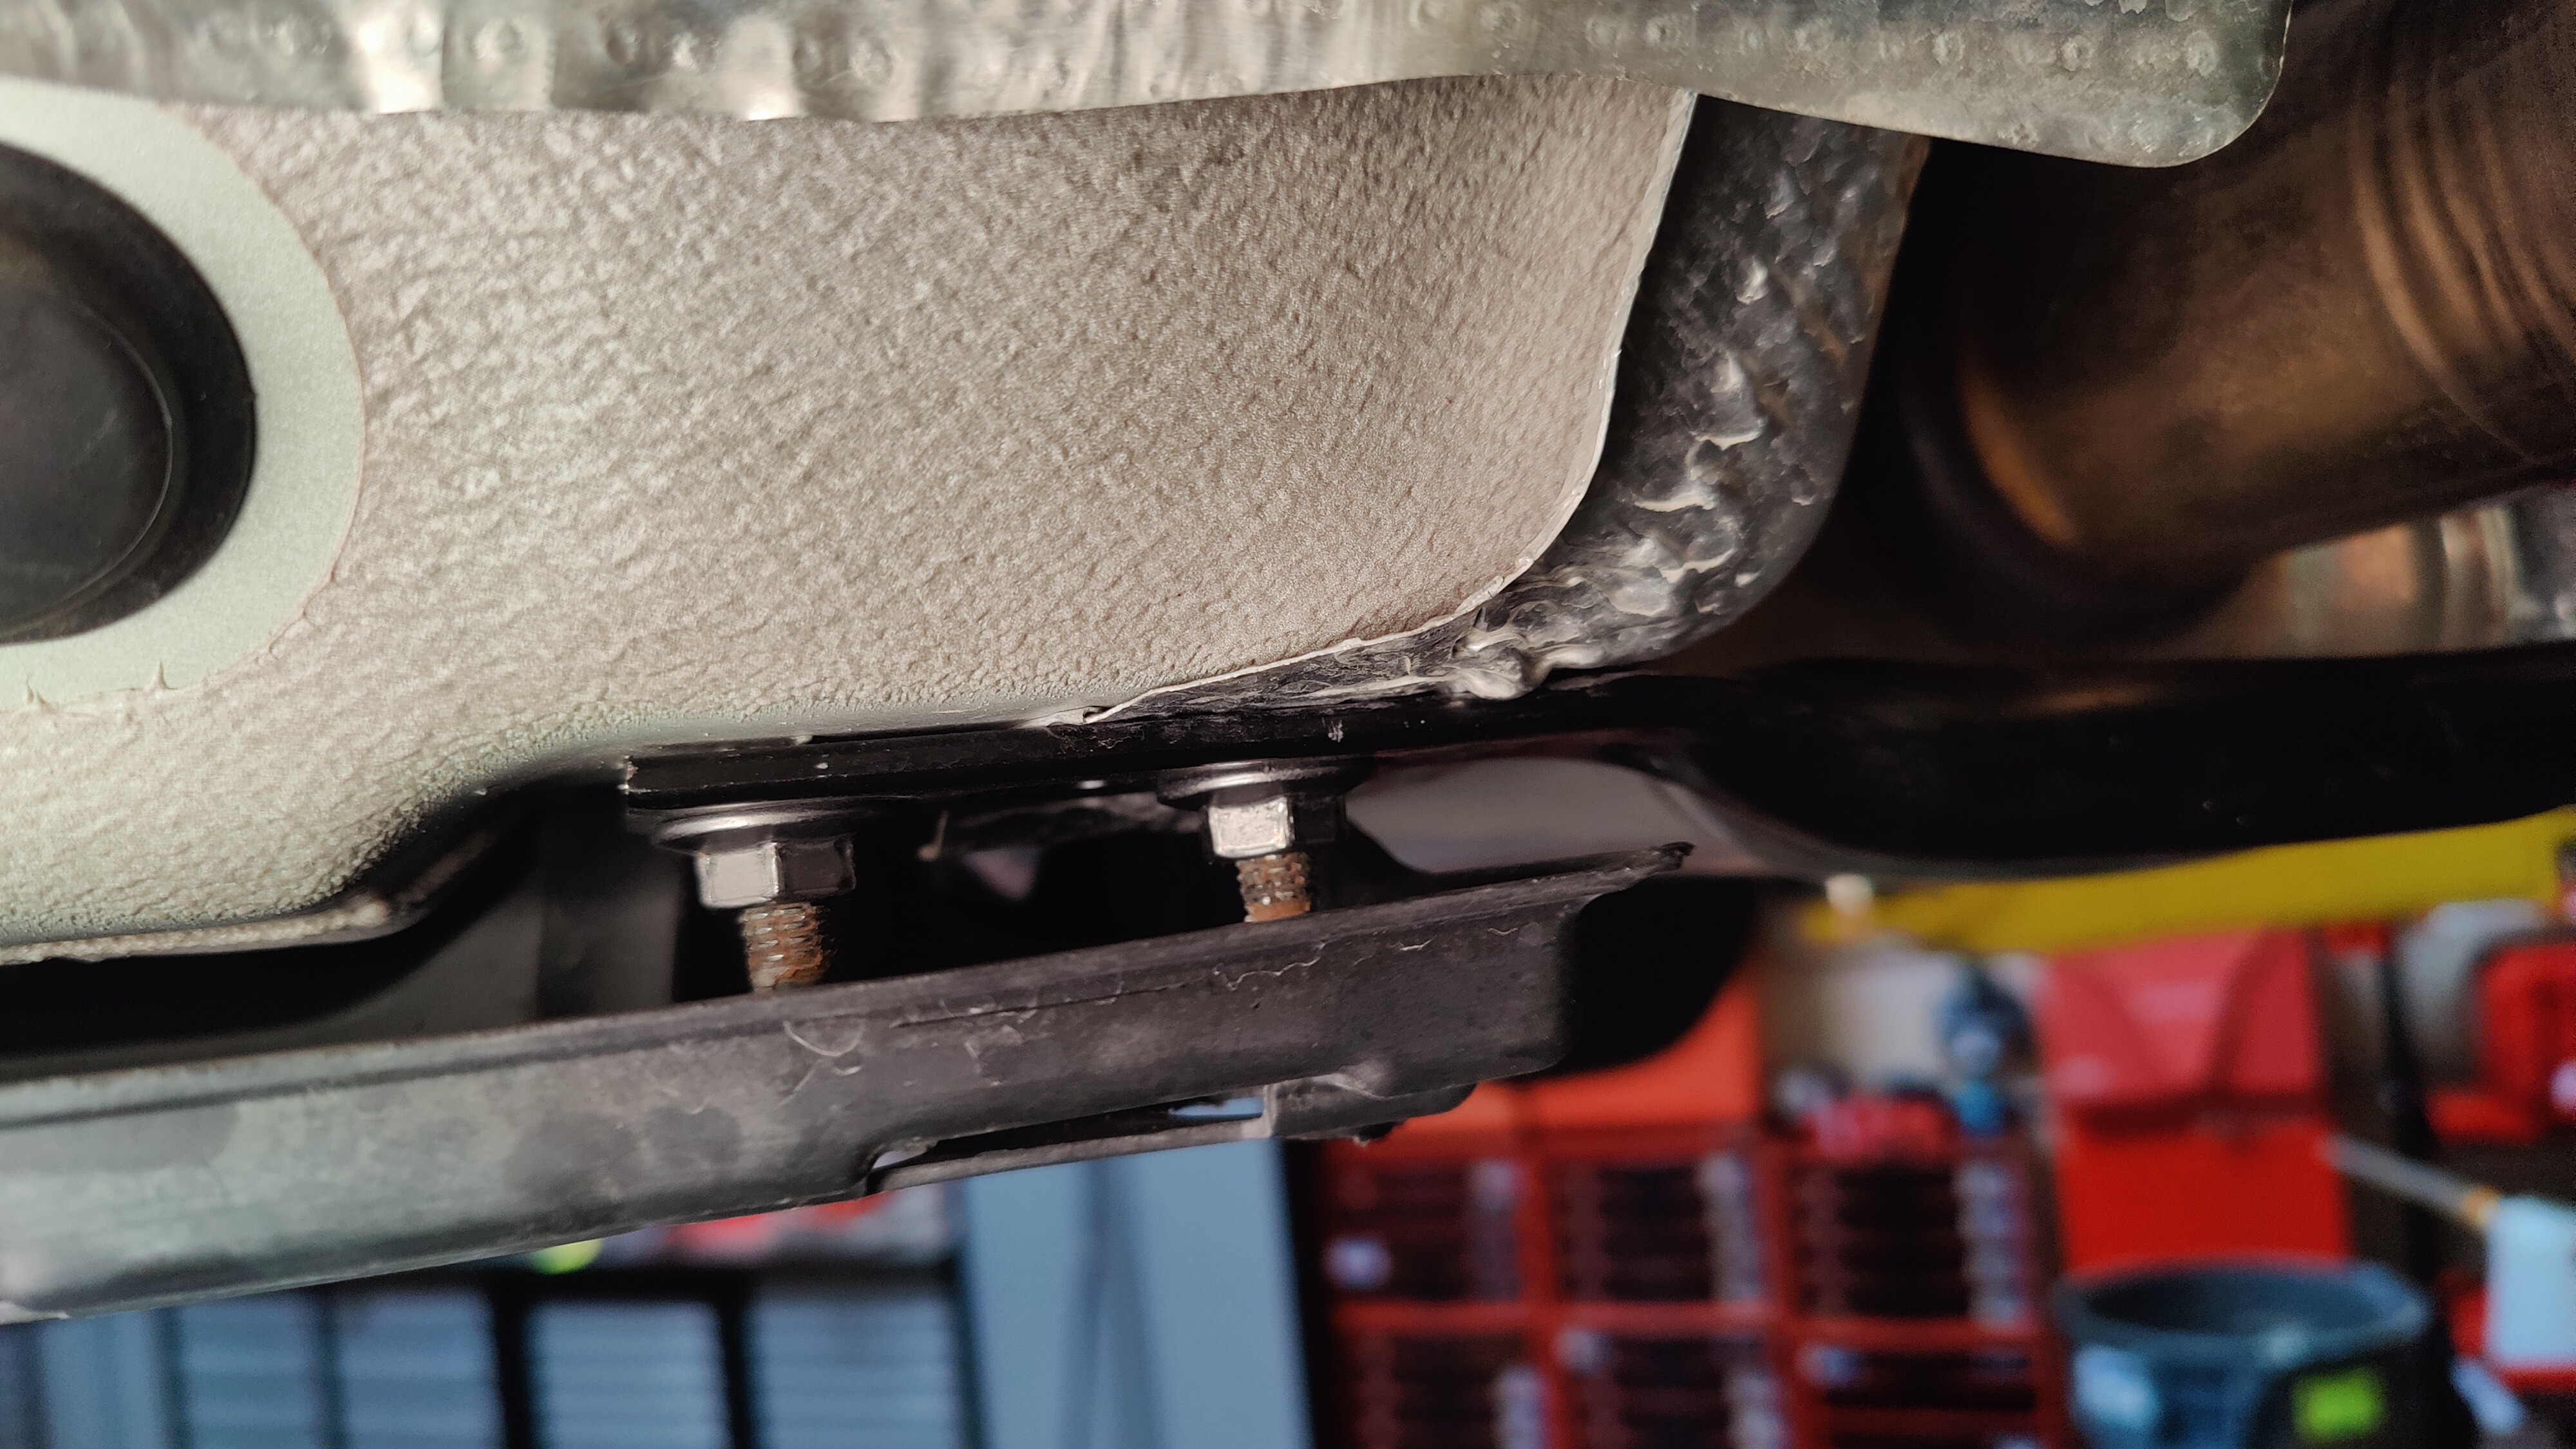
- With a friend, jack, or both supporting the exhaust, use your 13mm and an extension to remove the exhaust hangers on either side of the muffler then drop the exhaust out of the car.
COBB Exhaust Installation
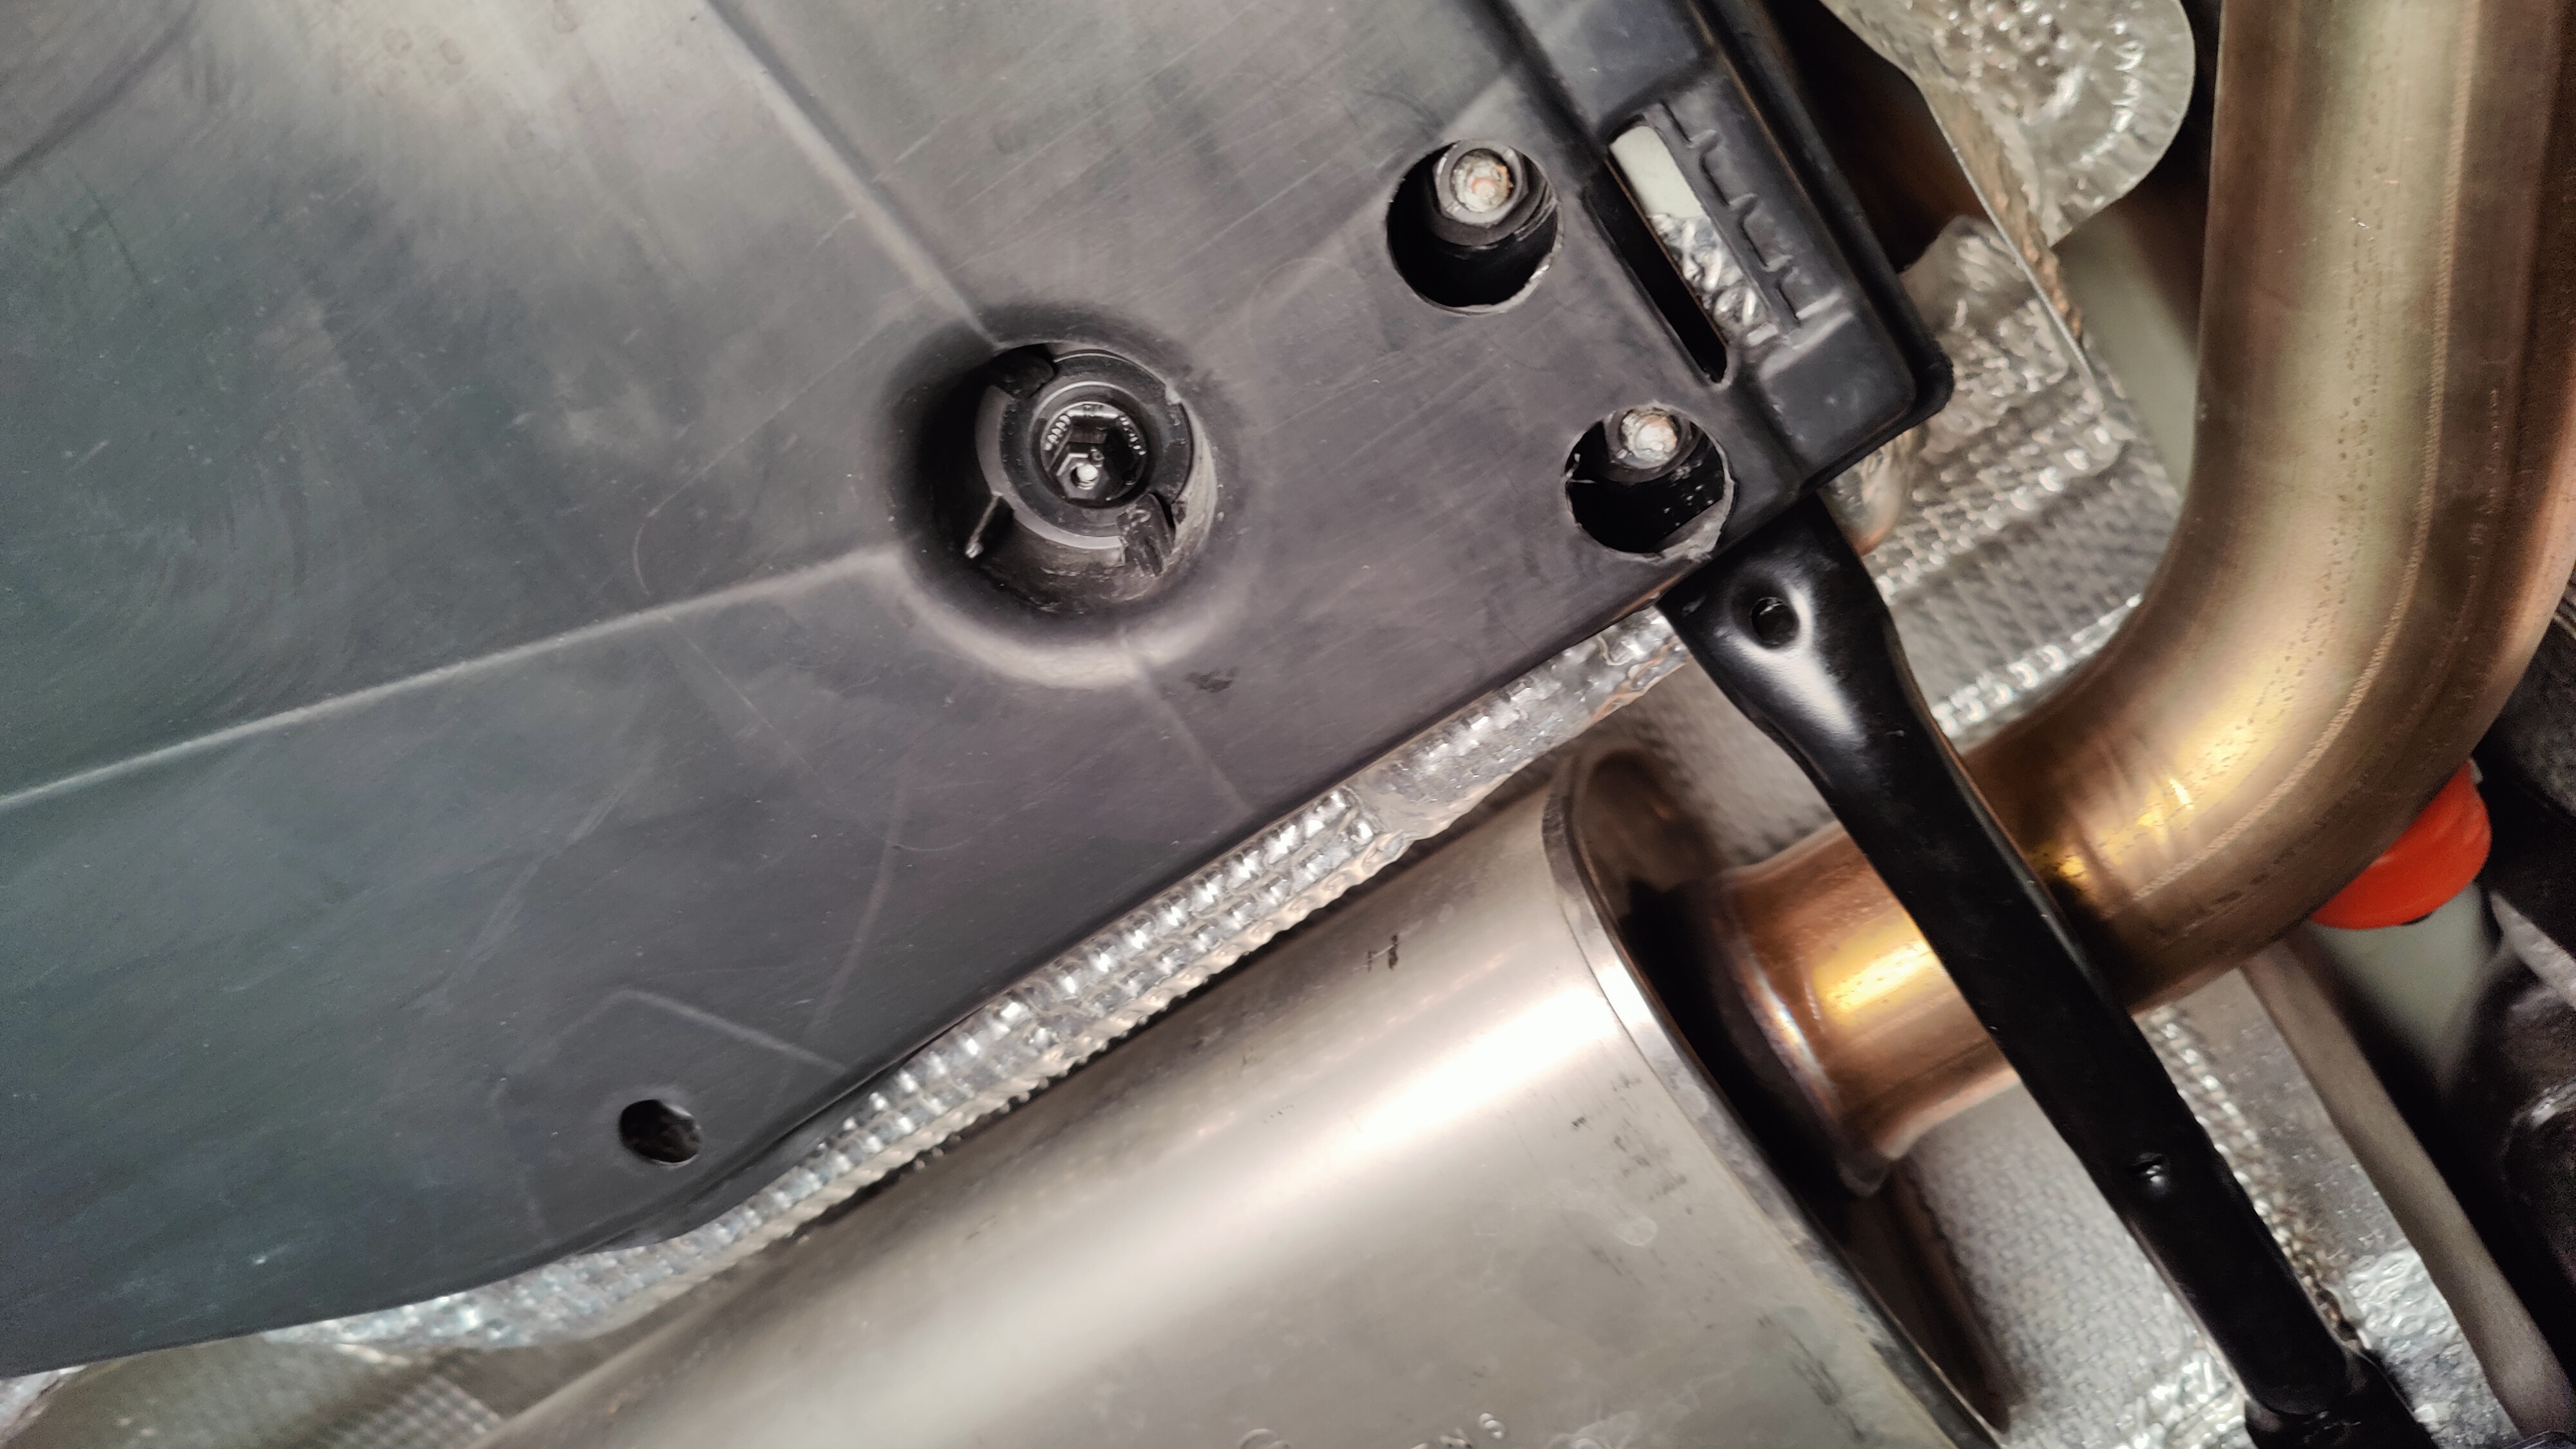
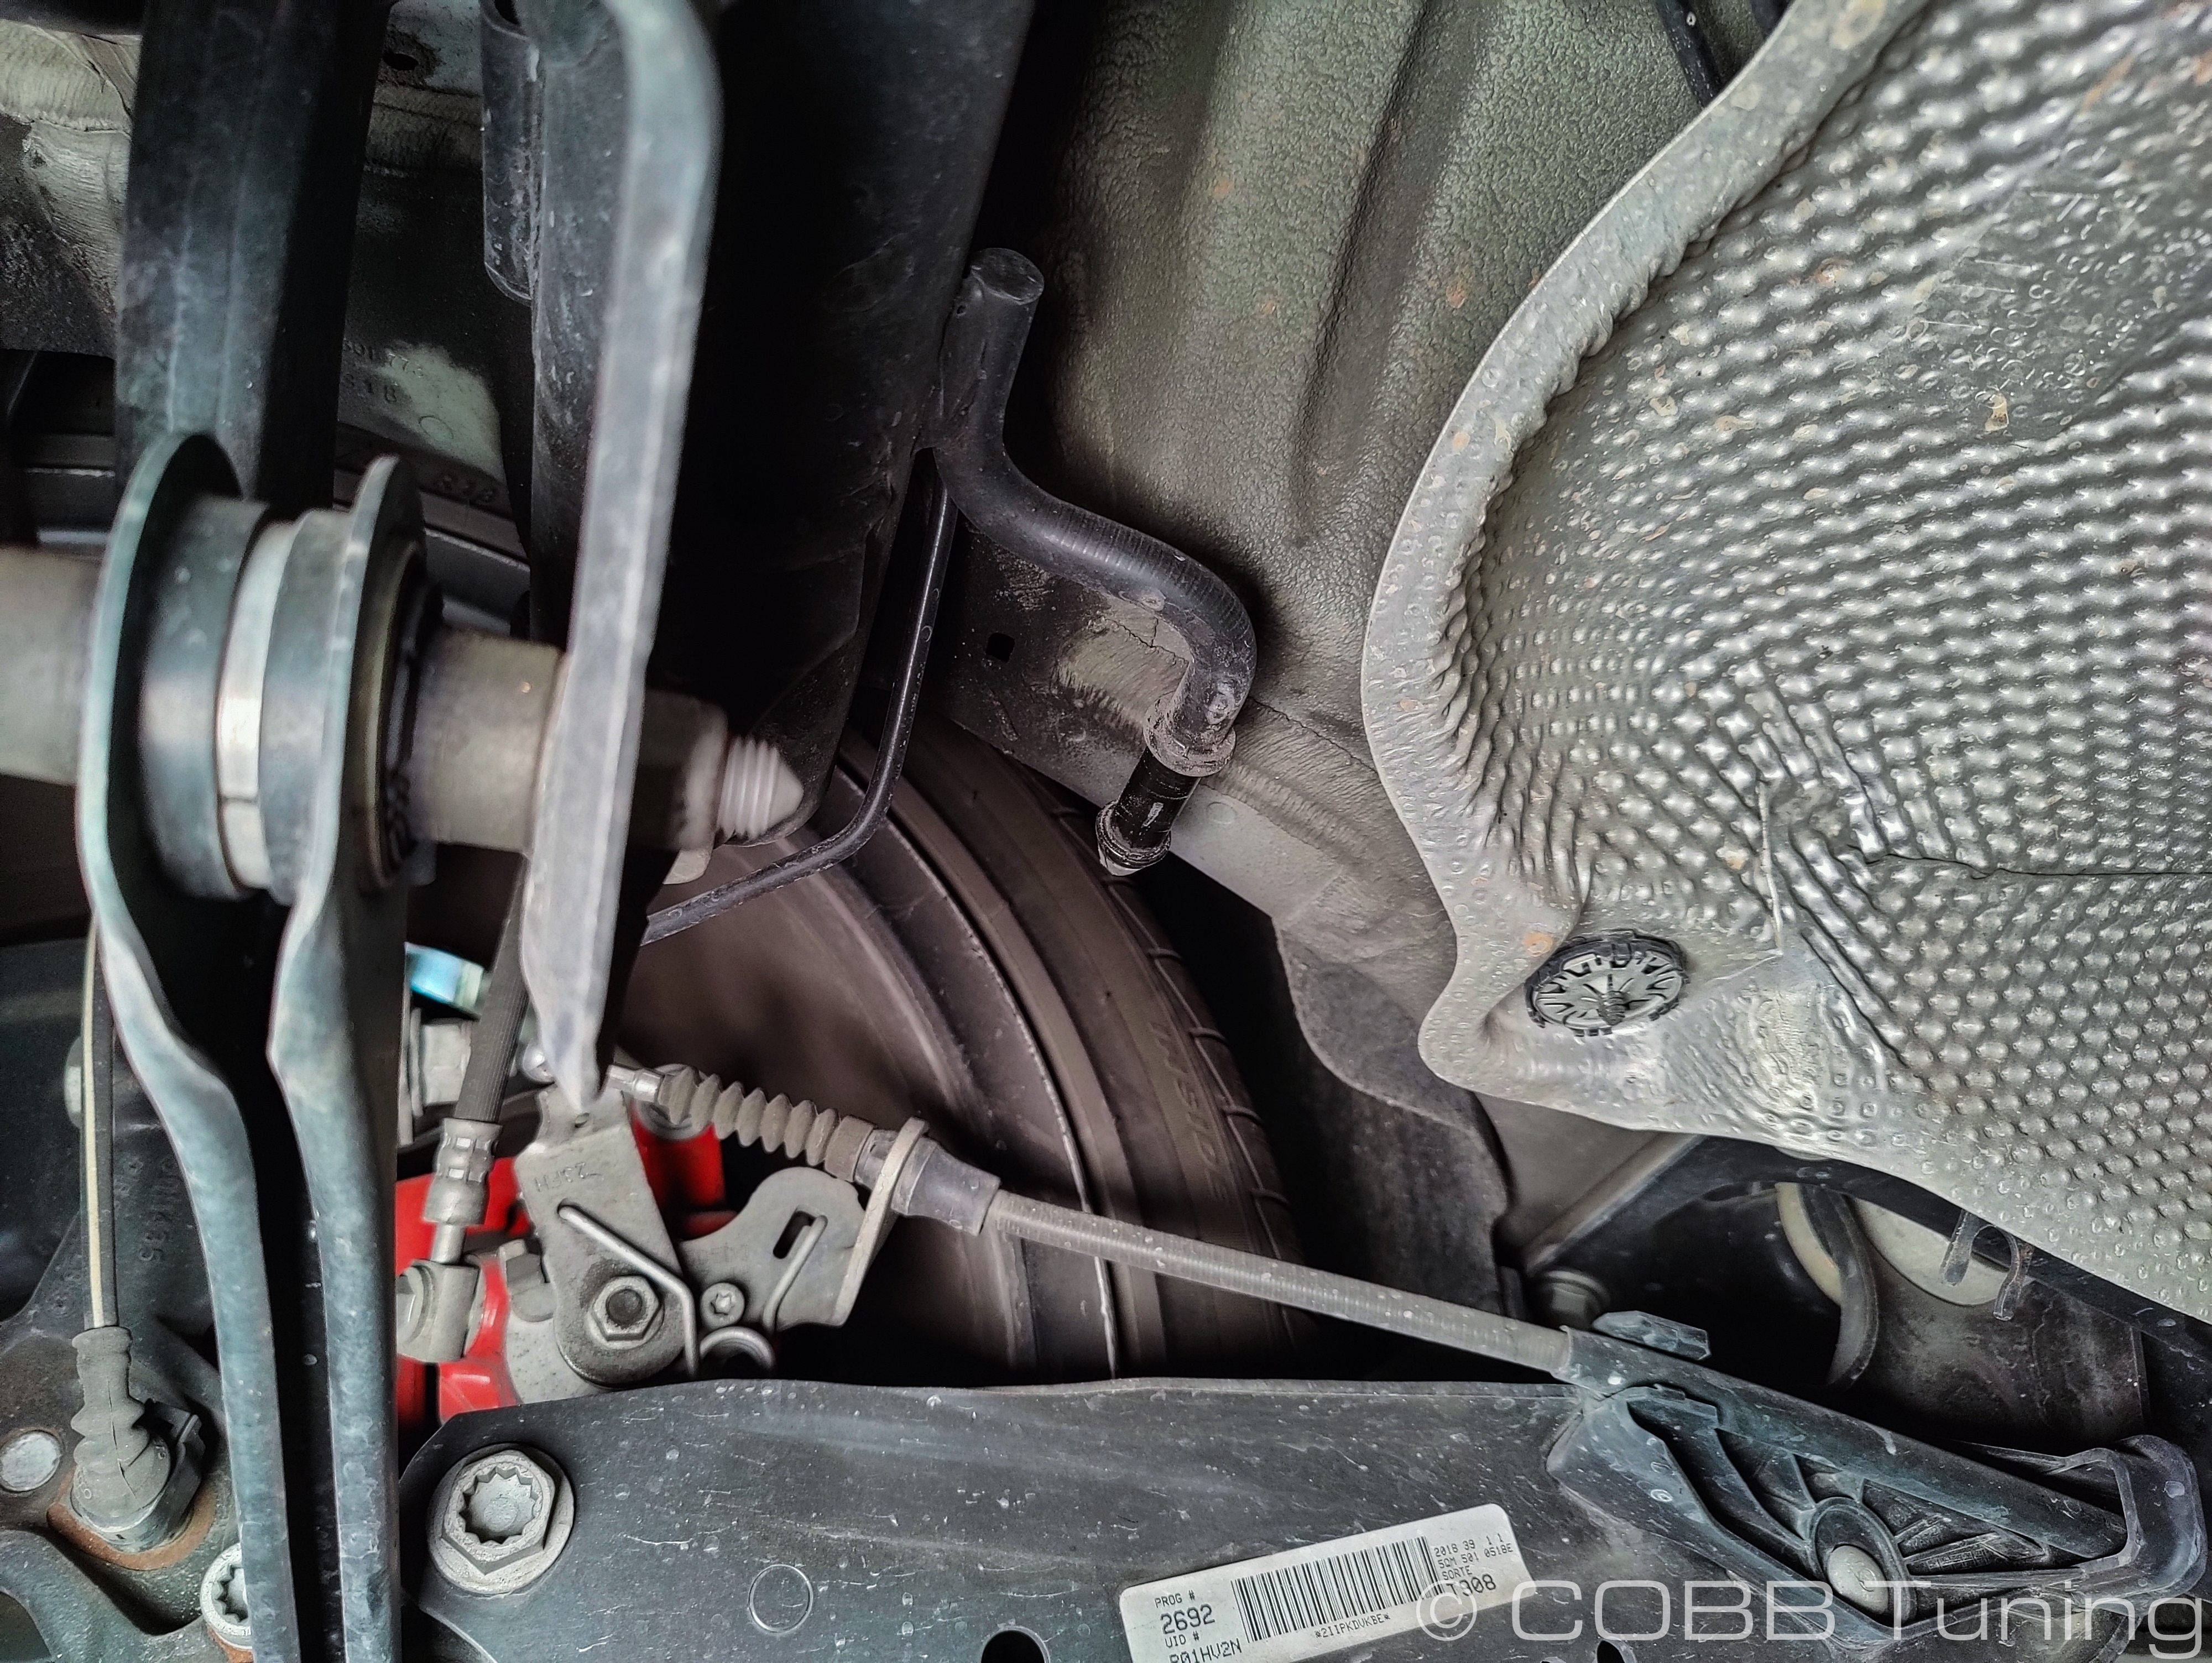
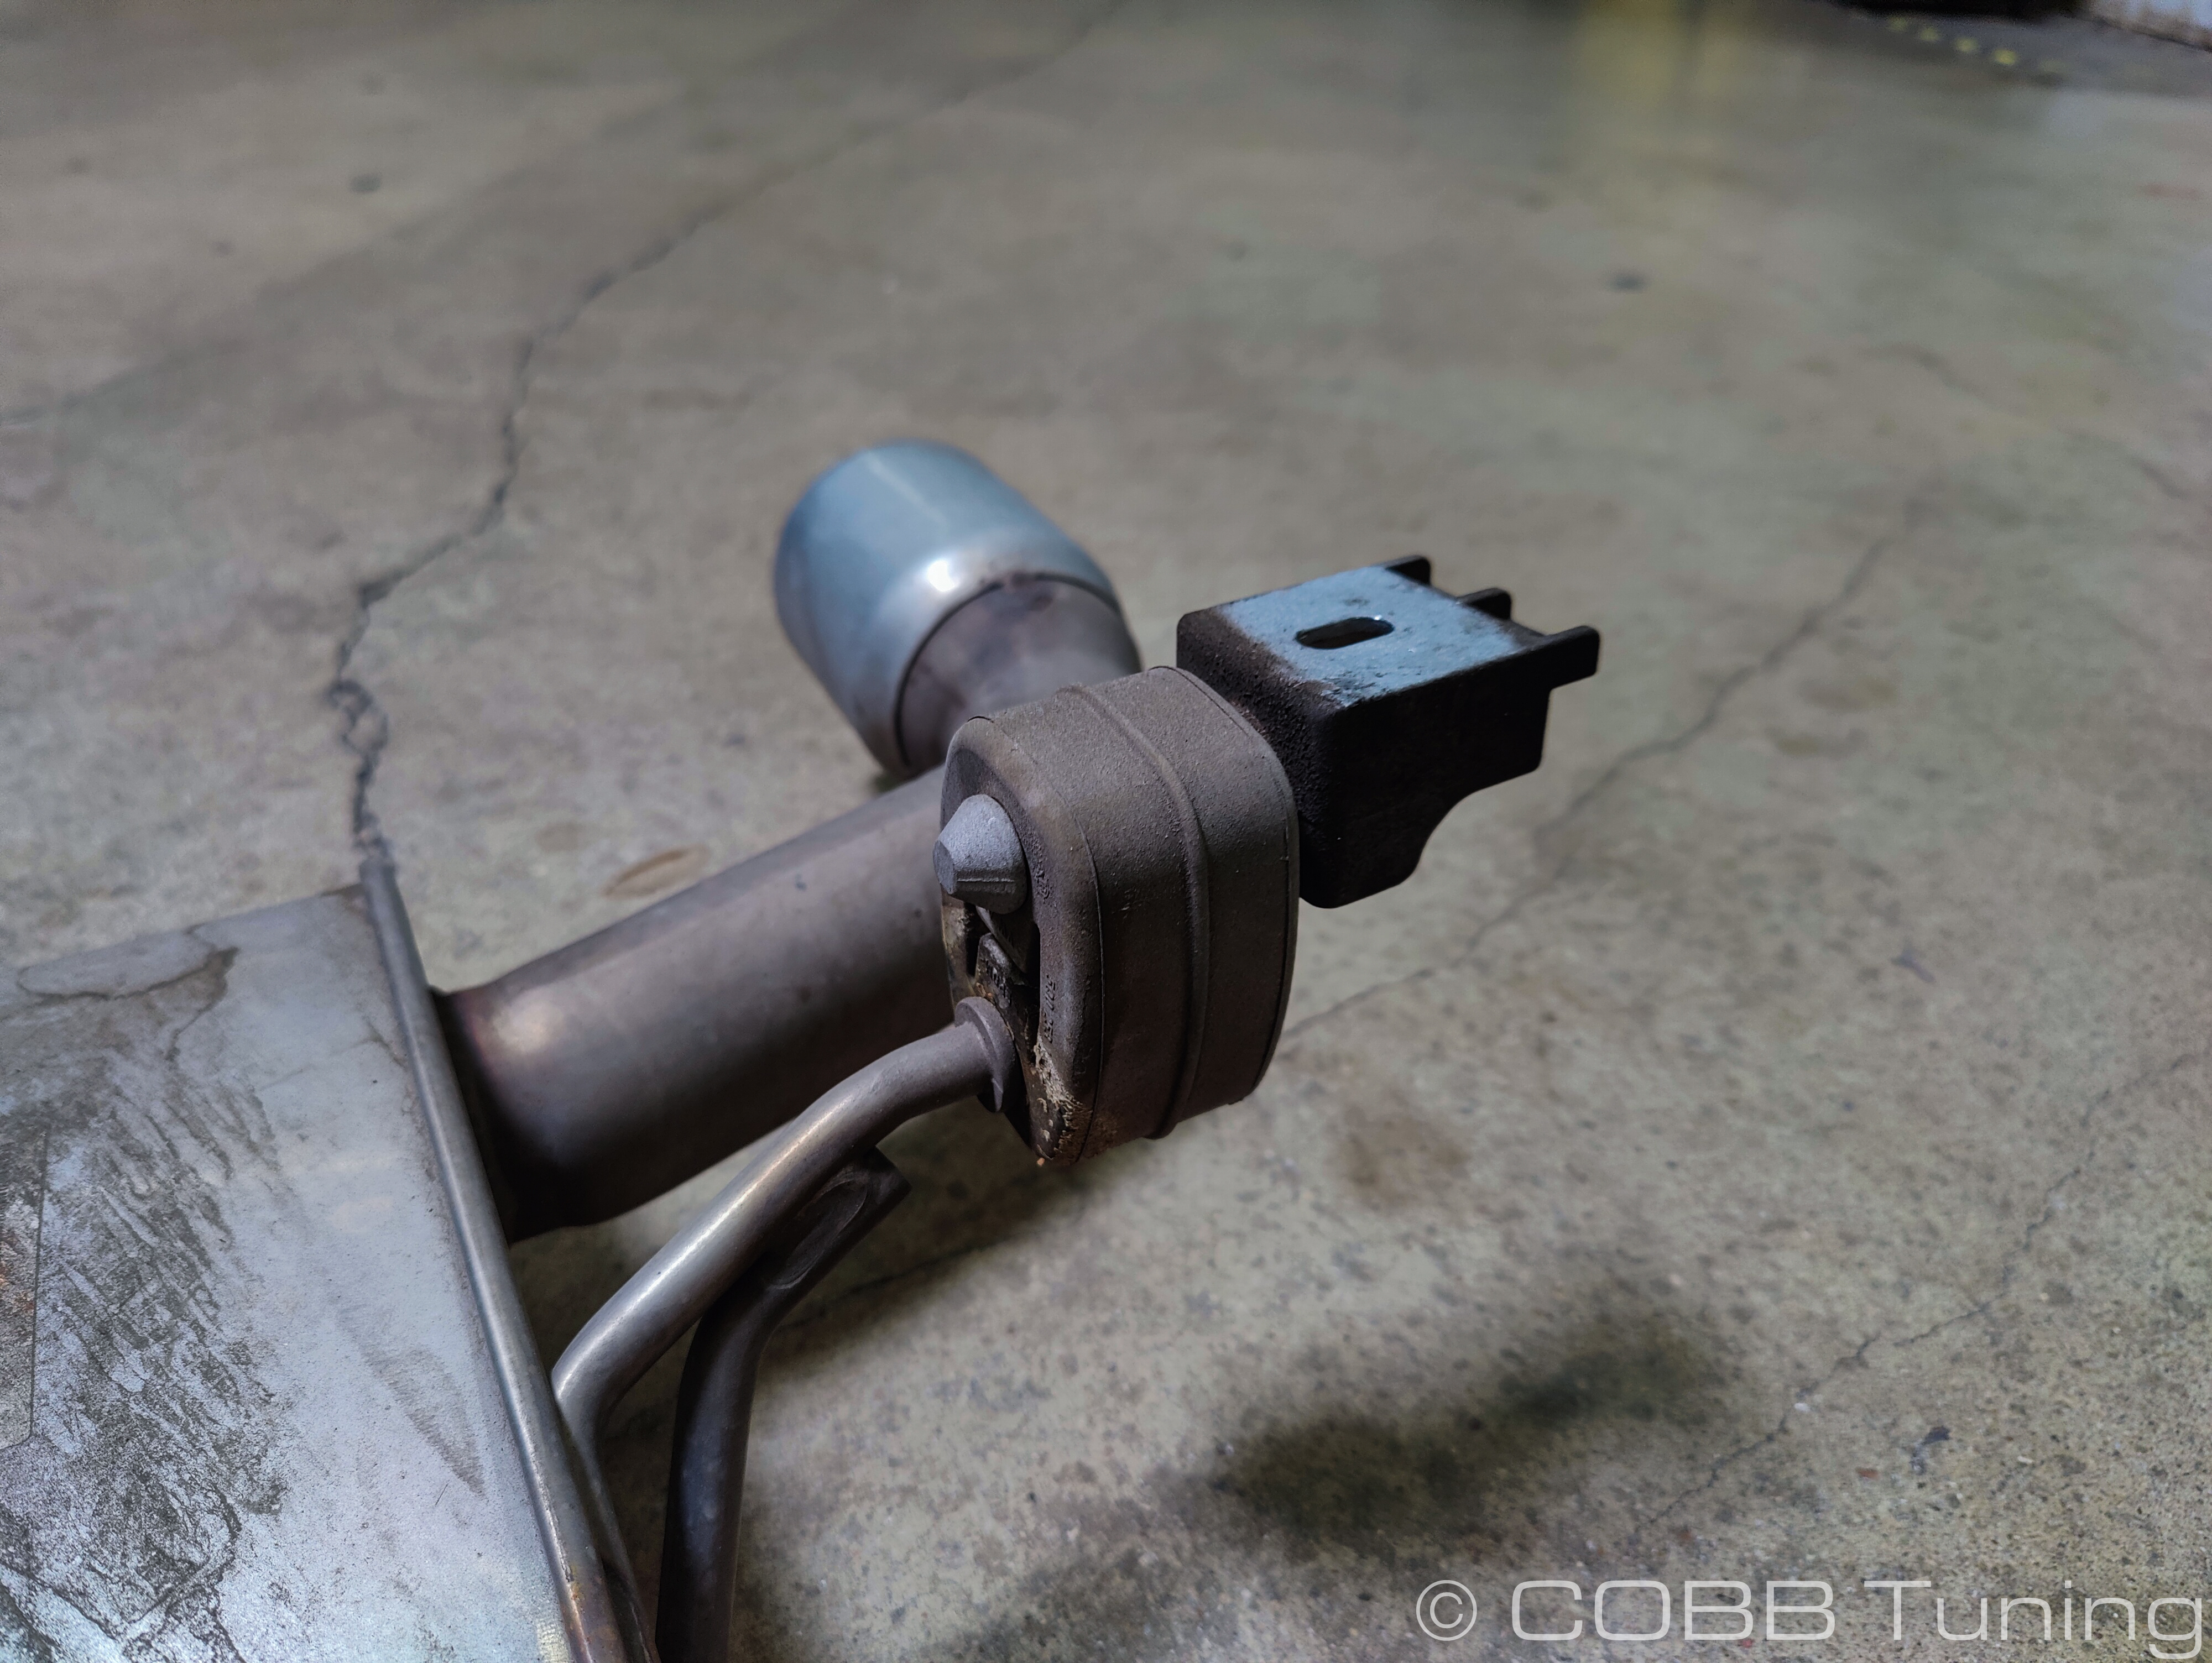
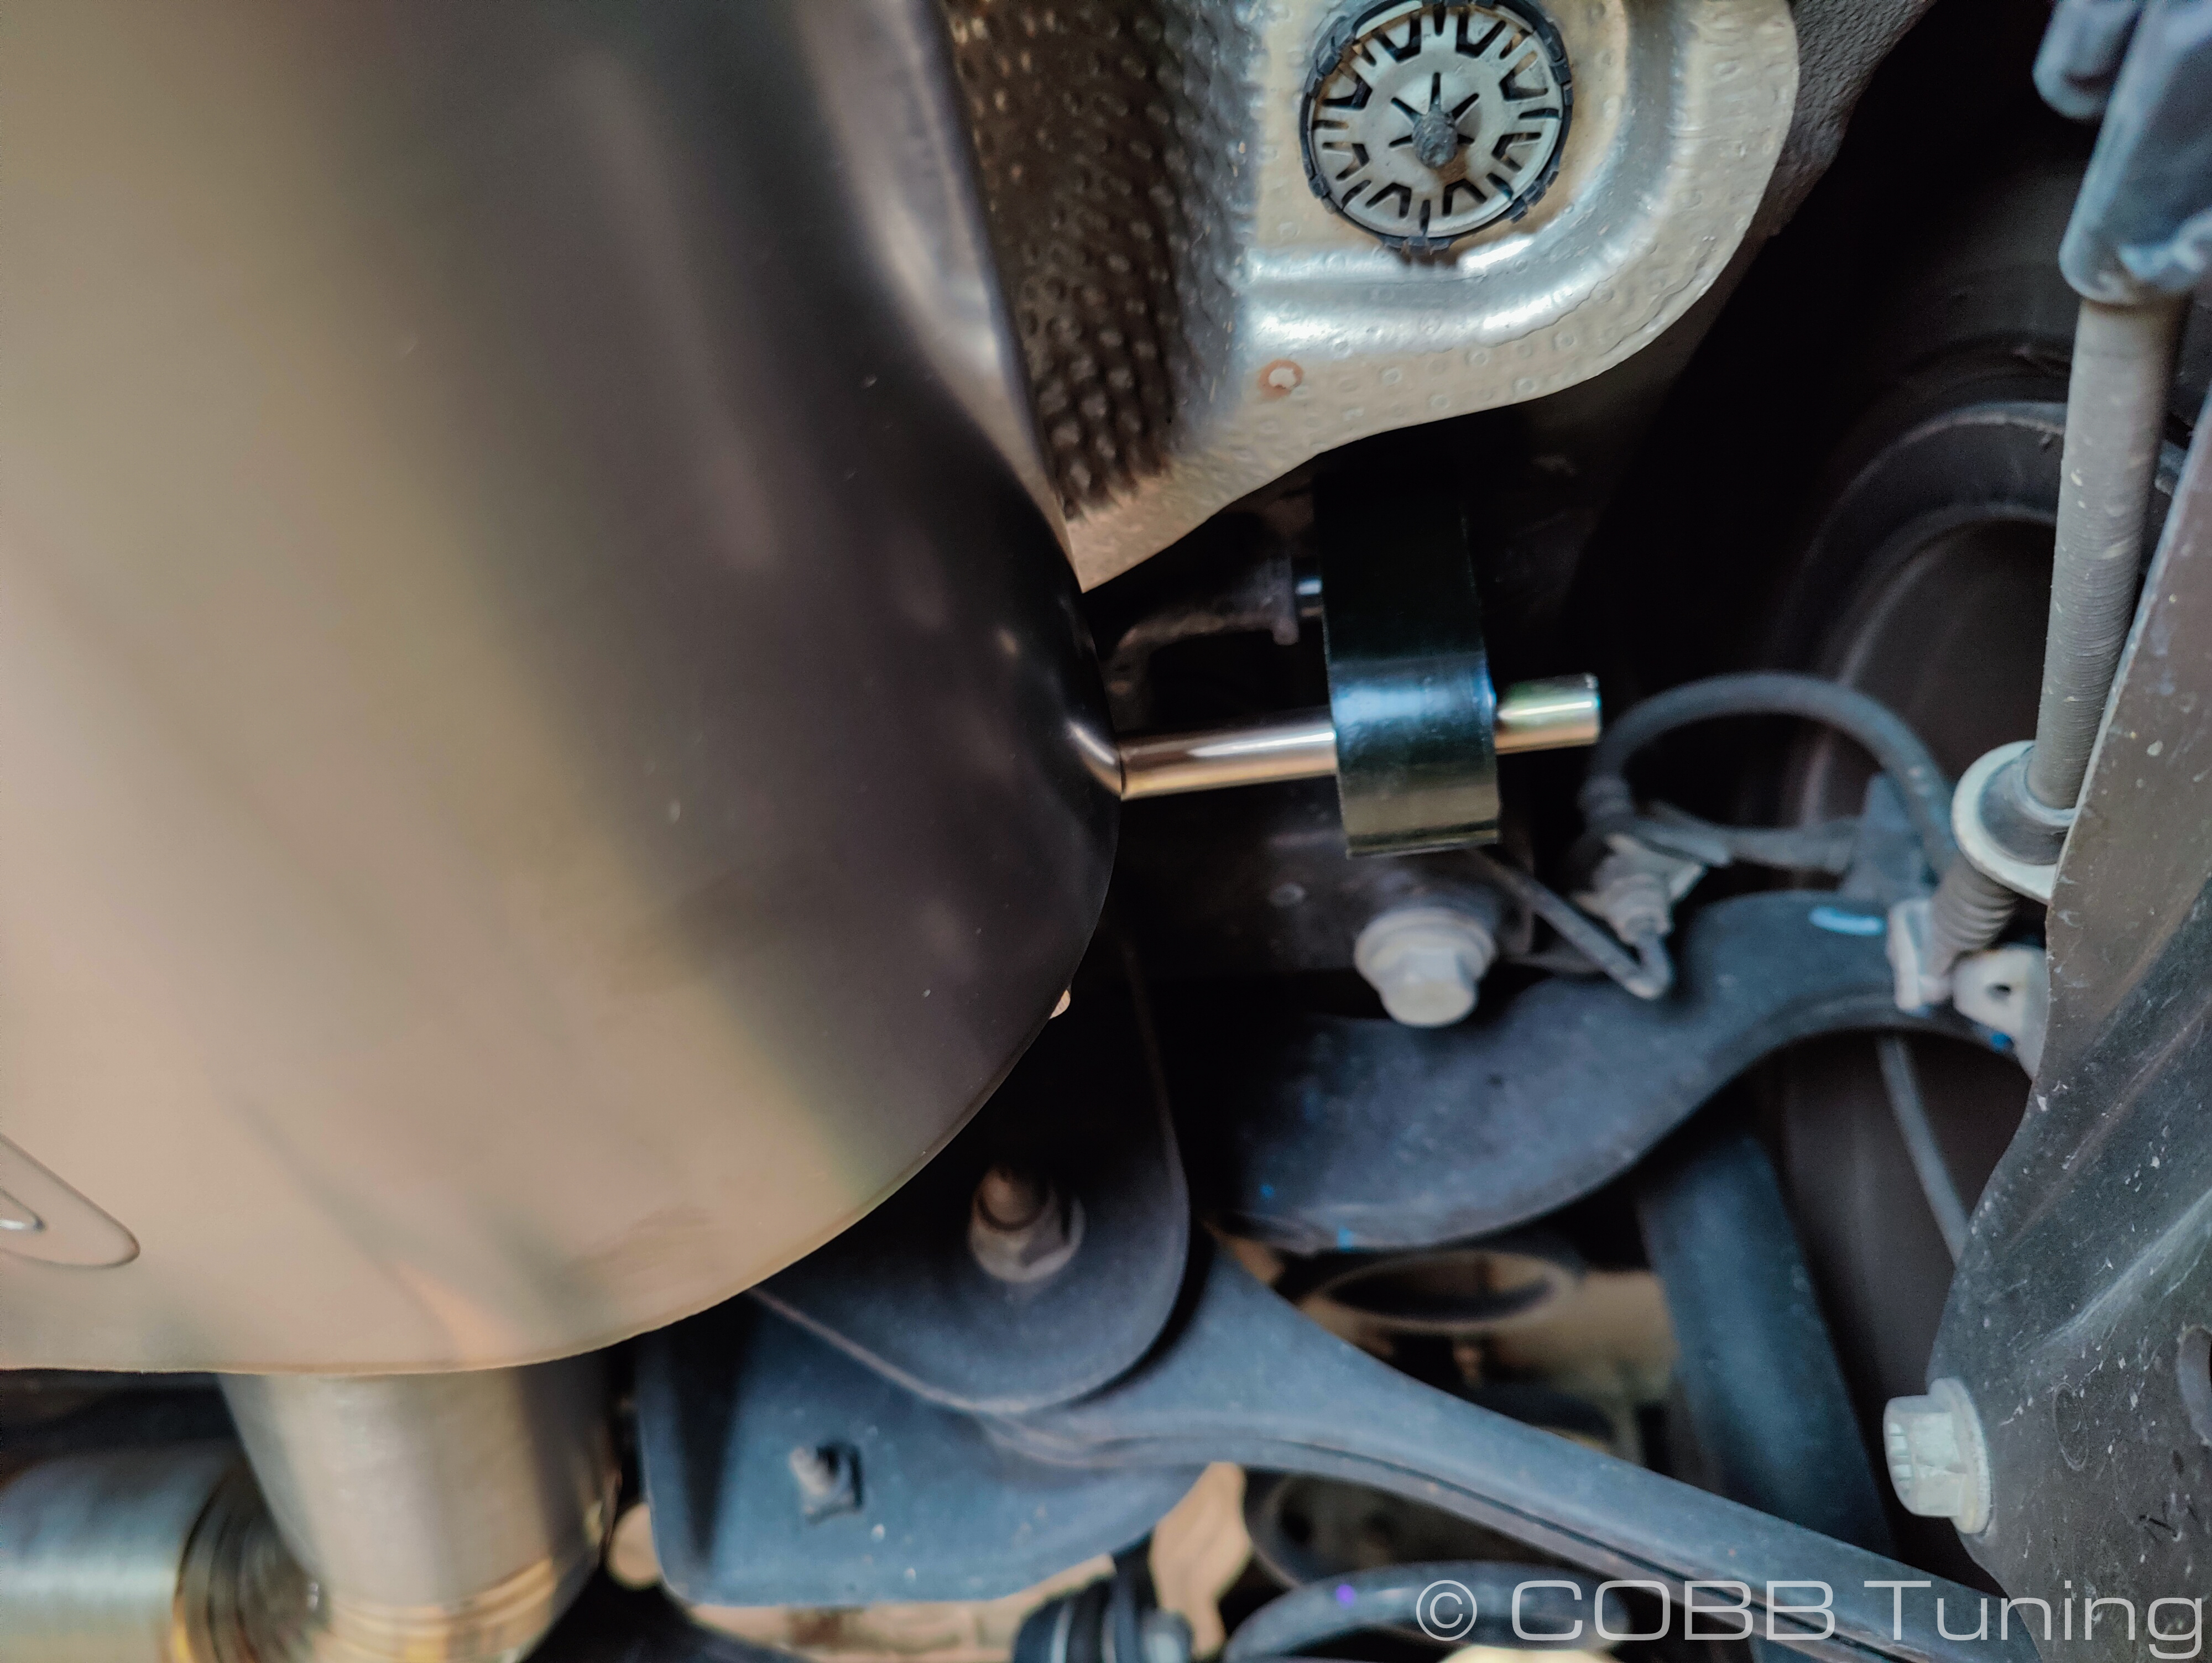
- Install the provided urethane hanger by the drivers side (USDM) rear wheel. Silicone lubricant spray can assist with the installation if it's tight.
- Remove the hangers from the stock muffler and move them over to the COBB exhaust.
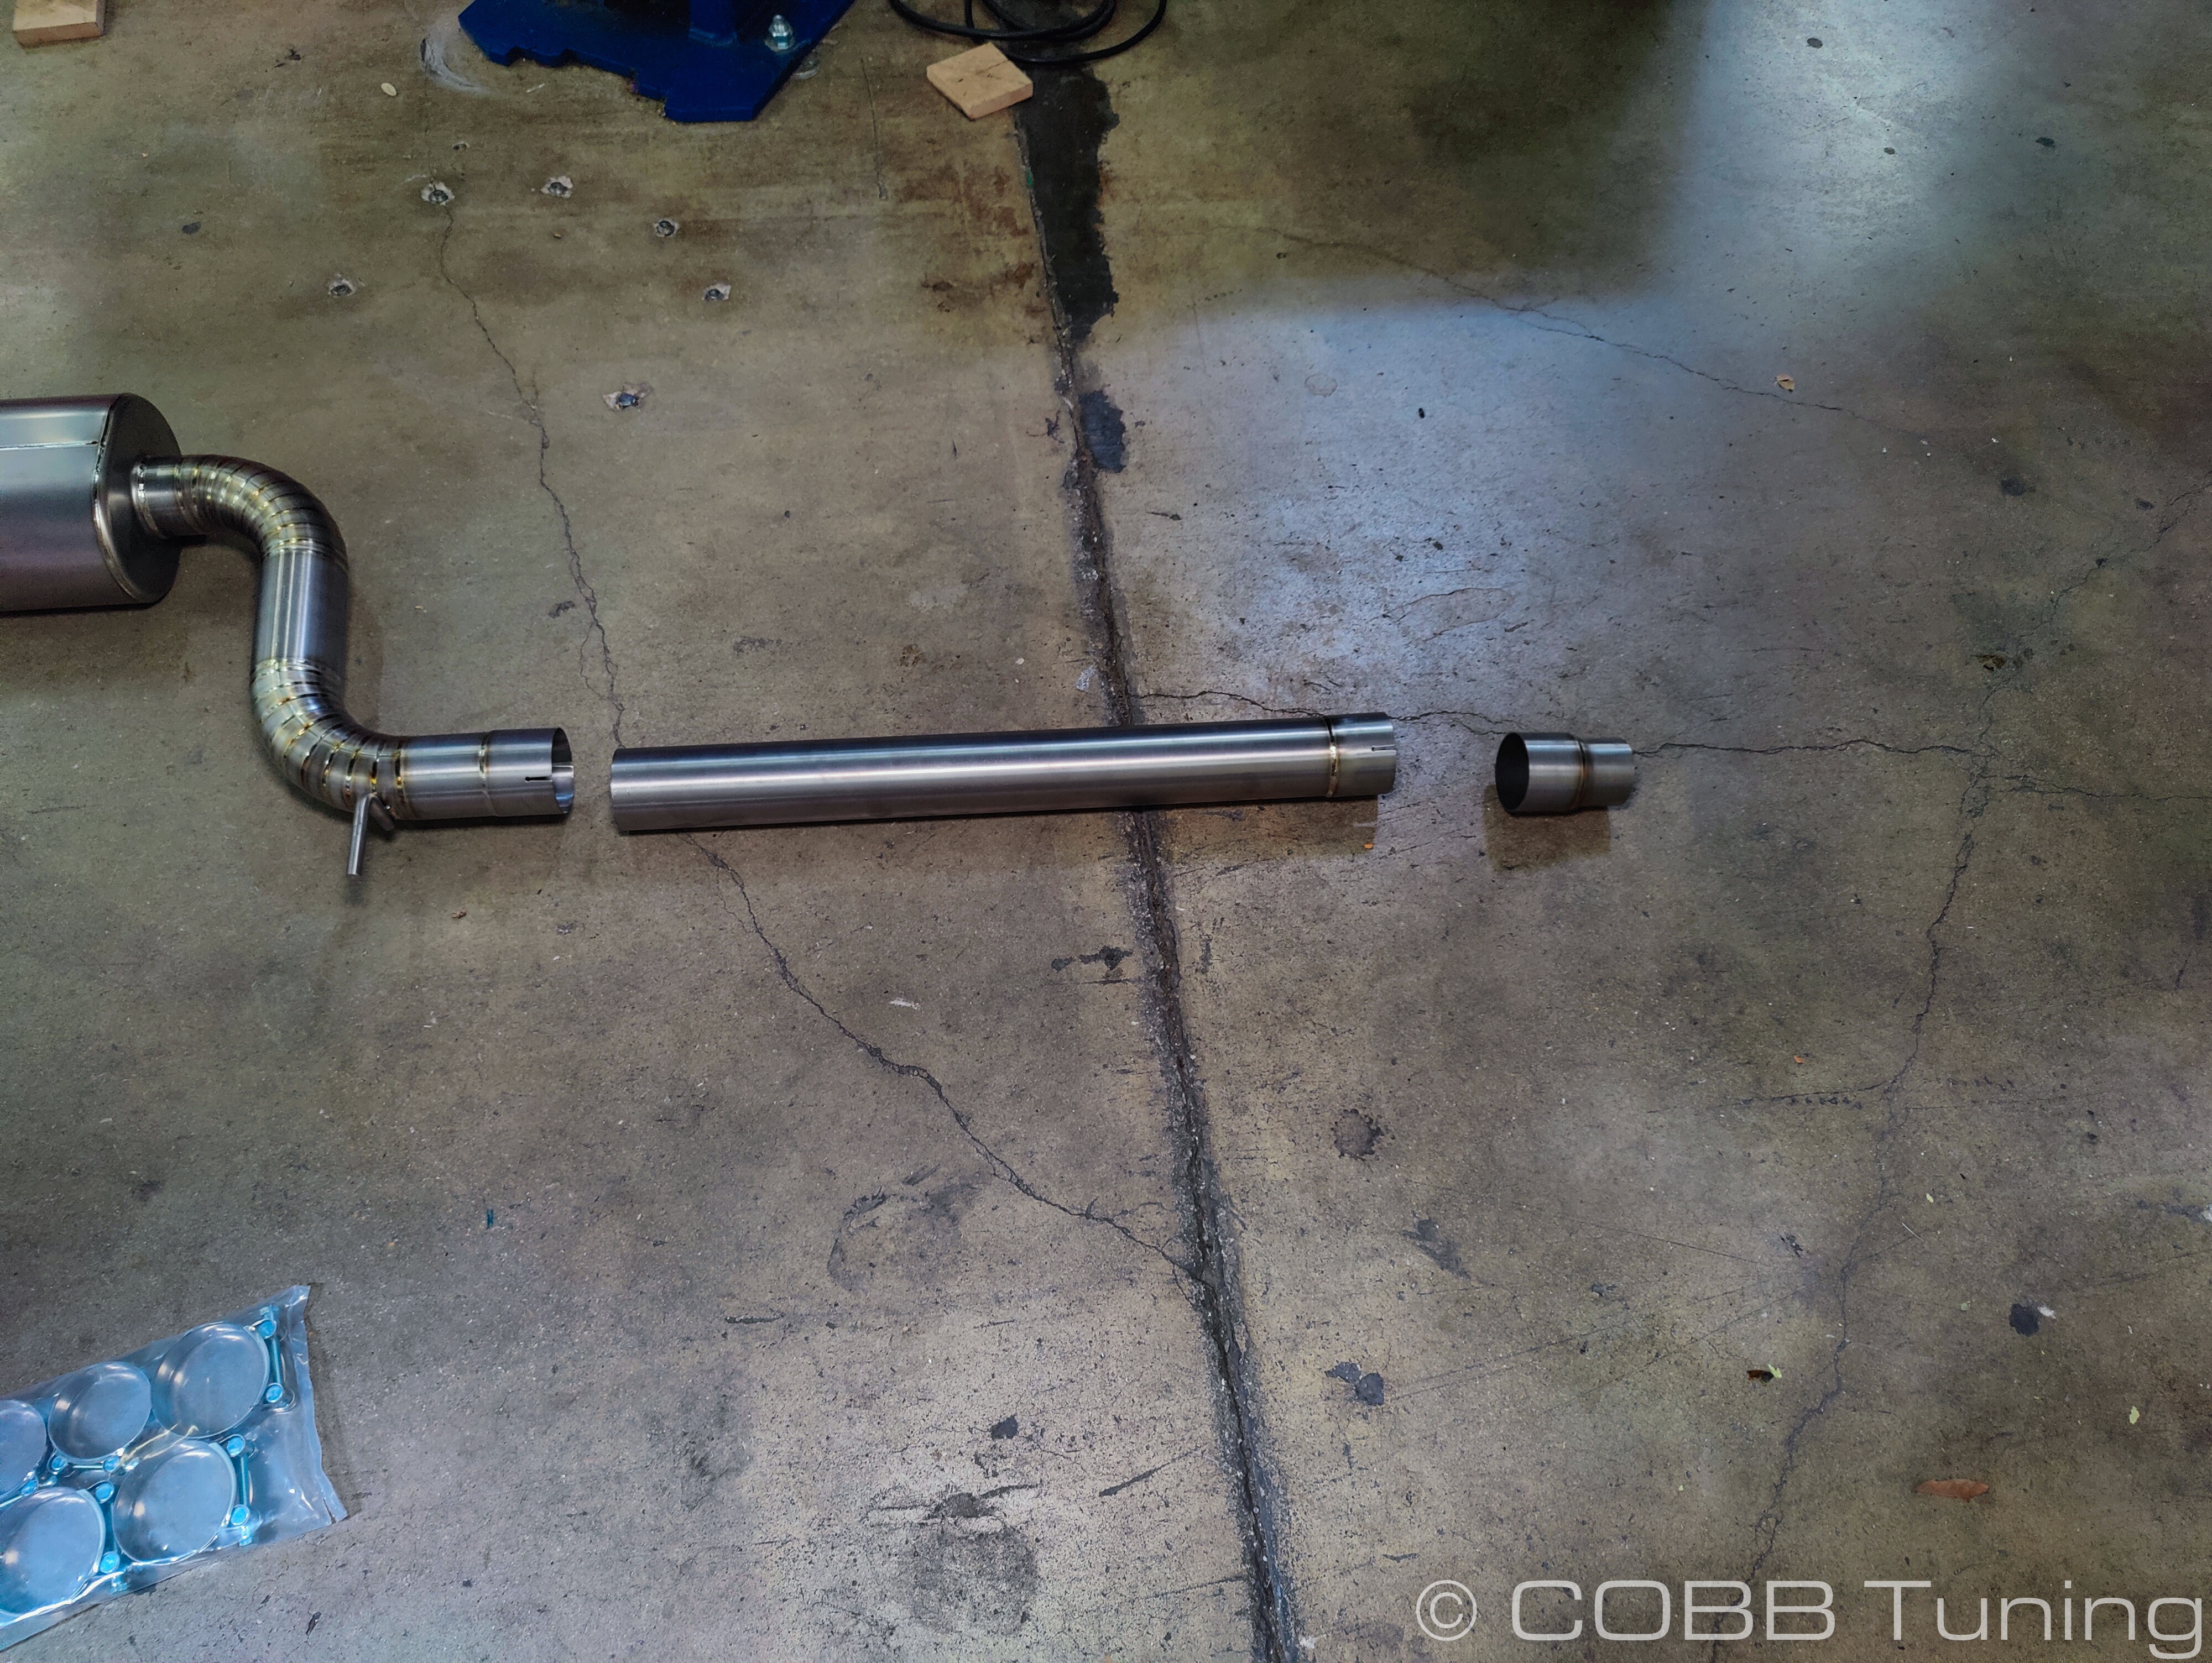
- You can assemble the exhaust in it's entirety or install it as components. Installing the individual components is much easier if you're by yourself.
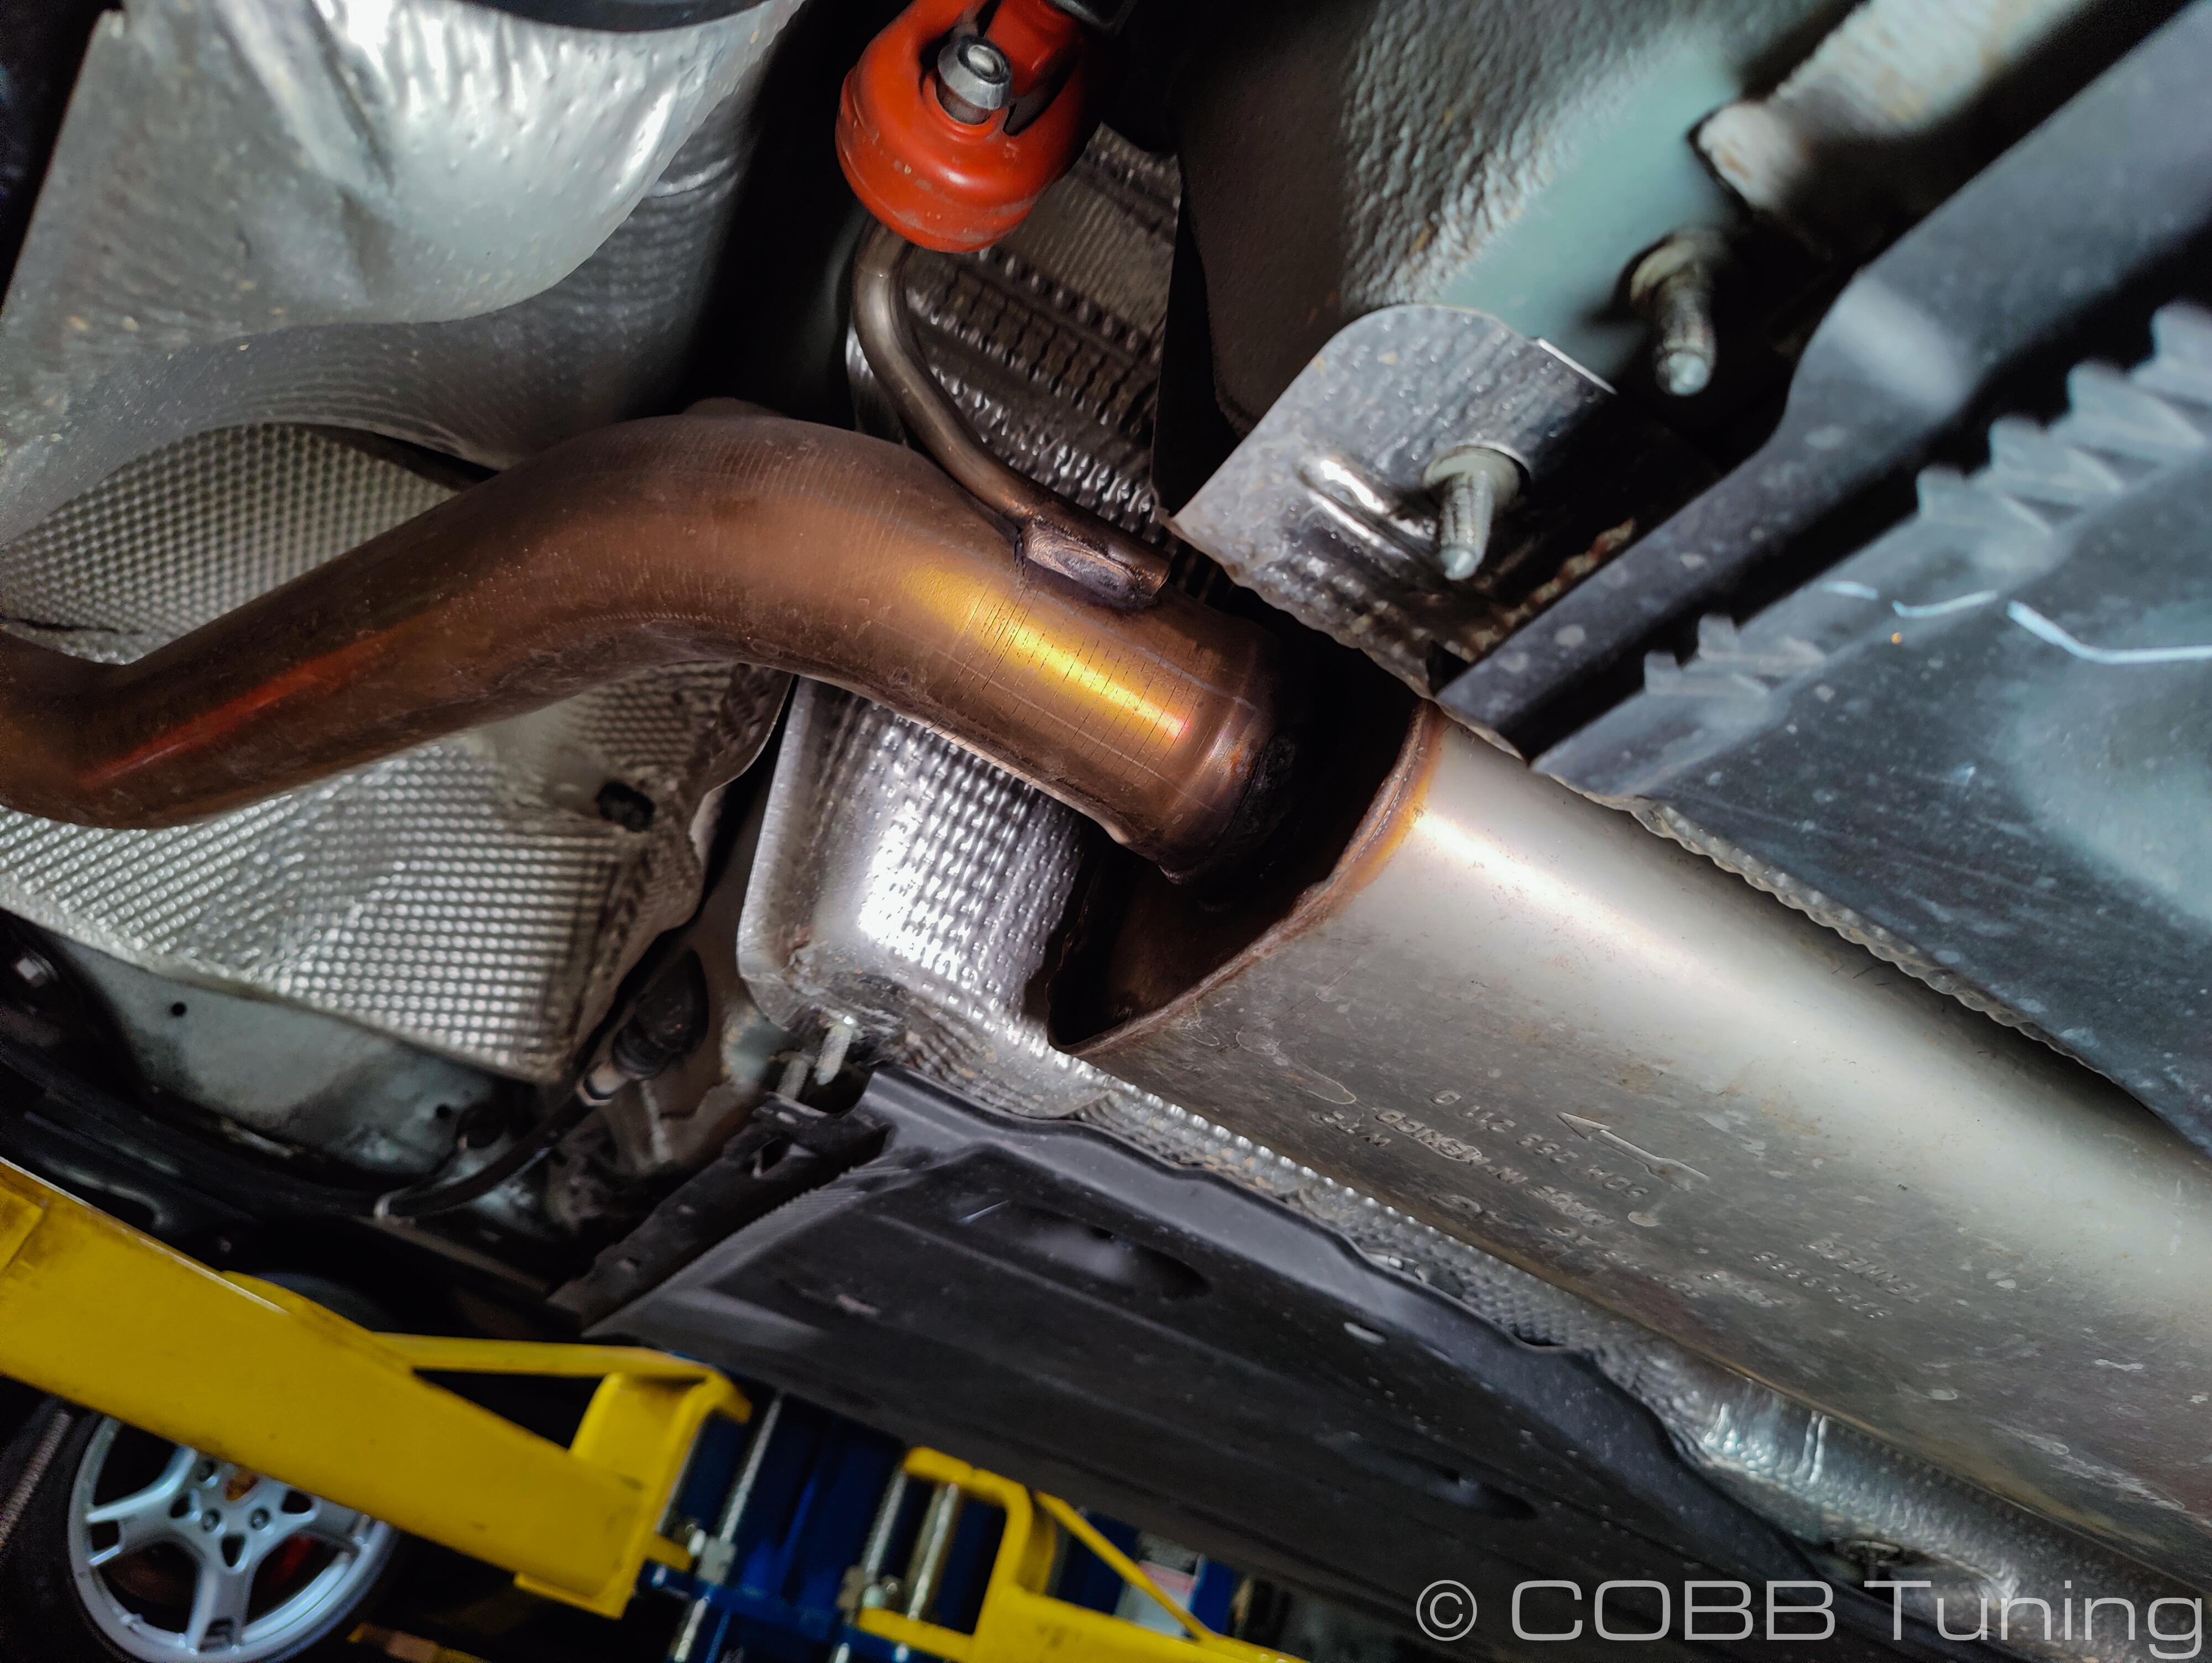
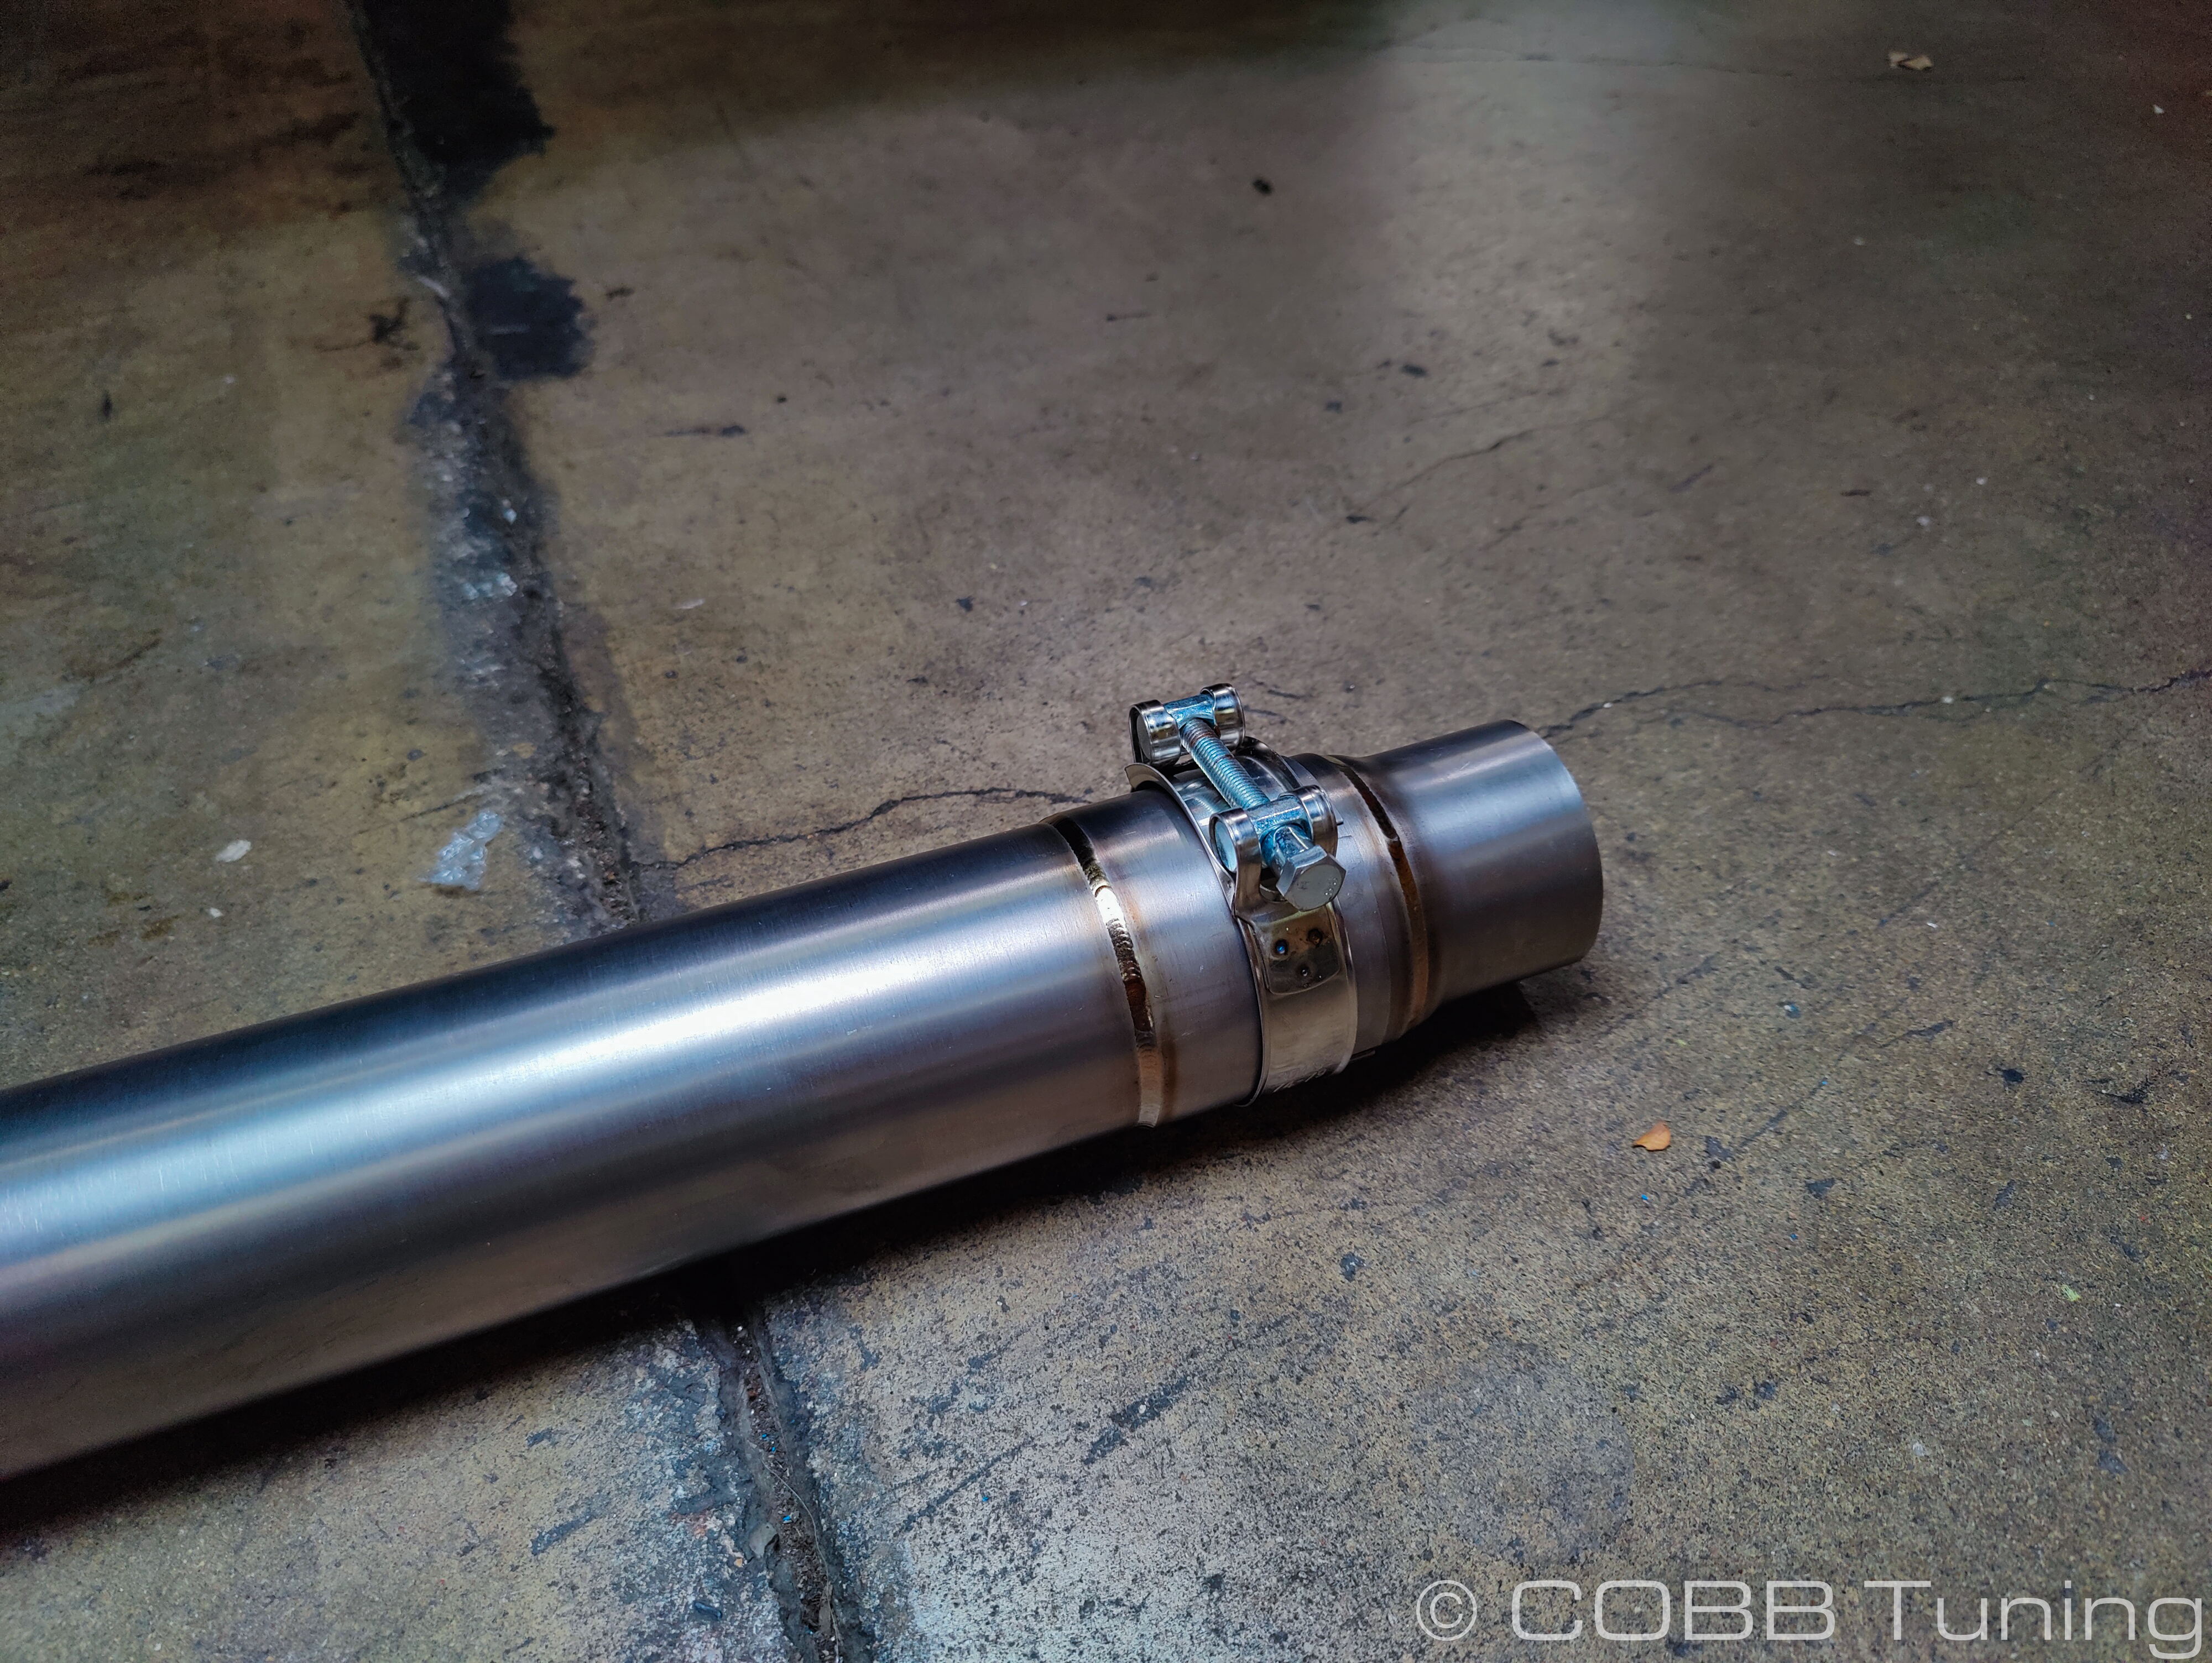
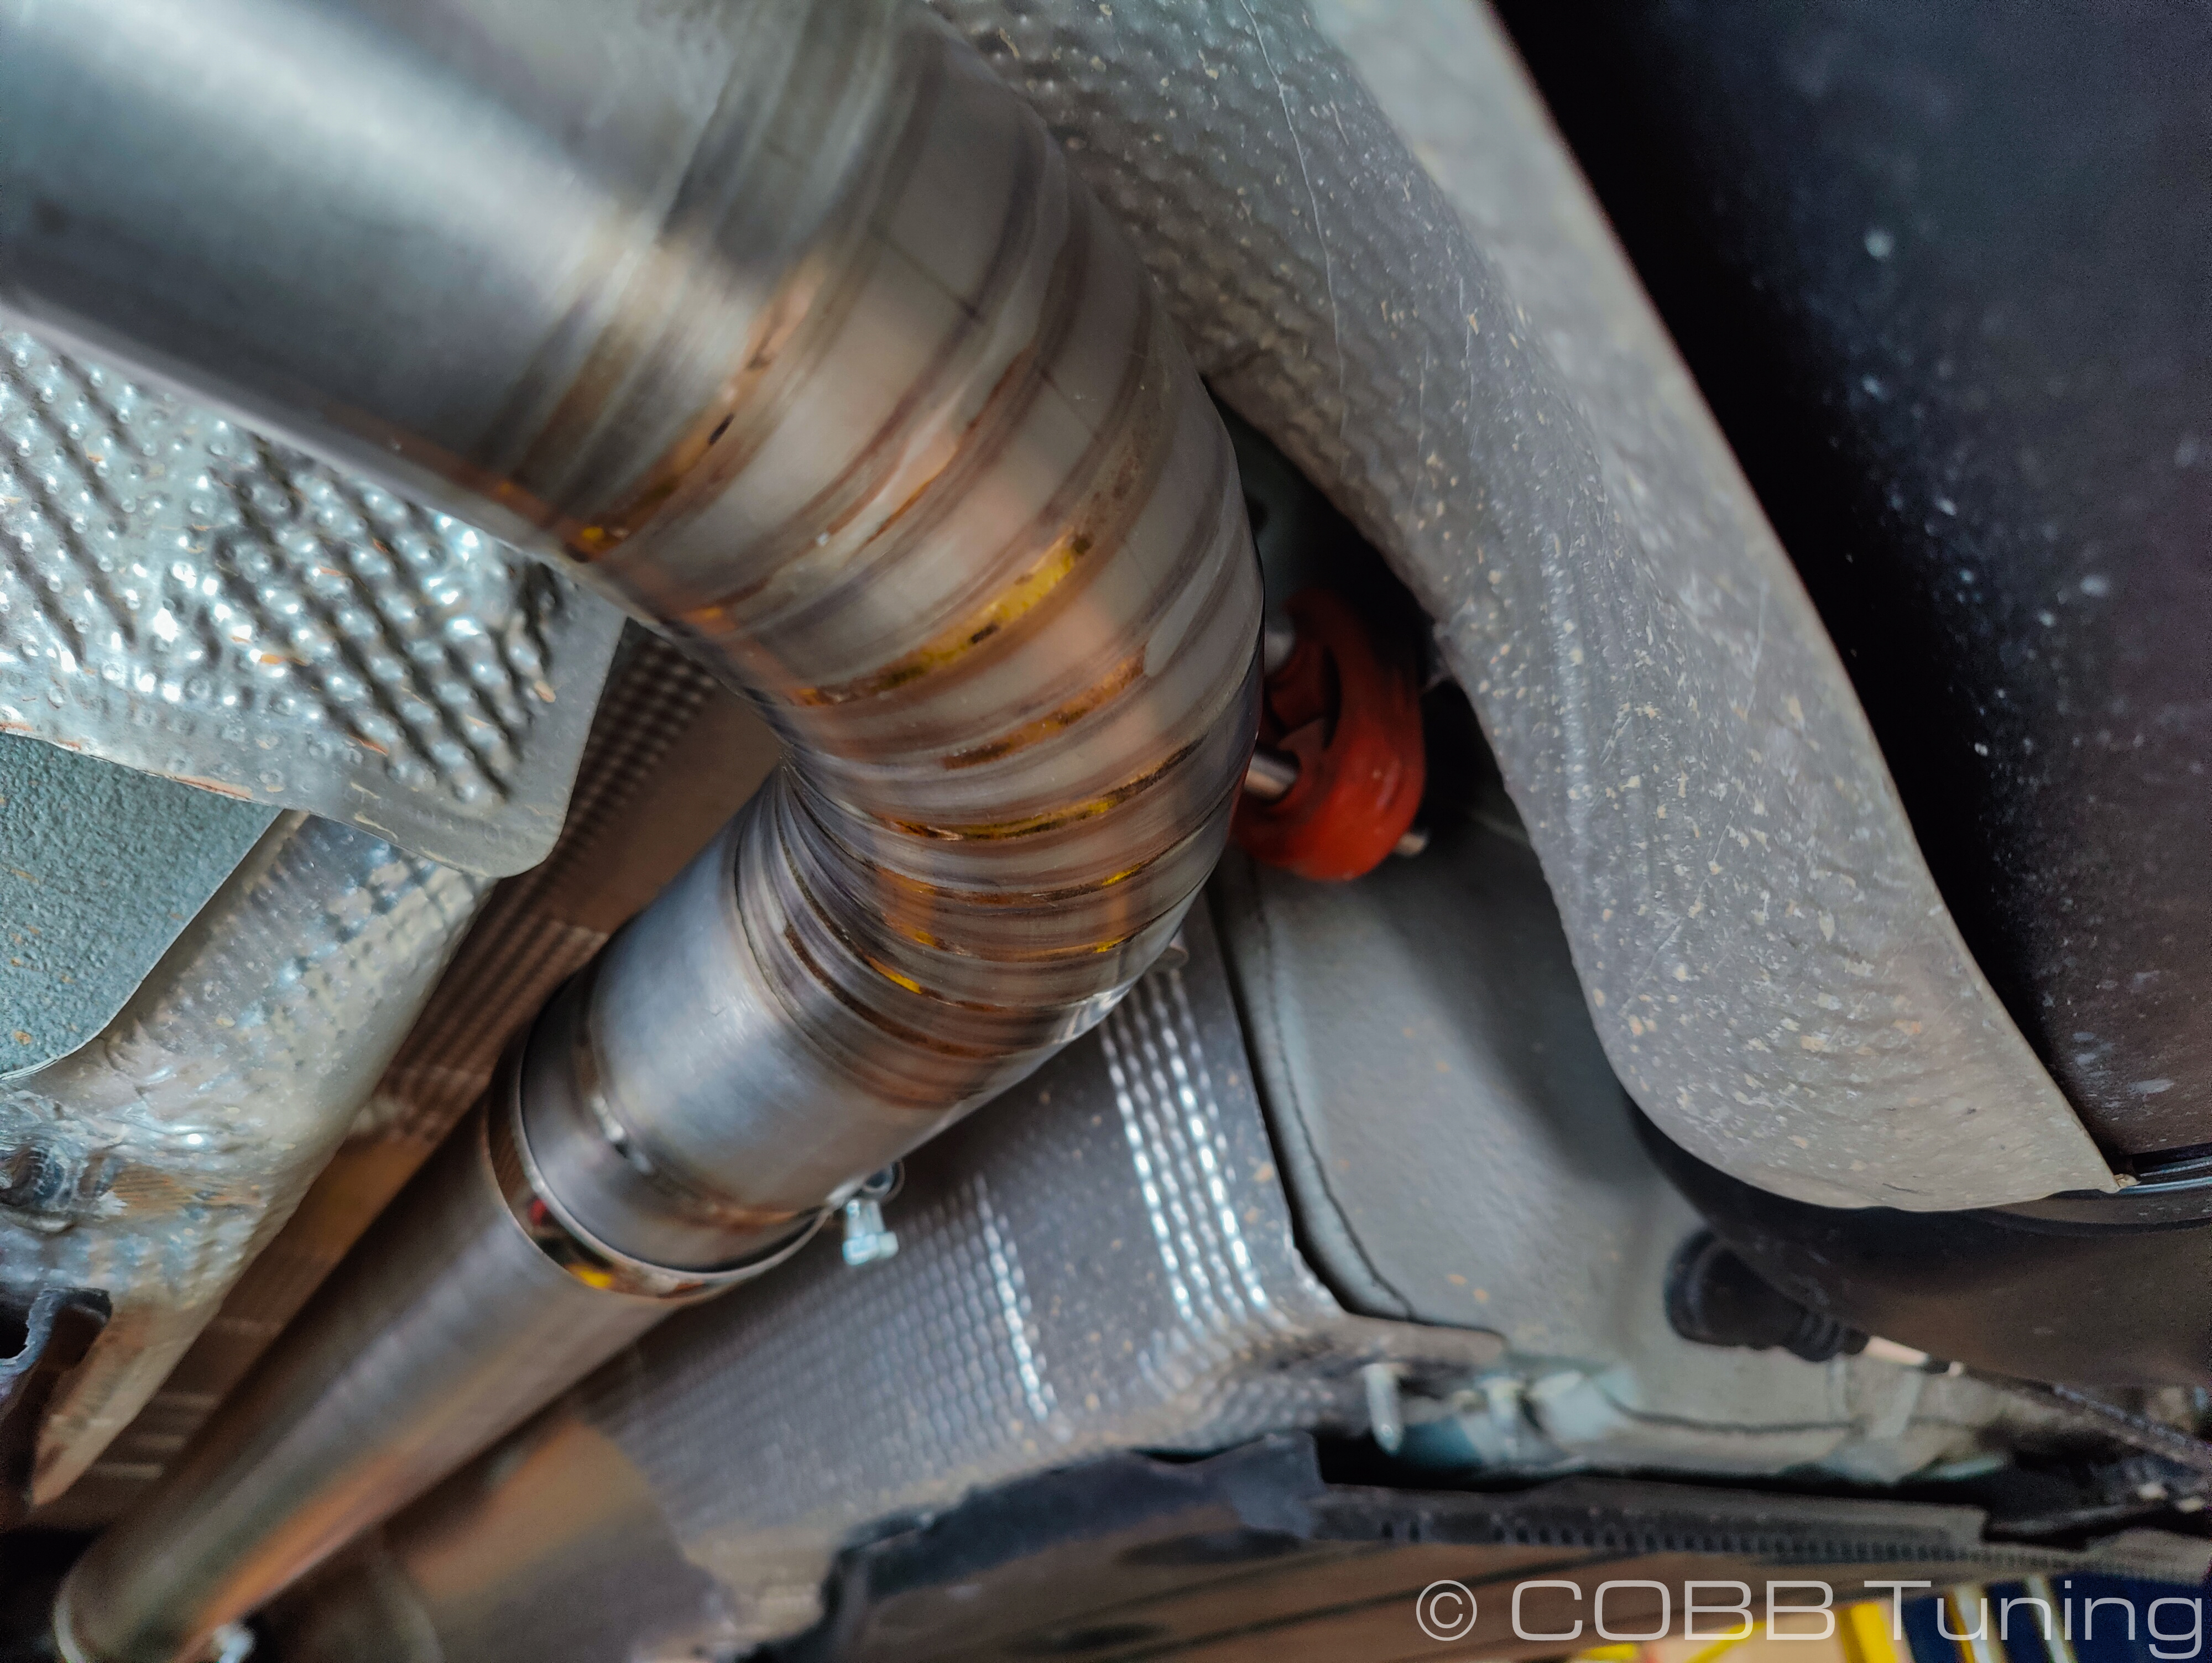
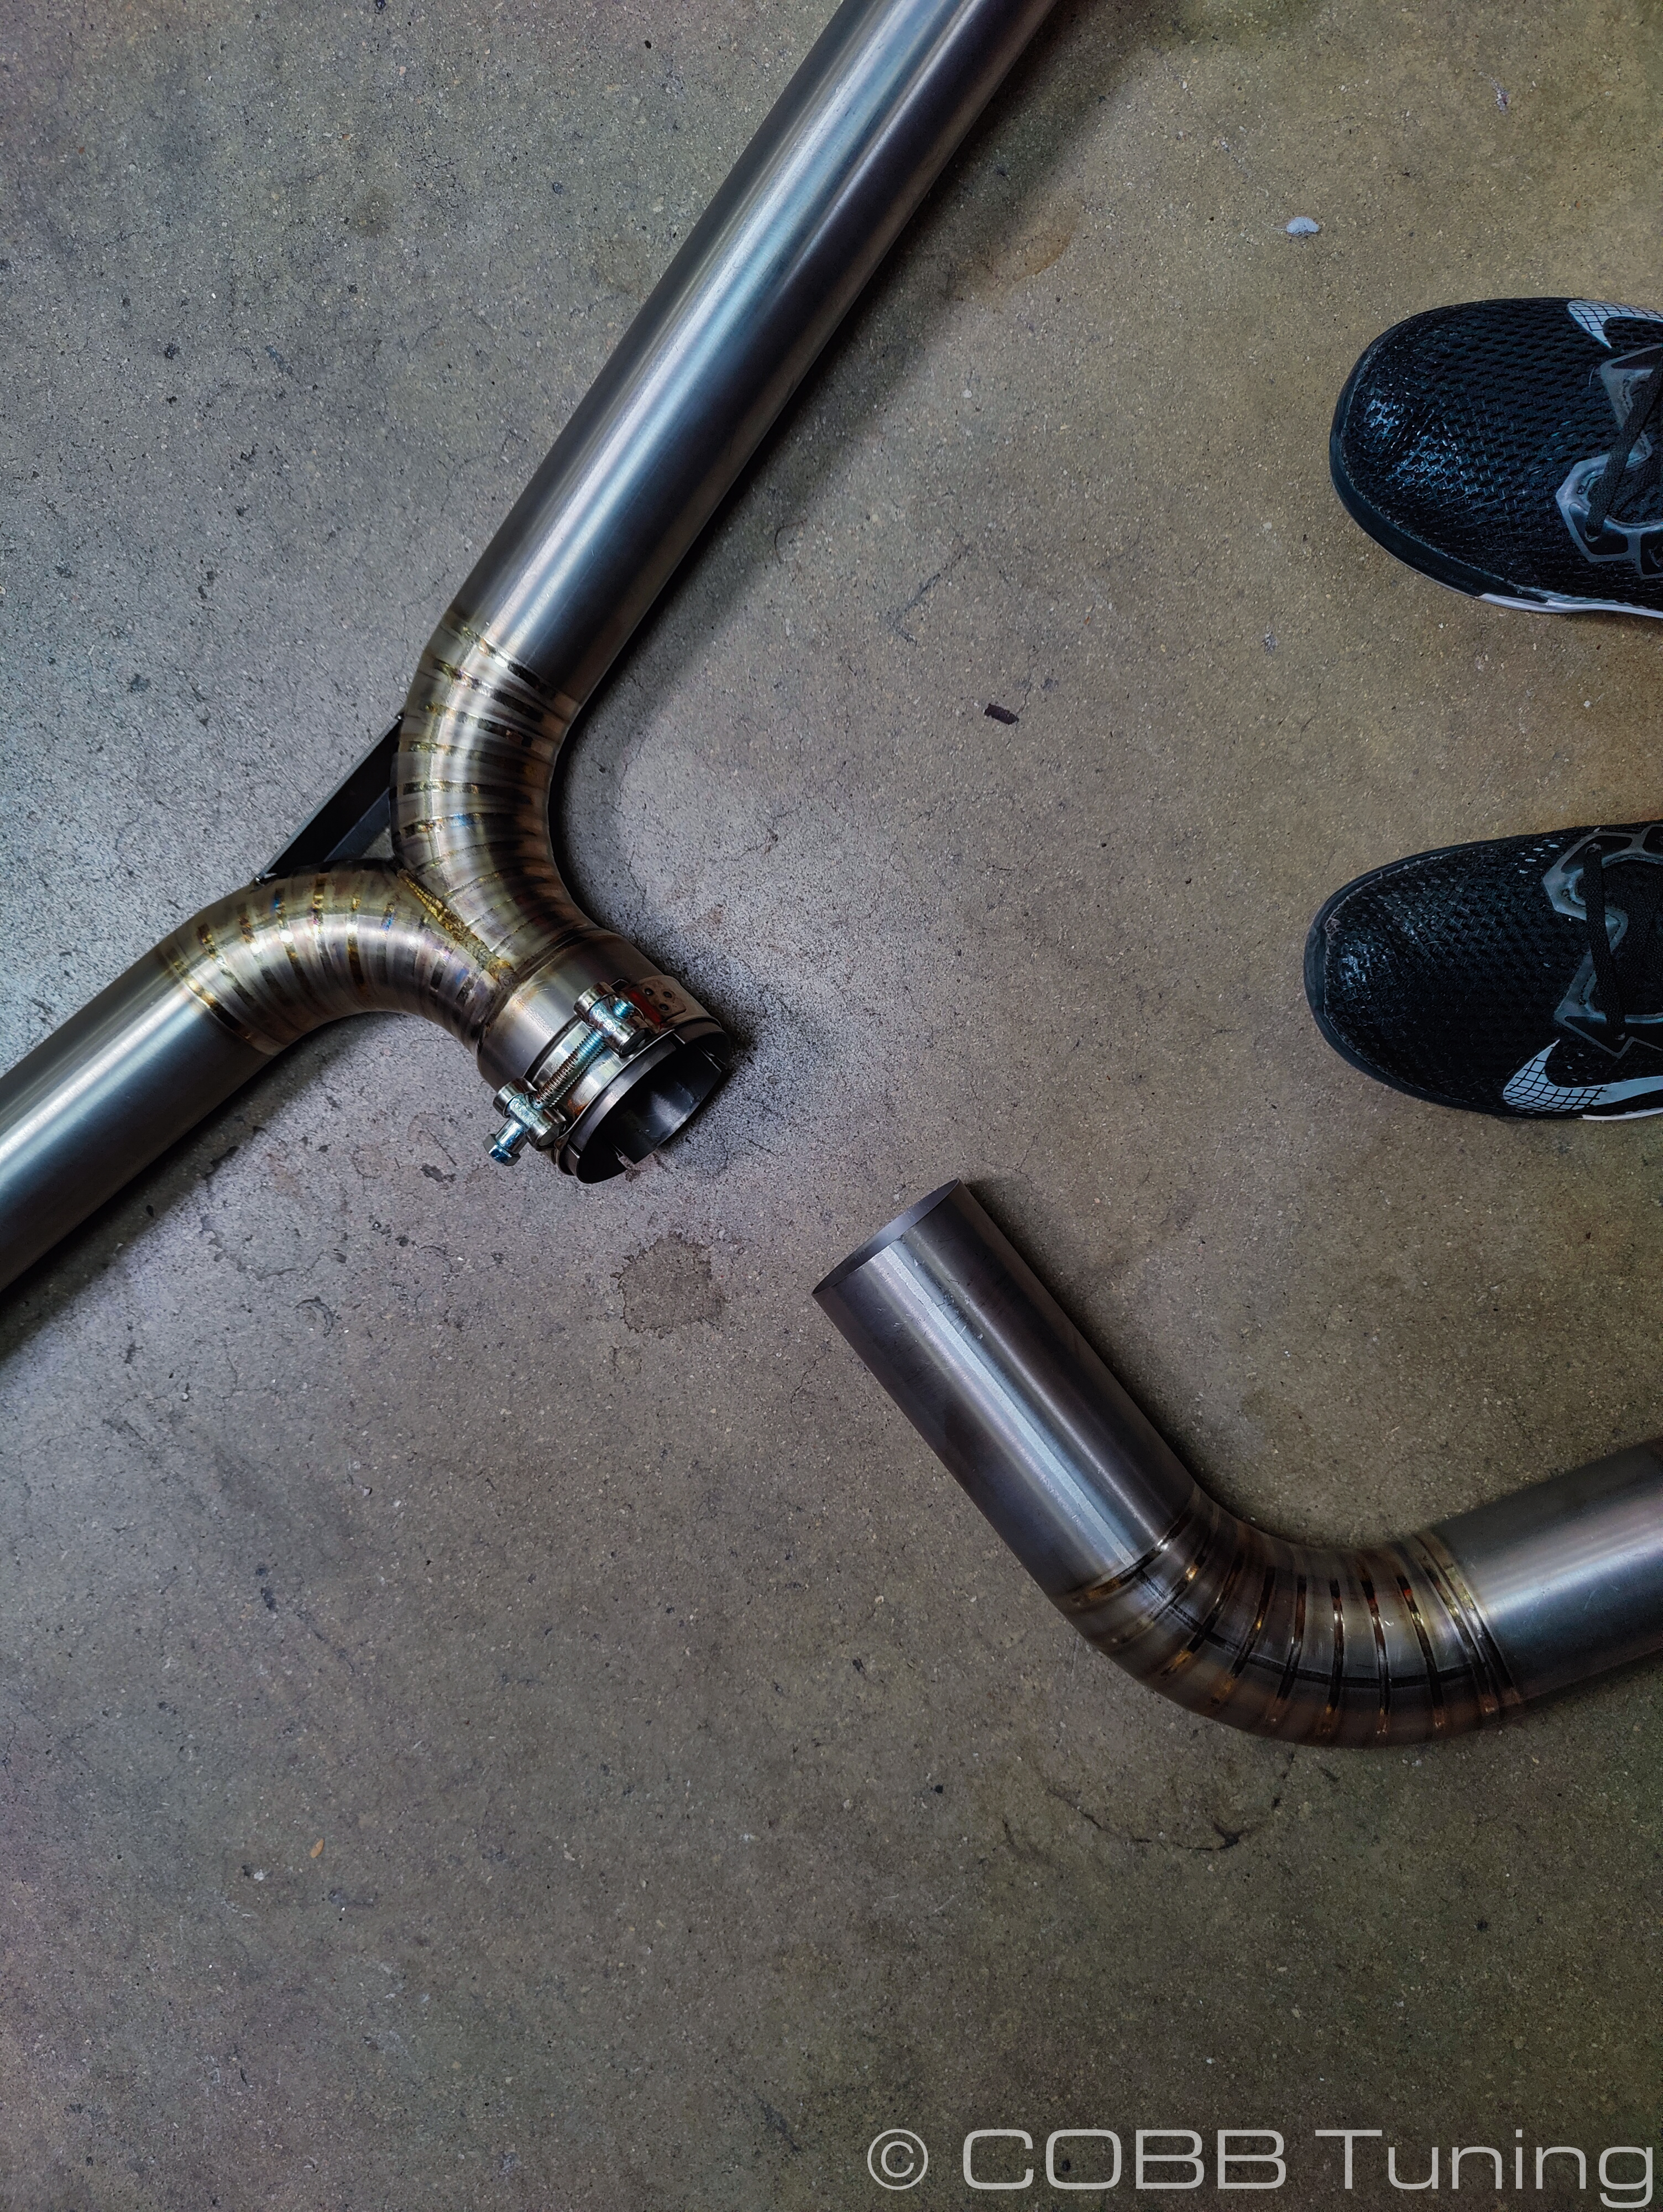
- Install the exhaust reducer into the mid-pipe using one of the provided larger clamps (74-79mm), leave the clamp loose for now. Then you can pop it into the front exhaust section and leave it loose for now.
- Add the muffler section into place popping it into the exhausting front exhaust hanger and the new urethane exhaust hanger.
- Use your last large exhaust clamp to loosely fit the tip section into place, using the stock bolts to loosely hold the muffler.
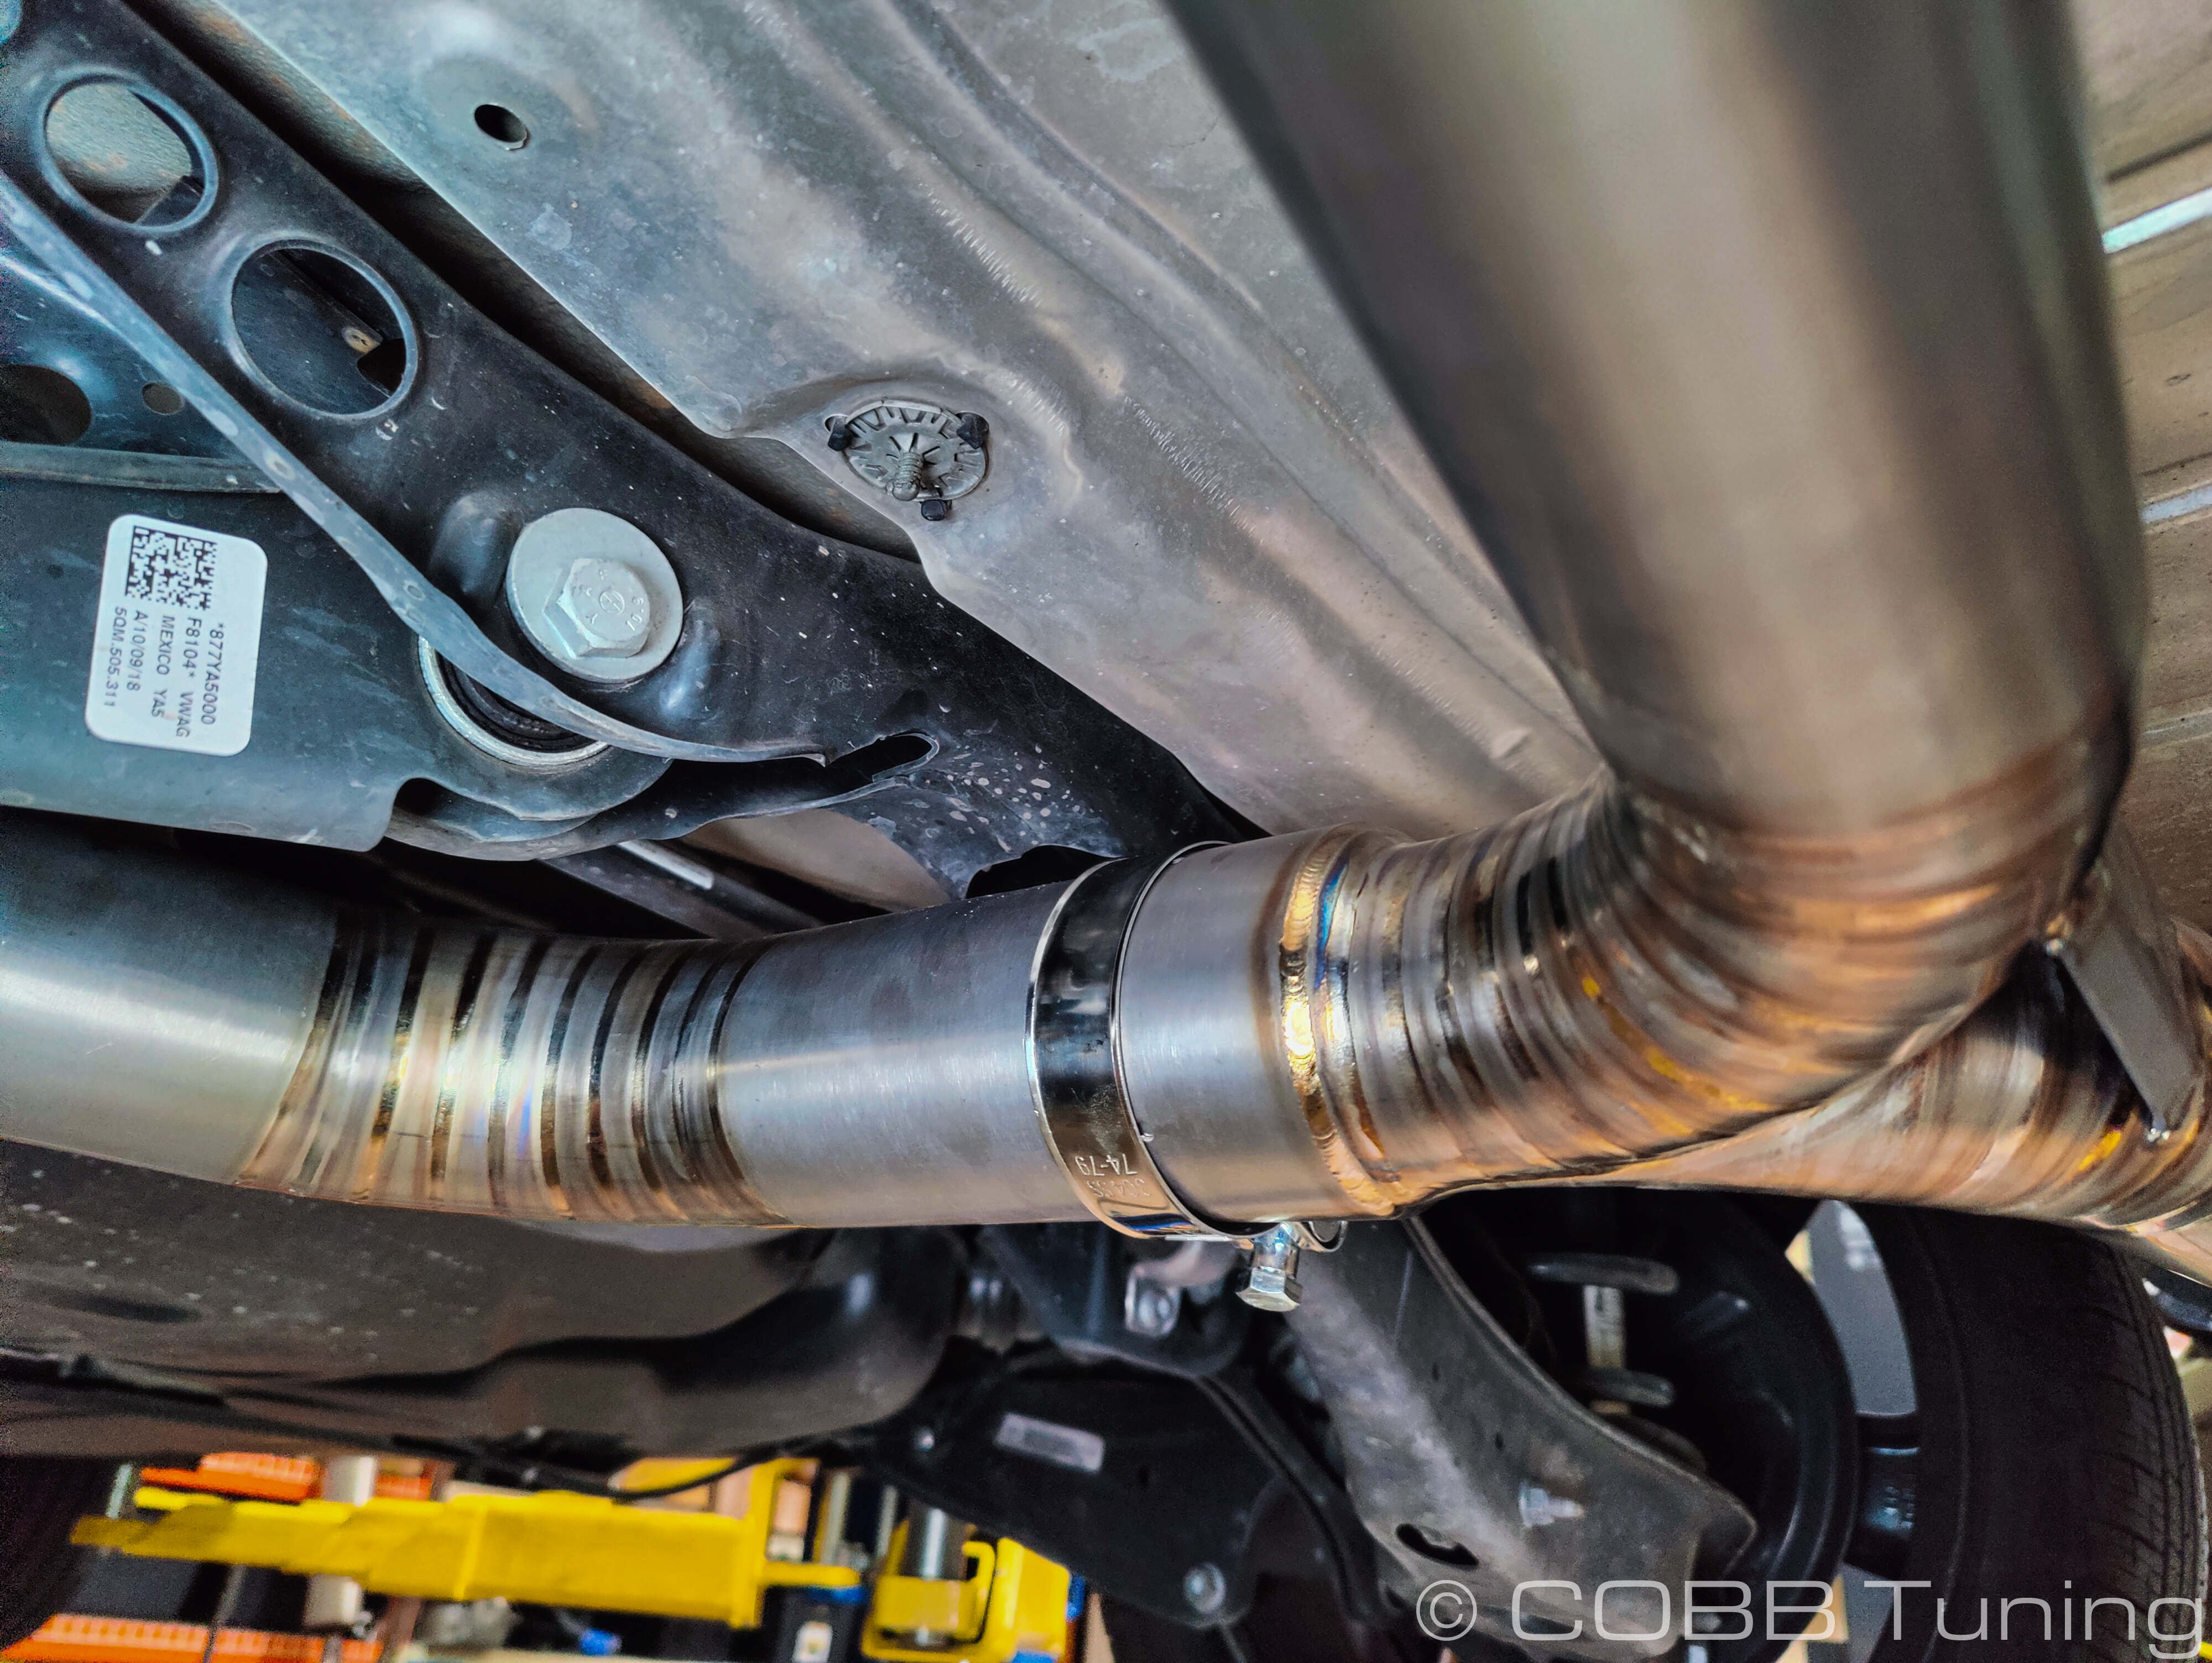
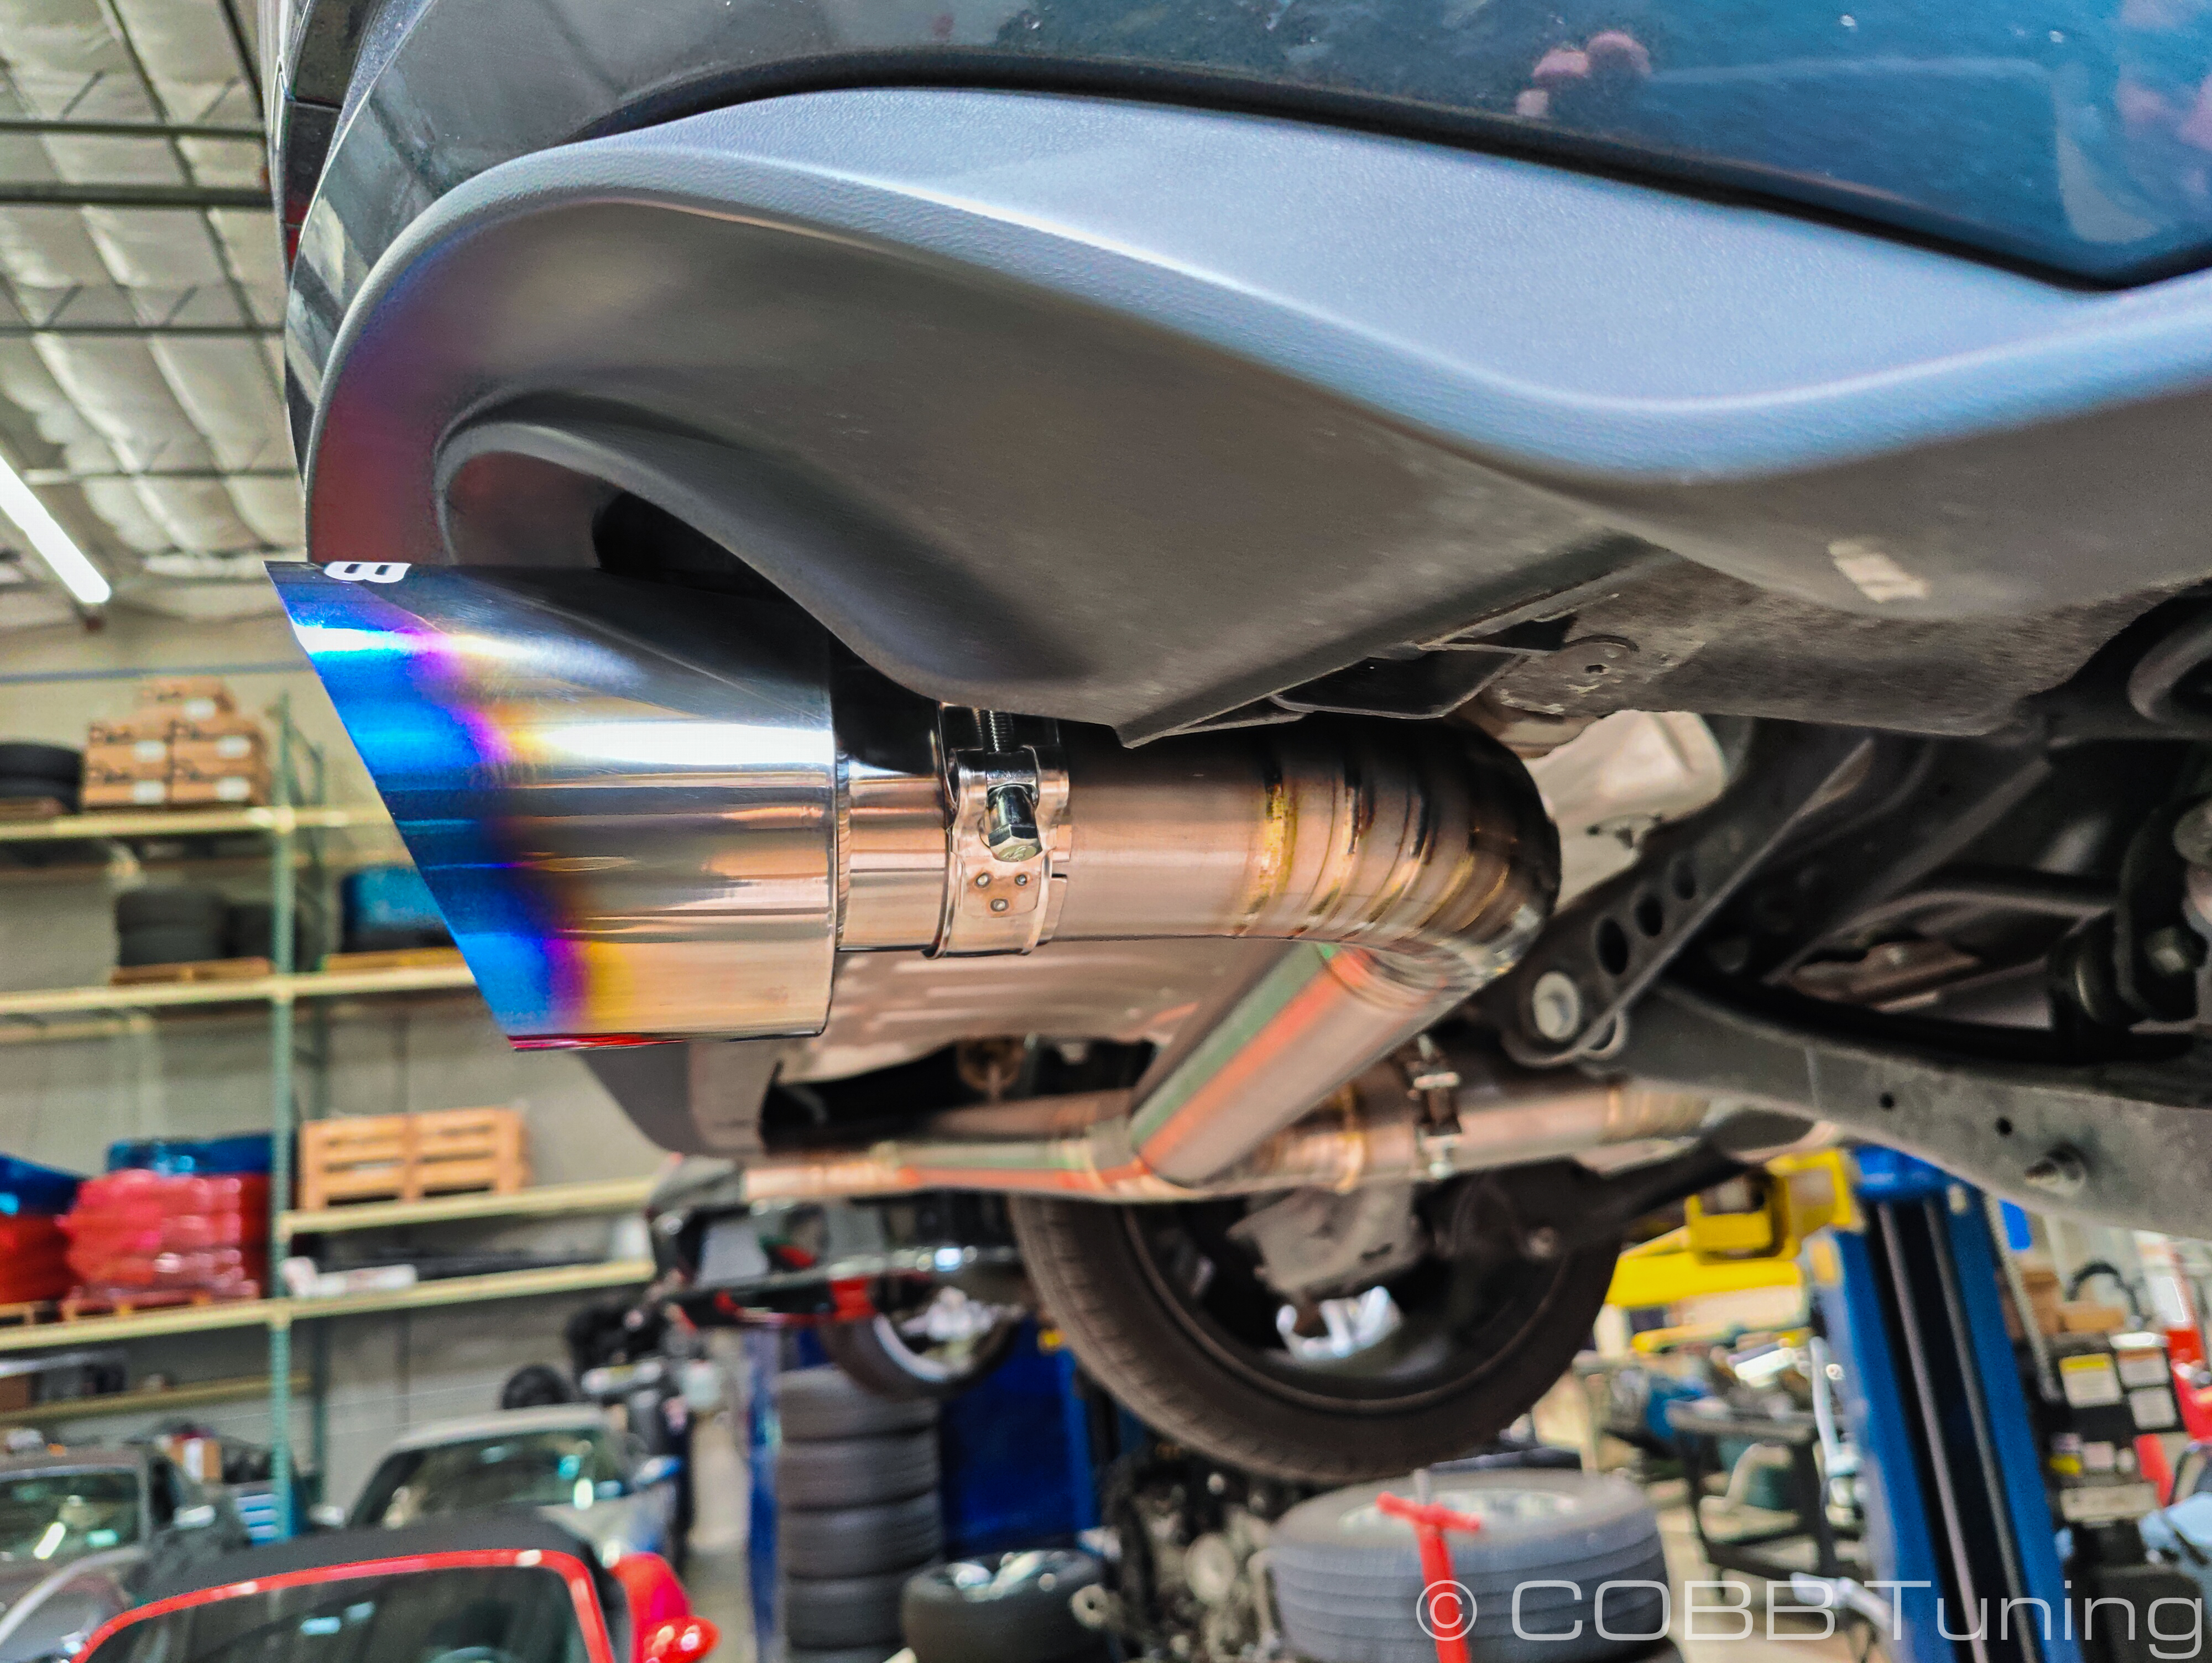
- Now move the exhaust around left and right forward and back, adjusting the various joints until you're happy with the way the exhaust tips will fit within the rear valence. Once you're happy you can tighten down the clamps at each joint and the connection to the downpipe.
- Now install the exhaust tips, you can adjust the angle and well as how far in and out they are to suit your preferences. Secure them with the smaller 64-67mm clamps.
- Re-install the cross braces for the car and you're all done! Go out and enjoy!
CARB Sticker Application
(Where Applicable)
- Apply the supplied CARB sticker in a clear, easy to find location. Typically underhood, or on the radiator core support.
COBB Customer Support Web Support and Tech Articles: COBB Tuning Customer Support Center Email: support@cobbtuning.com Phone support available 9am to 6pm Monday-Thursday. 9am to 4pm Friday (CST) 866.922.3059 return to www.cobbtuning.comContact Us:
Related content
Copyright 2025 © COBB Tuning Products LLC. All Rights Reserved. | www.cobbtuning.com