VA WRX FA20 Turbo Removal
- Brandyn Mowat
Owned by Brandyn Mowat
Apr 23, 2019
- Remove the trim clips holding the plastic skid tray in place. There should be 9 clips holding the center in place, then the two in each wheel well.

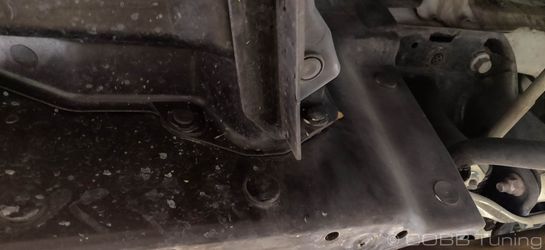
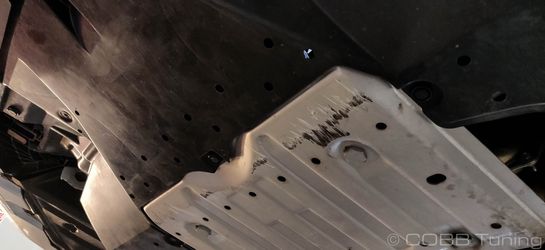
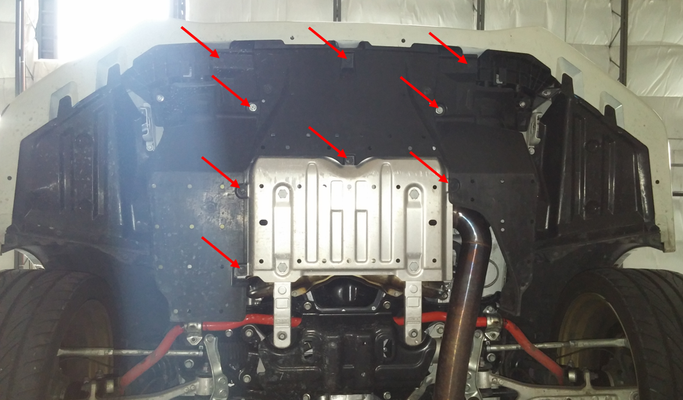
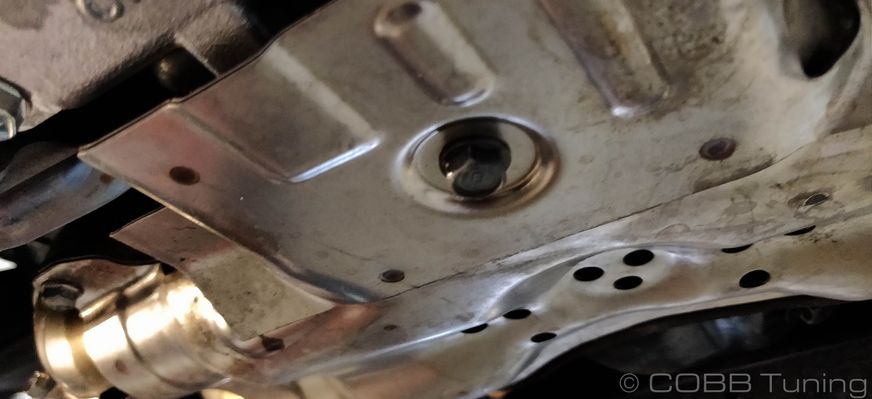
- Remove the four 12mm bolts on the skid tray.
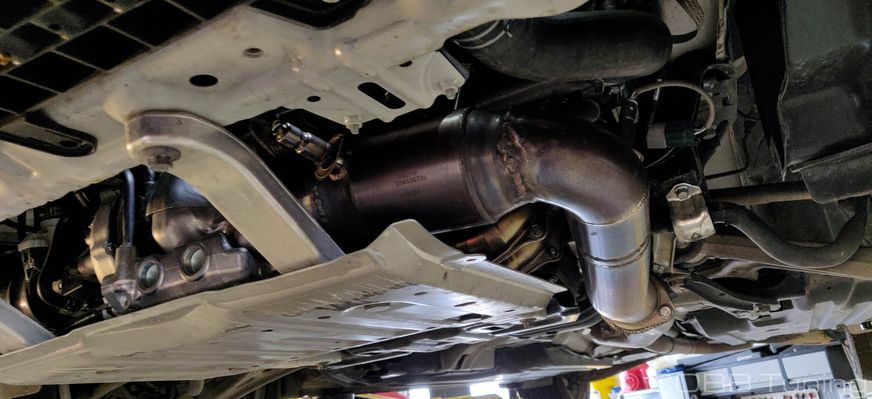
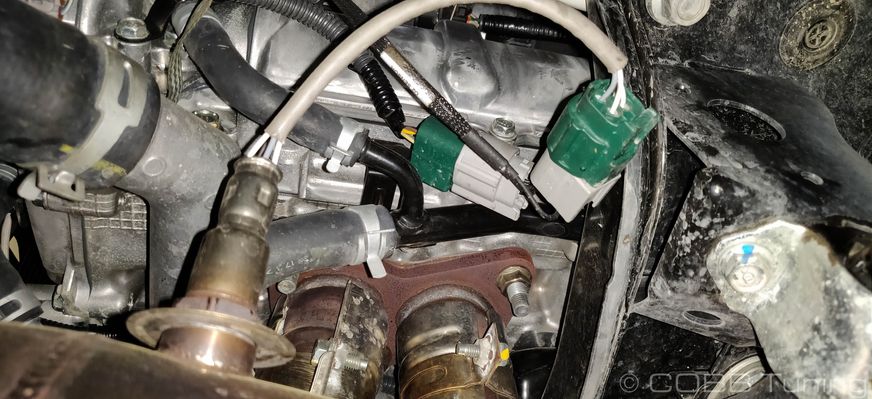
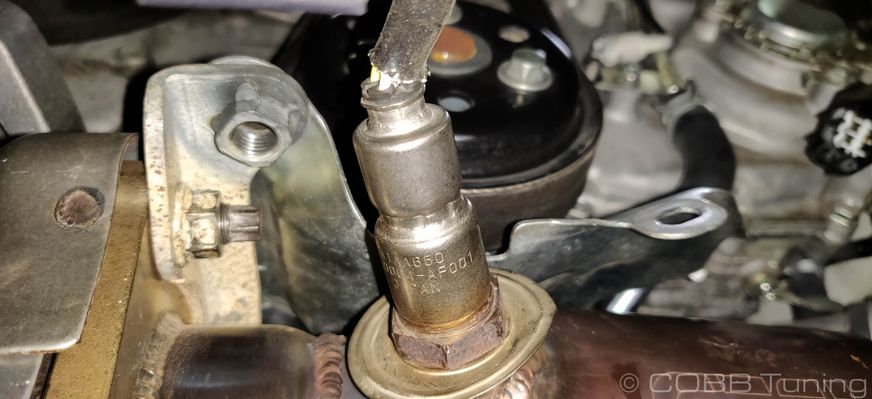
- Unplug the front O2 sensor and unclip the harness from the heat shield.
- Using a 22mm oxygen sensor wrench, remove the o2 sensor and leave it somewhere safe.
- Unplug the rear o2 sensor, removing the sensor isn't needed.
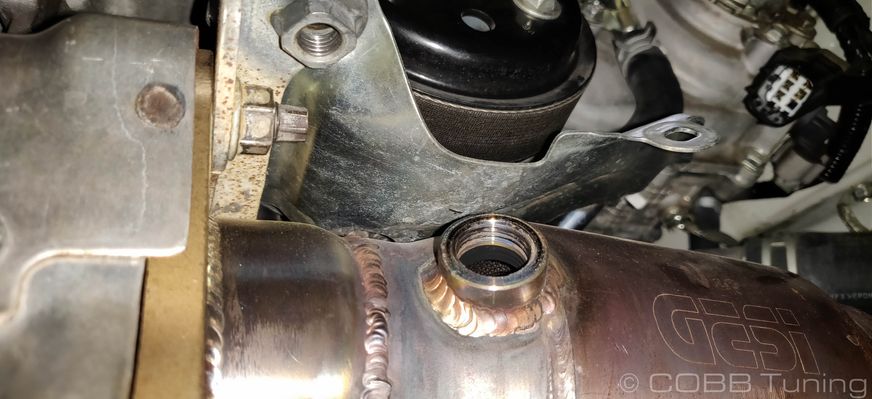
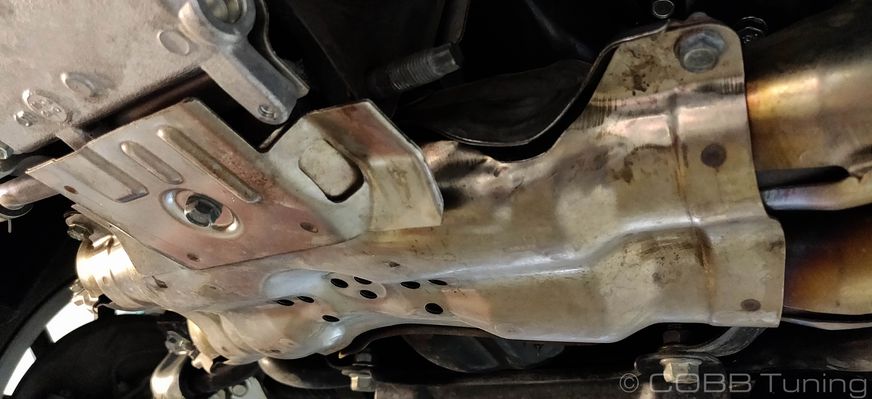
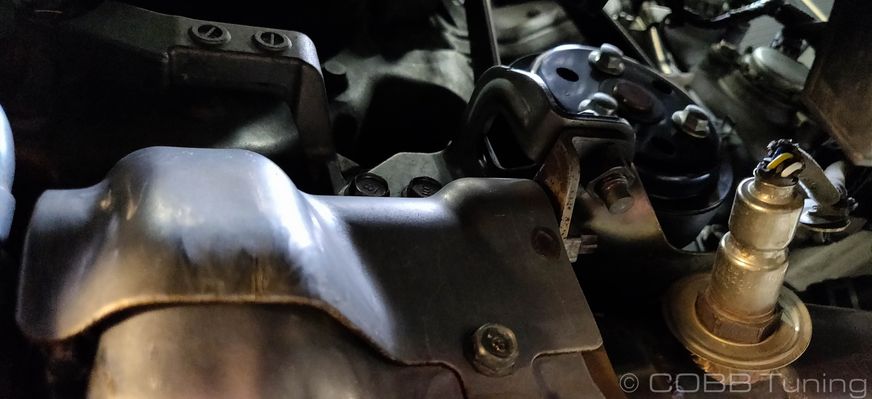
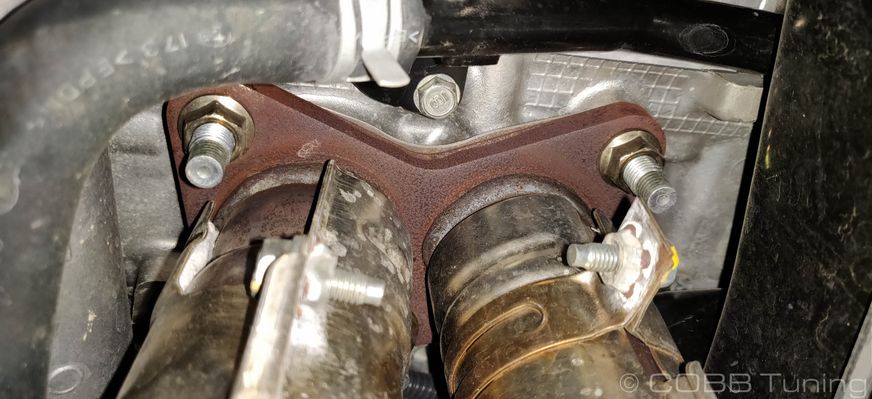
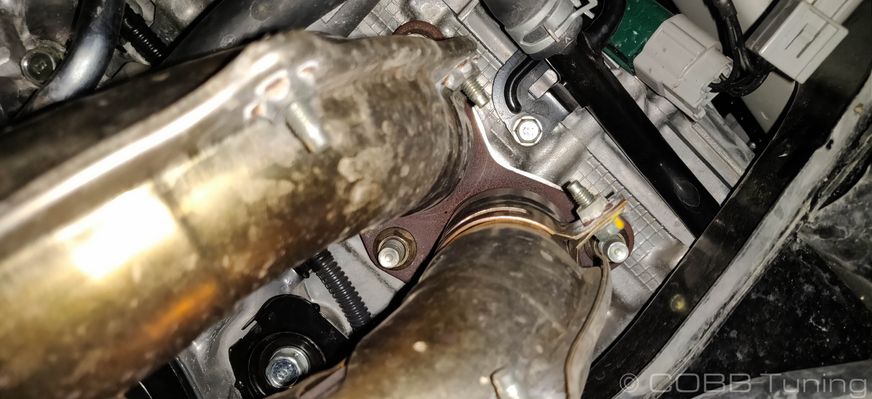
- Remove the four 14mm nuts holding the jpipe on to the turbo.
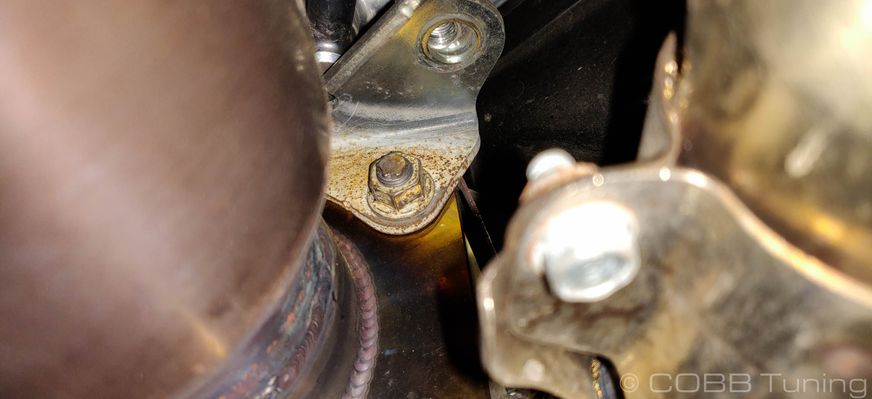
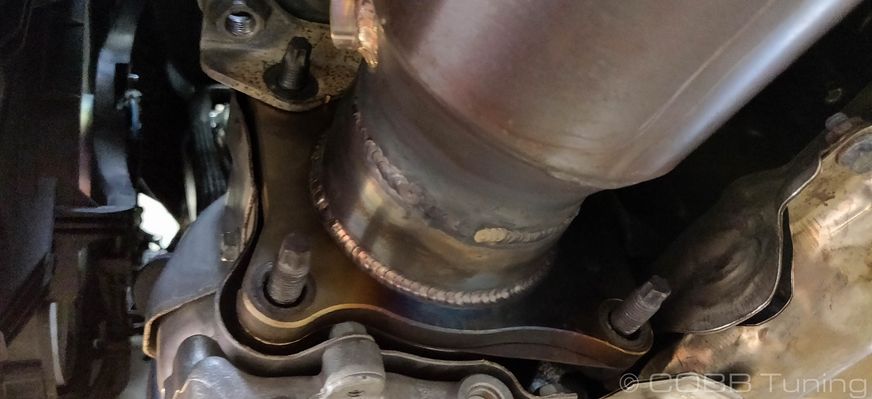
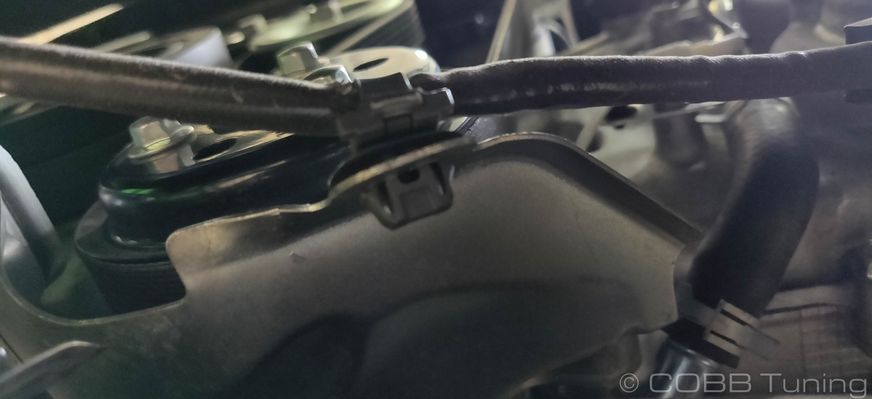
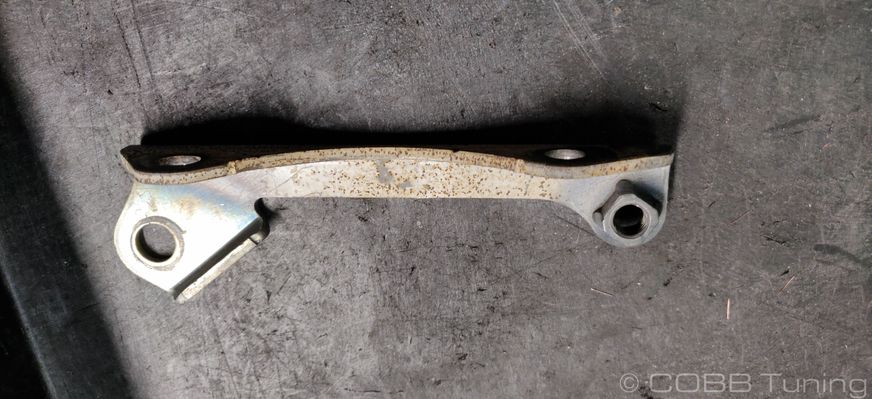
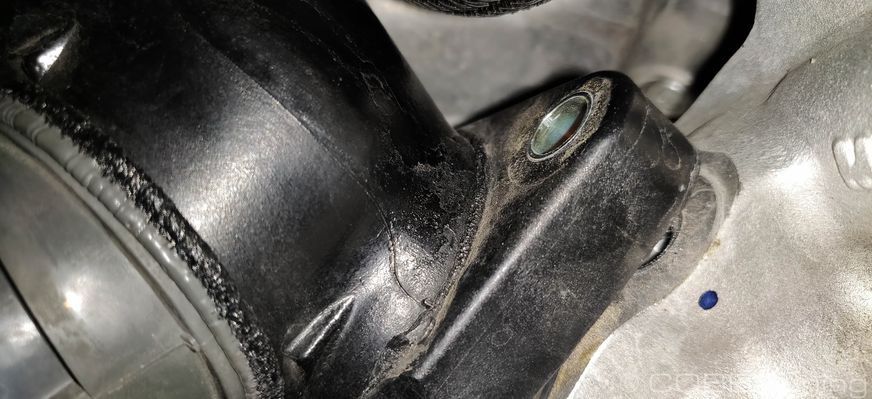
- From the bottom, remove the 2 12mm bolts holding the heat shield onto the downpipe bracket.
- Remove the bolt going vertically into that same bracket from the top.
- Remove the other bolt towards the driver's side in order to remove the jpipe heatshield.
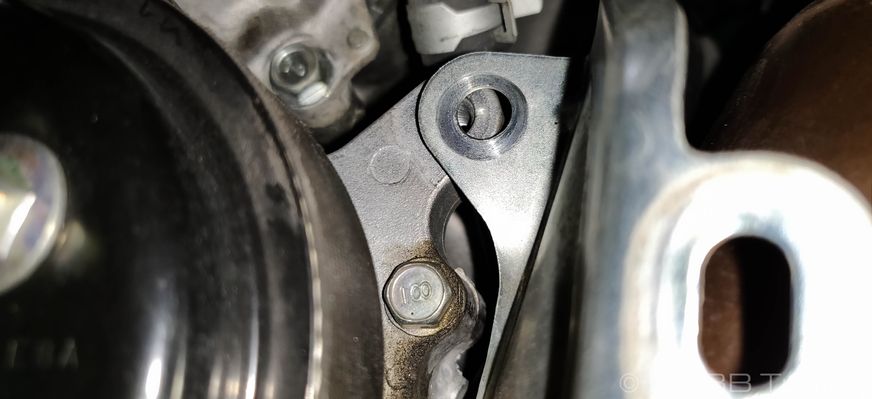
- Now remove the heatshield and bracket from the car.
- Remove the rear jpipe bolts and remove the jpipe from the car.
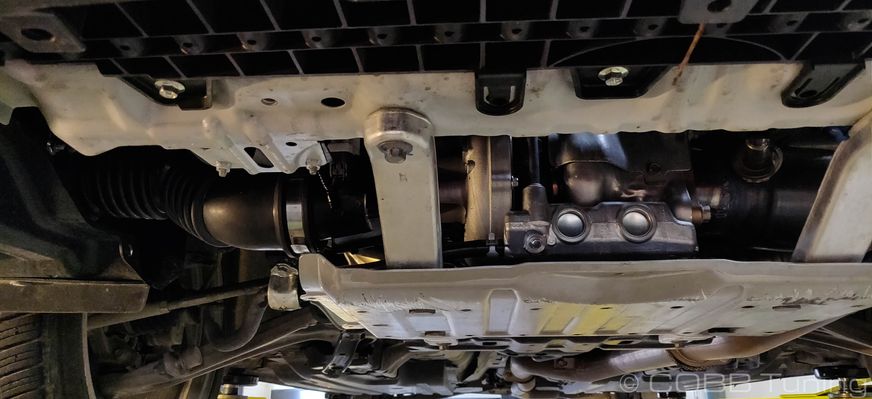
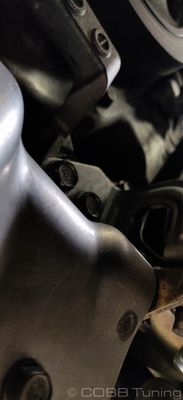
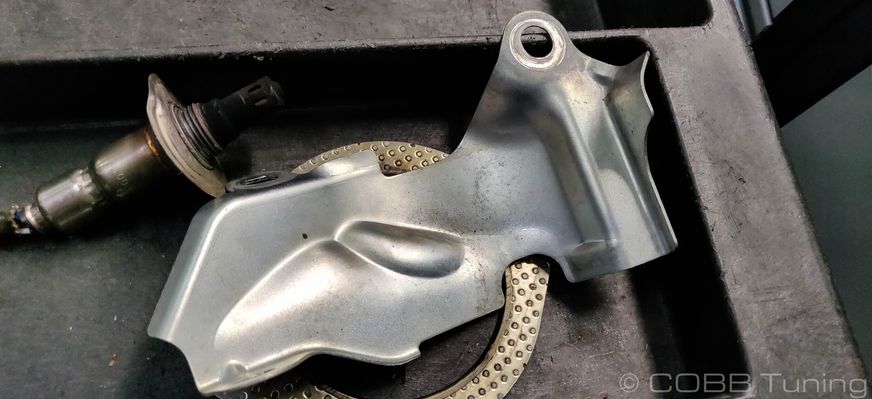
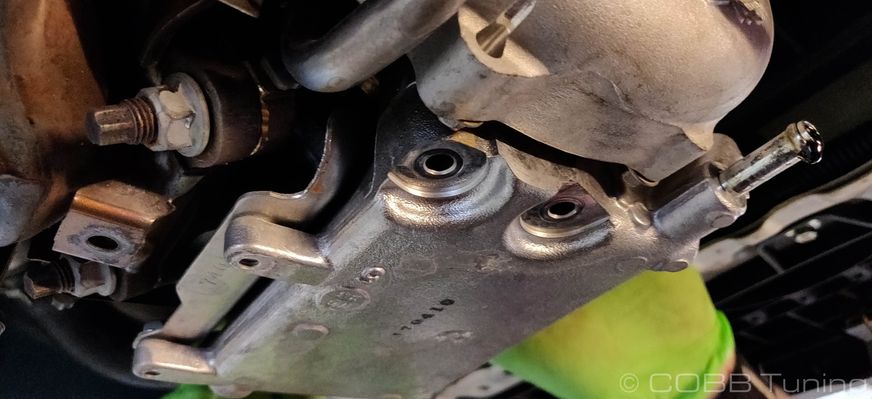
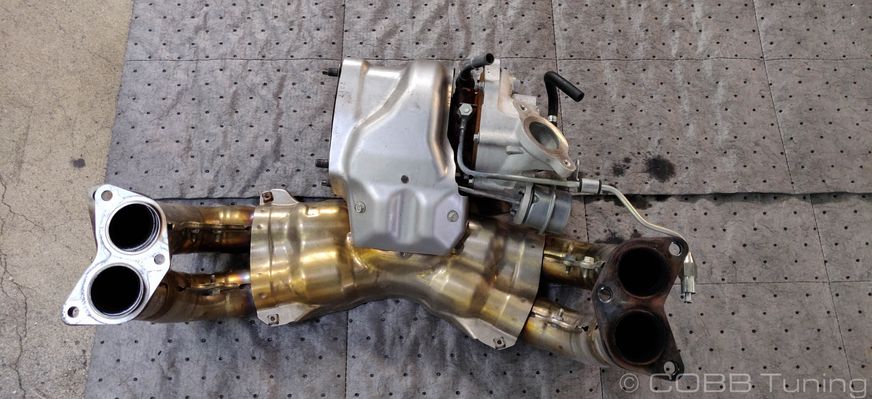
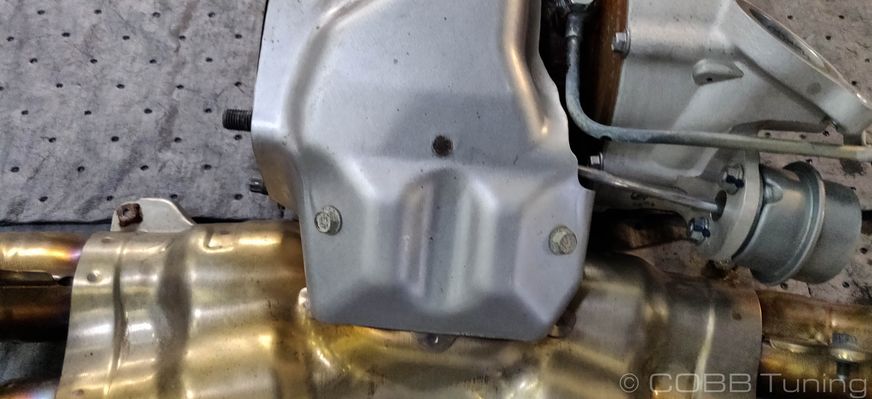
- Moving to the exhaust manifold remove the 5 10mm bolts from the heatshield, there should be one in each corner and one in the center.
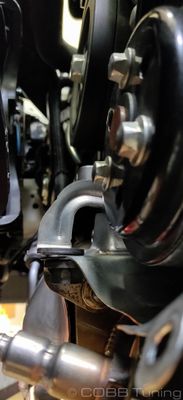
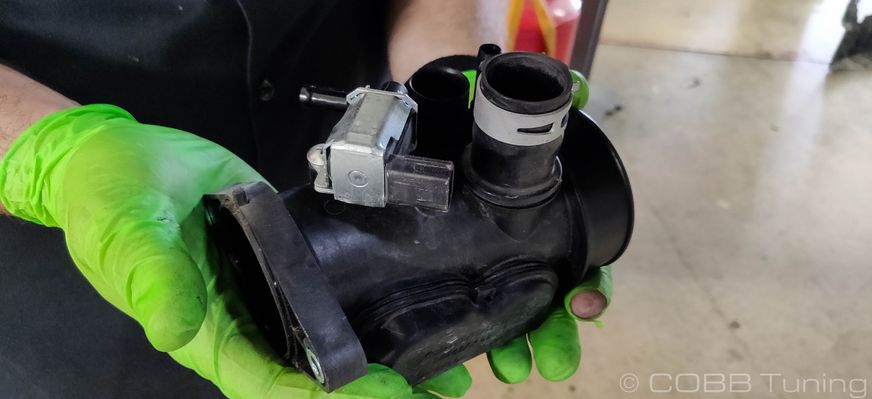
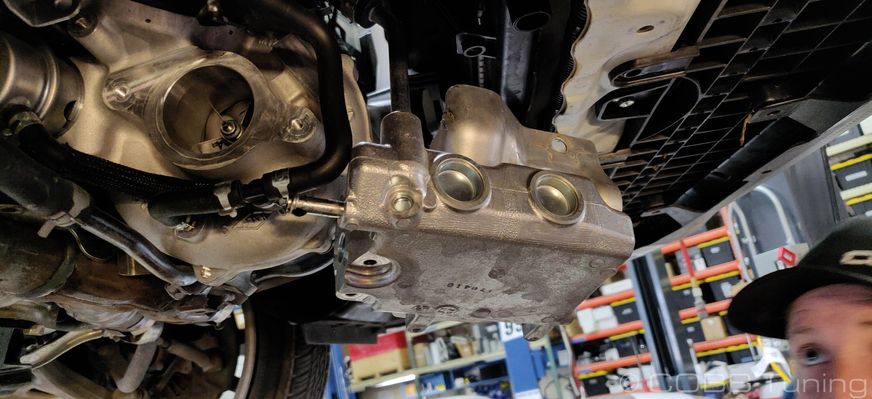
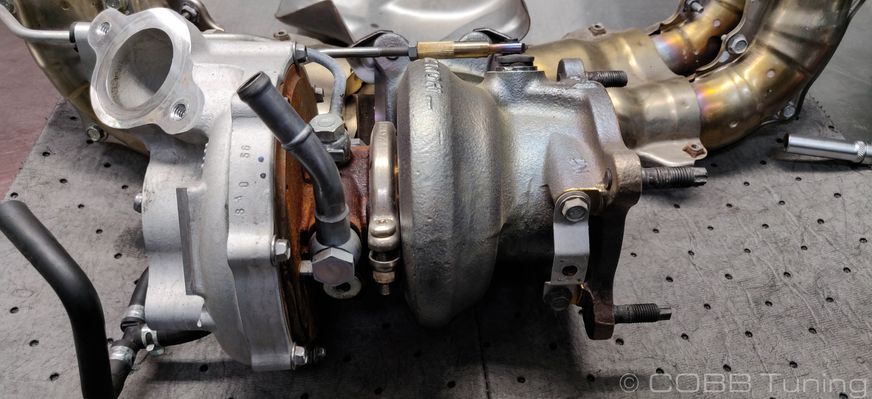
- Moving over to the intake side of the turbo, remove the turbo inlet hose using an 8mm socket on the hose clamps.
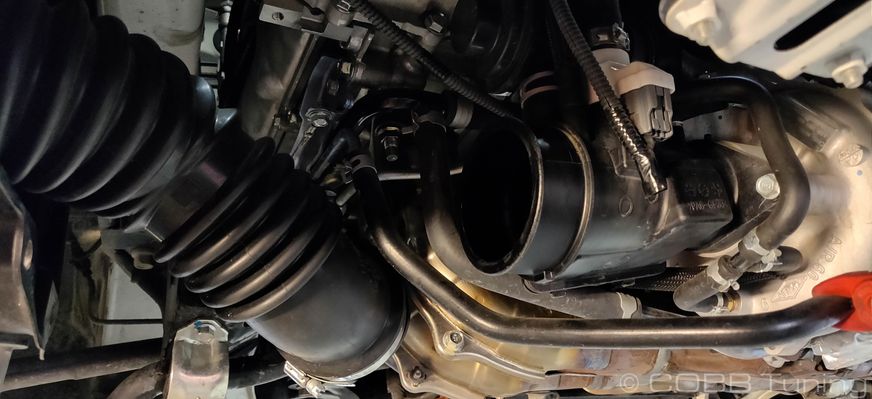
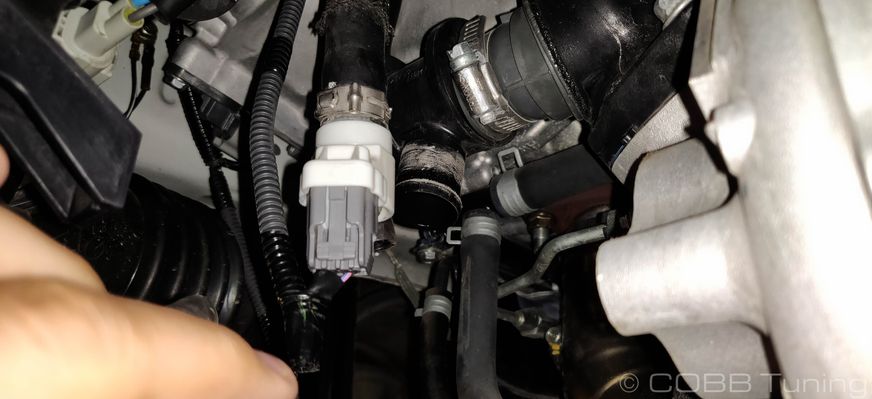
- Either remove the electrical connector from the blowby sensor or push up on the sensor itself (in white( until it comes free of the intake tube.
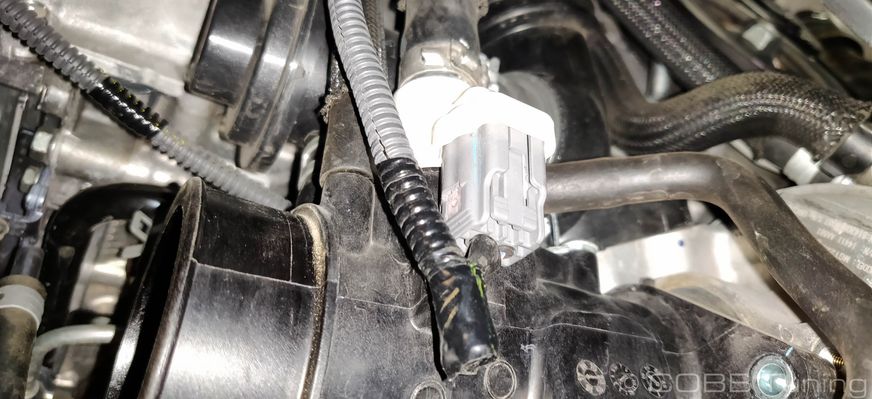
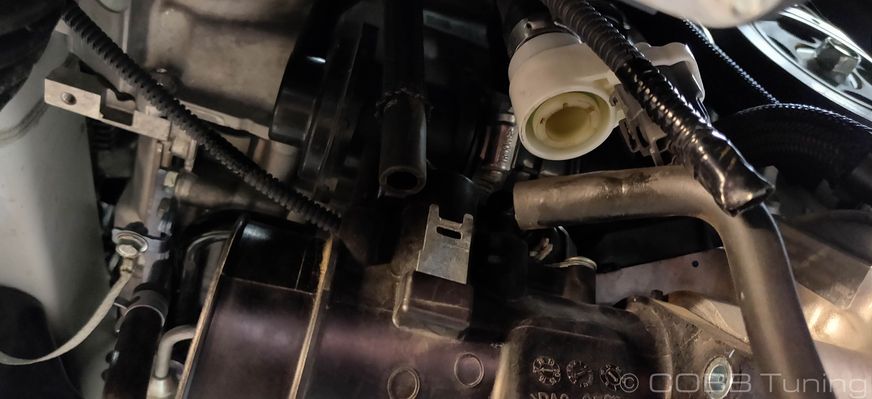
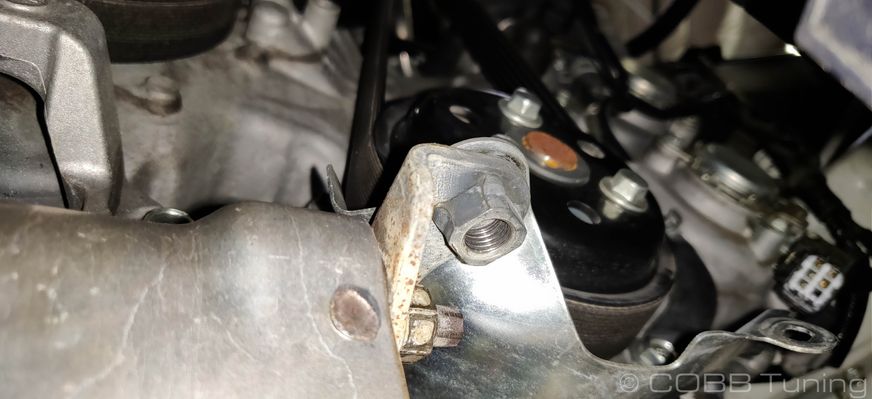
- Remove the vacuum lines going to the EBCS from the turbo, as well as the electrical connection going to the EBCS
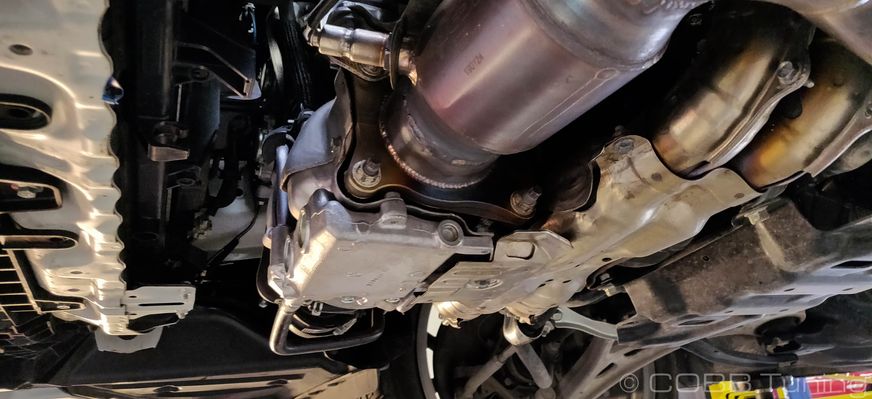
- Undo the two 10mm bolts hodling the inlet housing to the turbo.
- Squeeze the hose clamp going to the BPV and pull down on the housing in order to pull it free from the car.
- Remove the two 19mm bolts holding the BPV assembly to the turbo.
- Position a drain pan of some so under the turbo, then disconnect the oil line from the oil scavenge tank by gently squeezing the factory spring clamp.
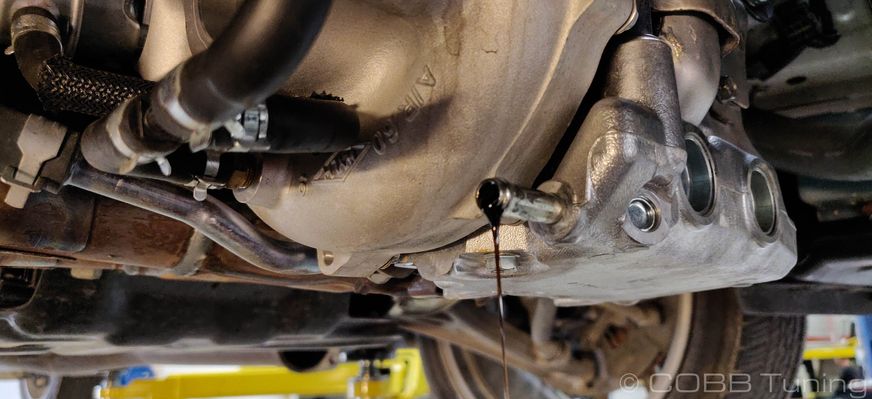
- Once the drip stops, zip tie the line up and out of the way.
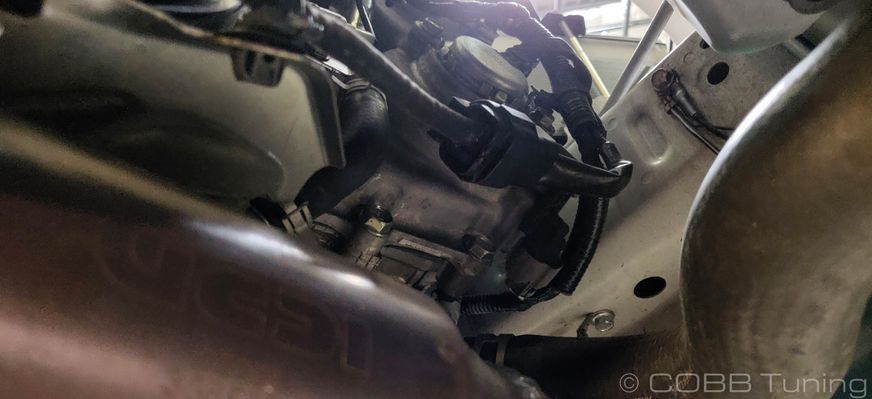
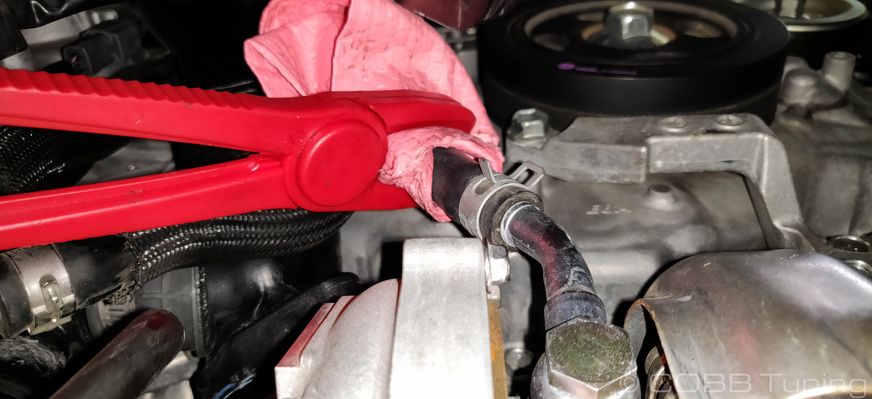
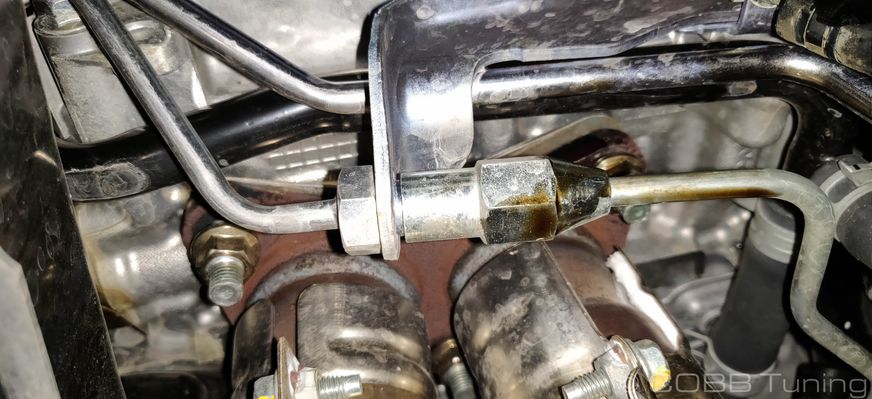
- Undo the spring clip and remove the coolant line going to the turbo at the bottom. (If you have a hose clamp tool using it can minimize leaks.)

- Now go up and remove the top line going in to the turbo.
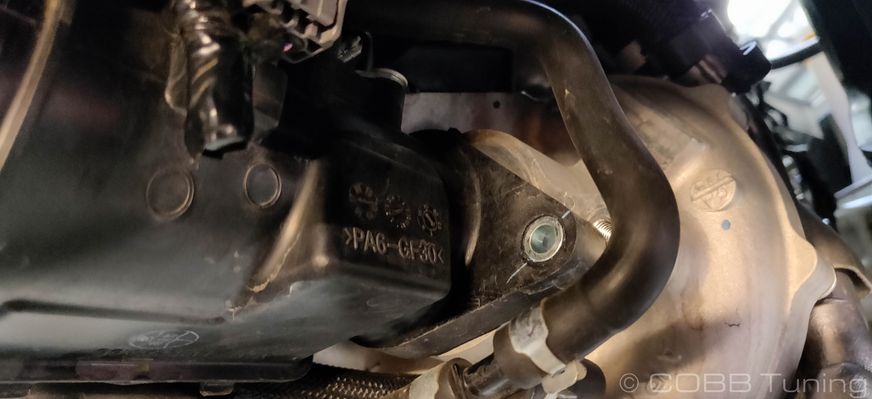
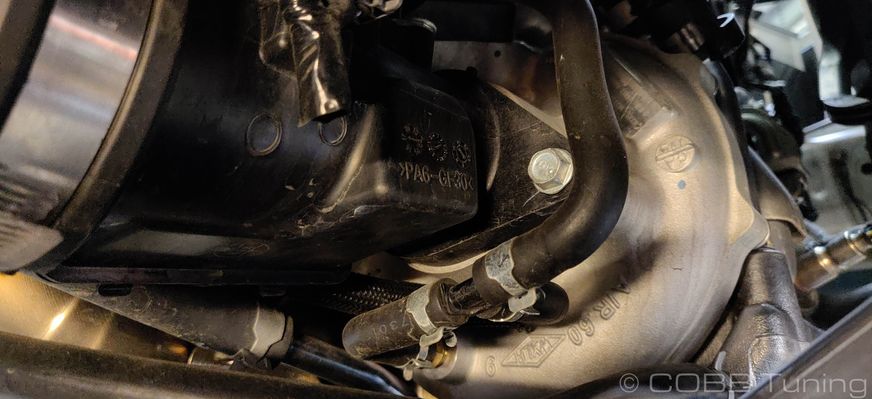
- Remove the 10mm from the center of the heat shields on the front of the turbo.
- Slowly remove the two 10mm bolts holding the oil tank in place. Zip tie it out of place. Make sure to catch the gasket if it comes off.

- Zip tie the tank out of the way.
- Remove the oil feed line using a 17mm line.
- Loosen the six 14mm bolts holding the exhaust manifold and turbo assembly in place, and remove it from the car.
- Remove the two 10mm bolts holding the heatshield at the rear and remove the heat shield in order to gain better access to the turbo.
, multiple selections available,
Copyright 2025 © COBB Tuning Products LLC. All Rights Reserved. | www.cobbtuning.com