371100-Autotech Fuel Pump Internals
- Brandyn Mowat

771001 – Mazda Autotech HPFP Internals
Mazda6 MPS 2004 - 2007
Mazdaspeed Atenza 2004 - 2007
Mazdaspeed6 2006 - 2007
Mazdaspeed Axela 2007 - 2012
Mazdaspeed 3 2007 - 2013

Congratulations on your purchase of the COBB Tuning Mazdaspeed Turbo Inlet Hose! The following instructions will assist you through the installation process. Please read them BEFORE beginning the install to familiarize yourself with the steps and tools needed. If you feel you cannot properly perform this installation, we HIGHLY recommend you take the vehicle to a qualified and experienced automotive technician.
IMPORTANT! Installing this kit will require custom tuning or utilizing an appropriate Stage Power Package map if you have a matching mechanical configuration. Please consult with COBB or an authorized ProTuner in your area if you have any questions!
Table of Contents
Parts List
- Autotech High Pressure Fuel Pump
Tools Needed
Sockets
3/8"
3/8" ratchet
3/8" 12" extension
3/8" 6" extension
3/8" 10mm socket
- 3/8" E8 inverted Torx
1/2"
1/2" ratchet
- 1/2" 18mm deep socket
- Torque Wrench
Hand Tools
- Phillips head screwdriver
- Flathead screwdriver
Needlenose pliers
Wrenches
- 17mm combination wrench
- 19mm combination wrench
Stock Intake Removal
- Park your car in a flat level area.
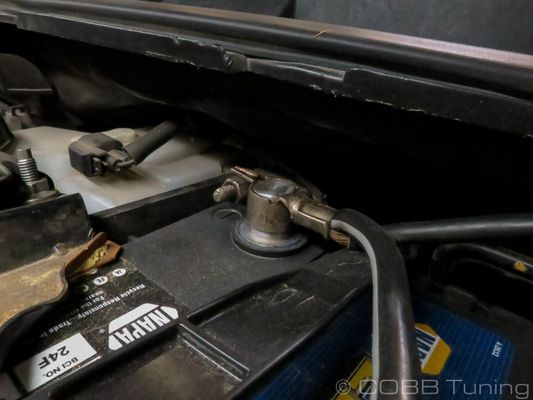
- Using a 10mm socket remove the negative battery terminal.
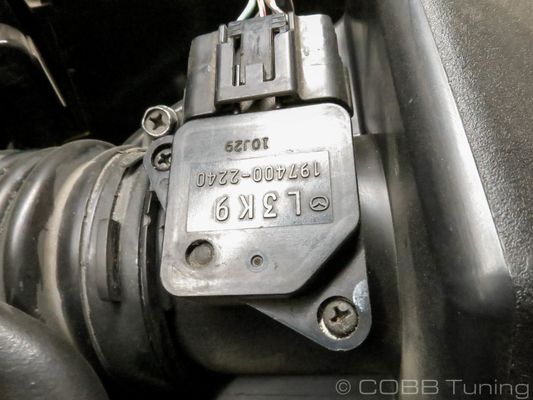
- Press in the release tab of the MAF connector and unplug the MAF sensor.
- Undo the two clips from the airbox.
- Using a 10mm socket loosen the intake clamp and remove the airbox lid from the car.
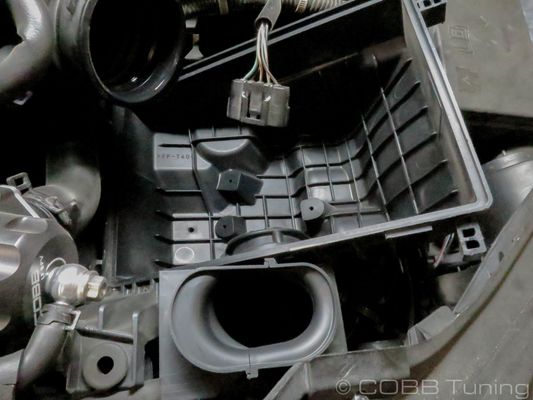
- Pull firmly upwards on the lower airbox in order to pop it free form the rubber grommets it sits in.
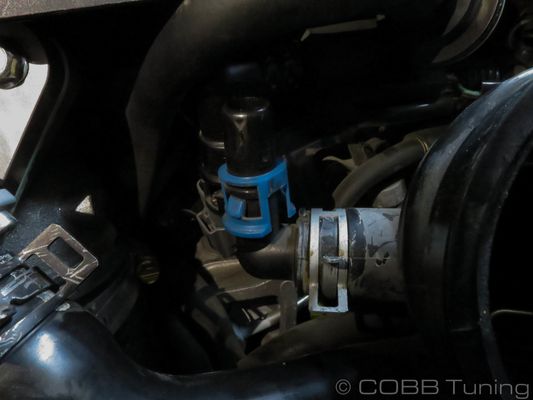
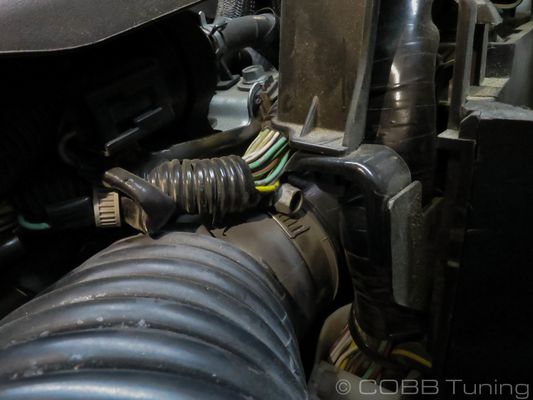
- Remove the PCV hose from the intake tube. You can either do this by removing the spring clamp with your pliers or squeezing the blue clip to release the tube.
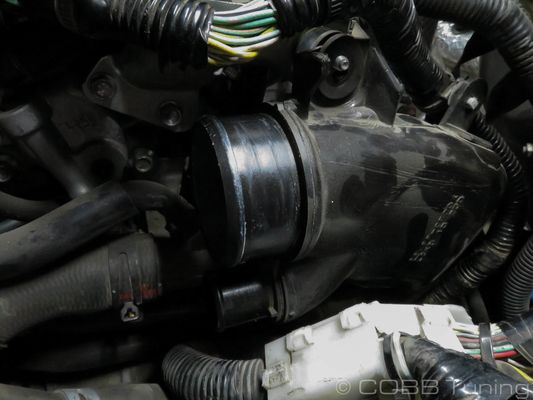
- With the 10mm remove the clamp holding the intake to the turbo inlet and pull the intake tube free from the car.
Battery and ECU Removal
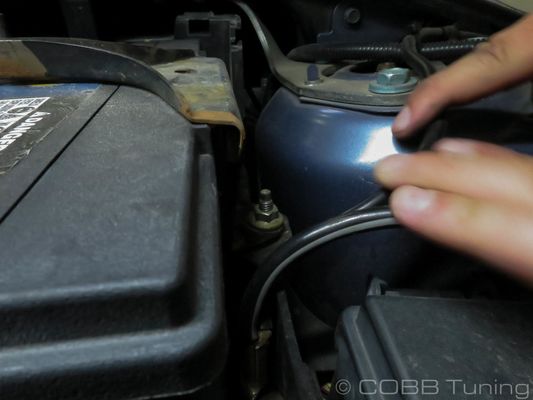
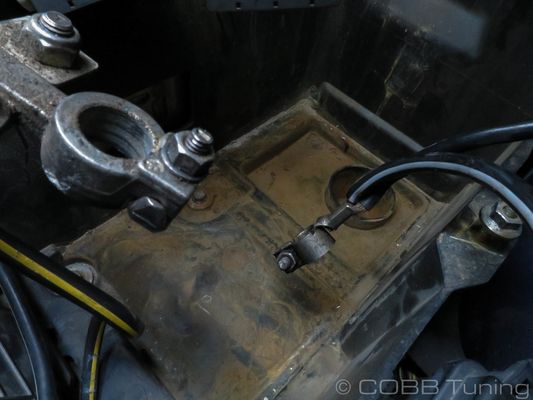
- Remove the positive terminal using a 10mm.
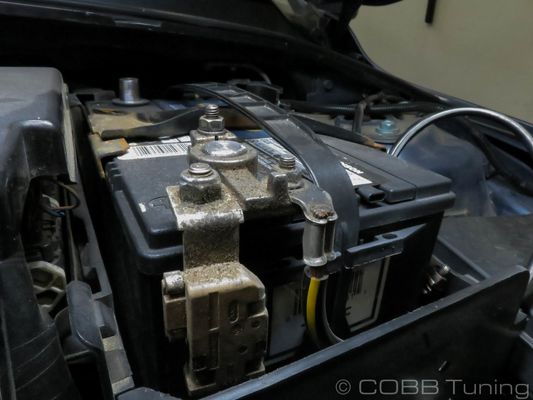
- Still using the 10mm remove the battery bracket.
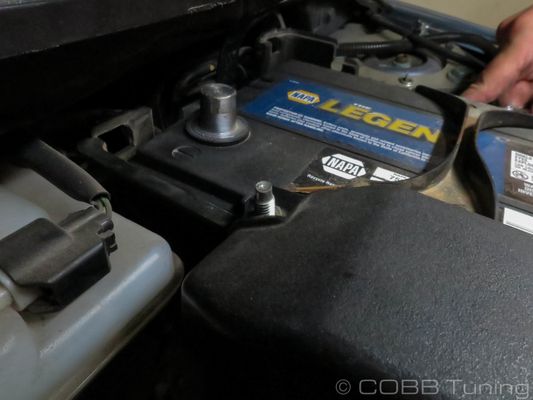
- Remove the battery from the battery box.
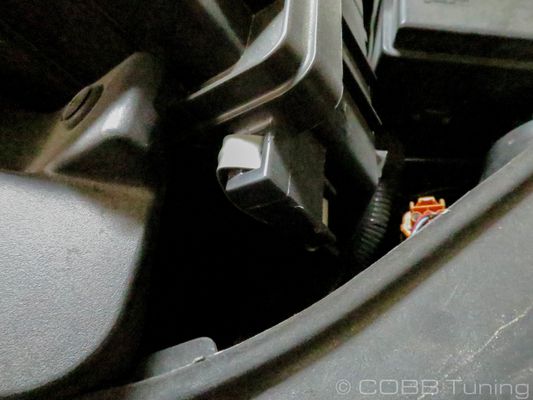
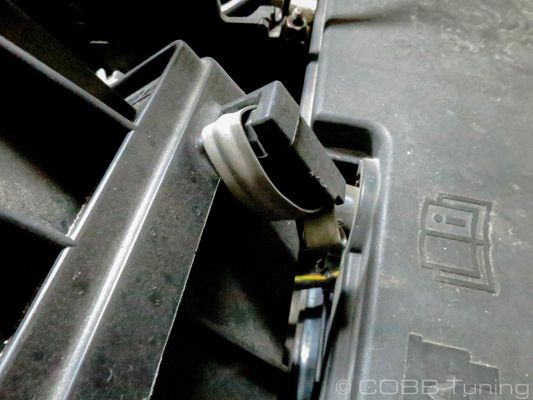
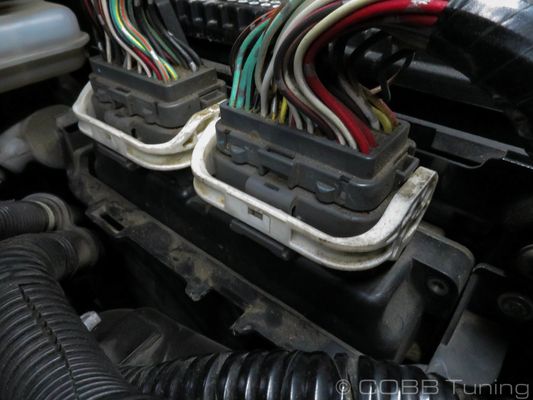
- Pull gently up on the ECU Cover in order to expose the connectors.
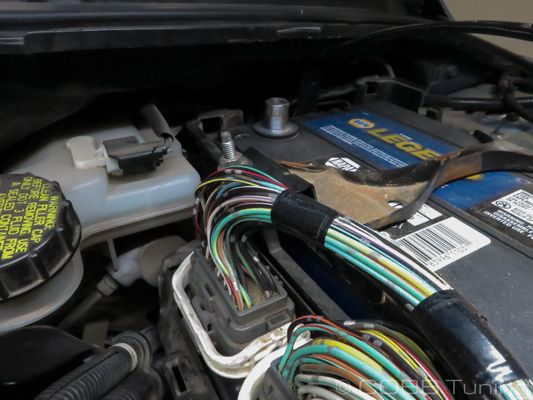
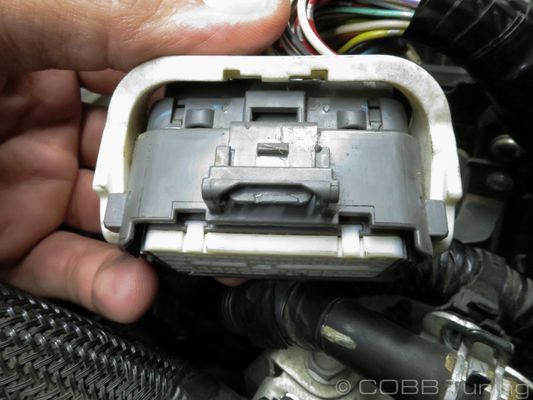
- Push in on the lowest (barely exposed) tab on the electrical connector and pull up on the white arm to release the plug from the ECU.
- Using a pair of needlenose pliers gently squeeze the grey tabs and release the wiring harness from the battery box.
- Remove the three 10mm bolts from the bottom of the battery tray and remove the battery tray and ECU from the car in one piece.
- Remove the entire battery box and ECU assembly from the car.
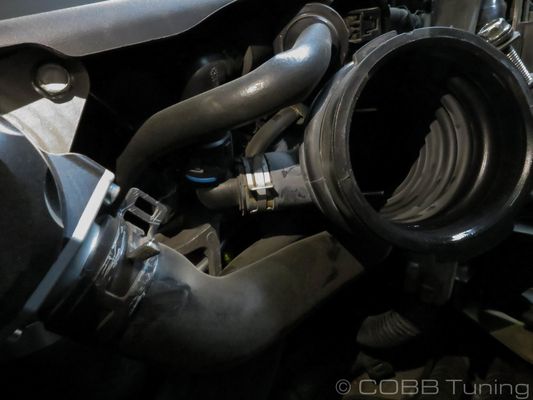
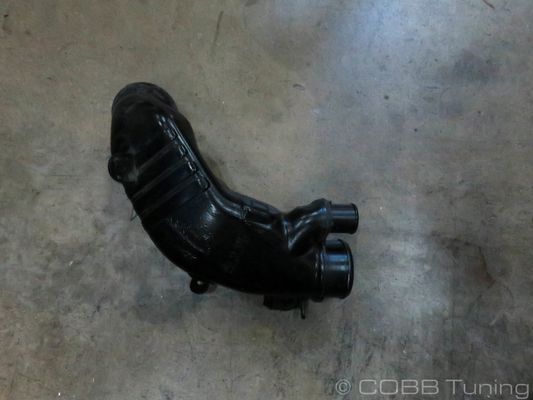
Stock Inlet Removal
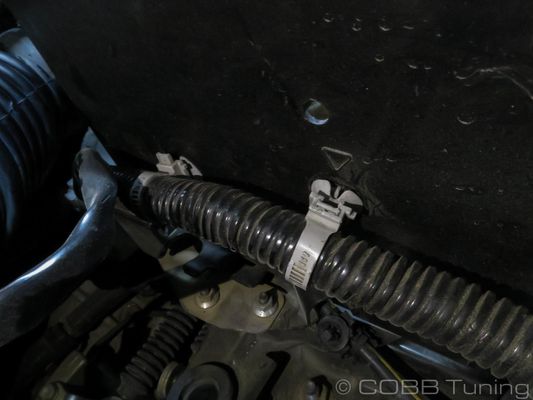
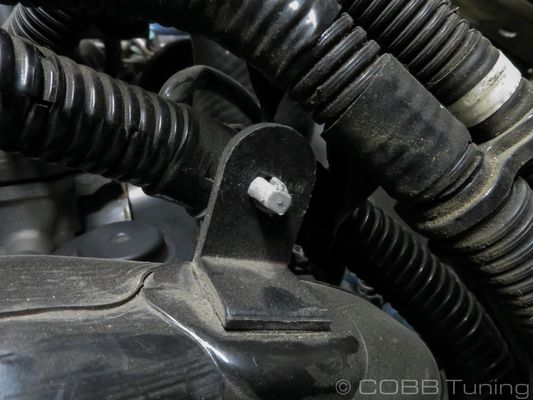
- Undo the wire clip attaching to the inlet tube.
- Using your pliers, remove the spring clamp holding the BPV tube onto the lower portion of the turbo inlet then pull the tube free.

- Remove the 10mm bolt holding the inlet to the engine.

- Remove the spring clamp and electronic boost control solenoid line.
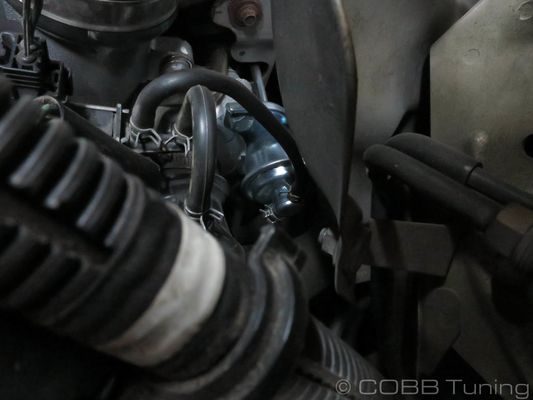
- Carefully undo the hard to get to clamp on the inlet where it hooks up to the turbo. Then remove the inlet tube from the car.
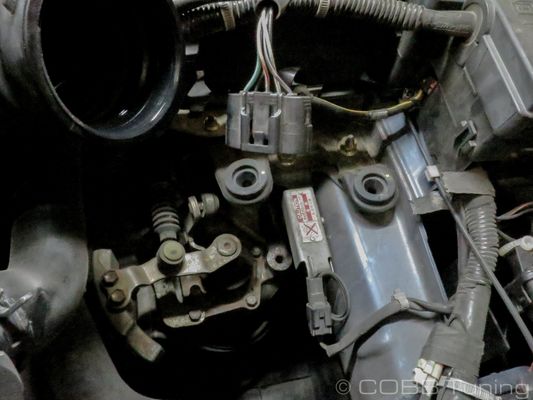
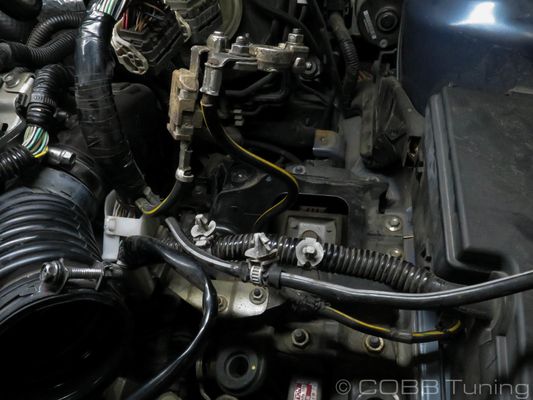
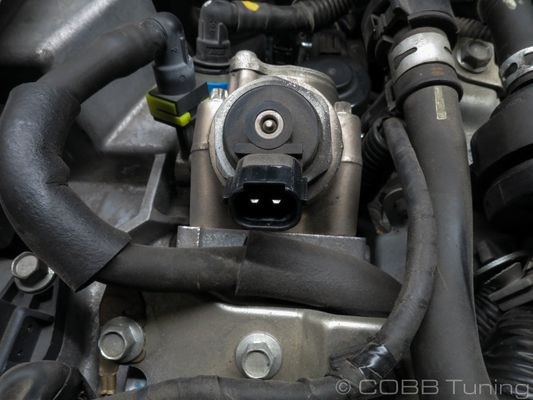
Stock HPFP Removal
- Remove the two 10mm bolts on this bracket holding the harnesses and things in place.
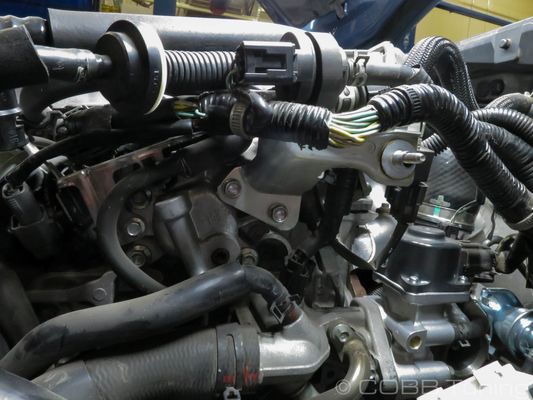
- Disconnect the electrical connector from the top of the HPFP.
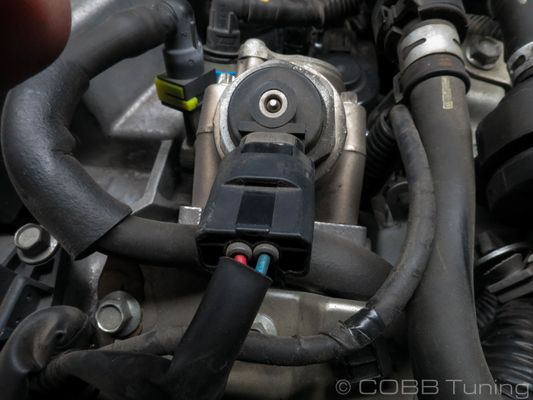
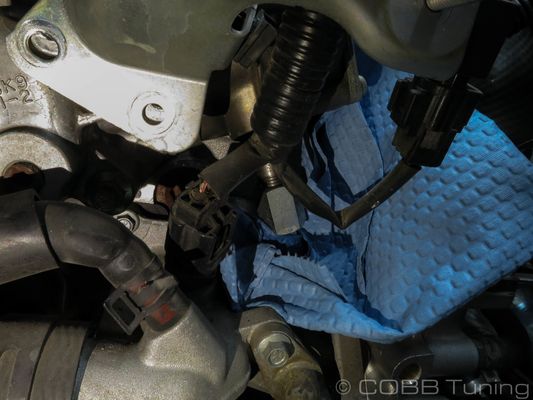
- On the bottom of the pump, hold the connector on the pump in place with a 17mm wrench.
- While holding the 17mm wrench, slowly loosen the 19mm hard line but make sure to have a rag handy to absorb some of the fuel that will come out.
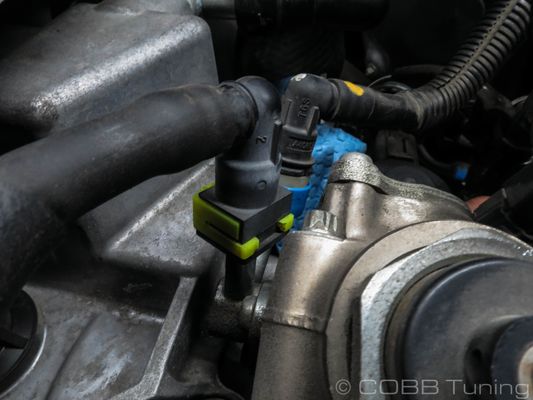
- Undo the two fuel lines from the top of the HPFP by popping off the plastic retaining collar and pull the fuel line free.
- Using your E8 socket, start loosening off the HPFP but try to loosen all three bolts as evenly as possible. You'll want to do this because the spring will be holding tension on the pump itself and backing out one at a time can either strip the hole or damage the internals of the pump.
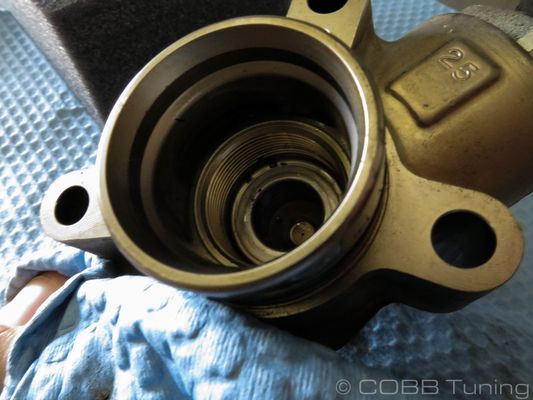
- Once the pump is backed off all the way, carefully remove it from the car and wrap it in a towel to absorb any fuel and keep it clean.
Fuel Pump Internal Installation
- Lightly clamp the pump in your vice.
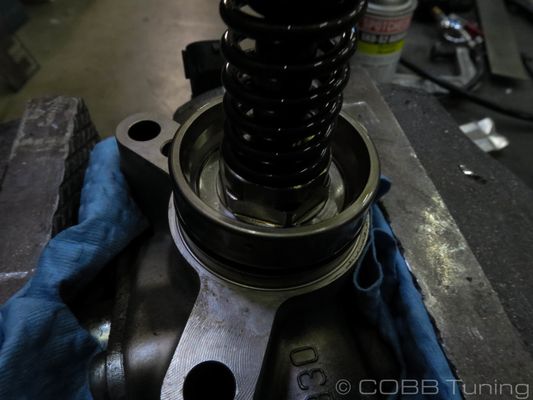
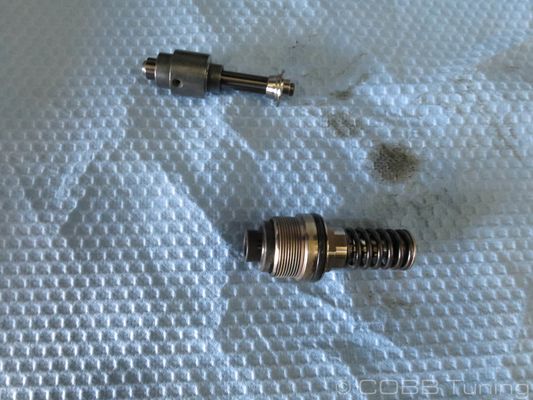
- Using a very deep 18mm socket, slowly back off the fuel pump internals.
- Once they're removed, place them in a clean area and inspect the internals for any debris. In our case we found some grit and dirt, if that is the case carefully clean it out with brake cleaner and then lubricate everything with fresh, clean, motor oil.
- Starting at the back end, you can remove the black pump spacer from the pump itself.
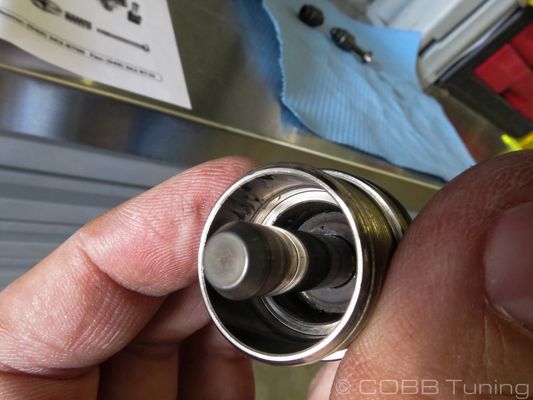
- Now lightly tug the pushrod out of the end towards it's retainer.
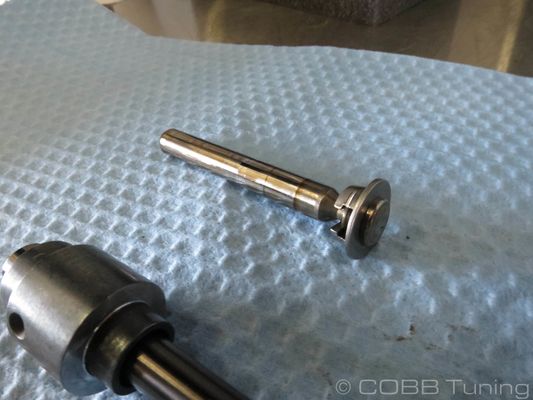
- With everything removed, go ahead and clean out the spring and piston assembly to prevent any contamination or debris from causing problems.
- Lubricate everything as well as the new fuel pump internals with fresh motor oil.
- Begin to dismantle the Autotech internals making sure to keep everything set up in the same orientation as they came off in so that you can make sure it all goes back together correctly.
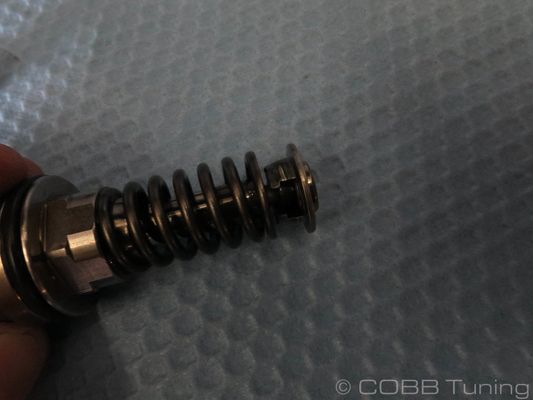
- Remove the valve spring retainers by pushing in on the outside retainer and pull out one retainer at a time.
- Install the fuel pump piston through the back side and back through the spring. Now compress the spring slightly with the valve retainer in order to add the retainers back in place.
- Lubricate the back end with more oil and place the large spacer back on.
- You can now reinstall these back in the freshly cleaned mechanical pump and torque them down to 45ft/lbs.
CARB Sticker Installation (On CARB Certified Applications)
When used in conjunction with one of the appropriate COBB Staged Packages and Maps, this product is covered under multiple CARB EO letters. For additional information on CARB EO options for your Mazda, check out our page CARB EO numbers for COBB Mazda Products
Install the supplied CARB sticker on an easily viewable space that won't be susceptible to large amounts of heat. We recommend on the radiator core support, or the underside of the hood.
Links
COBB Product Install Instructions for Mazda Vehicles
Main Installation Instruction Repository for Mazda Parts
Link to Mazda Map Notes to see what map you should be on given the parts you've added
COBB Customer Support Web Support and Tech Articles: COBB Tuning Customer Support Center Email: support@cobbtuning.com Phone support available 9am to 6pm Monday-Thursday. 9am to 4pm Friday (CST) 866.922.3059 return to www.cobbtuning.comContact Us:
Related content
Copyright 2025 © COBB Tuning Products LLC. All Rights Reserved. | www.cobbtuning.com