3C1450 - GTR Fuel Pump Kit
- Brandyn Mowat

3C1450 - GTR Fuel Pump Kit
Nissan GT-R R35 2008-2018
The following instructions will assist you through the installation process. Please read them BEFORE beginning the install to familiarize yourself with the steps and tools needed. If you feel you cannot properly perform this installation, we HIGHLY recommend you take the vehicle to a qualified and experienced automotive technician.
Table of Contents
Parts List
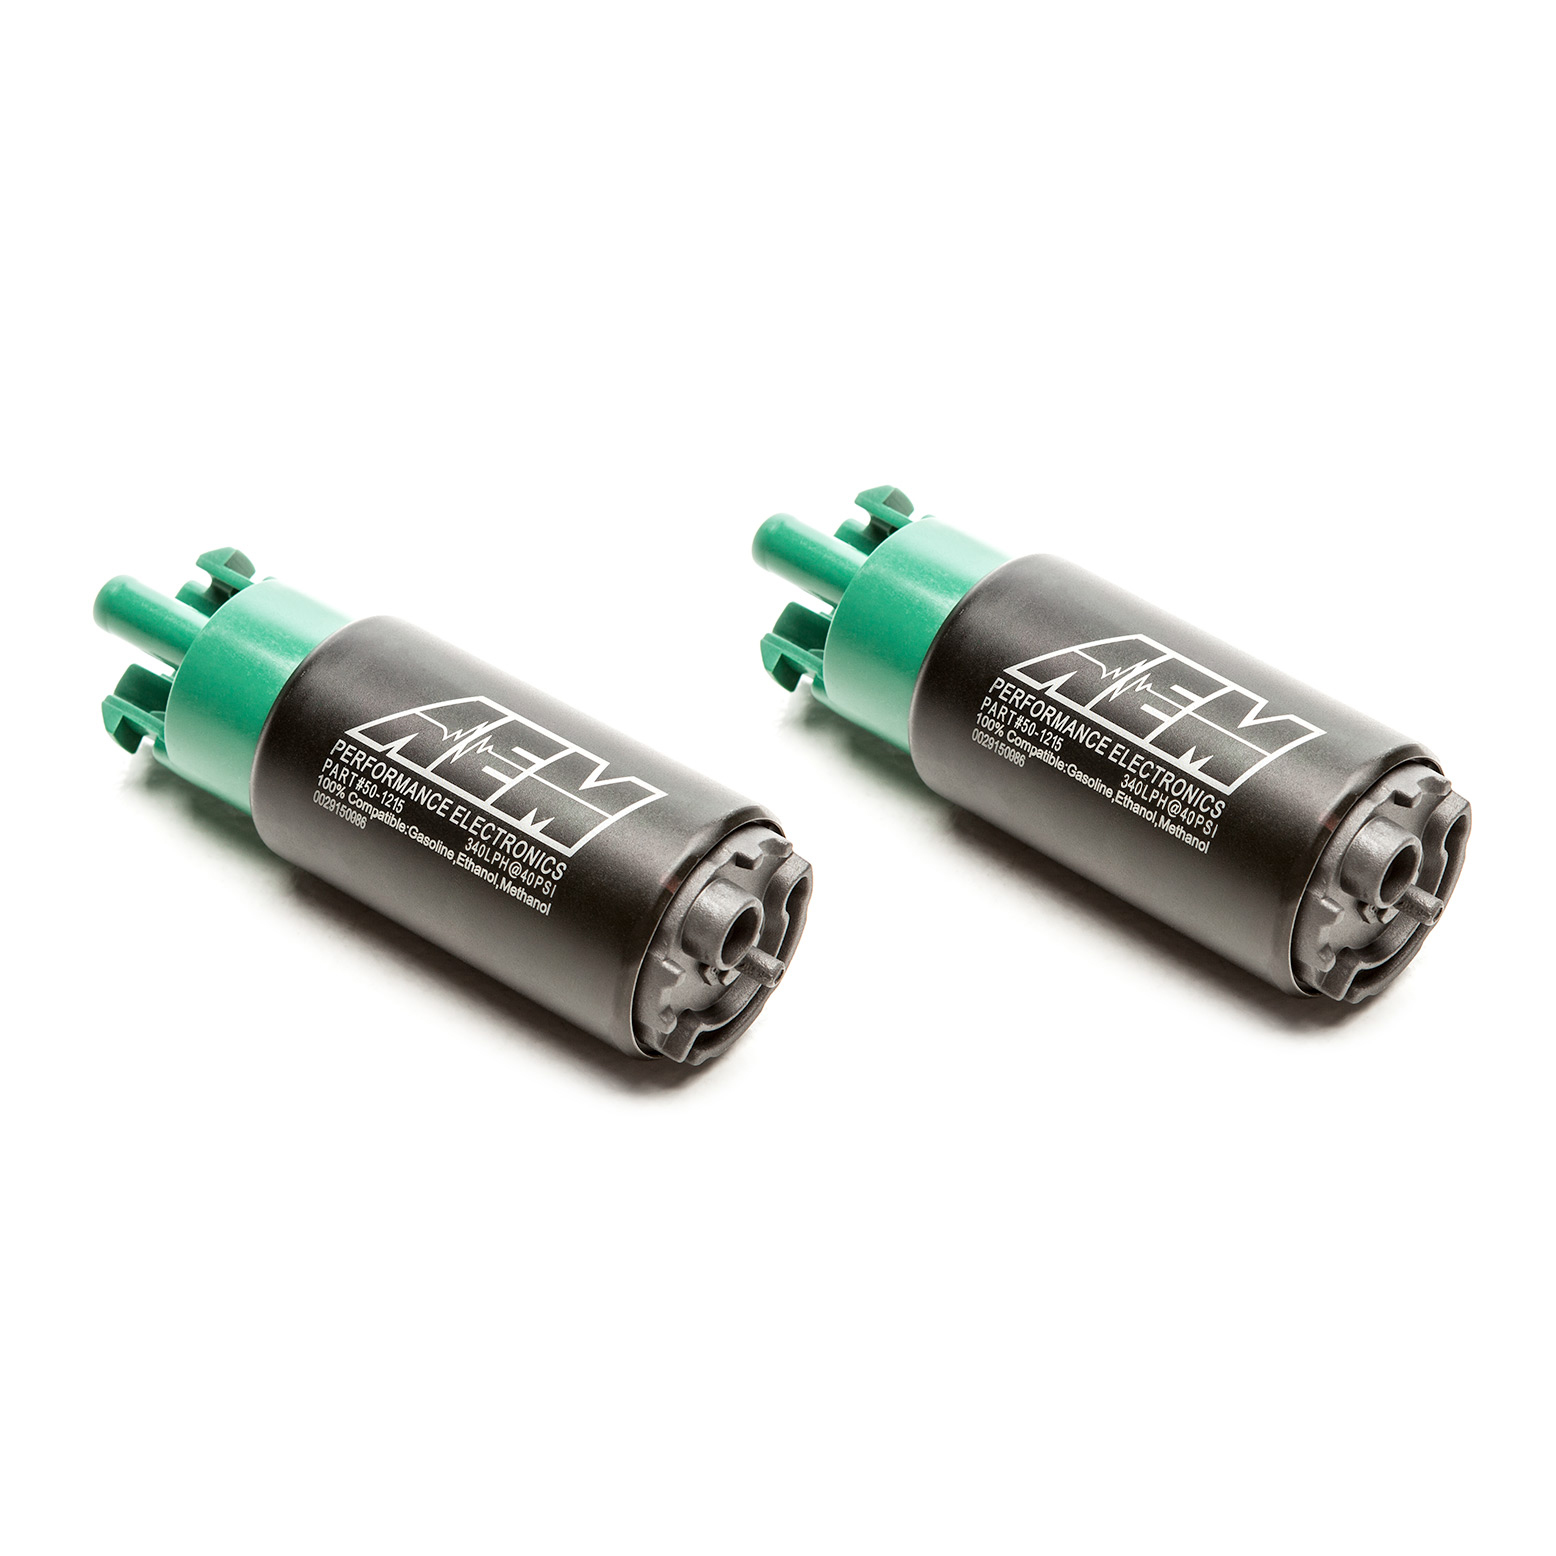
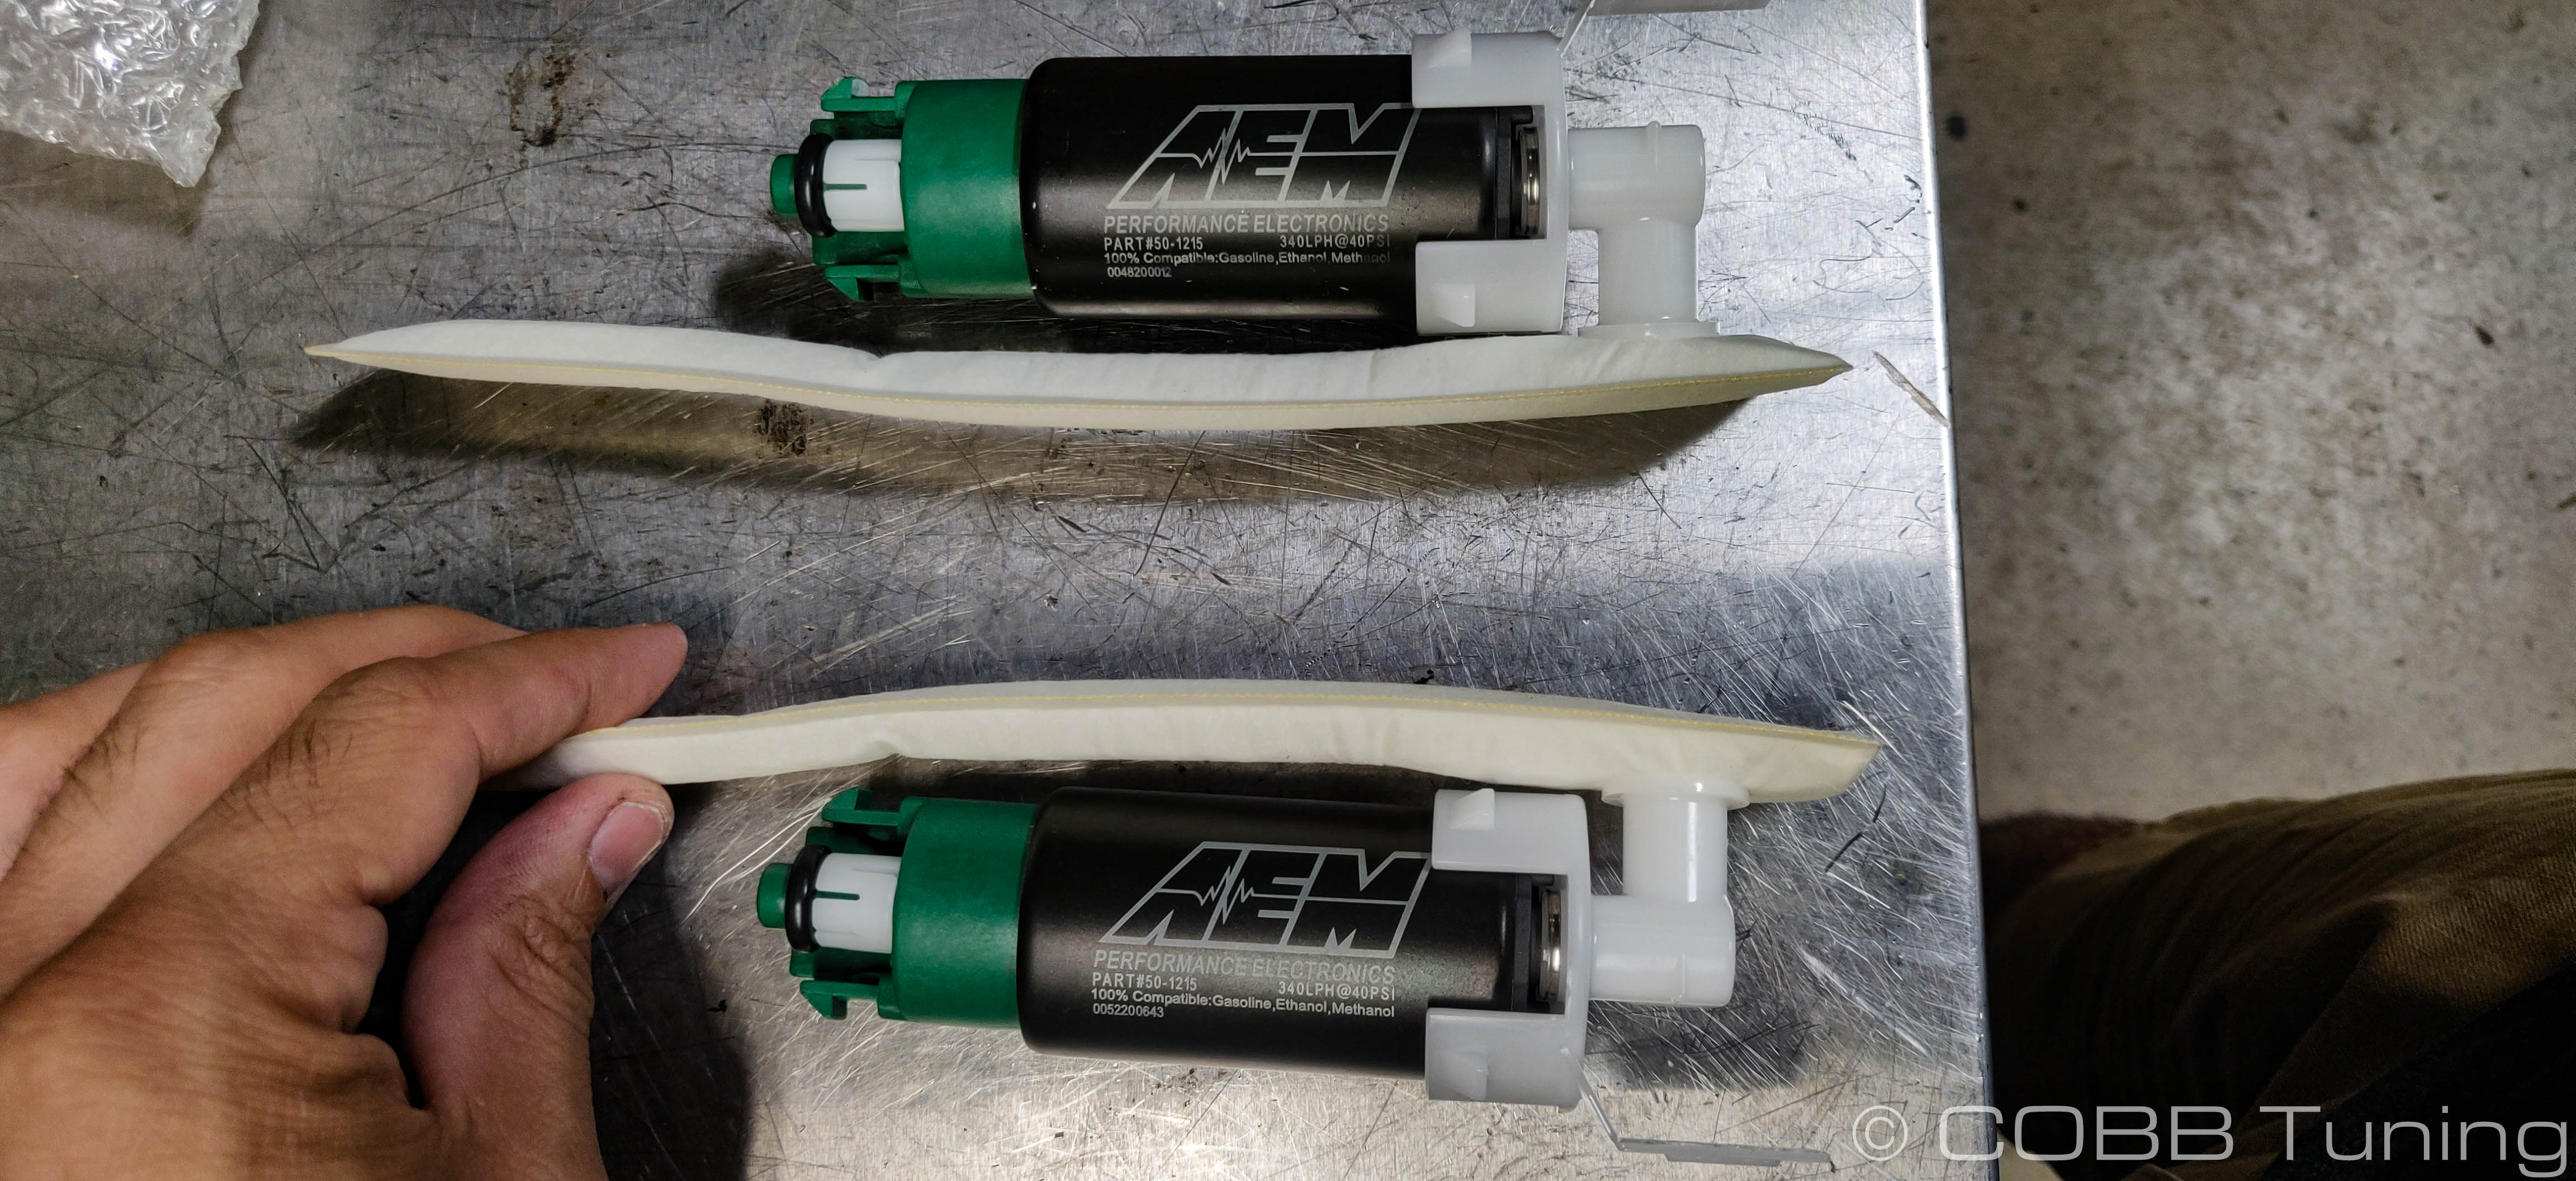
- (2) AEM Fuel Pump
- (2) O-Ring
- Super Lube
Tools Needed
Sockets
3/8"
3/8" ratchet
3/8" 12" extension
3/8" 6" extension
3/8" 8mm socket
Hand Tools
- Multiple Flathead screwdriver
- Trim removal tool
Pick
Needlenose pliers
Channel Lock Pliers
- Deadblow Hammer
Misc.
- Drain pan
Fuel Pump Removal
- Make sure your fuel tank is close to empty. Doing this on a full tank can cause this to be a massive pain as well as result in flooding gasoline on the ground and interior of your car not to mention requiring you to reach elbow deep into gasoline to do this job.
- Park your car in a flat level area with good ventilation. Ventilation is incredibly important for this job as the gas fumes are not good for you.
- Park your car in a flat, level place and allow it to cool down completely.
- Remove the gas cap to allow free movement of air between the tank and the outside world.
- If you have a fan handy having it blow into the driver's side door and out the passenger's door can help provide fresh air while you're doing this job.
- Pop over to the passenger's side (USDM) of your car.
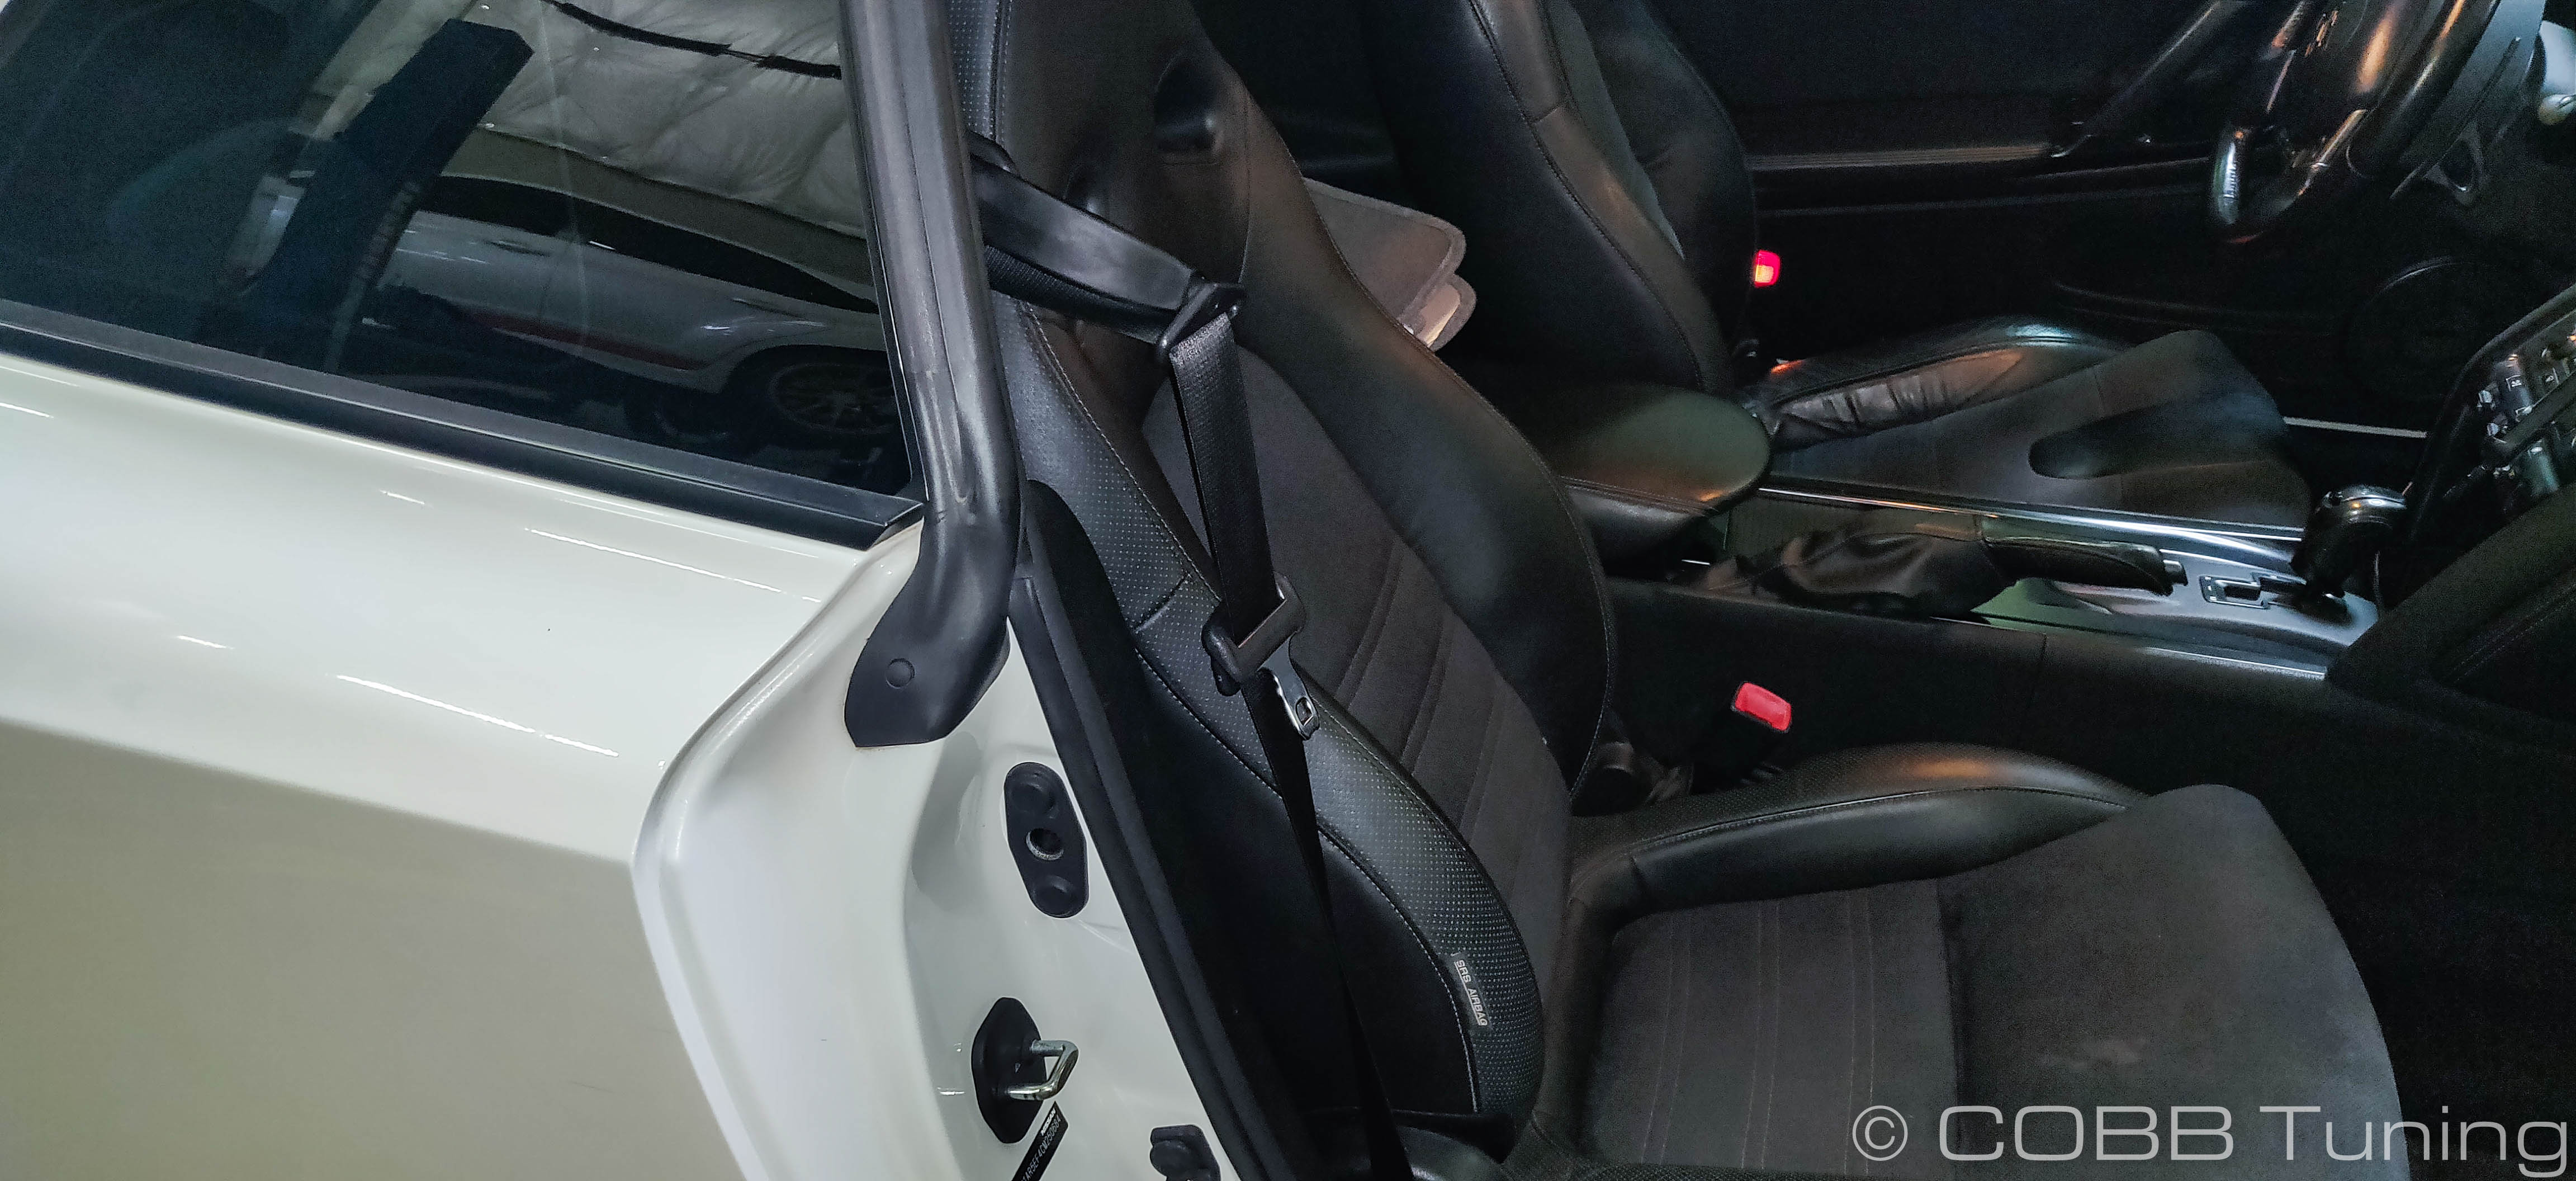
- Spend what feels like an eternity moving the seat as far forward out of the way as you can, this tiny space behind the seat is now your home.
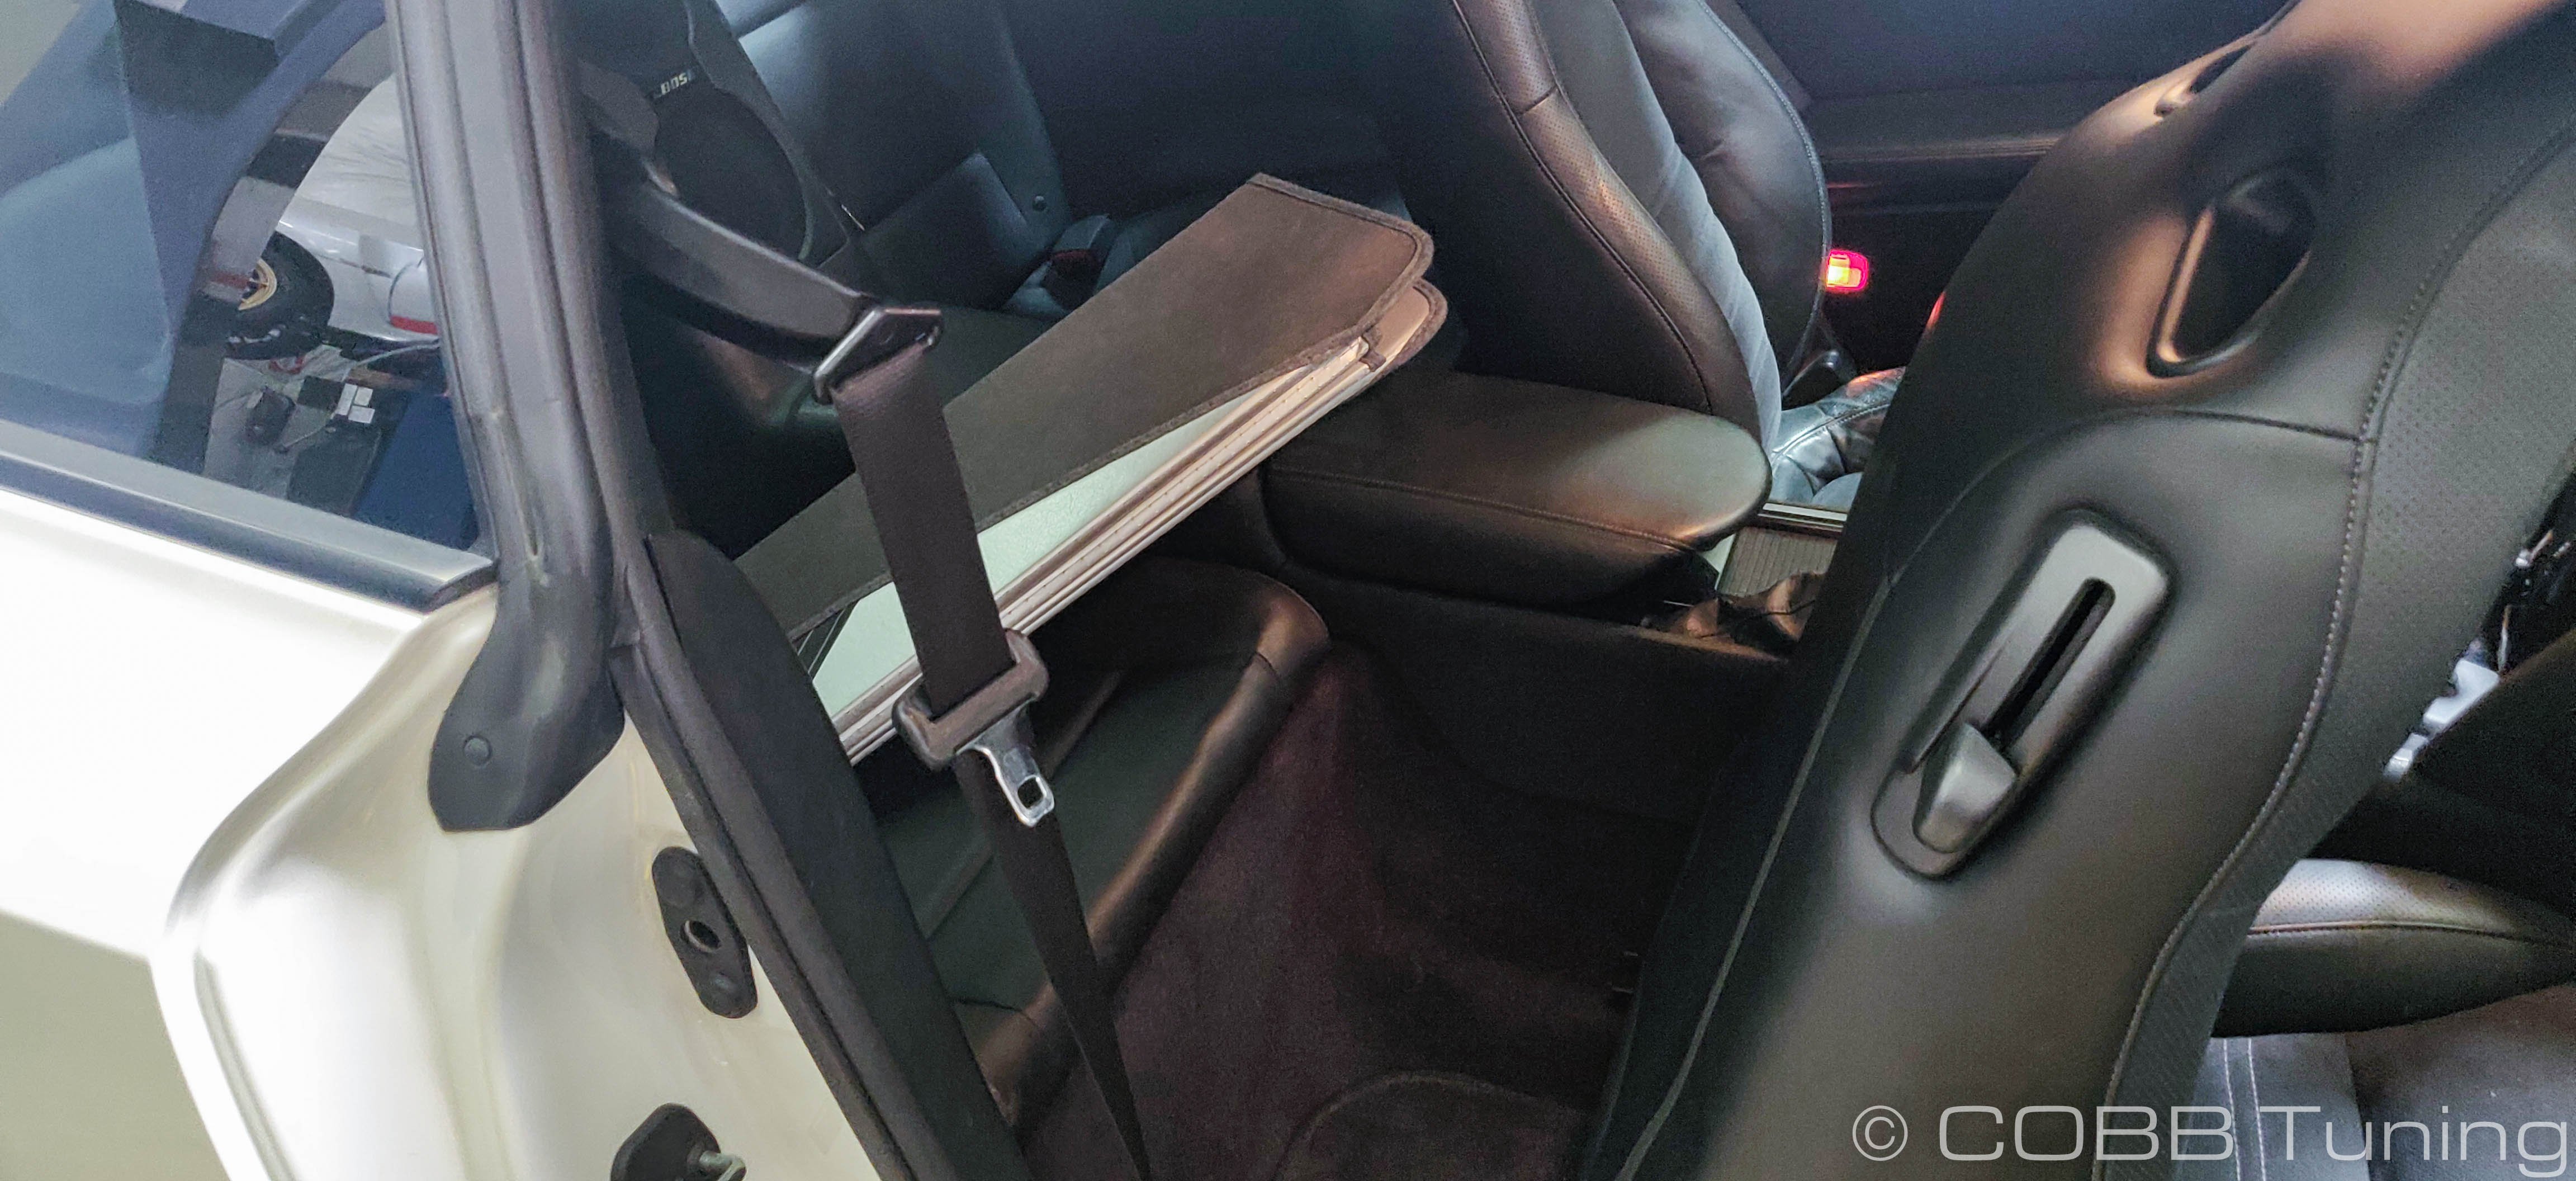
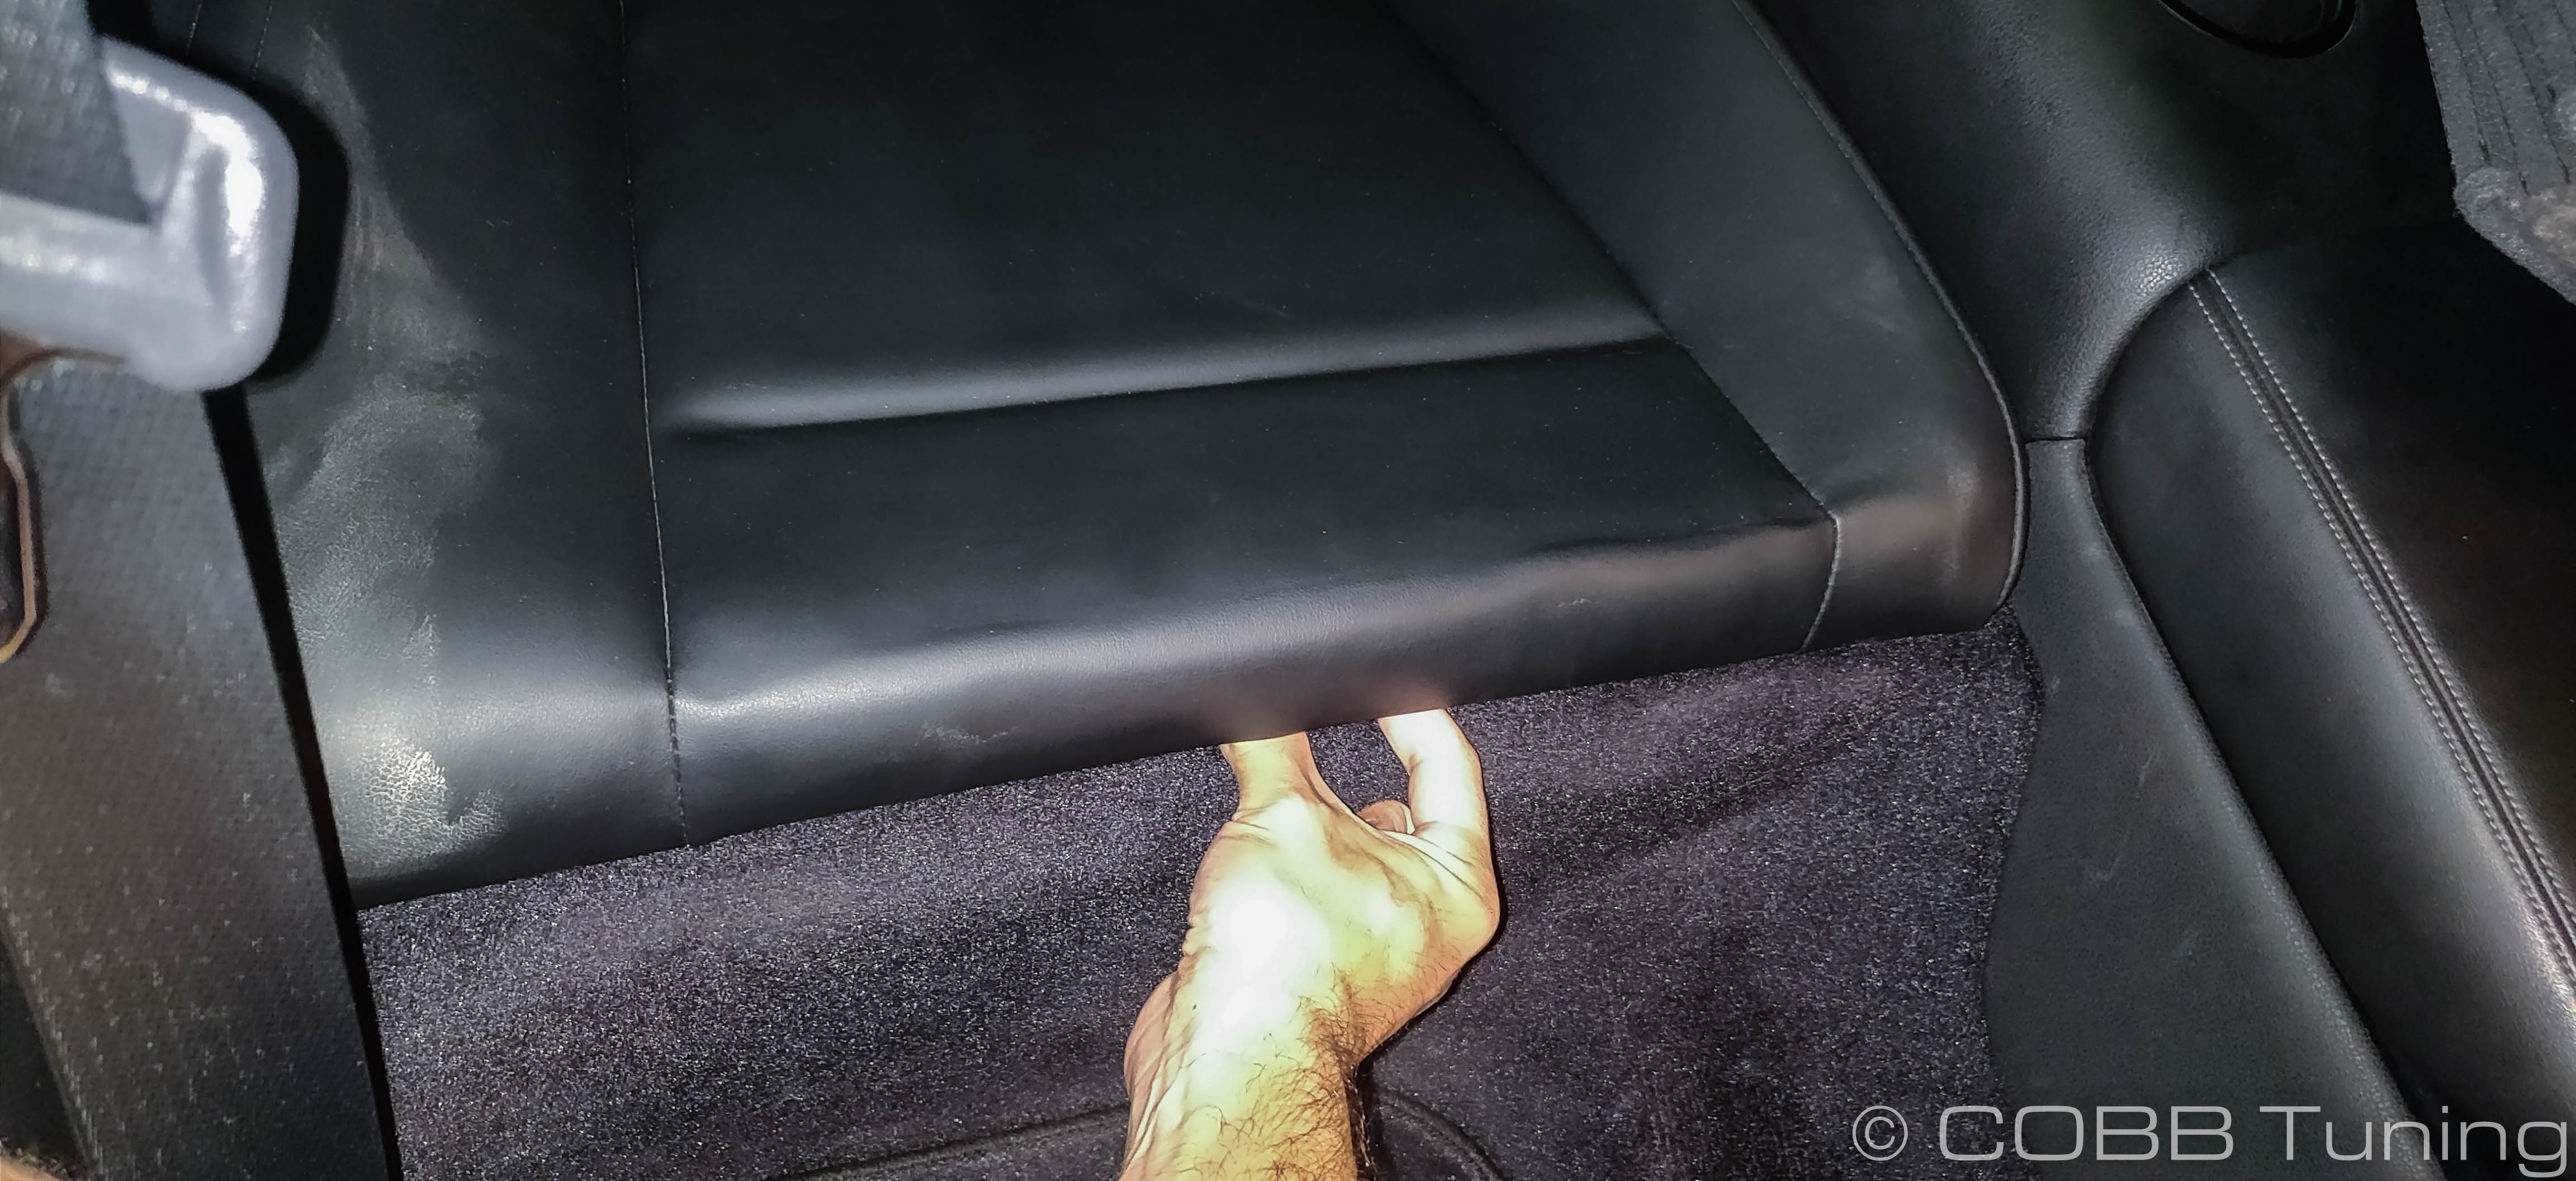
- If you gently lift the seat bottom you'll feel a ring near the middle of the seat. If you pull this outward while pulling up on the seat with your other hand you should feel the seat detach.

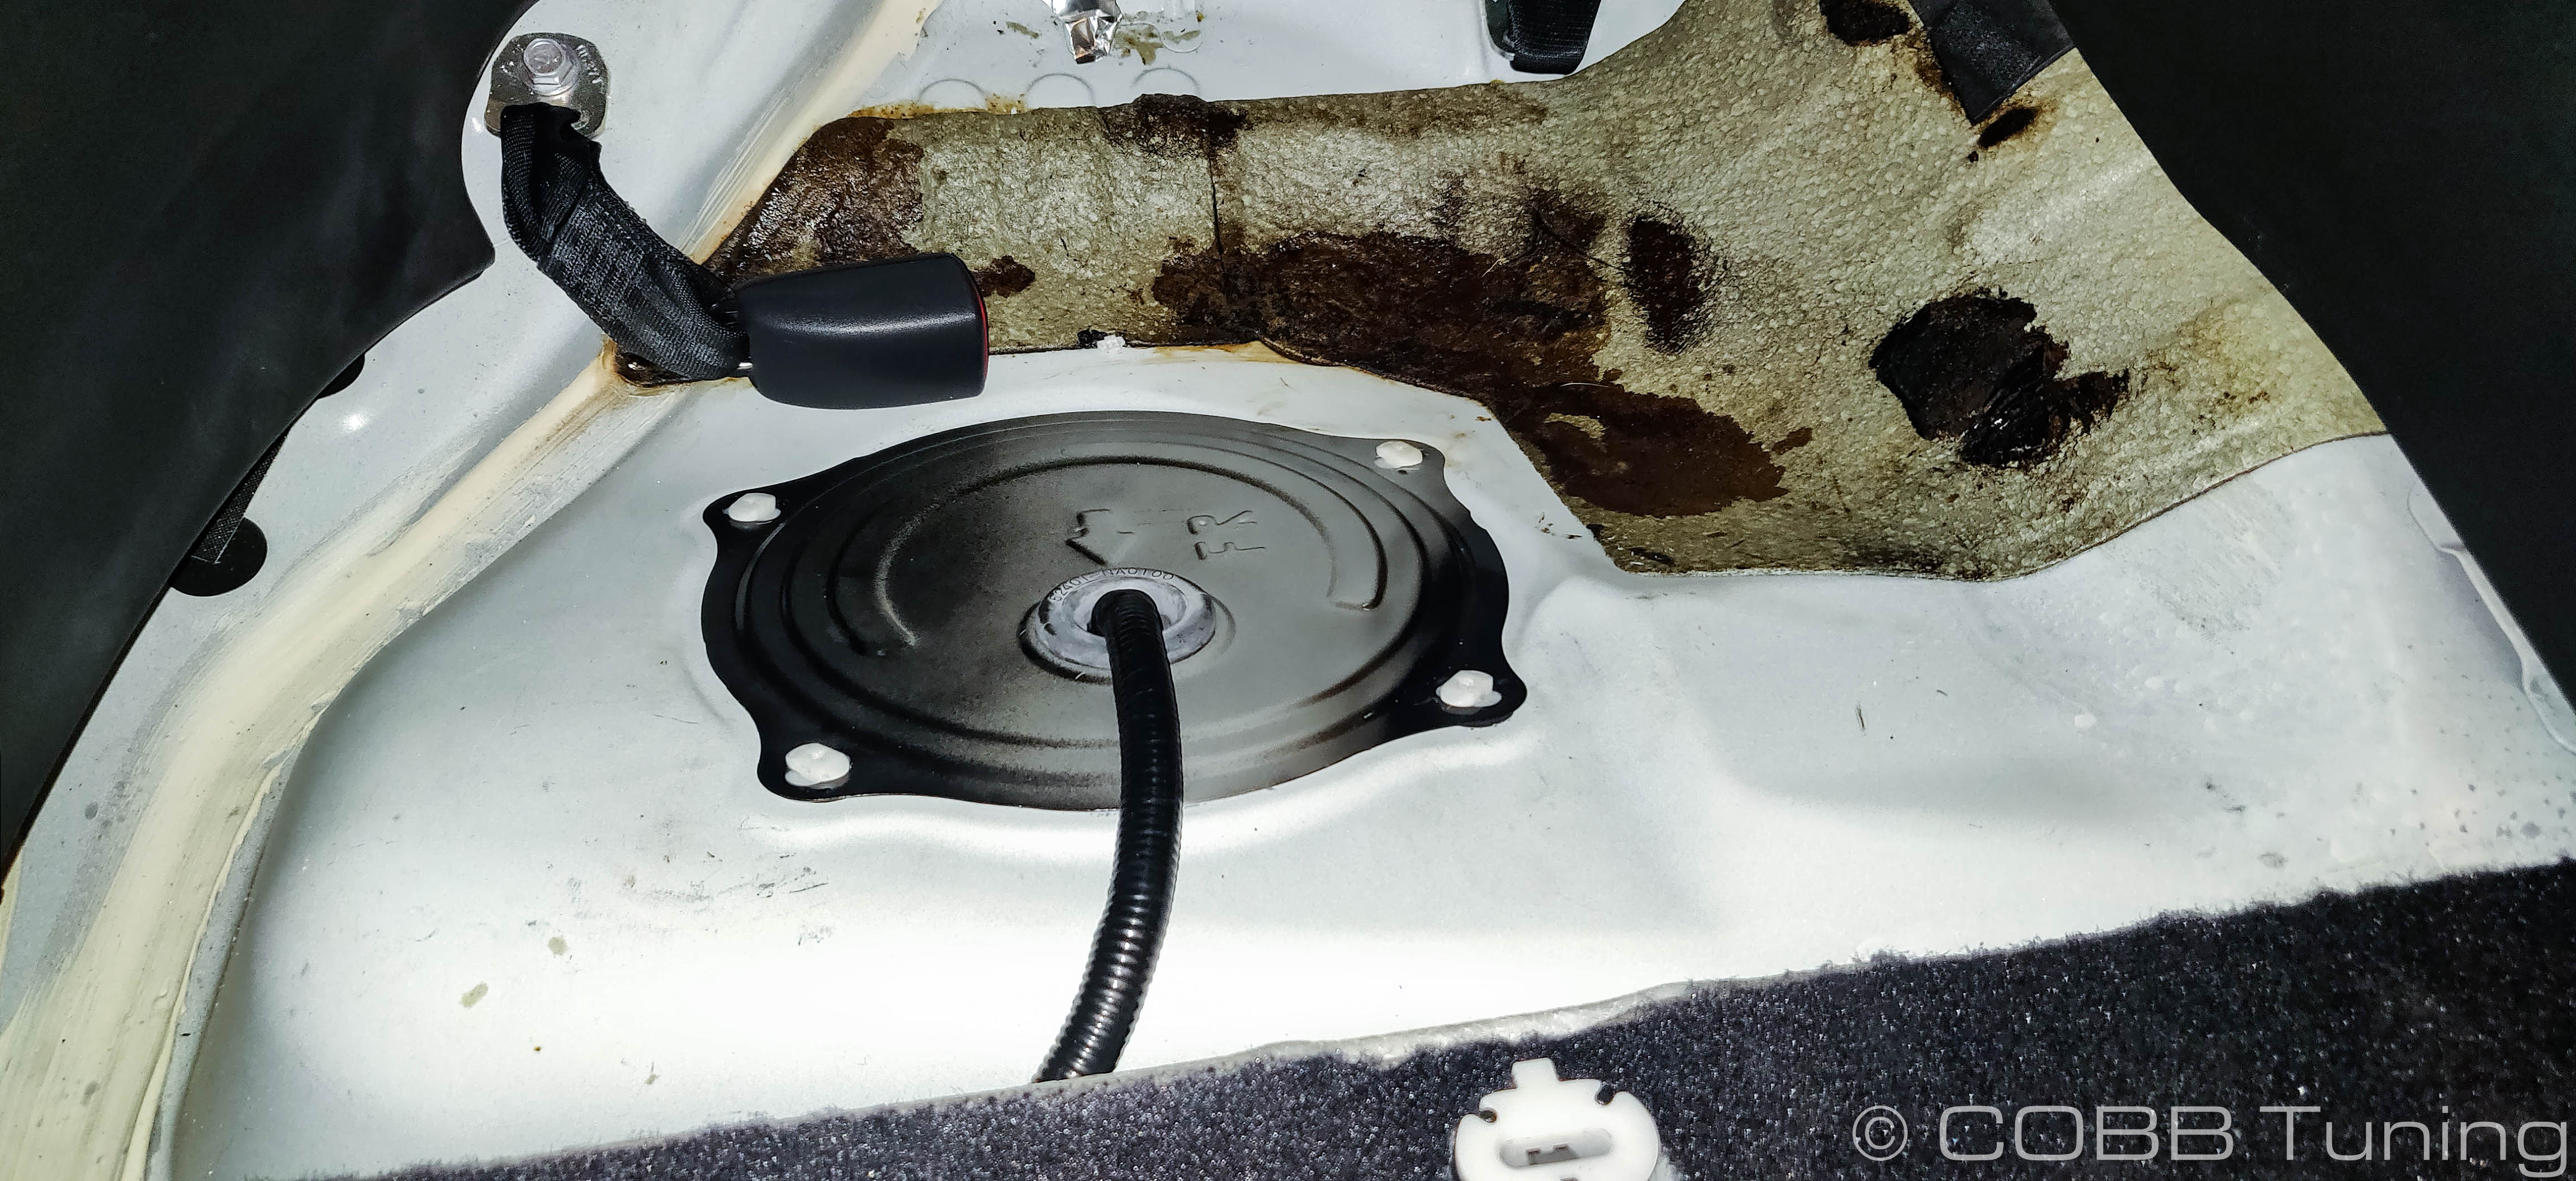
- The next part involves giving the small white plastic clips a quarter turn away from the raised balls that work as stoppers. In some cases you're able to use a philips or flat-blade screwdriver to turn these successfully. In other cases (like on our car) the very first one is completely fine and then you'll strip the rest. At that point using a pair of pliers to turn them is your best bet. Your goal is to have the longer portion of the clip in-line with the center of the cover.

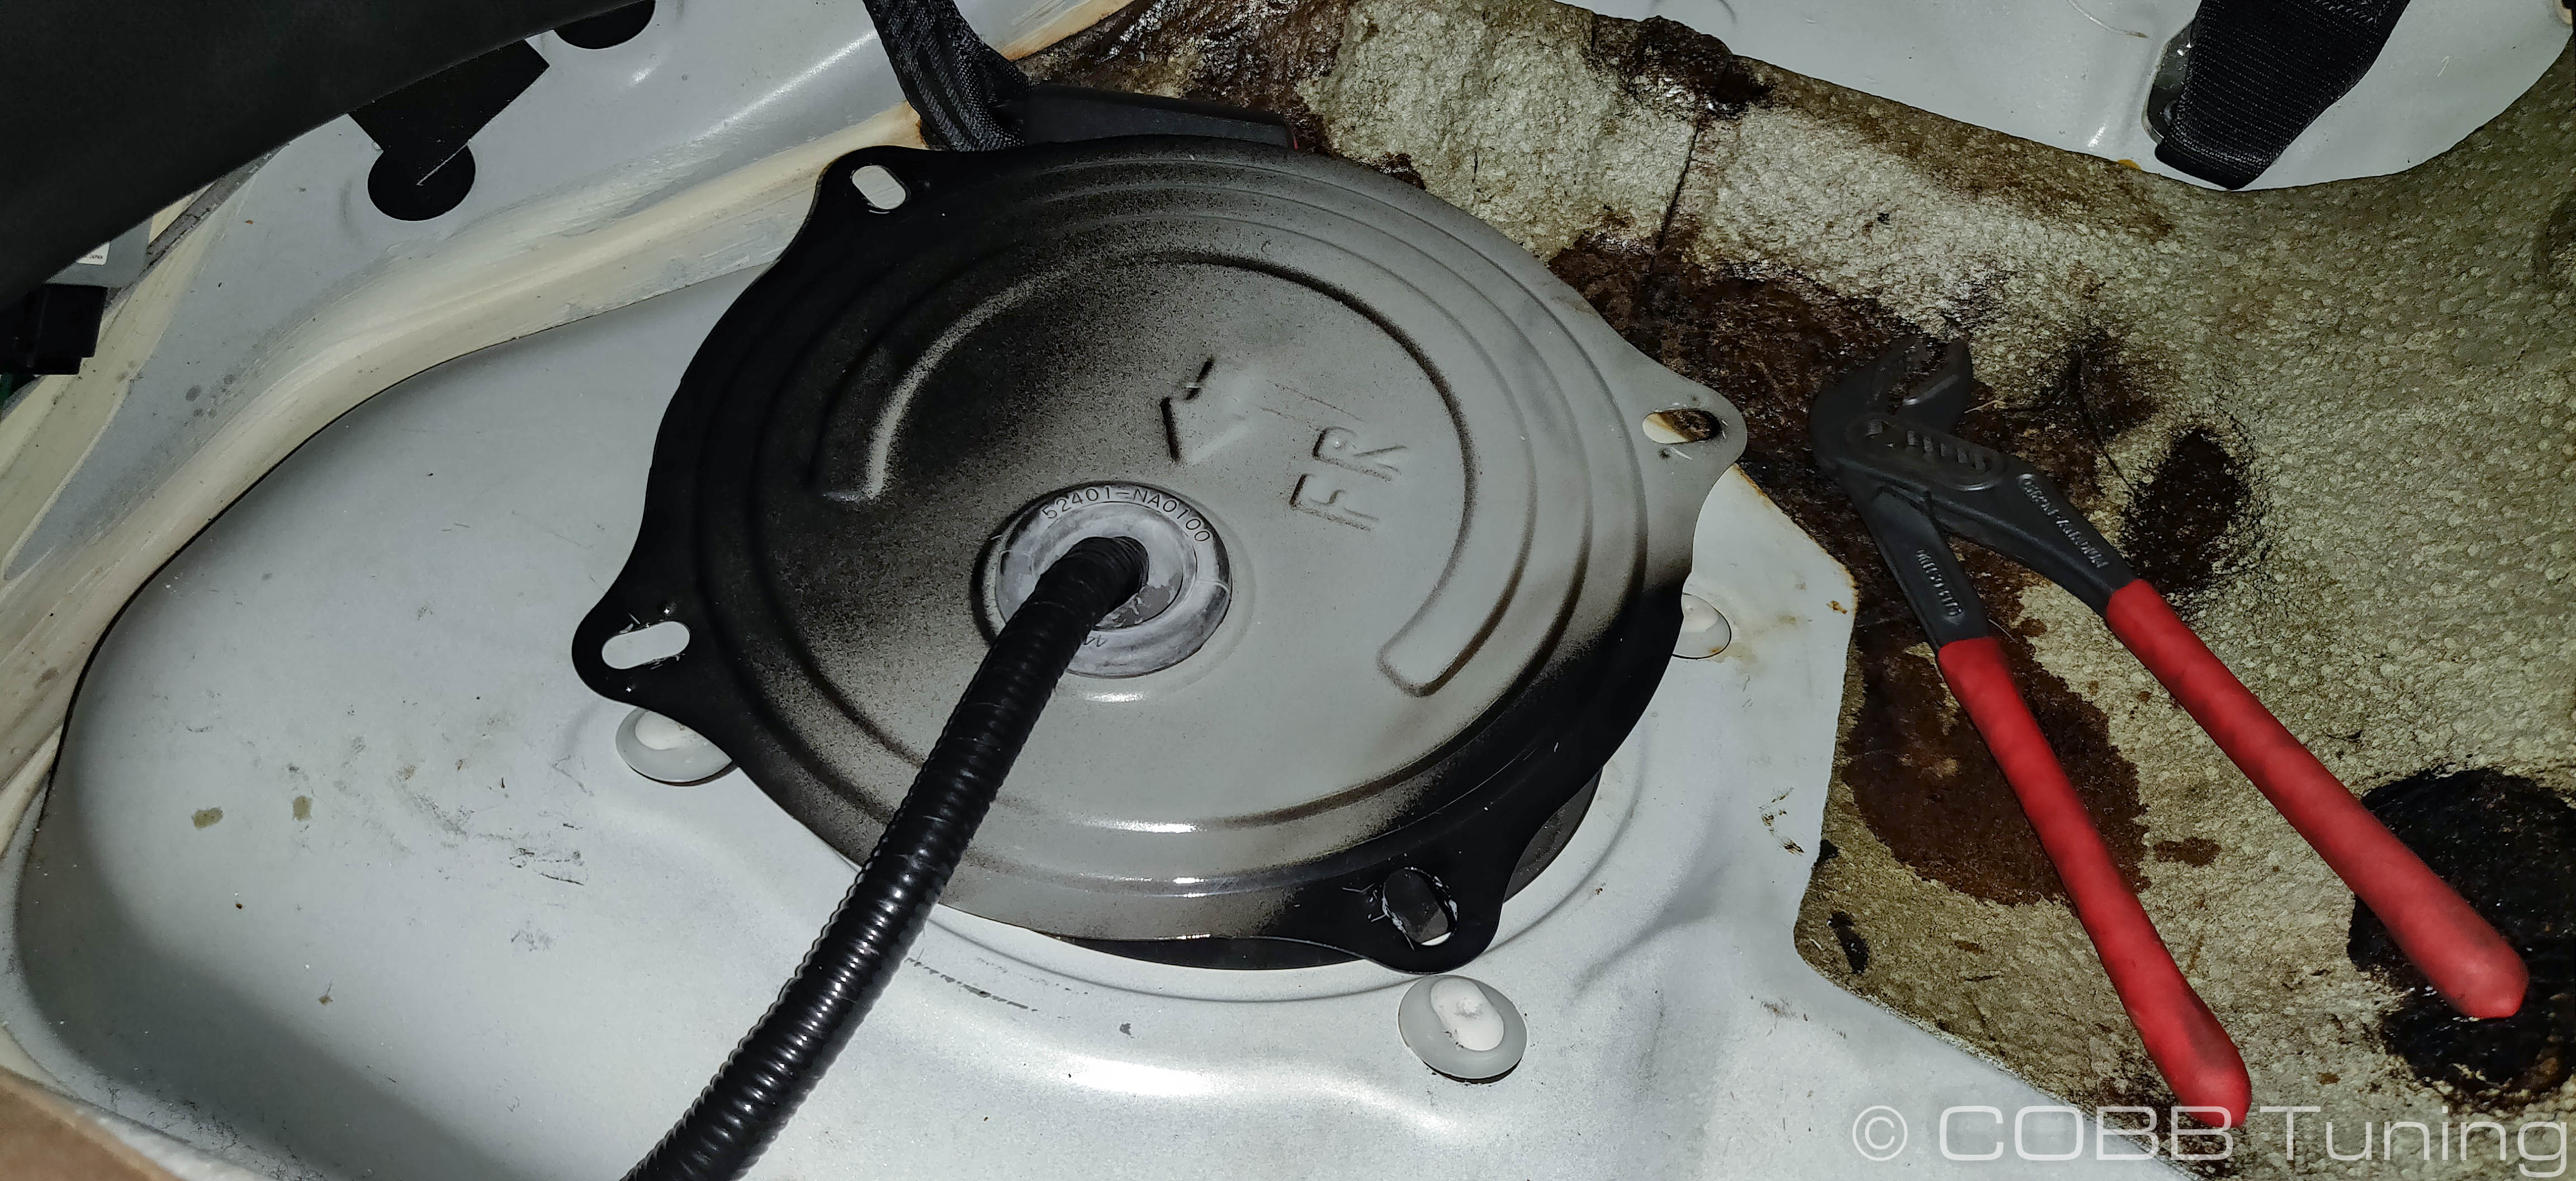
- Start the car up and allow it to idle.
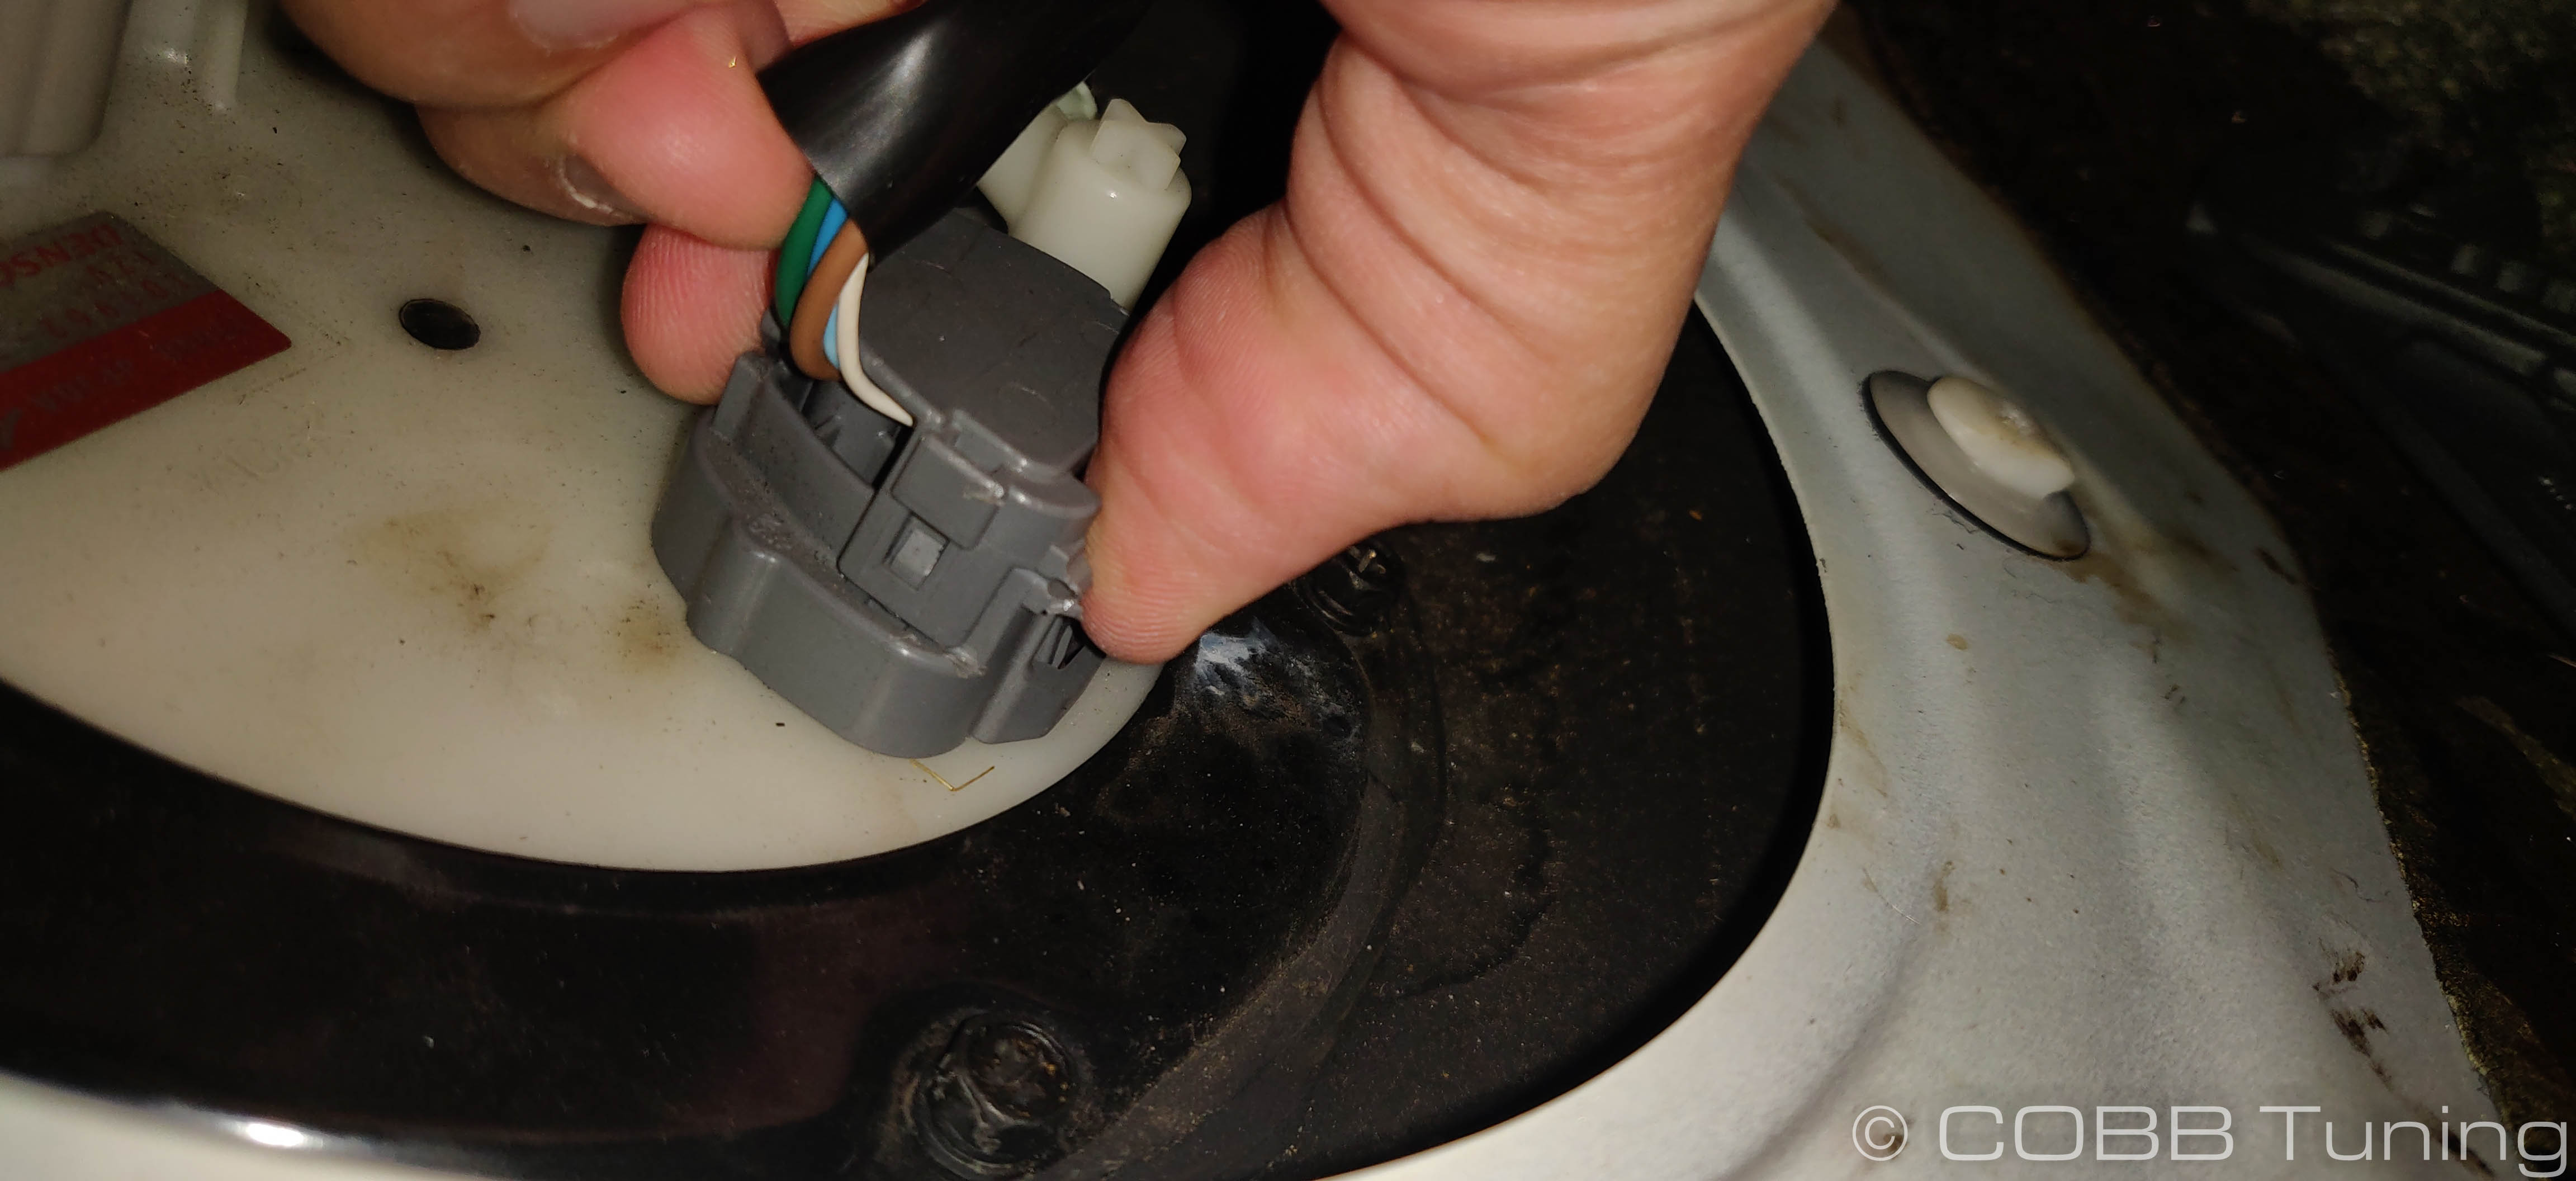
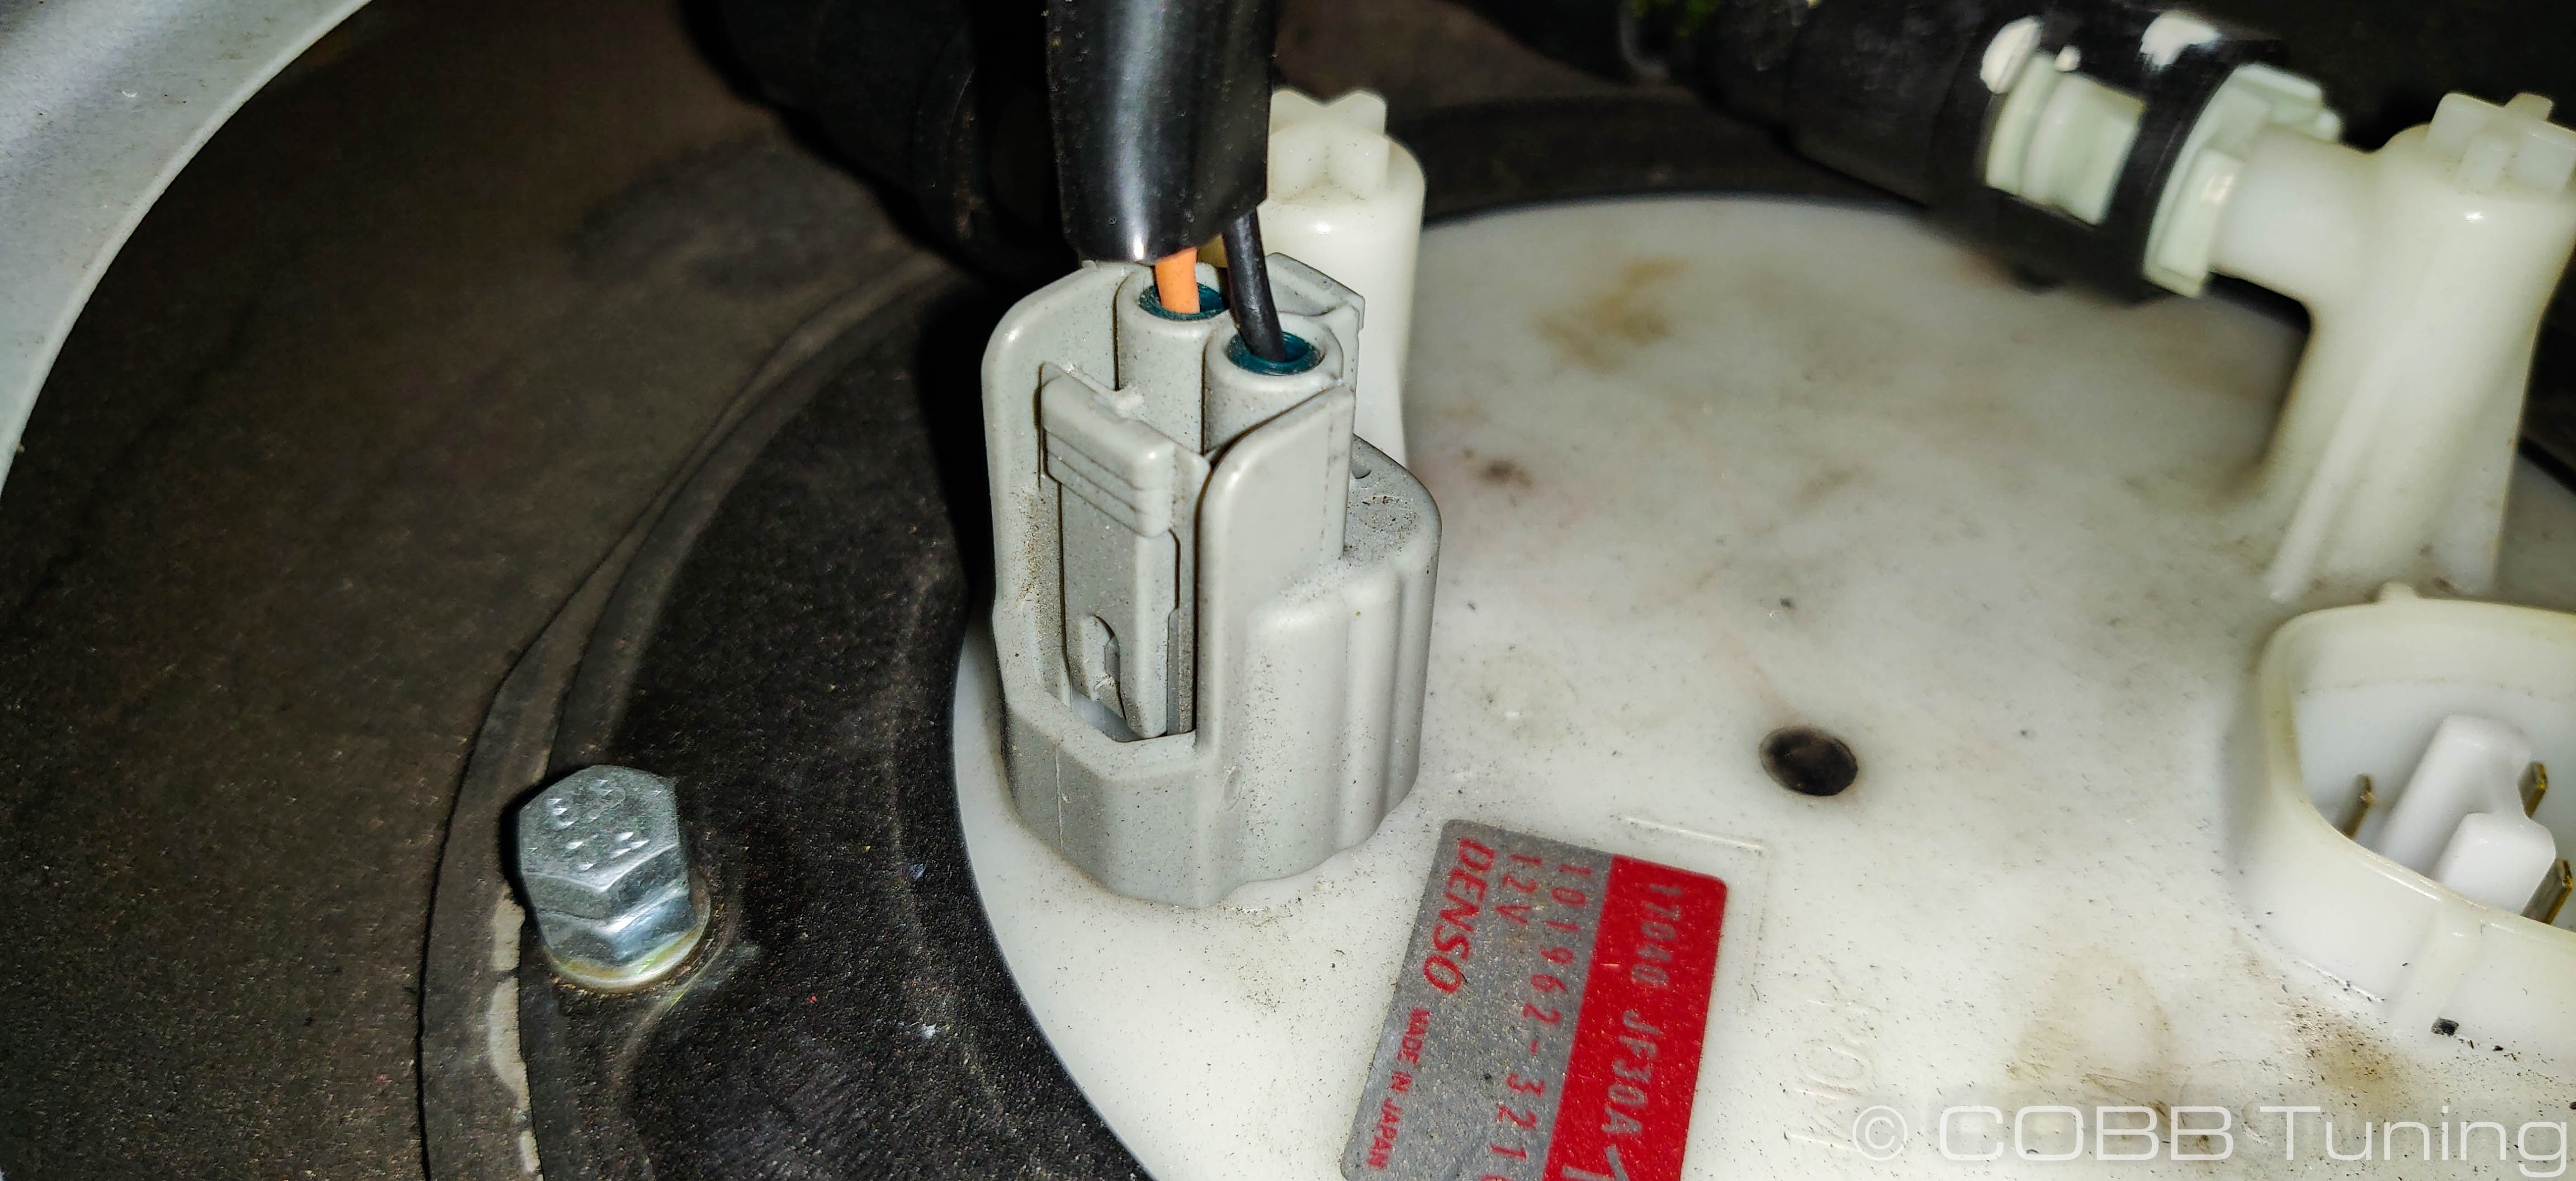
- With the cover off disconnect the larger main pump wiring harness by squeezing the release tab and allow the car to die. Then do the same with the level sender.
- Put a rag underneath the lines going into the fuel tank. Gently squeezing the white clips in each hose you should be able to push the hose off of the fuel pump hanger.
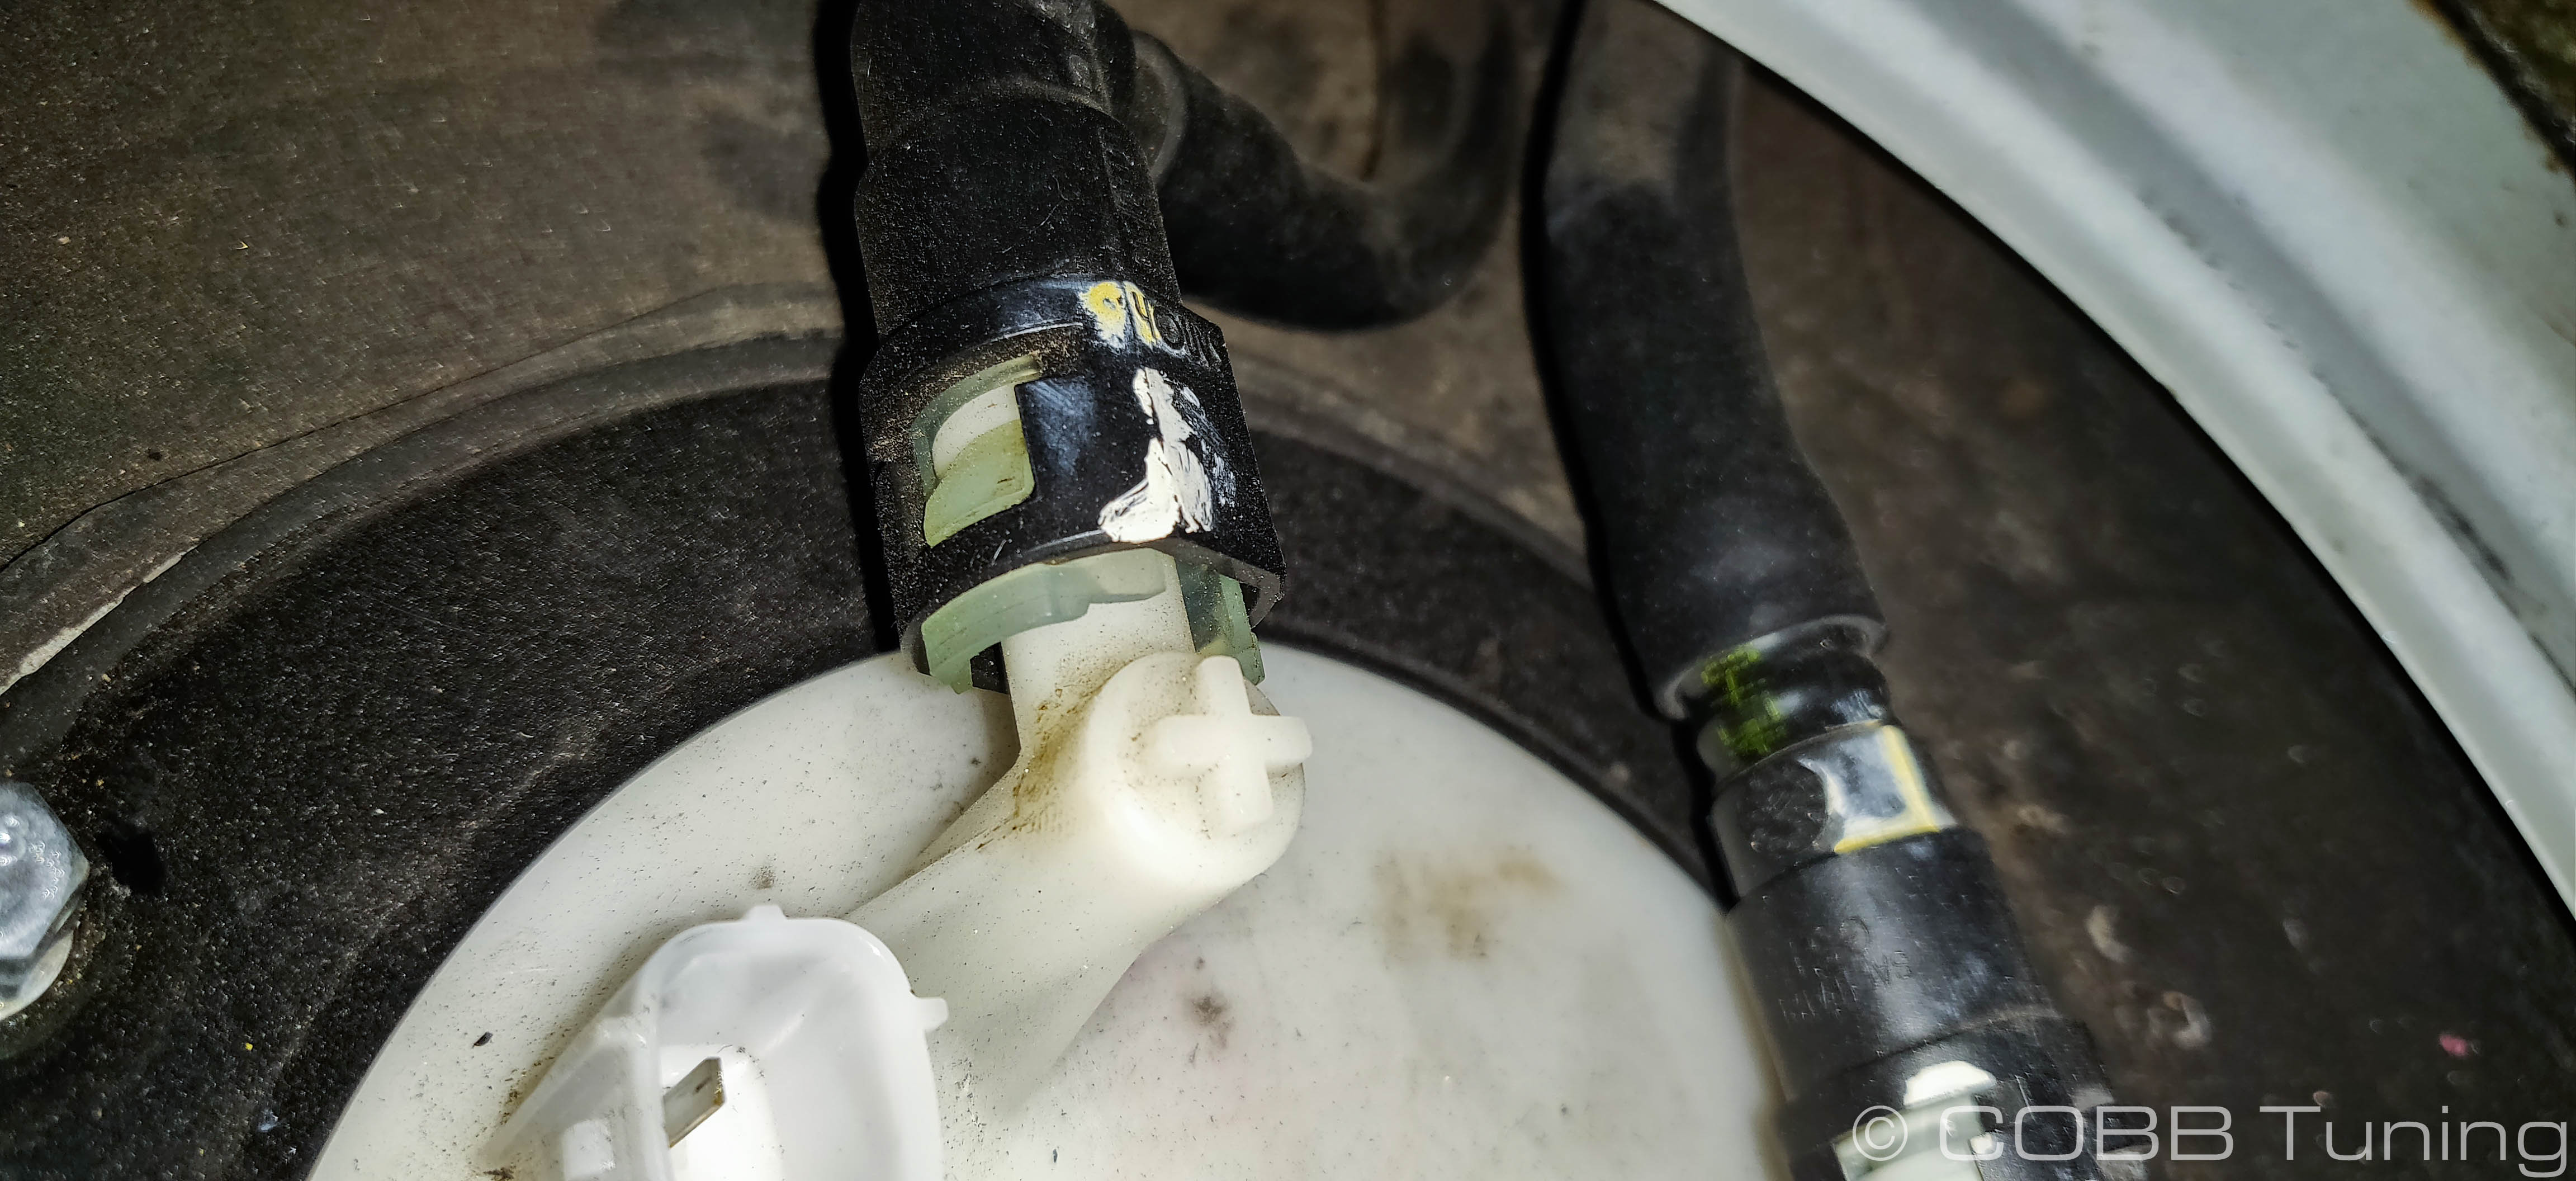

- Using an 8mm socket, remove the ring holding the fuel pump in place.
- With the fuel pump hanger now loose, slowly work the top part of the pump out of the tank. It's a good idea to have rags or paper towels nearby to set things on and soak up the fuel. The top part will still be attached to the lower portion of the hanger but you'll need it somewhat out of the way to deal with that.
- On the front of the pump hanger you'll see two hoses going in. To mark which one goes to which side I'll usually put a zip tie on one hose and it's opposite side on the fuel hanger so I know which goes to which and I can install it again later.
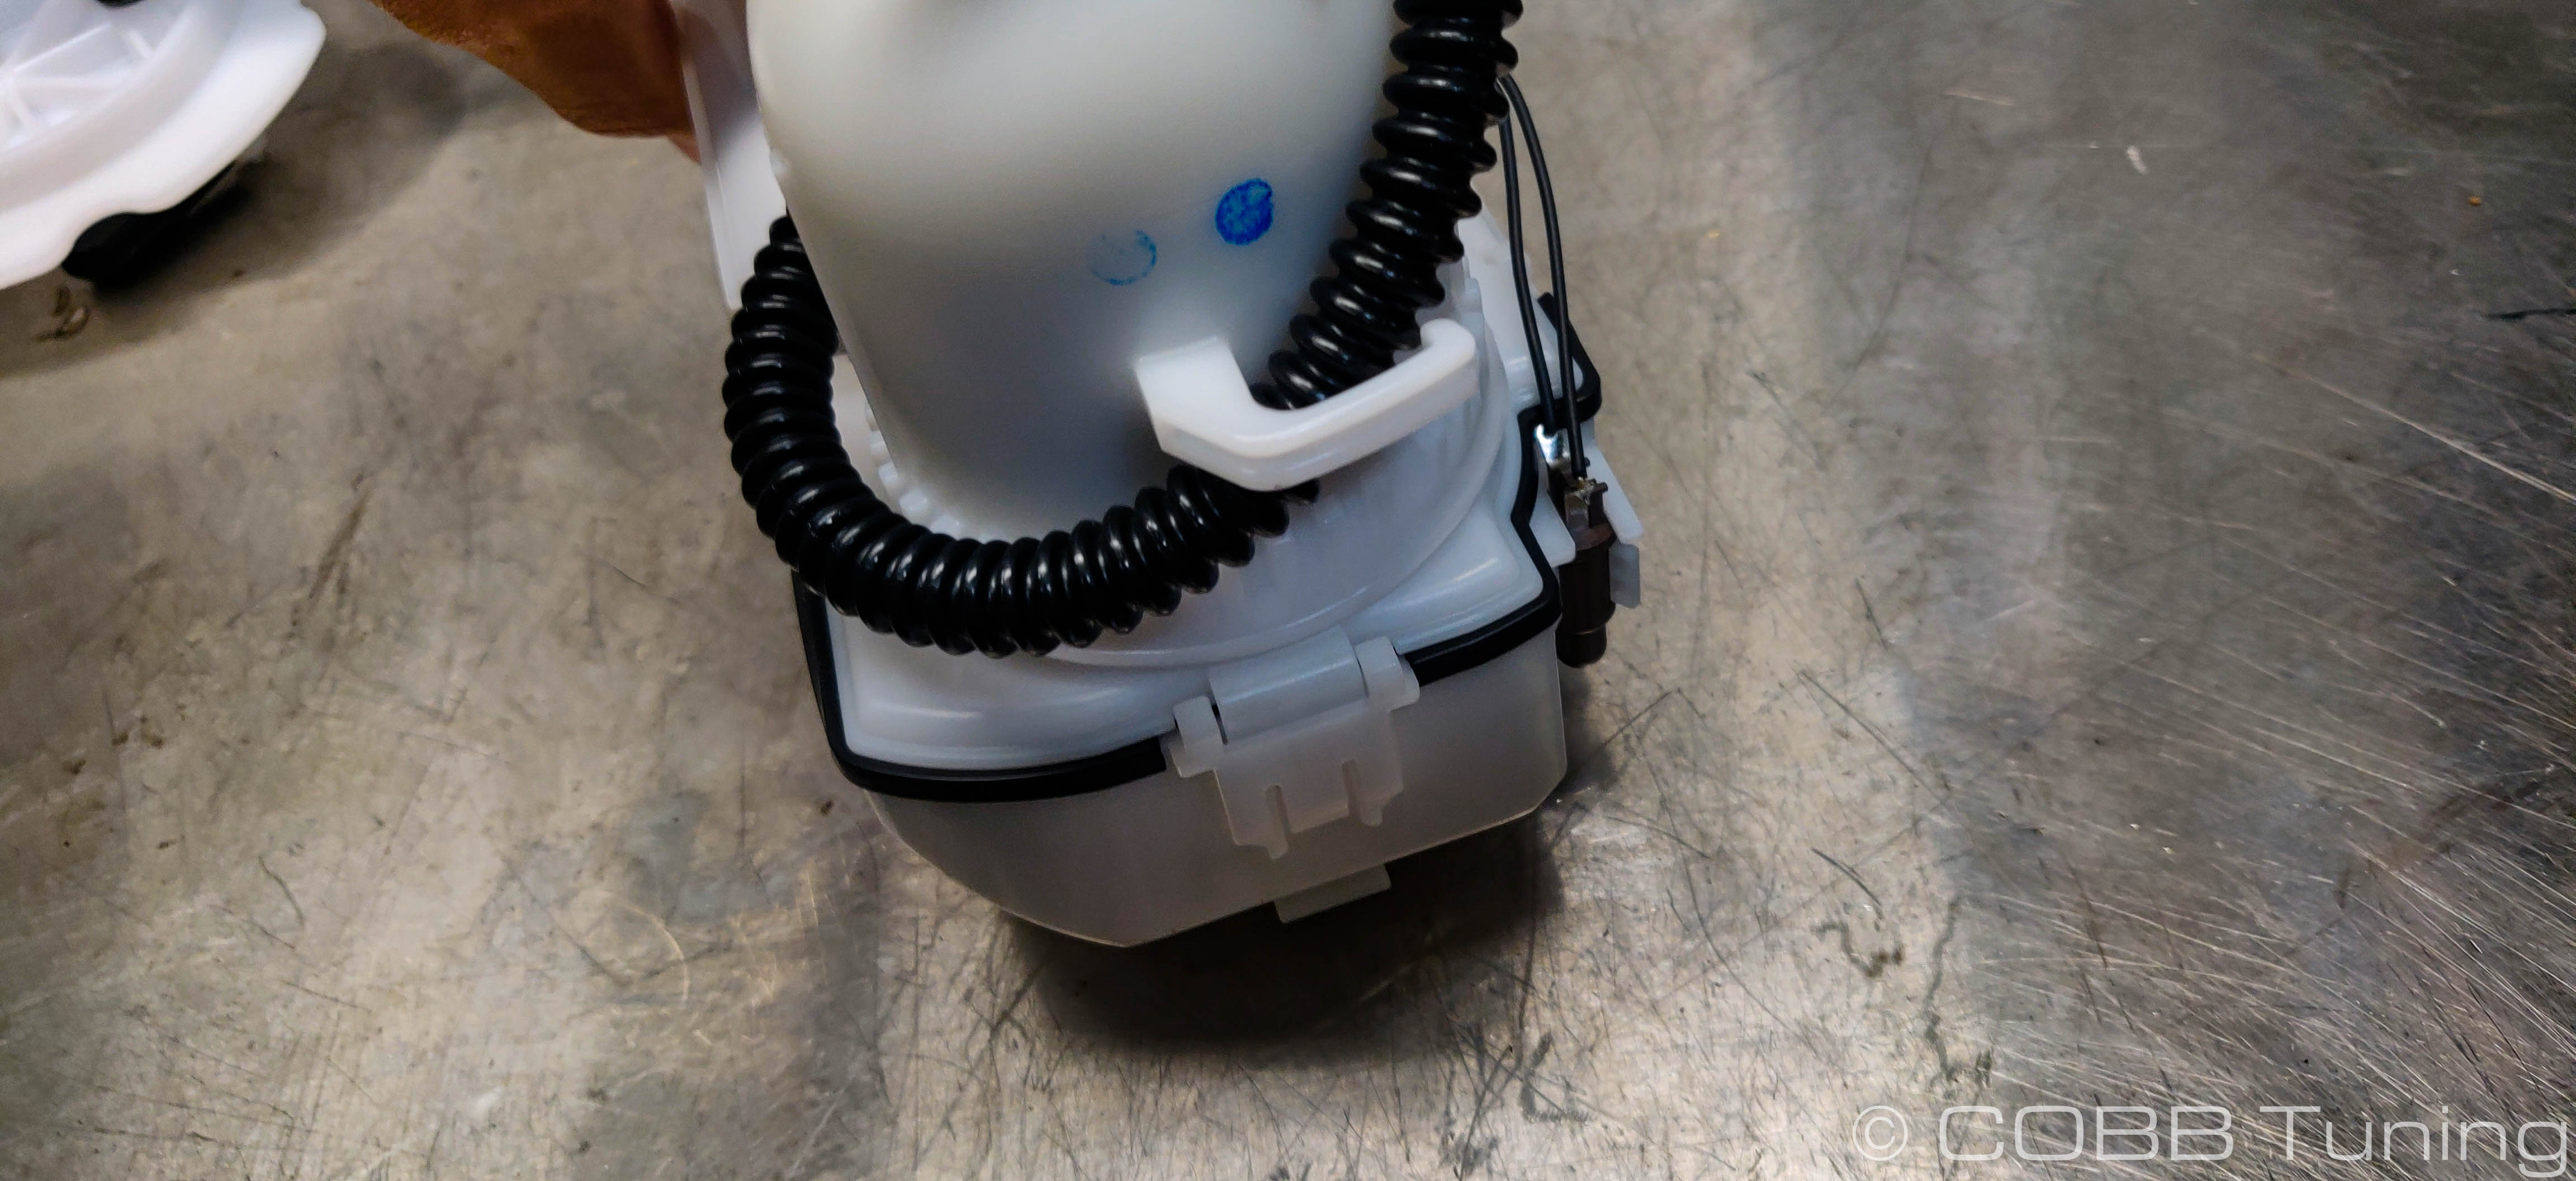
- Reach around to the back of the fuel pump sending unit where it sits in the bottom of the tank. There will be a release tab on the back side, if you pull up on this while pulling forward you should be able to release the pump hanger from the bottom of the tank. If it's been in place for a while you may need to gently tap it with your other hand.
- You now should be able to work the lower half of the fuel sending unit out of the tank. It's quite a bit of a pain and will take a minute so be patient and take a break if the fumes get too bad for you.
Pump Hangar Disassembly
- Gently pulling outwards, remove the blue clip from the white barb sticking out of the front of the hanger.
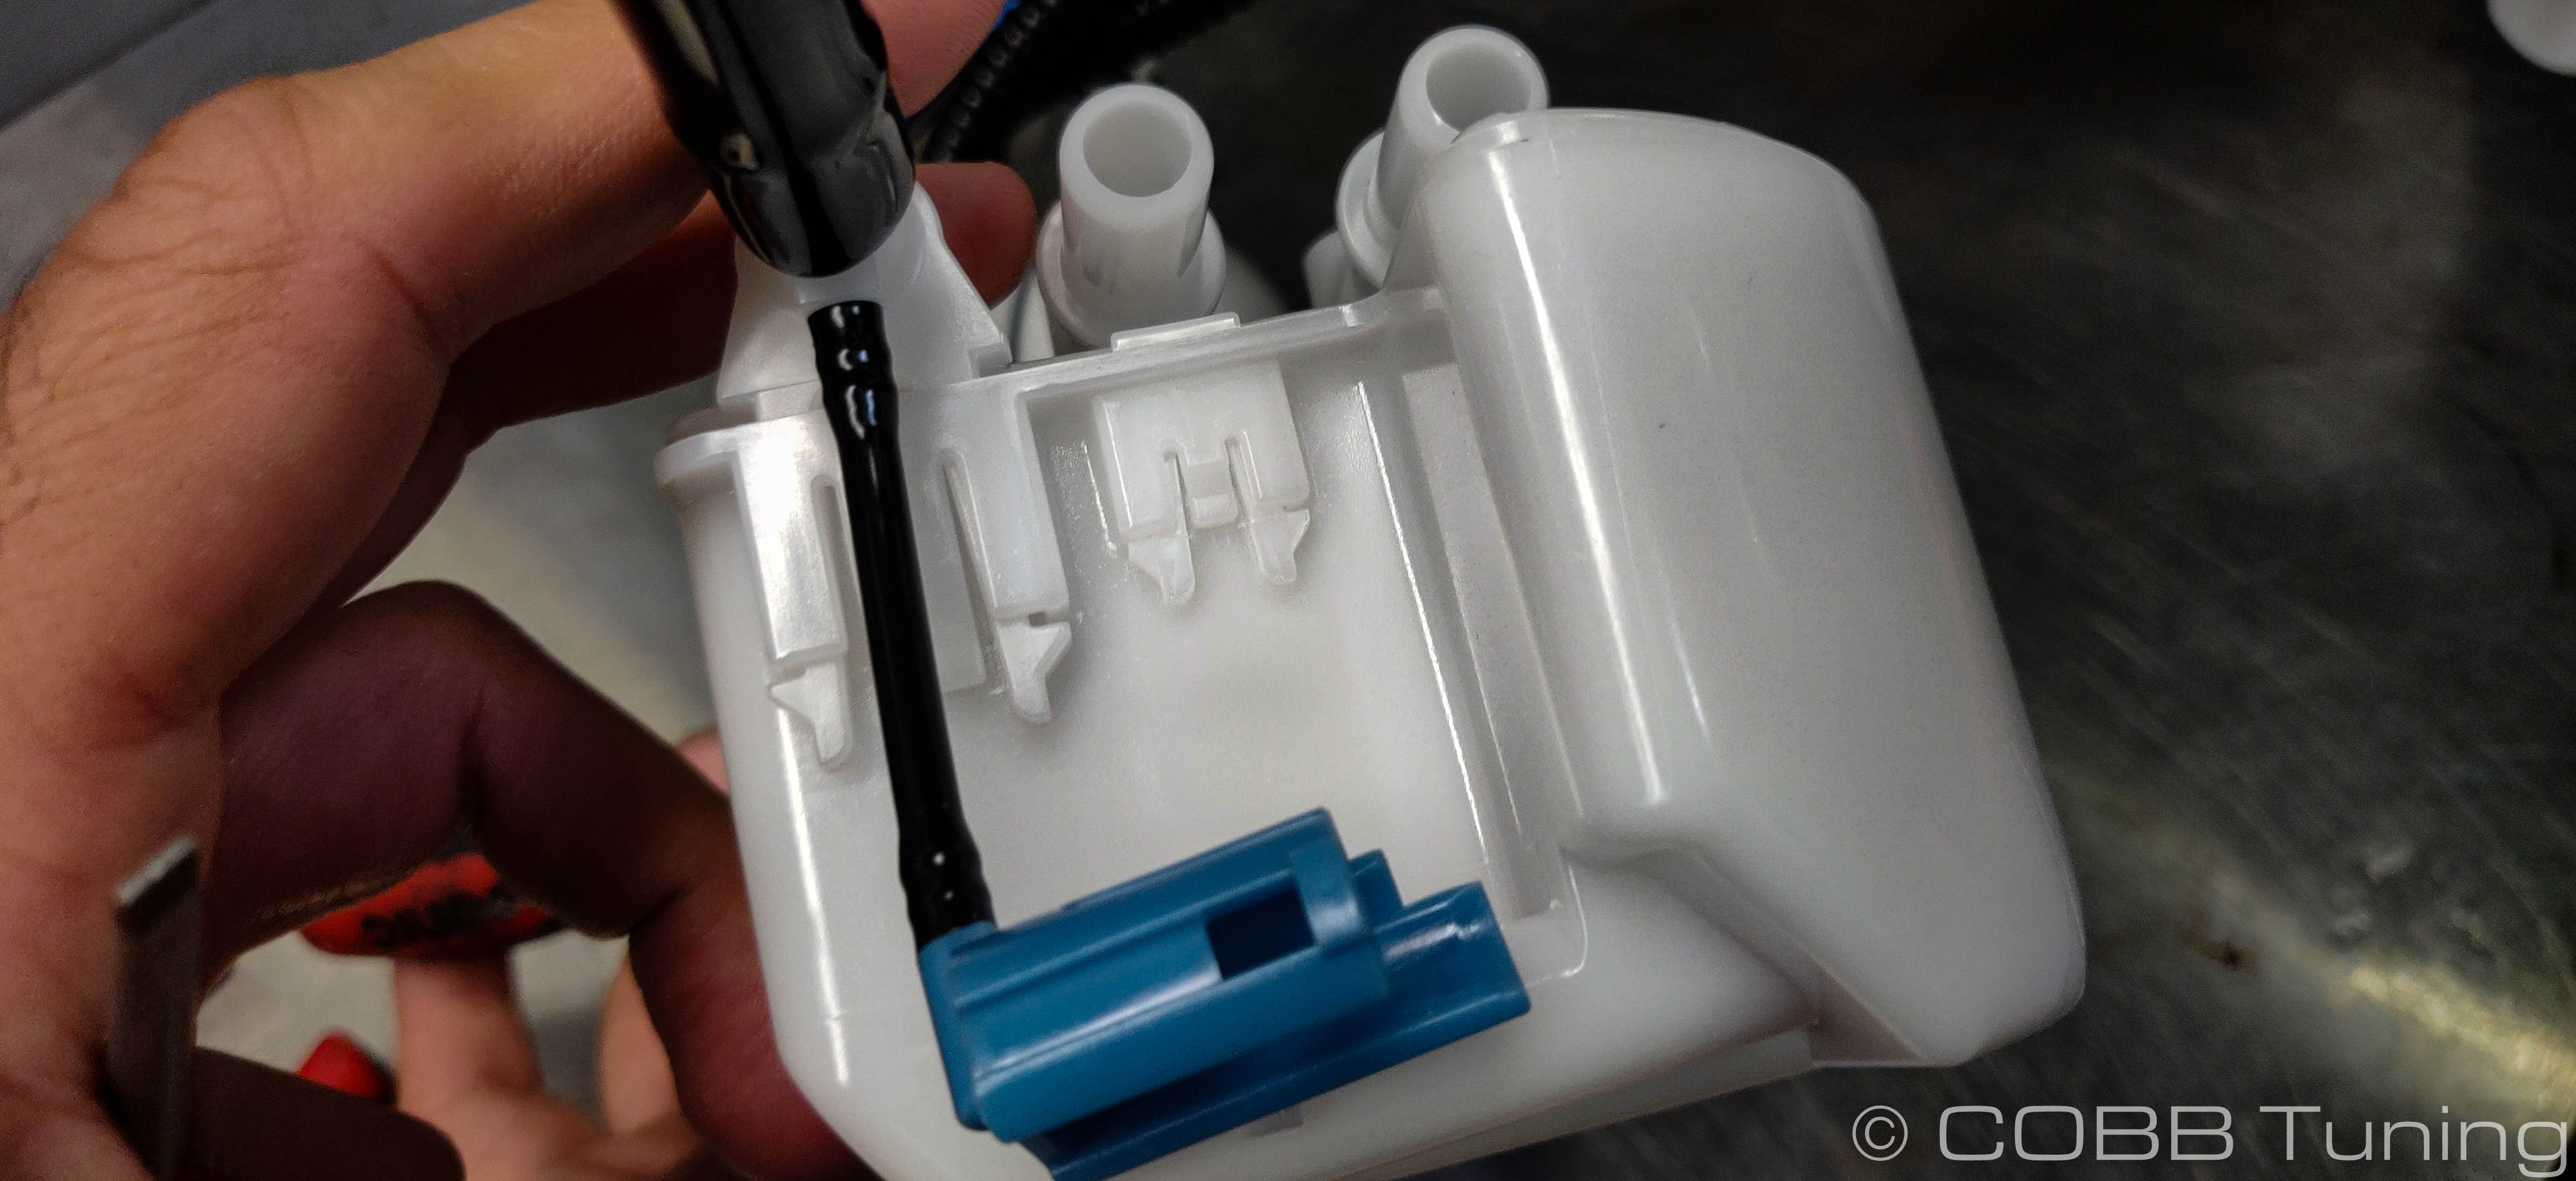
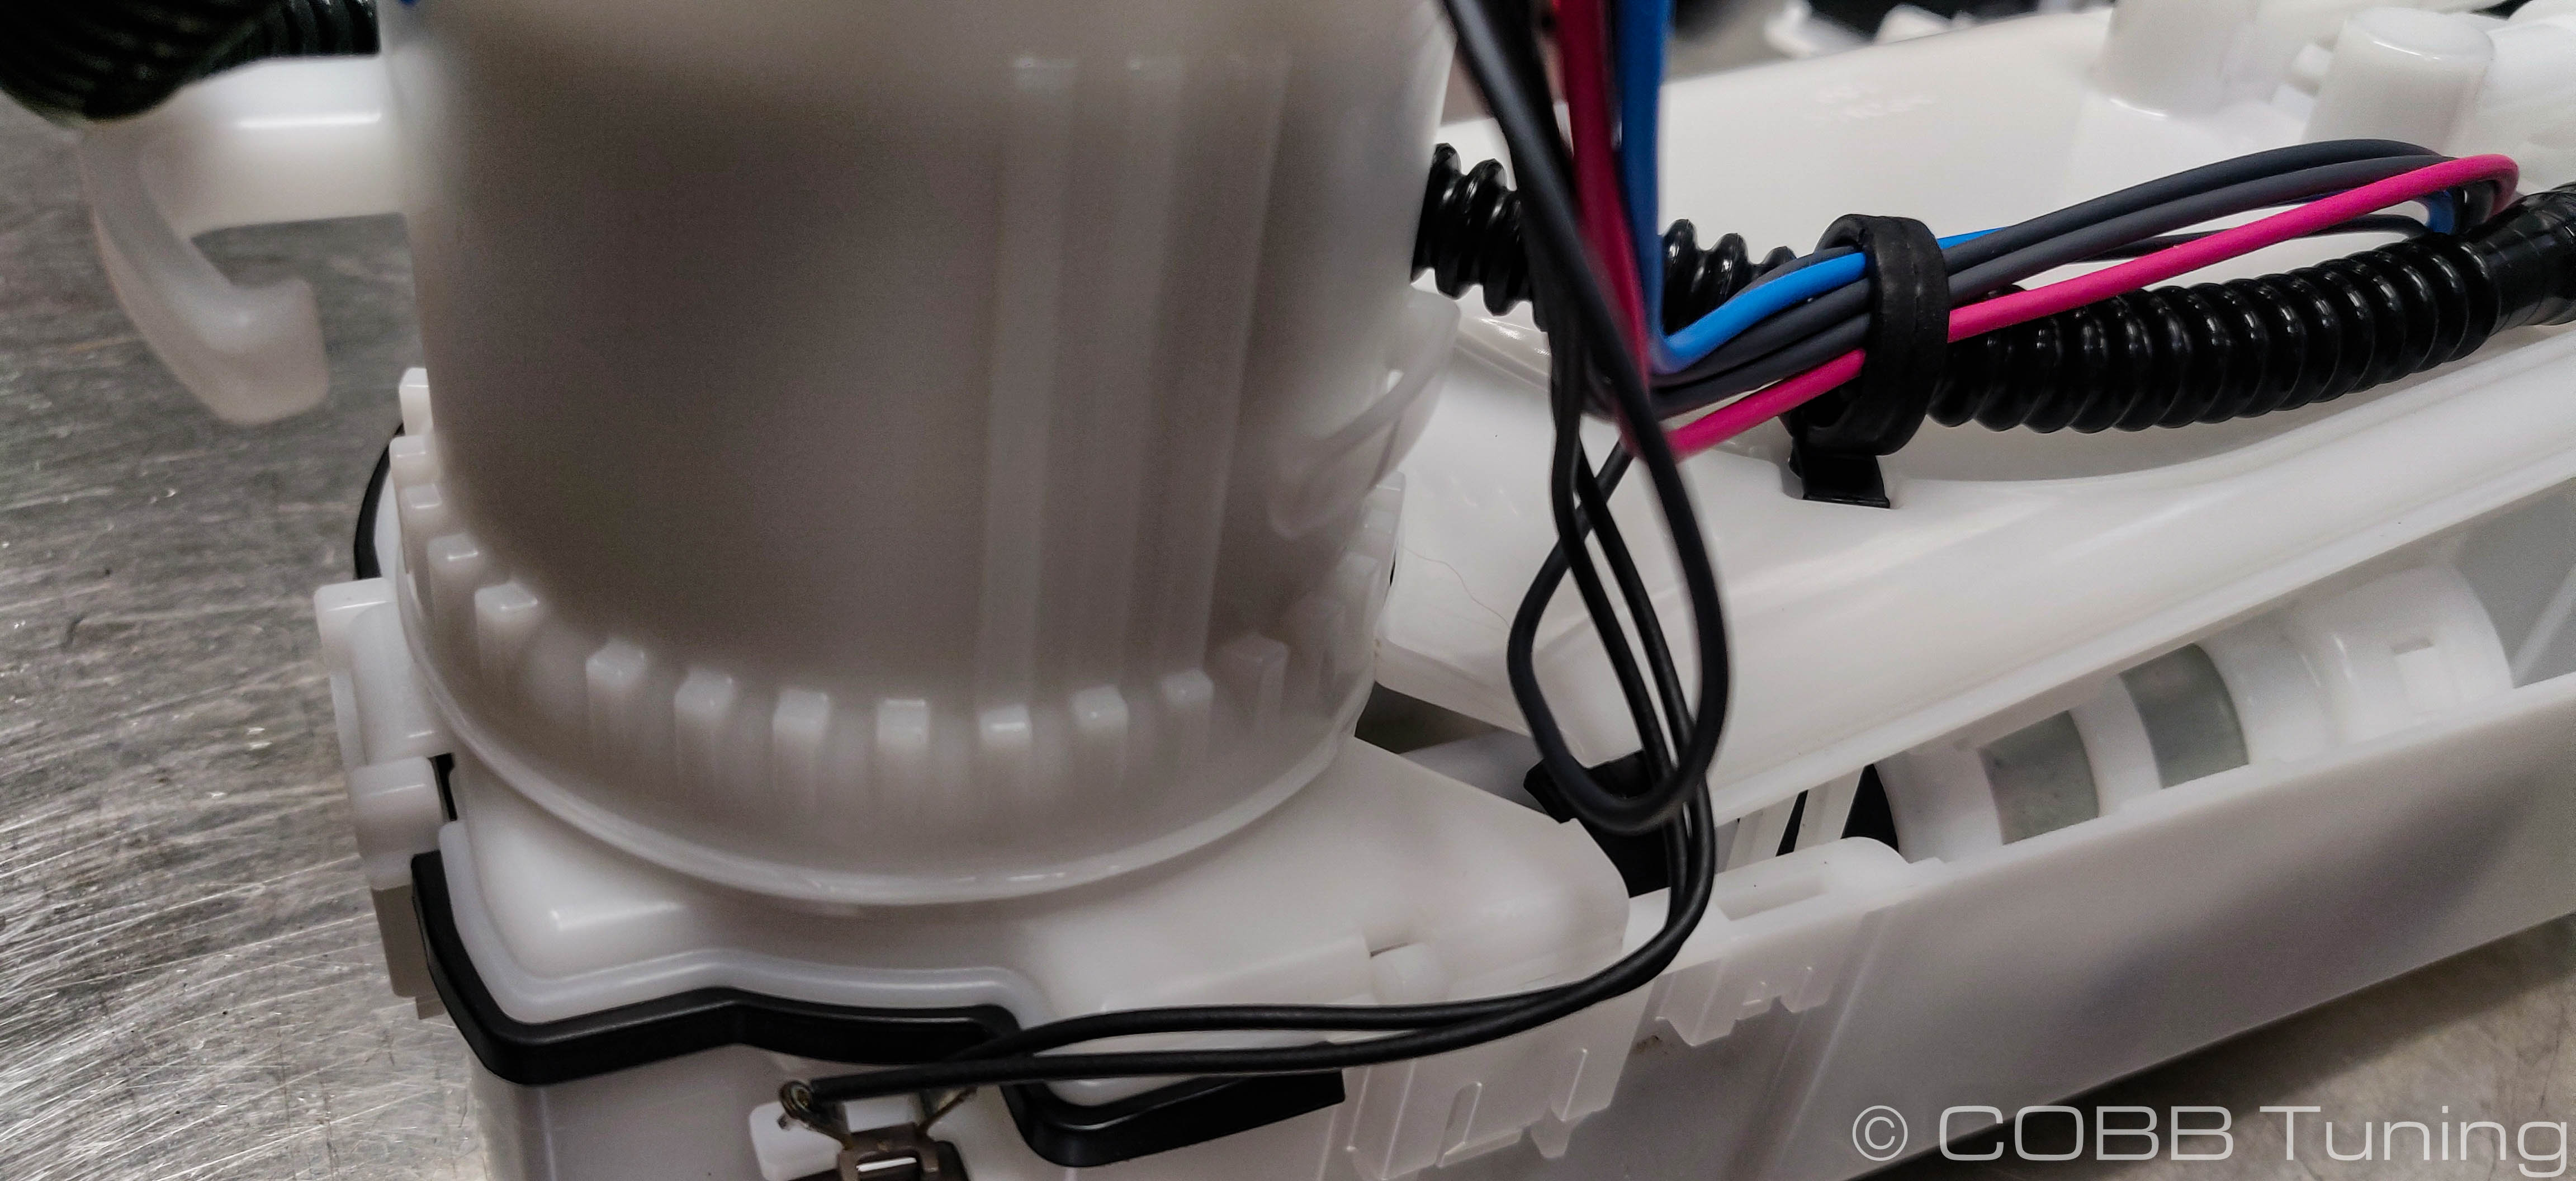
- After letting the hangar drain for a little while we can start to disassemble it. Using a small screwdriver or pick gently lever upwards on the center tab while squeezing in the outer parts of the clip. Starting with the smaller of the two clip sizes, go around and remove all the tabs there are three on the sides and front of the assembly. Once you've gotten the clip somewhat released stick something between the lid and the bucket portion of the assembly to keep it from clipping back down.
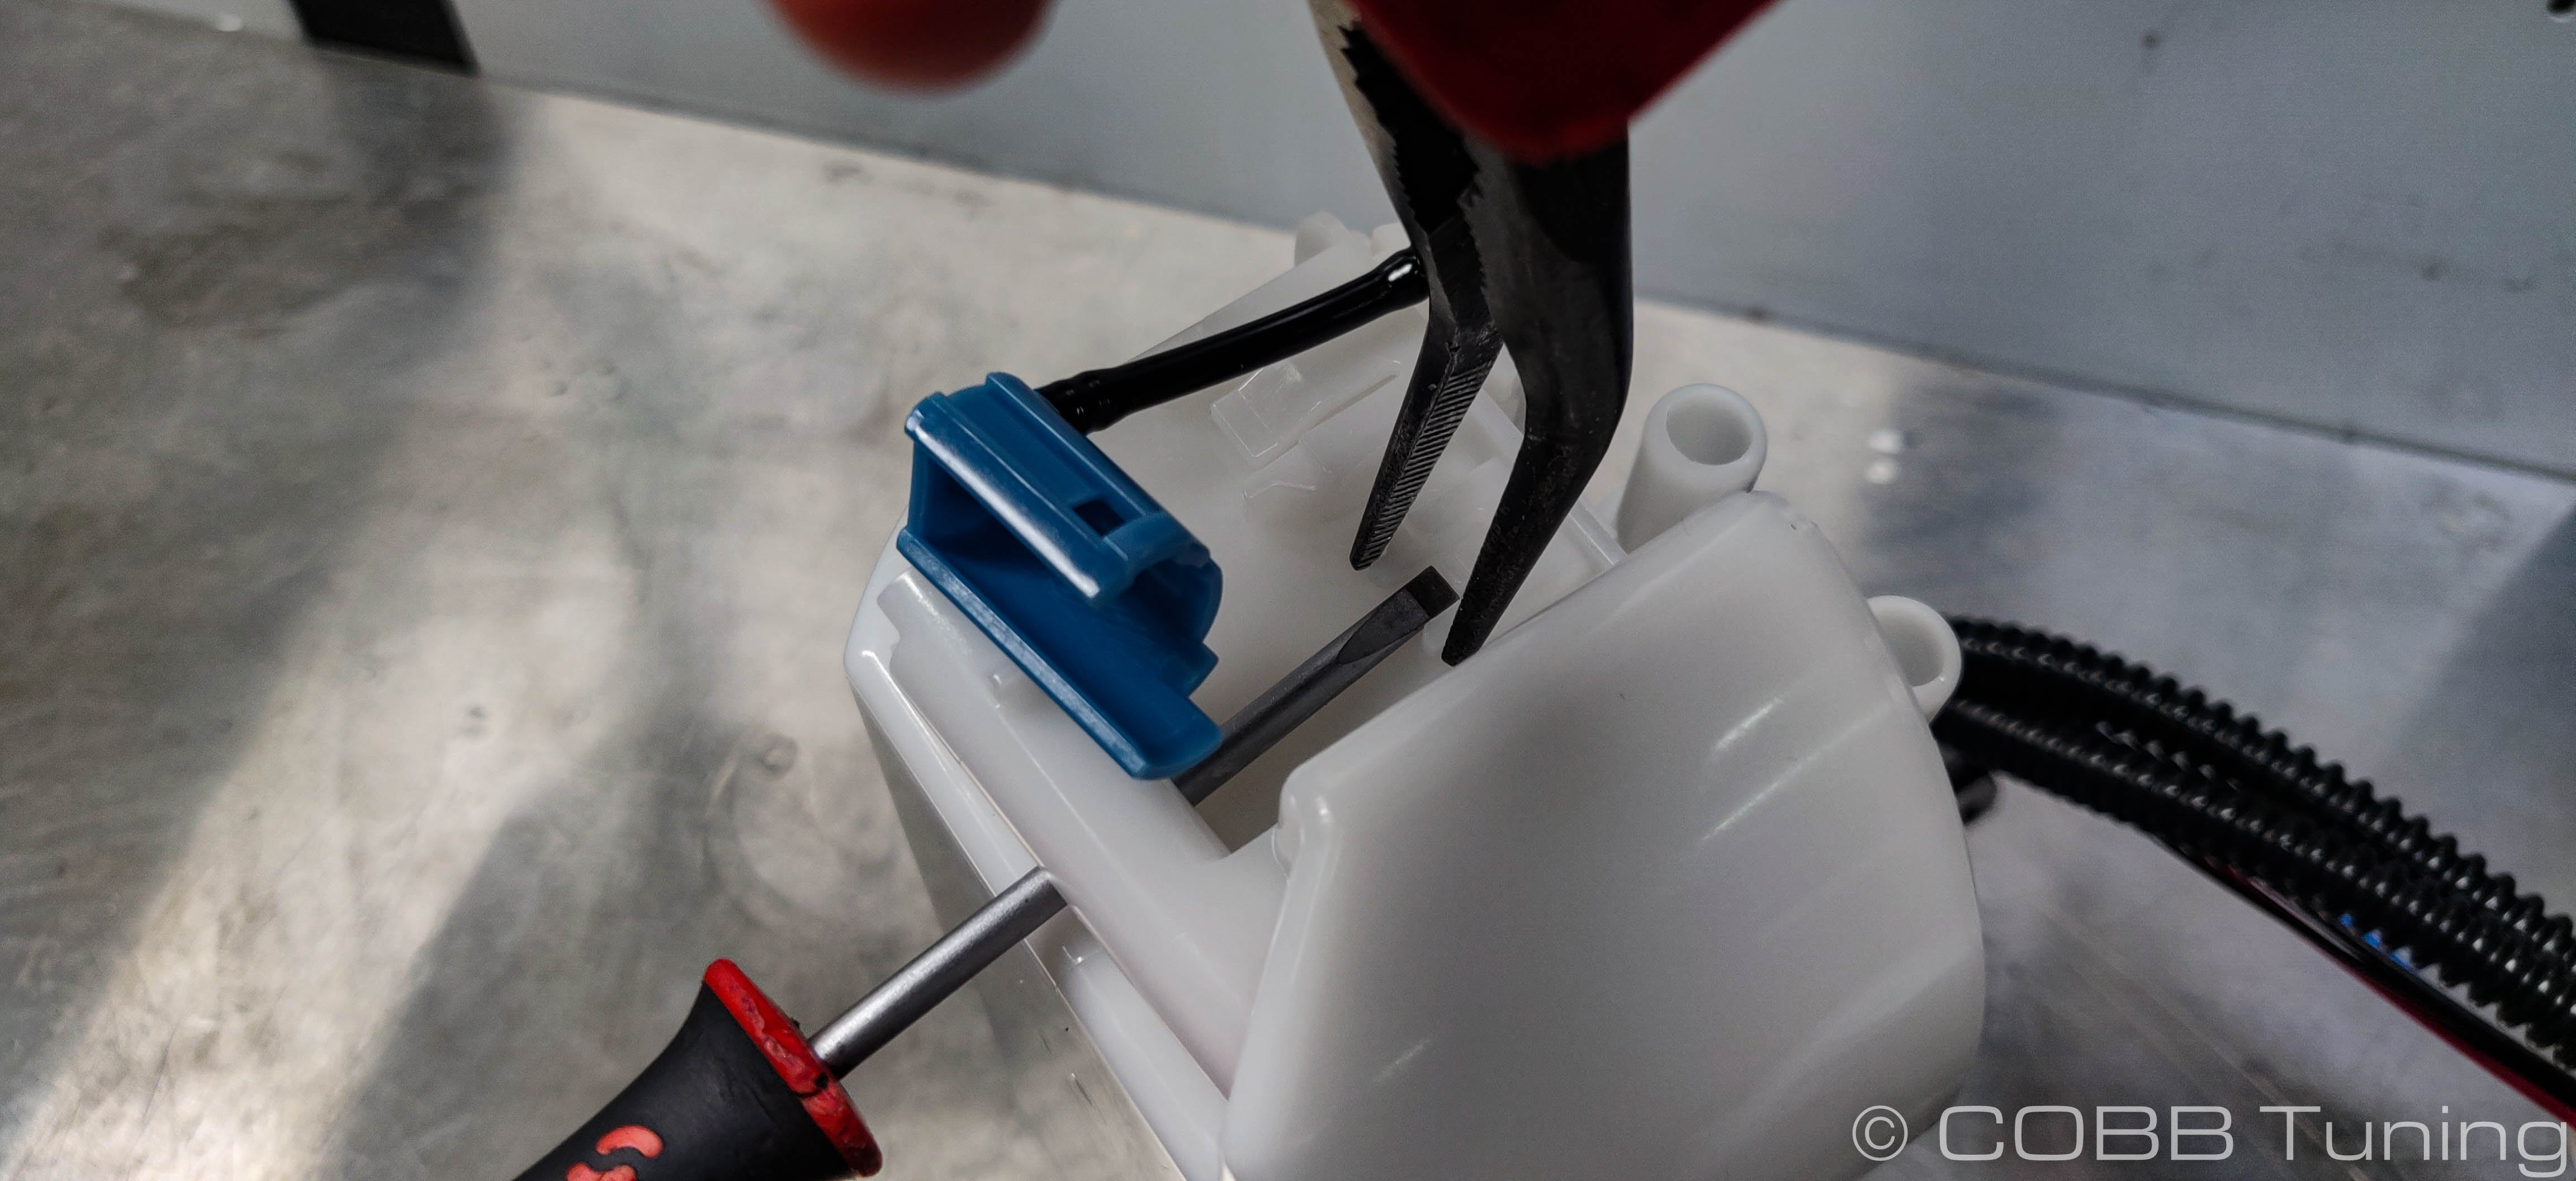
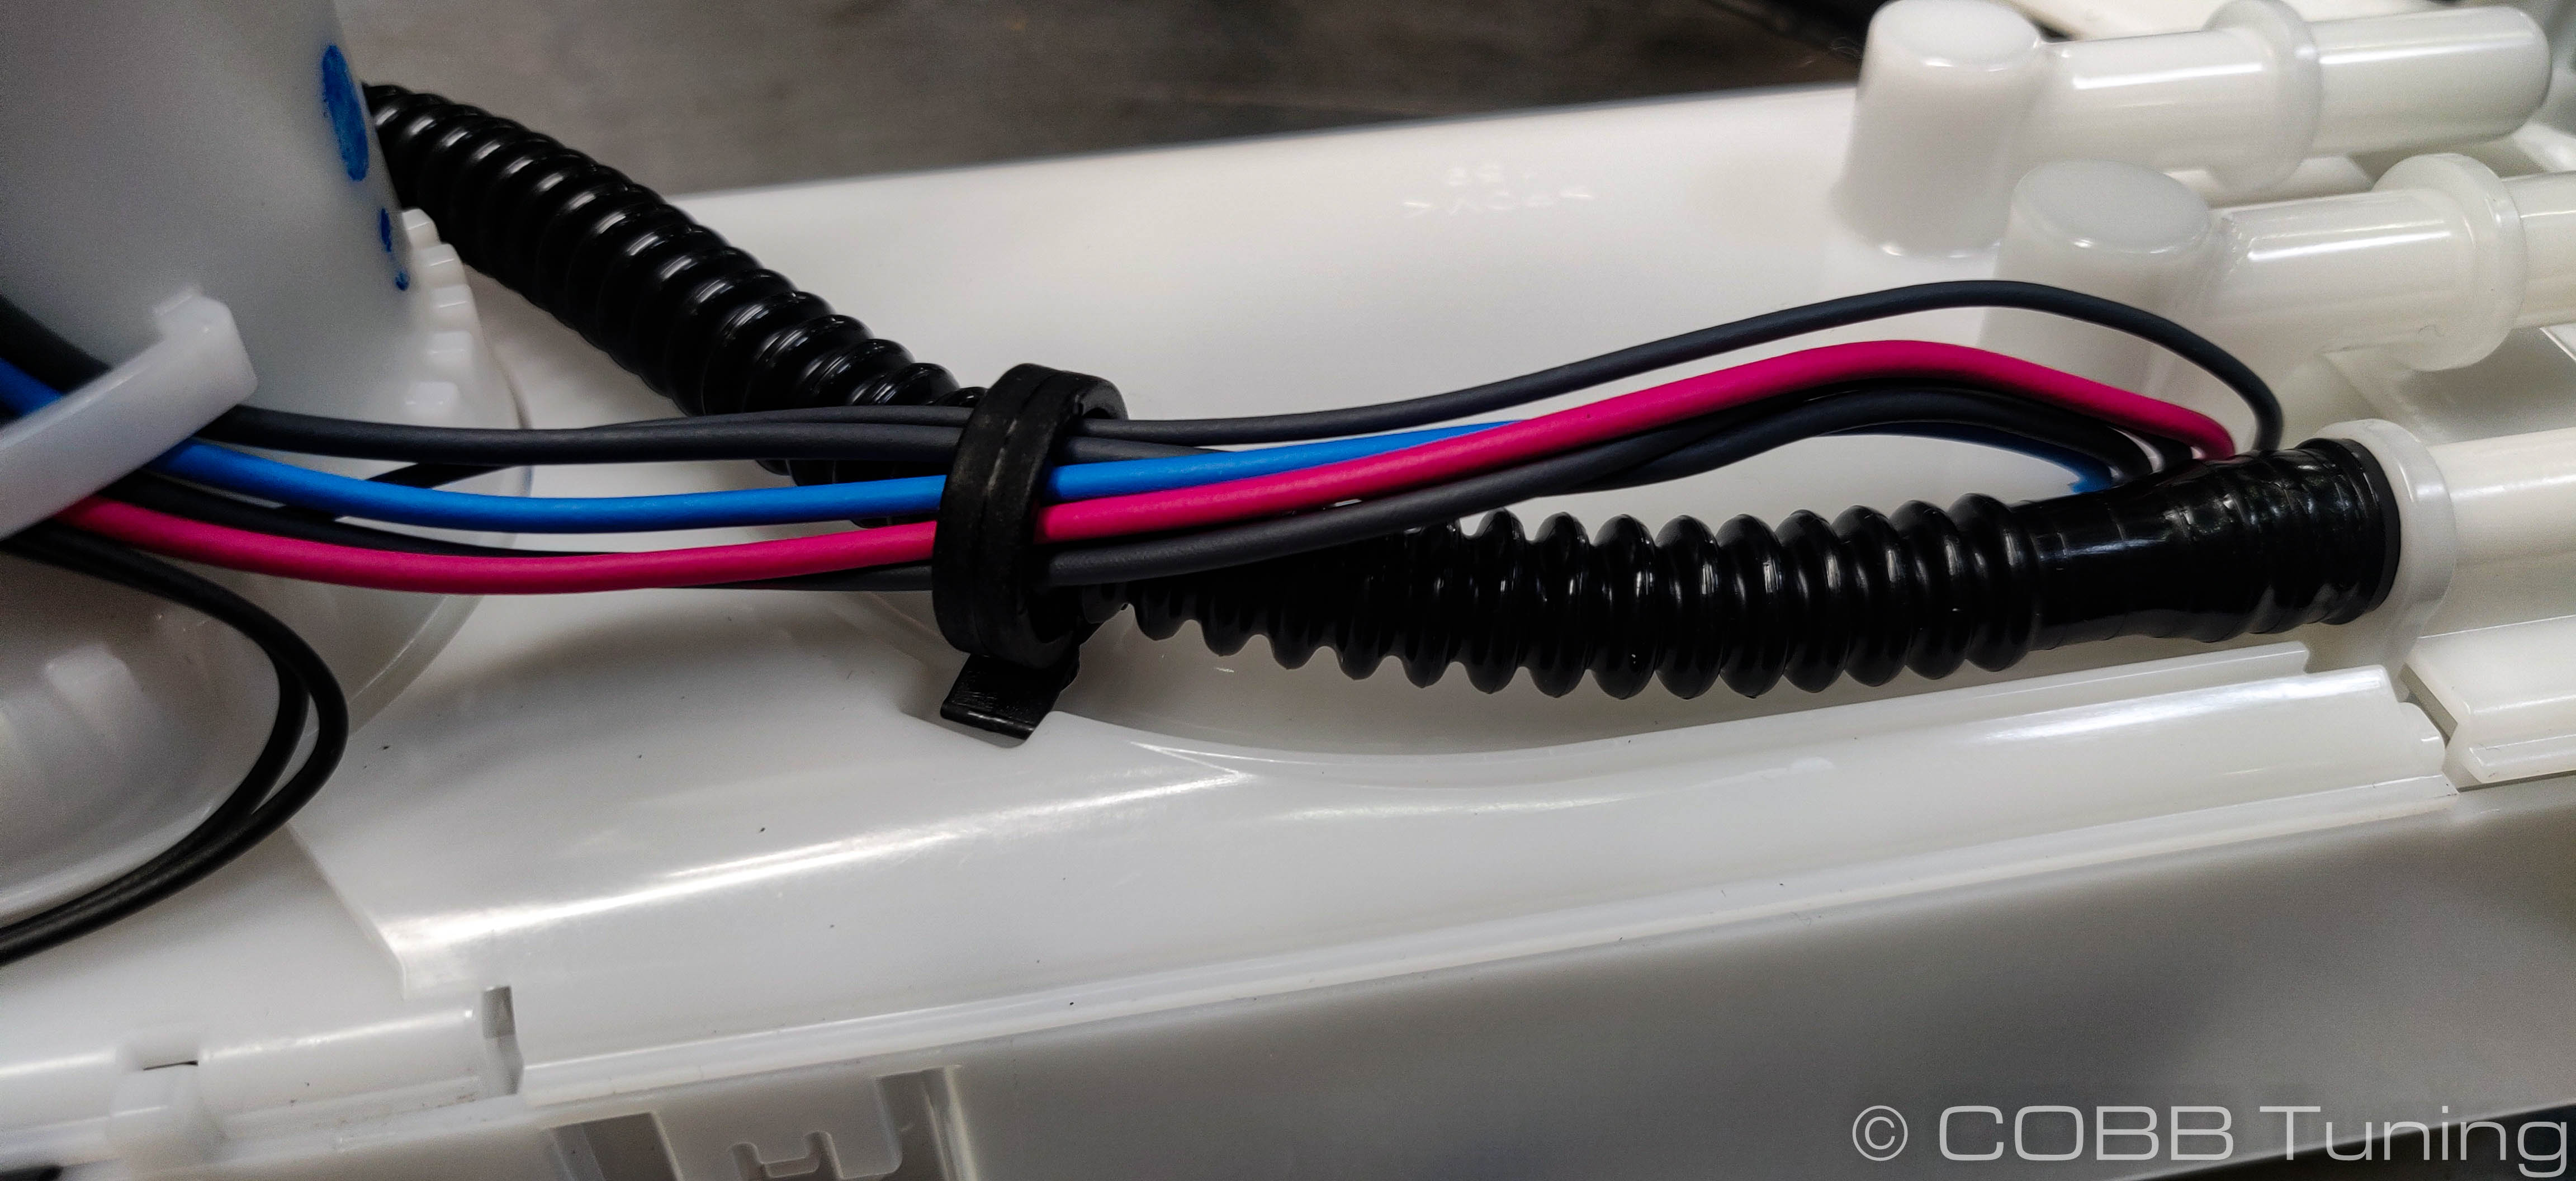
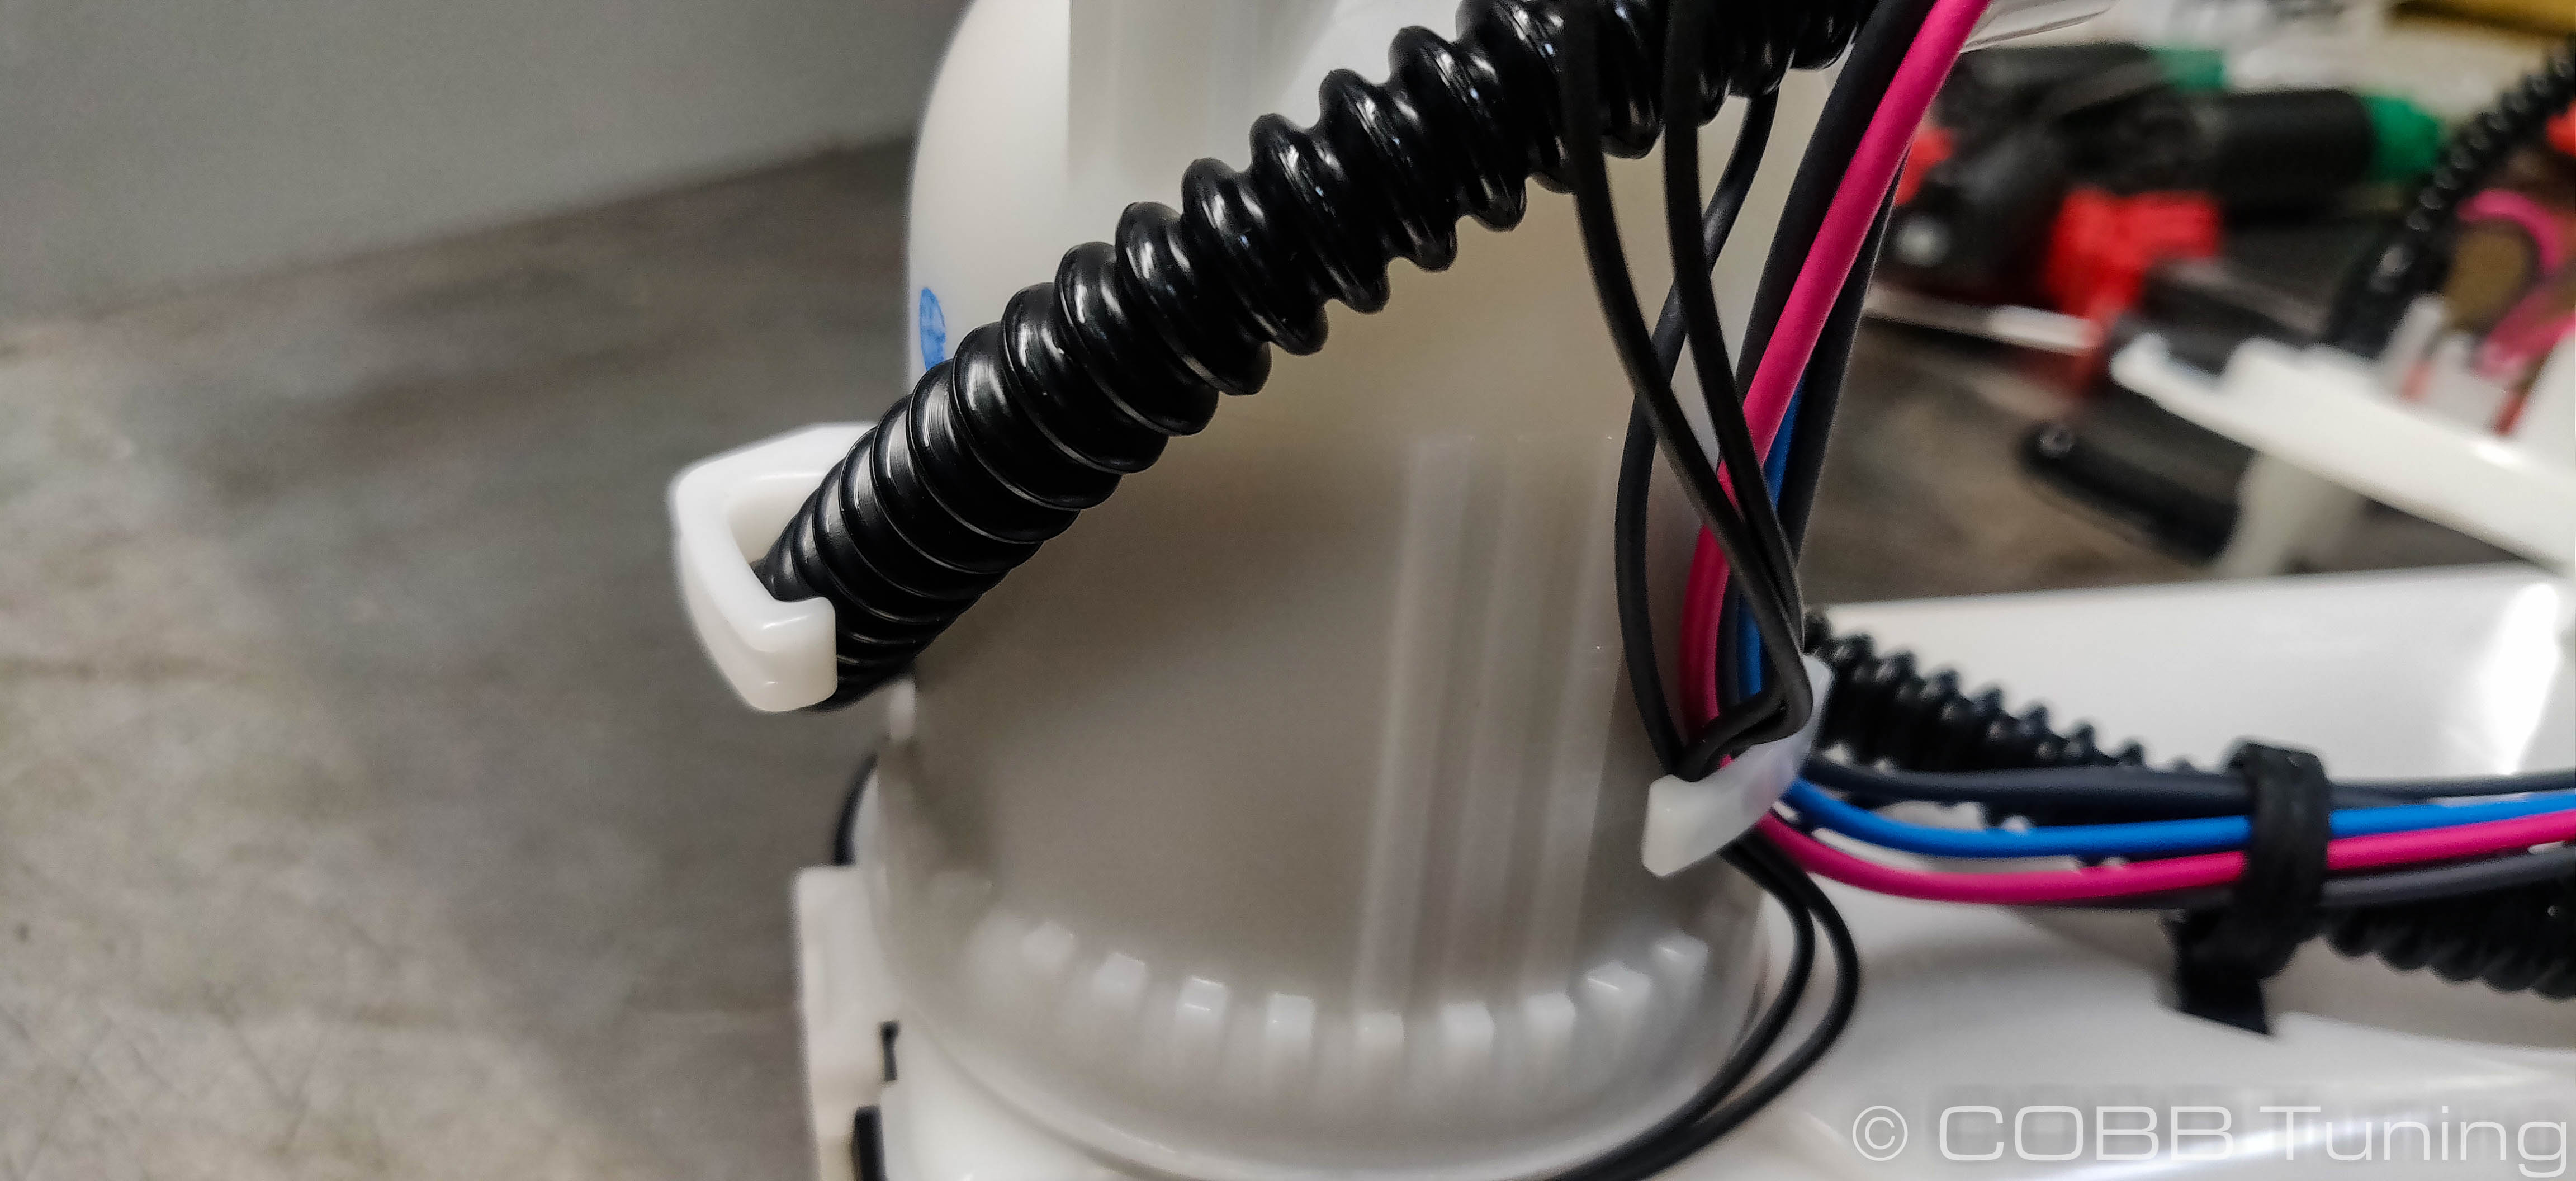
- Once the smaller clips are removed you should be able to gently pull the top cover out of the way. You may need to remove the hose and wiring from the clips on the side of the pump tower to get enough room to move this.
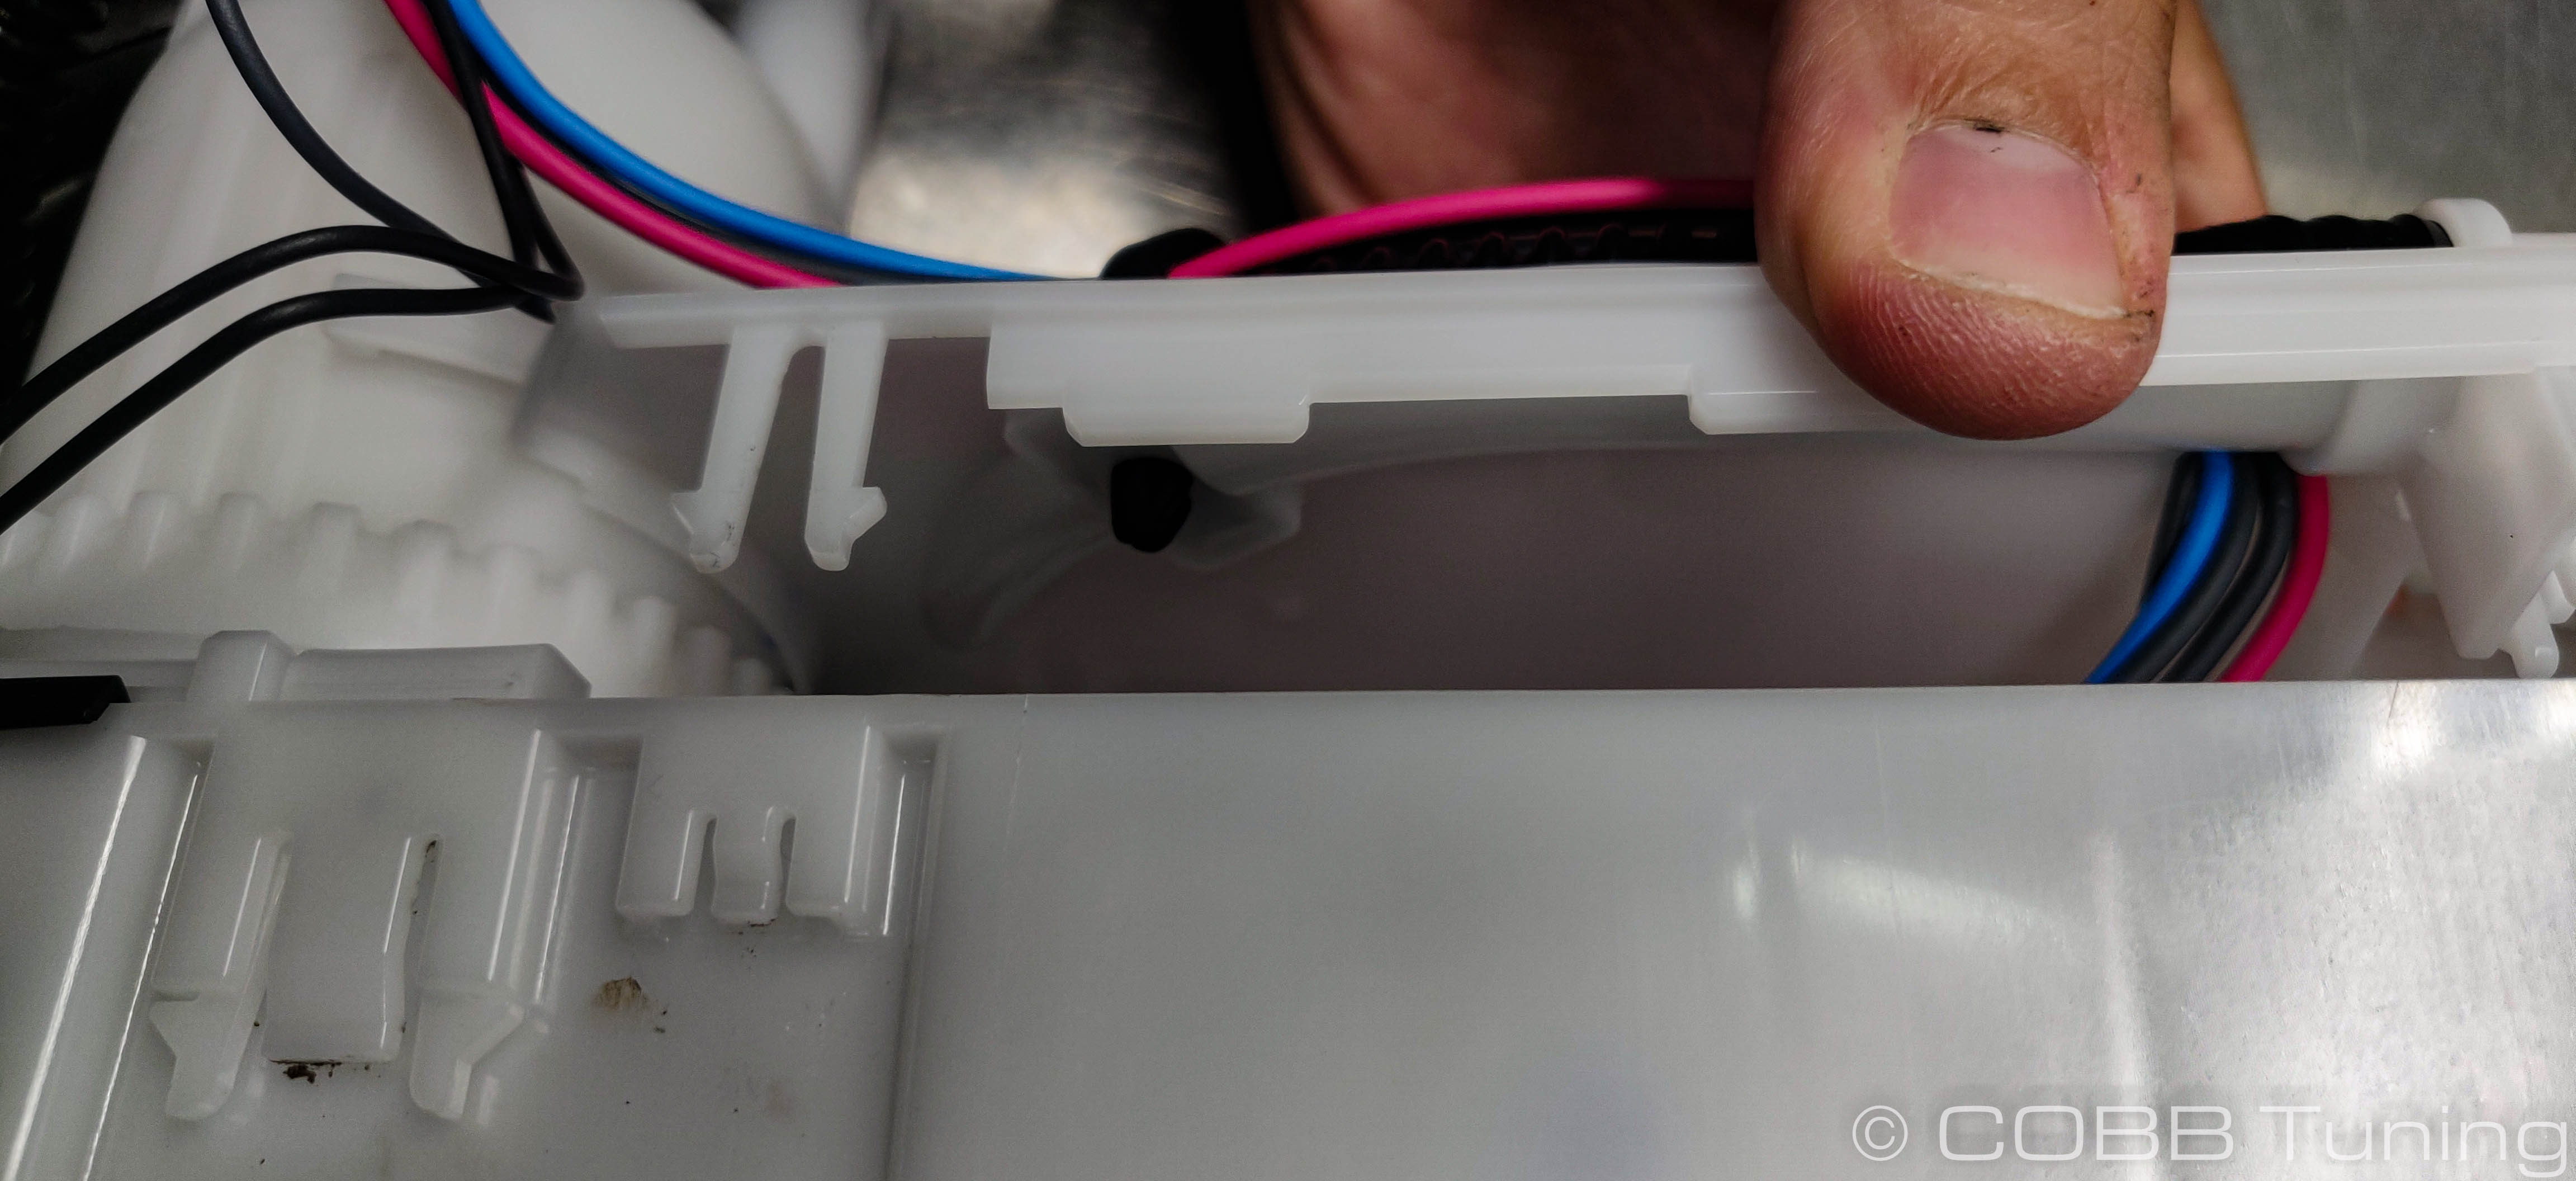
- With the top lid free, use the same procedure and tools to remove the remaining three clips holding the large tower to the lower bucket of the assembly.
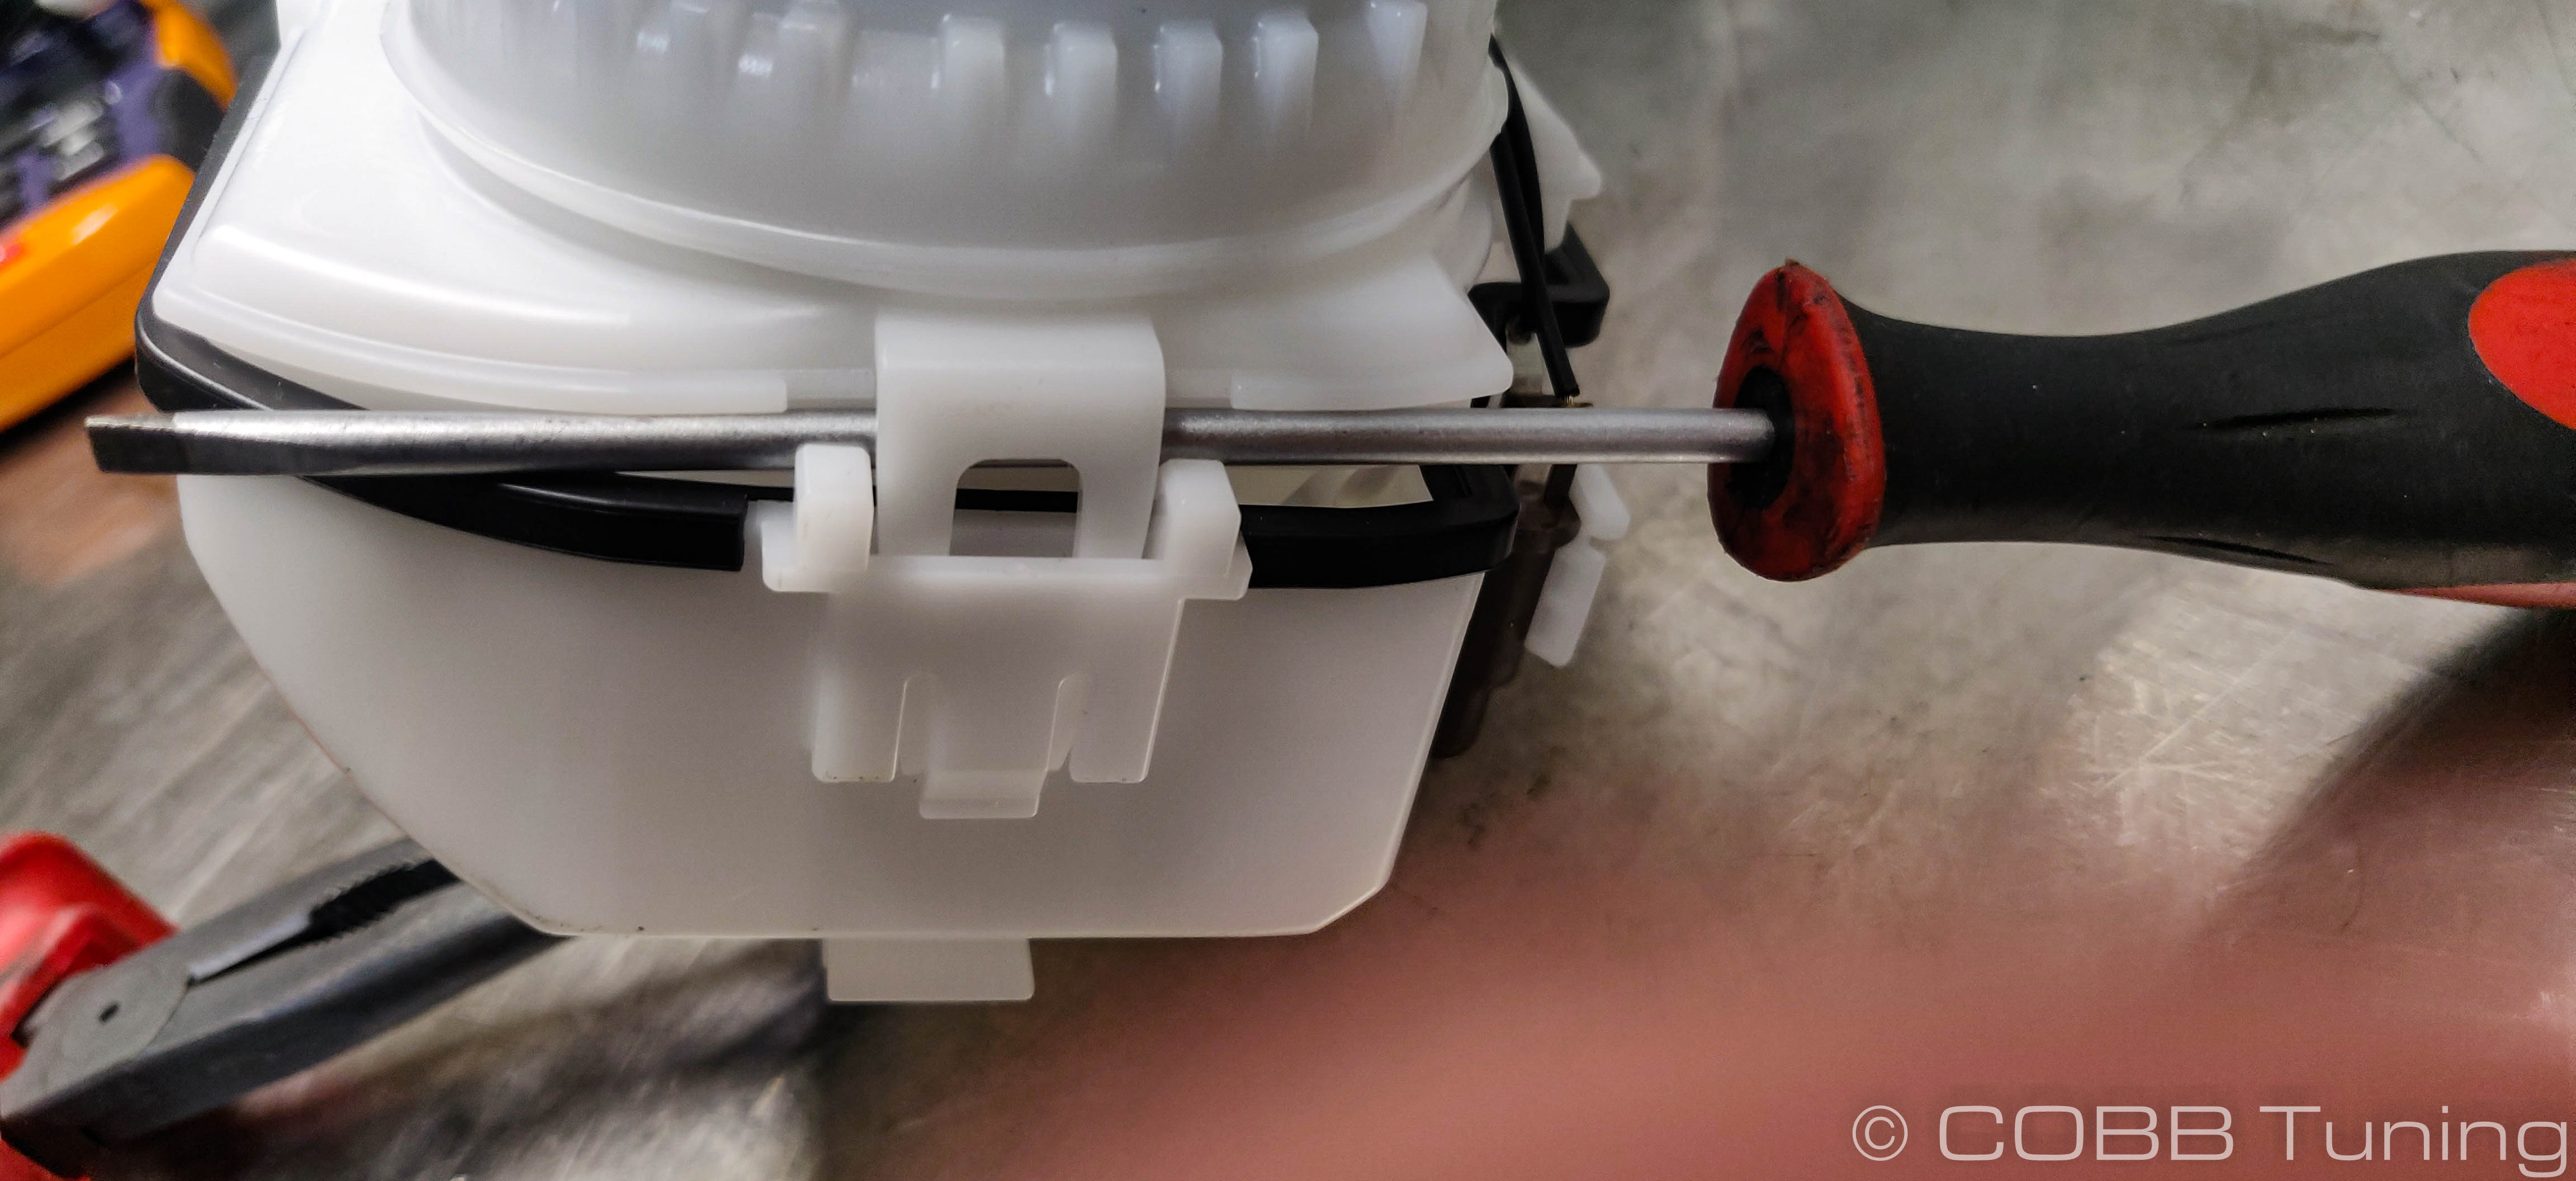
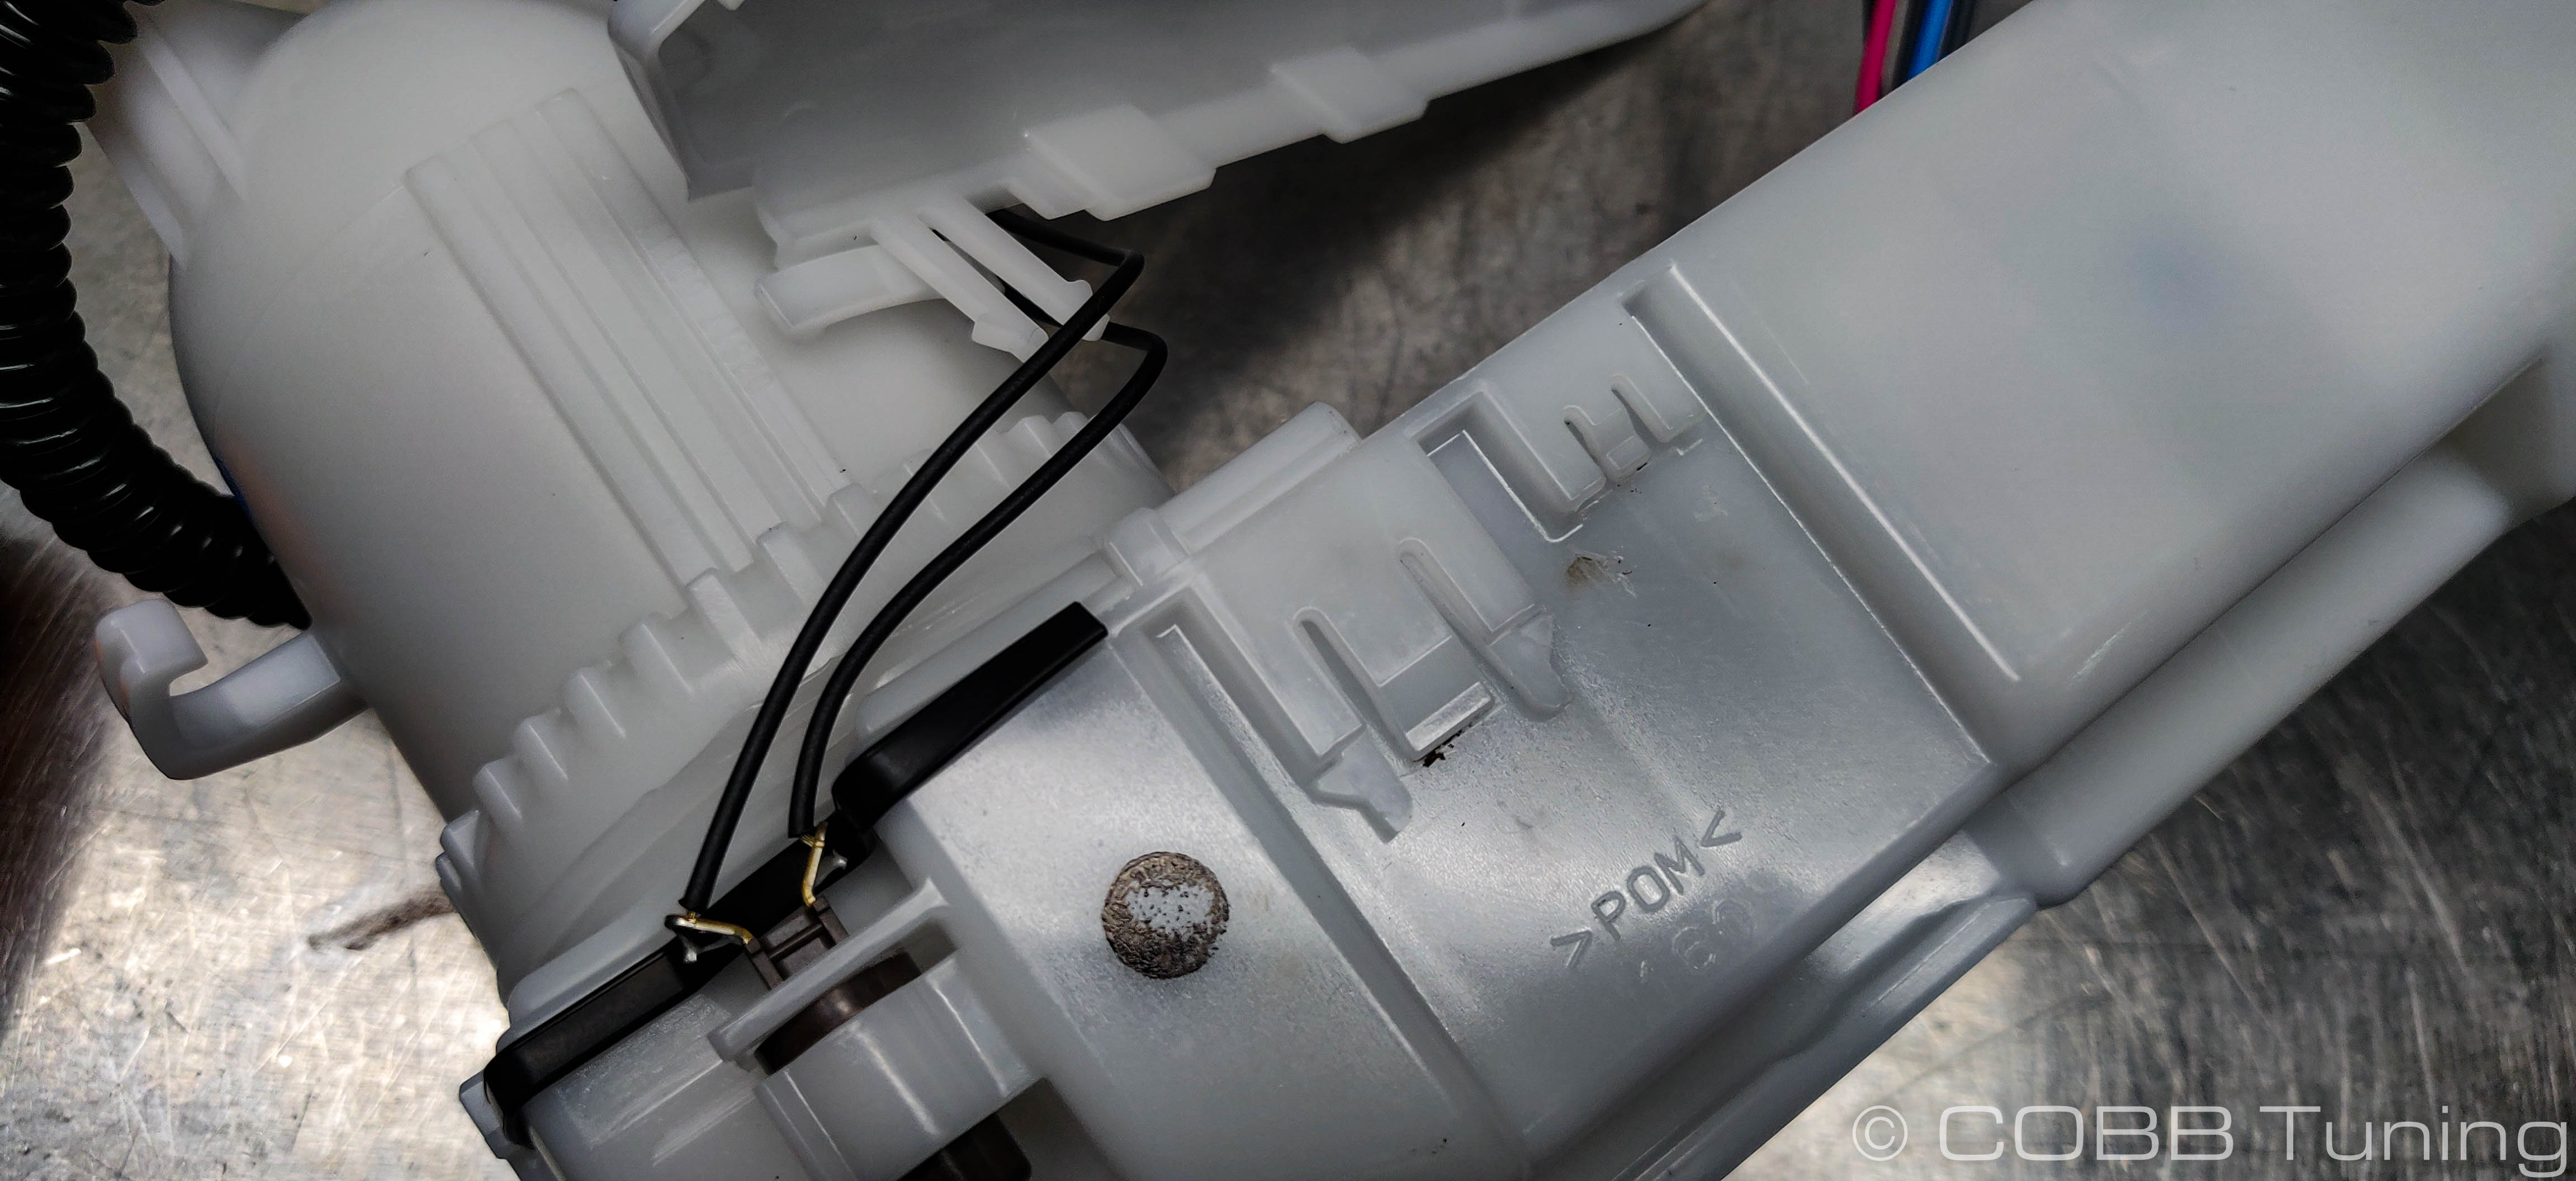
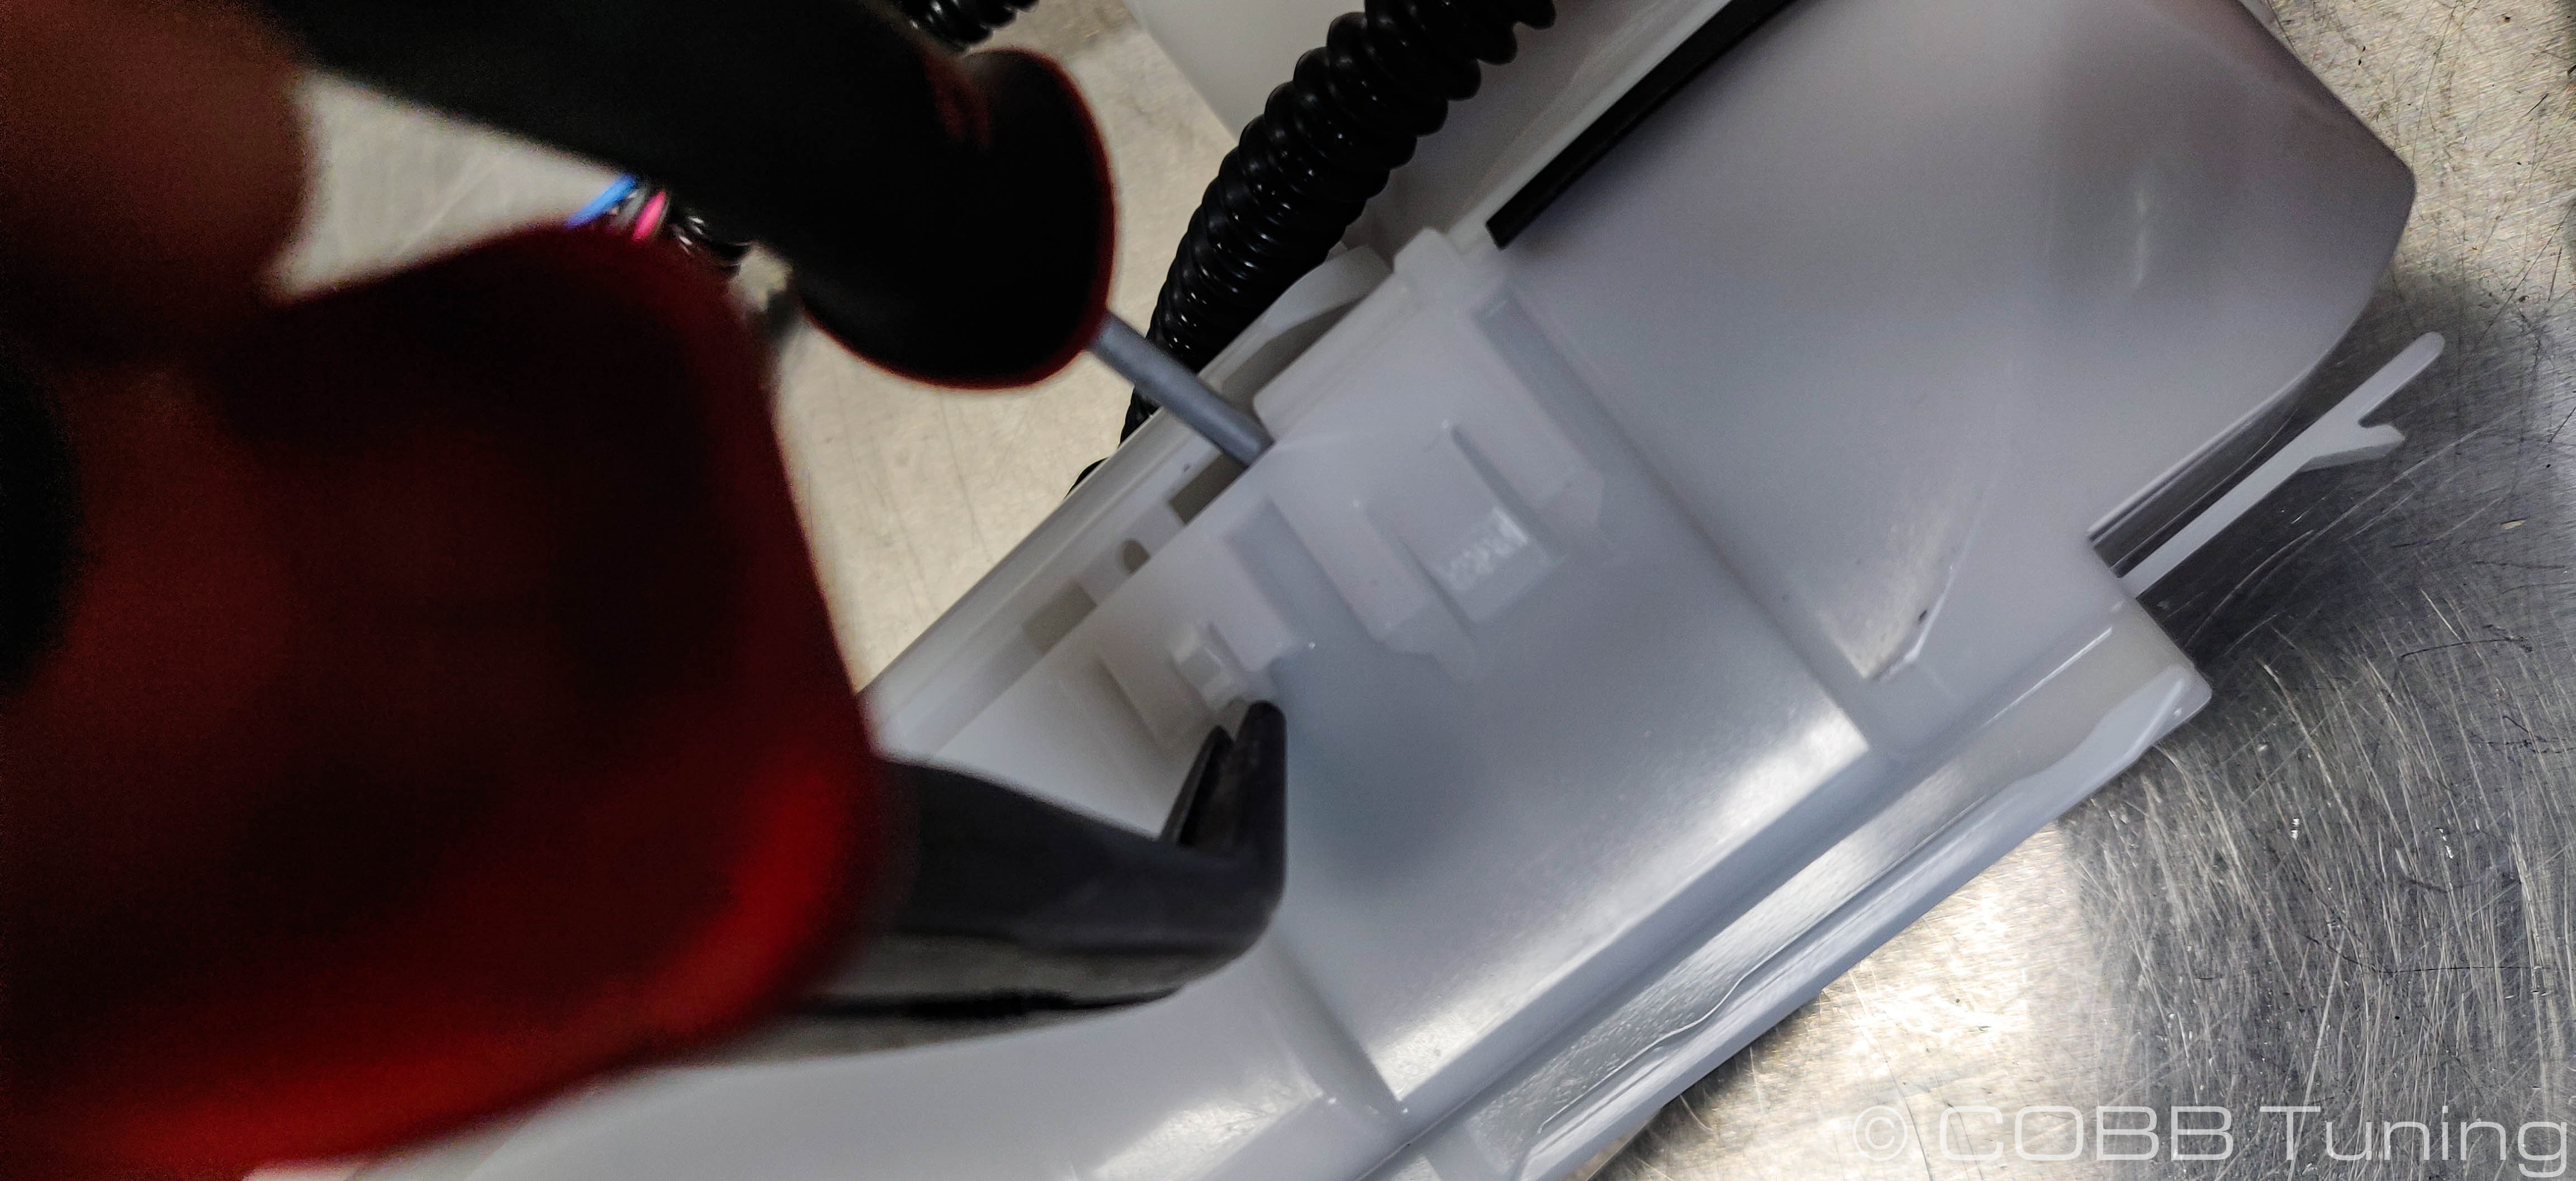
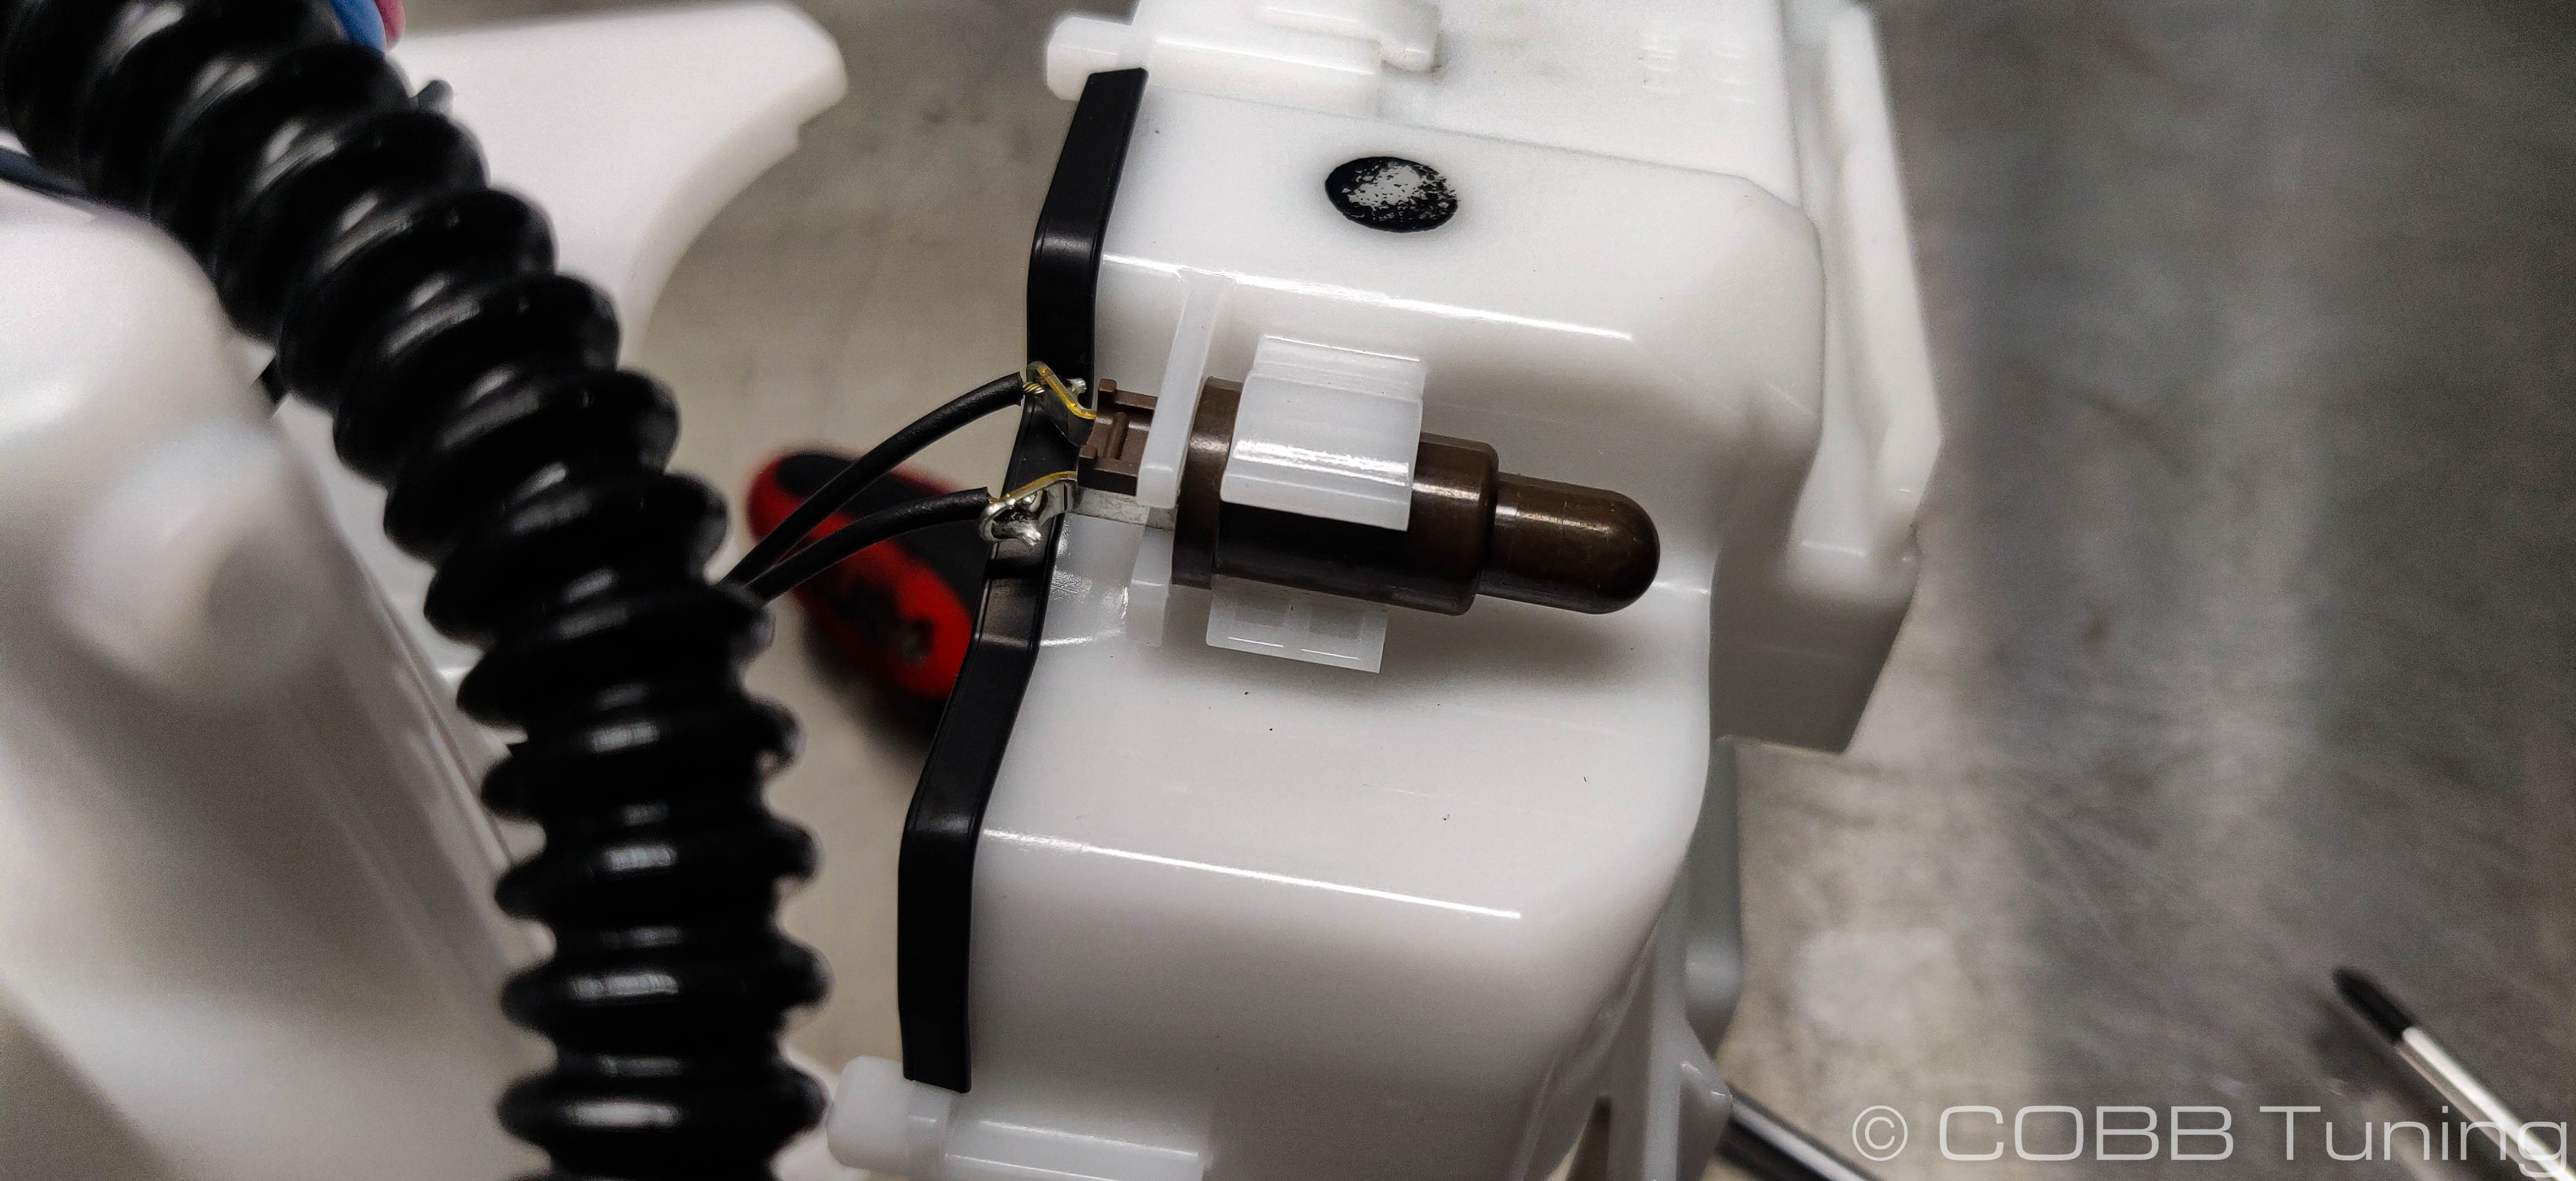
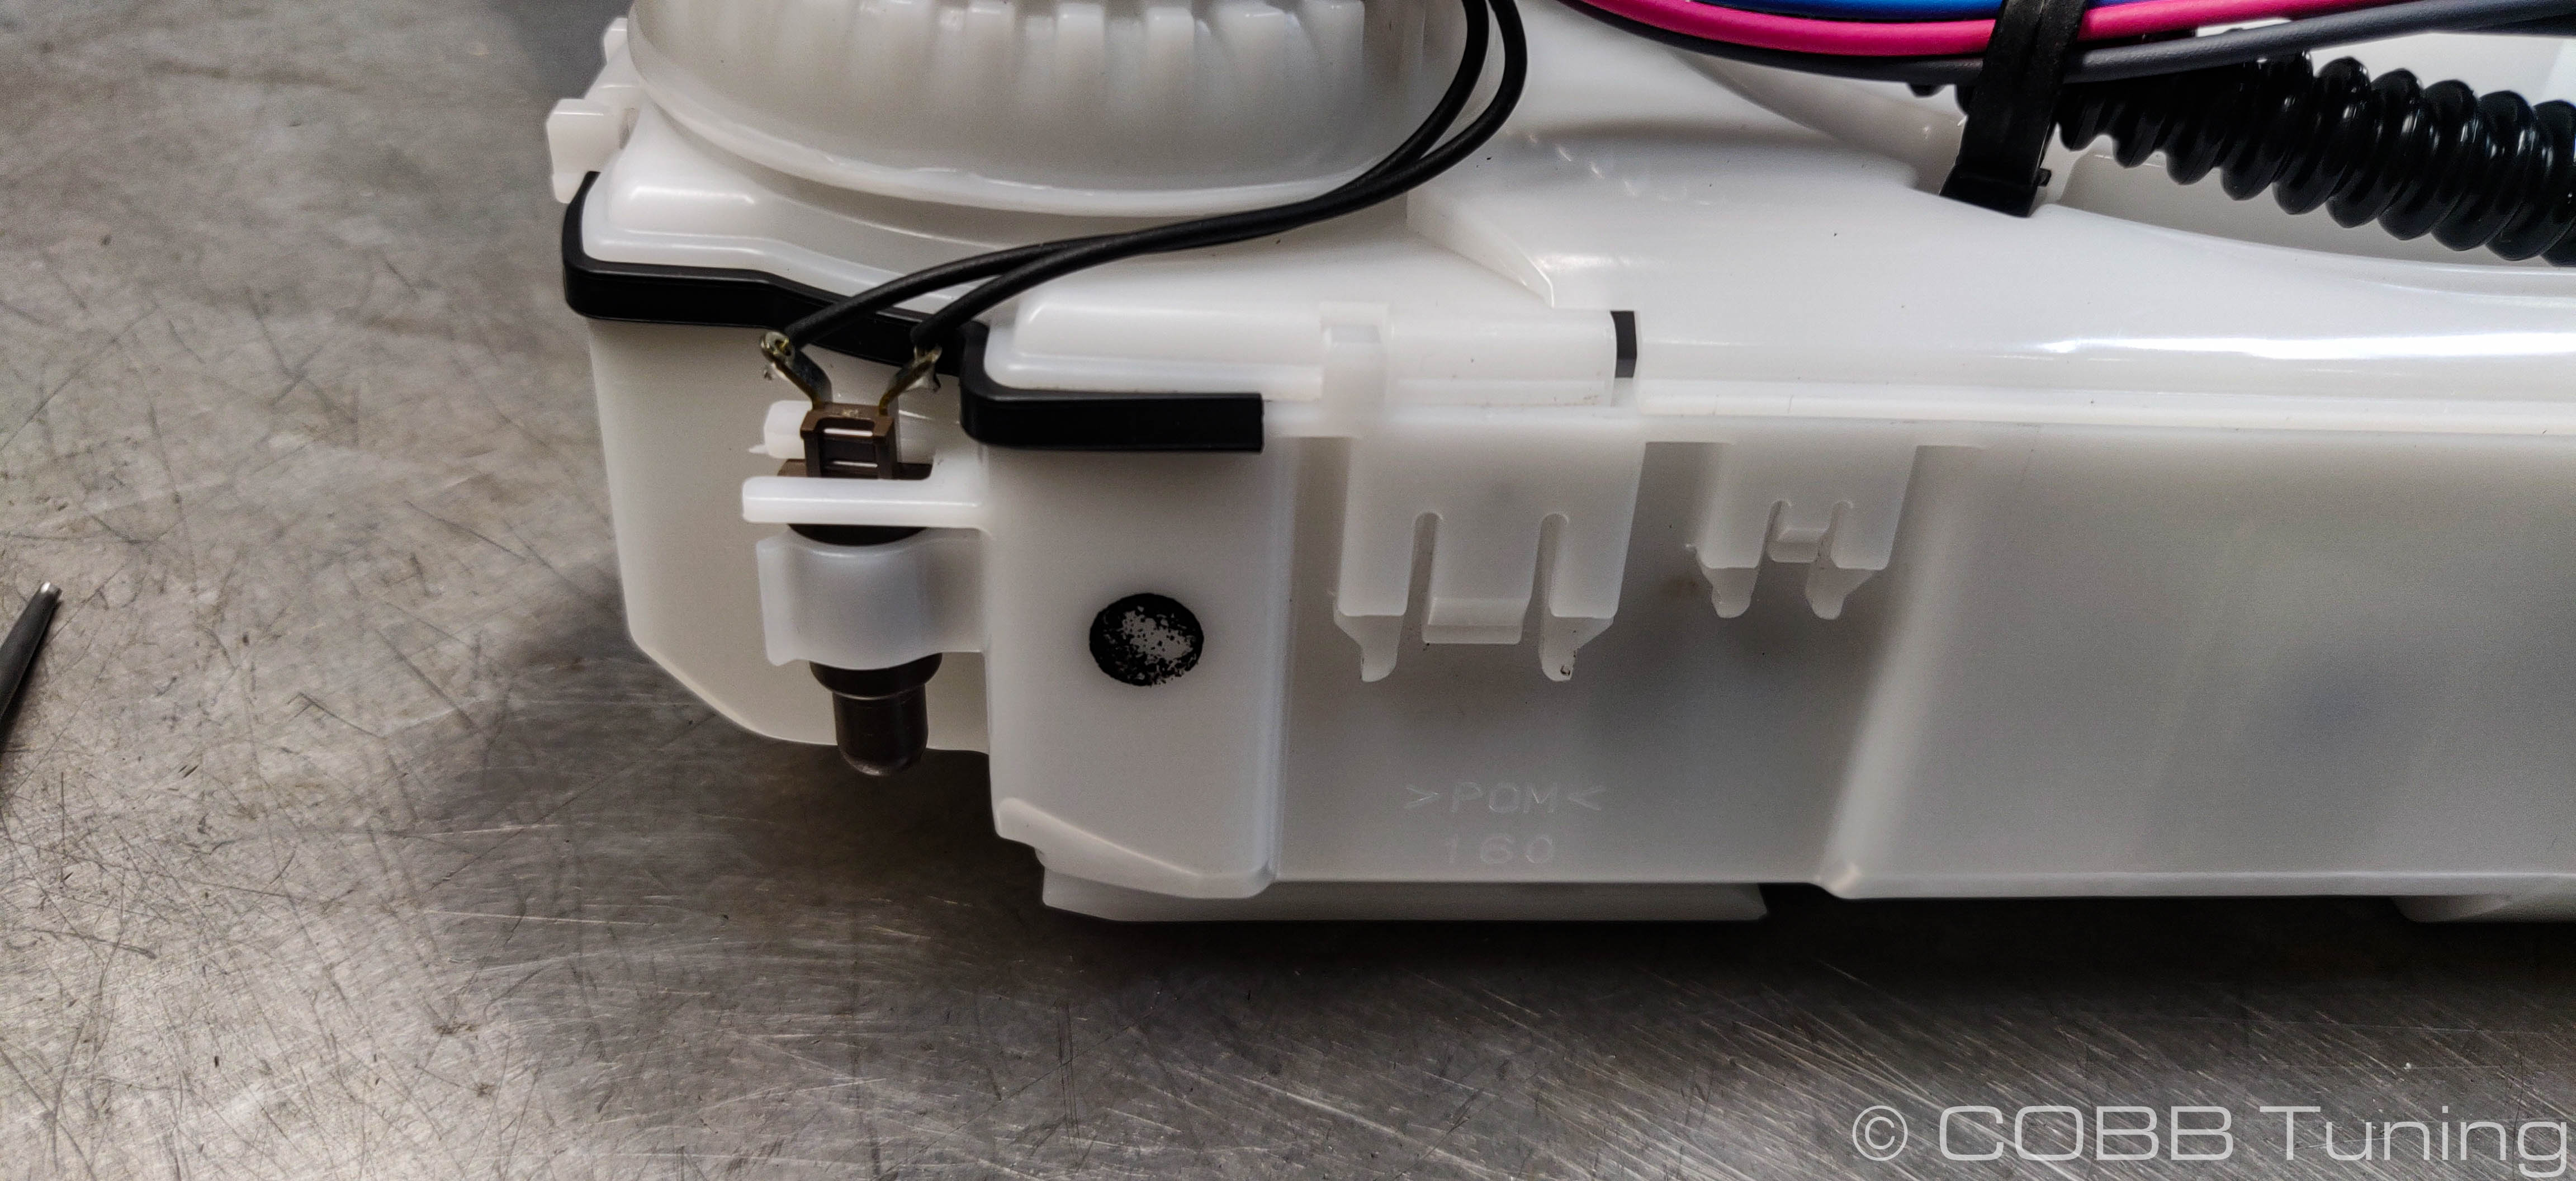
- Gently pull or pry outwards to remove the sensor out of the clips in the base of the assembly. With this part removed you should be able to move the bottom assembly out of the way and set it somewhere else.
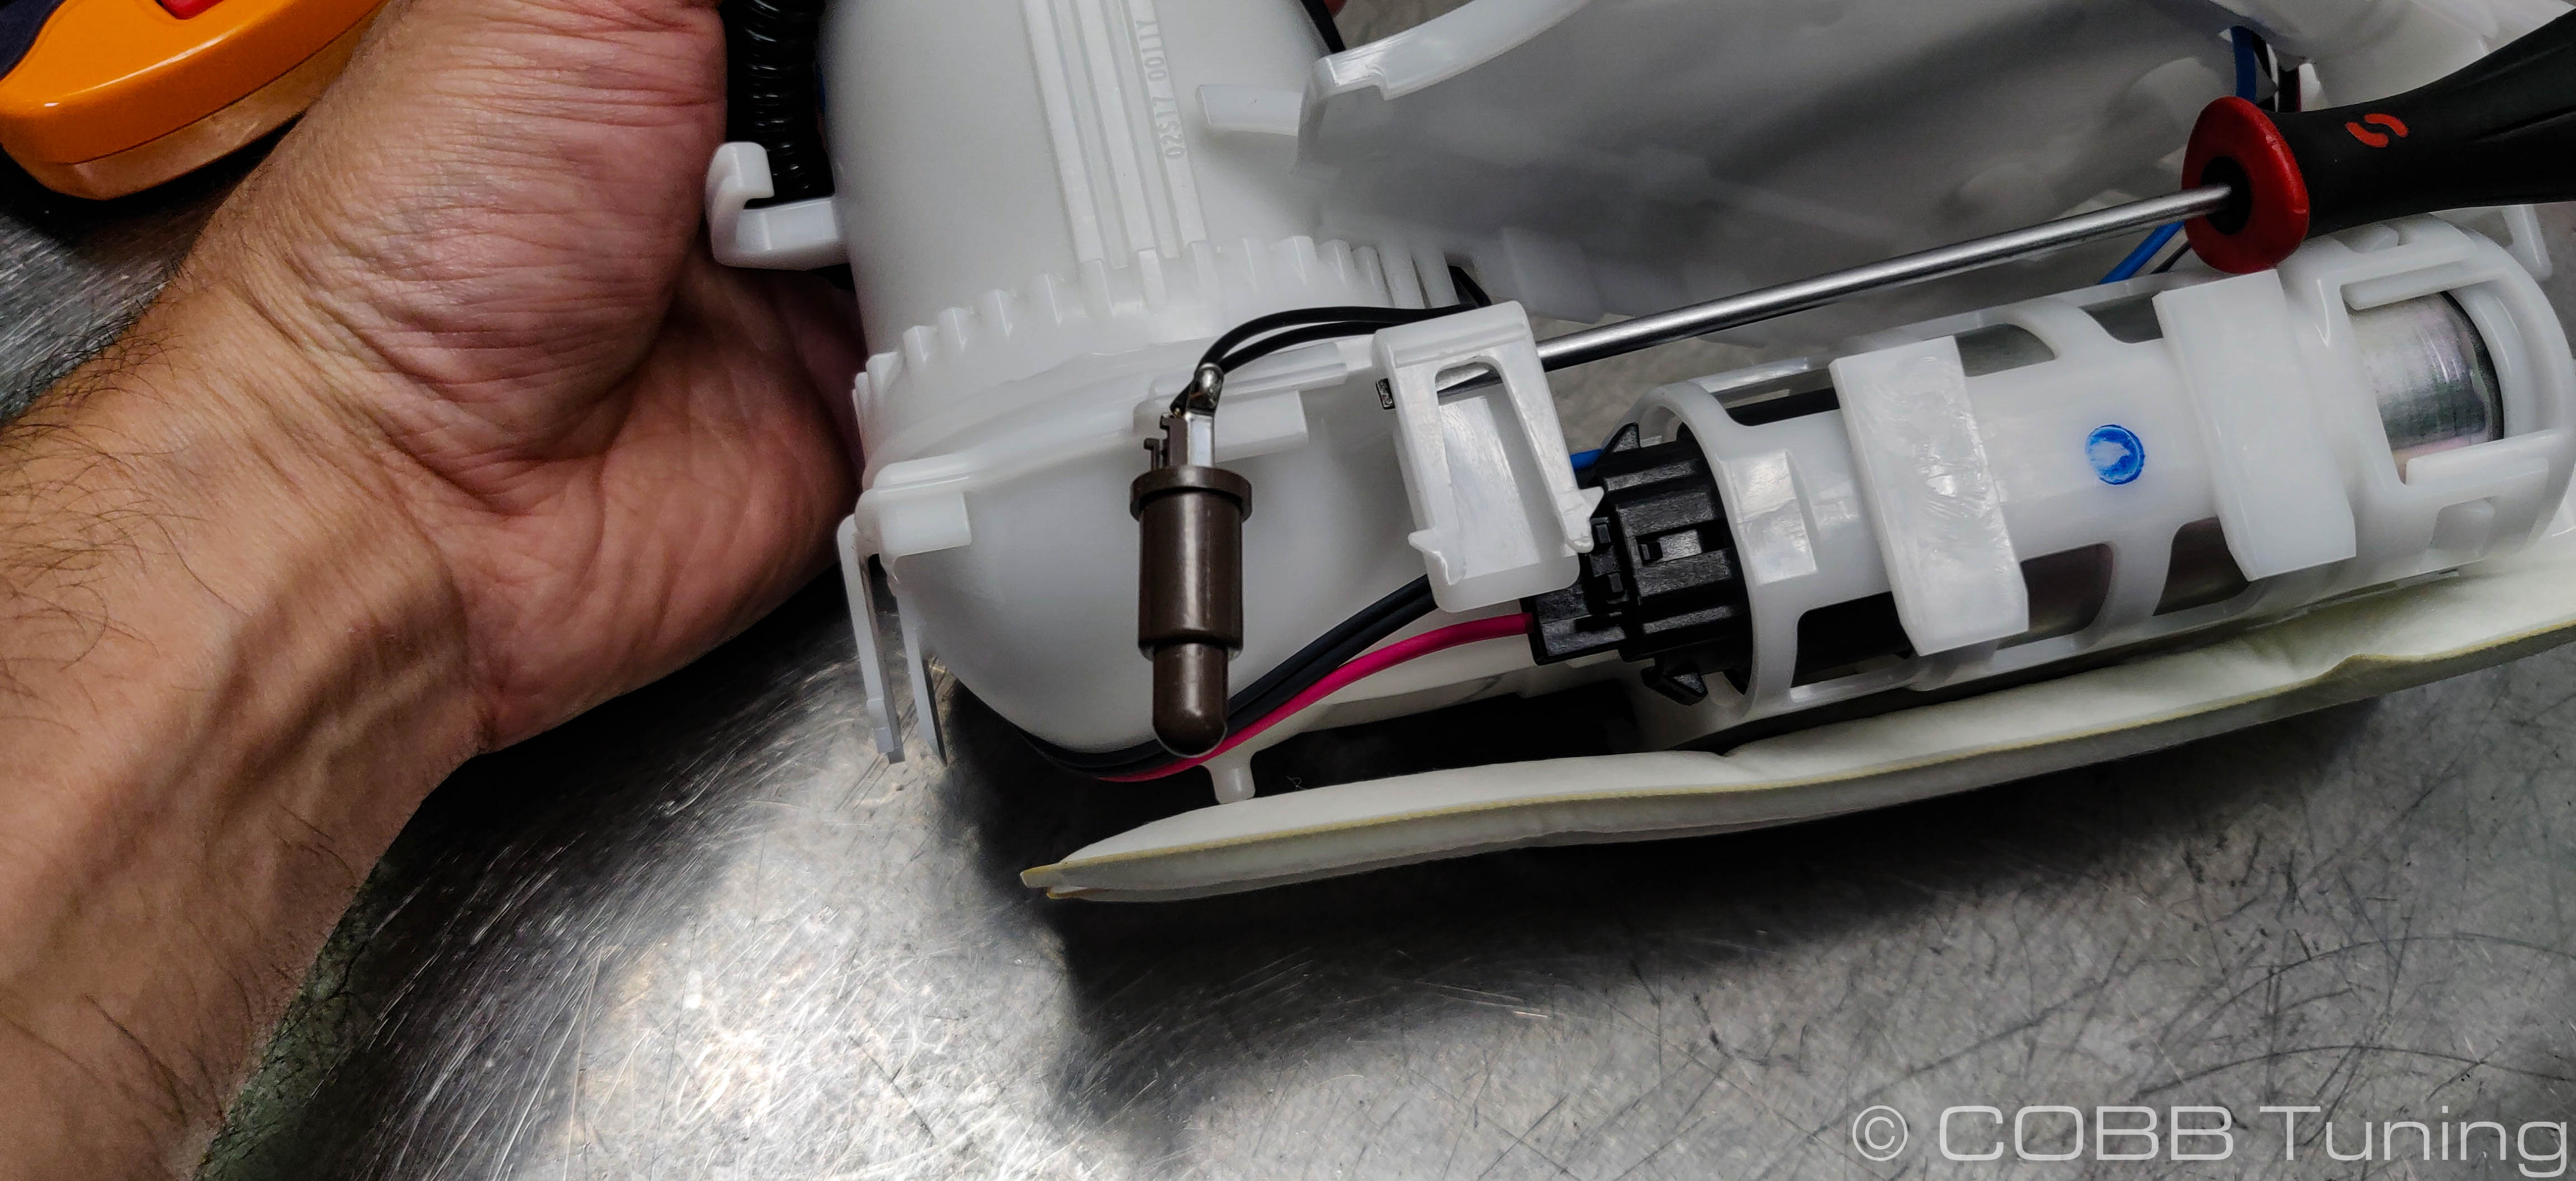
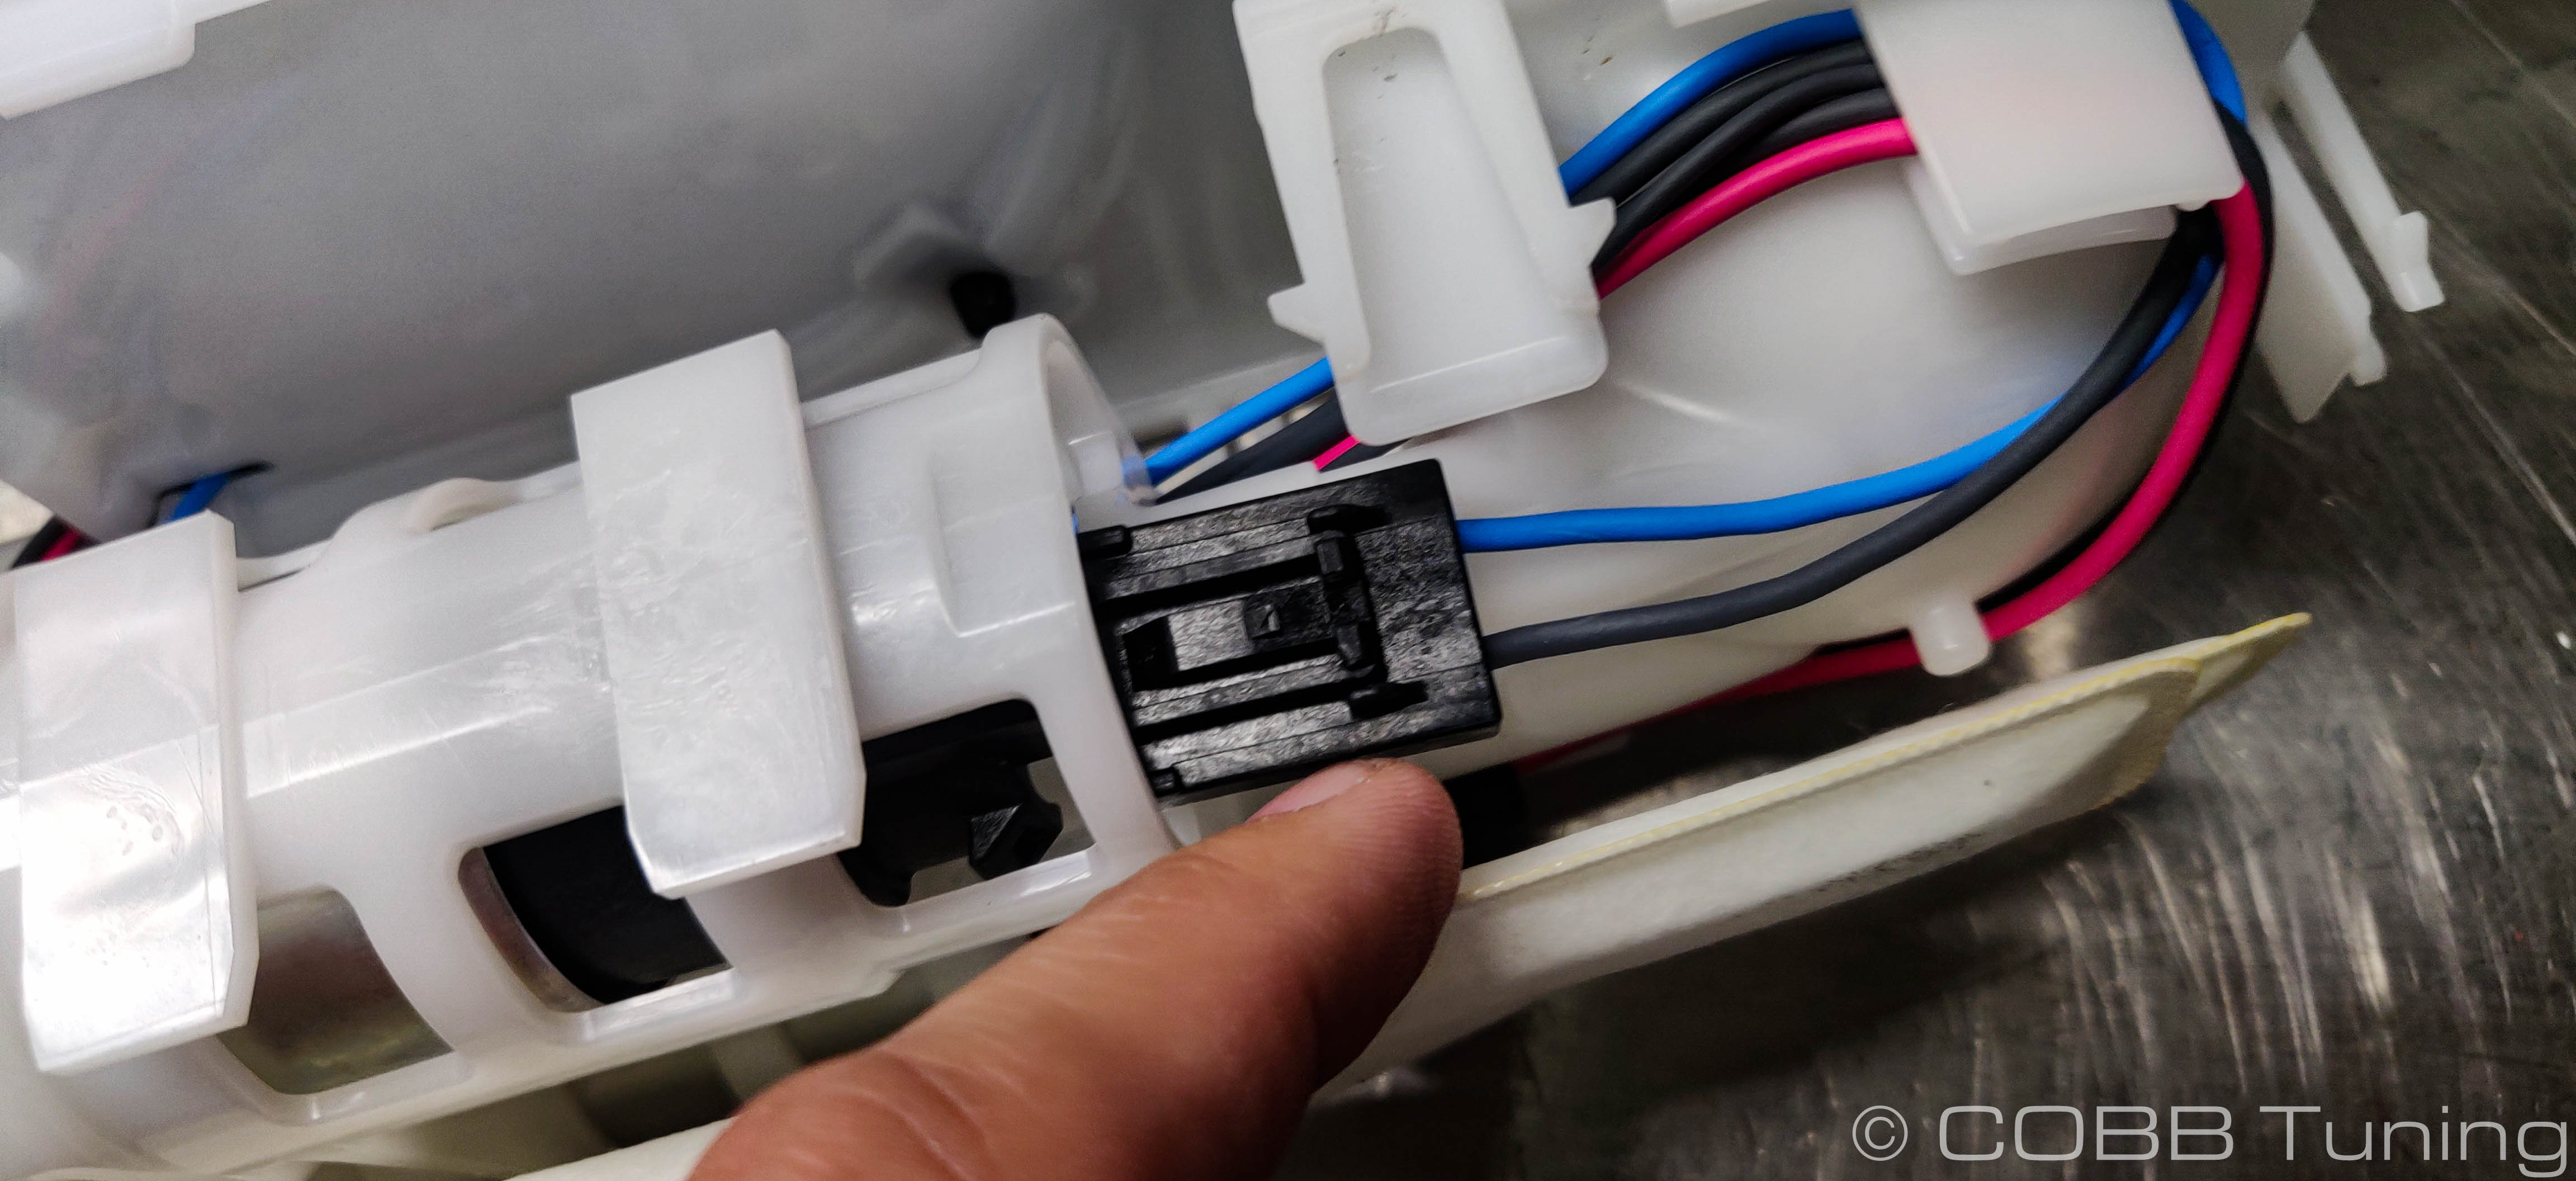
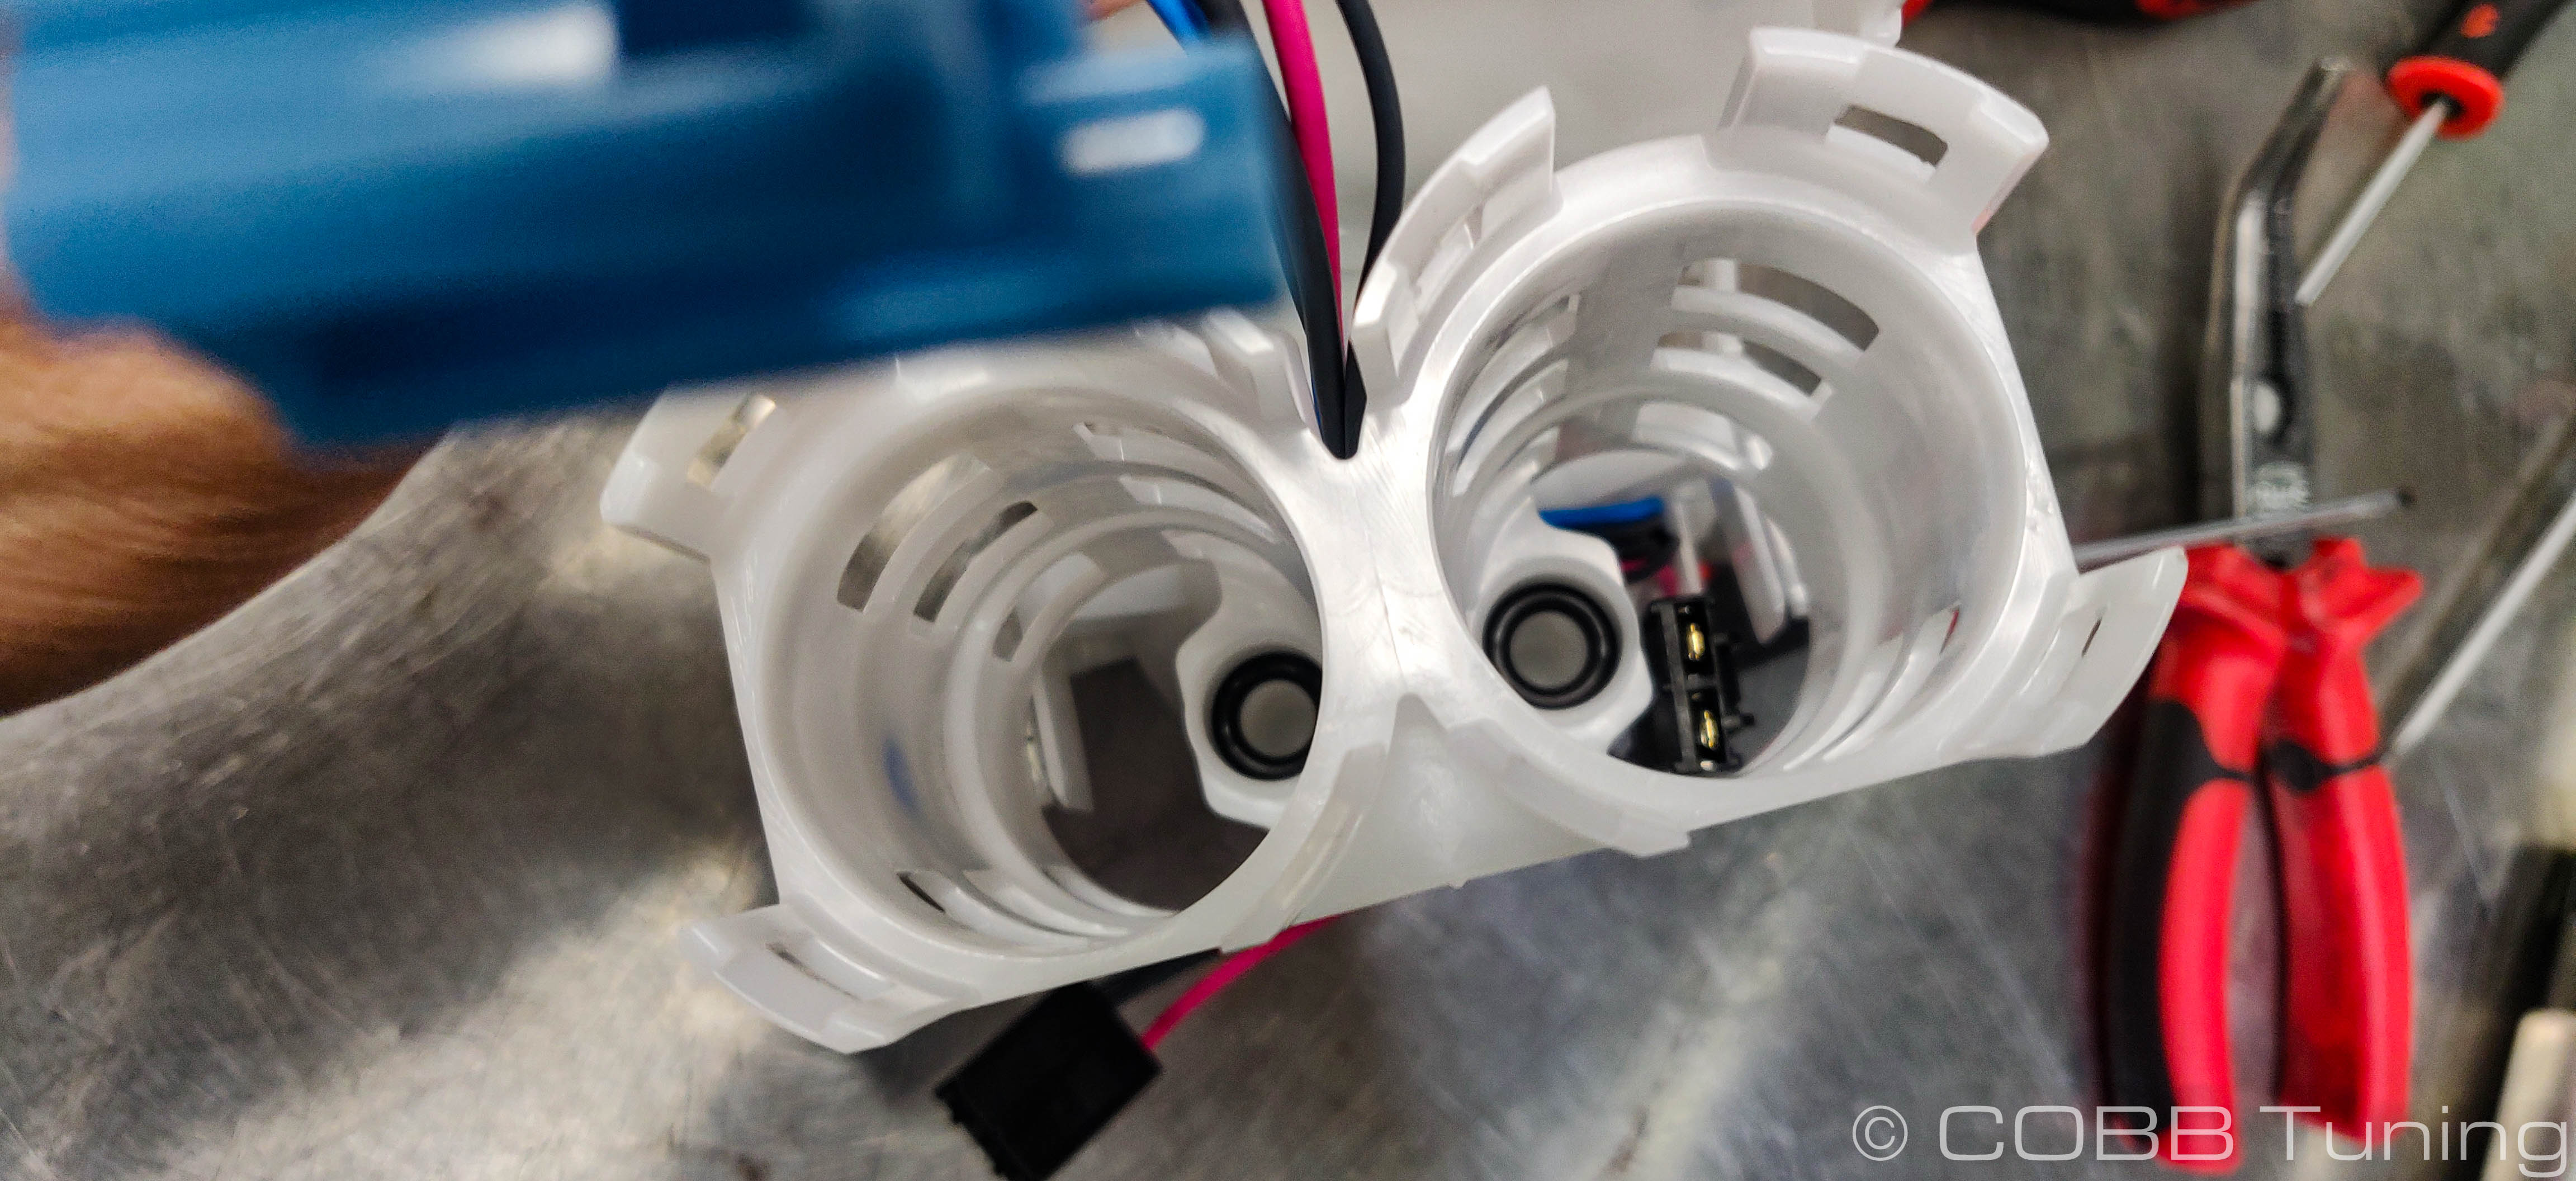
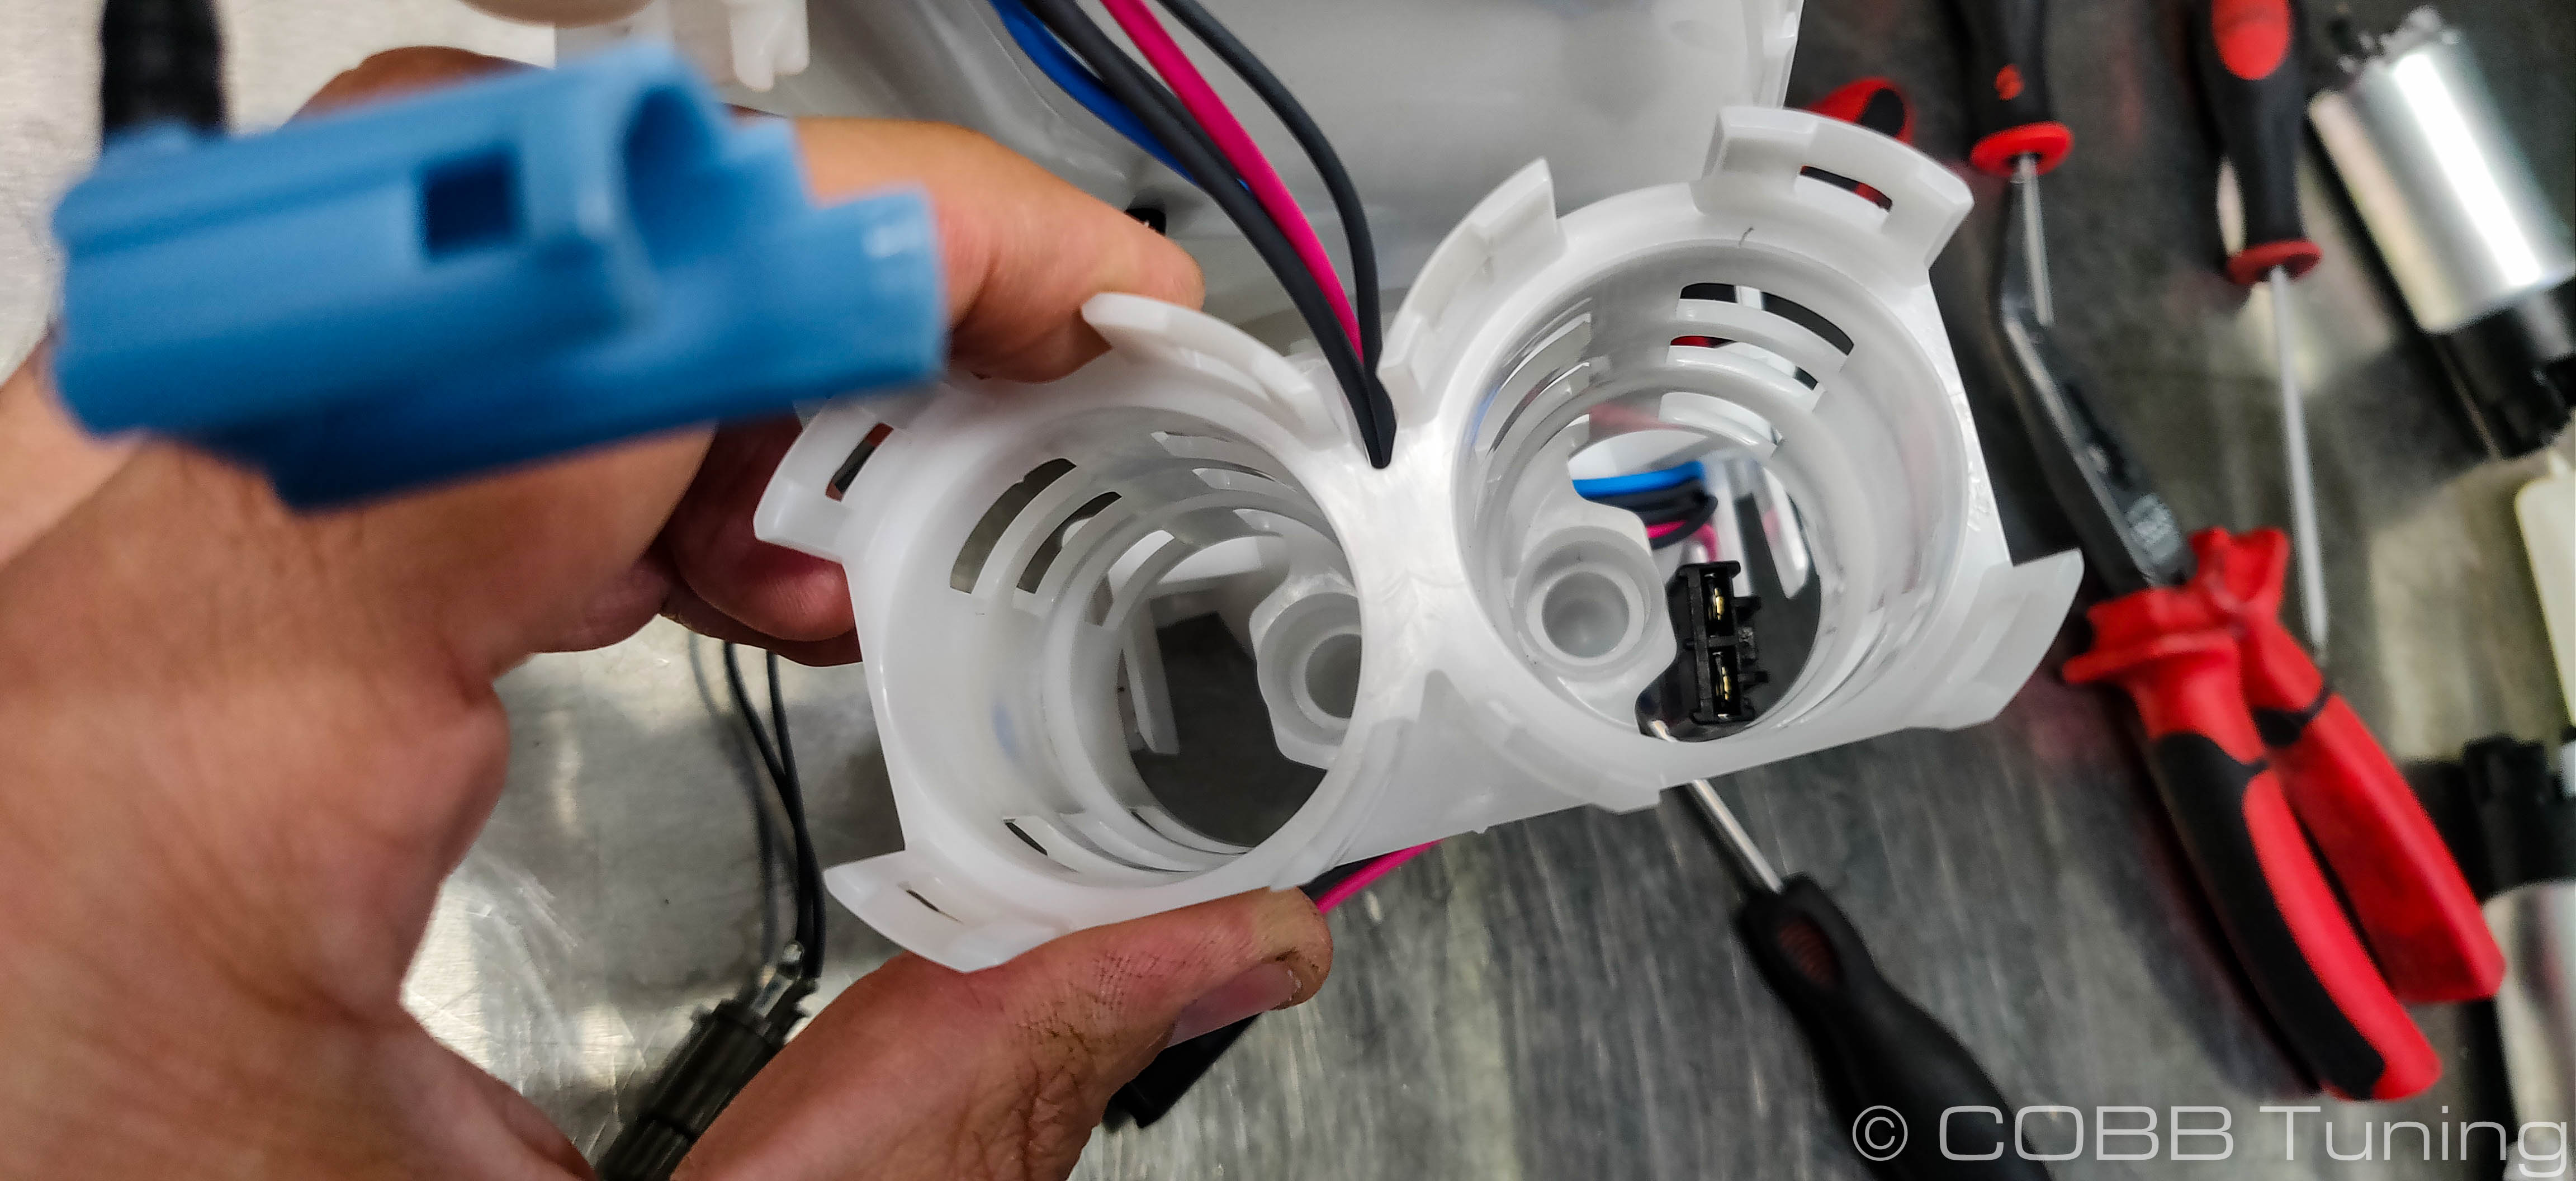
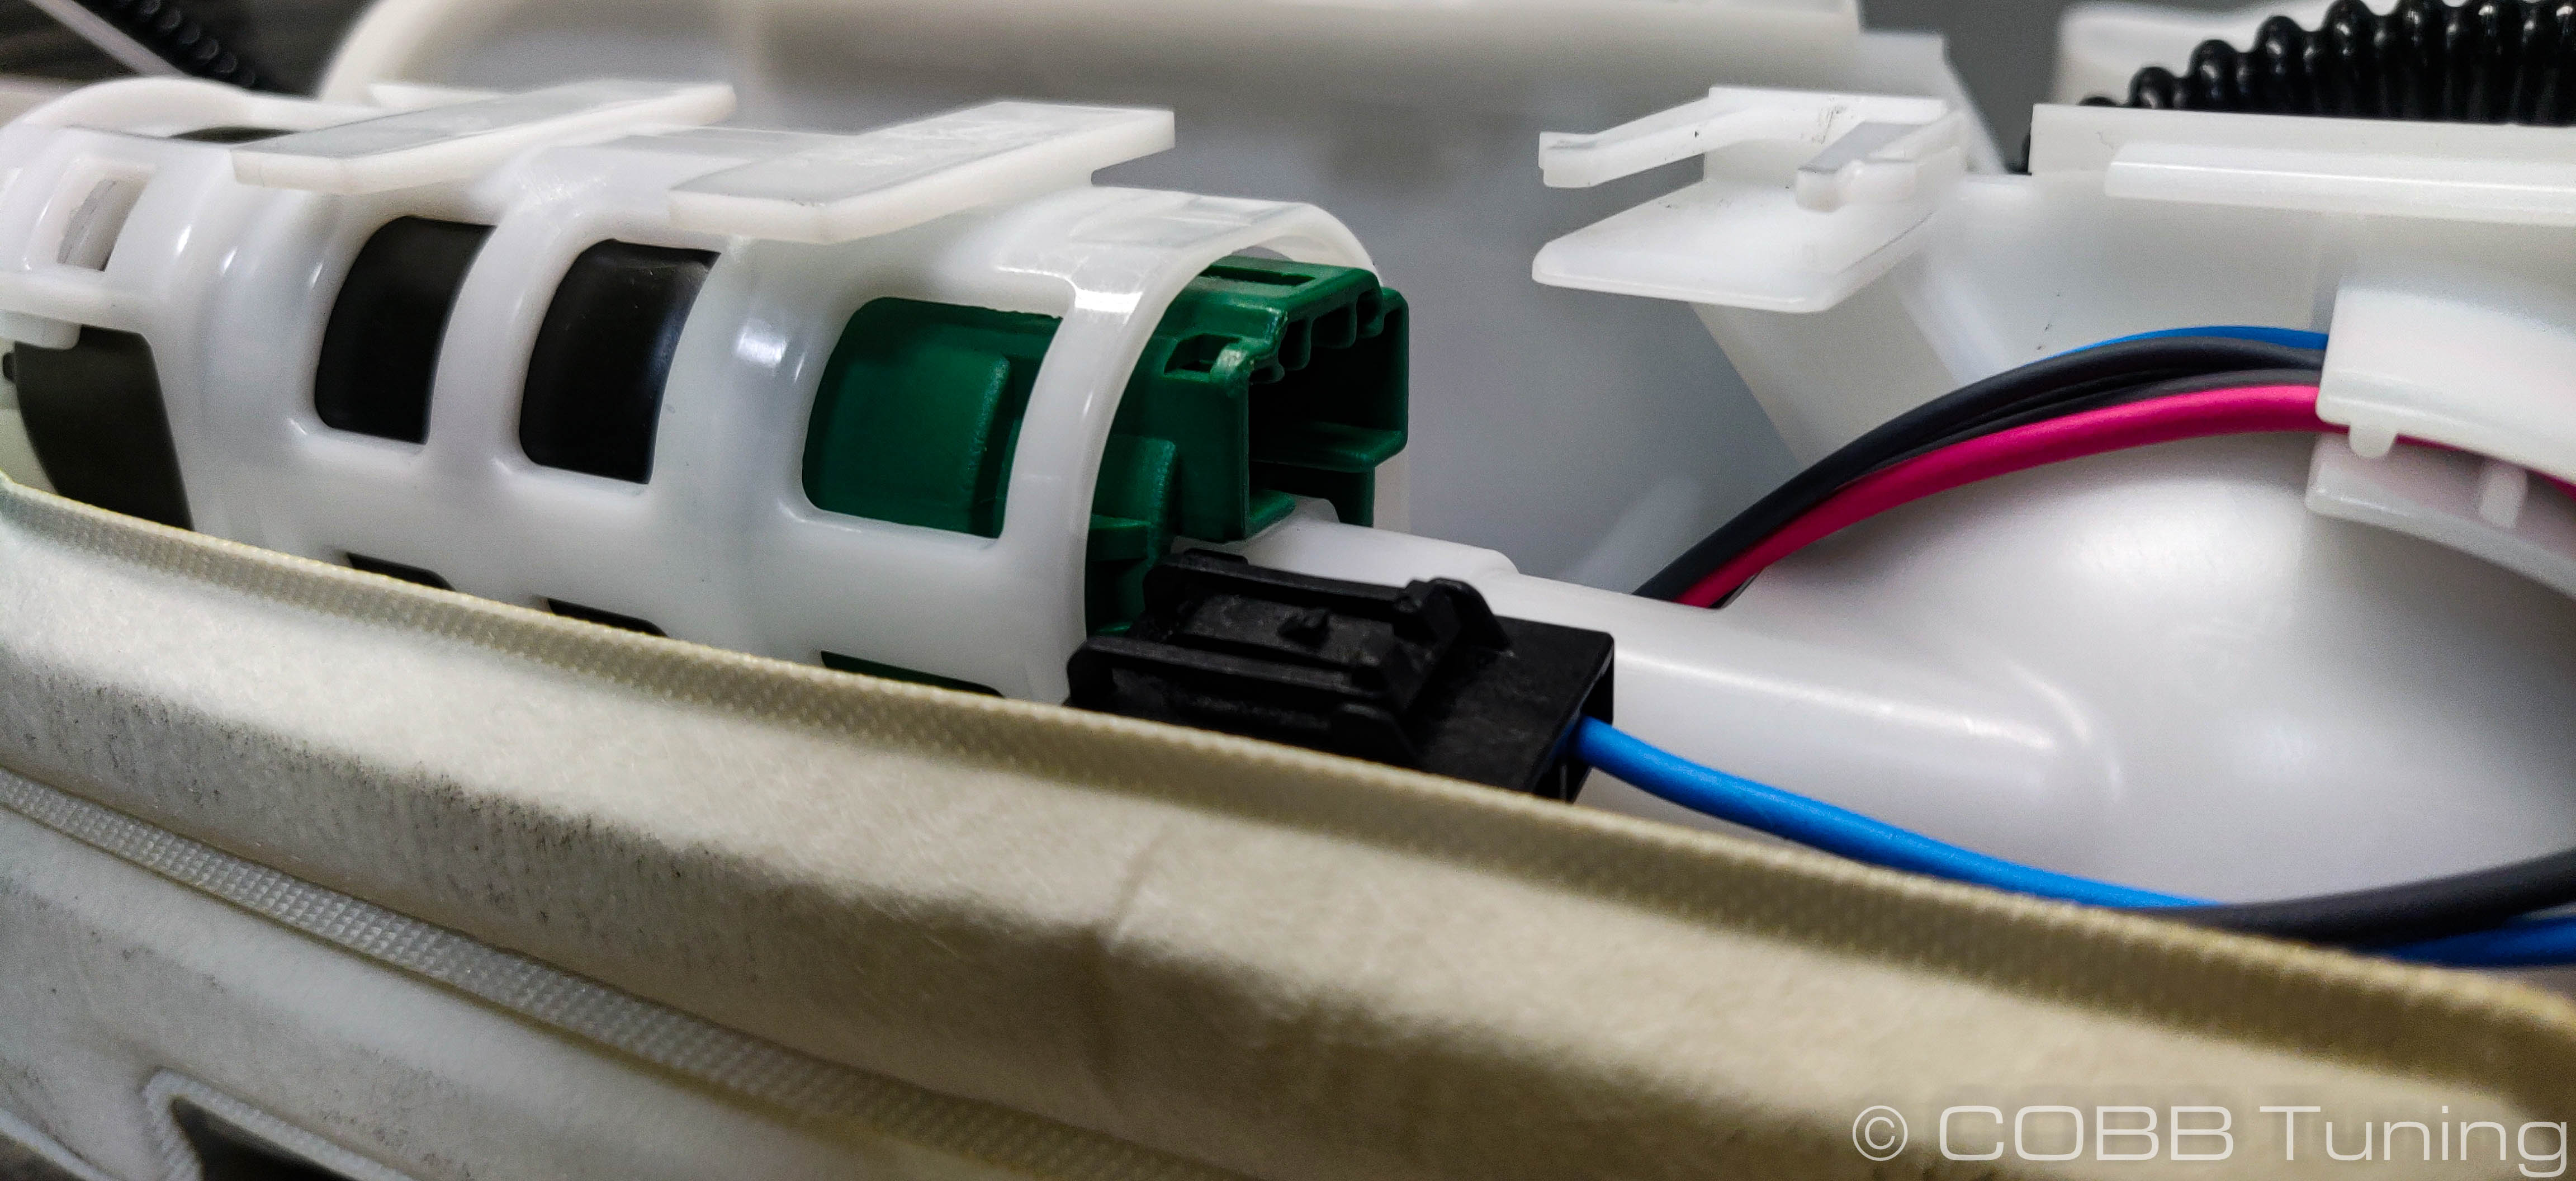
- Use your screwdriver or pick to depress the center portion of the wiring connector and disconnect it from both pumps.
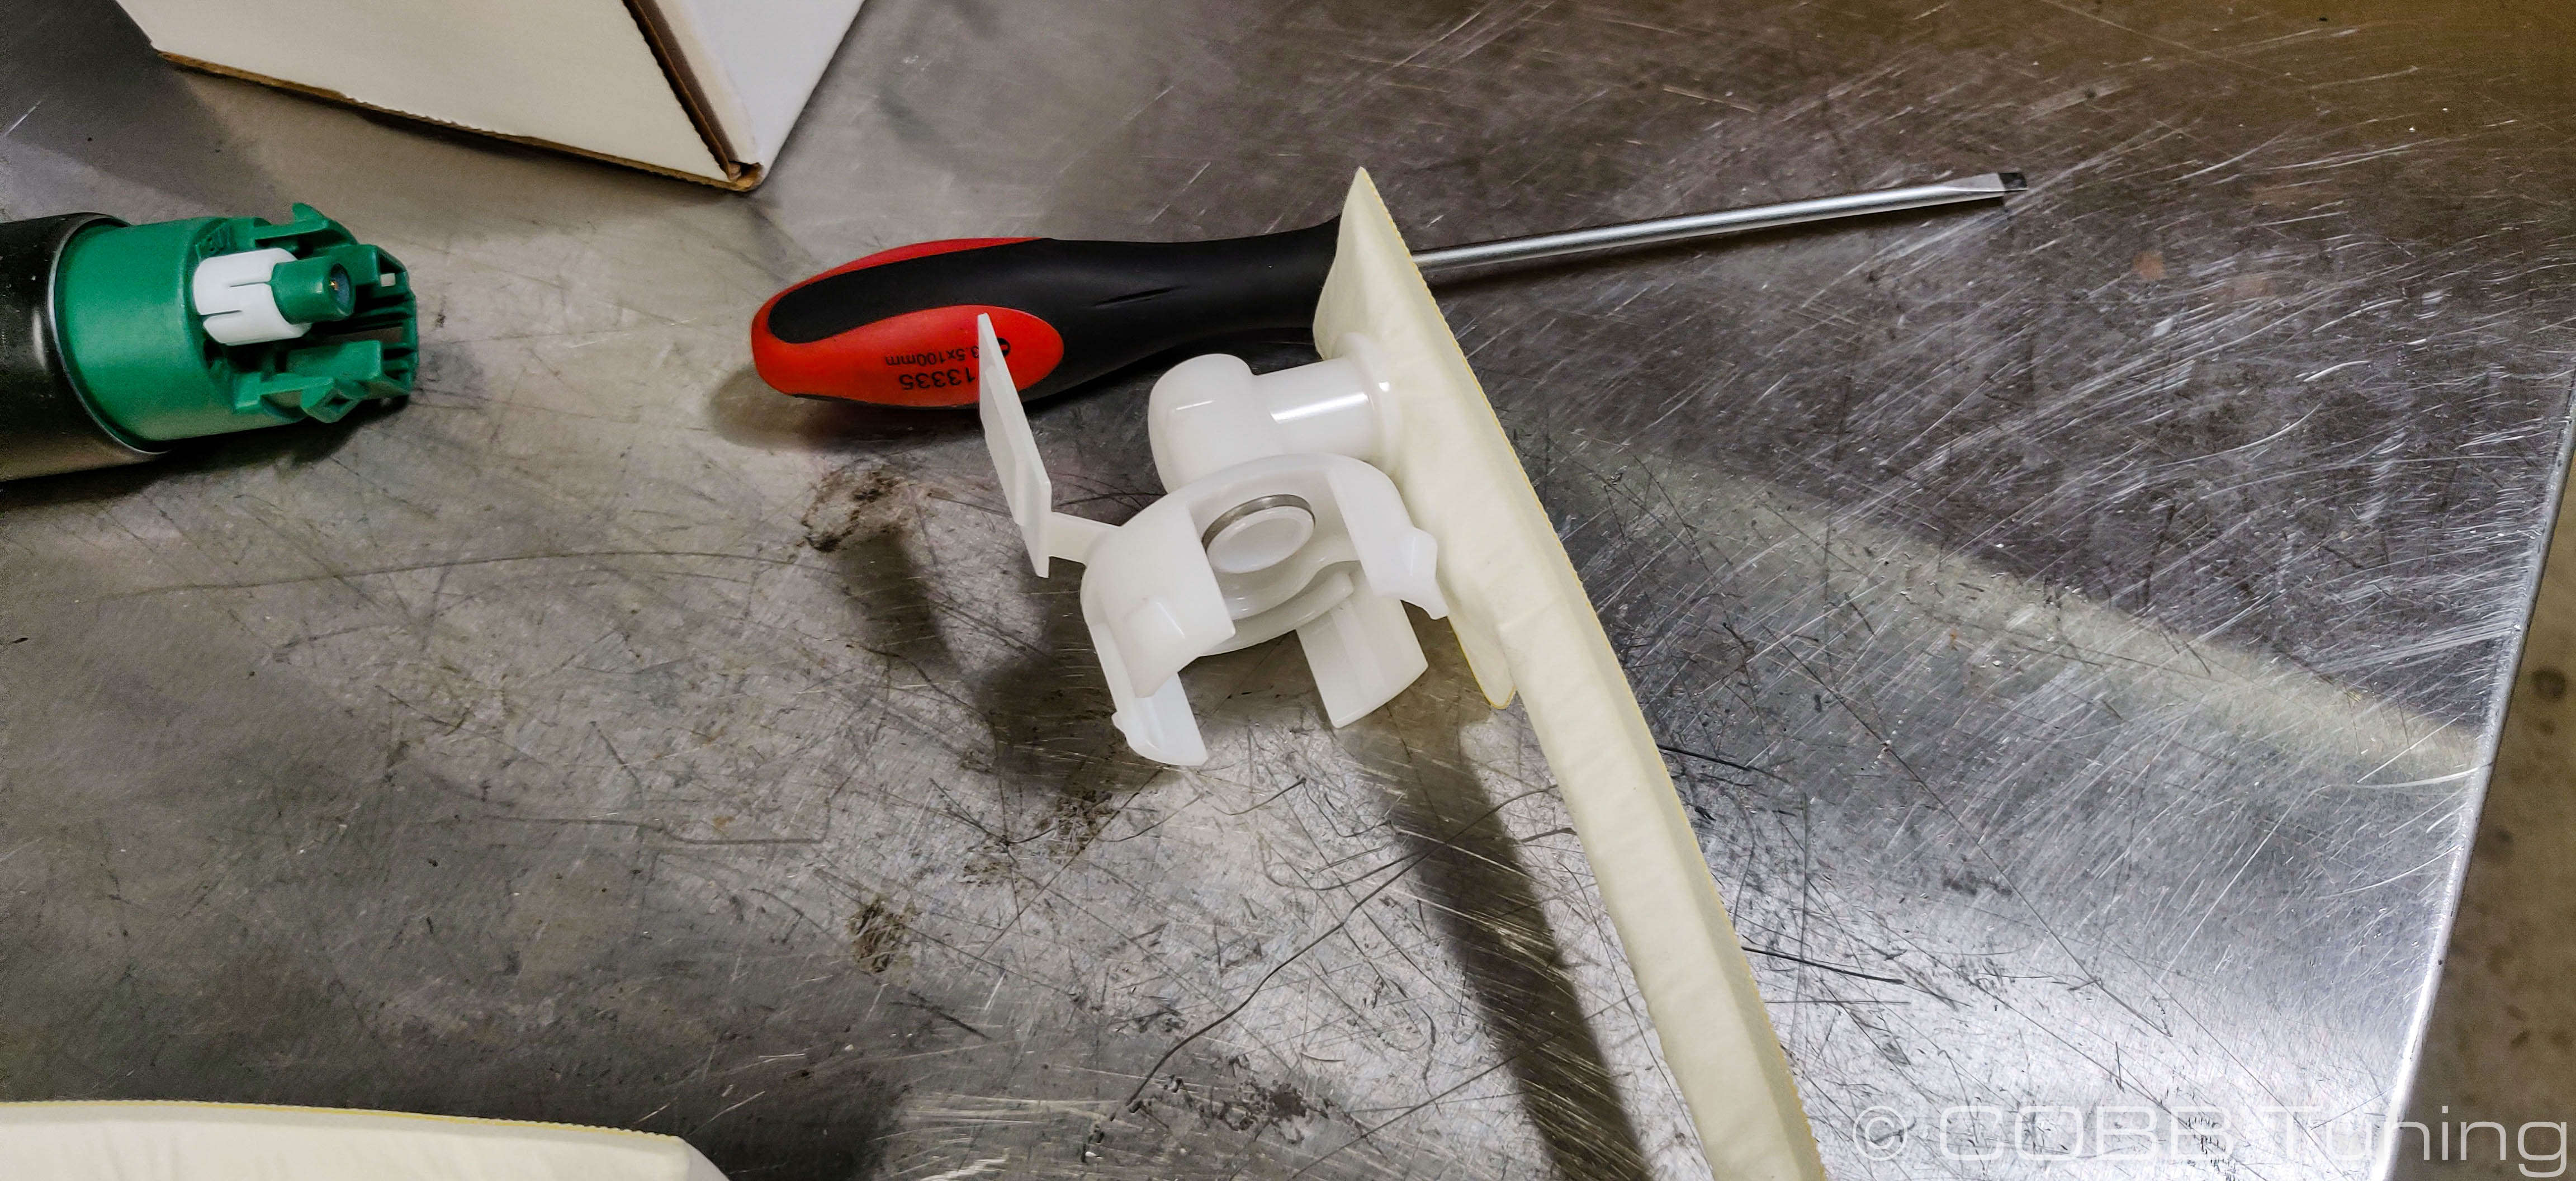
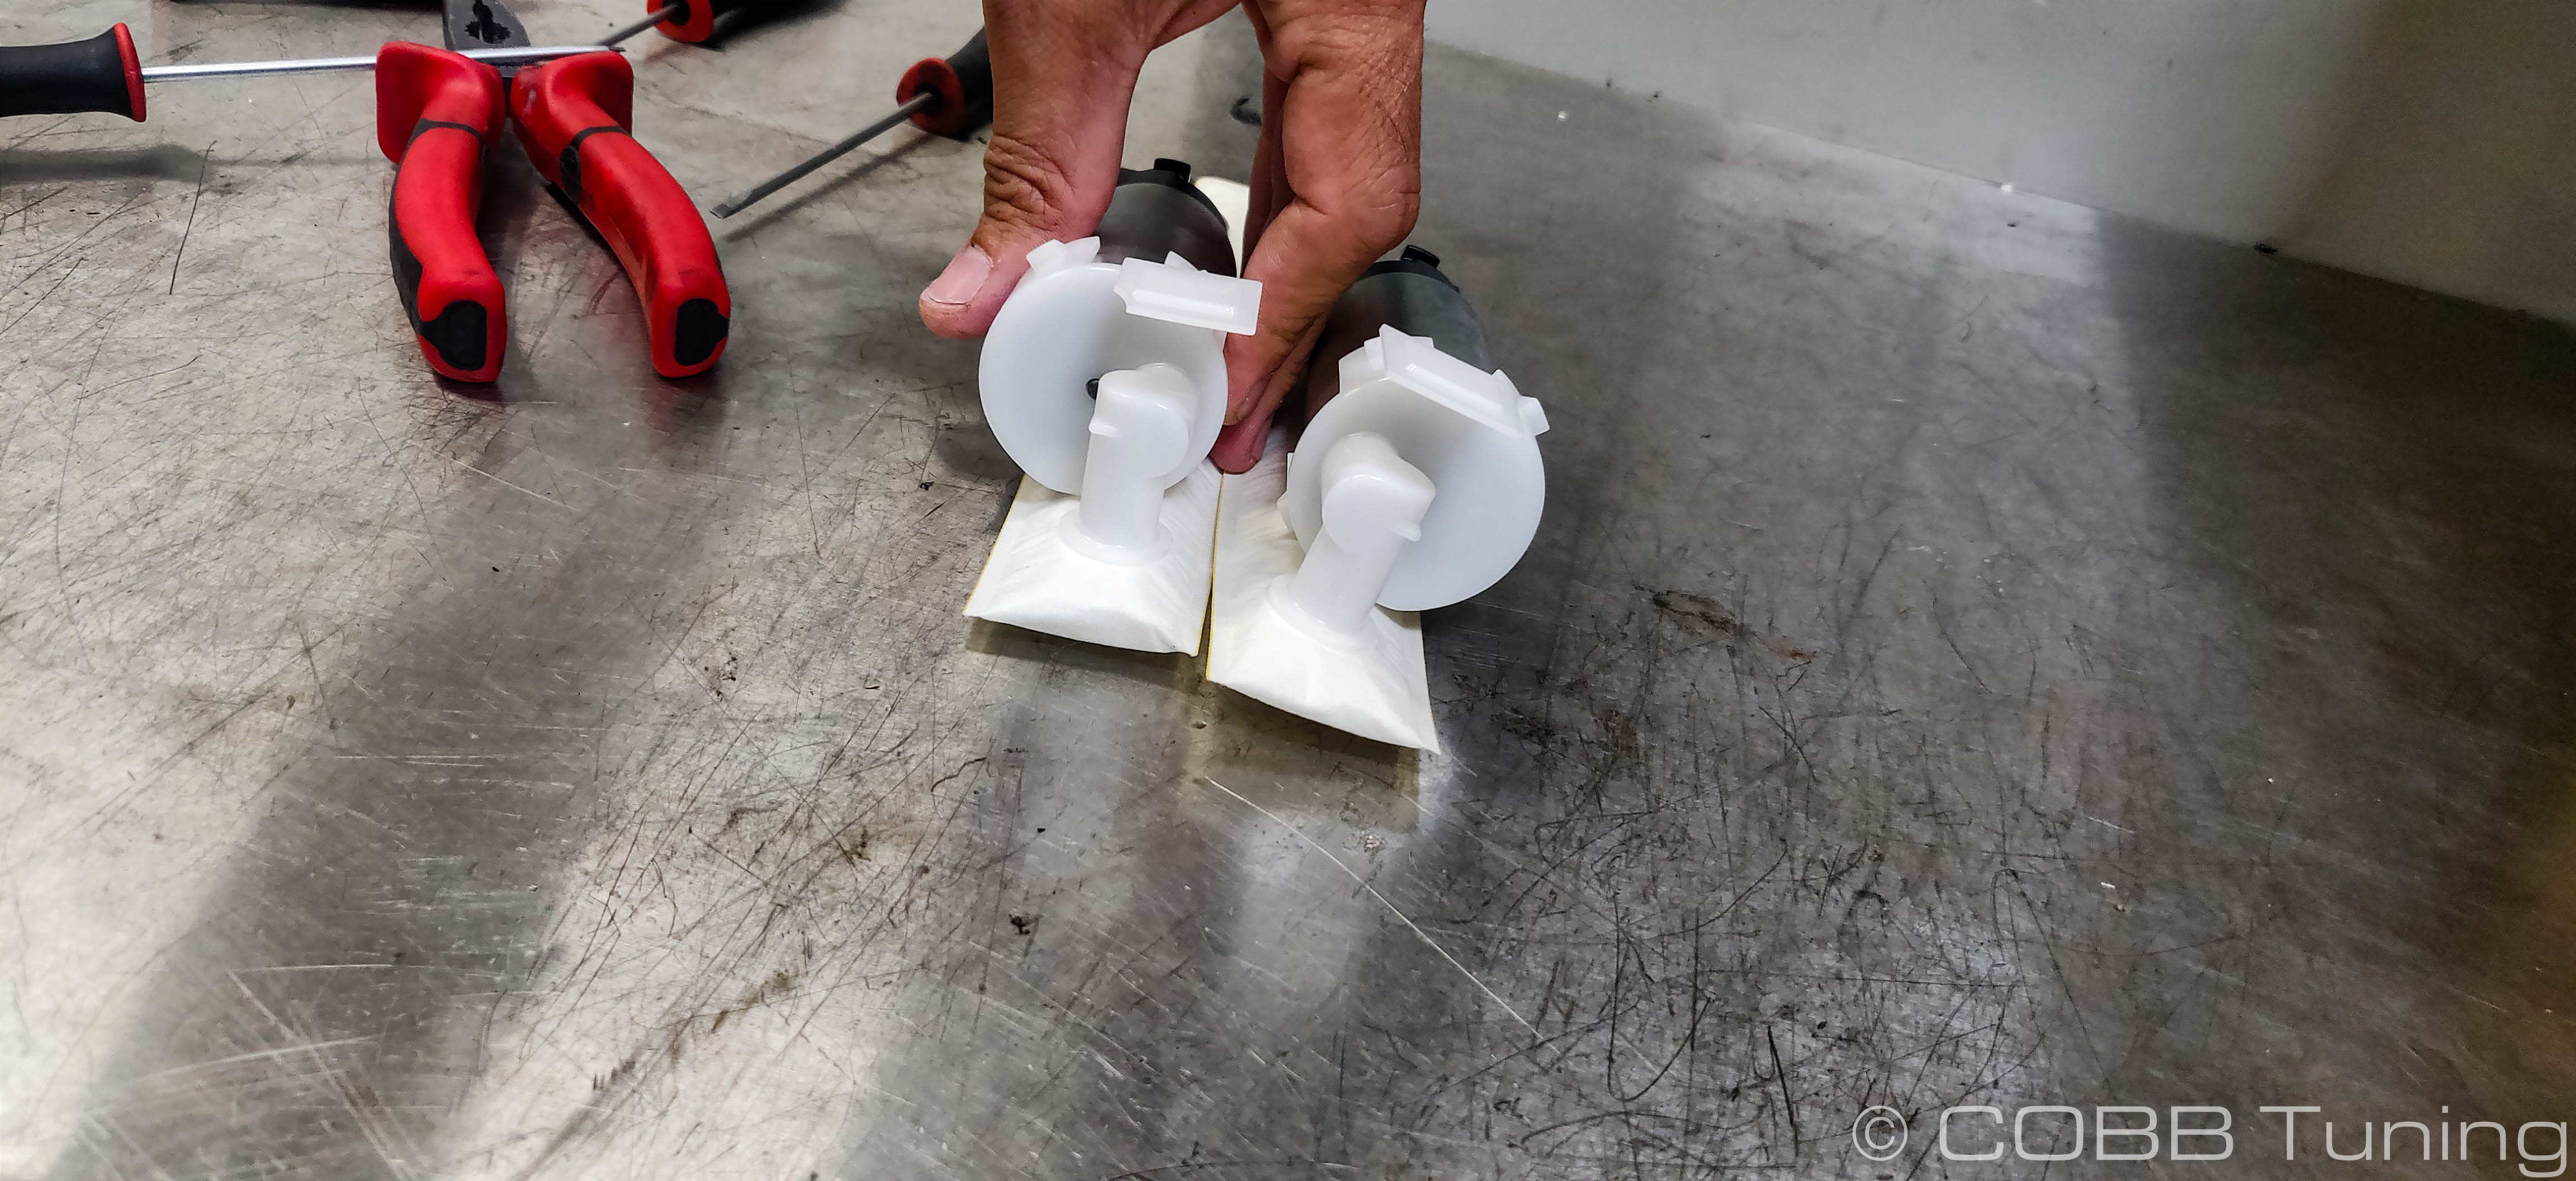
- Using a friend, or a significant amount of small hand tools, lever outward on the clips holding the fuel pump and strainer assembly to the main portion of the pump. With all 4 released you should be able to gently pry outward on the pump to remove it from the housing.
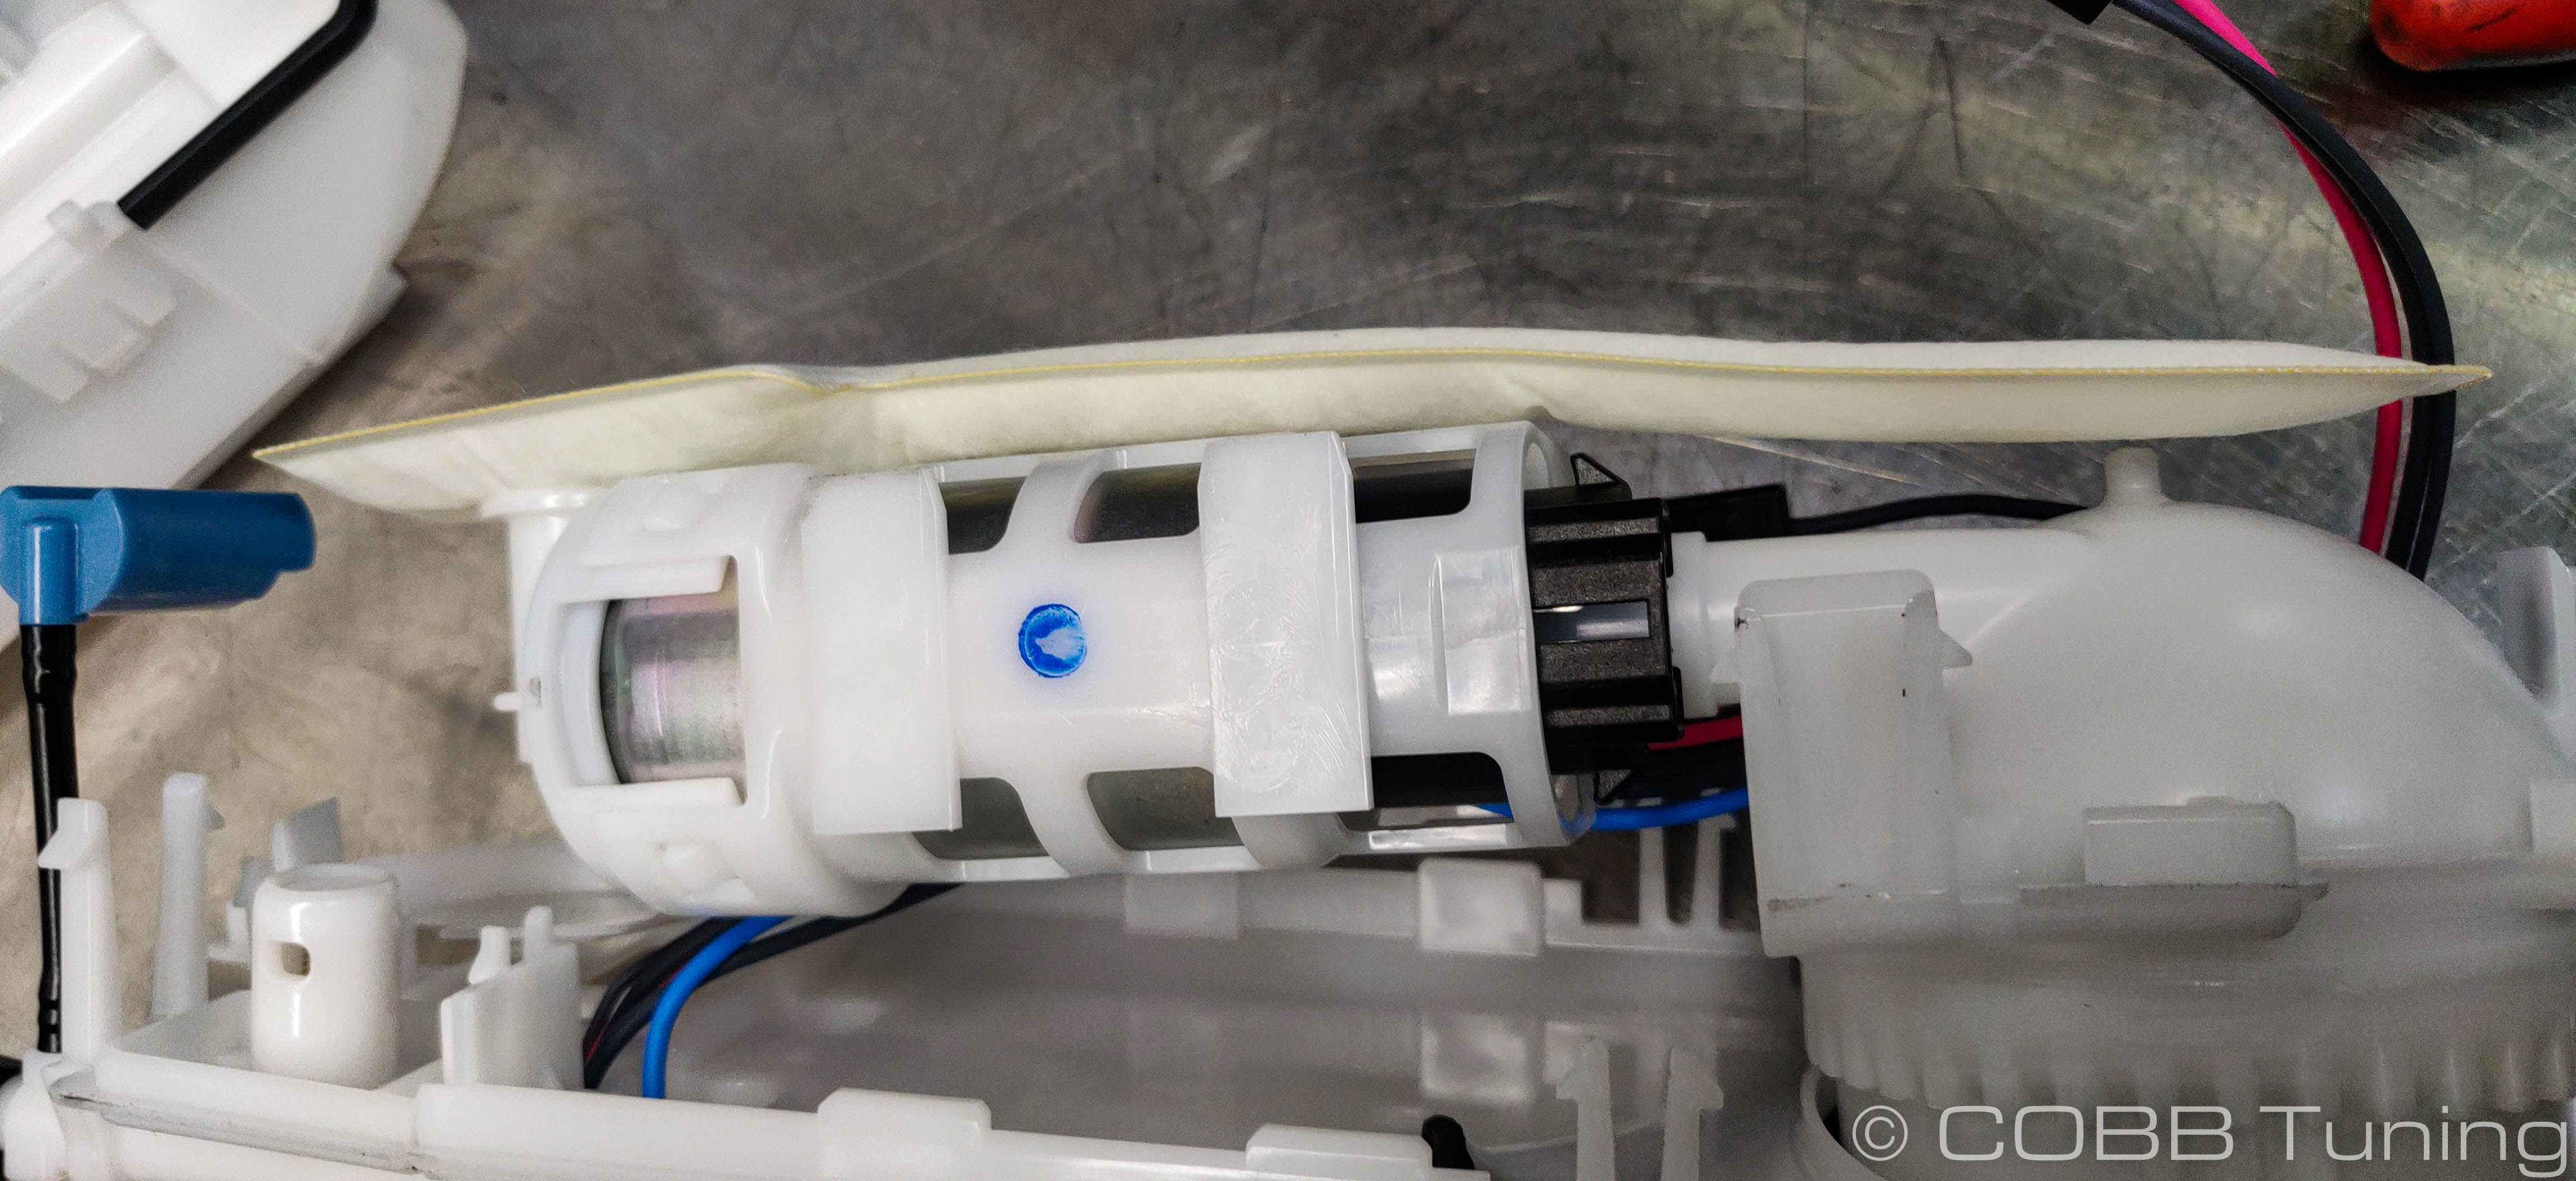

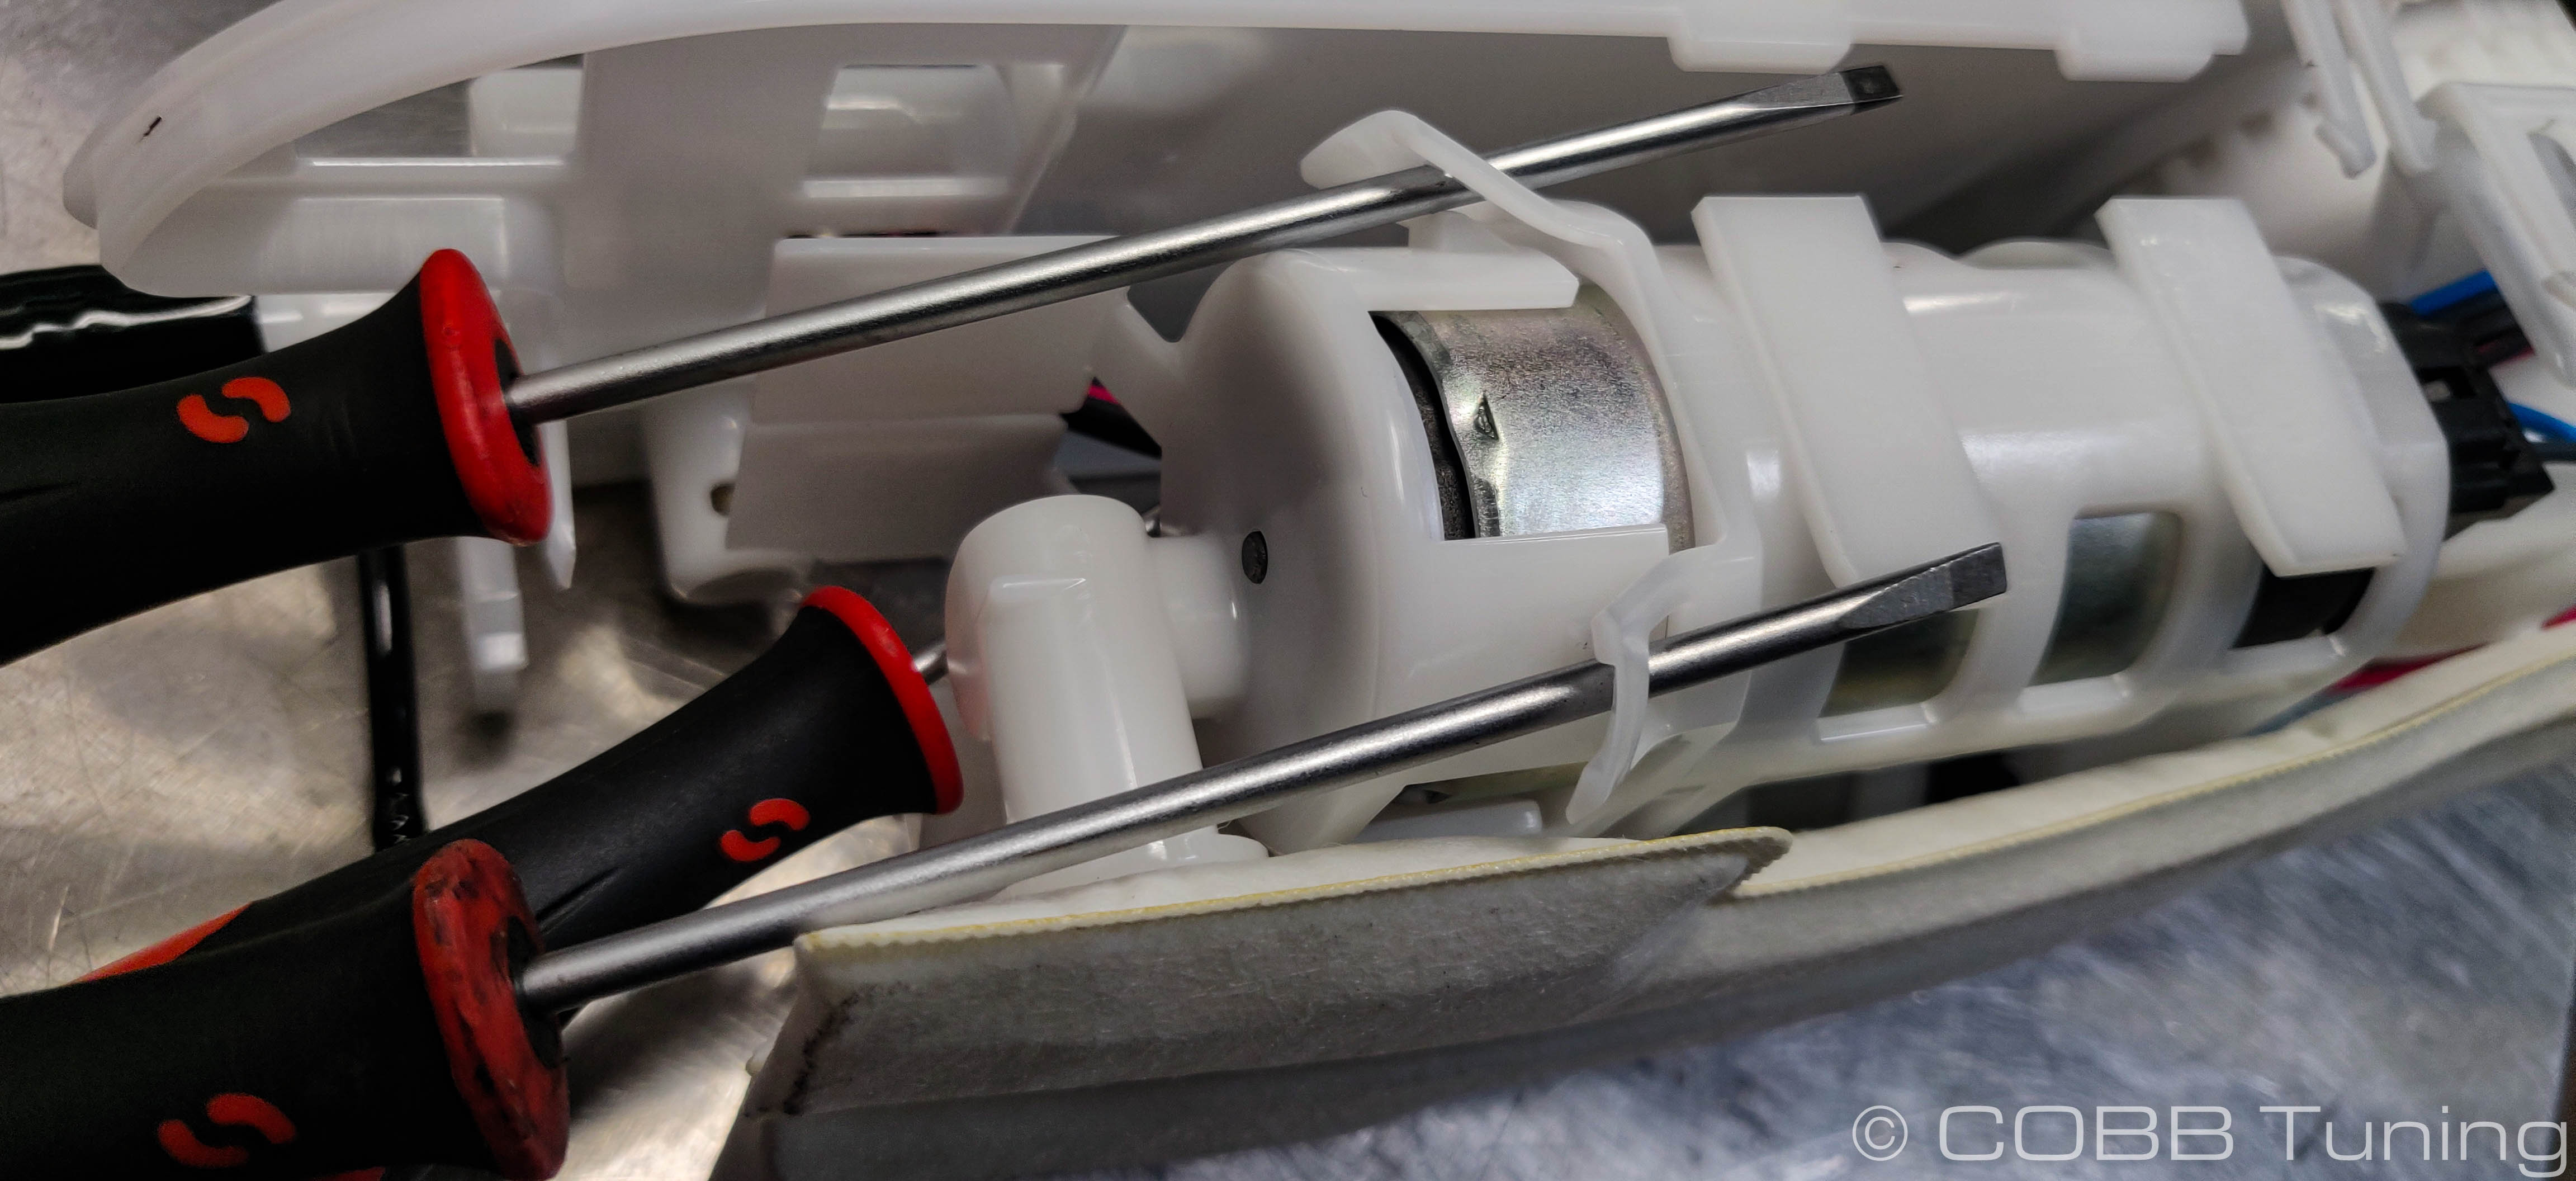
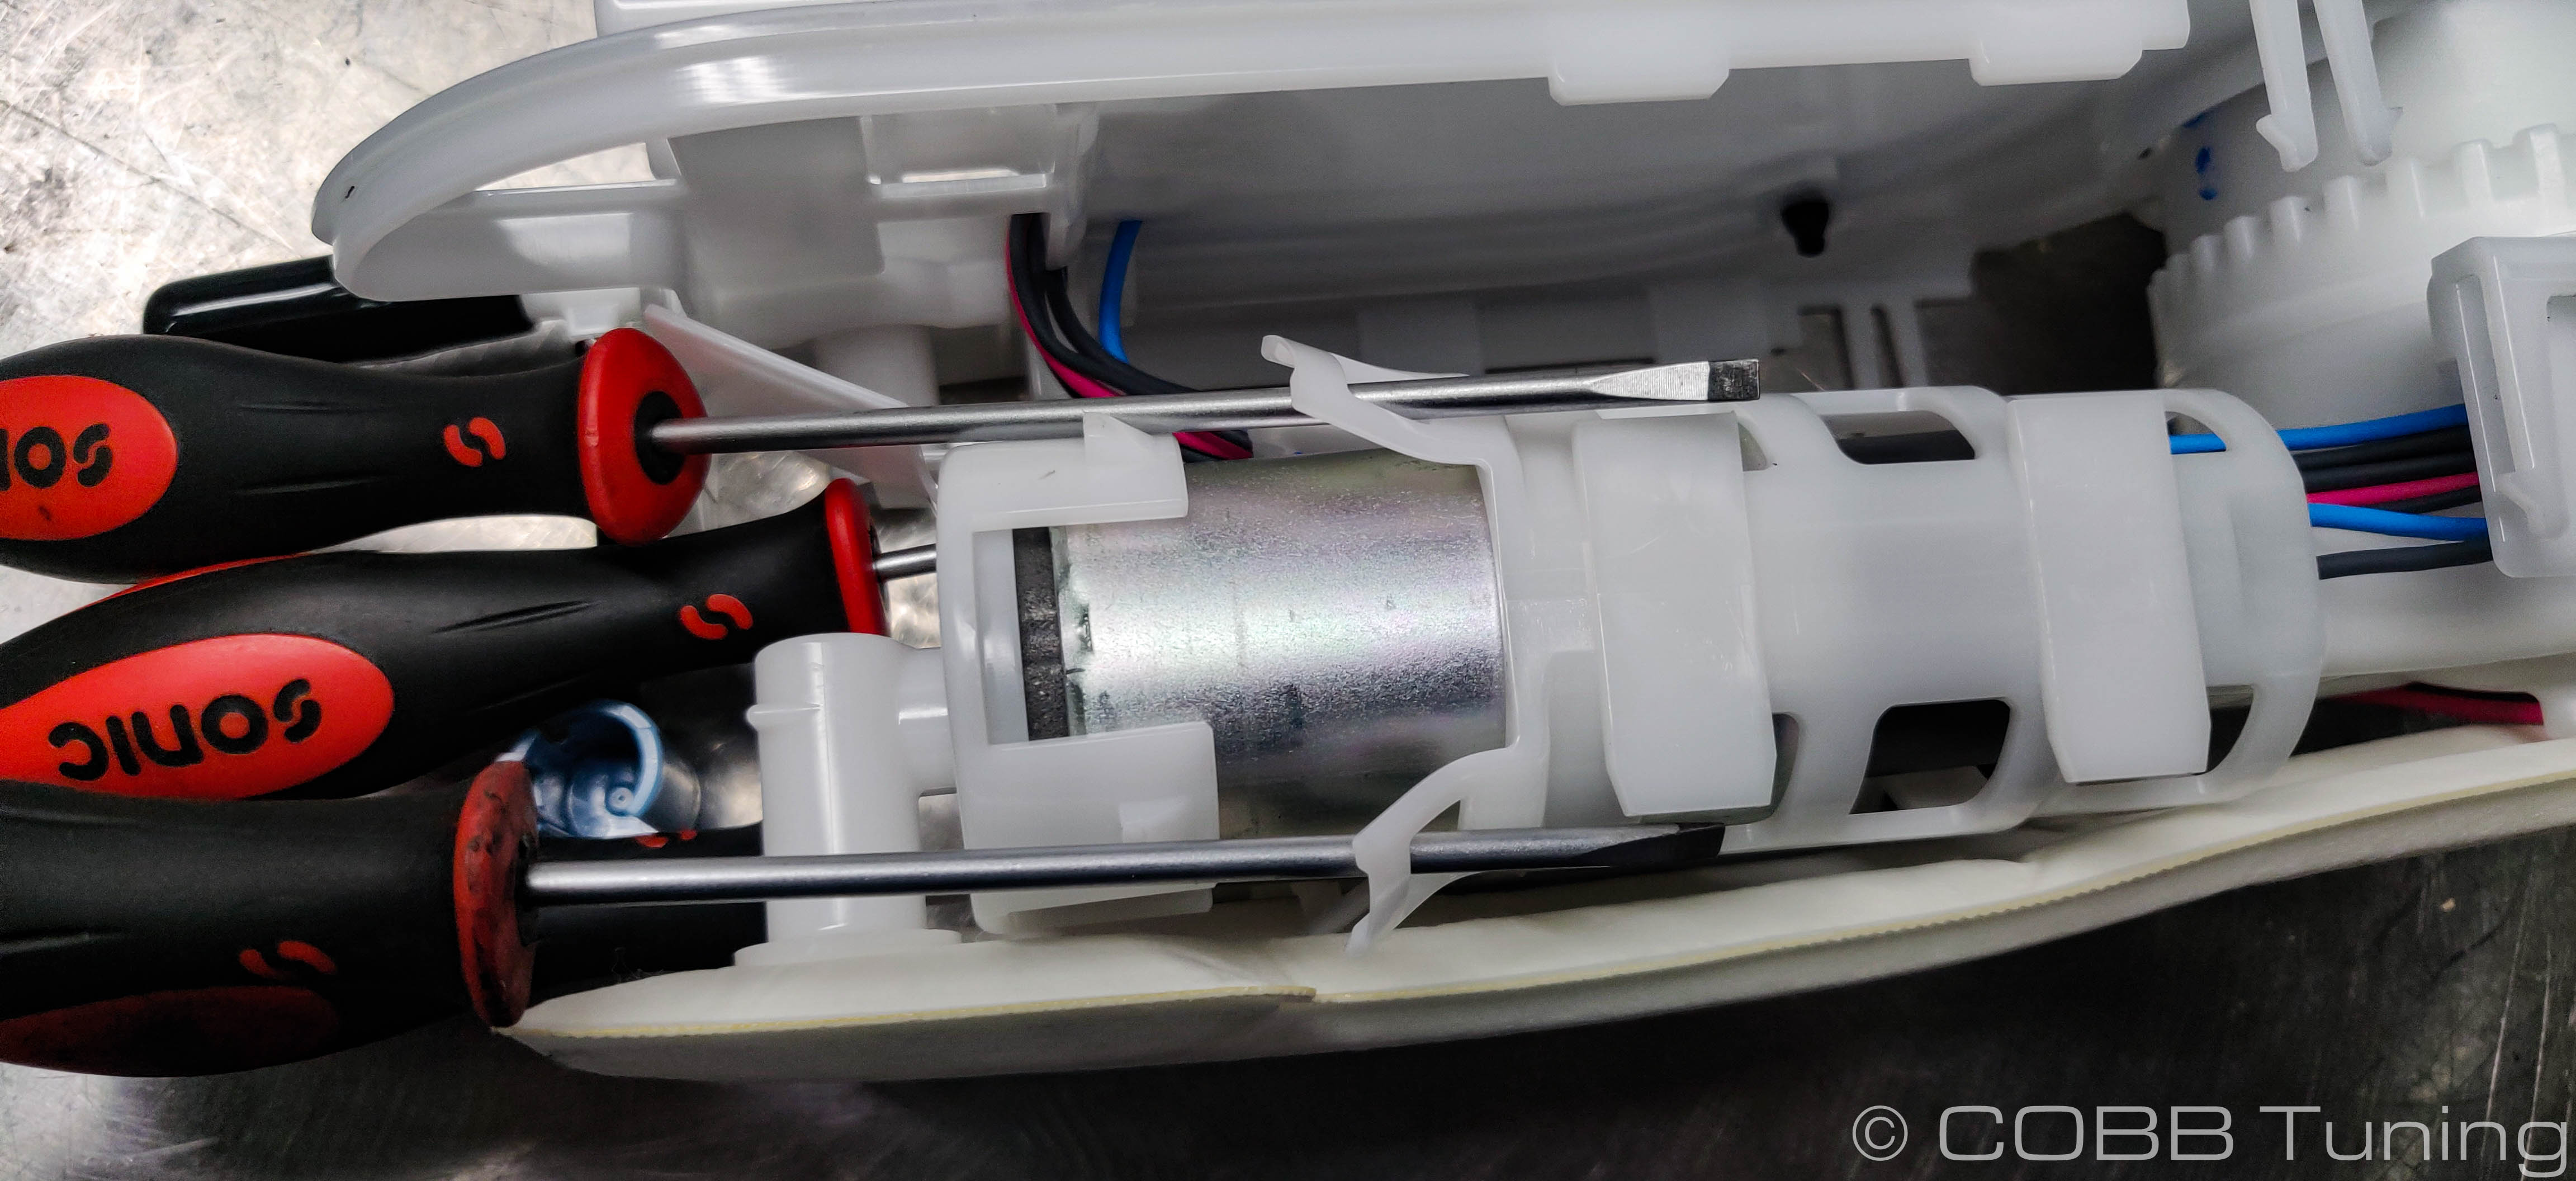
- Repeat this step on the other side as well.
- Inspect the pump hanger and make sure the o-rings aren't still inside. If they are remove them with a pick or screwdriver.
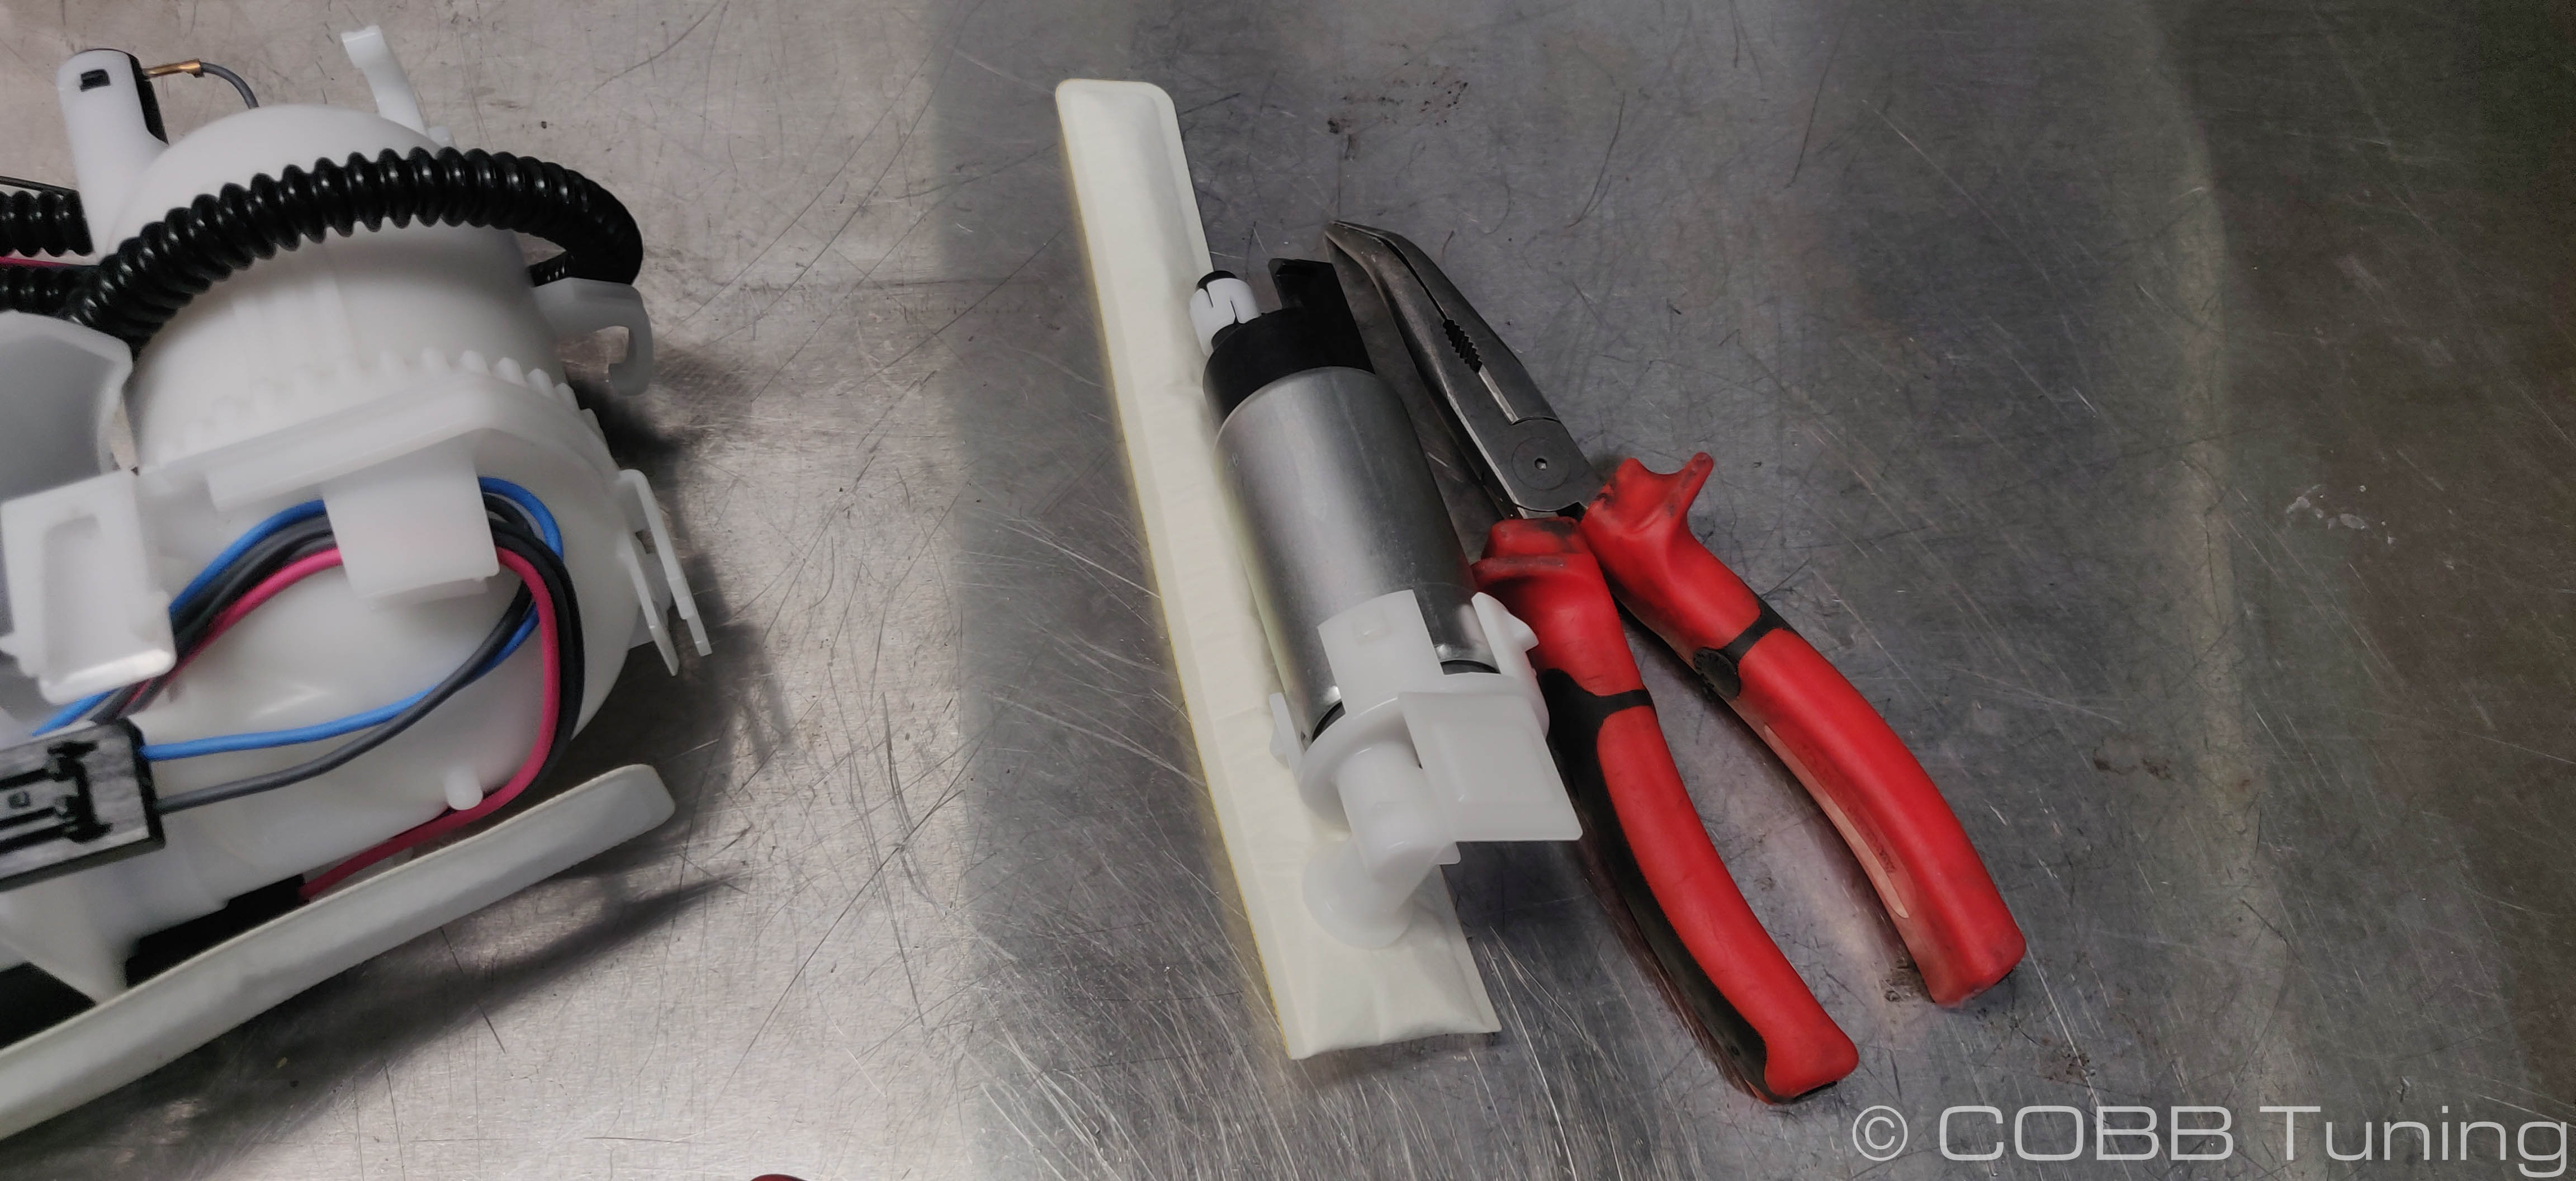
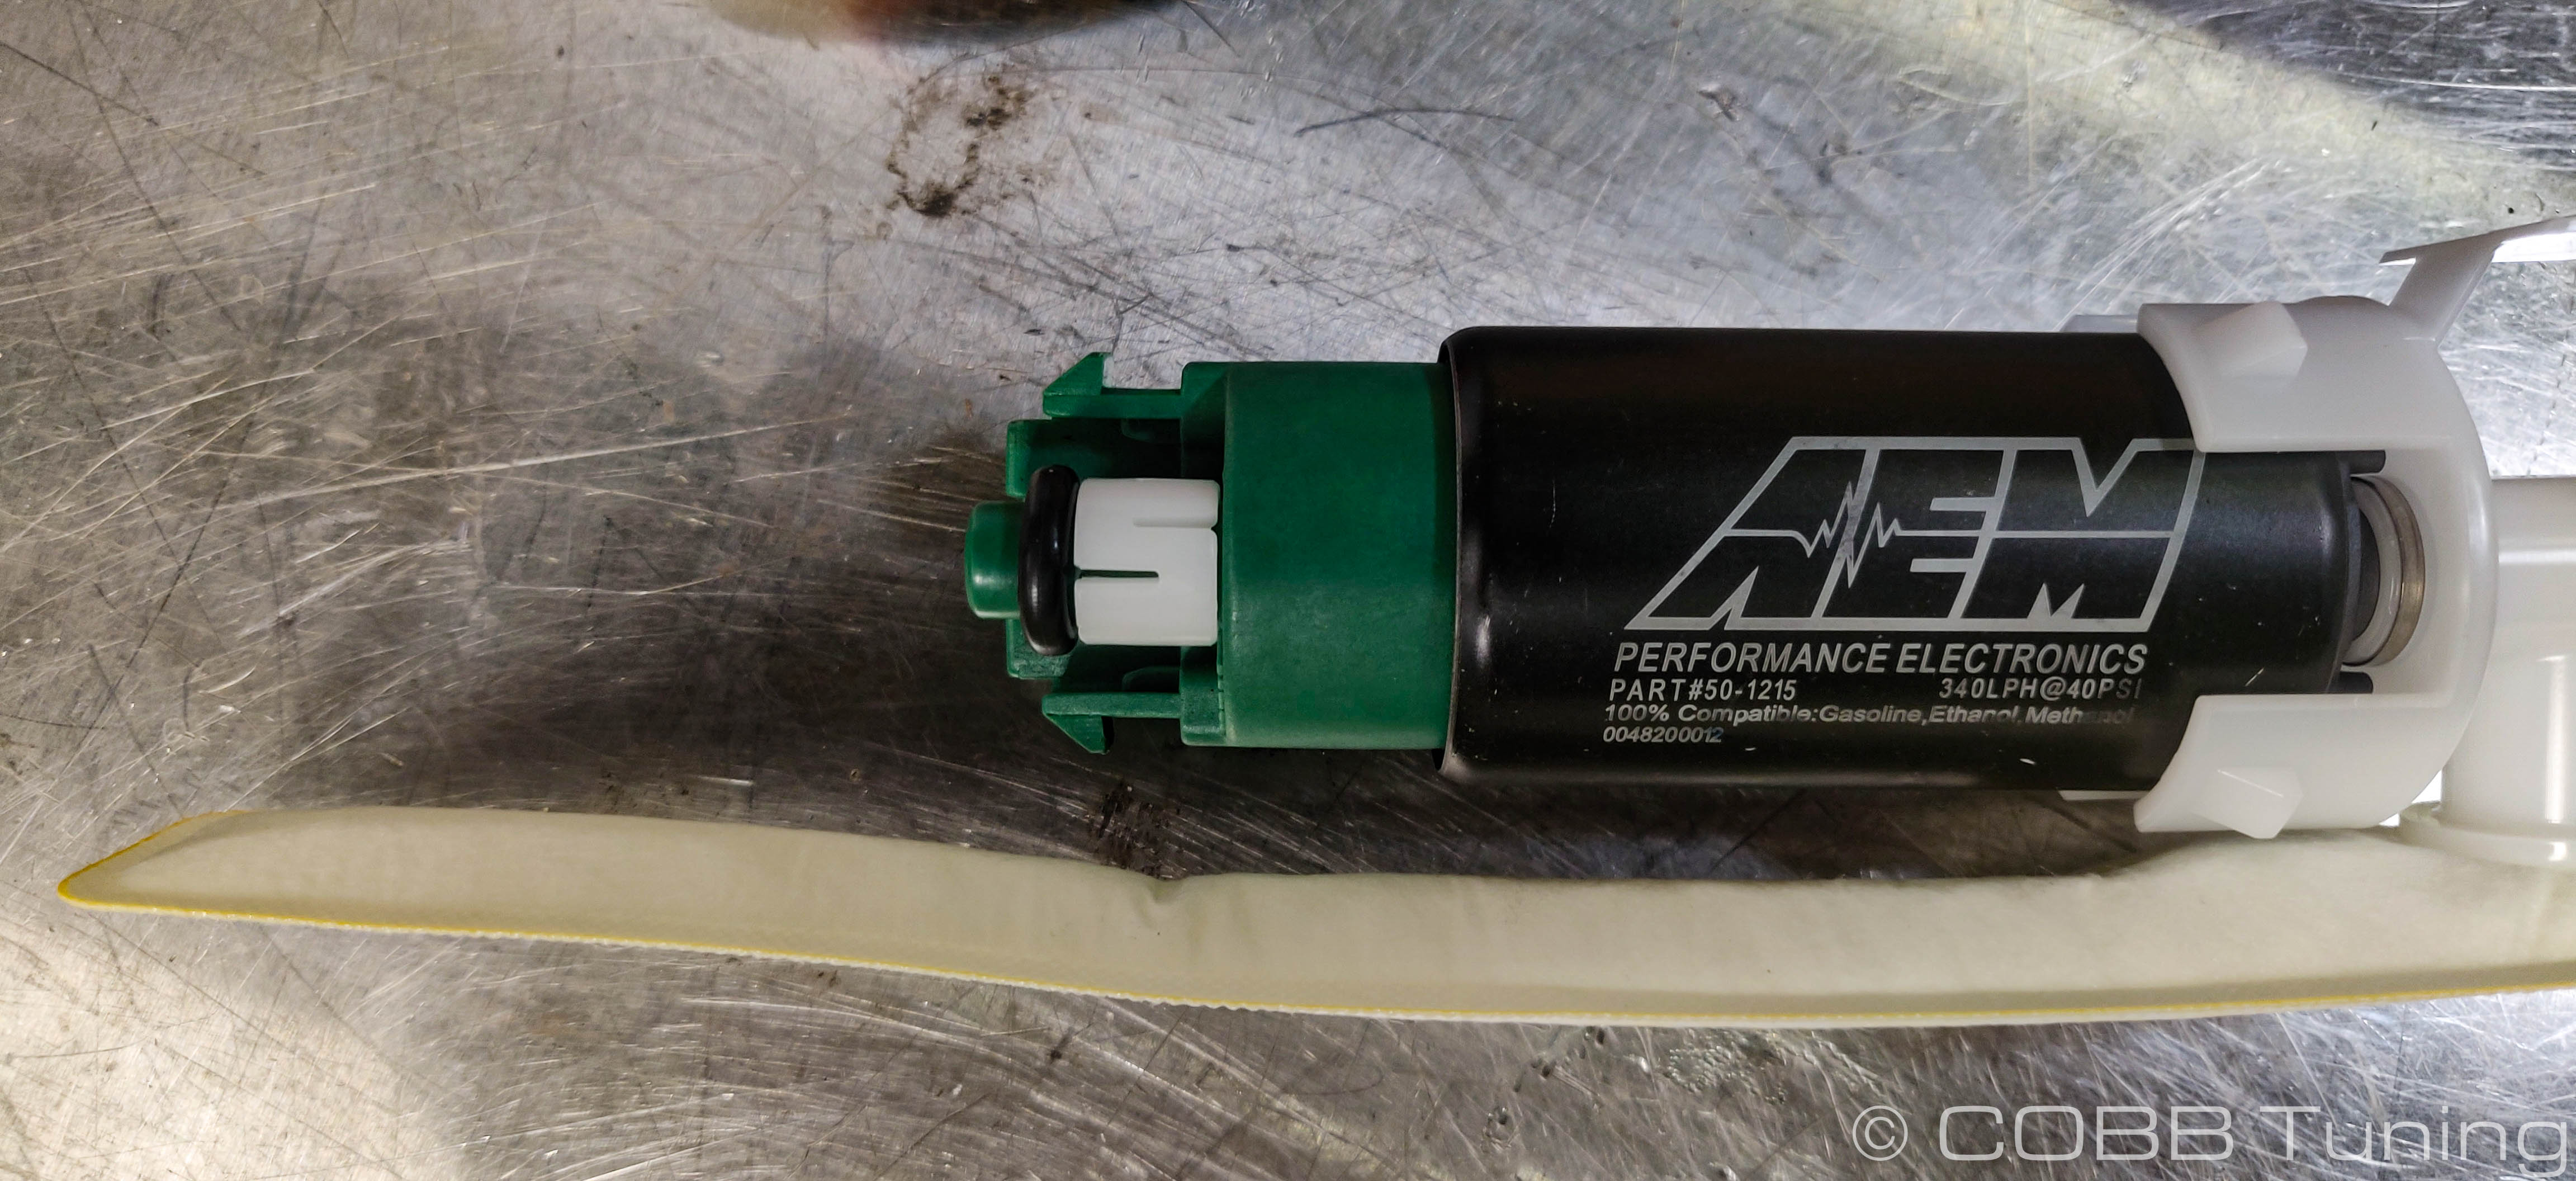
- Move the plastic spacer from the stock pump onto the provided AEM pumps.
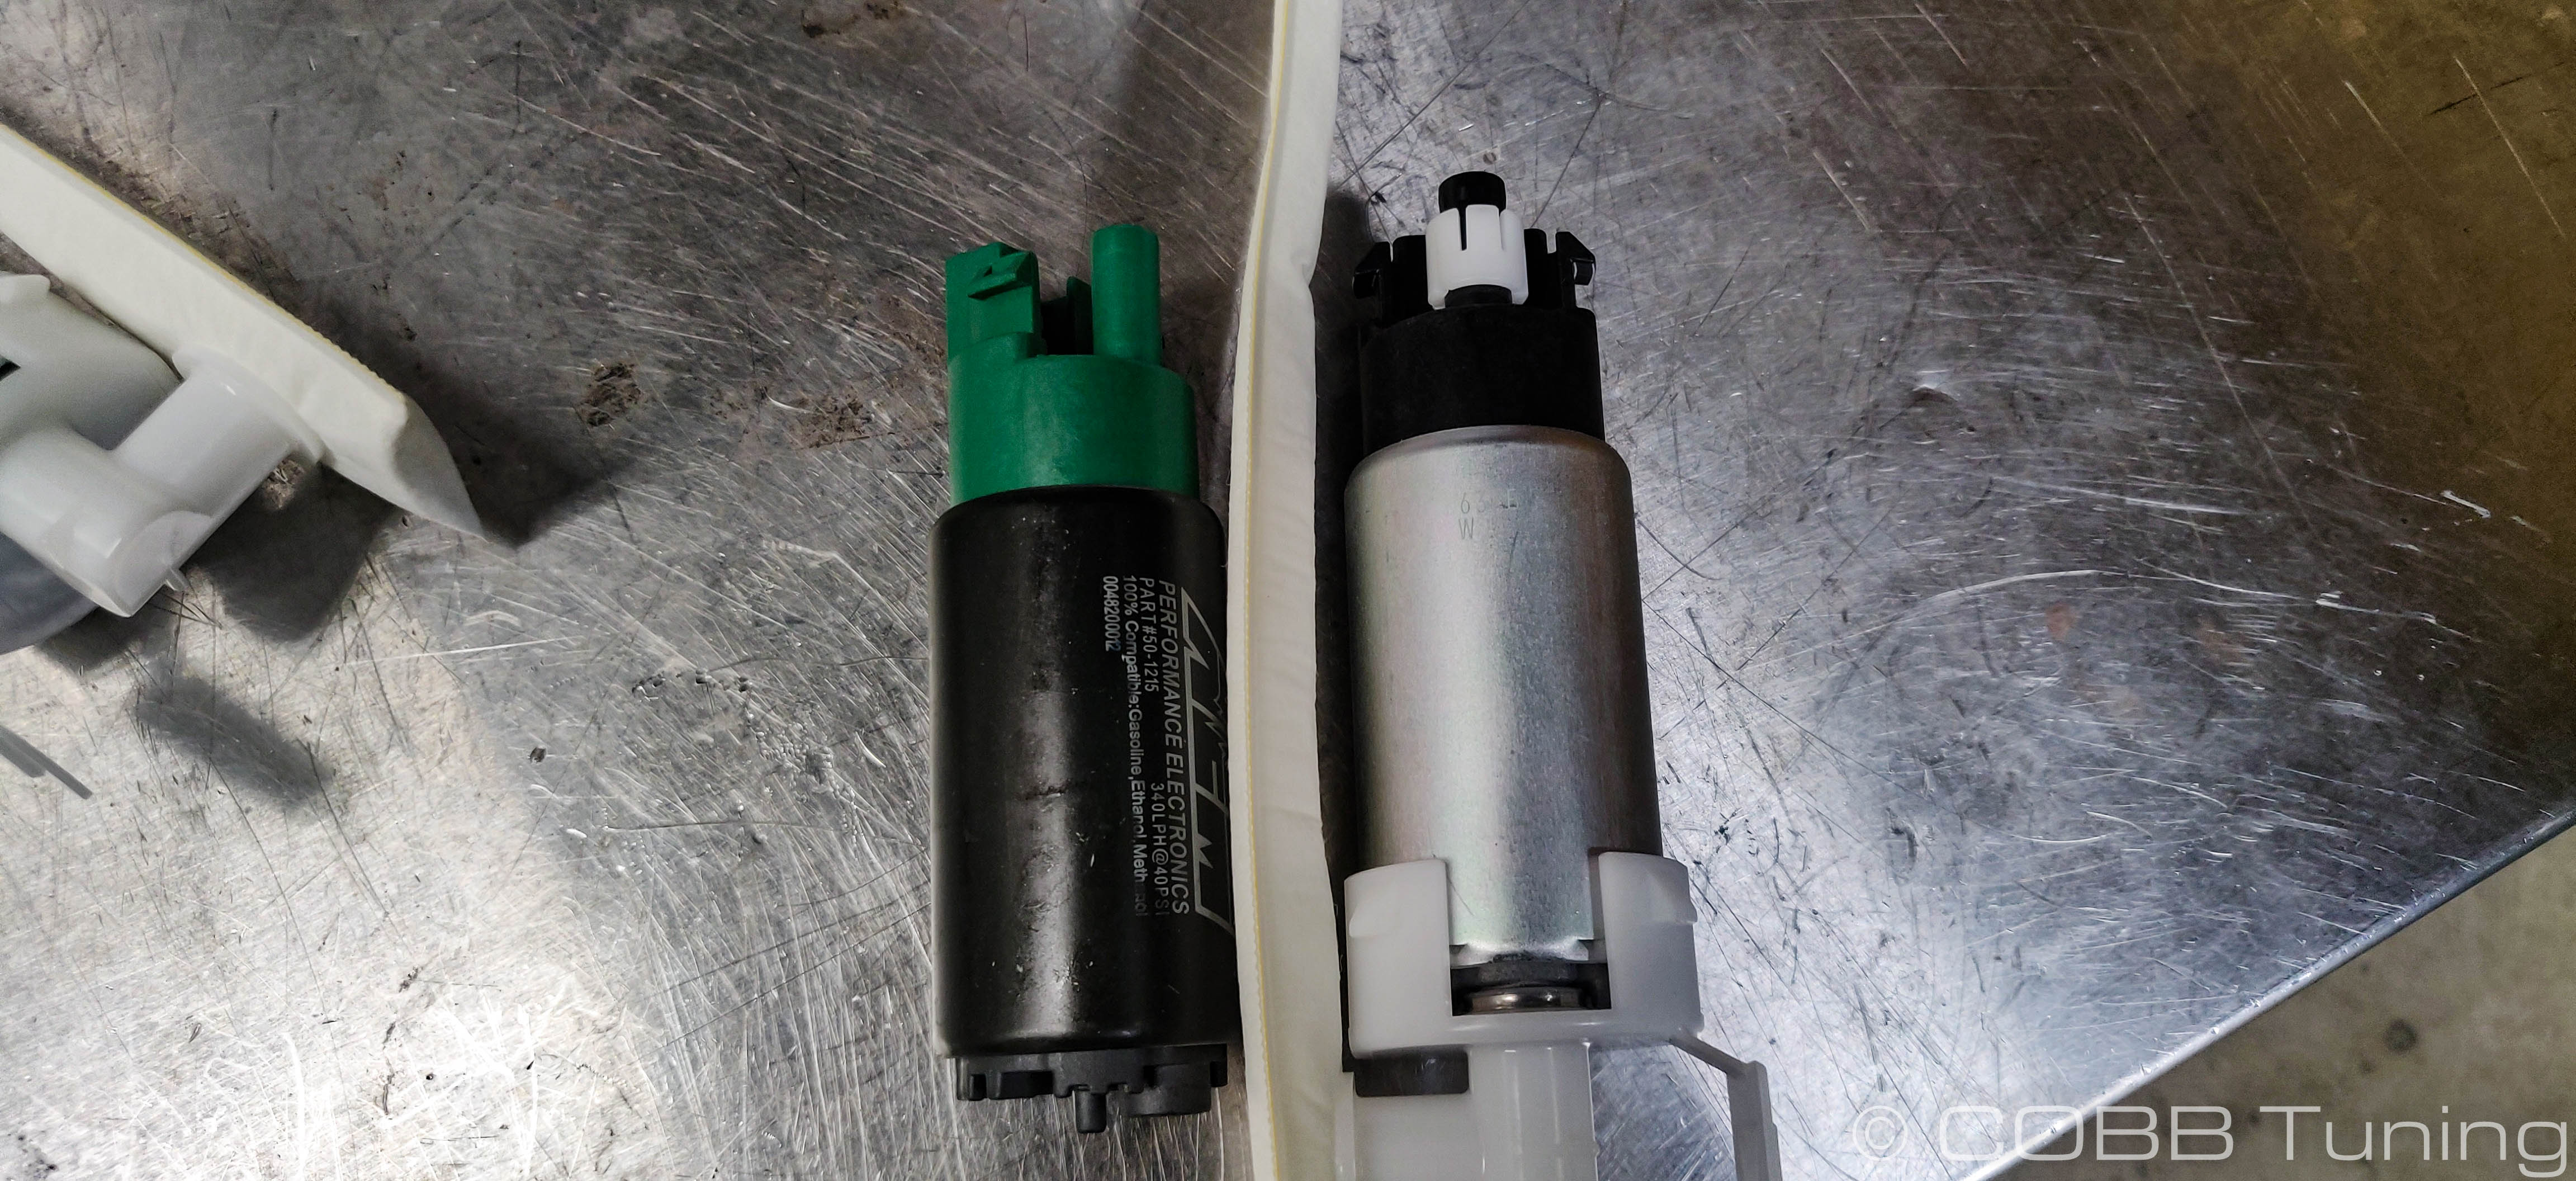
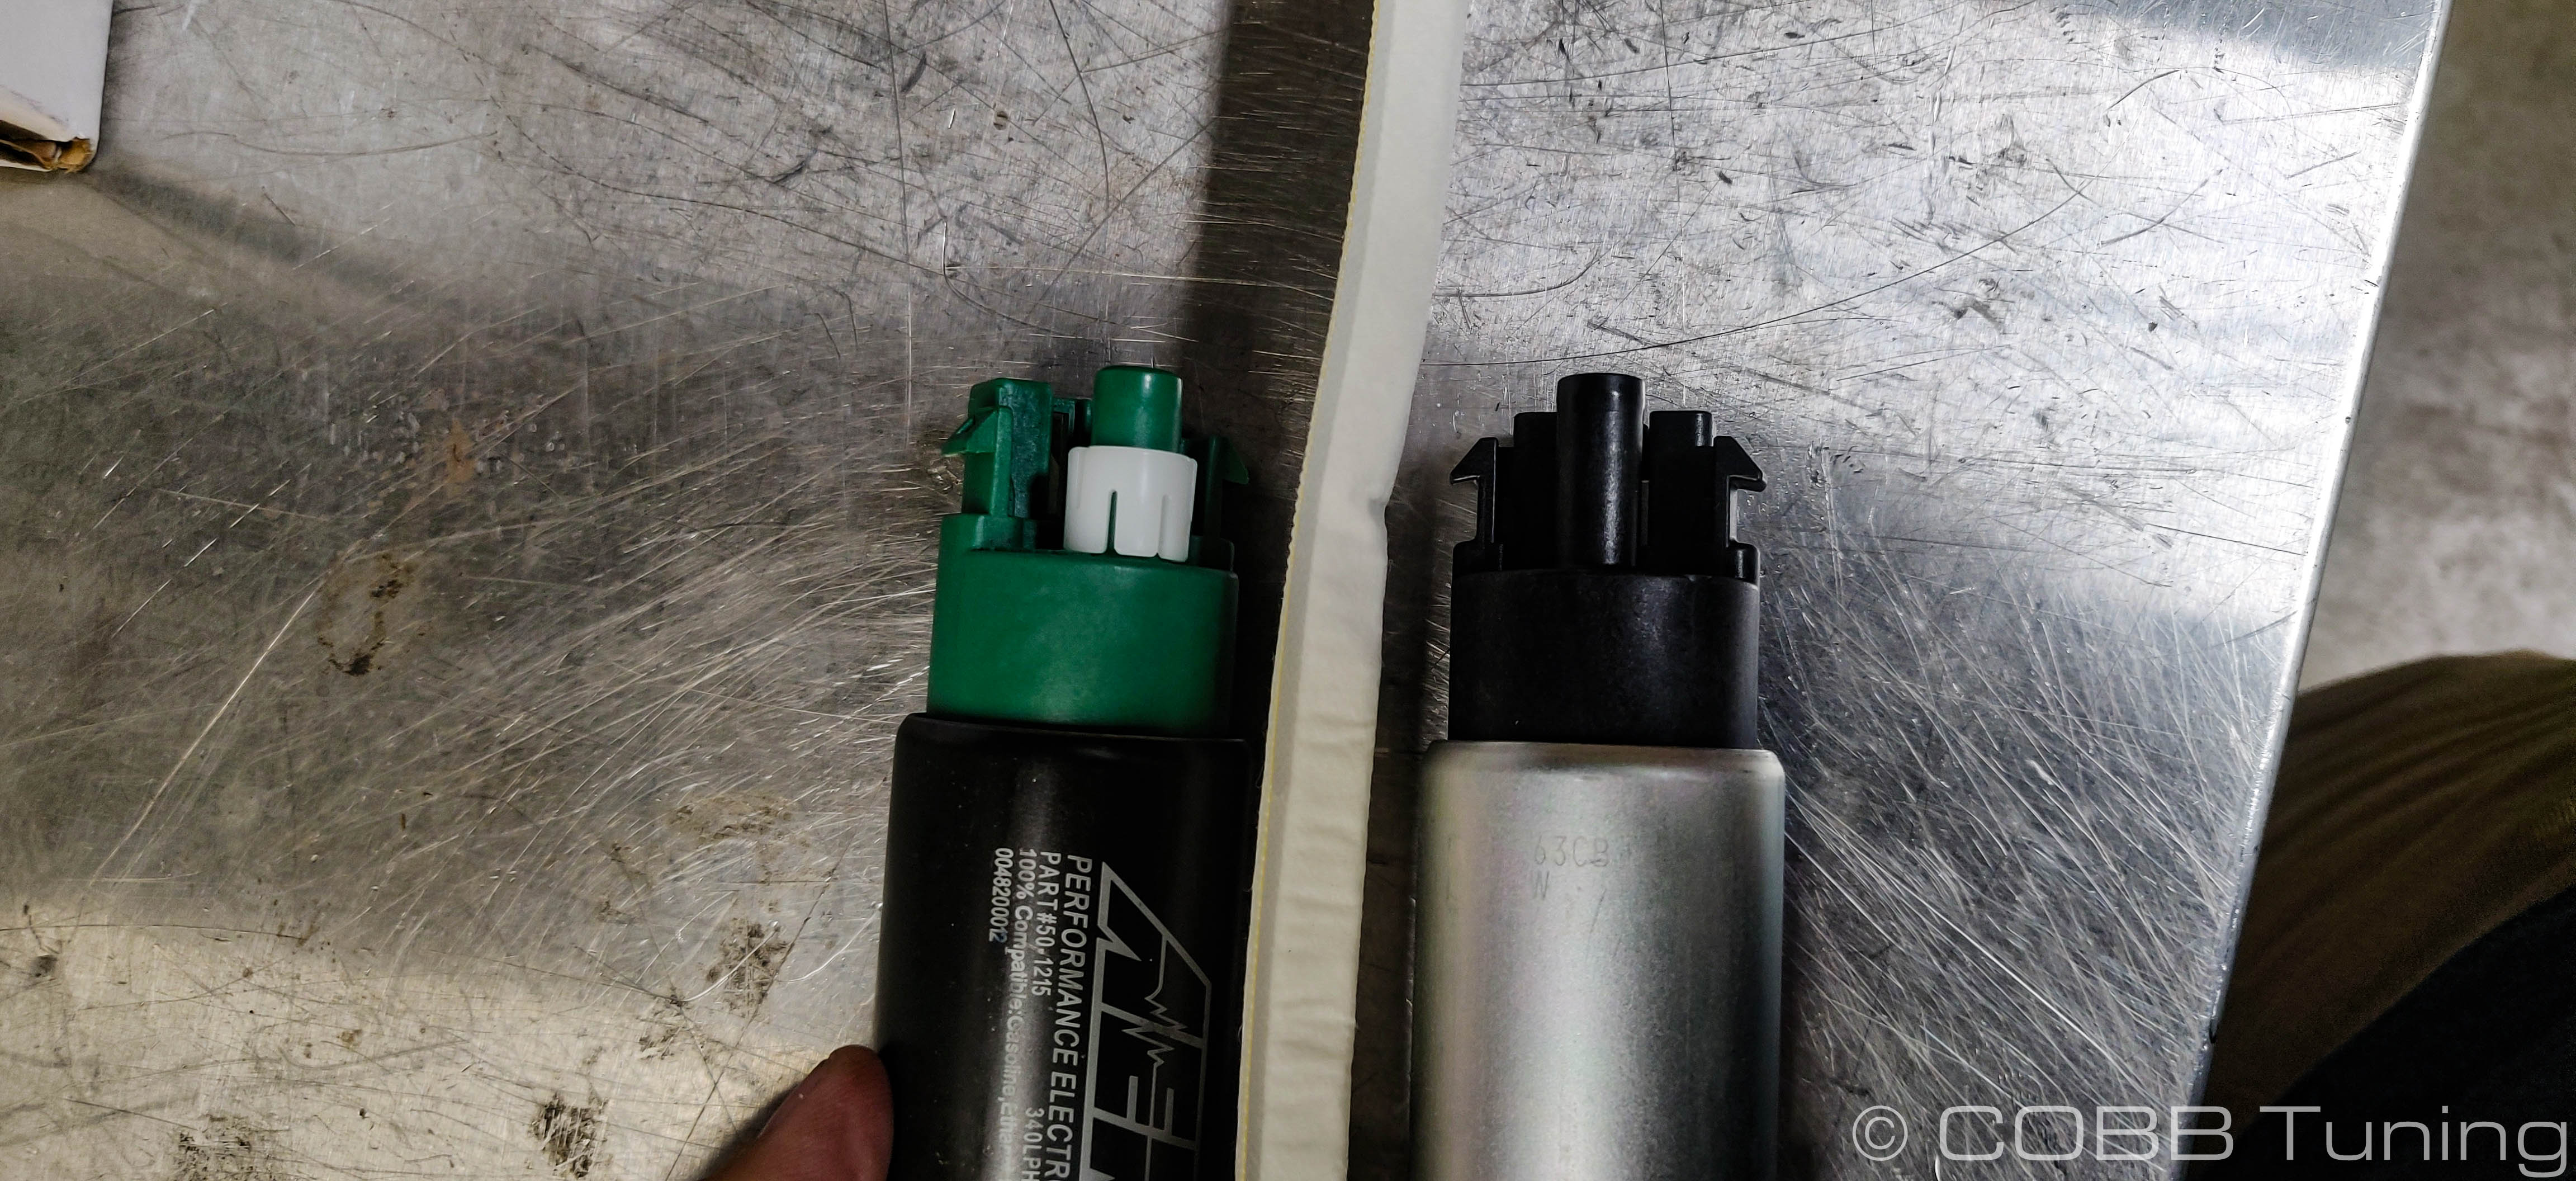
- Carefully pop the stock strainer off the original fuel pump then push it onto the new AEM pump. If yours are in bad condition reach out to your local Nissan dealership and replace the strainers.
- Lightly lubricate the provided o-rings with the super lube then slip them onto the new AEM pumps.
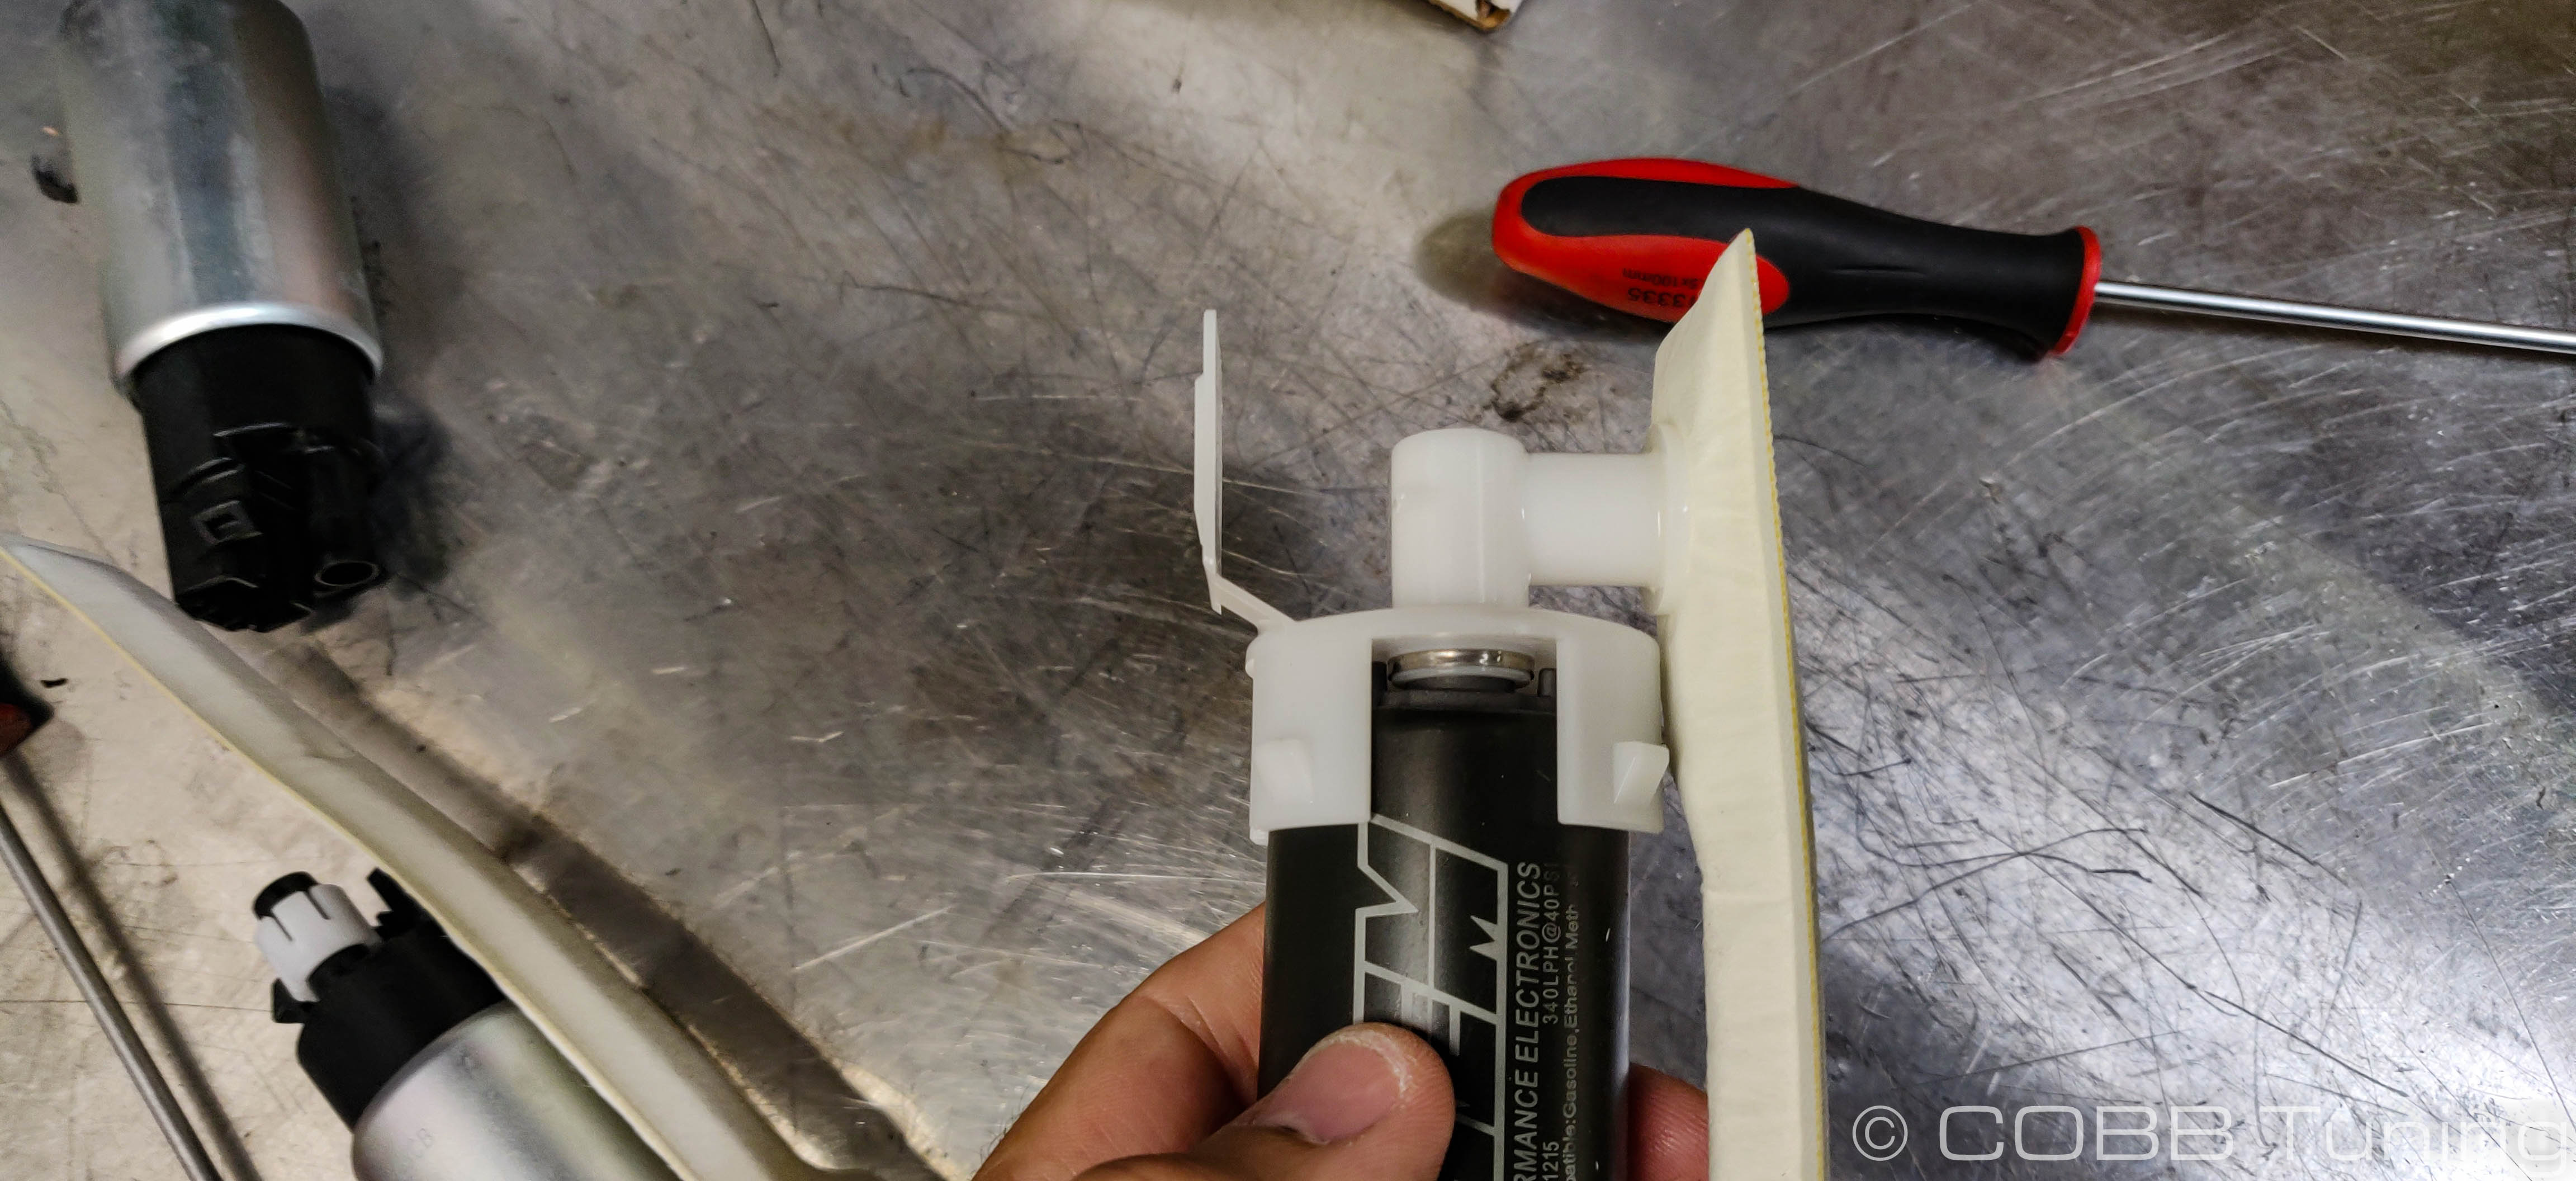
- The pumps can now get re-installed. Make sure the two strainers are towards the center and downards then gently push them into place making sure to lineup the output of the pump with the hanger assembly before pushing it all the way in. Make sure the clips for the strainer attach securely.
- Reconnect the wiring for the pumps.
- You can now put the assembly back into the lower portion of the fuel hanger assembly and re-attach the sensor you removed previously. Make sure the skinny part of the sensor lines up with the slot so that it sits evenly in it's position.
- With the rear portion with the tower installed you can go ahead and install the front top part.
- Make sure if you moved any wiring or the transfer hose at all that they're re-clipped into place.
Pump Reinstallation
- Pump reinstallation is just as fun as removal. It definitely works a bit easier if you get the lower portion of the pump into place first and then re-connect the hoses to the lower portion of the basket.
- With the two transfer hoses connected fumble around in the depths of the gas tank and slide the pump into place until the clip engages. Keep in mind that only the rear half of the pump assembly with the tower actually has the slots that engage the bottom of the tank, so it will only go in one way.
- When the clip is secured and the pump is held in place securely you can navigate the top half of the pump hanger back in making sure not to bend the level sender on anything.
- Re-secure the tank lid with the original fastener
- Re-install lines onto the top of the pump hanger and re-connect the wiring.
- Replace the tank cover and rear seats.
- Reinstall the gas cap.
- You're all done! If there's any gas on the top of the tank, ground, etc. It's a good idea to wait a little bit for it all to evaporate before you start the car just to be safe.
CARB Sticker Application
(Where Applicable)
- Apply the supplied CARB sticker in a clear, easy to find location. Typically underhood, or on the radiator core support.
Links
Map Notes for GT-R
Helps to figure out which map you should be on given the parts installed to your car
COBB Customer Support Web Support and Tech Articles: COBB Tuning Customer Support Center Email: support@cobbtuning.com Phone support available 9am to 6pm Monday-Thursday. 9am to 4pm Friday (CST) 866.922.3059 return to www.cobbtuning.comContact Us:
Related content
Copyright 2025 © COBB Tuning Products LLC. All Rights Reserved. | www.cobbtuning.com