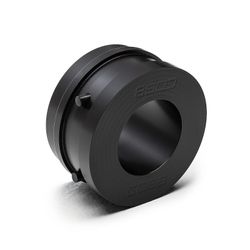
352010 - Mitsubishi Evo X Fuel Pump Holder
- Brandyn Mowat

352010 – Mitsubishi Evo X Fuel Pump Holder
2008 - 2015 Mitsubish Evolution X
Congratulations on your purchase of the COBB Tuning Fuel Pump Holder! The following instructions will assist you through the installation process. Please read them BEFORE beginning the install to familiarize yourself with the steps and tools needed. If you feel you cannot properly perform this installation, we HIGHLY recommend you take the vehicle to a qualified and experienced automotive technician.
IMPORTANT! Installing this kit will require custom tuning as well as additional components. Please consult with COBB or an authorized ProTuner in your area if you have any questions!
Table of Contents
Parts List
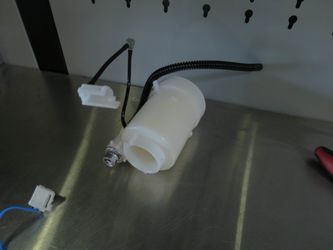
- COBB Fuel Pump Holder
Additional Parts Needed
This may differ depending on your setup, make sure to talk to your tuner before doing this modification as it will require other modifications to the car as well as a custom calibration to drive and operate safely.
- Fuel Pump
- Fuel Pump Installation Kit
- Aftermarket Fuel Pressure Regulator
Tools Needed
- Phillips head screwdriver
- Flathead screwdriver
3/8" ratchet
3/8" 8mm socket
3/8" 12" extension
3/8" 6" extension
- Trim removal tool
Pick
Needlenose pliers
- Hose cutter
Stock Fuel Pump Removal
- Park the car in a flat level area and allow it to cool down.
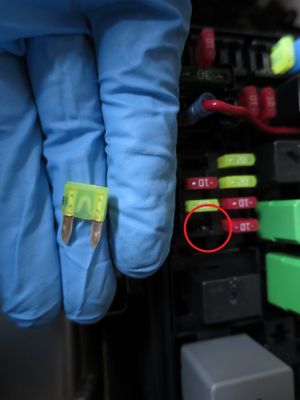
- With the car parked in a flat, level area, start it up and allow it to idle. Pop open the fuse box and remove the fuel pump fuse (20amp yellow one). This should cause the fuel pressure to reduce and the car to die. This way, less fuel will come out when you remove the injectors in a few minutes.
- Once the car dies, turn it off, and remove the gas cap.
- Using a 10mm wrench, disconnect the battery cables.
- Open up the back door of the car.
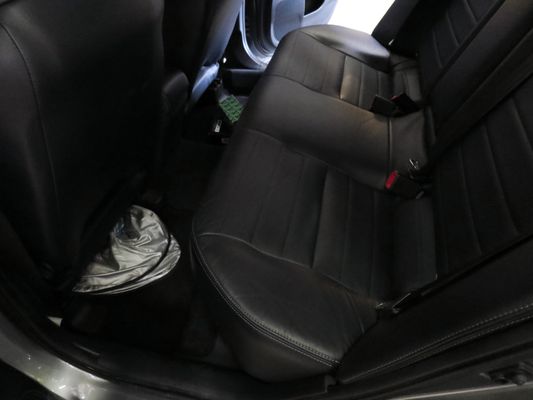
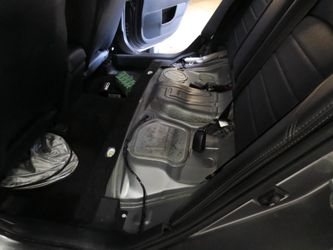
- Pull up firmly on the front of the seat in the middle of each footwell. You'll need to tug relatively hard to get the seat to pop up and it may feel like it's breaking. Once it pulls free unhook the rear hook of the seat and push the female ends of the seatbelts through the hole in the seat.
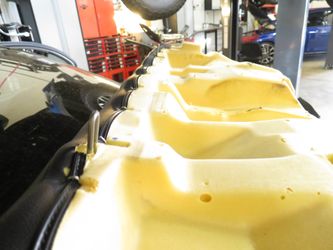
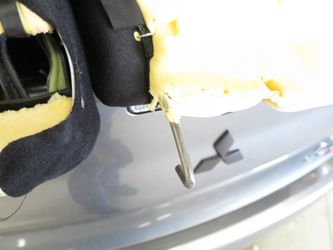
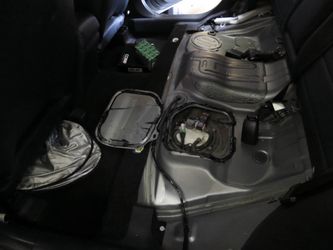
- Using a small prying tool pry up the cover over the fuel tank on the driver's side. These are stuck down with some pretty nasty sealant so be prepared with some adhesive remover to clean it up and make sure it stays off of the carpet and other interior parts.
- With the fuel pump now exposed, use a pair of pliers to remove the clamp holding the hose in place.
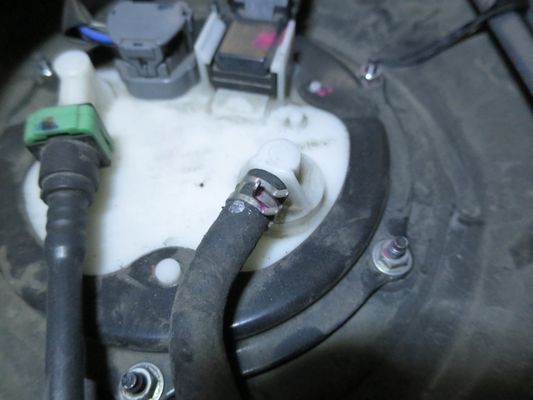
- Now undo the flip on the other fuel line and pull that fuel line free.
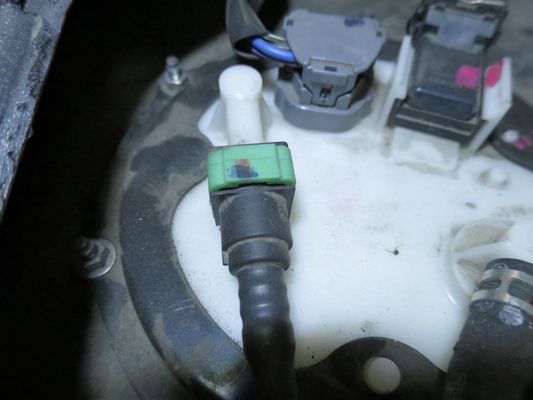
- Undo the two electrical connectors on the top of the fuel pump.
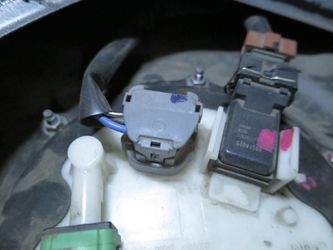
- Now undo the six eight bolts holding down the tank ring using an 8mm socket.
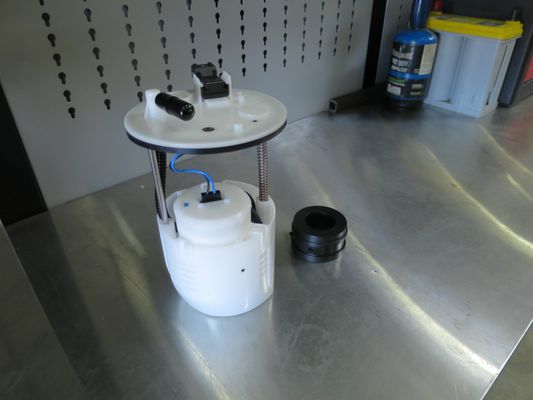
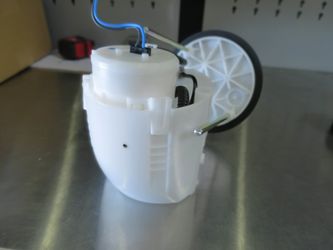
- Now go ahead and pull the pump free from the car.
Fuel Pump Disassembly
- Move the pump to a well ventilated work area that you aren't afraid to get gas on. Make sure to keep any possible sources of fire or electrical shocks away from the vicinity to avoid fires.
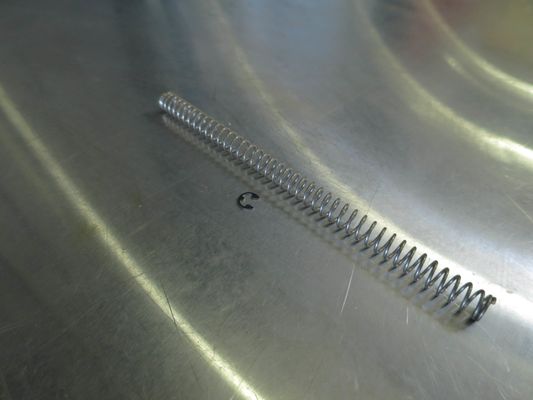
- Using a small flathead screwdriver or pick, remove the e-clip holding the fuel pump assembly together.
- Set the clip and spring aside in a safe spot as you'll use those later on reassembly.
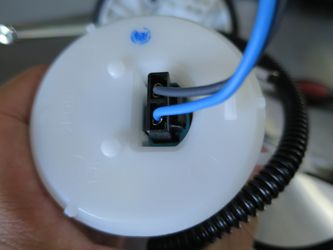
- Unplug the harness from the top of the pump housing.
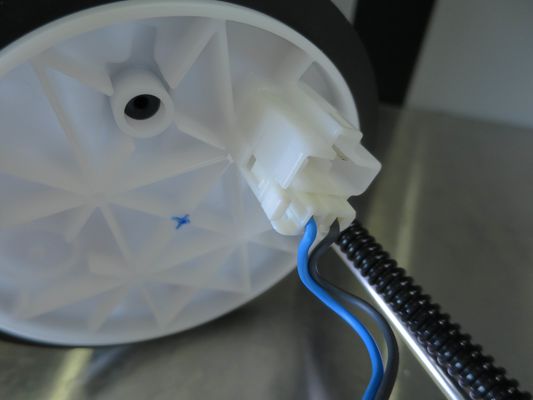
- Using a razor, remove the corrugated tube from the top hat of the fuel pump.
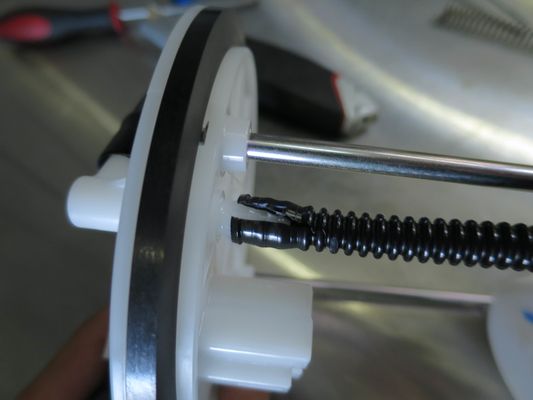
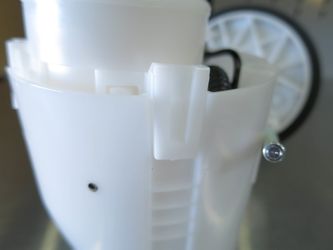
- Now remove the other small line from it's position on the side of the hanger by undoing the clip, and the grey retaining clip on the top edge of the pump basket.
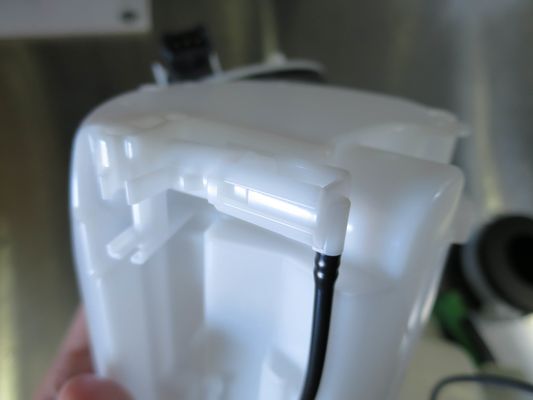
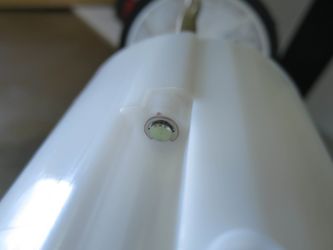
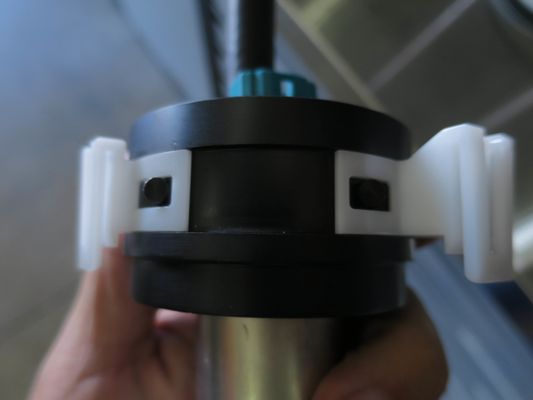
- Using a small pry tool or flat bladed screwdriver, gently pry on the three clips to release the fuel pump holder from the basket.
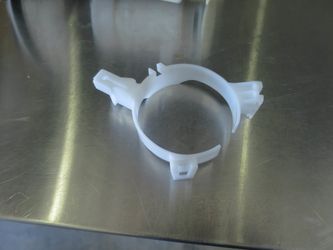
- Now gently pull on the split portion of the retaining ring on the fuel pump holder and place it somewhere safe. The rest of the fuel pump holder is no longer needed.
Fuel Pump Assembly
These next steps may vary slightly depending on the manufacturer of your pump, for appropriate specific instructions refer to the manufacturer of your pump.
- Gently press the fuel pump into the ring. It should be a tight fit.
- Install the white ring with three clips you removed from the fuel pump holder on to the COBB Fuel Pump Holder.
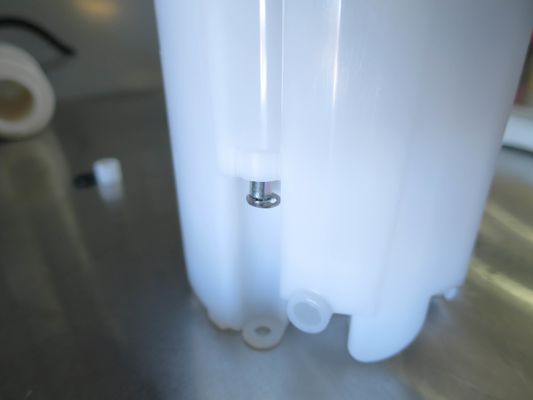
- Install the fuel pump strainer on to the pump as per your fuel pump manufacturers specifications, then install the unit into the ring. While installing it , you may need to test fit it a few times to achieve the appropriate distance between the pump and the bottom of the fuel pump basket
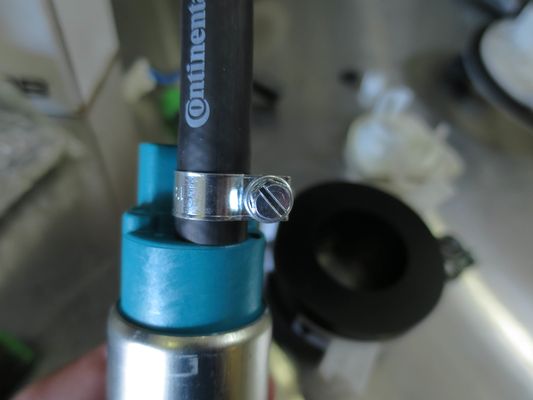
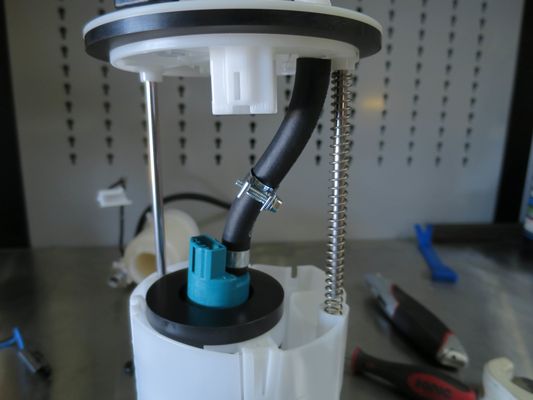
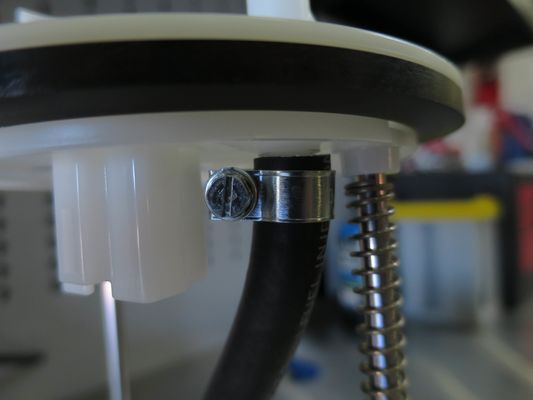
- Install one end of your fuel line on to the fuel pump and secure it with a clamp, tightening it down with a screwdriver.
- Reassemble the hanger with the spring and e-clip to hold everything together.
- Now run the other end of the hose over to the port you removed the corrugated tubing from.
- Now splice the connector from the stock pump hanger with the one provided with your fuel pump together to make them work properly to power the unit.
- Softly push the hanger down on the spring to compress it, making sure the pump assembly doesn't bind anywhere. To prevent binding you'll likely need to shorten the hose, test fitting on the car in tank my help prevent any issues when you go to install for the final time.
- Once you're satisfied with the length of the hose, install the hose permanently with a clamp.
- Reinstall everything in the reverse order of removal.
- You're done! Now set up the rest of the fuel system with the modifications necessary to deal with an external regulator and whatever custom tune you have and you'll be ready to go!
COBB Customer Support Web Support and Tech Articles: COBB Tuning Customer Support Center Email: support@cobbtuning.com Phone support available 9am to 6pm Monday-Thursday. 9am to 4pm Friday (CST) 866.922.3059 return to www.cobbtuning.comContact Us:
Copyright 2025 © COBB Tuning Products LLC. All Rights Reserved. | www.cobbtuning.com