7F2125 - F150, F150 Raptor Turbo Inlets
- Brandyn Mowat

7F2125 - F150, F150 Ford Raptor Turbo Inlets
Ford Raptor 2017 - 2020
Ford F150 3.5L 2017 - 2020
Congratulations on your purchase of the COBB Tuning Ford Raptor SF Intake! The following instructions will assist you through the installation process. Please read them BEFORE beginning the install to familiarize yourself with the steps and tools needed. If you feel you cannot properly perform this installation, we HIGHLY recommend you take the vehicle to a qualified and experienced automotive technician.
IMPORTANT! Installing this kit will require custom tuning or utilizing an appropriate Stage Power Package map if you have a matching mechanical configuration. Please consult with COBB or an authorized ProTuner in your area if you have any questions!
Table of Contents
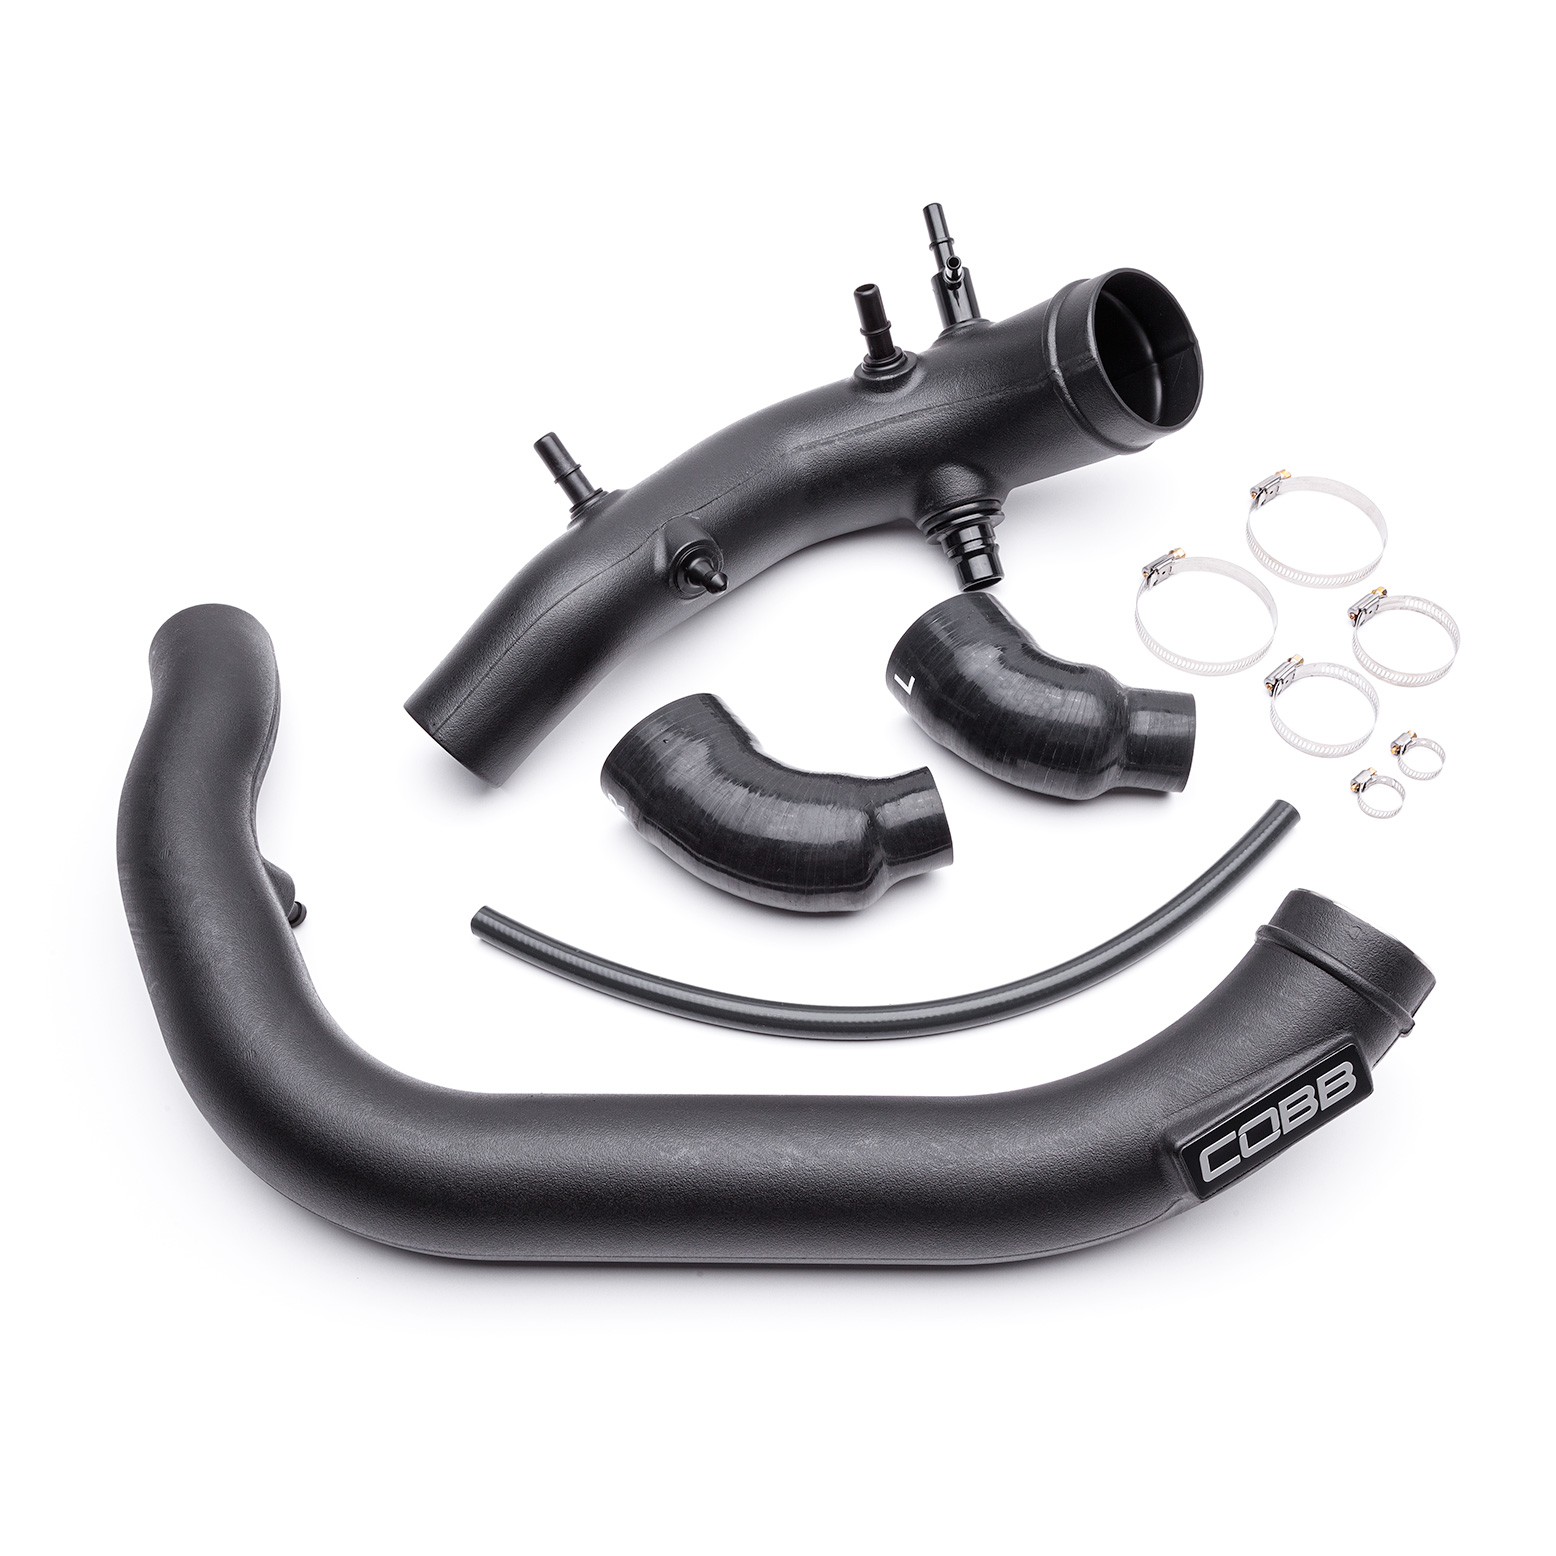
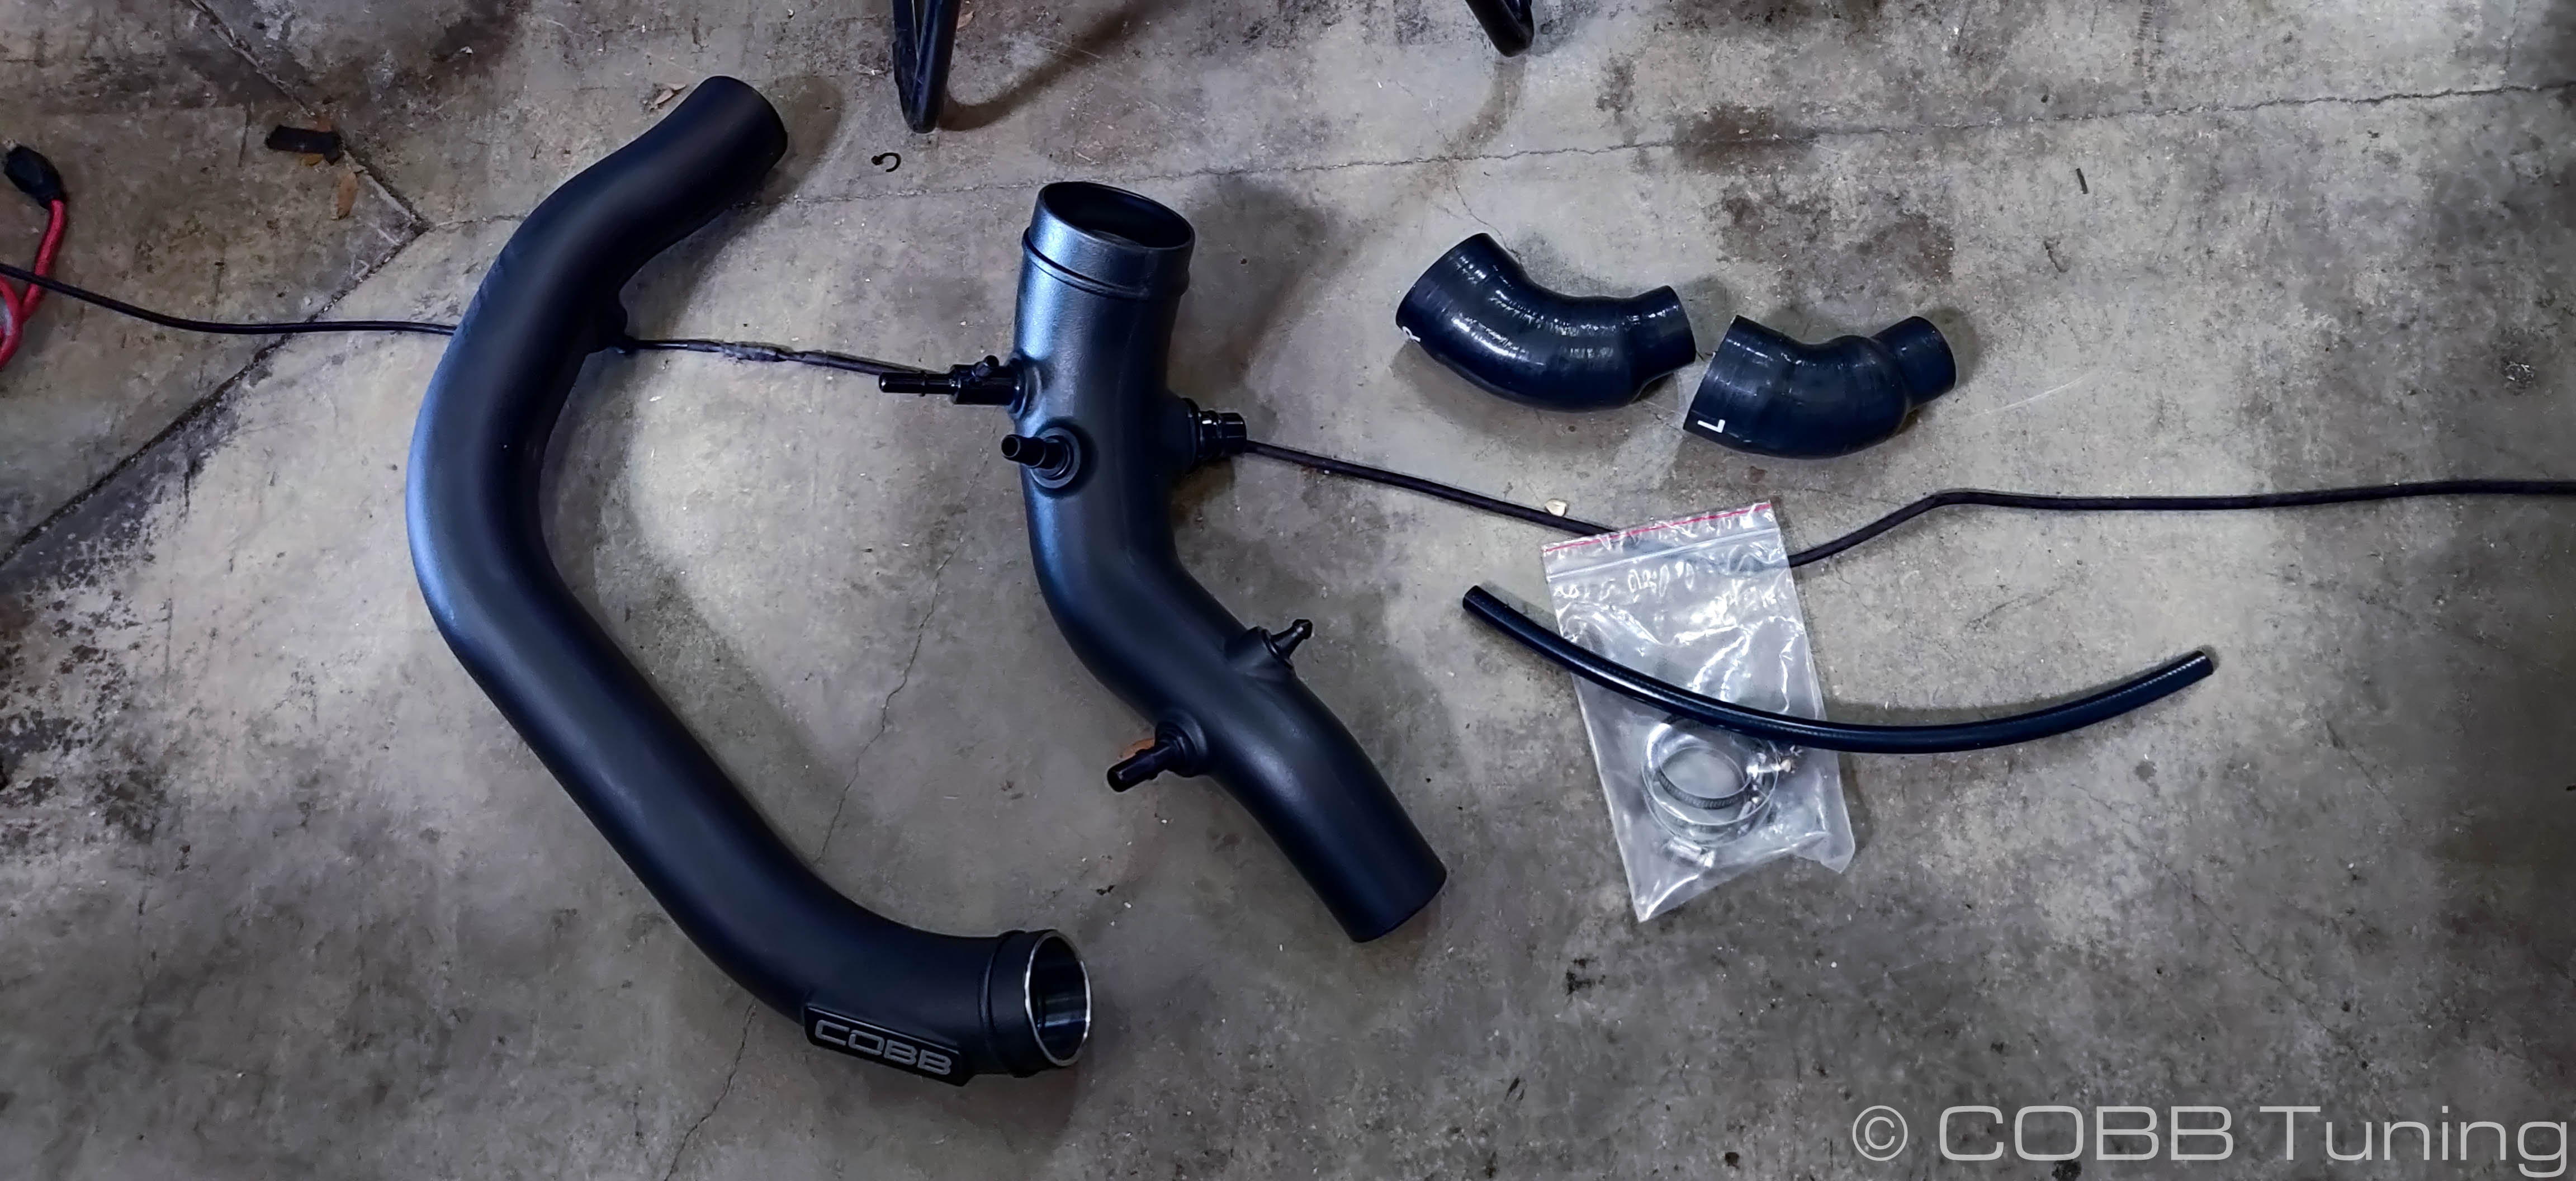
Parts List
- 2 Big Hoseclamps
- 2 Small Hoseclamps
- 2 Medium Hoseclamps
- Length of Hose
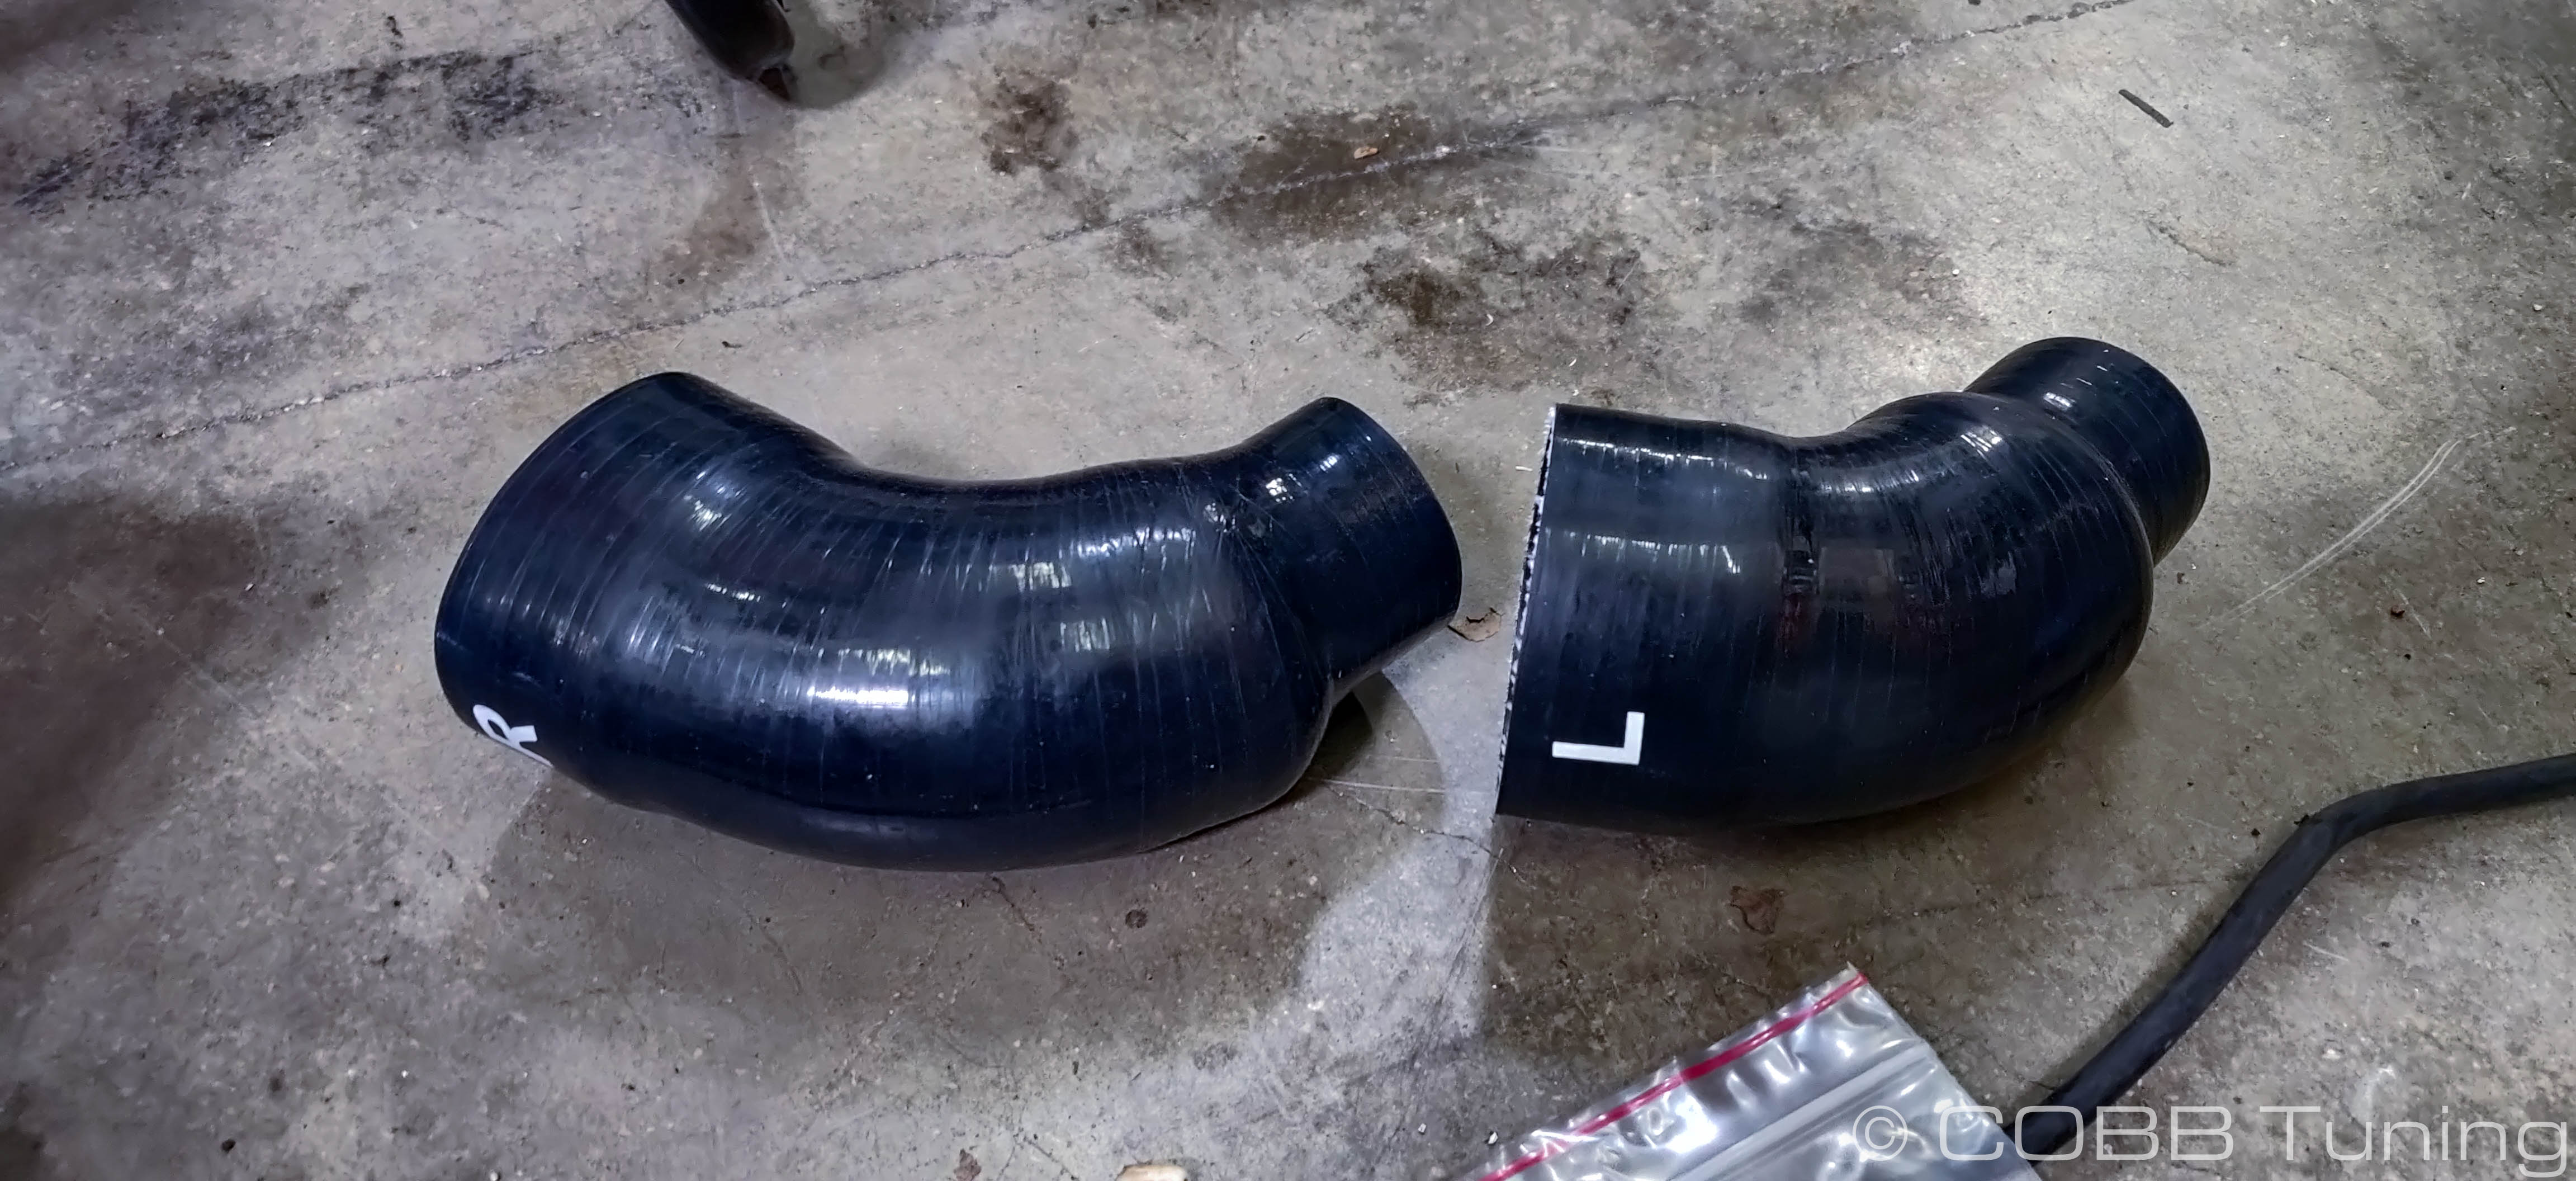
- Driver's Side Pipe
- Driver's Side Coupler
- Passenger's Side Pipe
- Passenger's Side Coupler
Tools Needed
Hand Tools
- Phillips head screwdriver
- Flathead screwdriver
- 7mm Nut Driver
- 8mm Nut Driver
- Trim removal tool
- Razor Blade
Left and Right refer to their position based on sitting in the driver's seat looking forward.
Stock Inlet Removal
- Park your car in a flat level area.
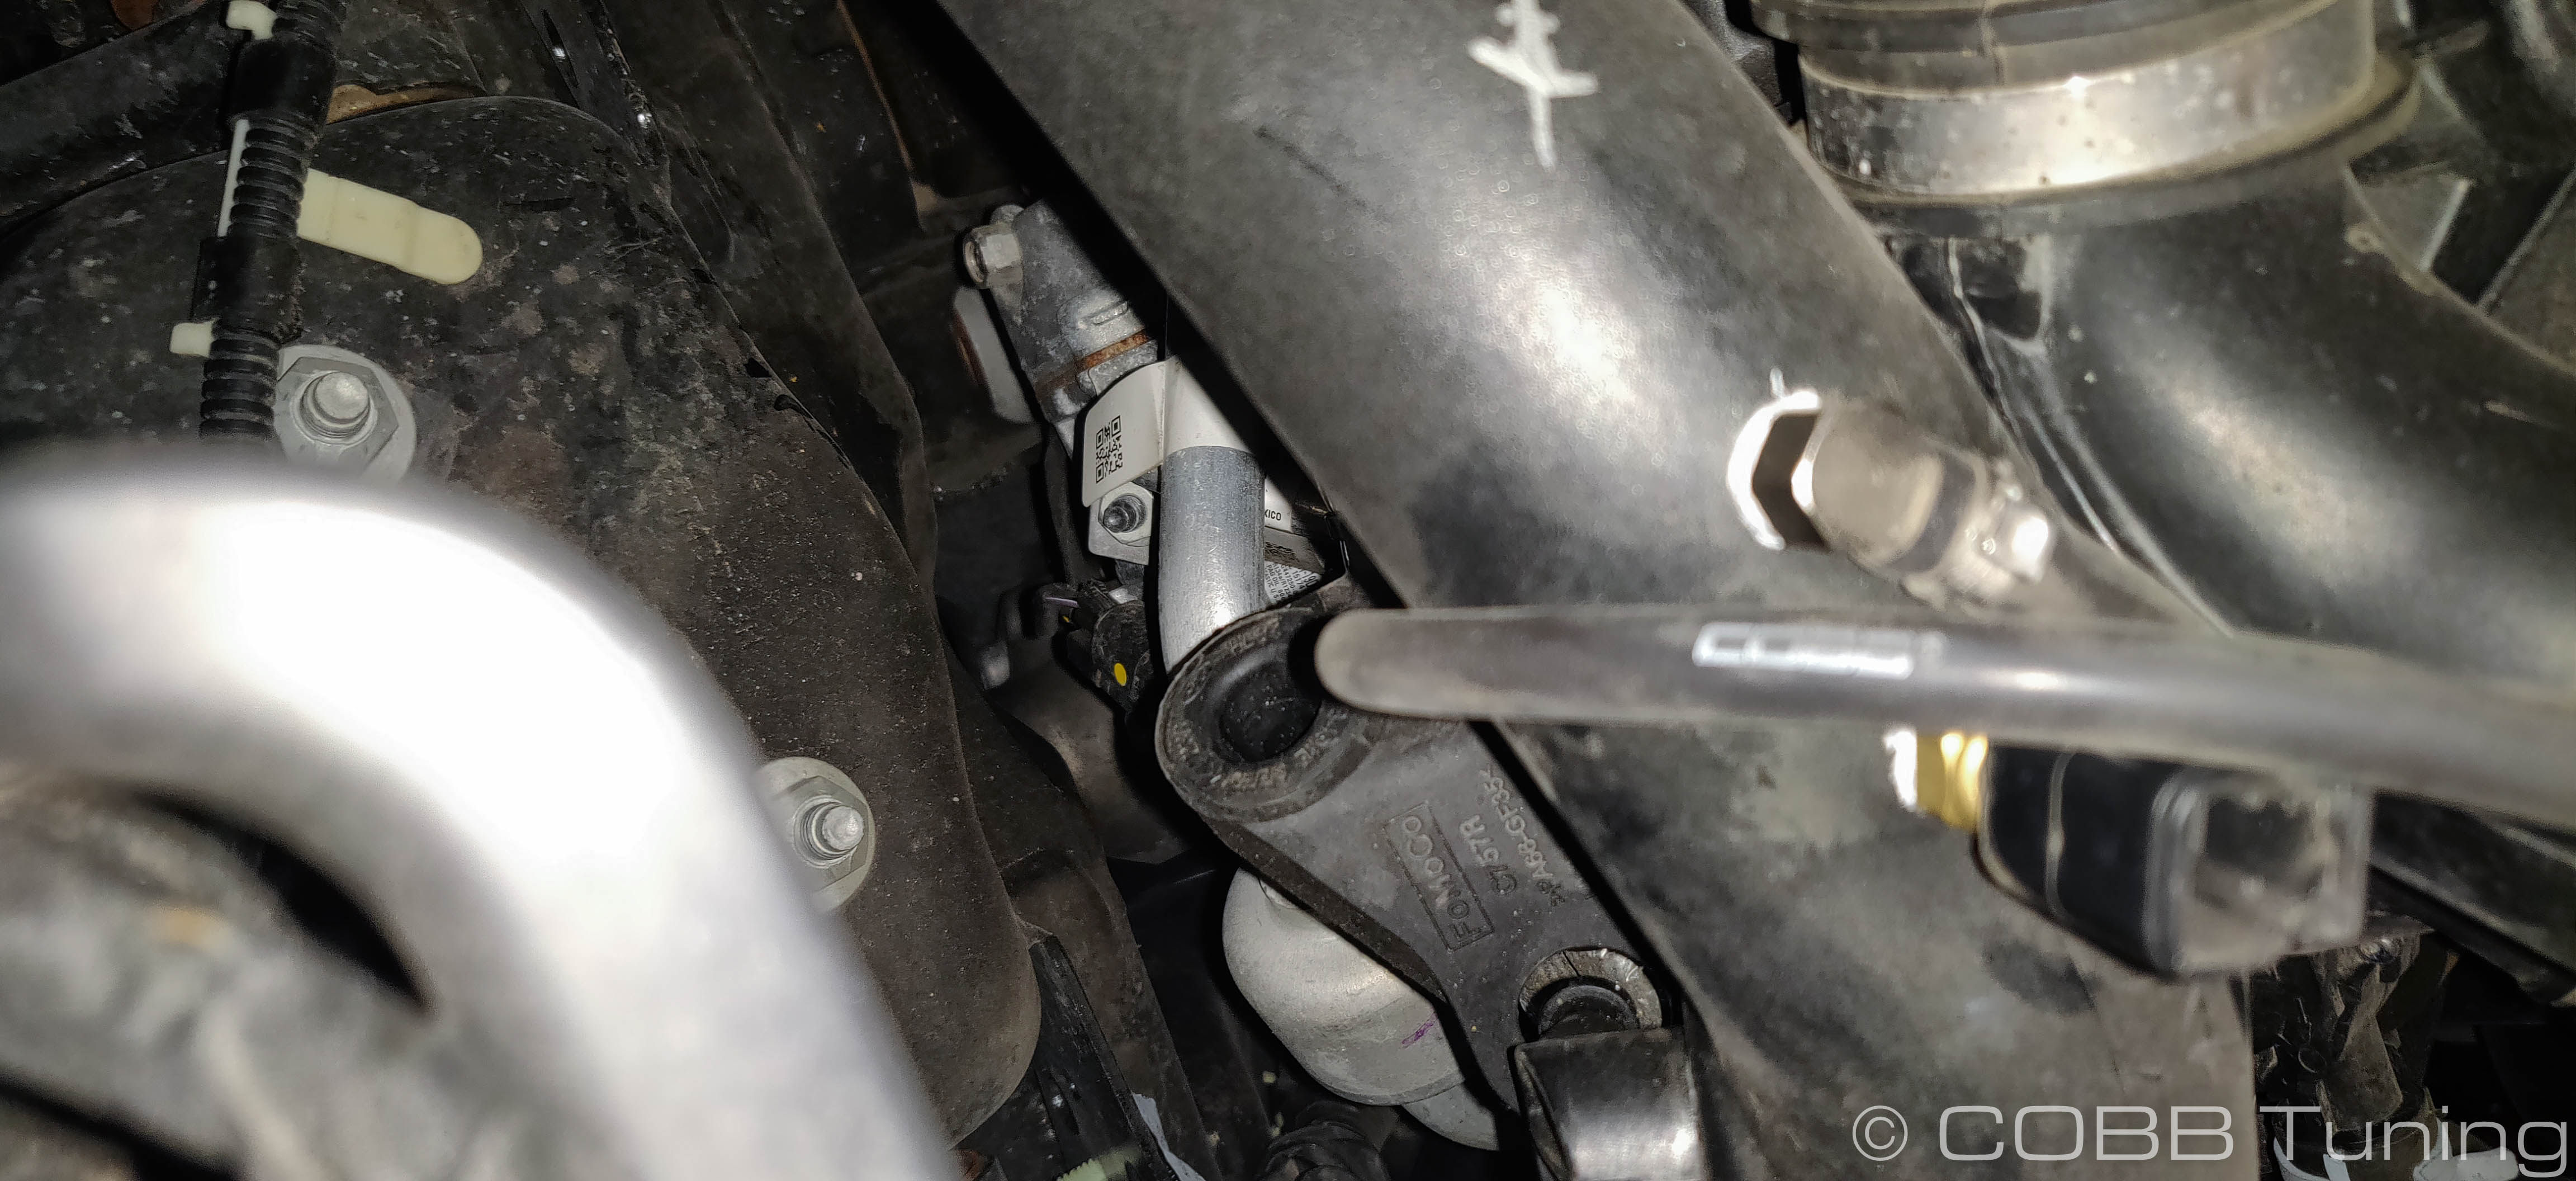
- Once it's cooled down, Start by undoing the center intake "y-pipe" from the two turbo inlets and airbox using your 7mm nut driver.
- Set this back on your intake manifold.
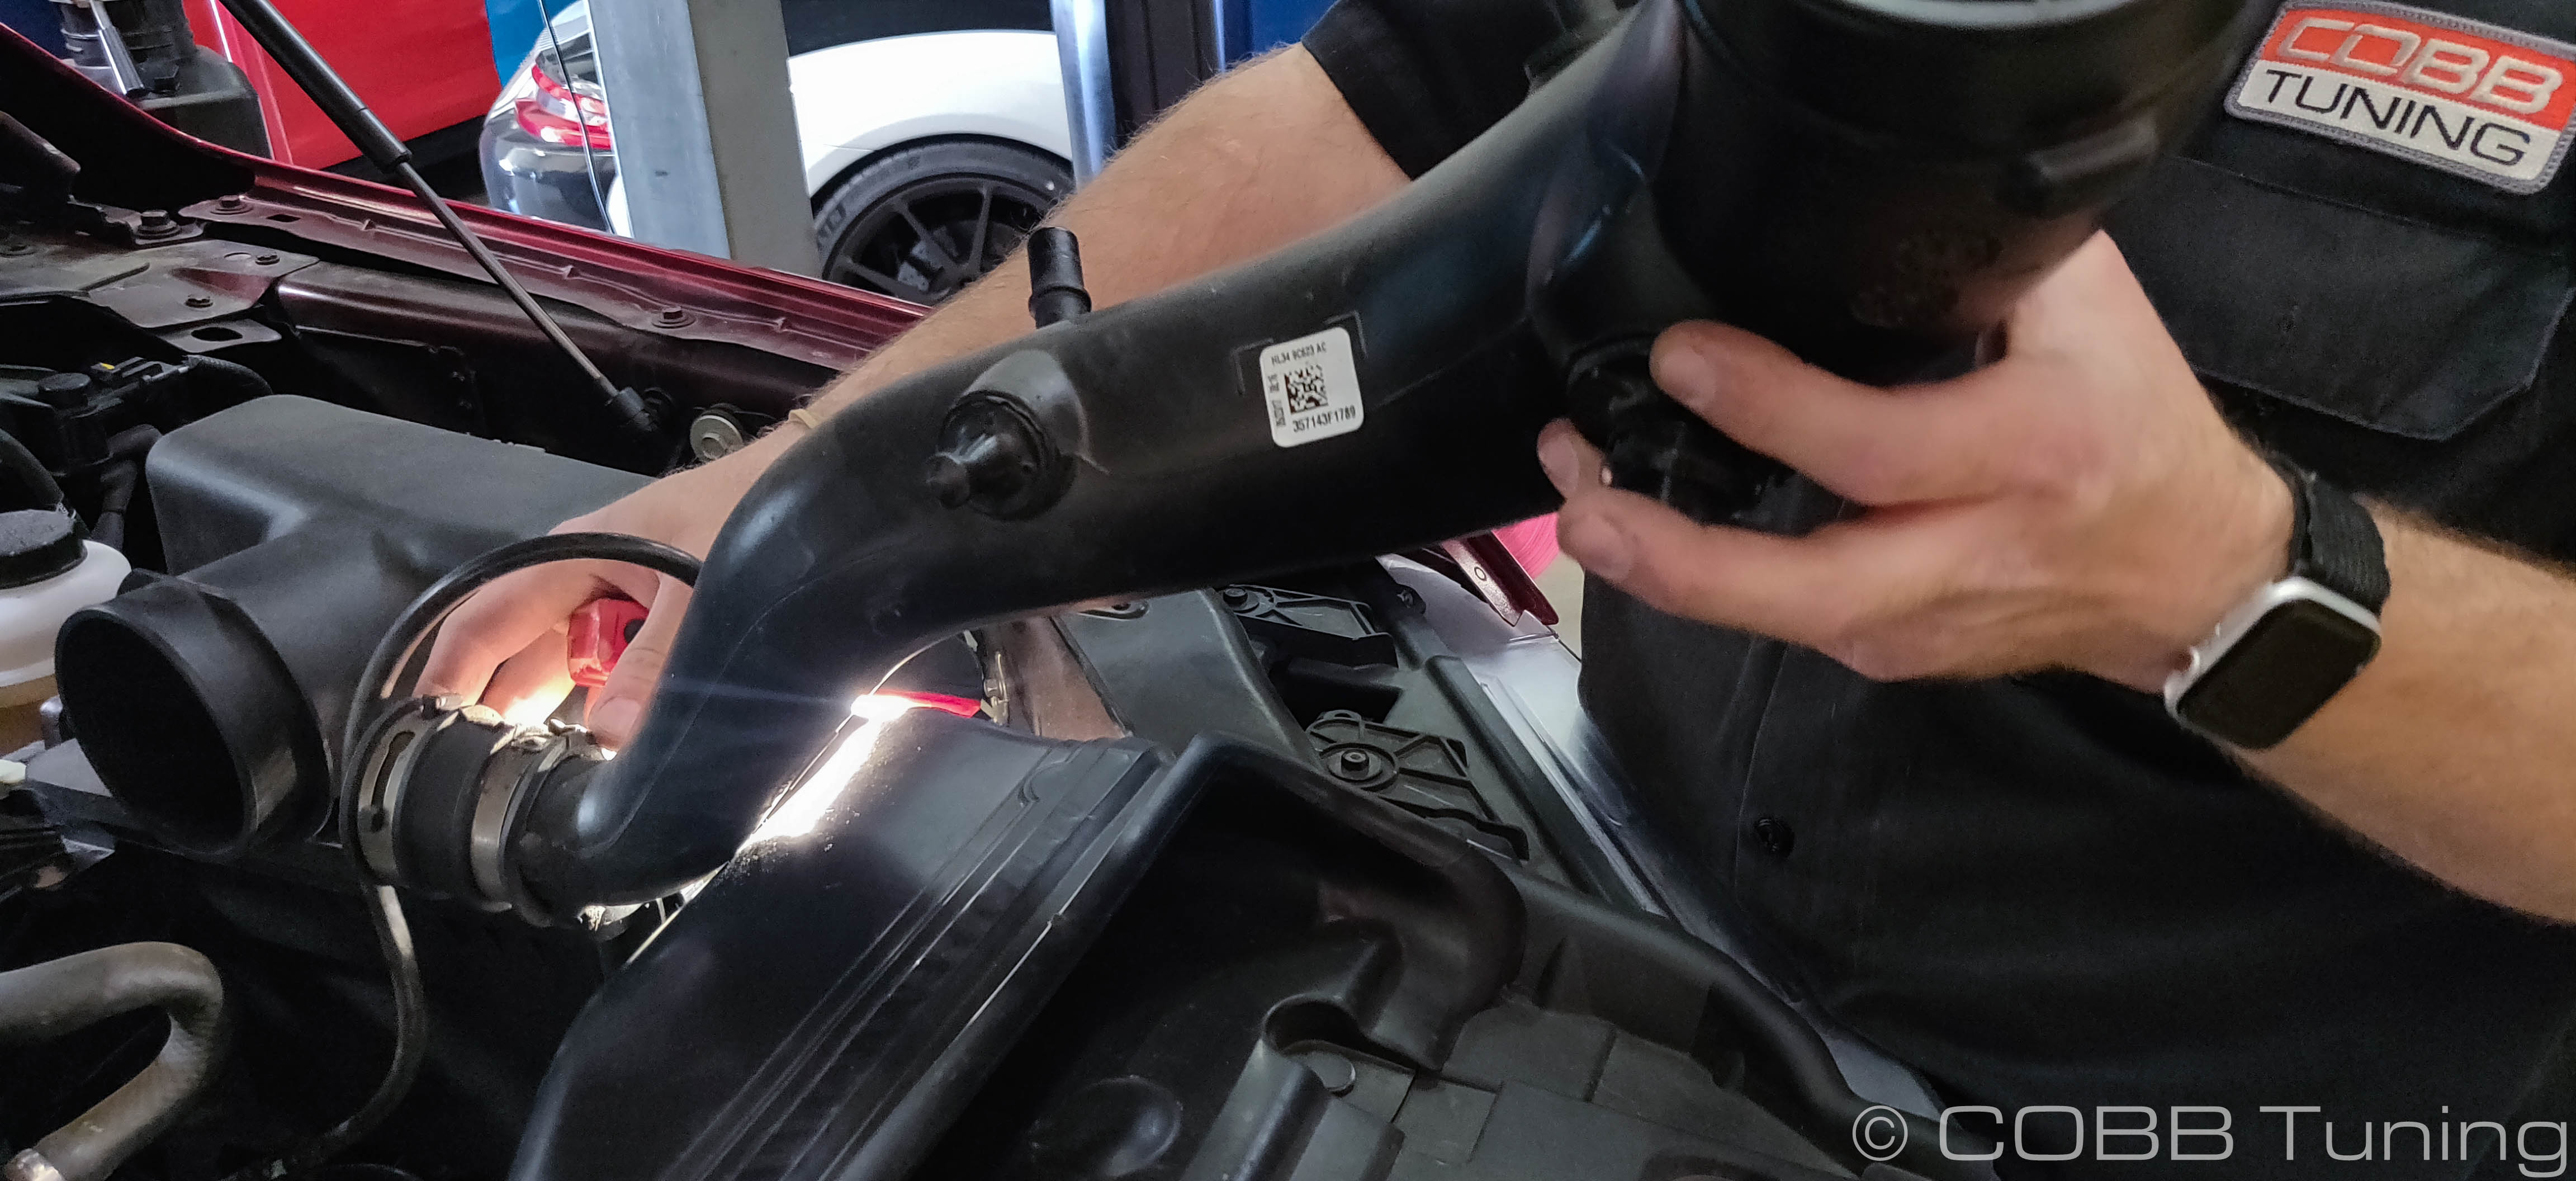
- Unclip the wiring harness where it attaches to your inlet tube.
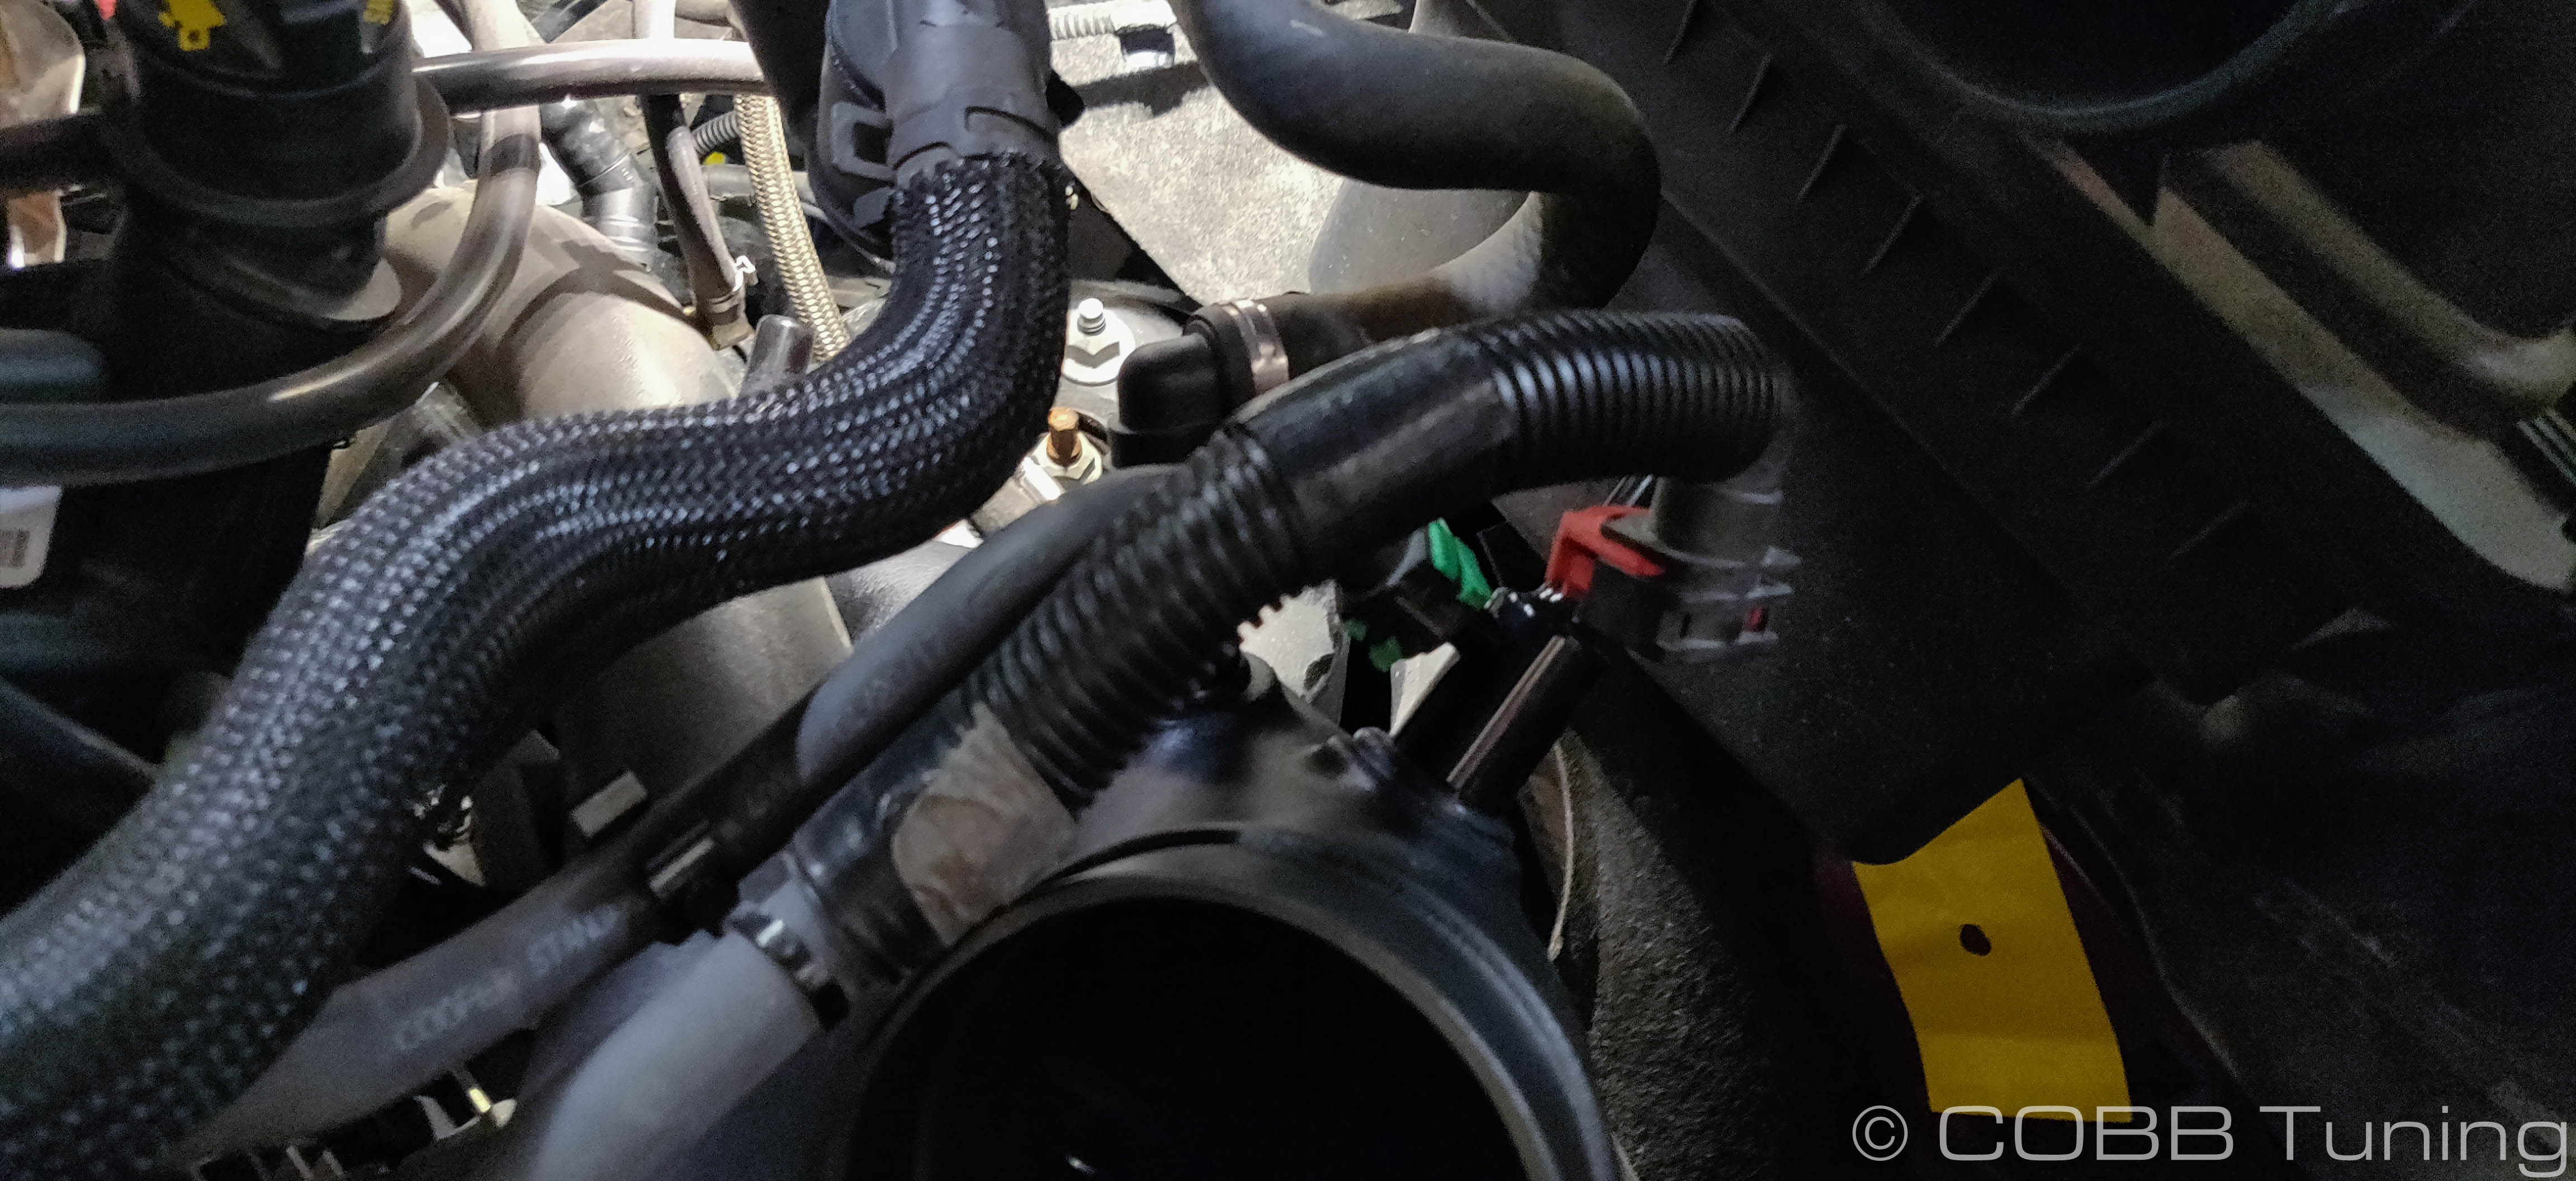
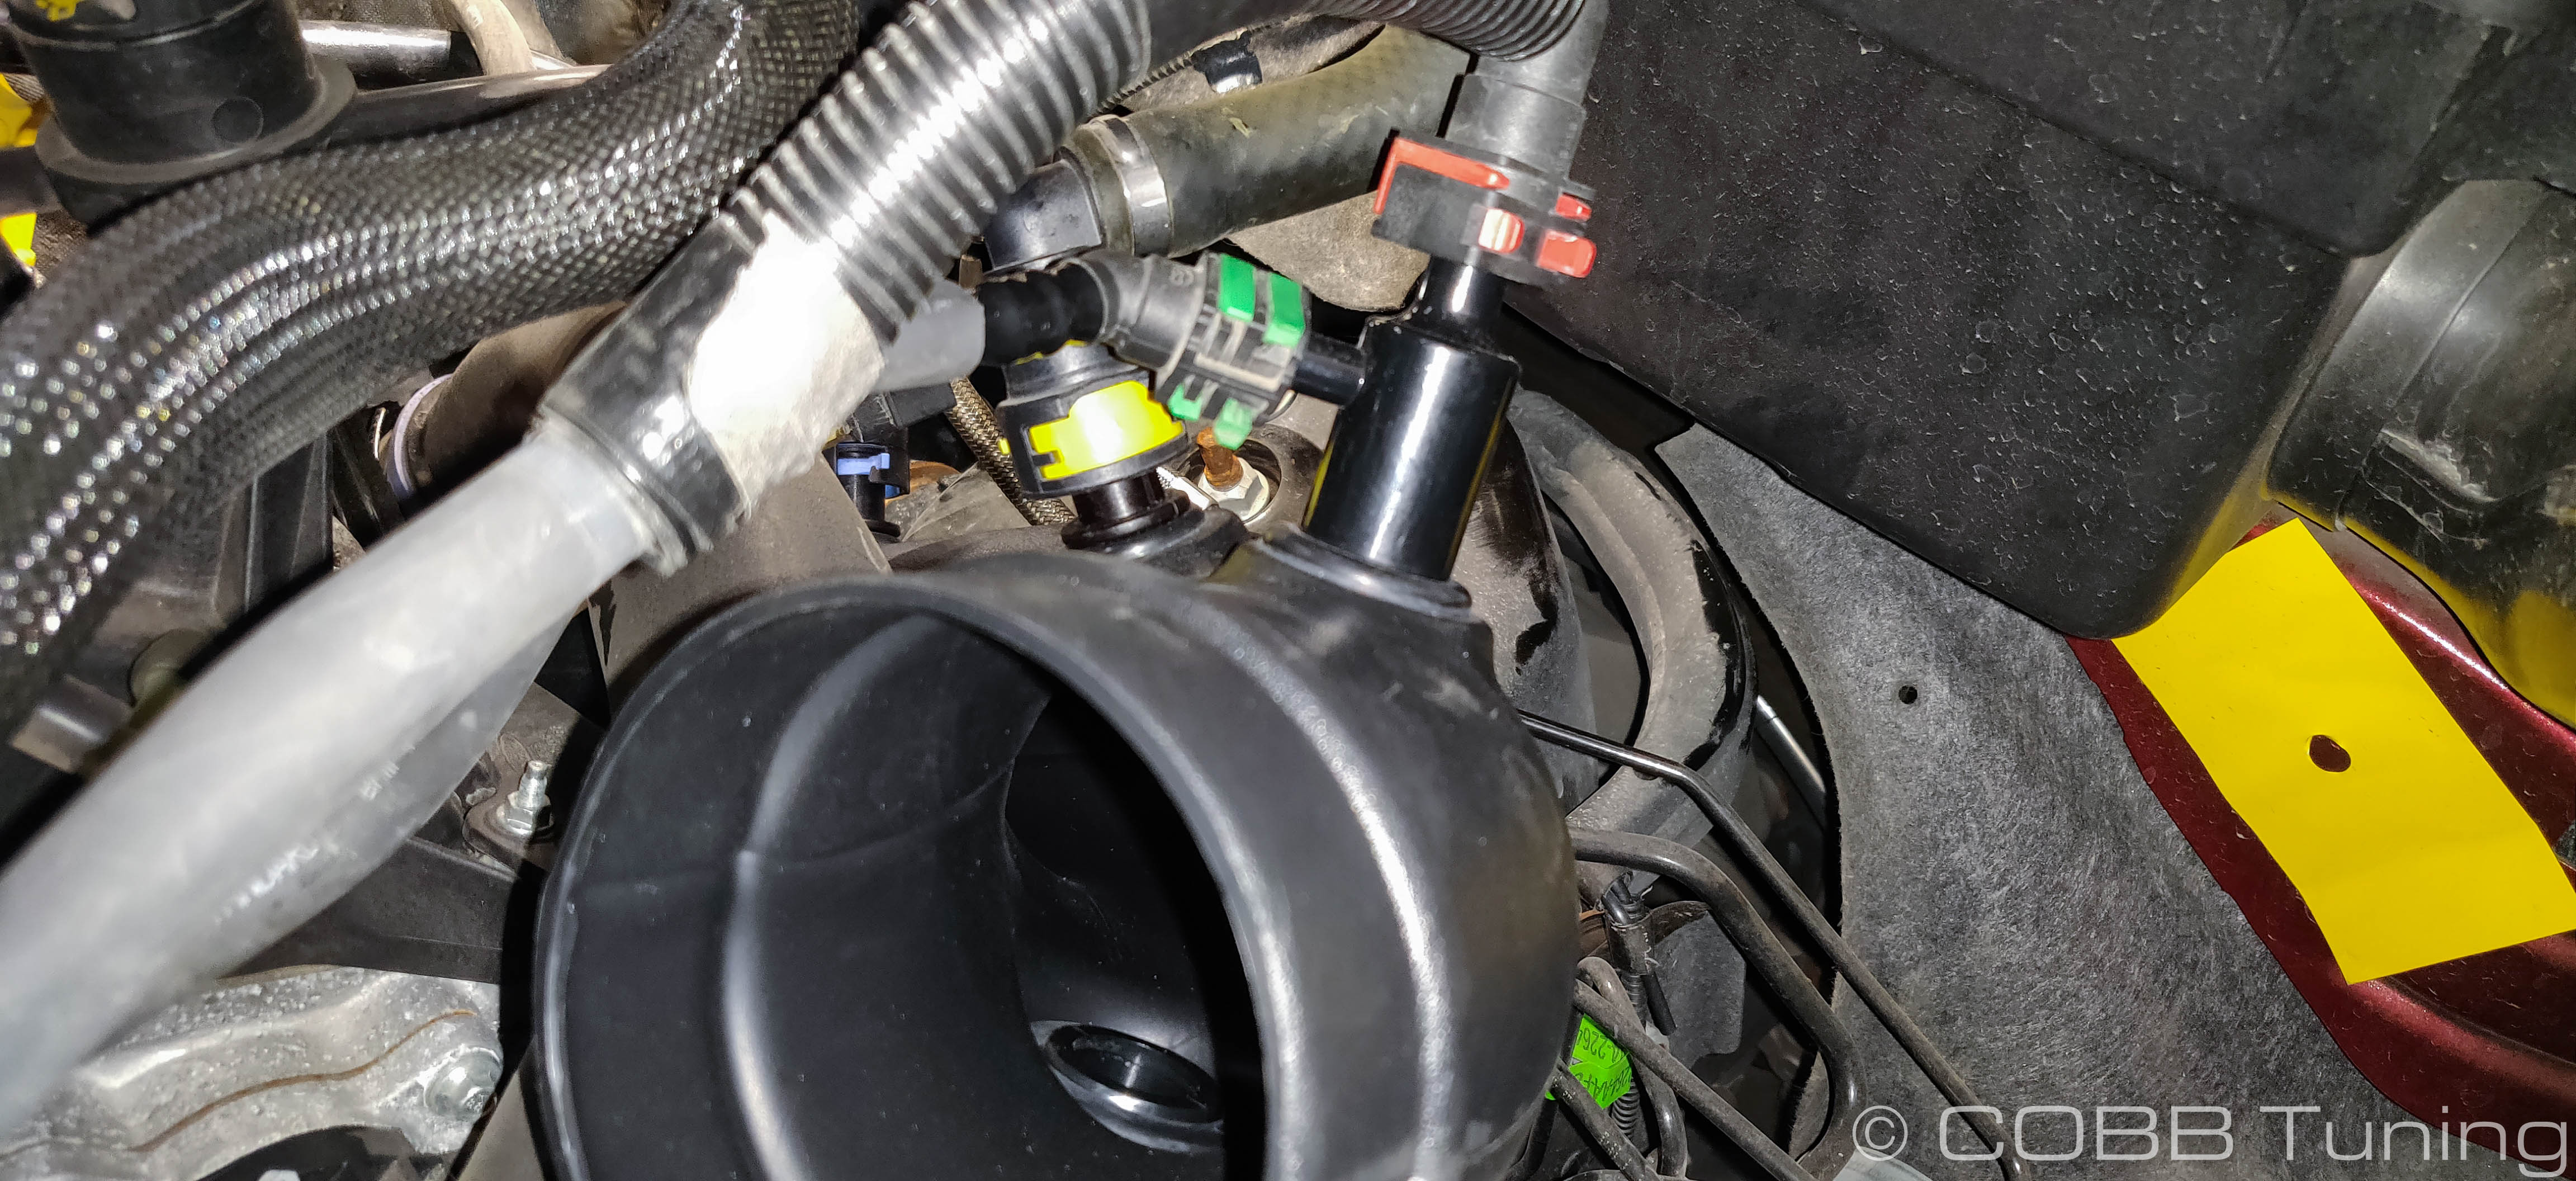
- Disconnect the three vacuum connections on the left side inlet. Pay attention to how they come off, the red clip releases by getting squeezed inward while pulling out the tab, whereas the green one will go outward to release. The blue one will get squeezed and wiggle off.
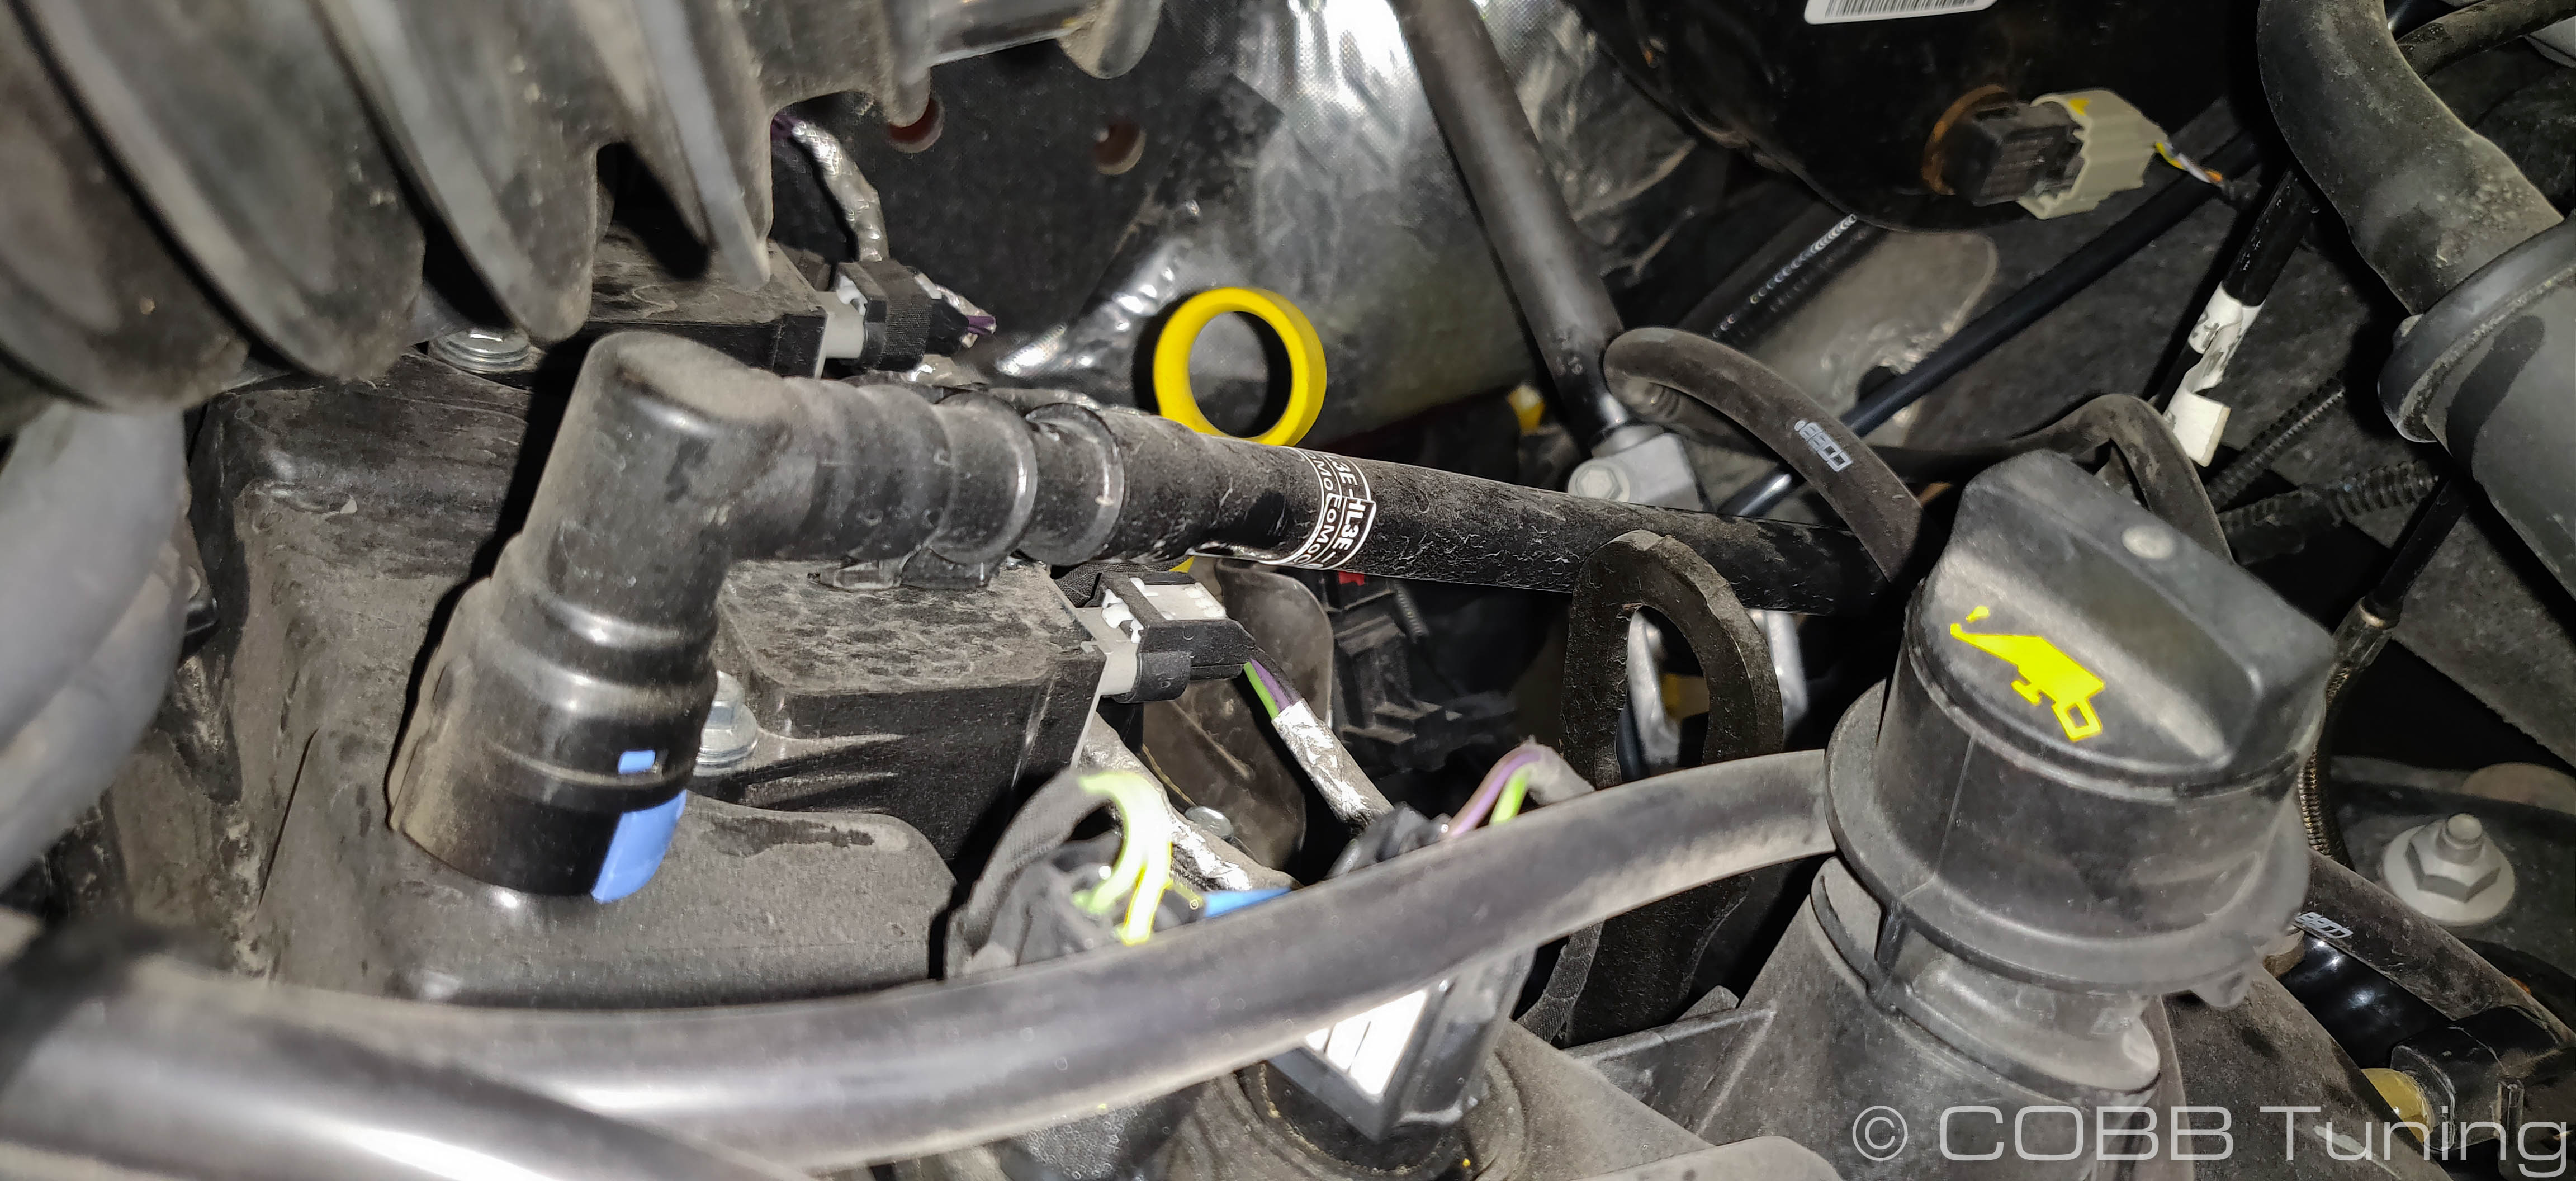
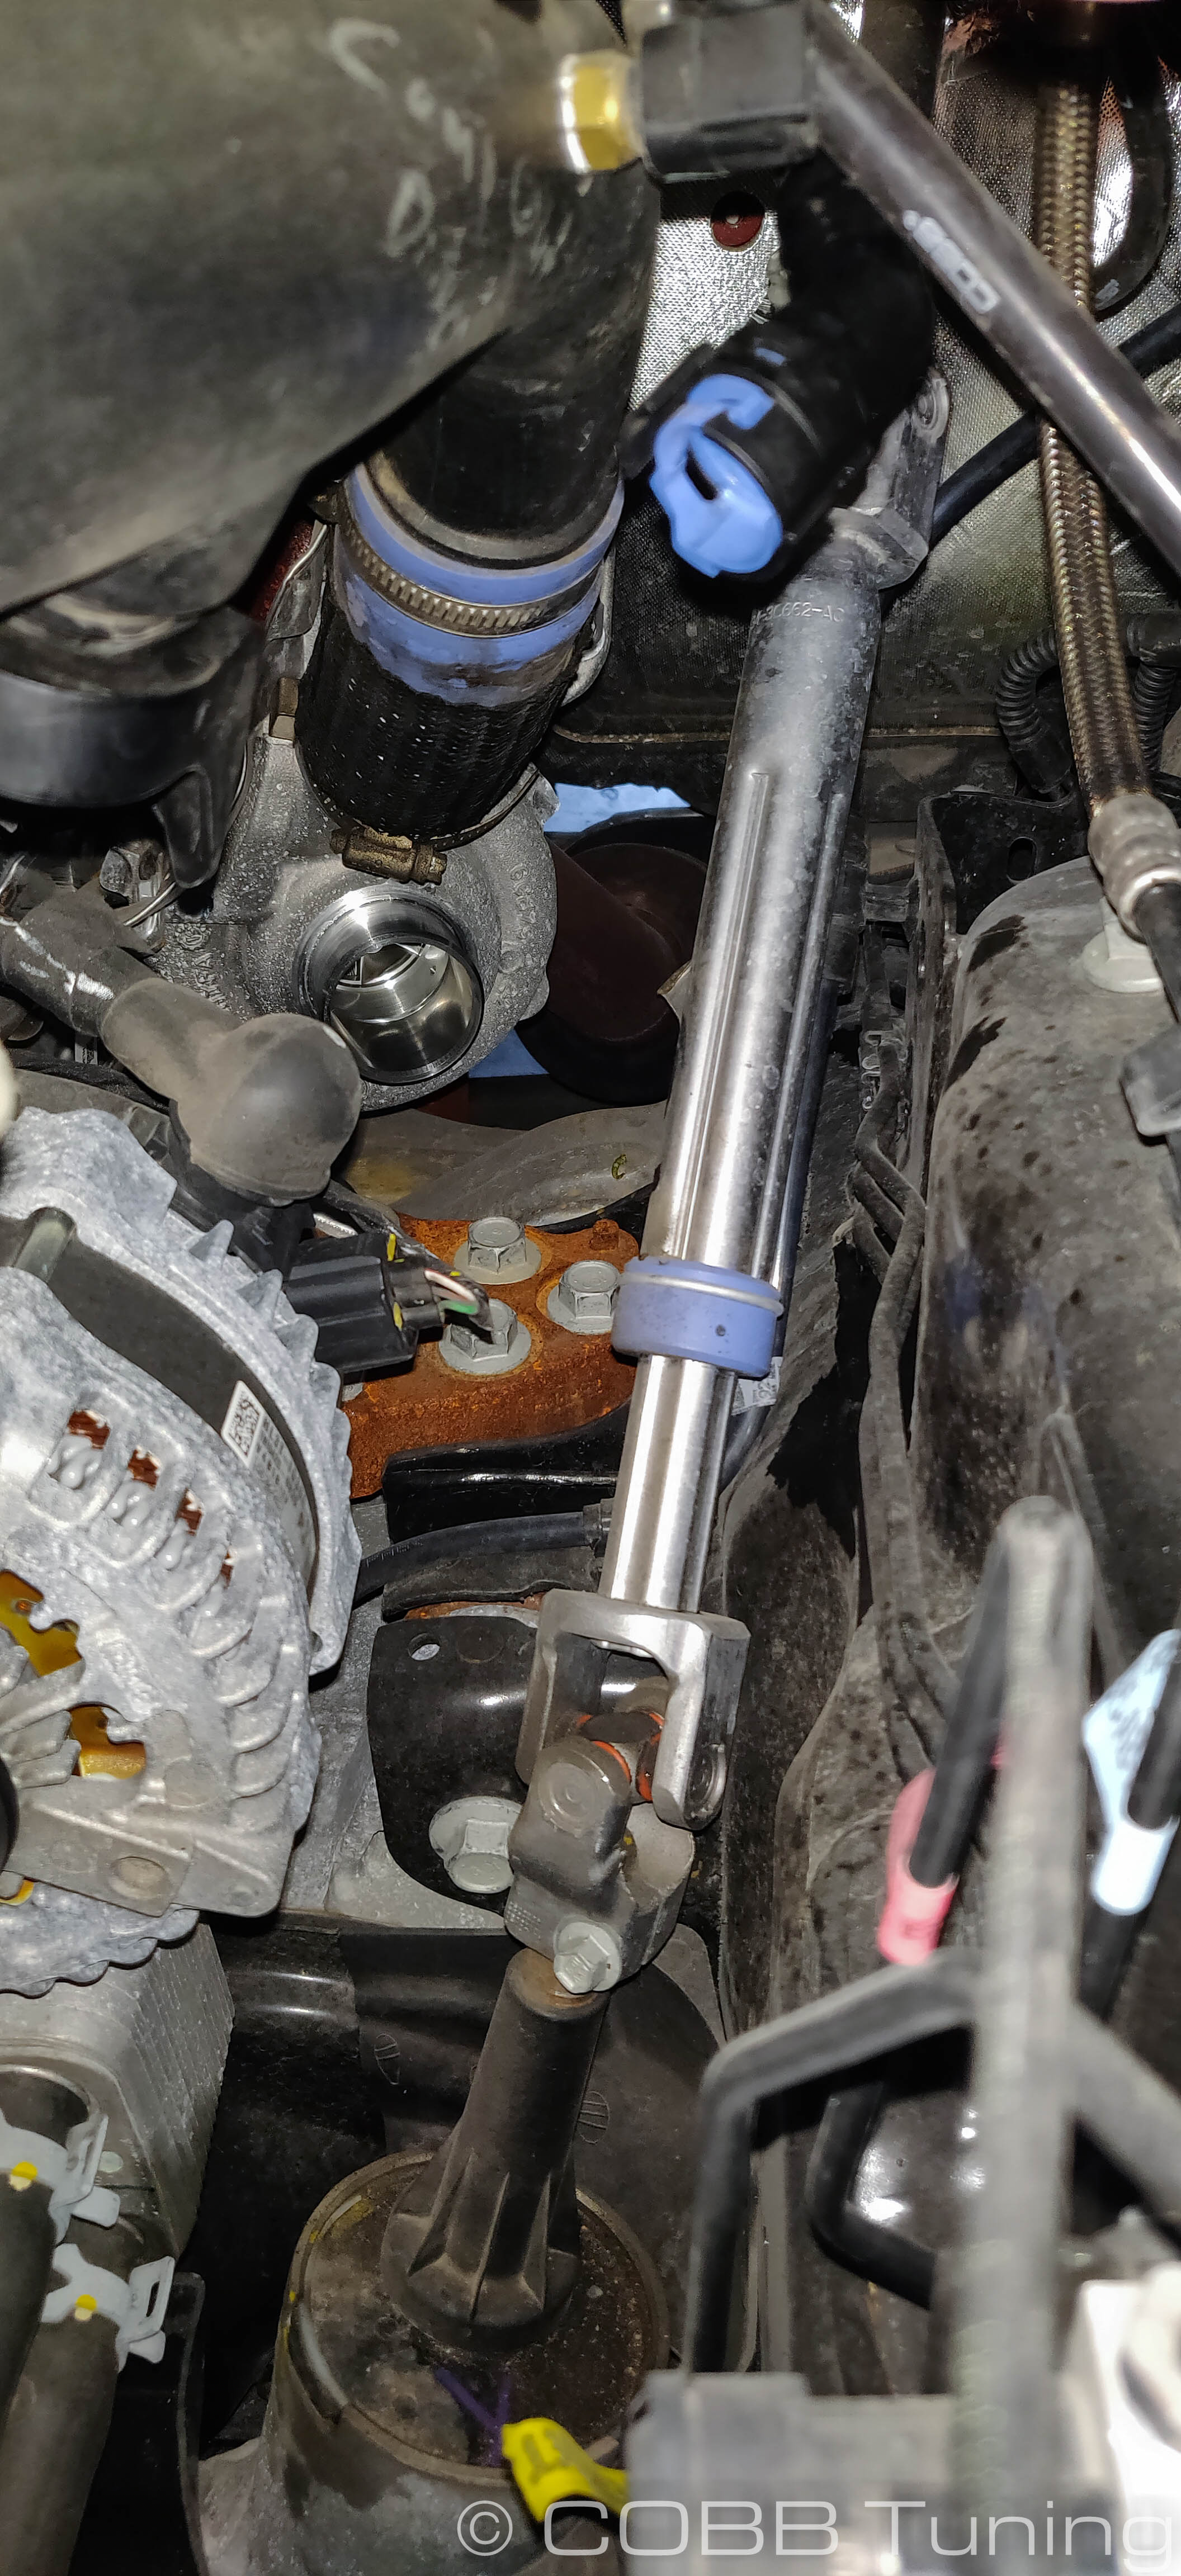
- Disconnect the bpv hose from the intake and the BPV itself by turning left 1/4 turn. Sometimes it will be stuck due to dirt or debris getting into the clip. Softening it with some wd40 or water can make this more simple.
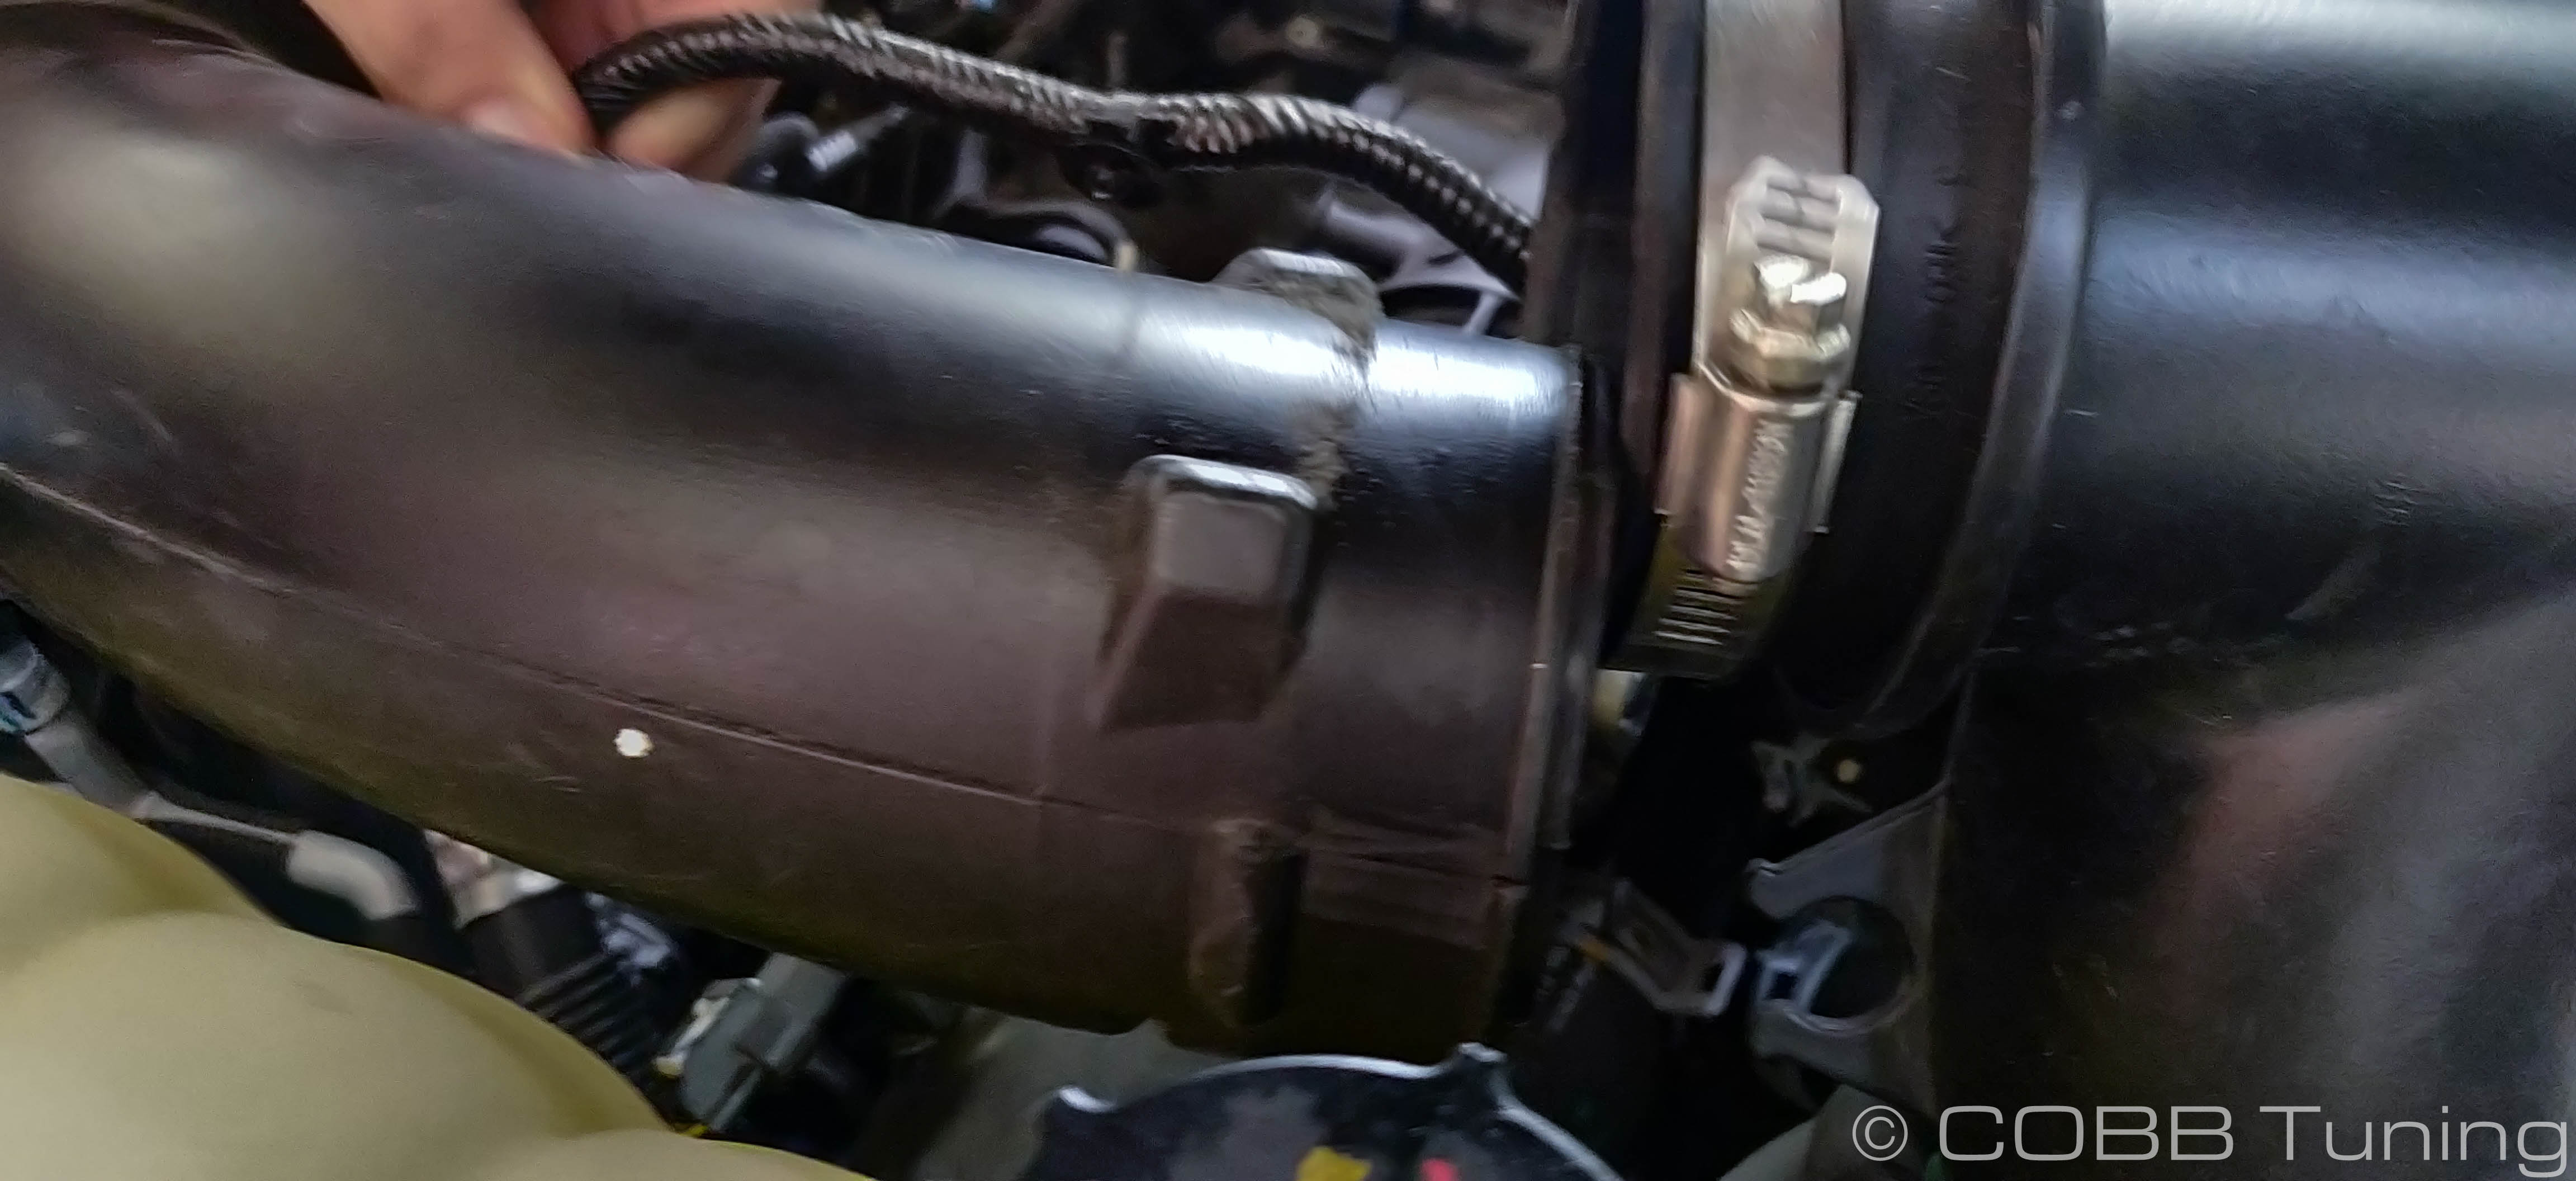
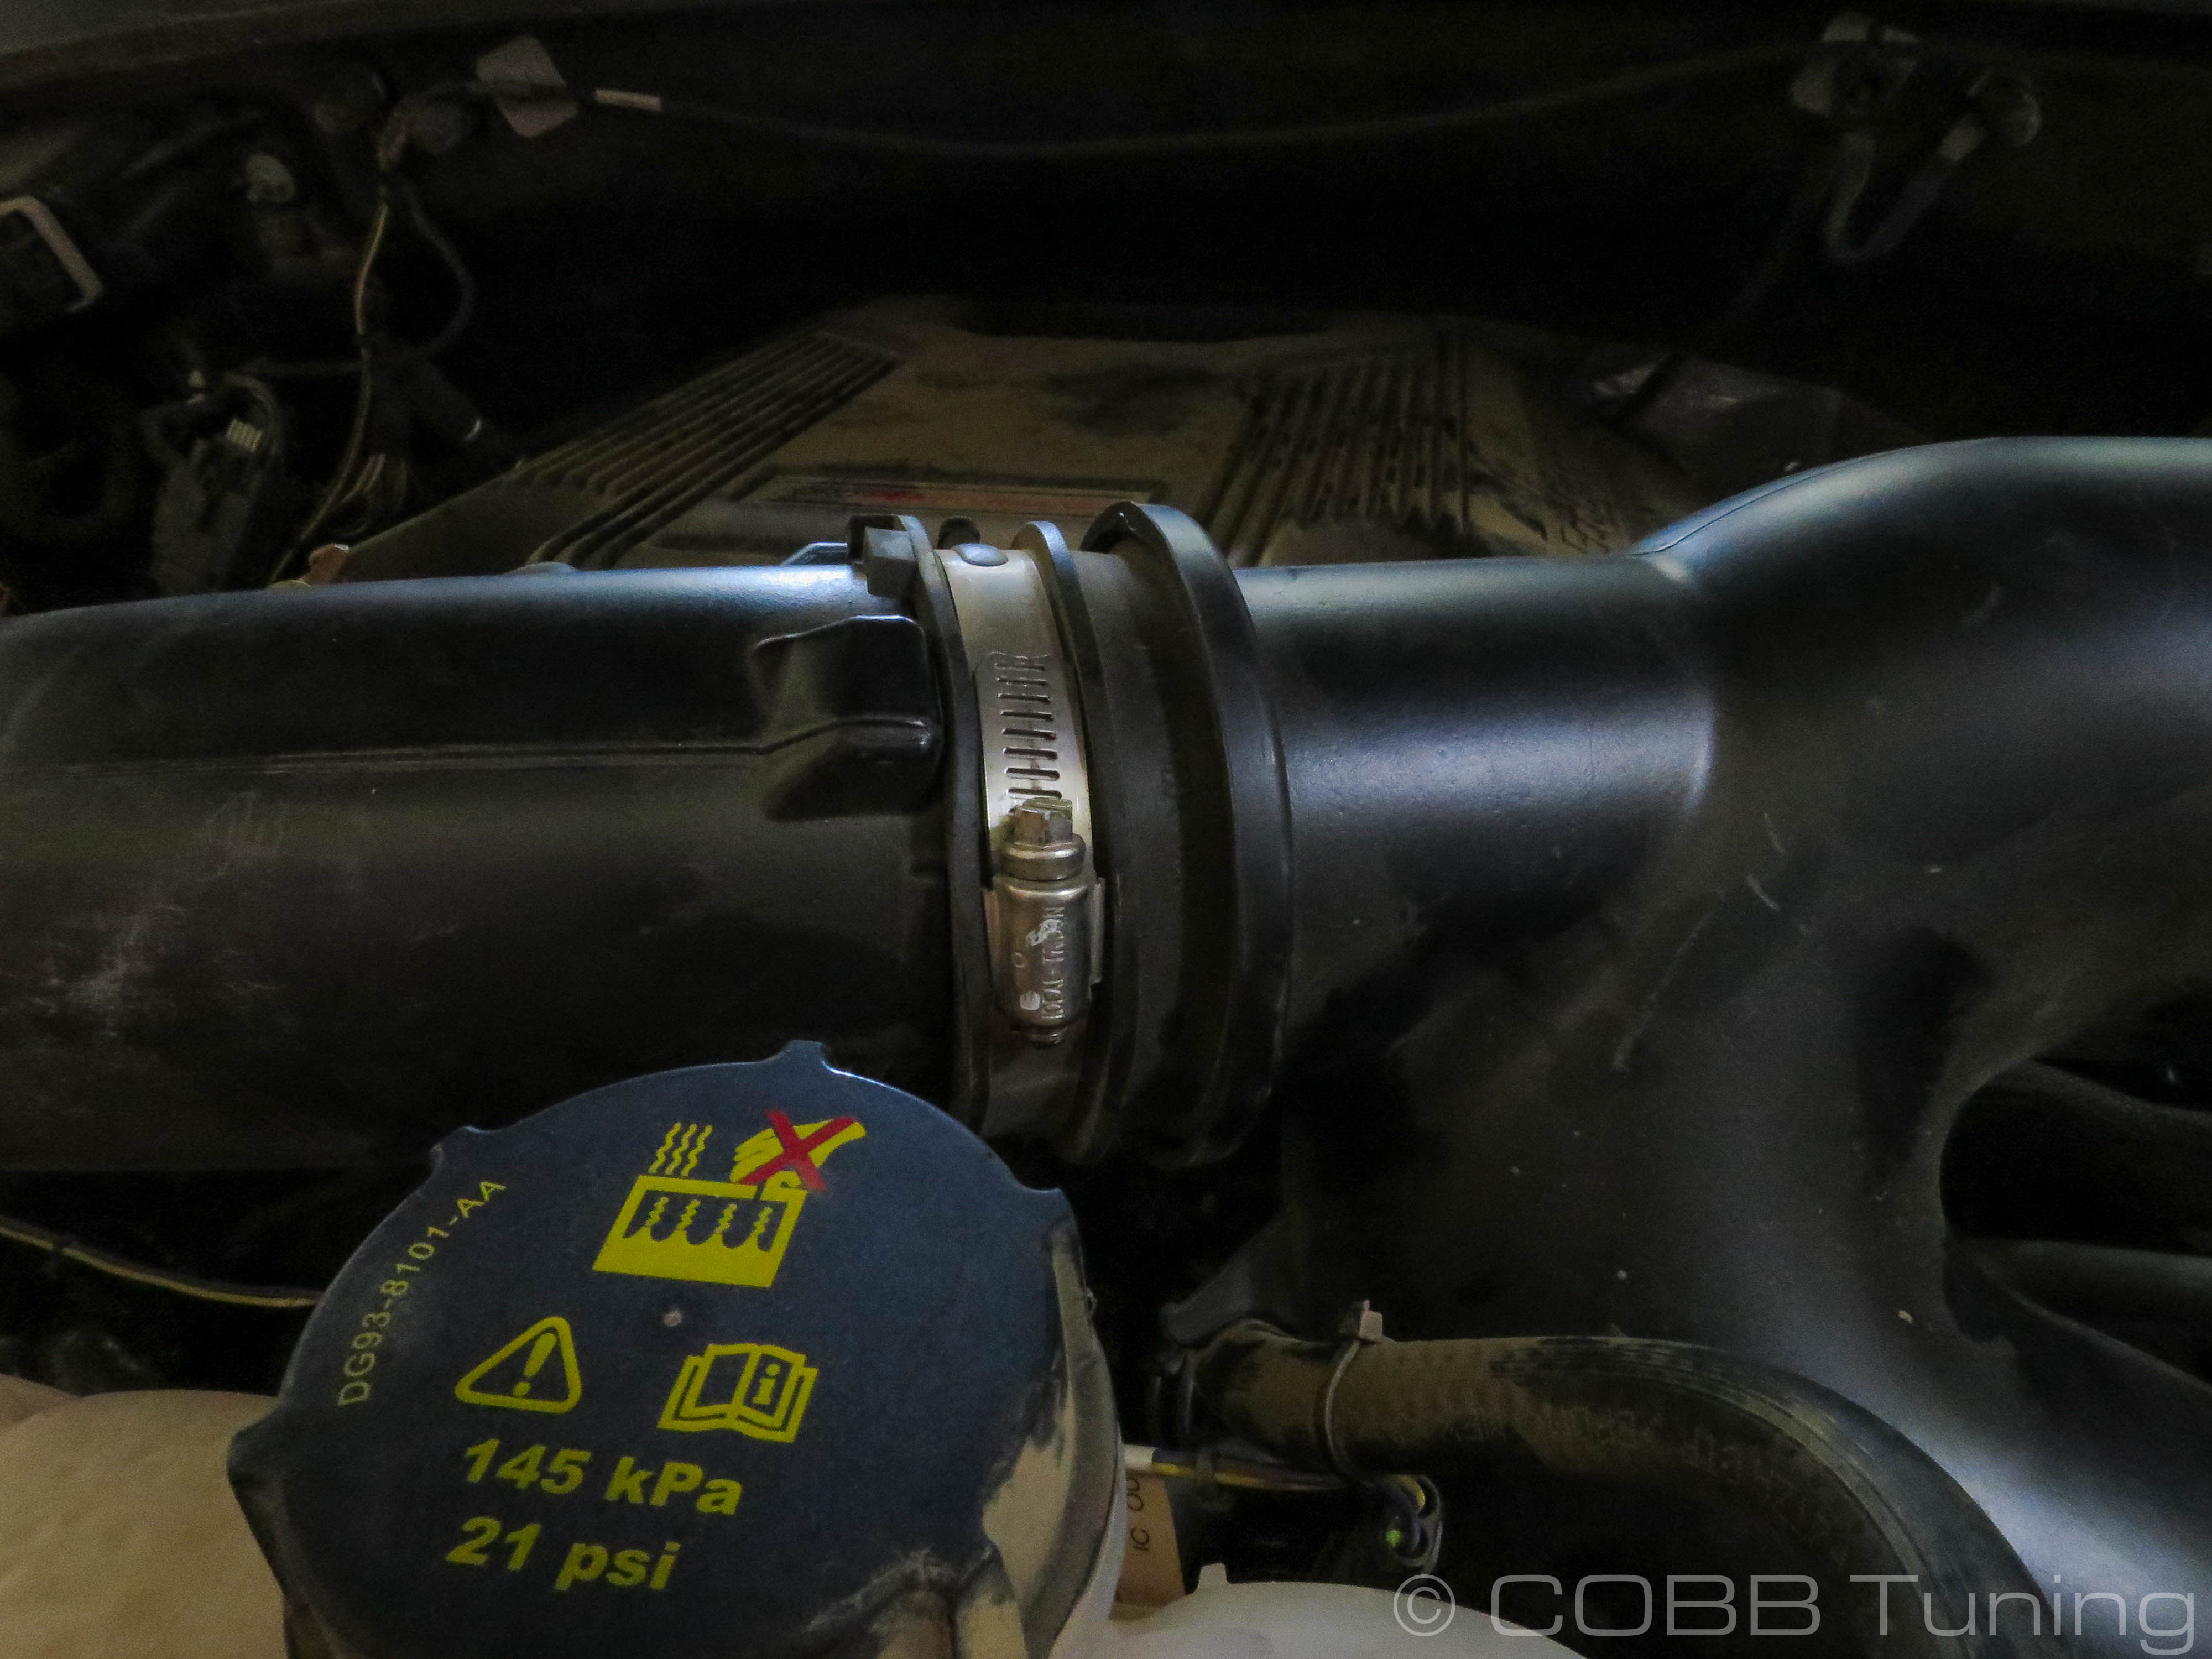
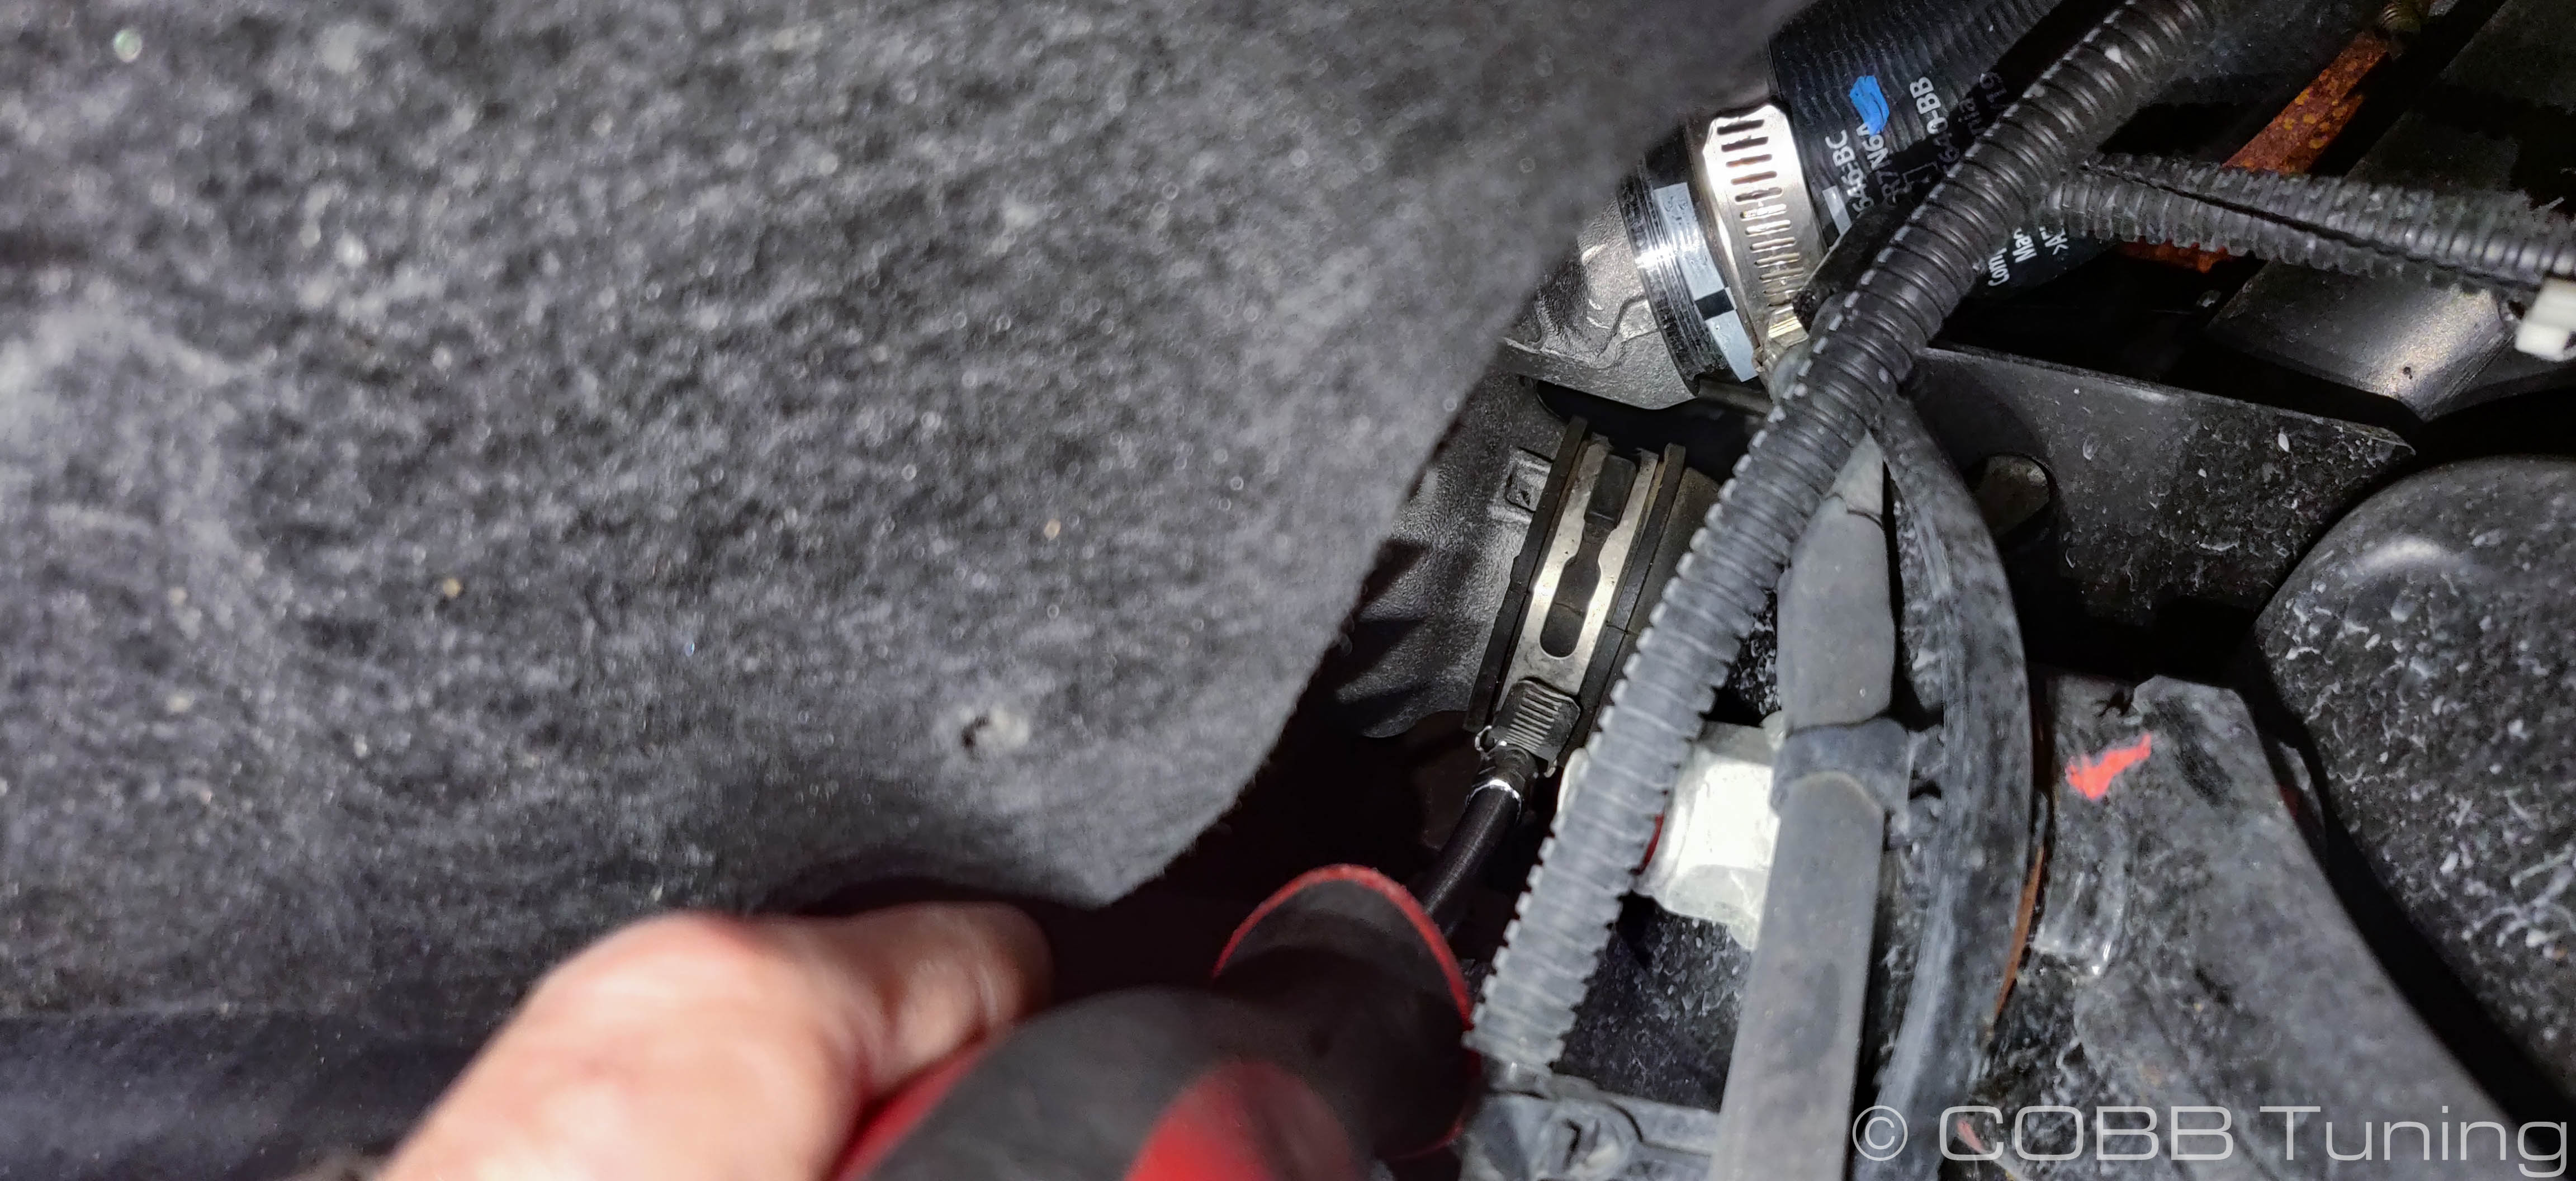
- Looking into the driver's side wheel well, unscrew the factory hose clamp going from the inlet to the turbo using your 7mm.
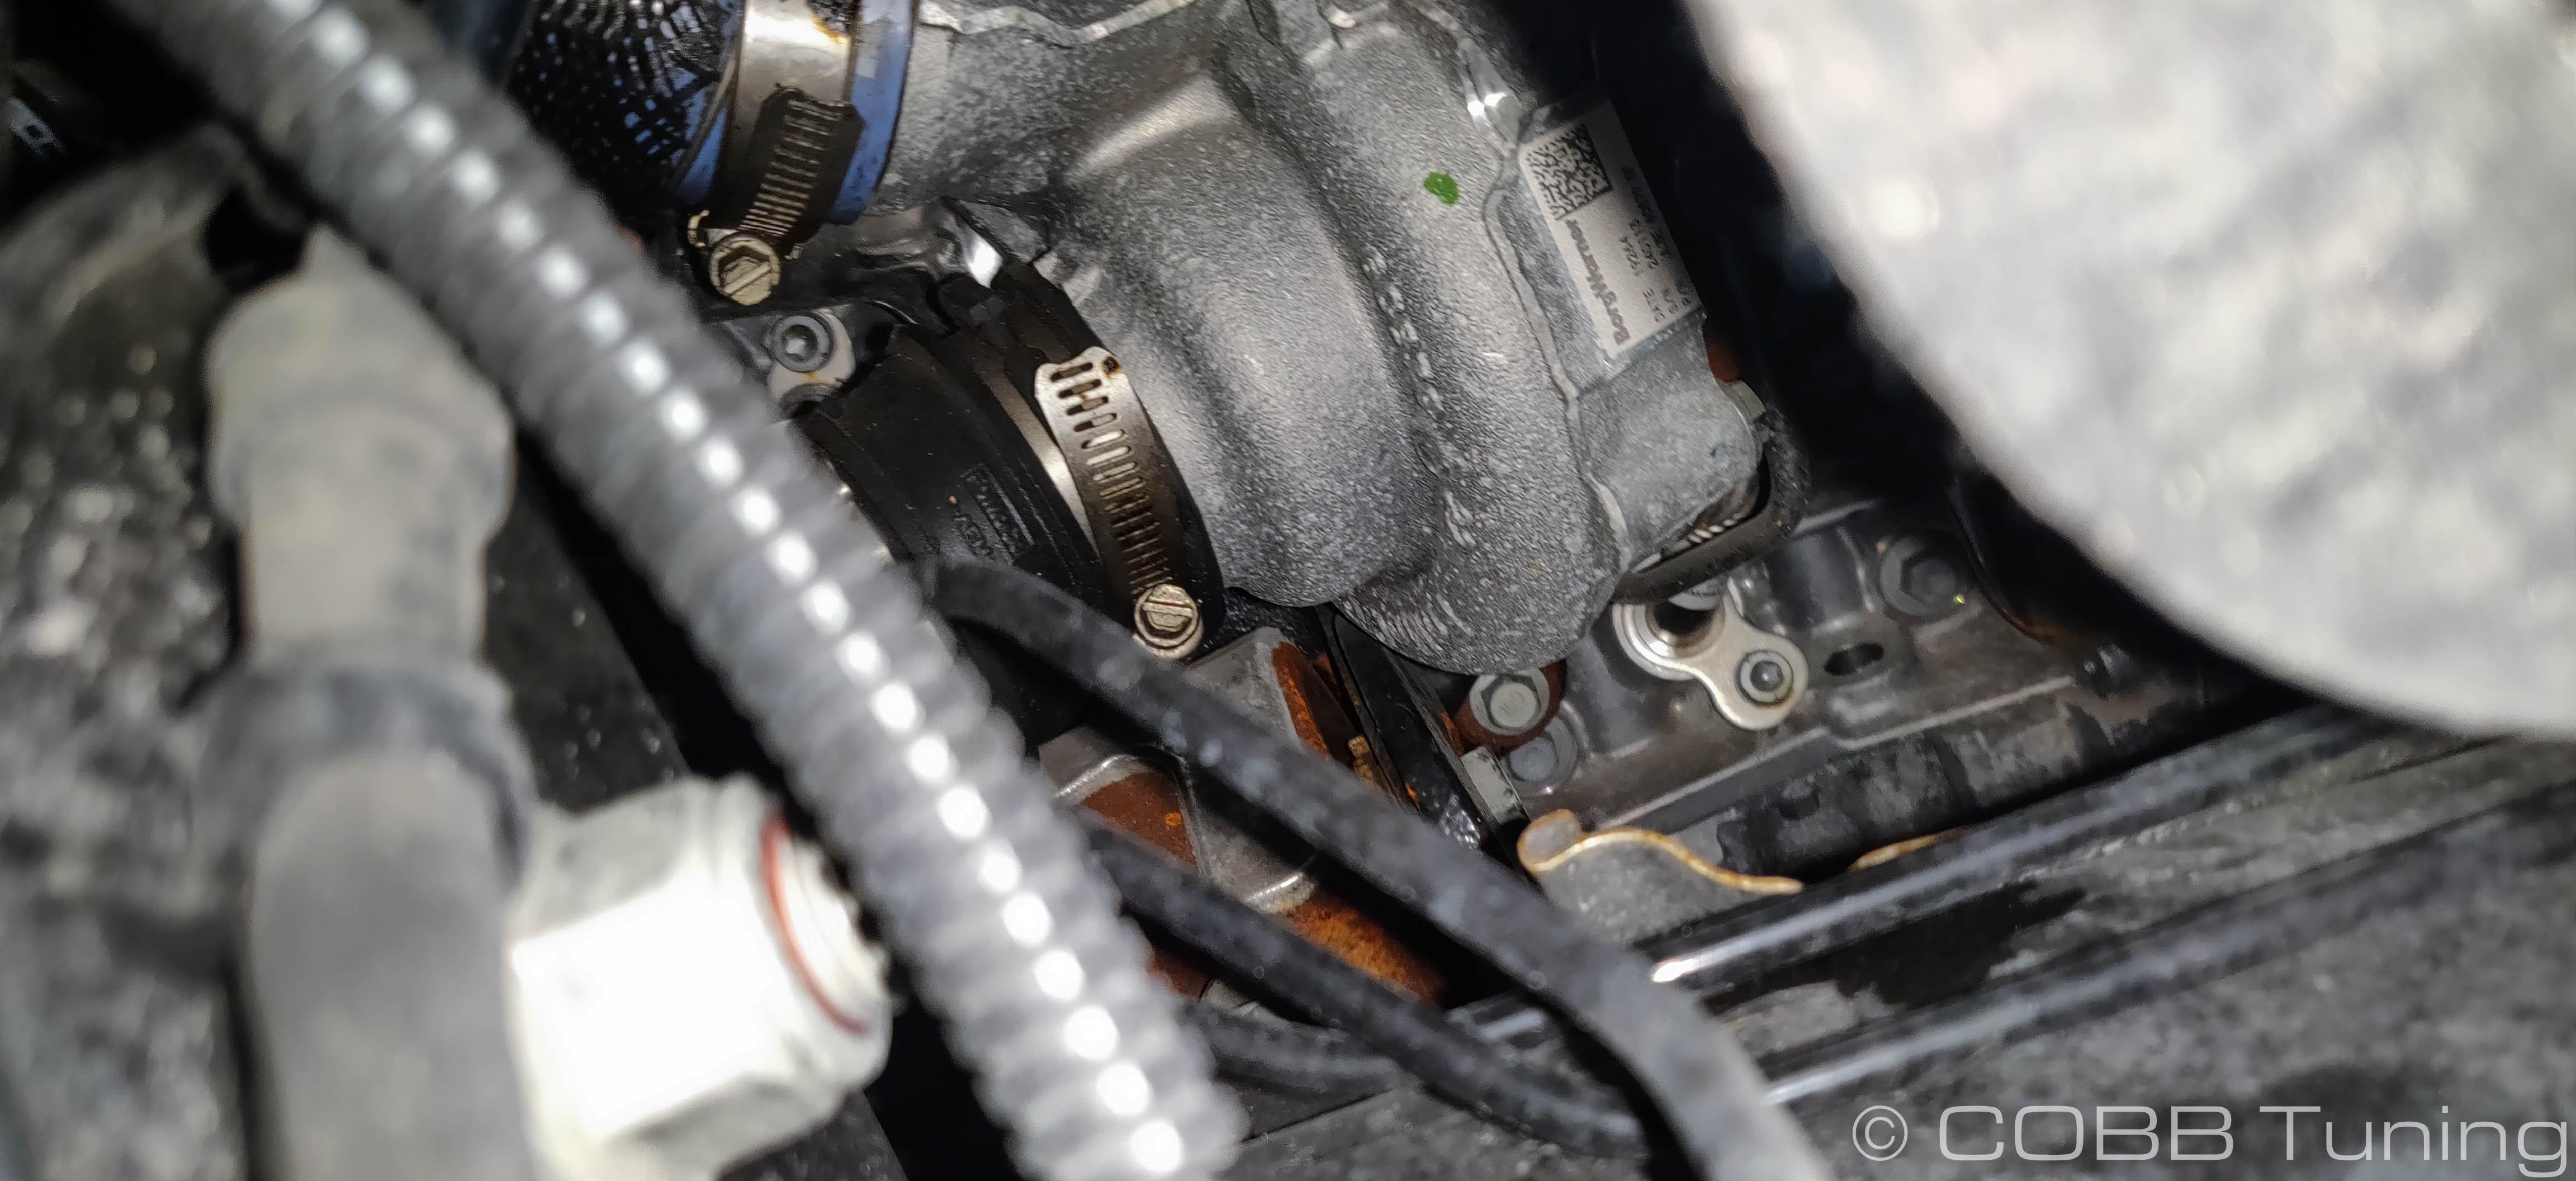
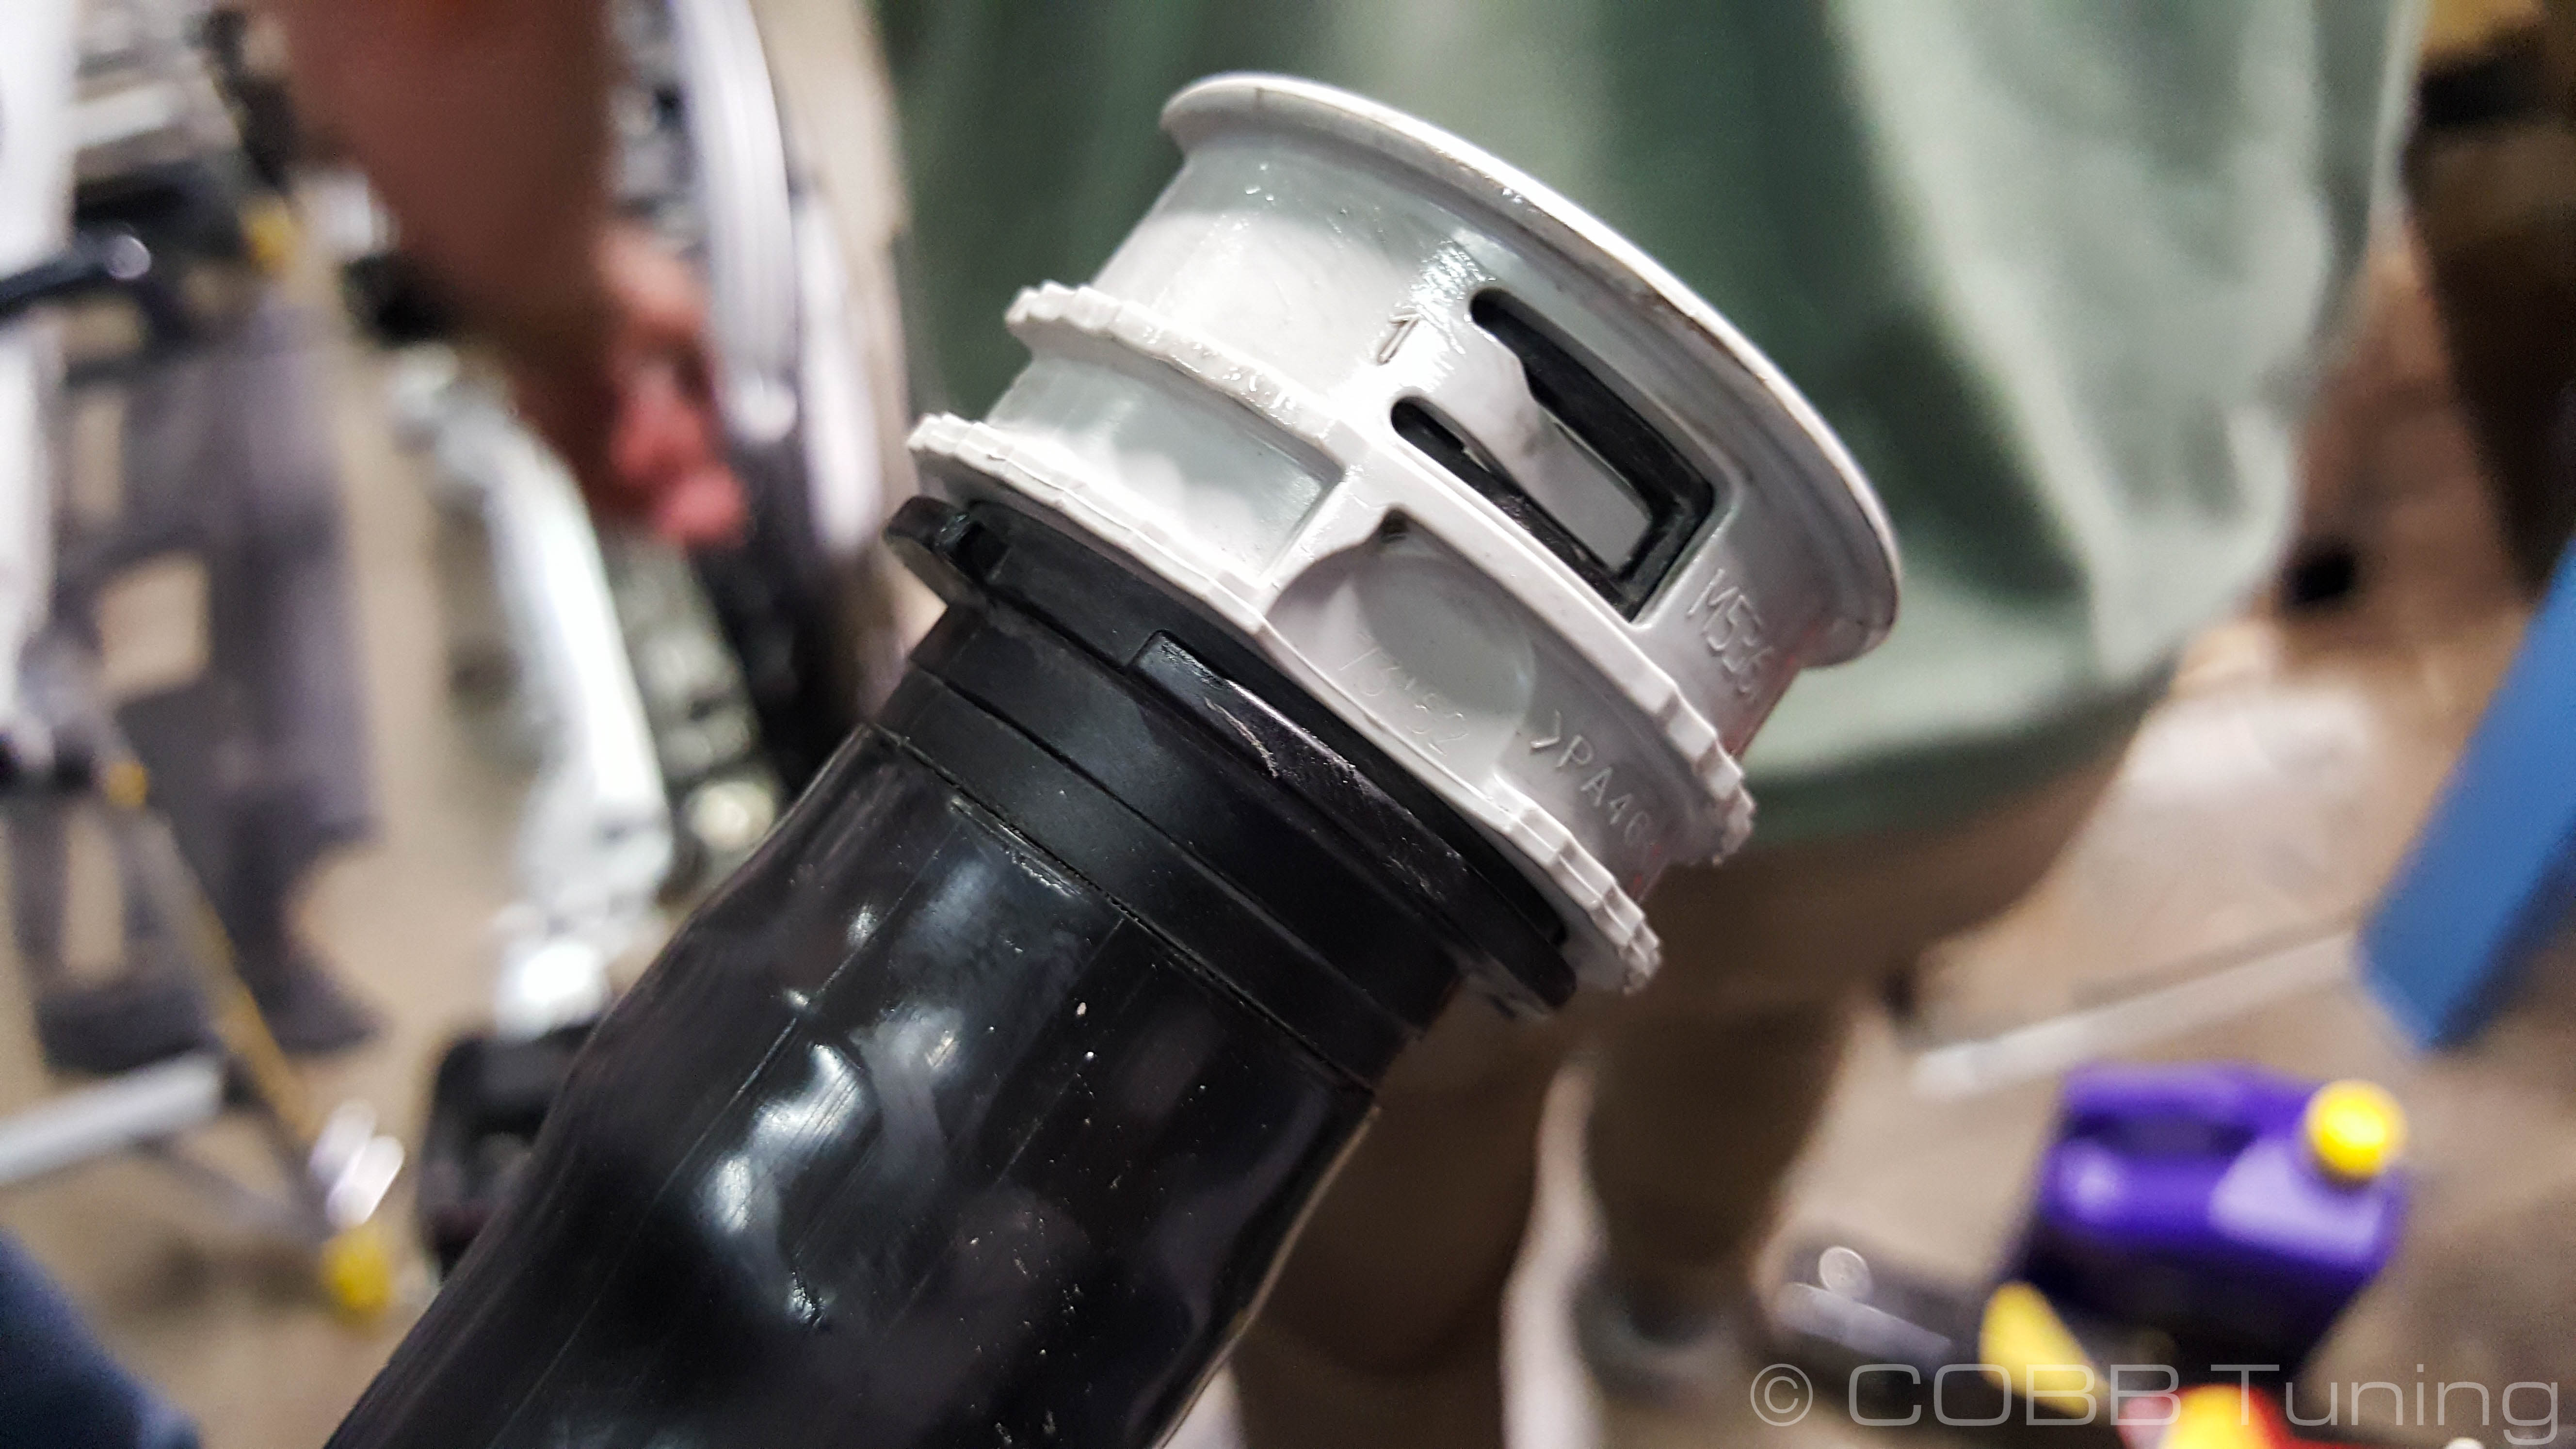
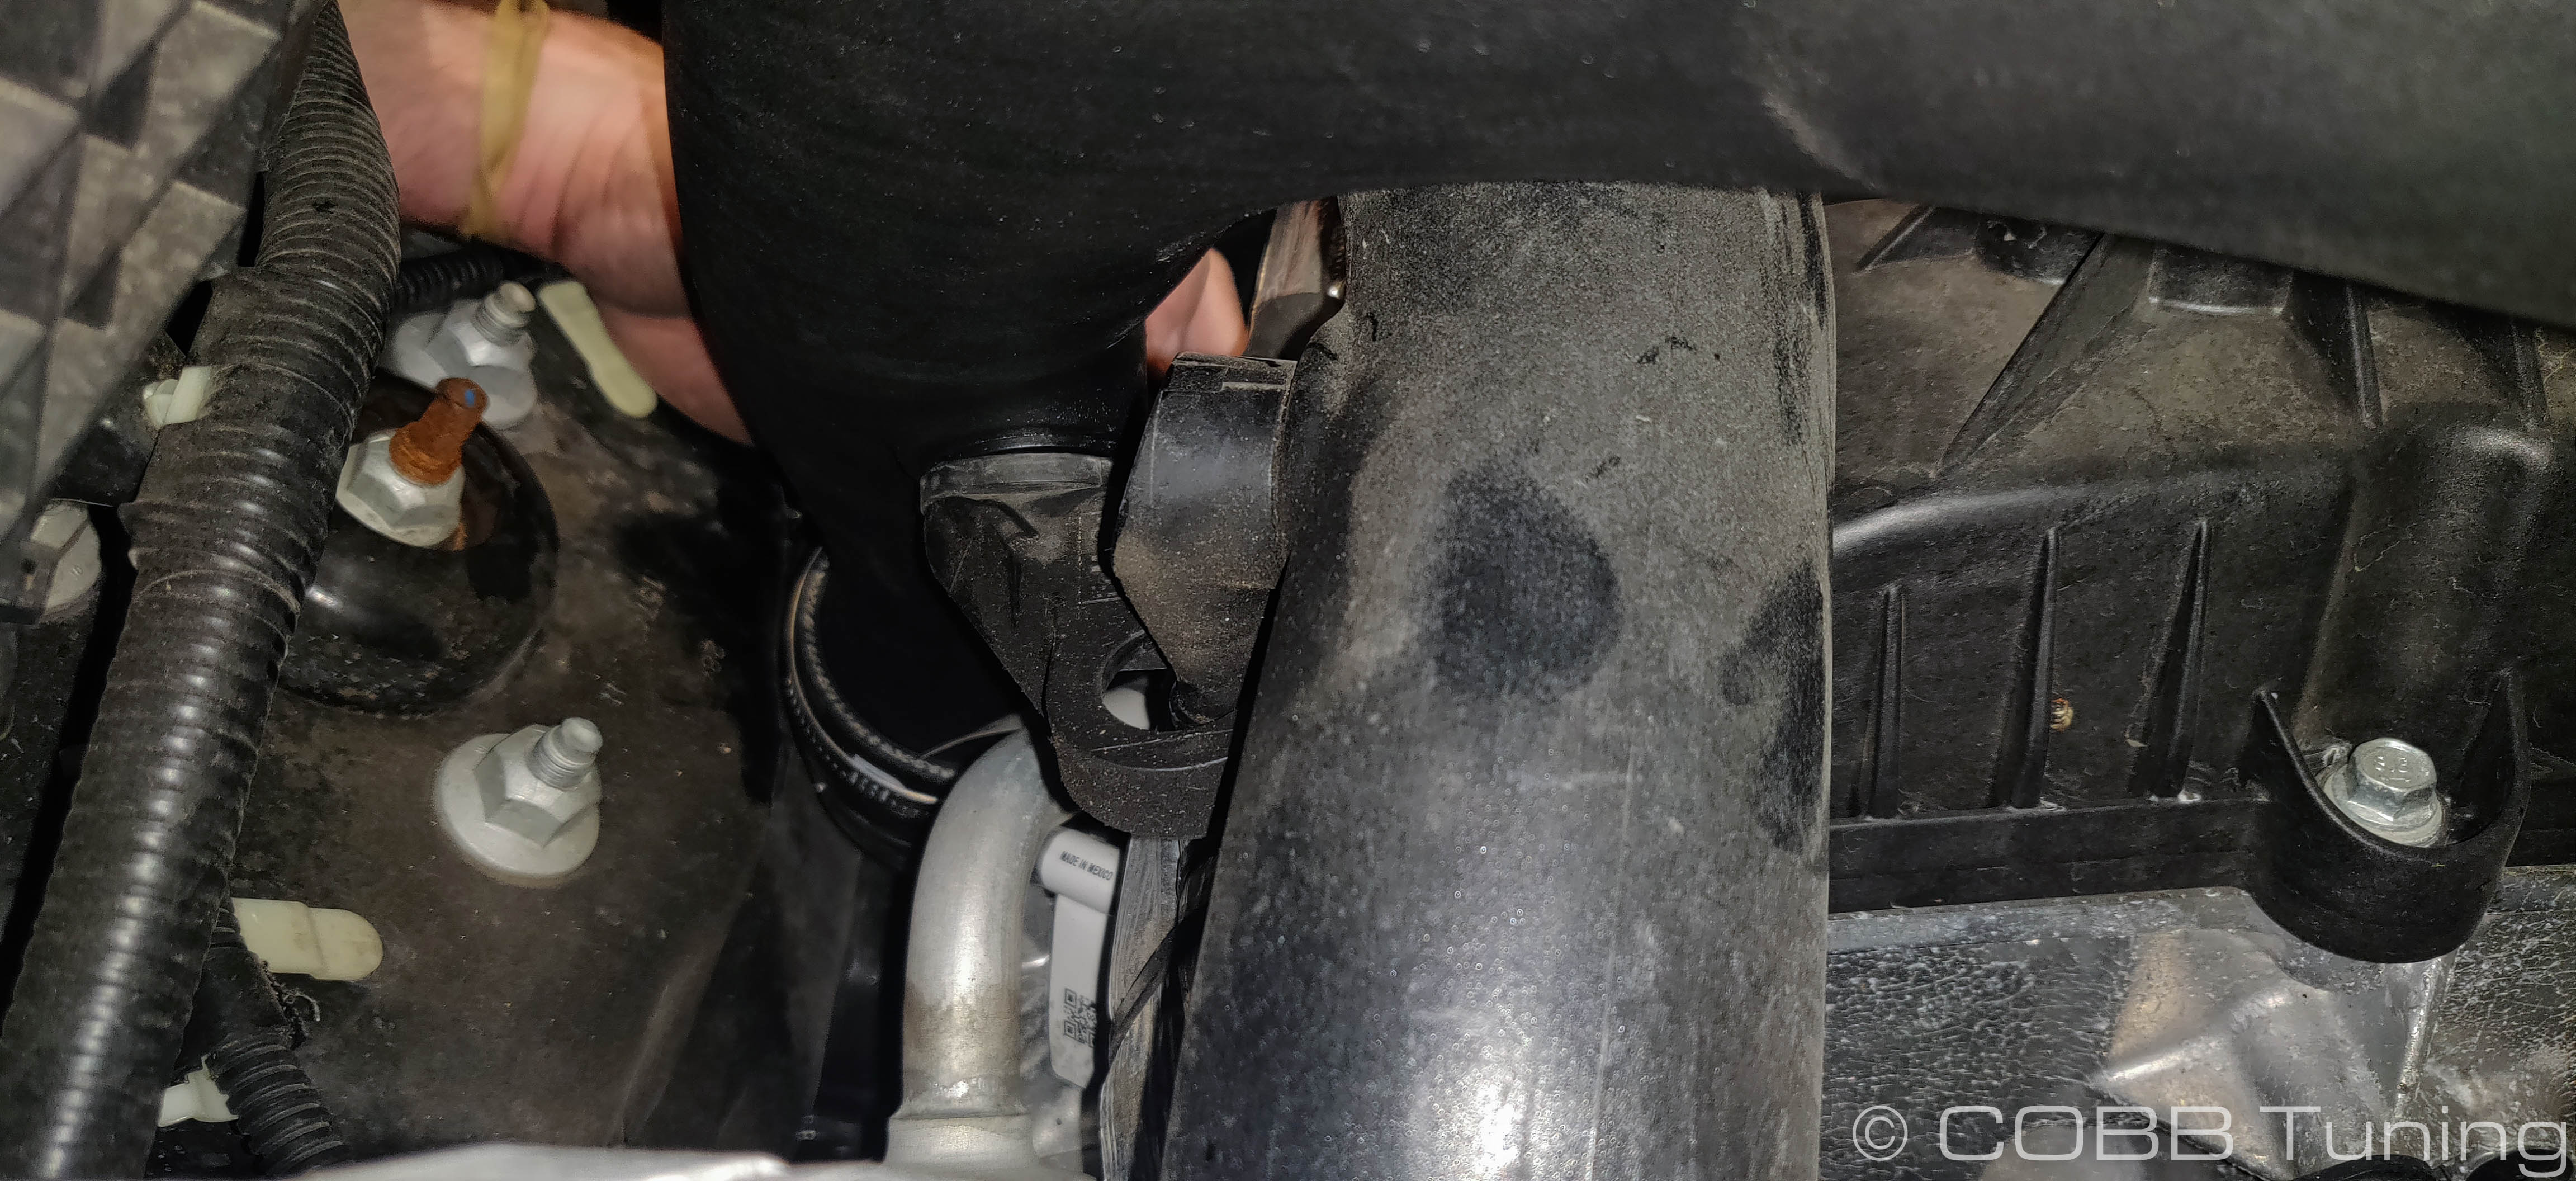
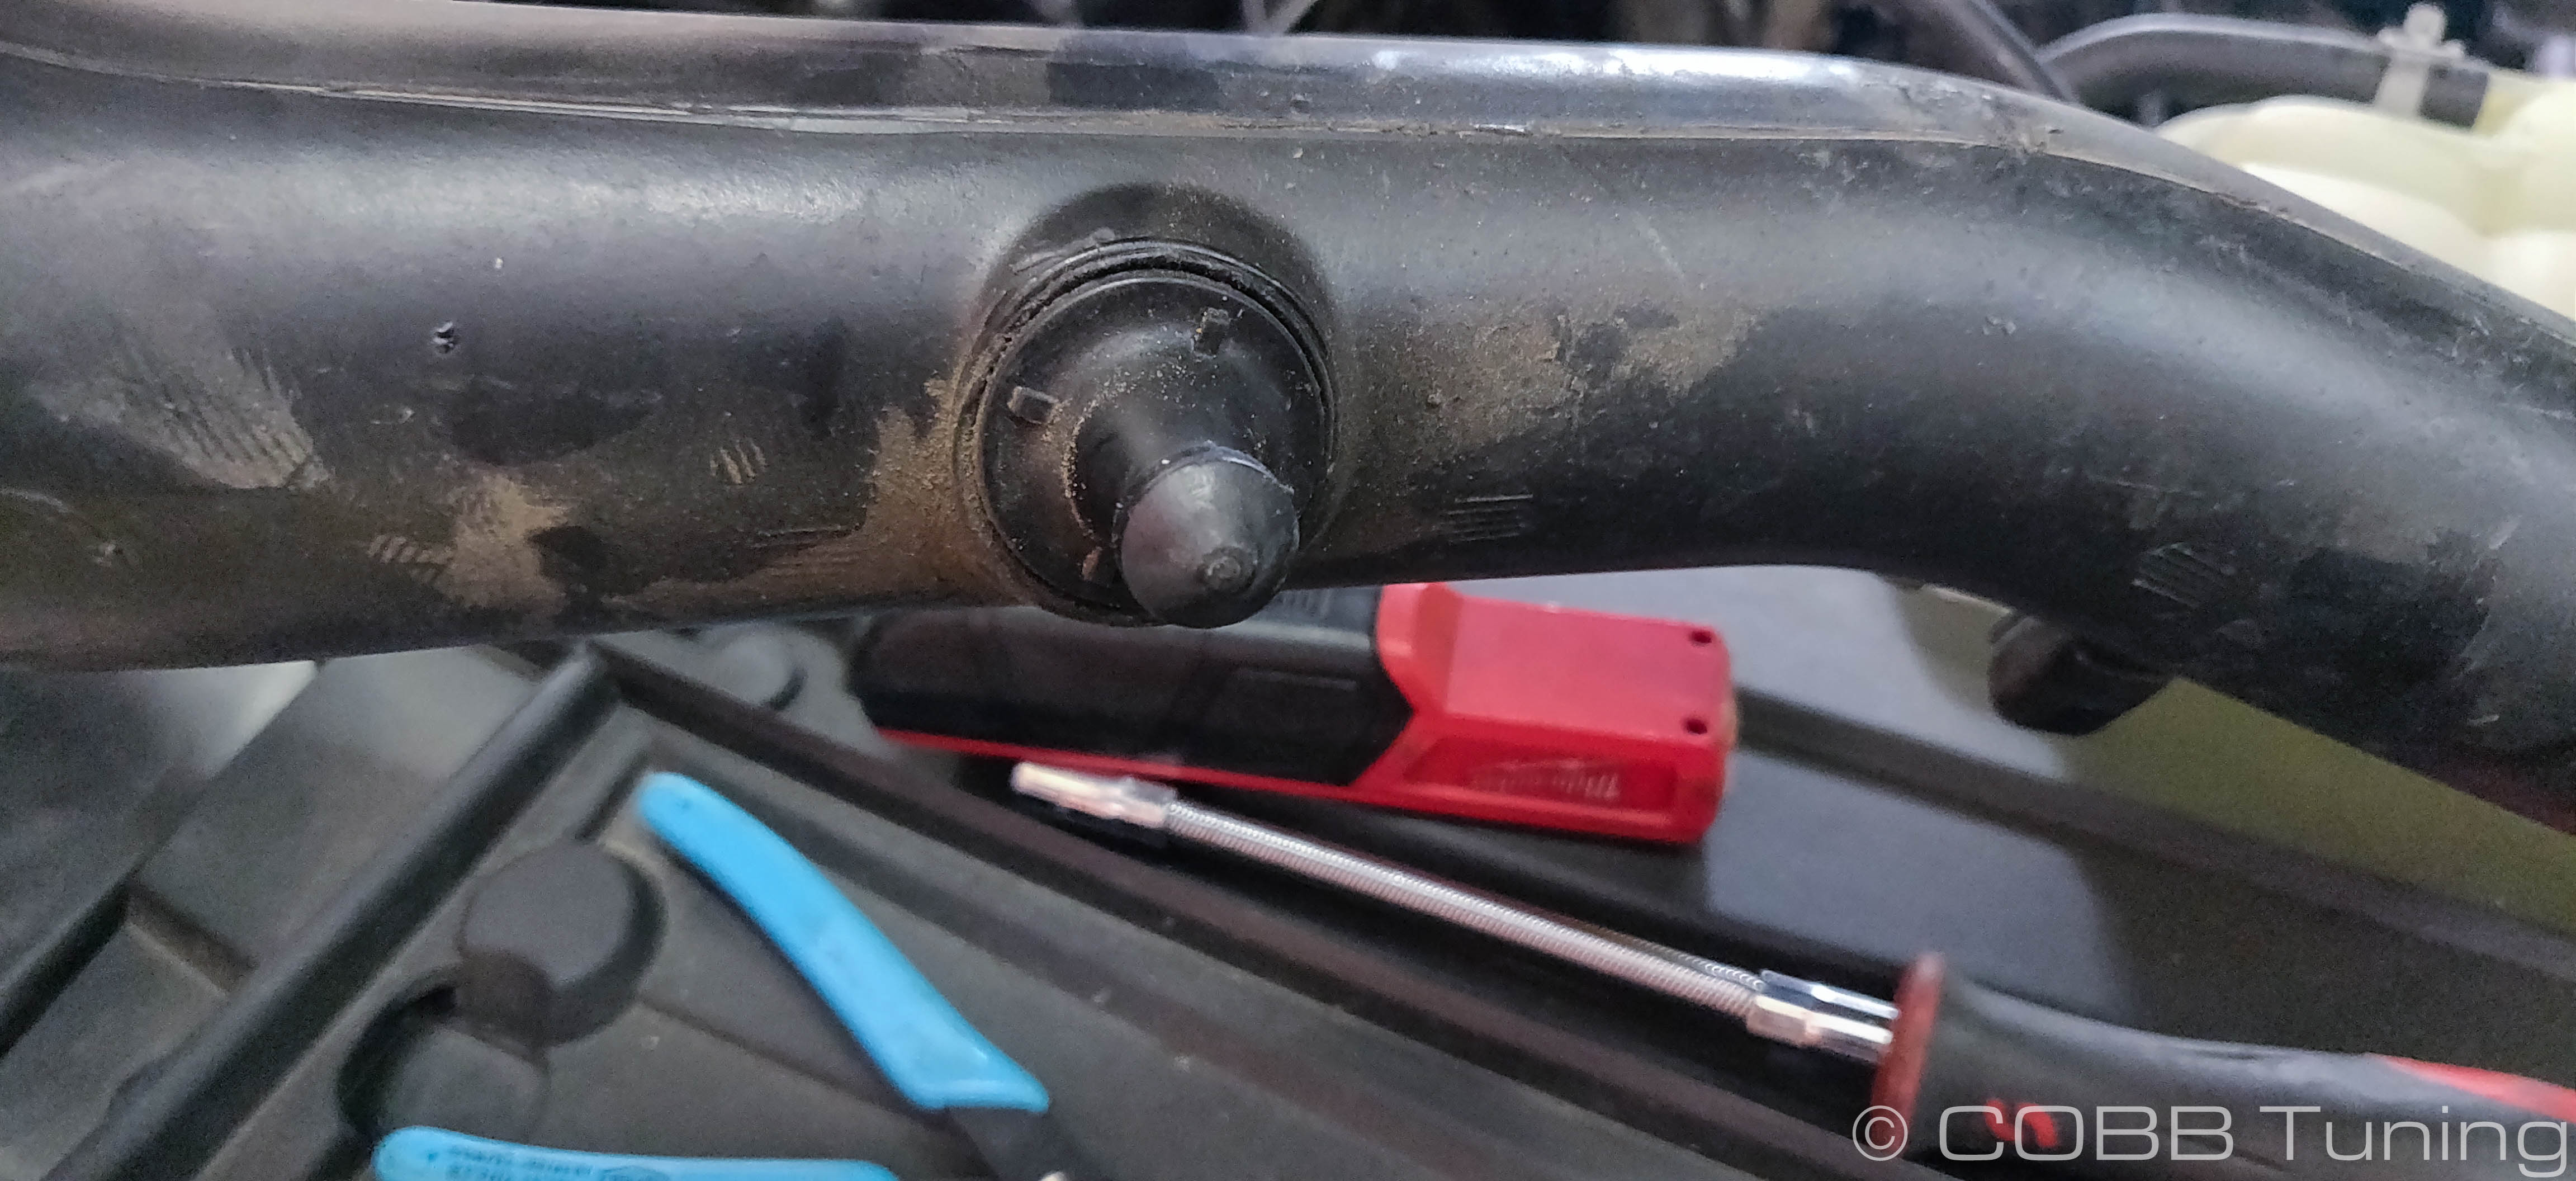
- Partway down the inlet tube has a small ball pressed into a rubber socket, pop this out with your trim tool and remove the inlet tube from the car.
- Swap over to the passenger's side wheel well, and remove the same inlet to turbo hose clamp you did on the driver's side.

- Pop it out of the same sort of ball socket that was present on the opposite side.
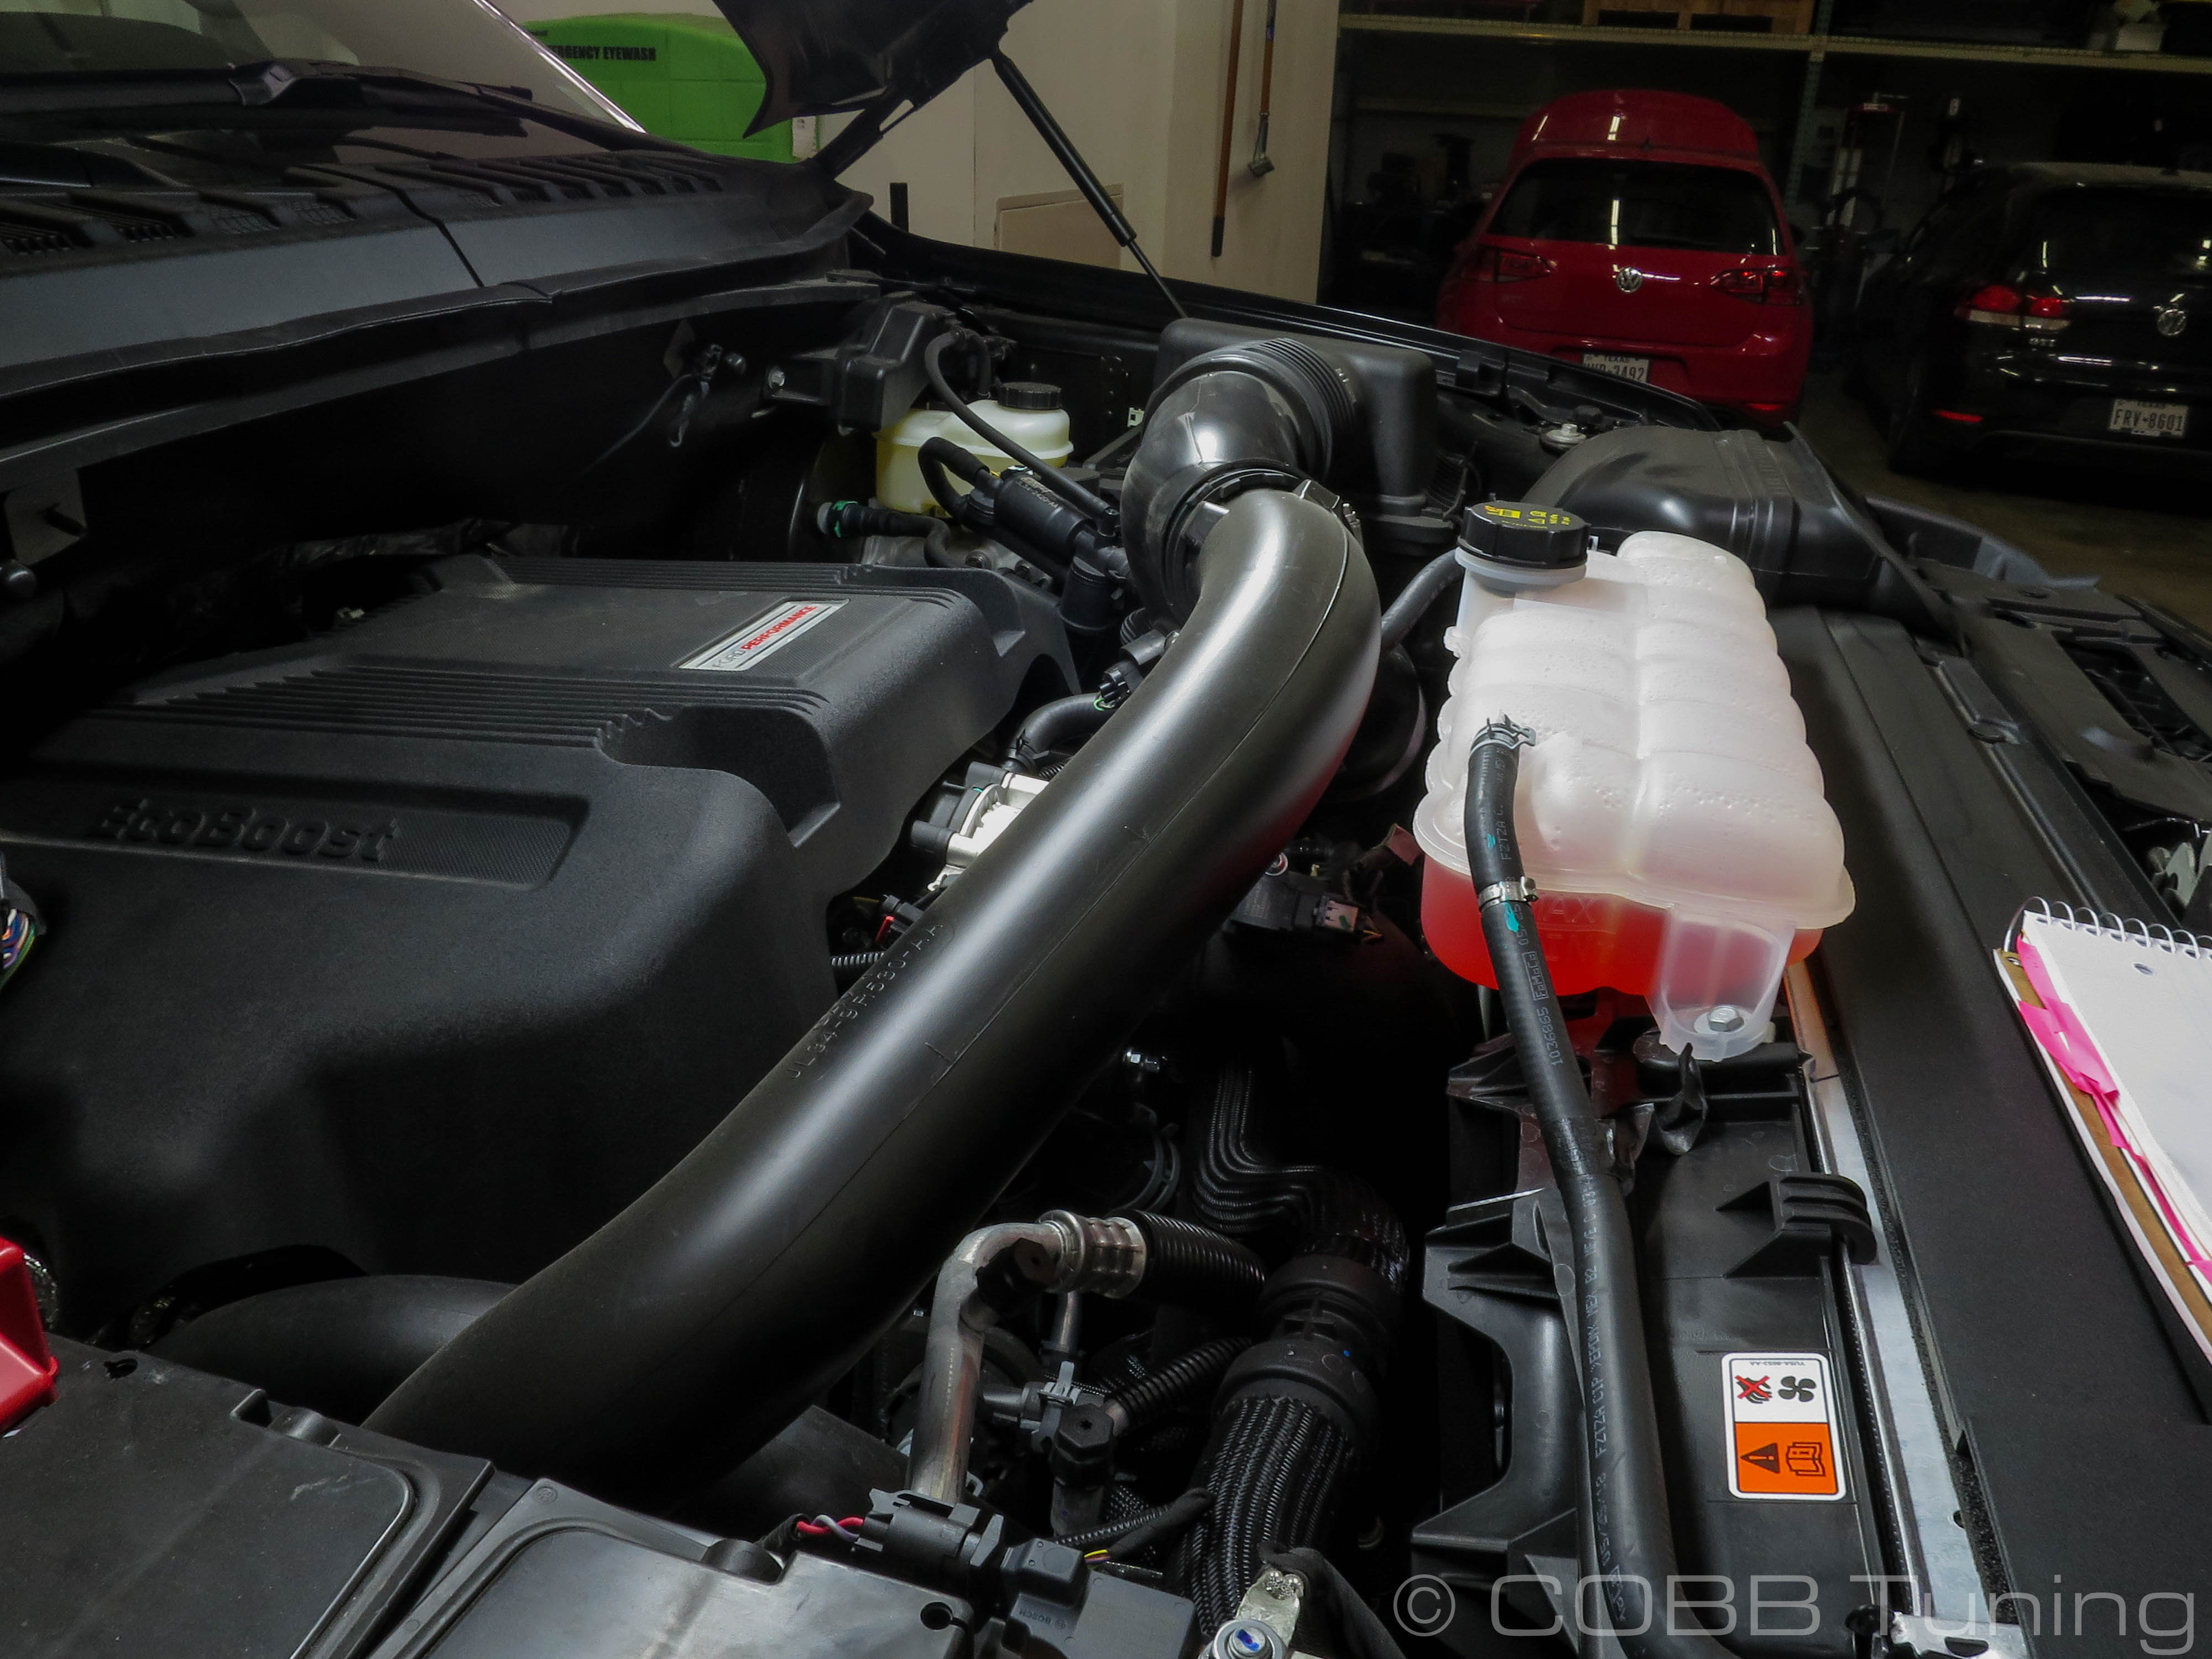
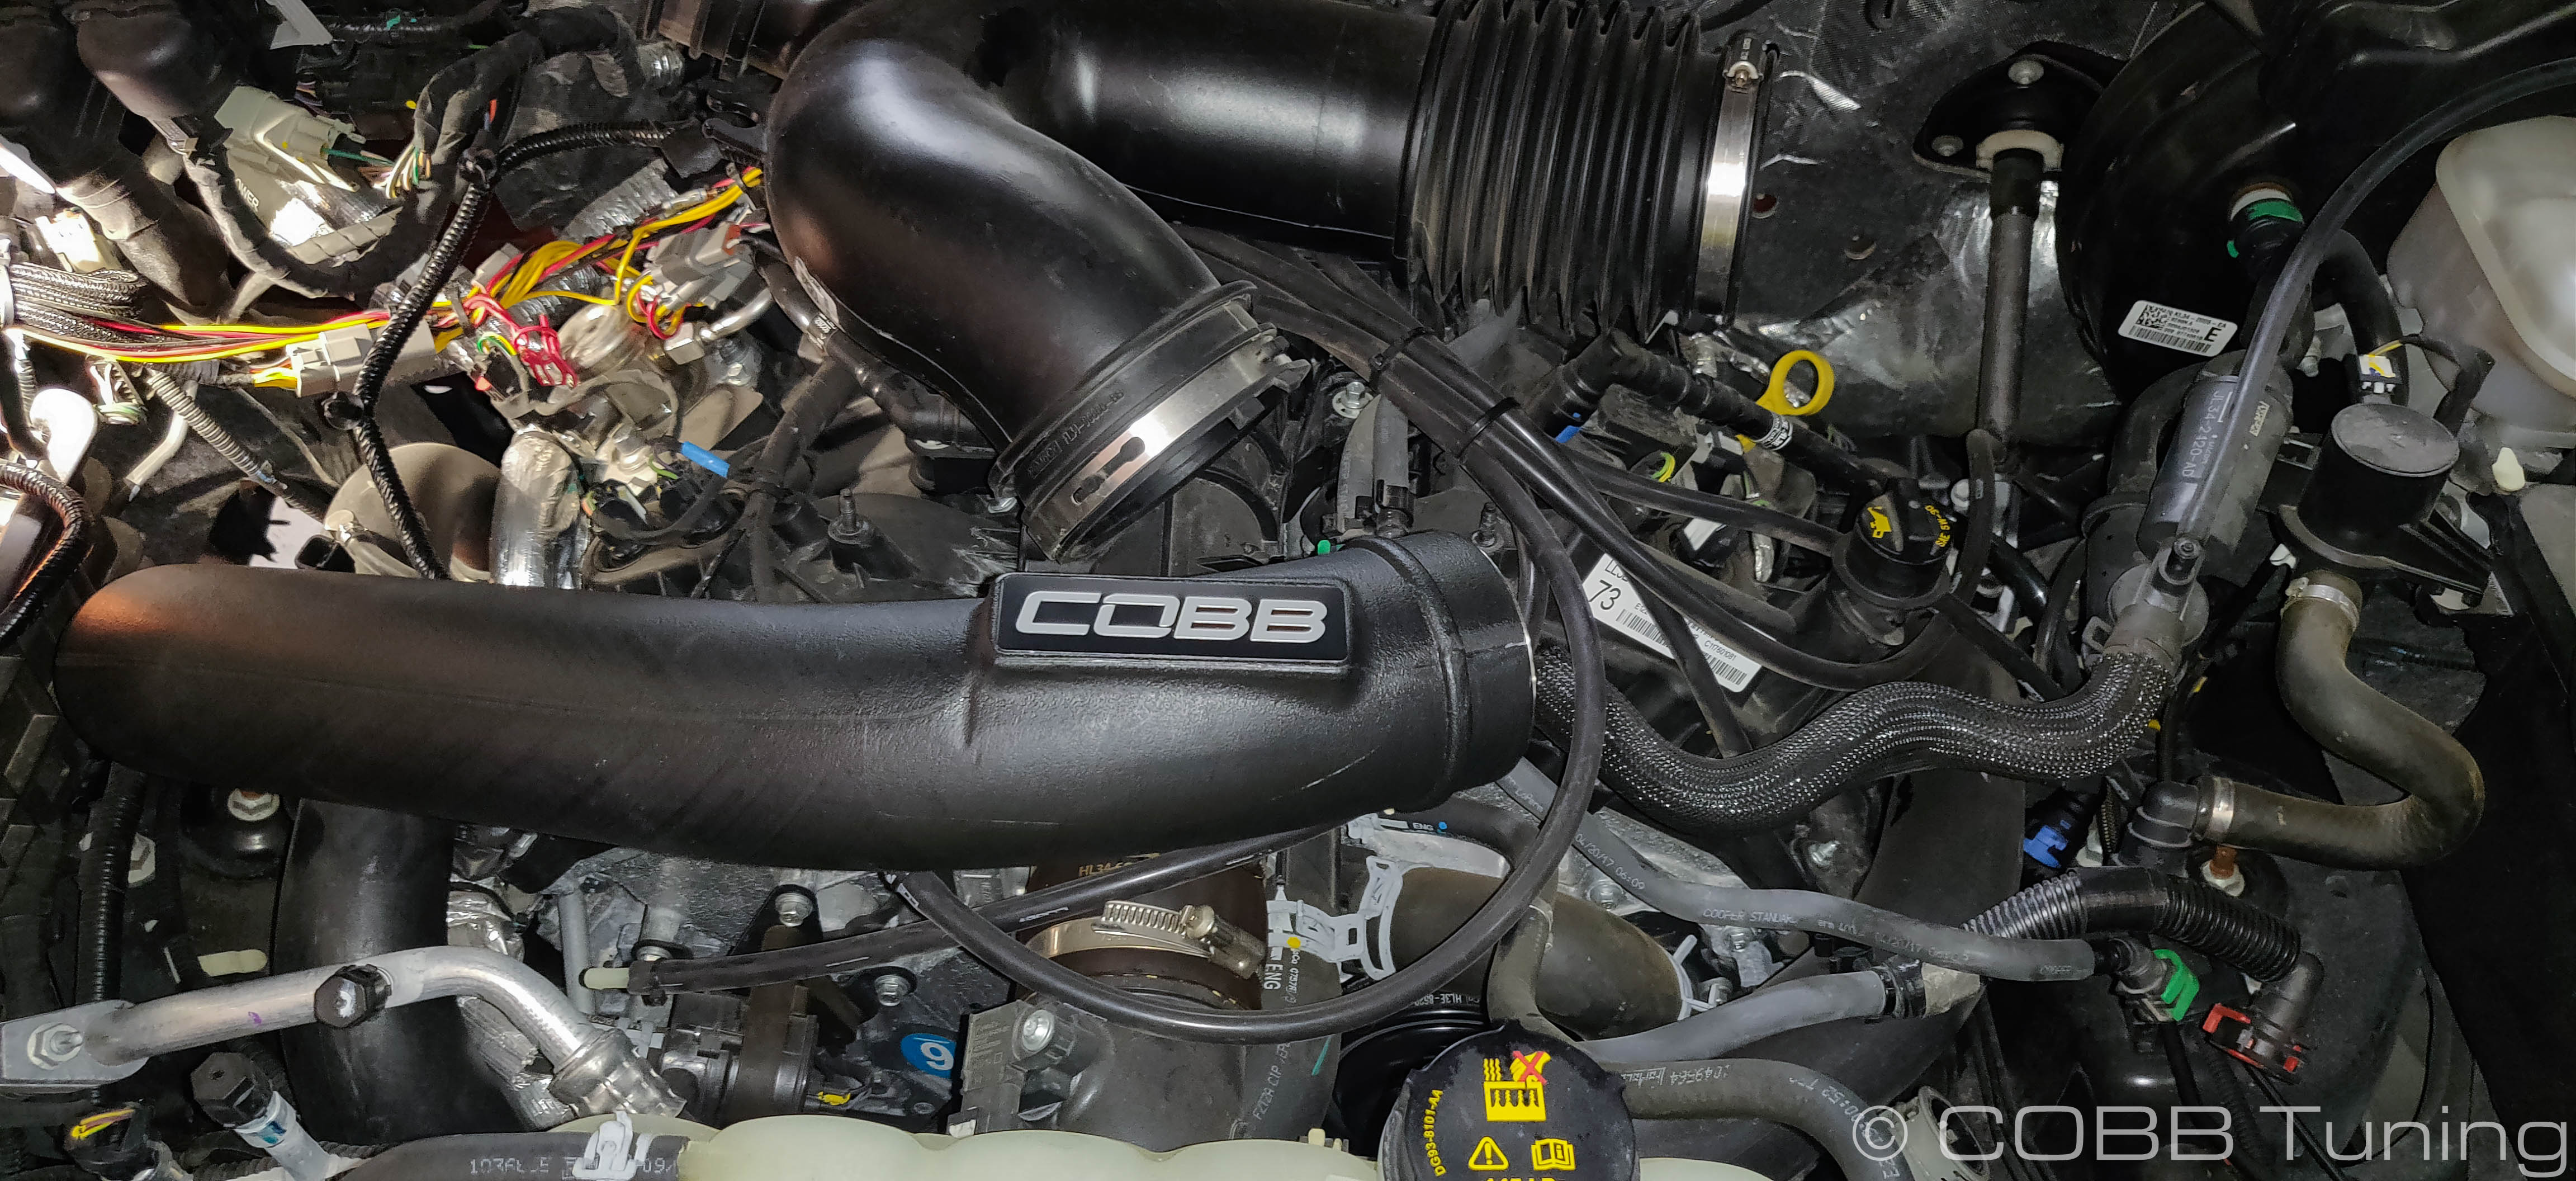
COBB Turbo Inlet Installation
- Lay out the parts and split out the left and right parts. Luckily they match up fairly easily with the stock parts. The couplers, while different, are clearly labeled L and R.
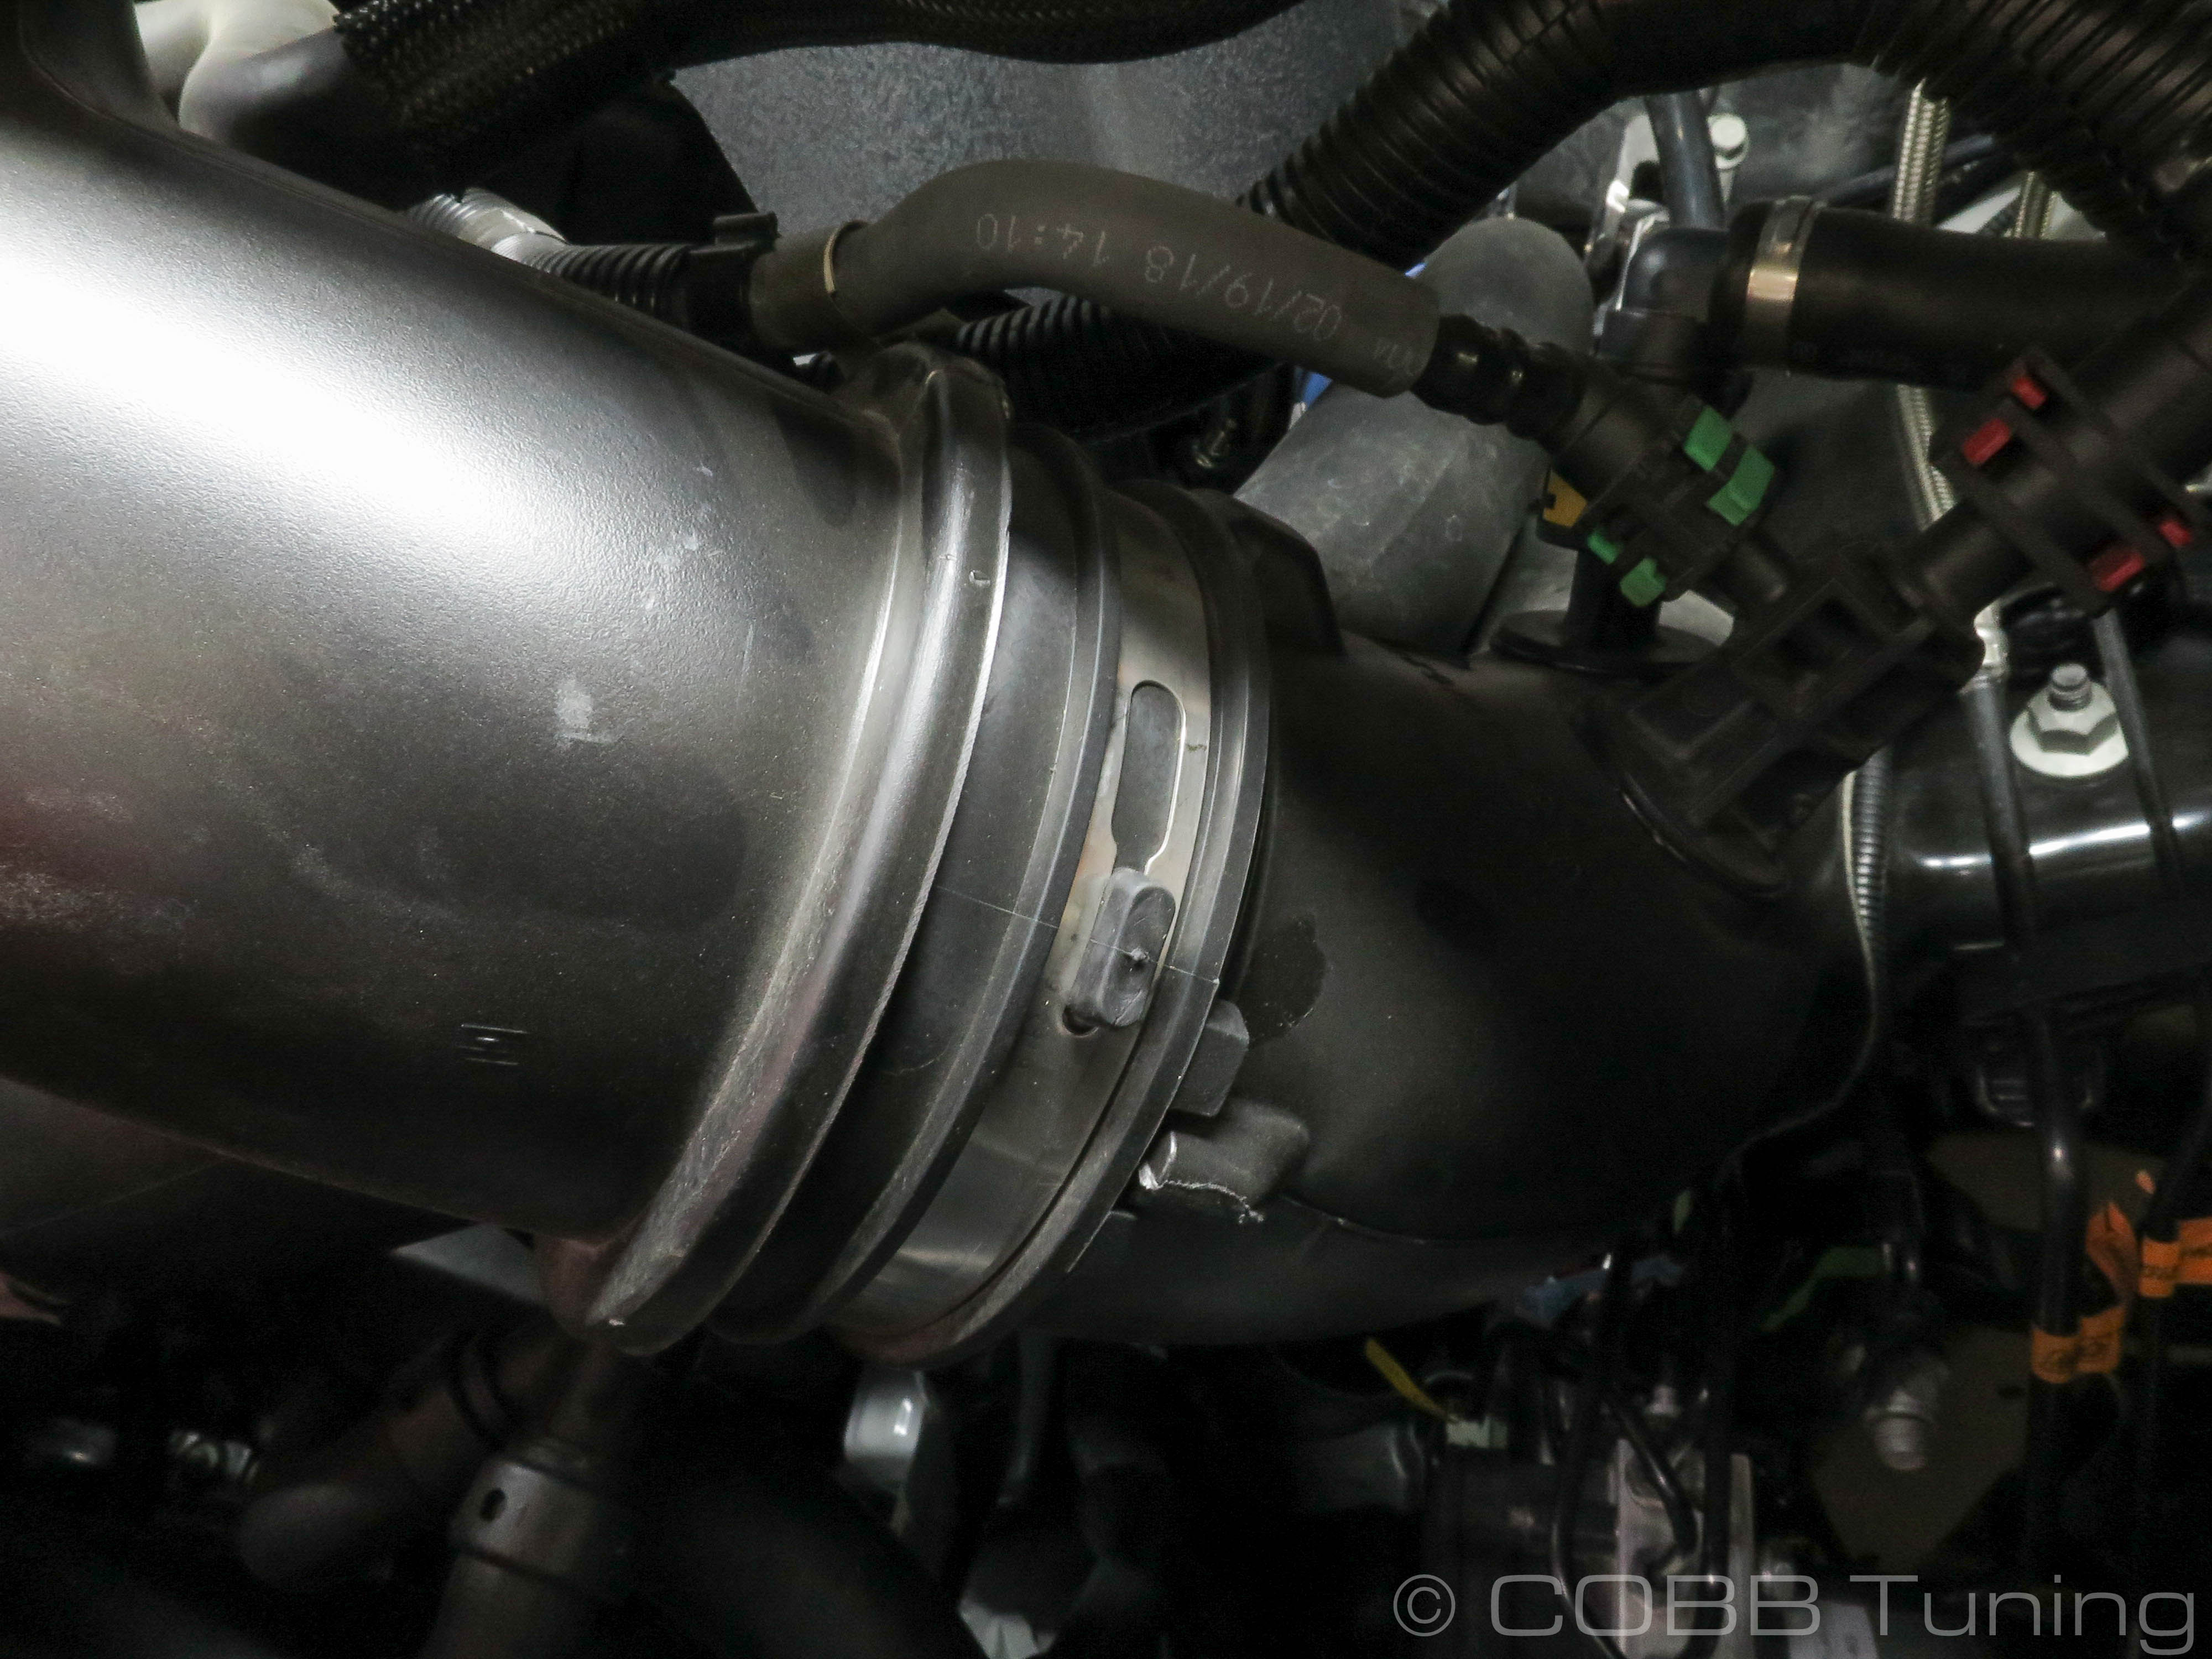
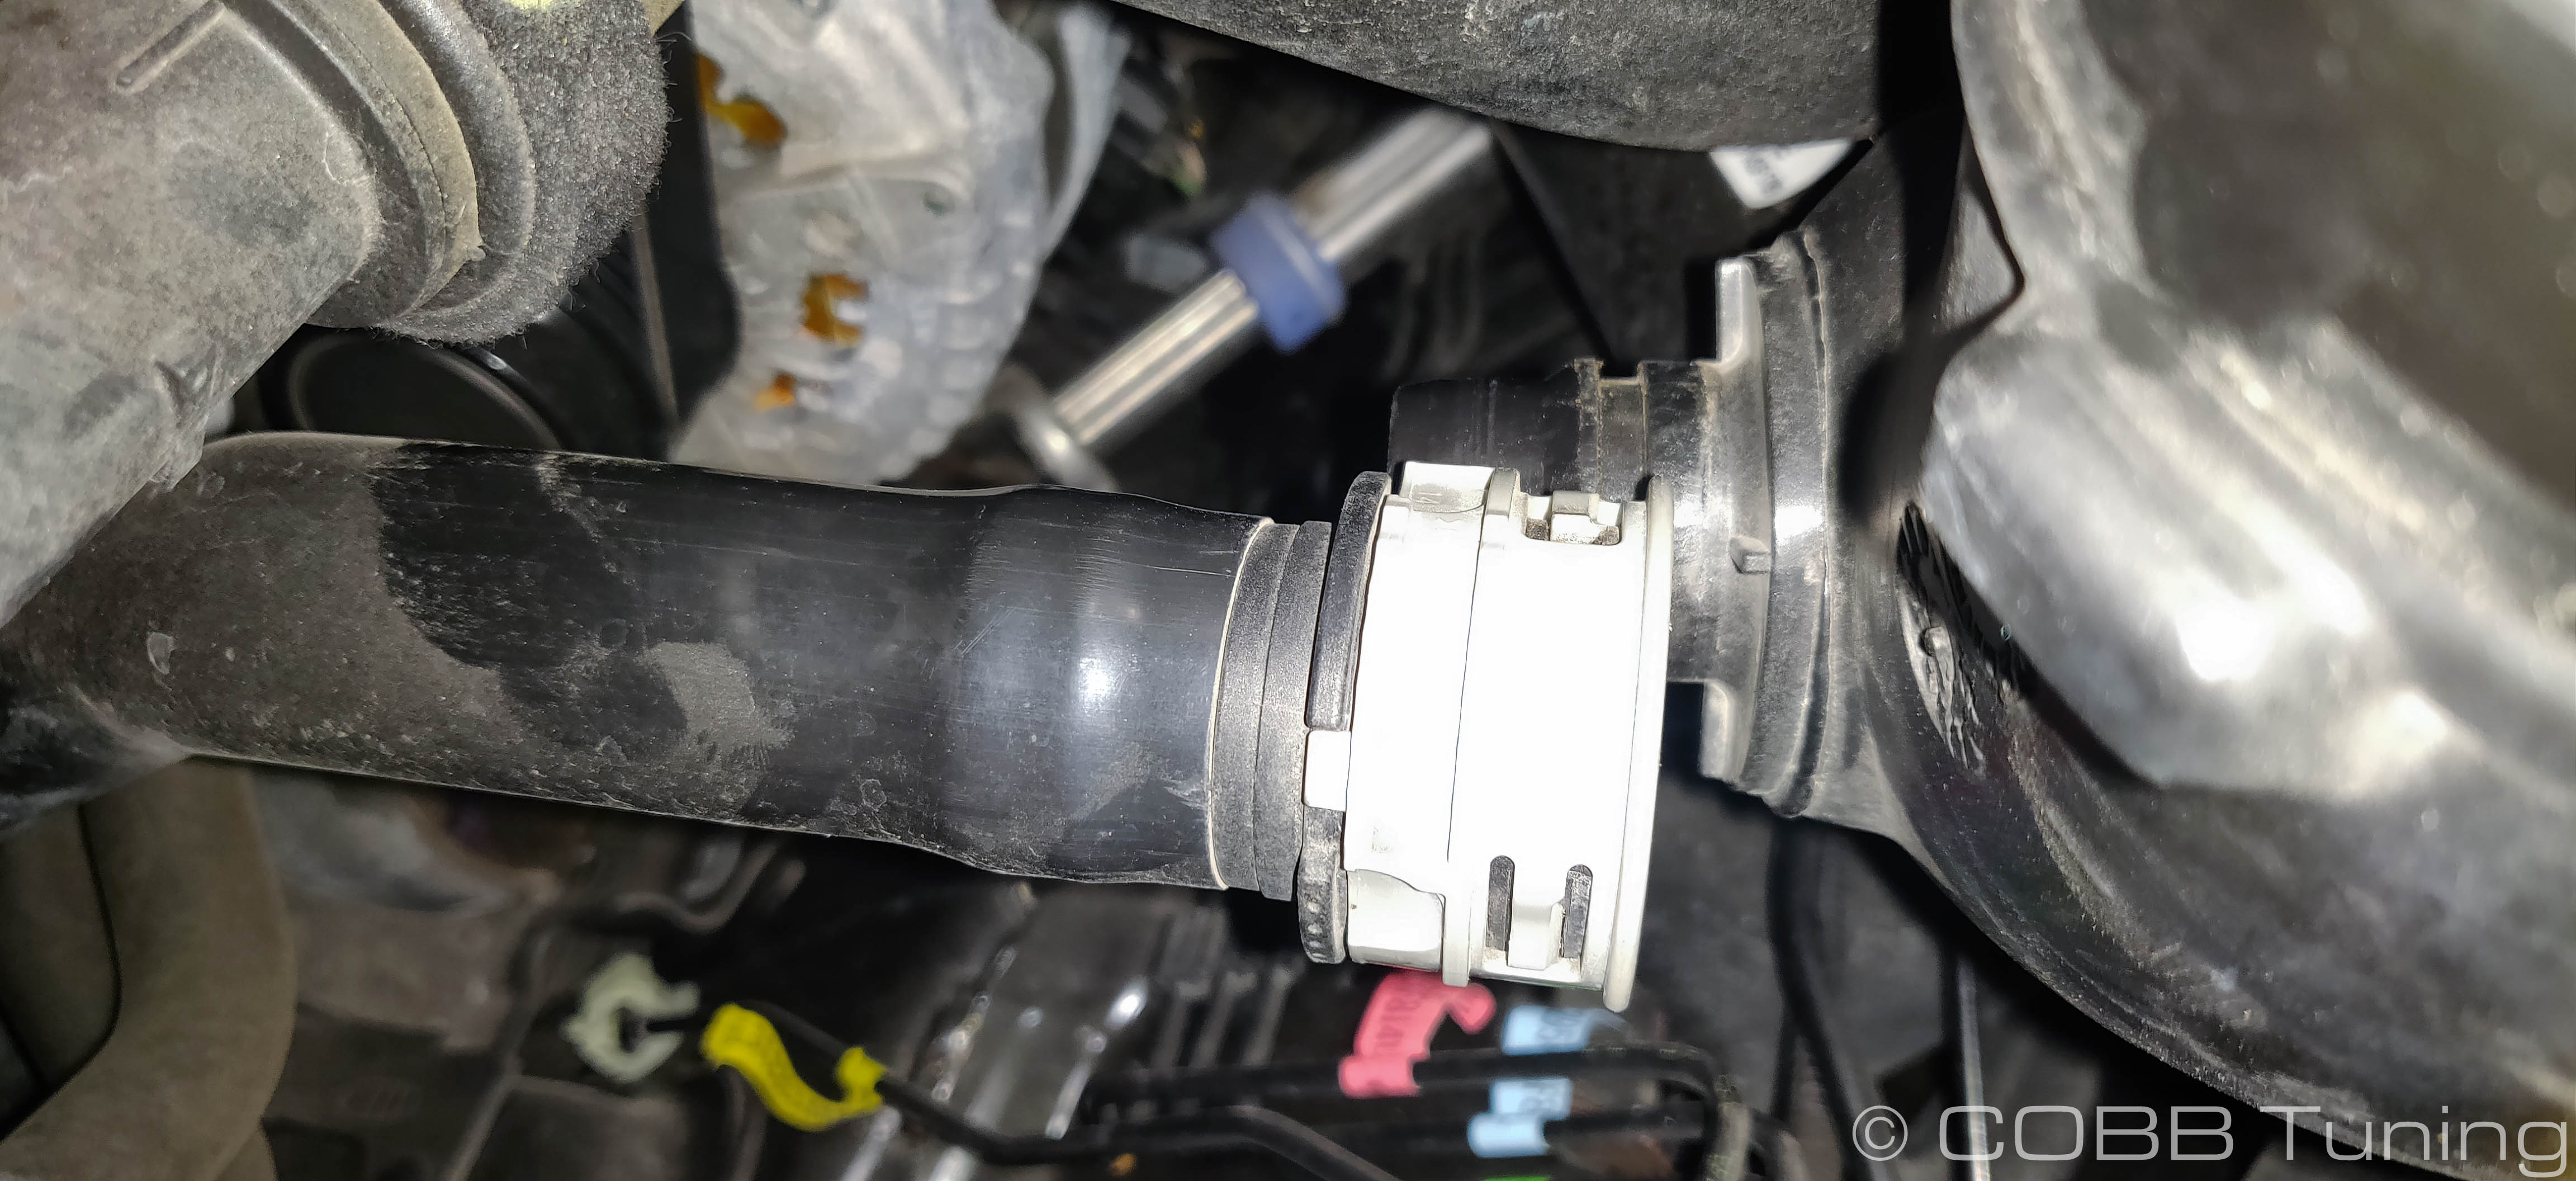
- Using one of the medium hose clamps loosely install the right side coupler onto the turbo. This is easier to position from the wheel well but may be easier to pass down from the engine bay.
- Put one of the large hose clamps over the end of the coupler facing so you can tighten it from the wheelwell, slip the right side inlet tube down into the coupler. Wiggle the tube around so it's seated in it's ball socket and well within the turbo coupler then leave the clamp loose for now.
- Moving over to the left side loosely install the coupler with the remaining medium hoseclamp before loosely placing the large hose clamp over the opposite end

- Slip the left side tube into the coupler and get it seated, but don't tighten the hose clamp yet. Make sure to seat it into the ball socket that holds it in place.
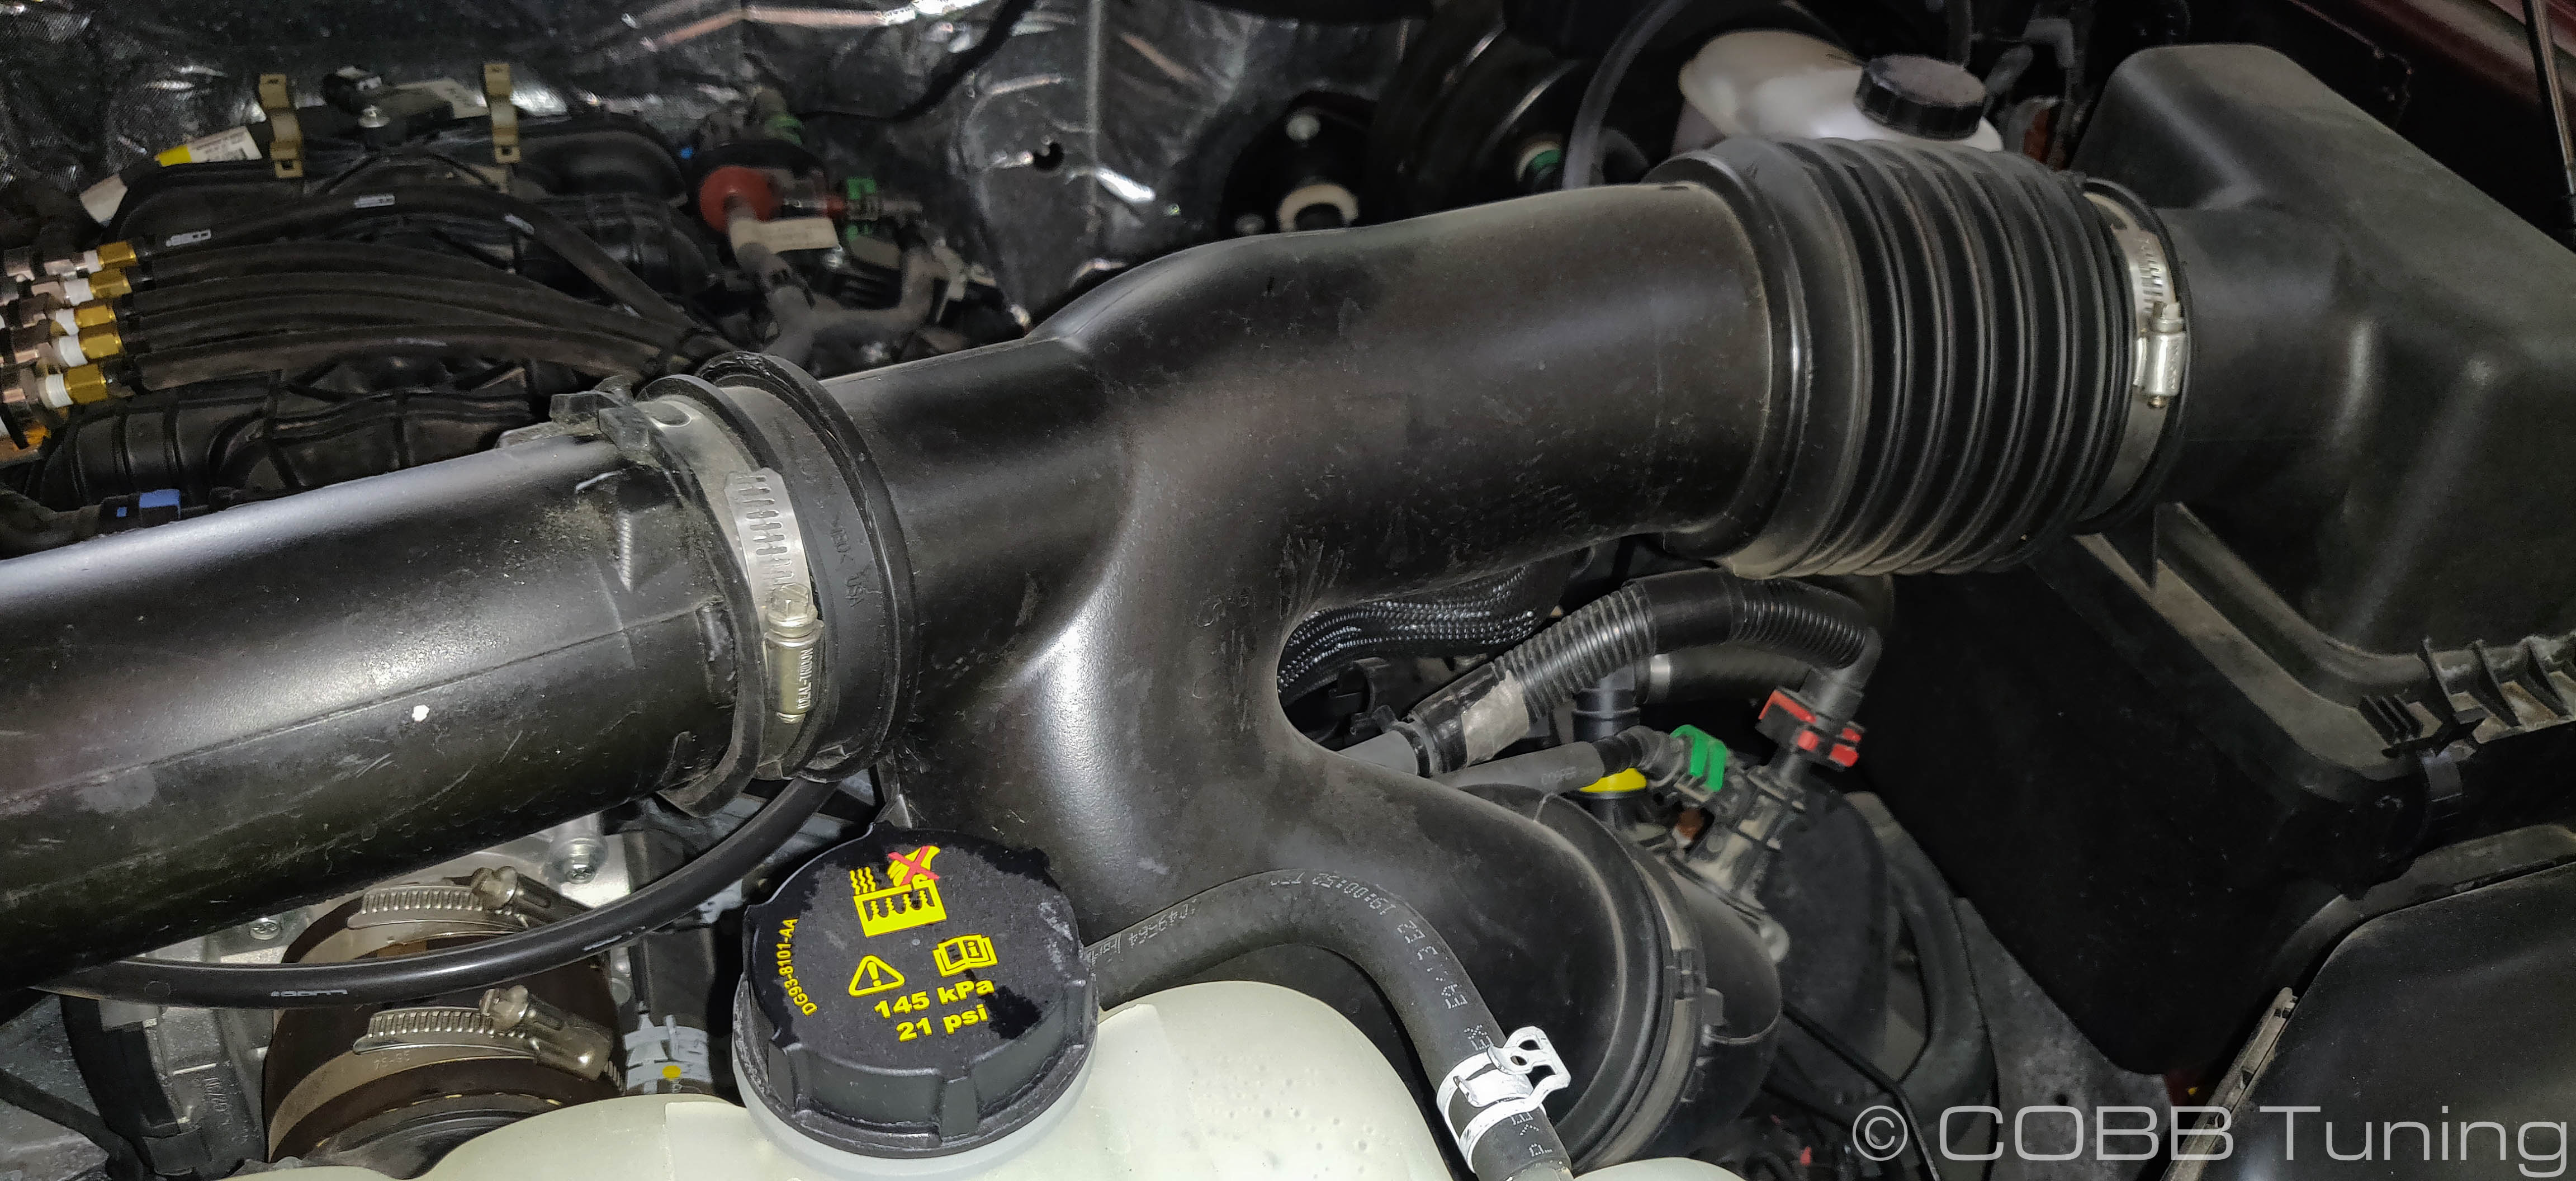
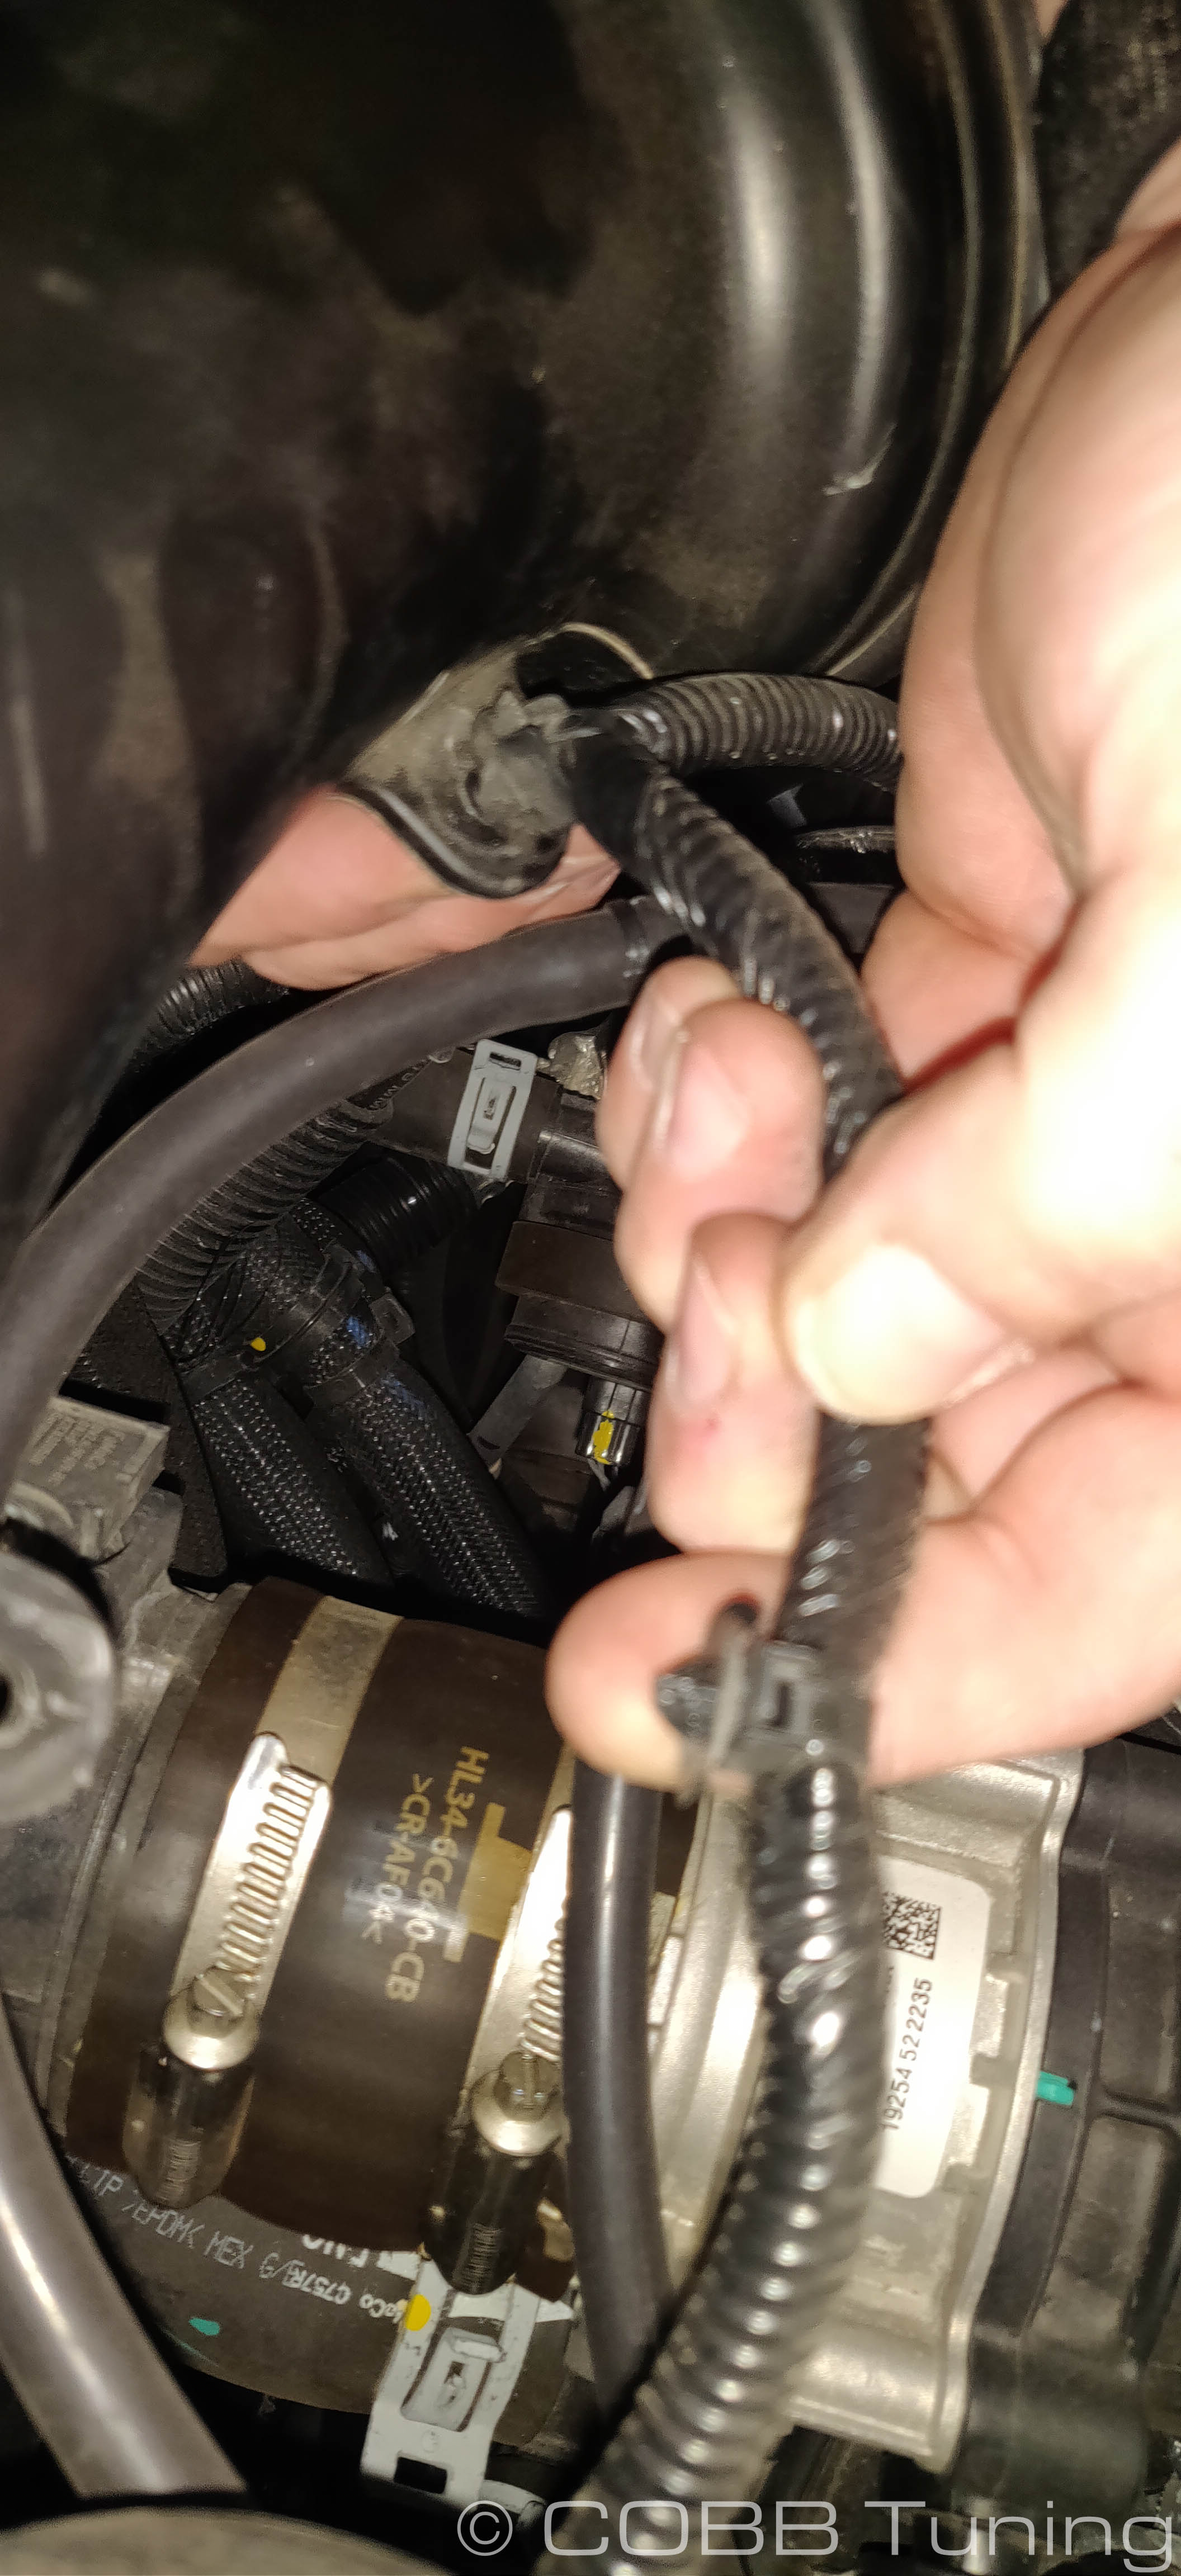
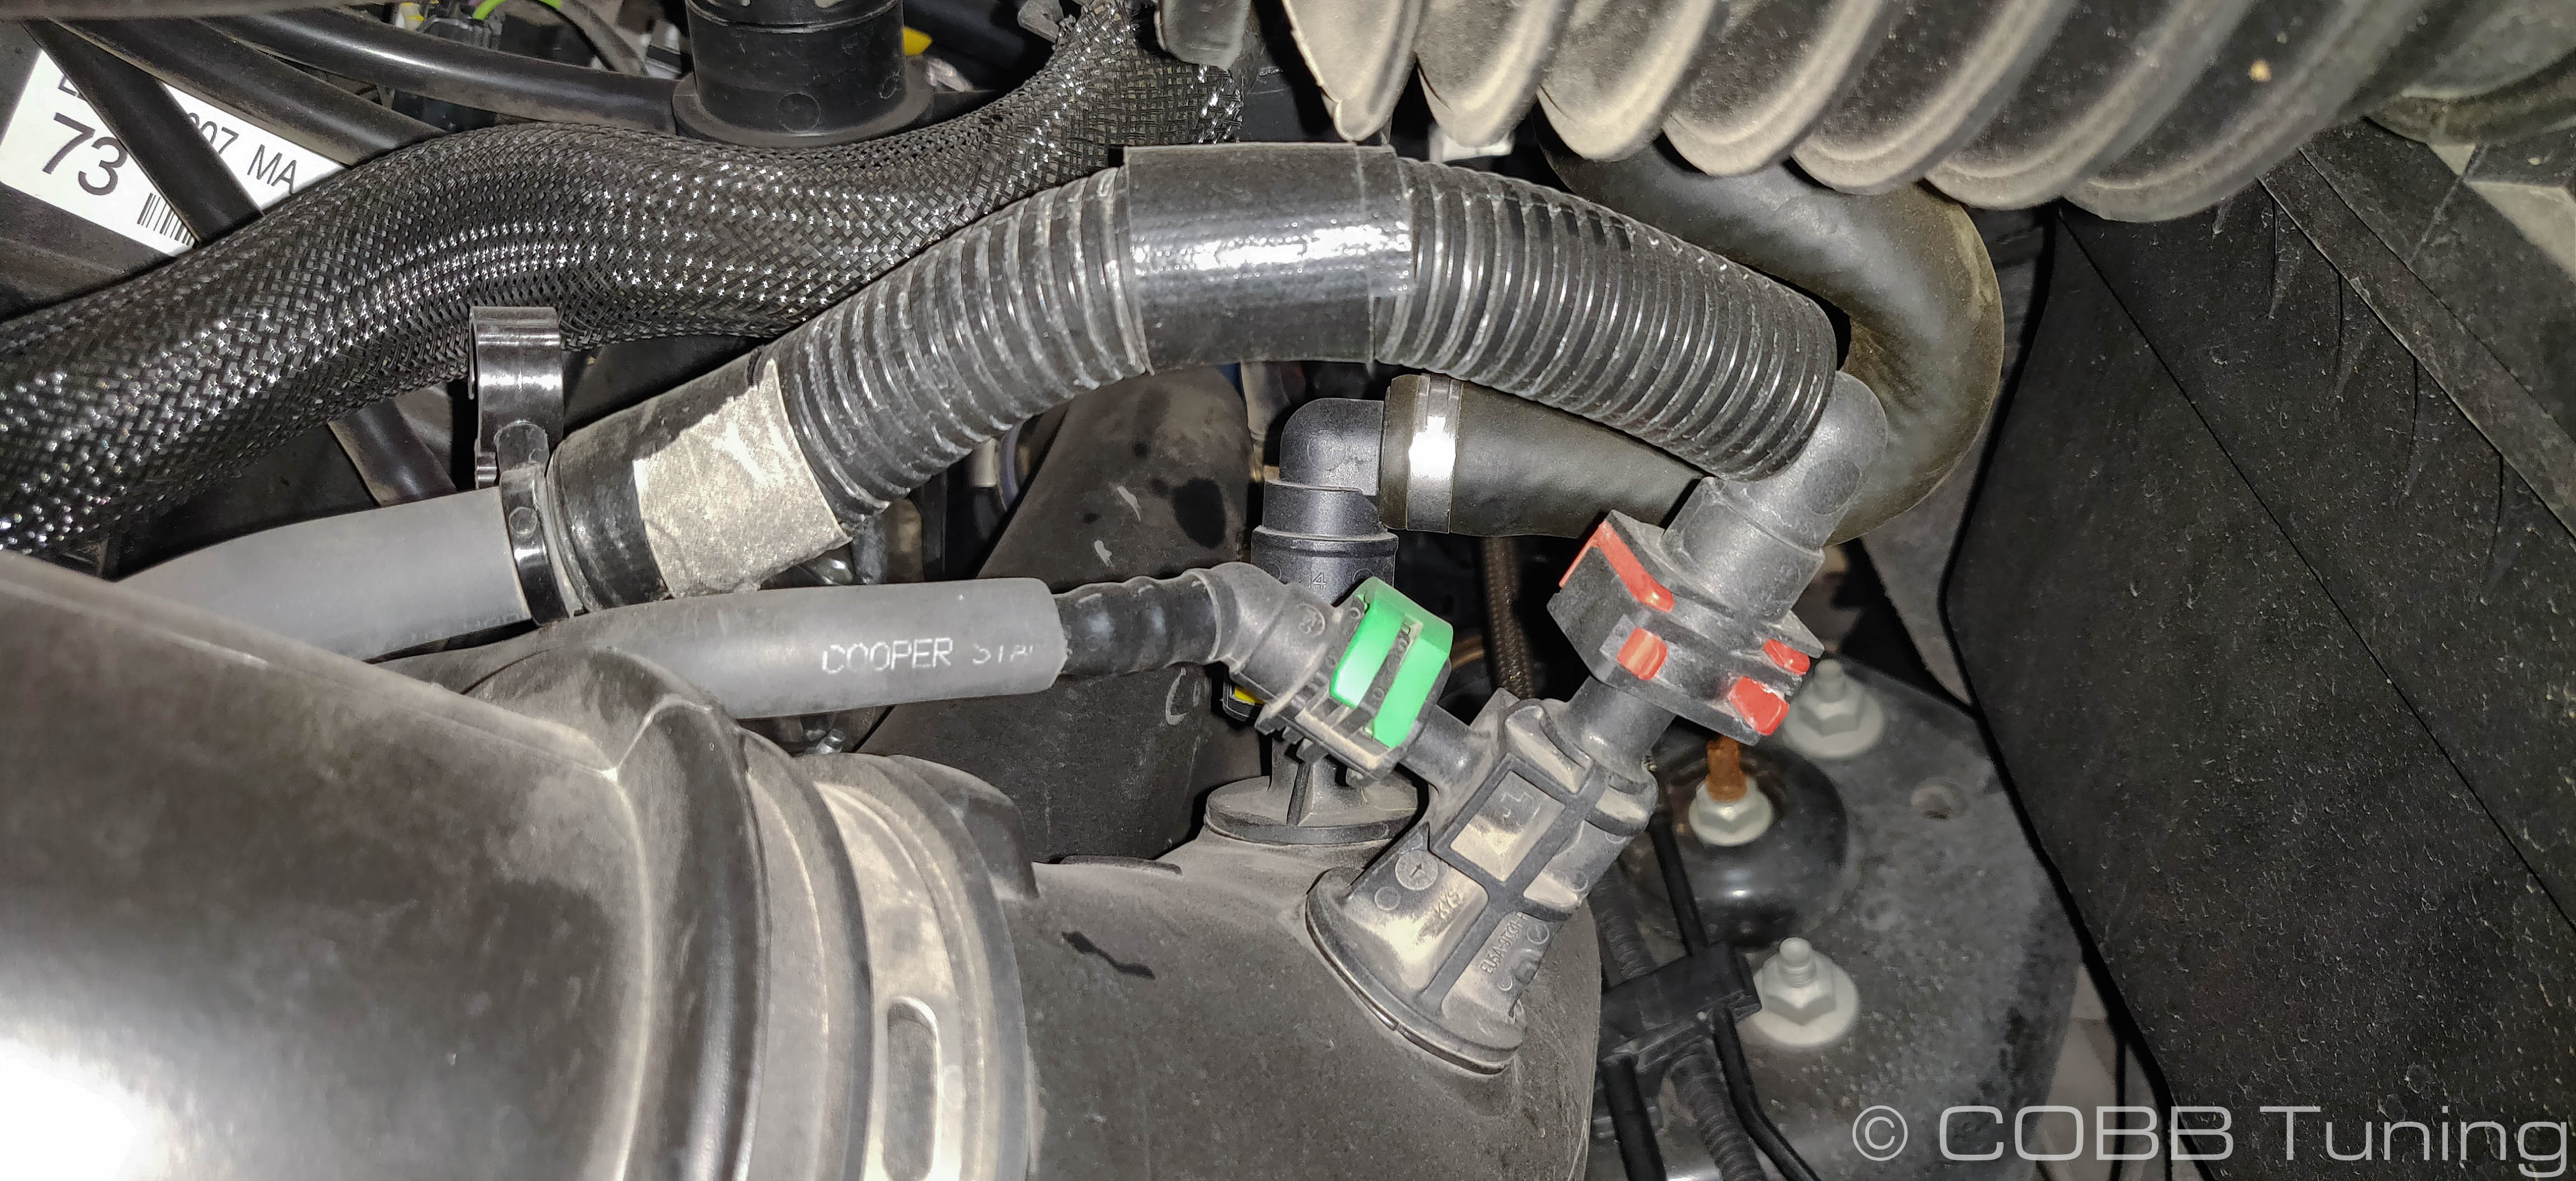
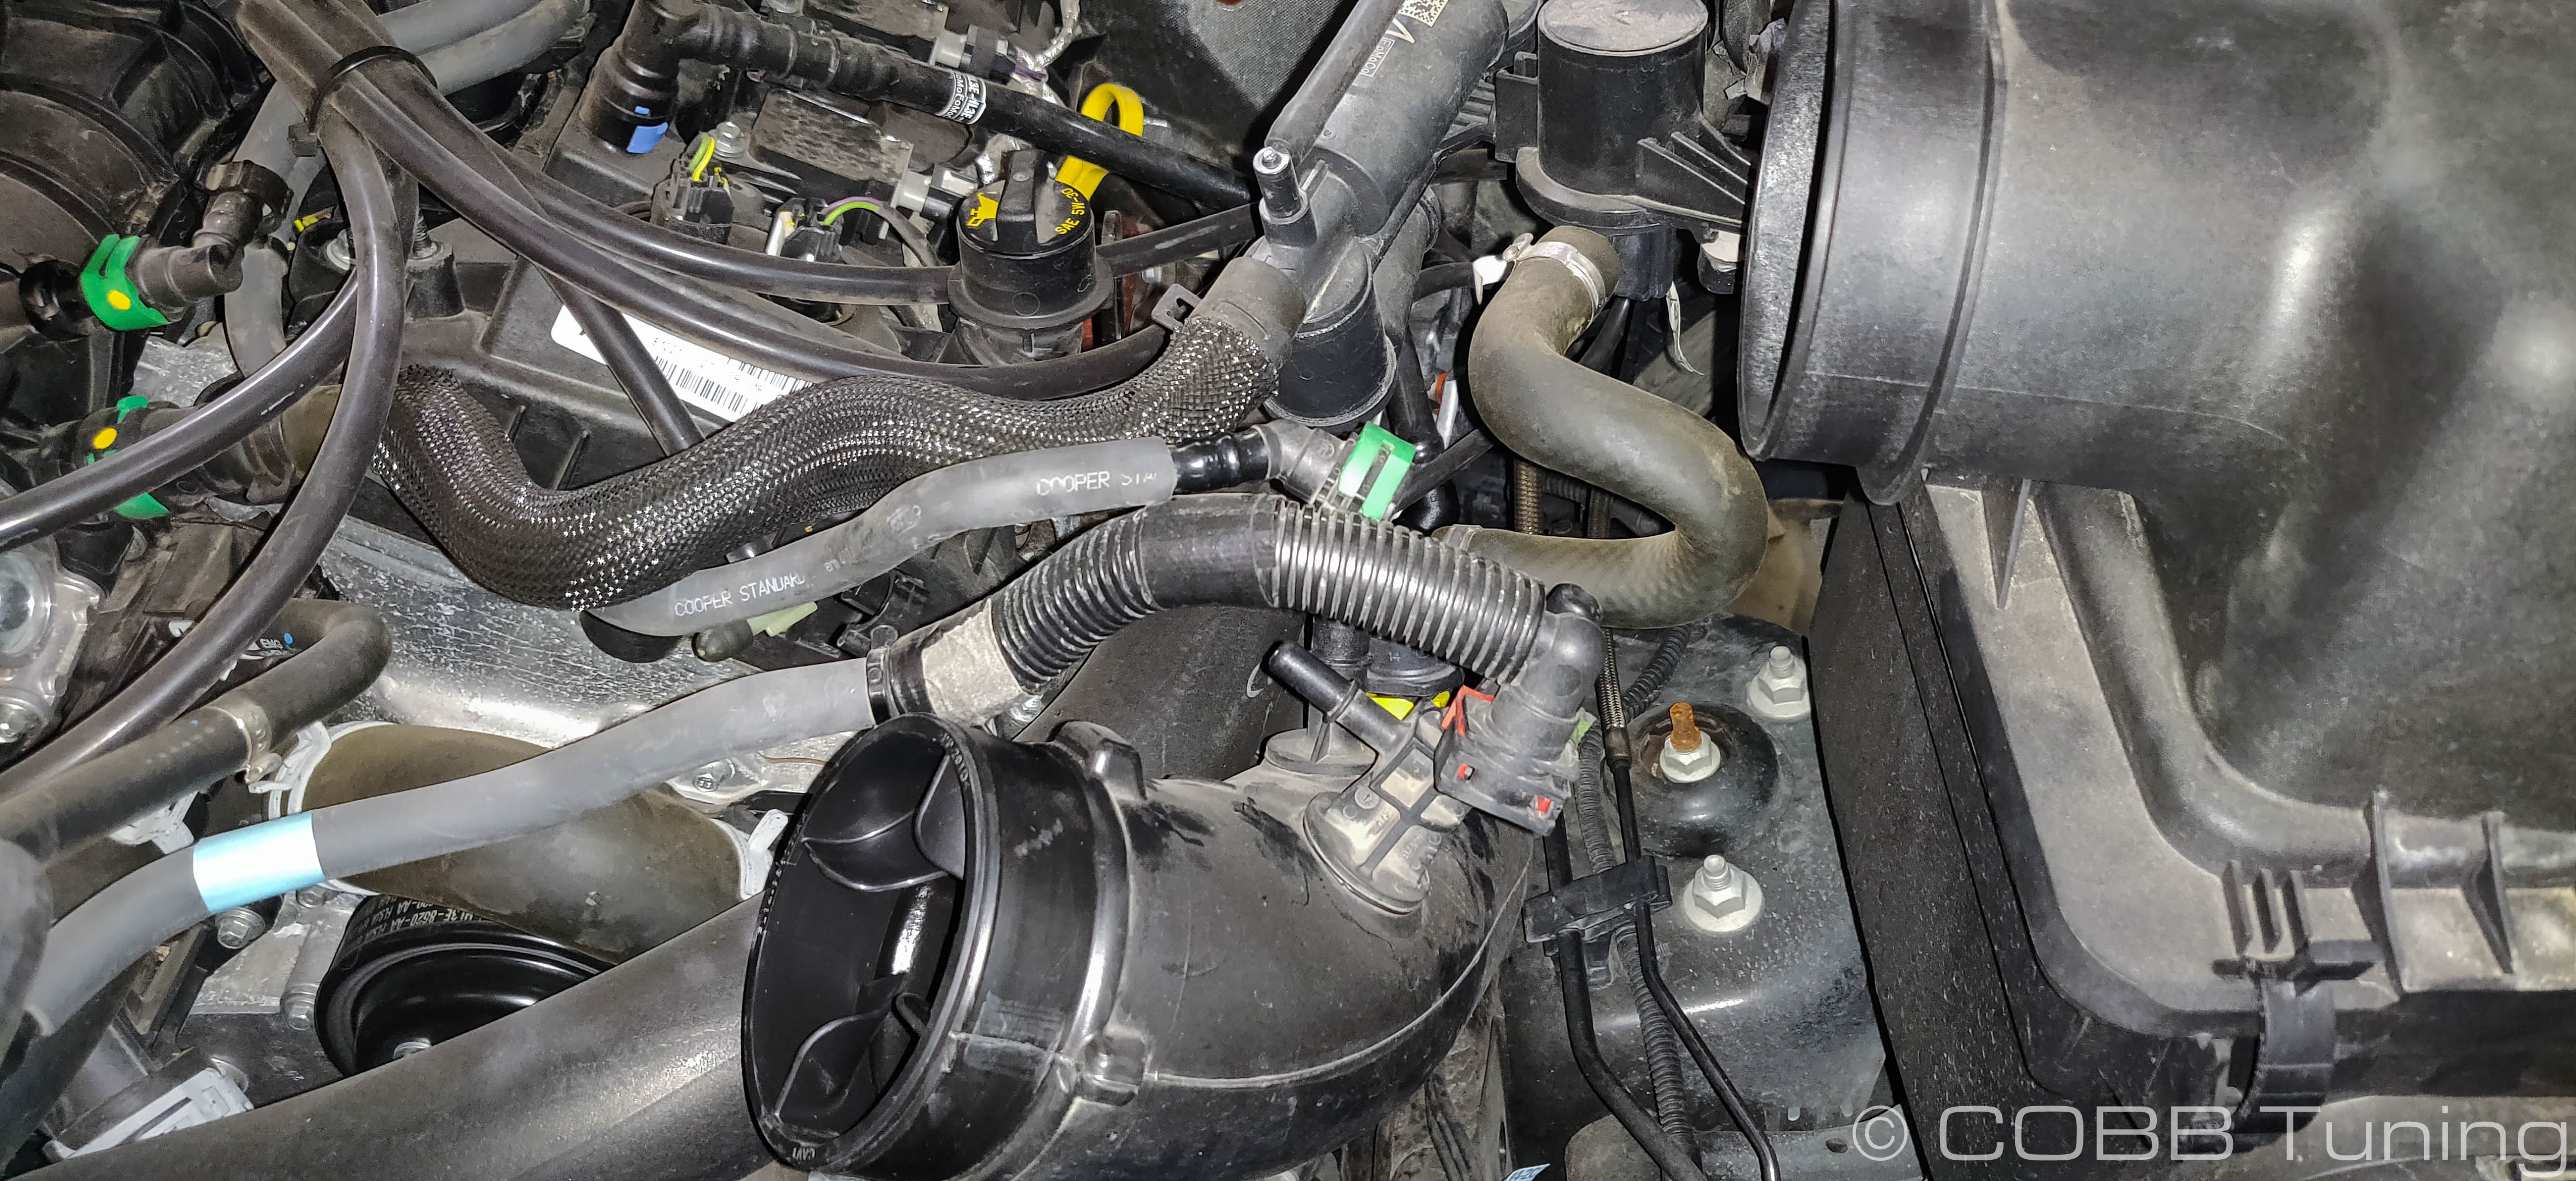
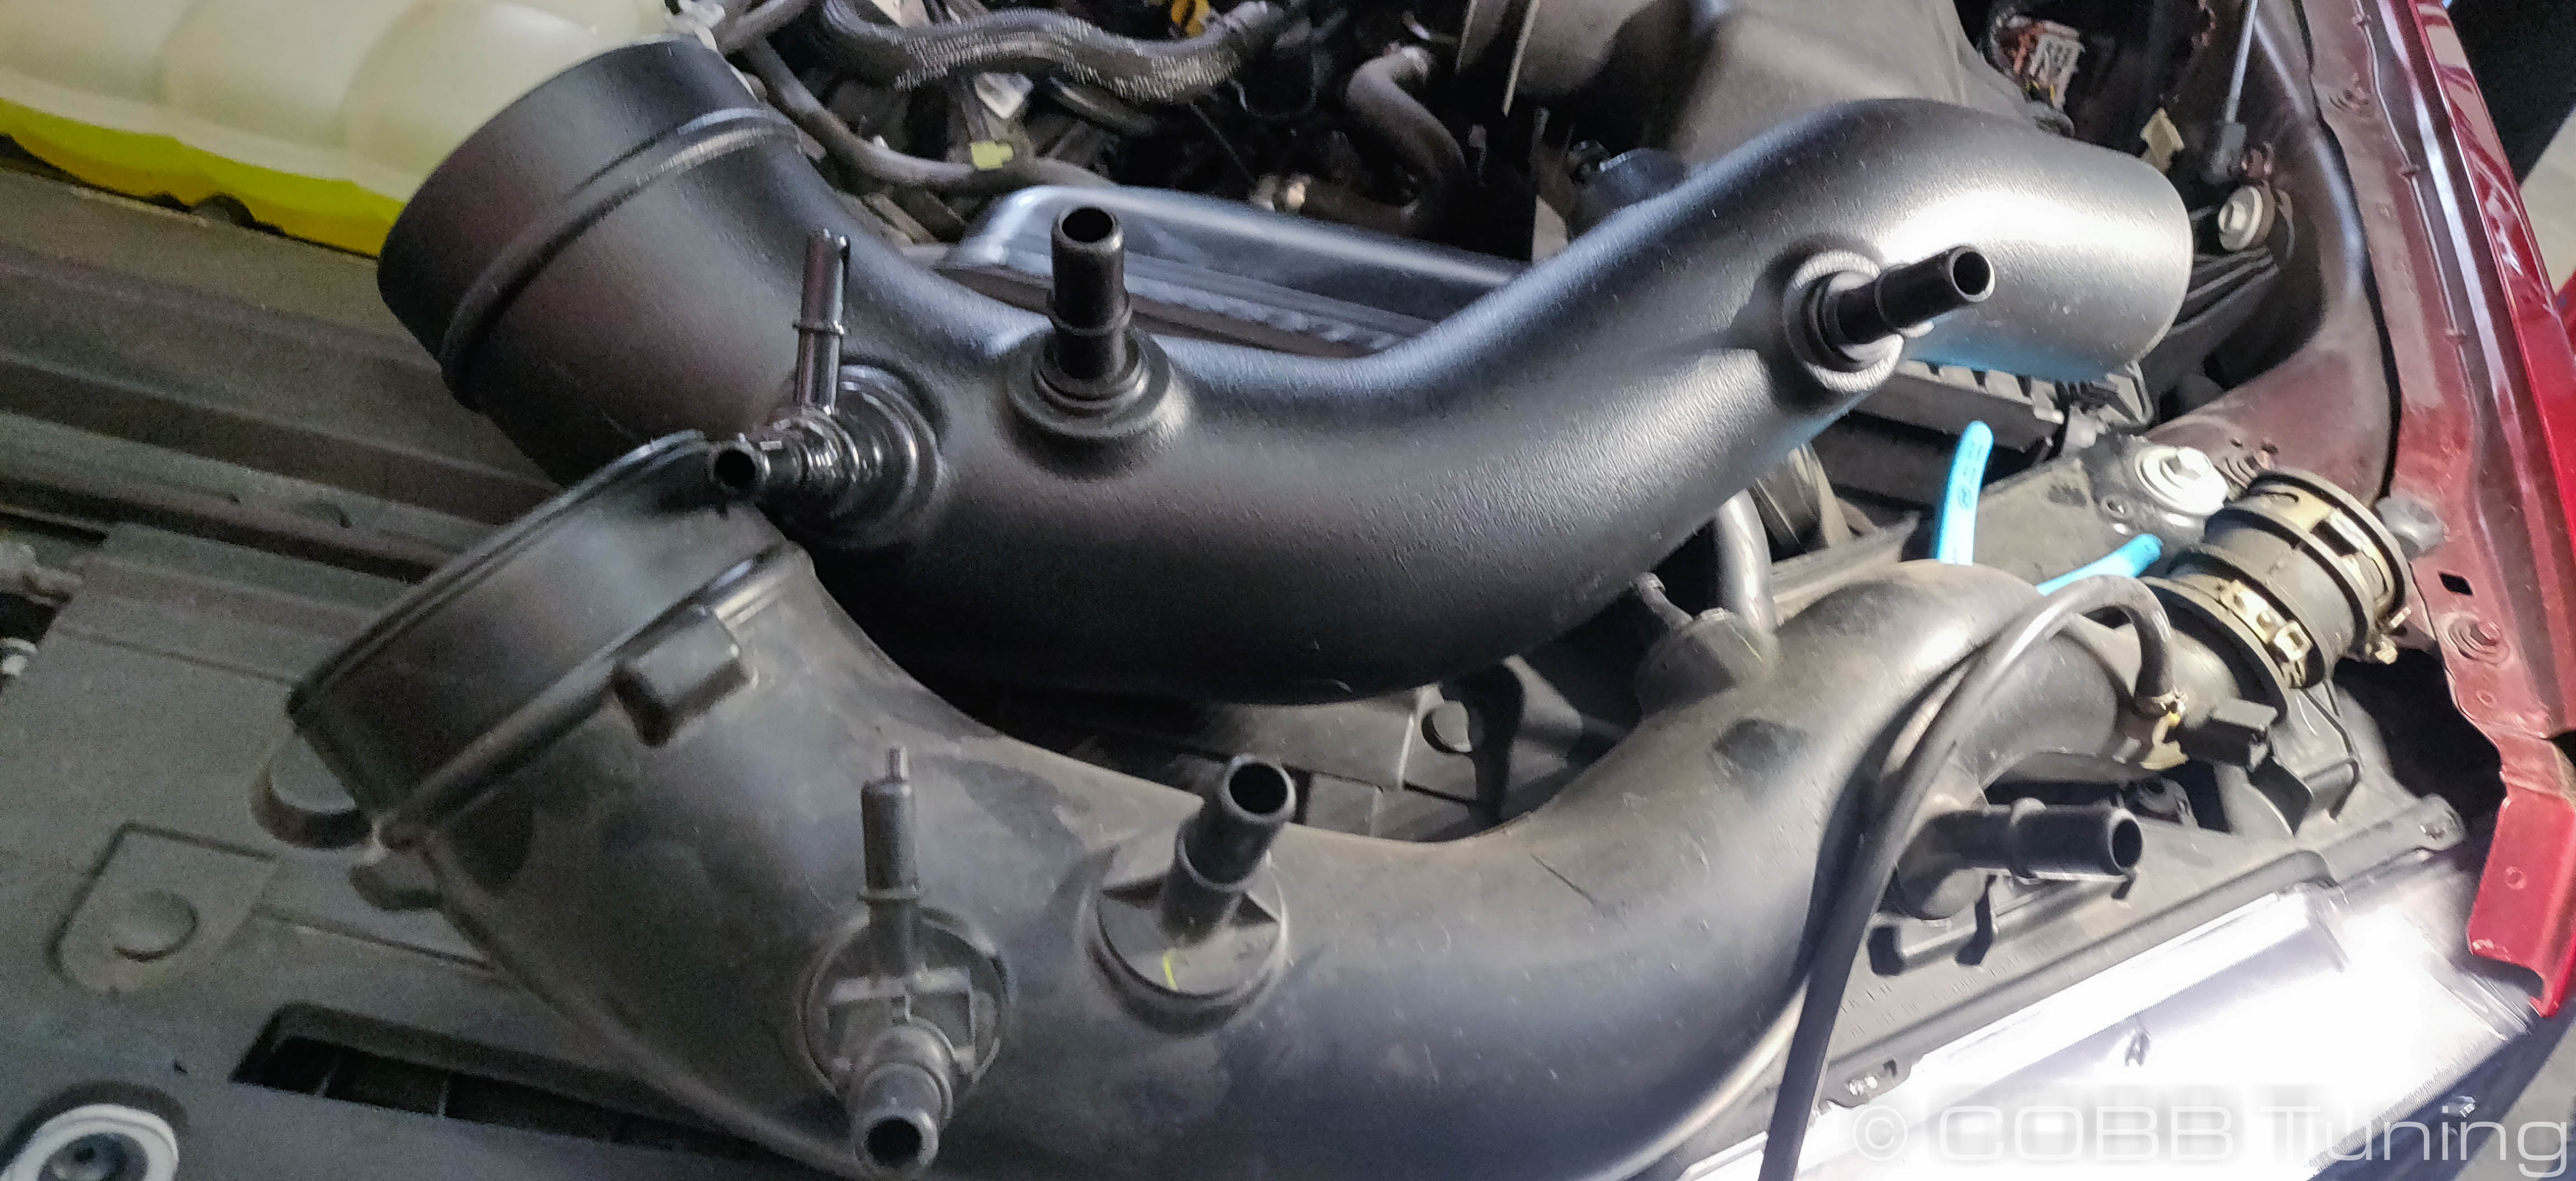
Install the factory breather lines and bypass valve recirculation tube, these are fairly straightforward as the sizes are different so it will only fit in one spot. Some of them may require turning the coupler or shifting some of the zip ties/tie downs that hold them together back along their length. Make sure they are loose and free to move, they use hard plastic in the end fittings and if they're tight they may break when stressed repeatedly while driving.
OPTIONAL:
The line with a RED fitting in particular can be fairly tight. As such we've included some line in order to slightly lengthen that line. In order to install you'll want to remove the factory line from the car and carefully slit the hose using a razor blade to remove the fittings. Using one of the small hose clamps, install one fitting into the end of the hose and tighten. Route the line along the path you want it to take back to the other fitting and cut to length (in many cases using the full length of the line is fine). Once you're happy with the length install the other fitting with a hoseclamp and tighten before fitting the completed line in place.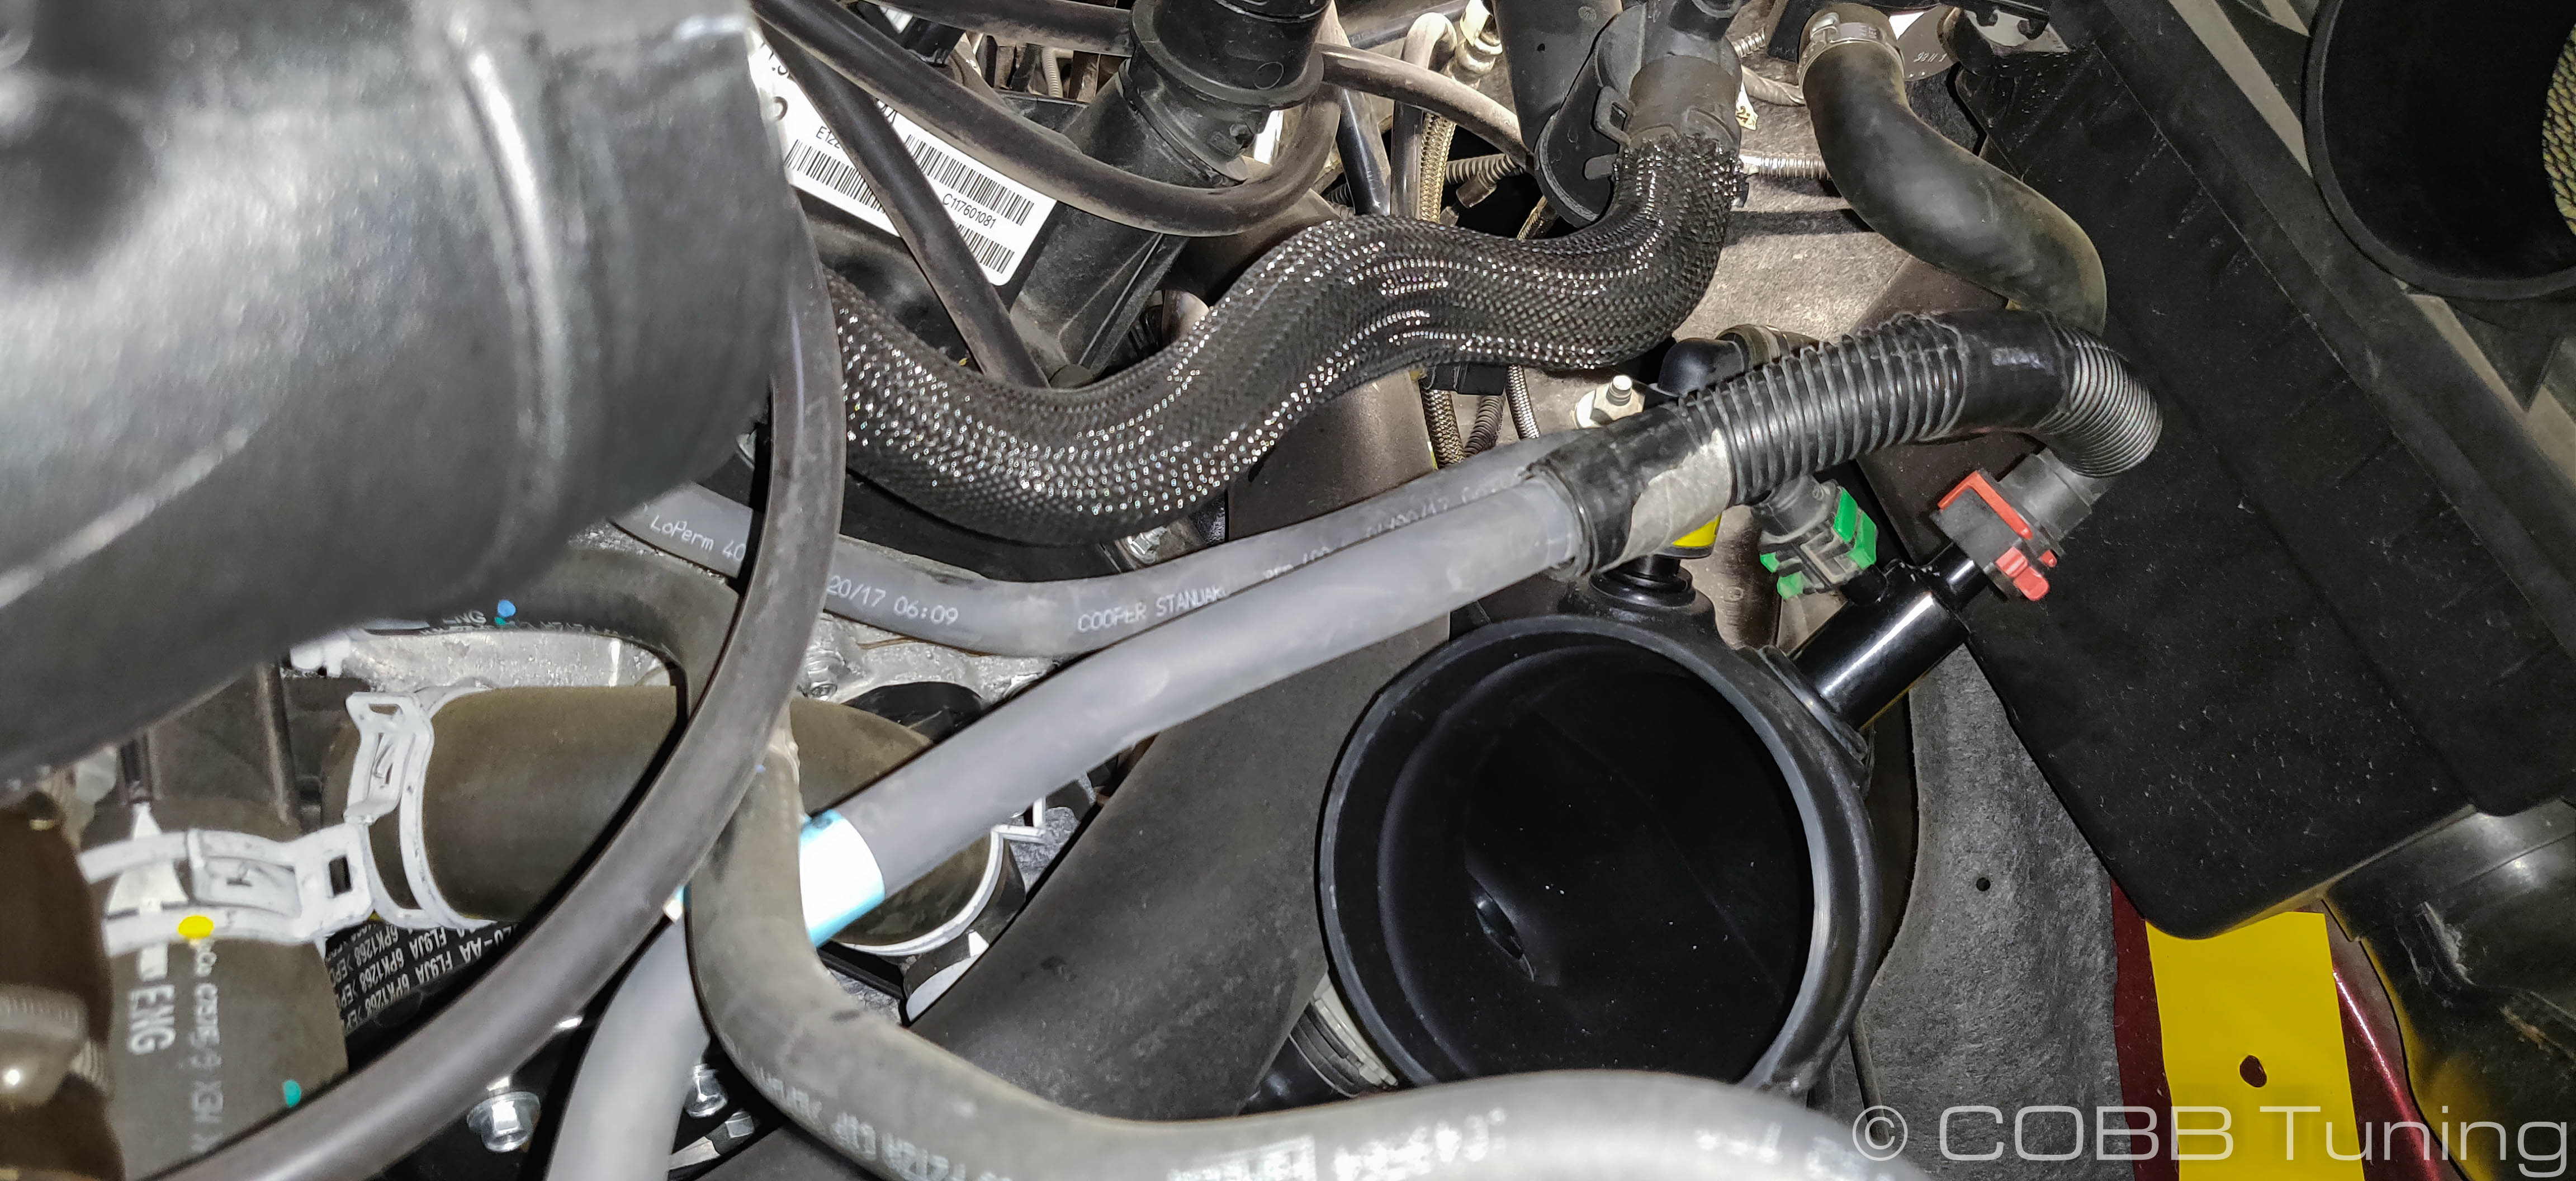
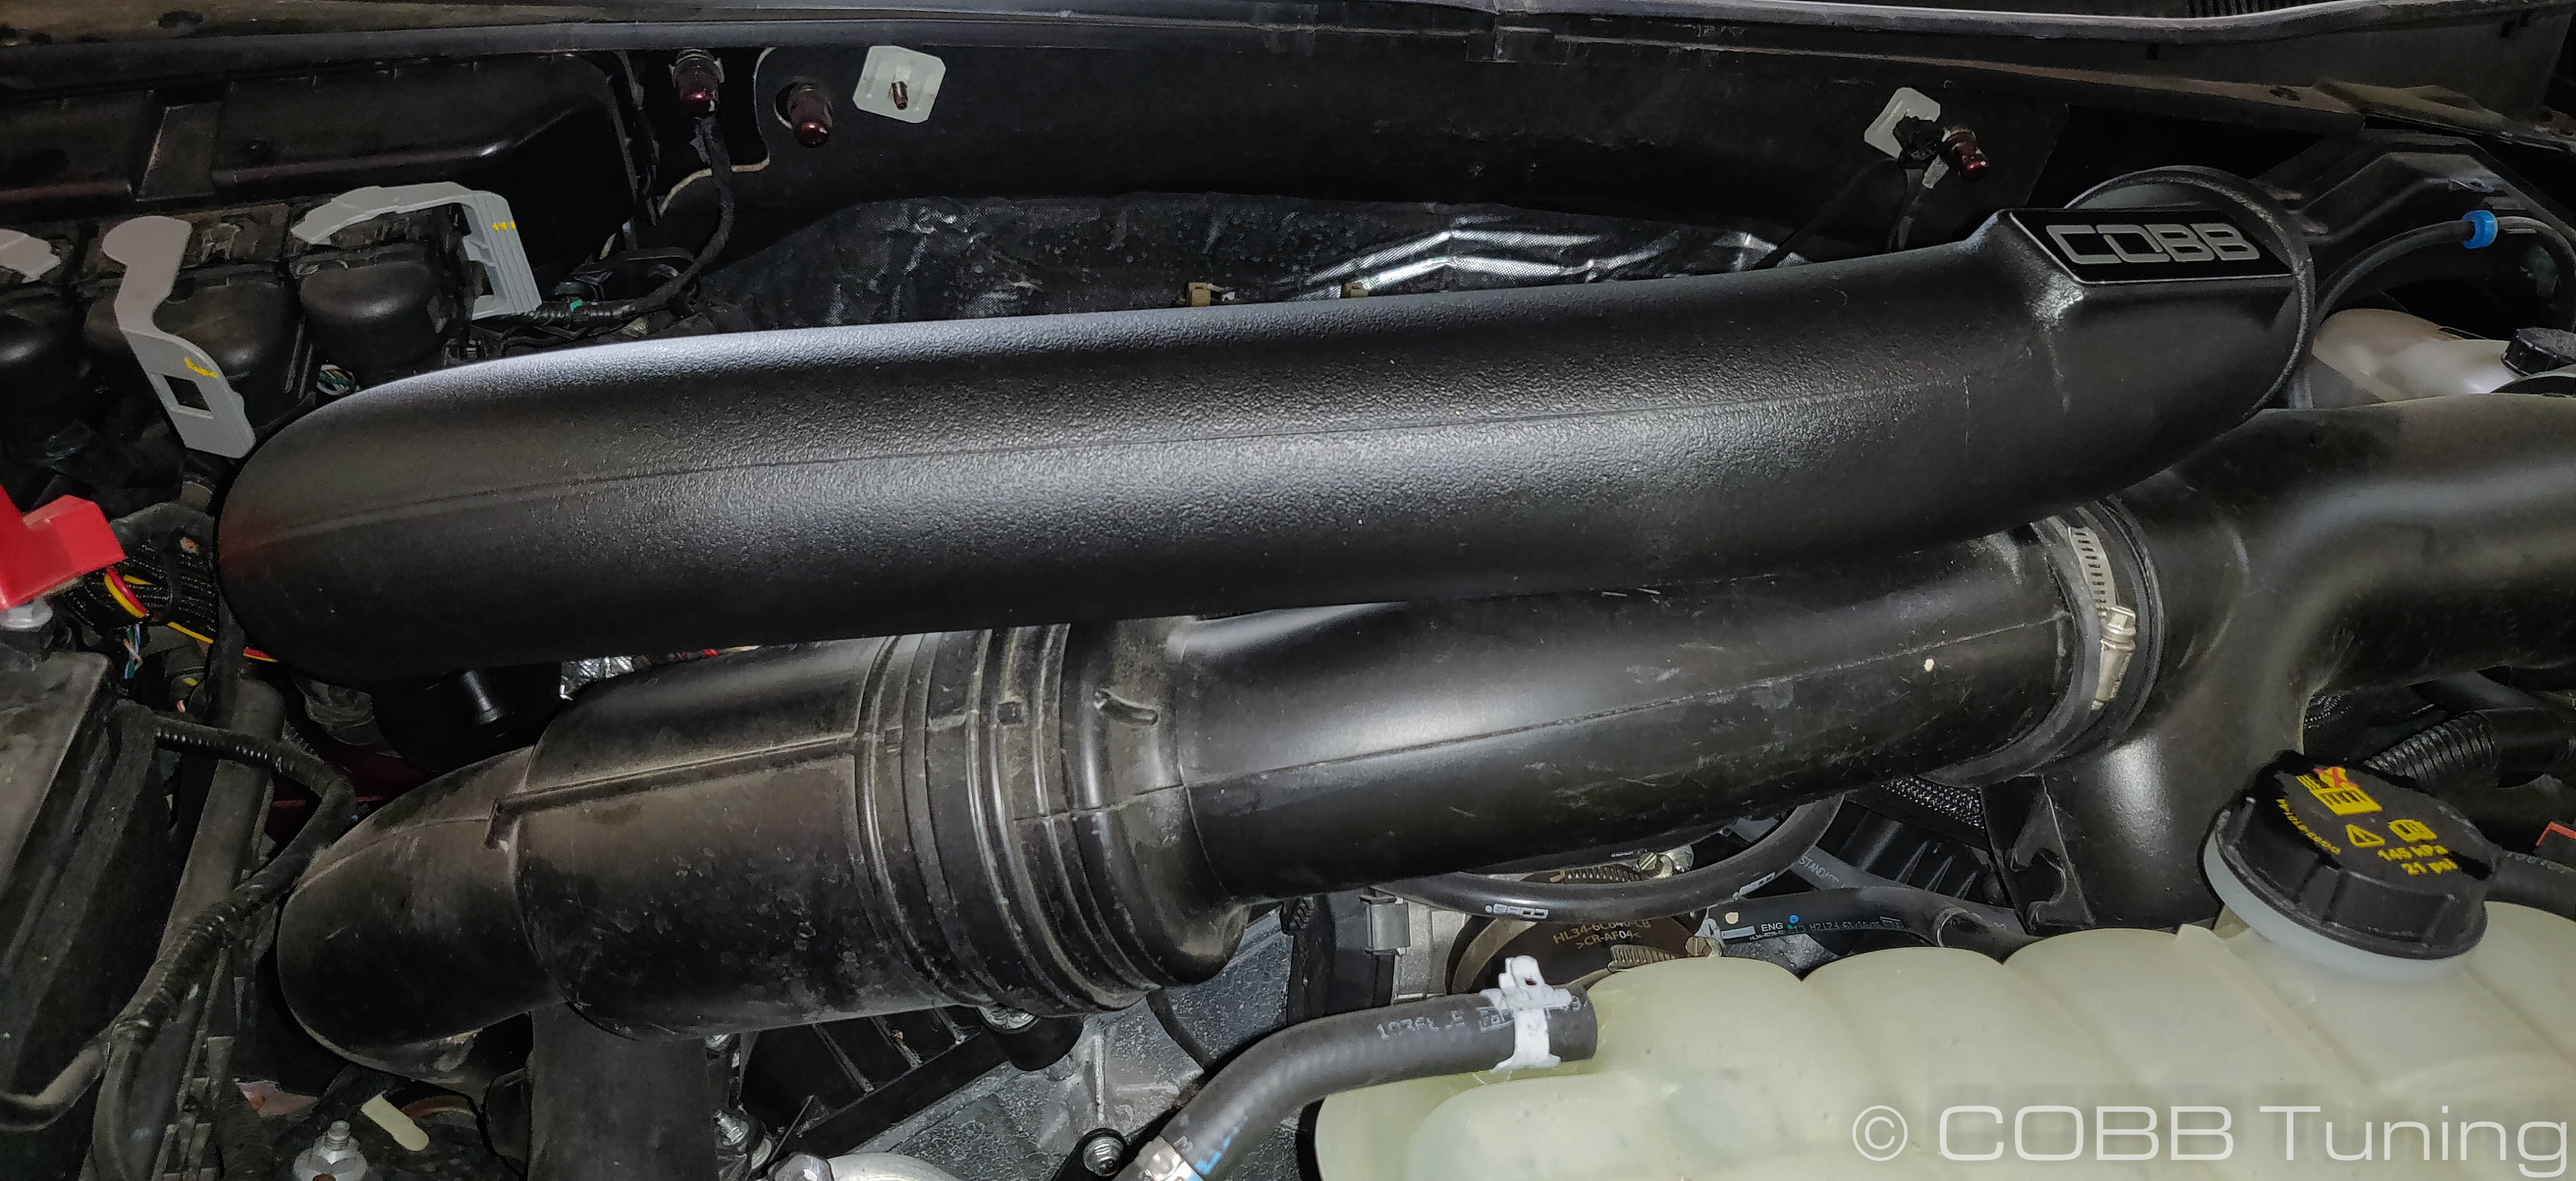
- Install the central y-pipe onto the inlets and the airbox.
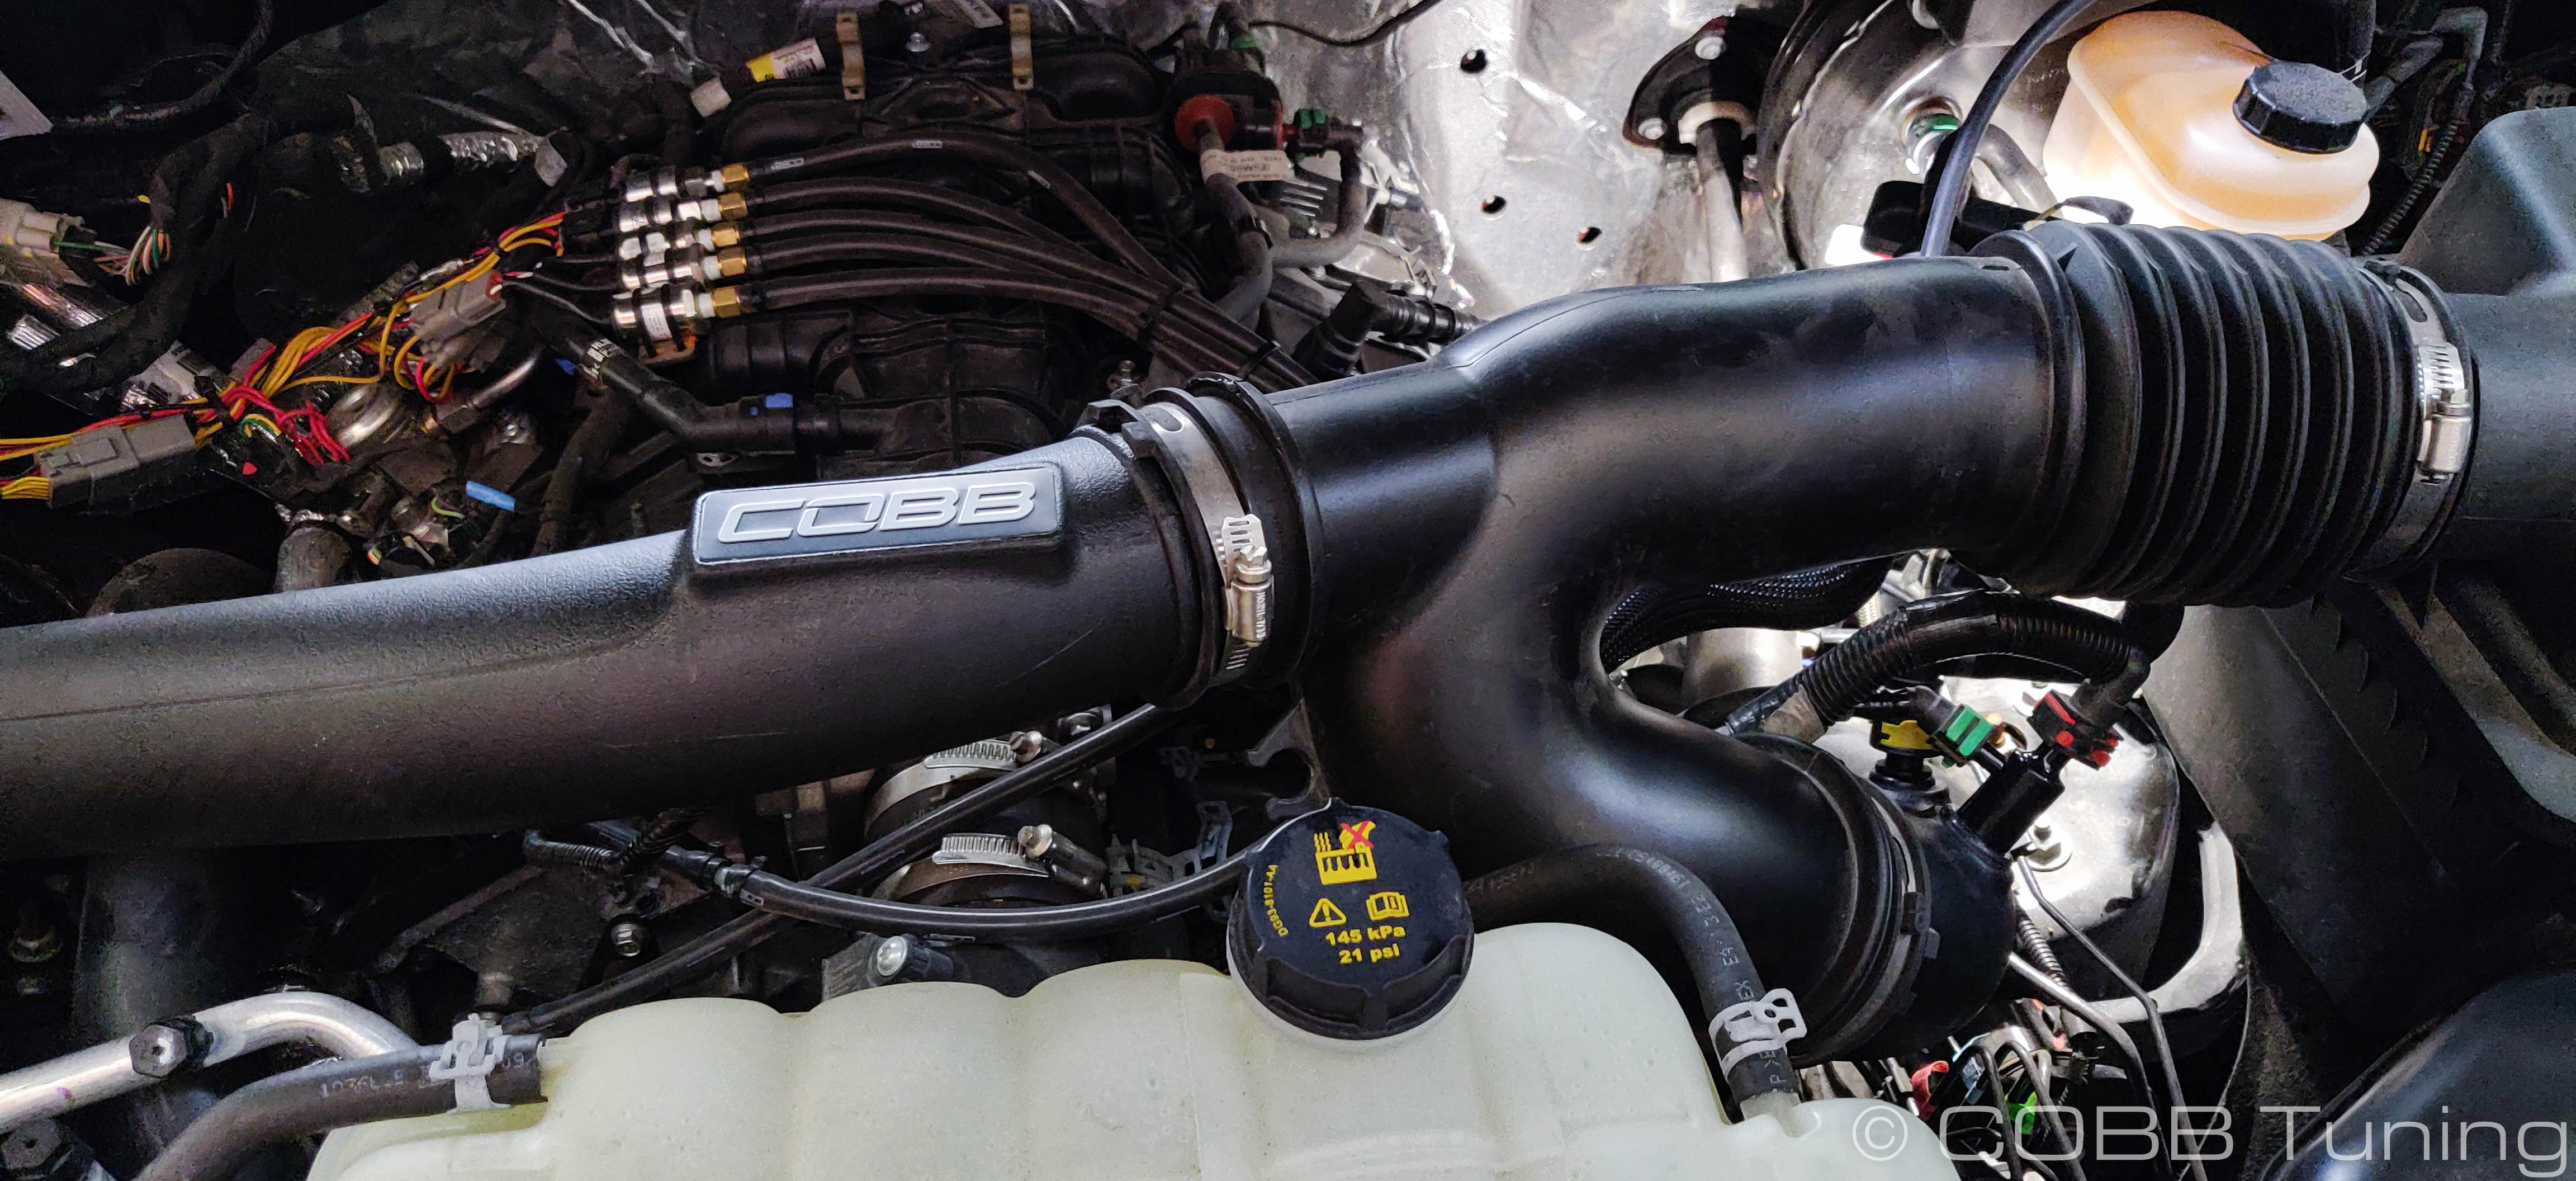
- With the central pipe installed and tightened down, you can go ahead and tighten down the turbo inlet couplers on the turbo. By doing it in this order it should keep there from being too much tension on the system.
- Reinstall the wiring harness into the clip on the intake tube.
- You're all done! Go out and enjoy!
Customer Support
COBB Tuning Customer Support Center
Phone support available 9am to 6pm Monday-Thursday. 9am to 4pm Friday (CST)
866.922.3059
Related content
Copyright 2025 © COBB Tuning Products LLC. All Rights Reserved. | www.cobbtuning.com