7V1150 - Volkswagen SF Intake
- Brandyn Mowat
- Former user (Deleted)
- Zach Cronk

7V1150 – Volkswagen SF Intake
Golf GTI MK6 2010-2014 USDM
Golf GTI MK6 2009-2014 WM
Congratulations on your purchase of the COBB Tuning GTI MK6 SF Intake! The following instructions will assist you through the installation process. Please read them BEFORE beginning the install to familiarize yourself with the steps and tools needed. If you feel you cannot properly perform this installation, we HIGHLY recommend you take the vehicle to a qualified and experienced automotive technician.
Table of Contents
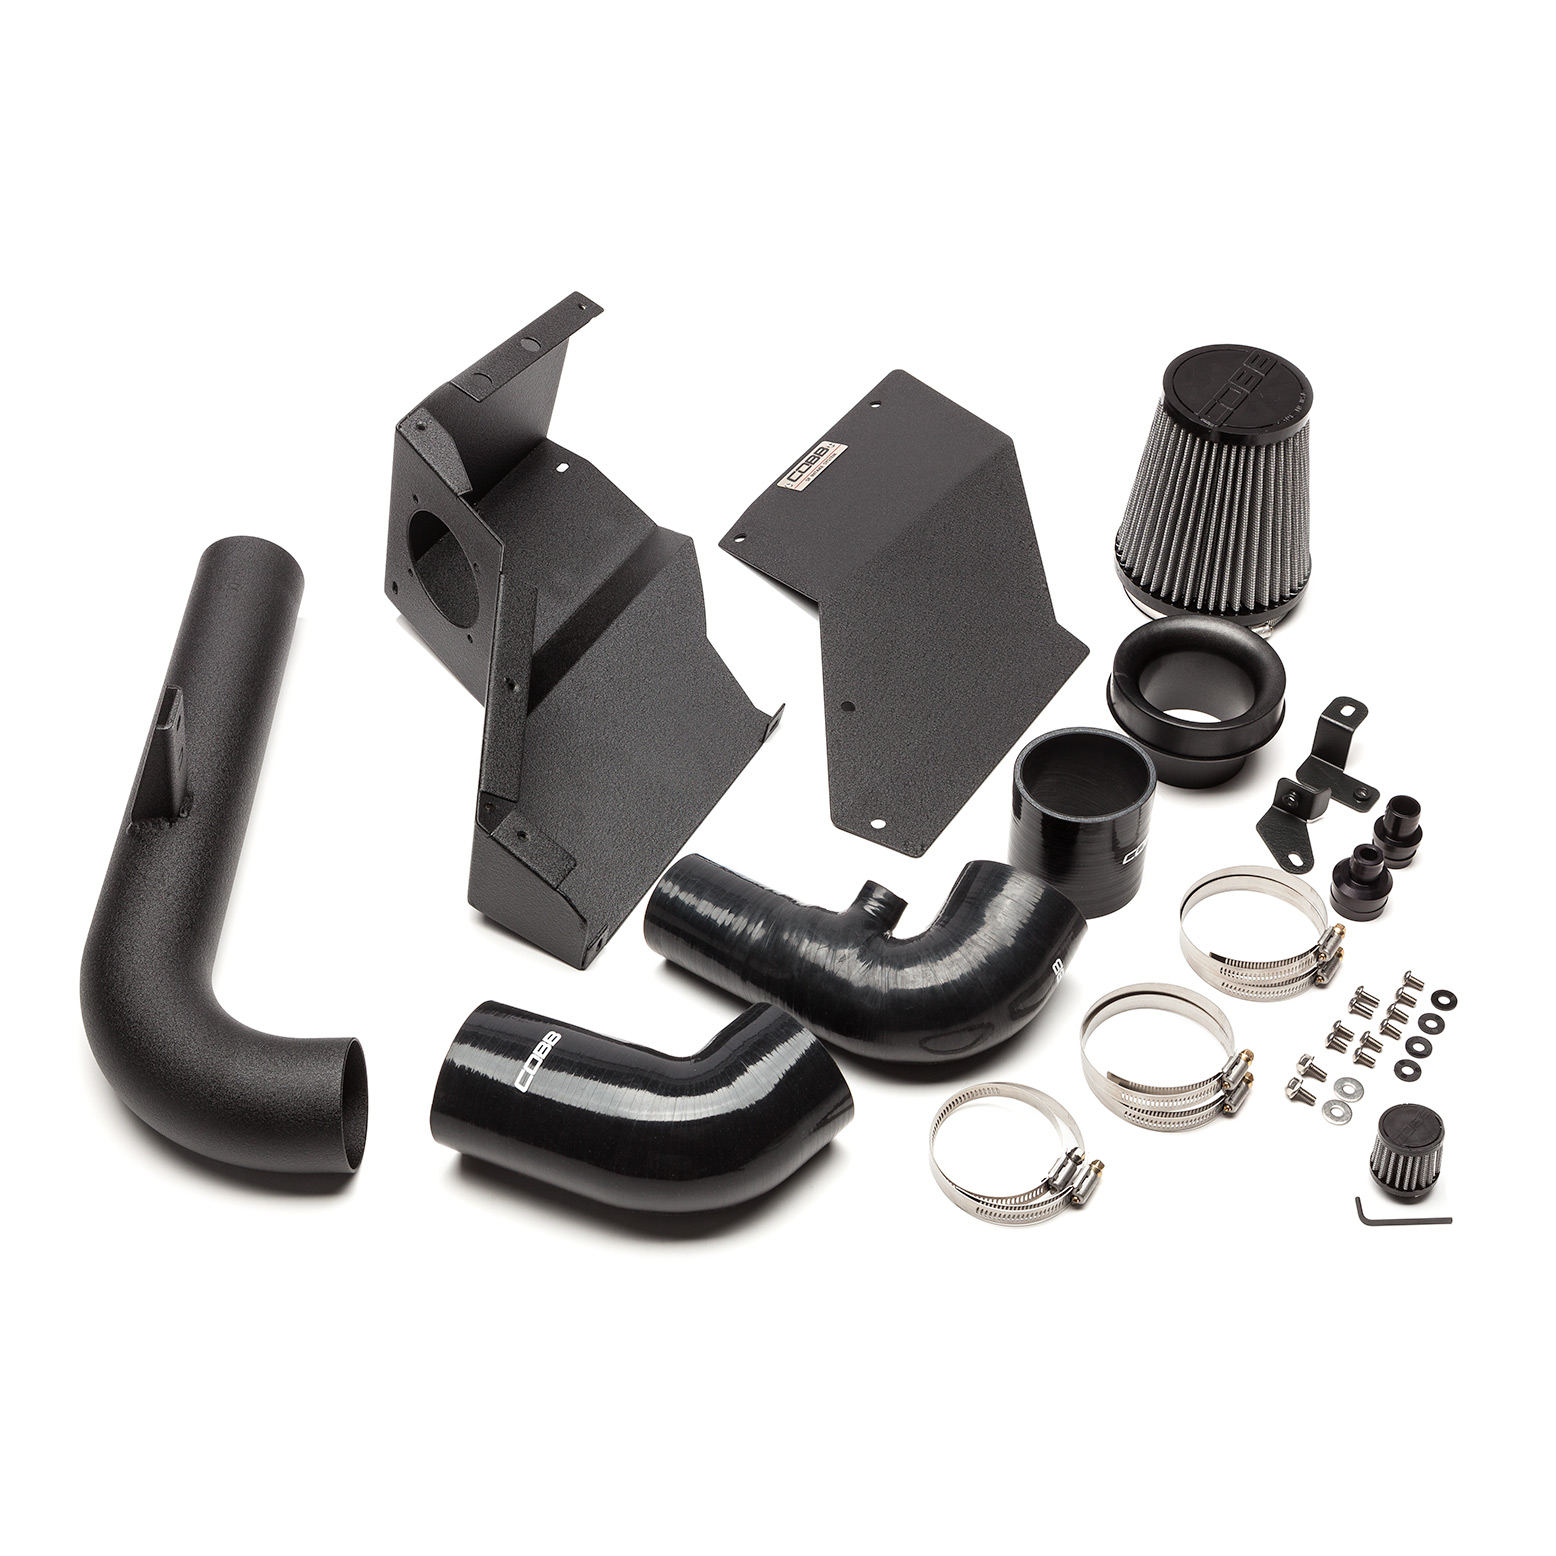
Parts List
- MK6 Airbox
- MK6 Airbox Lid
- Intake Tube Assembly
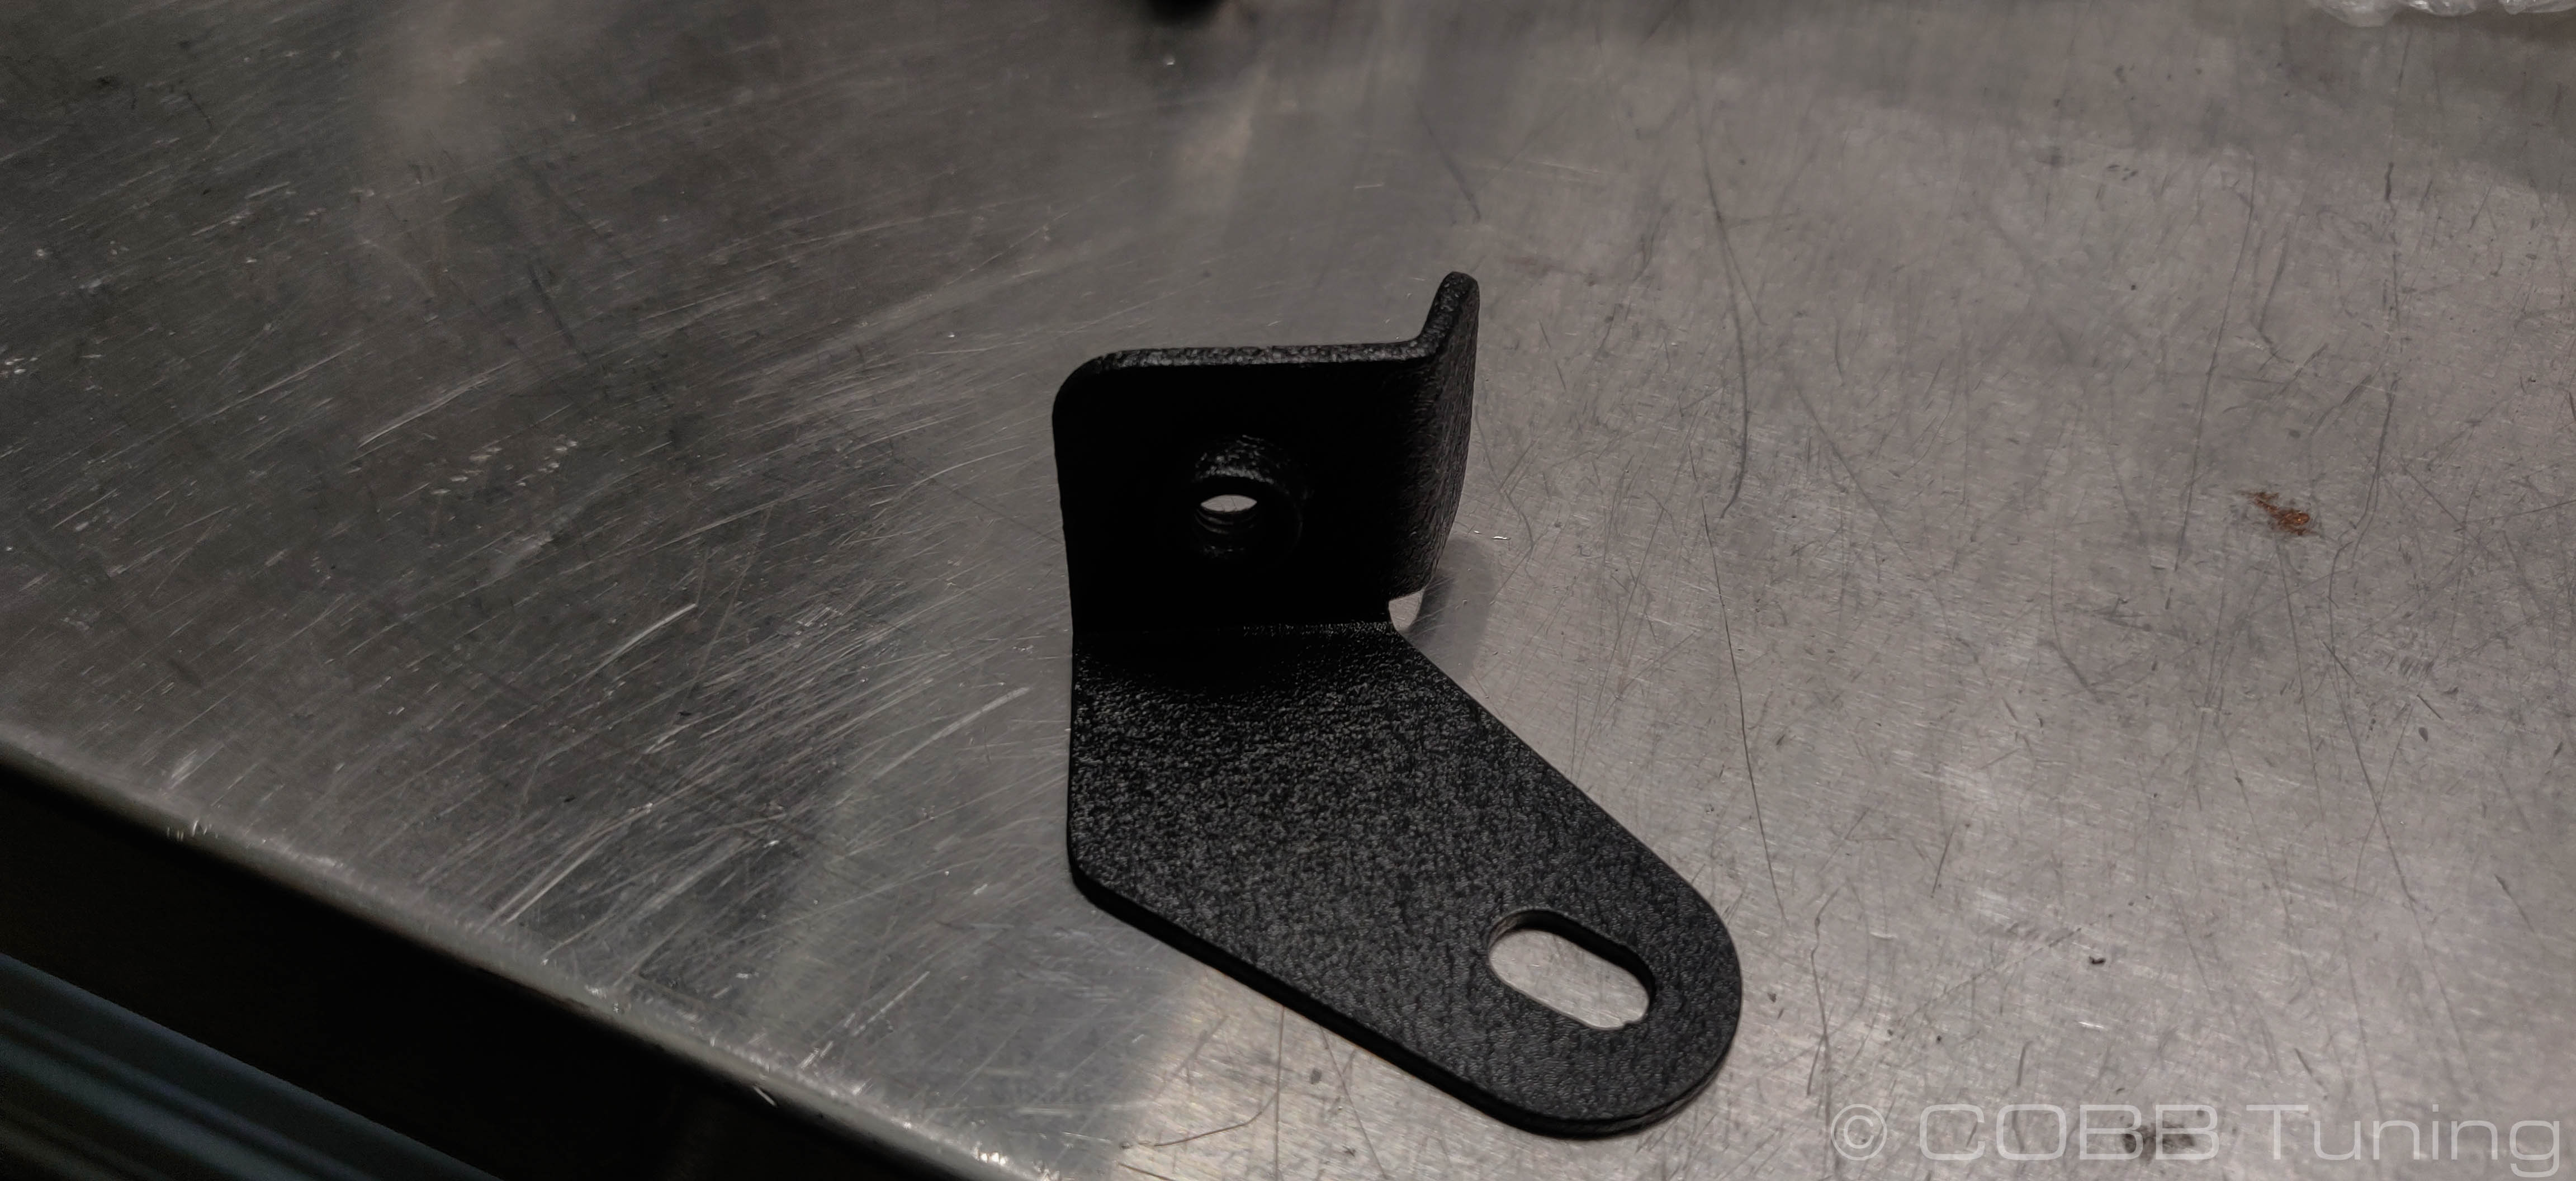
- Intake Right-Angle Bracket
- Intake "Z" Bracket
- PCV Adapter
- Velocity Stack
- Turbo- Inlet silicone with PCV port
- 3" Reinforced Coupler
- 60mm to 3" Elbow Coupler
- Air Filter
- Air Pump Adapter
- Air Pump Breather Filter
- (2) M6 Fender Washer
- (4) M6 Nylon Washer
- (2) M6 x 12mm Flanged hex bolt
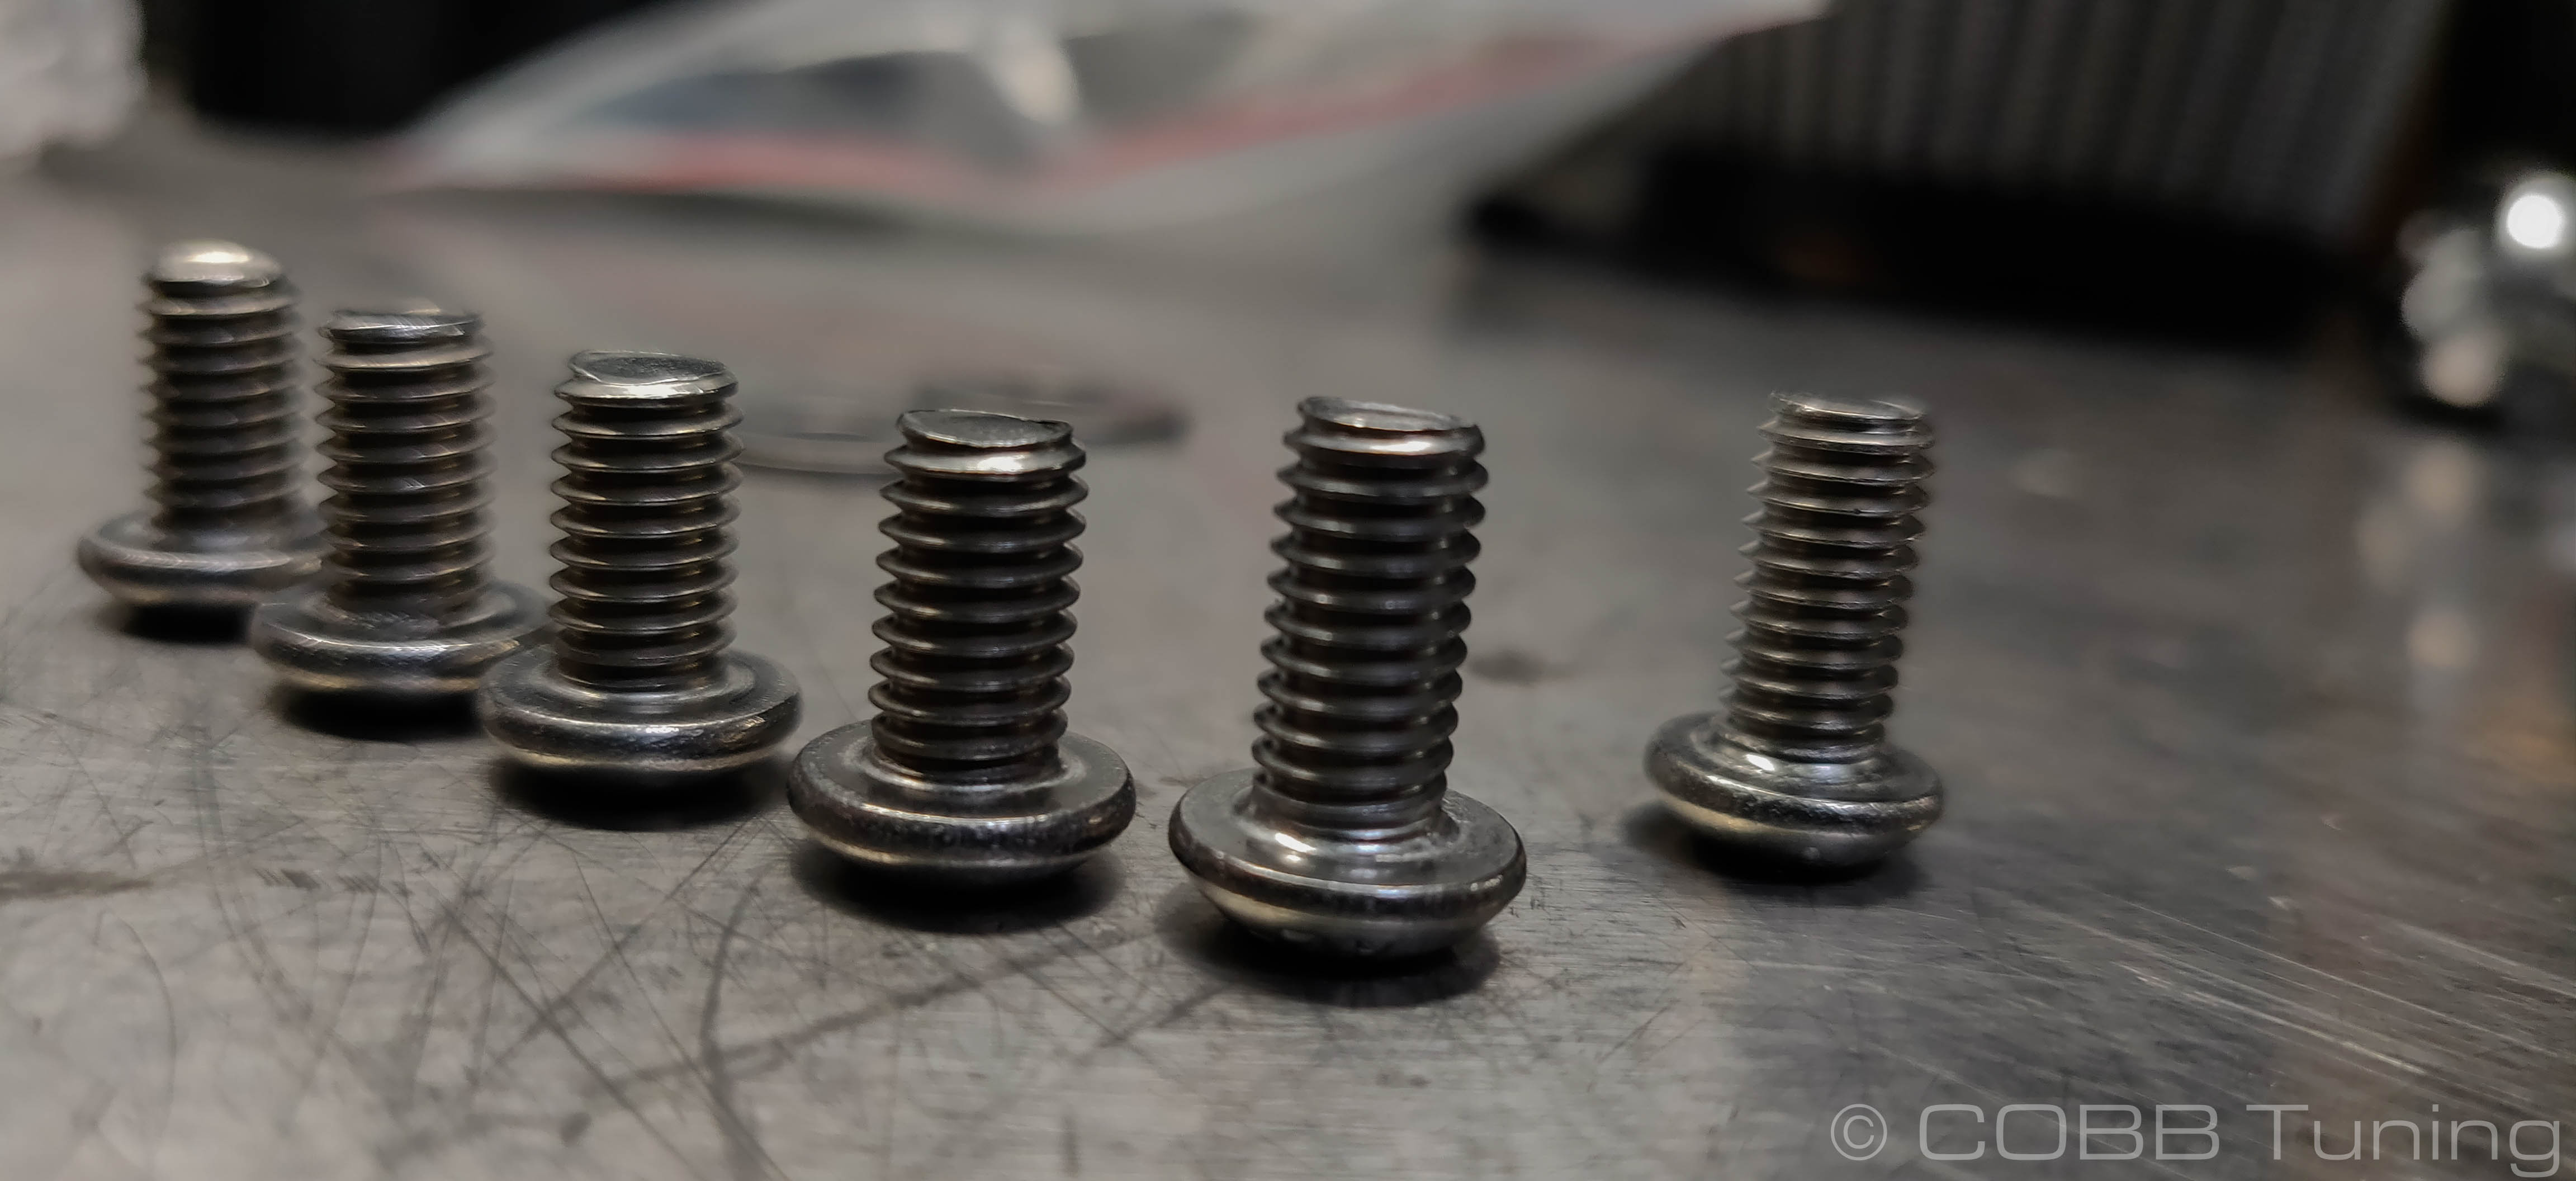
- (8) M6 x 10mm Stainless Allen Bolt
- (2) M6 x 12mm Stainless Allen Bolt
- (5) #48 Hose Clamp
- #40 Clamp
- M4 Hex Key
- Zip Tie
Tools Needed
Sockets
3/8"
3/8" ratchet
3/8" 12" extension
3/8" 6" extension
3/8" Socket Swivel
- 3/8" 7mm socket
3/8" 8mm socket
3/8" 10mm socket
3/8" T25 Torx Bit
3/8" T30 Torx Bit
- 3/8" 4mm Allen Socket
Hand Tools
- Phillips head screwdriver
- Flathead screwdriver
Removal of Factory Volkswagen MK6 Intake
- Inspect the new components included with the COBB kit. If anything appears out of place, please contact COBB immediately and do not proceed with the installation.
- Remove the Engine Cover by pulling up gently.
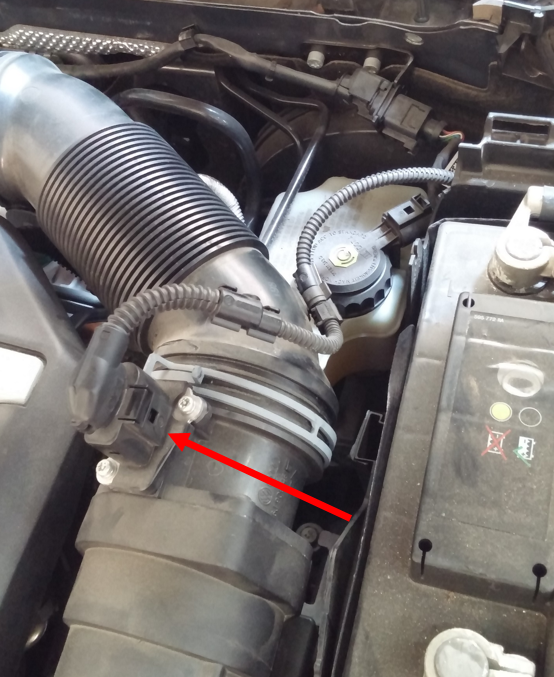
- Unplug the MAF sensor.
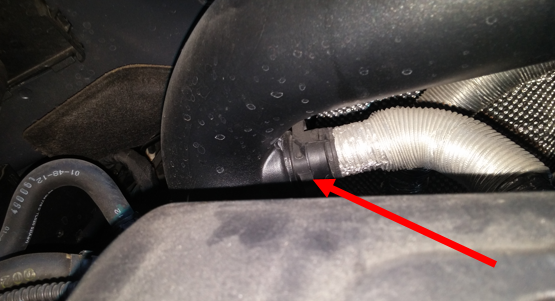
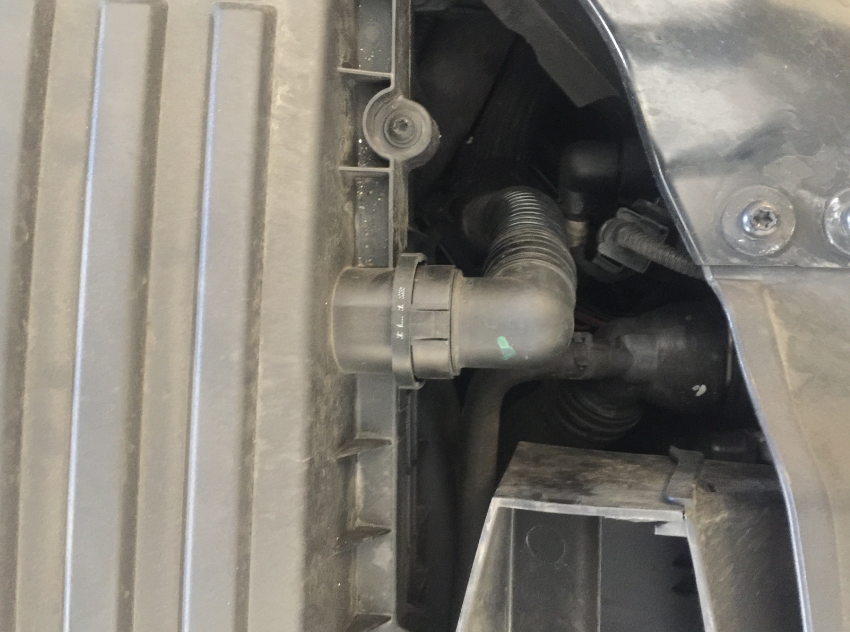
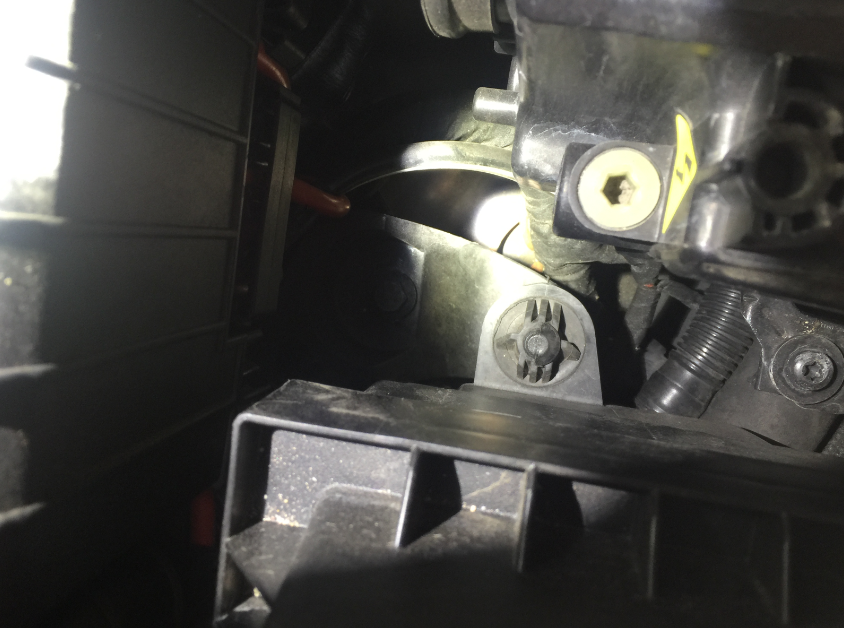
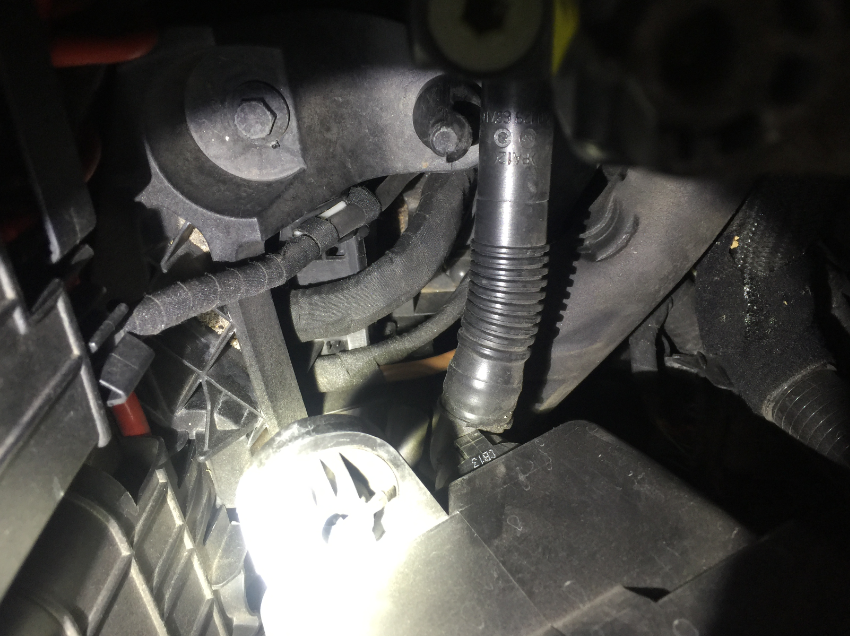
- Remove the stock intake tube by first unplugging the the PCV. This may be easier if you pry one side of the tab over the lip of the PCV bung with a flathead screwdriver. NOTE: On some later model vehicles this step may be easier after step 5.
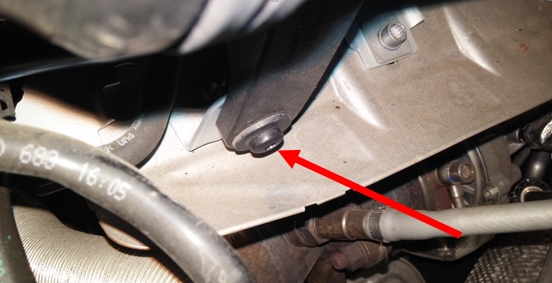
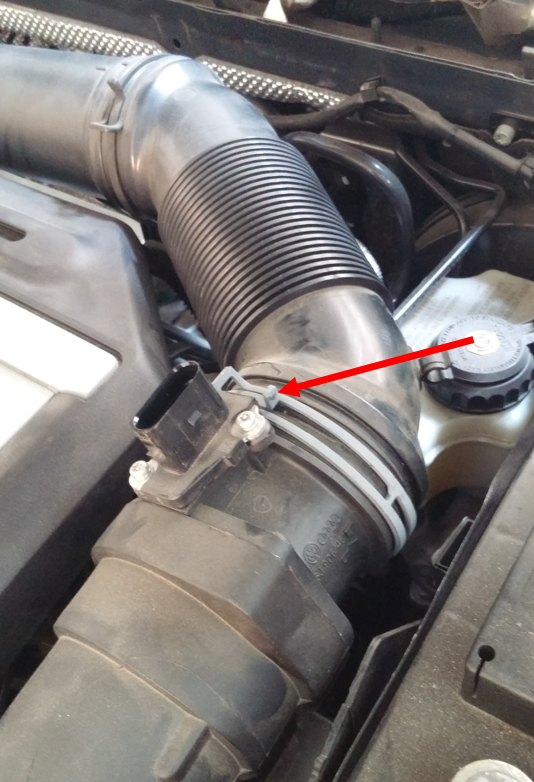
- Now unscrew the intake tube mounting screw on the backside of the tube using a T30 torx socket and 3/8" ratchet.
- The final step to remove the intake tube is to unclamp the turbo and airbox ends of the tube using nose clamp pliers.
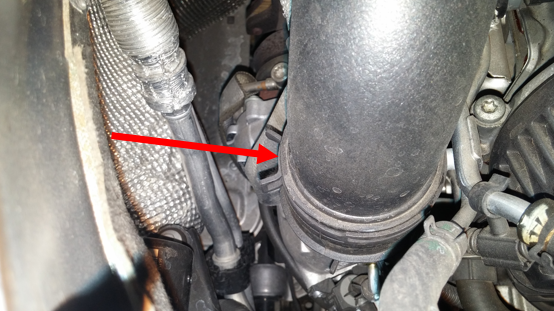
- With the MAF and PCV unplugged, along with the mounting screw and clamps removed, you can now pull the stock intake tube out of the car.
- Once the intake tube is uninstalled, be sure to unclamp the stock silicone attached to the turbo if you have not already!
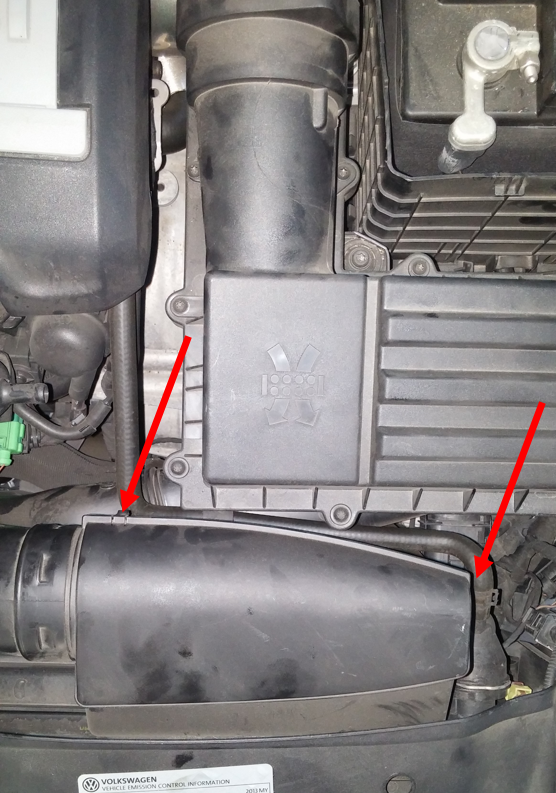
- Moving on to removing the stock airbox, begin by removing the air channel near the front of the airbox to ease the removal process. Do this by unclipping the top cover of the front section of the air channel. Once the cover is off, lift the air channel tube out of its slot.

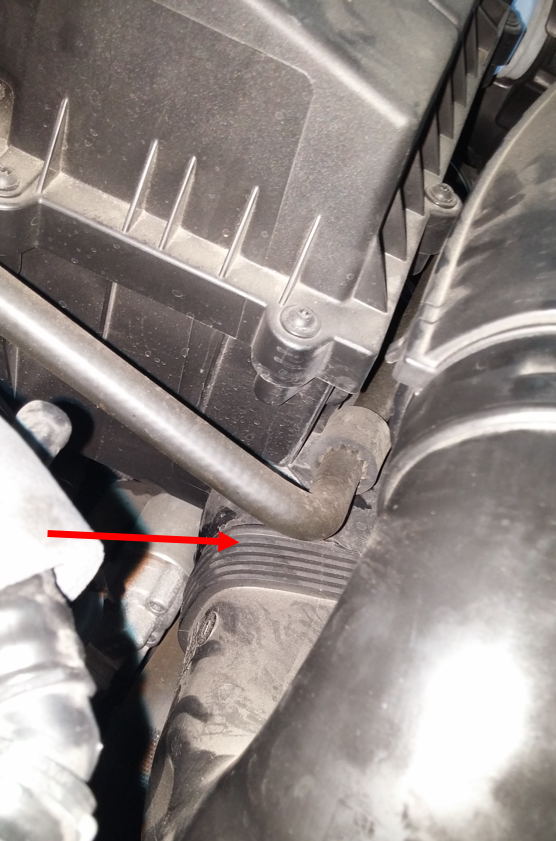
- Now pull the remainder of the tube out of the side of the airbox. Make sure the tube is unclipped, it should just wiggle out.
- For a CBFA car, unclip the air pump hose from the stock airbox.
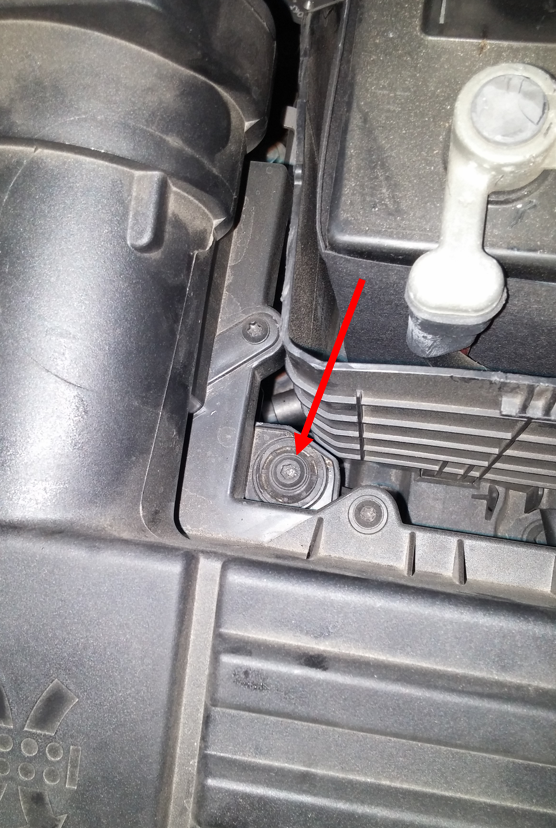
- Using a 5mm hex key to loosen the mounting screw.
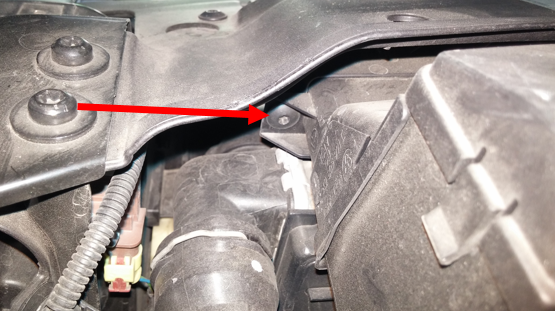
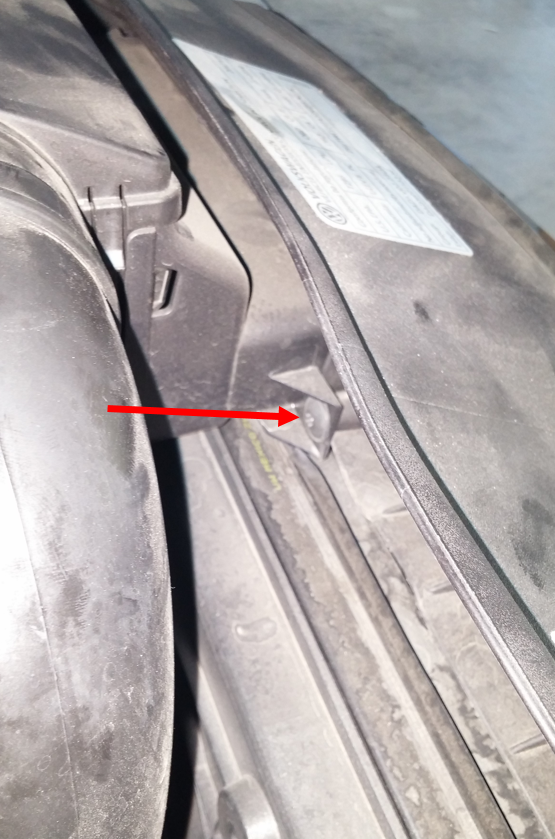
- Remove the front two mounting screws using a T25 torx screwdriver or socket.
- With the 5mm hex mounting screw completely loosened and the front two screws removed, pull the stock airbox out of the car. The airbox is held down by ball sockets and grommets so you will need to pull hard enough to pop the ball sockets out of place. There is also a drain hose that will pull out of the car with the airbox, you do not need to disconnect it!

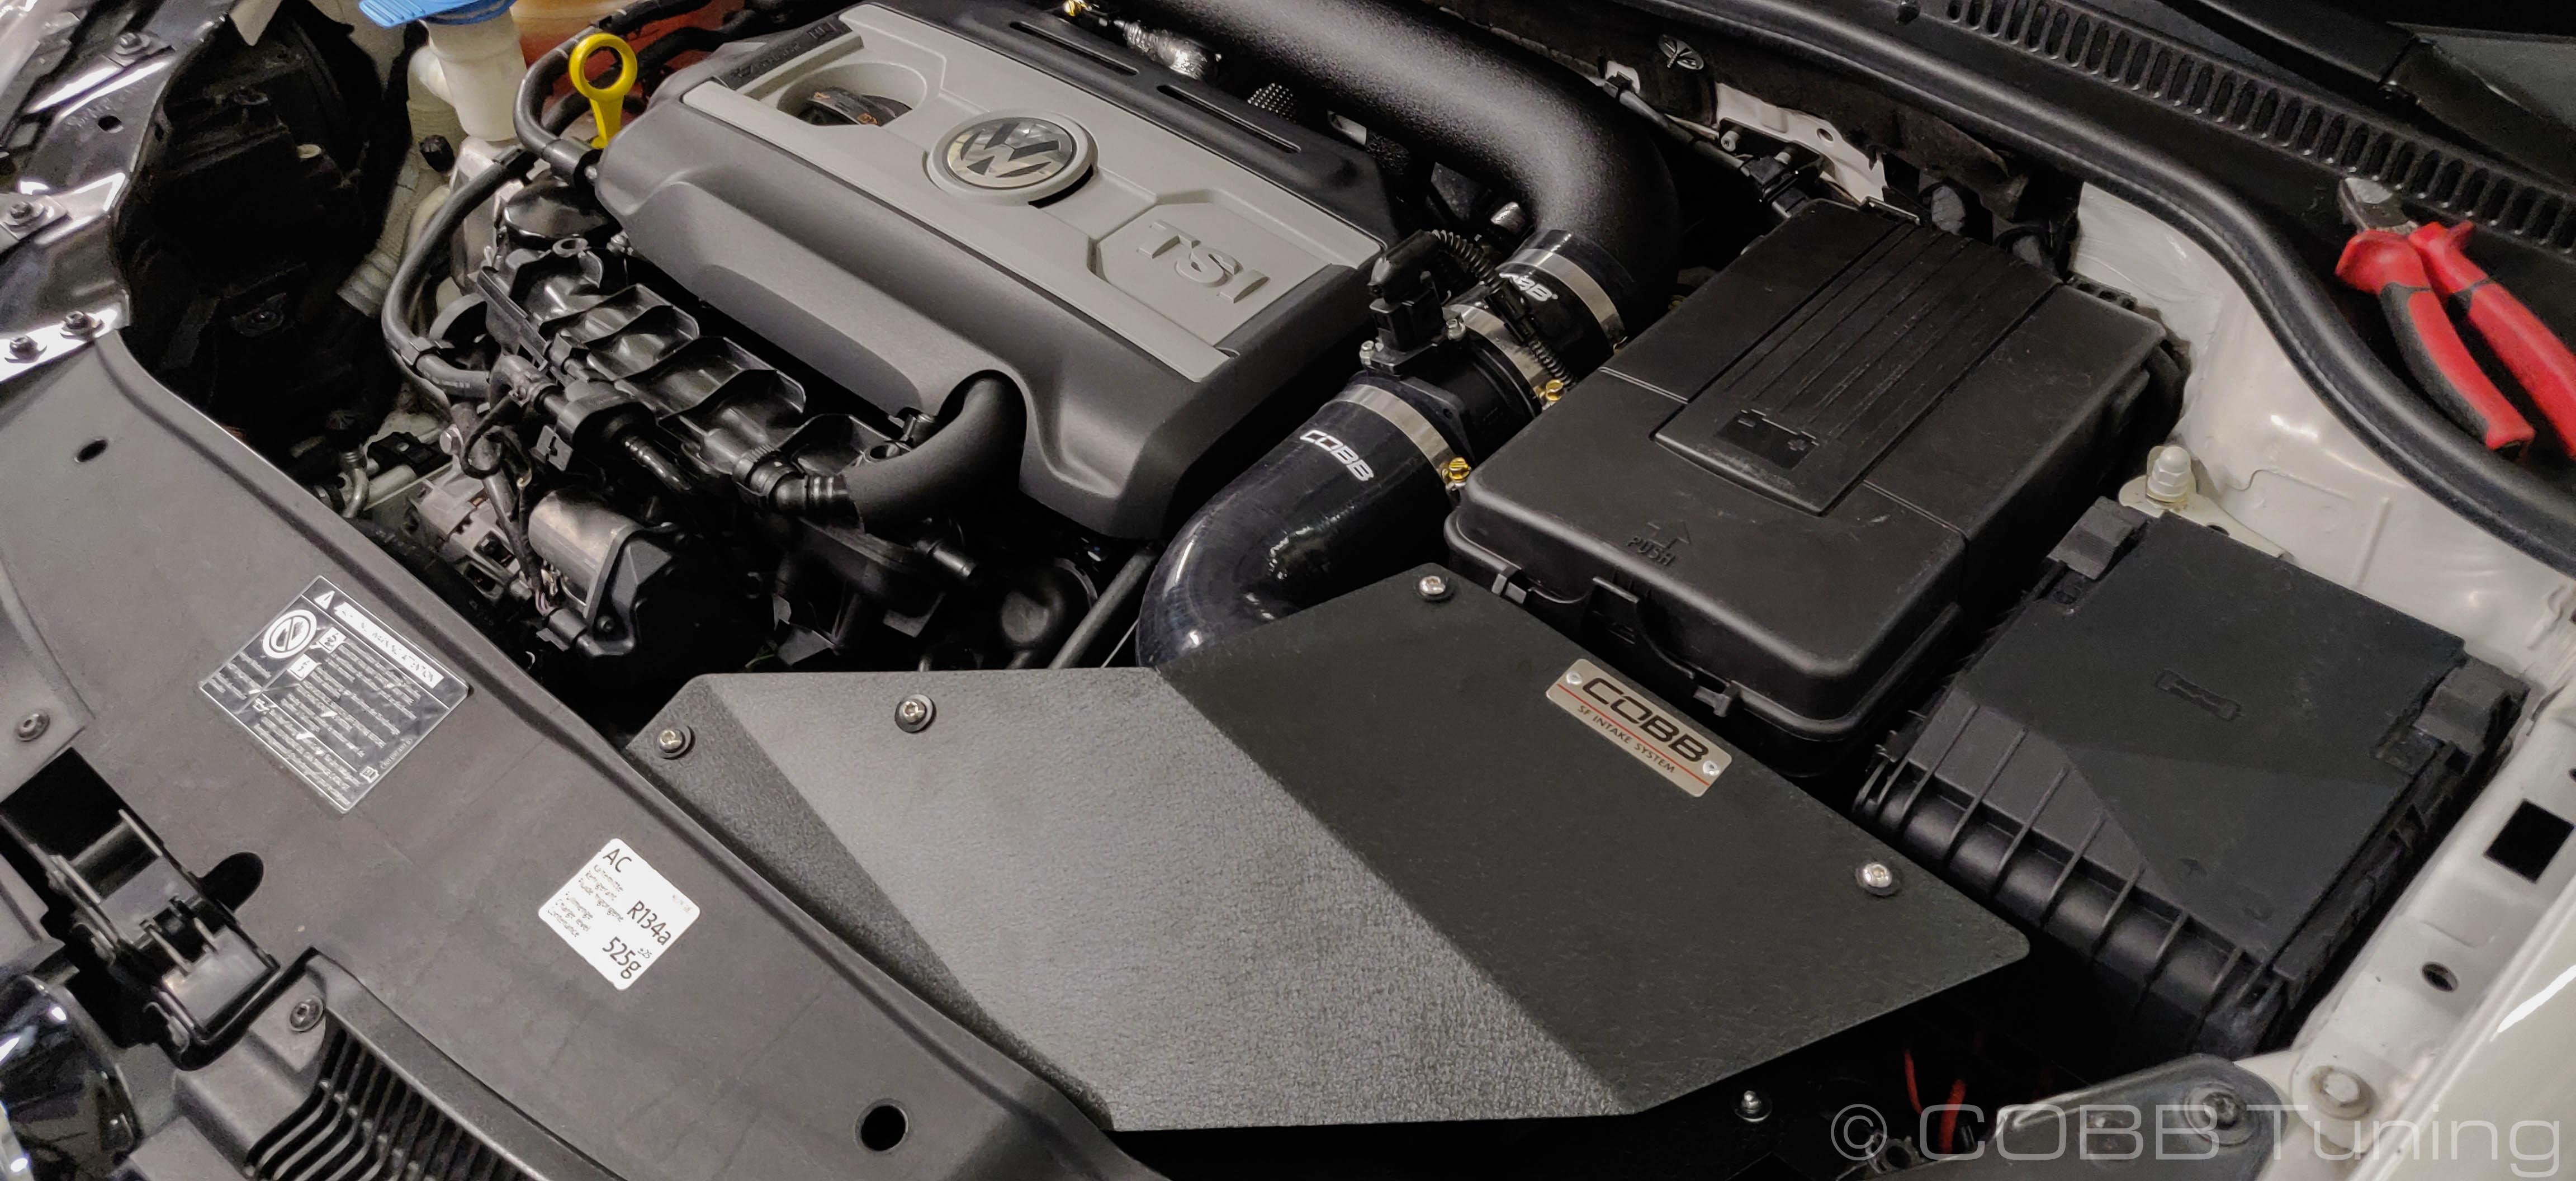
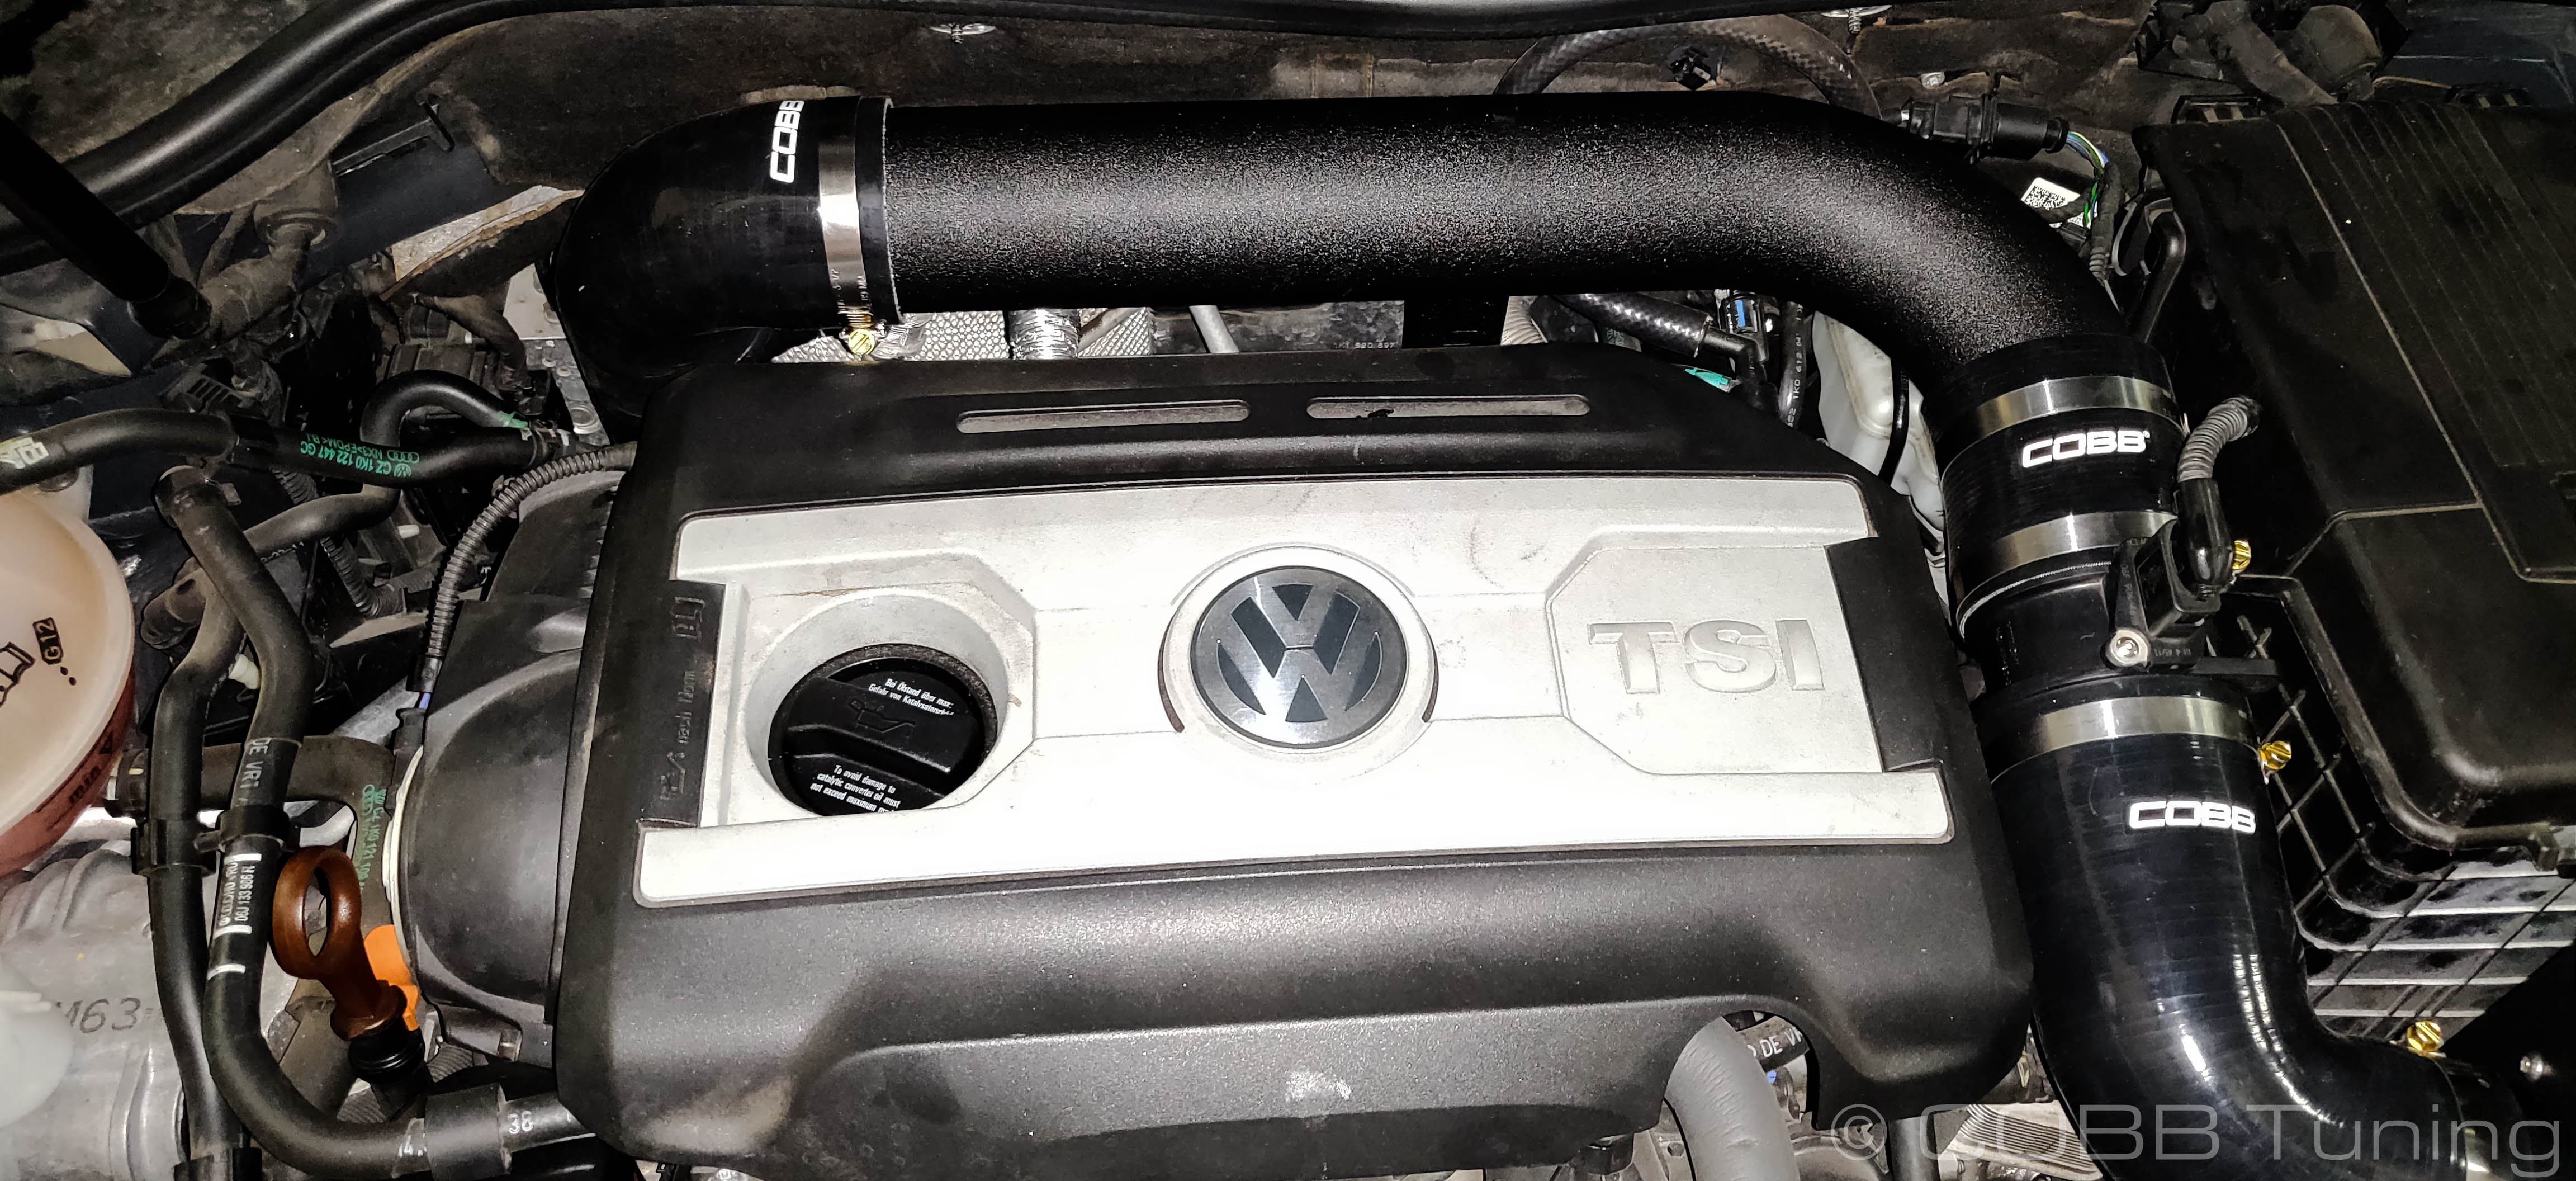
COBB SF Intake Installation
- Take the larger of the two supplied adapters and insert the smaller end into the turbo inlet coupler, pushing it all the way in. It should be a tight fit.
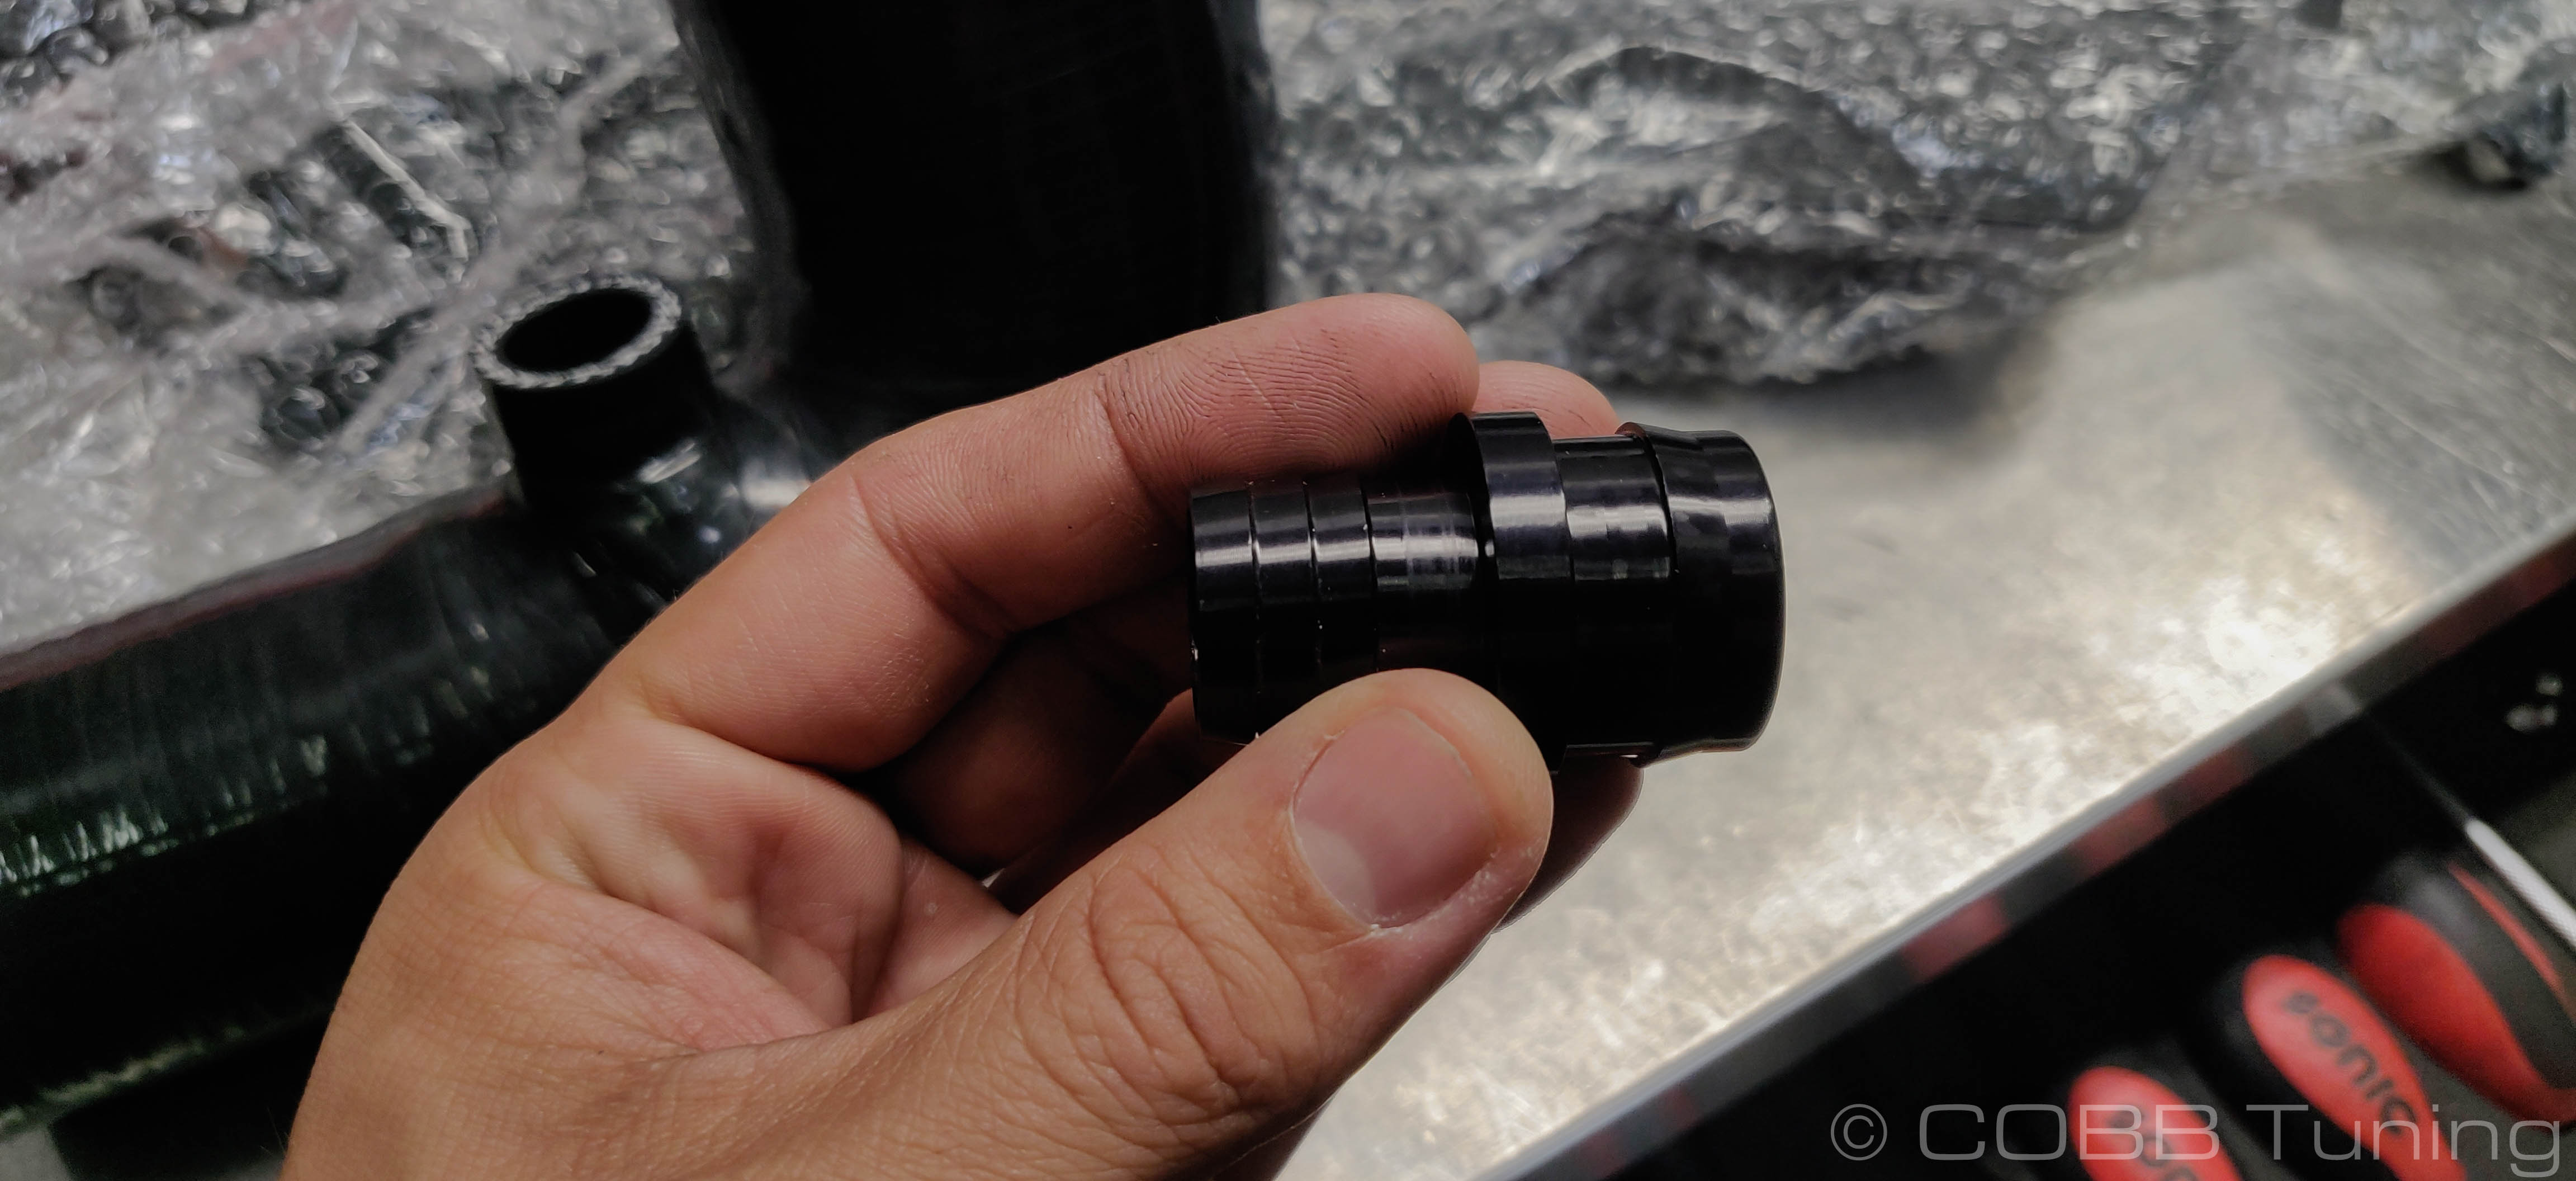
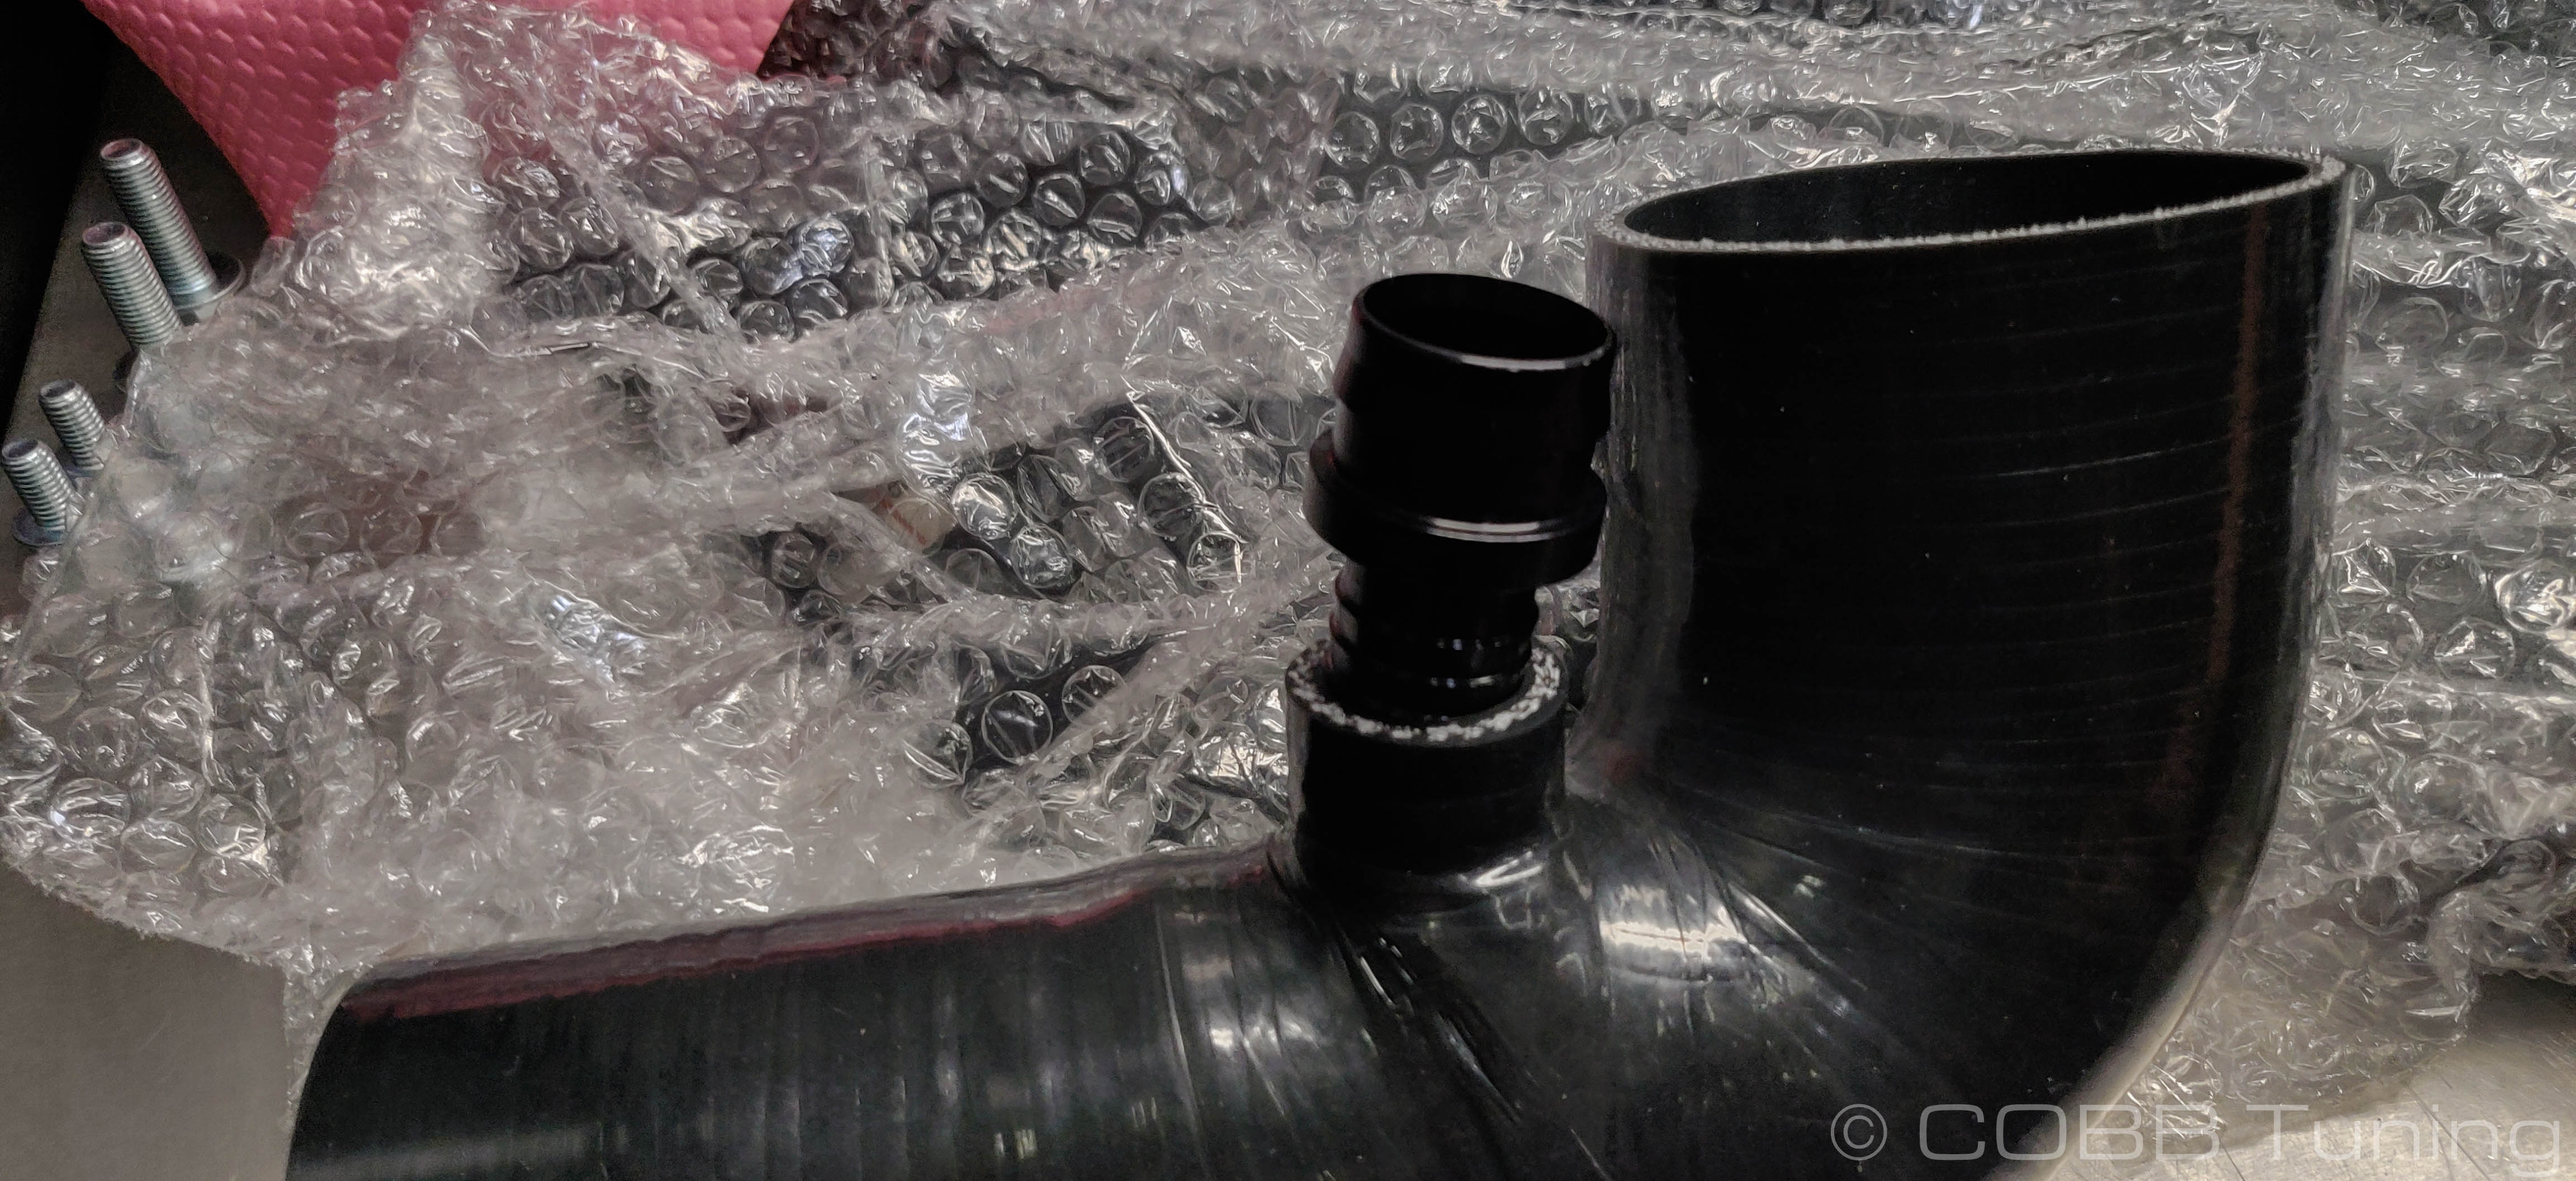
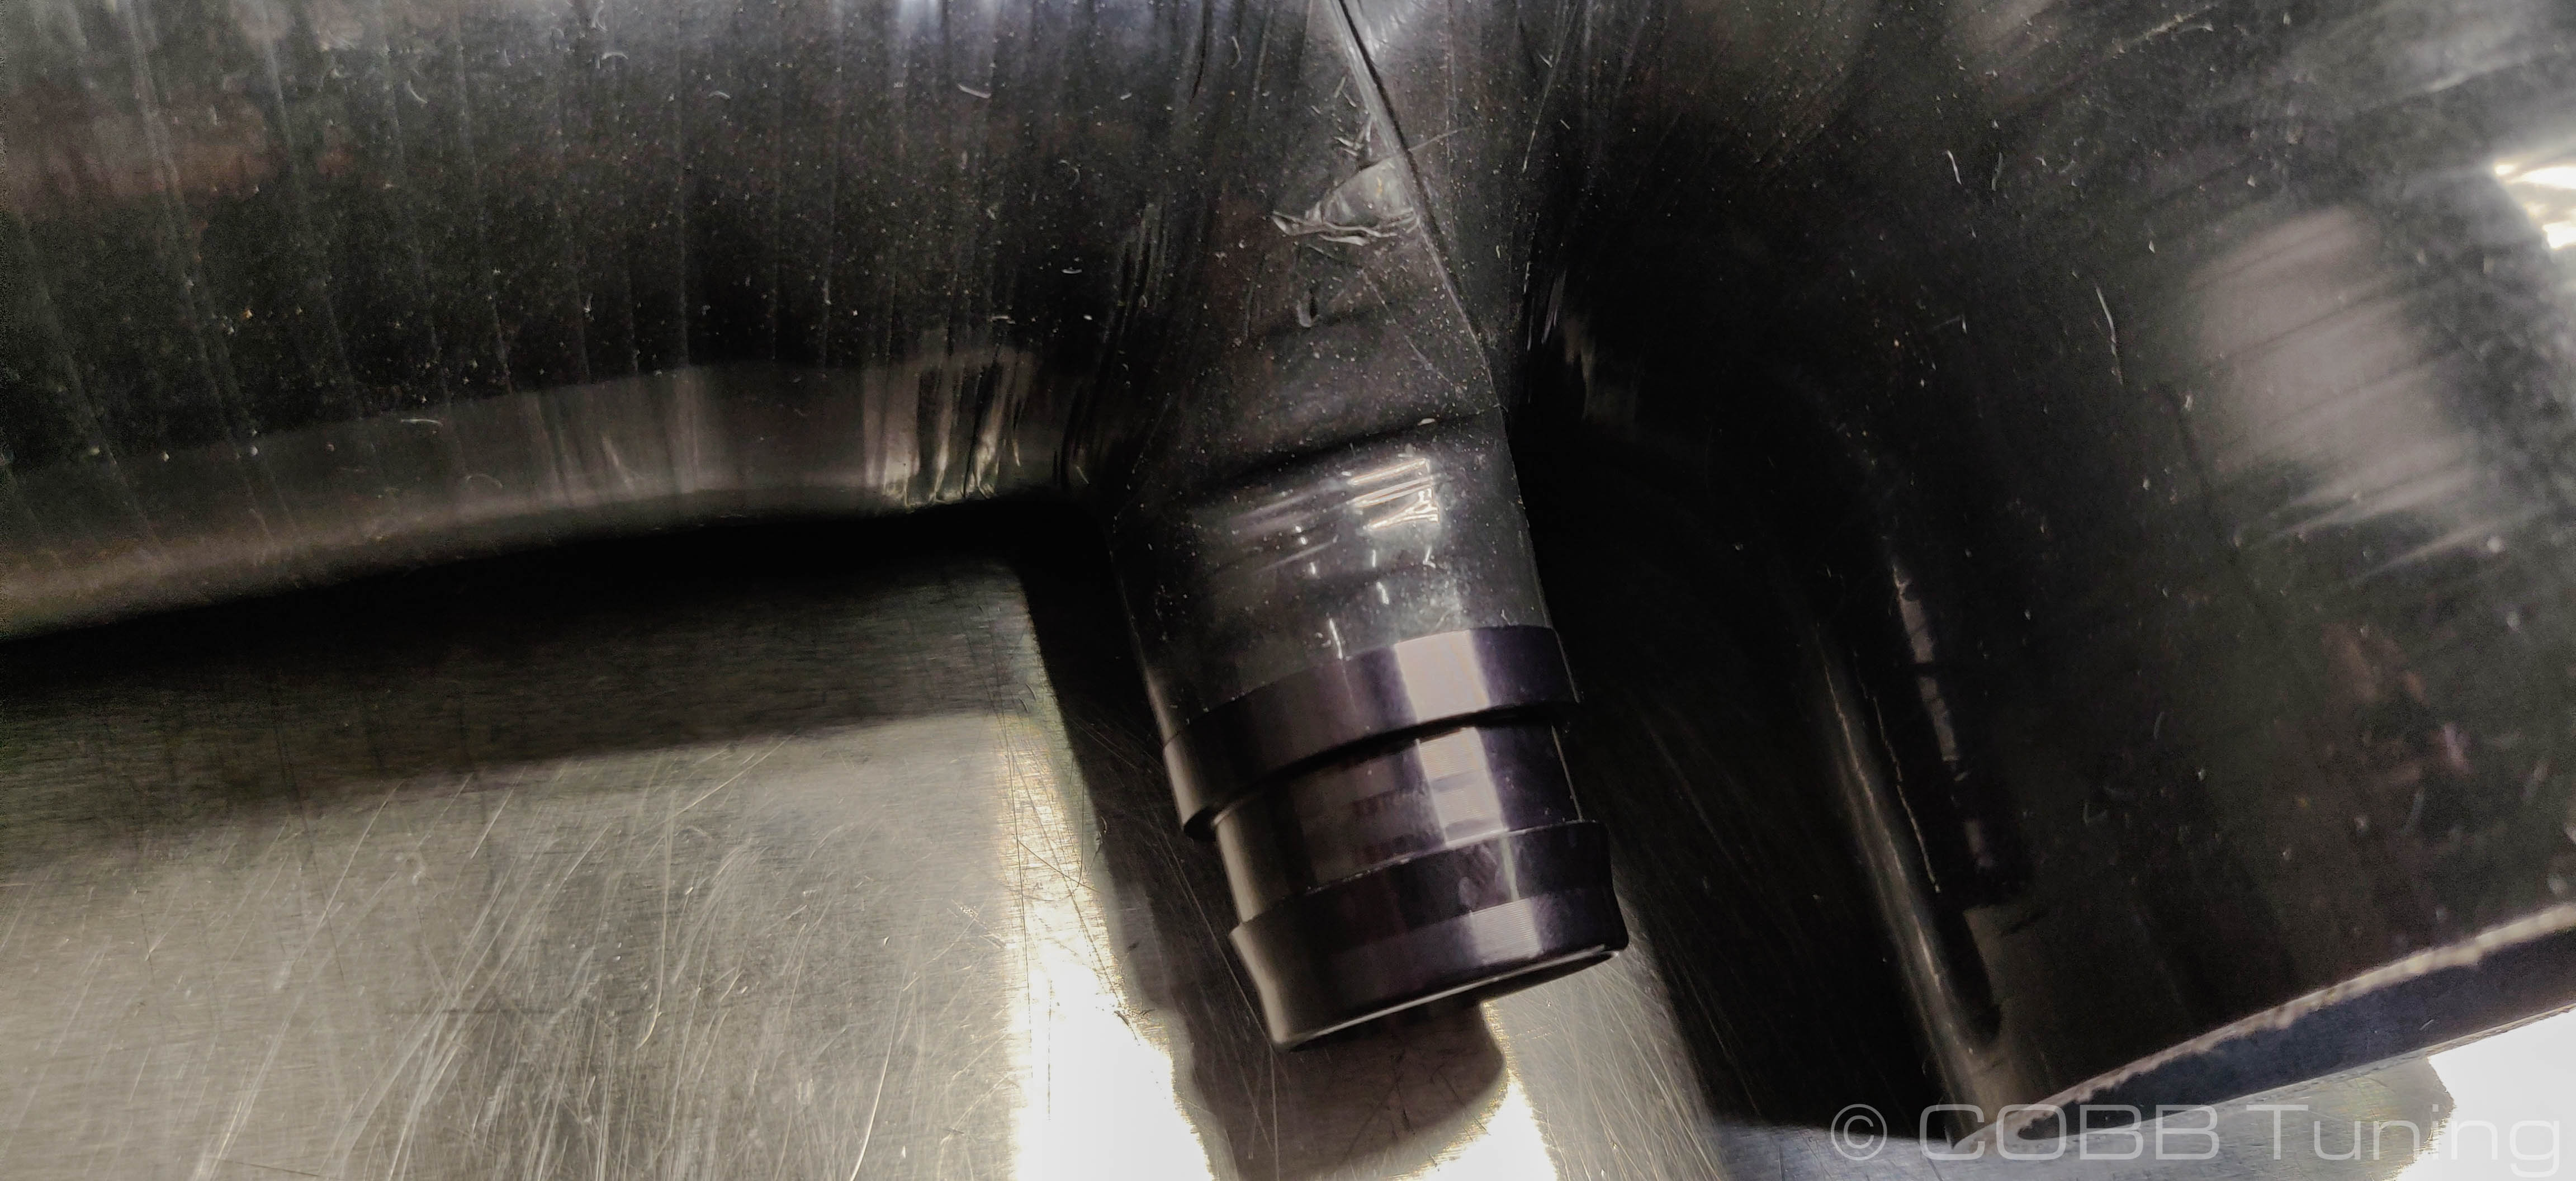
- Add the singler smaller (#40) hose clamp over the long end and press it down over the turbo inlet. It's also a good time to plug in the emissions hose. Leave the hose clamp at the bottom alone for now.
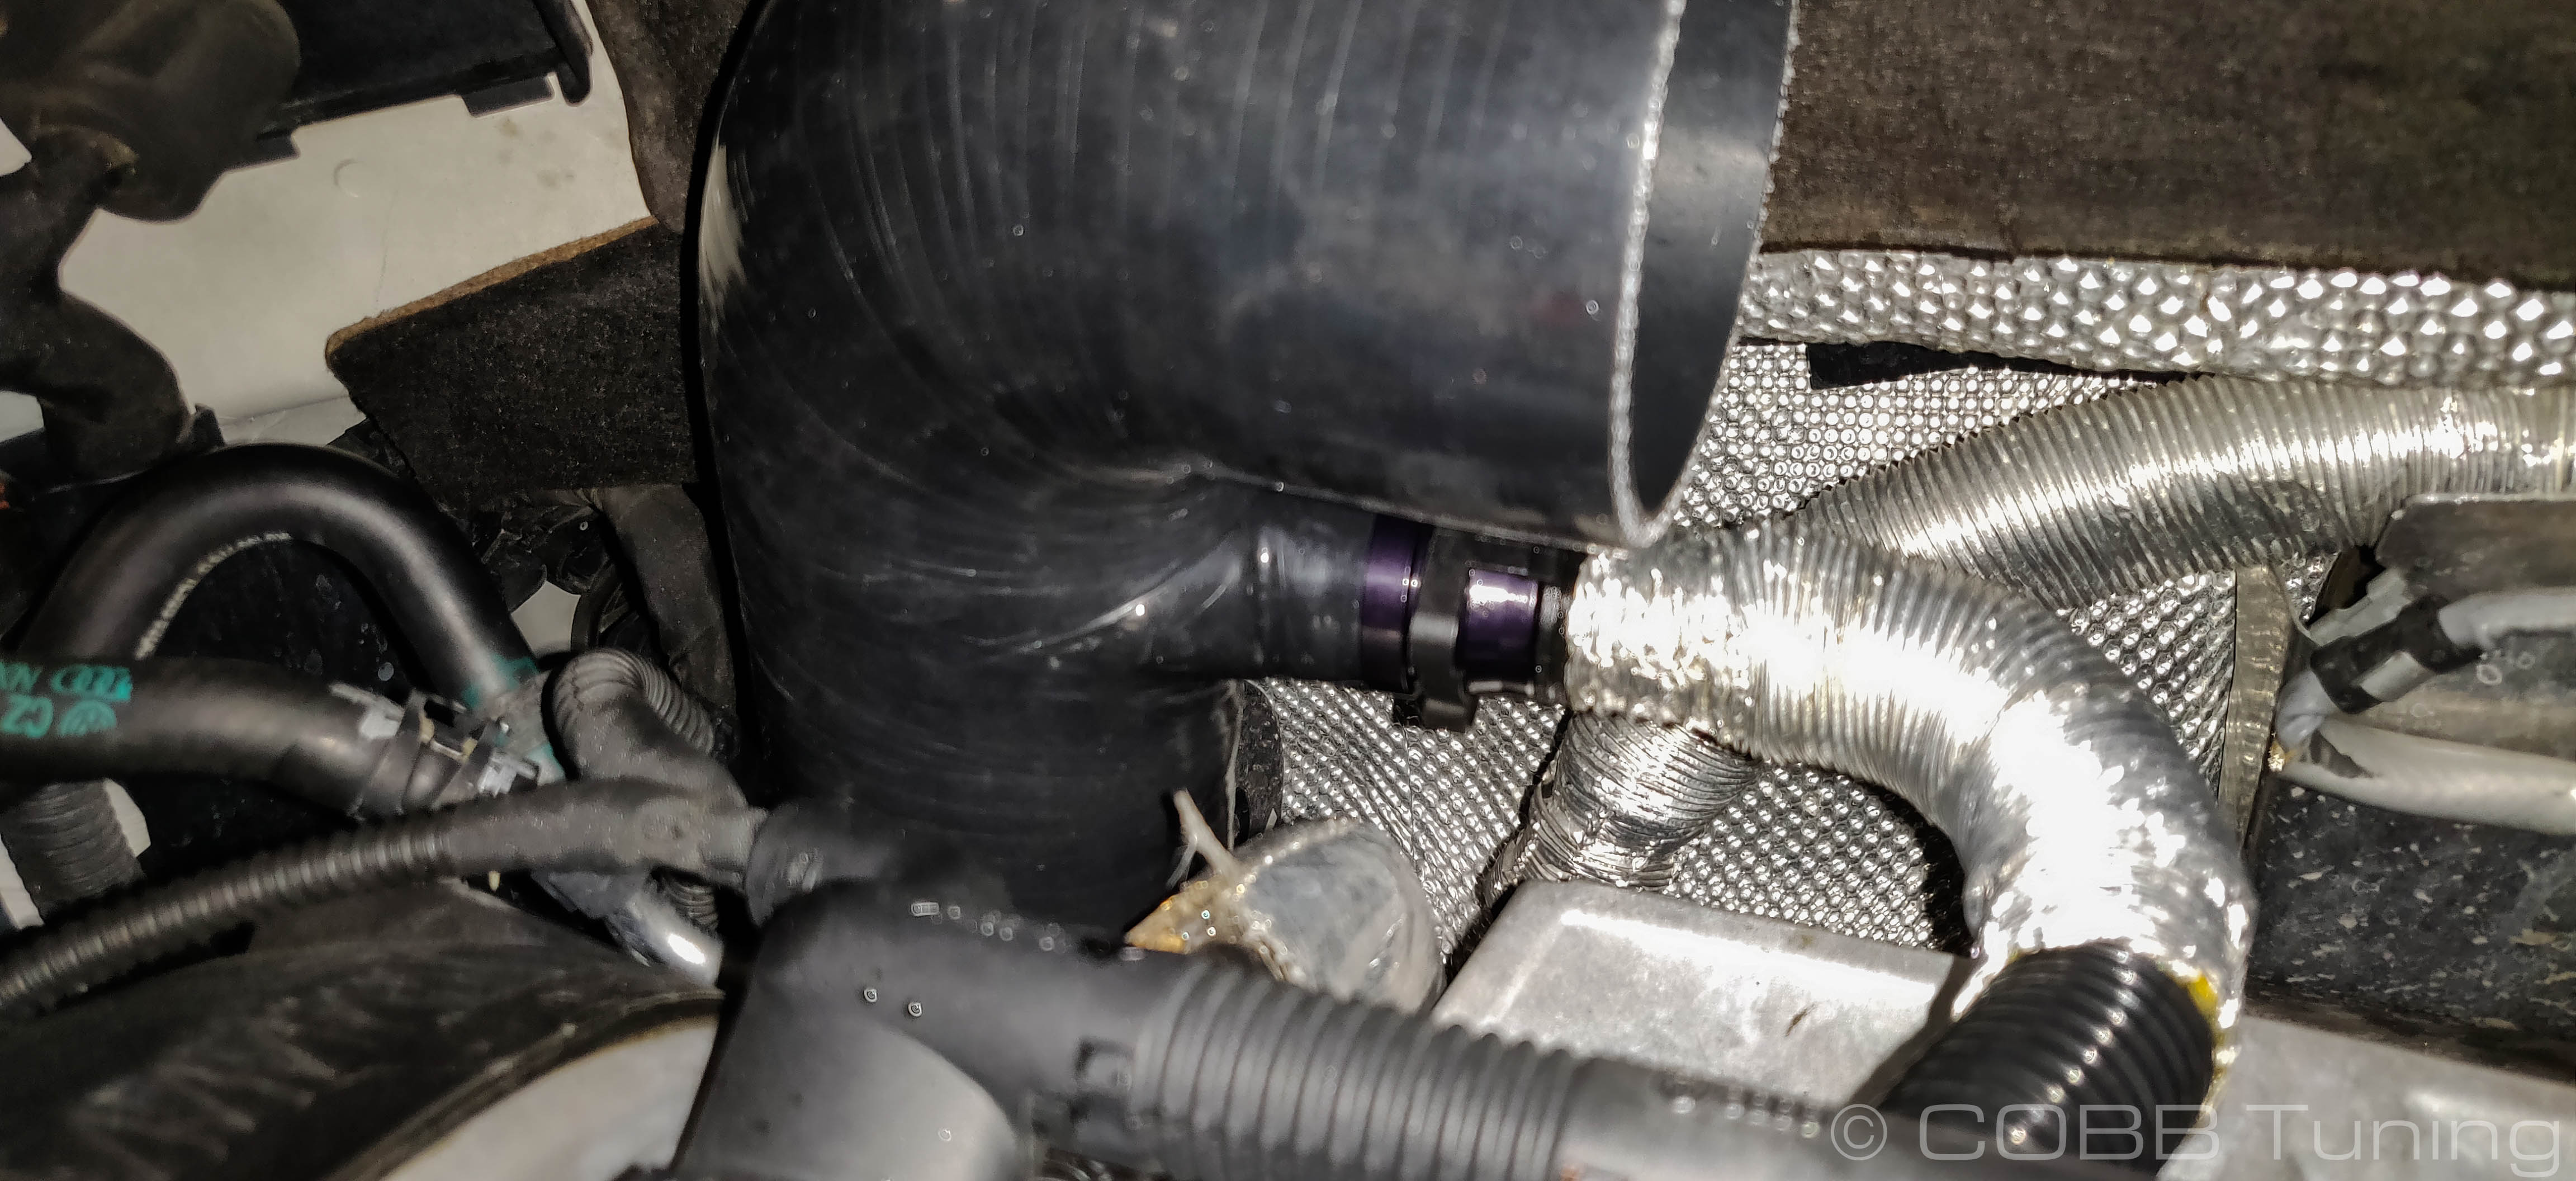
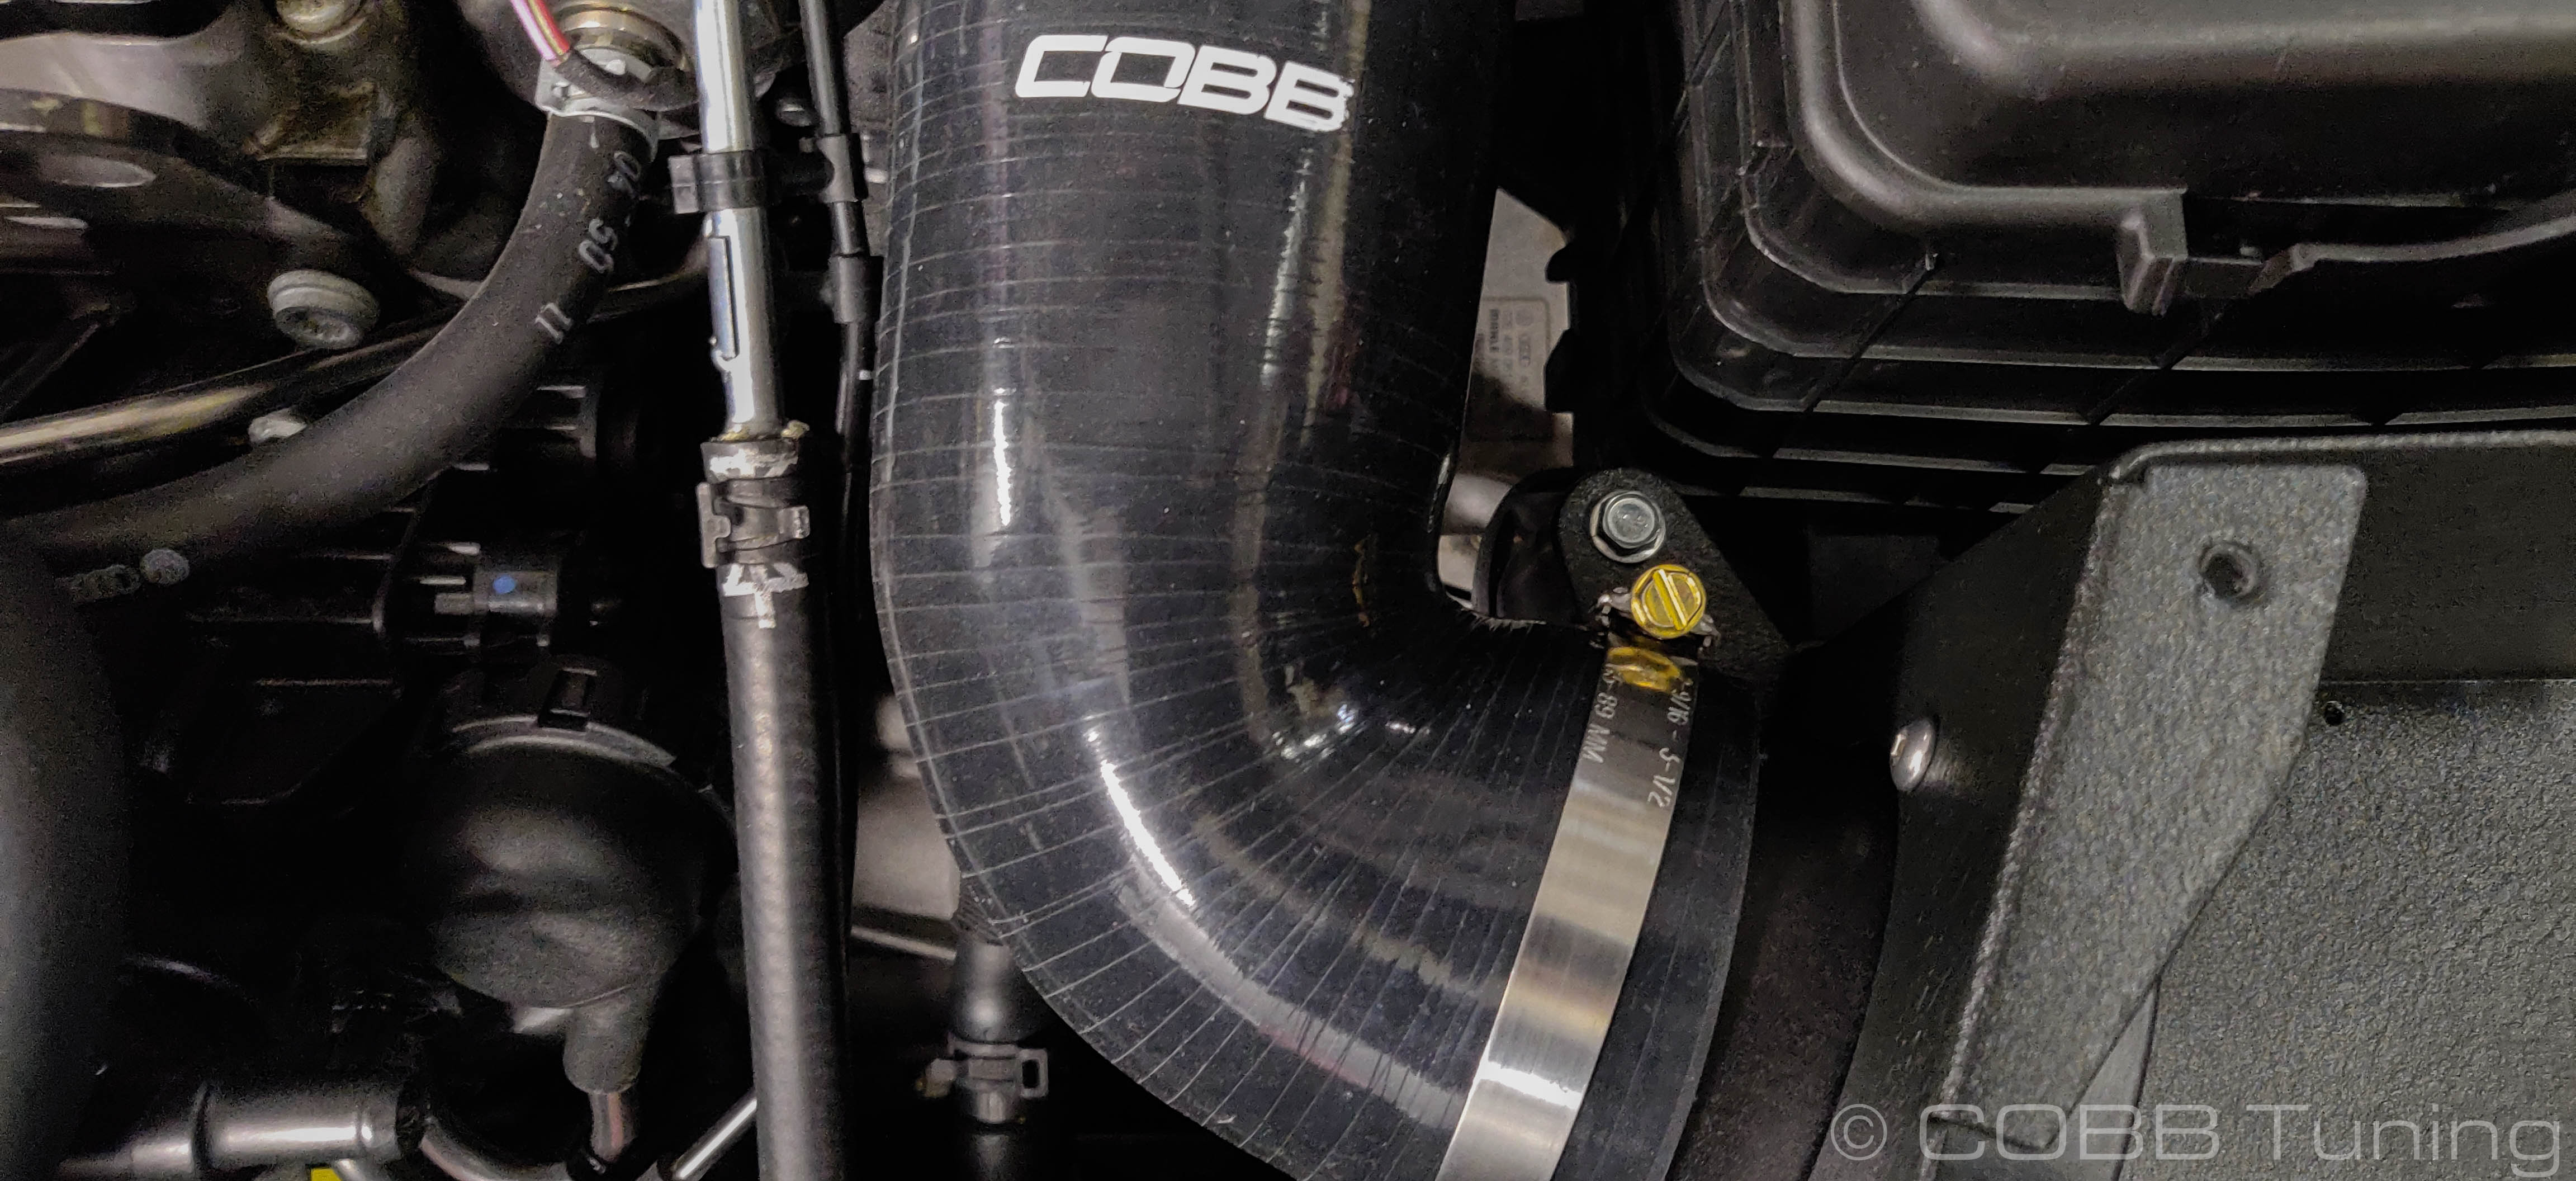
- Add a hose clamp over the metal intake pipe and push it into the turbo inlet coupler.
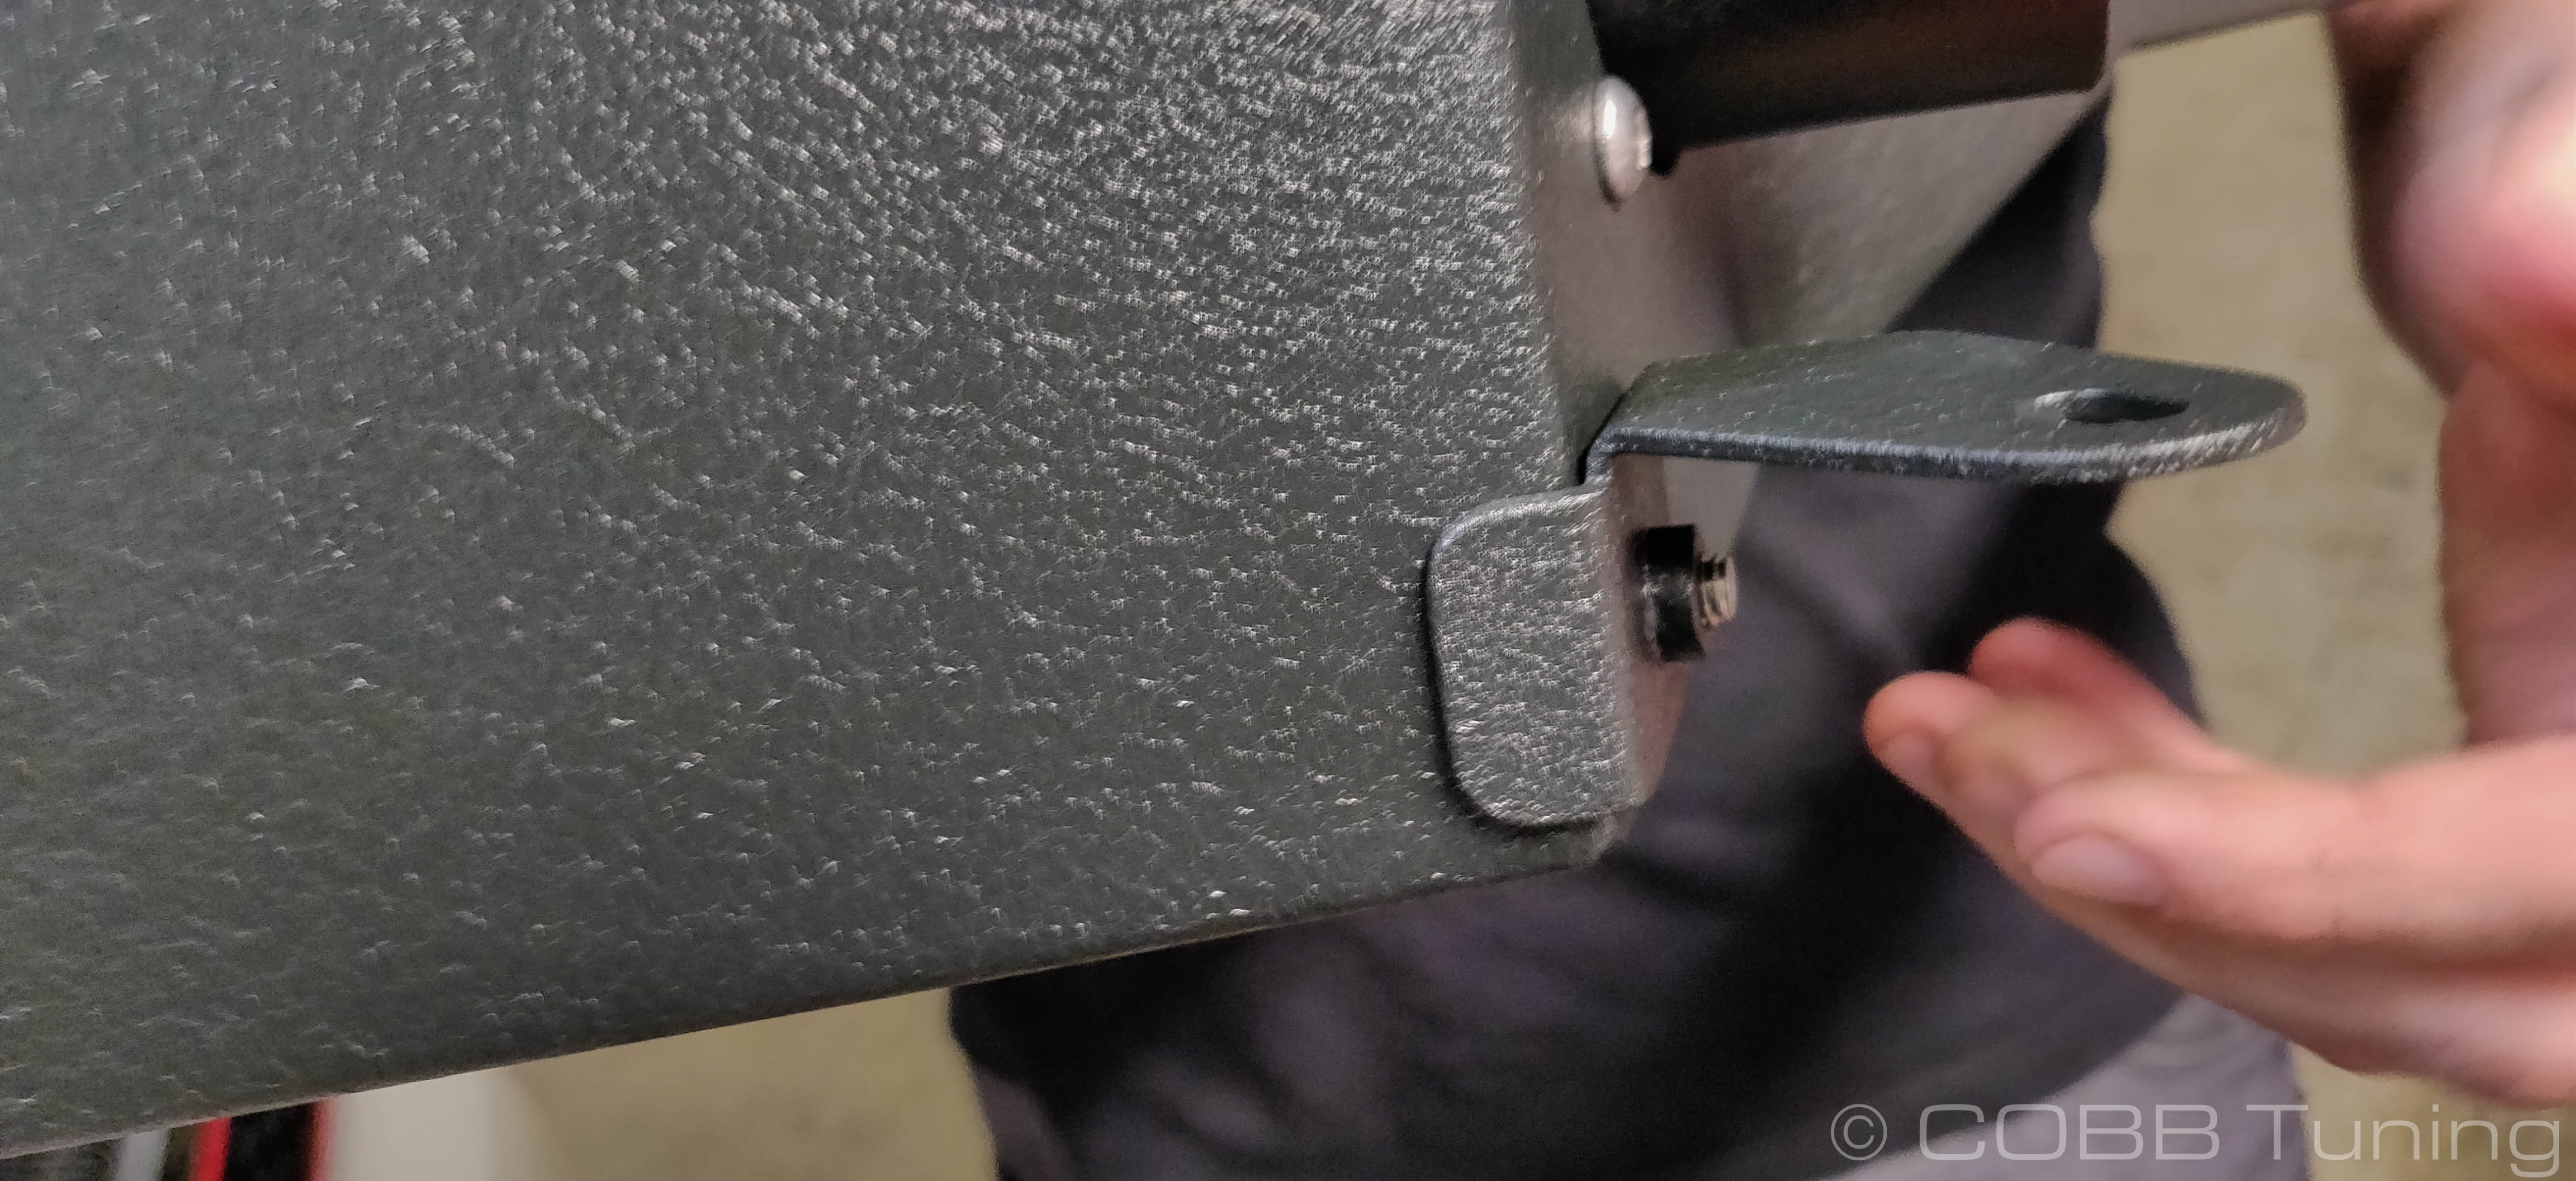
- Line the bottom bracket of the intake up behind the threaded tab.
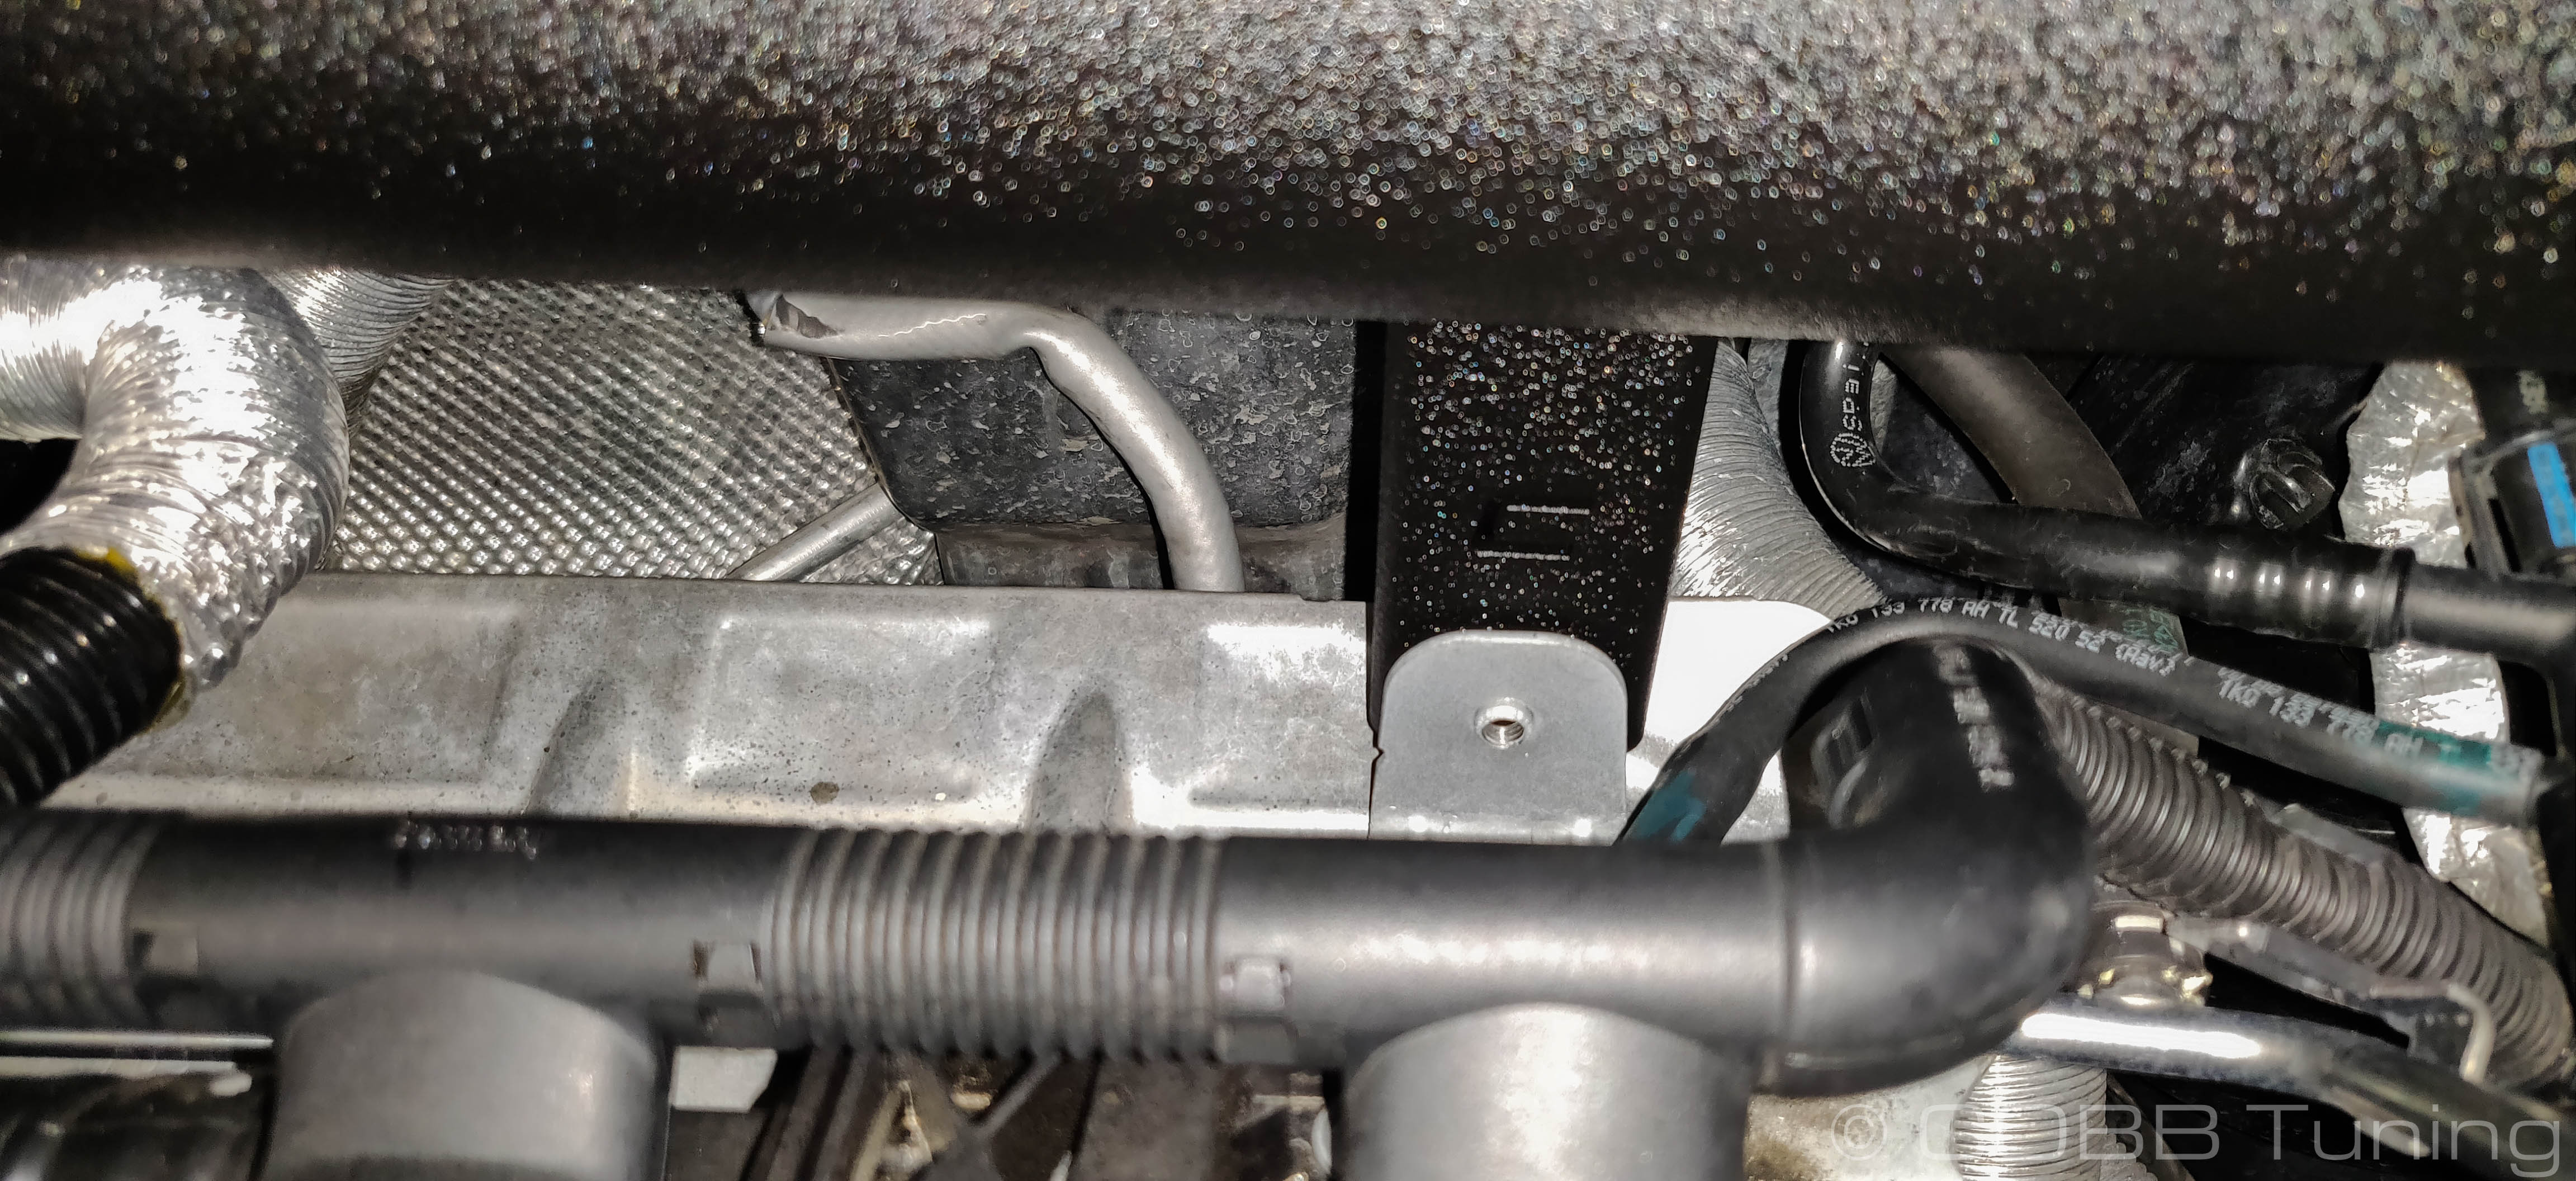
- Take one of the provided hex bolts and loosely run a bolt through the bracket into the threaded hole using a 10mm socket.

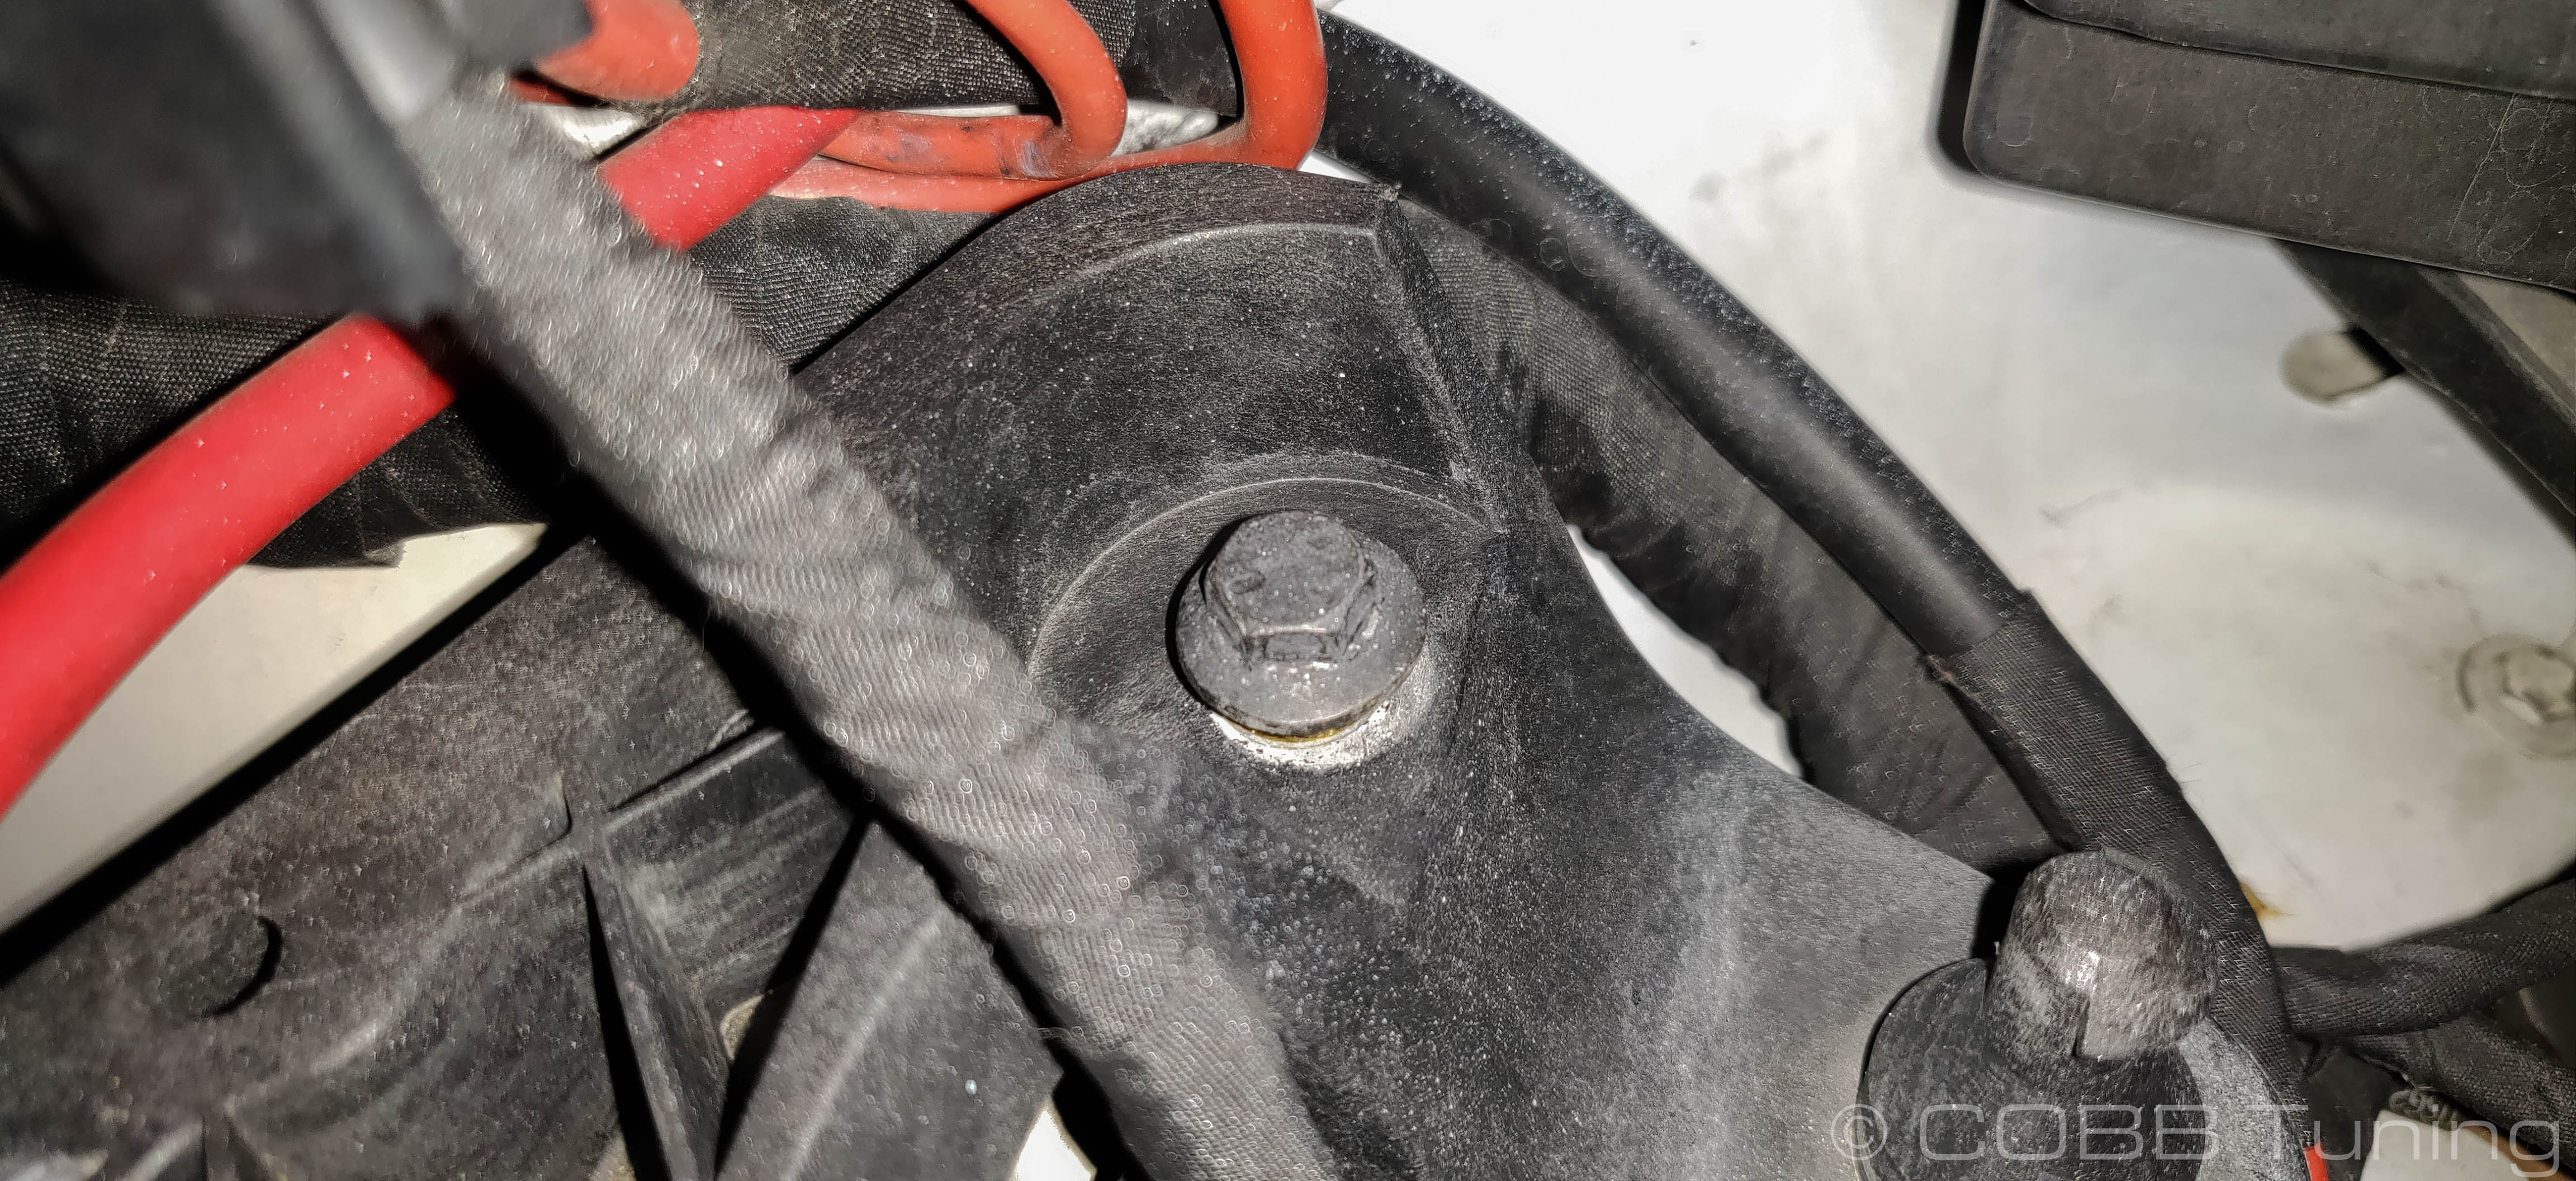
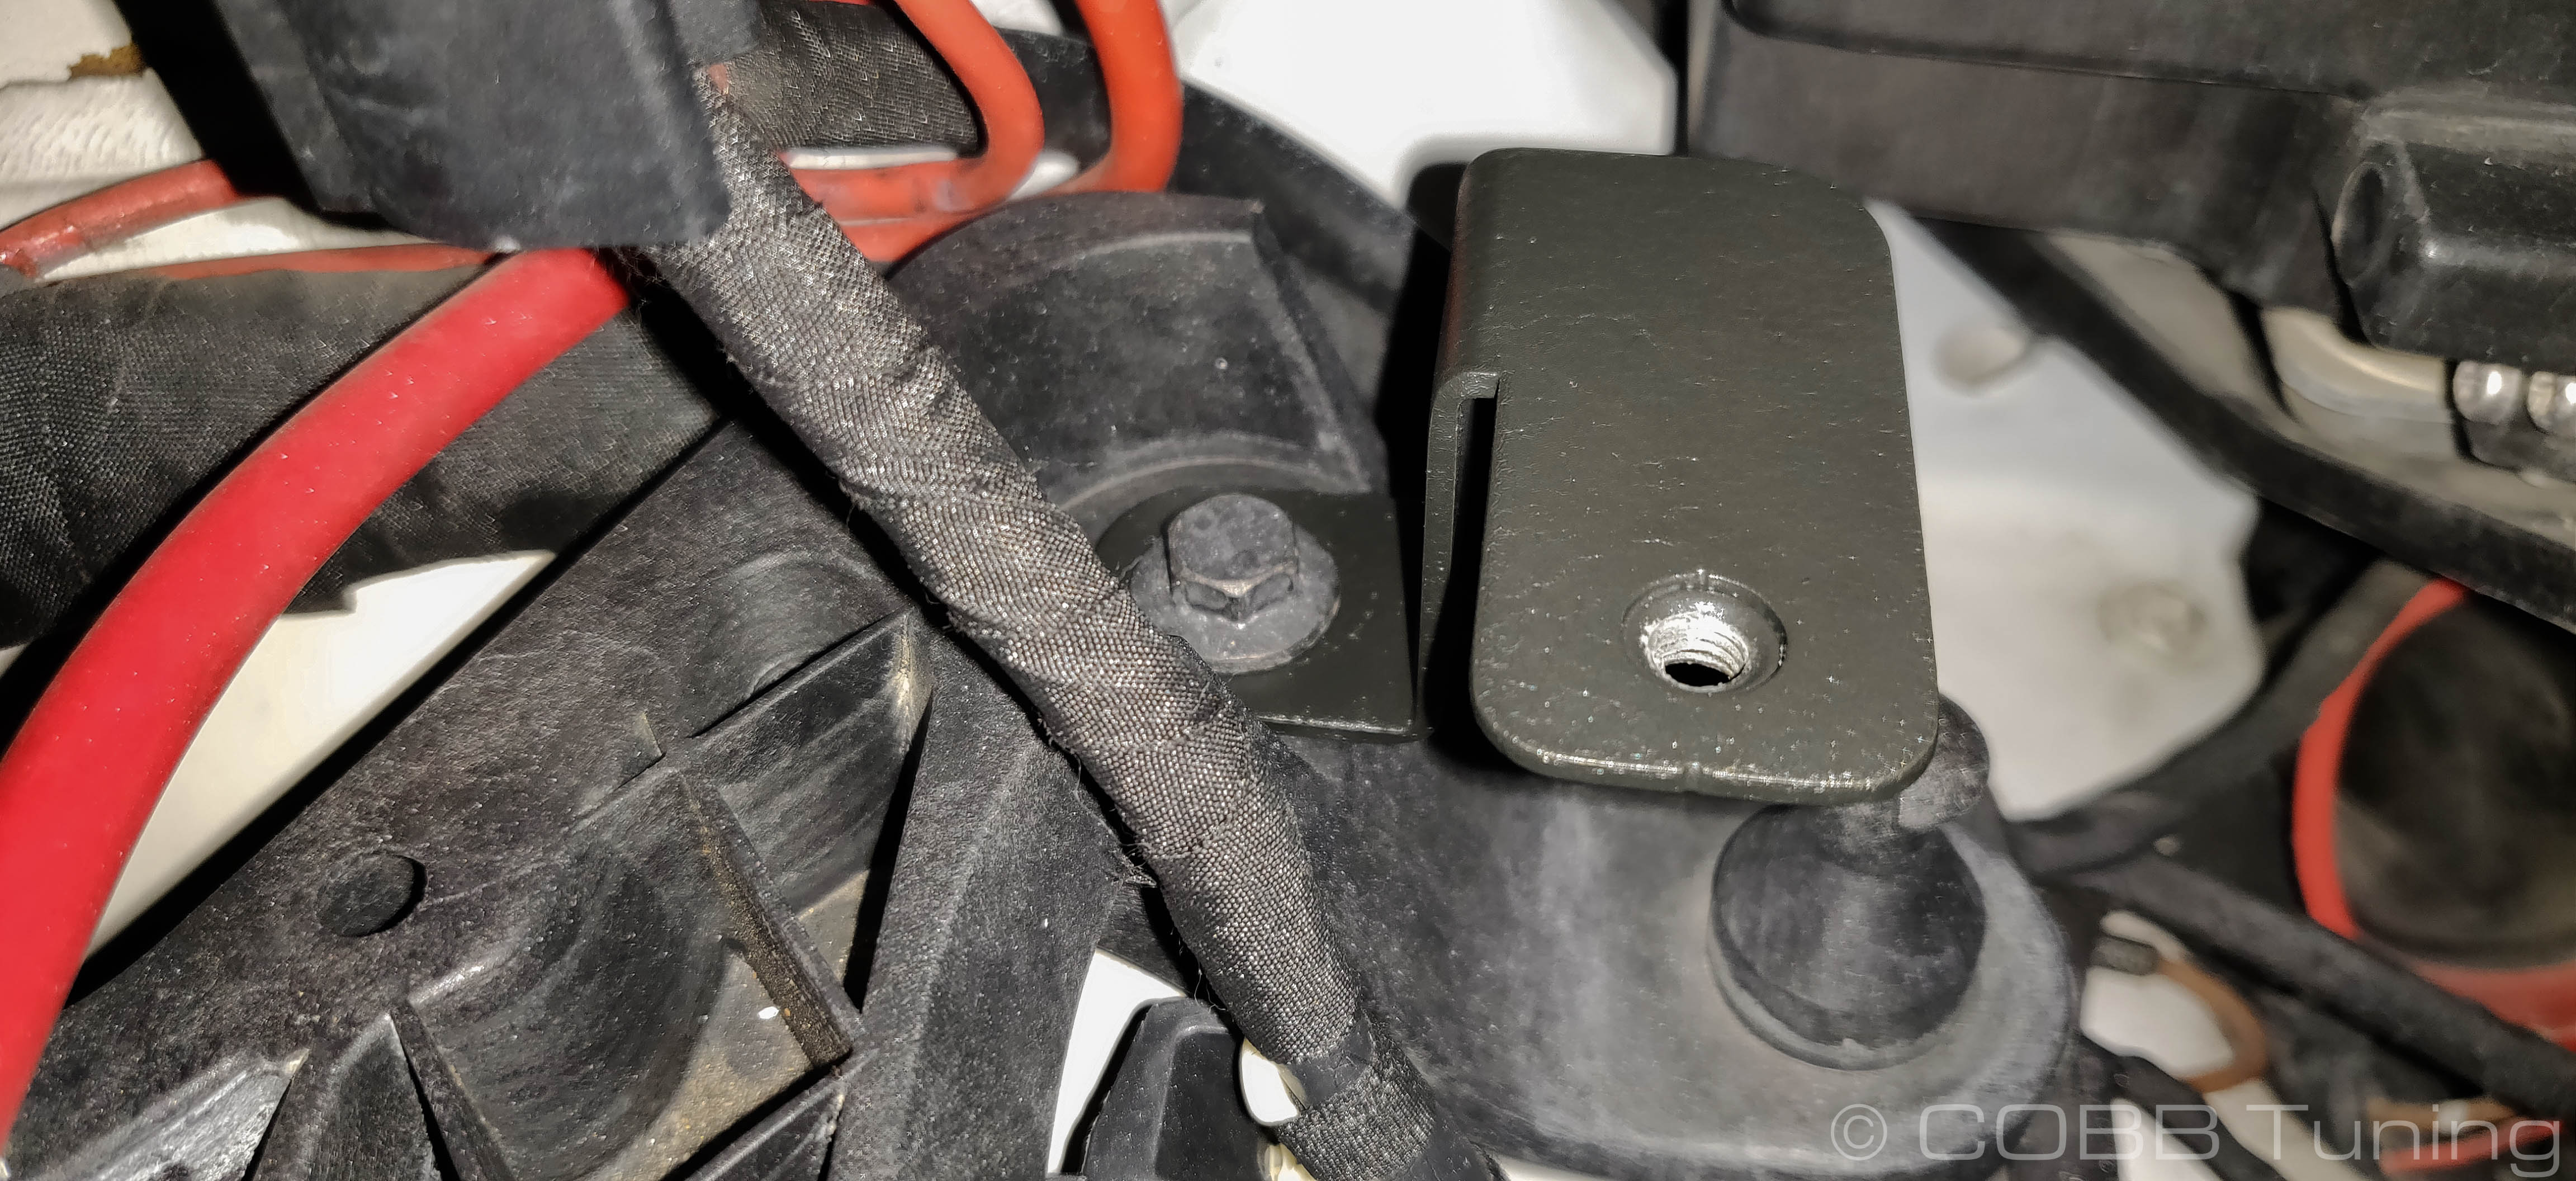
- Remove this bolt near the battery with your 10mm.
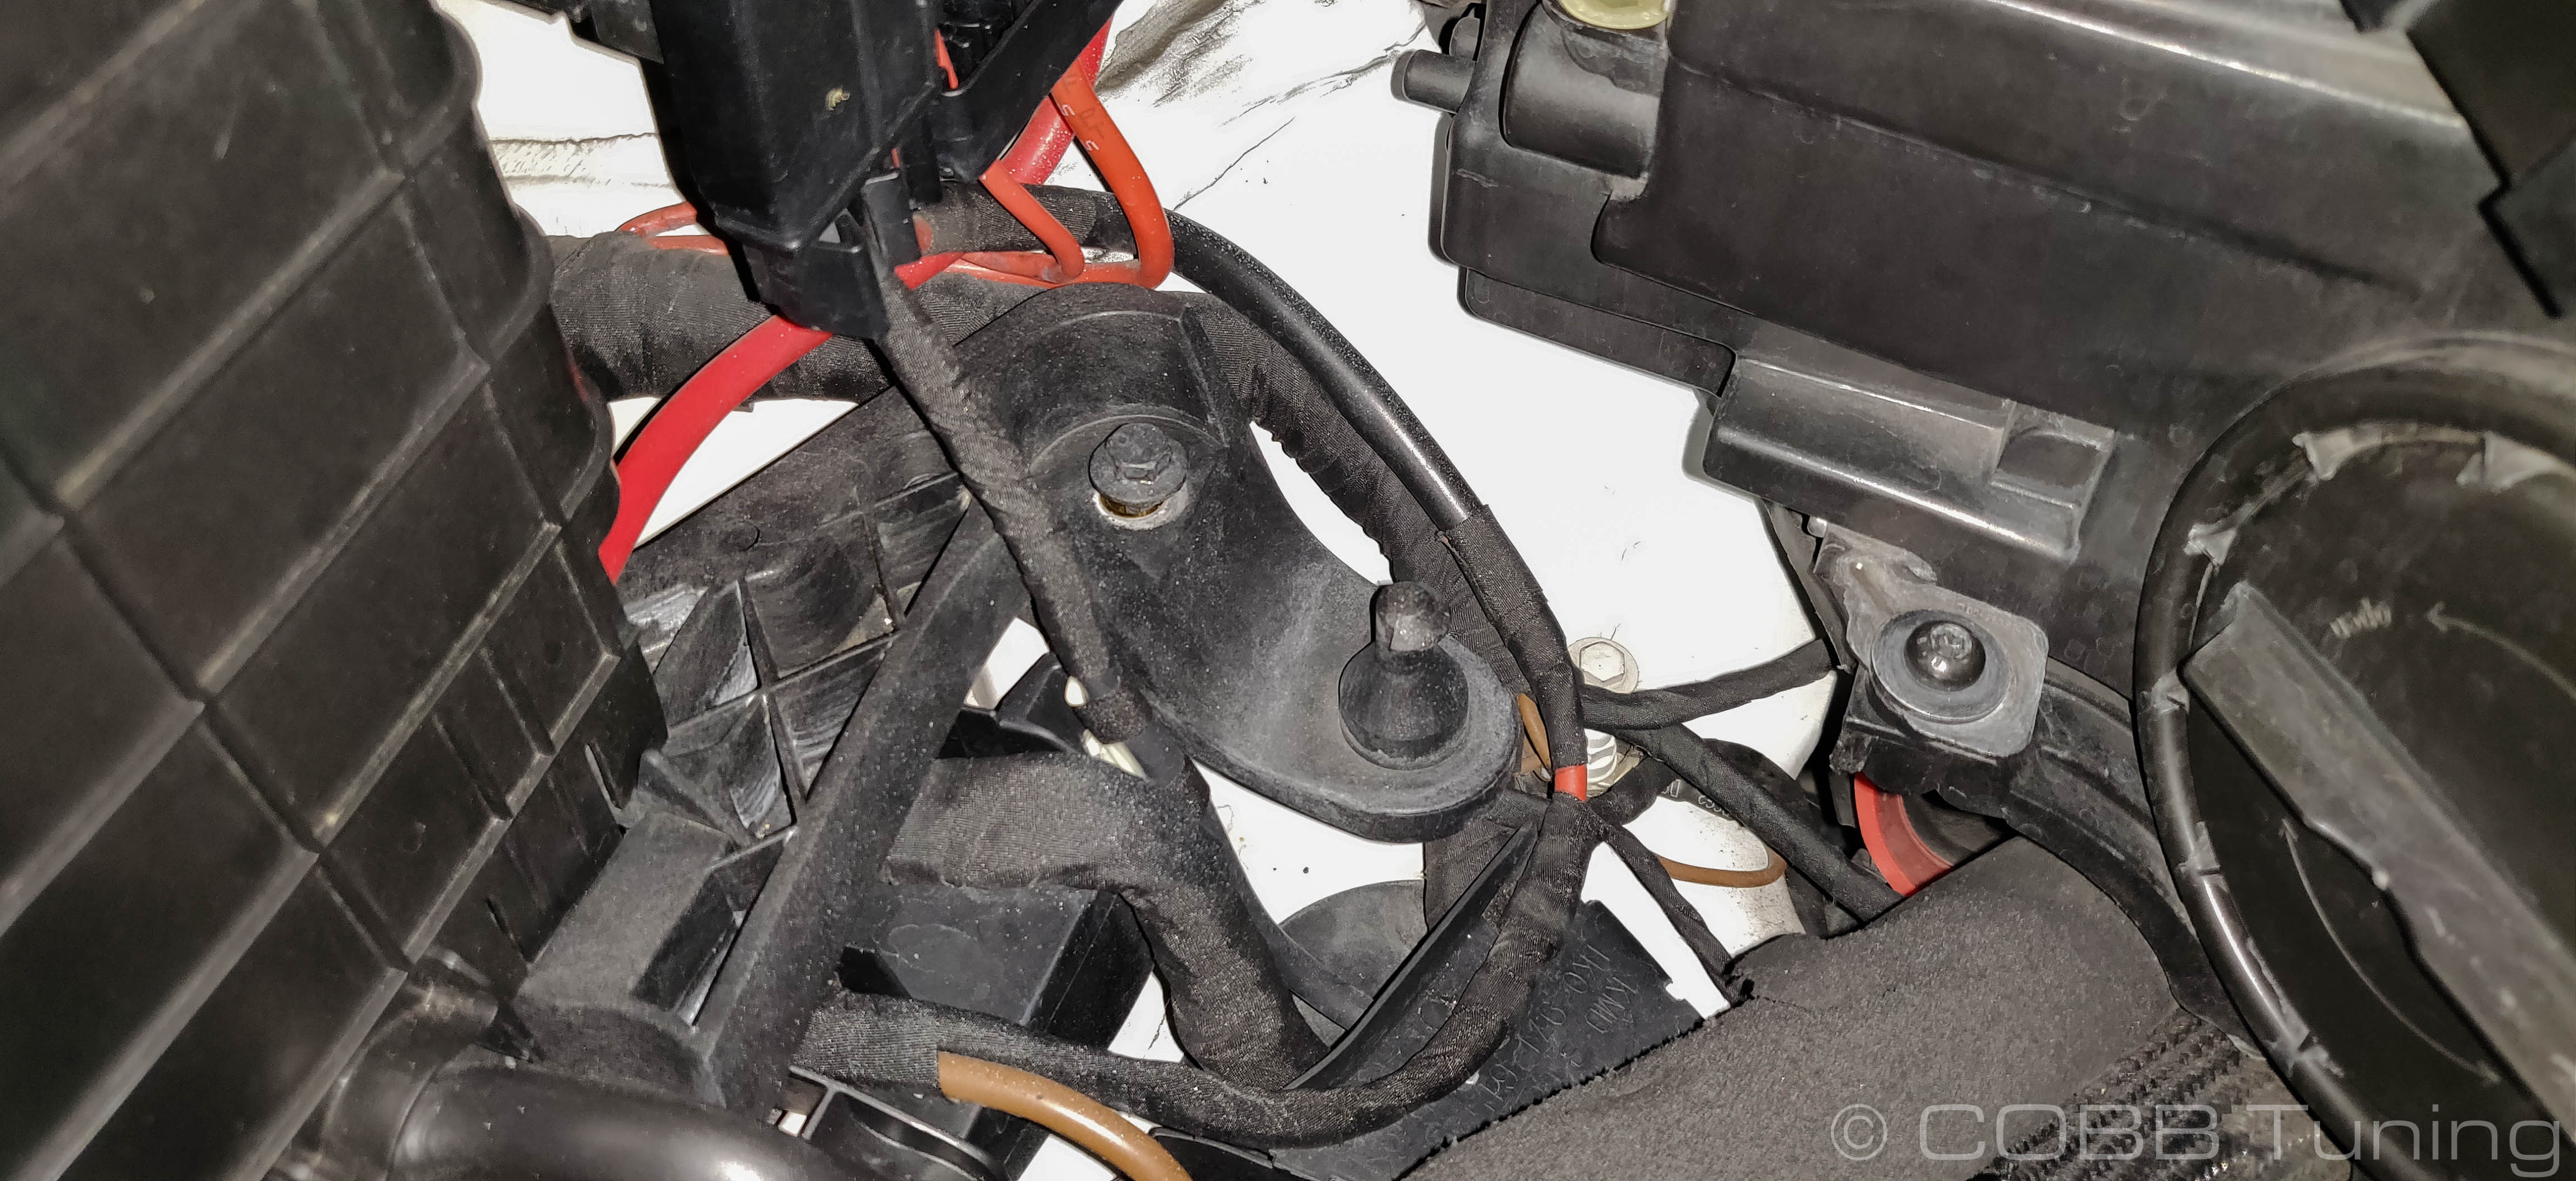
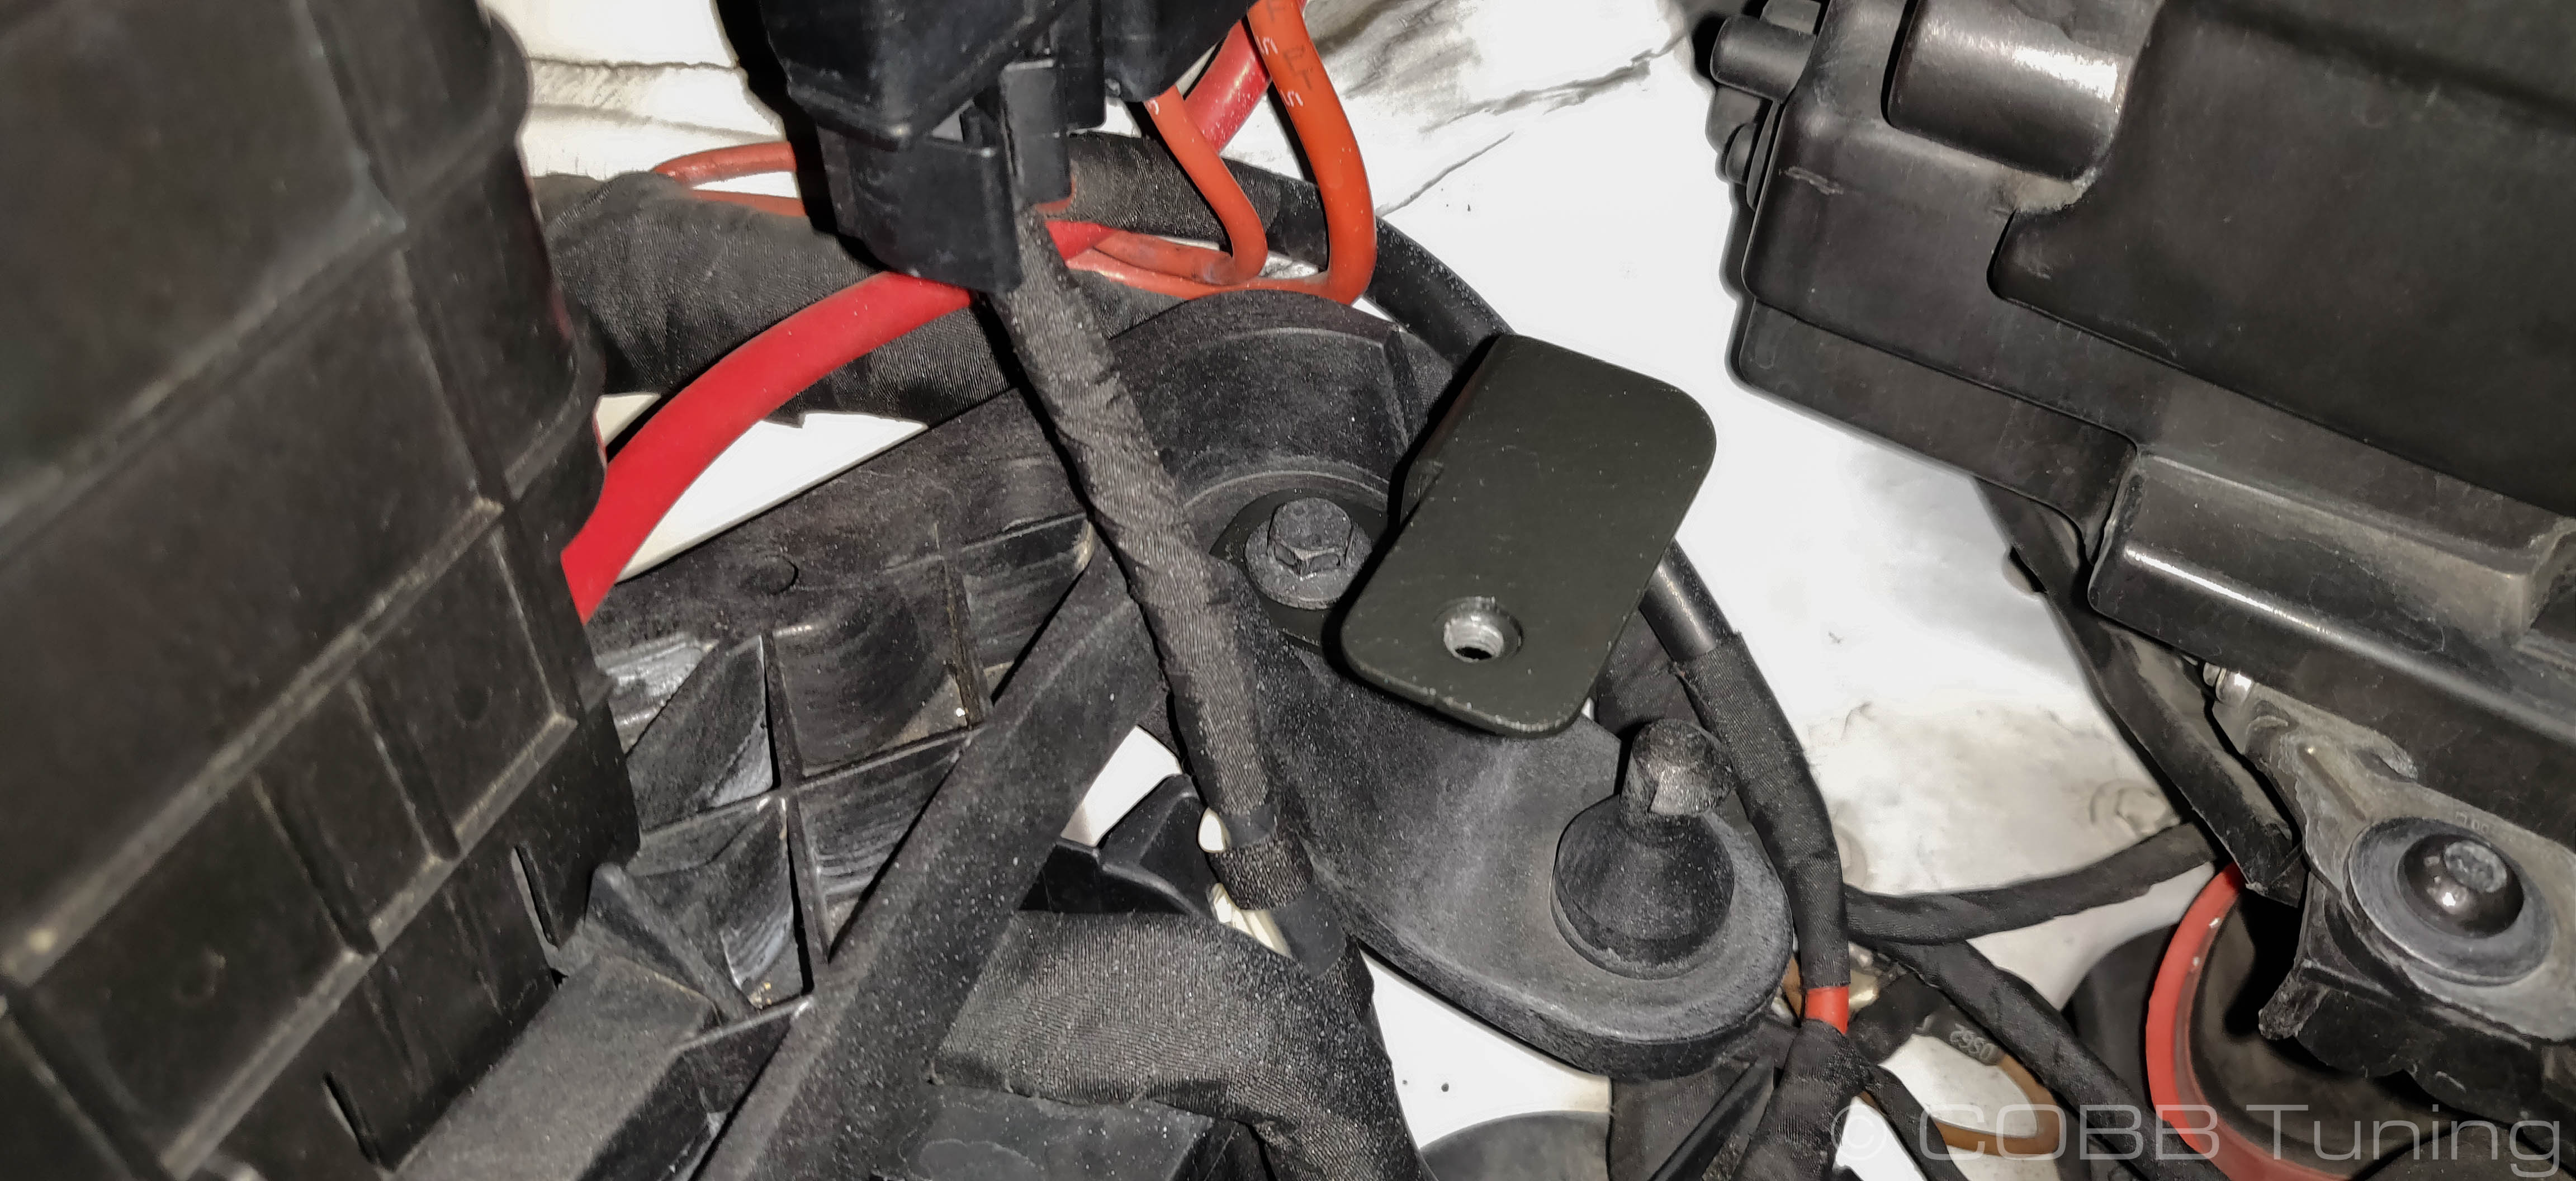
- Add the bracket without the more complicated bracket onto this bolt loosely.
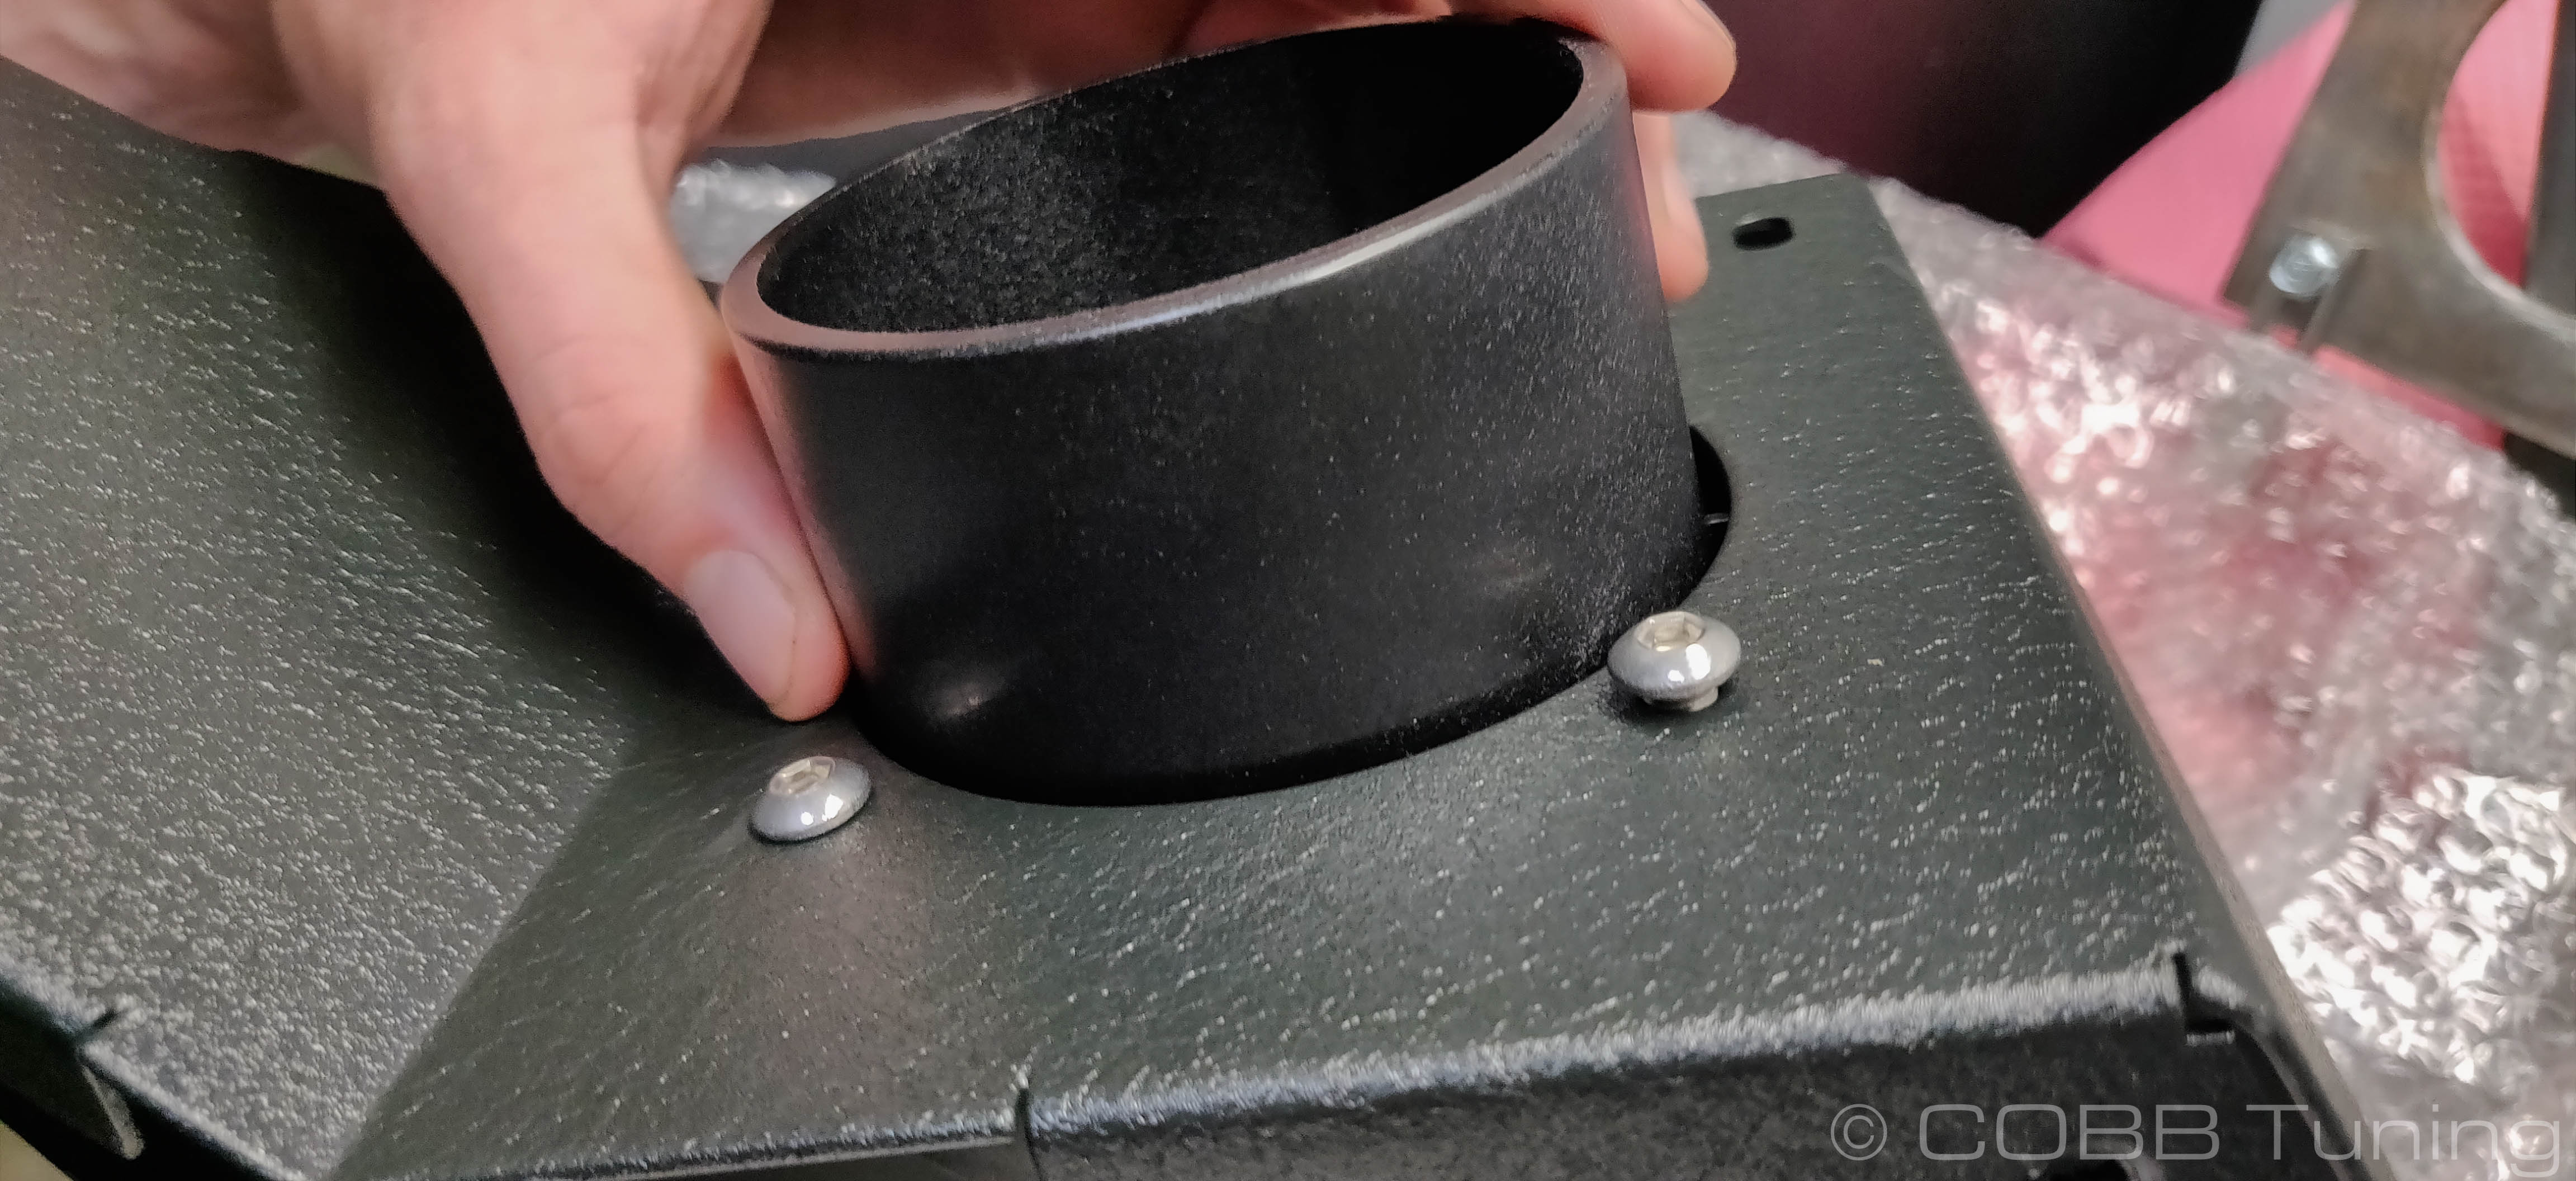
- Take four of the shorter hex screws and add the velocity stack into the airbox with the larger end pointing inwards.
- Take one of your longer hex bolts and add a metal washer to it, use it to install the remaining bracket on the corner of the airbox below the velocity stack you just installed. Note the hole is slotted to allow some adjustment at installation to make sure it sits in a good spot.

- Install the other supplied fitting made of plastic into the provided air pump filter and tighten the hose clamp. (Don't forget to remove the plastic)


- Install this assembly onto the airpump hose by pushing it inwards until it clicks.

- Zip tie the air pump intake out of the way below the airbox bracket. Take care to avoid having it rub on one of the coolant lines.
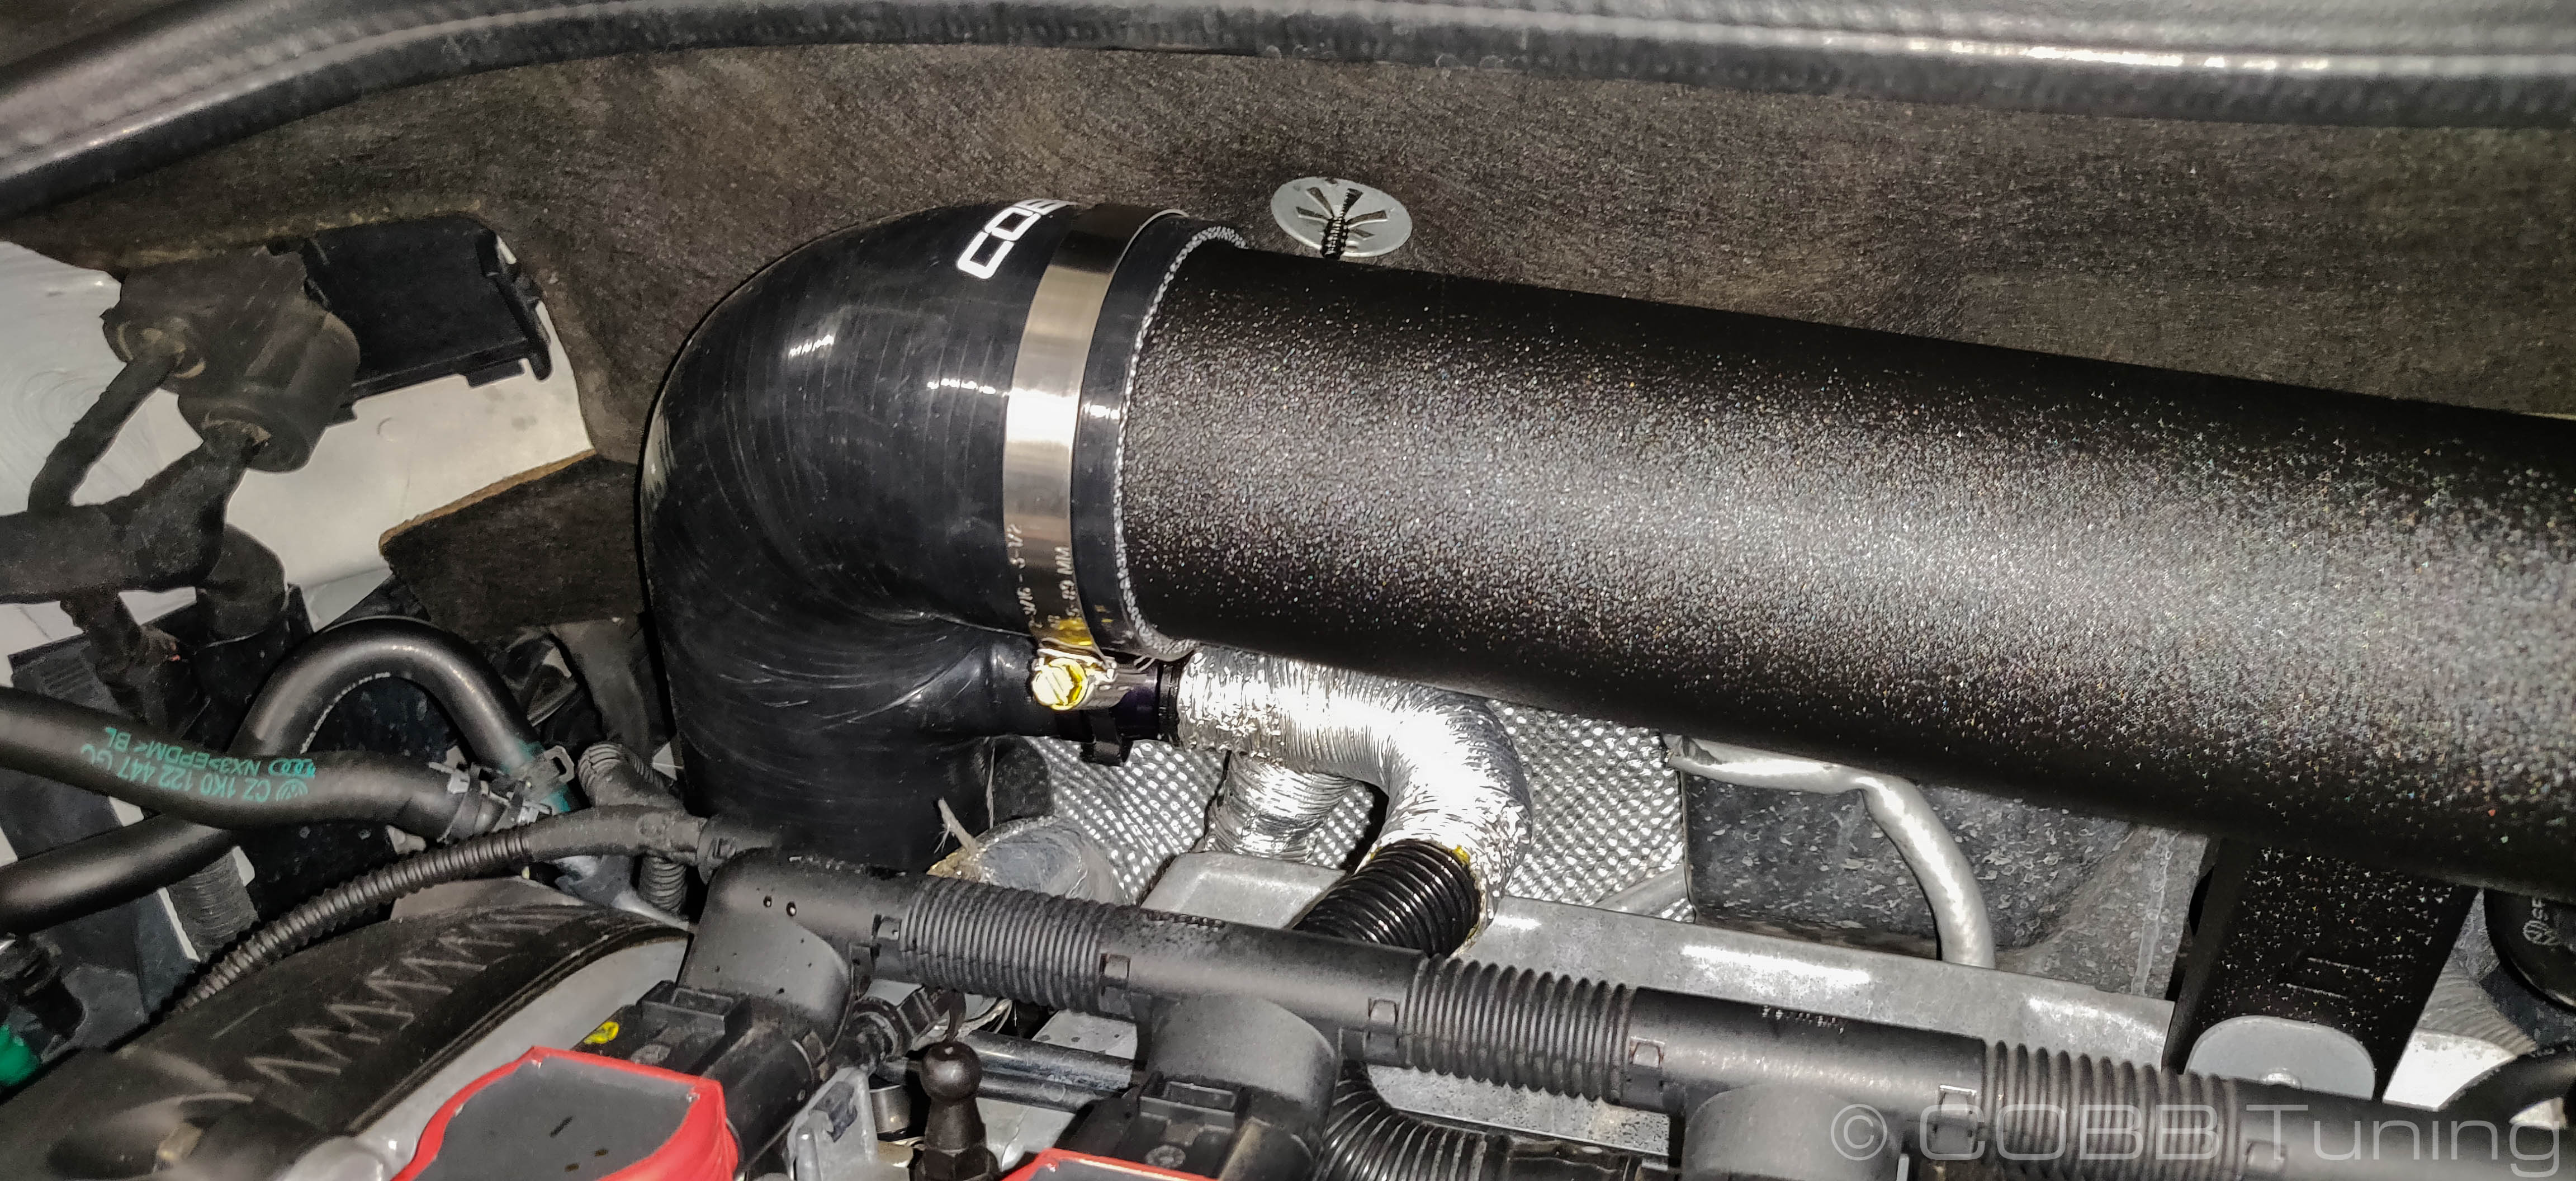
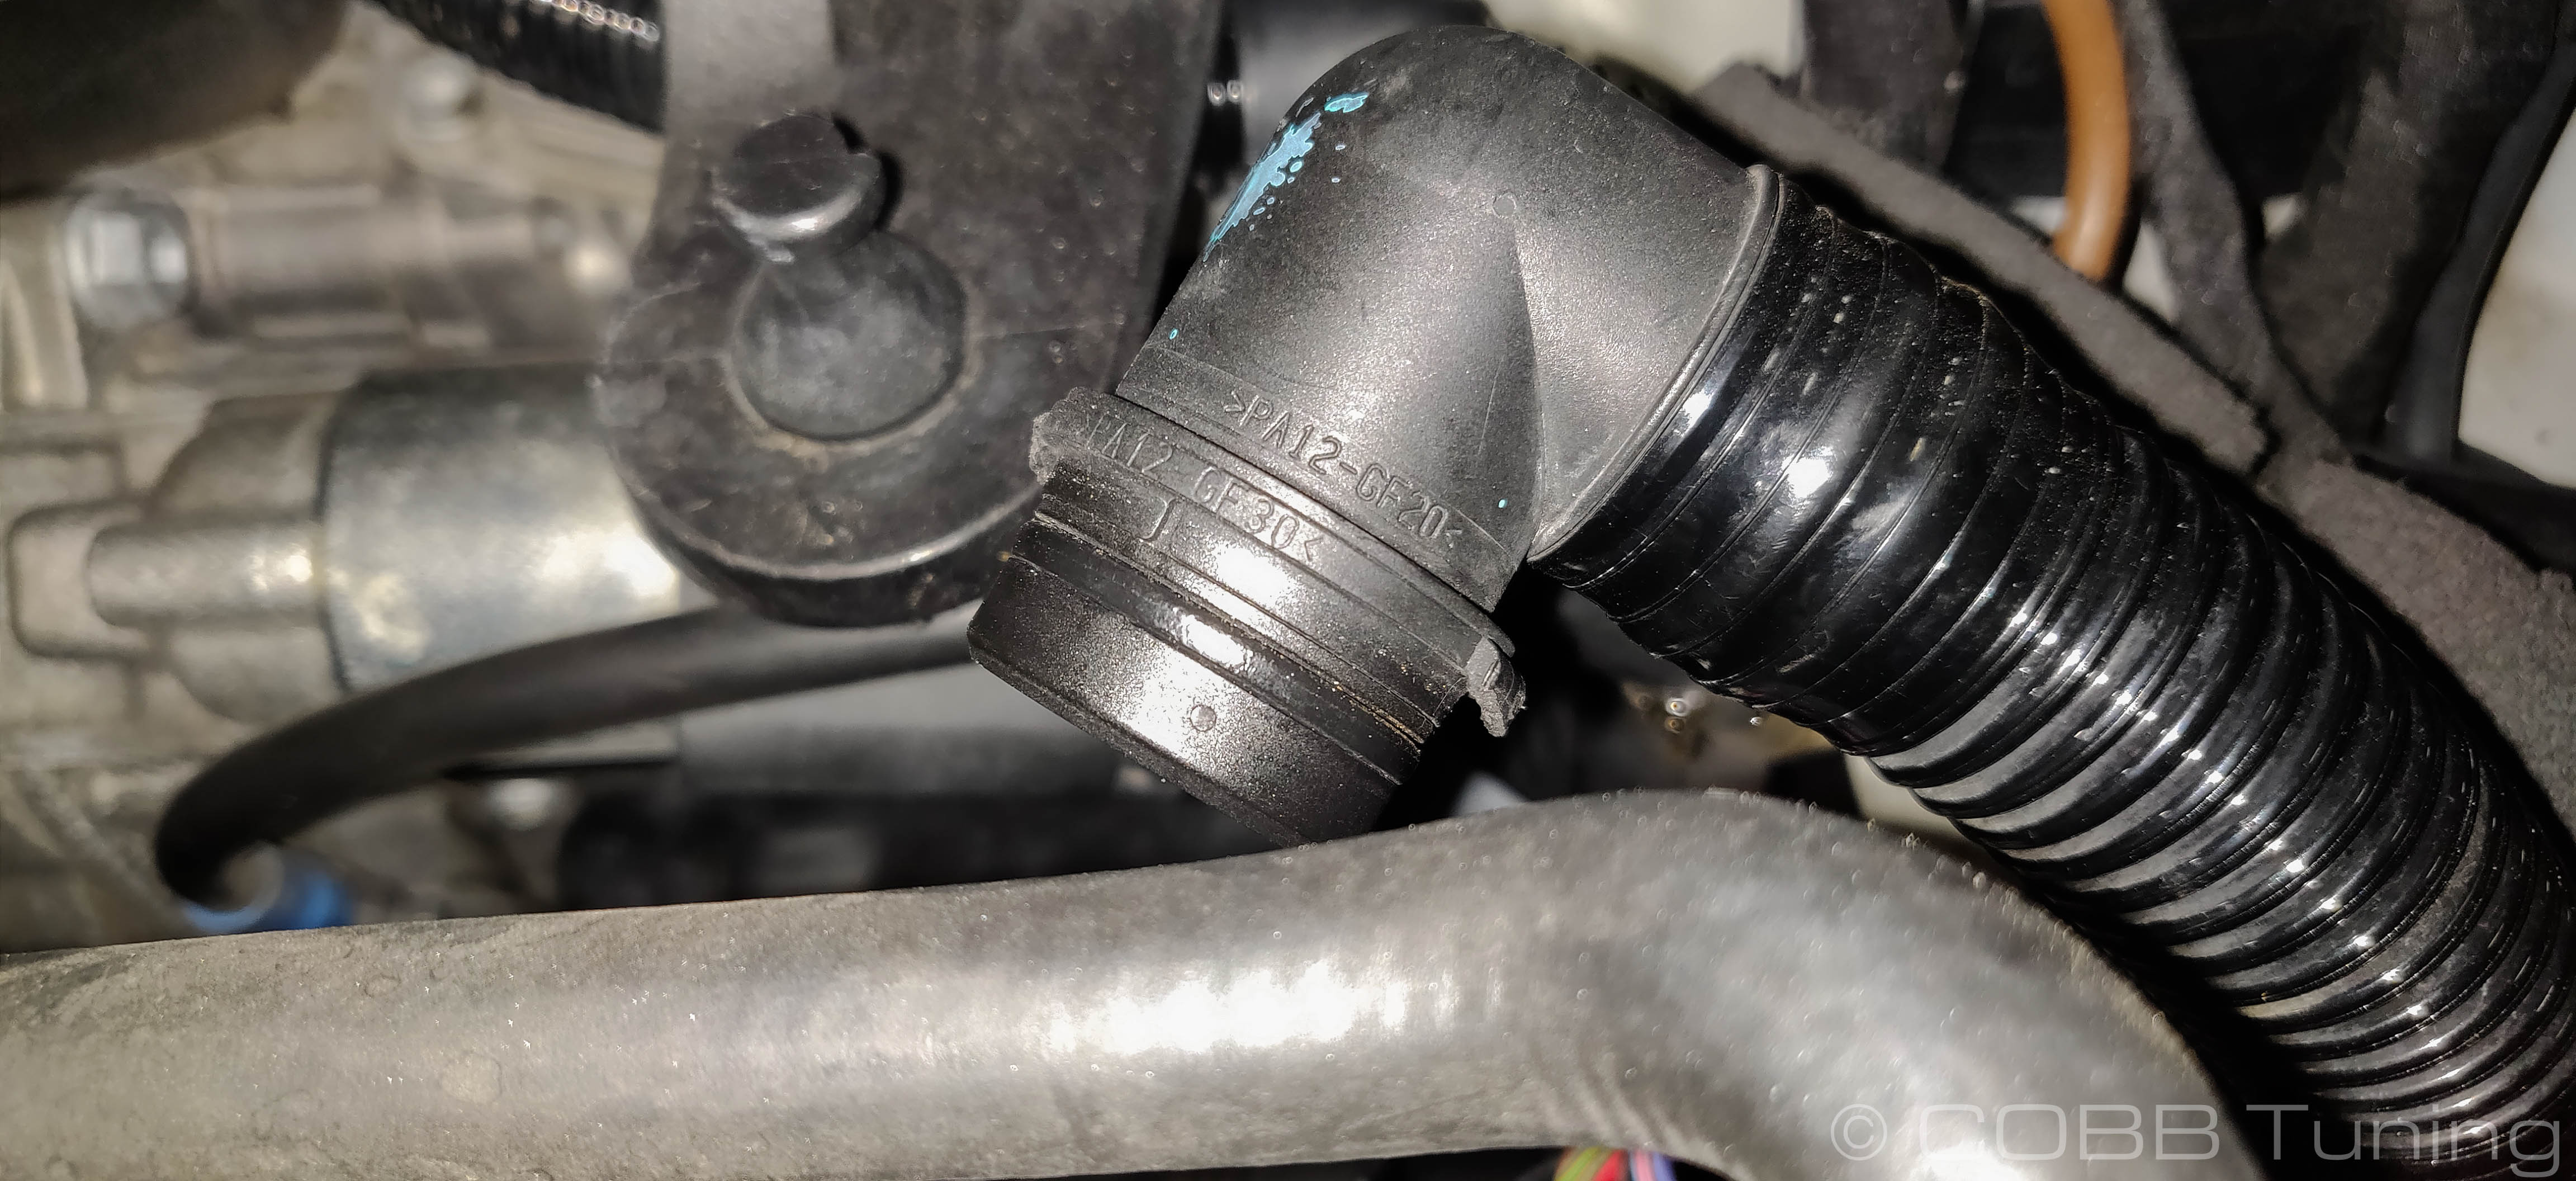
- Install the straight coupler onto the MAF housing on the upstream side. Make sure the arrow on the side is pointing in towards the small coupler.

- Install the longer bent coupler onto the intake side of the MAF housing.
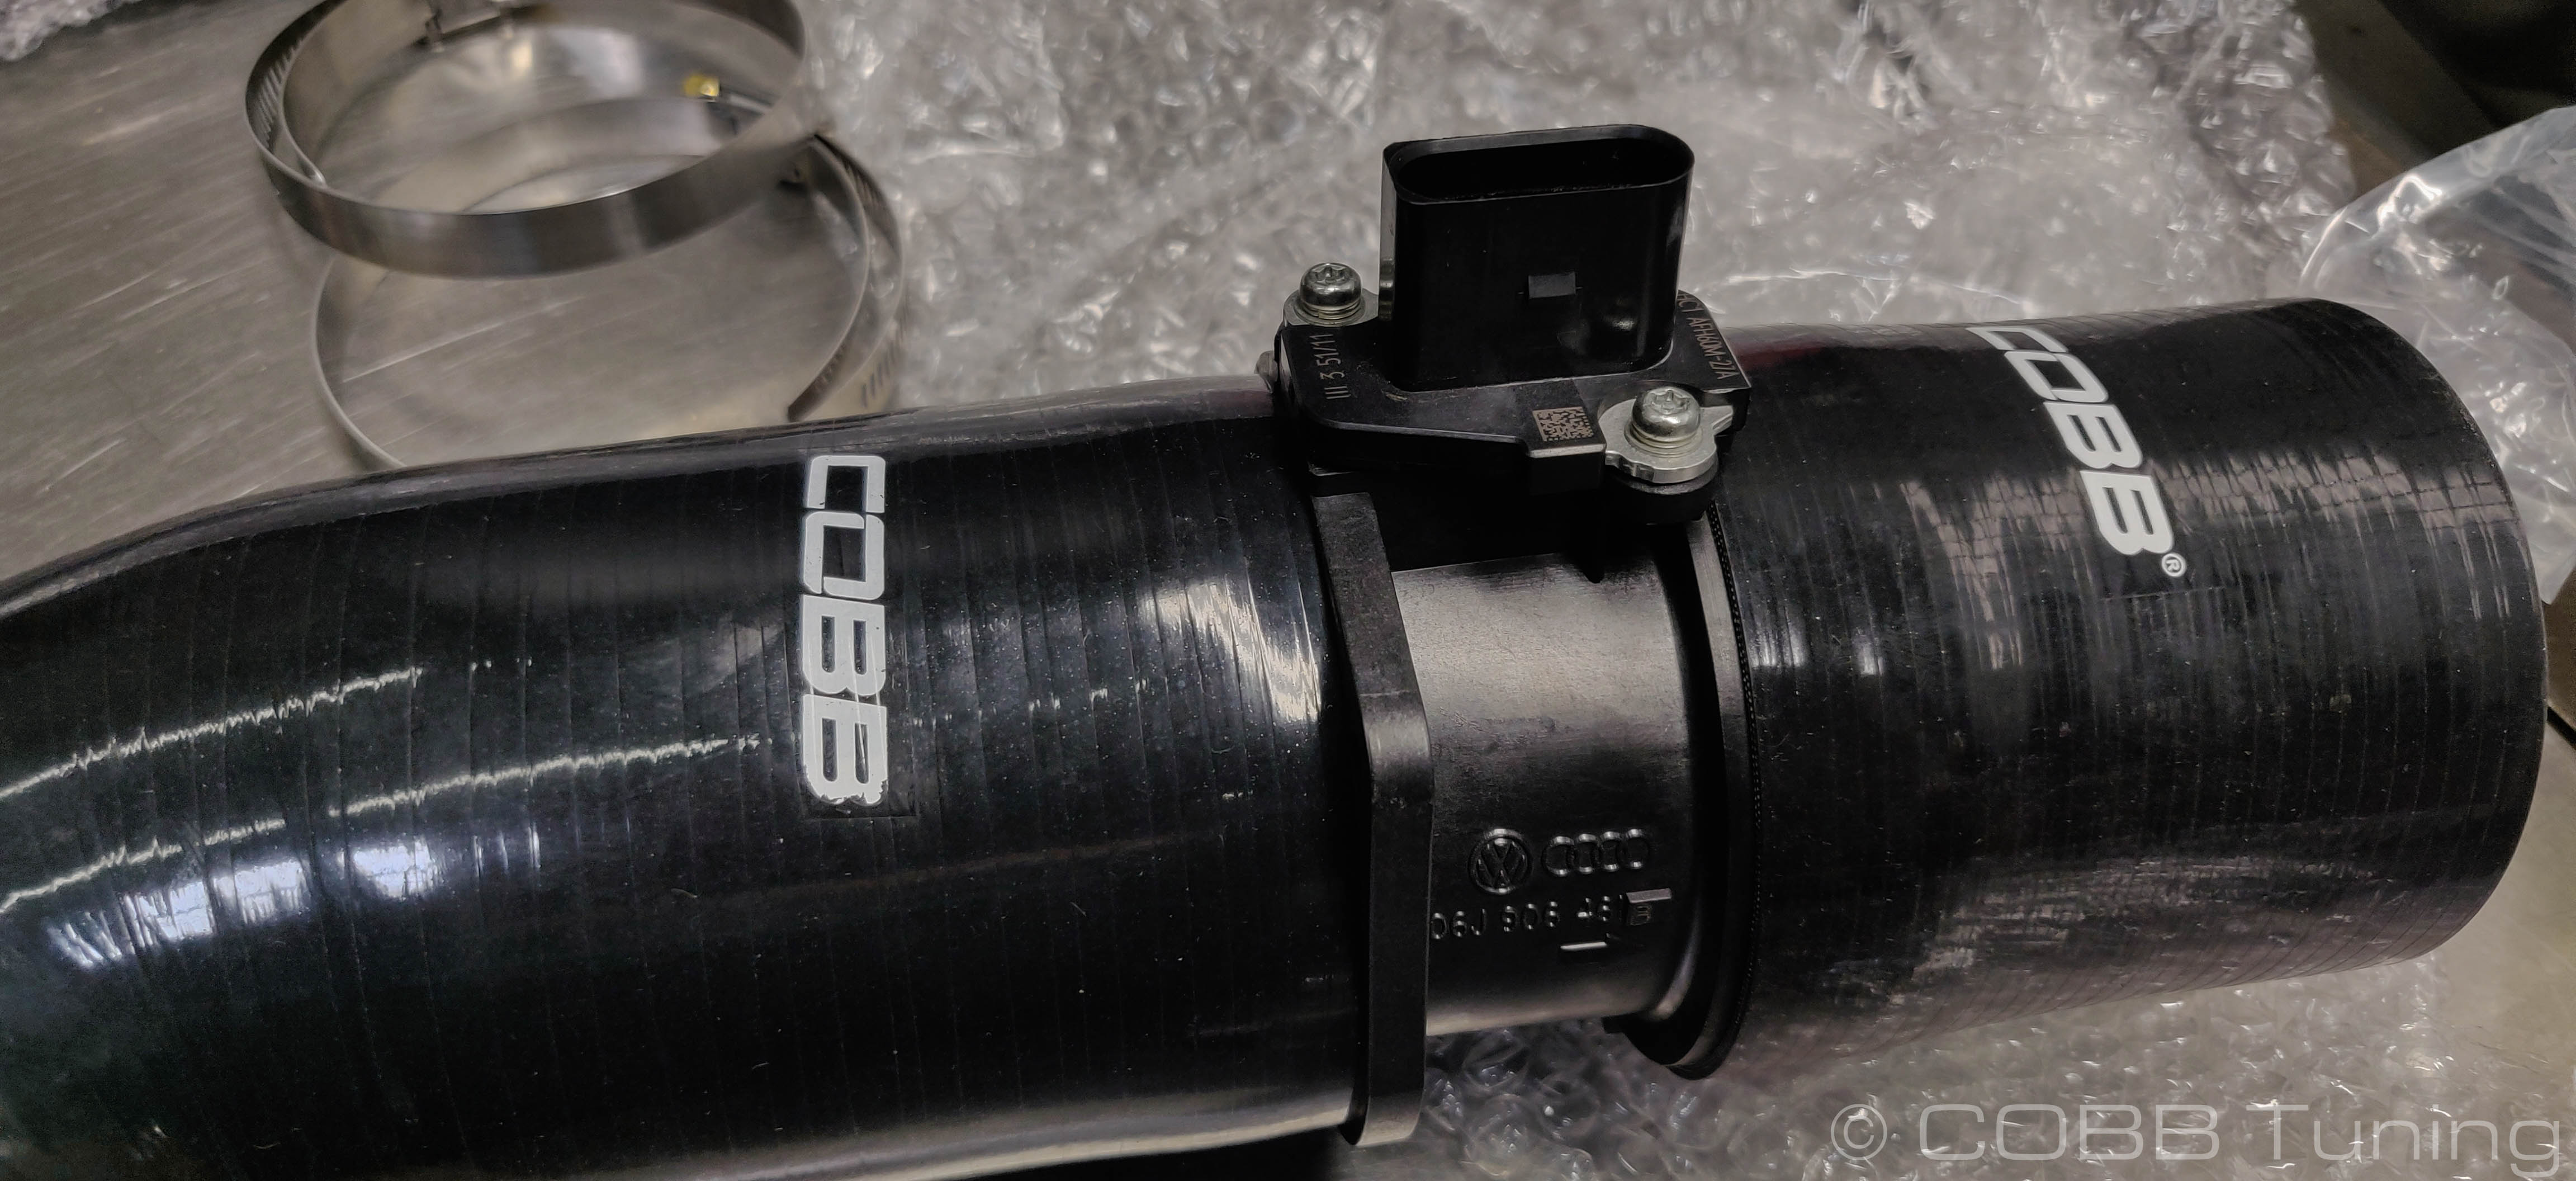
- Slip Hose clamps over both ends of the maf housing, and then the other end of each coupler.
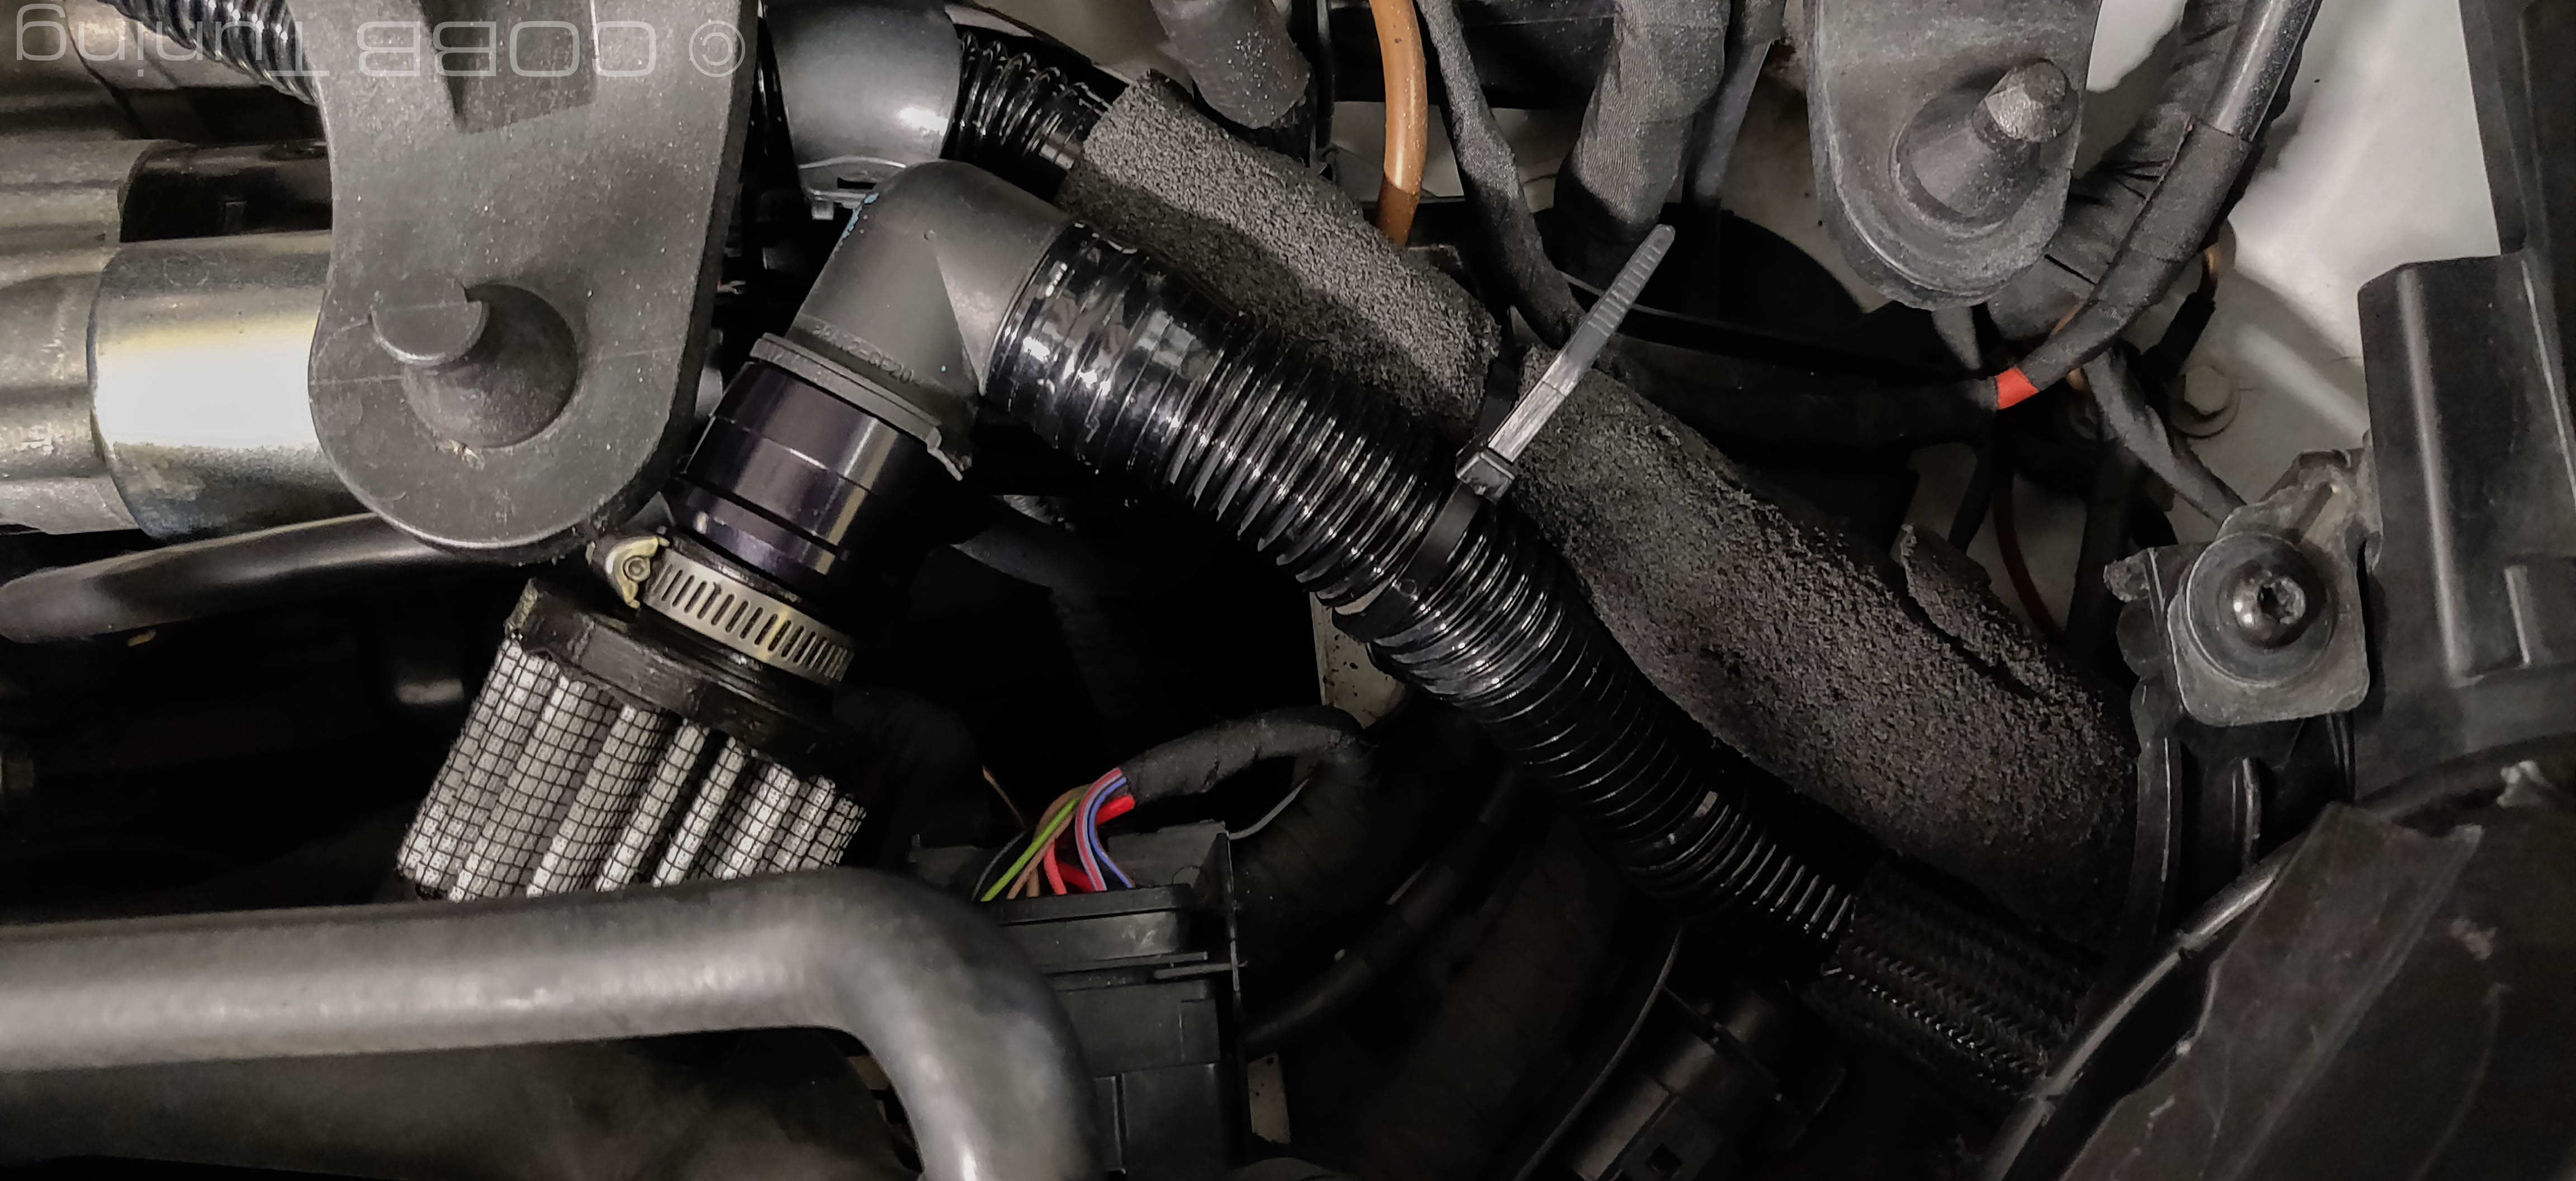
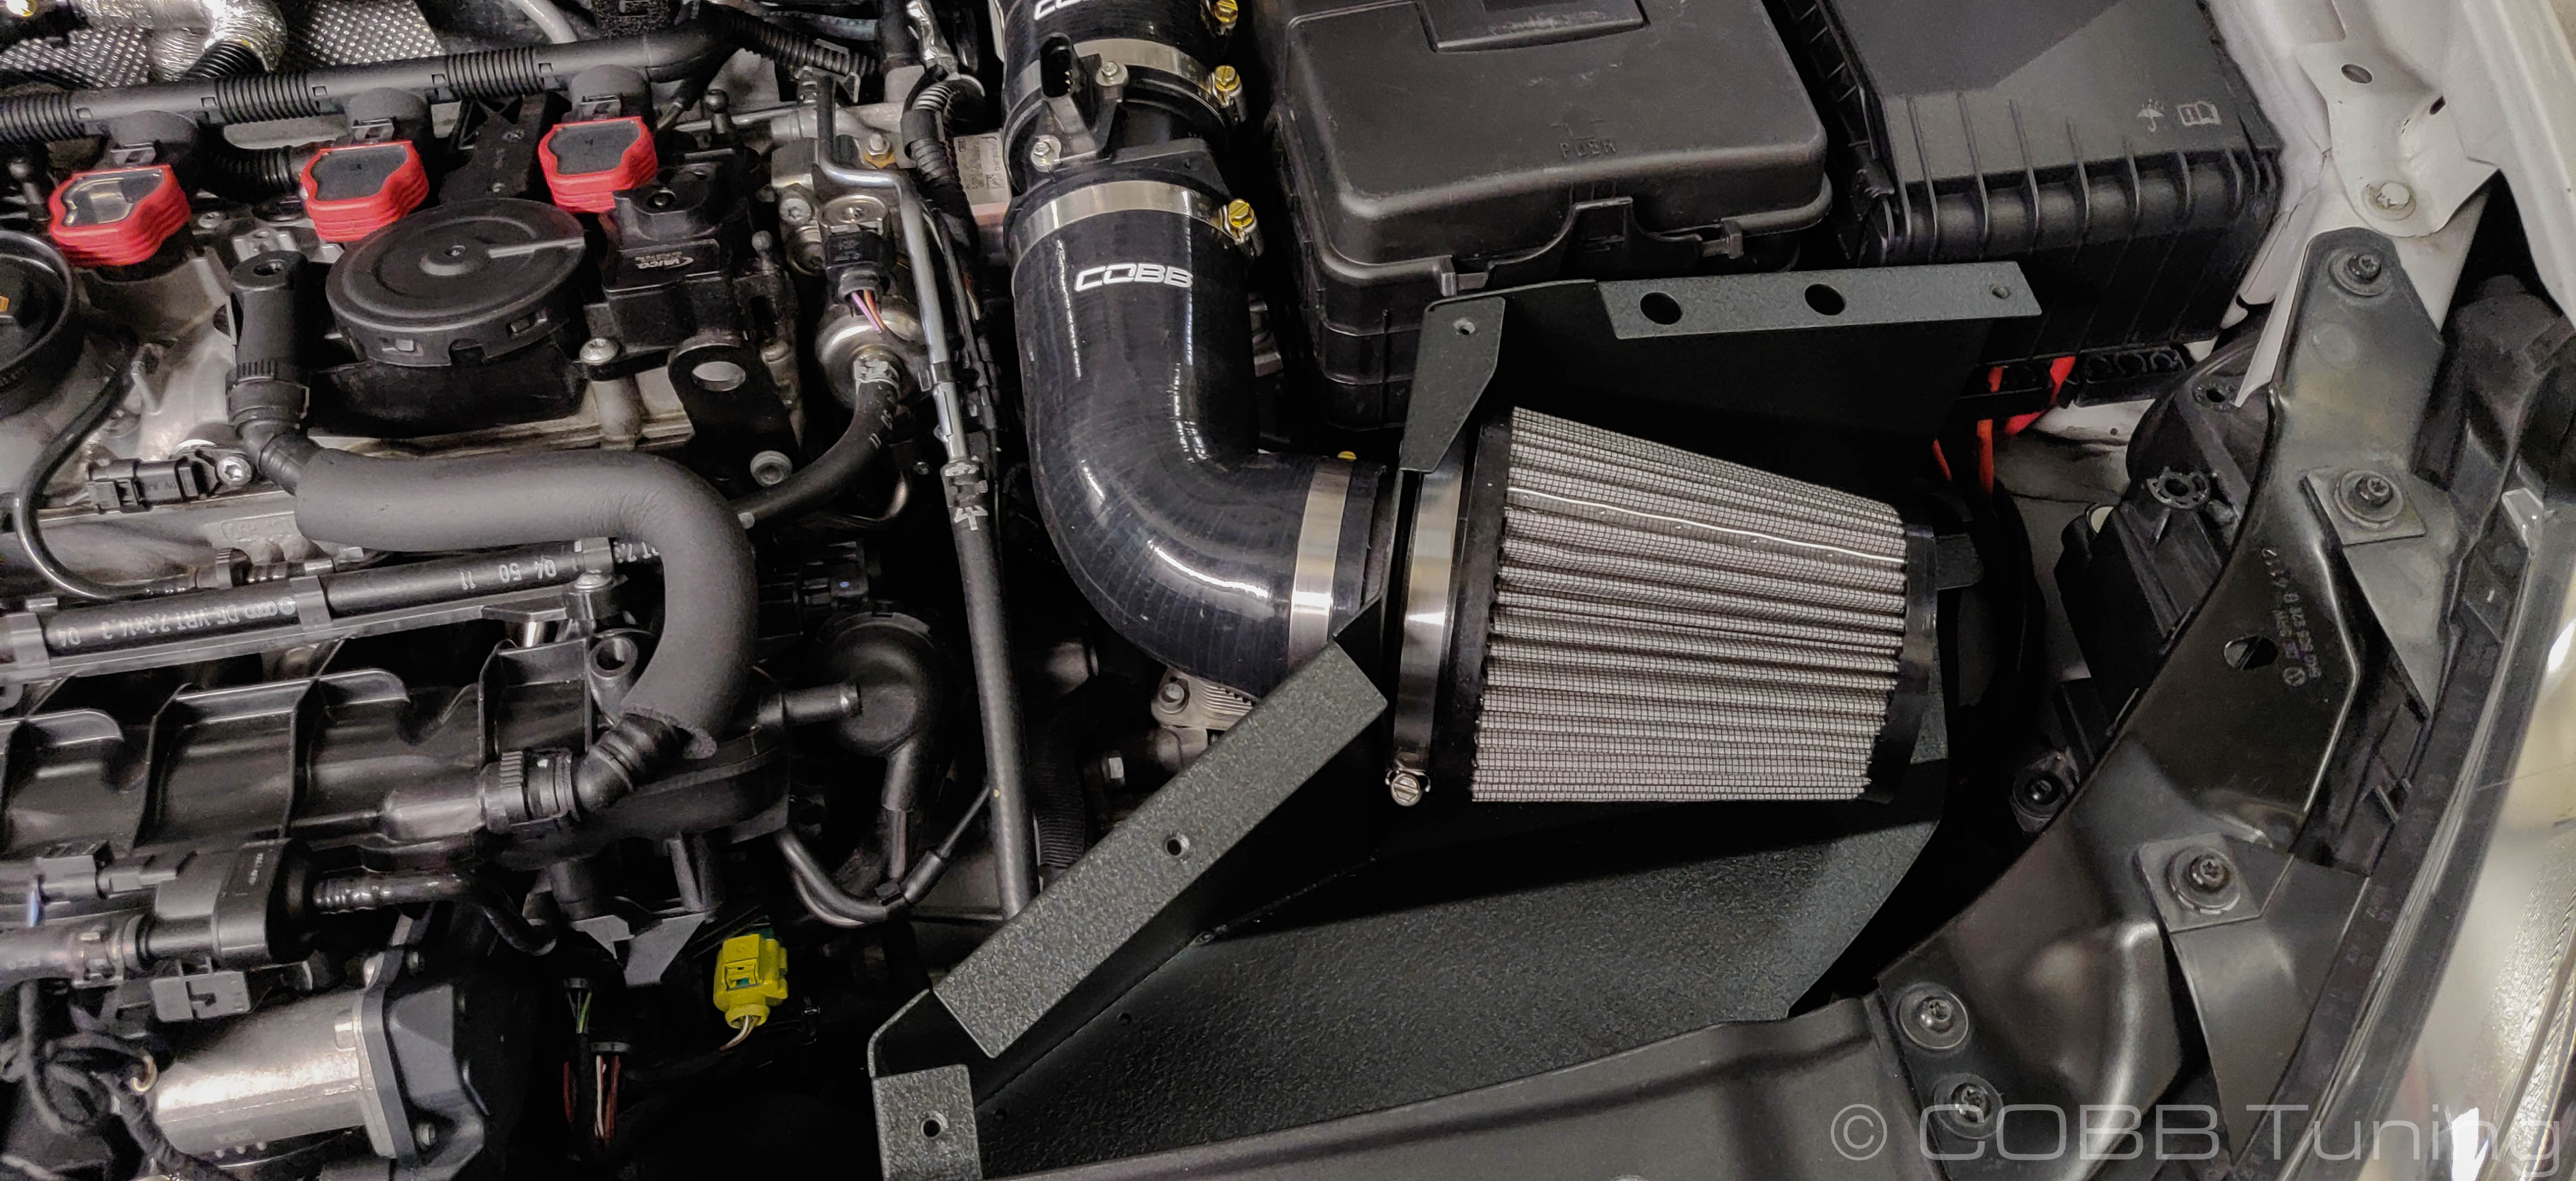
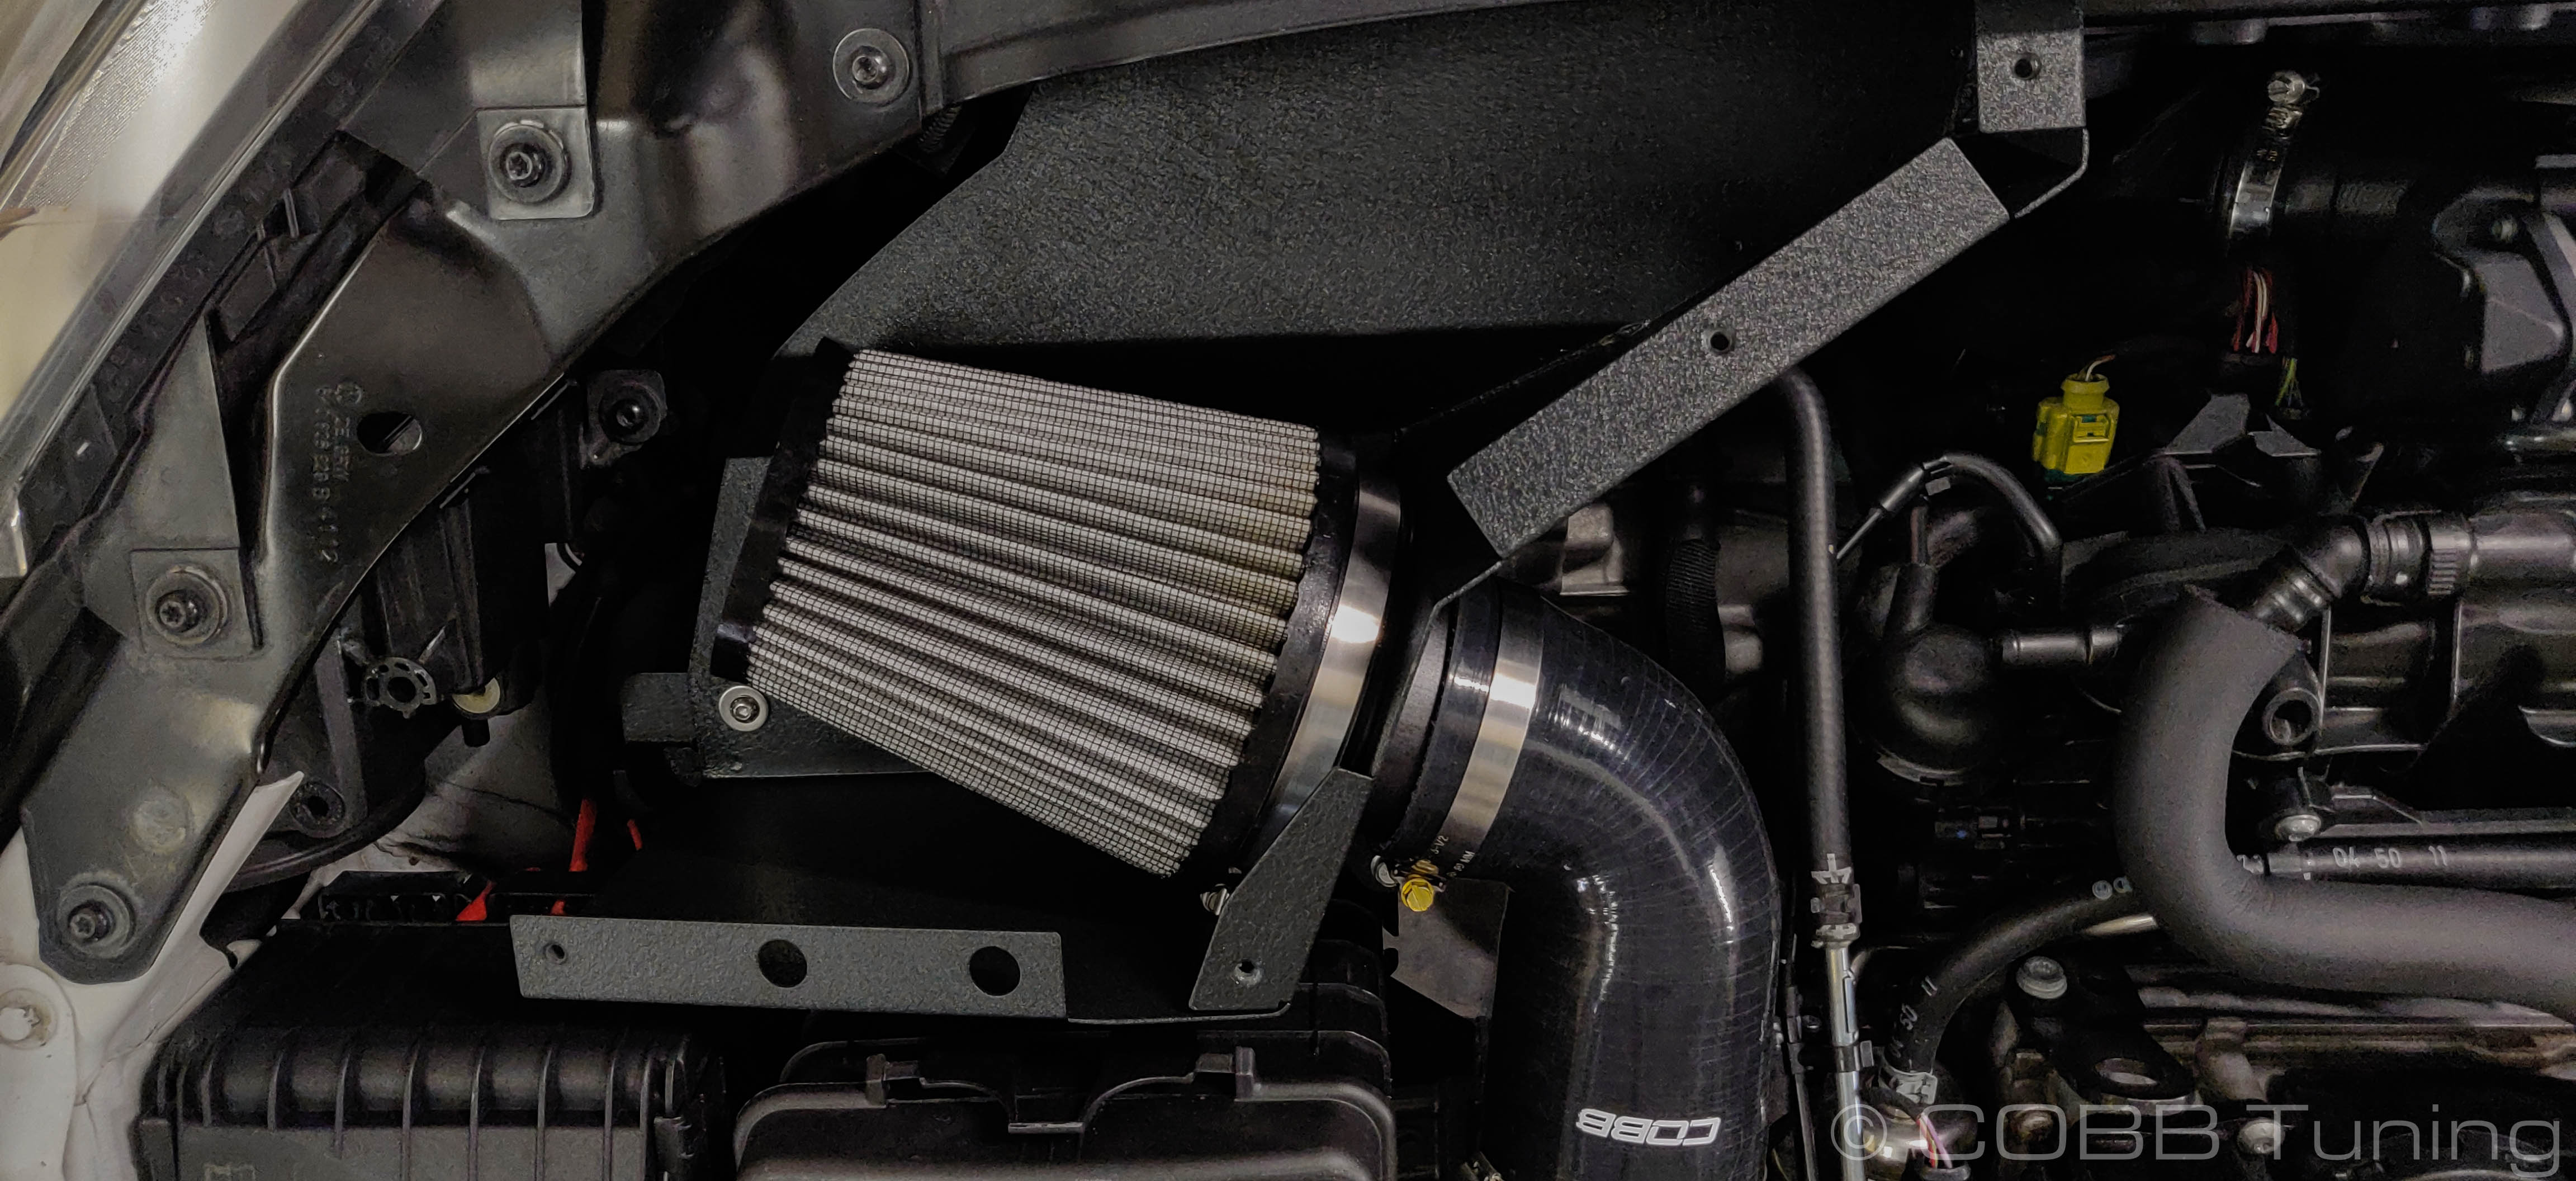
- Get the short coupler end of the maf housing assembly loosely installed onto the metal intake tube, then connect it to the velocity stack on the airbox before lowering the airbox down into place and pushing the MAF extension housing the rest of the way on to the itnake tube.
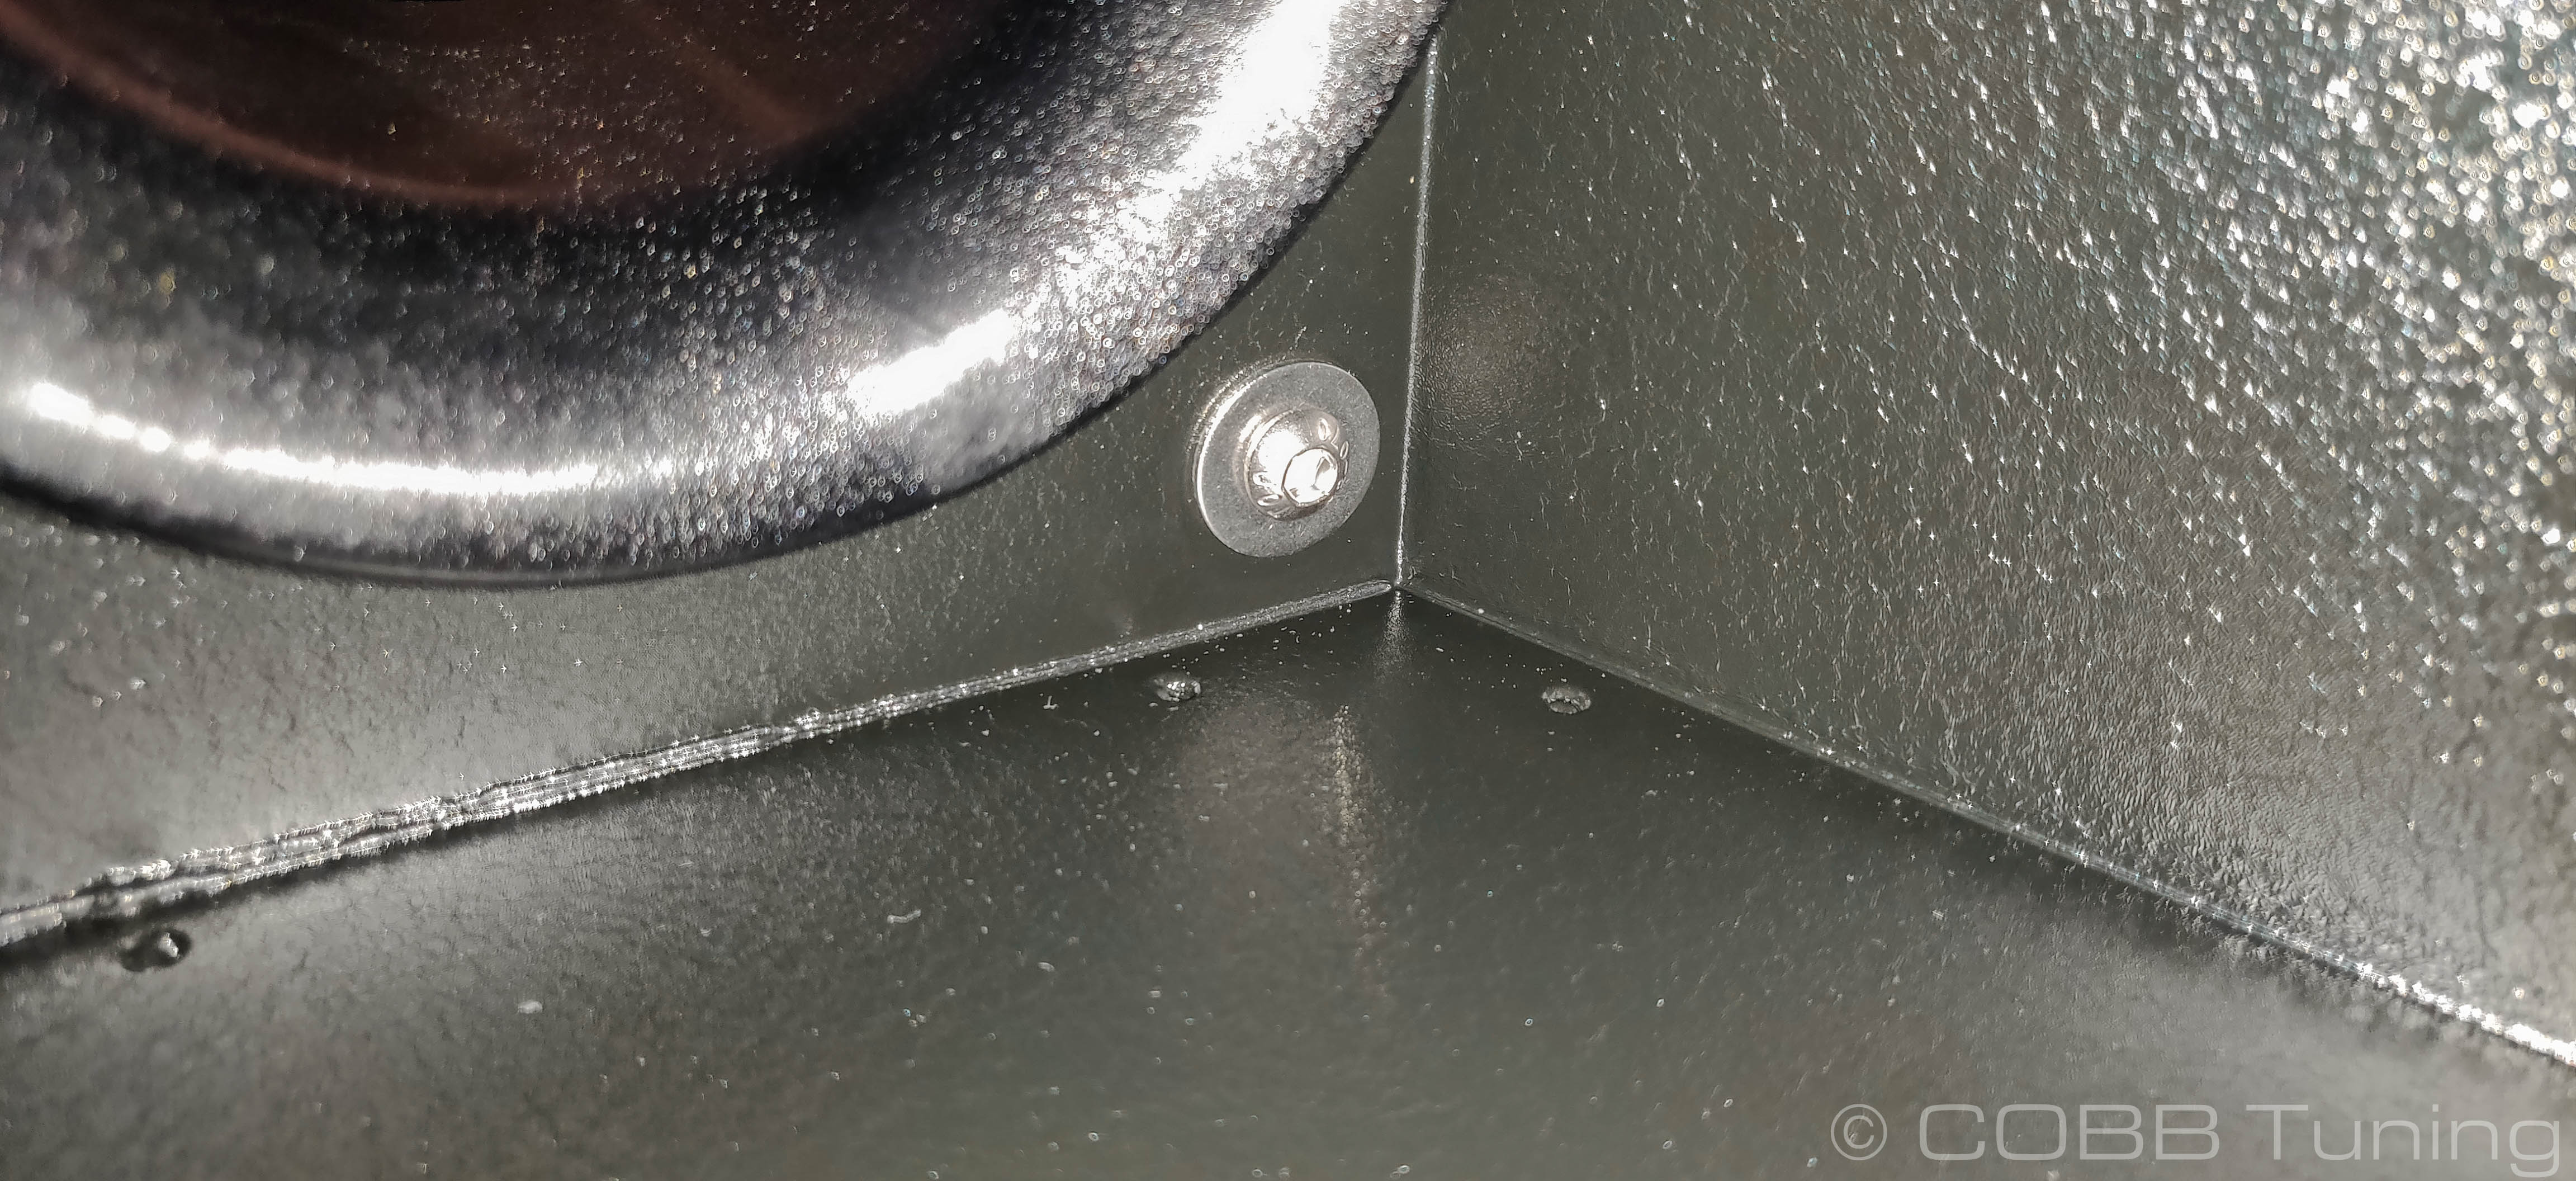
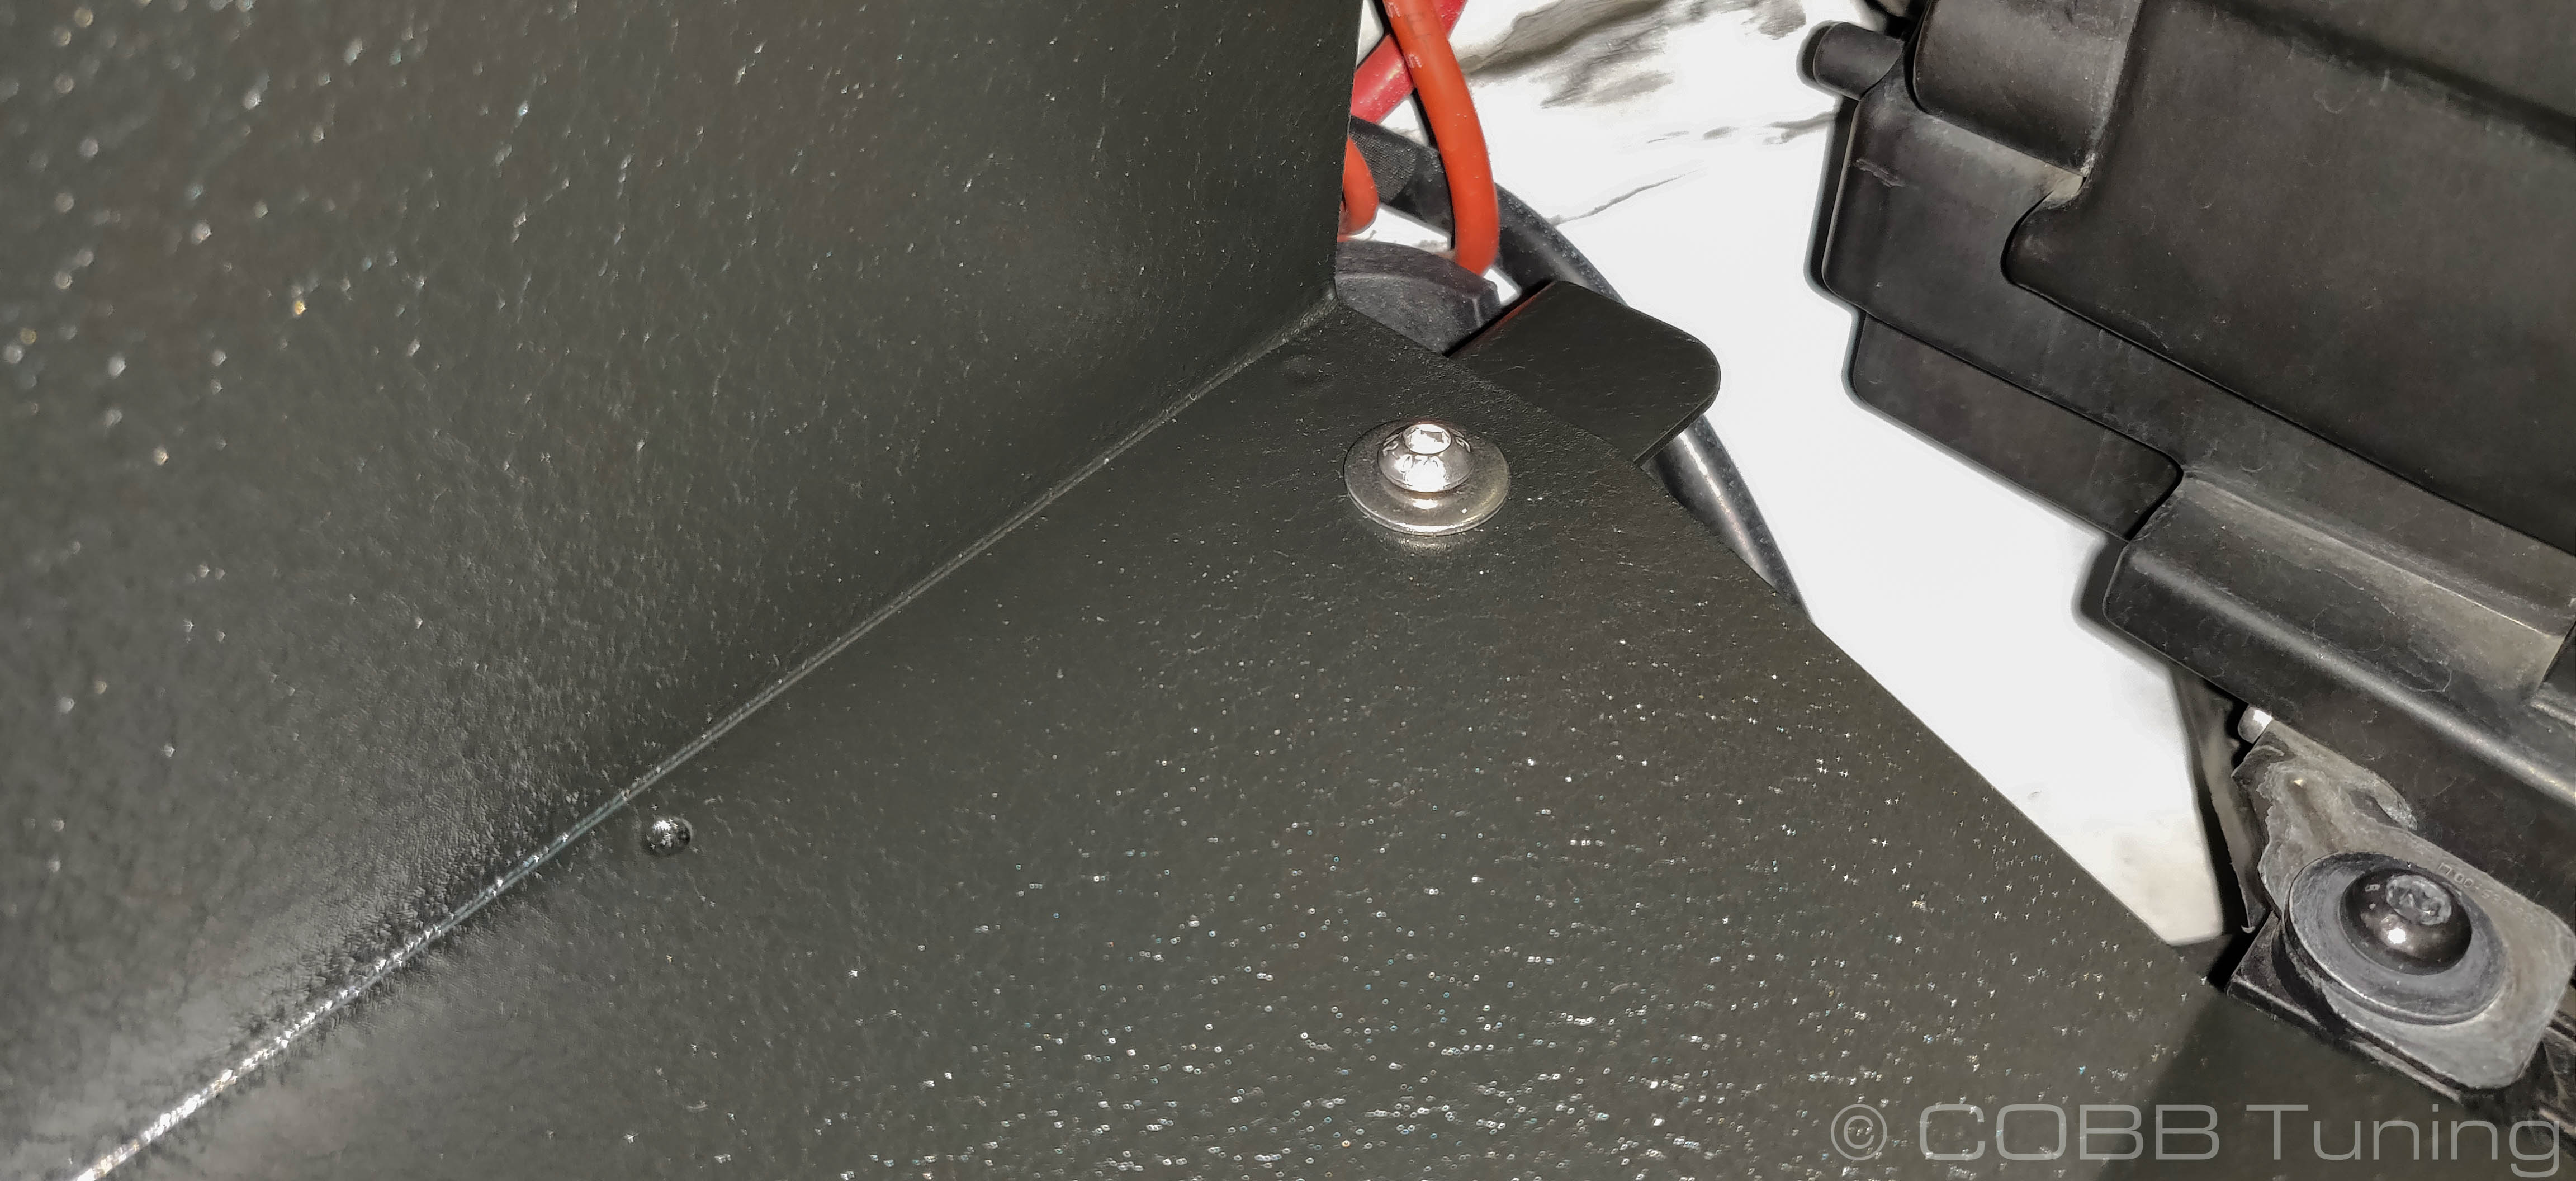
- Attach the fusebox side of the airbox to the bracket you installed in step 7 using the last long allen bolt and washer.
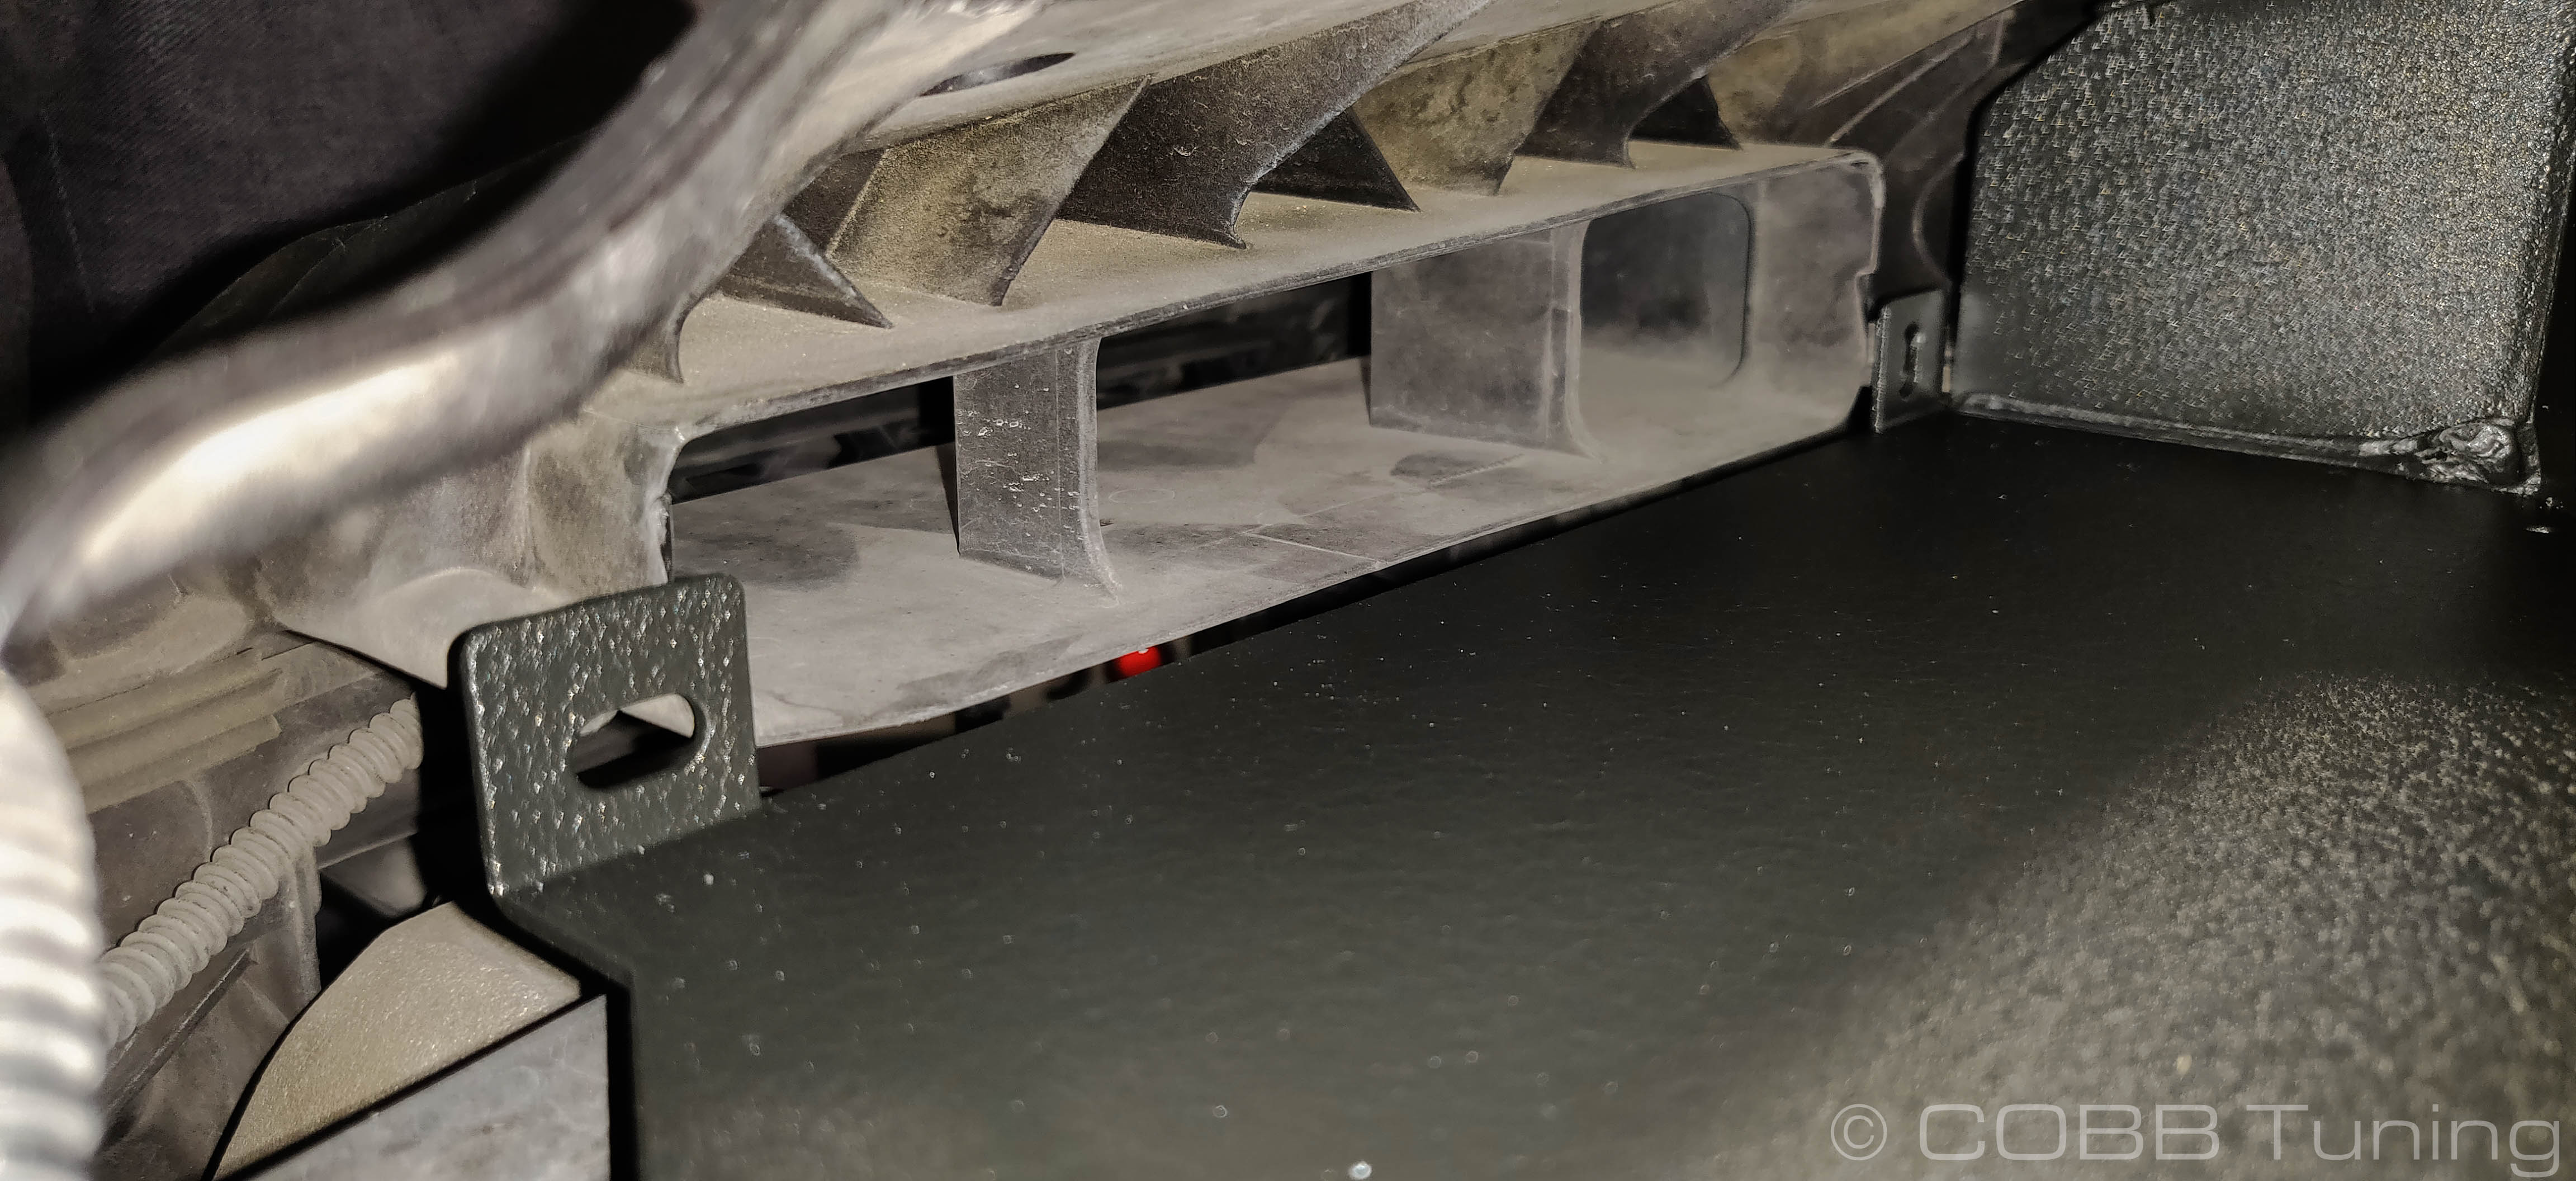
- Looking into the grill area from the back side of the car, line up the two bolts attaching to the inlet snorkel and attach those using the stock torx screws.
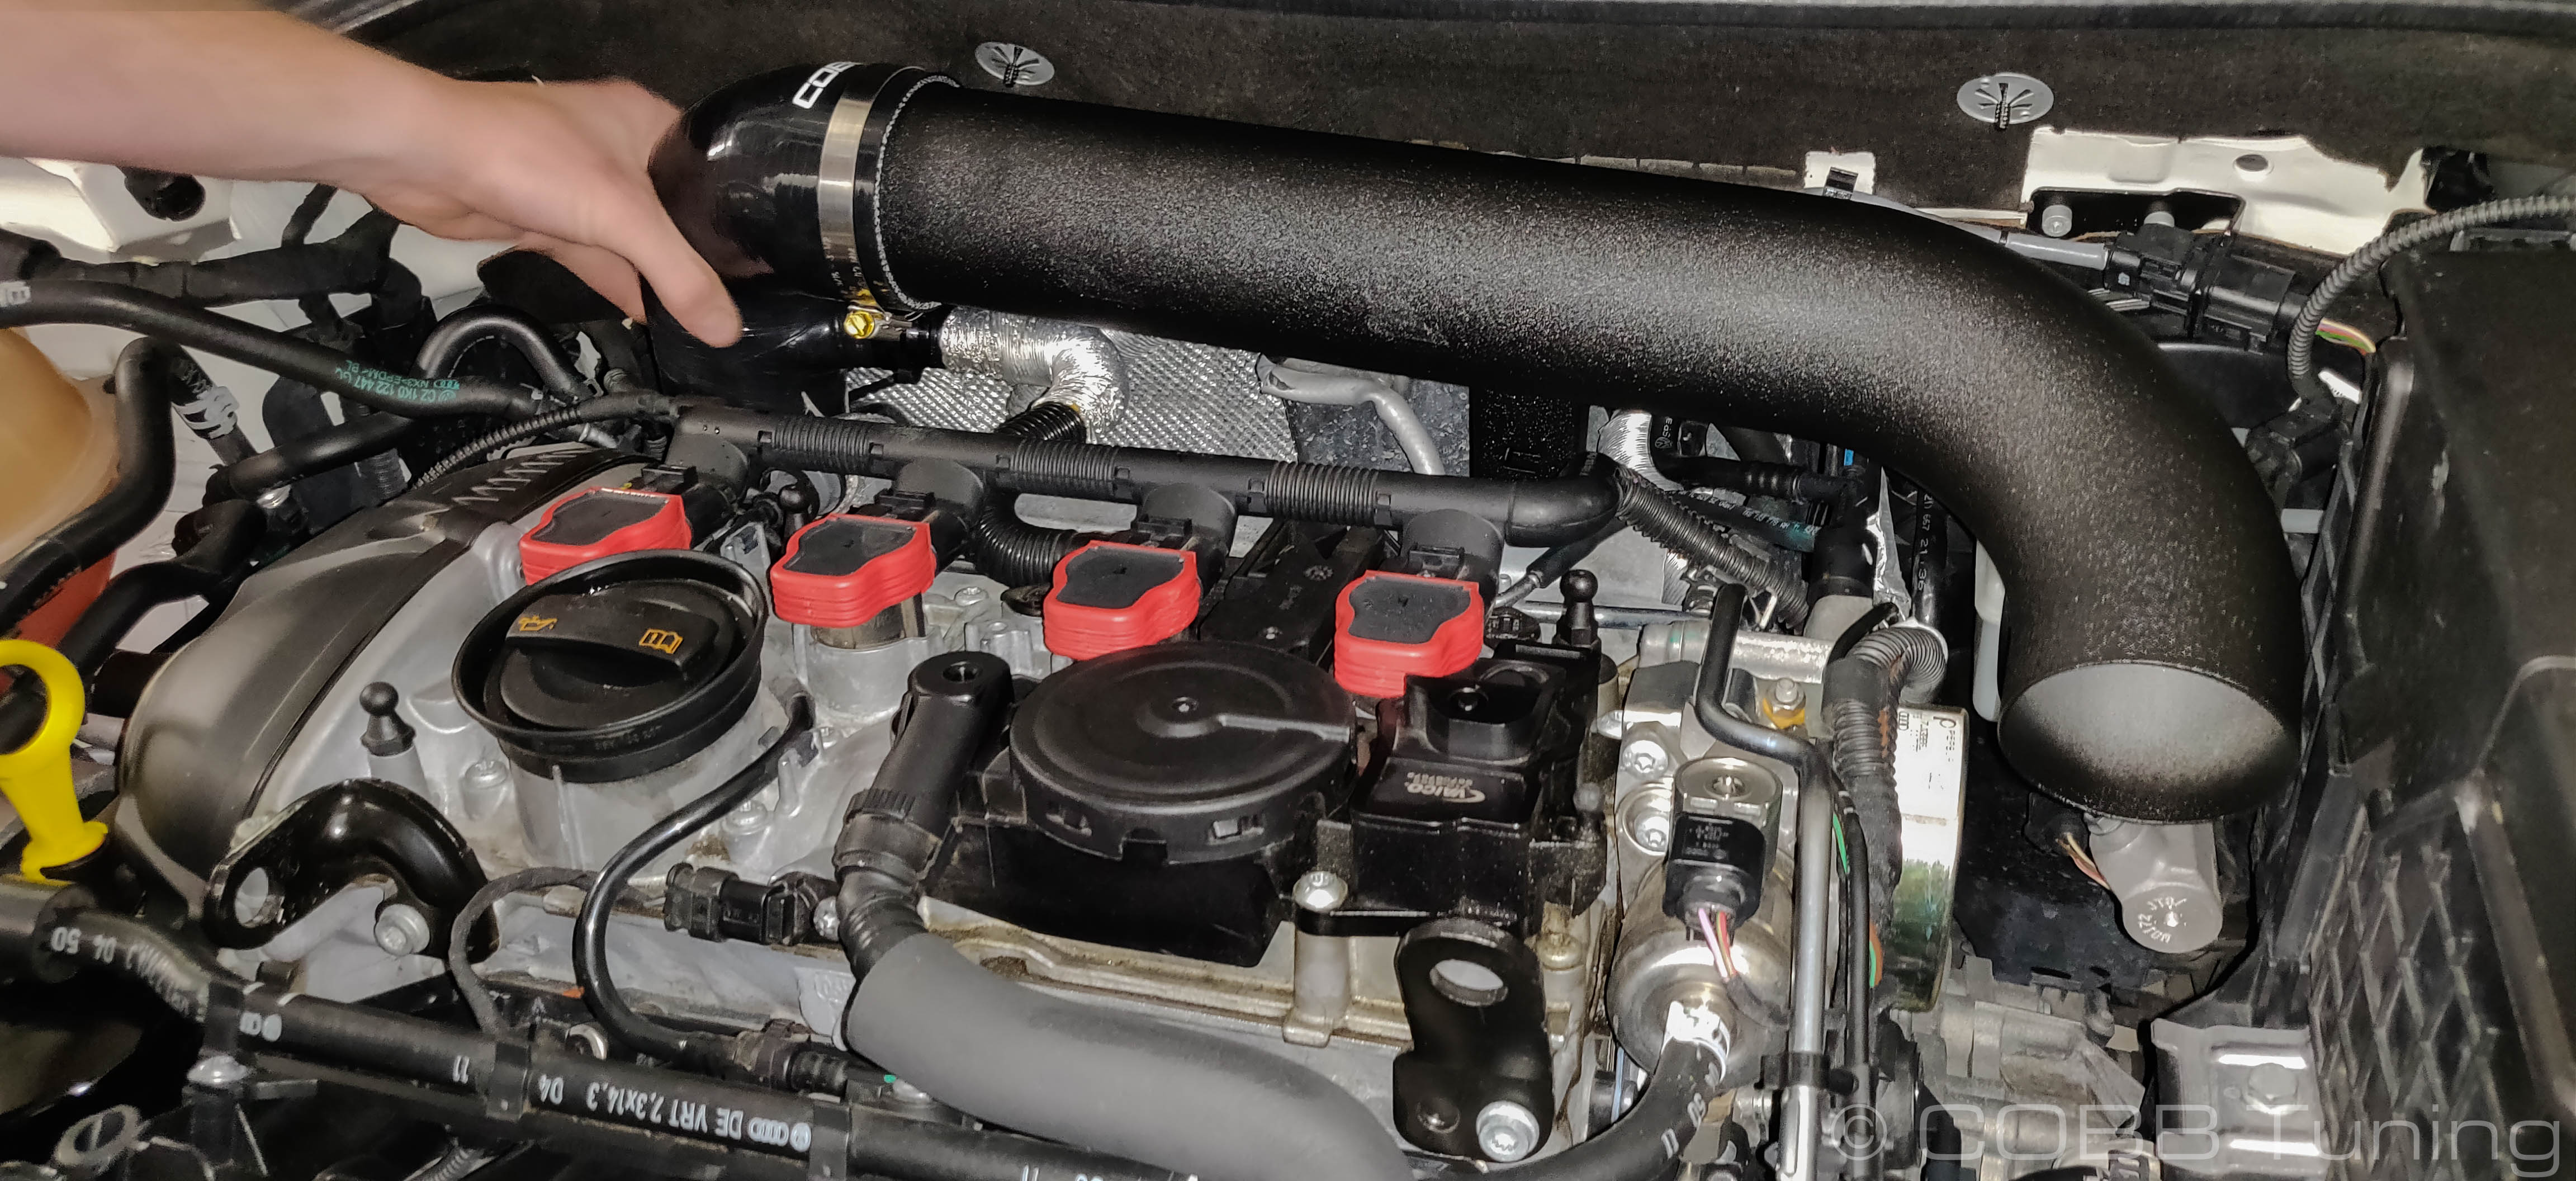
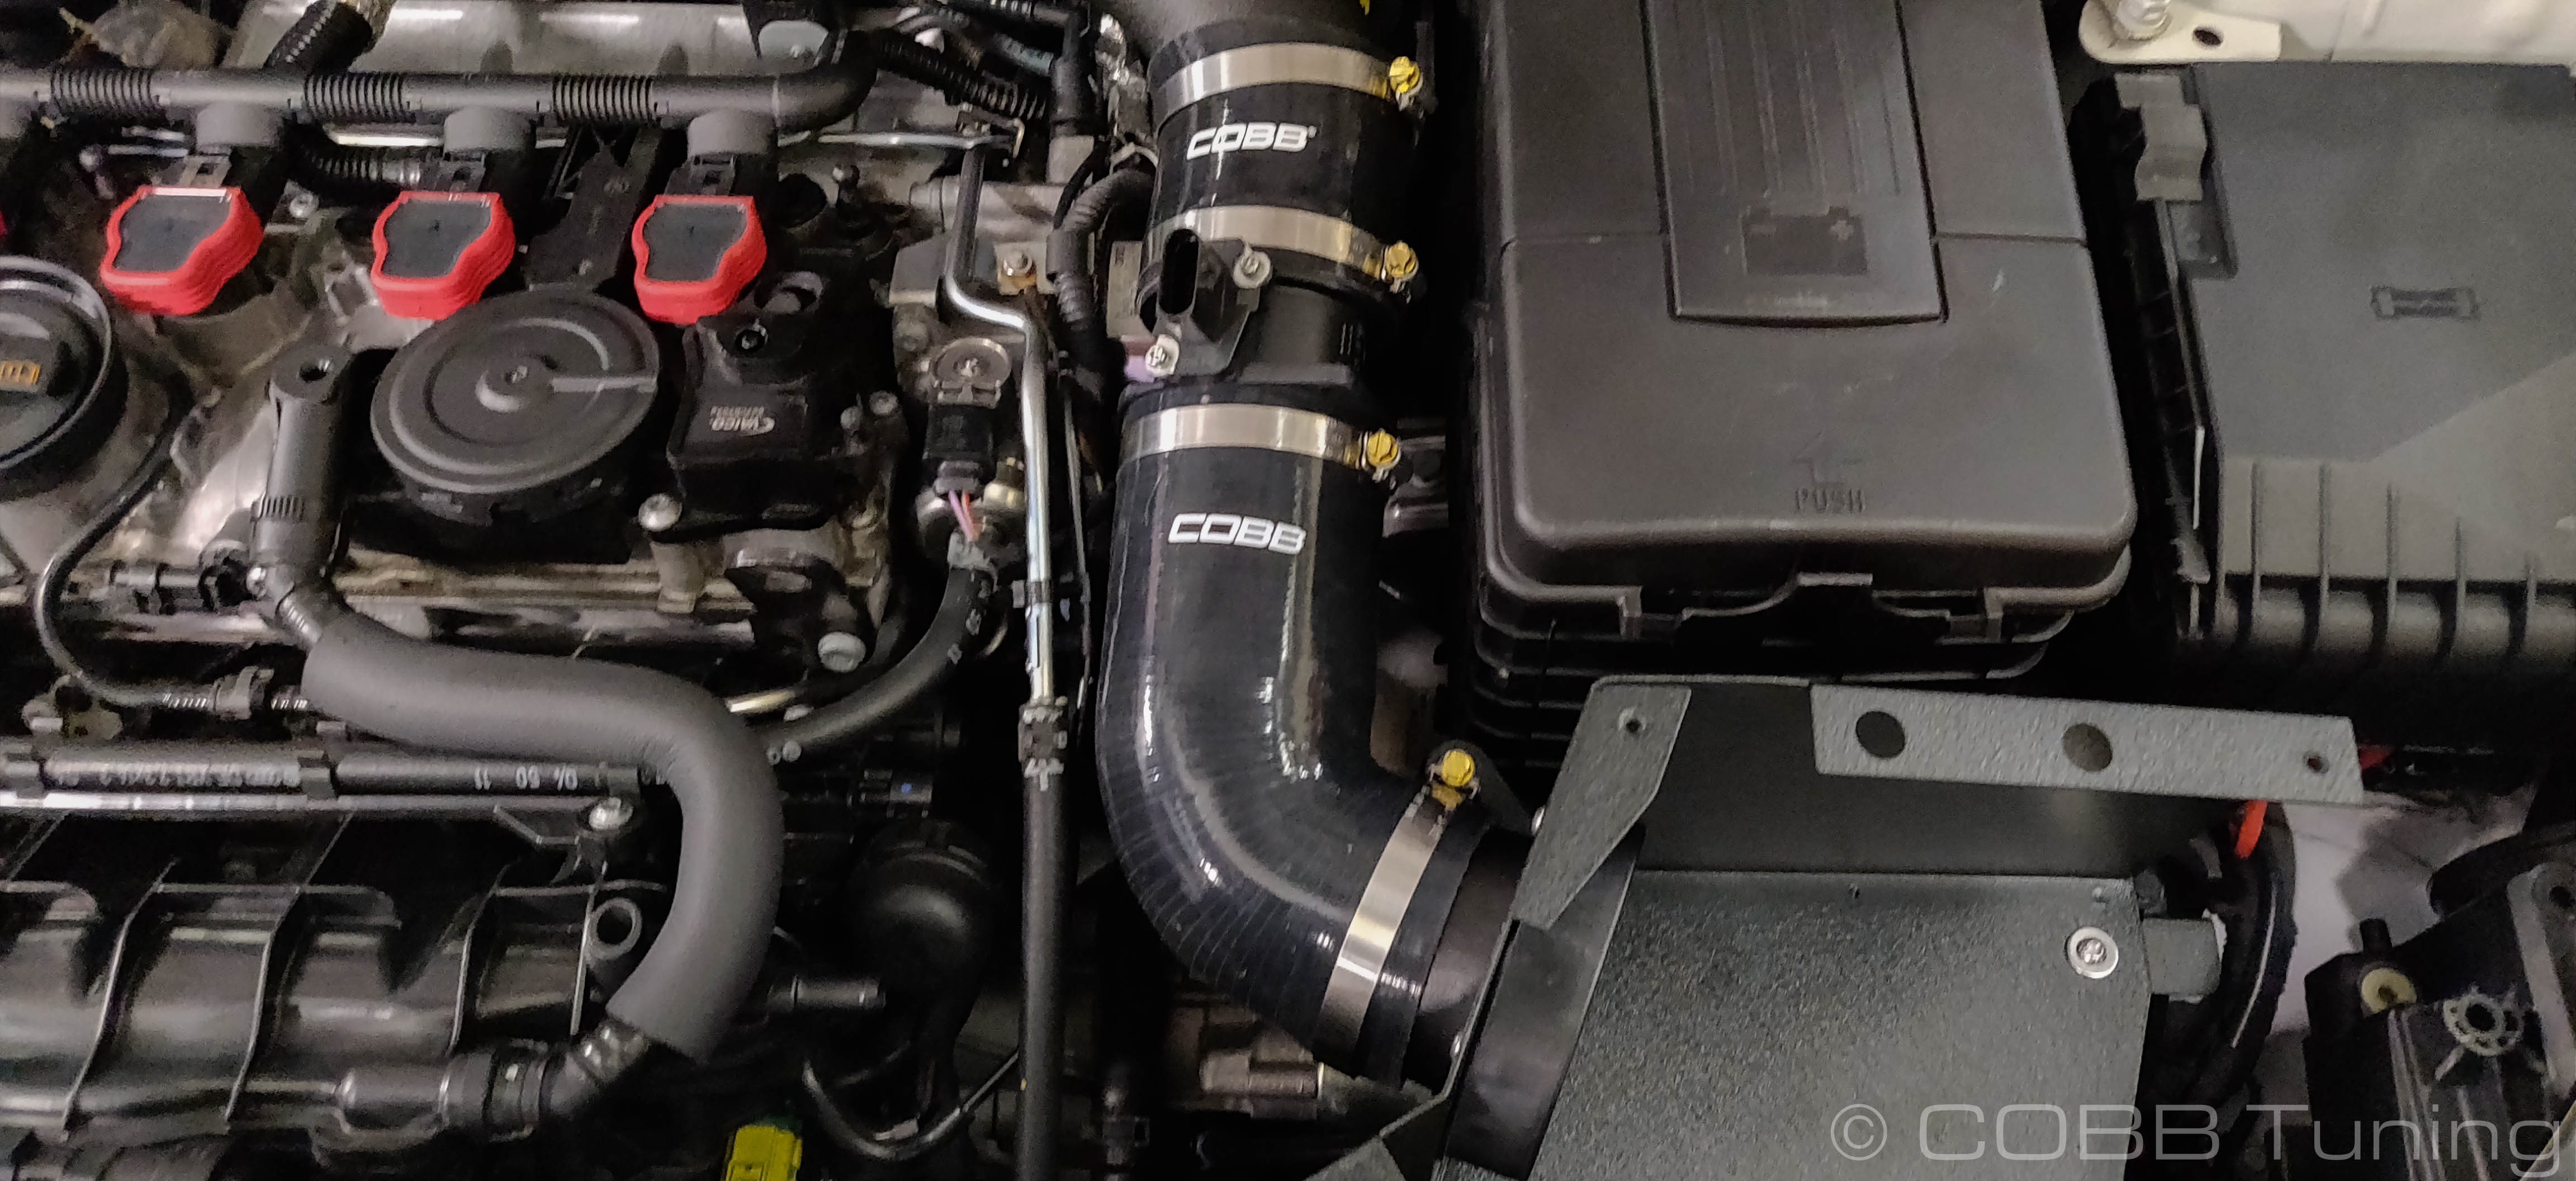
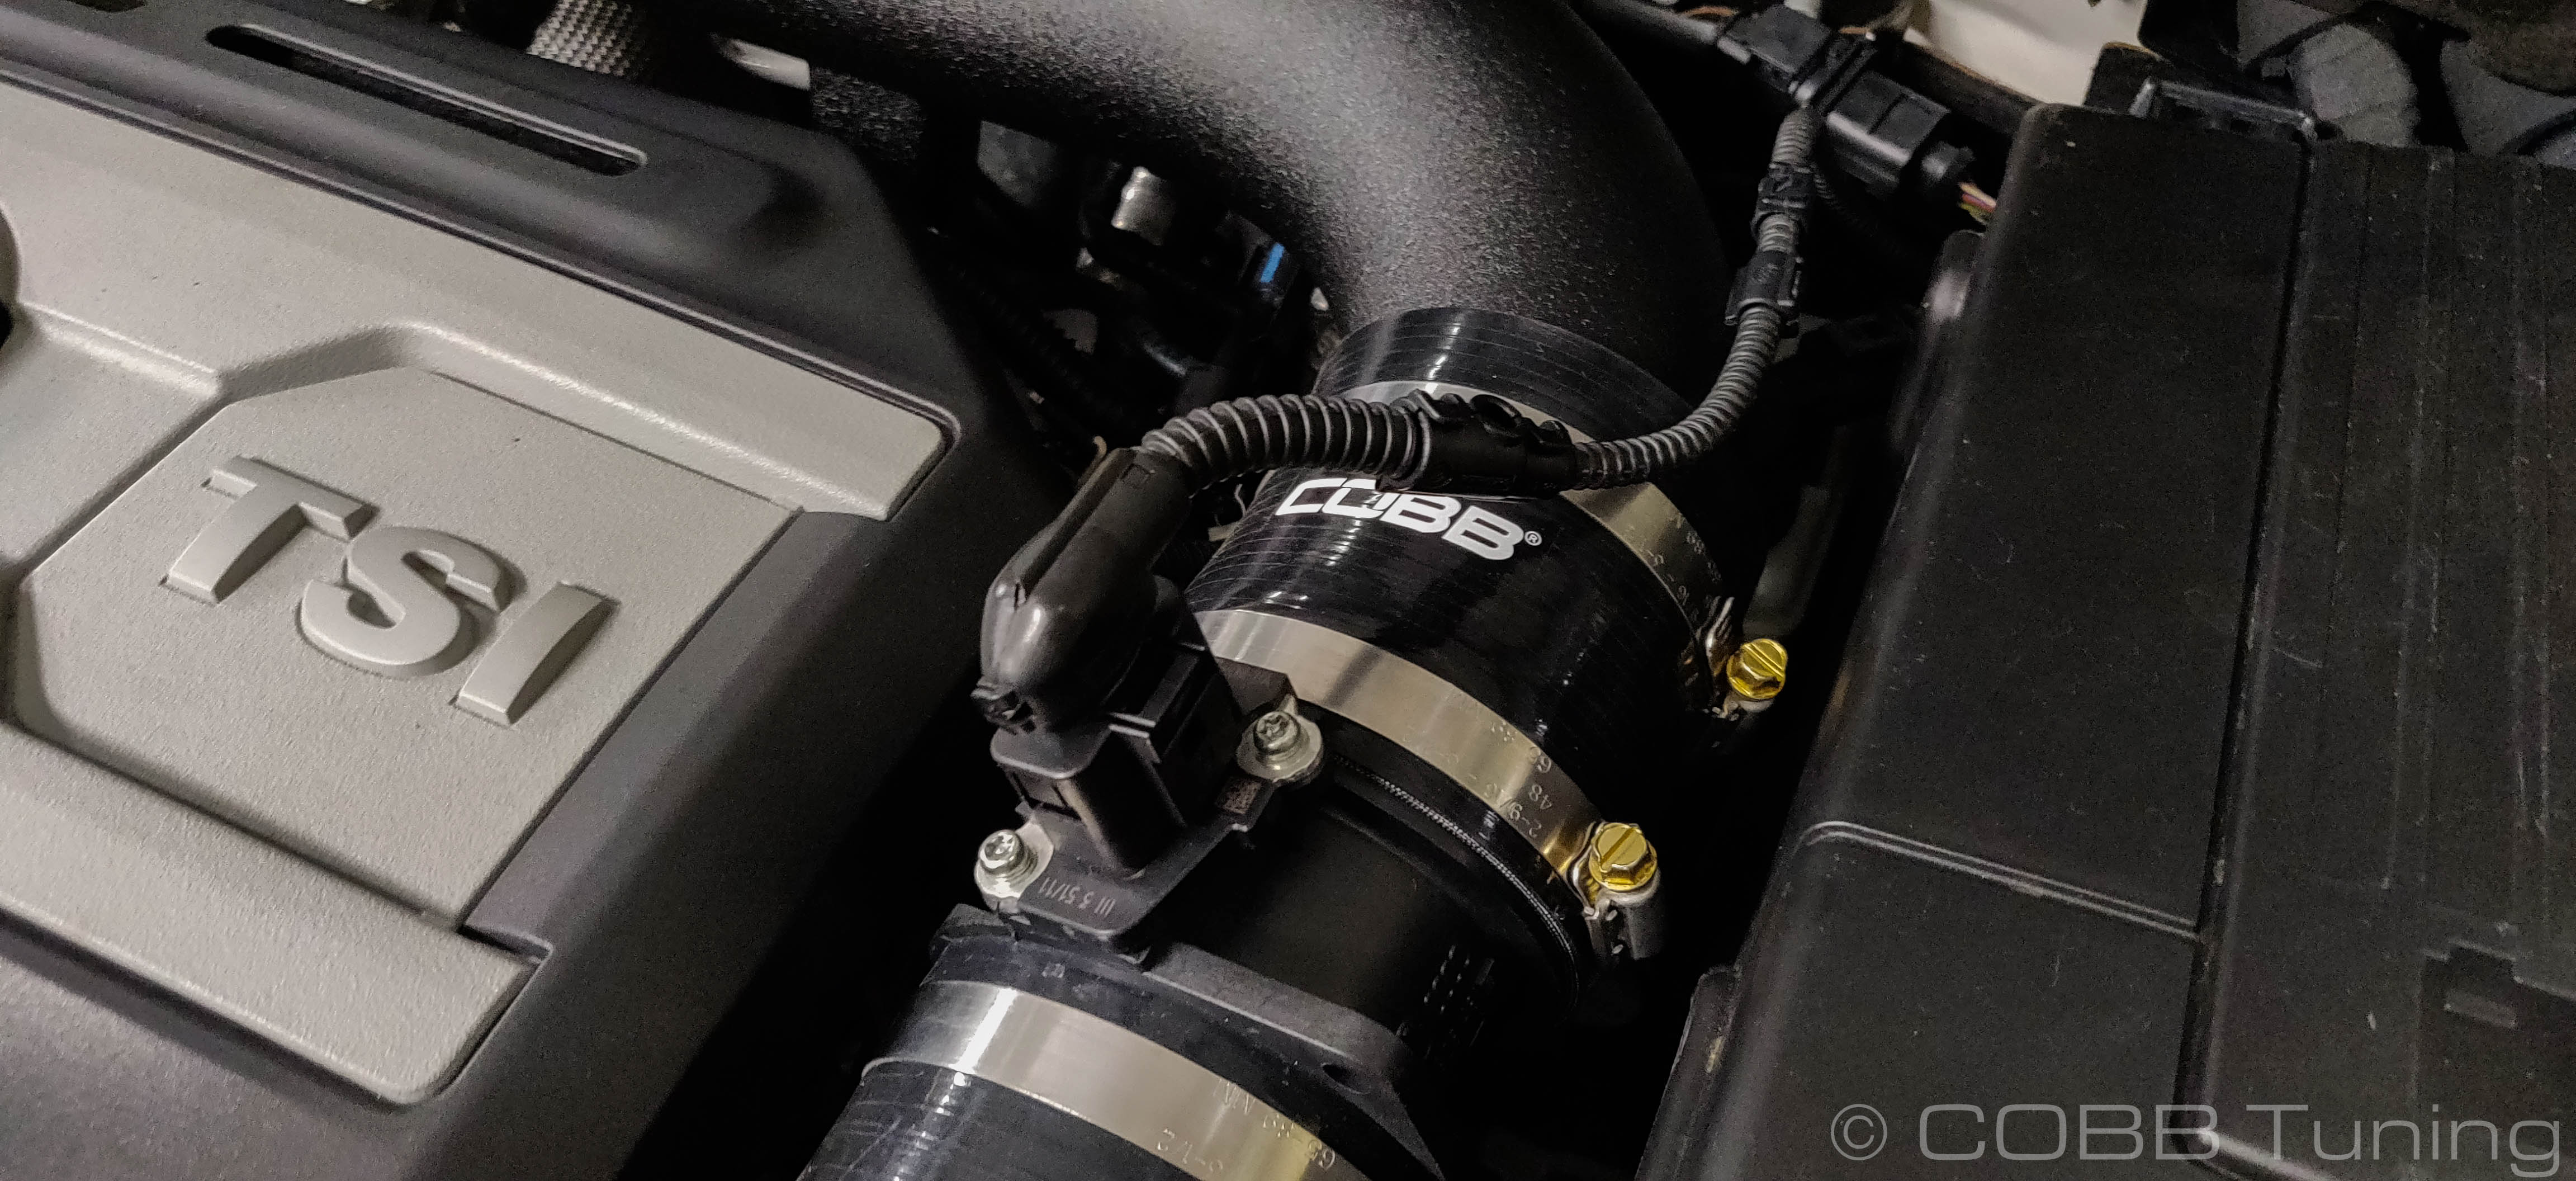
- With everything loosely attached, wiggle it around to ensure everything sits properly and that the silicon elbow isn't kinked.
- Tighten everything down starting at the turbo and working your way out towards the intake box.
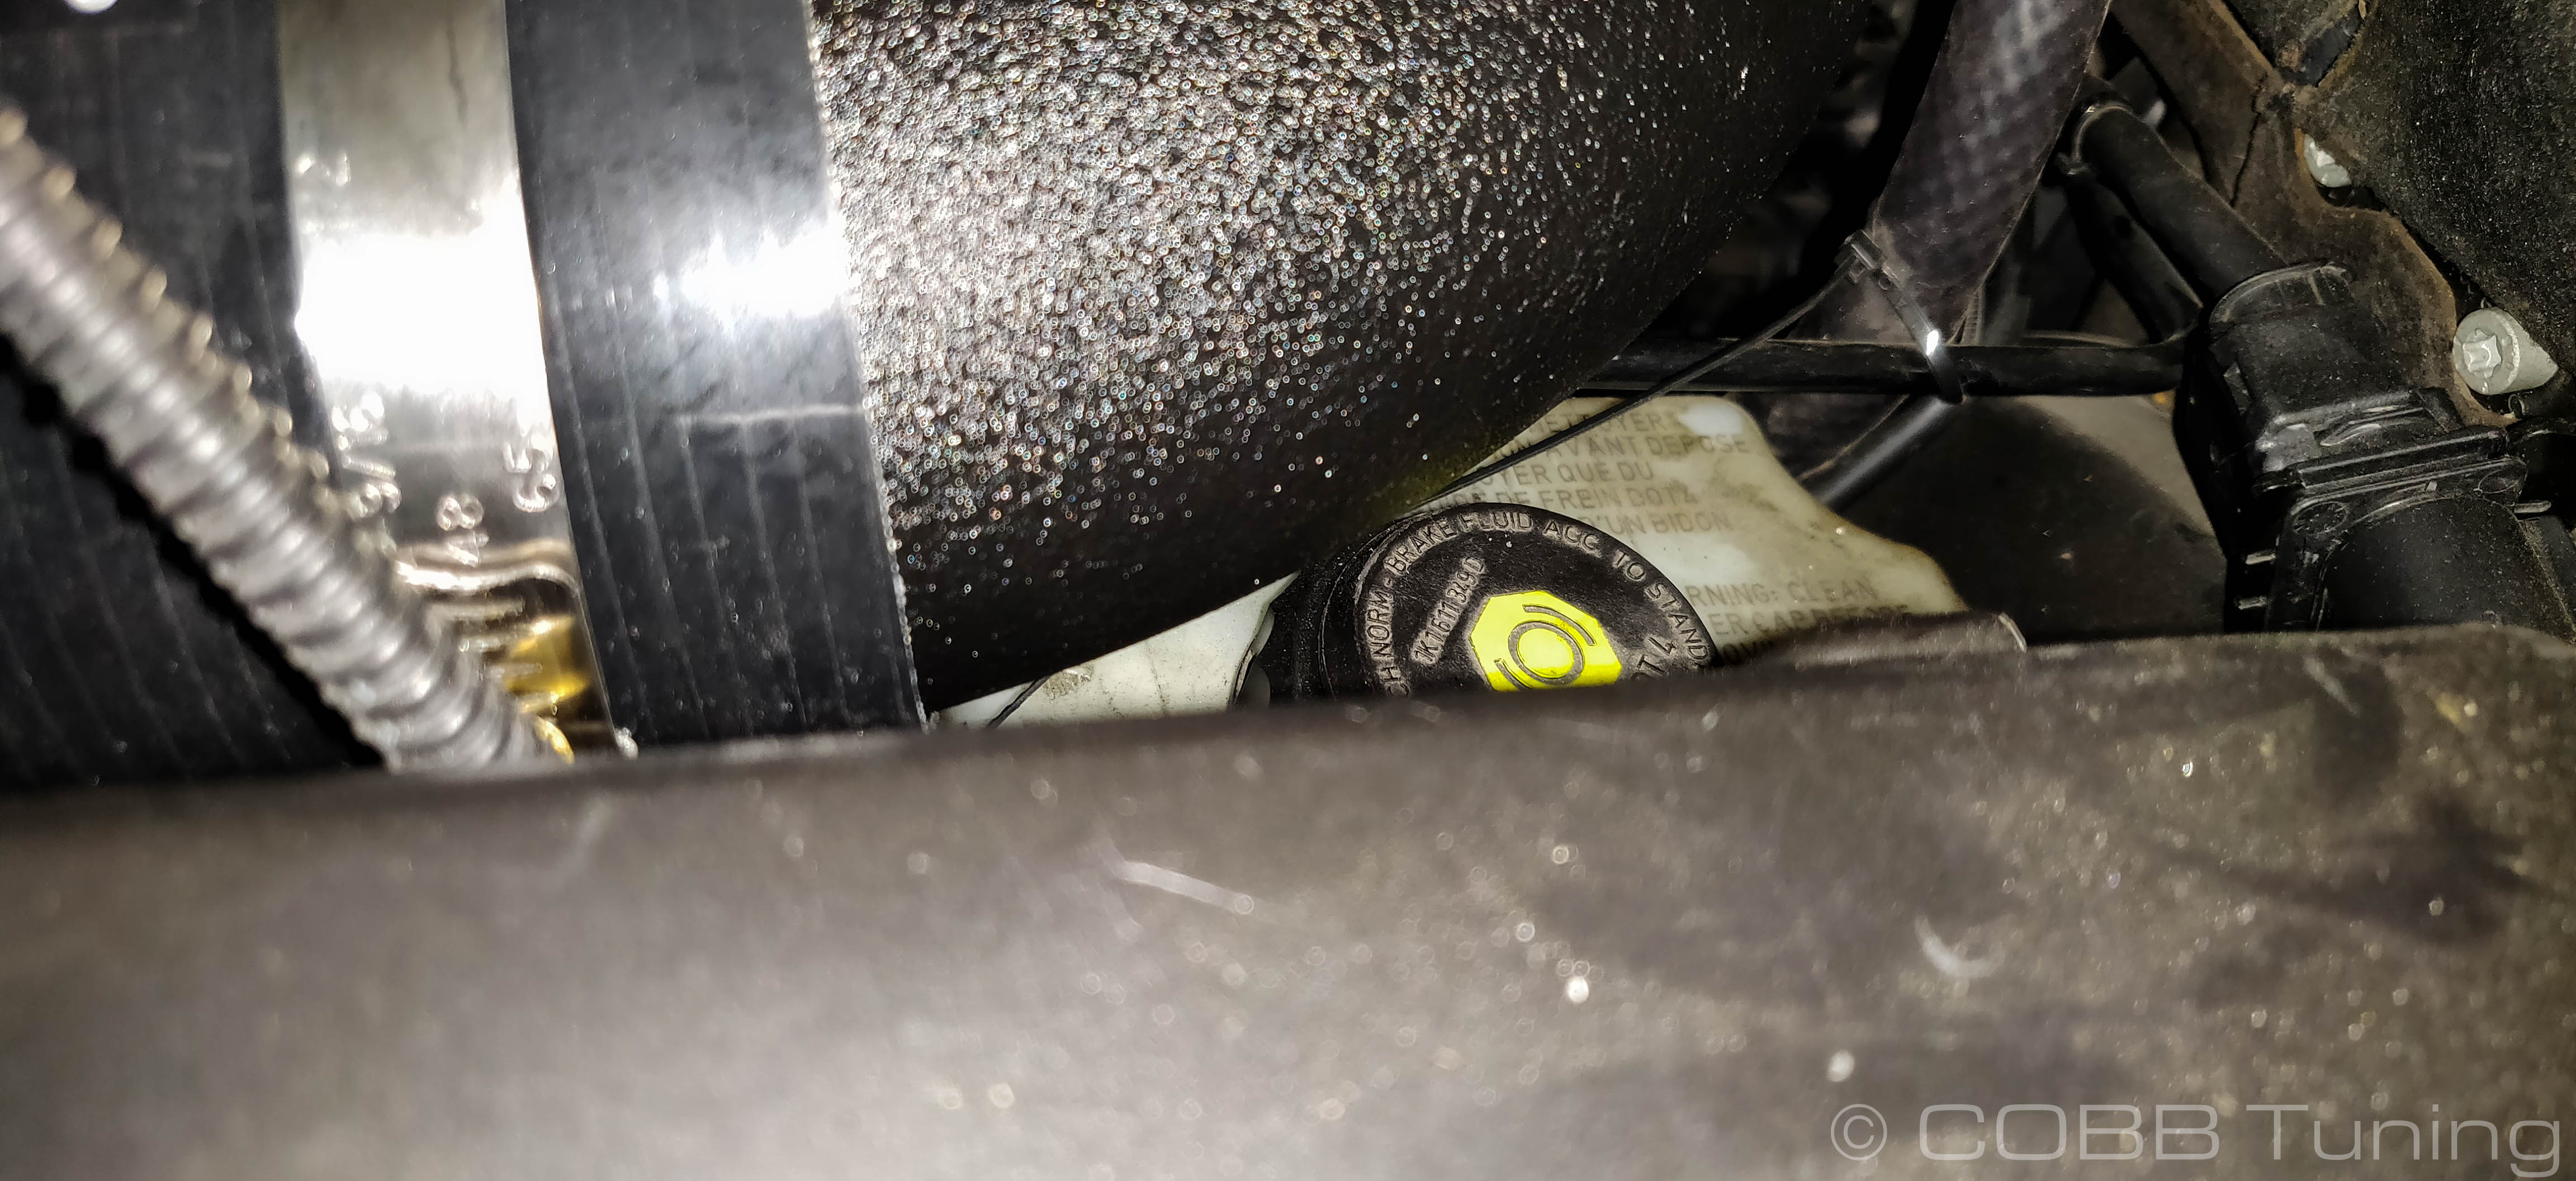
- Make sure there is plenty of clearance near the brake master cylinder. If you have an upgraded turbo it may require slight trimming of the coupler going to the turbo.
- With everything tight, use the 4 small allen screws along with the 4 plastic washers to attach the airbox lid into place.

- Plug the MAF sensor back in, making sure to route the harness in a way that it isn't pulling tightly against anything.
- Go out and enjoy! You're all done!
CARB Sticker Application
(Where Applicable)
- Apply the supplied CARB sticker in a clear, easy to find location. Typically underhood, or on the radiator core support.
Links
COBB Customer Support Web Support and Tech Articles: COBB Tuning Customer Support Center Email: support@cobbtuning.com Phone support available 9am to 6pm Monday-Thursday. 9am to 4pm Friday (CST) 866.922.3059 return to www.cobbtuning.comContact Us:
Related content
Copyright 2025 © COBB Tuning Products LLC. All Rights Reserved. | www.cobbtuning.com