8F2500 - Raptor F150 ACC Bracket
- Brandyn Mowat

8F2500 – F150 Raptor ACC Bracket
2017 - 2018 Ford F150 Raptor

Congratulations on your purchase of the COBB Tuning ACC Bracket! The following instructions will assist you through the installation process. Please read them BEFORE beginning the install to familiarize yourself with the steps and tools needed. If you feel you cannot properly perform this installation, we HIGHLY recommend you take the vehicle to a qualified and experienced automotive technician.
The ACC system is critical to the driver and passenger's safety. While this item allows the user to install the ACC when they have an aggressive frame-cut bumper, it may not operate as intended by the factory. While ensuring the ACC is perpendicular to the ground is a good starting point, it is vital that it is properly calibrated by a knowledgeable technician to avoid issues with the ACC system which can lead to improper application of the brakes or accelerator.
Table of Contents
Parts List
- (3) m8x14mm button head bolt
- (3) m8 Jam Nut
- (6) m8 washer
- (3) m6 x 14mm button head bolt
- (3) 6mm washer
- (3)m6x14mm hex head bolt
- (3) m6 jam nut
- (6) m6 washers
- Blue Thread Locker
- 4mm Allen Key
- 5mm Allen Key
Tools Needed
Sockets
3/8"
3/8" ratchet
3/8" 12" extension
3/8" 6" extension
3/8" 13mm socket
- 3/8" 10 mm Allen Socket
Hand Tools
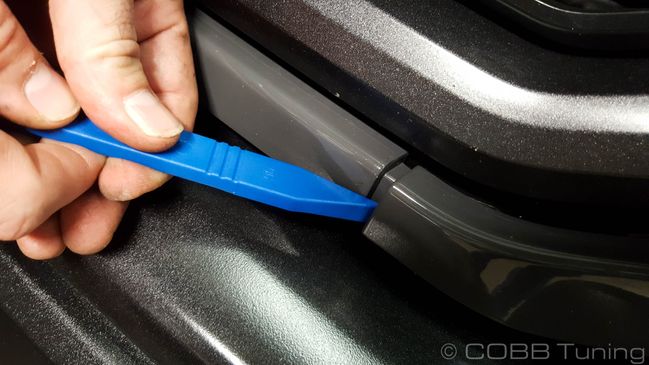
- Trim removal tool
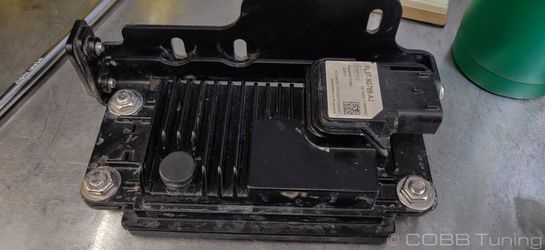
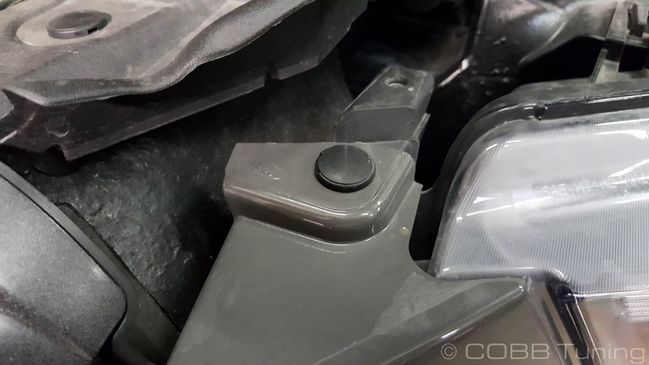
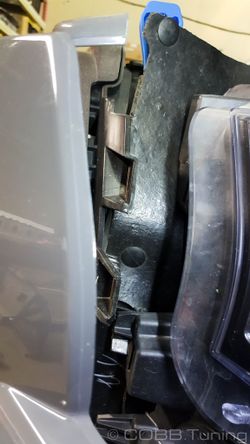
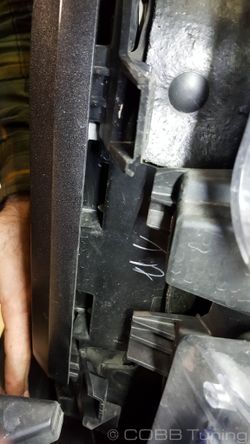
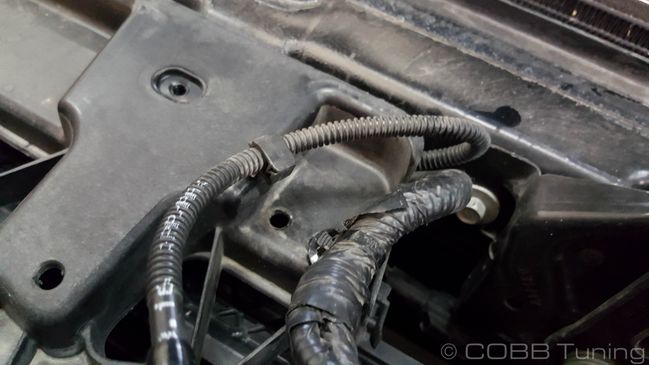
Stock ACC Removal
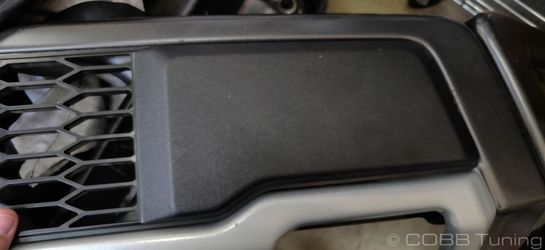
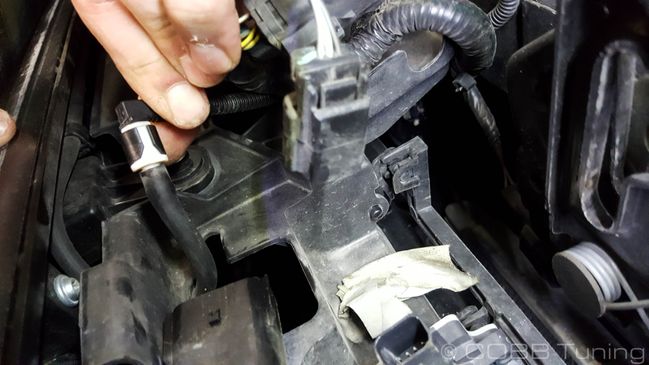
- Pop off the plastic cover on the driver's side of the truck.
- Remove the three 13mm nuts holding the ACC system in place.
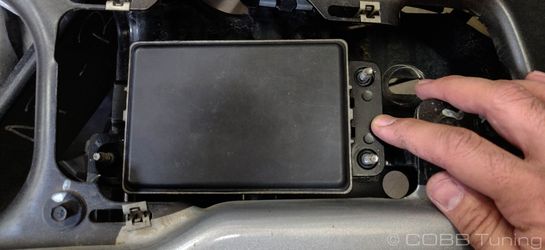
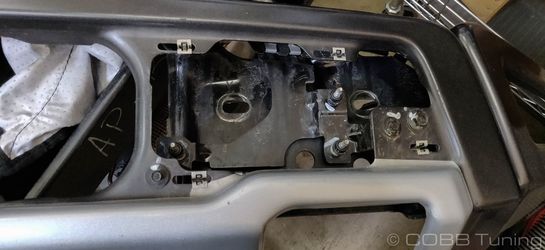
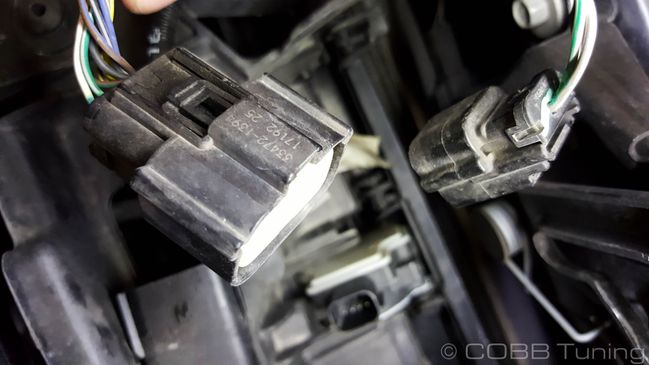
- Unplug and remove it from the car, you may need to pop the plastic spacers out of the ACC unit if they come out with it.

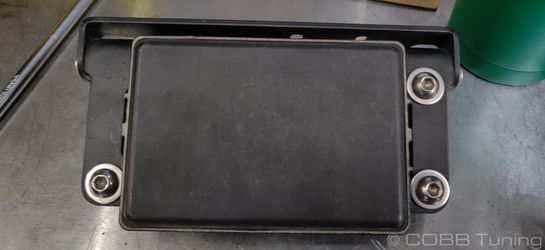
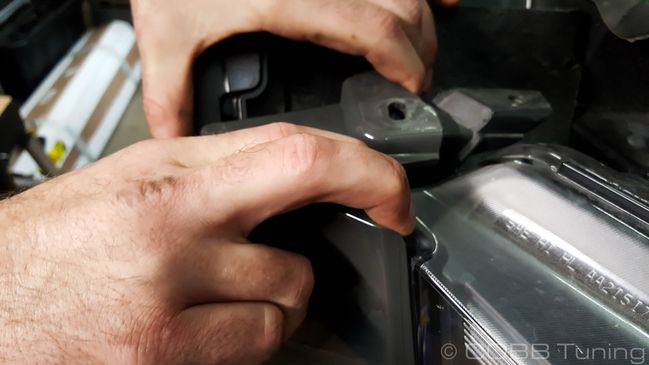
ACC Installation onto Bracket
- Using the three m6 allen bolt and washers. Install the cross bar onto the ACC plate using two sets on one side and one on the other.
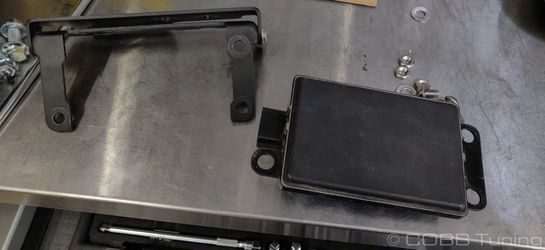
- Now slip the two pieces together and bolt it together using the 8mm allen head washers and bolts with a washer on each side and then the low profile nuts on the back side. This will require a 13mm socket and 5mm Allen
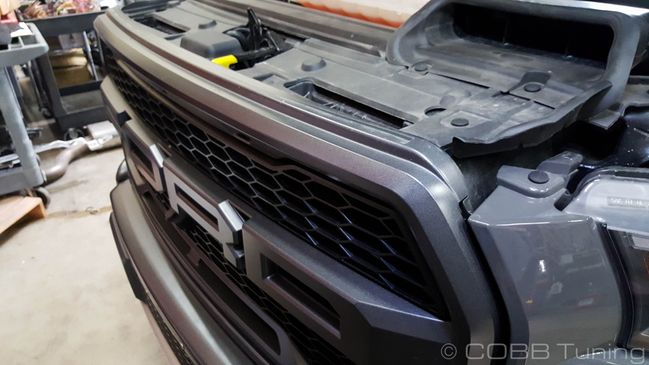
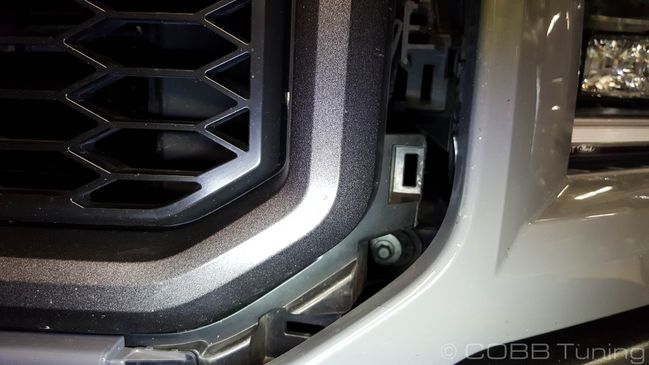
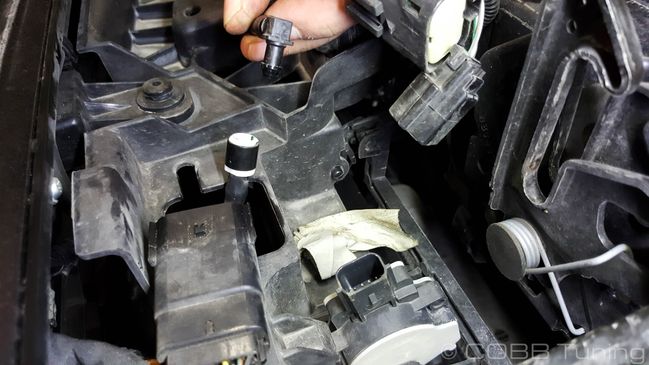
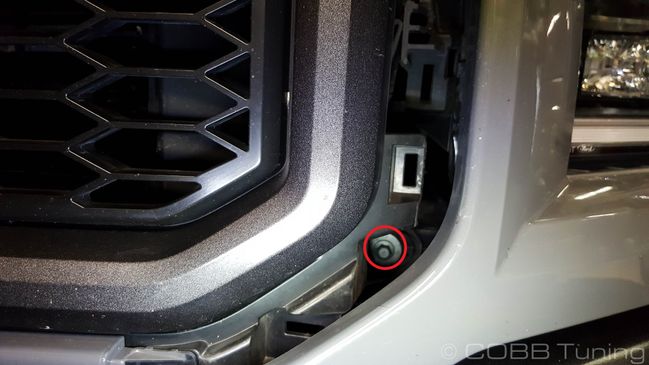
Remove the four 10mm bolts on the top of the grille using your socket. These bolts, like many others go straight into metal (some into plastic). Make sure to avoid torquing these bolts too hard either when loosening or tightening these bolts as it's very easy to strip them out on accident. Remove the front grille assembly and set it somewhere safe!Grille Removal
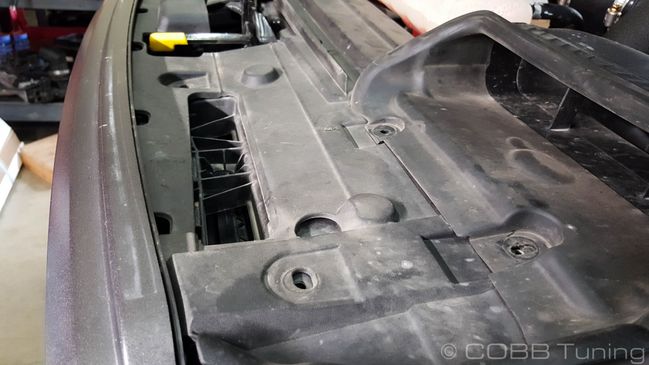

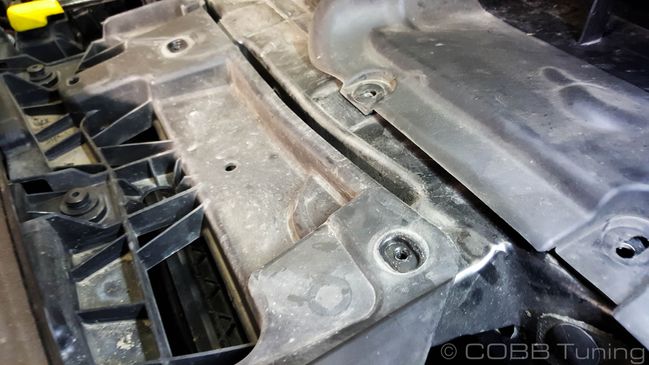
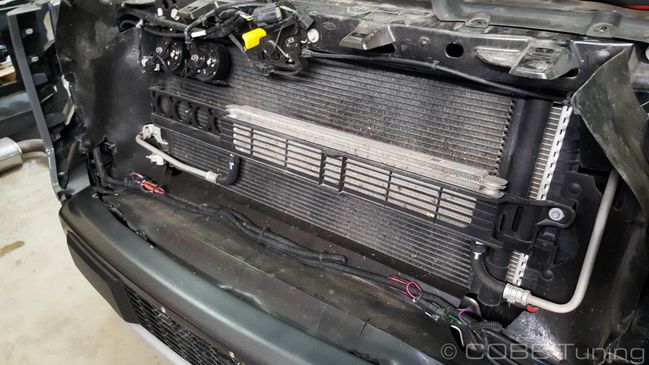
Cutting the Radiator Shroud
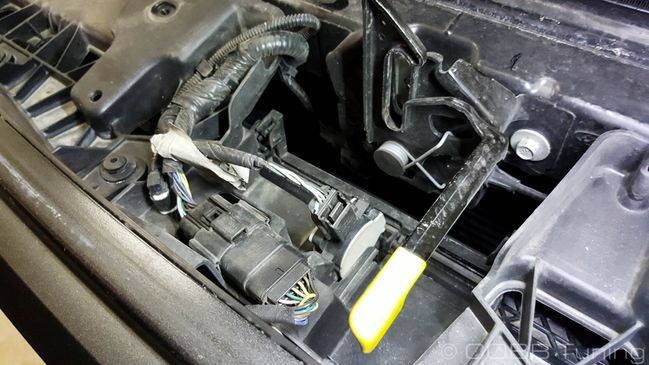
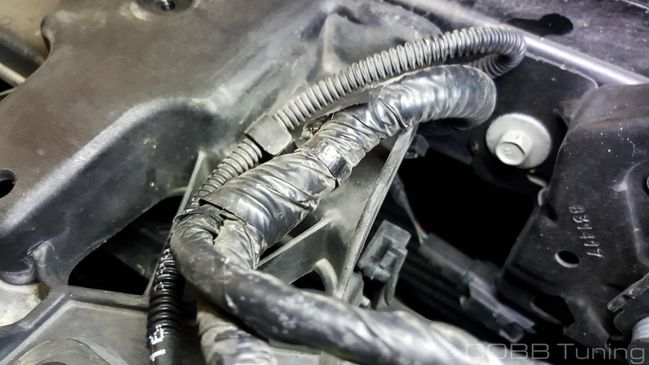
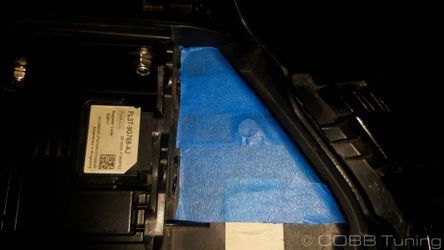
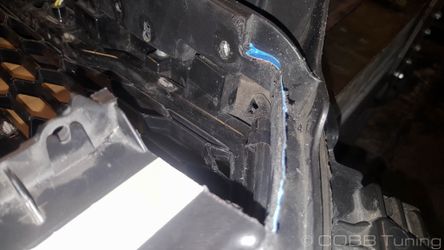
- Mark out the top corner of the grill shrouds top passenger-side corner. You'll want to mark it with tape or a permanent marker then remove the corner. This allows you to get in and attach the electrical connector much more easily.

- On the passenger's side of the upper radiator support you'll drill a hole centered vertically and horizontally on the trapezoid shape on the right side. This hole should be close to .5" from the back side. When trying to determine the center point of the shape the back side is 1.65" and the front is .925", so if you mark the center point front and back you should be able to draw a line front to back to find the correct positioning.
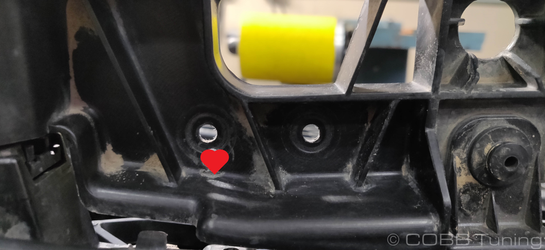
- From there try to center the second hole between the two support ribs and parallel from the front of the car. The dimensions aren't as critical since the holes are slotted.
- With the second hole drilled loosely bolt in the bracket to get an idea of where the third hole will go before drilling that hole. You'll use the remaining 6 flat washers along with the remaining hex bolts and nuts.
Final Setup
- With the assembly back in the car slide it around in order to get it as parallel to the vehicle as possible. If you notice it more sensitive to vehicles on the left or right, you may want to adjust it towards the opposite side.
- Use the provided bubble level to get the unit as vertical as possible.
- While this procedure should get you close to the correct calibration, you'll likely need to have it properly calibrated in order to ensure it works properly and safely.
Links
COBB Customer Support Web Support and Tech Articles: COBB Tuning Customer Support Center Email: support@cobbtuning.com Phone support available 9am to 6pm Monday-Thursday. 9am to 4pm Friday (CST) 866.922.3059 return to www.cobbtuning.comContact Us:
Related content
Copyright 2025 © COBB Tuning Products LLC. All Rights Reserved. | www.cobbtuning.com