/
Porsche 991.2 Targa ECU Removal Instructions
Porsche 991.2 Targa ECU Removal Instructions
- Former user (Deleted)
Owned by Former user (Deleted)
Last updated: Mar 30, 2018

These instructions will explain the process for removal of the ECU on the Porsche 991.2 Targa models. These instructions differ from the Carrera, Turbo, and Cabriolet models because the bumper cover will require full removal.
COBB Tuning would like to give a special thanks to BBi Autosport for assistance creating this document.
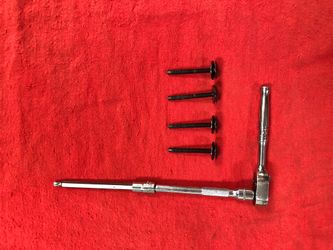
Tools Needed
- Flathead screwdriver
3/8" ratchet
3/8" 10mm socket
3/8" T30 Torx Bit
- 3/8" T25 Torx Bit
- 3/8" T45 Torx Bit
- Masking Tape
Estimated Removal Time: 2+ hours
Instructions
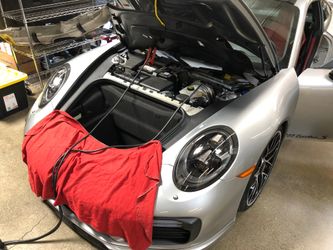
Battery Disconnect and hood/deck/spoiler/Targa Top open
- Make sure the car's coolant is cool and parked in a location where you can be comfortable leaving it undriven while the ECU is sent out for bench flashing. If the car needs to be moved or pushed while the ECU is not in the car, leave the car in the "N" Neutral position so you can push it. Failure to put the car in "N" Neutral before you remove the ECU will keep the car stuck in the "P" Park until the ECU is installed again.
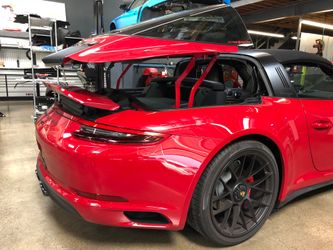
- RAISE THE SPOILER ON THE CAR TO FULL UPRIGHT POSITION. Also, raise the Targa Top to about the half way open position. The button for this is located by the shift lever on the car.
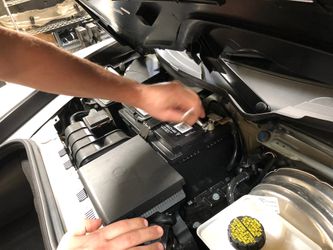
- With your car in a flat level place, pop the hood AND DECKLID and remove the car's cowl piece covering the brake master cylinder and battery. Once done, go ahead and unhook the negative terminal of the battery using a 10mm socket. Make sure to pop the decklid prior to removing the battery terminal, or you won't be able to get the decklid open. This goes the same for the spoiler, as mentioned in the step above.
Failure to disconnect the battery before removing the ECU can cause significant damage to their delicate circuitry.
Failure to raise the spoiler before you disconnect the battery will require reassembly of the car so you can raise it again.
This procedure of removing the ECU does require removal of the coolant cap. If the coolant is still hot and pressurized, personal injury could occur. Please proceed with caution.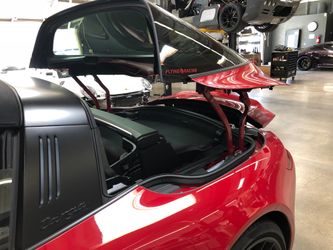
- Now that the Targa top is halfway open, the spoiler is up, the car is in "N" Neutral, and the hood and trunk are popped, go ahead and disconnect the negative battery terminal with a 10mm socket.
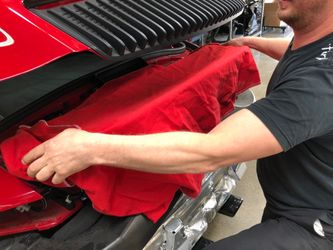
Engine Cover, Fans, and Inserts Removal
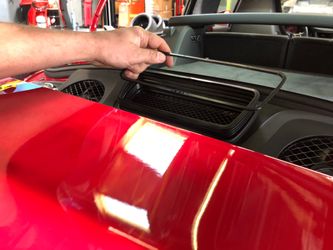
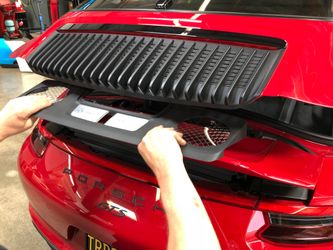
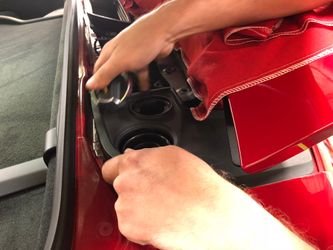
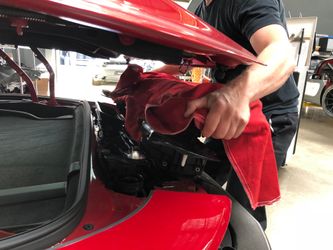
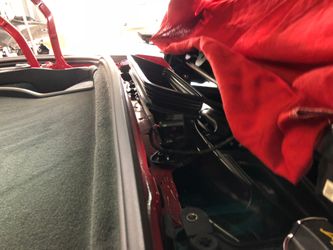
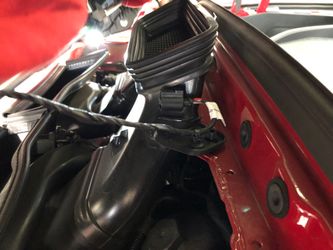
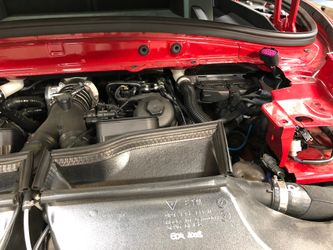
- Put a cloth over the spoiler, nobody wants to scratch Porsche paint. Go ahead and remove the hard "insert" for the air intake tube and then "pop" off the engine cover.

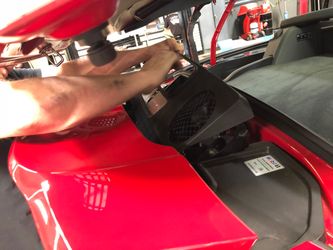
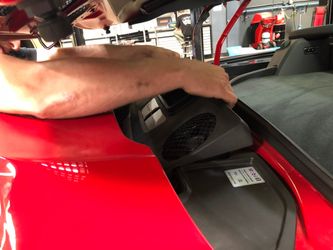
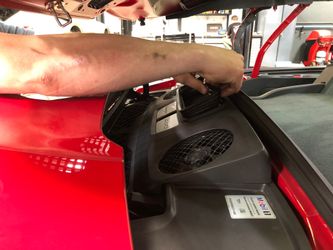
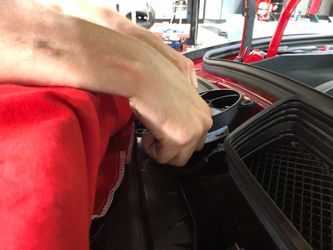
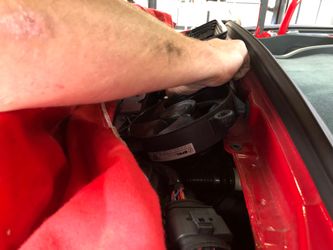
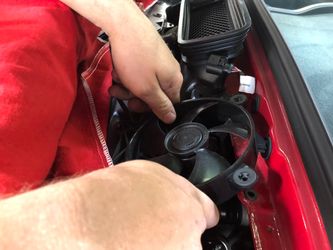
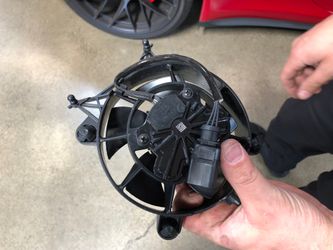
- Now, "pop" out the fans and unplug the connectors on the backside of them.


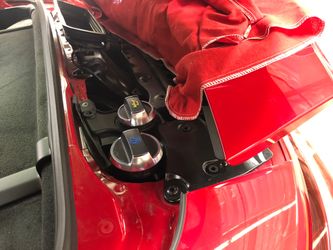
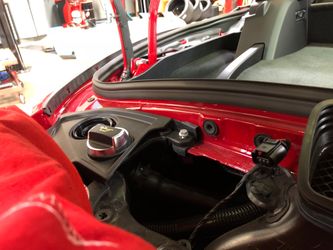
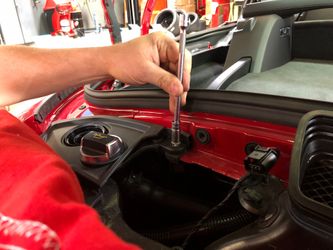
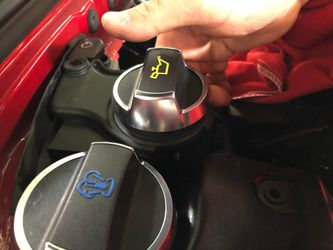
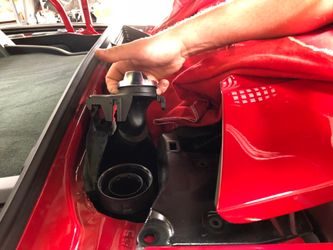
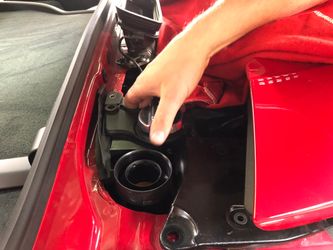
- Remove the right side insert by "popping" it out. The left side will require removing the coolant and oil cap to get it out of the way. It is held down by a 10mm bolt.
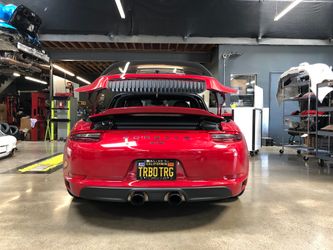
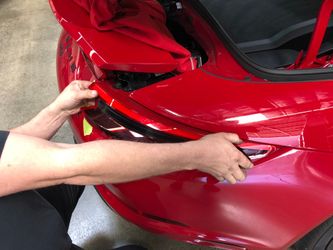
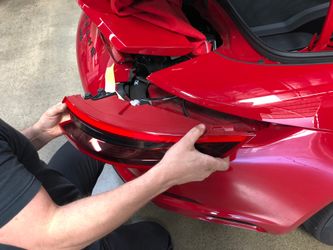
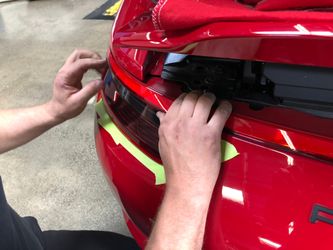
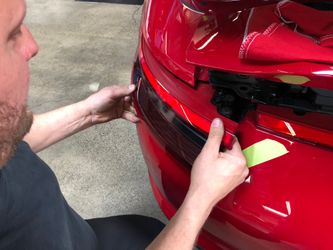
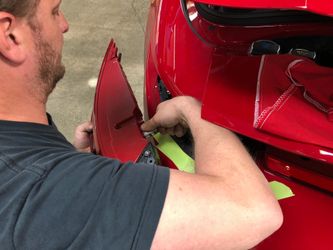
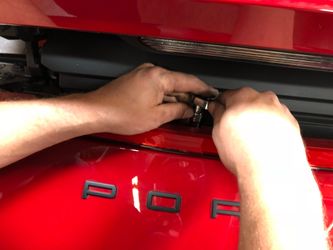
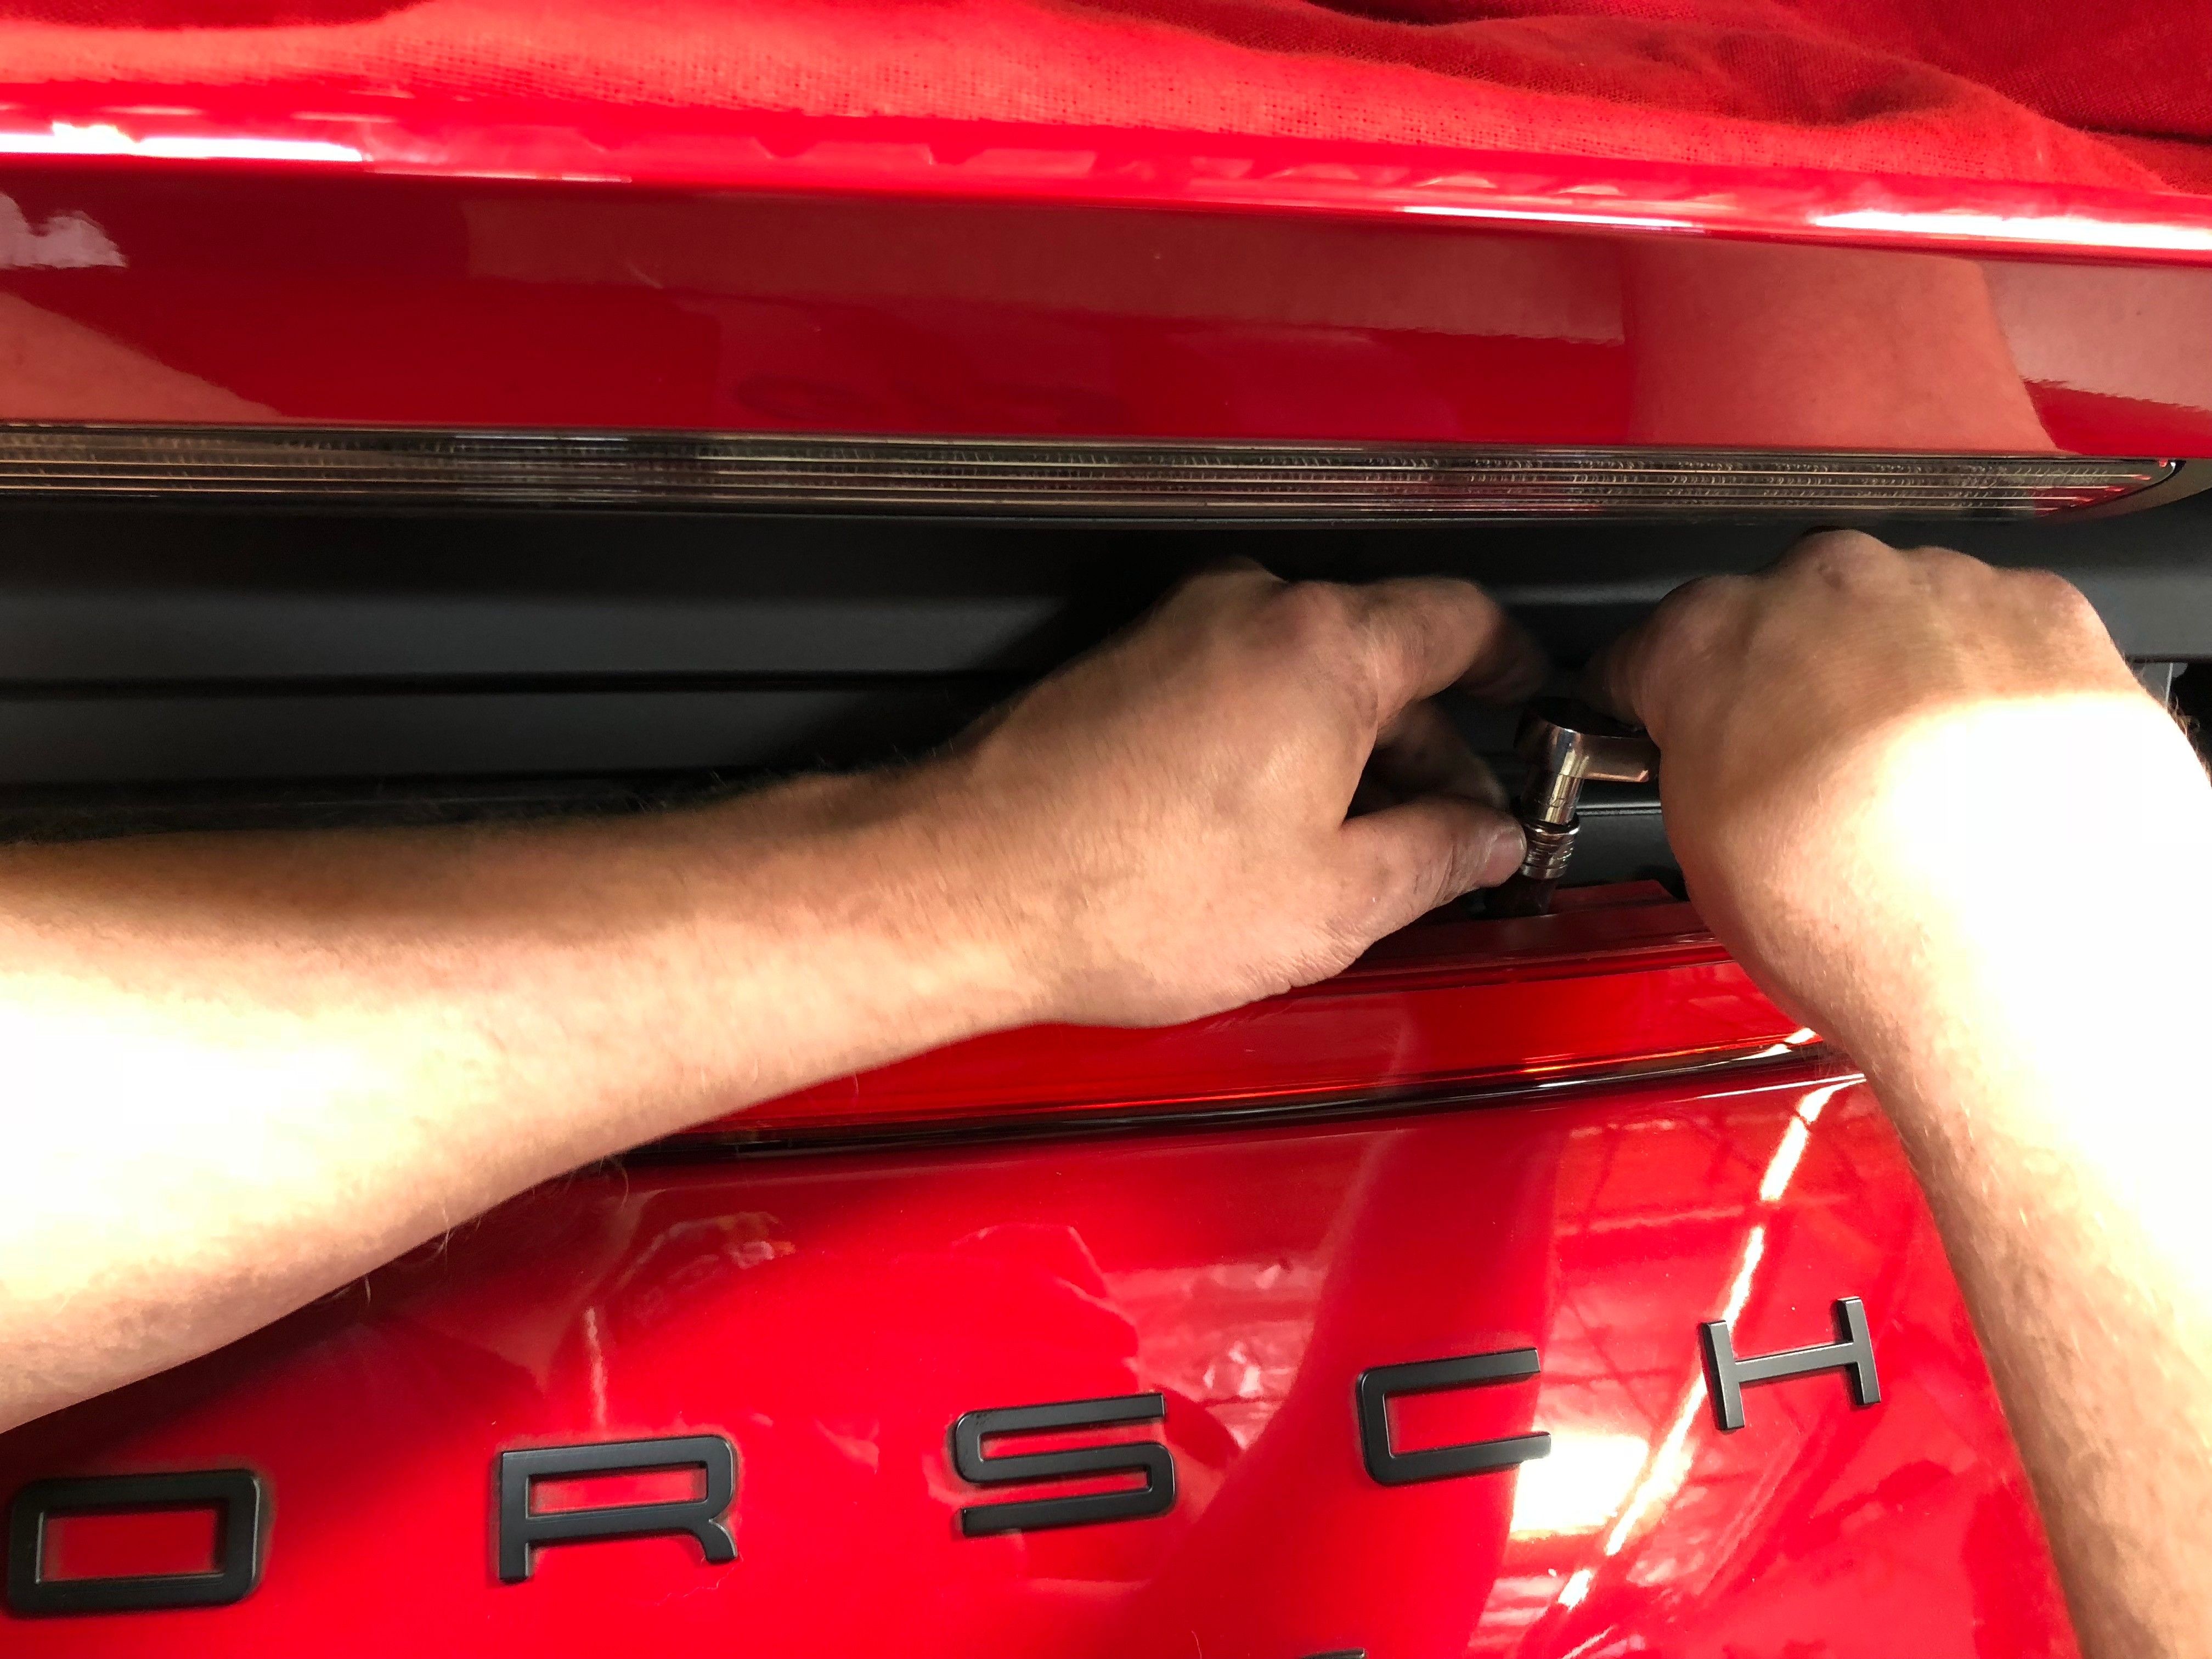
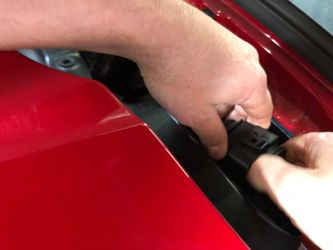
Taillight Removal
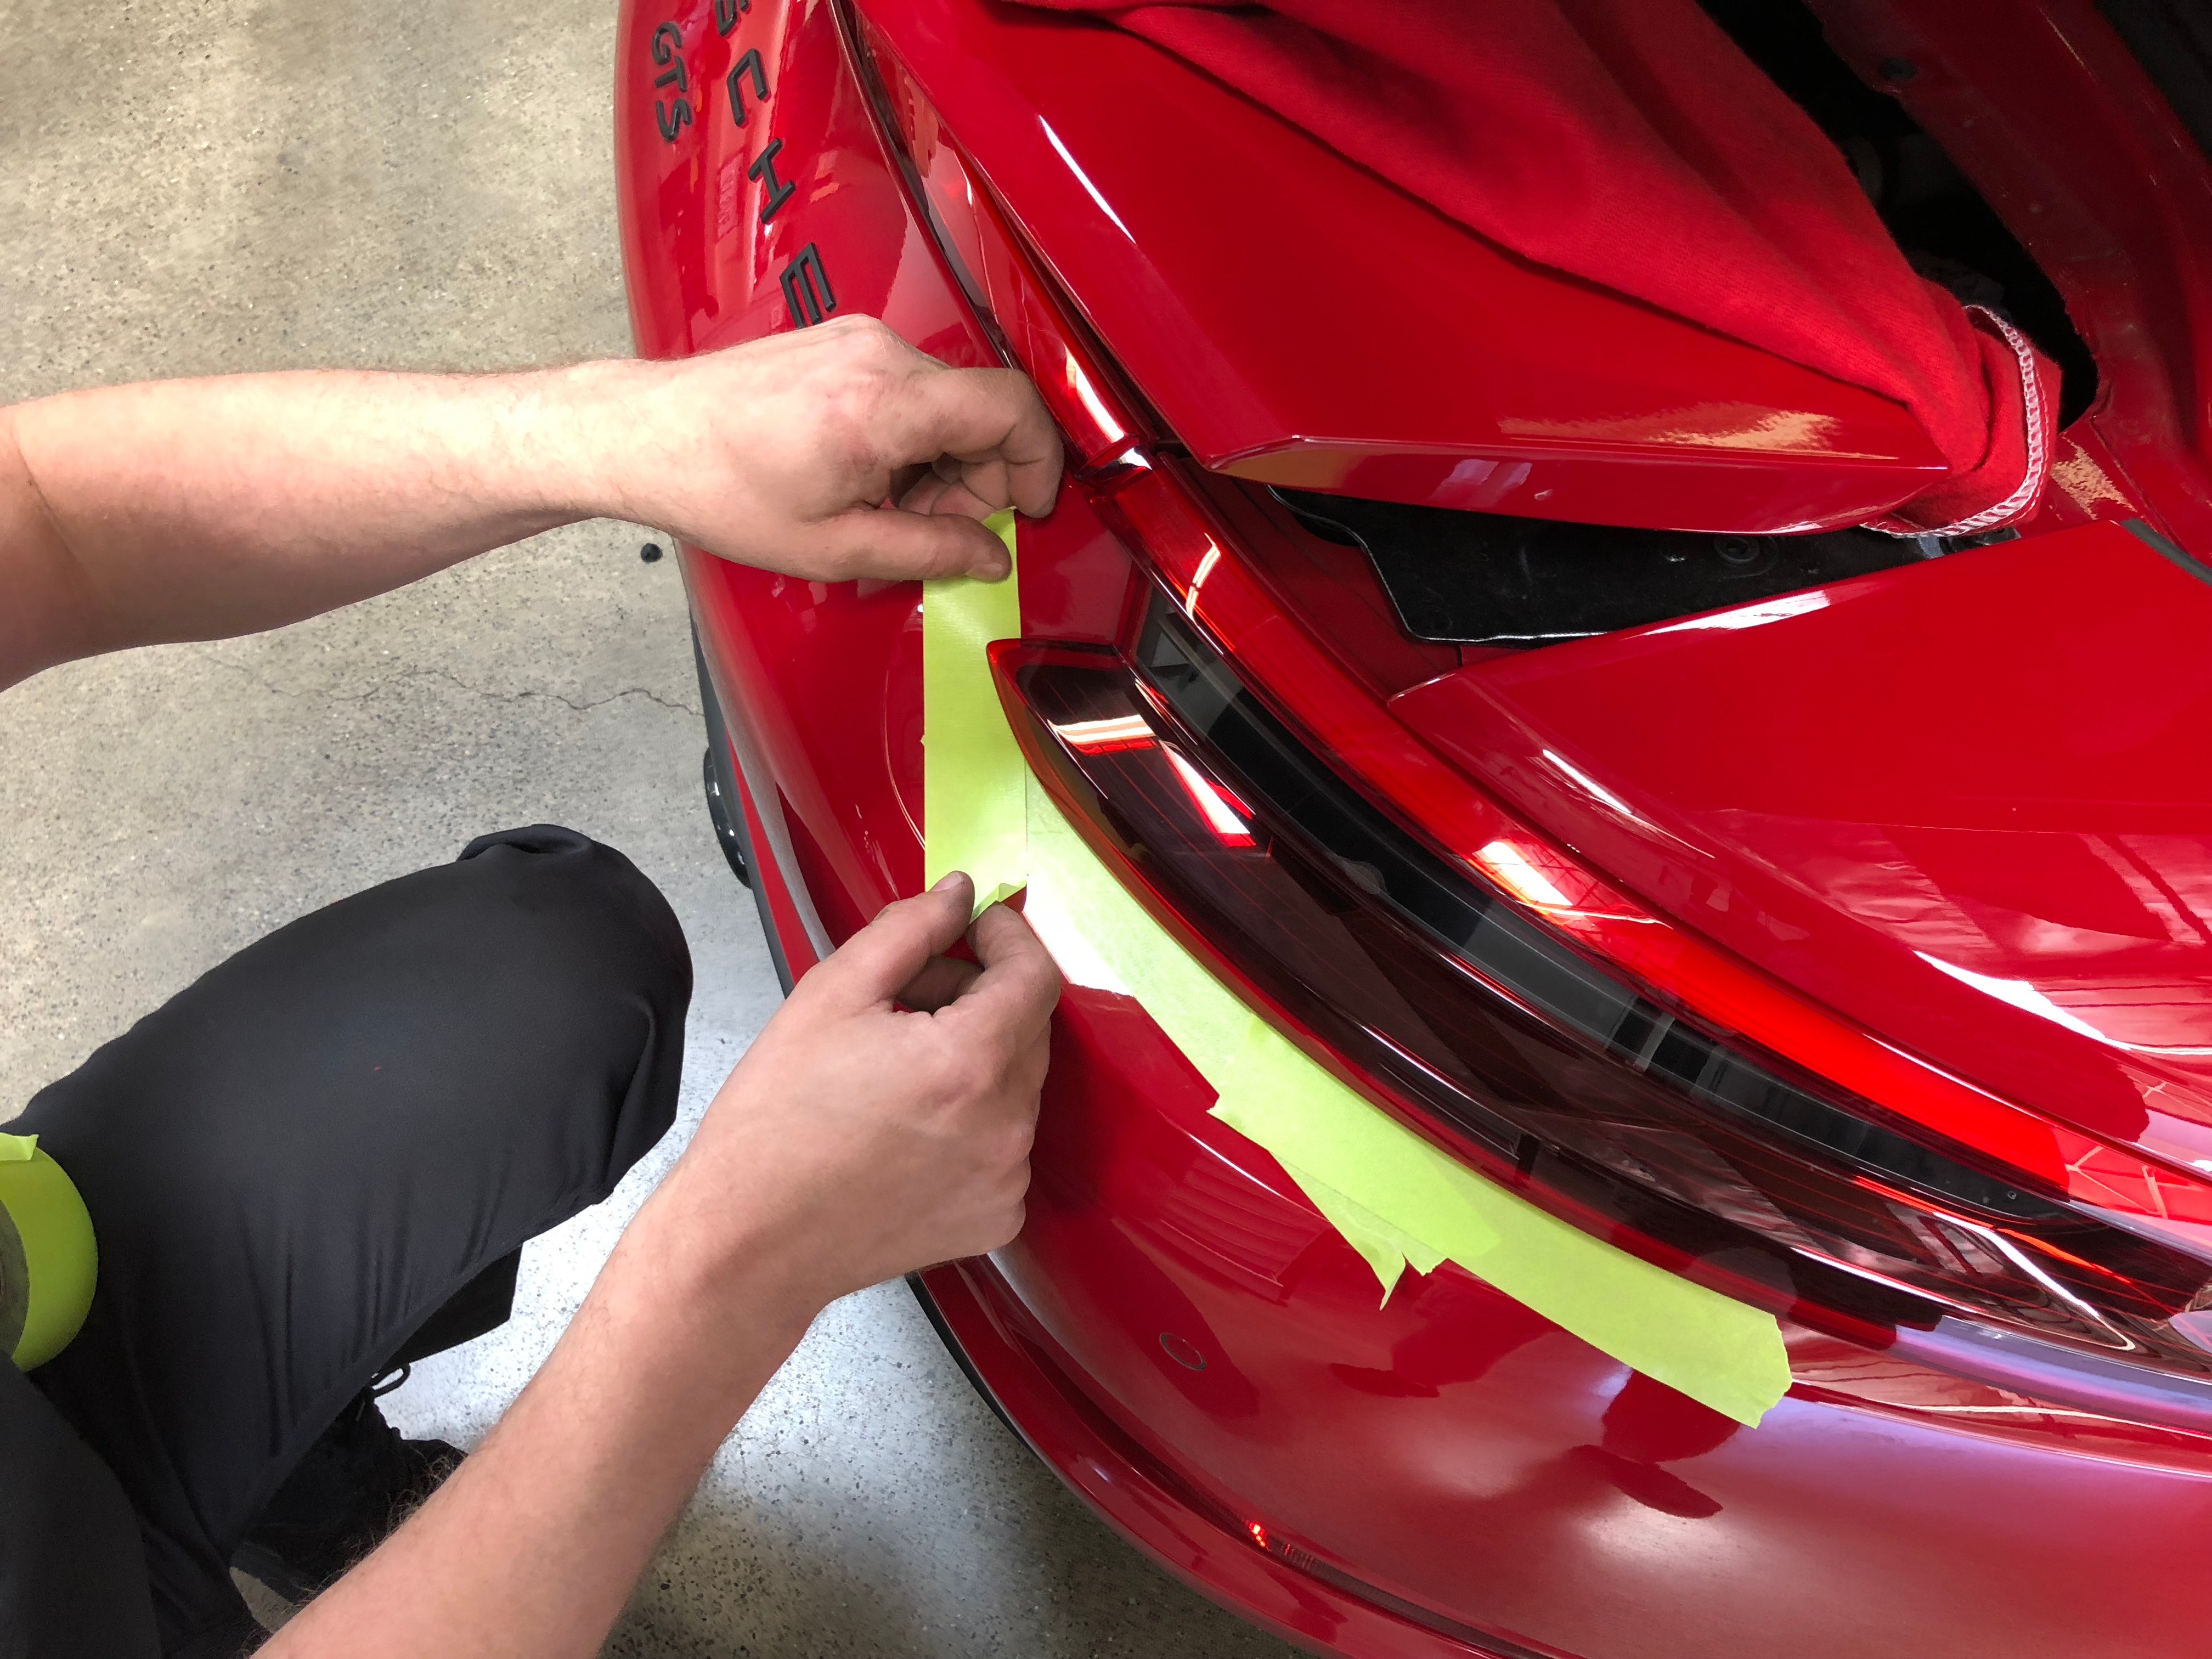
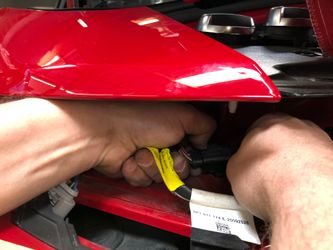
- Start by taping off underneath the taillight housing so to not scratch the paint. Each taillight is held on by two T25 torx bolts. Remove these and then the taillight can be pulled out. You'll need to press down on the housing and pull outward. Be sure to unplug the electrical connector.
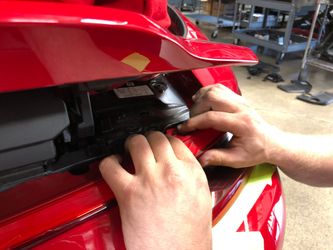
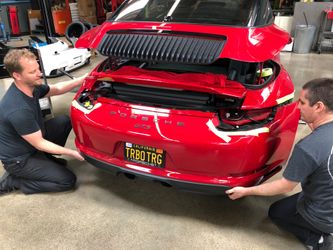
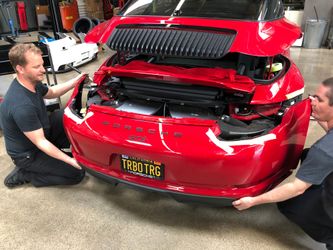
Bumper Removal
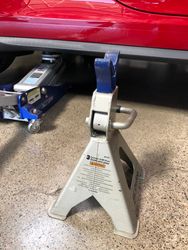
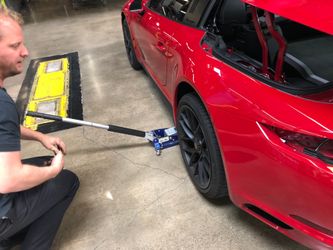
- Start by jacking up one side of the car. Use a jack stand for safety!!! Taking shortcuts to save time is no excuse for not being safe.
If the car is lowered, you may have to remove the rear wheels. If not, it's possible to do this with the wheel still on the car.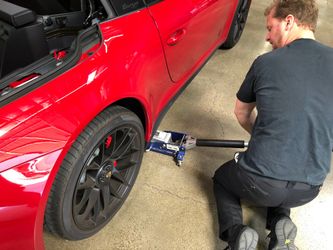
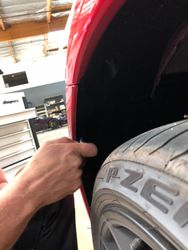
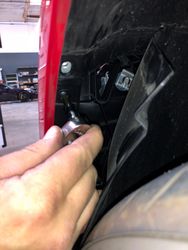
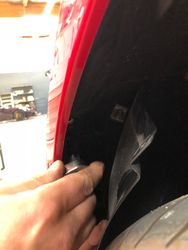
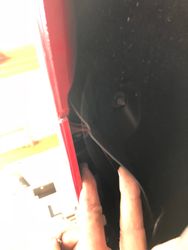
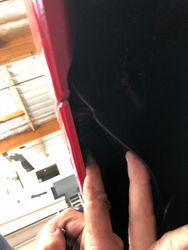
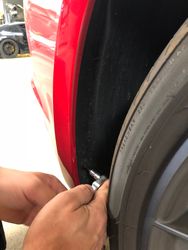
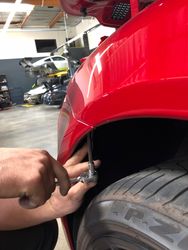
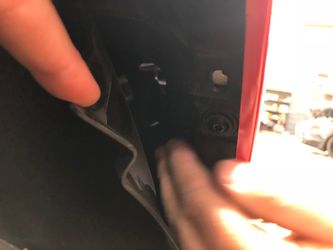
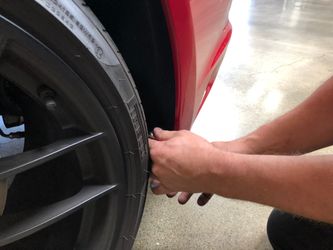
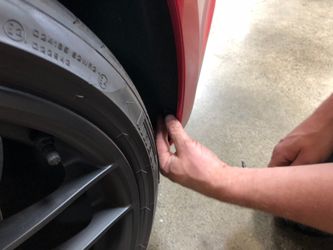
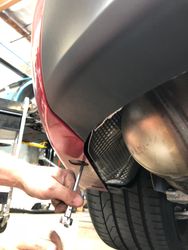
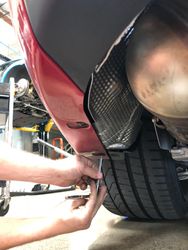
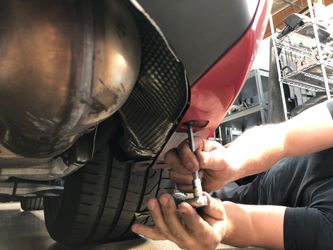
- You will now want to remove the three T25 torx bolts holding on the fender liner. Once you have those out, three more T30 torx will become visible if you peel the liner back. You'll need to remove these.
- Do this to the other side of the car as well.

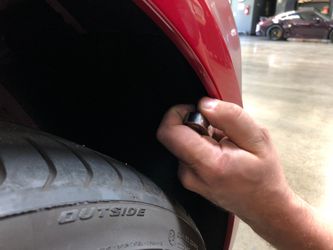

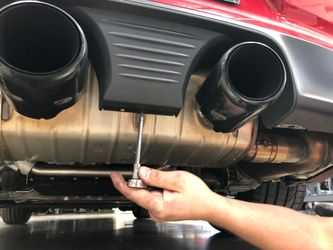
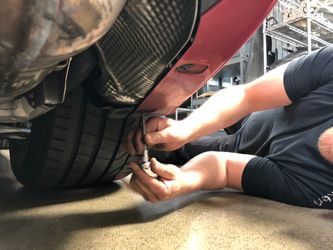
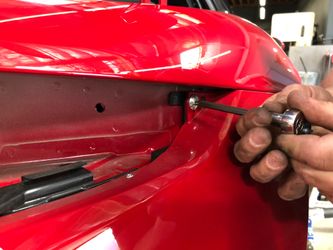
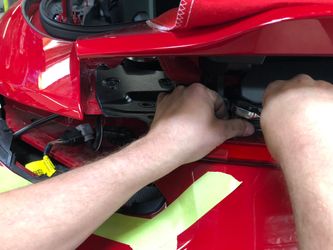
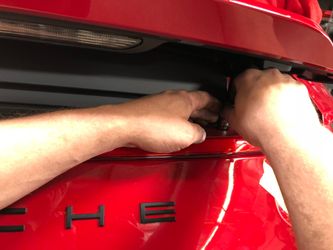
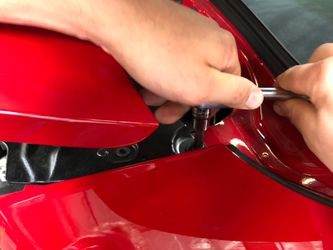
- There are seven T25 torx bolts under the bumper. Remove these.
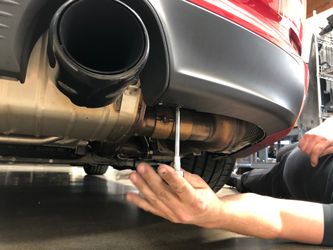
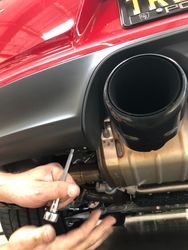
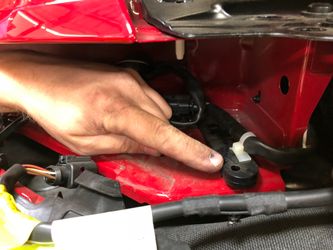
- You'll need a T30 bolt to get the tail light bumper nut out. There is one on each side.
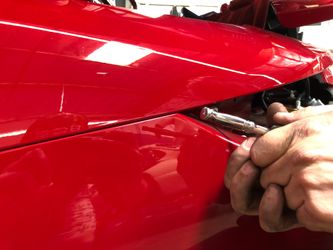
- With a T30, remove the bolts holding on the bumper to the engine bay area.
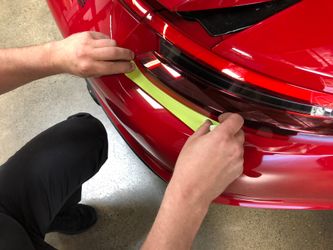
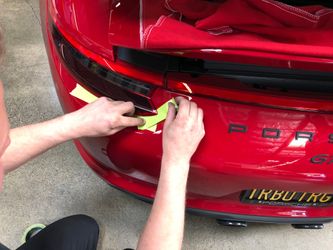
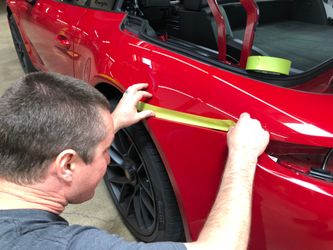
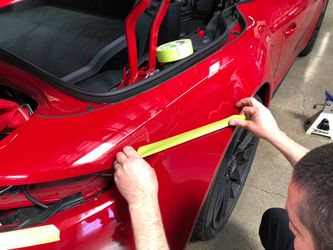
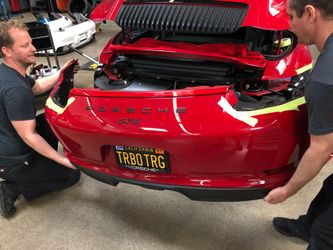
- Tape off the side of the bumper cover as to not scratch it during removal.
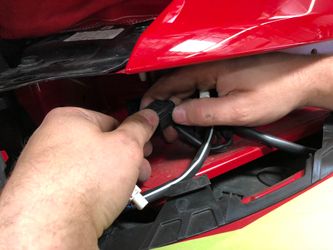
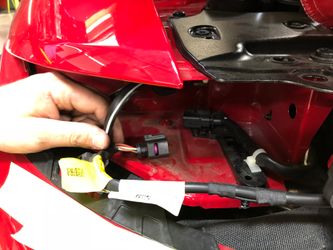
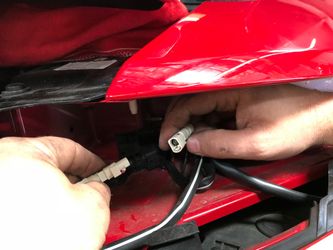
- Go through the taillights and engine bay and unplug any connectors and wires that will get in the way with removal.

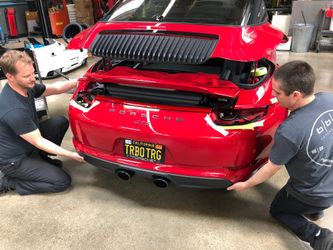
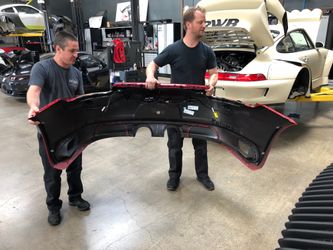
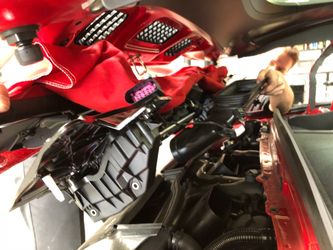
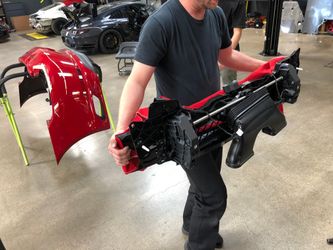
- Now, with two people, carefully remove the bumper cover and set it aside somewhere safe.
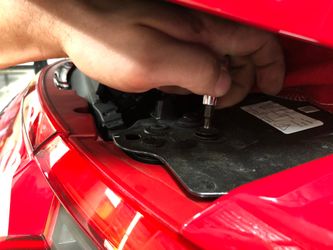
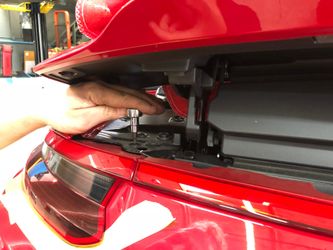
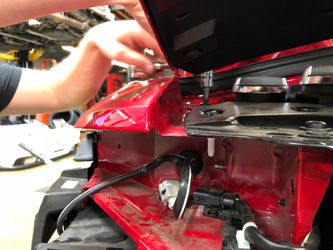
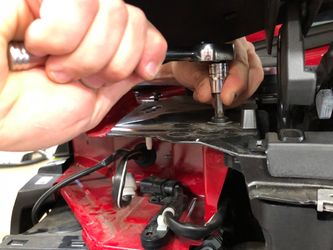
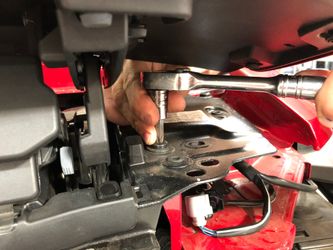
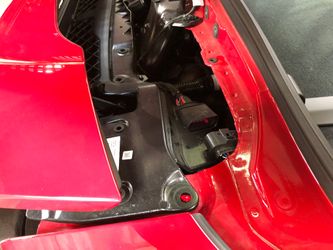
Engine Bay Panel Removal
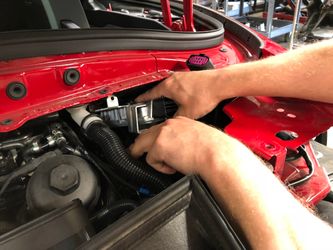
- With a T45 torx, remove the bolts holding on the black metal panel. Be sure to unclip the harness in the back as well.
- Cover the spoiler with a cloth. Scratched Porsche paint is bad for your eyes to see.
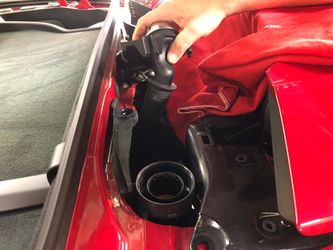
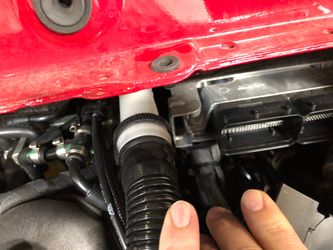
- You'll need to pull aside the oil line out of the way. You will need to unscrew the coolant cap to do so. Put the caps back on when you're done moving them. You would not want to drop anything down in them.
- Remove the spoiler. Do so carefully and set it aside. There is a connector as you pull it out, make sure you unplug it.

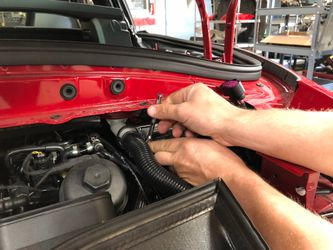
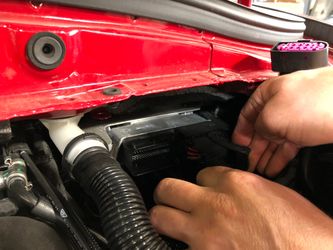
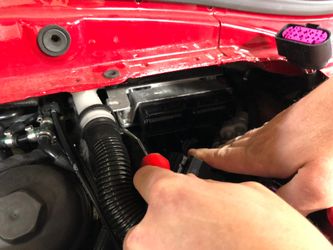
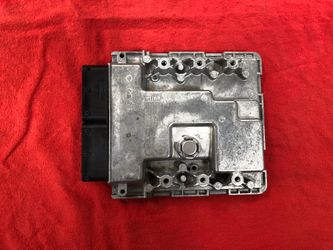
ECU Removal
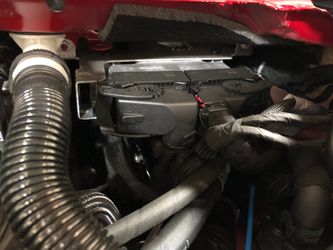
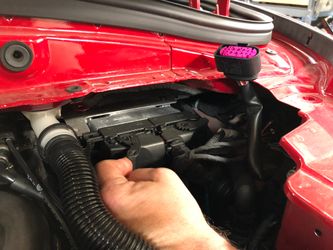
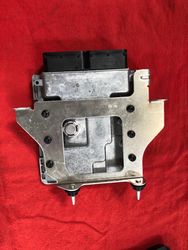
- Start by unplugging the electrical connectors to the ECU. Next, remove the two 10mm bolts that hold the ECU to the chassis. There's also a clip that the ECU is held onto on the bottom to the wiring loom. Unclip it from there and you can pull the ECU out.
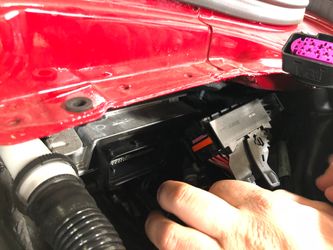
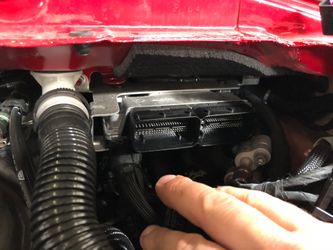


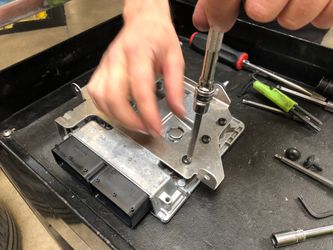
- Remove the six T30 torx bolts from the ECU and then send it to COBB to get unlocked.

- Reinstallation is the reverse of the removal instructions.
- And that's it, connect the negative battery terminal and you're done! You are now ready to install the COBB Accessport onto the vehicle. Make sure you have a battery charger on the car's battery during the install process.

Here are some instructions on how to install the COBB Accessport
Related content
Porsche 991.2 Carrera and Turbo ECU Removal
Porsche 991.2 Carrera and Turbo ECU Removal
Read with this
FL5 Honda Civic Type R /DE5 Acura Integra Type S ECU Removal
FL5 Honda Civic Type R /DE5 Acura Integra Type S ECU Removal
More like this
How To: Locate and Remove PDK Module
How To: Locate and Remove PDK Module
More like this
992 911 Carrera / Targa GTS, Dakar Map Notes
992 911 Carrera / Targa GTS, Dakar Map Notes
More like this
771750 - MazdaSpeed 3-port Boost Control Solenoid
771750 - MazdaSpeed 3-port Boost Control Solenoid
More like this
5Z1160 - FRS, BRZ, GT86, GR86 Titanium Exhaust
5Z1160 - FRS, BRZ, GT86, GR86 Titanium Exhaust
More like this
Copyright 2025 © COBB Tuning Products LLC. All Rights Reserved. | www.cobbtuning.com