Ford Focus RS 2.3l Turbo Blanket
- Brandyn Mowat

8F2650 Ford 2.3l Turbo Blanket
Ford Ecoboost Mustang 2014 - 2019
Ford Focus RS 2017 - 2018
Congratulations on your purchase of the COBB Tuning Turbo Blanket! The following instructions will assist you through the installation process. Please read them BEFORE beginning the install to familiarize yourself with the steps and tools needed. If you feel you cannot properly perform this installation, we HIGHLY recommend you take the vehicle to a qualified and experienced automotive technician.
While not flammable on their own, if any sort of flammable chemical gets into the fiber of the turbo blanket, it may be possible for a fire to occur. It is recommended to replace the turbo blanket if ANY flammable chemicals, liquids, or materials get on the blanket.
Table of Contents
Parts List
- COBB Turbo Blanket
- (2) Springs
- Safety wire
Tools Needed
Sockets
3/8"
3/8" ratchet
3/8" 12" extension
3/8" 6" extension
3/8" 13mm socket
- 3/8" 15mm socket
3/8" T25 Torx Bit
Hand Tools
Needlenose pliers
Focus RS Preparation
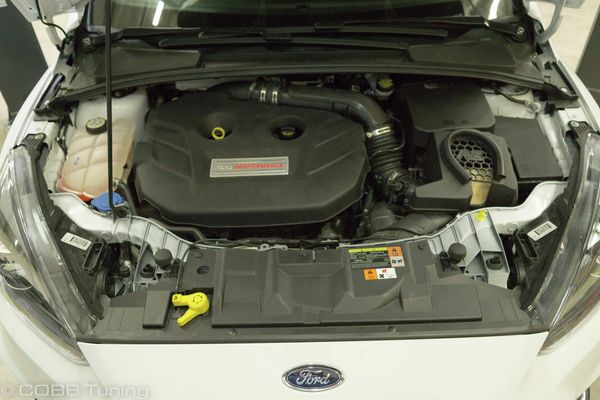
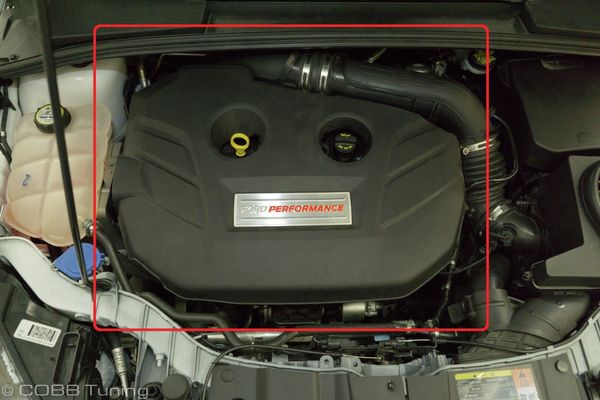
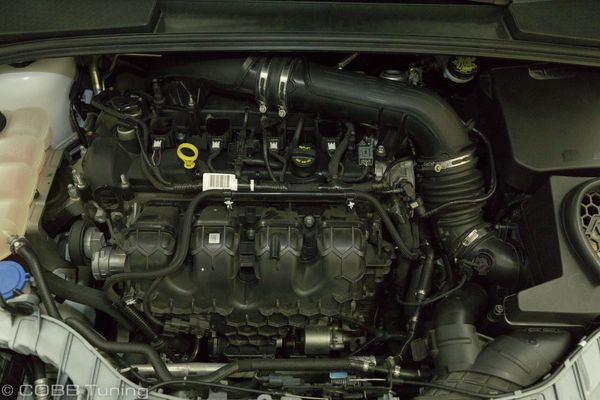
- Remove the plastic engine cover by gently pulling up. It is merely held down by pressure clips.
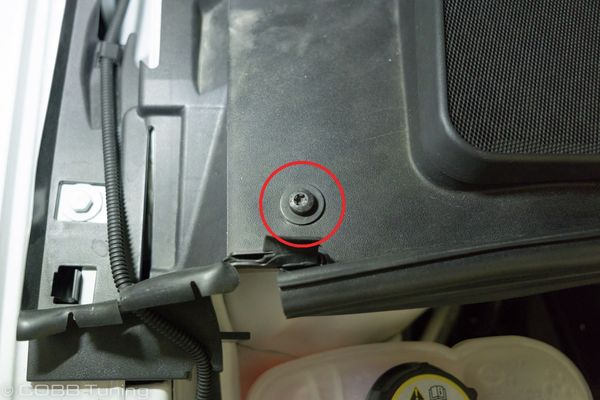
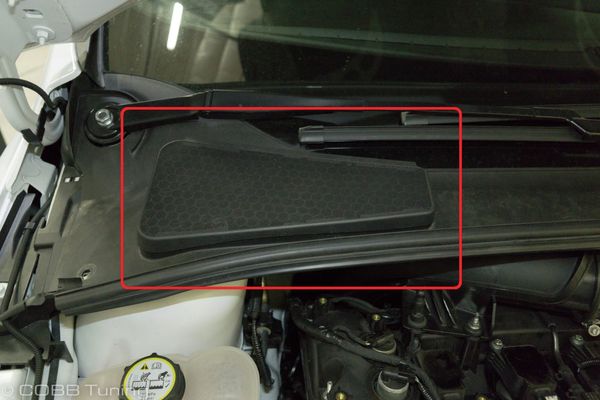
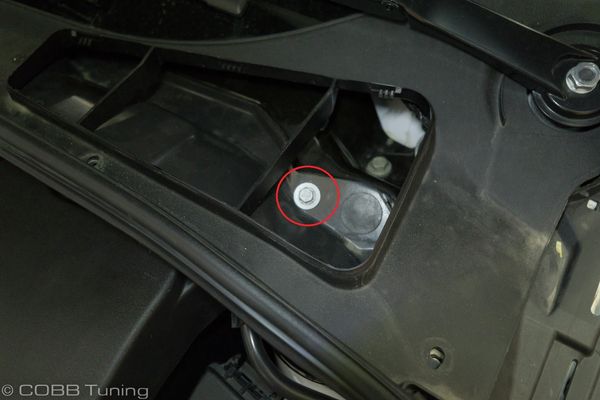
- Remove (2) Torx bolts securing down the front of the front windshield cowl using a Torx bit. There will be a bolt on the driver's side and on the passenger's side of the engine bay.
- Remove (4) pressure clips securing the front windshield cowl using a flathead screwdriver.
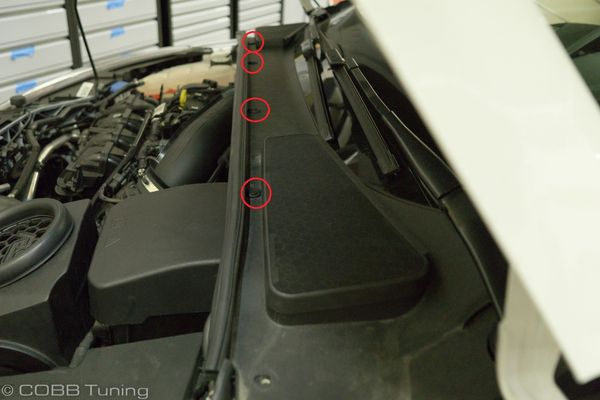

- Gently pull up and release the (2) debris covers on the front windshield cowl. There will be one on the driver's side and one on the passenger's side.
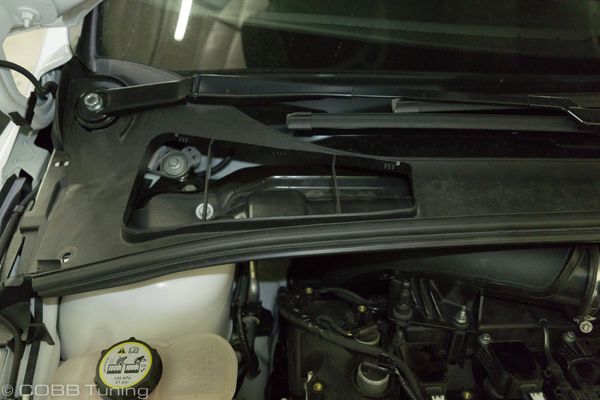

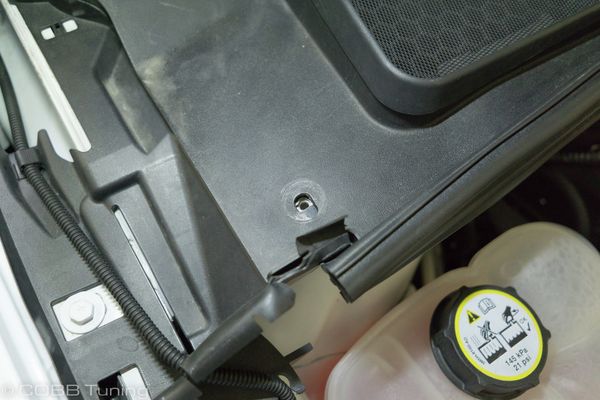
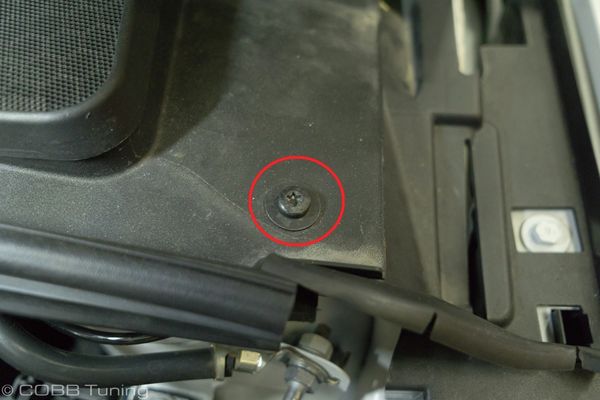
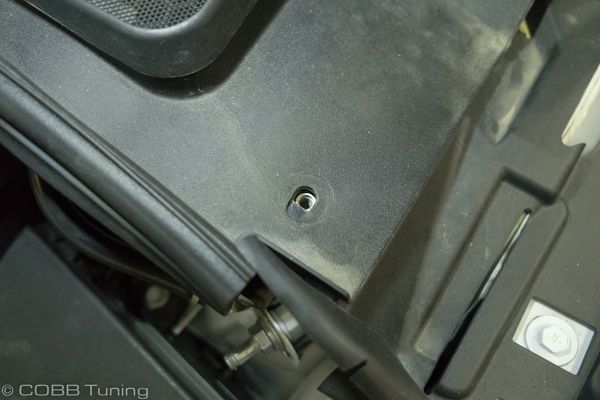
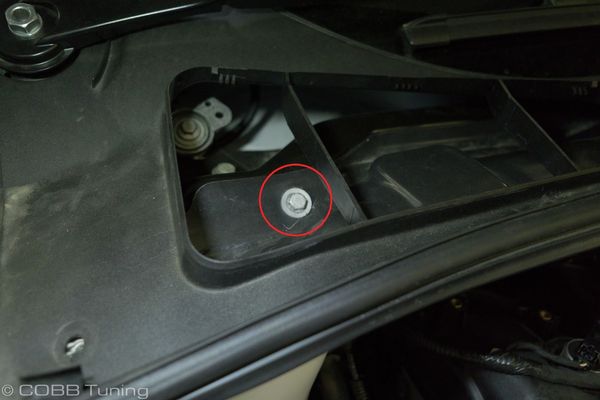
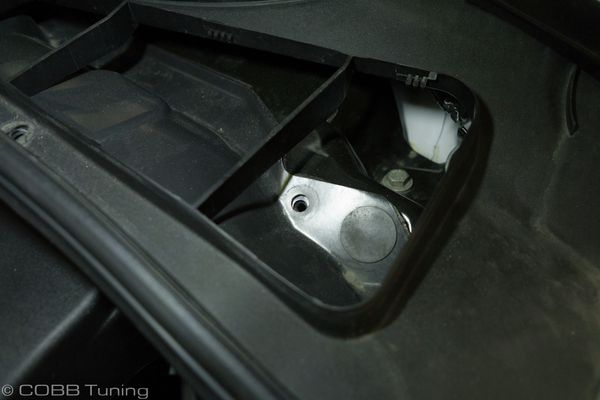
- Remove the (2) ?mm bots securing the the debris/water guard under the front windshield cowl. There will be one on the driver's side and one on the passenger's side.

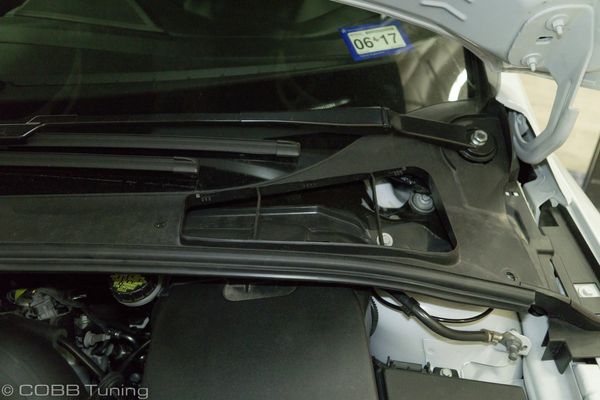
- Remove the rubber cover off of each windshield wiper to access the 15mm nut underneath. Remove each wiper. Remember which side is which for reinstallation later.
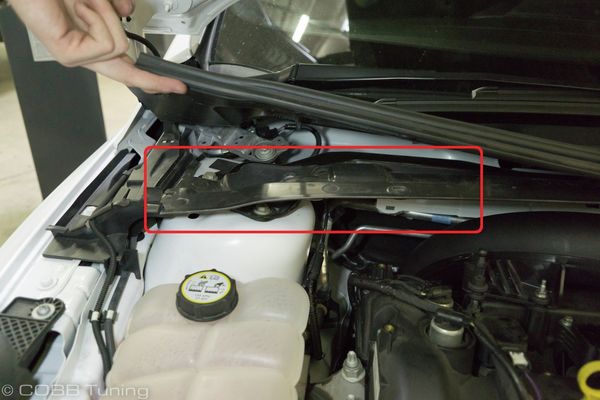
- Remove the debris guard and windshield Cowl.
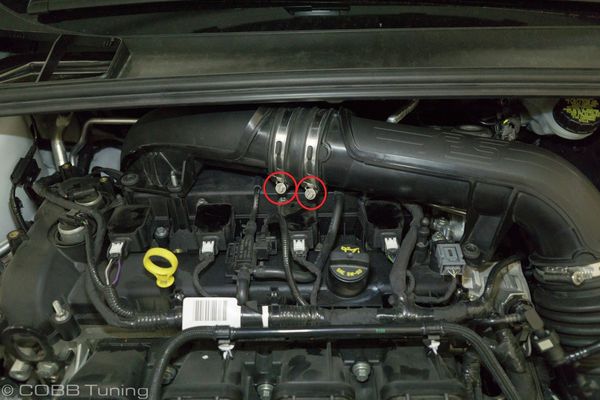
- Loosen the (2) hose clamps connecting the two sides of the intake pipe using an 7mm socket.
- Loosen the single hose clamp securing the intake pipe to the airbox using an 7mm socket.
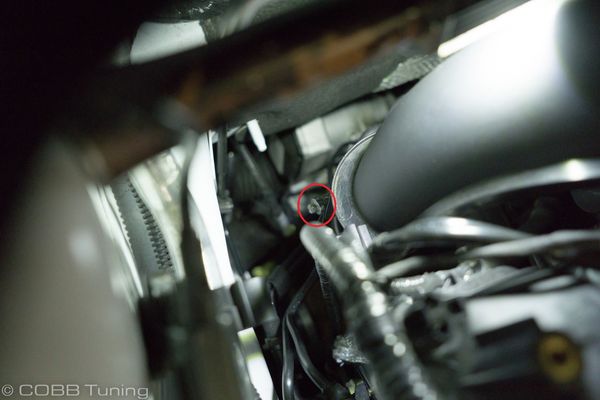
- Loosen the single hose clamp securing the intake pipe to the turbo using an ?mm socket.
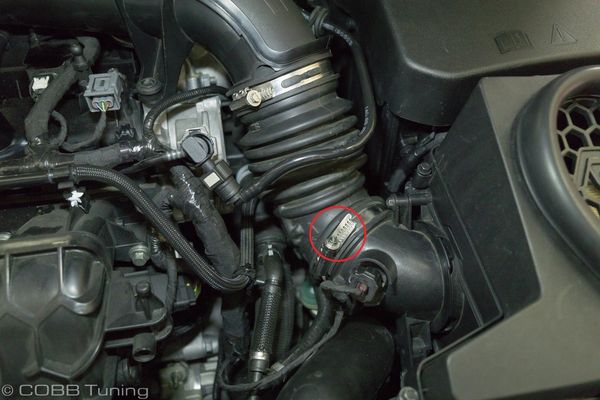
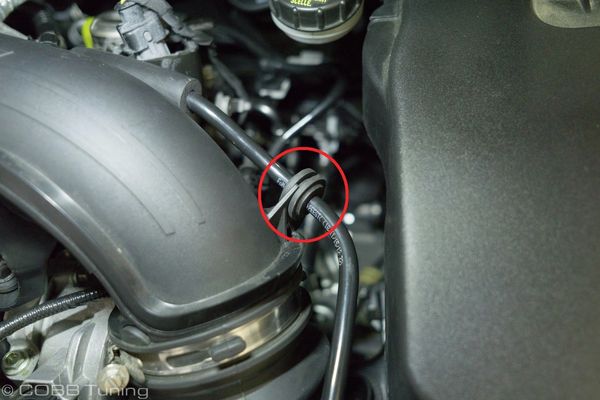
- Remove the rubber grommet from the mounting location securing the electrical harness to the intake pipe.
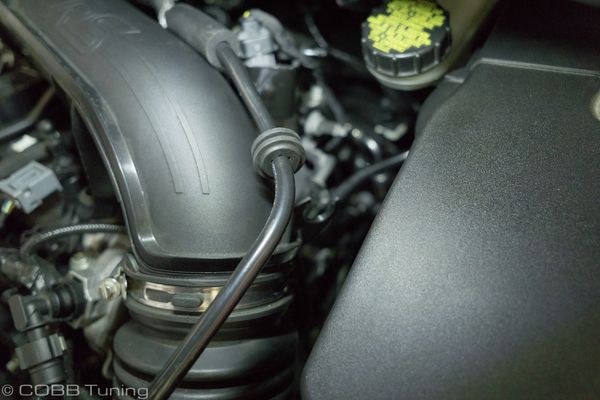
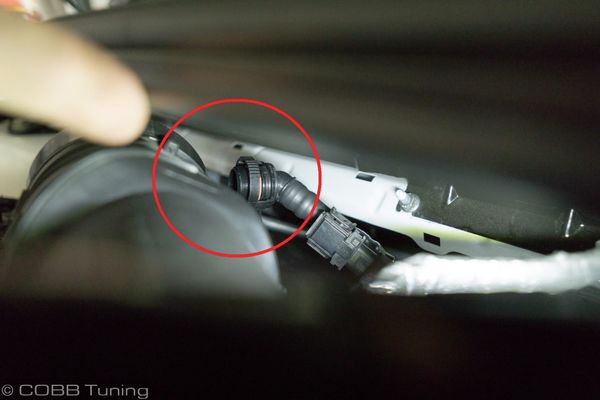
- Disconnect the PCV plug from the back of the intake pipe. You may need to gently lift up the the front windshield cowl to gain access to the plug.
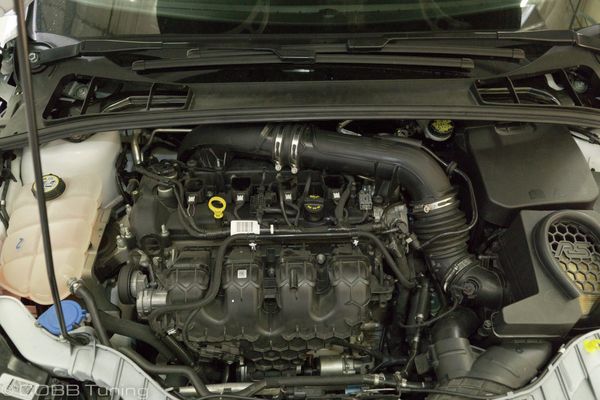
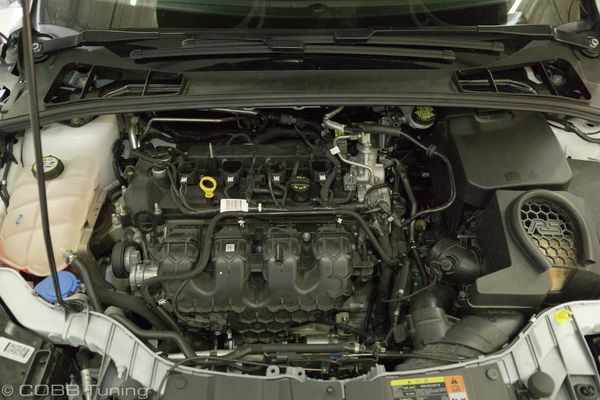
- Gently lift and remove the stock intake system from the car. Be wary of any electrical cables or vacuum hoses that may be in the engine bay as you're removing the piping.
- Moving under the car remove the 4 trim clips from the fabric undertray using your trim tool.

- Using a T30 torx bit remove the 8 torx screws holding the remaining portion of the undertray to the car and drop it out of place.

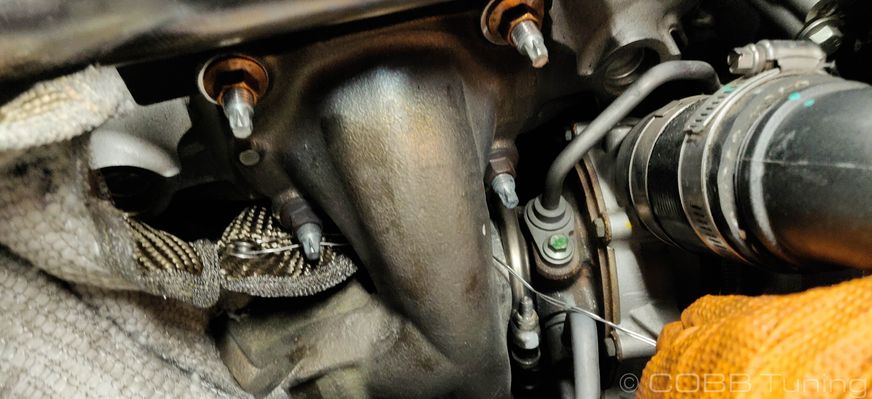
- Using a 13mm socket remove the top two turbo mounting bolts holding the top of the heat shield in place.
- Remove the t-25 torx bit holding the lower part of the heatshield in place.
Turbo Blanket Installation
While we show what we feel is the simplest and most secure way of wrapping the wire and using springs to secure the turbo blanket there are many different possibilities and options that will work. Take care not to impact the movement of the wastegate or anything else with your routing.
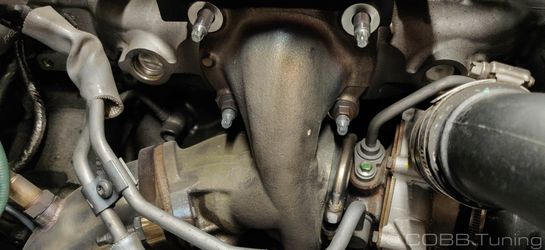
Some of these pictures are off of an Ecoboost Mustang in order to make the pictures more clear to see. The installation for both is identical.
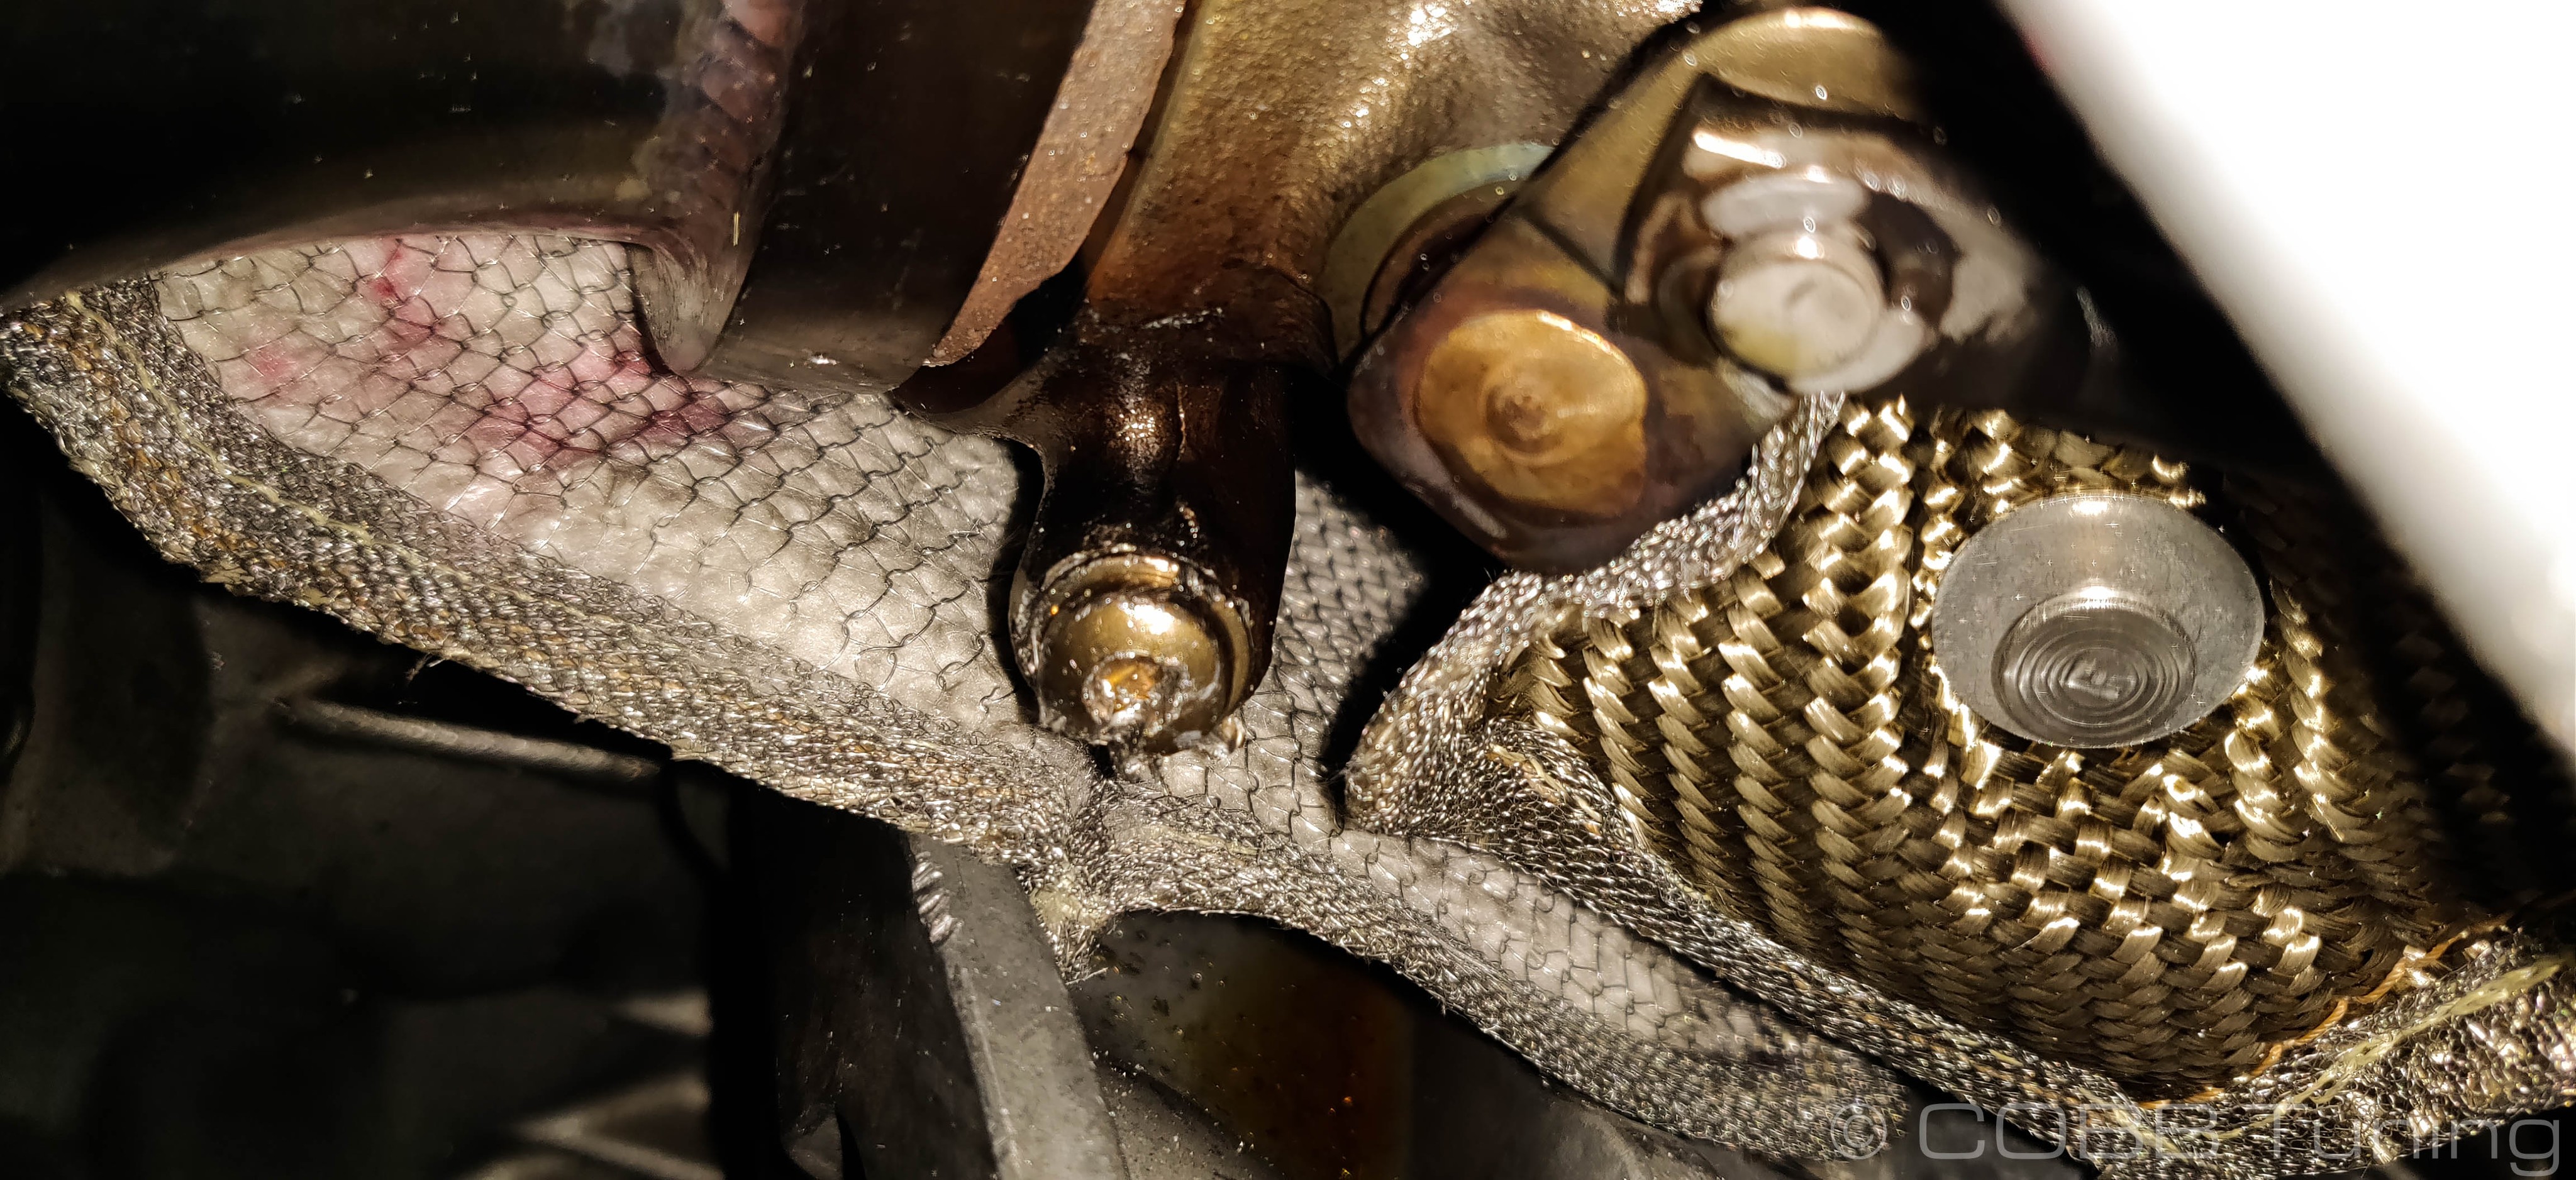
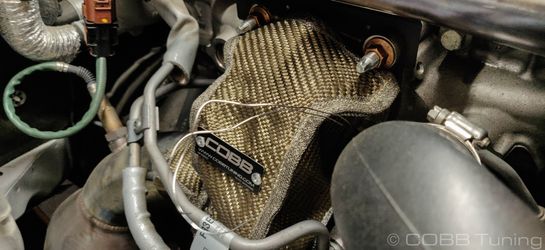
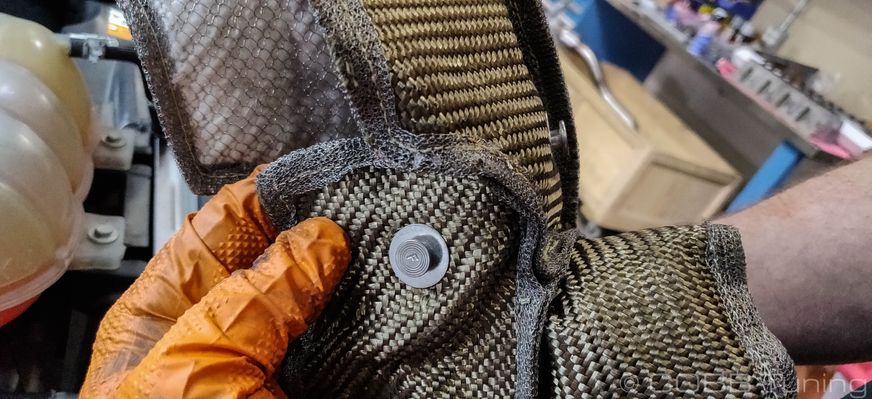
- This is how your blanket will sit over the turbo, slide the lower section under the wastegate bracket and up around the back towards the front.
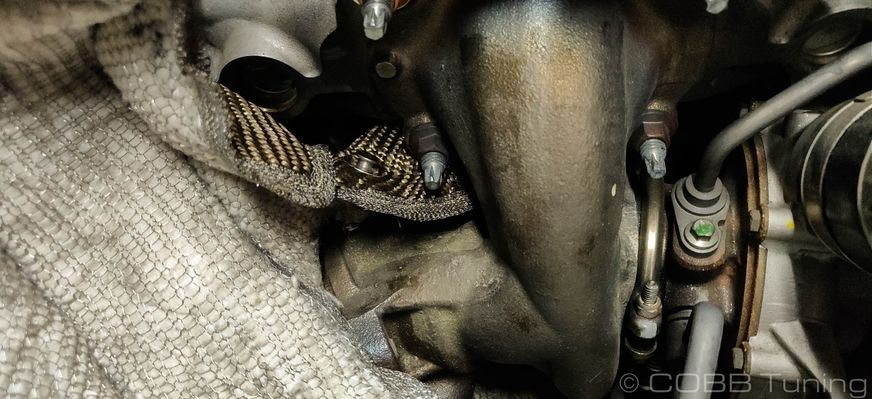
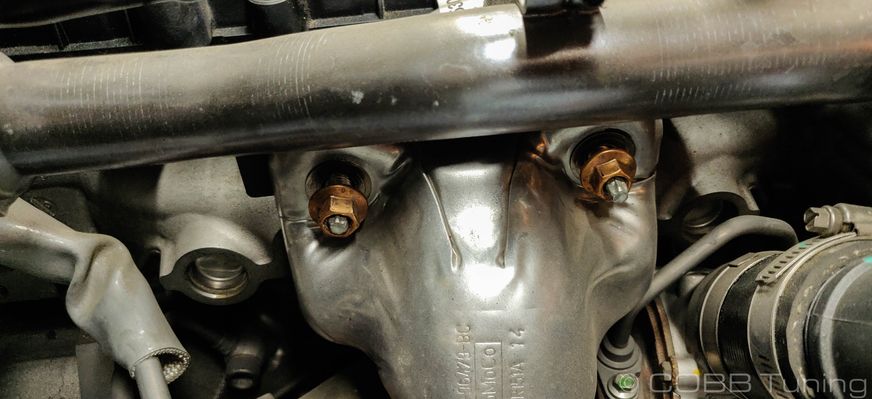
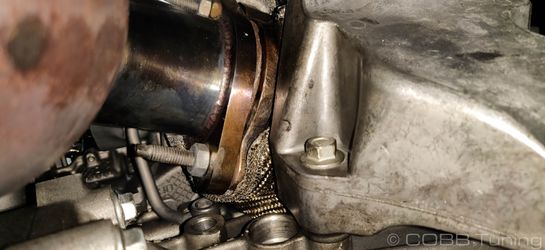
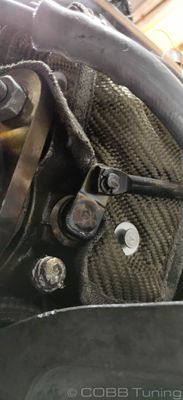
- Once it's about in place loop a piece of wire around the lower rivet in order to more easily pull it up around the bottom of the turbo. Making sure to carefully route it around the downpipe bolts.

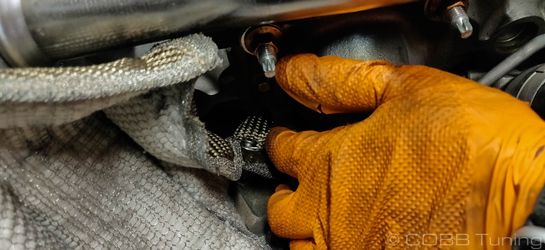
- Connect the rivet from the rear lower section up to the bottom of the top piece using either a spring or some of the wire.
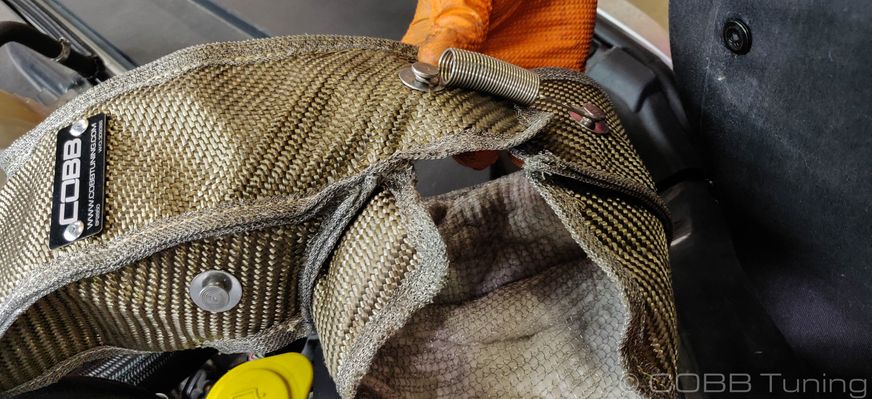
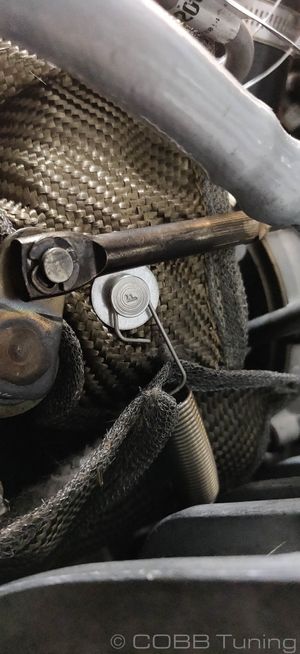
- Now connect the rivet on the rear side around the front of the blanket to the rivet on the left side.
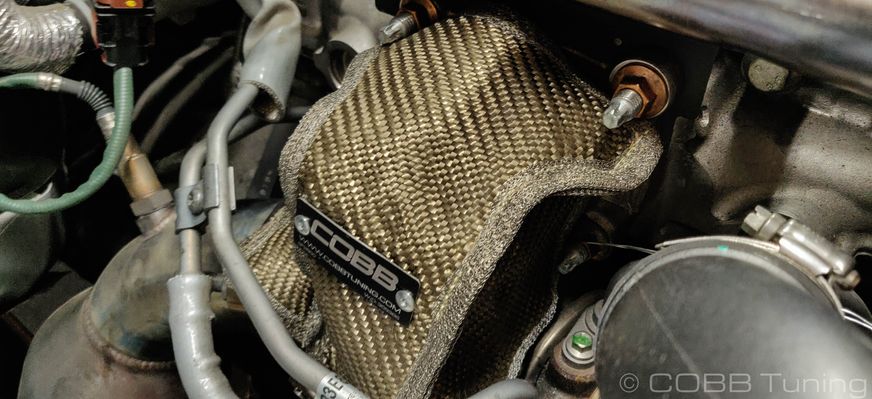
- Now tuck the corners under the bolts and you're done! Alternatively you can also re-install the factory heat shield, but depending on where the fabric is bundled, it may not fit any longer.
Links
Contact Us:
COBB Customer Support
Web Support and Tech Articles: COBB Tuning Customer Support Center
Email: support@cobbtuning.com
Phone support available 9am to 6pm Monday-Thursday. 9am to 4pm Friday (CST)
866.922.3059
return to www.cobbtuning.com
Related content
Copyright 2025 © COBB Tuning Products LLC. All Rights Reserved. | www.cobbtuning.com