293350 - Focus Shift Cable Bushing
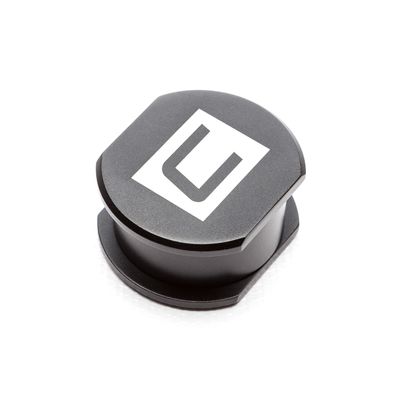
Focus Shift Cable Bushing
Ford Focus ST 2013 - 2018
Congratulations on your purchase of the COBB Tuning Focus Cable Bushing! The following instructions will assist you through the installation process. Please read them BEFORE beginning the install to familiarize yourself with the steps and tools needed. If you feel you cannot properly perform this installation, we HIGHLY recommend you take the vehicle to a qualified and experienced automotive technician.
Table of Contents
Parts List
- Male Shifter Bushing Half
- Female Shifter Bushing Half
- Blue Threadlock
Tools Needed
- Phillips head screwdriver
- Flathead screwdriver
3/8" ratchet
- 3/8" 7mm socket
3/8" 8mm socket
3/8" 10mm socket
3/8" 12mm socket
3/8" 13mm socket
Deadblow Hammer
Needlenose pliers
- Diagonal Cutters
- 27mm combination wrench
Stock Shifter Cable Dissassembly
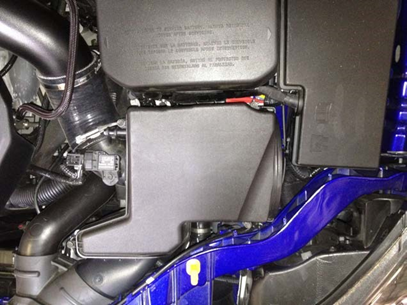
- First we'll want to remove the factory airbox so we can gain access to the shift weight sitting on top of the transmission. To do so, use an 8mm socket to remove the four bolts that secure the lid of the box in place. They loosen but are captured in the lid so they will stay attached when loose. Once loosened remove the lid from the engine bay.
- Disconnect the MAP sensor attached to the box as well.
- Using an 8mm socket, loosen the clamp that secures the airbox to the turbo inlet tube until there is slack. Socket size may vary depending on the intake that is installed.
- Remove the air filter and set it aside.
- Undo the strap in front of the box taht secures the fresh air inlets. Remove each inlet by pulling them away from the box.
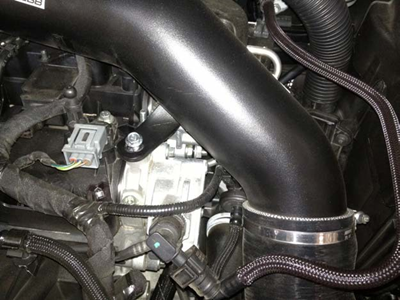
- Carefully remove the airbox by pulling it up and outward. It is held in place by three mounts. Set the box to the side.
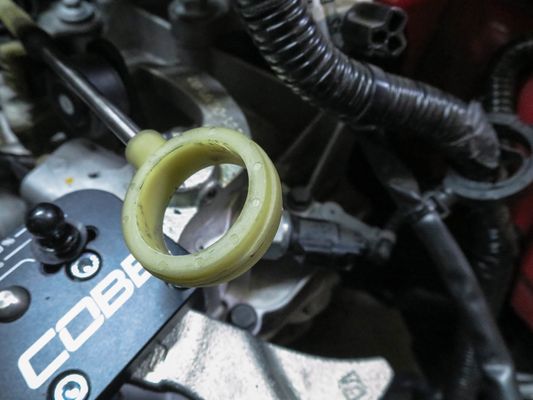
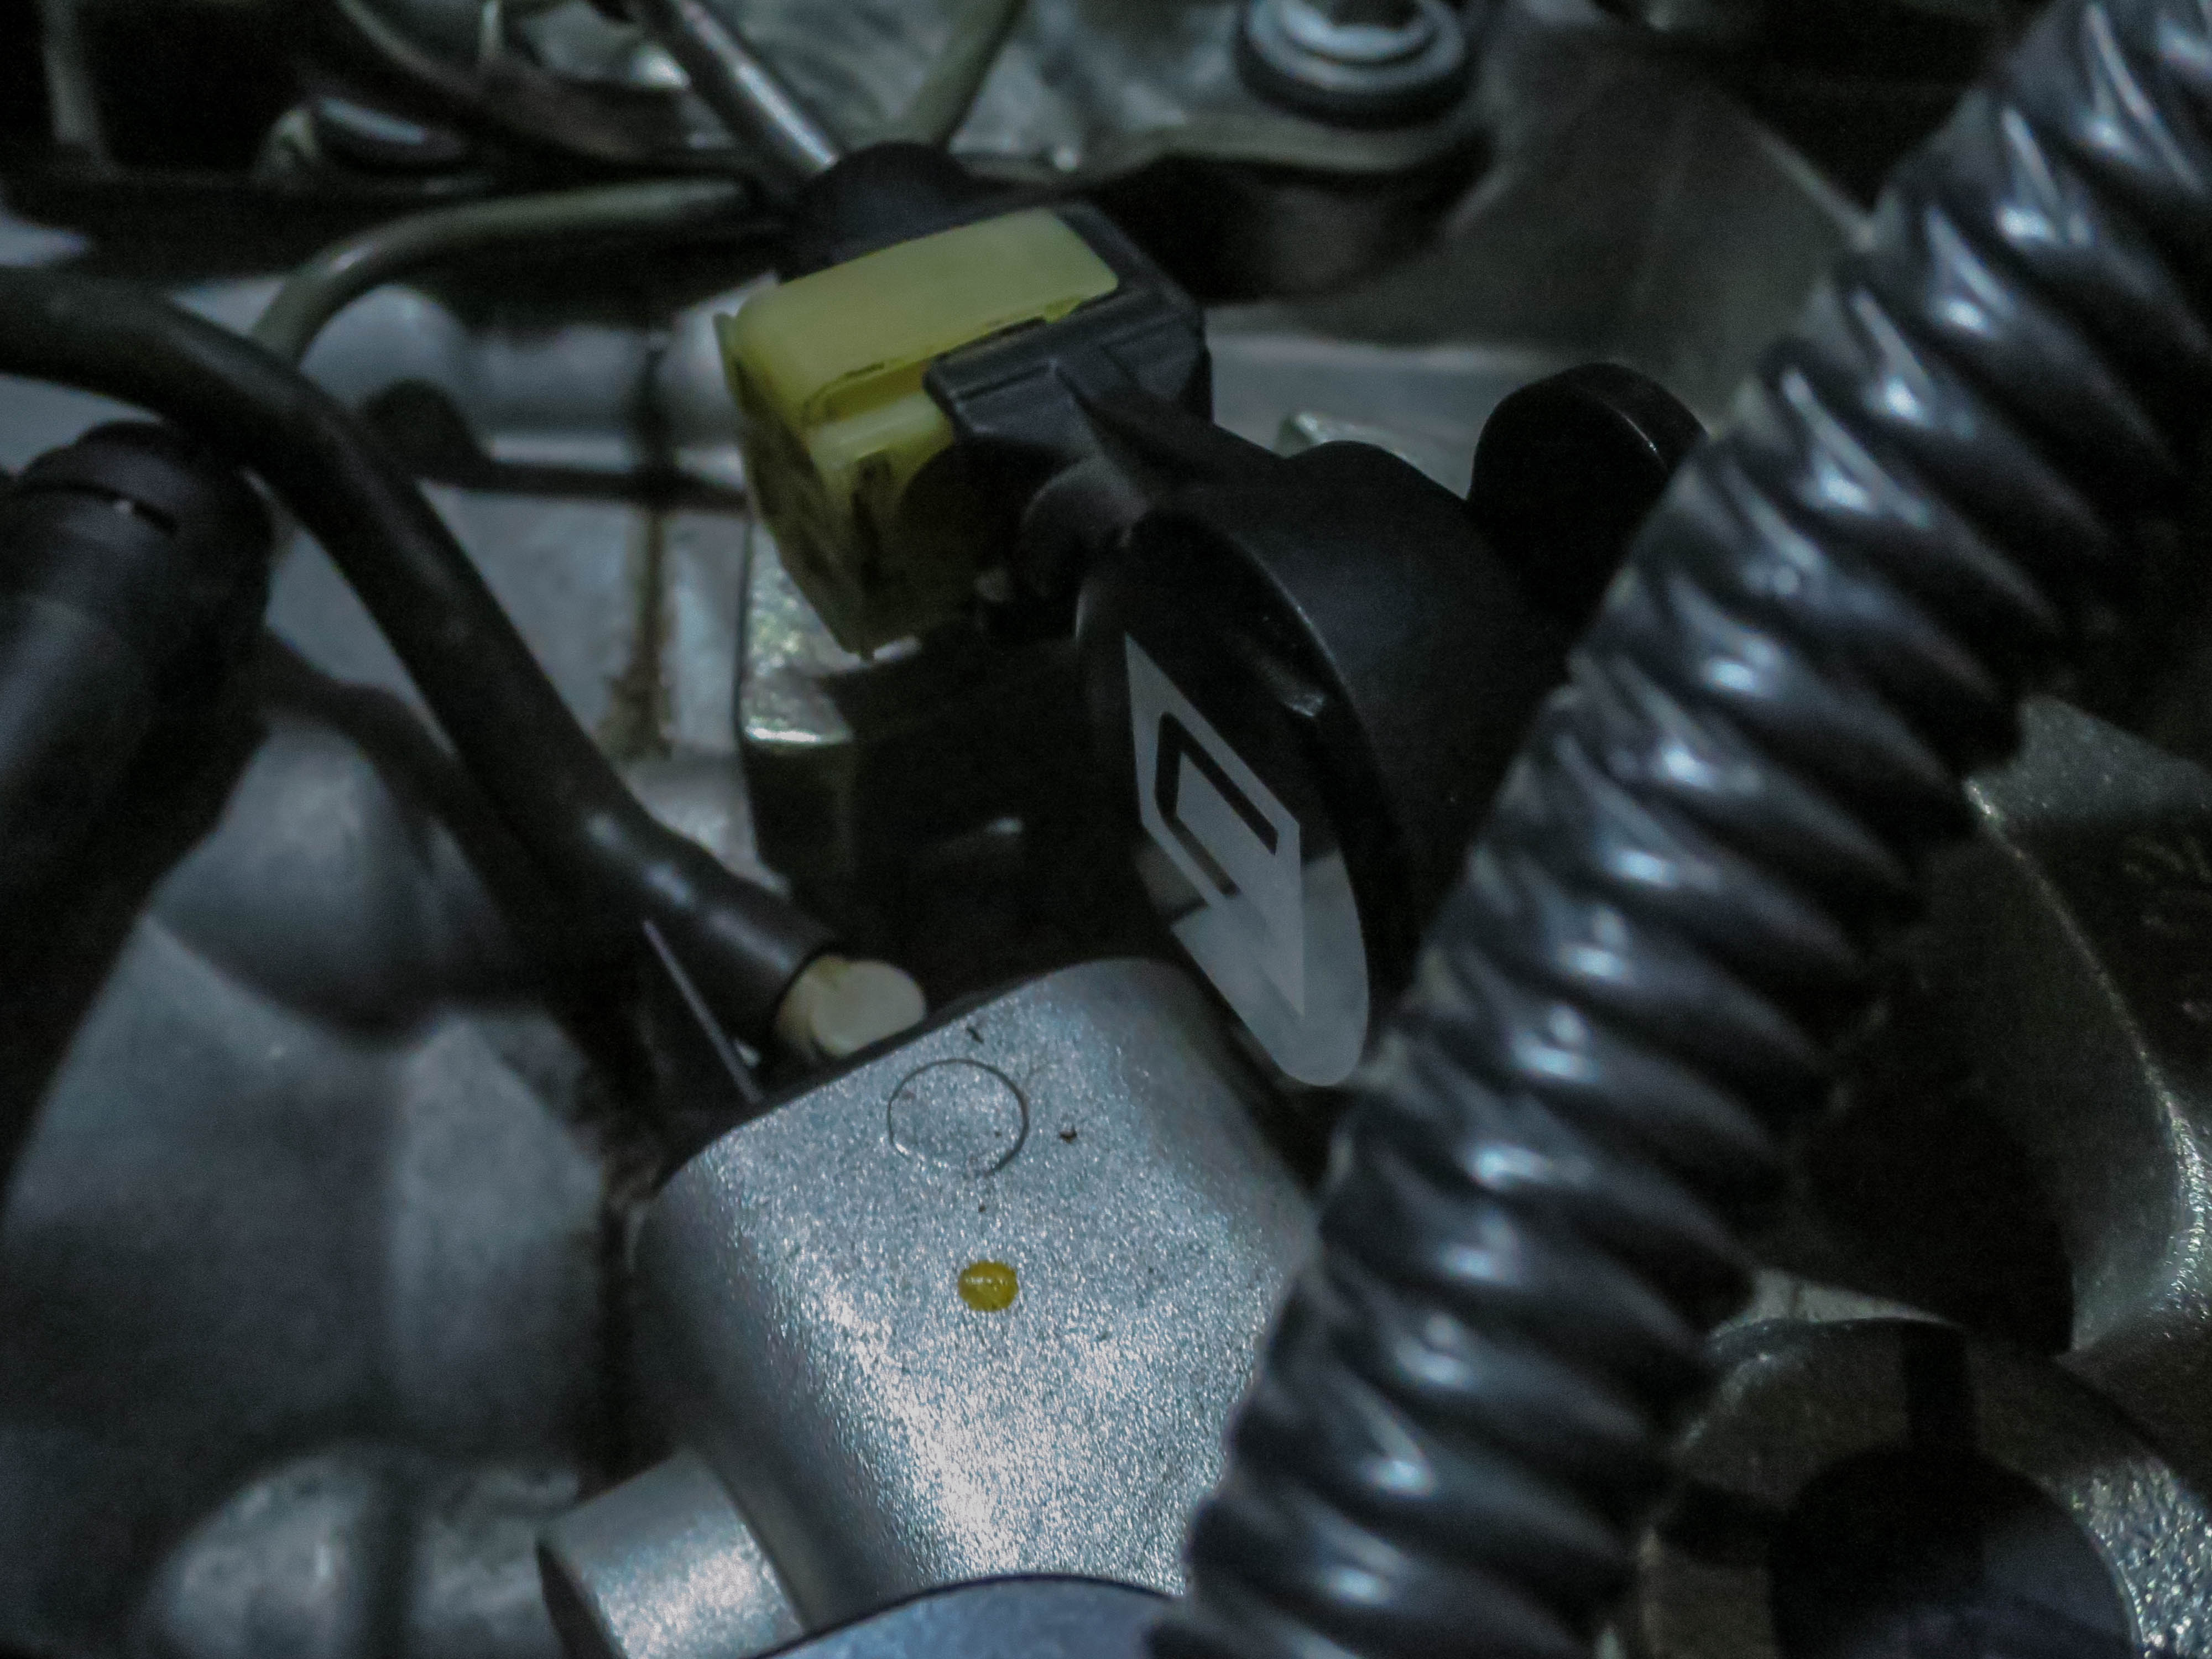
- You now have access to the shift linkage and weight. Using a large flathead screwdriver or trim tool, pop the shift linkage carefully off of the ball stud on top of the shift weight.
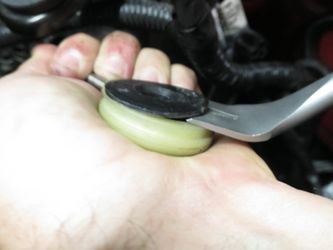
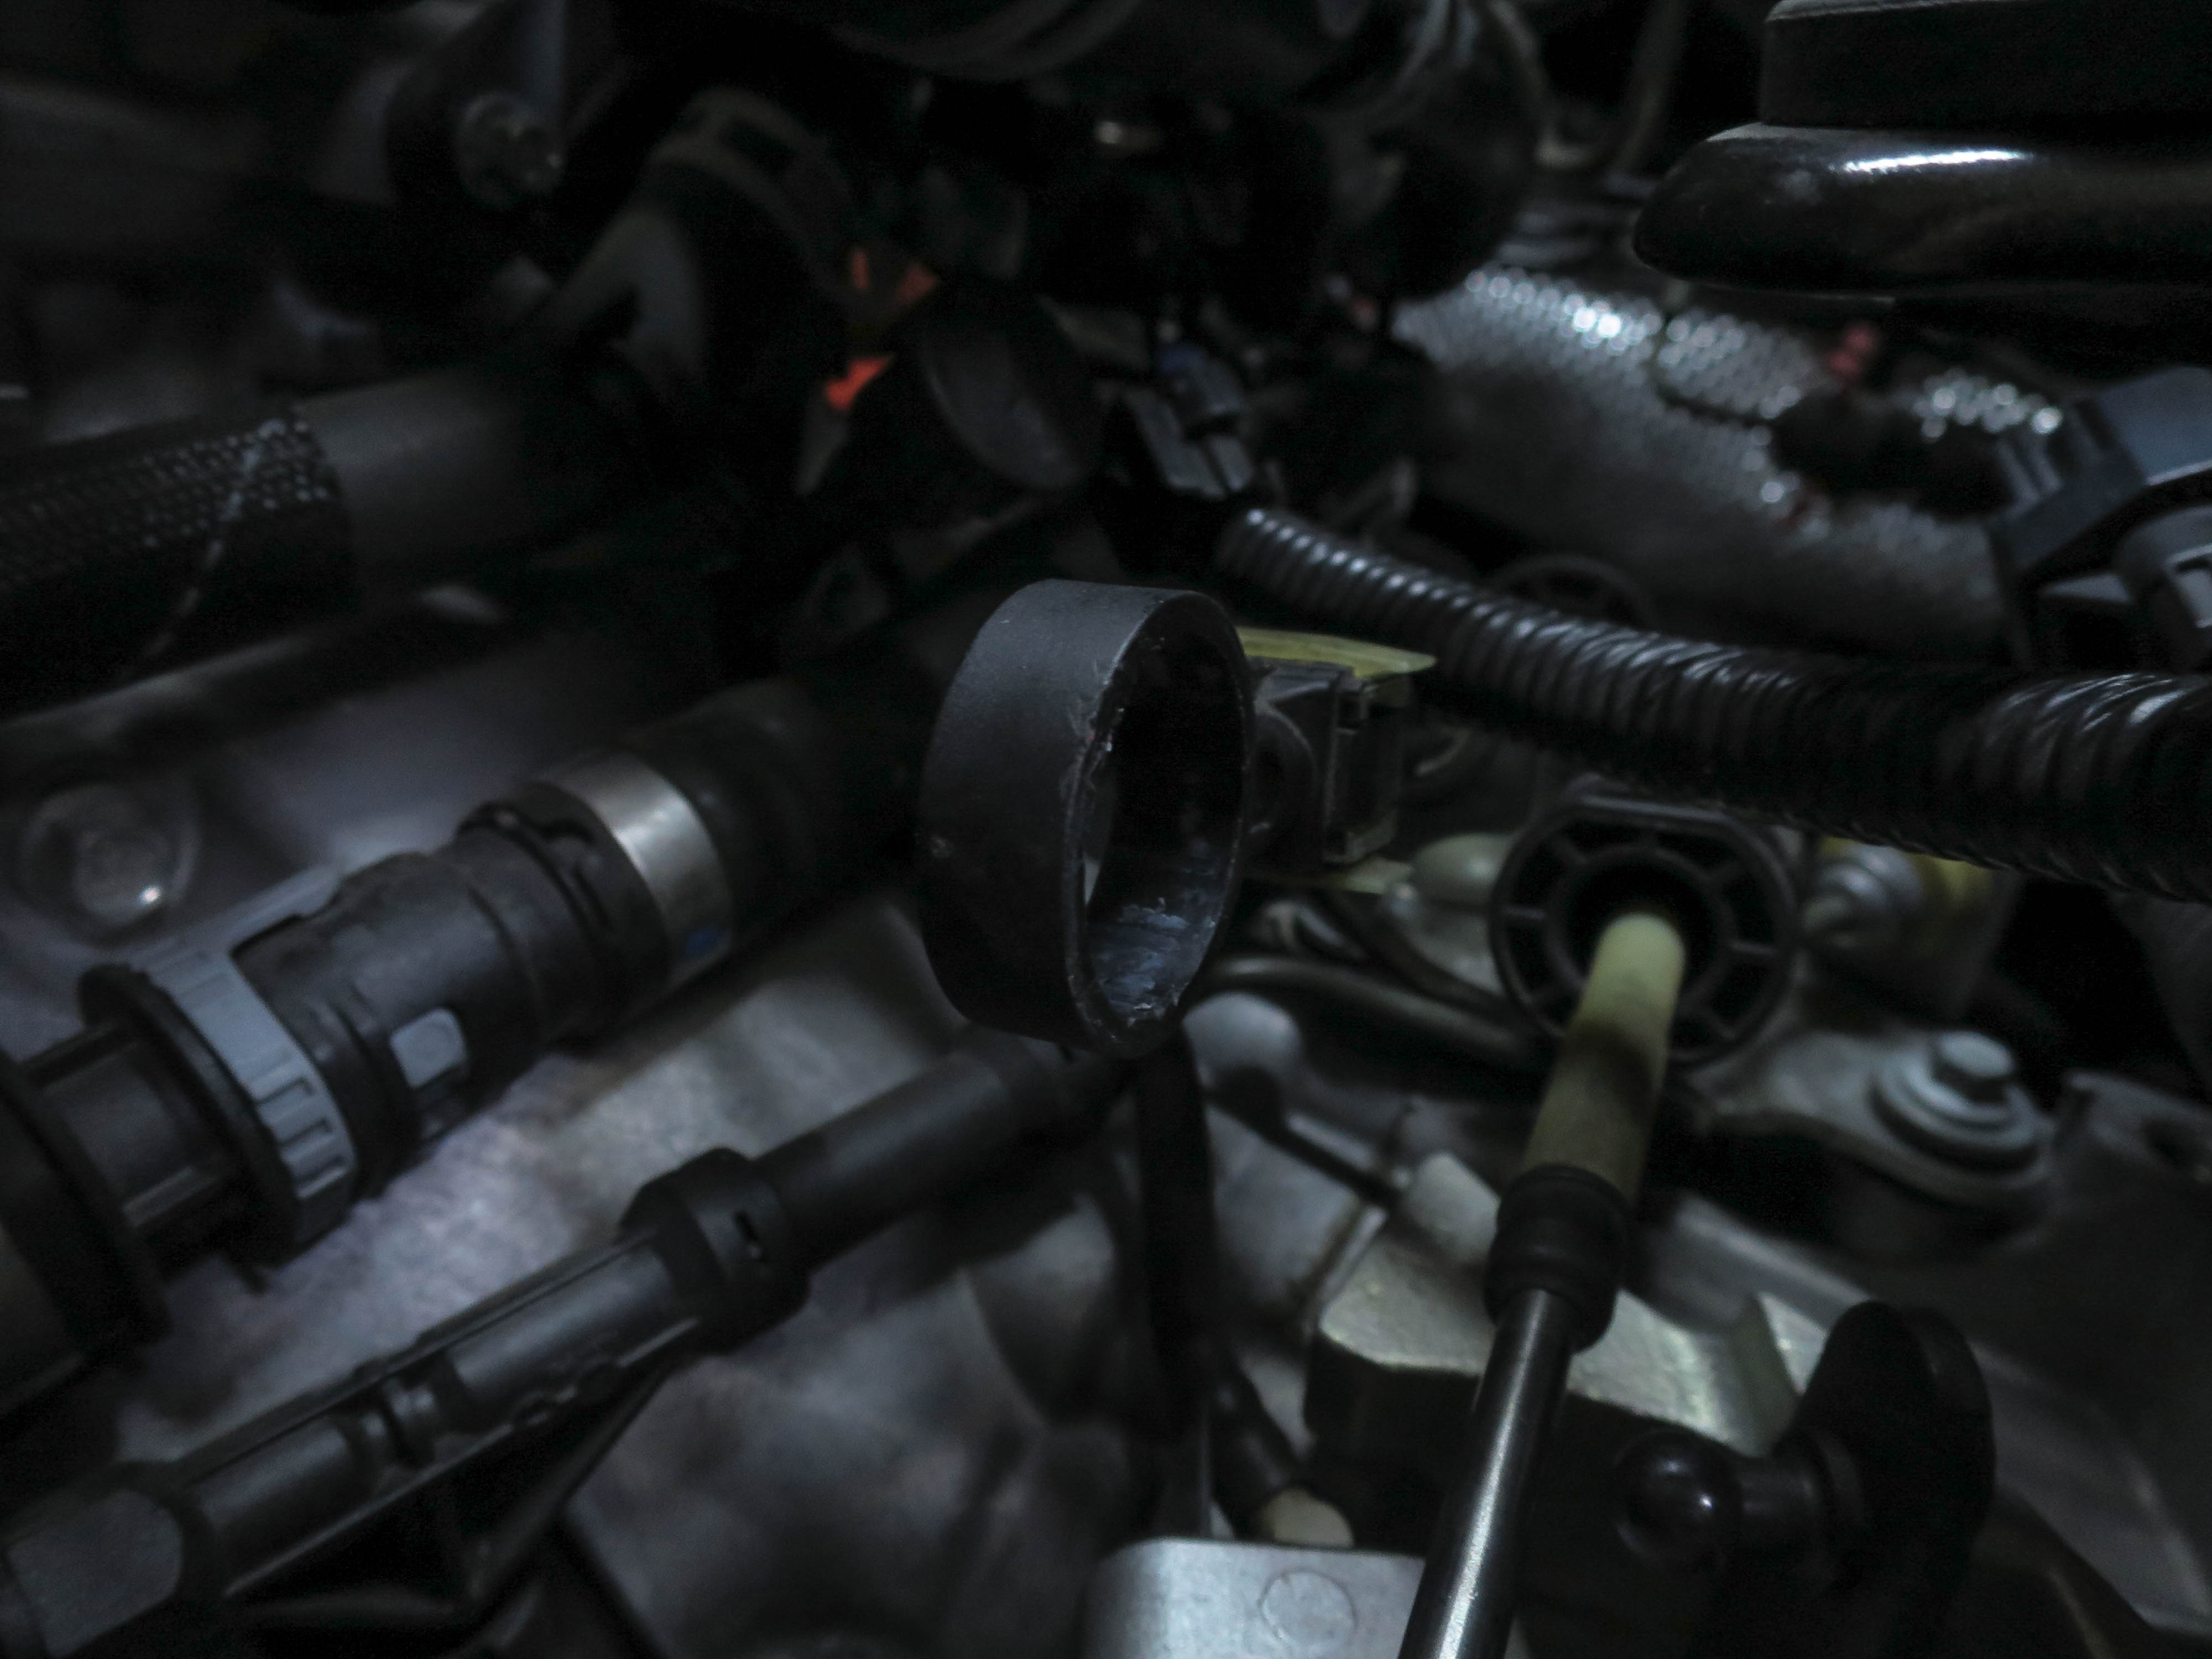
- You'll first want to carefully pry up on the black portion of the insert and get it away from the white portion. Be careful as damage to the white portion of the cable will require replacement of the entire cable.
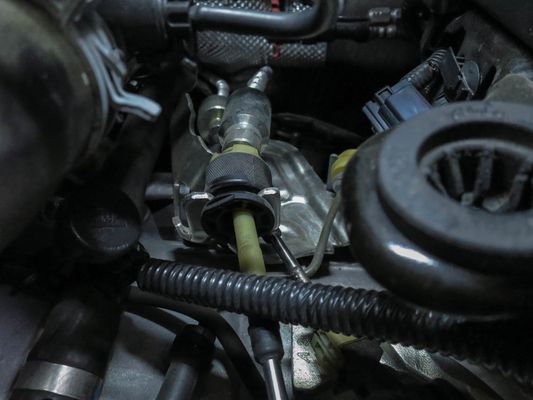
- If you need additional space you can release the cable from the bracket by pulling back on the textured portion of the shifter cable retainer.
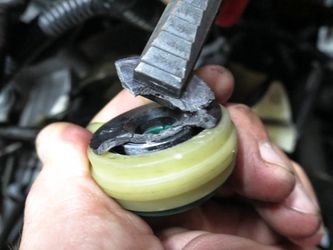
- After getting a small amount away from the white ring, use side cutters or other pliers to begin removing portions of the plastic.
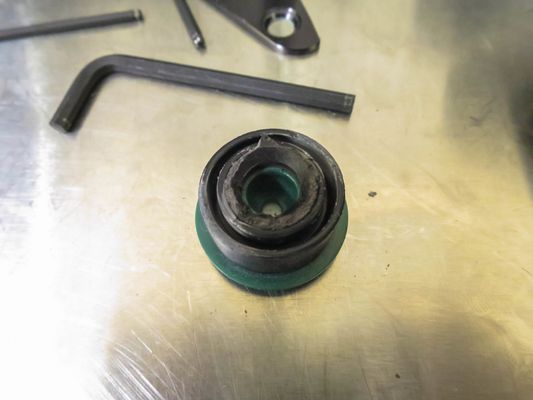
- Once you've pulled the center portion of the assembly out of the cable remove it in order to be able to work on it more easily.
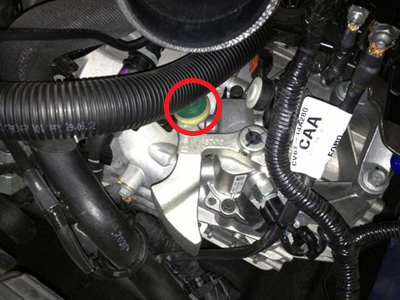
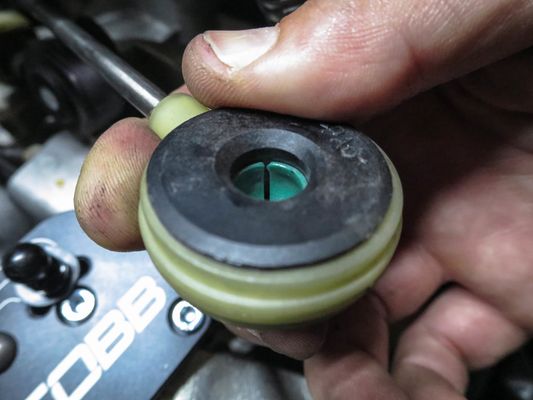
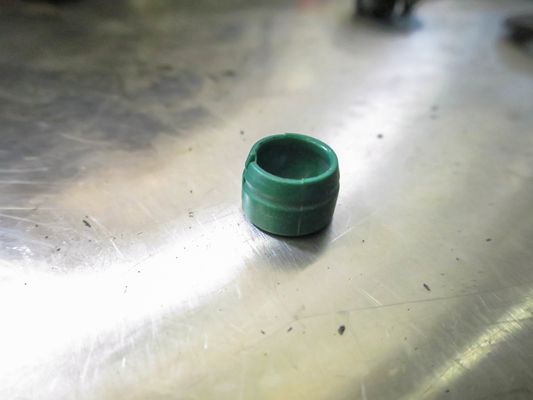
- With the portion removed, work around carefully cutting at the bushing until the center green ball cup is removed. It's critical not to damage this portion as it is required to make the COBB cables work!
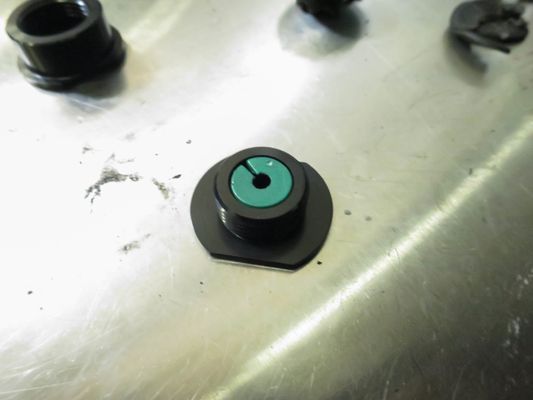
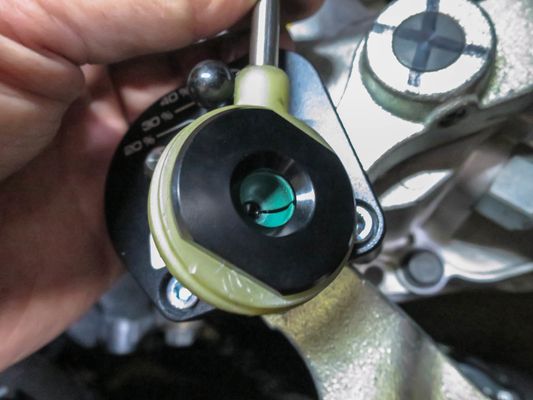
- With the cup free pop it in the lower skinnier portion of the COBB shifter cable bushing.
- Now install the upper portion of the cable bushing into the cable itself.
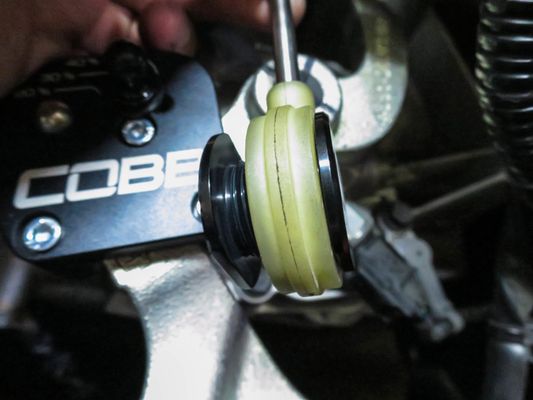
- After putting a few drops of thread locker on the threads, screw the two halves together (being careful not to drop the insert into the engine bay!)
- Now go ahead and tighten them down with two 27mm wrenches being careful so as not to scratch the bushing.
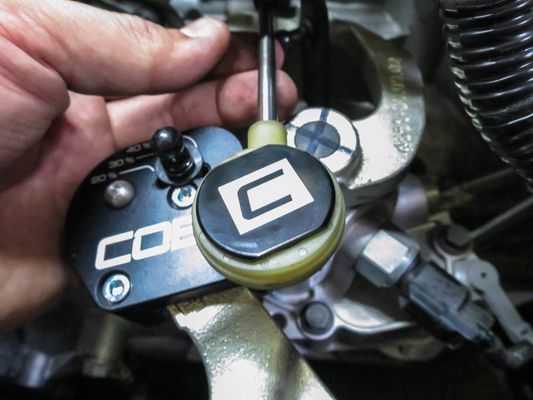
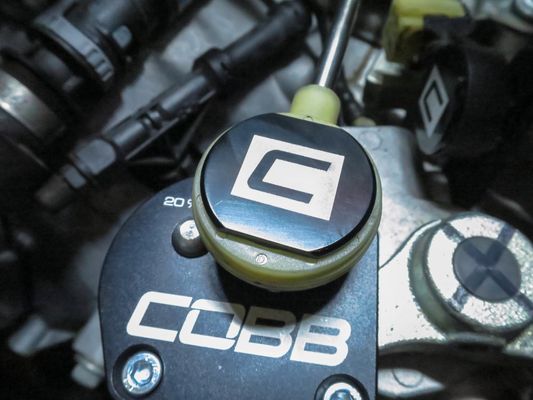
- With it tightened down you can pop it back onto the appropriate ball socket.
- Repeat the process on the other cable.
- It's usually a good idea to now adjust the neutral position of the shifter, so with the shifter in Neutral, release this white clip on the cable nearest the fender.
- Now shift the car into 4th gear, then go back to the engine bay and reattach the clip in the stock position.
- You're all done! Put everything back together in the reverse order of removal, then go out and enjoy!
Links
291320 - Adjustable Shift Plate
Focus Shift Cable Bracket Bushing
COBB Customer Support Web Support and Tech Articles: COBB Tuning Customer Support Center Email: support@cobbtuning.com Phone support available 9am to 6pm Monday-Thursday. 9am to 4pm Friday (CST) 866.922.3059 return to www.cobbtuning.comContact Us:
Related content
Copyright 2025 © COBB Tuning Products LLC. All Rights Reserved. | www.cobbtuning.com

