Fiesta Shift Cable Bracket Bushing
- Brandyn Mowat

Fiesta ST 2014 - 2019
Congratulations on your purchase of the COBB Tuning Focus Cable Bushing! The following instructions will assist you through the installation process. Please read them BEFORE beginning the install to familiarize yourself with the steps and tools needed. If you feel you cannot properly perform this installation, we HIGHLY recommend you take the vehicle to a qualified and experienced automotive technician.
Table of Contents
Tools Needed
- Phillips head screwdriver
- Flathead screwdriver
3/8" ratchet
3/8" 10mm socket
- 12mm combination wrench
- 13mm combination wrench
3/8" 12" extension
3/8" 6" extension
- 3/8" T25 Torx Bit
Before you start
- Park your car in a flat level area
- Undo the battery's negative terminal using a 10mm wrench
COBB Intake Removal
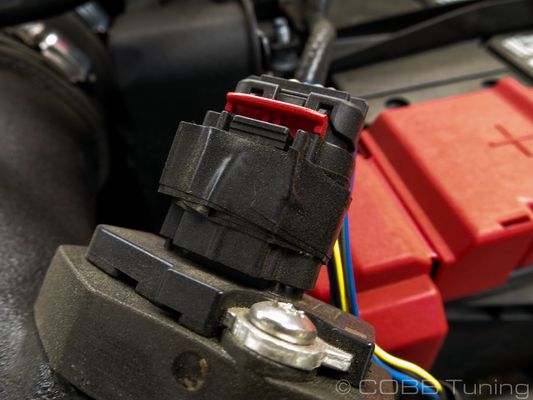
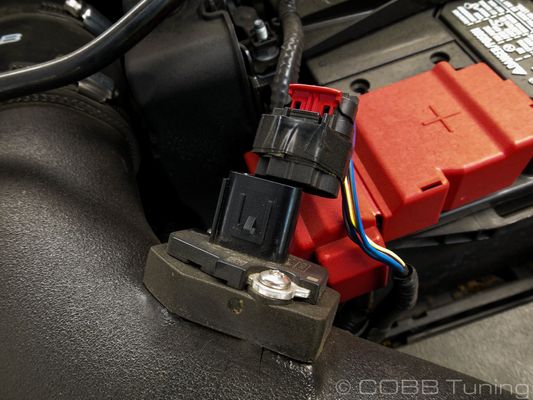
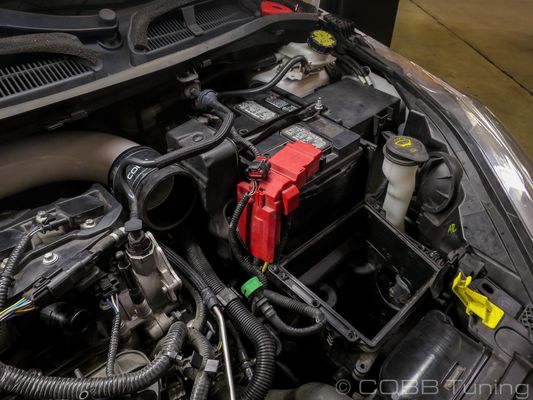
- Remove the MAF sensor harness by pulling up on the red tab to release the wiring connector
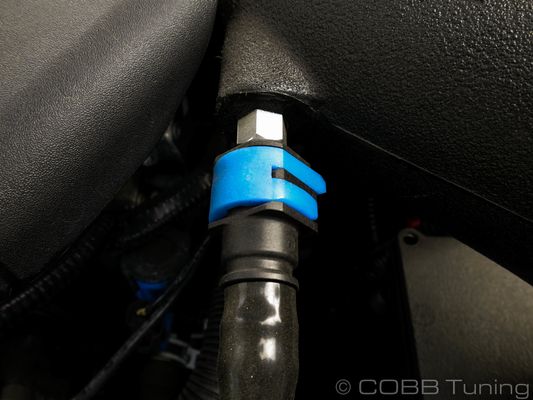
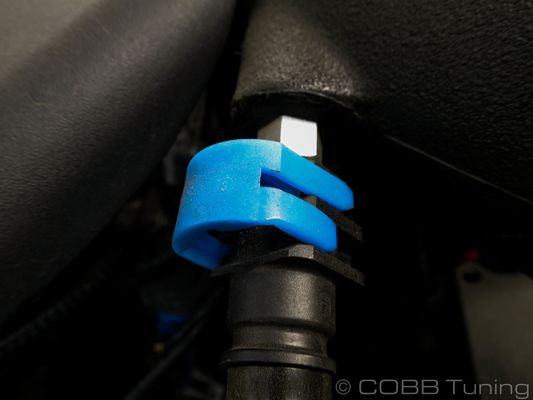
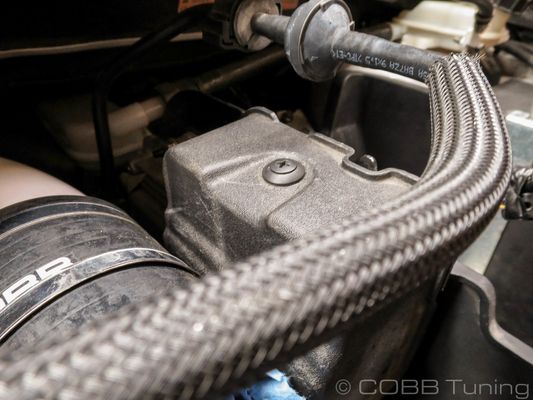
- Undo the blue clips holding the PCV line onto the intake hose.
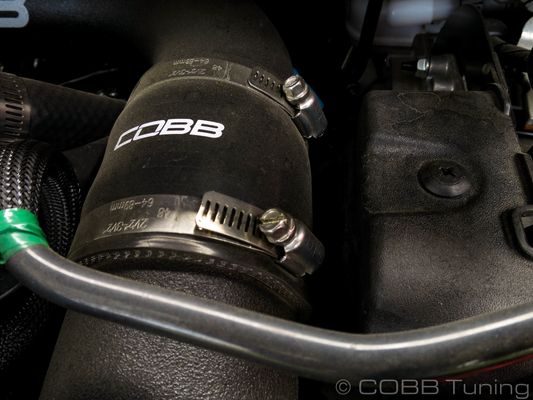
- Using a screwdriver undo the hose clamp connecting the two halves of the intake.
- Using a T25 Torx bit undo the 4 screws holding the airbox lid in place.
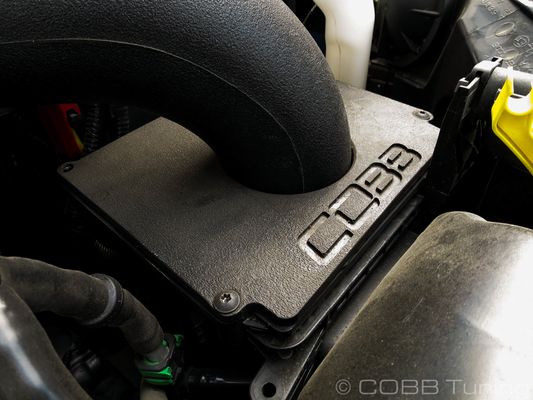

- Lift the front intake half free from the engine bay.
Stock Intake Removal
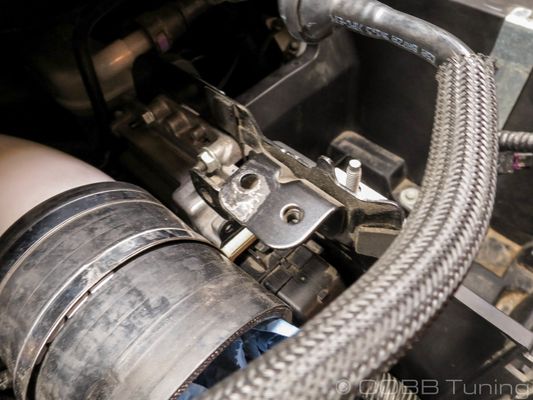
- Use a 7mm socket to loosen all three (3) of the worm clamps on the intake. There is one behind the motor where the intake meets the turbo as well as one clamp where the two intake tubes meet and one clamp that secures the tube to the airbox.
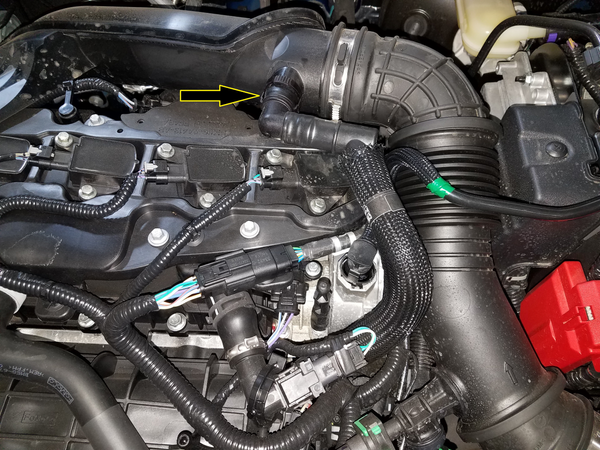
- a) If you have a 2014-2015 MY use a pair of pliers to pull the PCV hose off of the valve cover. (Refer to the picture on left)
b) If you have a 2016-2017 MY, un-clip the PCV hose from the stock intake tube by squeezing the plastic ring and pulling away from the tube. (Refer to picture on right)
2014-2015 MY 2016-2017 MY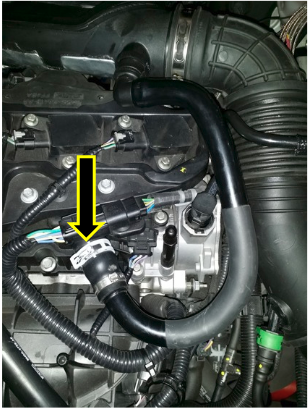
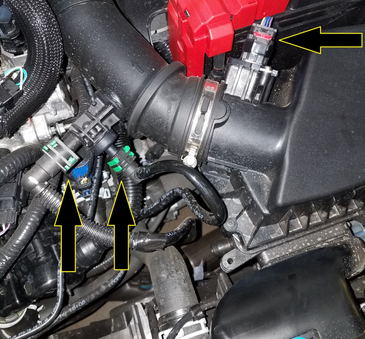
- a) If you have a 2014-2015 MY remove the tube at the start of the intake by disconnecting the connector with the green clip and pulling it away from the intake. Pull back the red tab on the MAF sensor attached to the airbox and unplug the sensor. (Refer to picture on left)
b) If you have a 2016-2017 MY remove the two (2) connectors with the green clips and pull back the red tab on the MAF sensor attached to the airbox and unplug the sensor. With your hand, follow the hardline coming from the larger of the two connectors until you find the clip connecting the other end to the lower intercooler piping. Unclip this and remove the entire stock hardline. Remember where this connection is as you will need to connect the intake adapter to it later. (Refer to picture on right).
2014-2015 MY 2016-2017 MY
- With all the connections and clamps loose on the intake, break the two tubes apart and remove the intake from the car.
- Using a T20 Torx bit, remove the four (4) screws holding the top of the airbox onto the lower part of the box. Once removed, remove the MAF sensor from the box using a T20 Torx bit.
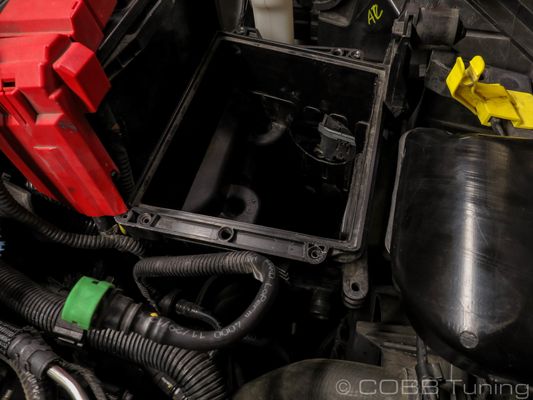
Lower Airbox Removal
- Unclip the intake scoop going to the lower airbox

- lift the lower half of the airbox free from the retaining ball sockets underneath.
Battery Tray/ECU Removal
- Detach the positive battery terminal using a 10mm socket or wrench.
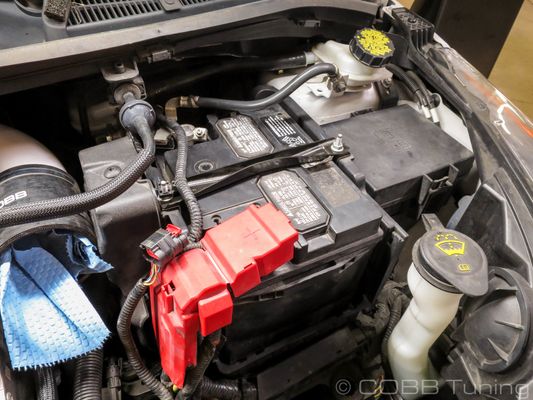

- Using a trim tool or screwdriver undo the clip holding the wiring harness to the negative terminal. You can also unclip the connector attached to the negative terminal for easier access.
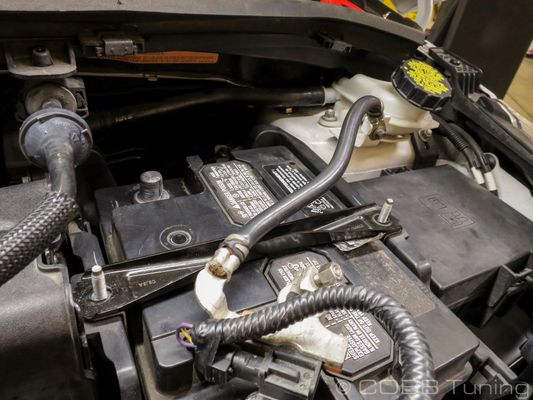
- Using your 10mm still, remove the tiedown holding the battery in place.
- Remove the front part of the battery tray
- Remove the battery from the battery box.
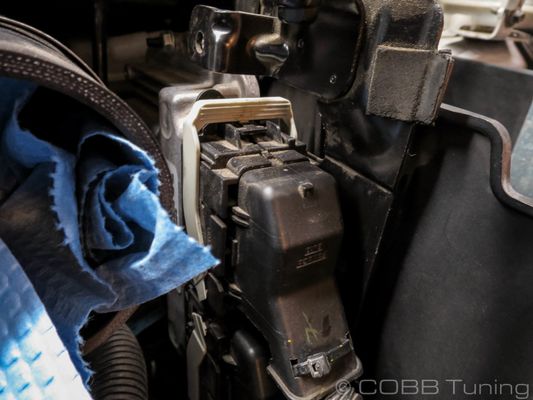
- Moving to the ECU cover, use a trim tool remove the retaining pin from the middle of the trim clip then pull the base out to remove the ECU cover
- Press the tab in the ECU connector, then pull down on the white arm to release the ECU Connection from the ECU.
- Repeat that on the lower ECU connection

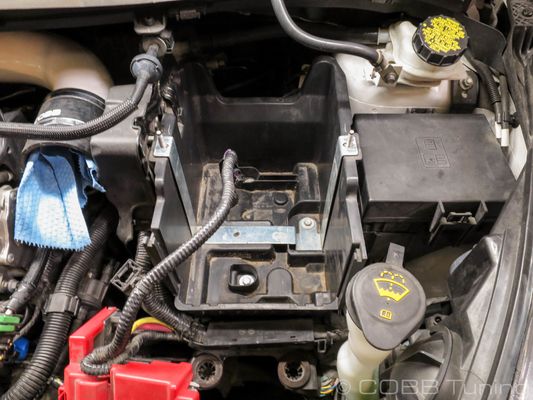
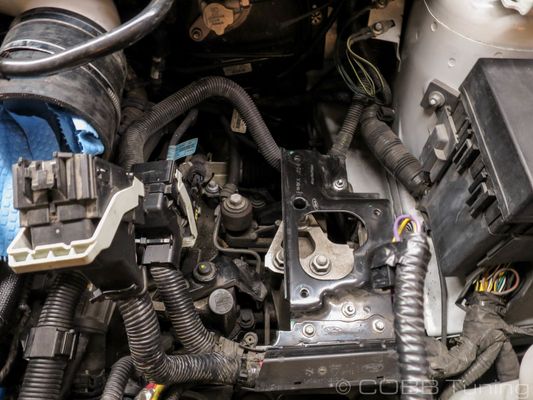
- Unbolt the three 10mm bolts holding the battery tray in place.
- Pull the battery box and ECU assembly out of the car.
Fiesta Shifter Bracket Removal and Dissassembly
- Using a screwdriver or trim tool, pop both shift cables free from the ball sockets
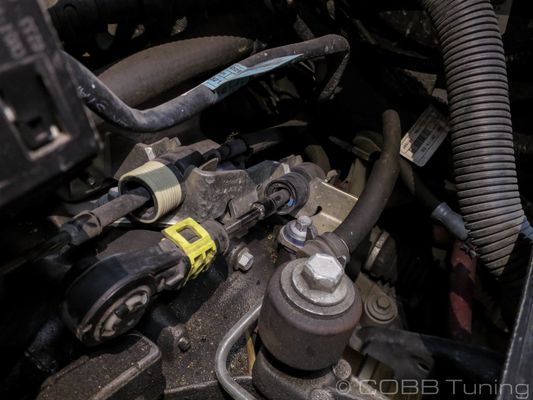
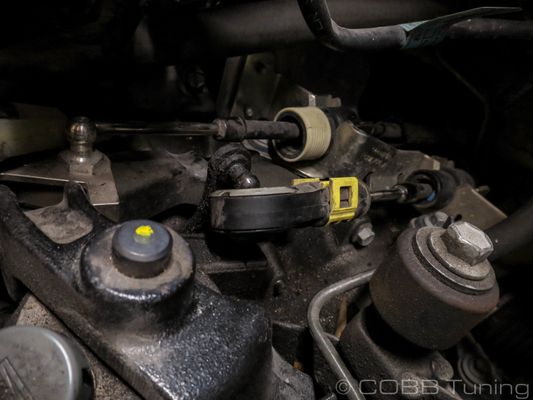
pull away from the bracket on the ribbed portion of the cables to free them from the bracket itself.
Over time these connections get all sorts of dirt and grime in them so it may be necessary to wiggle them a little or even try to clean them out carefully to more easily remove the cables
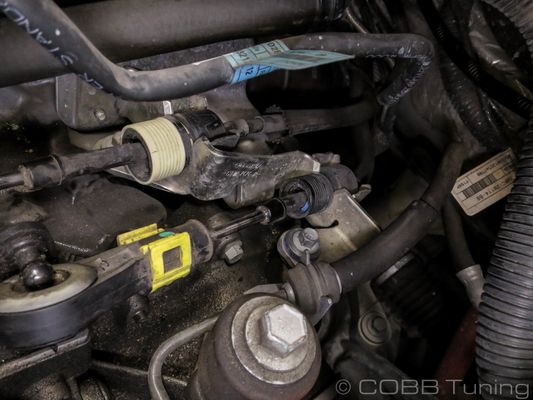
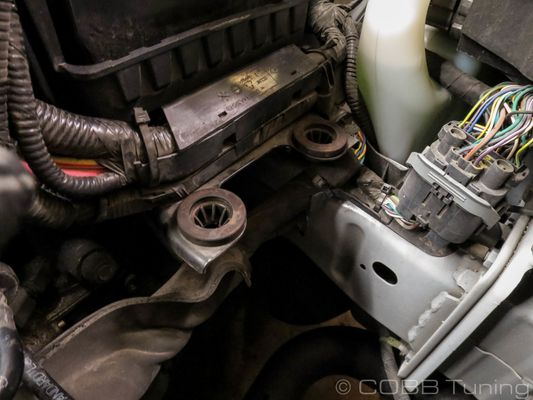
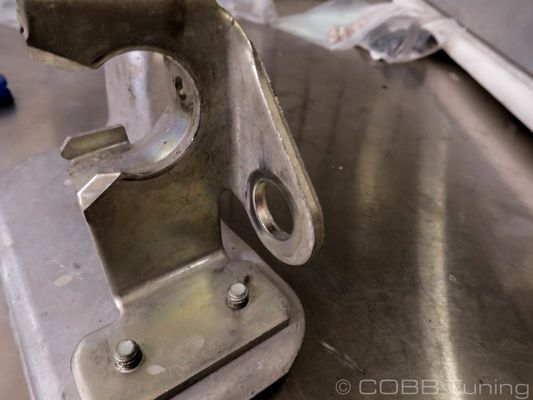
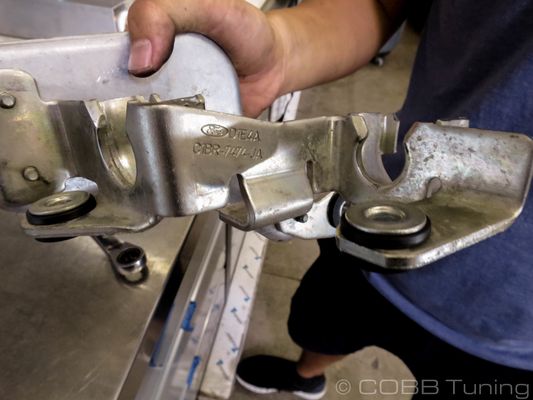
- Undo the three 10mm bolts holding the shifter bracket in the car.

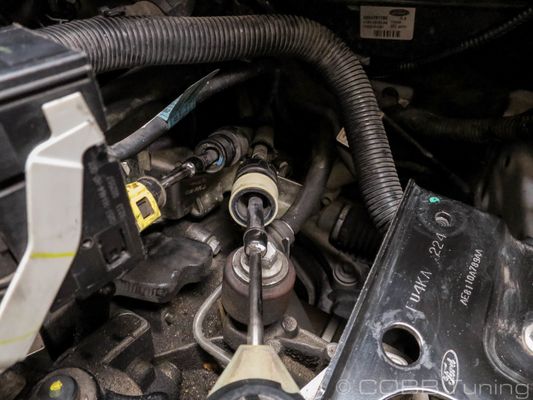
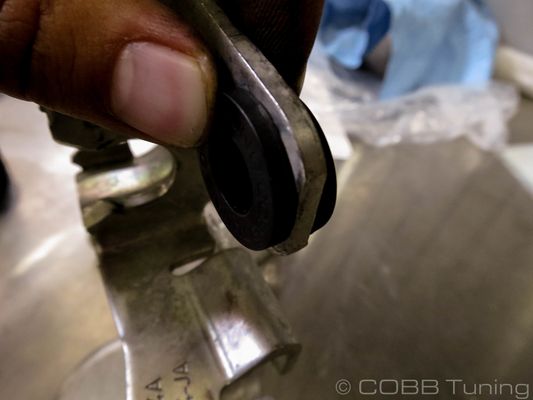
- Pull the metal insert out of the bushing
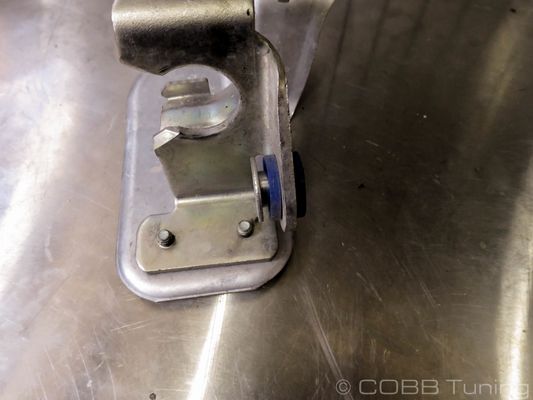
- Using your fingers or a screwdriver remove the rubber bushings from the bracket itself.
COBB Fiesta Shifter Bracket Bushing Installation
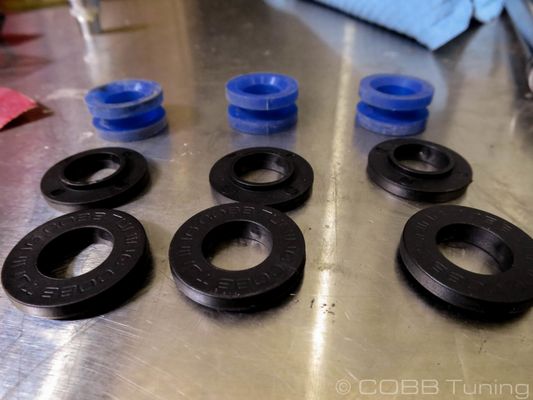
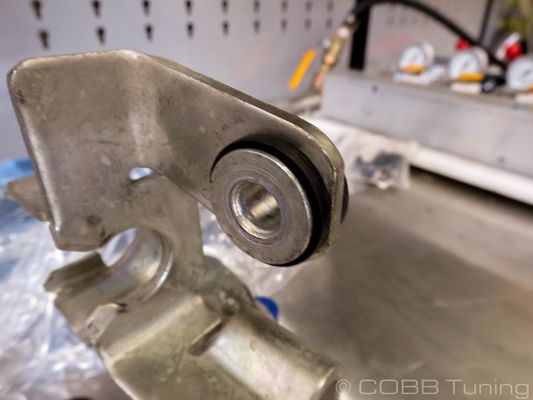
Line up the bushings with the unlabeled side towards the bracket.
Make sure these are lined up before going on or you can cause damage to the bushings themselves.
- With the bushings lined up, fit the metal sleeve in place with the wide flat side towards away from the transmission on the side the bolt will go on.
- Now put the supplied bolt in place as illustrated through the sleeve and apply the washer and nut to the end.
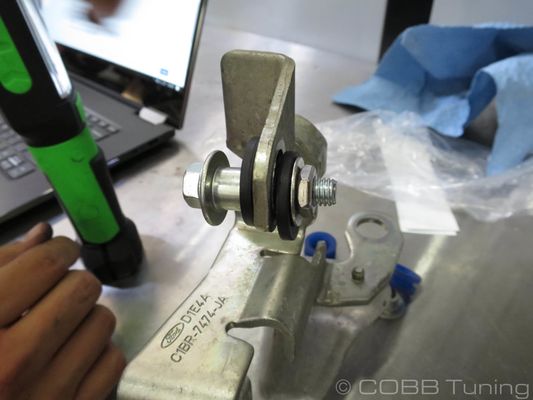
Using a 12mm and 13mm wrench, tighten the bolt slowly to pull the bushings in to place. Once there is no visible space between the bushing and bracket you're done!
Make sure not to overtighten as it is possible to crack and damage the bushings
- Repeat on the other three sides
Once finished up everything can be reinstalled in the reverse order of removal.
It may be worthwile to take a few seconds to adjust the shifter cable to ensure everything is within factory spec.
- Now go out and enjoy!
Fiesta Shift Cable Adjustment
- With the shifter in neutral undo the yellow clip on the shifter cable.
- Now shift the car into 4th gear.
- With the car in 4th gear reattach the clip on the cable
- You're all done!
Links
COBB Product Install Instructions for Fiesta ST
Main installation page group for Ford Fiesta ST
Customer Support
COBB Tuning Customer Support Center
Phone support available 9am to 6pm Monday-Thursday. 9am to 4pm Friday (CST)
866.922.3059
Related content
Copyright 2025 © COBB Tuning Products LLC. All Rights Reserved. | www.cobbtuning.com