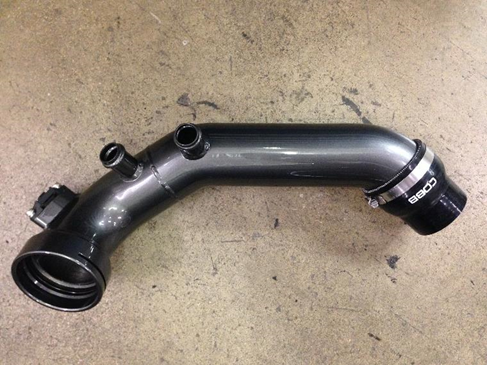
7B1210 – COBB BMW N54 Charge Pipe
- Brandyn Mowat

7B1210 – COBB BMW N54 Charge Pipe
Congratulations on your purchase of the COBB Tuning N54 Charge Pipe! The following instructions will assist you through the installation process. Please read them BEFORE beginning the install to familiarize yourself with the steps and tools needed. If you feel you cannot properly perform this installation, we HIGHLY recommend you take the vehicle to a qualified and experienced automotive technician.
IMPORTANT! Installing this kit will require custom tuning or utilizing an appropriate Stage Power Package map if you have a matching mechanical configuration. Please consult with COBB or an authorized ProTuner in your area if you have any questions!
Table of Contents
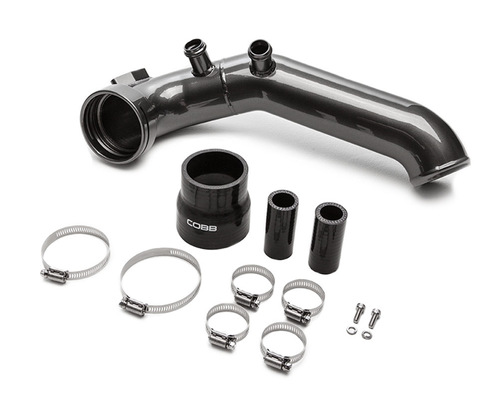
Parts List
- (2) Flat Washers
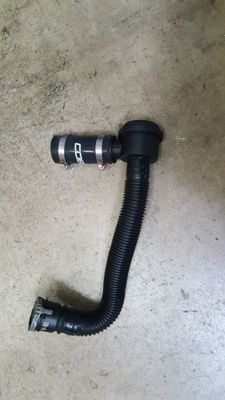
- N54 Charge Pipe
- 2.5” – 3” Silicone Reducer
- (2) 1” Silicone Couplers
- (4) 1” Hose Clamps
- 048 Hose Clamp
- 040 Hose Clamp
- (2) Socket Head Cap Screws
- (2) Lock Washers
Tools Needed
- Phillips head screwdriver
- Flathead screwdriver
3/8" ratchet
- 3/8" 7mm socket
3/8" 8mm socket
3/8" 10mm socket
3/8" T20 Torx Bit
3/8" T25 Torx Bit
3/8" T30 Torx Bit
3/8" 5mm Hex Key or Hex Socket
3/8" 12" extension
3/8" 6" extension
3/8" Socket Swivel
- Trim removal tool
Pick
- Silicone Lubricant
Stock Charge Pipe Removal
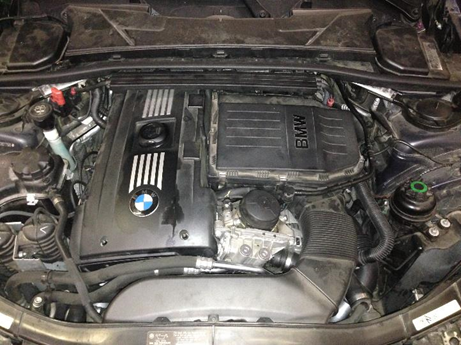
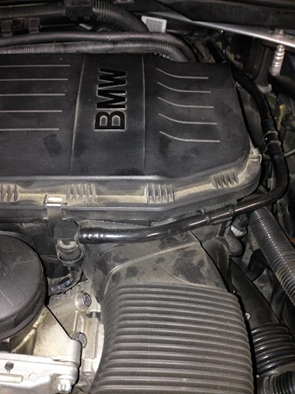
- Start off by removing the cover for the wires running across the top of the motor. There are 4 clips on the front side.
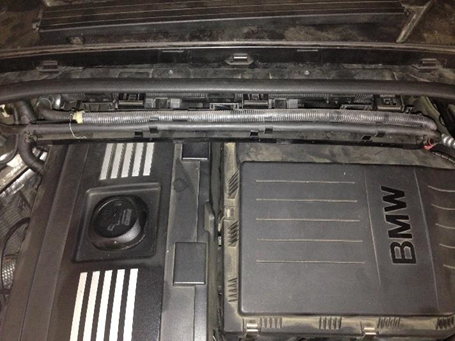
- Remove the lower part of the cable cover from the cowl. You may need a small screwdriver or trim tool to push the clips down in order to release the three latches. Once the cover is loose unclip the wires and remove the cover.
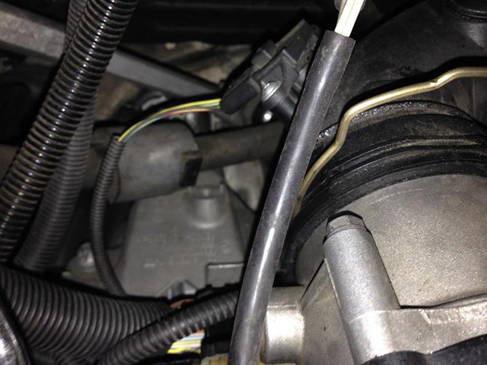
- Remove the rubber wire holds from the airbox on the rear most intake inlet.
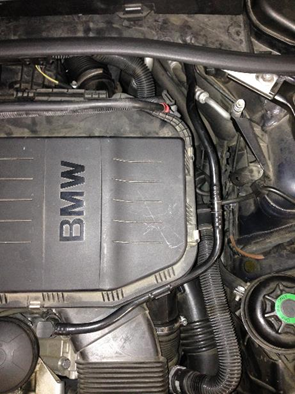
- Loosen the 2 hose clamps that connect the intake to the inlets.
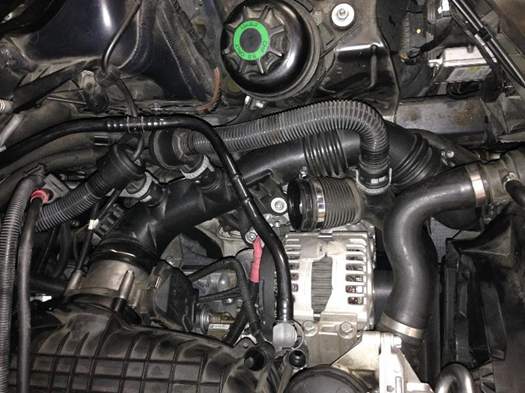
- Disconnect the vacuum line at the front of the airbox by depressing each side and pulling up.
- Remove the 2 screws that hold the intake air scoop to the radiator support.
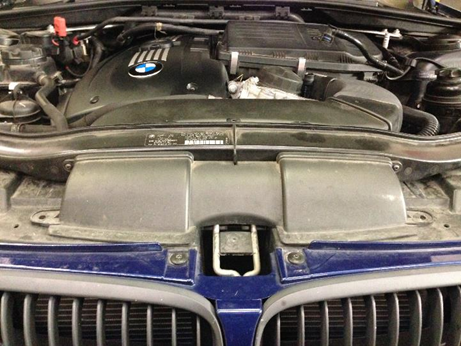
- Detach the scoop from the airbox by pulling the plastic over the retaining clips (one on each side) and remove the air scoop.
- Pull up on the airbox to remove it. There are three rubber retainers holding the airbox to the engine.

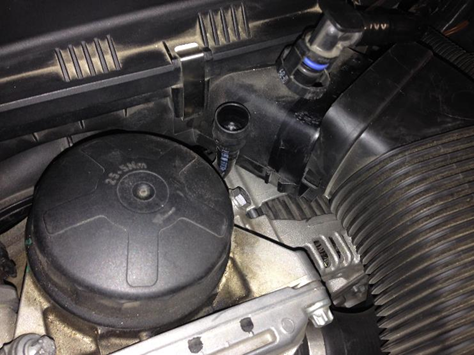
- Unhook the vacuum lines from the diverter valves
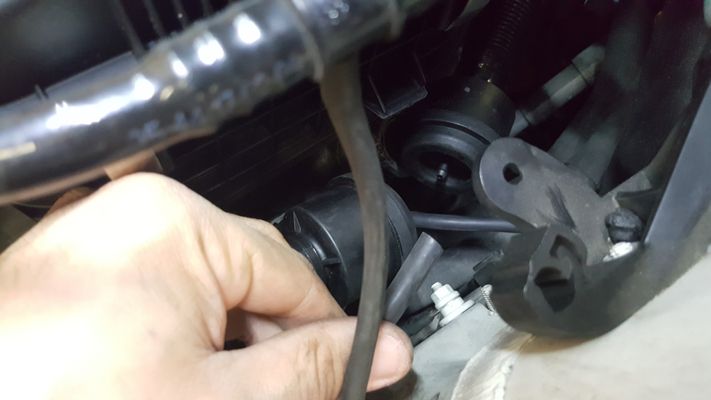
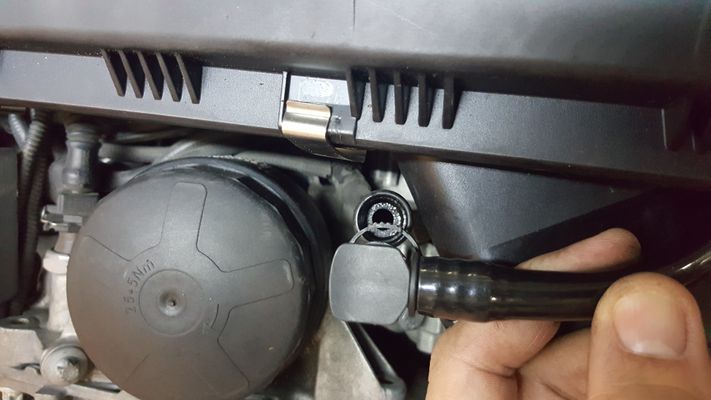
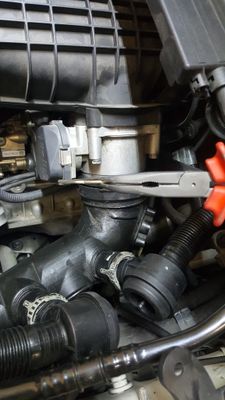
- Unclip the BPV's (Diverter Valves) from the stock charge pipe by twisting the gray piece clockwise. Pull them out of the charge pipe and move them to the side.
- Unscrew the T30 Torx screws that hold the charge pipe to the motor.
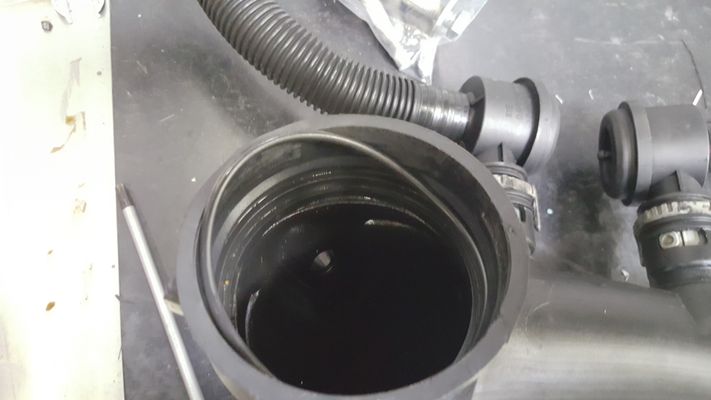
- Loosen the hose clamp between the charge pipe and the intercooler using a 10mm socket.
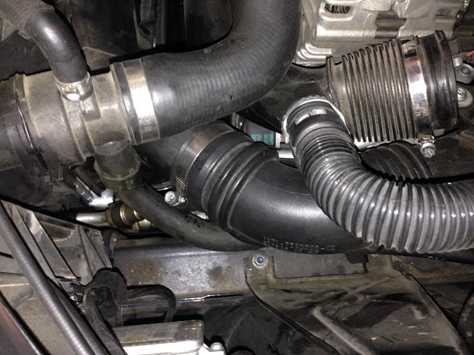
- Remove the c-clip that holds the charge pipe to the throttle body with pliers. Make sure not to misplace it as BMW makes replacements very difficult to come by.
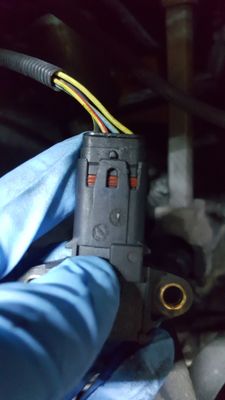
- Disconnect the wire harness from the MAP sensor on the back side of the charge pipe. It may be easier to pull the charge pipe off the throttle body and intercooler pipe to get to the clip. Be careful as you do have to somewhat bend the plastic to undo the clip and it can get brittle over time.
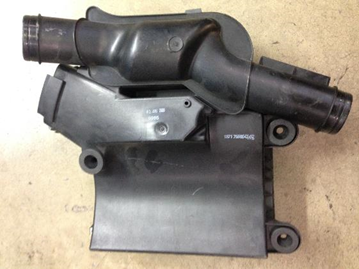
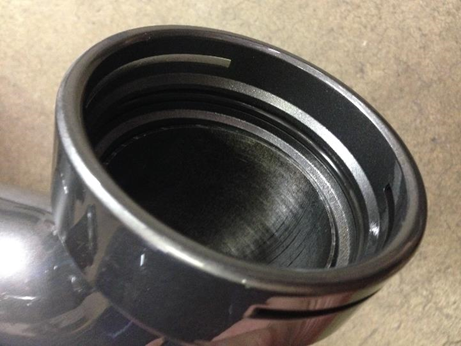
- With the charge pipe removed from the engine bay, remove the stock O-ring from the charge pipe using a pick. Be careful not to puncture or rip the O-ring with the pick as you will be reusing this O-ring on the COBB Charge Pipe.
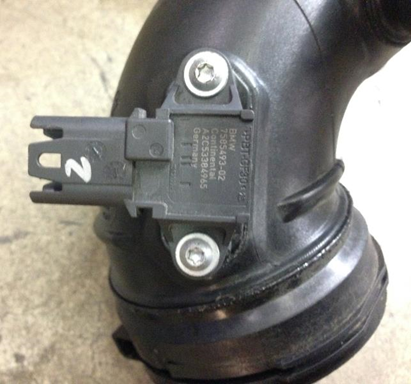
- Using a T20 Torx bit, remove the MAP sensor from the stock charge pipe and set it somewhere safe. It will be reused on the COBB Charge Pipe.
Installation of the COBB N54 Charge Pipe
- Install the stock MAP sensor into the COBB Charge Pipe using the supplied socket head cap screws, lock washers and flat washers along with a 5mm hex key.

- Install the stock o-ring into the COBB Charge Pipe. Usually you'll want to apply some Superlube synthetic grease, assembly lube or at least a little motor oil onto the o-ring to lubricate it in order to get a good seal, and prevent tearing on installation.
- Install the silicone reducer on to the COBB Charge Pipe with the 048 hose clamp using an 8mm nut driver or socket.
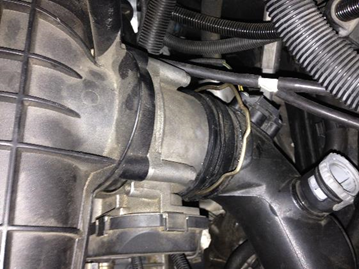
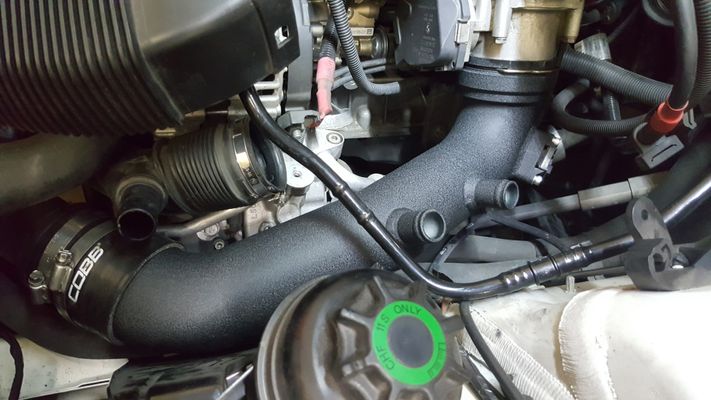
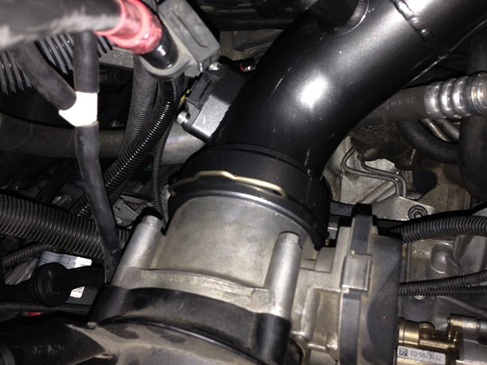
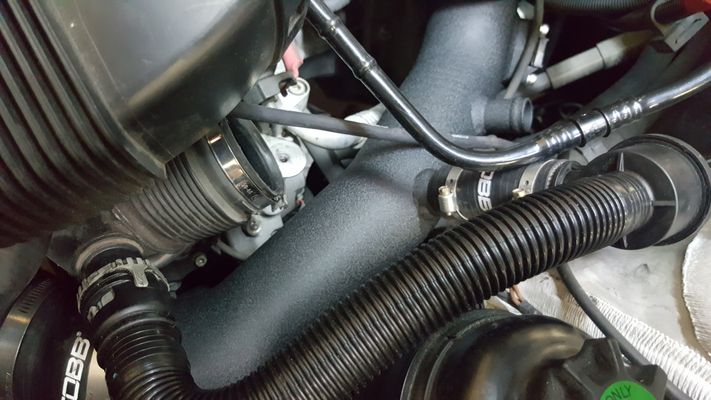
- Install the COBB Charge pipe on the car by first seating it on the throttle body. Make sure it is seated all the way before installing the c-clip or you will end up with a boost pressure leak.

- Next up work the other end on to the intercooler pipe and tighten down the hose clamps.
- Now you can go ahead and reconnect the MAF sensor
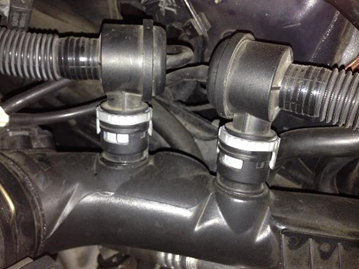
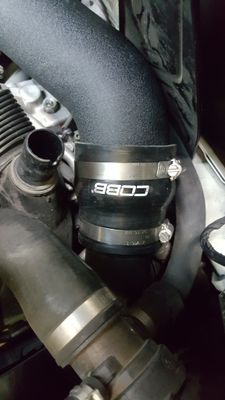
- Go ahead and slip the 1" silicone couplers over the stock diverter/bypass valves along with two hose clamps. You can go ahead and tighten the one on the valve end but leave the lower one loose for now.
- Once done, you can go ahead and install both valves, tightening down the hose clamps and then the other end of the stock hose.
- Next reinstall everything in the reverse order of removal.
- Go out and enjoy your car!
CARB Sticker Installation (On CARB Certified Applications)
Install the supplied CARB sticker on an easily viewable space that won't be susceptible to large amounts of heat. We recommend on the radiator core support, or the underside of the hood.
This product is covered under CARB Exemption Order D-660-31
For additional CARB Products refer to our page CARB EO numbers for COBB BMW Products
Links
Main Installation Instruction Repository for Subaru Parts
Link to Subaru Map Notes to see what map you should be on given the parts you've added
COBB Customer Support Web Support and Tech Articles: COBB Tuning Customer Support Center Email: support@cobbtuning.com Phone support available 9am to 6pm Monday-Thursday. 9am to 4pm Friday (CST) 866.922.3059 return to www.cobbtuning.comContact Us:
Related content
Copyright 2025 © COBB Tuning Products LLC. All Rights Reserved. | www.cobbtuning.com