7B1500 - BMW 1 & 3 Series N54/N55 Front Mount Intercooler

7B1500 – BMW 1 & 3 Series Front Mount Intercooler
2008-2011 135i
2013 135is
2007-2011 335i, 335xi, 335i xDrive
2011-2013 335is

Congratulations on your purchase of the COBB Tuning BMW 1 & 3 Series N54/N55 Front Mount Intercooler! The following instructions will assist you through the installation process. Please read them BEFORE beginning the install to familiarize yourself with the steps and tools needed. If you feel you cannot properly perform this installation, we HIGHLY recommend you take the vehicle to a qualified and experienced automotive technician.
IMPORTANT! Installing this kit will require custom tuning or utilizing an appropriate Stage Power Package map if you have a matching mechanical configuration. Please consult with COBB or an authorized ProTuner in your area if you have any questions!
Table of Contents
Parts List
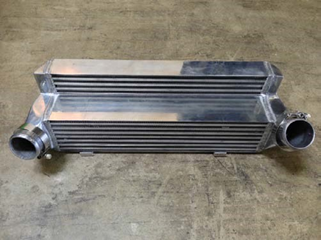
- Front Mount Intercooler Core
- Inlet Coupler
- Outlet Coupler
- Elbow Pipe
- (4)T-bolt Clamps
- (2) Phillips Screws
- (2) M6x20mm Hex Screws
- (2) Rubber Bushings
- (2) M6 Stainless Steel Washers
Tools Needed
- Phillips head screwdriver
- Flathead screwdriver
3/8" ratchet
- 3/8" 7mm socket
- 3/8" 8mm socket
3/8" 10mm socket
3/8" 11mm socket
3/8" T20 Torx Bit
- 3/8" T25 Torx Bit
3/8" 12" extension
3/8" 6" extension
- 3/8" Socket Swivel
Removal of Stock Front Mount Intercooler
- Remove the air intake snorkel. There are two T20 screws that hold the snorkel in. Use the T20 Torx Socket.
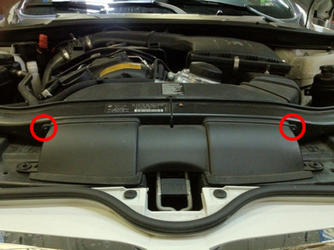
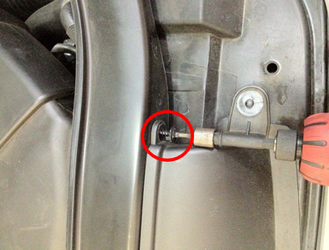
- Use a flat head screwdriver to pull back on the tabs that hold the snorkel to the air intake box. Once pulled back, the snorkel can be removed.
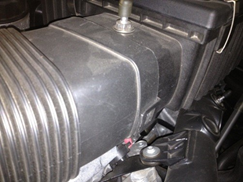
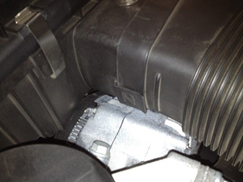
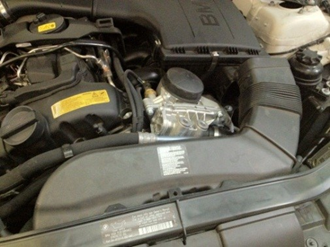
- Loosen the factory worm clamp on the charge pipe and stock elbow pipe with a 7mm socket.
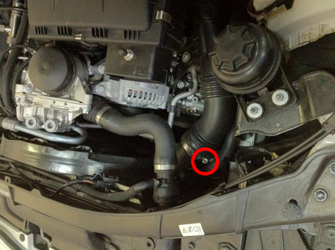
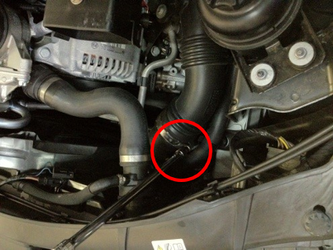
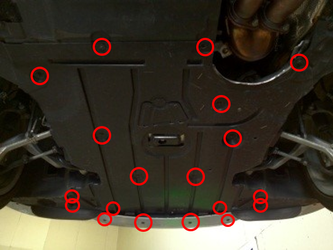
- Remove the underbody plastic tray. The underbody tray is secured by 19 8mm bolts.
- Remove the two C-clips on the stock FMIC using pliers. These clips are located on the outlets of the intercooler.
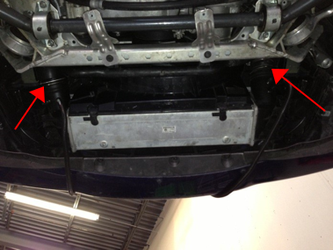
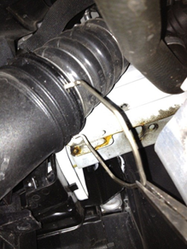
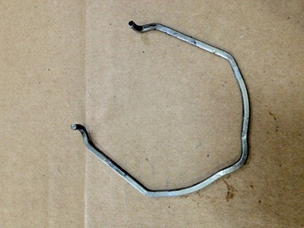
- Position a stand or floor jack under the FMIC to support it.
- Loosen the inlet coupler and outlet elbow from the intercooler using a flat head screwdriver.
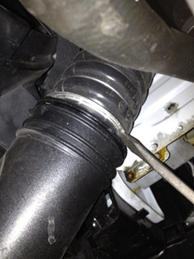
Unclip and remove the plastic piece that is on the bottom of the stock intercooler. To do this there are two tabs that need to be unlocked. Do this by rotating them up to the other square notch.
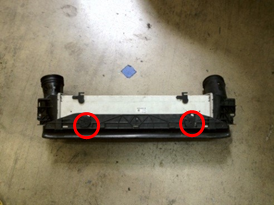
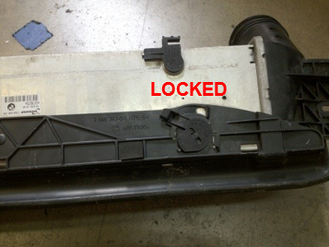
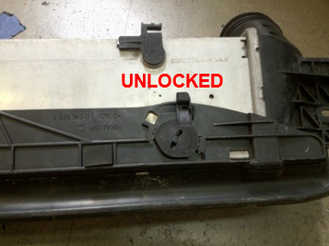
Unscrew two T25 Torx bolts that secure intercooler to the fan shroud. Once the bolts are removed, the only thing holding the intercooler up will be the elbow pipe and OEM inlet coupler that are loosely supporting the intercooler.
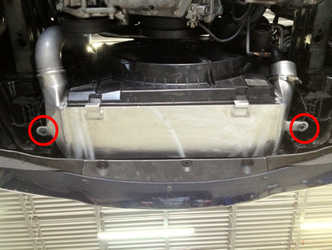
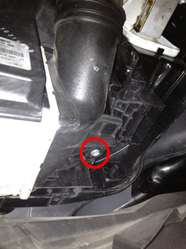
- Lower the intercooler and remove from the vehicle.
- Remove the factory turbo outlet coupler. The factory coupler should be held together to the turbo outlet pipe via a metal band. On the metal band there should be a saw/zipper pattern. Using a screwdriver gently pry at the saw/zipper pattern until the metal band pops loose. Now the factory inlet coupler can be removed.
Note: Be gentle with the screwdriver because it is connected to the turbo outlet pipe which is made out of aluminum and can be easily bent. Another alternative is using a dremel to cut the metal band but once again, caution must be used.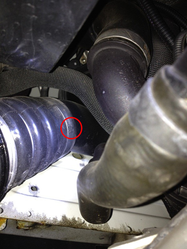
- The factory worm clamp that connects the elbow pipe to the charge pipe should already be loosened. Start from above the car and push back on the charge pipe and pull on the elbow pipe until it is freed from the charge pipe.
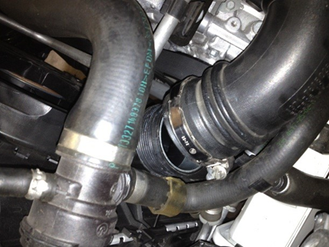
- Next the factory elbow pipe will need to be removed from the rubber grommet holding it to the vehicle. From above the car, pull on the elbow upwards to free the elbow pipe from the grommet. Once freed, you will need to wiggle the pipe out from below the car, it is a pretty tight fit.
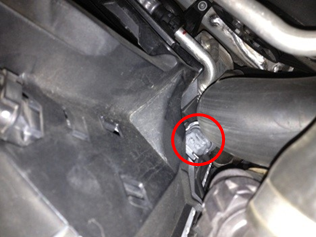
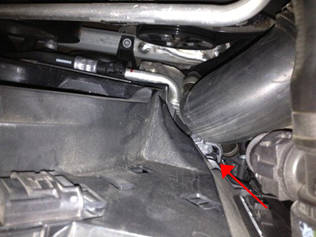
- Remove the factory elbow pipe.
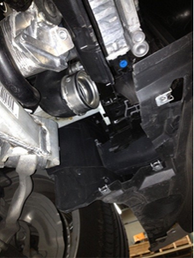
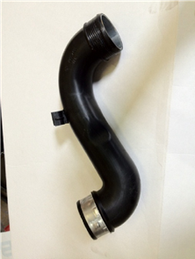
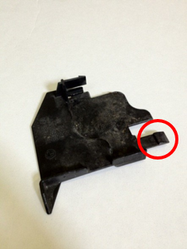
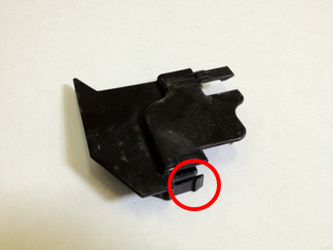
- Remove the passenger side plastic bracket. This will require some wiggling and the use of a screwdriver. This piece needs to be removed or the new intercooler core will not fit properly. Be aware of the tabs that hold this piece in. Push back on the tabs with the a screwdriver and it should come out easily.
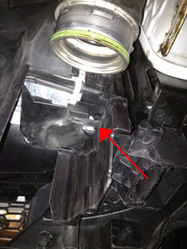
Installation of the COBB Front Mount Intercooler
- Install the new outlet coupler onto the COBB elbow pipe. Use an 11mm socket to lightly tighten the t-bolt clamp so the coupler can still move but will not fall off. Try to roughly match the shape of the OEM charge pipe.
Note: There are two different sizes of t-bolt clamps in this kit. The larger two are for the inlet and outlets of the FMIC. The two smaller ones are for the elbow pipe and the outlet pipe.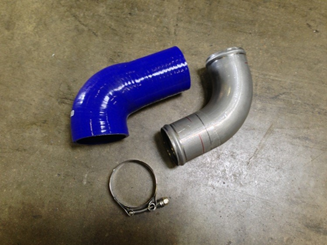
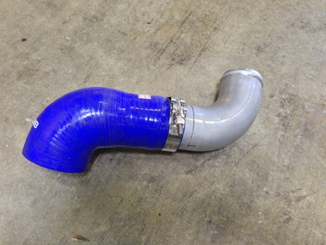
- Take the elbow pipe and coupler assembly and snake it up to the charge pipe from below the car. Make sure the t-bolt can be accessed from below for final tightening.
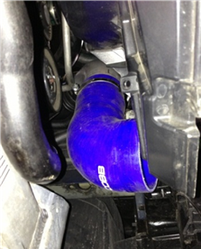

- Lower the car and slide the elbow pipe into the charge pipe coupler. Lightly tighten the charge pipe worm clamp from above the car with a 7mm socket.
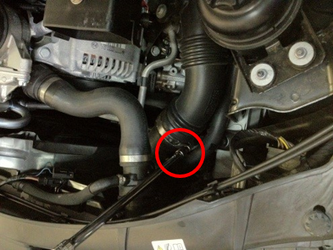
- Lift the car back up and install the turbo outlet coupler onto the turbo outlet pipe. Tighten the t-bolt clamp with your 11mm socket but make sure the clamps are loose enough to allow the silicone coupler to move slightly. Position the coupler such that the larger outlet is facing downwards towards the ground.
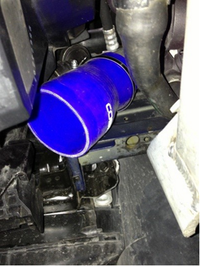
- Put one T-bolt clamp over each end tank inlet and outlet on the FMIC.
- Supplied are two (2) rubber bushings and two (2) fender washers. Use the supplied fender washers between the screw head and bracket and the rubber bushing between the bracket and car chassis. These rubber bushings are meant to reduce vibrations to the FMIC. For the 3 Series, please use the 1.5” Phillips screw in the kit as a replacement for the OEM screw. For the 1 Series, use the M6x20MM hex screw instead.
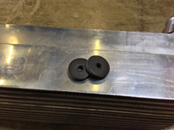
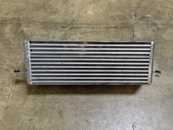
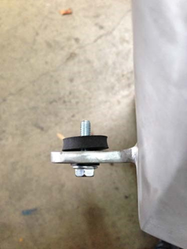
- Put the FMIC on a stand or floor jack and raise the intercooler up towards the car. Pull back on the radiator fan and possibly the bumper. The fitment should be tight but the fan shroud should allow the FMIC to push back on it.
- As the FMIC is raised into position, pull back on the elbow pipe coupler and adjust the turbo outlet coupler to make sure both couplers fit over the intercooler end holes. There are also two tabs on the bottom of the FMIC core that are meant to slide over the fan shroud. Make sure that the tabs are properly secured when the FMIC is lifted into place.
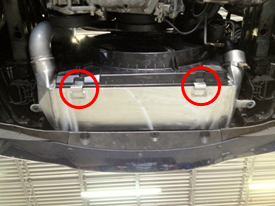
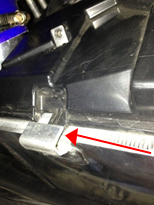
- 3-Series
Use a phillips screwdriver now to secure the screws lightly on the FMIC to the fan shroud.
Be gentle because the threads on the fan shroud are plastic. Repeated use and too much torque may cause the threads to strip.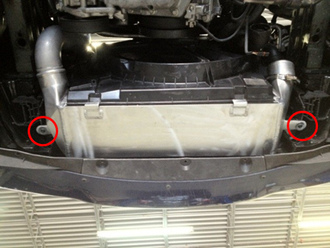
- 1-Series Installation
An adapter bracket is required because the intercooler cannot sit as far forward as it can in the 3 series so the mounting point must be shifter back. Begin by installing the adapter bracket to the OEM locations on the fan using the OEM T25 Torx screw.
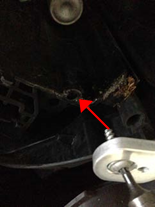
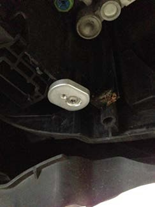
Use a 10mm socket to drive the M6 x 20mm hex screw into the adapter bracket.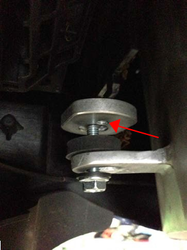
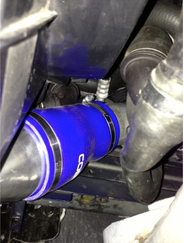
- Wiggle and adjust the inlet coupler to the turbo outlet piping. Make sure the coupler is over the bead-rolled edges of both the end tank and turbo outlet pipe. Then tighten both of the t-bolt clamps. The use of a swivel socket can make things easier. Do not over-tighten the clamp on the turbo outlet or it could crush the aluminum tubing.
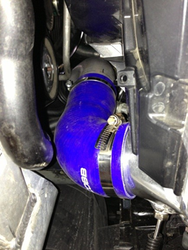
- Next adjust the elbow coupler to the elbow pipe. Check for any leaks. Make sure that the coupler is over the bead-rolled edges on the endtank and the elbow pipe. Also check to make sure the elbow pipe, couplers and clamps are not interfering with any engine components such as the serpentine belt, pulleys or hoses. When satisfied, tighten down the T-bolt clamps.
- Double check all T-bolt clamps, couplers and tighten the mounting screws. Make sure all clamps are tightened sufficiently and that the couplers are properly seated over their respective inlets.
Failure to secure couplers and T-bolt clamps properly may result in a boost leak which can give error codes. In some cases, the clamps on couplers can blow off under higher boost pressures. This is often caused by loose clamps or clamps that are not positioned properly behind the bead rolls. - Reinstall the underbody panel using an 8mm socket.
- Lower the car back down and tighten the work clamp securing the elbow to the charge pipe coupler using a 7mm socket.
- Congratulations! You're all done!
Links
Main Installation Instruction Repository for Subaru Parts
Link to Subaru Map Notes to see what map you should be on given the parts you've added
COBB Customer Support Web Support and Tech Articles: COBB Tuning Customer Support Center Email: support@cobbtuning.com Phone support available 9am to 6pm Monday-Thursday. 9am to 4pm Friday (CST) 866.922.3059 return to www.cobbtuning.comContact Us:
Copyright 2023 © COBB Tuning Products LLC. All Rights Reserved. | www.cobbtuning.com