5B1110 - COBB 1 Series Cat-back [Discontinued]

5B1110 – COBB 1 Series Cat-Back
E8X BMW 135i
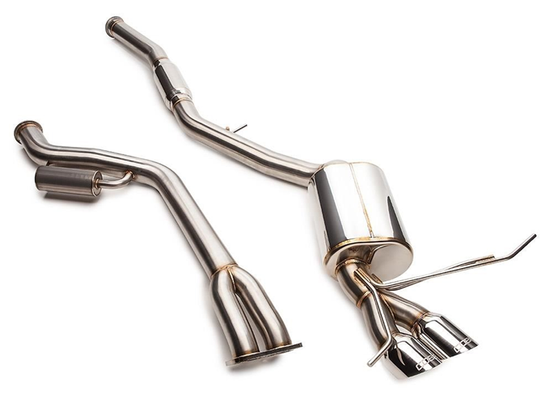
Congratulations on your purchase of the COBB Tuning 1 Series Cat-Back Exhaust! The following instructions will assist you through the installation process. Please read them BEFORE beginning the install to familiarize yourself with the steps and tools needed. If you feel you cannot properly perform this installation, we HIGHLY recommend you take the vehicle to a qualified and experienced automotive technician.
IMPORTANT! Installing this kit will require custom tuning or utilizing an appropriate Stage Power Package map if you have a matching mechanical configuration. Please consult with COBB or an authorized ProTuner in your area if you have any questions!
Table of Contents
Parts List
- Merge Section
- Muffler Section
- V-Band Clamp
- (2) 2.5" Exhaust Gaskets
- 1/8” Rubber Cap
- (2) Spacer Brackets
- (4) Flange Bolts
- (4) Flange Nuts
- 1/8” Nylon Connector
Tools Needed
- Phillips head screwdriver
- Flathead screwdriver
3/8" ratchet
- 3/8" 7mm socket
3/8" 8mm socket
3/8" 10mm socket
3/8" 12mm socket
3/8" 14mm socket
- 3/8" 18mm socket
3/8" 10mm deep socket
3/8" 12mm deep socket
- 3/8" T50 Torx Bit
- 3/8" E10 inverted Torx
3/8" 12" extension
3/8" 6" extension
3/8" Socket Swivel
- 13mm combination wrench
- 18mm combination wrench
- Exhaust Hanger Pliers
- Silicone Lubricant (Optional)
Stock Exhaust Removal
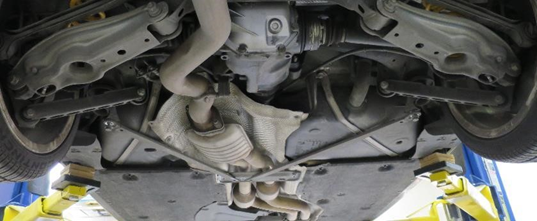
- Start off by getting the vehicle up on a lift or placing jack stands under the rear of the vehicle to get it up in the air and give you some room to work. Make sure you’ve blocked the front wheels if you’re using jack stands to keeping the car from rolling forward.
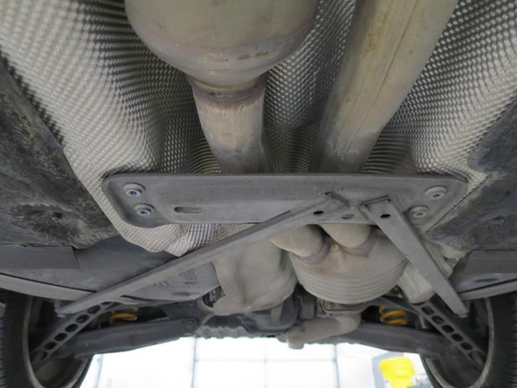
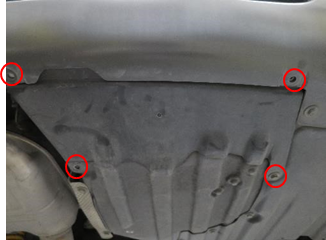
- Remove the chassis brace. There will be 4 x T50 Torx bolts and 2 x 18mm bolts.
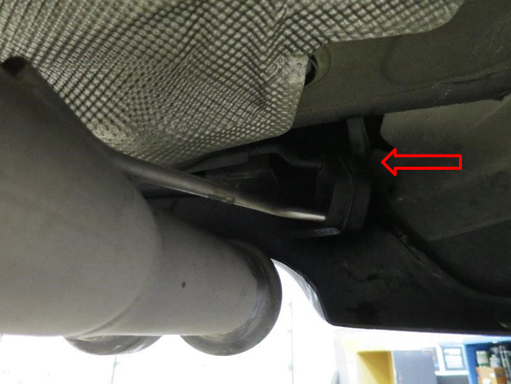
- Remove the transmission mount using an E10 Torx socket and 13mm wrench. These components can no longer be used so they can be set aside.
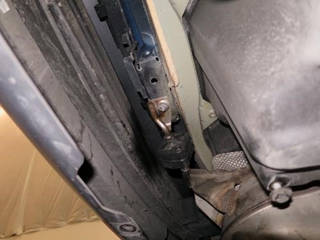
- Unplug the vacuum valve behind the driver side exhaust tip.
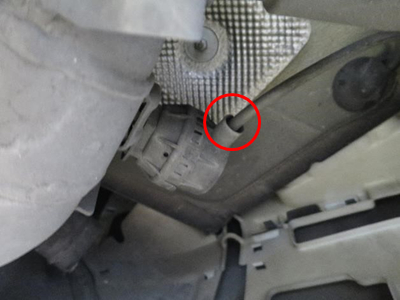
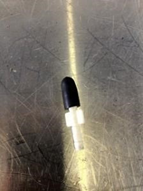
- Plug the vacuum line with the supplied plug and tuck it away behind the heat shielding.
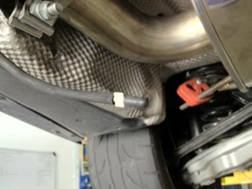
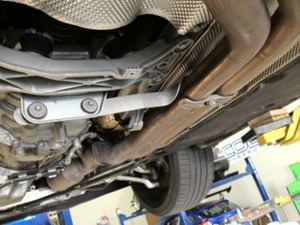
- Remove the 4 x 12mm bolts holding the exhaust to the downpipes.
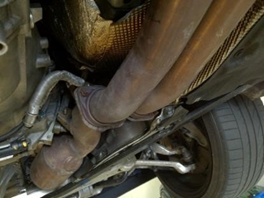
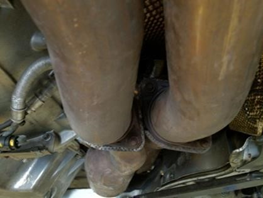
- Remove the 2 bolts at the donut flange that connect the stock merge section to the muffler section and remove the merge section.
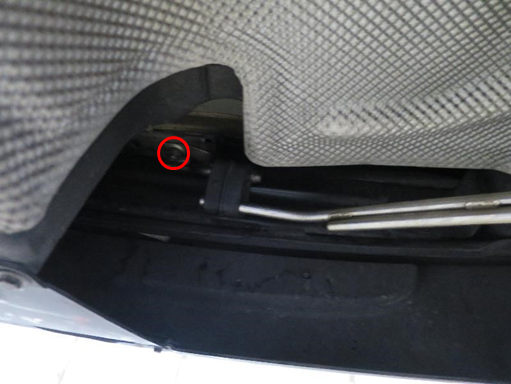
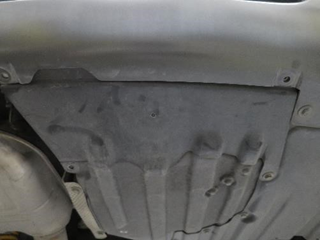
- Remove the rear panel using an 8mm and 10mm socket in order to expose the passenger's side rear muffler hanger.
- Remove the driver's side rear hanger with exhaust hanger pliers or similar.

- Remove the driver's side rear hanger with exhaust pliers or something similar

- Loosen and remove the 18mm nut holding the hanger to the differential
CAUTION: Once the hanger is removed from the bolt, the muffler section will be ready to drop. Make sure to have someone helping you or that you are prepared for the weight to drop.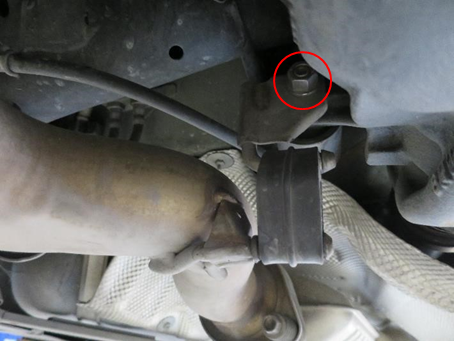
Installation of the COBB 1 Series Cat-Back Exhaust
- Remove the hangers from the stock exhaust with the exhaust pliers and transfer them to the COBB Cat-Back. Lubricate the hangers with silicone lubricant spray to make them easier to install.
- Install the muffler section first by installing the driver's side differential hanger using an 18mm wrench.

- Reinstall the driver's side rear exhaust hanger to the chassis.
- Reattach the passenger's side rear muffler hanger with an E10 Torx Socket.
- Reinstall the rear panel using an 8mm and 10mm socket.
- Install the 2 exhaust gaskets onto the downpipes (replace if necessary to avoid leaks.

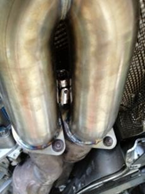
- Using the supplied bolts and nuts, install the merge pipe onto the downpipes using a 12mm socket with a swivel joint. For the top middle nut, remove the socket from the extension. Put the extension between the merge and reattach the socket to tighten. Keep these bolts loose until you connect the muffler section to the merge section to allow for some adjustment.
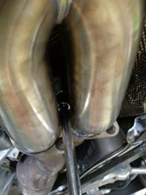
- Secure the muffler section to the merge pipe using the supplied v-band and a 10mm socket. Tighten it up enough so that it doesn't fall apart, but loose enough to allow movement.
- Now that all of the sections are on the car, align the exhaust tips to your liking, this can require some shimmying and movement of the hangers so make sure when you're moving everything to look correctly, you aren't rubbing somewhere under the car that will cause noise down the road. Once aligned you can tighten everything down starting in the front and moving back.
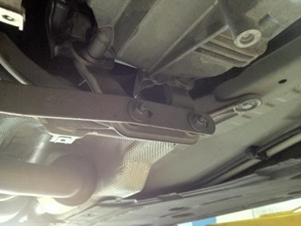
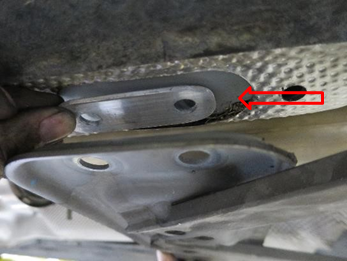
- At this point you should be good to go ahead and reinstall the under brace using the supplied spacer brackets between the chassis and the brace in order to allow for more clearance.
- Congratulations! You have completed the installation of the COBB Cat-back Exhaust for your BMW. Go out and enjoy!
Links
Calibration Map Notes for BMW Vehicles
COBB Customer Support Web Support and Tech Articles: COBB Tuning Customer Support Center Email: support@cobbtuning.com Phone support available 9am to 6pm Monday-Thursday. 9am to 4pm Friday (CST) 866.922.3059 return to www.cobbtuning.comContact Us:
Copyright 2023 © COBB Tuning Products LLC. All Rights Reserved. | www.cobbtuning.com