MK8 Golf R, 8Y S3 Redline Intake Installation Instructions

Congratulations on your purchase of the COBB Tuning VW Redline Carbon Fiber Intake! The following instructions will assist you through the installation process. Please read them BEFORE beginning the install to familiarize yourself with the steps and tools needed. If you feel you cannot properly perform this installation, we HIGHLY recommend you take the vehicle to a qualified and experienced automotive technician.
Table of Contents
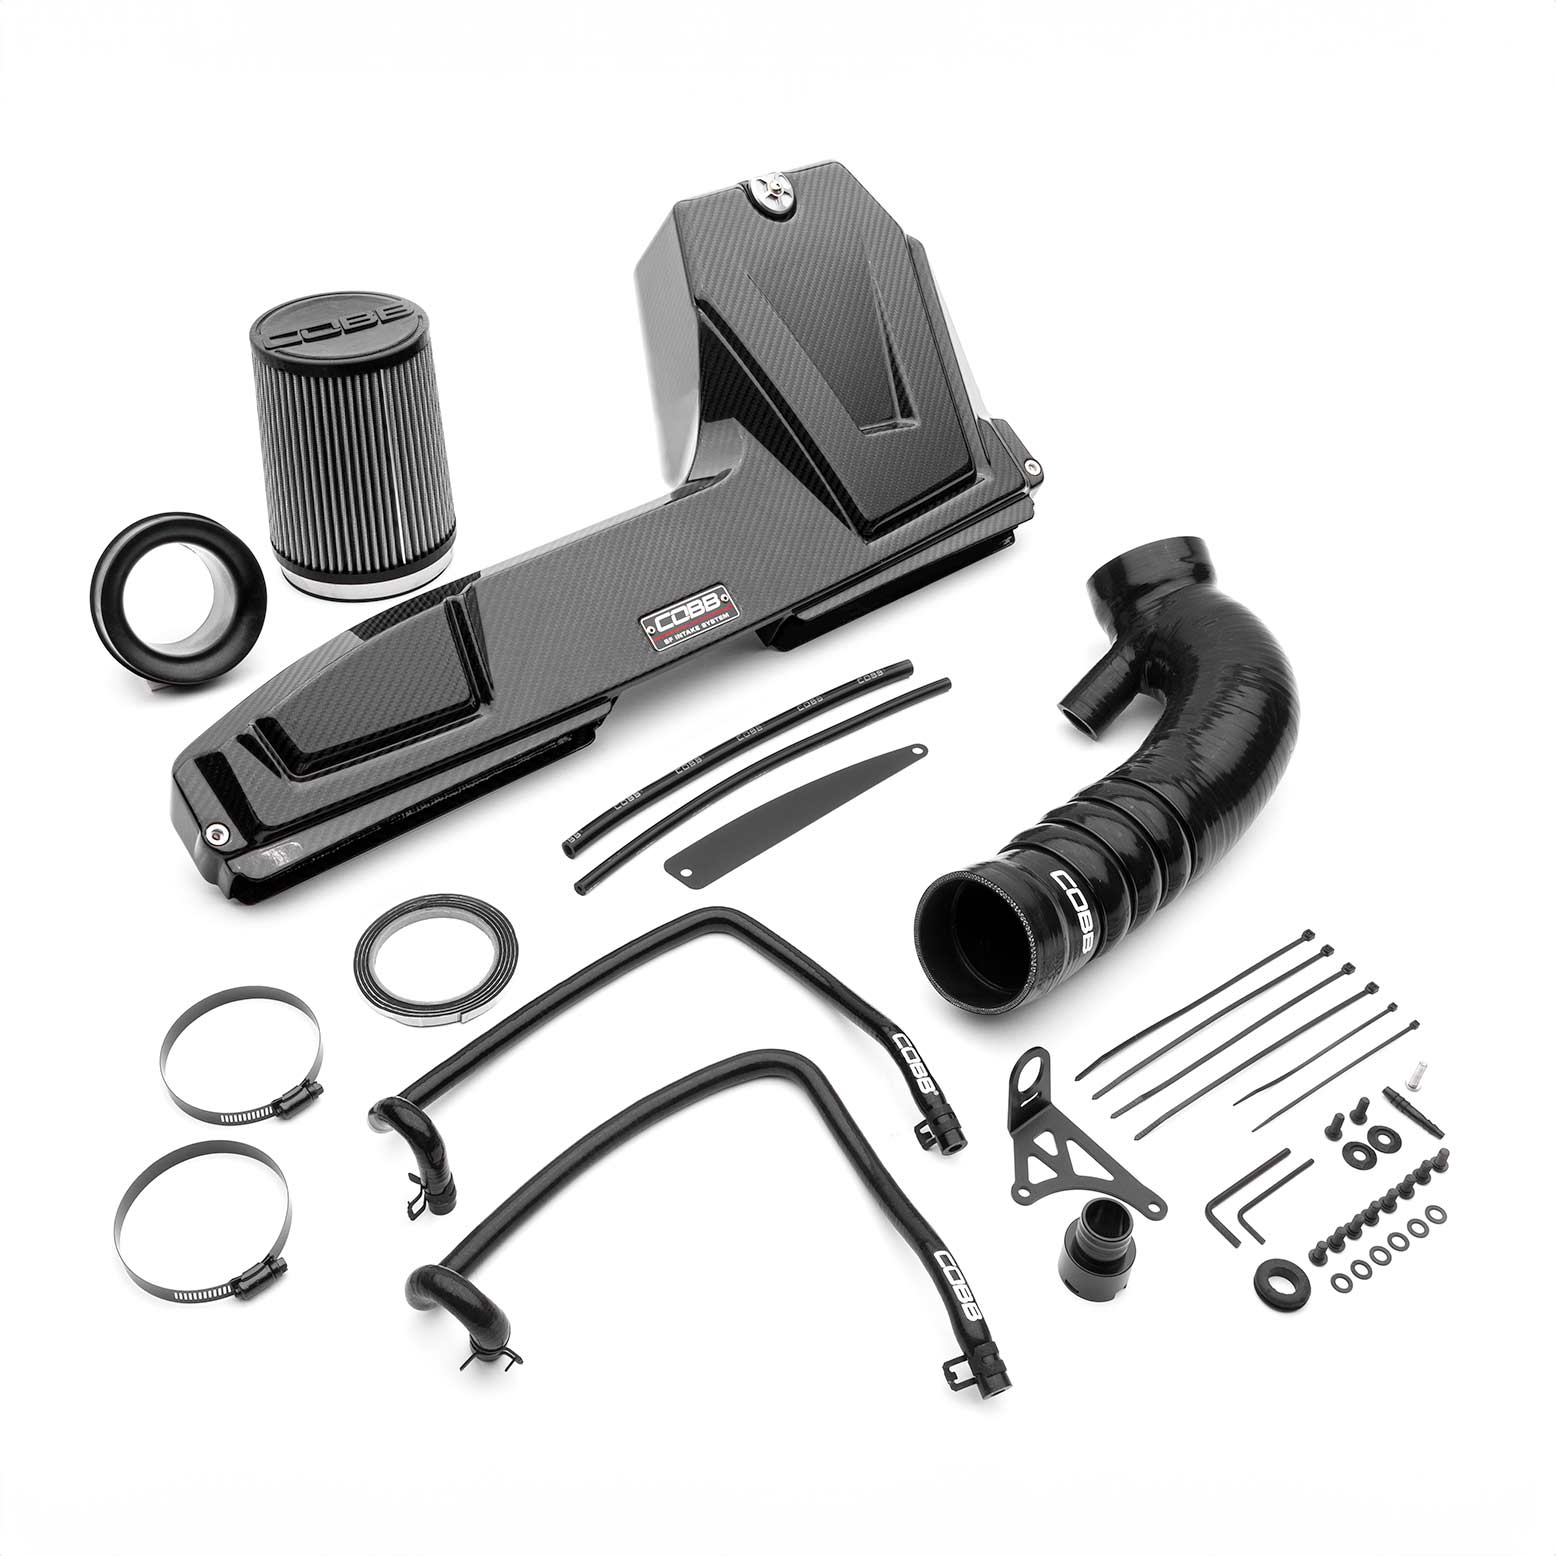
Parts List
- coolant reroute 8A1400 - Audi / Volkswagen Coolant Reroute Kit
- 8V3600 - Volkswagen MK8 Hood Strut Conversion (this or equivalent required for installation)
- Carbon Airbox
- Intake Vent Blockoff
- Air Pump Adapter
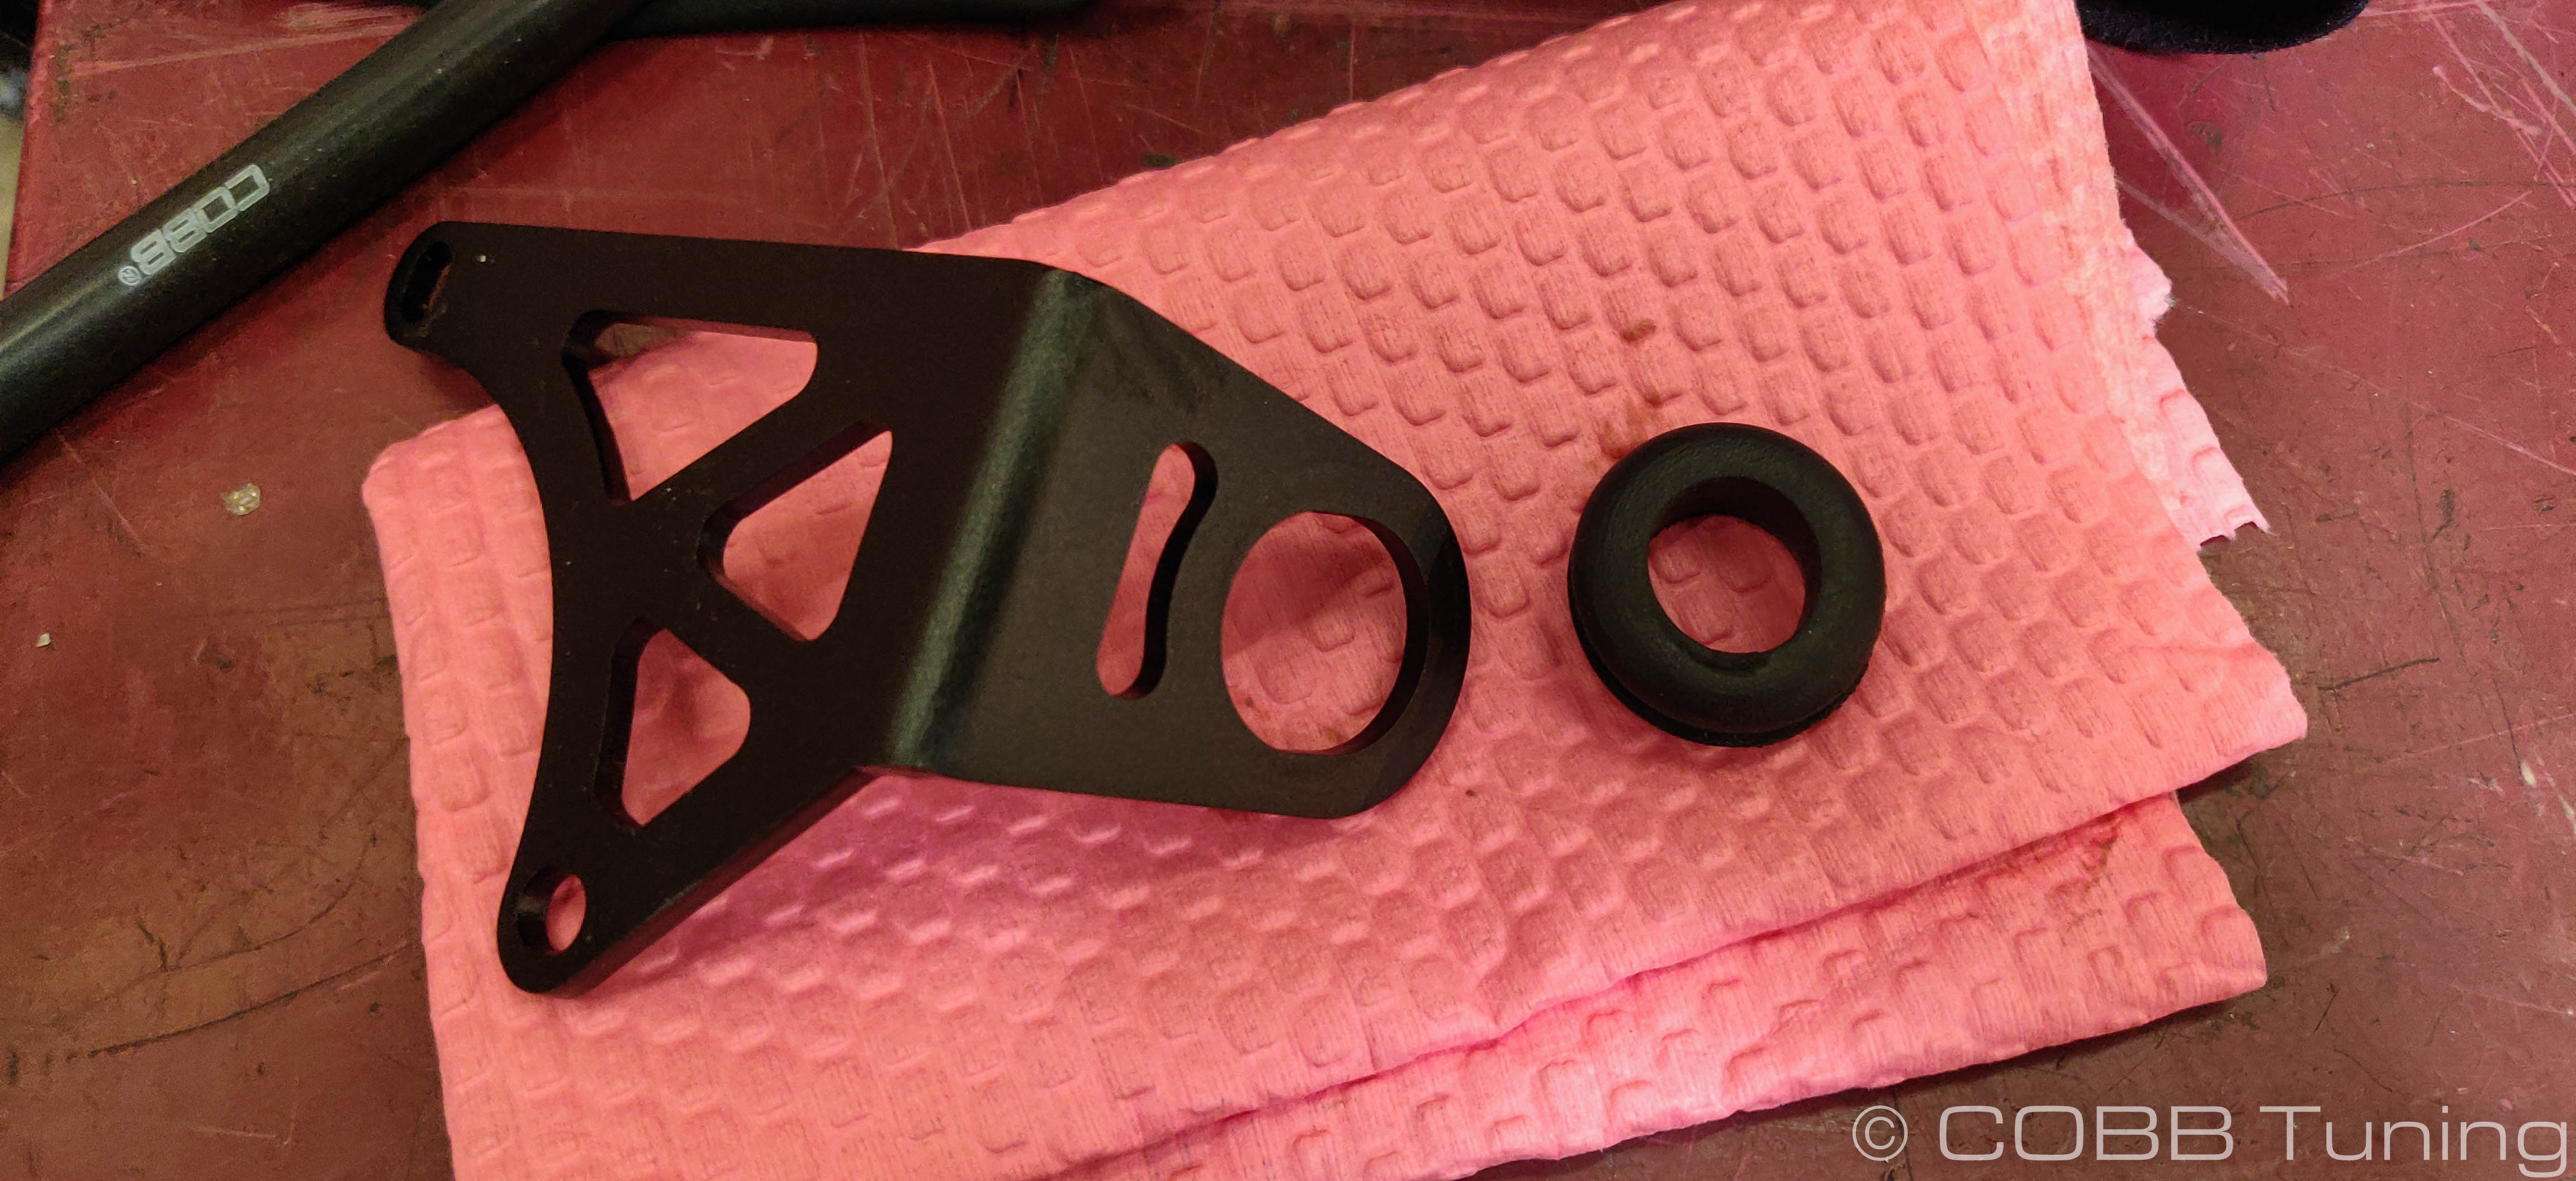
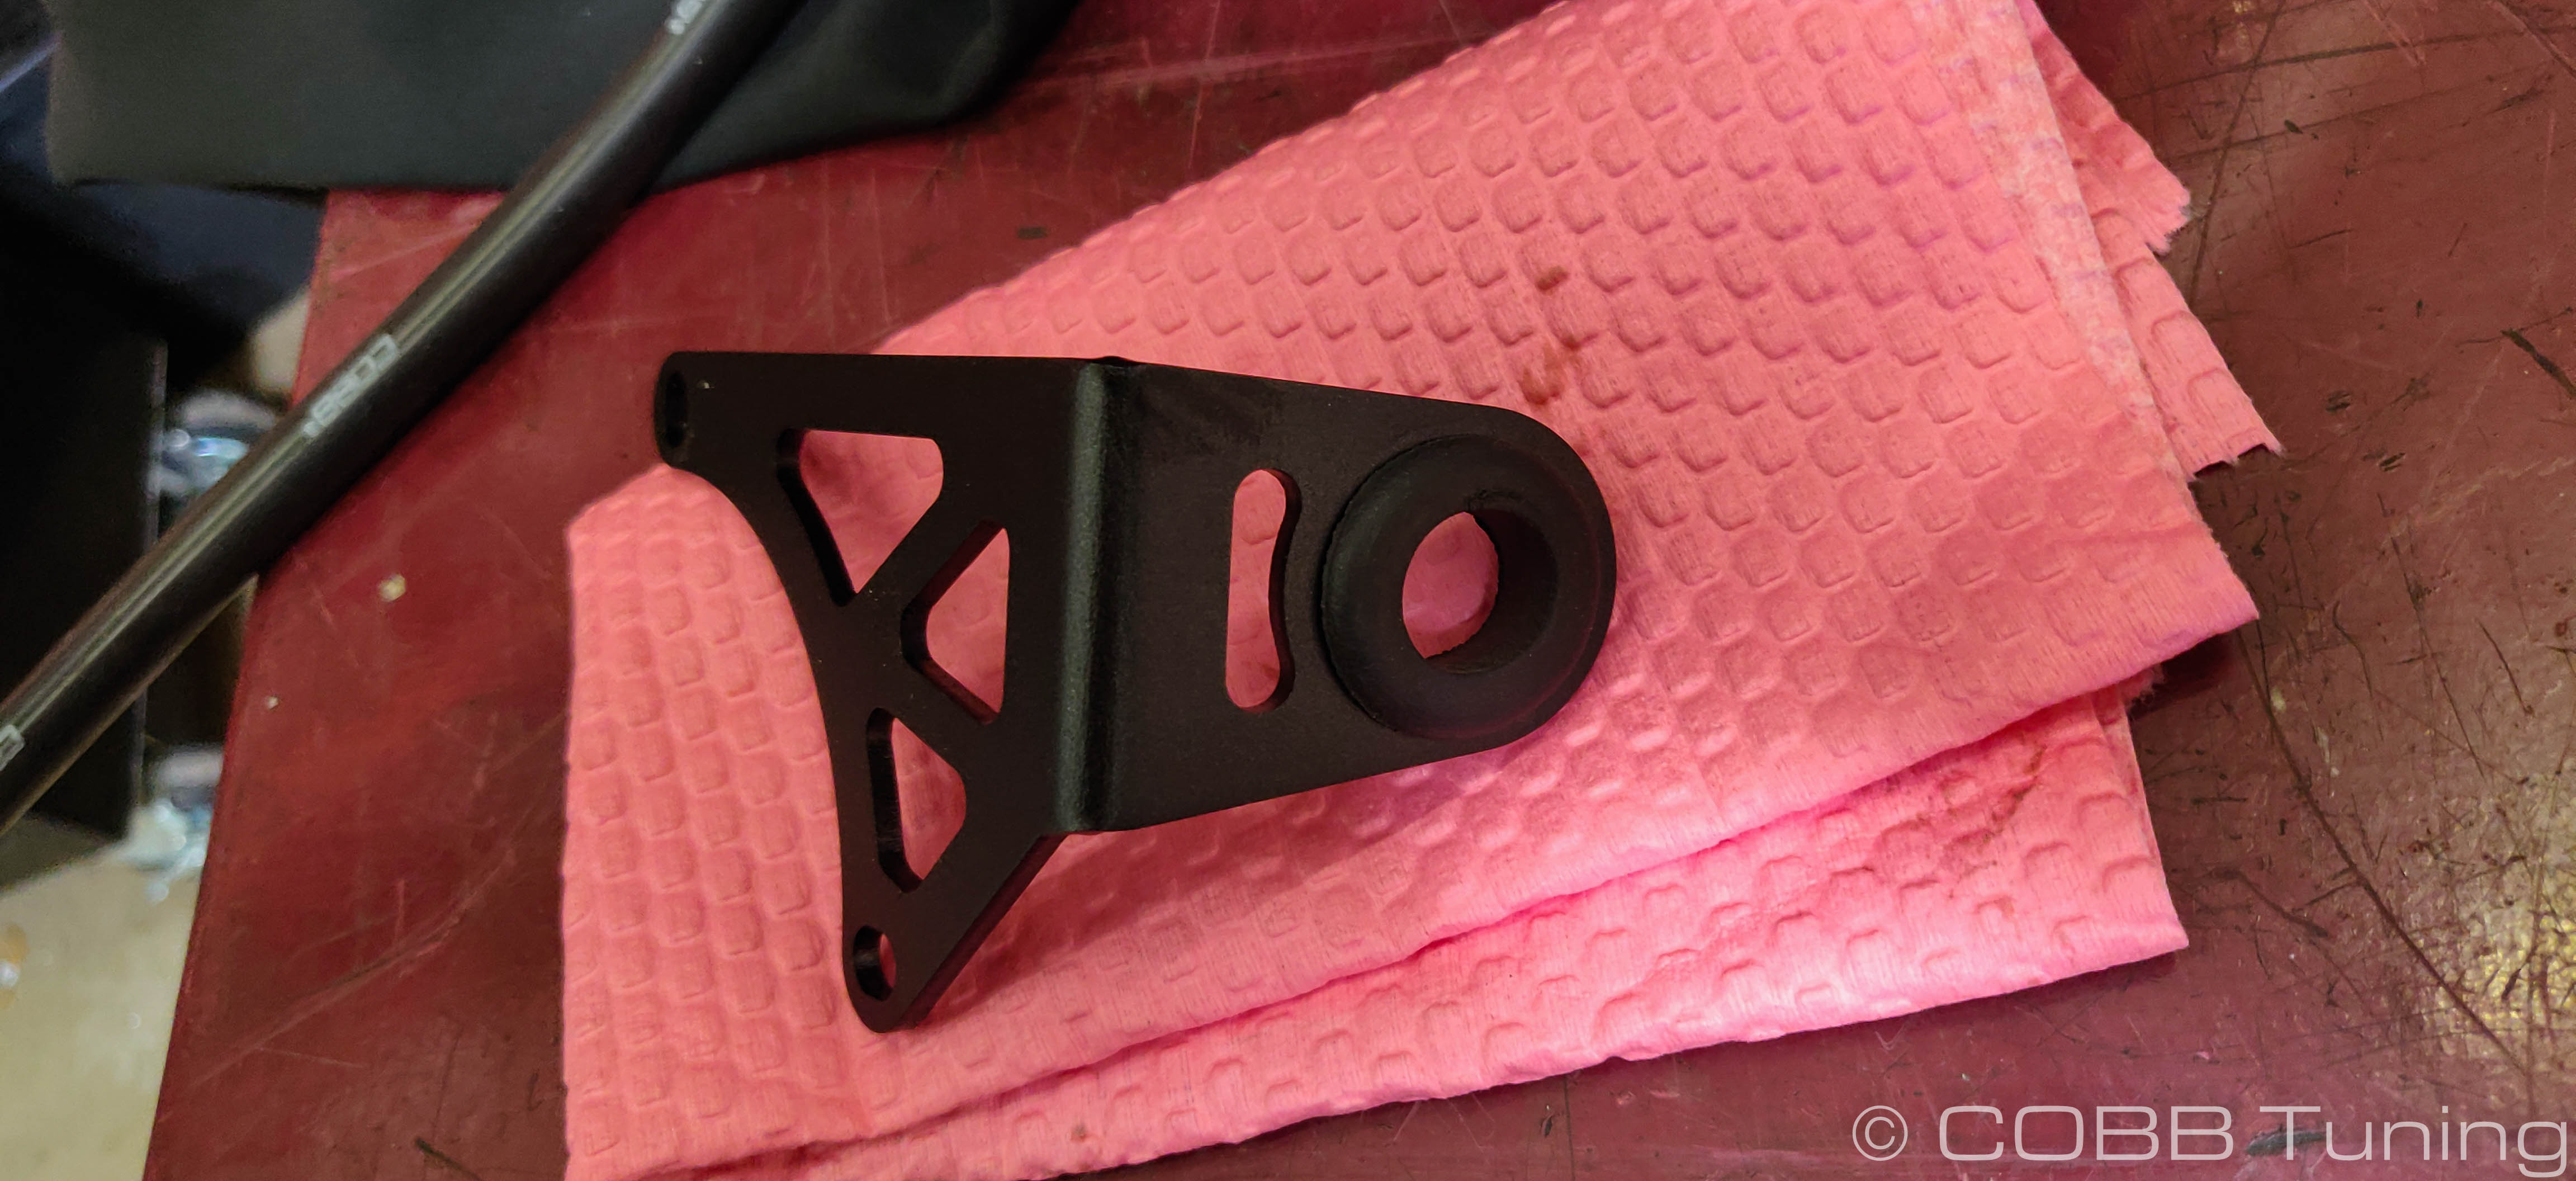
- Intake Mounting Bracket
- Velocity Stack
- 3/4" Hose Plug
- Cone Filter
- Airbox Gasket Sheet
- #44 Black Stainless Hose Clamp
- #52 Black Stainless Hose Clamp
- #8 Stainless Hose Clamp
- 1/4" - 1/4" hose connector
- 1' 8mm Silicone Vacuum Hose
- m4 Hex Key
- m3 Hex Key
- (6) M6x10 Black Oxide SS Button Head Bolt
- (2) M6x16 Black Oxide SS Button Head Bolt
- (1) M6x20 Black Oxide SS Button Head Bolt
- (2) 6mm Nylon Washer
- (2) 8" Zip Ties
Tools Needed
- 3/8" Ratchet
- 3/8" 7mm Socket
- 3/8" 8mm Socket
- 3/8" 10mm Socket
- T20 Torx Screwdriver
- Hose Clamp Pliers or traditional pliers
Remove the OEM Volkswagen Intake
Before removal of factory intake, it is recommended to remove the engine cover by pulling it off of its grommets.
- Inspect the new components included with the COBB kit. If anything appears out of place, please contact COBB immediately and do not proceed with the installation.
- Park your car in a flat, level area.
- Next up we'll to take off the clamp holding the stock intake tube to the turboUsing your m7 nut driver or a phillips screwdriver, loosen the clamp. Then pull the tube off of the turbo inlet housing.
- Pull the 1/4" rubber hose off of the stock airbox. This may require some strength! Just be careful not to bust your hand when it finally comes off! (This is the smaller hose, the R and S3 will not have the air injection line)
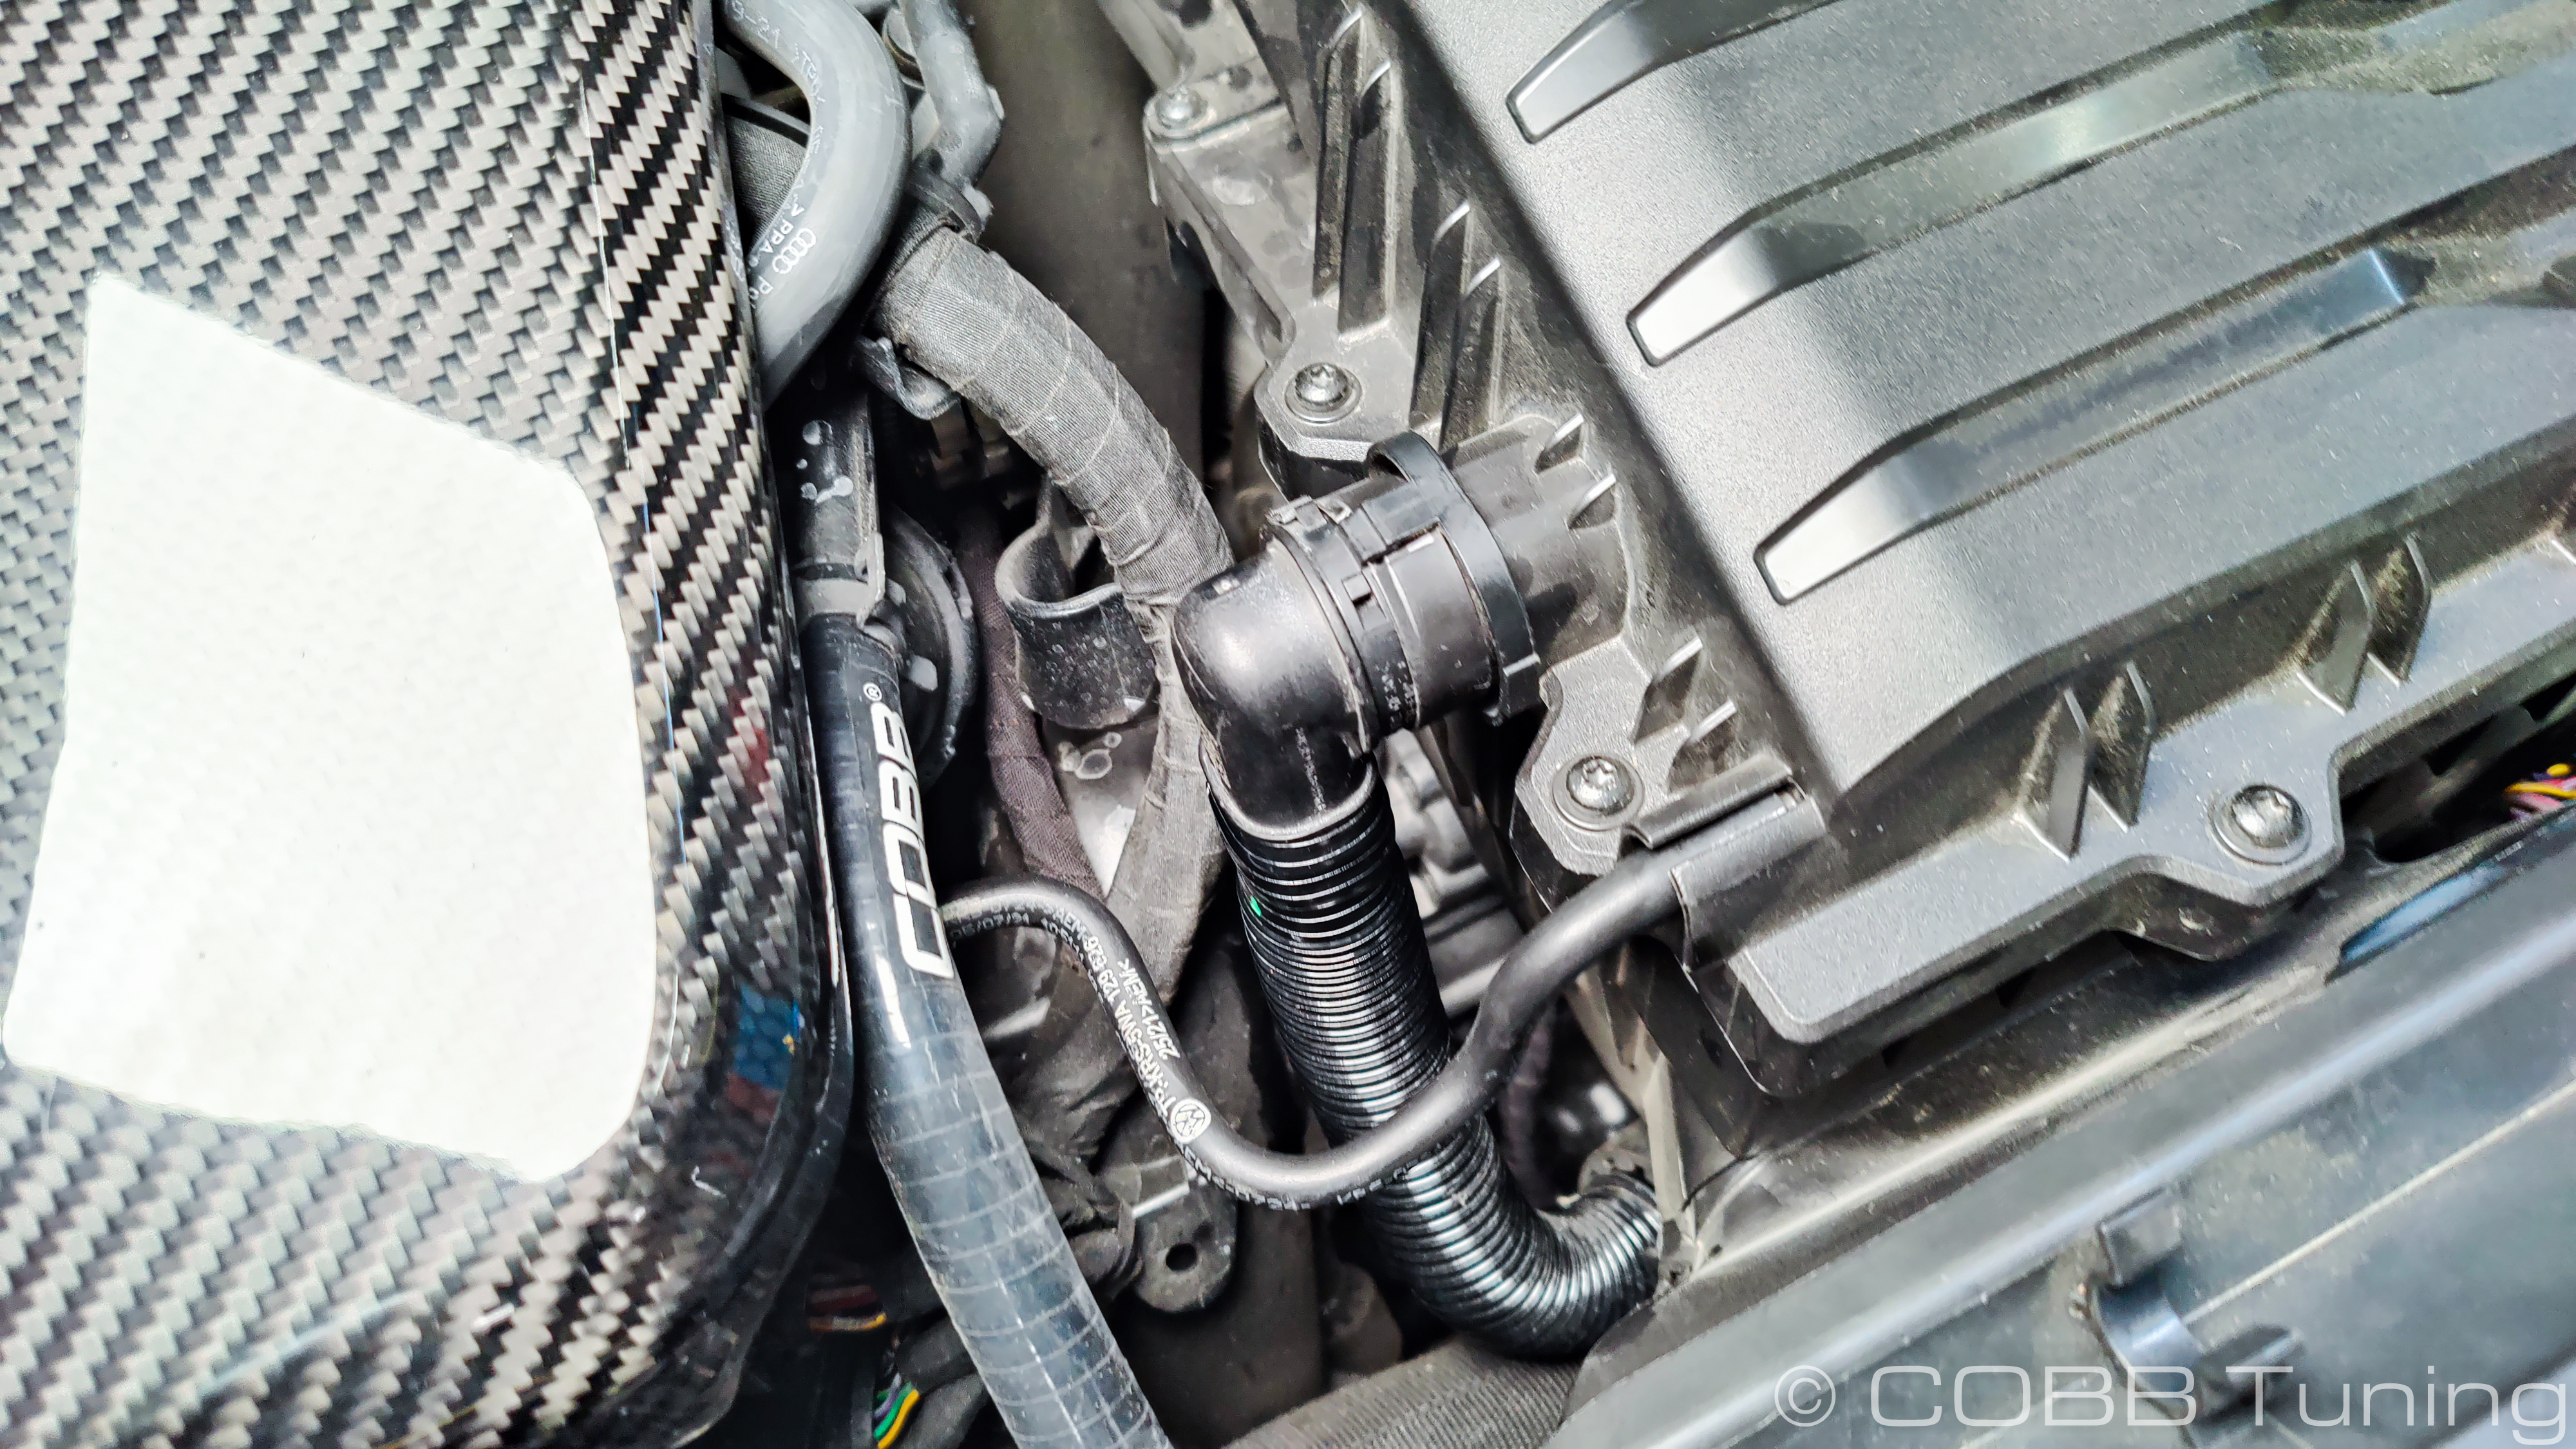
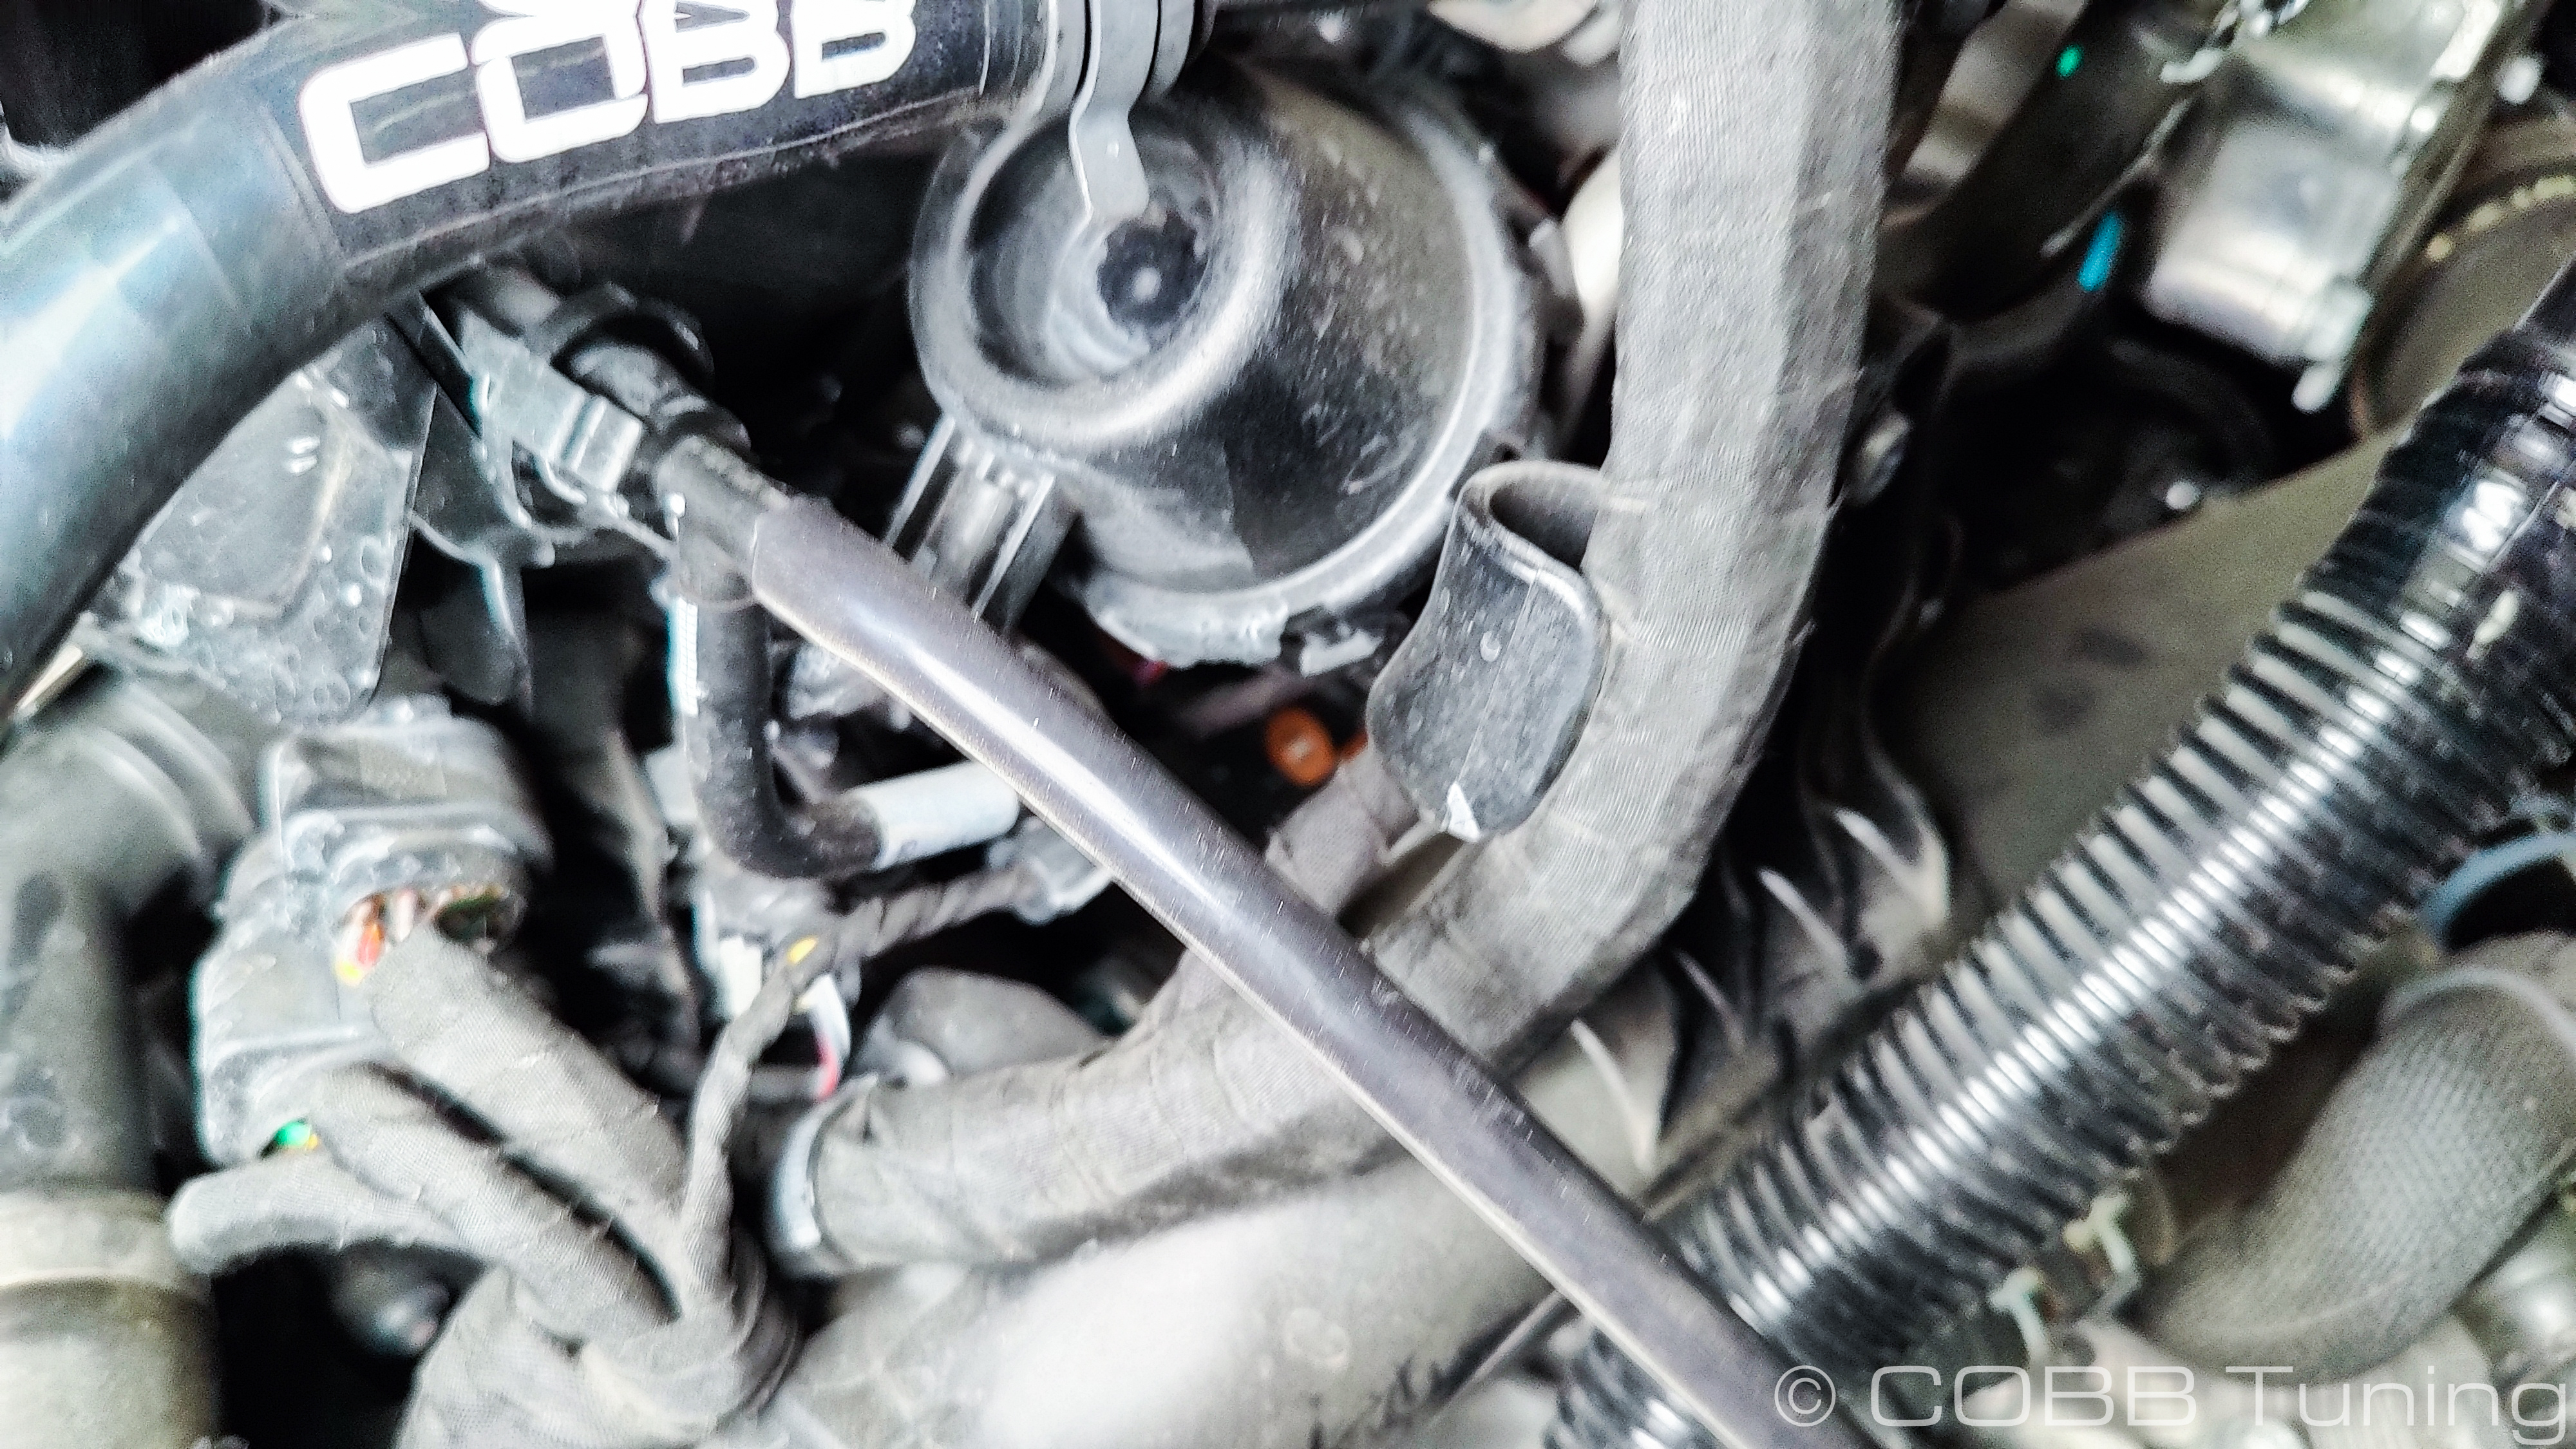
- Lift the rear of the intake up, and press the two tabs on either side of the recirculation tube for the bypass/diverter valve to release it from the intake. These can be fairly tight so it may take some squeezing and wiggling to get it free.
- Now you should be able to pull the stock airbox and intake tube out of the car by popping the box off of the grommets that hold it in place. Lifting up in the back where the hose attaches the airbox and then rolling it towards you and out helps it drop out of the inlet box.
- Once the airbox and tube are out of the car, you can remove the stock inlet airbox using your T25 torx.
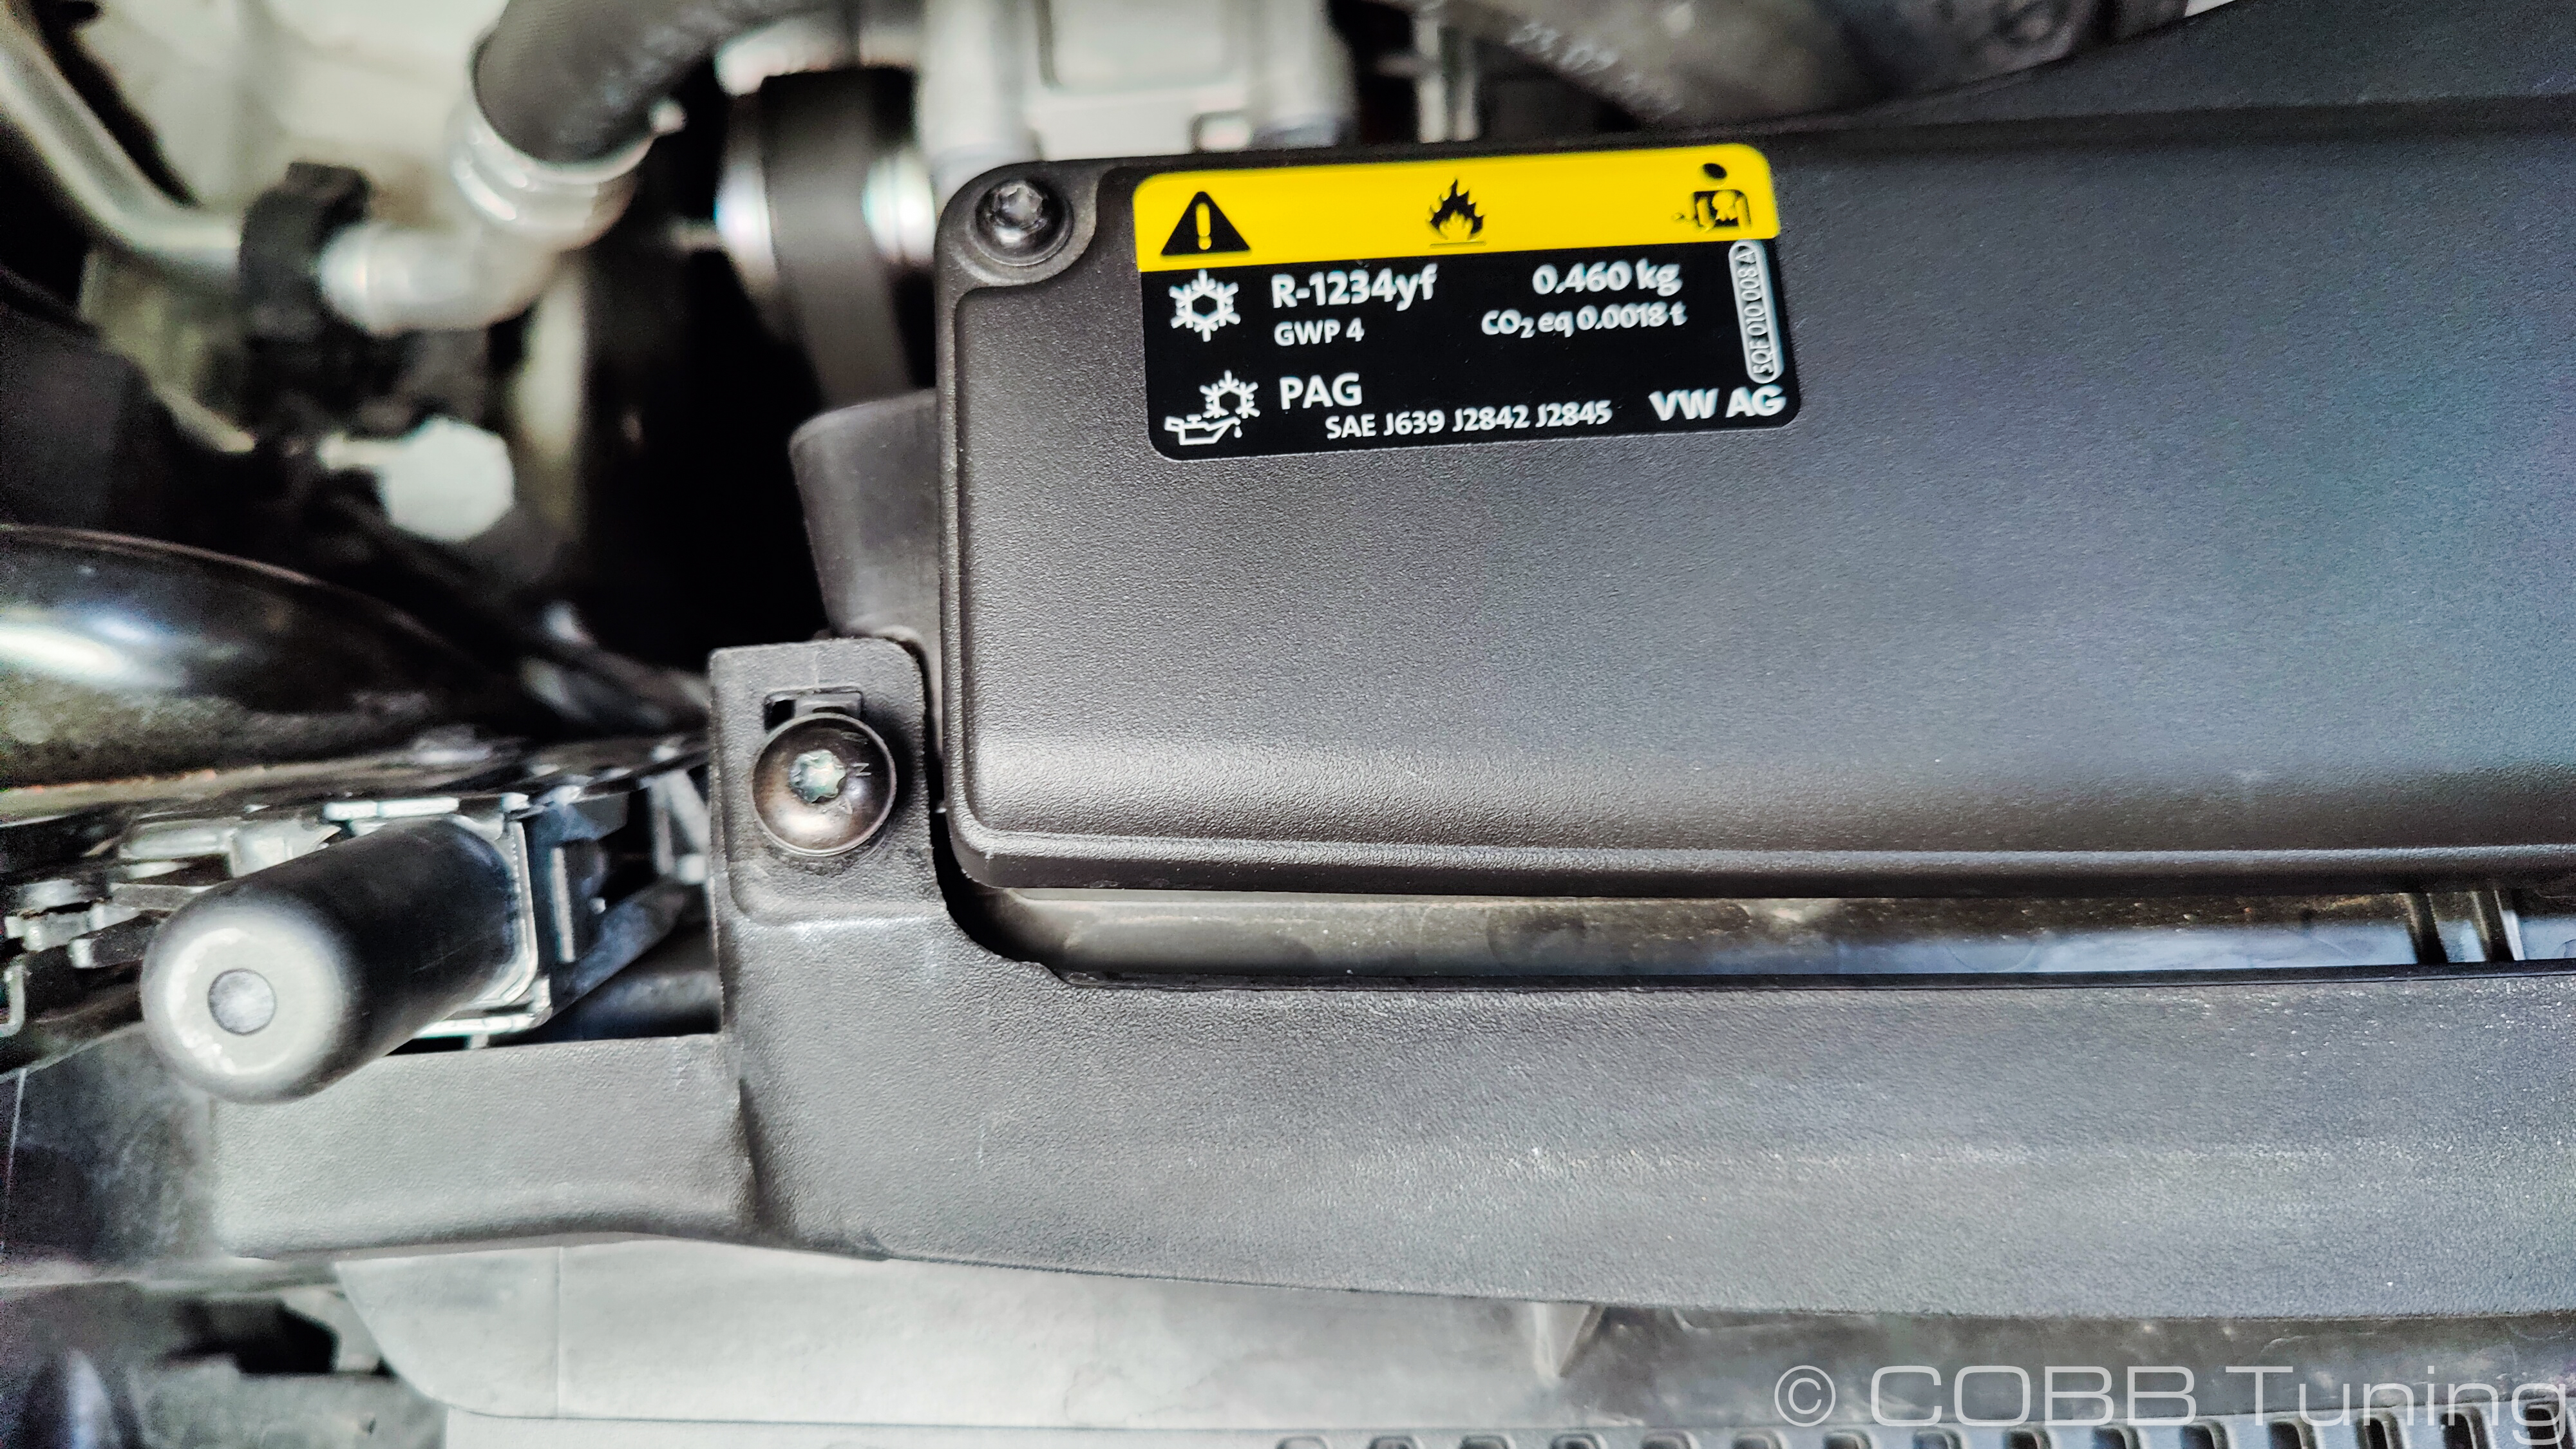
Coolant Hose Change
You'll need to install the included coolant reroute to put the coolant line under your intake. Instructions can be found here: 8A1400 - Audi / Volkswagen Coolant Reroute Kit
Hood Support
You'll also need to install the included hood support kit as the larger airbox takes up the space used by the hood prop rod. Instructions can be found here: 8V3600 - Volkswagen MK8 Hood Strut Conversion
Intake Pre-Assembly
- Locate the provided mounting bracket and install the rubber grommet from your kit into it.
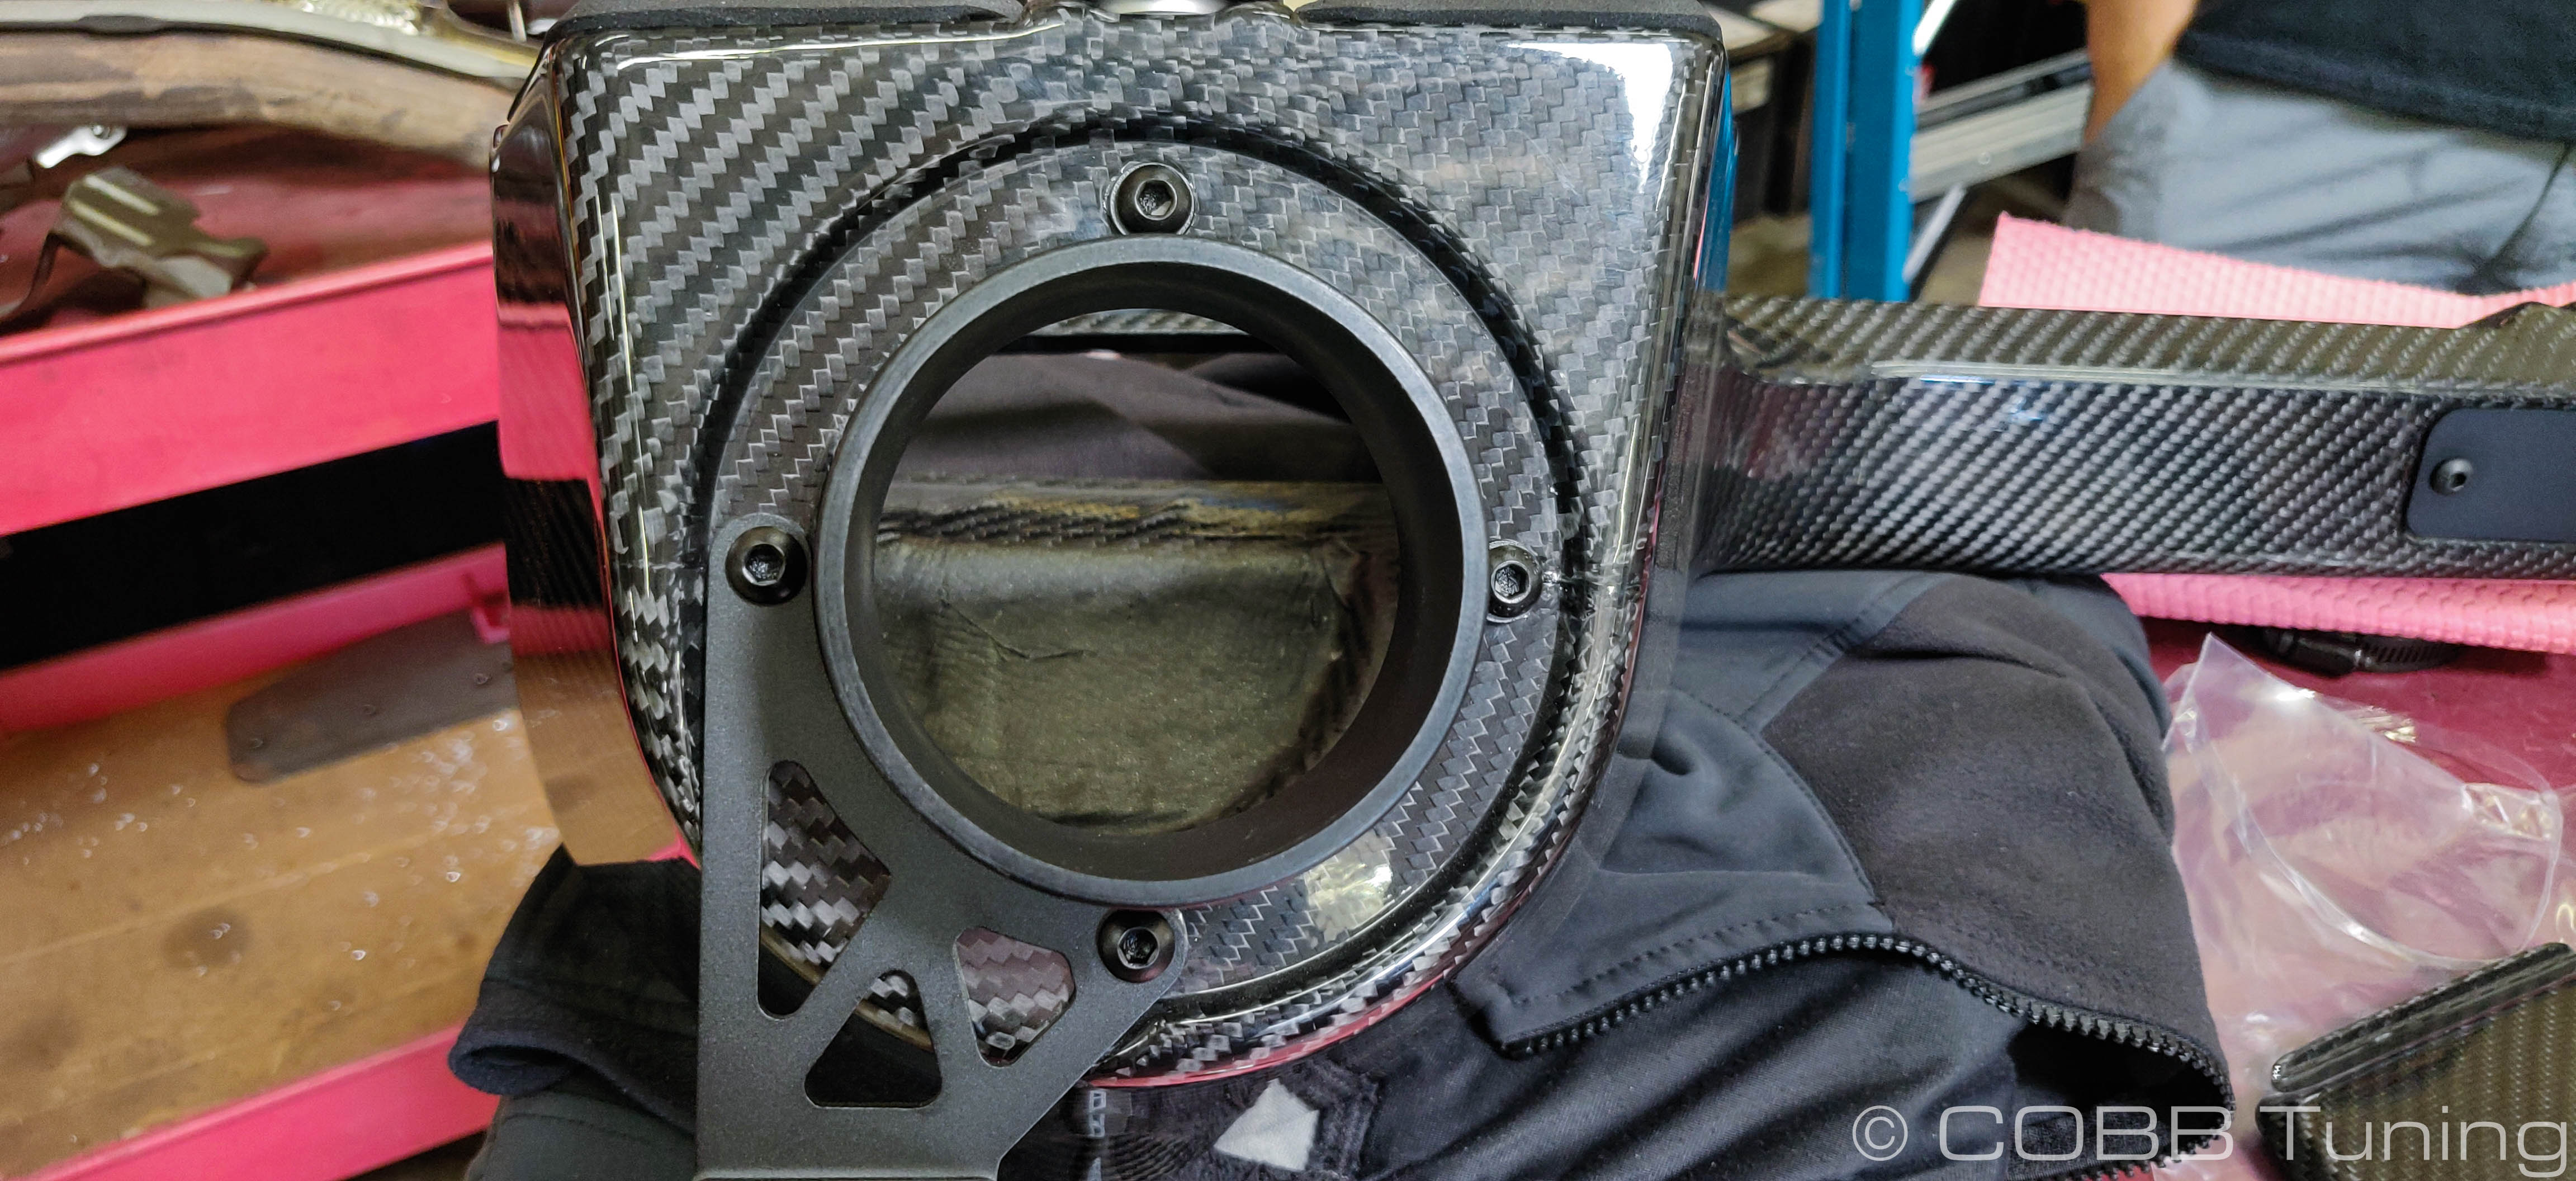
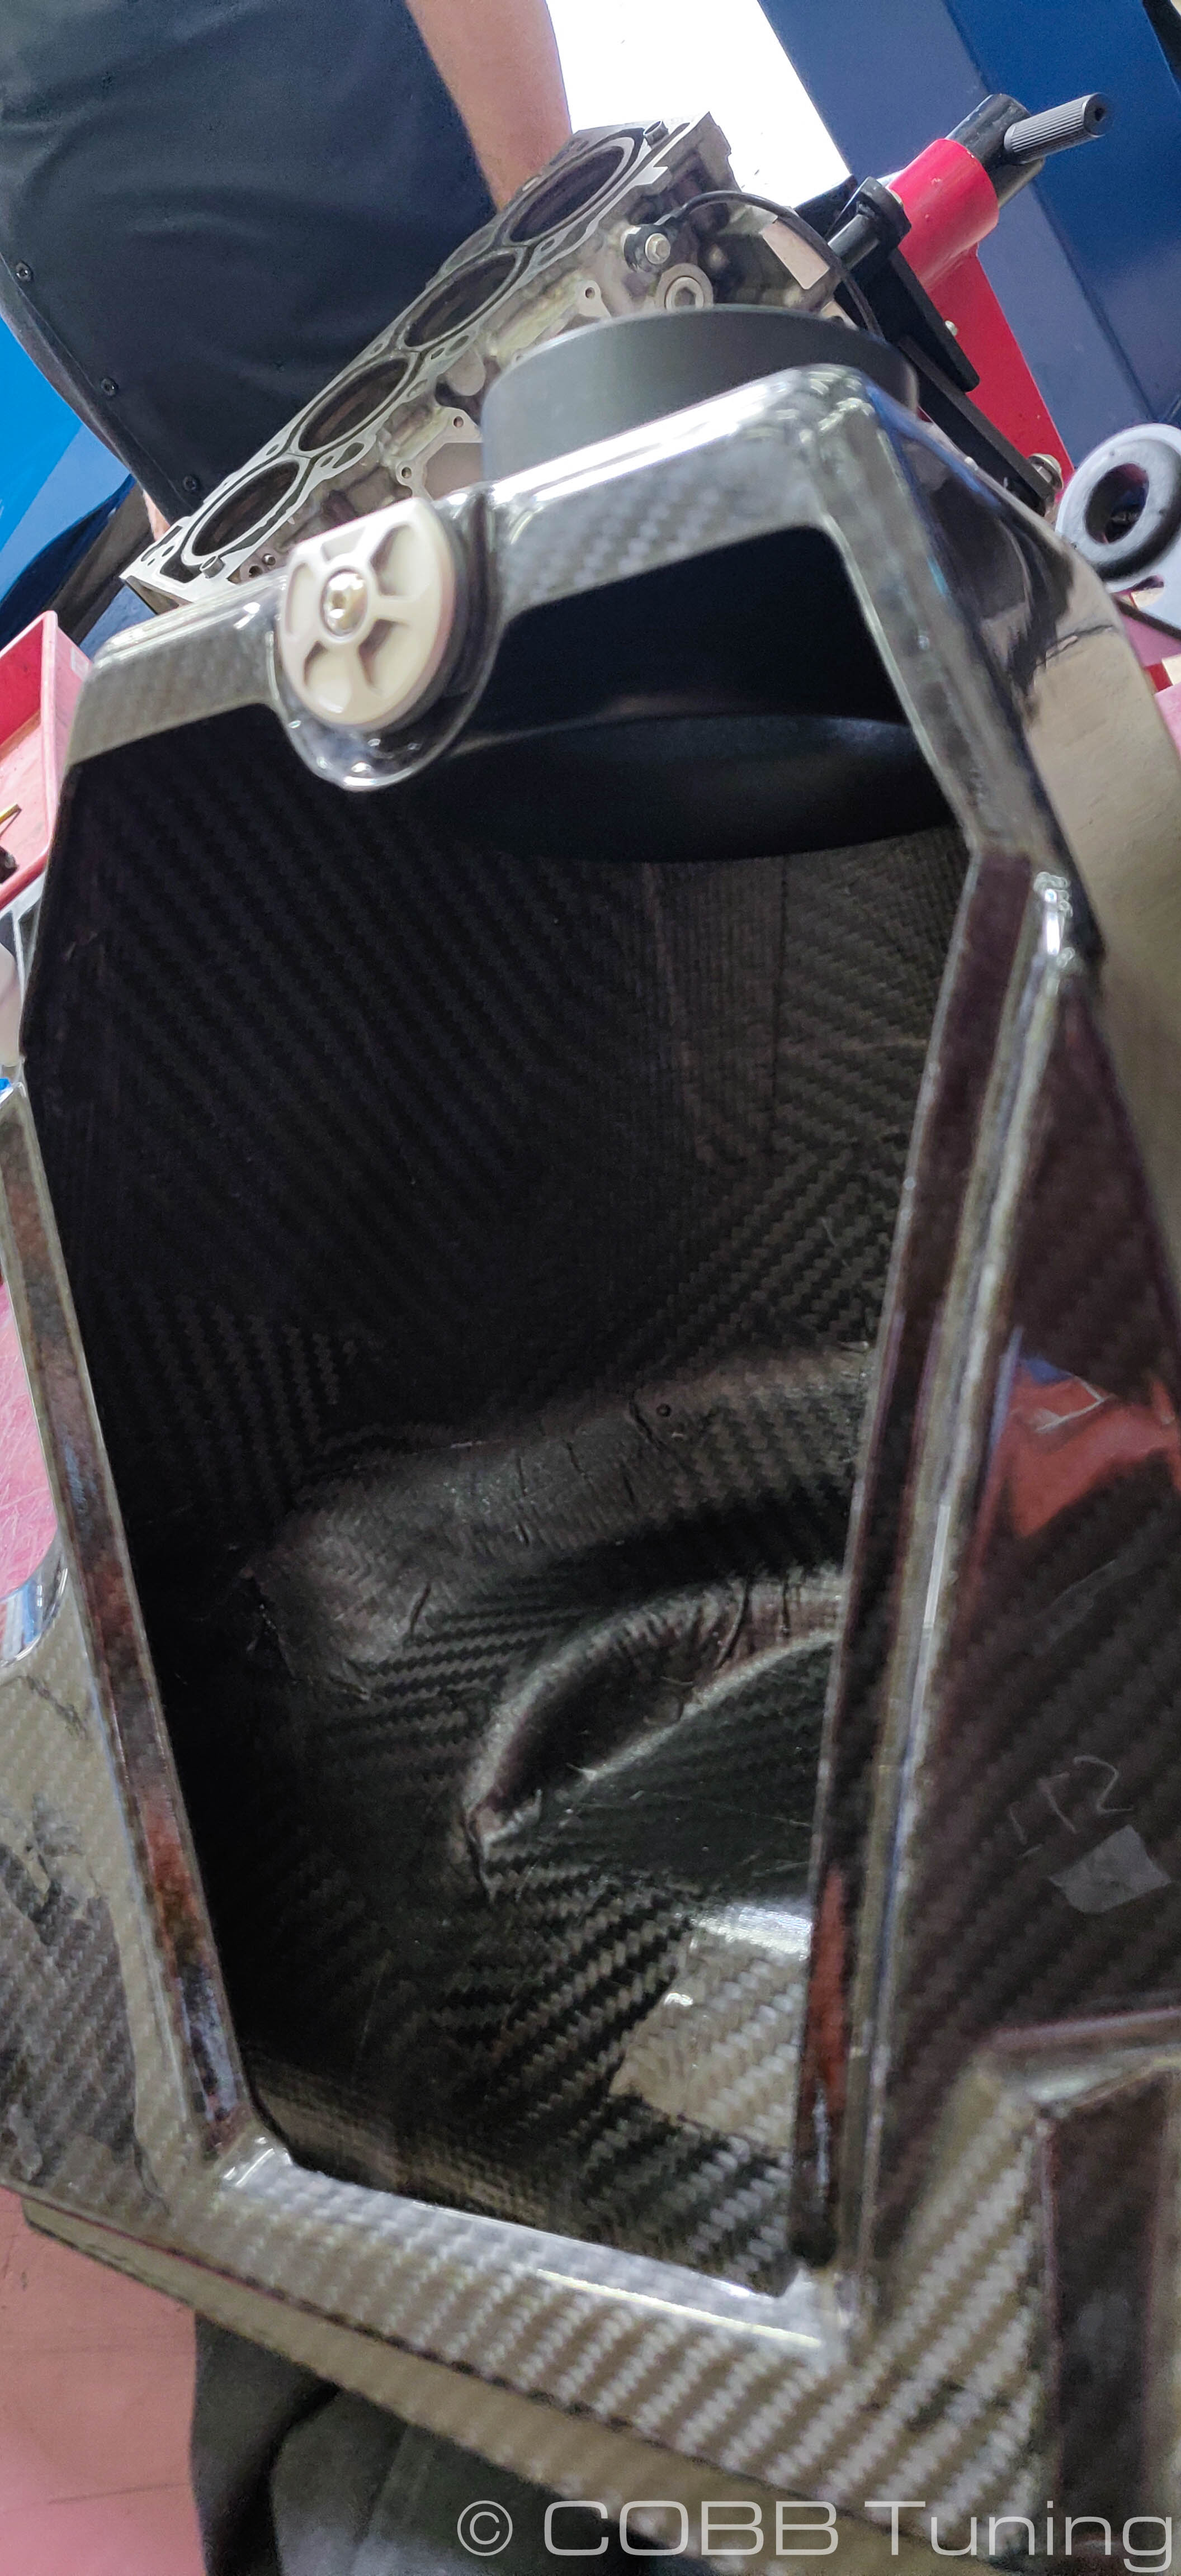
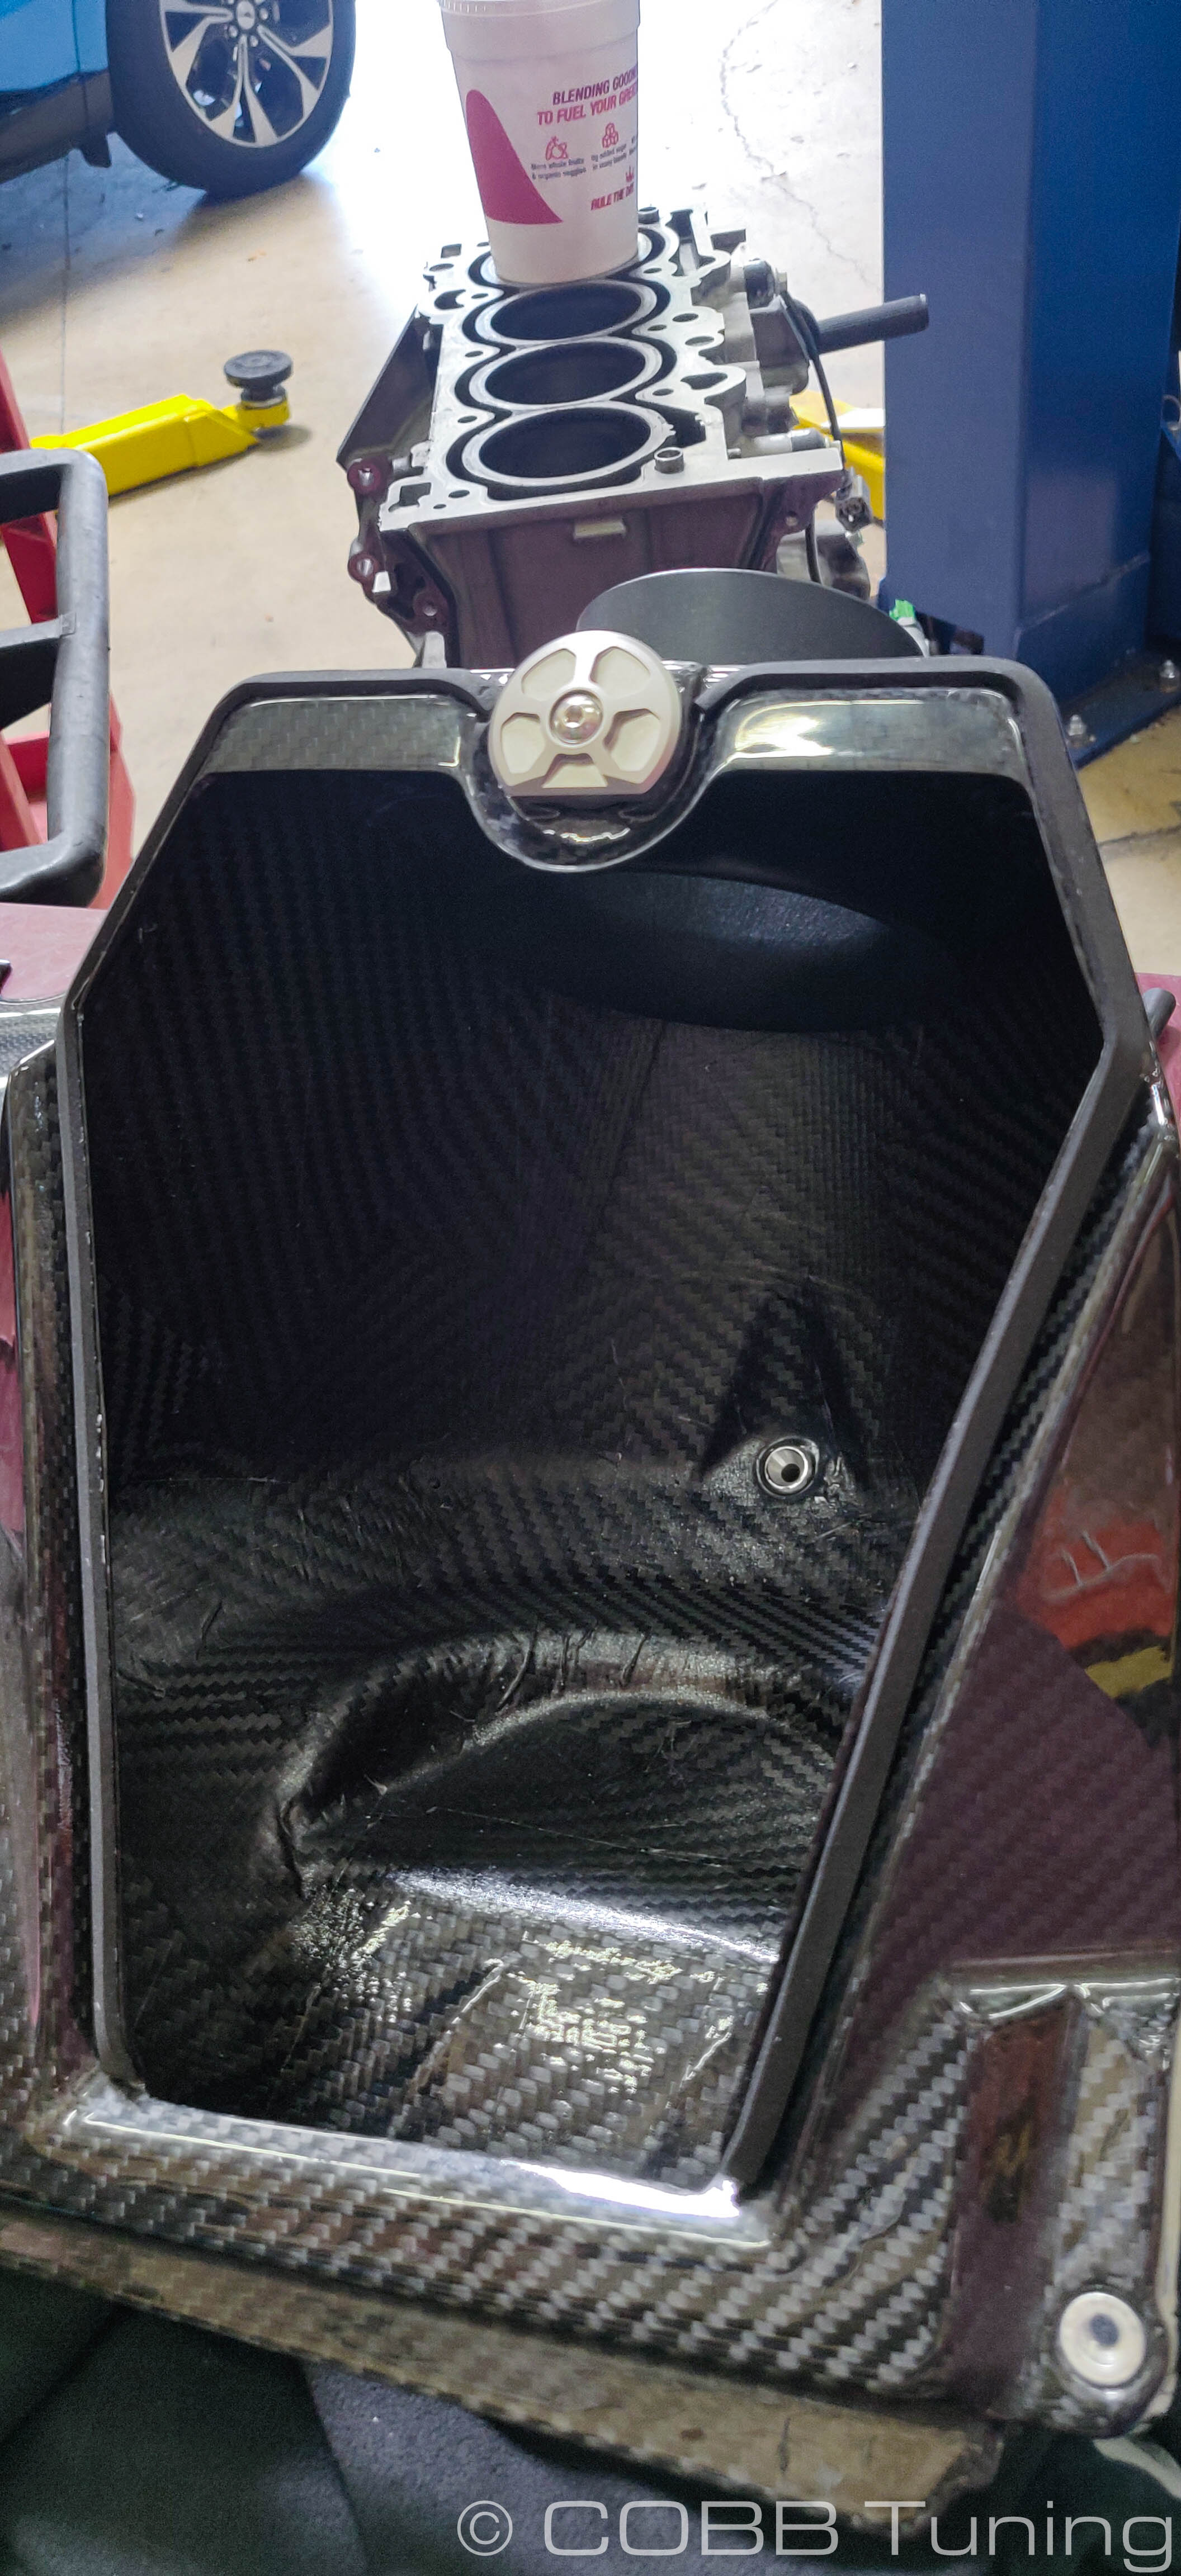
- Next we're going to install the air filter adapter into the carbon airbox. To do so you'll slip it inside the airbox and poke it out the back. Using two of the supplied shorter allen bolts attach the bracket to the bottom and left side holes when facing it from the back.

- Pick up two more of the short bolts and add a washer to each. They can then be installed in the remaining two holes on the airbox.
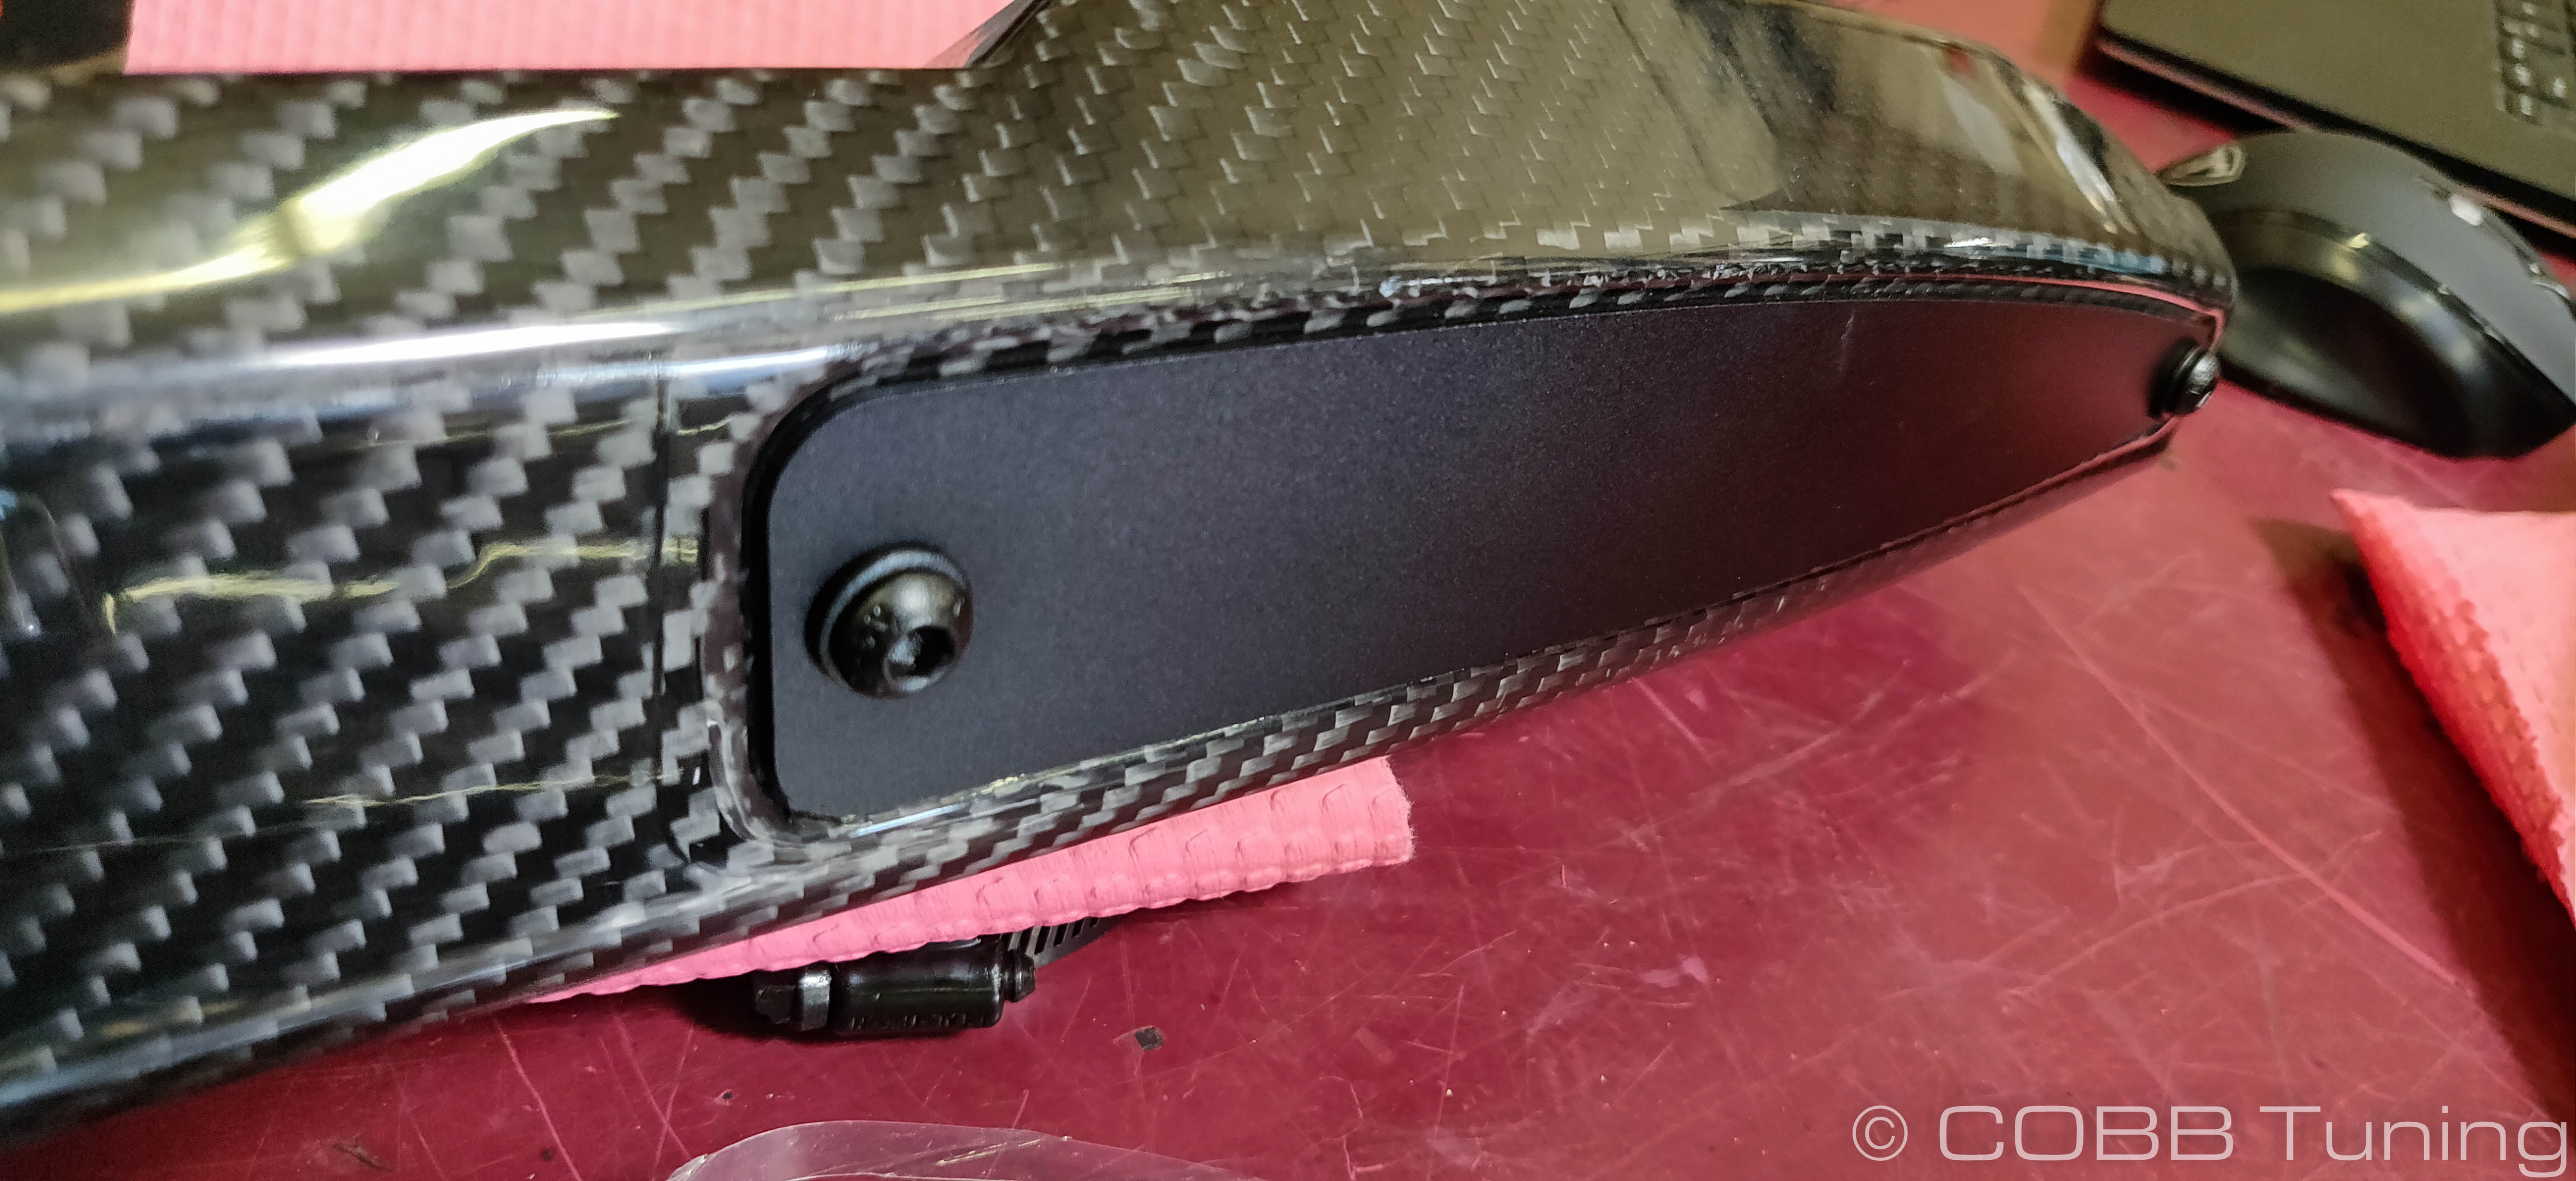
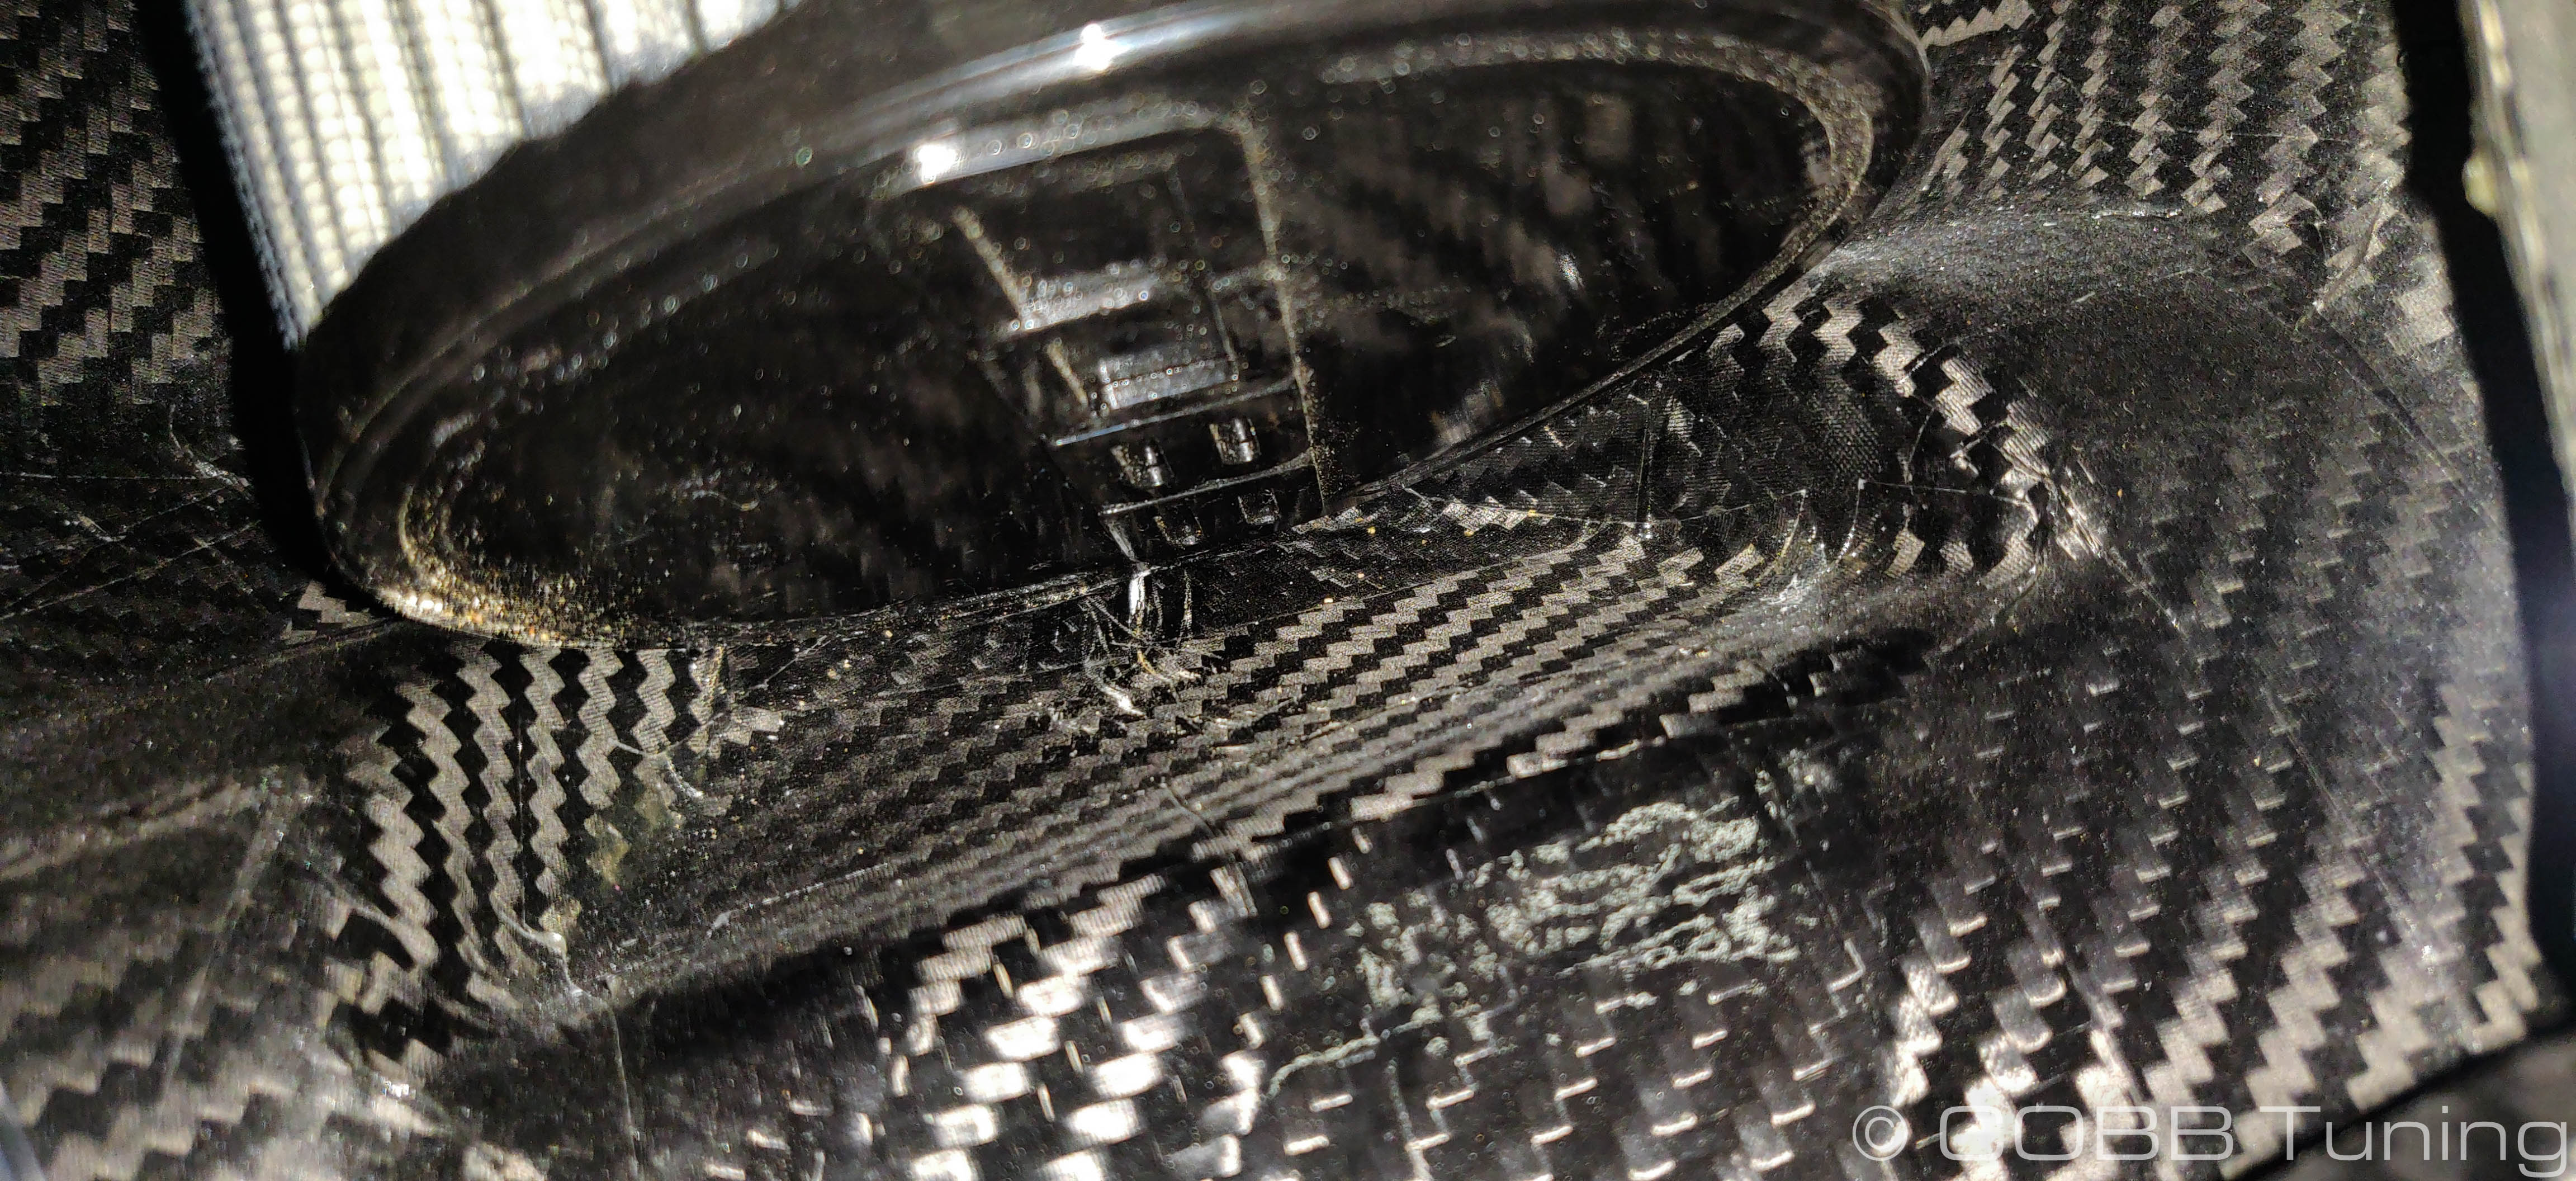
- Looking at the back side of the airbox there is a removable panel. The factory panel allowed some air through this area to circulate in the engine bay so remove the two allen bolts if you'd like to keep this. If you're less worried about cooling the drivetrain you can close off this panel.

- Use the provided foam tape to make a seal around the airbox lid. Make sure to stick to the provided flat area.
- Carefully install the air filter into the airbox and around the mounting plate. It is a tight fit as the air filter is mostly retained in place by the airbox itself and the hose clamp is only a secondary connection, make sure as you install you don't crush the filter. Spin the hose clamp around to an angle you'll be able to reach before tightening it down with your 8mm socket or screwdriver.
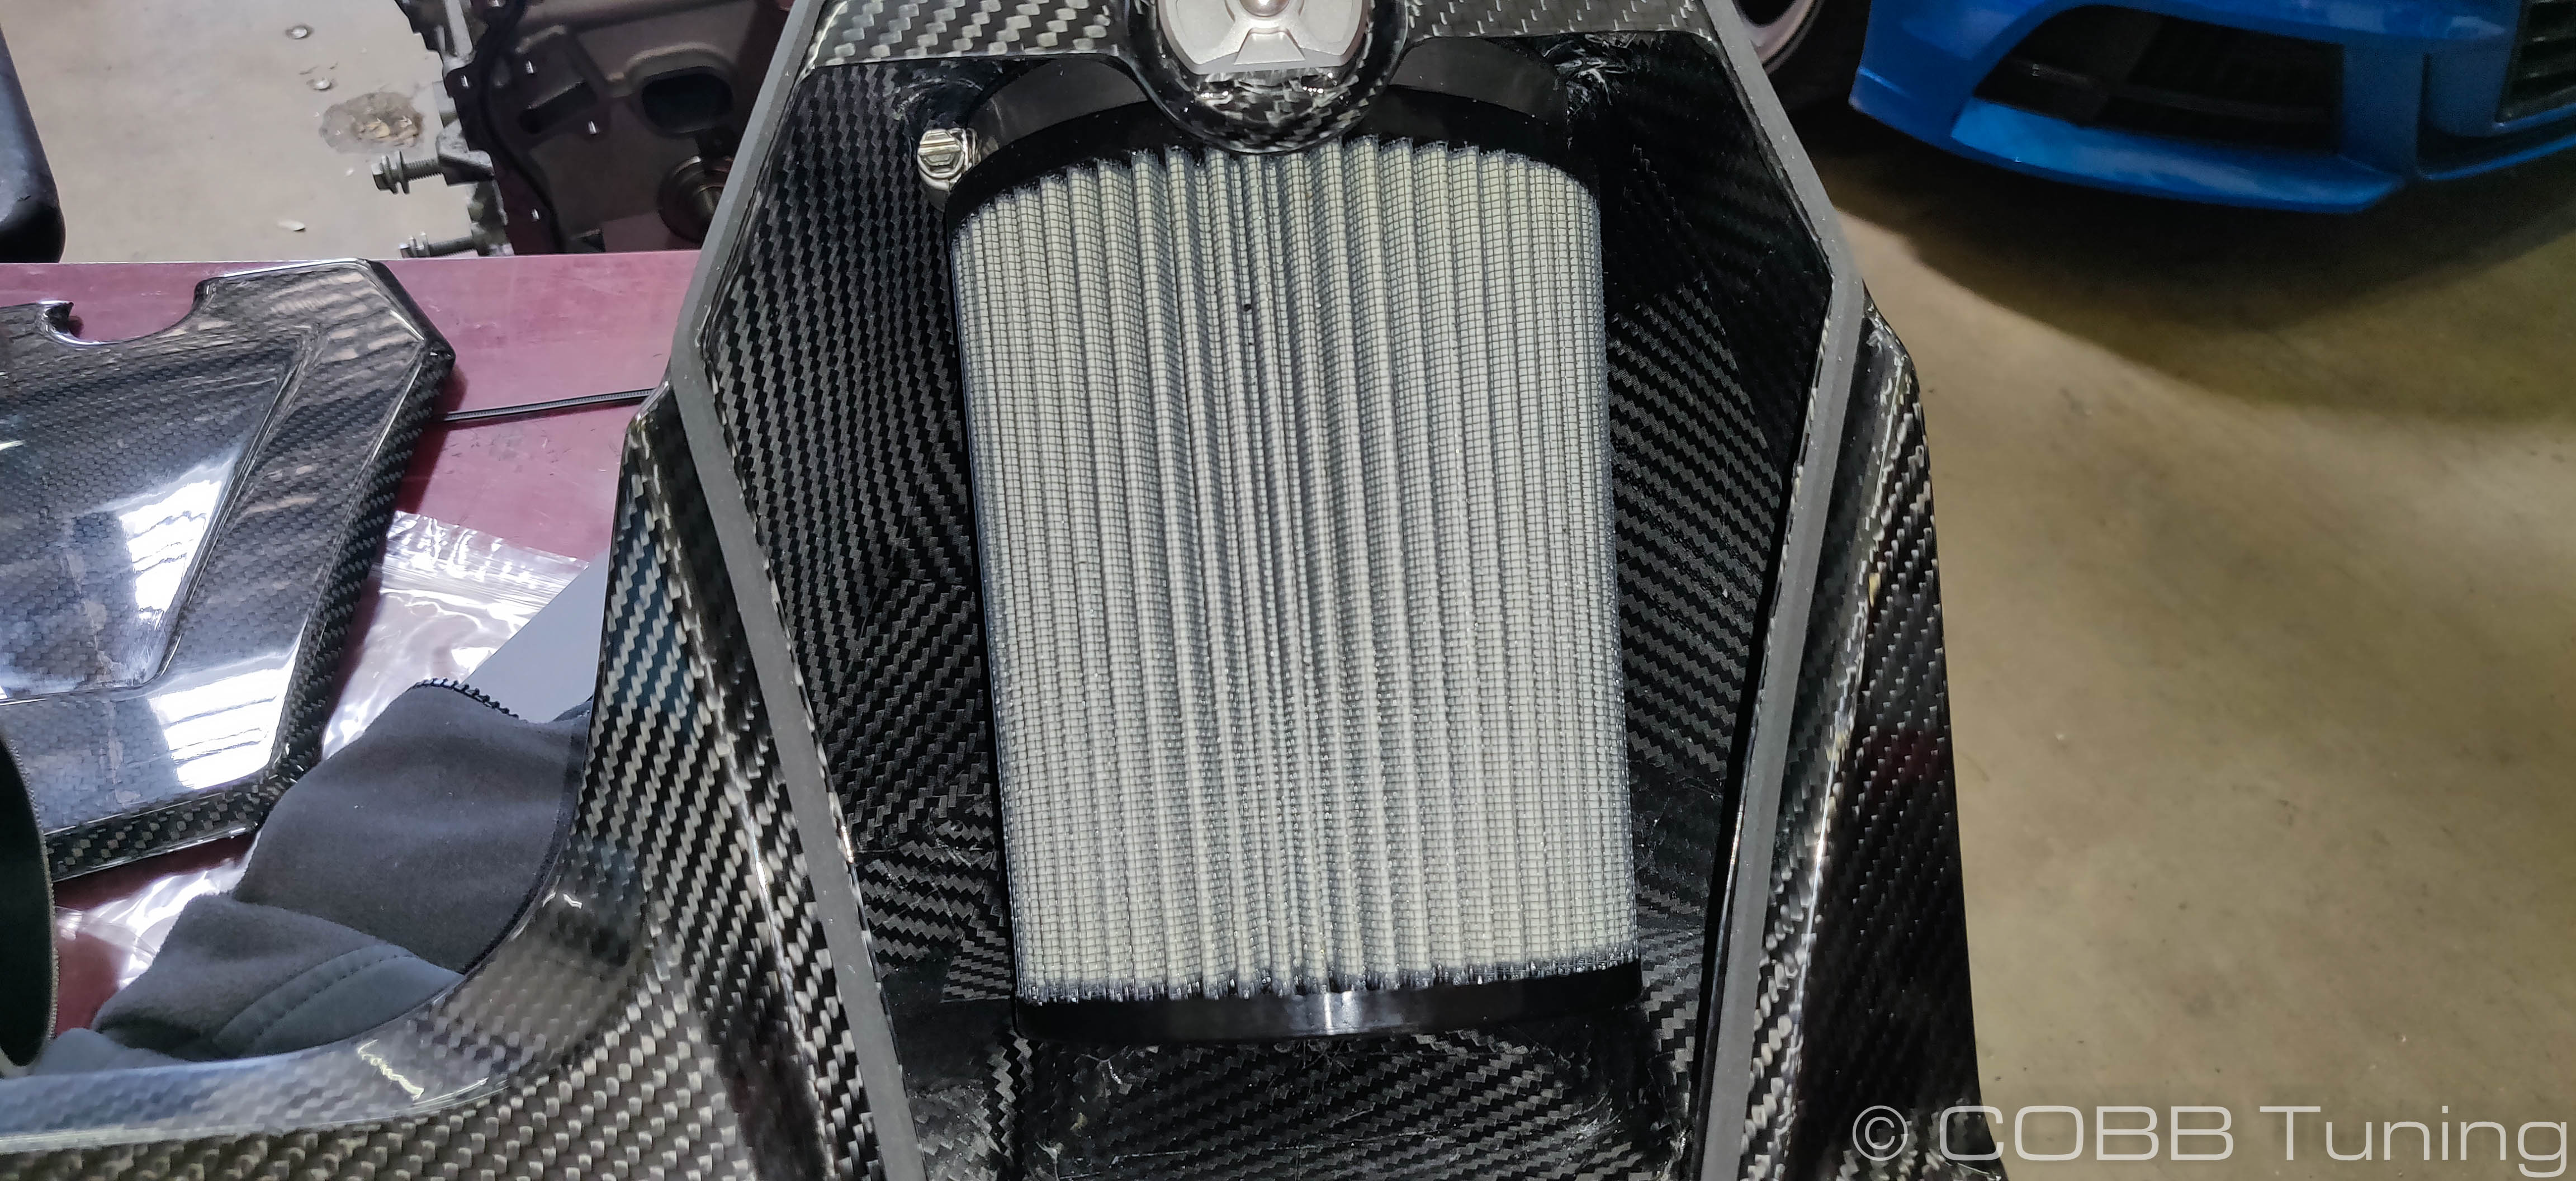
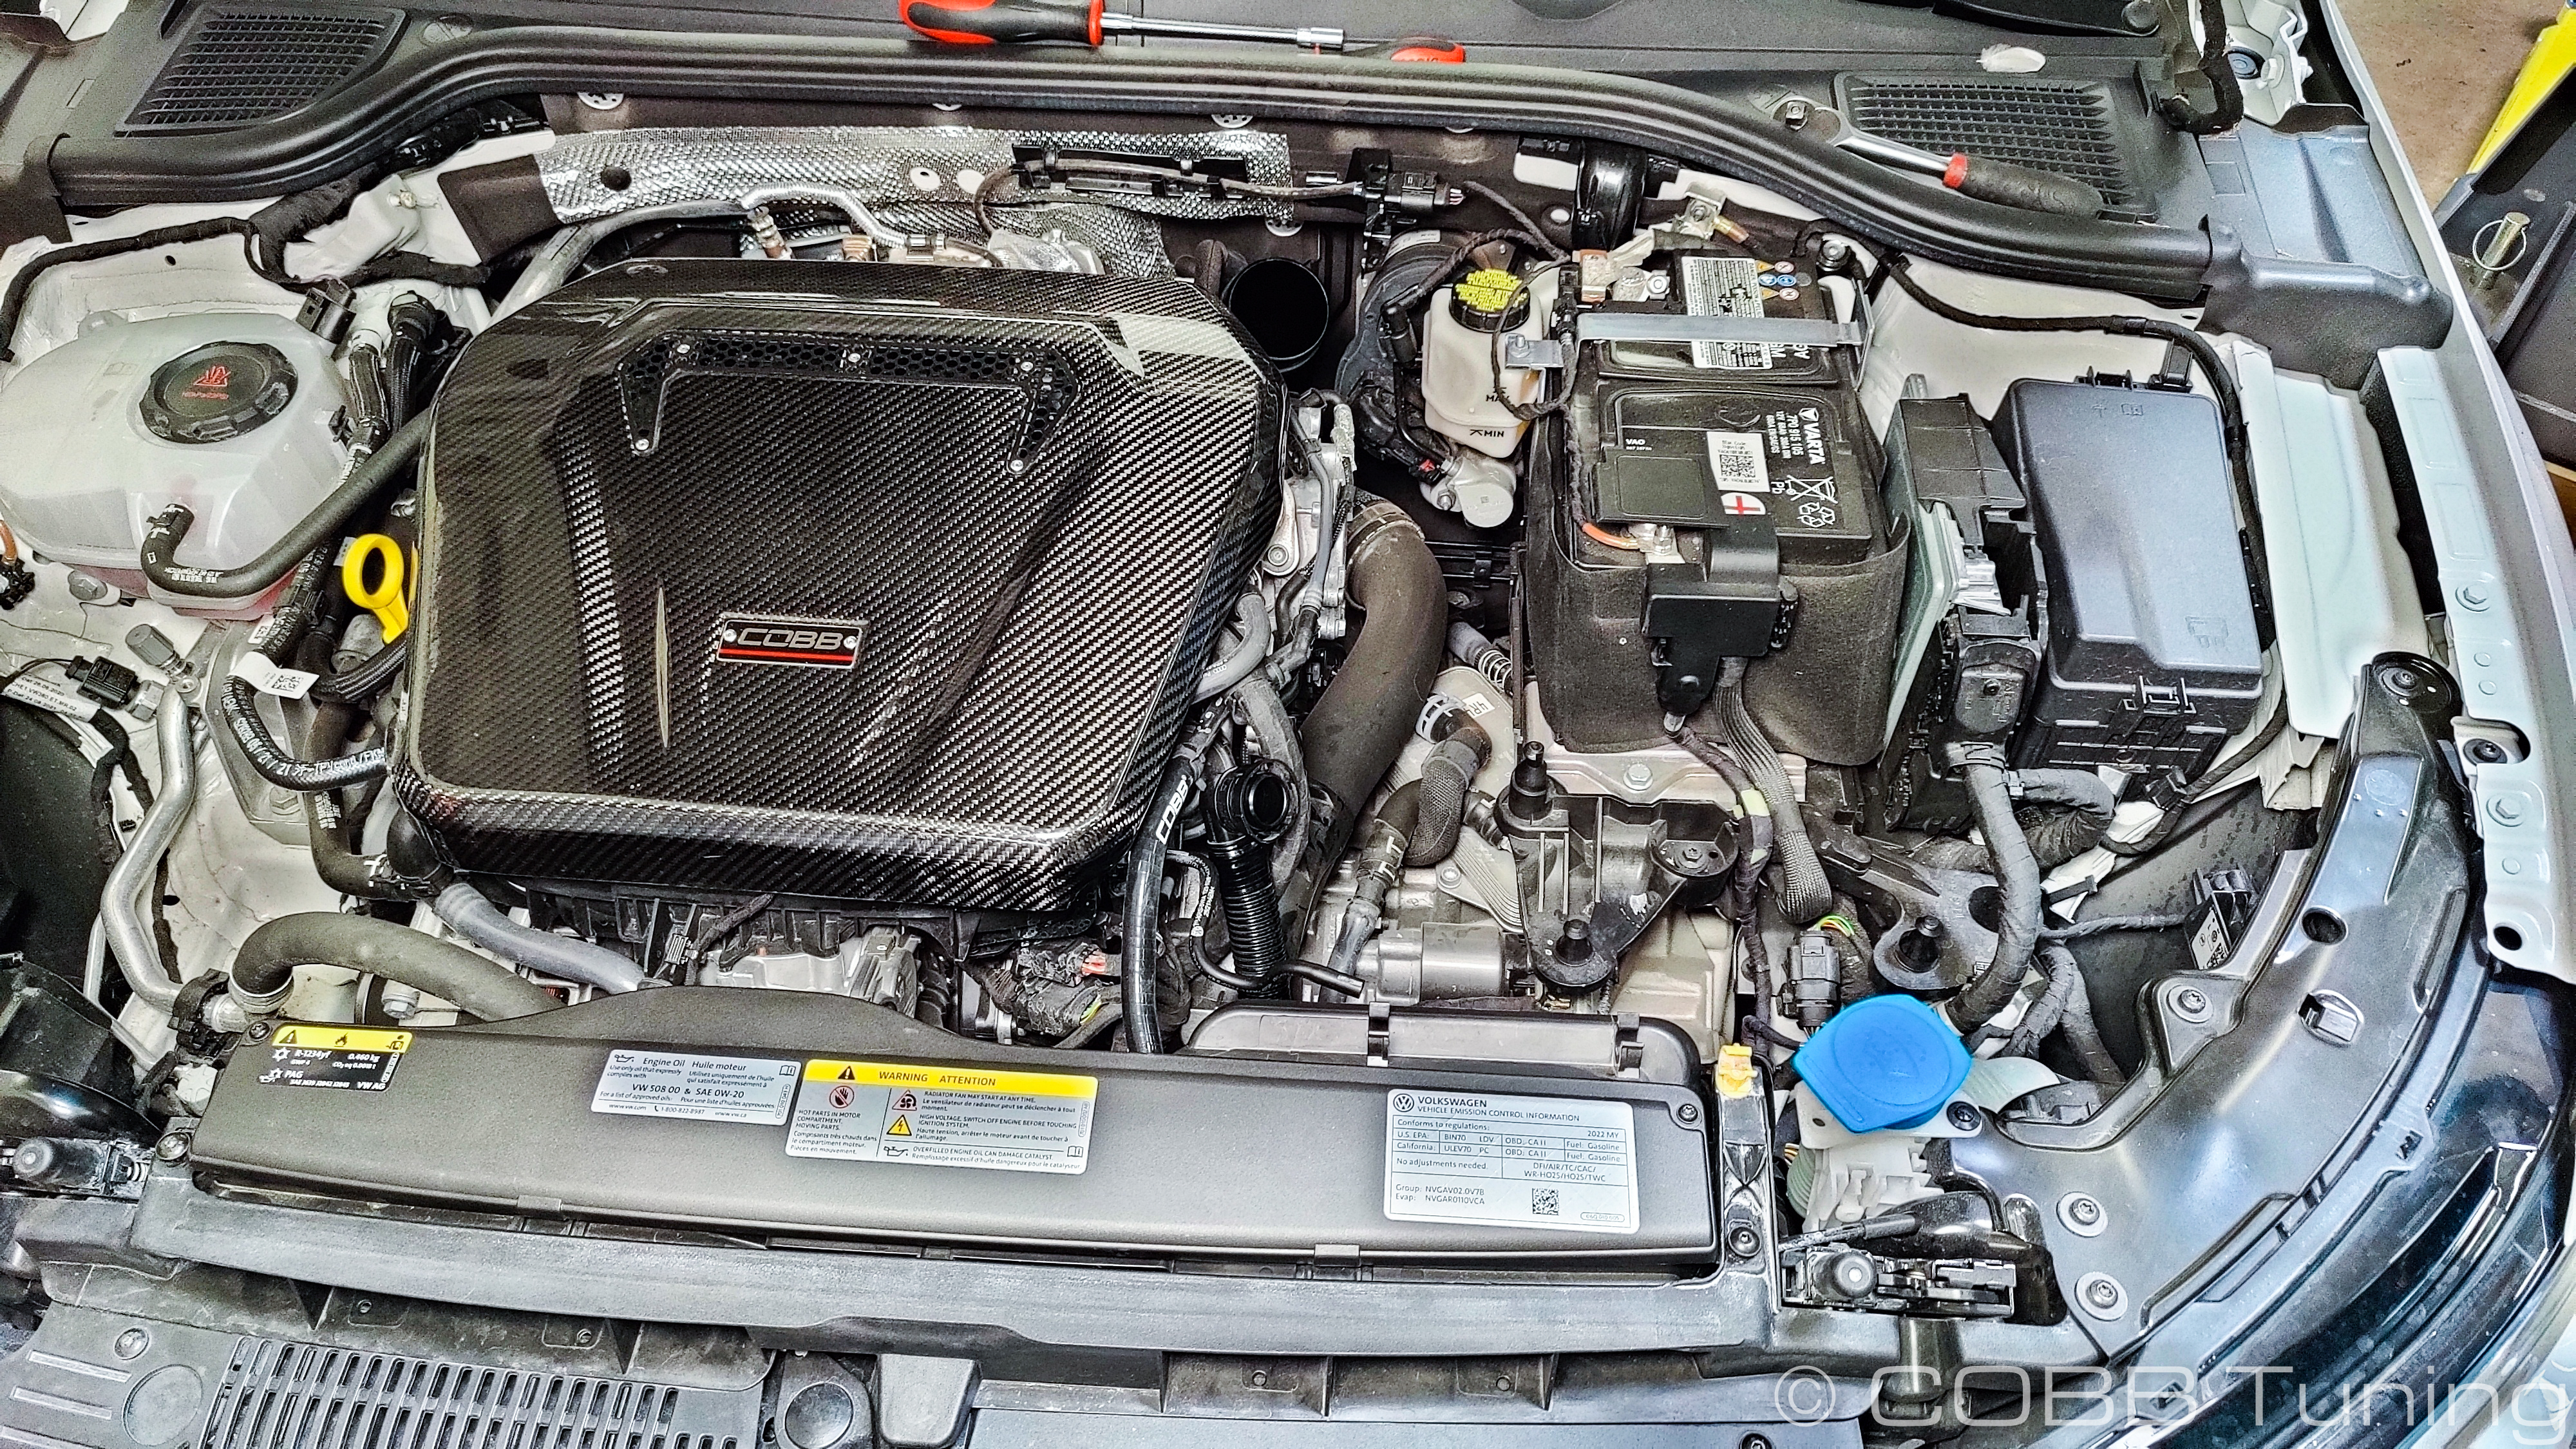
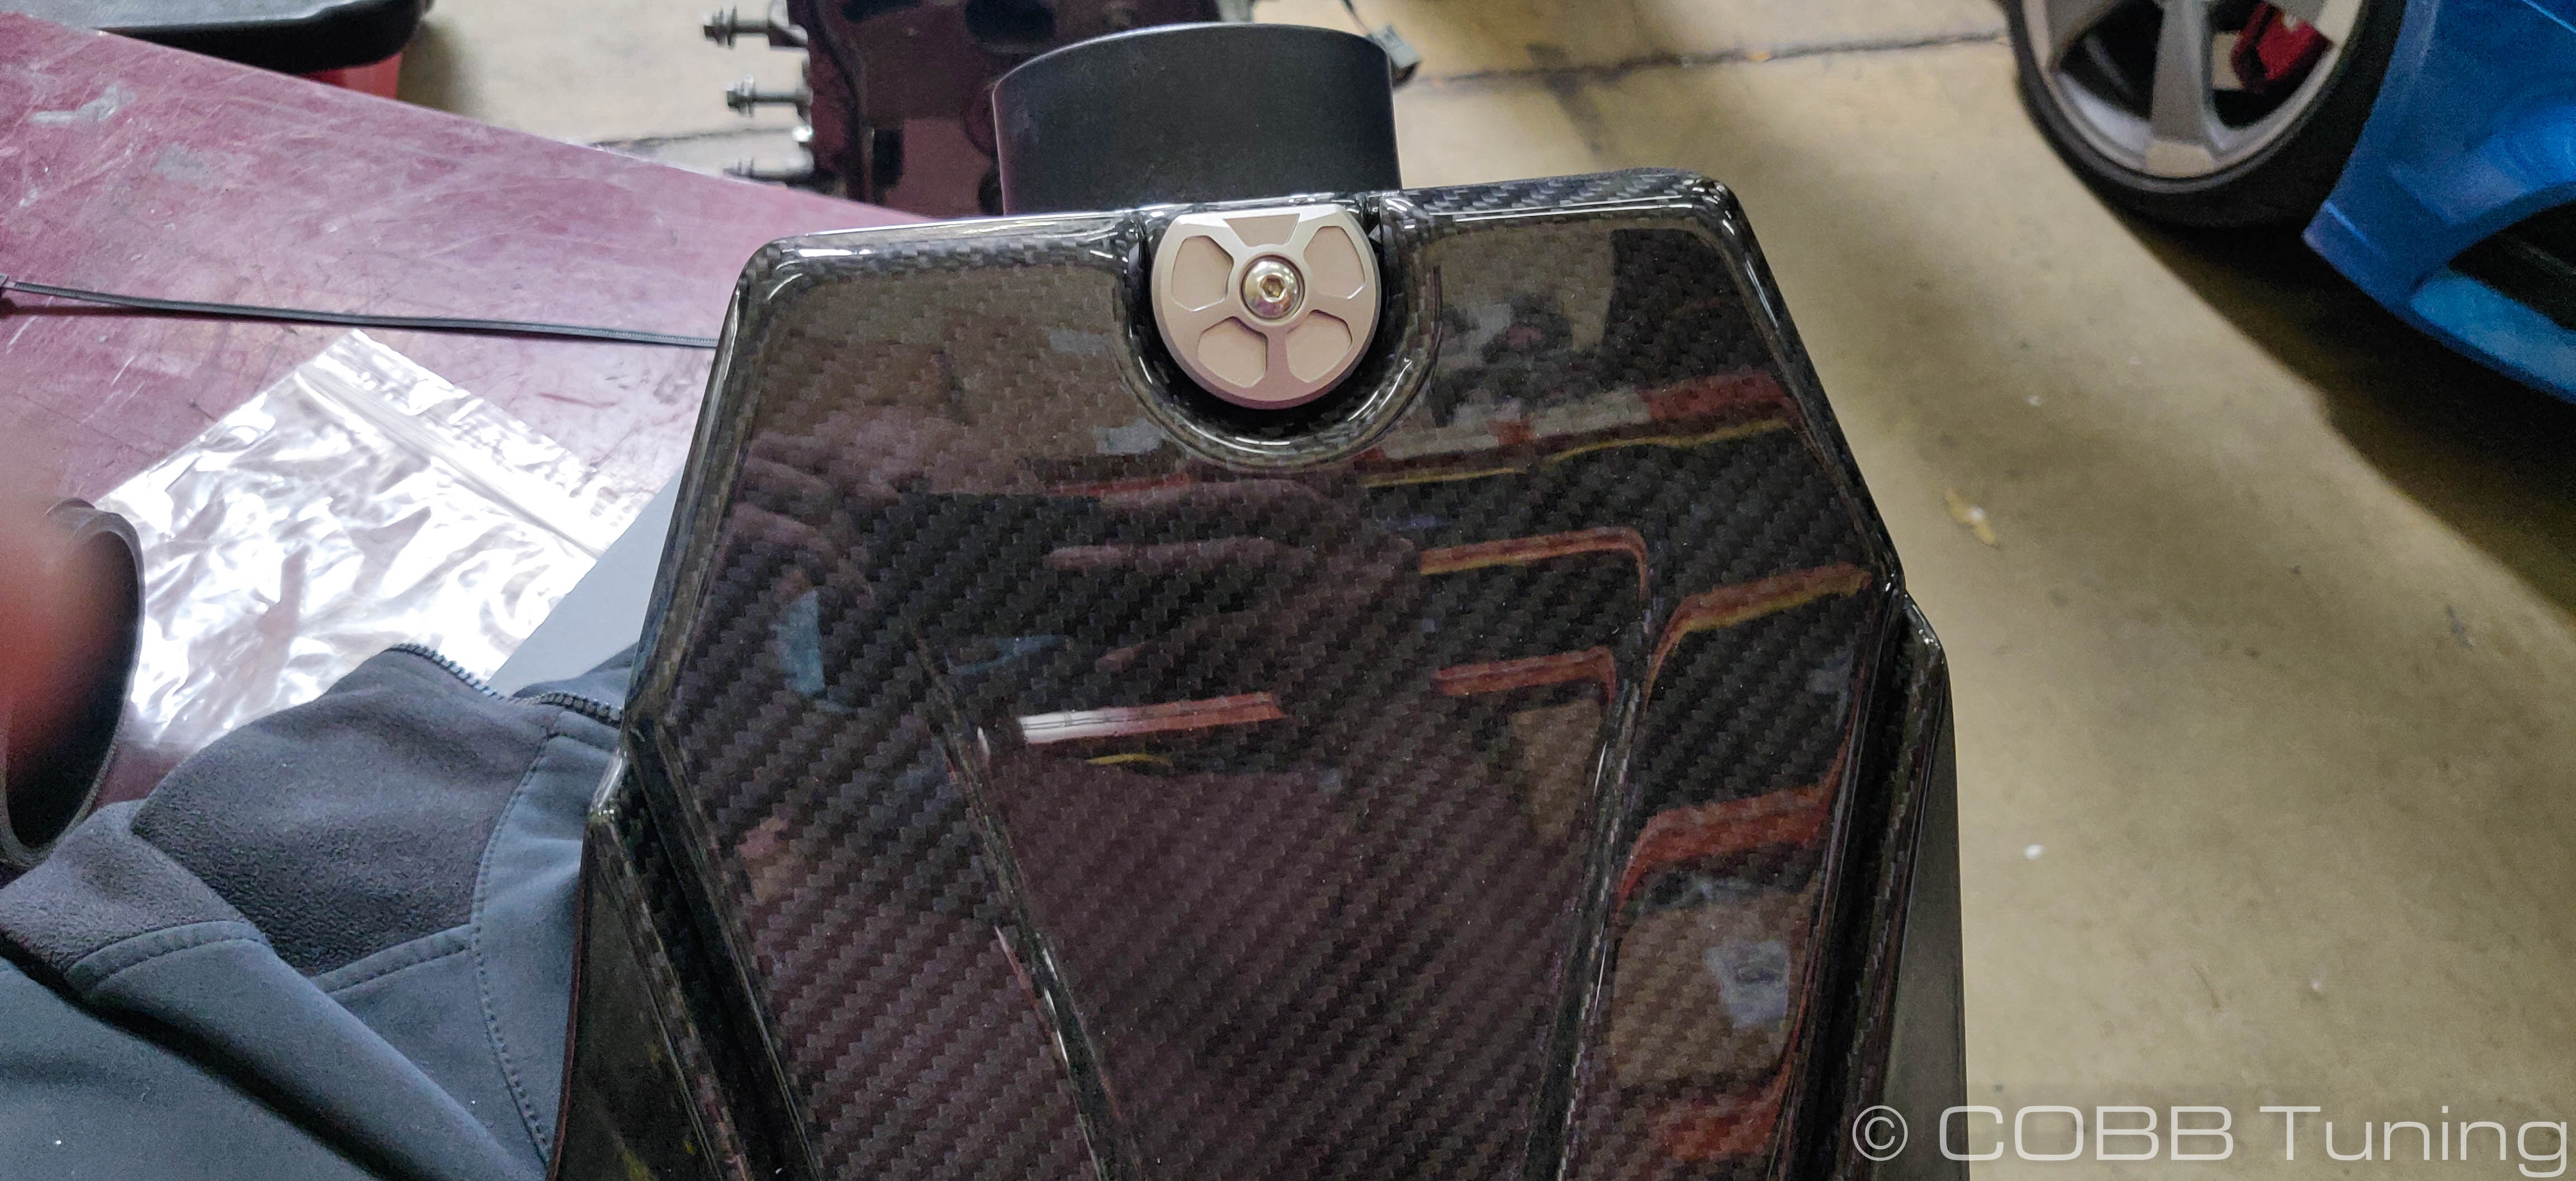
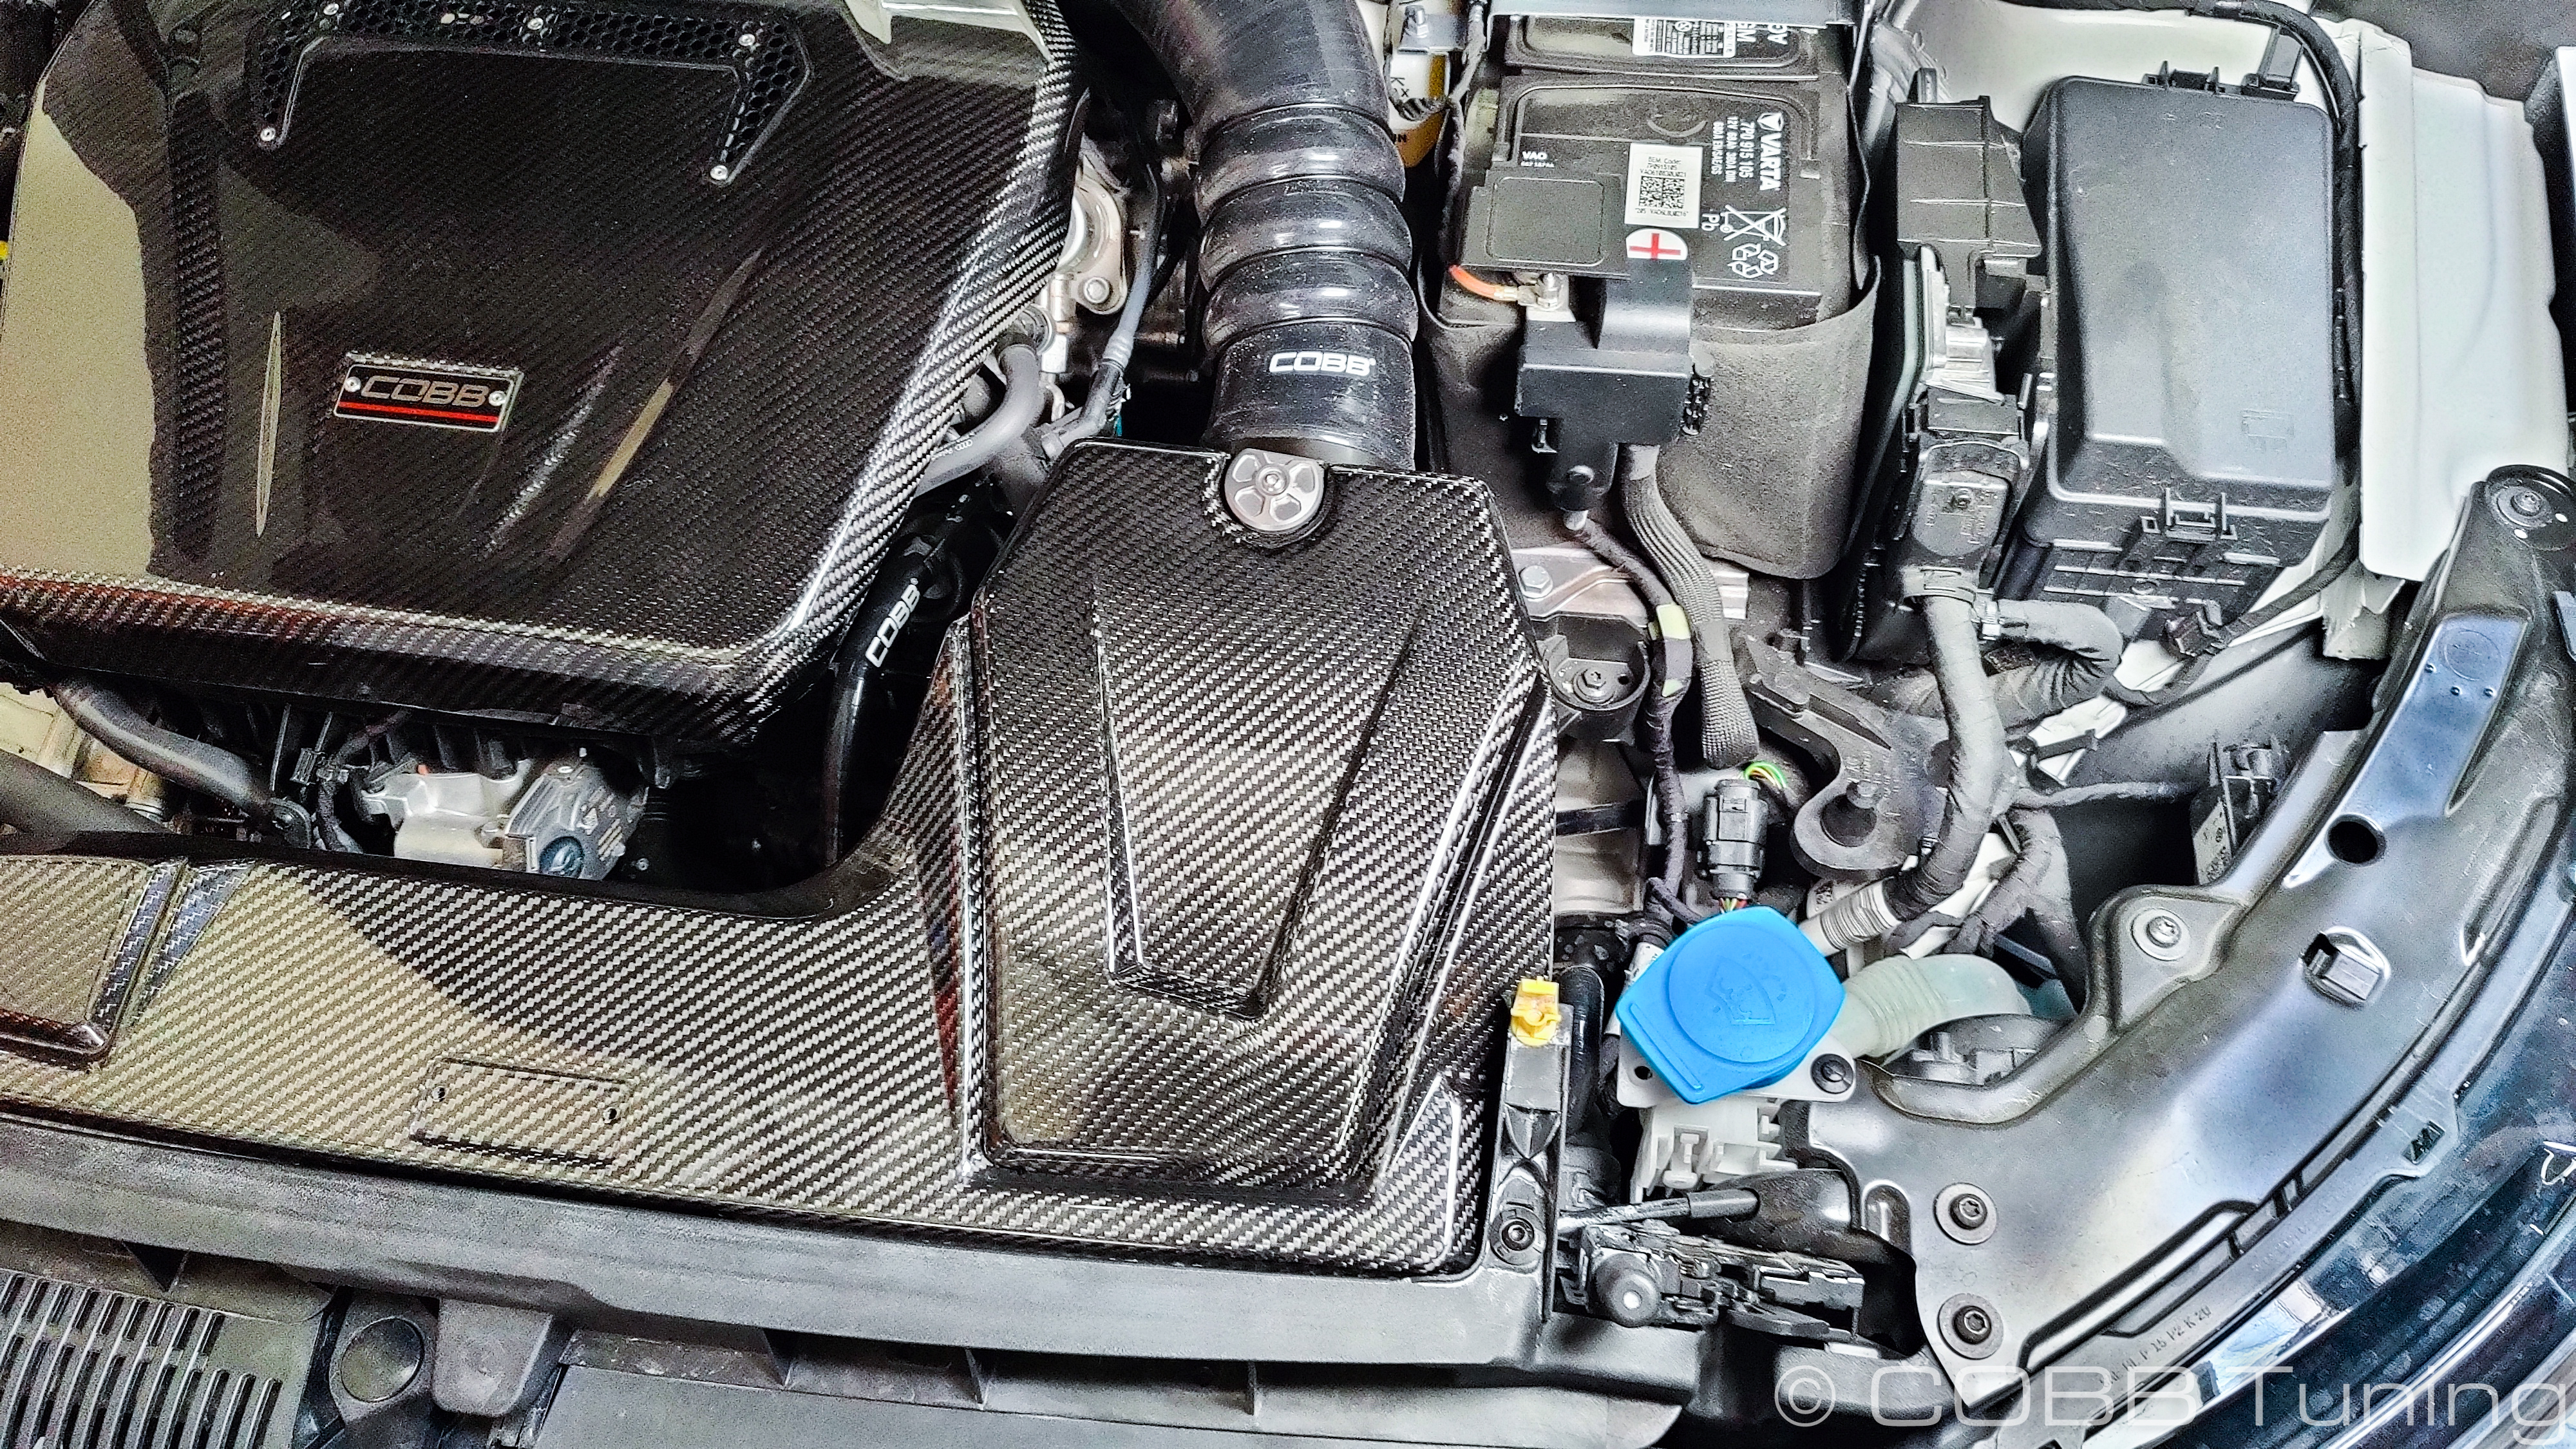
- Install the airbox lid and spin the locking tab 180 degrees to secure it.
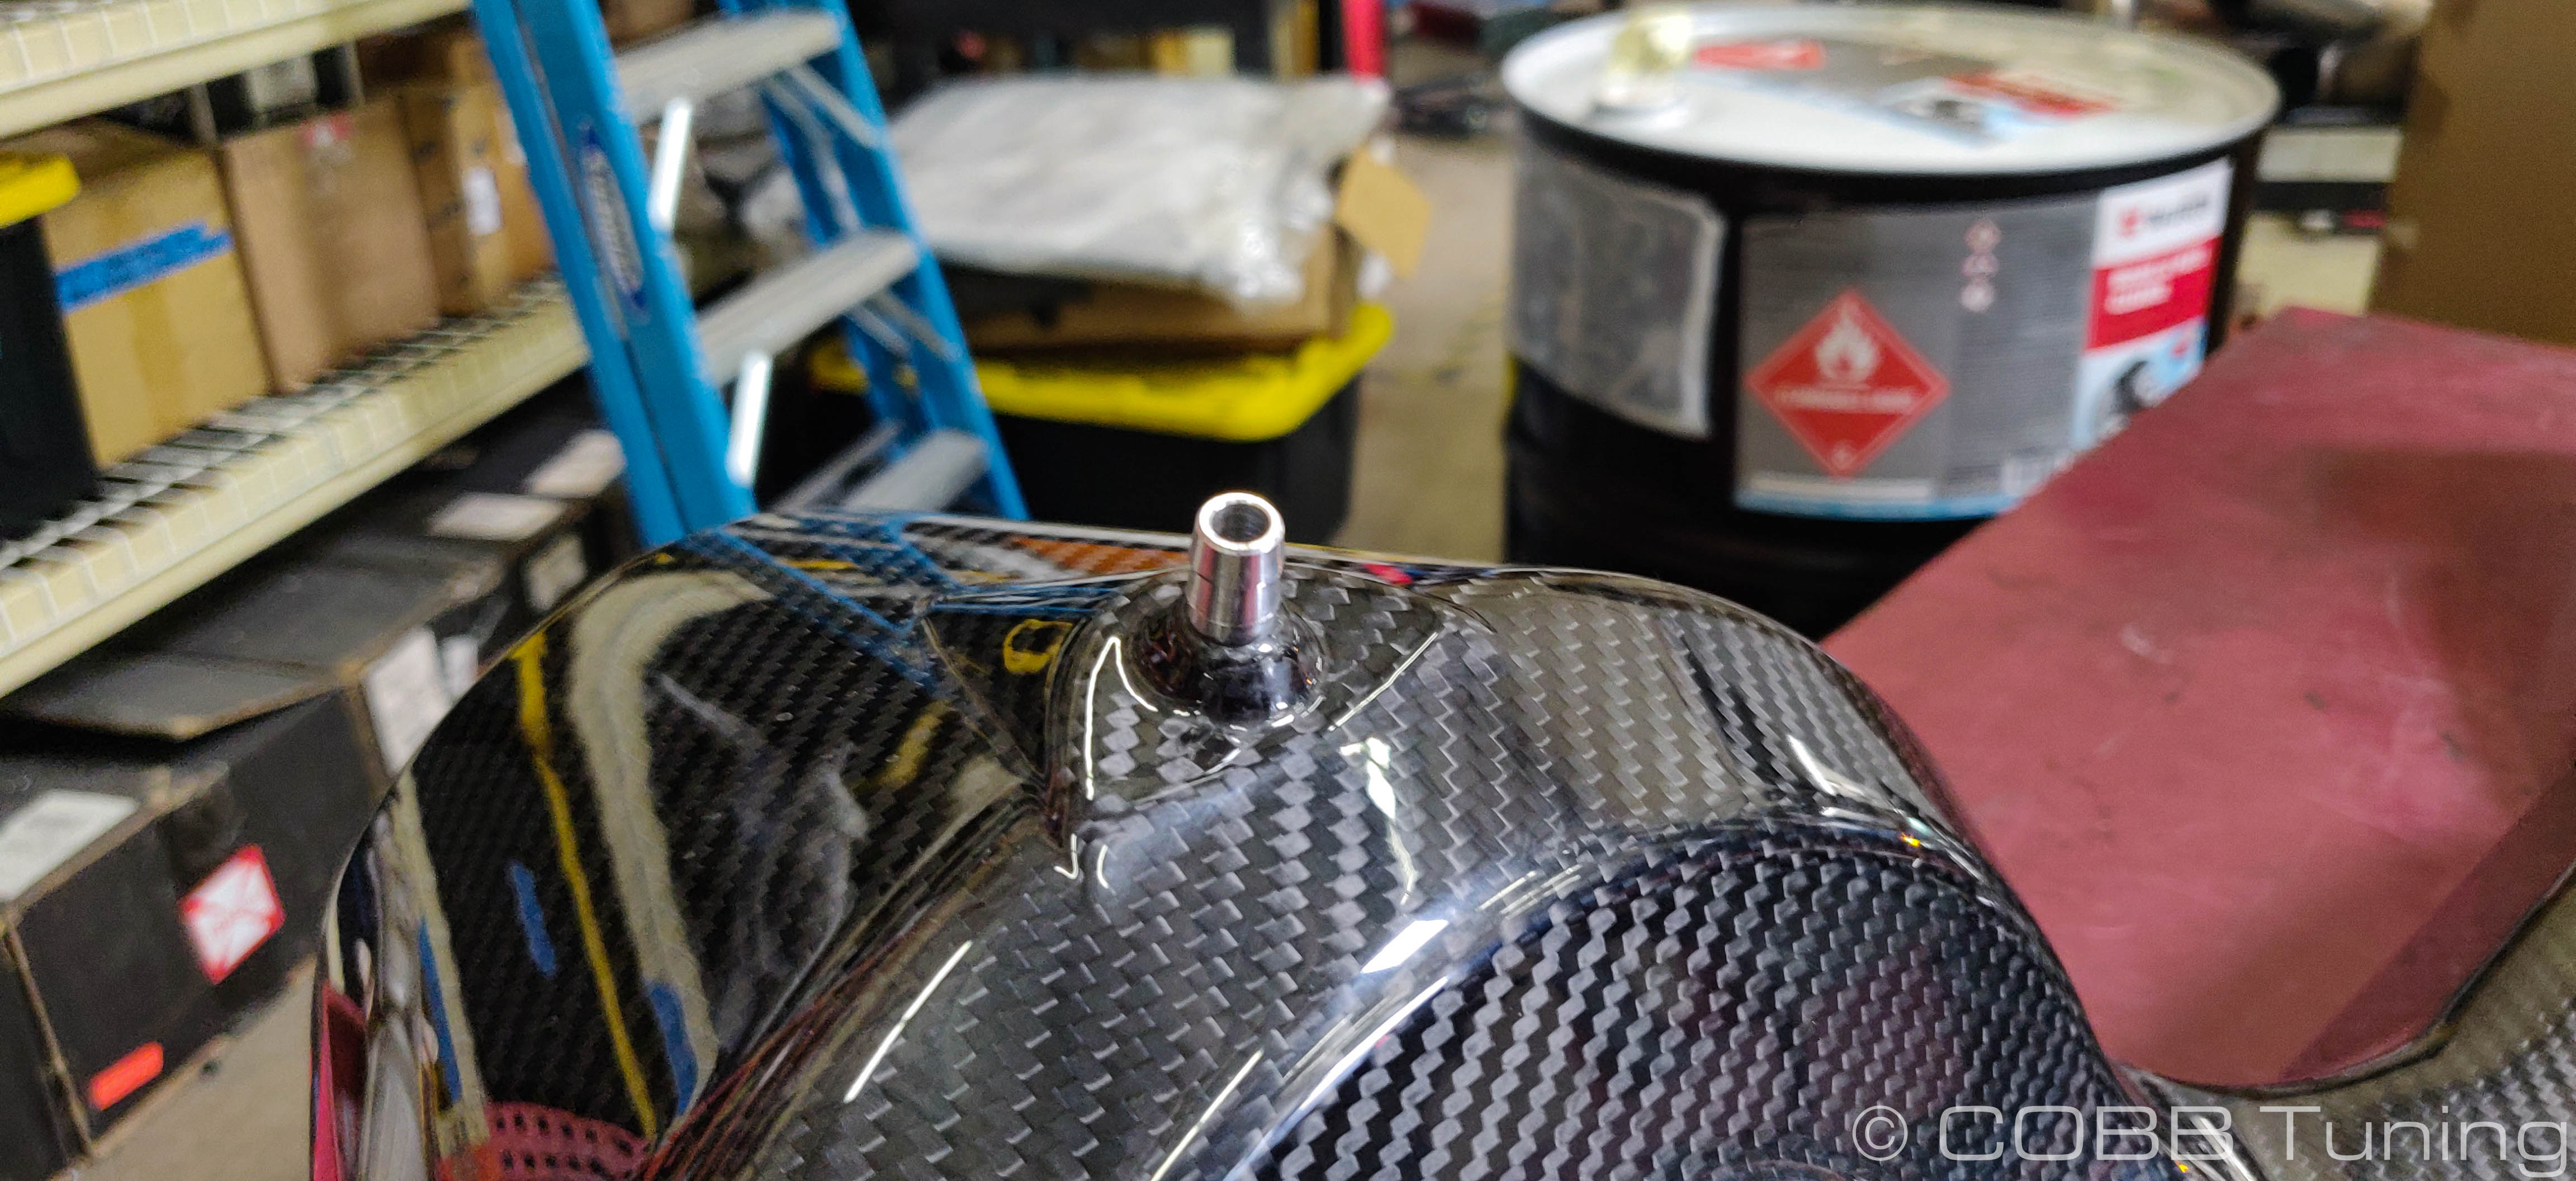
- Add the provided small vacuum line to the small barbed fitting on the bottom of the intake silicone.
- Install the short piece of provided larger diameter silicon line onto the drain fitting on the bottom of the airbox. This allows any water that enters the intake to exit easily.
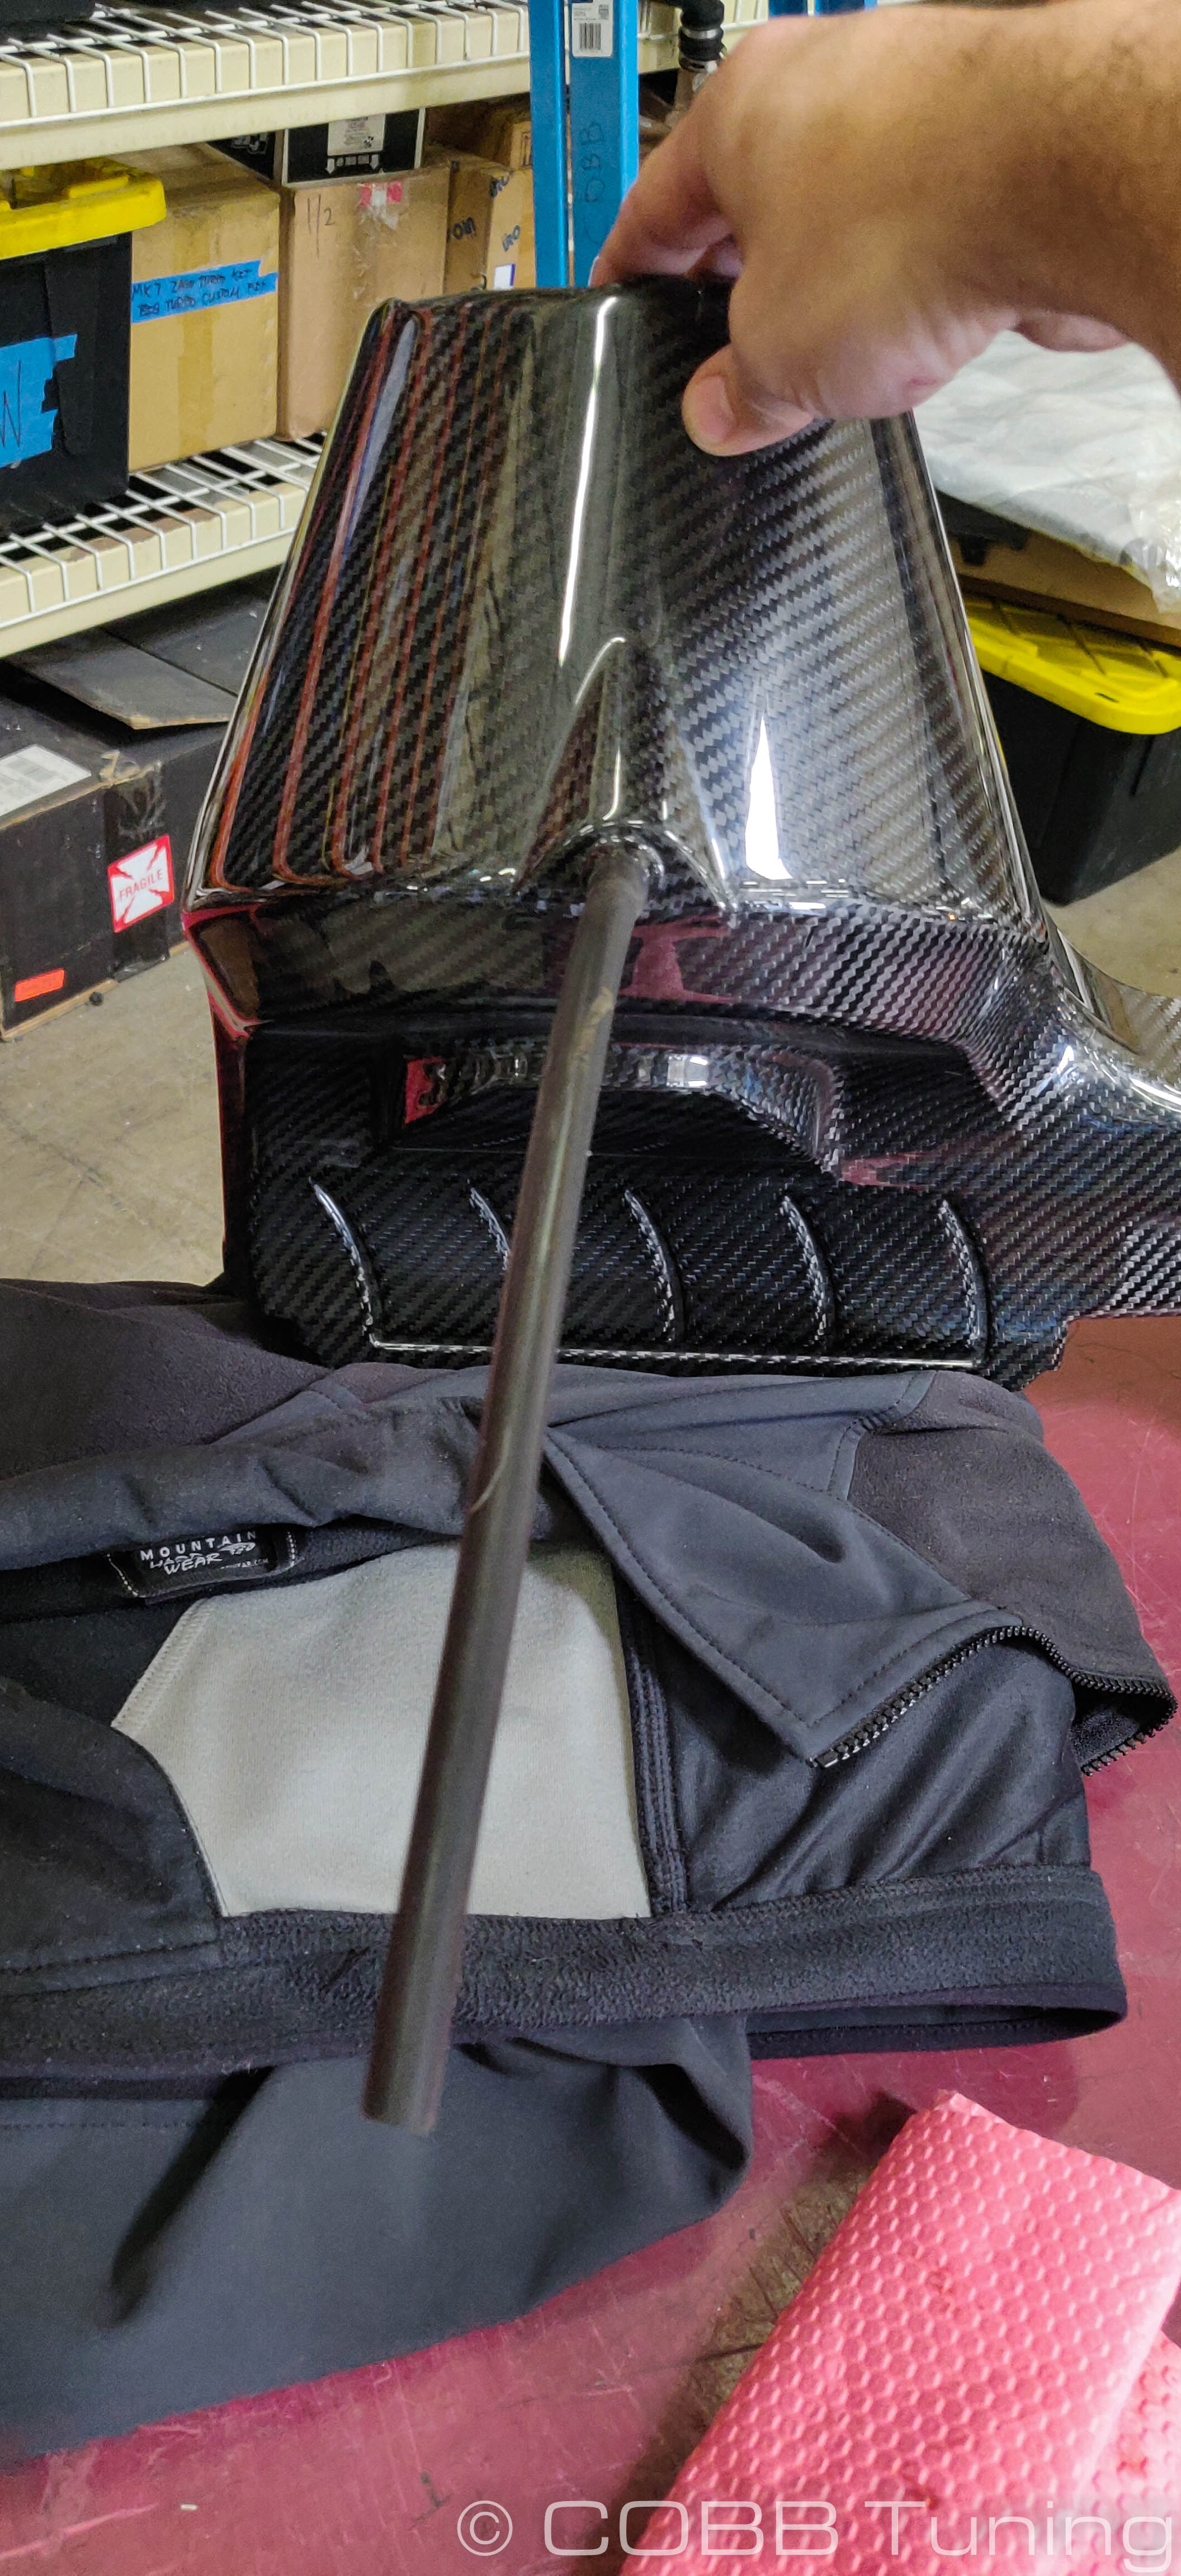
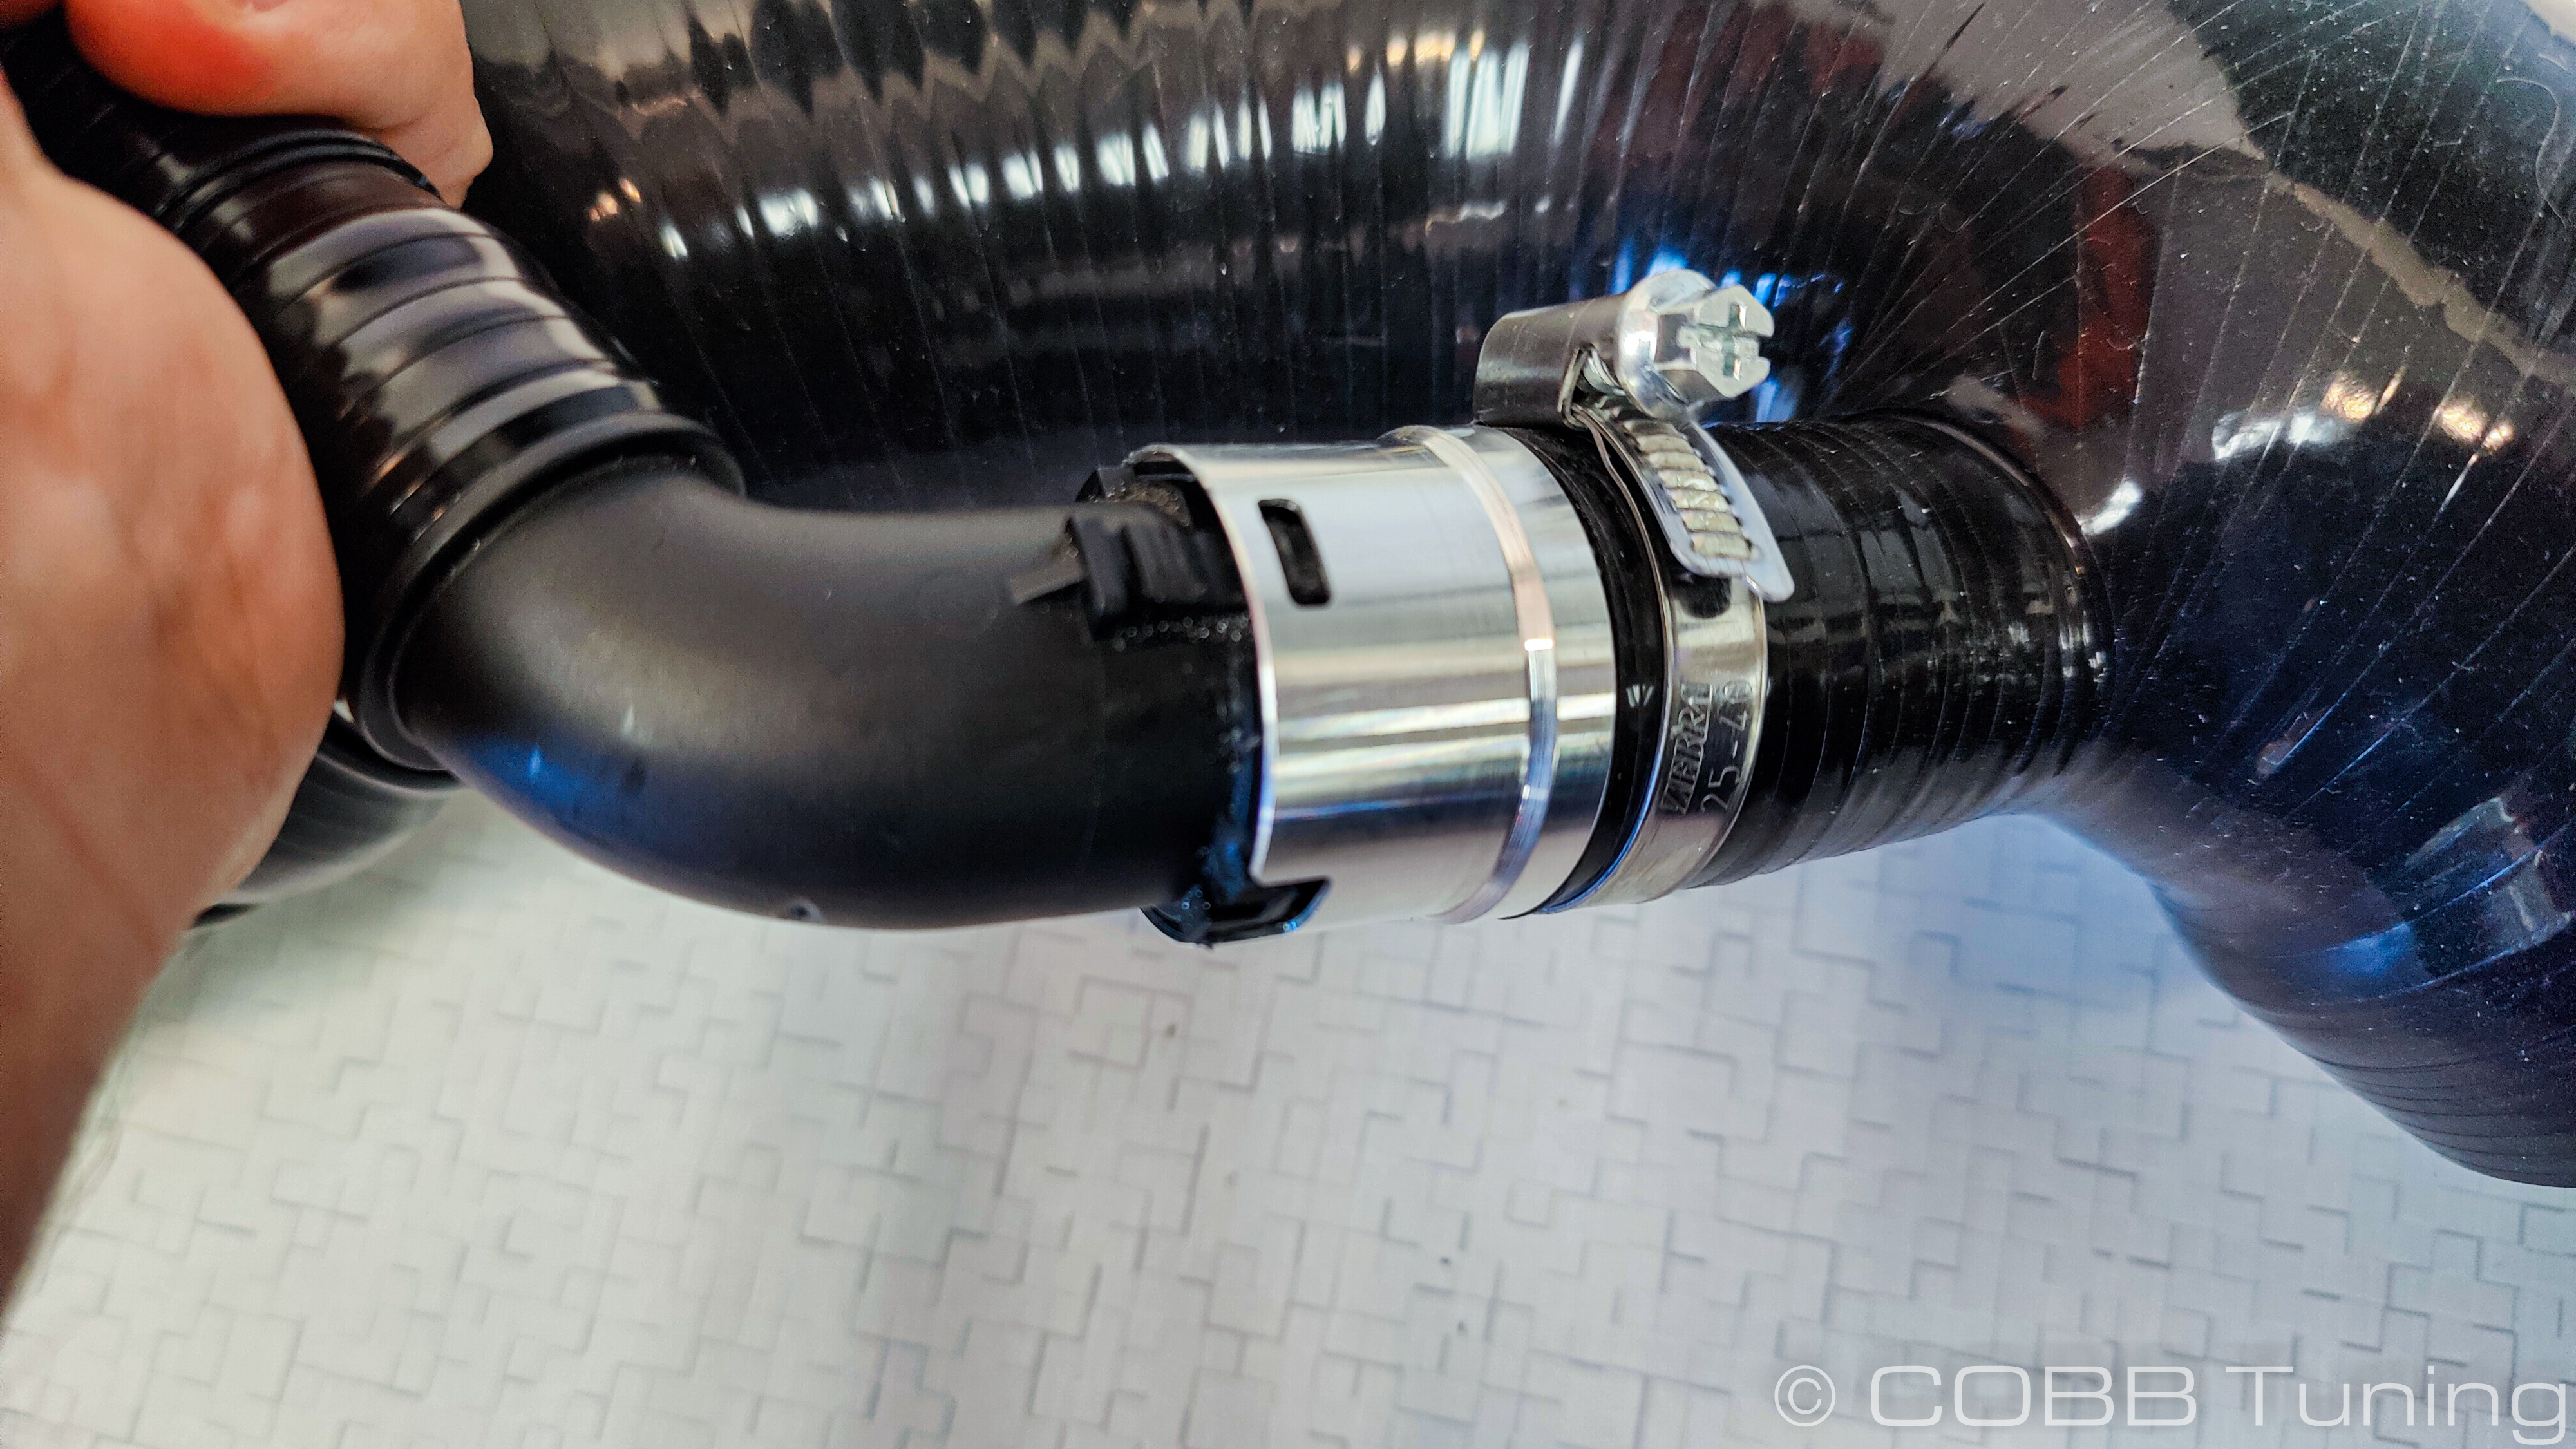
- Slip clamps over both ends of the intake tube and then loosely slip it onto the airbox with the side with both fittings towards the airbox.
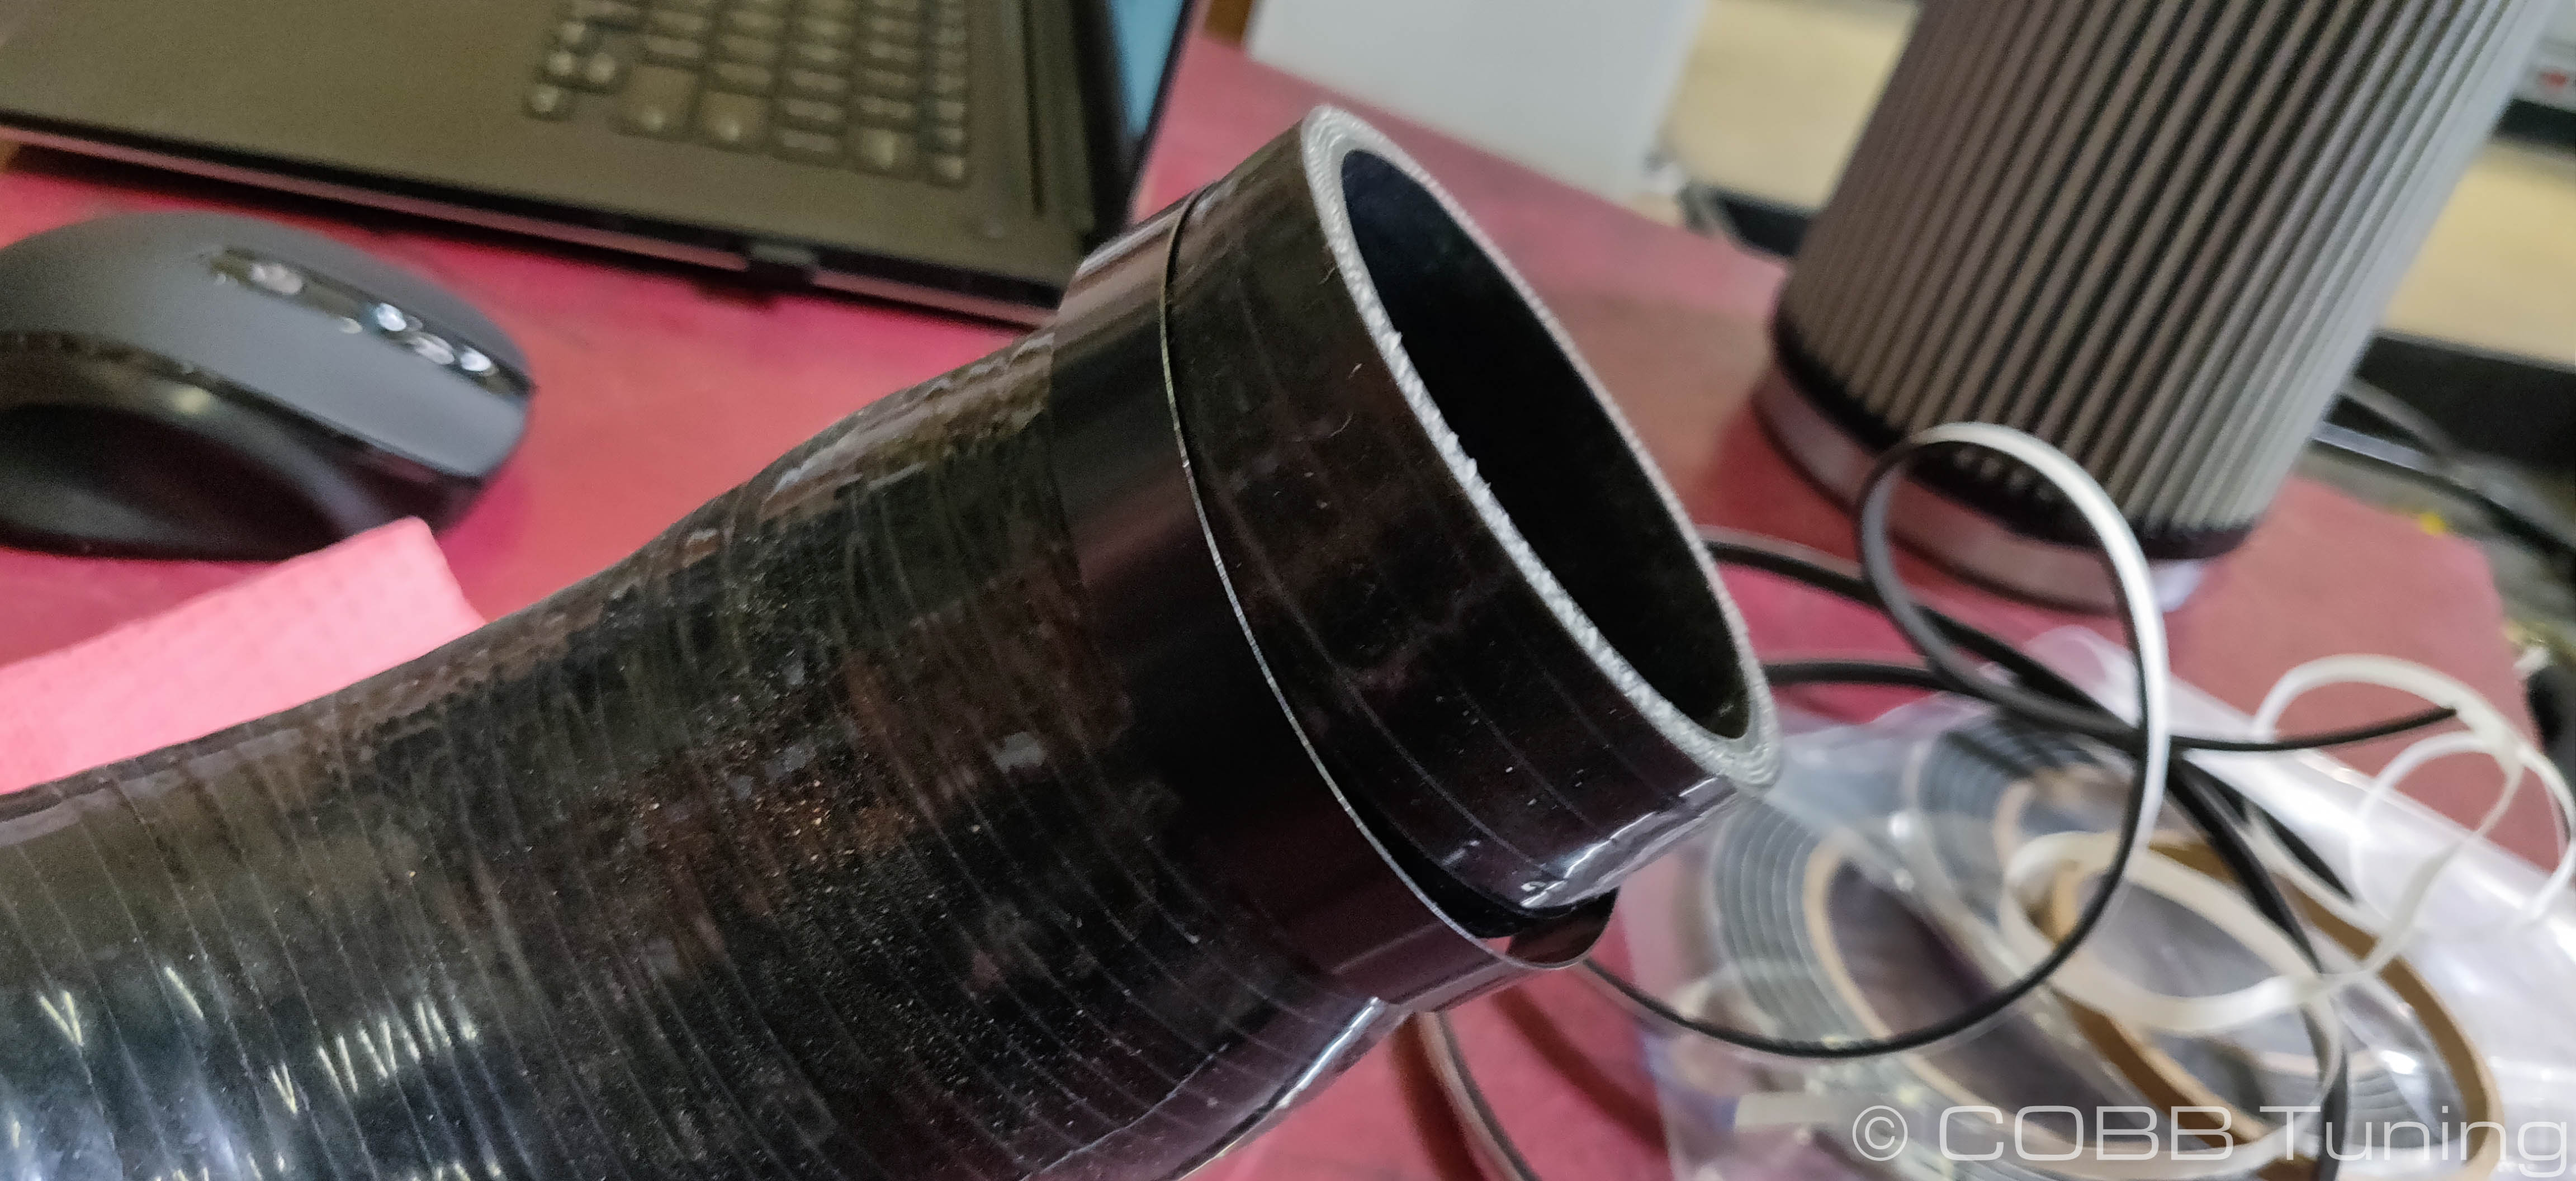
- Slip a hose clamp over the junction sticking out from the silicone intake tube for the recirculation fitting.
- Pre-install the supplied aluminum adapter fitting to the recirculation tube on the car. This will help it be clocked correctly before you install it to the intake.
Installation
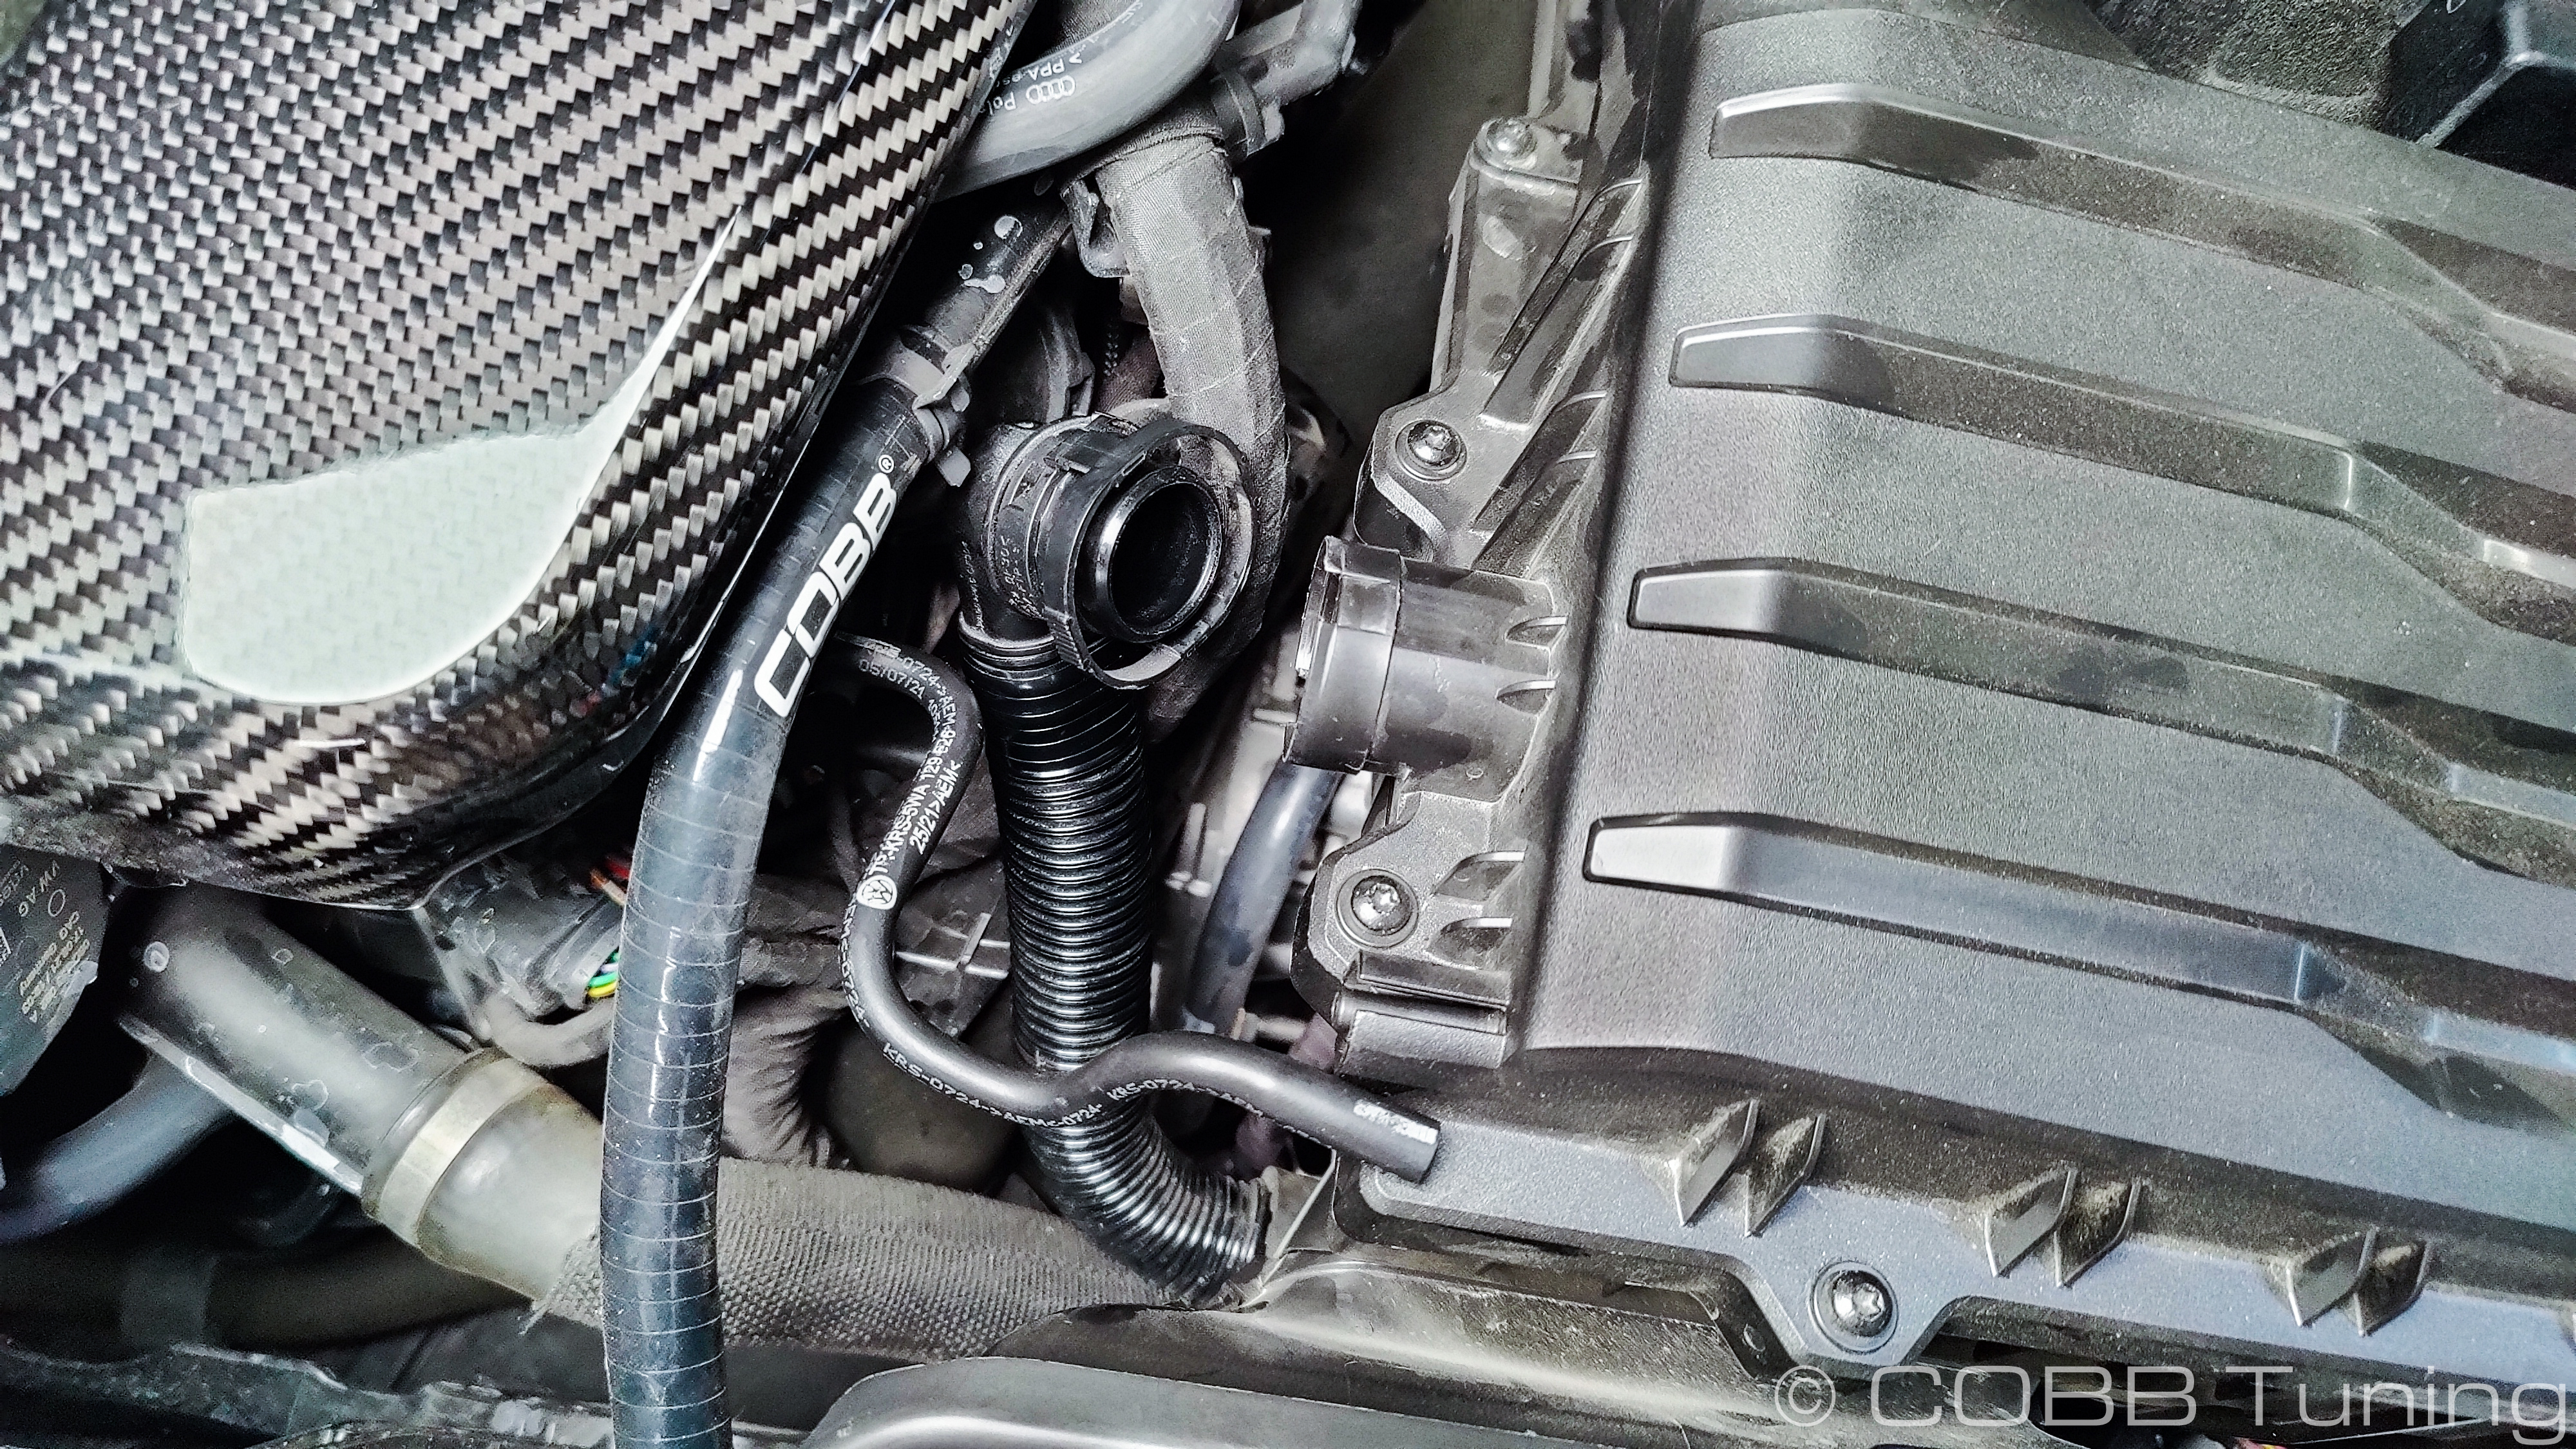
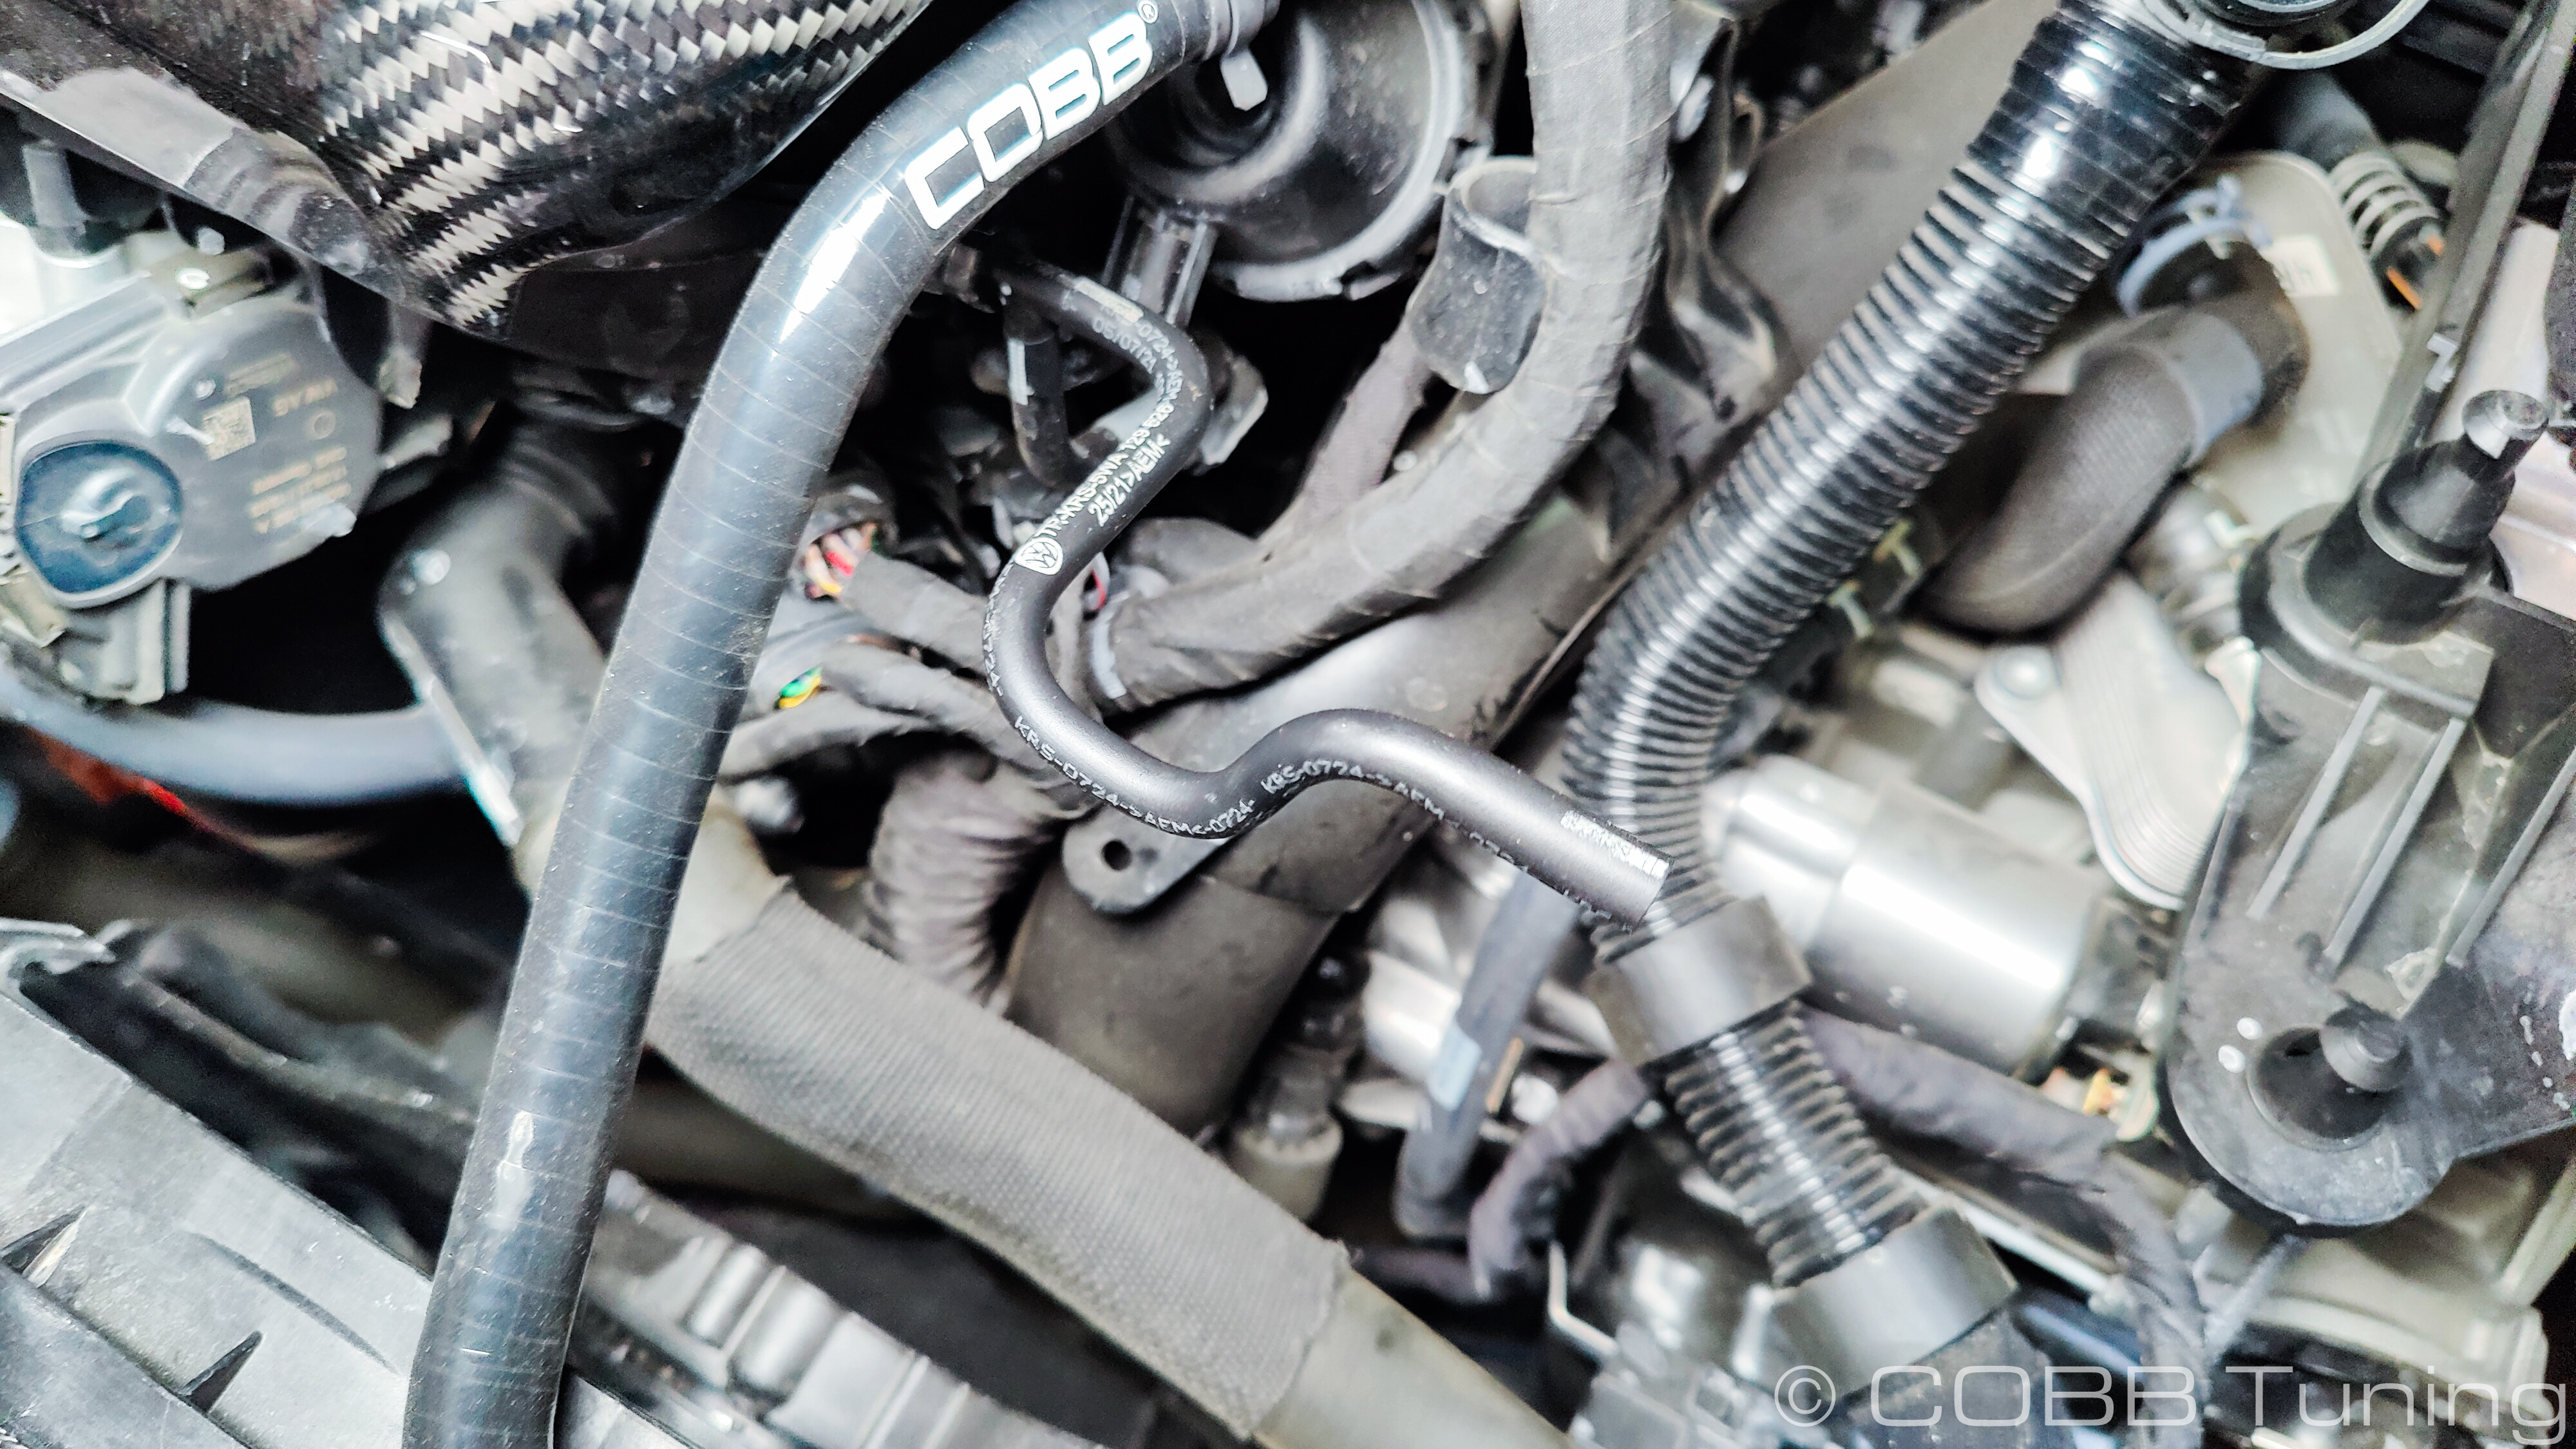
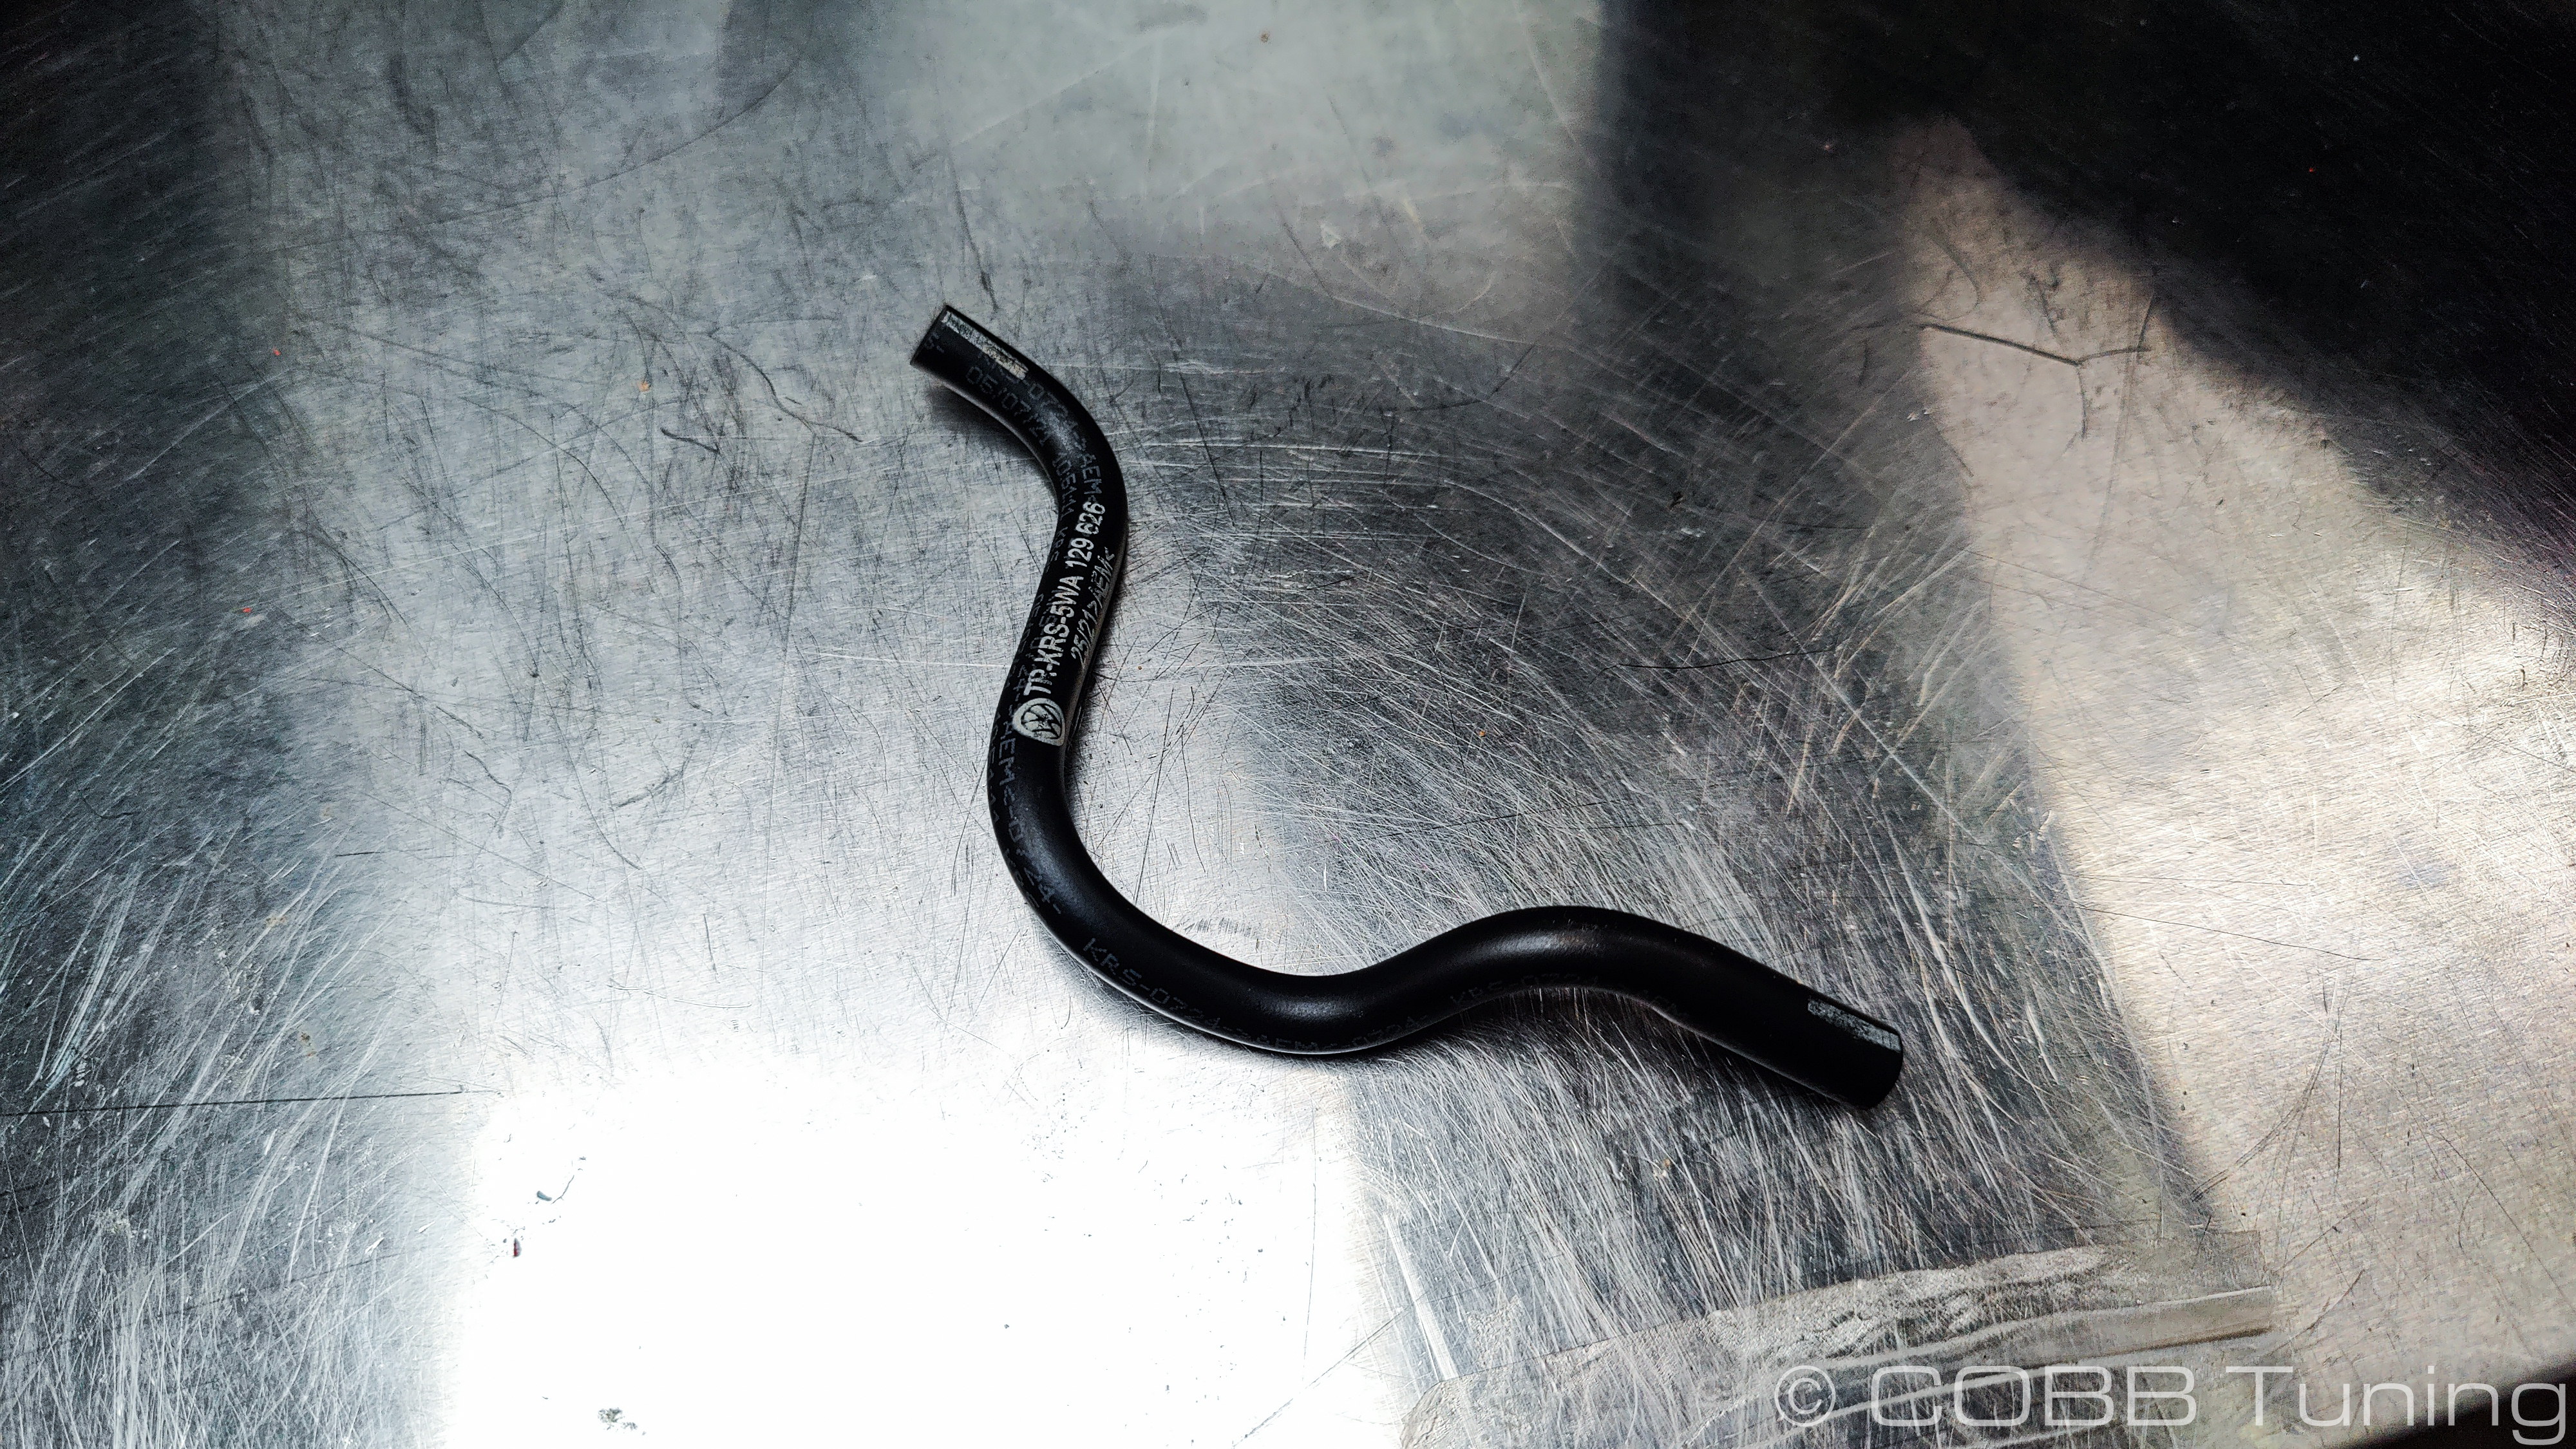
- Remove the small factory vacuum line we disconnected earlier.
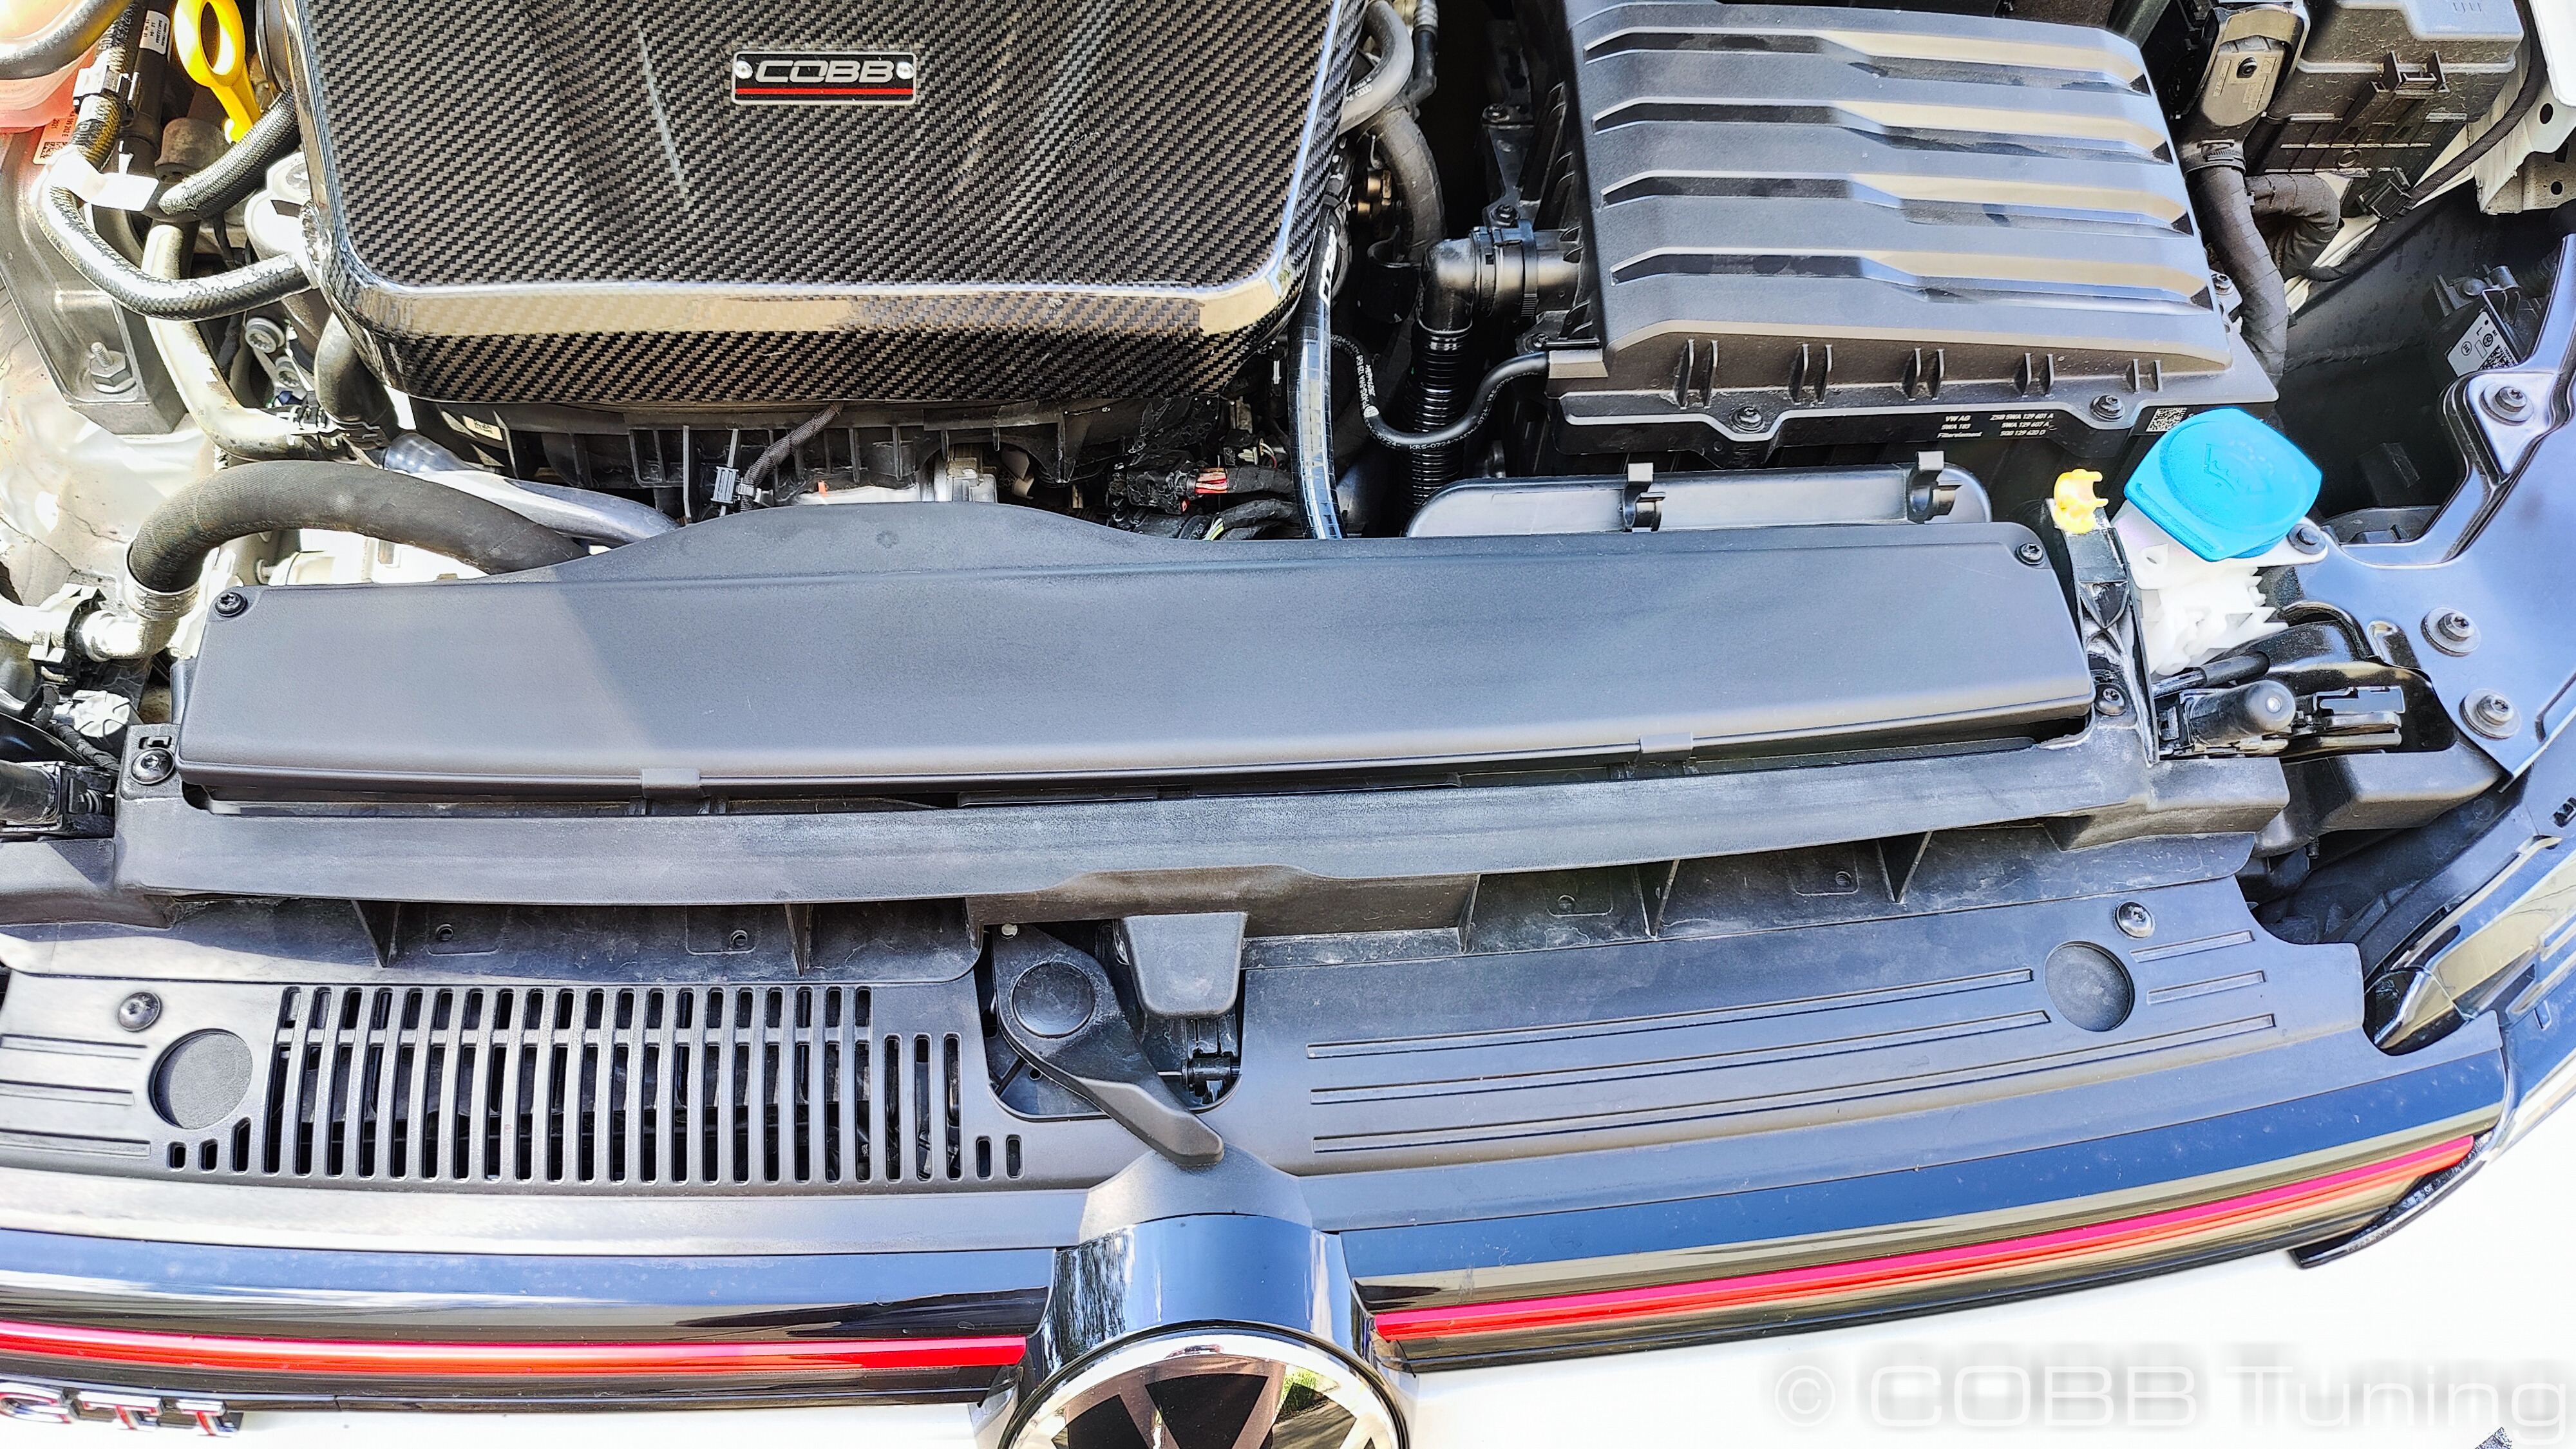
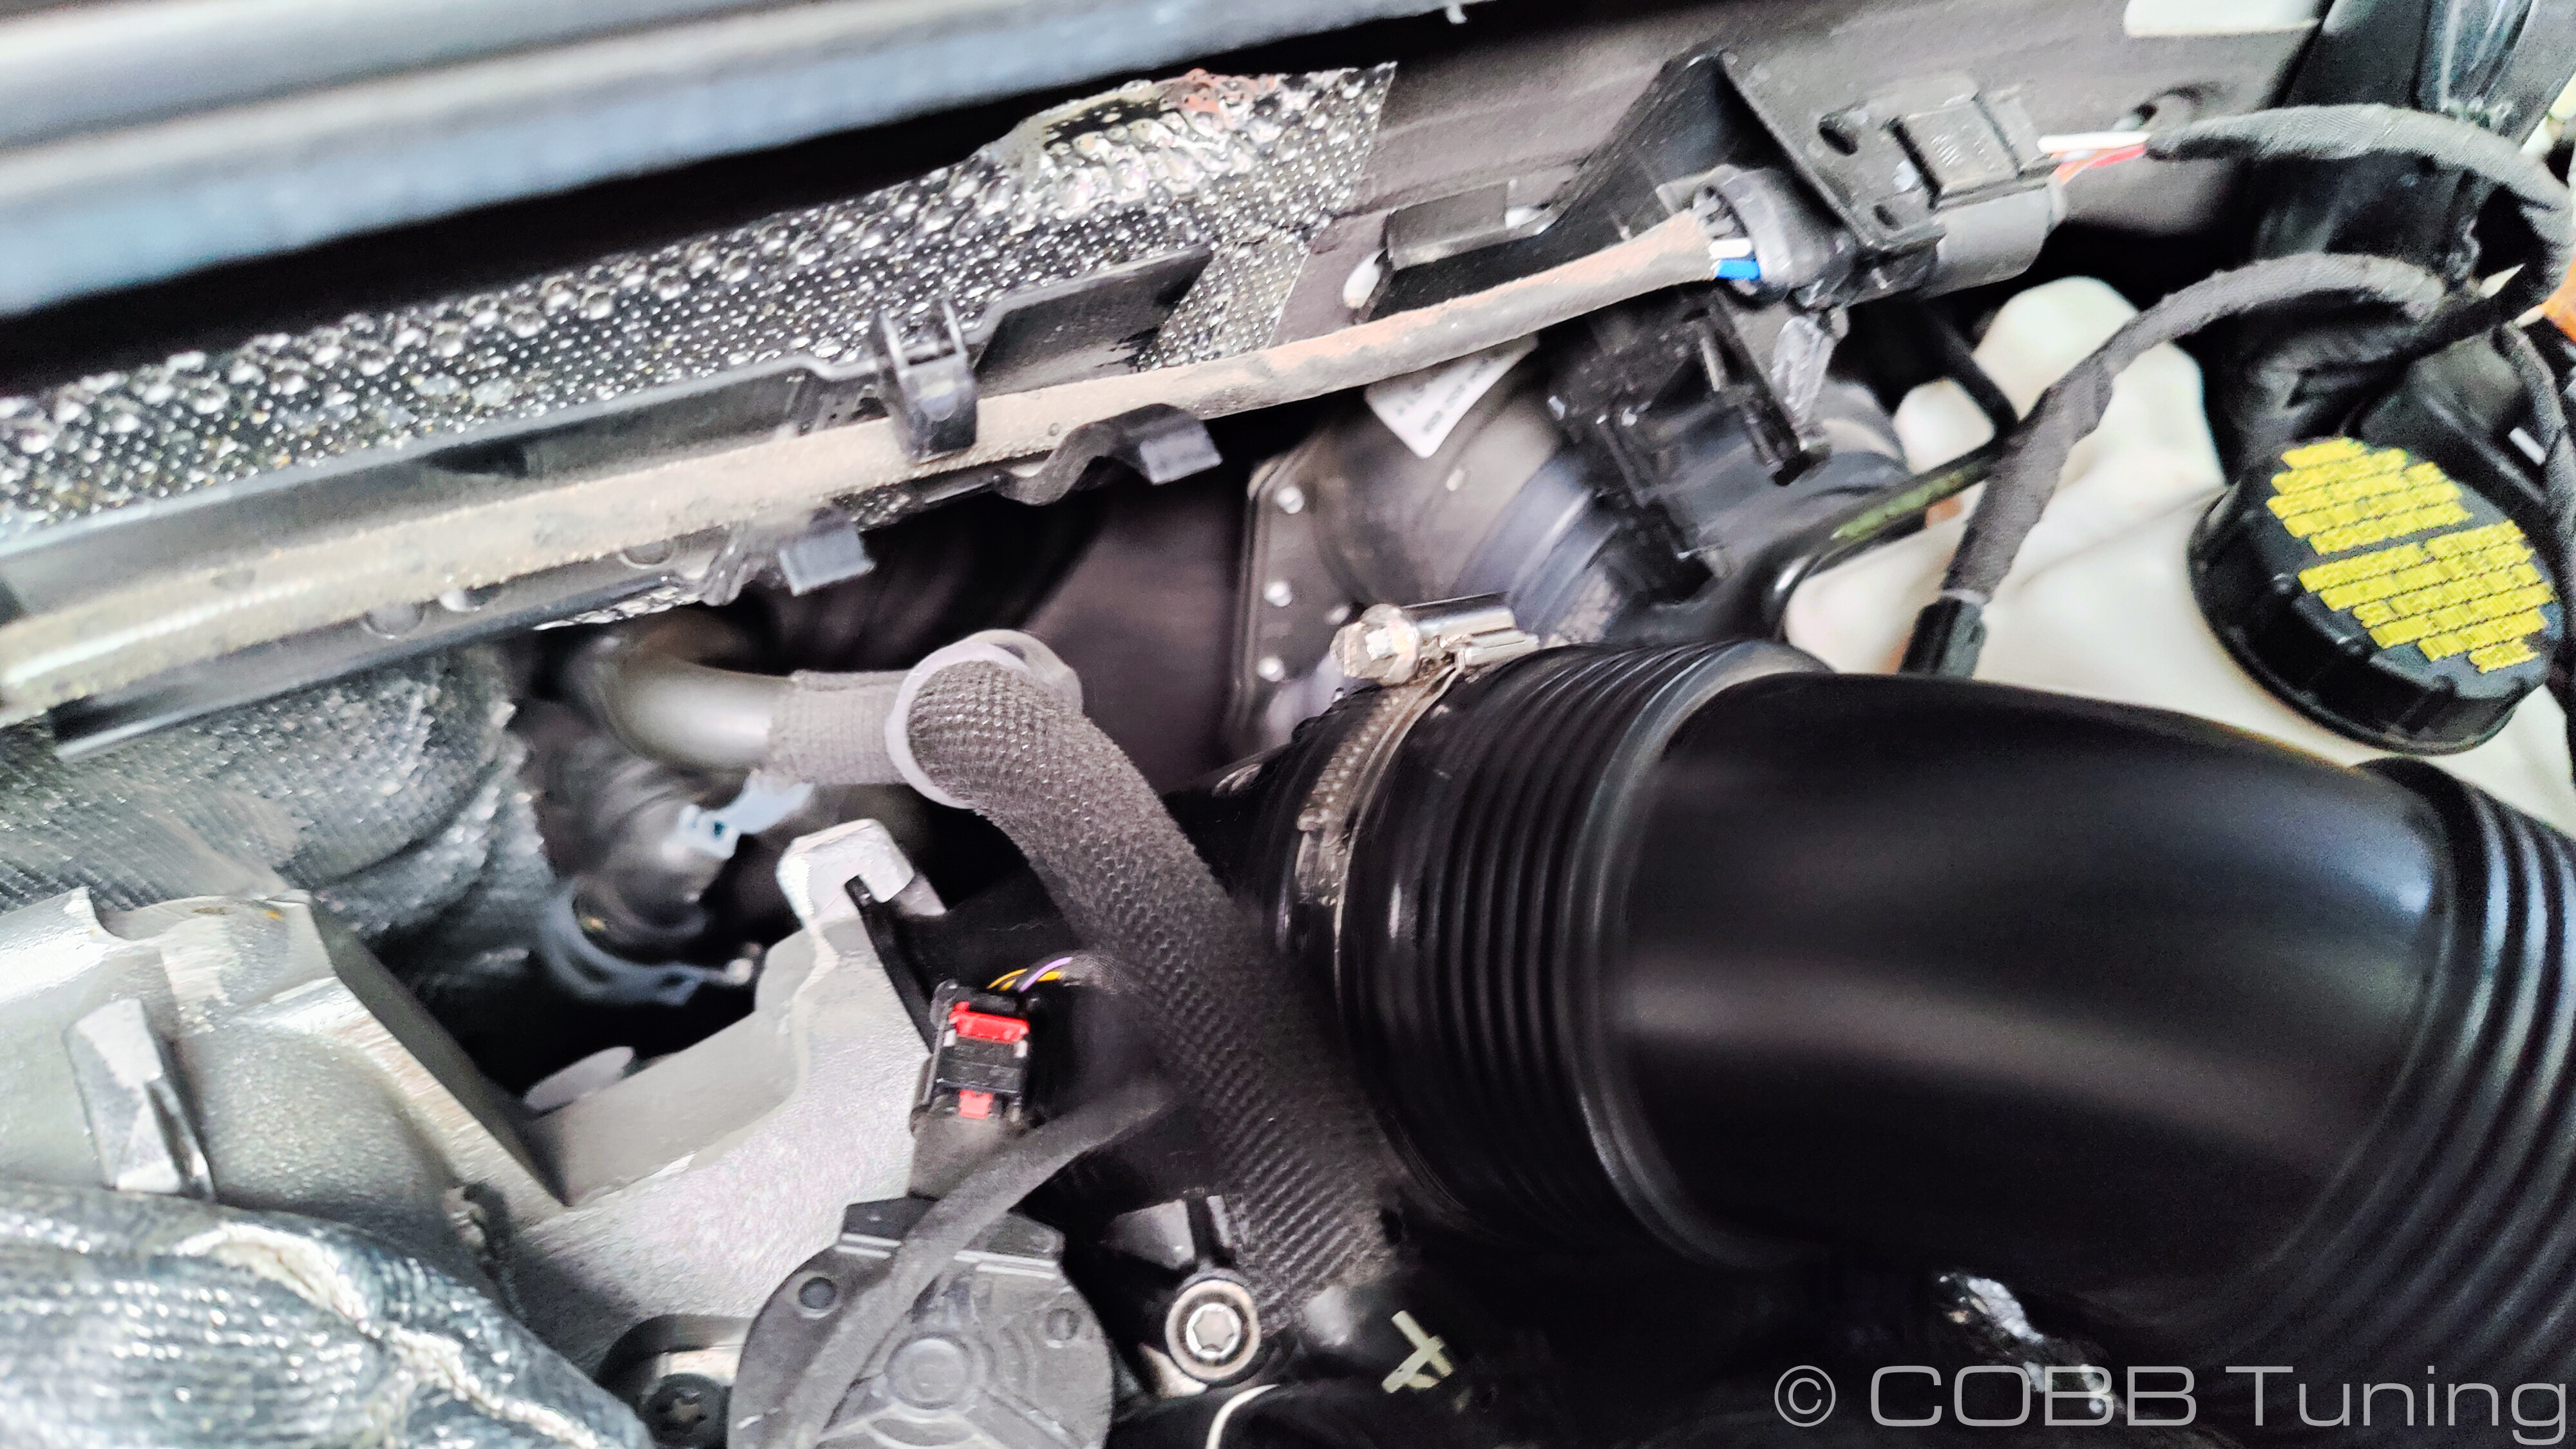
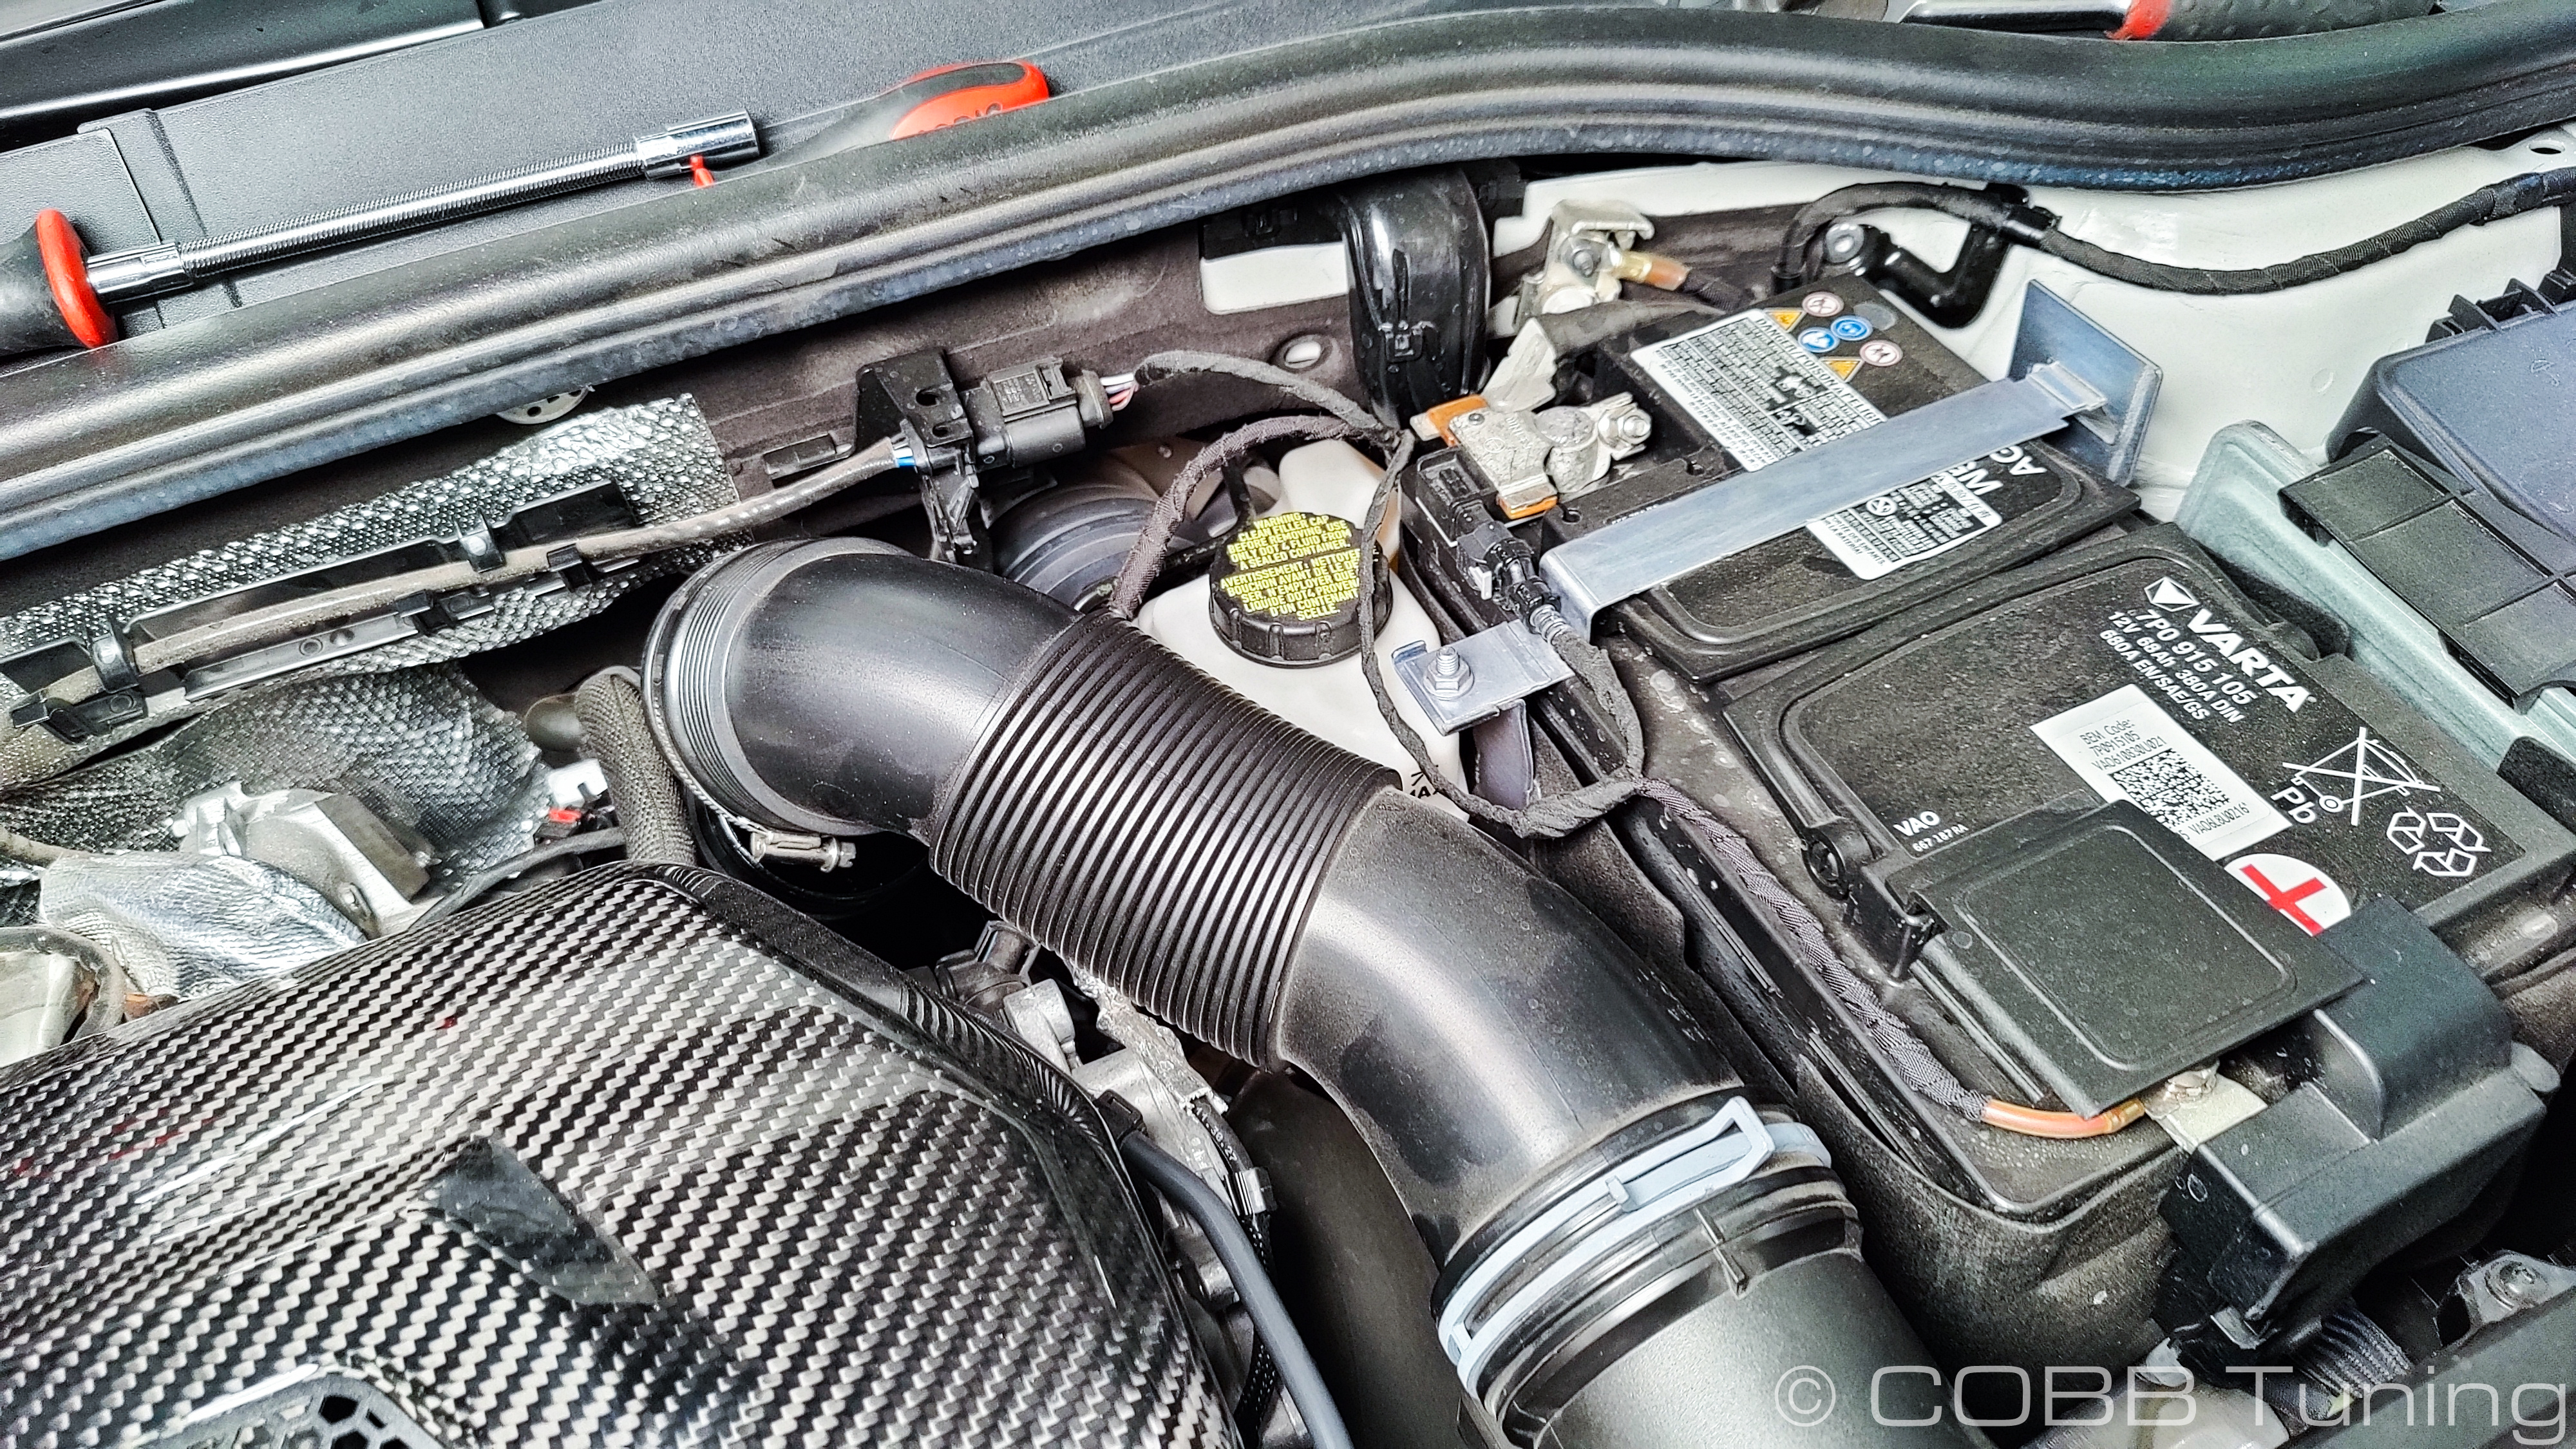
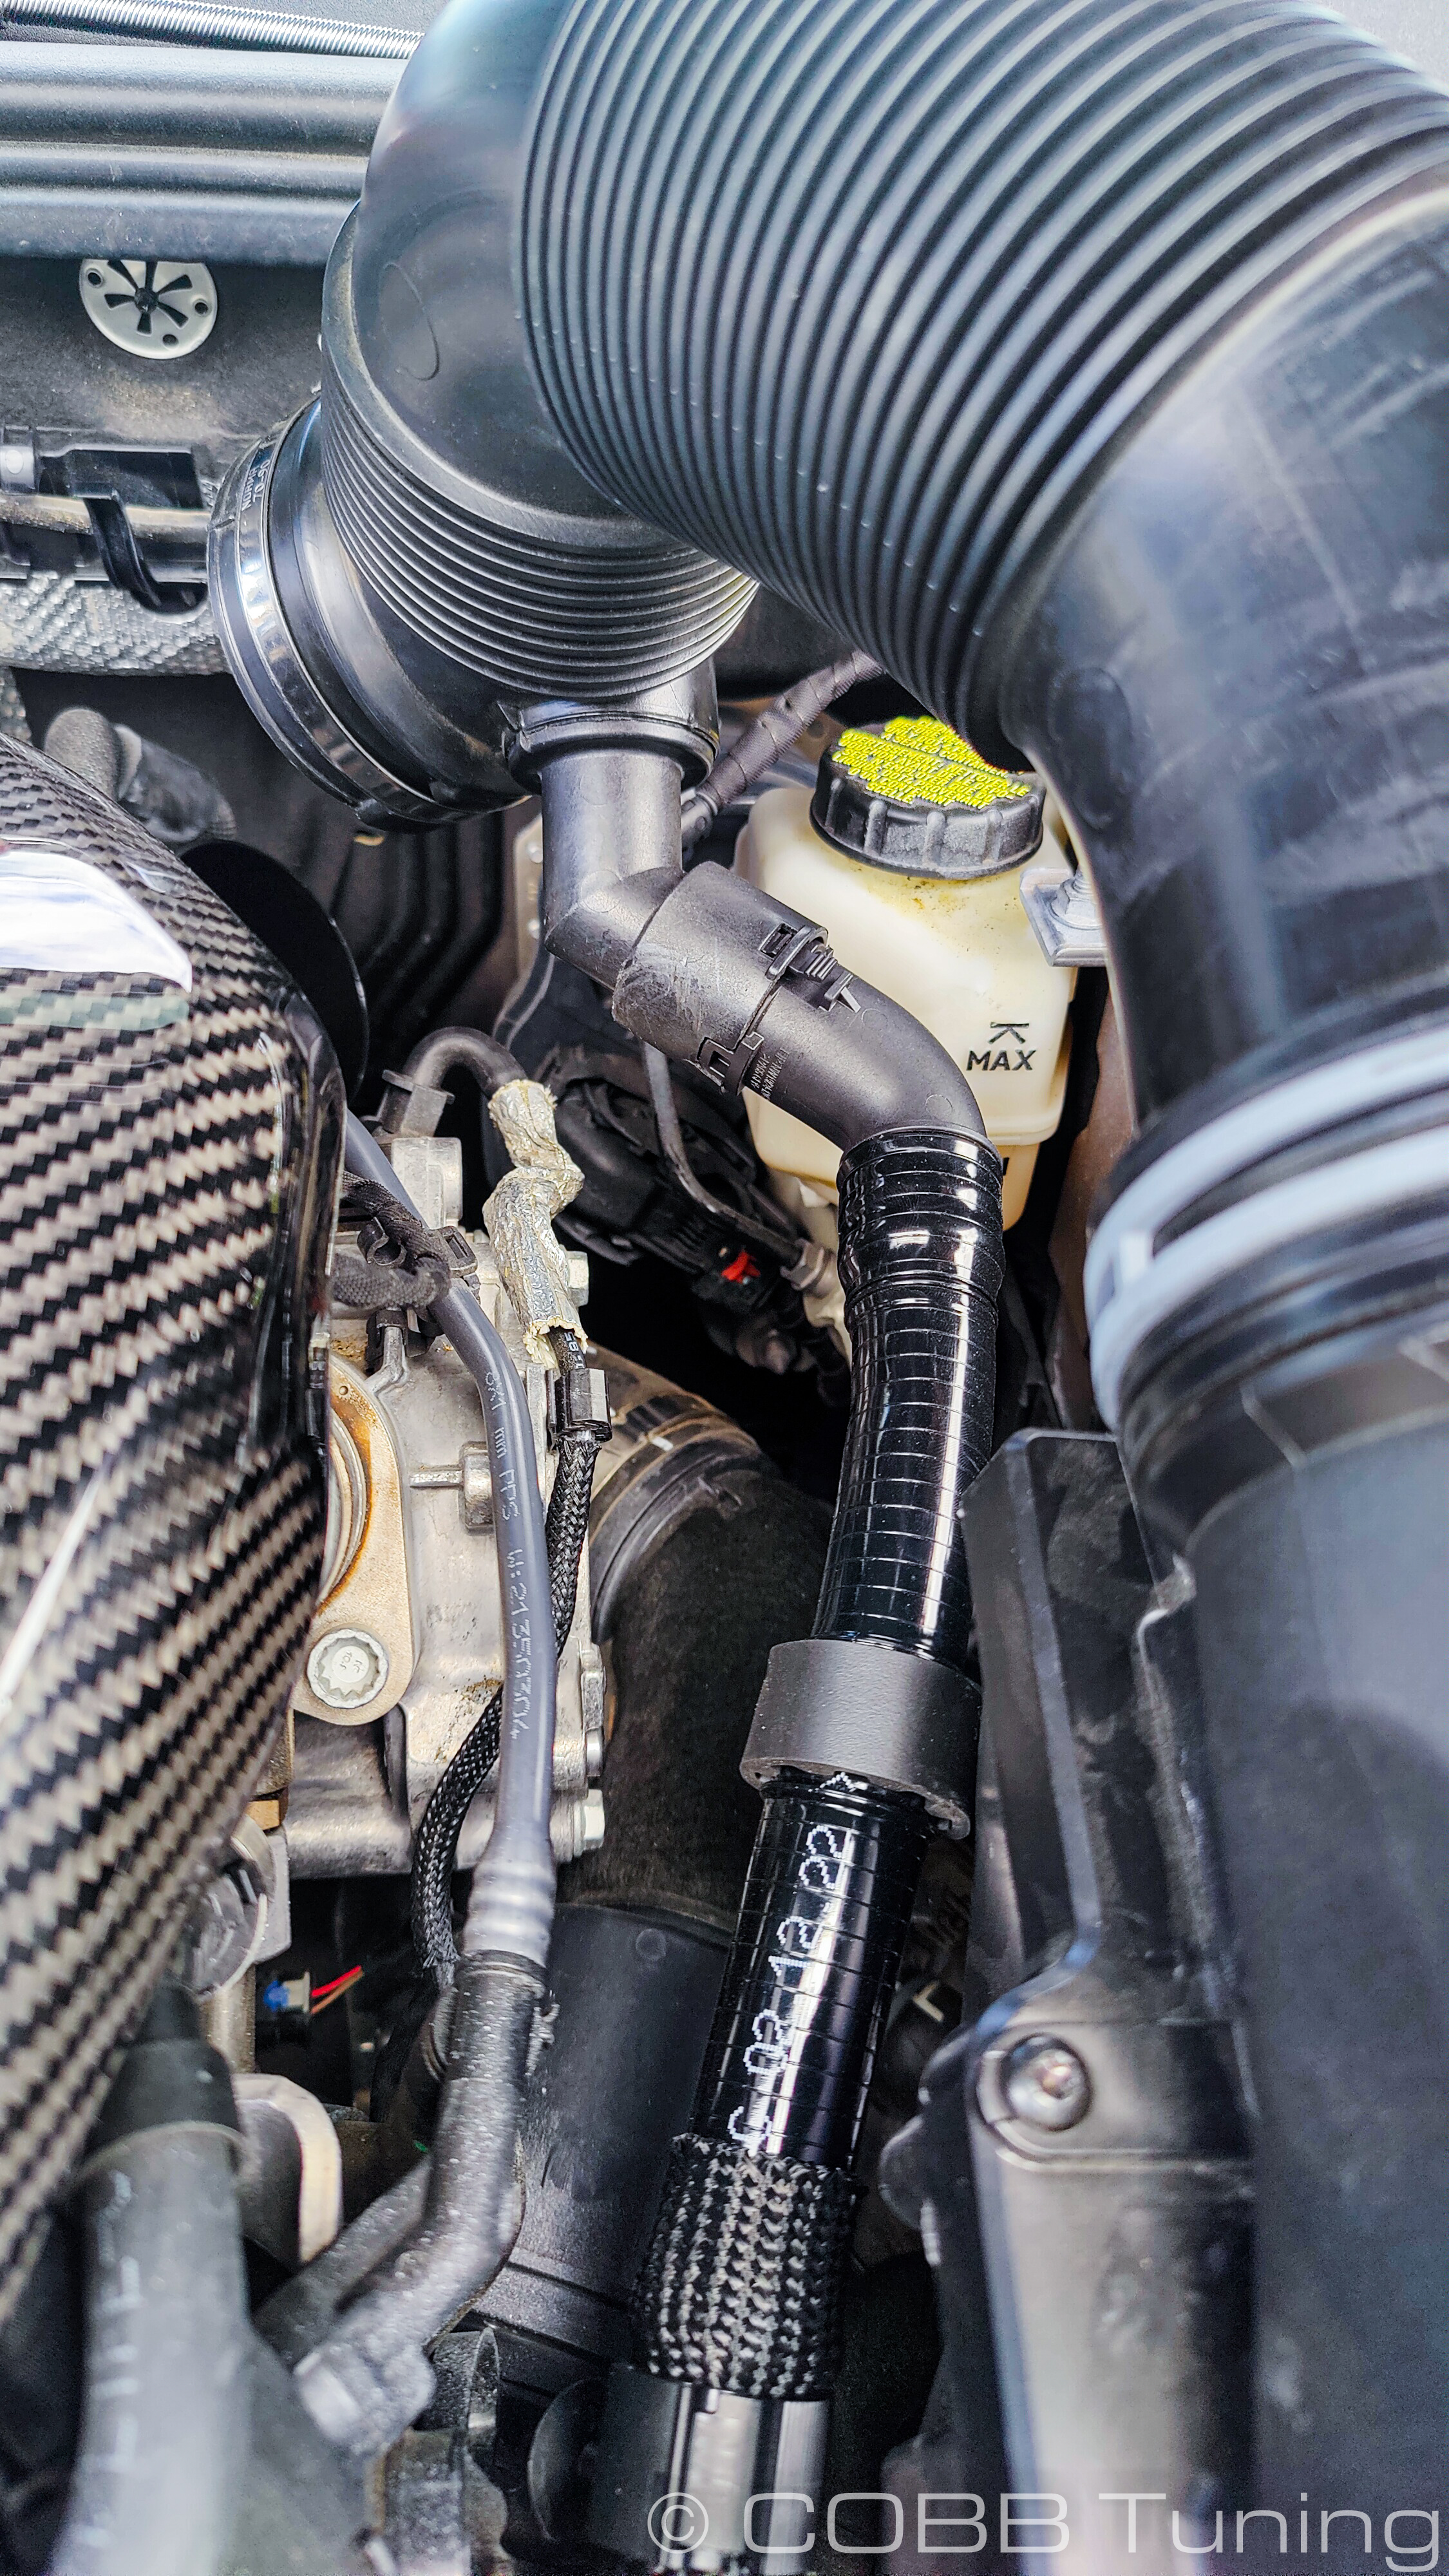
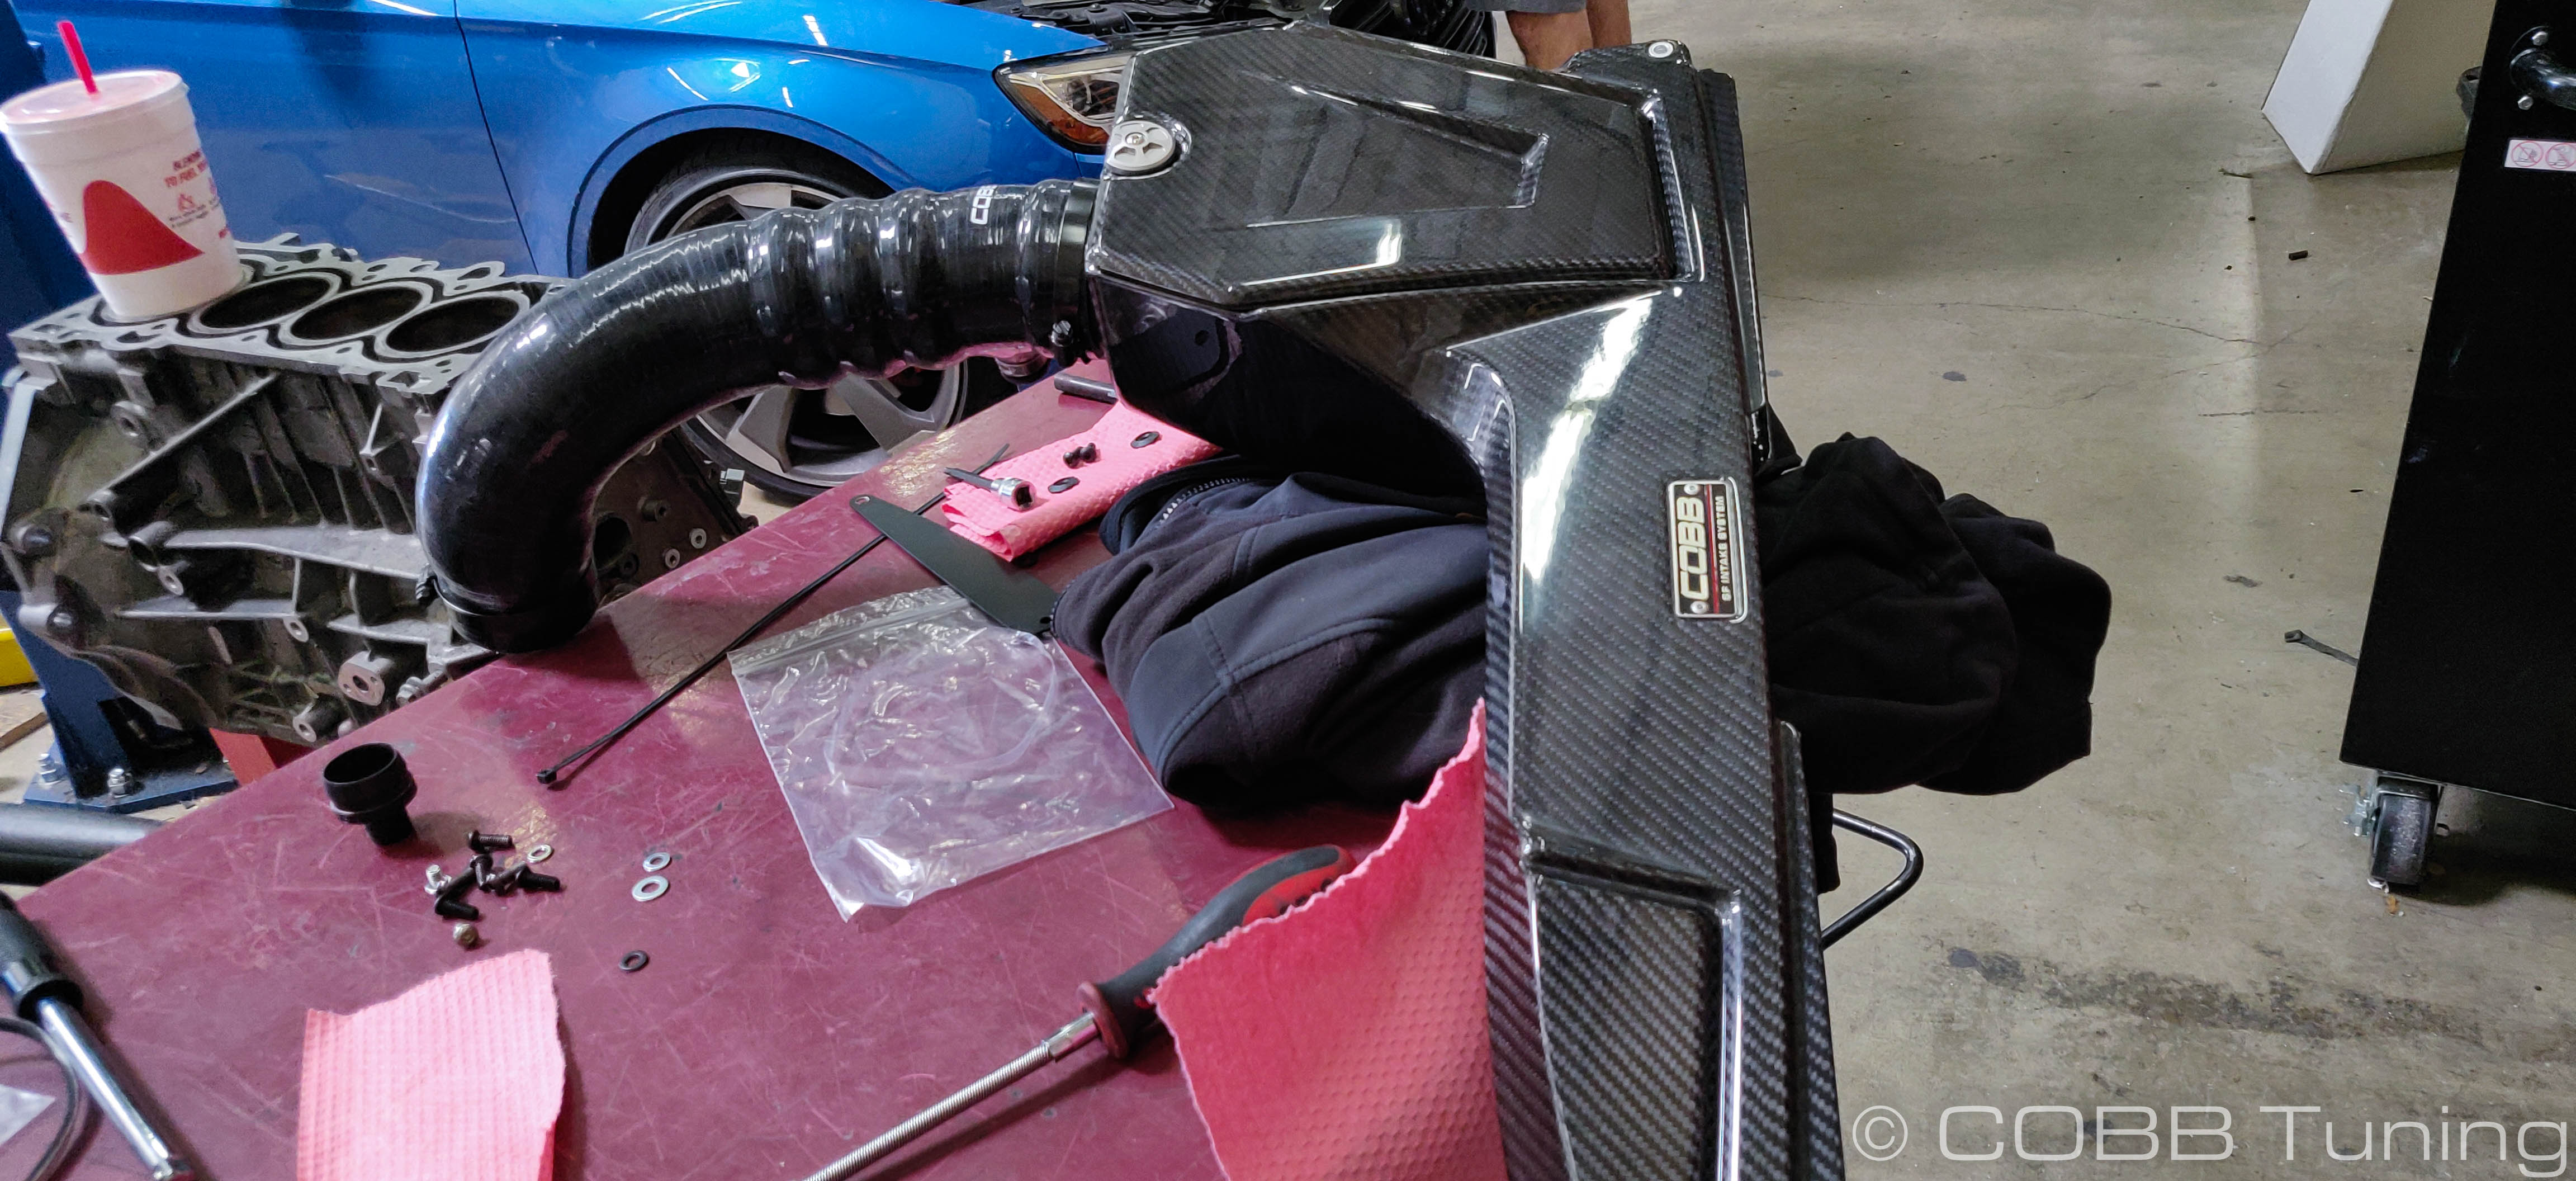
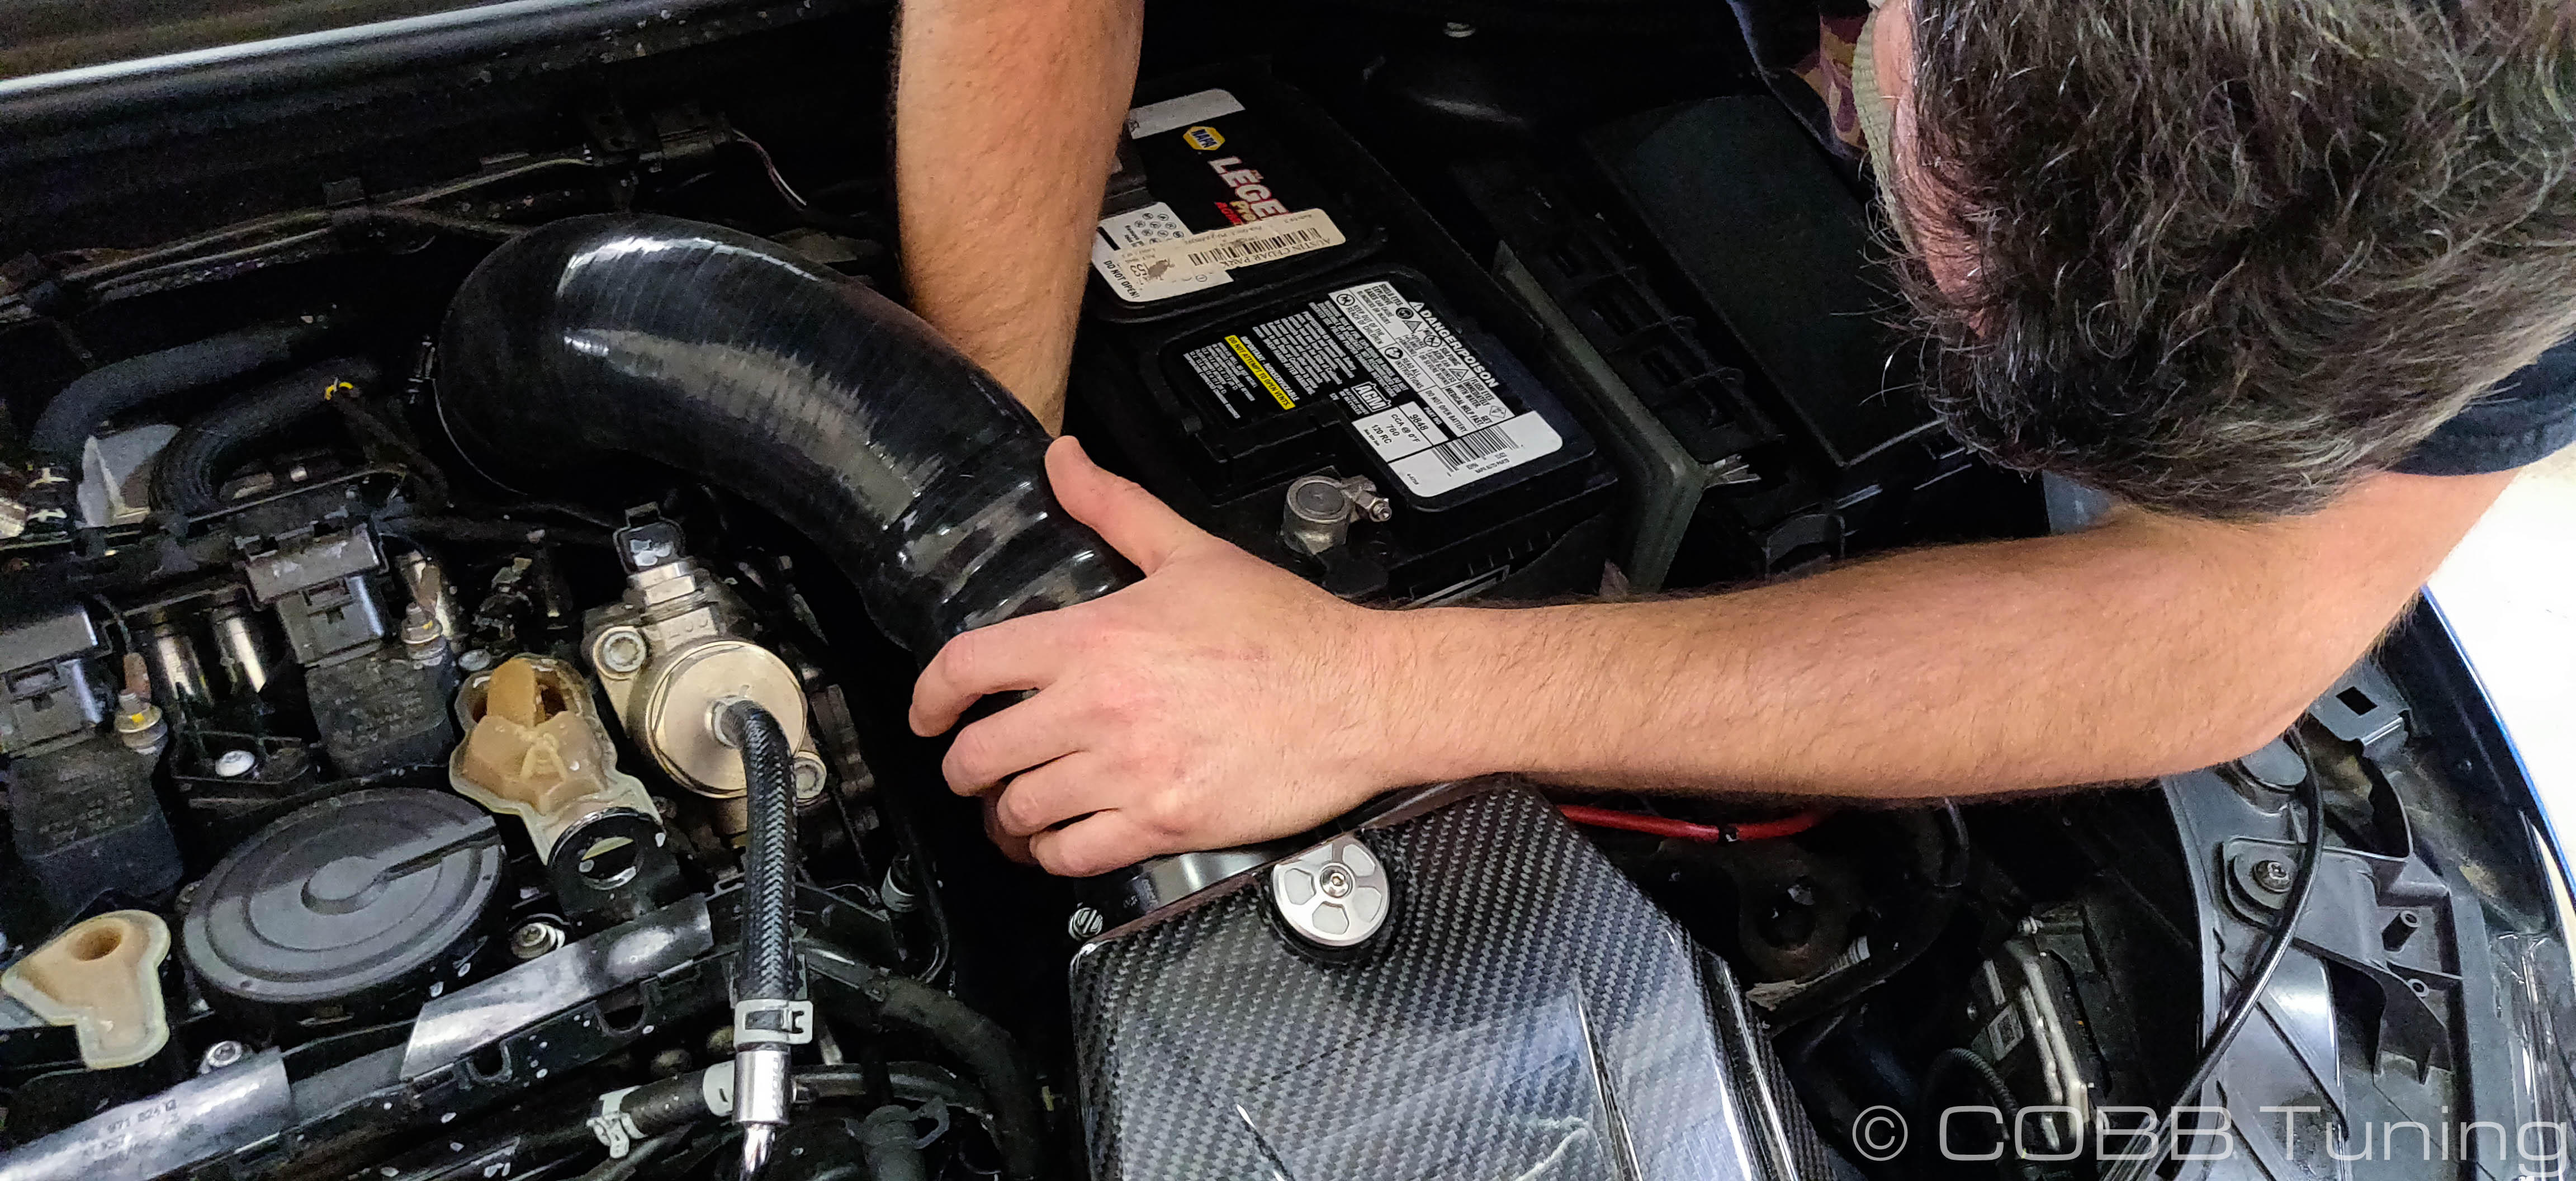
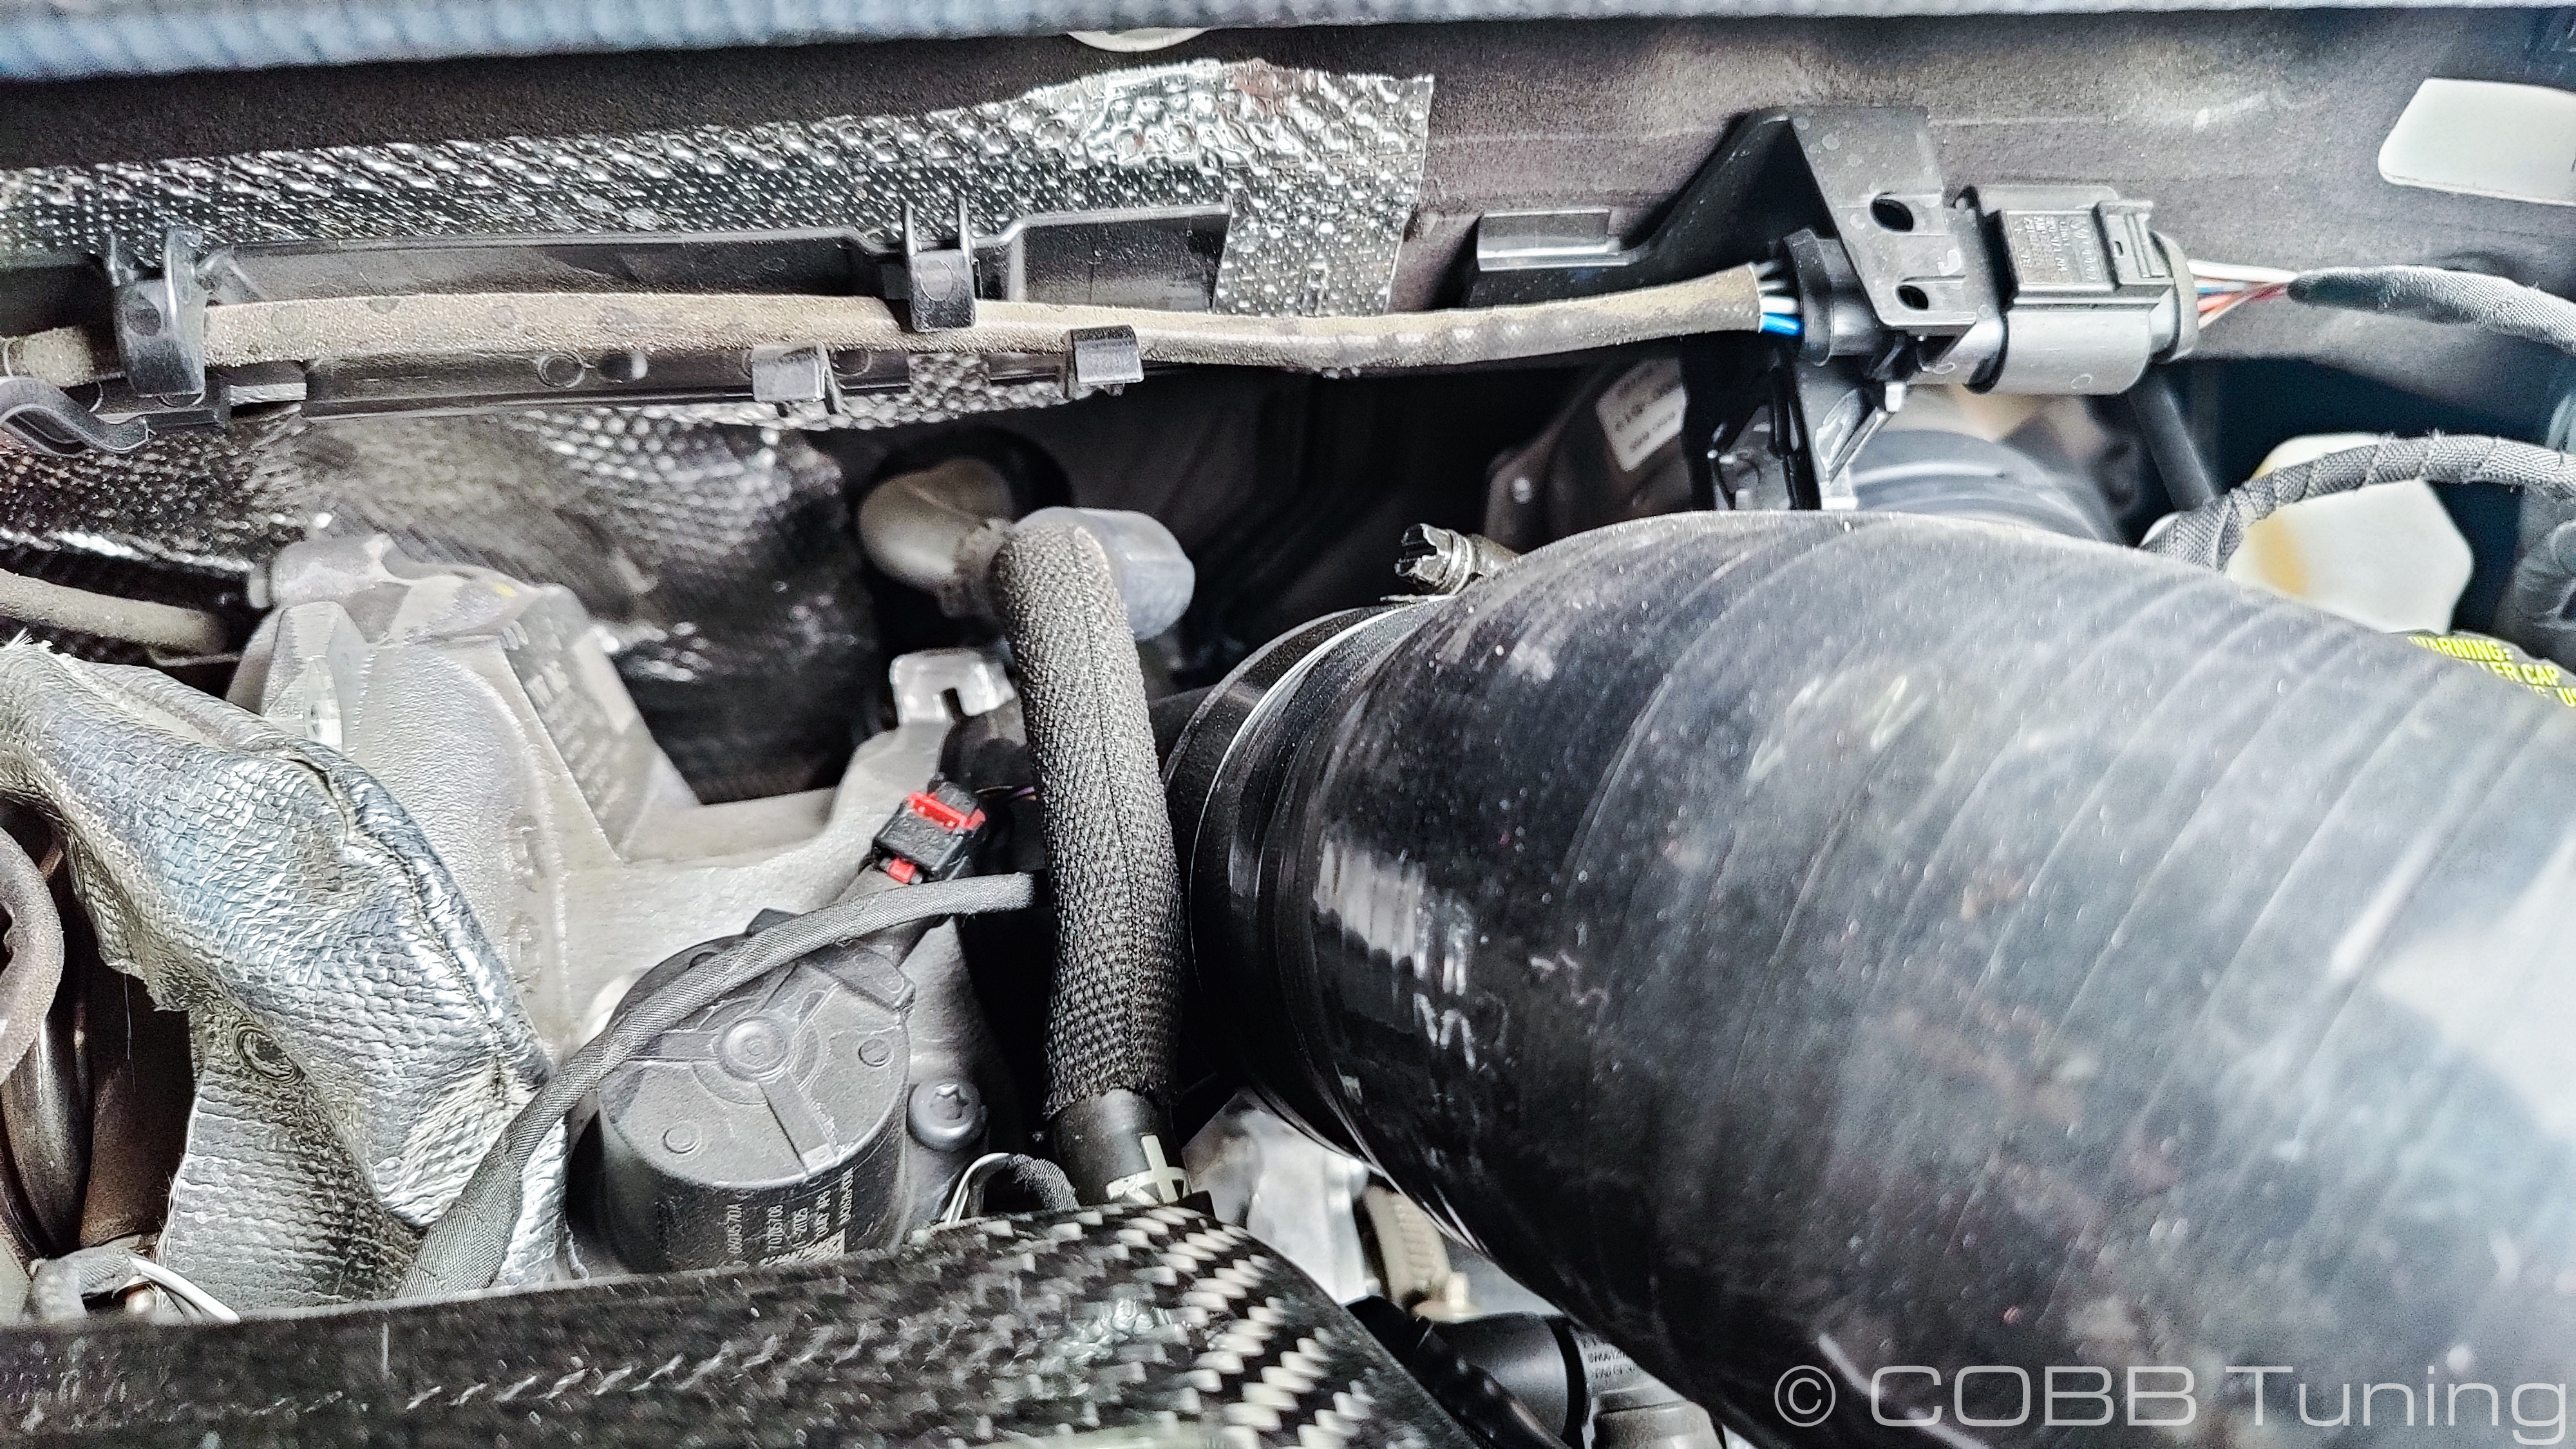
- Start by slipping the front carefully into place where the stock intake snorkel fit, putting the front in first then rolling the back downwards. You may need to pull some of the hoses a little bit just to drop it into place. It can also be a tight squeeze around the battery but the silicon should squeeze a little to allow room.
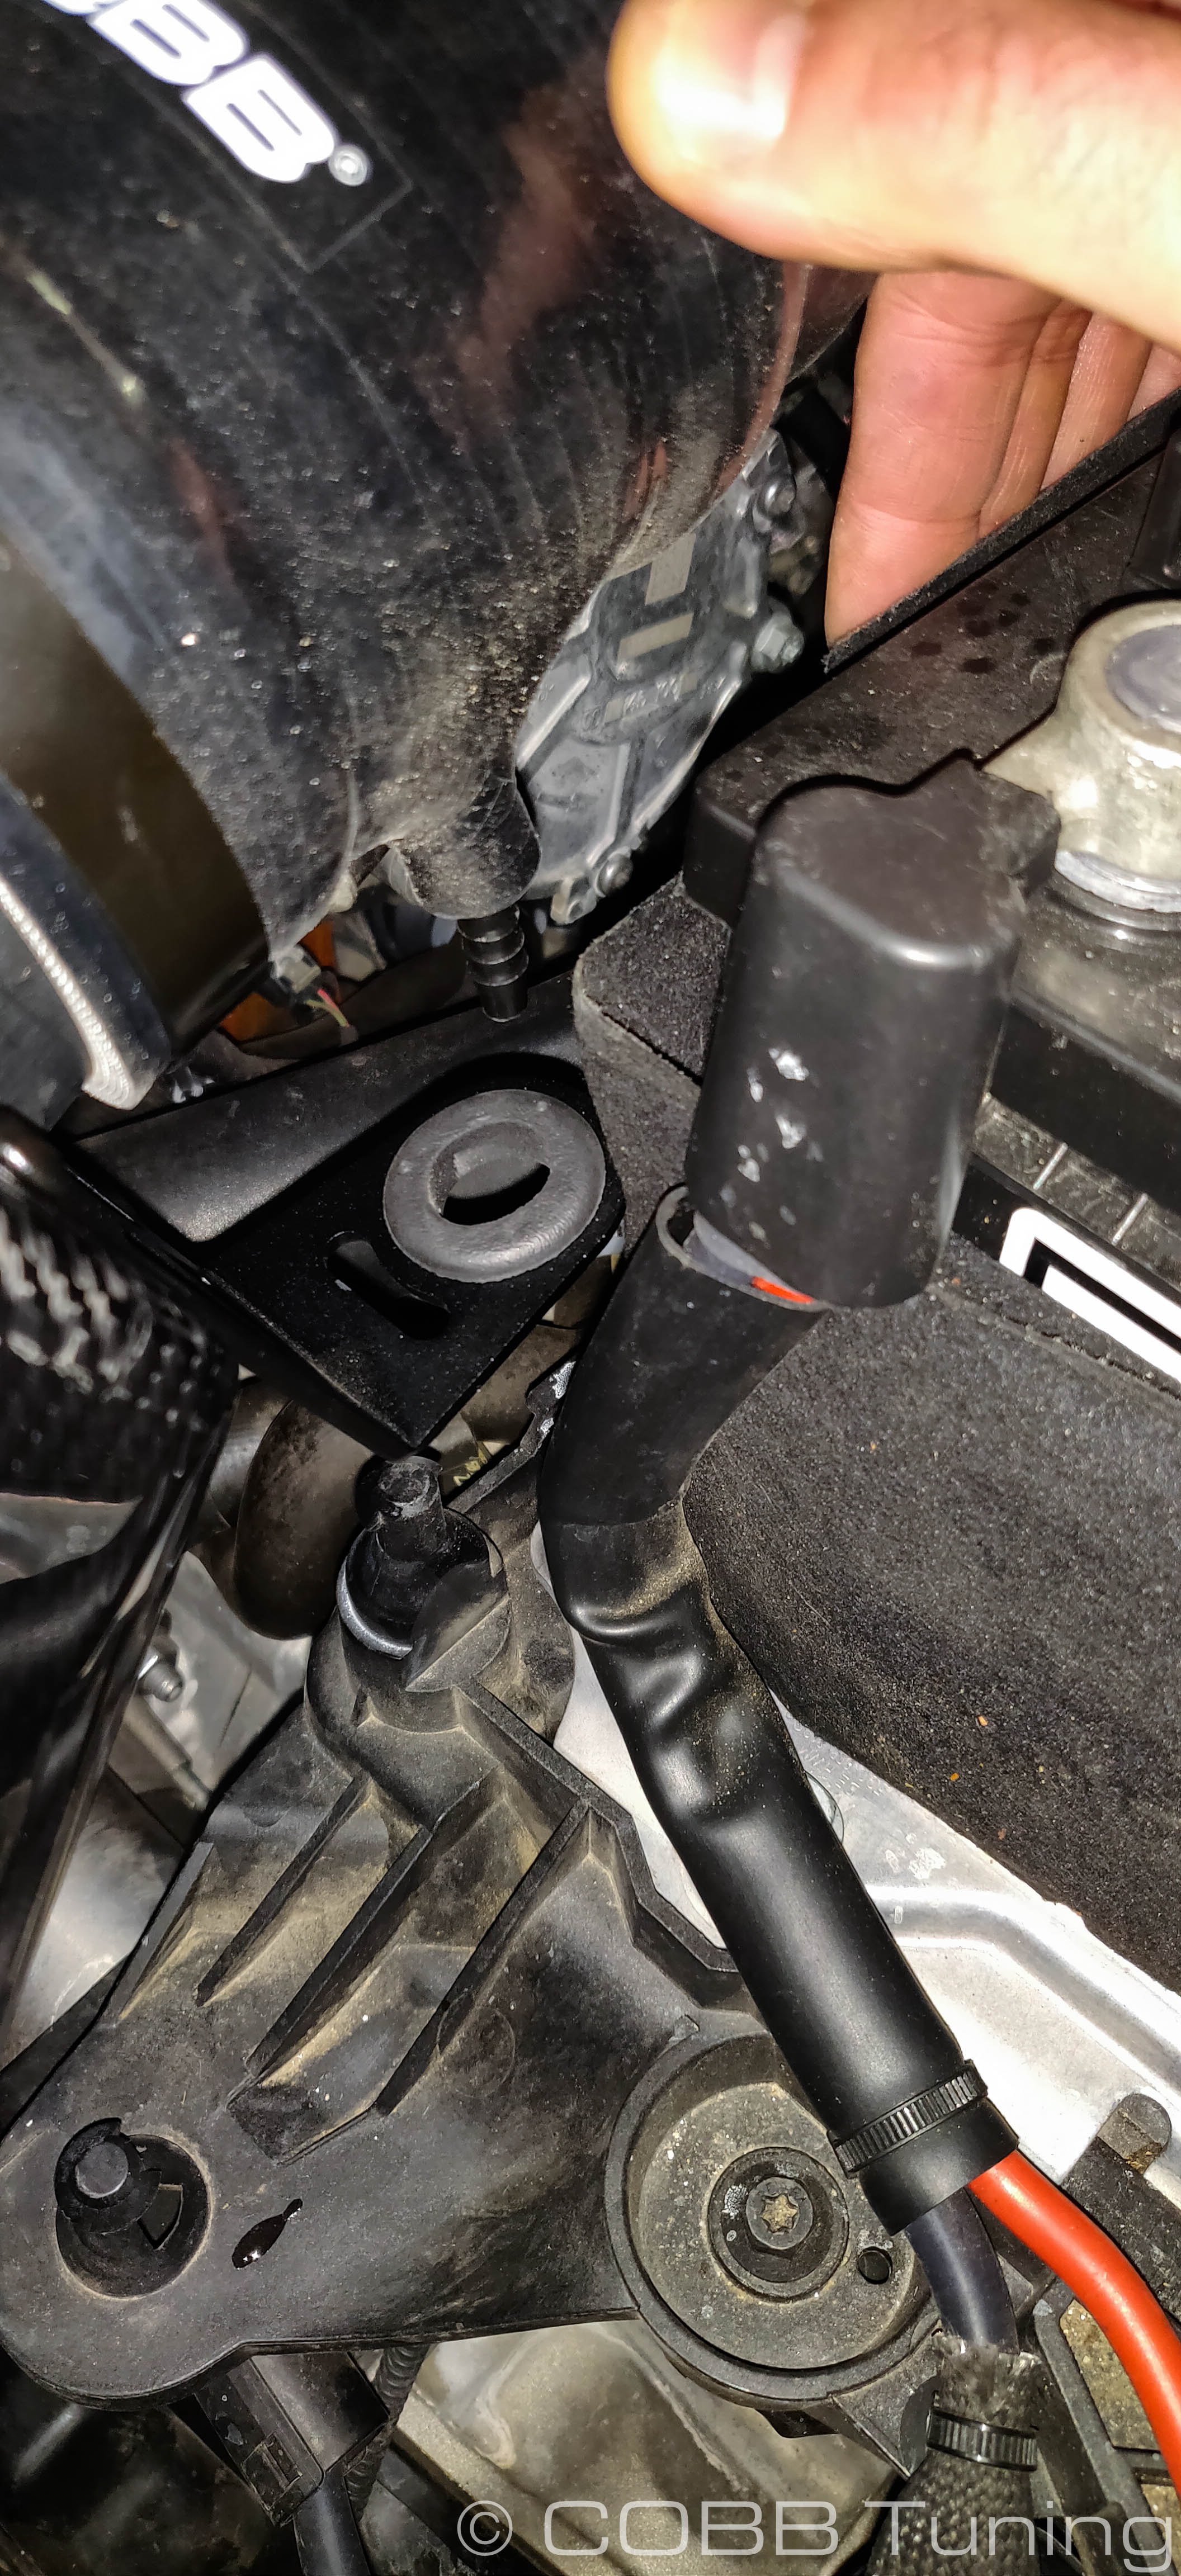
- With it still loose, push the recirculation hose with the aluminum adapter into the intake tube, then tighten the hose clamp.
- Connect the vacuum line from the intake silicon to the fitting where the factory vacuum line was connected.
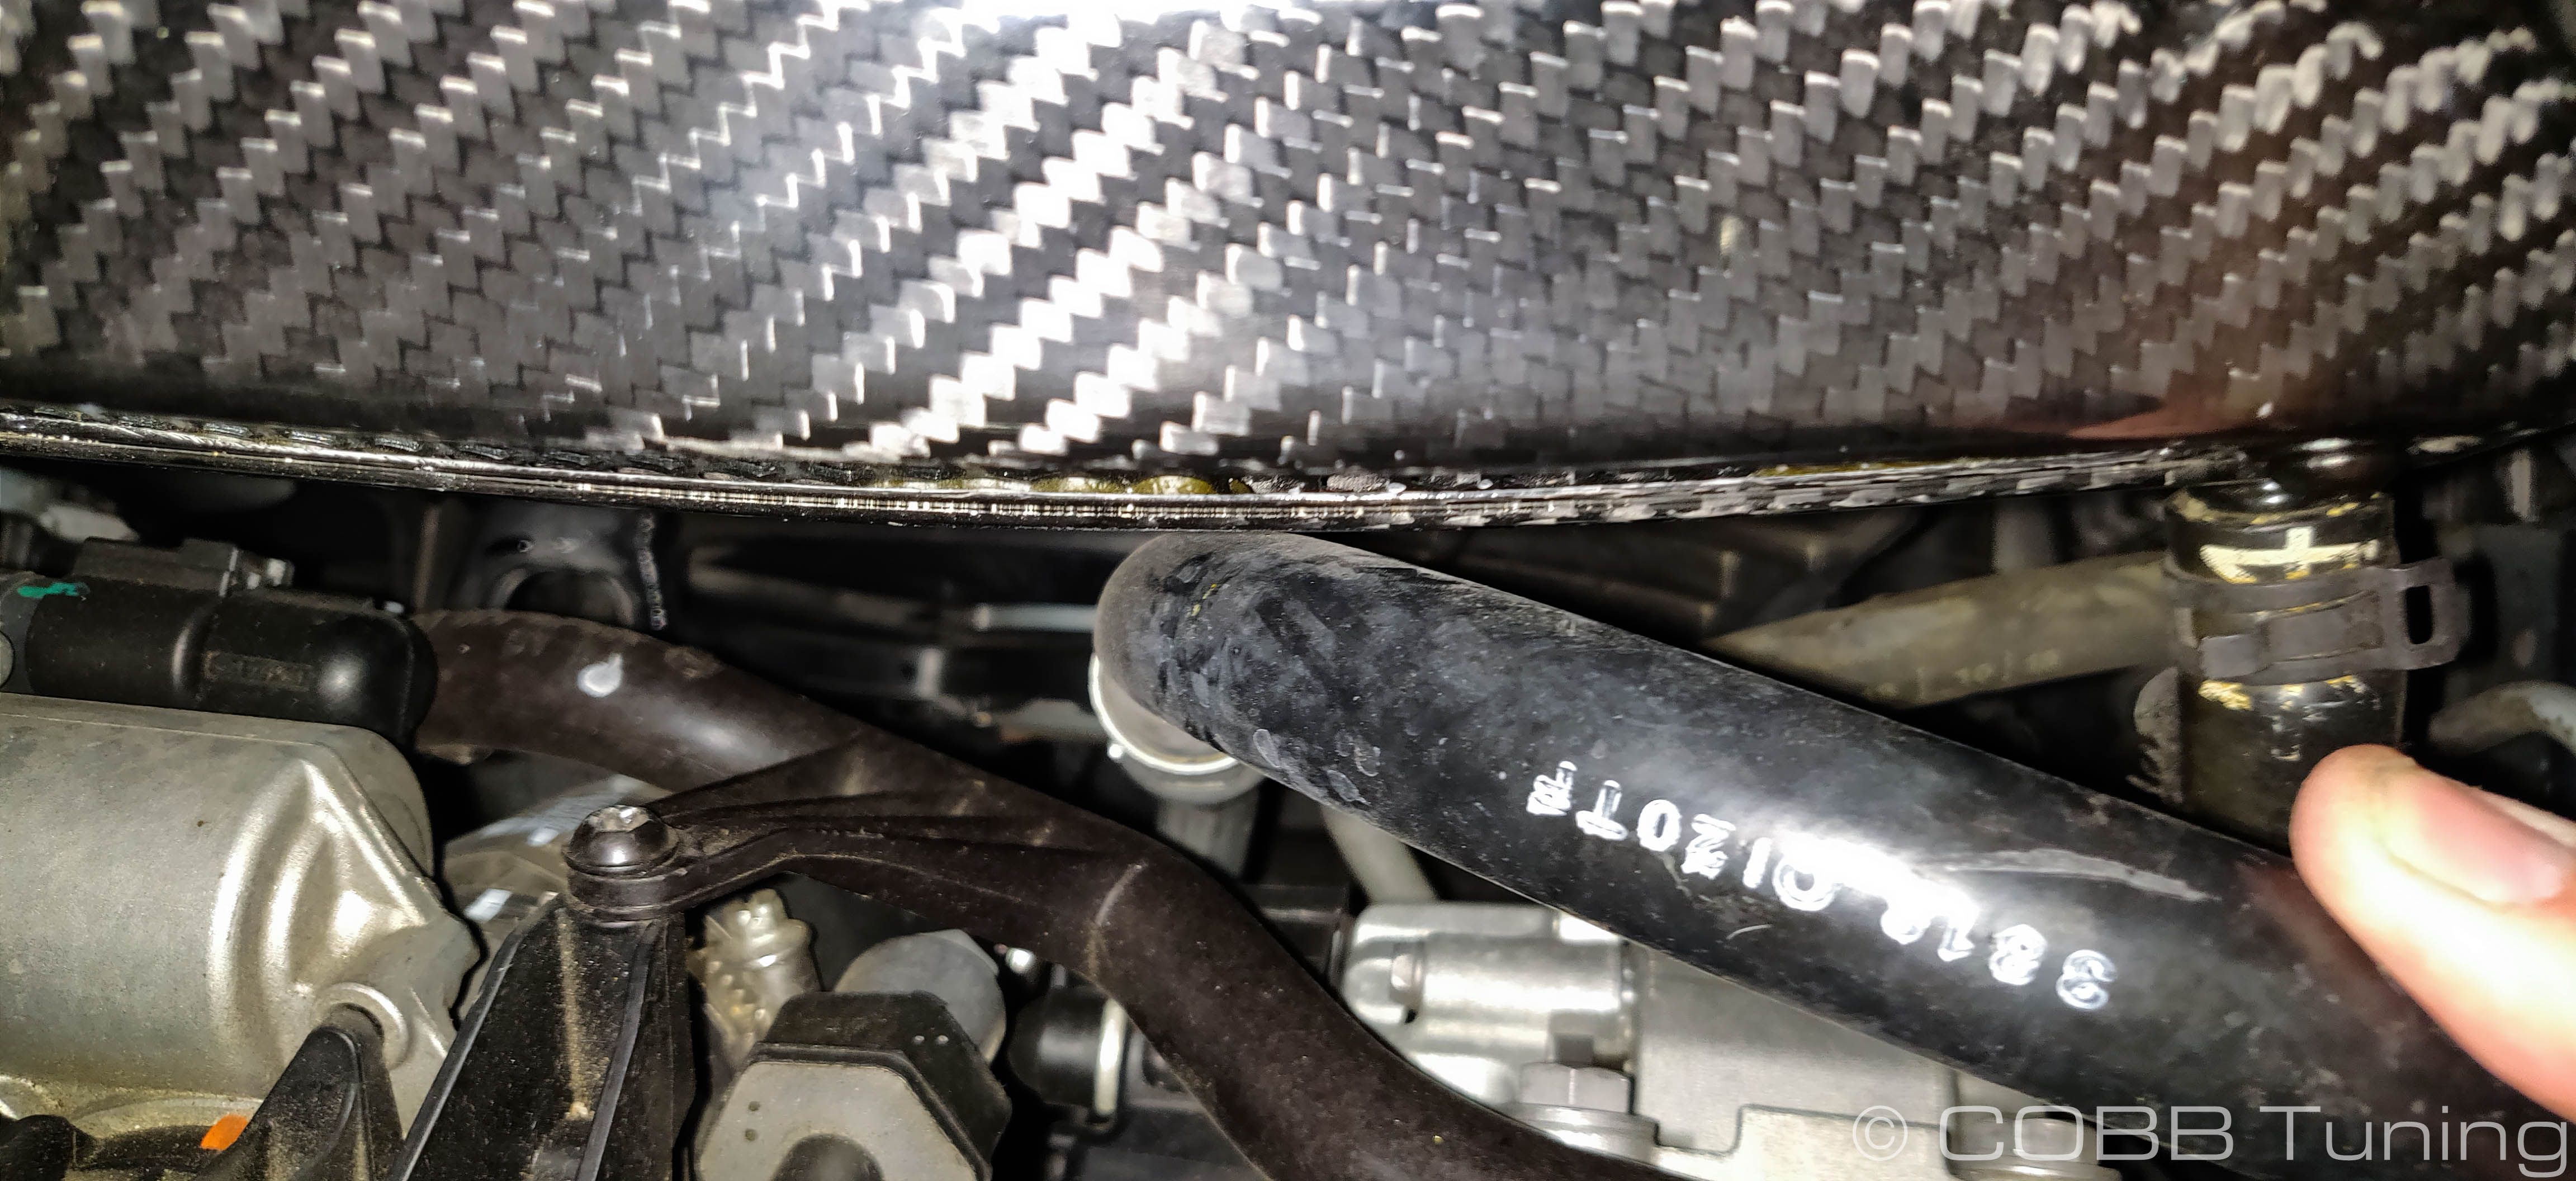
- Slip the end of the silicon over the turbo intake.
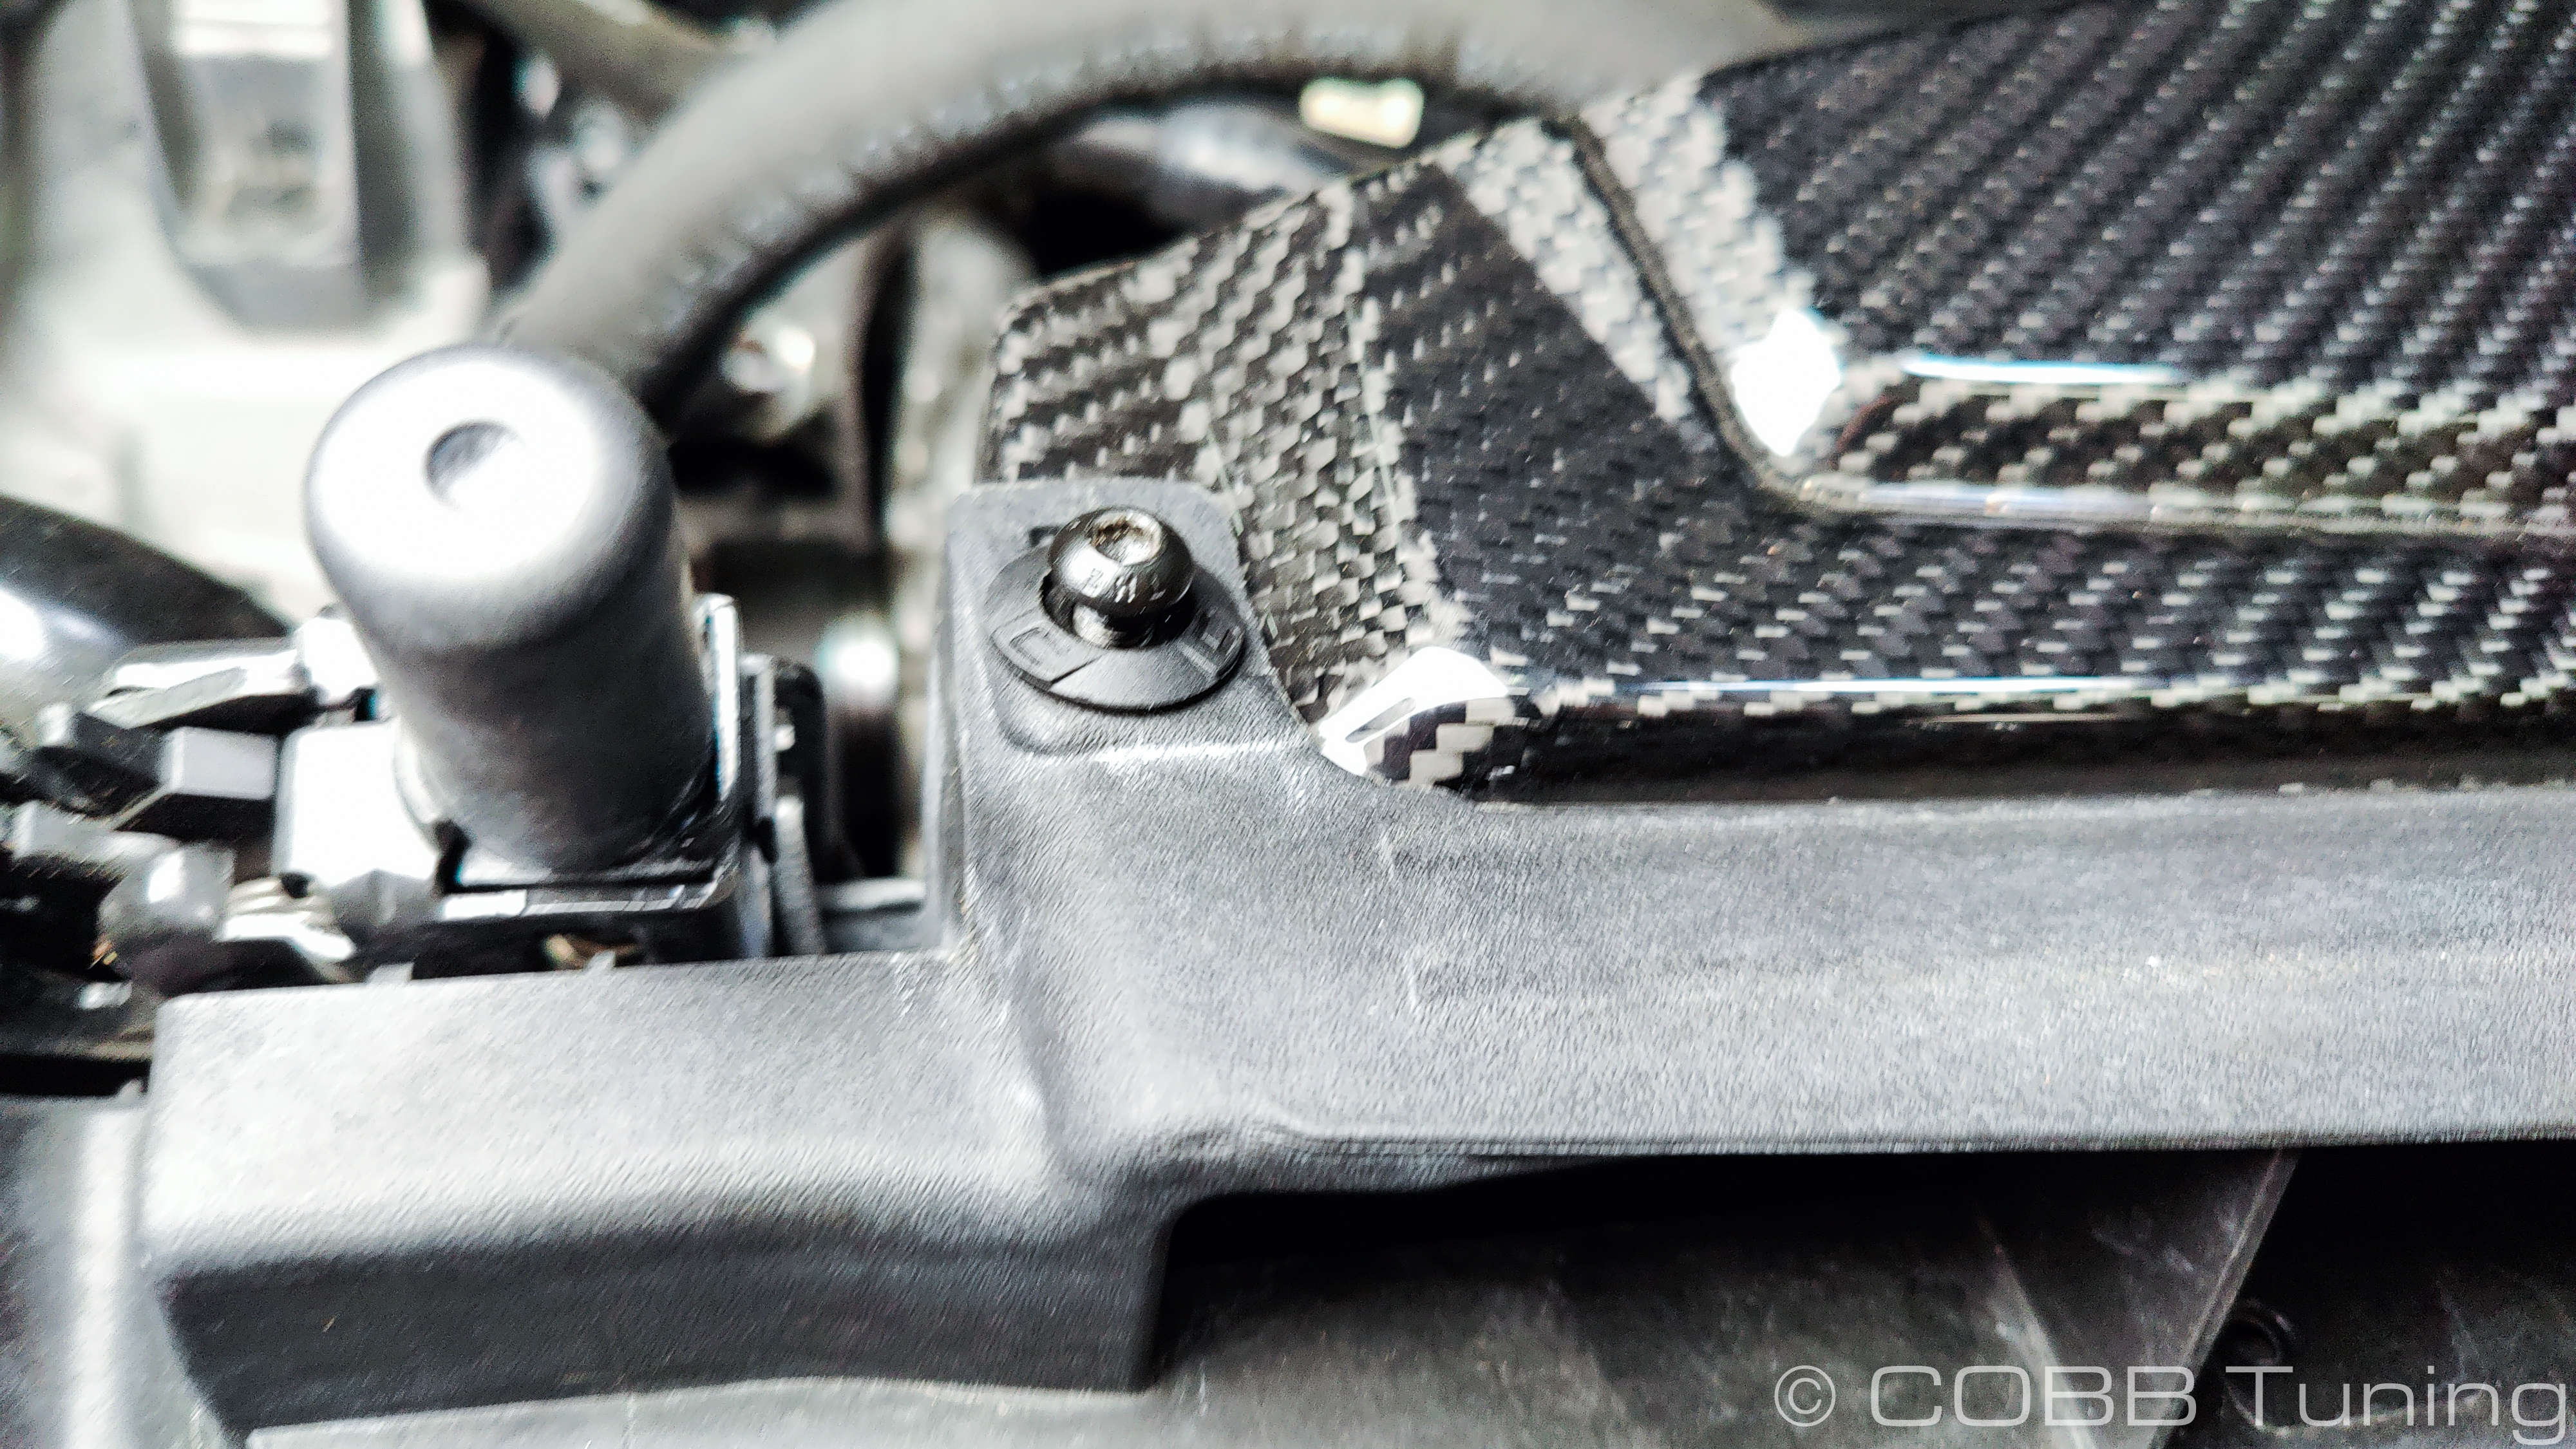
- Using the provided plastic washers and longer allen bolts secure the airbox to the core support at each end.
- Secure the two hose clamps on each end of the silicon intake.
- You're all done! Go out and enjoy!
CARB Sticker Installation (On CARB Certified Applications)
Install the supplied CARB sticker on an easily viewable space that won't be susceptible to large amounts of heat. We recommend on the radiator core support, or the underside of the hood.
COBB Customer Support Web Support and Tech Articles: COBB Tuning Customer Support Center Email: support@cobbtuning.com Phone support available 9am to 6pm Monday-Thursday. 9am to 4pm Friday (CST) 866.922.3059 return to www.cobbtuning.comContact Us:
Copyright 2023 © COBB Tuning Products LLC. All Rights Reserved. | www.cobbtuning.com