7F1527 - F150 Stock Placement Intercooler
- Brandyn Mowat

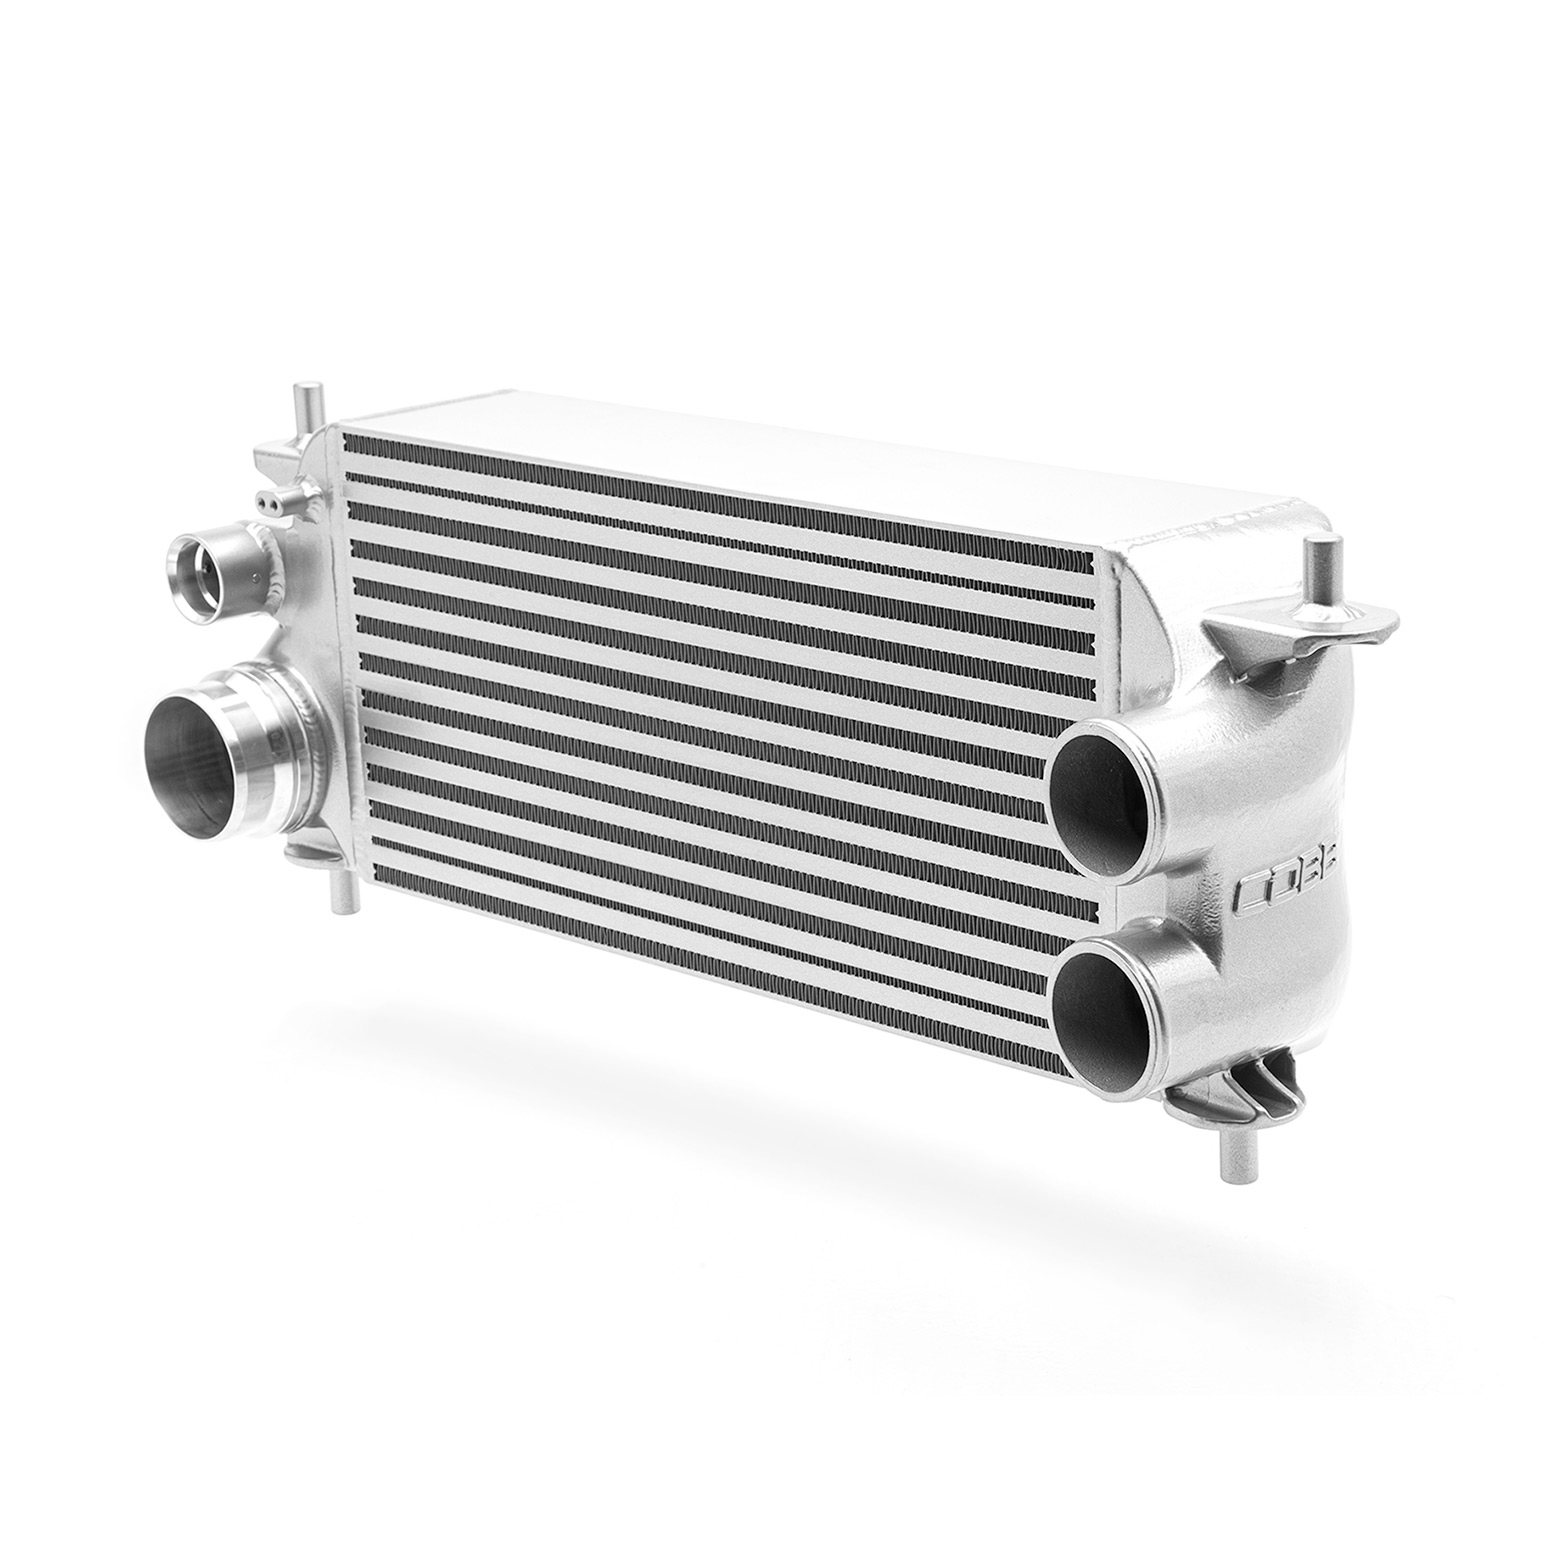
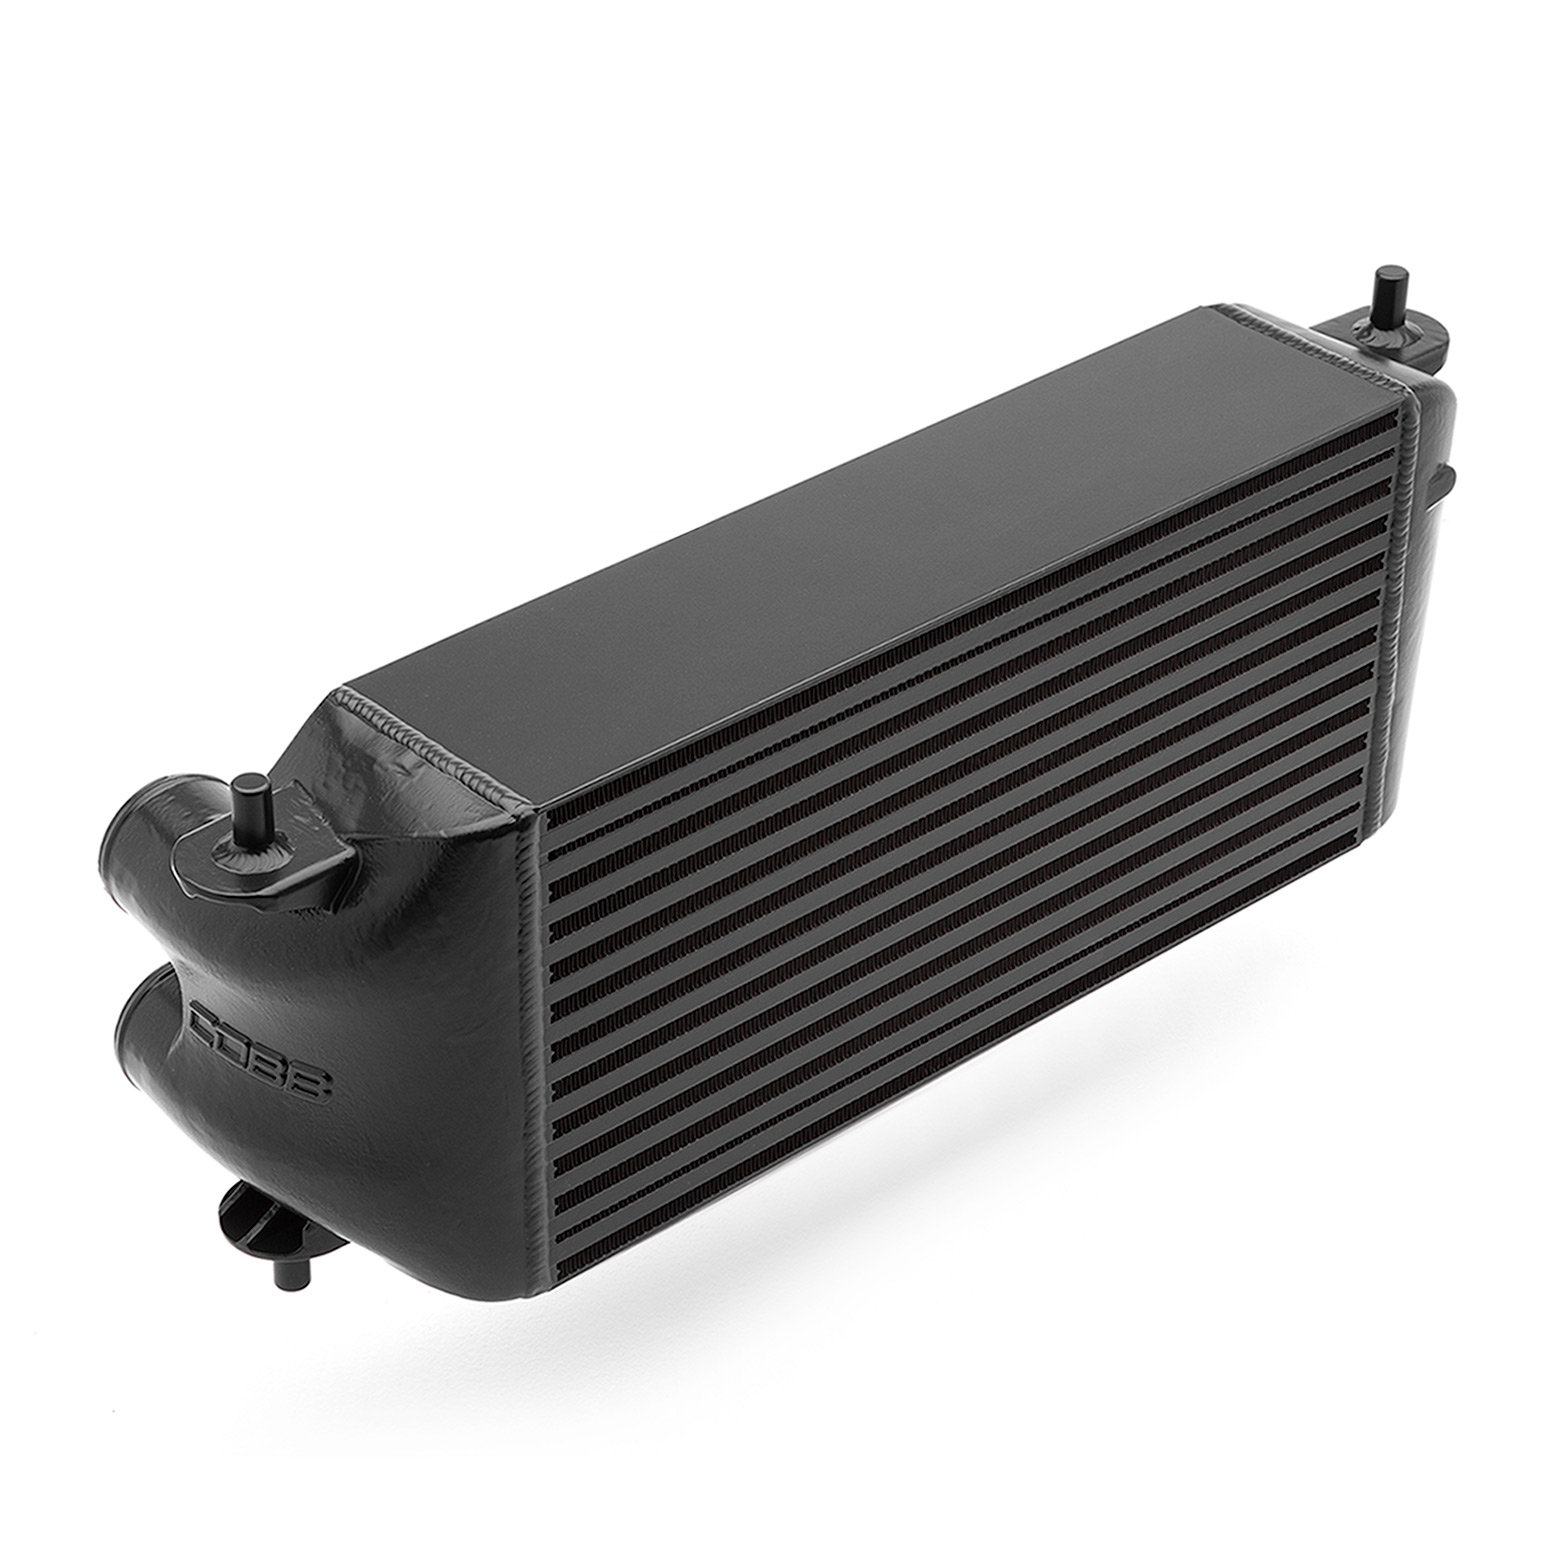
F150 Stock Placement Intercooler
Ford Raptor 2017 - 2020
Ford F150 (3.5, 2.7 ecoboost engines only) 2017 - 2019
Congratulations on your purchase of the COBB TuningF150 Stock Placement Front Mount Intercooler! The following instructions will assist you through the installation process. Please read them BEFORE beginning the install to familiarize yourself with the steps and tools needed. If you feel you cannot properly perform this installation, we HIGHLY recommend you take the vehicle to a qualified and experienced automotive technician.
Table of Contents
Parts List
- F-150 Front Mount
- m6x10 Stainless Button Head Bolt
- 6mm Stainless Flat Washer
Tools Needed
Sockets
3/8"
3/8" ratchet
3/8" 12" extension
3/8" 6" extension
- 3/8" 7mm socket
3/8" 10mm socket
3/8" 13mm socket
Hand Tools
- Phillips head screwdriver
- Flathead screwdriver
- Trim removal tool
Misc.
- Marking device similar to a paint pen or sharpie
Wrenches
- 8mm Ratcheting combination wrench
- 10mm combination wrench
Intercooler Removal
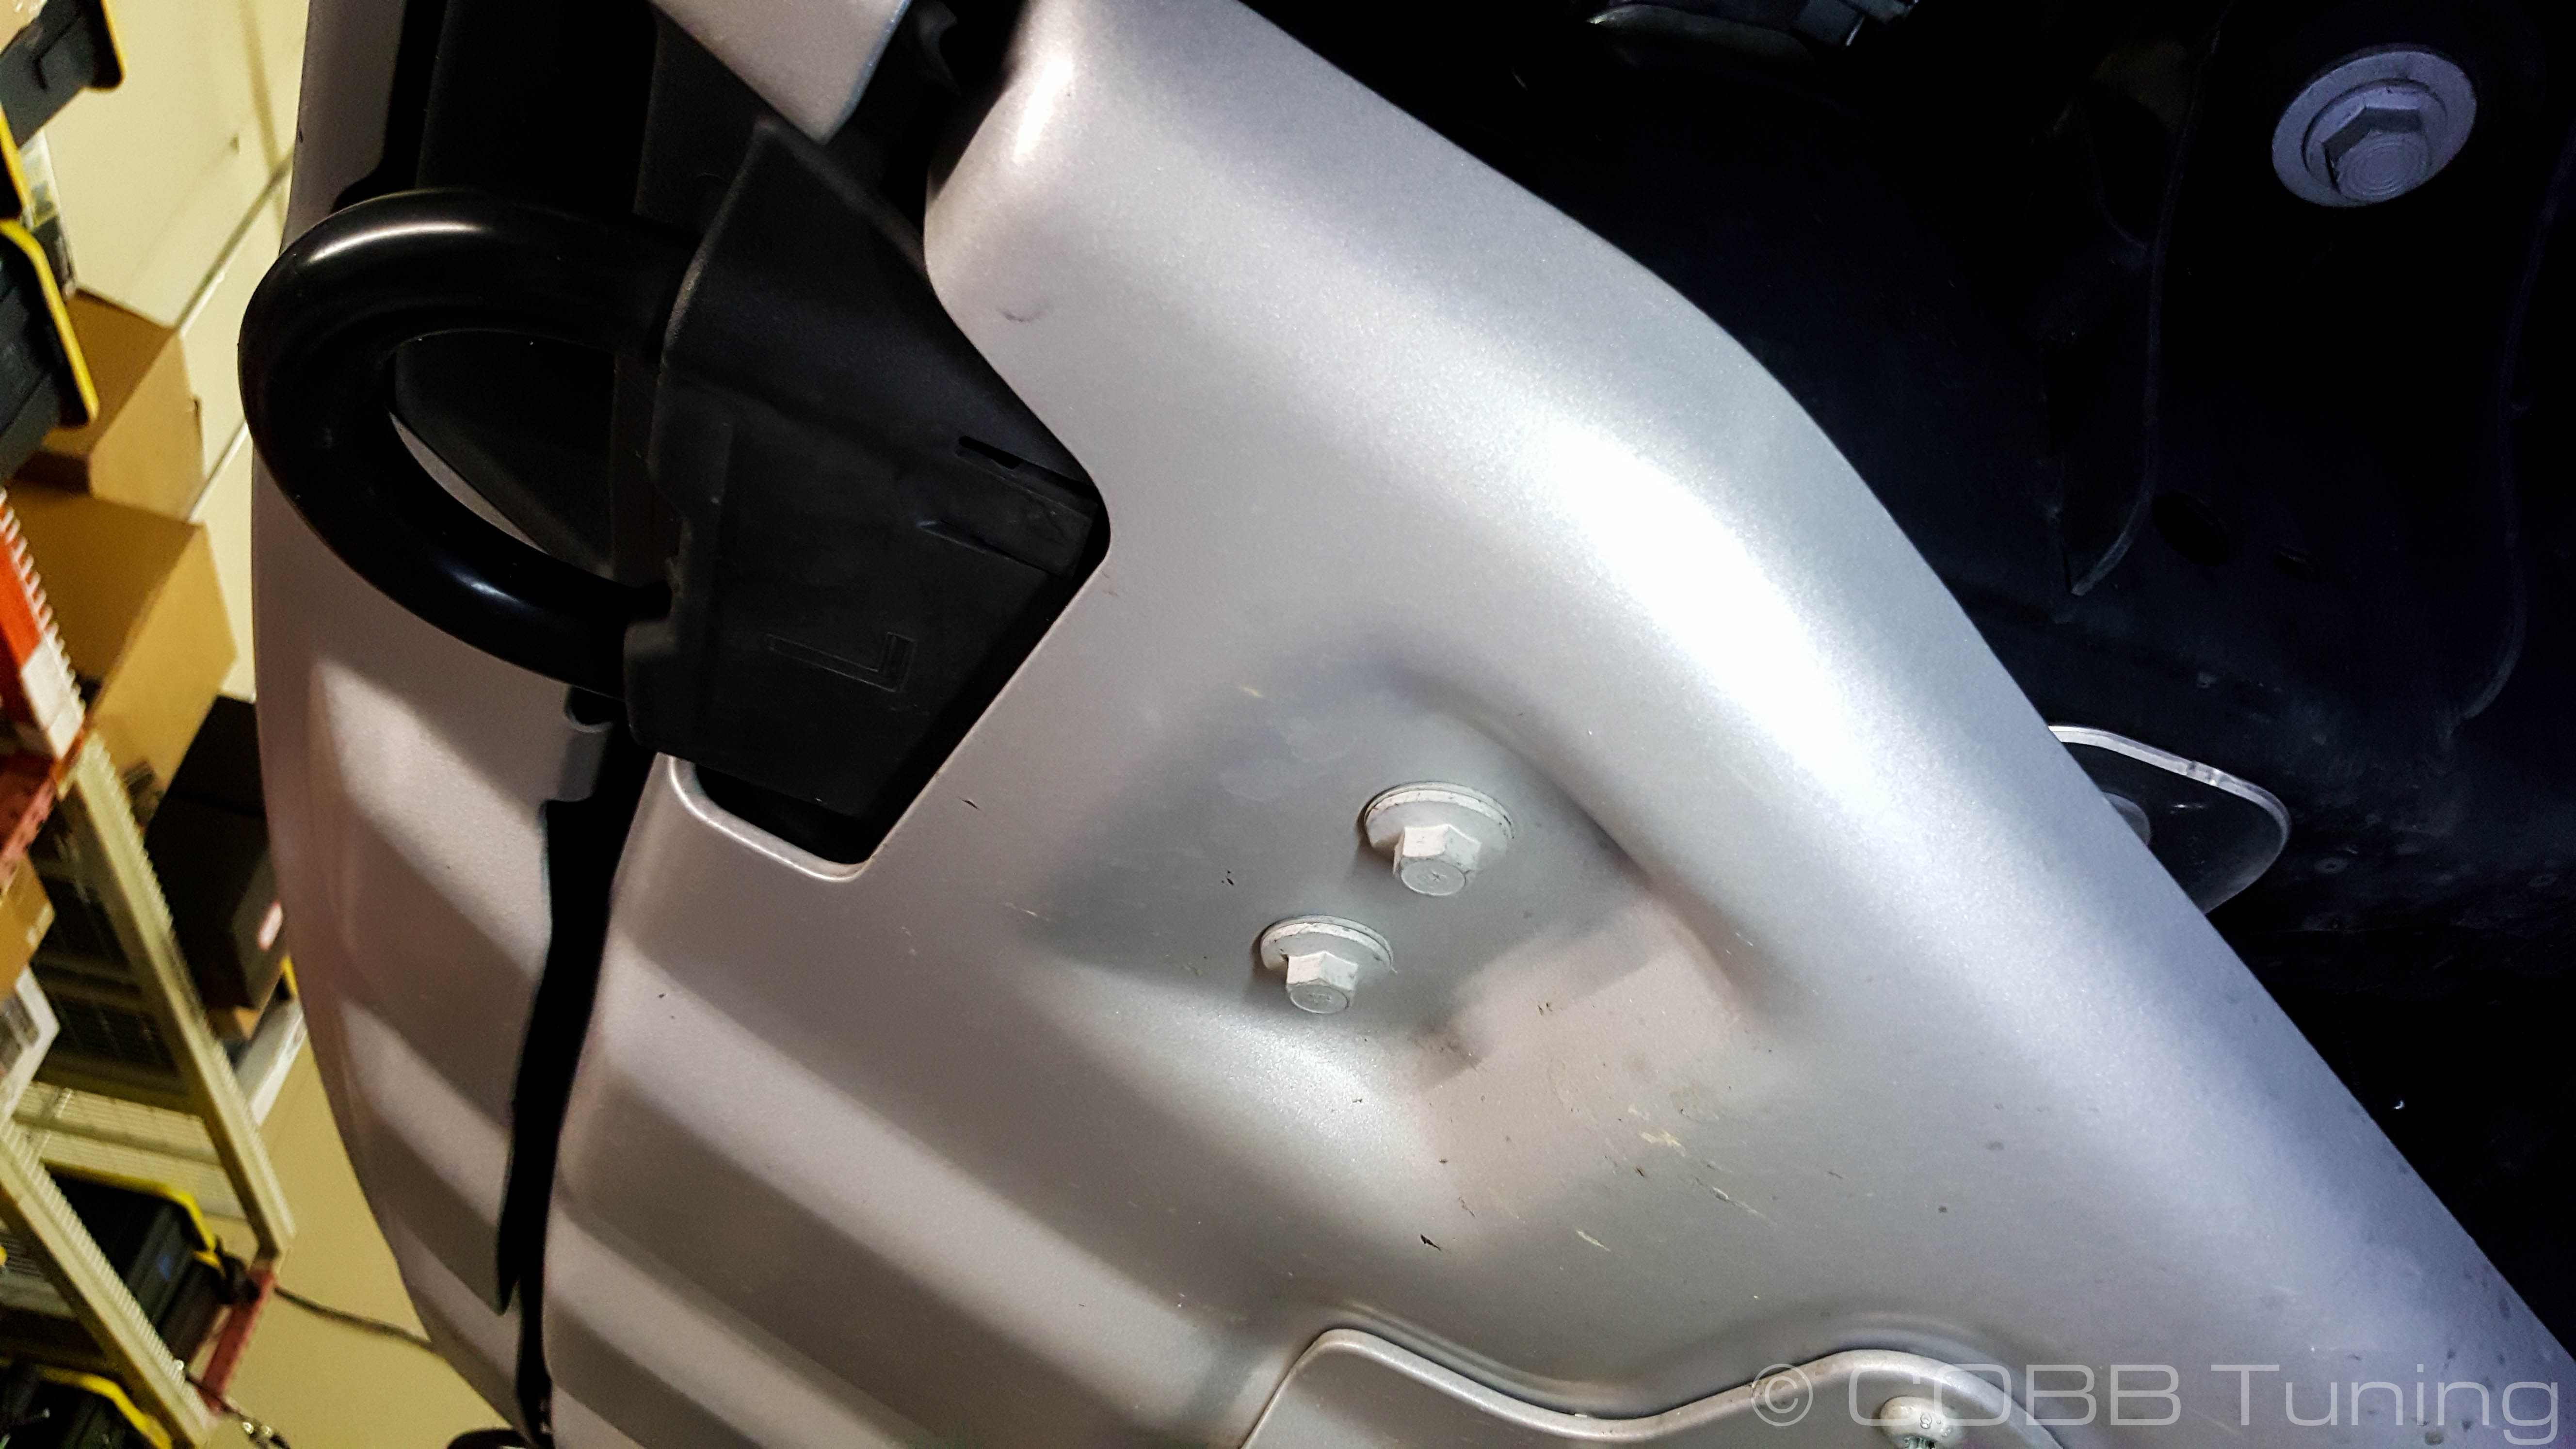
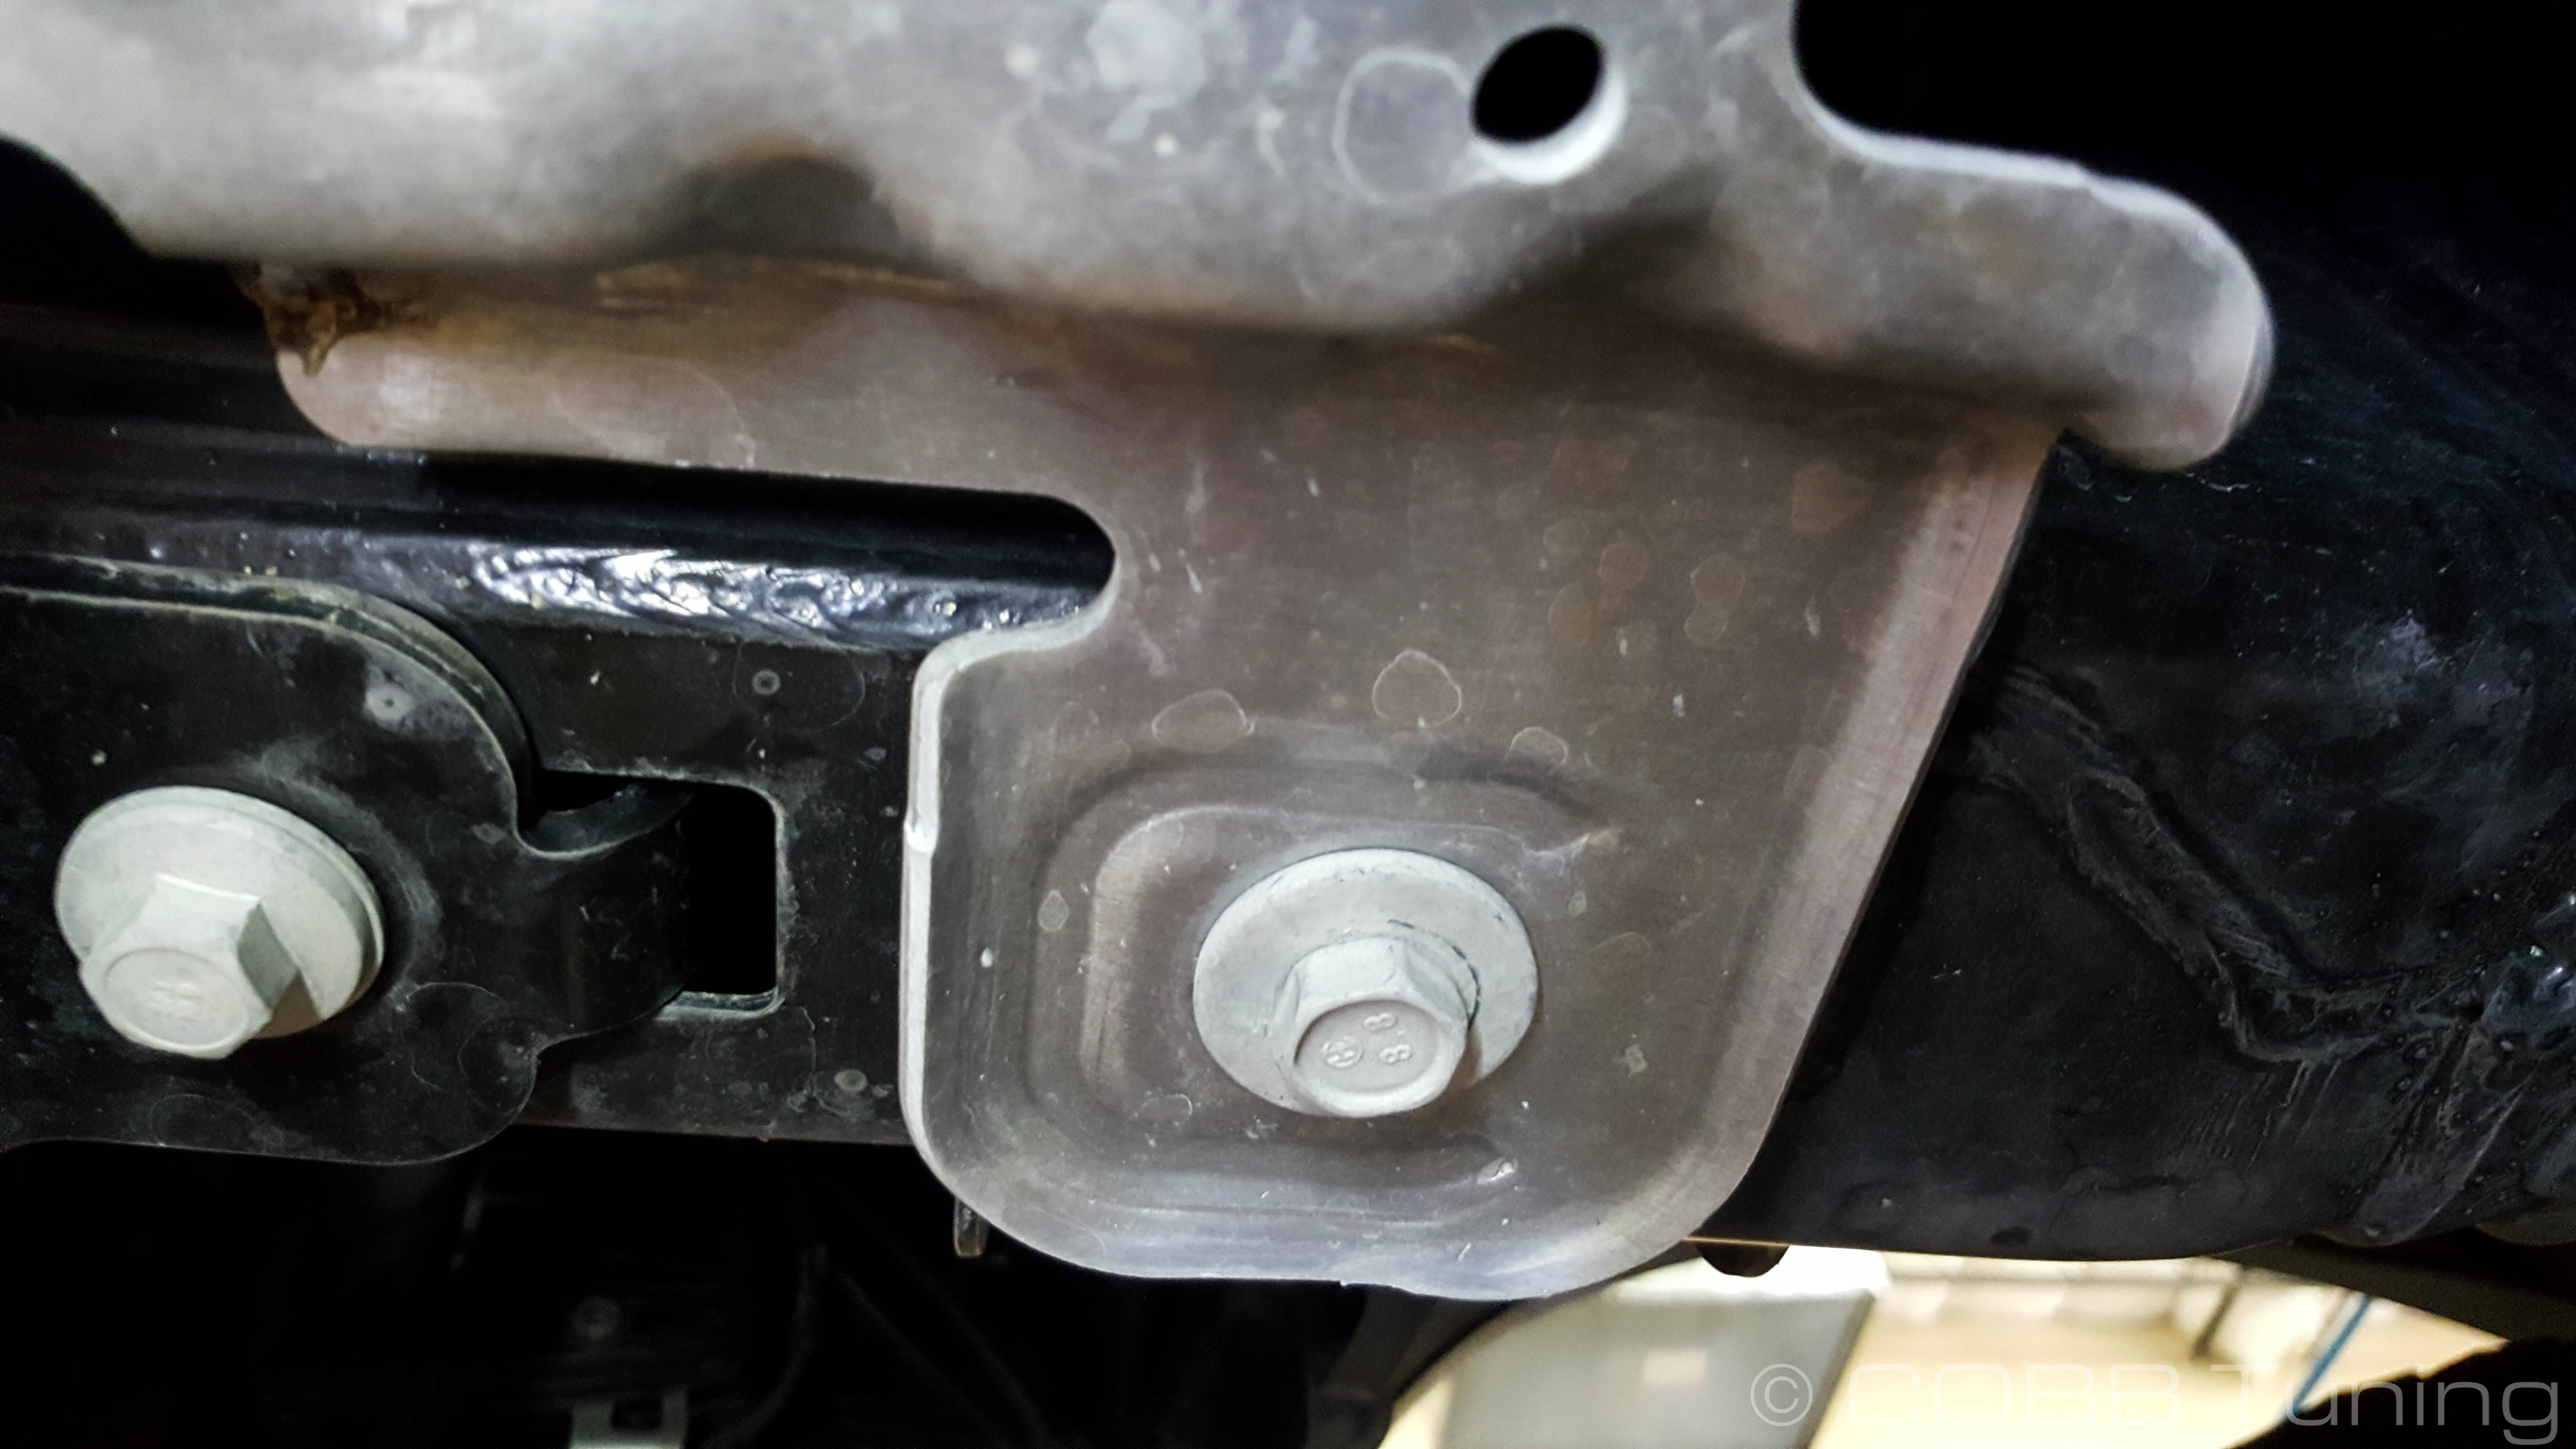
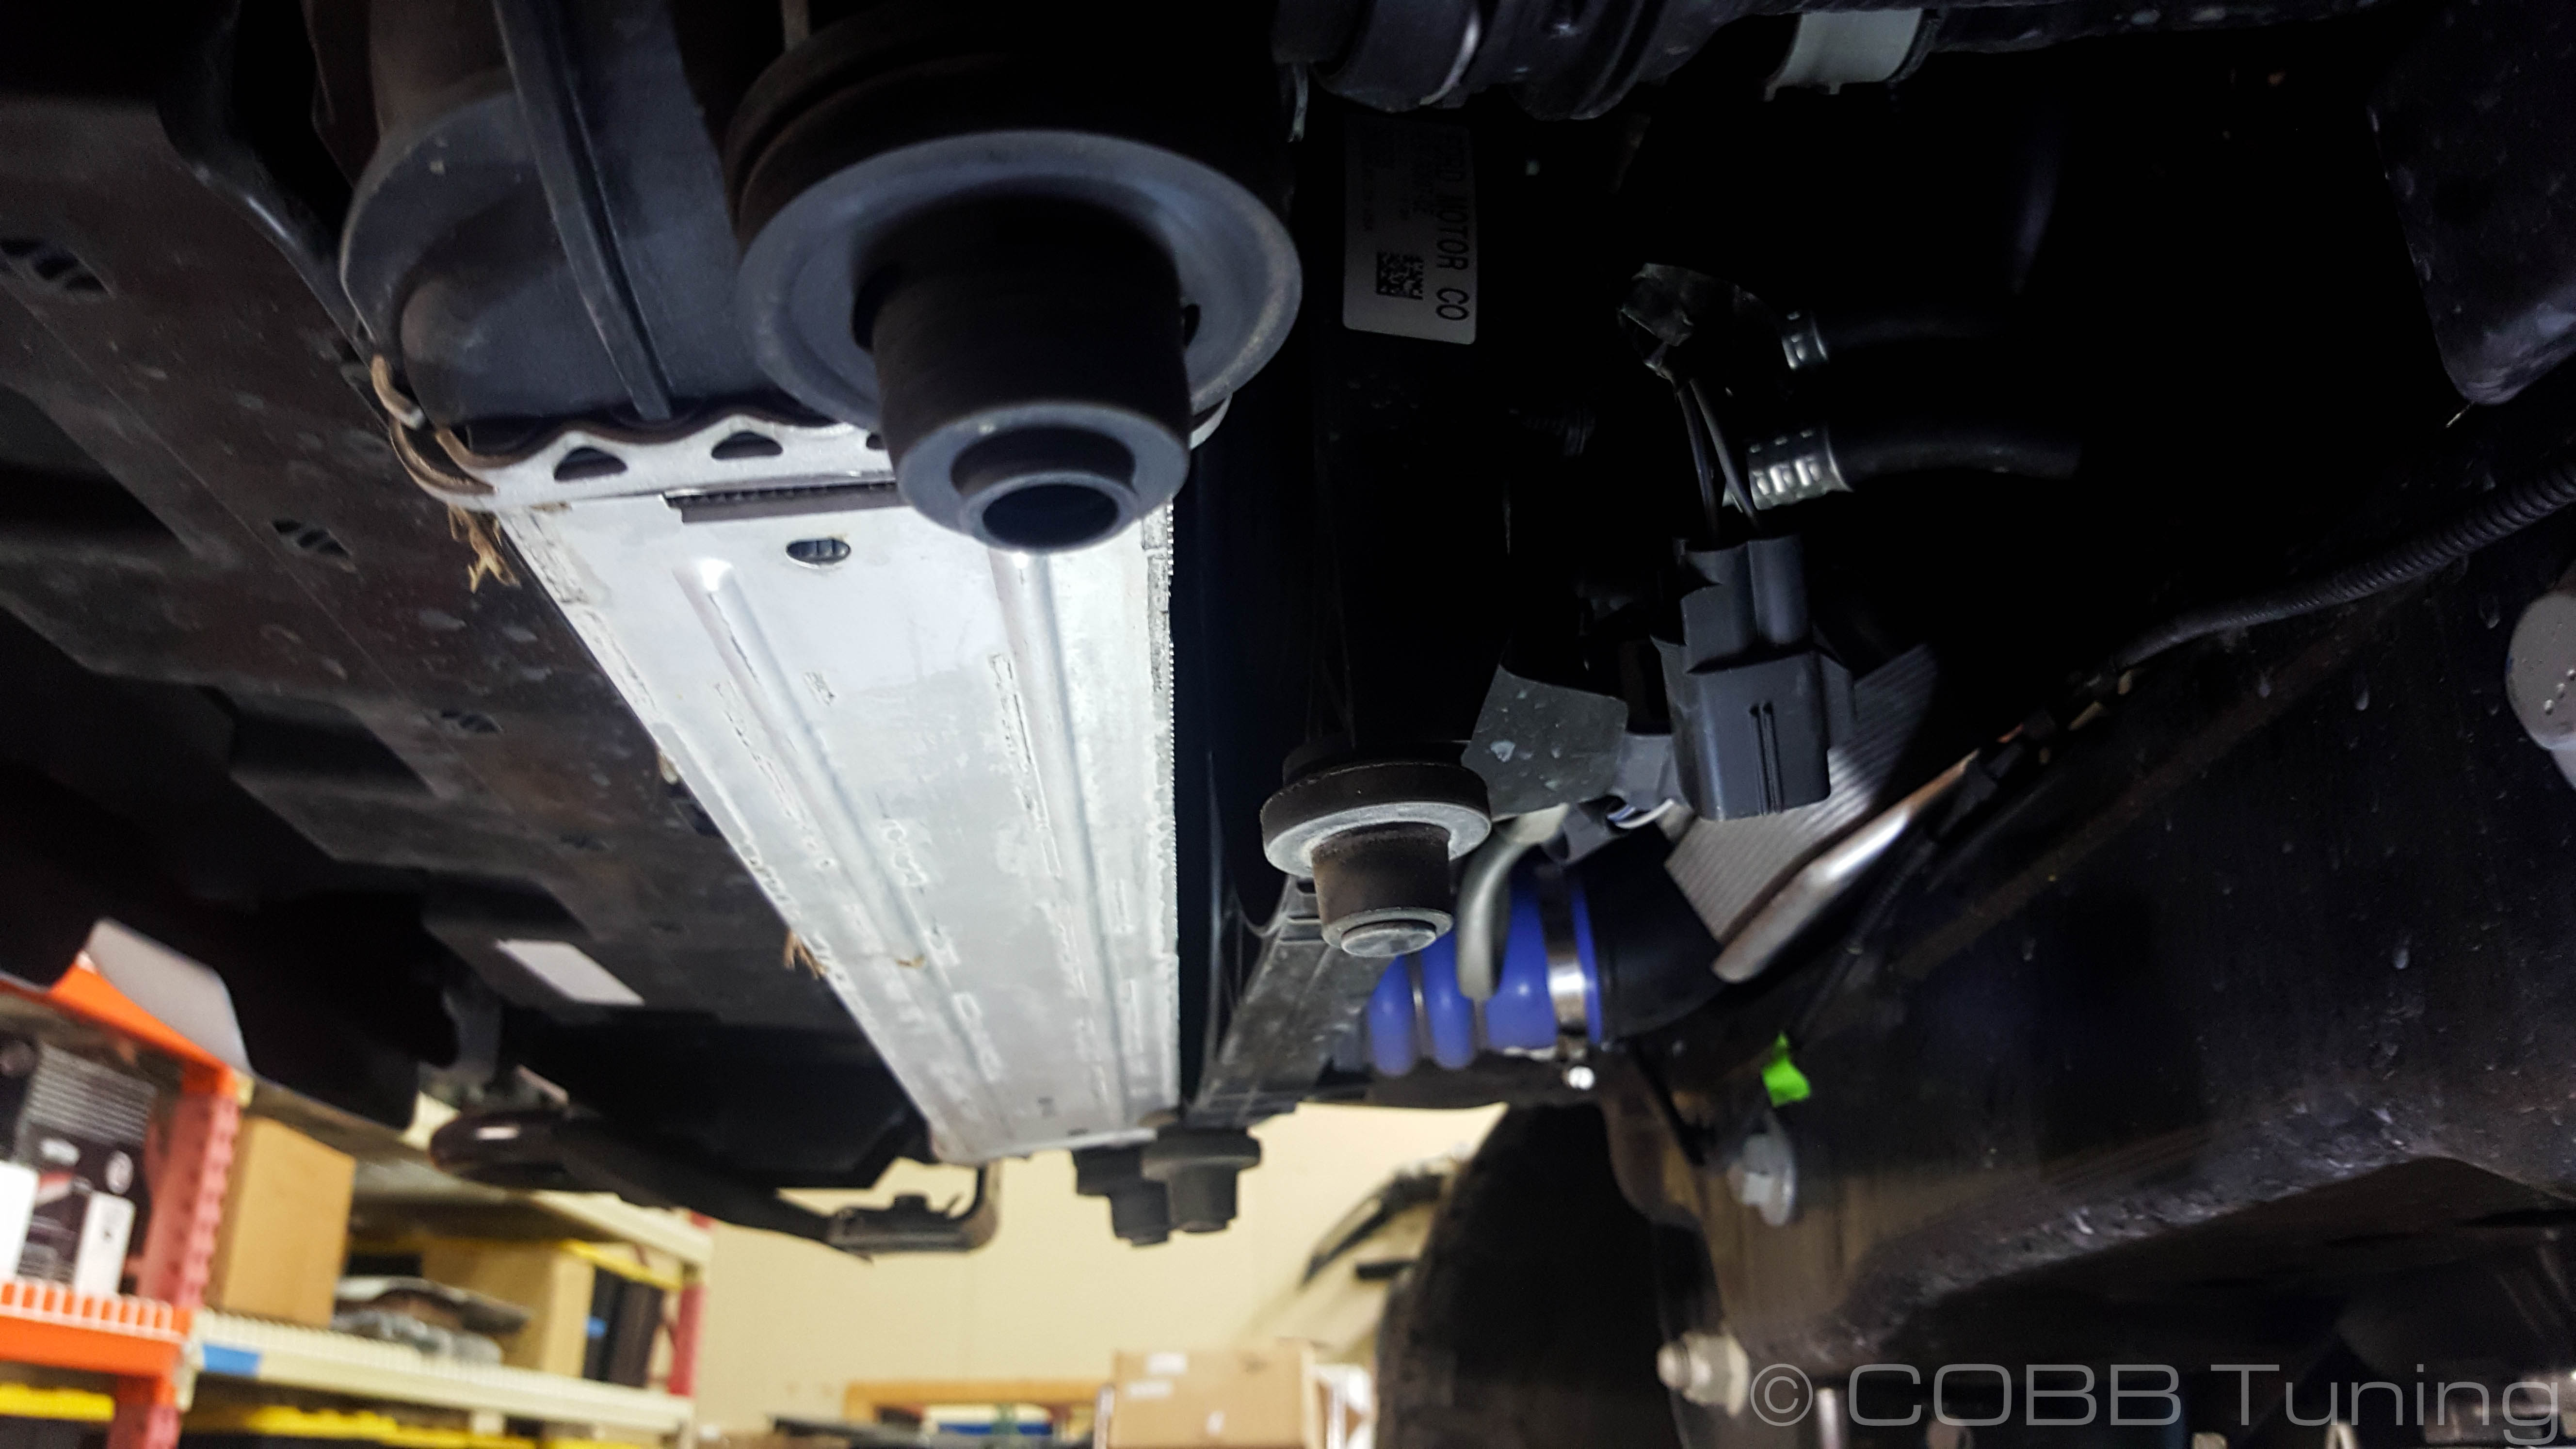
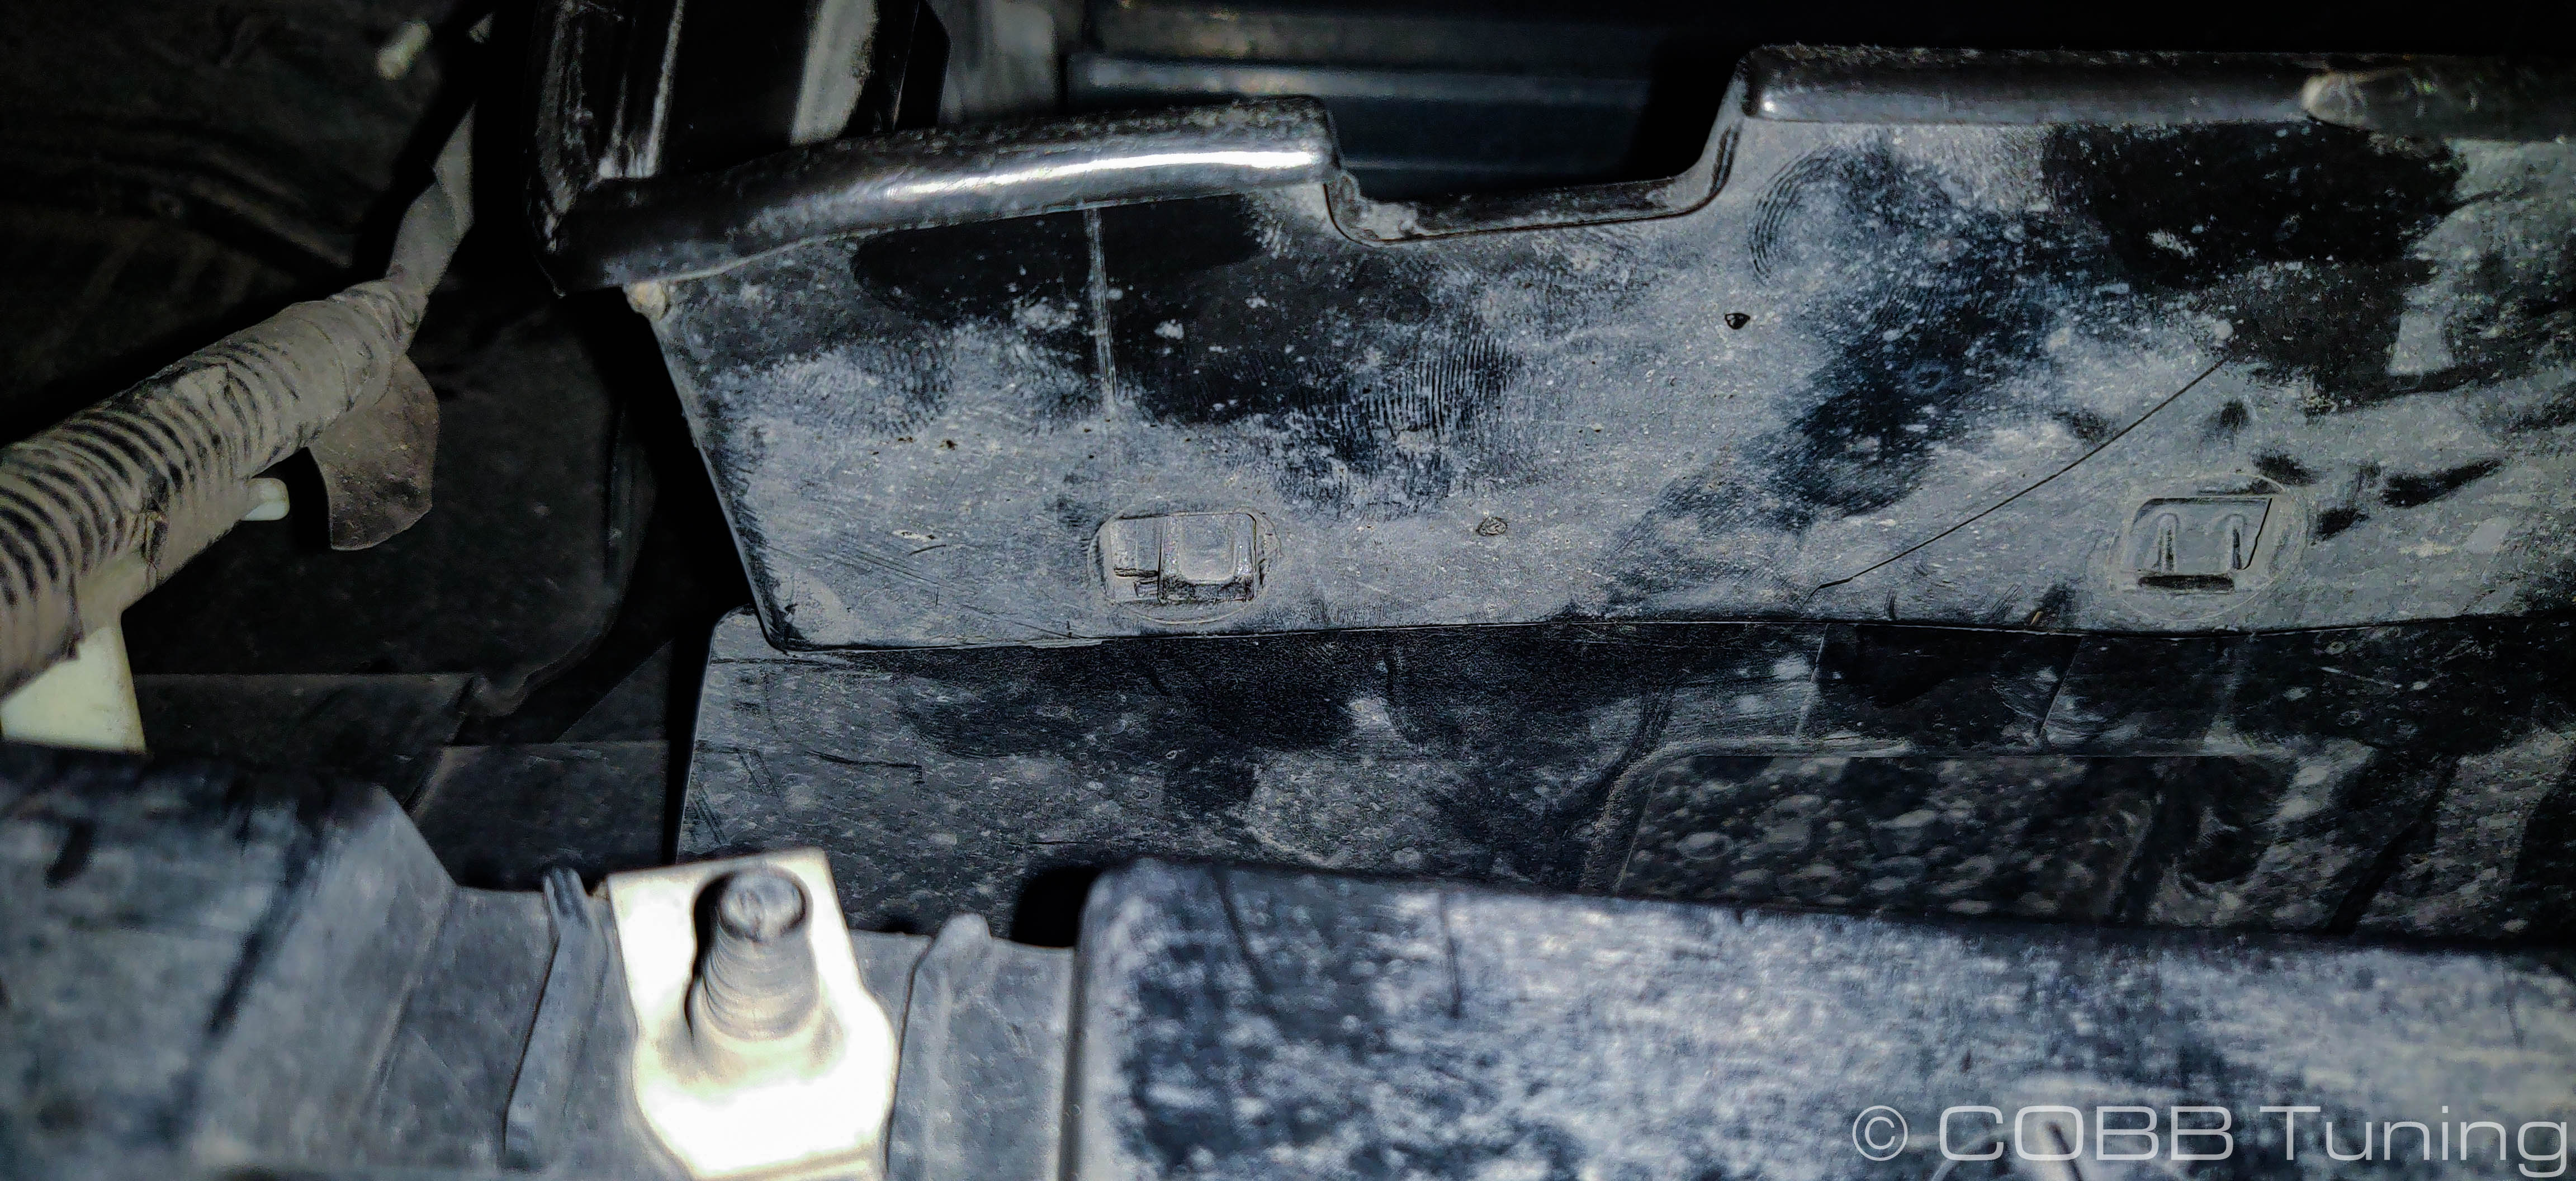
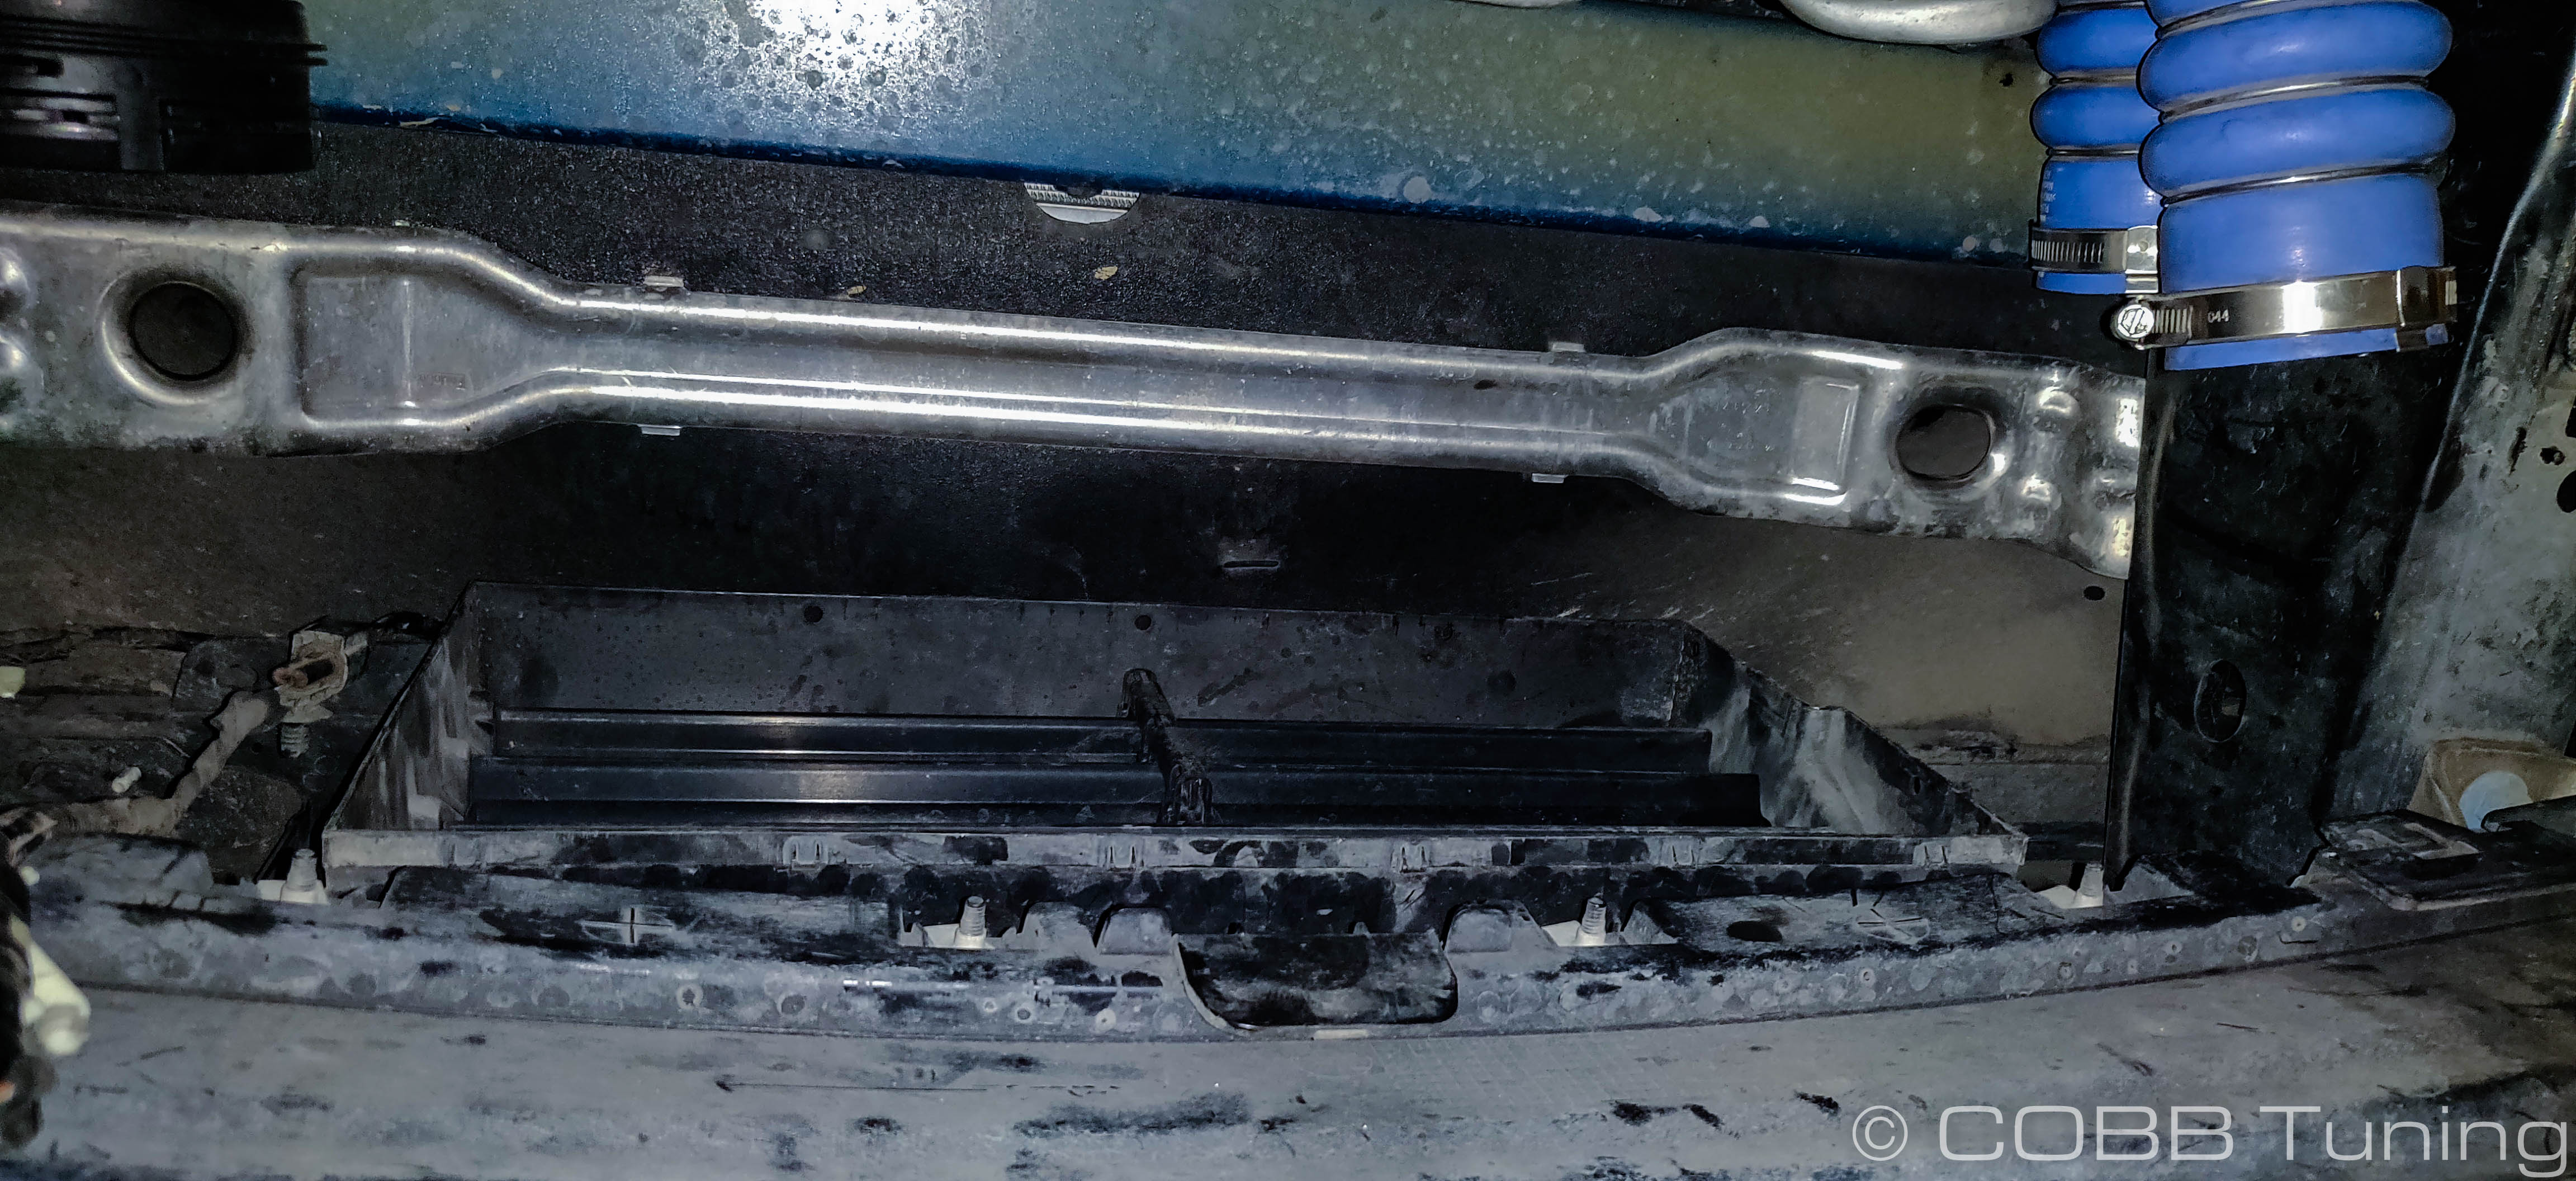
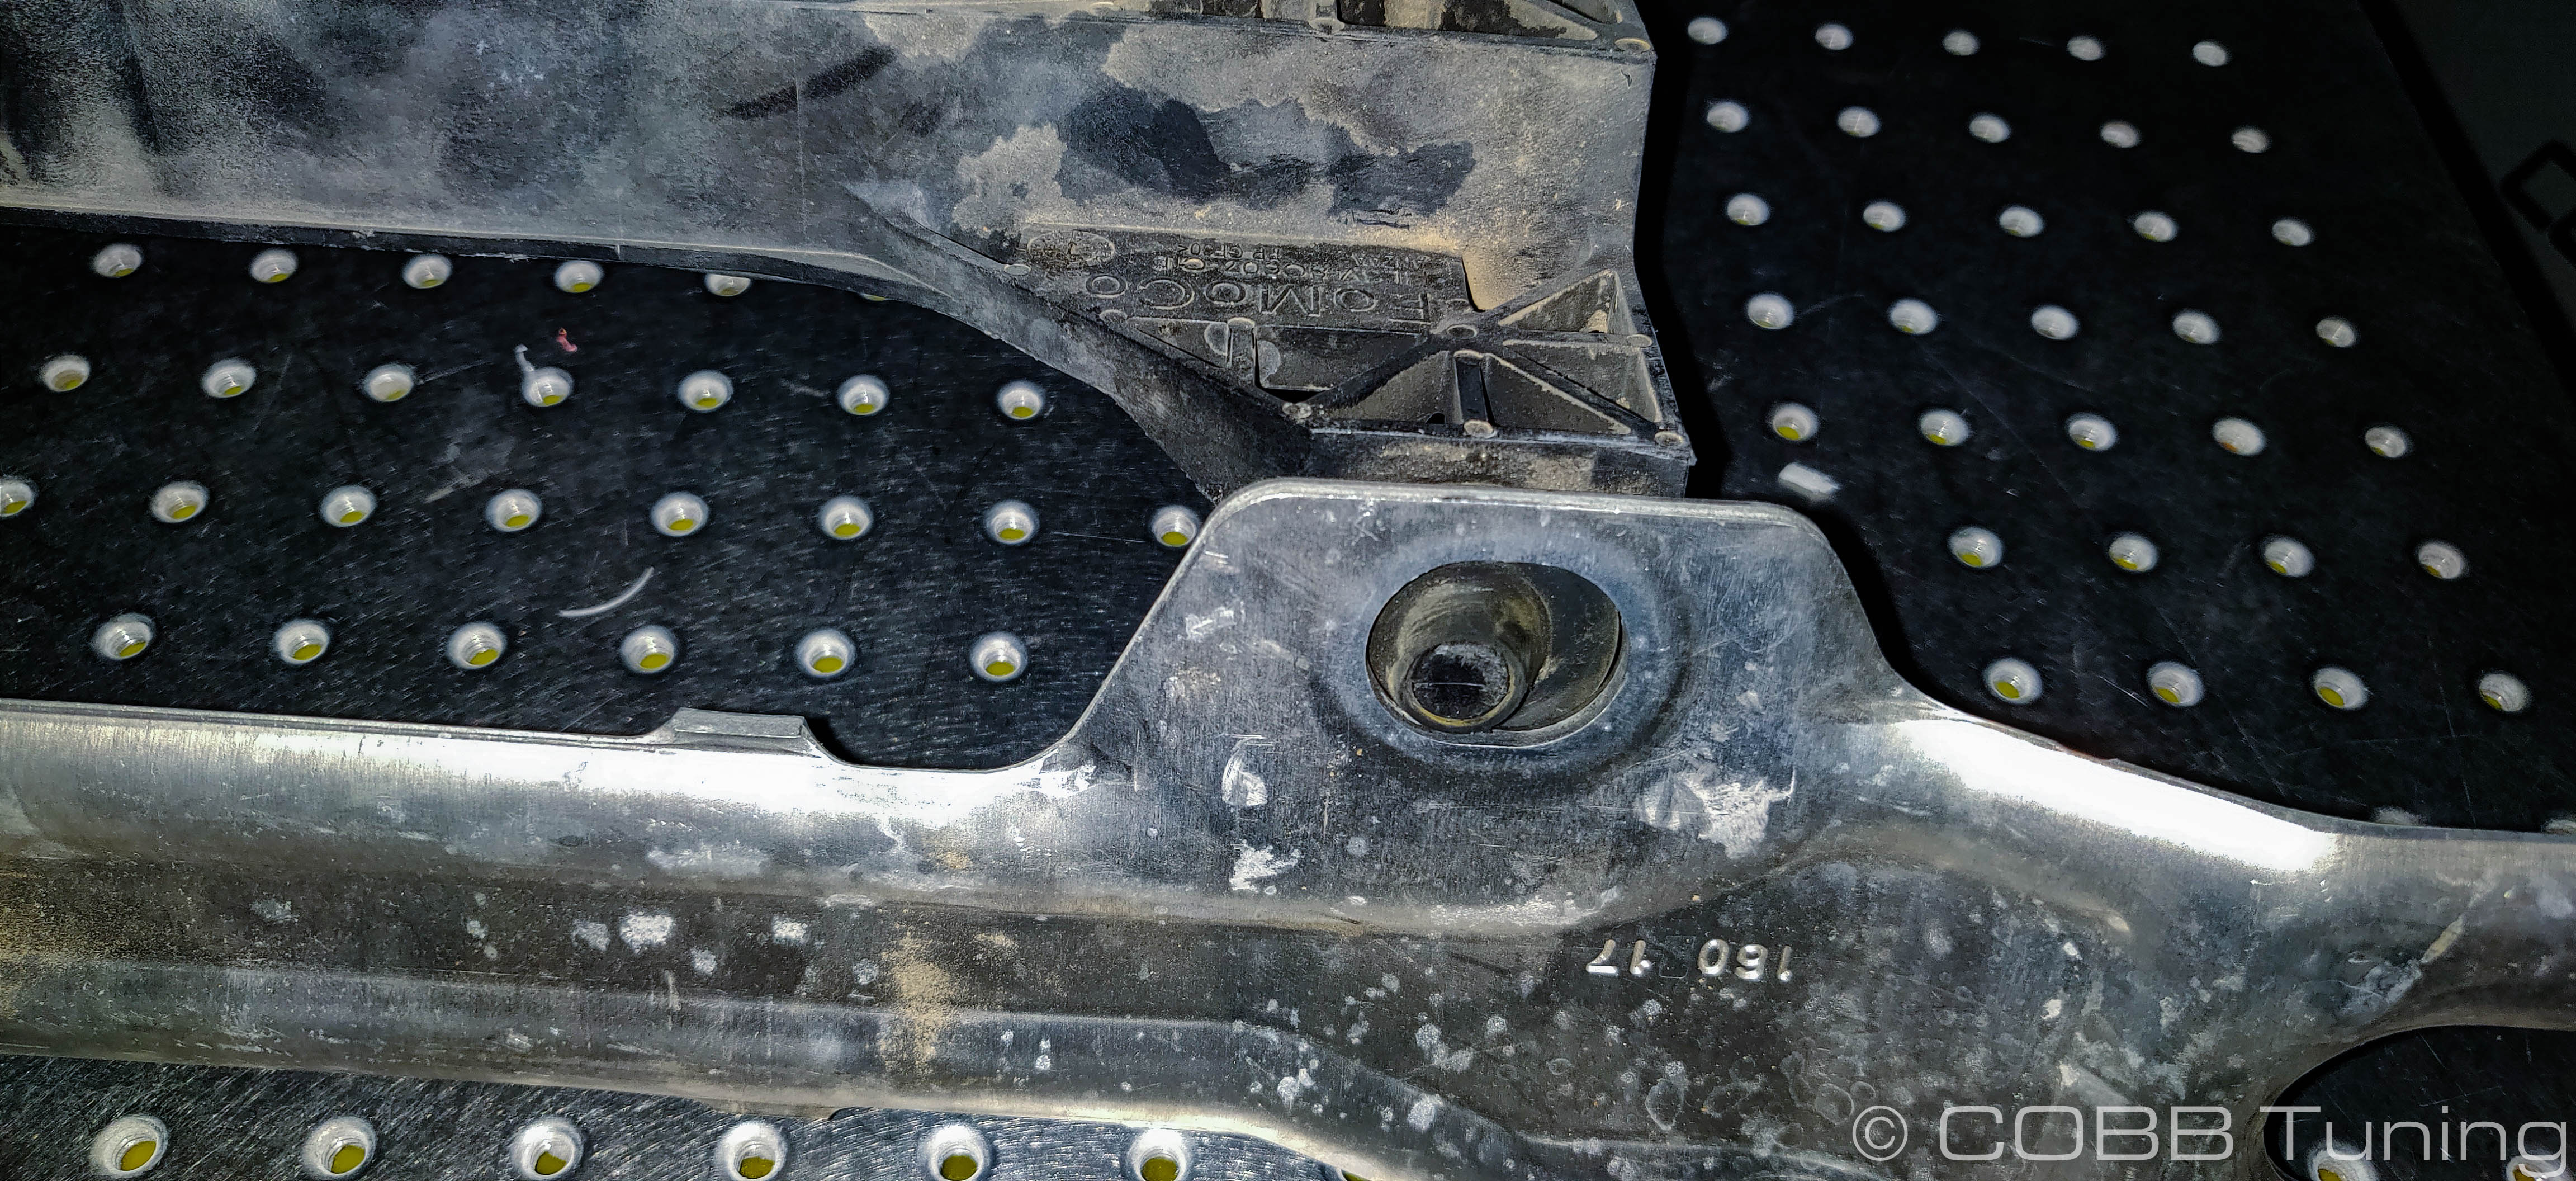
Remove the 4 13mm bolts holding at the front and 2 15mm bolts in the rear of the skid plate in place, watch out for the brace in the rear and note the orientation it was in when removed as it will only fit in that way when you go to reinstall.
Raptor only
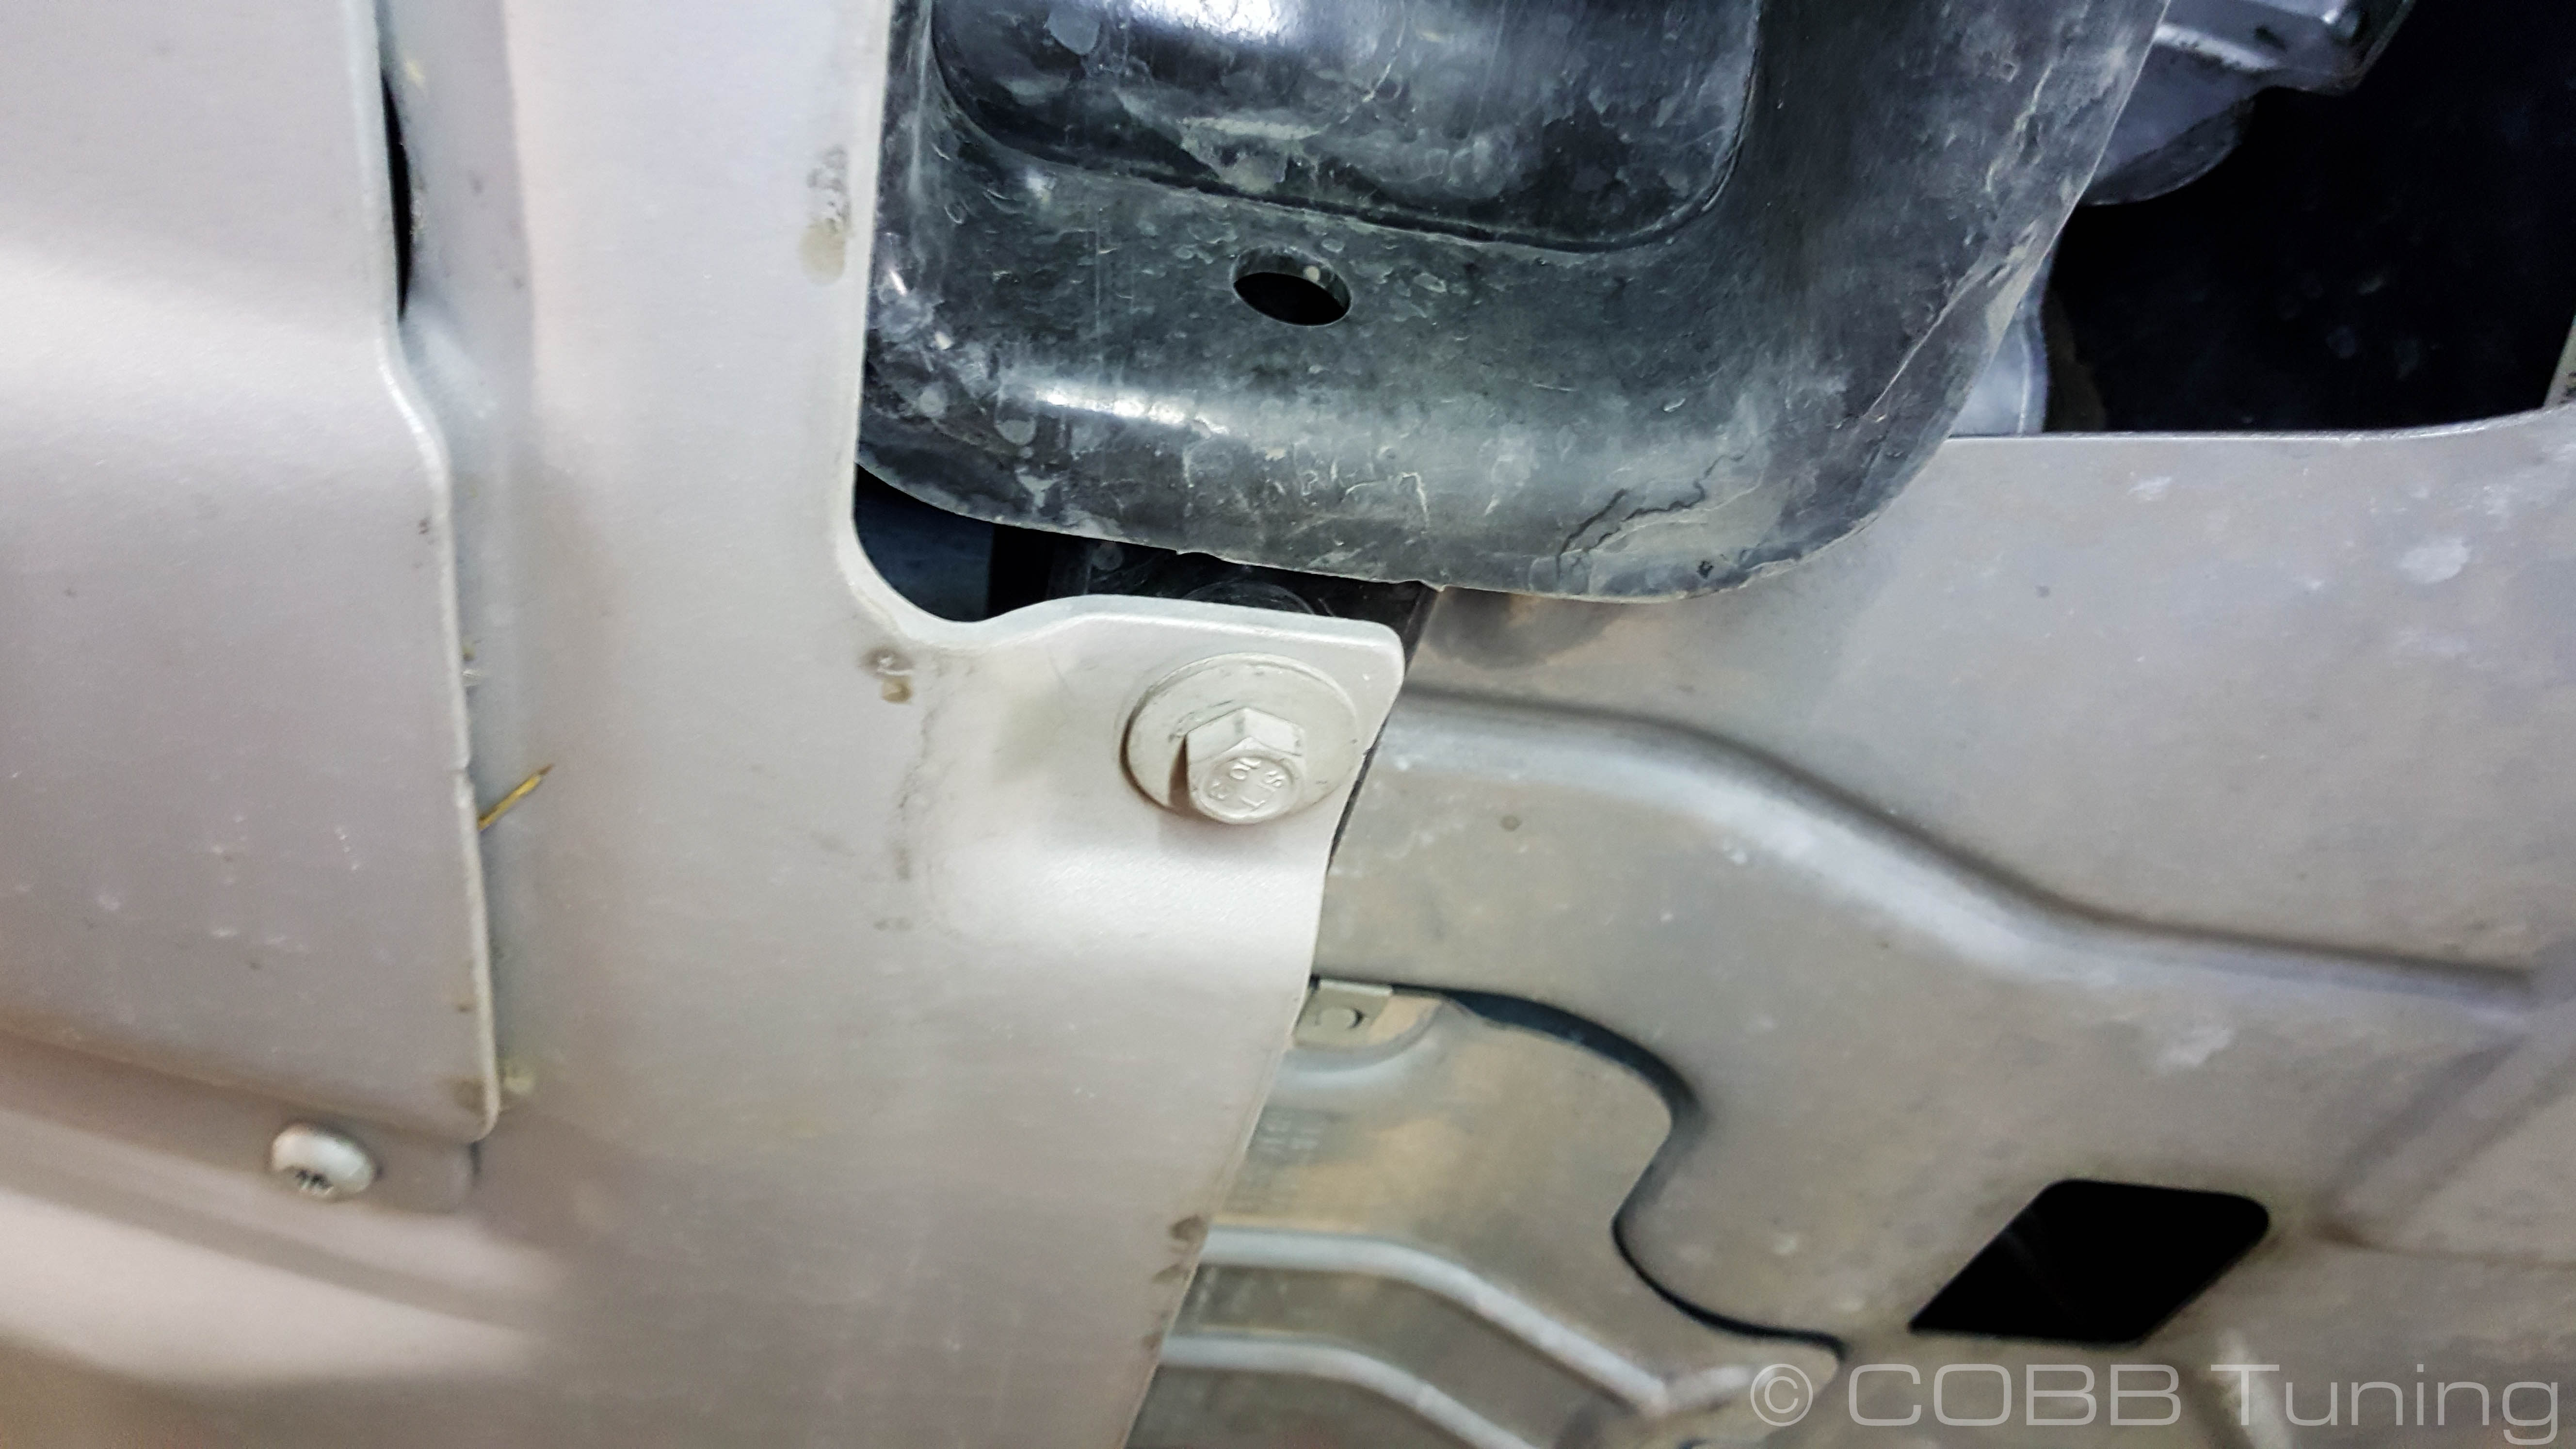
The clips with built in nuts found on the frame can fall off easily, so make sure not to lose them!
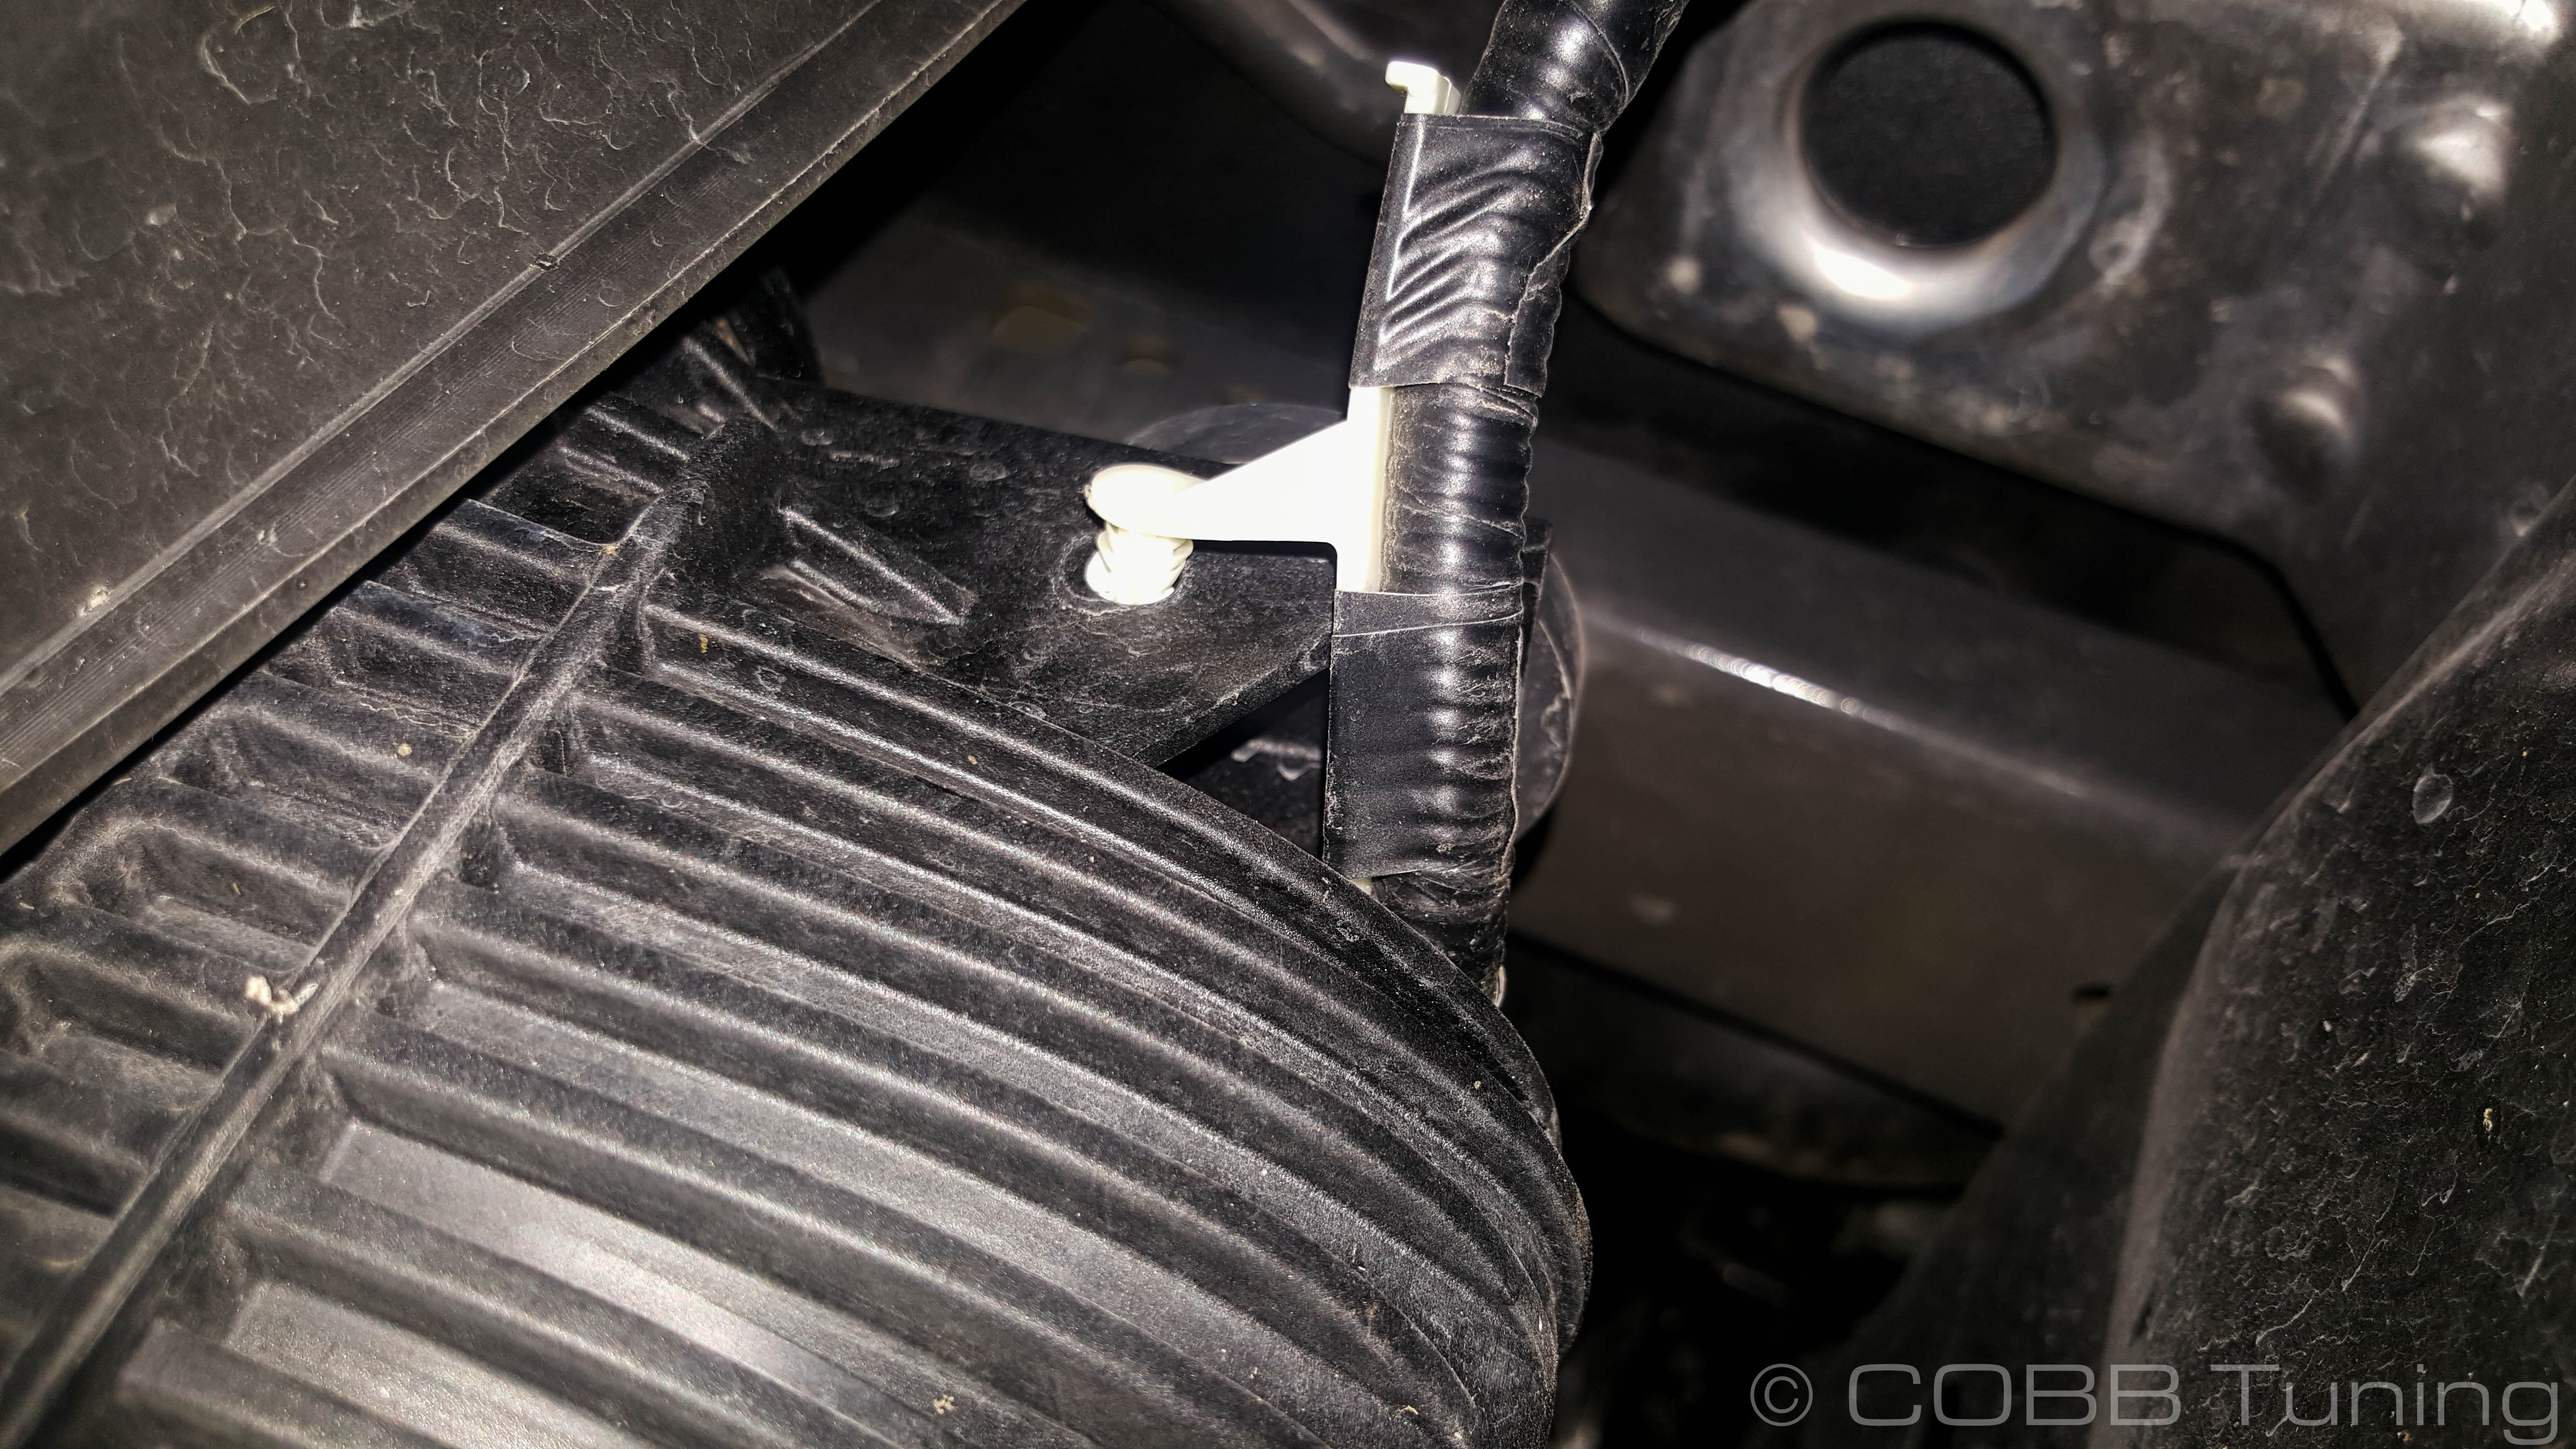
Reach up and undo the wiring to the fans by gently squeezing the clip before disconnecting them. Then disconnect harness from fan using your trim tool.
Raptor Only

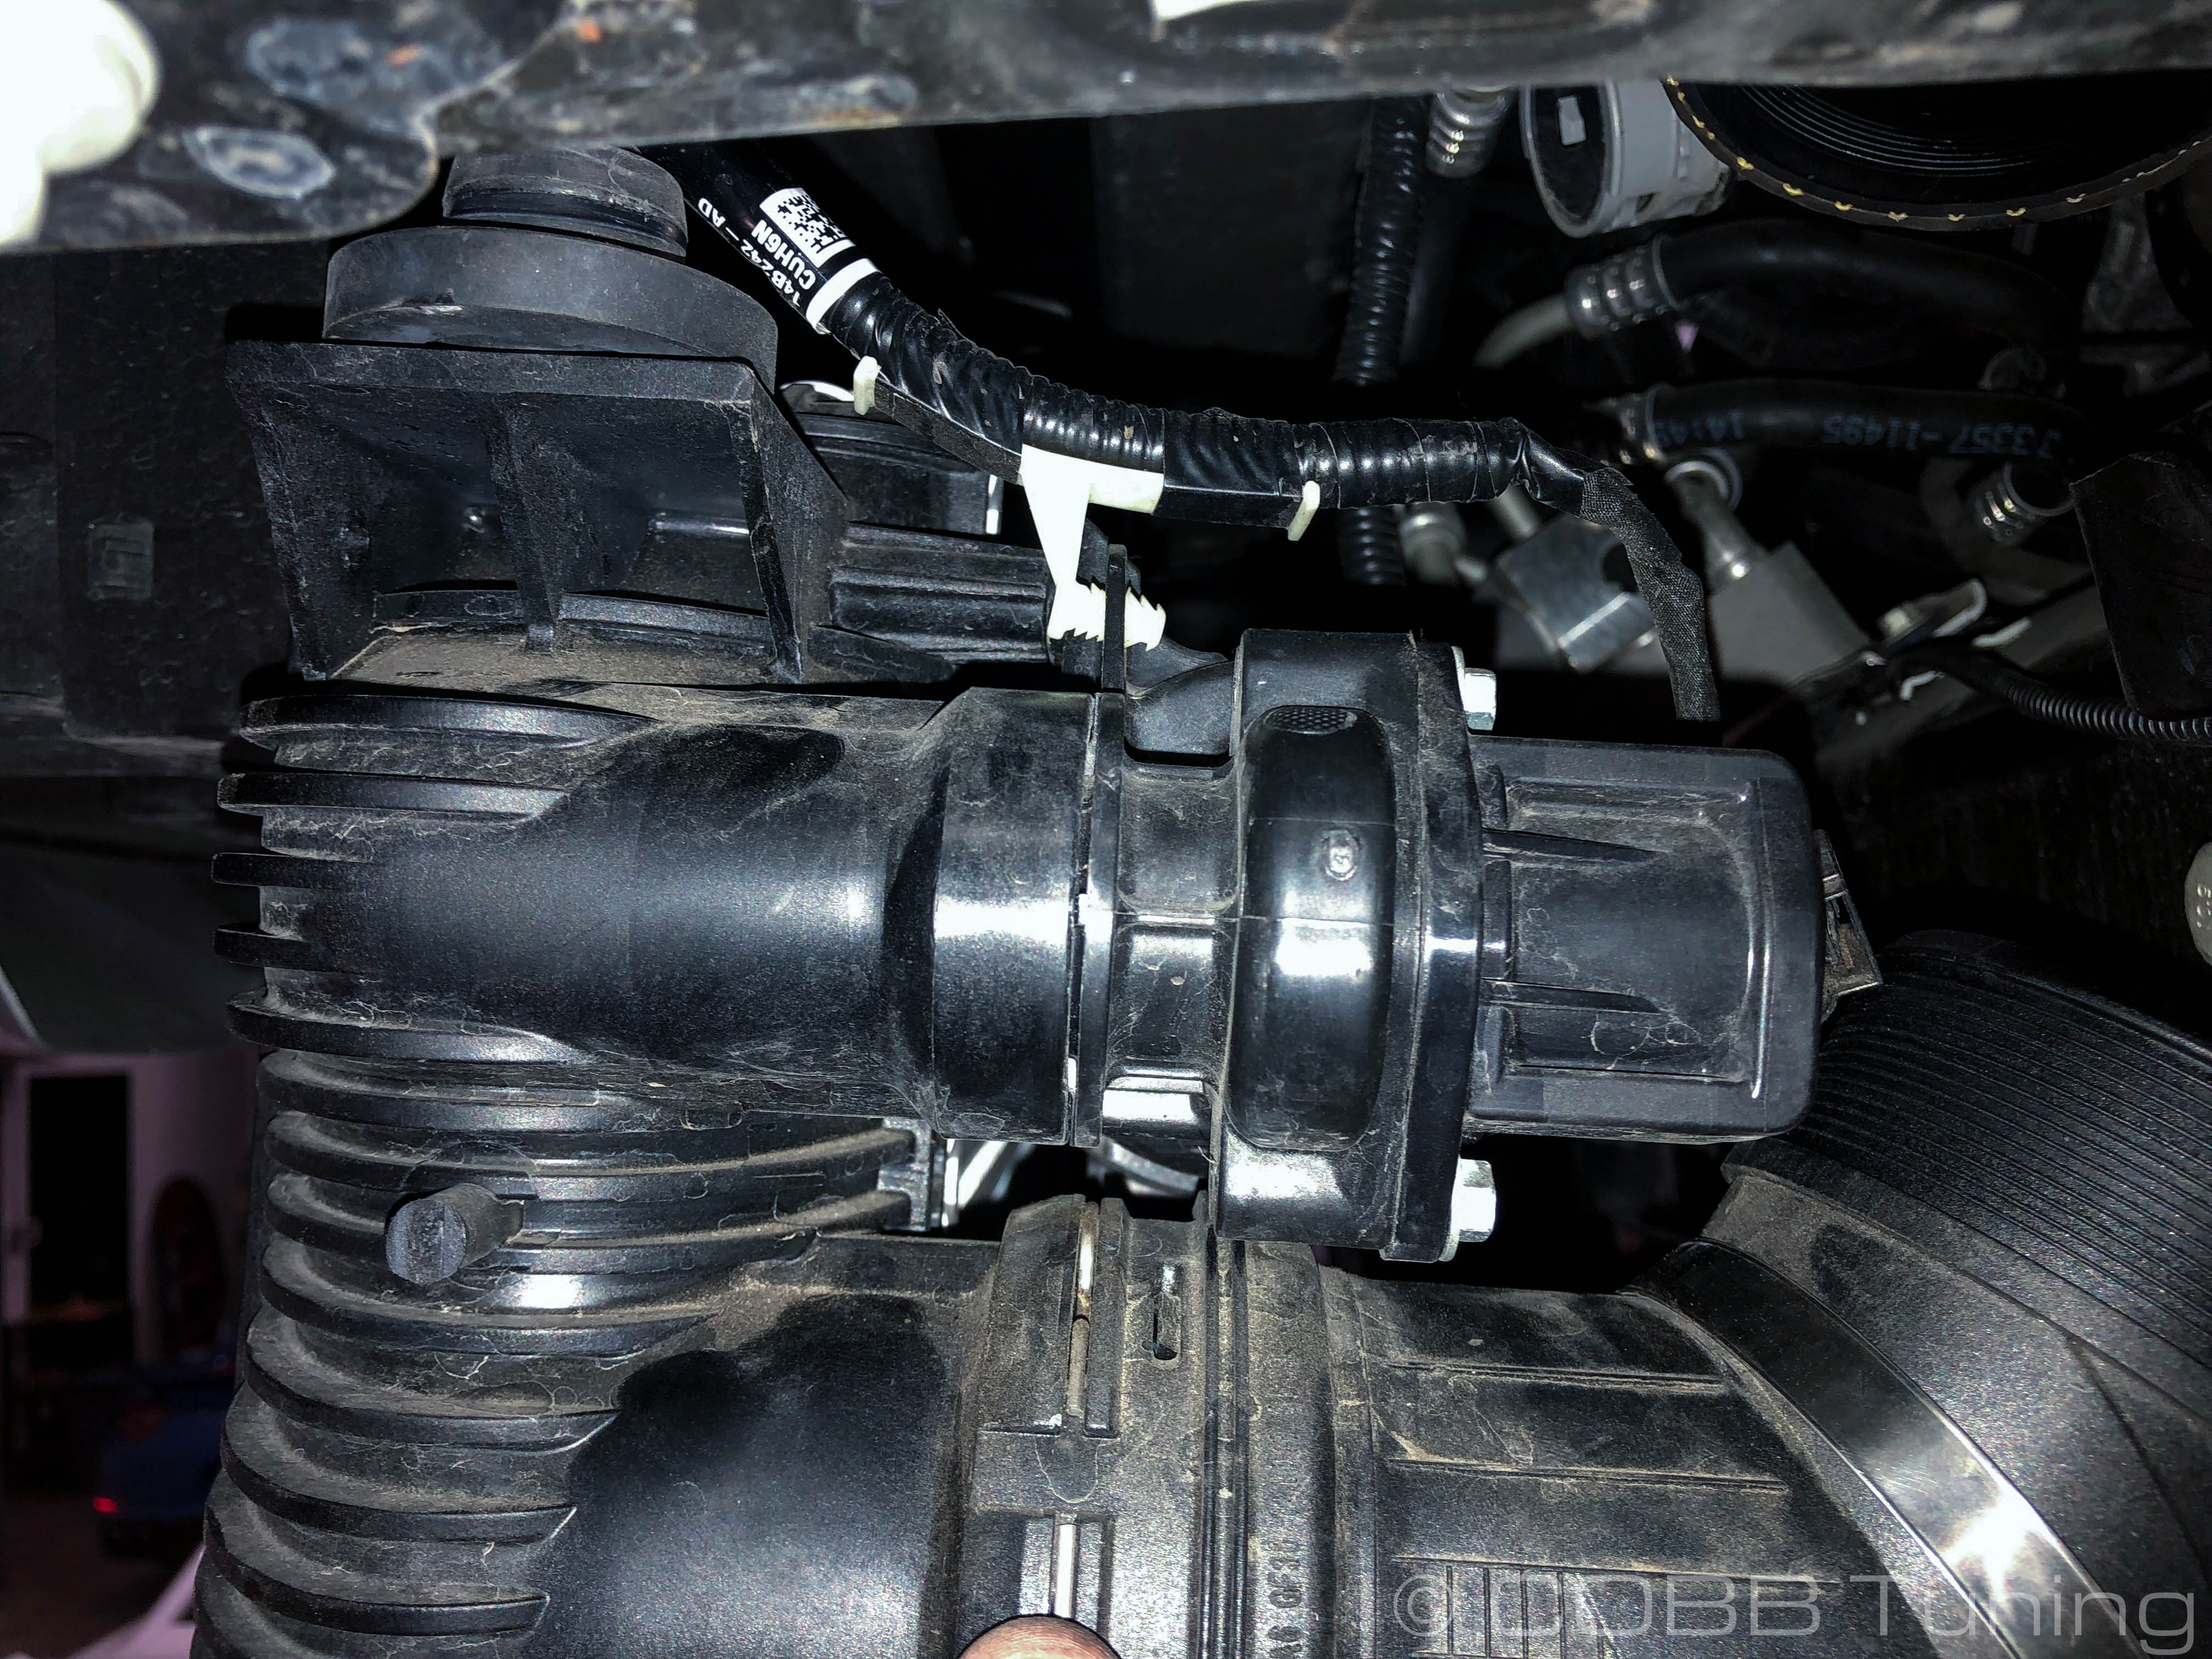
- Disconnect electrical plug going to the electronic bypass valve.
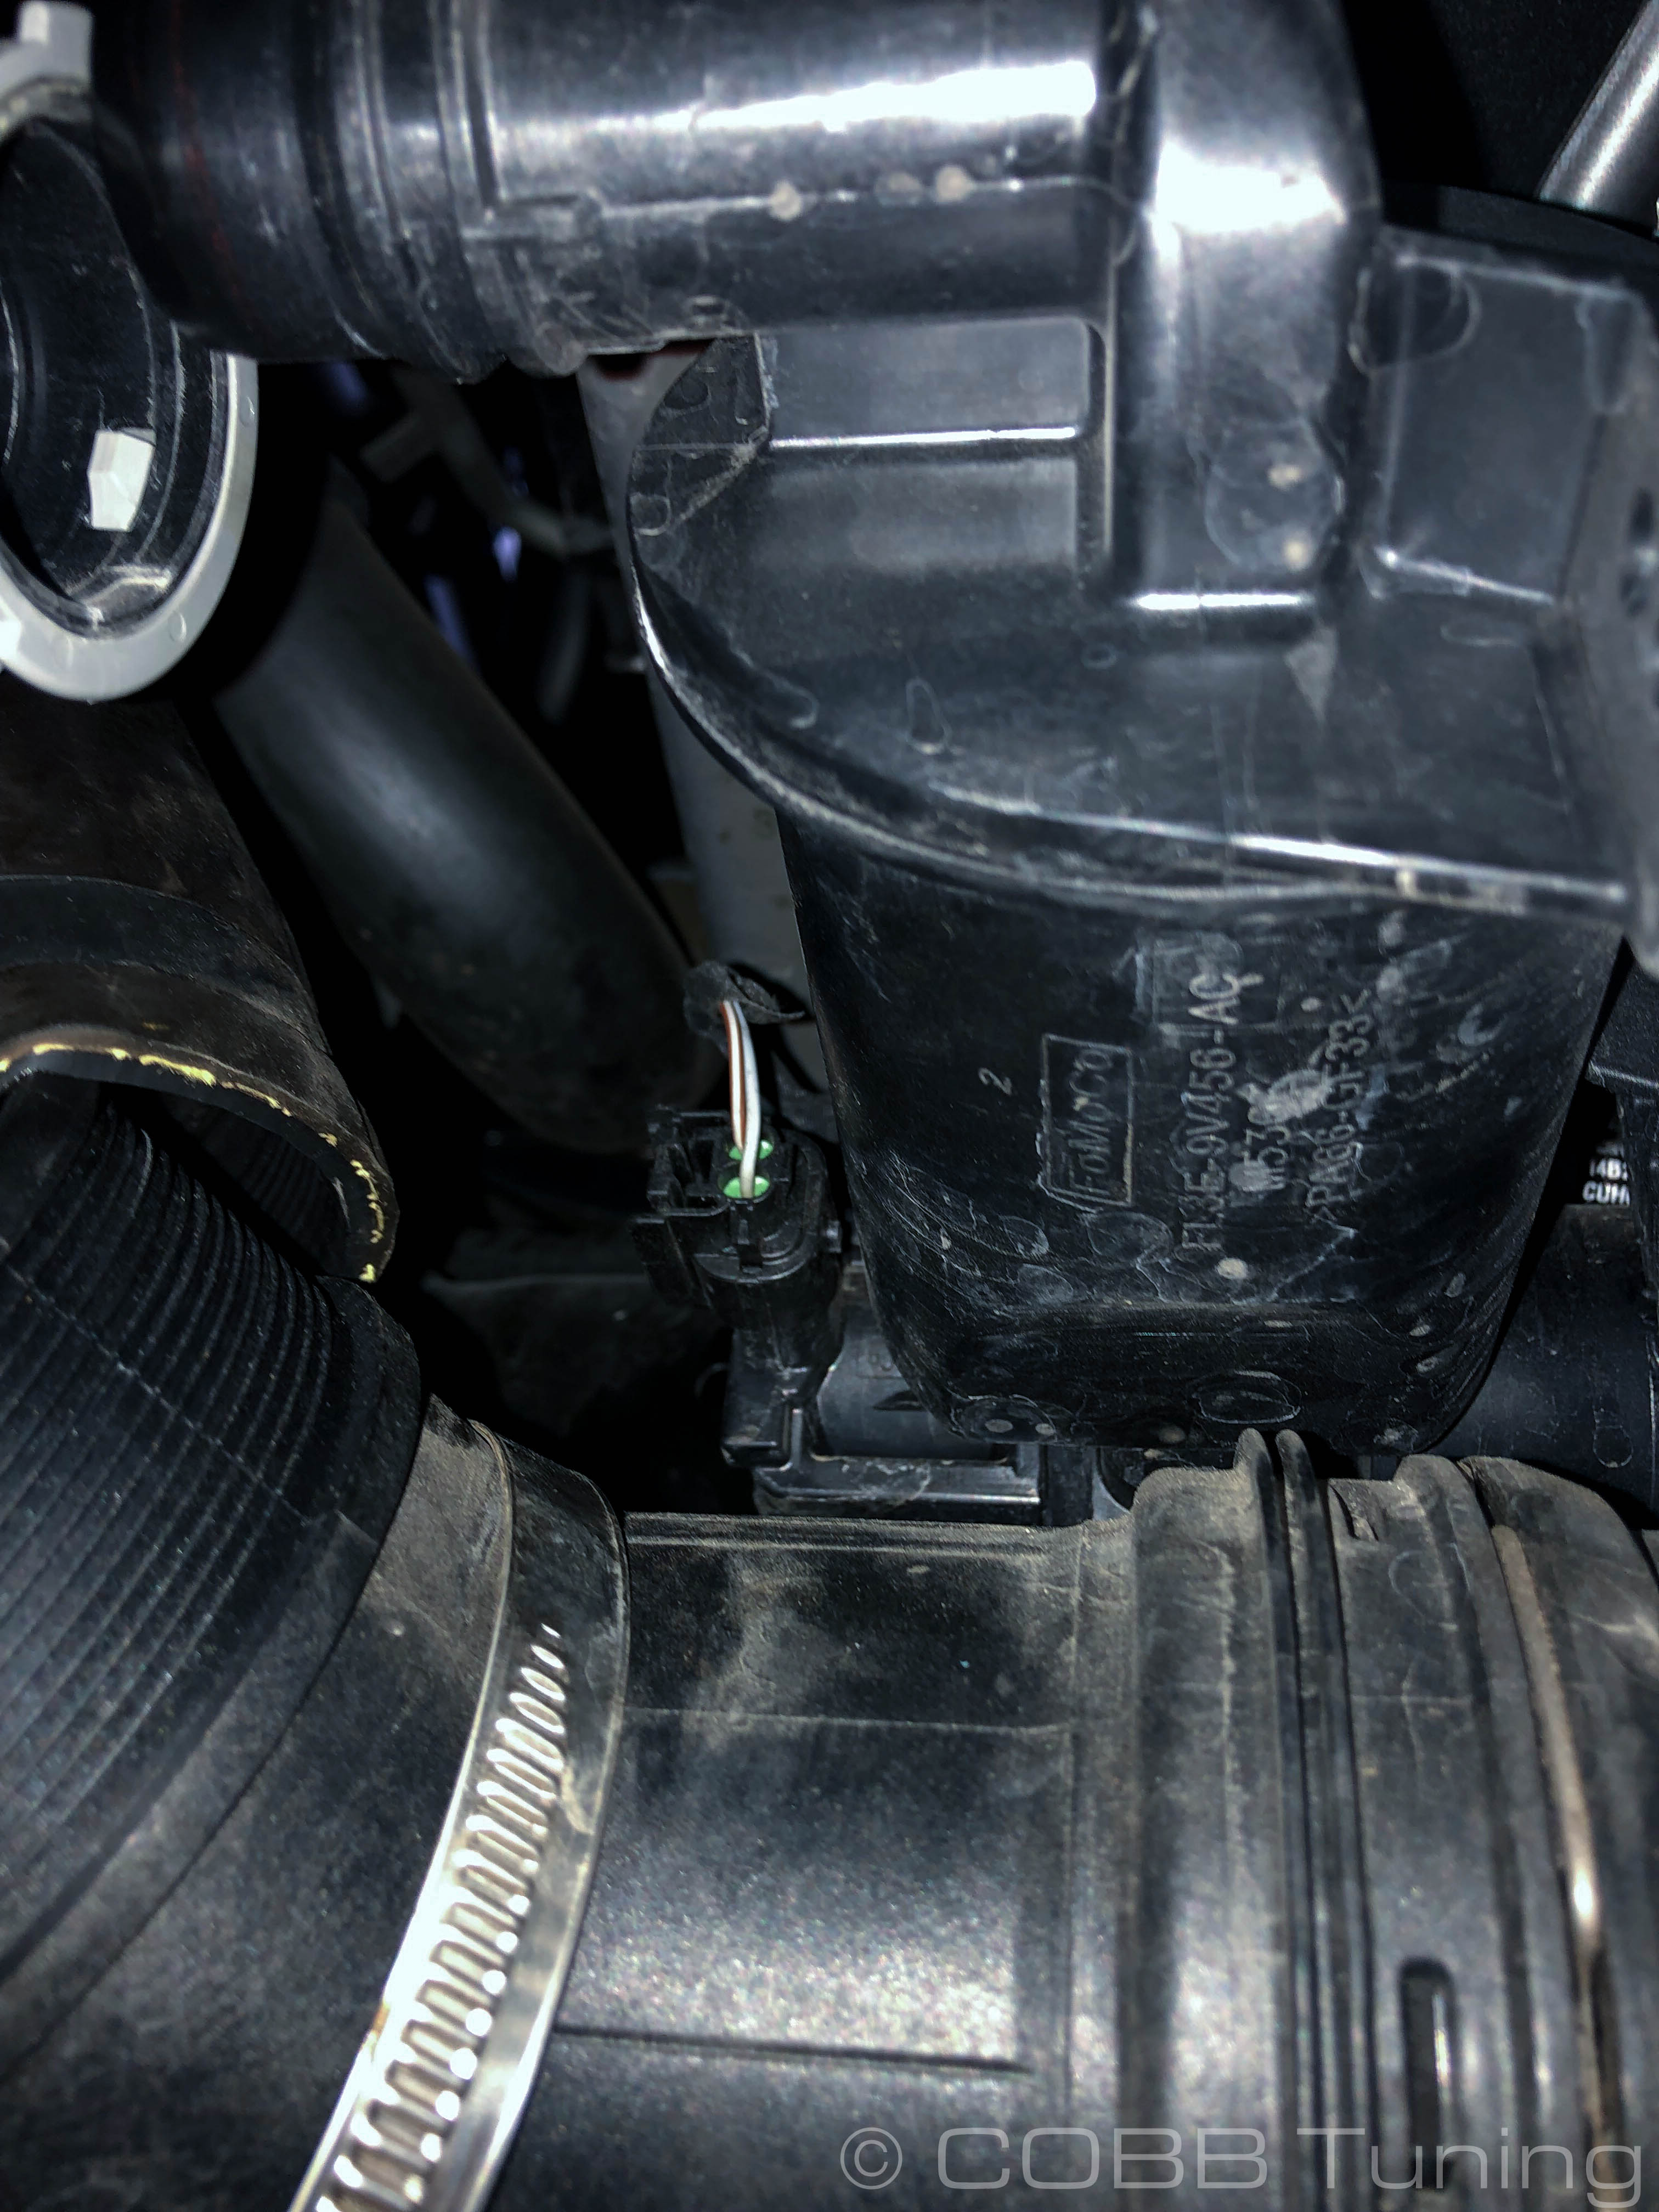
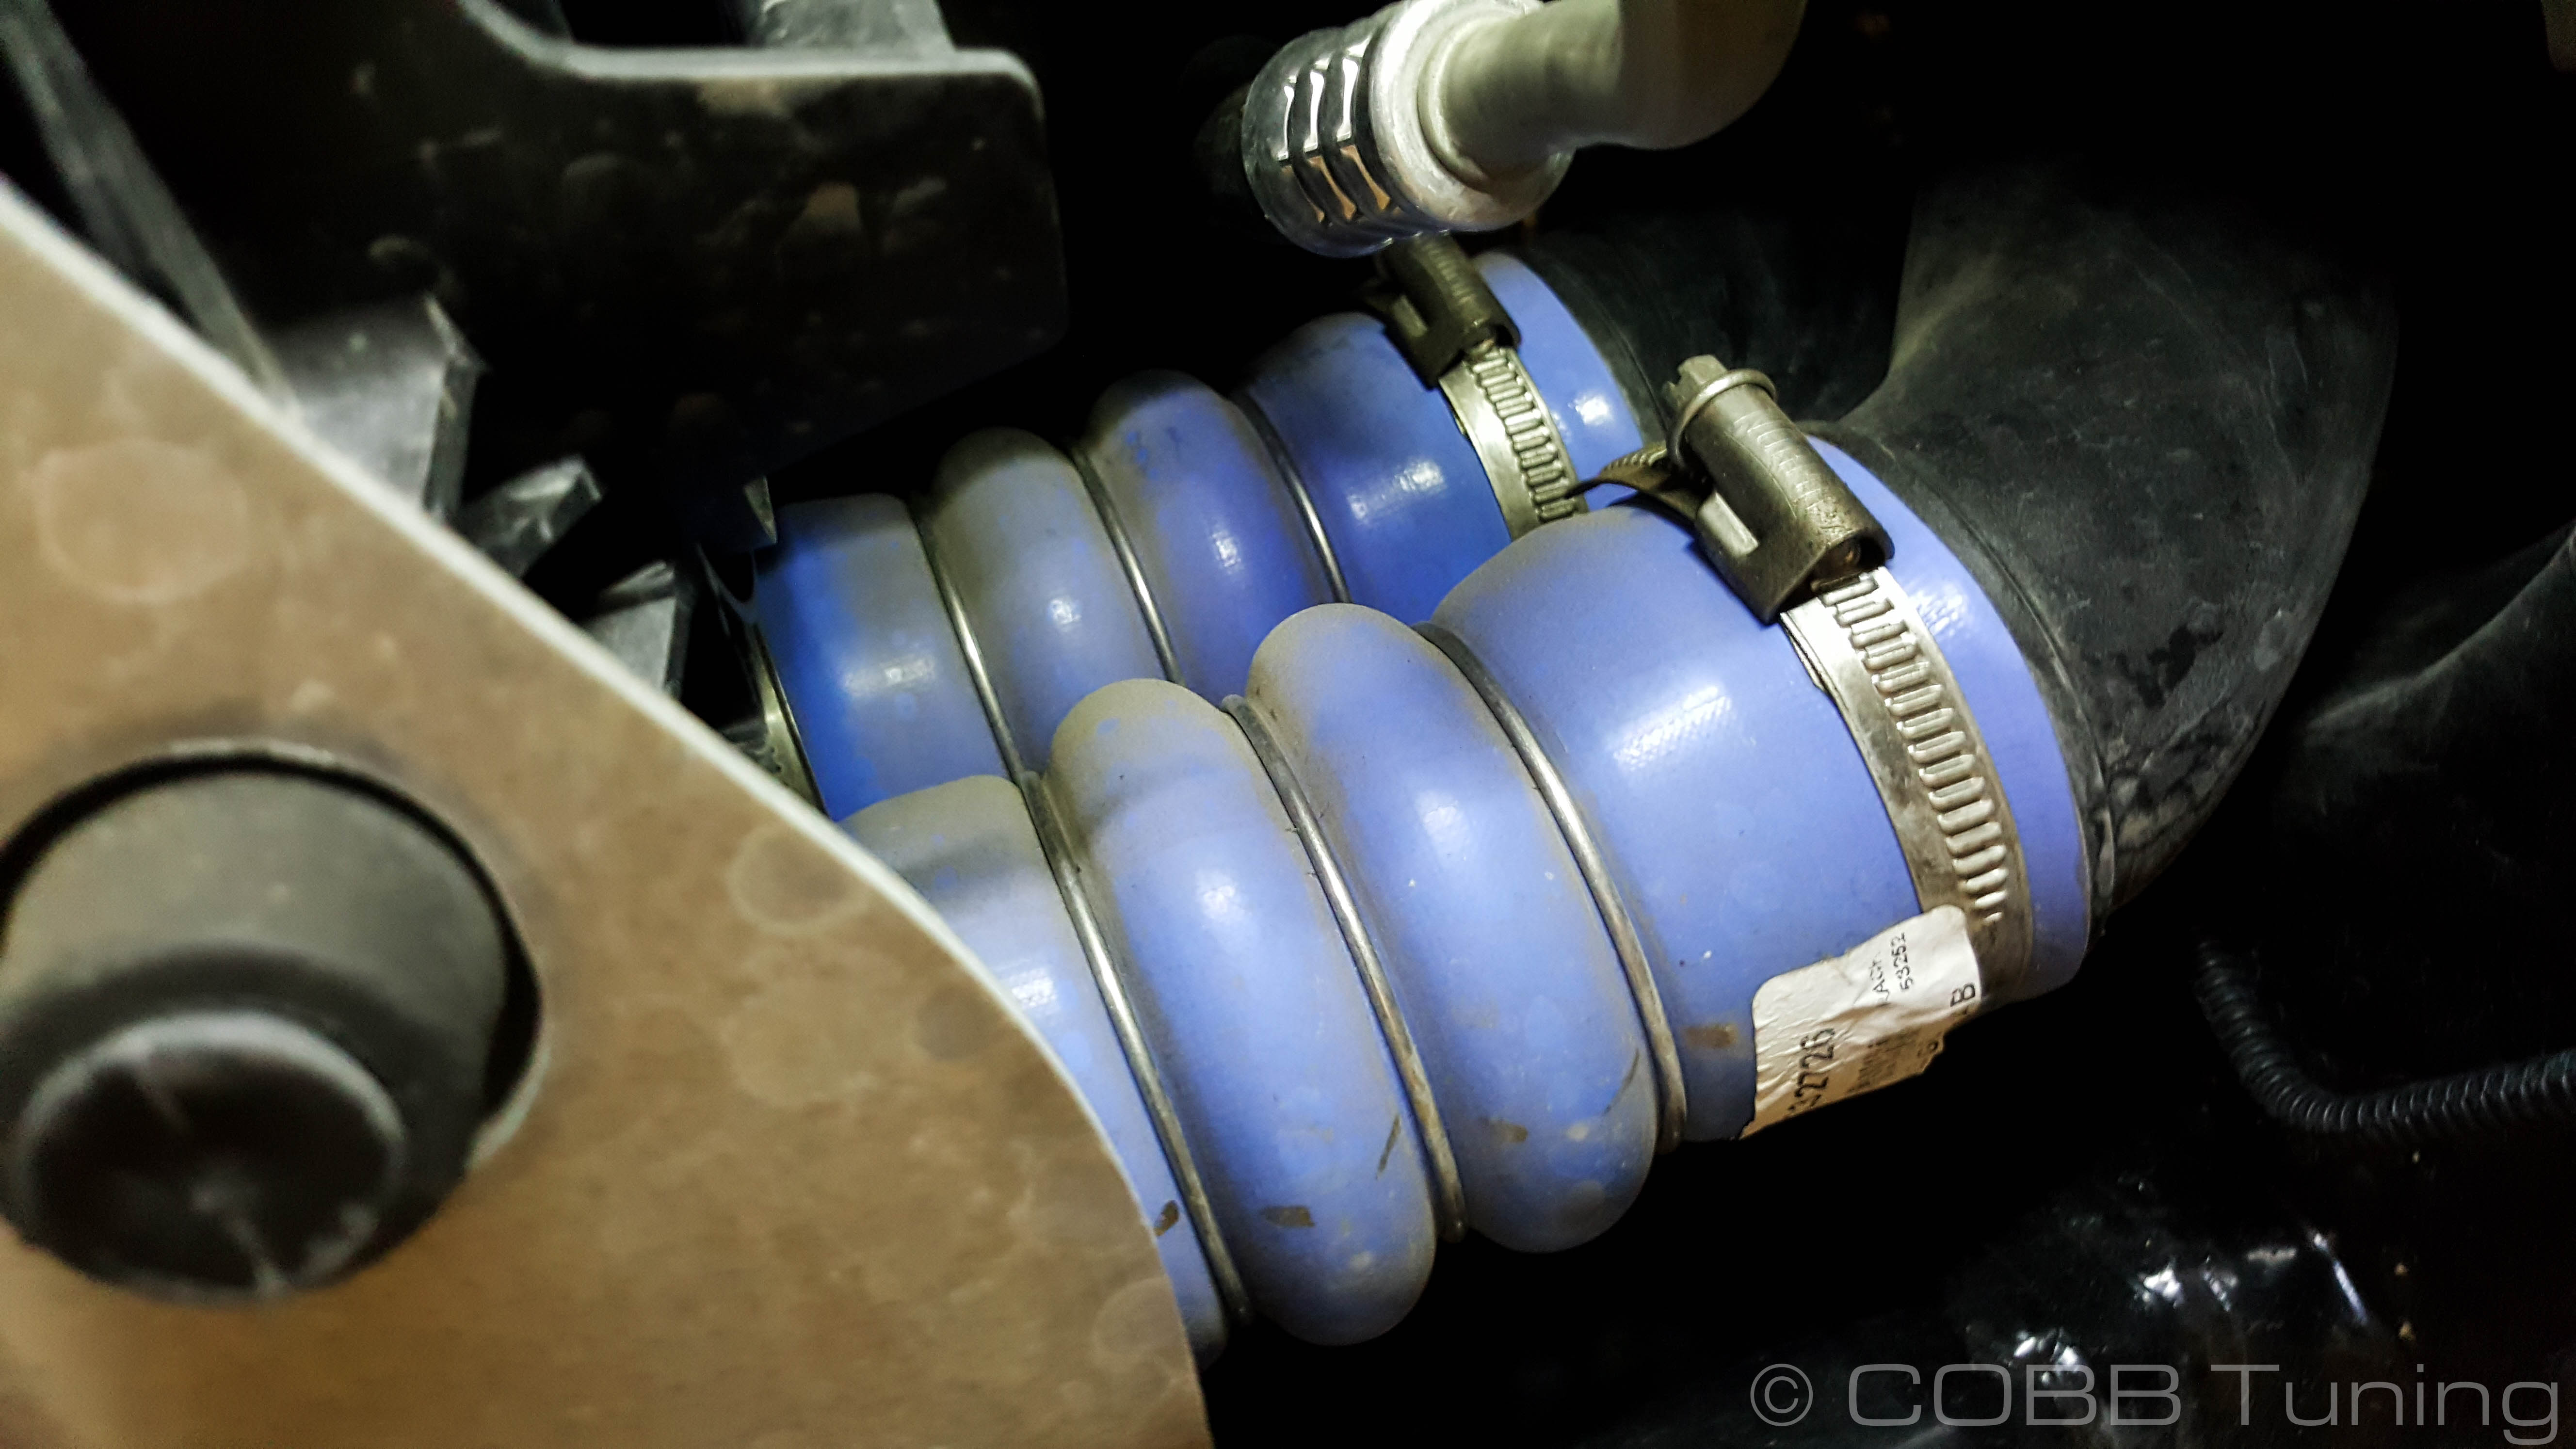
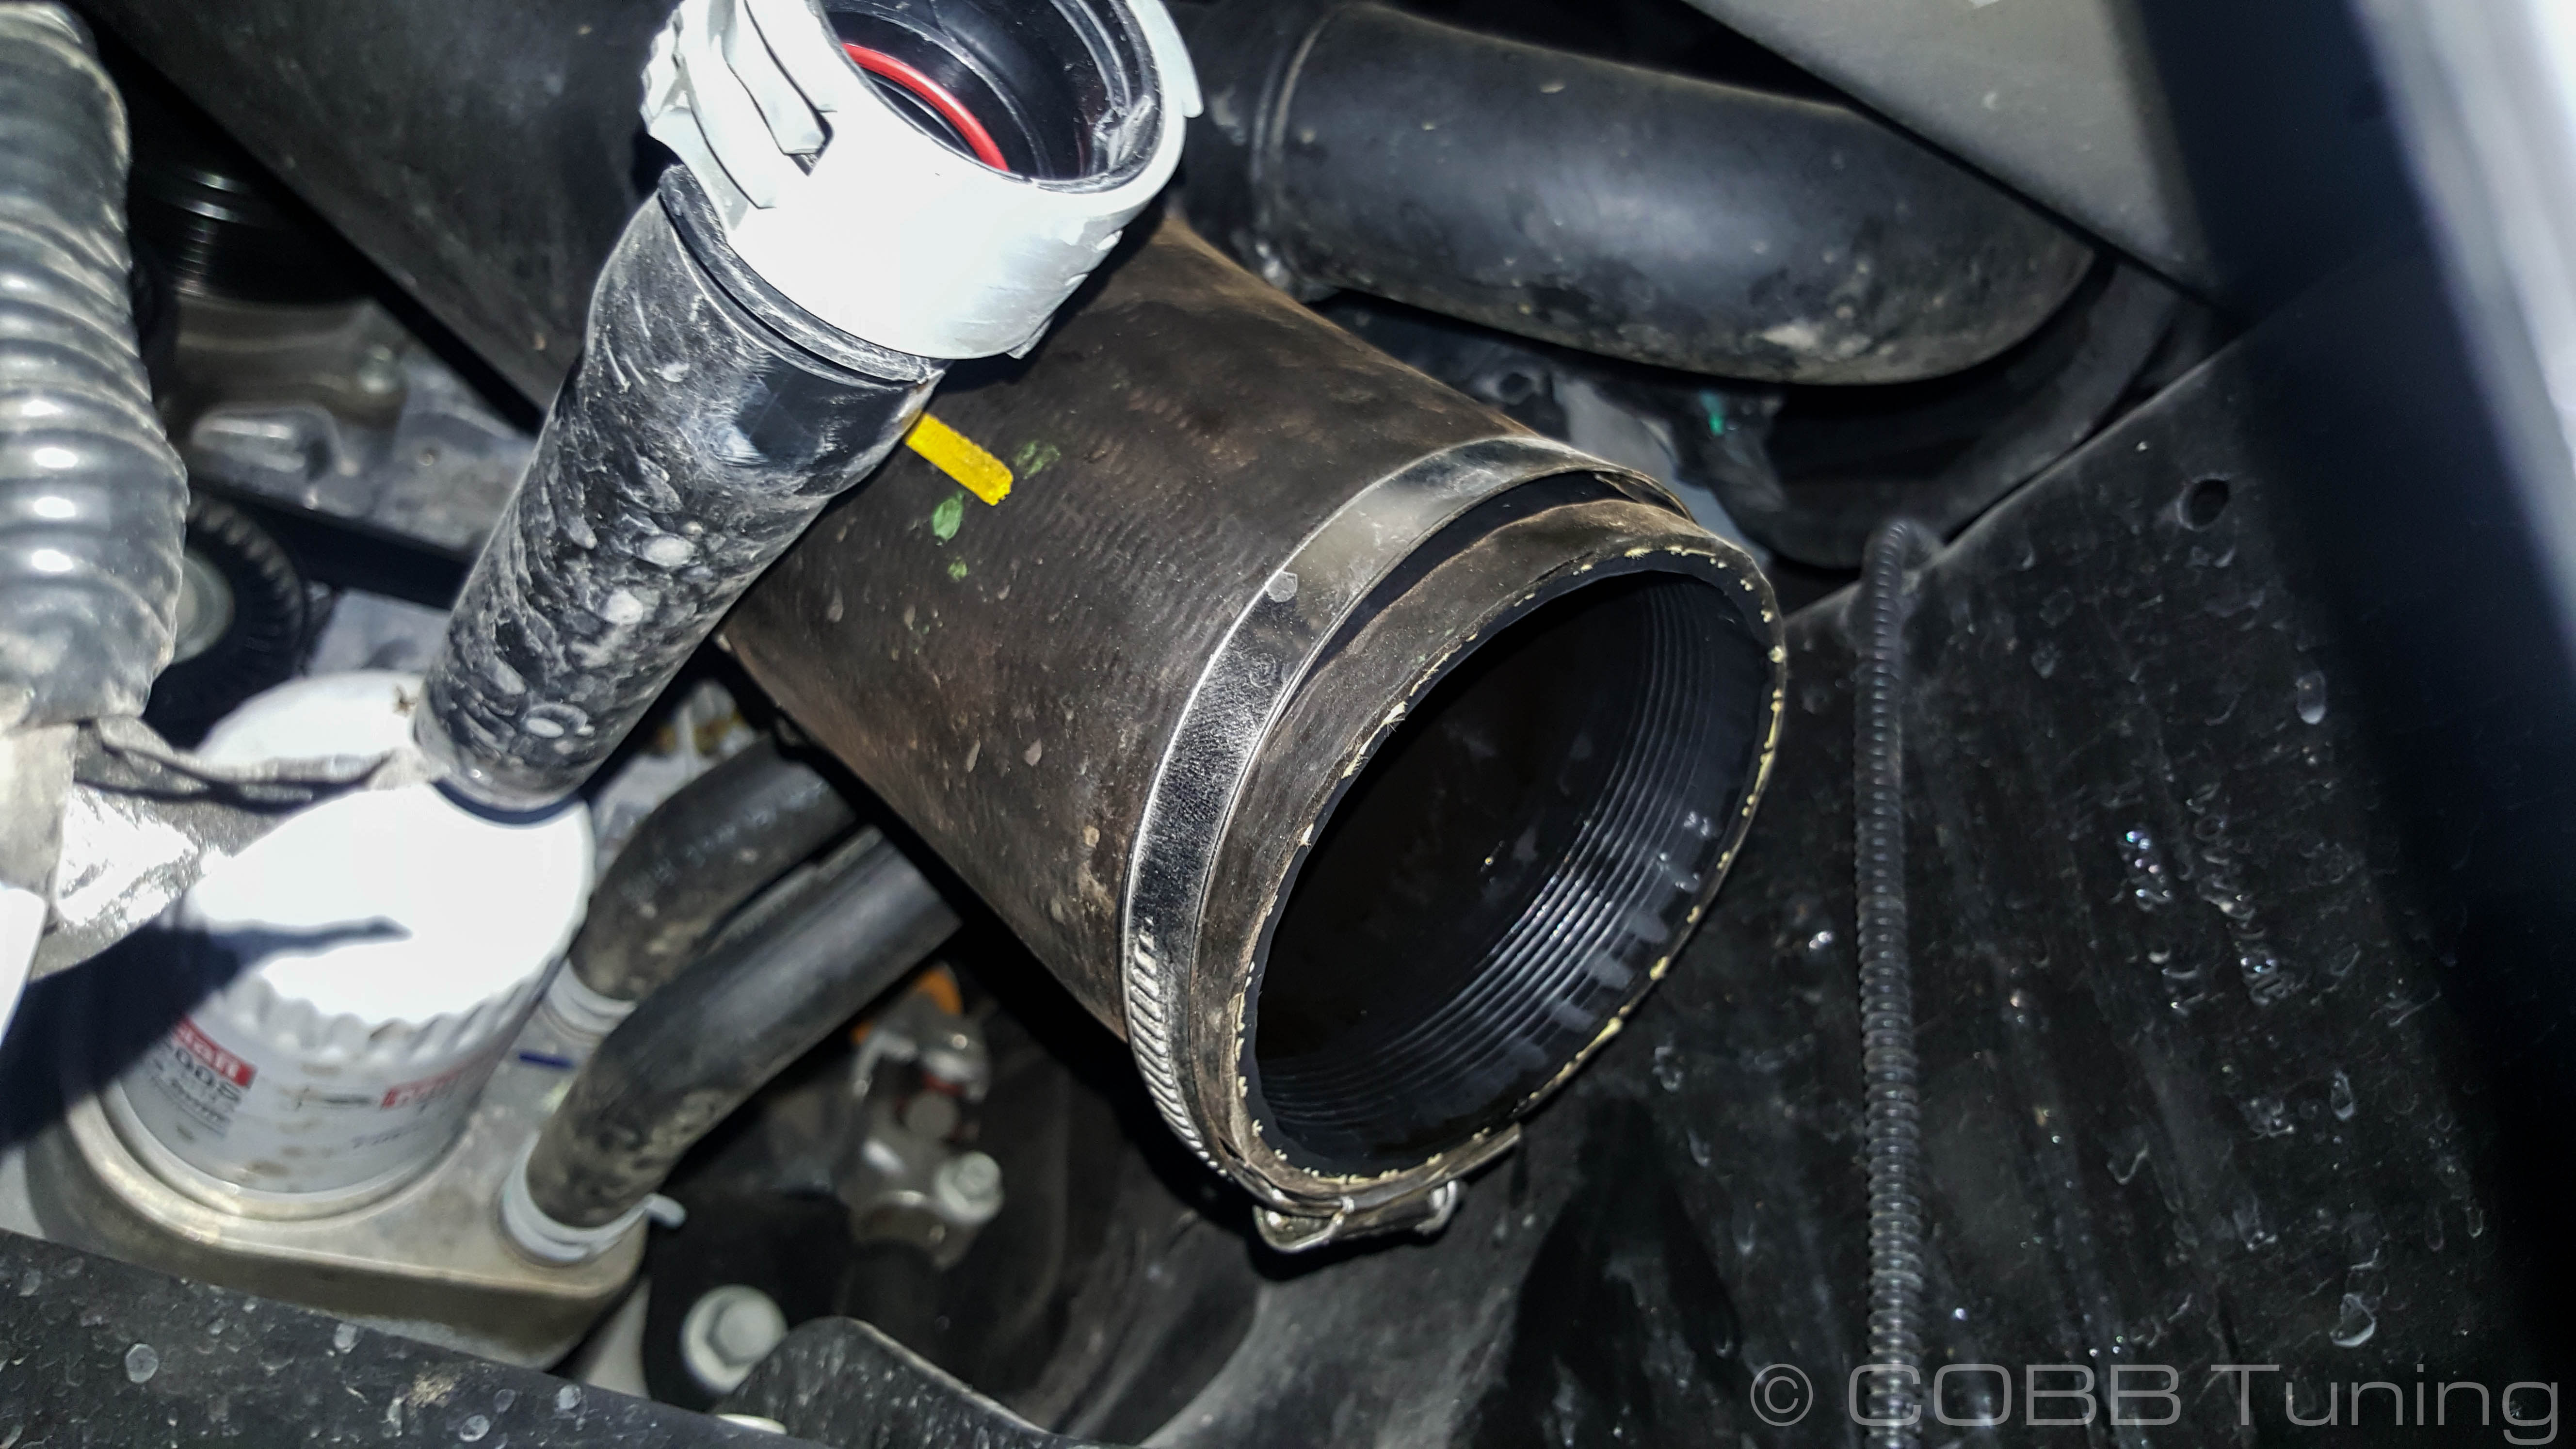
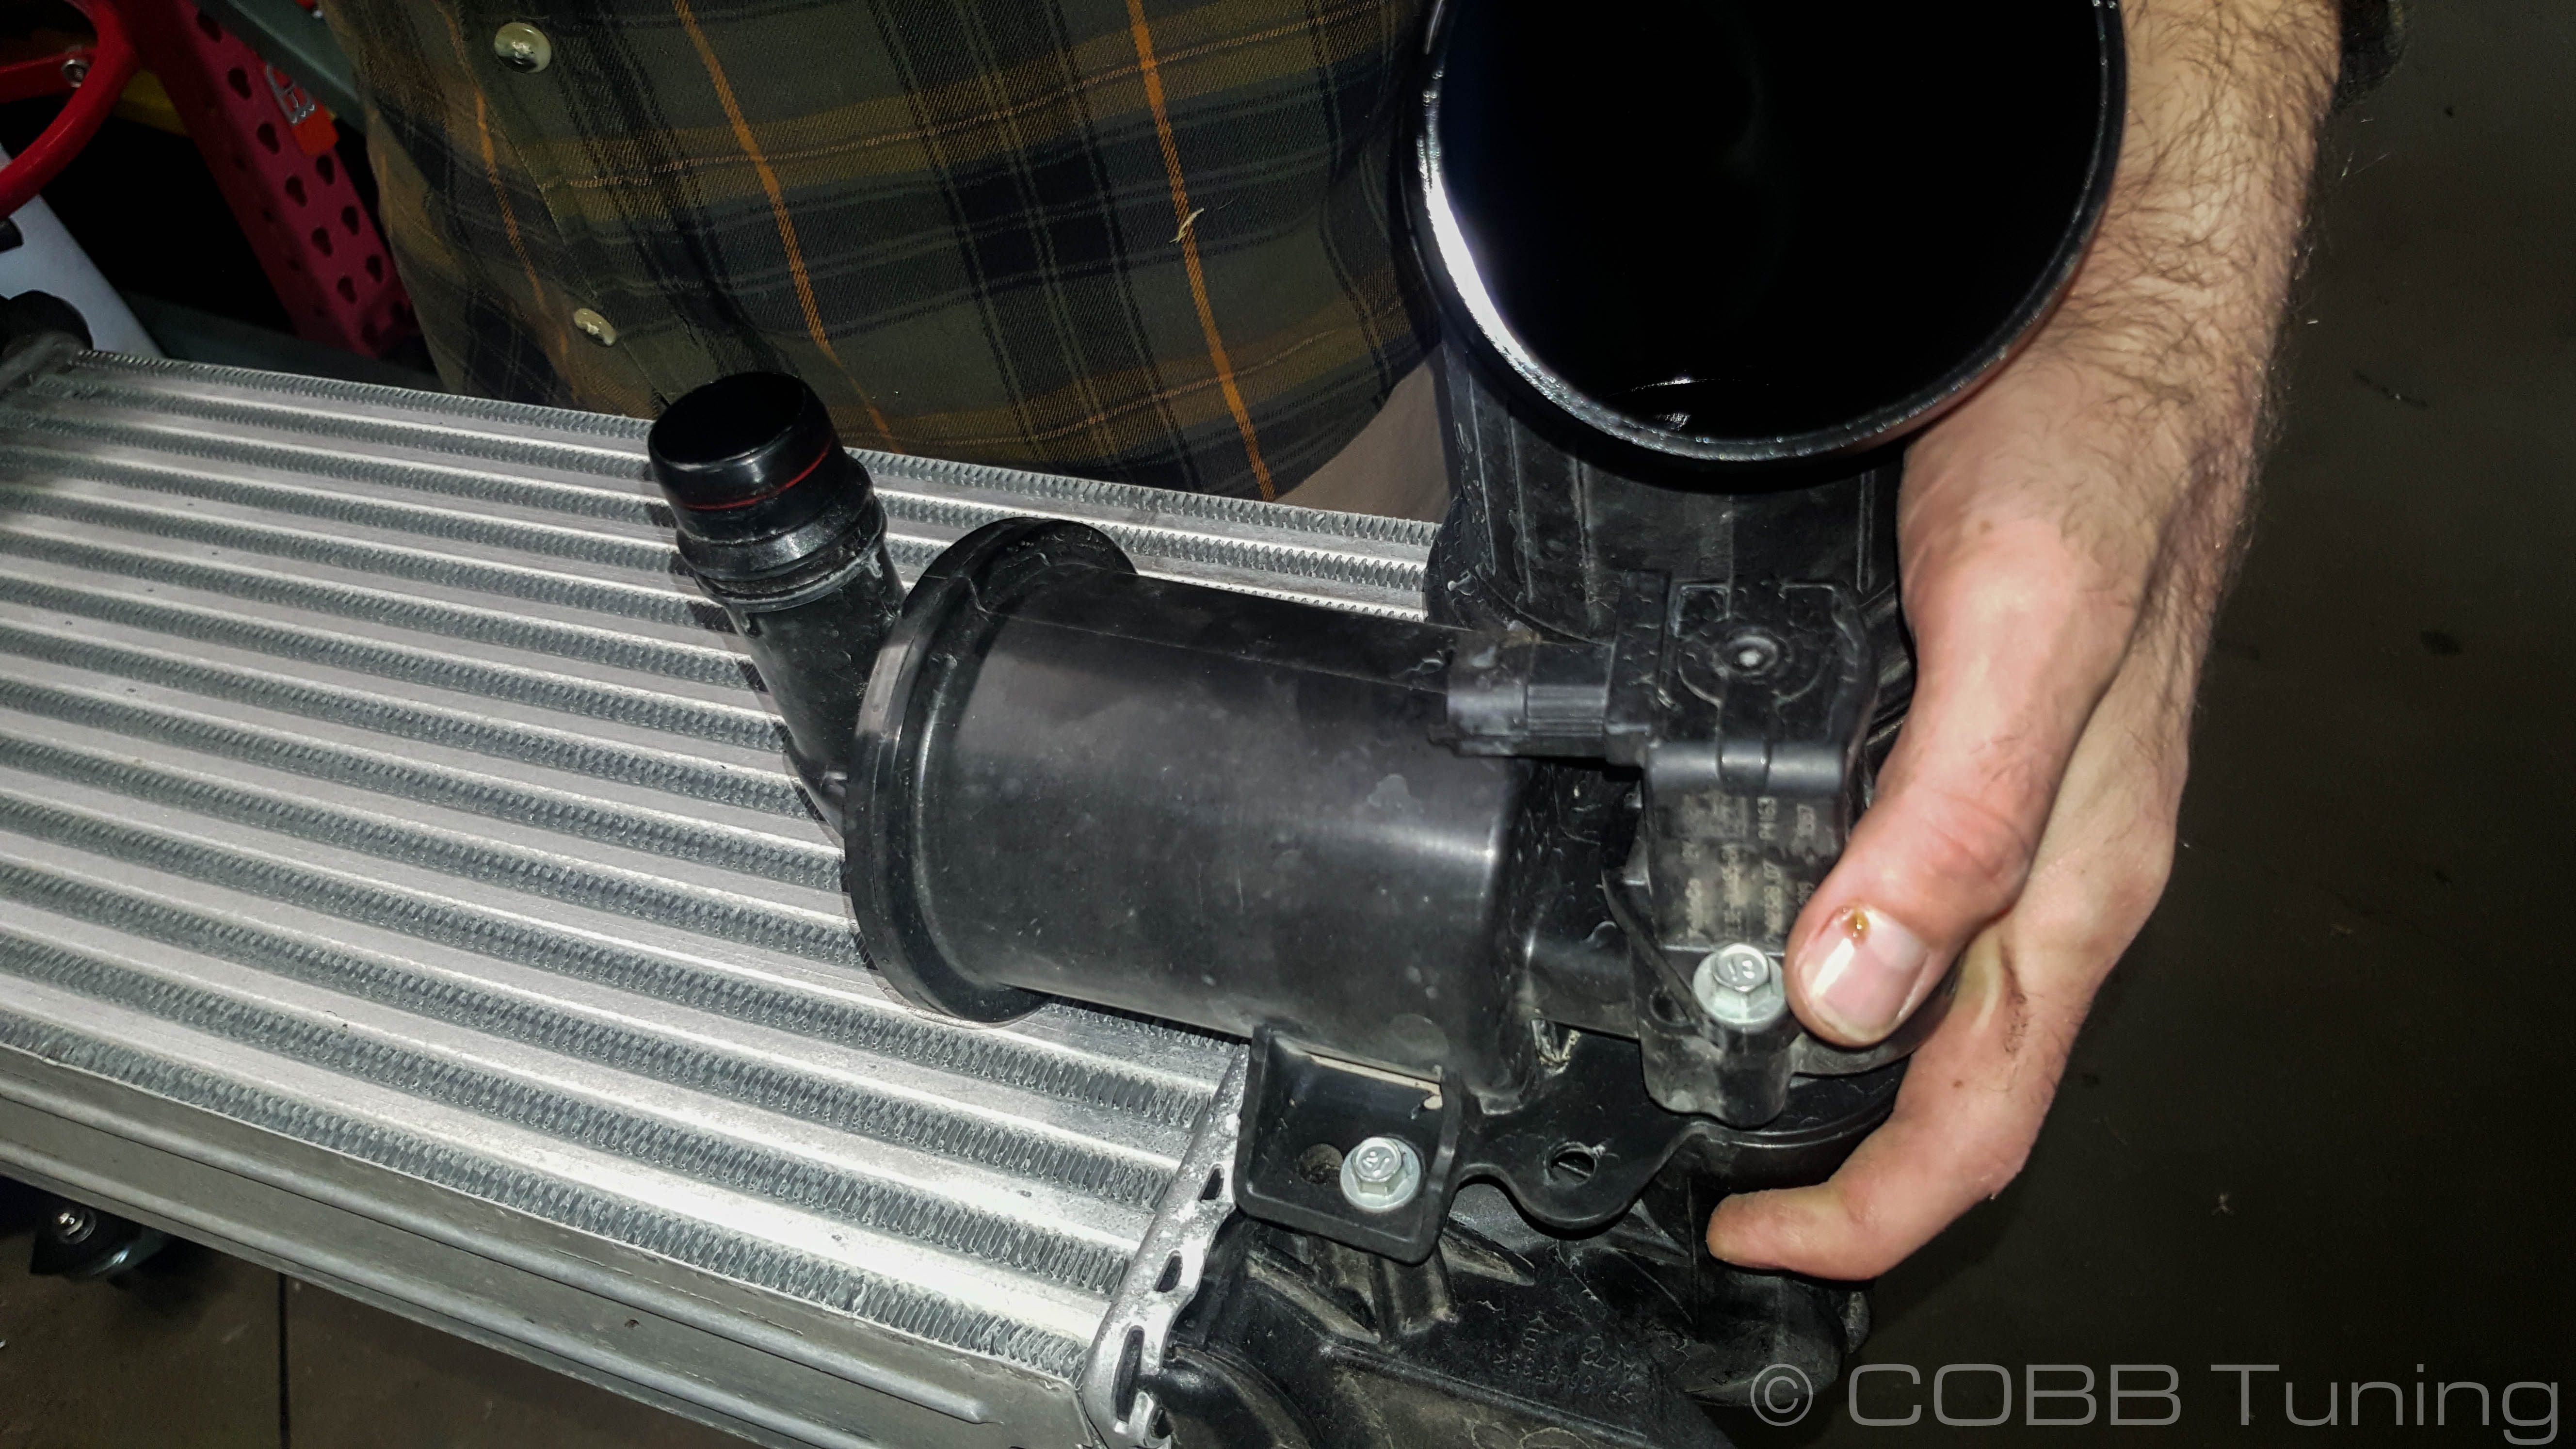
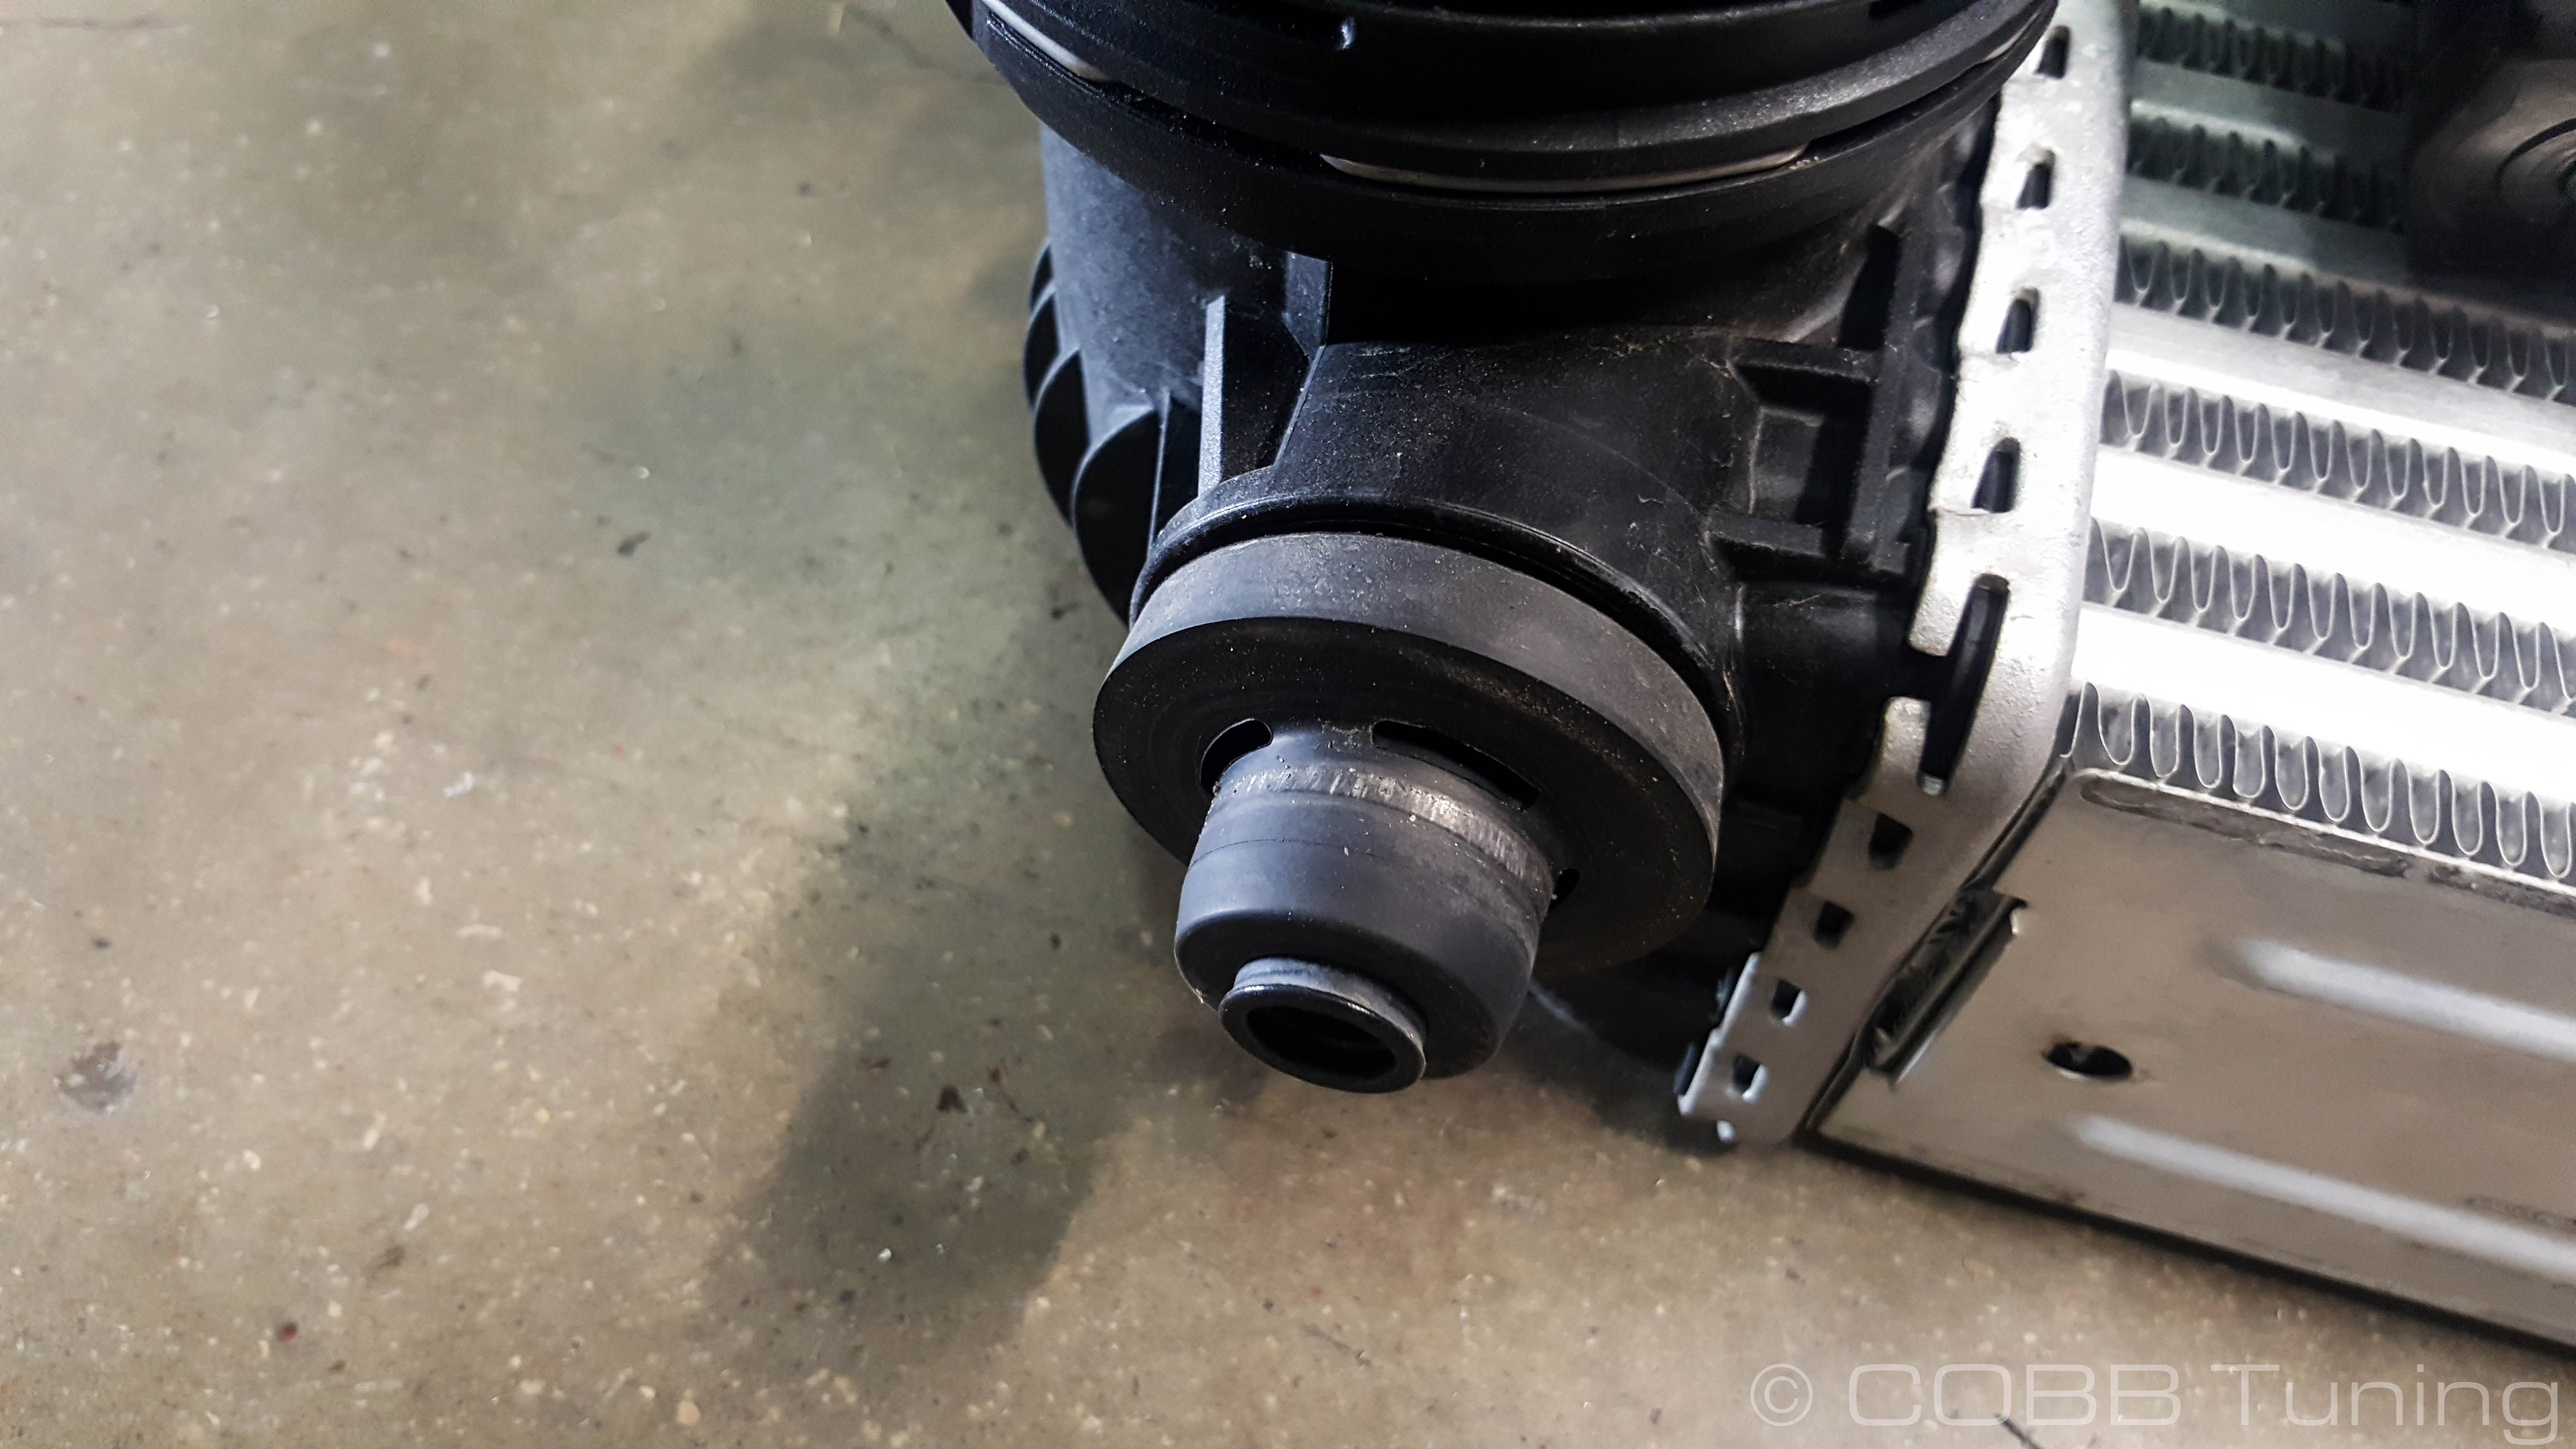
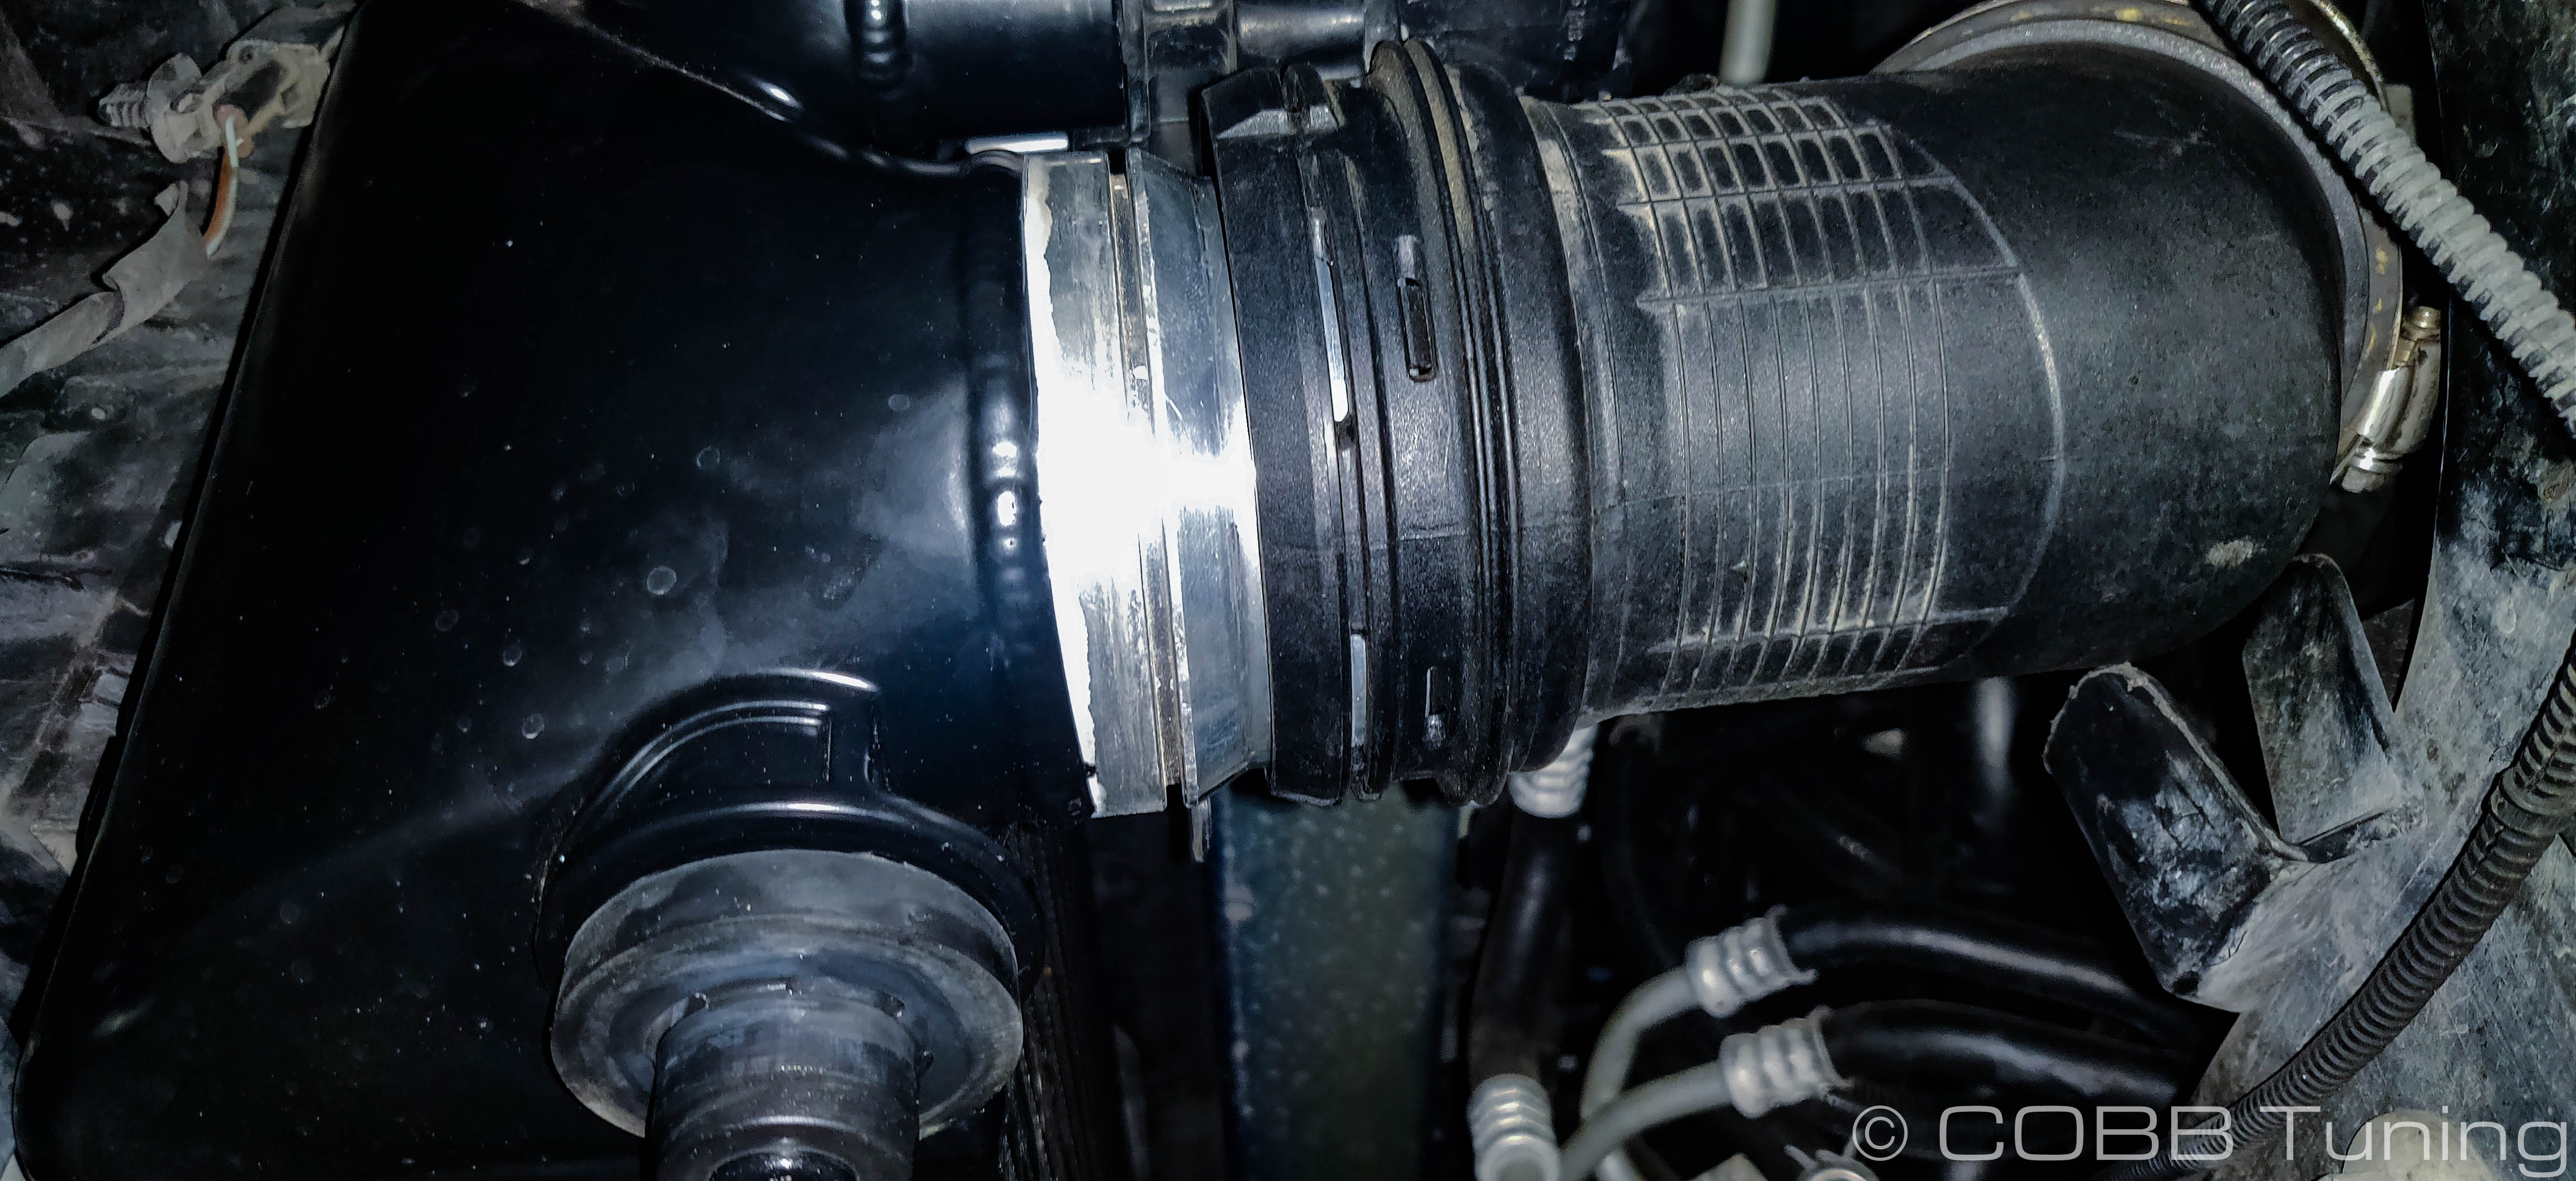
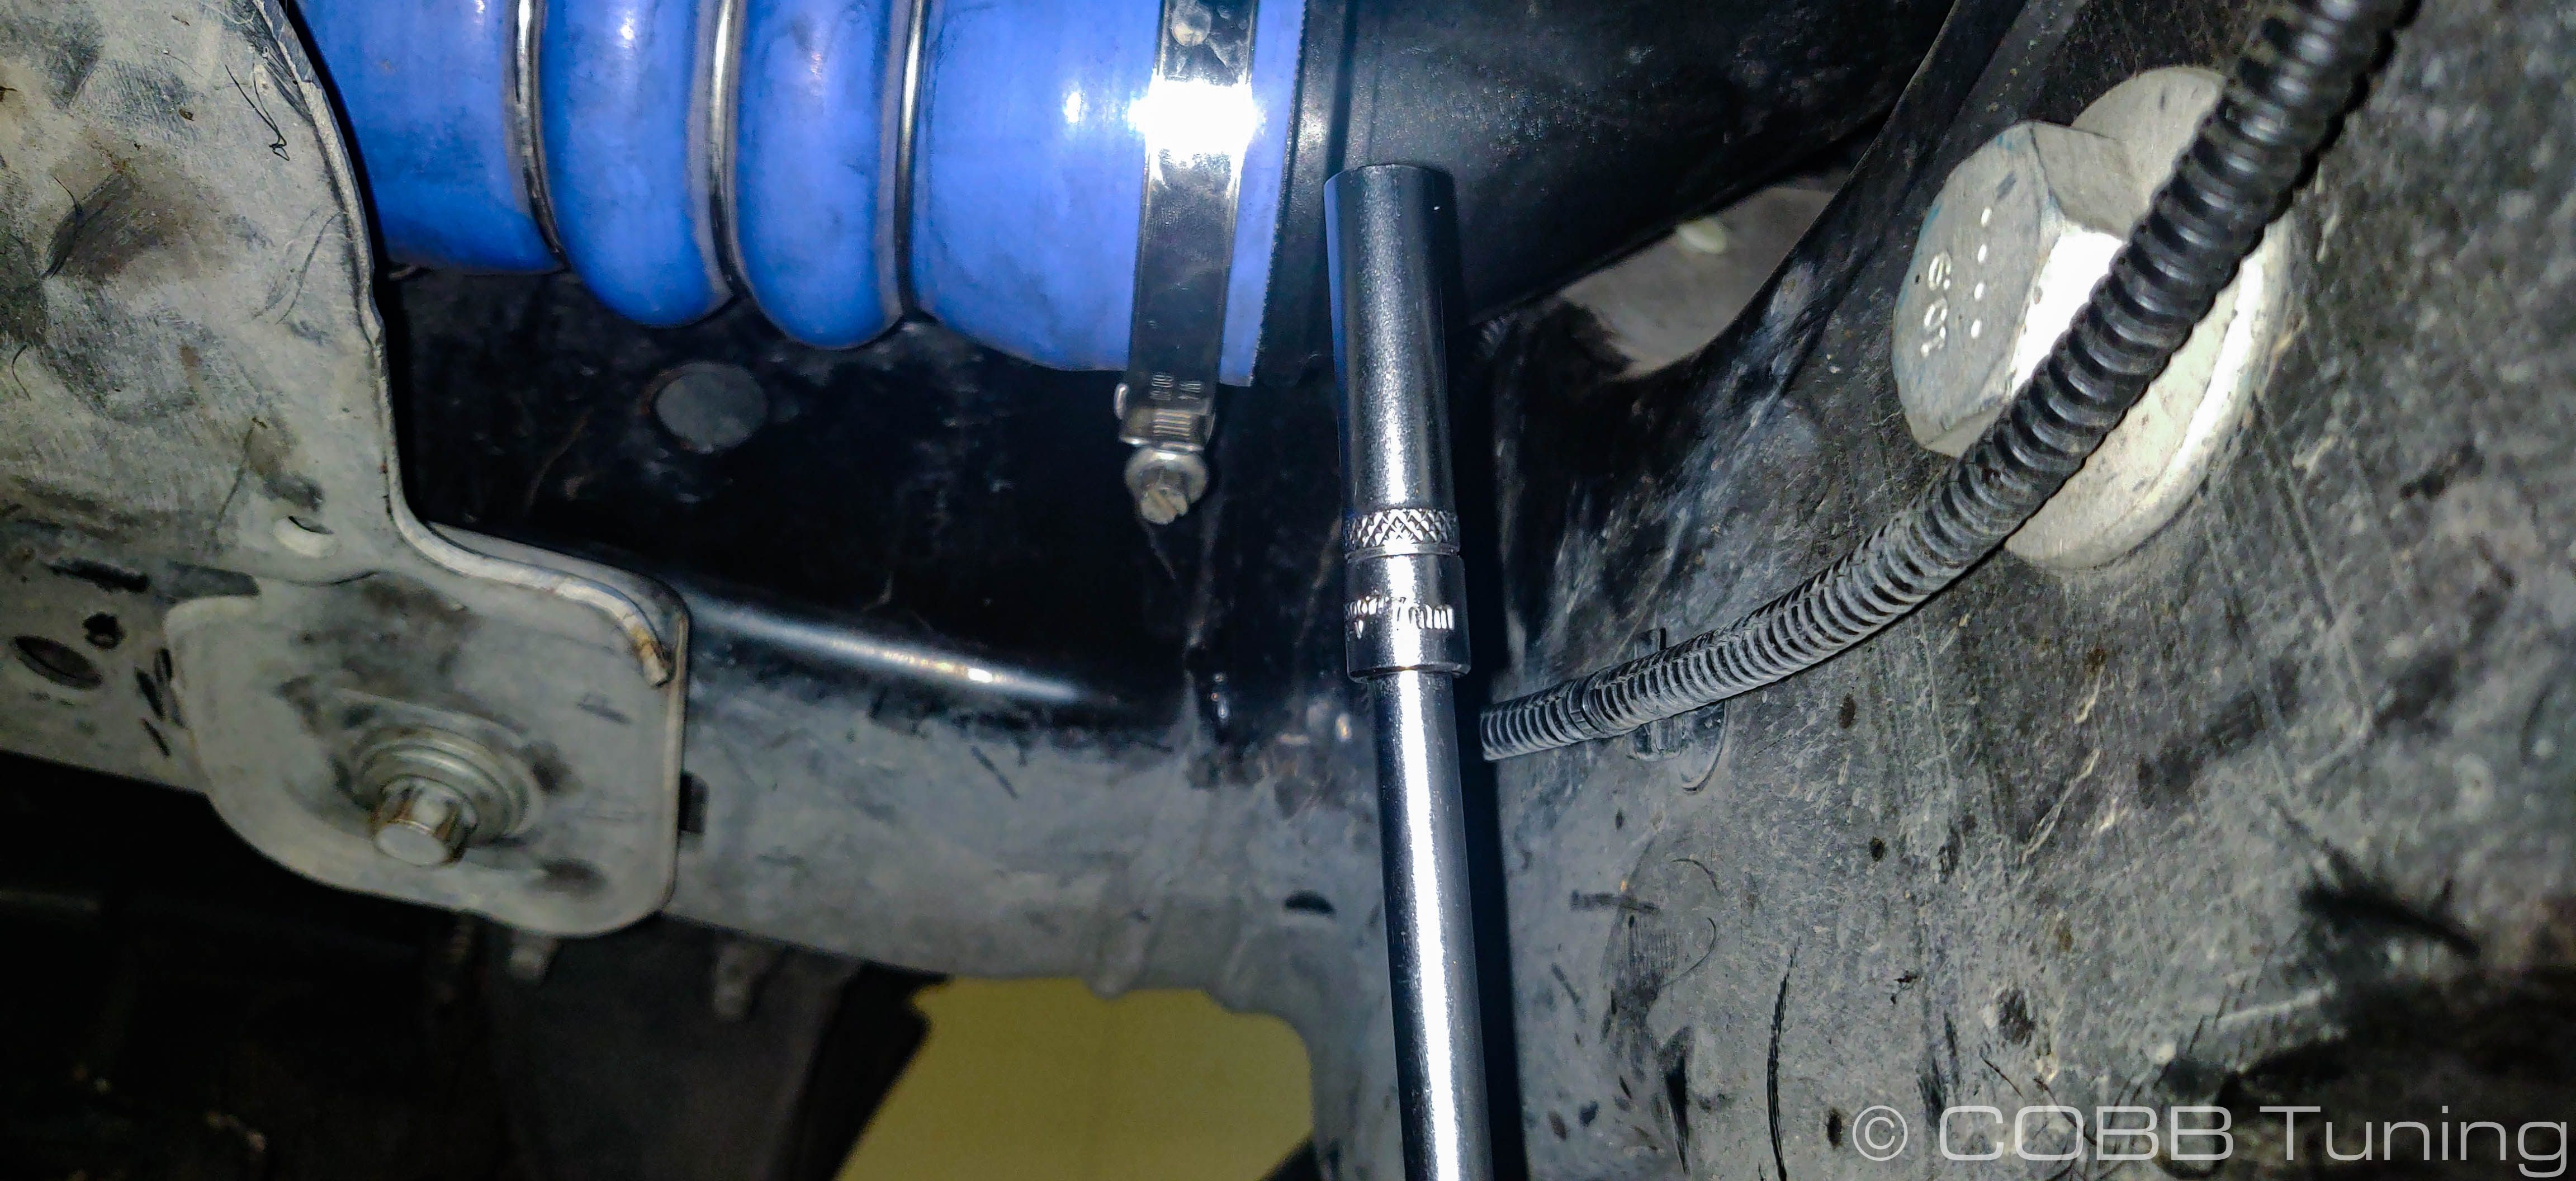
- Loosen up the 3 couplers on the front mount intercooler, then pull them free. If you can manage it easily you can also just remove them completely. In order to loosen them you'll either need a screwdriver of a socket (7mm)


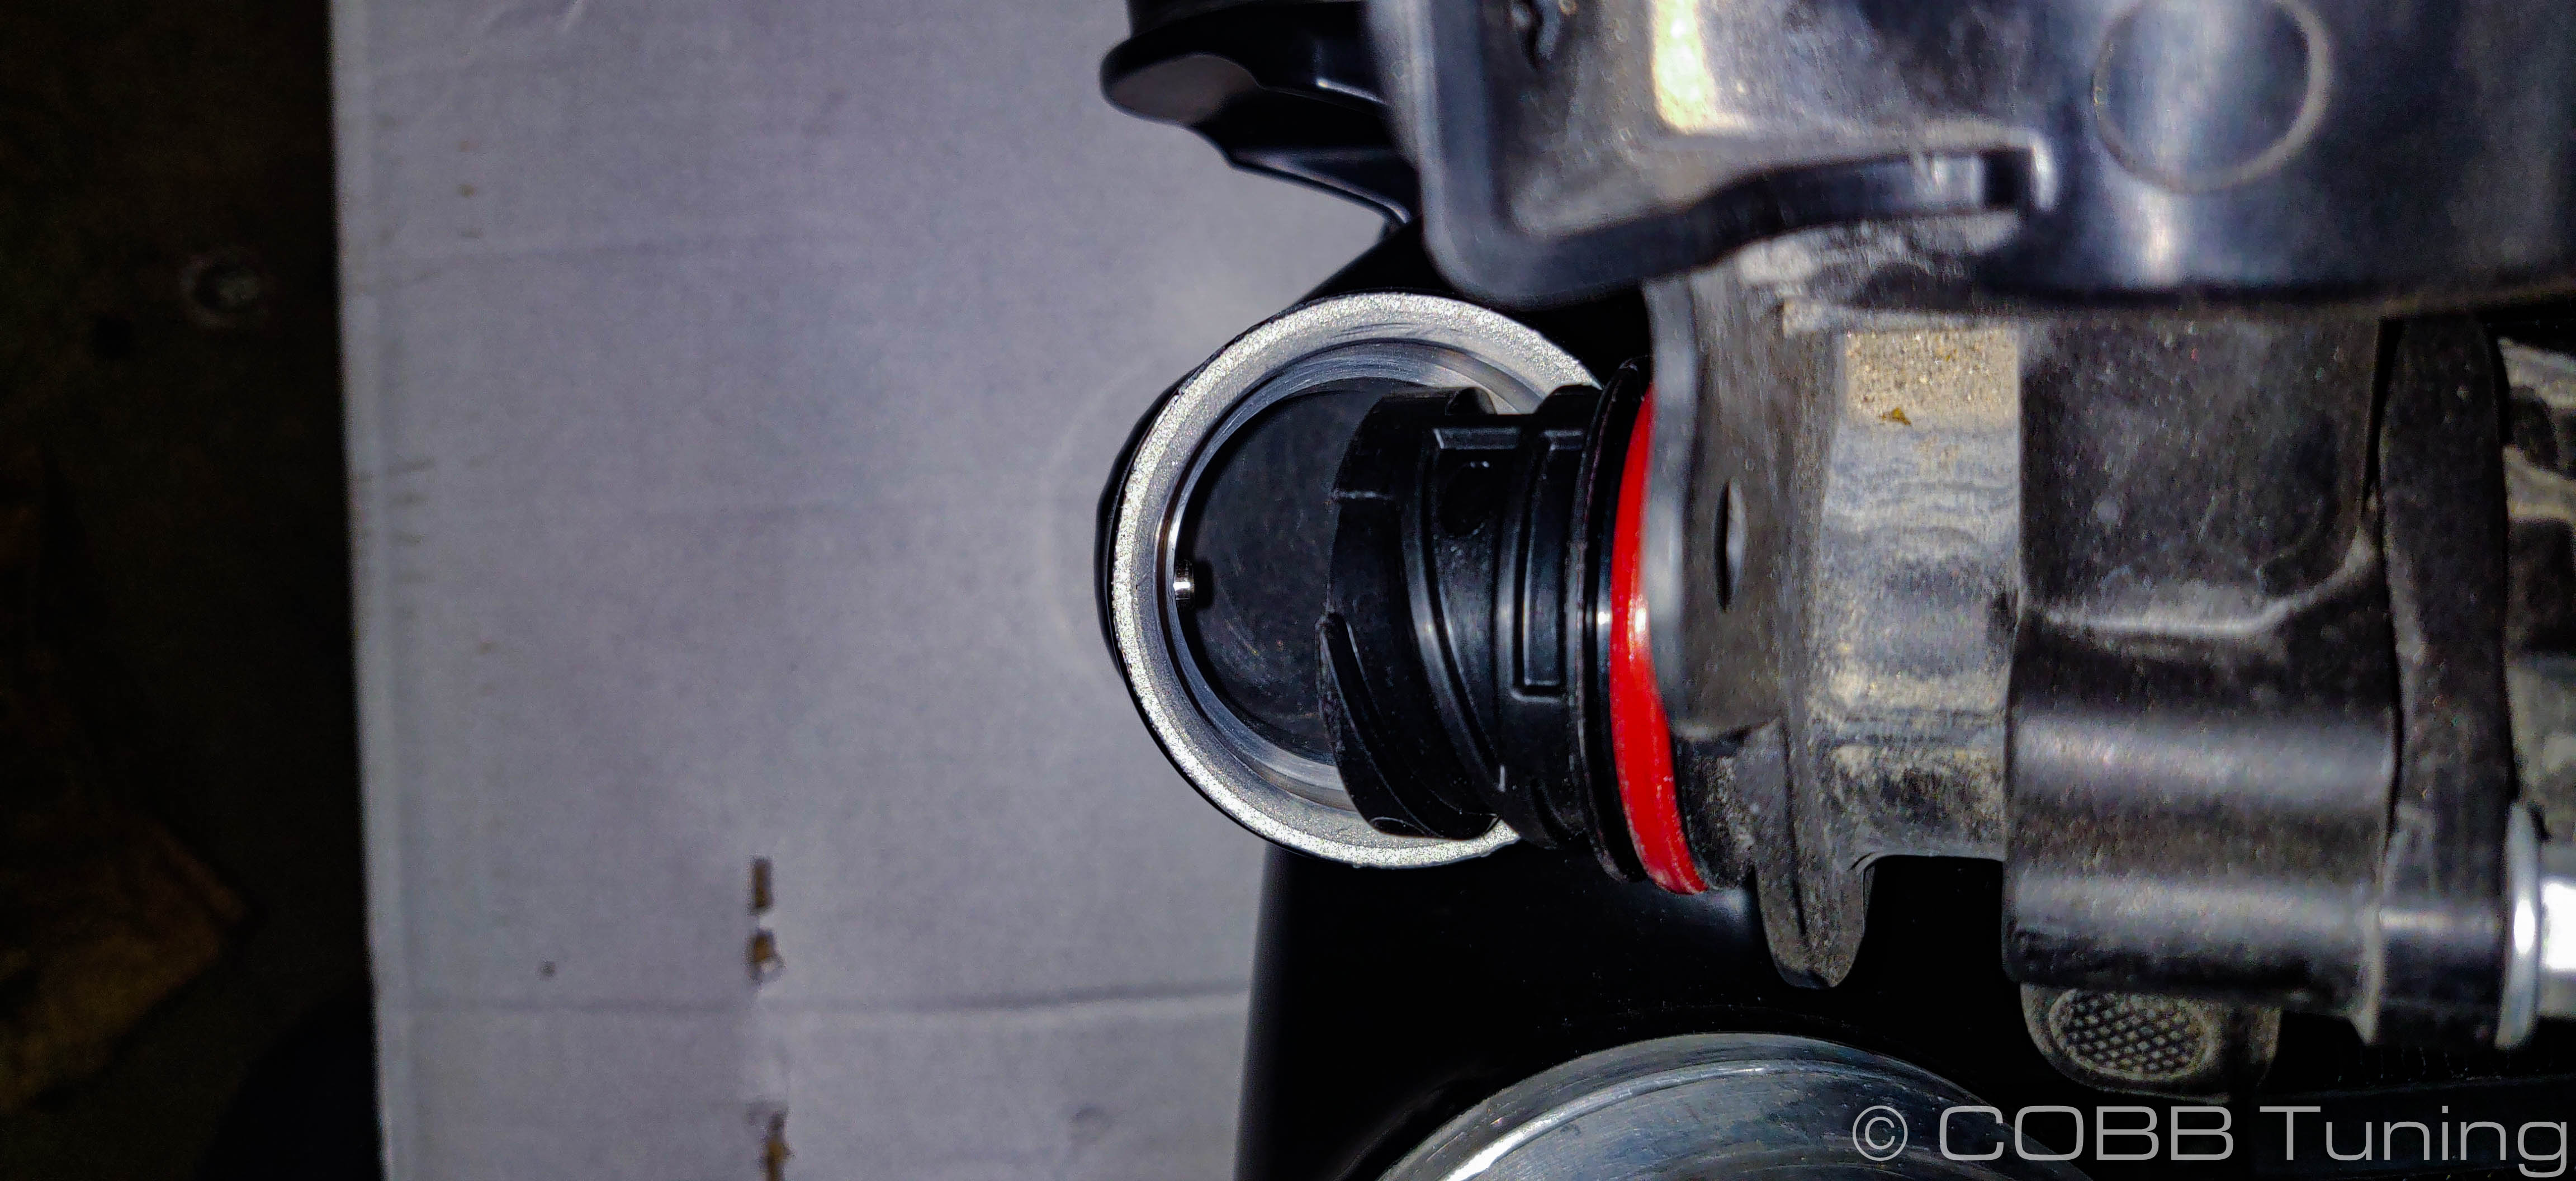
- Disconnect the bpv hose from the intake and the BPV itself by turning left 1/4 turn. Sometimes it will be stuck due to dirt or debris getting into the clip. Softening it with some wd40 or water can make this more simple.
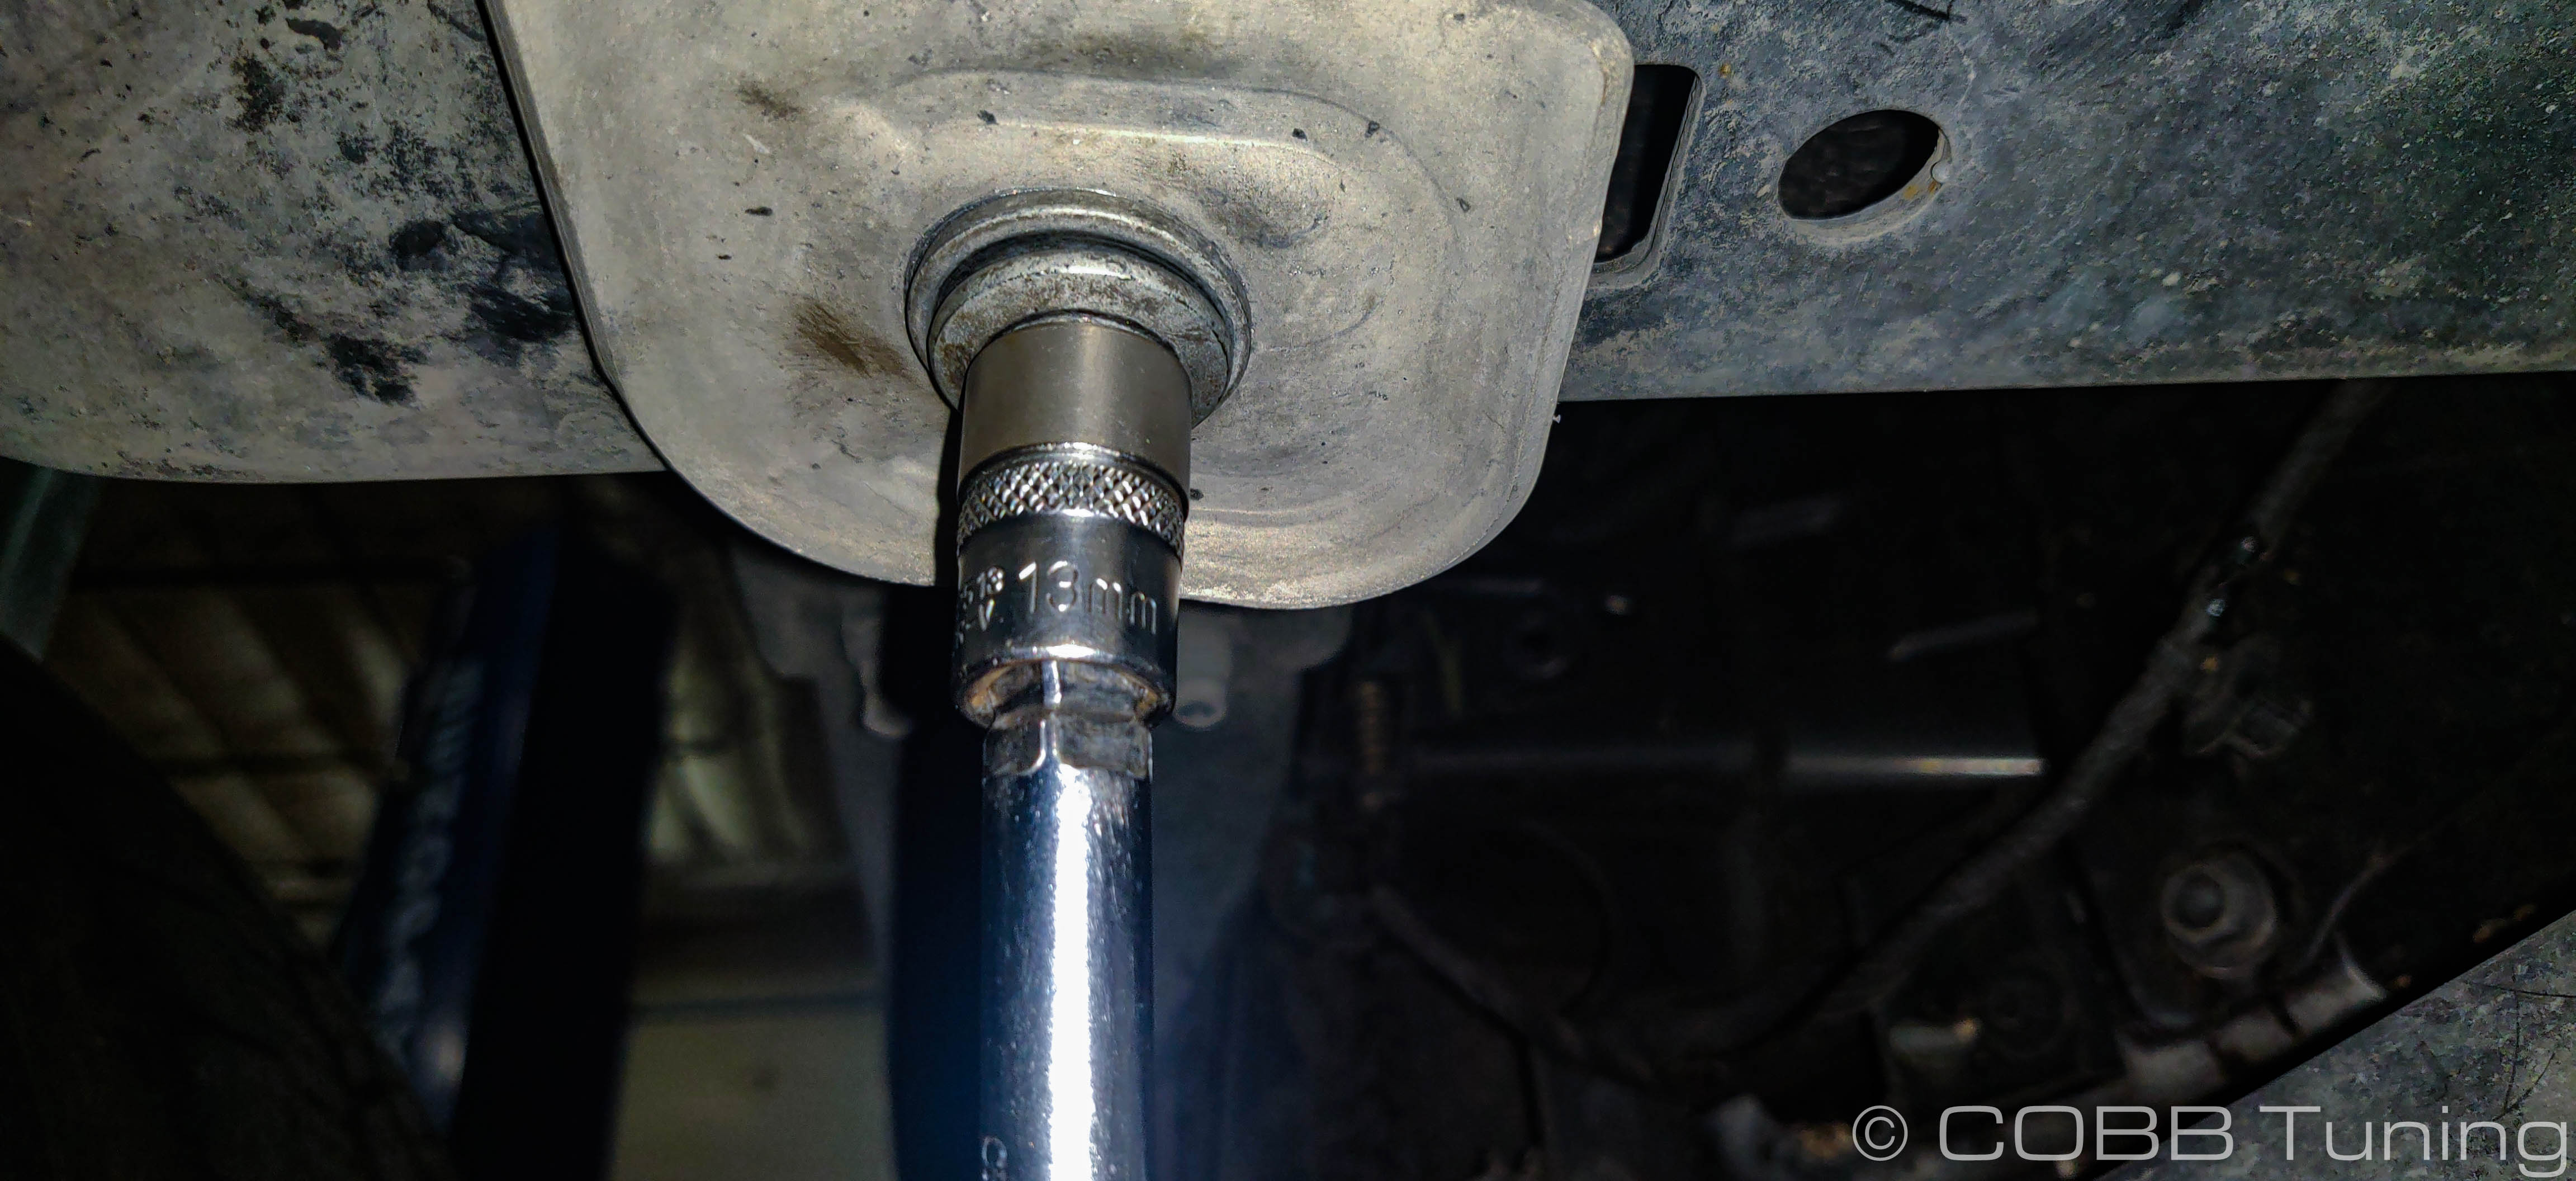
- Undo the two 15mm bolts holding the support for the intercooler core in place.
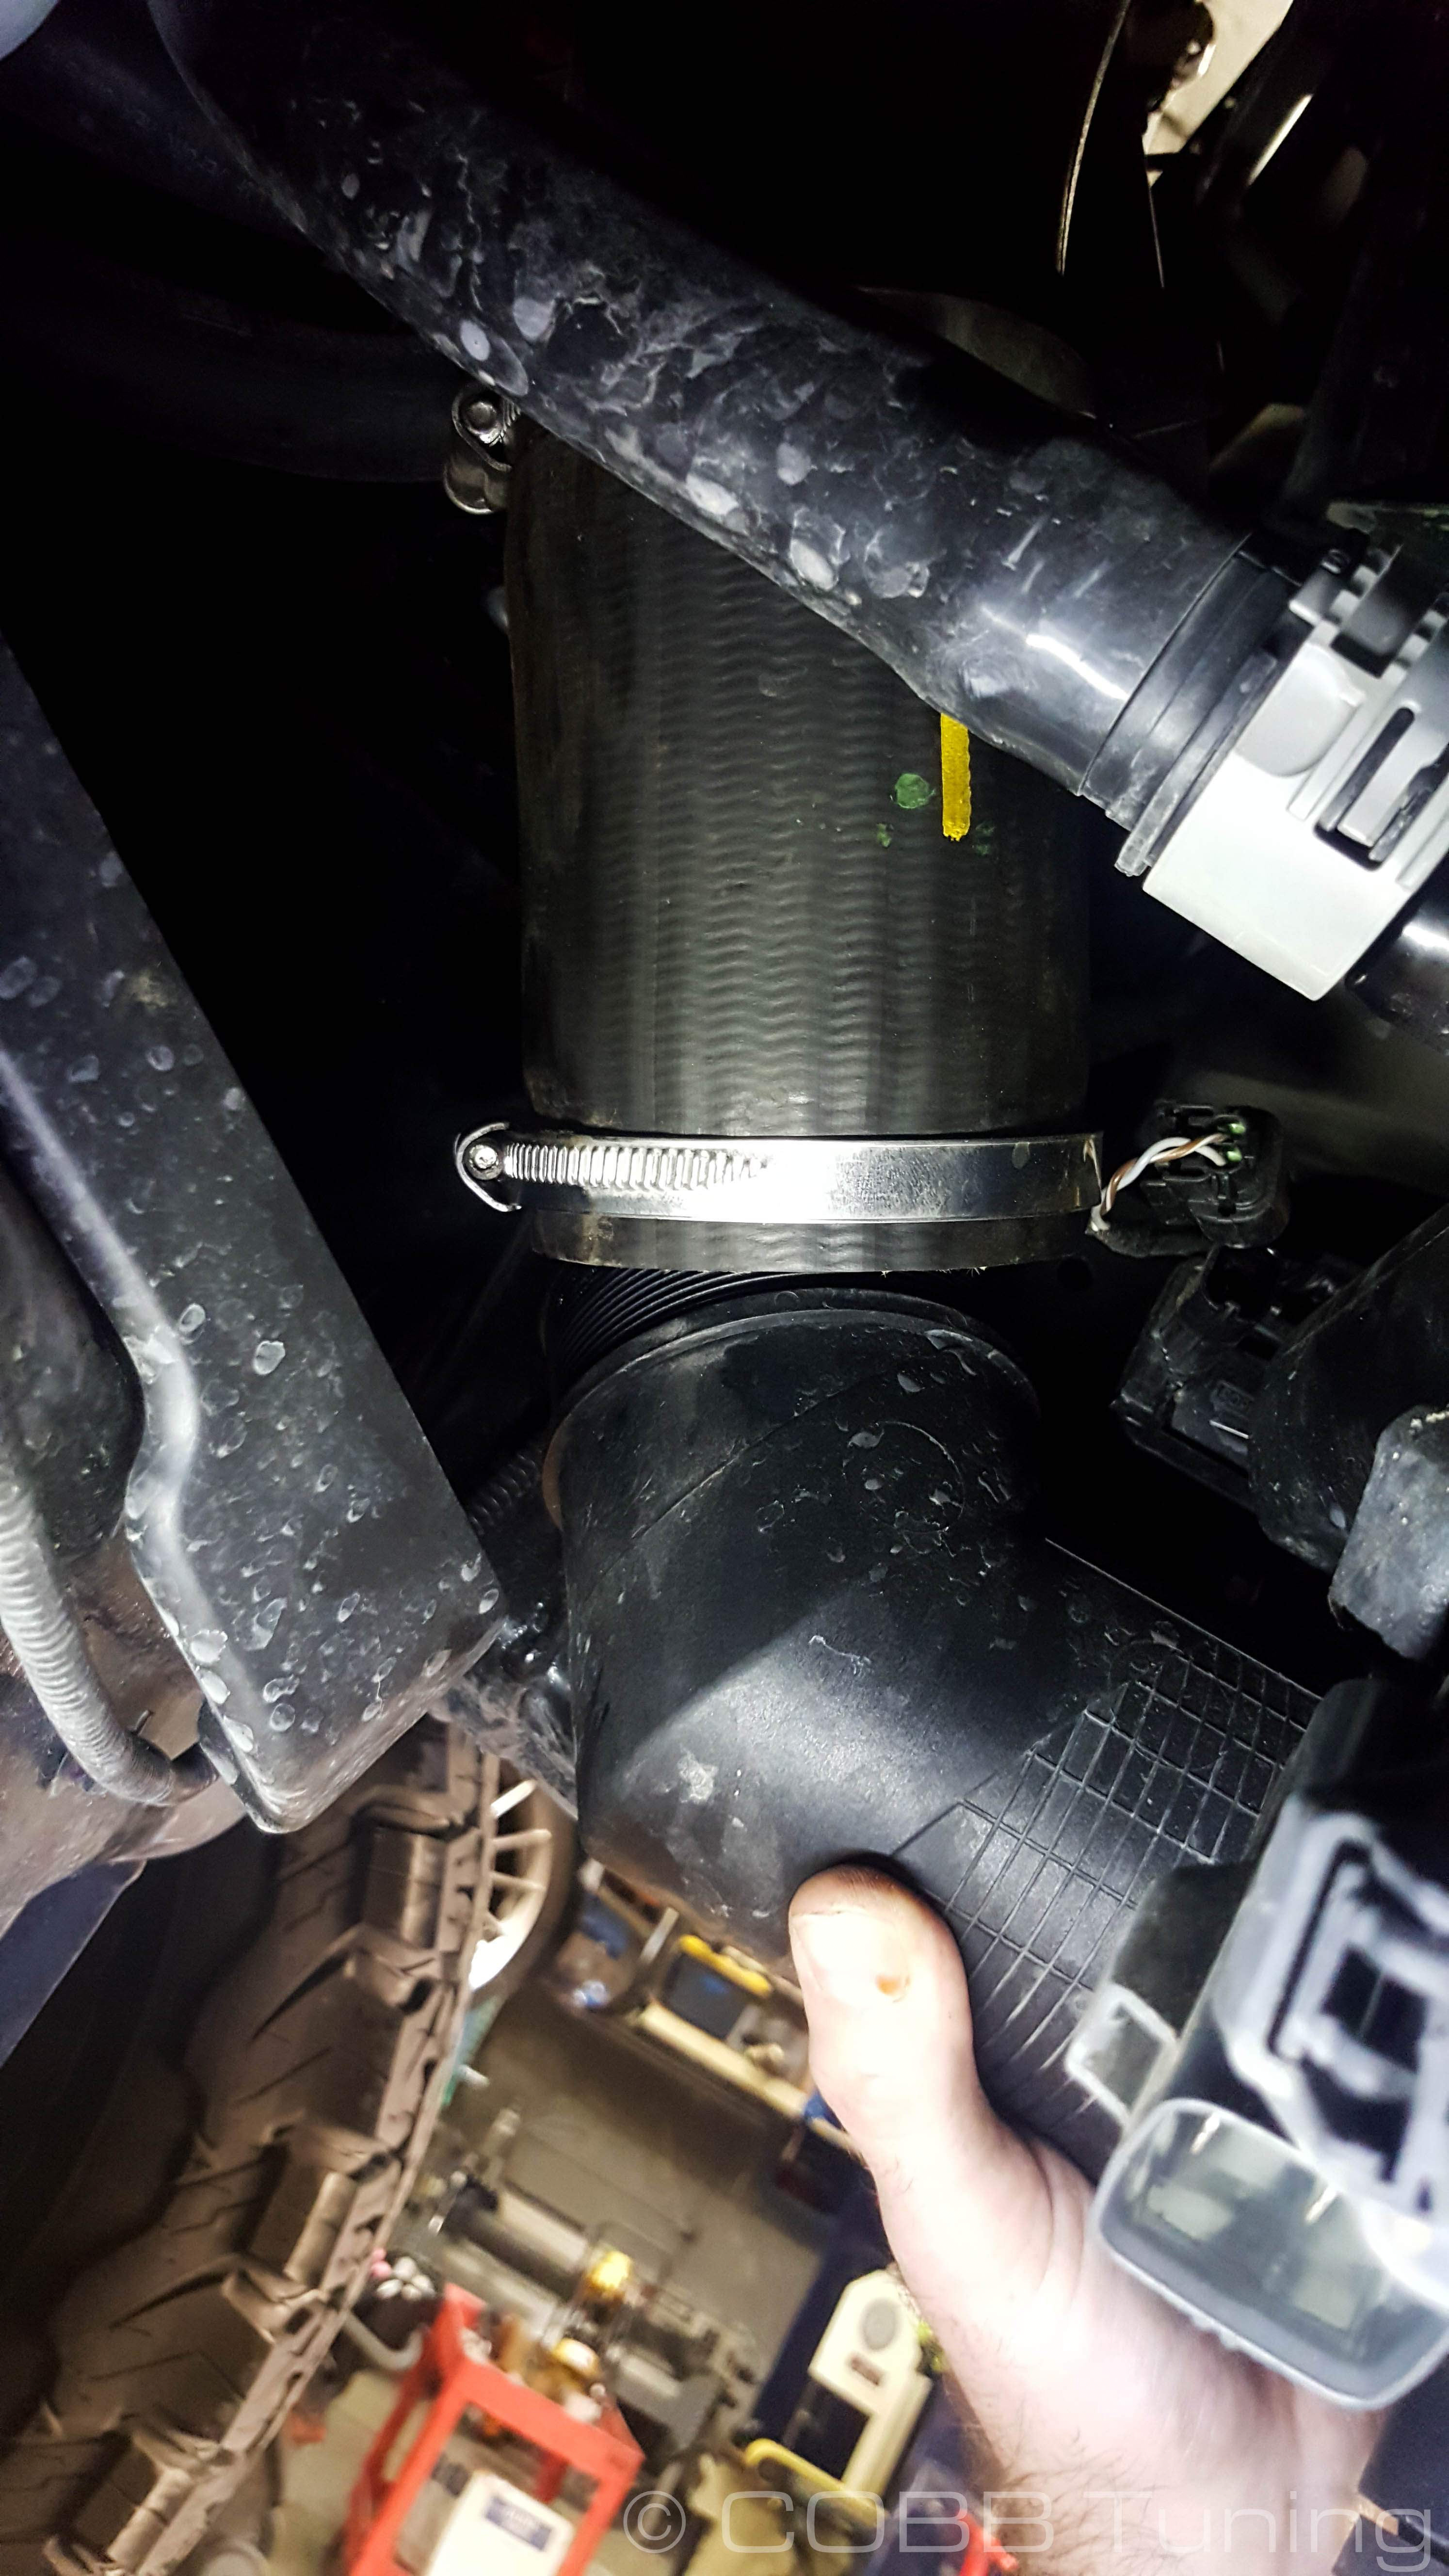
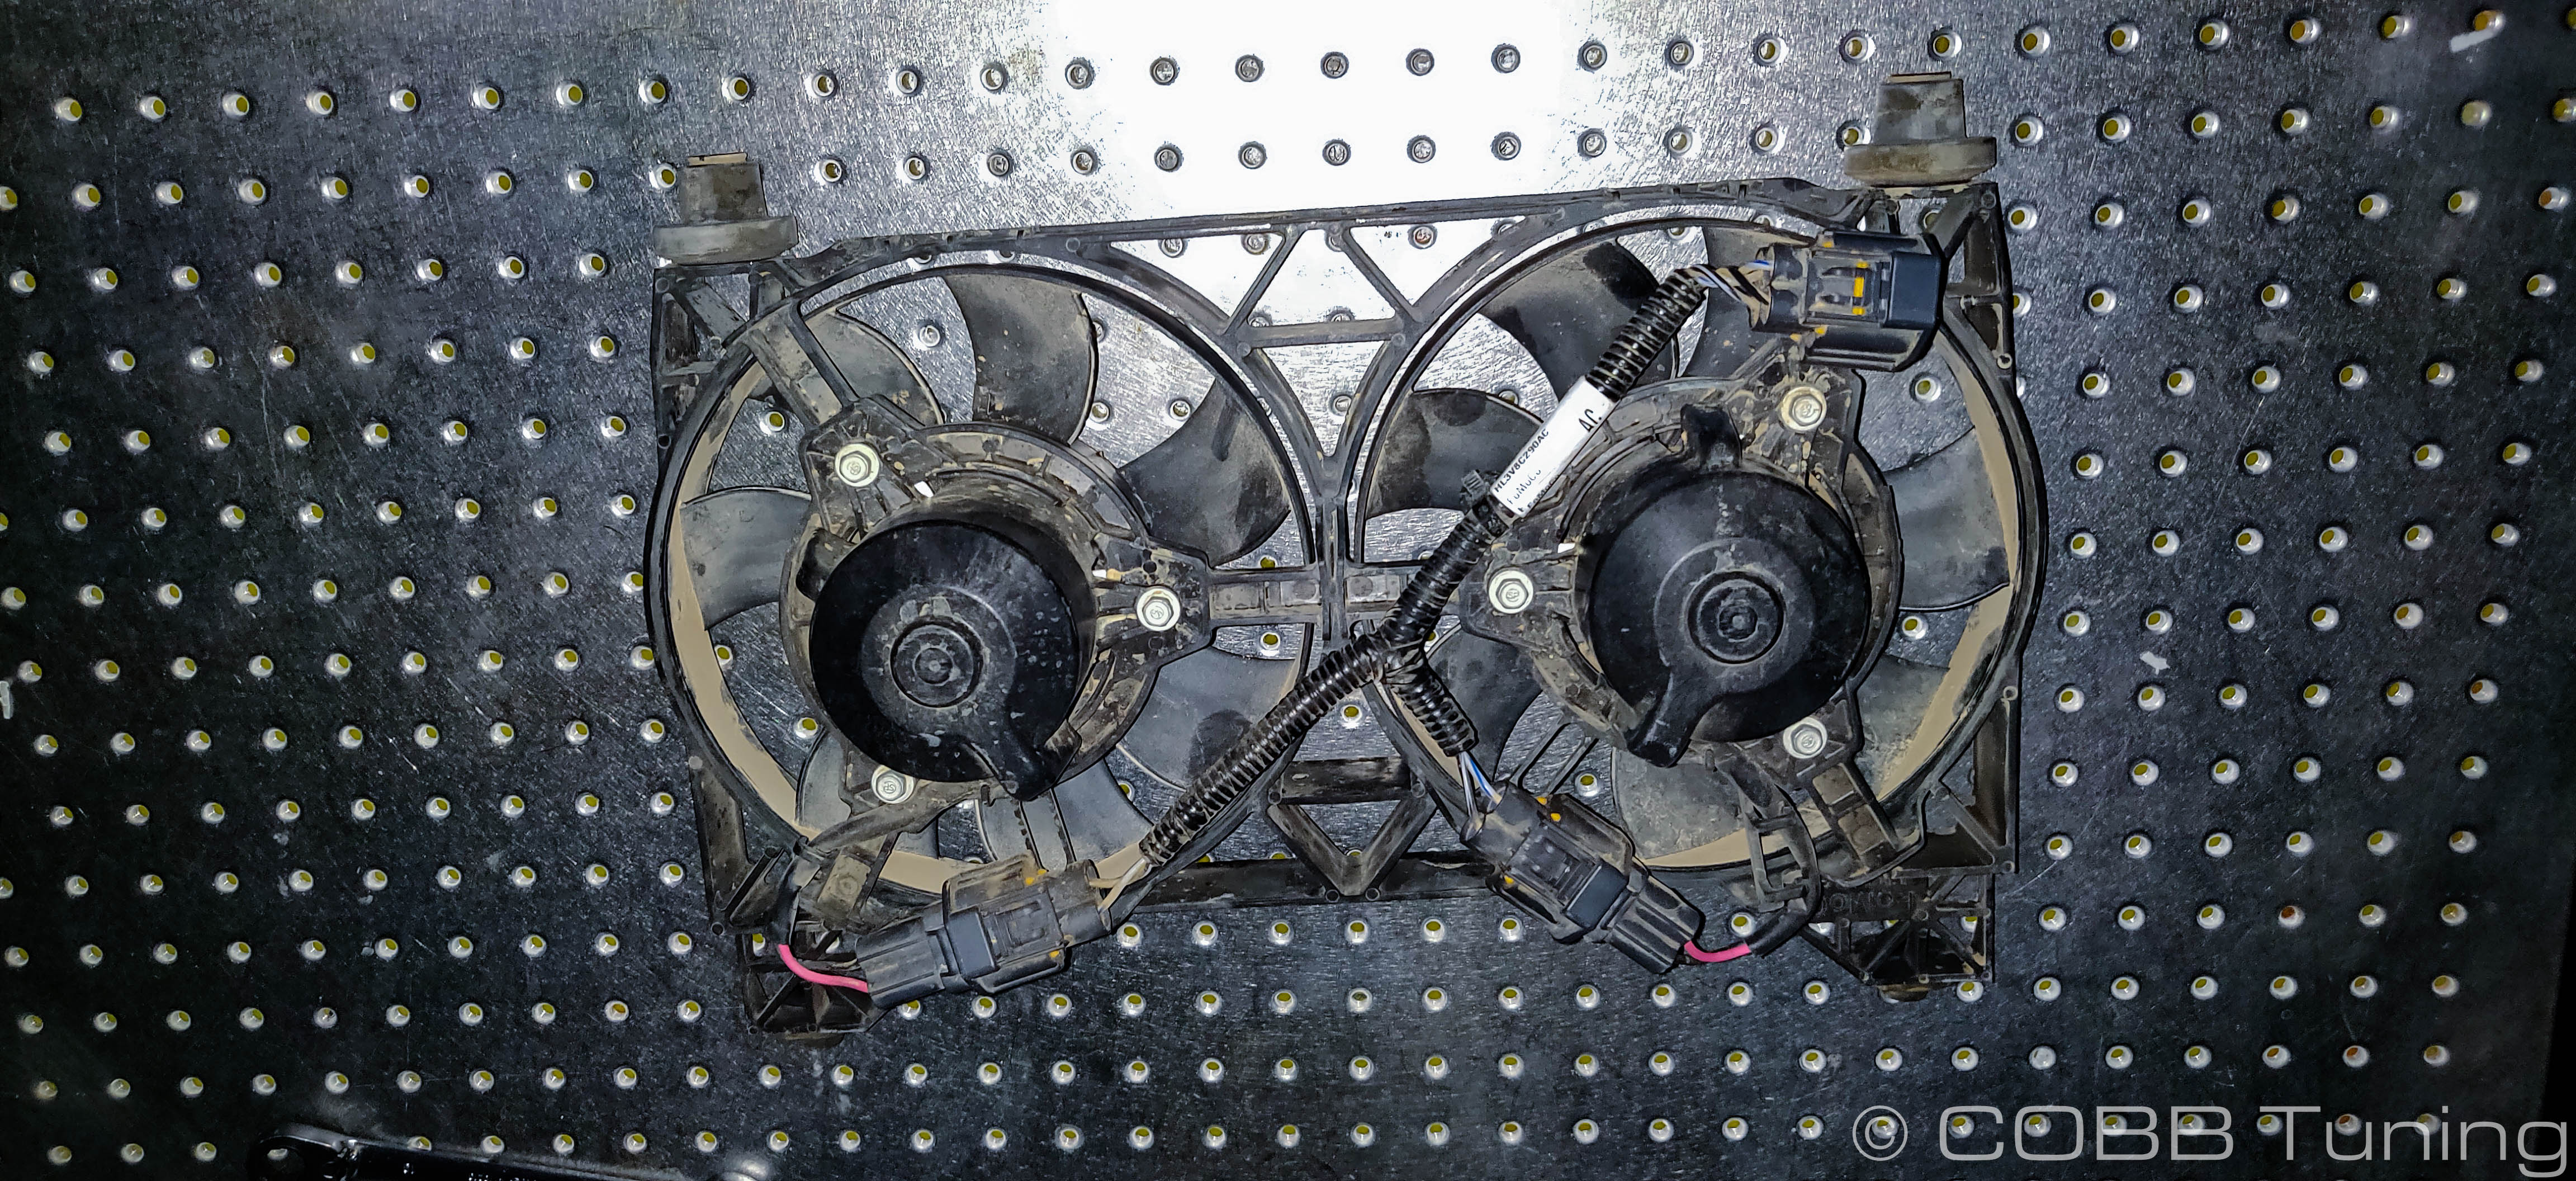
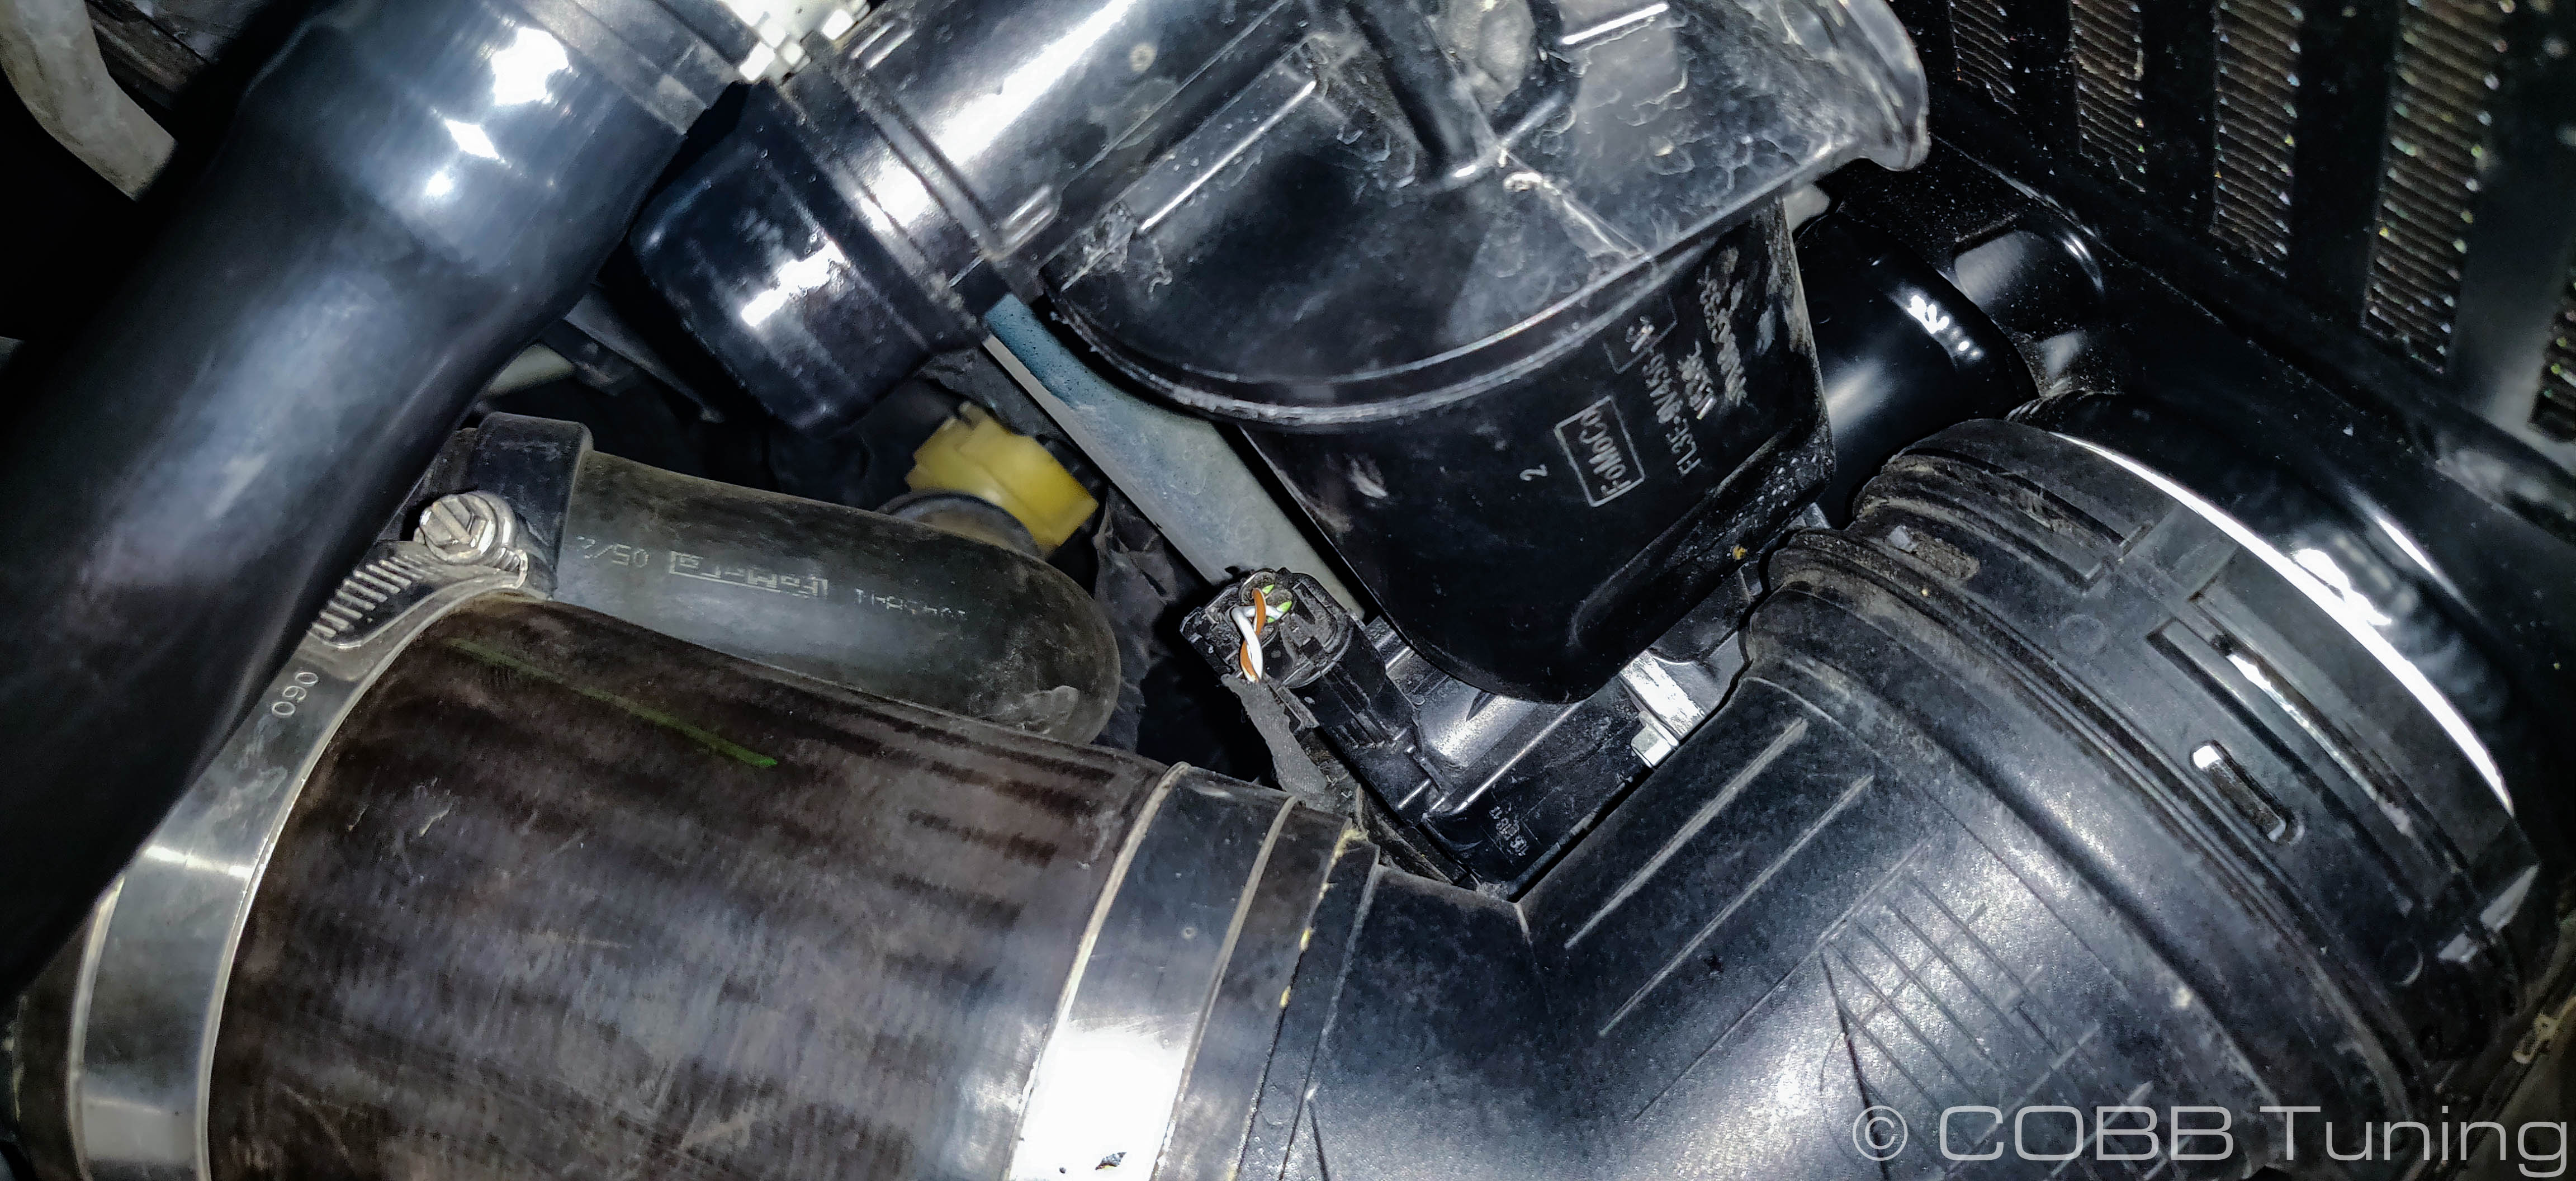
Remove the two wiring connectors on the fan and intercooler where they are attached.
- Drop the intercooler and fans out of the frame rails and set somewhere safe.
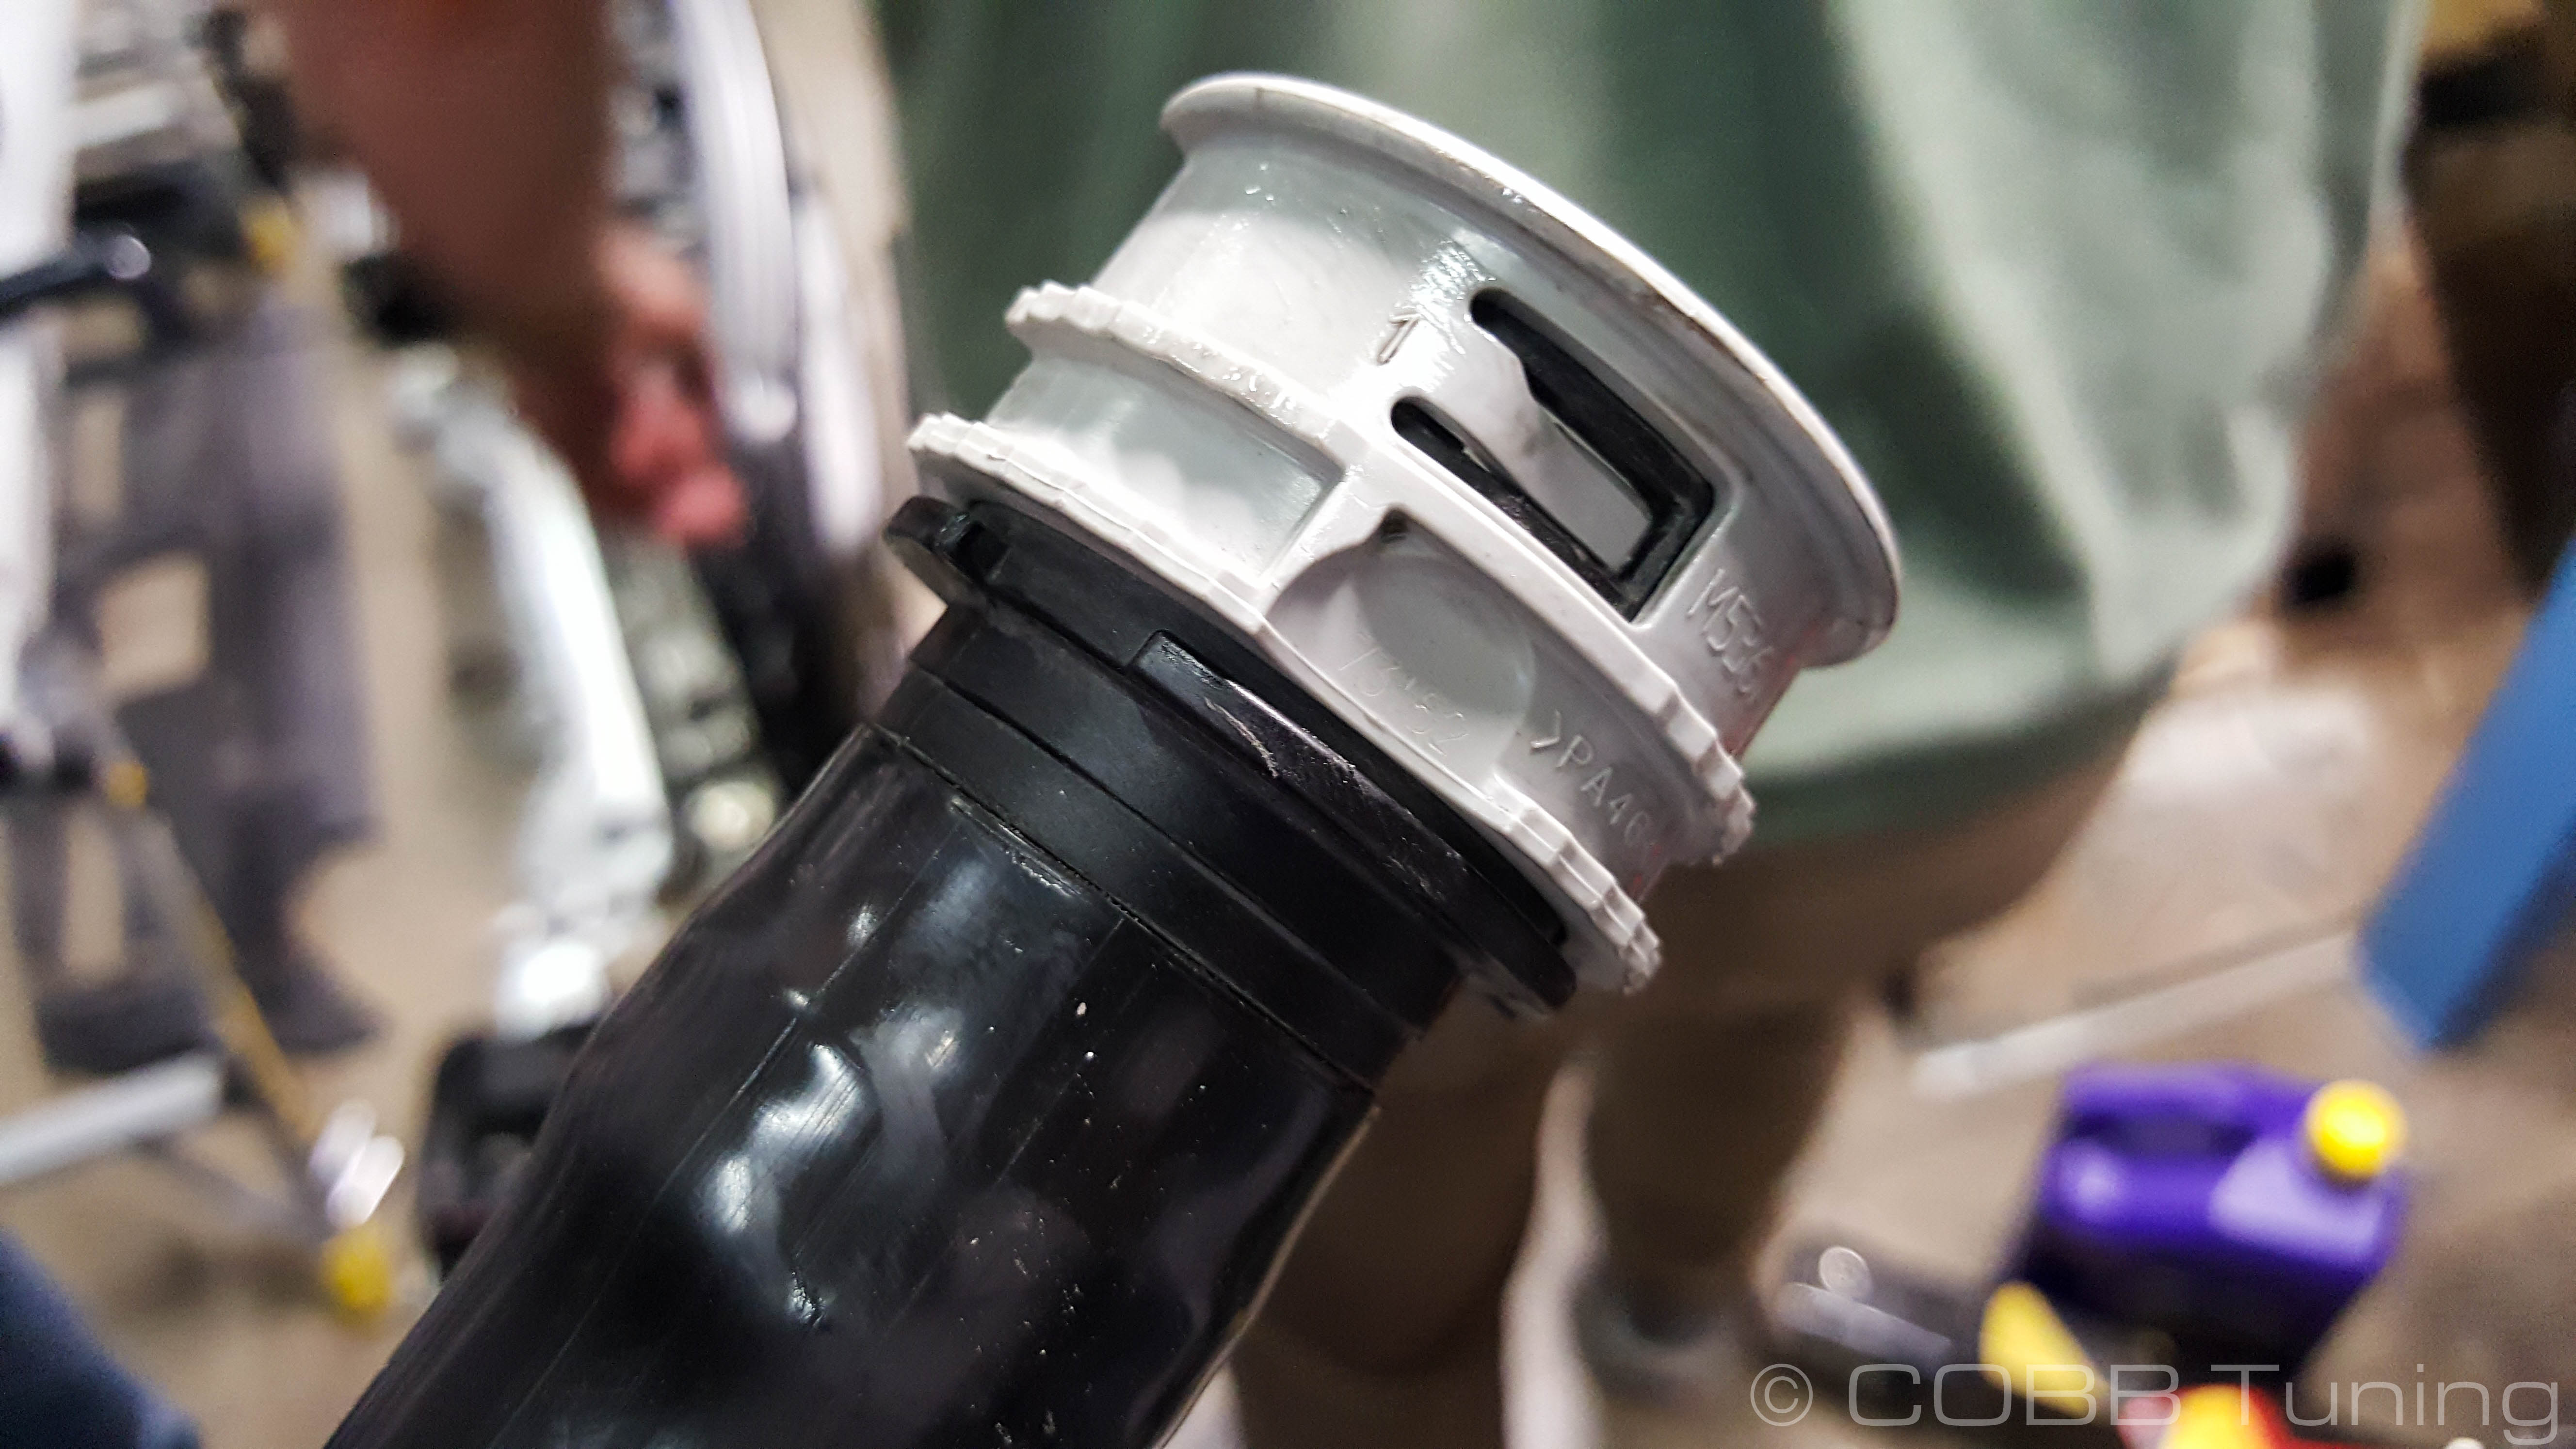
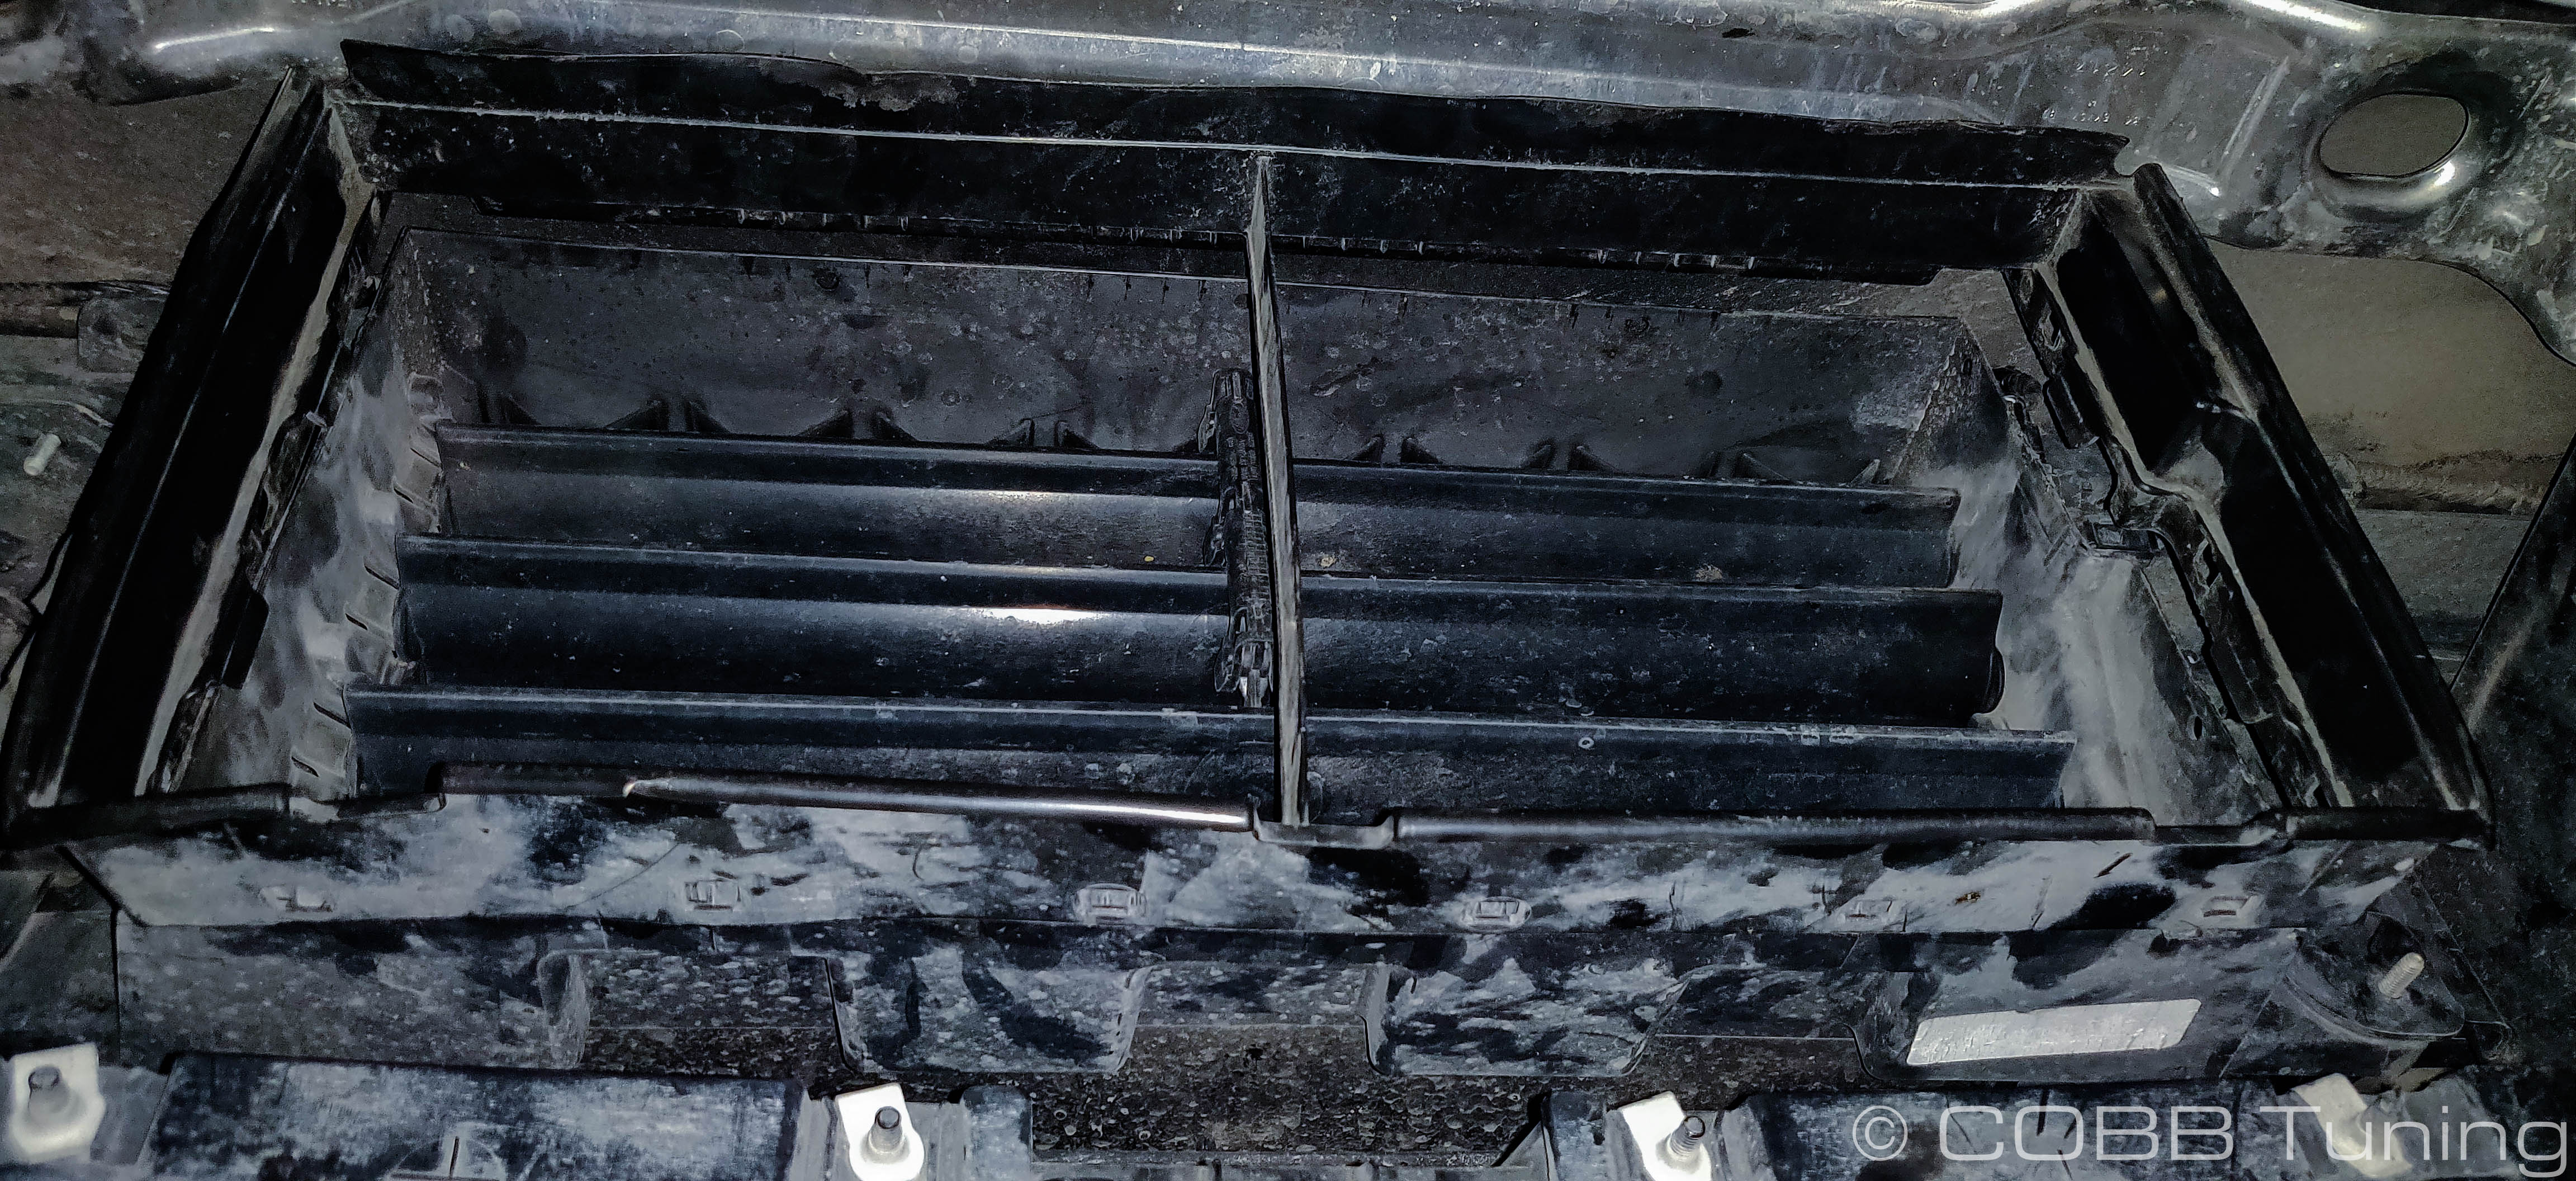
- You'll want to remove the trim / adapter that is at the rear of the intercooler shutters. This can be done by gently lifting outward so that the plastic can slip over the retaining barbs.

Intercooler Installation
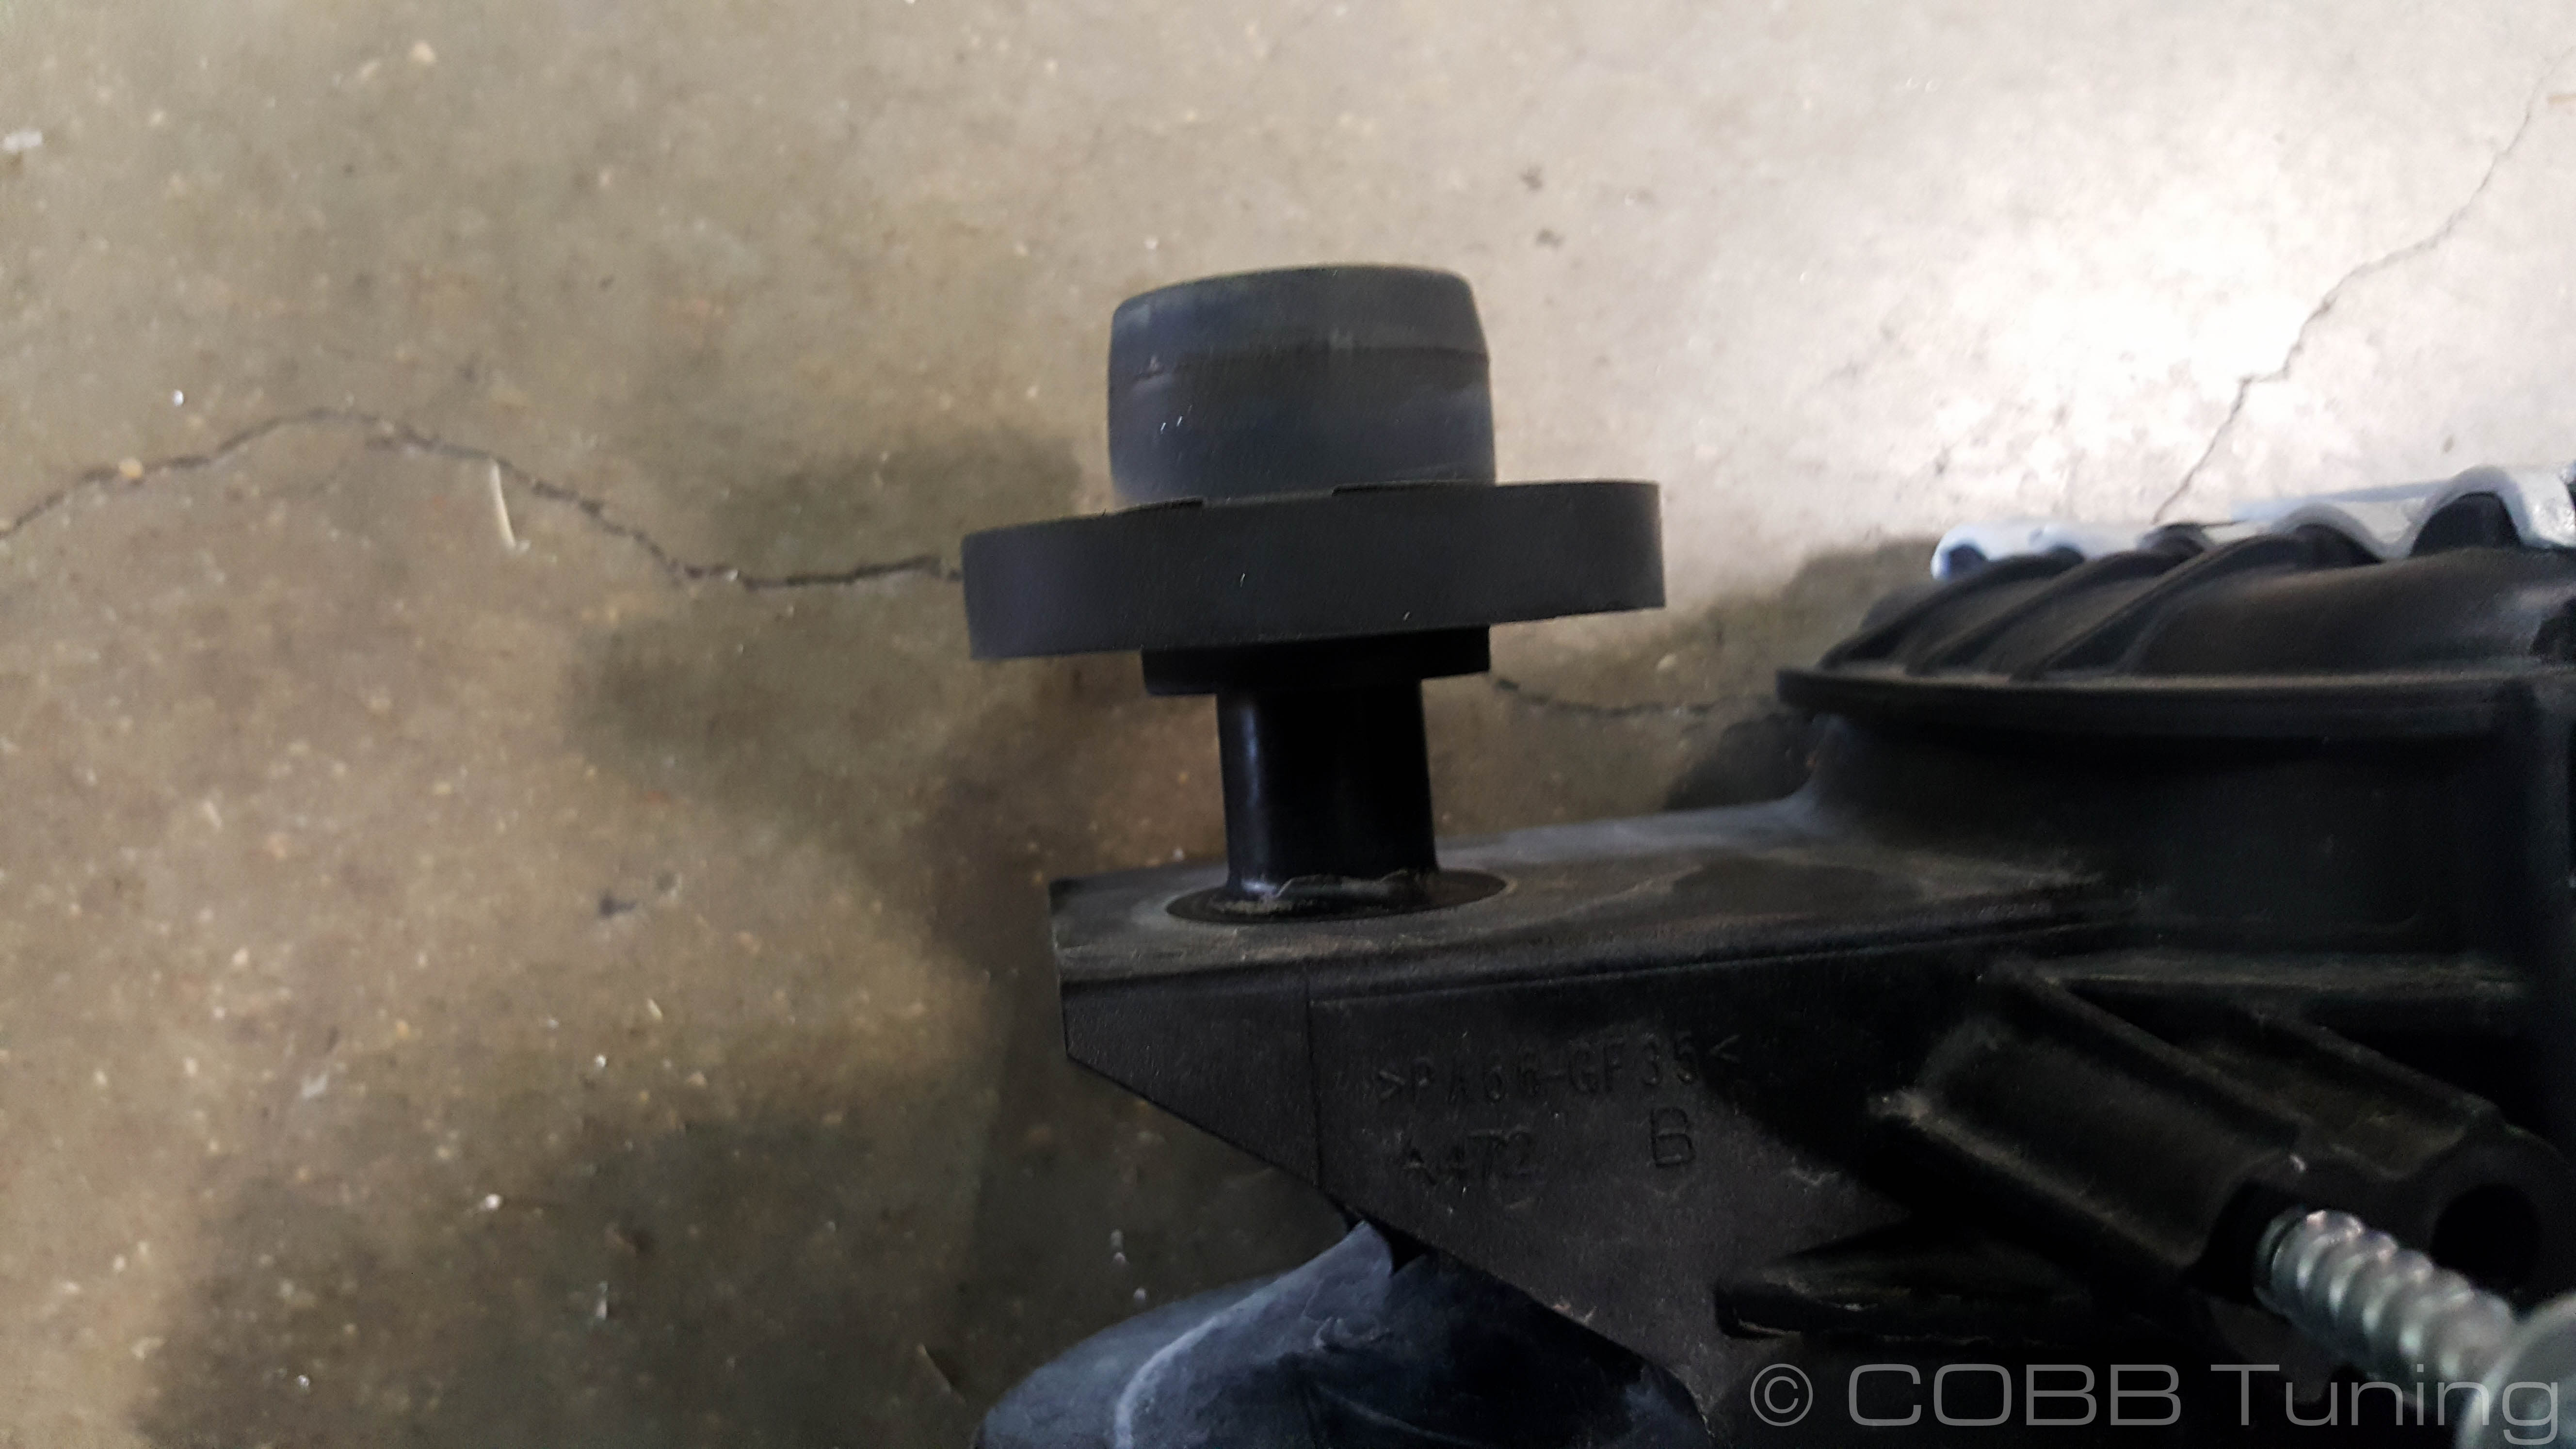
- Remove the rubber bumpers from the stock intercooler and add them onto the new COBB unit
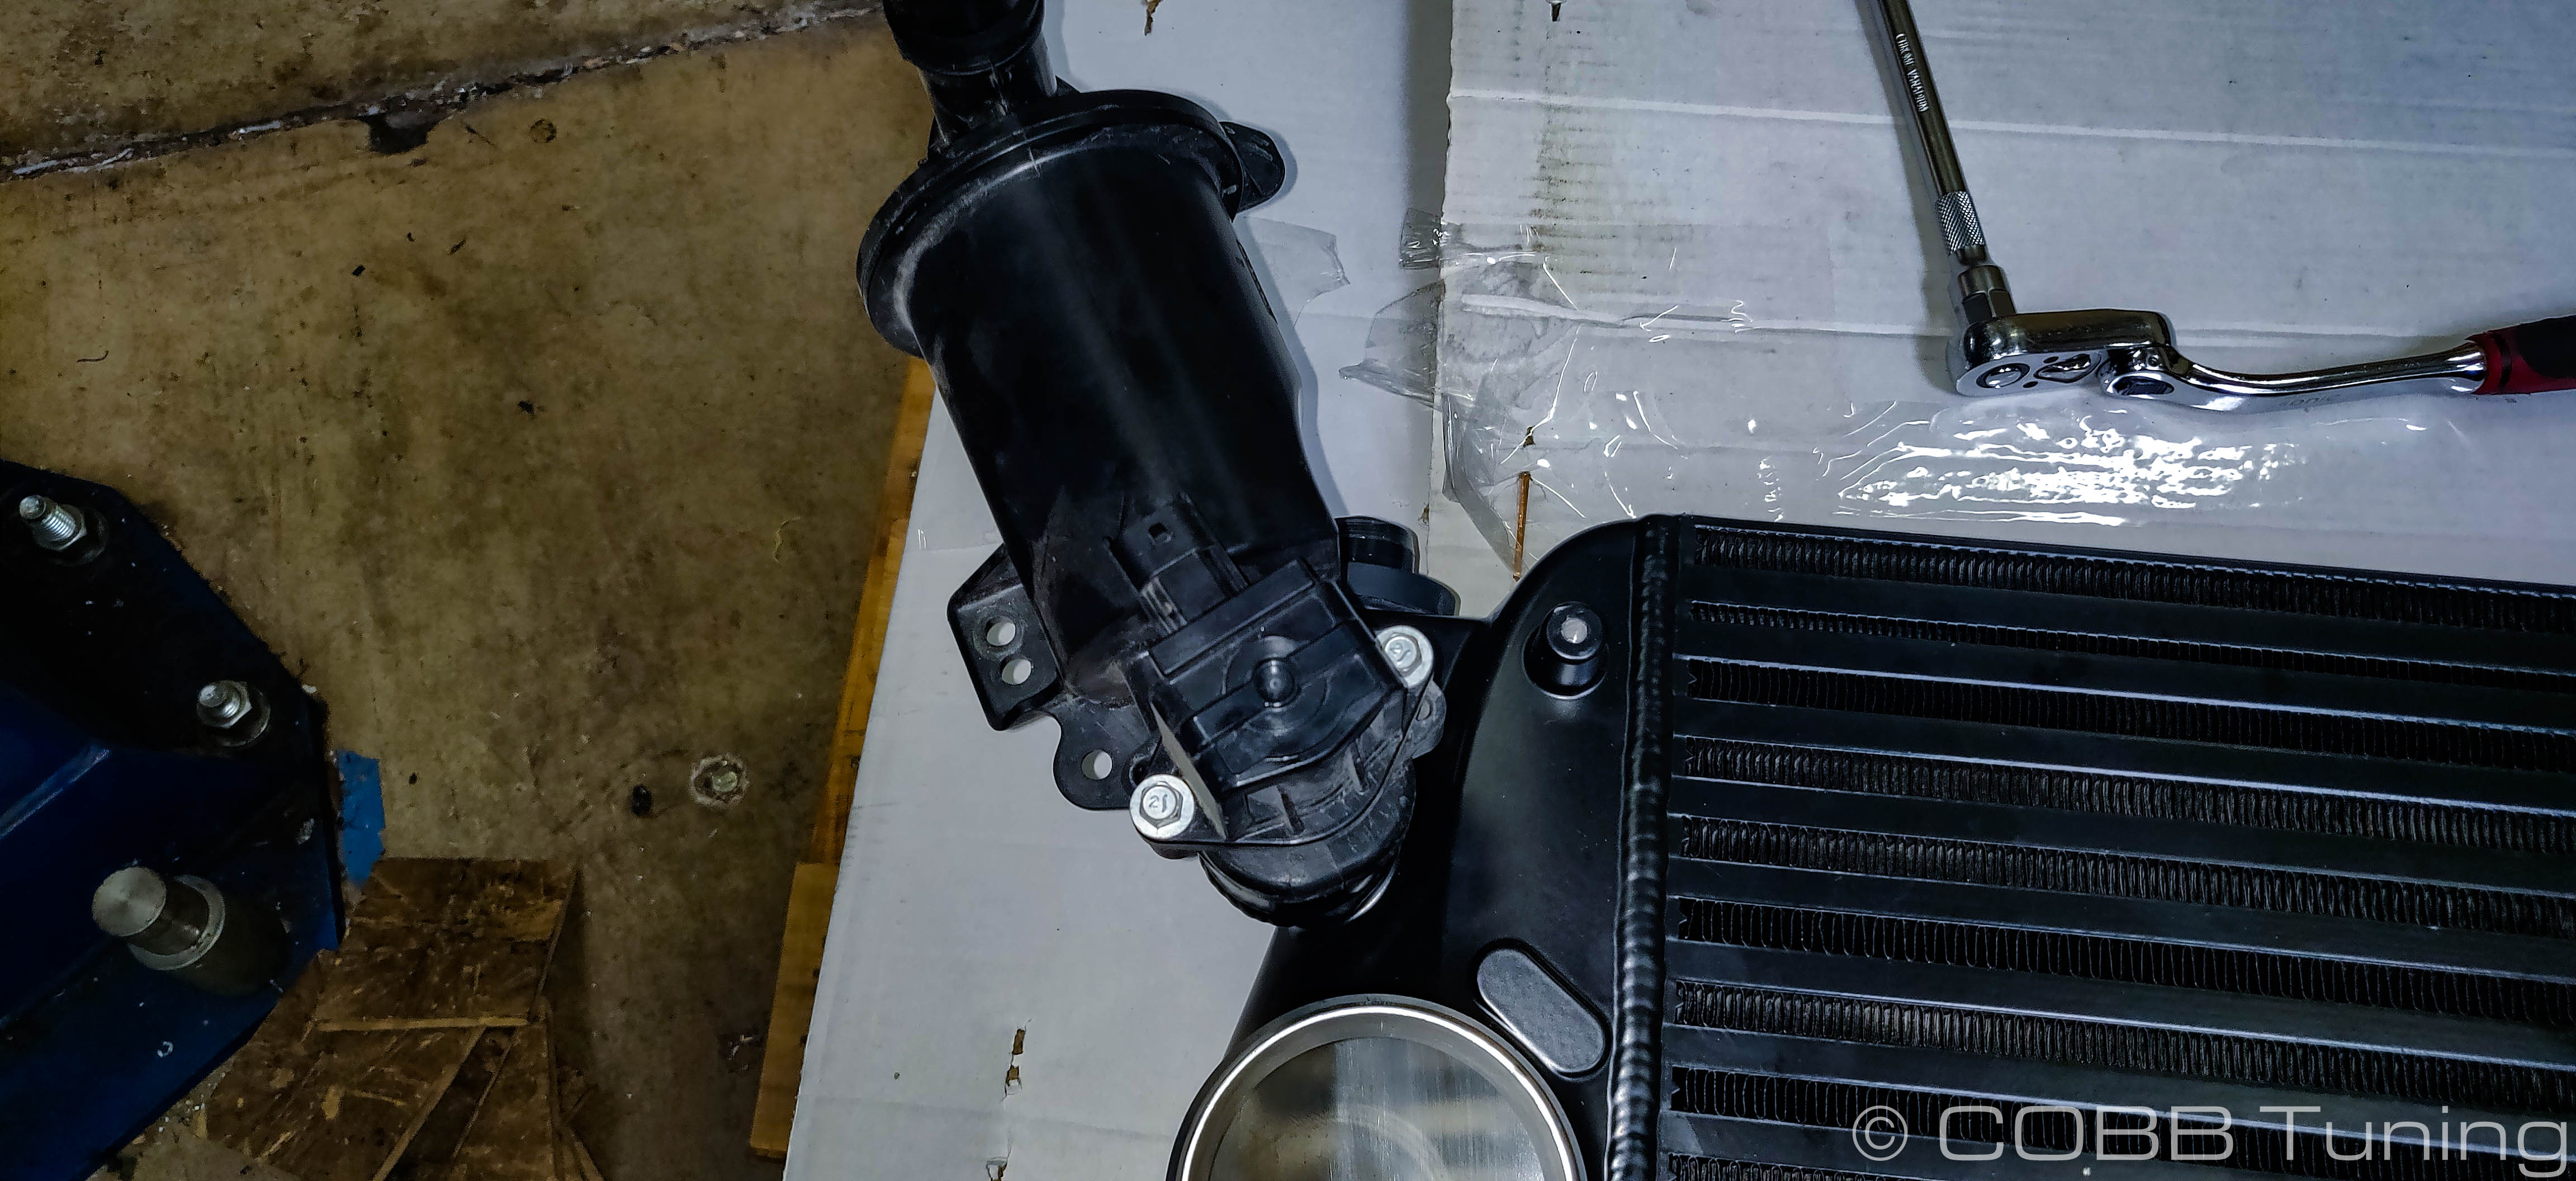
- Remove your BPV from the intercooler core using an 8mm socket. Turn the BPV counter clockwise until it stops and then pull upward gently to remove.

- After checking to make sure the o-ring isn't torn. Lubricate the o-ring with super lube then Install the bpv by holding it at the shown angle and gently wiggling until it slides in, then turn clockwise until it stops
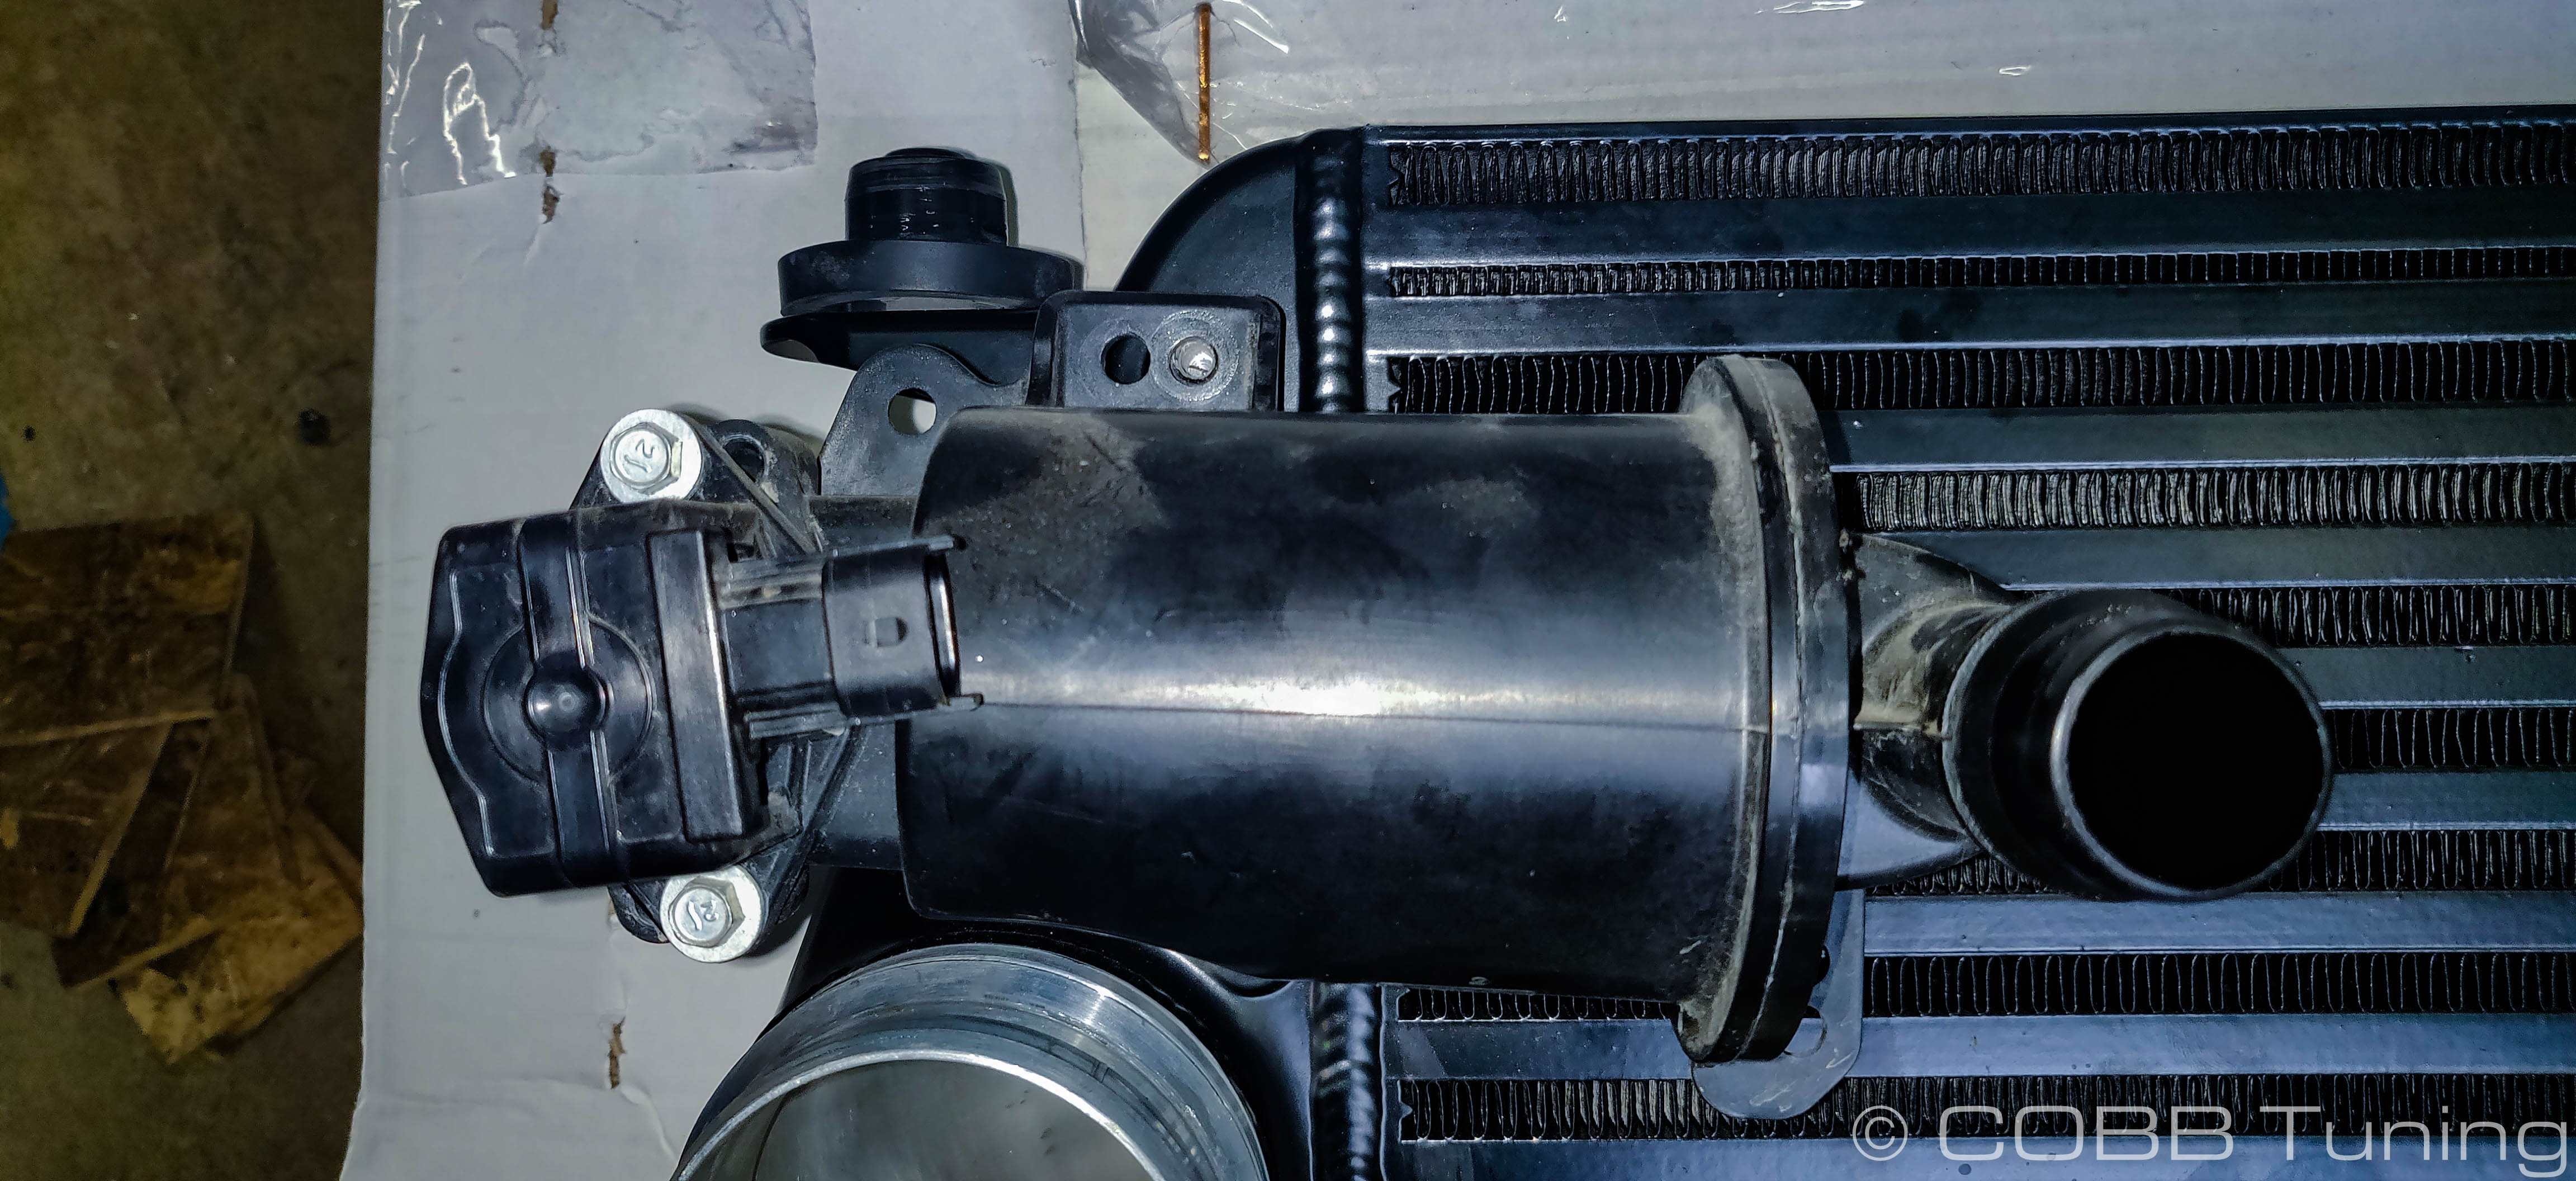
- With that complete, attach it using the provided m6x10mm bolt and washer, threading it into the intercooler itself and tightening it hand tight with a 10mm ratchet.
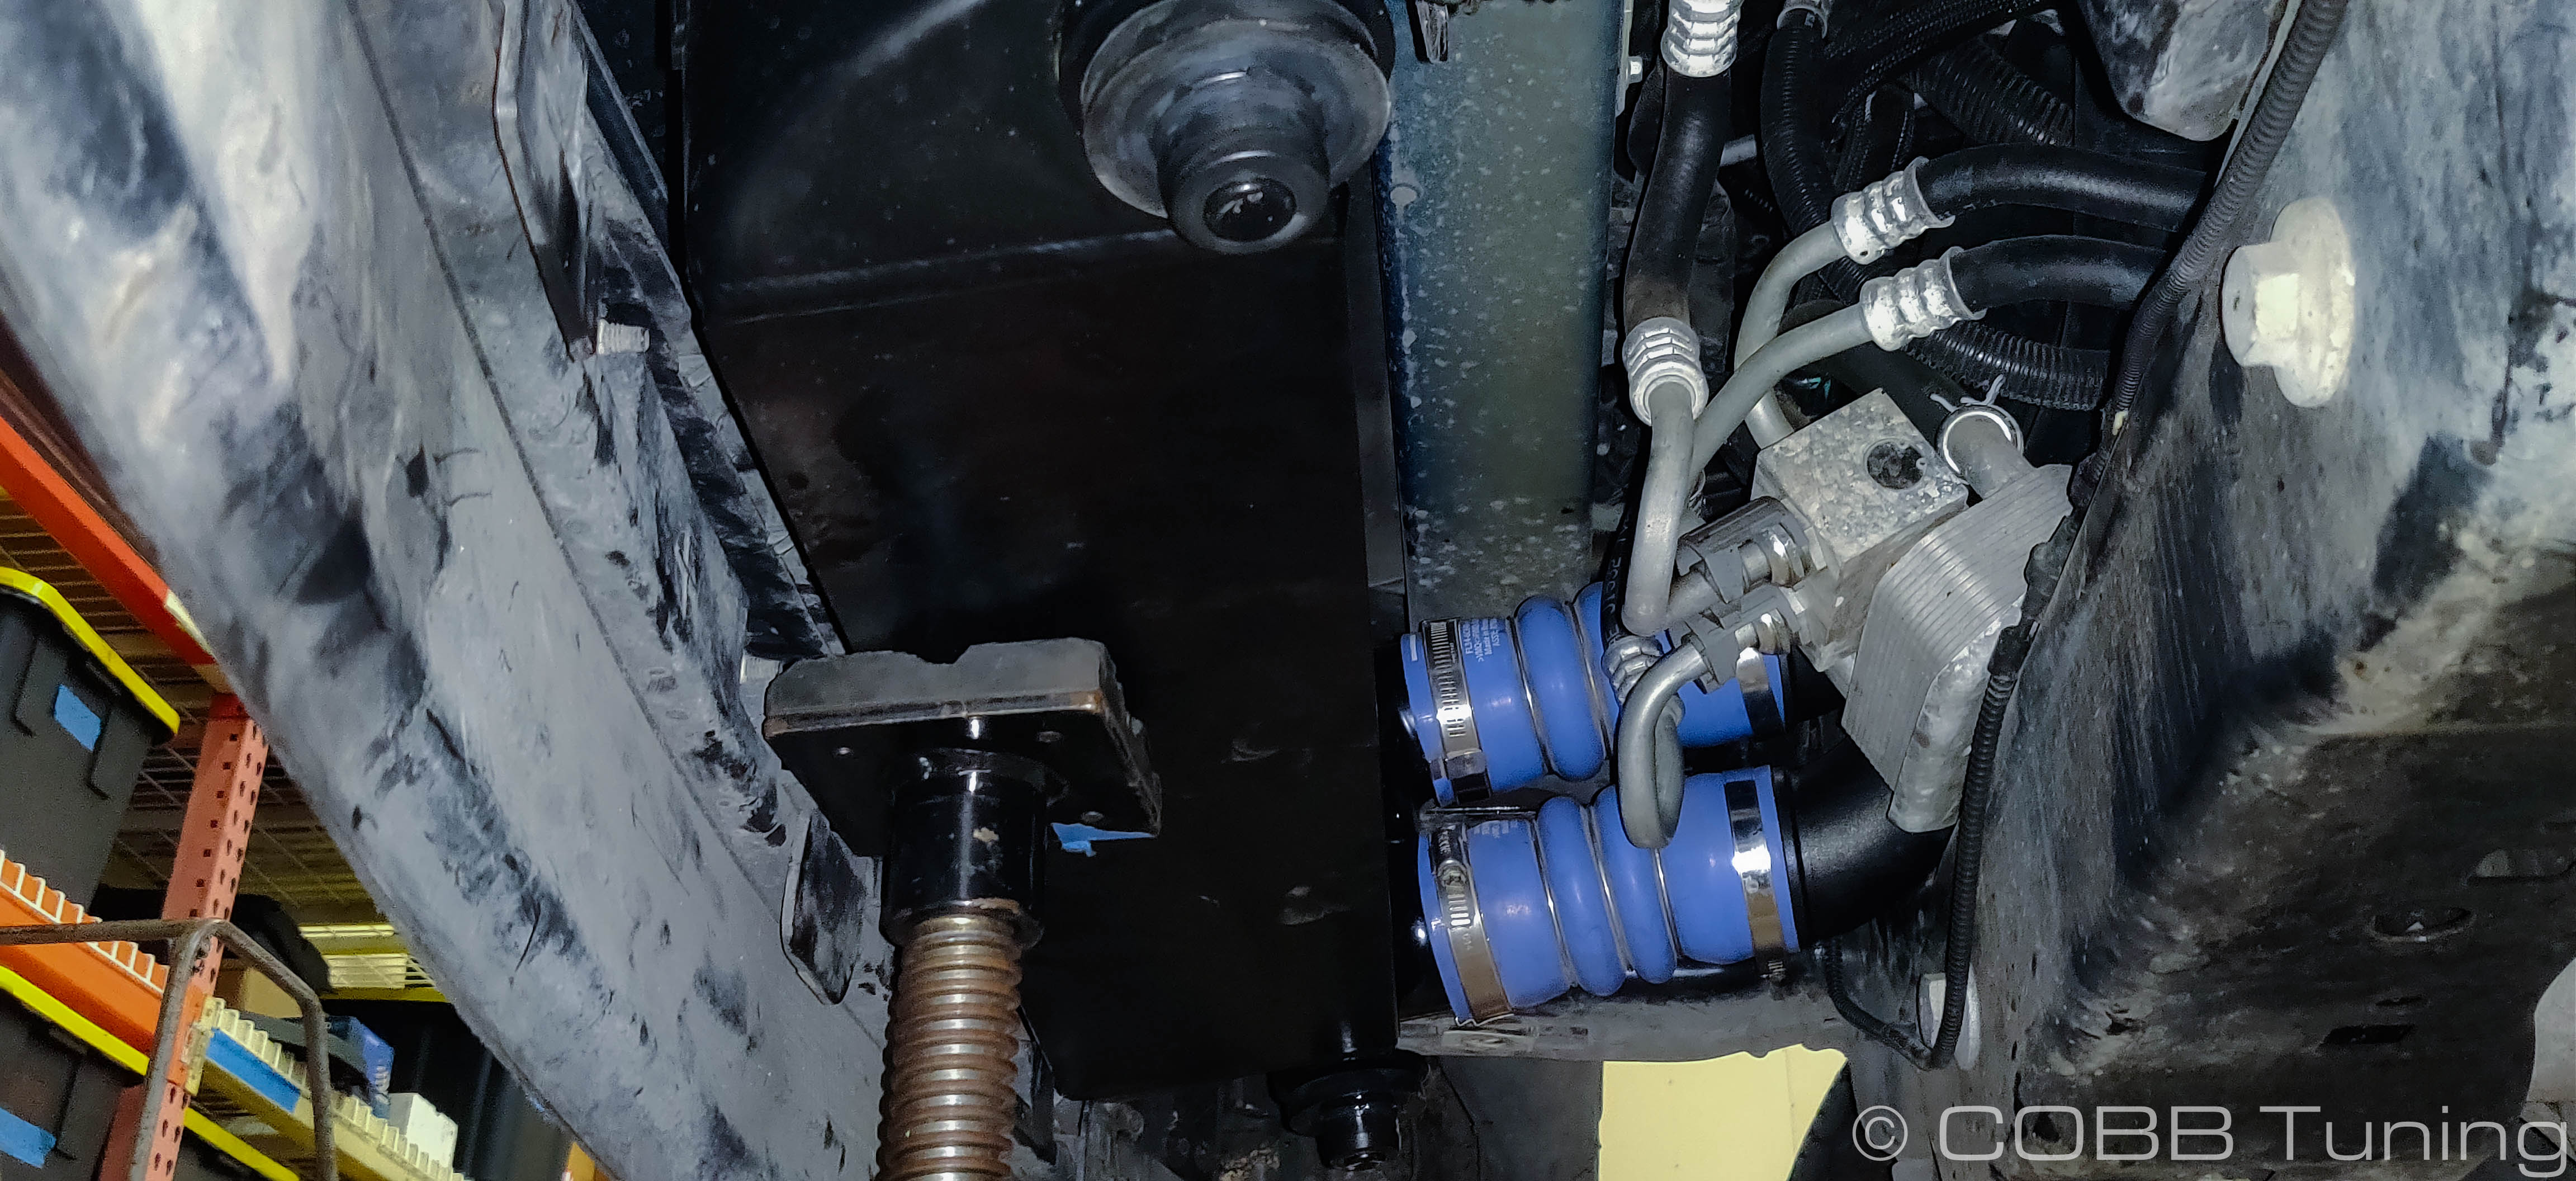
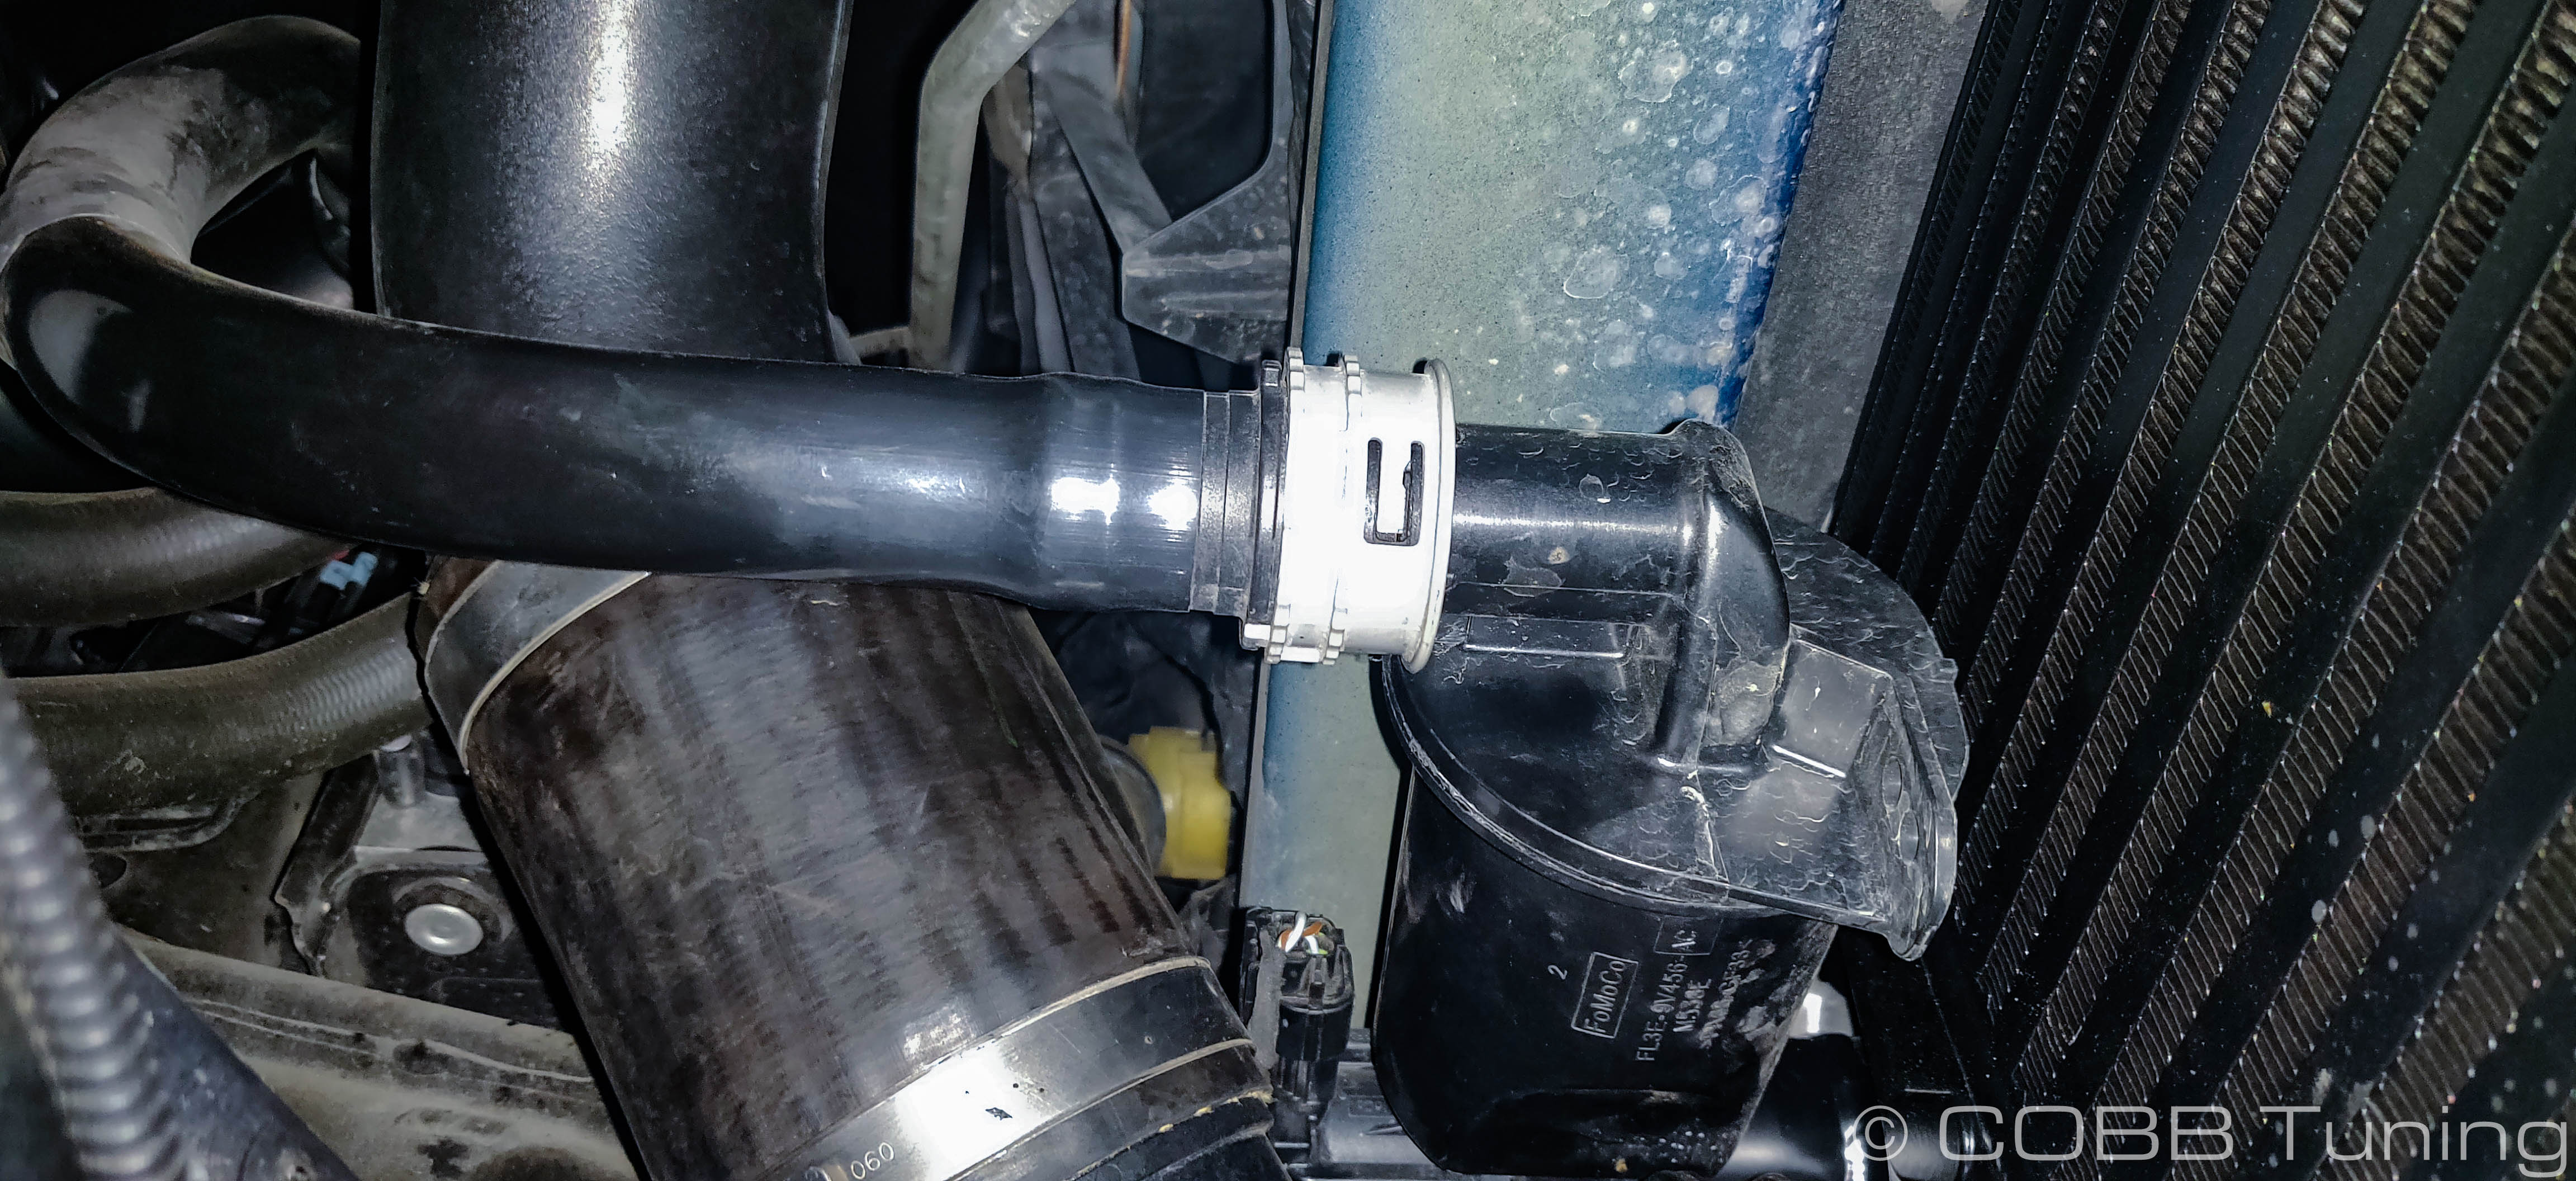
- Using a jack (Or a friend who is good at holding heavy things above their head for long periods of time) lift the intercooler up into the general area of where it's going. With it up there, get the couplers lined up and connected to the intercooler but don't tighten down the hose clamps quite yet.
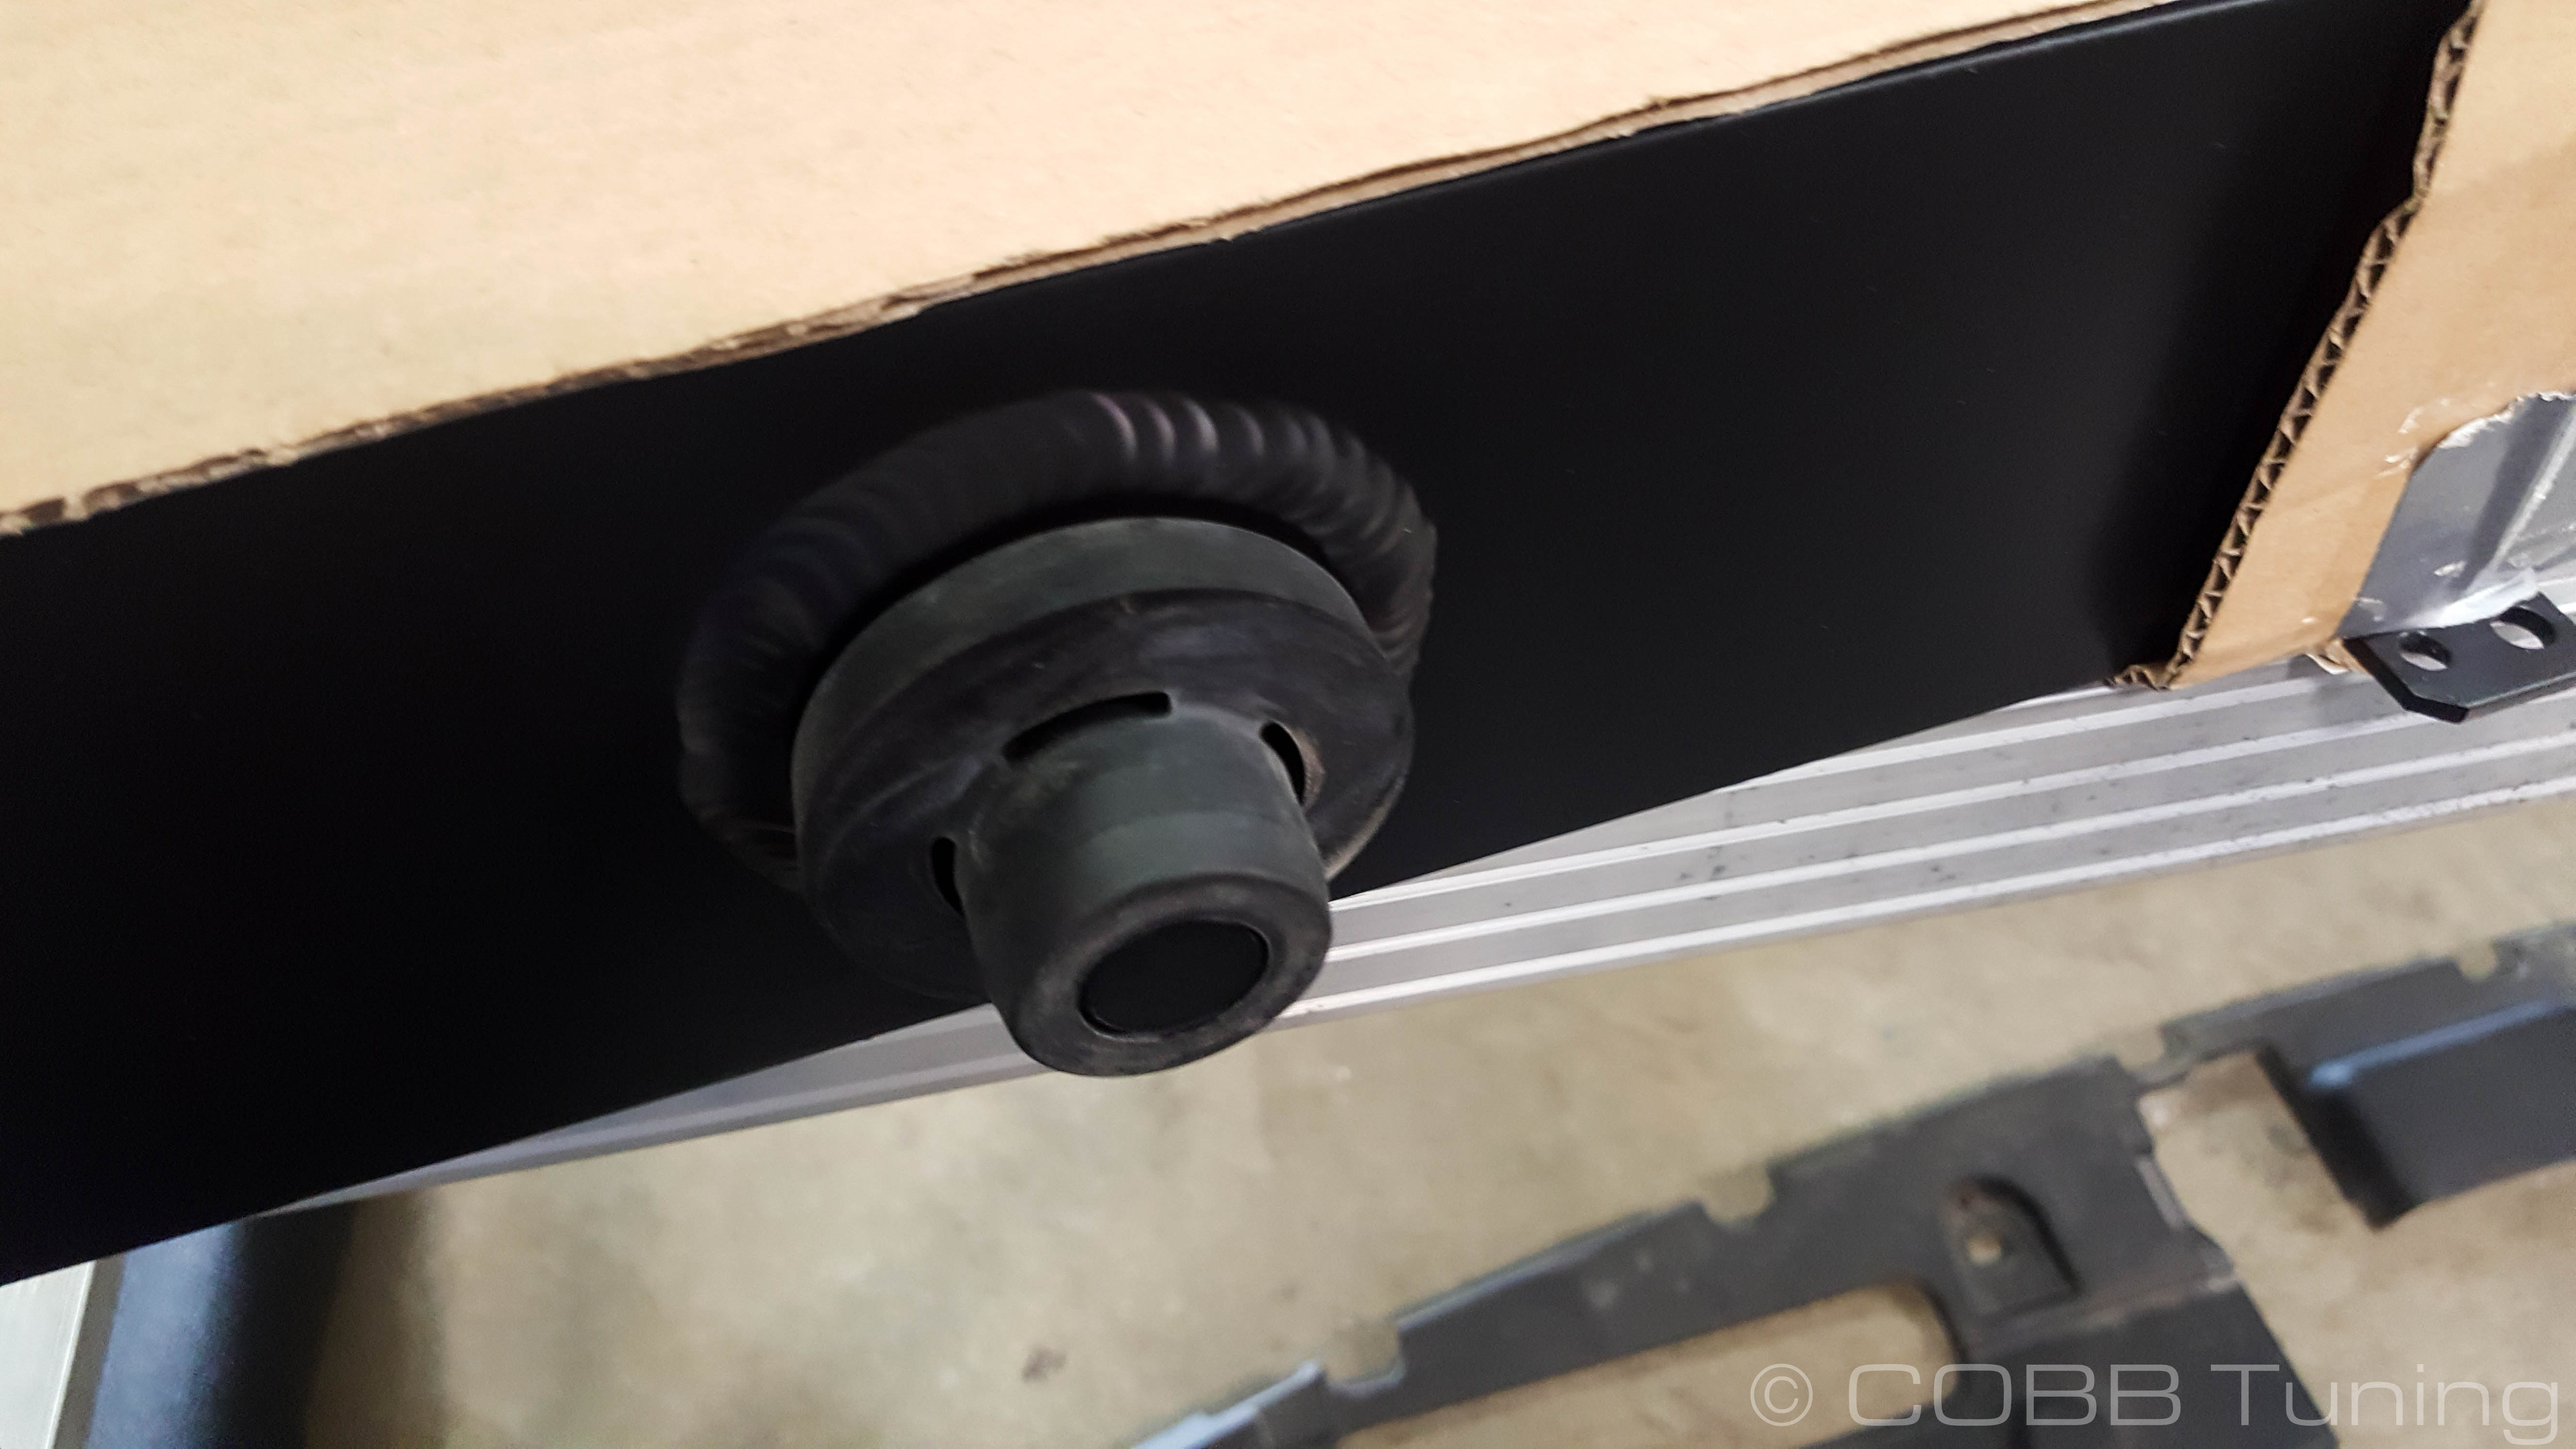
With the piping connected loosely, push the intercooler the rest of the way up into the mount, making sure that the rubber mounts sit inside the holes in the mount above. If your vehicle has the intercooler fans equipped, you'll want to tuck the top pins into the upper mount before pushing the intercooler all the way up as the fans fit around the intercooler in a "U" shape.
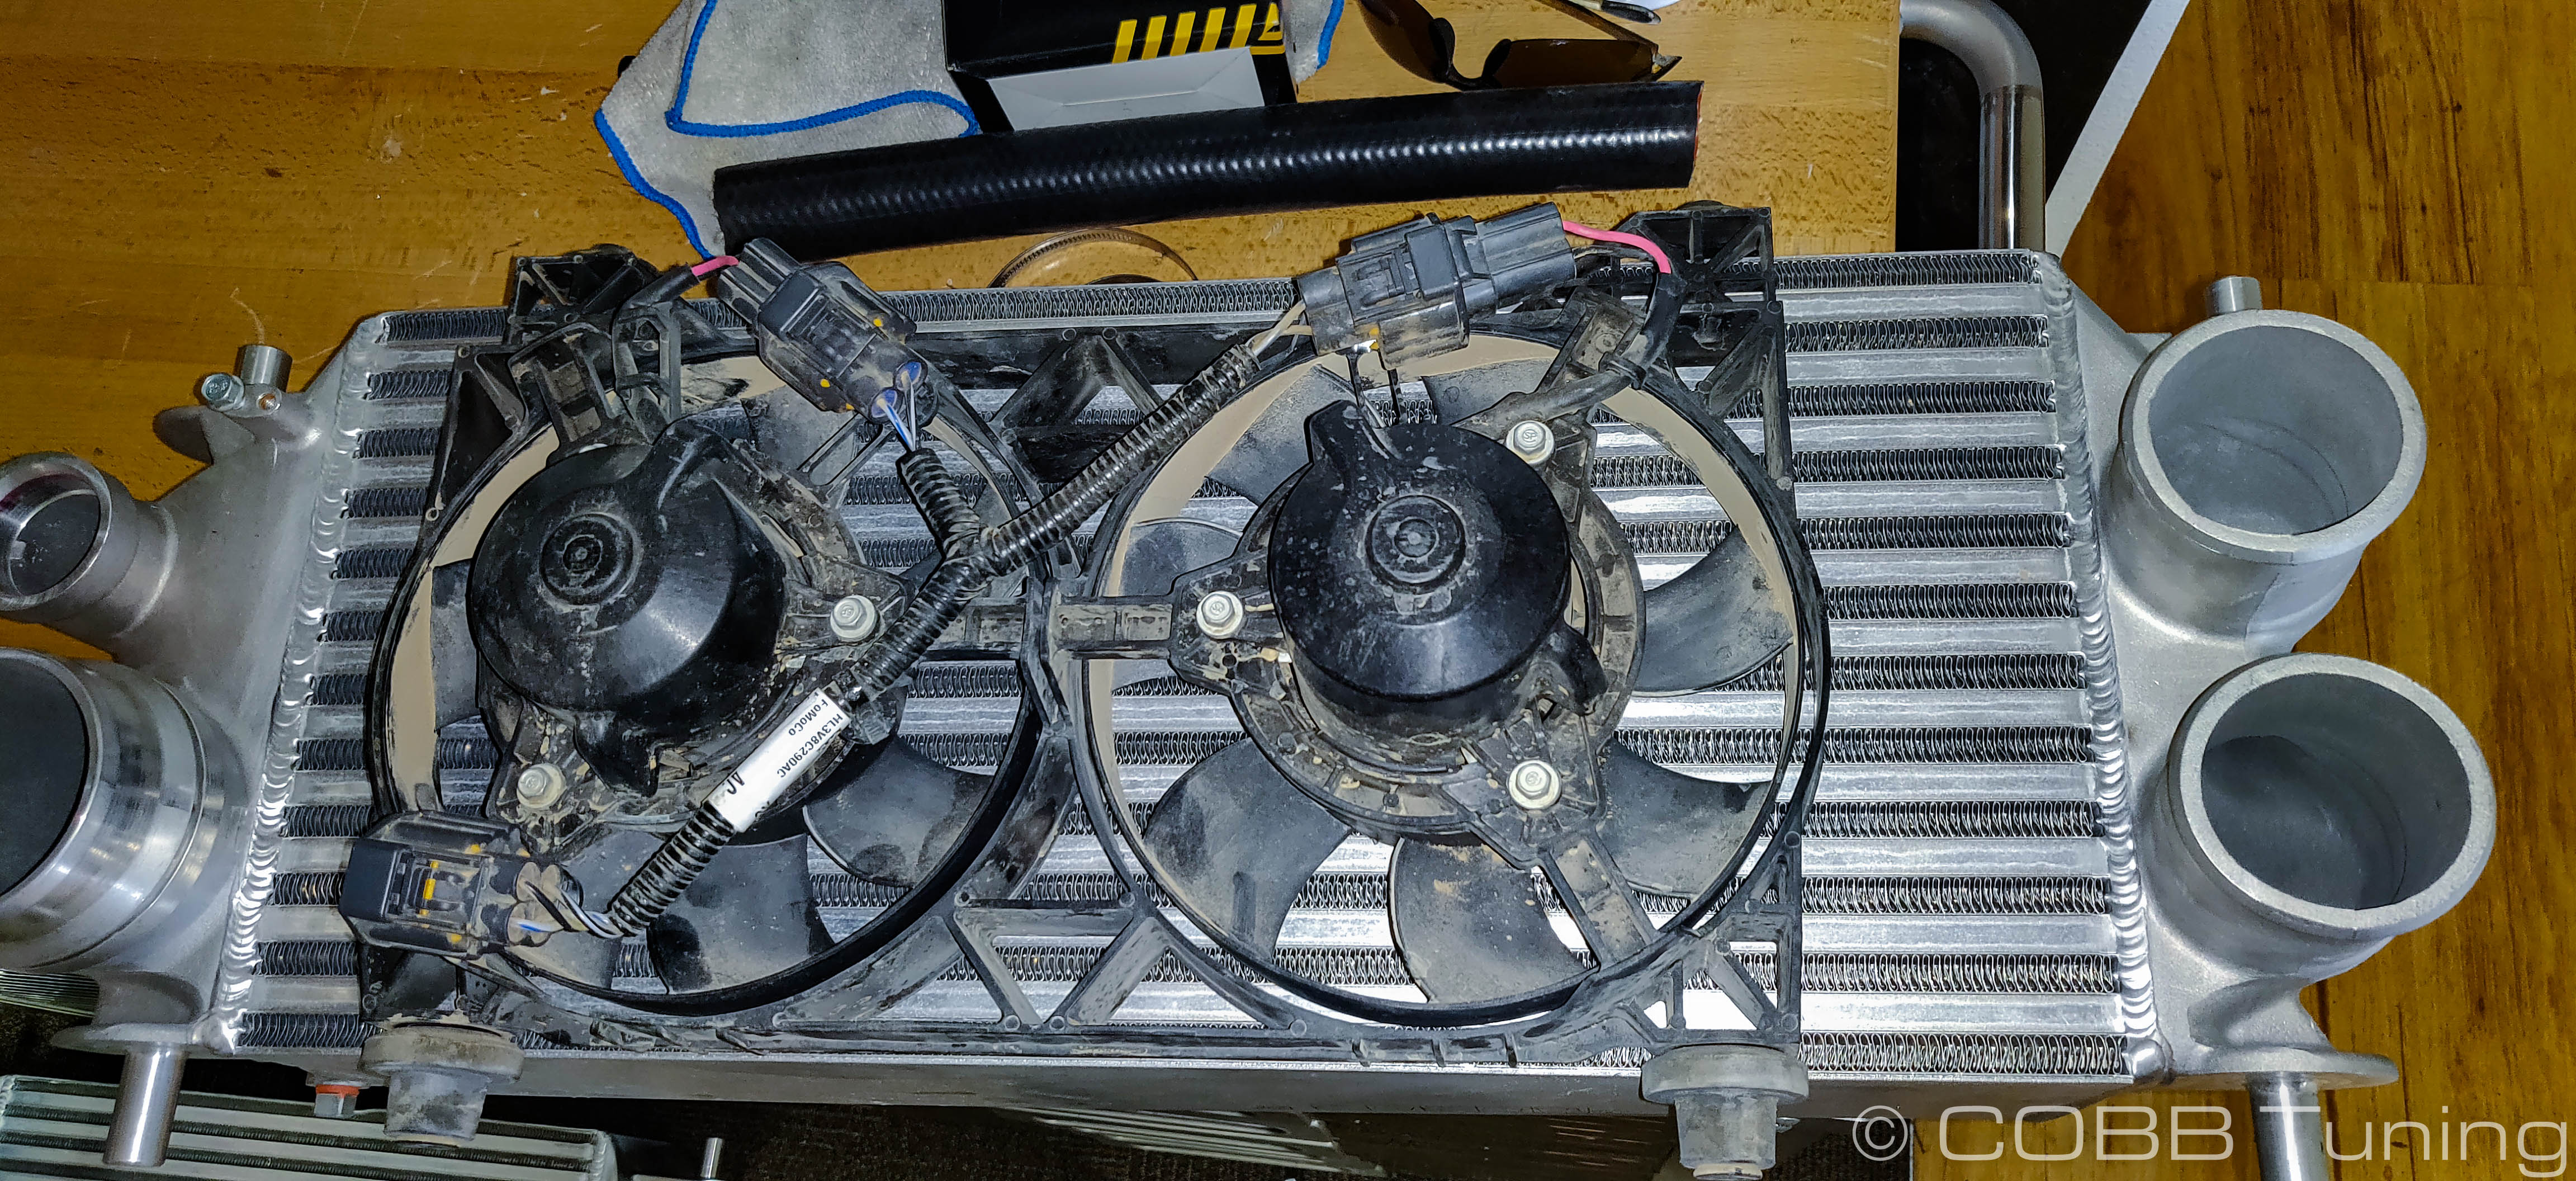
The Intercooler fans have two different sized rubber pins that it sits on. They are sized specifically for the upper vs lower mount so make sure you have it oriented in the proper direction.
- With the intercooler up in place and supported by the jack, go ahead and tighten down the hose clamps and slip the retaining ring back into the larger side.
- Reinstall the bottom intercooler mount
- Re-Connect the electrical connector for the BPV, Fans (if equipped) and the recirculation pipe for the bypass valve (It should push straight on)
- Reinstall the skid plates and the rest of the components in the reverse order of removal.
CARB Sticker Installation (On CARB Certified Applications)
Install the supplied CARB sticker on an easily viewable space that won't be susceptible to large amounts of heat. We recommend on the radiator core support, or the underside of the hood.
Links
Ford Raptor & F-150 Limited HO Map Notes
COBB Customer Support Web Support and Tech Articles: COBB Tuning Customer Support Center Email: support@cobbtuning.com Phone support available 9am to 6pm Monday-Thursday. 9am to 4pm Friday (CST) 866.922.3059 return to www.cobbtuning.comContact Us:
Related content
Copyright 2025 © COBB Tuning Products LLC. All Rights Reserved. | www.cobbtuning.com