Raptor Stock Intercooler Removal
- Brandyn Mowat

Raptor Stock Intercooler Removal
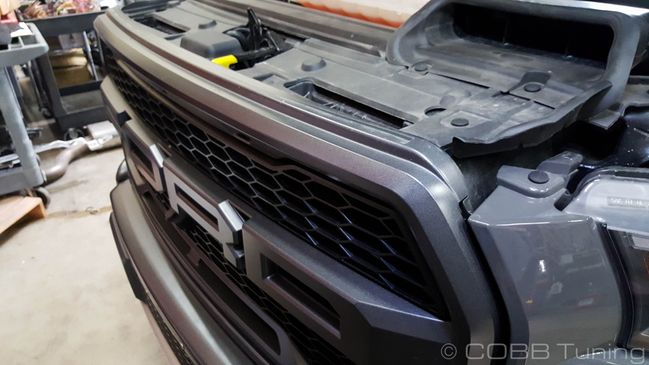
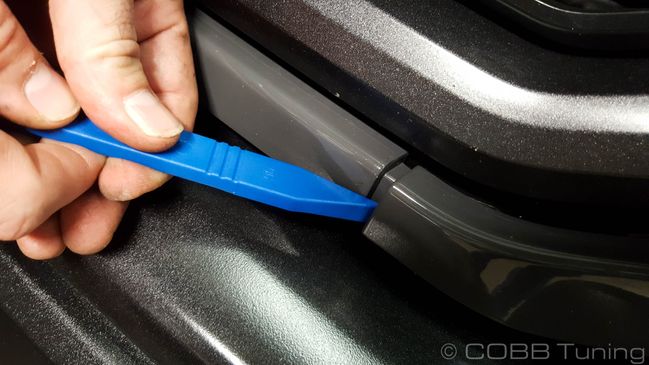
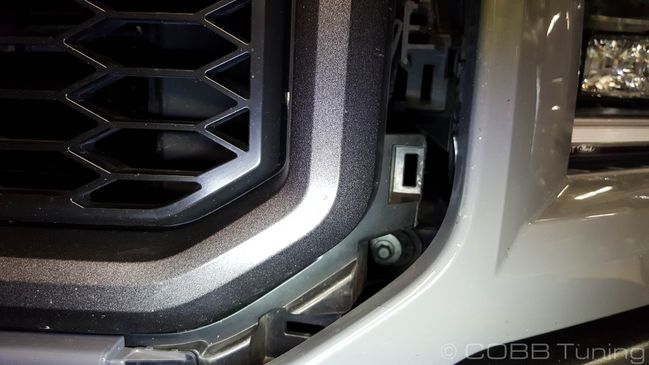
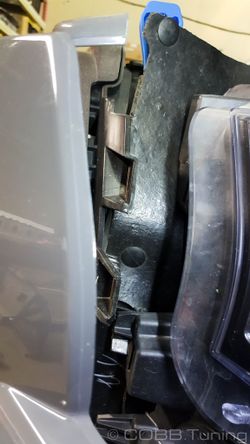
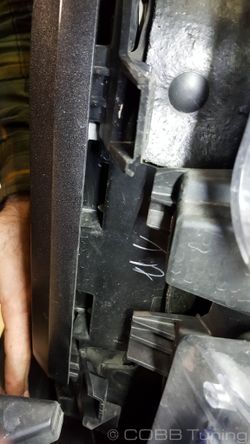
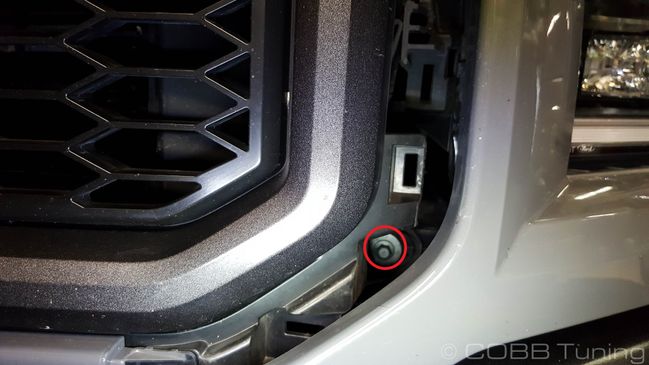
Remove the four 10mm bolts on the top of the grille using your socket. These bolts, like many others go straight into metal (some into plastic). Make sure to avoid torquing these bolts too hard either when loosening or tightening these bolts as it's very easy to strip them out on accident. Remove the front grille assembly and set it somewhere safe!Grille Removal

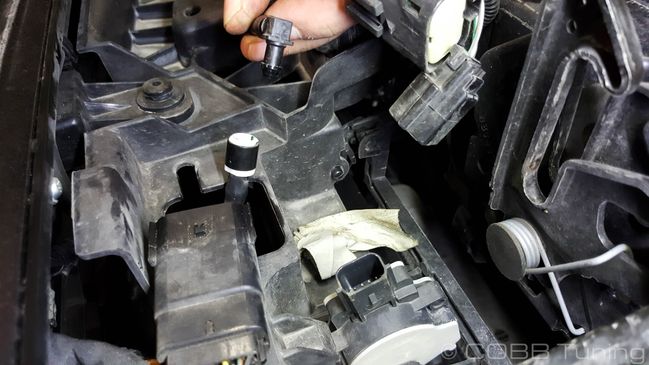
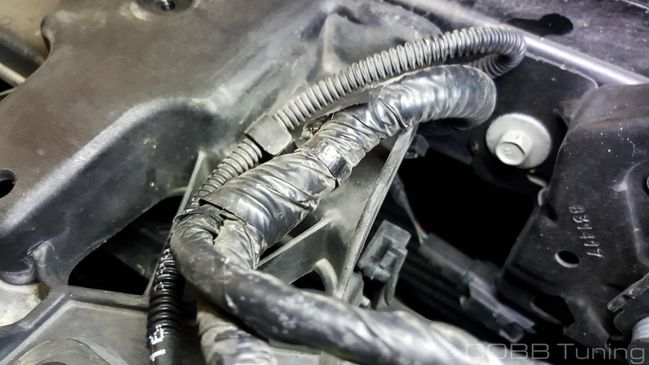
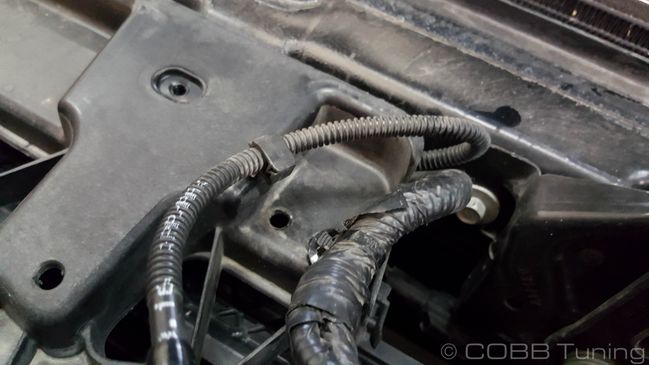
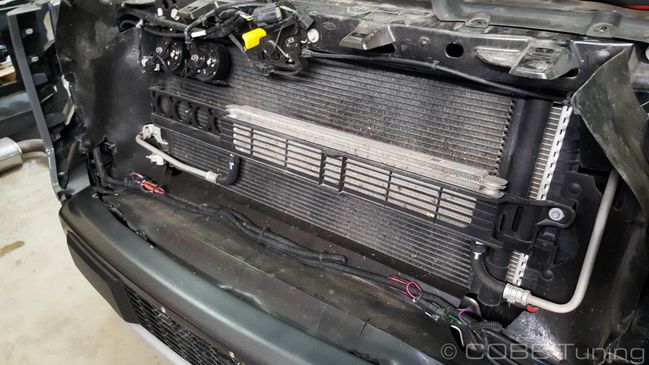
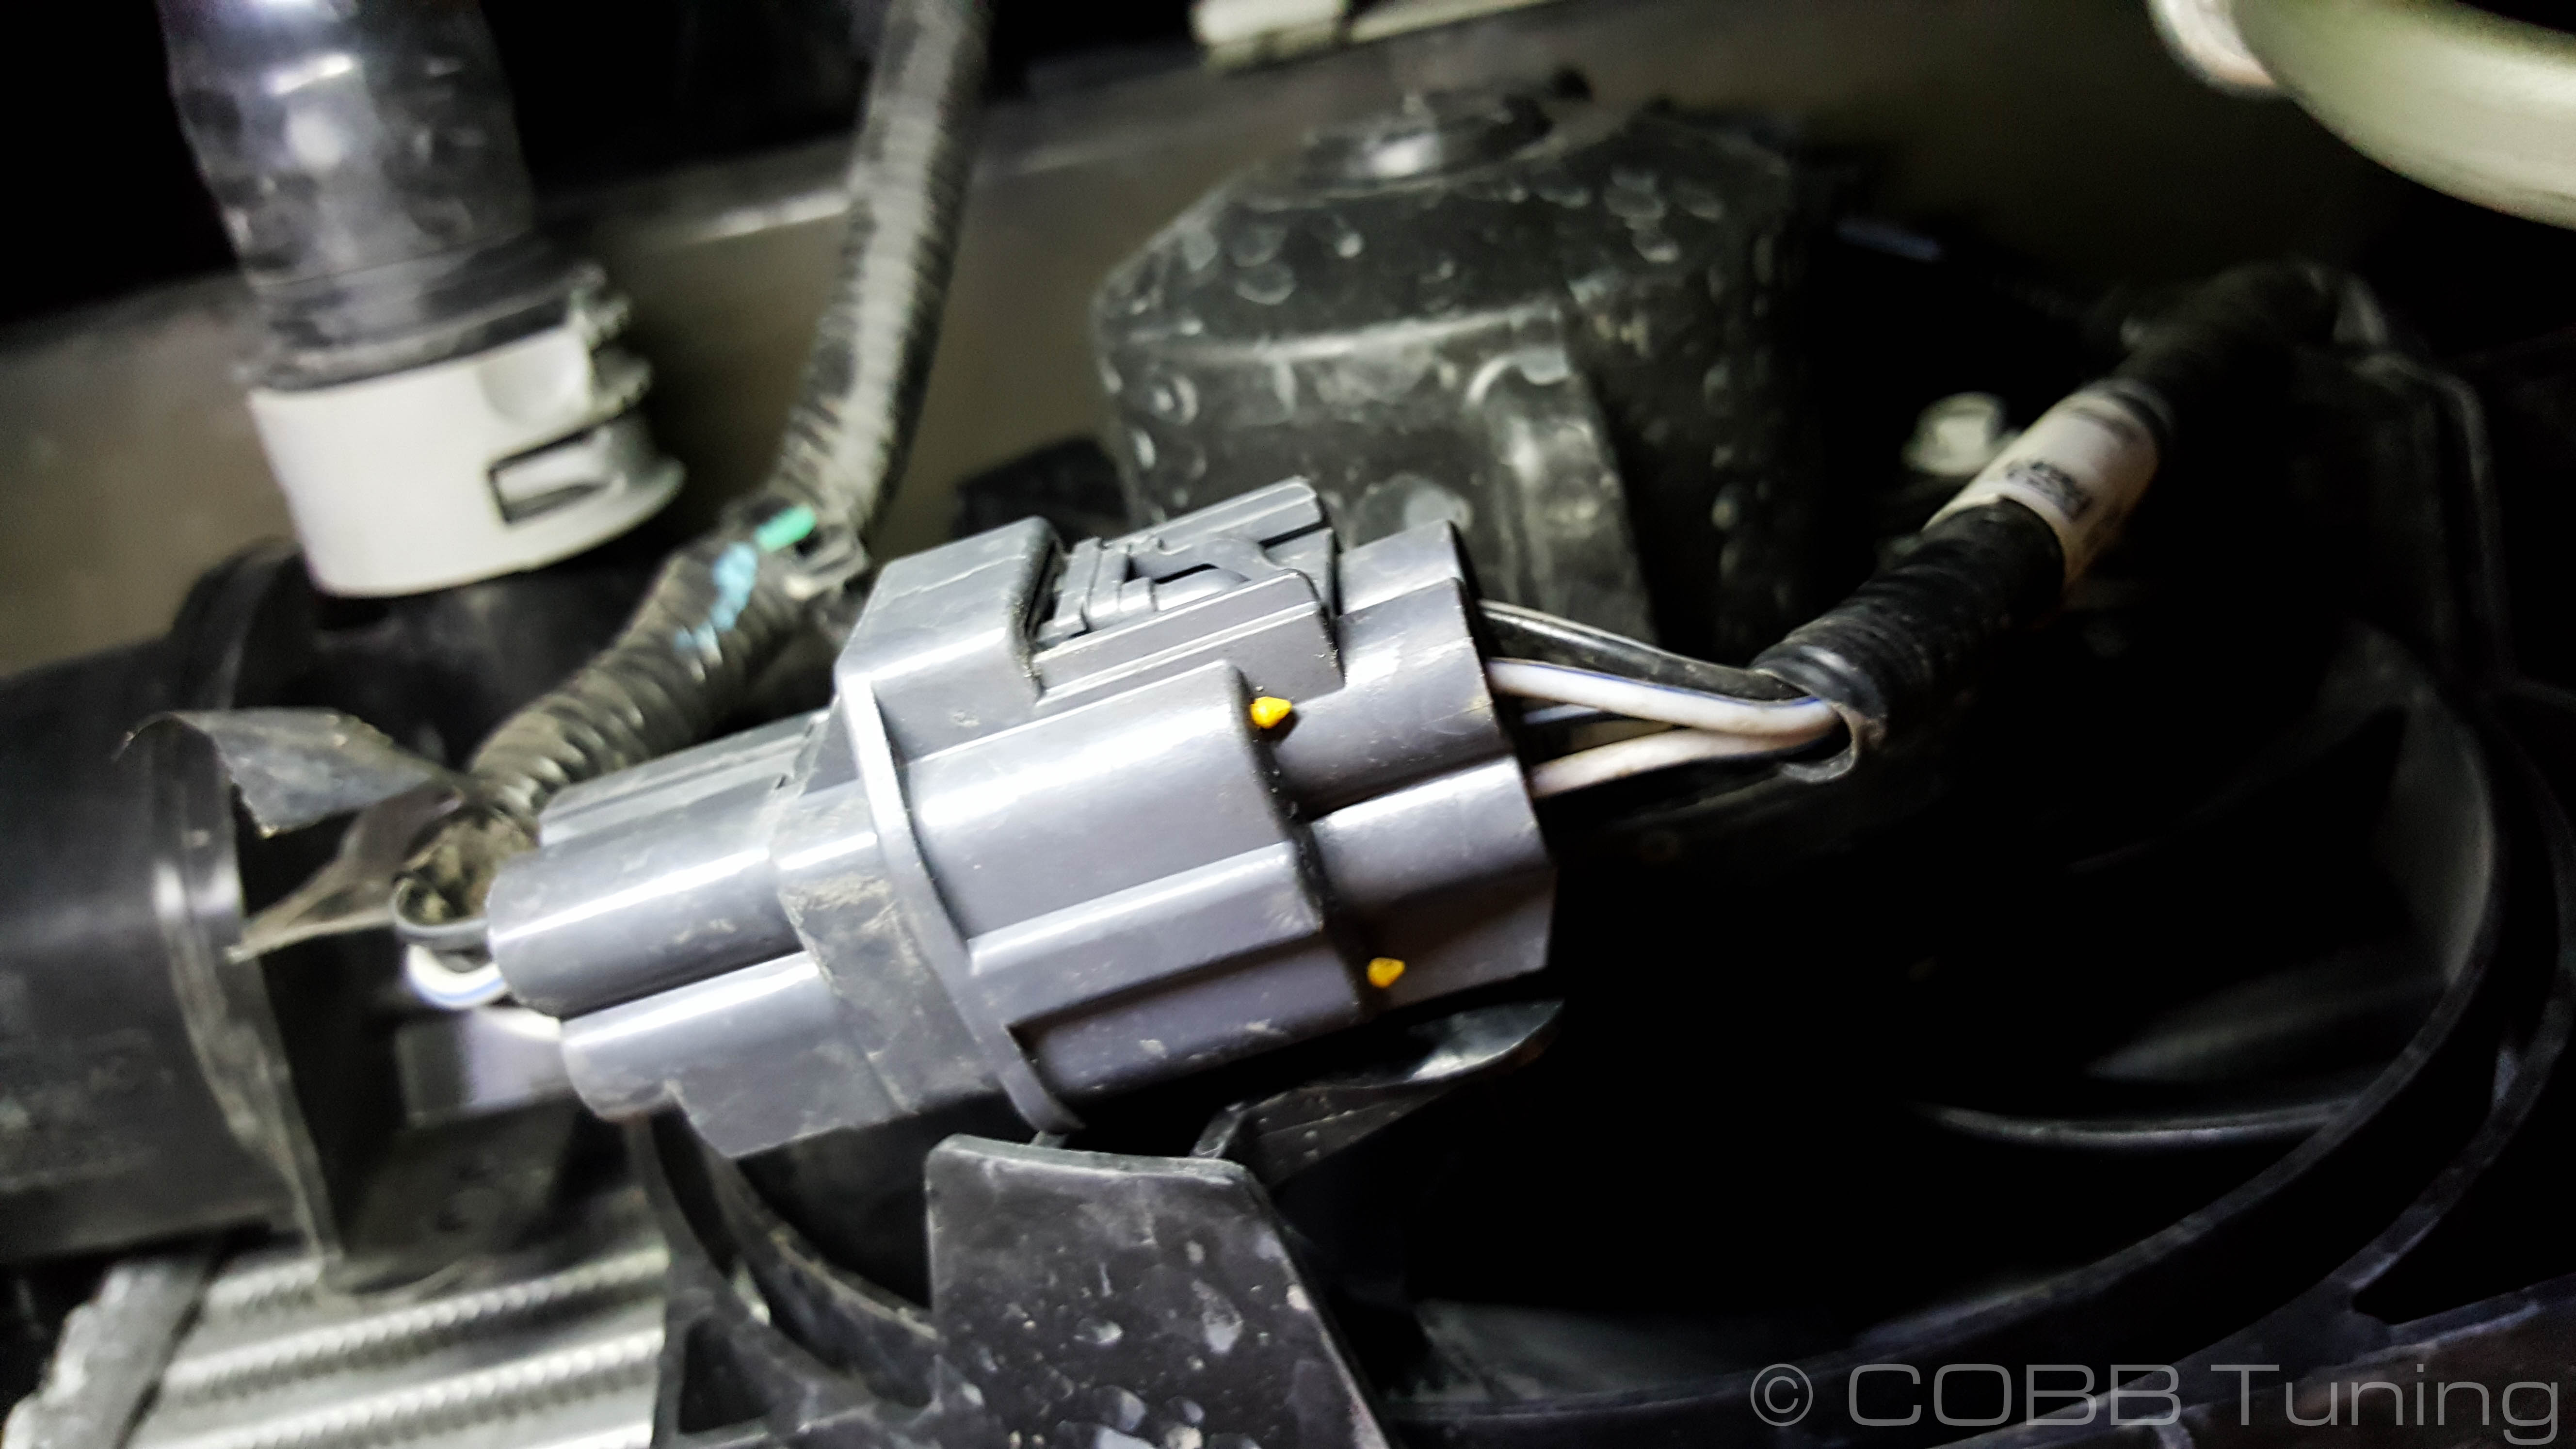
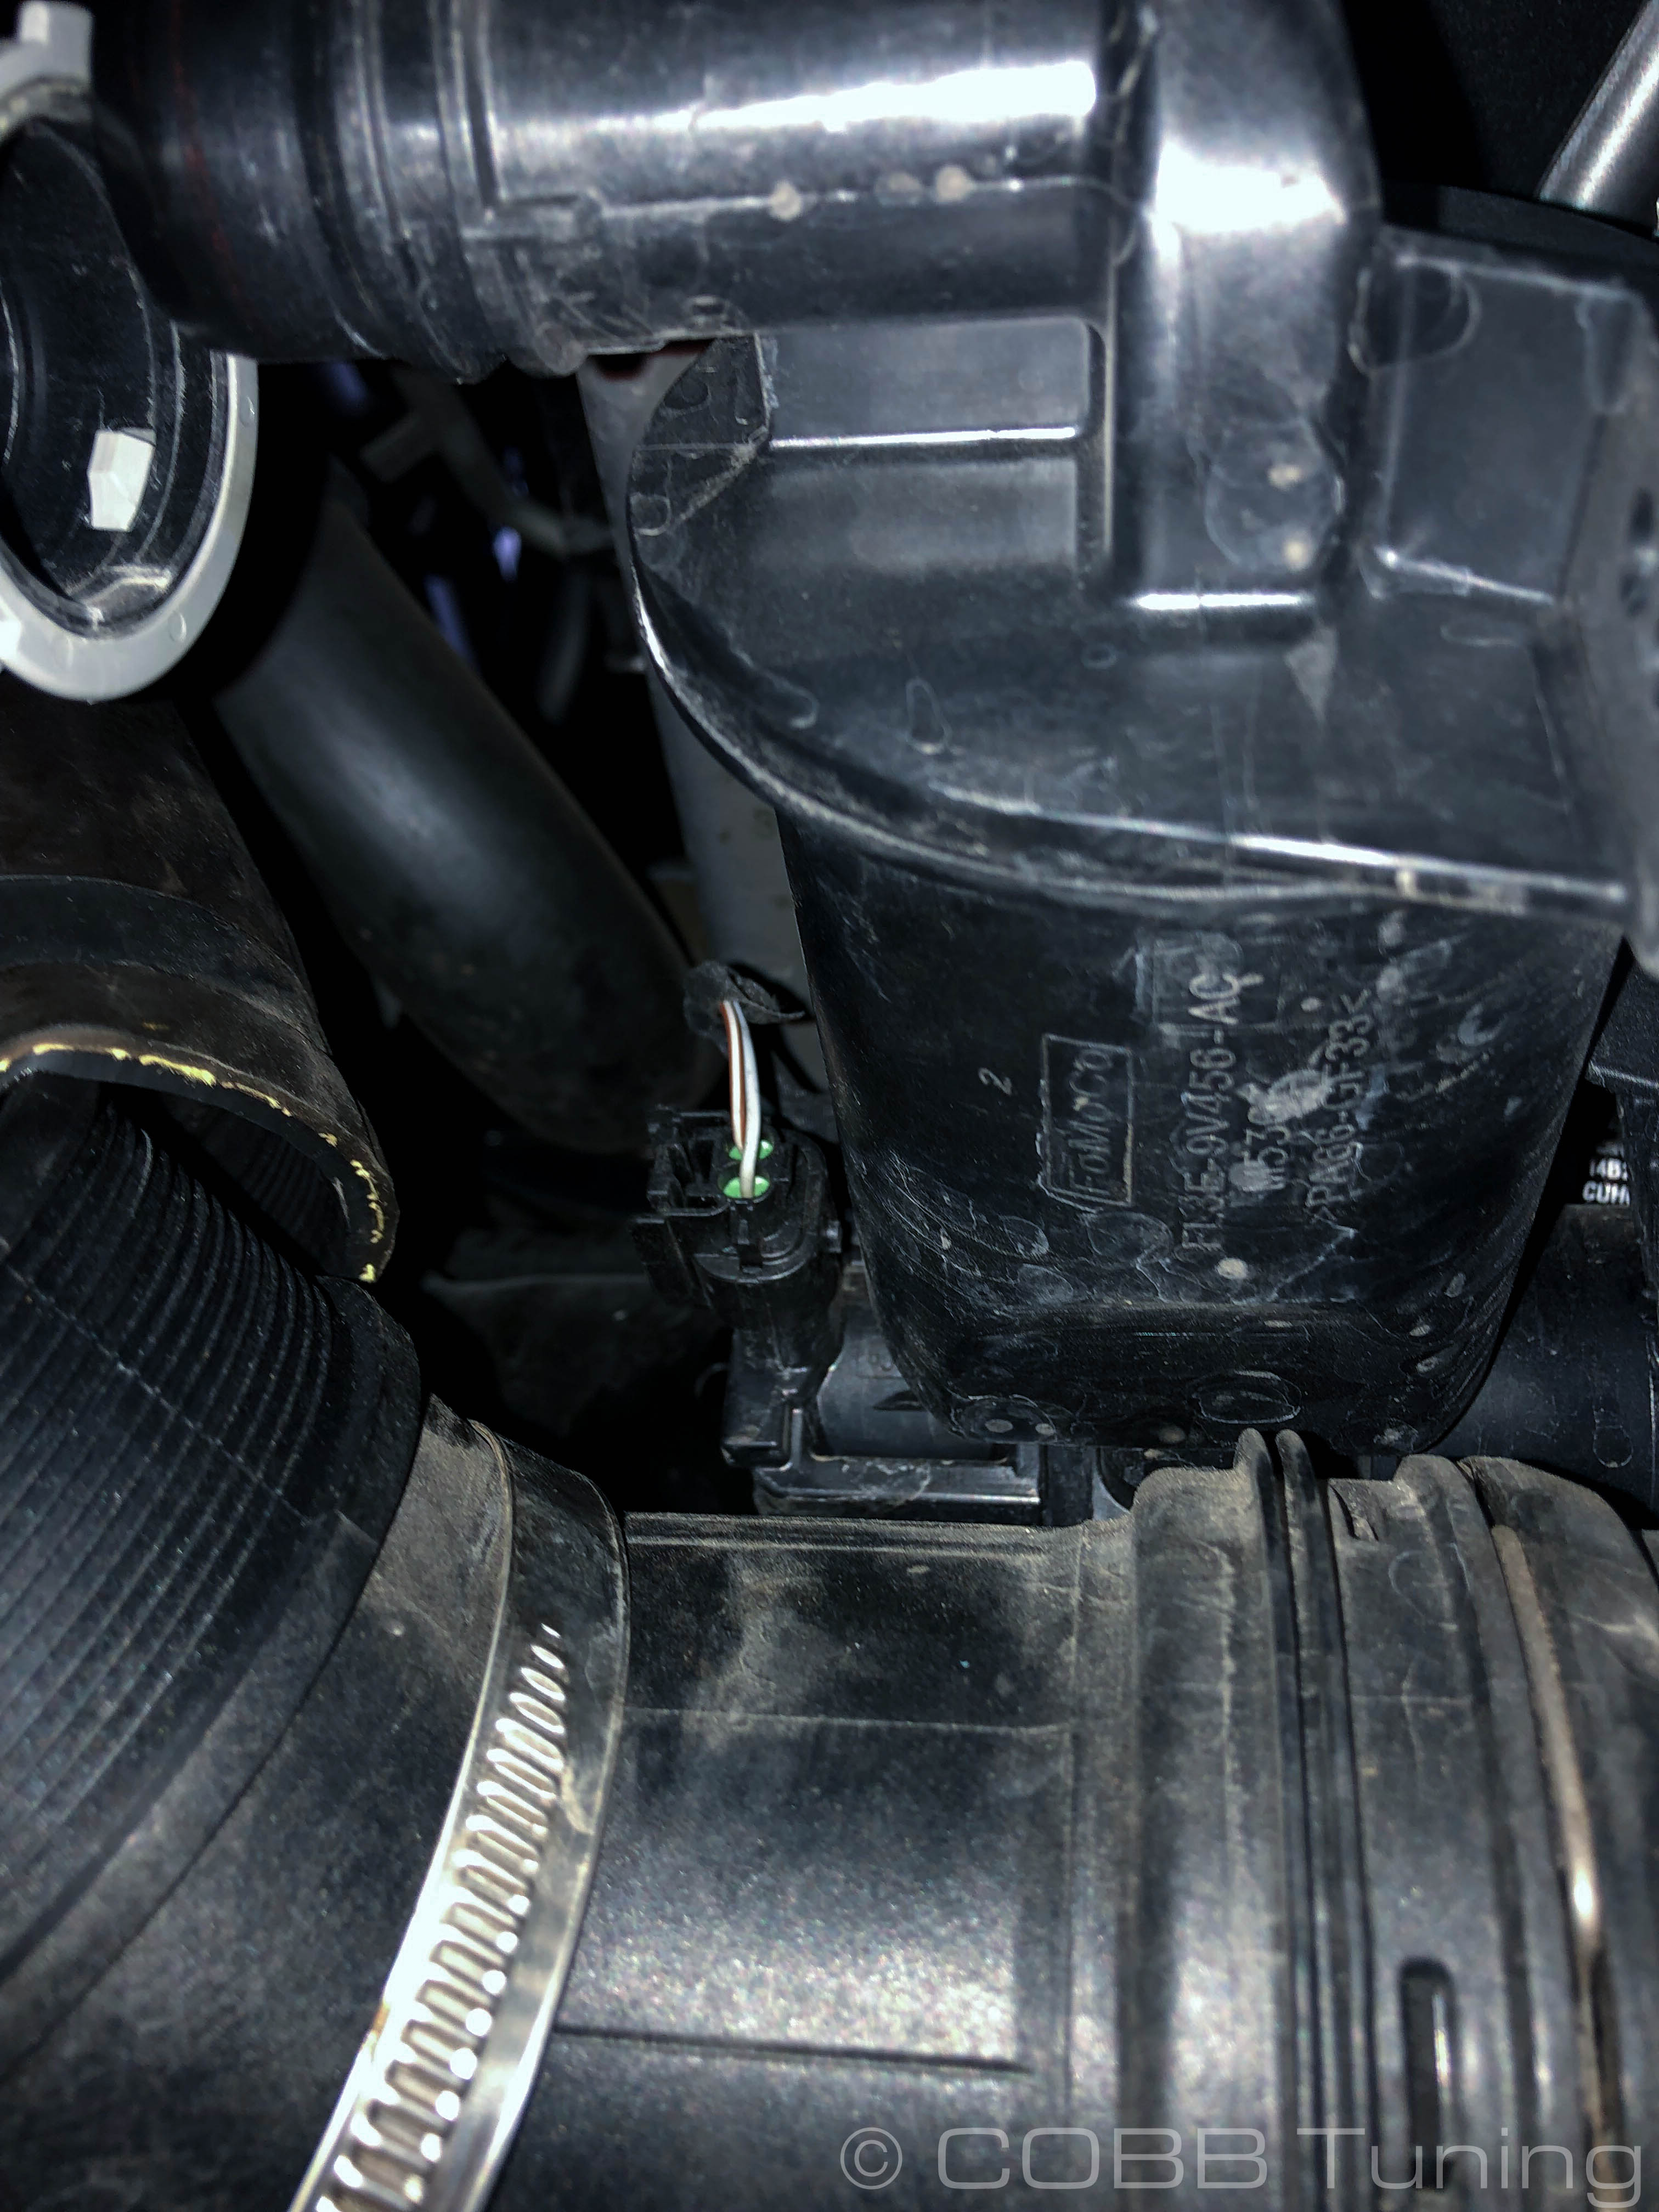
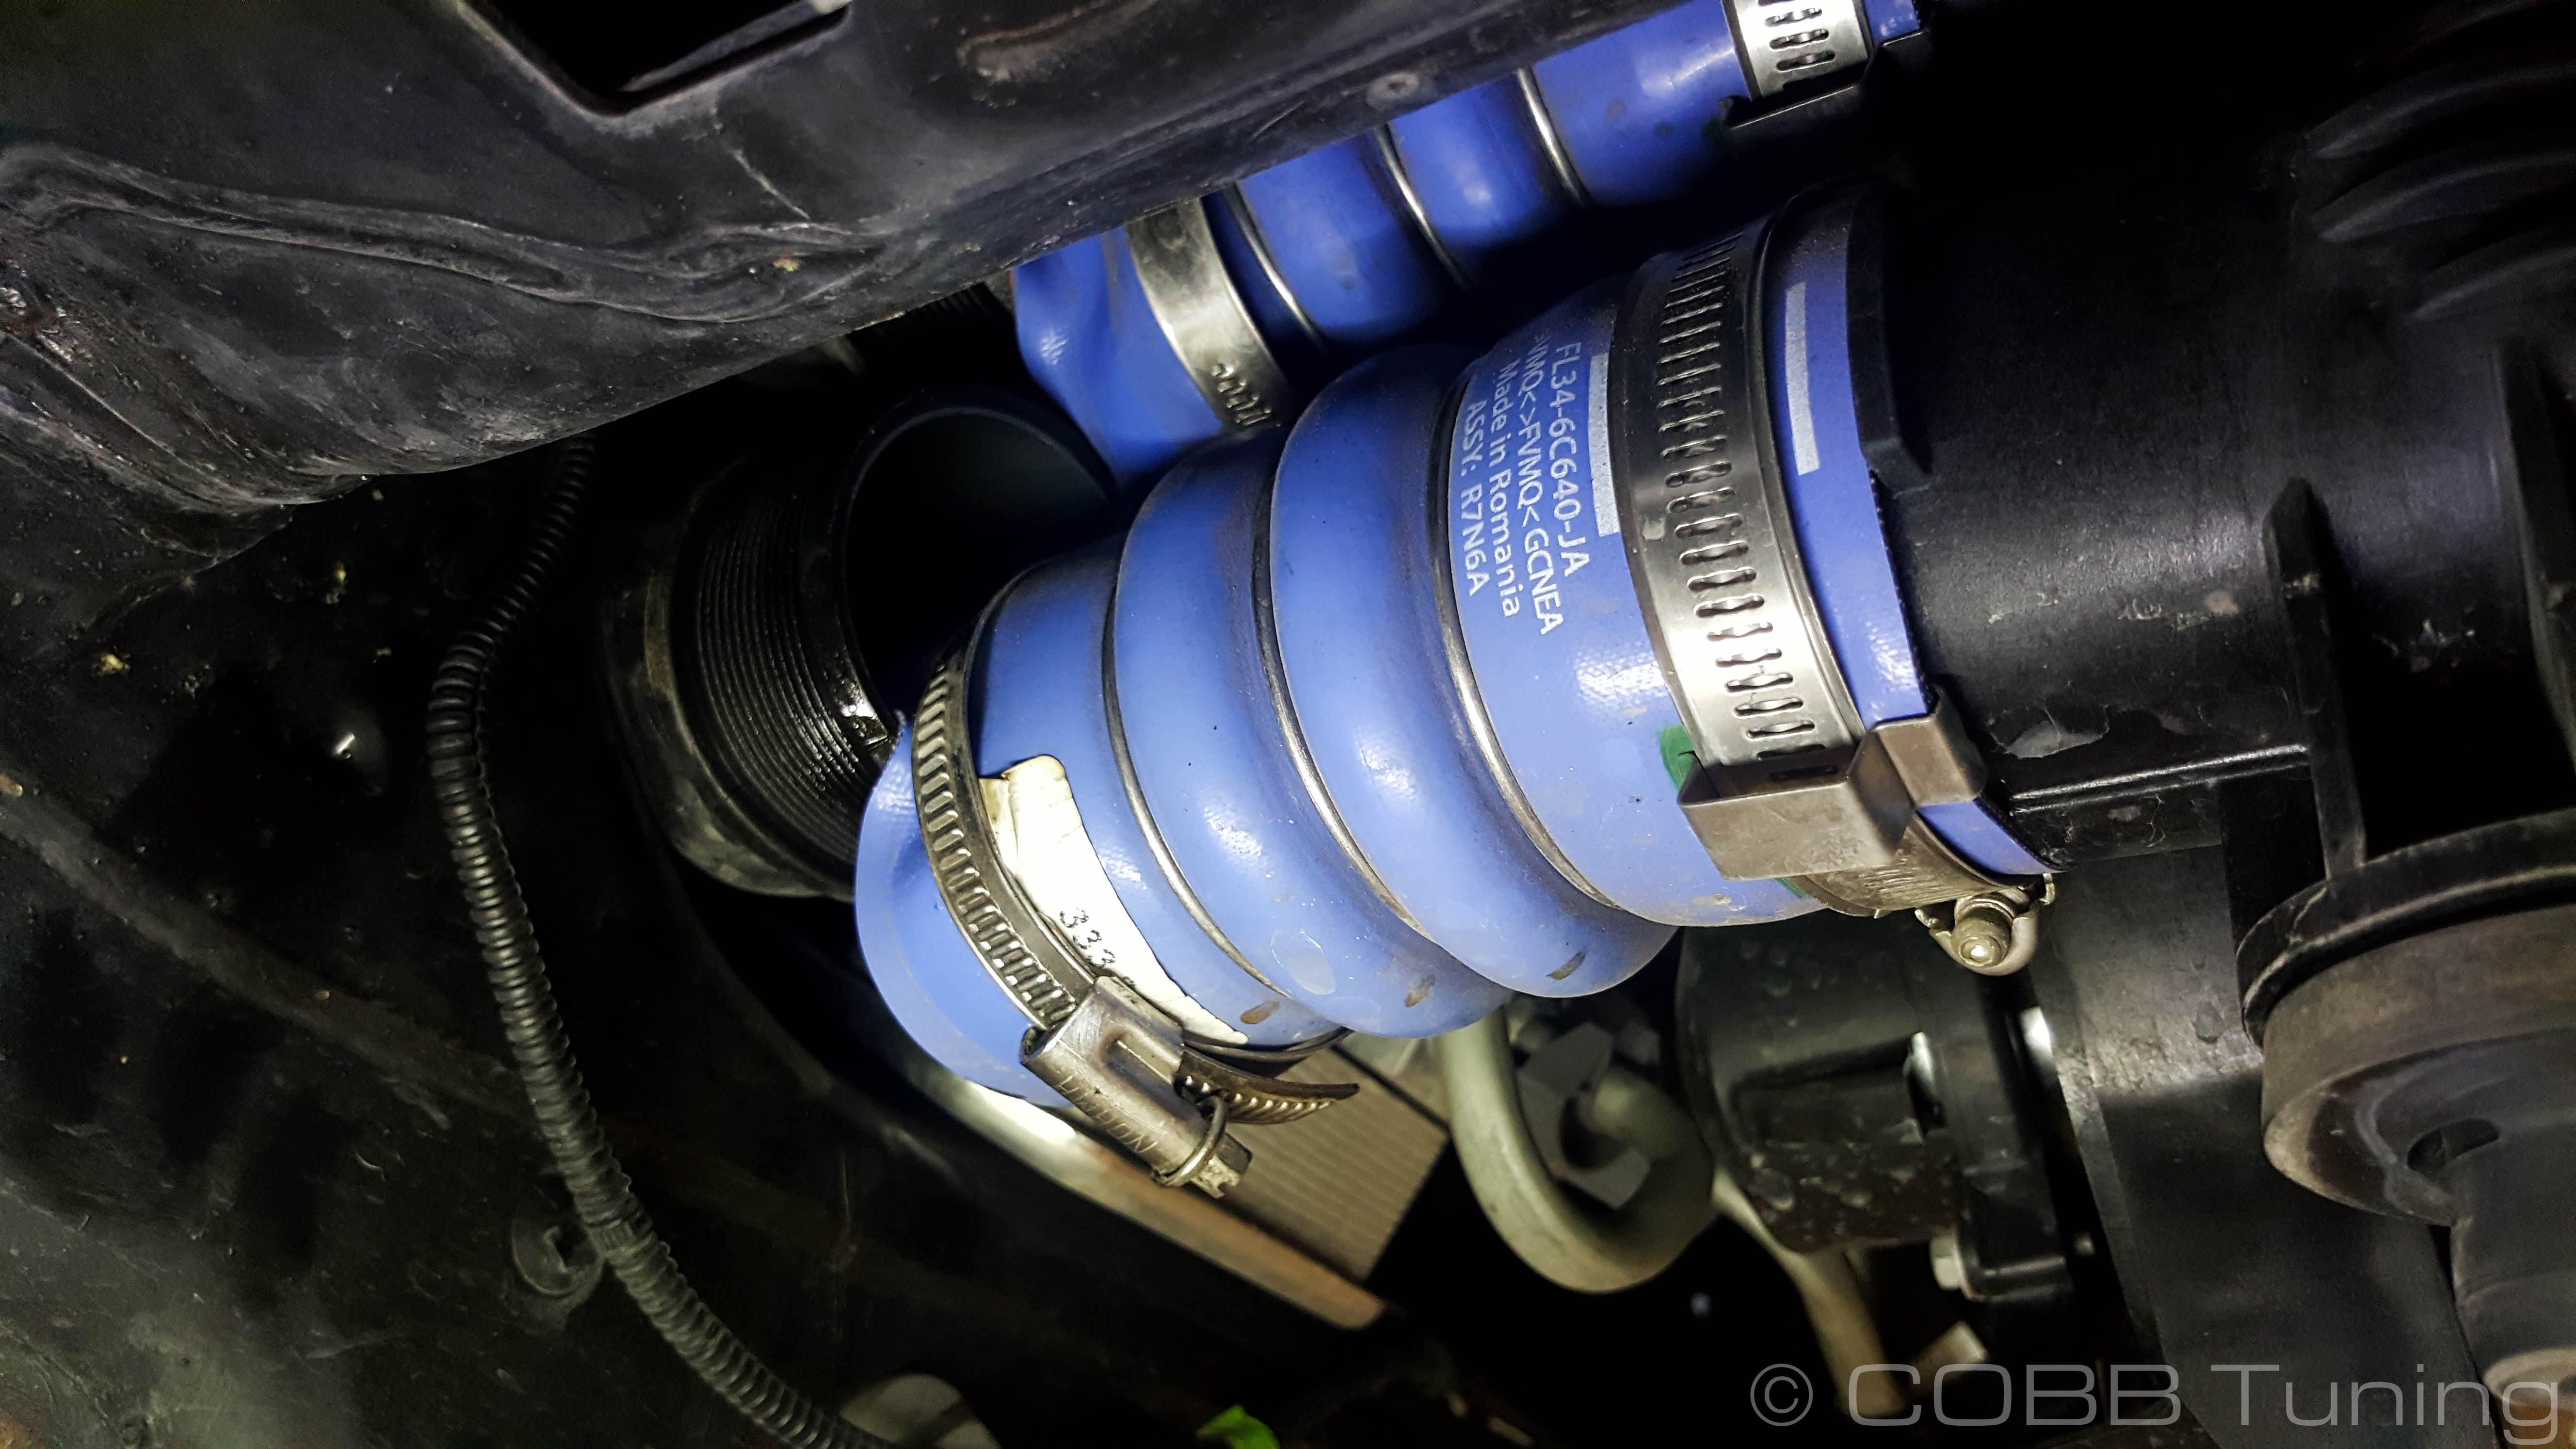
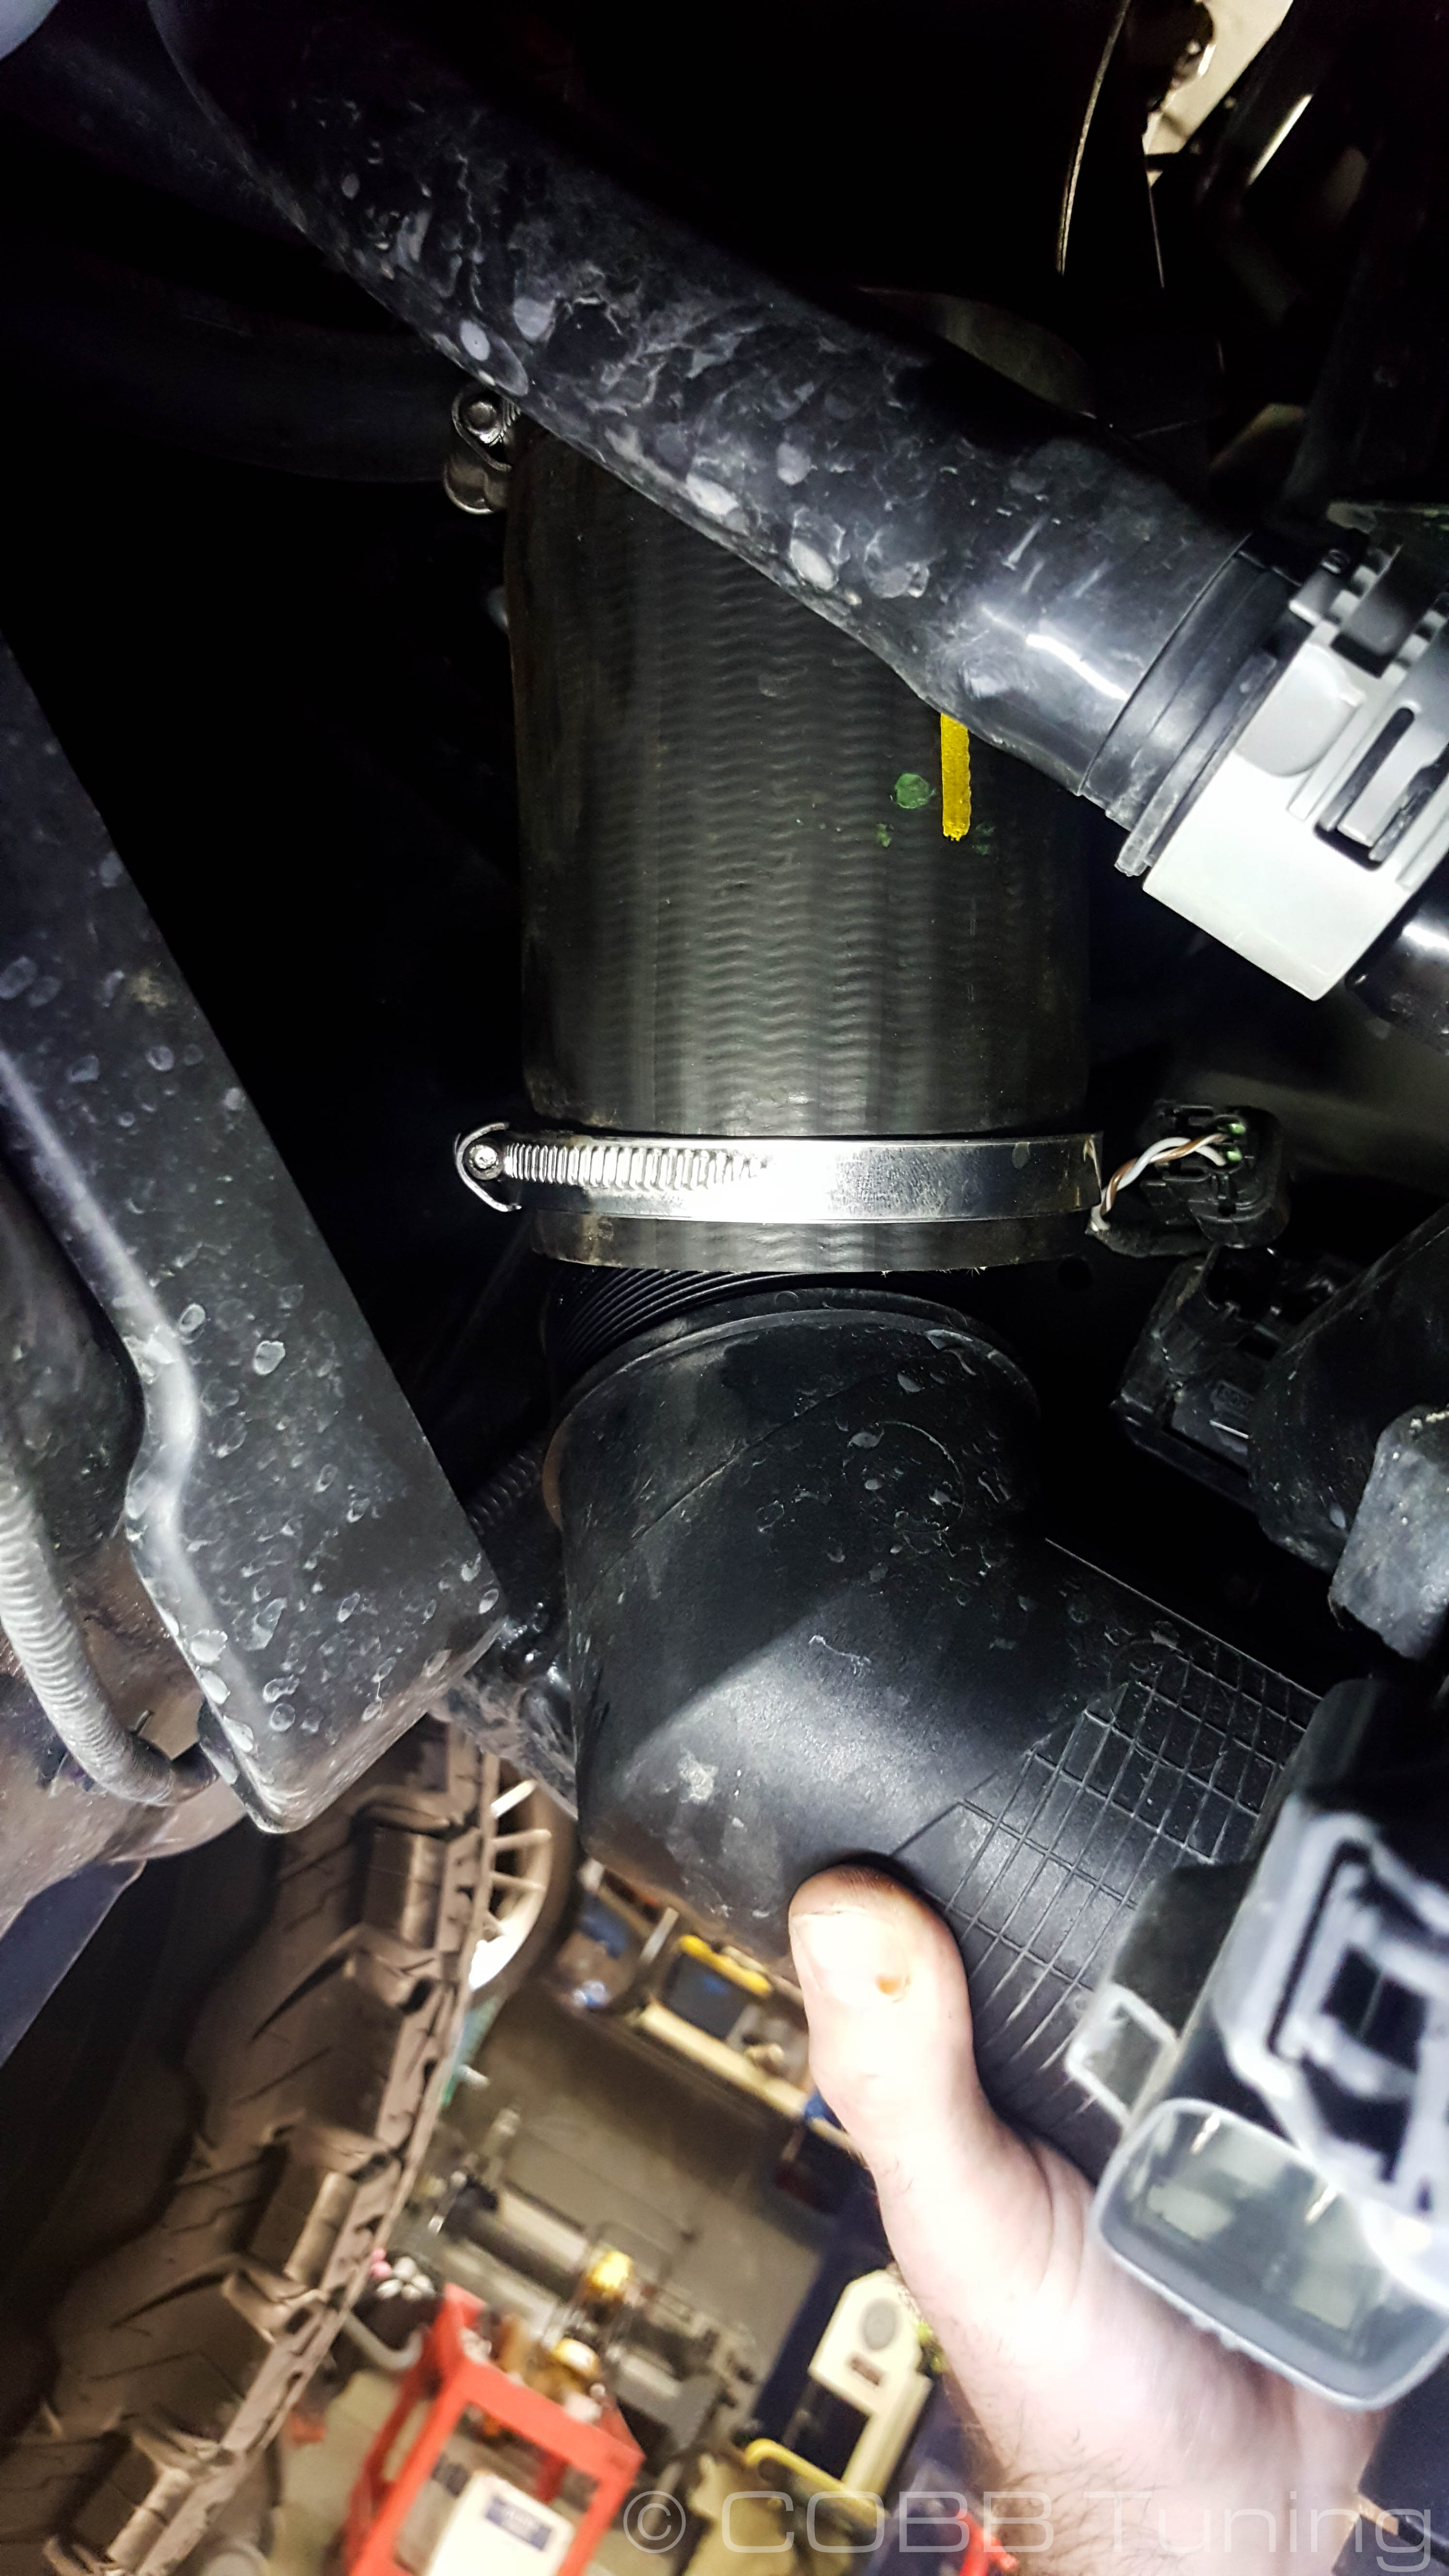
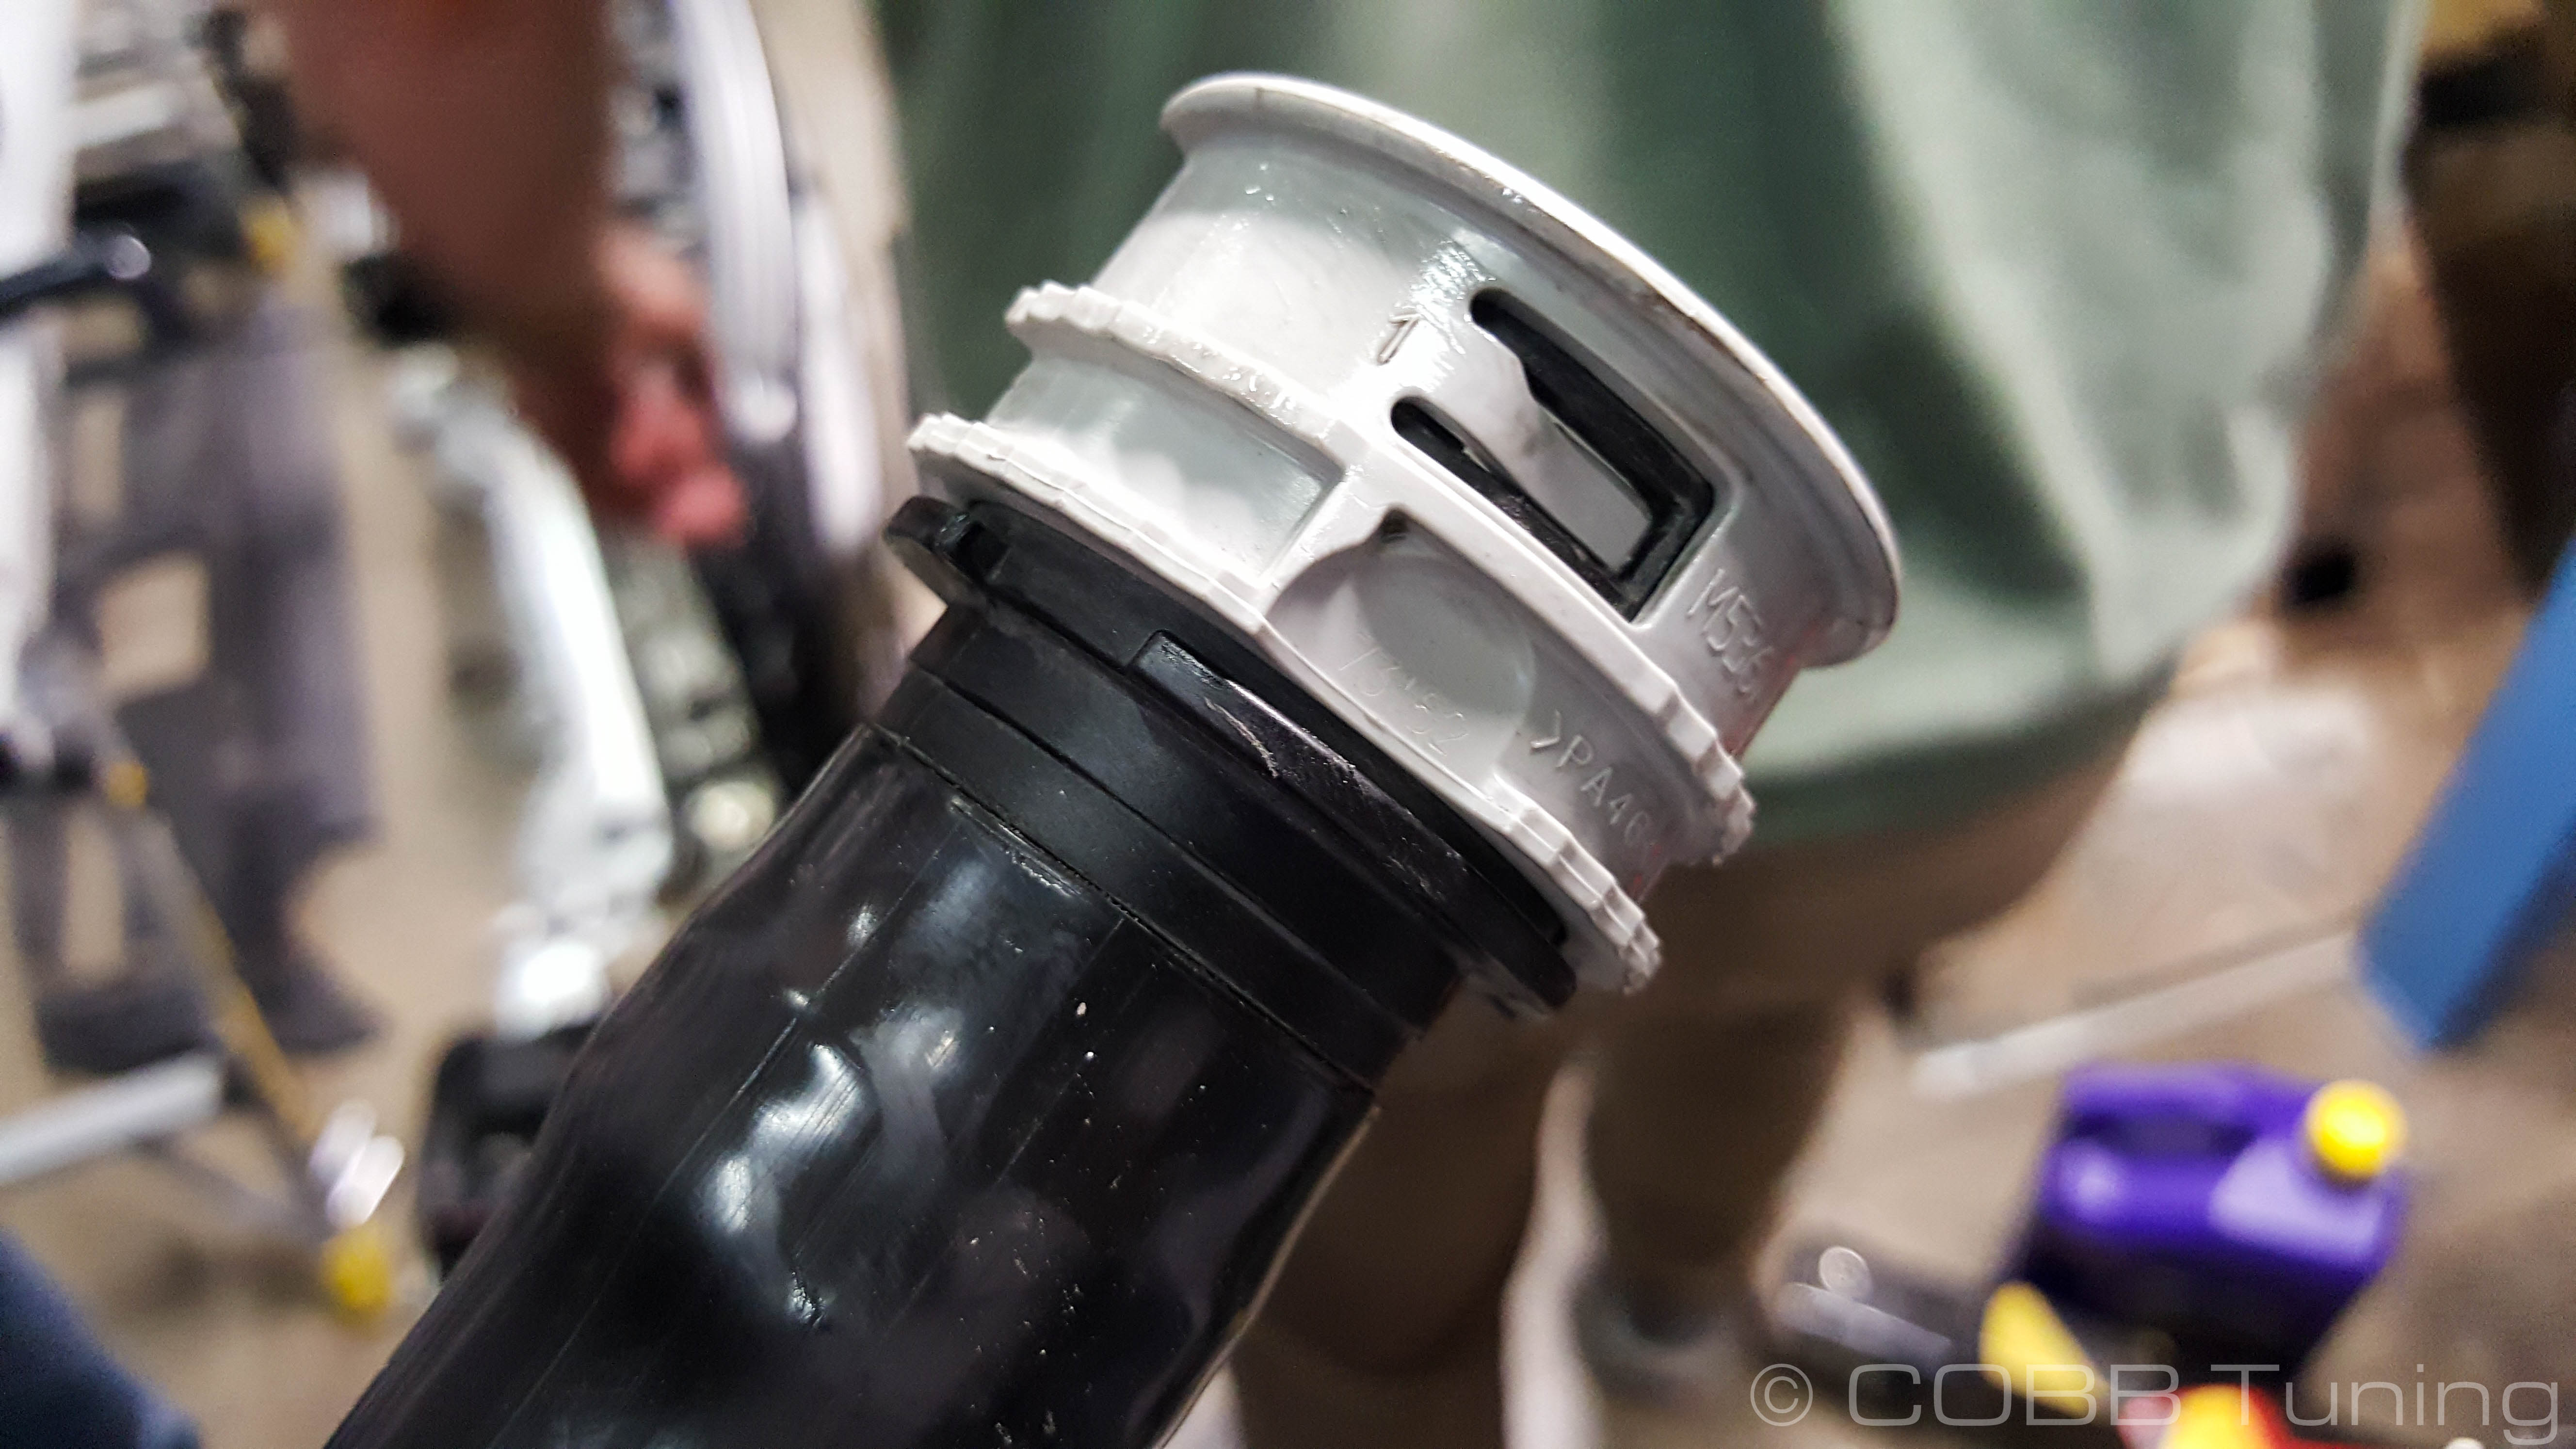
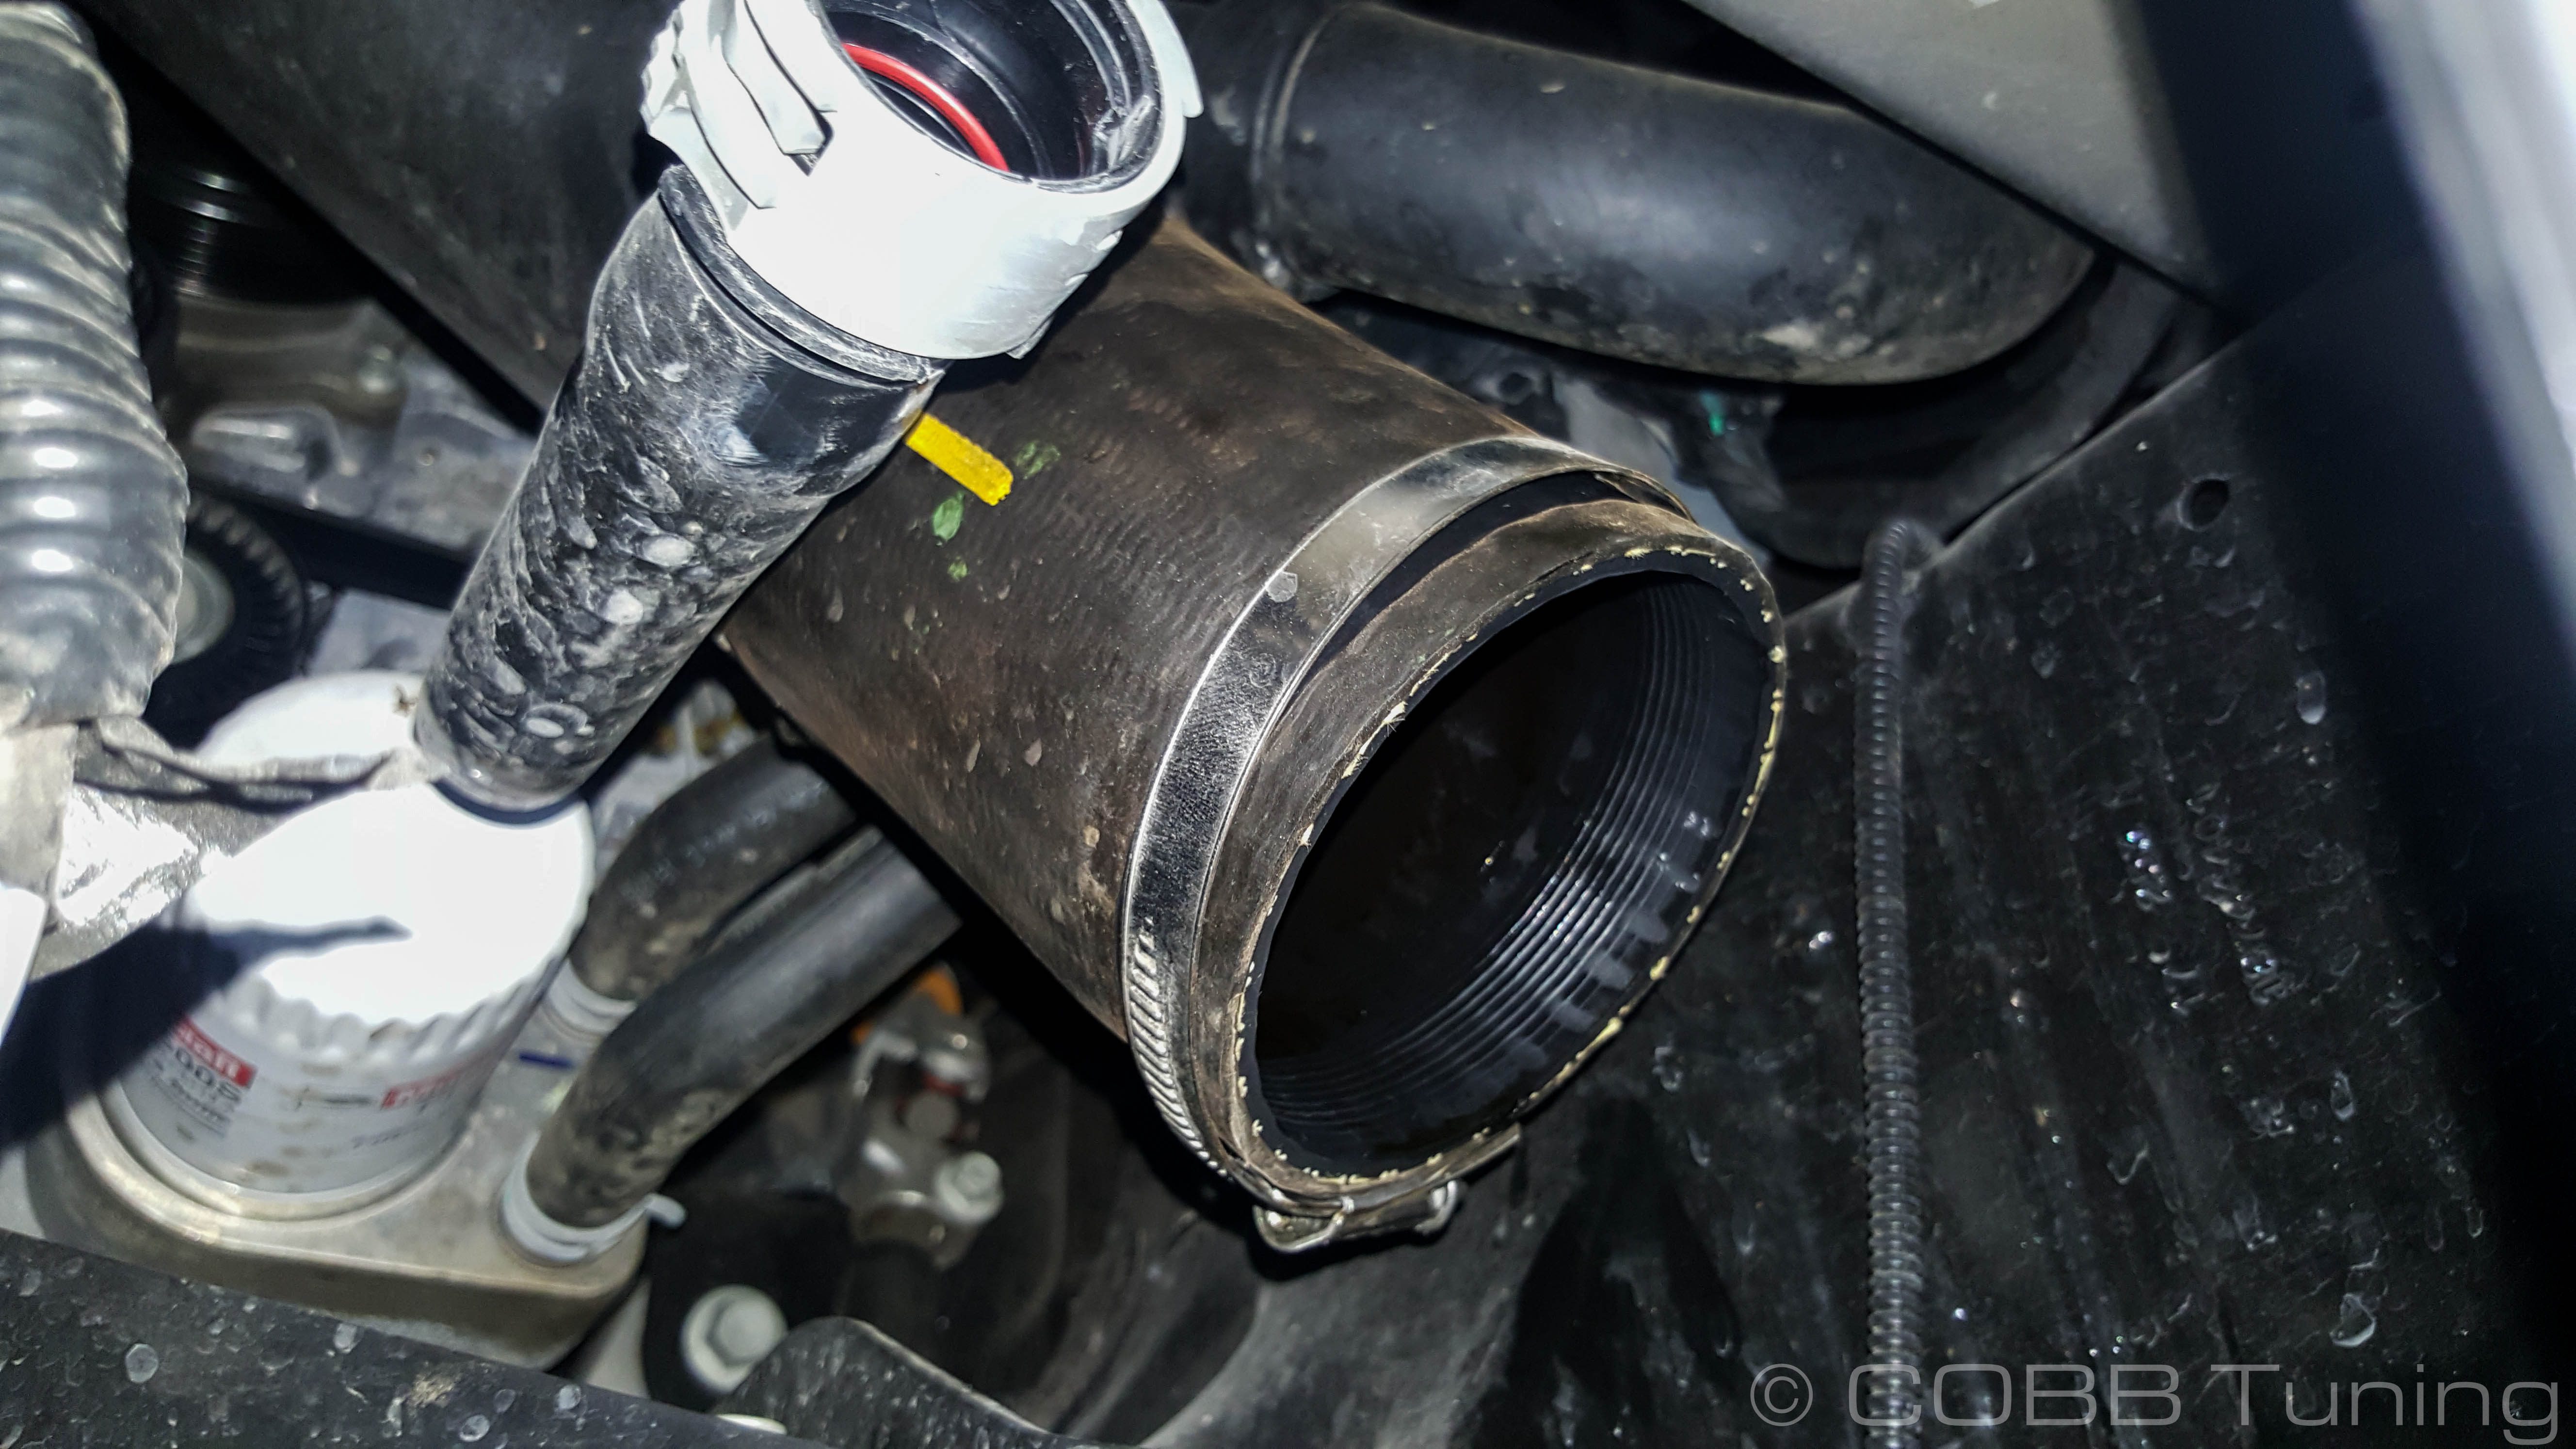
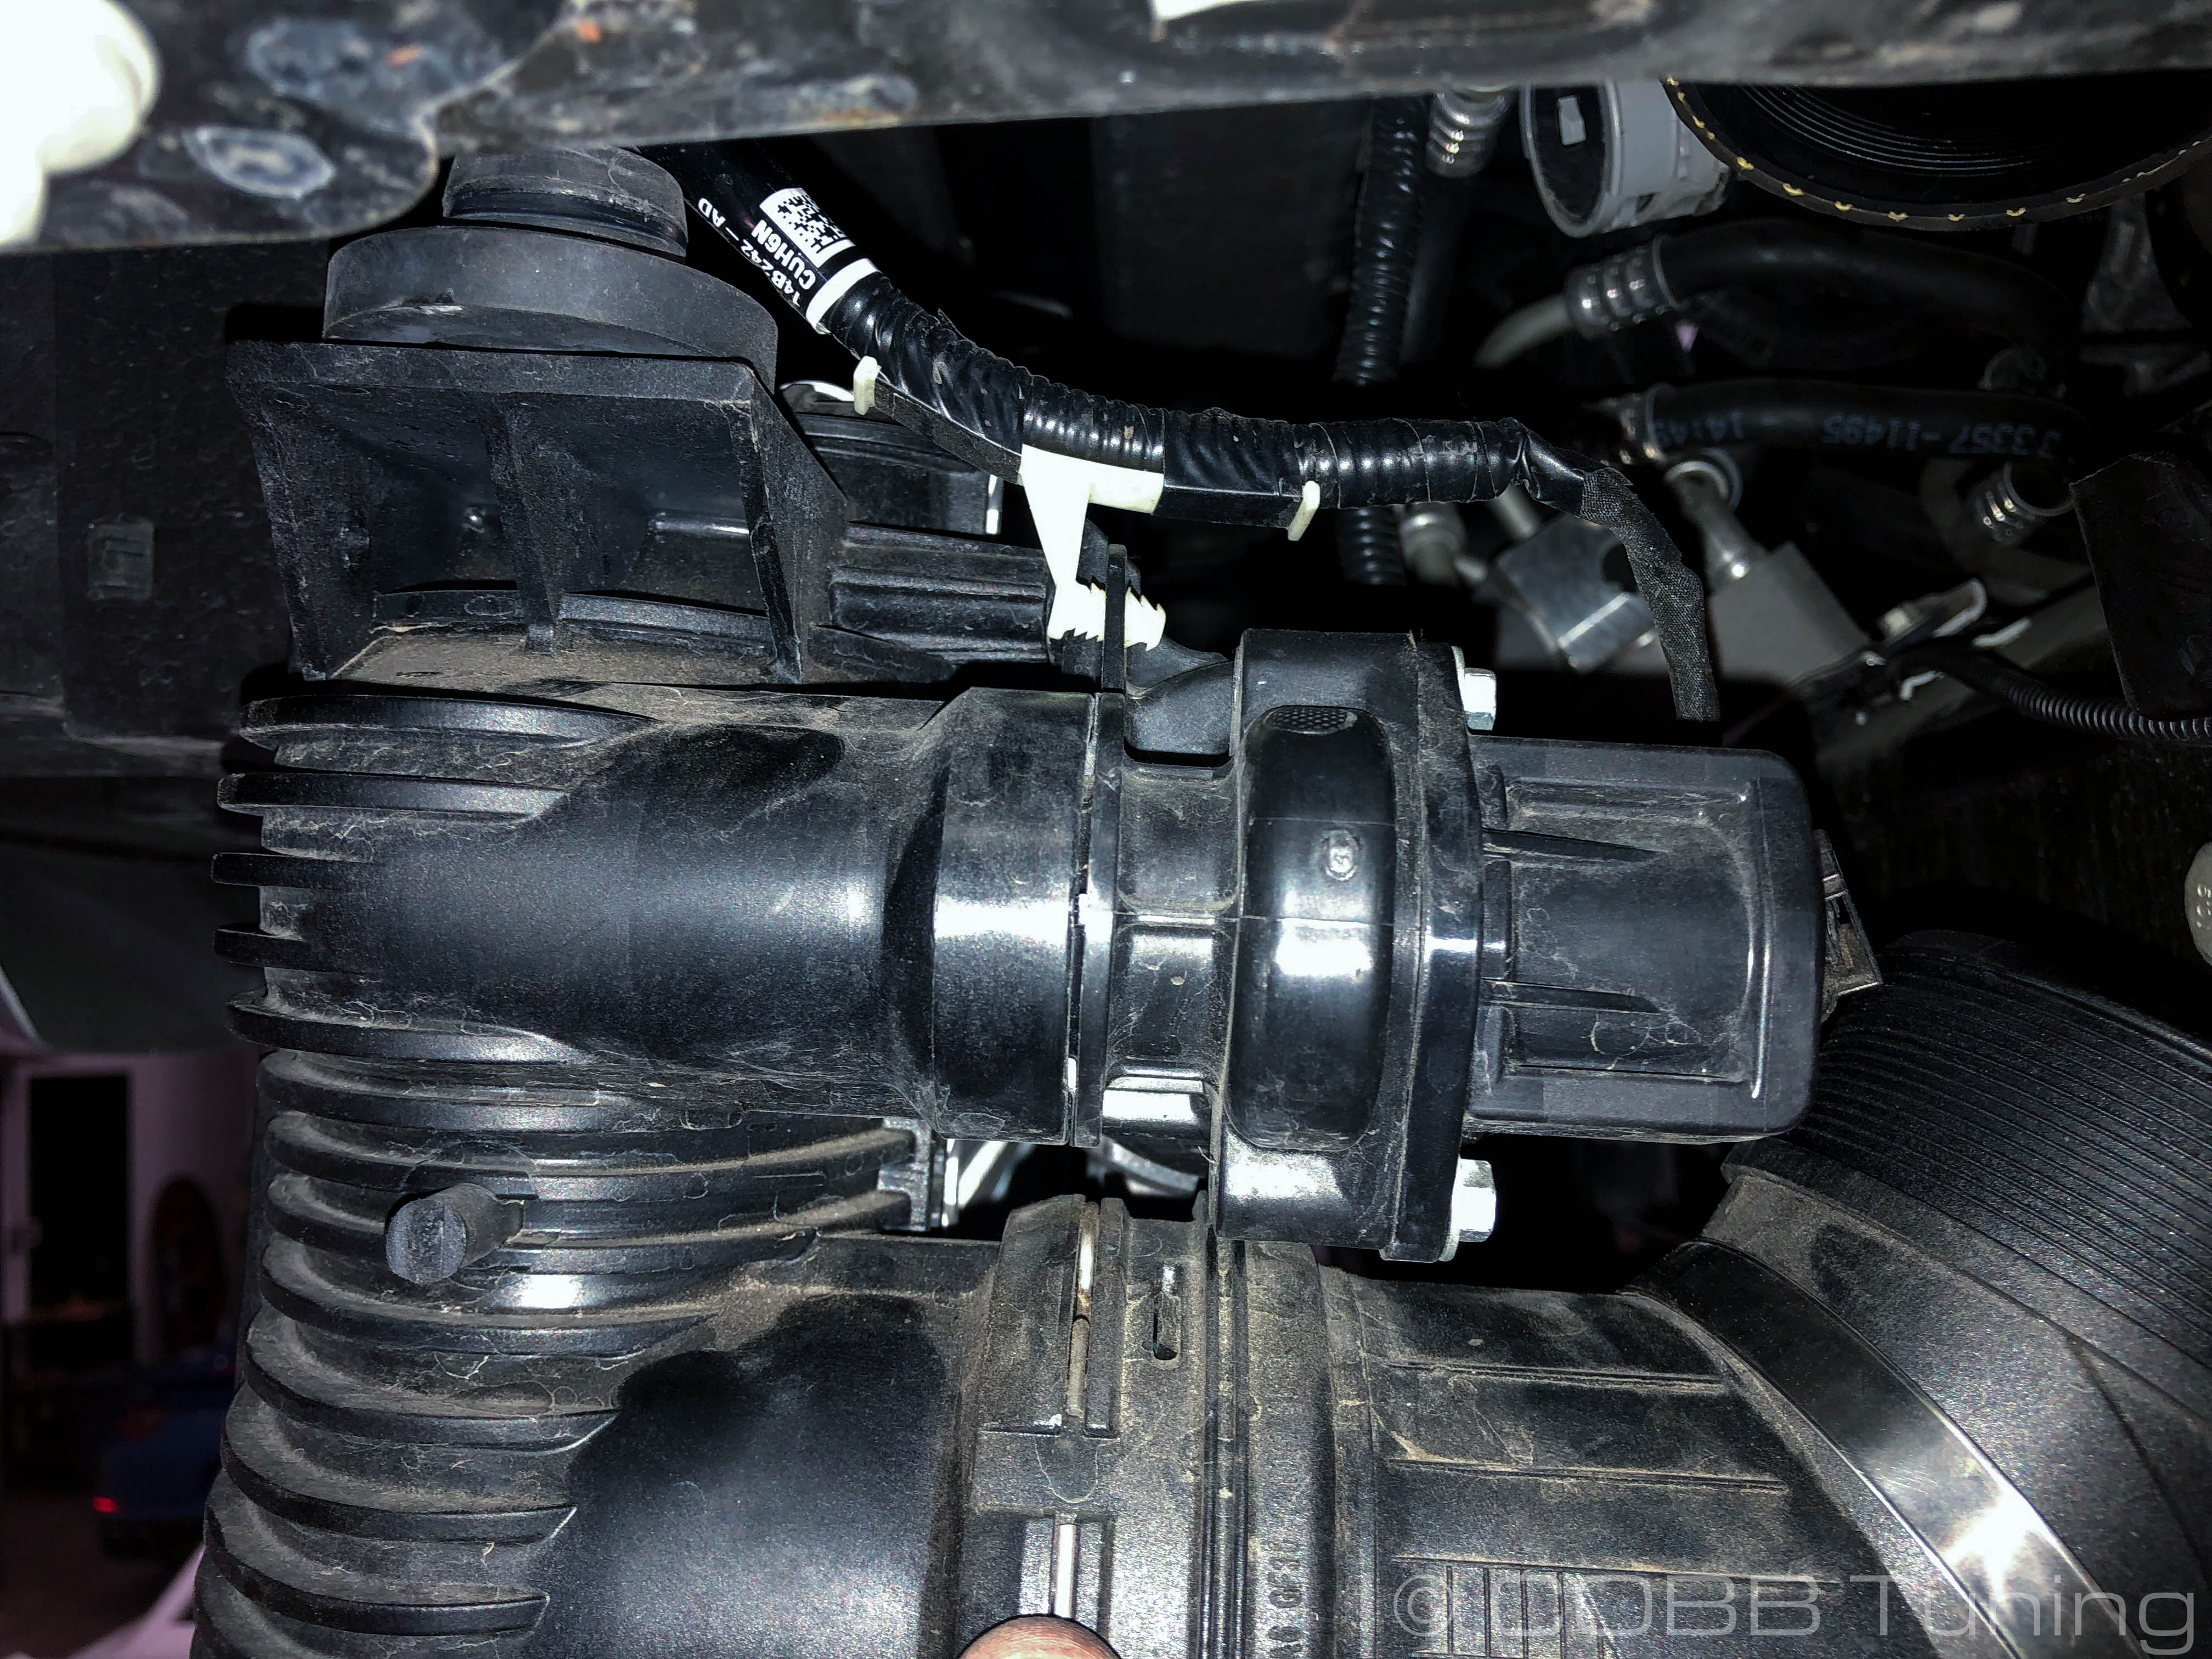
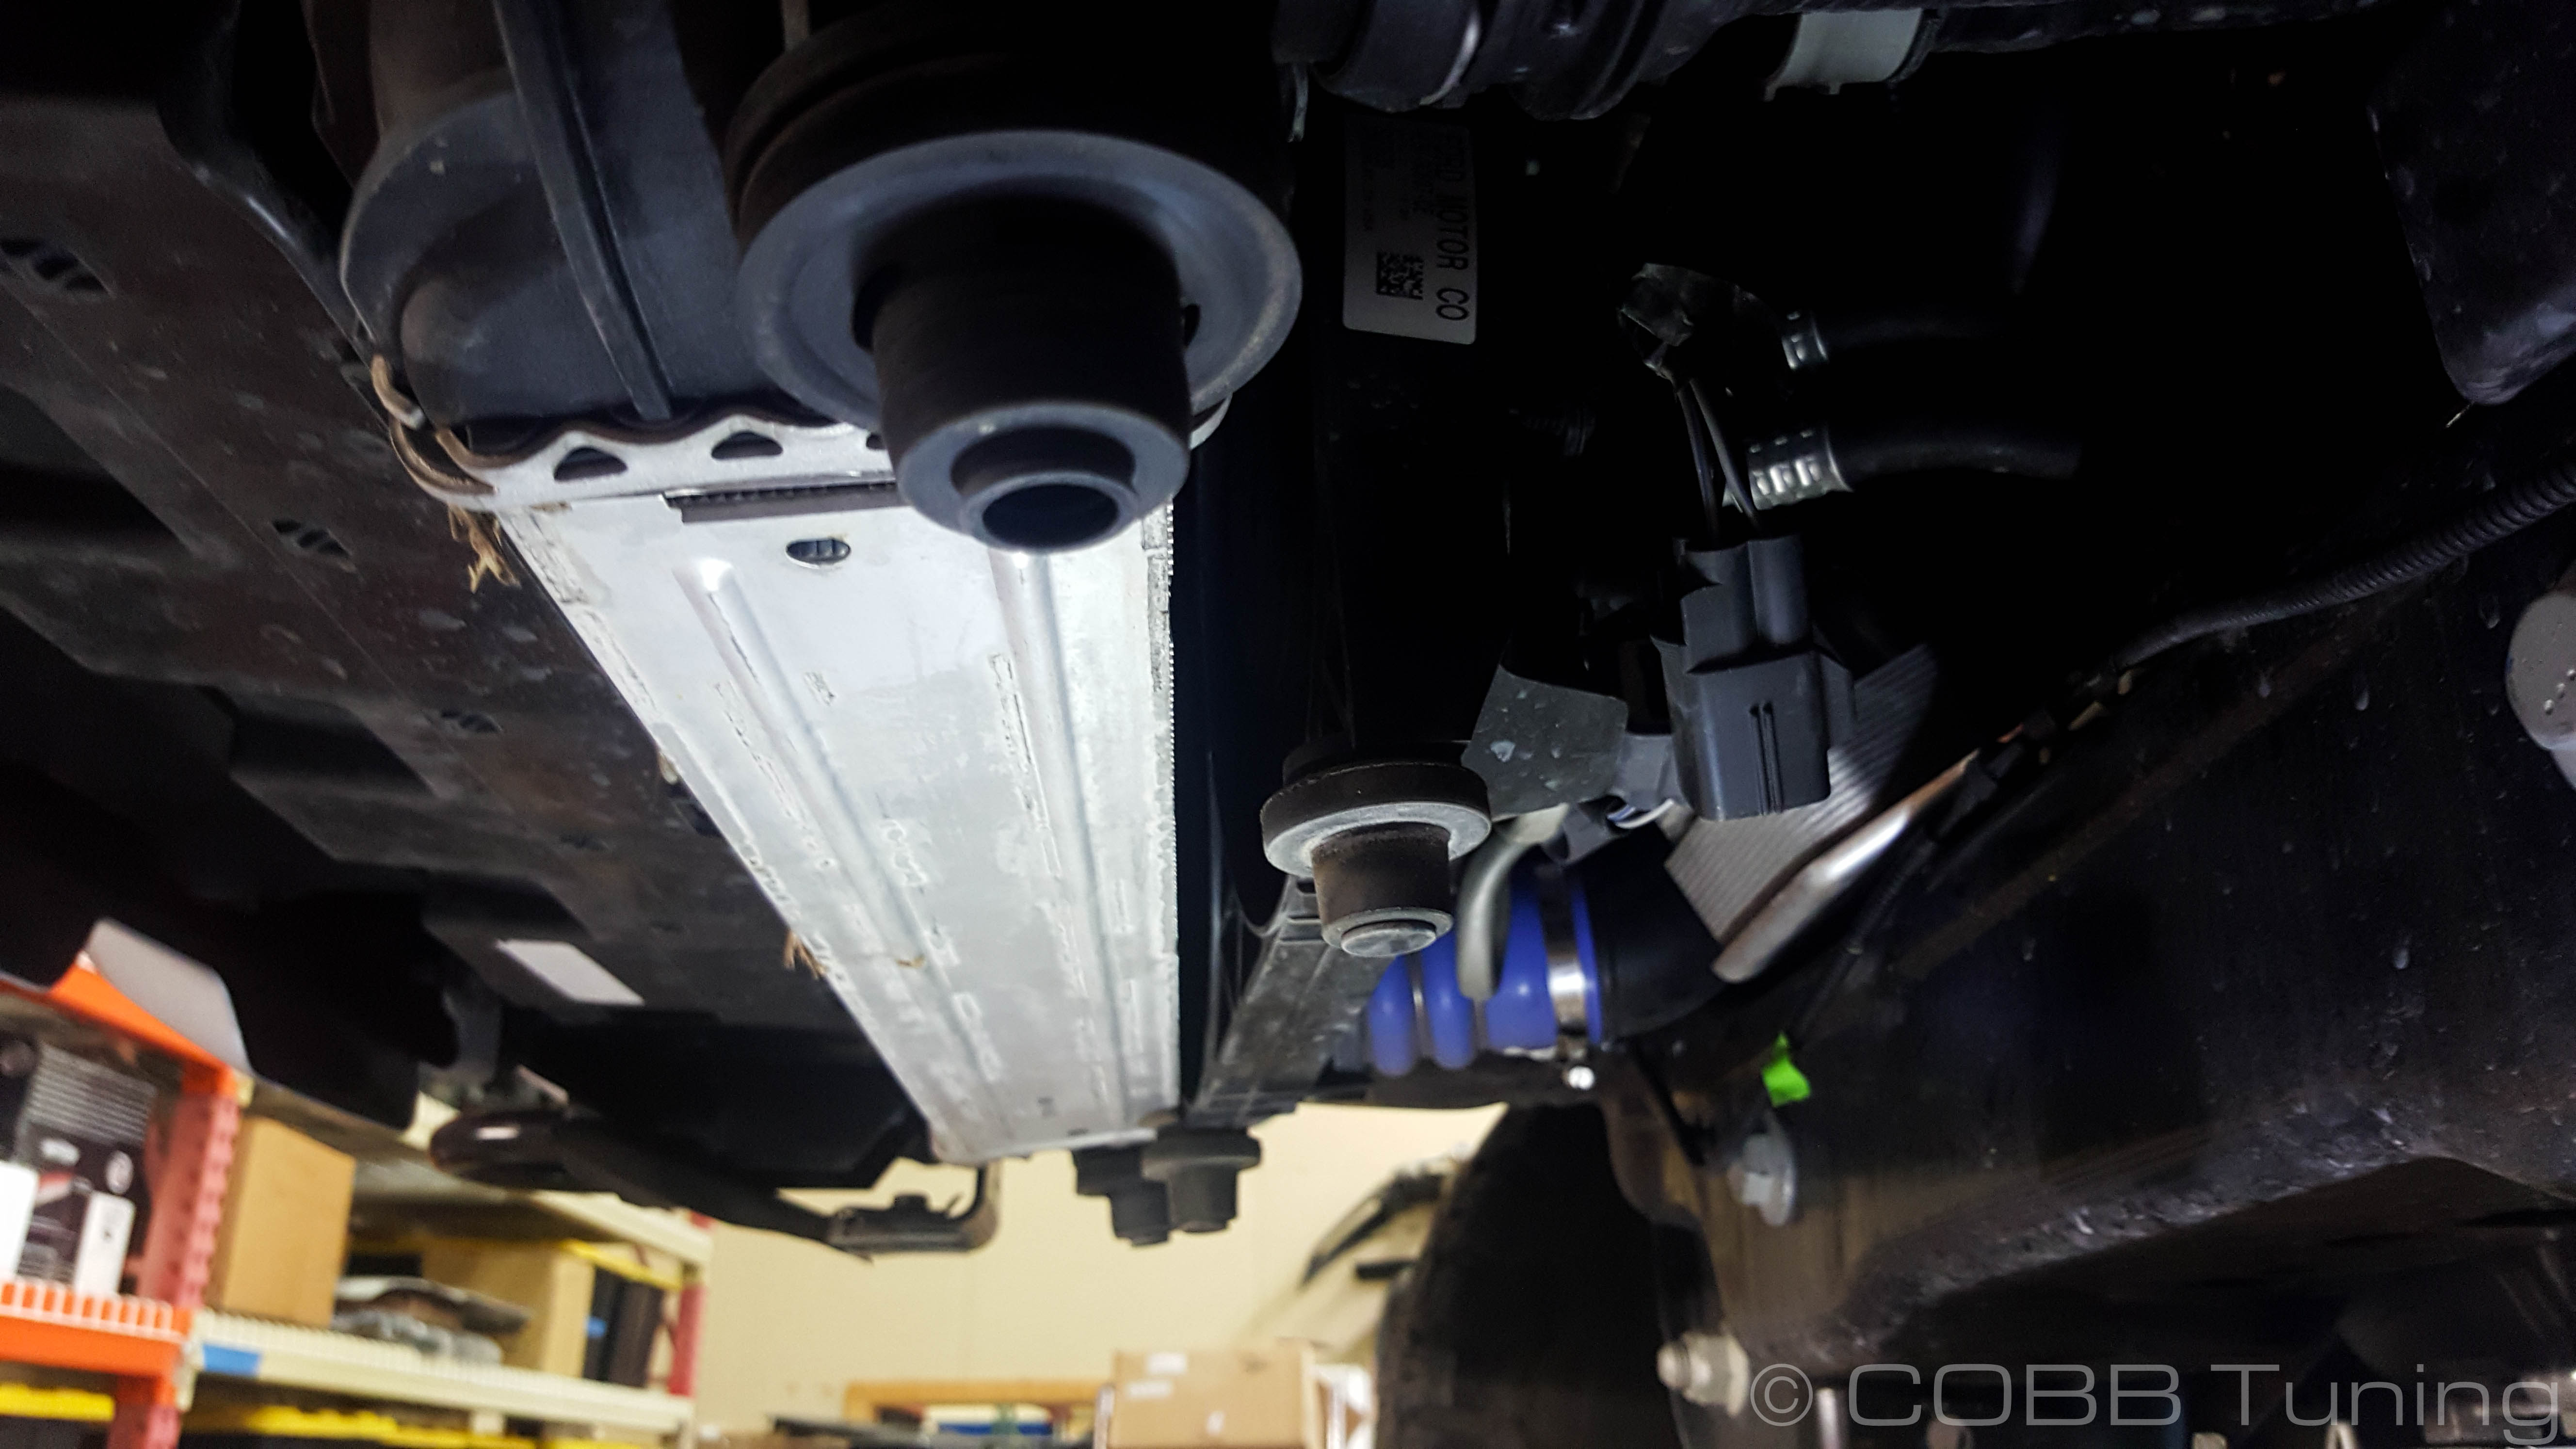
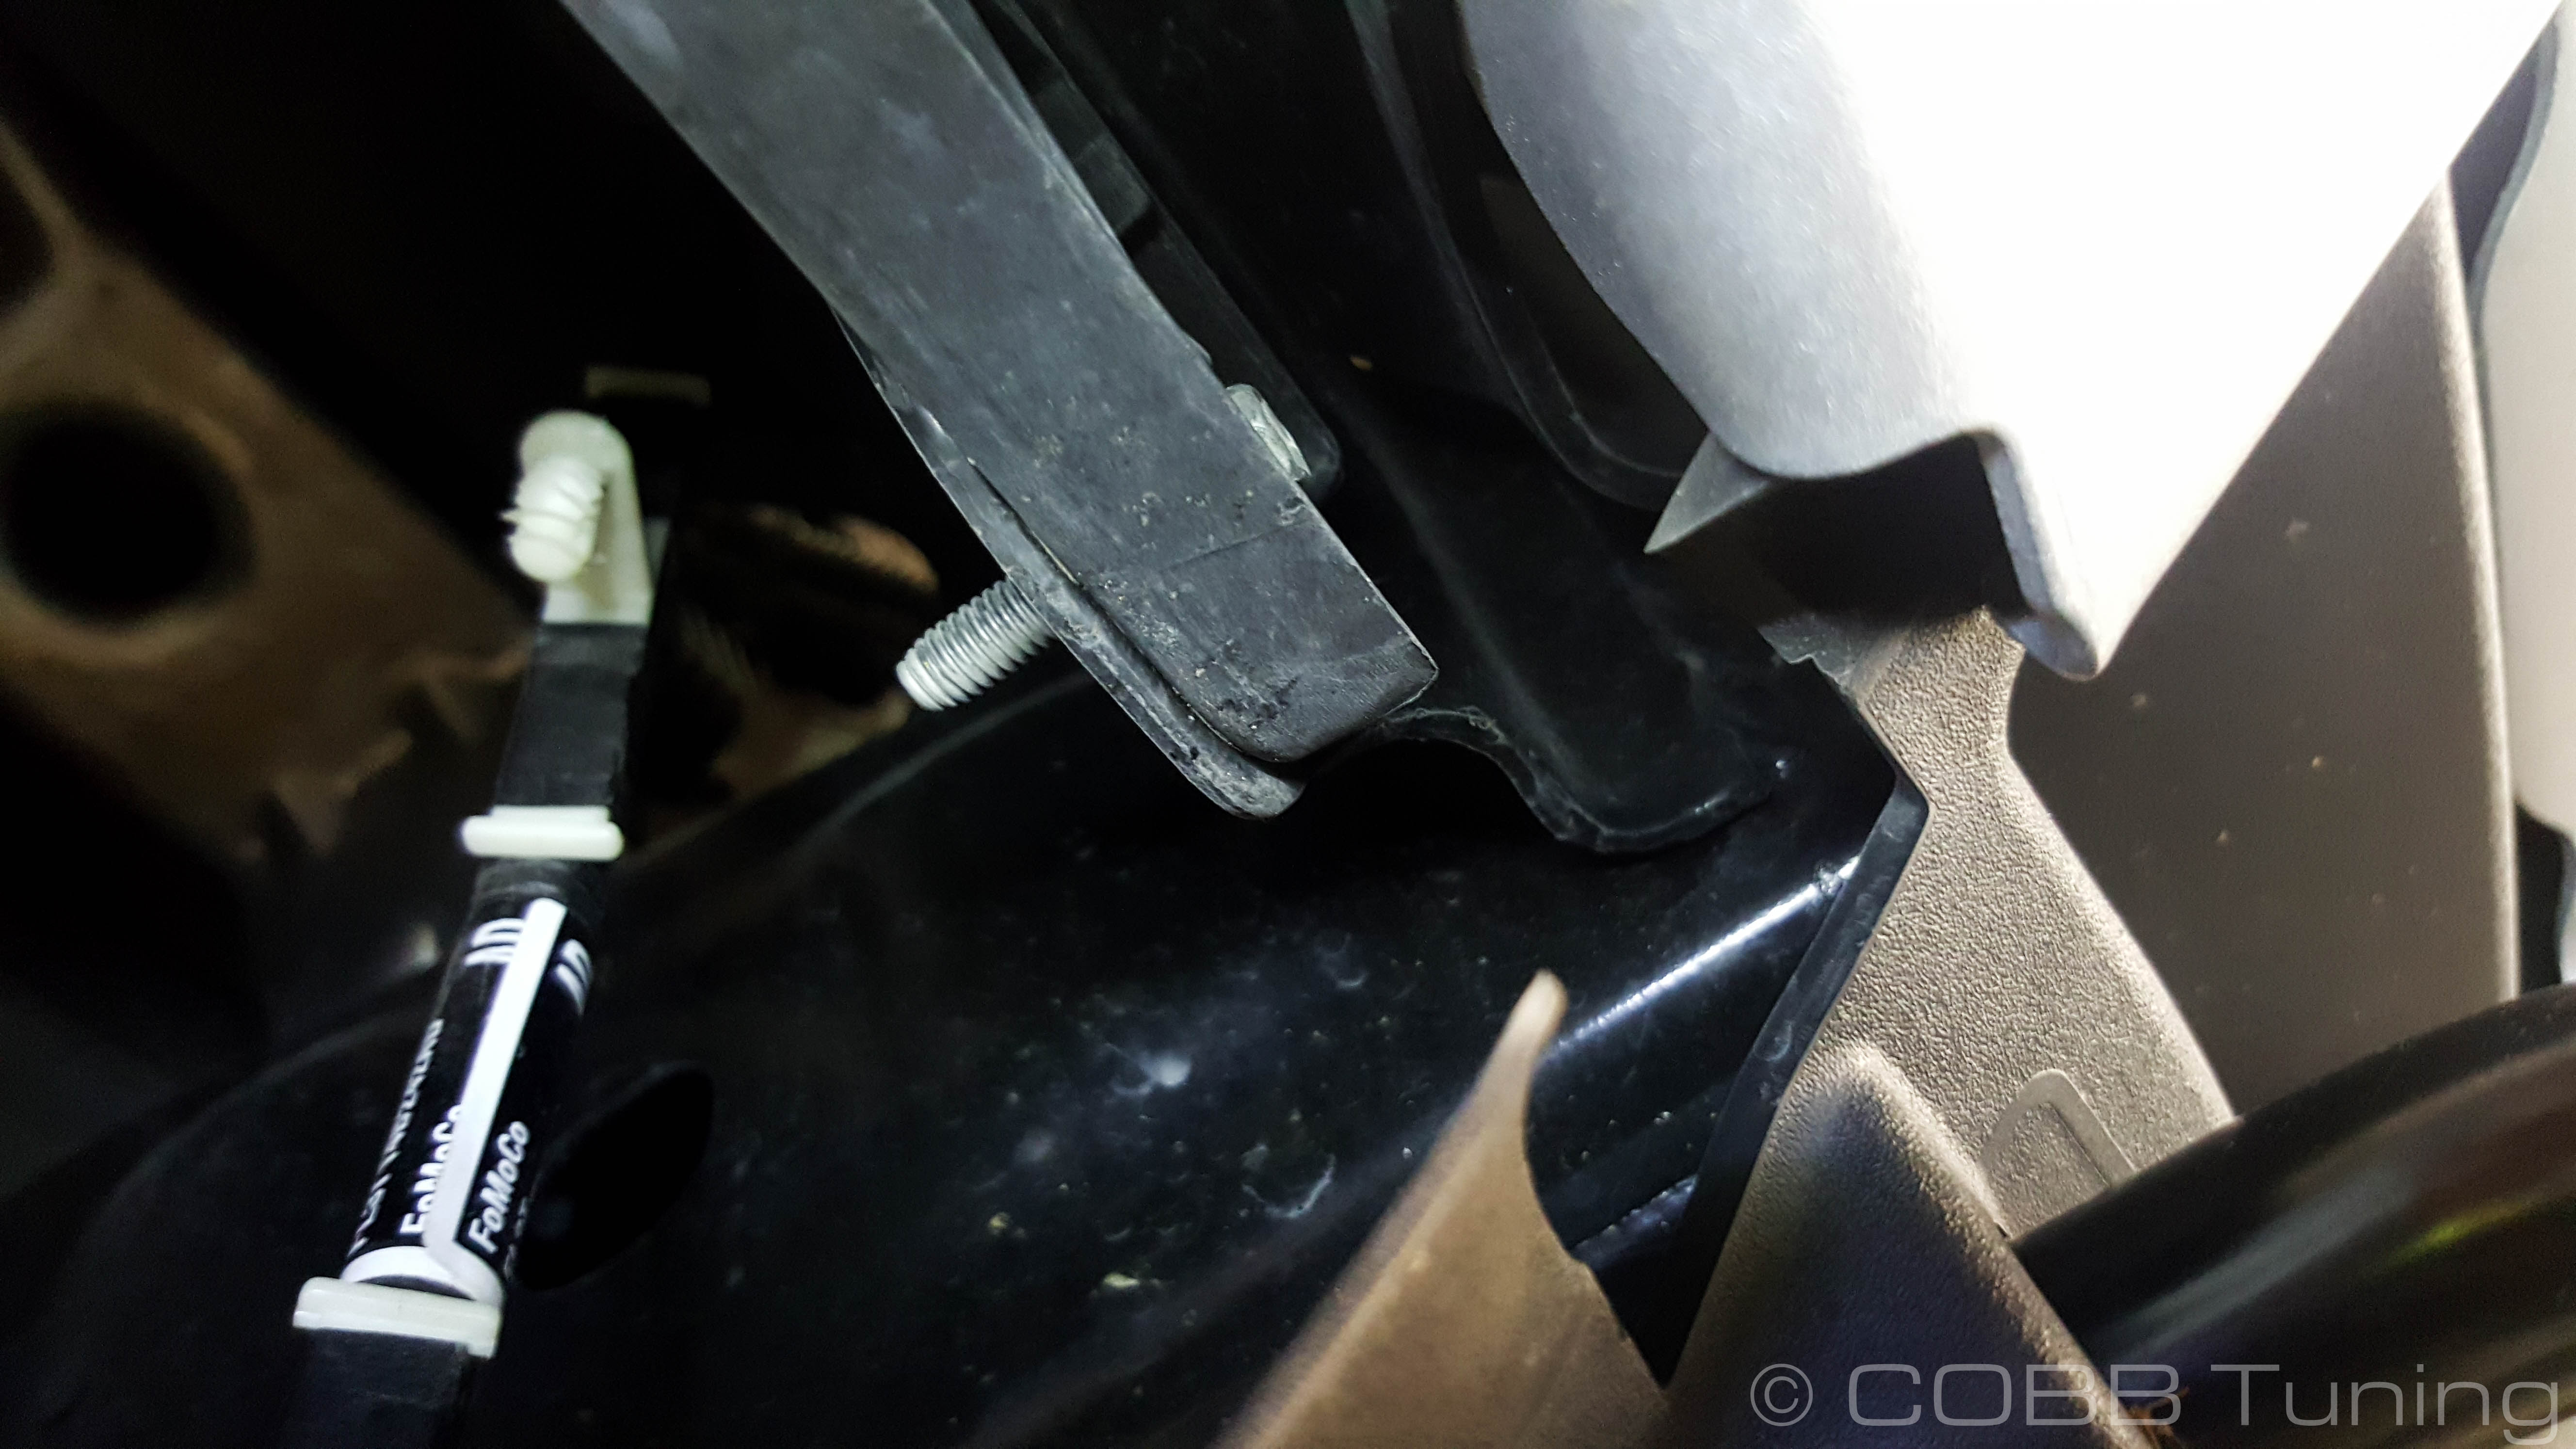
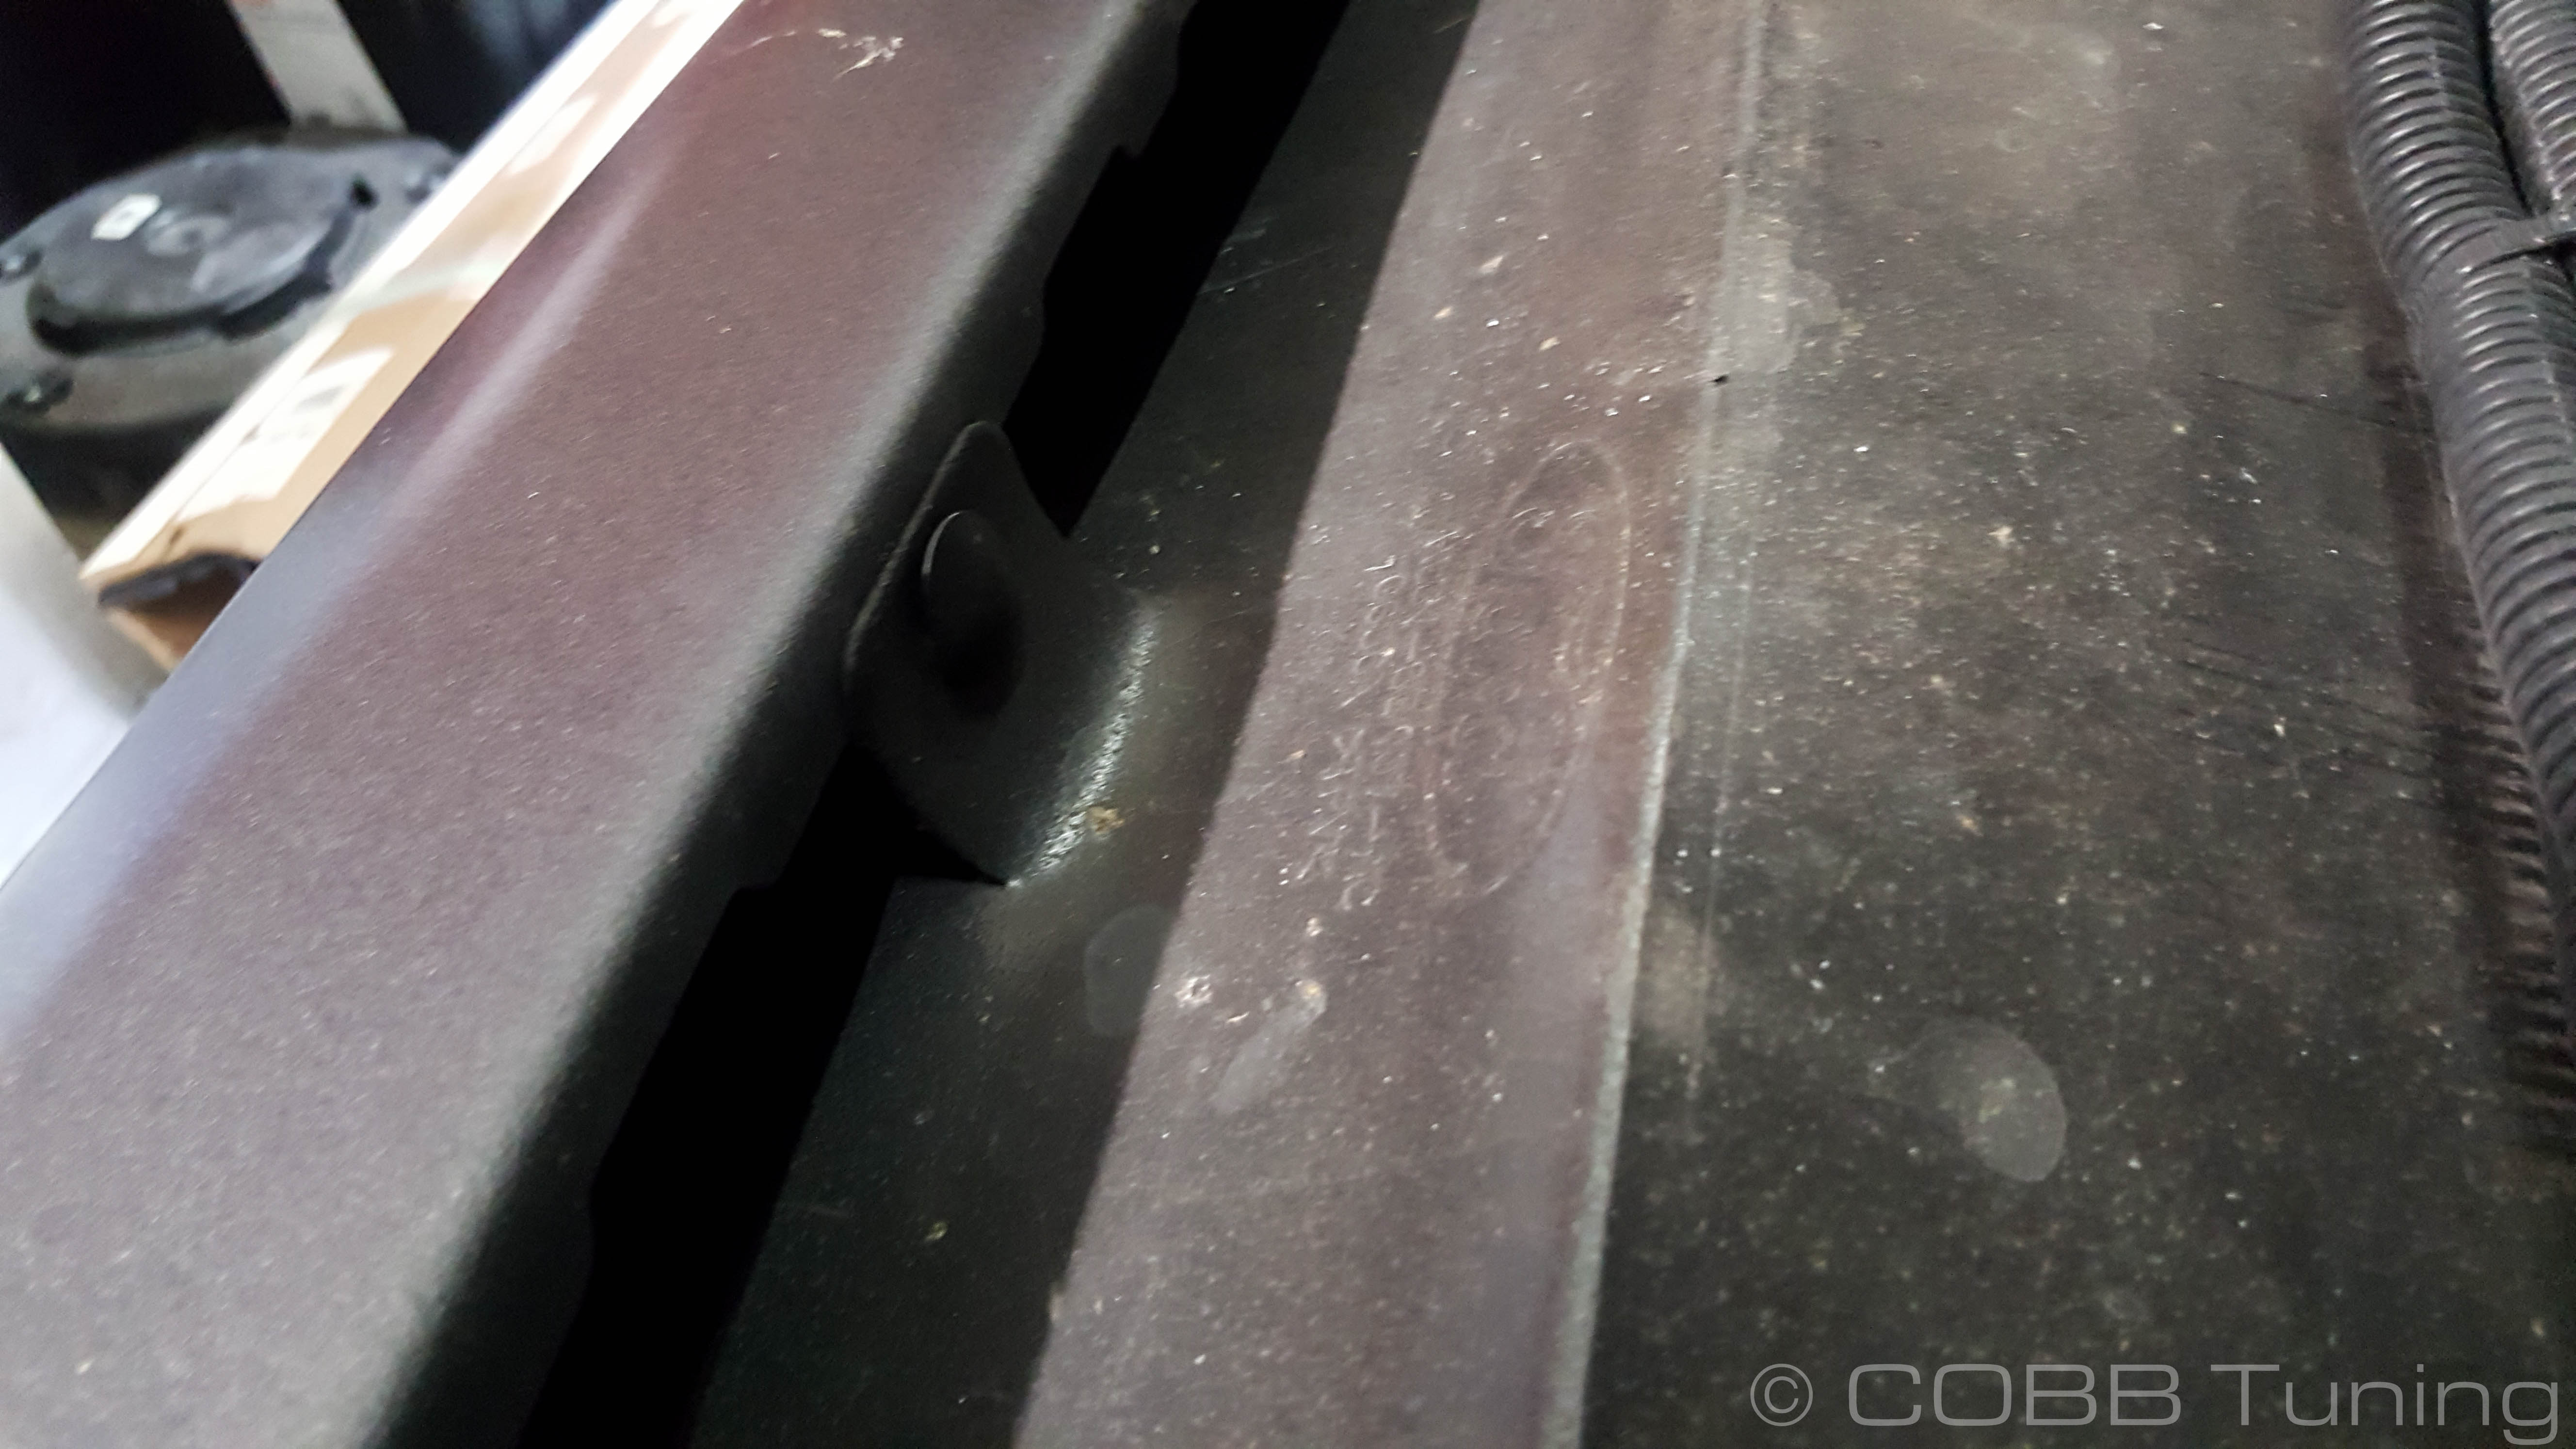
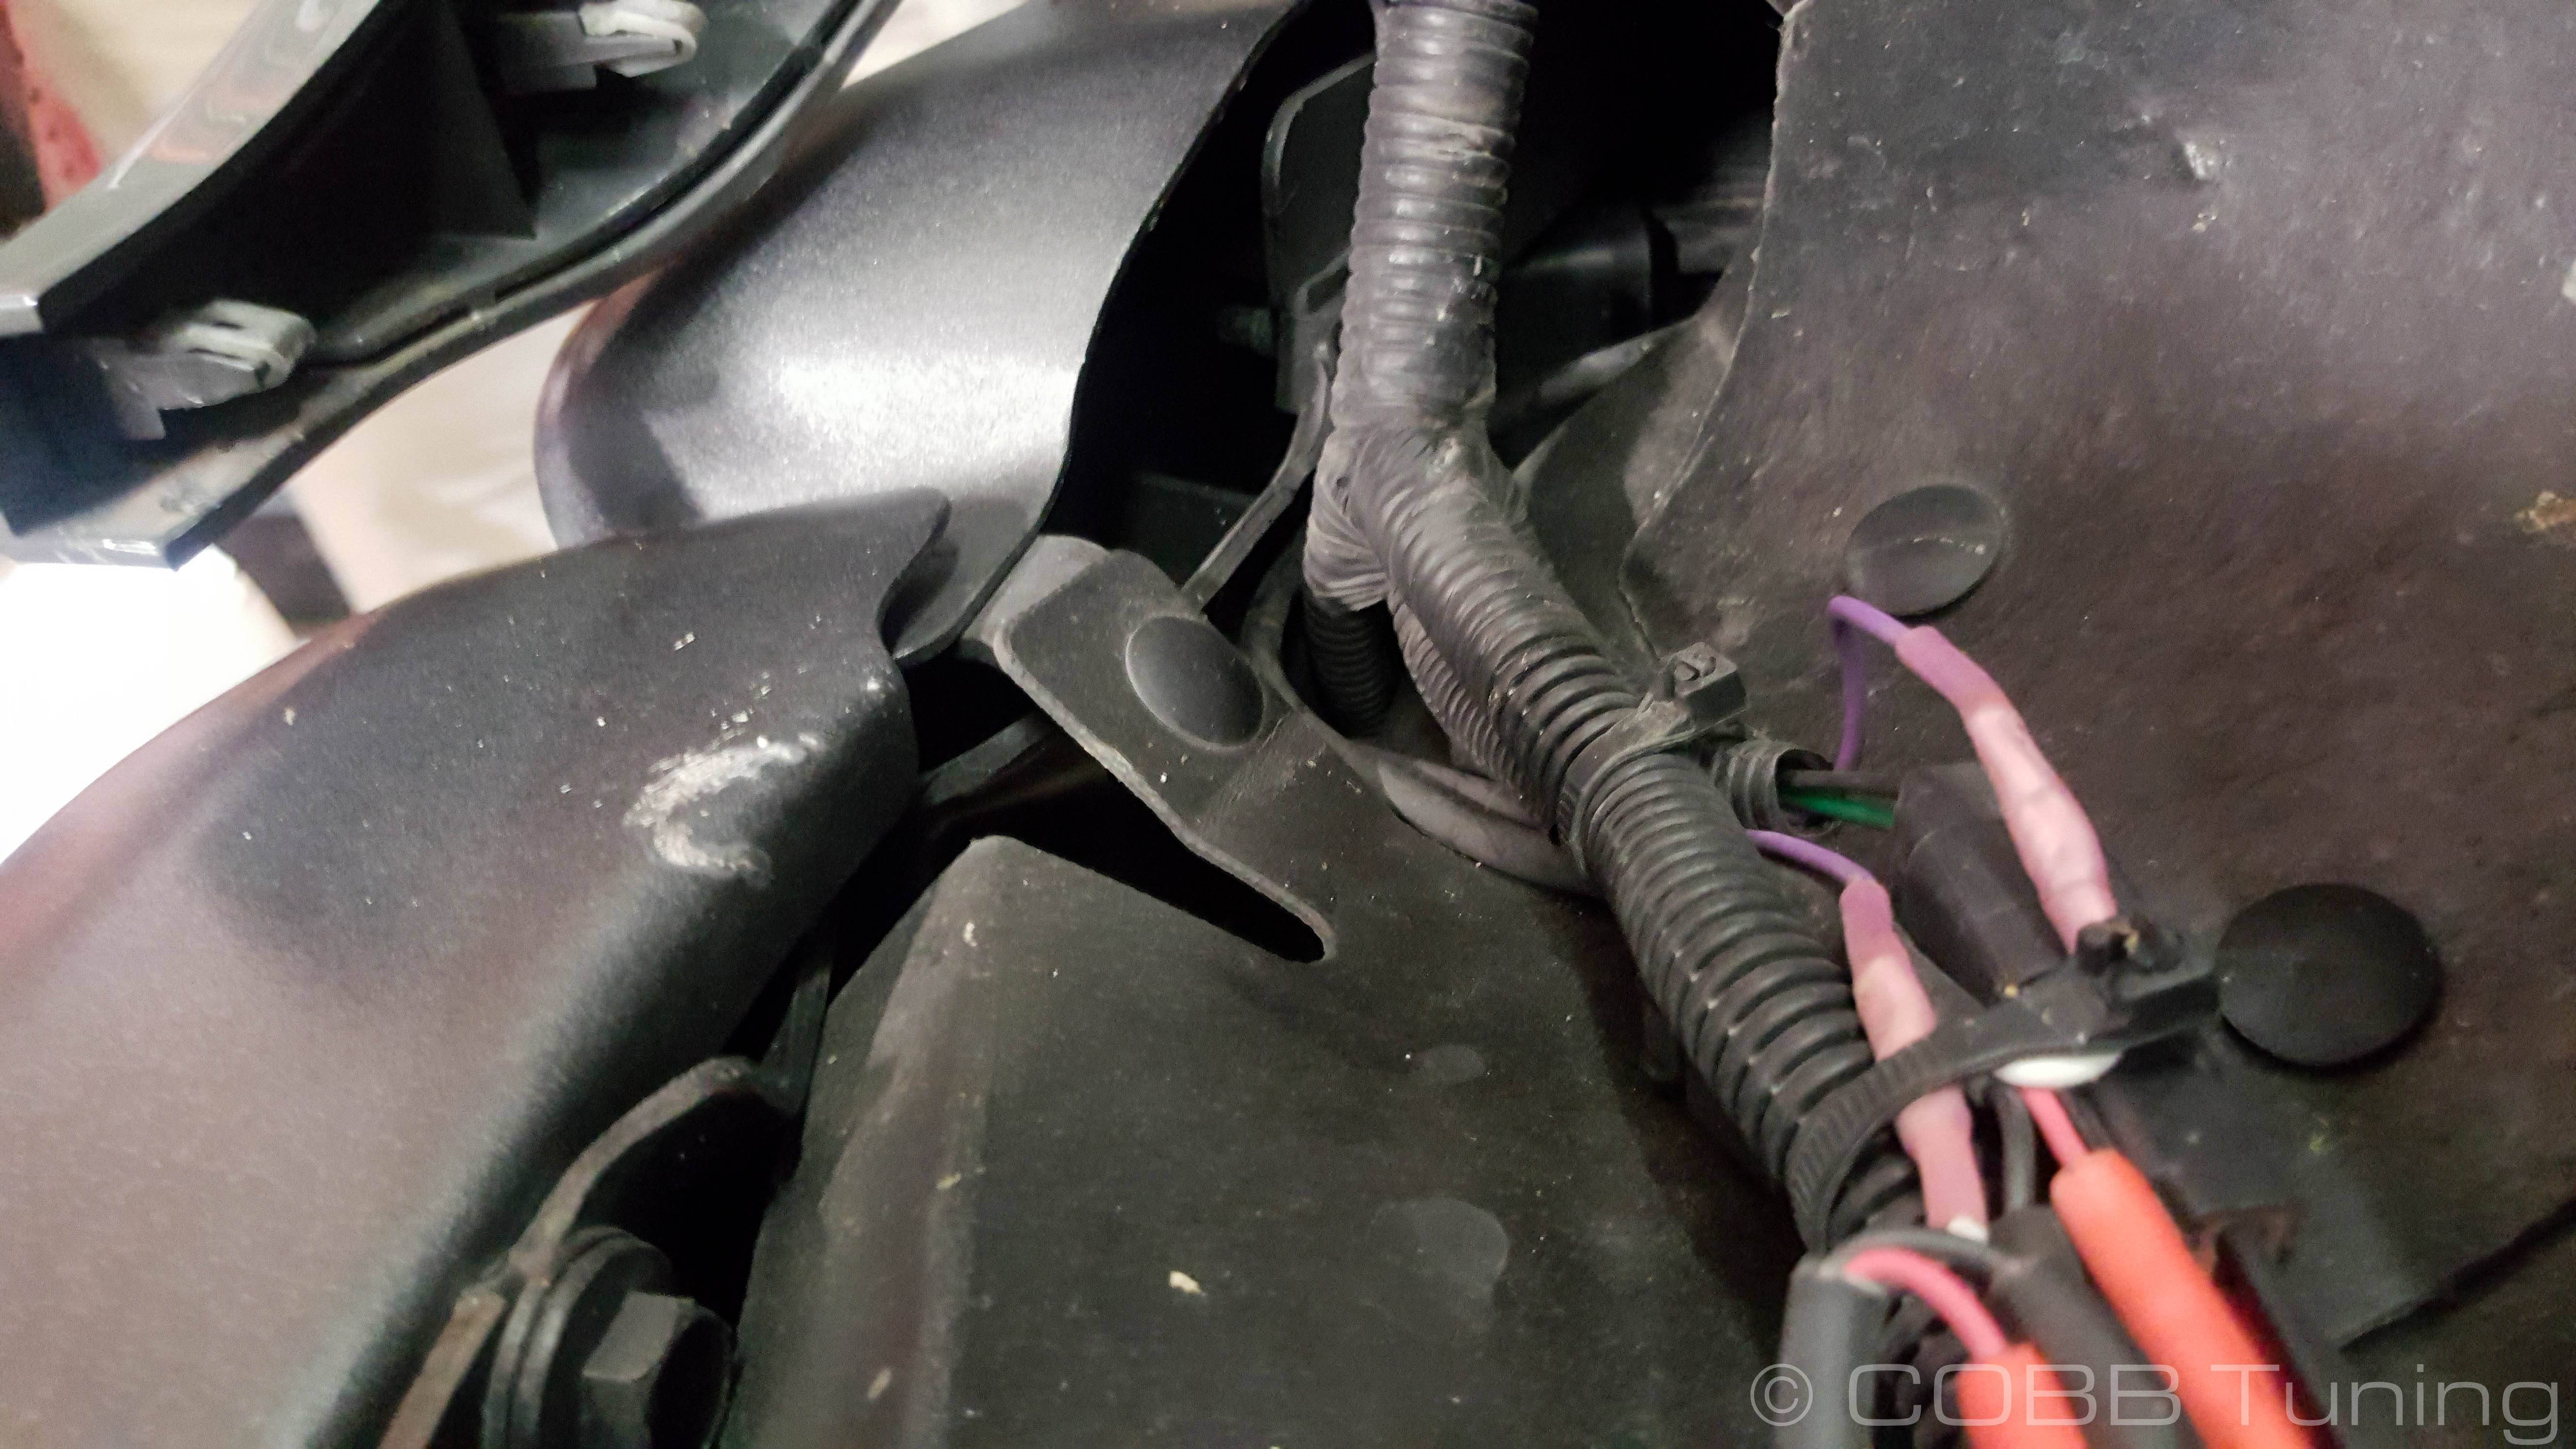
Intercooler Removal
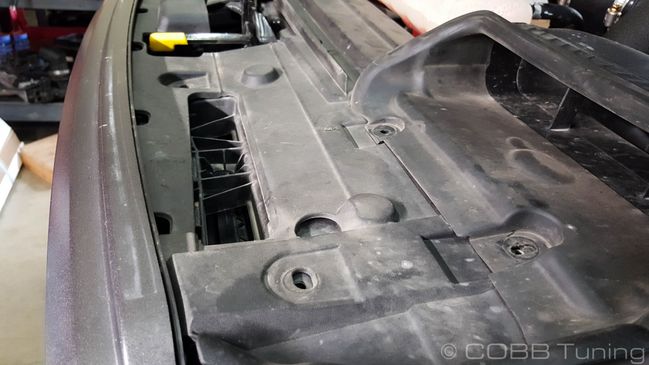
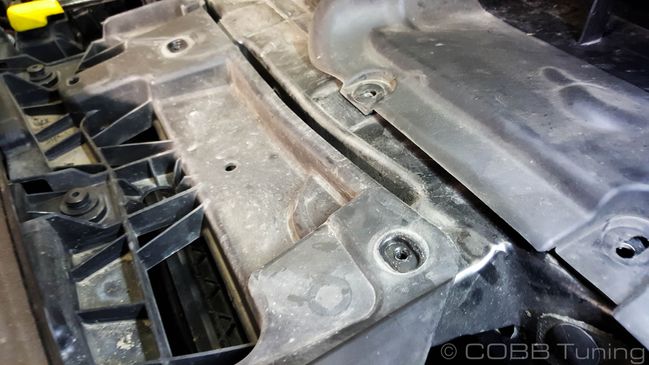
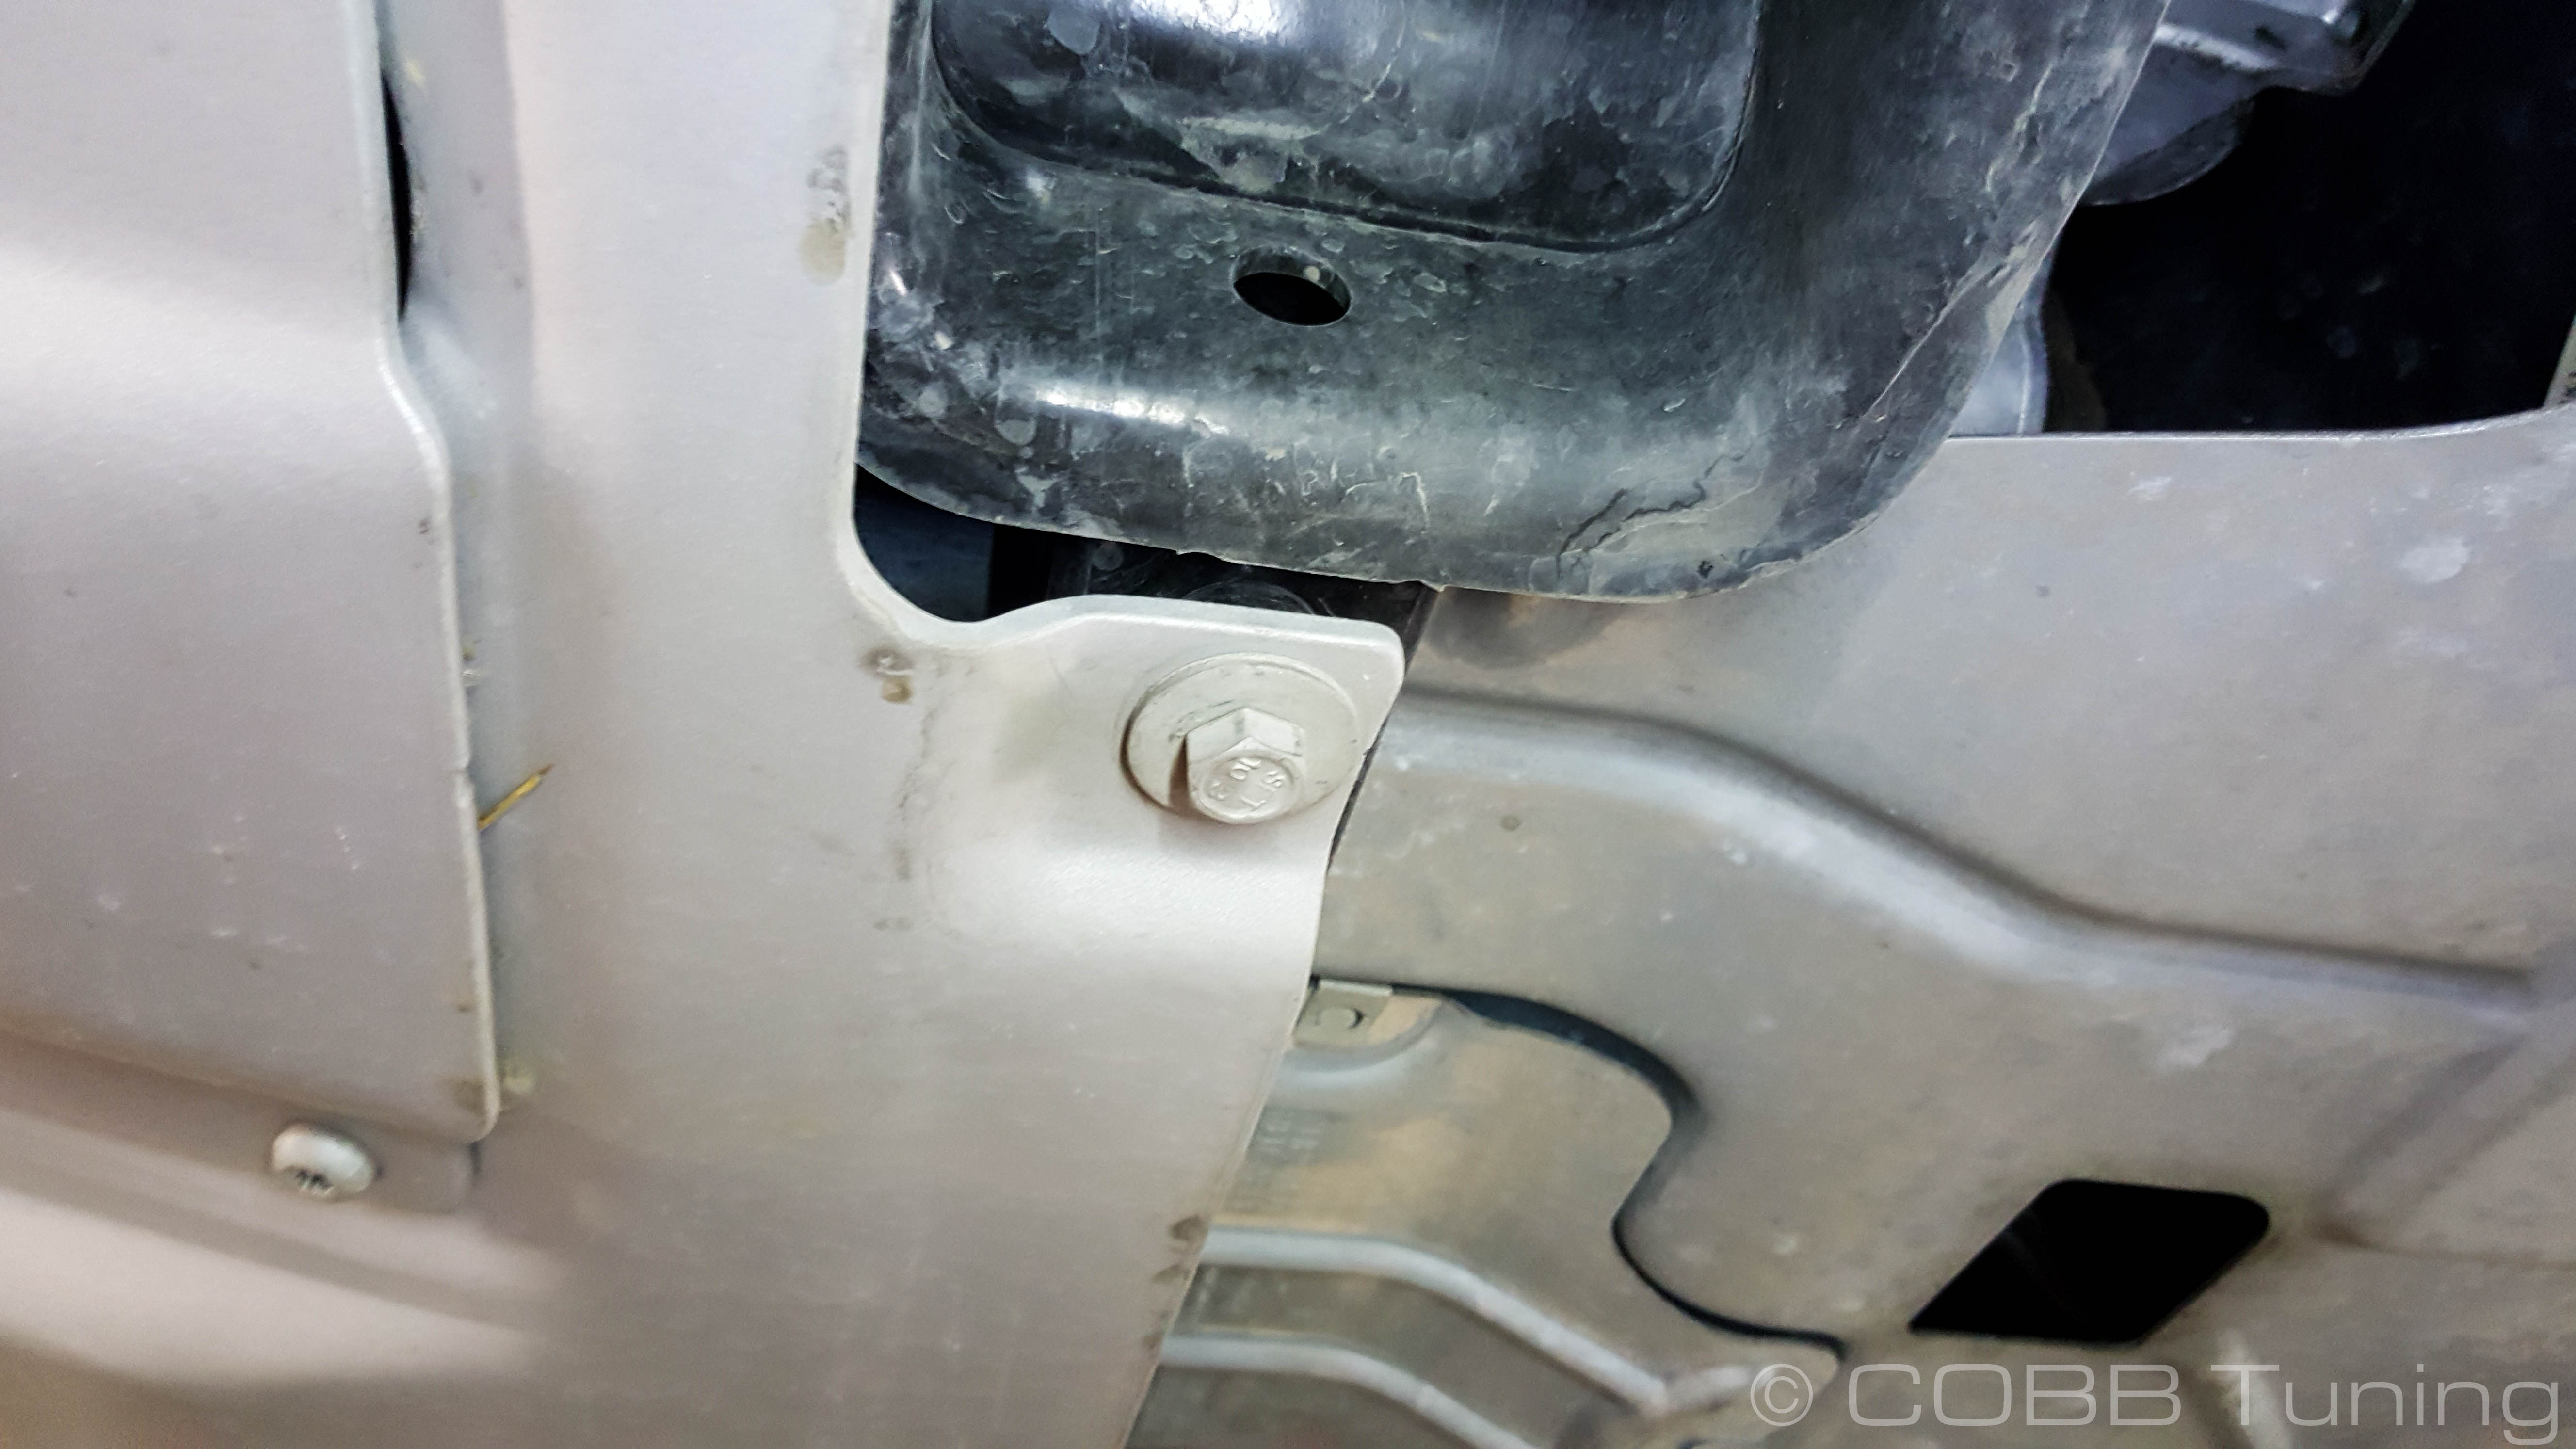
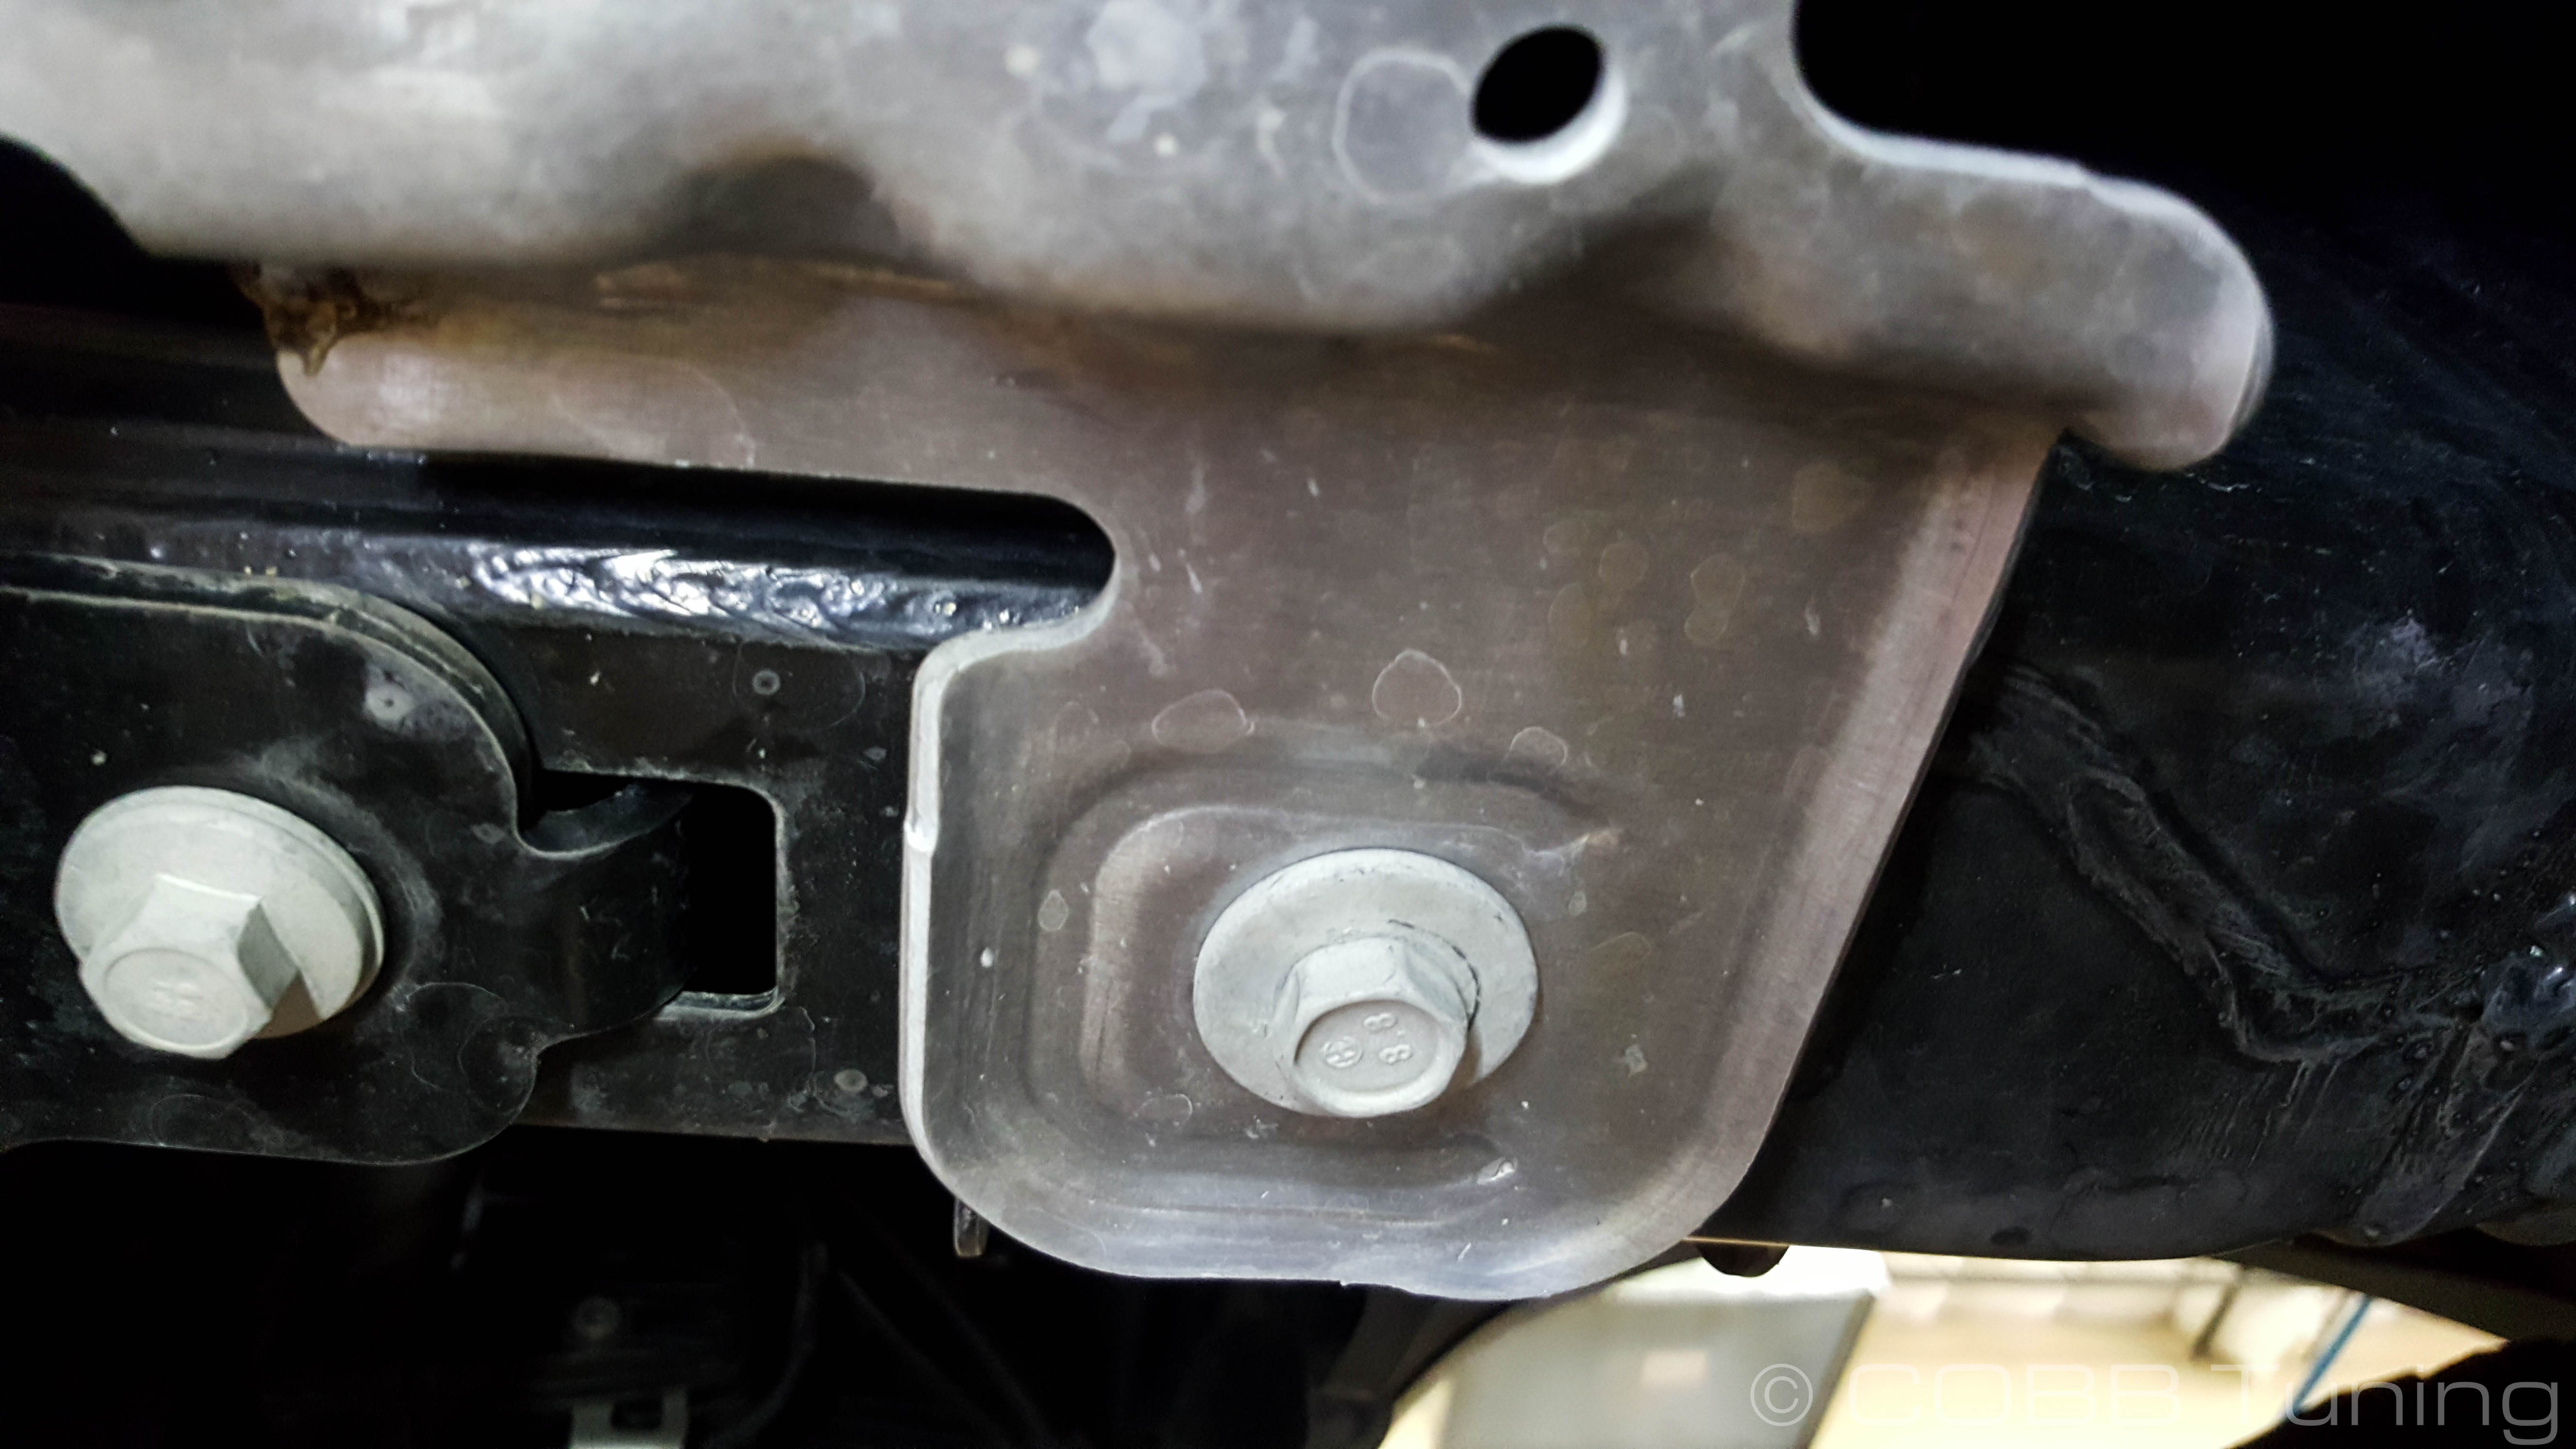
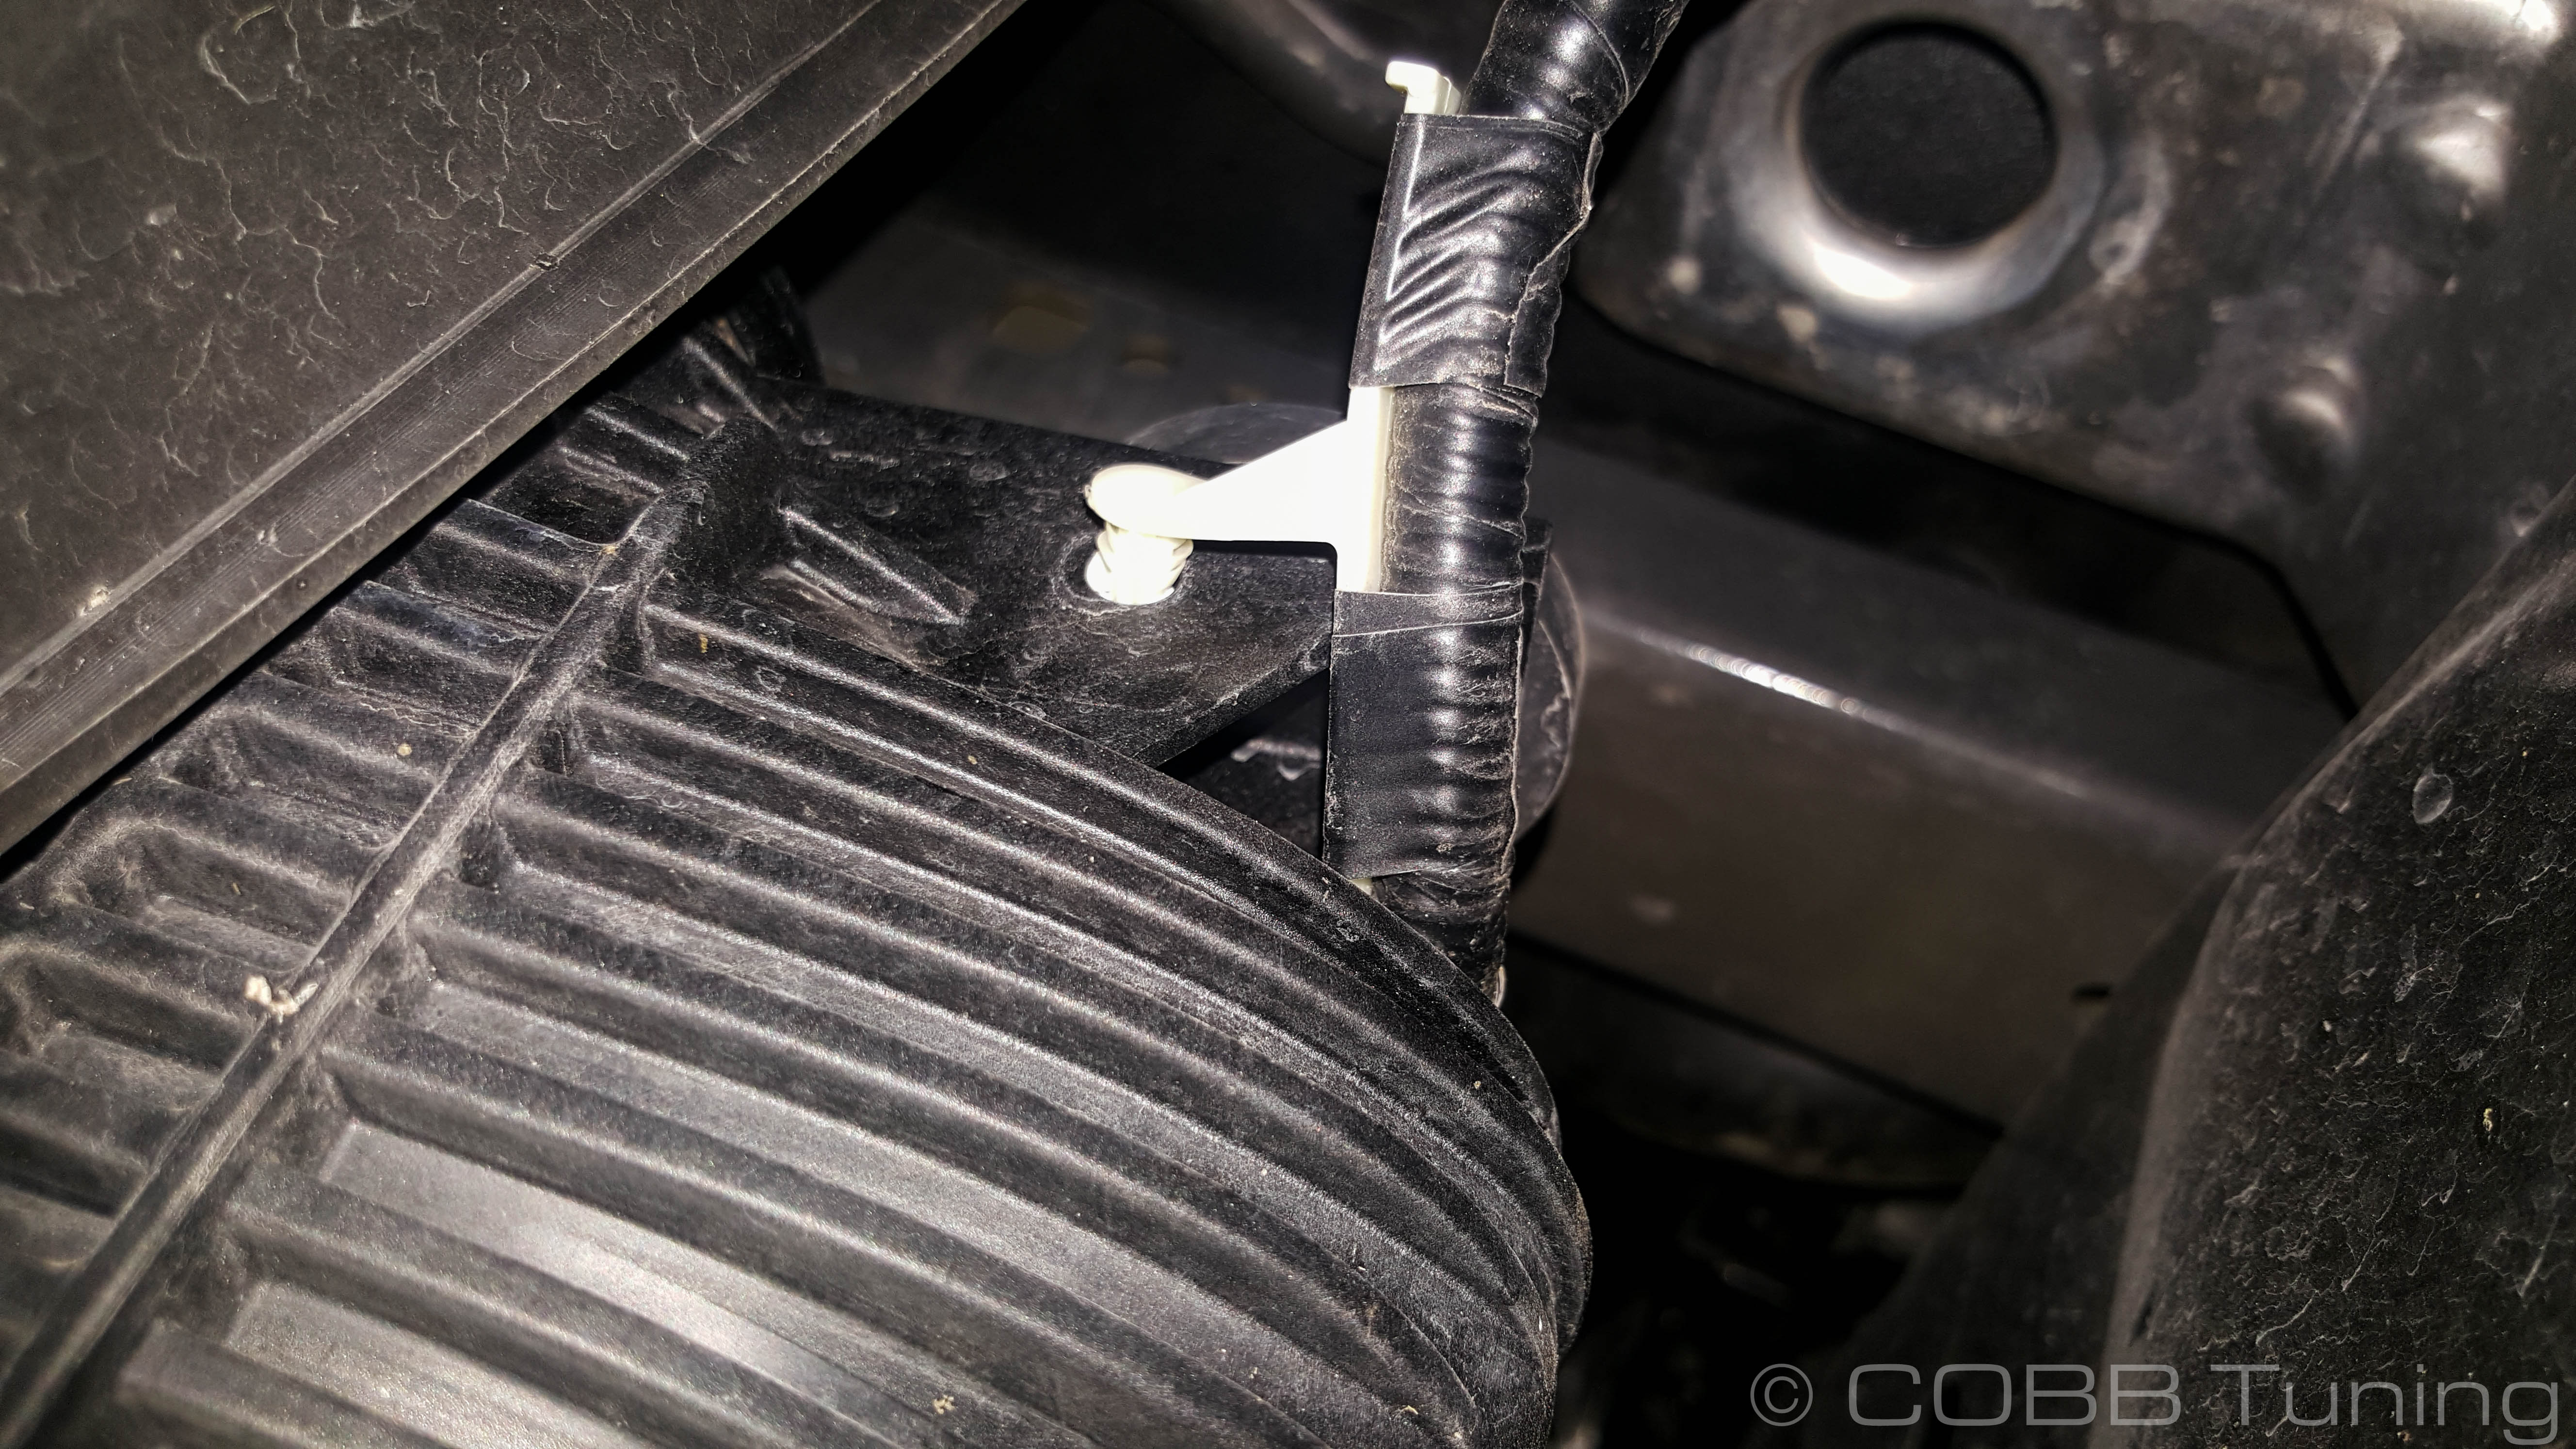
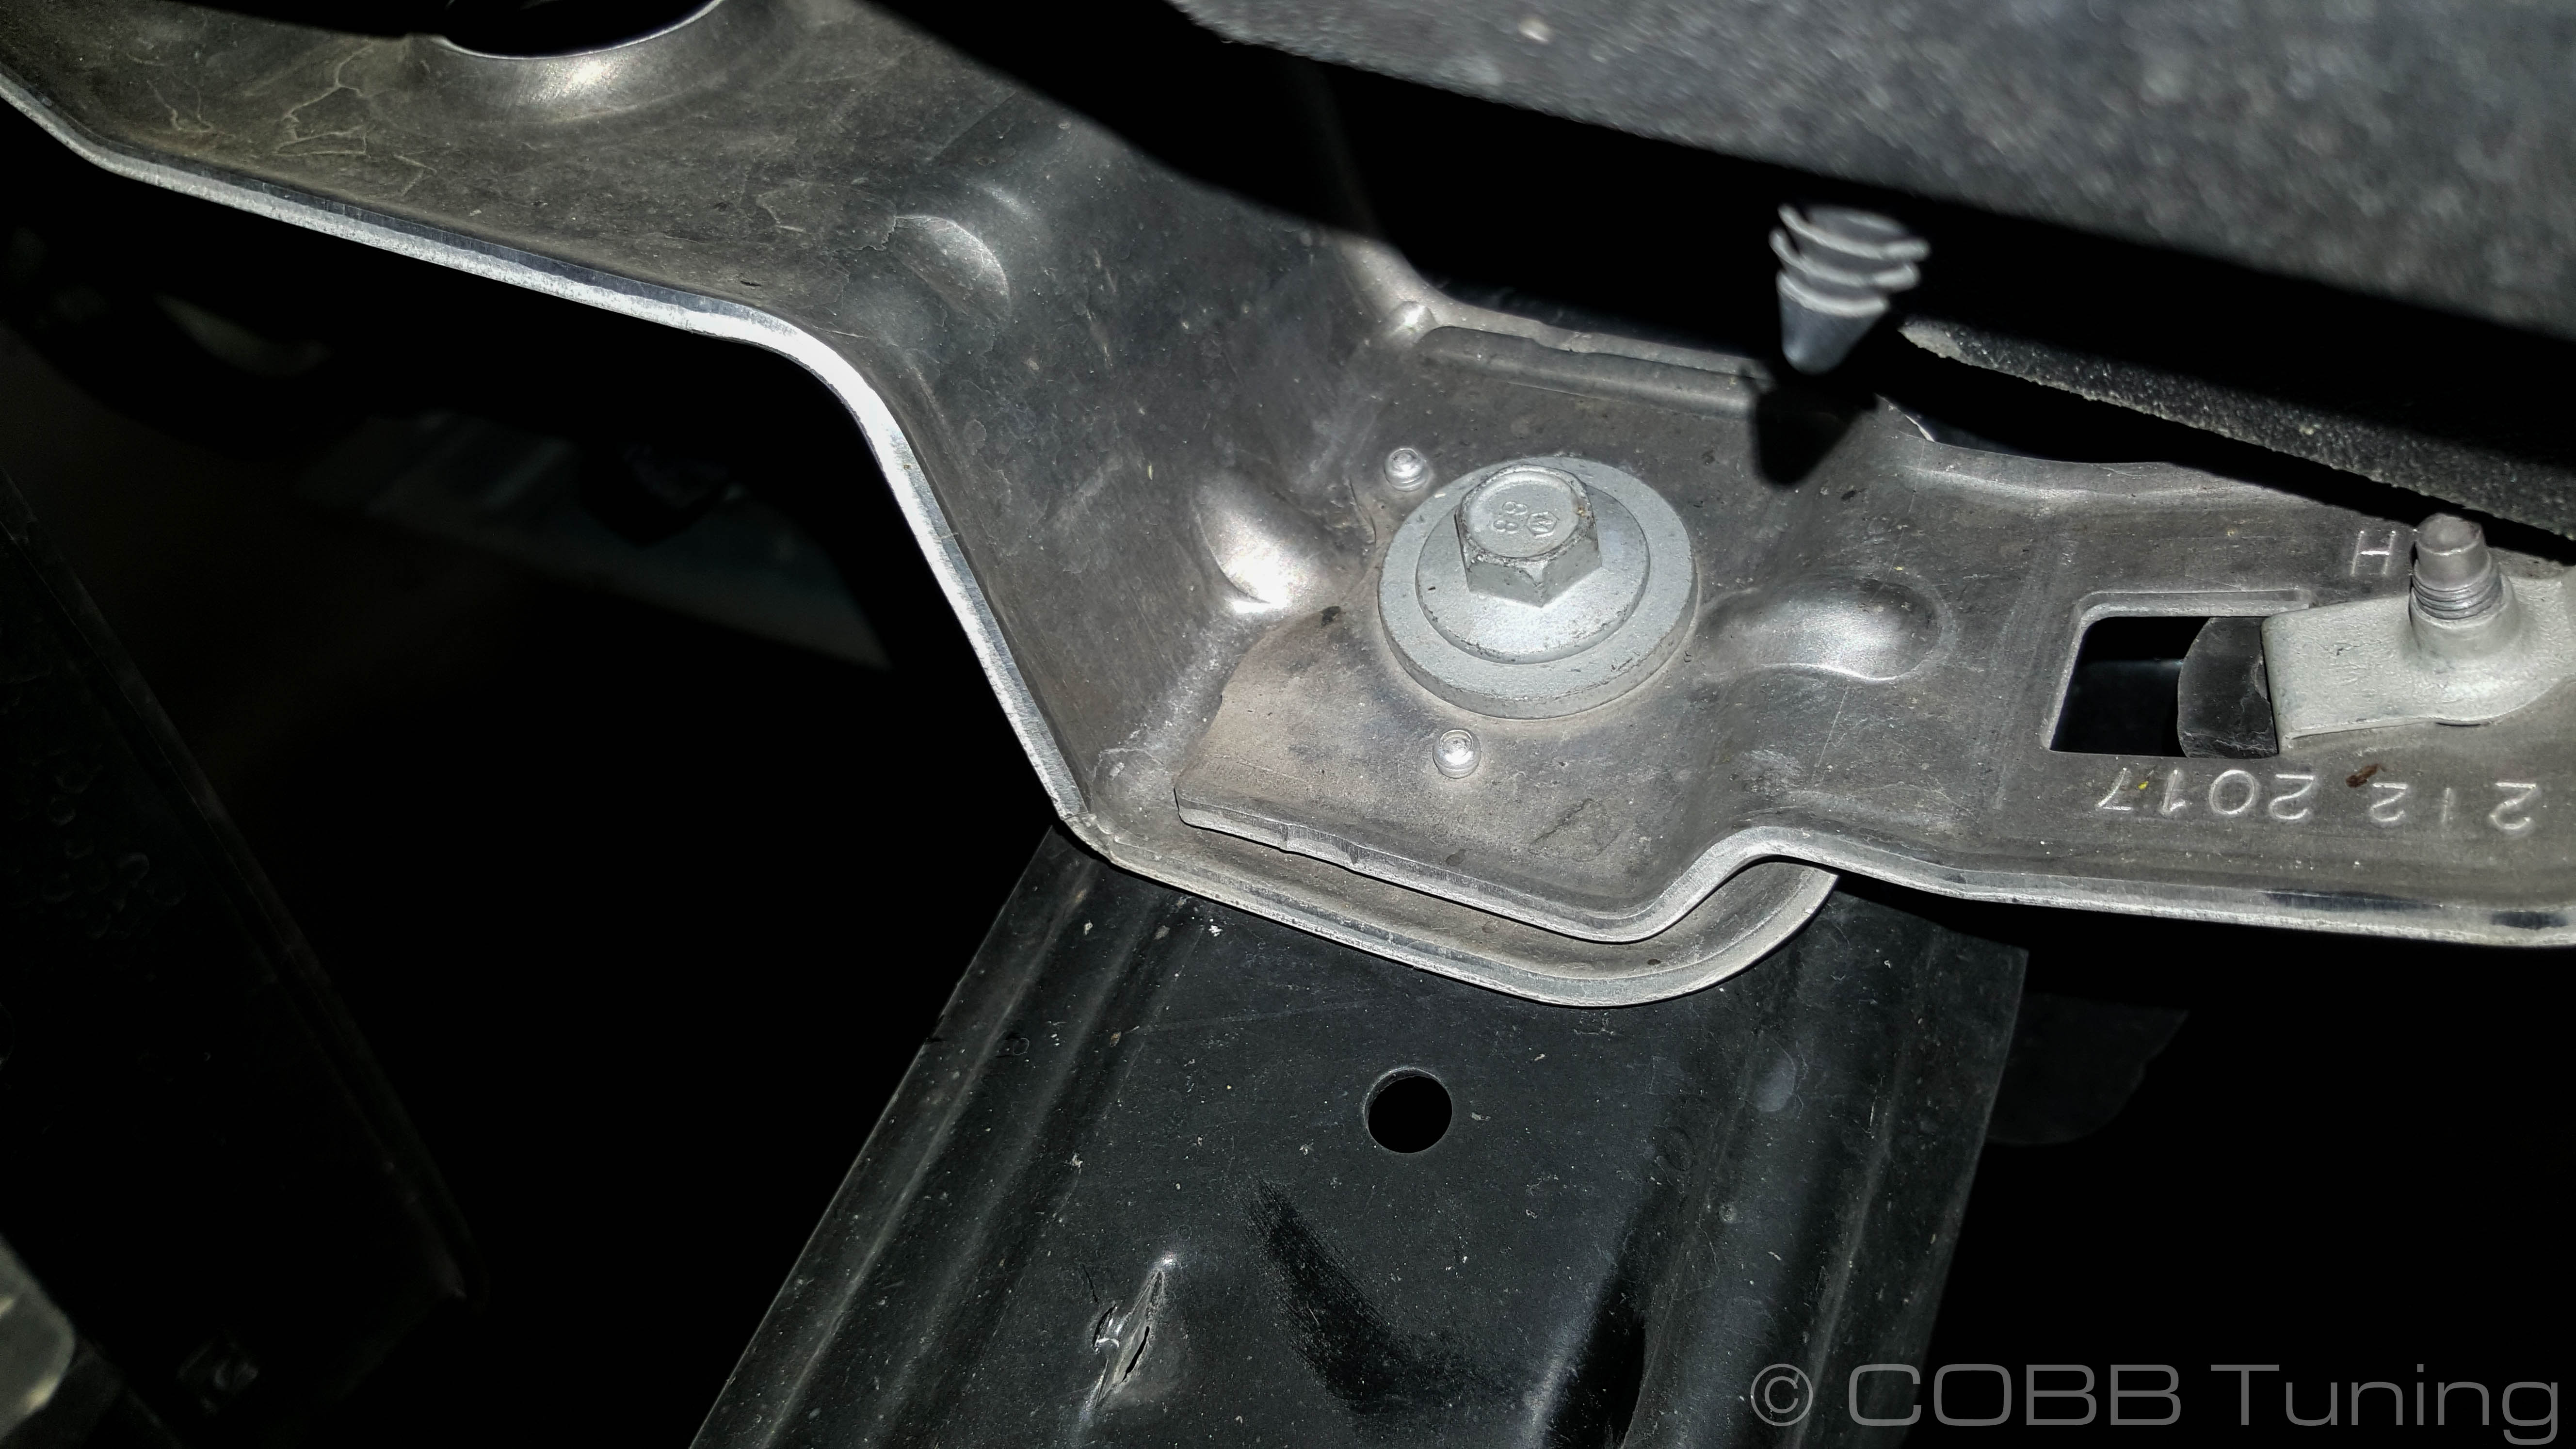
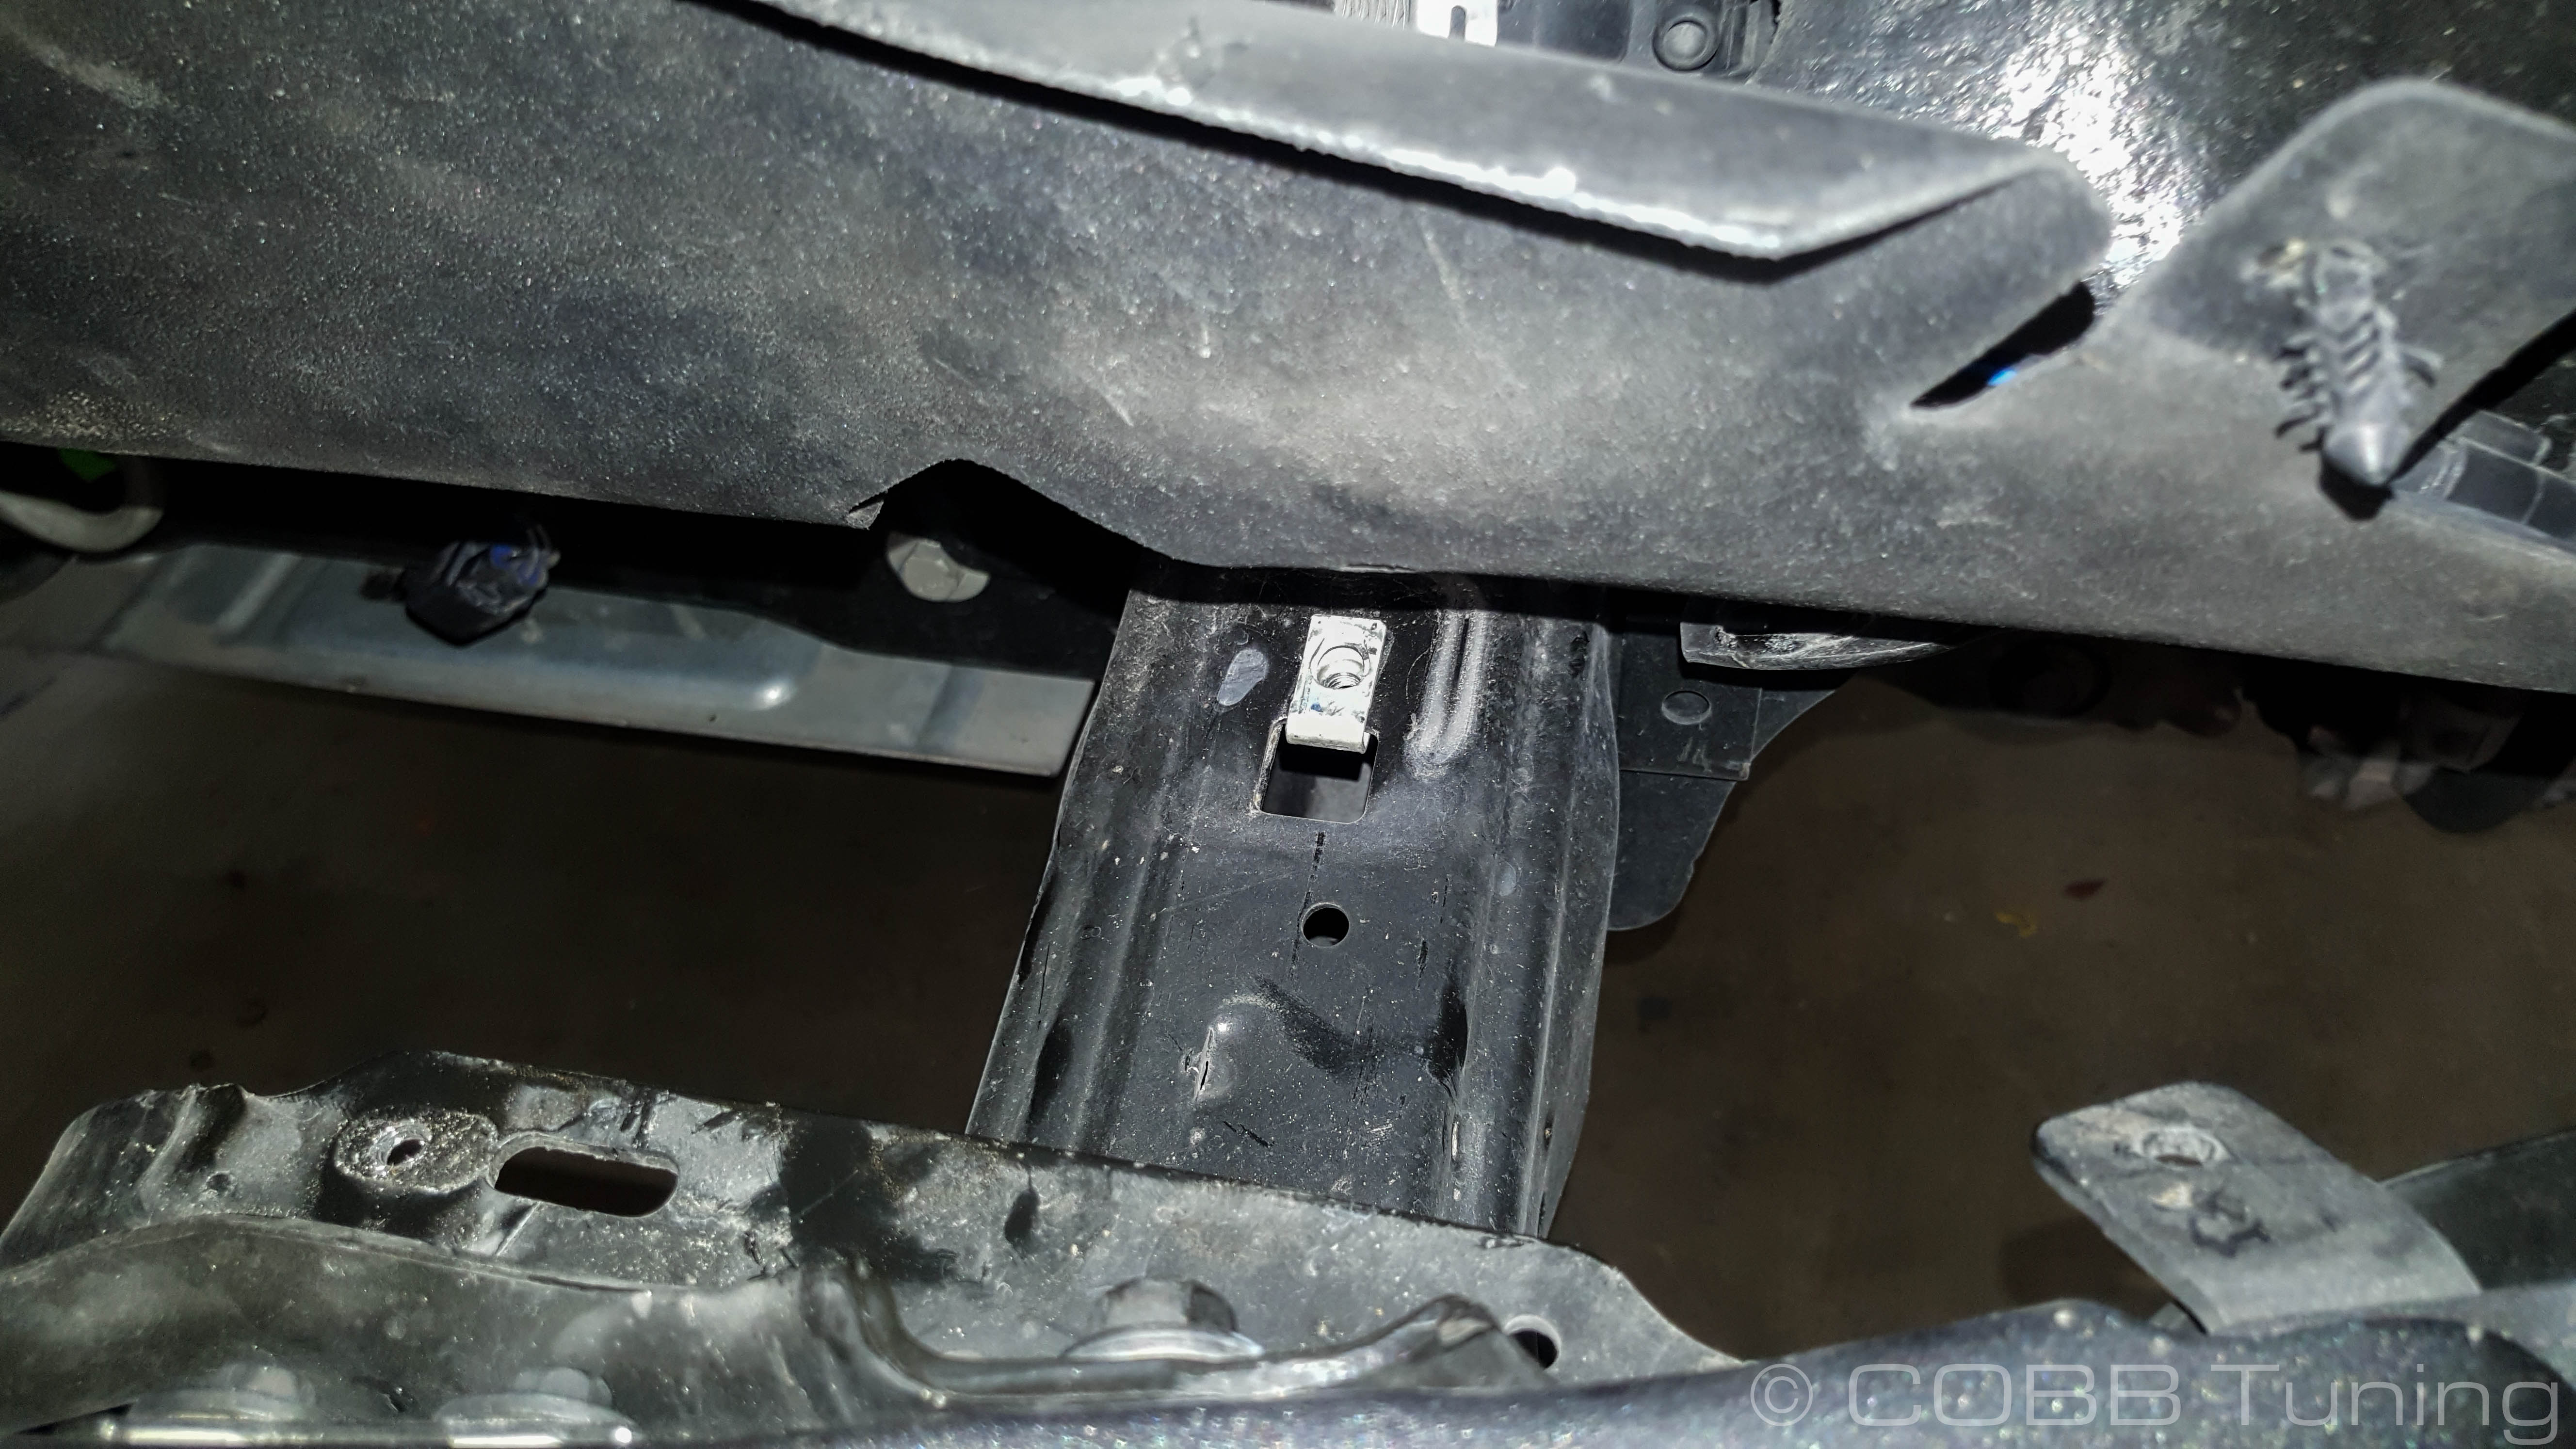
Remove the 4 13mm bolts holding at the front and 2 15mm bolts in the rear of the skid plate in place, watch out for the brace in the rear and note the orientation it was in when removed as it will only fit in that way when you go to reinstall. The clips with built in nuts found on the frame can fall off easily, so make sure not to lose them!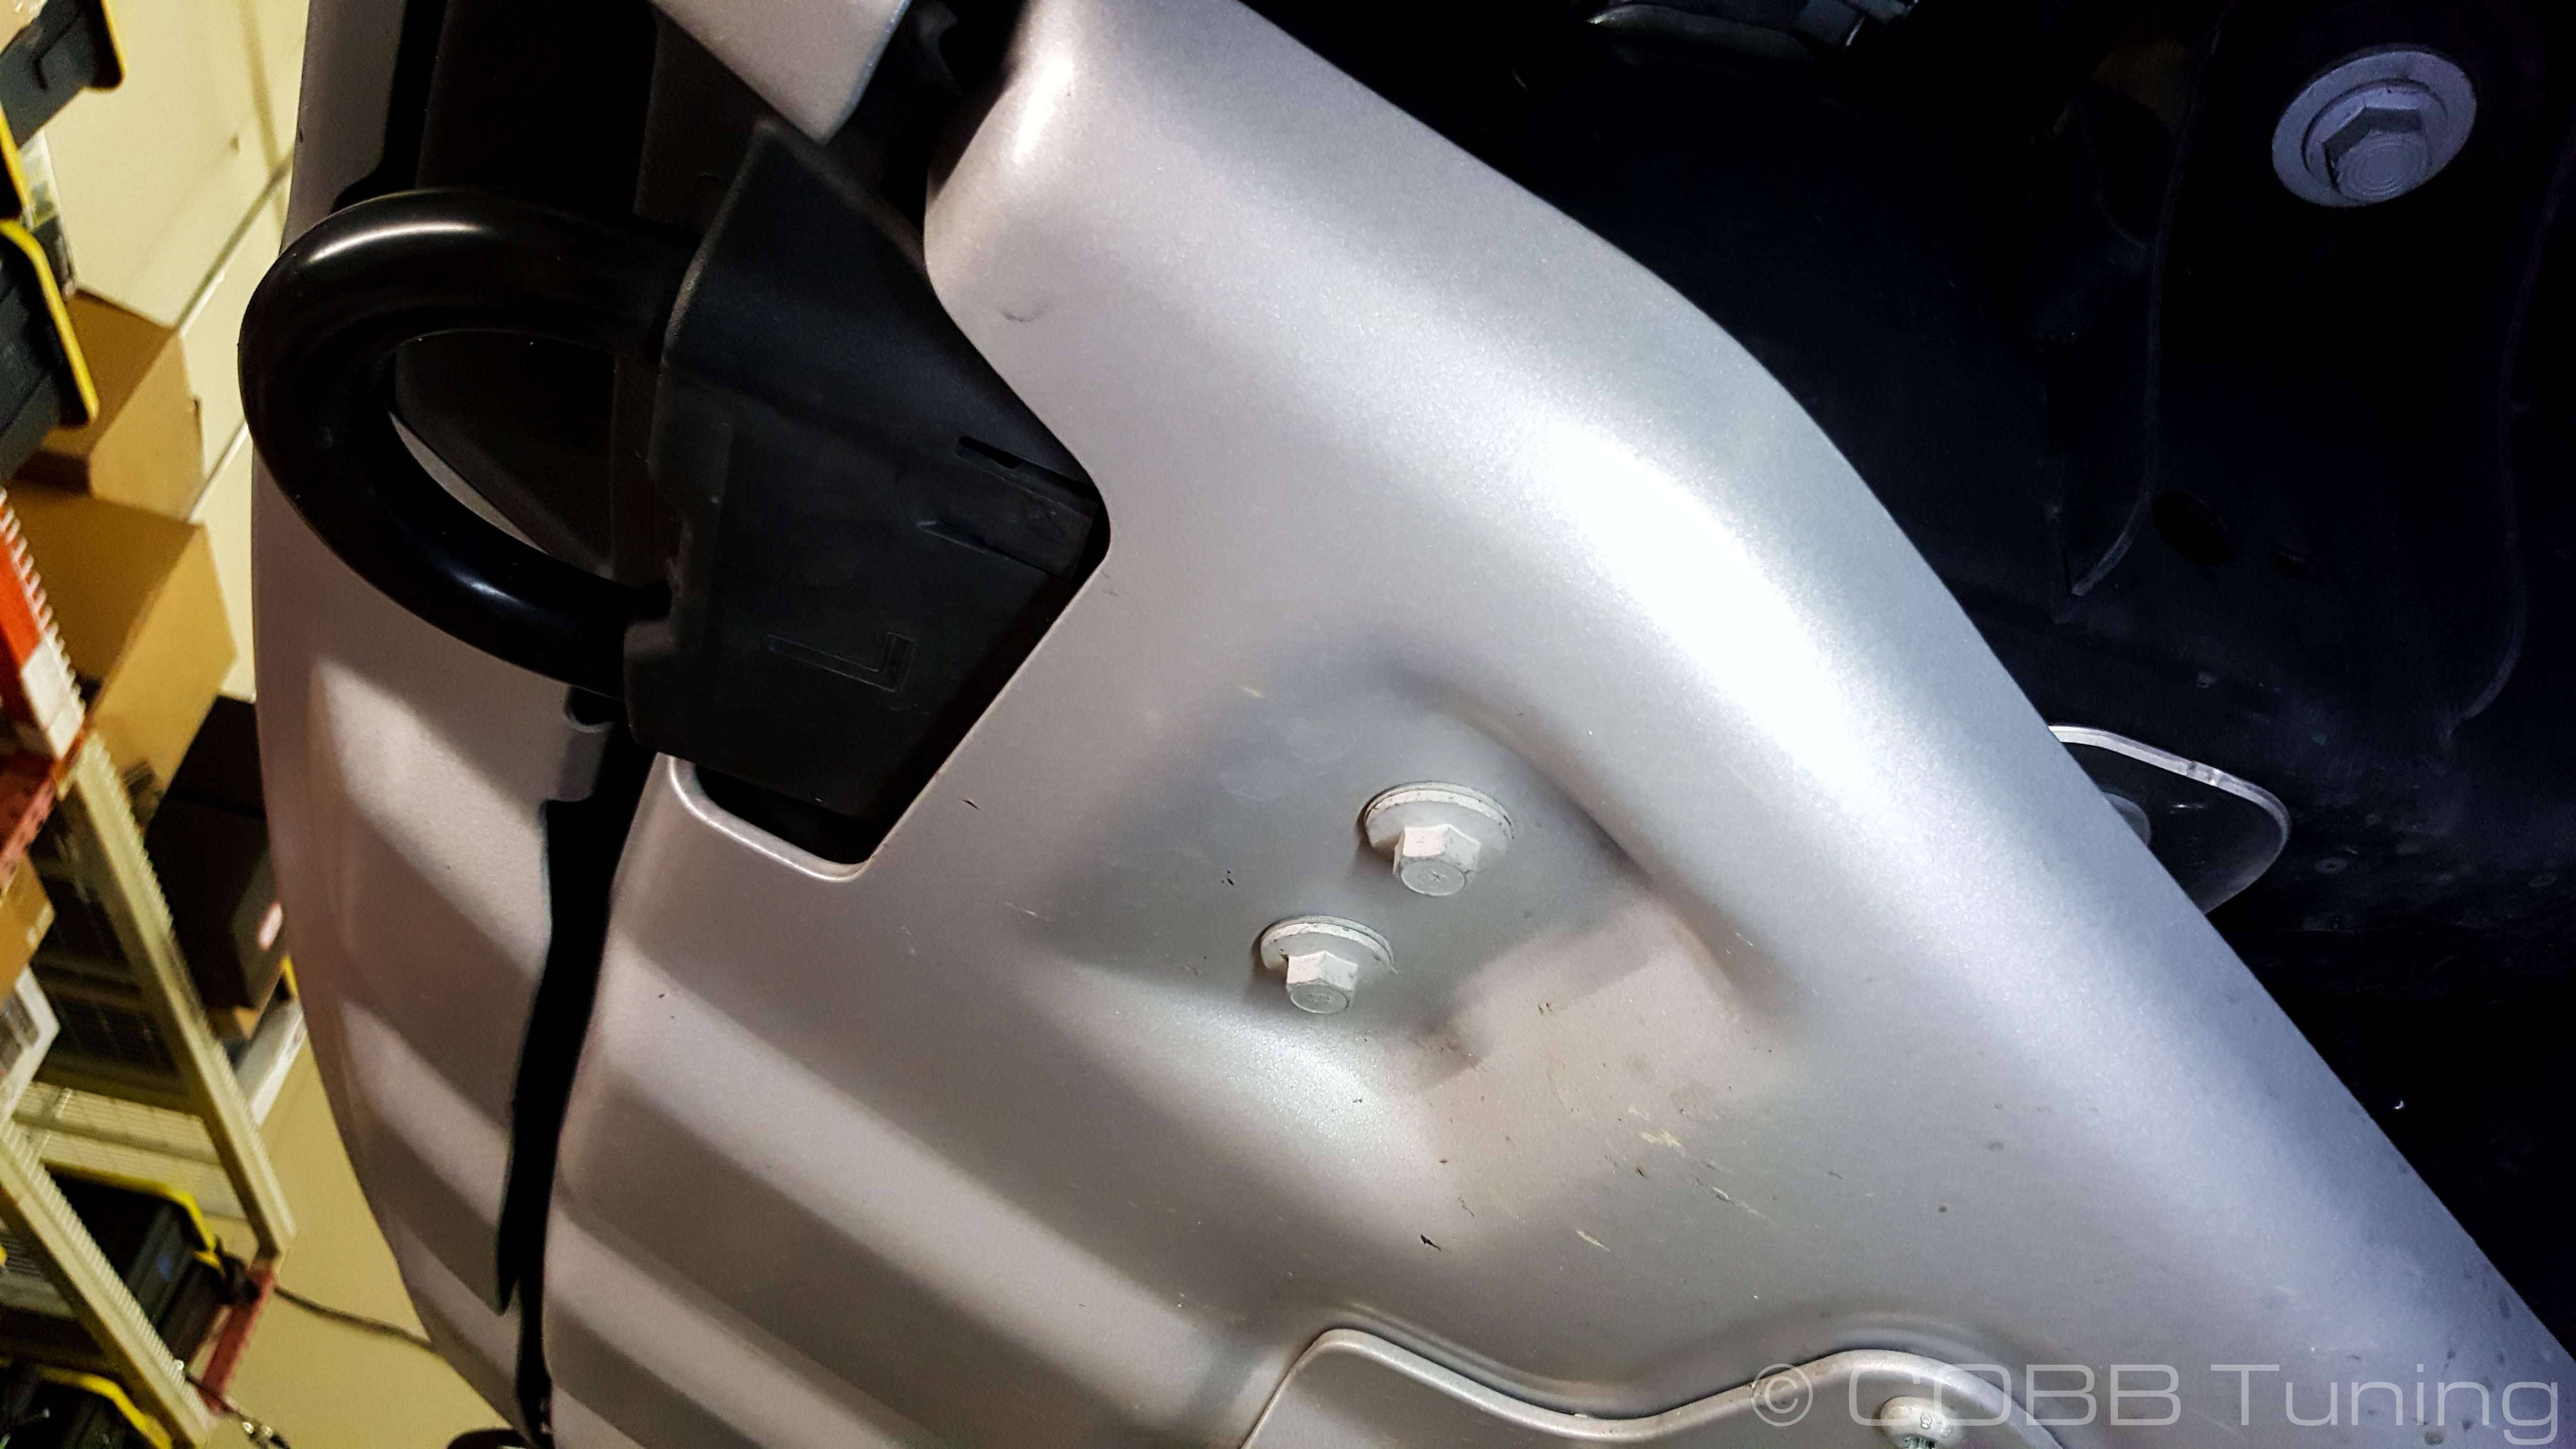


Related content
Copyright 2025 © COBB Tuning Products LLC. All Rights Reserved. | www.cobbtuning.com