591100 – COBB Focus ST Cat-back Exhaust System
591100 – COBB Focus ST Cat-back Exhaust System
Focus ST 2013 - 2018
Congratulations on your purchase of the COBB Tuning Ford Focus ST Cat-back Exhaust System! The following instructions will assist you through the installation process. Please read them BEFORE beginning the install to familiarize yourself with the steps and tools needed. If you feel you cannot properly perform this installation, we HIGHLY recommend you take the vehicle to a qualified and experienced automotive technician.
IMPORTANT! Installing this kit will require custom tuning or utilizing an appropriate Stage Power Package map if you have a matching mechanical configuration. Please consult with COBB or an authorized ProTuner in your area if you have any questions!
Table of Contents
Parts List
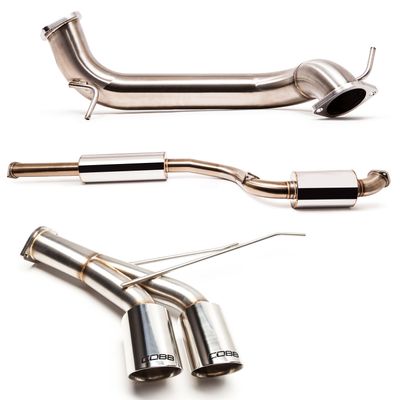
- COBB Midpipe Section
- COBB Over-Axle Pipe Section
- COBB Tip Section
- (3) 3” 2-Bolt Gaskets
- (1) 2.5” 2-Bolt Gasket
- (6) 14mm Exhaust Bolts
- (6) 14mm Exhaust Nuts
- Polyurethane Exhaust Hanger
Tools Needed
- Phillips head screwdriver
- Flathead screwdriver
3/8" ratchet
- 3/8" 13mm deep socket
- 3/8" 14mm deep socket
- 3/8" 15mm deep socket
- 14mm combination wrench
- 15mm combination wrench
- Exhaust Pliers
- Sawzall or other cutting tool to remove factory exhaust.
Removal of Factory Exhaust
- Find a smooth level area to jack up the car securely using either a jack and stands, or a full lift.
- Remove the mid-chassis brace with a ratchet and 10mm socket.
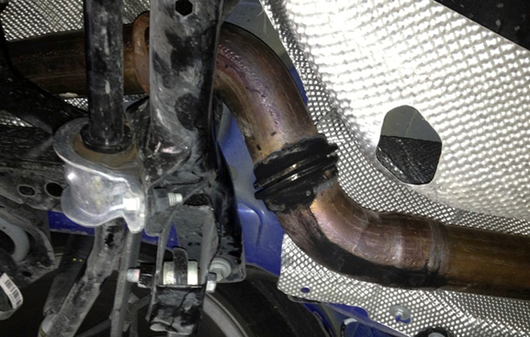
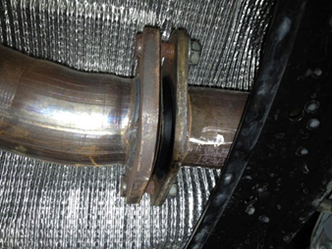
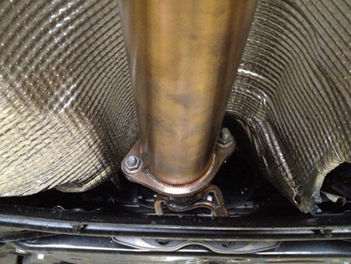
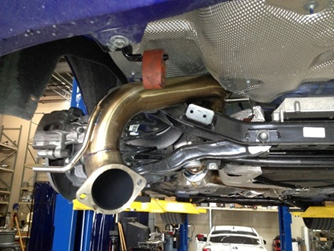
- The Focus ST exhaust is a one-piece design. Because of this, you’ll either need to drop the entire rear subframe and snake the exhaust out OR bring out the handy SawZall and get to work (which is what we suggest). You’ll need to cut after the S-bend, right where the exhaust begins to rise to go over the rear subframe. See the picture below for reference. In this picture, we had already cut the exhaust off and welded in some v-band flanges for reinstallation for testing purposes.
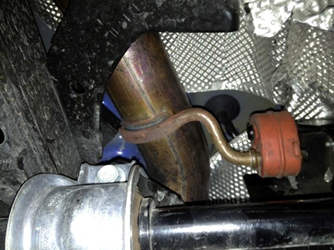
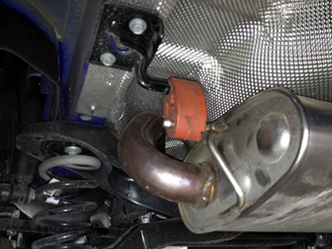
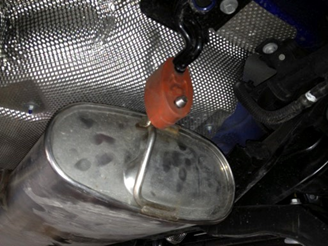
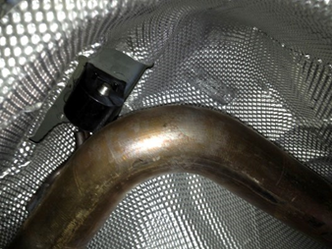
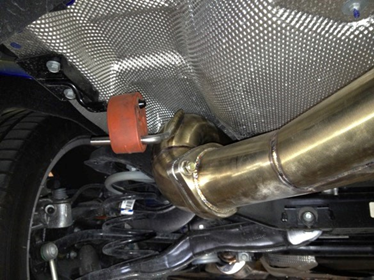
- With the exhaust cut in the correct place, you’ll now be able to remove the rear section from the rubber hangers and snake it out of the back of the vehicle. There are three (3) rubber hangers that need to be removed before it can come out. The pictures below define their location. Exhaust pliers, a special tool designed for pushing the rod through the hanger is a huge help here.
- With the rear section removed, it’s time to get the front section out. Using a 15mm socket and 15mm wrench, loosen and remove the two nuts that hold midpipe to the downpipe. Do not separate the flanges yet, though. There is a single rubber hanger at the apex of the S-bend that needs to be separated from the exhaust. Upon doing so, lower the exhaust down and pull it away from the downpipe to remove it from the vehicle.
Installing COBB Catback Exhaust
- With the factory exhaust out of the way, it’s time to install the new, shiny COBB exhaust! Start off with the midpipe that includes the mufflers and S-bend. You want to loosely install the front flange first where it meets the downpipe by installing a gasket and two of the supplied 14mm bolts and nuts. Use the 2.5" gasket. Just get the nuts started so that they can support the front of the exhaust while you work the hanger into place. Some silicone spray may make it easier to install the hanger. Leave the bolts loose while you install the rest of the exhaust. Note: For 2015 Focus ST, install the included poly exhaust bushing on the extra hanger the COBB exhaust has over the factory exhaust
- Now move on to the over-axle section of the exhaust. You’ll need to snake the exhaust in from the back of the car. You’ll likely need to bend/push the heat shielding to get the hangers through if you haven’t already when removing the stock exhaust. Loosely install a gasket and 14mm hardware at the flange once you’ve installed it into the two rubber exhaust hanger.
- Now install the tip section onto the car by first installing the long rod into the rubber hanger on the passenger side of the vehicle. Once in place, loosely install a gasket and the supplied 14mm hardware to connect the two pieces.
- With the entire exhaust loosely installed, go back to the front of the exhaust and begin to tighten everything down. While exhausts seem to fit differently on every car, with three sections of this exhaust available to tweak/rotate, a perfect fit should be easily attainable. You’re working to ensure the exhaust tips are level and centered in the outlet of the bumper. You may also play around with how the rods are fitted into the rubber hangers to get additional fitment options.
- With everything tightened down and in place, reinstall the mid-chassis brace and go out and enjoy the new, throaty sound of your COBB exhaust!
Links
COBB Product Install Instructions for Focus ST
Main Installation Instruction Repository for Focus ST Parts
Link to Focus ST Map Notes to see what map you should be on given the parts you've added
COBB Customer Support Web Support and Tech Articles: COBB Tuning Customer Support Center Email: support@cobbtuning.com Phone support available 9am to 6pm Monday-Thursday. 9am to 4pm Friday (CST) 866.922.3059 return to www.cobbtuning.comContact Us:
Related content
Copyright 2025 © COBB Tuning Products LLC. All Rights Reserved. | www.cobbtuning.com

