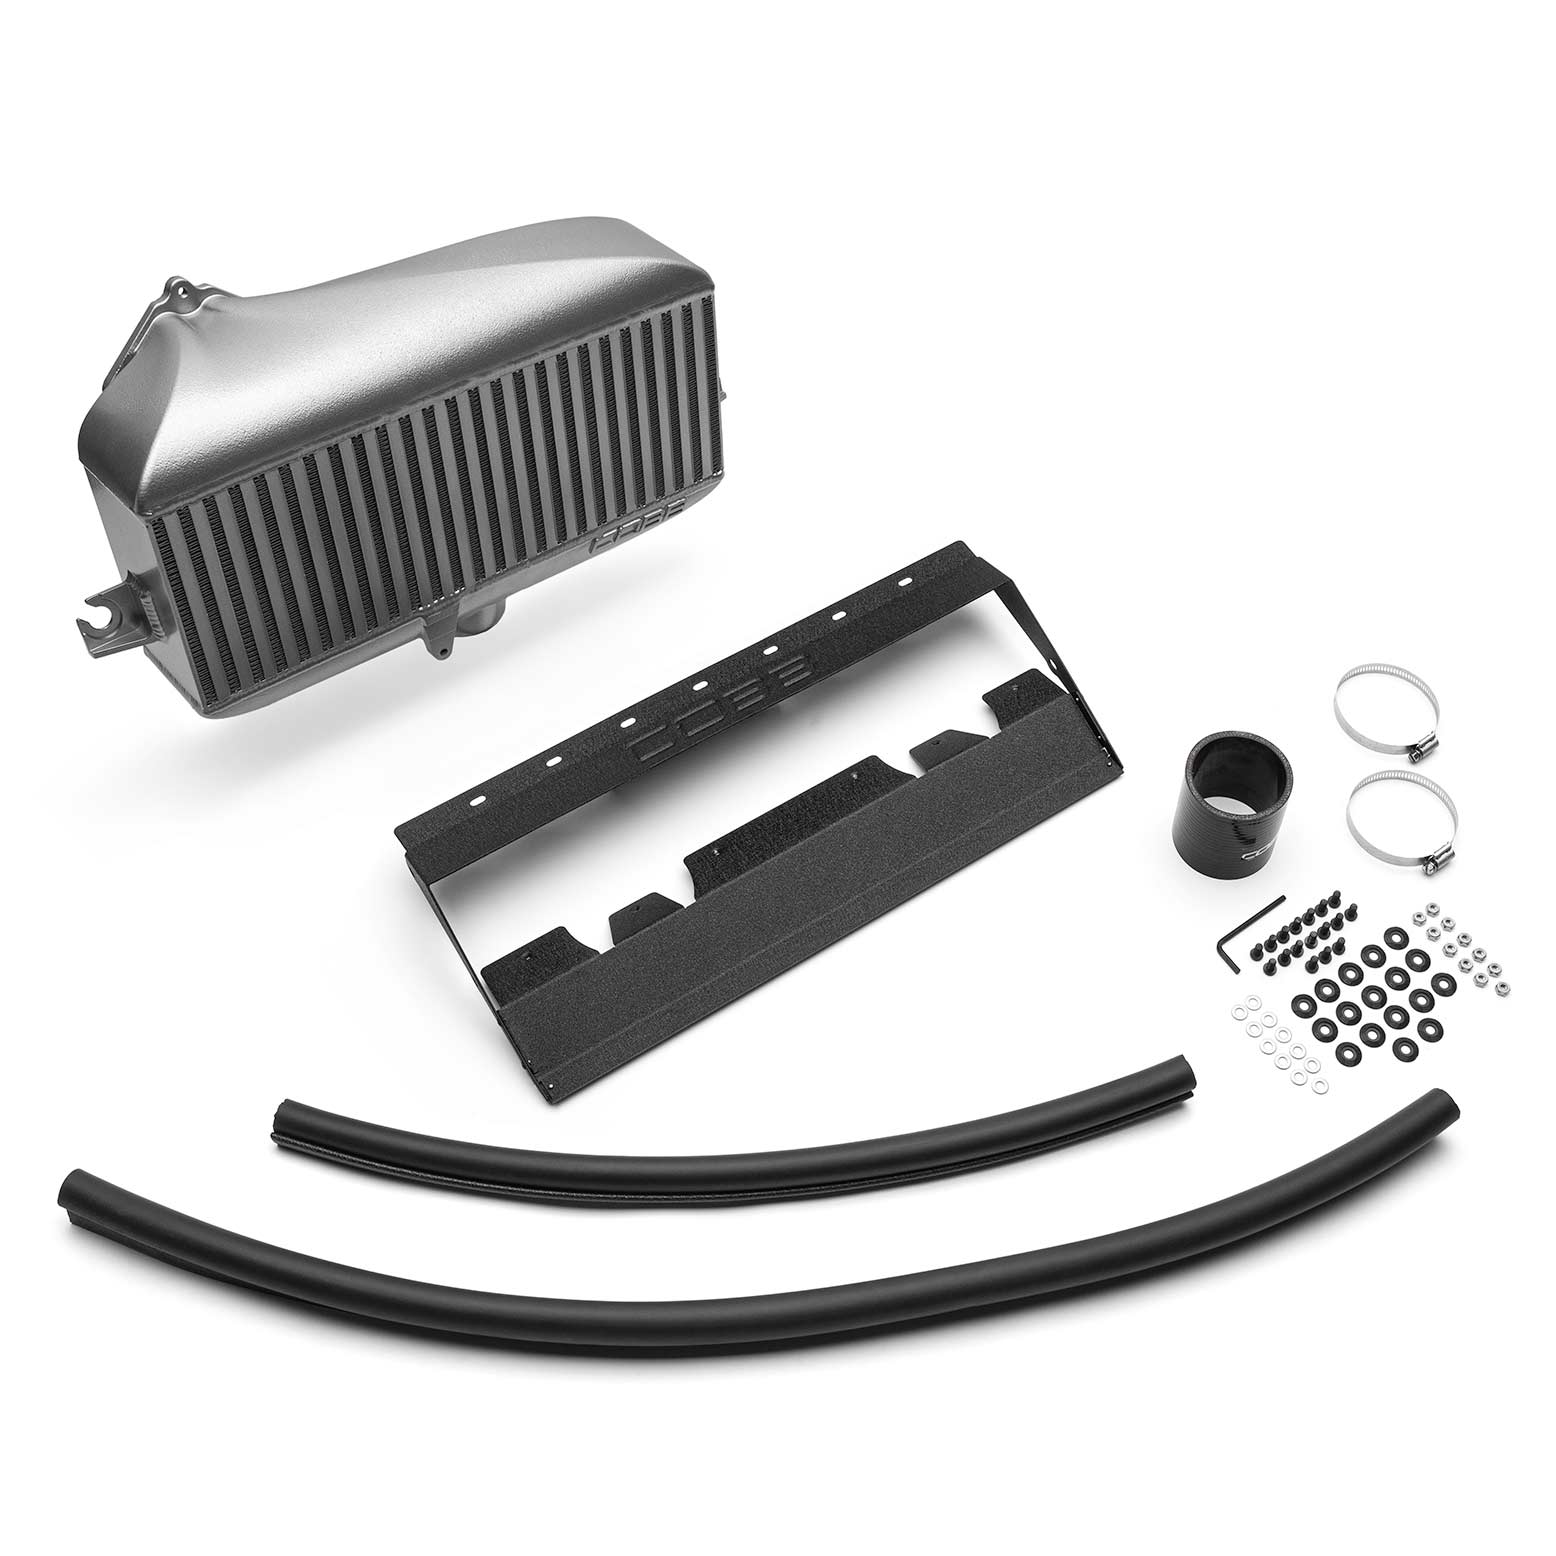
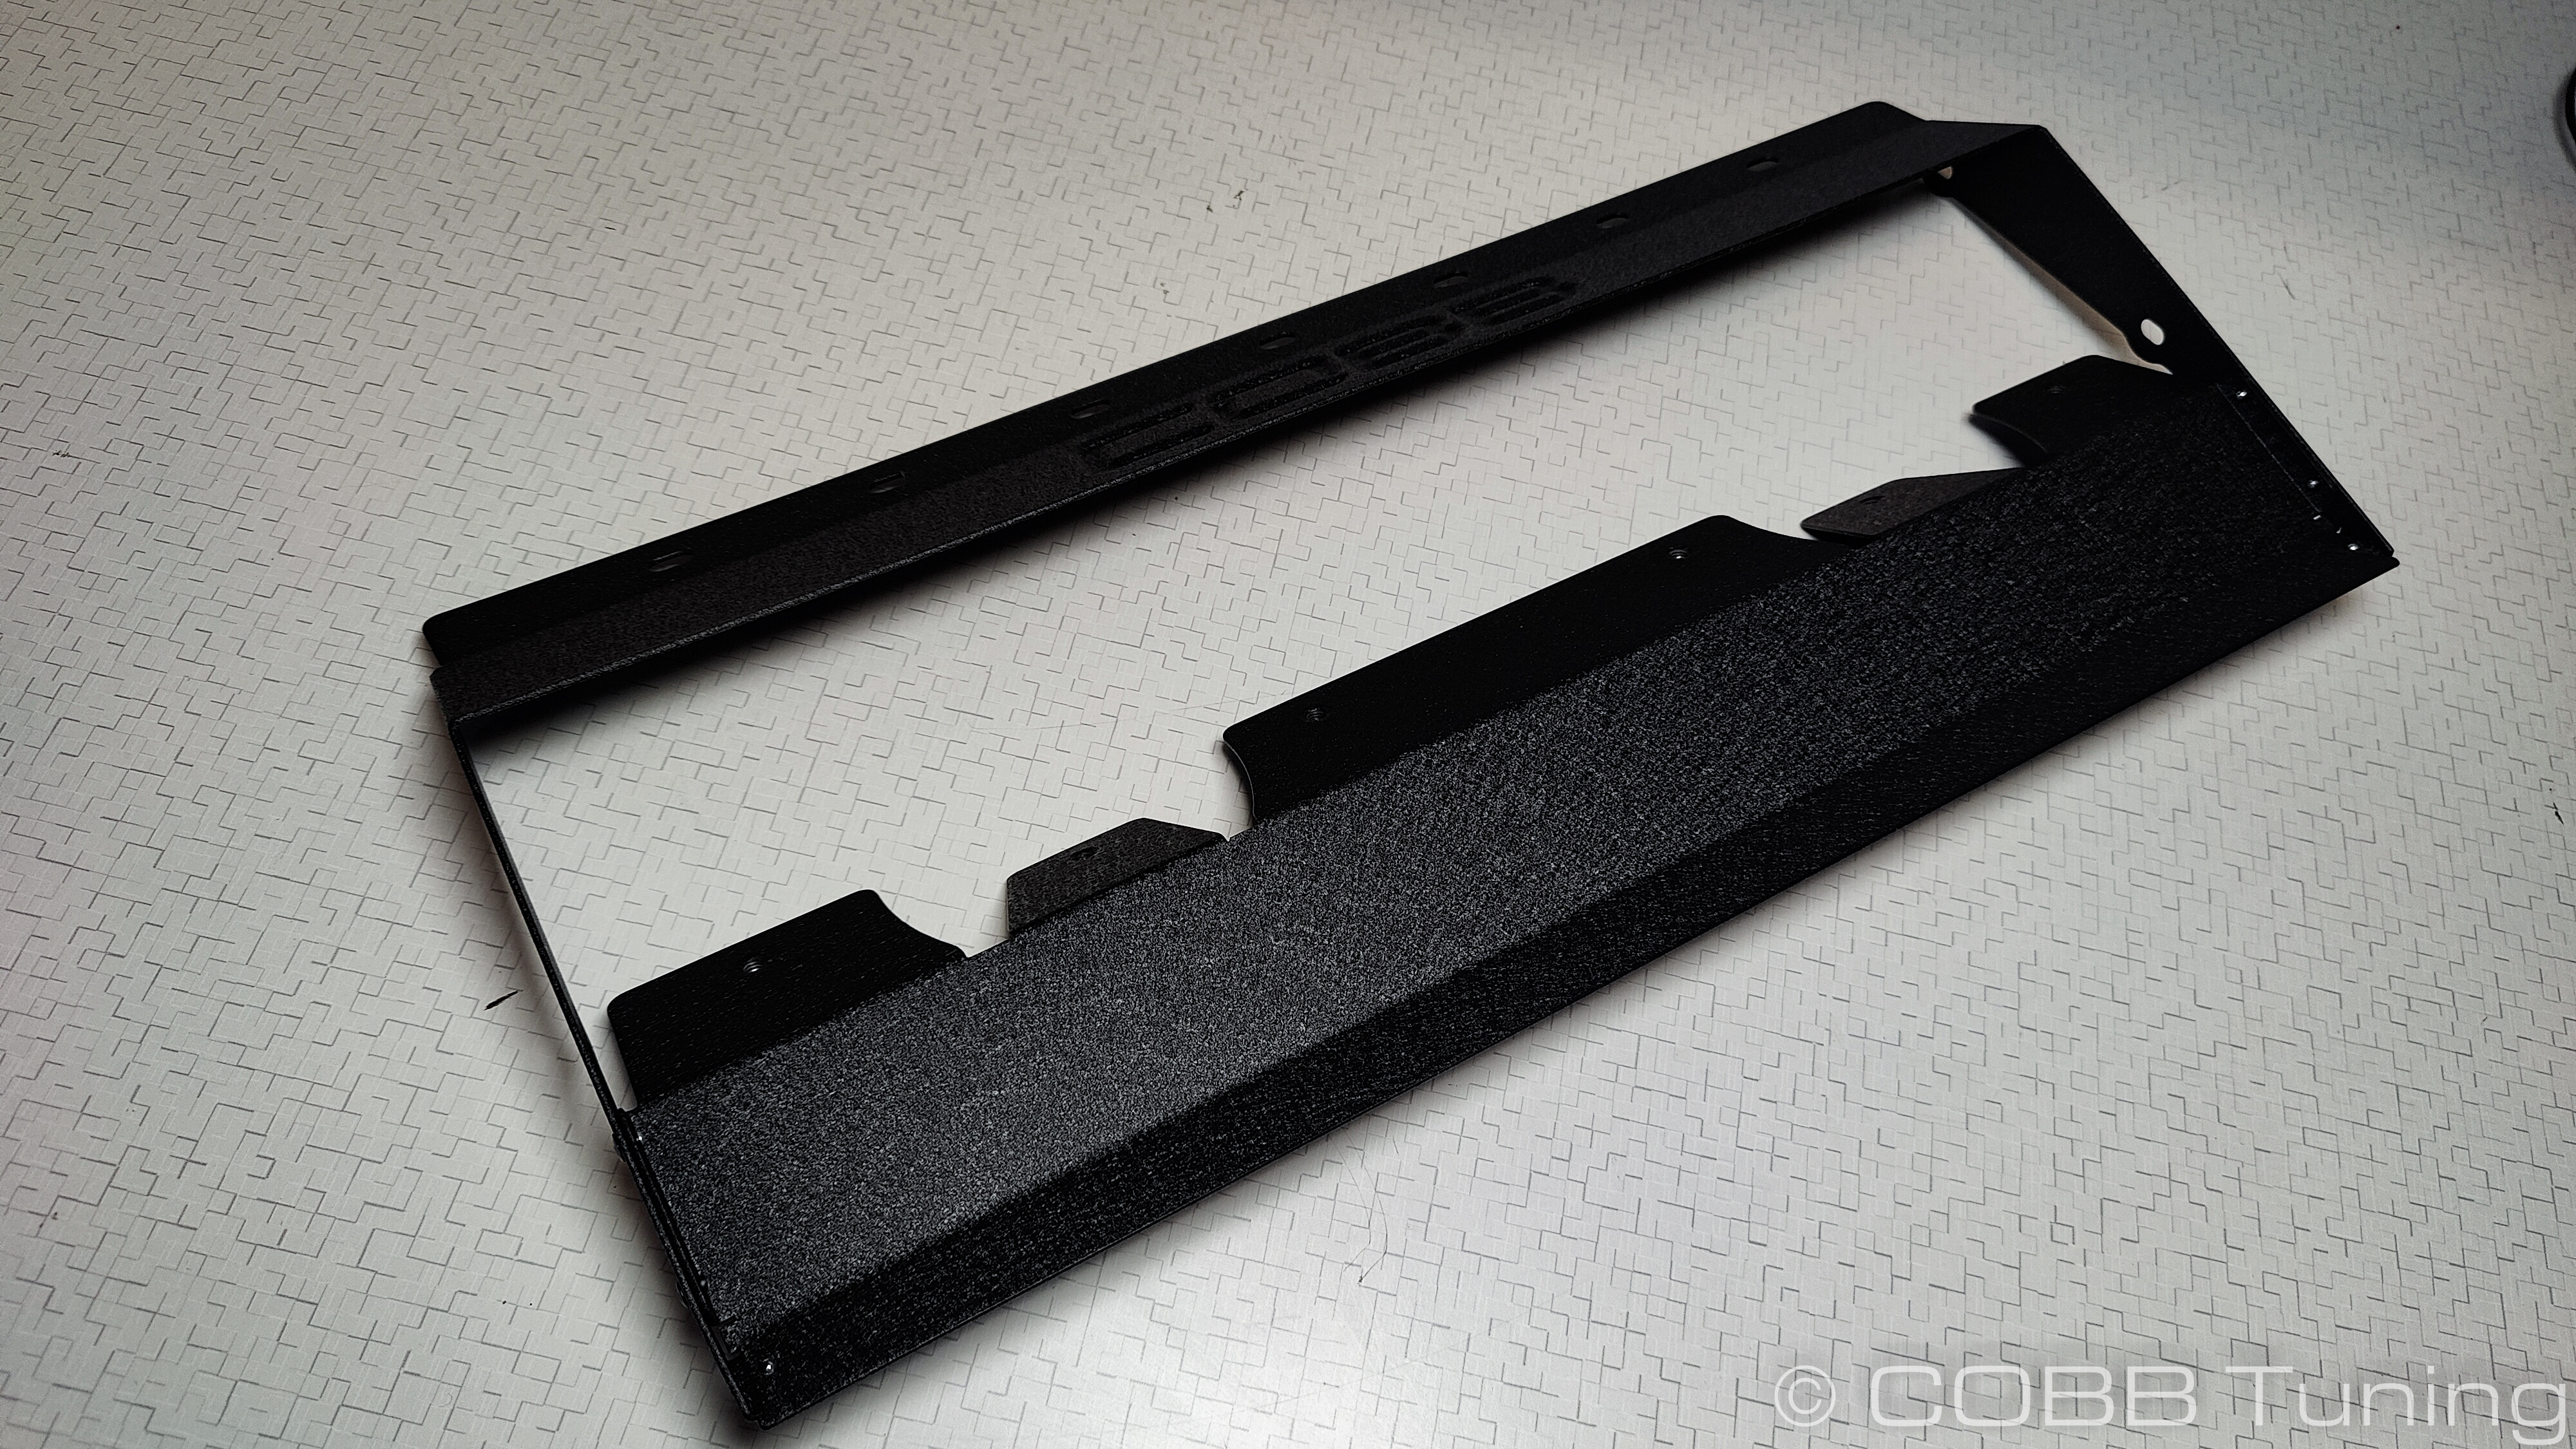
B41450 - VB WRX Intercooler
B41450 VB WRX Intercooler
Subaru WRX 2022-2023
Congratulations on your purchase of the COBB Tuning WRX Intercooler! The following instructions will assist you through the installation process. Please read them BEFORE beginning the install to familiarize yourself with the steps and tools needed. If you feel you cannot properly perform this installation, we HIGHLY recommend you take the vehicle to a qualified and experienced automotive technician.
Table of Contents
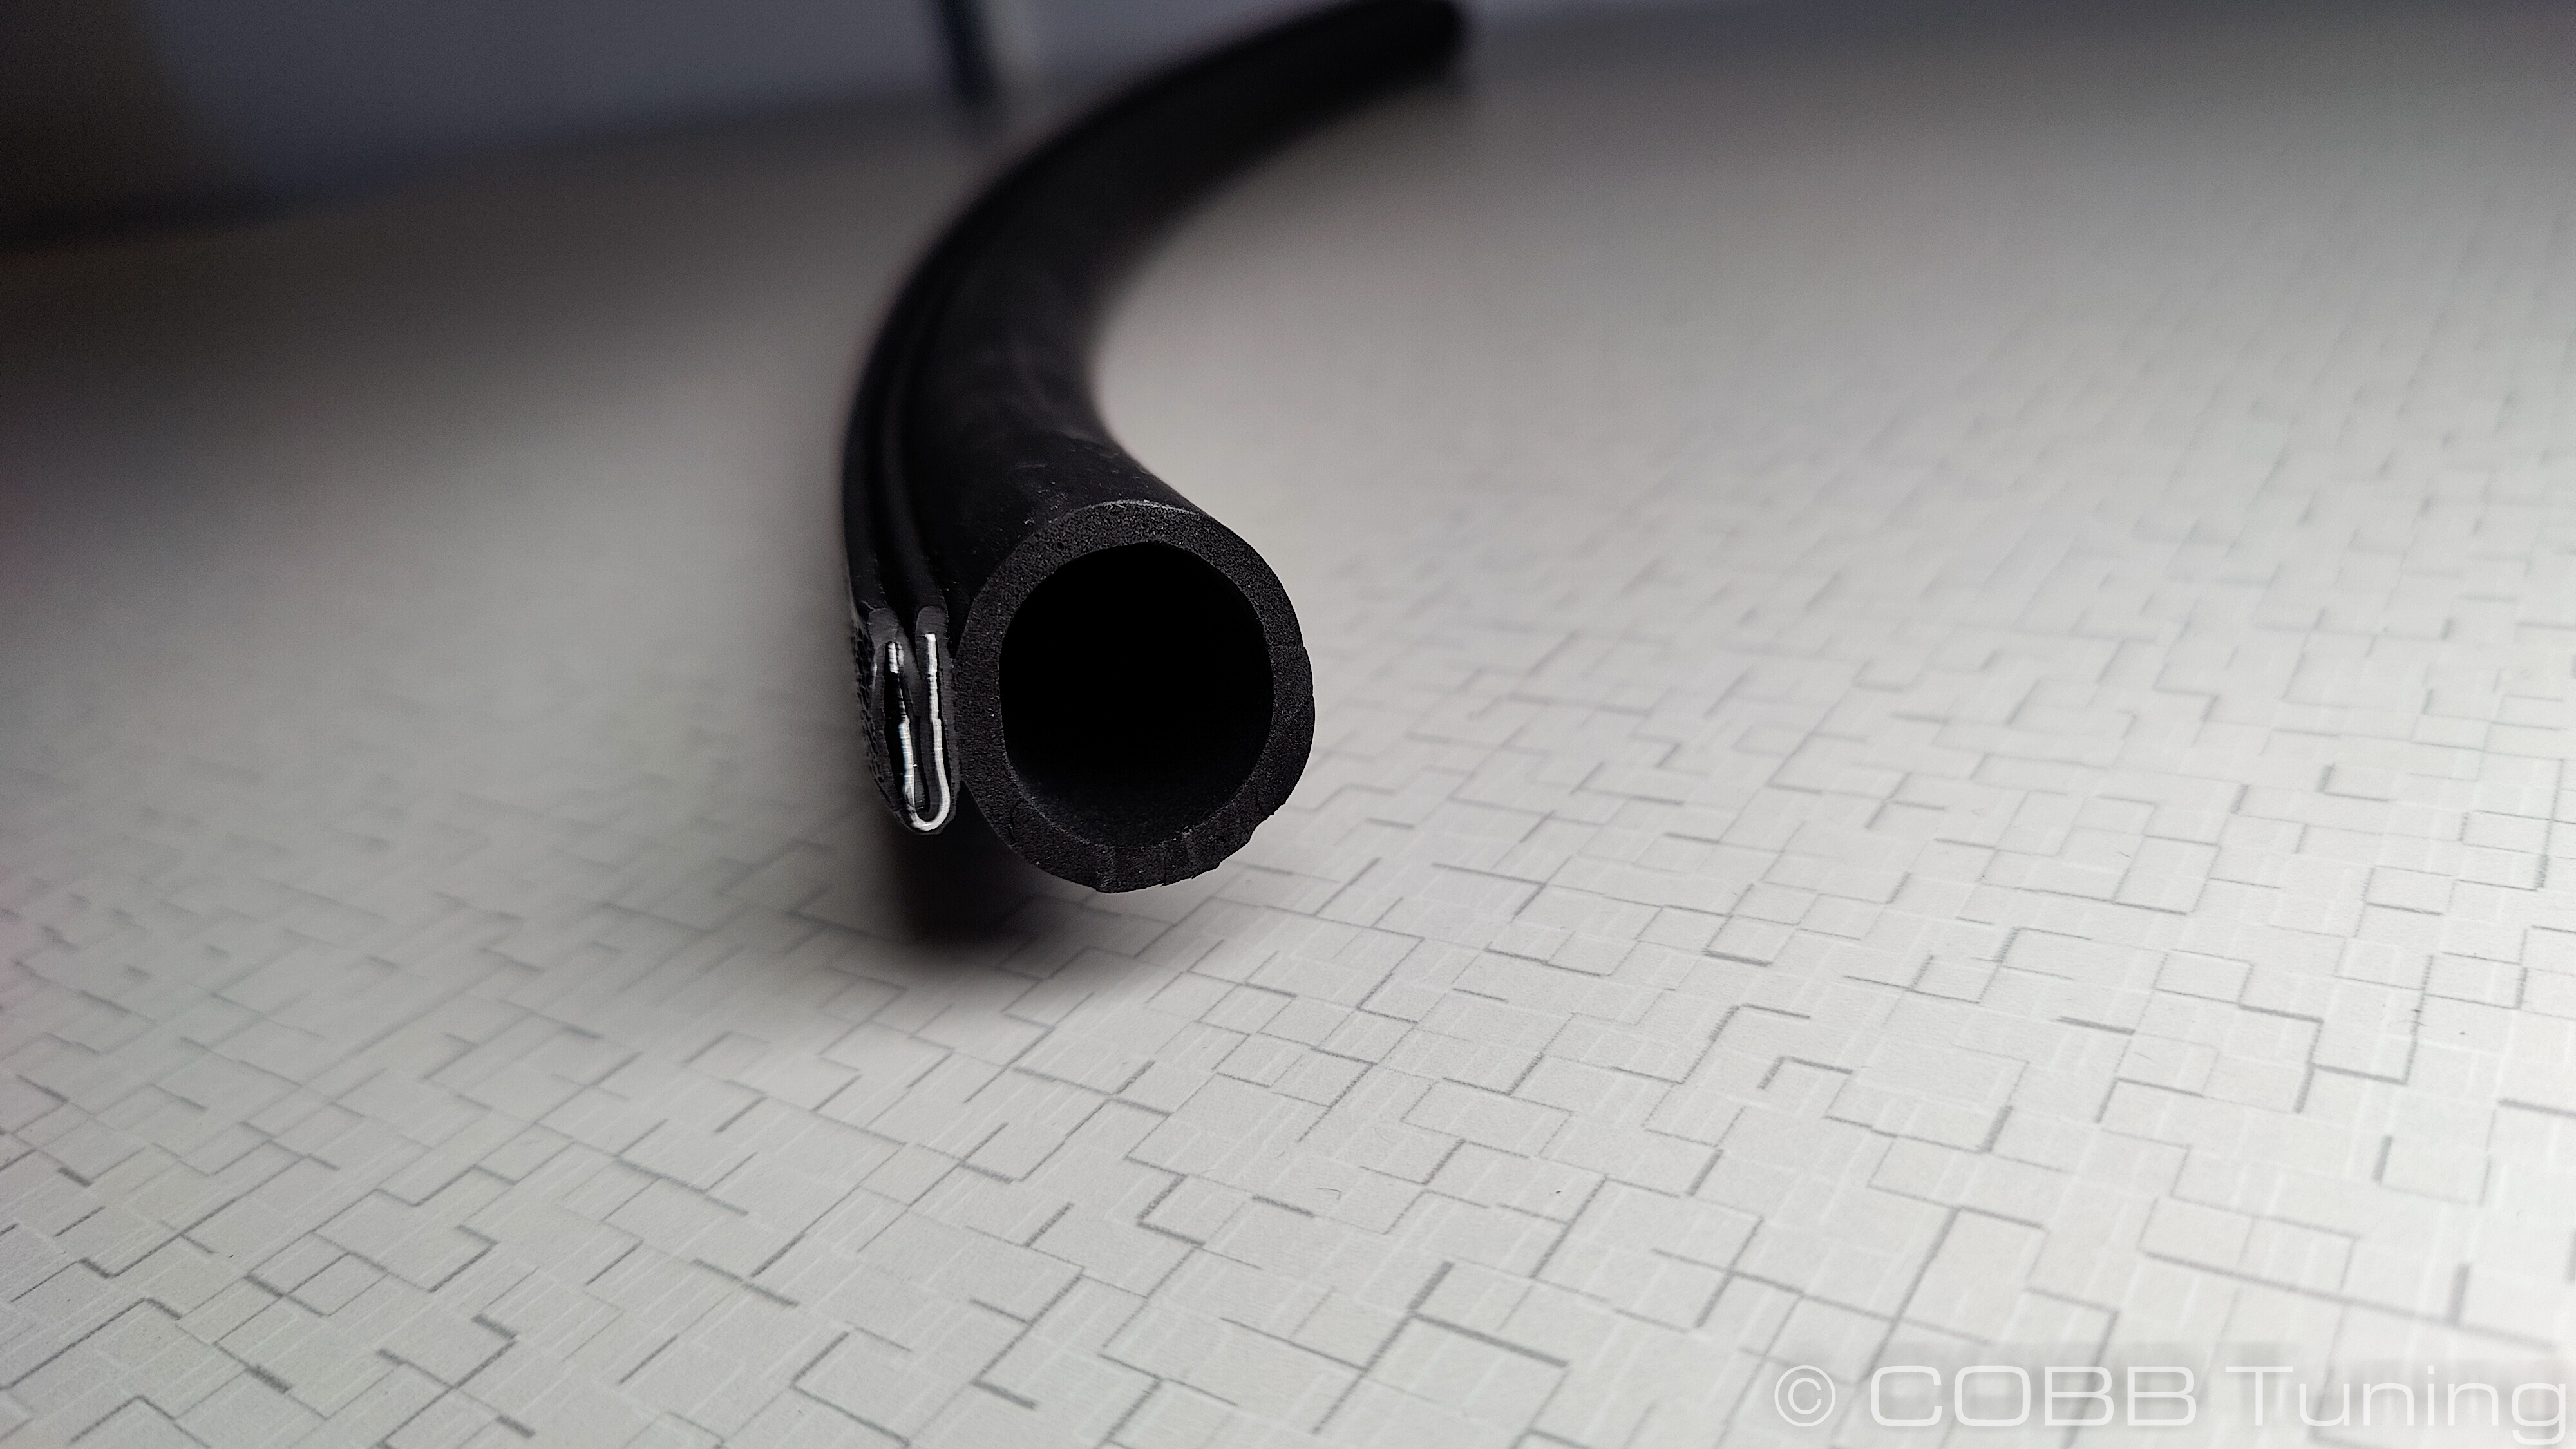
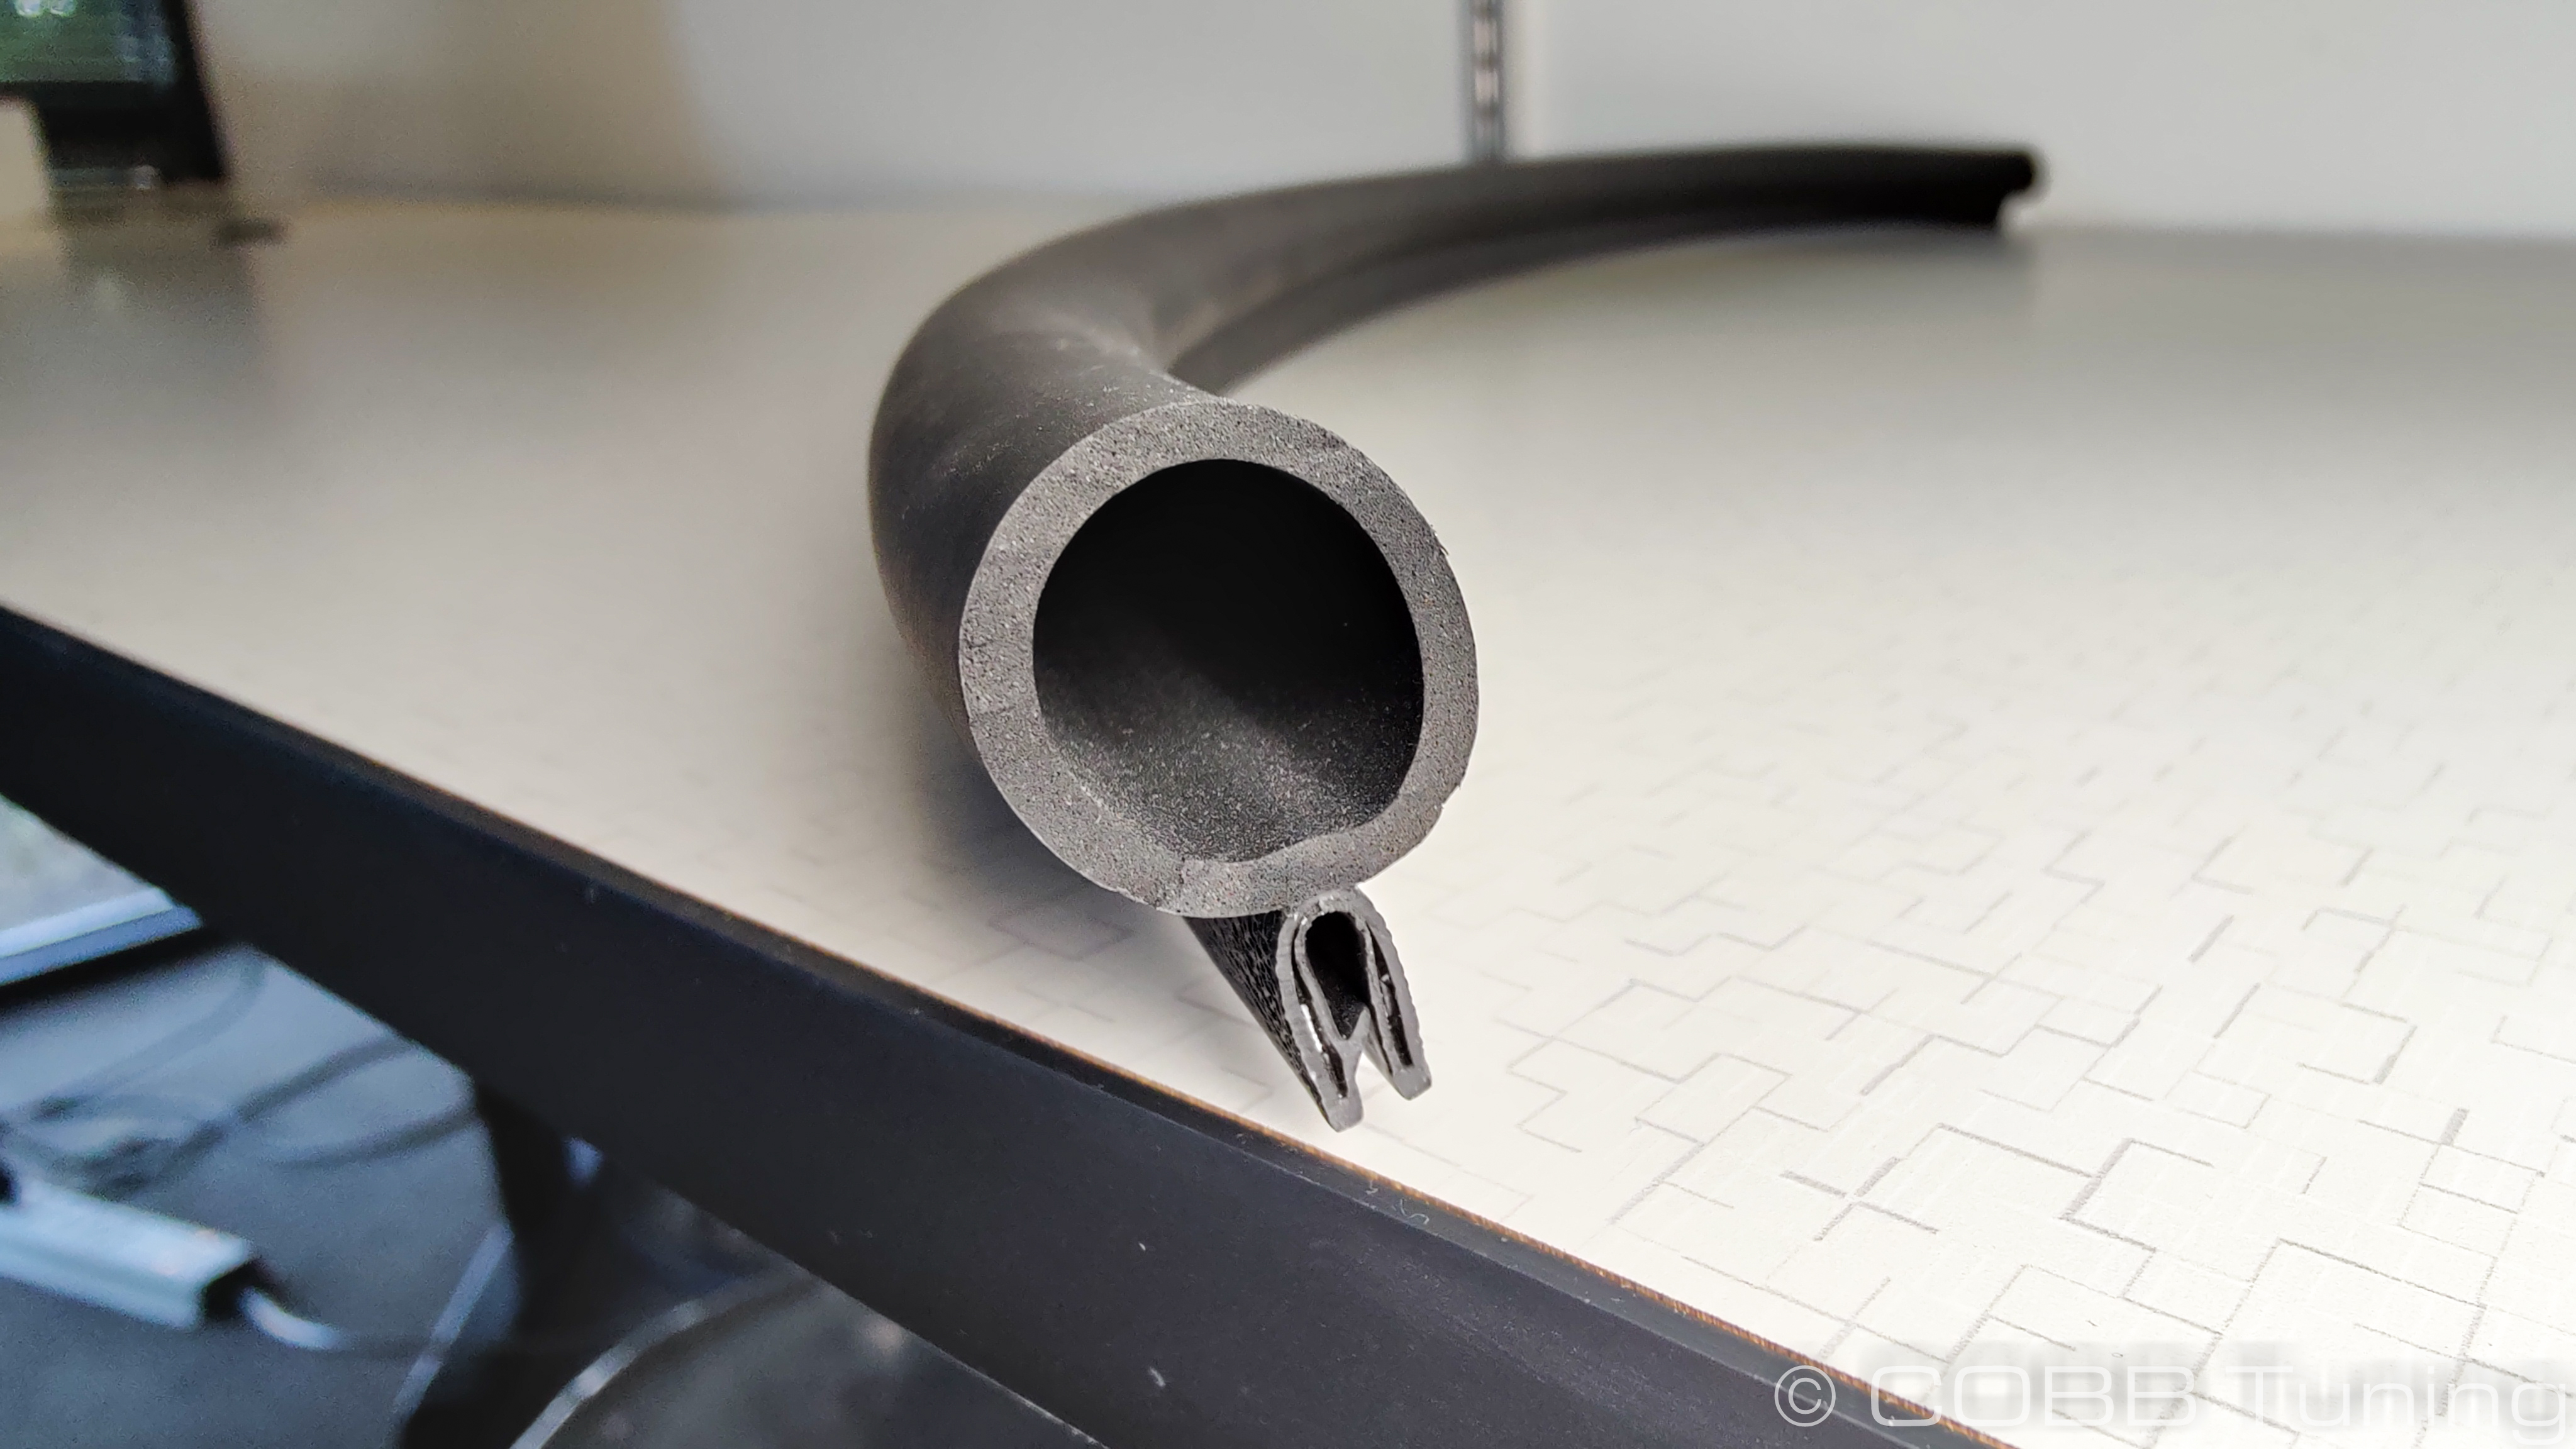
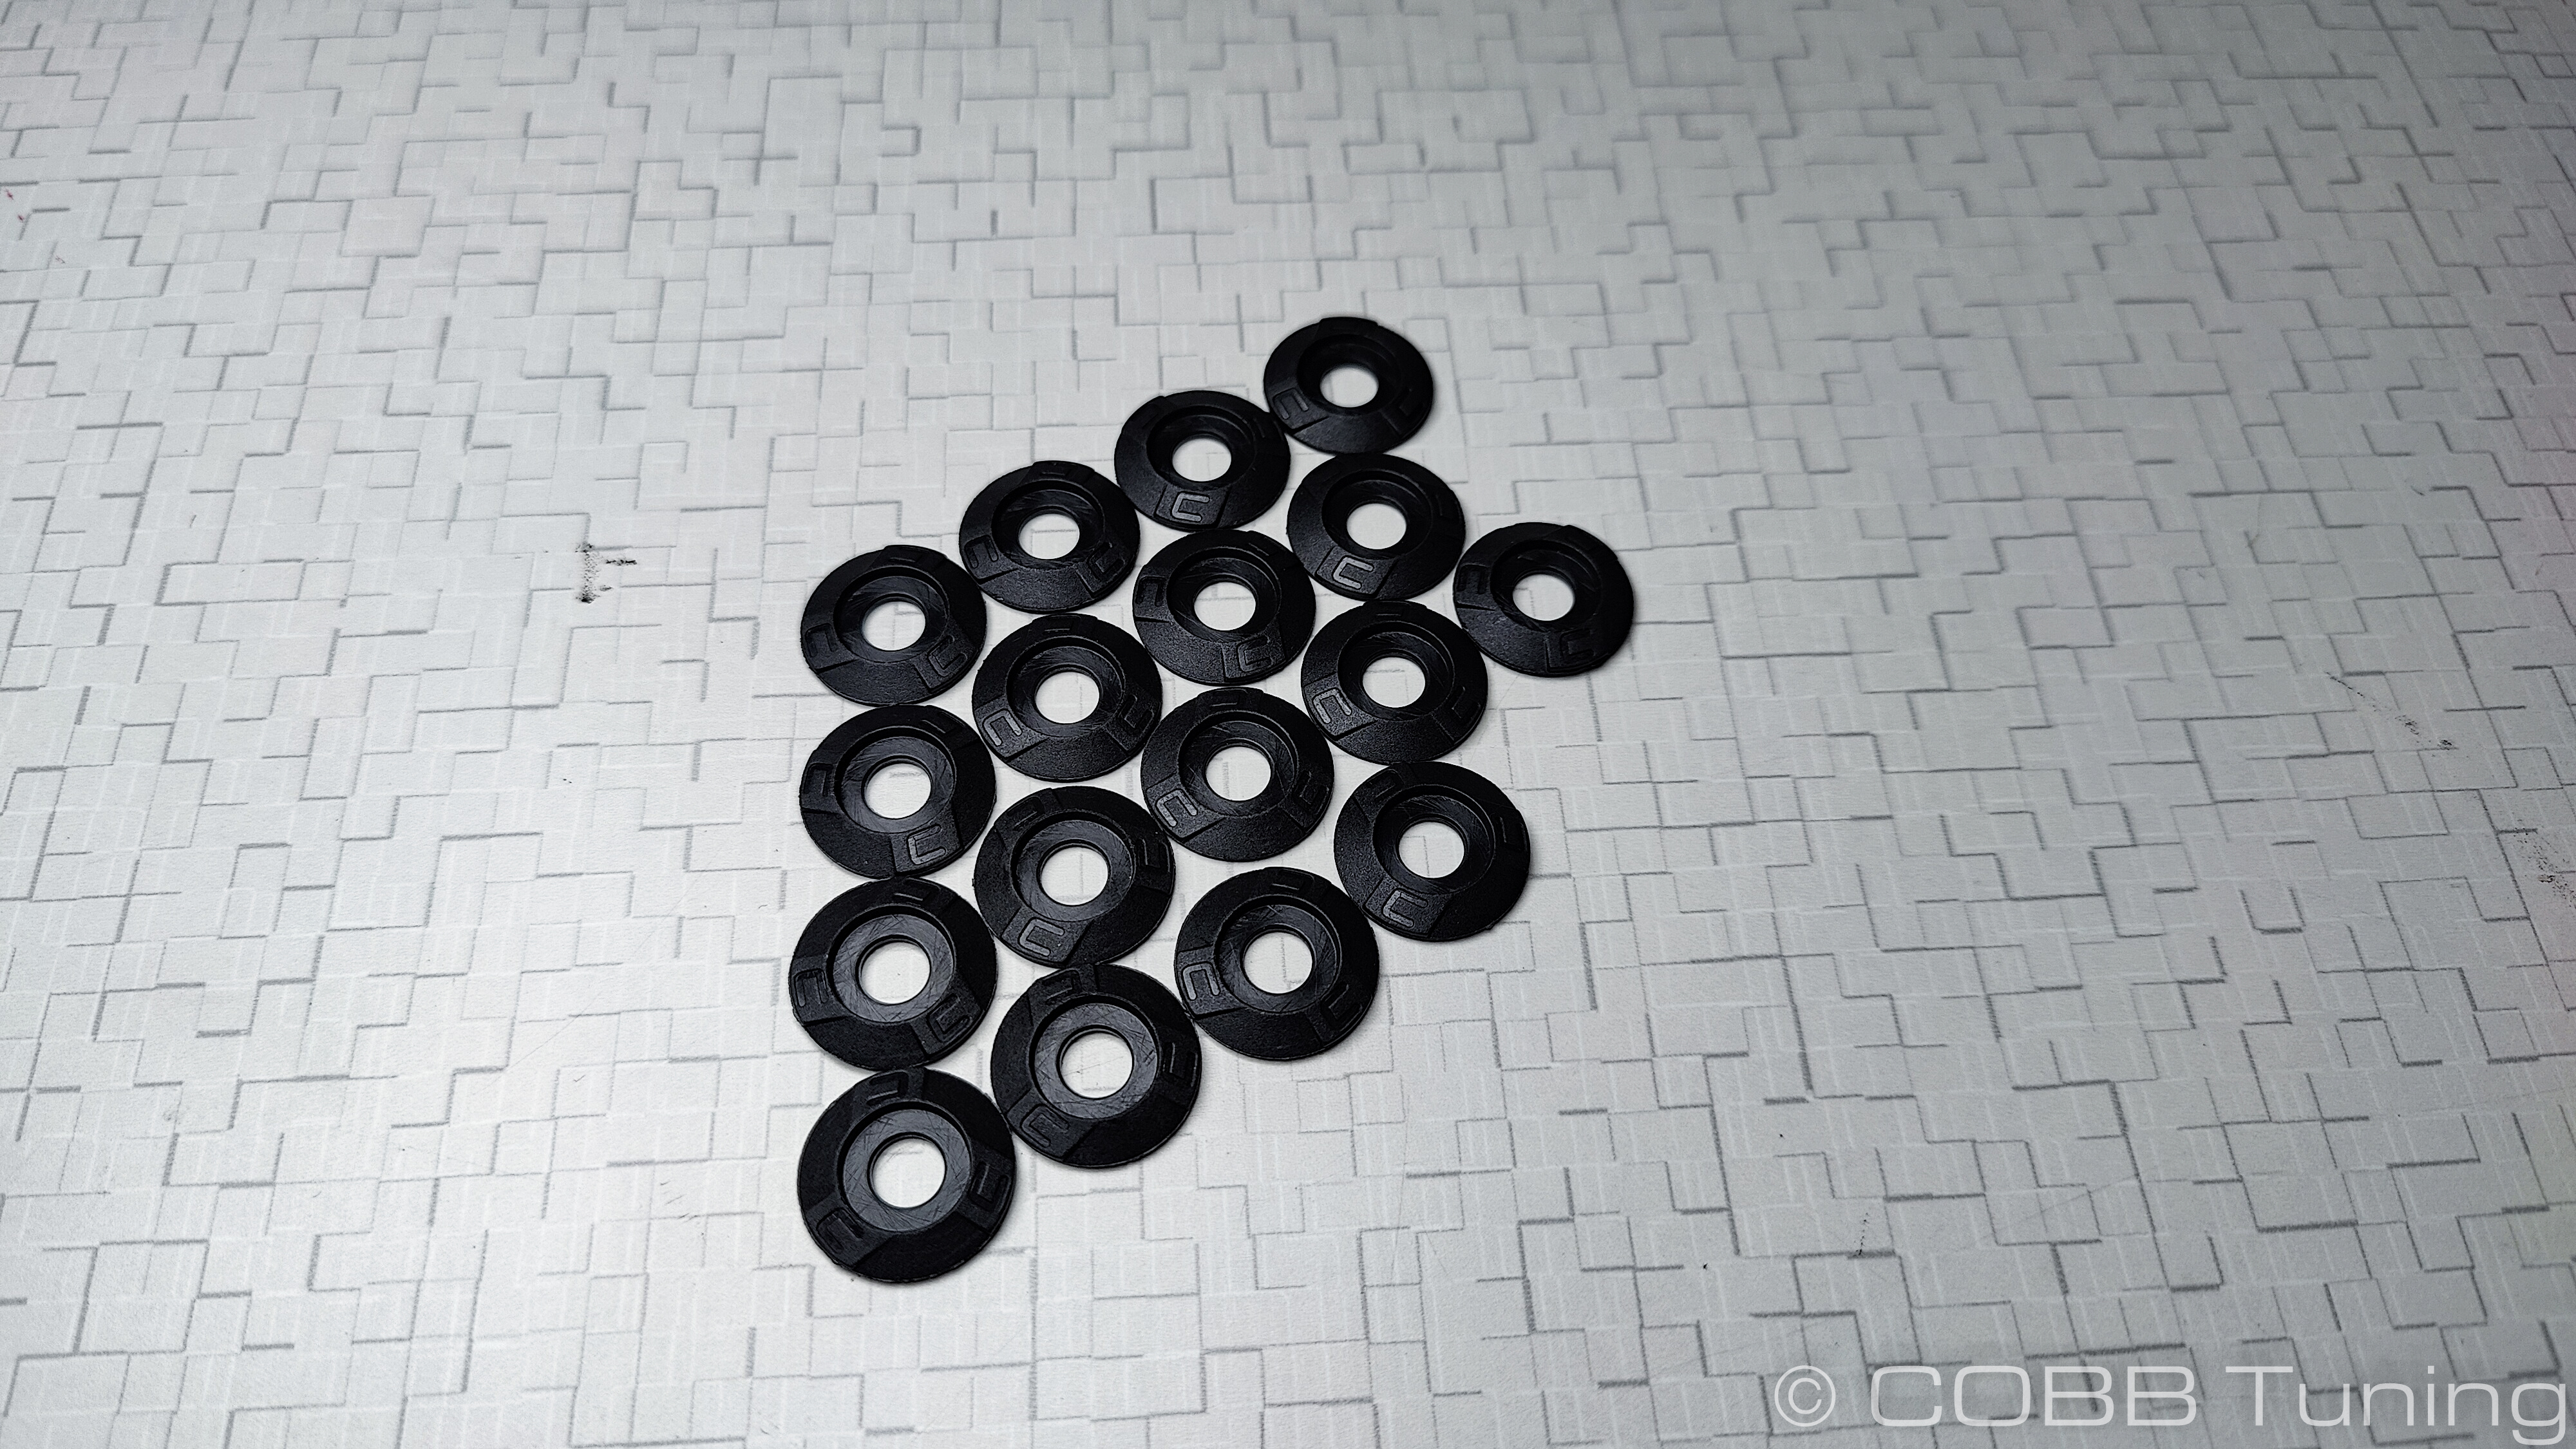
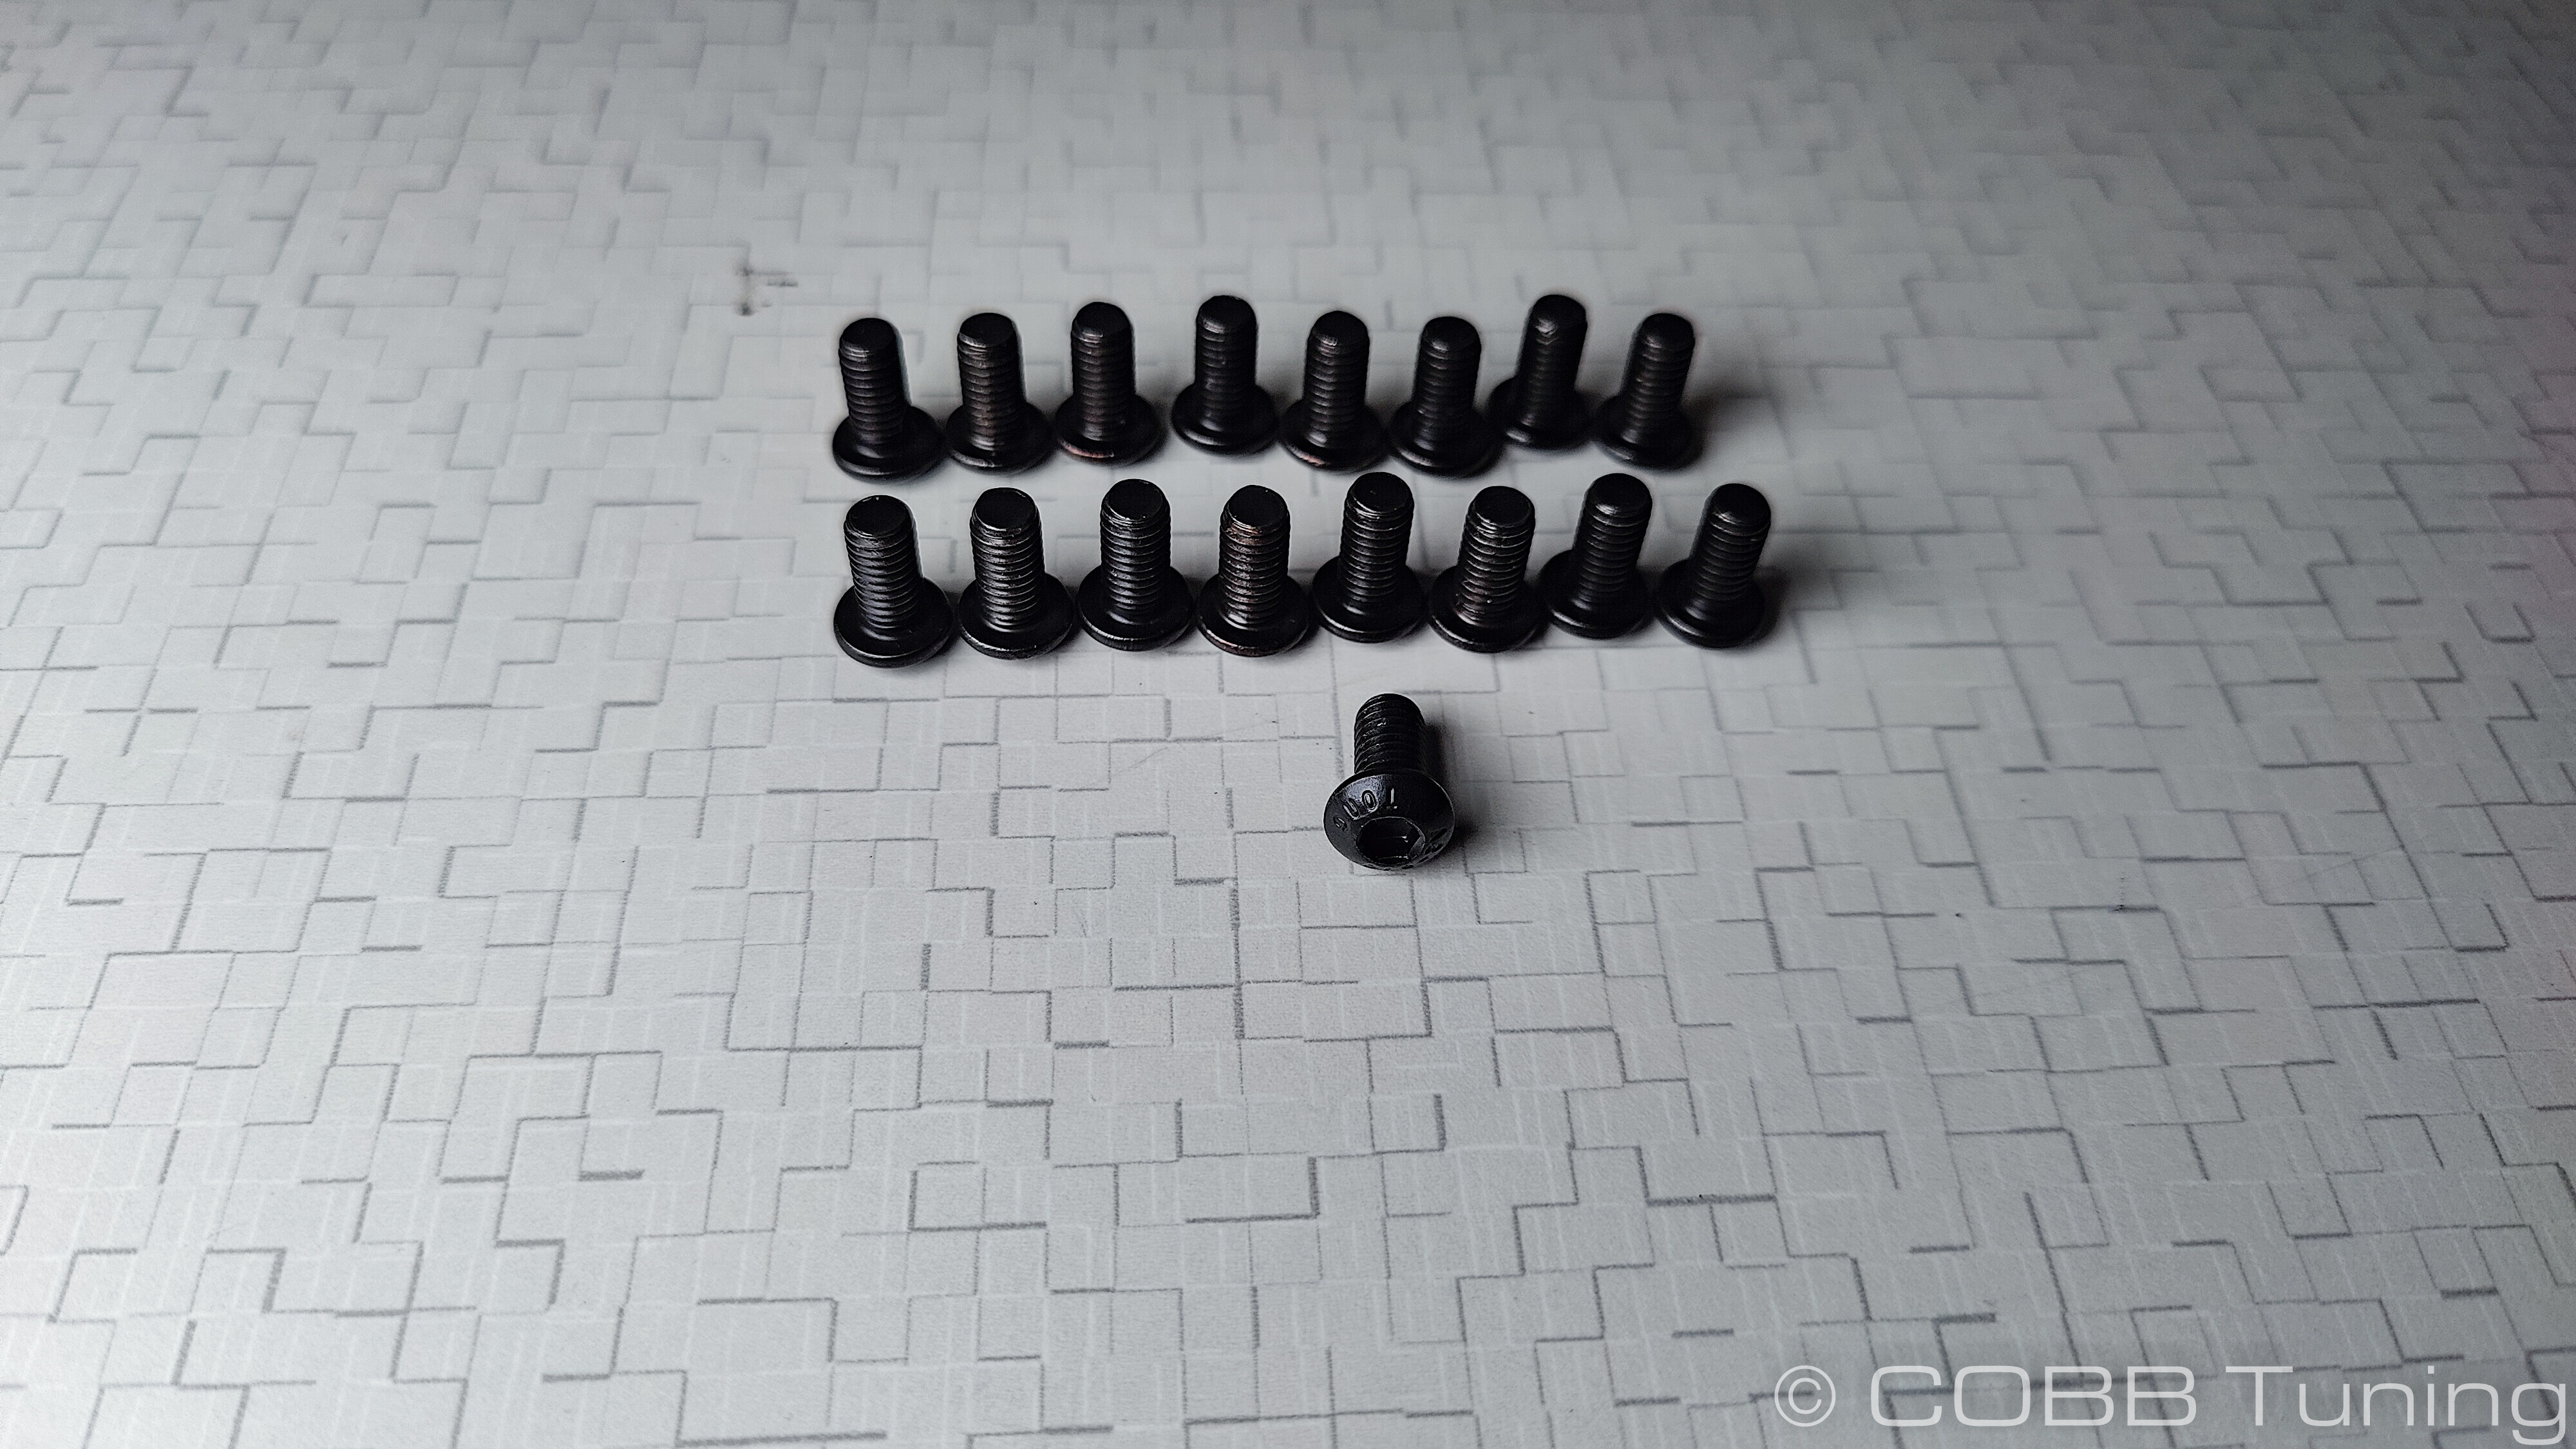
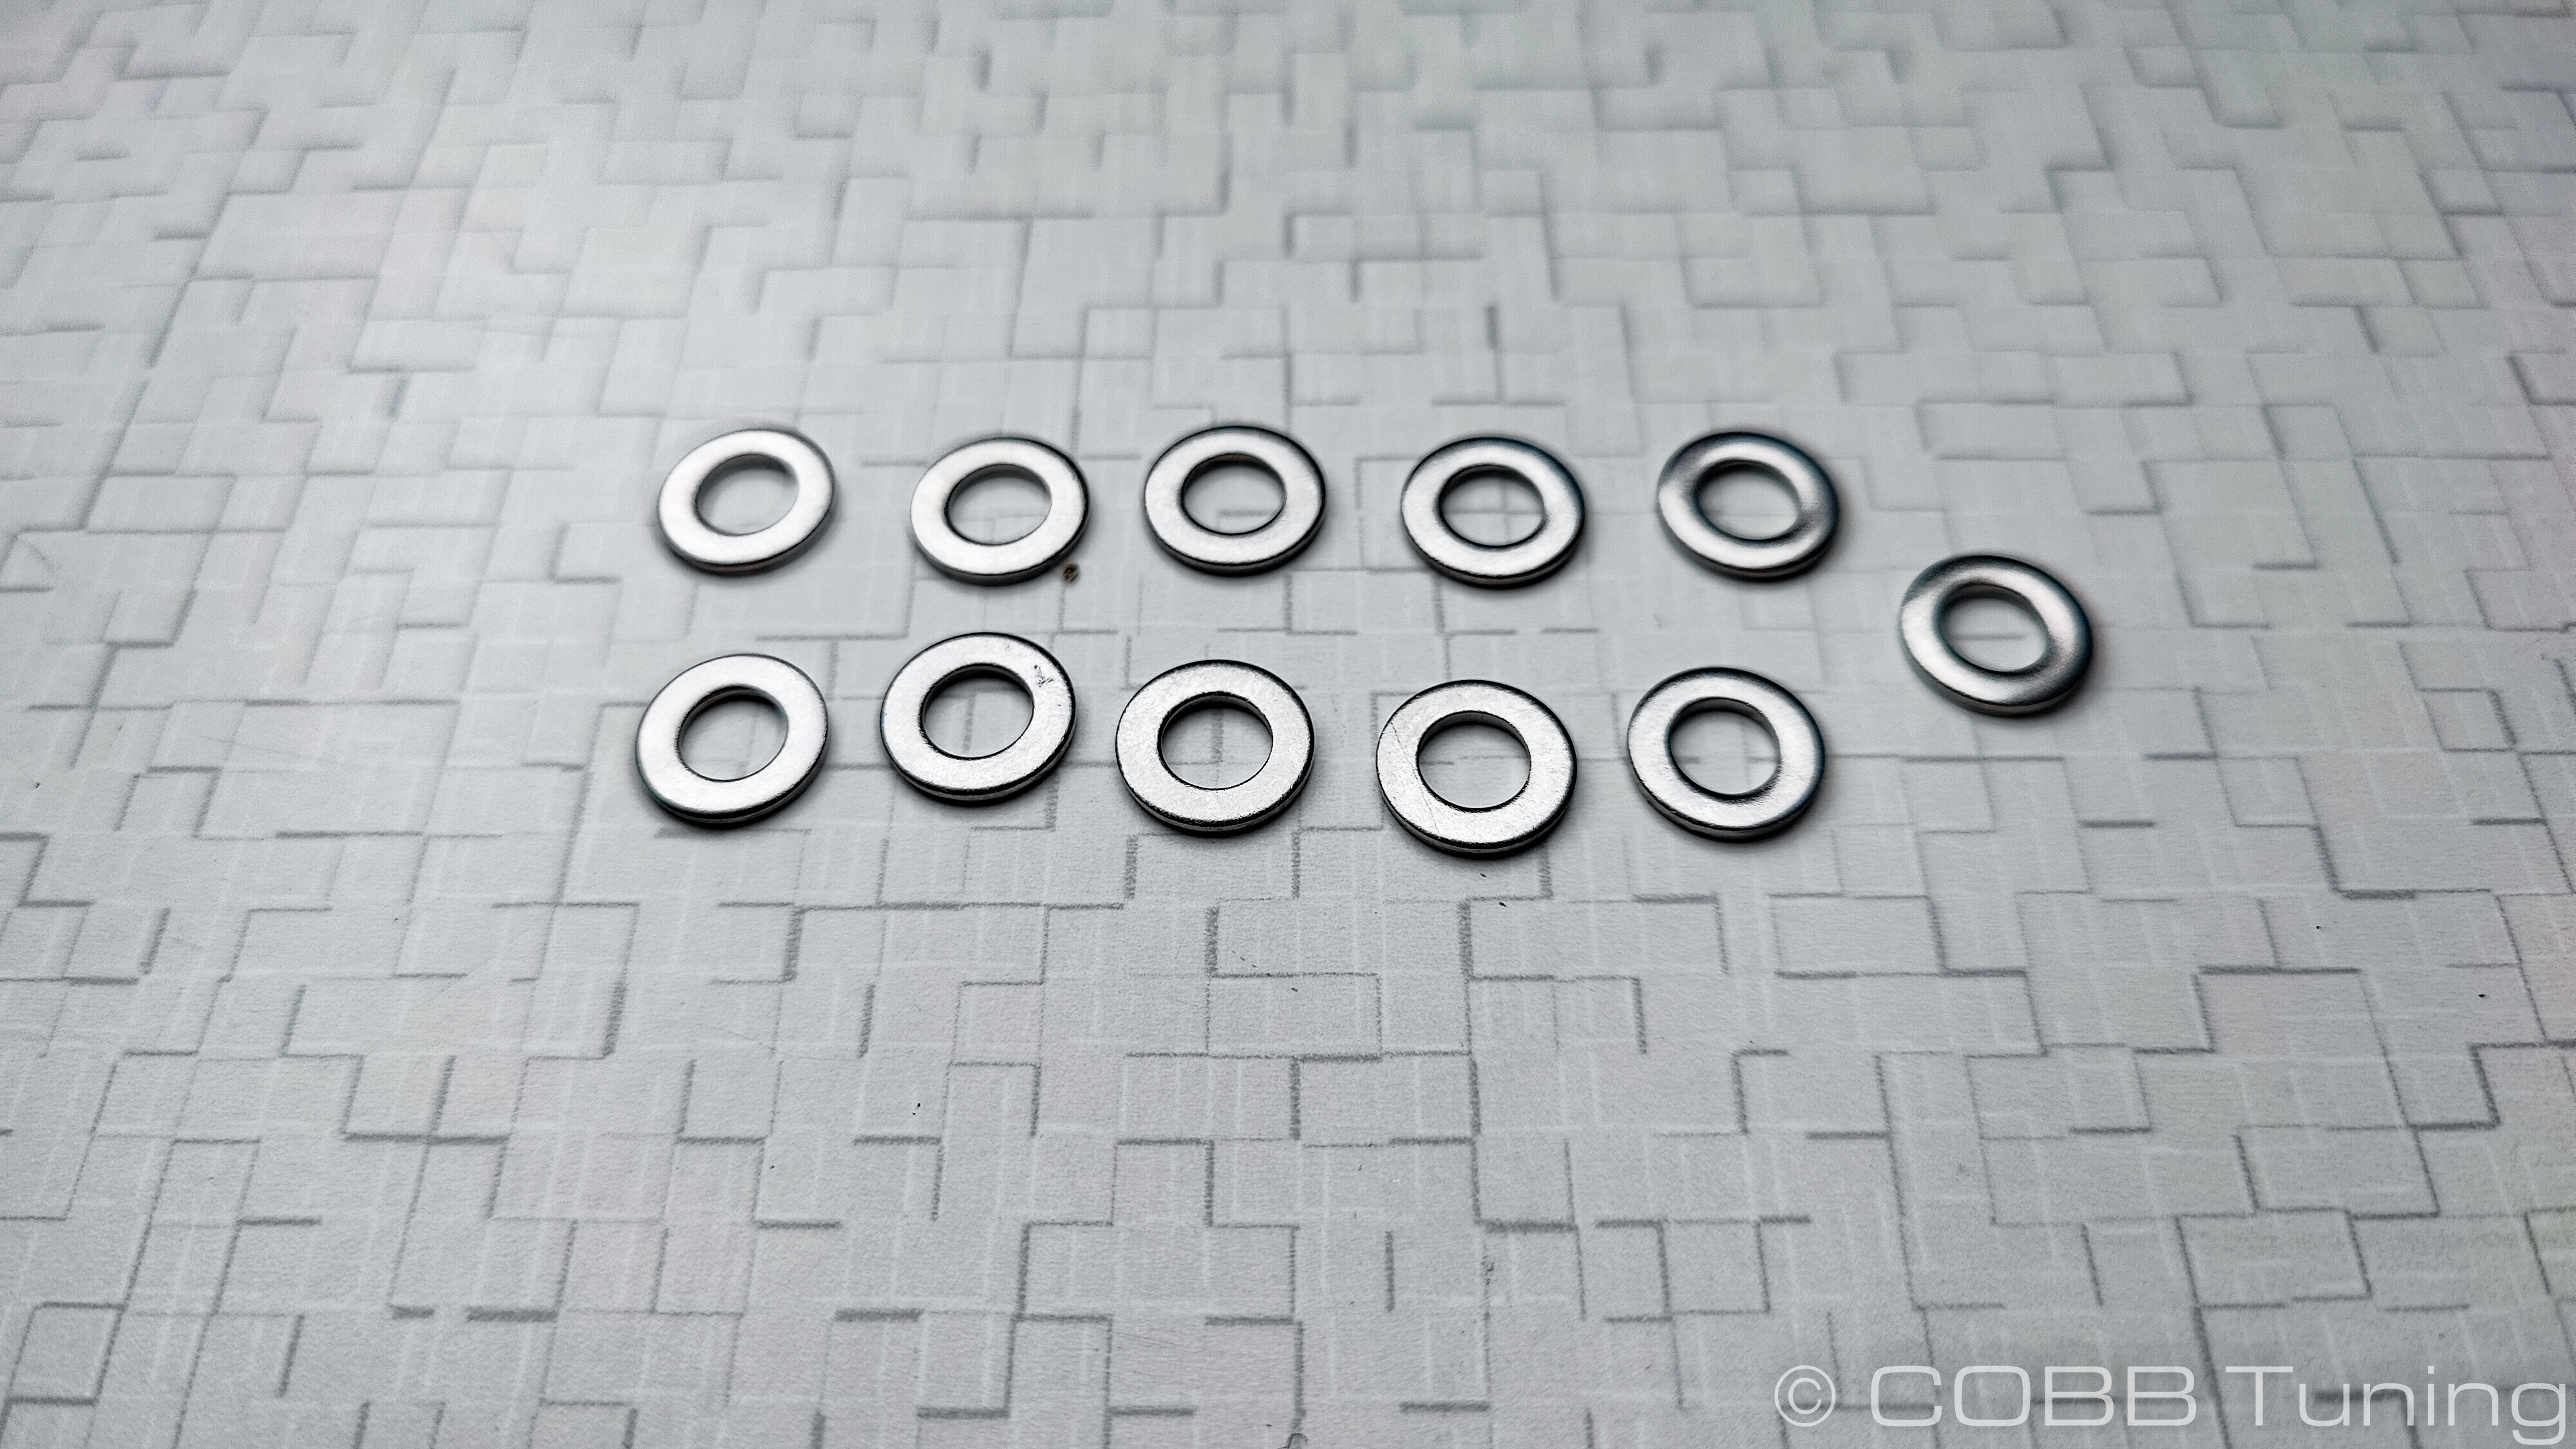
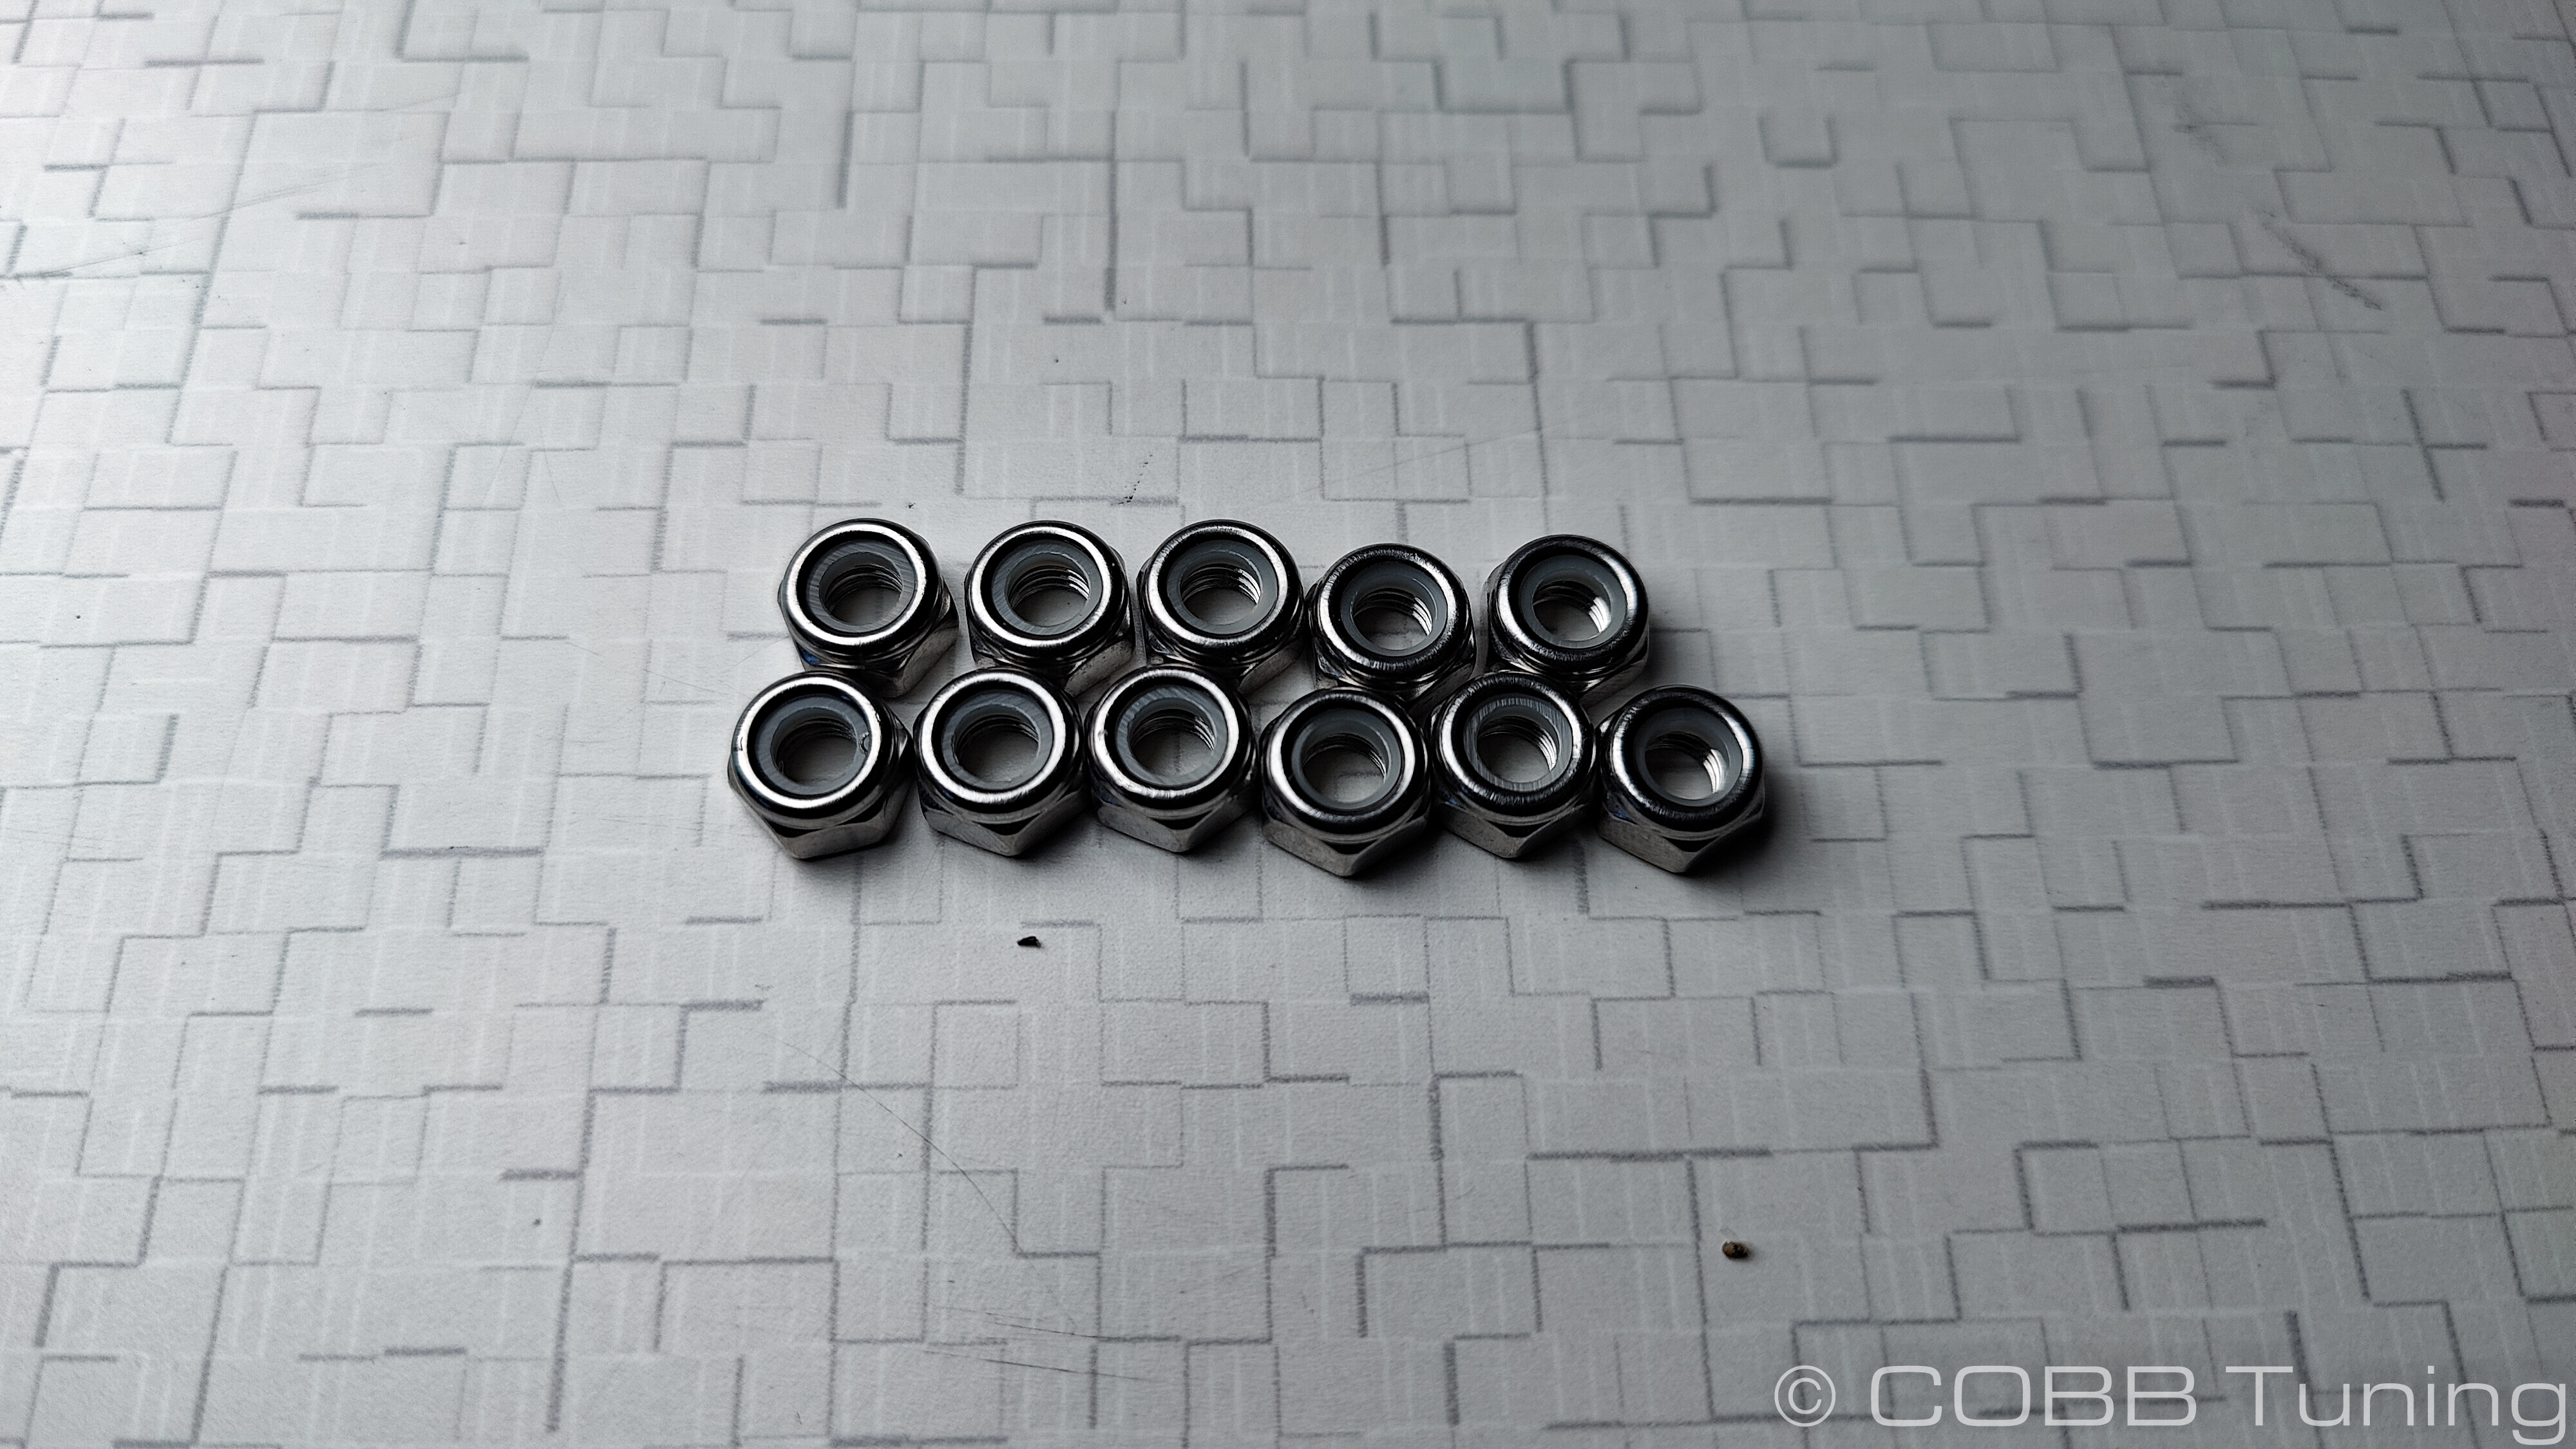
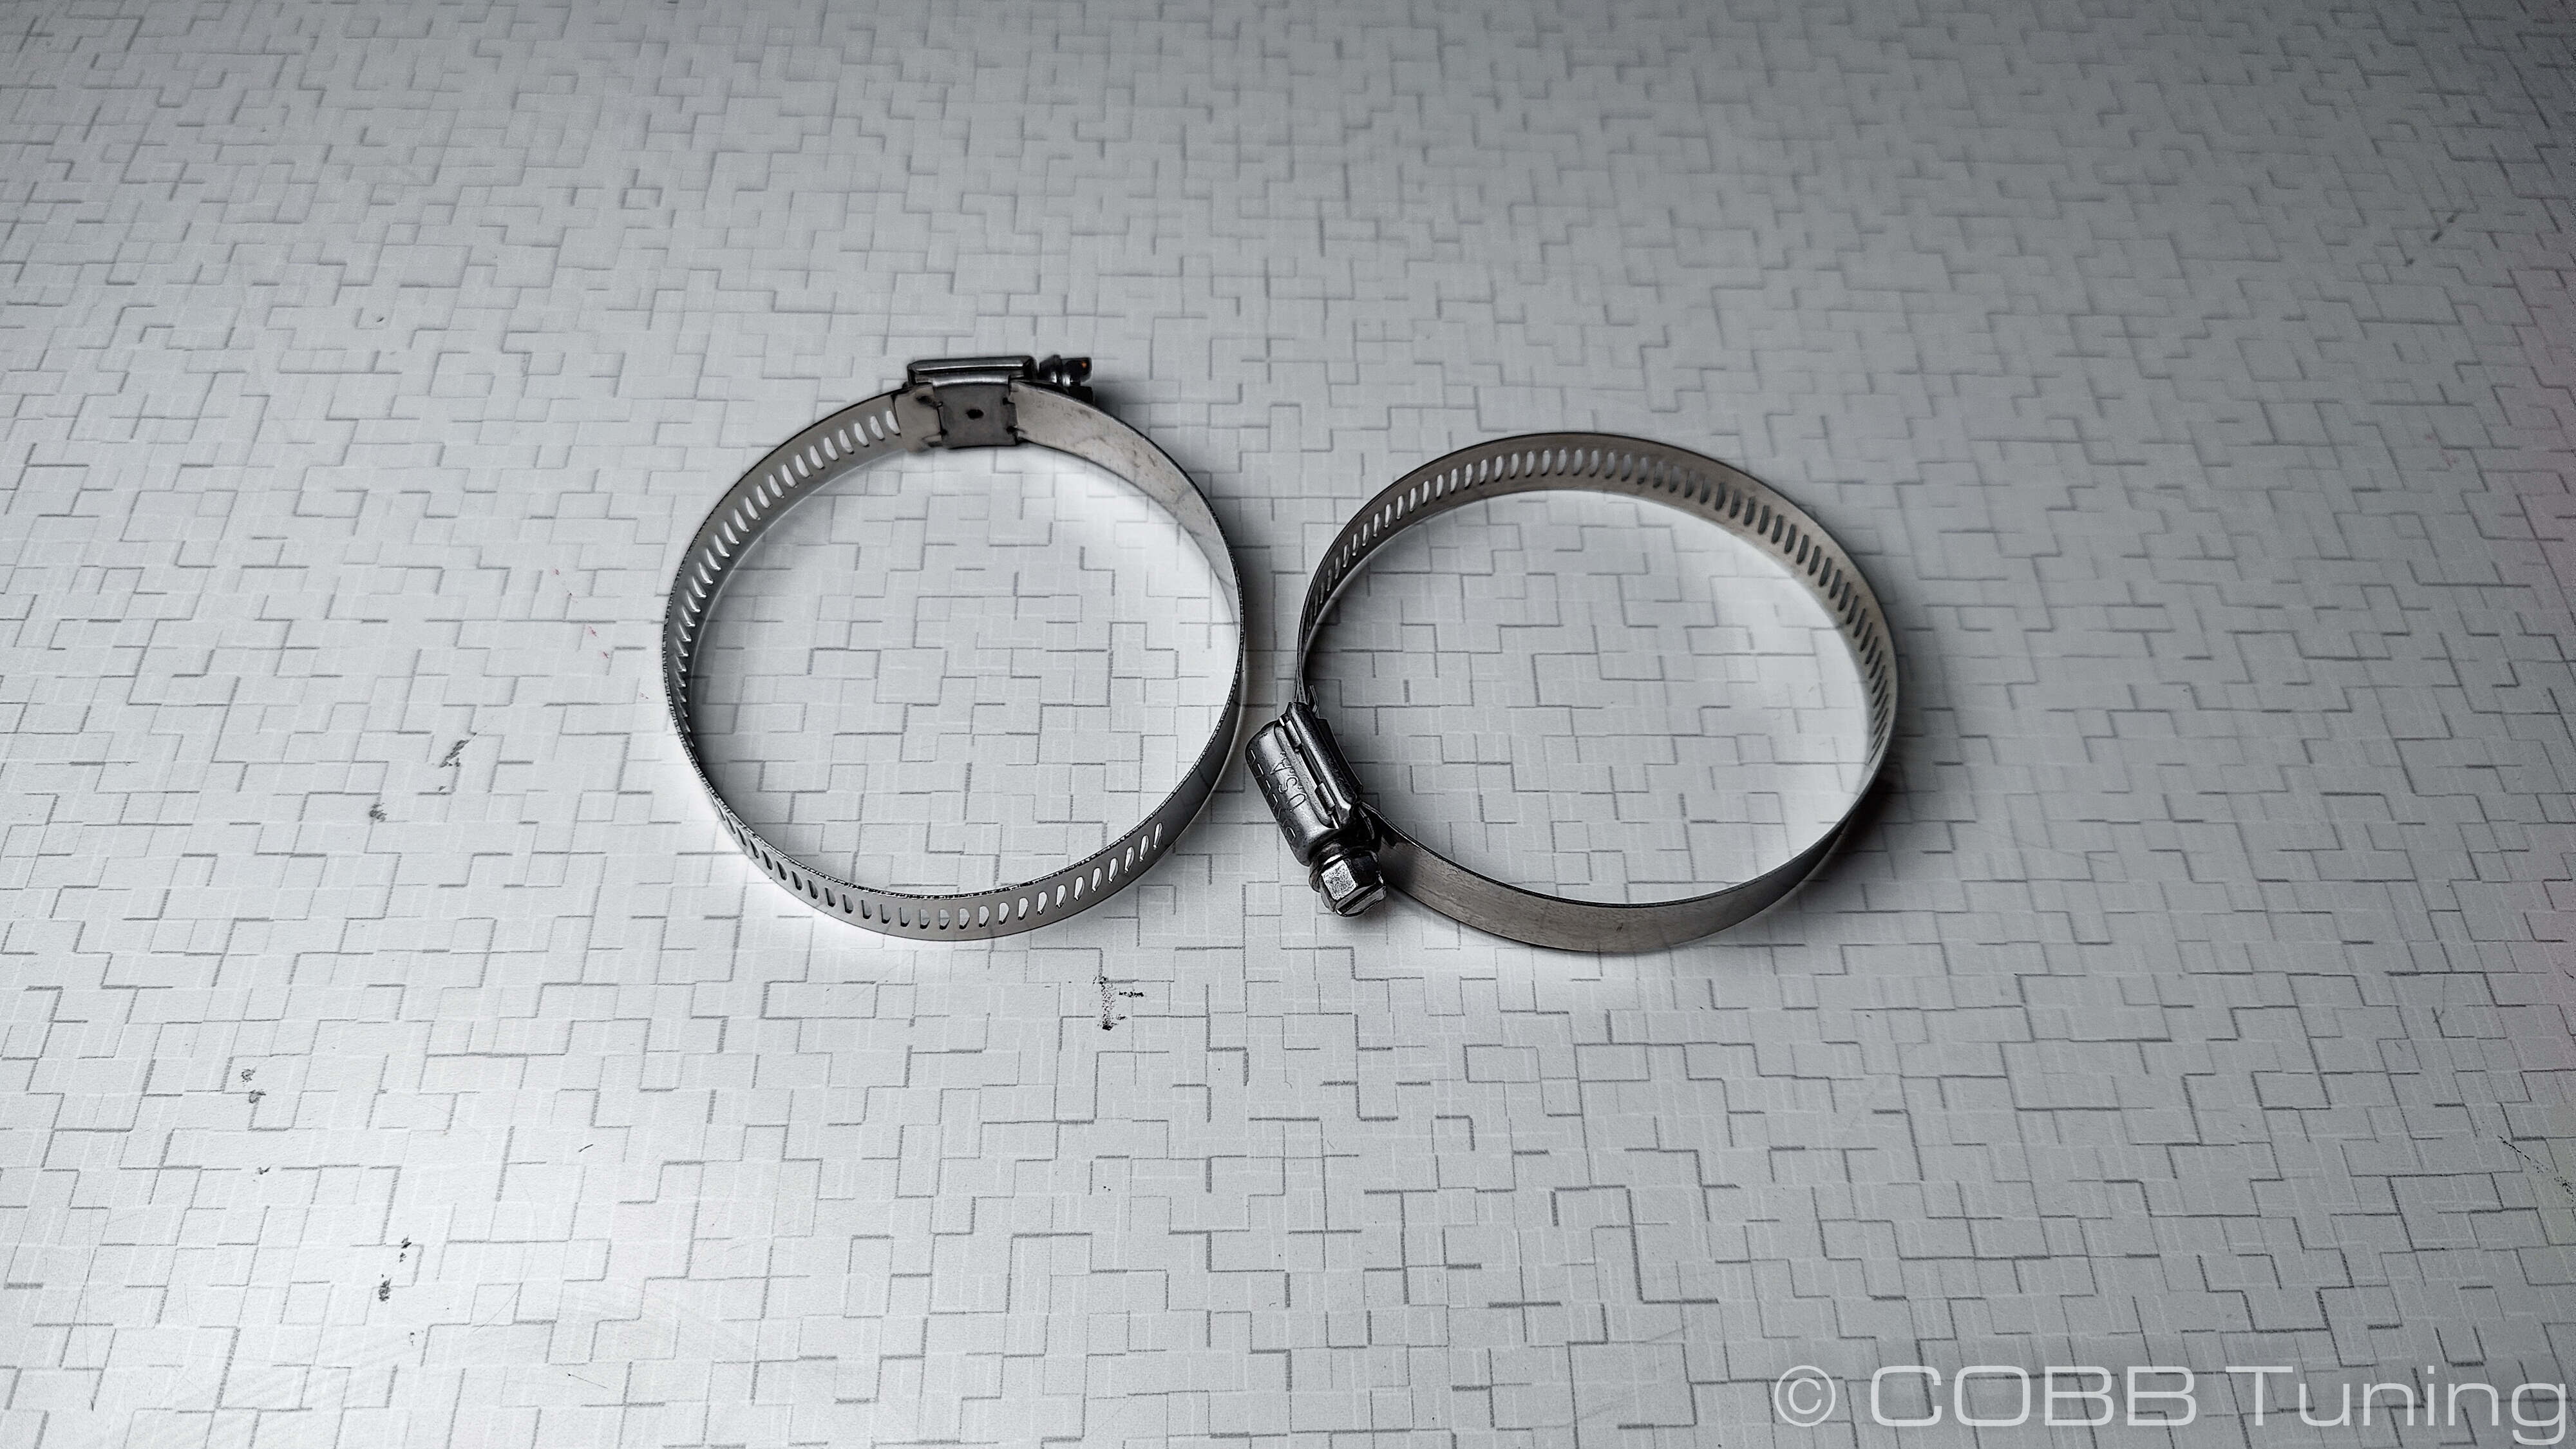
Parts List
Tools Needed
Sockets
3/8"
- 3/8" ratchet
- 3/8" 12" extension
- 3/8" 6" extension
- 3/8" 7mm socket
- 3/8" 8mm socket
- 3/8" 12mm socket
- 3/8" 4mm Allen Socket
Hand Tools
- Phillips head screwdriver
- Flathead screwdriver
- Trim removal tool
- Pick
Misc.
- Razor Blade, Dremel or other appropriate cutting device
Wrenches
- 8mm Ratcheting combination wrench
- 10mm combination wrench
Stock Intercooler Removal
- Park your car in a flat, level area and allow it to cool down properly.
- Using a 10mm wrench, remove the negative terminal of the battery.
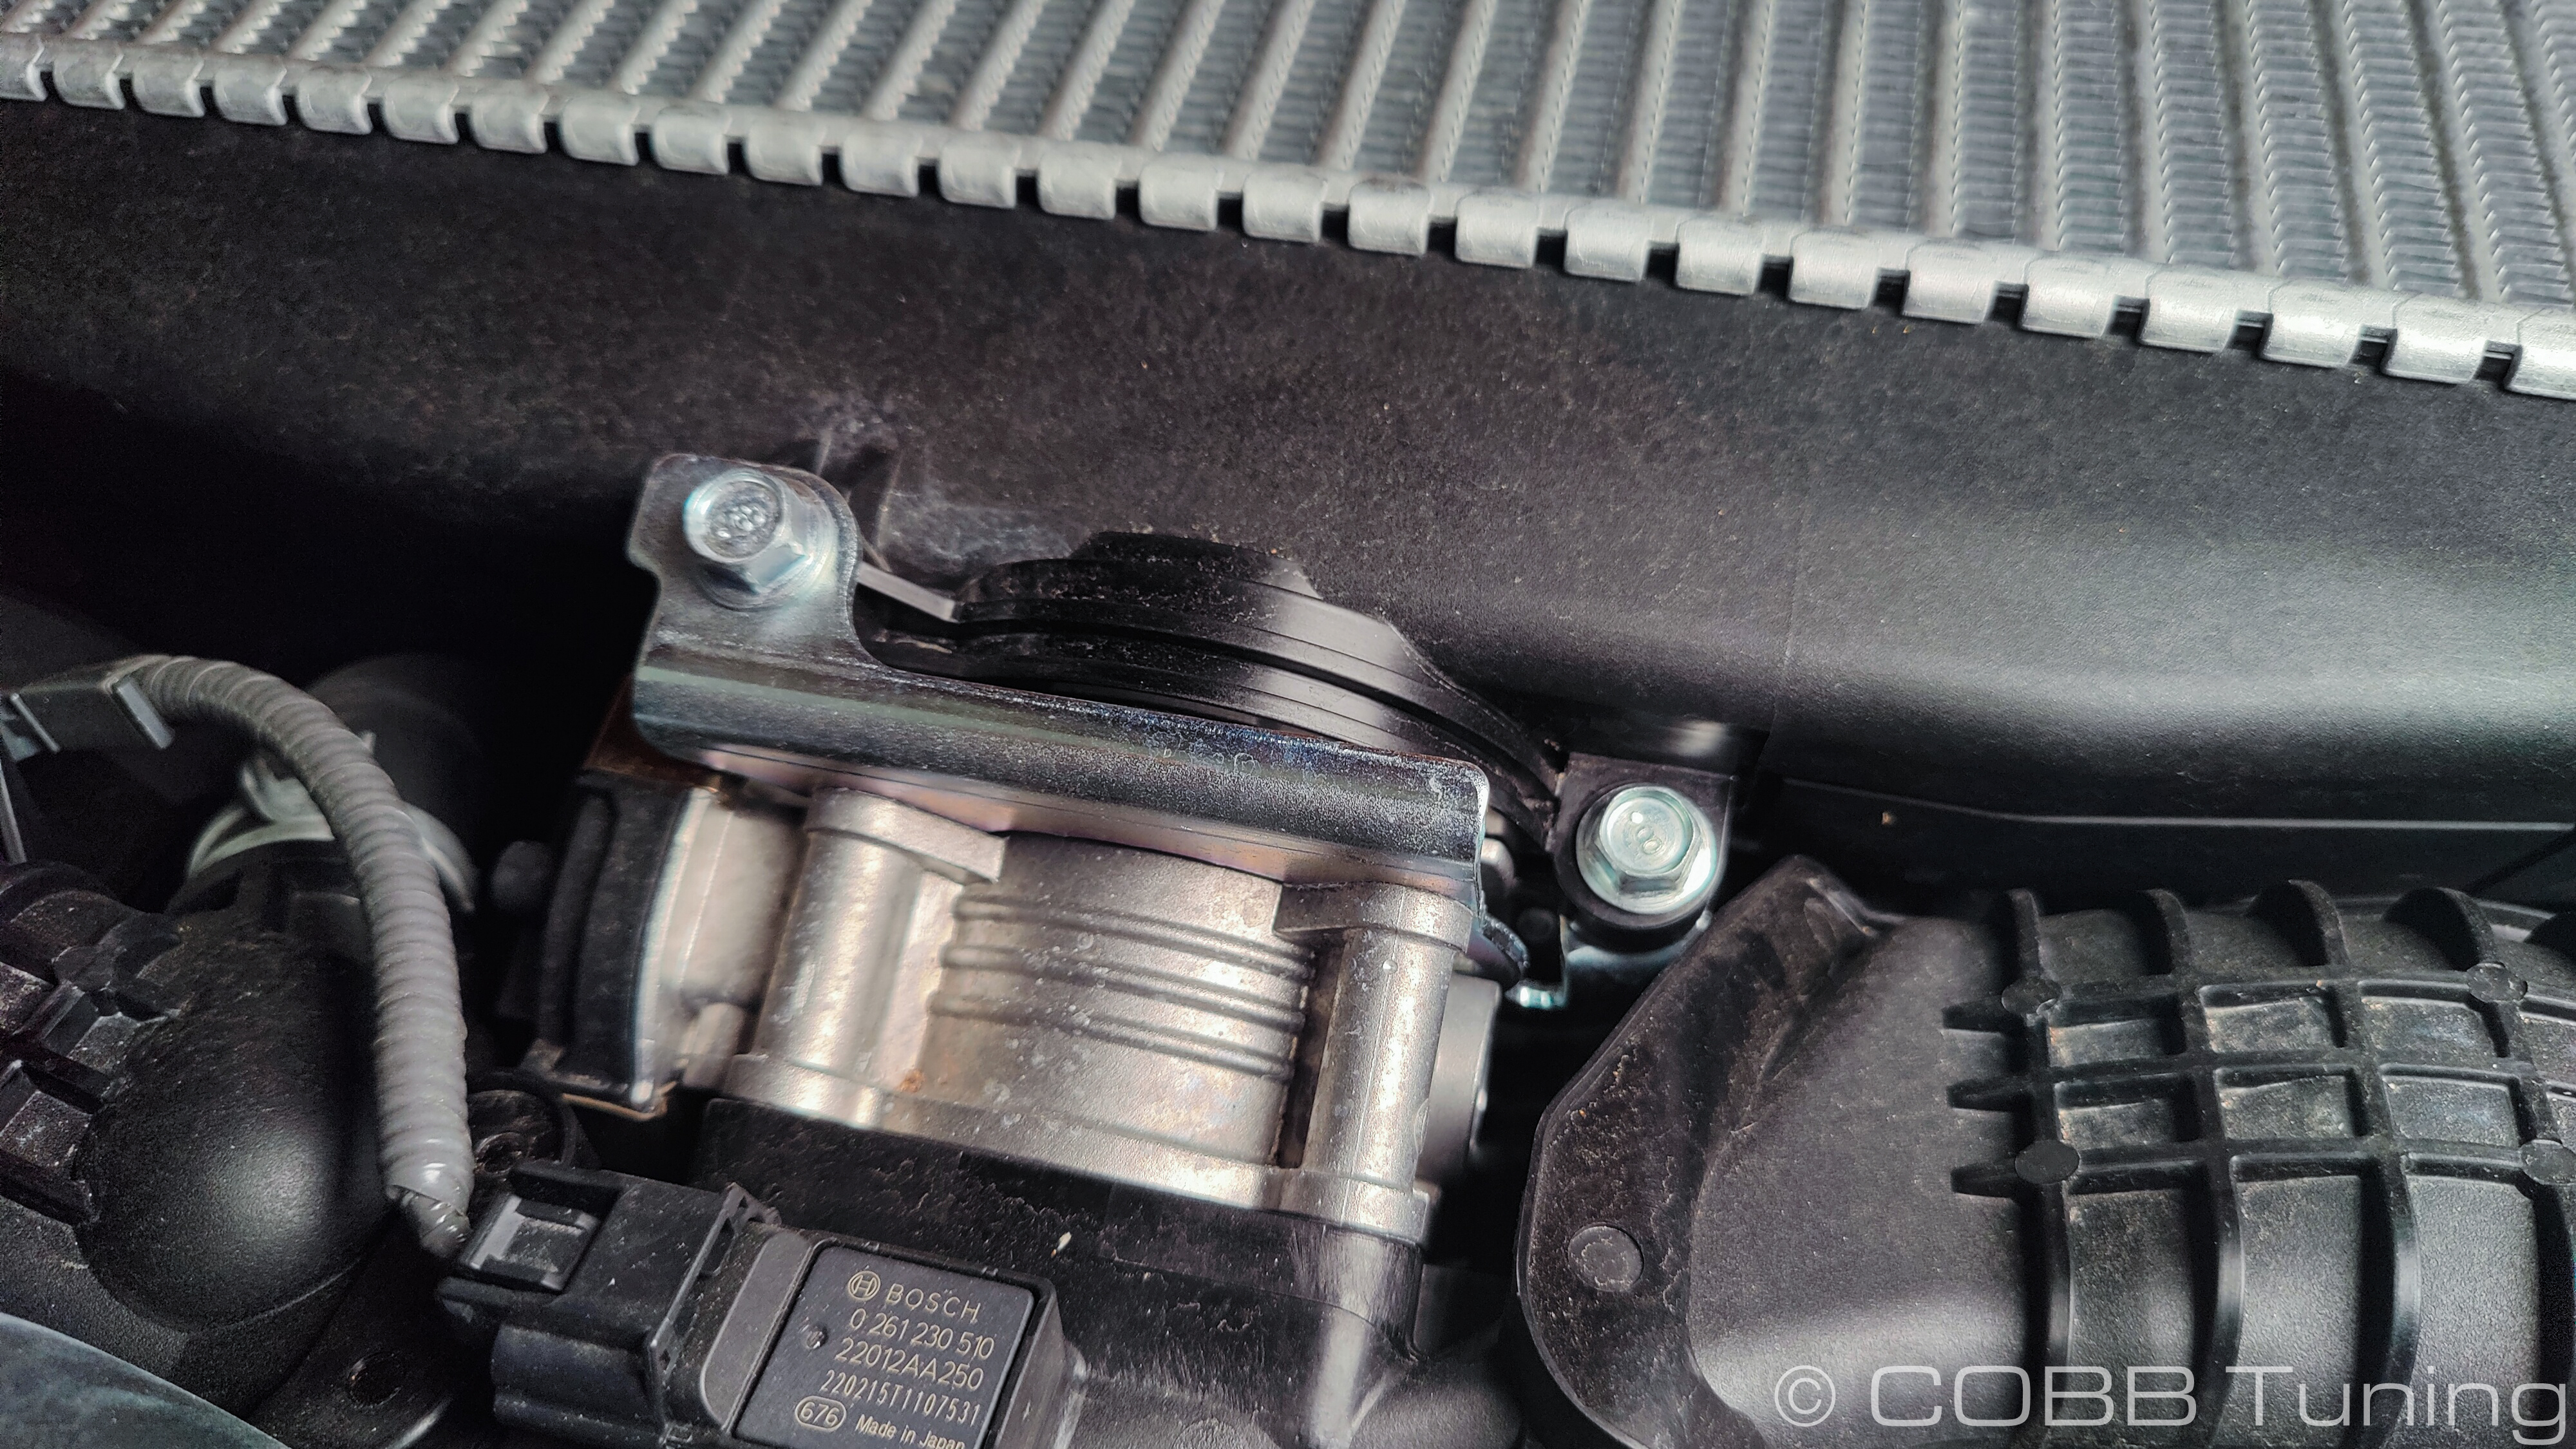
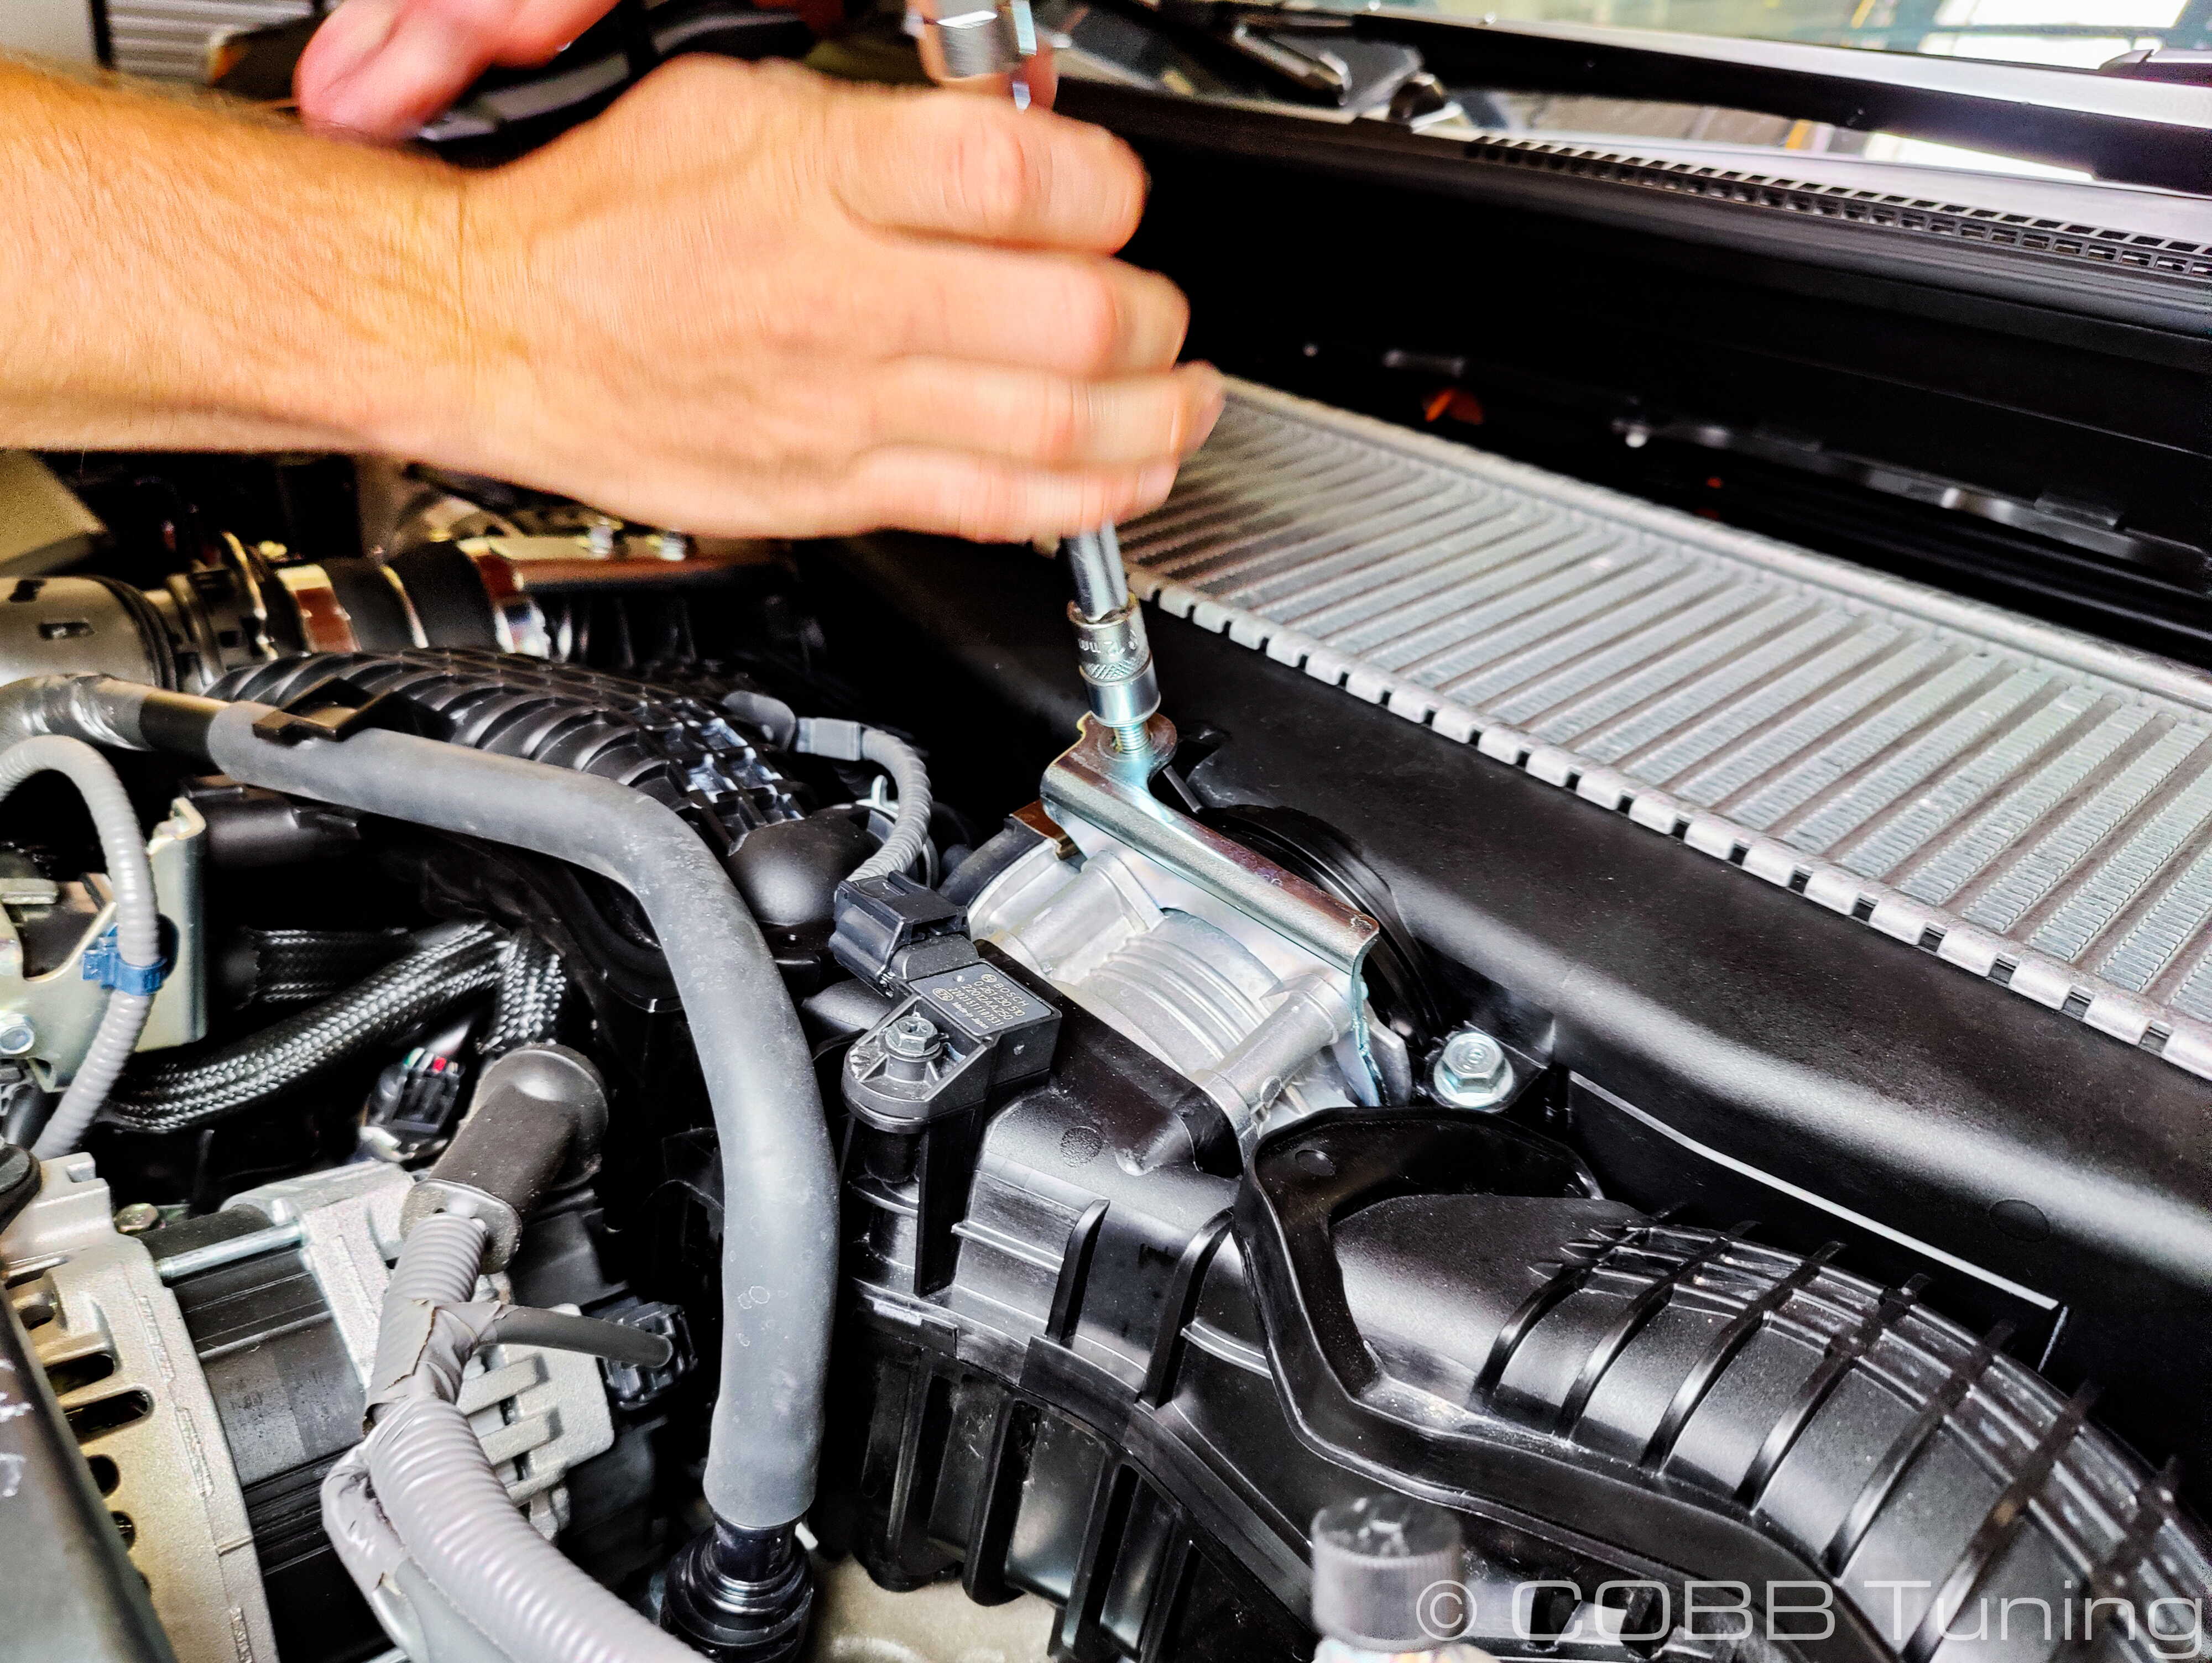
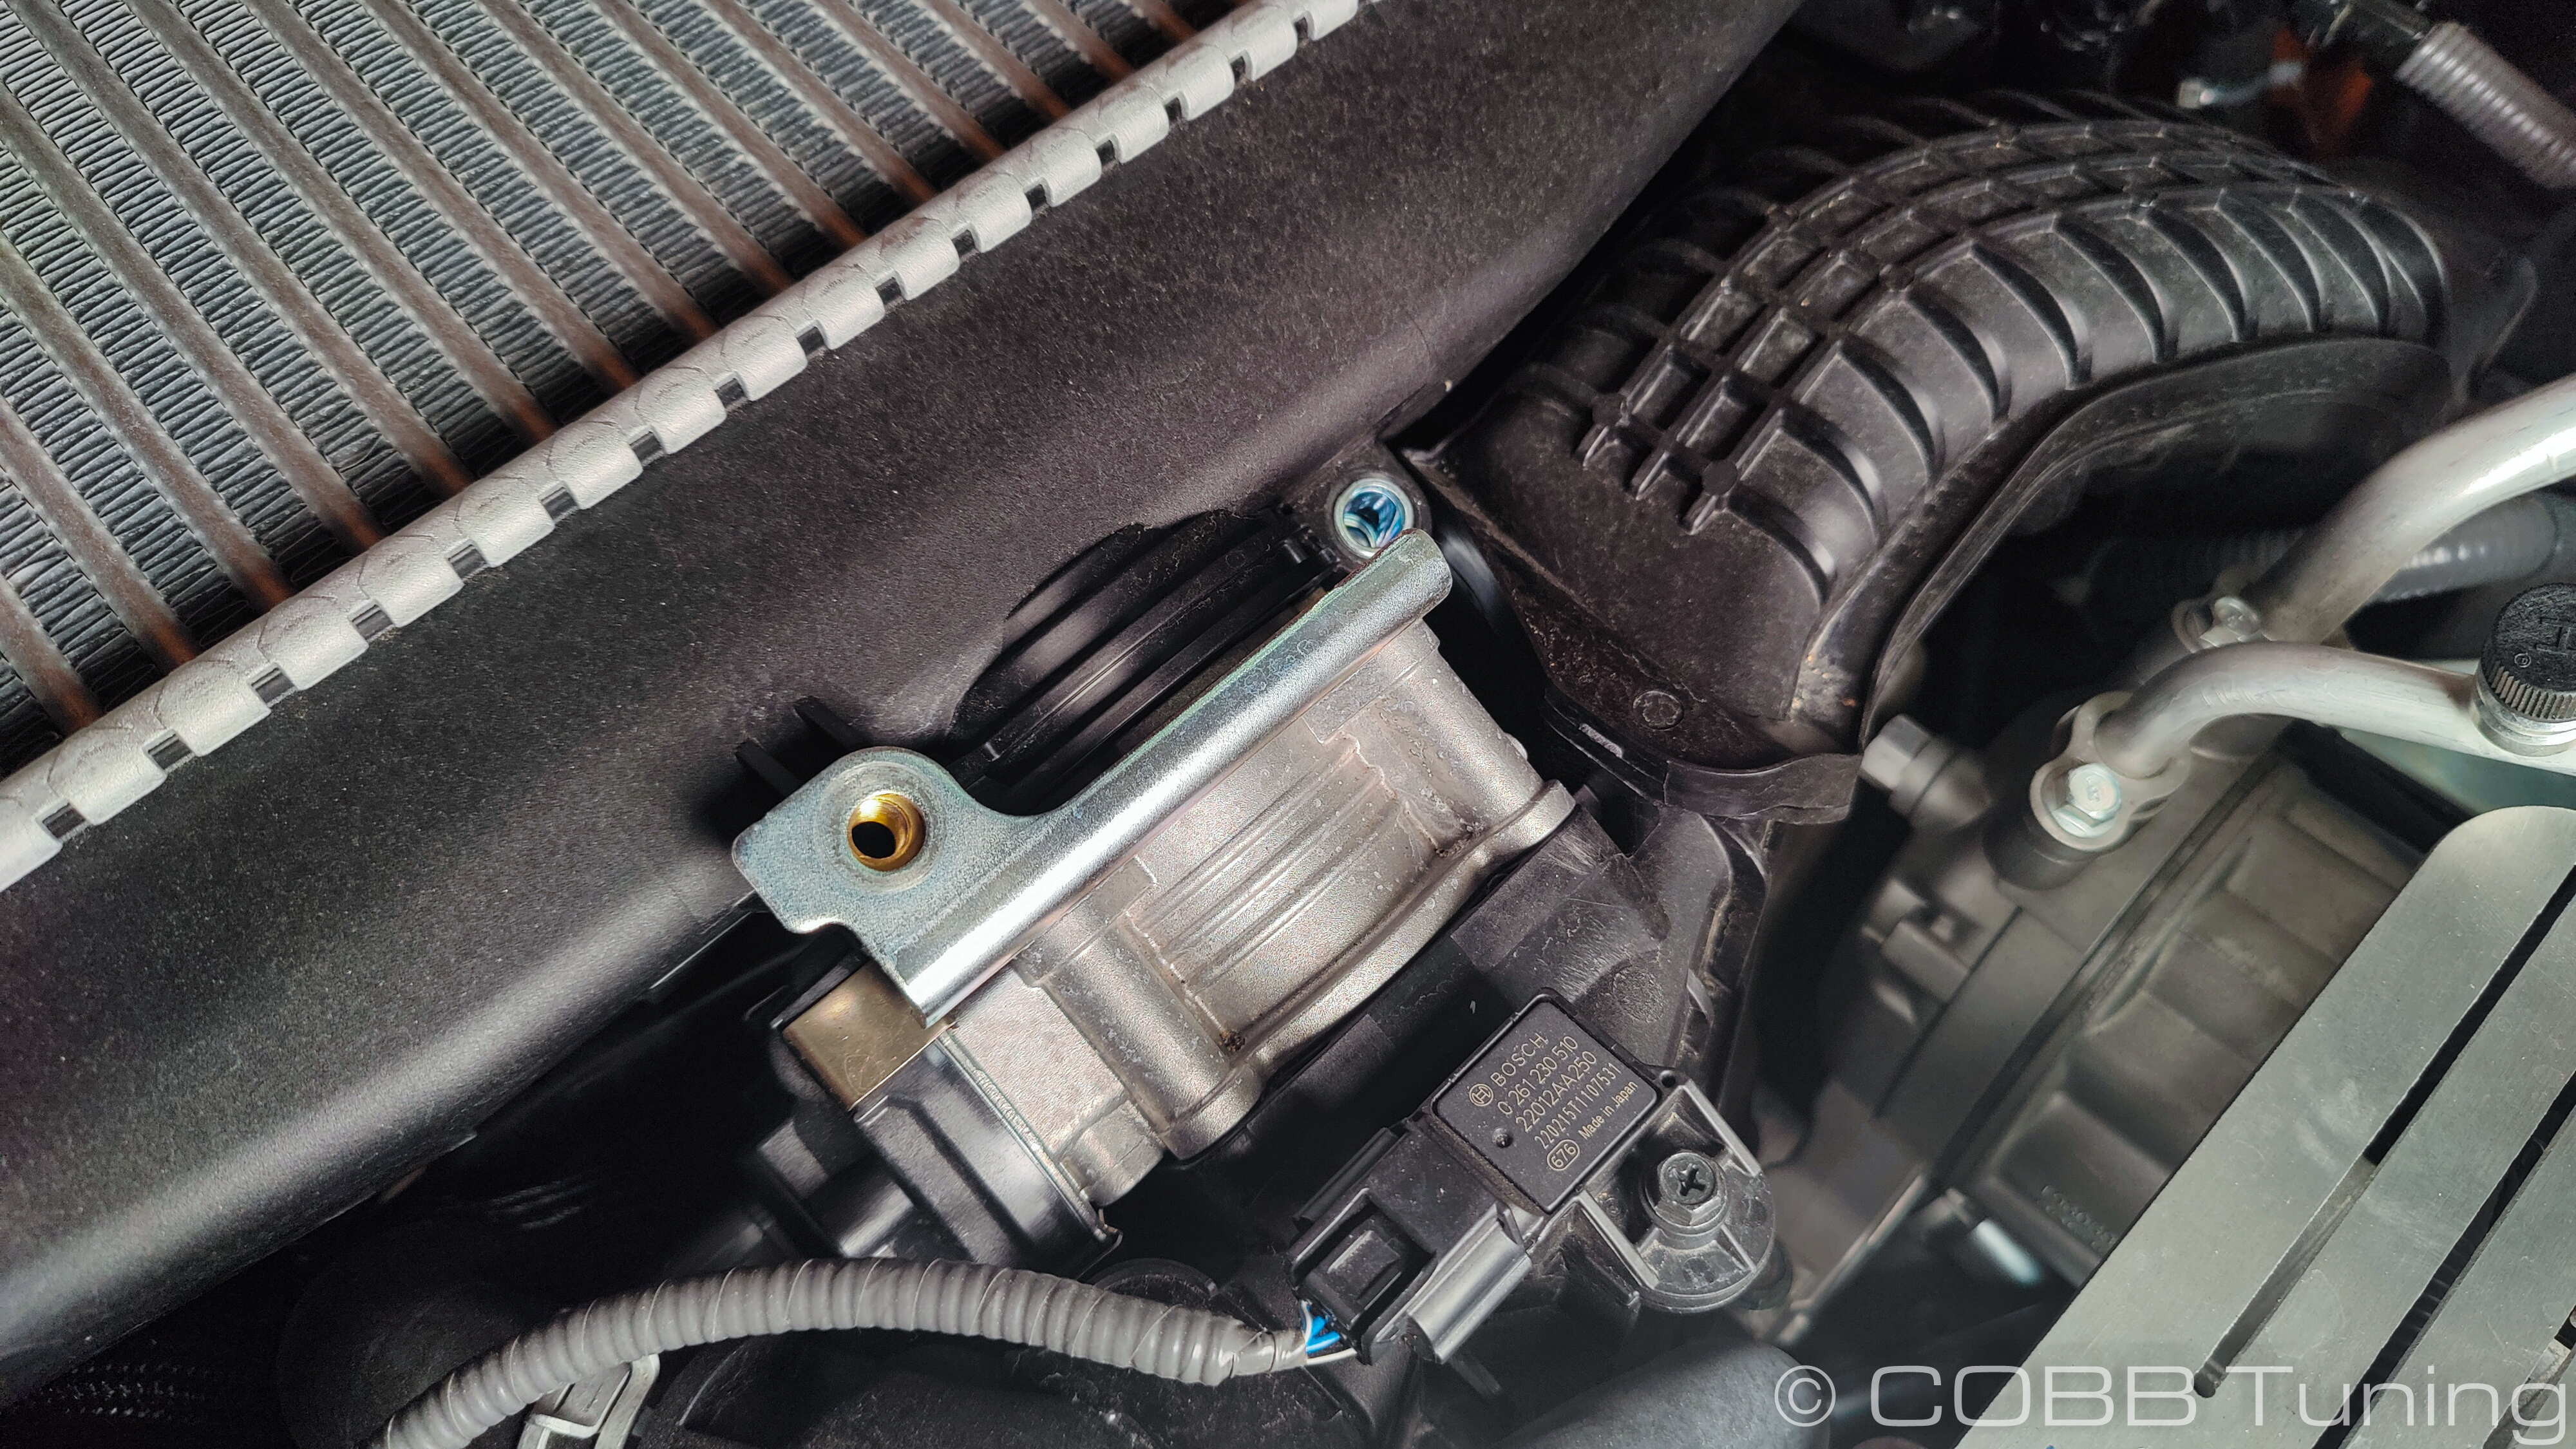
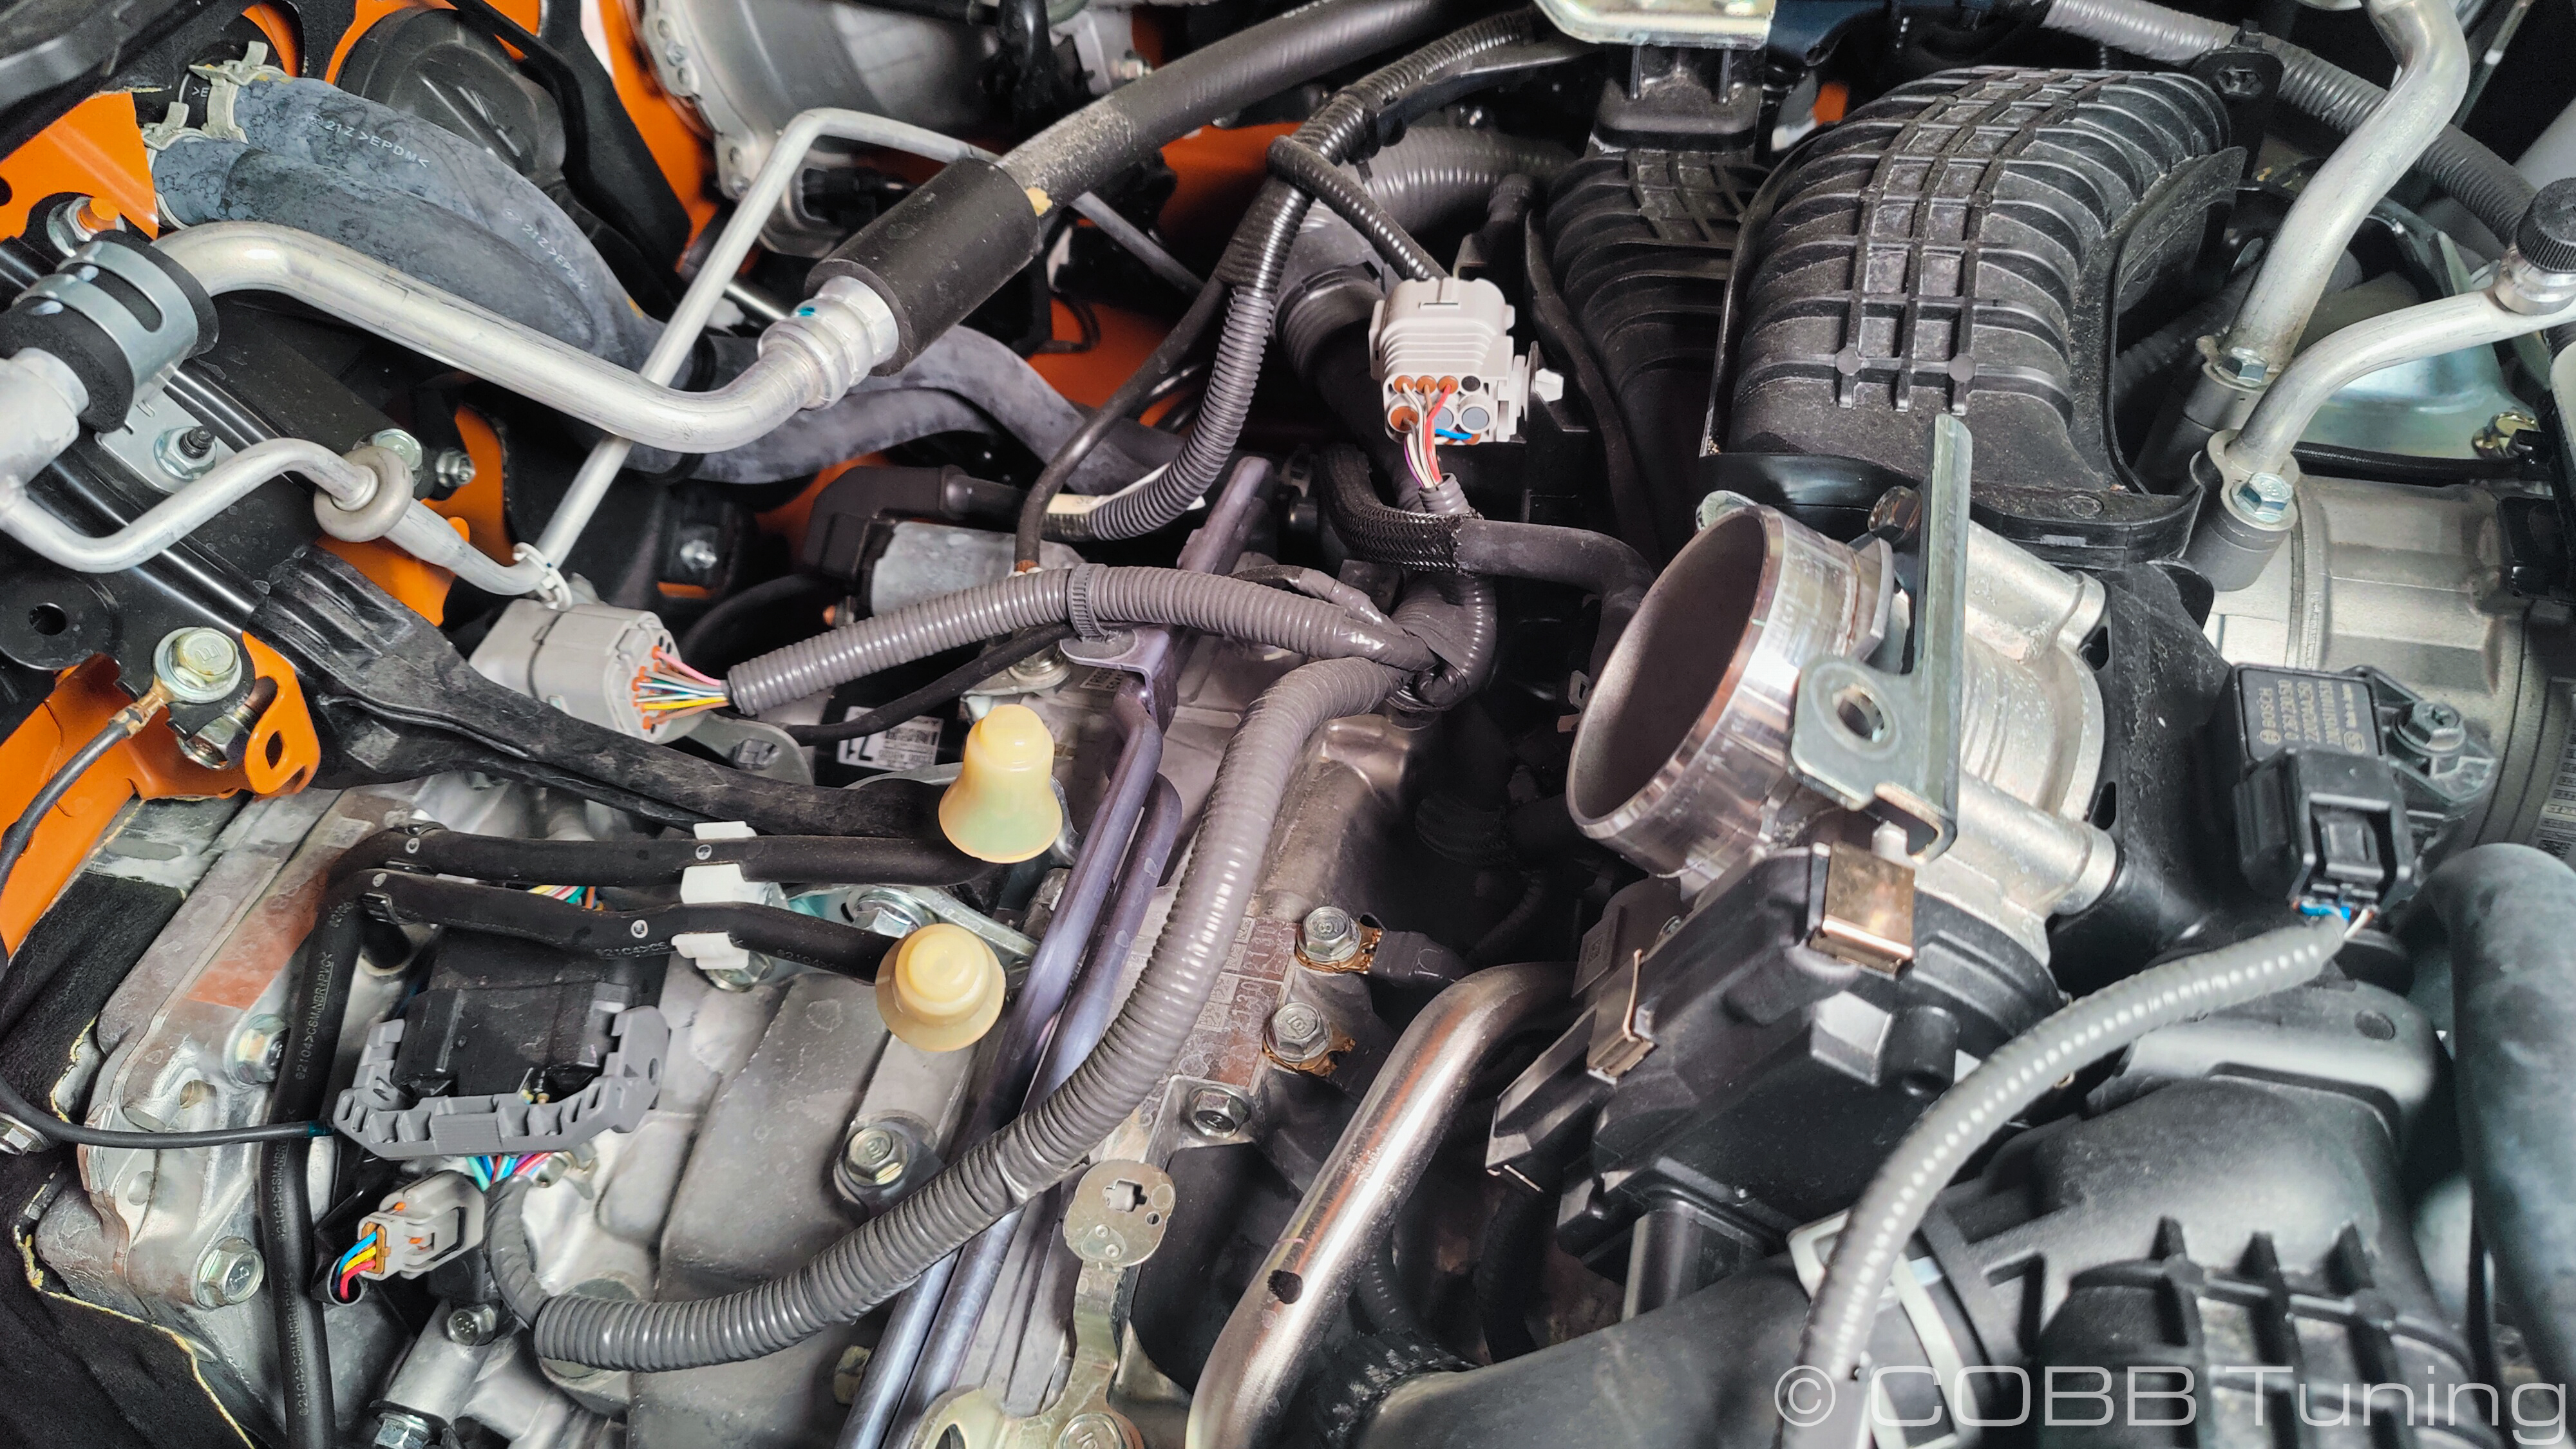
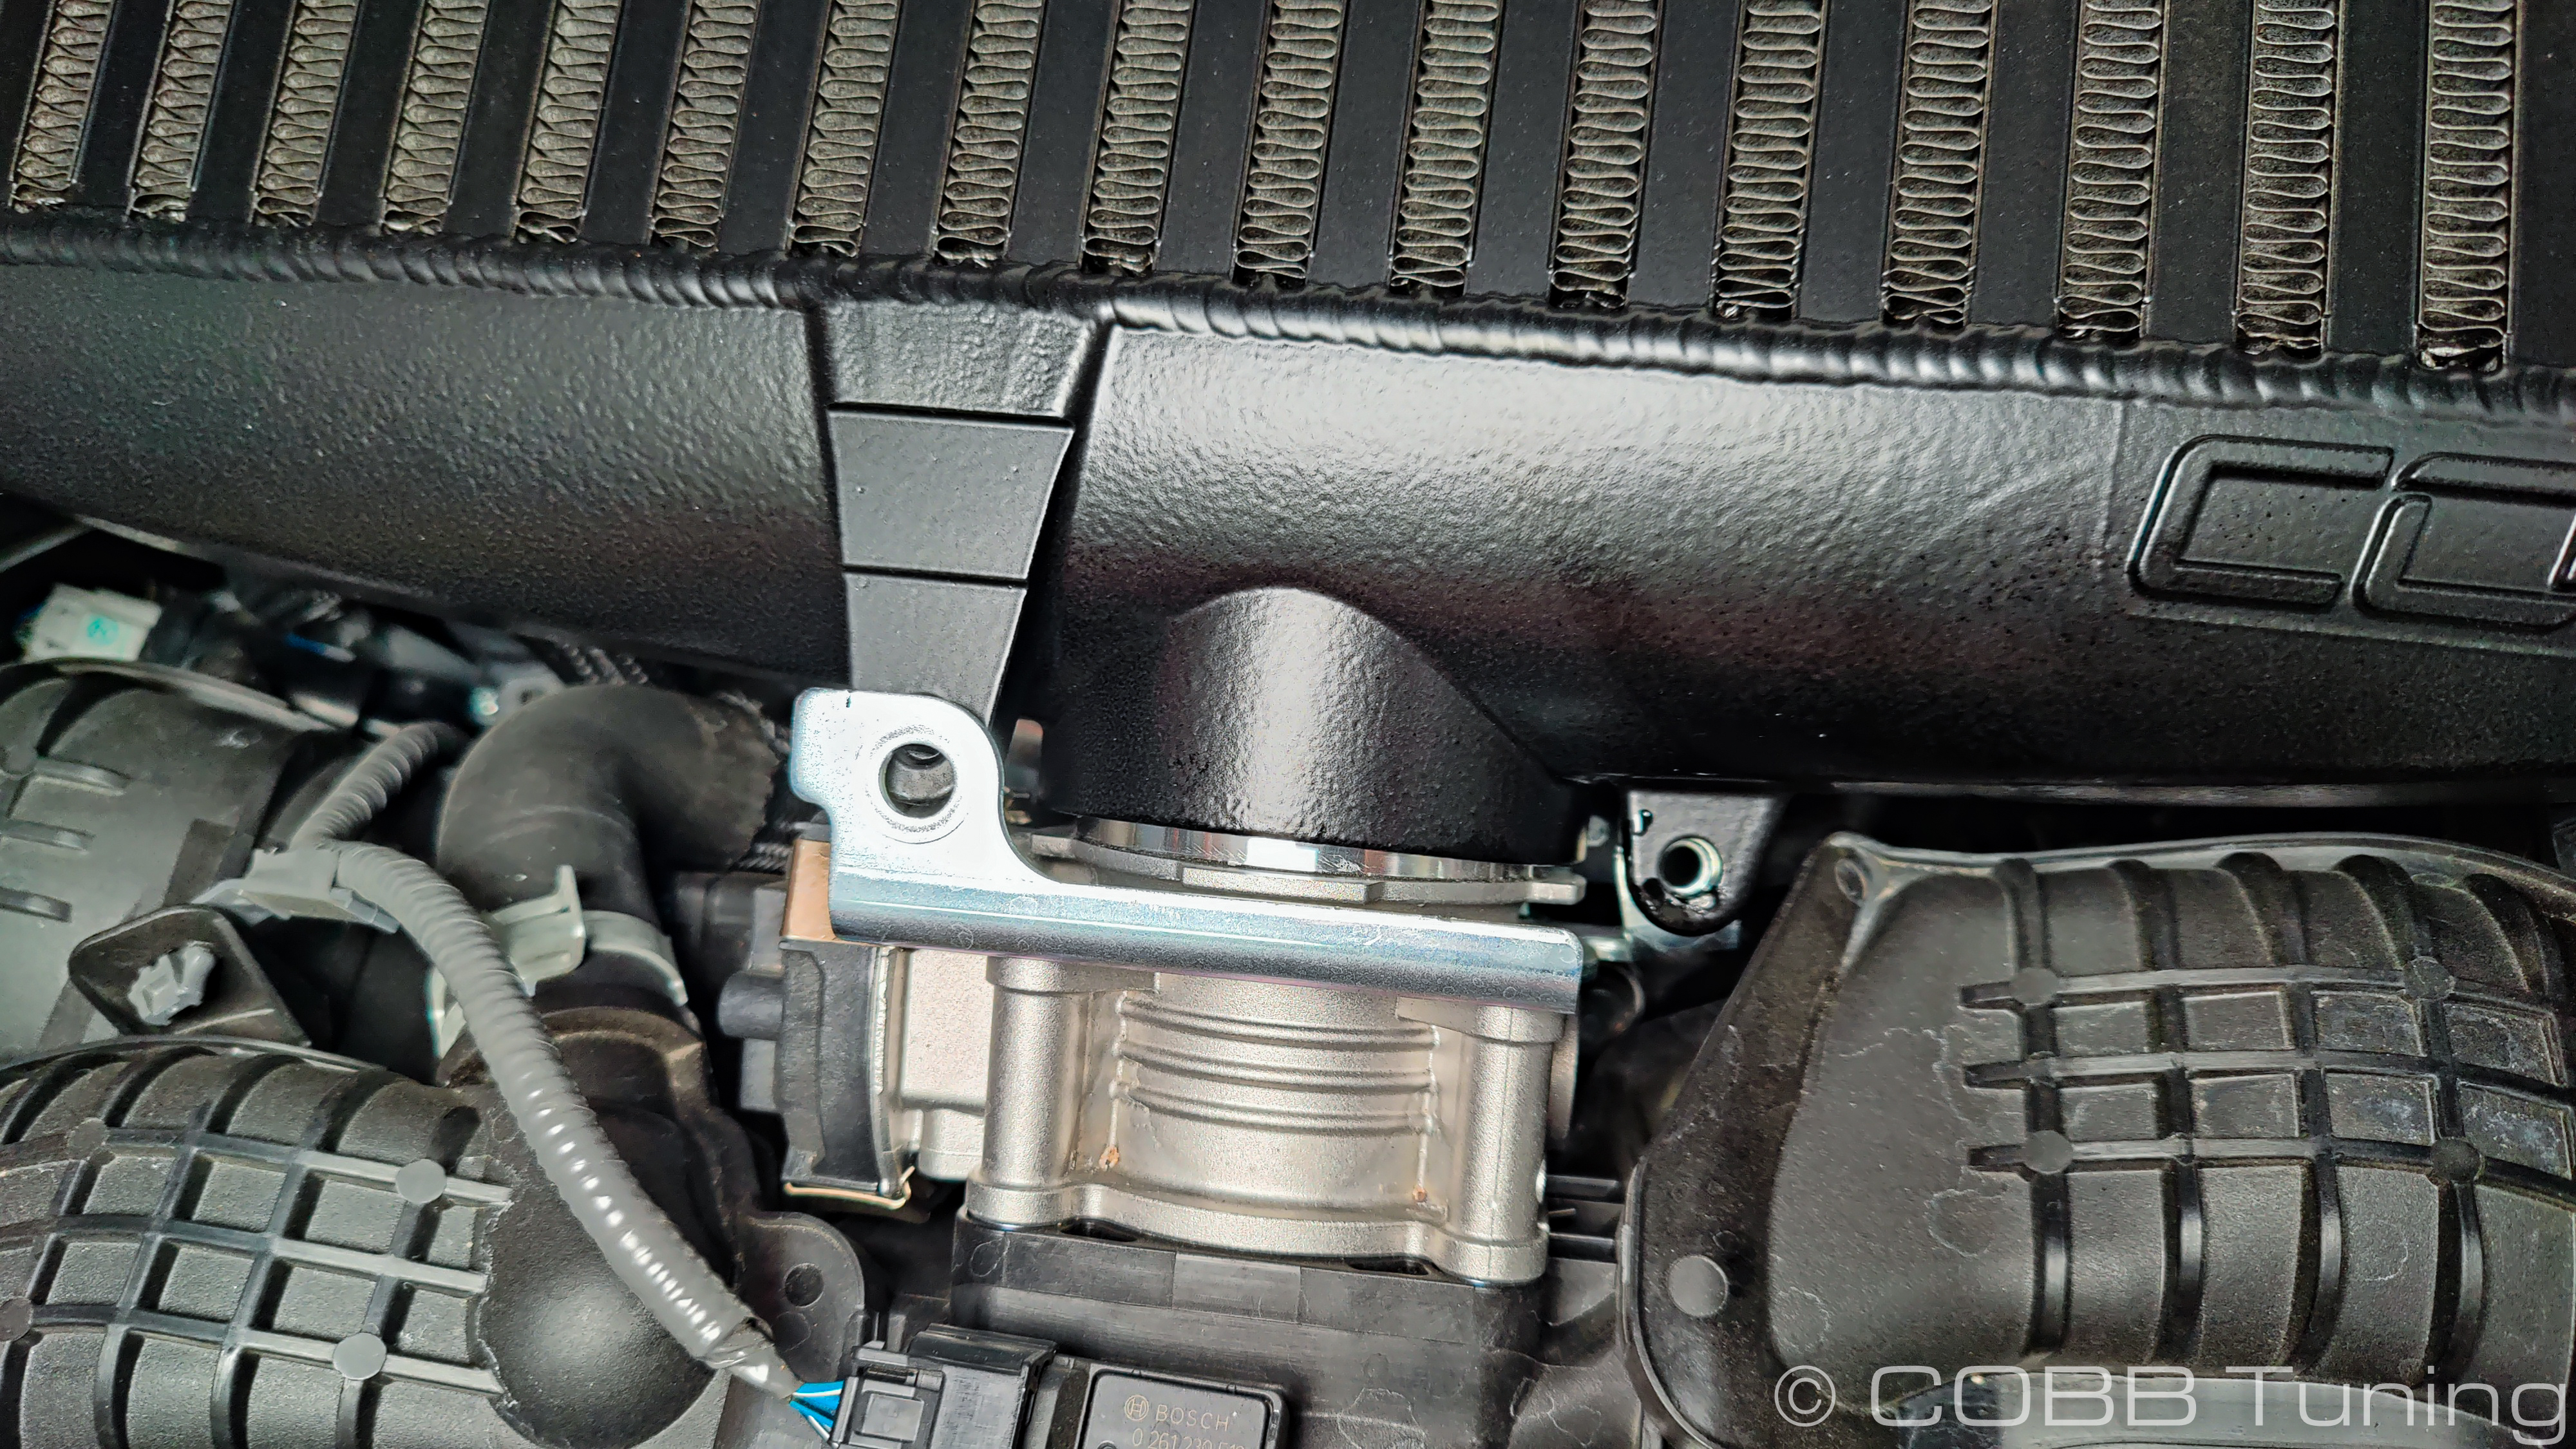
- Remove the two 12mm bolts from the throttle body to the intercooler using your ratchet.
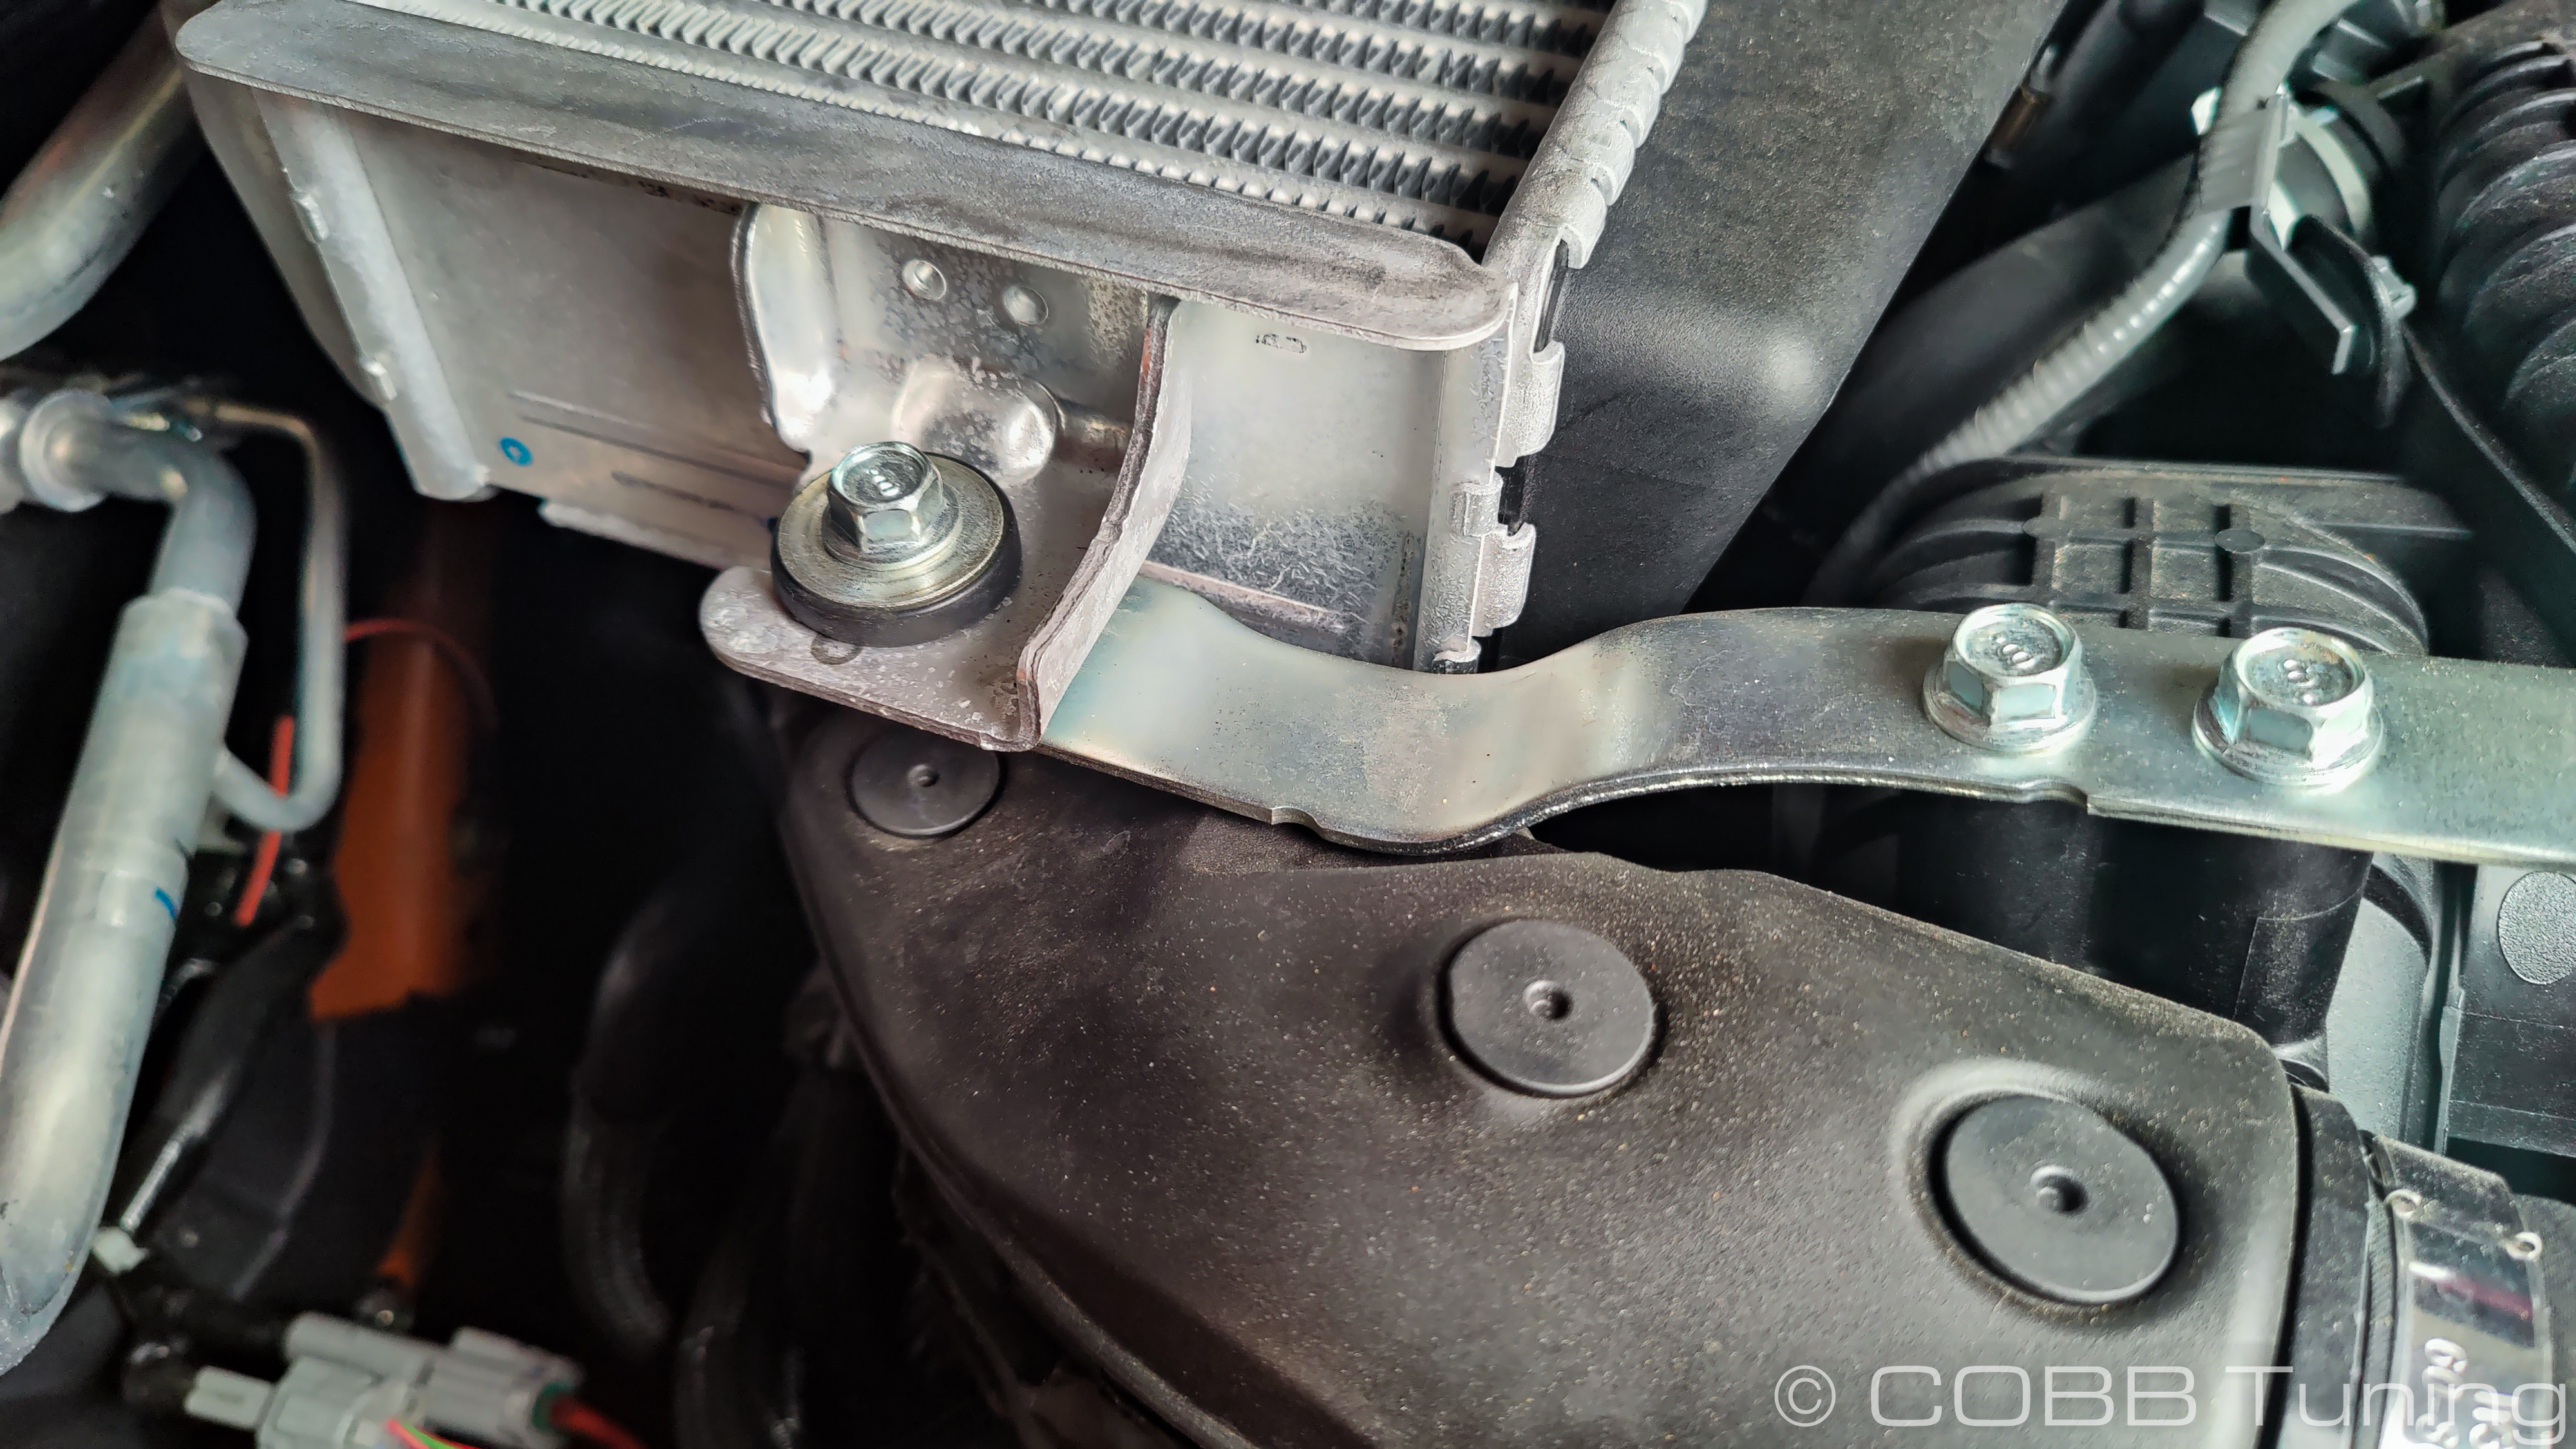
- On the driver's side (USDM) remove the 12mm bolt through the intercooler itself, the two holding the bracket to the intake manifold can be left for now.
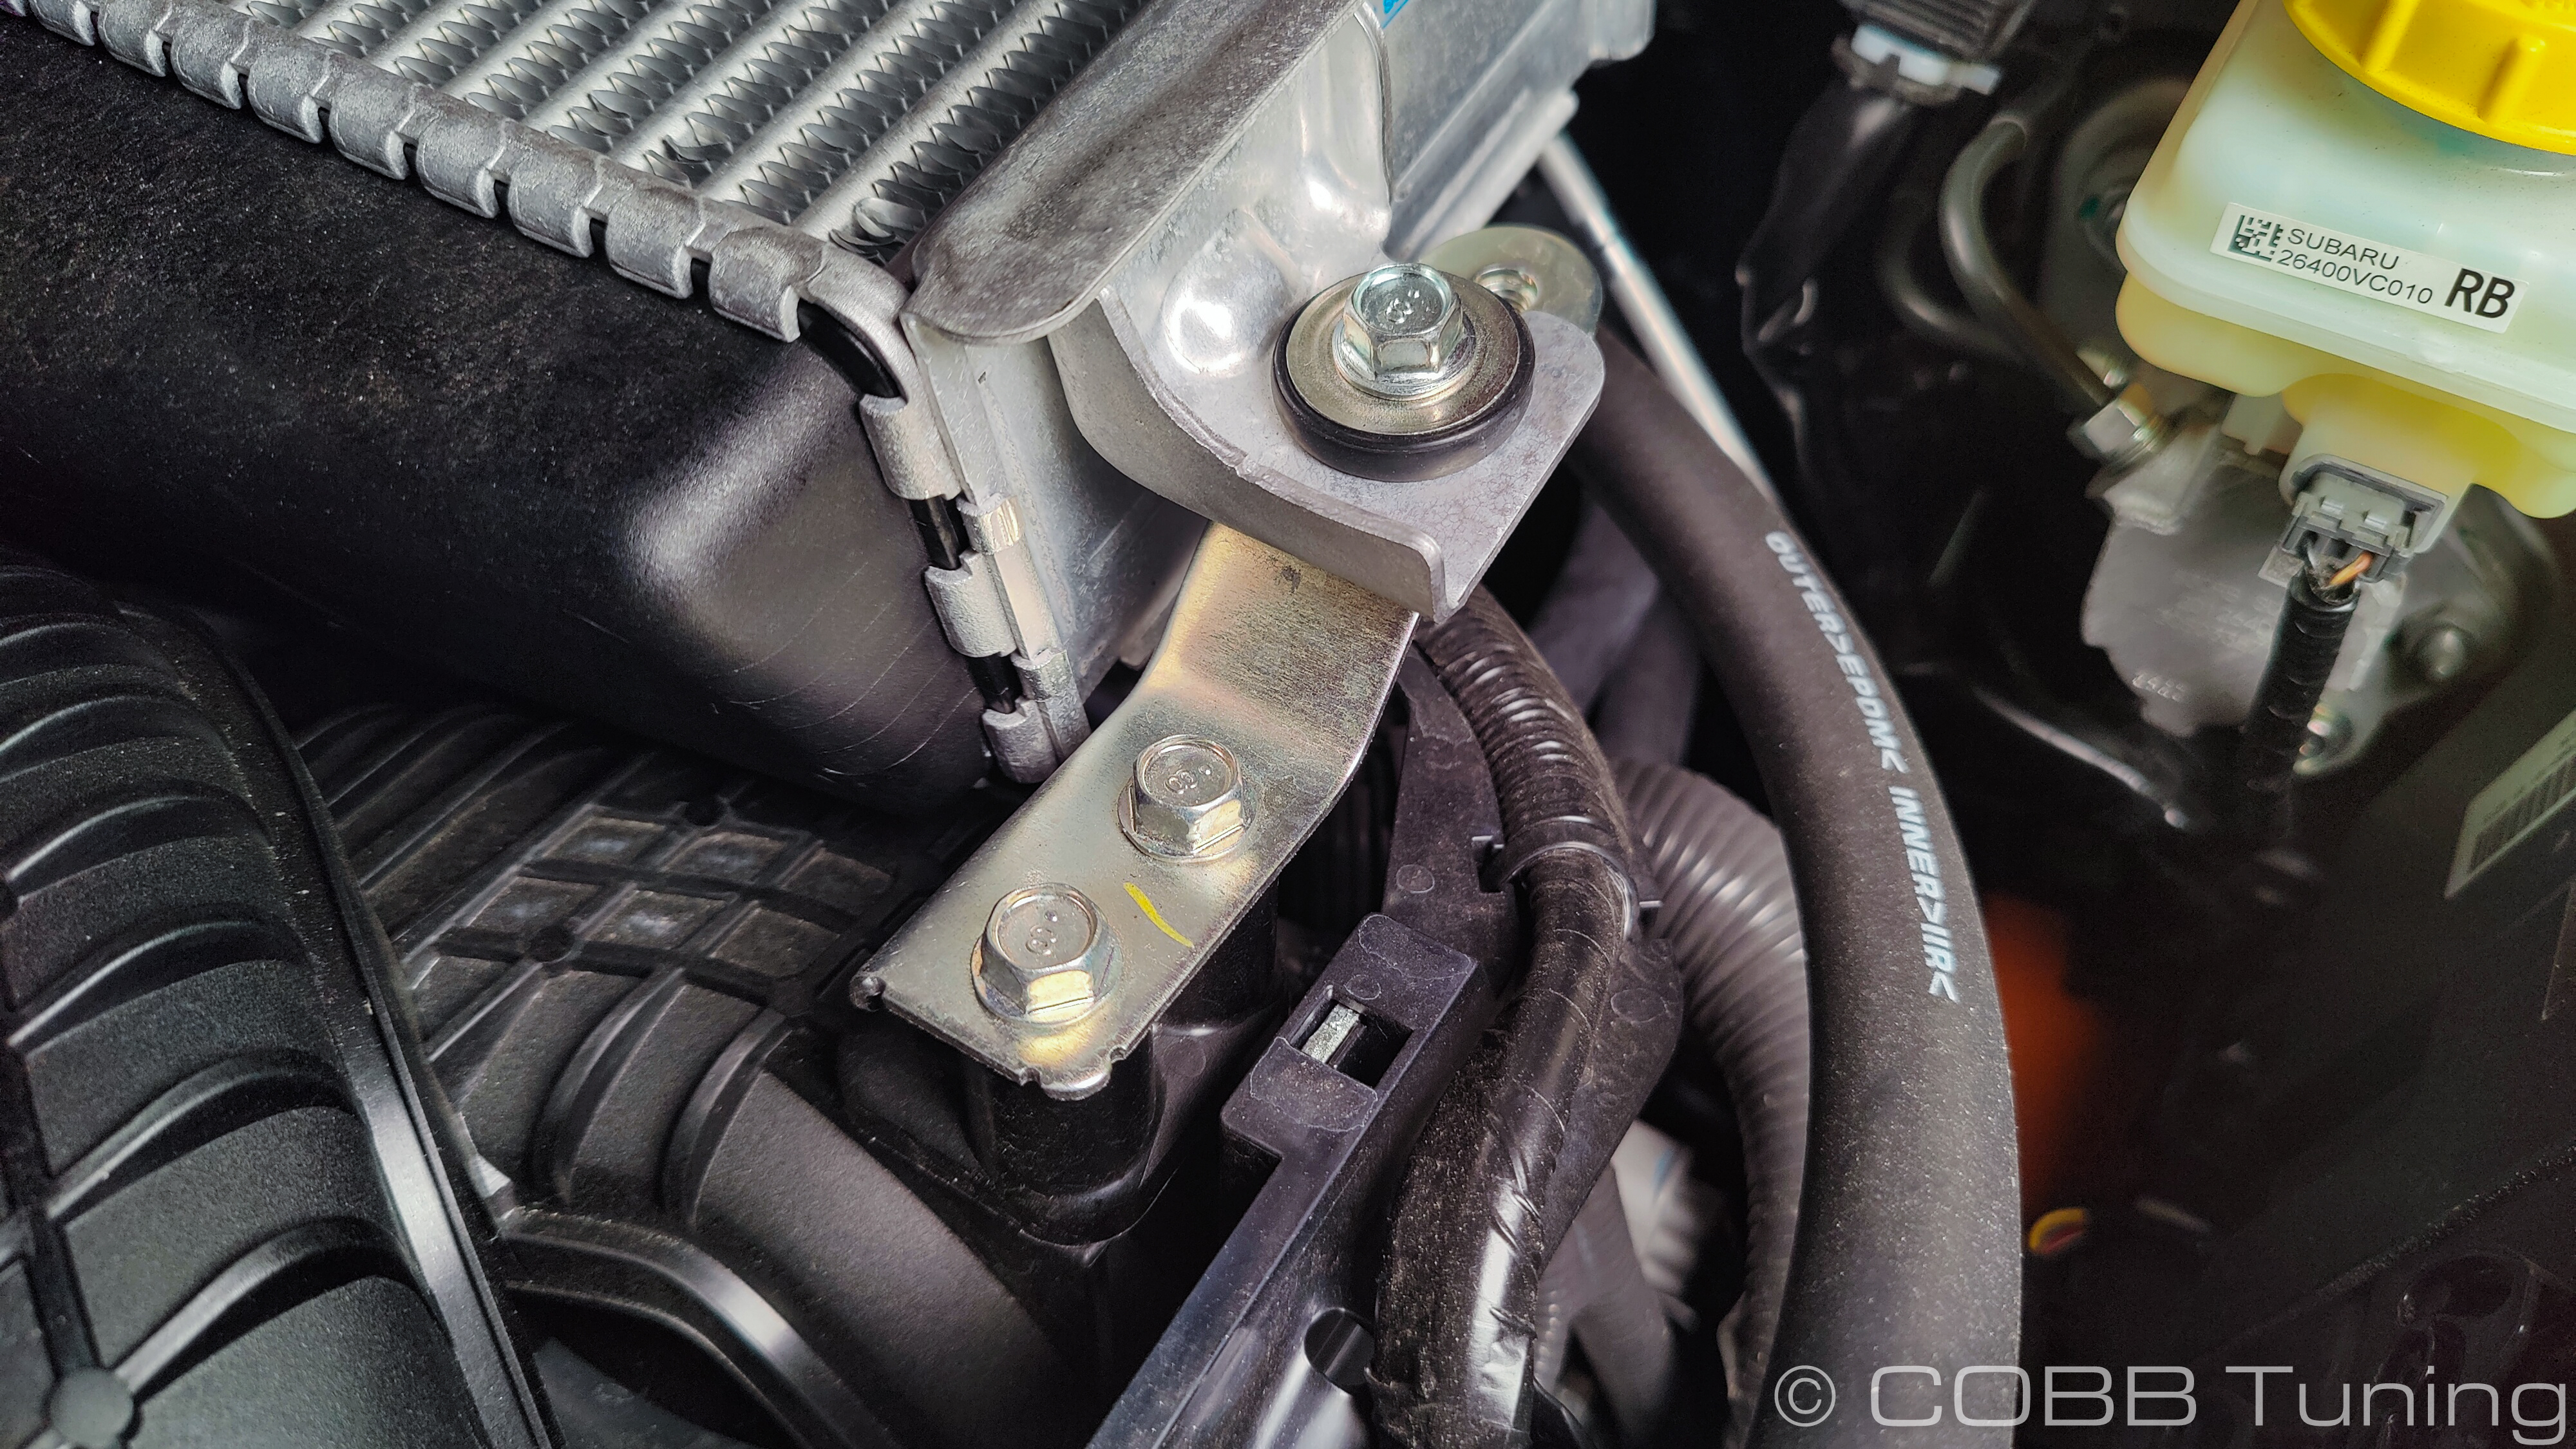
- Remove all three 12mm bolts on the passenger's side (USDM) and take the bracket out of the engine bay for now.
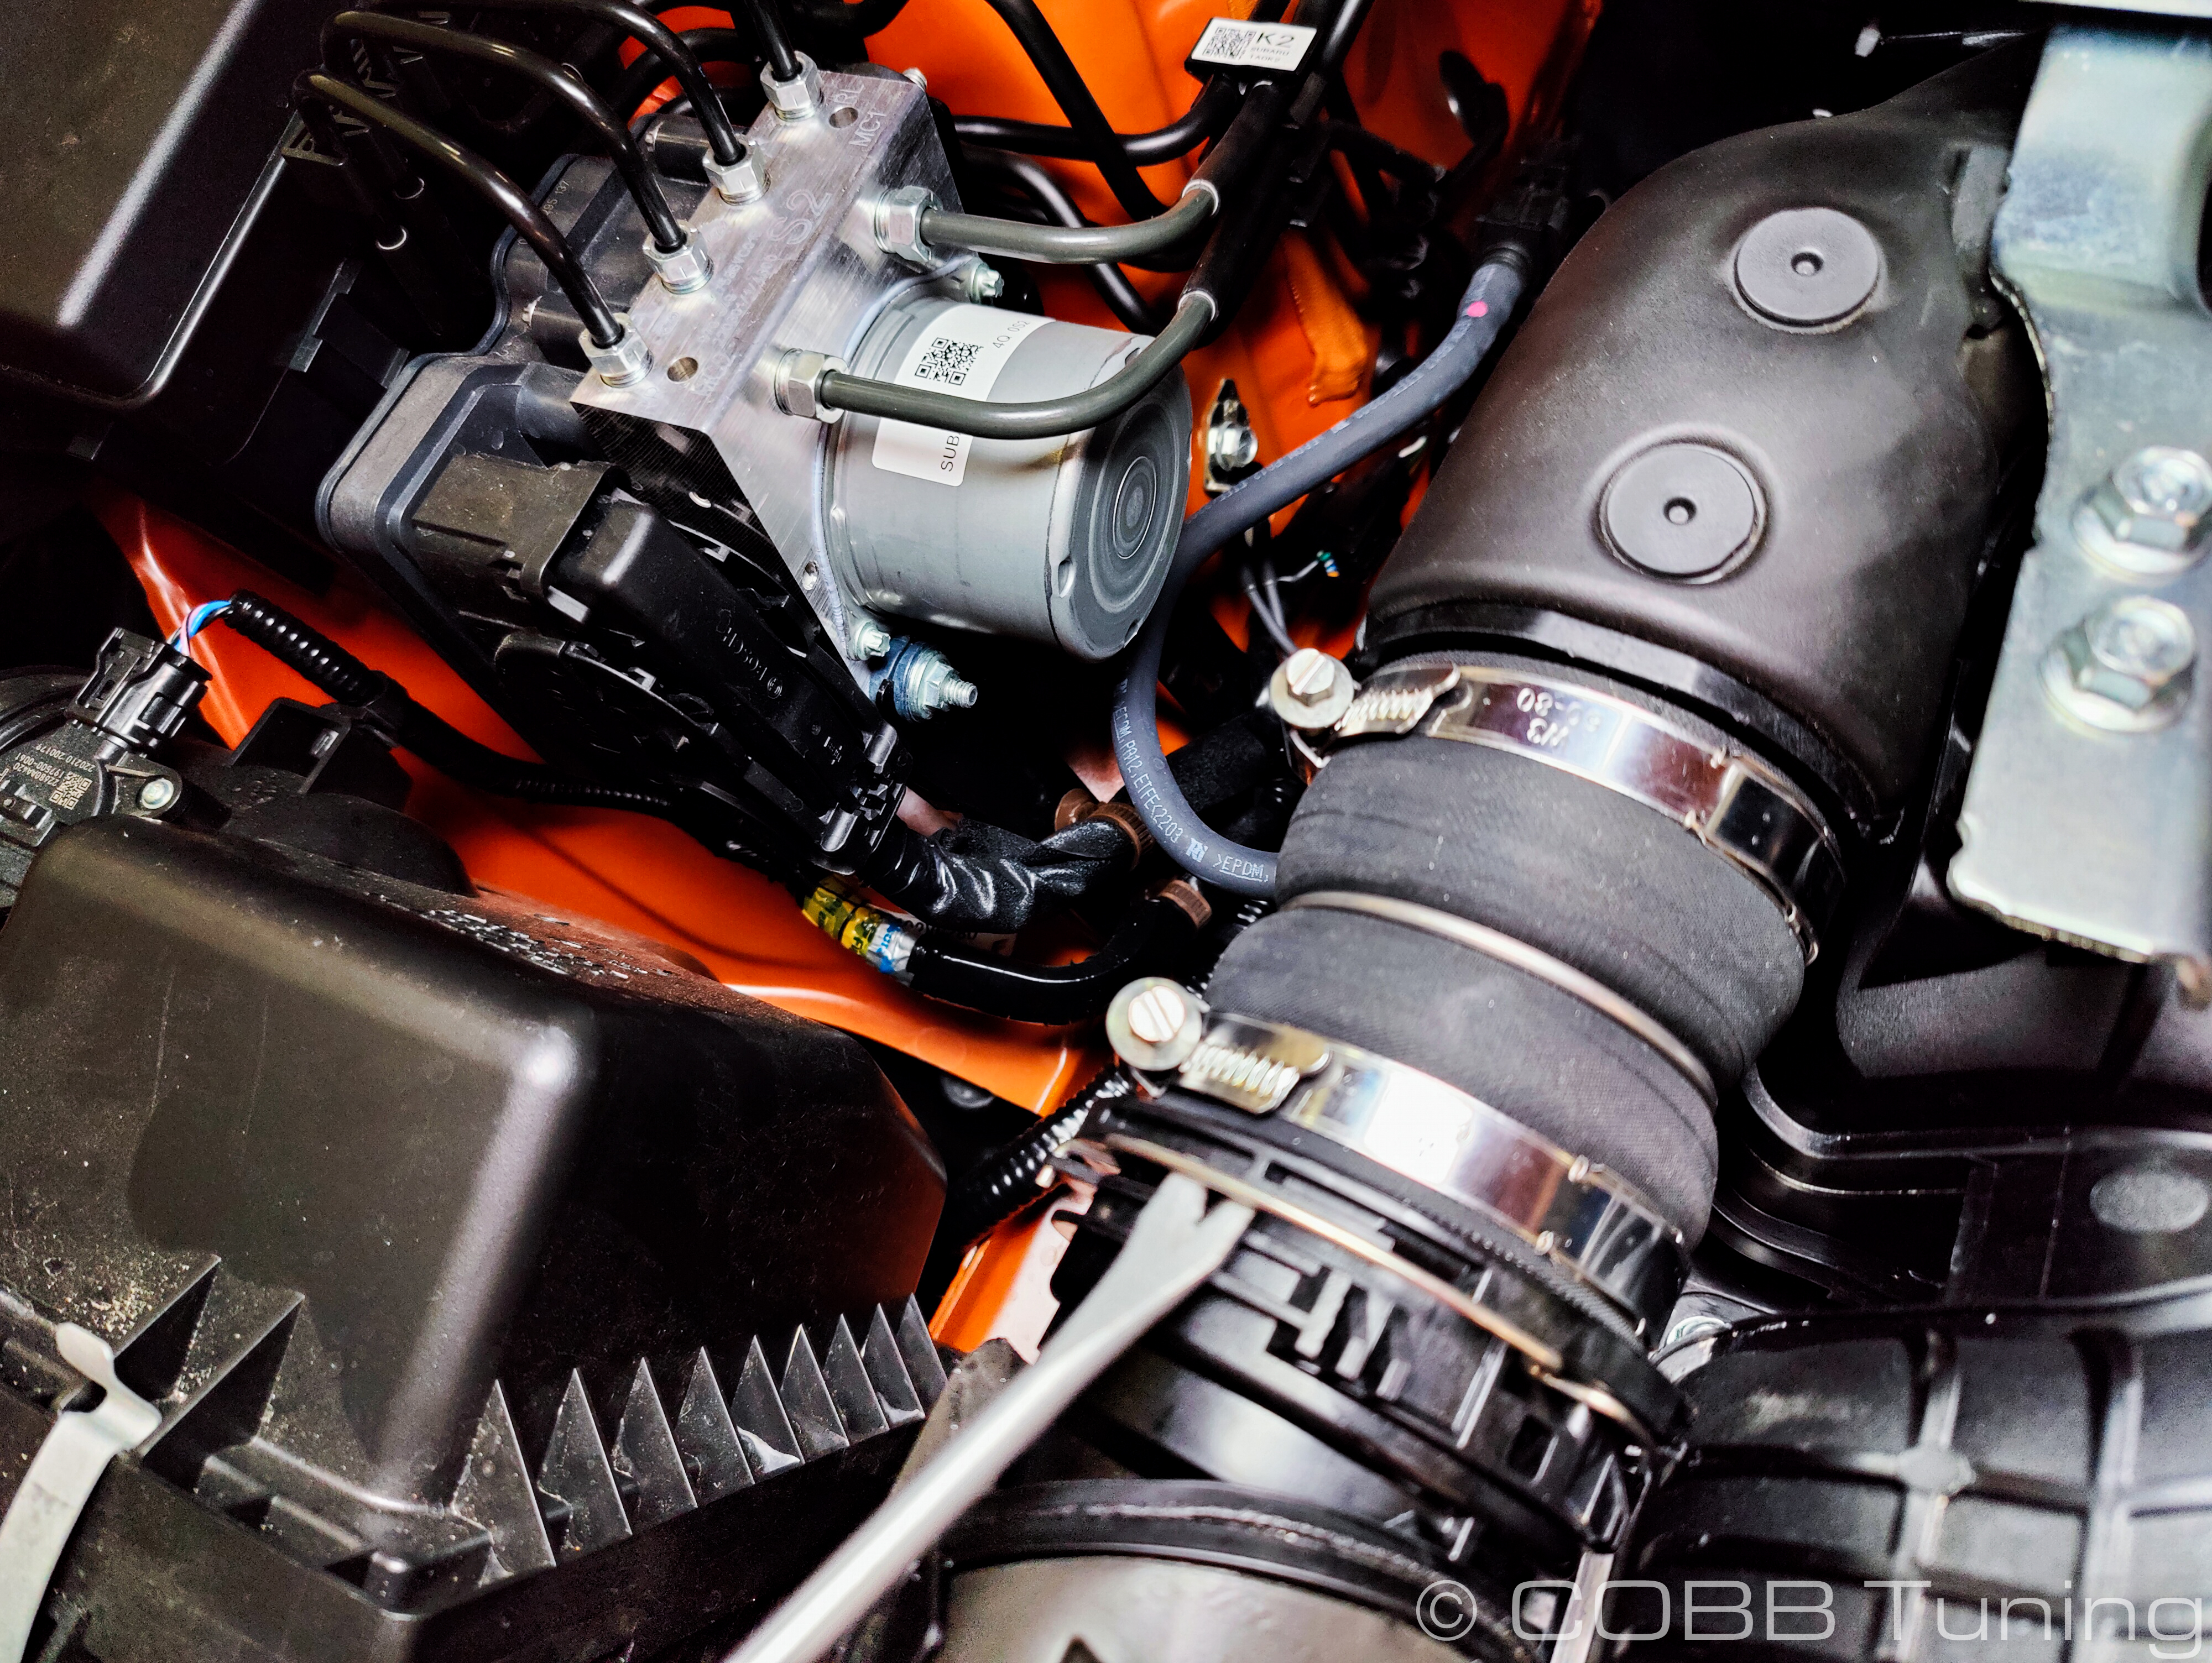
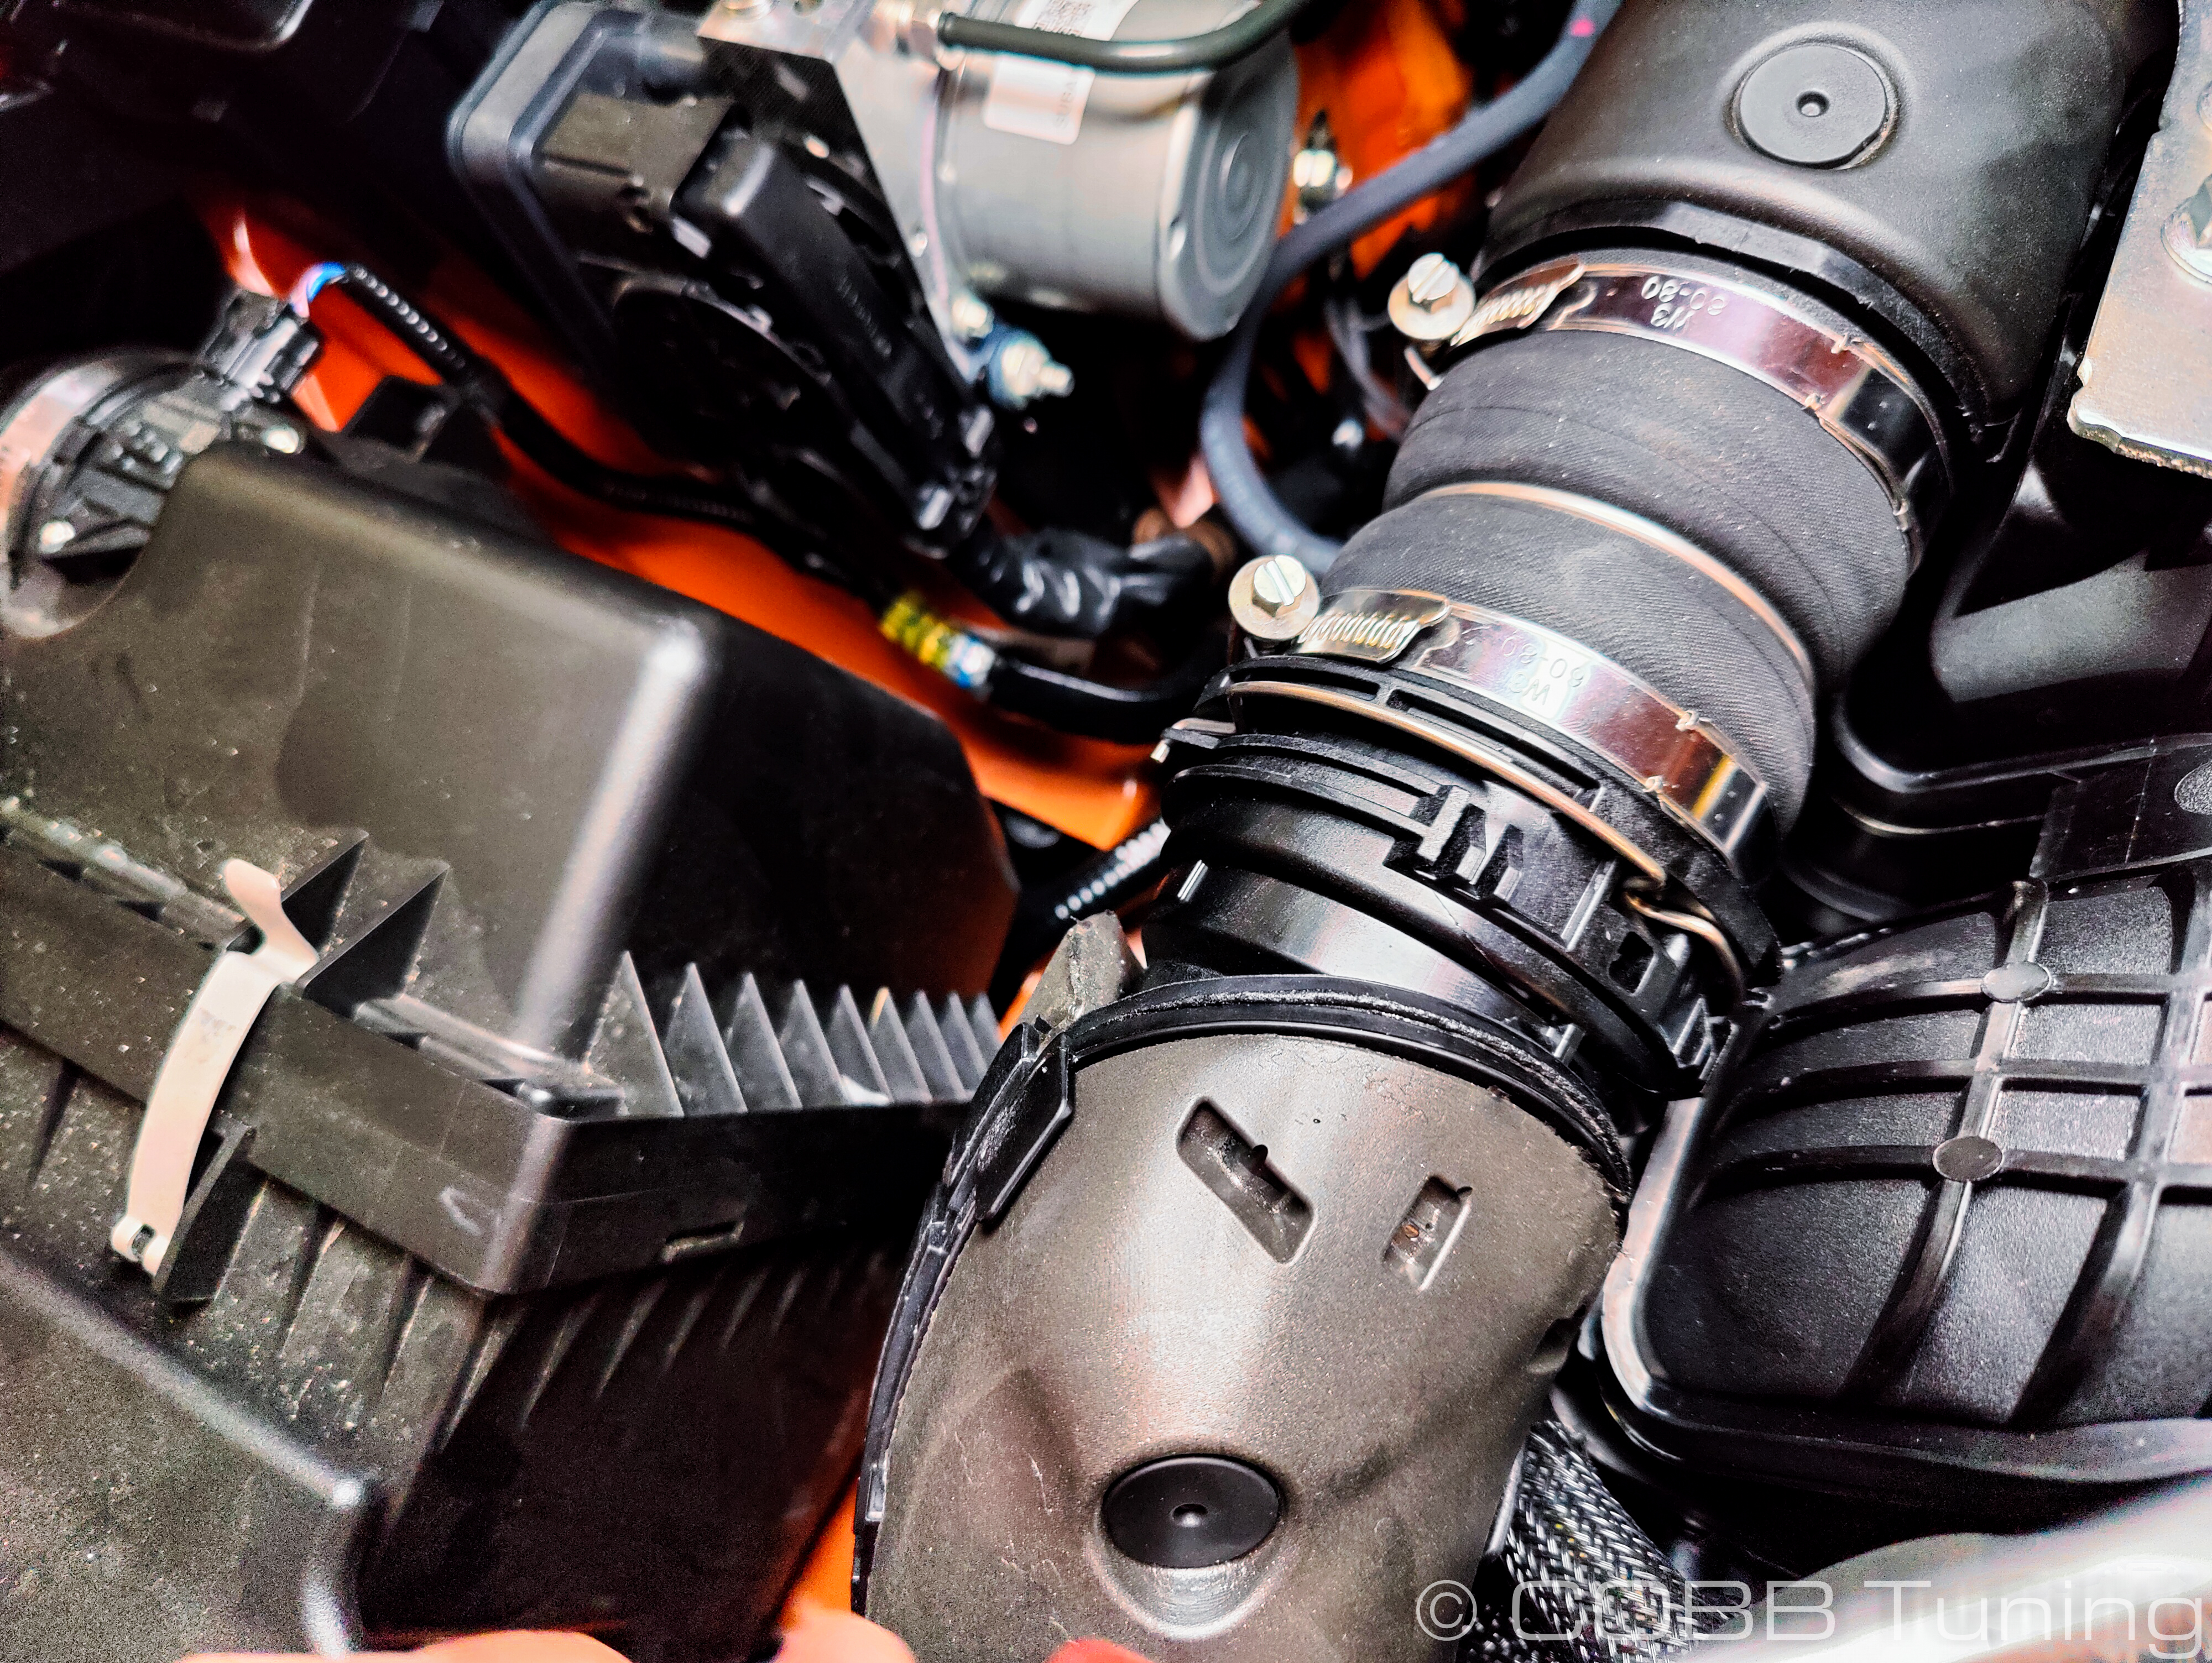
- Gently pry out on the retaining clip spring until it sits in it's unlocked position (It should stay there without need of holding it with a tool)
- Pull the hose connection out of the charge pipe and tilt the intercooler to remove it from the engine bay.
Intercooler Pre-Assembly
- Remove the three bolts holding the charge pipe portion to the stock intercooler using your 12mm wrench. This can get moved over to the new COBB intercooler.
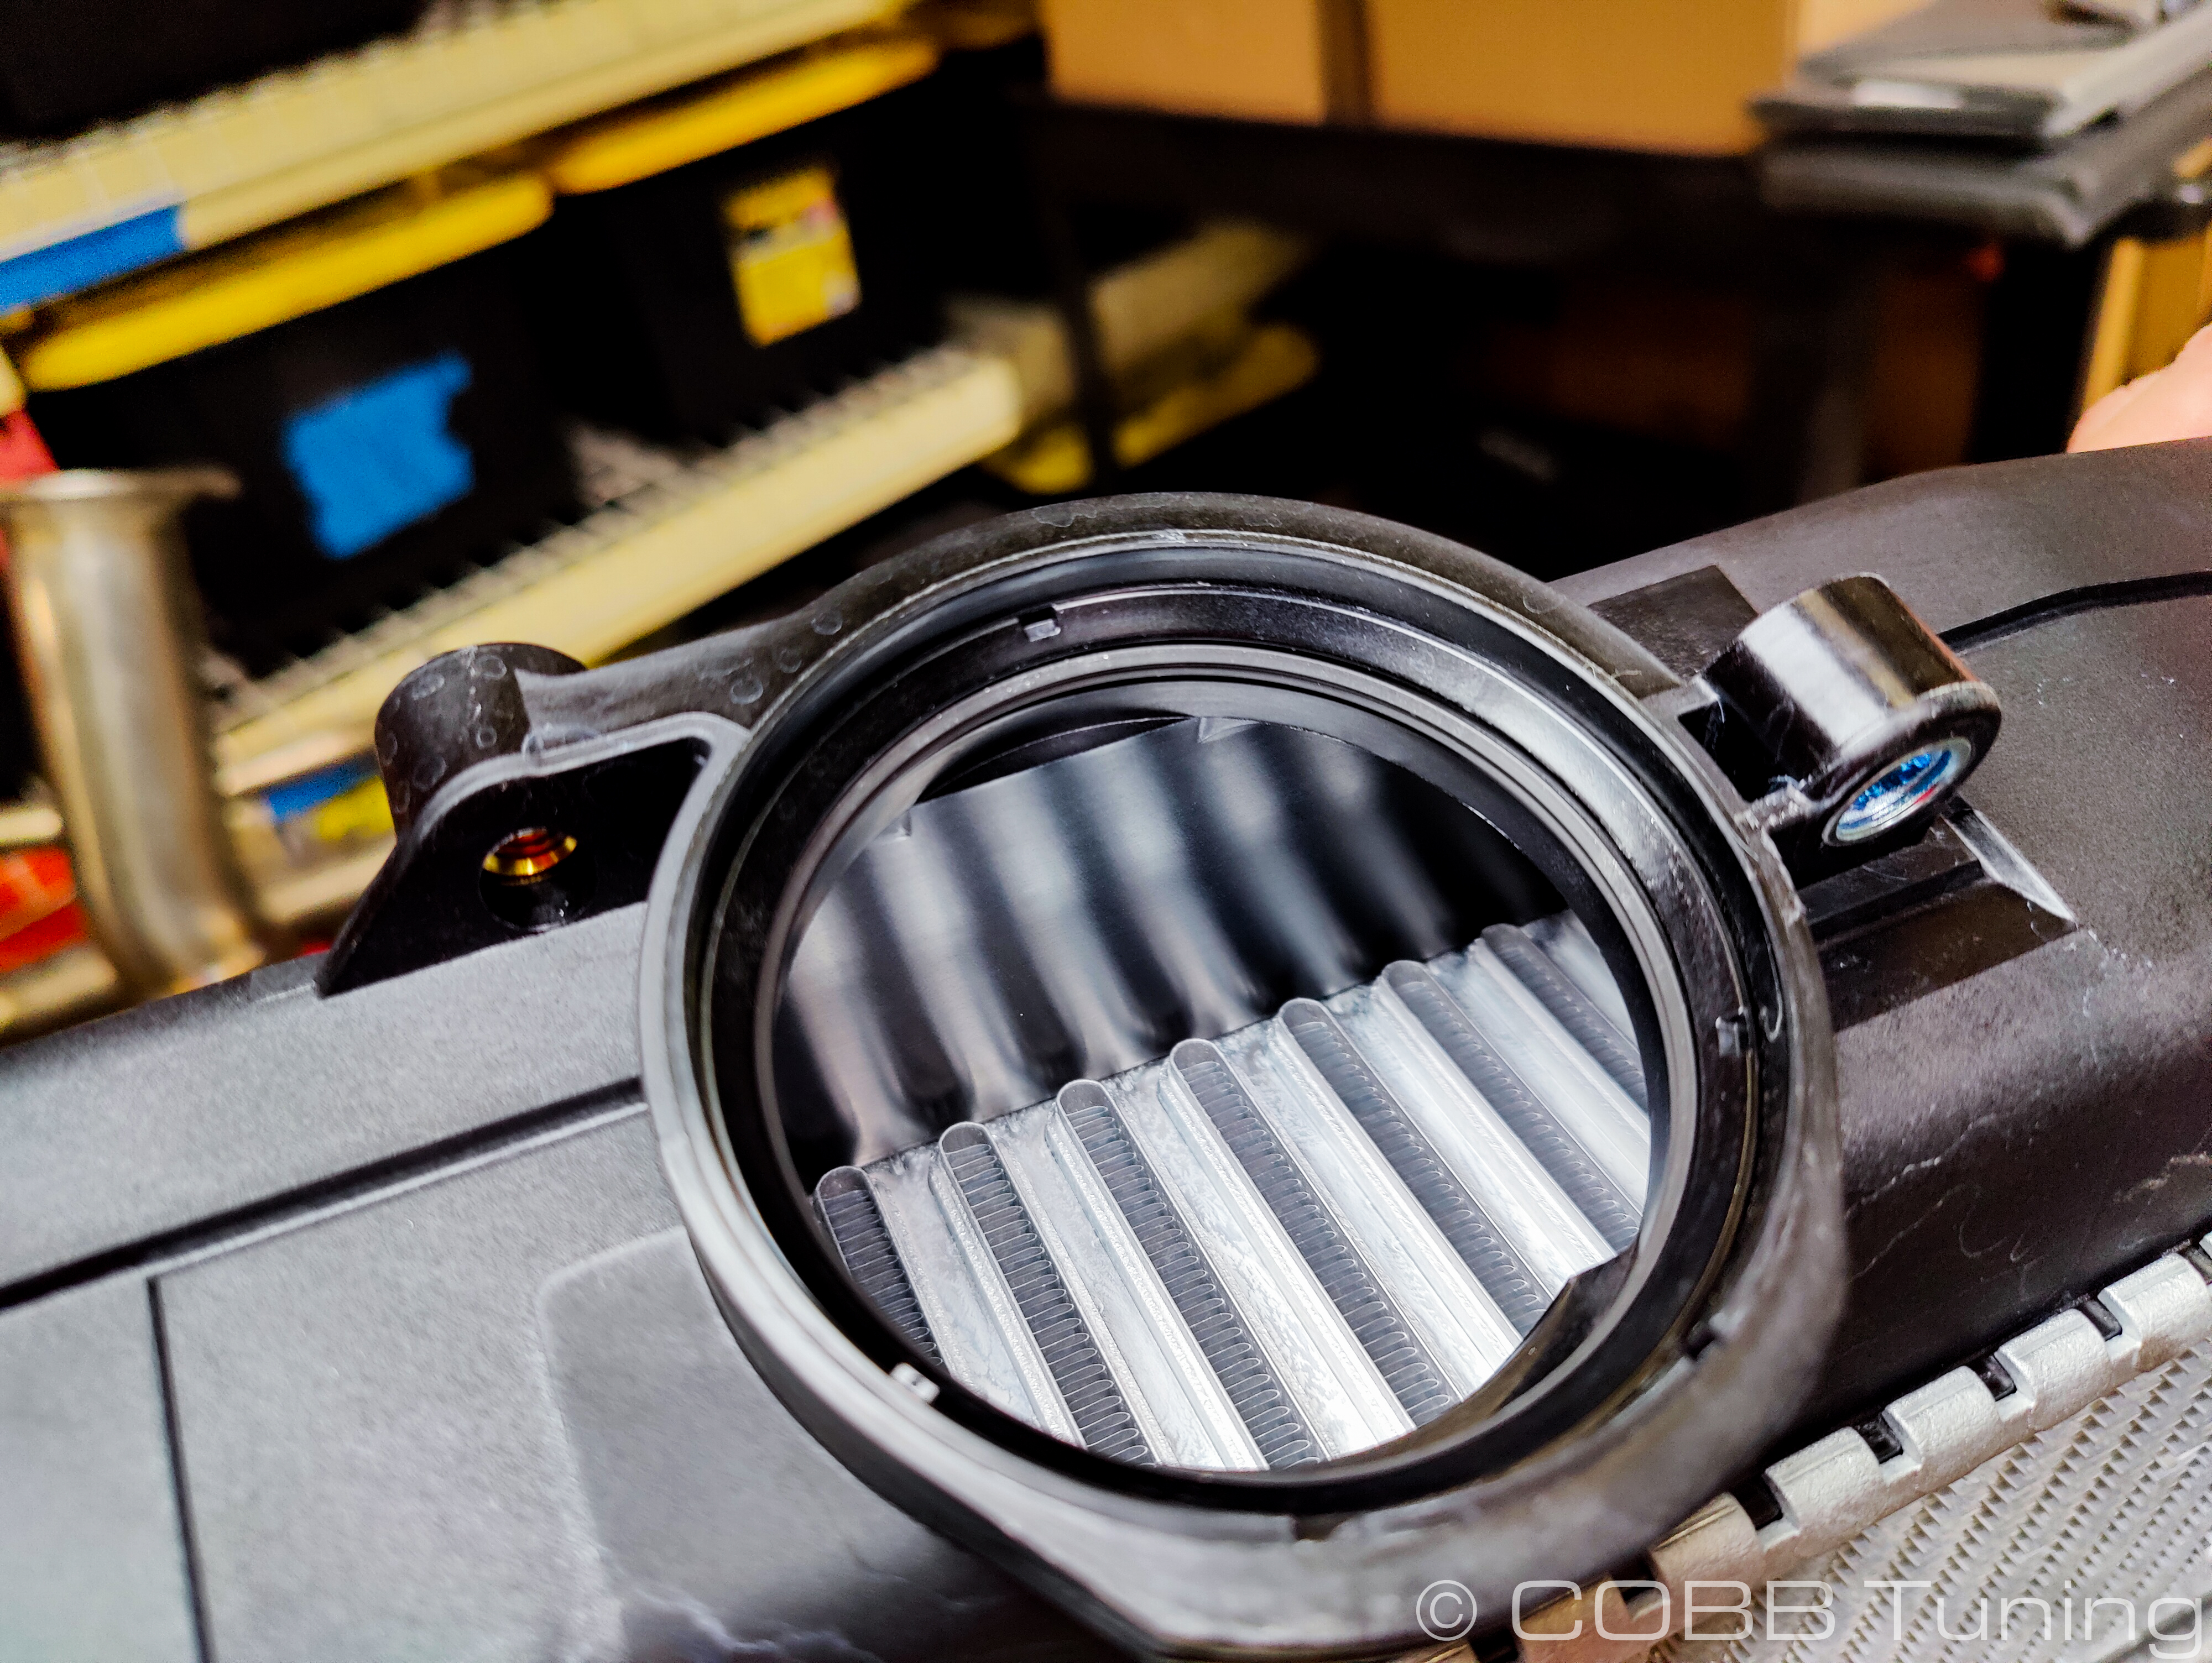
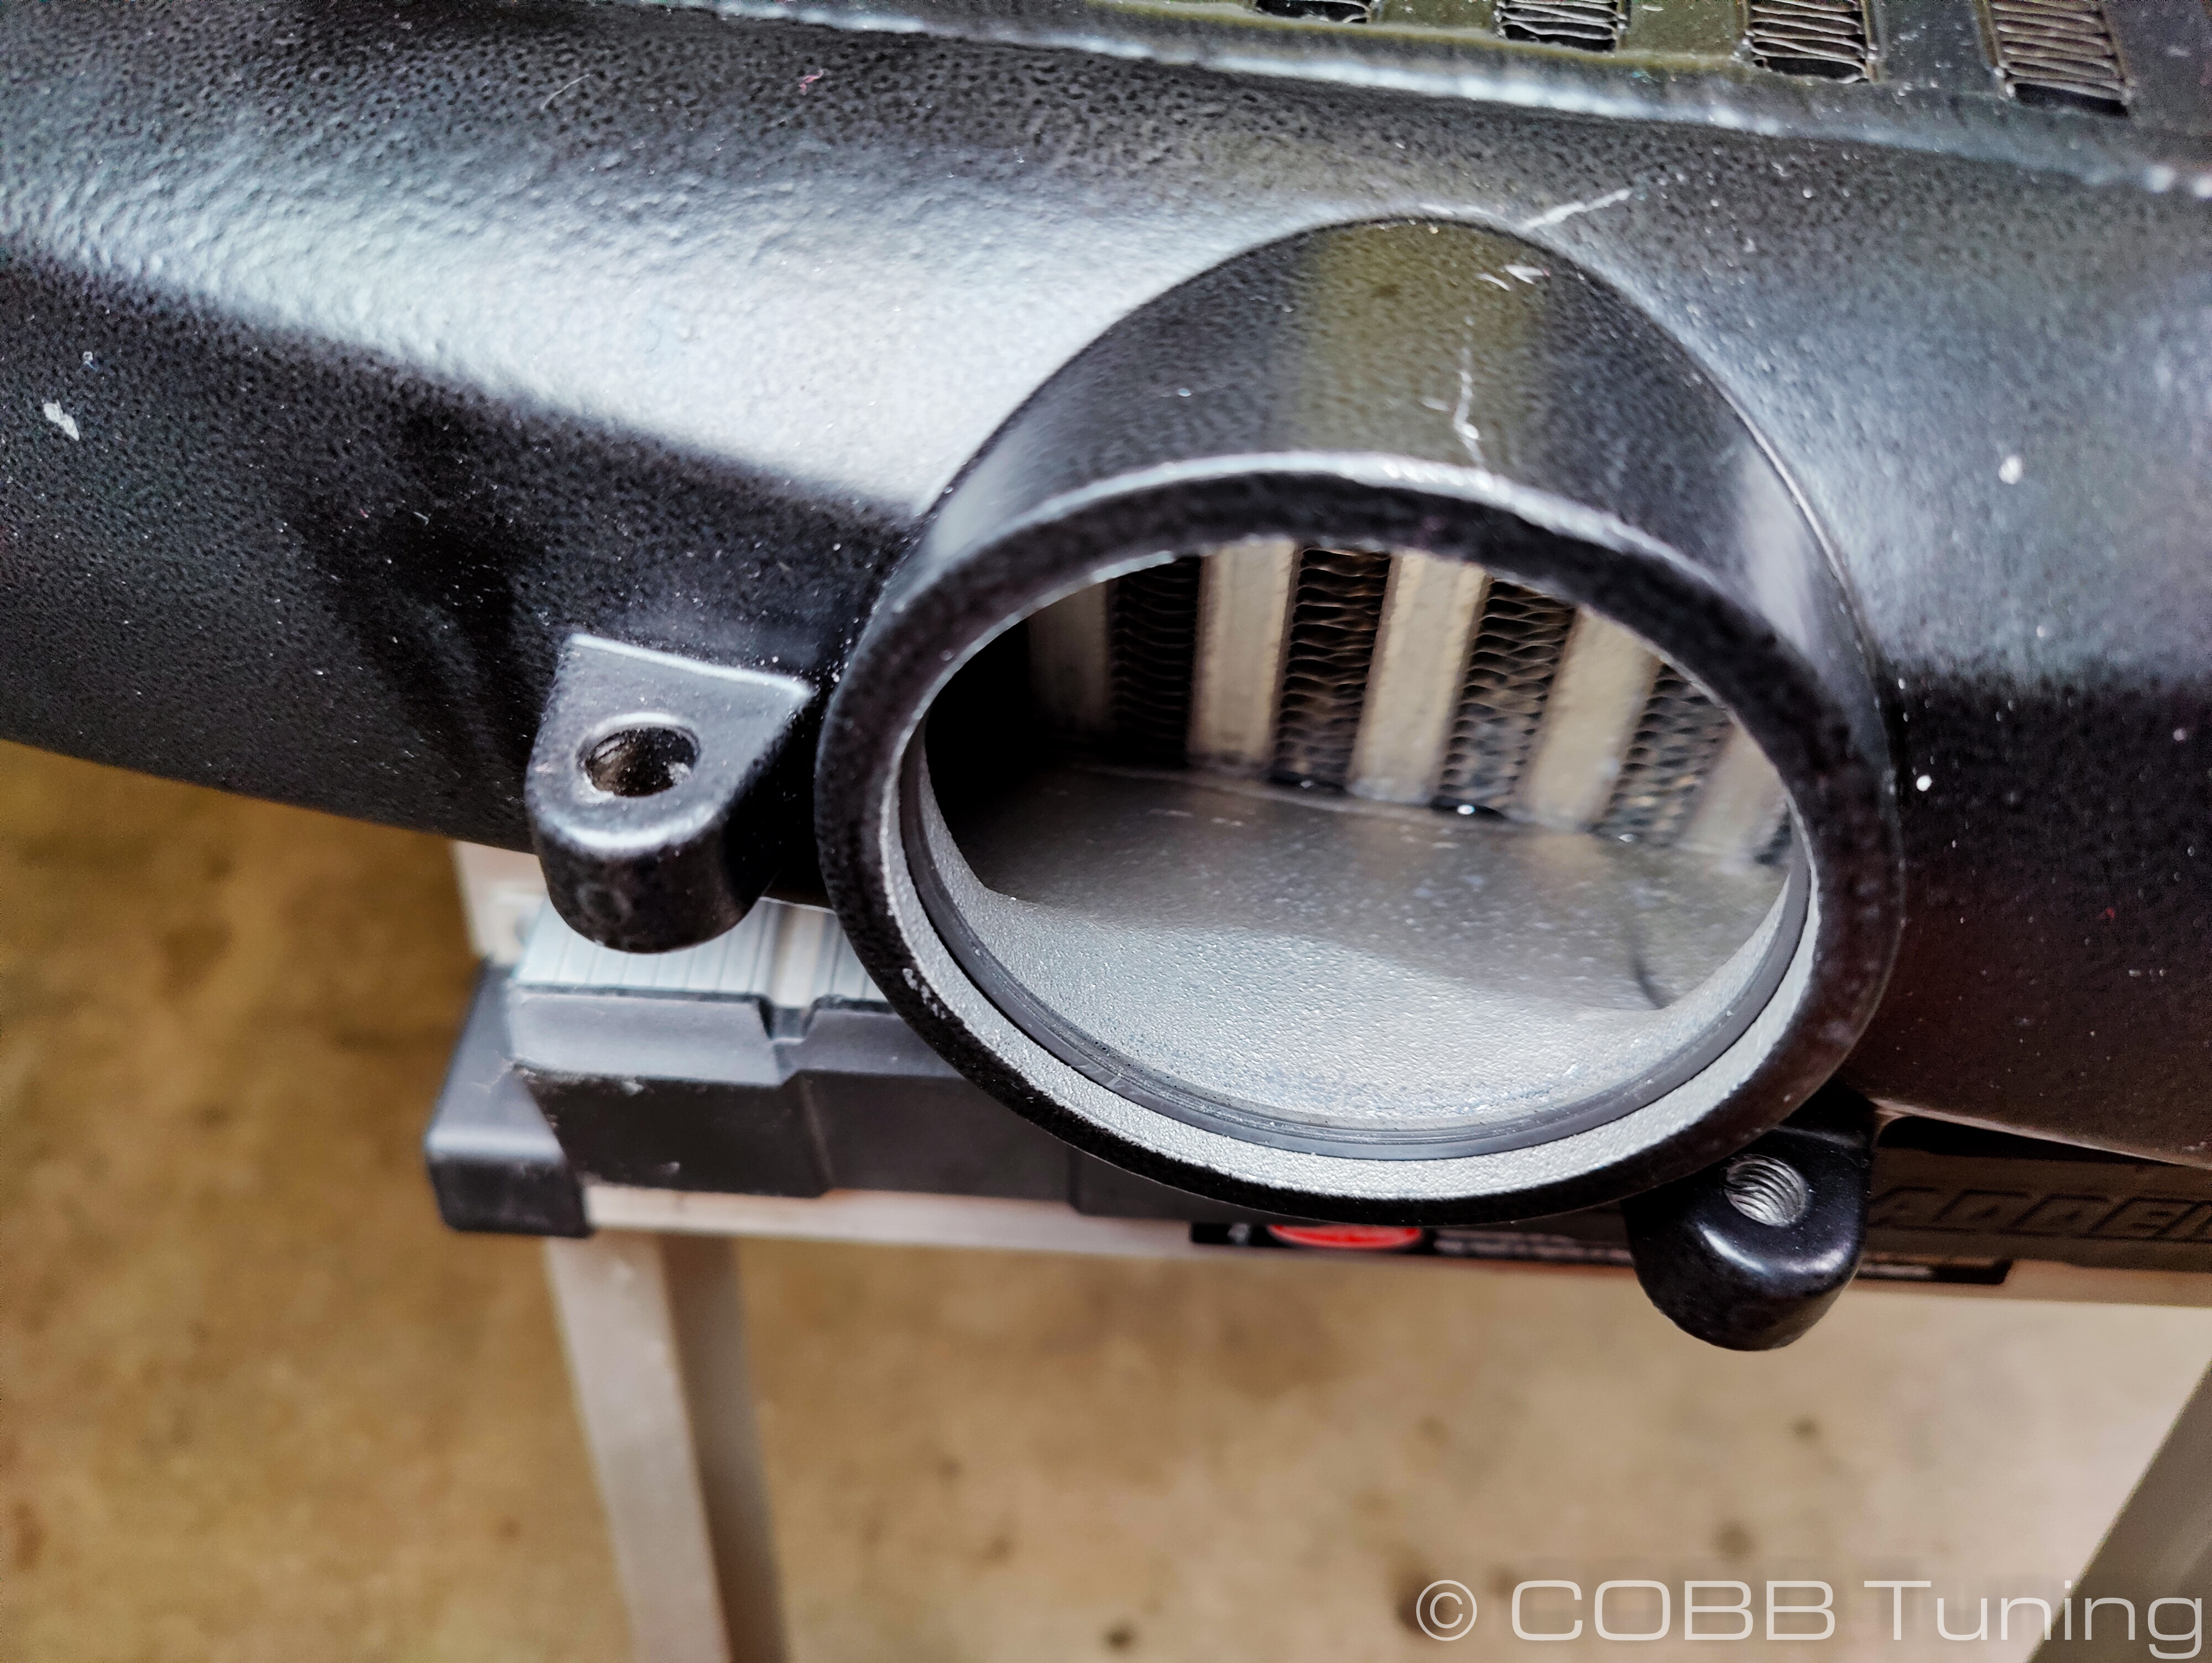
- Carefully using a pick, remove the o-ring from the intercooler outlet where it attaches to the throttle body. Move this to the new COBB intercooler.
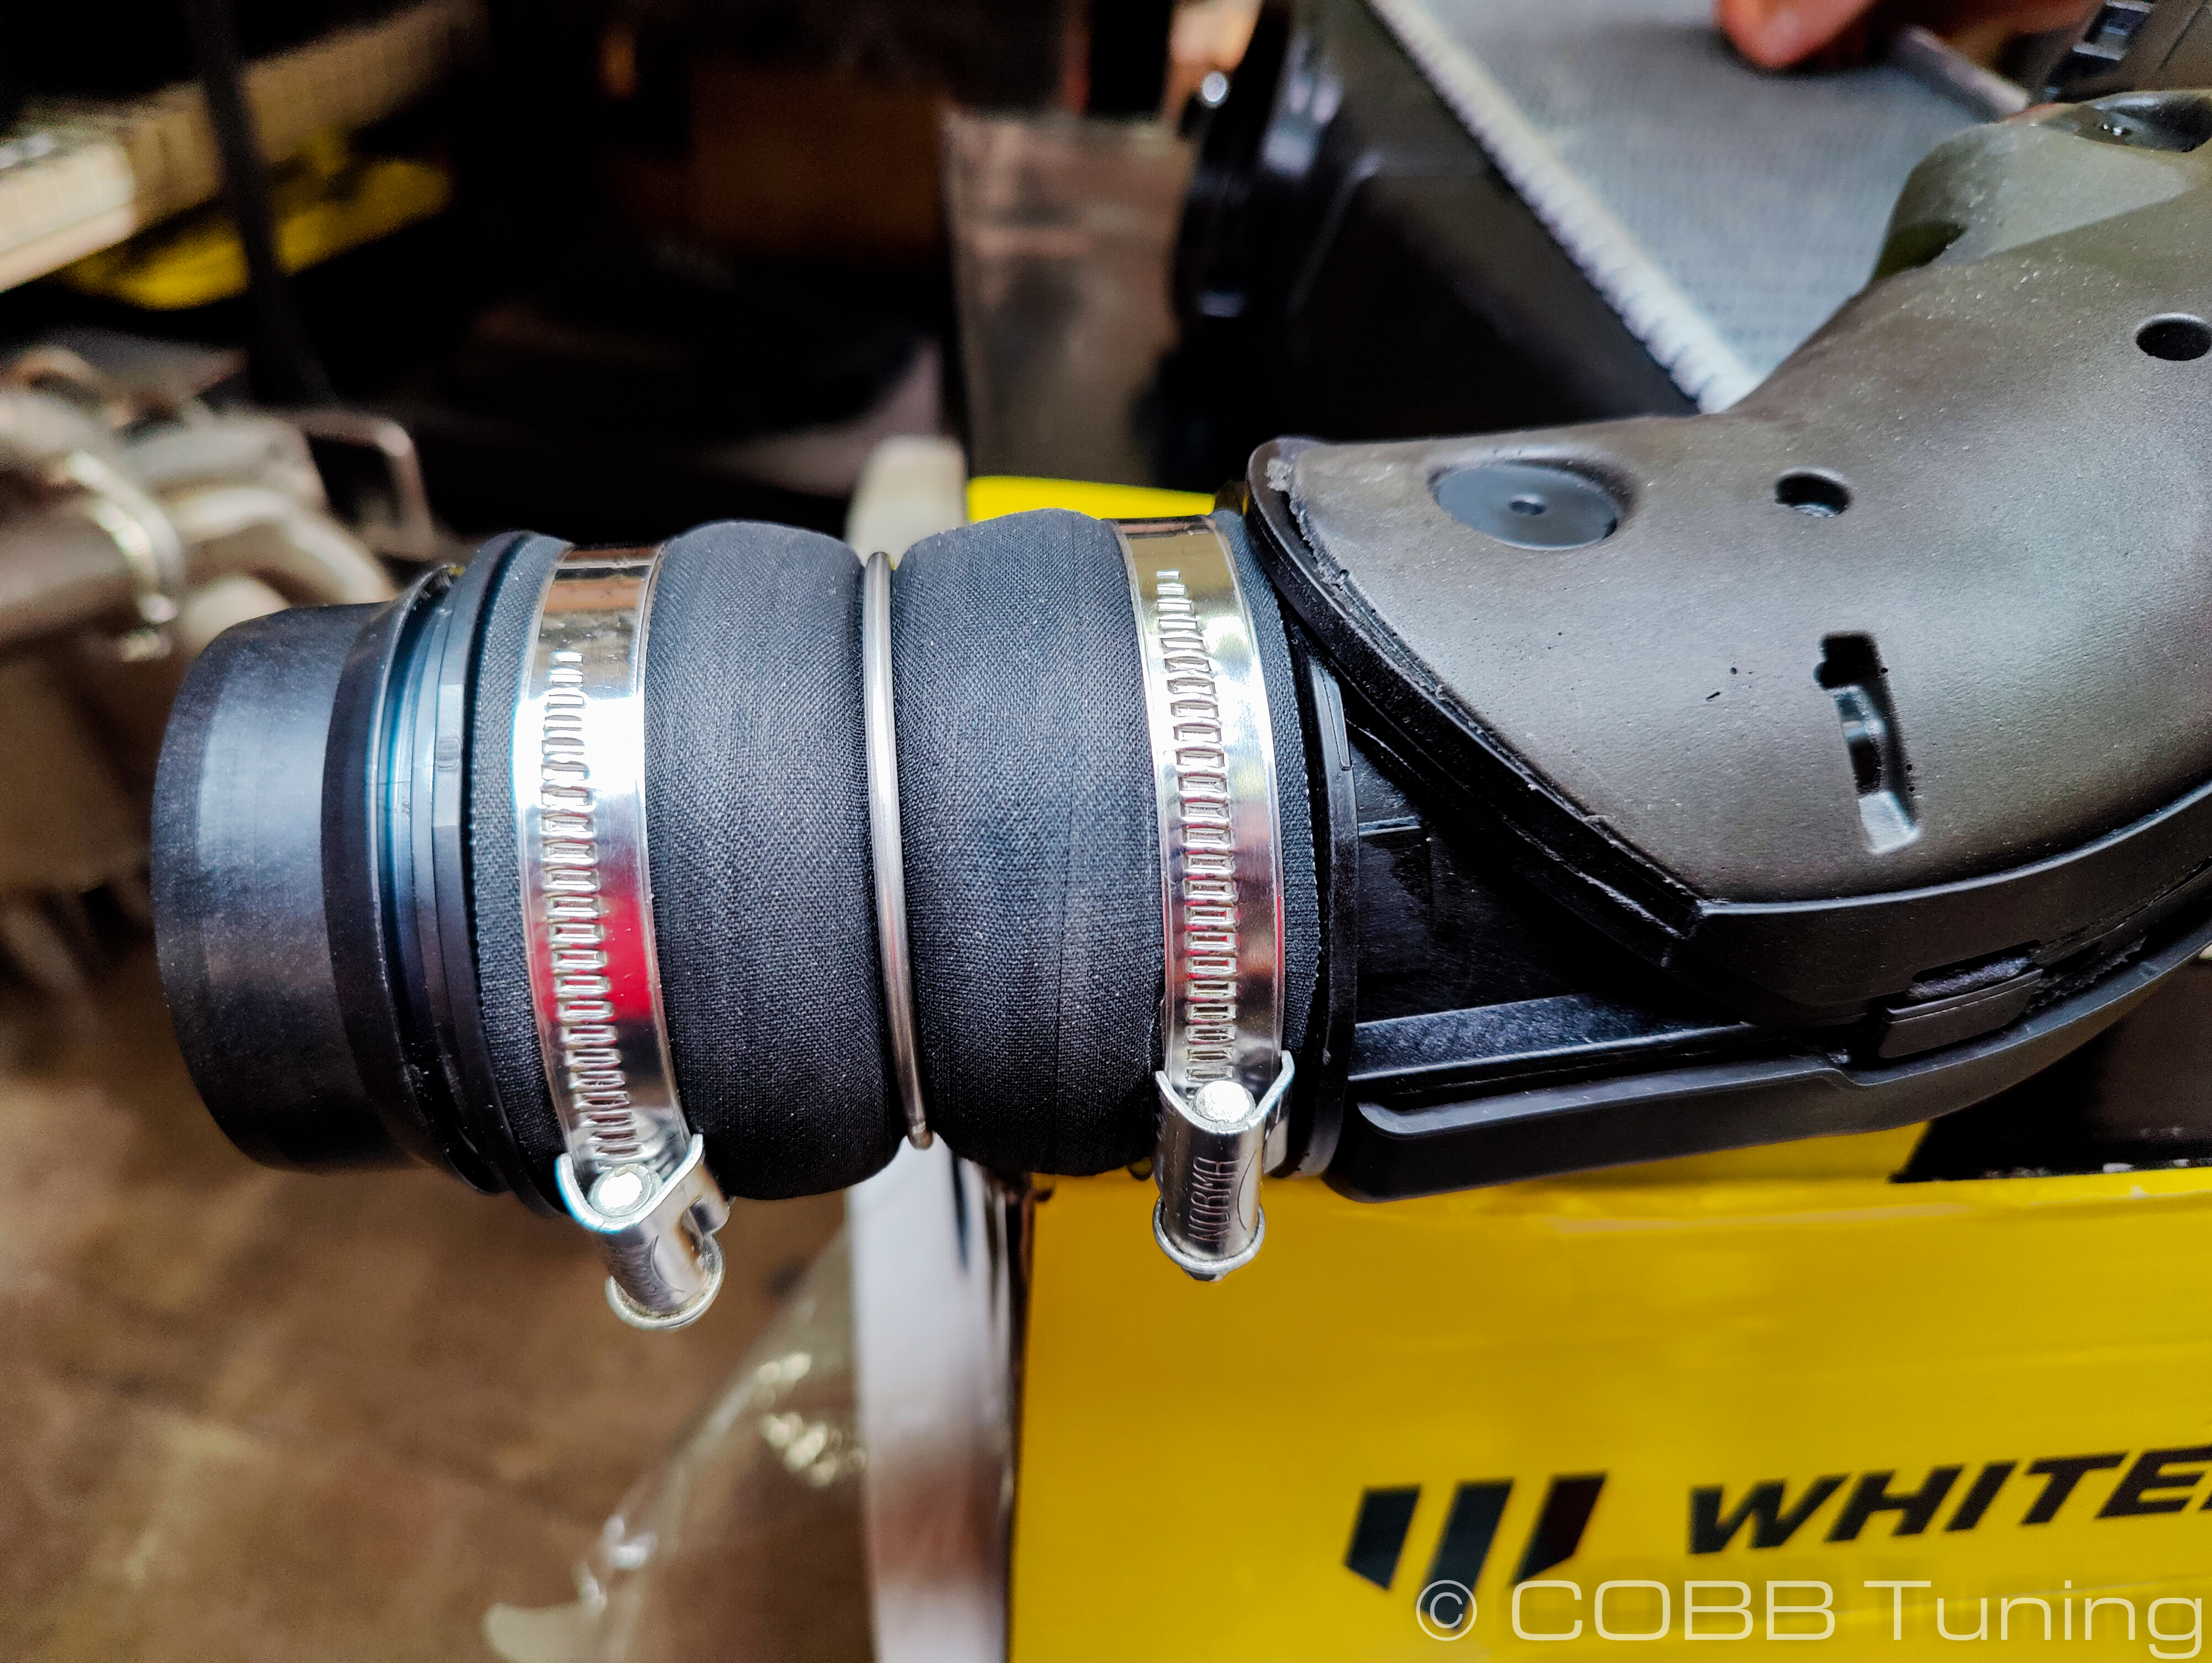
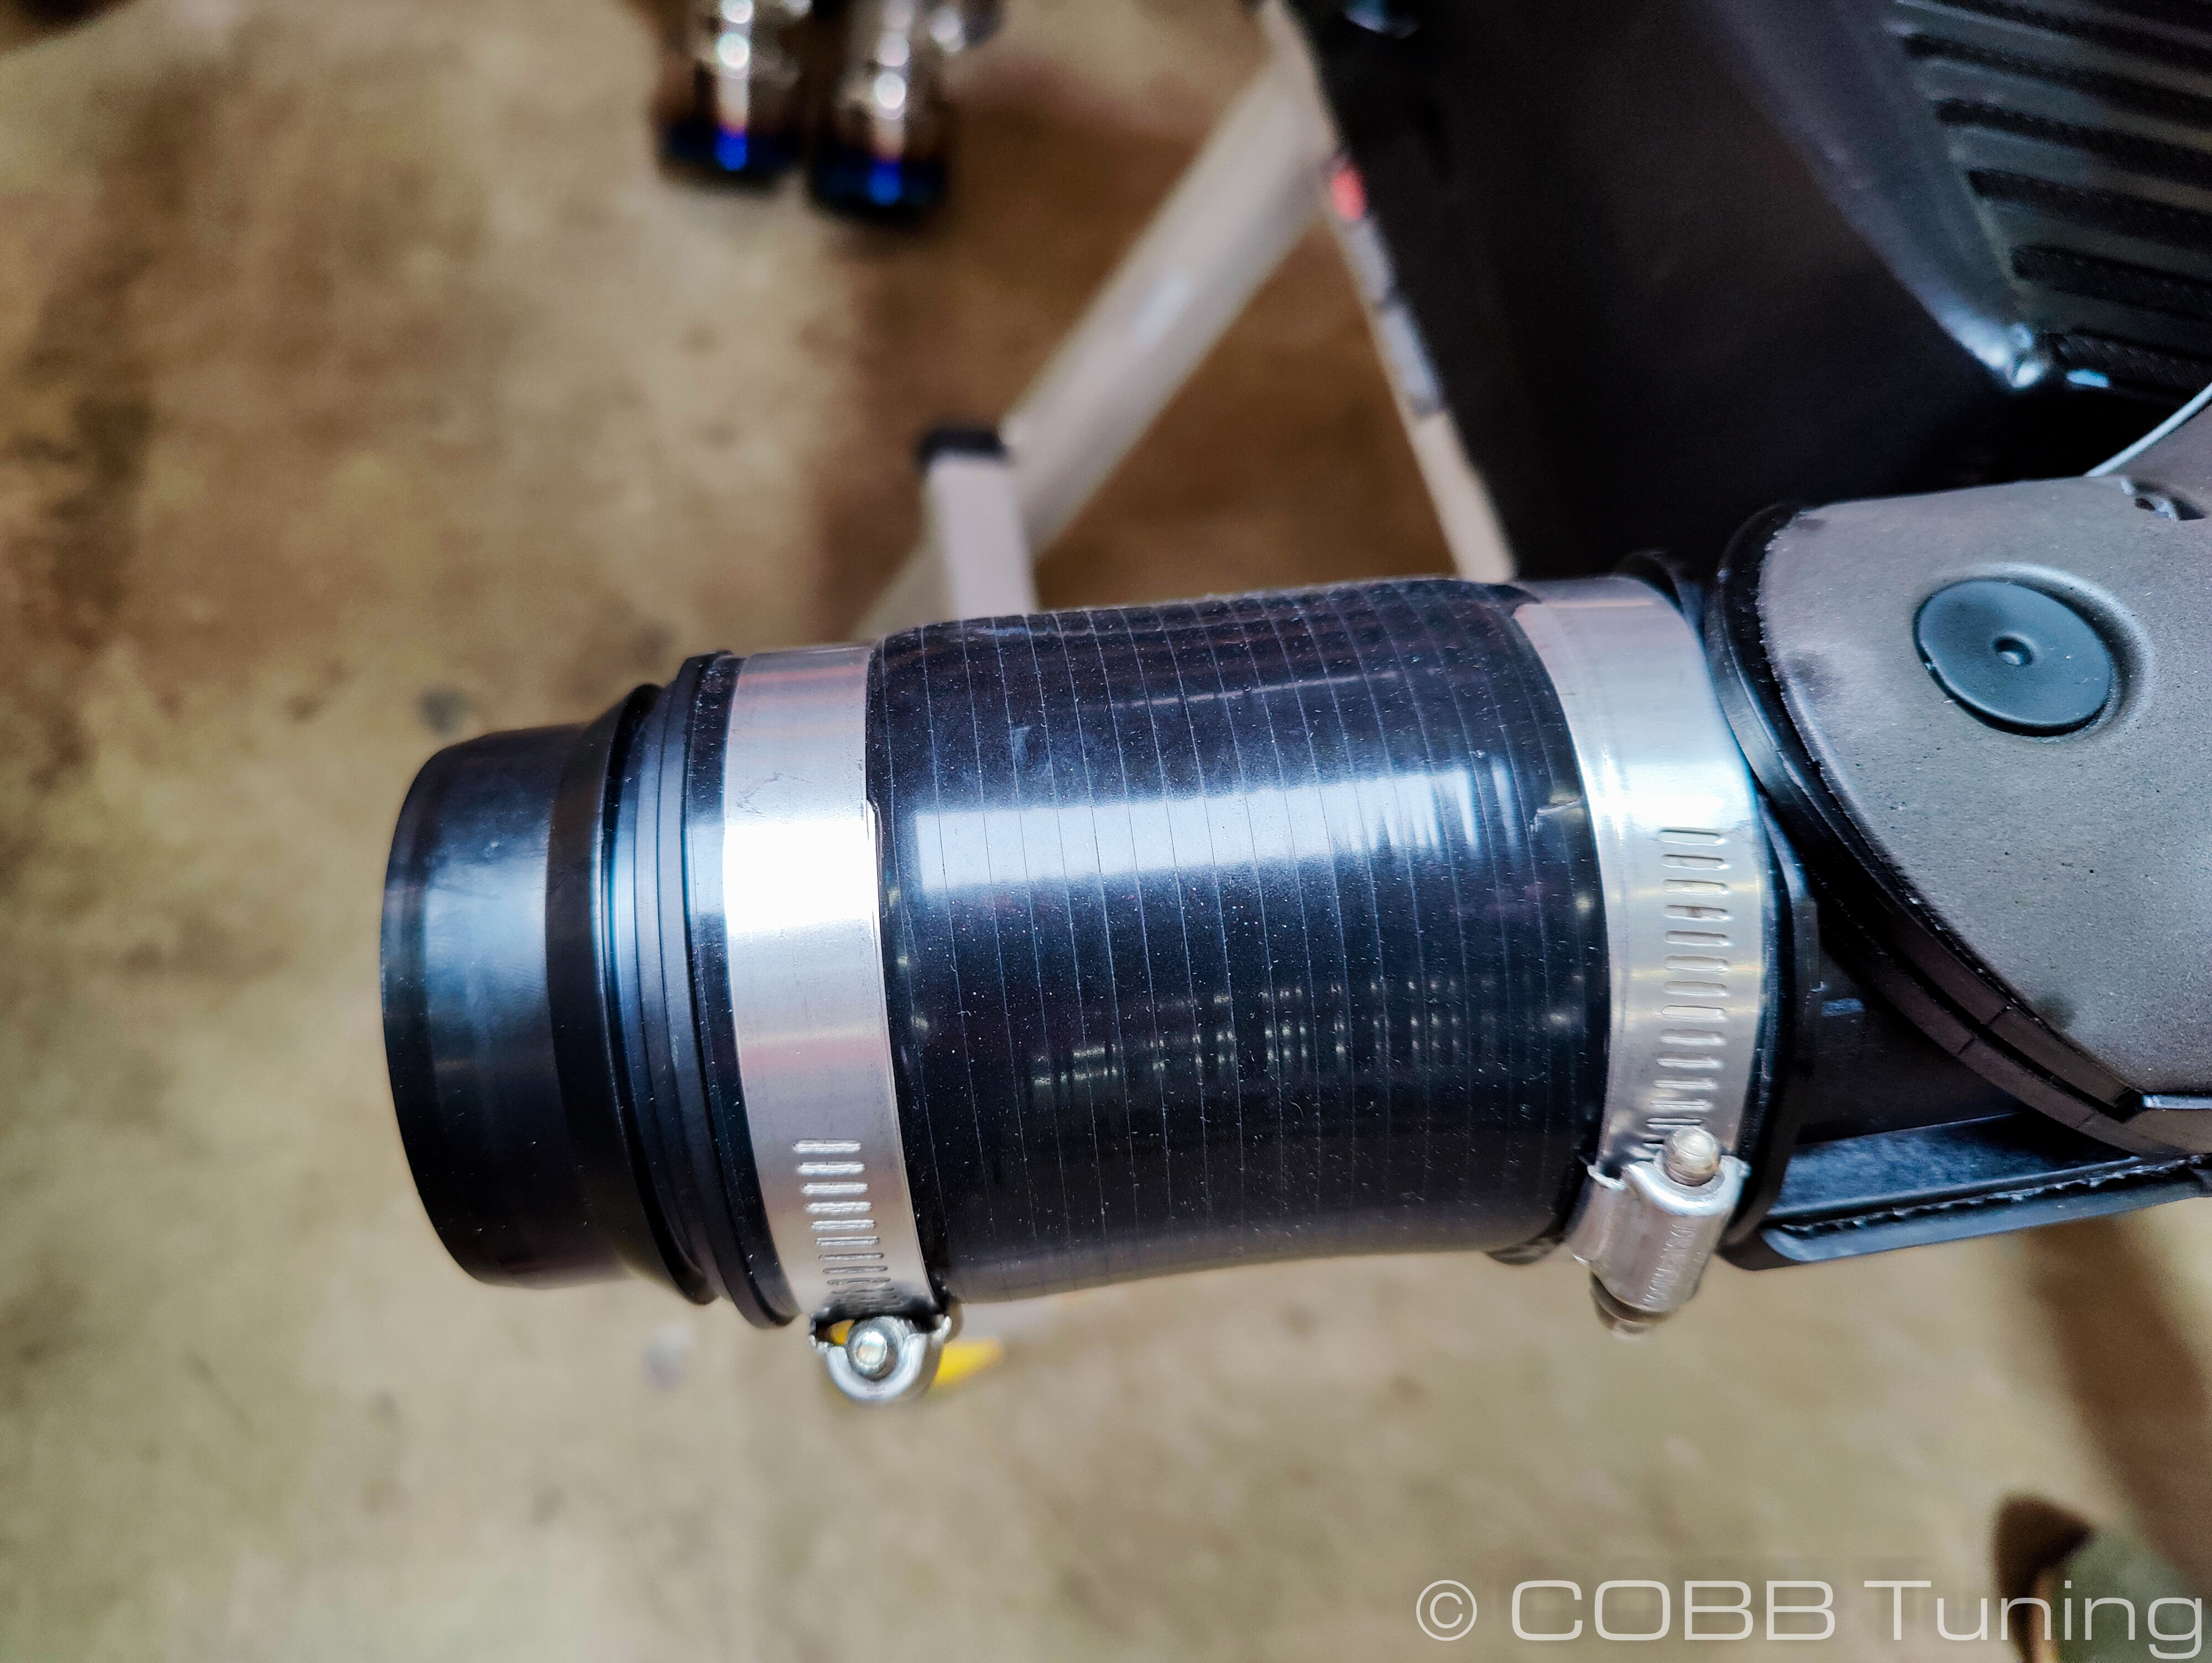
- Undo the two 7mm hose clamps holding the rubber coupler on the charge pipe.
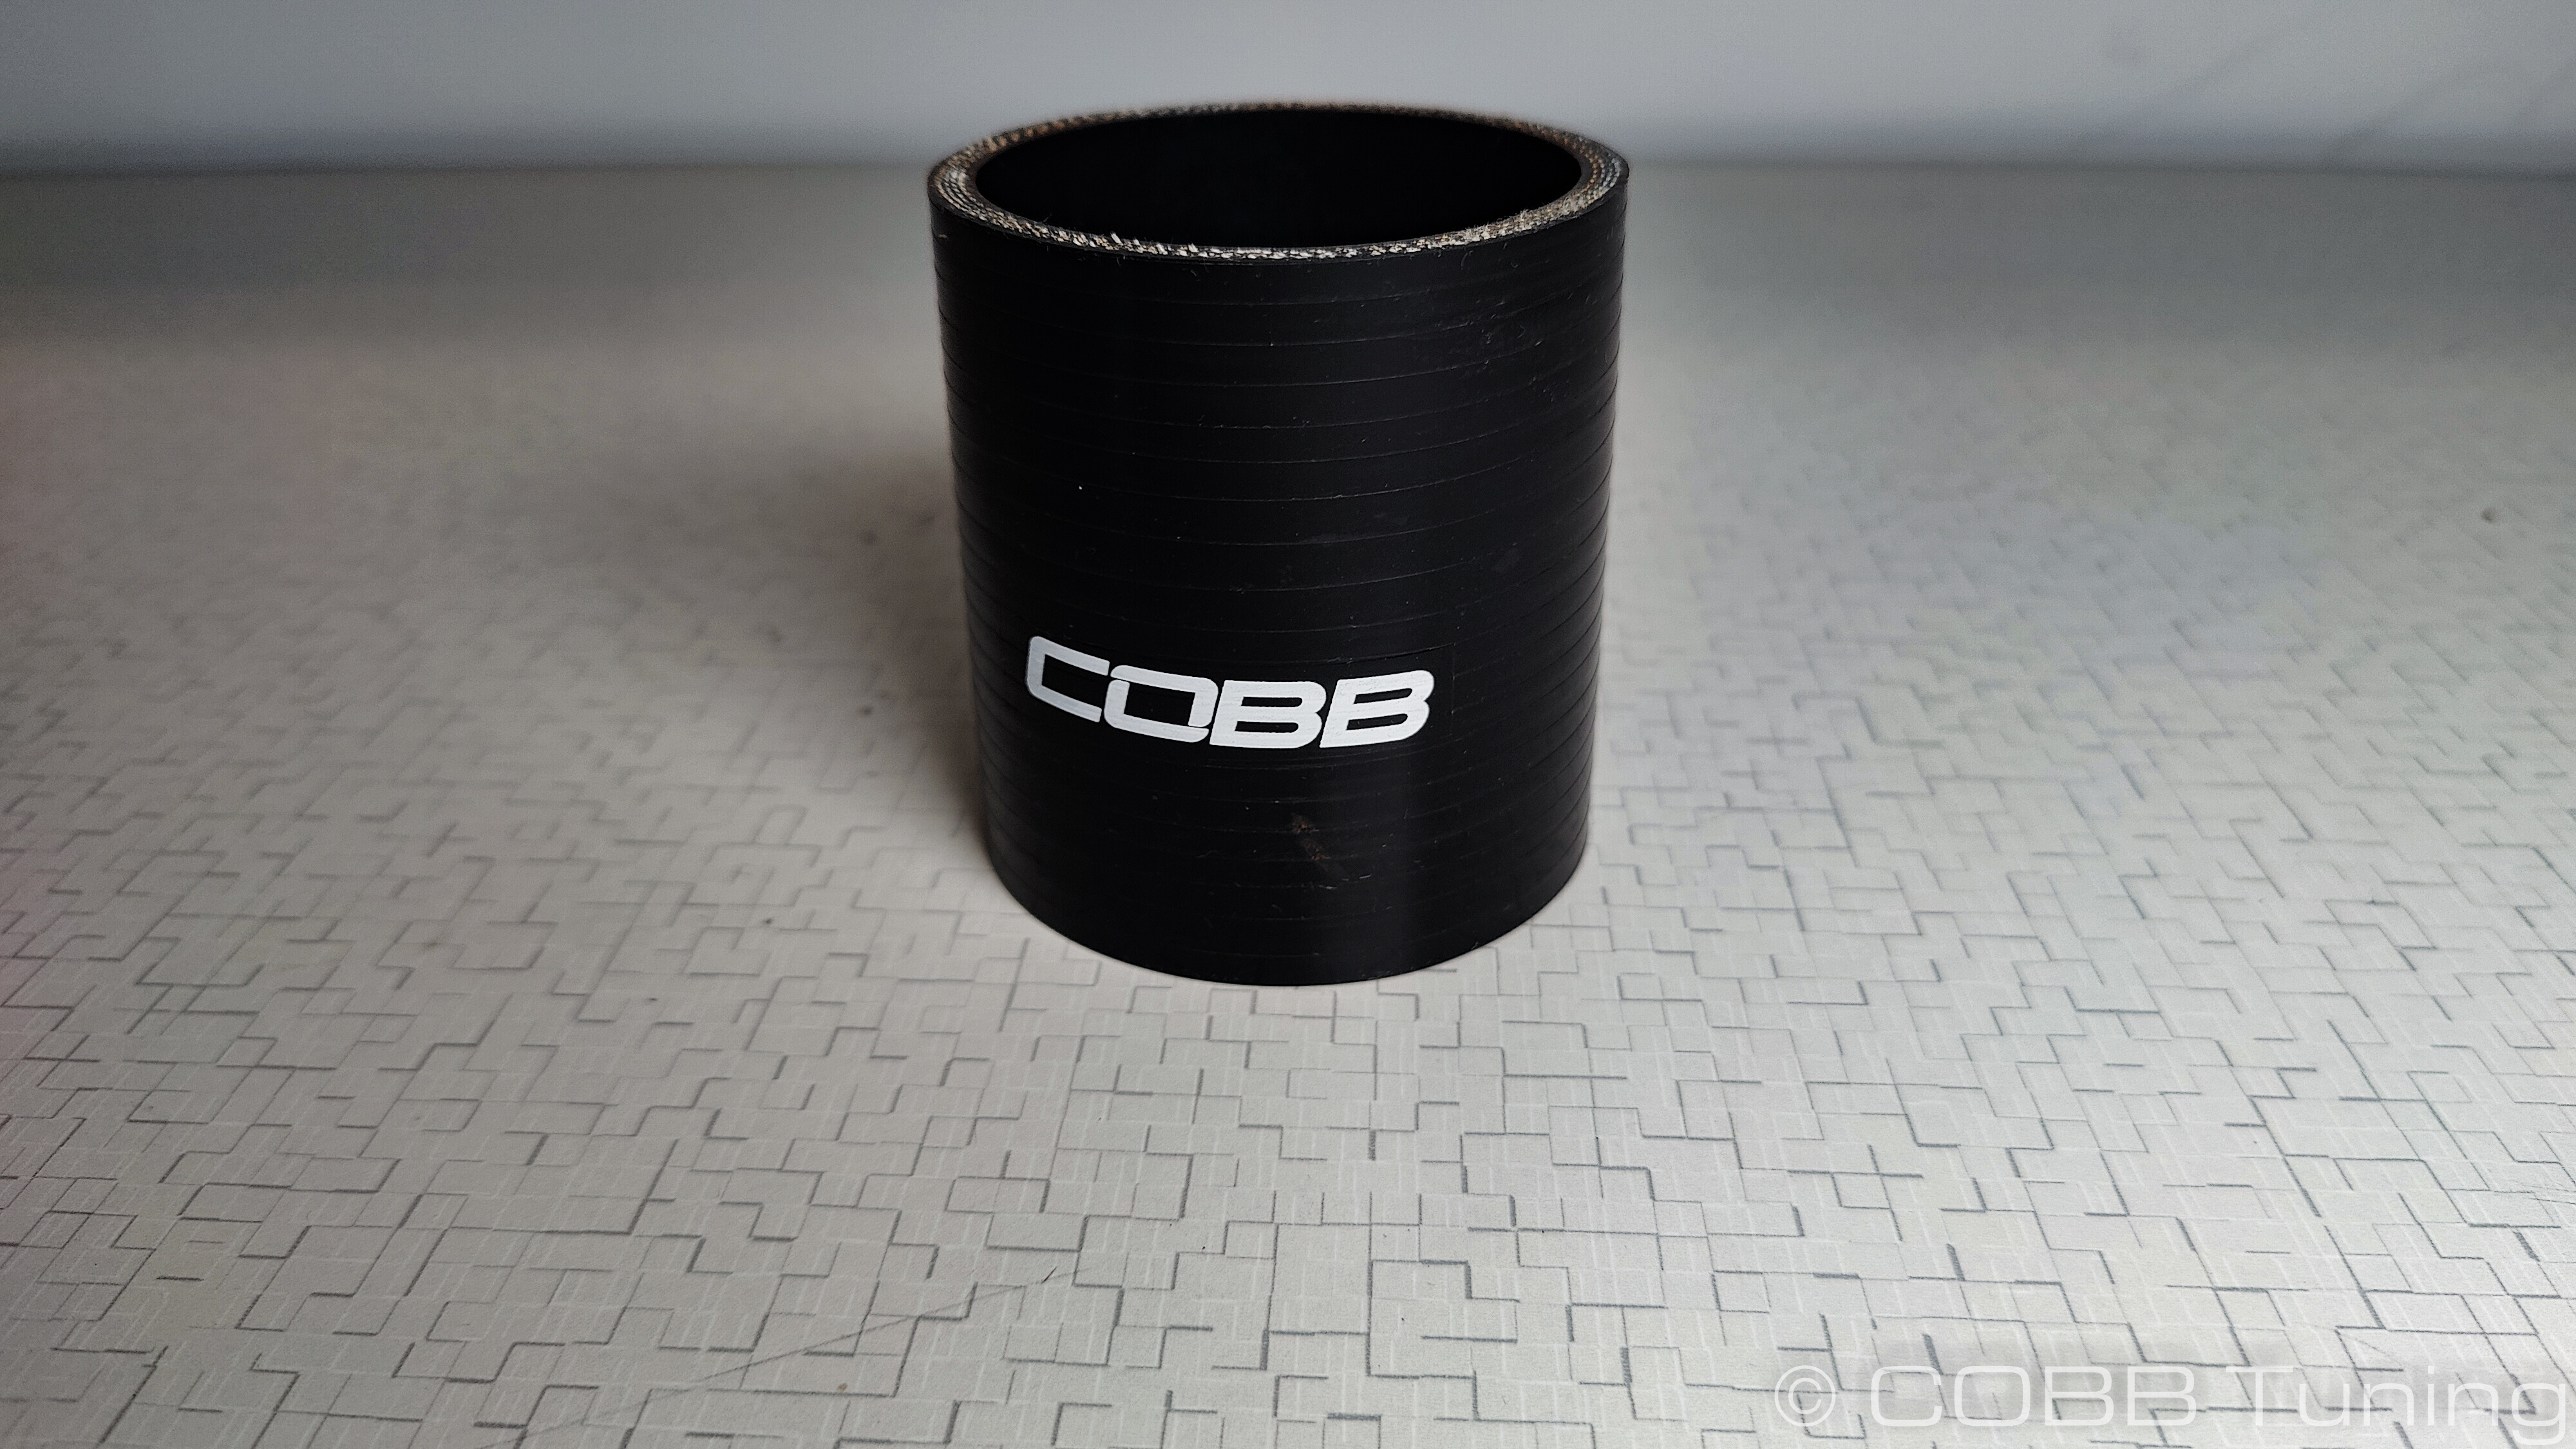
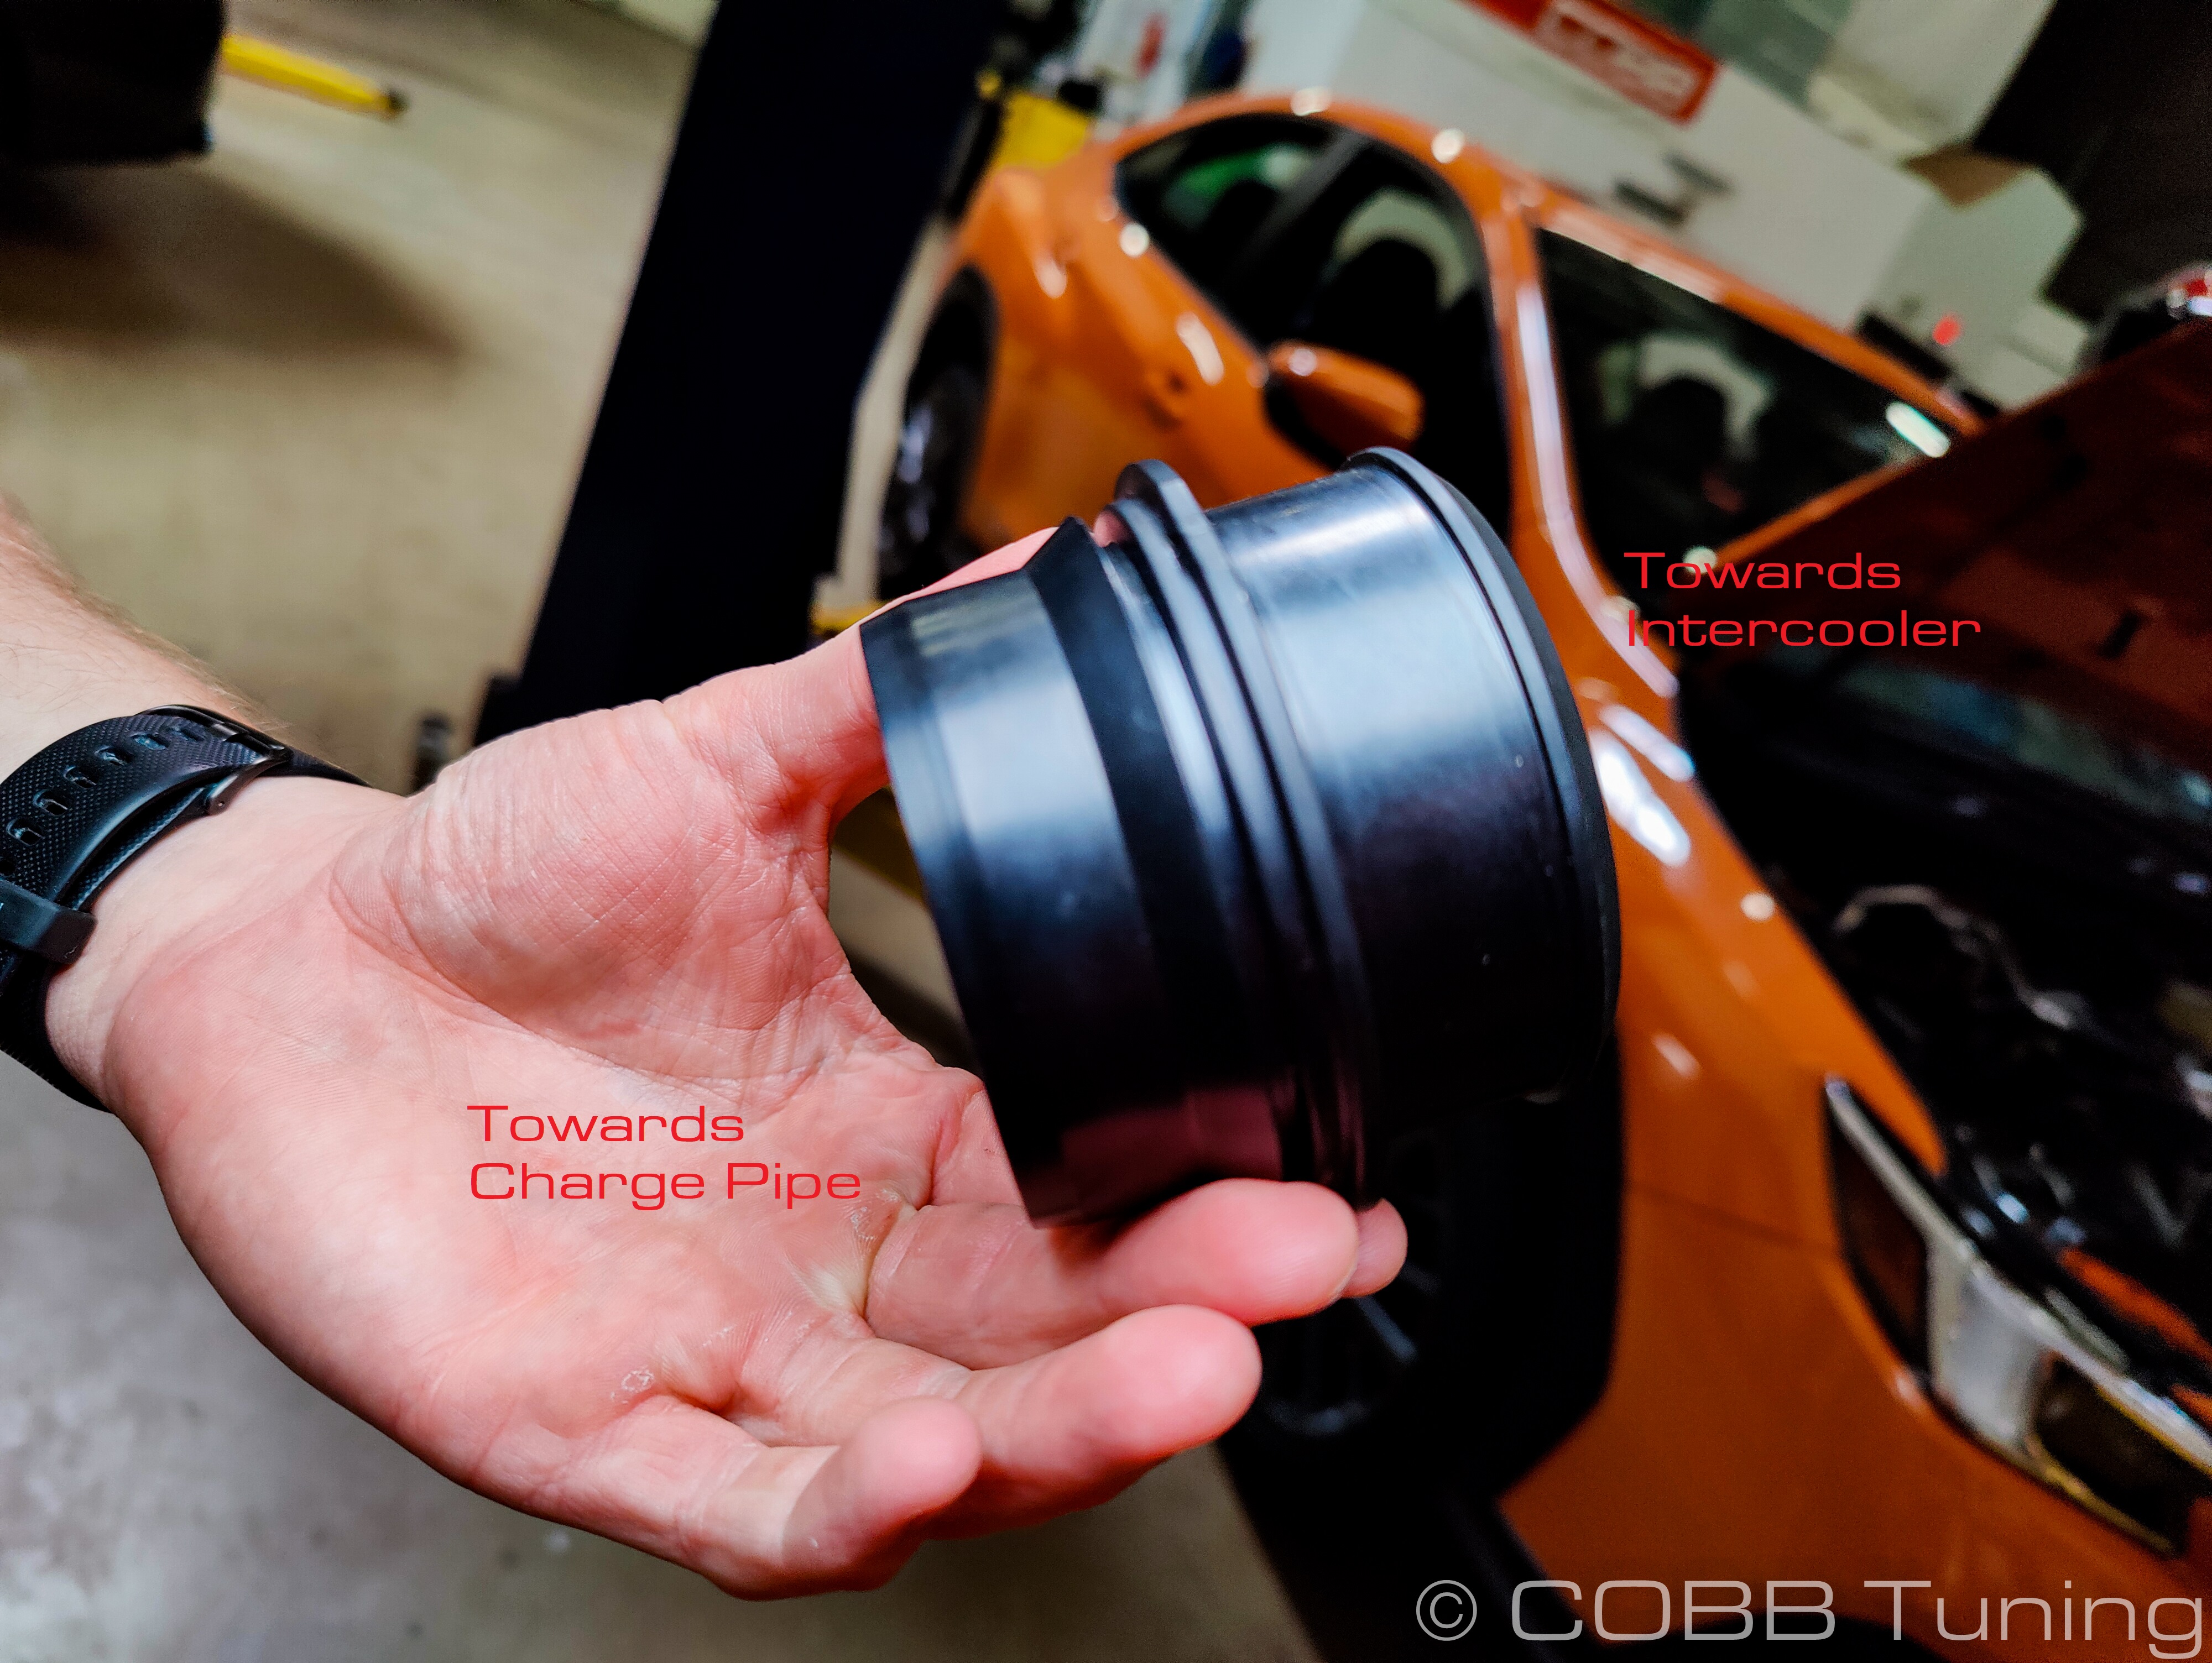
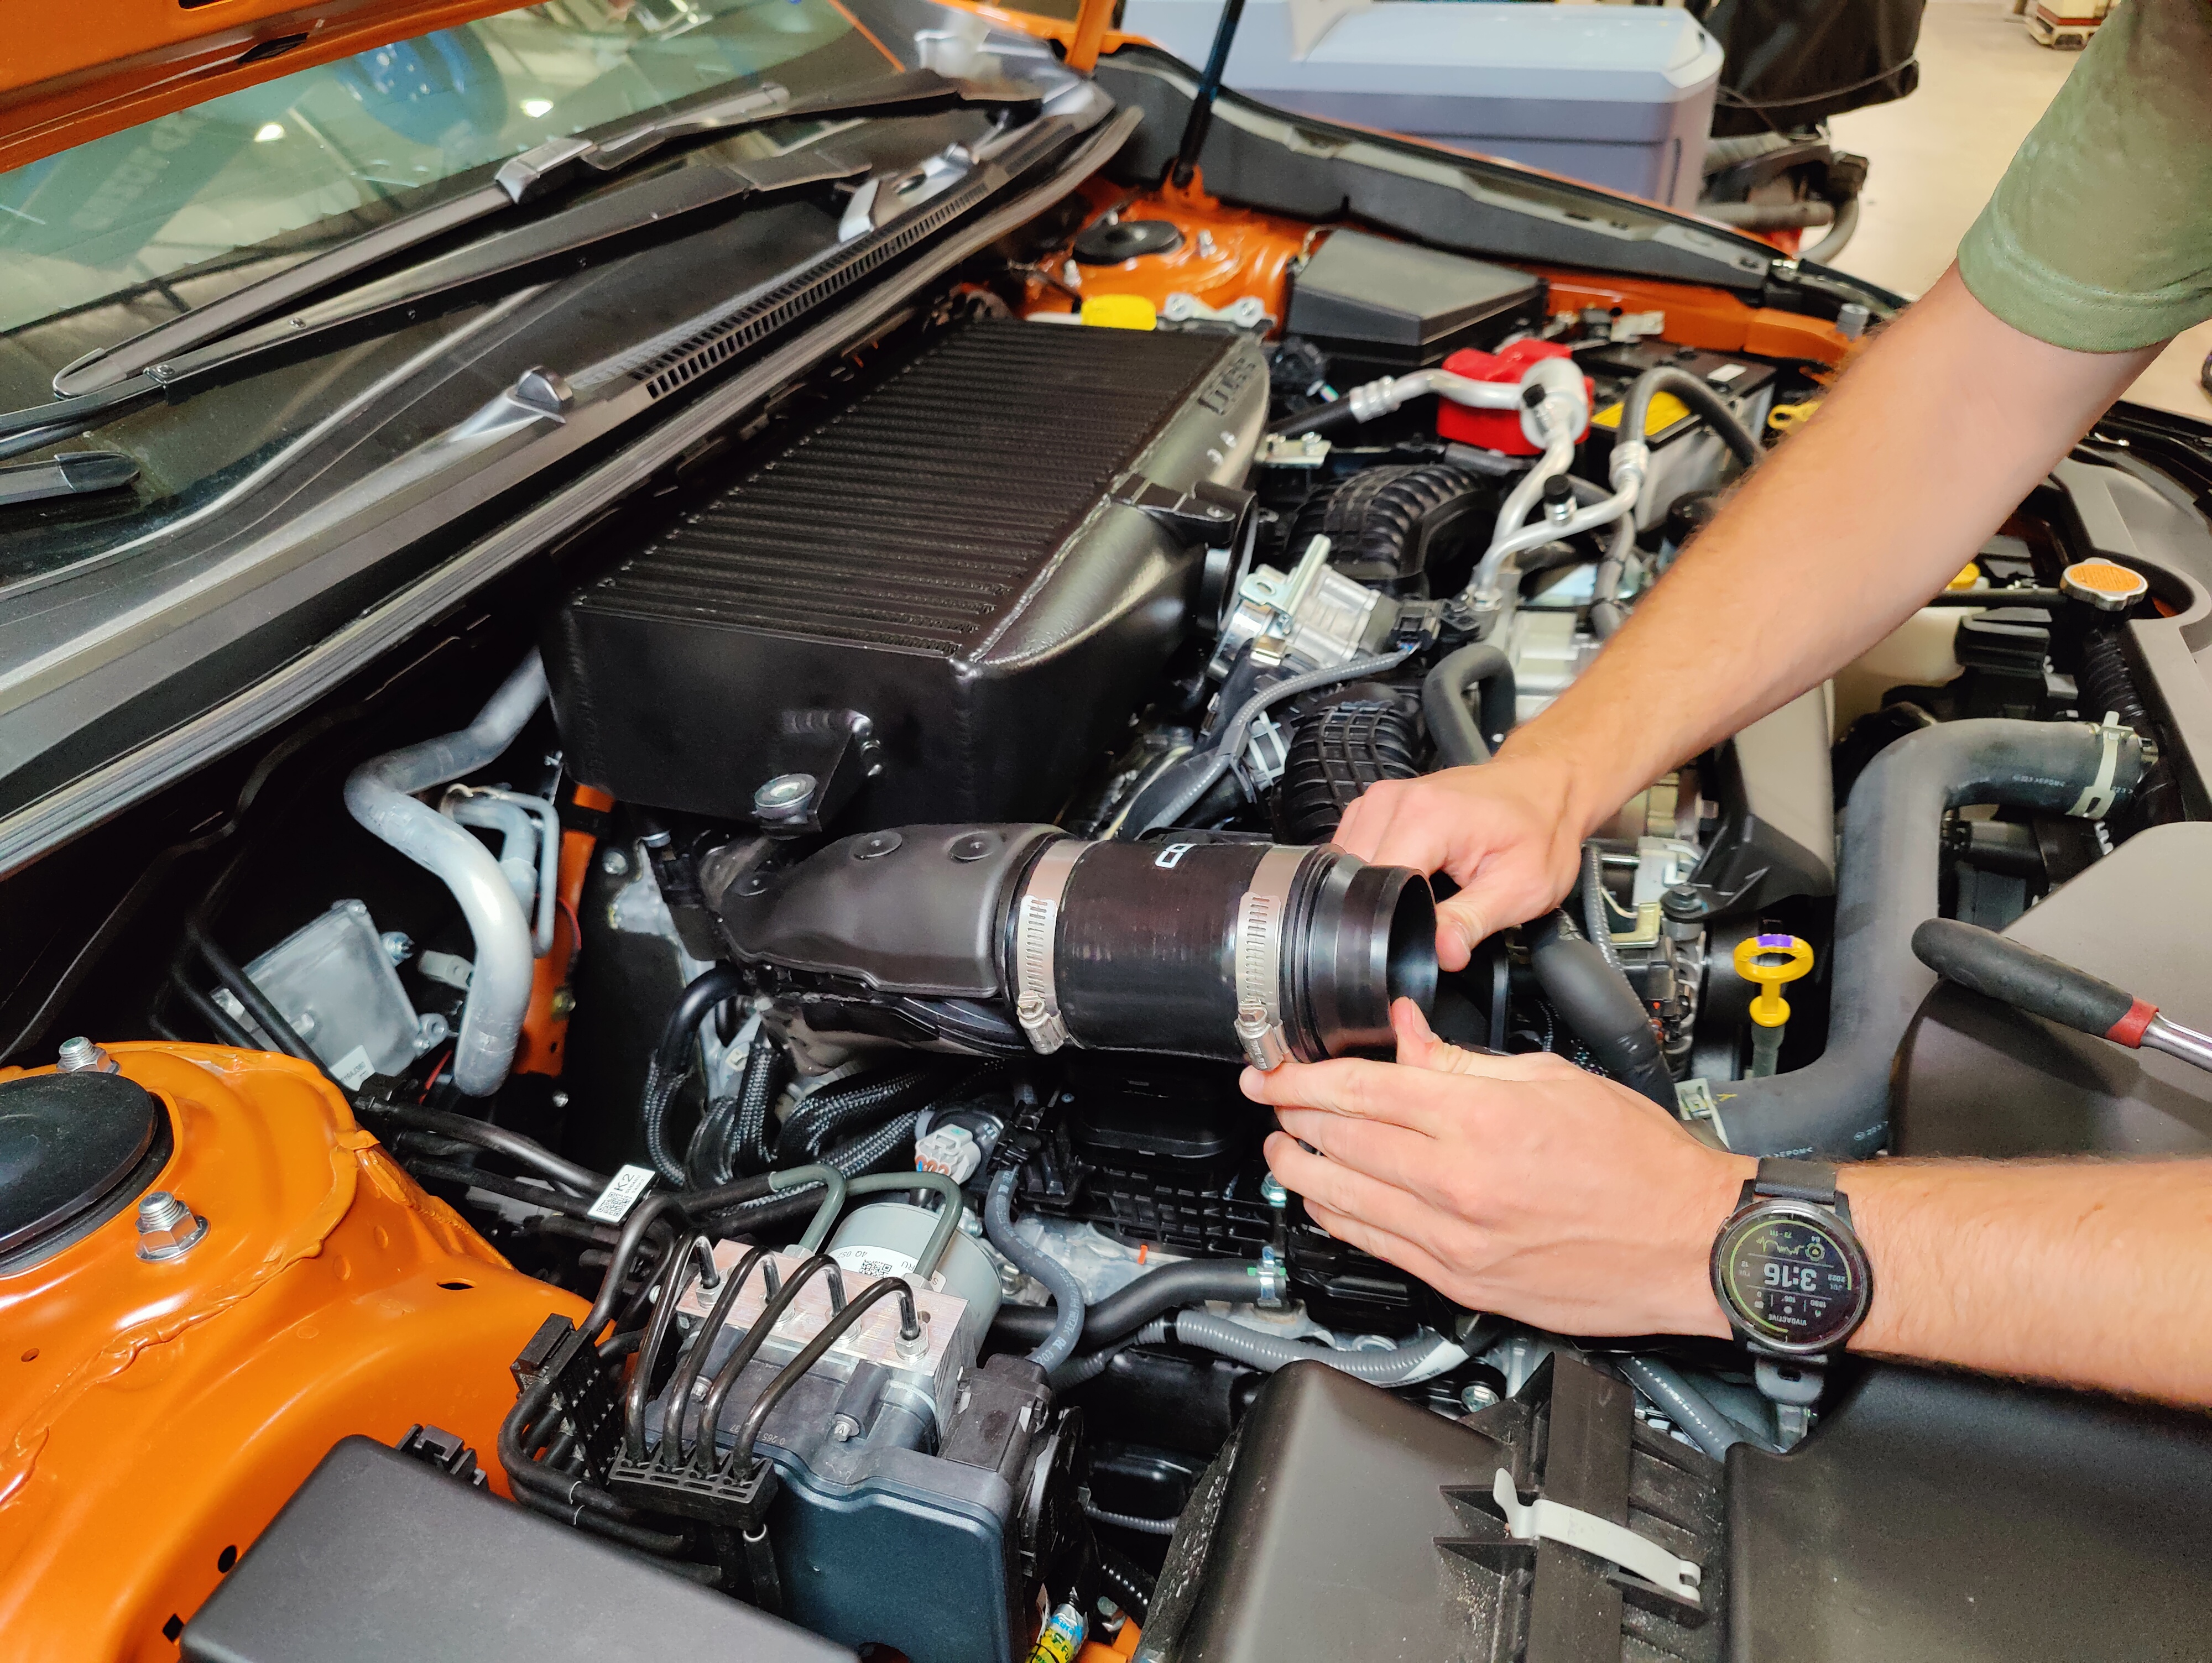
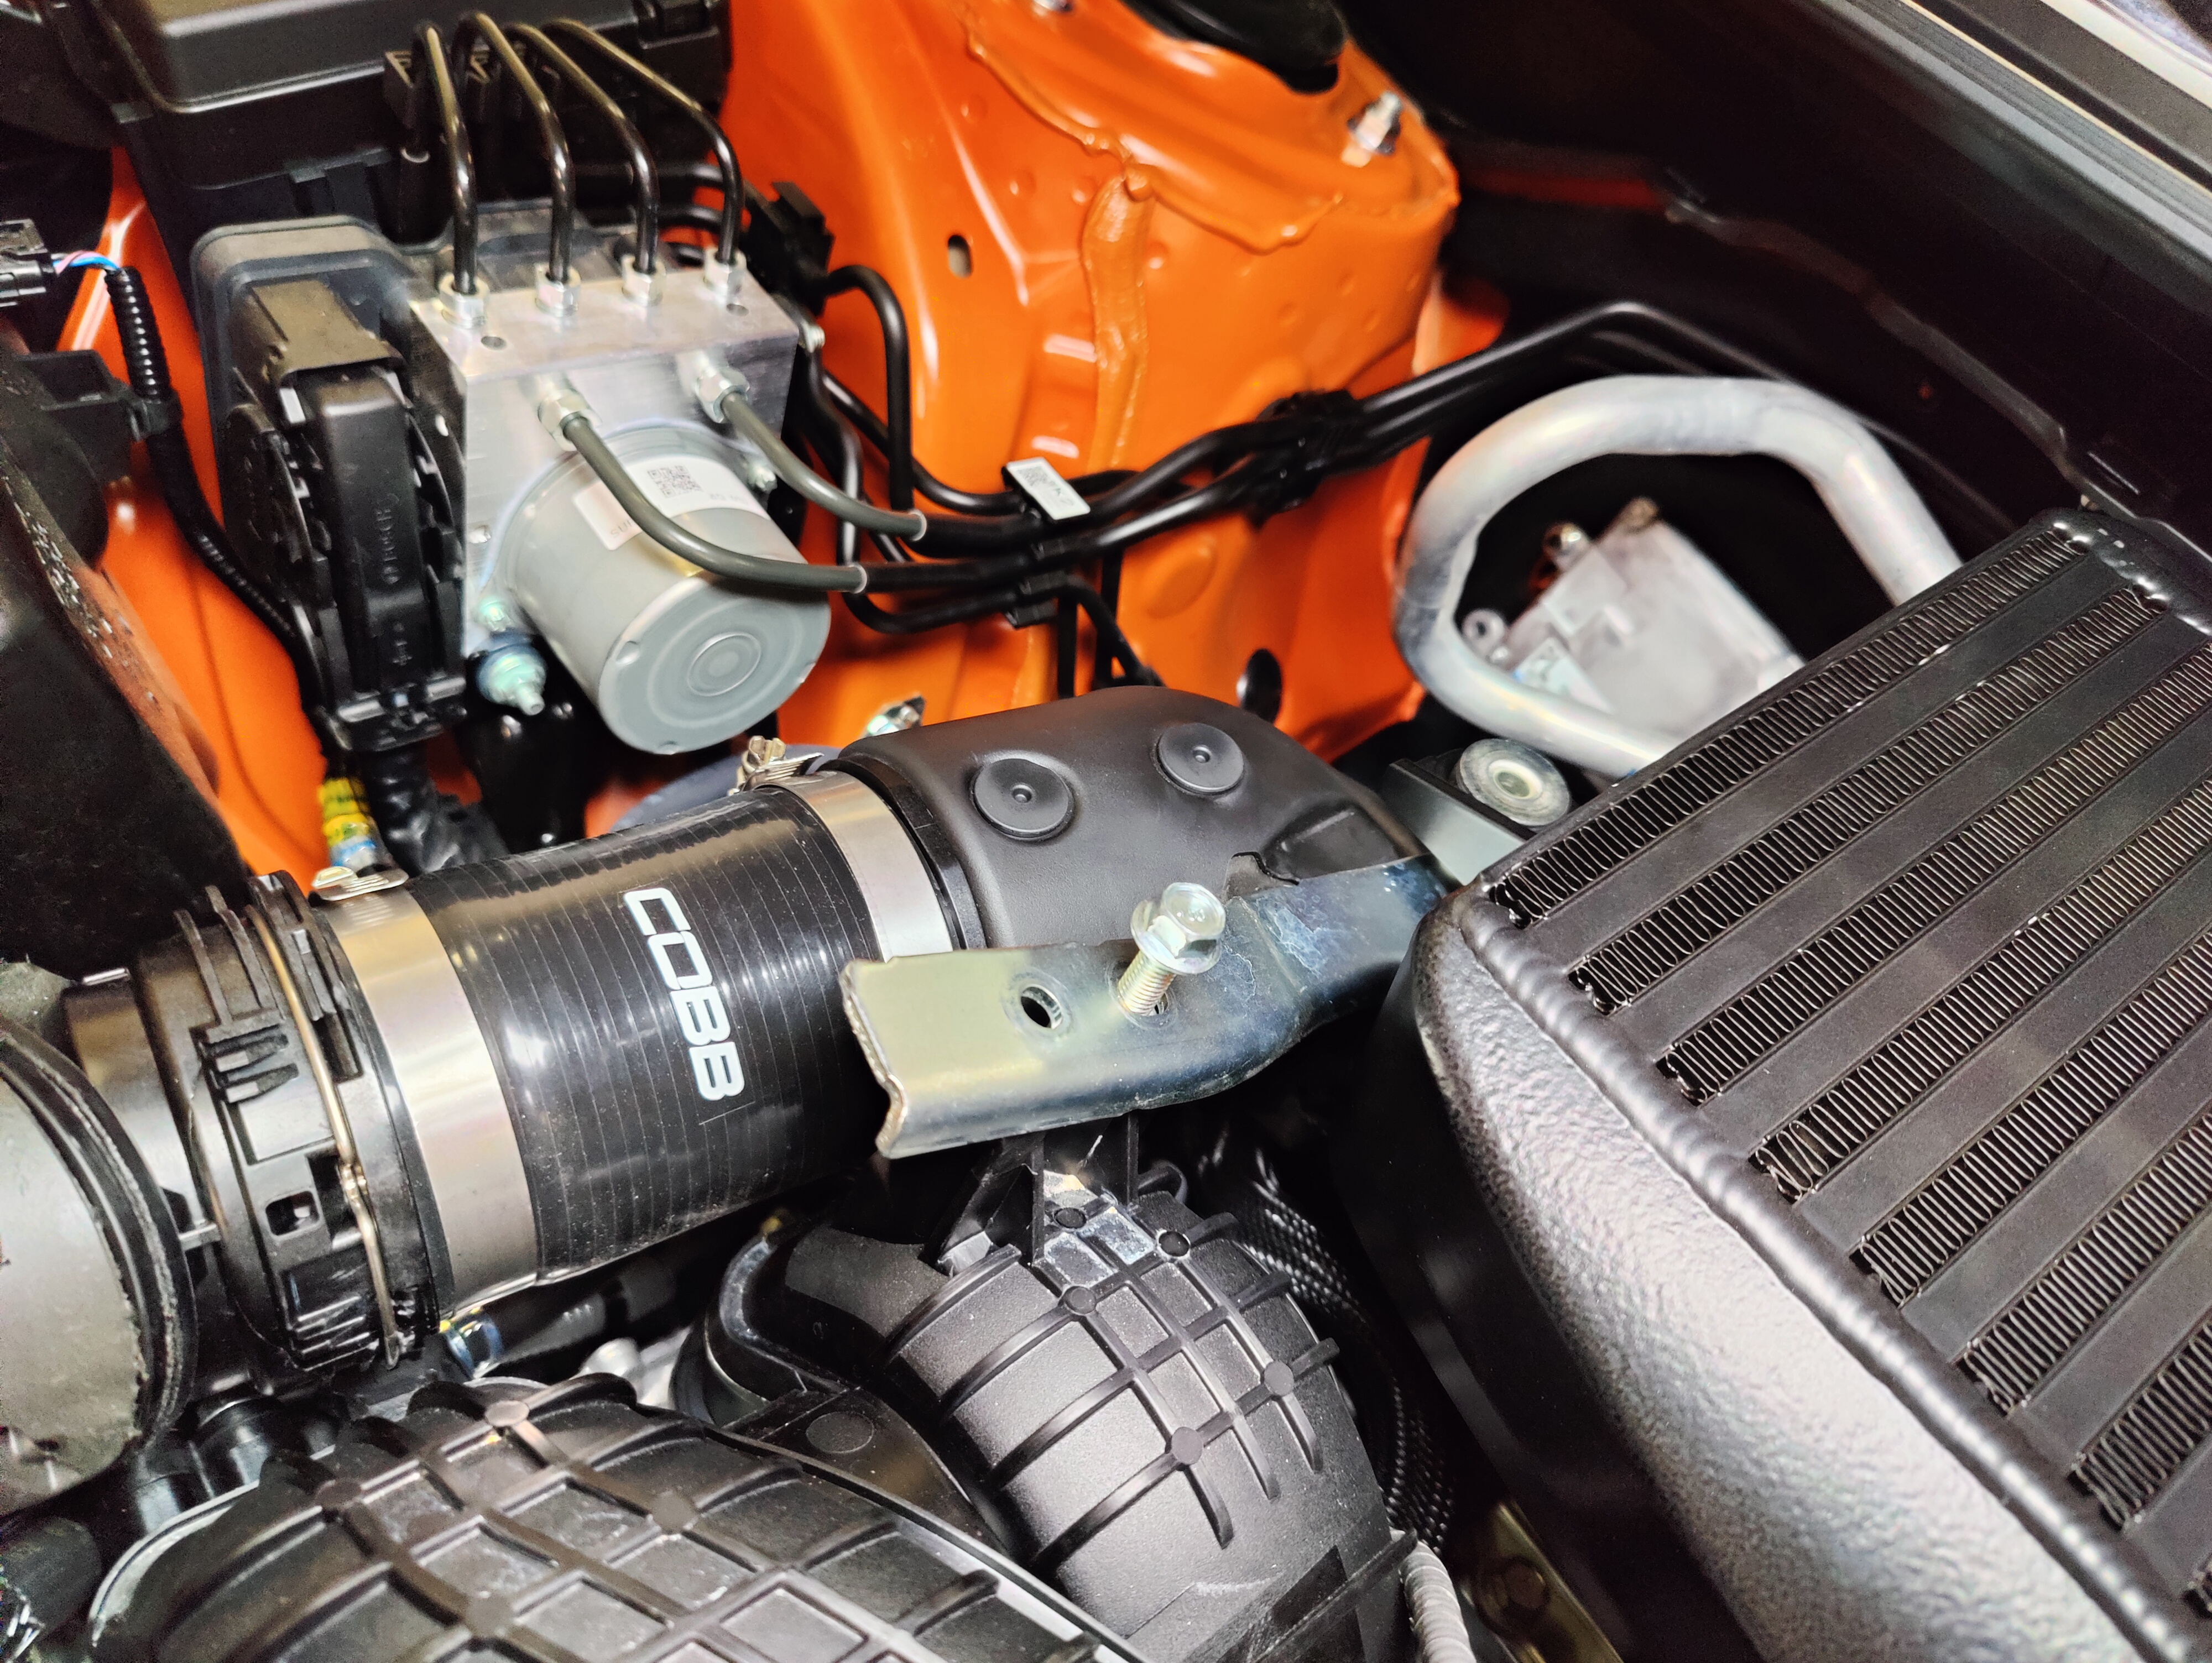
- Replace it with the COBB coupler using an 8mm to tighten the hose clamps. Make sure to keep the pointy end of the factory quick connect adapter pointing away from the intercooler and the barbed end pointing towards the intercooler.
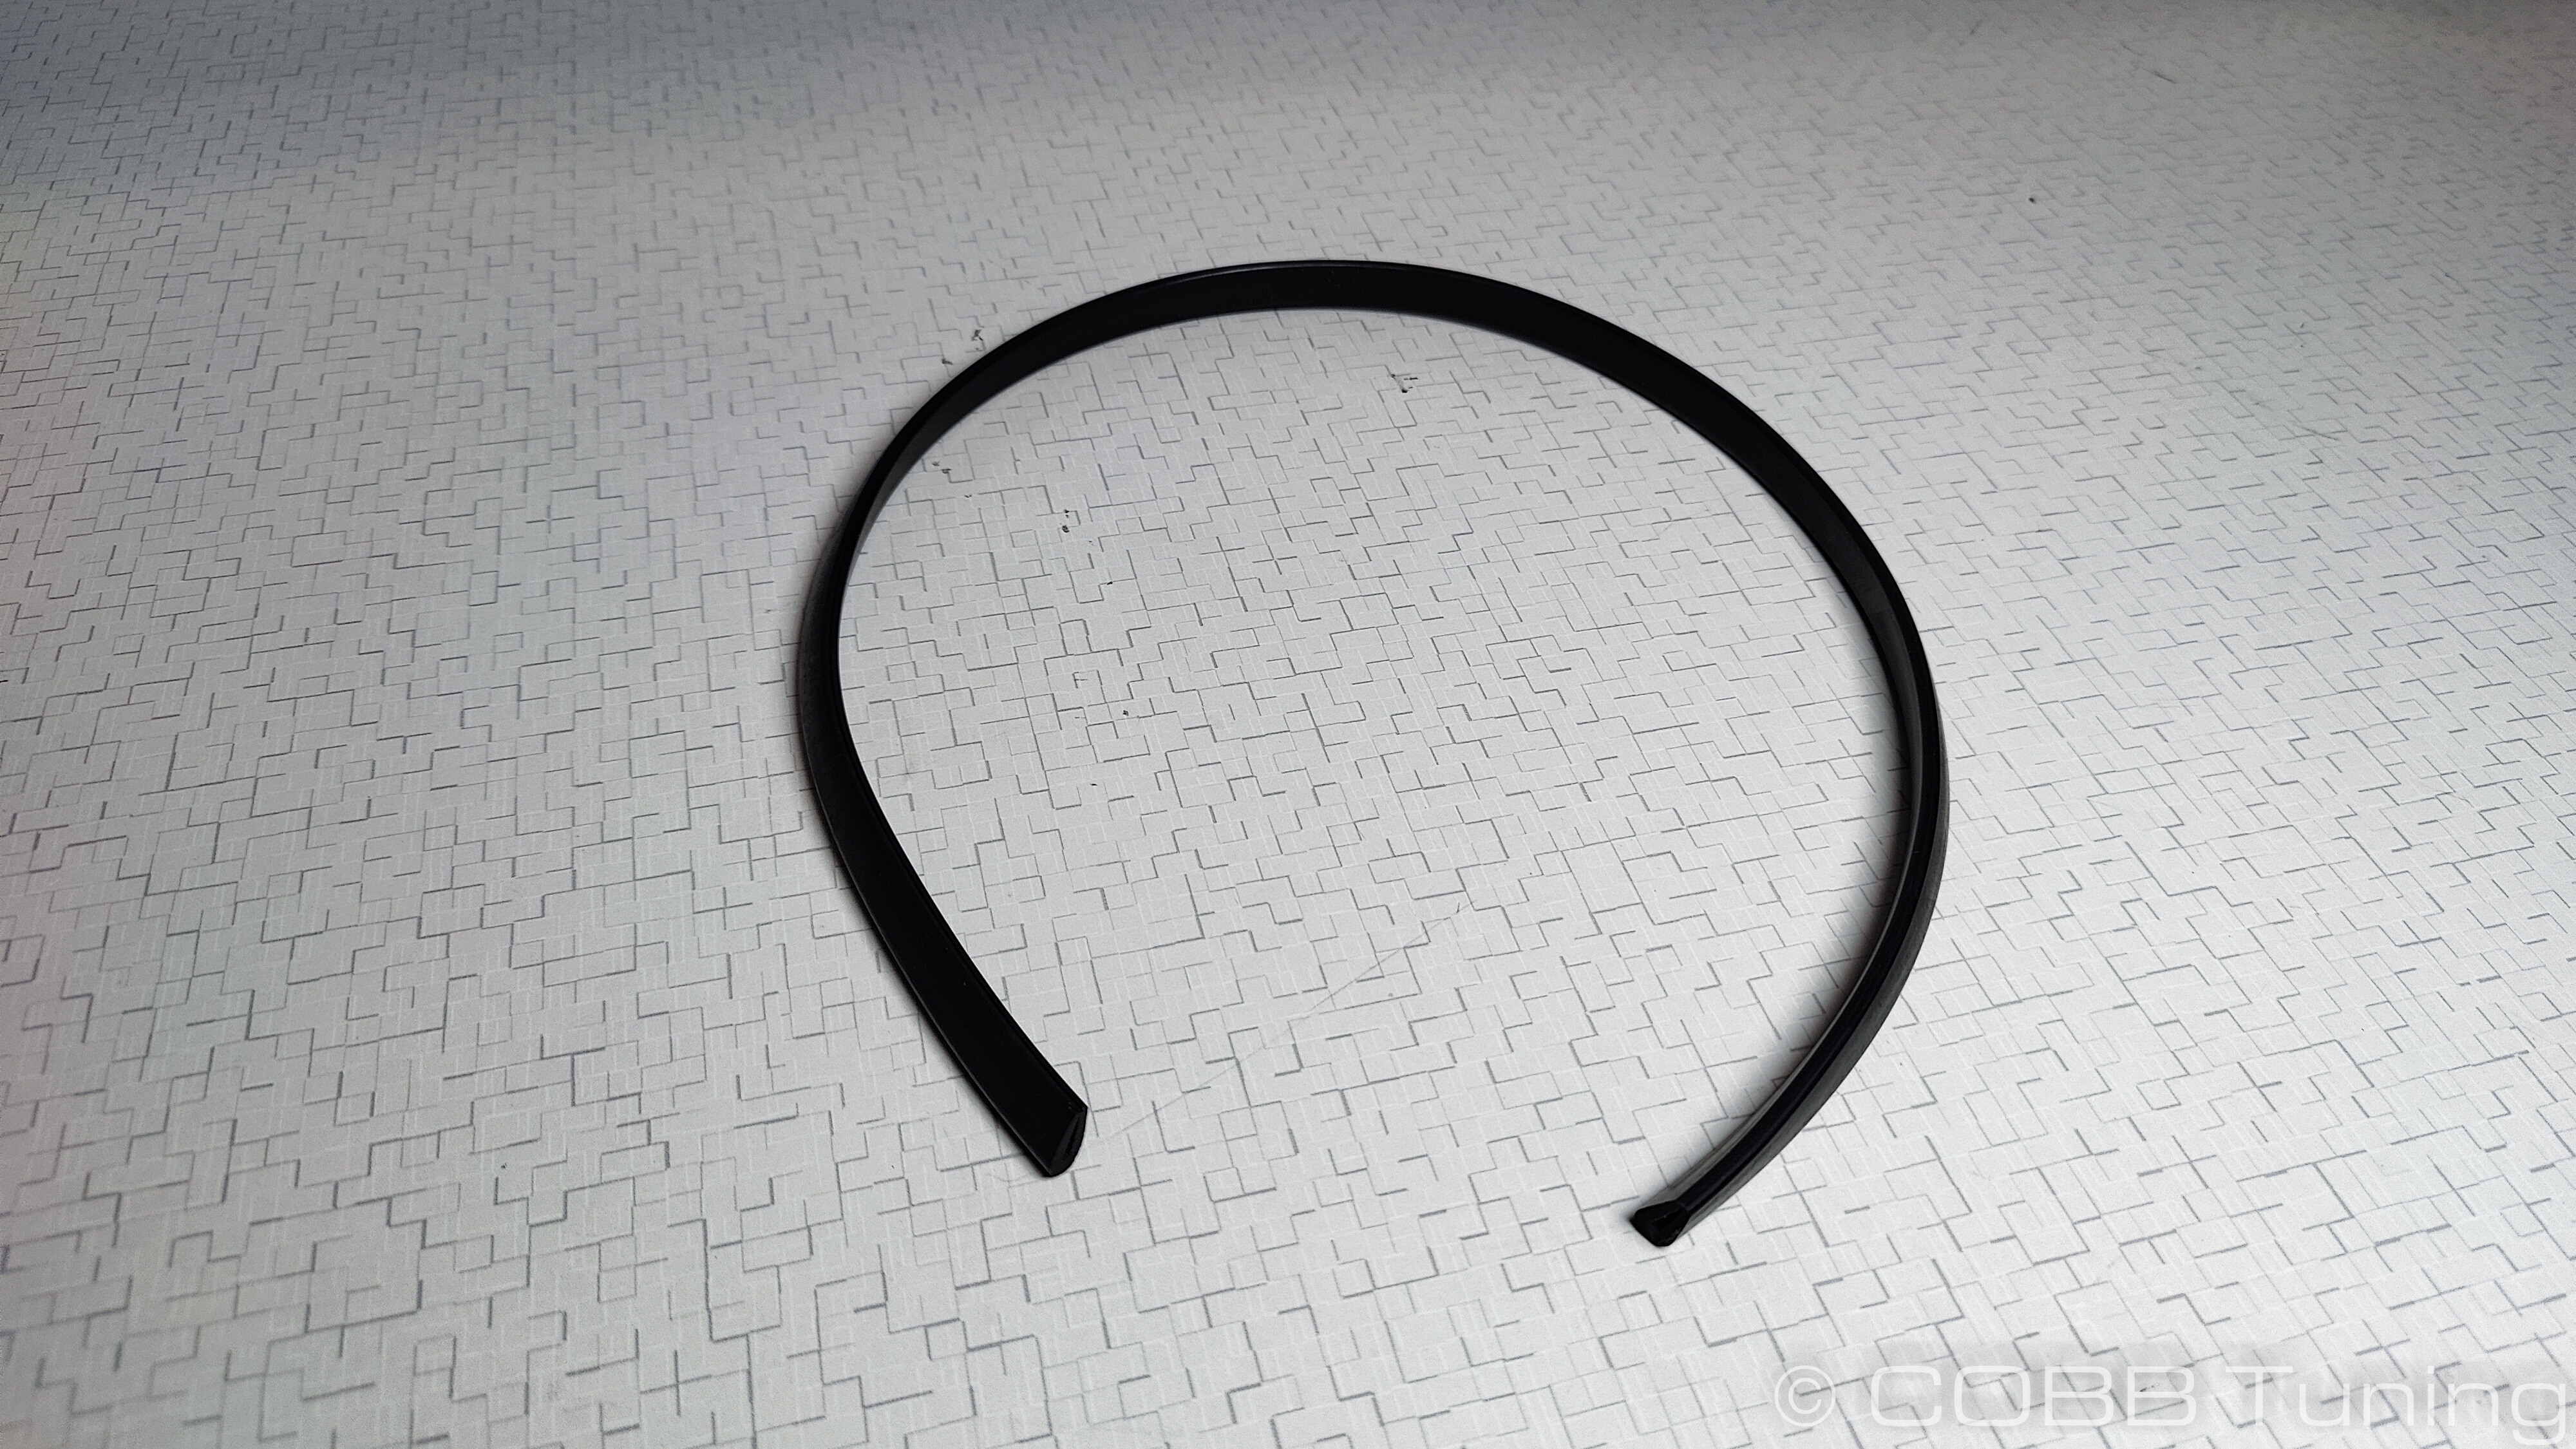
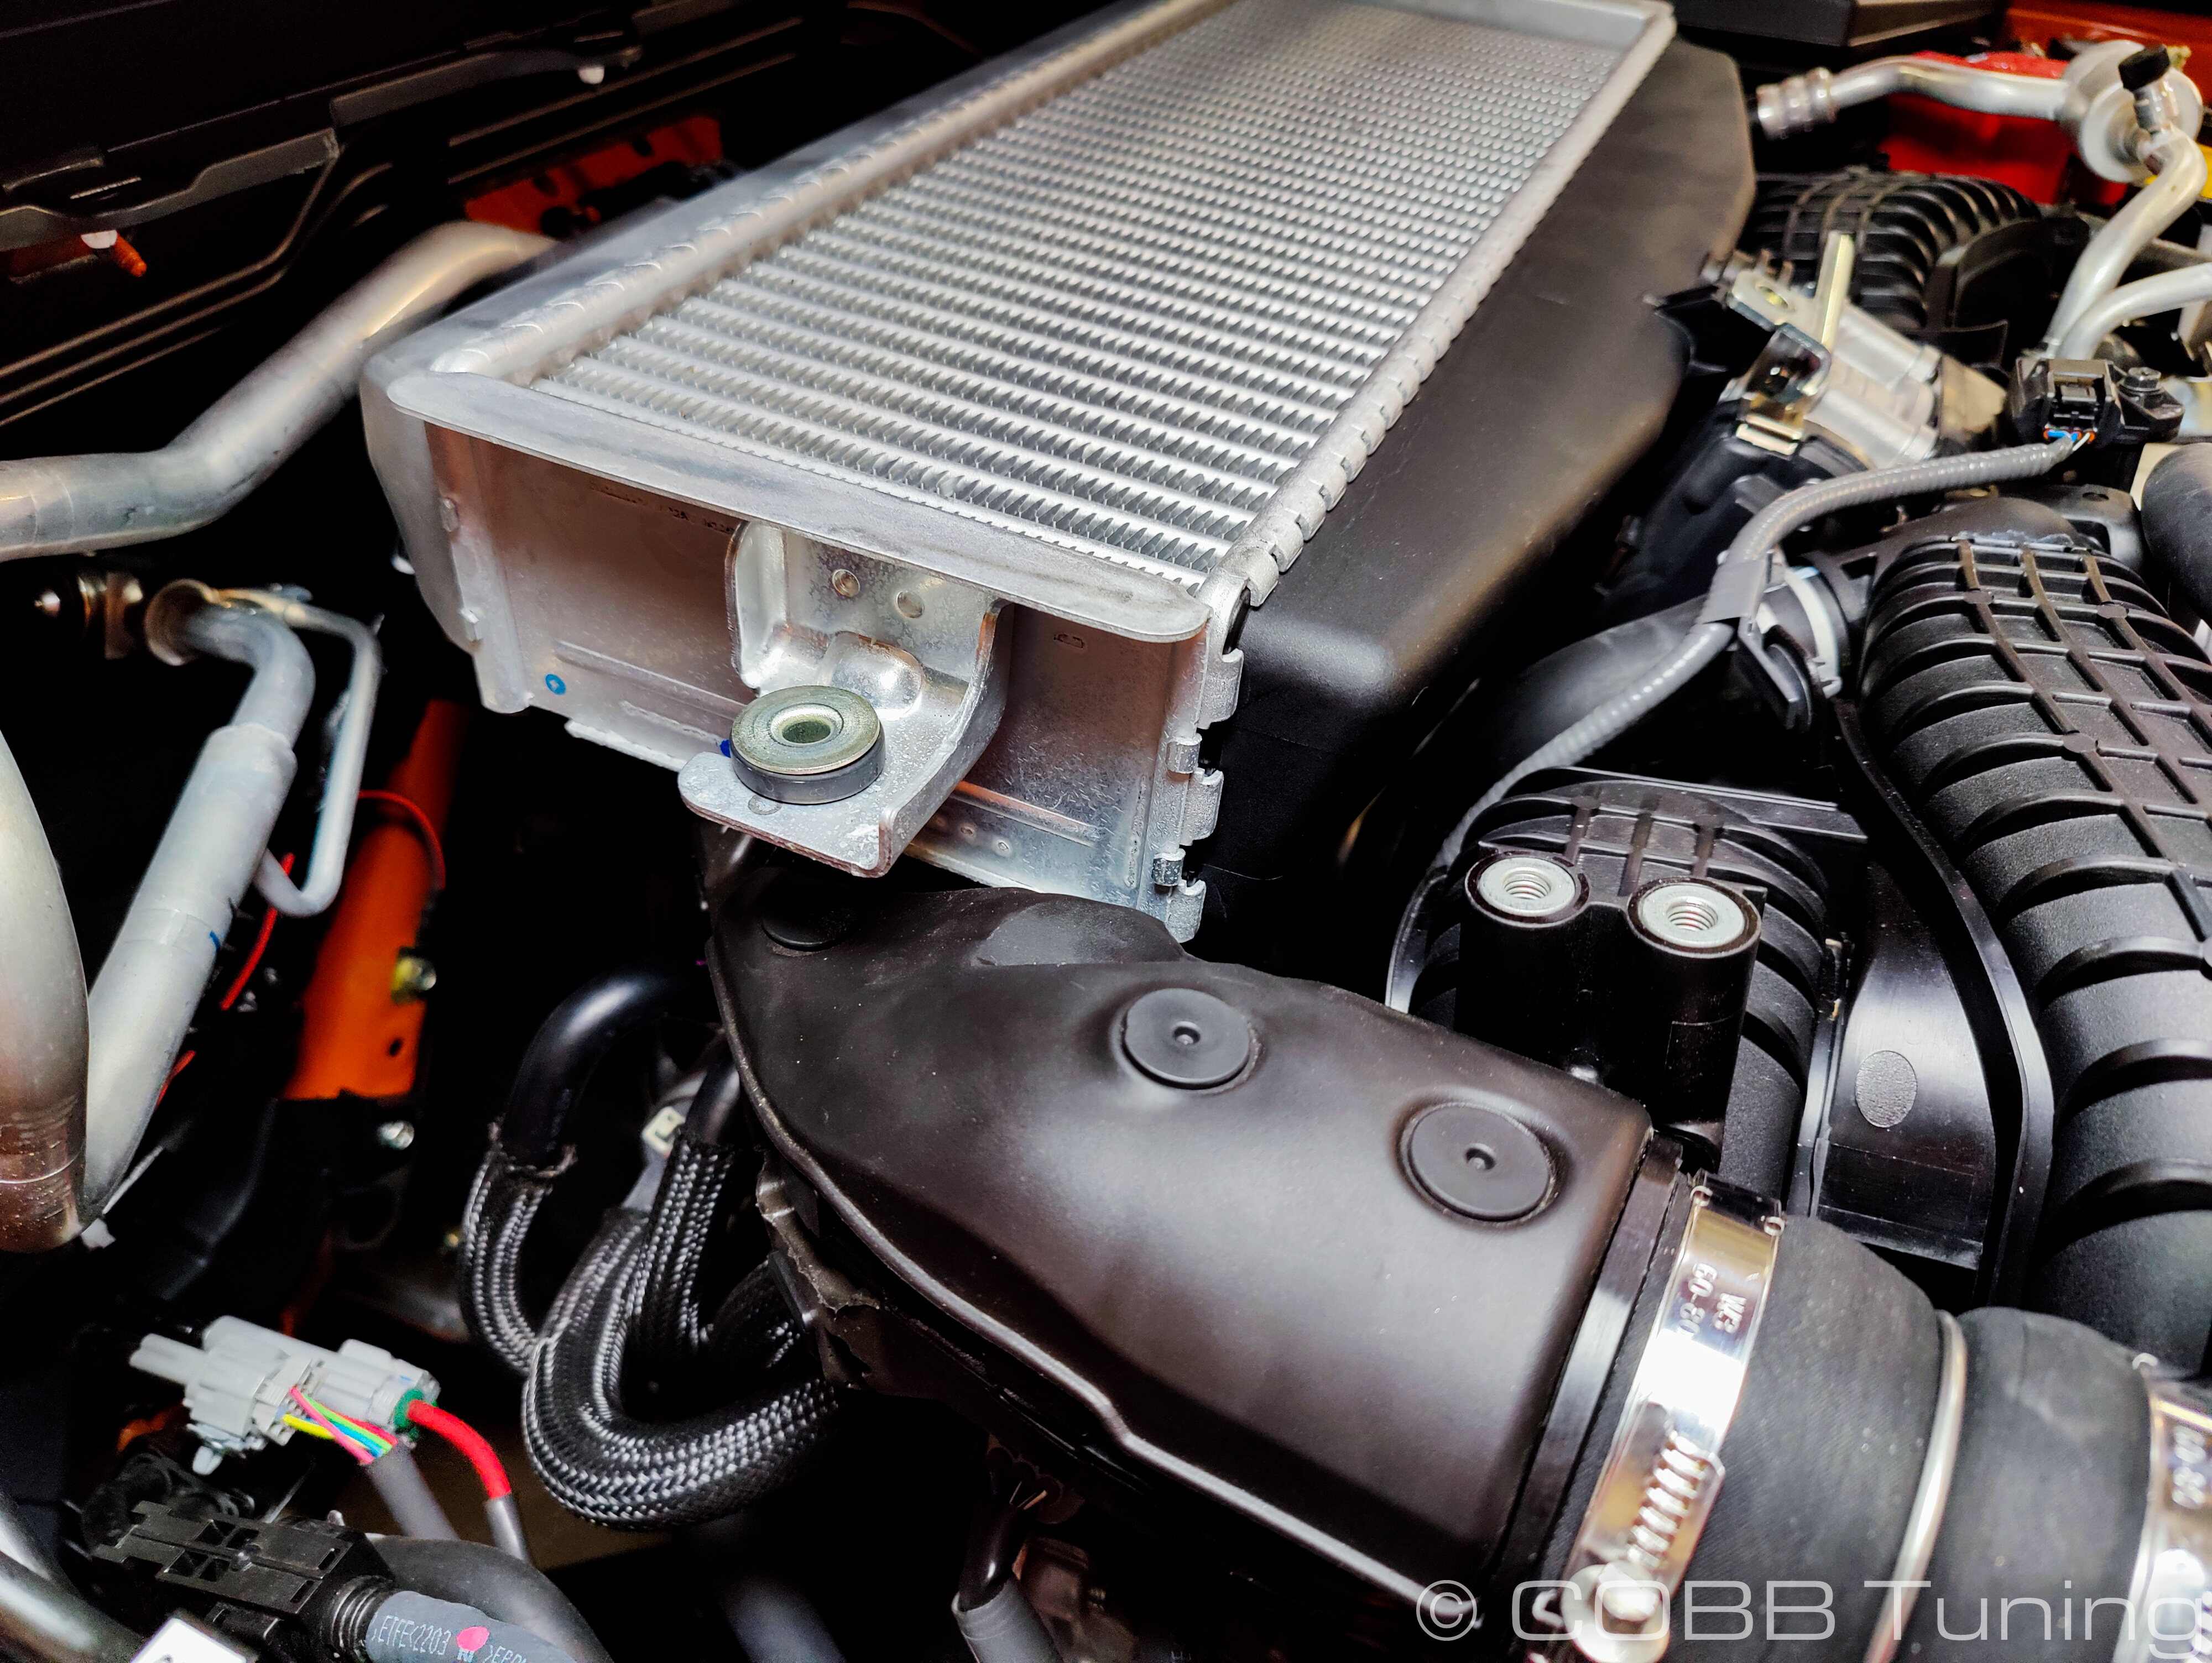
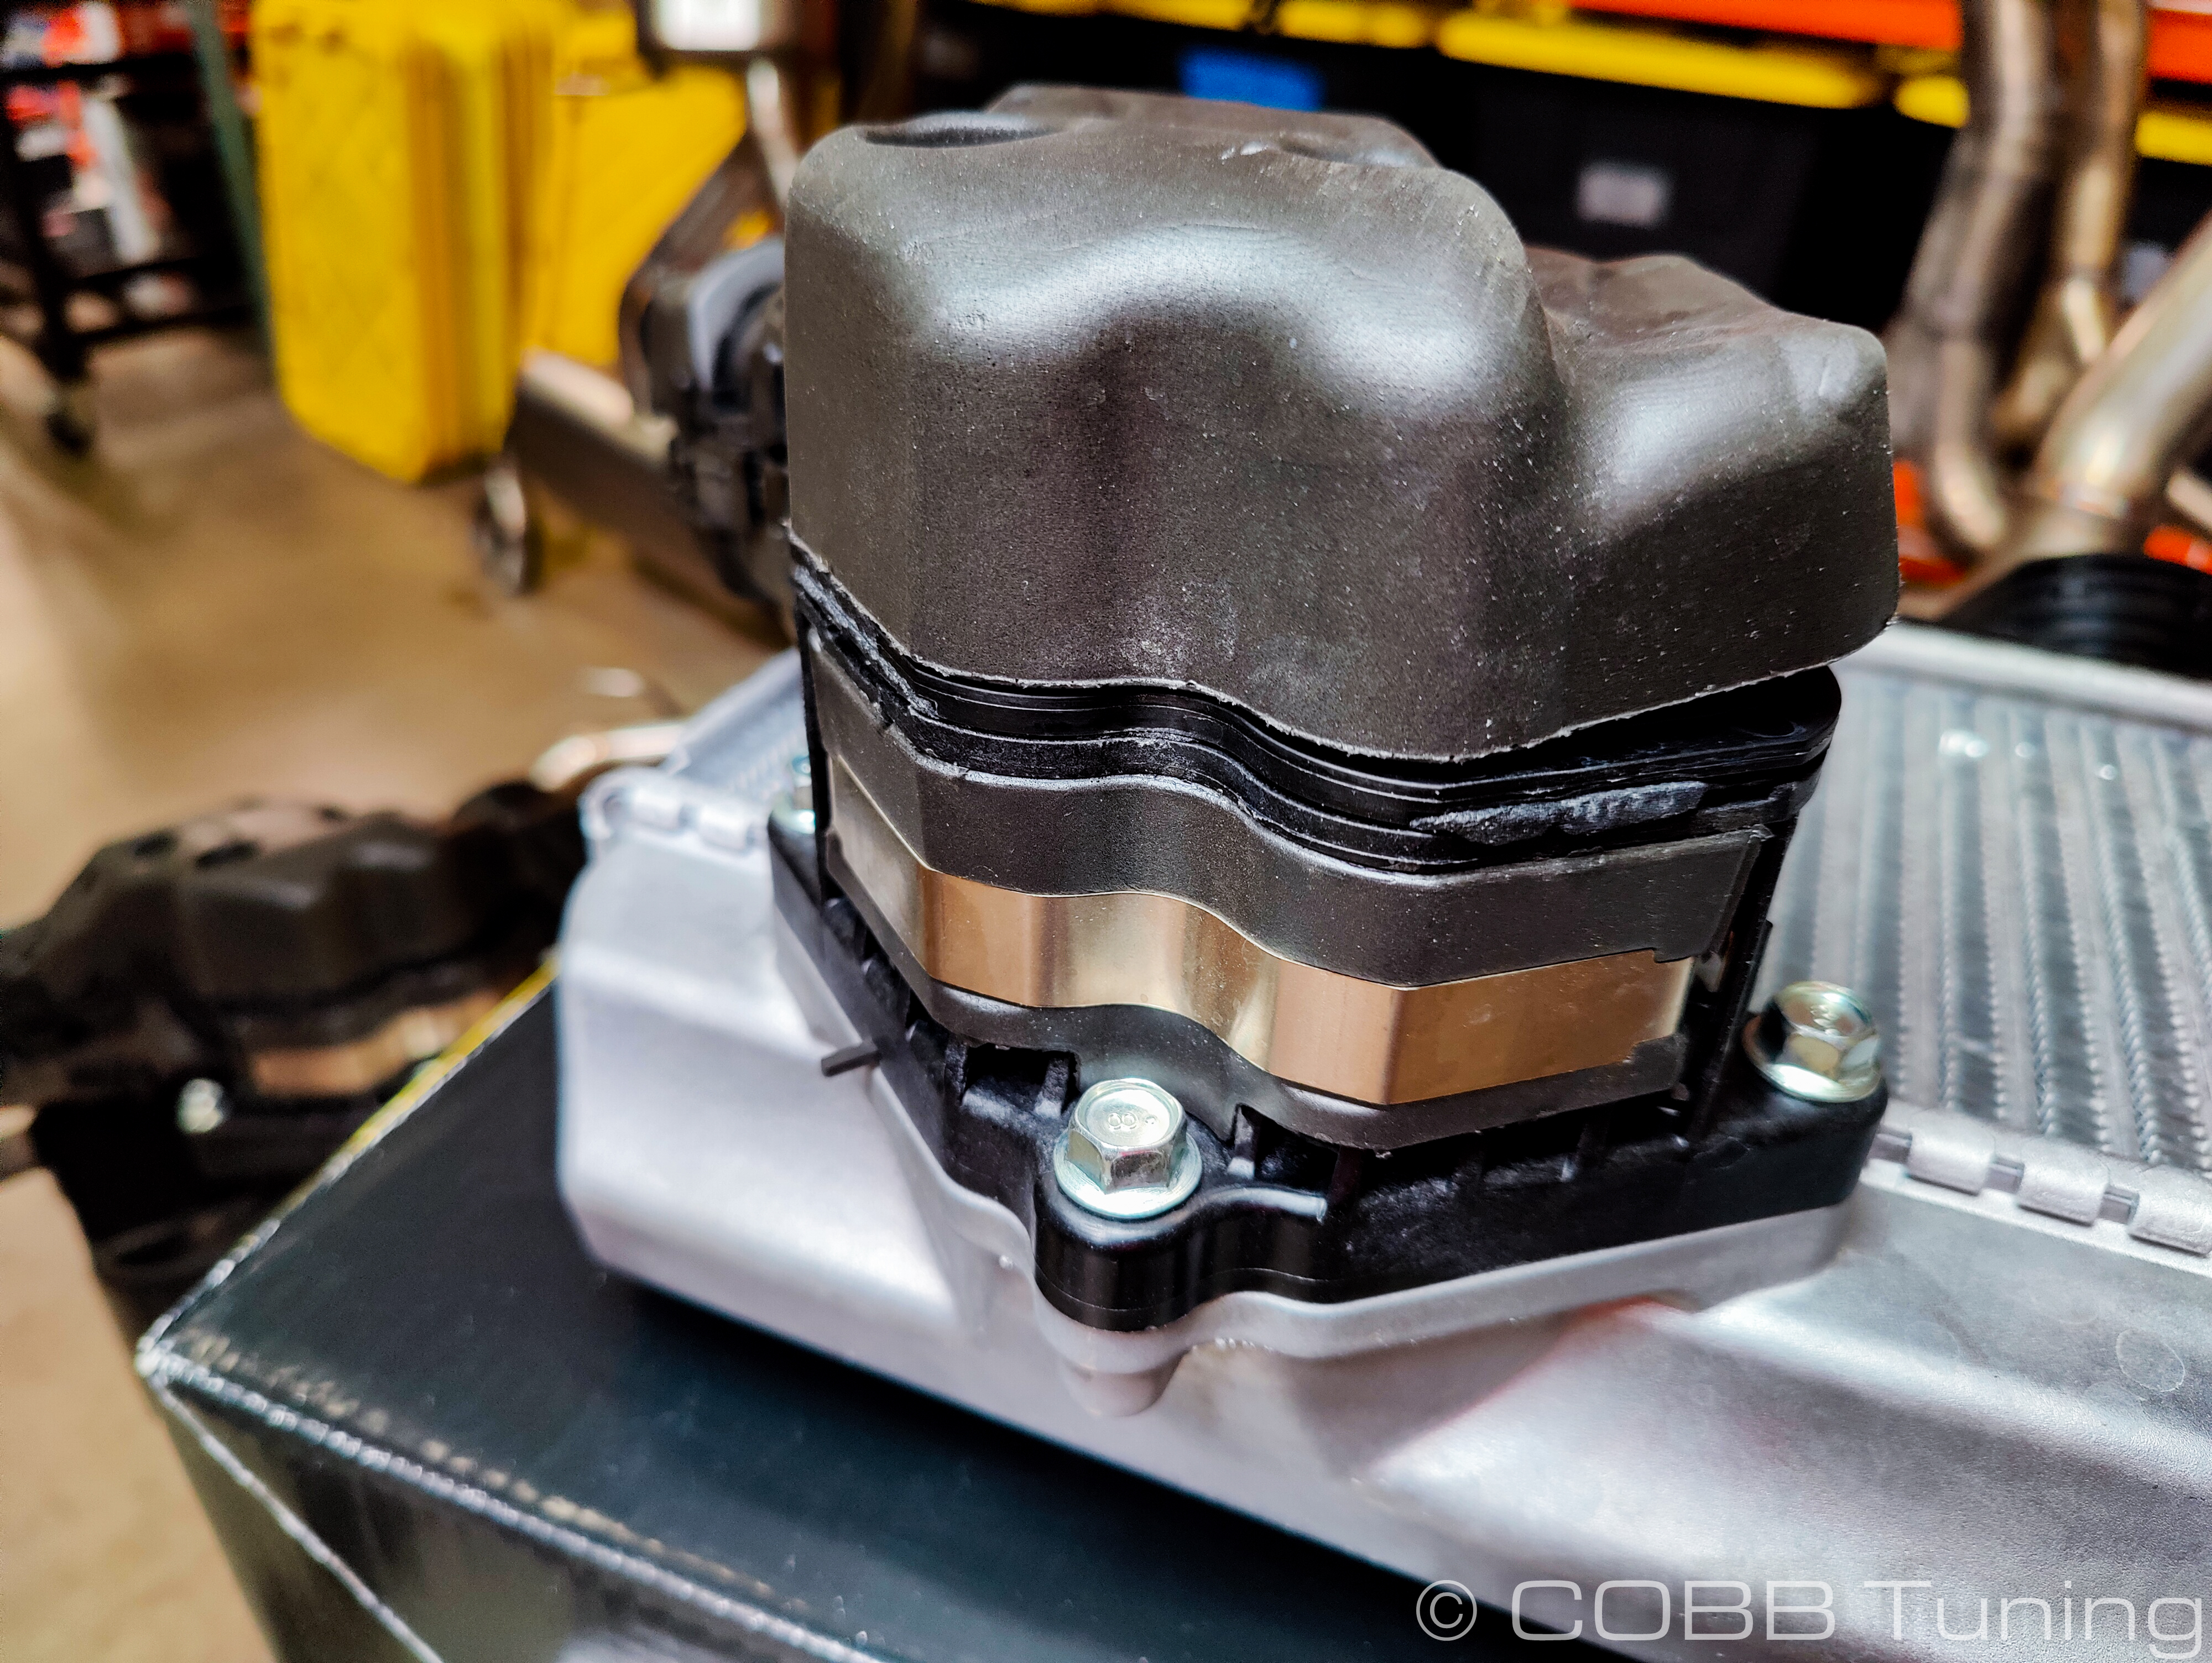
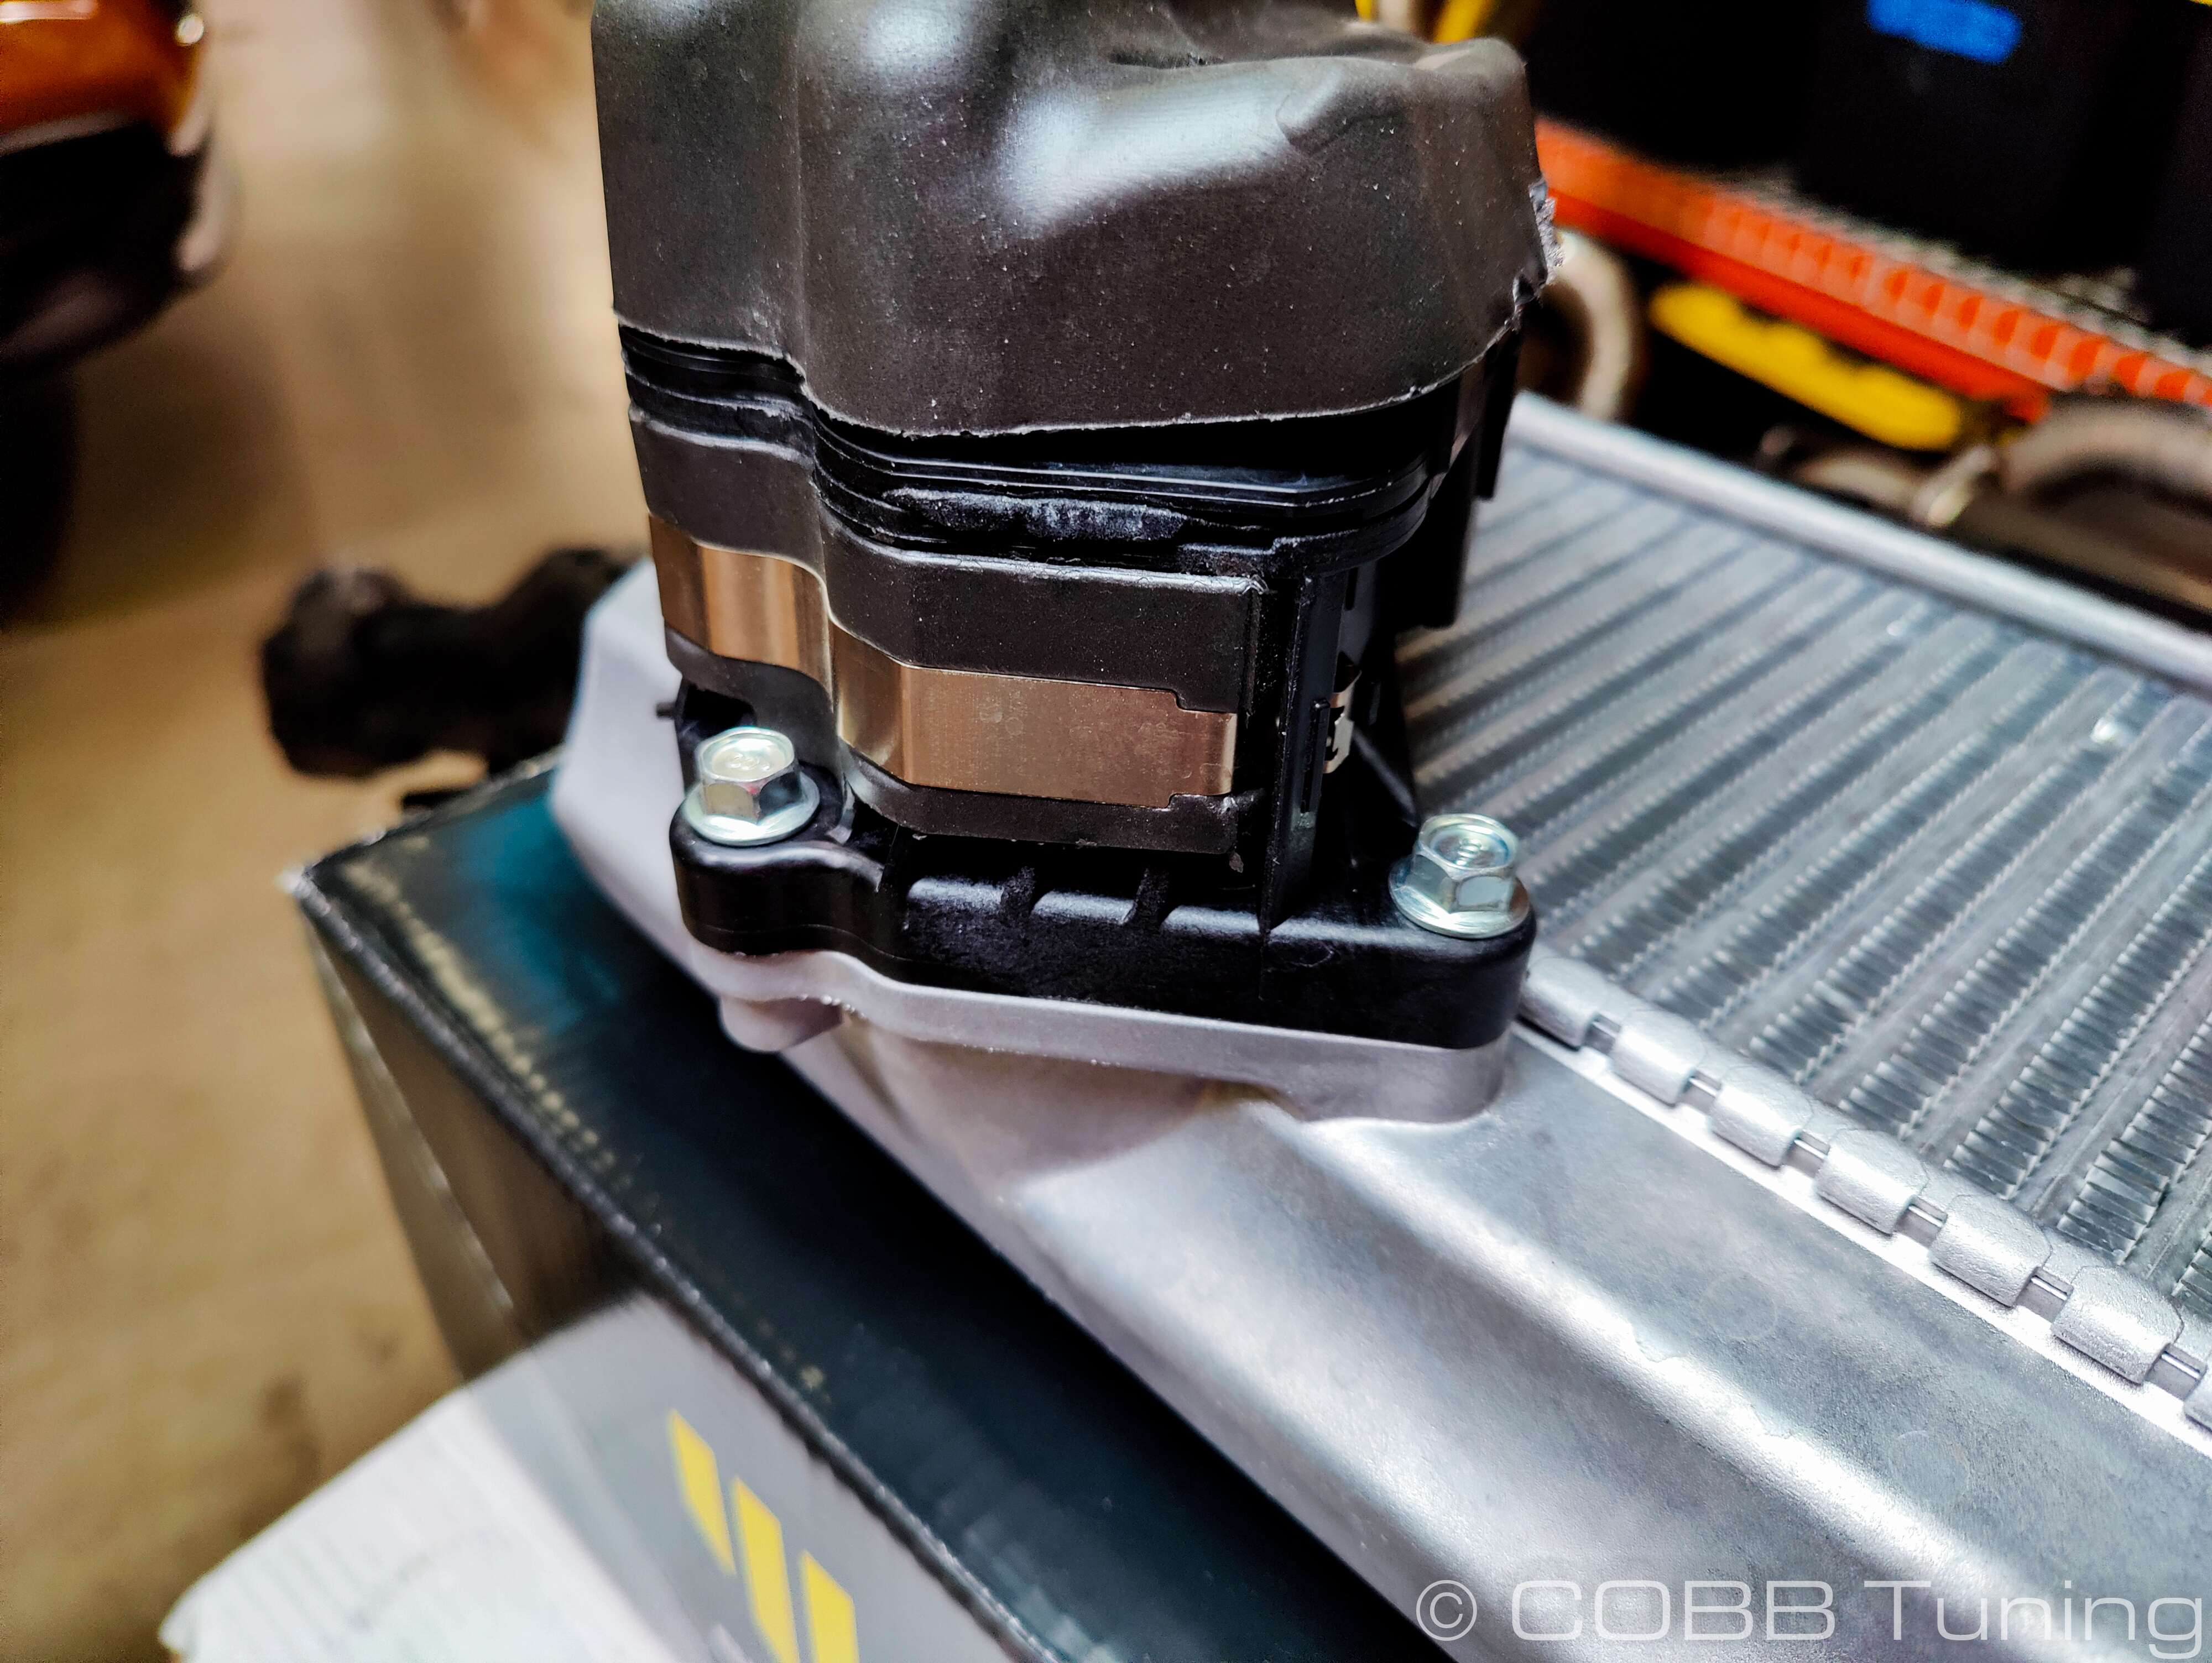
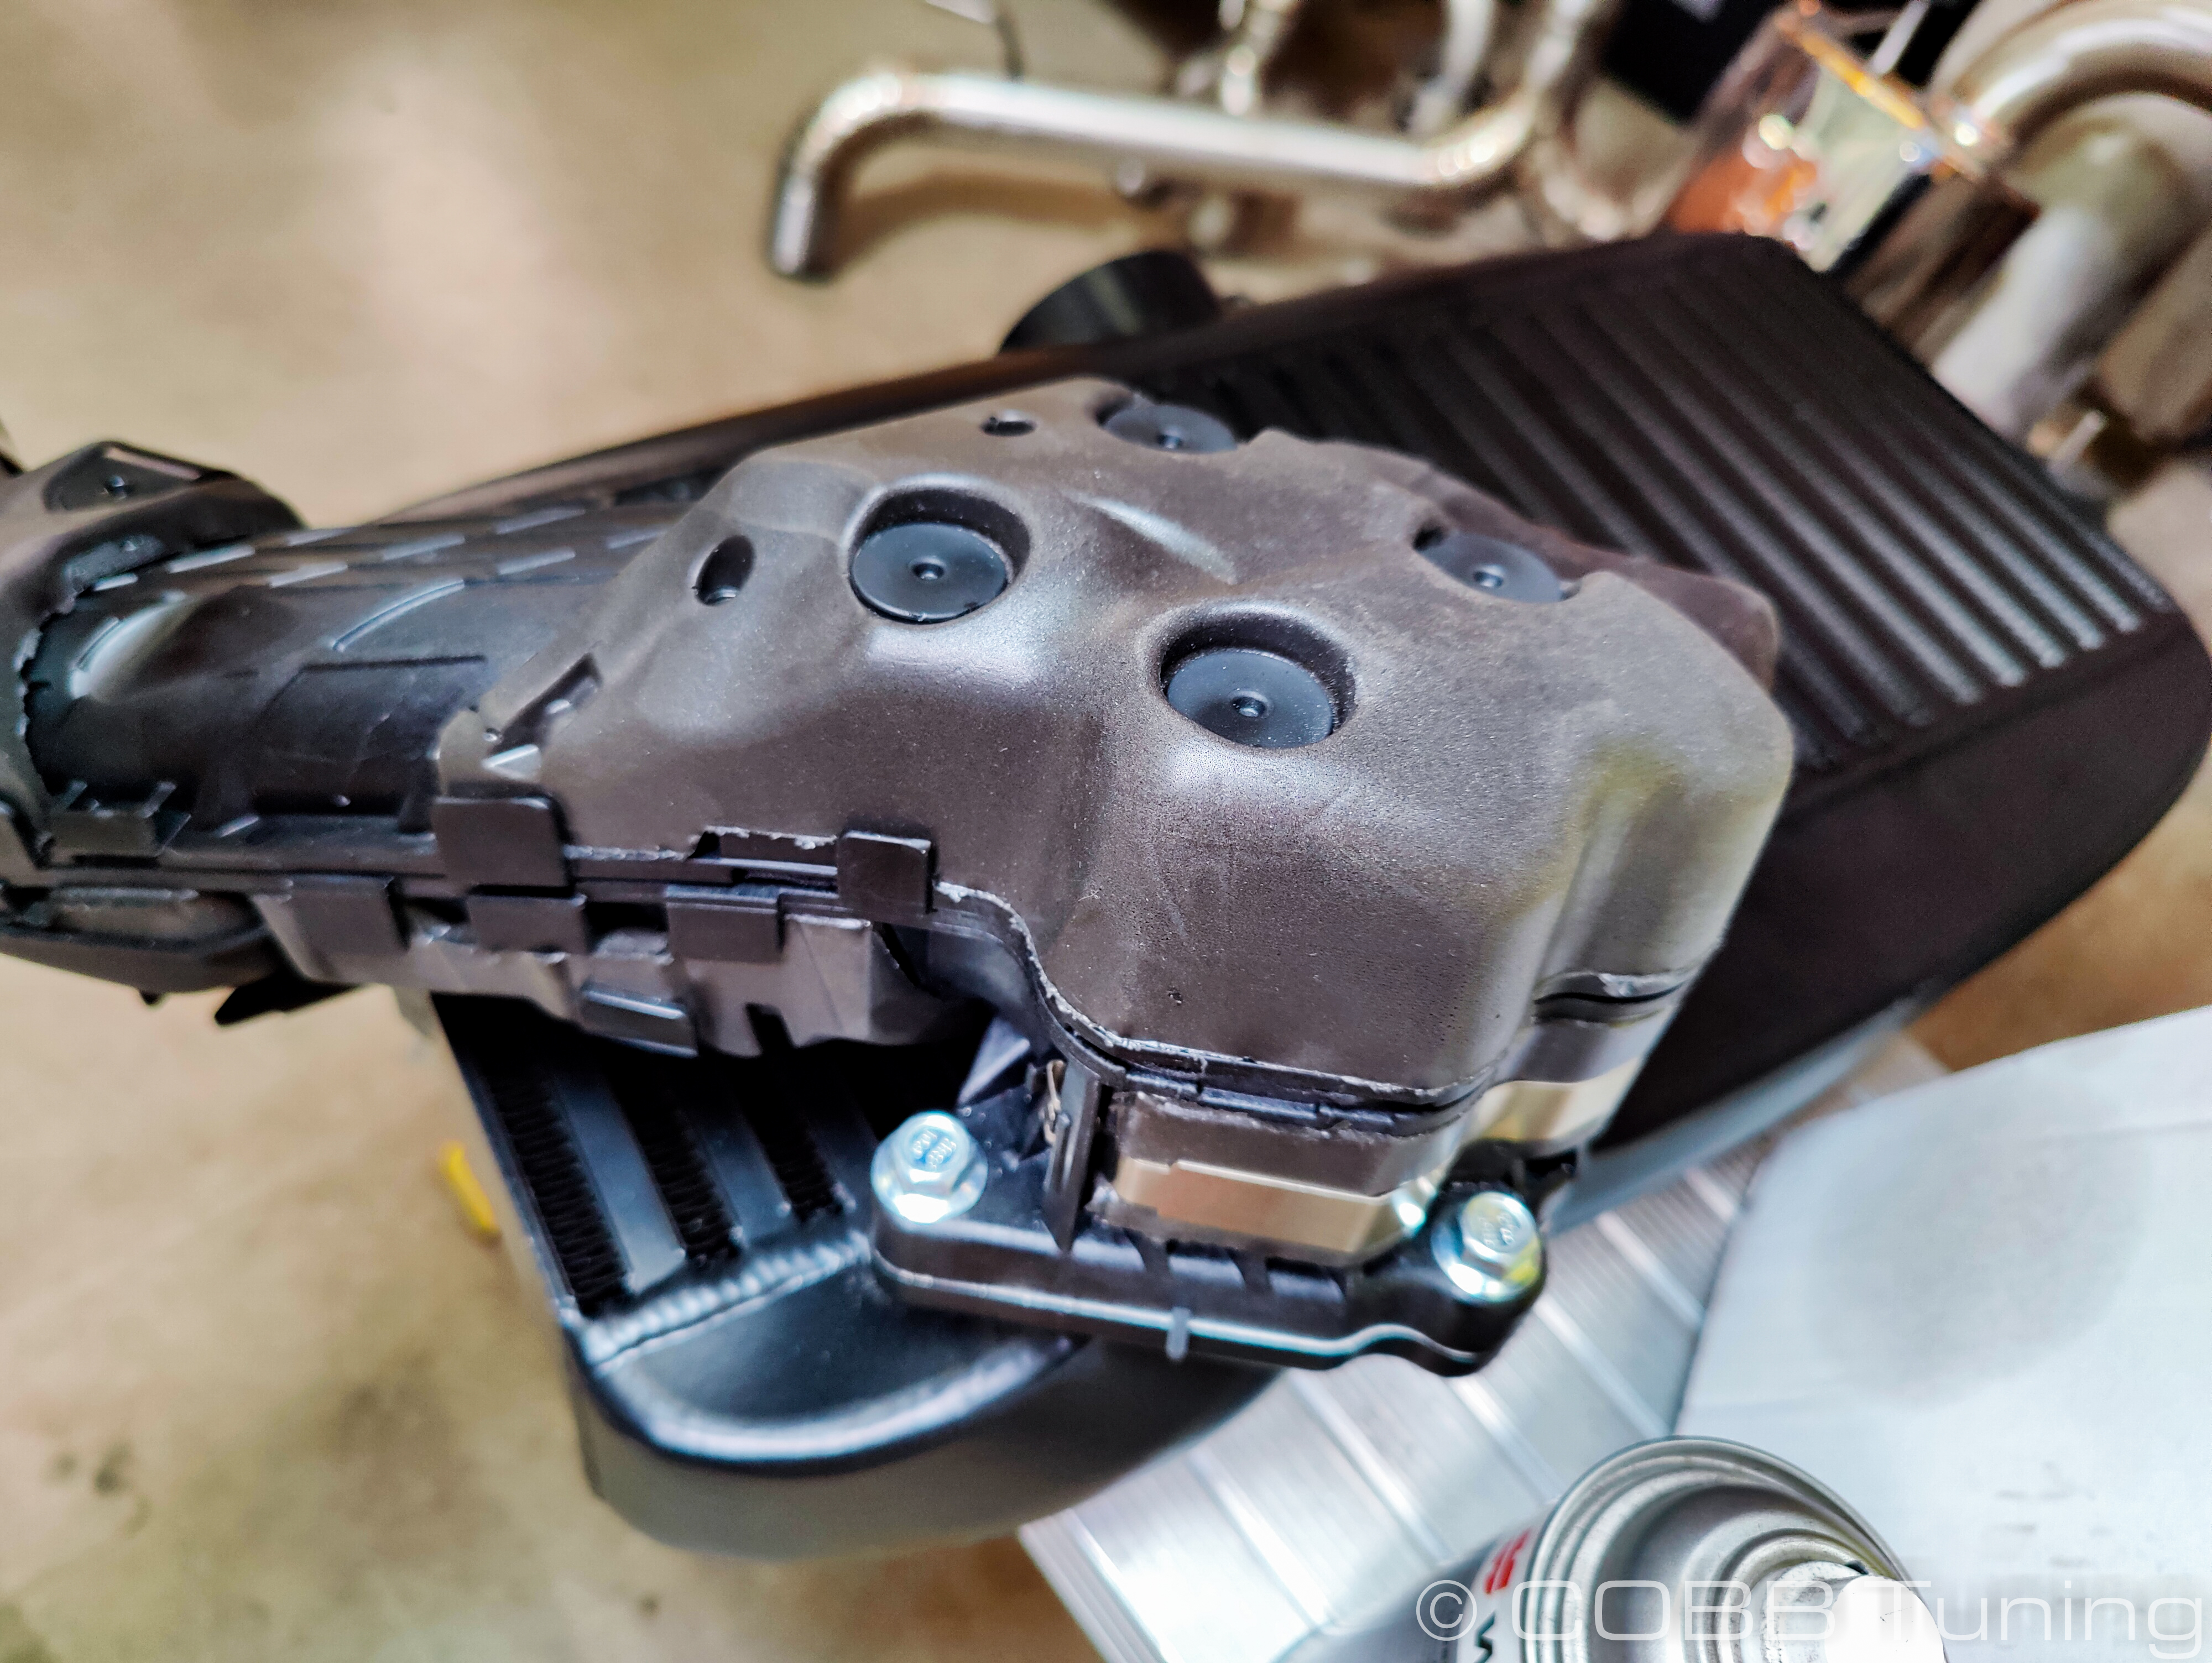
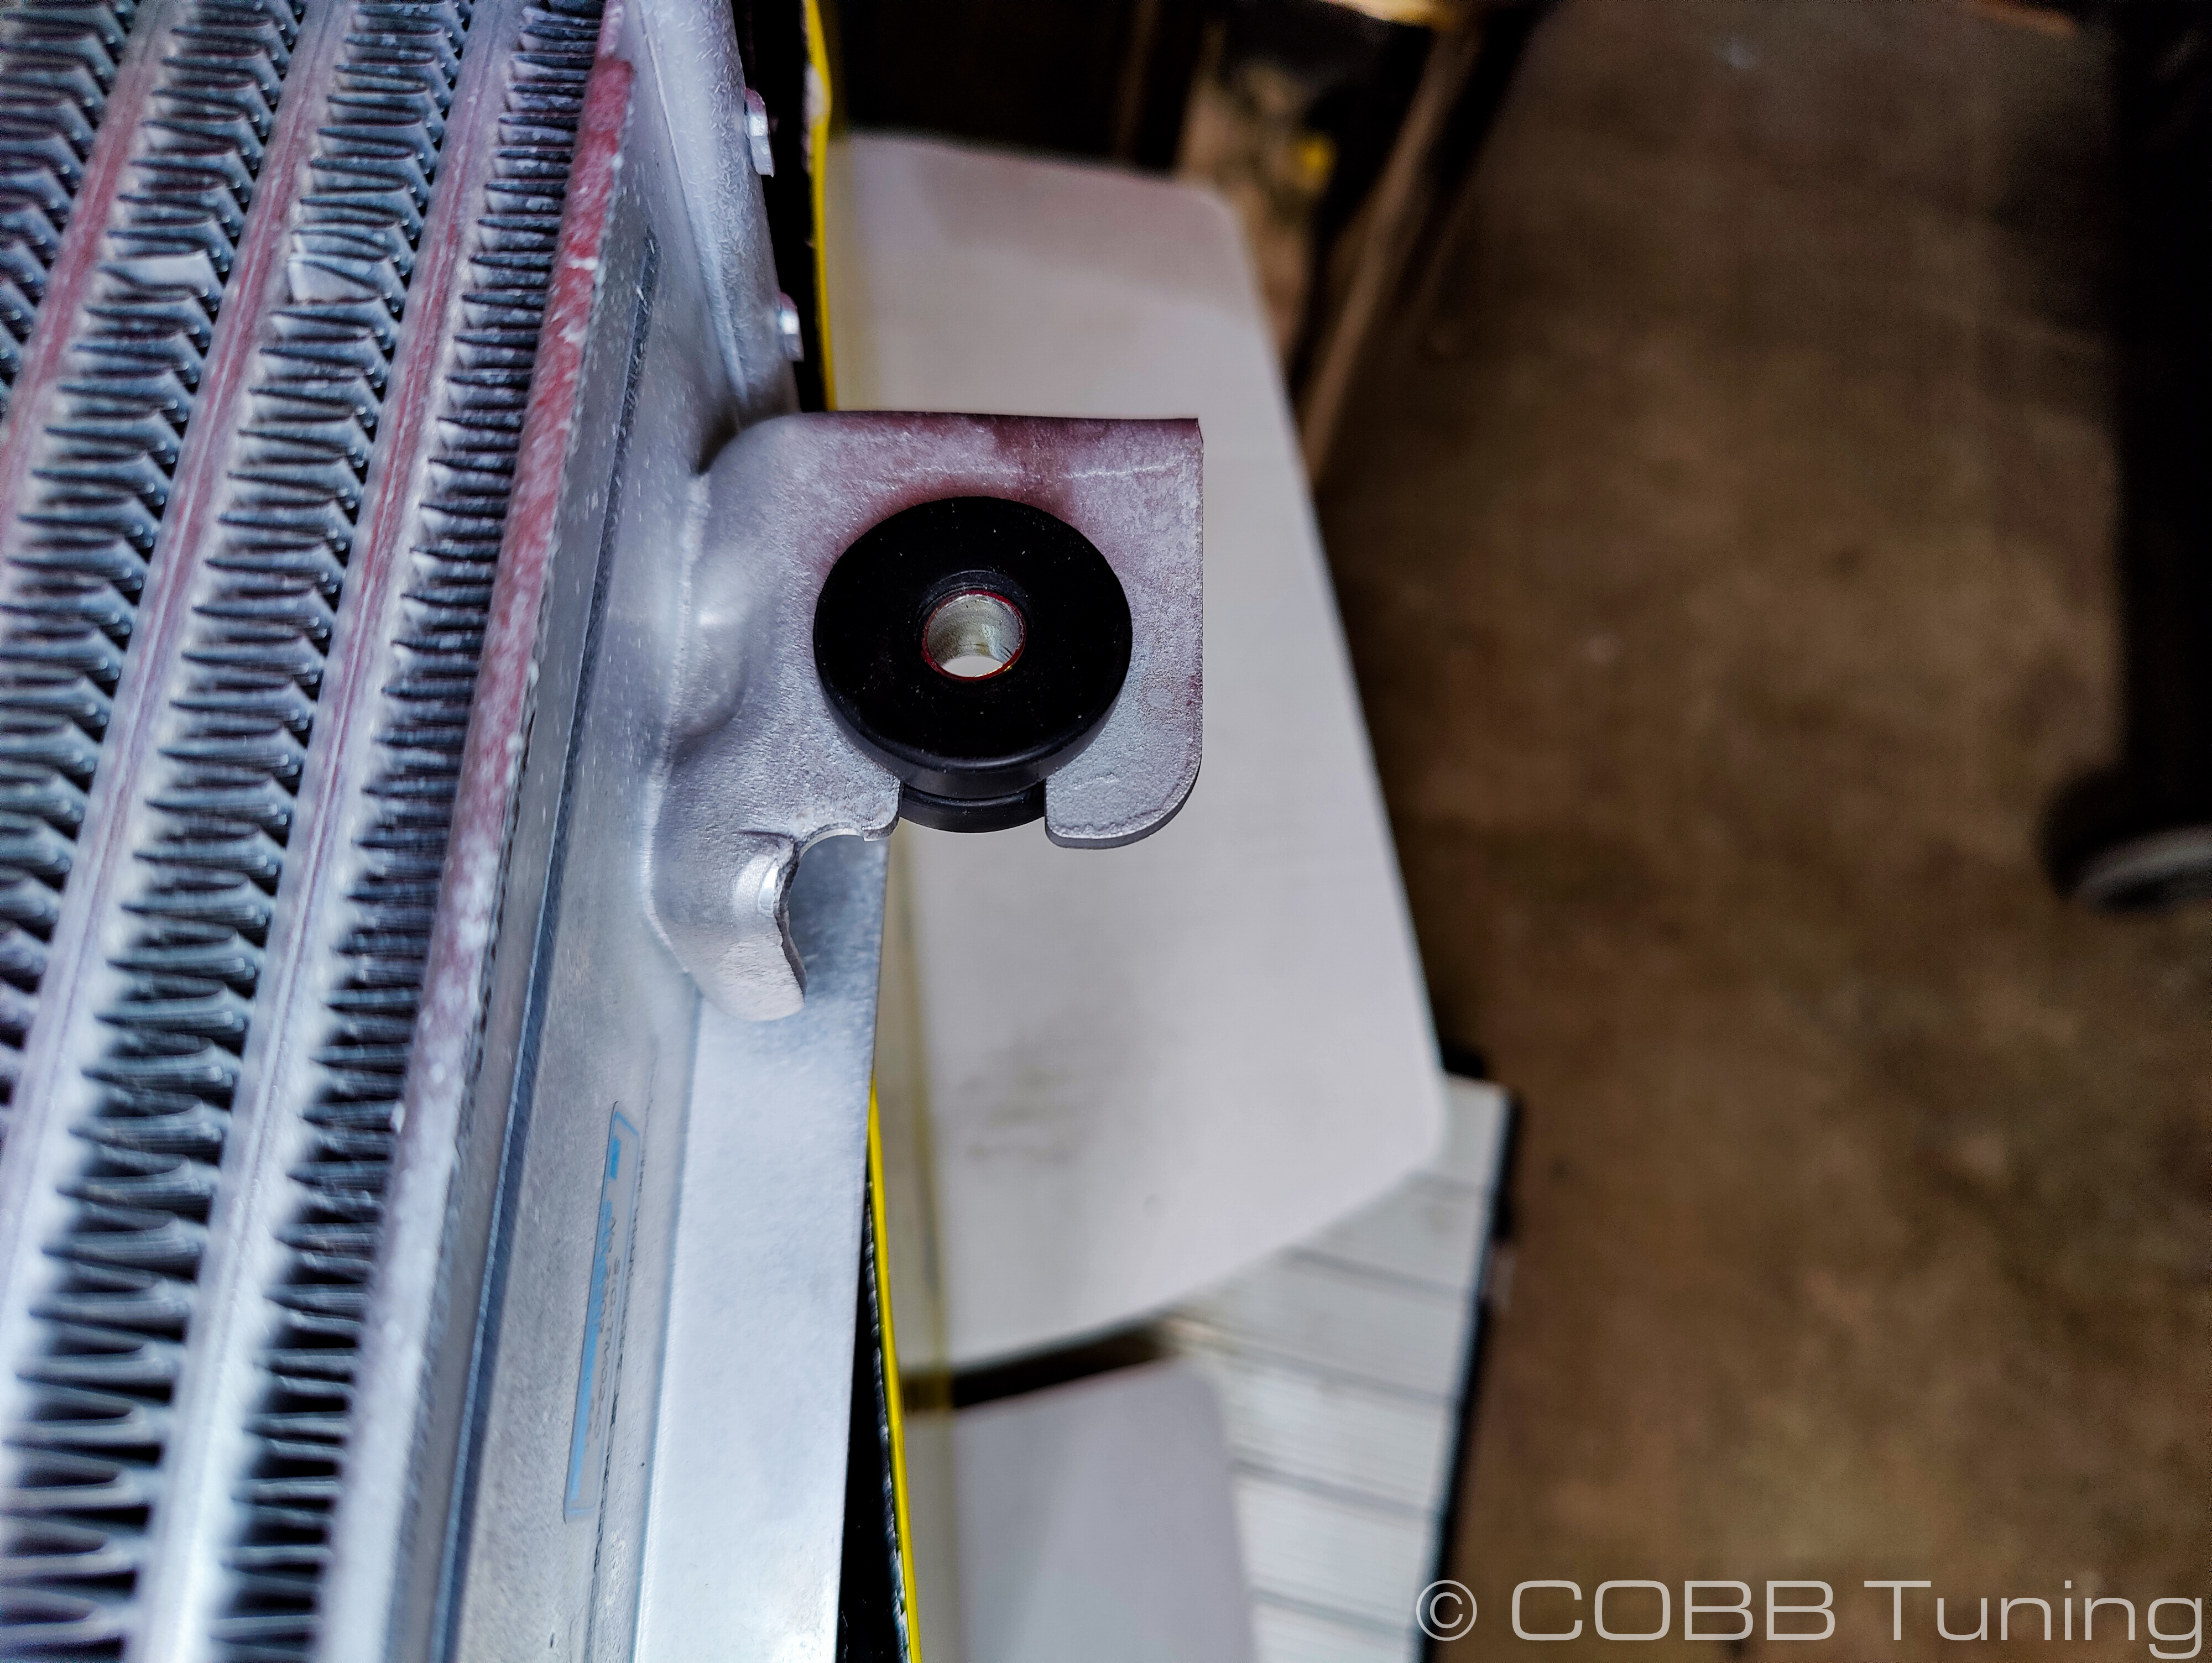
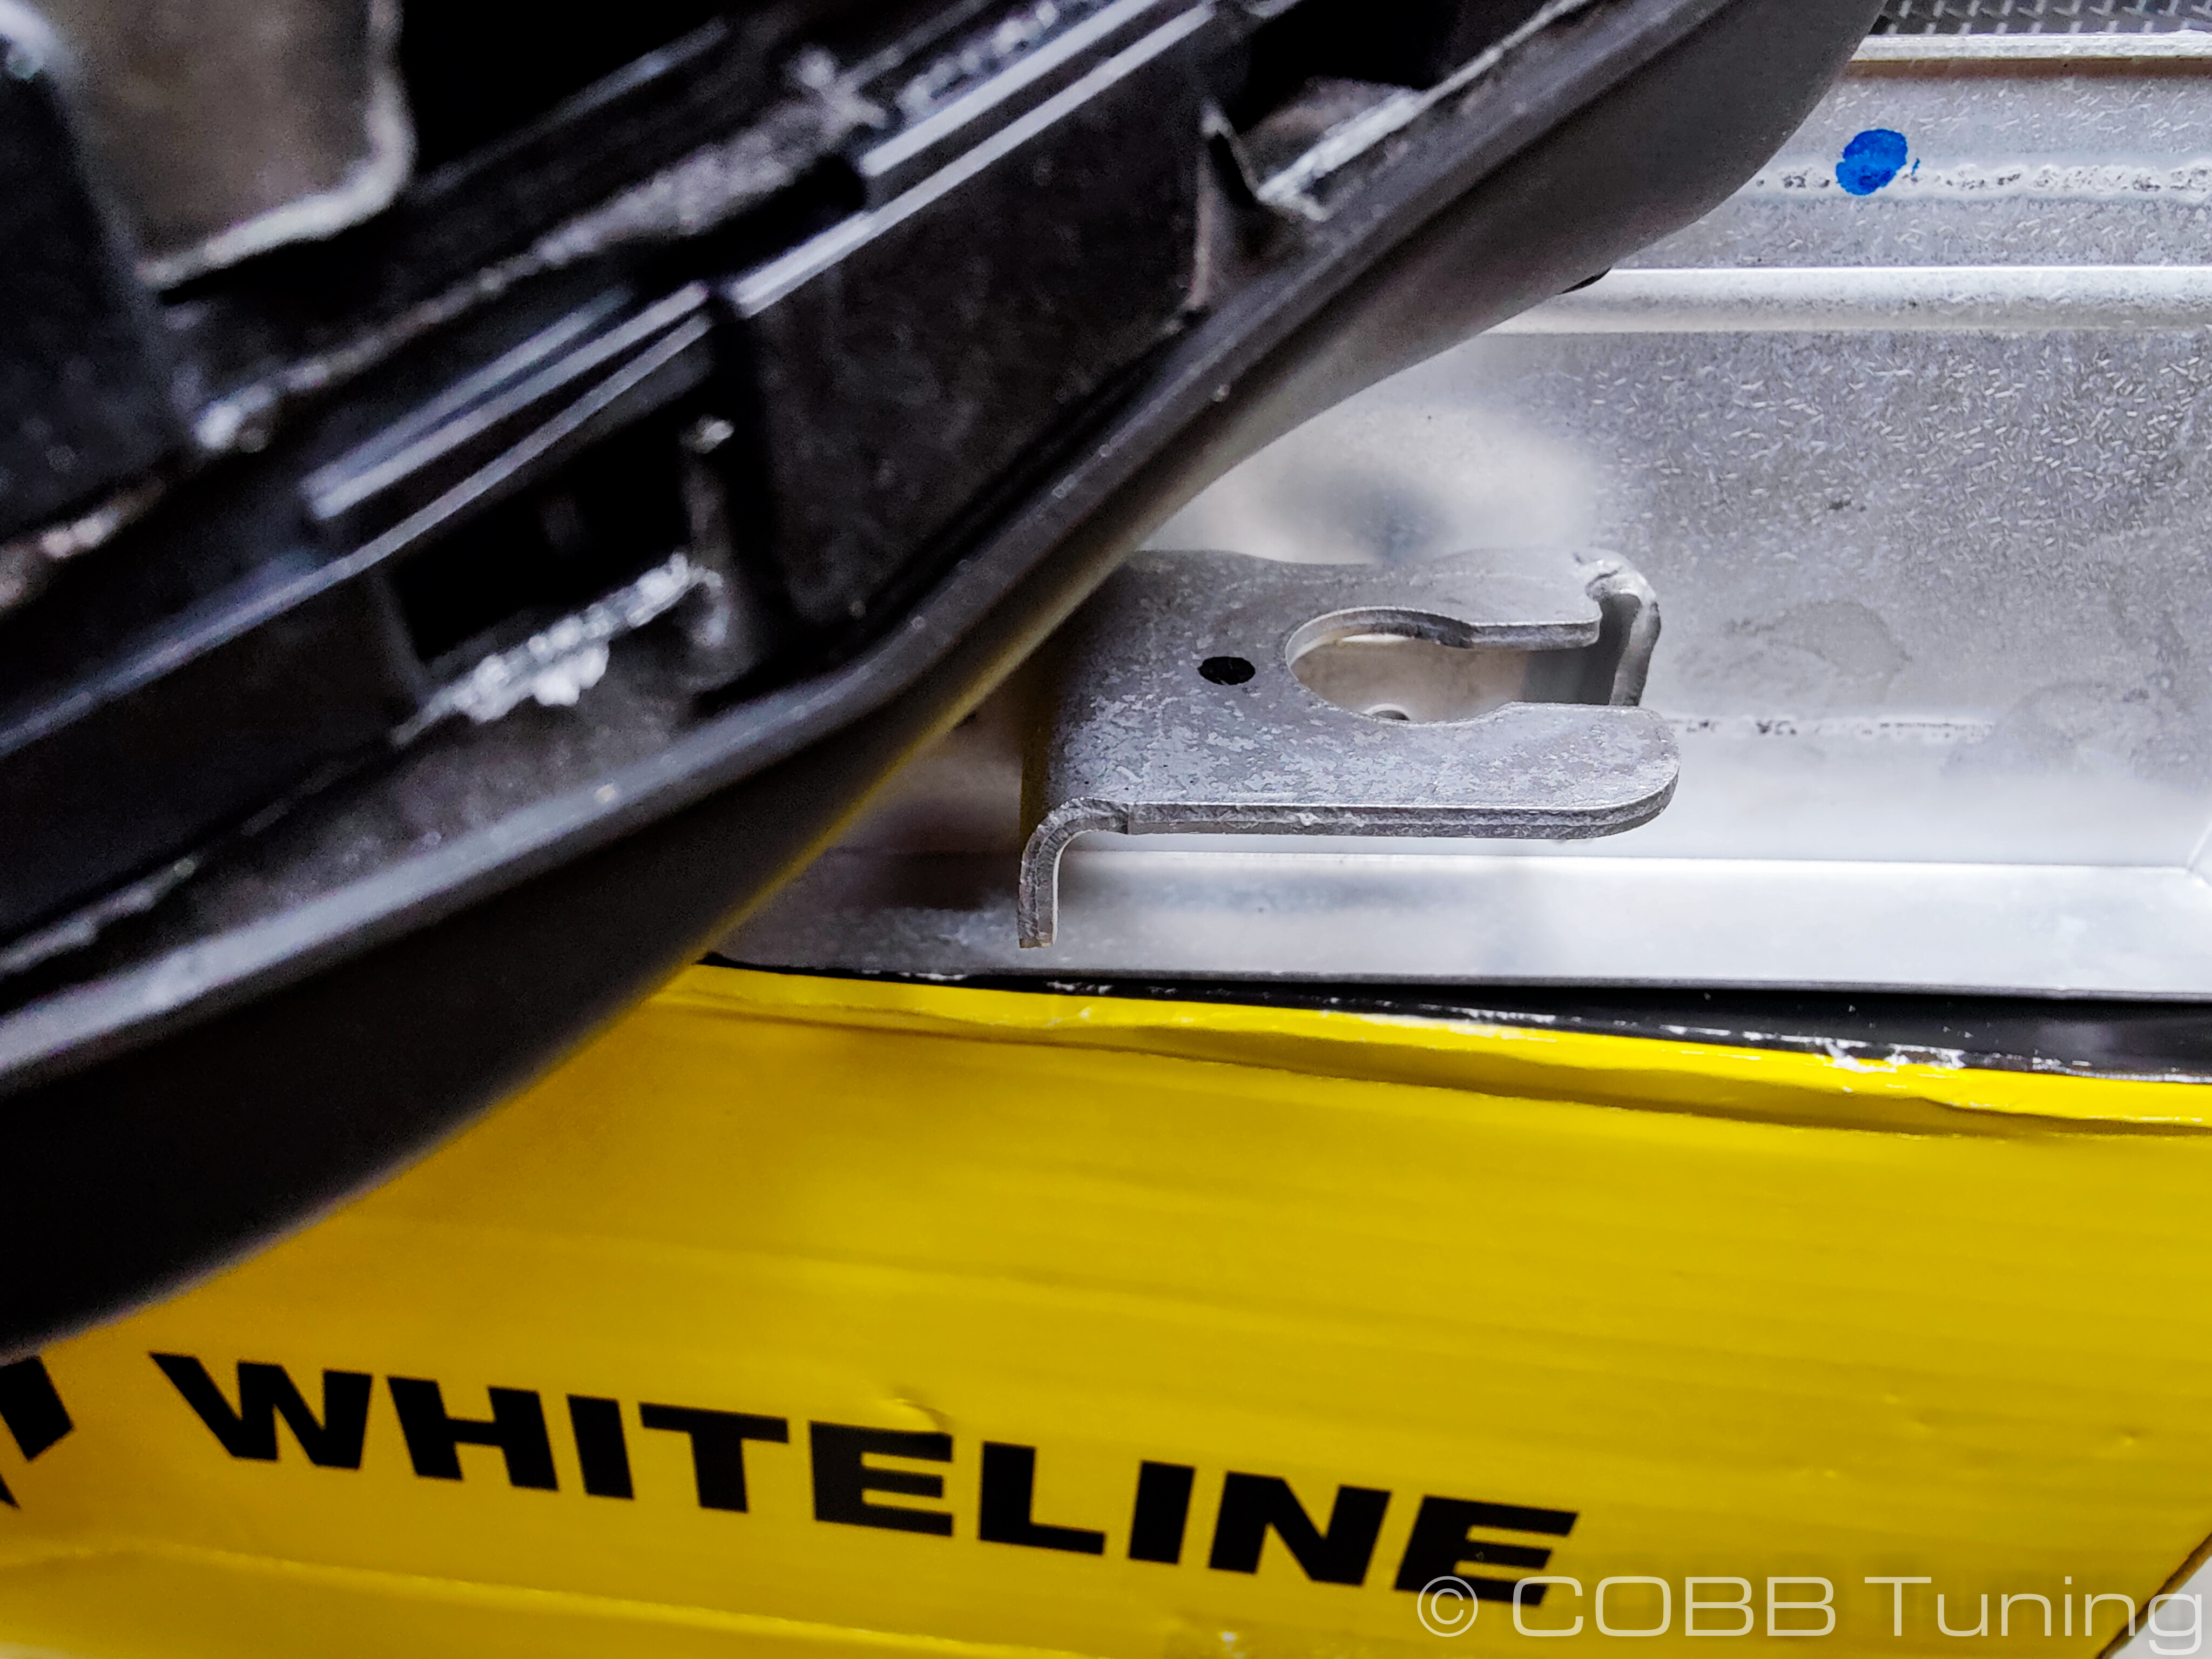
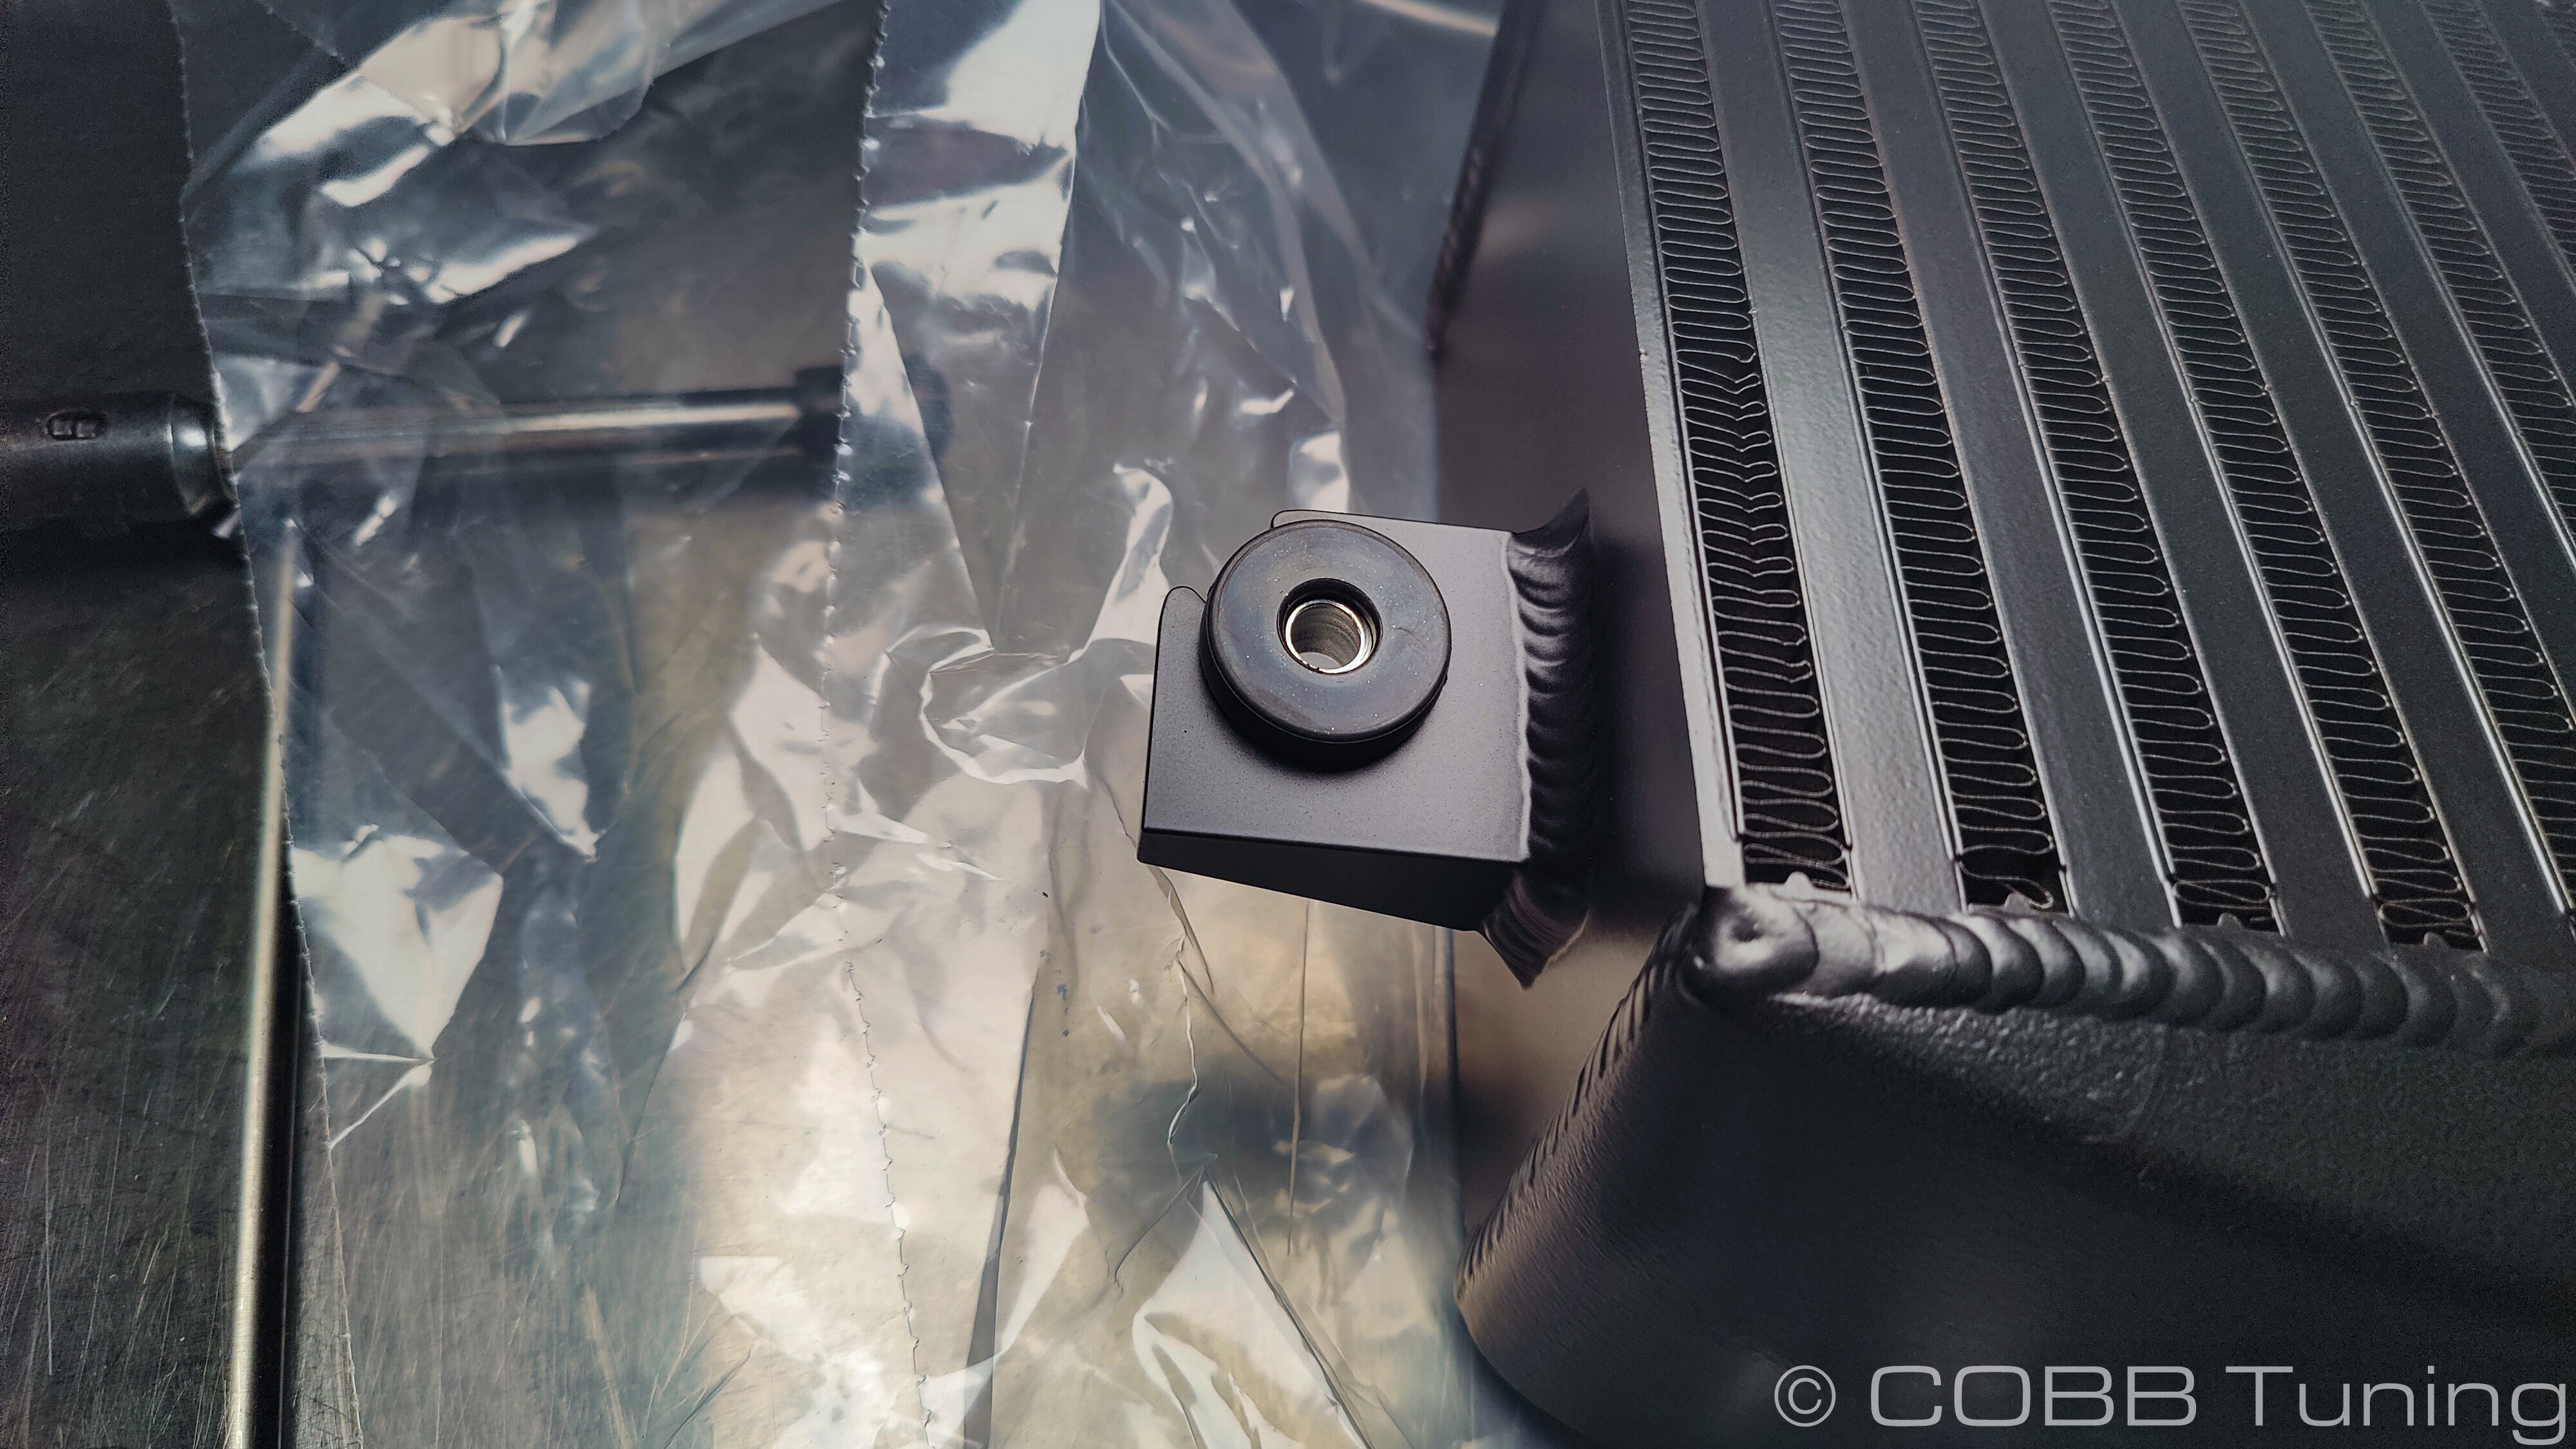
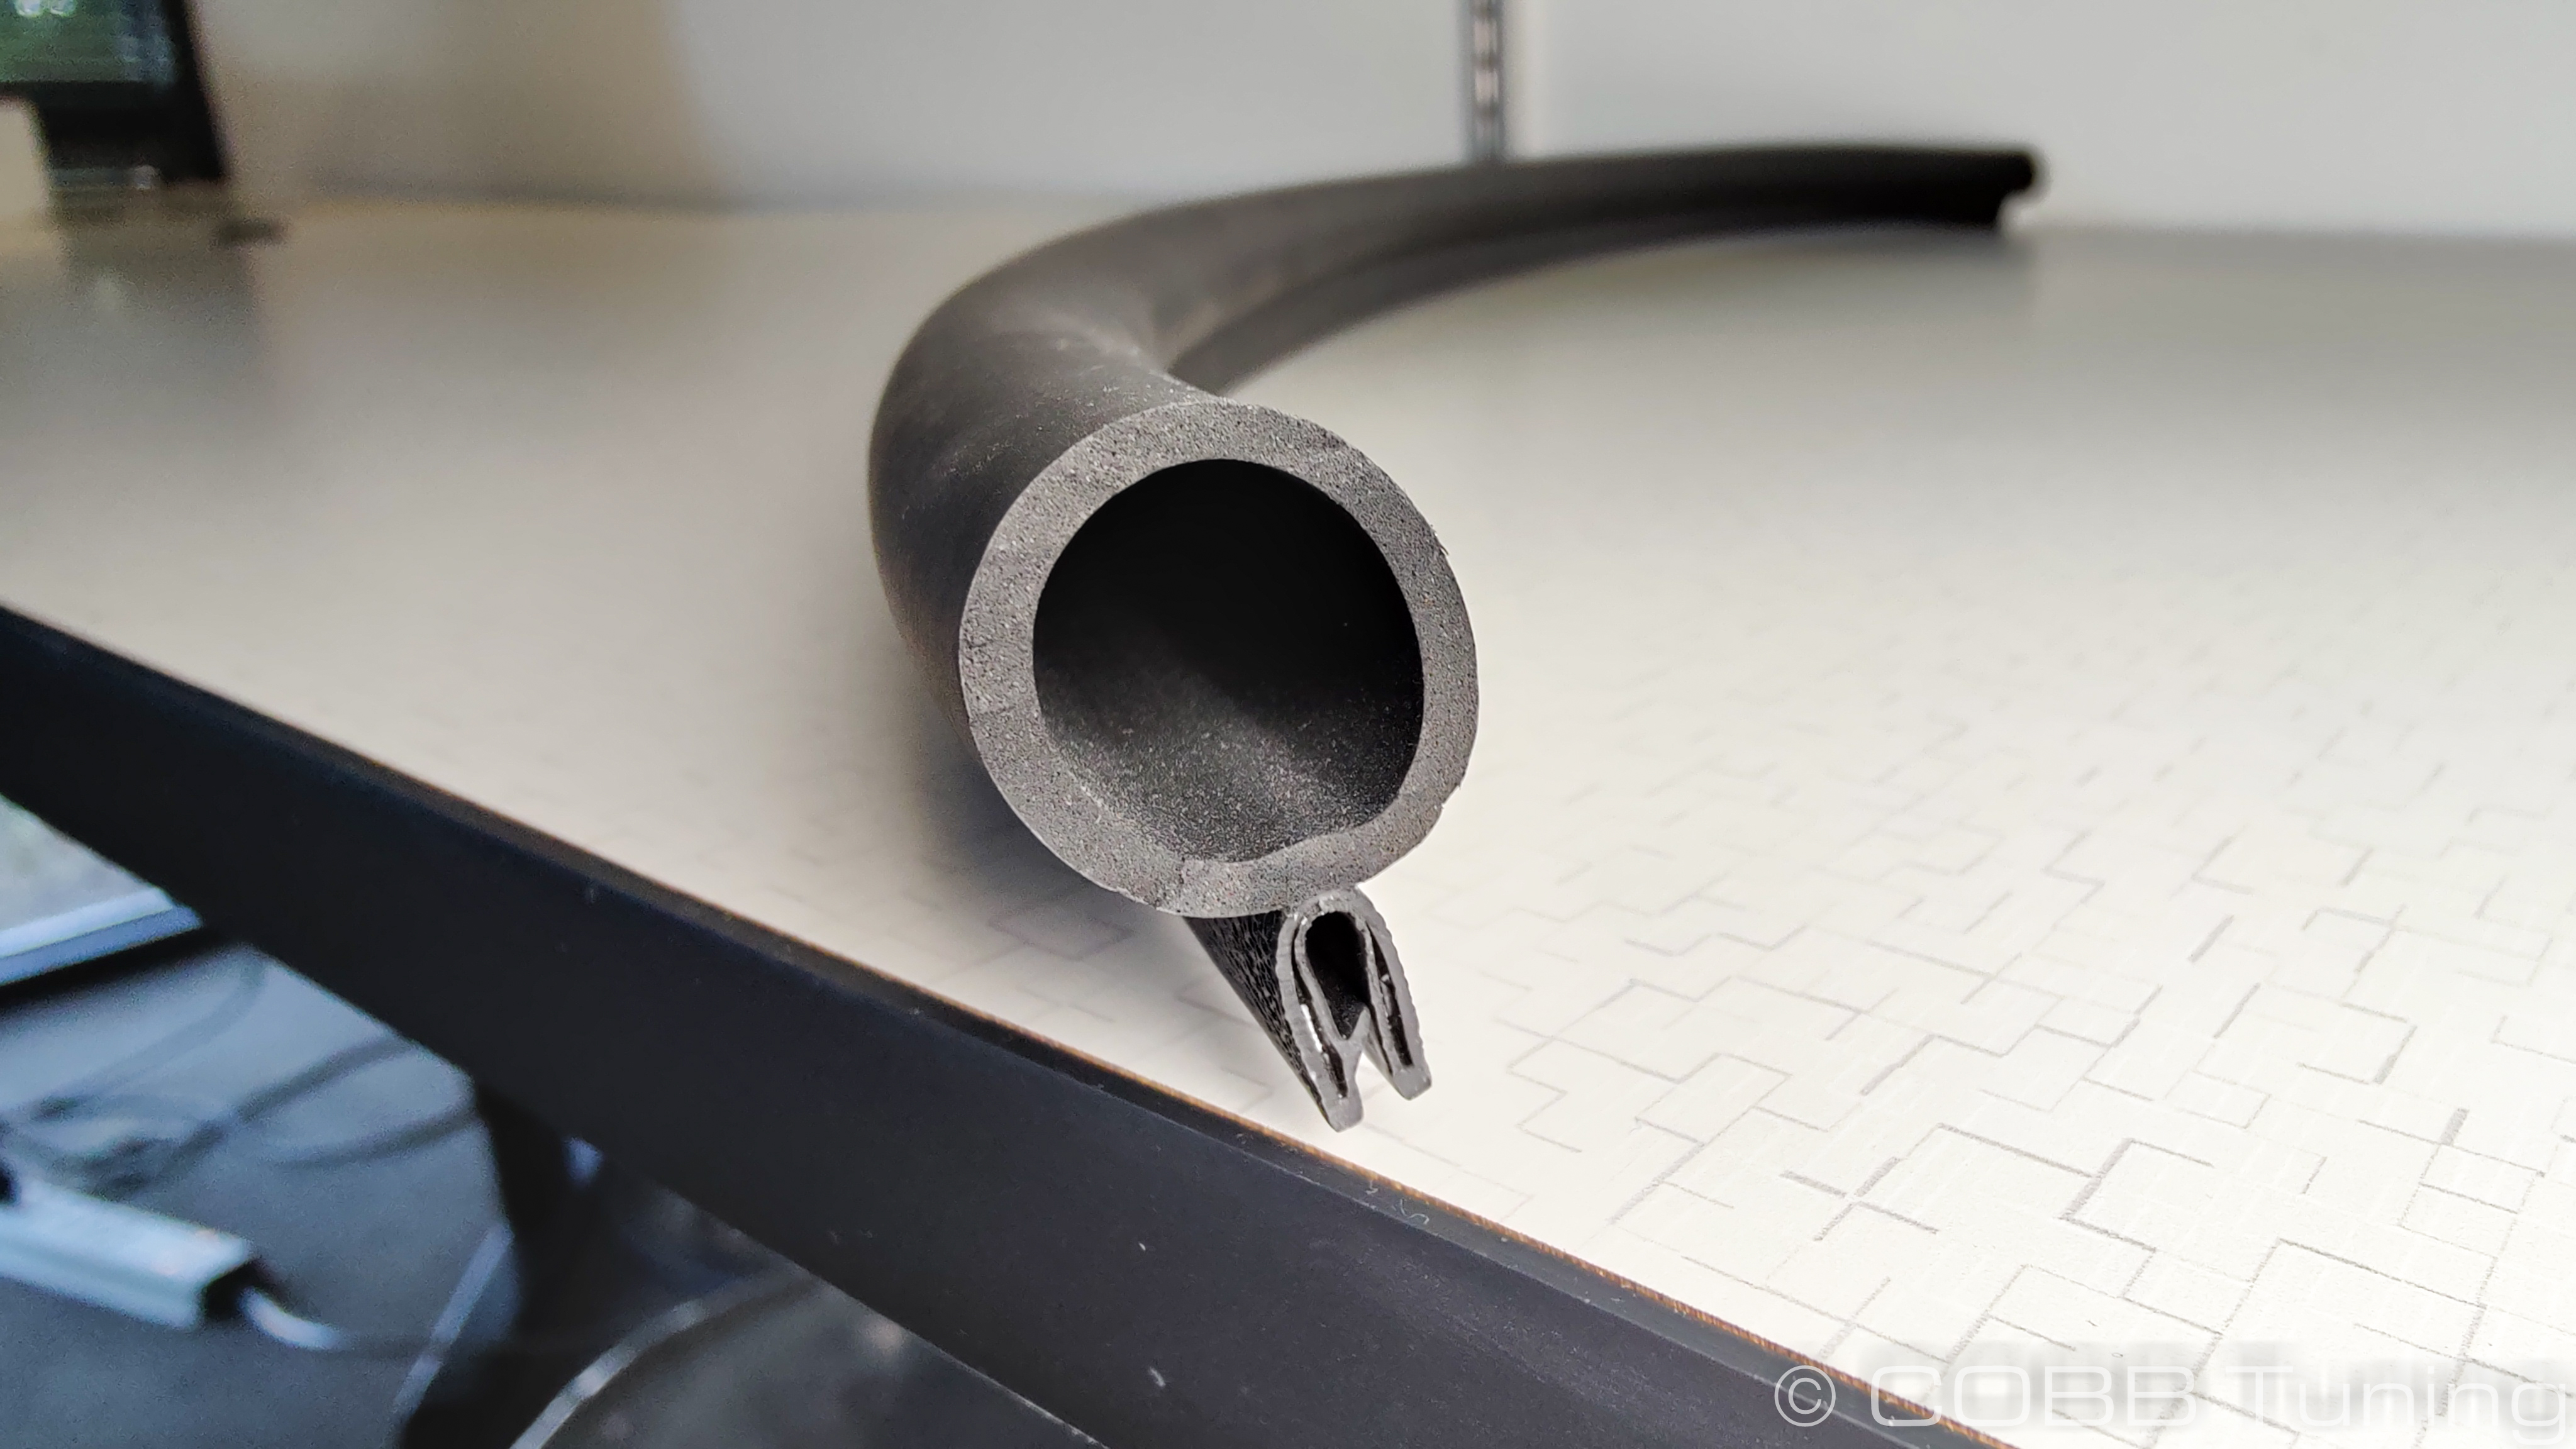
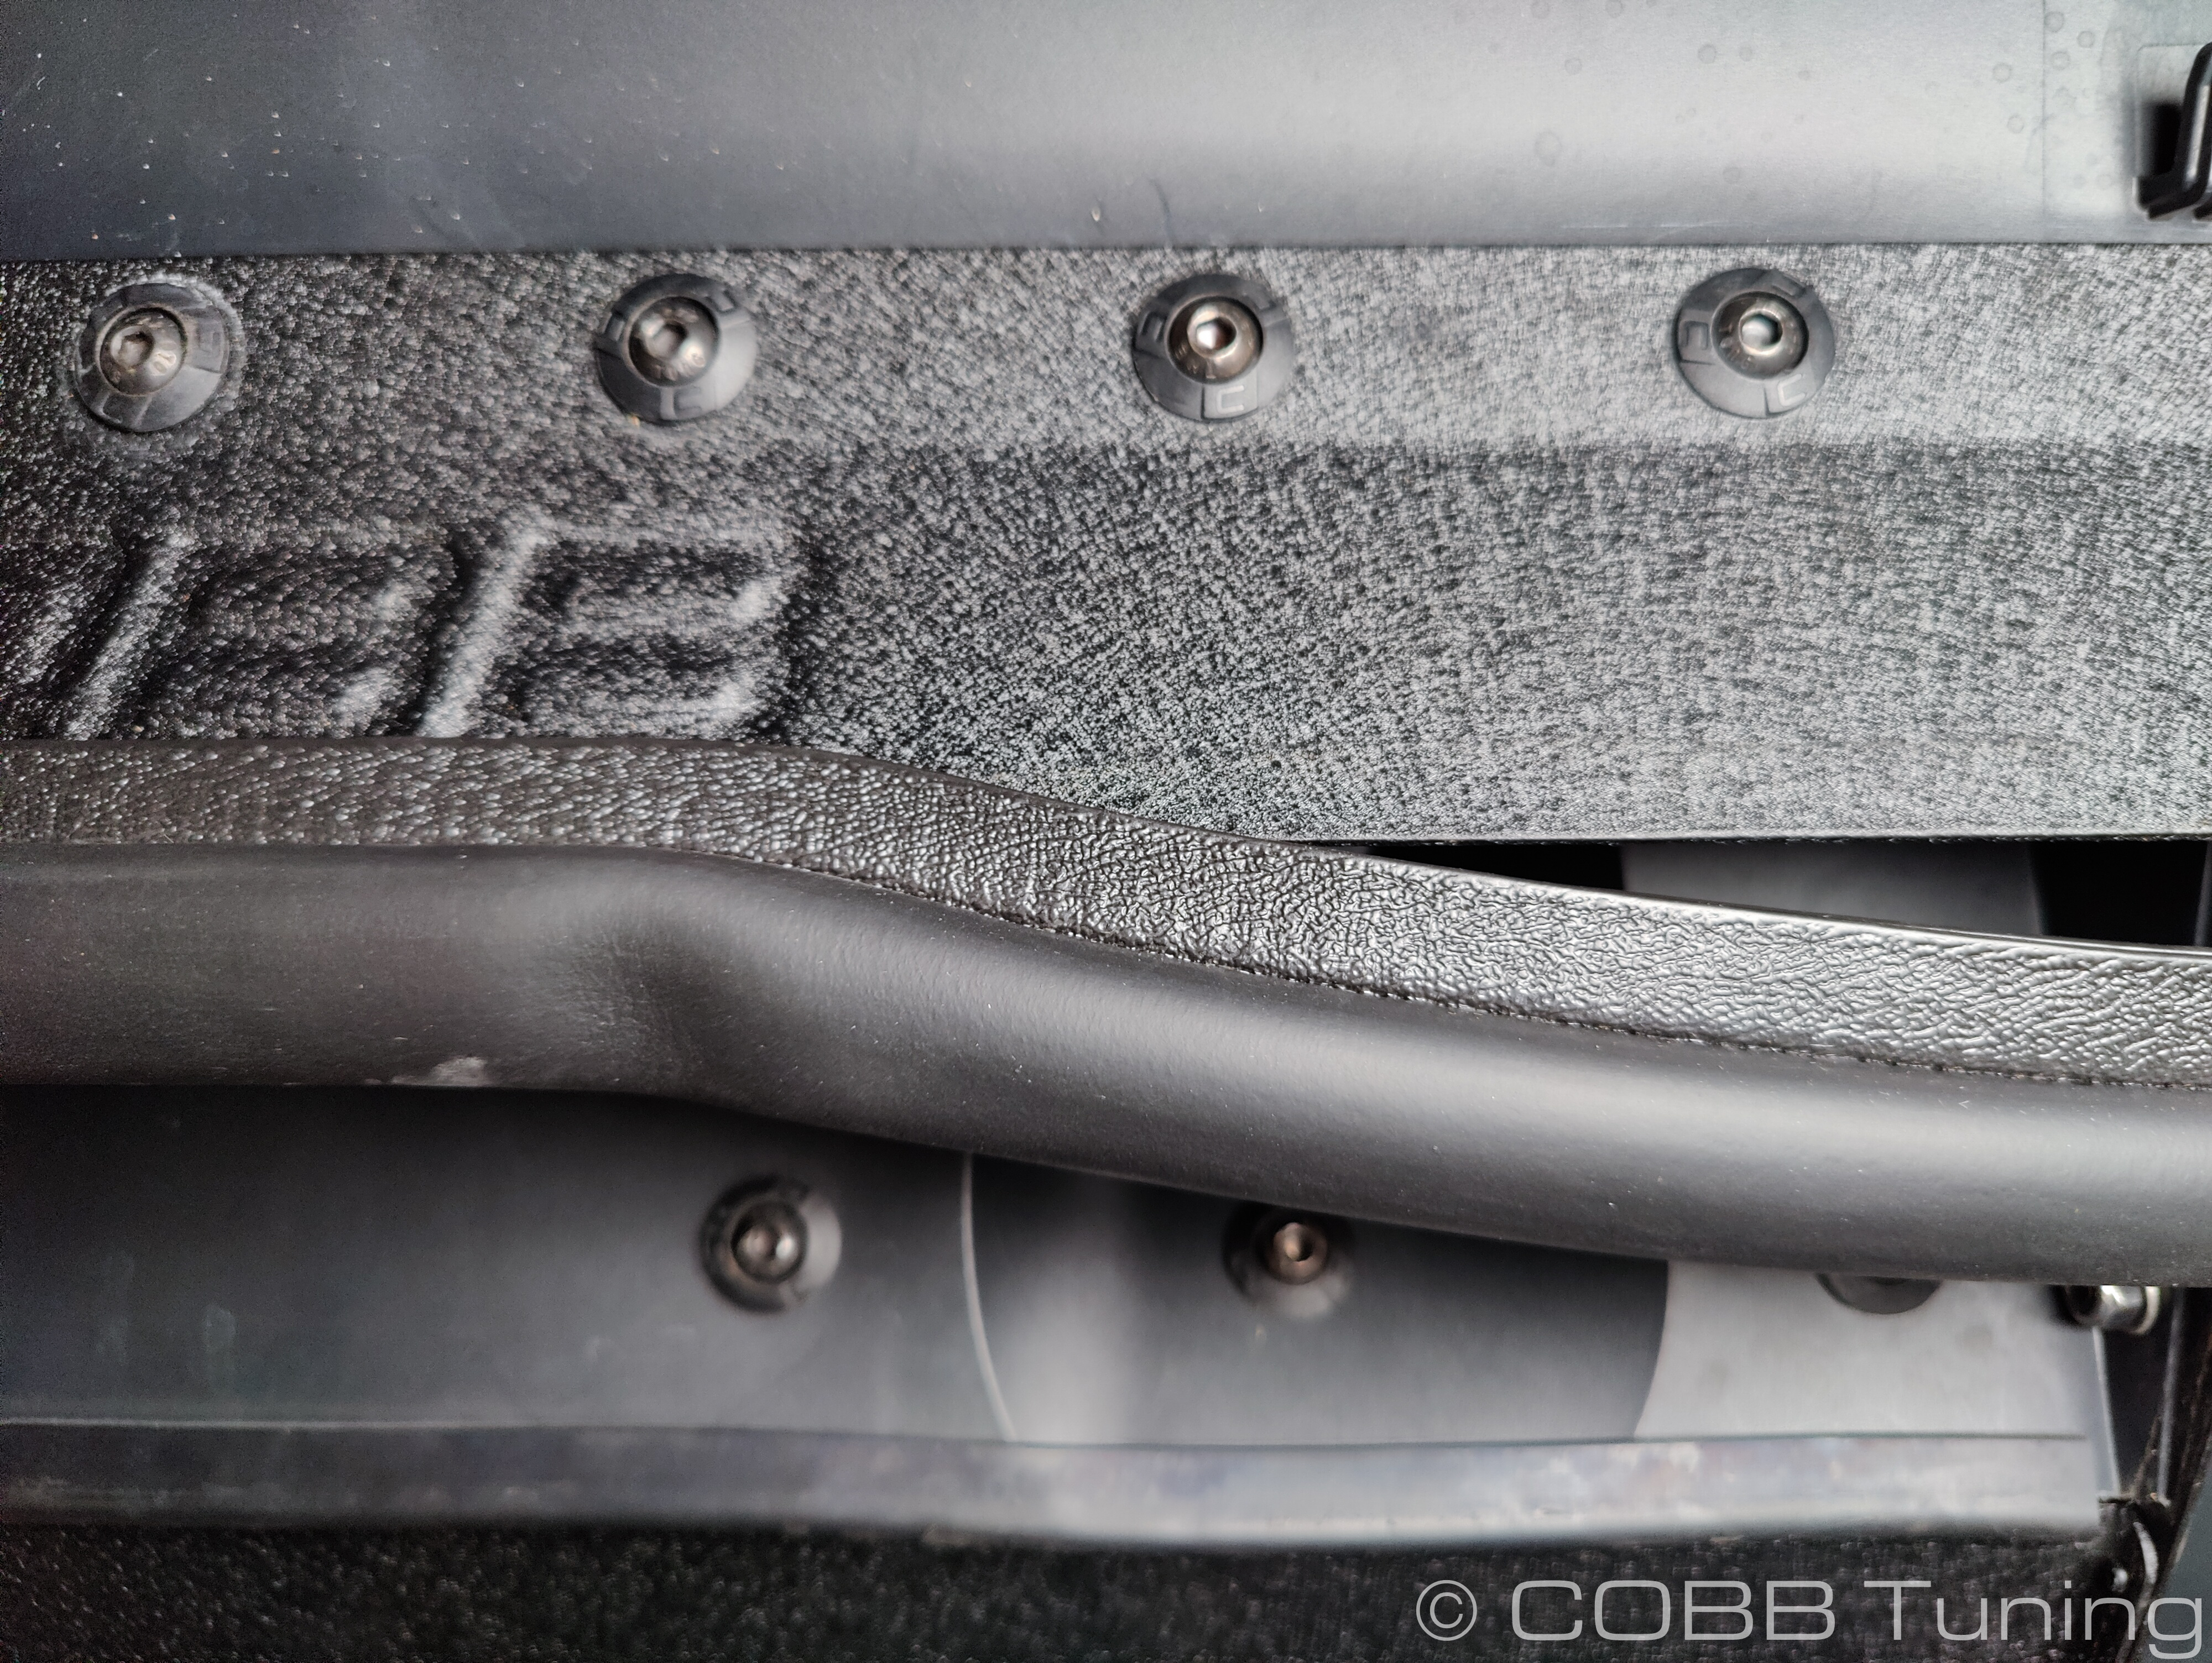
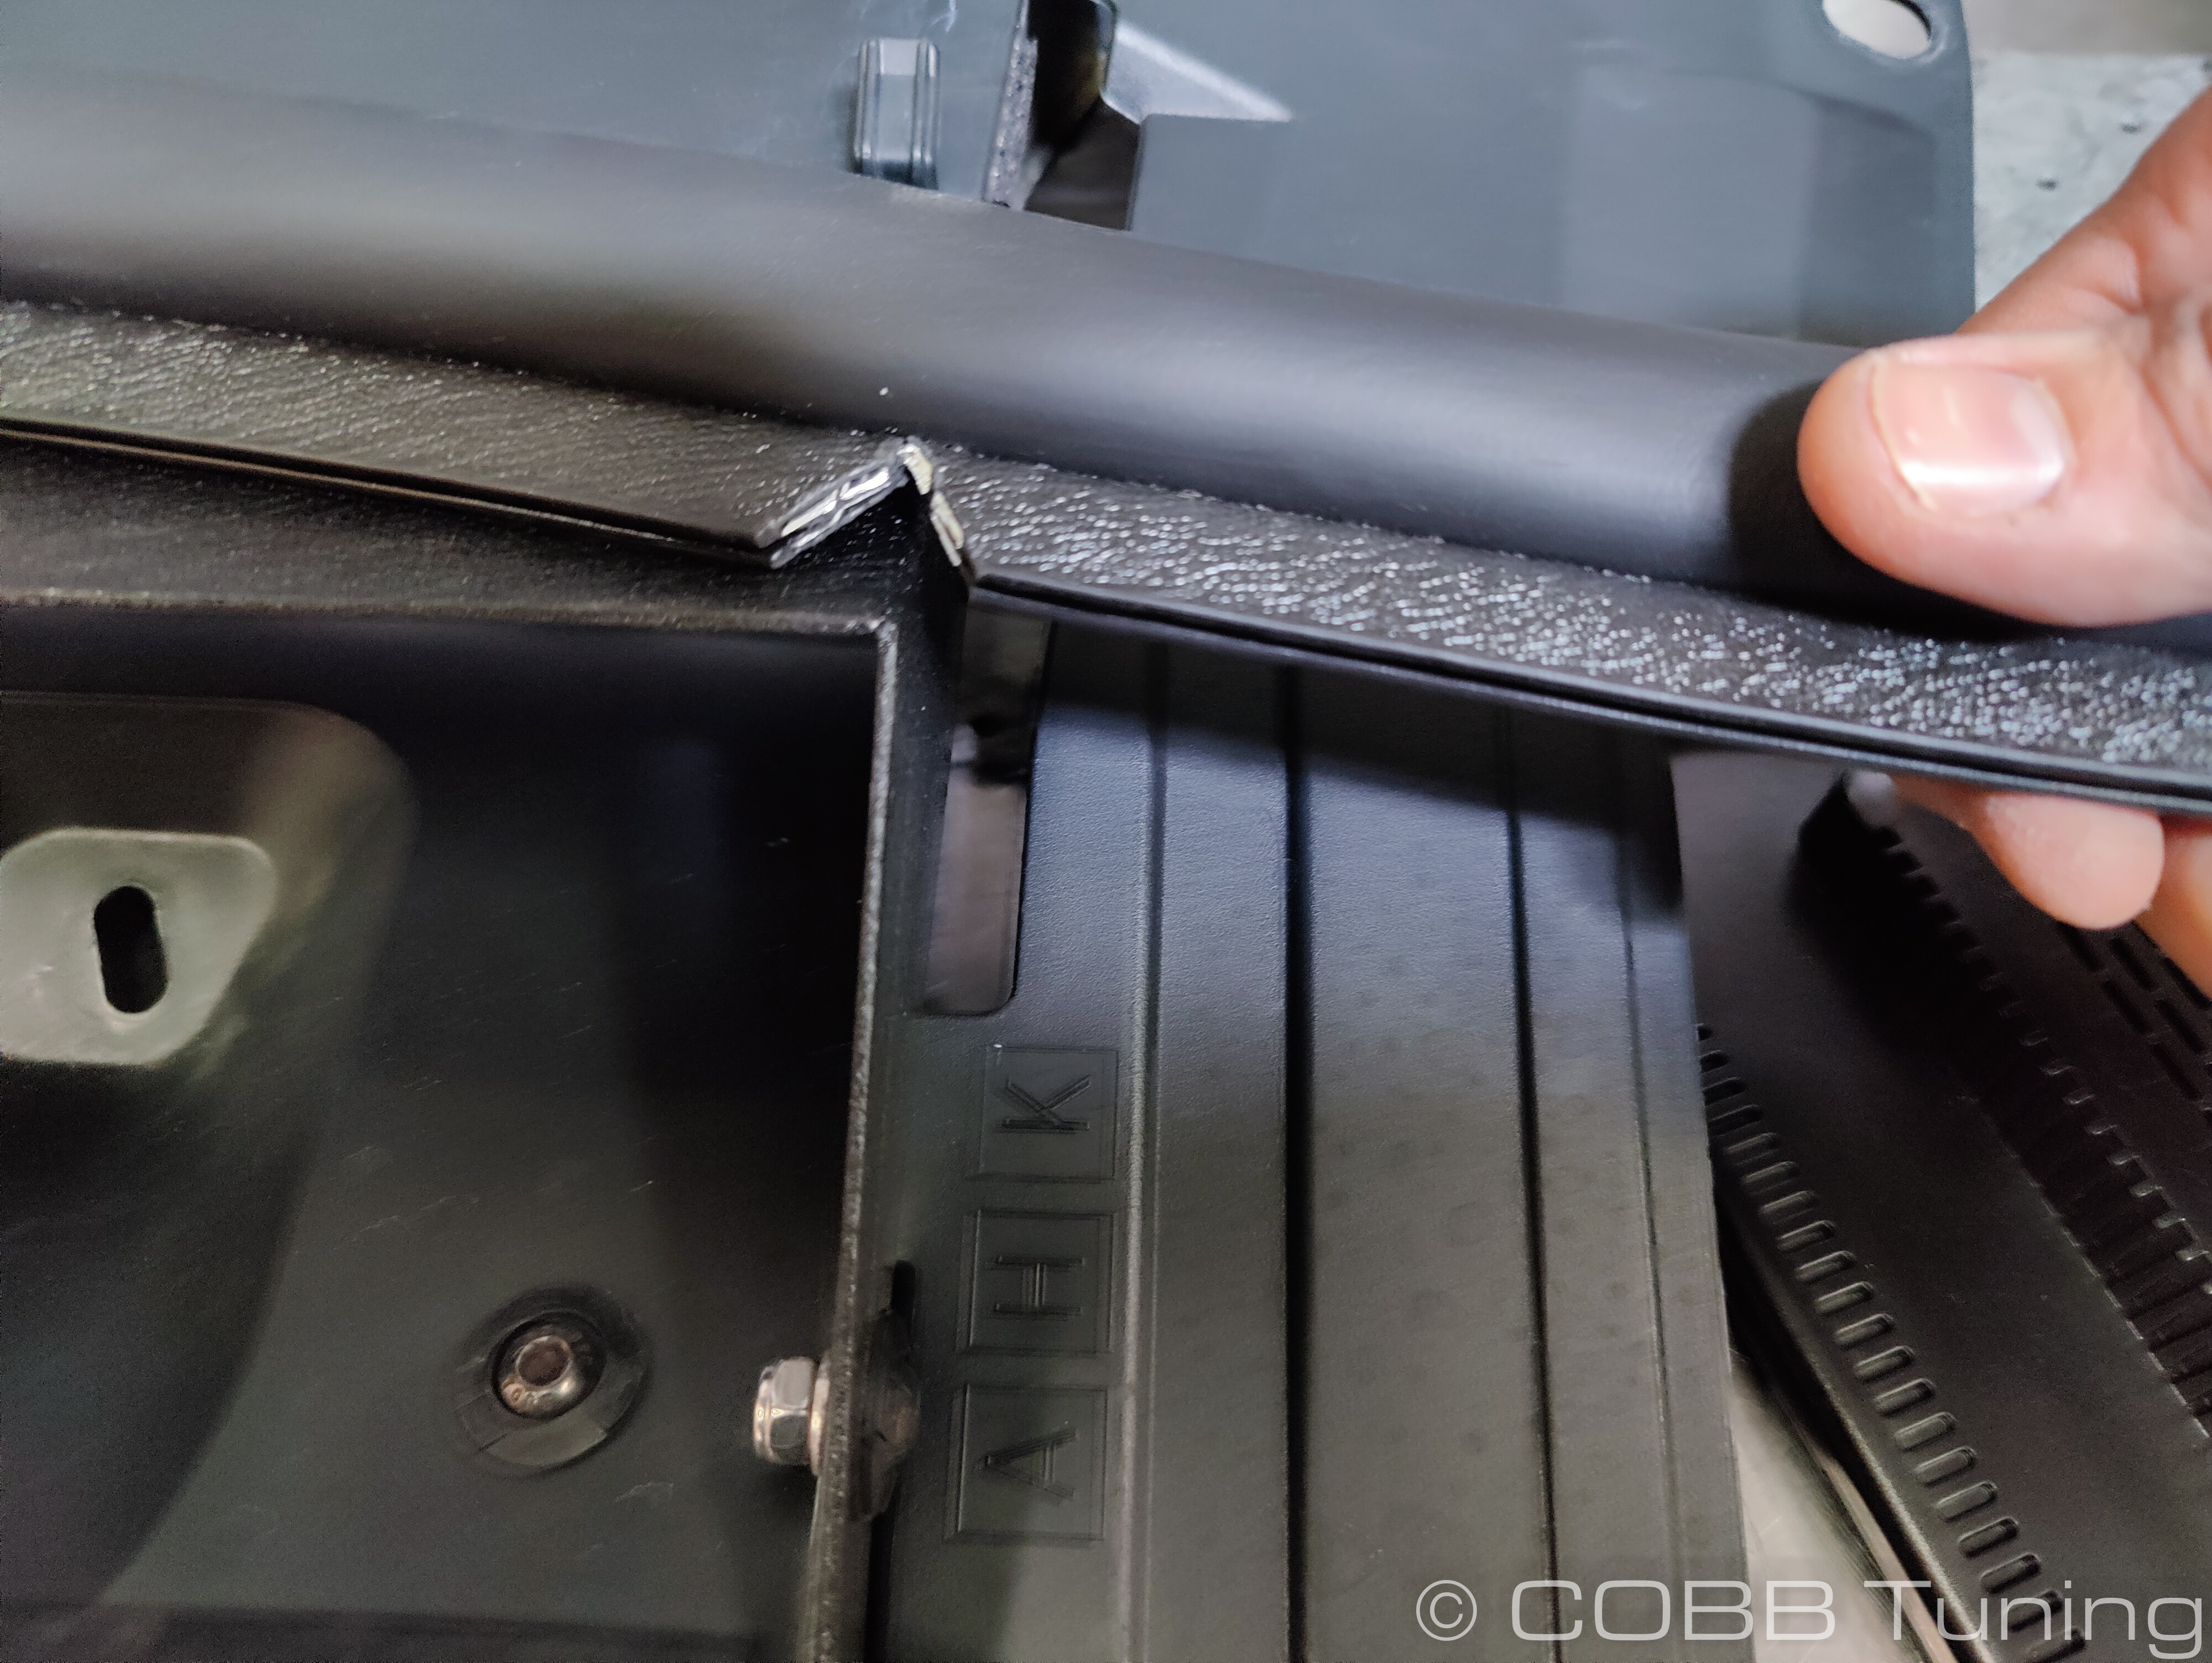
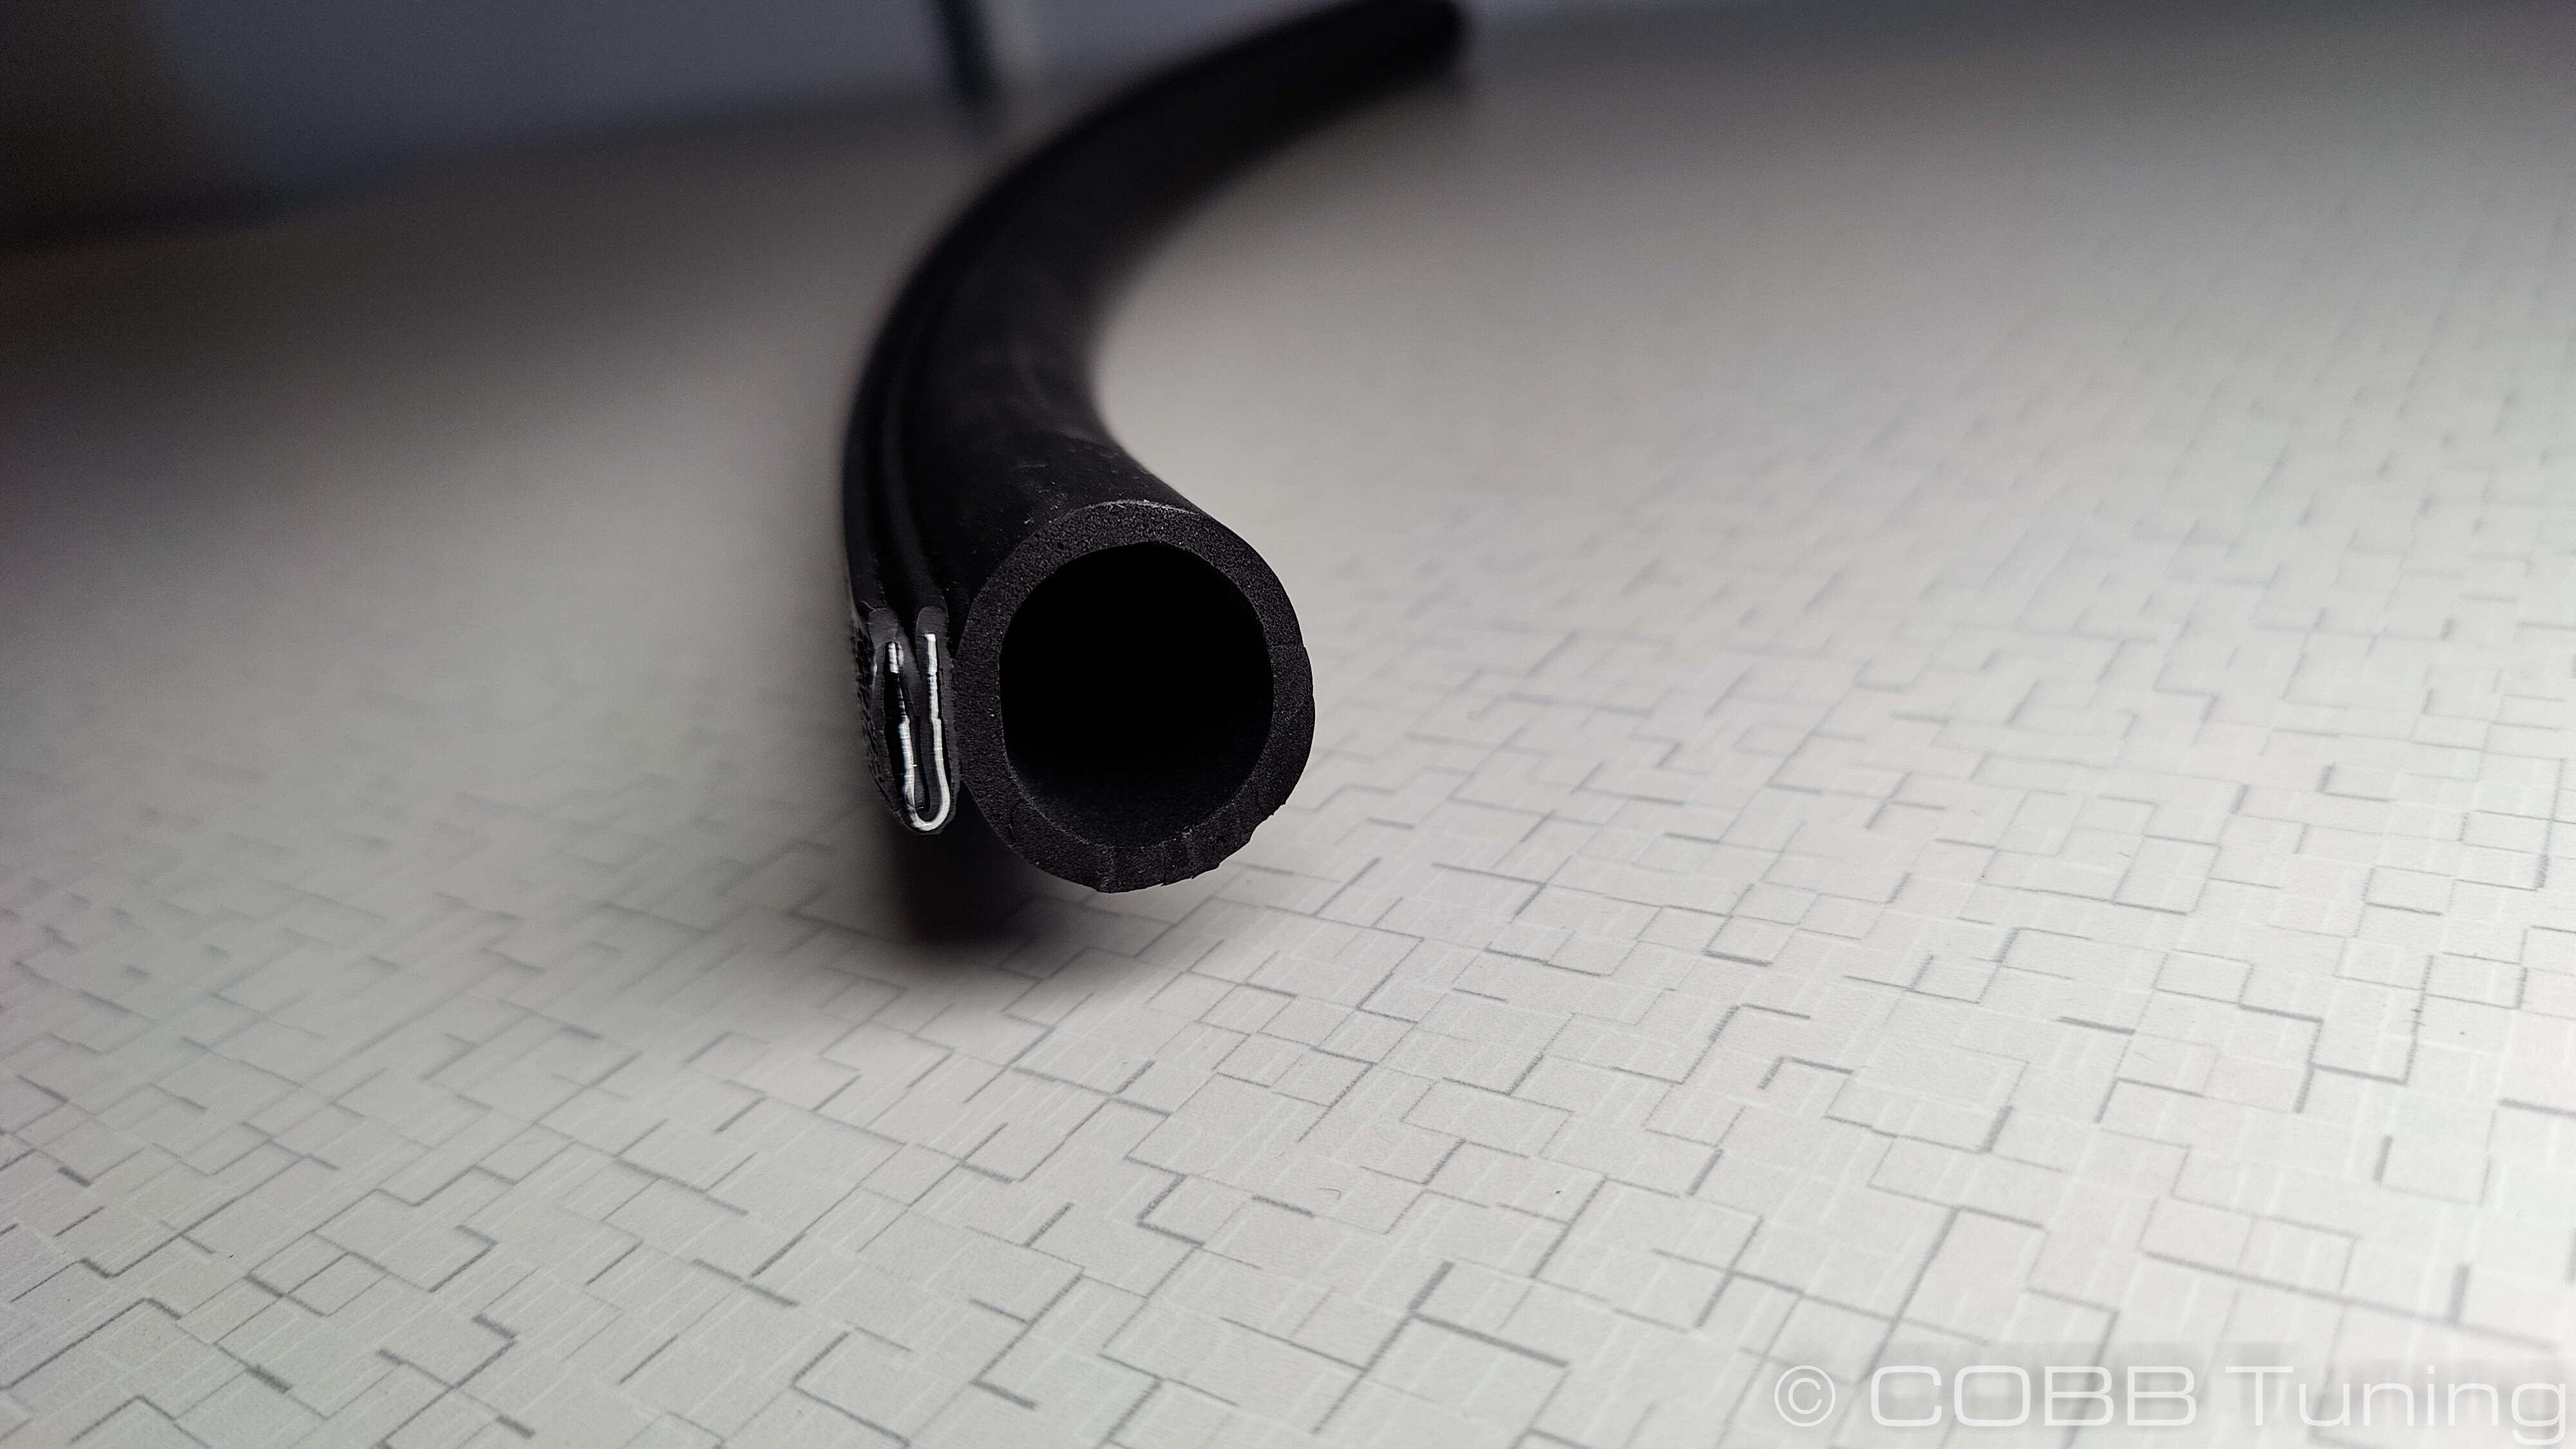
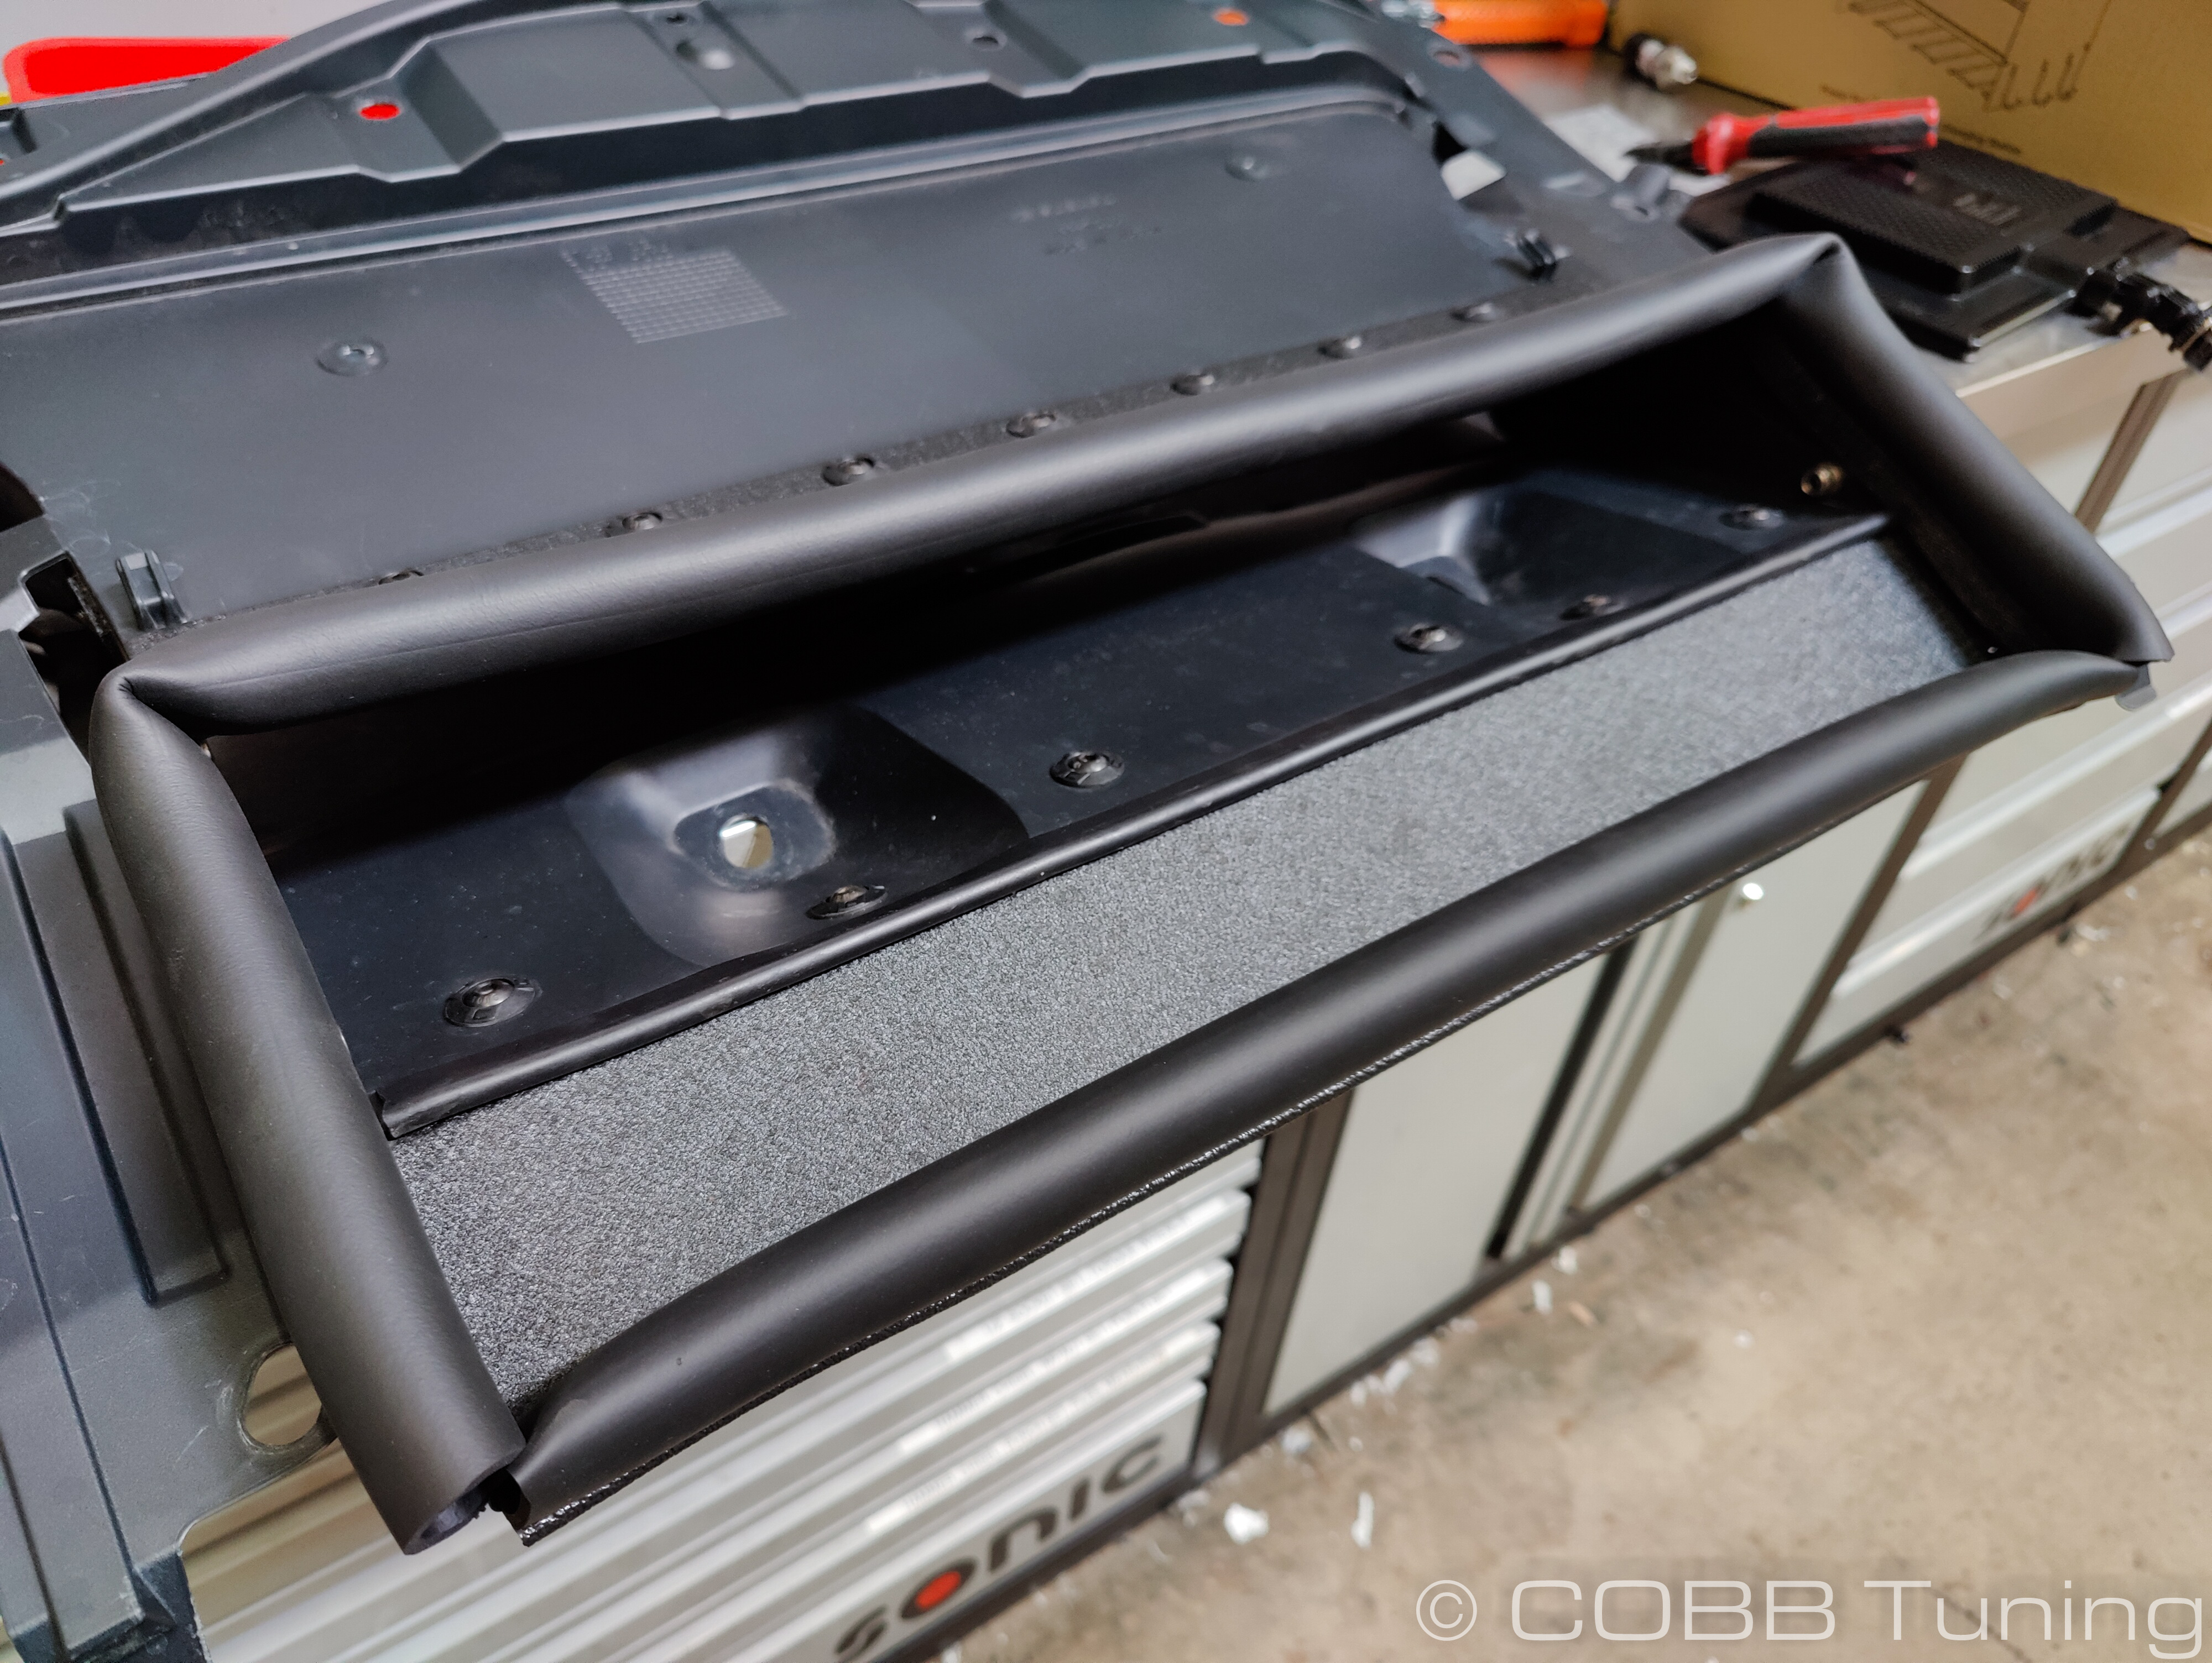
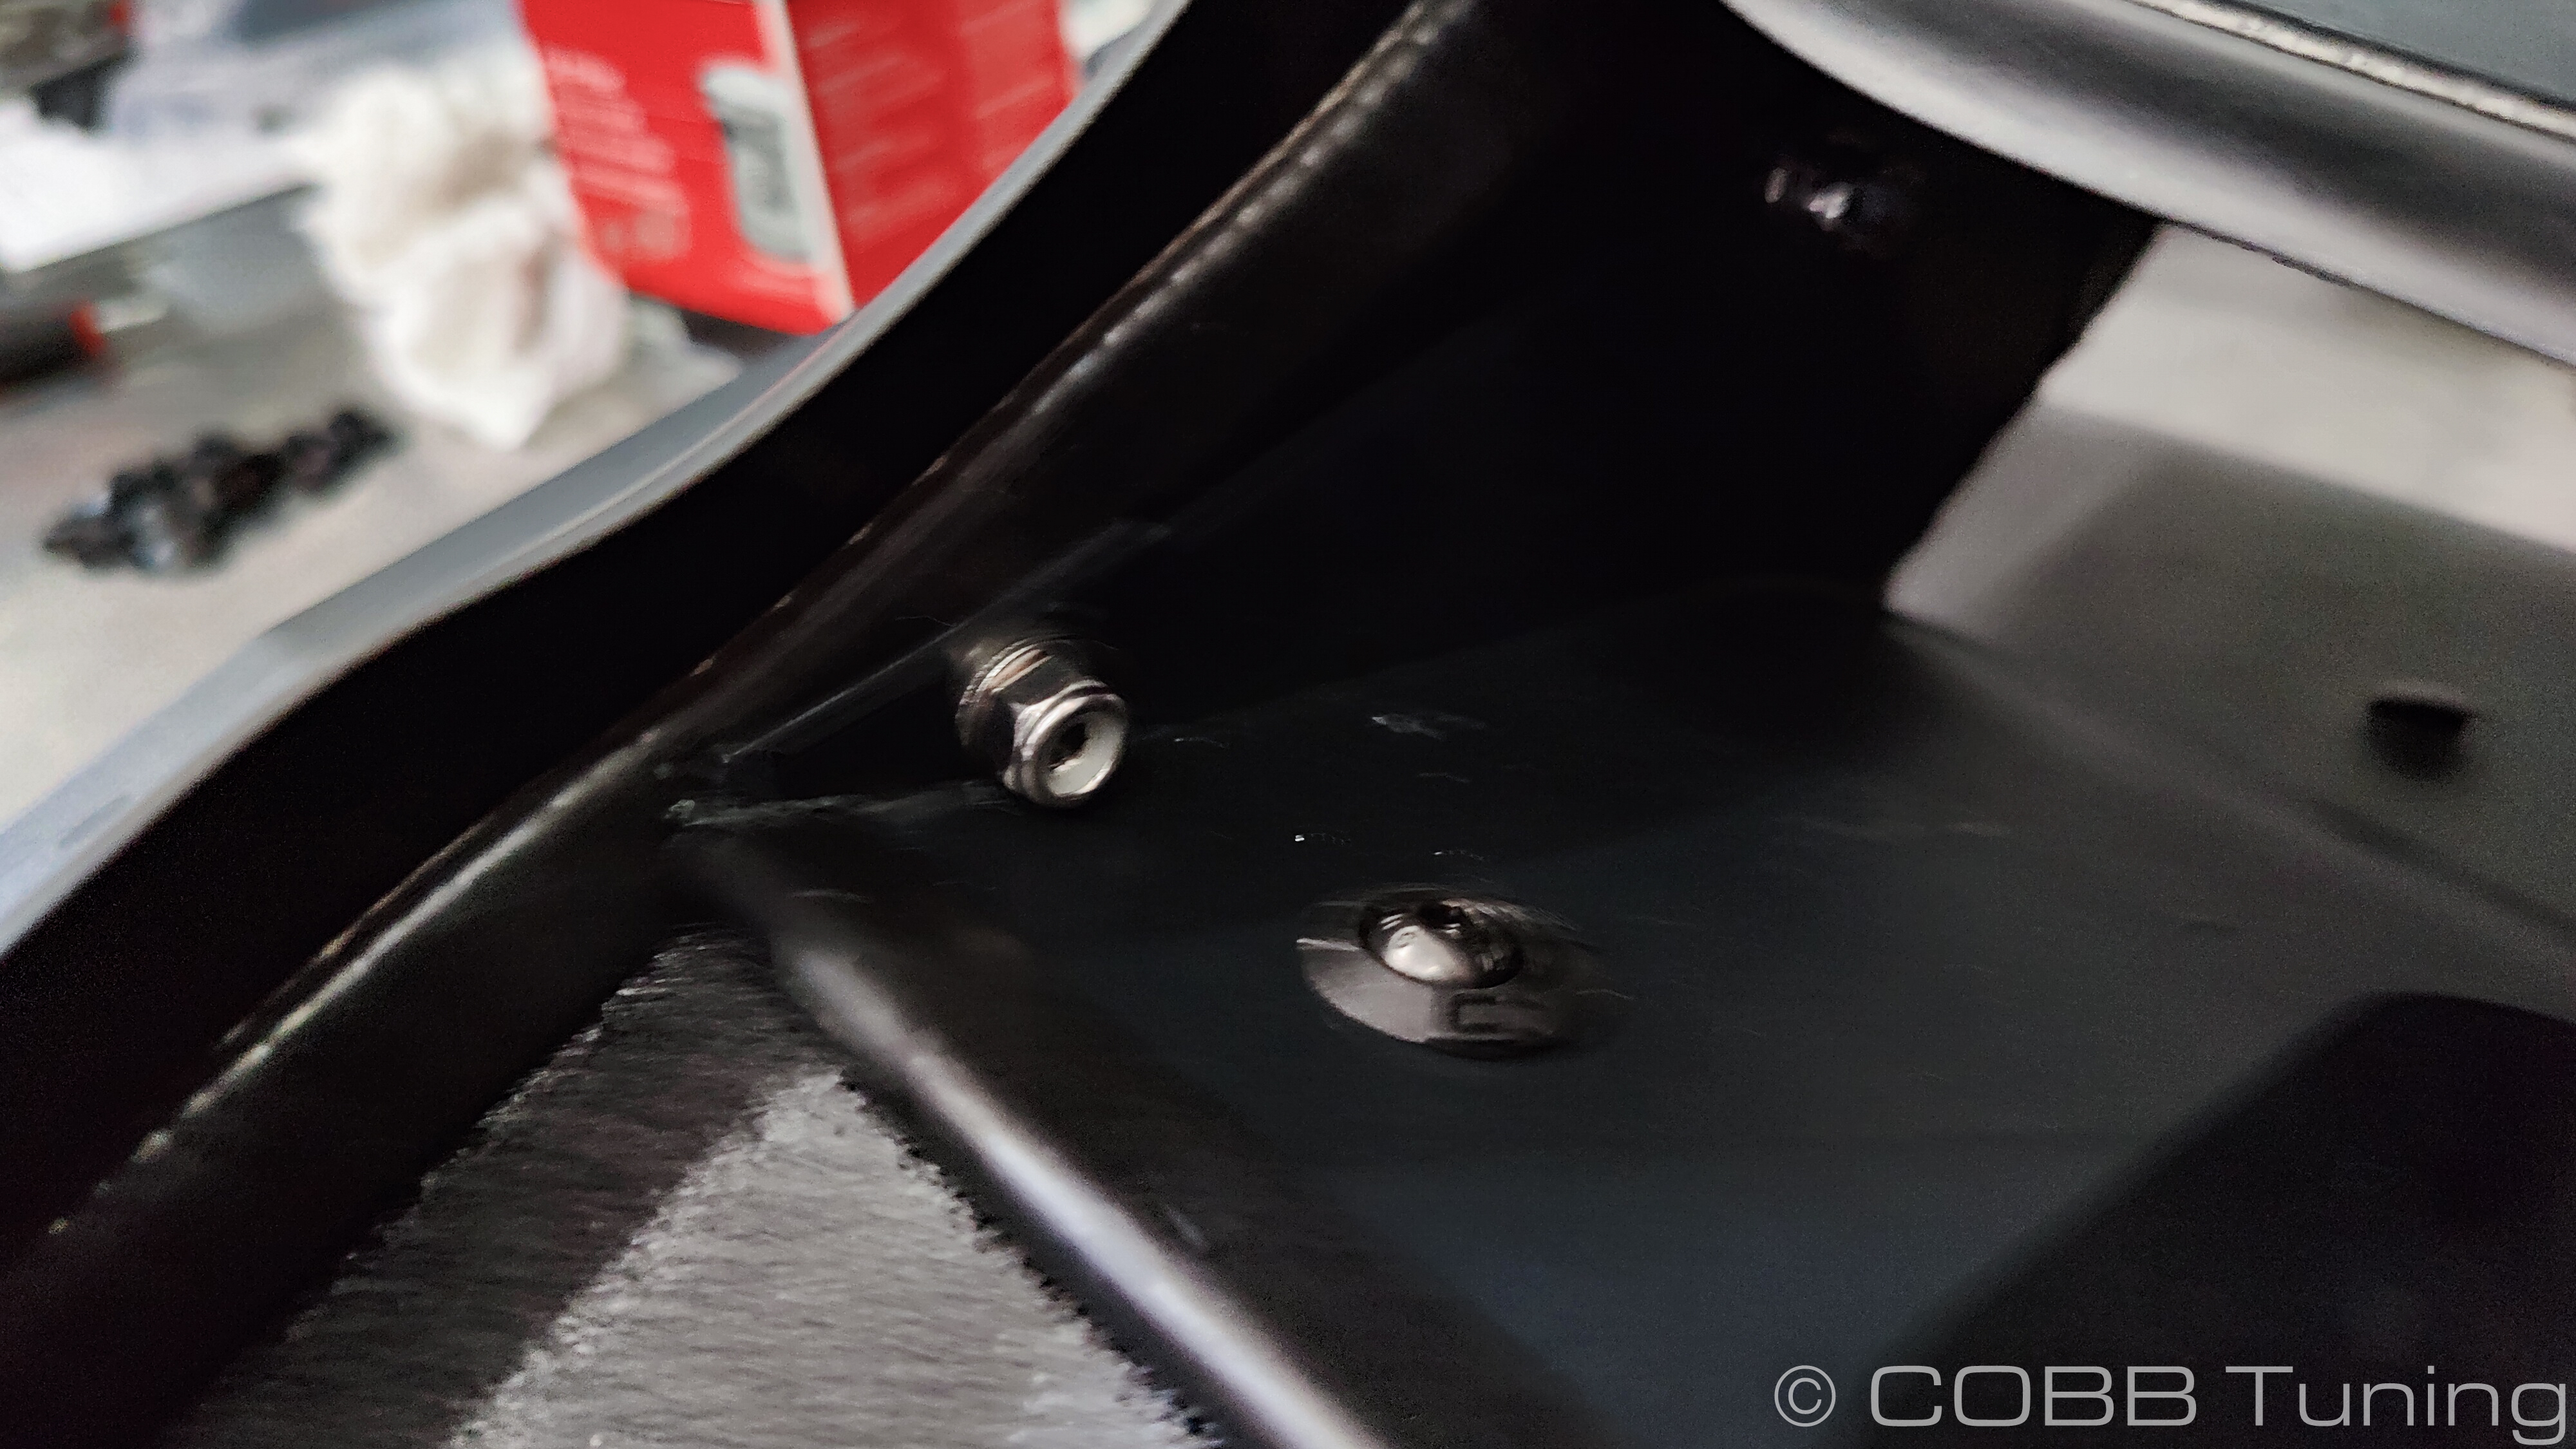
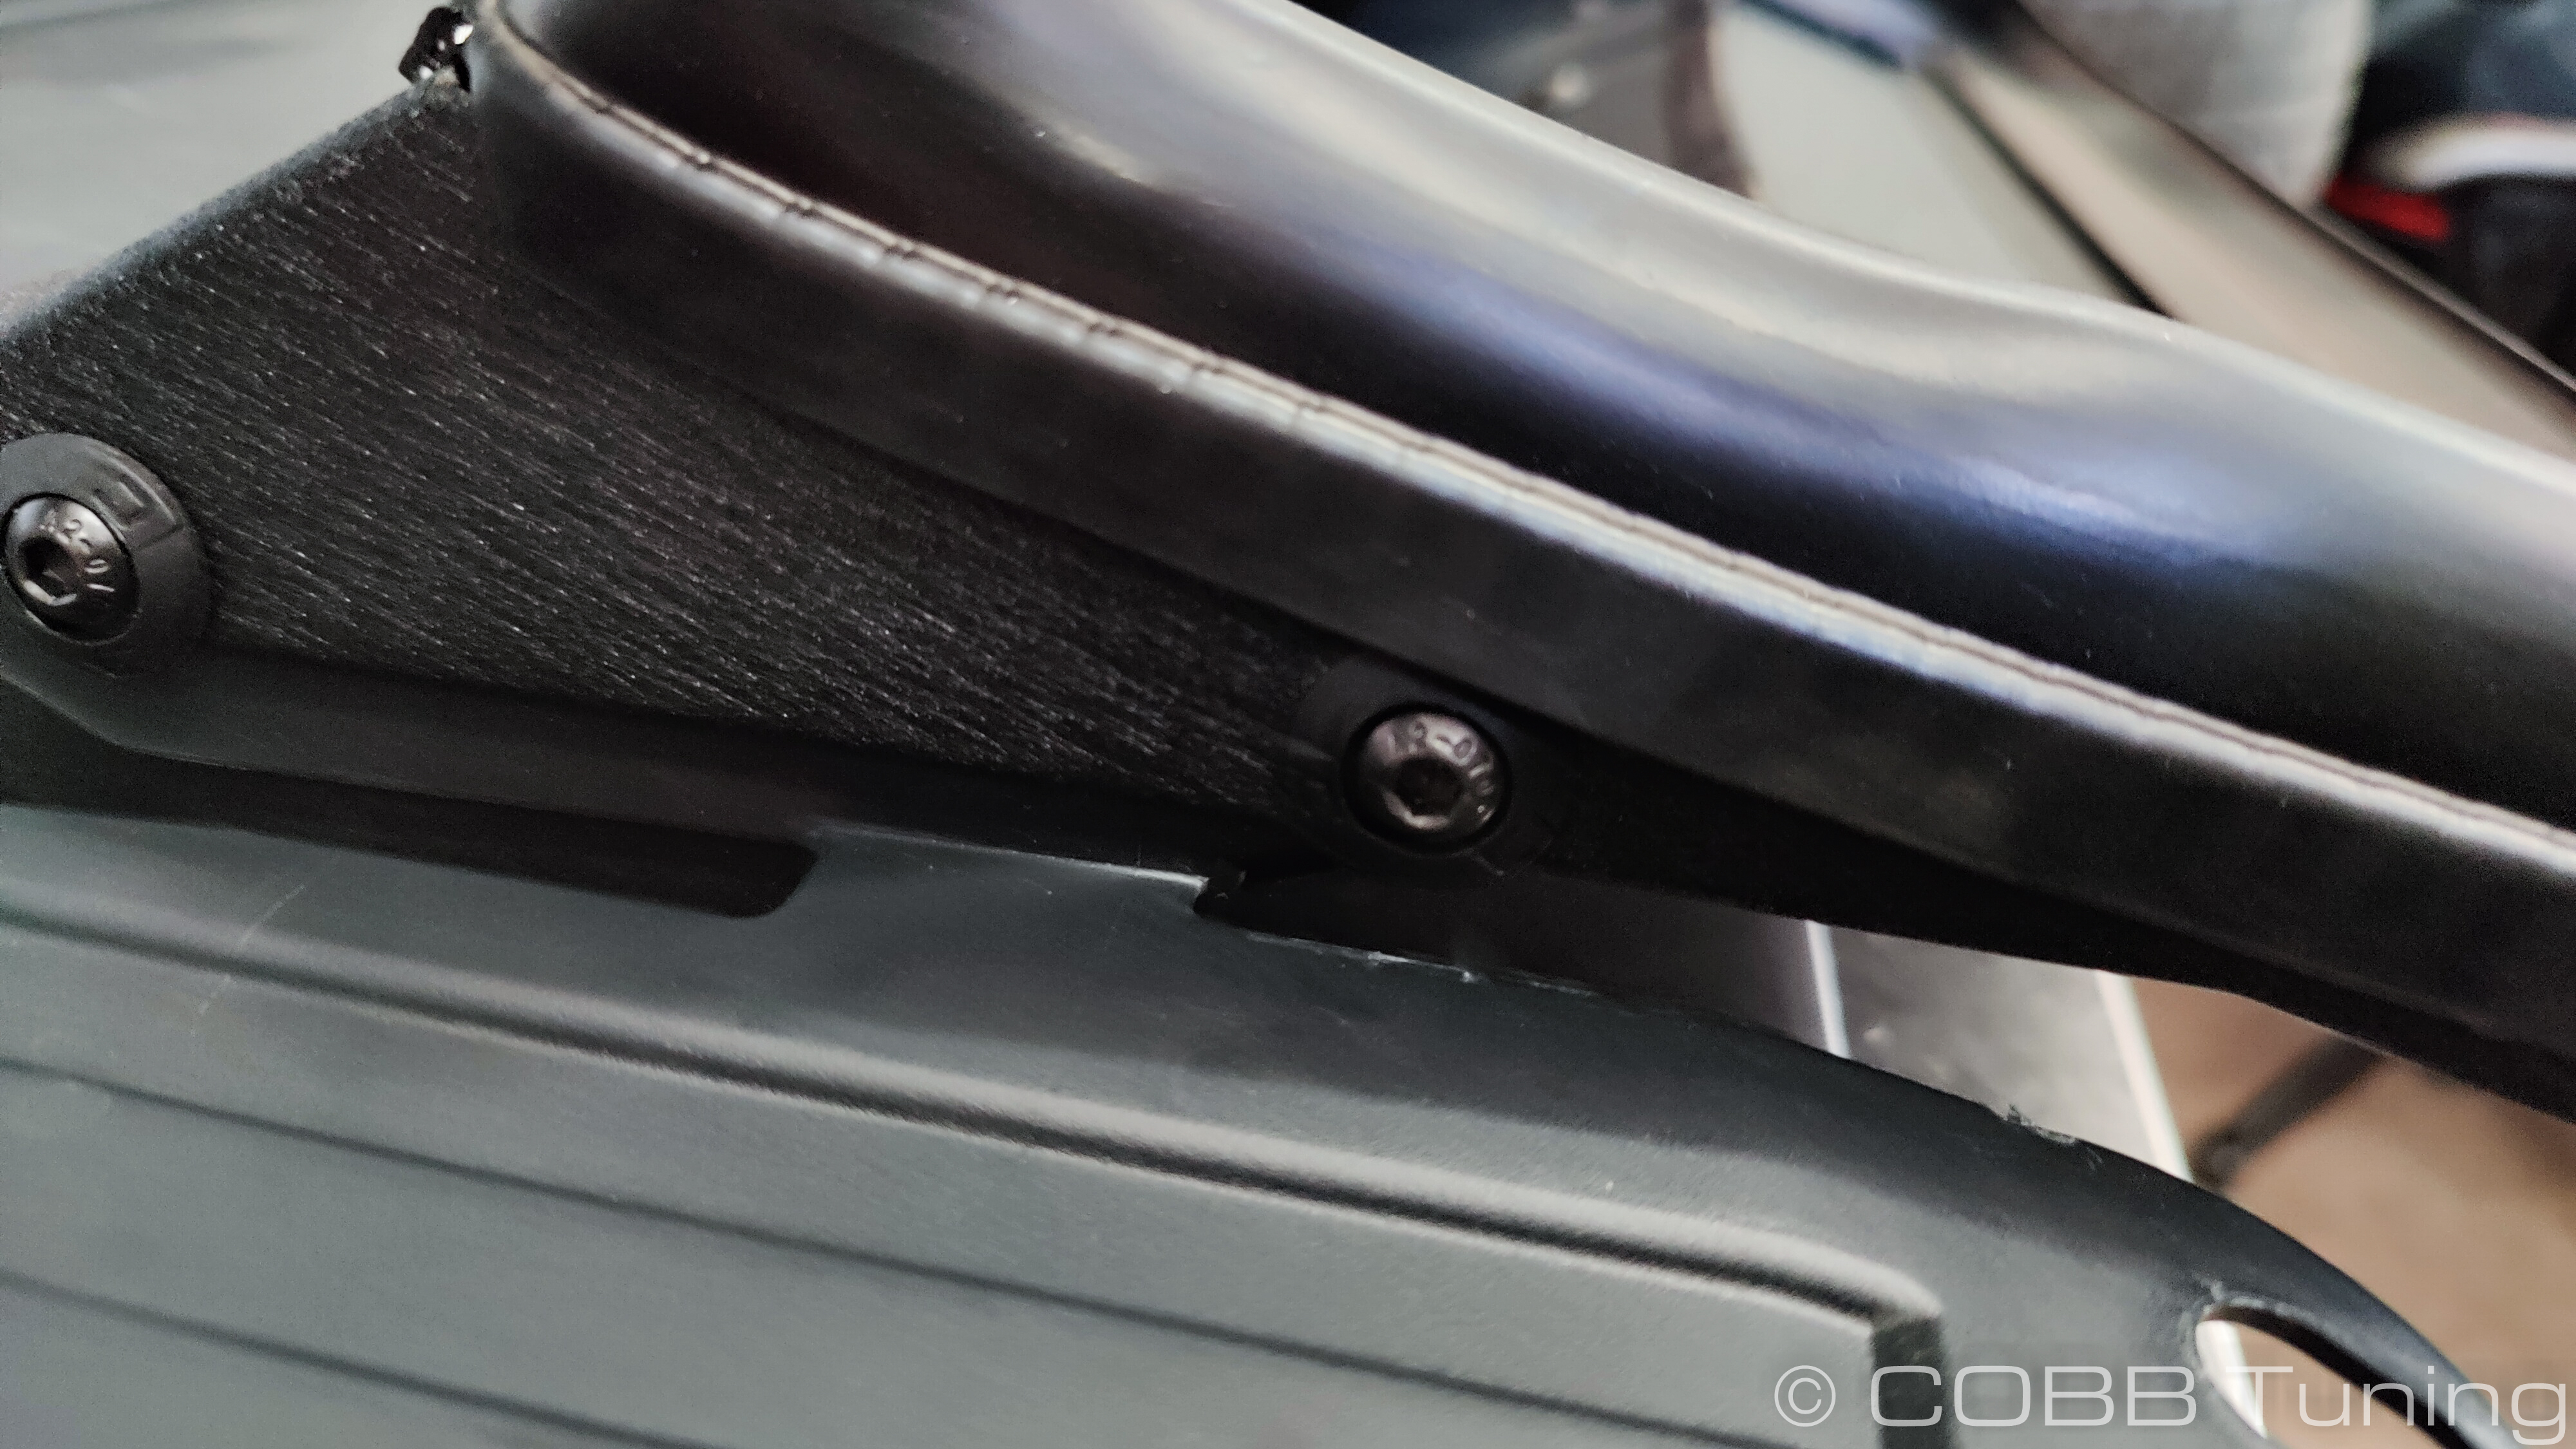
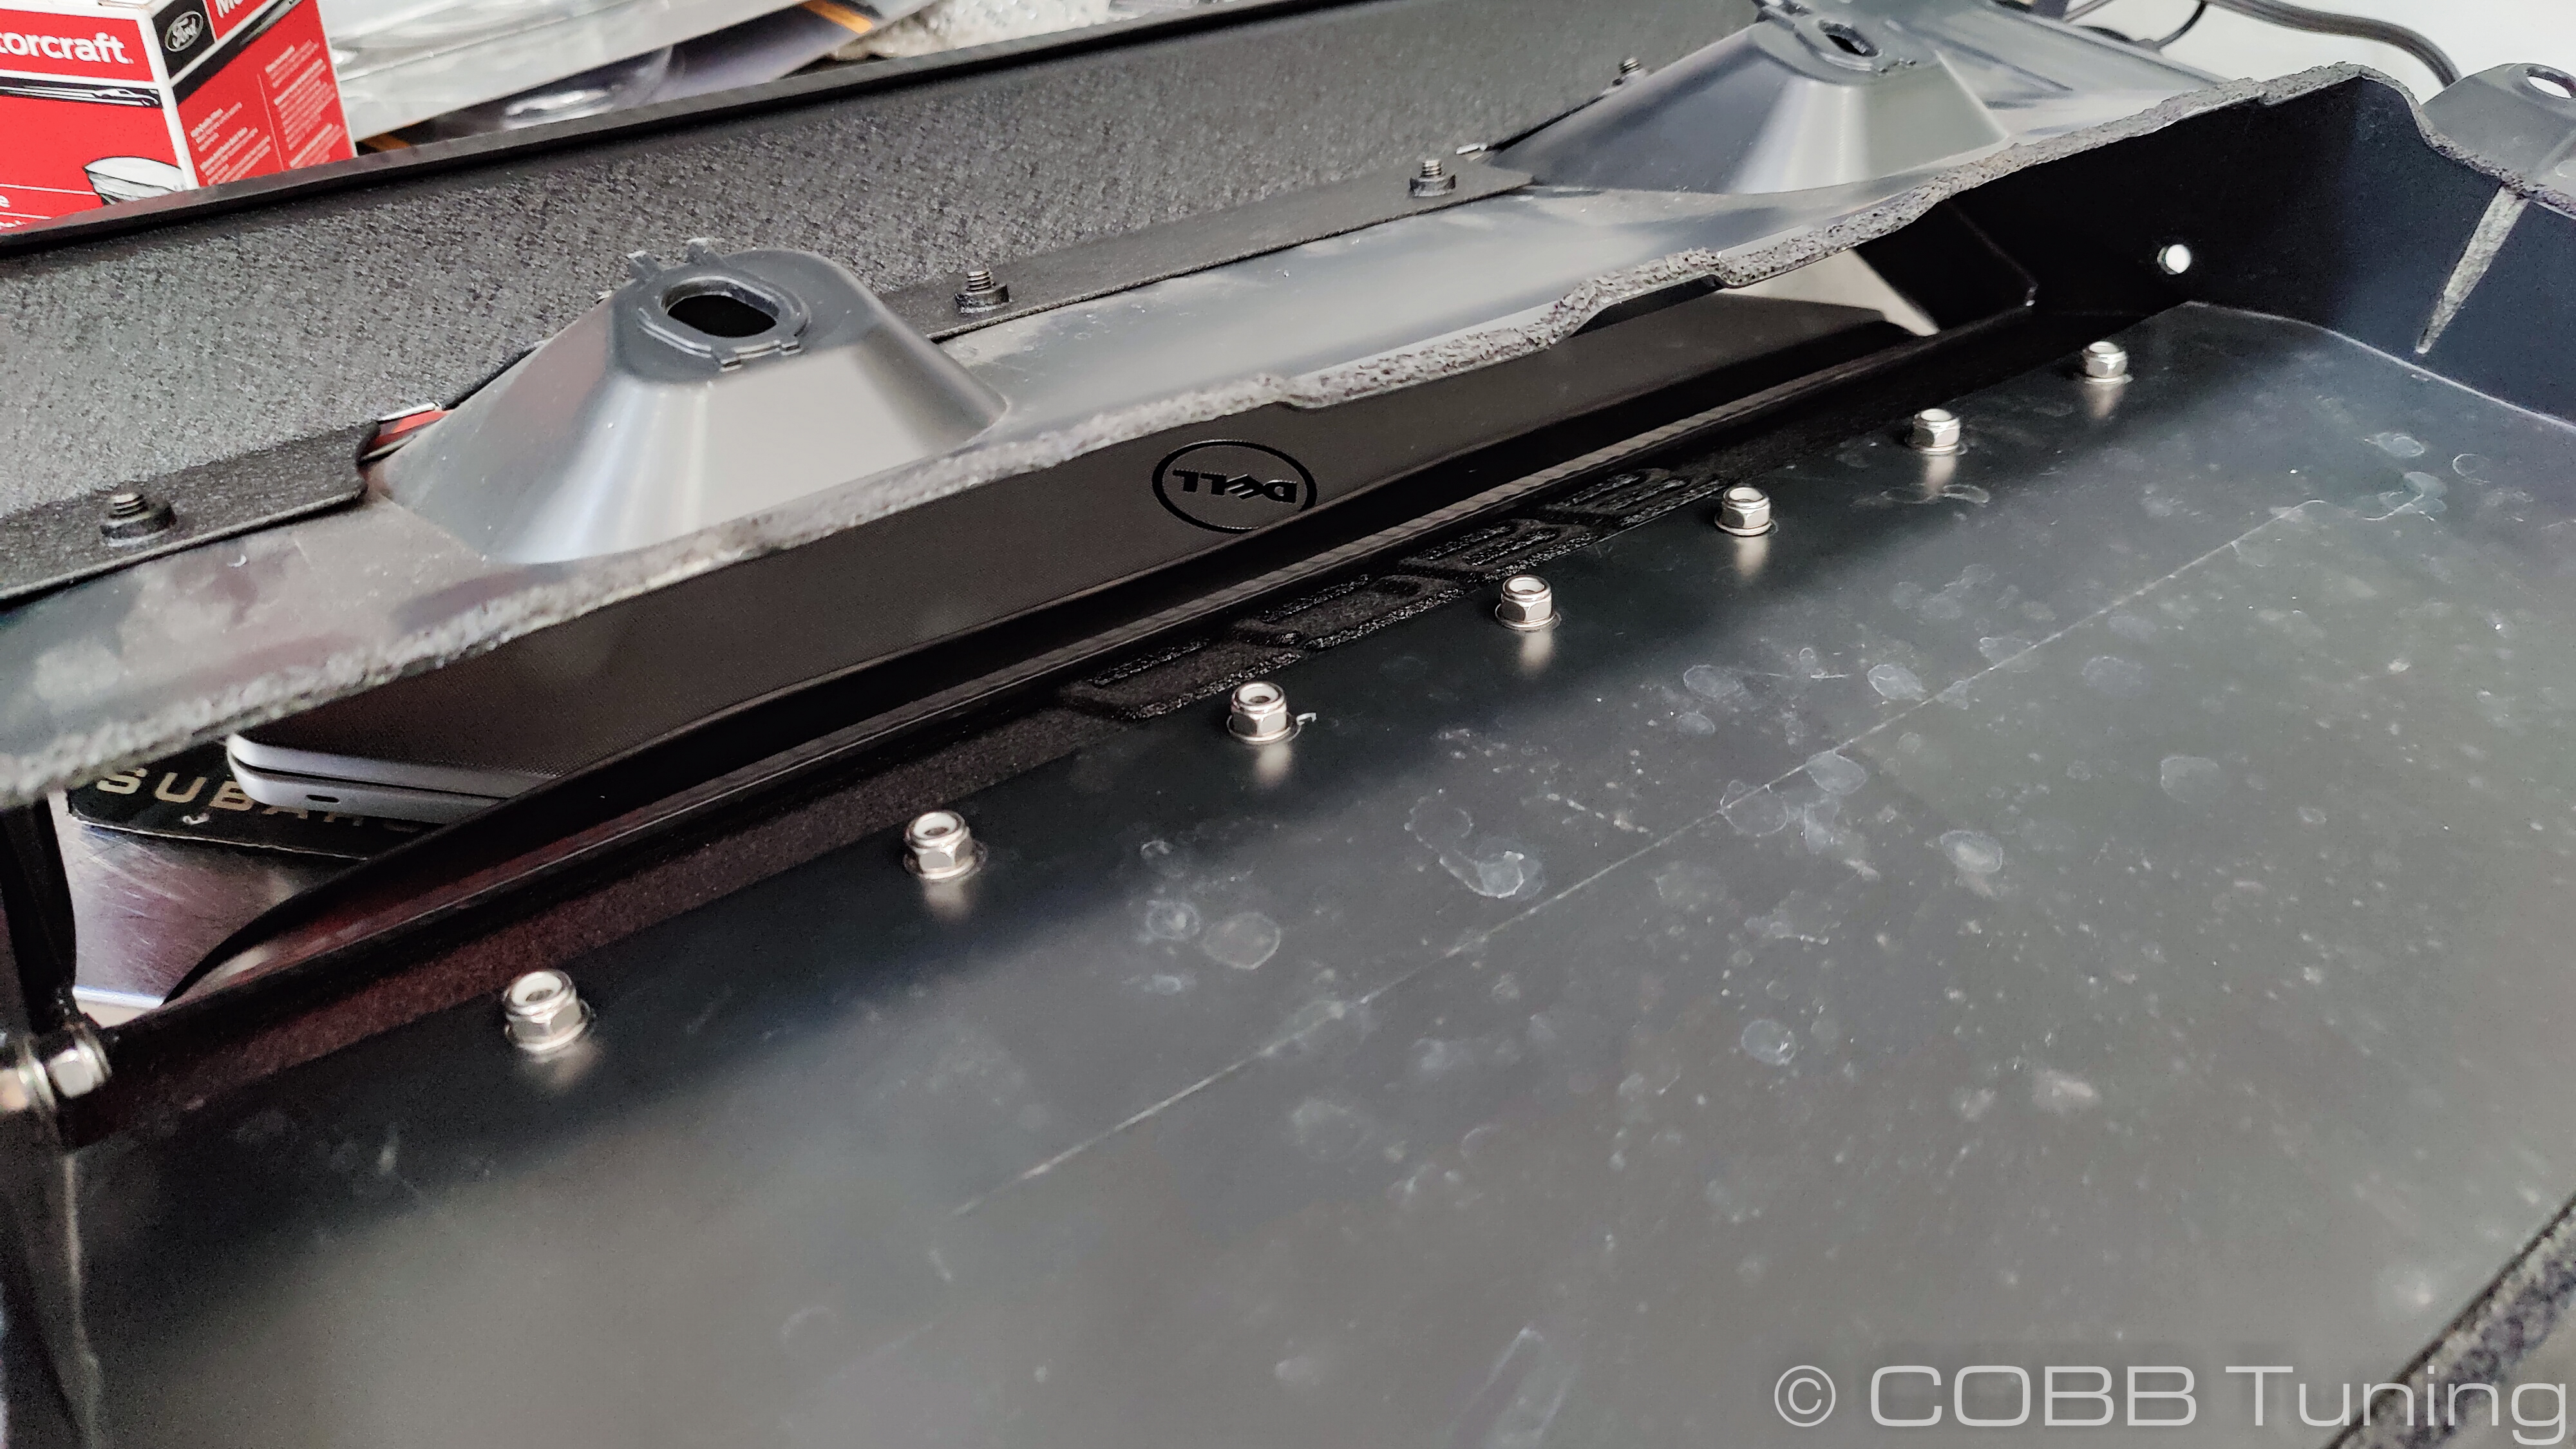
- Push the metal inserts out of the rubber bumpers on the stock intercooler, then remove the rubber insert Those can then get moved over to the new COBB intercooler.
Intercooler Installation
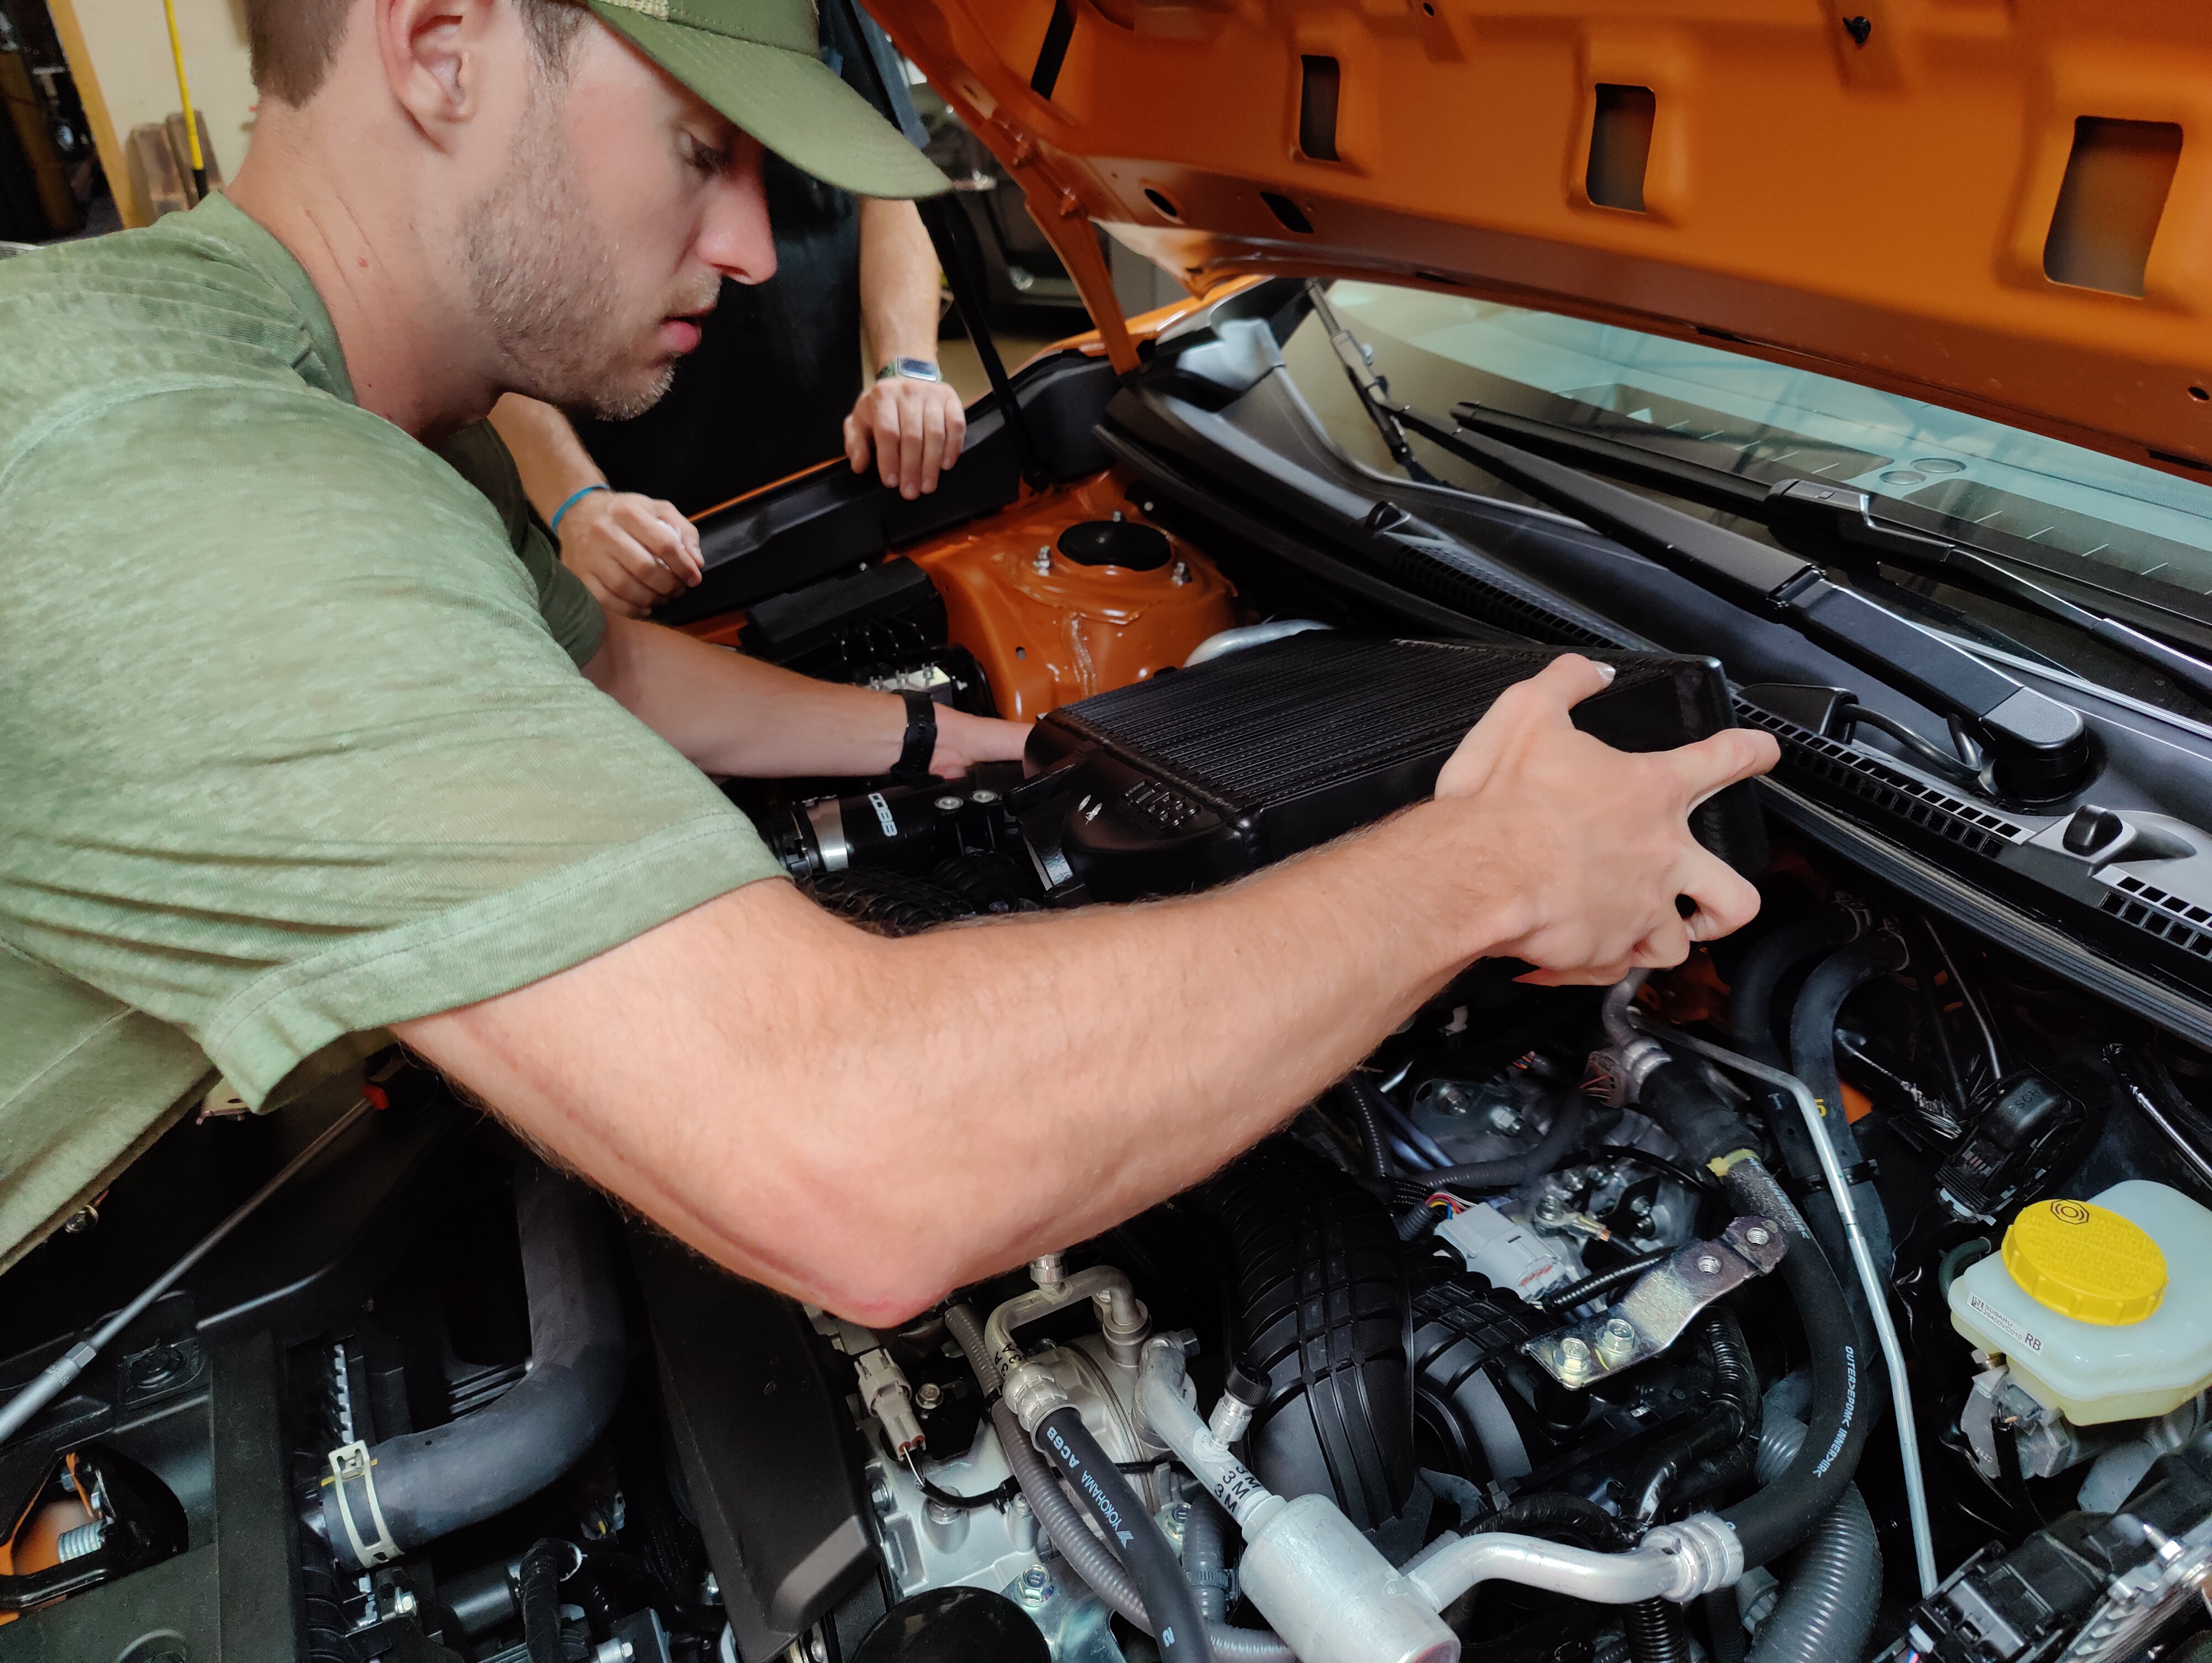
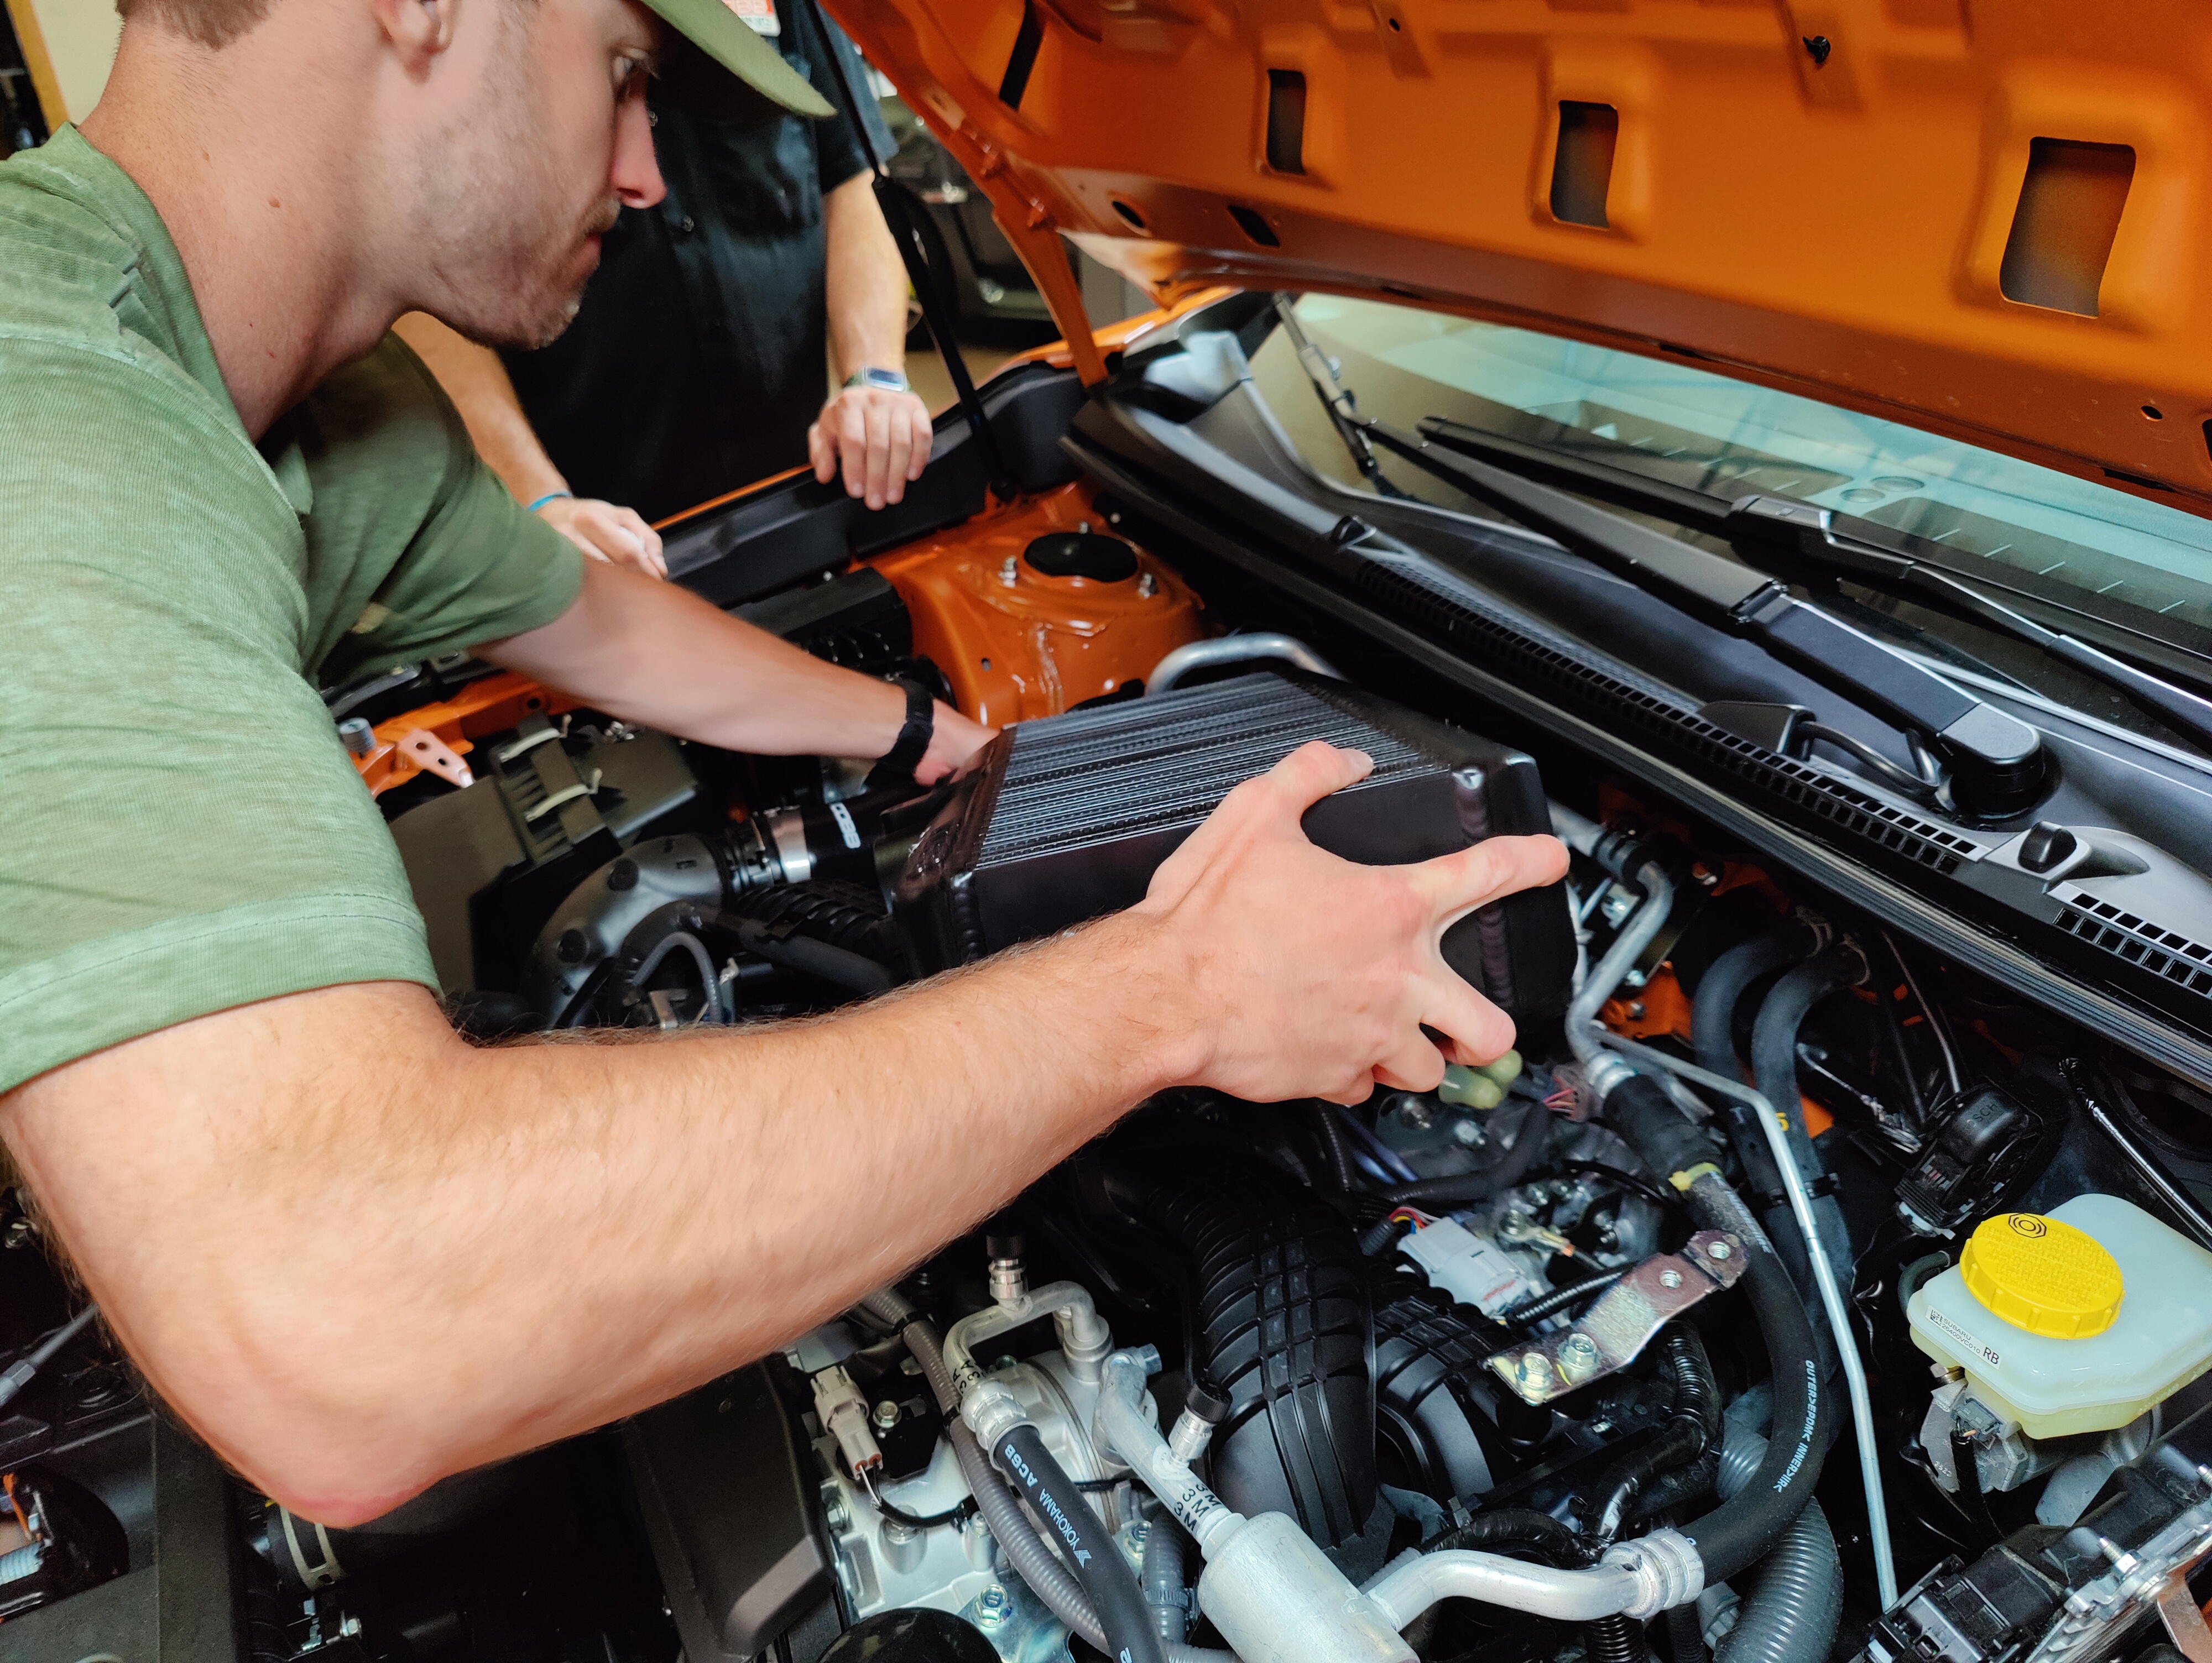
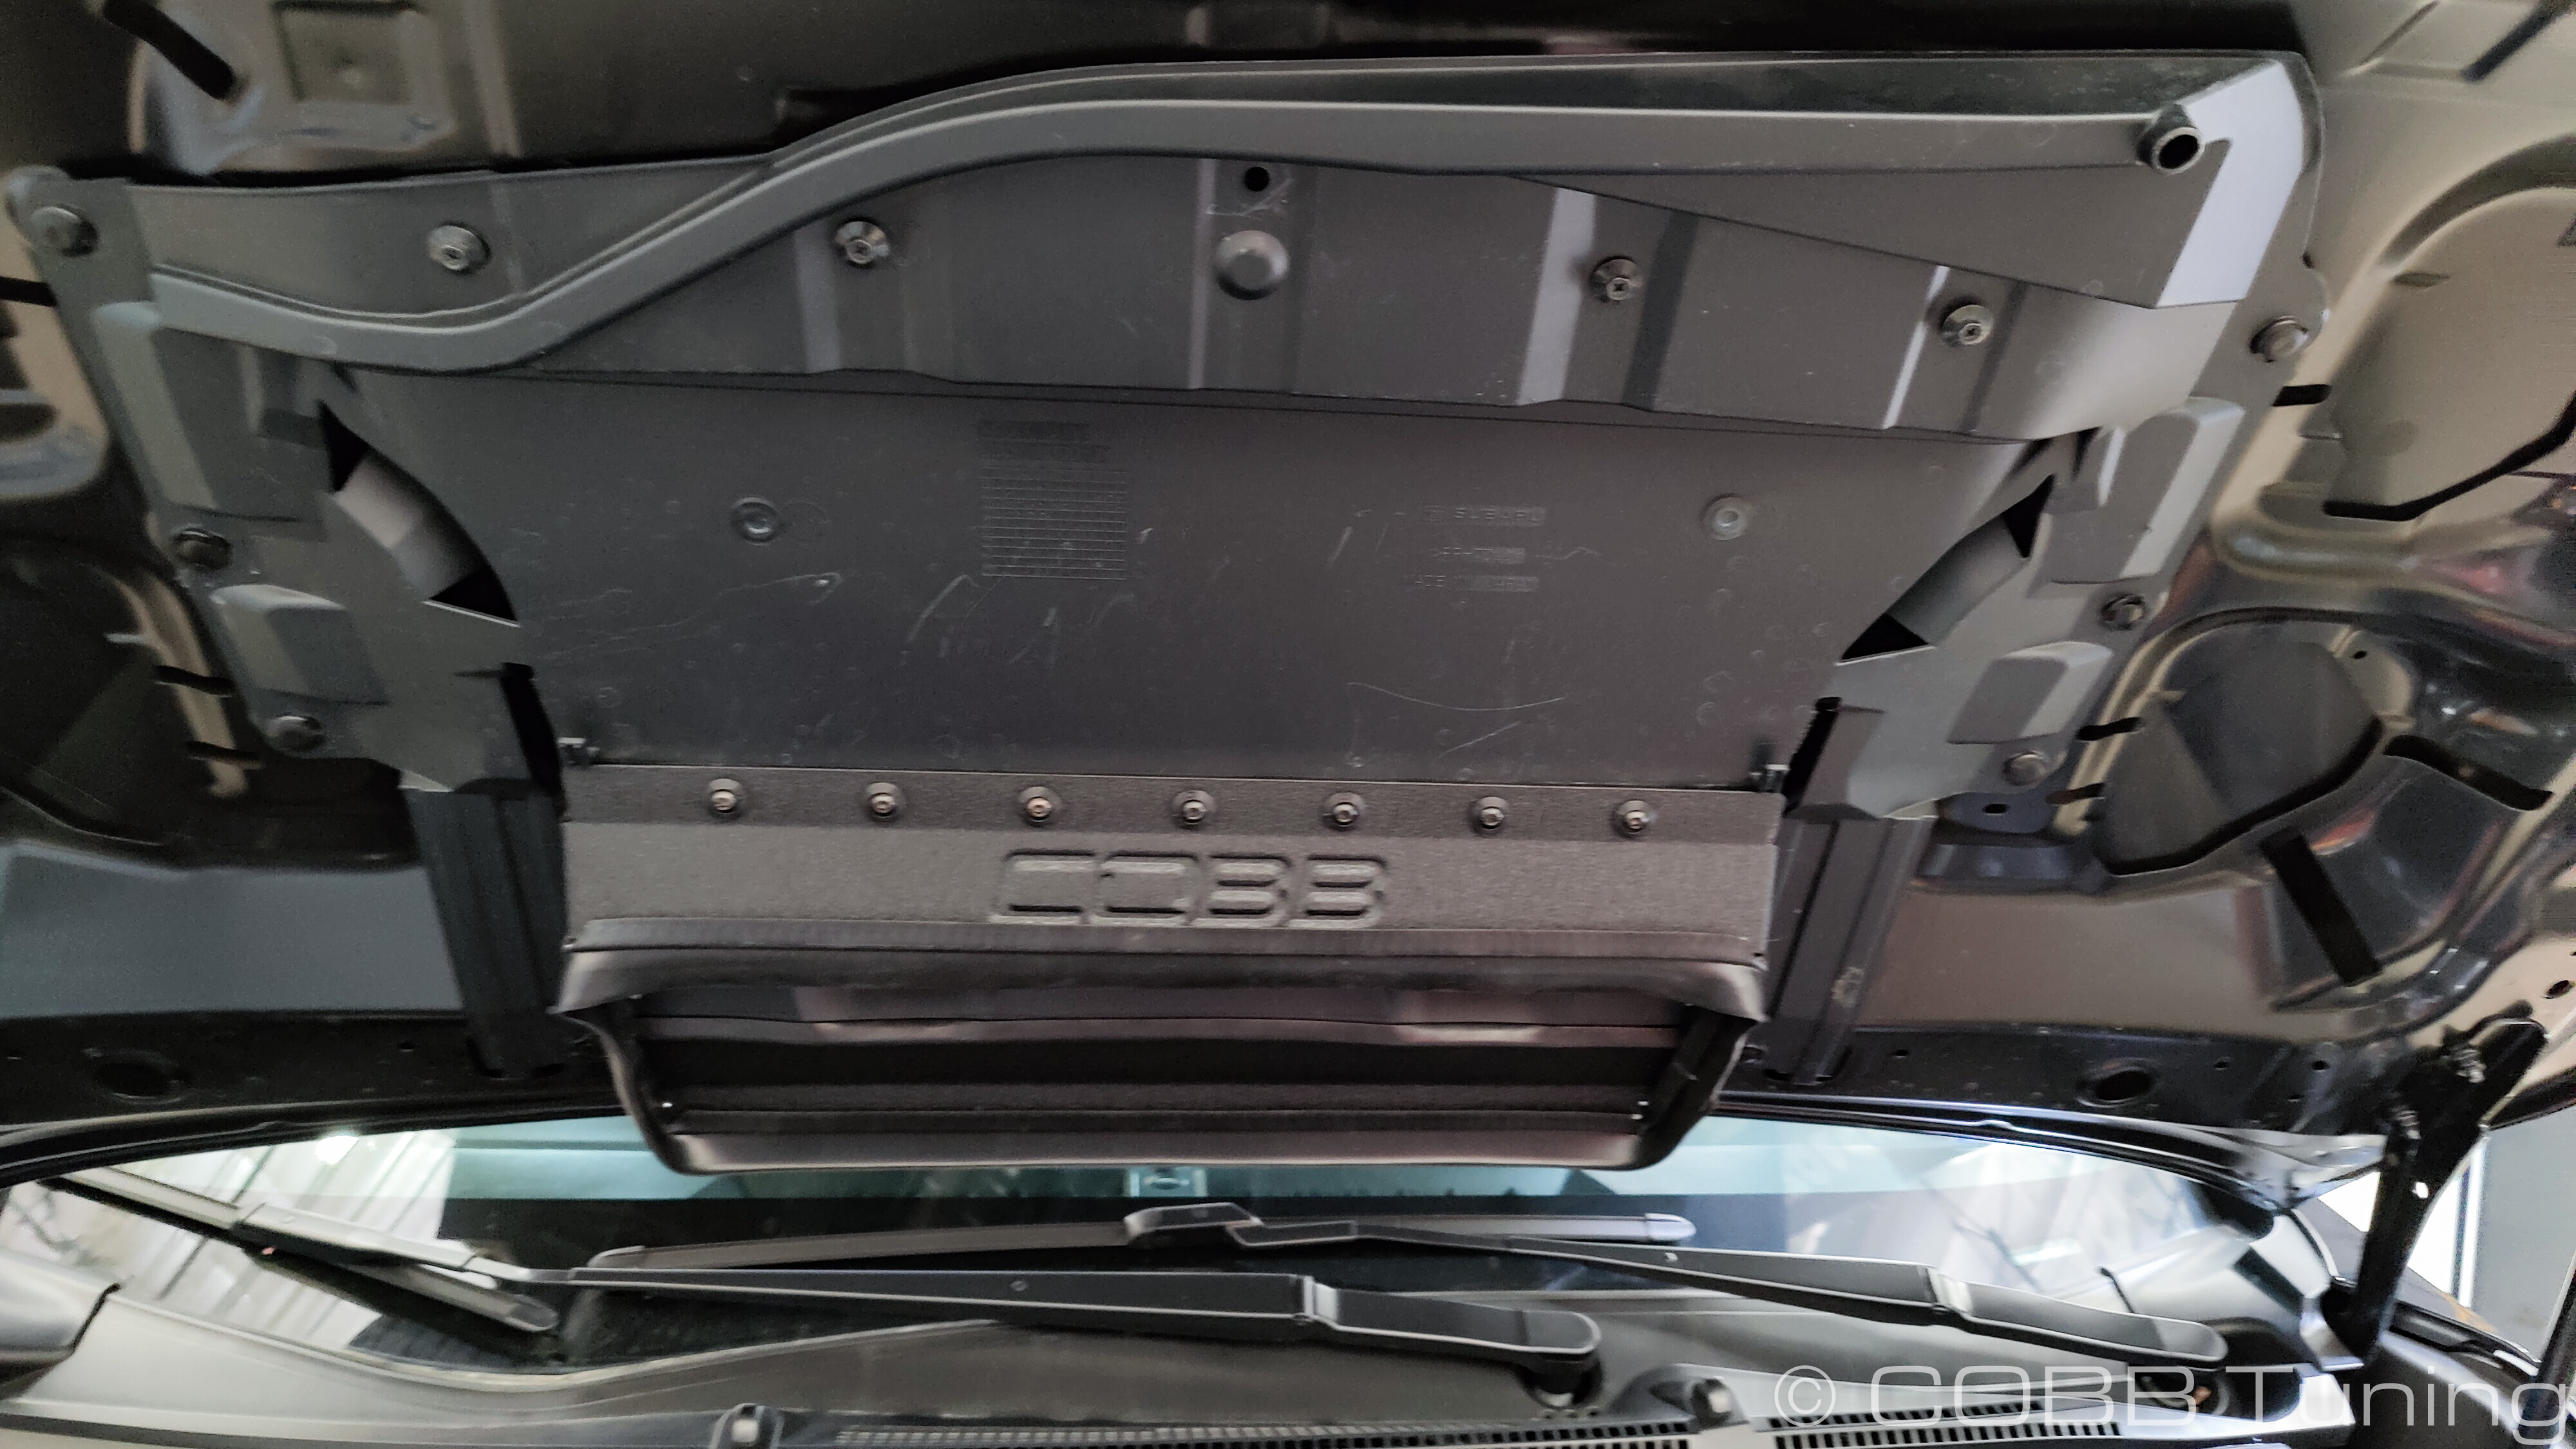
- First get the COBB intercooler under the lip at the back of the engine bay
- Get the charge pipe lined up in place.
- Rotate the intercooler around the charge pipe to get the throttle body into place on the intercooler.
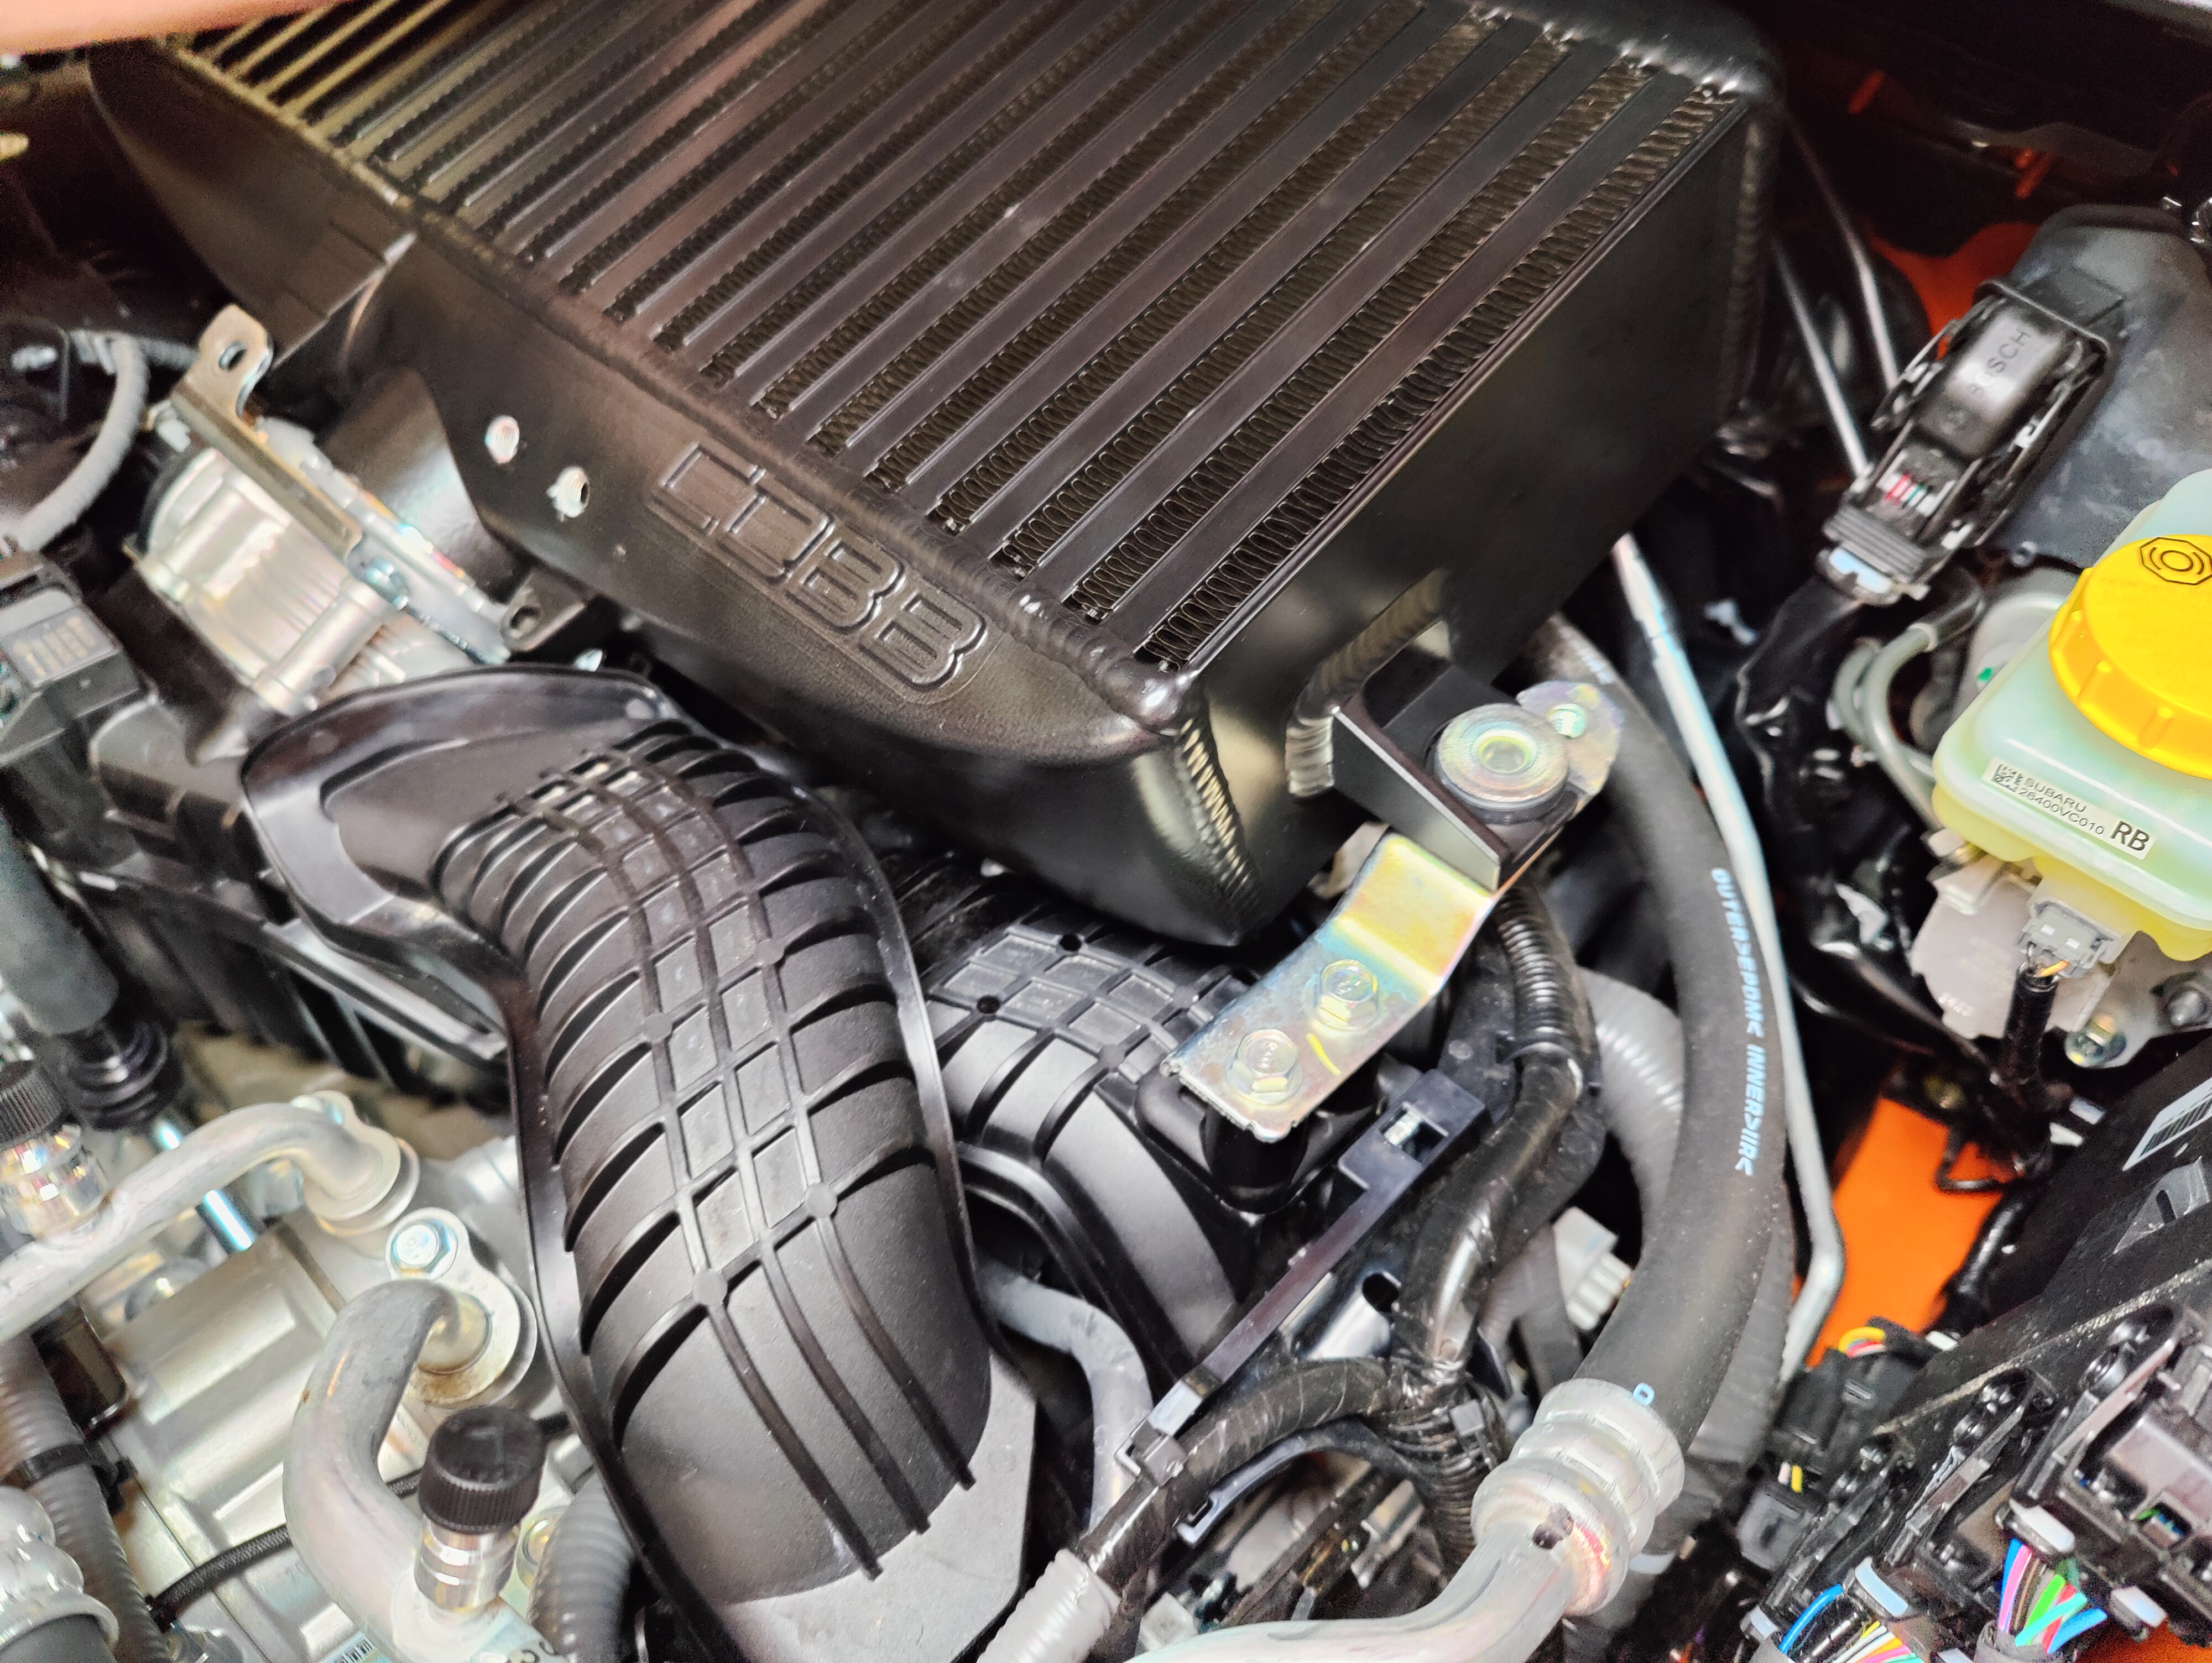
- Loosely install the passenger's side bracket with the stock bolts.
- Repeat with the driver's side.
- Bolt down the throttle body with the two factory bolts, then tighten down the two outside brackets.
CARB Sticker Application
This product is covered under a CARB EO for some model years, for more information check out our page CARB EO numbers for COBB Subaru Products
(Where Applicable)
- Apply the supplied CARB sticker in a clear, easy to find location. Typically underhood, or on the radiator core support.
COBB Customer Support Web Support and Tech Articles: COBB Tuning Customer Support Center Email: support@cobbtuning.com Phone support available 9am to 6pm Monday-Thursday. 9am to 4pm Friday (CST) 866.922.3059 return to www.cobbtuning.comContact Us:
Related content
Copyright 2025 © COBB Tuning Products LLC. All Rights Reserved. | www.cobbtuning.com

