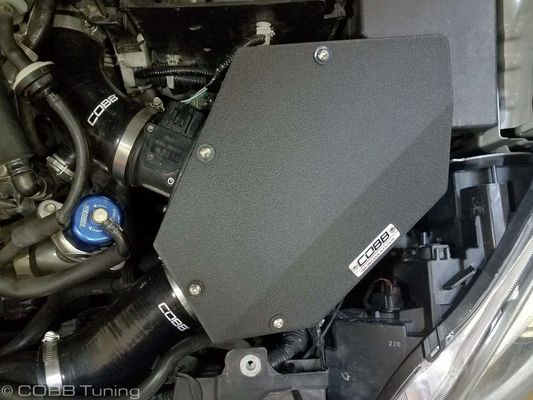
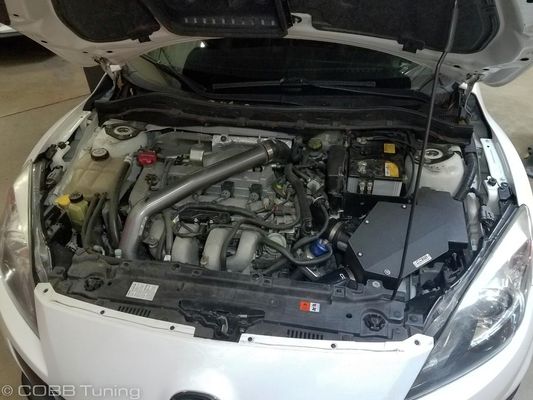
772160 - Mazdaspeed3 Gen2 SF Airbox Installation Instructions
772160 – Mazdaspeed3 Gen2 Airbox
2010-2013 Mazdaspeed3
Congratulations on your purchase of the COBB Tuning Mazdaspeed3 SF Airbox! The following instructions will assist you through the installation process. Please read them BEFORE beginning the install to familiarize yourself with the steps and tools needed. If you feel you cannot properly perform this installation, we HIGHLY recommend you take the vehicle to a qualified and experienced automotive technician.
Table of Contents
Parts List
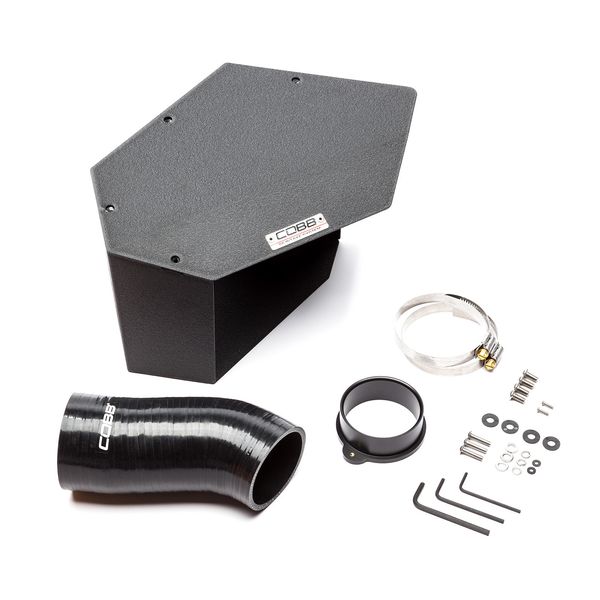
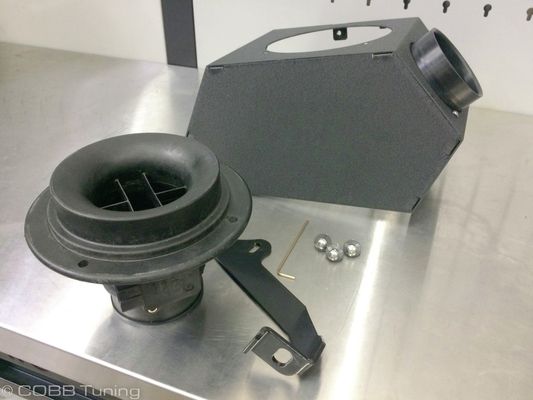
- SF Airbox lid
- SF Airbox
- x4 M6x12MM Button head cap bolts
- x4 M6 Nylon washers
- x3 M5x20MM Button head cap bolts
- x3 5MM Lock washer
- x3 5MM Flat washer
- x2 M3x10MM Button head cap bolts
- x2 M3 Nylon washers
Tools Needed
3/8" ratchet
3/8" 8mm socket
- 3/8" 10mm socket
3/8" 17mm socket
3/8" 6" extension
Install COBB SF Airbox
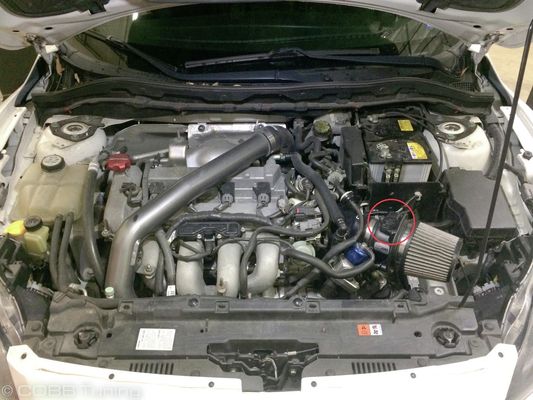
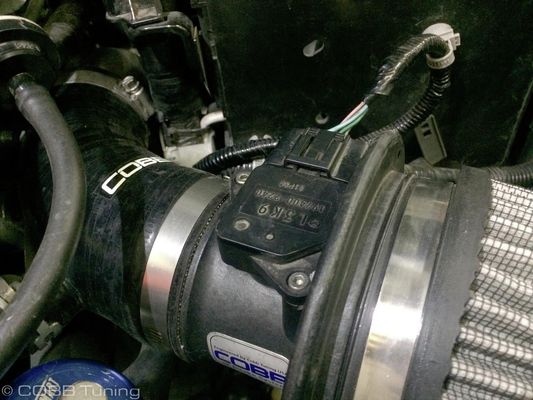
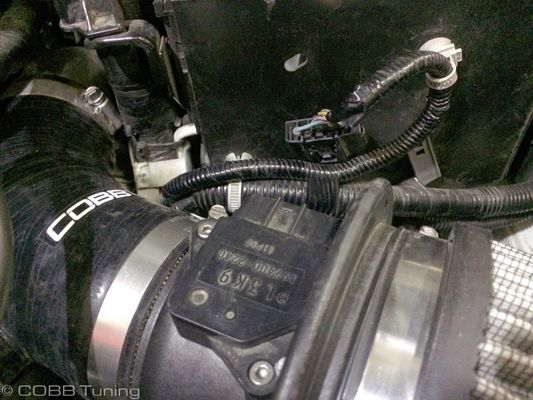
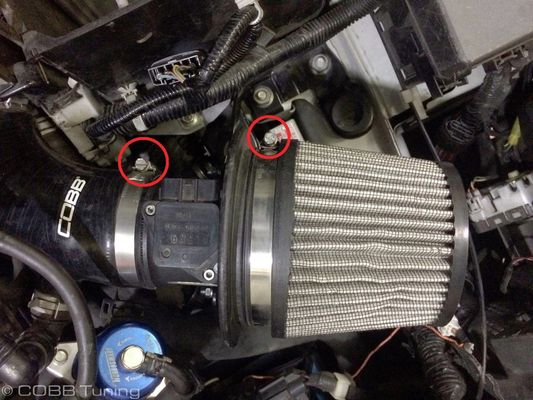
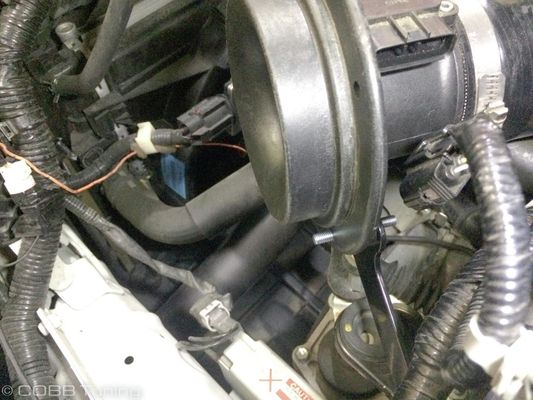
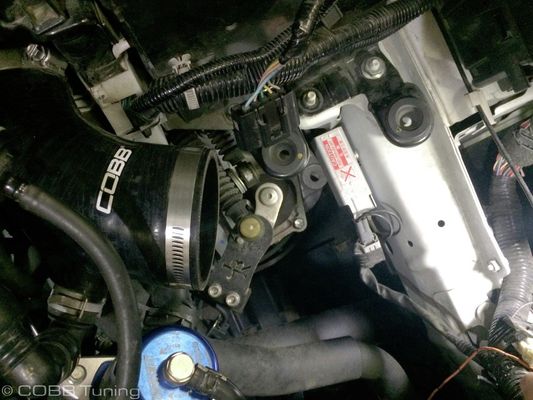
- Unclip the MAF sensor electrical harness.
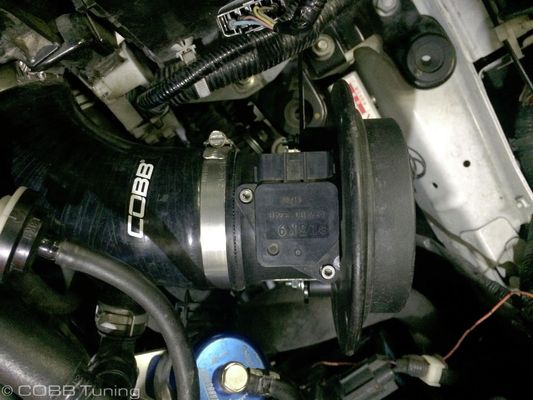
- Loosen the hose clamp using an 8mm socket securing the MAF housing and intake filter and remove the intake filter.
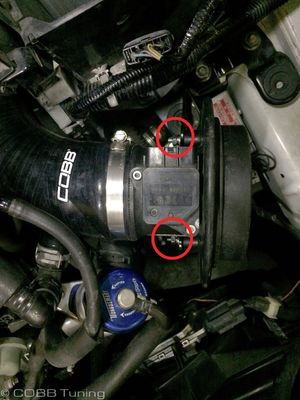
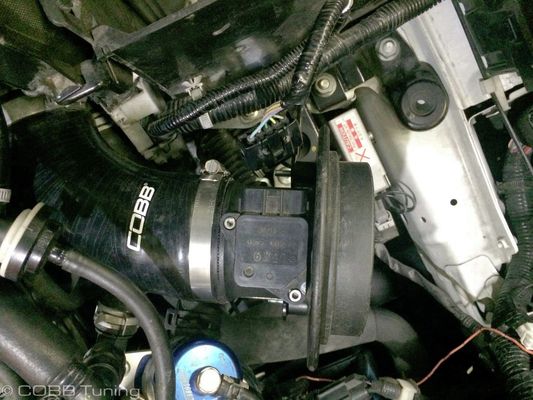
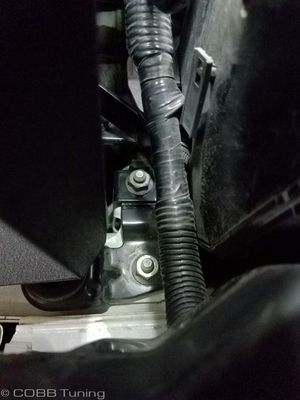
- Disconnect the MAF housing from the MAF housing bracket by loosening the (2) 10mm nuts.
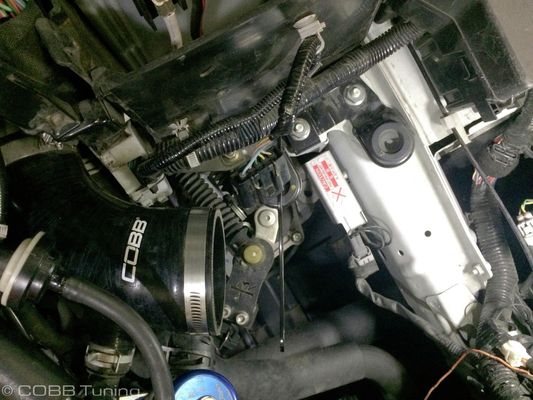
- Remove the MAF housing from the engine bay.
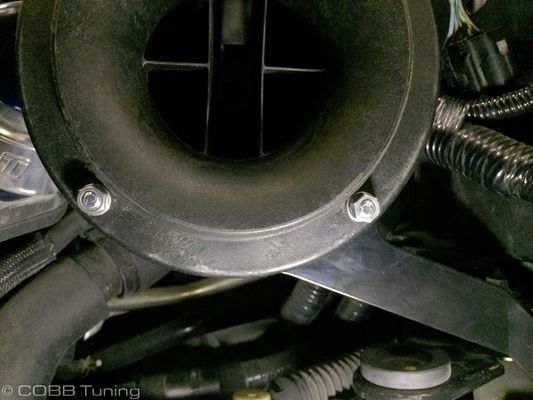
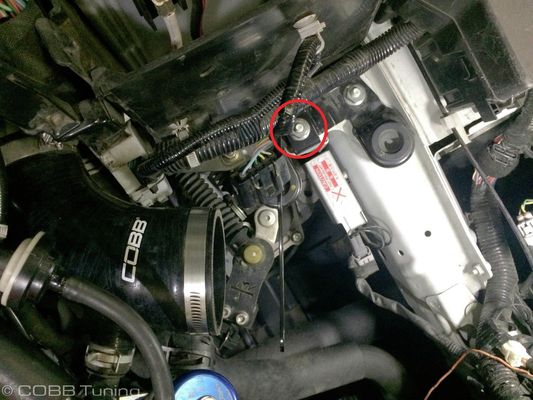
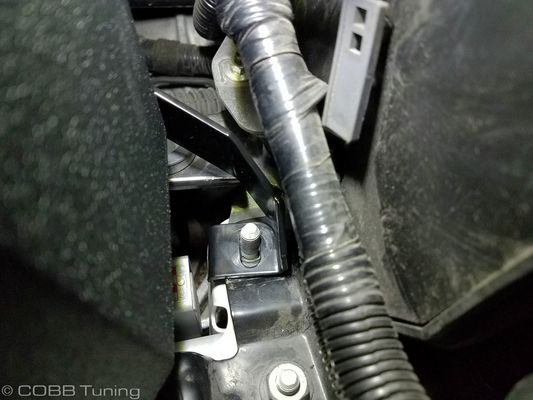
- Remove the MAF housing bracket from the engine bay by removing the 17mm nut securing it to the chassis using a 17mm deep socket.
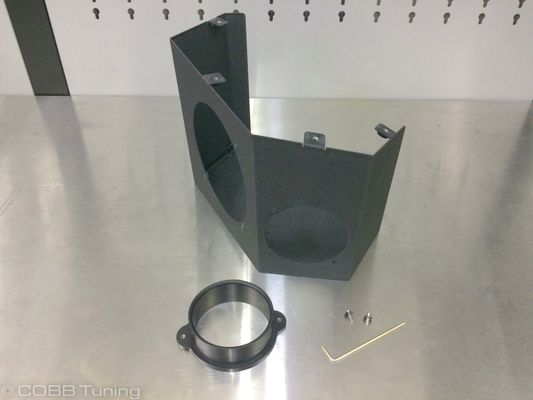
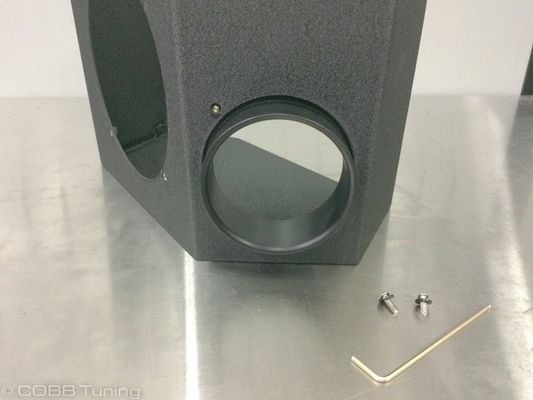
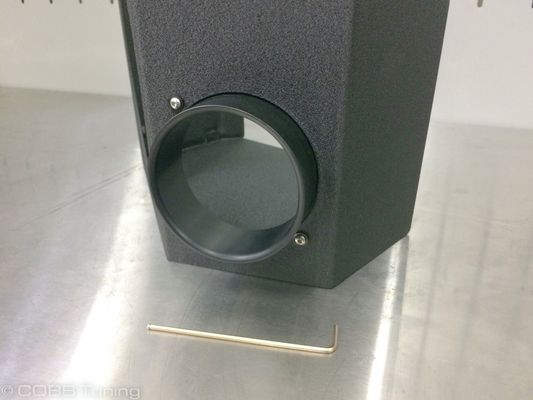
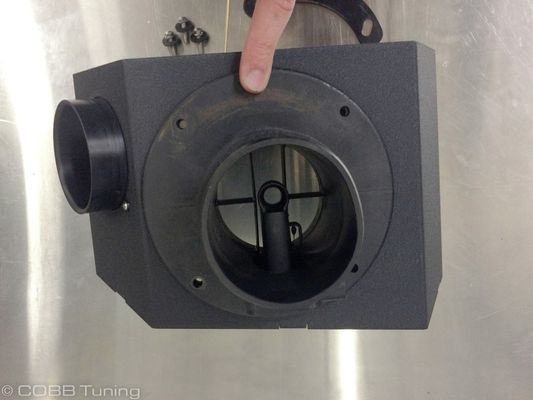
- Assemble the SF airbox by inserting the air funnel in the box as pictured and secure it using the provided (2) M3x10MM button head cap bolts, (2) M3 Nylon washers, and 2mm hex key.
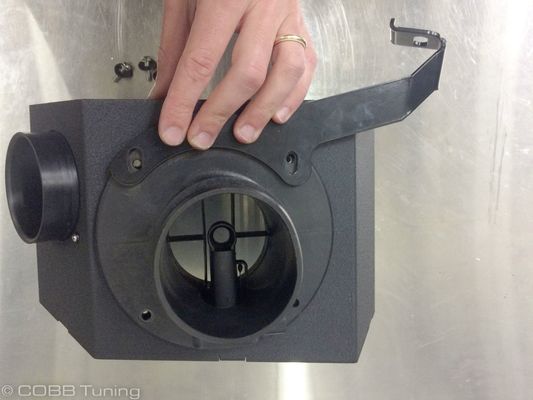
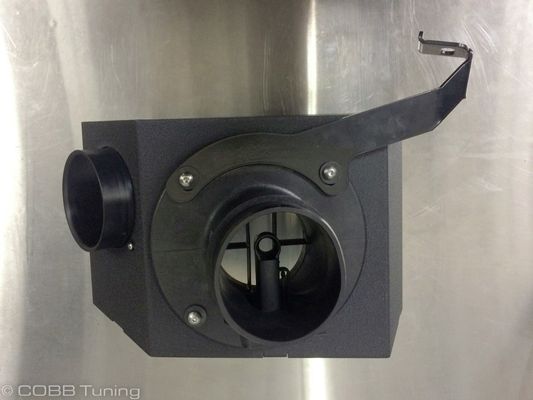
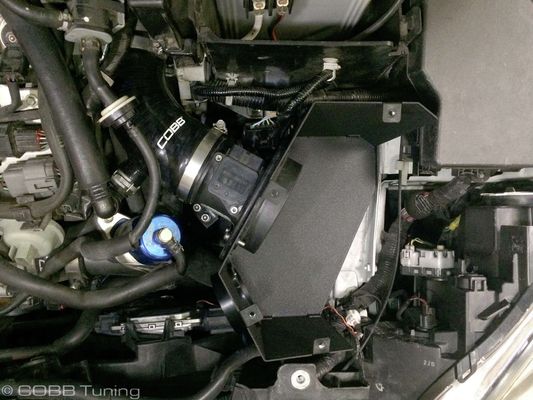
- Install the MAF housing and MAF housing bracket to the SF airbox as pictured using the provided (3) 5mm button head bolts, (3) 5mm lock washers, (3) 5mm flat washers, and 3mm hex key.
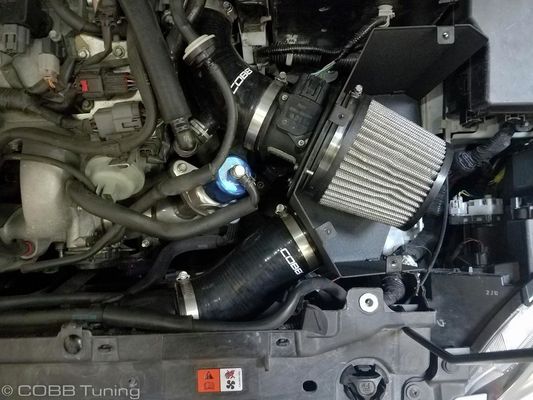
- Place the assembled SF airbox in the engine bay. This will be easiest if you insert the MAF housing into the SF silicone tube and push in and down to seat the bracket onto the mounting location.
- Secure the MAF housing bracket to the chassis using the OEM 17mm nut.
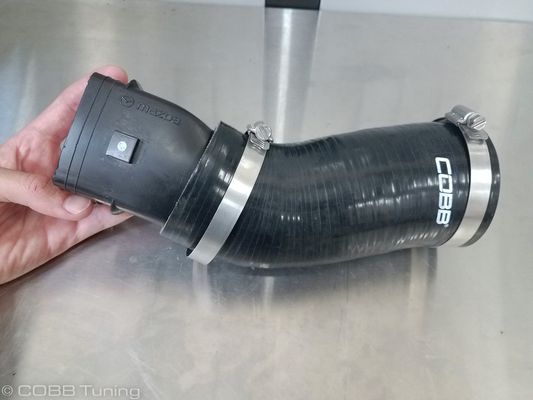
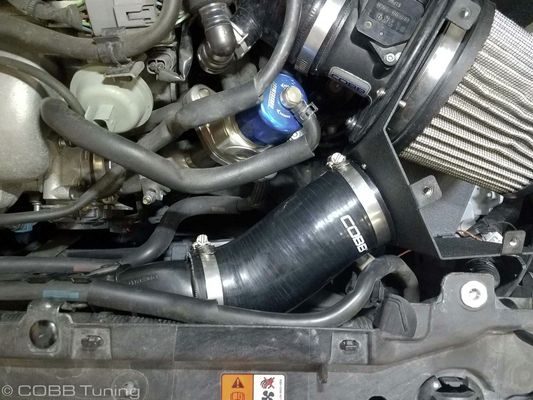
- With a hacksaw or similar cutting tool, cut the OEM air duct tube to the length shown. You should leave 2 or 3 sections of the corrugated cross-section remaining on the piece.
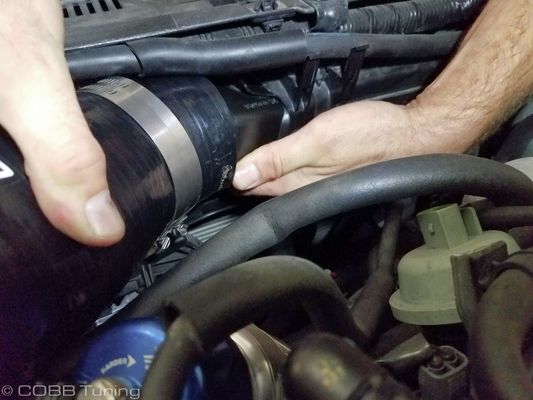
- Using the trimmed portion of your OEM air inlet, attach it to the provided silicone coupler, and install it into the engine bay, attaching one end to the inlet and the other to the SF airbox with the provided hose clamps. It may require some work to get the two ends secured properly.
- NOTE: Considering that the OEM air inlet is plastic, be wary of over-tightening the hose clamp as it will deform and damage the OEM air inlet.
- NOTE: Considering that the OEM air inlet is plastic, be wary of over-tightening the hose clamp as it will deform and damage the OEM air inlet.
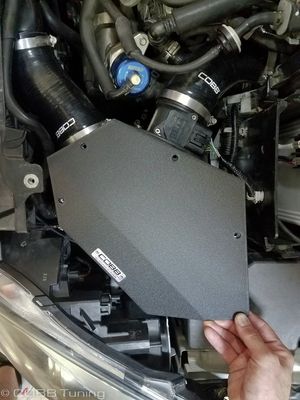
- Secure the SF airbox lid to the SF airbox using the provided (4) M6X12MM button head cap bolts, (4) M6 nylon washers, and 4mm hex key. Once you have the lid secured, you can go back and loosen the bracket mounting hardware at the mounting location and/or at the MAF housing to make adjustments to obtain optimal fitment.
- We recommend completing a pressurized smoke test to verify you don't have intake leaks. If everything checks out, you are done!
CARB Sticker Installation (On CARB Certified Applications)
This product is covered under multiple CARB EO letters. For additional information on CARB EO options for your Mazda, check out our page CARB EO numbers for COBB Mazda Products
Install the supplied CARB sticker on an easily viewable space that won't be susceptible to large amounts of heat. We recommend on the radiator core support, or the underside of the hood.
Links
COBB Product Install Instructions for Mazda Vehicles
Main Installation Instruction Repository for Mazda Parts
Link to Mazda Map Notes to see what map you should be on given the parts you've added
COBB Customer Support Web Support and Tech Articles: COBB Tuning Customer Support Center Email: support@cobbtuning.com Phone support available 9am to 6pm Monday-Thursday. 9am to 4pm Friday (CST) 866.922.3059 return to www.cobbtuning.comContact Us:
Copyright 2025 © COBB Tuning Products LLC. All Rights Reserved. | www.cobbtuning.com

