BMW Misfire Diagnose and Repair Tutorial
Introduction
TThe N54 powered BMWs respond amazingly well to tuning, but the increased power has caused some owners to experience misfire issues. Troubleshooting and repairing a BMW can seem like a daunting task with things like an advanced electrical system, specialized tools, and intimidating engine covers. But, diagnosing and repairing the typical misfire is fairly straight forward, and we will show you how!
Ignition Basics
The N54 motor is BMW’s first shot at a turbocharged gasoline direct injection engine. A direct injection motor injects gasoline directly into the engine cylinder whereas a traditional fuel-injected motor injects gasoline into the intake tract or cylinder port. Because gasoline is injected directly into the cylinder, BMW has designed a specific spark plug to sit at a specific location relative to the injector to ensure proper ignition. The ECU creates this ignition by telling the coil pack when to deliver the high voltage charge to the spark plug. This design combined with BMW’s advanced ECU logic allows the car to precisely control fuel and spark in order to not only increase performance but fuel mileage as well.
Common Issues
As many owners have found, this incredible power has come with a few downsides. The now infamous high-pressure fuel pump and injector recalls have caused multiple N54 owners check-engine-light anxiety. The BMW Maintenance Schedule calls for the spark plugs to be replaced every 45,000 miles, but our experience shows that this maintenance interval should probably be closer to 25,000 miles. We have also seen the other part of this spark equation, the coil packs, fail on cars with low miles. So, in short, our internal testing and experience has shown that the ignition system requires more stringent maintenance in general, but especially on a modified car.
Early Detection
In the very beginning stages of this inevitable issue, indications will only show themselves when the car is pushed hard due to tuning combined with more aggressive driving. In many cases, the misfires caused by the combination of tuning, bolt-on parts, and aggressive driving style will throw check engine codes, however, under some loads, the misfire may only be felt by the driver without a resulting trouble code. The intricate BMW ECU logic is able to measure the variance in the expected acceleration of the crank to determine if the car is misfiring. When the coil pack is trying to create the spark, it is fighting against pressure in the cylinder and spark plug condition. Cylinder pressure is closely related to engine torque, so when torque is increased at higher RPM, the coil pack must recharge between sparks more quickly while still providing ample voltage to the plug. If the plug is worn out, it requires a higher voltage to jump the gap and could cause a misfire. If the coil pack is worn, it would not be able to recharge quickly enough to provide the required voltage to the plug. Therefore, this is why many users only see misfire codes with a tuned car and not on stock mapping. As the coils and plugs continue to degrade, even the stock mapping will have misfire issues.
Diagnosis and Repair
Despite the ominous engine covers and BMW mystique, changing the spark plugs and coil packs is an easy process. When you first have misfire issues, the first step is to change the spark plugs. If misfire codes still persist, you can easily diagnose coil packs by swapping them to an alternate cylinder. If the misfire code follows the coil pack, then the coil pack should be replaced. In the unusual case where the misfire remains in the same cylinder, you could potentially have an injector issue or other mechanical ailment.
The first step to removing the plugs is to get the right tools. You will need:
8mm Driver
5mm Hex Driver
BMW Specific Plug Tool
Torque Wrench
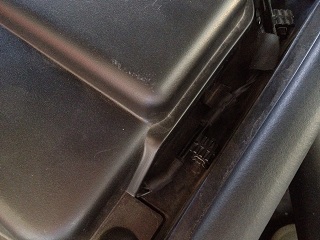
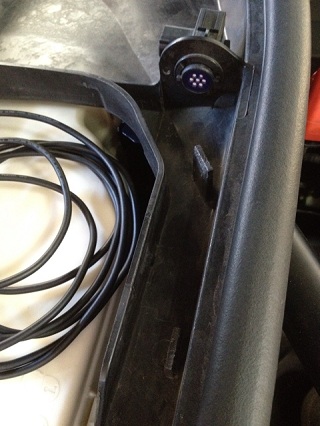
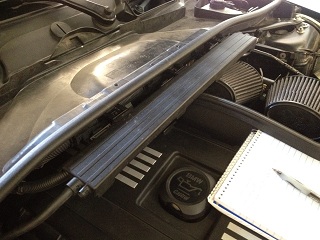
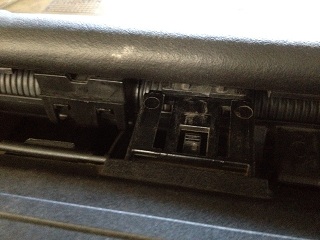
1. Remove the covers on the left and right sides of the cabin filter tray near the window. There is a clip on each side of these covers. On the passenger side, you will also need to un-clip the wire harness and disconnect the connector.
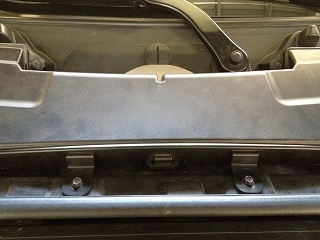
2. Remove the 8 8mm bolts holding the cabin filter to the cowl. Undo the rubber clips on each side as well. You can now remove the filter and set this assembly aside.
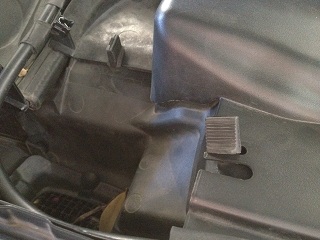
3. Un-clip the wiring harness holder attached to the underside of the cabin filter tray.
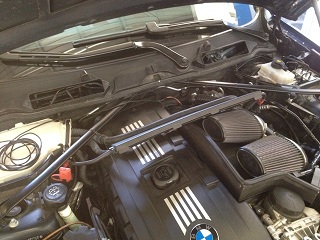
4. You should now be able to remove the cabin filter cowl with a little wiggling.
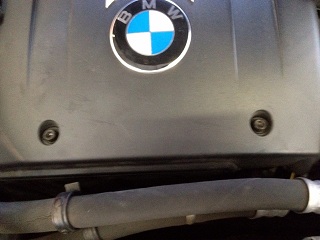
5. Remove the 4 5mm hex bolts from the engine cover: 2 in the front, and 2 in the back.
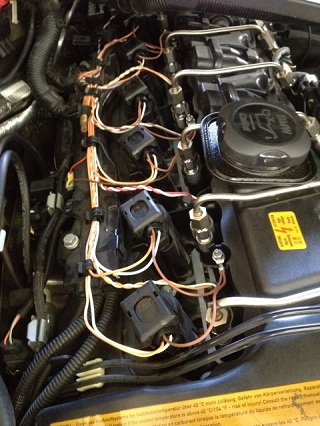
6. Once you remove the engine cover, you’ll see the coil packs and wiring harness.
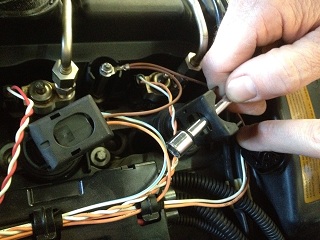
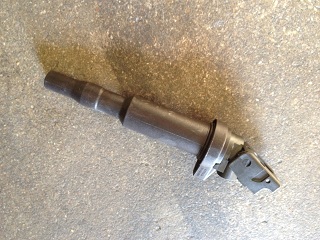
7. The top cover of the coilpack will un-clip. When you lift this clip, it will push out the coilpack connector. Now put any driver through the hole in the coilpack clip and lift it straight up to remove the coilpack.
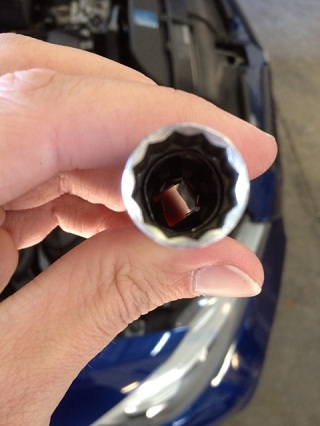
8. Using the BMW spark plug tool, you can now remove the spark plug and swap them out (.028" gap). The specified torque for replacement is 23 NM or 17 lb-ft.
9. Assembly is in the reverse order, but there are a few things to keep in mind when reassembling:
Be careful not to squish the foam on the rear section (nearest the windshield) of the engine cover.
Take your time lining up the clip for the wiring harness holder. It will gently snap in place.
The finely threaded bolts on the cabin filter go towards the outside of the vehicle.
Over-tightening the bolts that hold the cabin filter in place can cause the plastic to strip, so be careful!
With fresh spark plugs and potentially new coil packs, your car should be running great!
Copyright 2024 © COBB Tuning Products LLC. All Rights Reserved. | www.cobbtuning.com
