Ford Focus ST Carbon Fiber Air Scoop - 791460

791460
COBB Focus ST Carbon Fiber Air Scoop
2013-2017 Focus ST
Congratulations on your purchase of the COBB Tuning Carbon Fiber Air Scoop! The following instructions will assist you through the installation process. Please read them BEFORE beginning the install to familiarize yourself with the steps and tools needed. If you feel you cannot properly perform this installation, we HIGHLY recommend you take the vehicle to a qualified and experienced automotive technician.
Parts List
- COBB Carbon Fiber Air Scoop
Tools Needed
- Metric socket and ratchet set
- Flathead screwdriver
- Air Saw (or other form of accurate cutting utensil)
- T27 Torx
Installation Prep
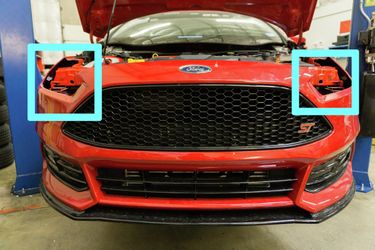
- In order to get where you can install the intake air scoop, you must first remove the front bumper of your car. Start by removing the headlights.
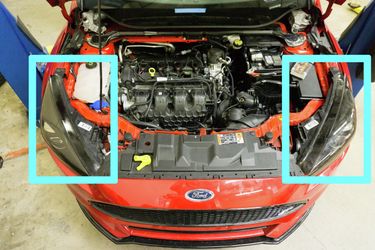
There are 2 T27 screws holding the headlights in place, one near the front of the car, and another near the passenger compartment that you will need to remove.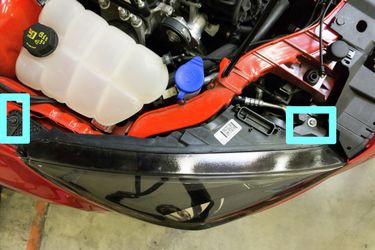
Gently wiggle and slide the headlight out. Once you have enough room, reach your hand behind the headlight and release the single headlight harness.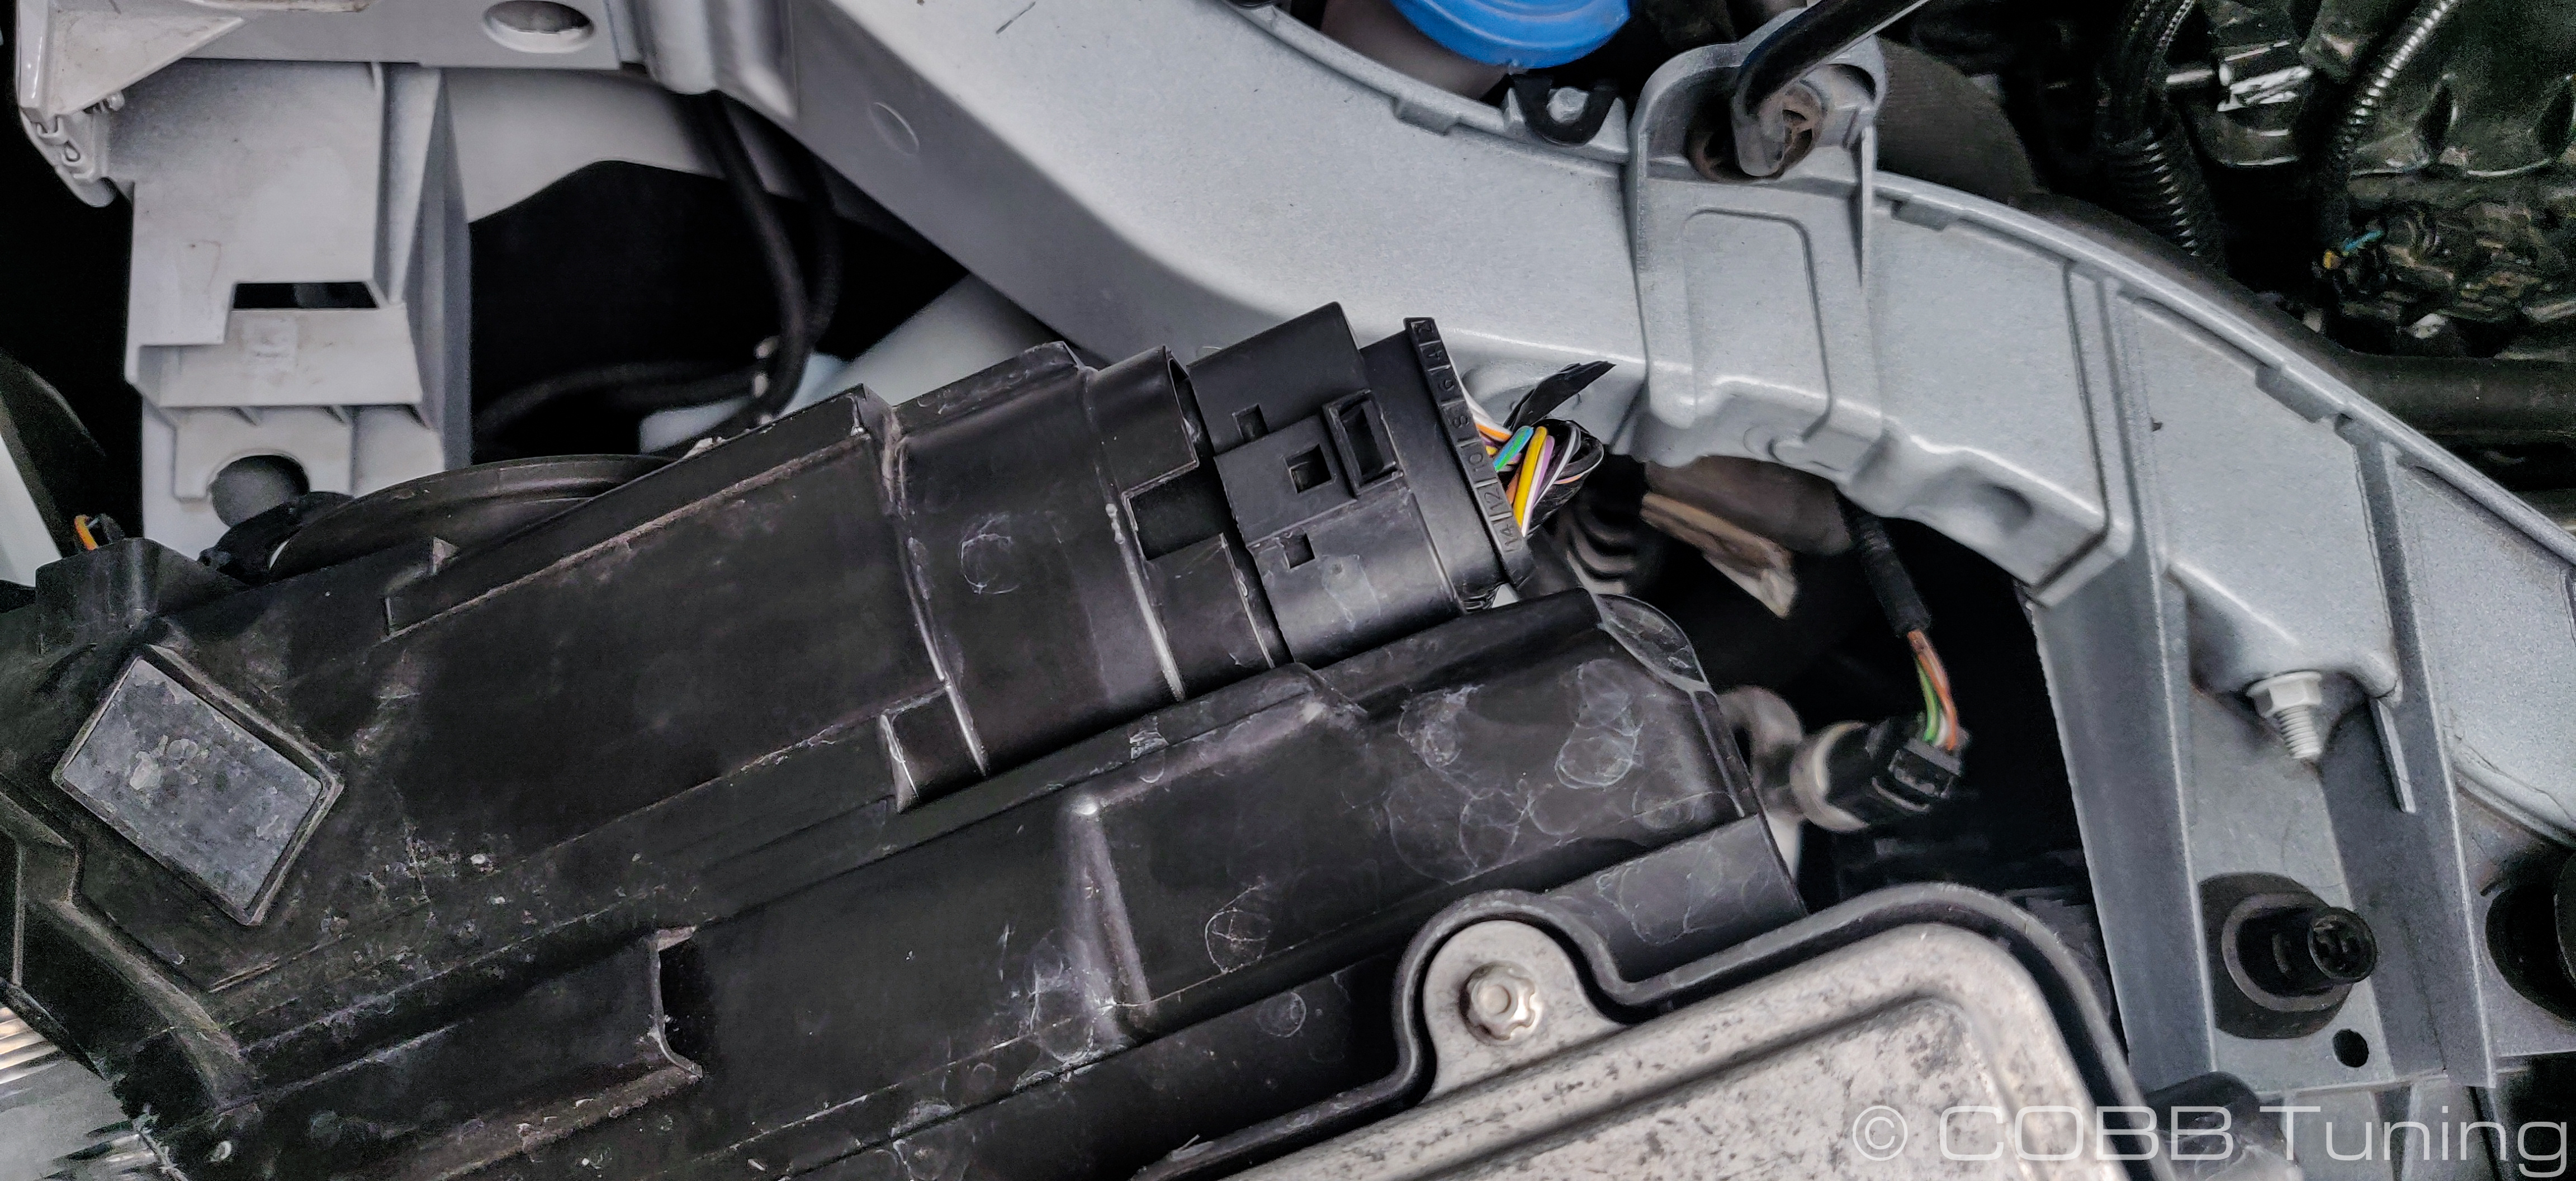
Repeat for the other headlight.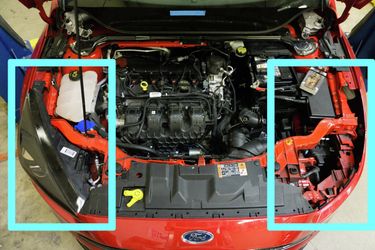
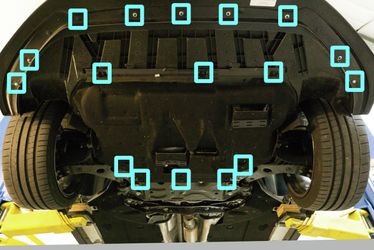
- Remove the under-tray. There are Torx screws, along with another single screw at the front-end side of the wheel well on both the driver and passenger side of the car.
- After removing the under-tray, disconnect the fog light harness.
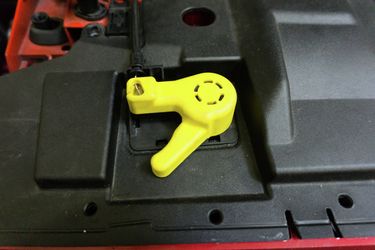
- Remove the hood release or disconnect the cable from the locking mechanism. You can disconnect the cable by first releasing the cable from it's retaining clip and then gently unwinding and unhooking the cable from the handle.
- Remove all push pins and torx screws holding the front bumper cover. There will be 5 Torx screws and 2 push pins. The push pins have a very thin head and by gently applying pressure with a flathead screwdriver, you can raise the pin to release the clip.

- Remove front bumper cover. Be careful with removing the bumper clips near the front left and right wheel arches. When they are released, they can easily scratch your paint. In order to release the clip underneath where the headlight resided, gently lift the retaining clip and slide the bumper clip away. Repeat for the opposite side.
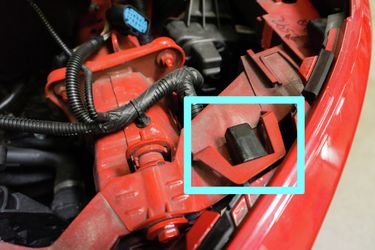
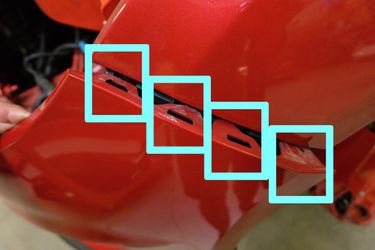
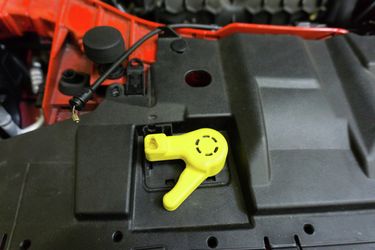
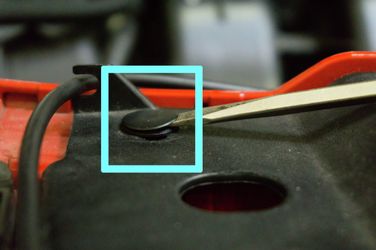
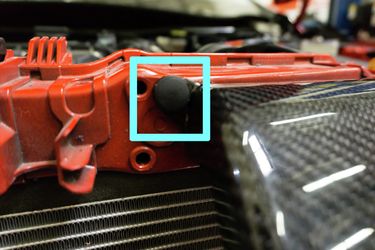
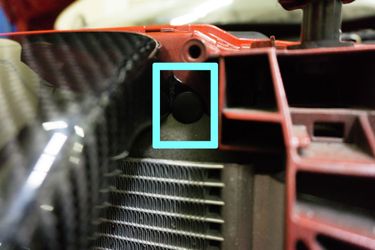
- Use a flathead screwdriver to unlock the push pins holding the stock air inlet scoop in place. Remove the push pins and take off the stock air scoop.
- With the bumper cover removed and the stock air inlet removed, you should now be able to install the air scoop.
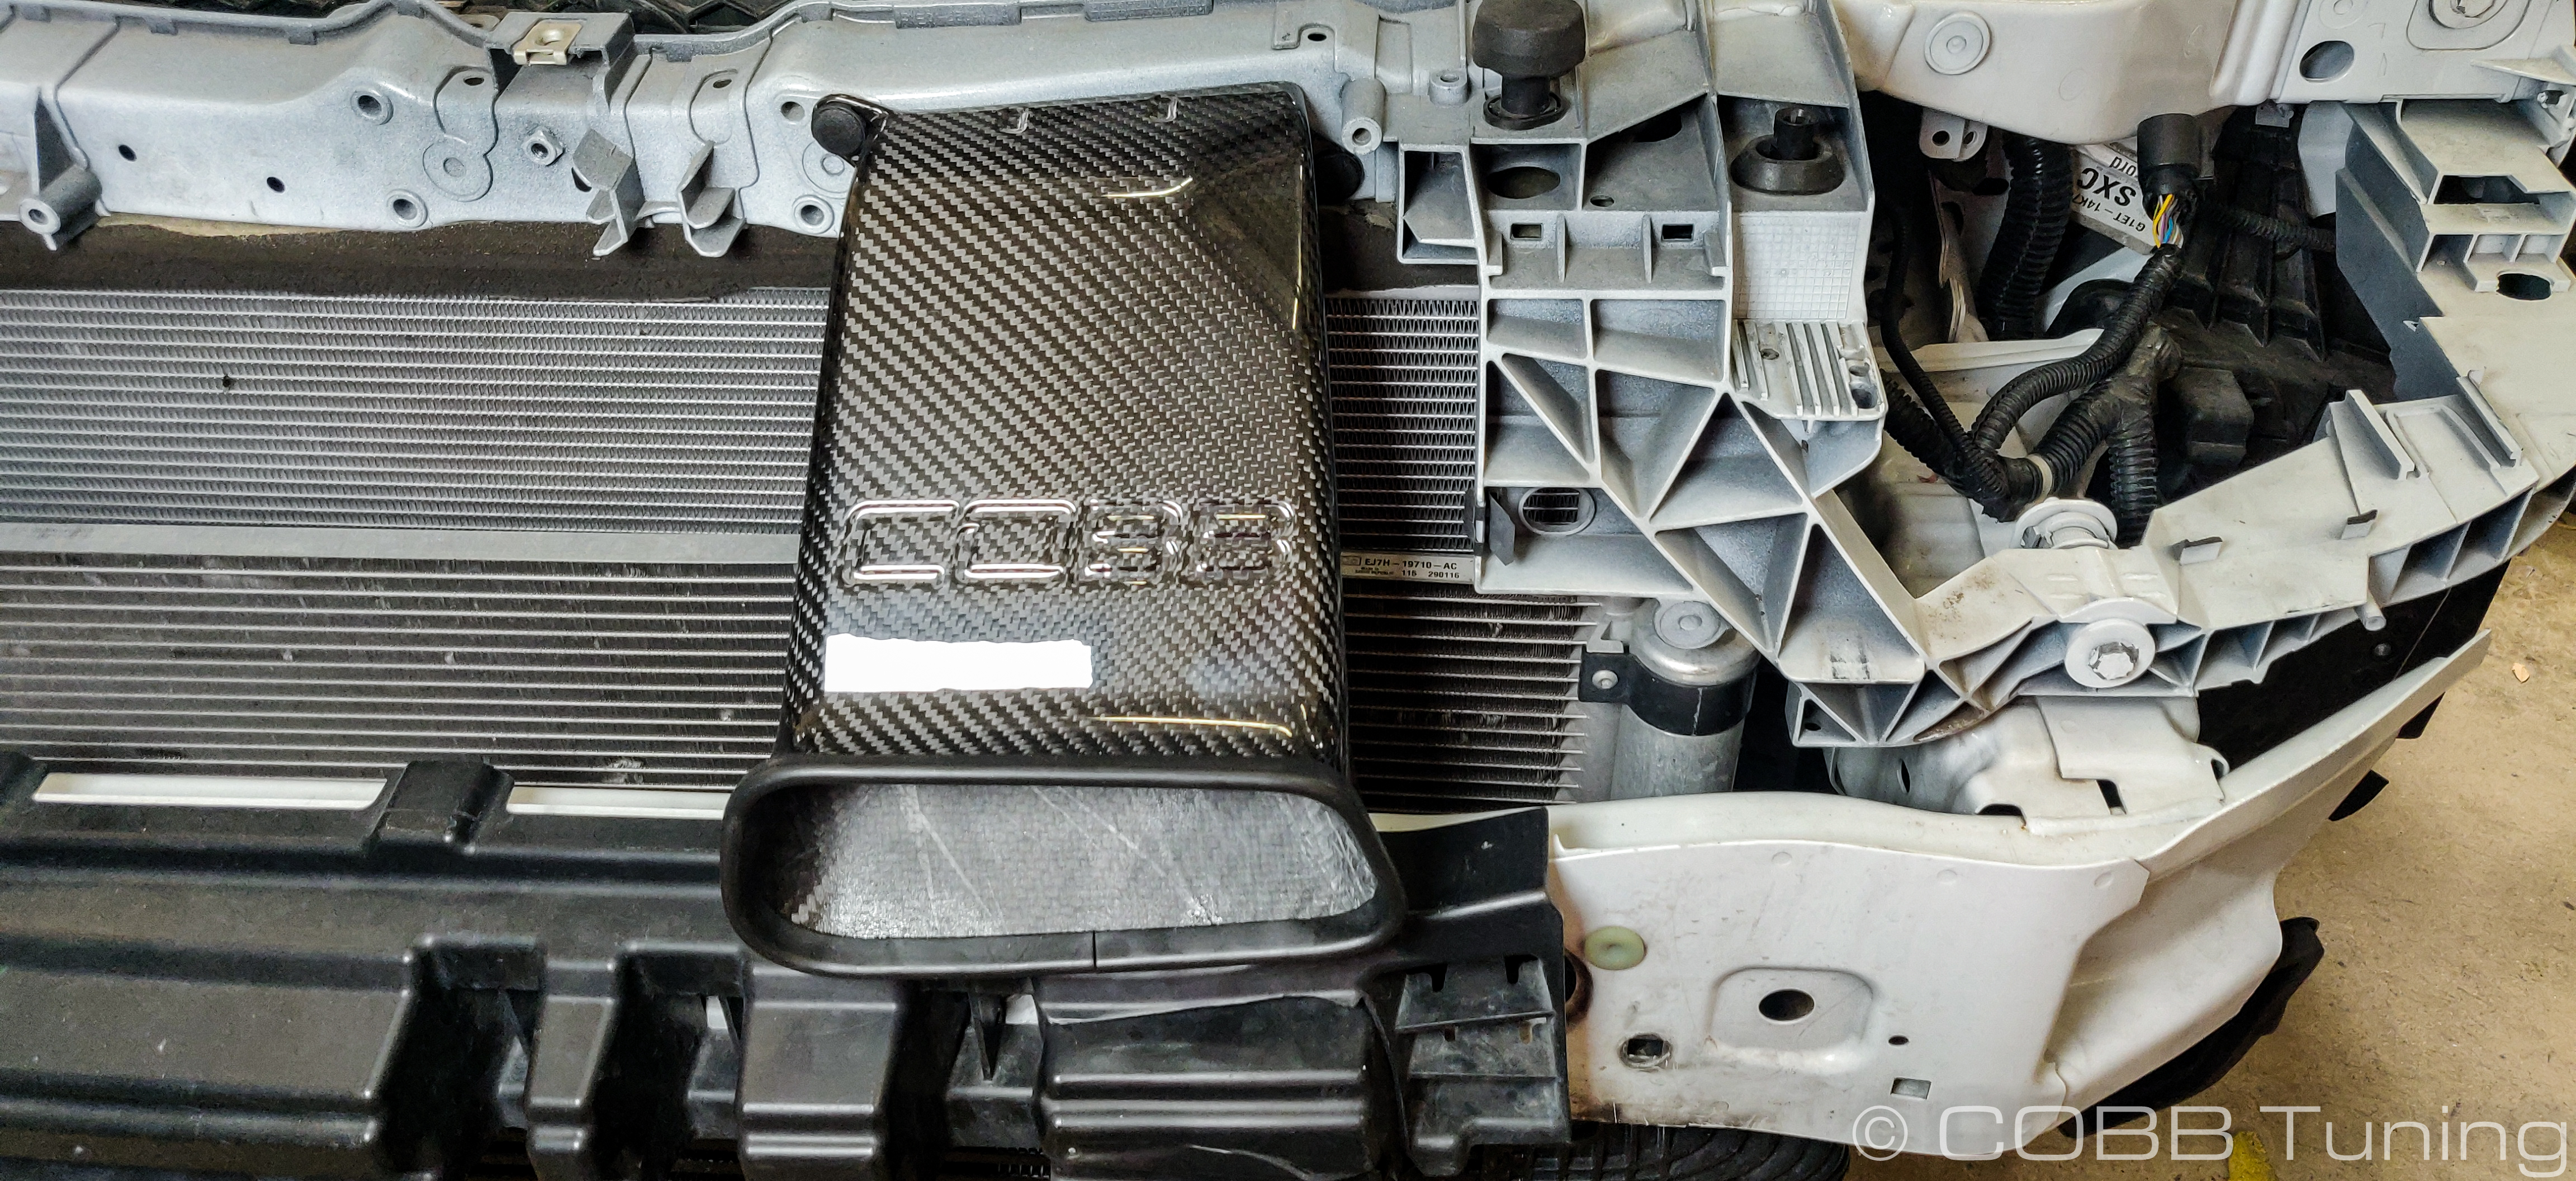
Intake Snorkel Installation
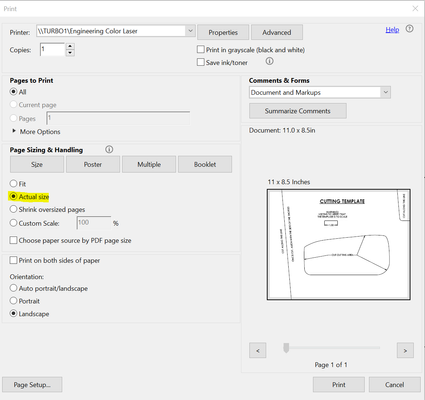
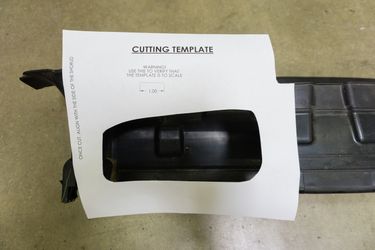
- Print off the PDF version of the cutting template provided in landscape orientation. Once this is printed, verify that it is to scale using a measurement device to see if the 1-inch mark is actually one inch. There should be a print setting in your PDF viewer that checks to make sure it is the actual size and not to fit. (Example picture is the print settings used in Adobe Acrobat Reader, to use as a reference).
- Once you know the template is to scale, you can cut out the template where it is marked to do so.
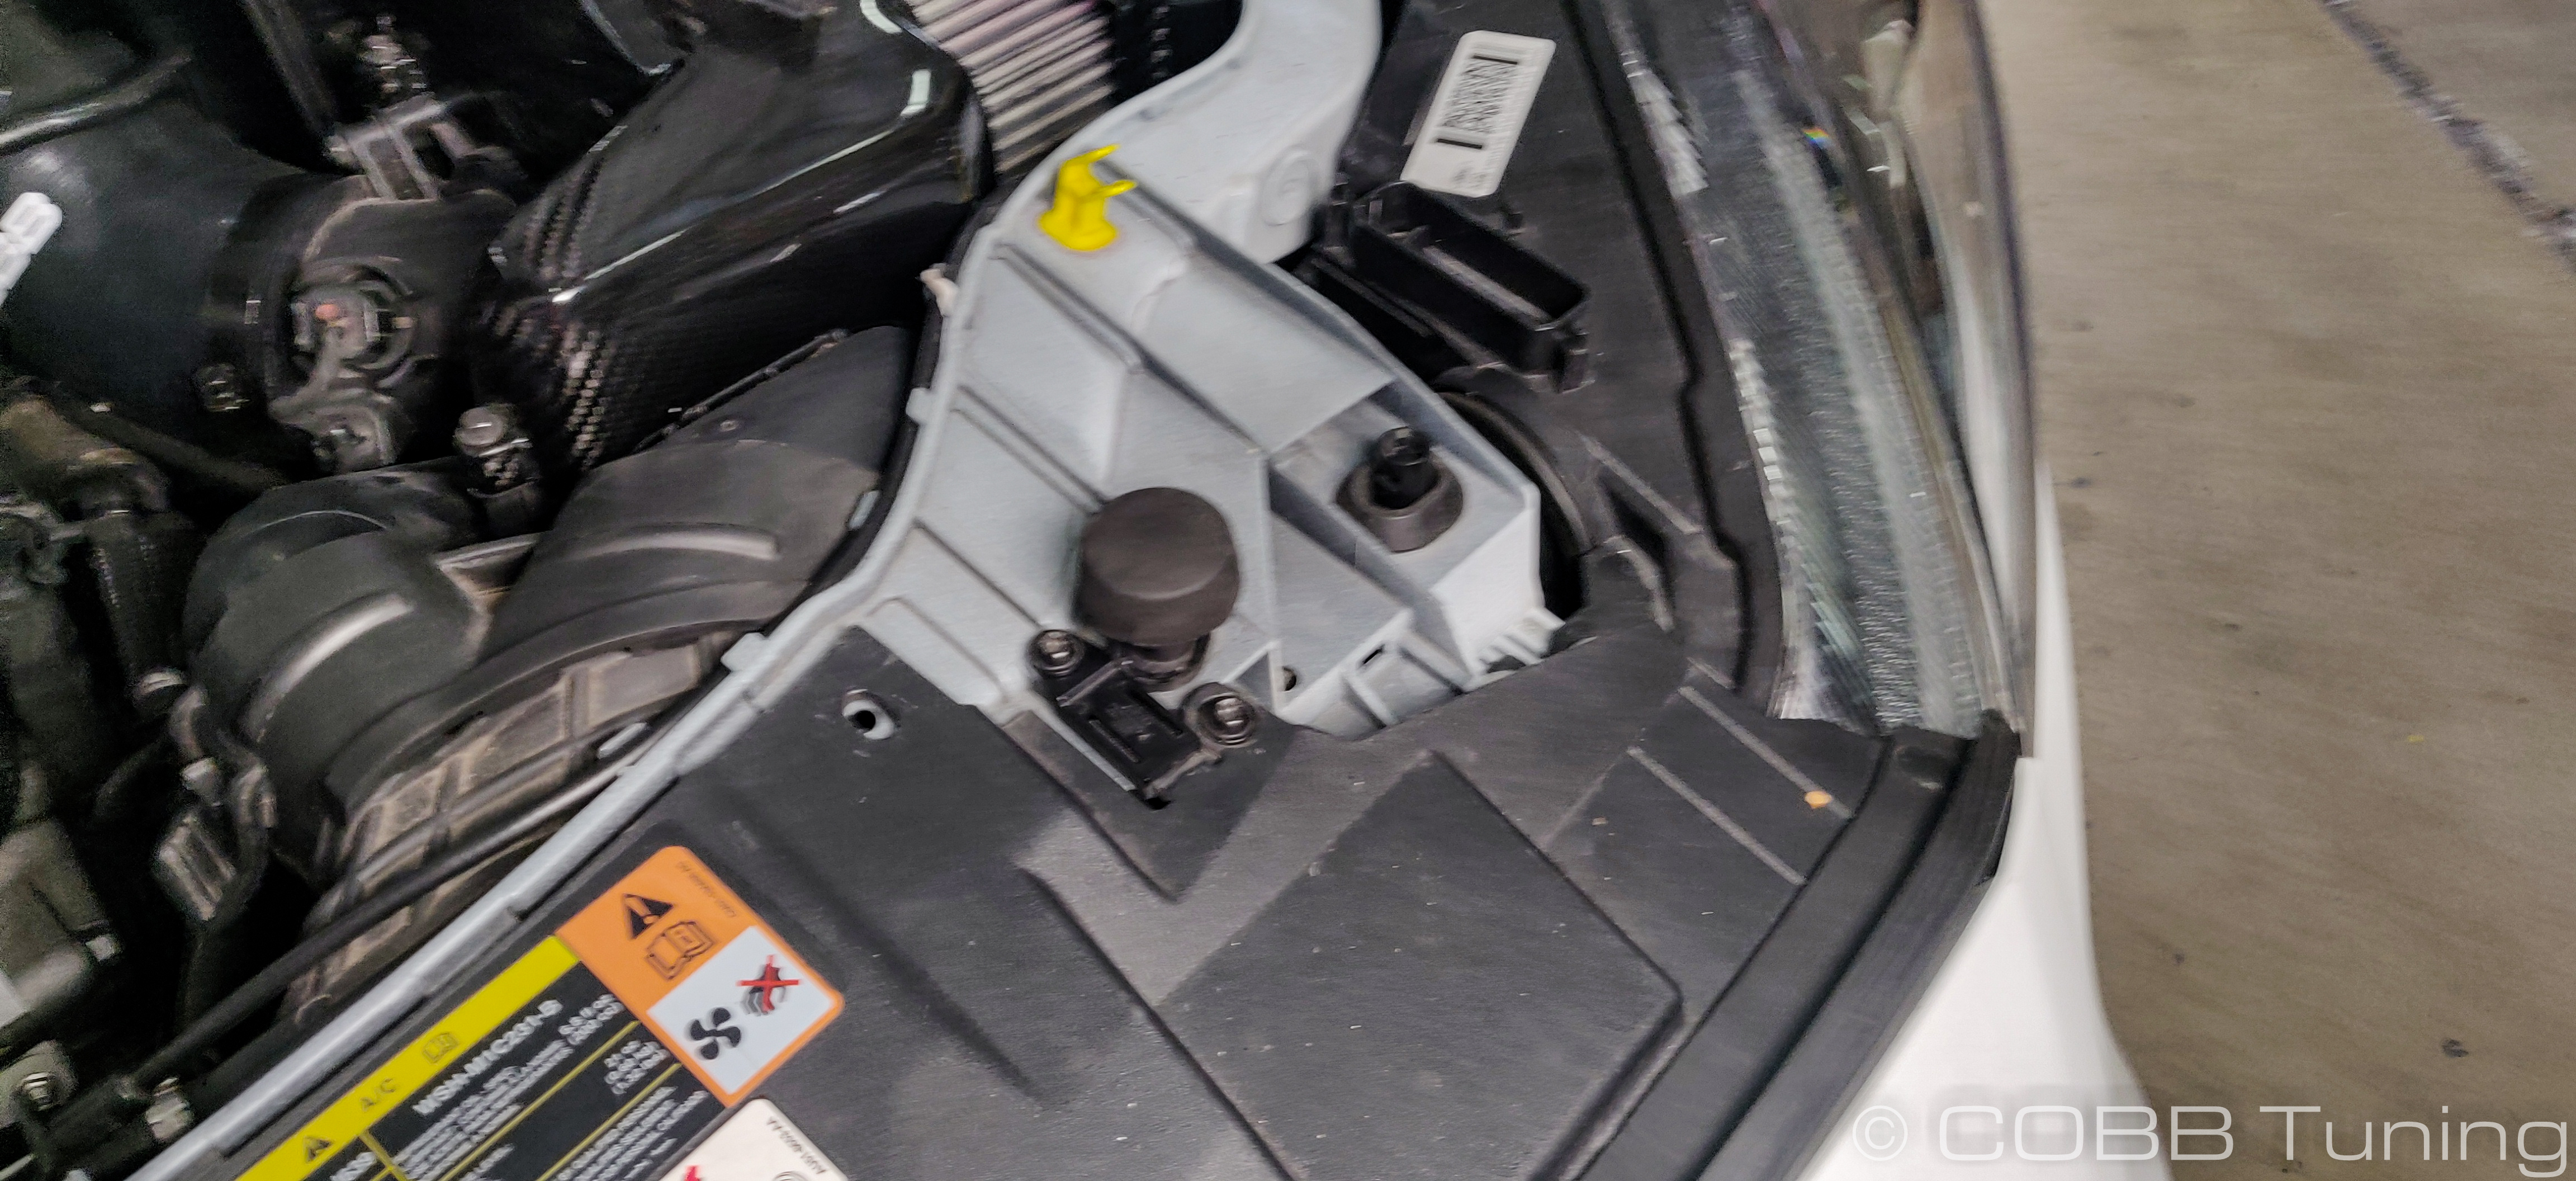
- Place the cut template onto the shroud of your car. Using the guidelines on the template, align the template in the appropriate location.
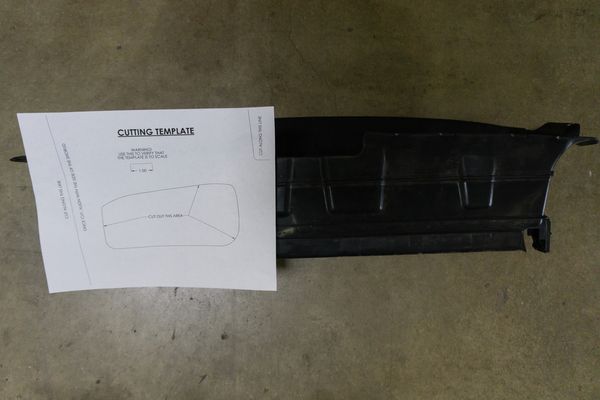
- Before any cutting is done, it is recommended to take off the shroud, install the air scoop using the stock push pins, and make sure that the template seems to be in the correct location. This is to account for everyone's different alignment of the template as well as the small differences in each individual vehicle.
- Using a Sharpie or you marking tool of choice, trace the outline of the "CUT OUT AREA" on the shroud.
- Now, once you are sure that the hole is in the correct location, you may cut it out. Start by creating a pilot or starter hole to get a tool in to begin cutting. It is recommended to use an air saw, but any appropriate cutting tool may do. NOTE: Be careful in this step! Keep fingers out of the way of the cutting tool! Also, it is recommended to make the hole smaller if you are not confident in the placement of the template. You can always cut away material if it is too small!
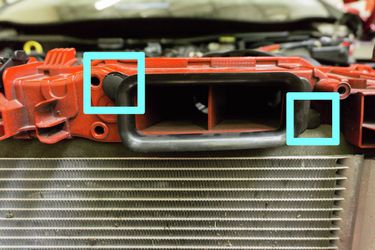
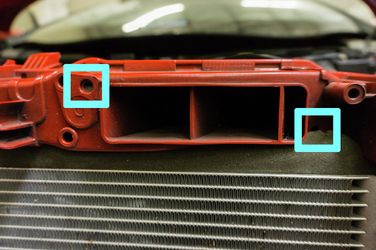
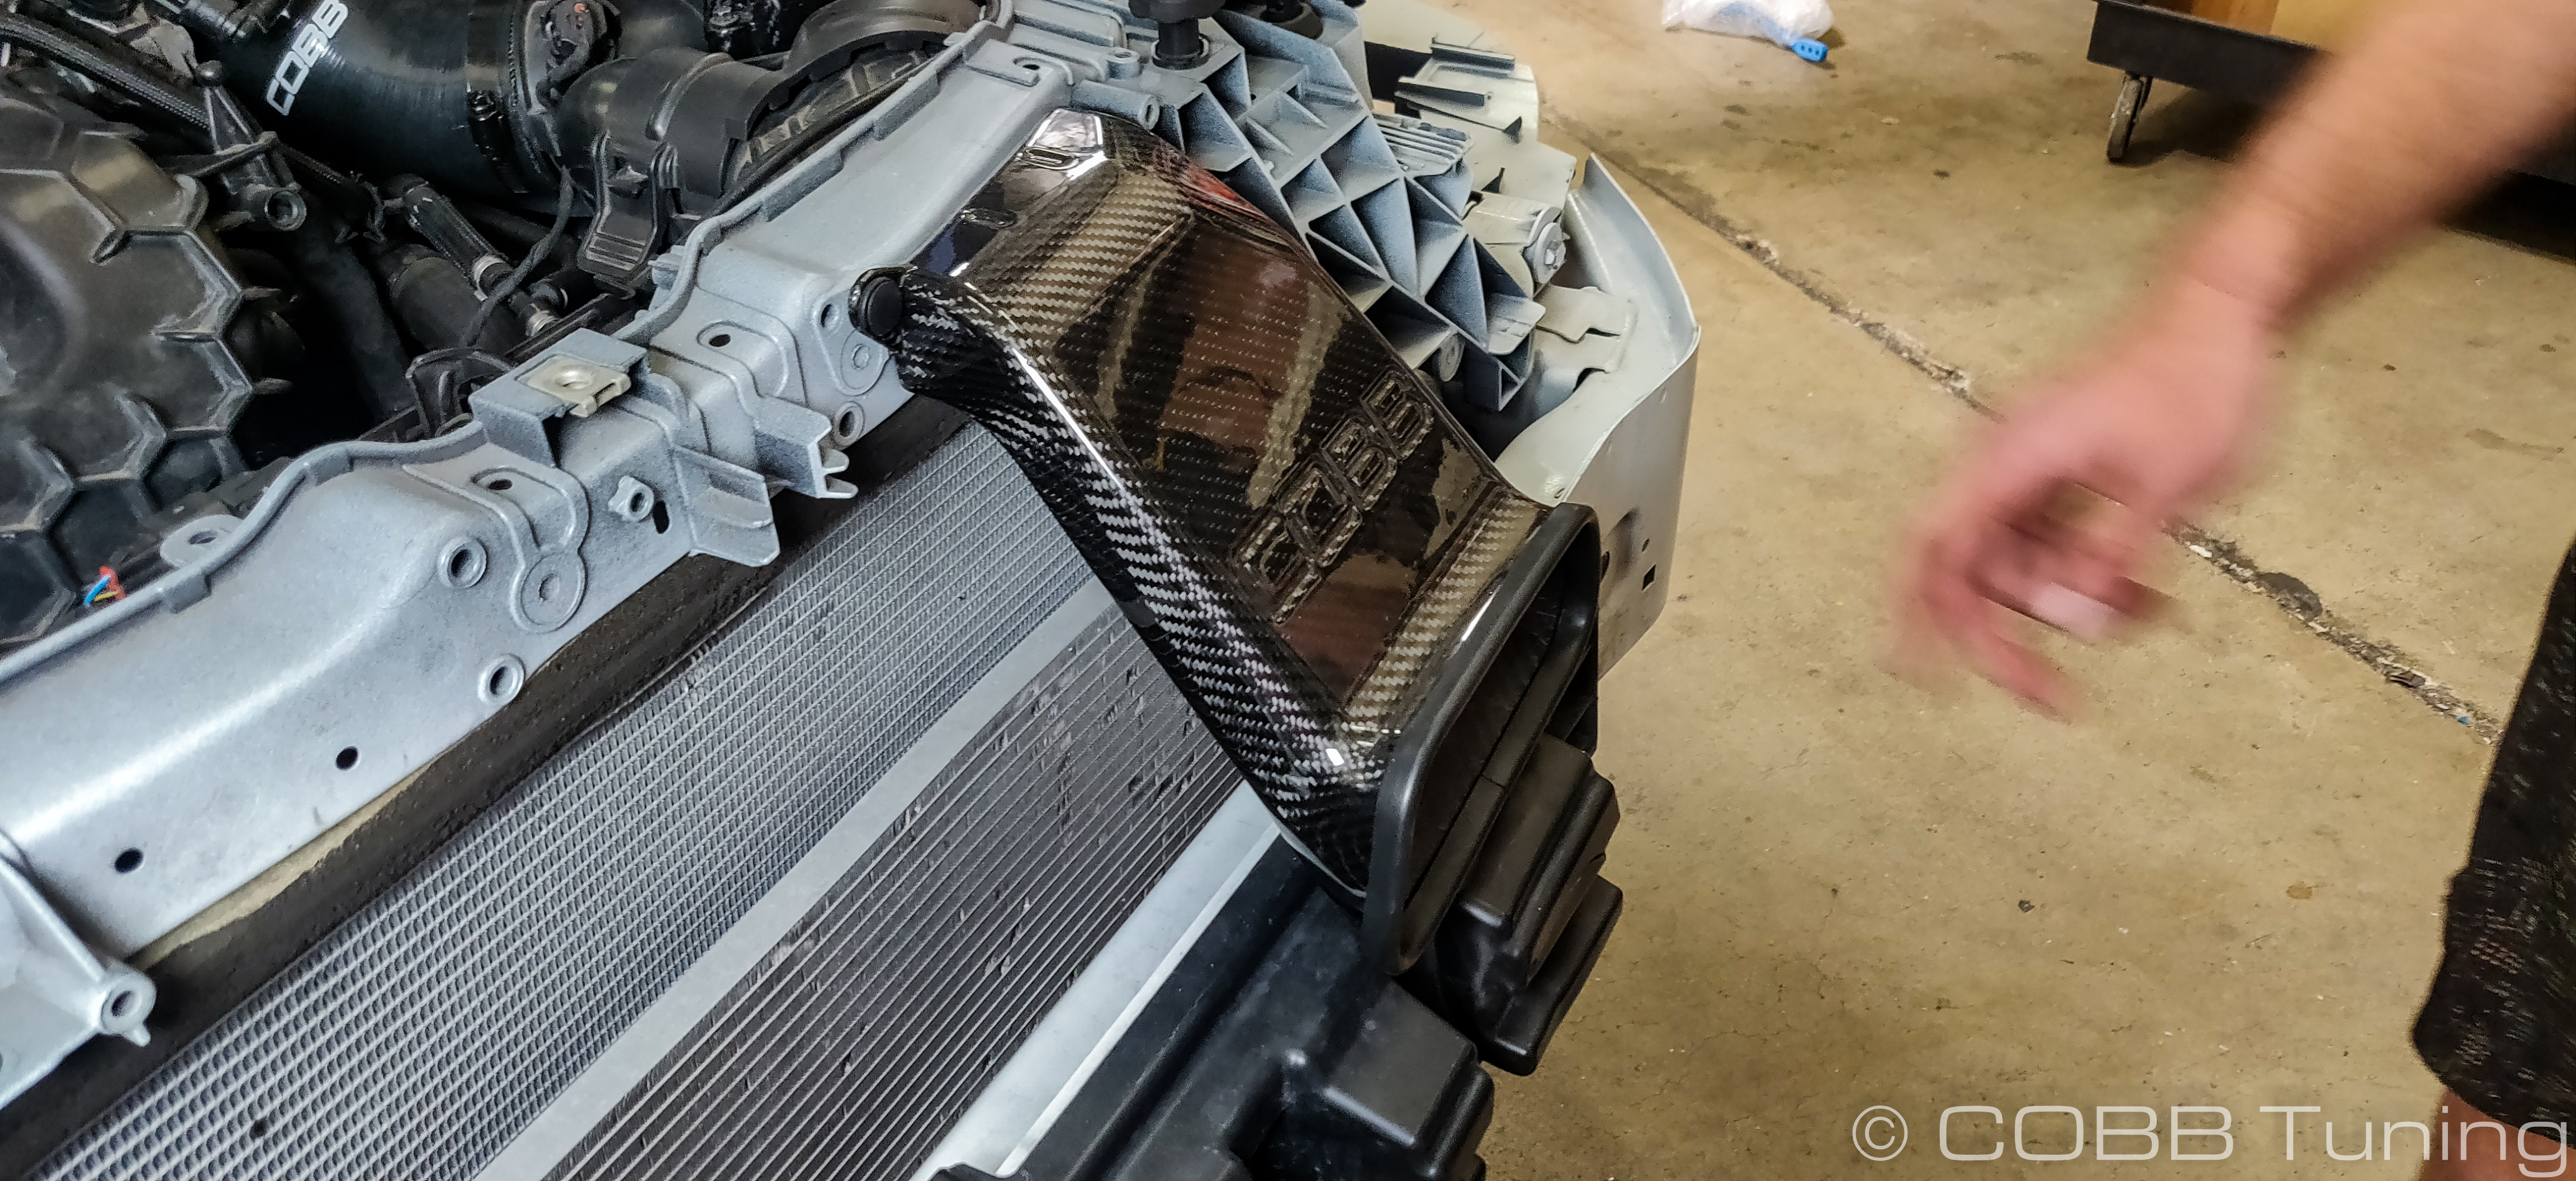
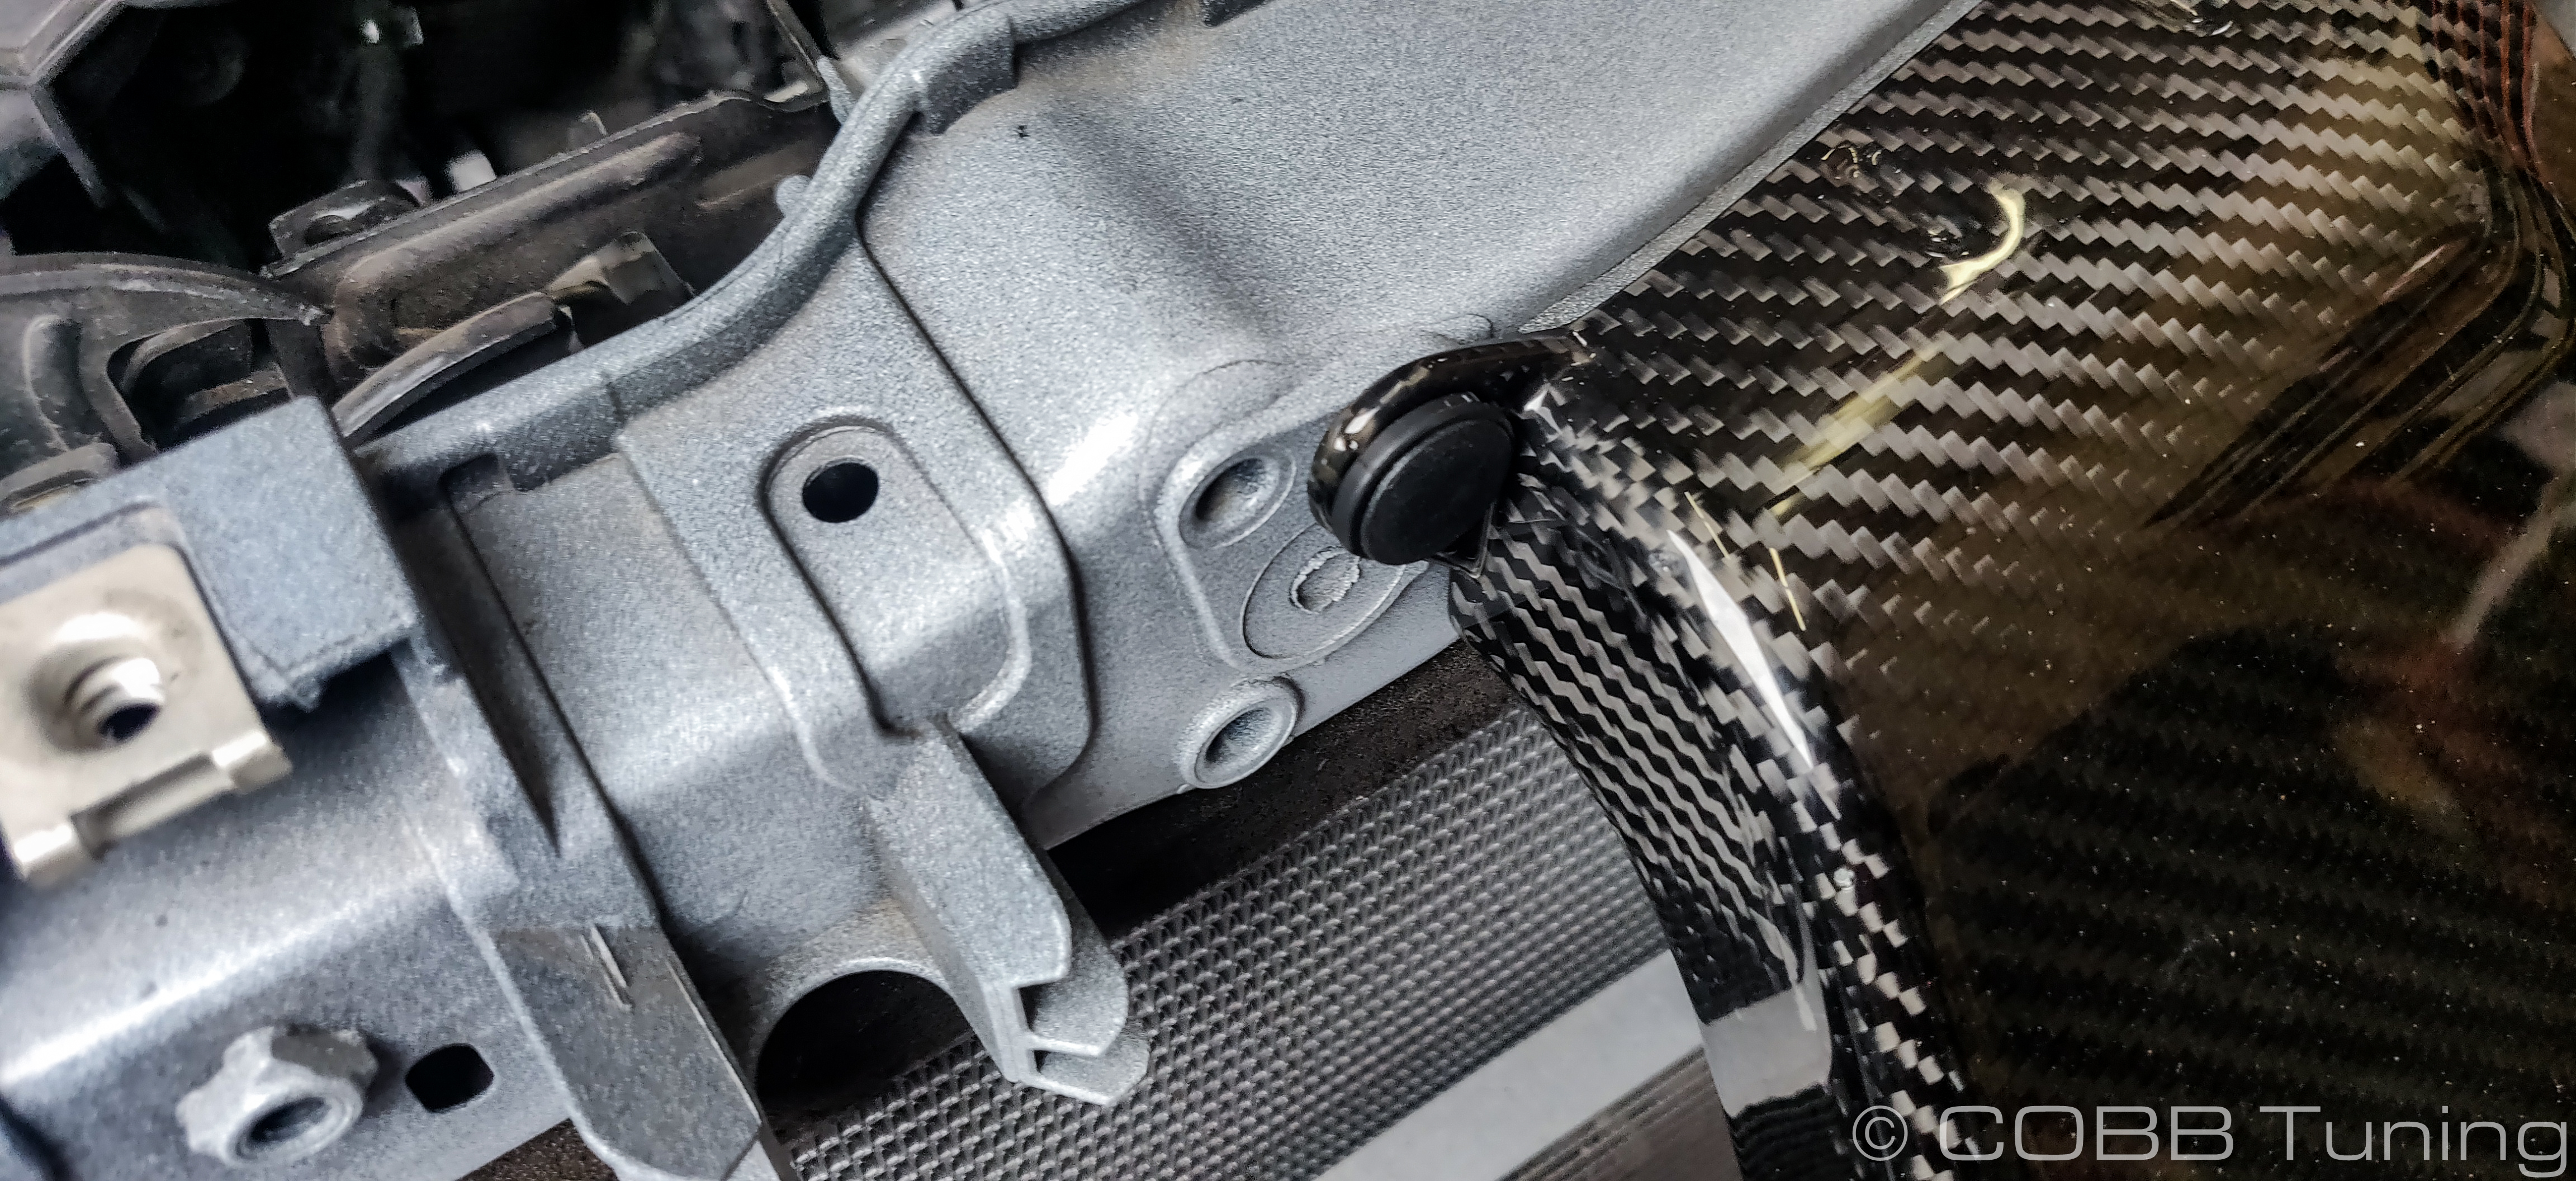
- With the hole in the shroud, you can now install the air scoop by sliding it through the hole and place it on the stock location. Use the two stock push pins to retain the scoop in place.
- Proceed to work your way backwards to reinstall the bumper, under-tray, and headlights.
Congrats on the installation of your new COBB Carbon Fiber Air Scoop!
Links
COBB Product Install Instructions for Focus ST
Main Installation Instruction Repository for Focus ST Parts
Link to Focus ST Map Notes to see what map you should be on given the parts you've added
Contact Us:
COBB Customer Support
Web Support and Tech Articles: COBB Tuning Customer Support Center
Email: support@cobbtuning.com
Phone support available 9am to 6pm Monday-Thursday. 9am to 4pm Friday (CST)
866.922.3059
return to www.cobbtuning.com
Copyright 2024 © COBB Tuning Products LLC. All Rights Reserved. | www.cobbtuning.com