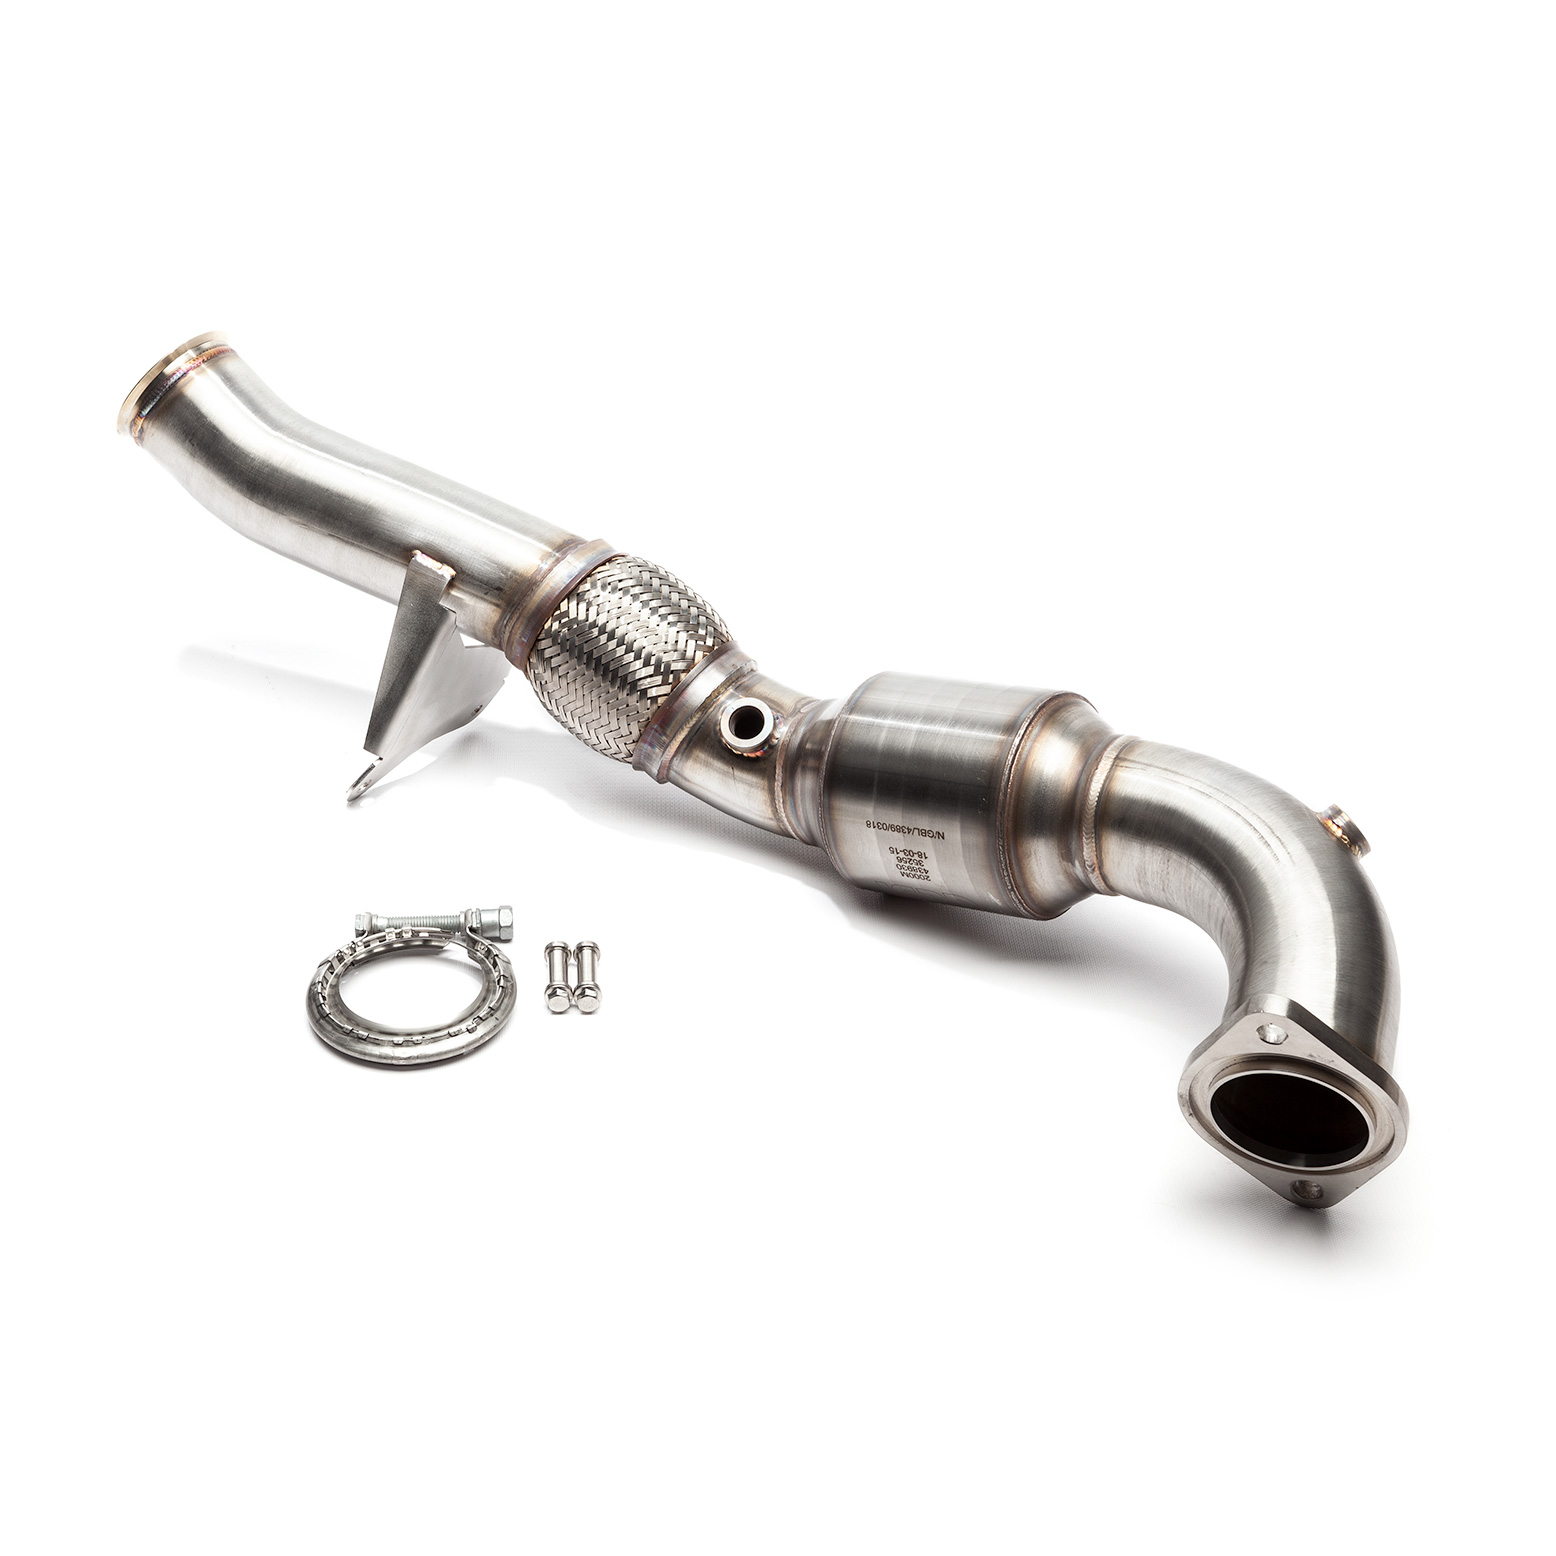
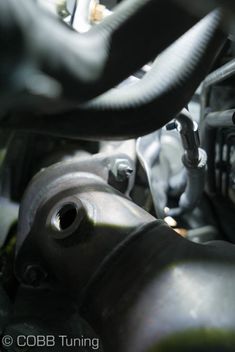
593220 - Focus RS GESI Catted Downpipe
593220 - Focus RS Catted Downpipe
2016 - 2018 Ford Focus RS
Congratulations on your purchase of the COBB Tuning Focus RS Catted Downpipe! The following instructions will assist you through the installation process. Please read them BEFORE beginning the install to familiarize yourself with the steps and tools needed. If you feel you cannot properly perform this installation, we HIGHLY recommend you take the vehicle to a qualified and experienced automotive technician.
IMPORTANT! Installing this kit will require custom tuning or utilizing an appropriate Stage Power Package map if you have a matching mechanical configuration. Please consult with COBB or an authorized ProTuner in your area if you have any questions!
Table of Contents
Parts List
- Focus RS Catted Downpipe
- Rear downpipe gasket and clamp assembly.
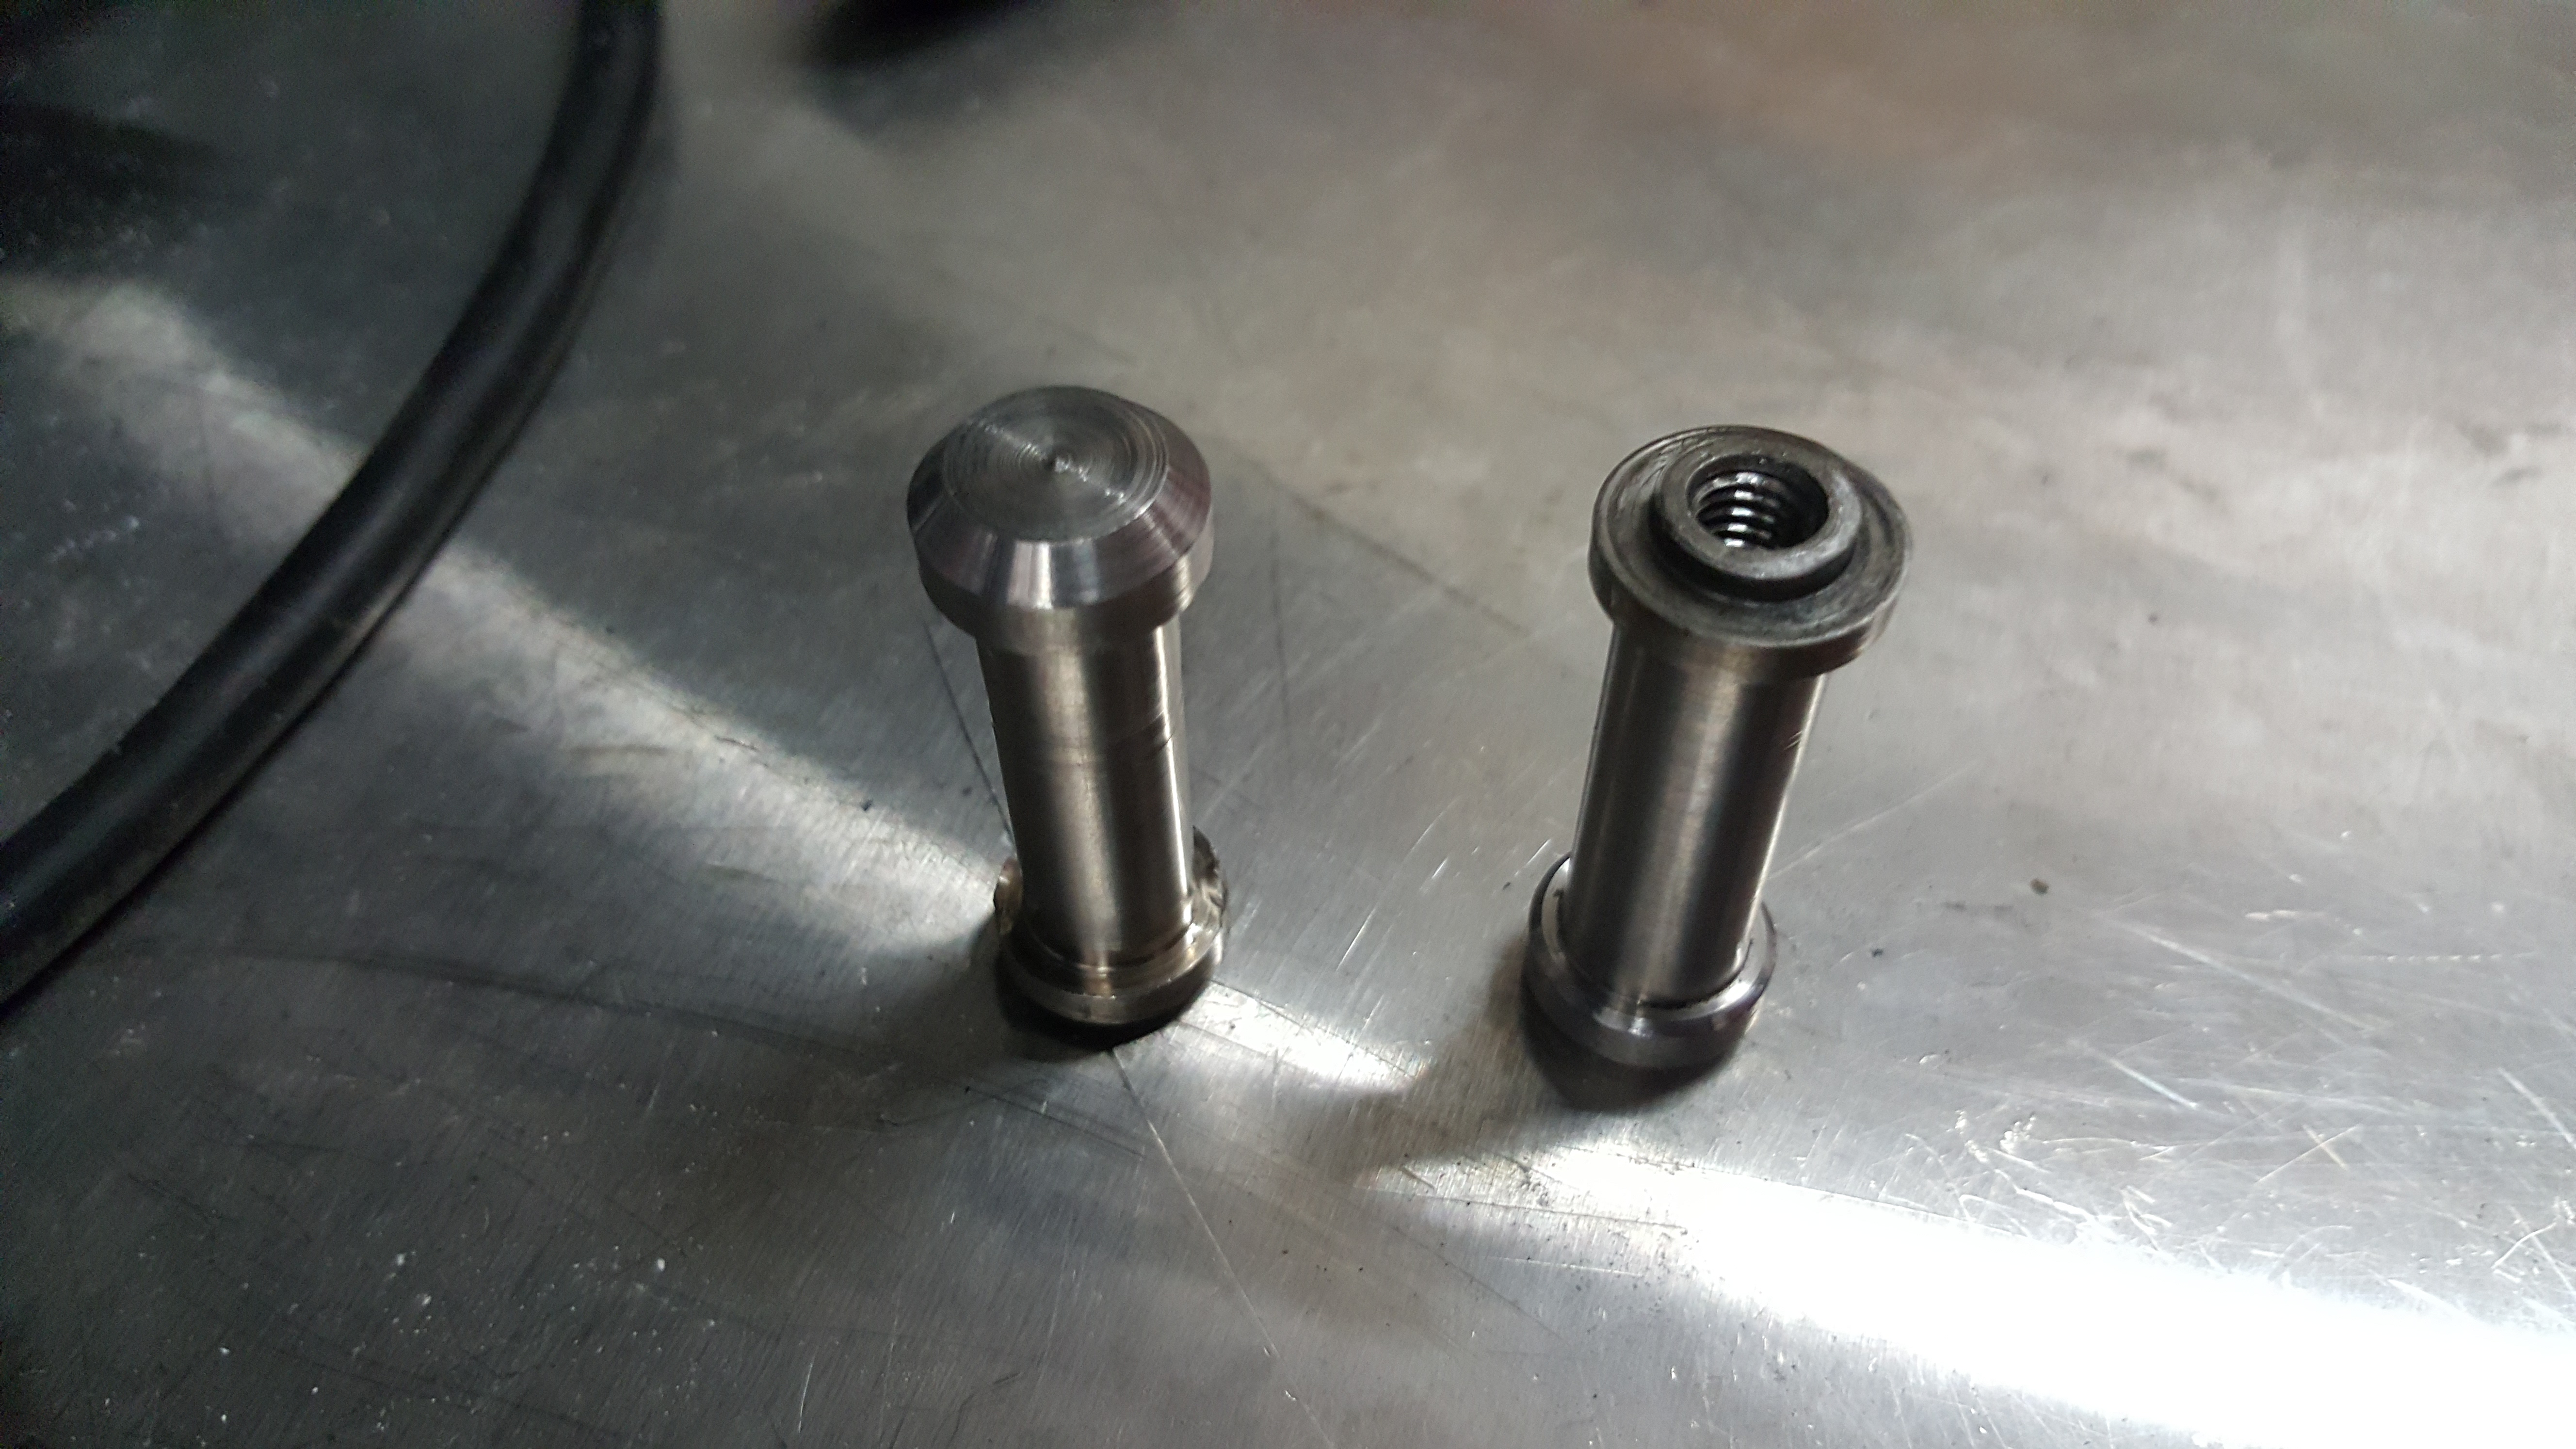
- (2) Exhaust Hanger Pins
- (2) Bolts
Tools Needed
- Phillips head screwdriver
- Flathead screwdriver
3/8" ratchet
- 3/8" 7mm socket
3/8" 10mm socket
- 3/8" 13mm socket
- 3/8" 17mm socket
3/8" T30 Torx Bit
3/8" 12" extension
3/8" 6" extension
- Oxygen Sensor Wrench
- 10mm combination wrench
- Torque Wrench
Stock Downpipe Removal
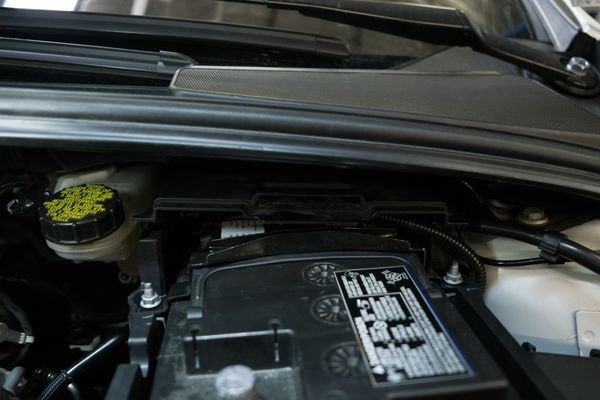
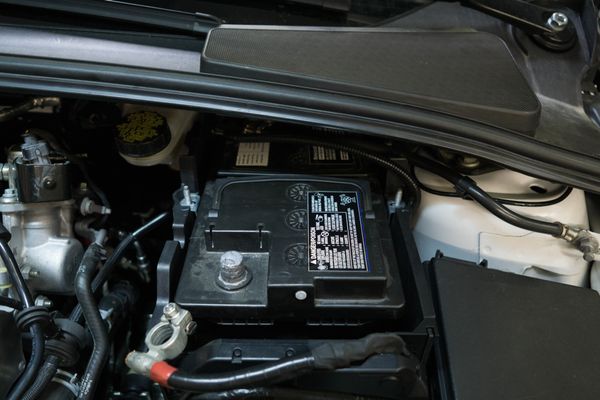
- Start off by parking your car in a flat level area and disconnecting the battery with a 10mm socket.
- Next up securely lift your car and support it properly.
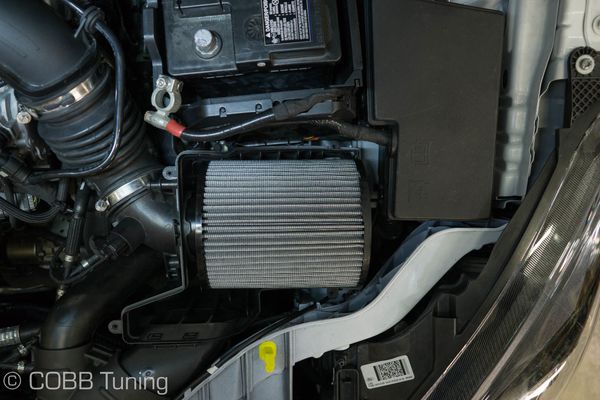
- Using a 7mm wrench, remove the intake airbox lid.
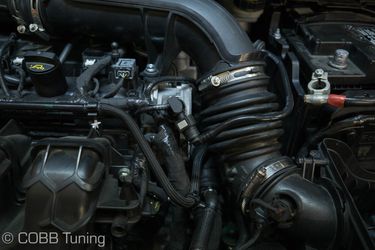
- Now remove the bolt from the bracket holding the intake tube to the engine using a 10mm socket.
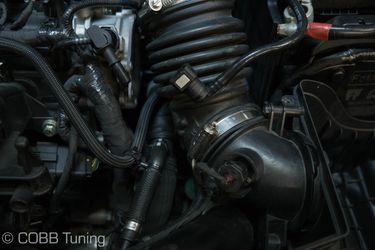
- Remove the two hose clamps from the intake using a 10mm (I thought it was 7?)
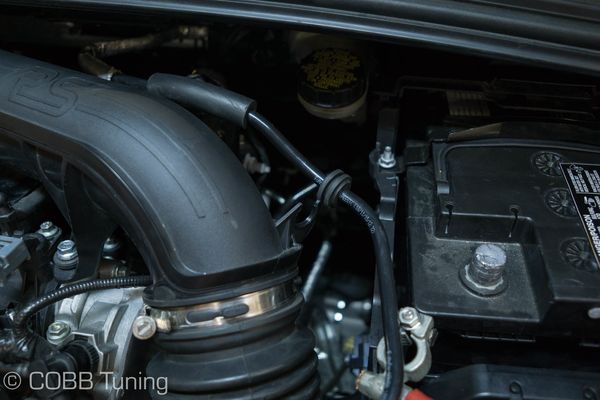
- Unclip the vacuum line
- Remove the vacuum line grommet.
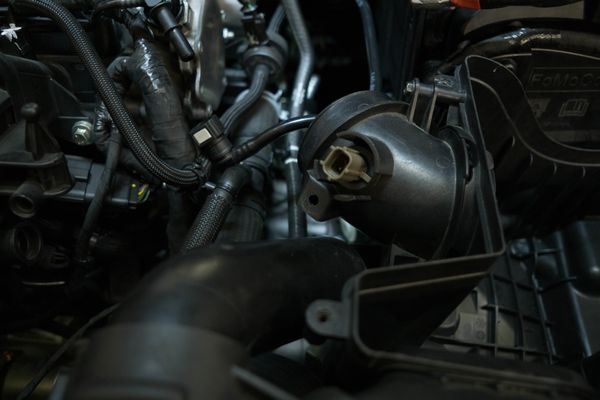
- Using your fingers pull up on the clip for the intake air temperature sensor and unplug the sensor itself.
- Using a trim tool unclip the IAT sensor harness from the hold down.
- Pull up on the rubber tab to remove the intake snorkel.
- Gently pull the intake airbox from the engine bay.
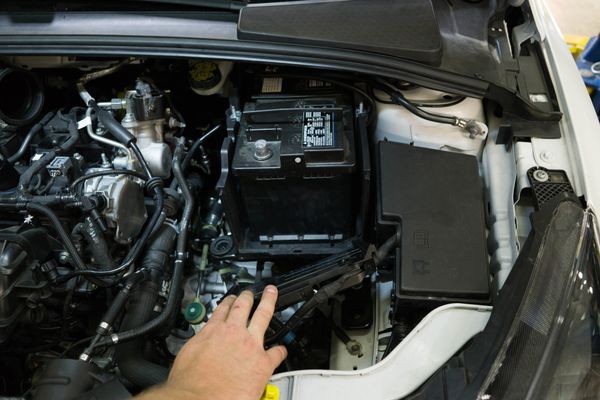
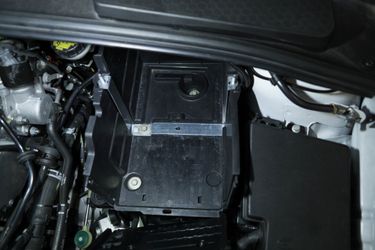
- Remove the upper battery tray by gently lifting and pulling.
- Remove the two 10mm bolts holding the battery down.
- Remove the front of the battery tray using a lifting and pulling motion.
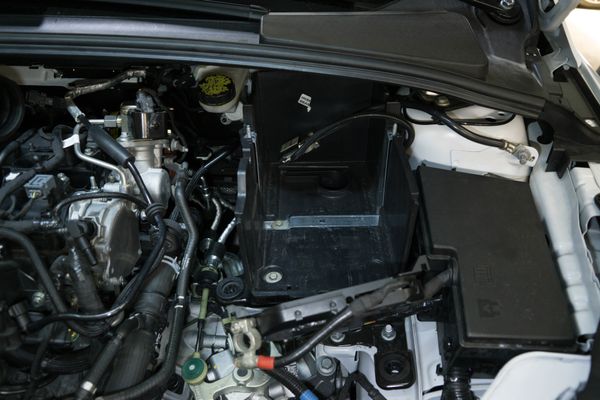
- Remove the battery from the tray.
- Using a 10mm socket remove the remaining 3 bolts from the battery tray and remove the tray from the engine bay.
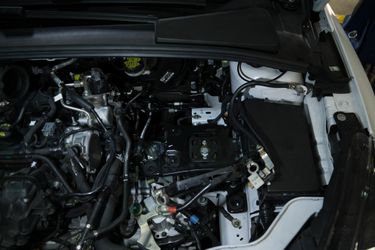
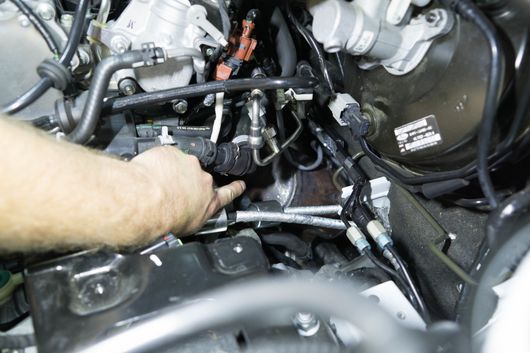
- Disconnect the front O2 sensor
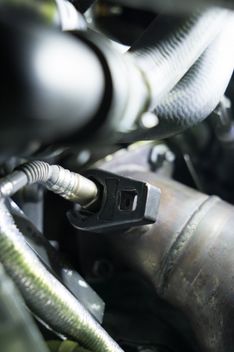
- Using a 22mm oxygen sensor wrench remove the front o2 sensor and place it somewhere safe.
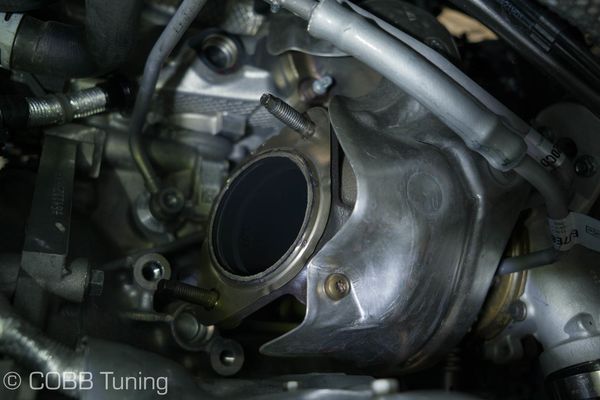
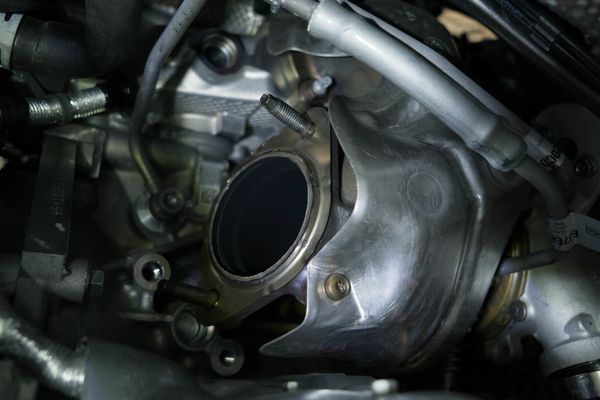
- Using an extension and your 13mm socket remove the bolts going from the downpipe to the turbo itself.
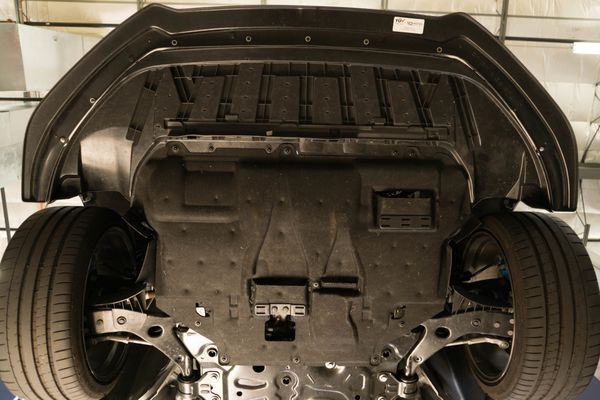
- Moving under the car remove the 4 trim clips from the fabric undertray using your trim tool.
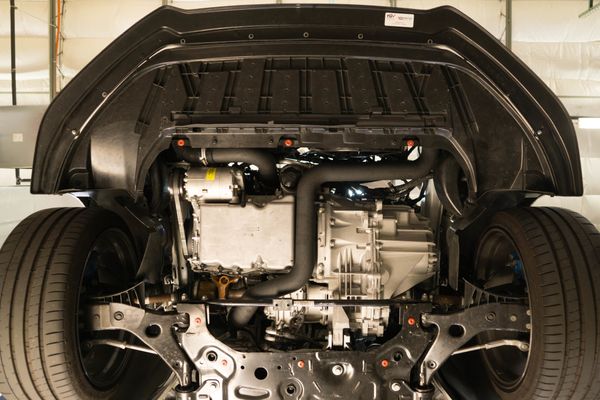
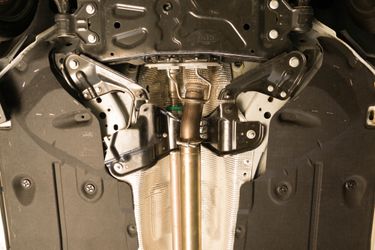
- Using a T30 torx bit remove the 8 torx screws holding the remaining portion of the undertray to the car and drop it out of place.
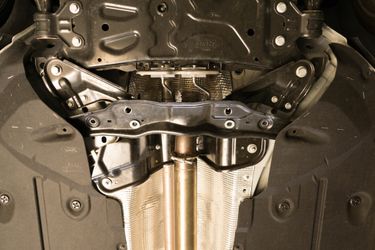
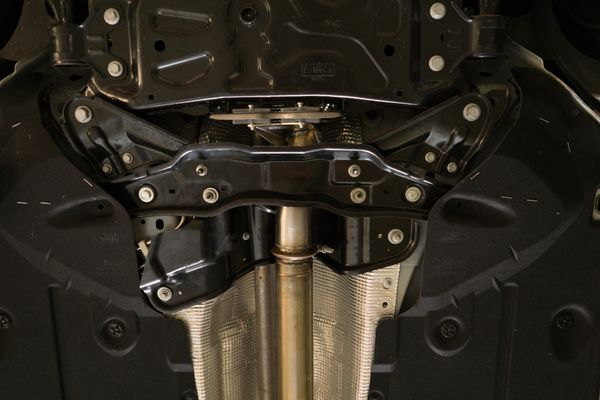
- Remove the chassis brace by removing the 4 bolts and nuts
- Disconnect the clip for the wiring on the rear oxygen sensor.
- Using your oxygen sensor wrench remove the o2 sensor from the downpipe section and place it somewhere safe.
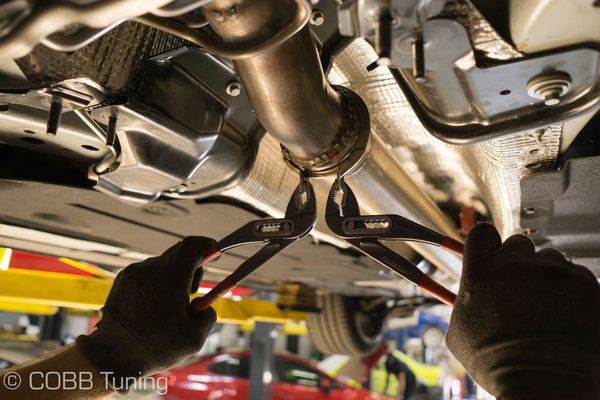
- Remove the downpipe to catback exhaust clamp using a 16mm socket. You may need to stretch it slightly with a pair of pliers in order to get the clamp off of the joint.
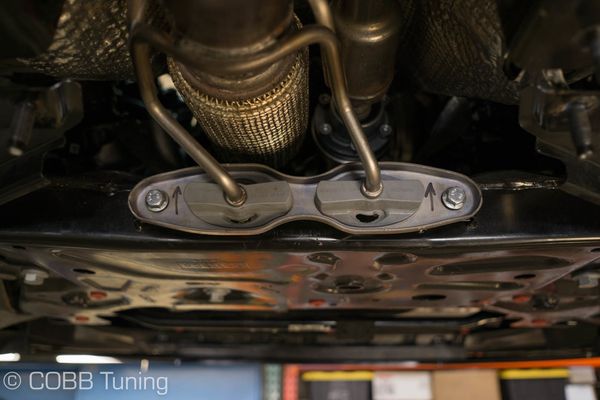
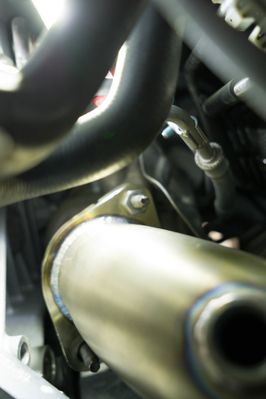
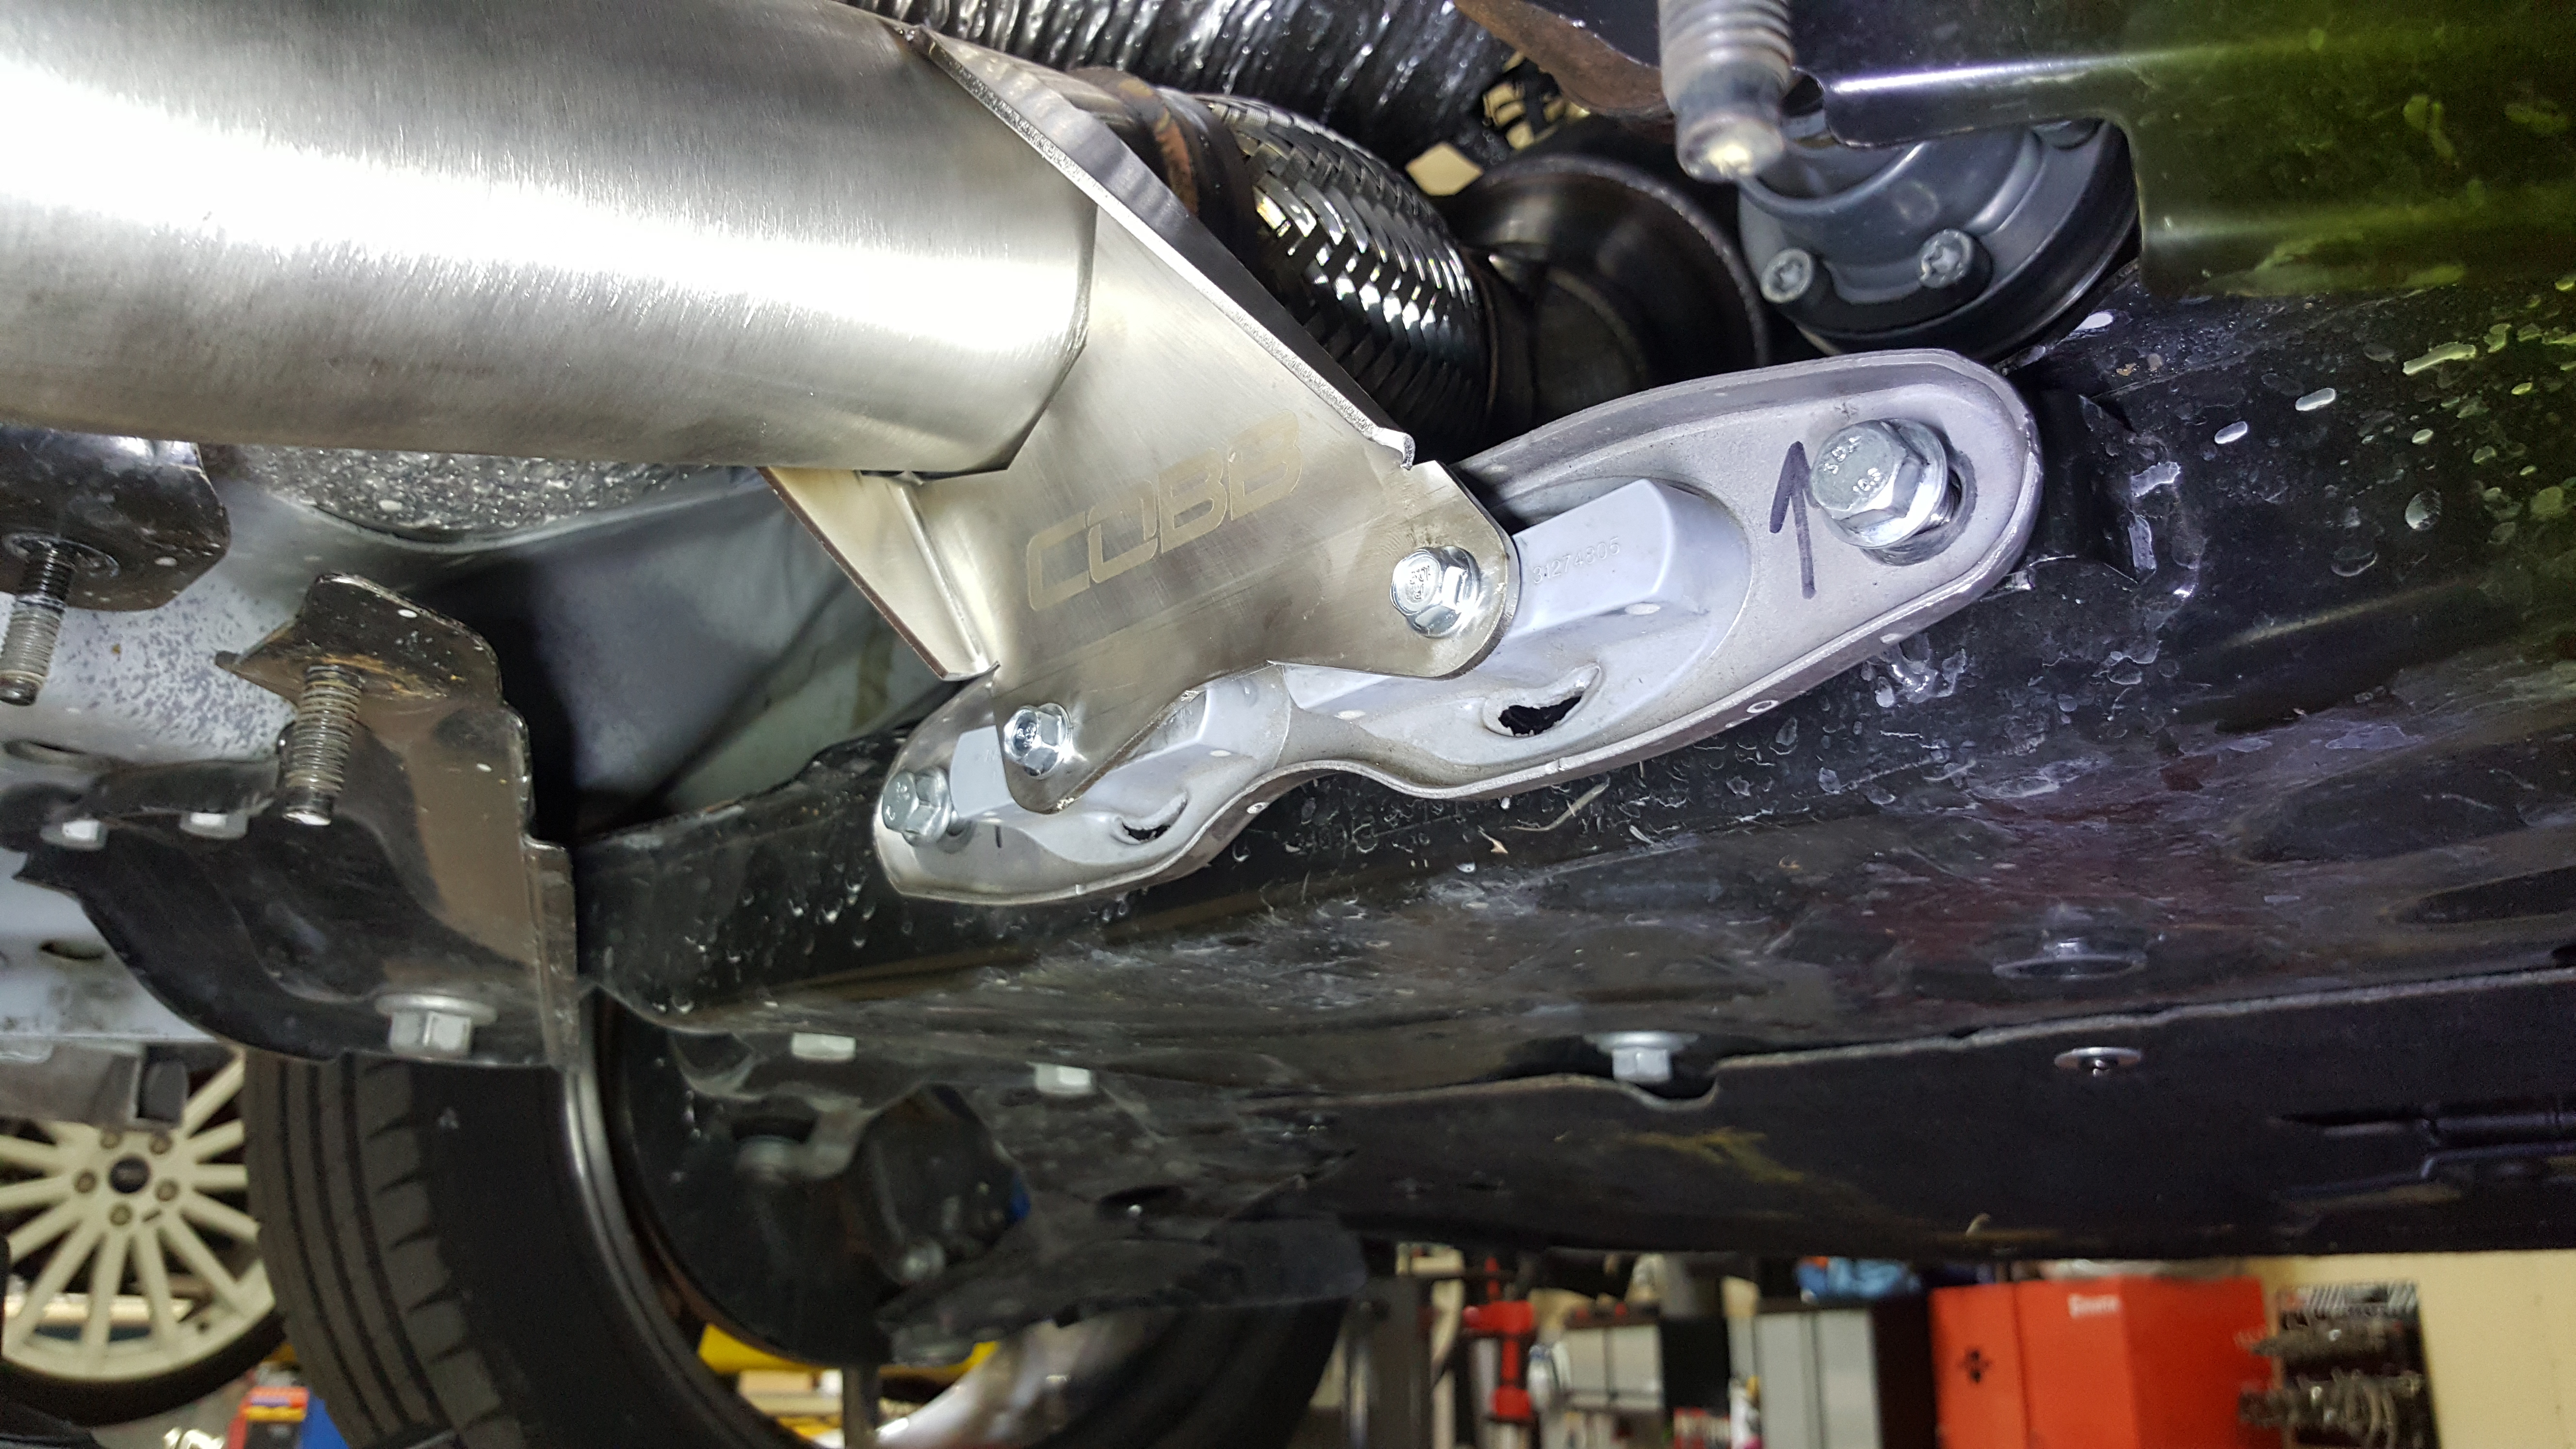
- Using a 13mm socket remove the two bolts holding the downpipe hanger bracket in place.
- Remove the two remaining bolts from the bracket holding the downpipe
- Remove the bracket from the car
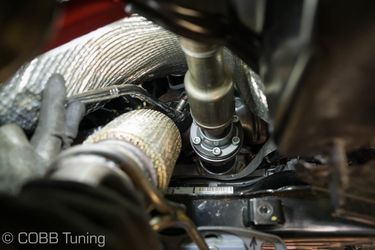
- Twist and turn the downpipe to get it out of the engine bay.
COBB Downpipe Installation
- Verify that your stock gasket between the turbo and gasket is in good shape. If not purchase a new one from your dealership.
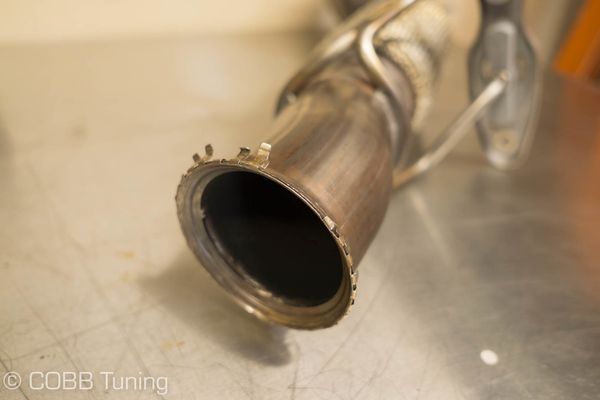
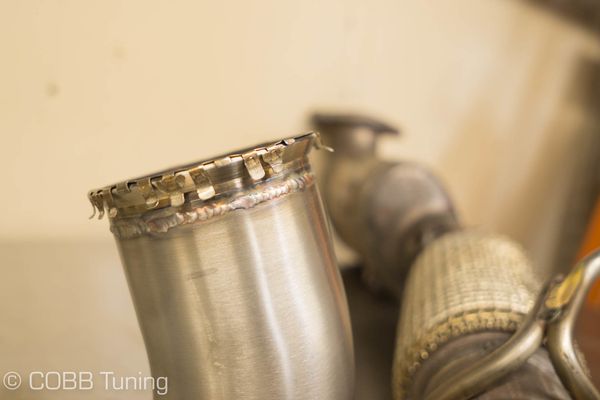
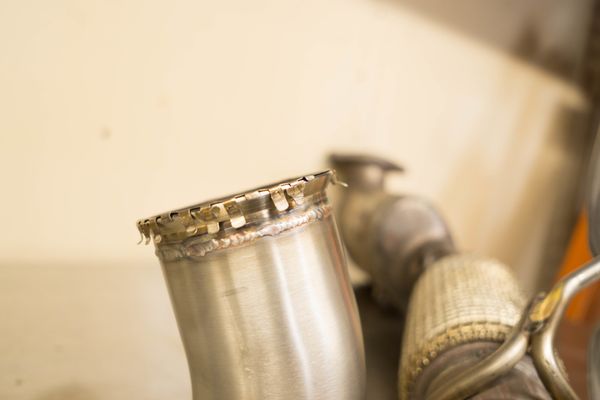
- Gently bend each clip on the rear exhaust gasket to remove the rear gasket.
- Now install the gasket on to the new downpipe and squeeze the clips back down.
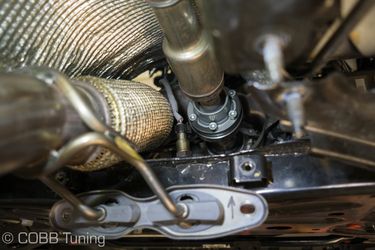
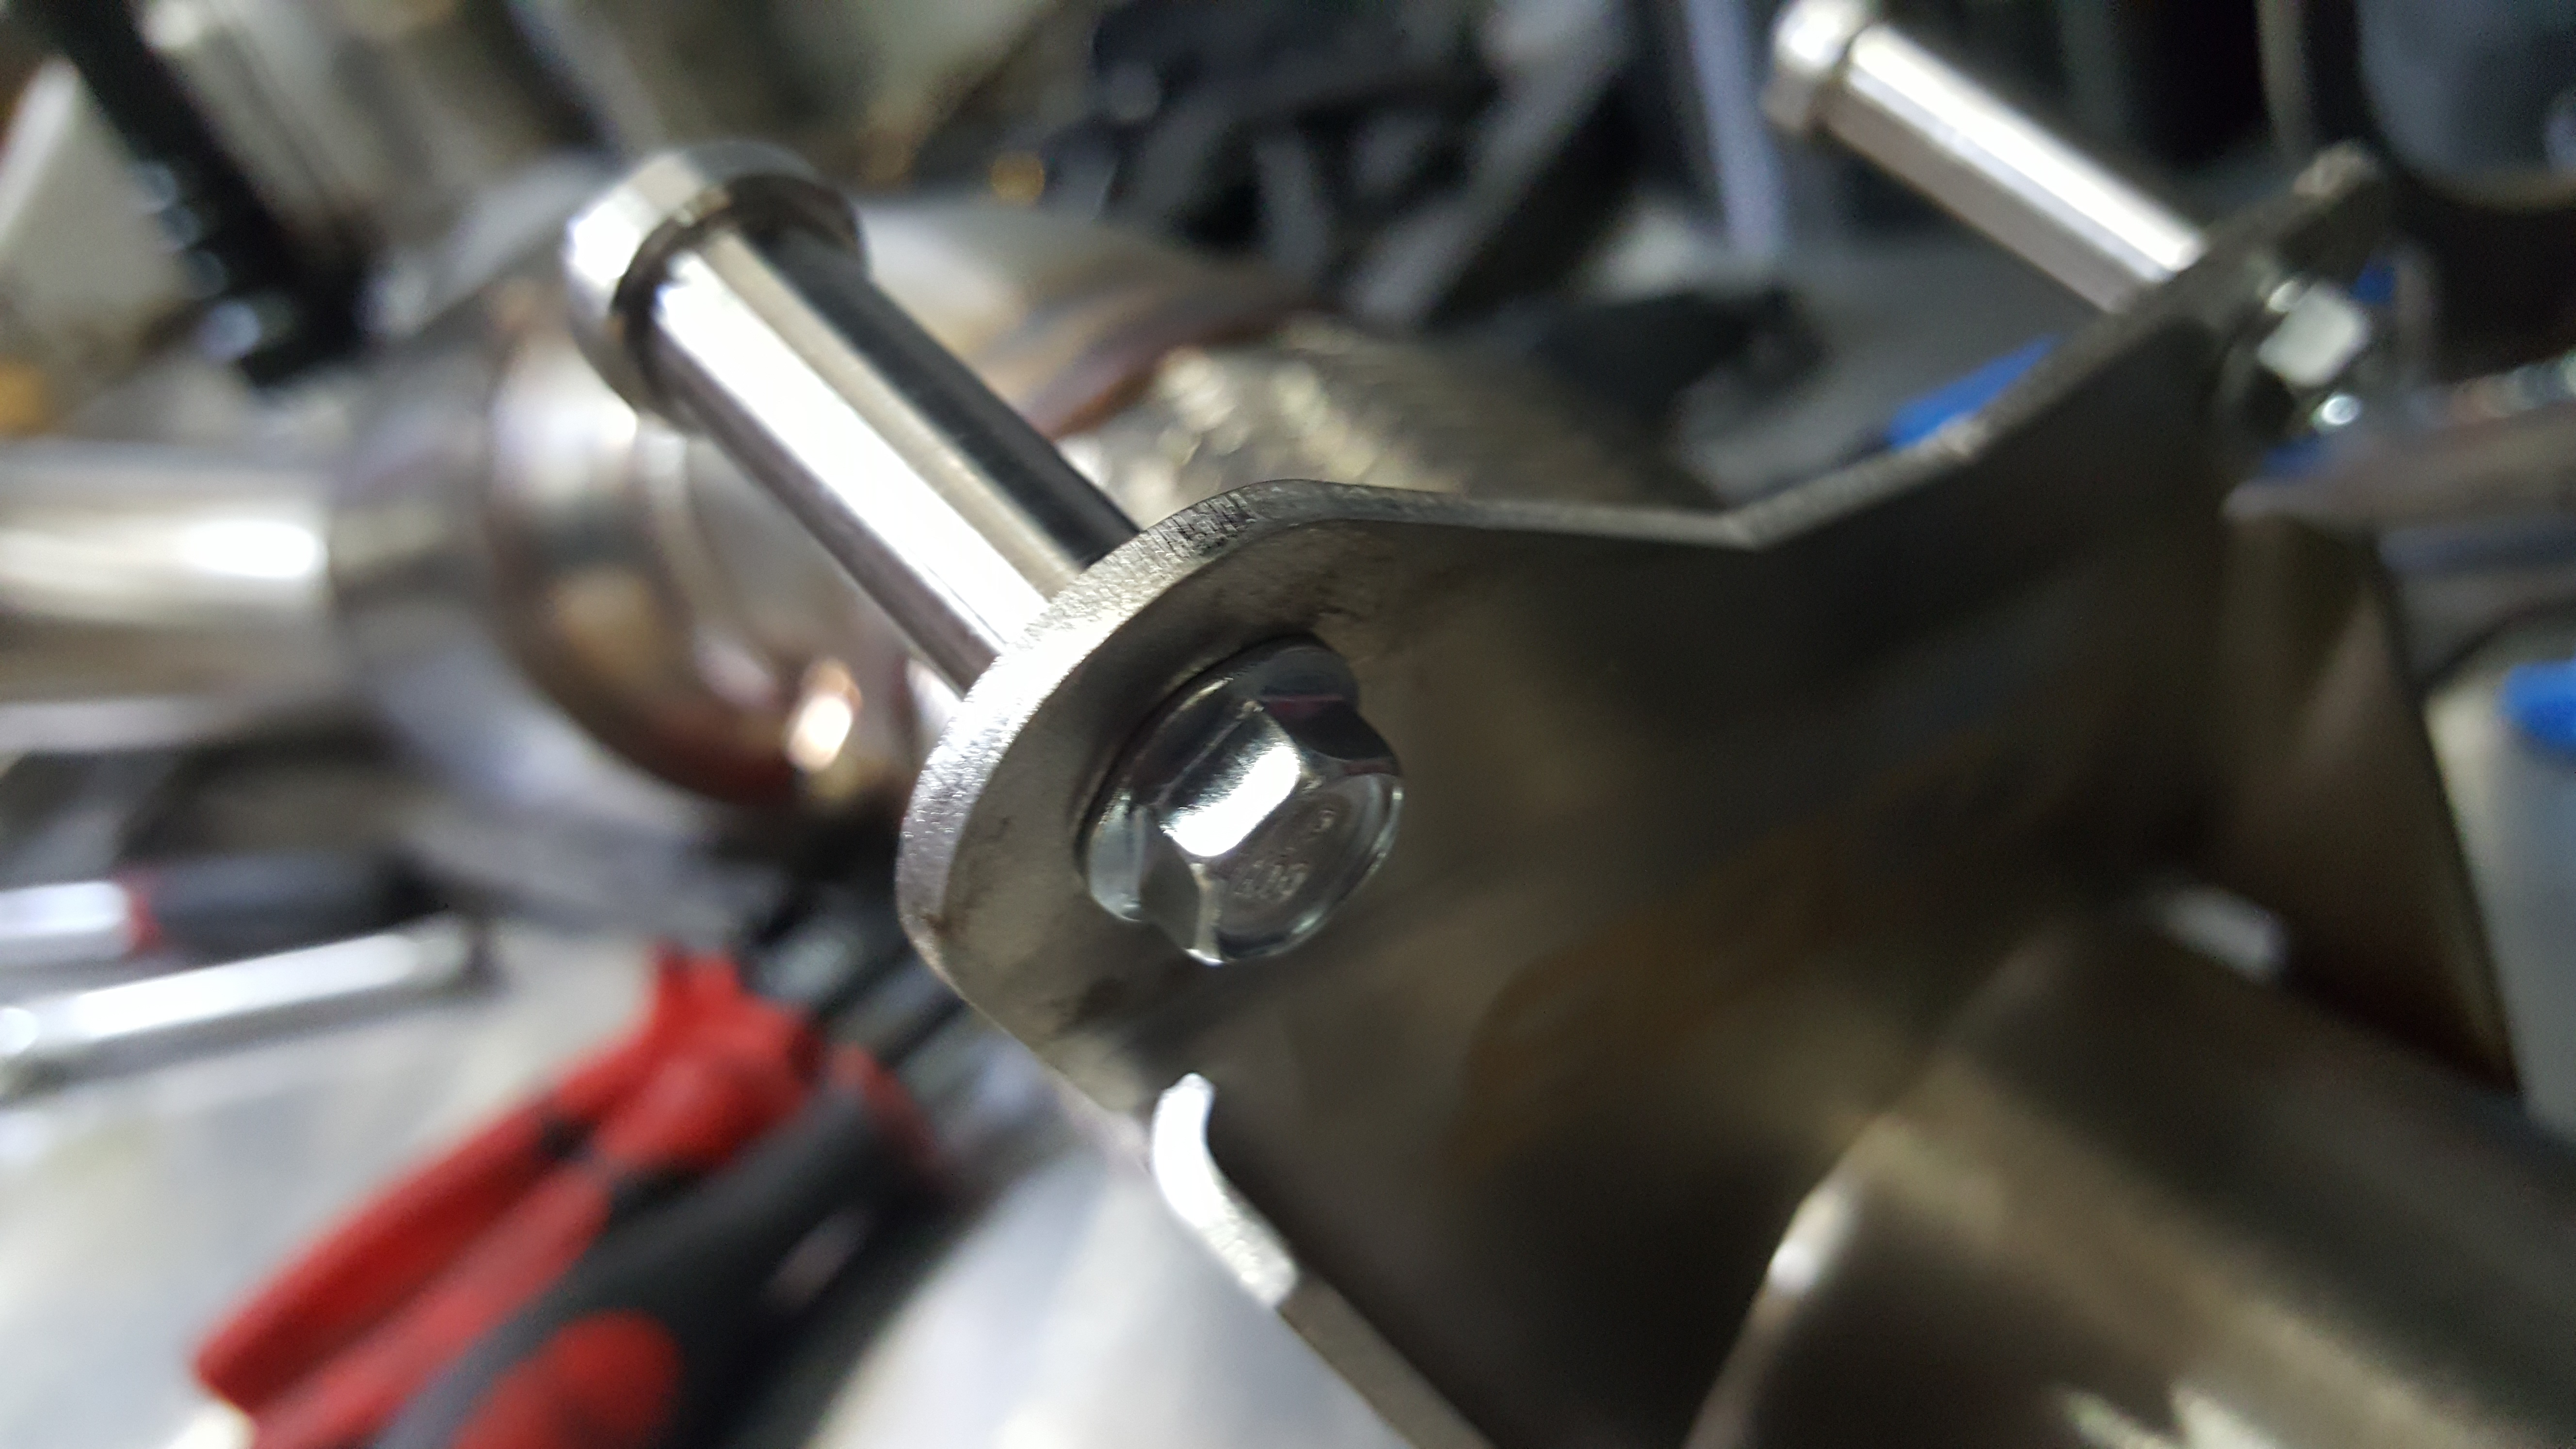
- Using the provided bolts and pins, install the exhaust hanger parts facing the flex joint.
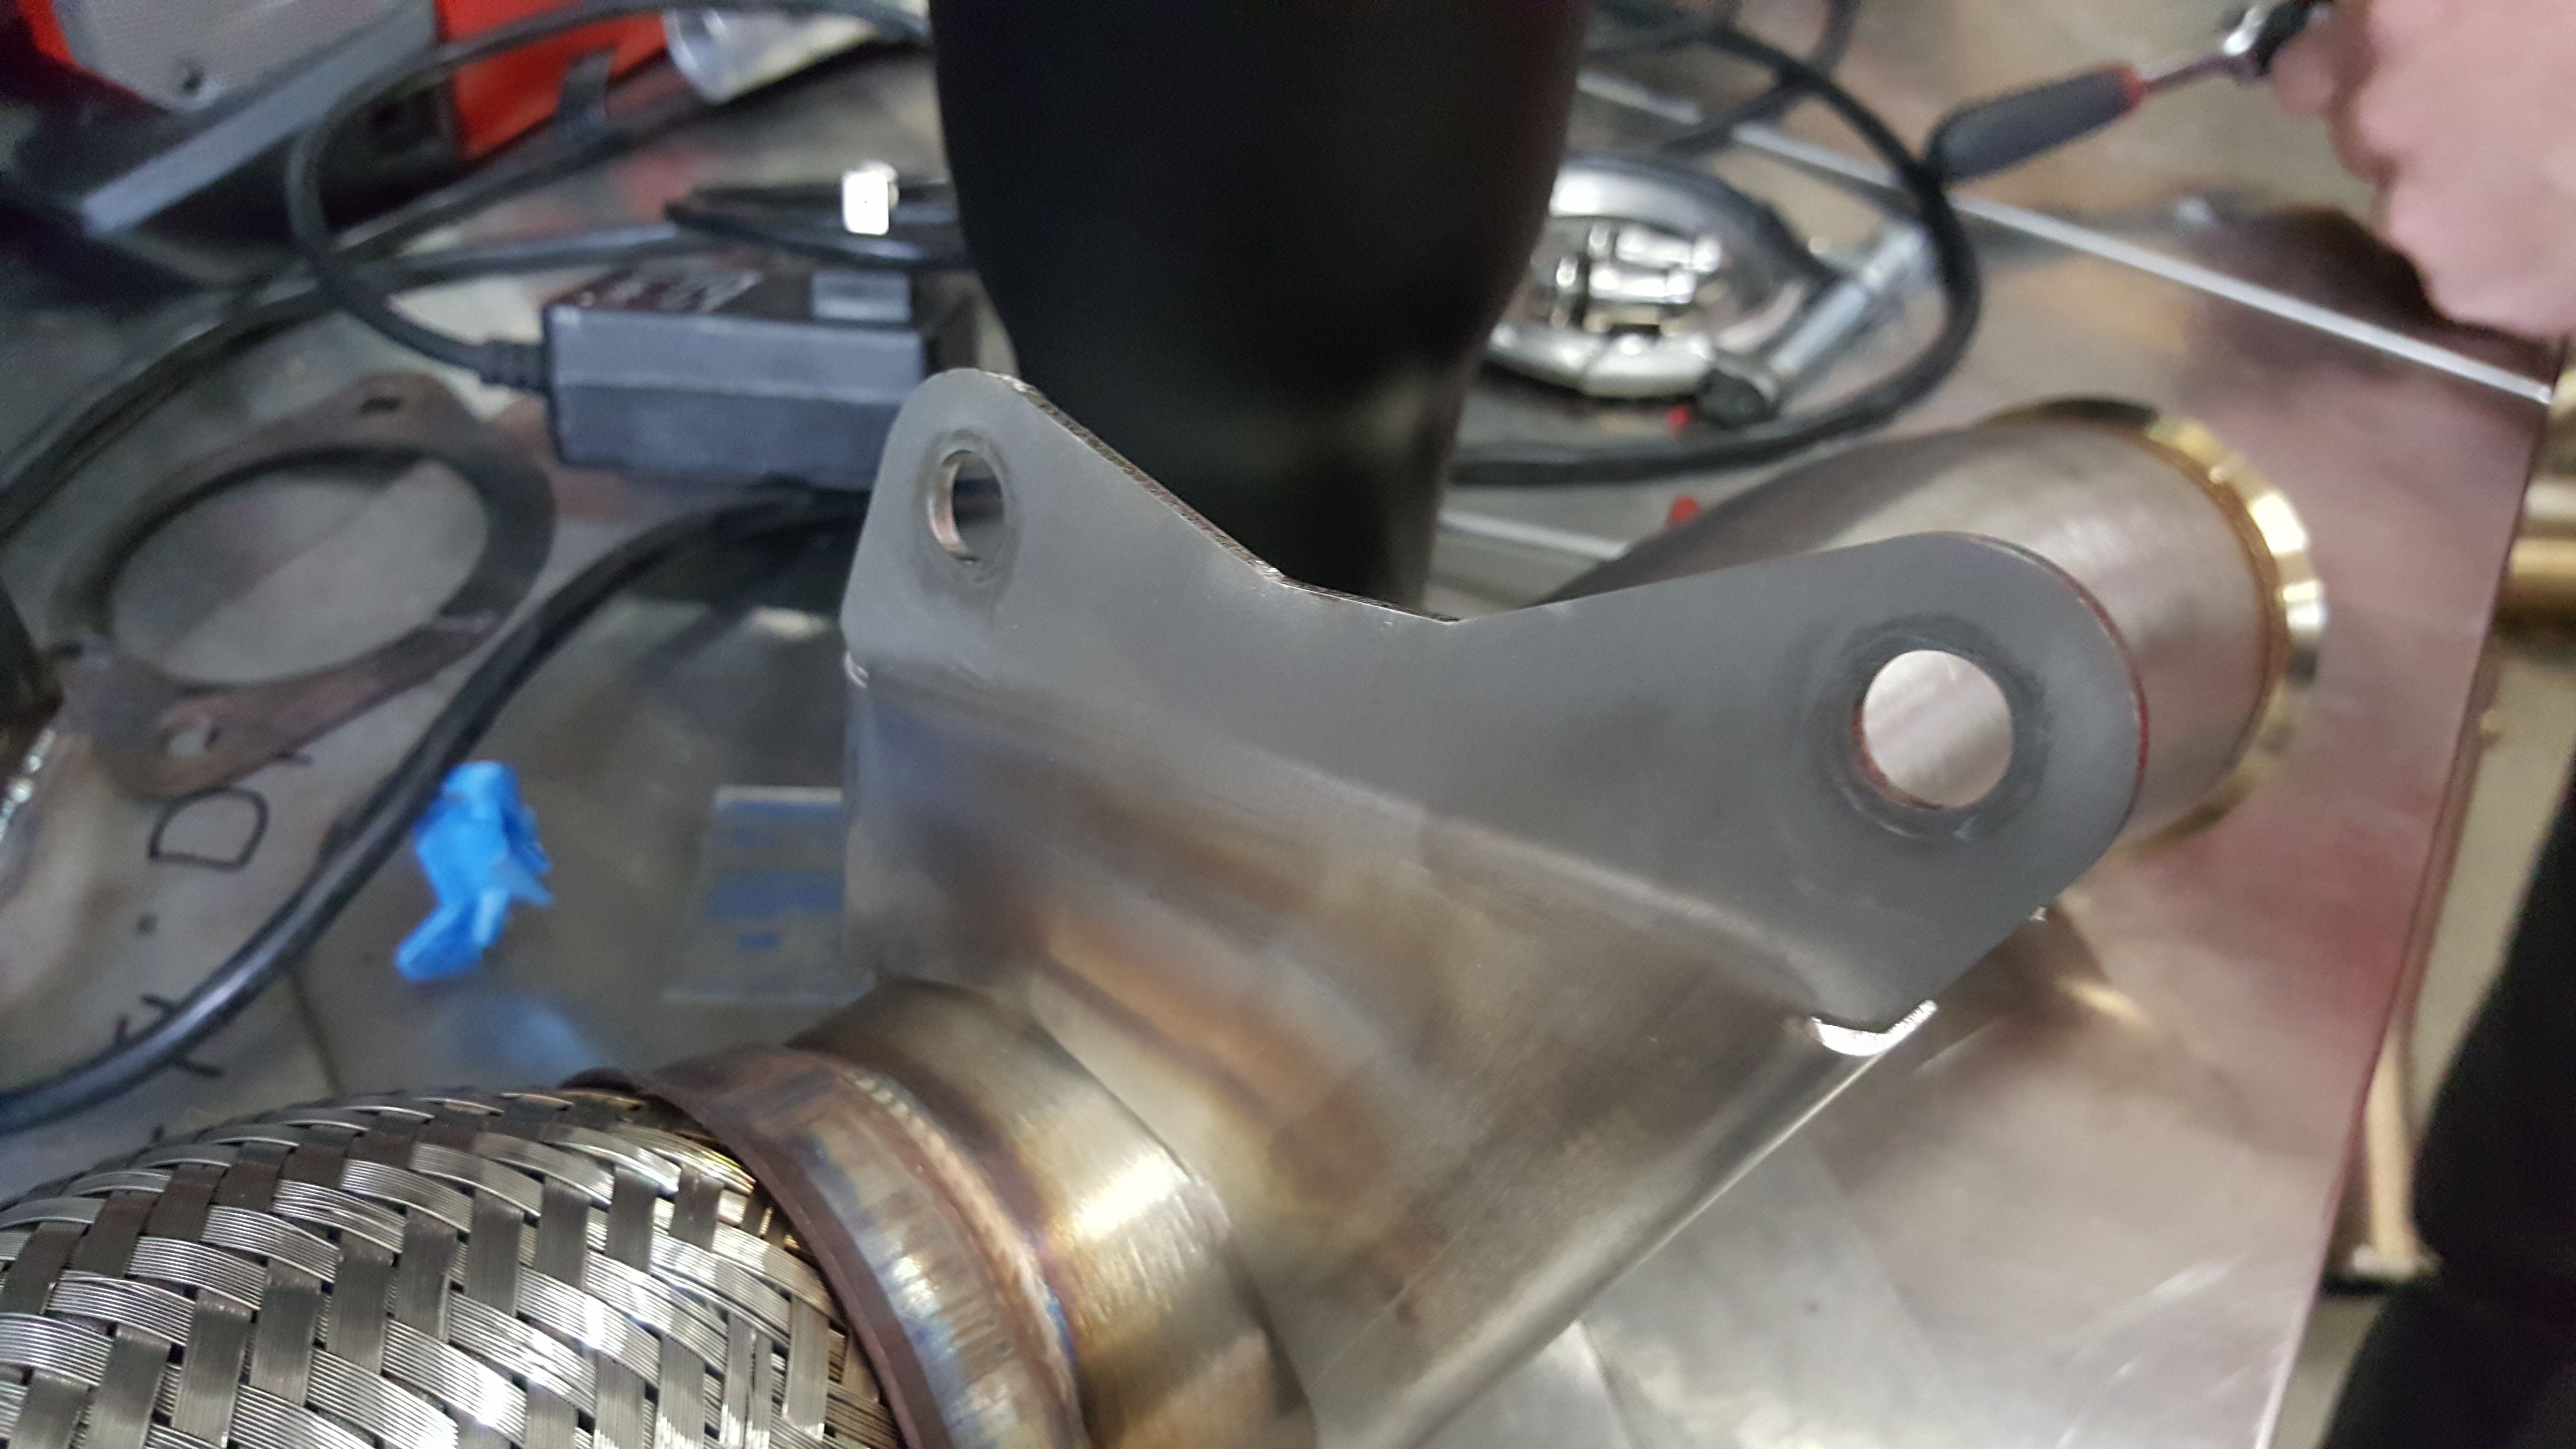
- Install the old downpipe mounting bracket on to the COBB downpipe.
- Slide the new downpipe in to place on the car and secure it in place by adding the 2 bolts to the downpipe bracket.
- Place the exhaust clamp over the front section of the downpipe.
- loosely slip a clamp over the downpipe then install the rear section of the downpipe into the slip fit of the front half and line it up with the catback.
- Using the old clamp and a 16mm socket, tighten down the rear section to the catback making sure to leave the bolt easily accessible for next time.
- Slide the exhaust clamp into position on the slip fit and tighten it down using a 13mm socket, making sure to clock it in a way that it won't hit anything.
- Apply a small amount of antiseize to your rear o2 sensor and reinstall it on the downpipe.
- Reconnect the wiring for the rear o2 sensor
- Tighten down the downpipe to turbo bolts going a little bit at a time and alternating bolts to make sure it tightens down evenly.
- Reinstall the front o2 sensor using some antiseize on the threads.
- Reconnect the wiring for the front o2 sensor.
- Reinstall the rest of the parts in the reverse order of removal.
- You're all done! Flash an appropriate map for your configuration to ensure your car is running safely and go out and enjoy!
Links
COBB Product Install Instructions for Focus RS
Main Installation Instruction Repository for Focus RS Parts
COBB Product Install Instructions for Focus RS
Link to Focus RS Map Notes to see what map you should be on given the parts you've added
COBB Customer Support Web Support and Tech Articles: COBB Tuning Customer Support Center Email: support@cobbtuning.com Phone support available 9am to 6pm Monday-Thursday. 9am to 4pm Friday (CST) 866.922.3059 return to www.cobbtuning.comContact Us:
Copyright 2024 © COBB Tuning Products LLC. All Rights Reserved. | www.cobbtuning.com

