5F2100 - F150 CatBack Exhaust (2021+)
- Brandyn Mowat

5F1100 – F150 Catback Exhaust
F150 Crew Cab 5.5 Bed 3.5l, 2.7l 2021
F150 Super Cab 6.5 Bed 3.5l, 2.7l 2021
.jpg?version=1&modificationDate=1641833222942&cacheVersion=1&api=v2&width=700&height=700)
Congratulations on your purchase of the COBB Tuning F150 Catback Exhaust! The following instructions will assist you through the installation process. Please read them BEFORE beginning the install to familiarize yourself with the steps and tools needed. If you feel you cannot properly perform this installation, we HIGHLY recommend you take the vehicle to a qualified and experienced automotive technician.
Table of Contents
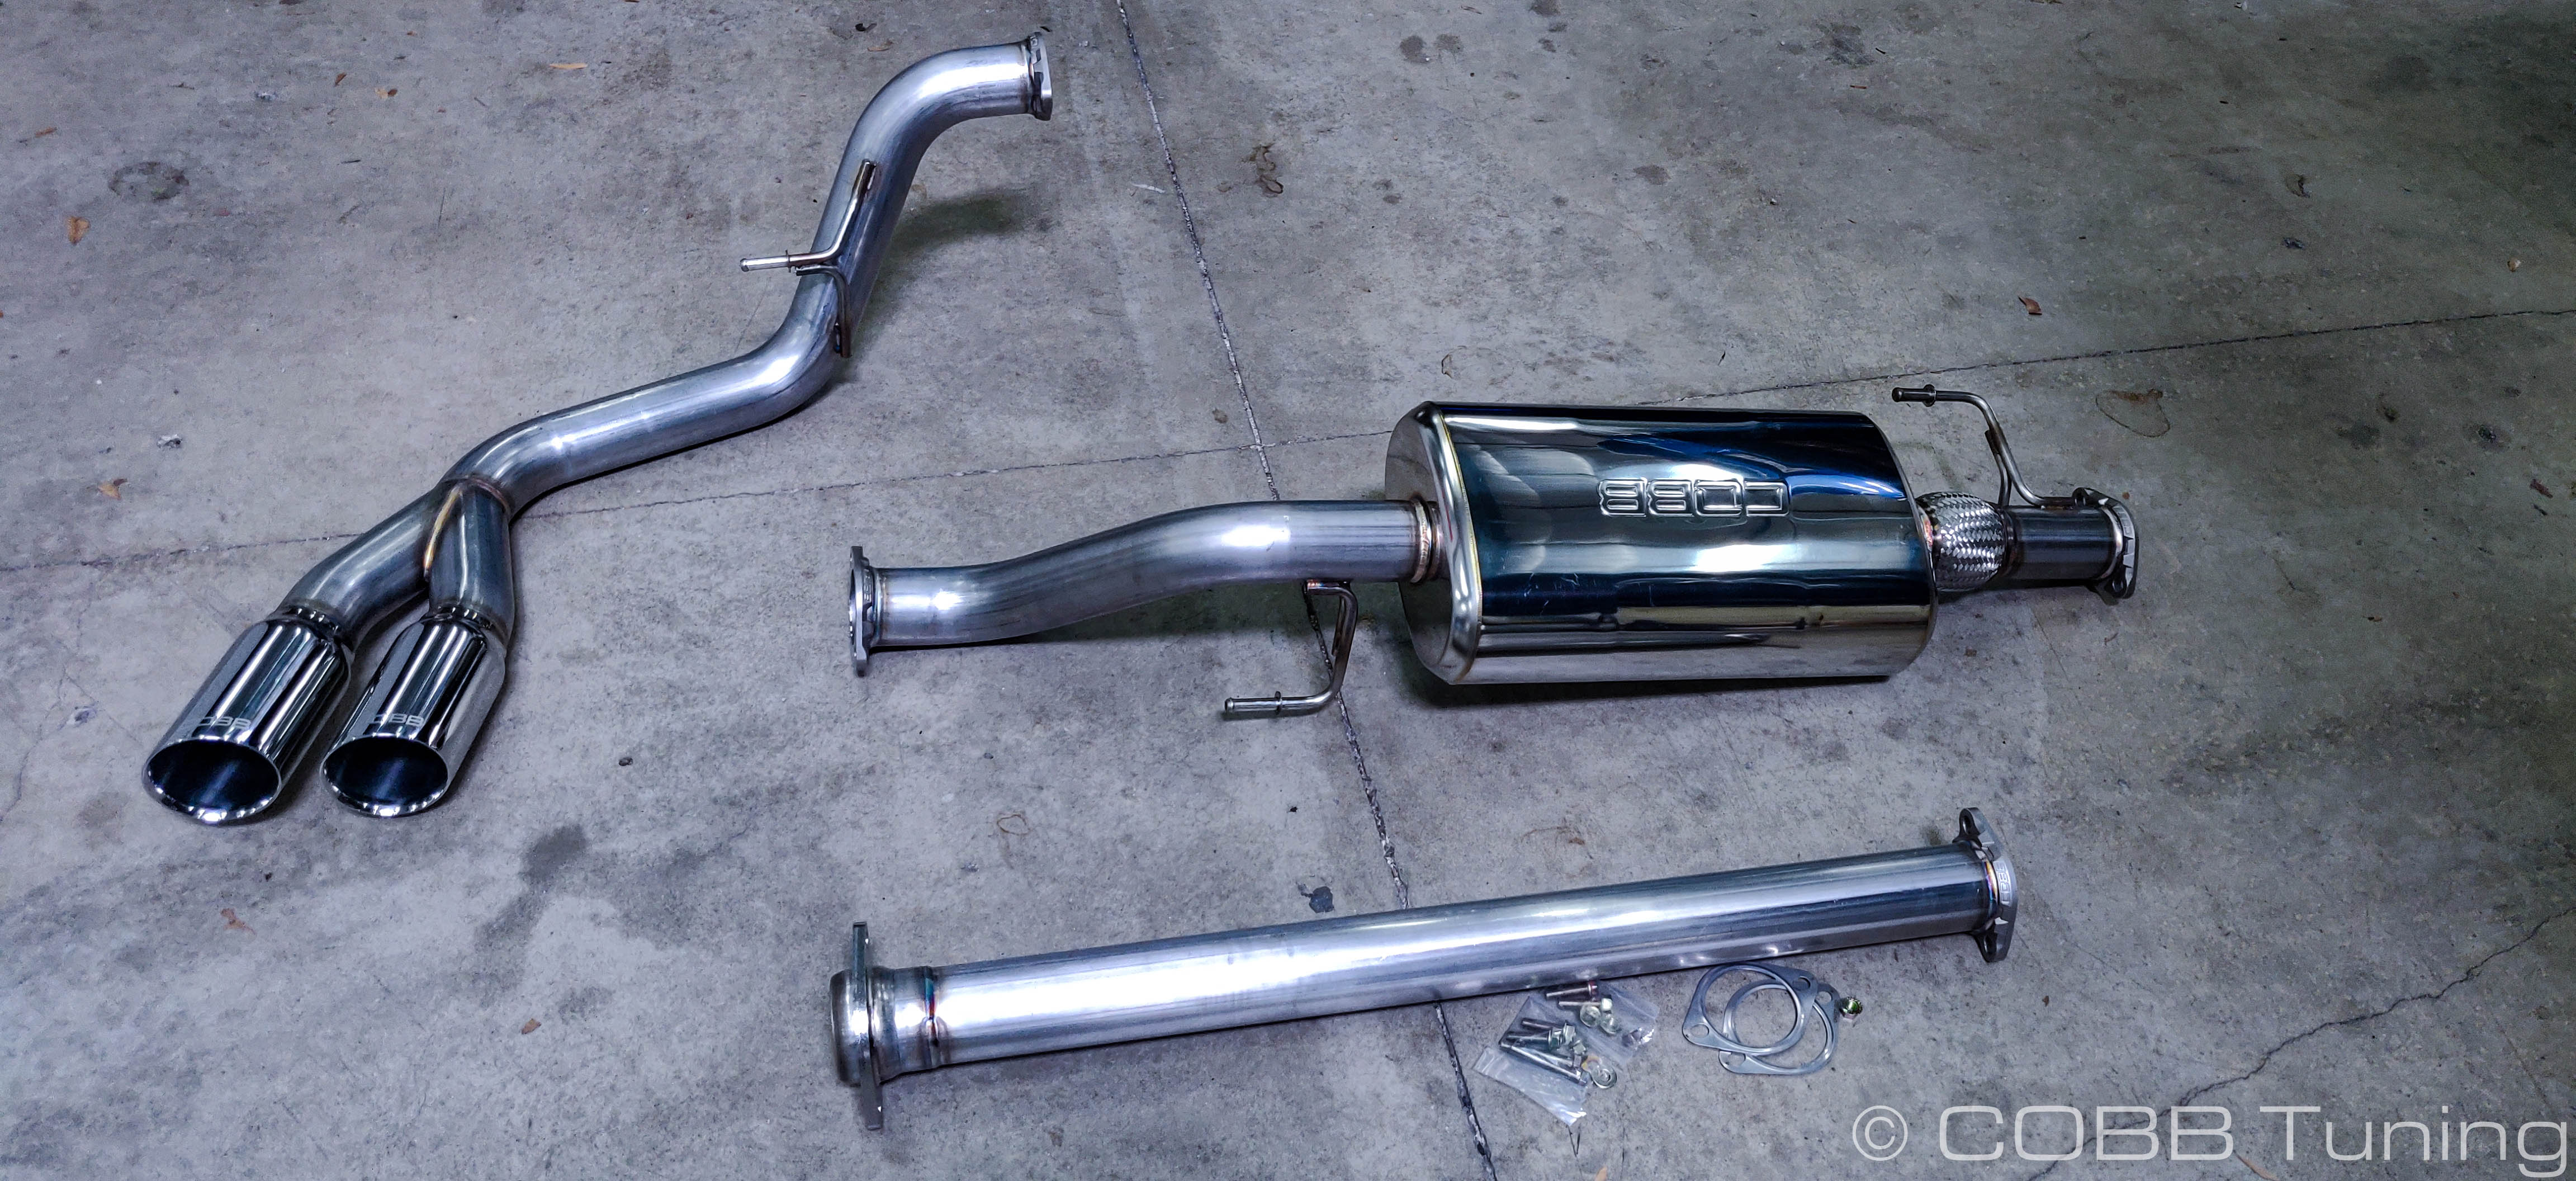
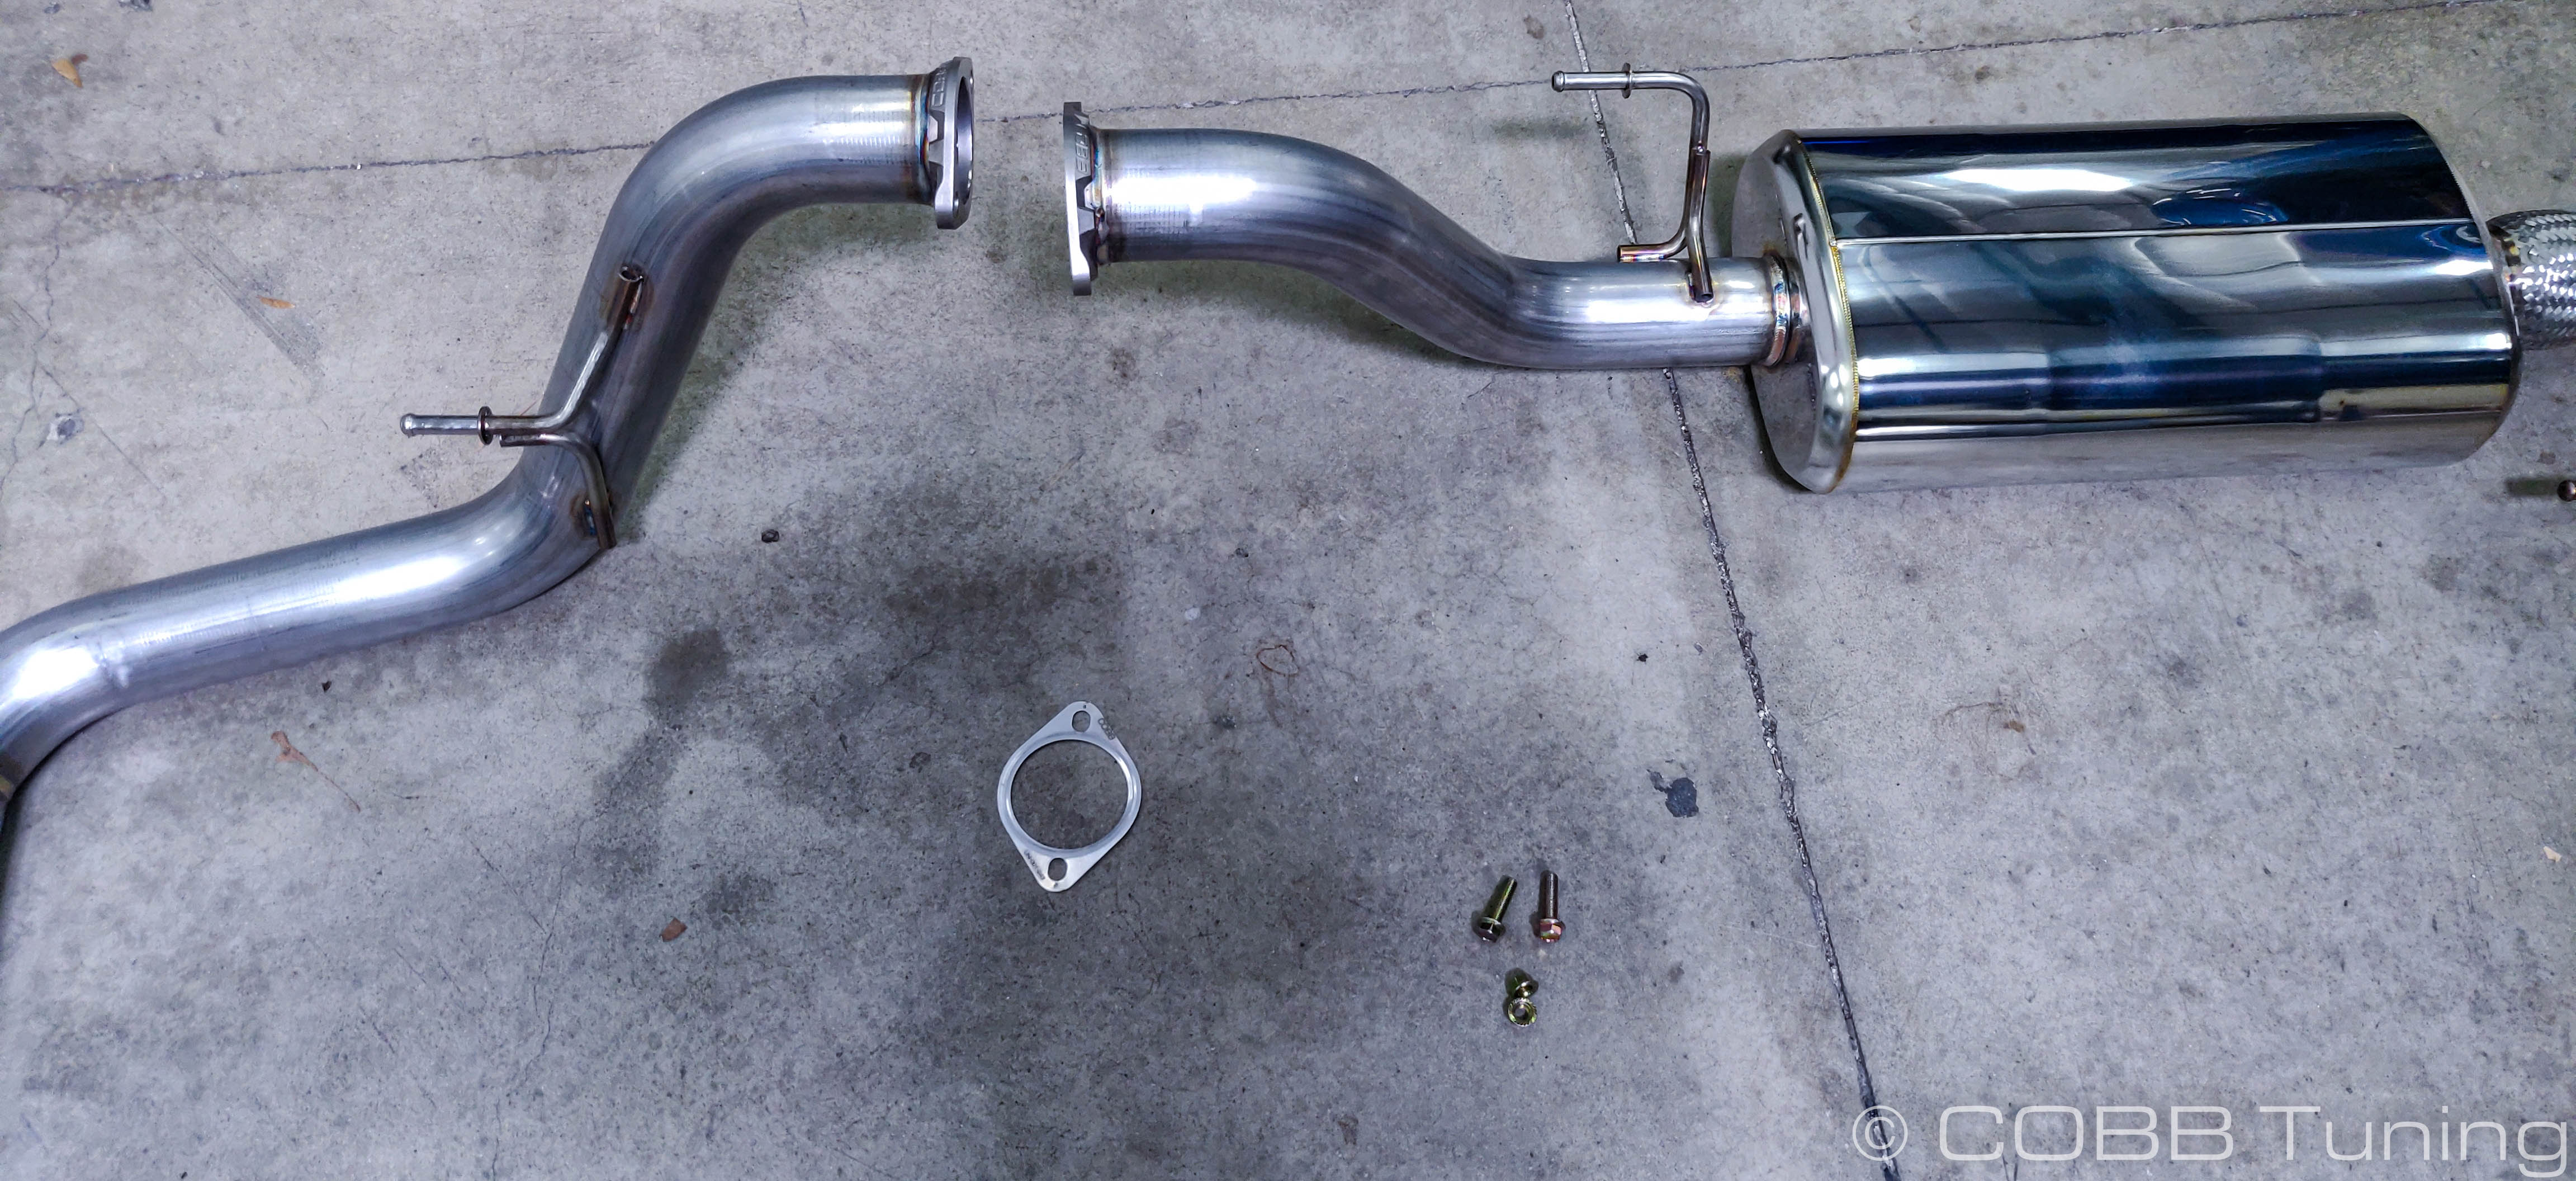
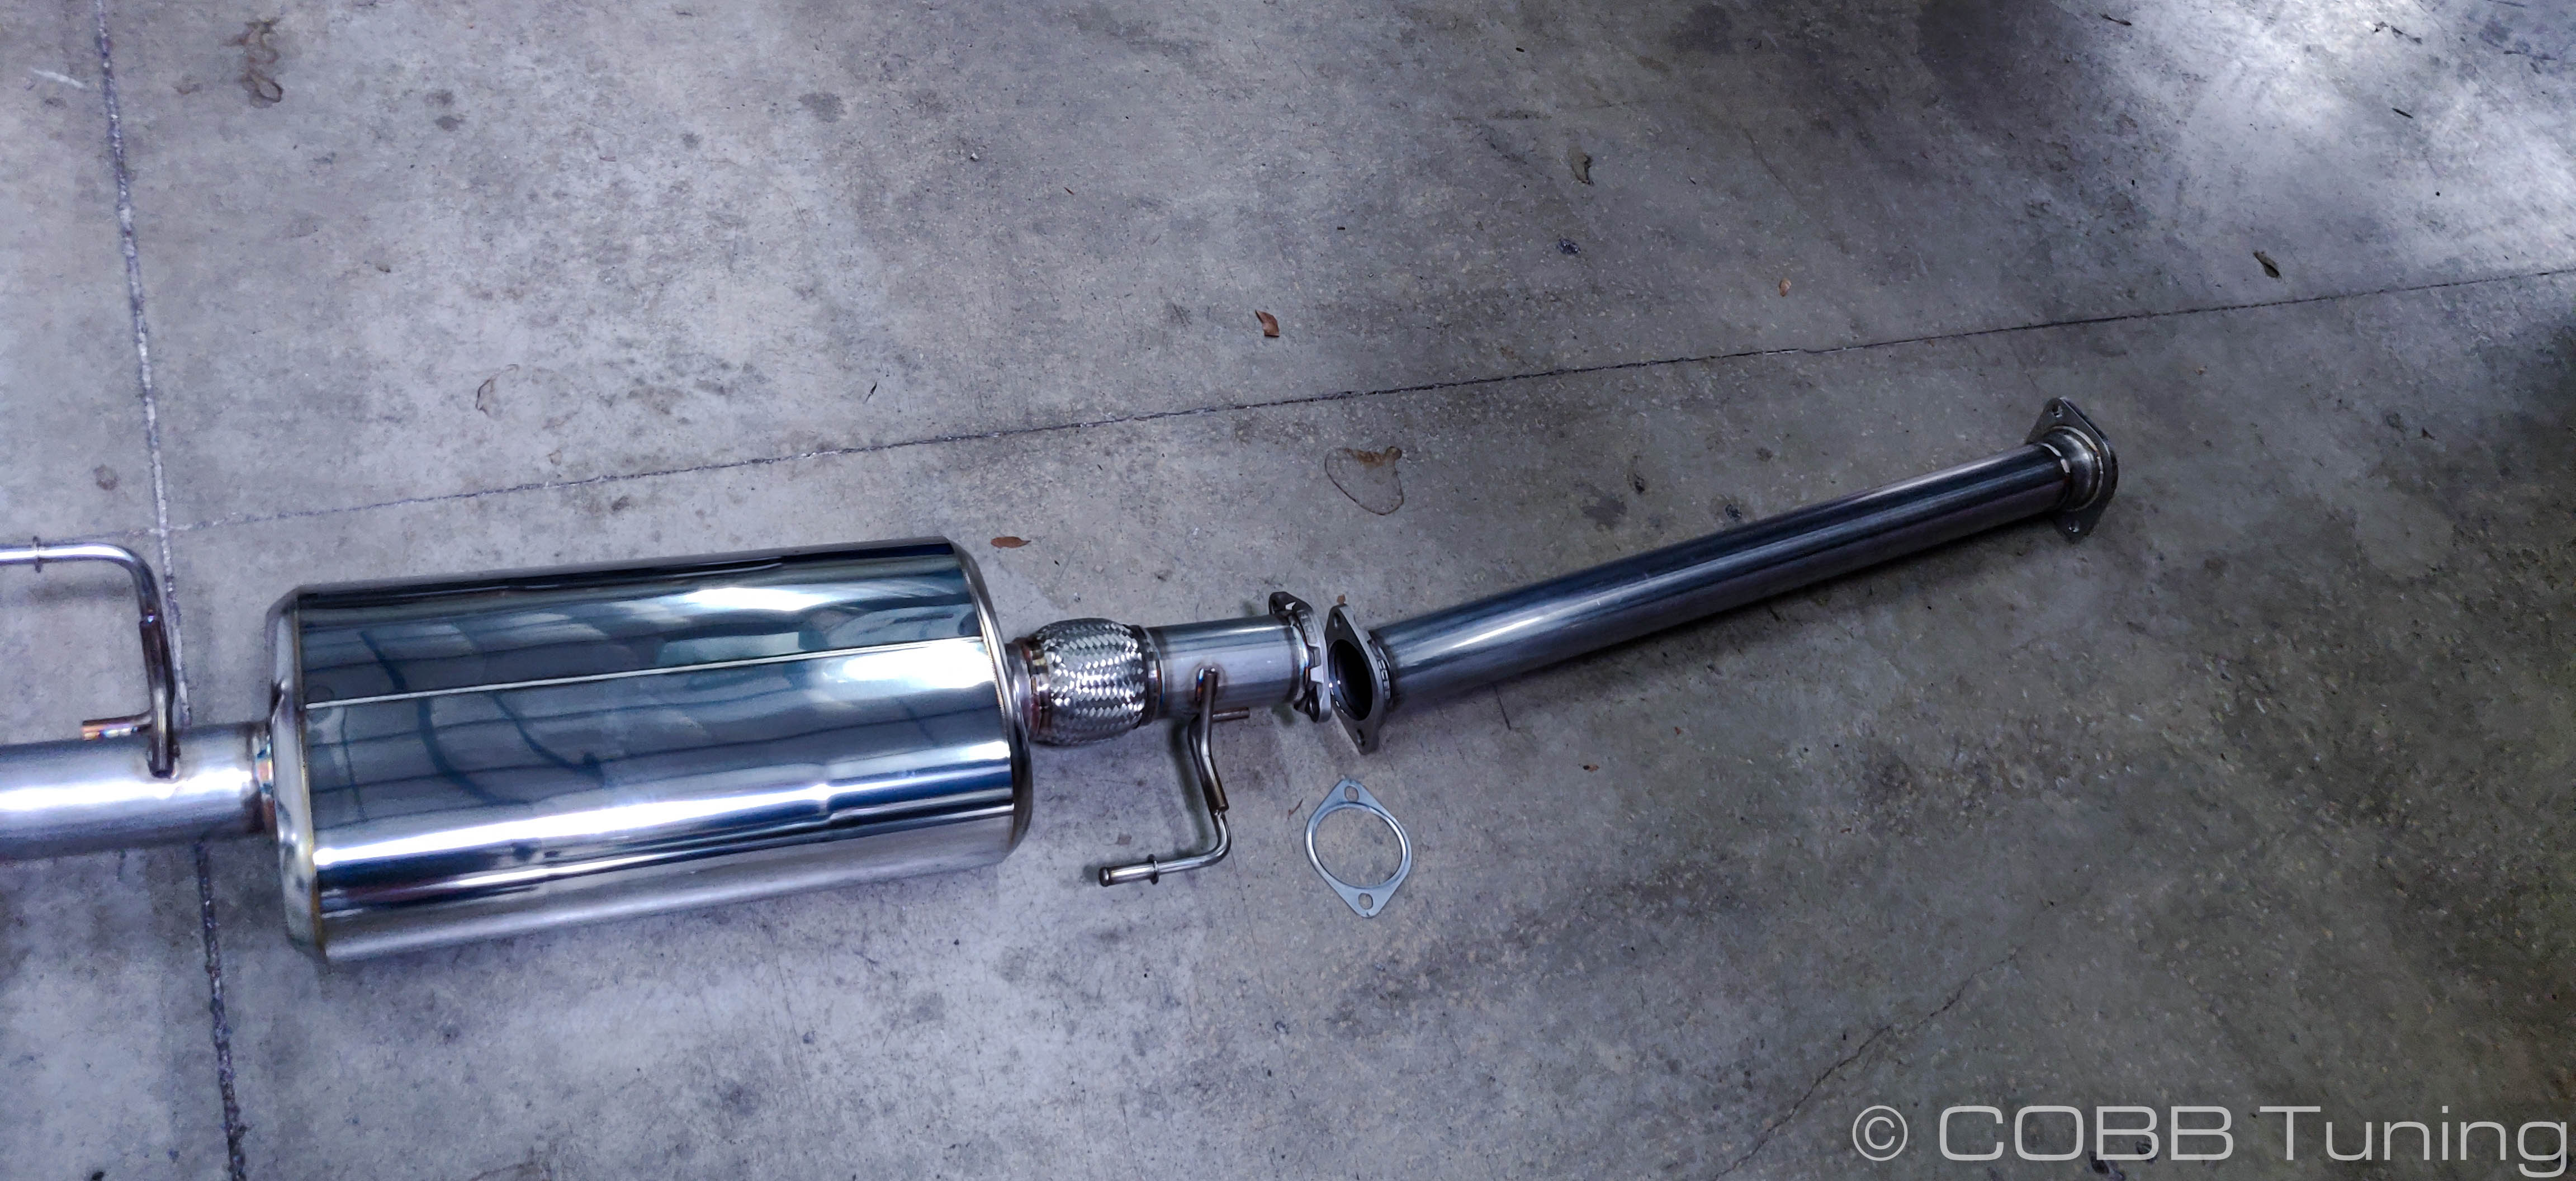
Parts List
- Exhaust Tip Section
- Exhaust Muffler Section
- Center Extension
- (2) 3" Exhaust Gaskets
- (4) Serrated Flange Hex Nut
- (4) m10x1.25 Thread 35mm Length Flanged Hex Bolt
- (2) M10 Flat Washers
Tools Needed
Sockets
3/8"
3/8" ratchet
3/8" 12" extension
3/8" 6" extension
3/8" 10mm socket
3/8" 13mm socket
3/8" 14mm socket
- 3/8" 15mm deep socket
Wrenches
- 14mm combination wrench
Stock Catback Removal
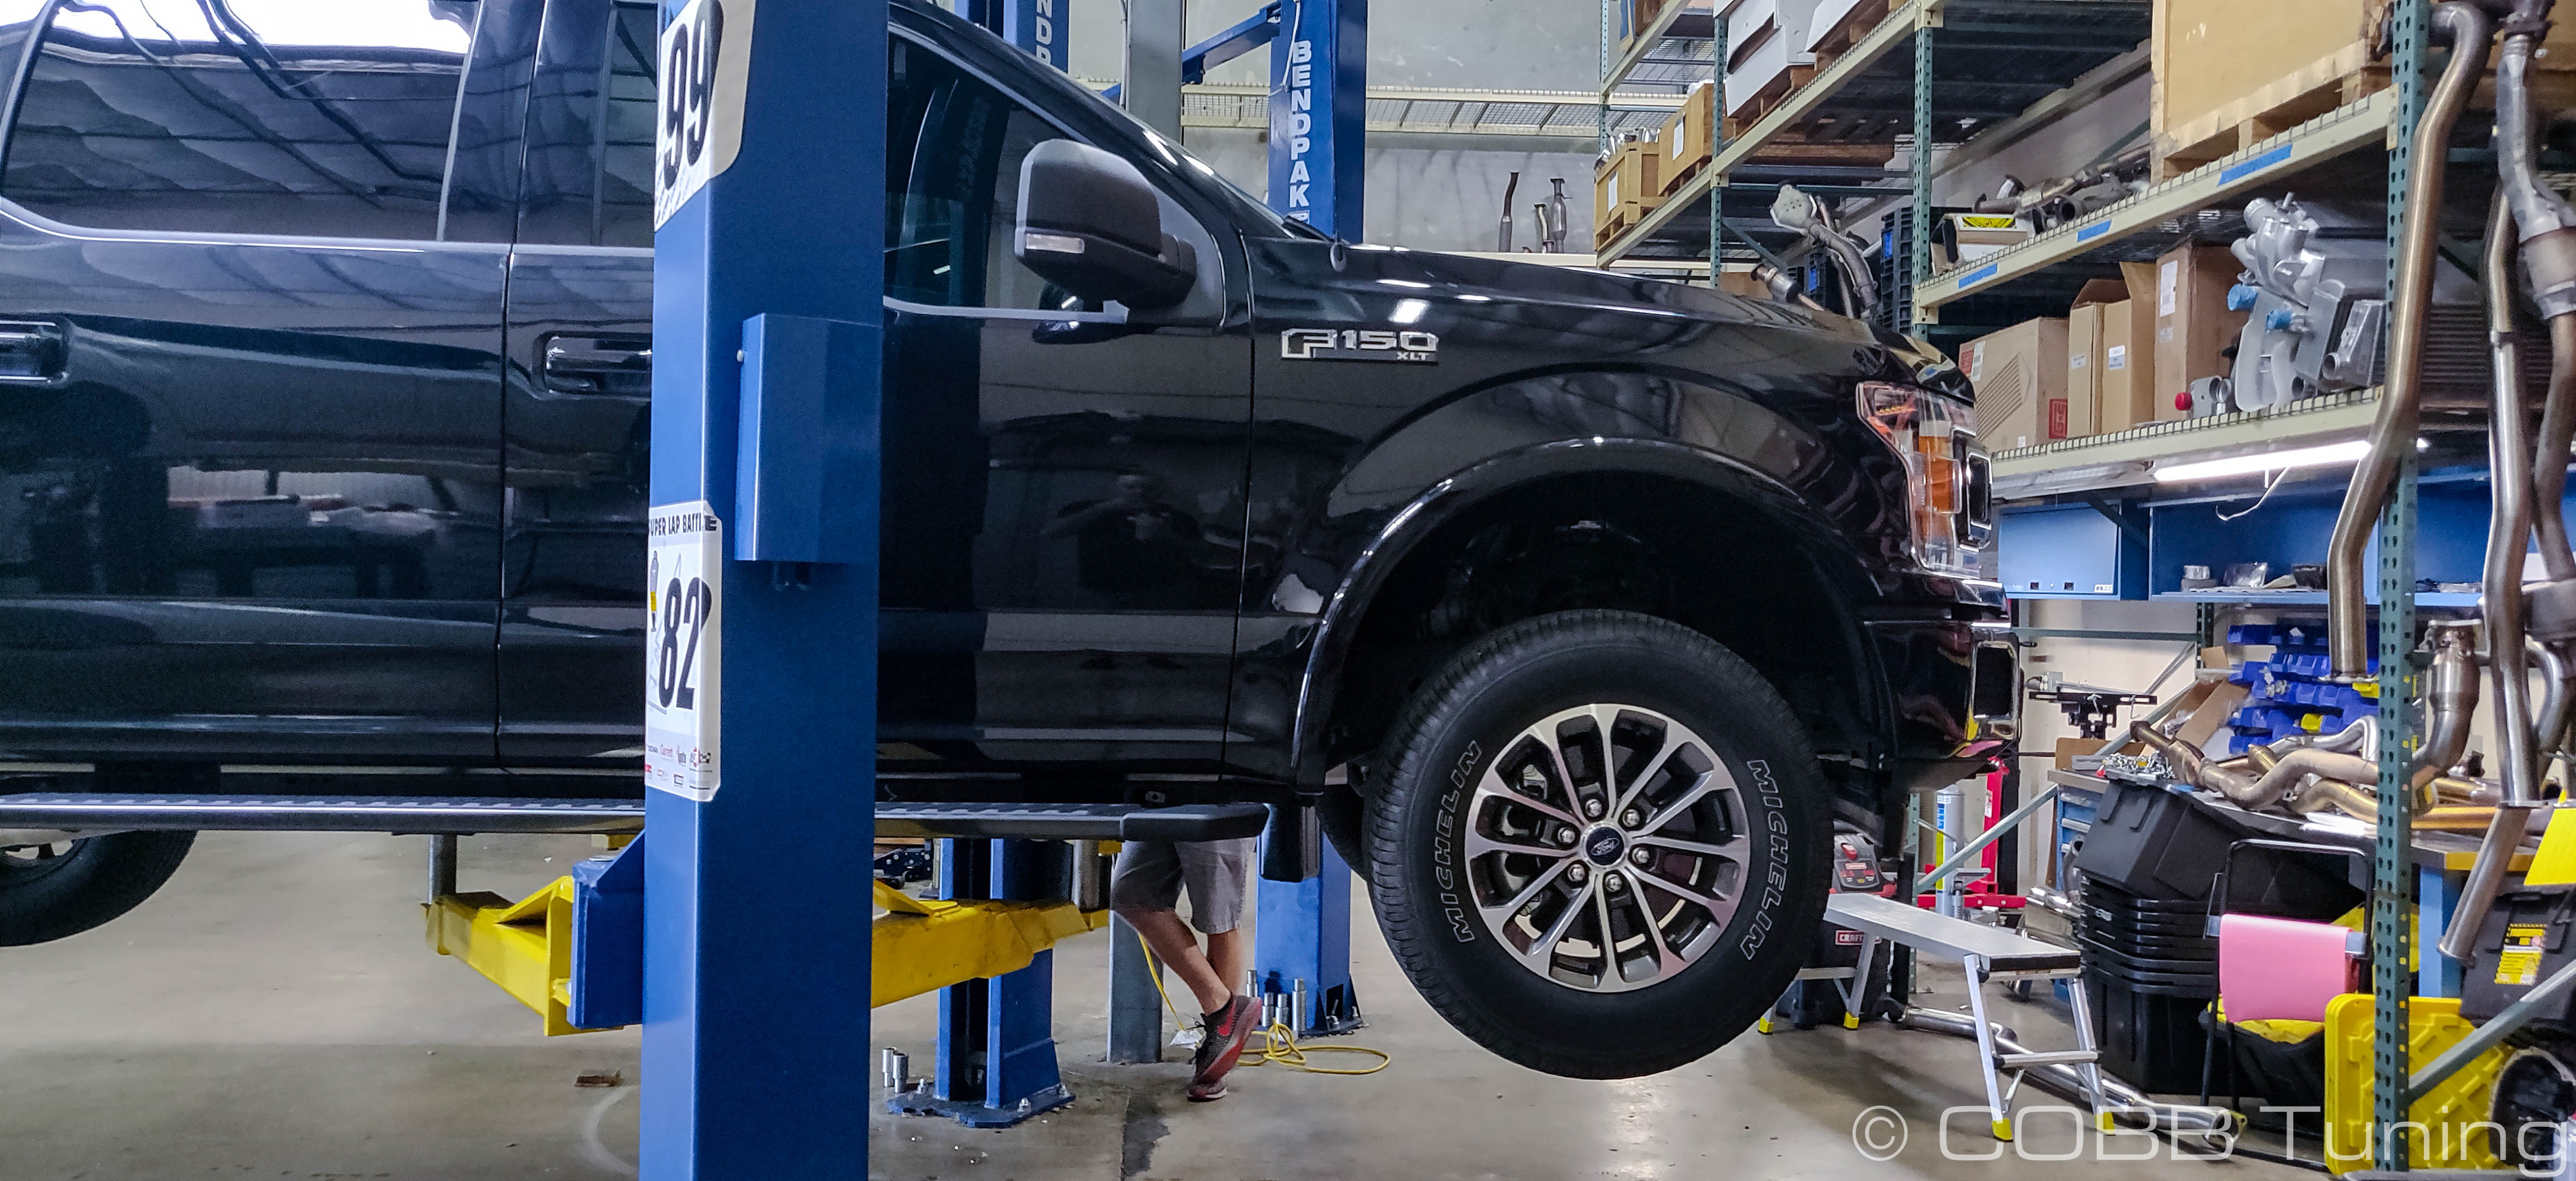
- Park your truck in a flat level area and allow it to cool properly. While it can be done on the ground it's much easier if the vehicle is lifted safely and properly.
- If your vehicle is older or you live in a rust prone area, you may want to spray the bolts and slip fit sections of the factory exhaust with a penetrating lubricant and allow it to soak before attempting removal.
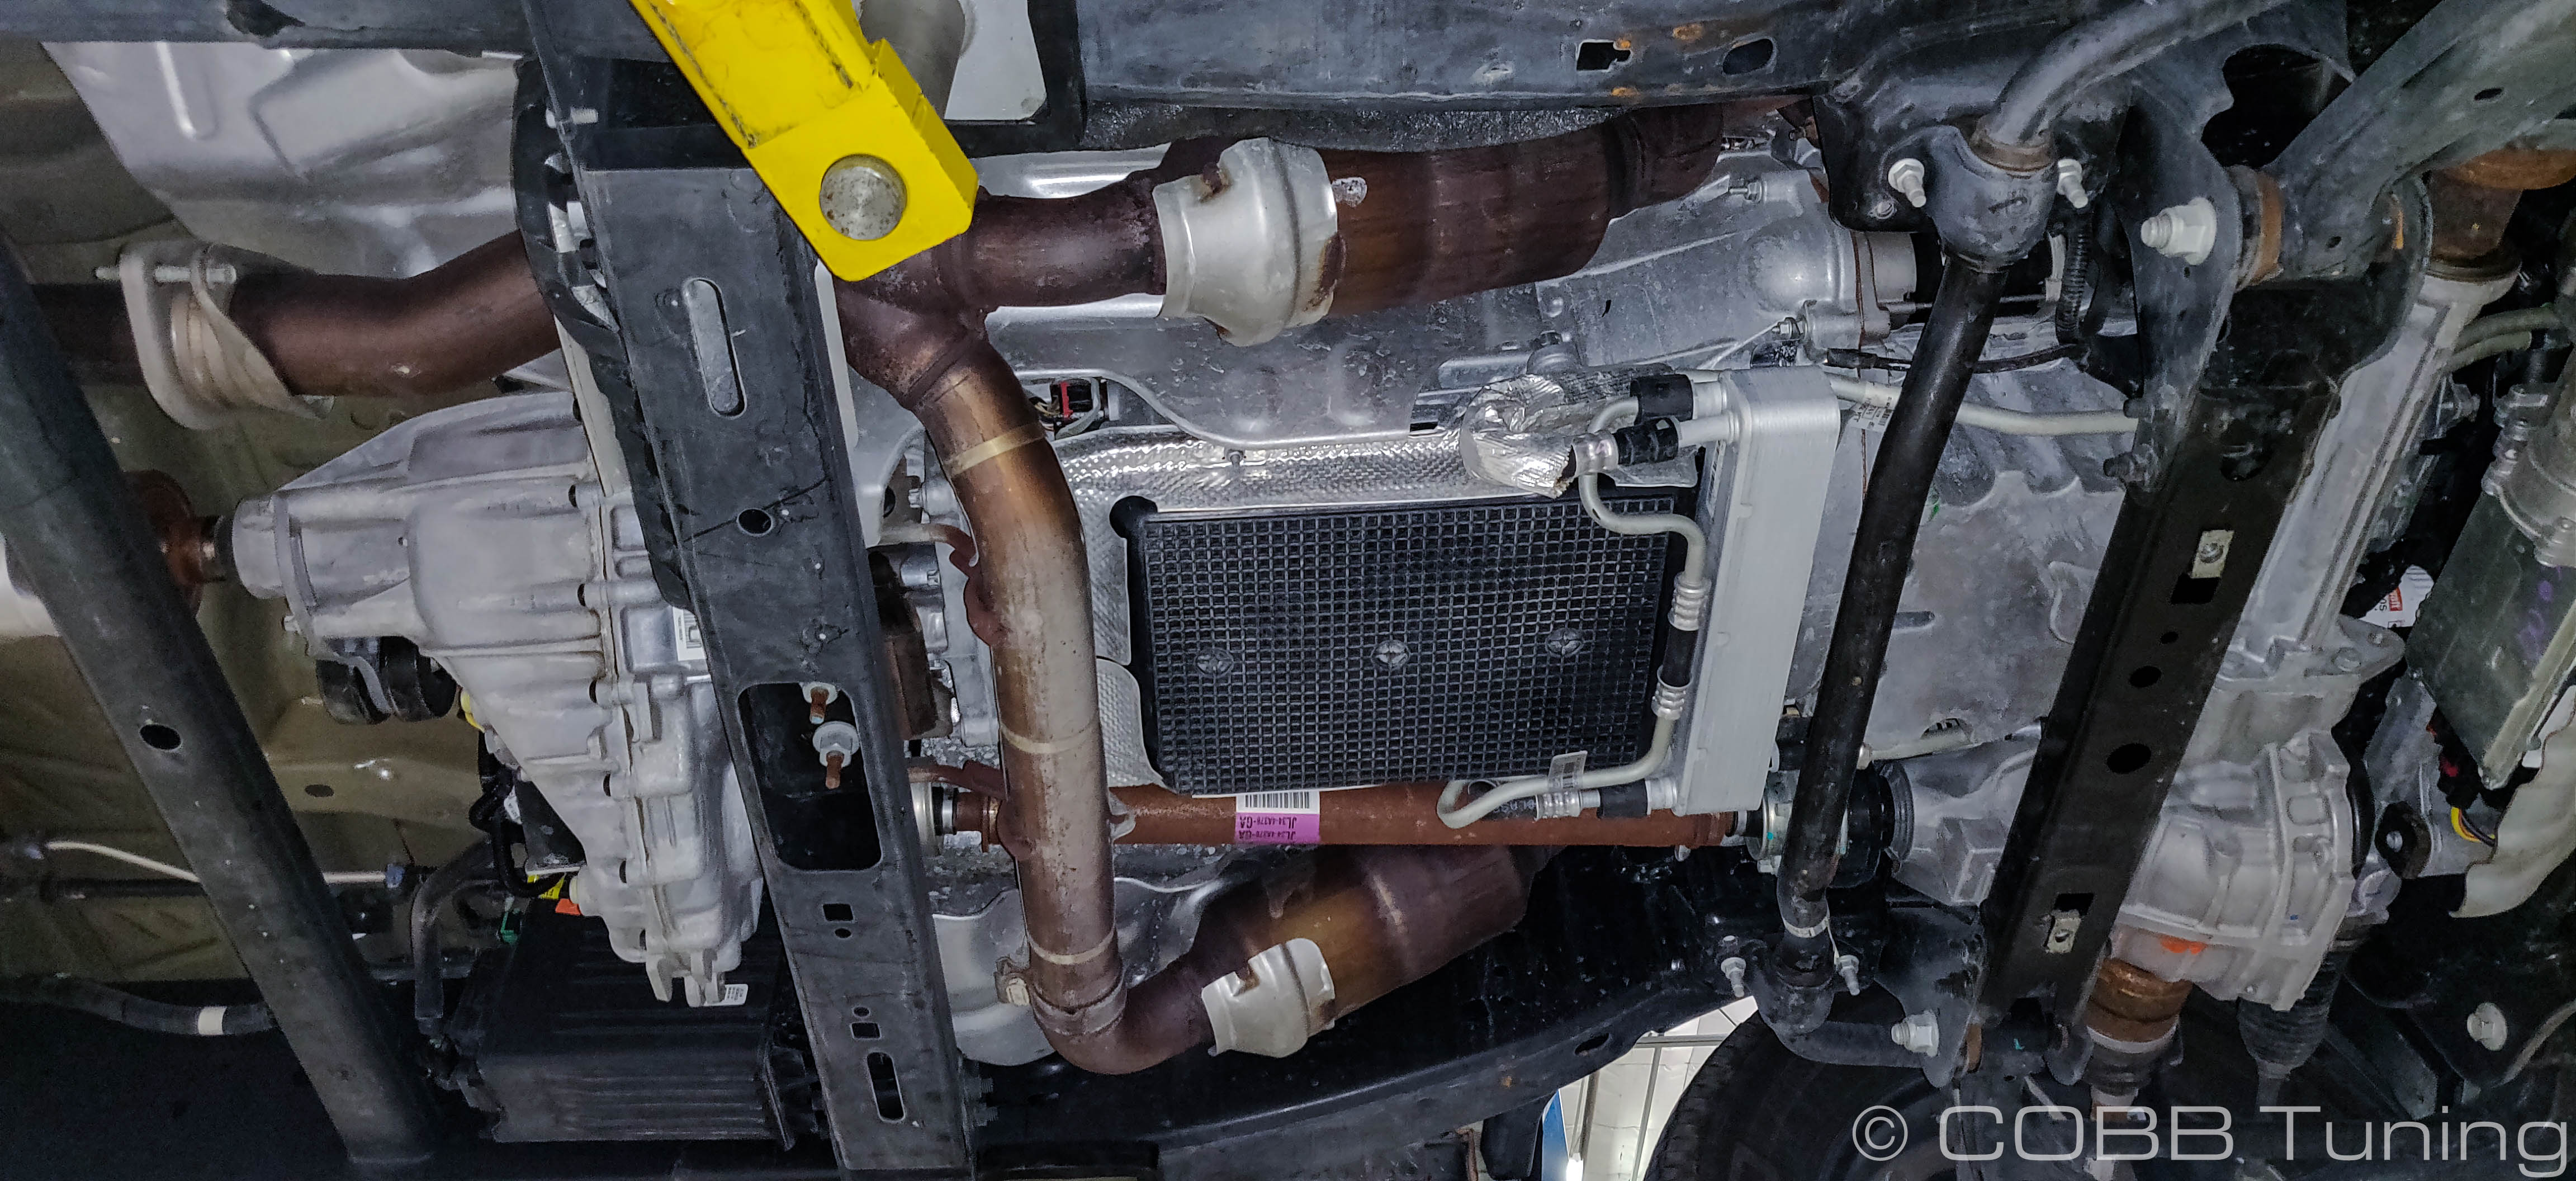
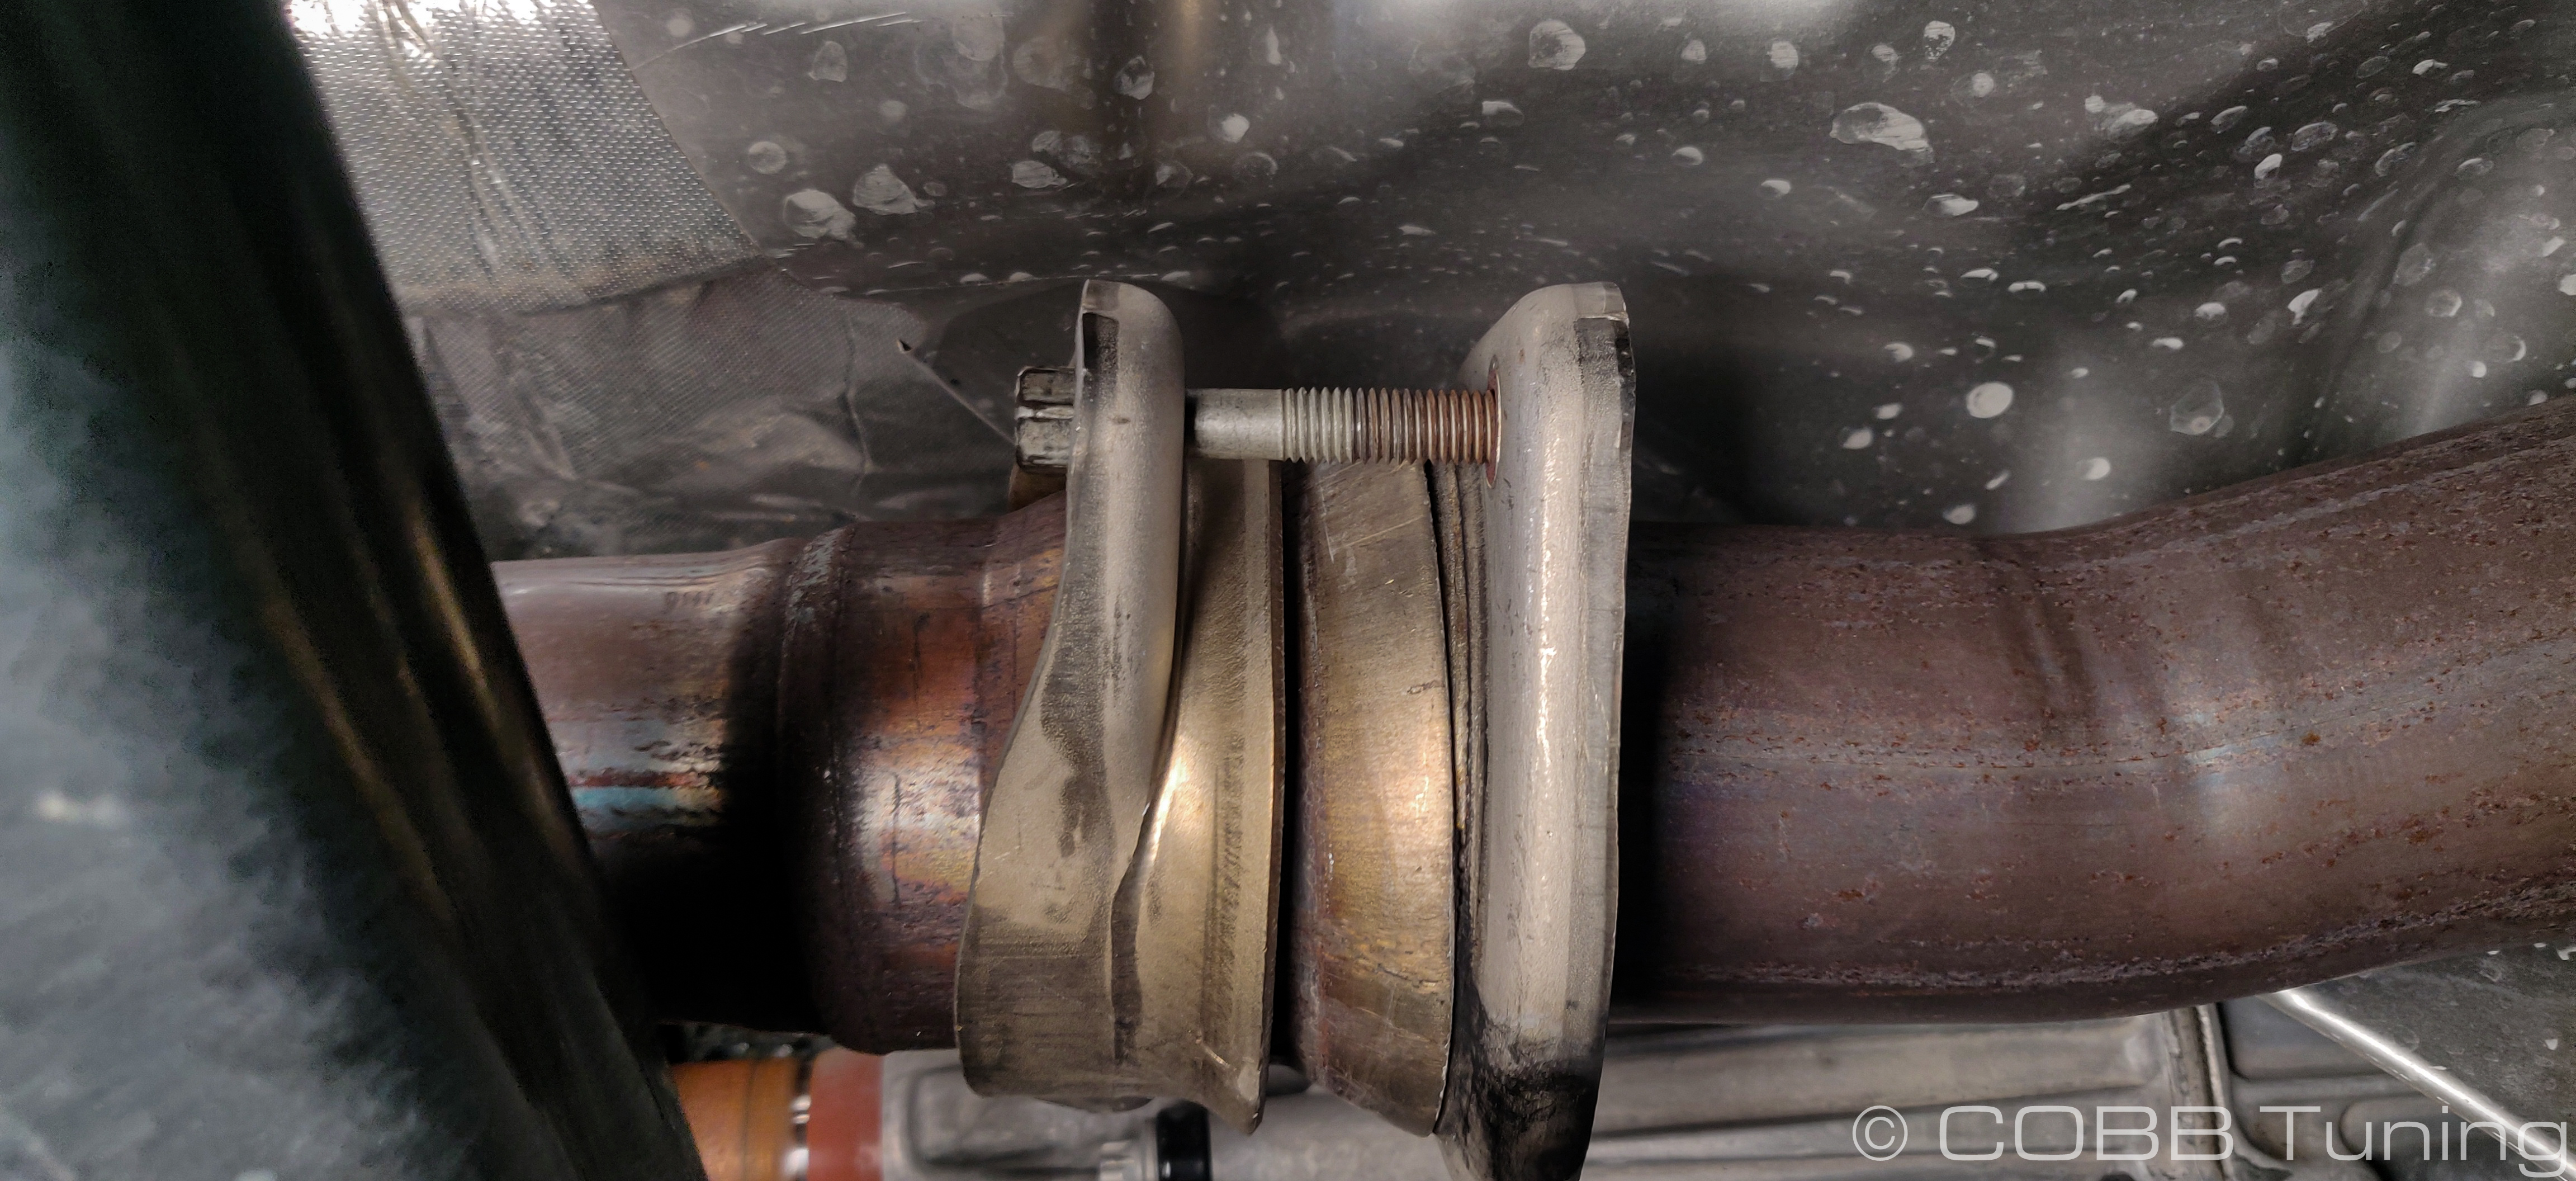
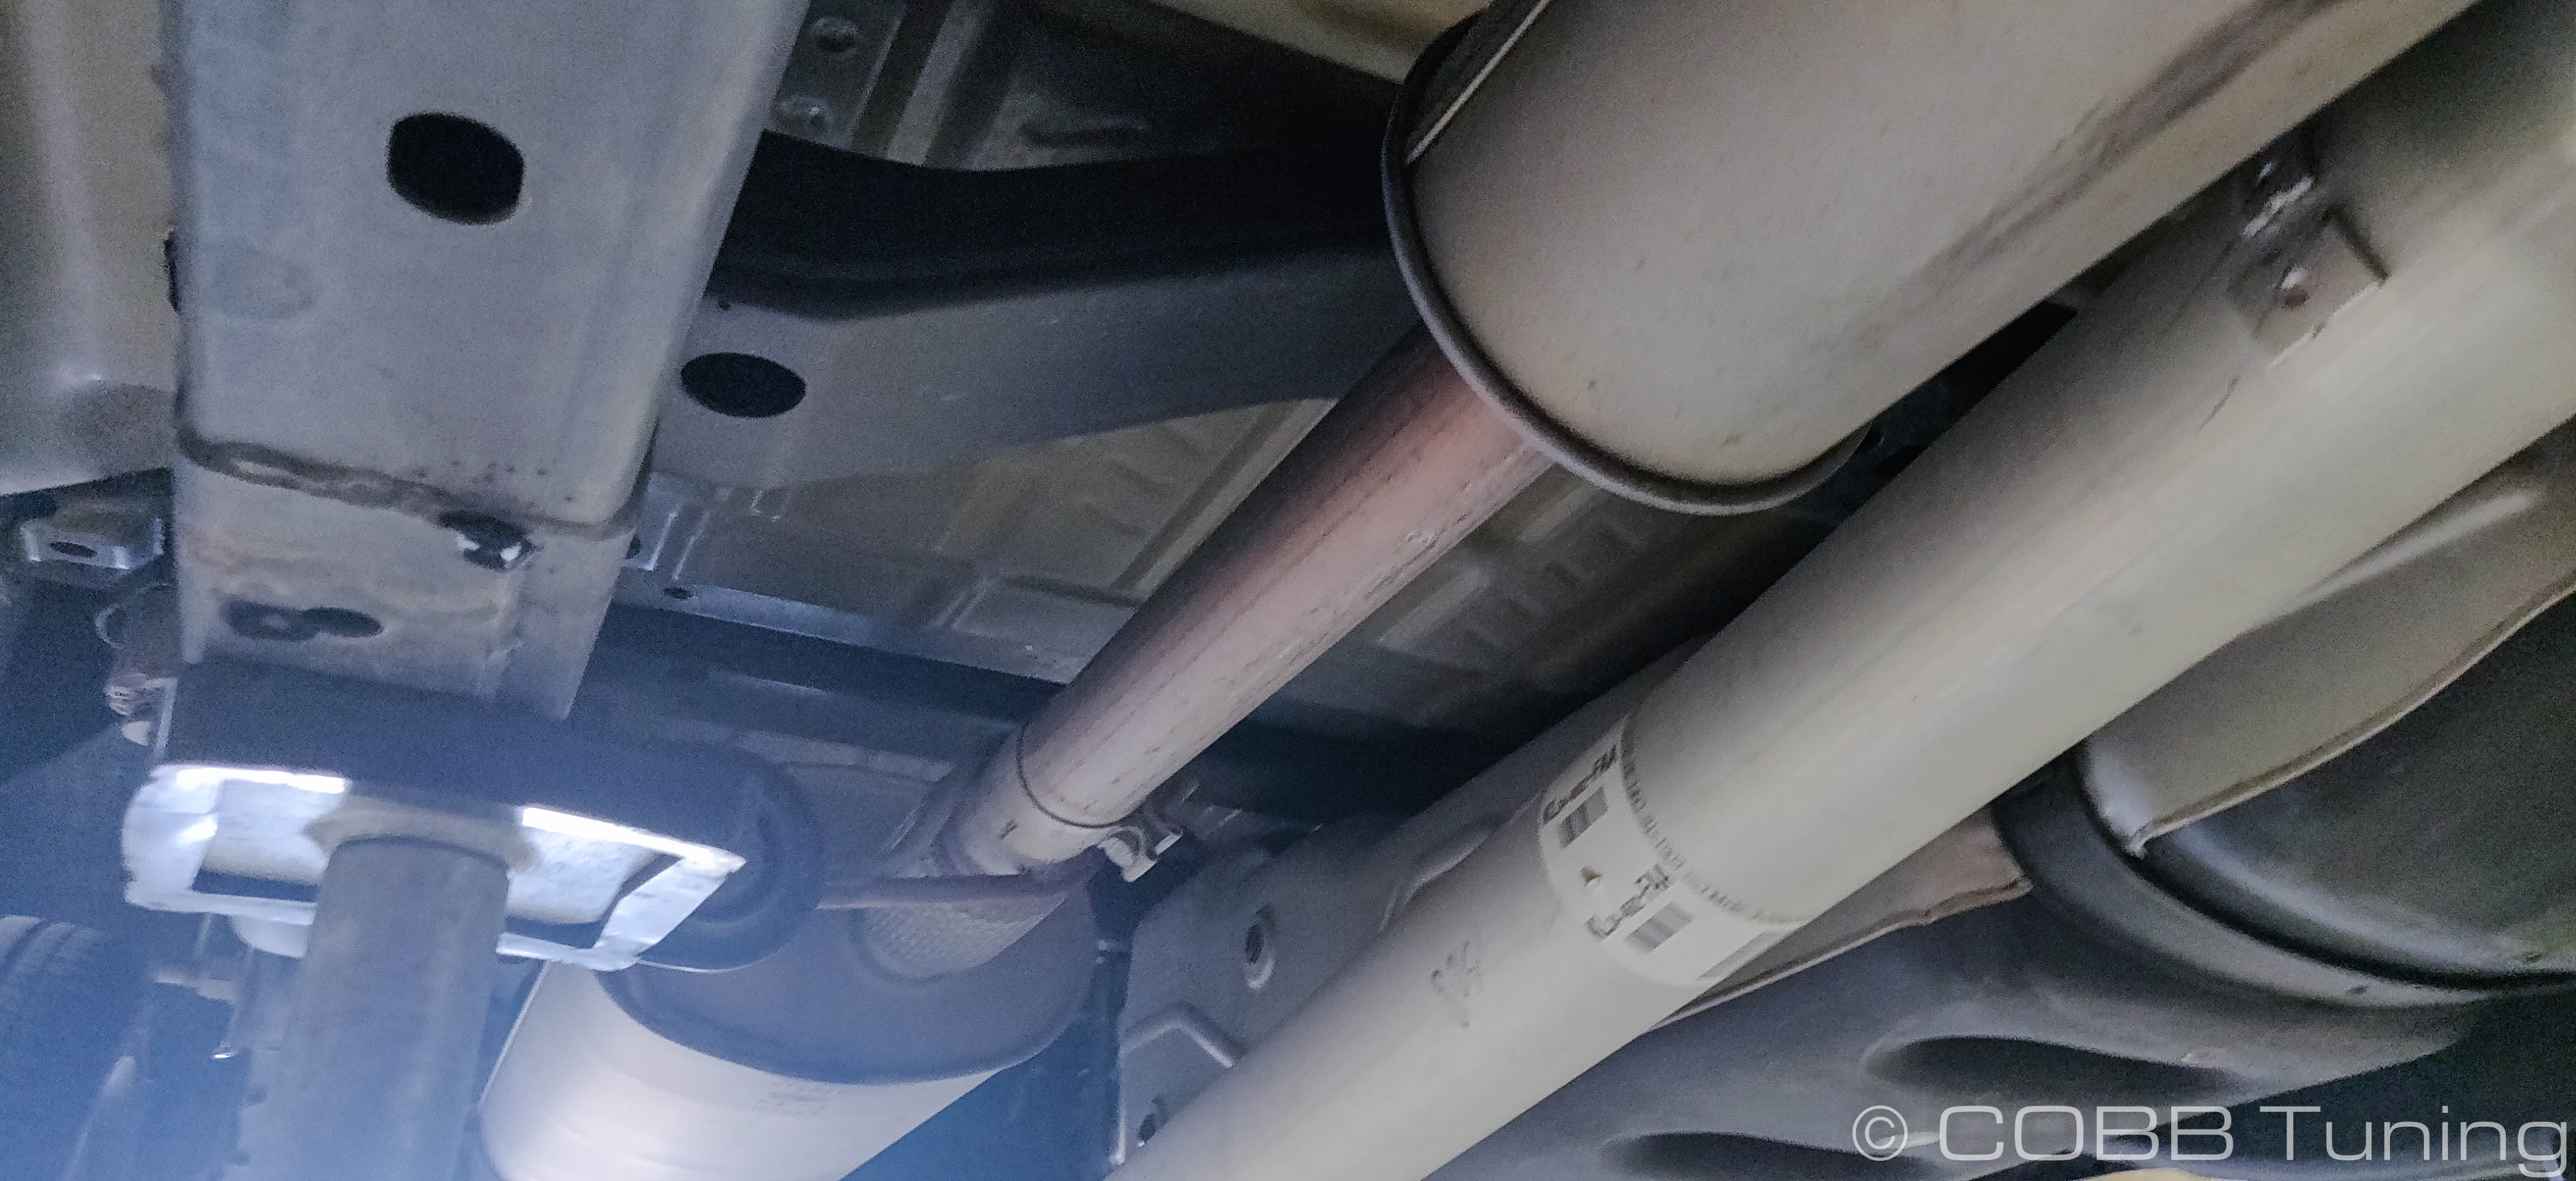
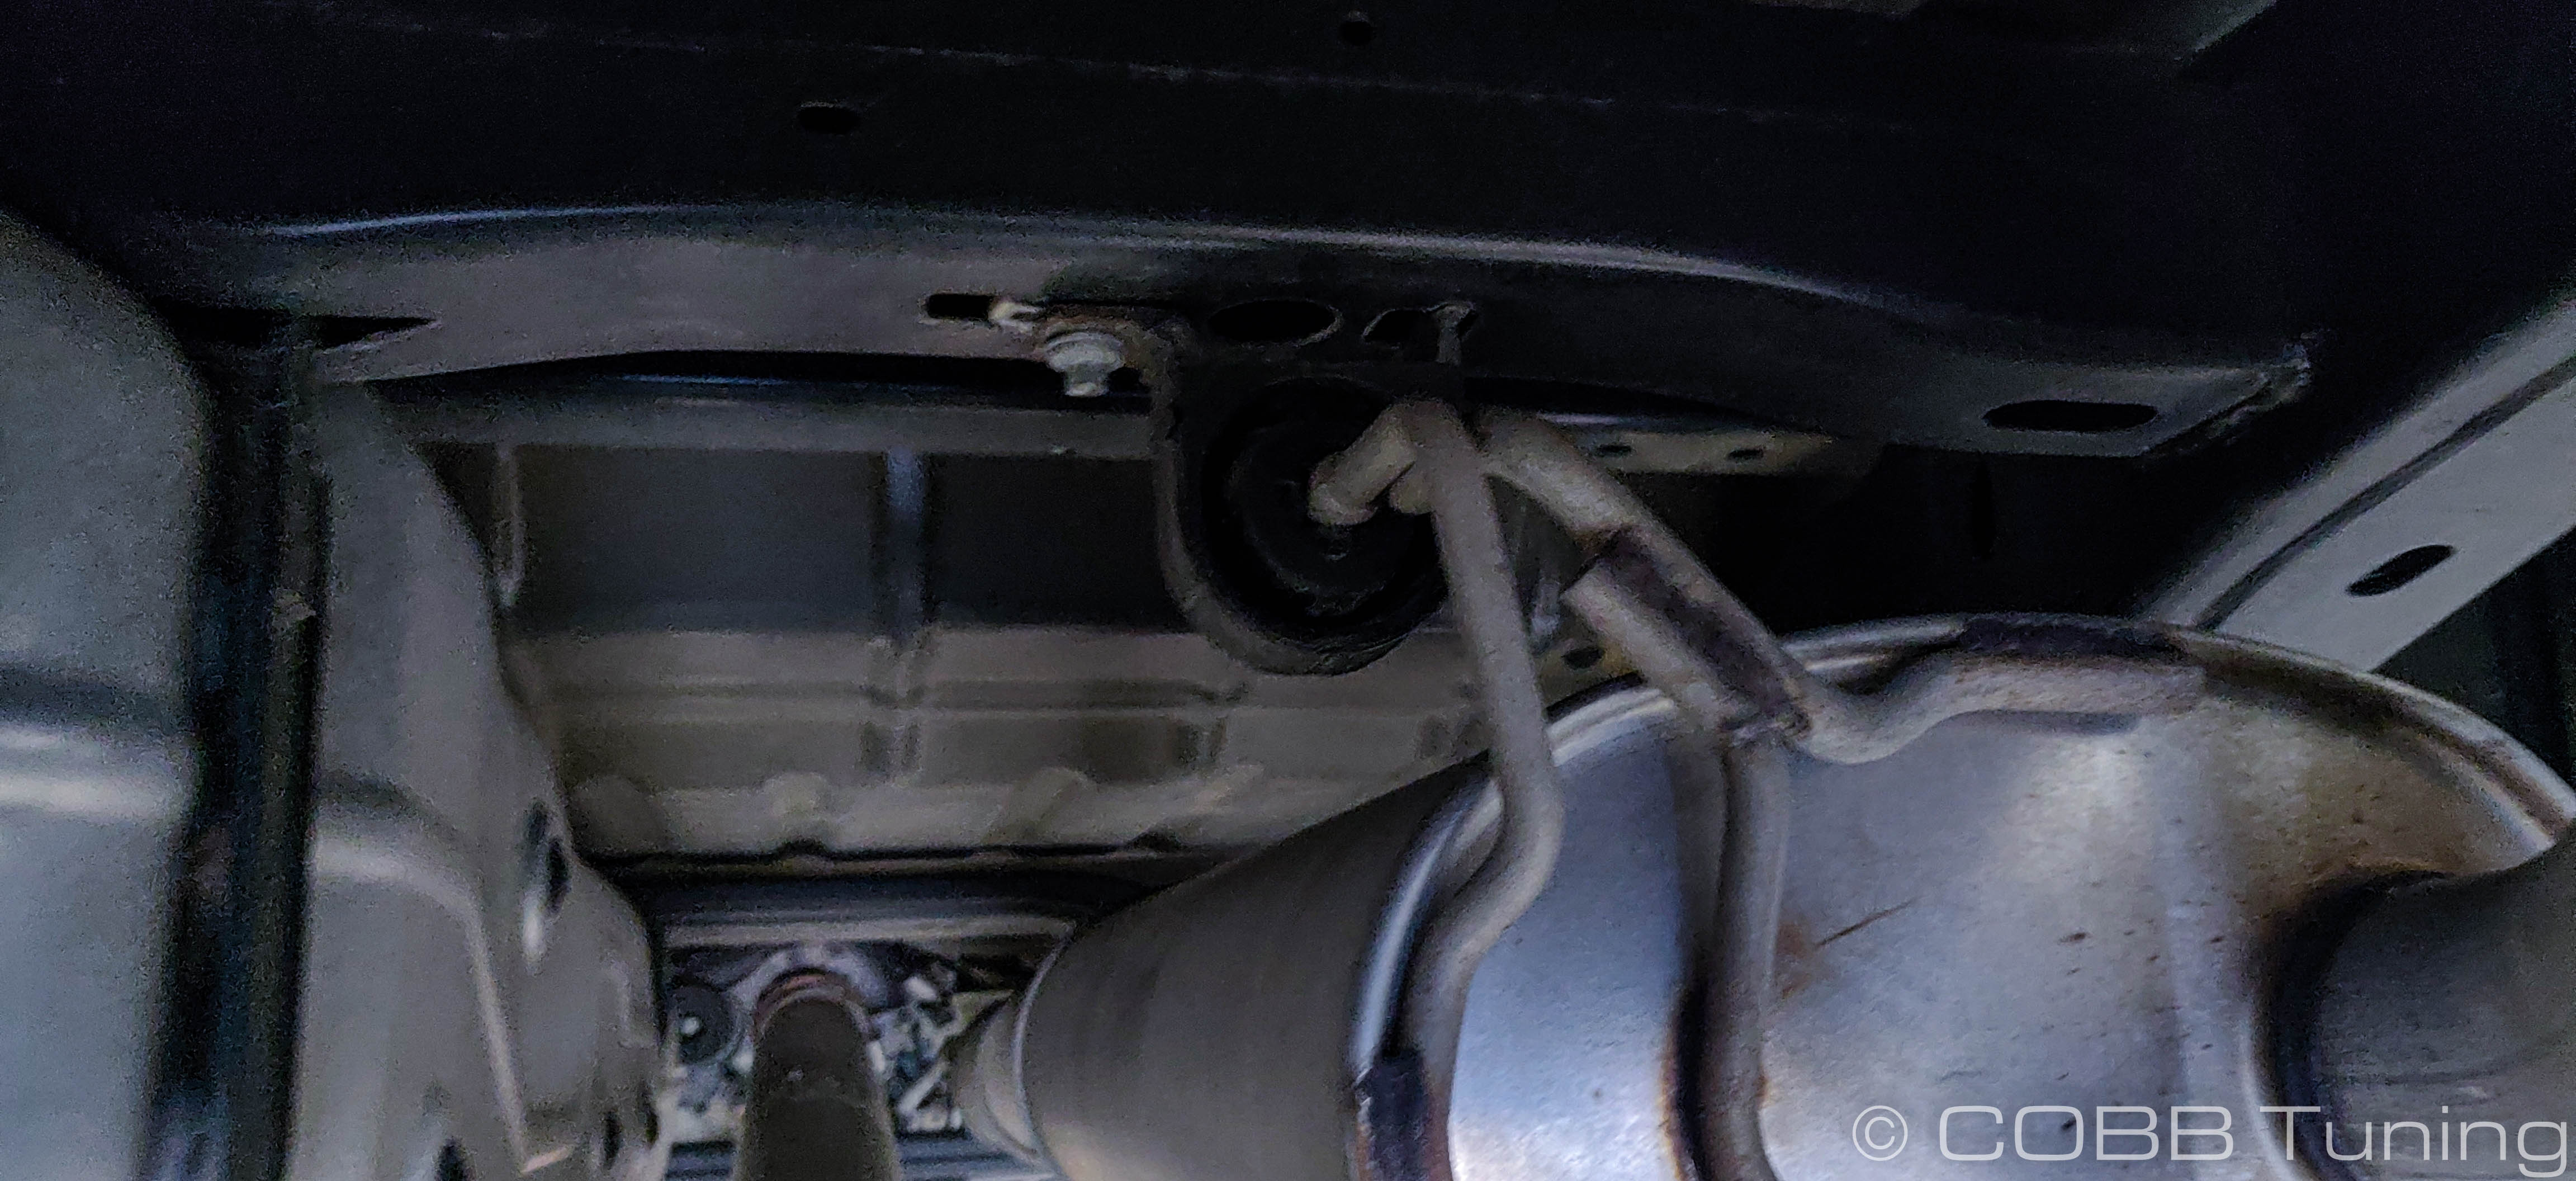
- Using a 13mm socket, remove the two bolts holding the front flange of the factory exhaust to the stock downpipe.
- Loosen up the clamp for the slip fit in the center of the exhaust using a deep 15mm socket.
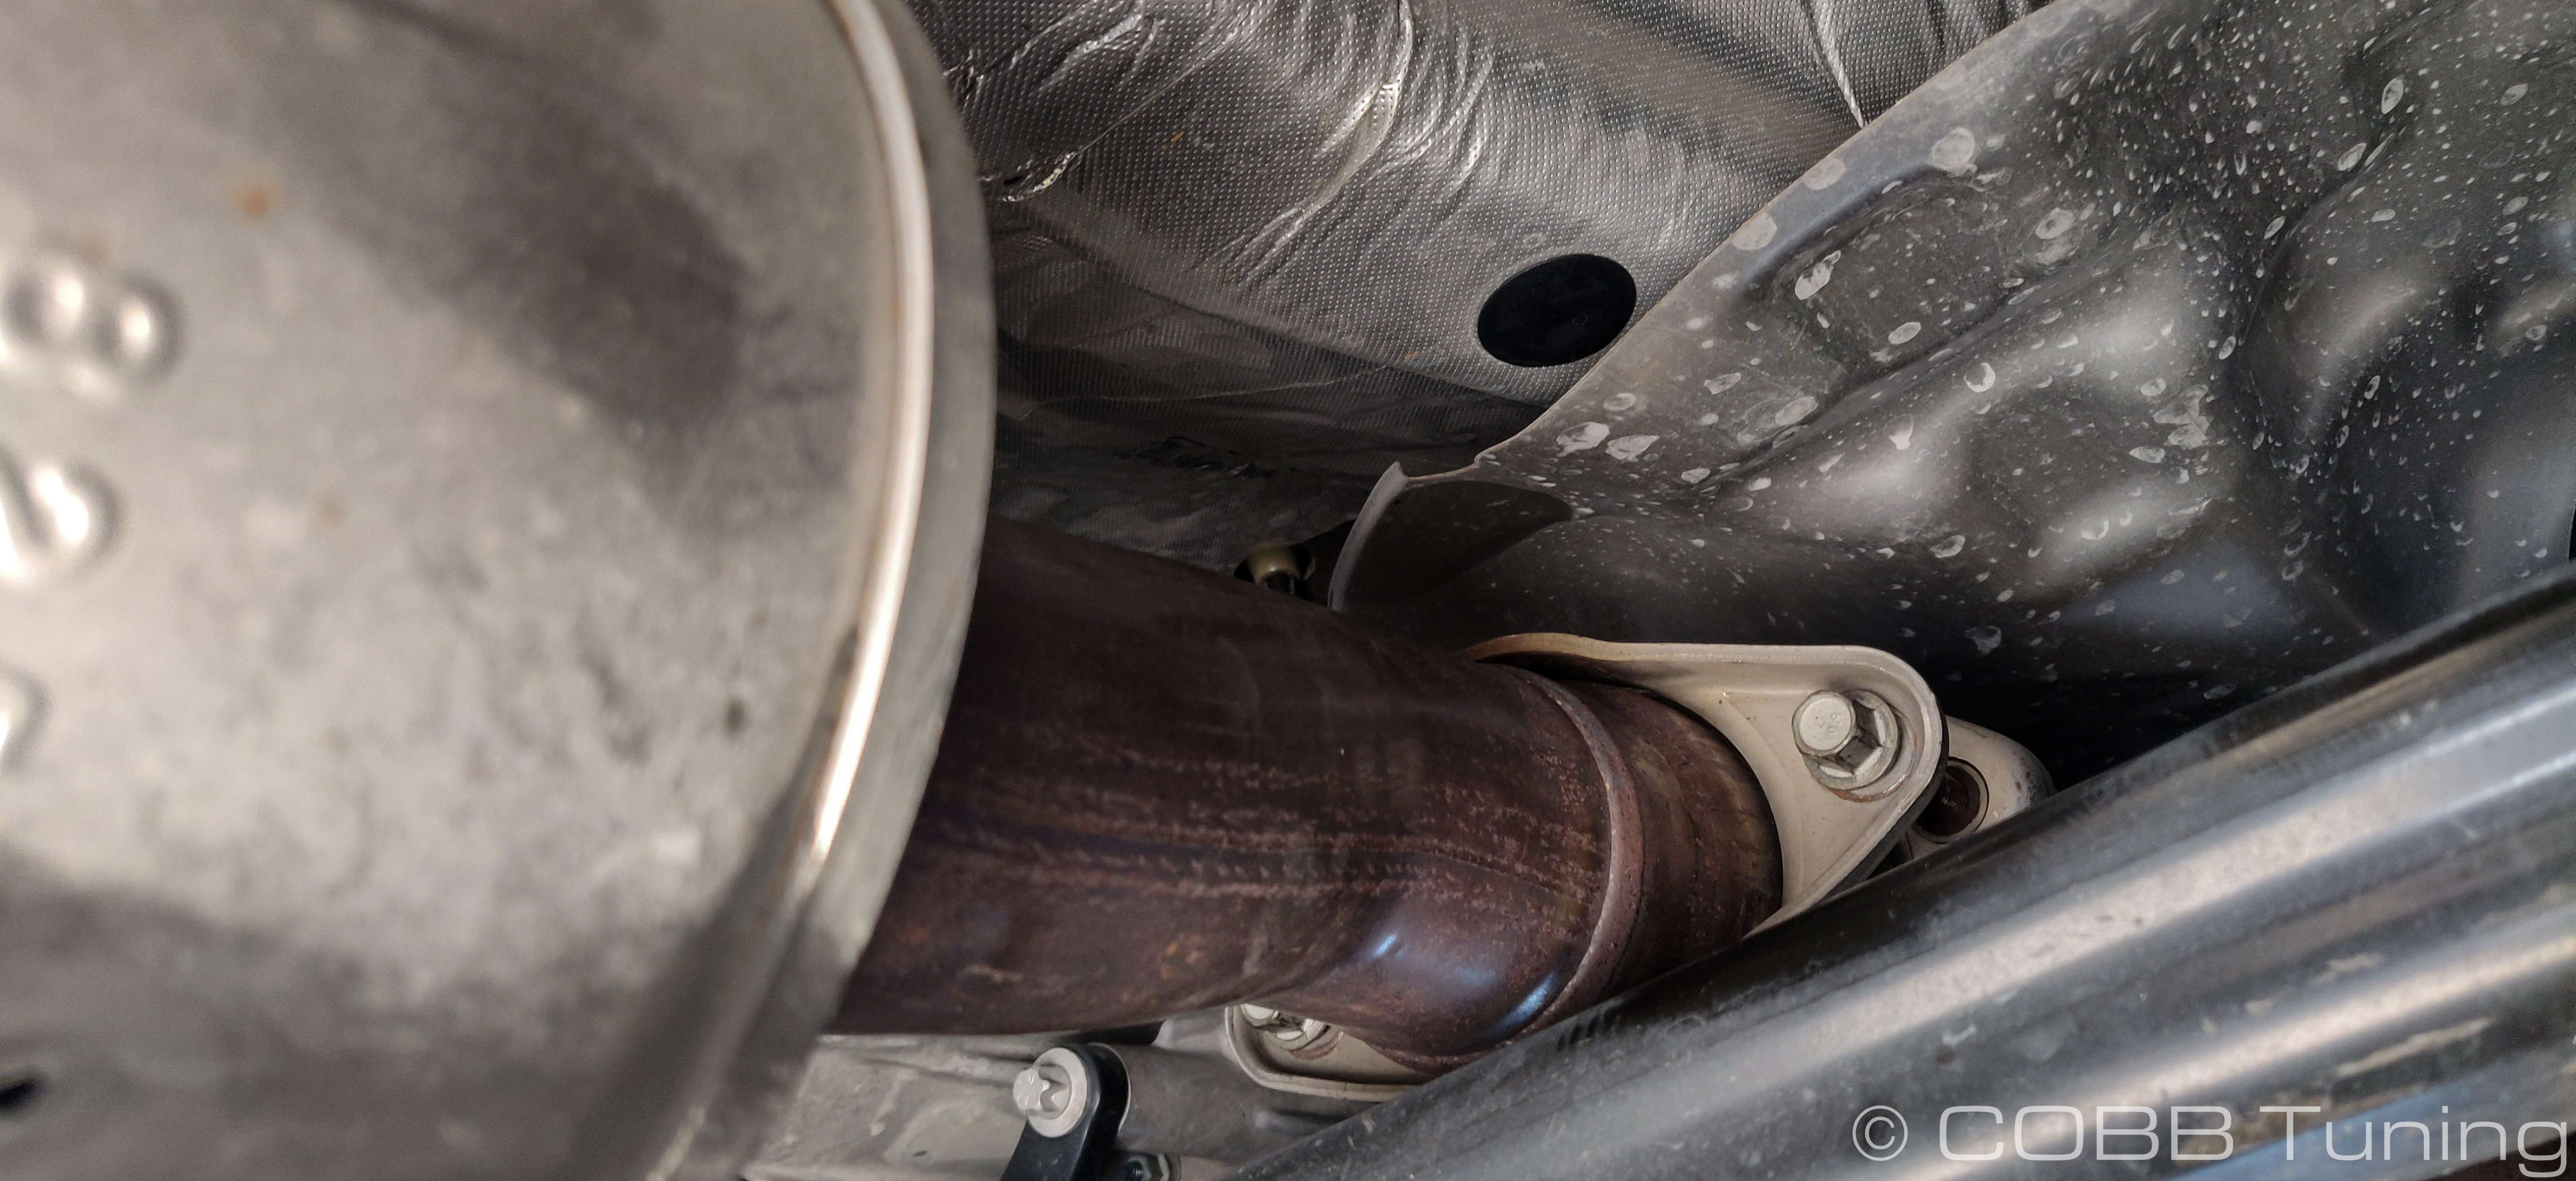
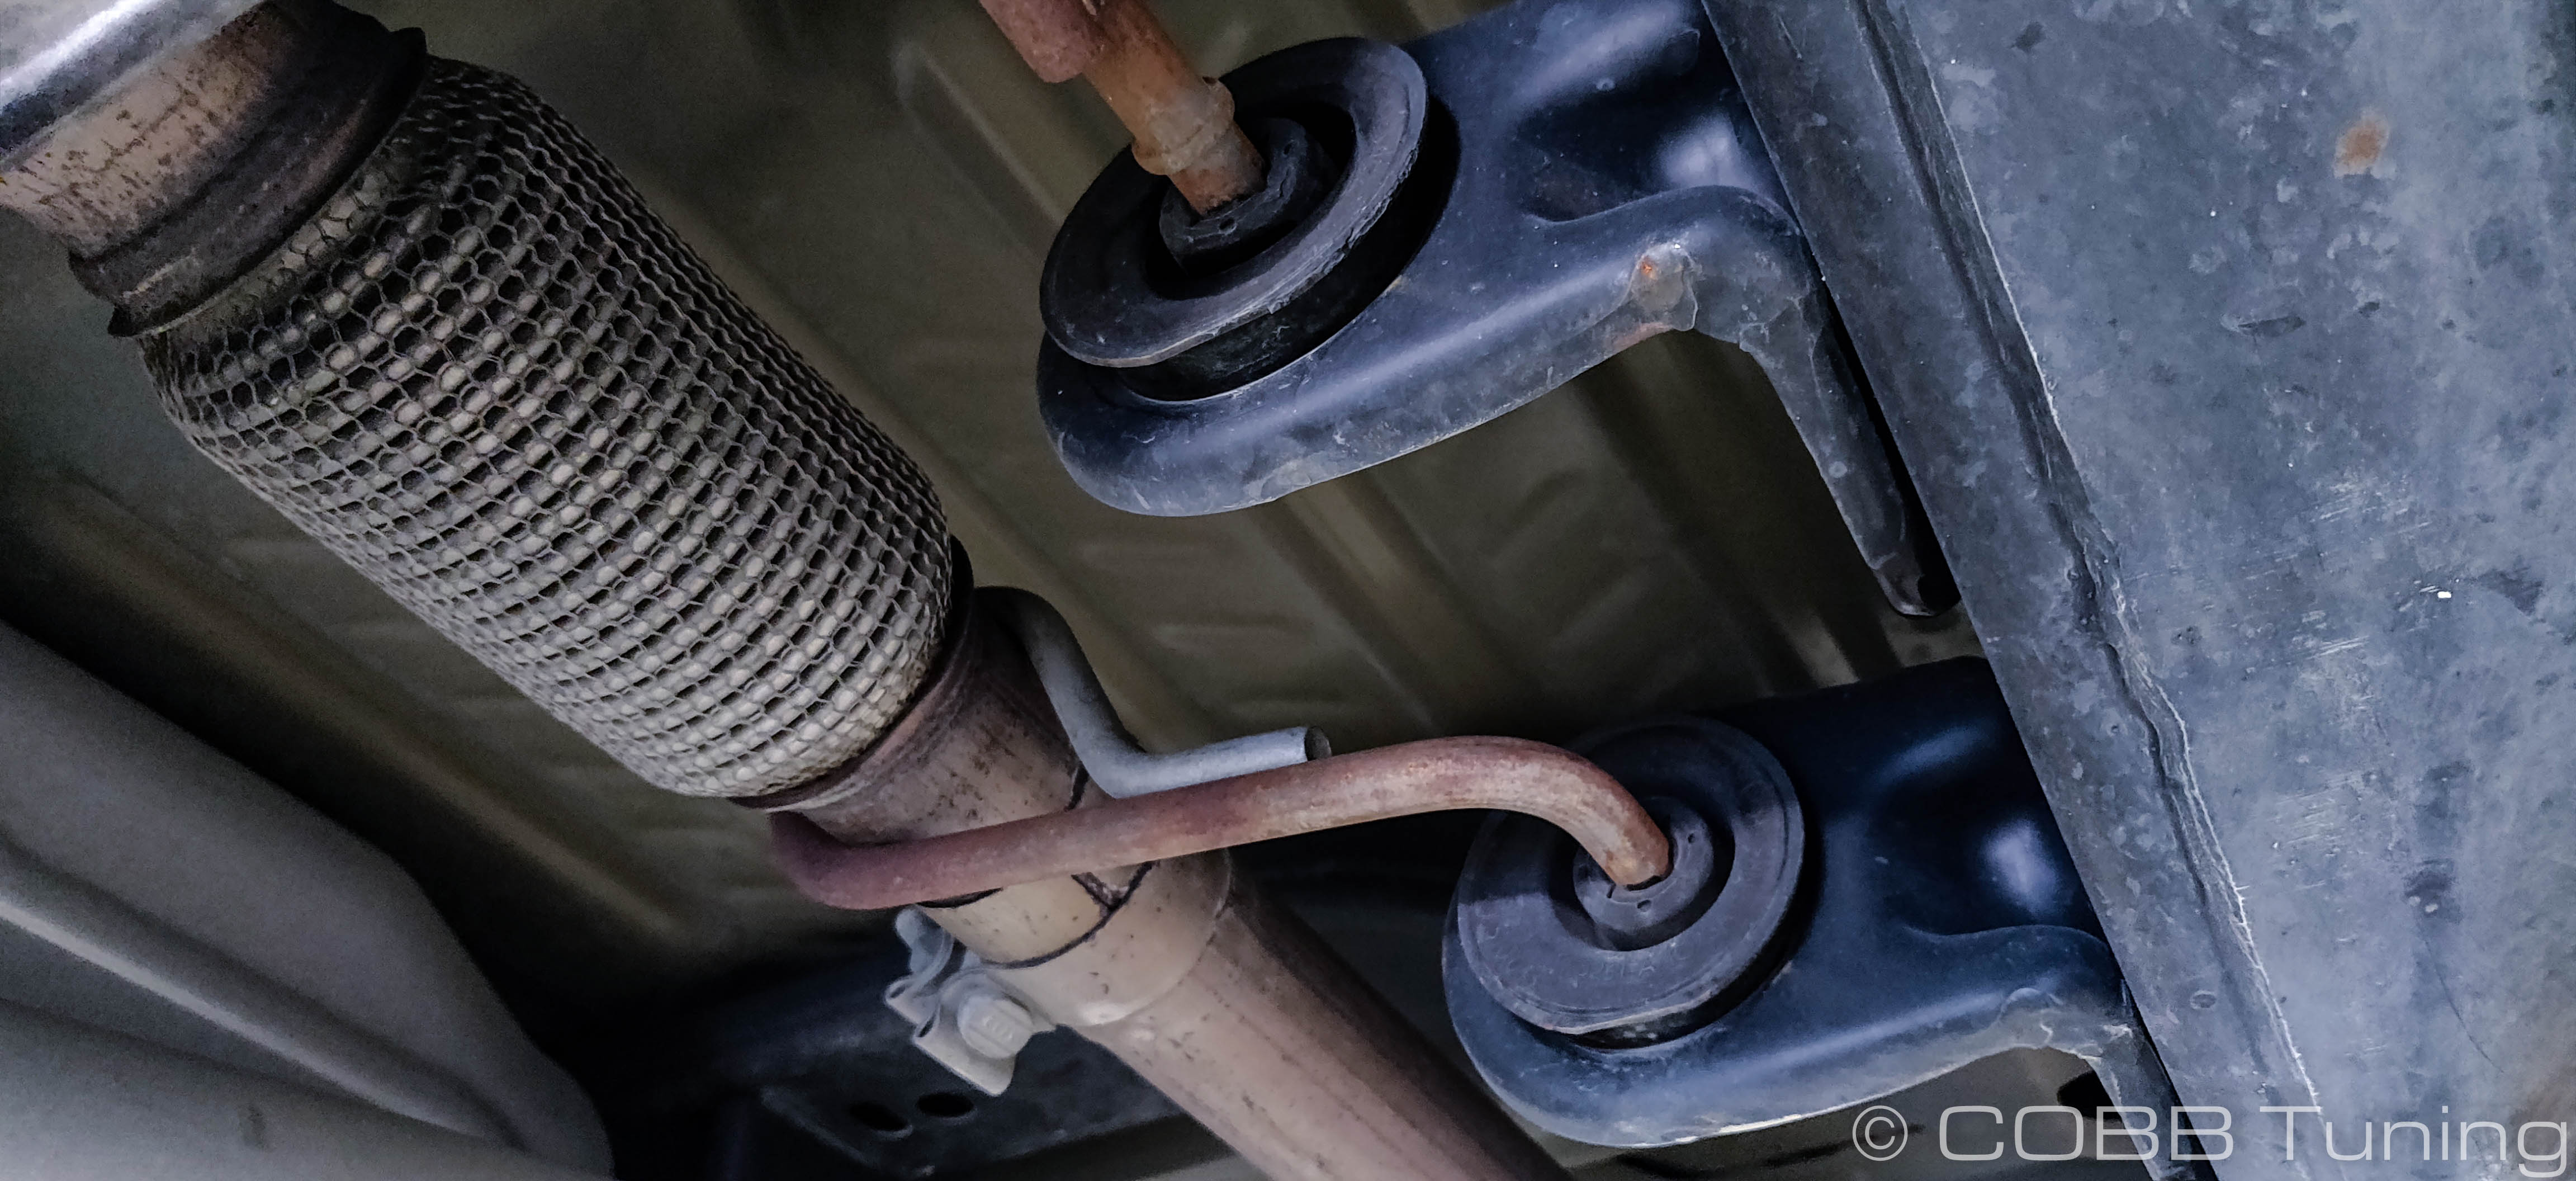
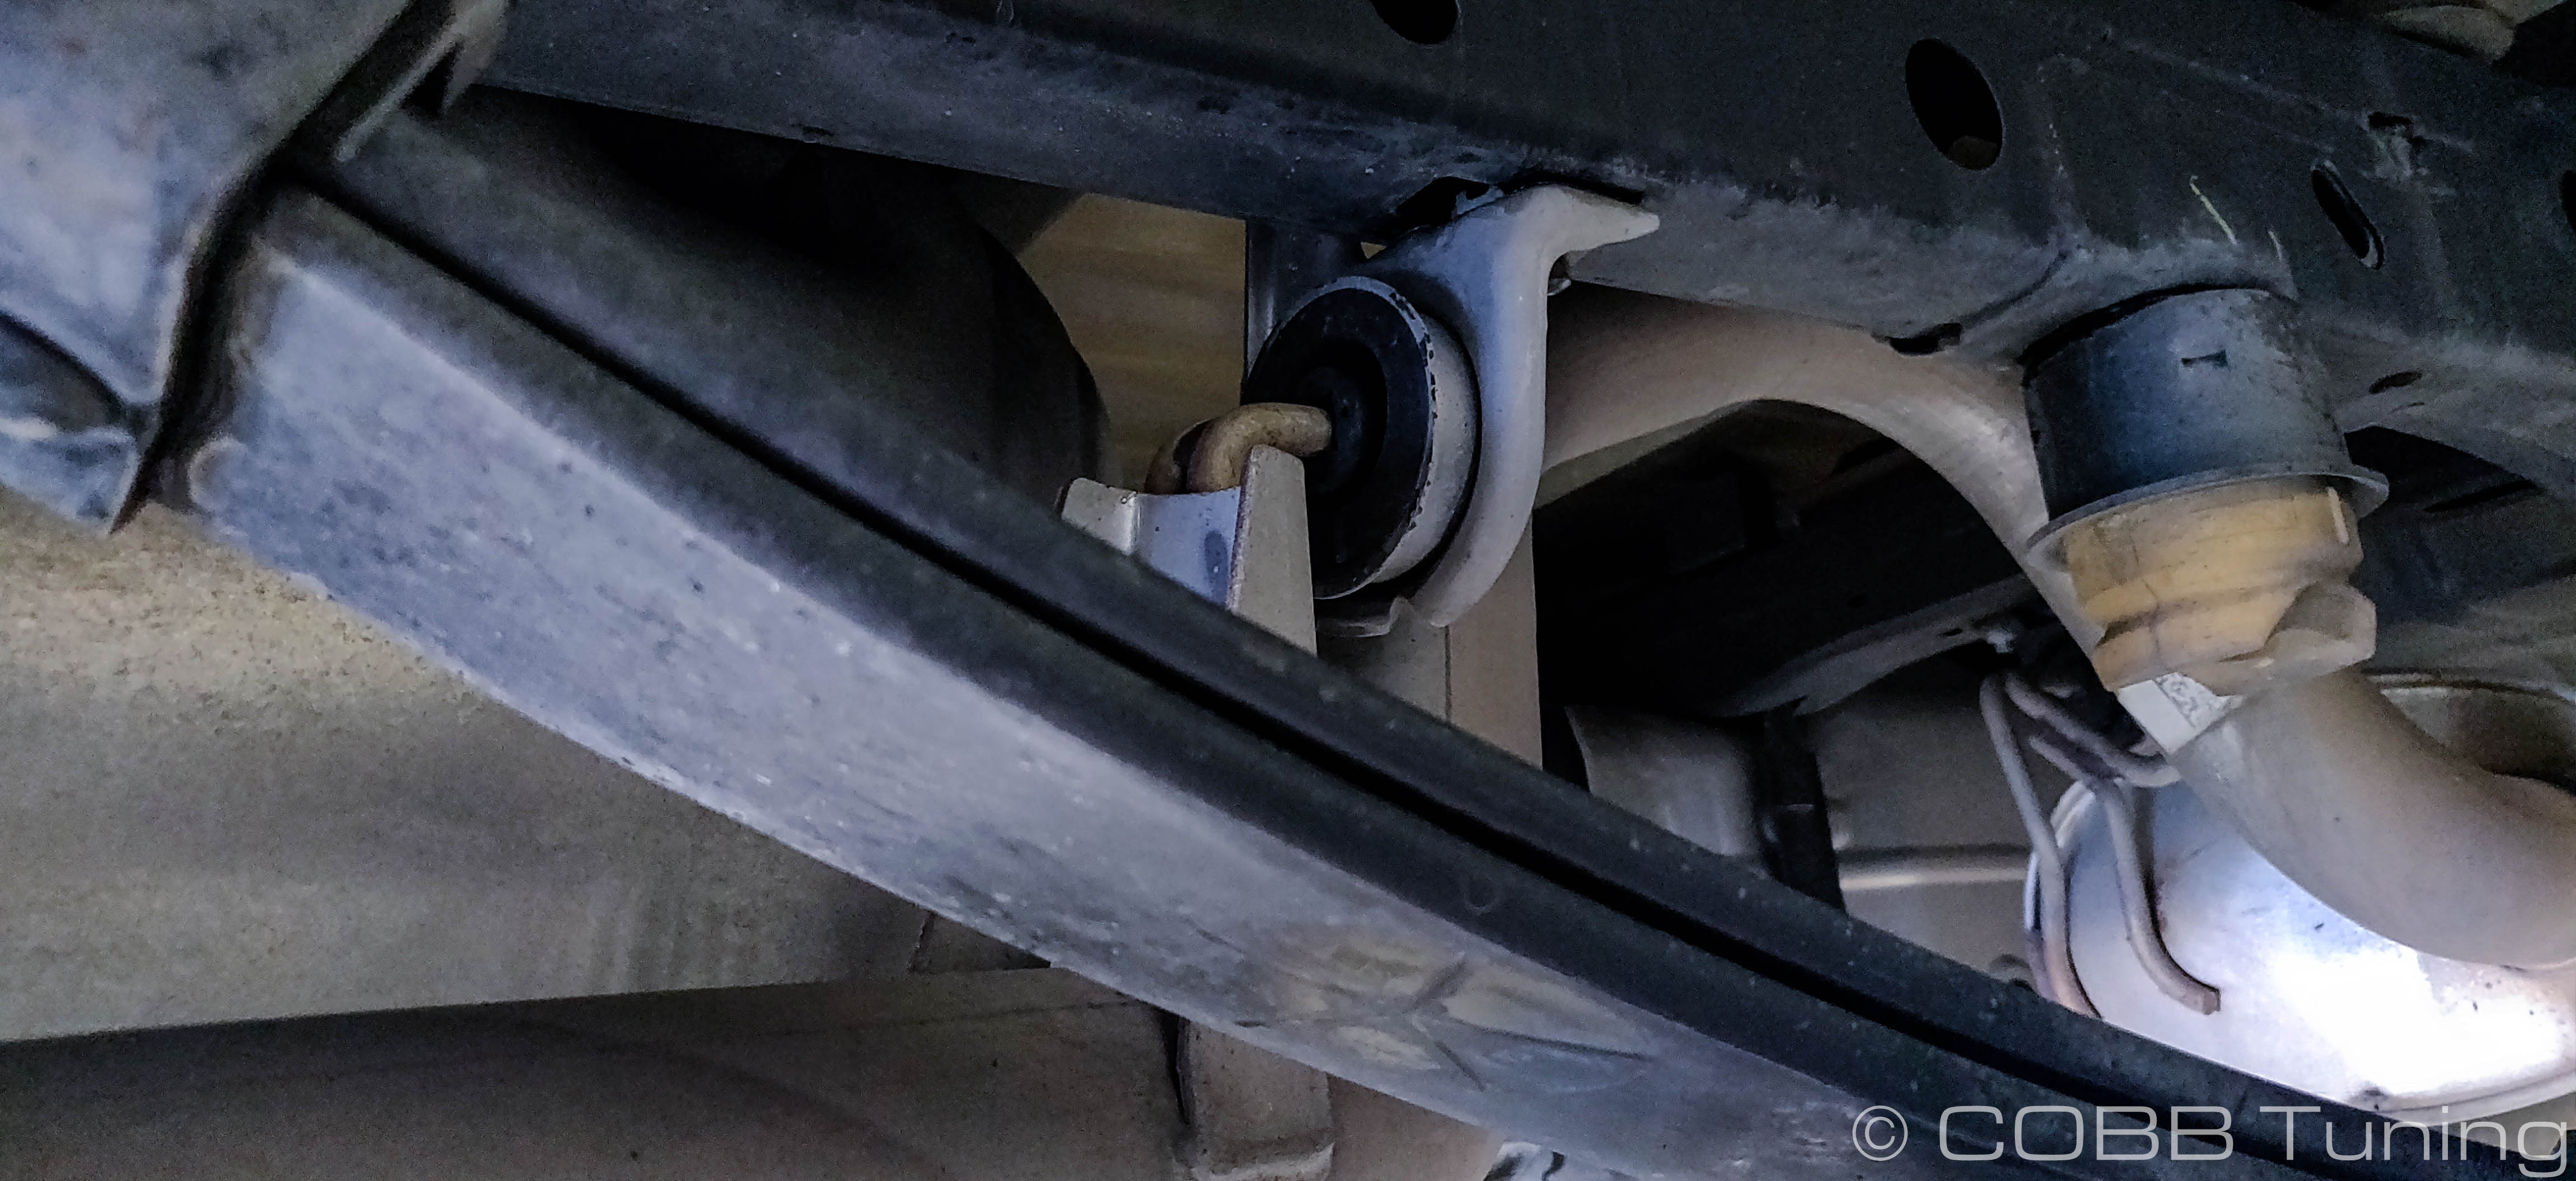
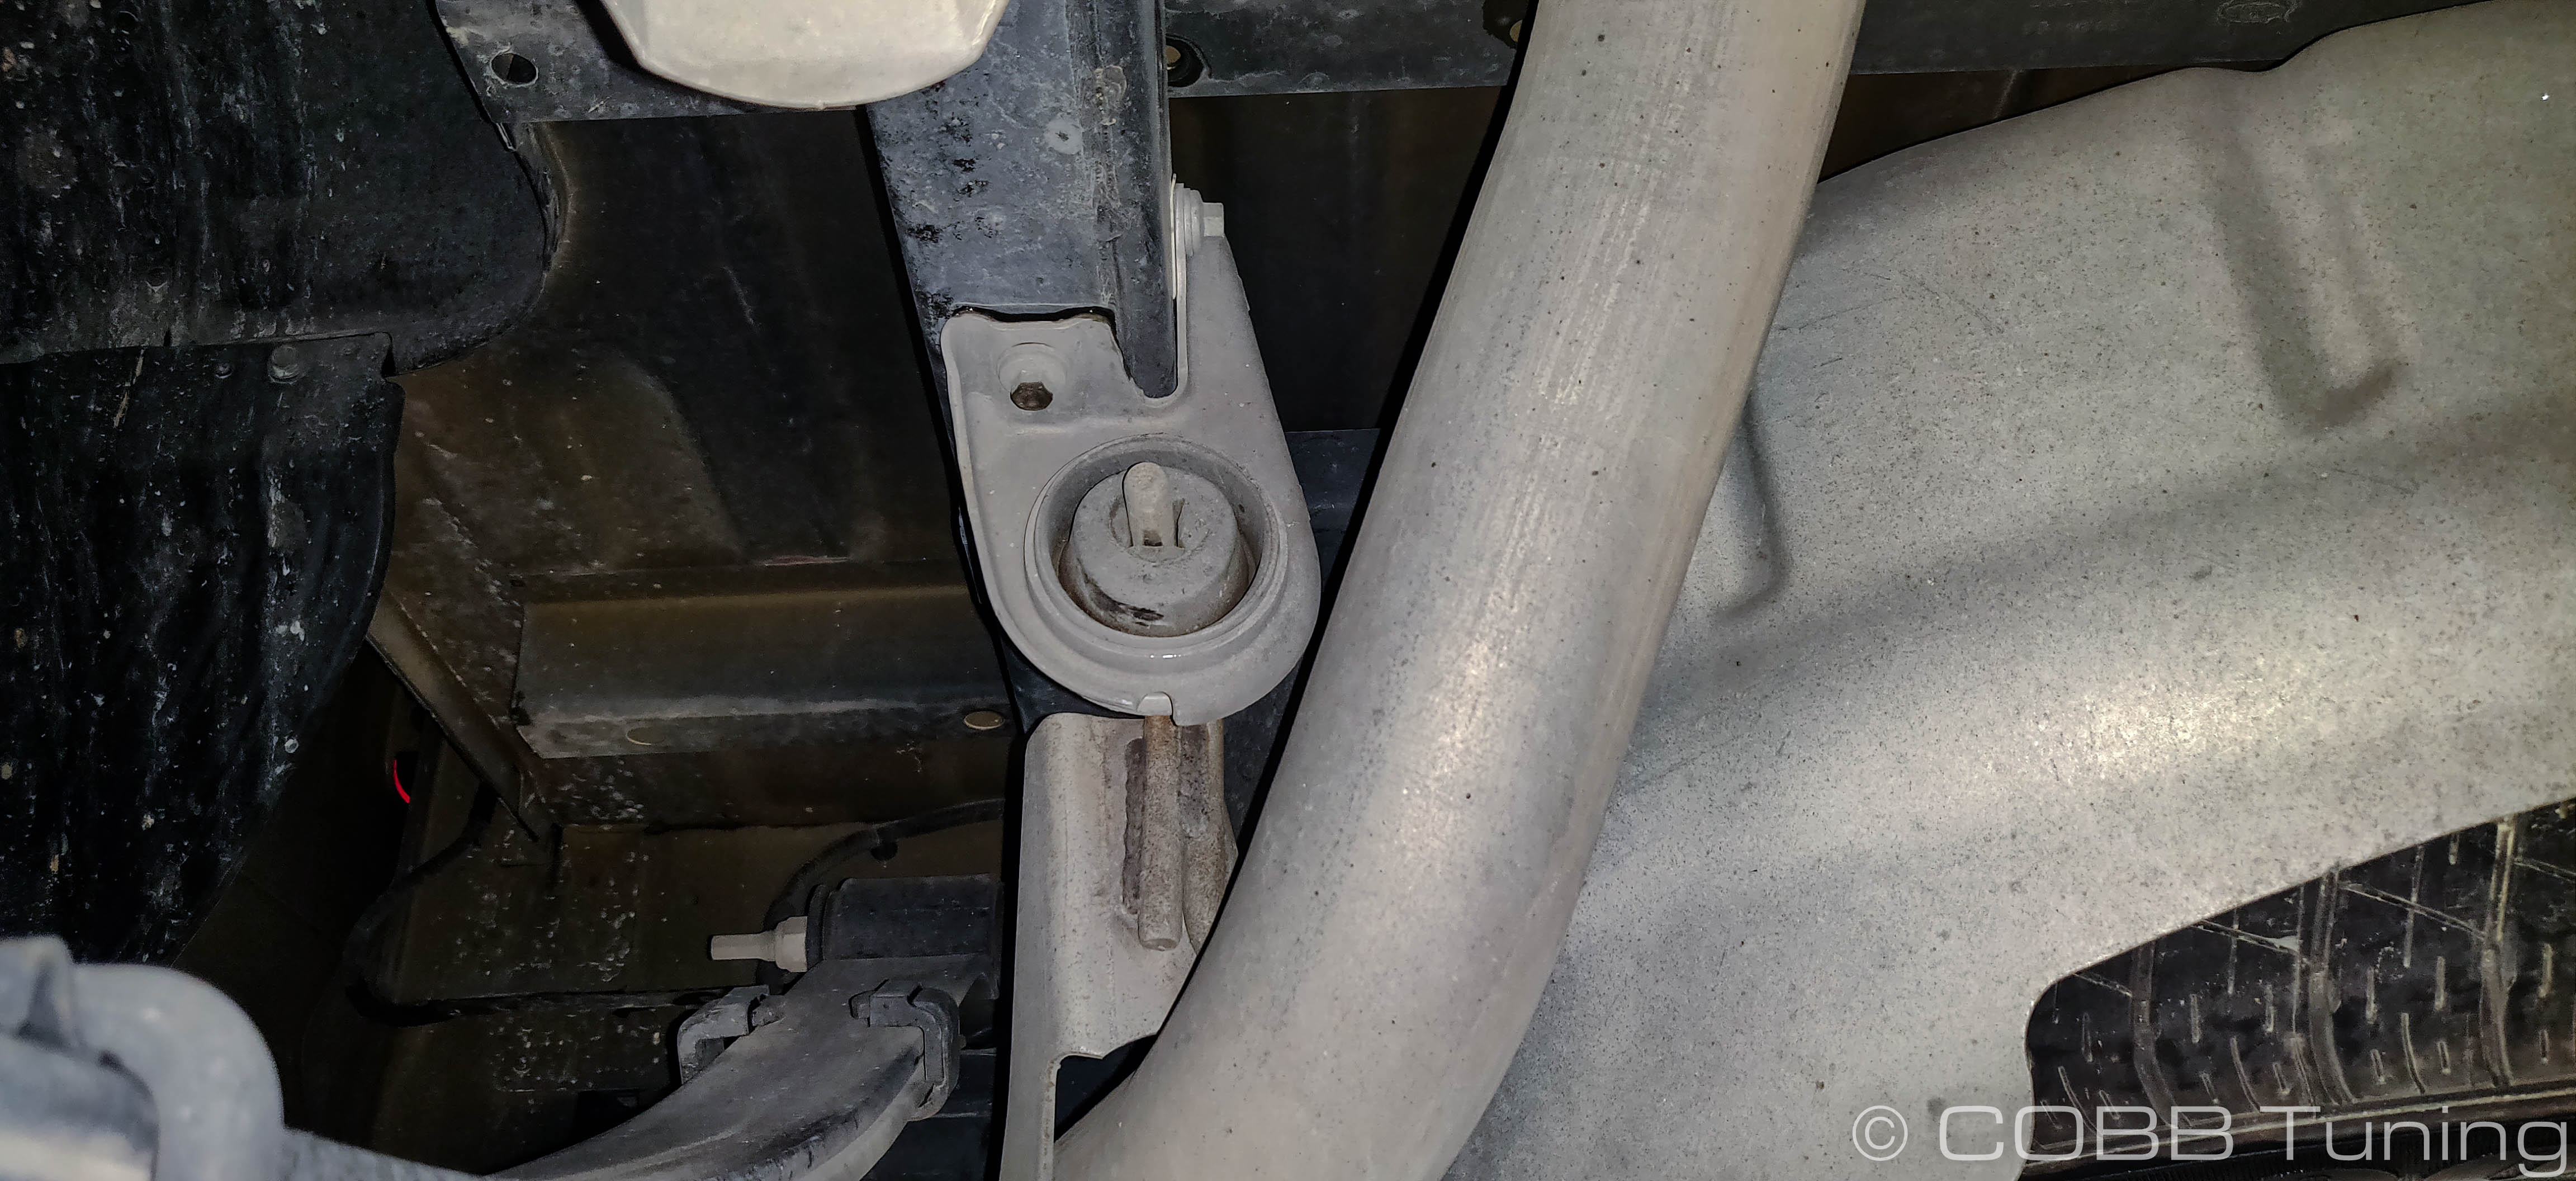
- To remove the exhaust you'll want to move the rear half of the exhaust backward. You can either take that opportunity to remove the front section by itself (if you're alone) or all in one piece. If you're struggling with the exhaust hangers while they're on the car, you can simply un-bolt them from the frame using a 10mm socket. After the front section is out, you can remove the rear section working it over the rear axle.
- Set the exhaust somewhere out of the way.
COBB Catback Installation.
- Unwrap the exhaust from the packaging.
- Re-Install the factory hangers if they were removed previously. Keep in mind that the factory hangers have a significant amount of adjustability to them, so even if you didn't remove them initially, you may need to loosen them to get the exhaust to line up as you want it.
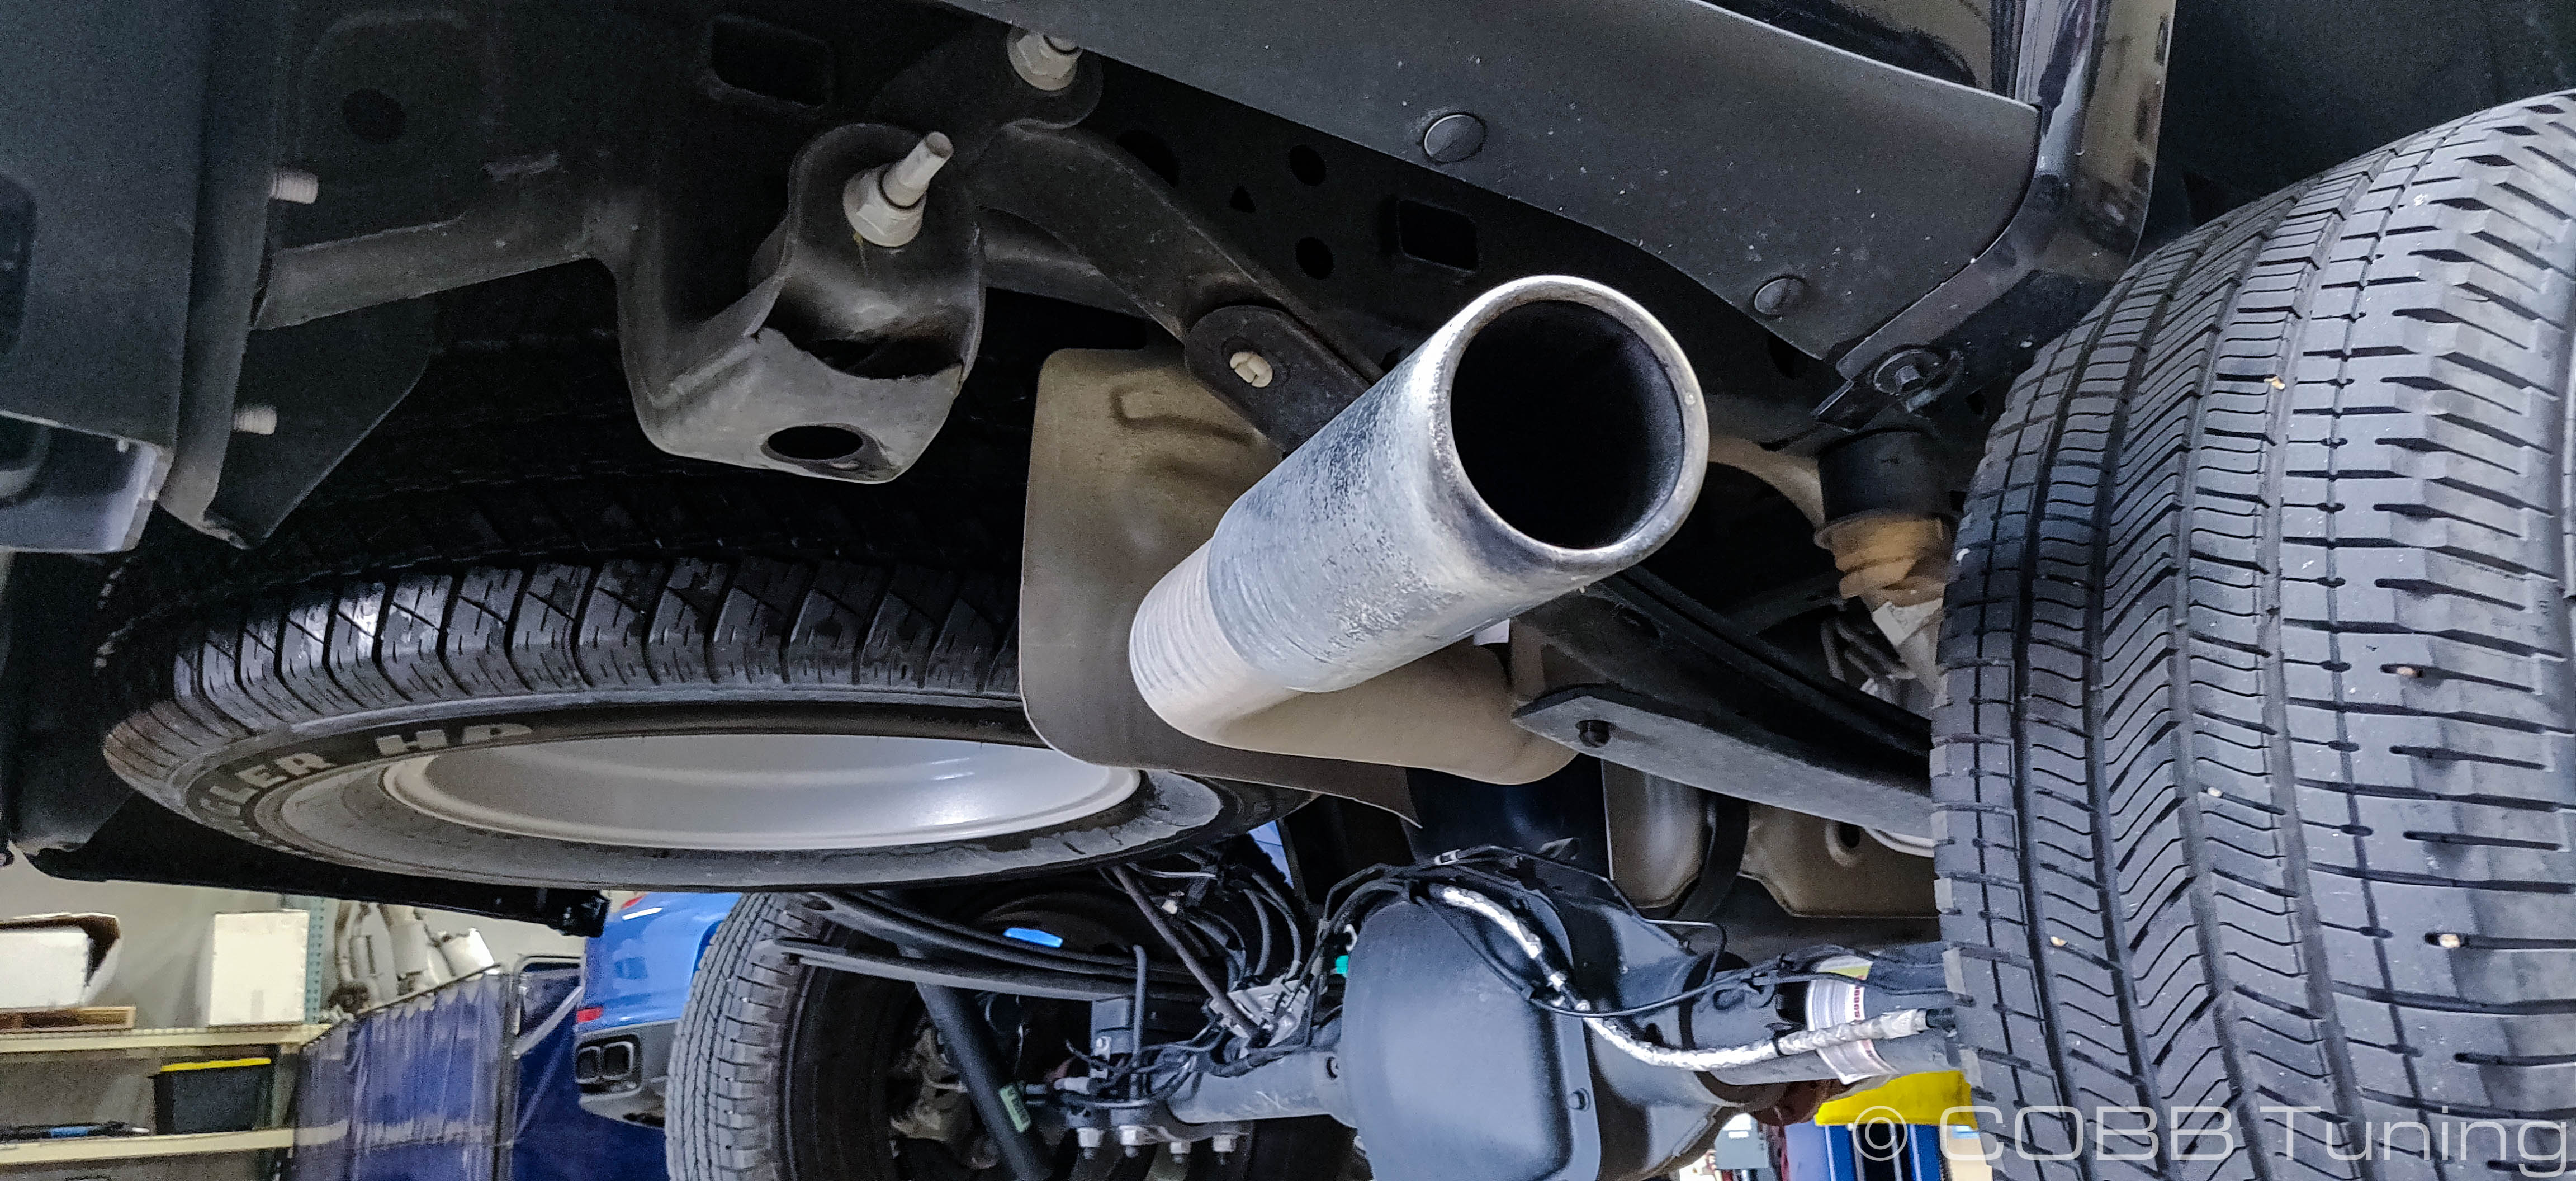
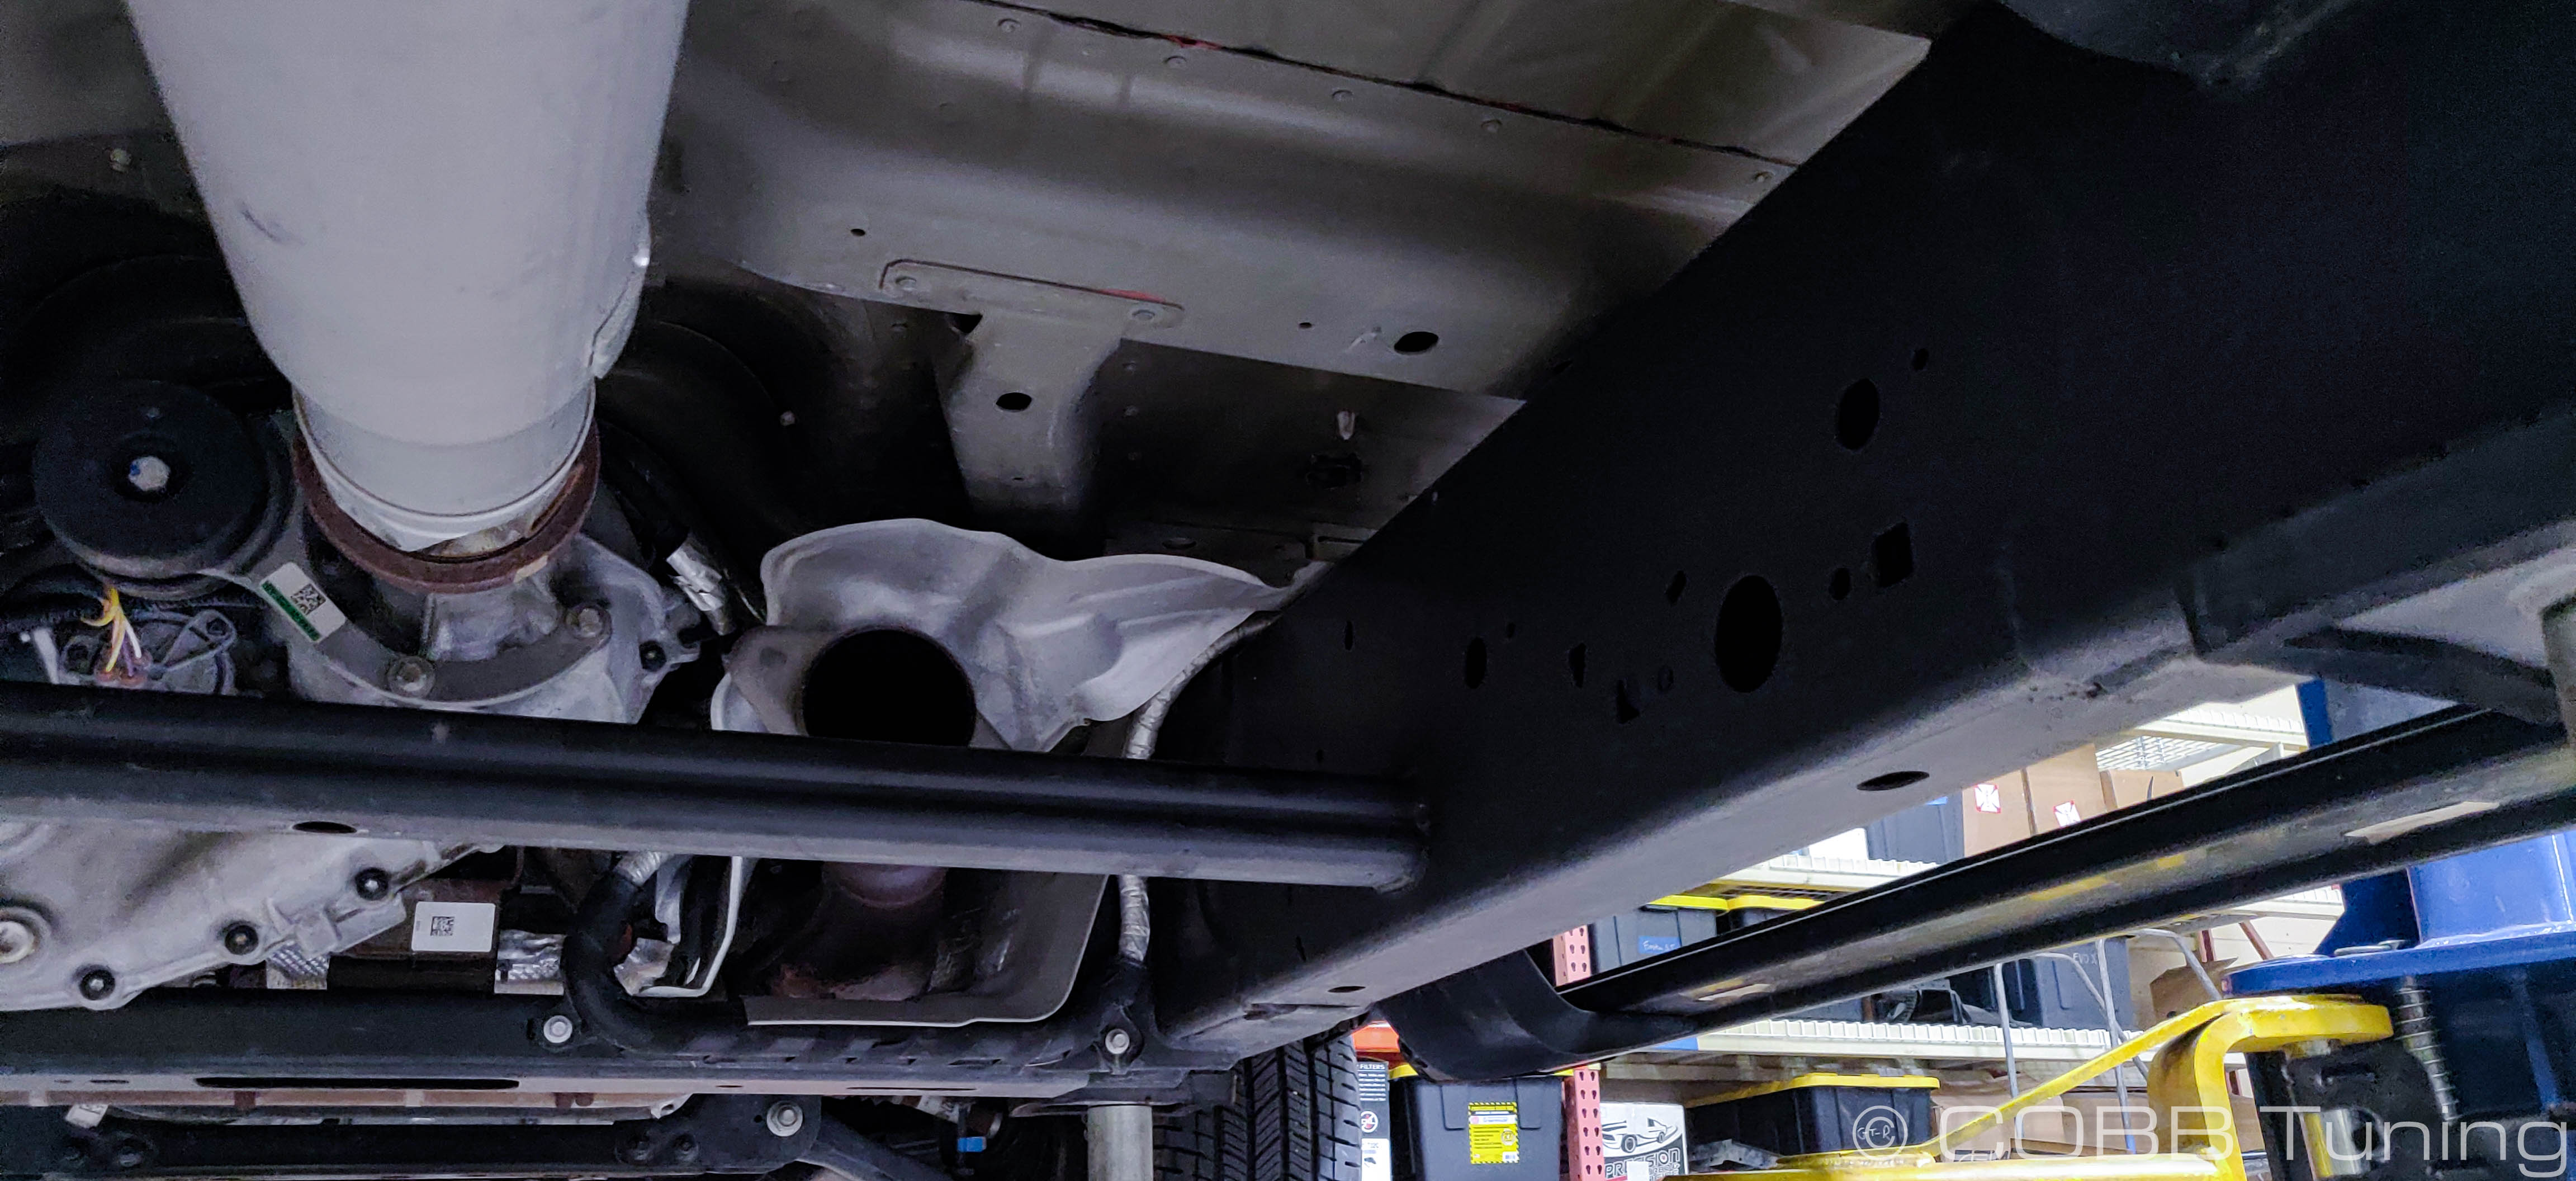
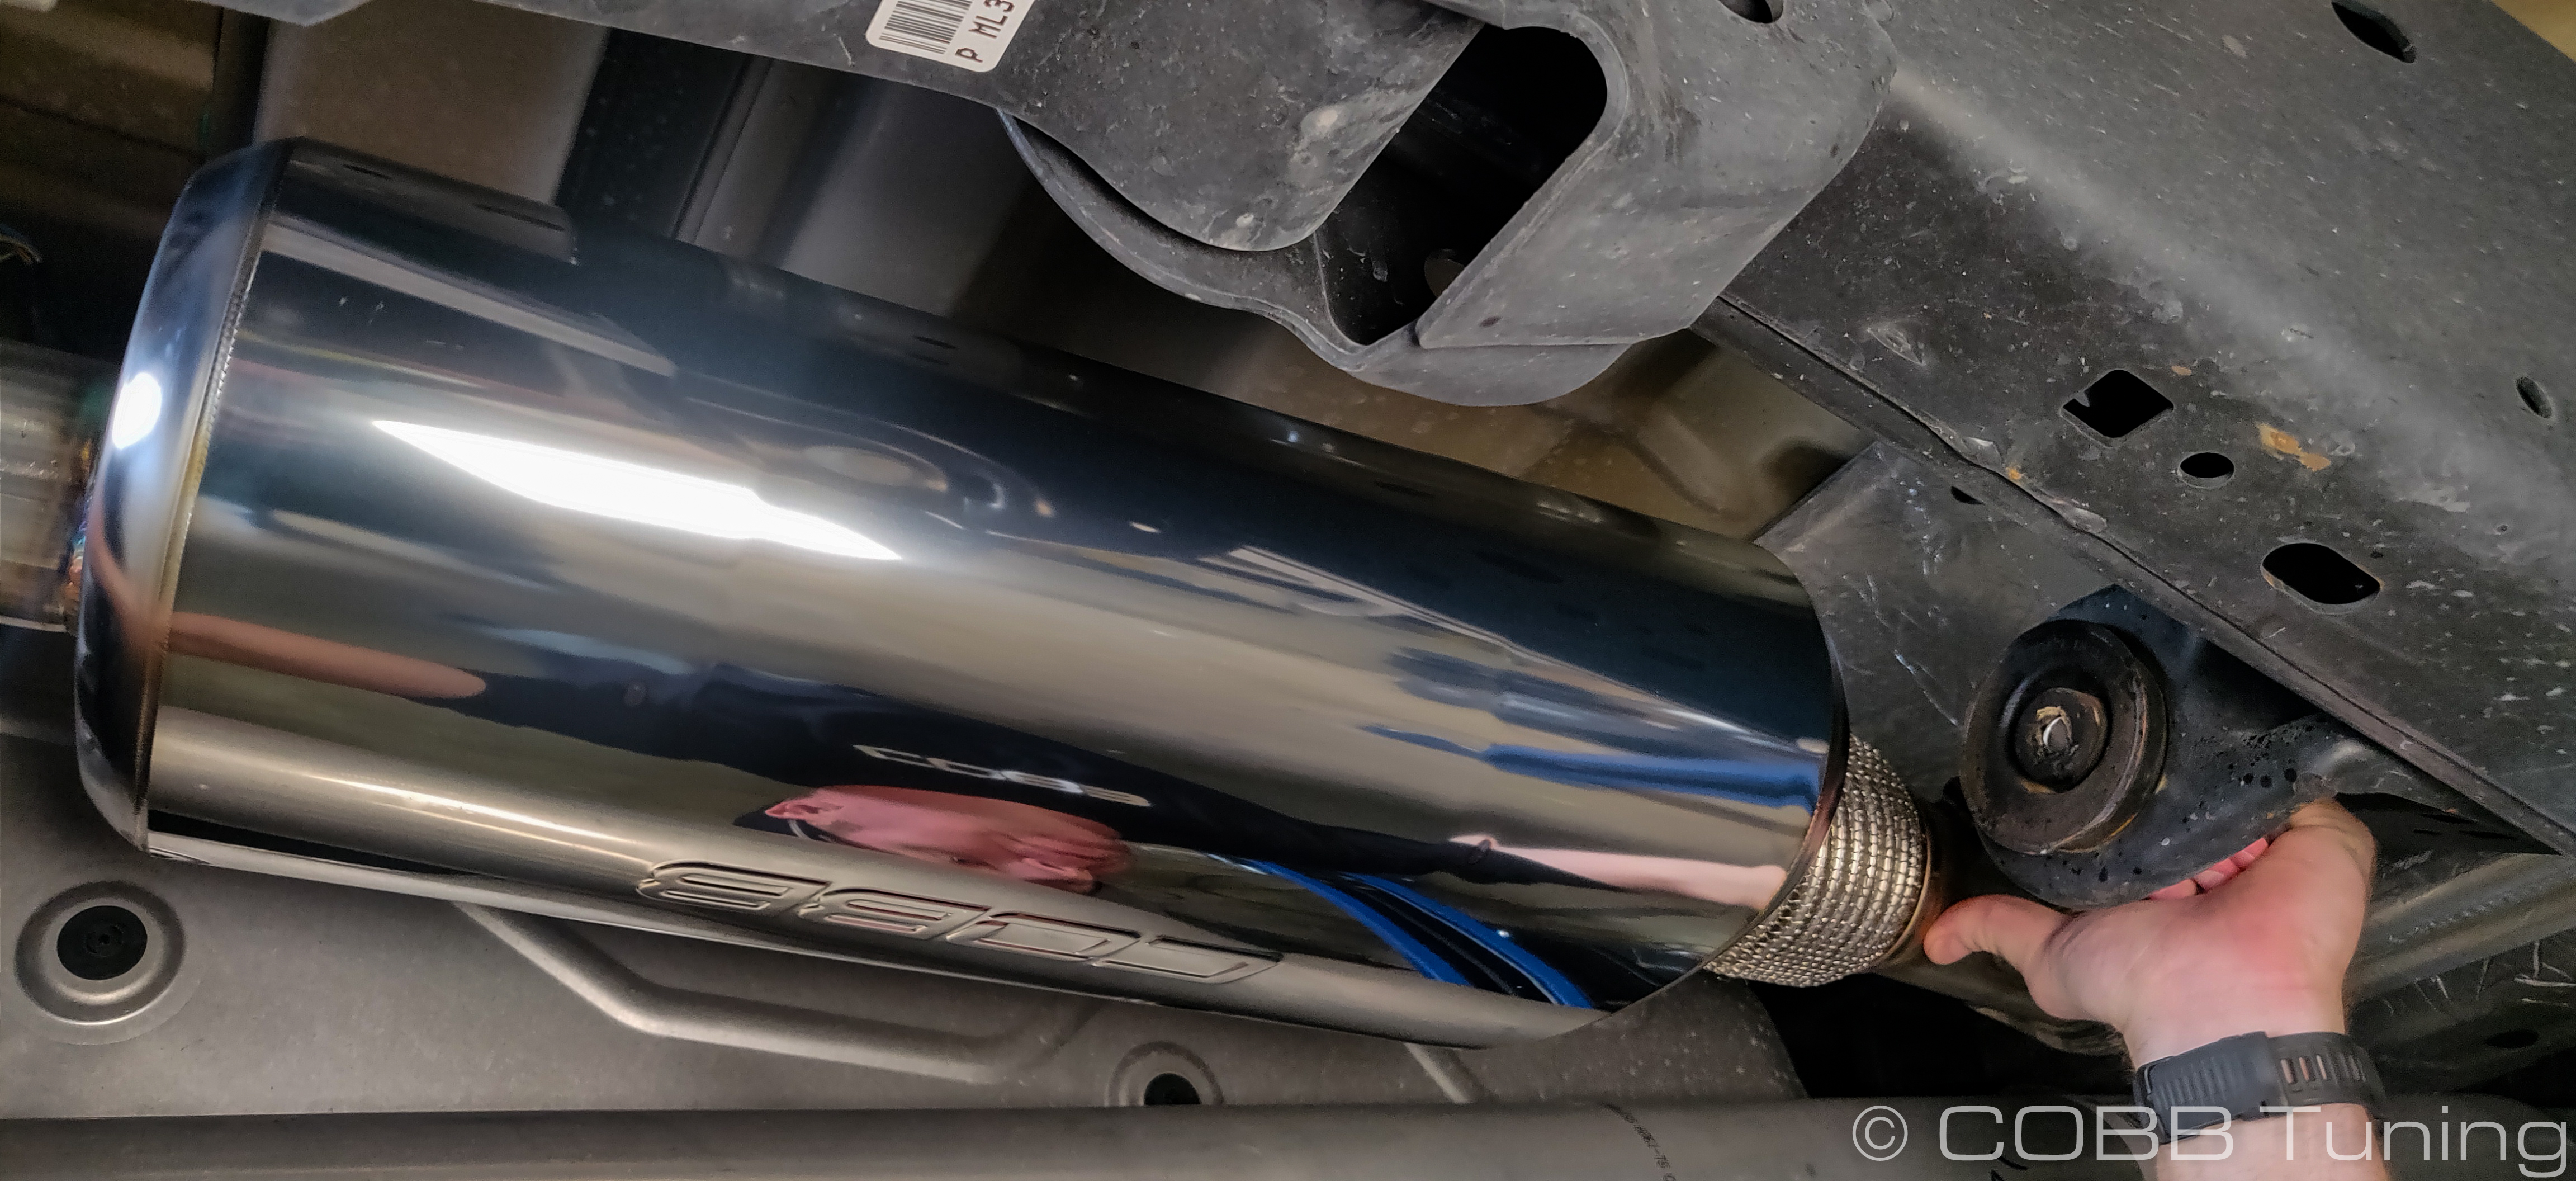
- Start by installing the muffler section. The lettering on the muffler should face downward with the curved portion going towards the rear of the truck and over the axle. The front hanger should go into the further bacvk of the two center exhaust hangers.

- Work the rear exhaust tip section over the differential, into the hanger and attach it to the muffler section. You'll use two of the shorter flange bolts, two of the supplied nuts, and one of the supplied 3" gaskets to connect the two sections together. For now, leave them hand-tight.
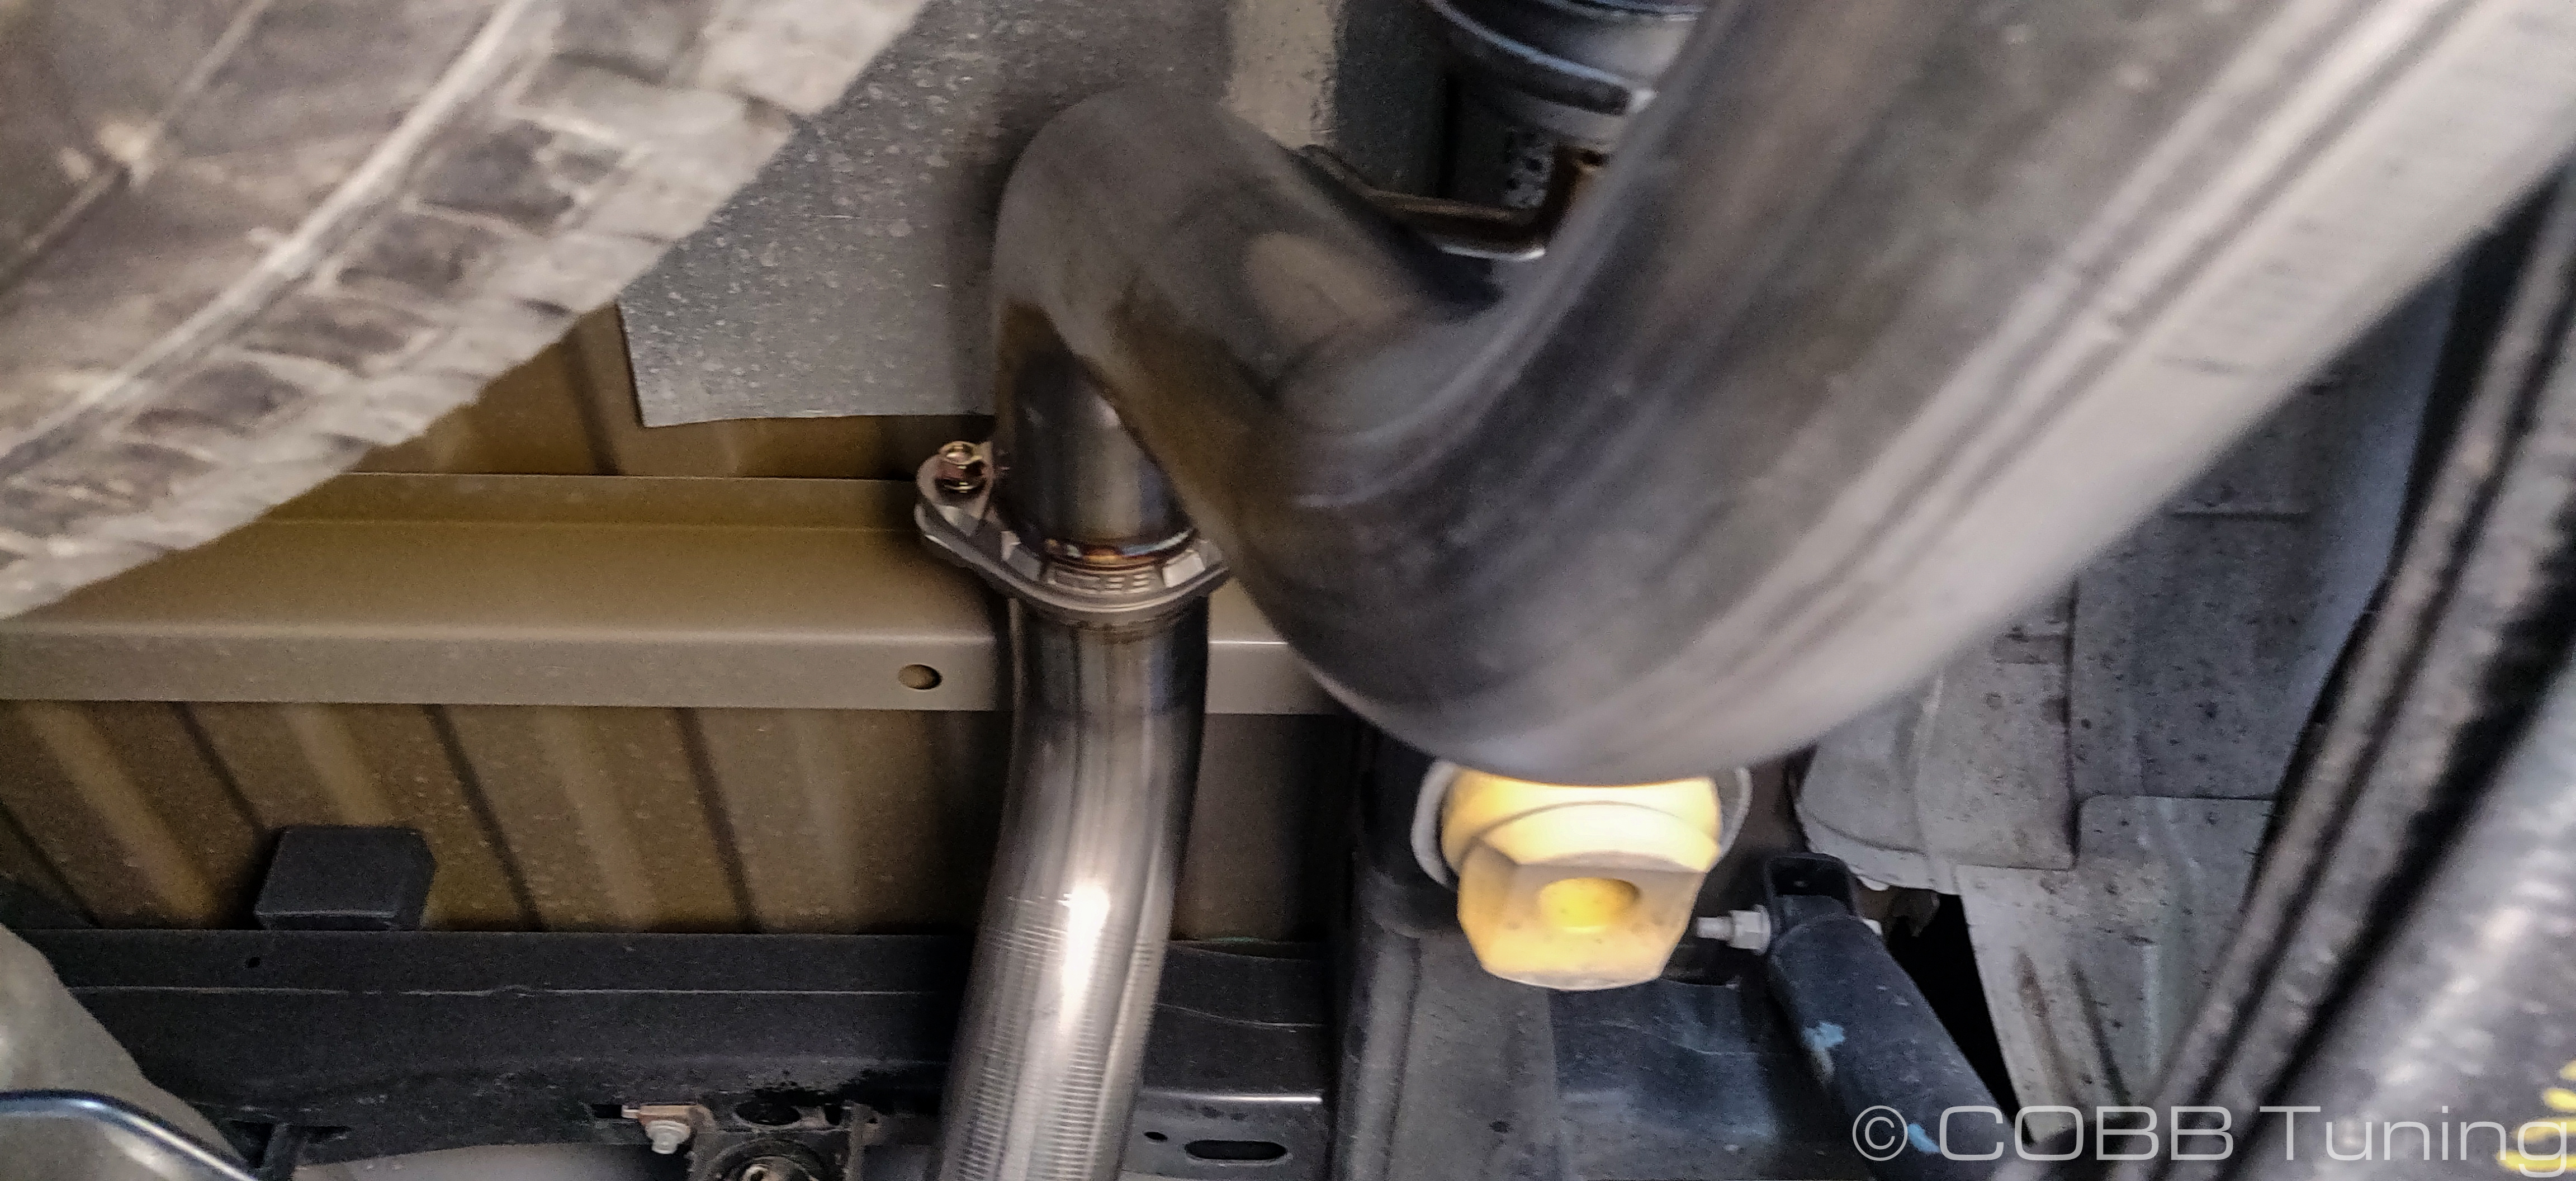
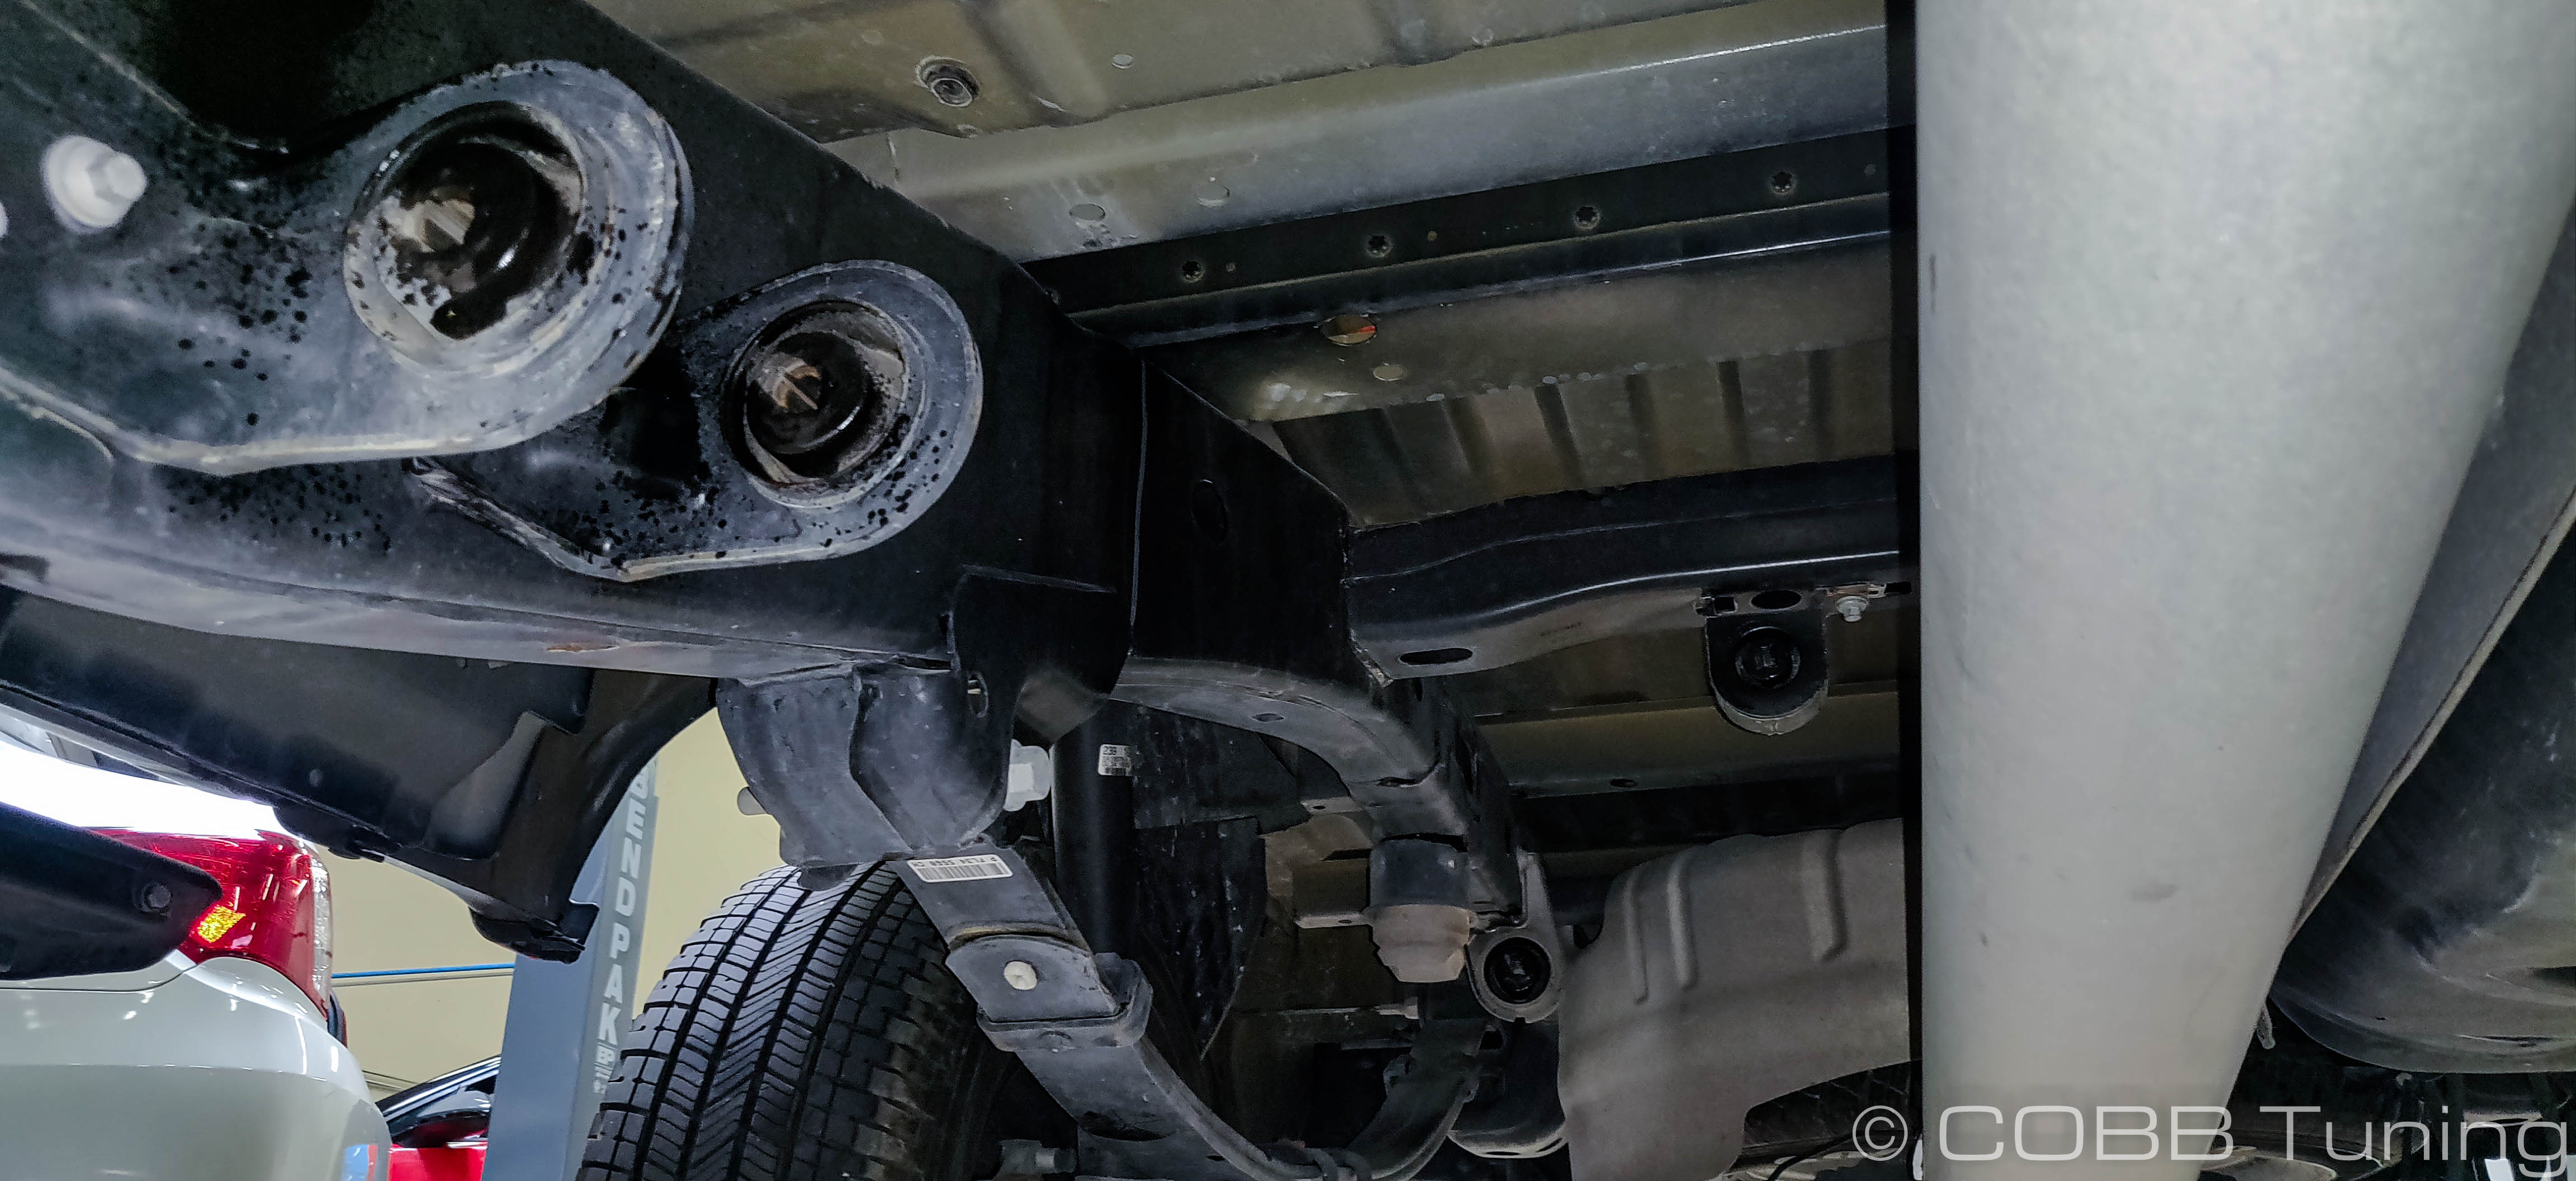
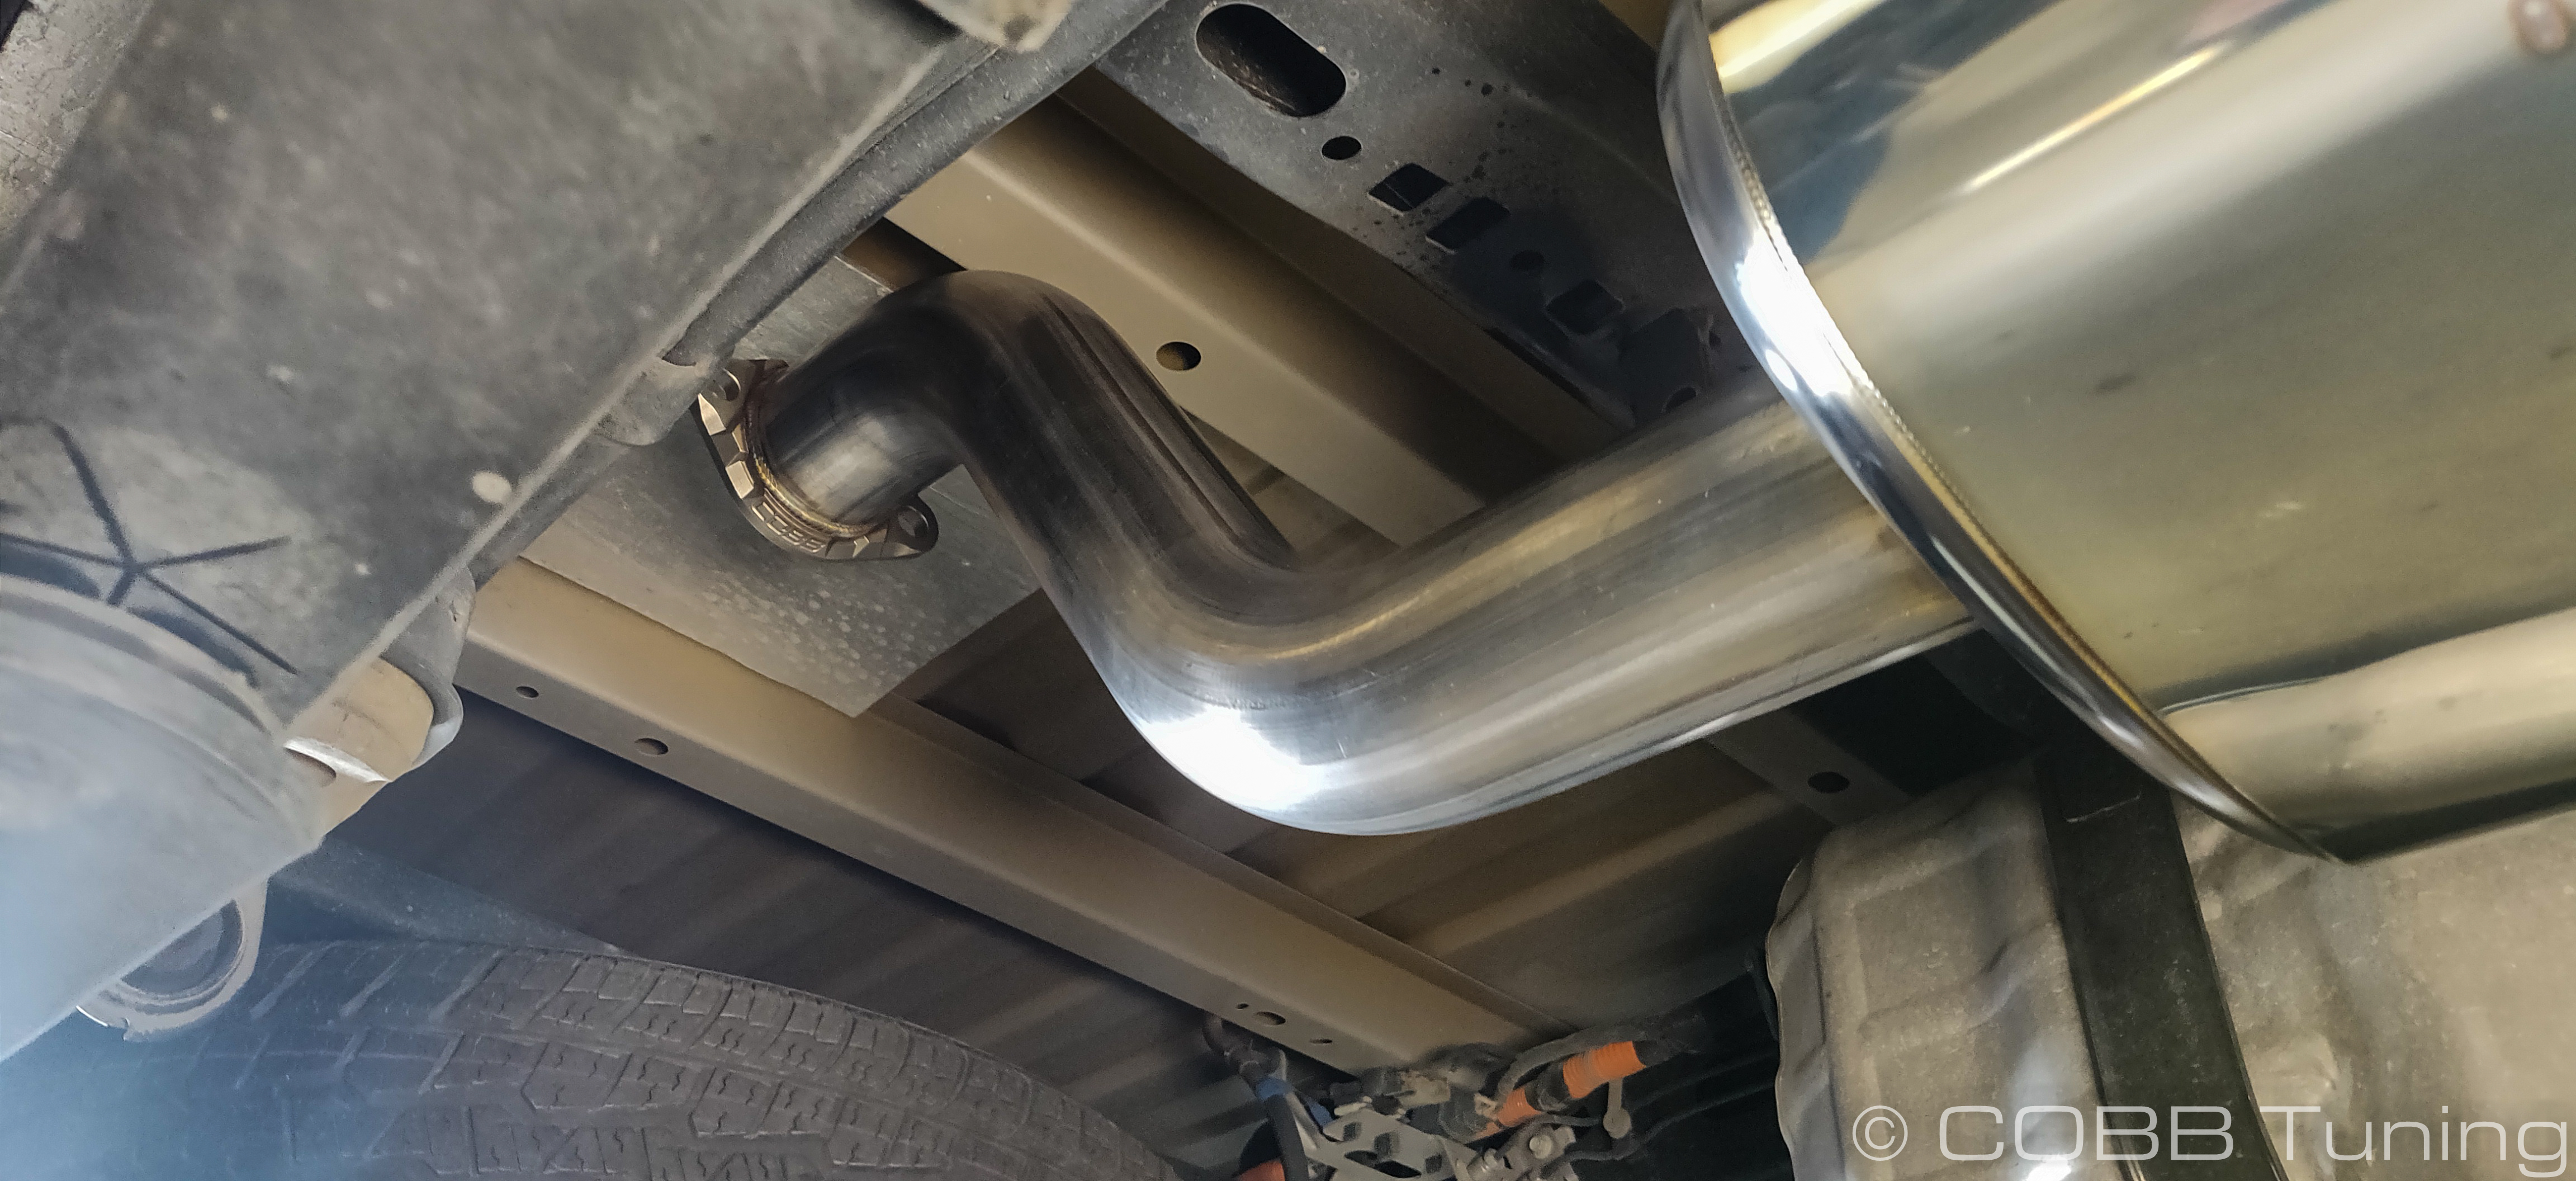
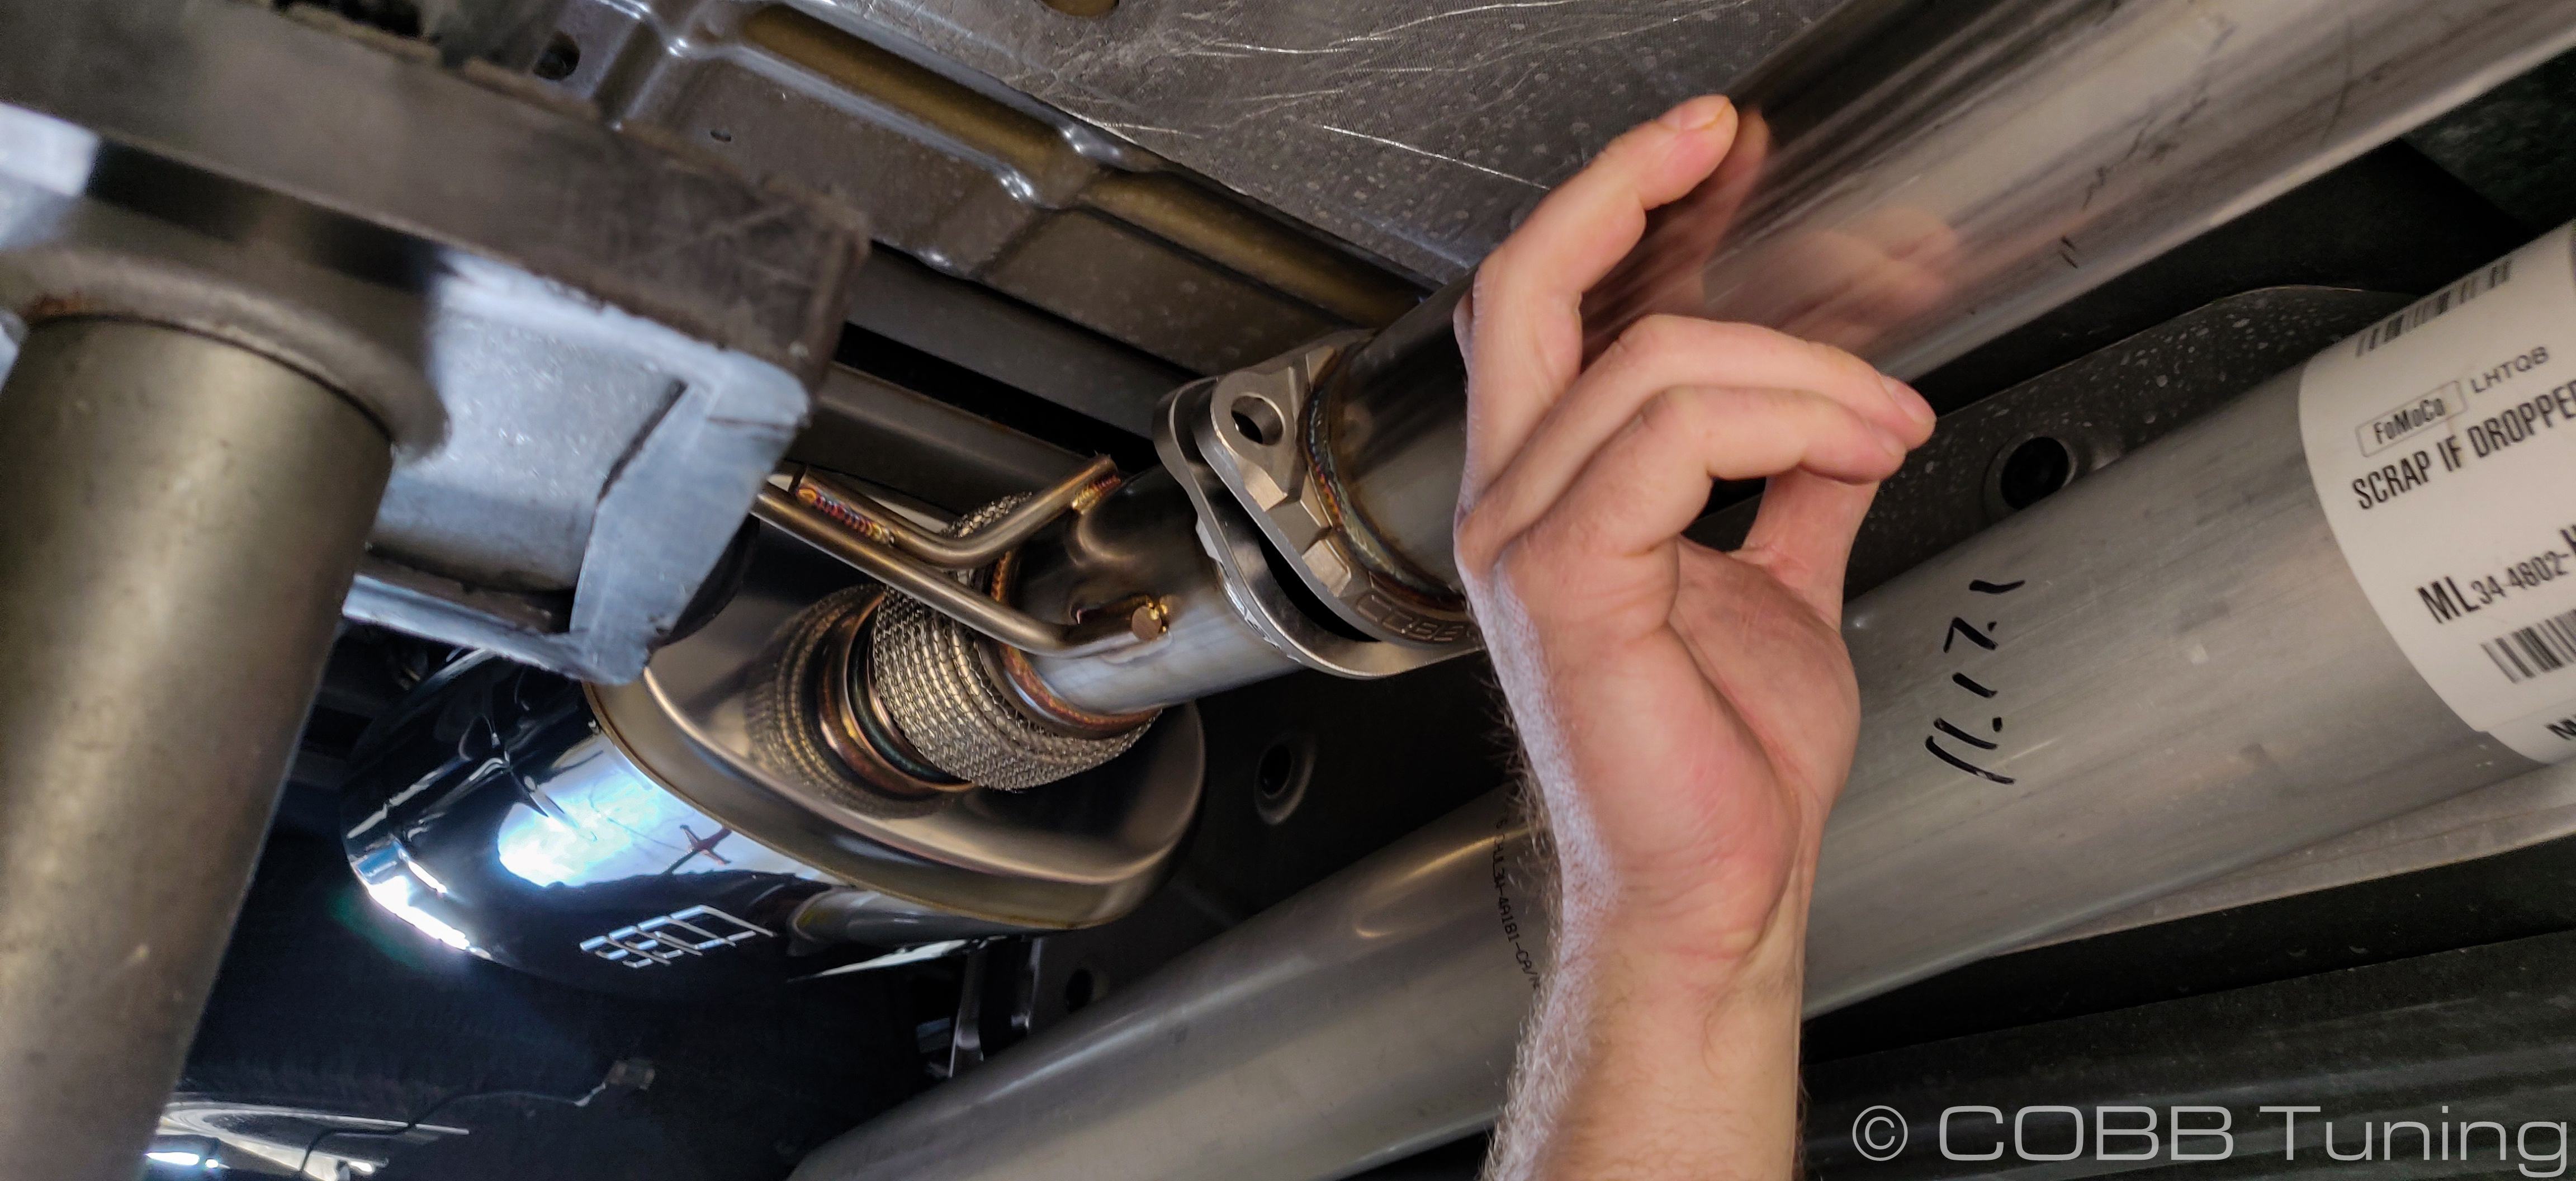
- move to the front section, install the end with the "spherical" sealing surface towards the downpipe section. Using the two stock bolts, install them going from the back of the car towards the front. Keep in mind that the factory flange can get slightly stuck, but is actually able to be moved around and re-clocked. Leave the bolts hand tight for now.
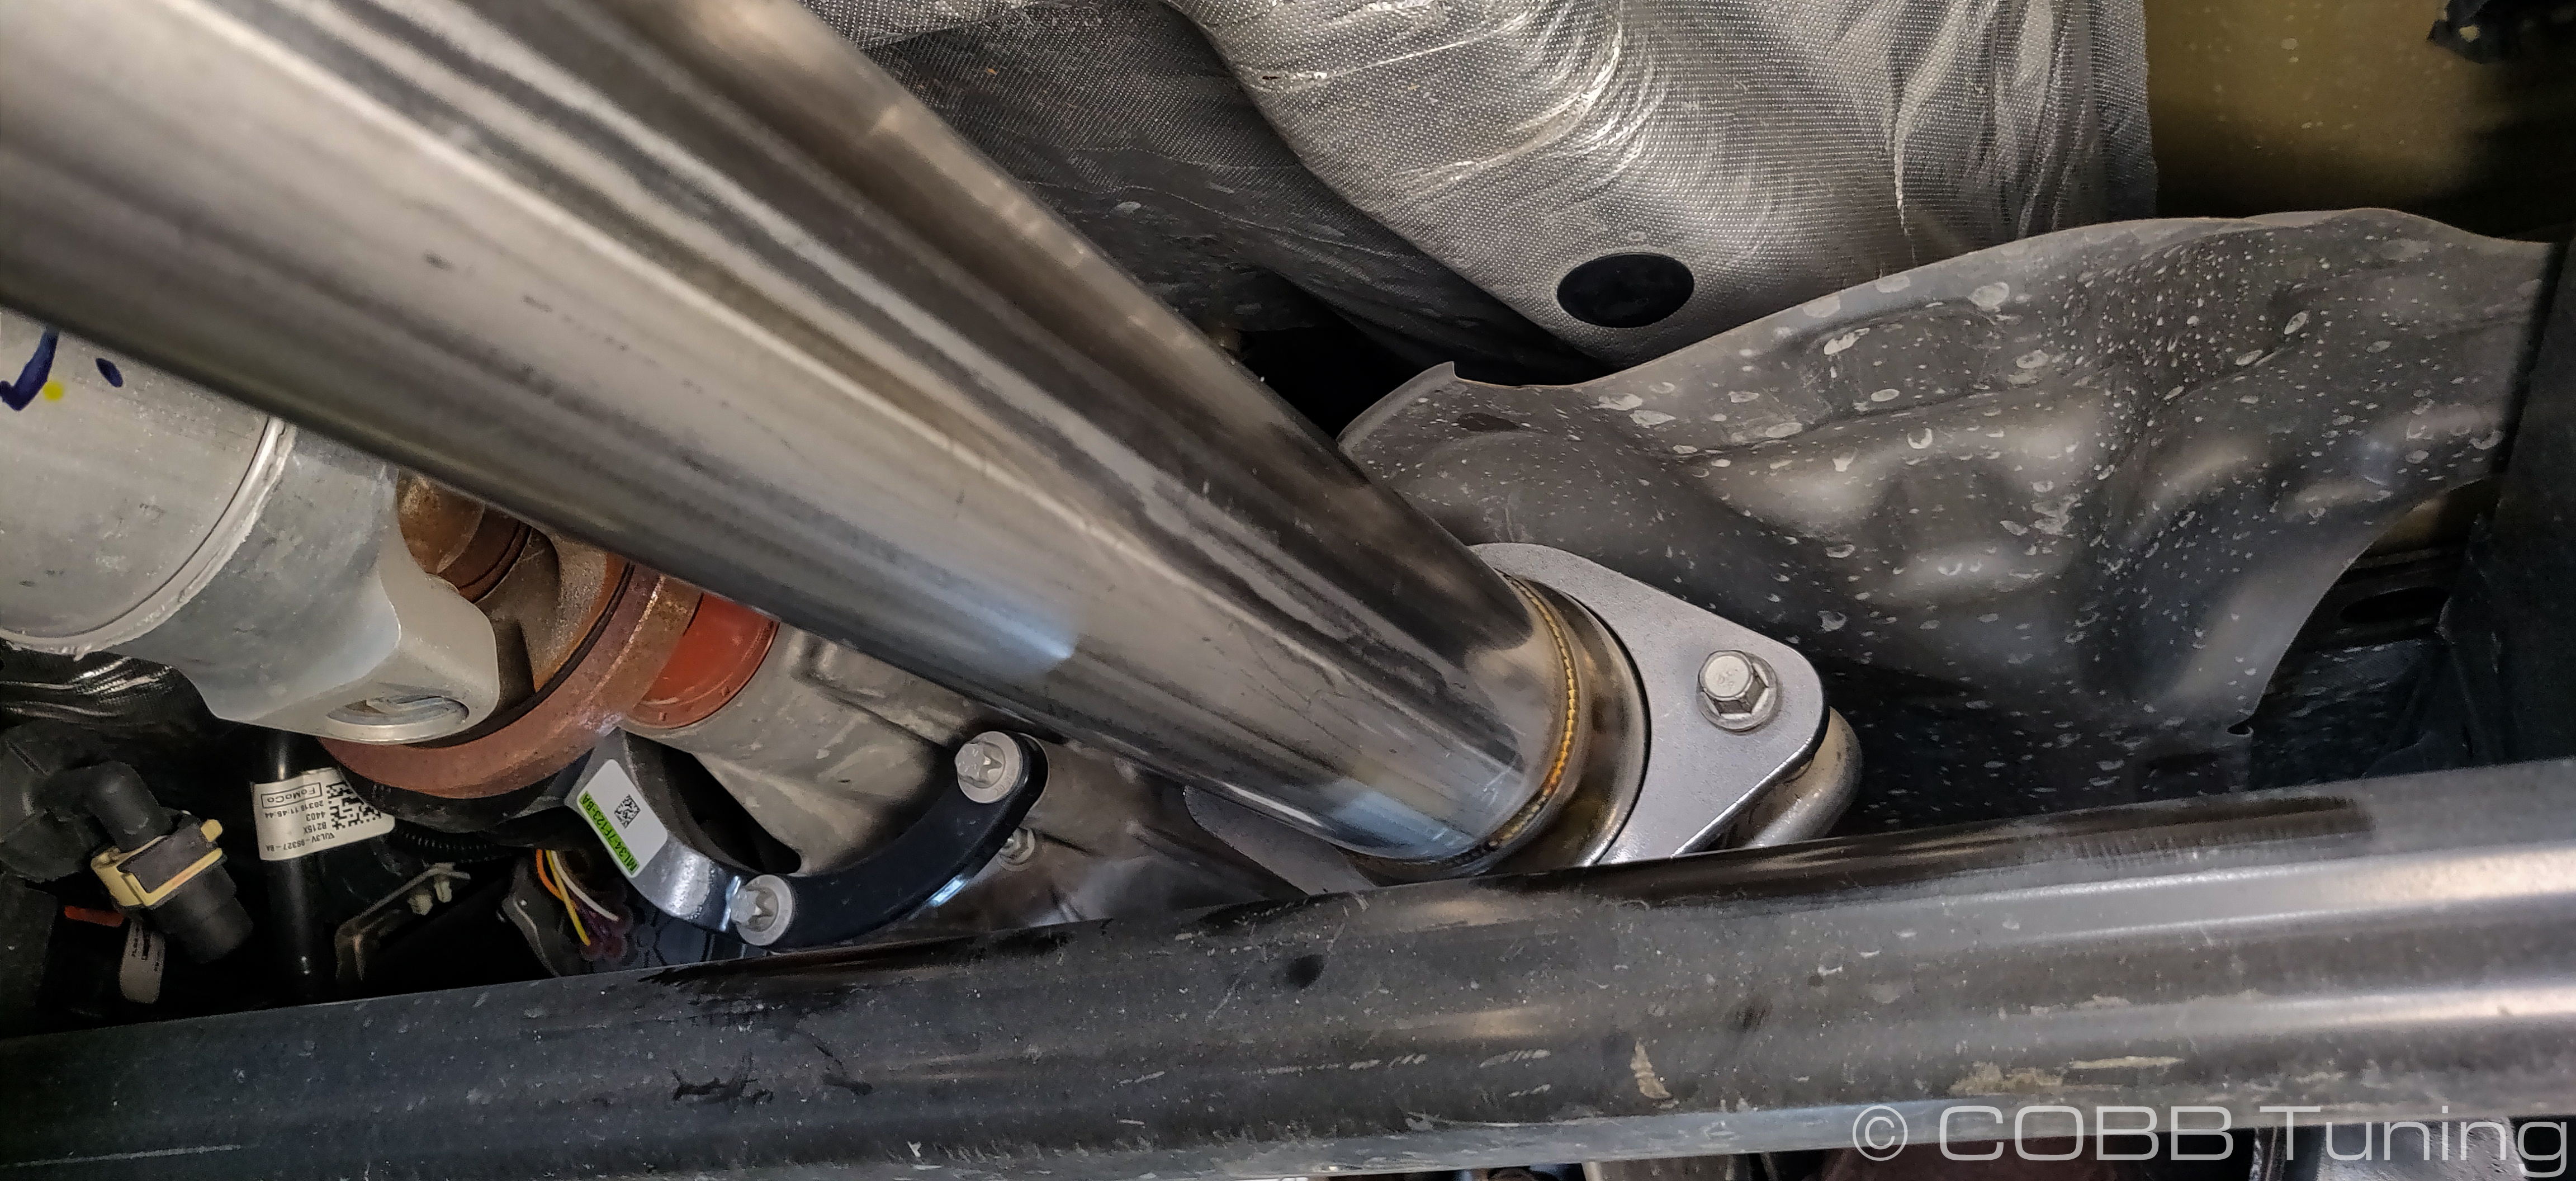
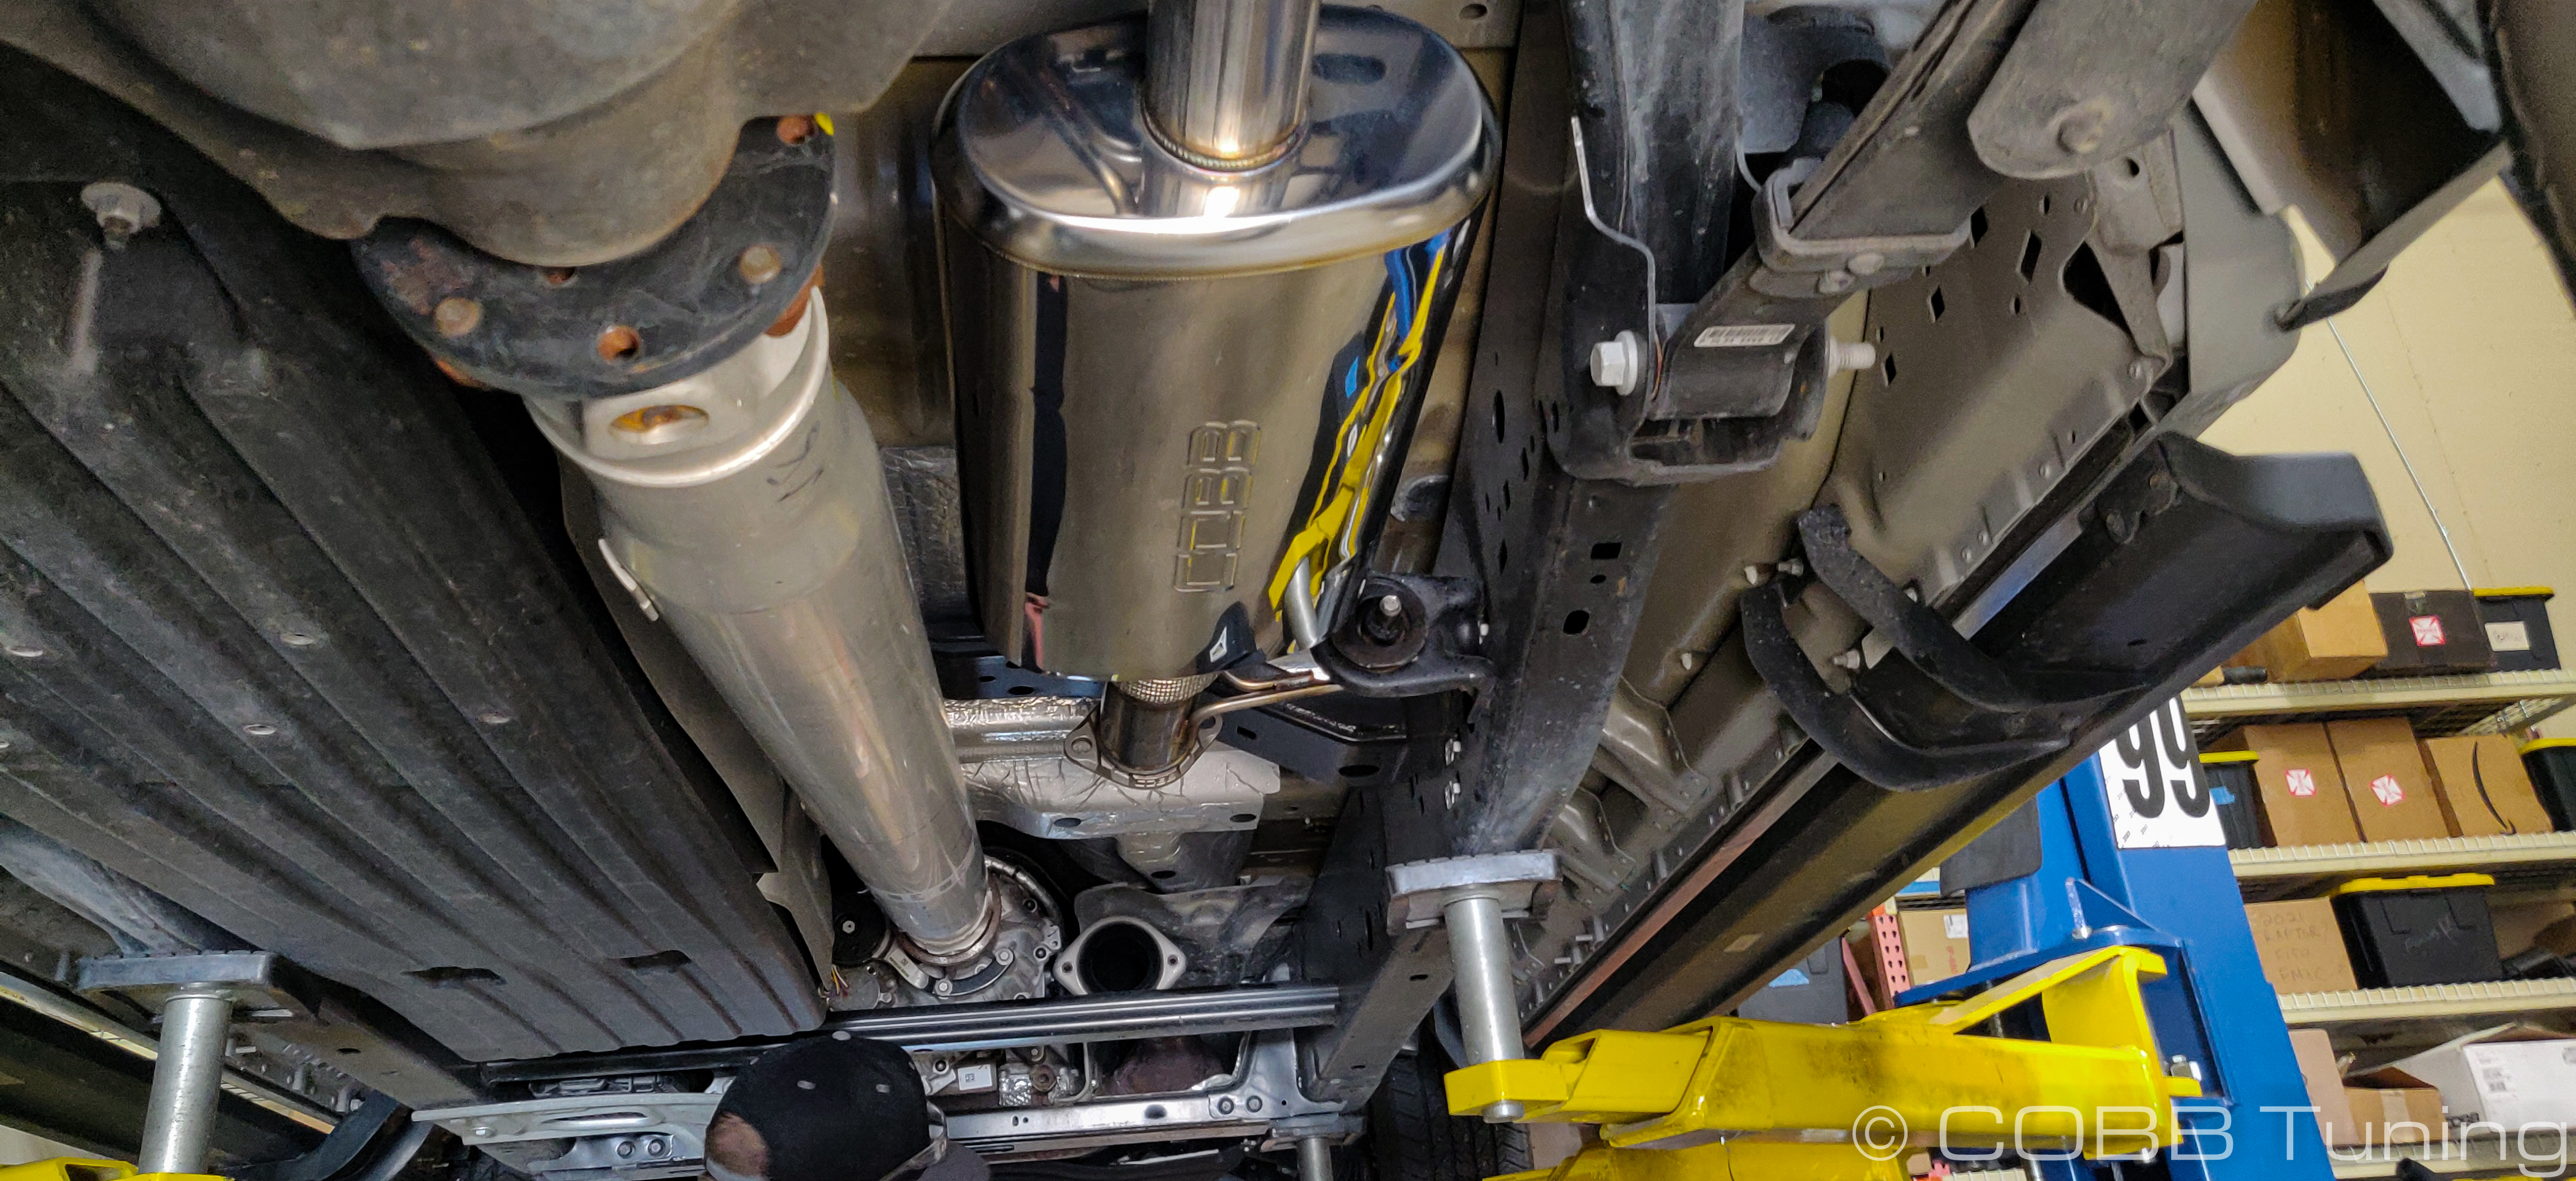
- Loosely connect the front straight section to the muffler section using the remaining two short flanged bolts along with the two serrated hex nuts and 3" gasket.
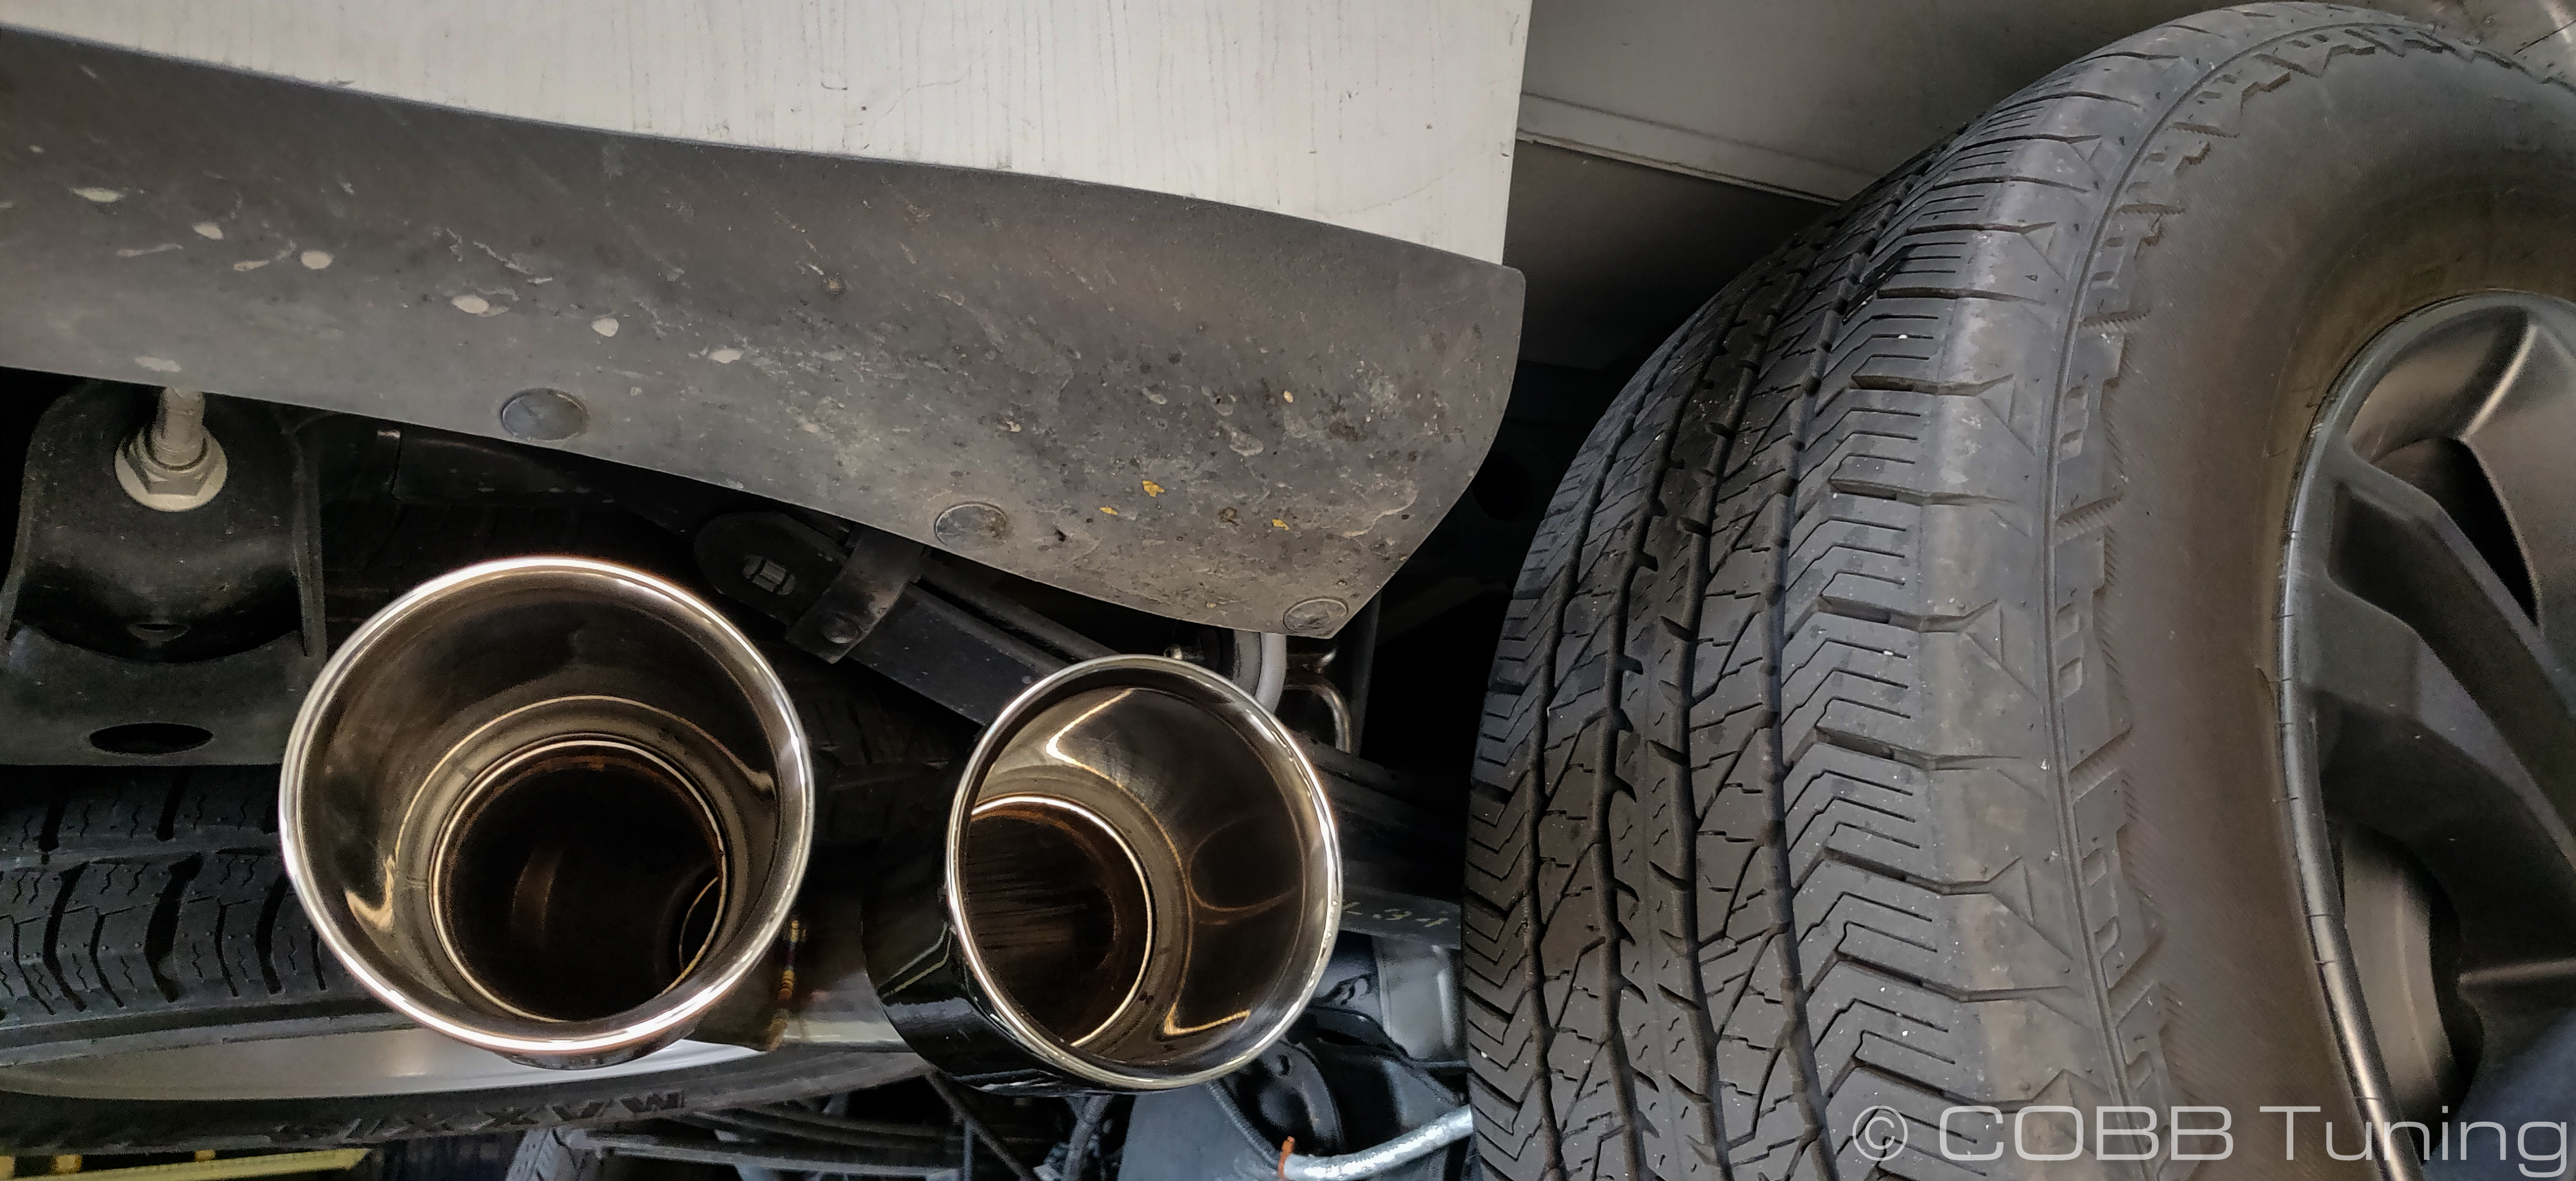
- Double check that the exhaust isn't hitting anything and that the tip is sitting how you want it. Move things around as necessary (the factory exhaust hangers can be moved a good amount to improve fitment as well)
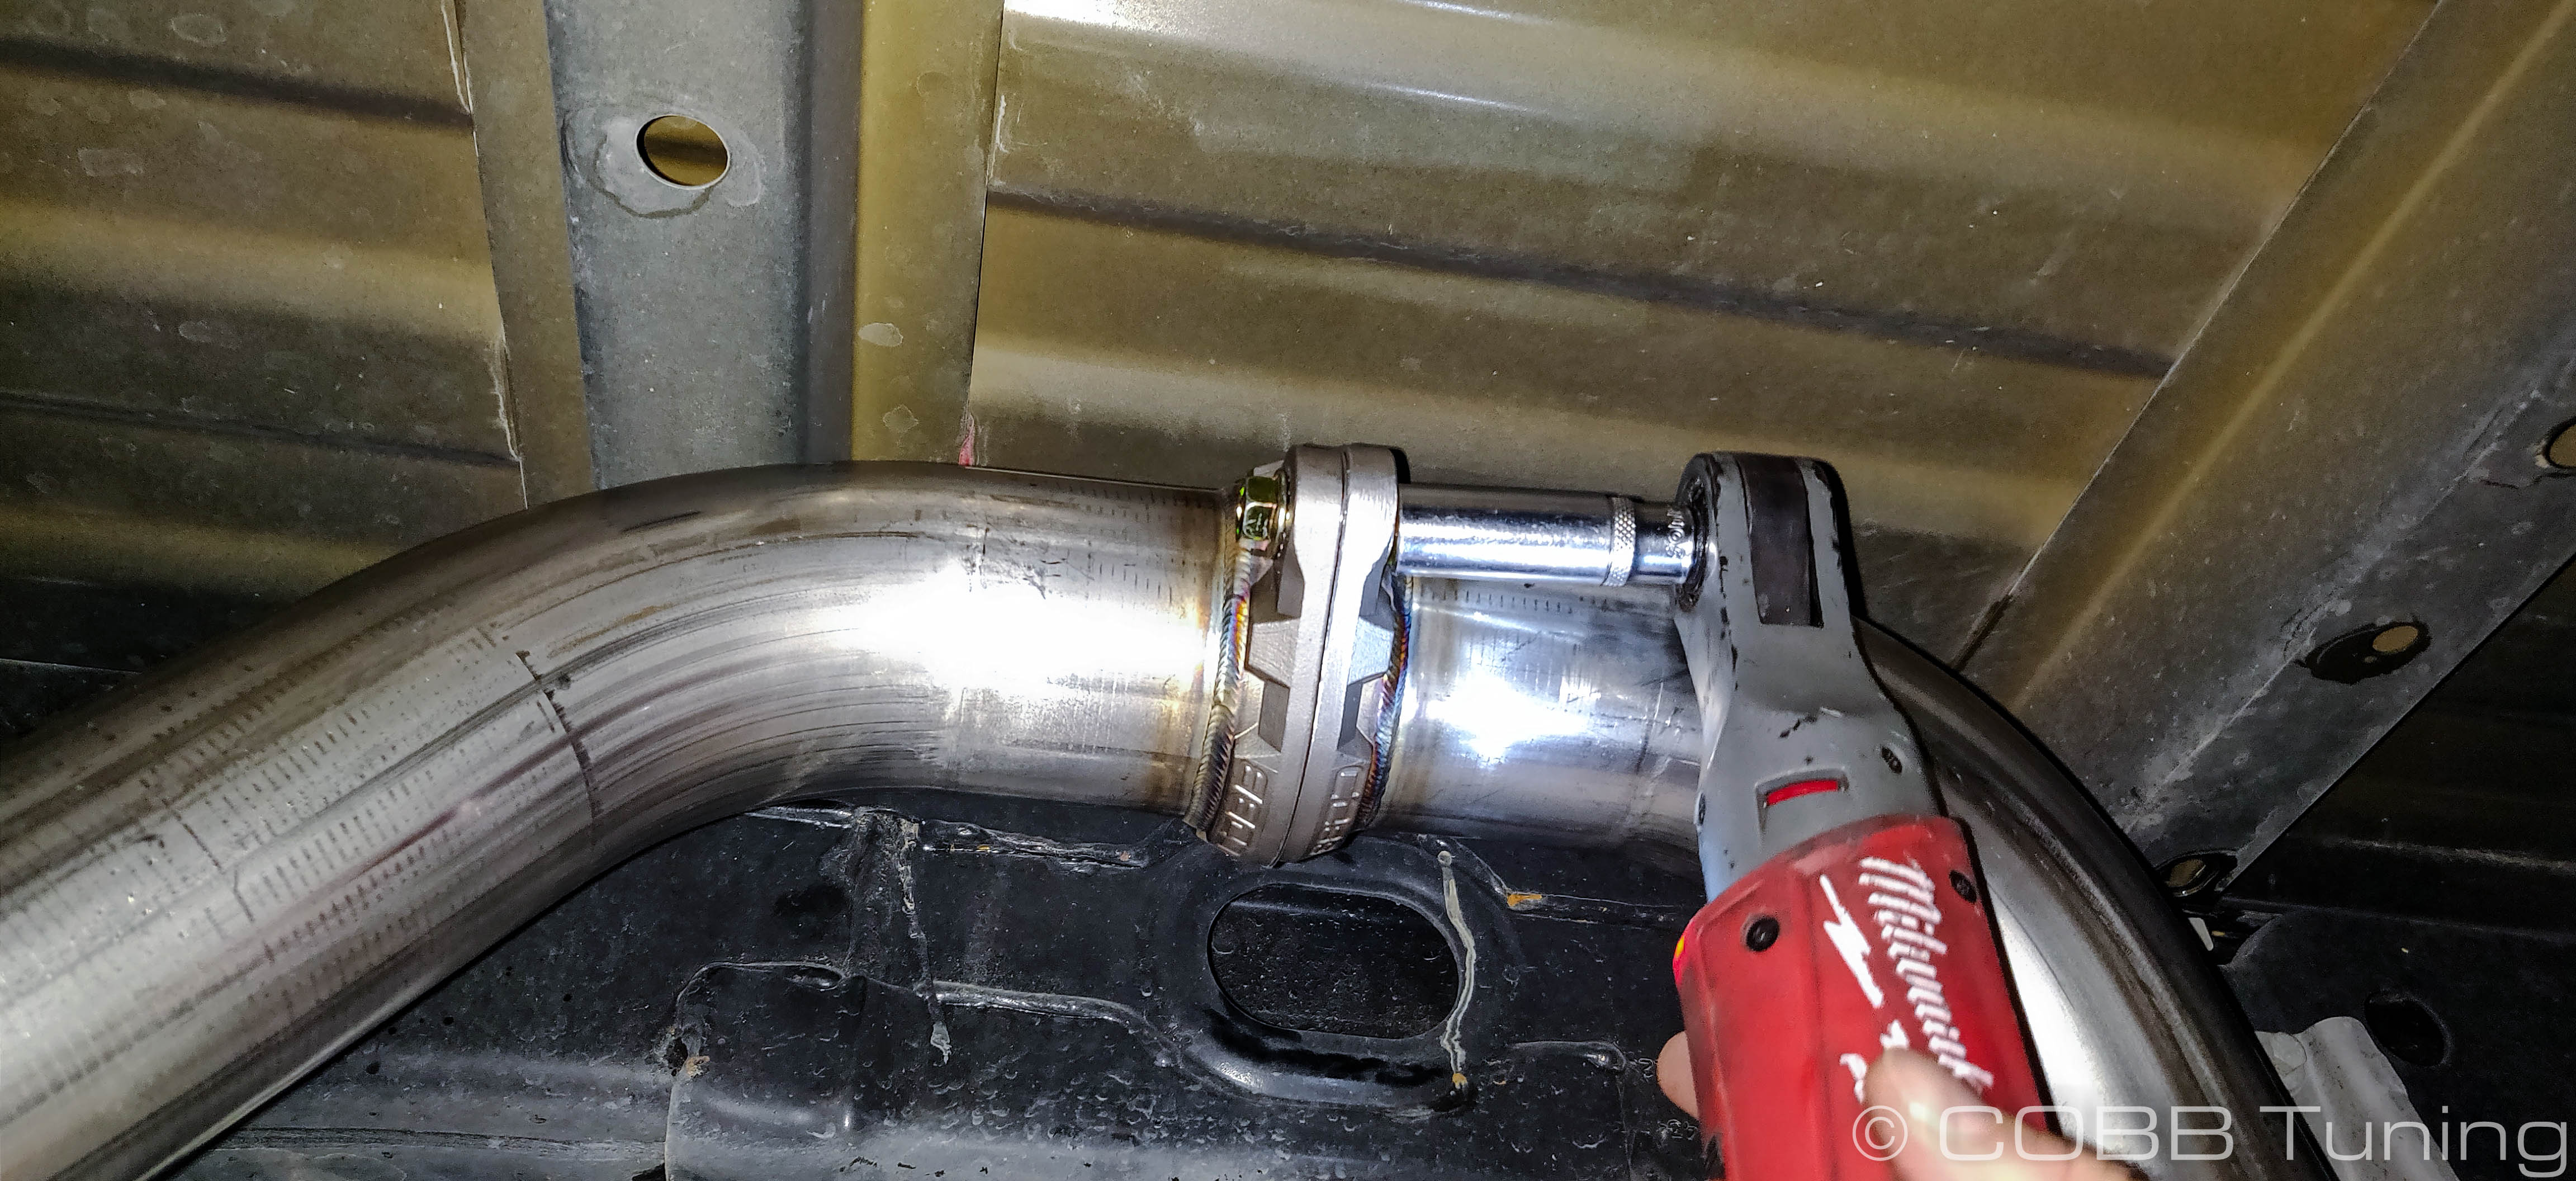
- Once you're happy with the fitment tighten down the exhaust connections using a 14mm socket and wrench.
- Wipe the exhaust down with denatured alcohol or brake cleaner and a rag to remove any oils or finger prints. While not necessary it prevents any marks from being burnt into the surface.
- You're all done! Go out and enjoy!
COBB Customer Support Web Support and Tech Articles: COBB Tuning Customer Support Center Email: support@cobbtuning.com Phone support available 9am to 6pm Monday-Thursday. 9am to 4pm Friday (CST) 866.922.3059 return to www.cobbtuning.comContact Us:
Related content
Copyright 2025 © COBB Tuning Products LLC. All Rights Reserved. | www.cobbtuning.com