
Co-Filter-Sock - F150 Raptor Intake Filter Sock
F150 Raptor 2017 - 2019
Congratulations on your purchase of the COBB Tuning Air Filter Sock! The following instructions will assist you through the installation process. Please read them BEFORE beginning the install to familiarize yourself with the steps and tools needed. If you feel you cannot properly perform this installation, we HIGHLY recommend you take the vehicle to a qualified and experienced automotive technician.
Table of Contents
Parts List
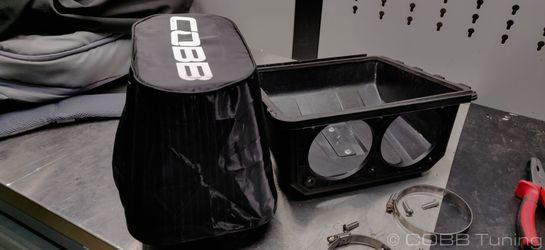
- COBB Air Filter Sock
Tools Needed
Sockets
3/8"
Air Filter Sock Installation
- This can be done either when installing the intake for the first time or with it installed onto the car.
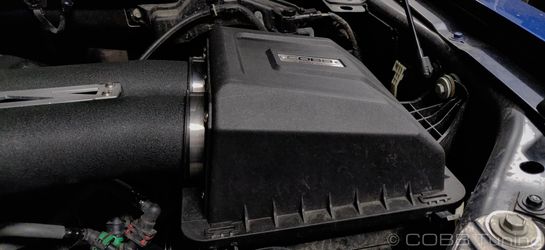
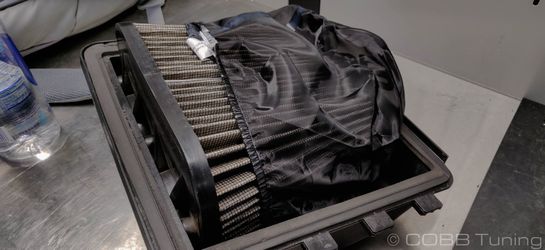
- If the filter is already installed on the car you'll want to start by undoing the two hose clamps and pop the two tabs in order to remove the airbox lid from the car.
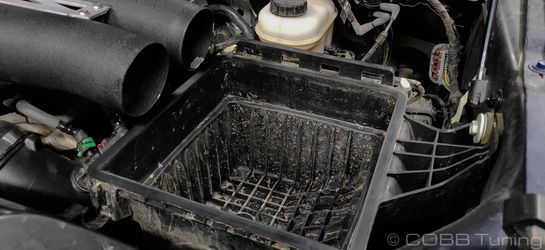
- While you can install the sock over the filter while it's installed to the lid, it's definitely easier with the lid off. To do so remove the six 4mm allen bolts and pop the filter free.
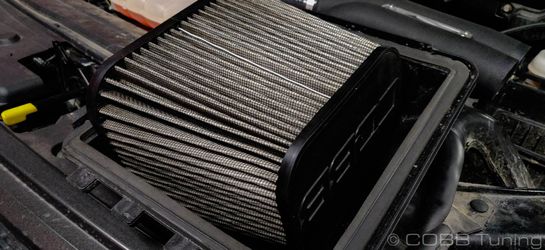
- Reinstall and go out and enjoy! If you run your truck in a dusty environment you'll want to check and clean the filter and sock on a regular interval as clogging can lead to reduced power and less efficient filtration.
Links
Ford Raptor Map NotesCOBB Customer Support Web Support and Tech Articles: COBB Tuning Customer Support Center Email: support@cobbtuning.com Phone support available 9am to 6pm Monday-Thursday. 9am to 4pm Friday (CST) 866.922.3059 return to www.cobbtuning.comContact Us: