
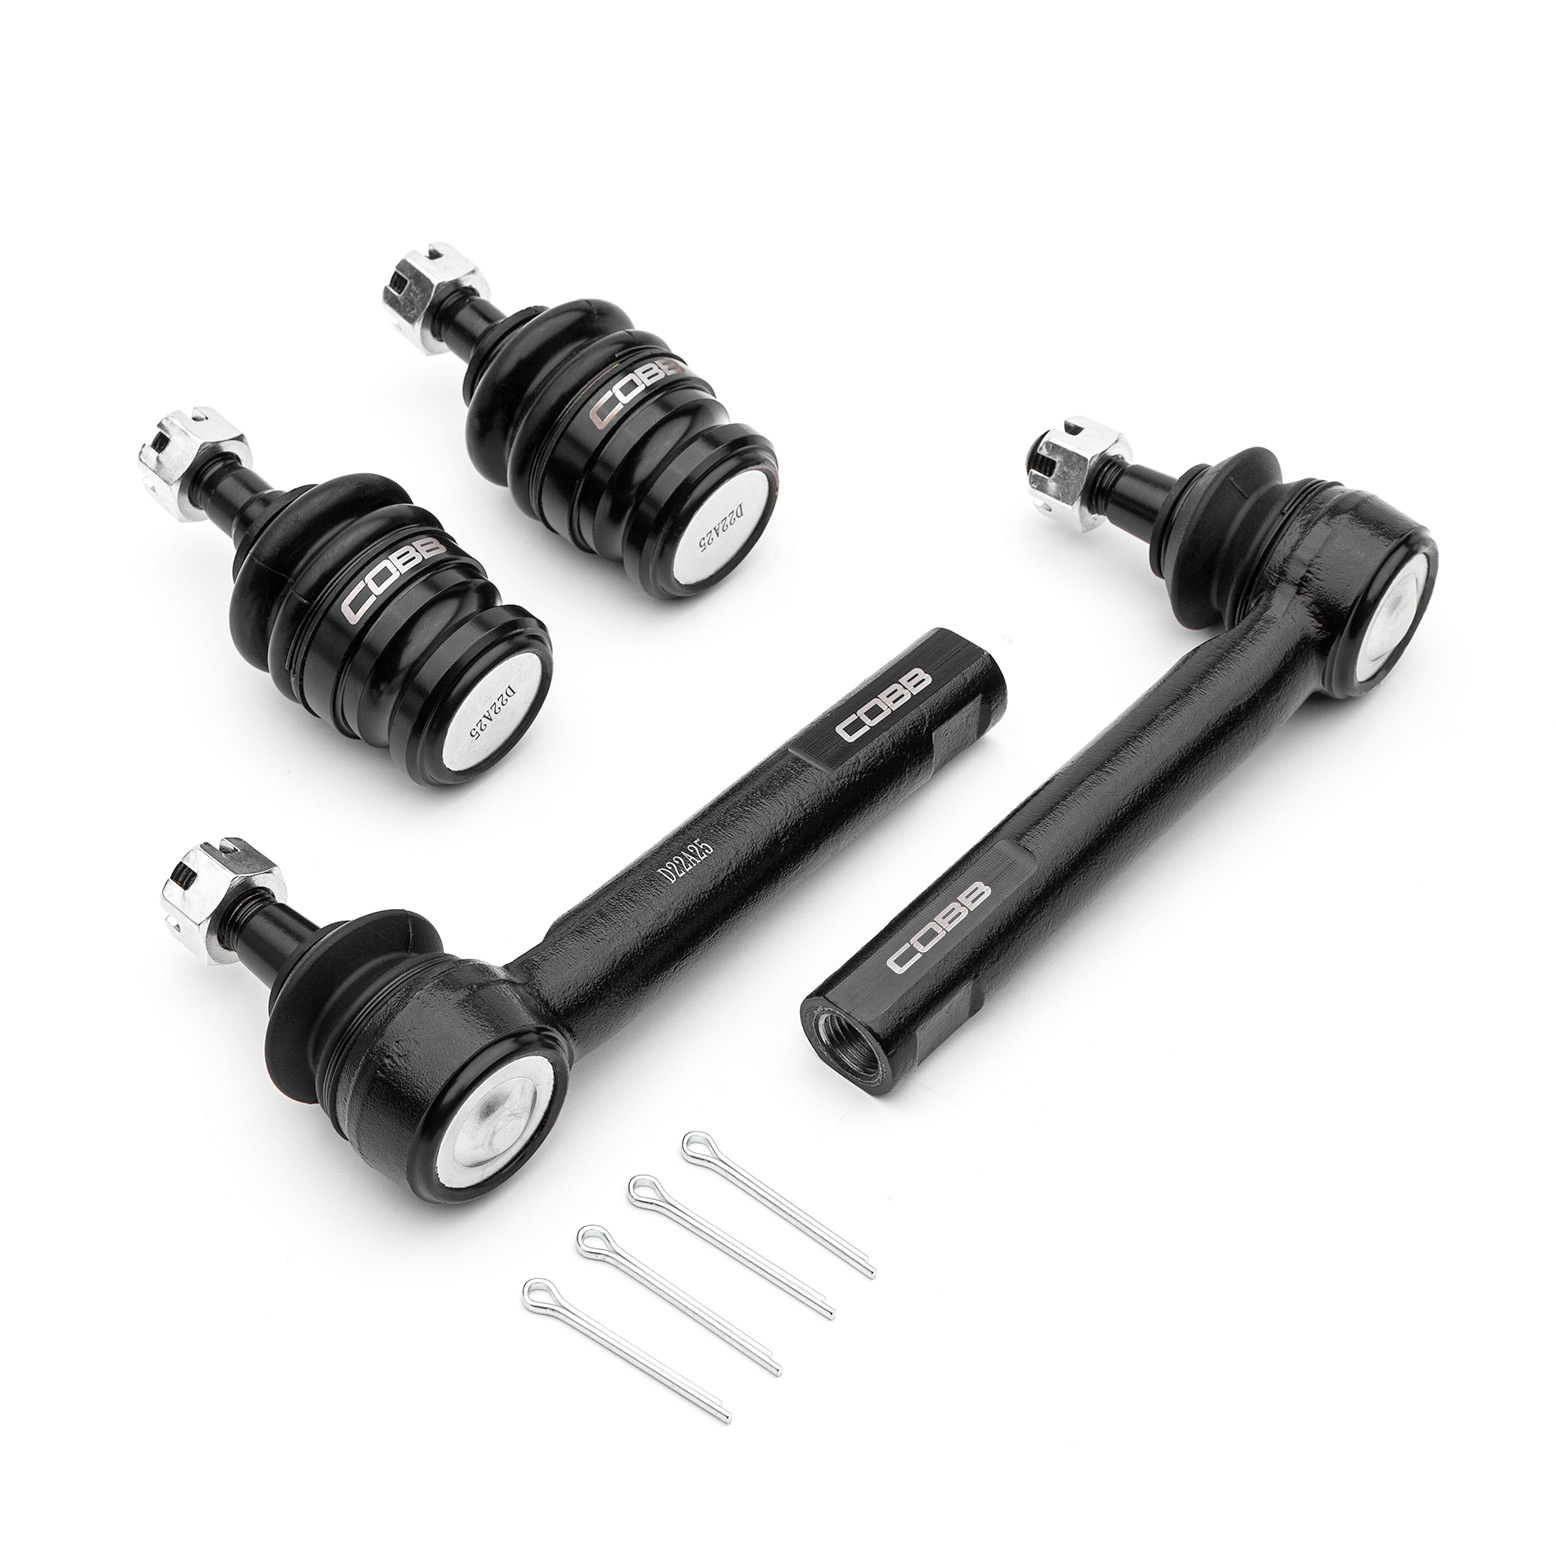
CB-0002 – Subaru Roll Center Correction Kit
2008 - 2021 Subaru WRX, WRX STI
Congratulations on your purchase of the COBB Tuning Roll Center Correction Kit! The following instructions will assist you through the installation process. Please read them BEFORE beginning the install to familiarize yourself with the steps and tools needed. If you feel you cannot properly perform this installation, we HIGHLY recommend you take the vehicle to a qualified and experienced automotive technician.
Table of Contents
Parts List
Tools Needed
Sockets
1/2"
- 1/2" ratchet
- 1/2" 6" extension
- 1/2" 14mm socket
- 1/2" 19mm socket
Hand Tools
- Needlenose pliers
Wrenches
- 14mm combination wrench
- 17mm combination wrench
- 19mm combination wrench
Stock Swaybar Removal
Many of these components are a common spot to collect rust, so going through and hitting them with a penetrating oil the night before you plan to do the work can make things much easier when it comes time.
- Park your car in a flat, level area and allow it to cool down properly.
- Using a 10mm wrench, remove the negative terminal of the battery.
- Jack your car up and support it properly, either using a lift, ramps, or jack and jack stands.
- Lay a blanket or cardboard down under the car, or grab a creeper. In this case his name is Andrew
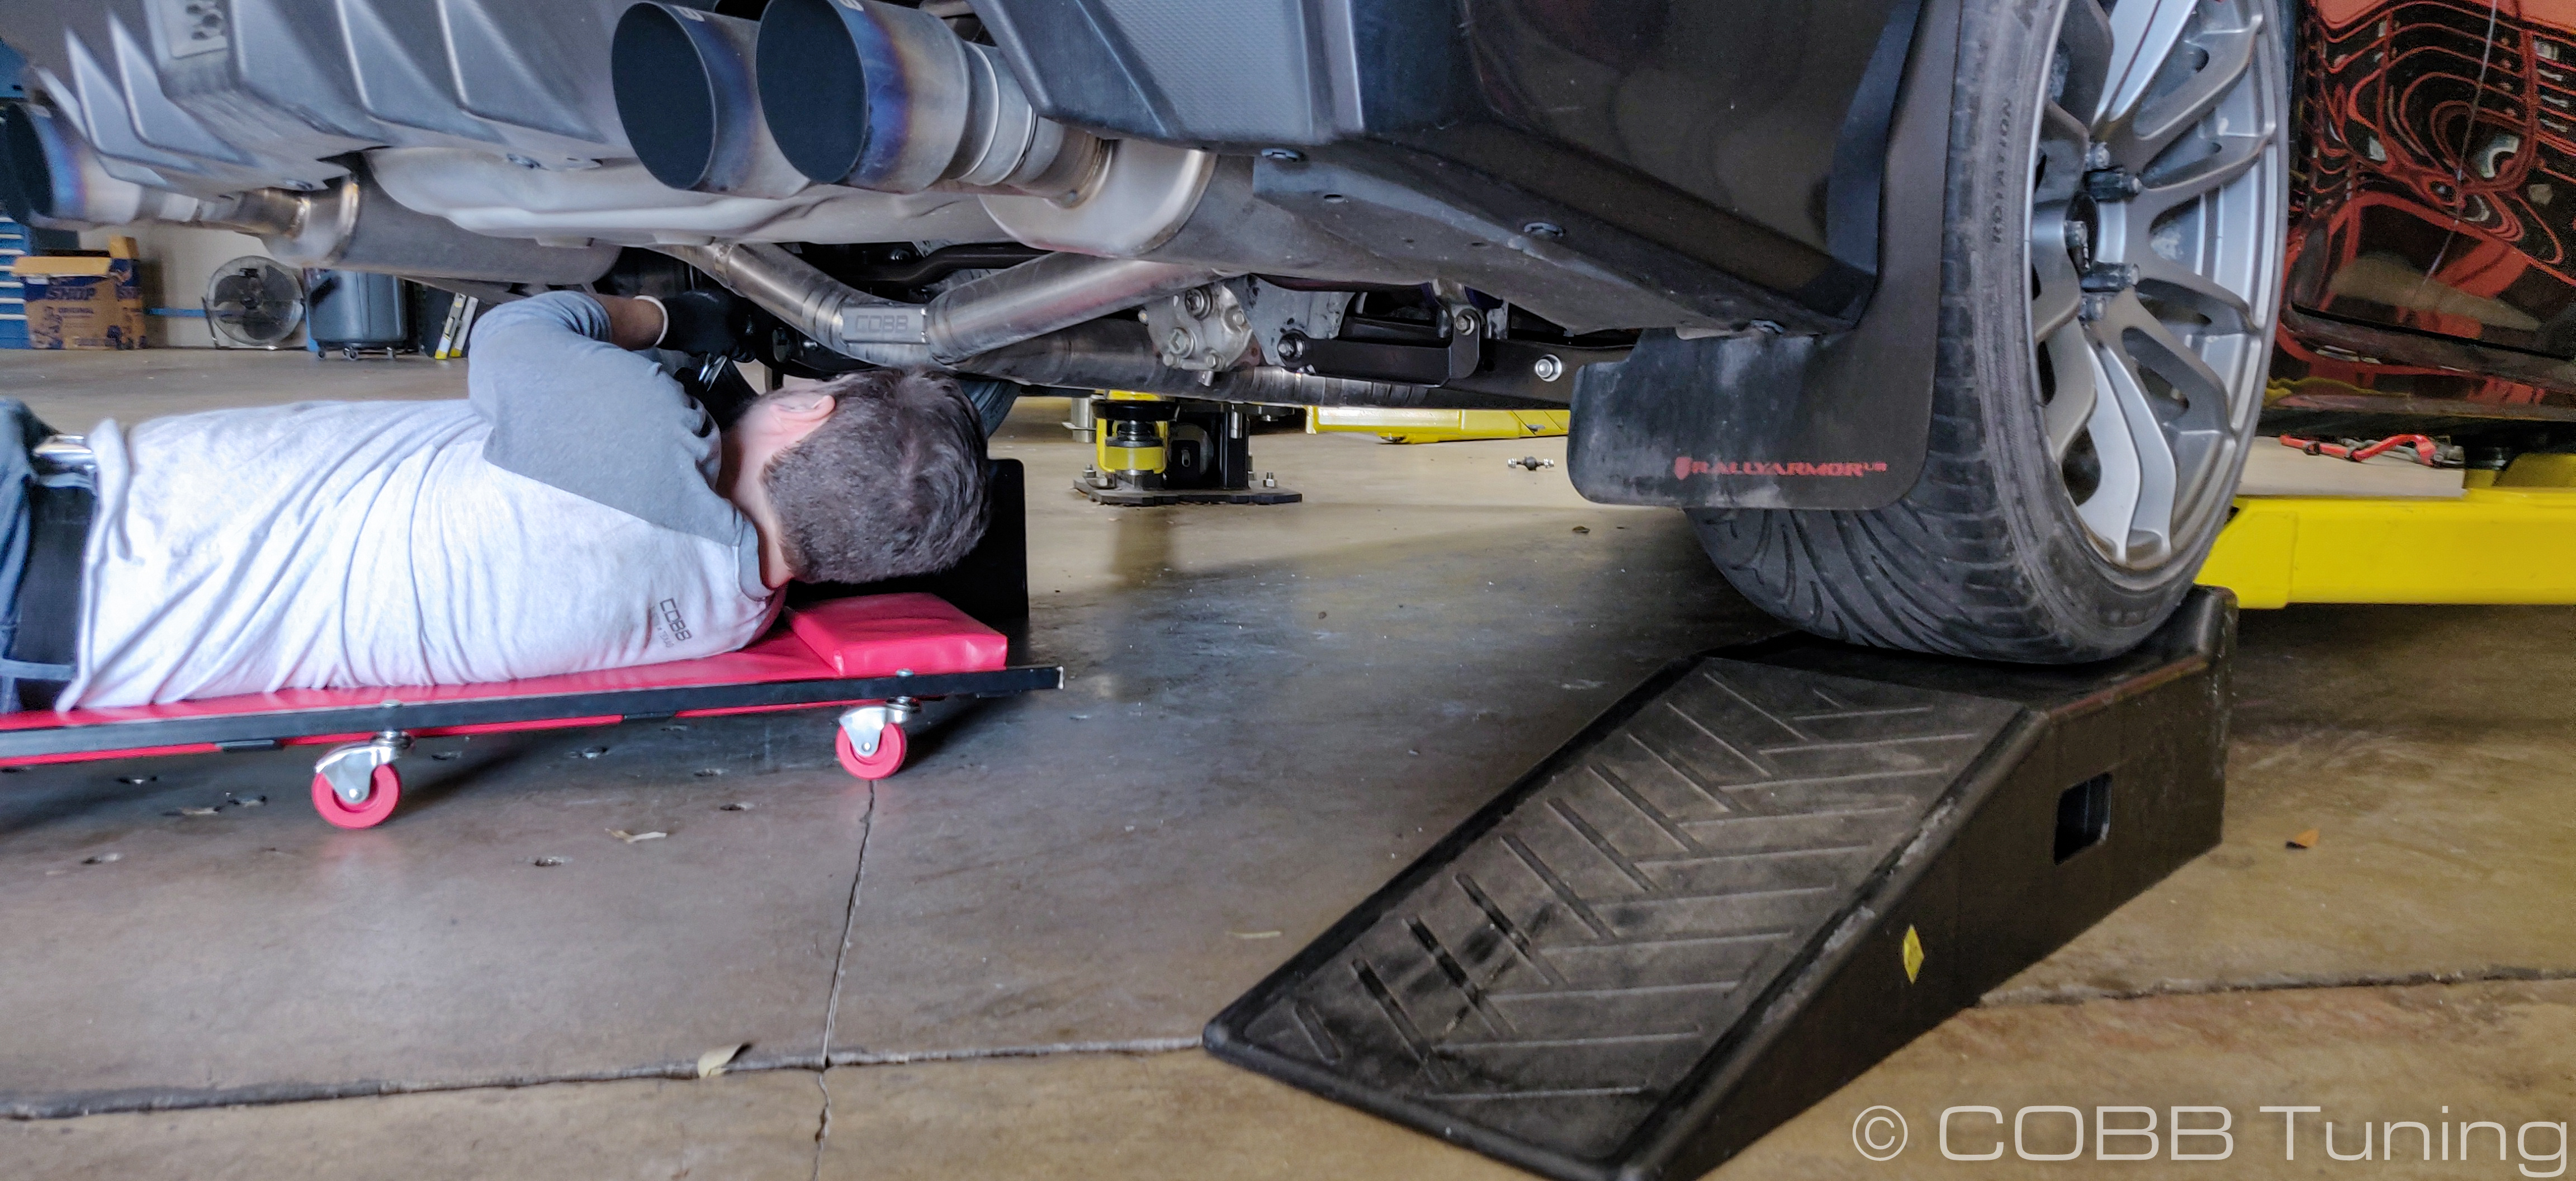
- Remove the front wheels of the car to get easy access to the areas we'll be working on.
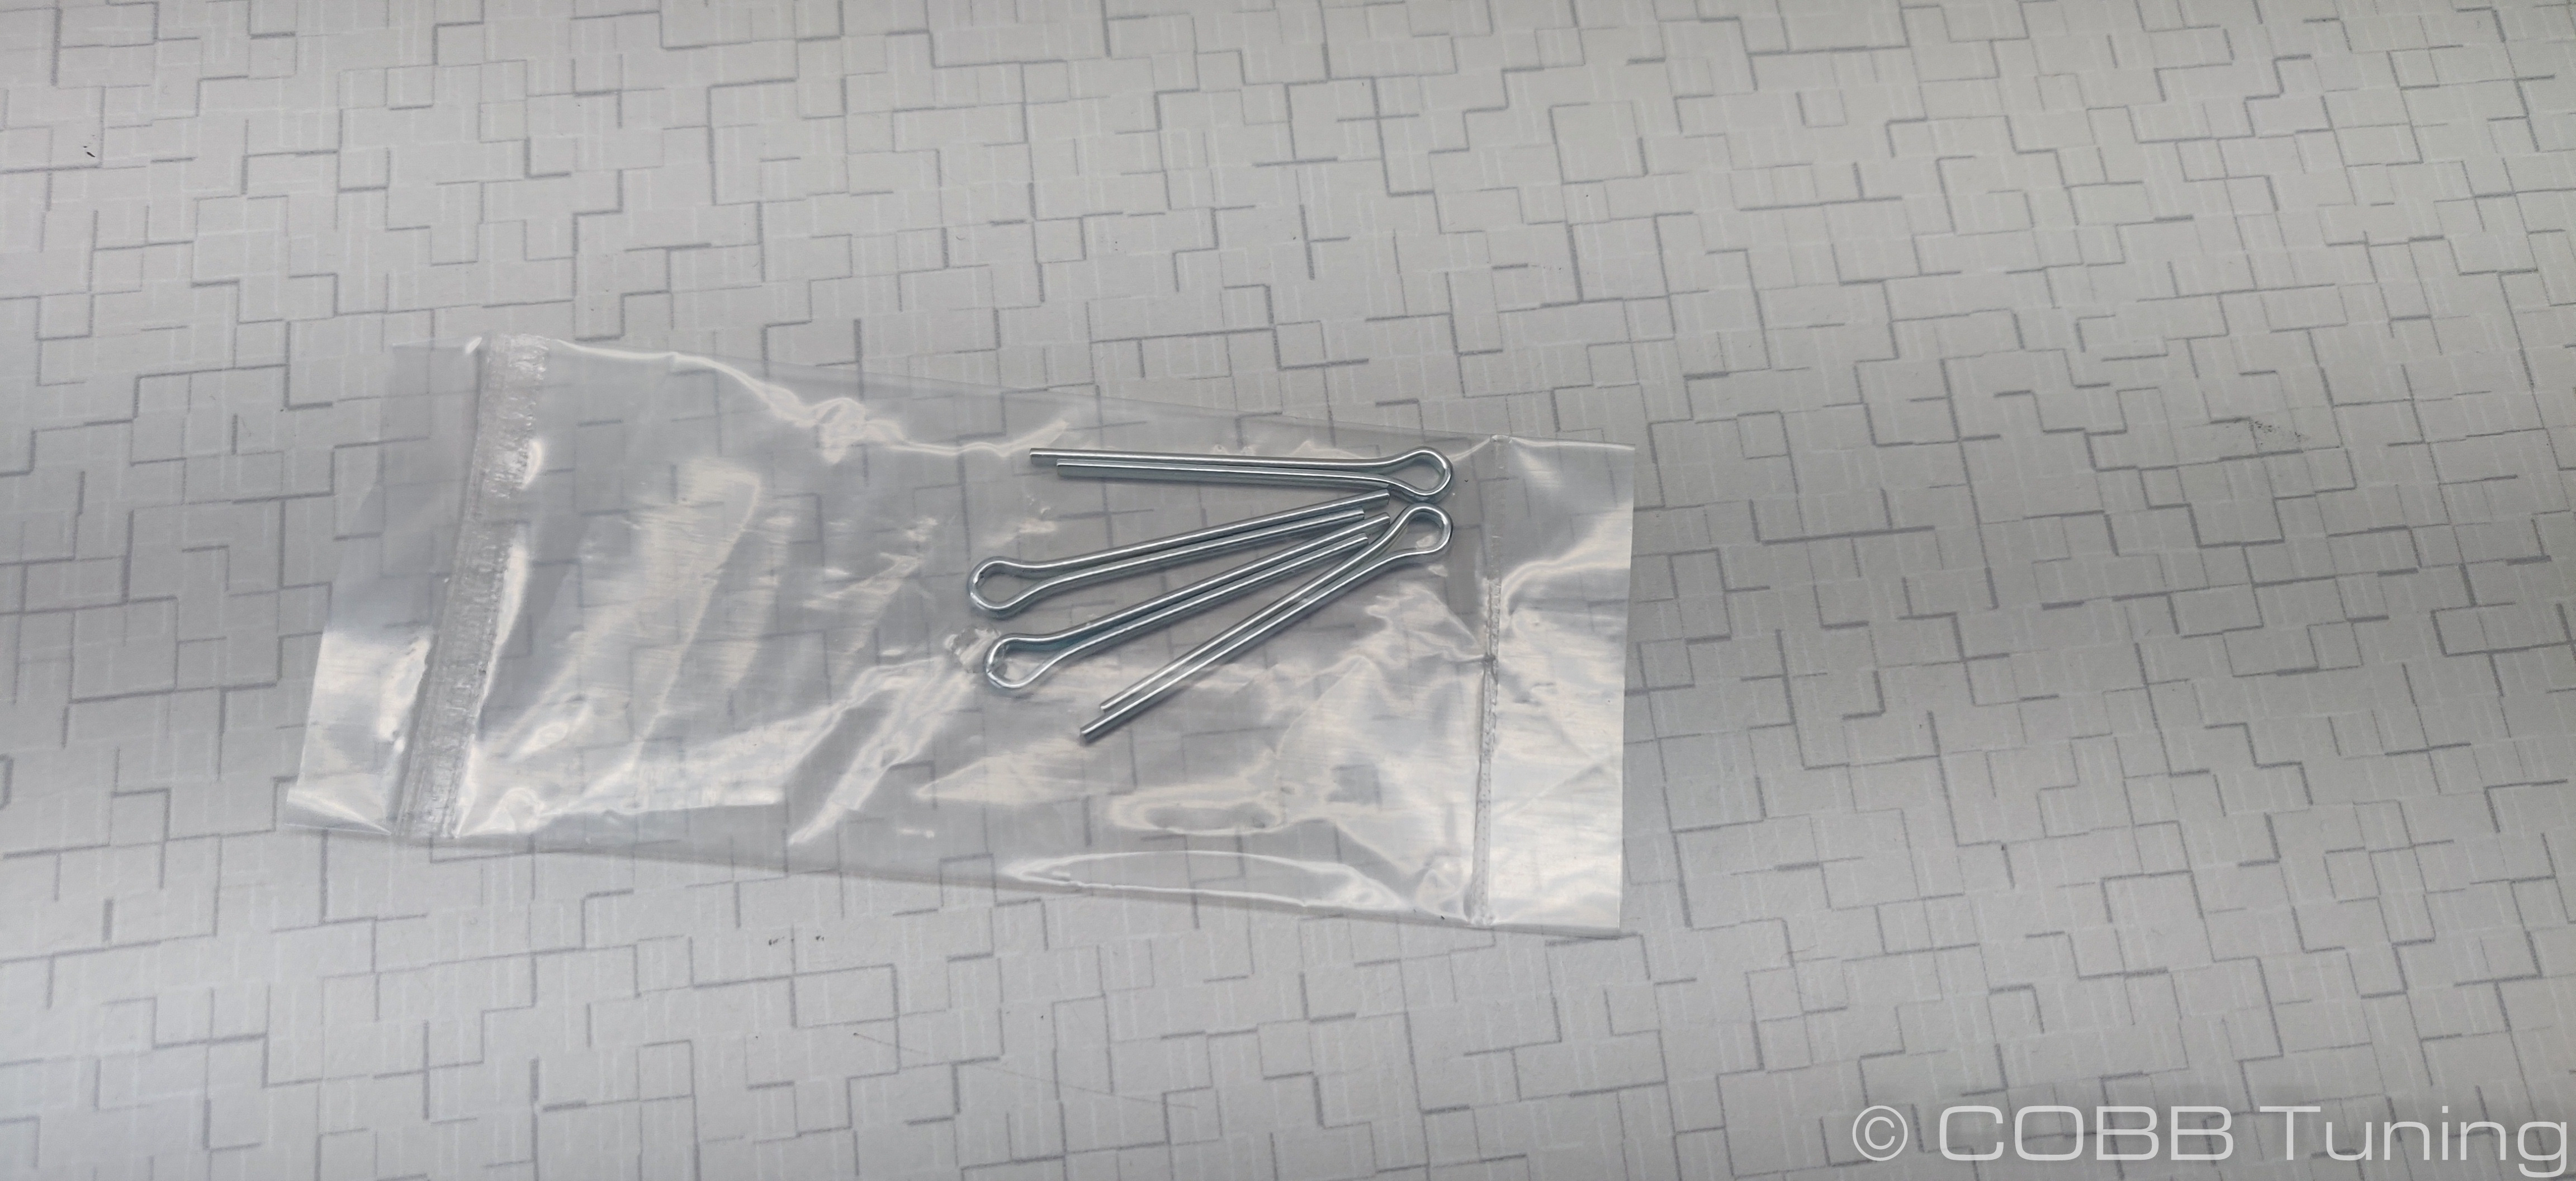
- On the bottom of the spindle straighten the cotter pin and remove it from the ball joint/castle nut.
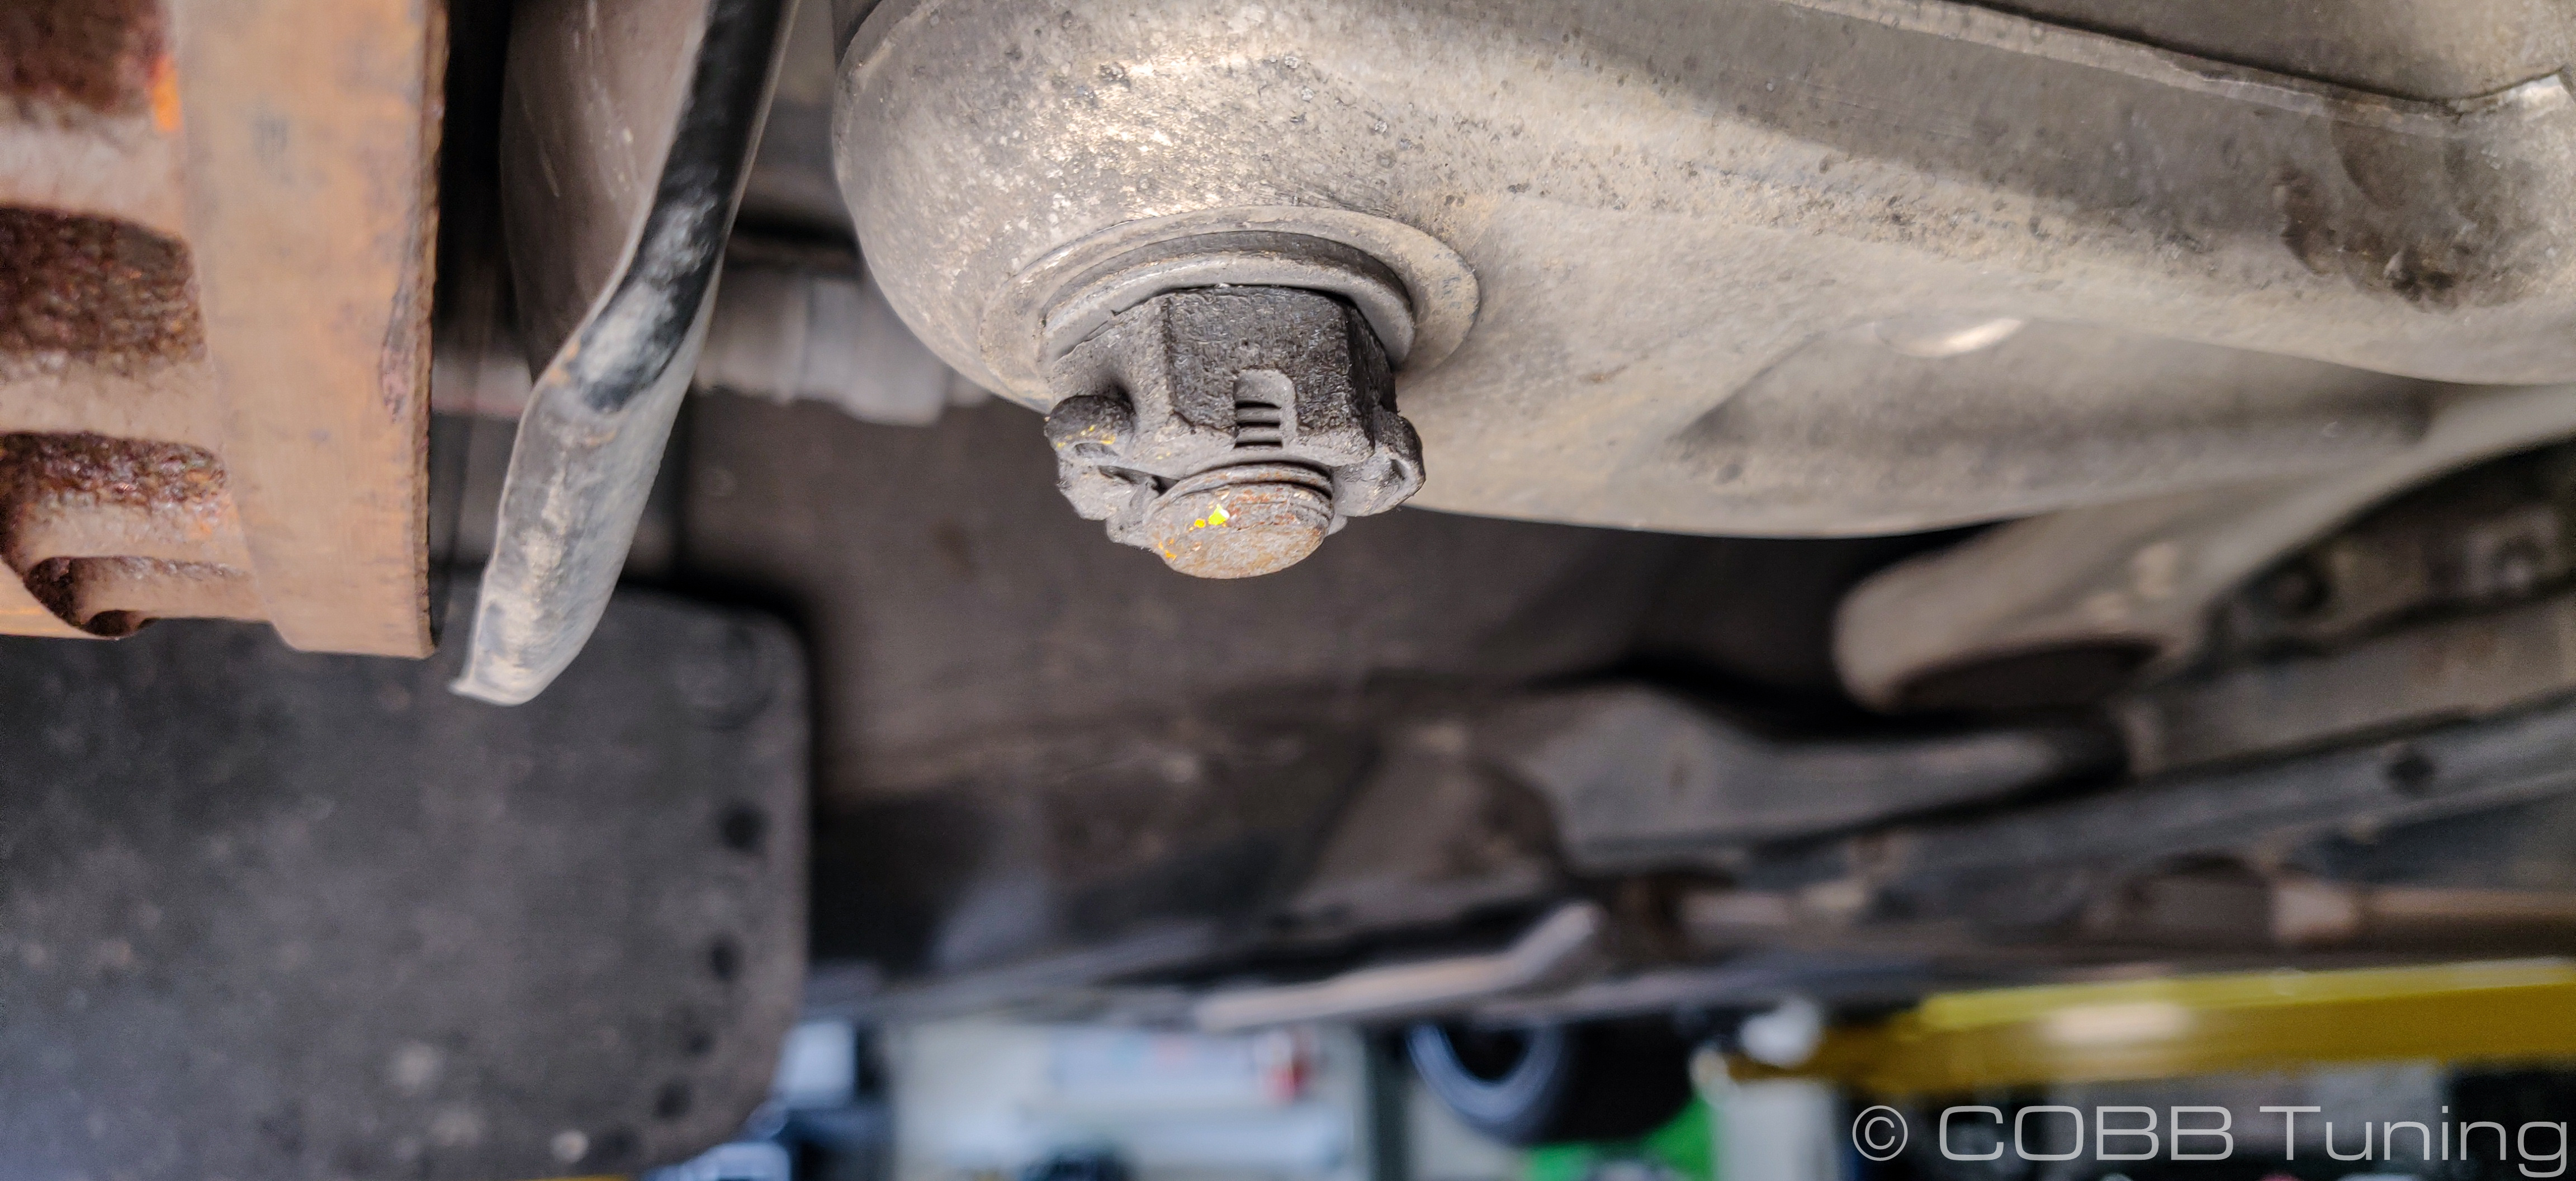
- Break the nut loose using a 19mm socket but leave it installed loosely for now.
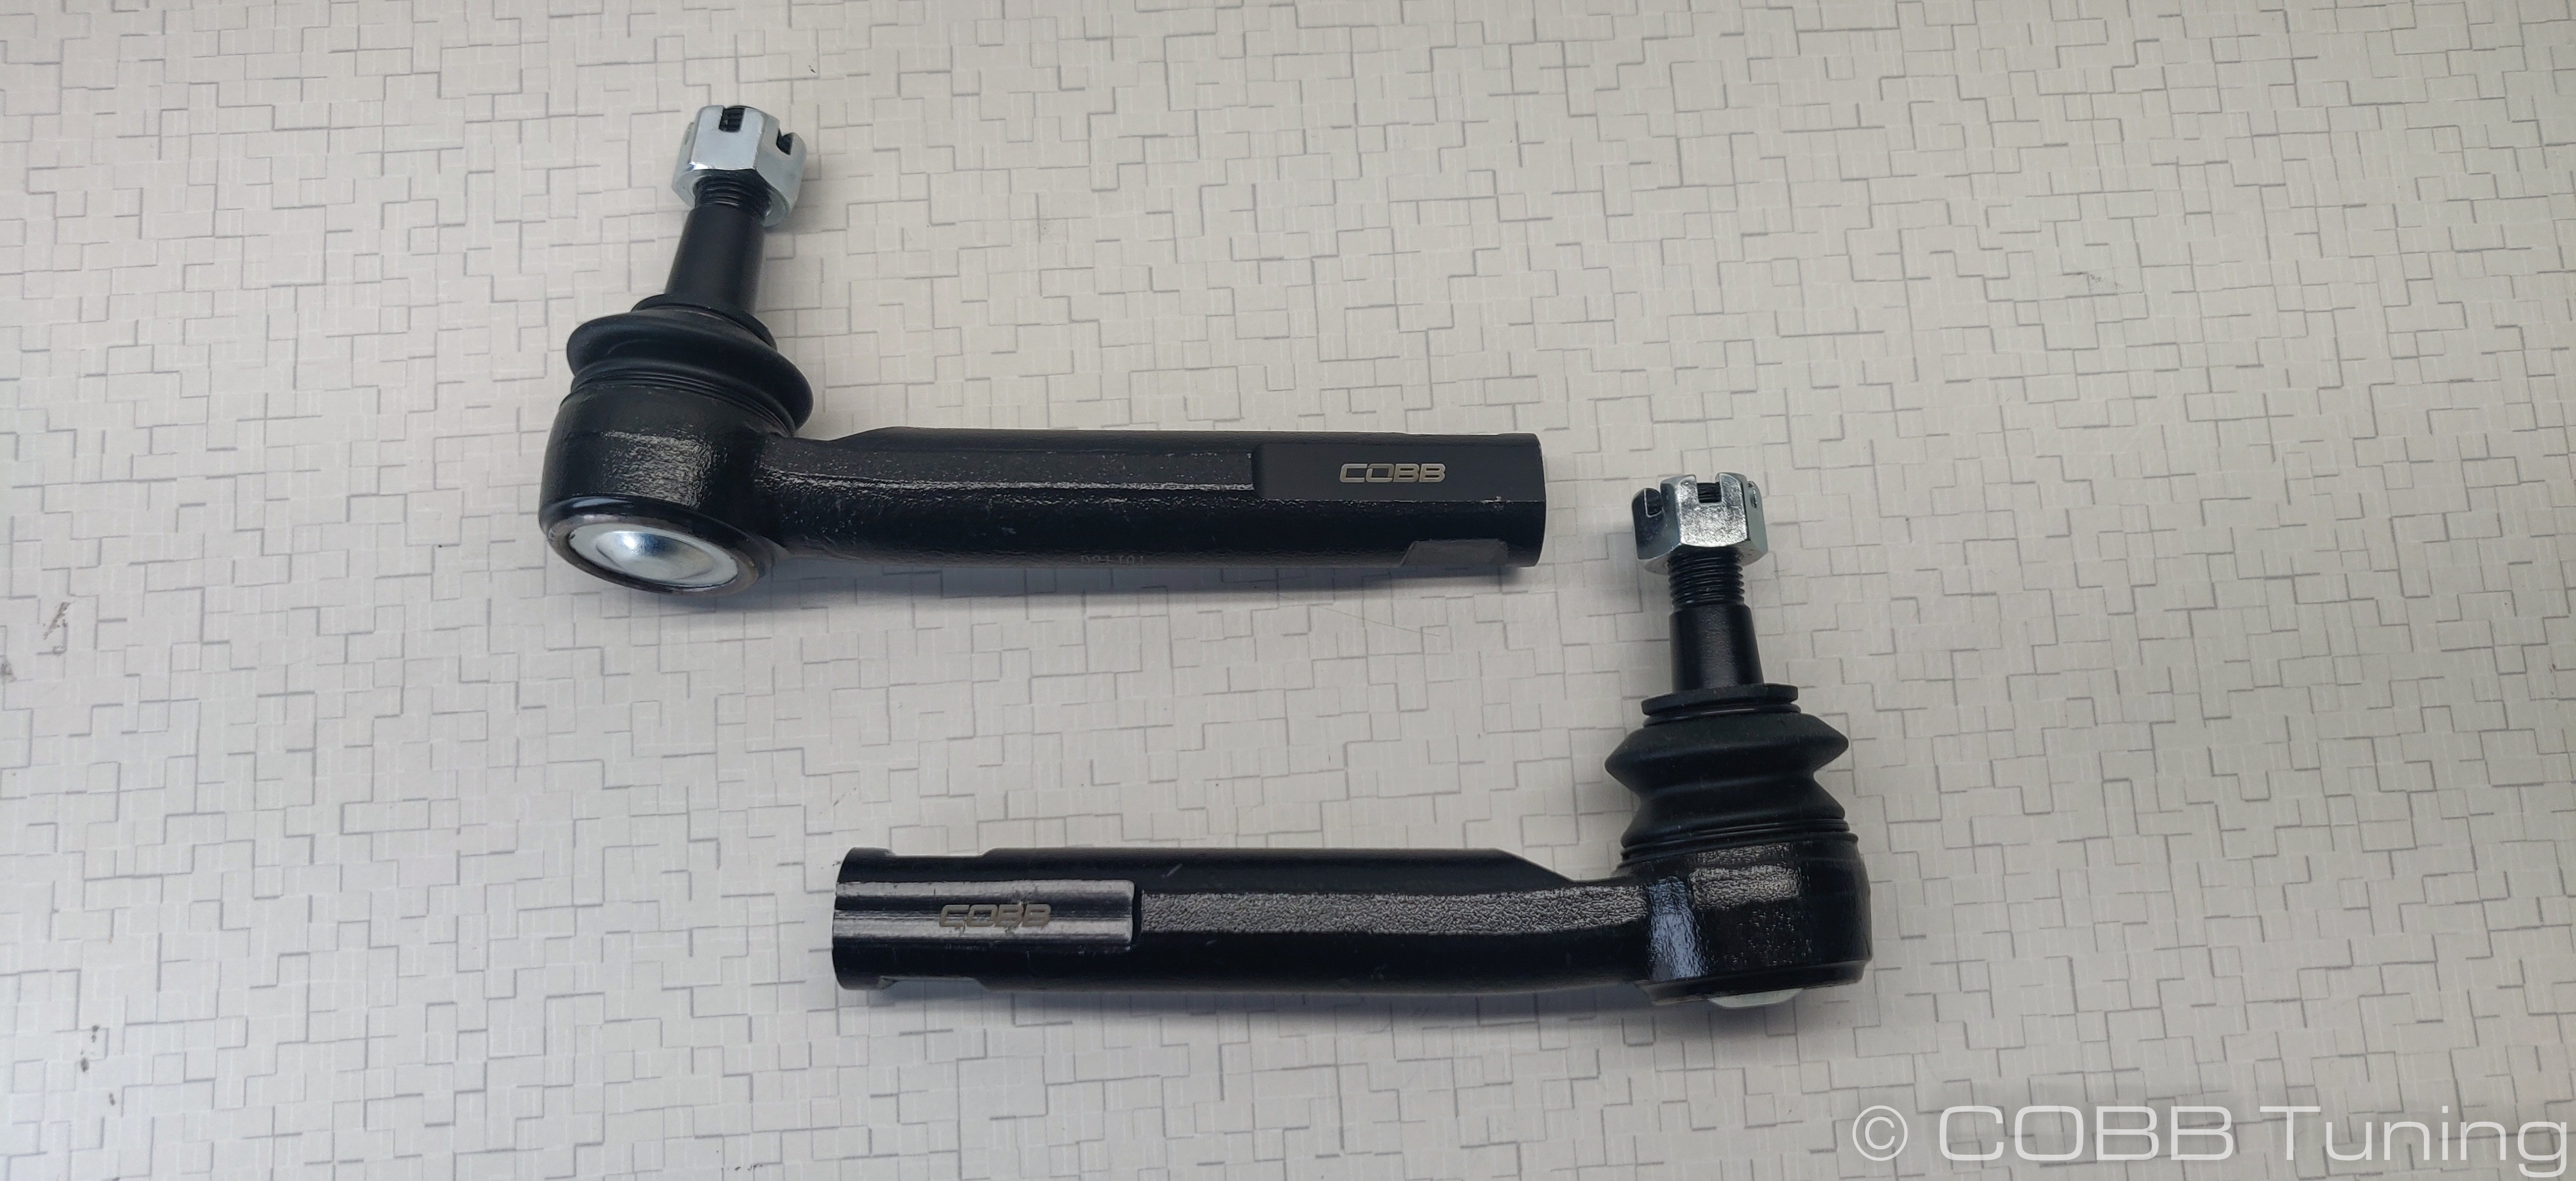
- Mark where the tie rod end/nut are installed on the inner tie rod. This should speed up installation of the new one and get it somewhat close to where it needs to be.
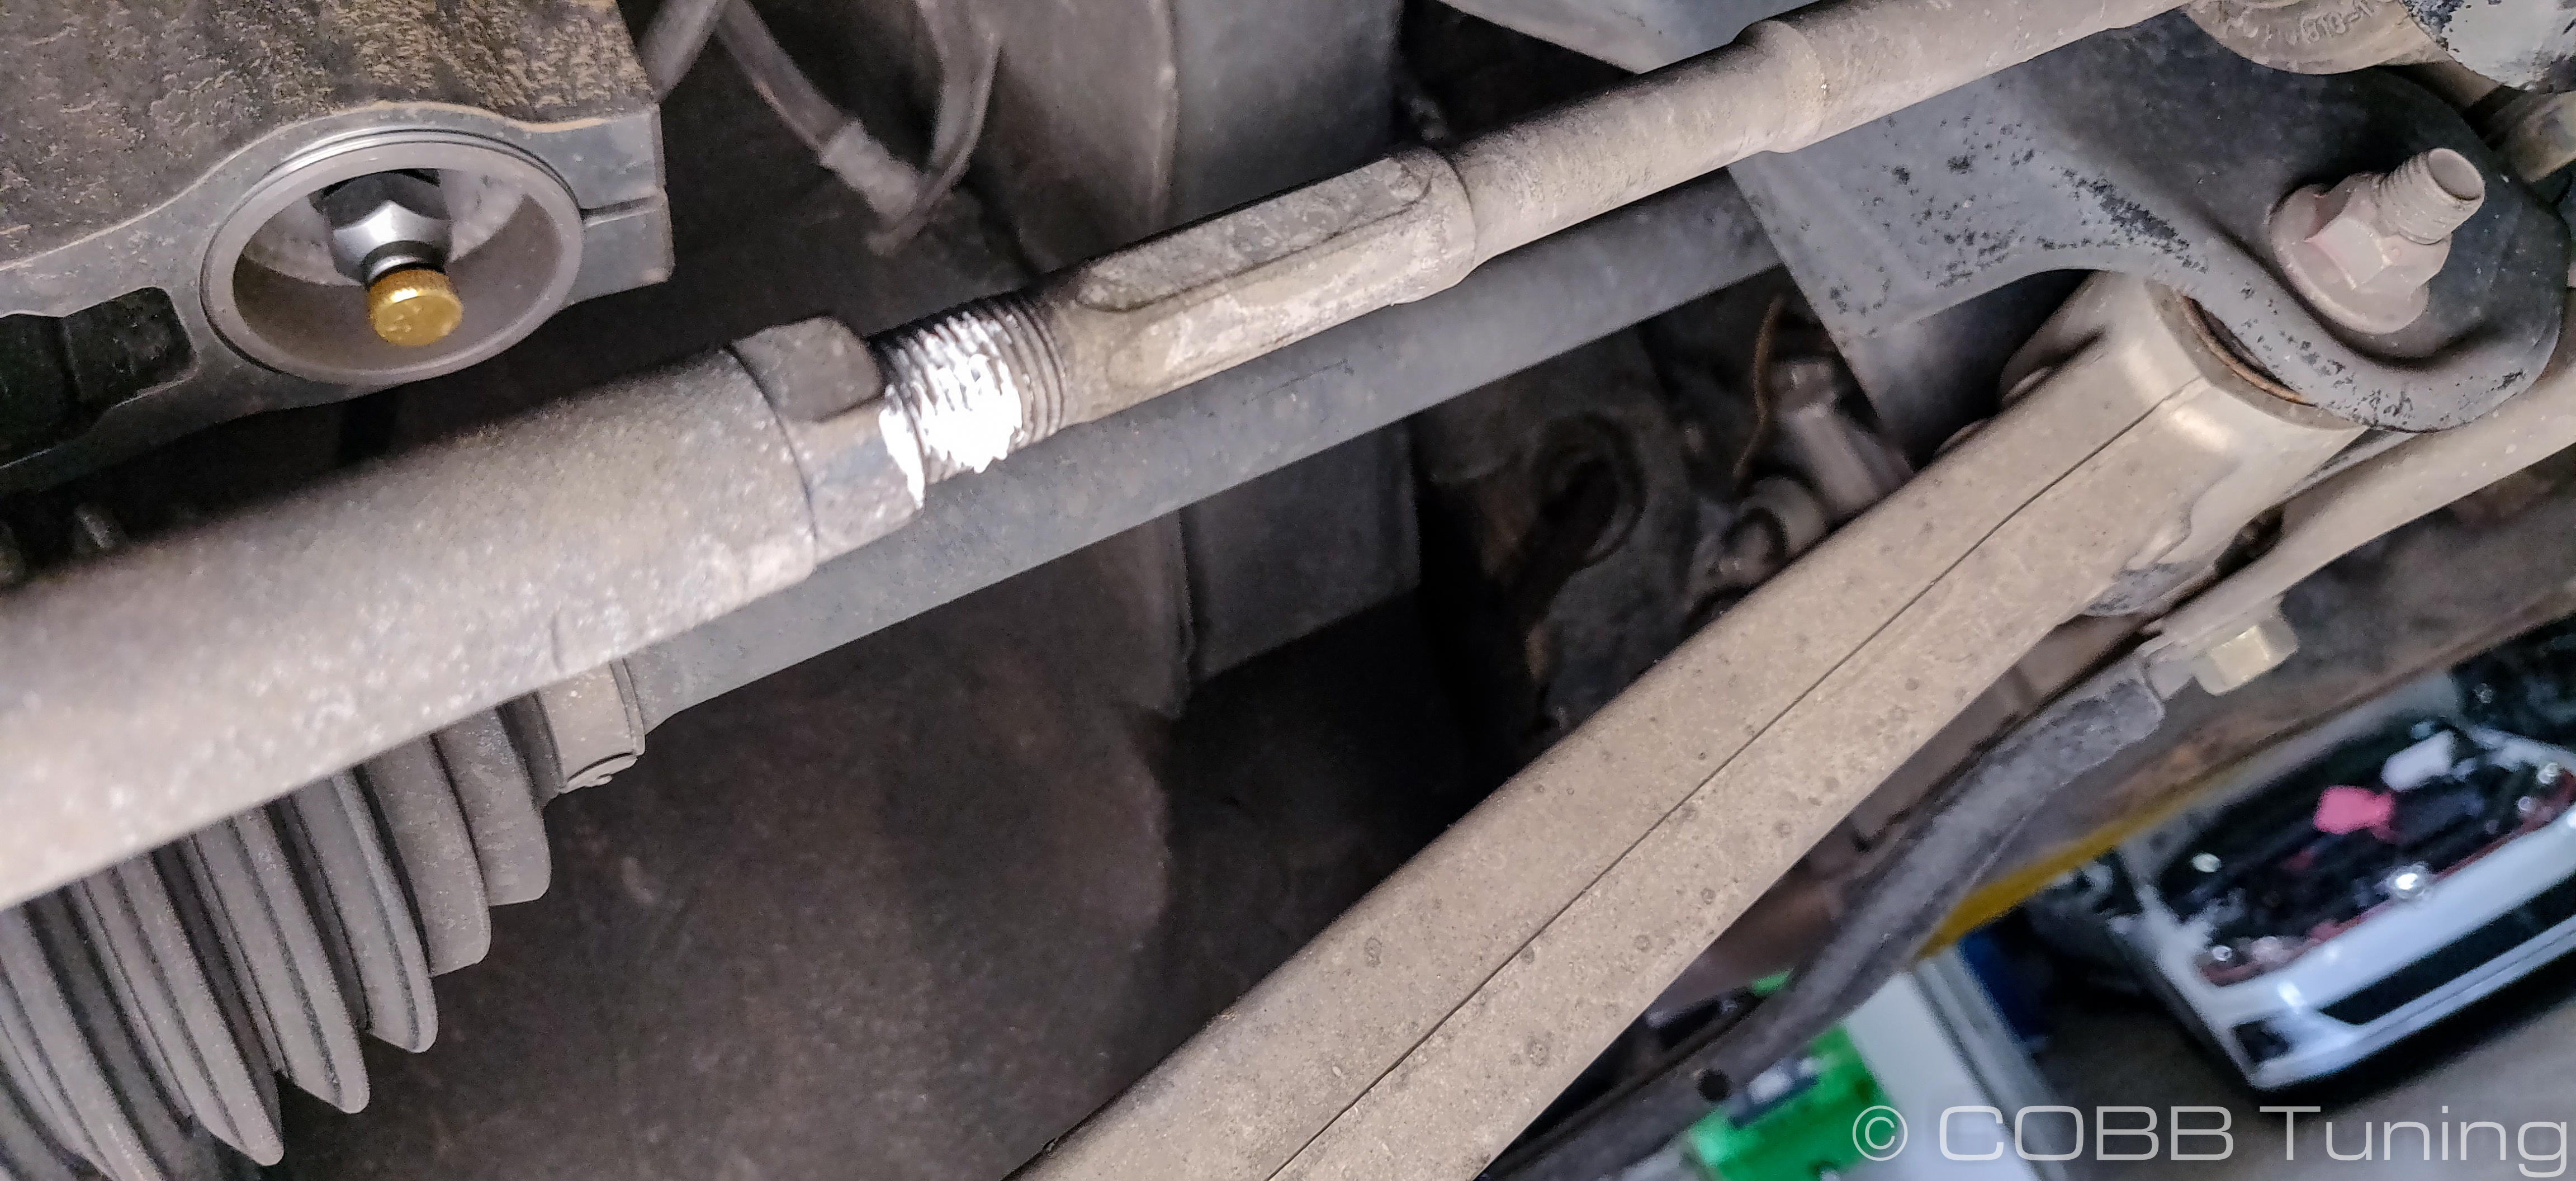
- Loosen the bolt for the outer tie rod end by holding the tie rod still with a wrench, then using a second wrench to break the set nut loose.
- Bend the cotter pin straight and remove it from the castle nut / tie rod end.
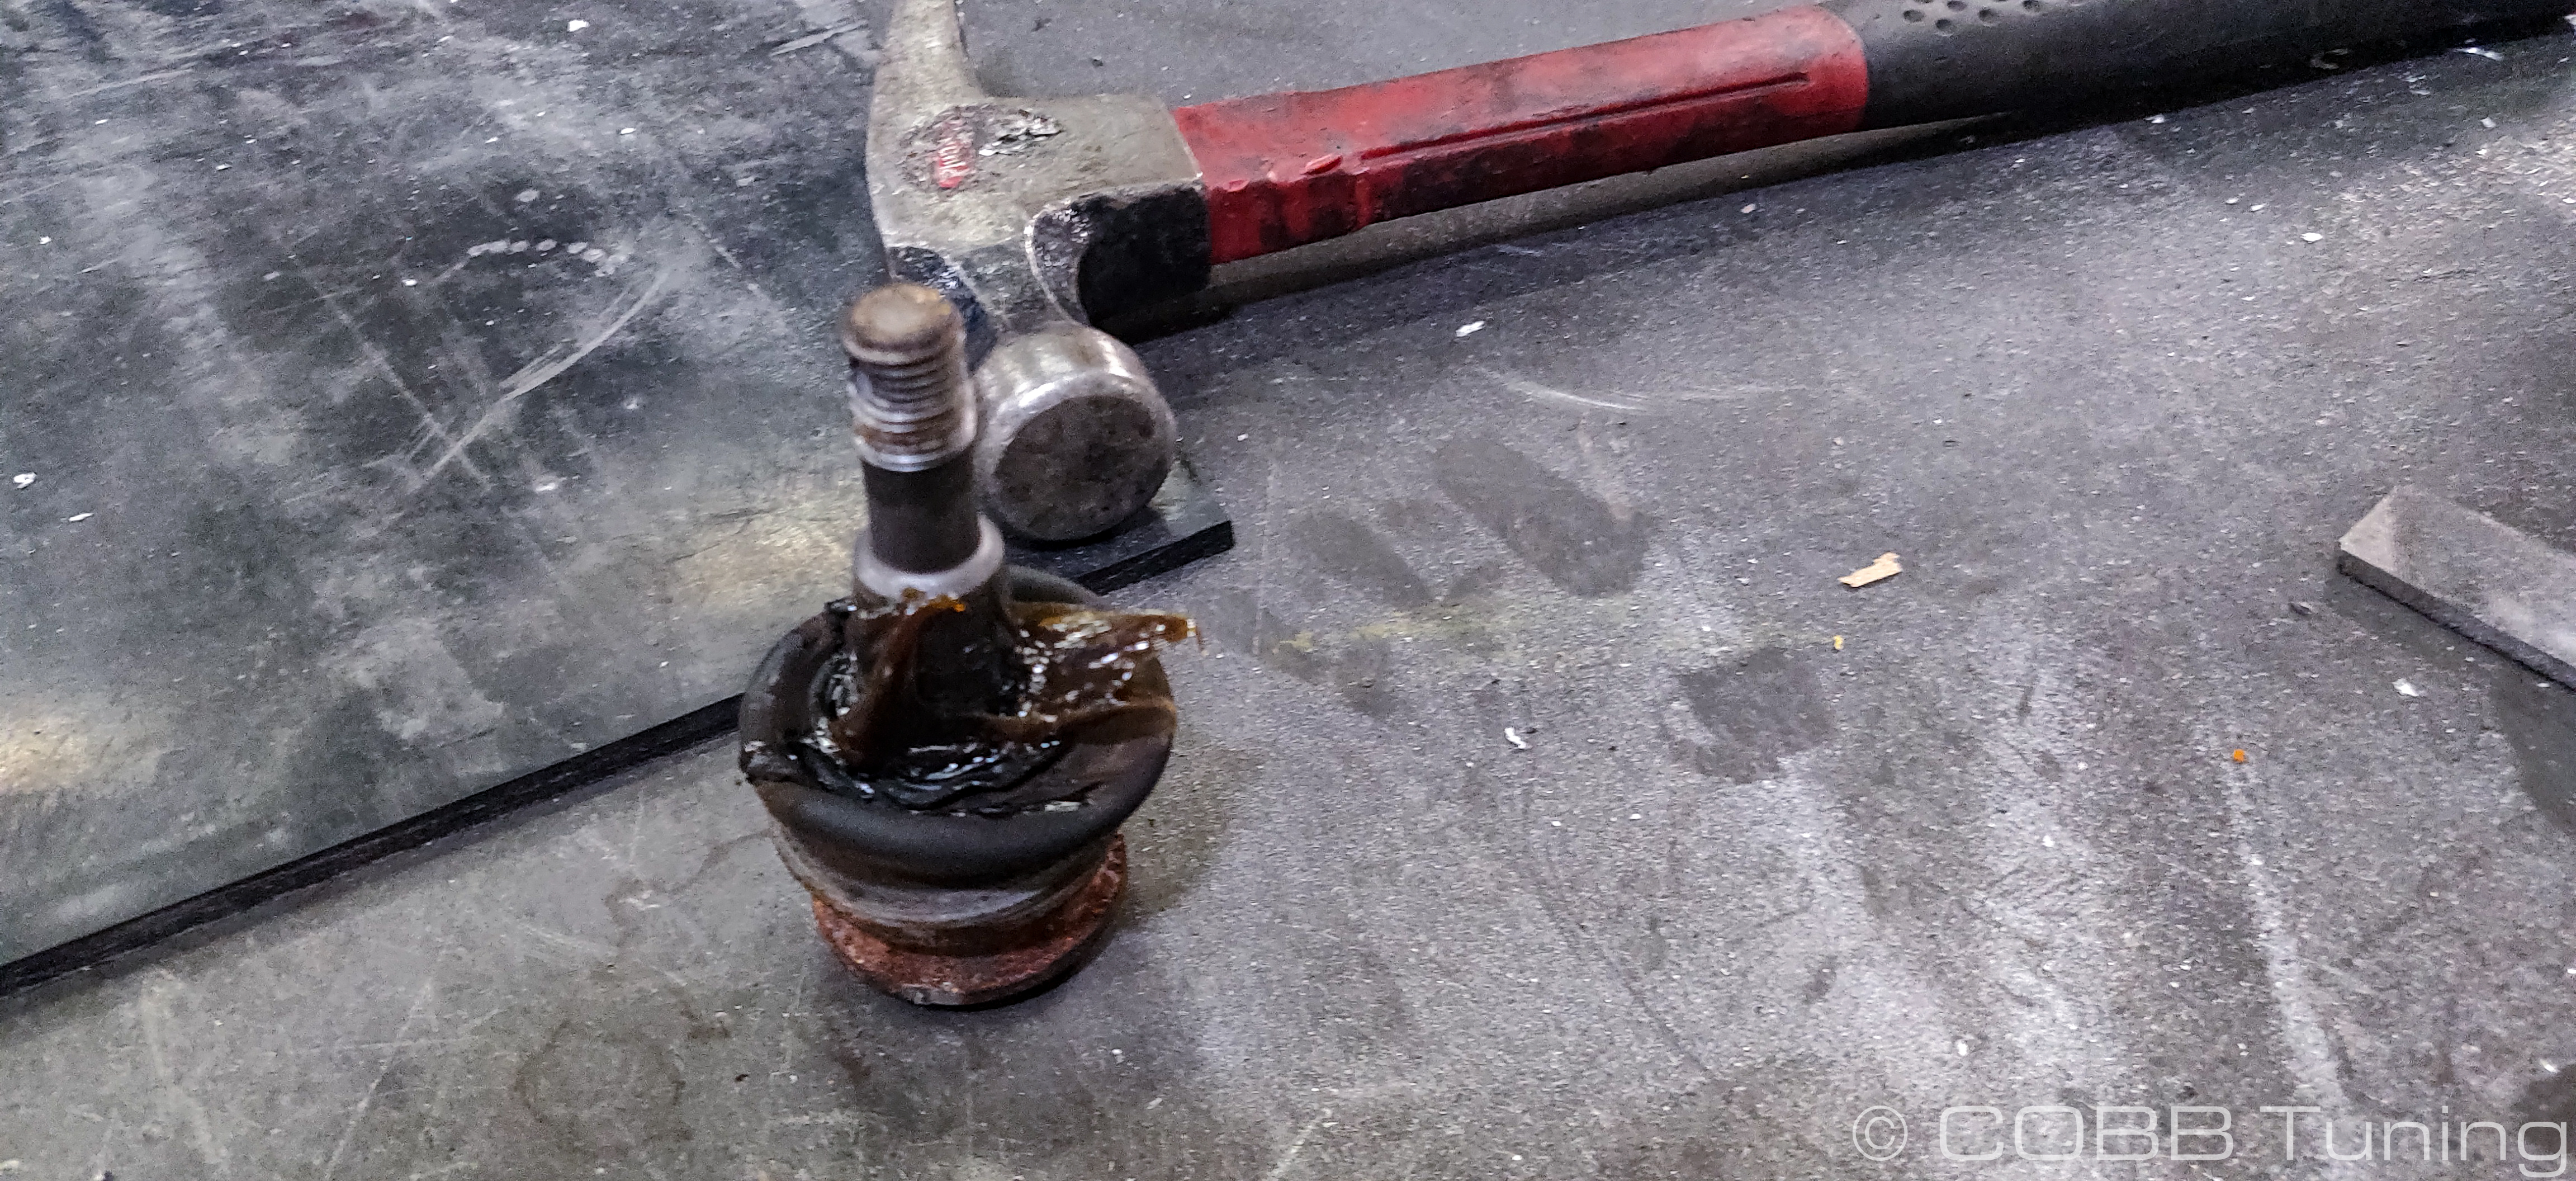
- Leave the nut installed and using a removal tool (or carefully using a hammer) remove the tie rod end from the spindle. Typically hitting the side of the spindle can help break any rust loose in the connection, however sometimes tapping the nut direction can help. Typically we recommend using something else in between the tie rod end/nut and the hammer to avoid damage. Leaving the nut installed can keep the tie rod end from shooting out with force when it does come free.
- You can go ahead and remove the outer tie rod end from the inner tie rod end. Leave the set nut in place.
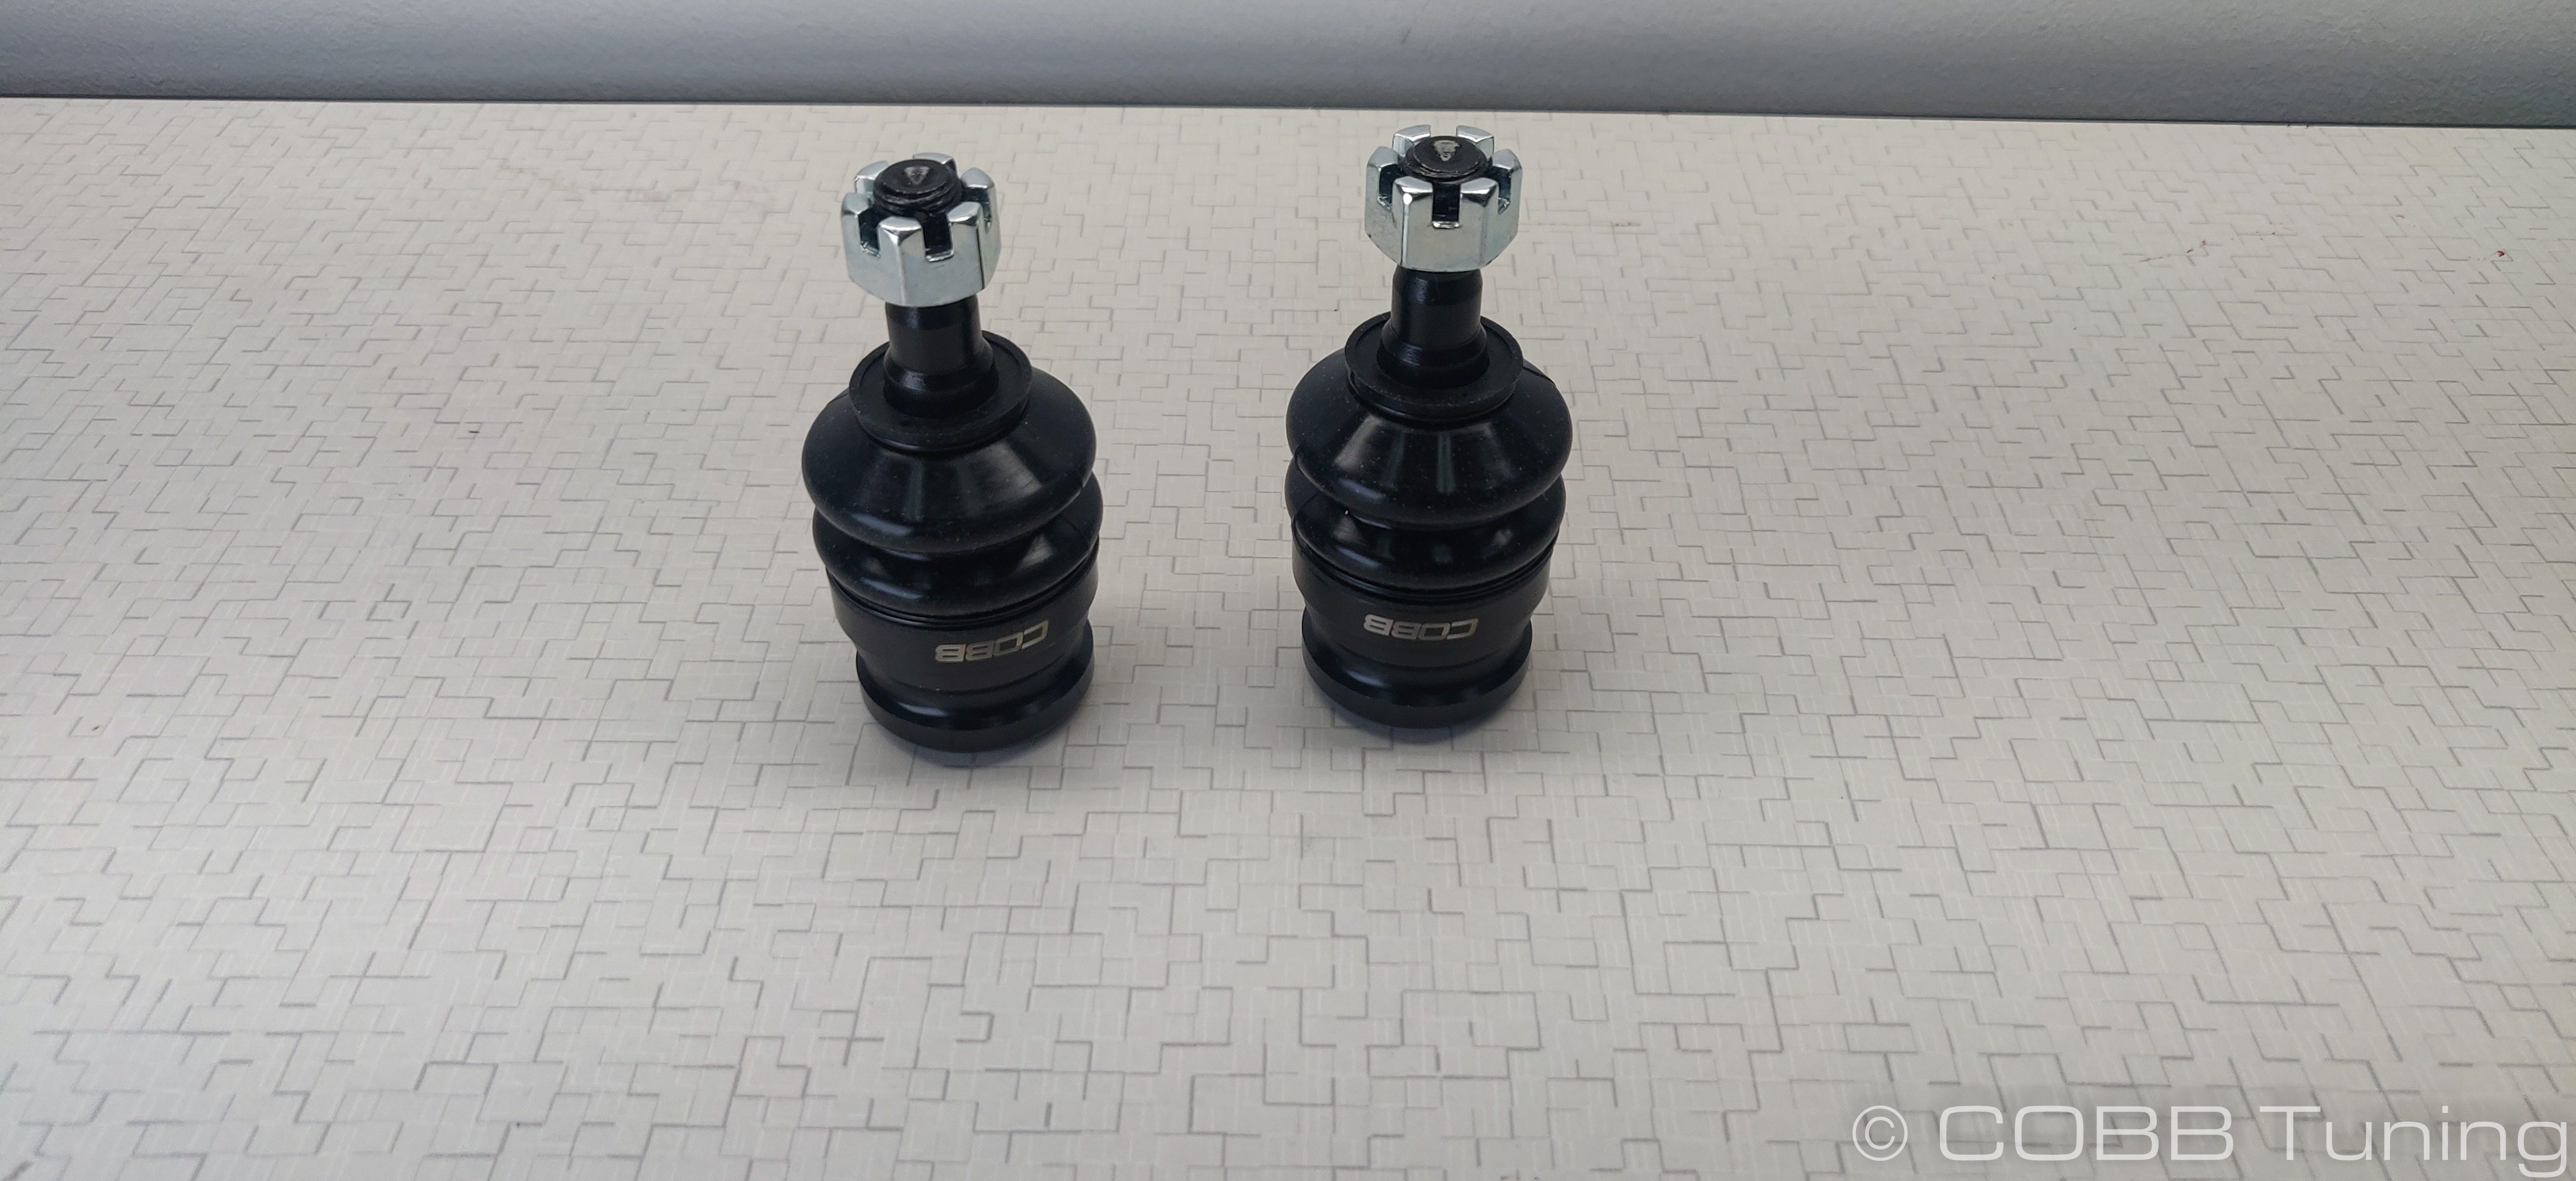
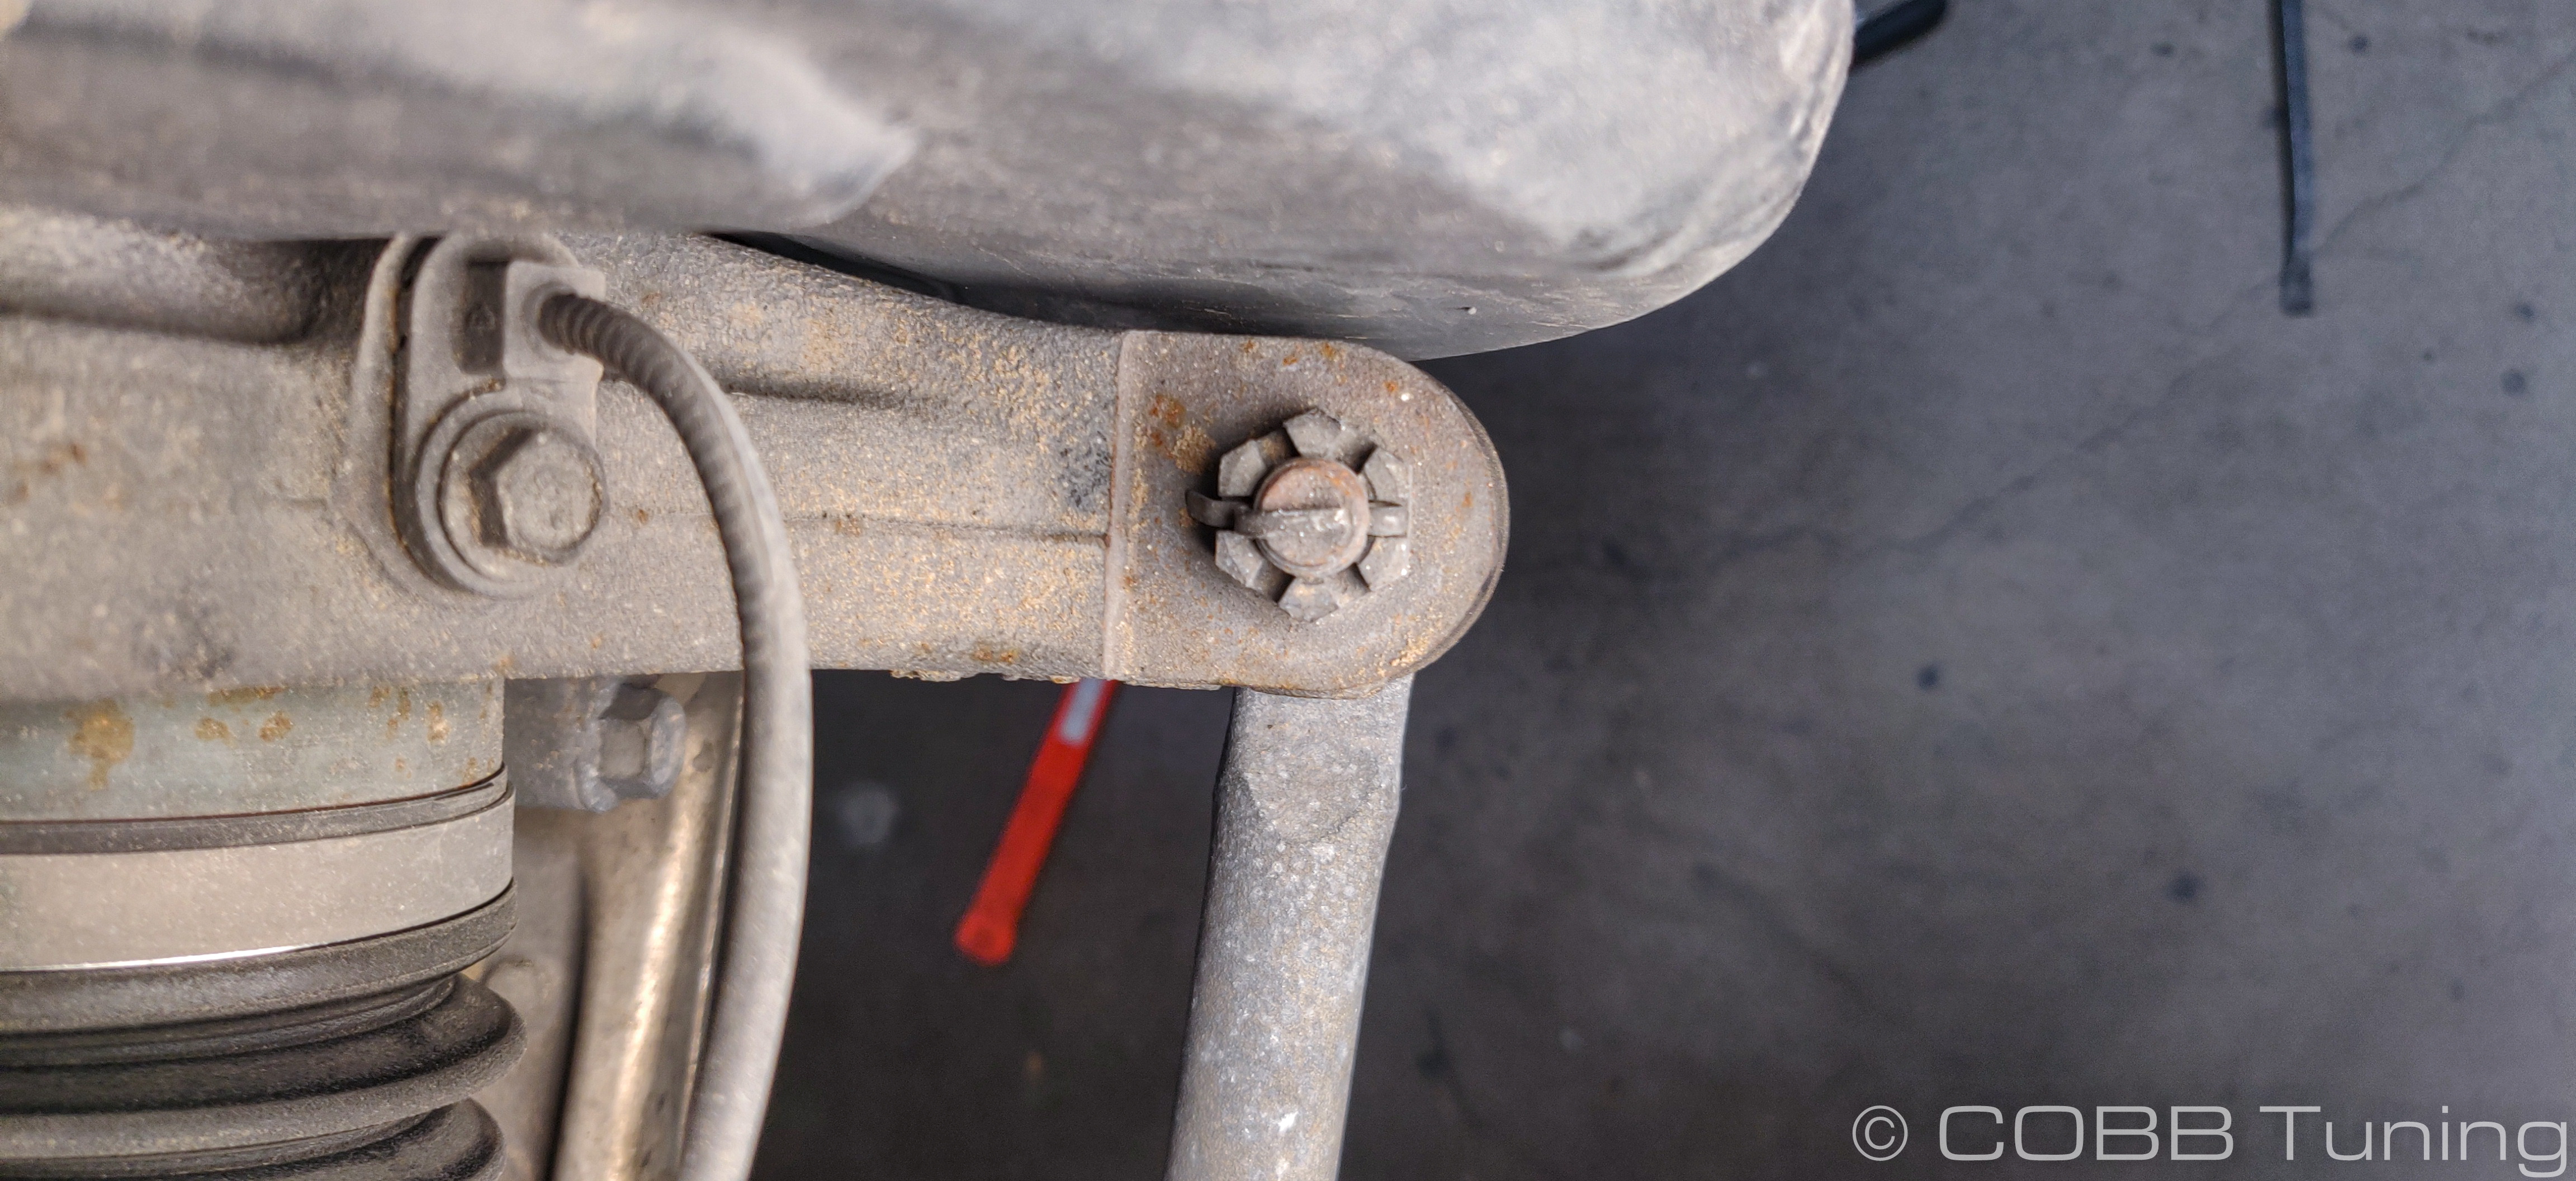
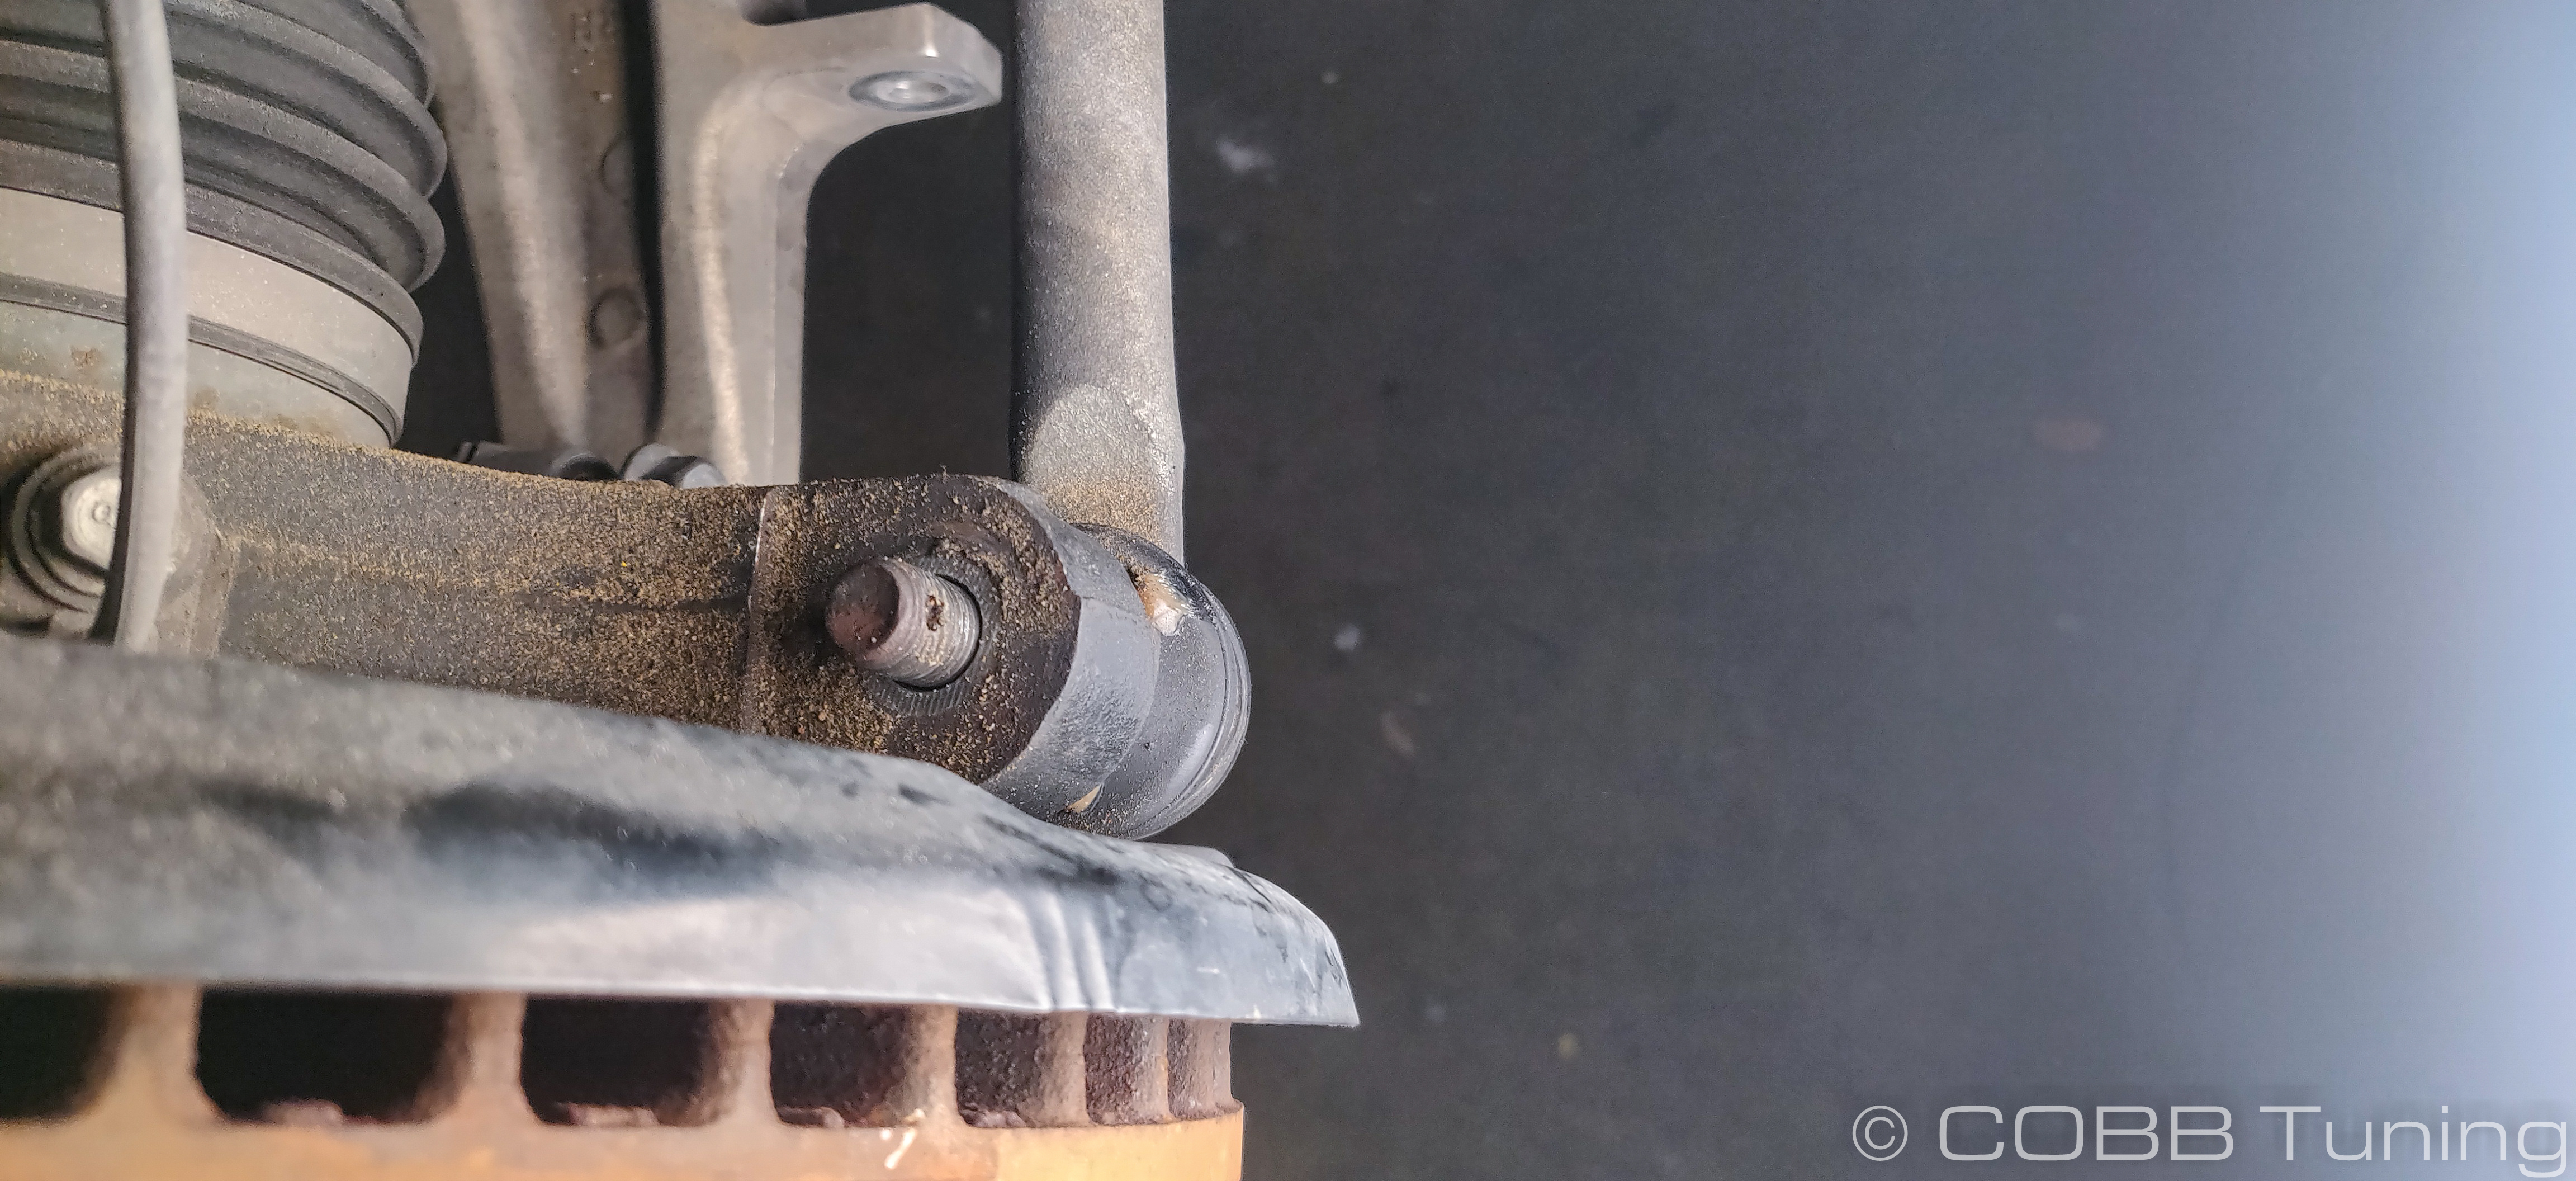
- Now that the tie rod is out, undo the 14mm nut and bolt holding the lower balljoing into the spindle.
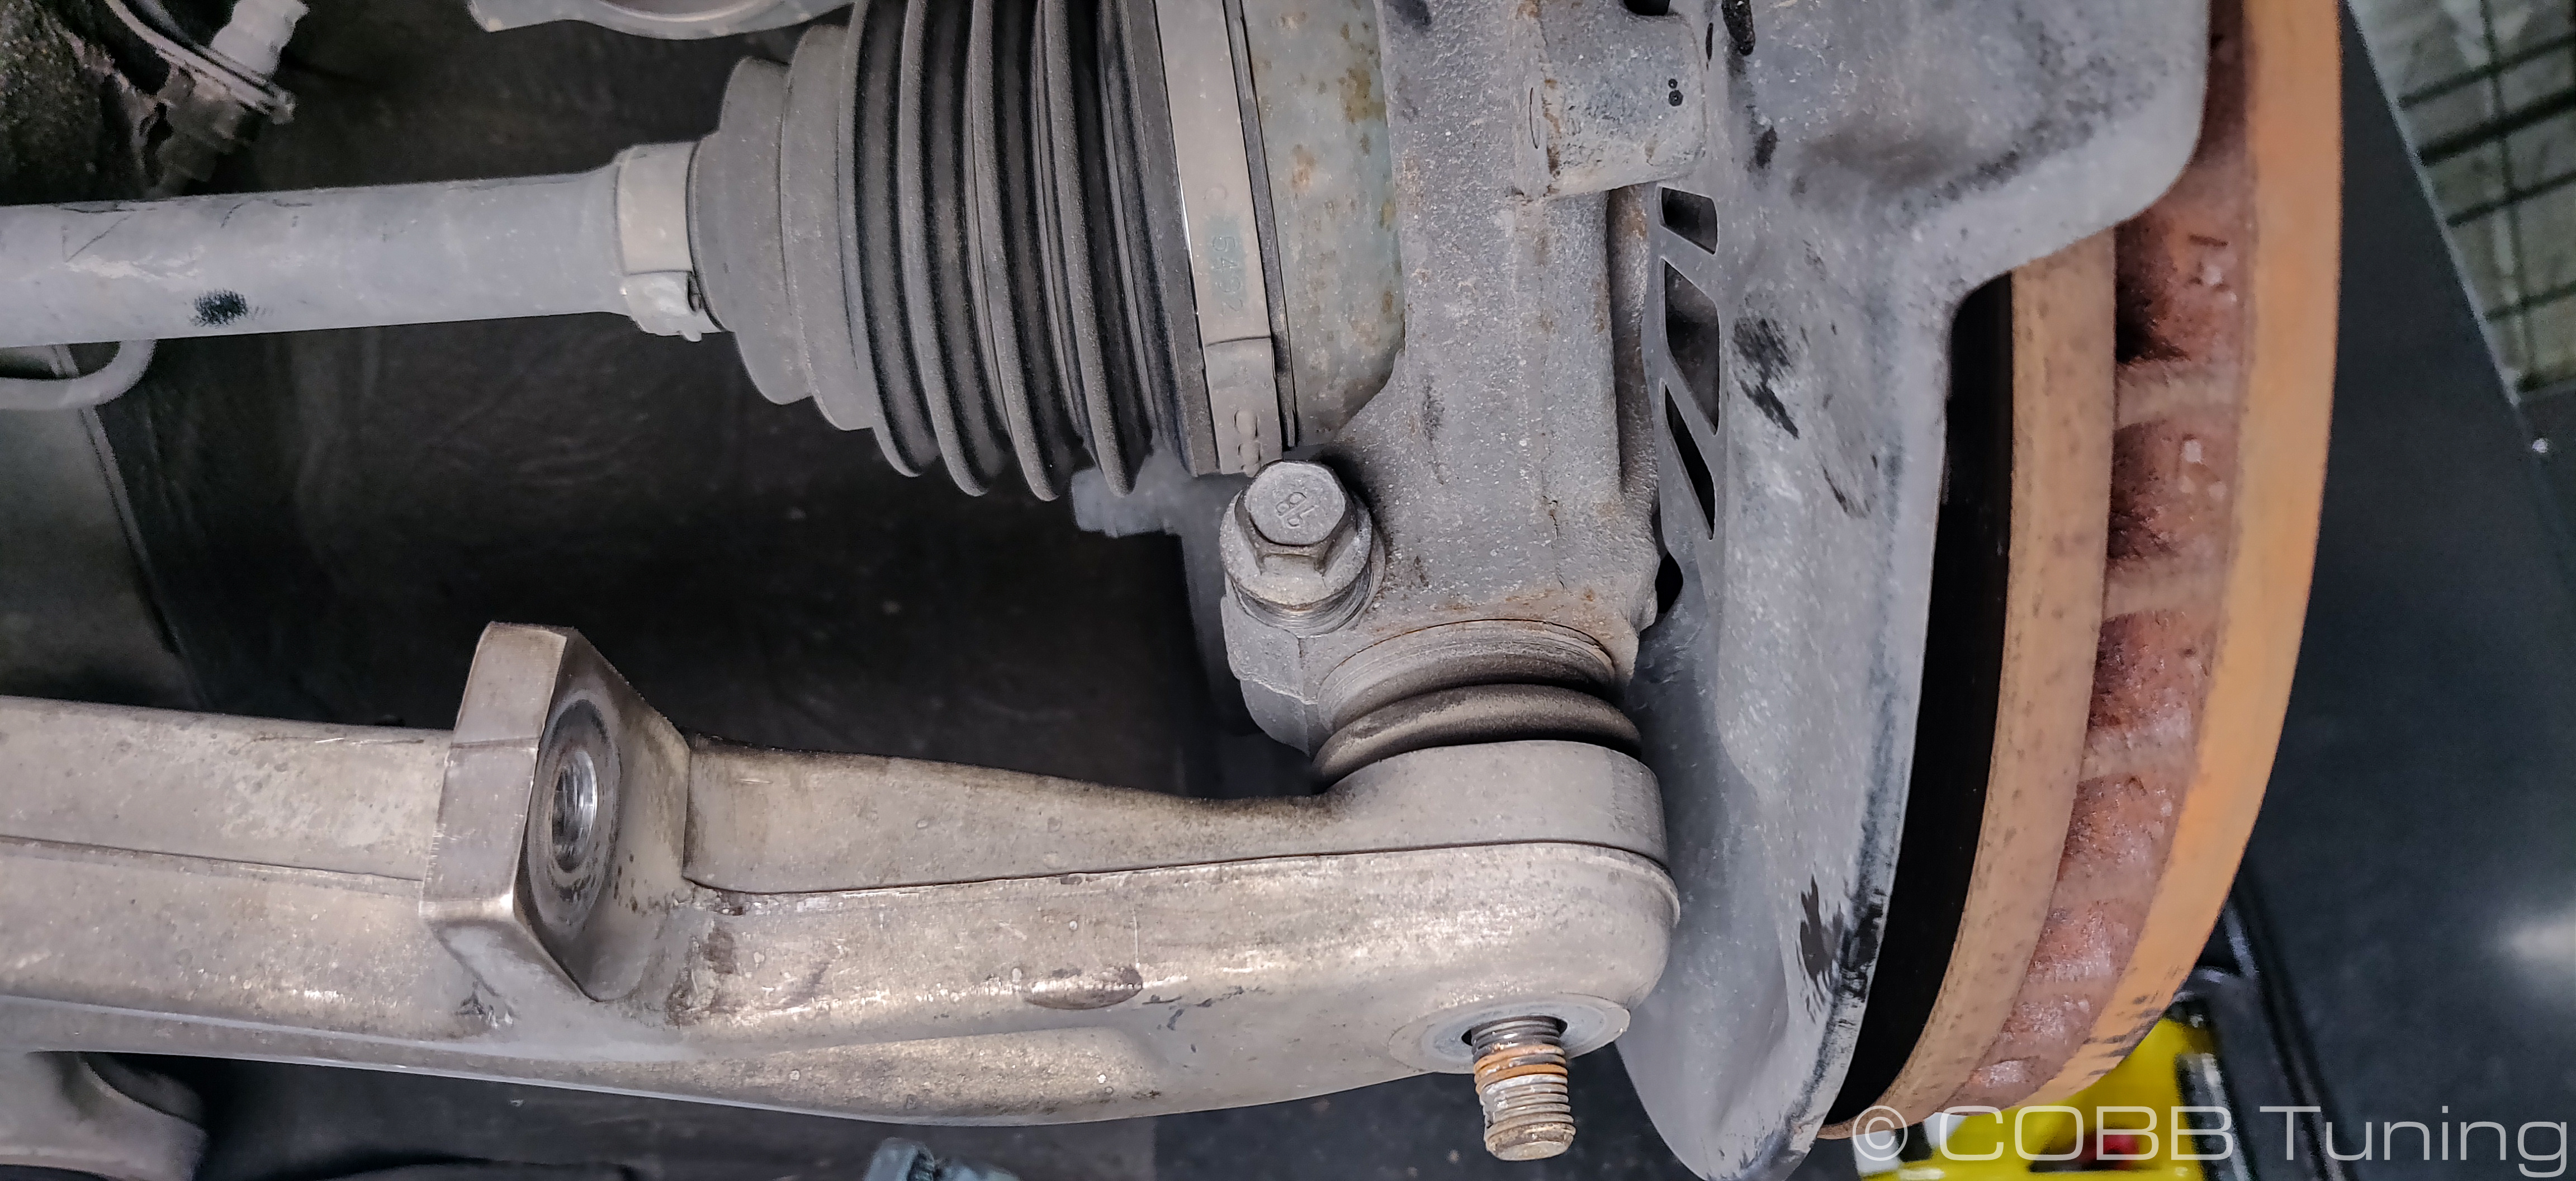
- With the nut still holding it inplace on the bottom and the bolt for the spindle removed gently tap downwards on the control arm to remove the ball joint from the spindle. In some cases if it's fairly rusty (ours was) it can help to pry the notch in the spindle for the ball joint apart with a pry bar. Eventually it should come free.
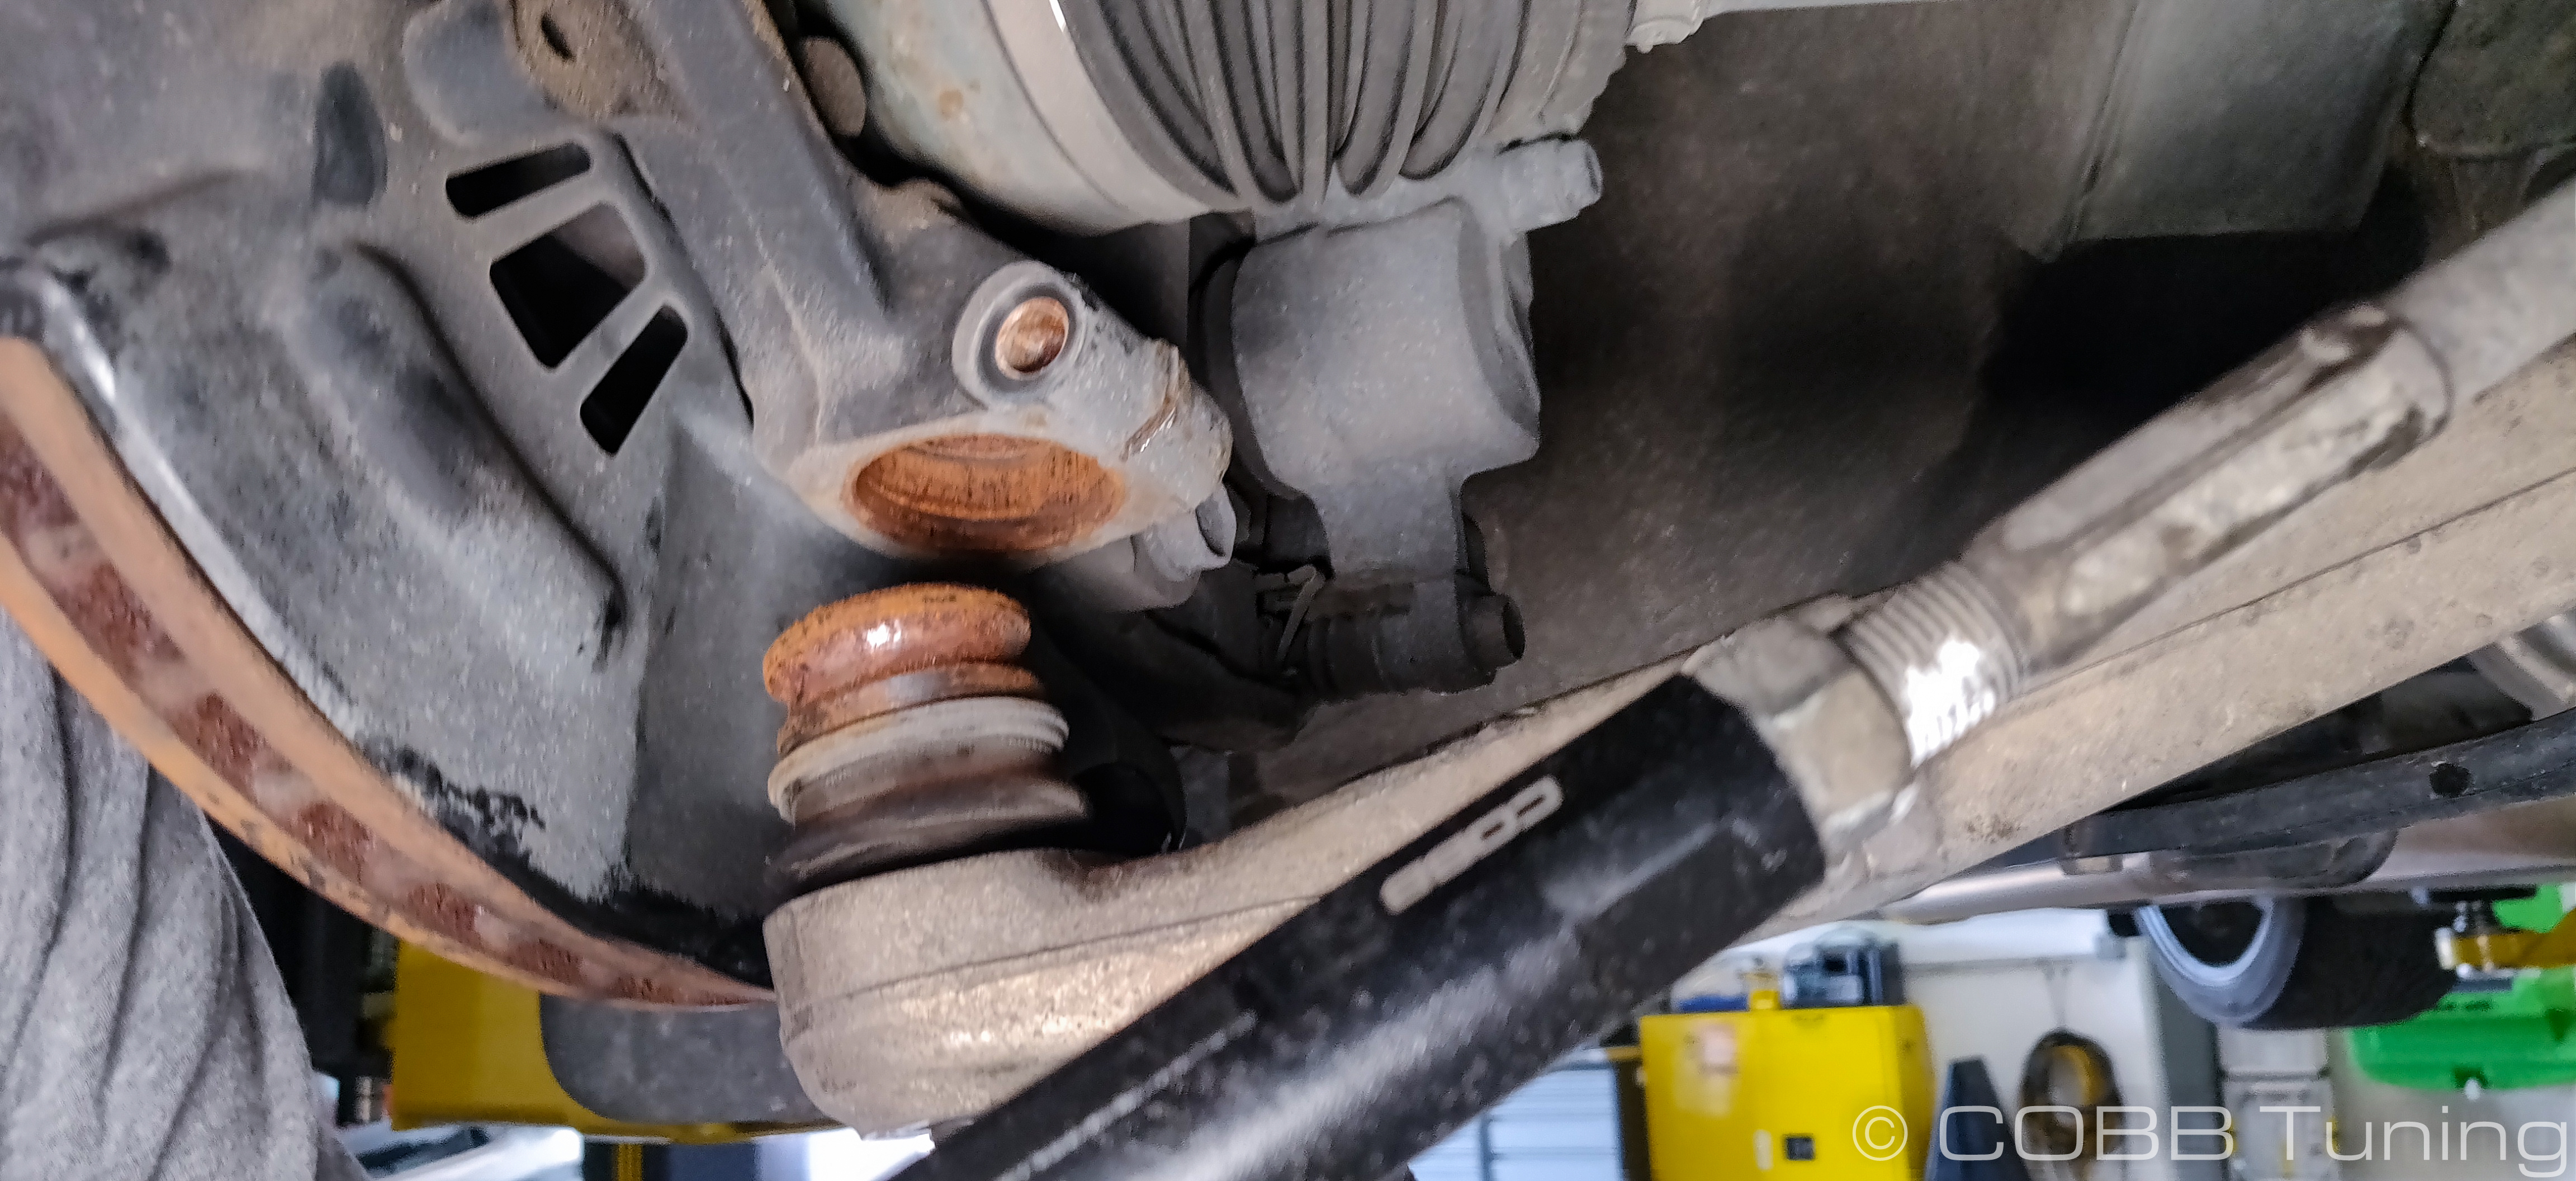
- Carefully tap upwards on the lower ball joint to remove it from the control arm. Using a pickle fork to remove it can help as well, particularly since we won't be reusing them.
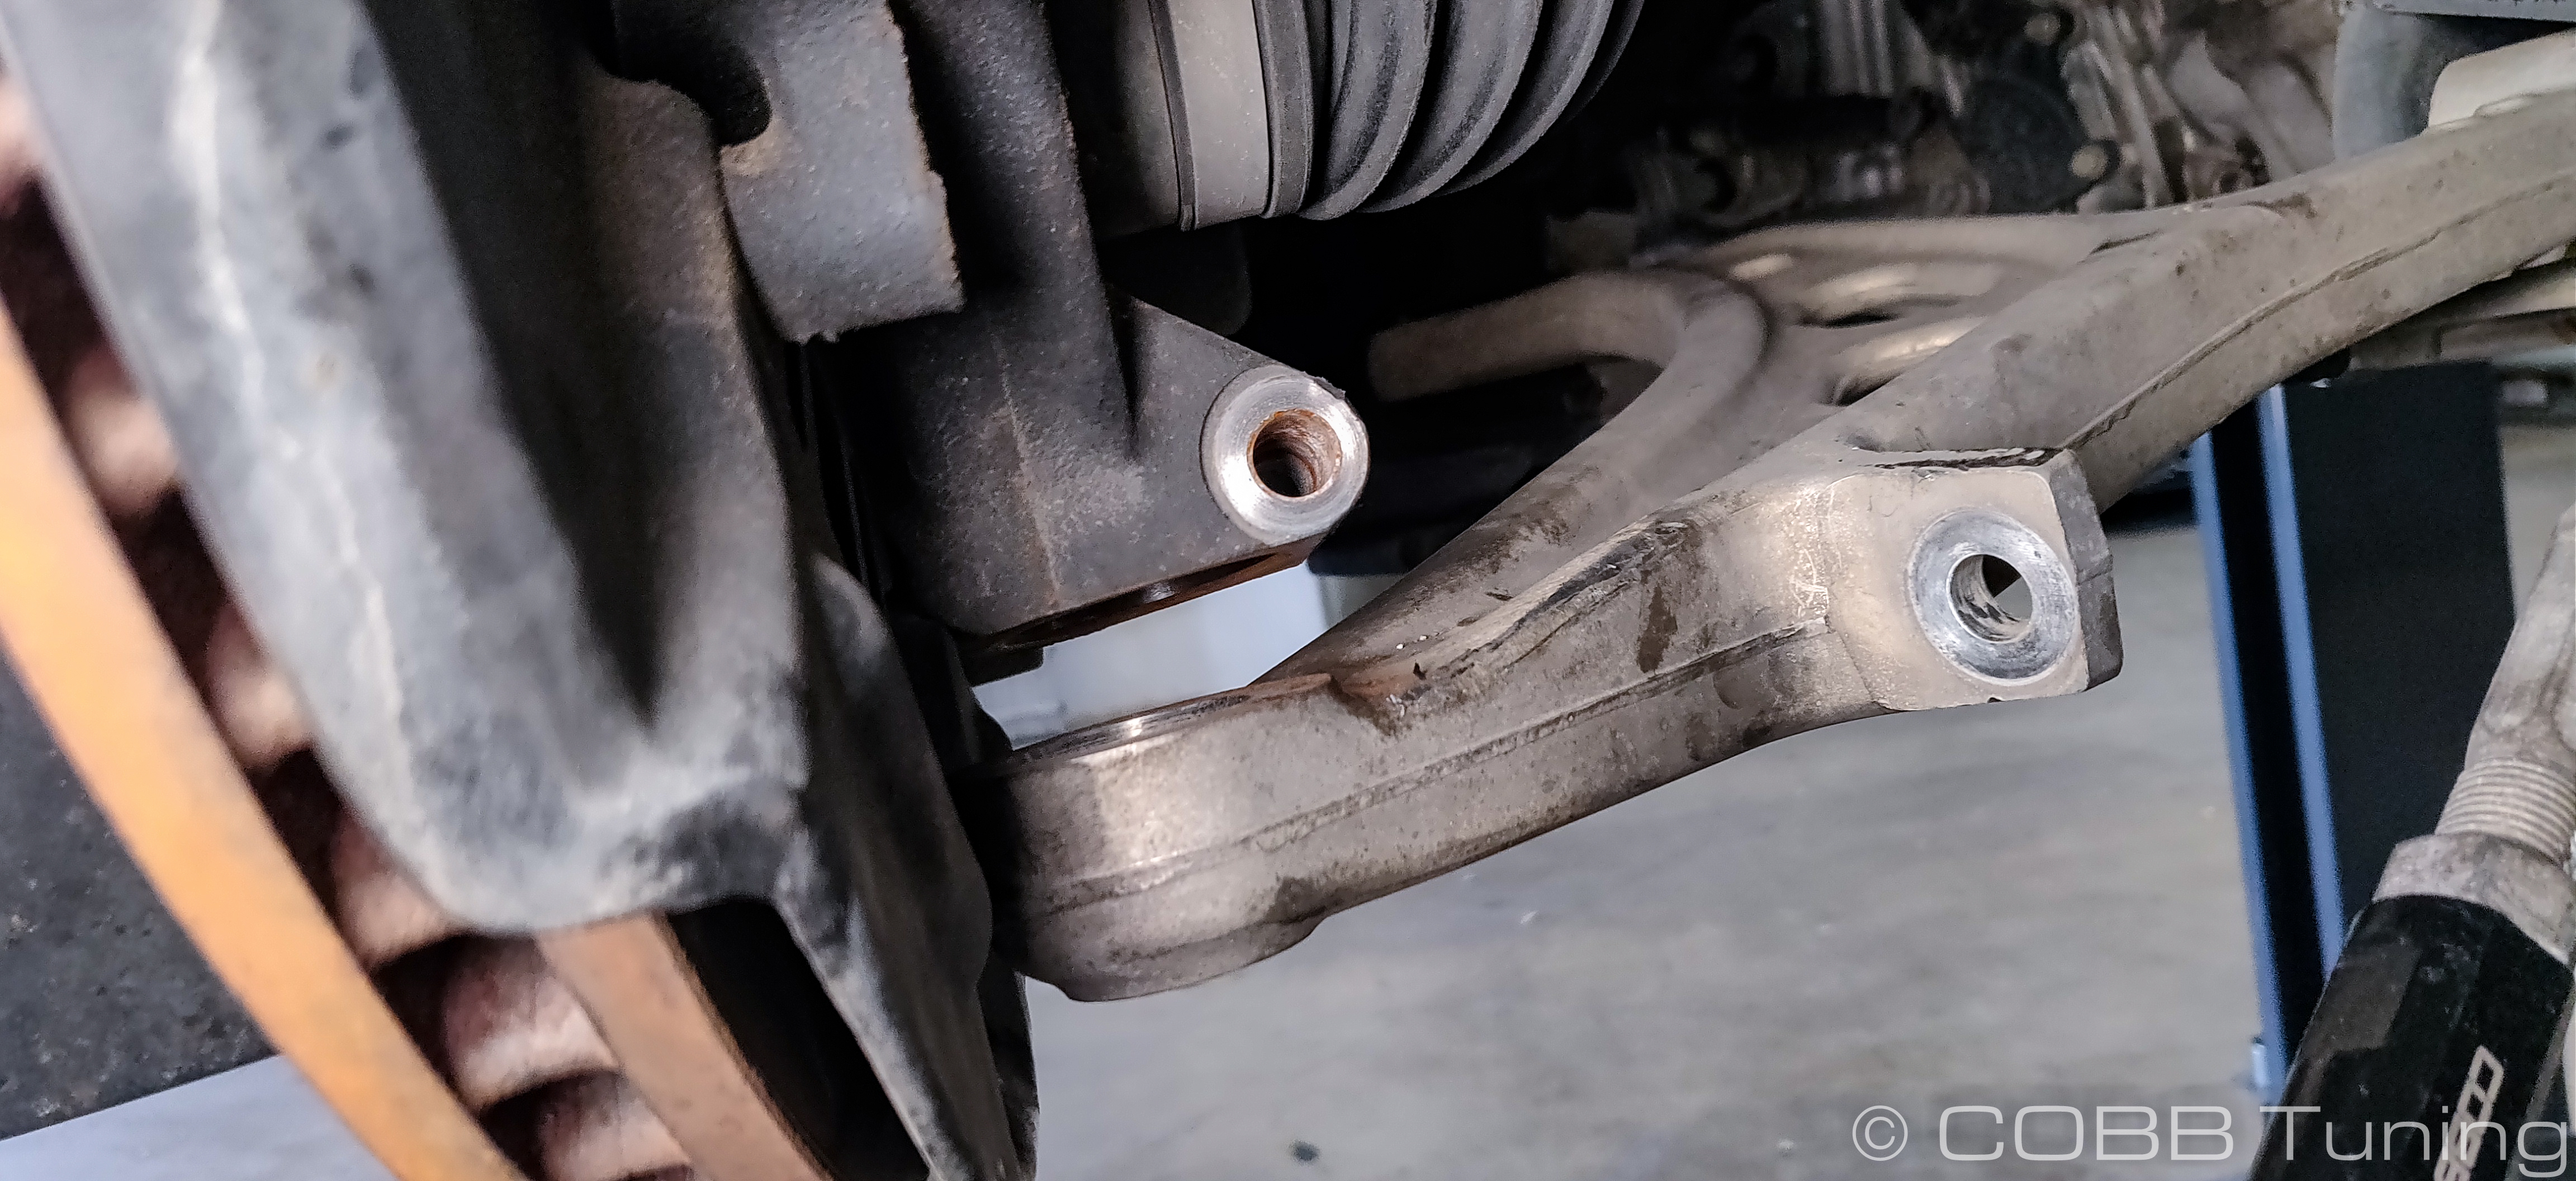
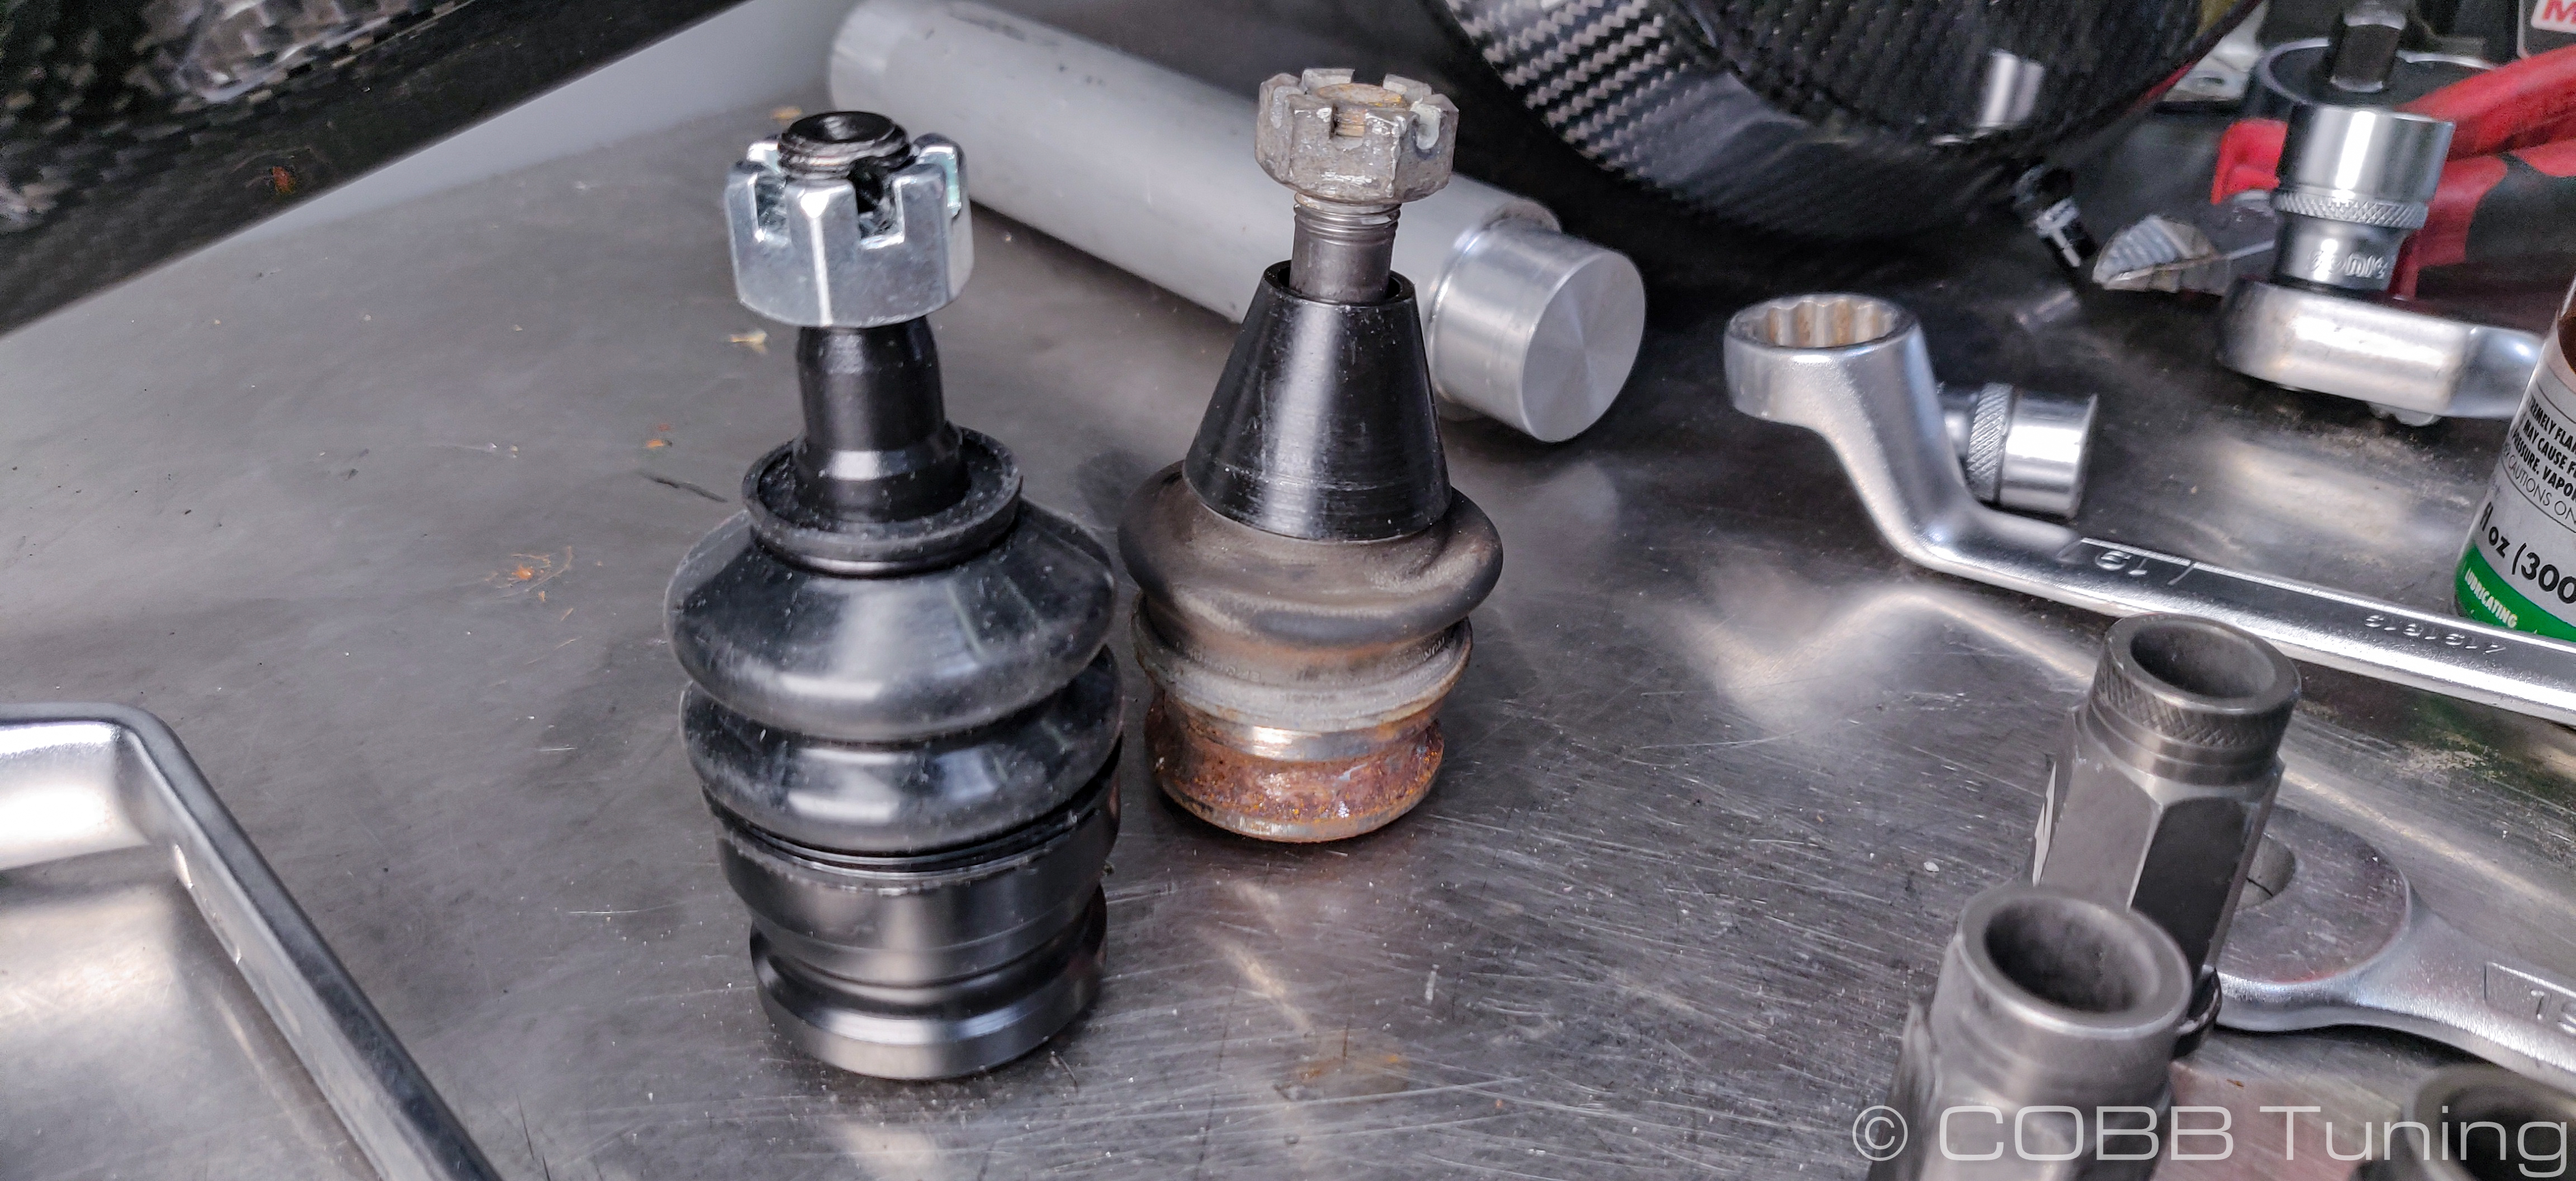
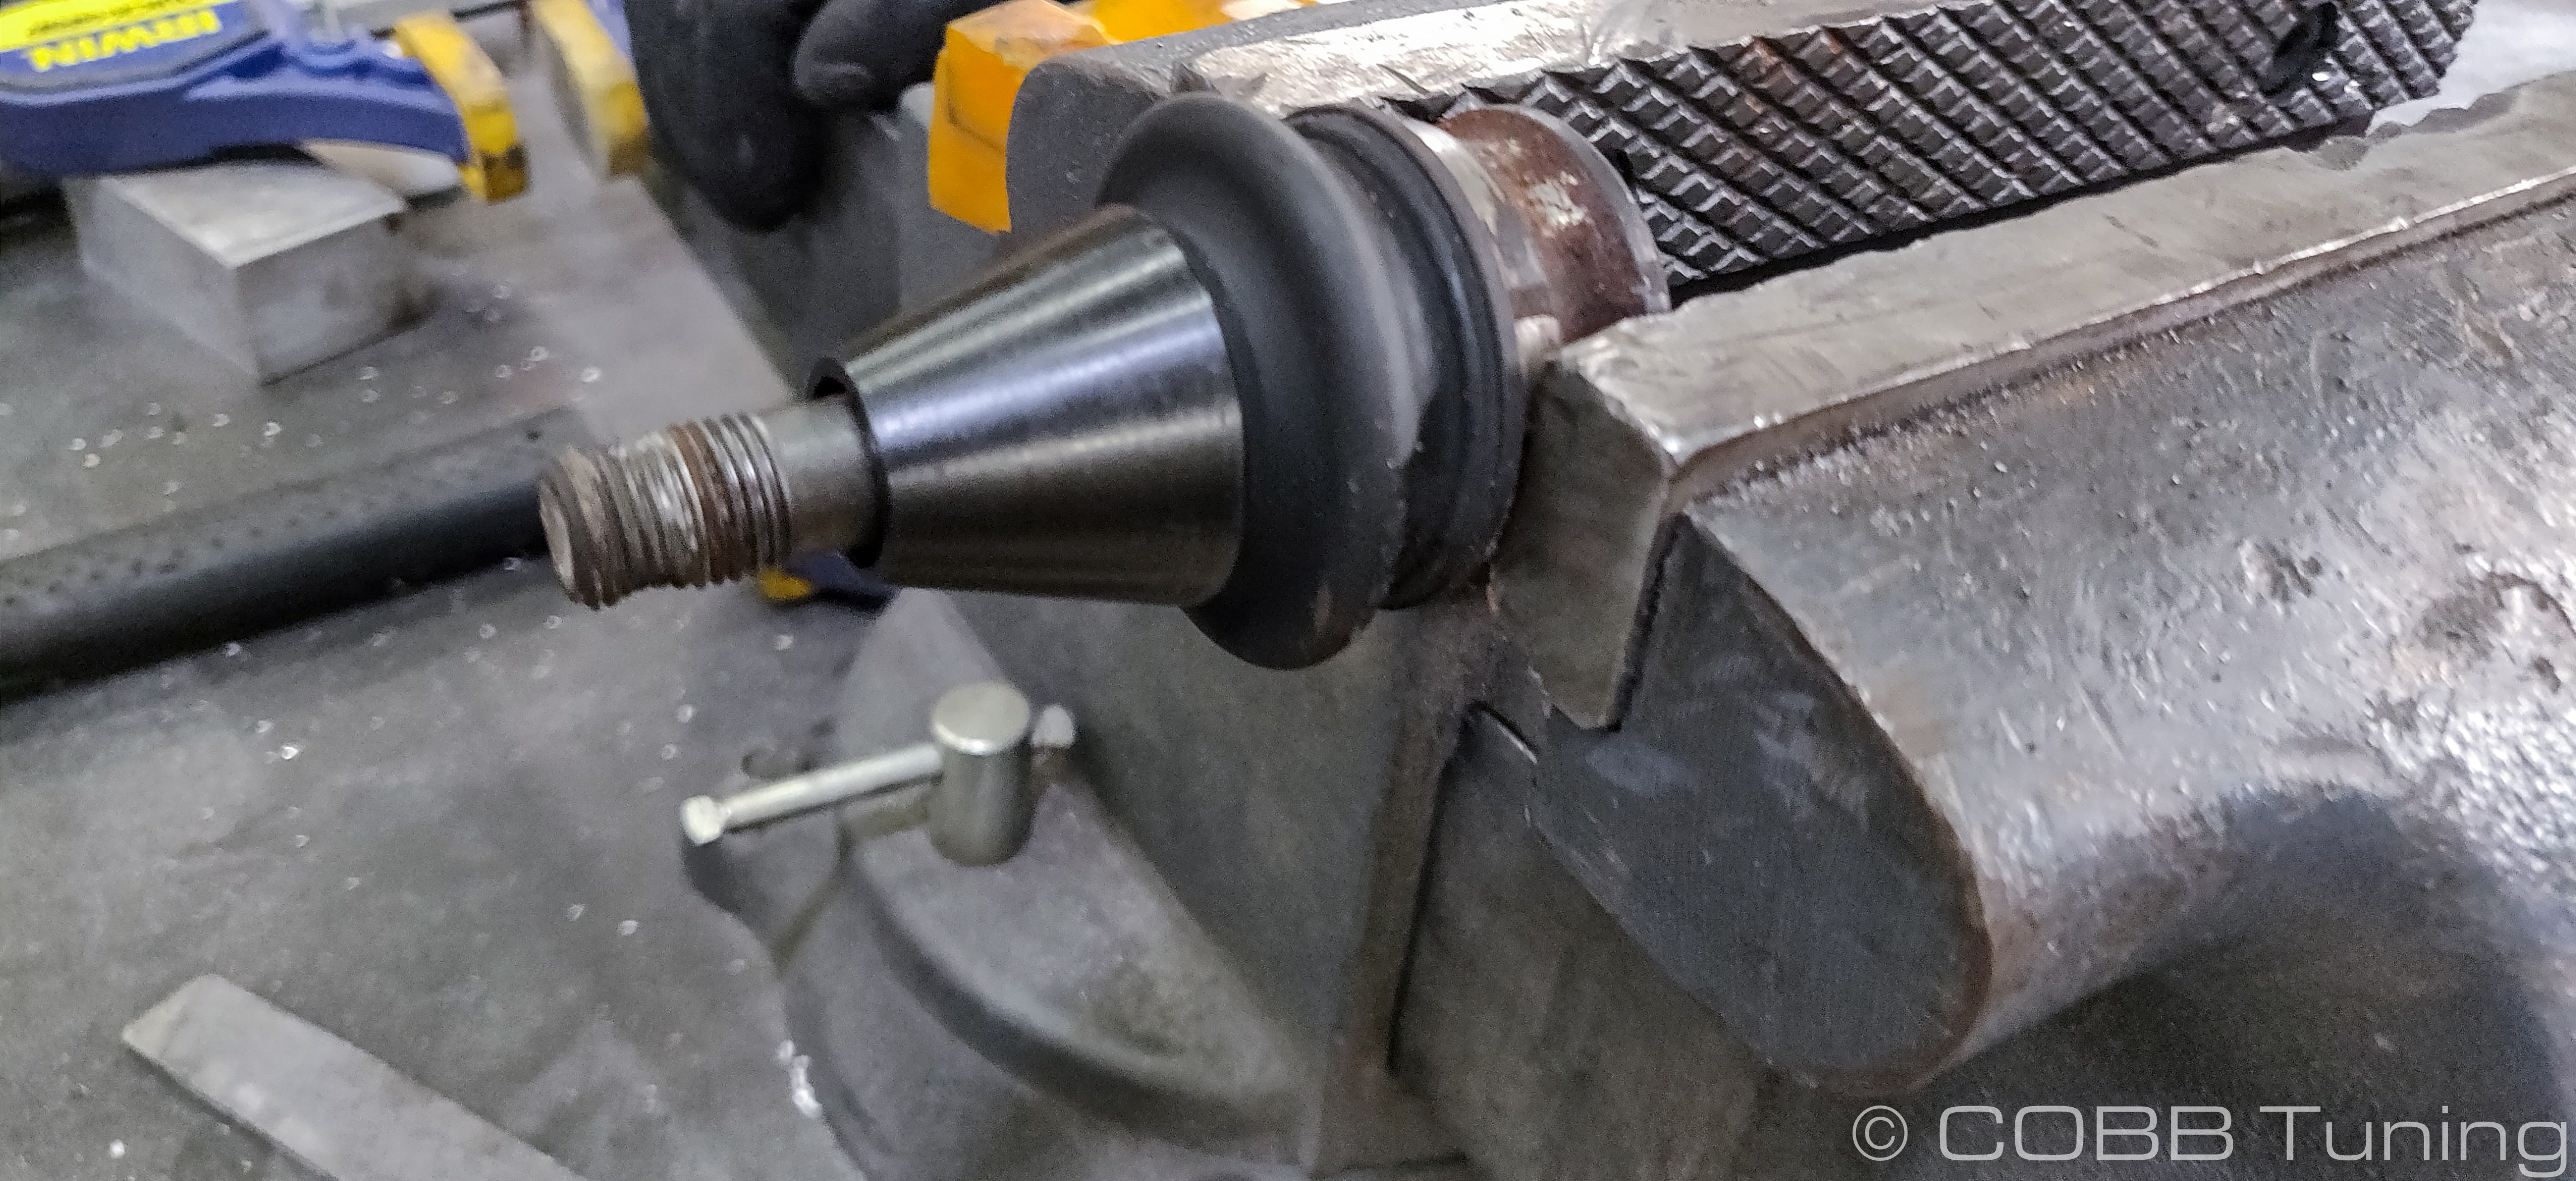
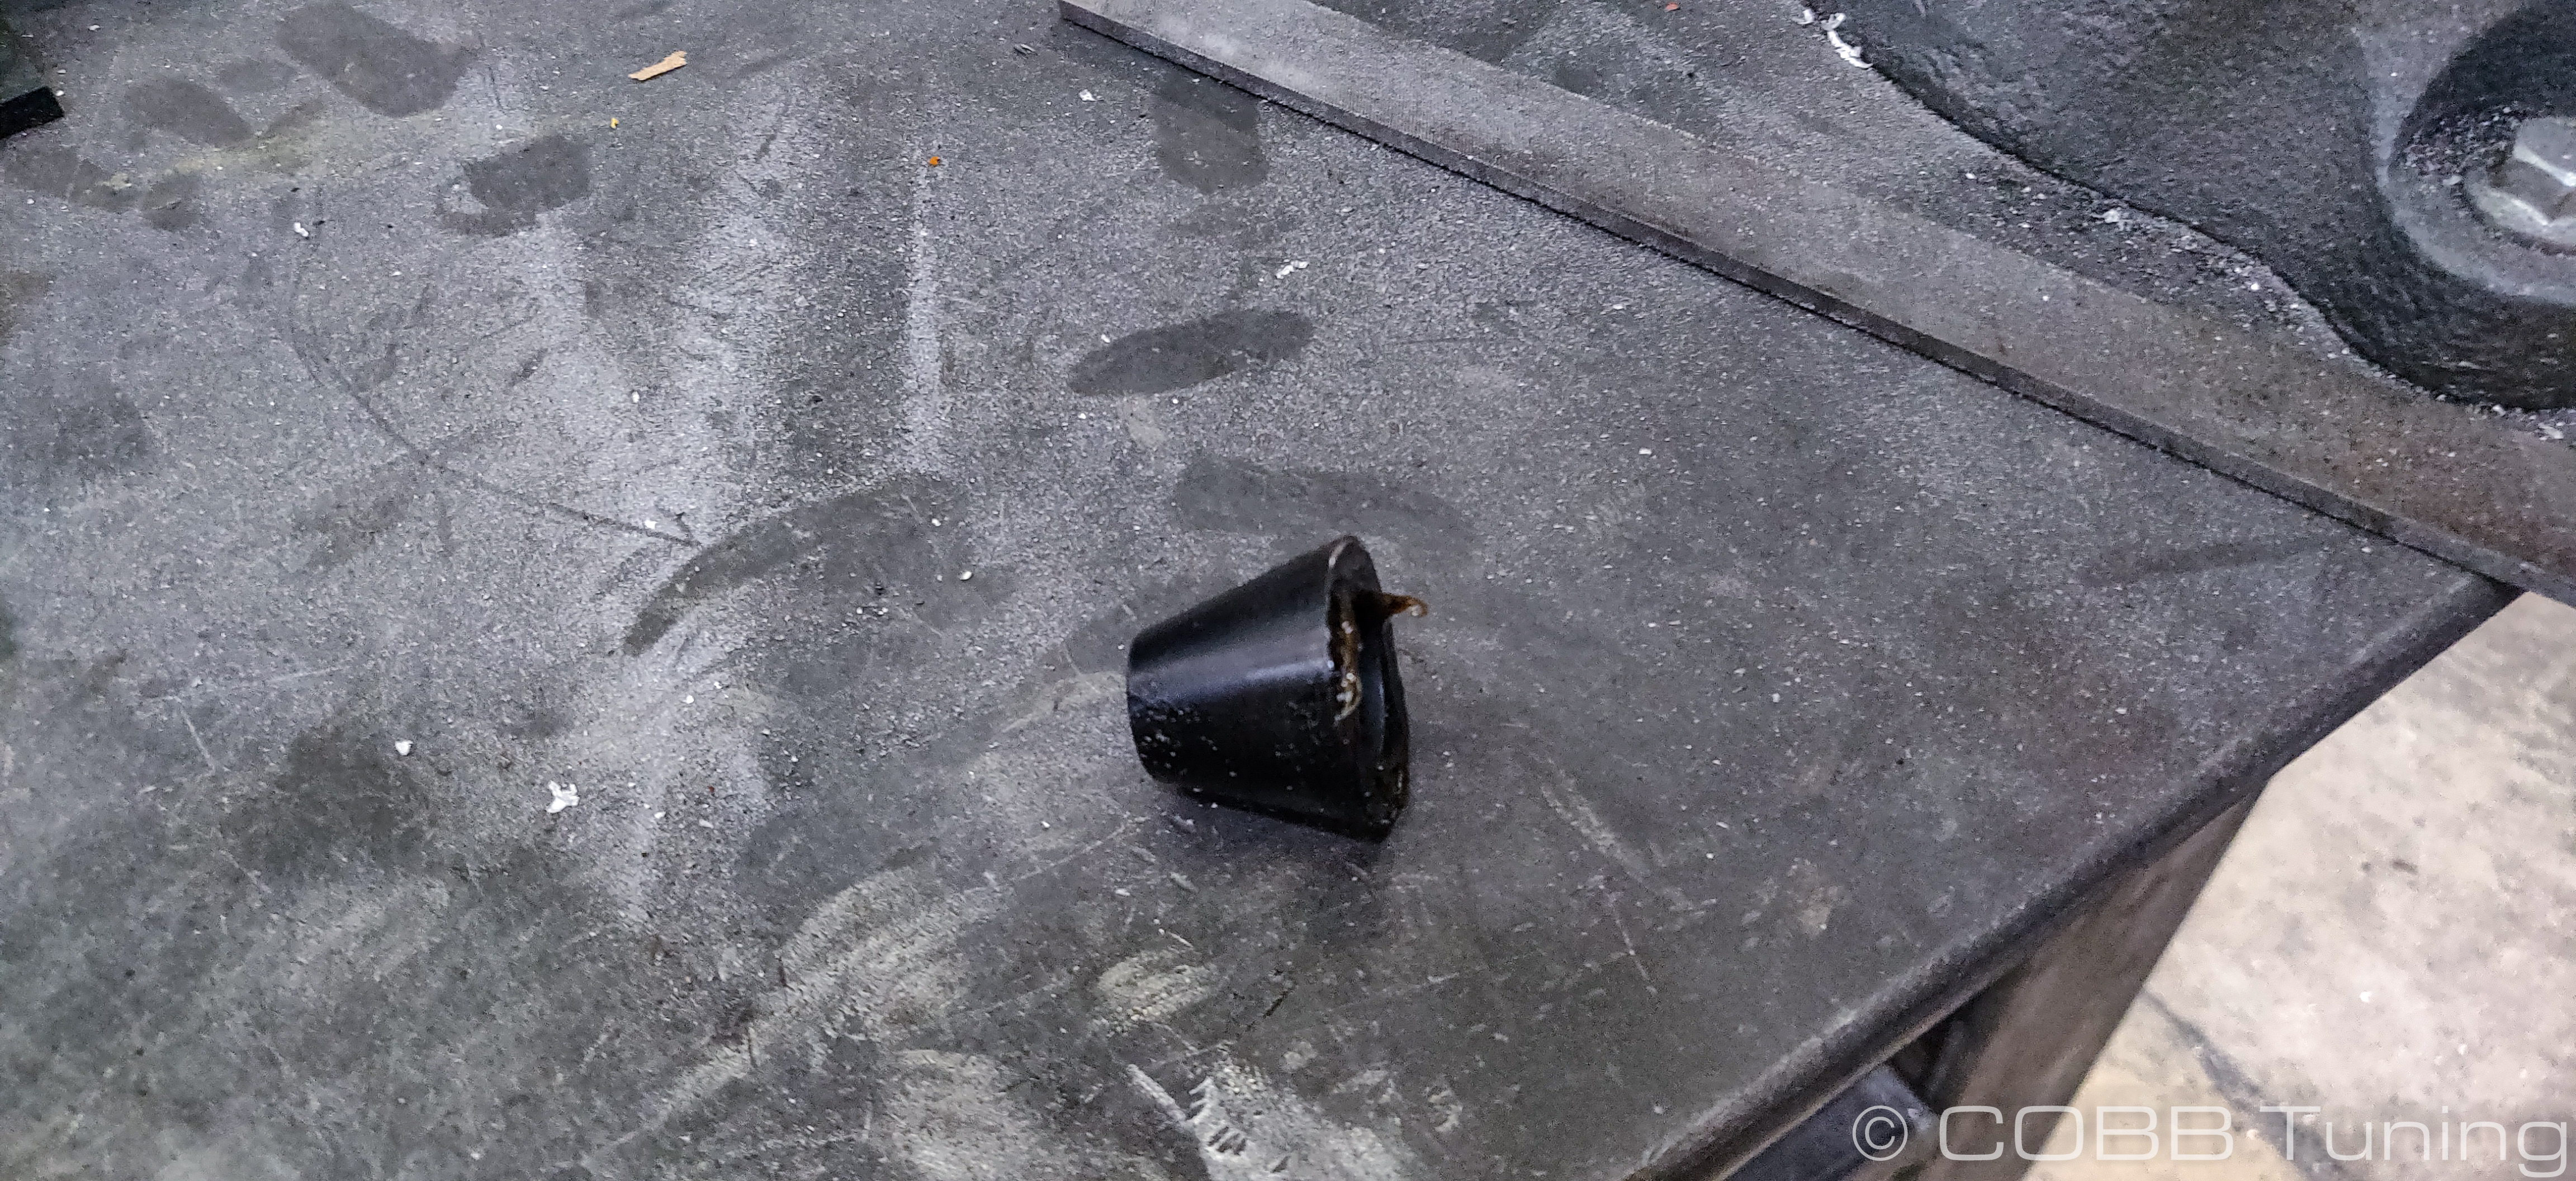
- If the tapered cone came off with the ball joint you'll need to remove it and transfer it to the new ball joint. If you purchased new control arms it sometimes comes pre-installed on those and won't need to be removed. It can be a pain to remove these if they're rusted to the ball joint so using a pry bar, pickle fork or hydraulic press can help.
Pre-Assembly
Installation
Links
Contact Us:
COBB Customer Support
Web Support and Tech Articles: COBB Tuning Customer Support Center
Email: support@cobbtuning.com
Phone support available 9am to 6pm Monday-Thursday. 9am to 4pm Friday (CST)
866.922.3059
return to www.cobbtuning.com