
Part Number – Part Name
Vehicle Coverage
[placeholder]512510 – Part Name
Subaru Impreza WRX 2002 - 2007
Subaru Forester XT 2004 - 2008
Subaru WRX STi 2004 - 2019
514510 – Part Name
Subaru Legacy GT 2005 - 2009
Subaru Outback XT 2005 - 2009
Subaru WRX 2008 - 2014
Subaru Forester 2009 - 2013
Congratulations on your purchase of the COBB Tuning
Subaru Heatshield! The following instructions will assist you through the installation process. Please read them BEFORE beginning the install to familiarize yourself with the steps and tools needed. If you feel you cannot properly perform this installation, we HIGHLY recommend you take the vehicle to a qualified and experienced automotive technician
.
Table of Contents
| Table of Contents |
|---|
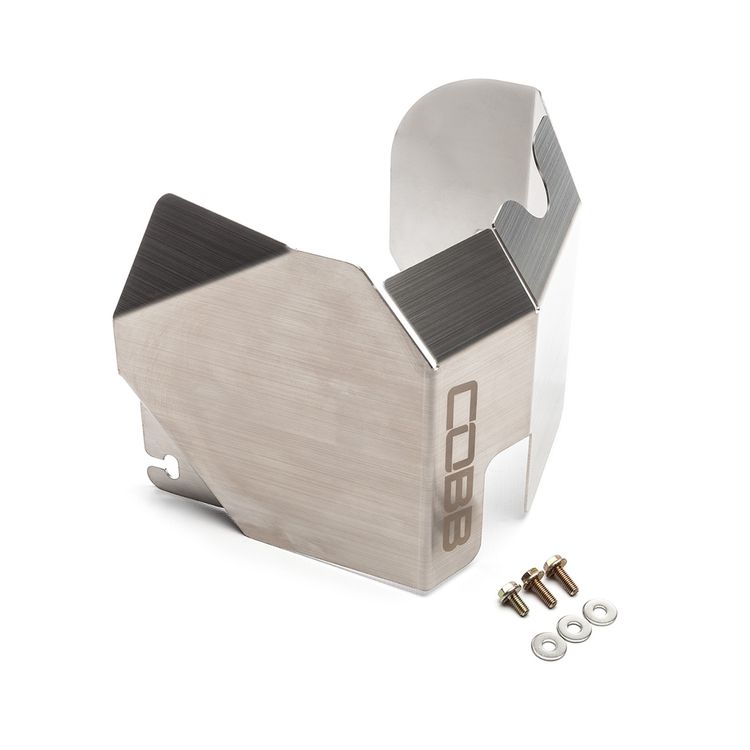
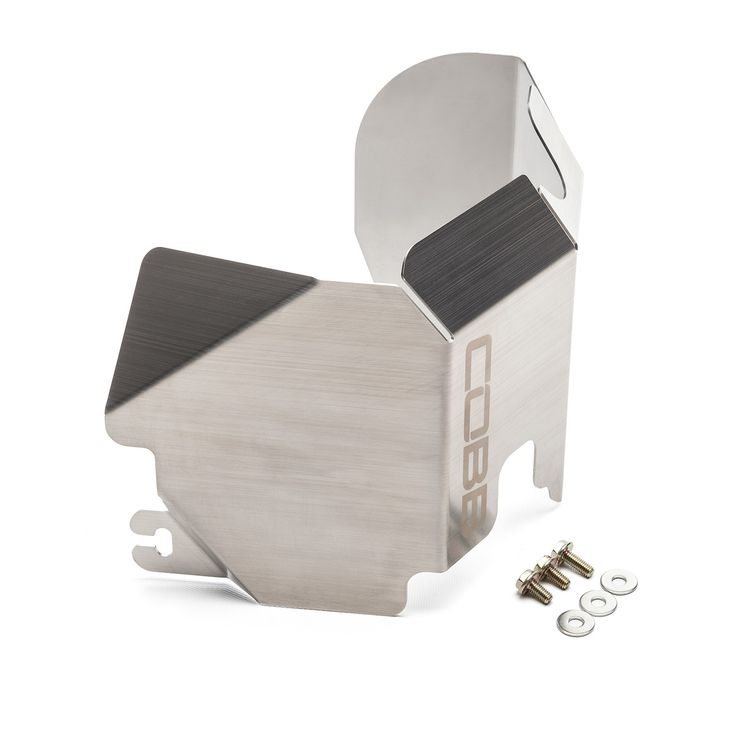
Parts List
- COBB Subaru Heatshield
- (2) m6 x 12mm Hex Bolt
- m6 x 16mm Hex Bolt
- (3) m6 Fender Washer
Tools Needed
Sockets
3/8"
3/8" Socket Swivel
- 3/8" 7mm socket
- 3/8" 16mm socket
- 3/8" 17mm socket
- 3/8" 18mm socket
- 3/8" 19mm socket
- 3/8" 21mm socket
- 3/8" 14mm deep socket
- 3/8" 15mm deep socket
- 3/8" T50 Torx Bit
- 3/8" E10 inverted Torx
- 3/8" E12 inverted Torx
- 3/8" E14 inverted Torx
- 3/8" E18 inverted Torx
- 3/8" 4mm Allen Socket
- 3/8" 5 mm Allen Socket 3/8" 10 mm Allen Socket
1/2"
Hand Tools
- Phillips head screwdriver
- Flathead screwdriver
- 3mm Allen Key
- 7mm Nut Driver
- Trim removal tool
- Deadblow Hammer
Misc.
Wrenches
- 8mm Ratcheting combination wrench
- 10mm combination wrench
- 11mm combination wrench
- 12mm combination wrench
- 13mm combination wrench
- 14mm combination wrench
- 15mm combination wrench
- 16mm combination wrench
- 17mm combination wrench
- 18mm combination wrench
- 19mm combination wrench
- 21mm combination wrench
Remove the Top Mount Intercooler
Insert excerpt WRX & WRX STI TMIC Removal WRX & WRX STI TMIC Removal nopanel true
| Insert excerpt | ||||||
|---|---|---|---|---|---|---|
|
Remove Factory Heatshield
| Insert excerpt | ||||||
|---|---|---|---|---|---|---|
|
Turbo Heat Shield Installation
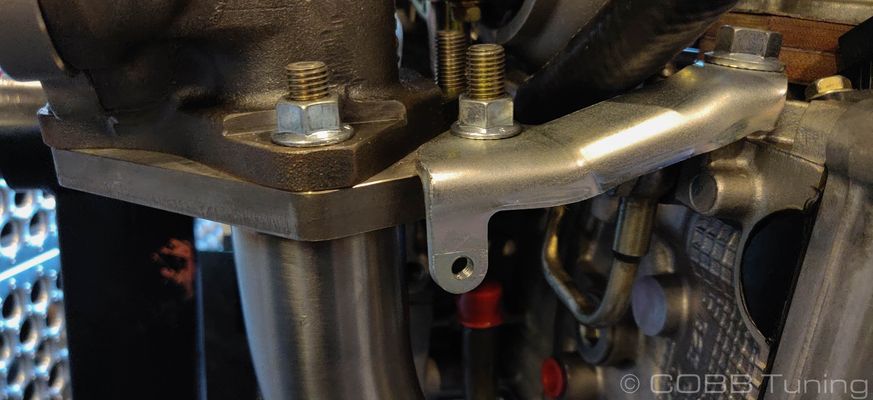
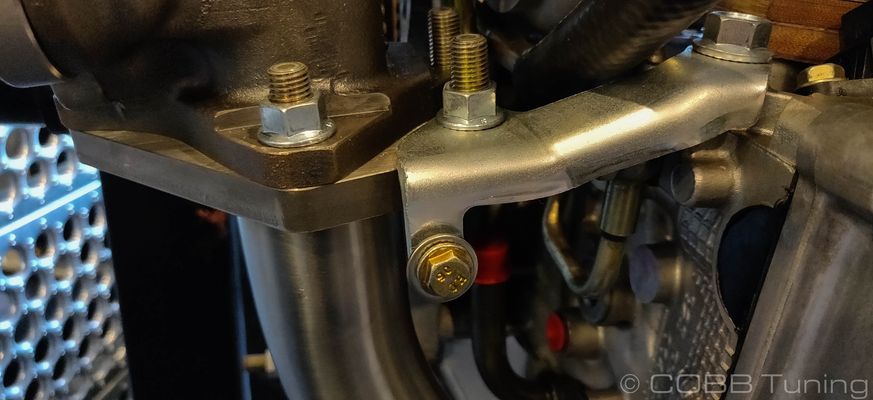
- Hand install one of the supplied 10mm bolts along with a washer into the lower up-pipe/turbo support bracket.
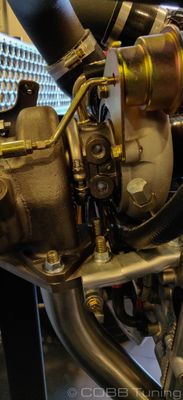
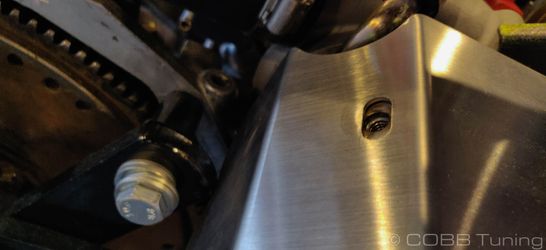
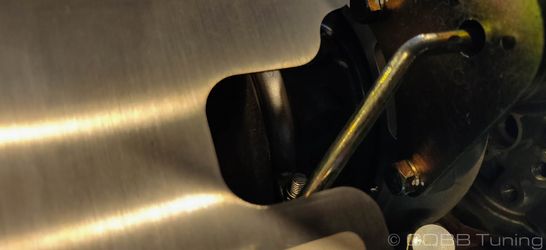
- Slide the heat shield into place with the cutout over the loosened bolt on the lower mount.
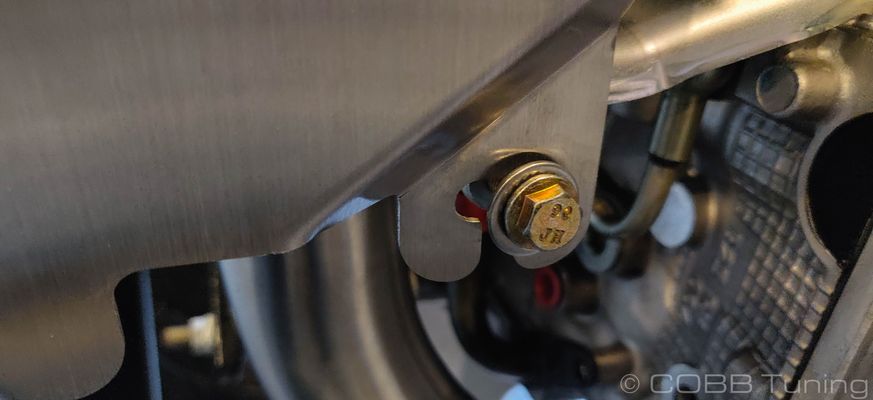
- Loosely install the other two bolts on the top and inside of the heat shield.
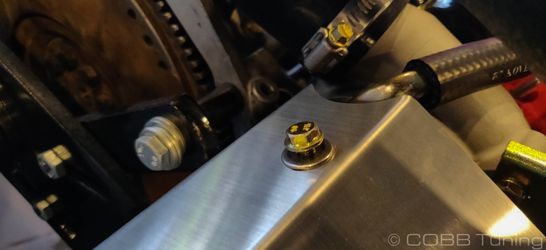

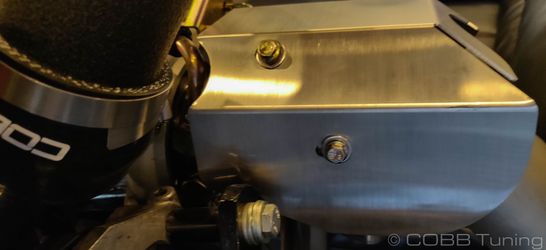
- Slide the heat shield around a little bit to make sure the wastegate arm isn't hitting the bracket and then tighten down each bolt with a 10mm socket.

- Reinstall the intercooler in the reverse order of removal.
- Go out and enjoy!