
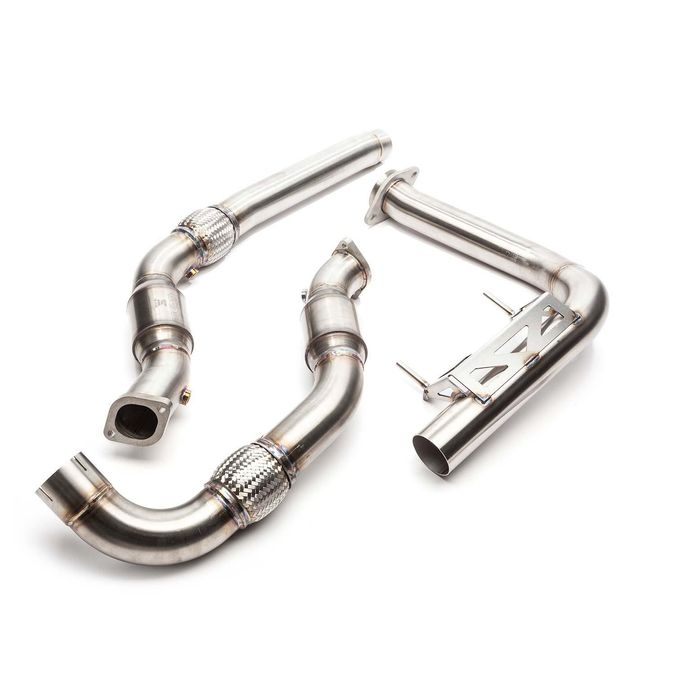
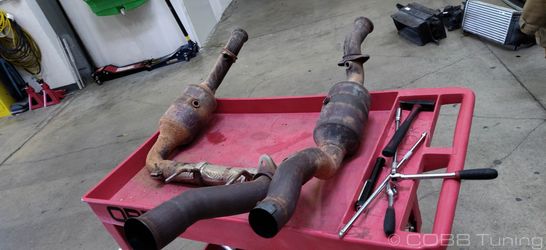
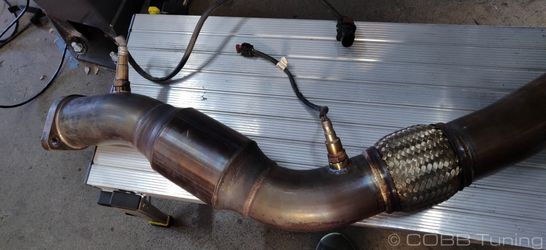
5F2200 - Ford Raptor Downpipes
2017 - 2020 Ford Raptor
Congratulations on your purchase of the COBB Tuning Raptor Downpipes! The following instructions will assist you through the installation process. Please read them BEFORE beginning the install to familiarize yourself with the steps and tools needed. If you feel you cannot properly perform this installation, we HIGHLY recommend you take the vehicle to a qualified and experienced automotive technician.
IMPORTANT! Installing this kit will require custom tuning or utilizing an appropriate Stage Power Package map if you have a matching mechanical configuration. Please consult with COBB or an authorized ProTuner in your area if you have any questions!
Table of Contents
| Table of Contents |
|---|
Parts List
- Driver's Side Downpipe
- Driver's Side Crossover
- Passenger Side Downpipe
- (4) m10x1.5 thread 42mm Studs
- (4) m10x1.5 locking washers
- (4) m10x1.5 lock nut (14mm bolt head)
- (2) Stock Turbo Outlet Gaskets
- 3" Exhaust Clamp
- Stud Extractor Tool
- (2) m10x1.5 hex nut
- (2) m10x1.5 60mm Bolt
Tools Needed
Sockets
3/8"
3/8" ratchet
3/8" 12" extension
3/8" 6" extension
3/8" Socket Swivel
3/8" 8mm socket socket
3/8" 10mm socket
3/8" 13mm socket
3/8" 14mm socket
- 3/8" 21mm socket
- 3/8" 15mm deep socket
Misc.
- Oxygen Sensor Wrench
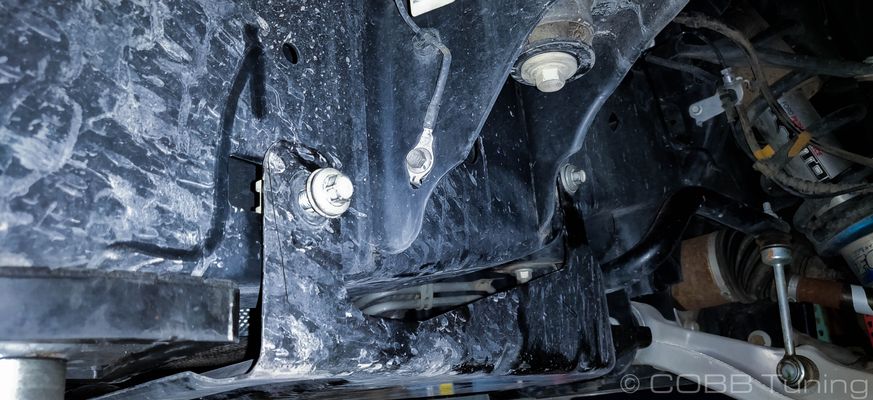
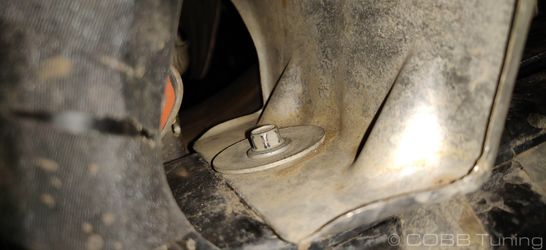
Remove Skid Plates
- Park your car in a flat level area. While it isn't necessary to lift your car, having a lift can make things easier to work freely.
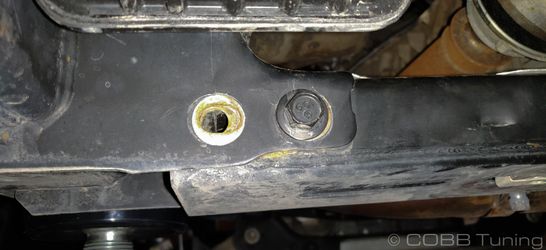
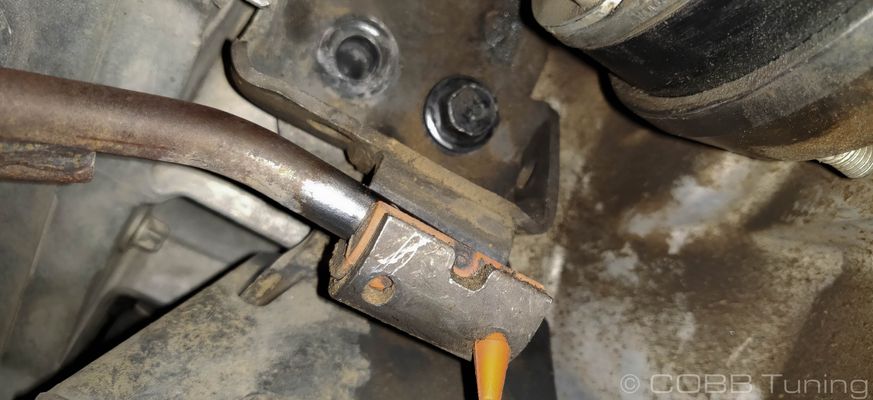
- Remove the ninety degree bracket from the driver's side of the car by removing the four 13mm bolts.
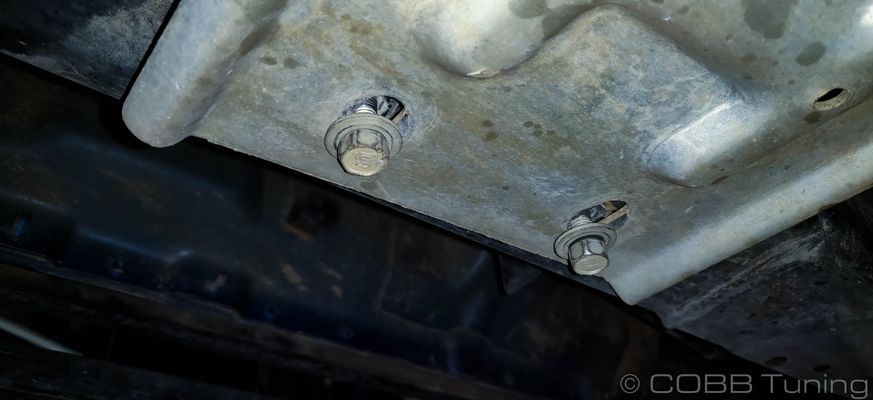

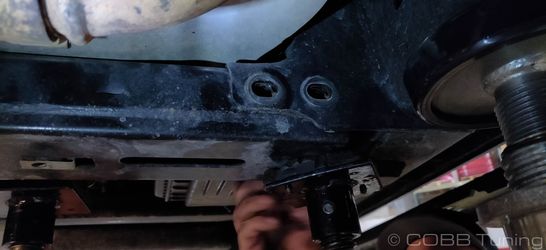
- Undo the two 13mm bolts from the front of the rear skid tray, followed by the two on each side of the frame rail. Make sure not to lose the metal threaded clips found in the frame.
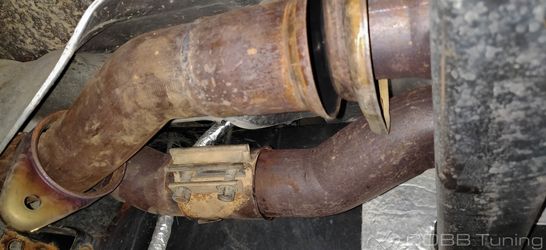
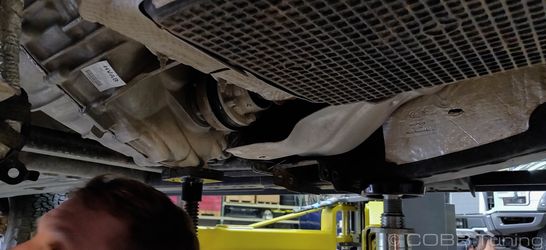
Stock Exhaust Removal
- Unplug the two oxygen sensors on each bank. For the upper sensors it's easiest to turn the wheel one way and reach in through the wheel well. The lower ones can be reached from underneath. If you can reach them, it may be best to remove them and set them somewhere safe in order to prevent damage. Make sure to keep track of which one goes where to prevent issues when you re-install.
- Remove the two bolts holding the wiring harness sleeve using a 10mm.
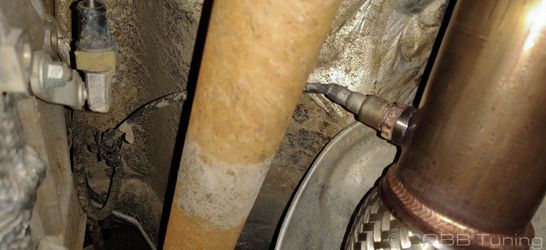
- Remove the 10mm bolts holding the outside heatshield in place on the driver's an passenger's sides.
- Now add a jack or other supporting item onto the transfer case. We'll be removing the crossmember so it's important things are supported in order to keep you safe.
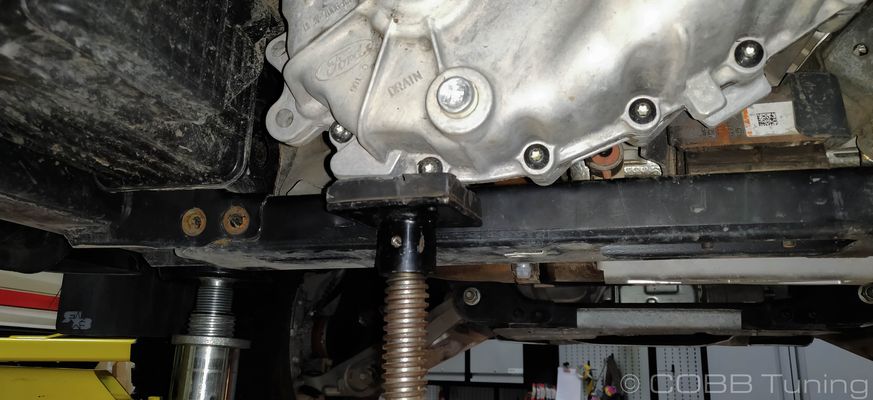
- Undo the two downward facing nuts on the crossmember. This should take a 21mm socket.

- Now pull the other two 15mm bolts from each side.
- If you have another jack it can help to push up a little bit on the cross brace to remove it, otherwise simply tap it down with a deadblow hammer.
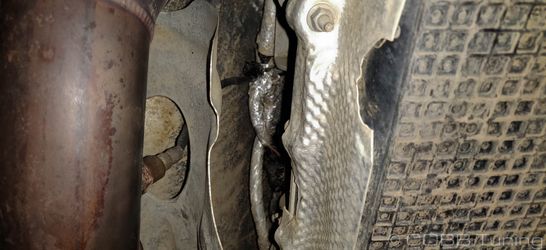
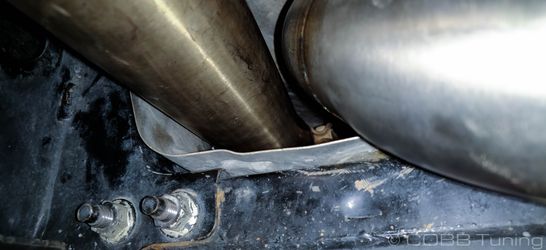
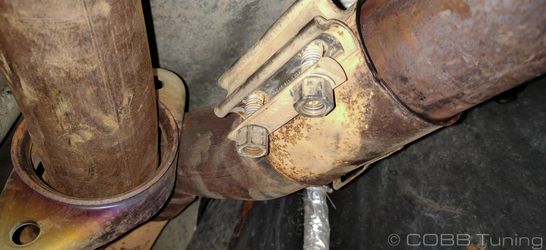
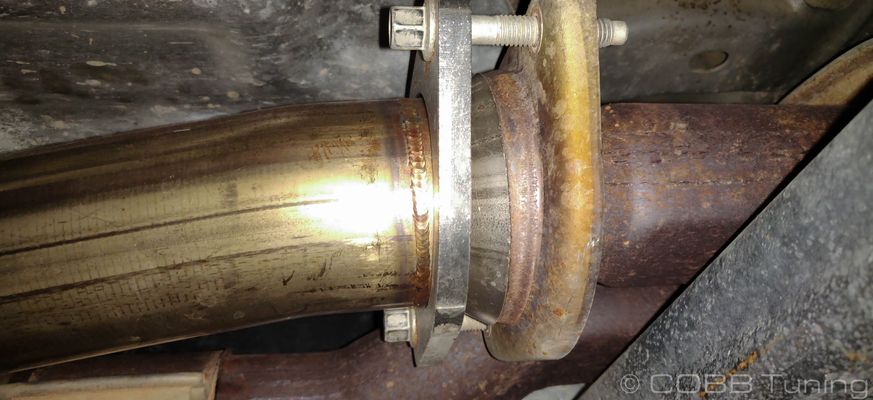
- Moving over to the are in front of the first resonator, loosen the two 15mm bolts on the exhaust clamp, and remove the two 13mm bolts from the exhaust flange.
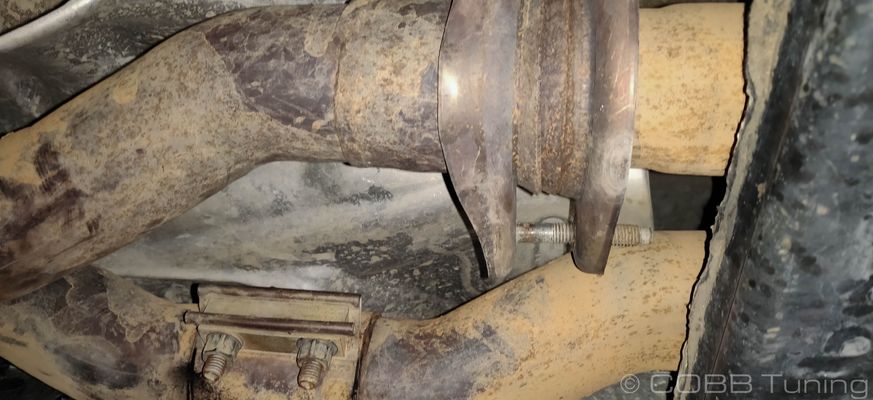
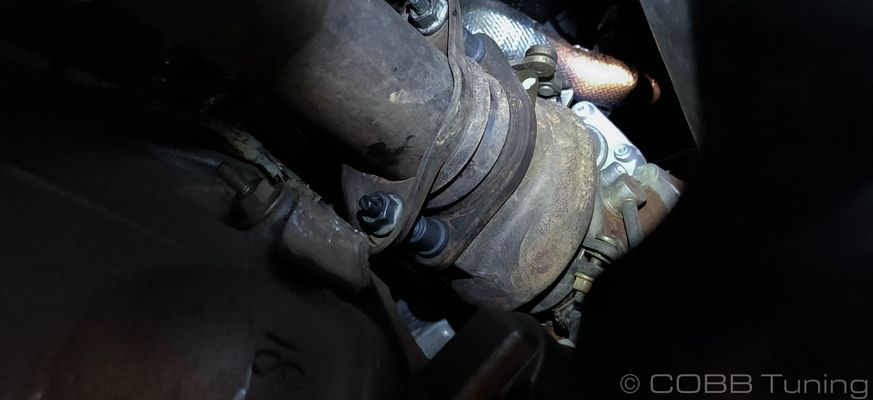
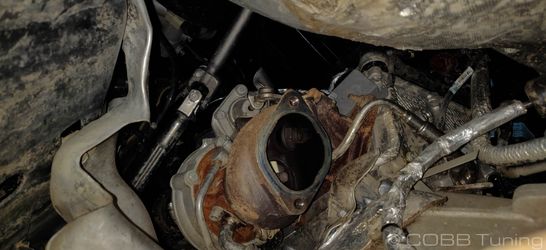
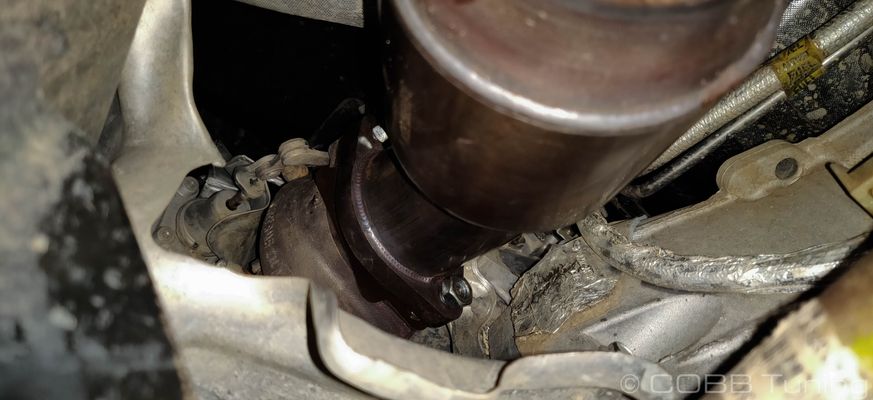
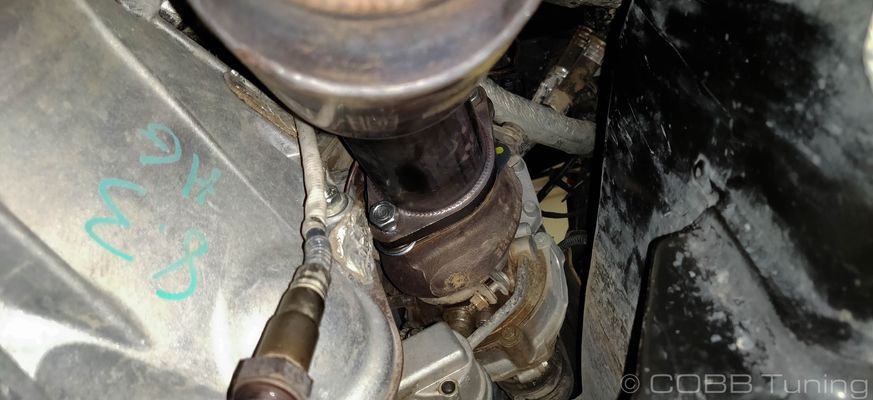
- Move up to the turbo side and remove the two nuts on each downpipe flange using your 15mm and an extension.
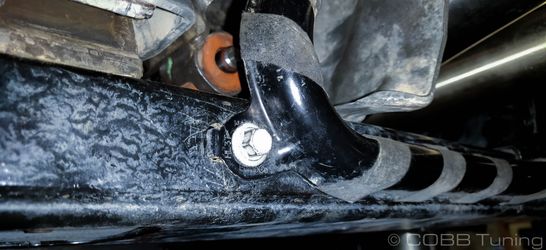
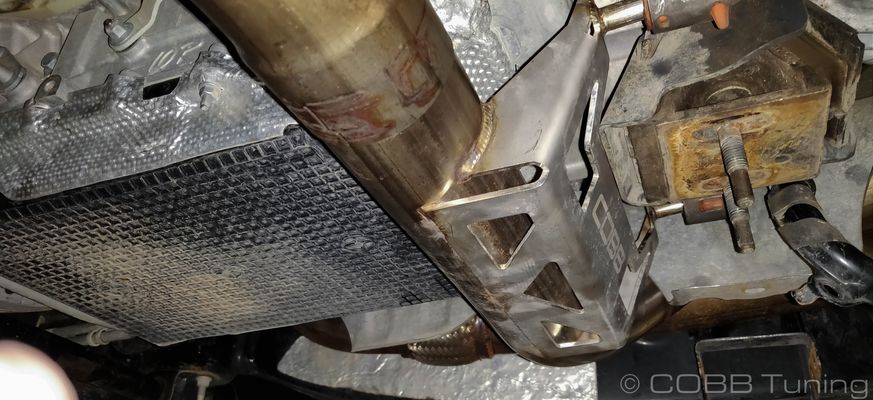
- Move back to the transmission mount/exhaust hanger. Remove the four bolts holding it on to the transmission/transfer case. These are 15mm.
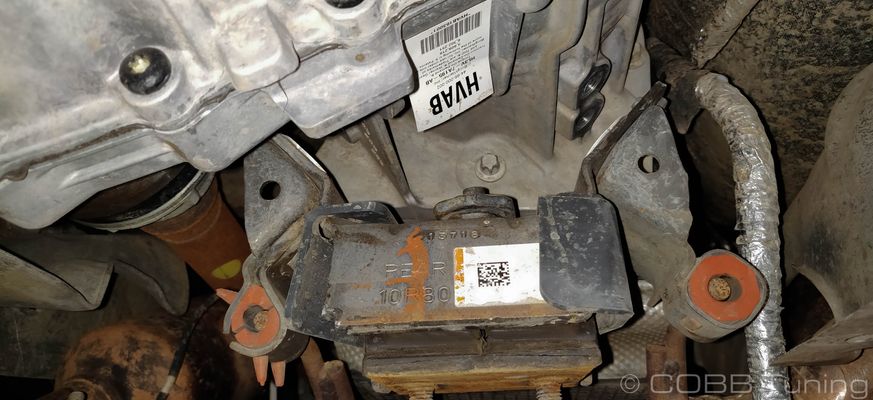
- Once the mount is unbolted pull it free from the exhaust.
- Now carefully remove the exhaust from the car
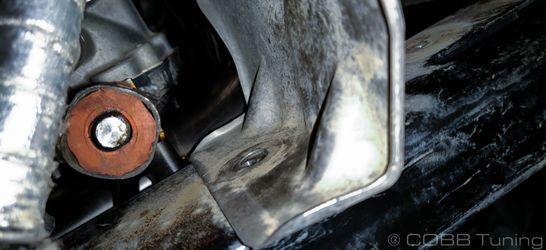
Downpipe Stud Extraction
In order to remove the restrictive stock flanges, you'll need to remove the factory studs holding them in place. To do so, use the provided stud remover. Simply place it over the stud and tighten it down by spinning the rear section to the left, making sure to keep it centered. With it in place attach a 3/8" ratchet to the back and carefully loosen it off. Use of an impact is not advised as this threads directly into the turbocharger and any damage to the housing or threads can be a large issue to fix.
Note It may be worth spraying the studs down with penetrating fluid in order to prevent damage to the turbocharger.
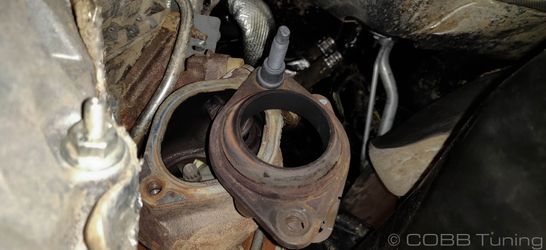
- Set the flanges and studs aside in case you want to go back to stock at a later date.
COBB Downpipe Installation
- Install a small amount of anti-seize to the COBB-supplied studs and thread them into the turbo flanges by jamming the two larger provided nuts together on the stud and then wrenching it down. Then slip the newly provided gaskets over the studs.
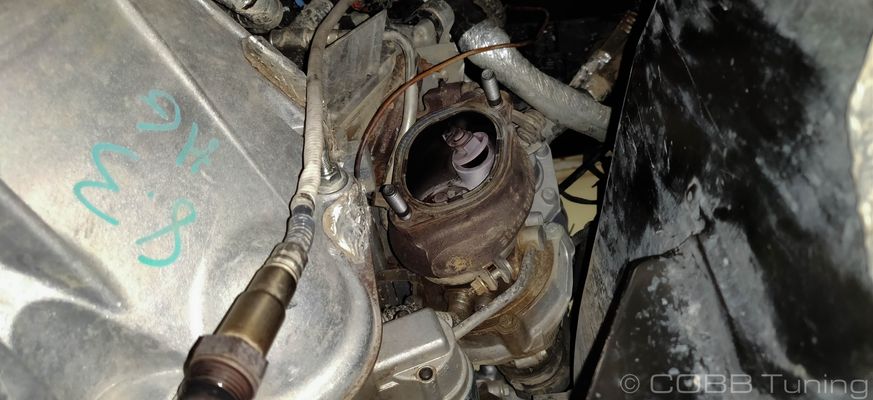
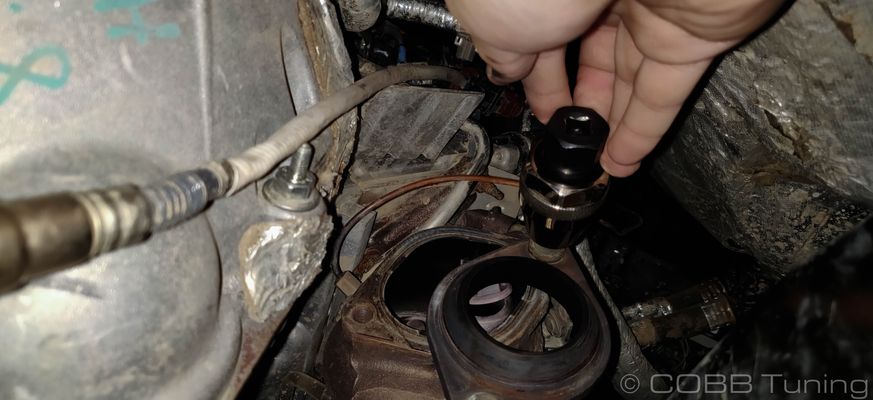
- Using a 22mm oxygen sensor wrench and a small amount of anti-seize on the threads. Install the oxygen sensors from the stock pipes into their identical locations in the new COBB pipes. Make sure to be careful as any impacts can damage the sensor itself. Also make sure to keep the orientation of front/back/left/right the same with the sensors to avoid a check engine light or worse.

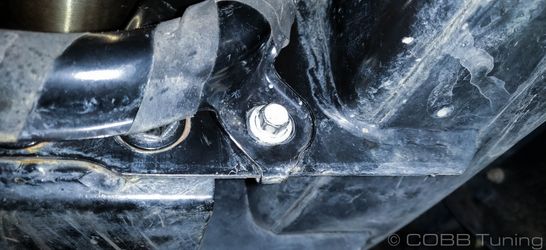
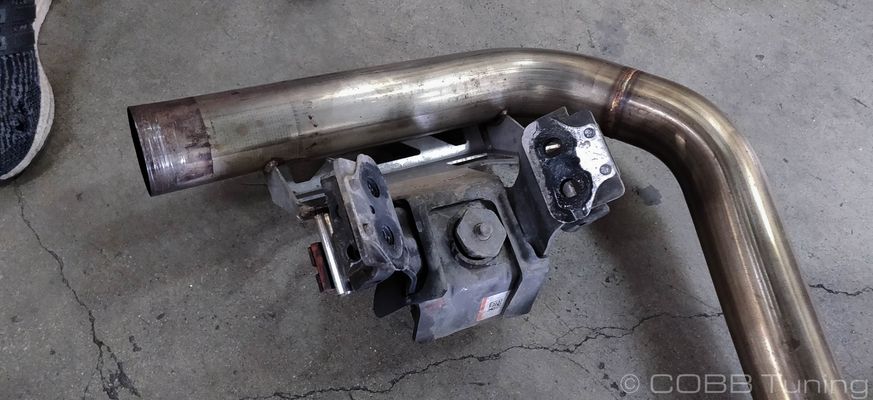
- Slip the stock transmission/exhaust mount and slip it onto the mid-pipe.
- With an exhaust clamp over one of the pipes, slip the crossover tube into the driver's side downpipe then swing the back side up towards the cat-back section.
- Get the nuts started on the driver's side downpipe but don't tighten it down all the way.
- Now pop the passenger's side back in and get those bolts started as well.
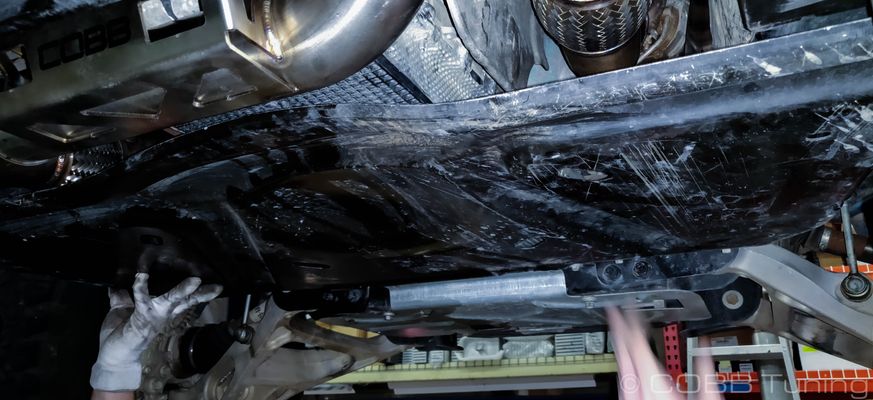
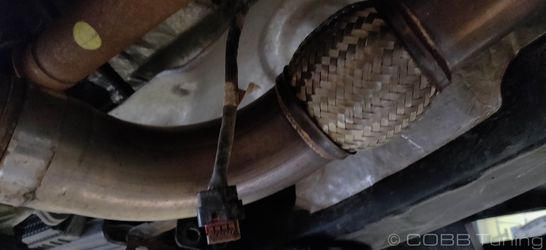
- Now go ahead and connect the exhaust to the catback. You can use the stock bolts or the new provided items. Make sure the pipes are spaced out from eachother to avoid any sort of clanking or rattling.

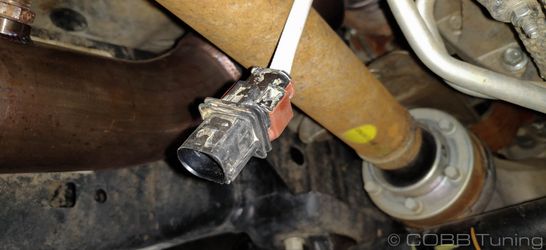
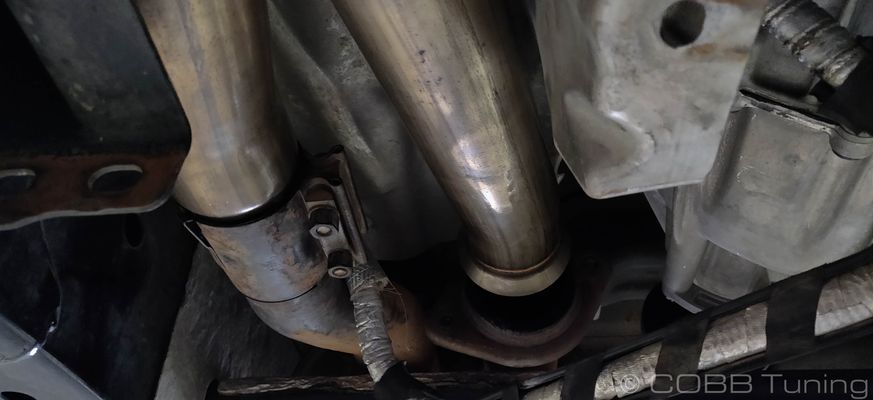
- Make sure to route the pipes INSIDE of the harness loop not on the outside like in this picture.
- With everything oriented happily, you can start tightening things down starting at the turbos and working your way back.
- Plug in the wiring connectors to the oxygen sensors.
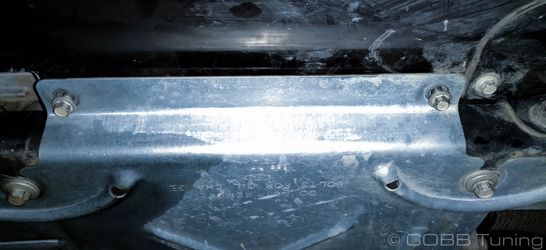
- Reinstall the crossmember and skid plate in the reverse order of removal.
- Flash the appropriate map for your modification level
- Go out and enjoy!
Links
Ford Raptor & F-150 Limited HO Map Notes
Helps to figure out which map you should be on given the parts installed to your car
| Insert excerpt | ||||||
|---|---|---|---|---|---|---|
|