
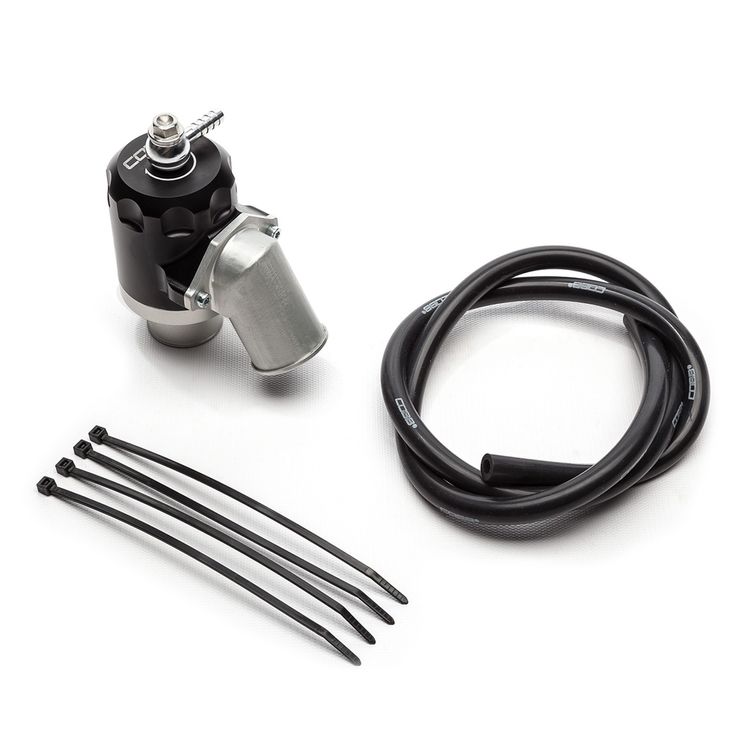
715665 – 1" Universal LF BPV
Congratulations on your purchase of the COBB Tuning 1" Universal LF BPV! The following instructions will assist you through the installation process. Please read them BEFORE beginning the install to familiarize yourself with the steps and tools needed. If you feel you cannot properly perform this installation, we HIGHLY recommend you take the vehicle to a qualified and experienced automotive technician.
Table of Contents
| Table of Contents |
|---|
Parts List
- 6mm Silicon Hose
- (3) Zip Ties
- (2) Stickers
Tools Needed
Hand Tools
- Phillips head screwdriver
- Flathead screwdriver
Needlenose pliers
BPV Installation
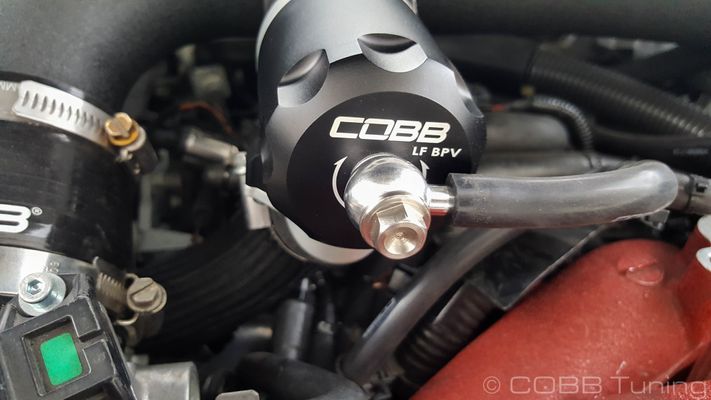
- Start out by removing the Original BPV by unscrewing hose clamps or removing the factory spring clamps

- Insert the bpv nose first into the recirculation tube, leaving the clamp loose for now to allow for movement. Make sure it goes all the way in.
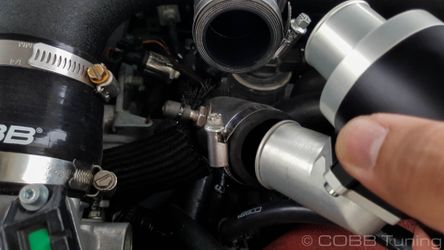
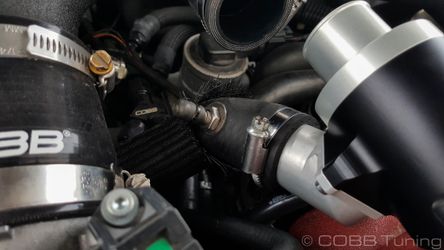
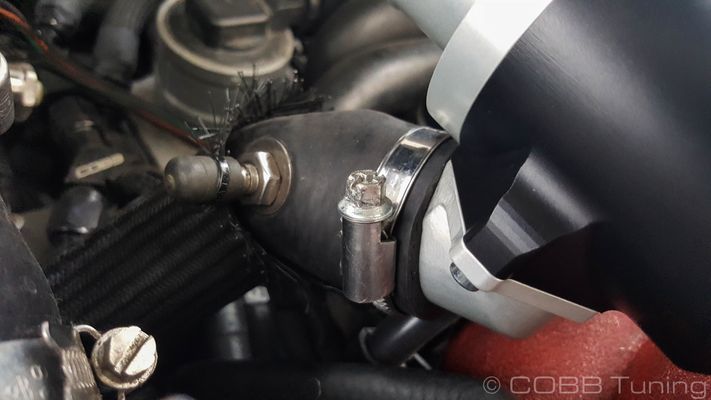
- Now insert the lower portion and tighten down both hose clamps.
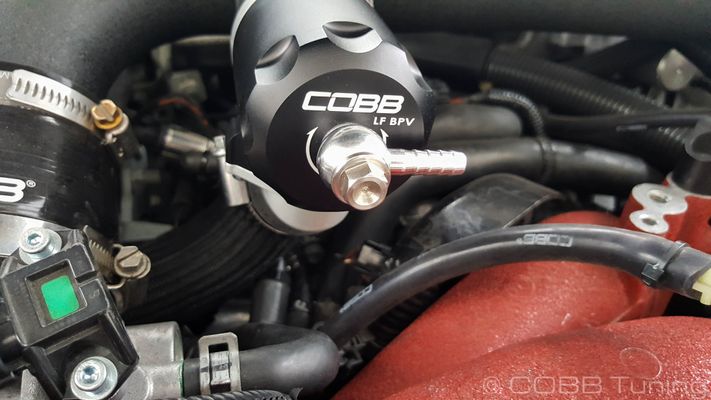
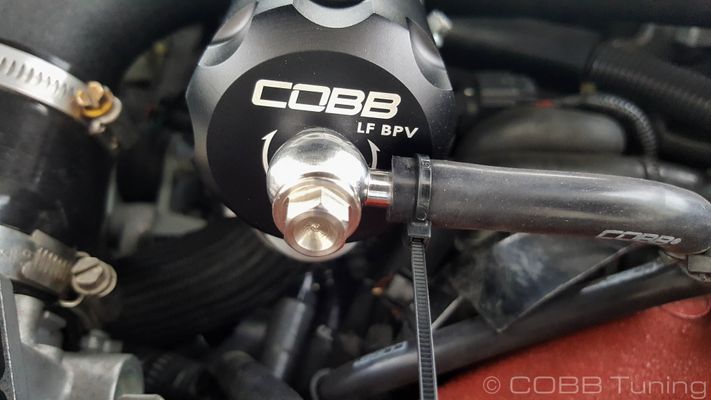
Attach the factory boost reference or run a new one using the provided silicon line.
Note If you need to adjust the top bolt, re-torque to 60 ftin/lbs
- If desired clamp down the hose using a zip tie.
- Place your CARB sticker somewhere permanent and easily viewable by CARB officials (We recommend the radiator support). Make sure to clean the surface first to ensure the sticker sticks properly.
- You're all good! Go out and enjoy!
Links
| Insert excerpt | ||||||
|---|---|---|---|---|---|---|
|