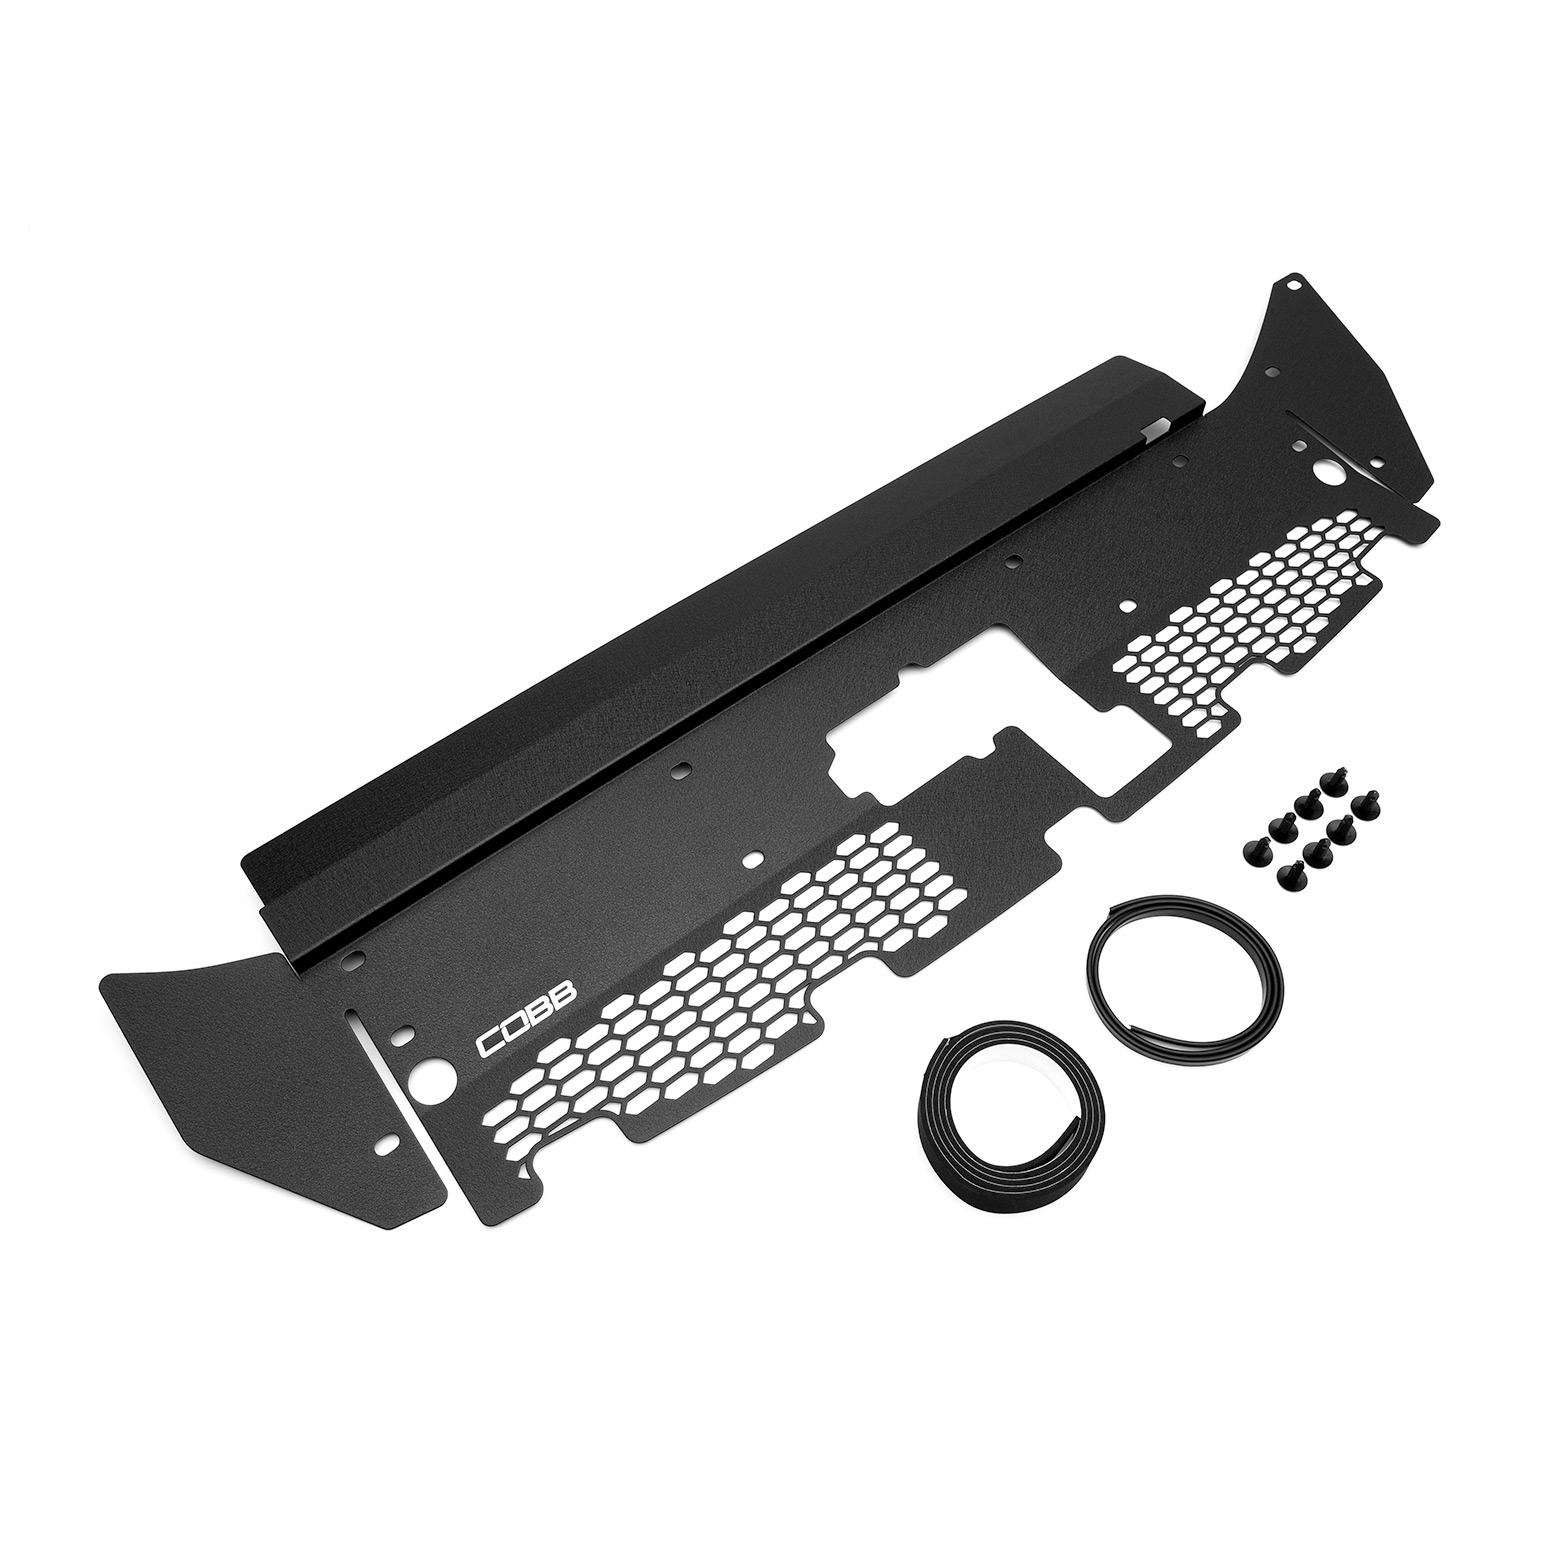
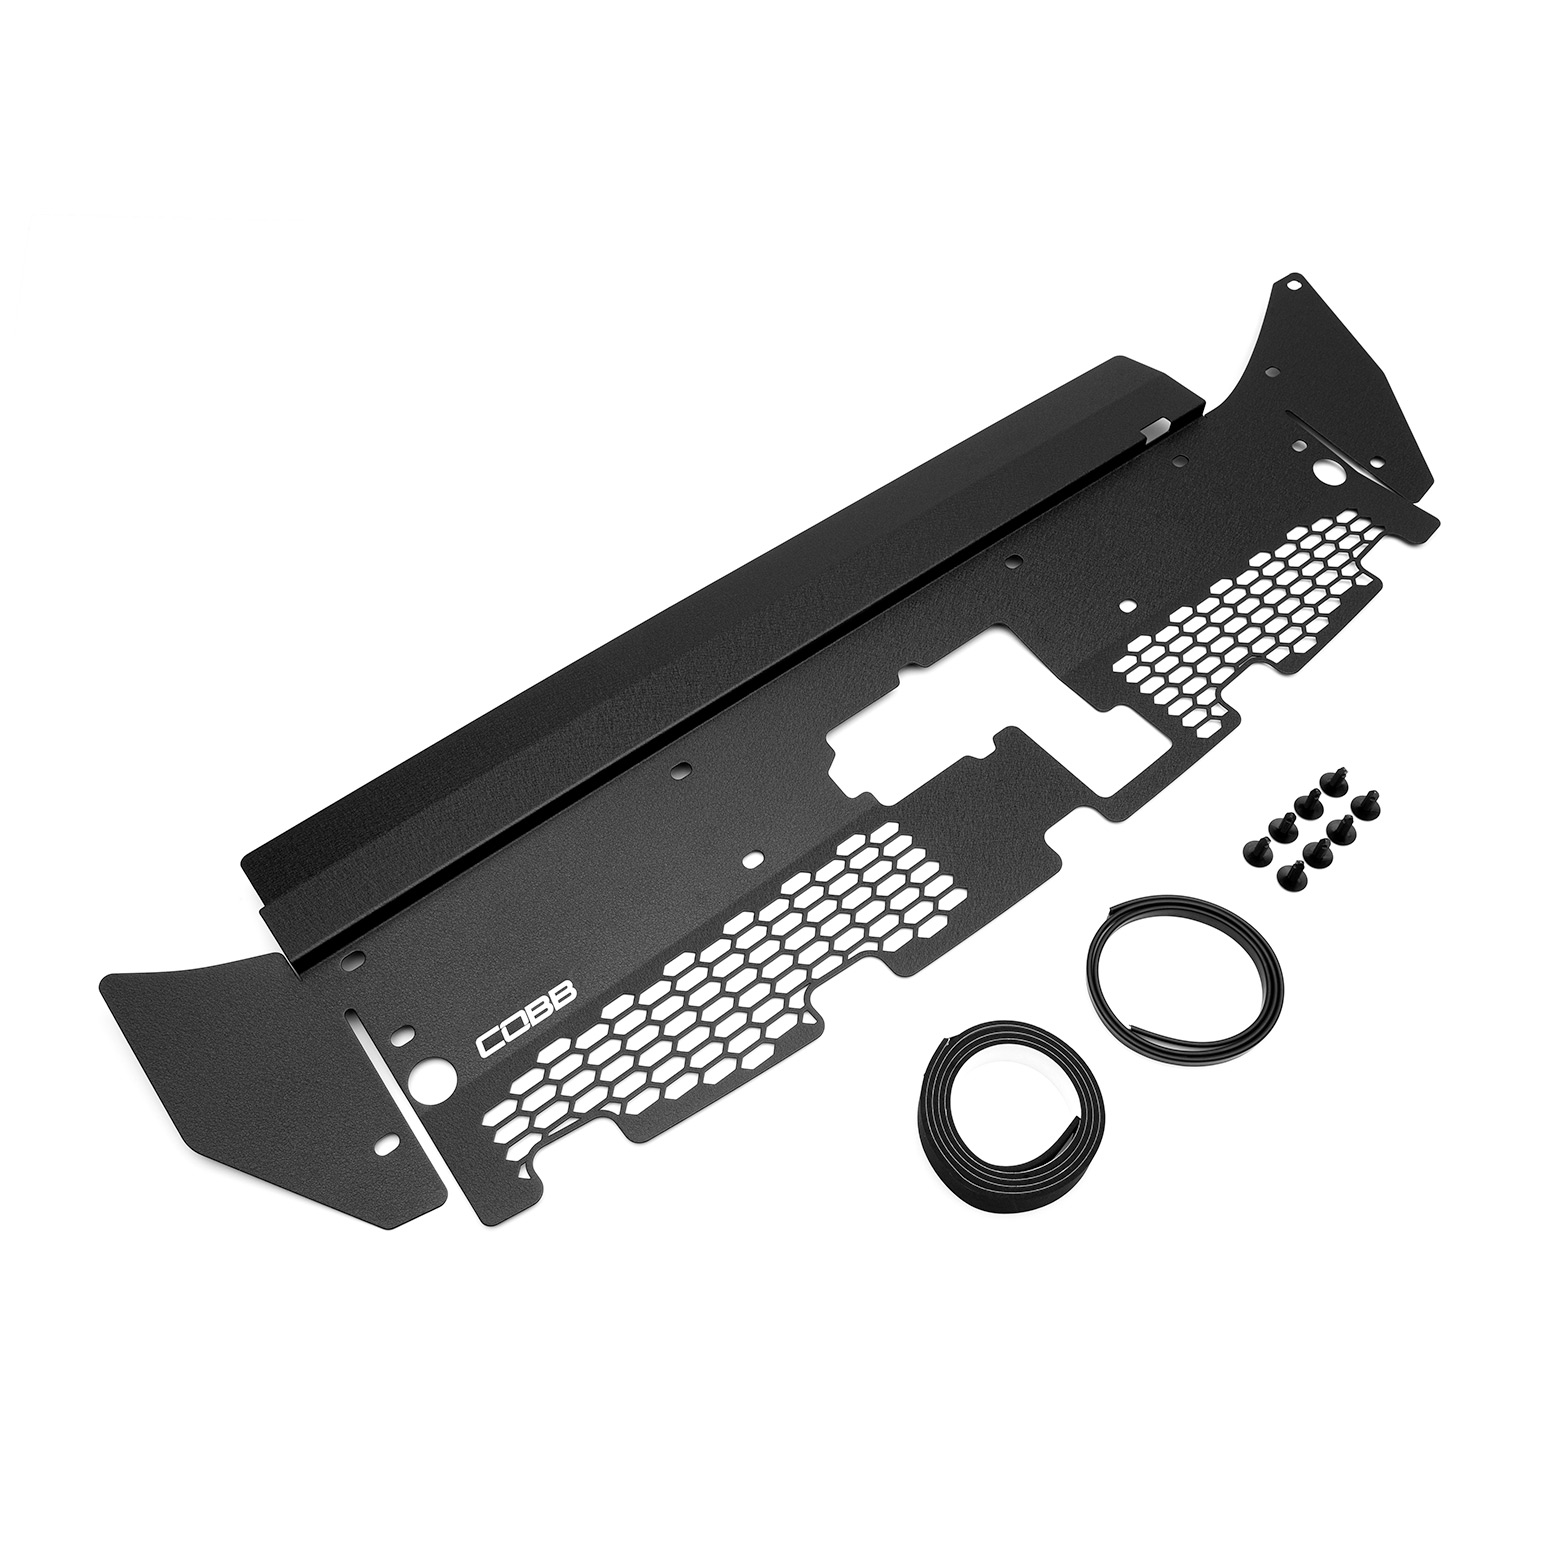
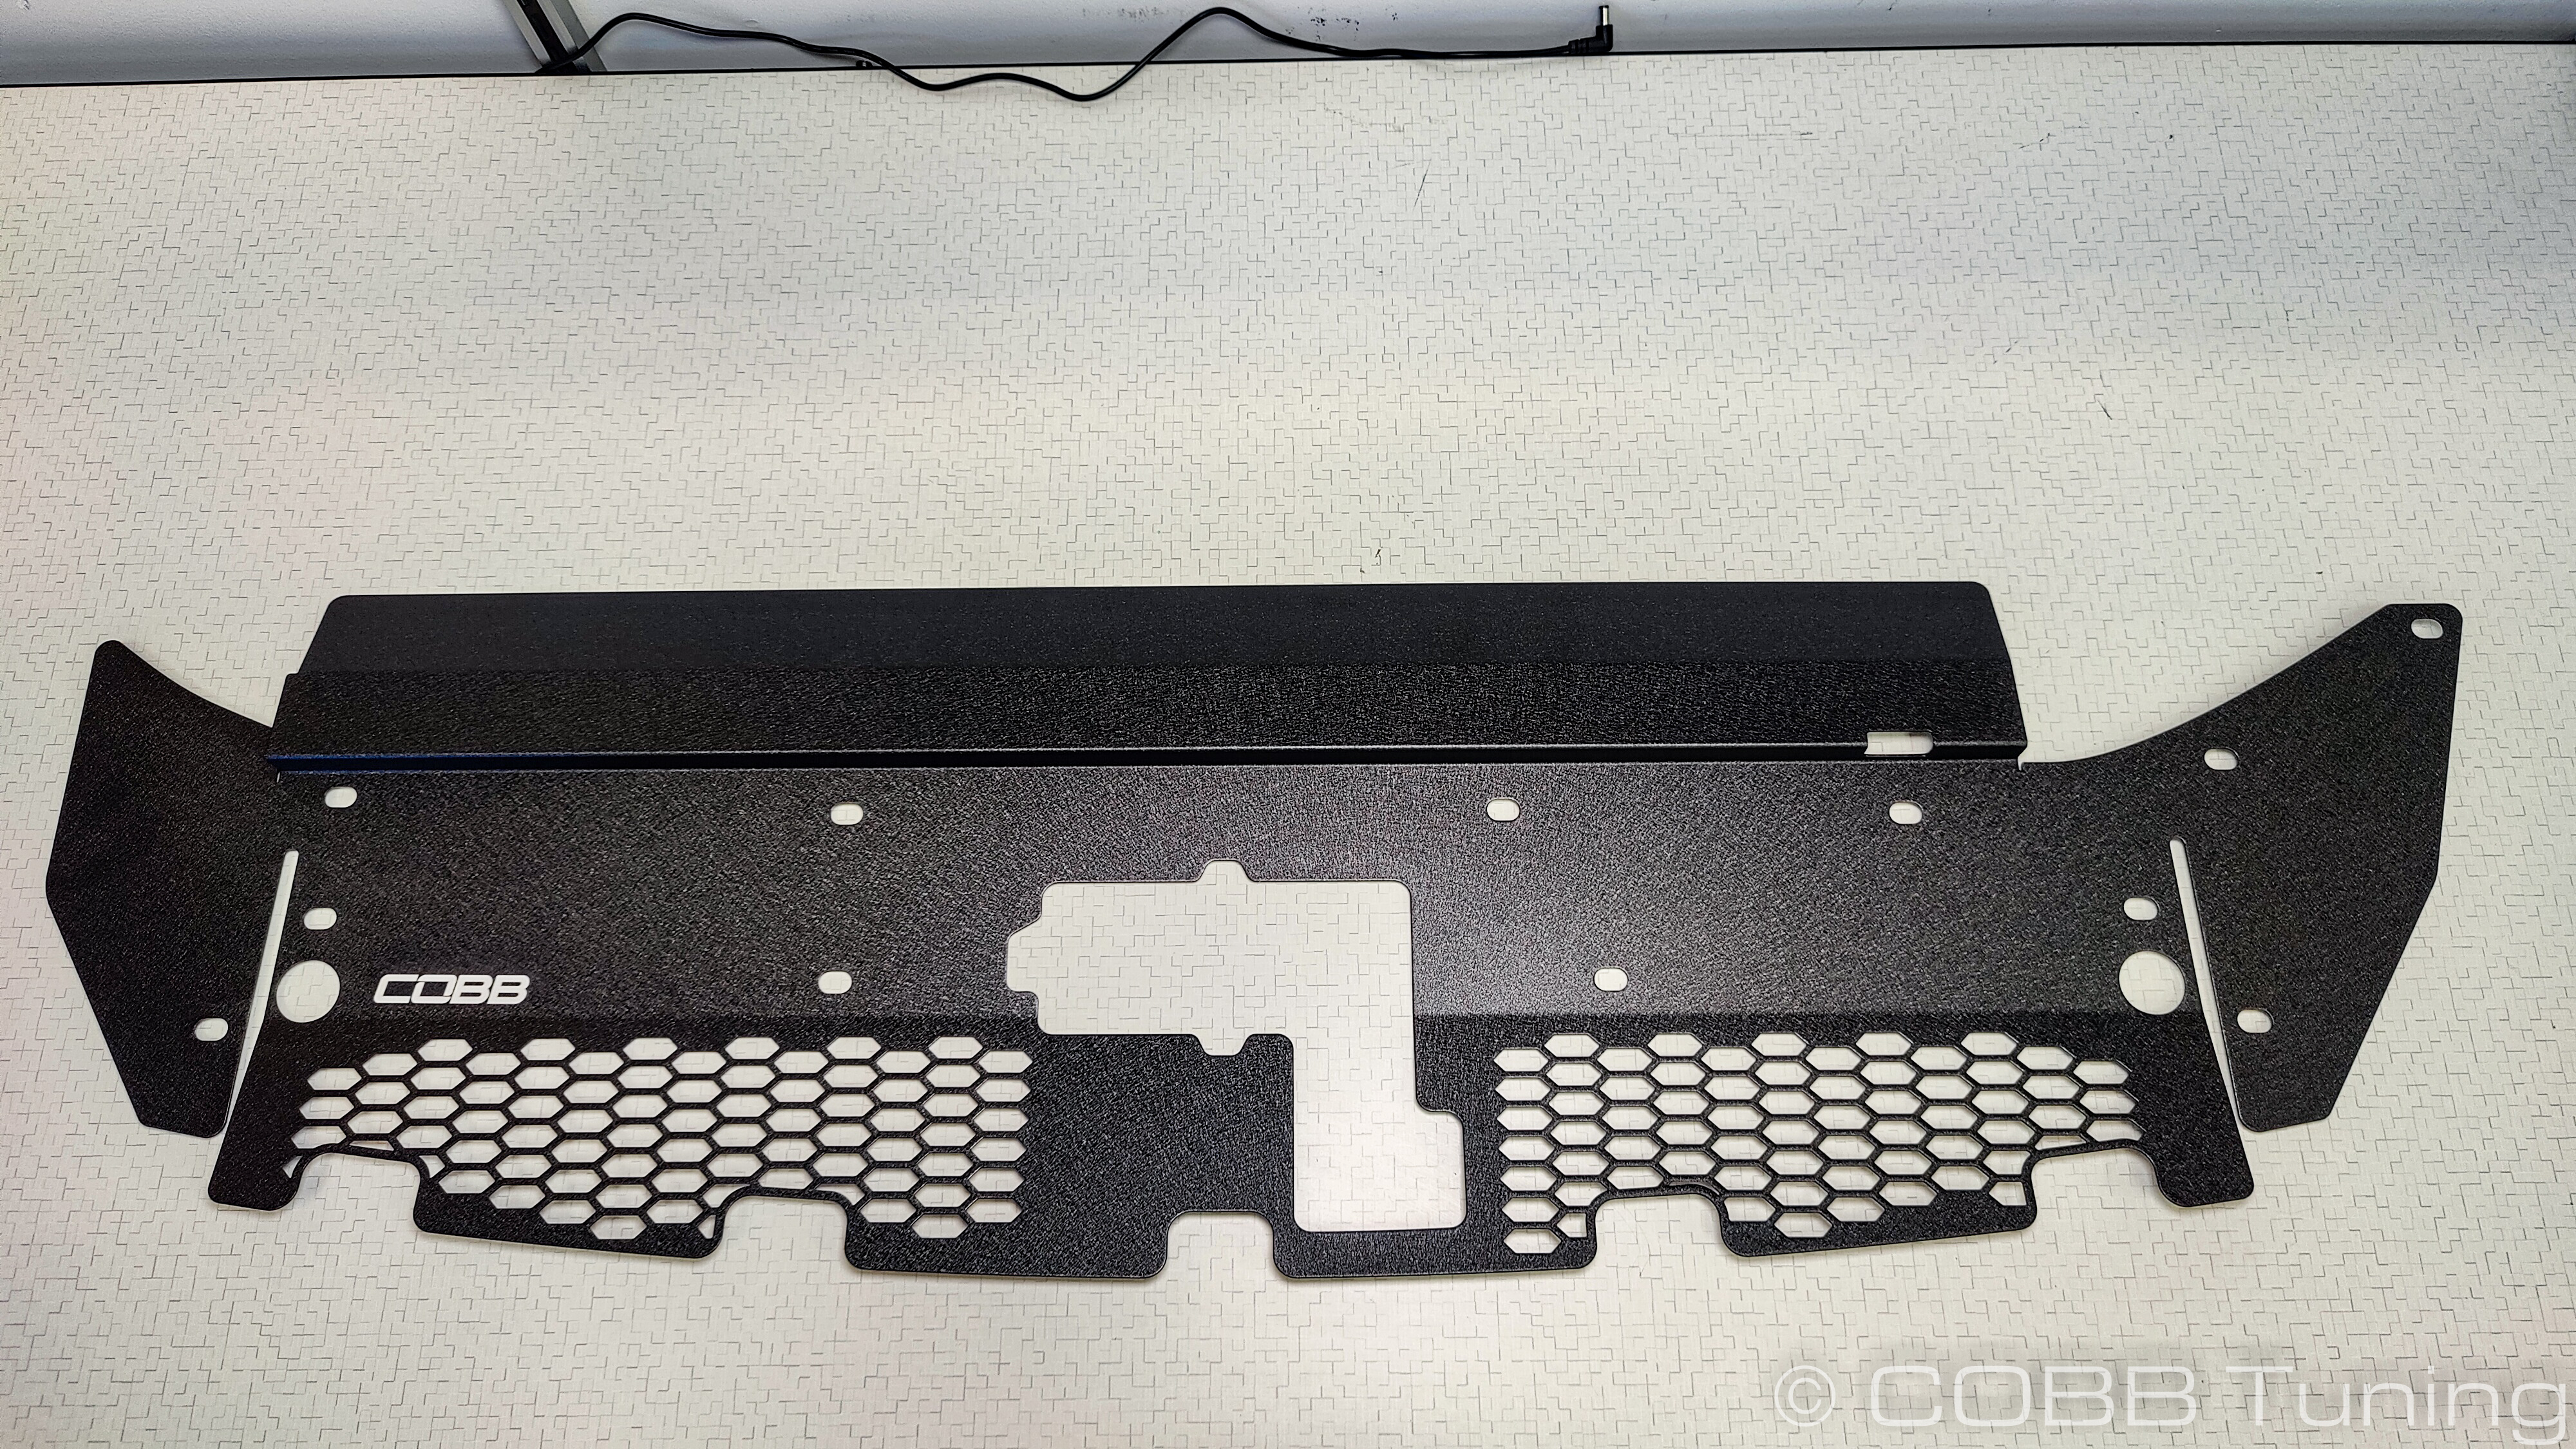
4F2625 4G1600 - Raptor Ford Radiator Shroud2017
2018-2020 RaptorF150 2.7L/3.5L
2019-2020 F150 Limited
Congratulations on your purchase of the COBB Tuning Radiator Shroud! The following instructions will assist you through the installation process. Please read them BEFORE beginning the install to familiarize yourself with the steps and tools needed. If you feel you cannot properly perform this installation, we HIGHLY recommend you take the vehicle to a qualified and experienced automotive technician.
| Table of Contents |
|---|
Parts List
| Expand | ||
|---|---|---|
| ||
| Expand | ||
|---|---|---|
| ||
| Expand | ||
|---|---|---|
| ||
| Expand | ||
|---|---|---|
| ||
Tools Needed
Sockets
3/8"
3/8" ratchet
3/8" 8mm socket
Hand Tools
Trim removal tool
Wrenches
8mm combination wrench
Stock Intake Scoop Removal
Park your car in a safe area that is flat and level.
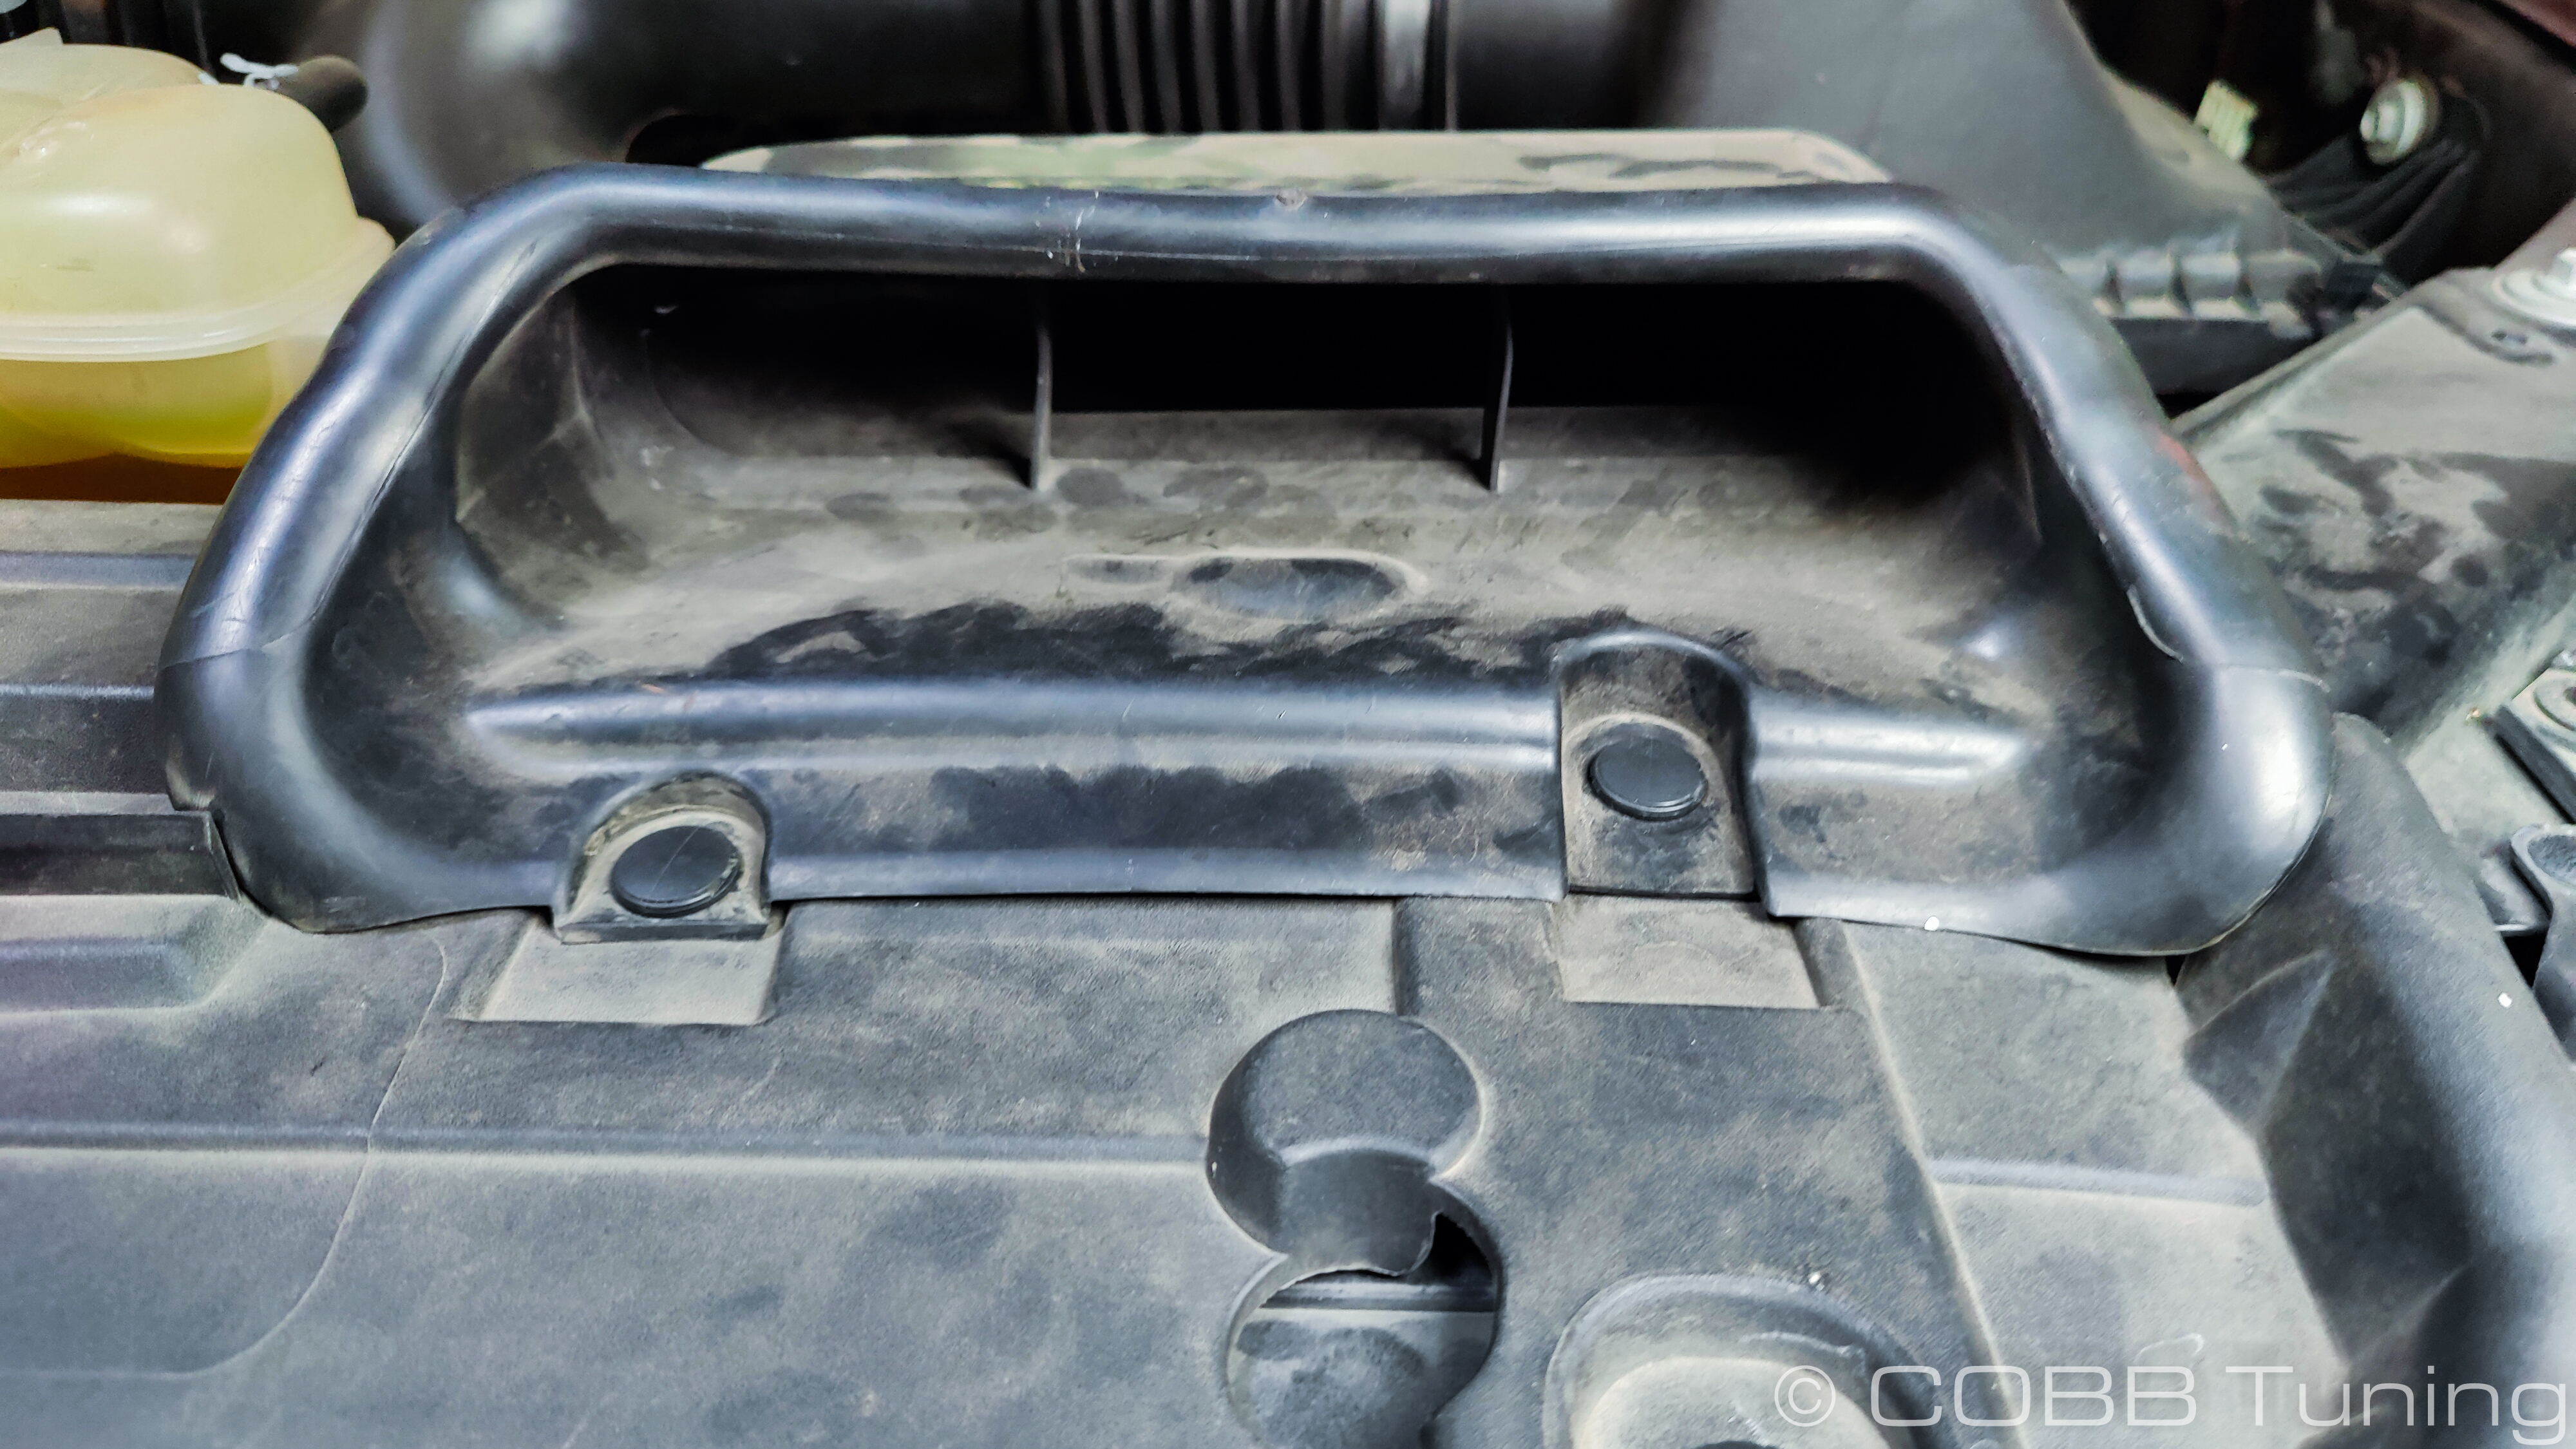
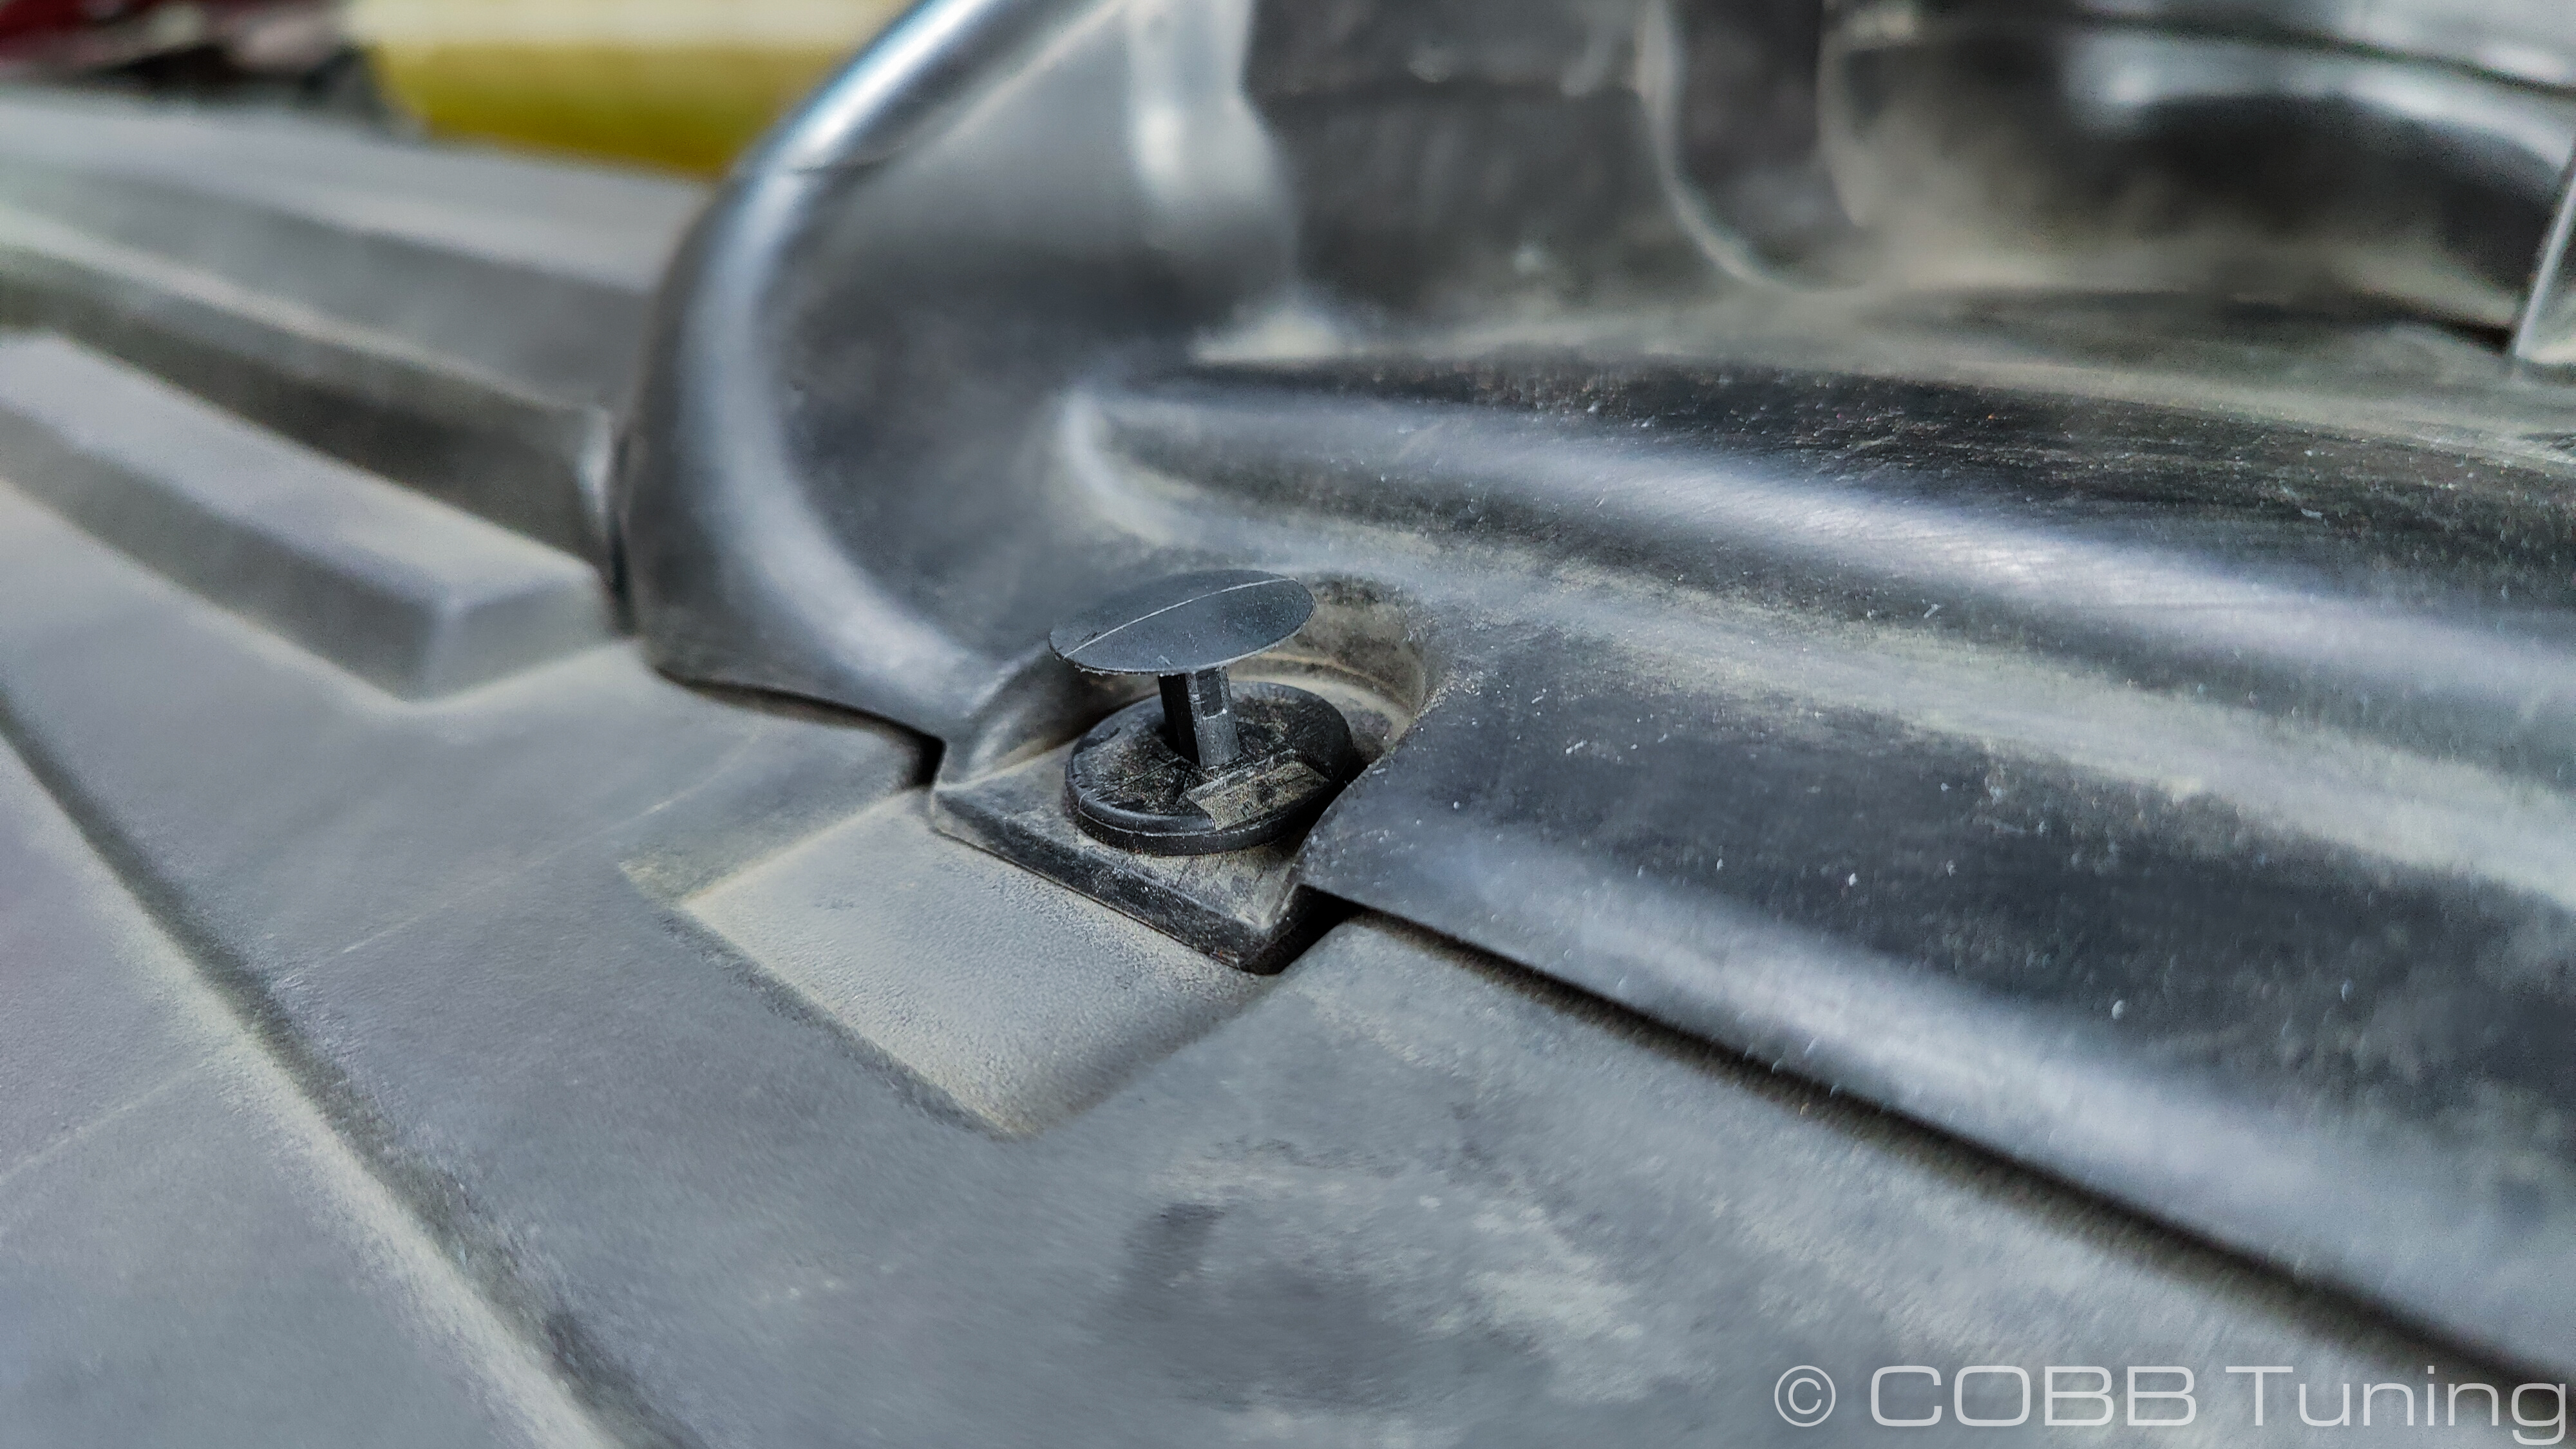
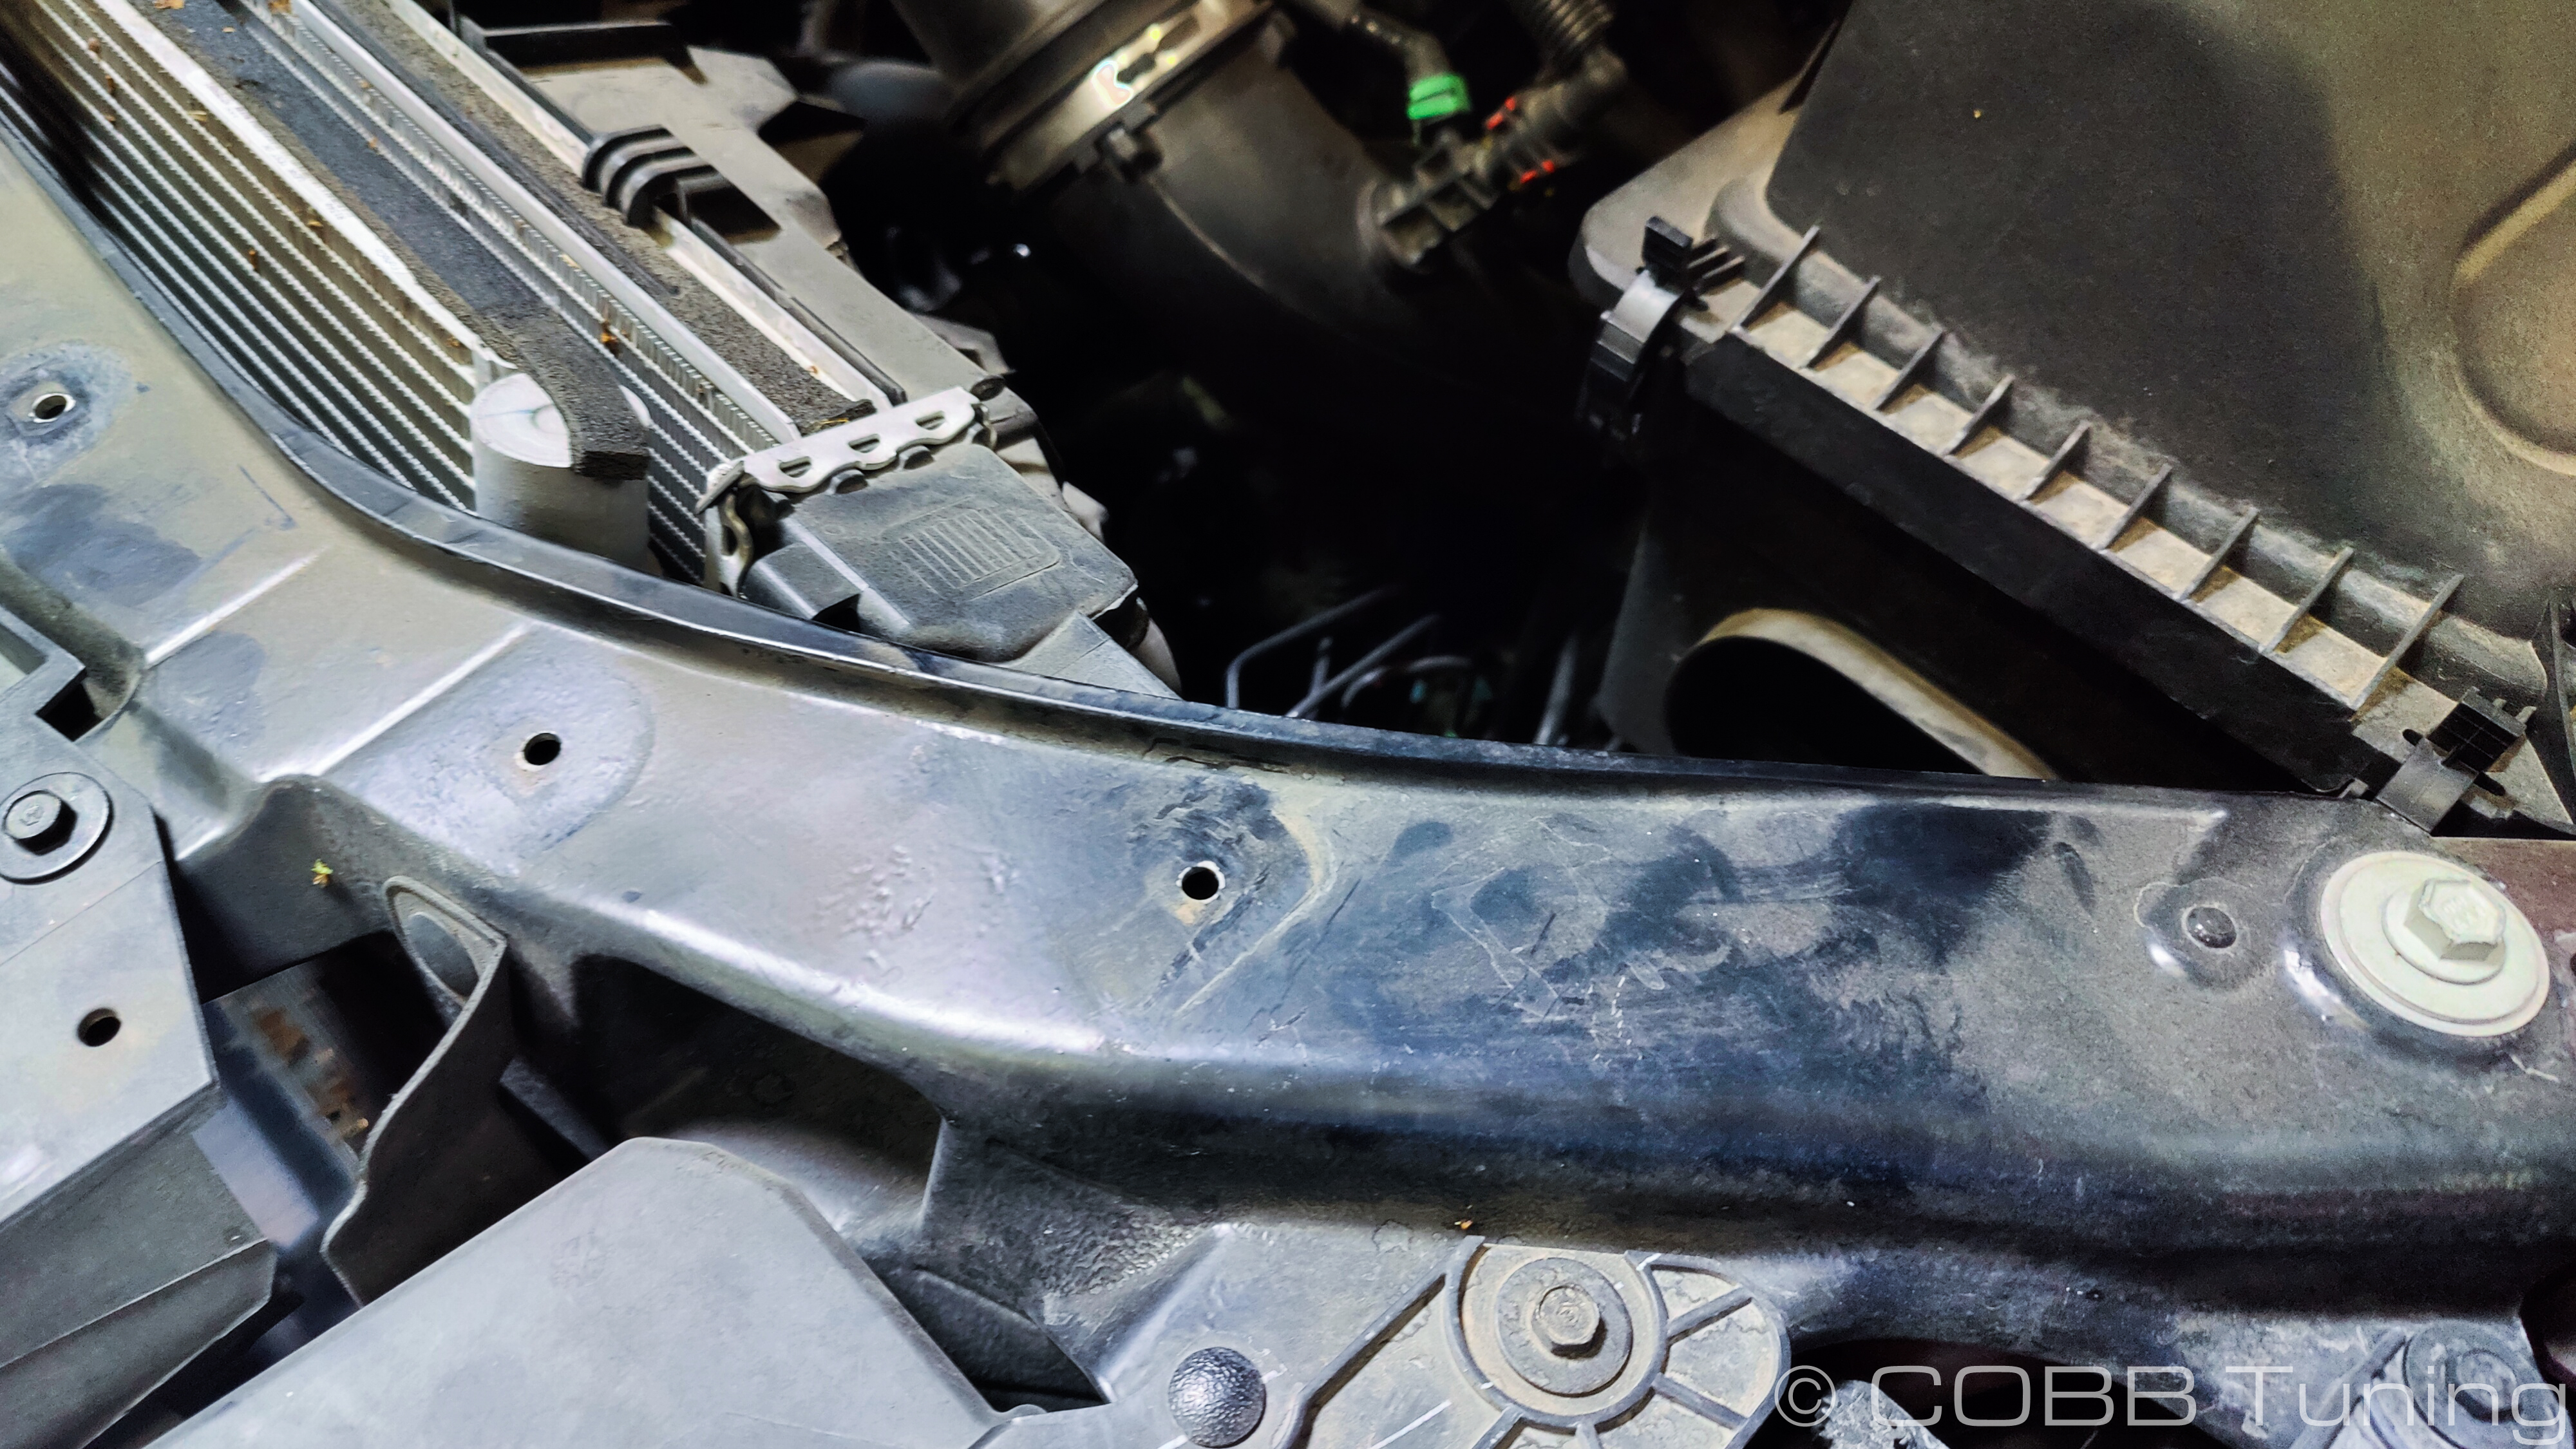
Remove the two trim clips holding the snorkel in place on the core support. Pull the center part of the clips out with your trim tool until tey click and then pull out the lower part.
Grab your 8mm socket or wrench and remove the small bolt holding the intake scoop to the intake, then the snorkel can be removed from the engine bay.
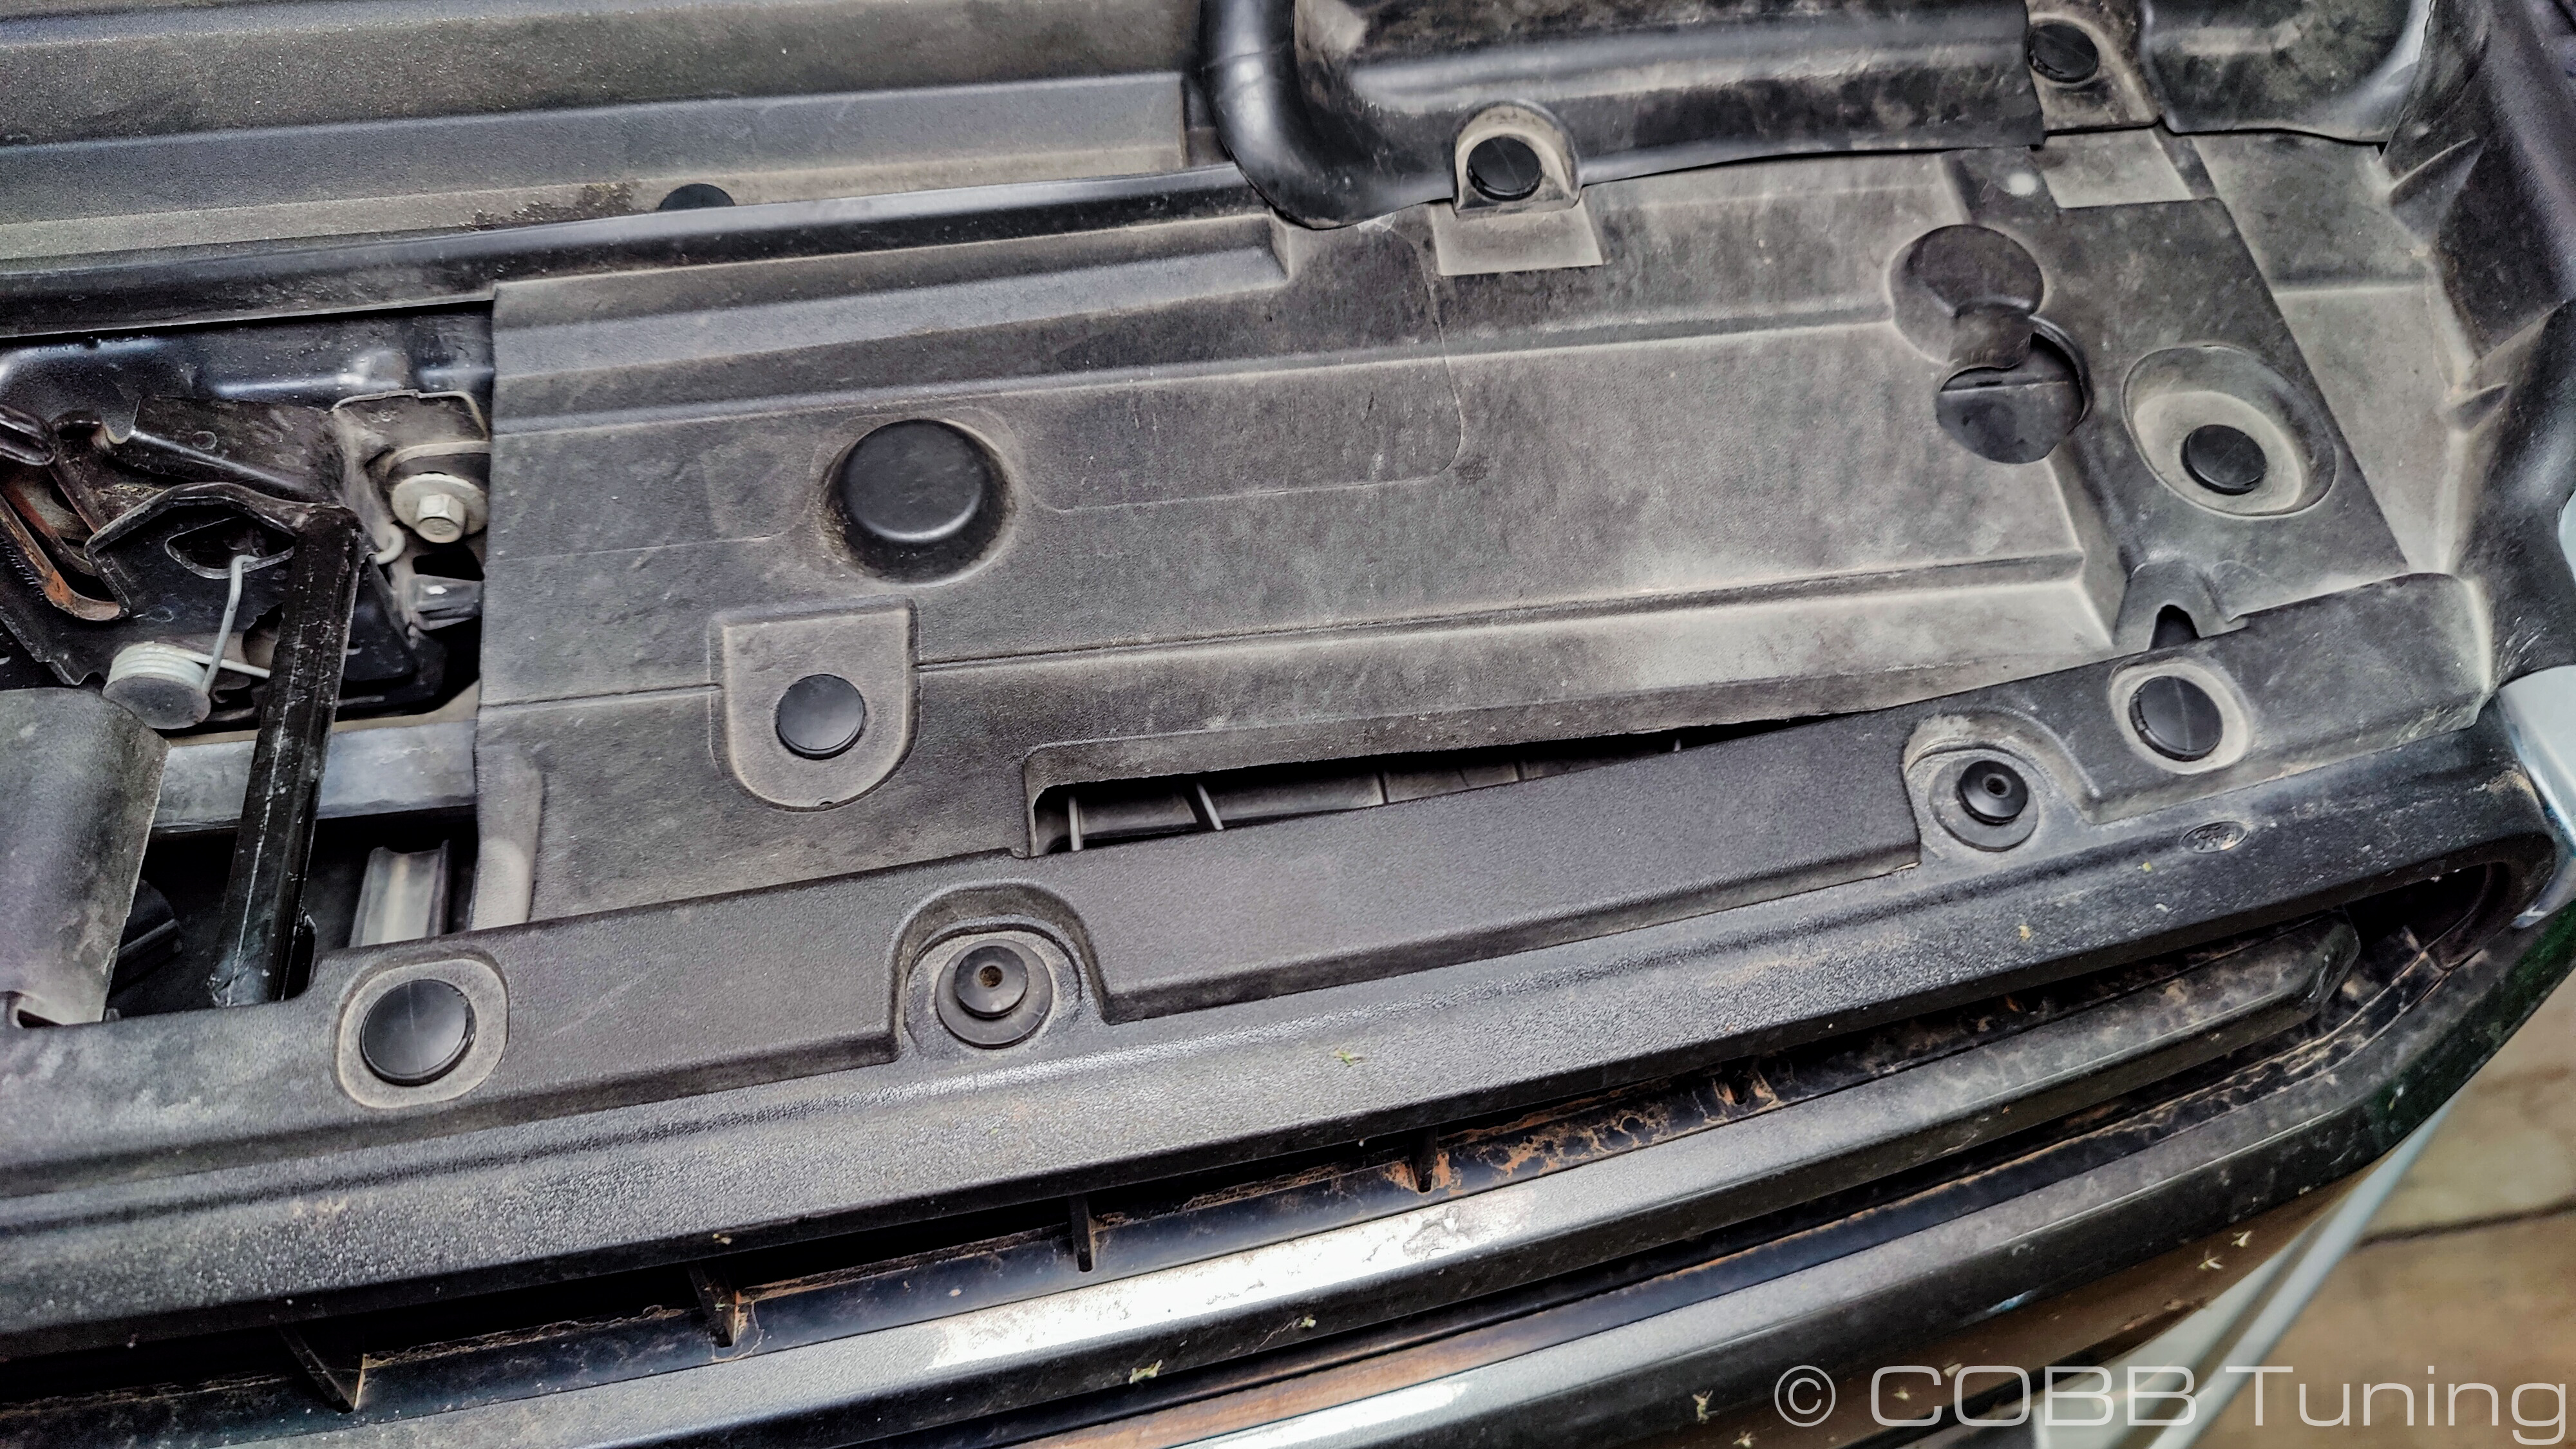
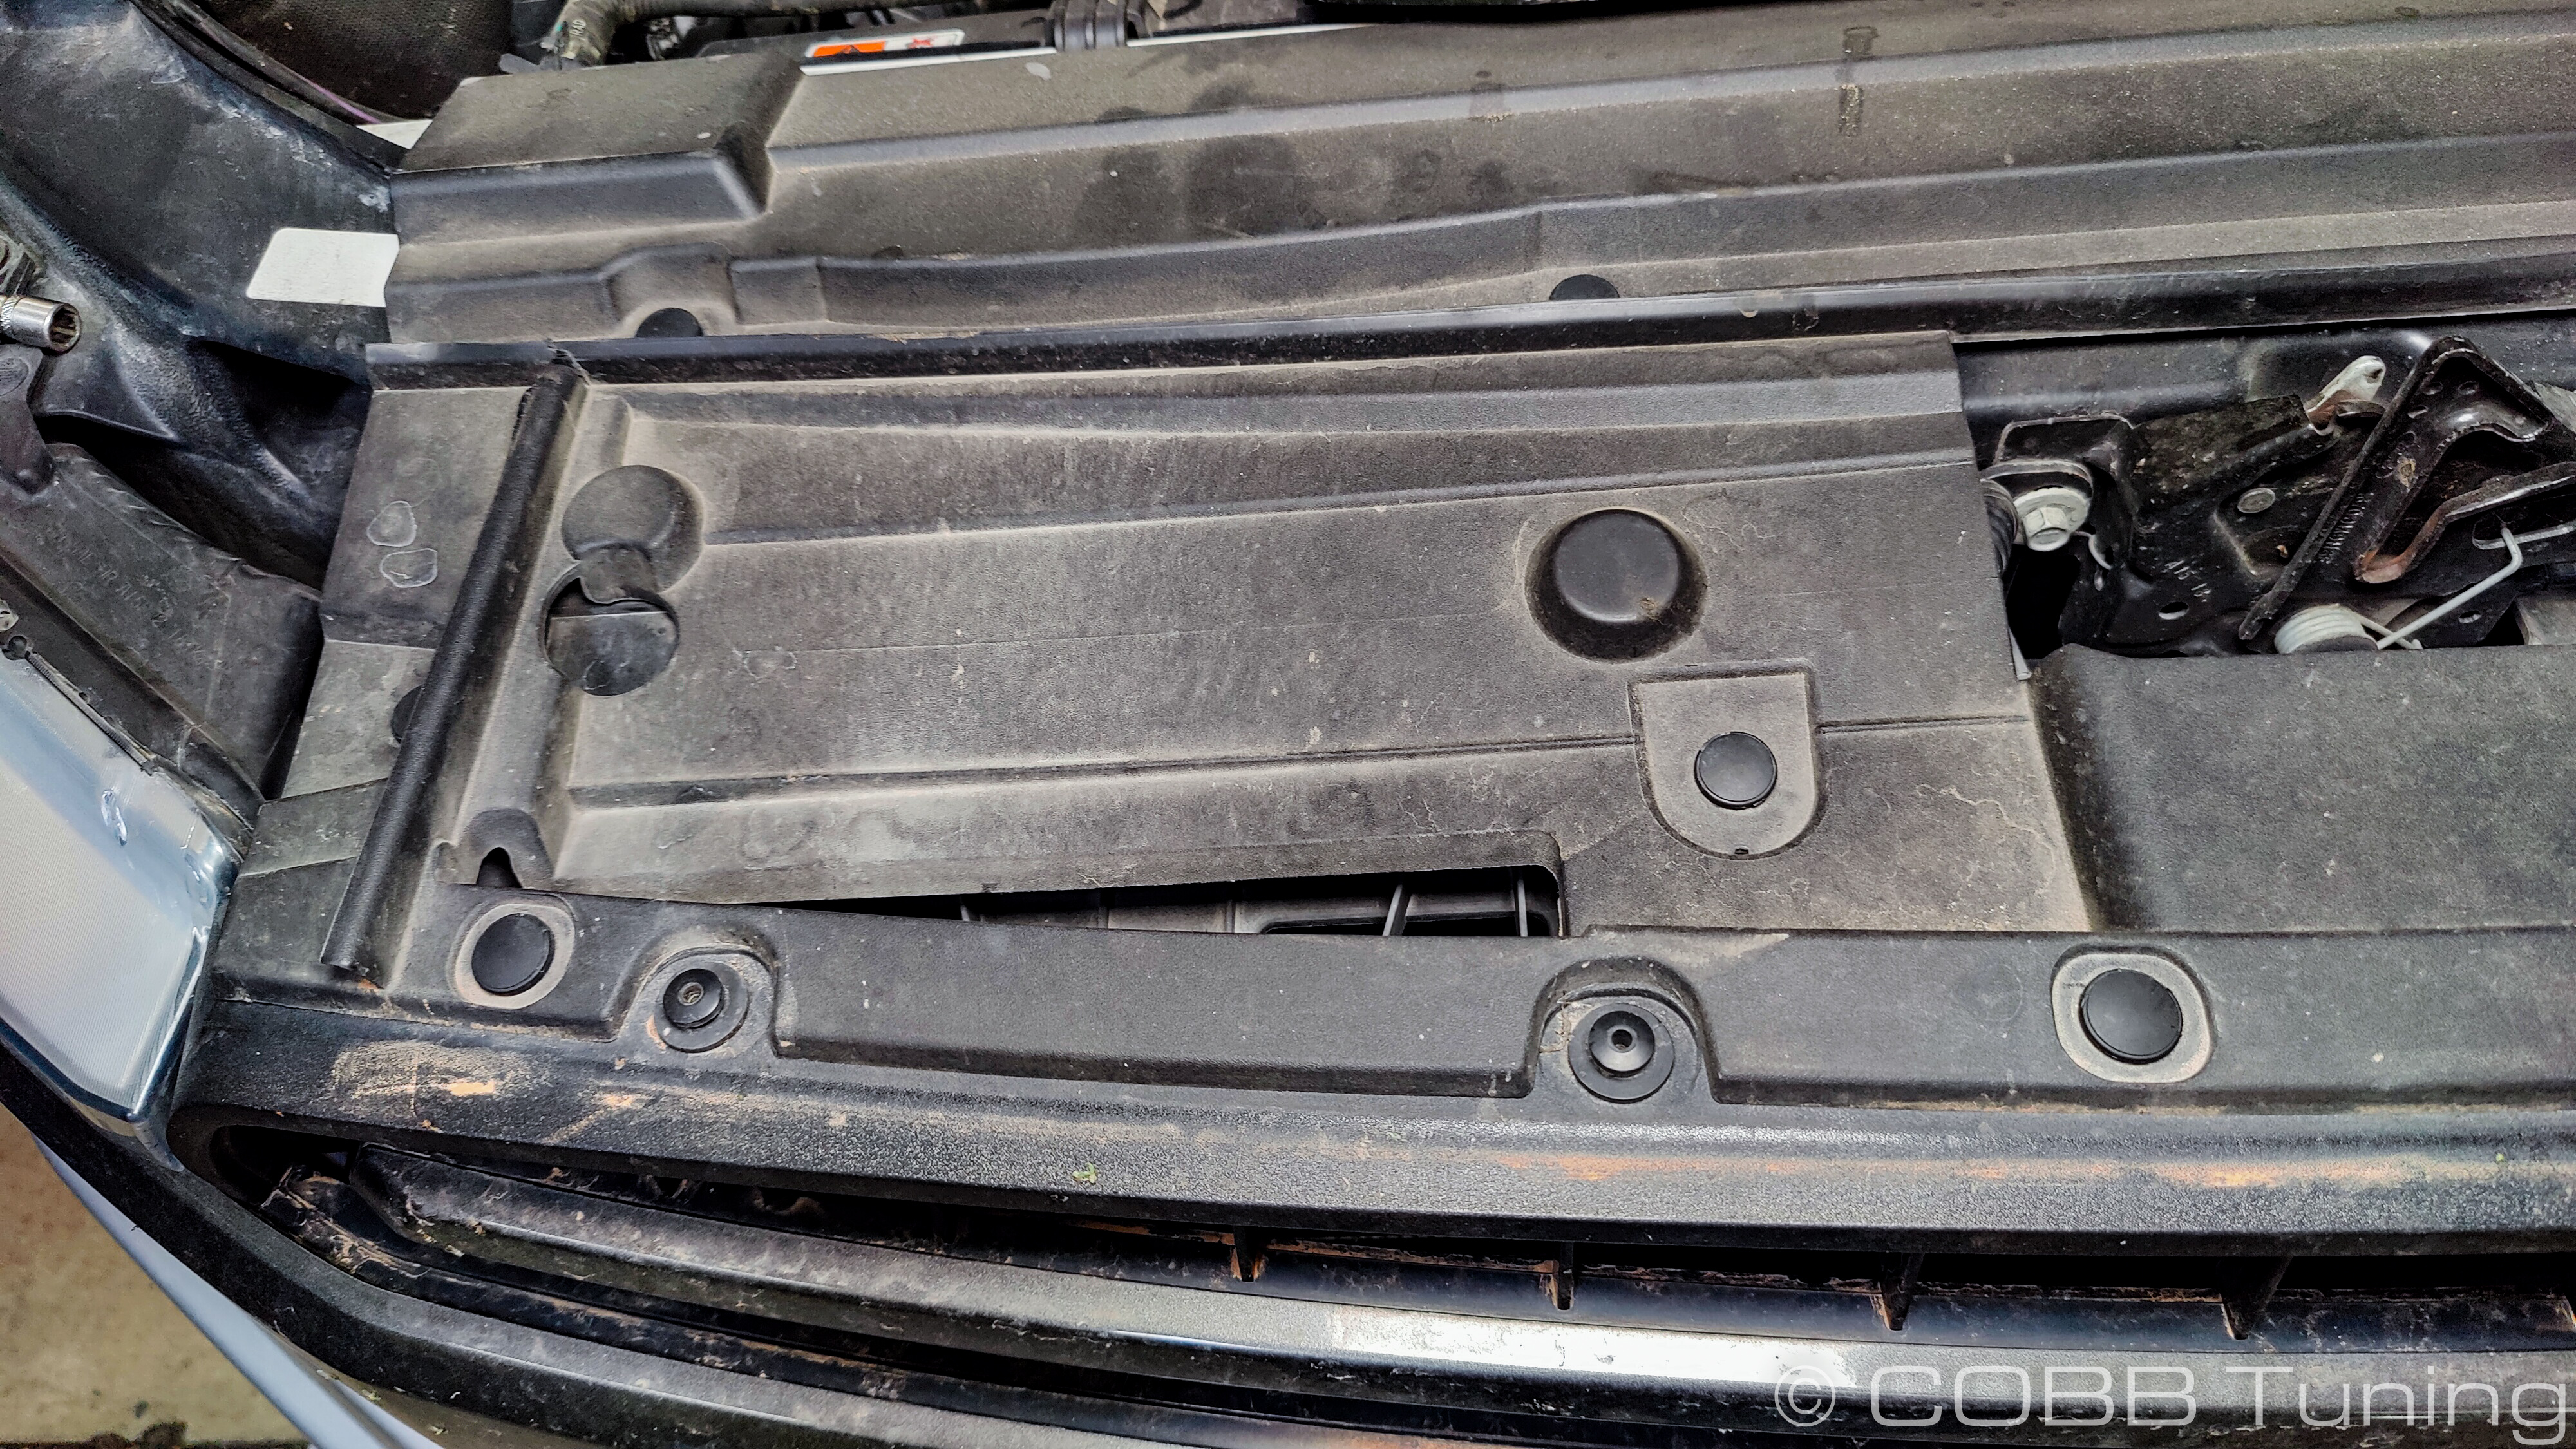
Remove the other trim clips that hold the plastic cover over the upper grill area. That cover can then be removed.
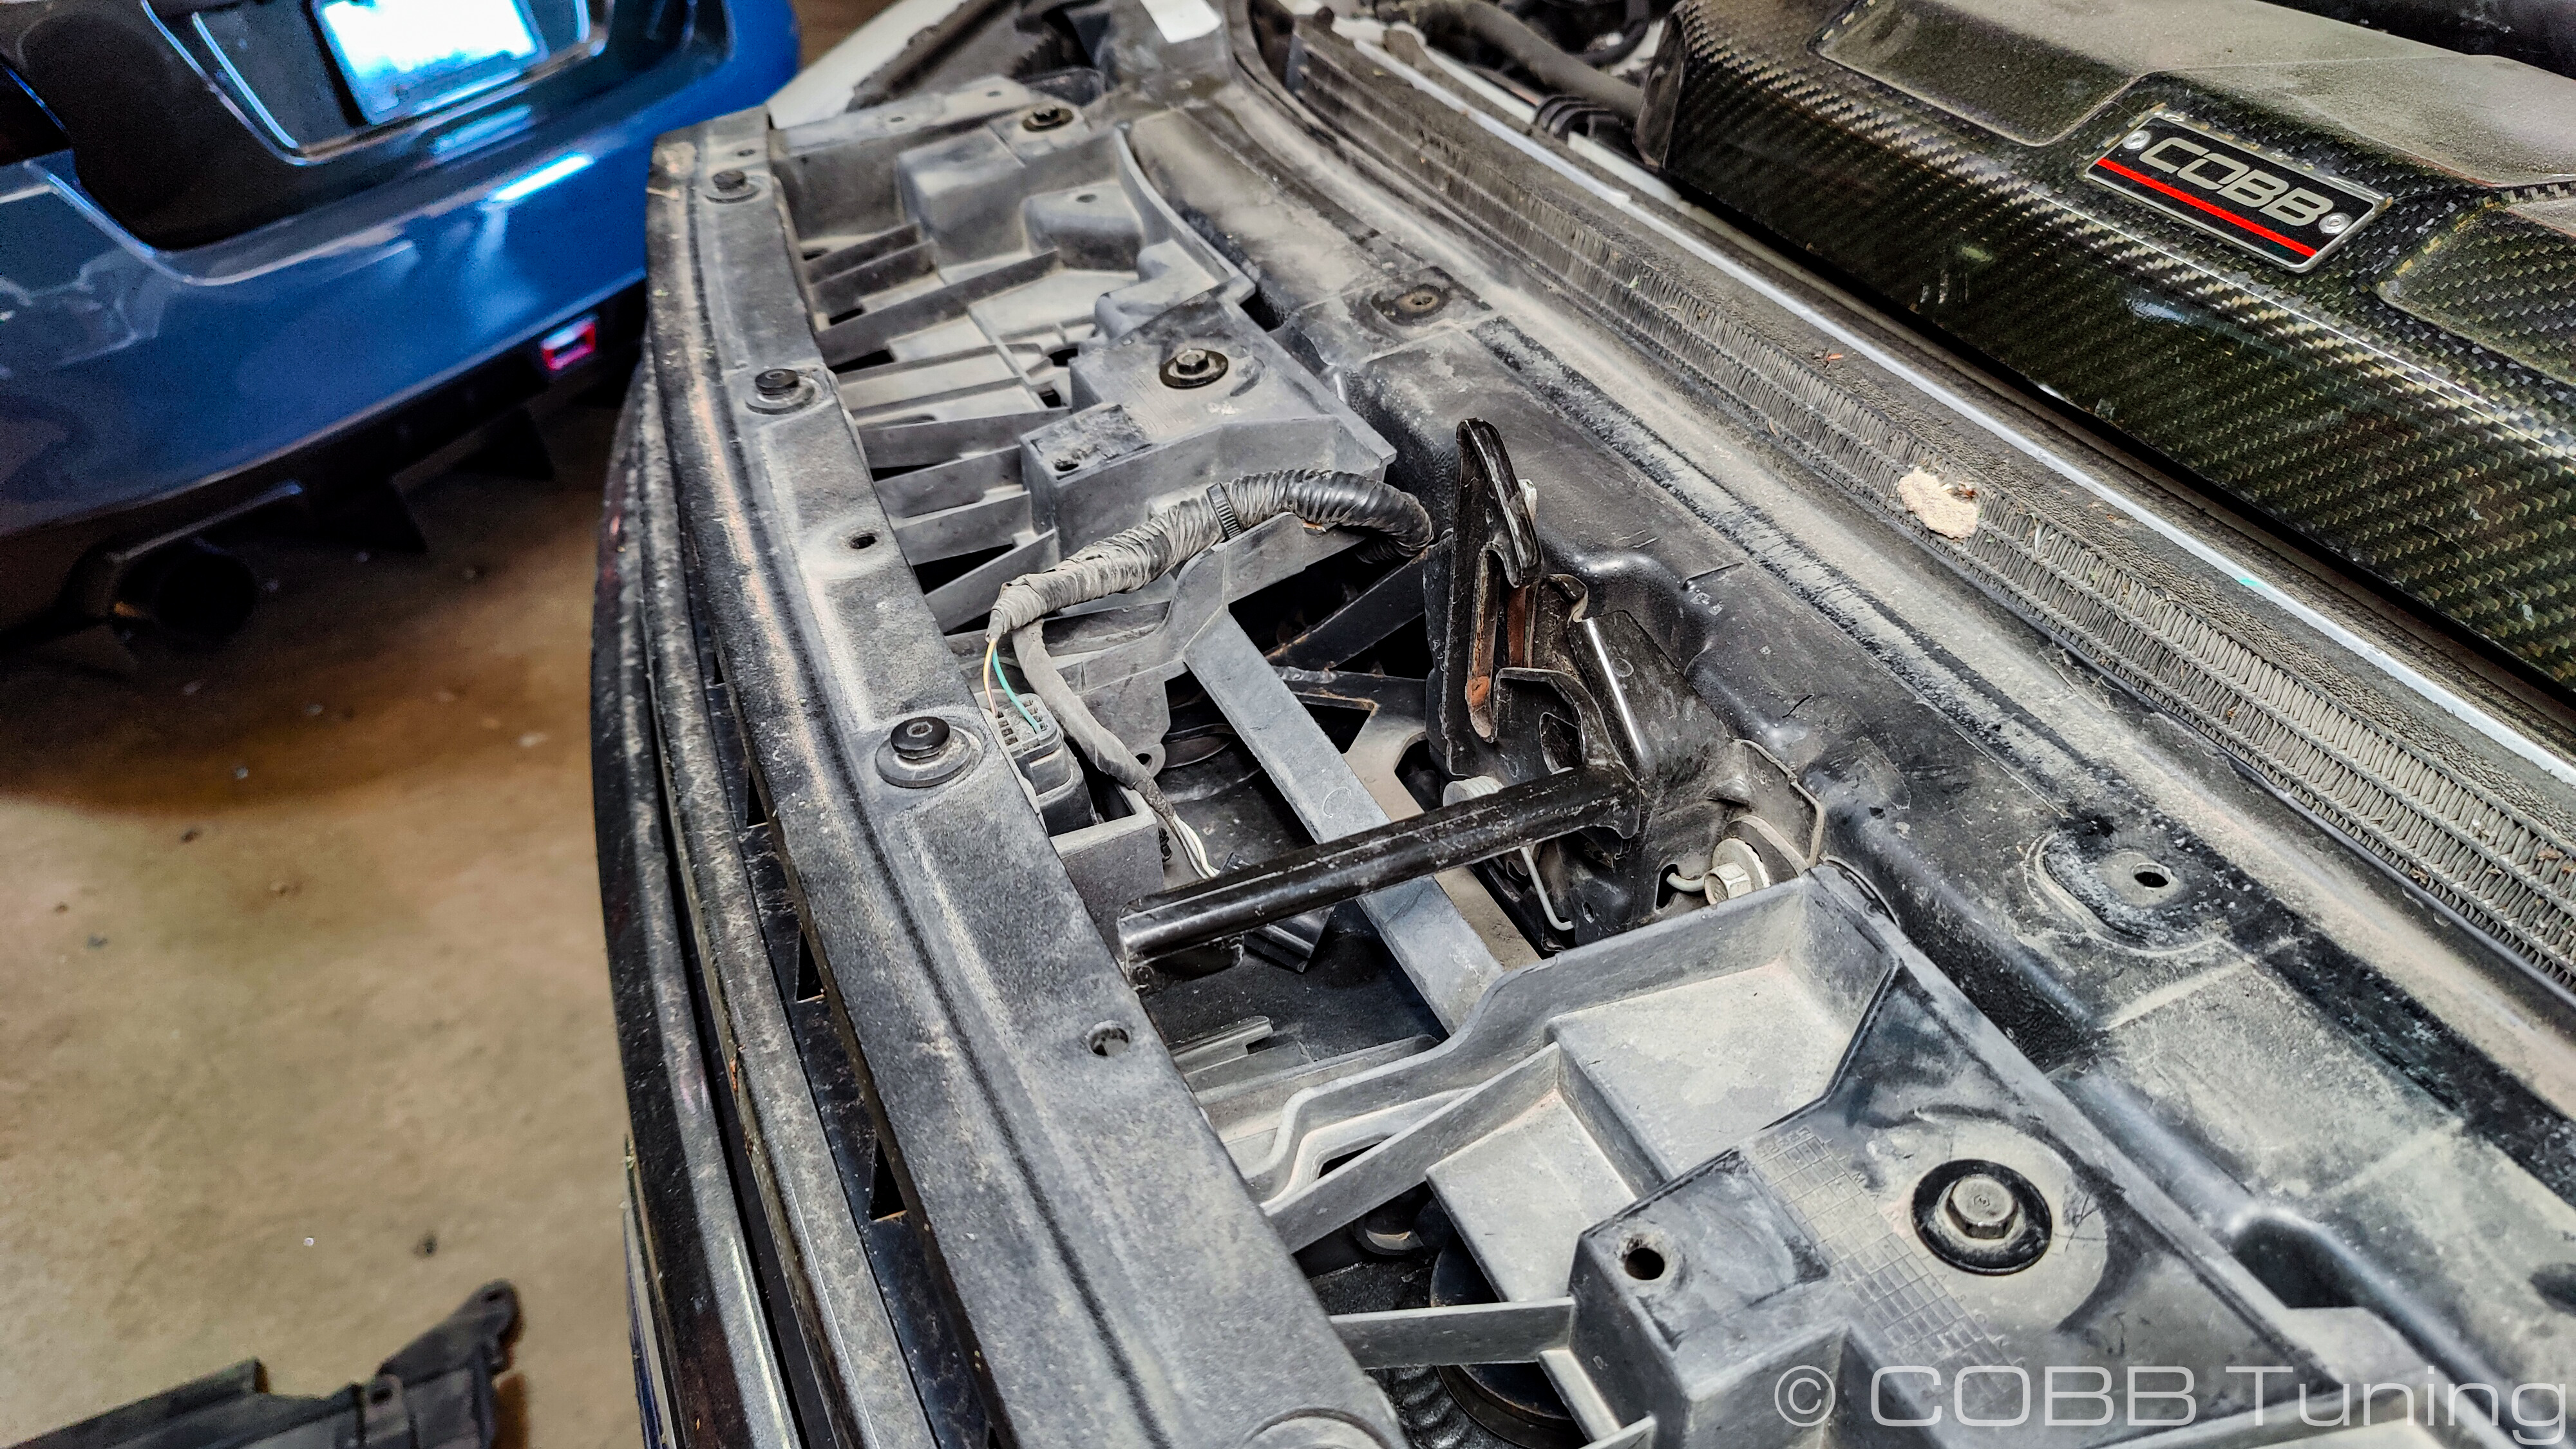
Using your 10mm ratchet, remove the 4 10mm bolts that the shroud was covering allong the center of the grill support.
If you have the COBB Coolant Overflow Cover you’ll need to loosen the two 10mm bolts and remove the cover to allow the shroud to slip underneath.
COBB Radiator Shroud Installation
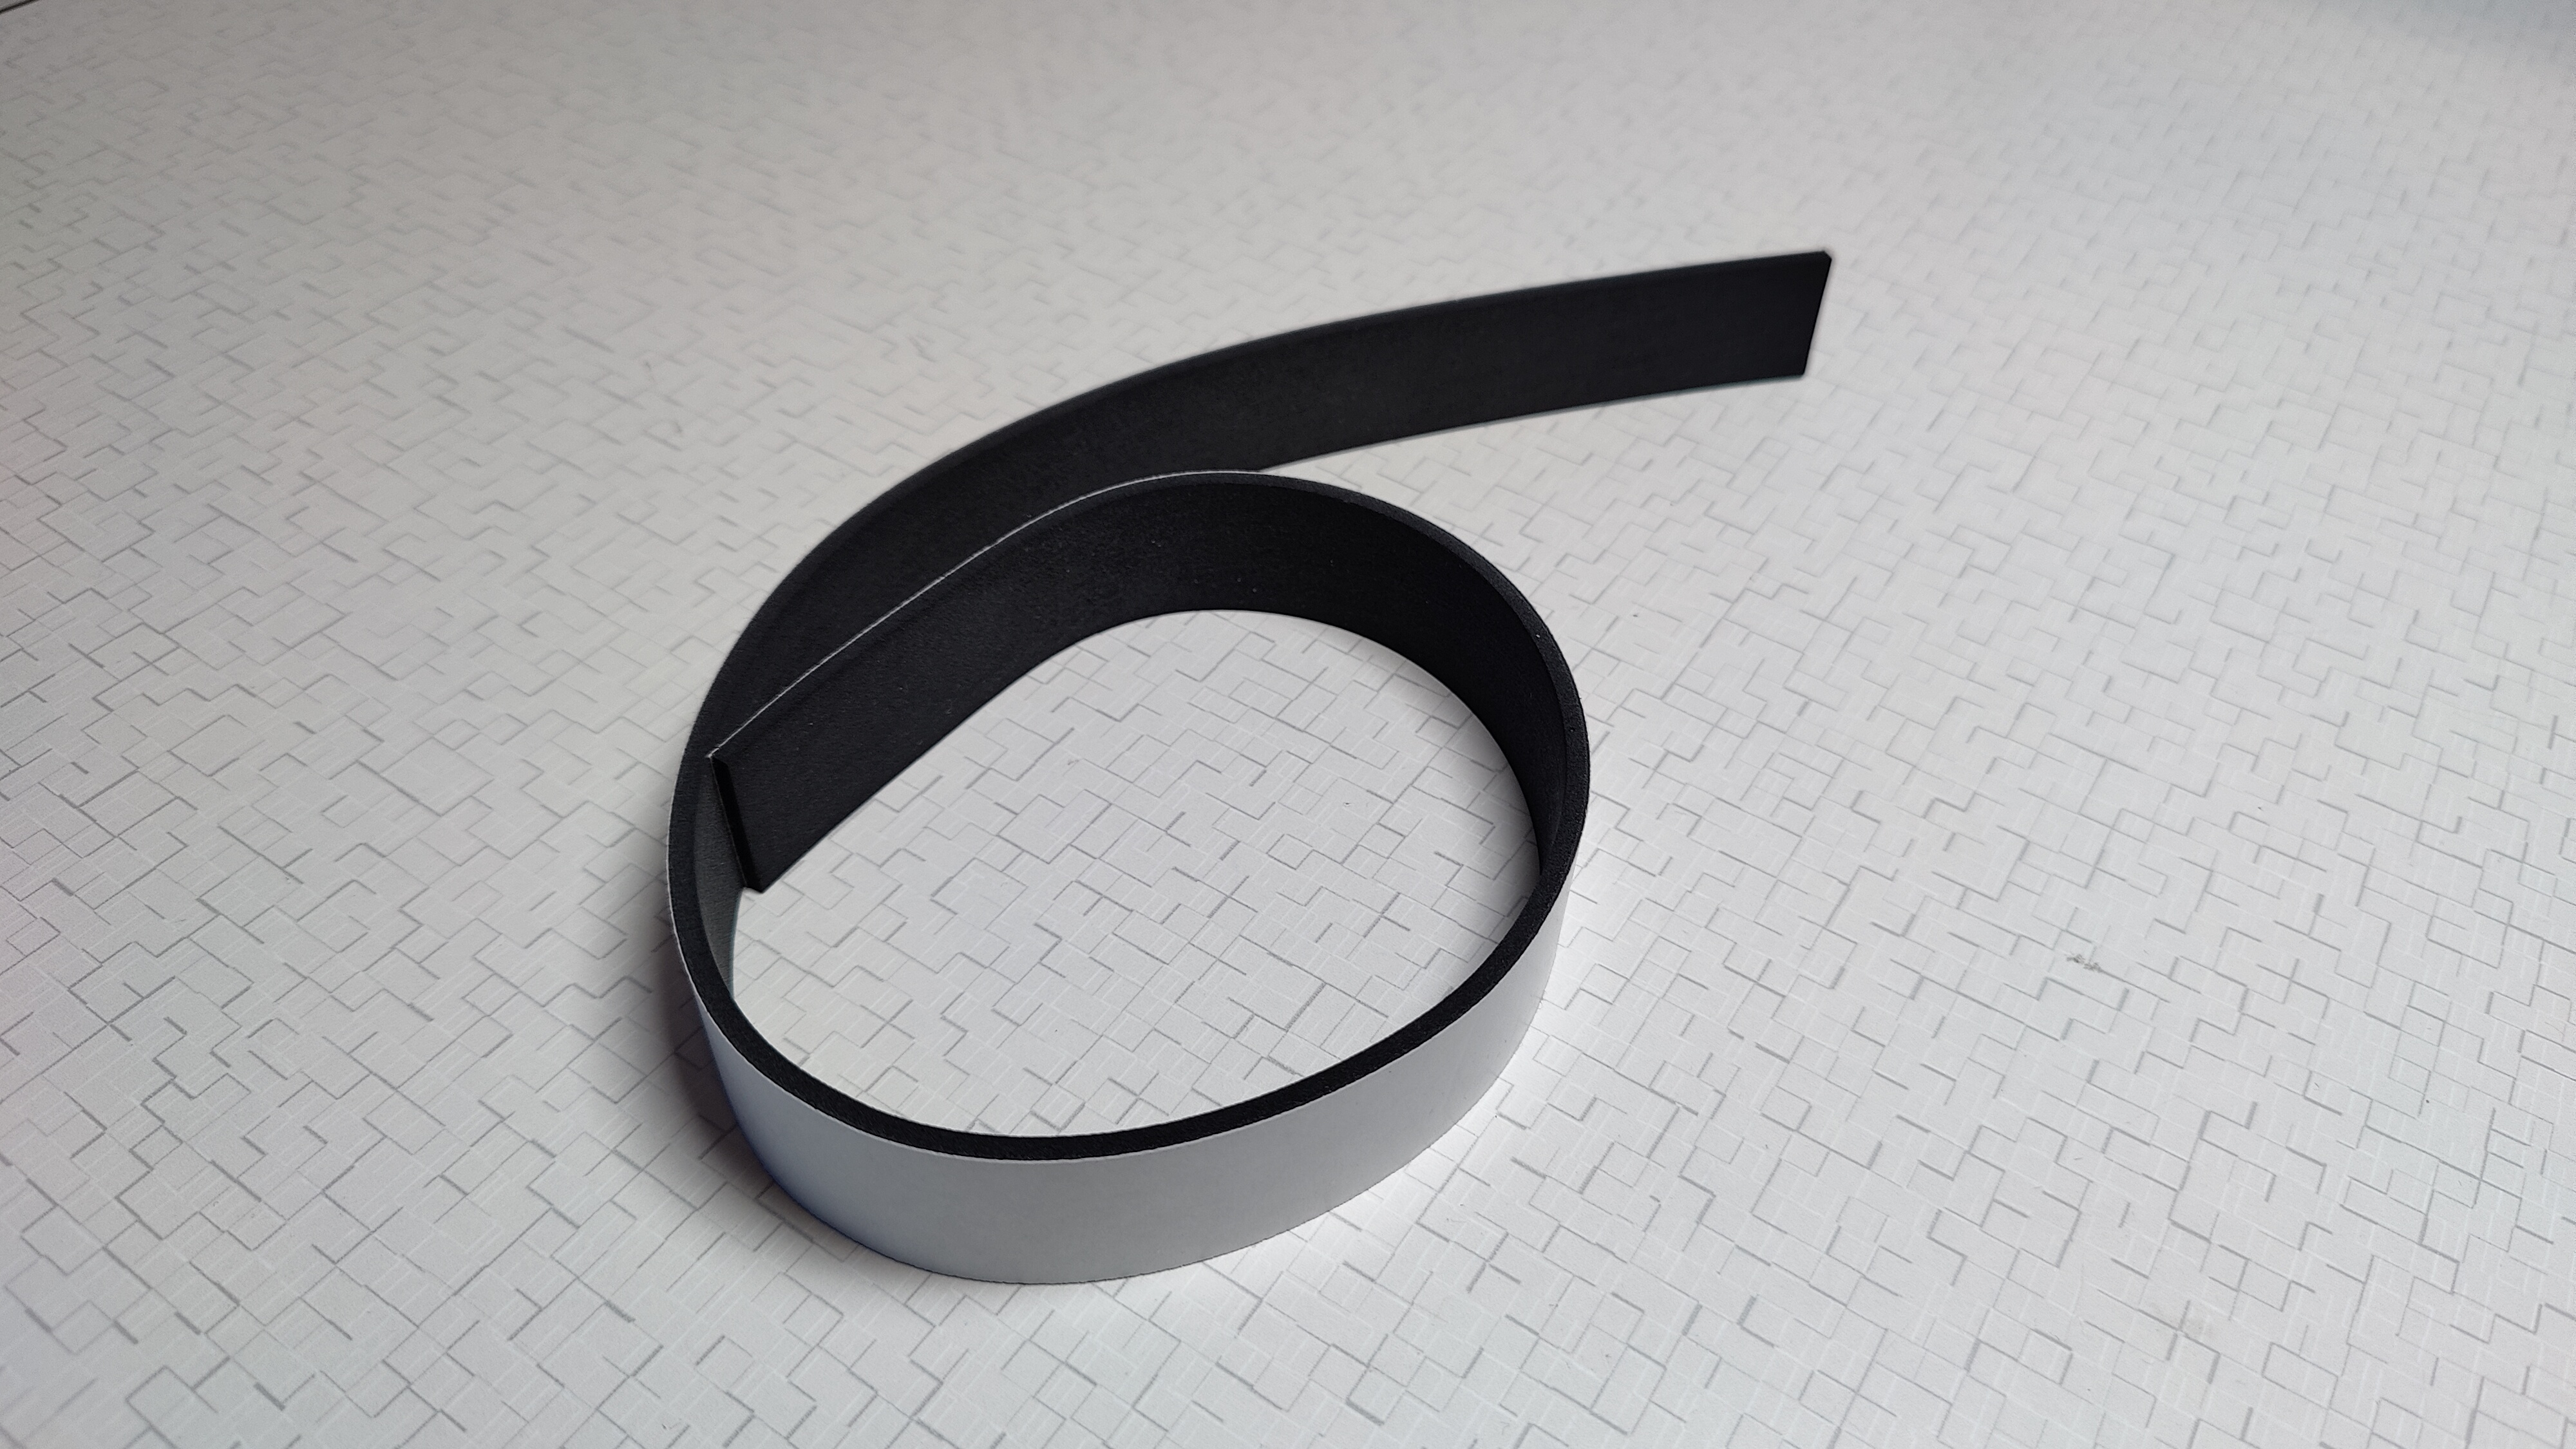
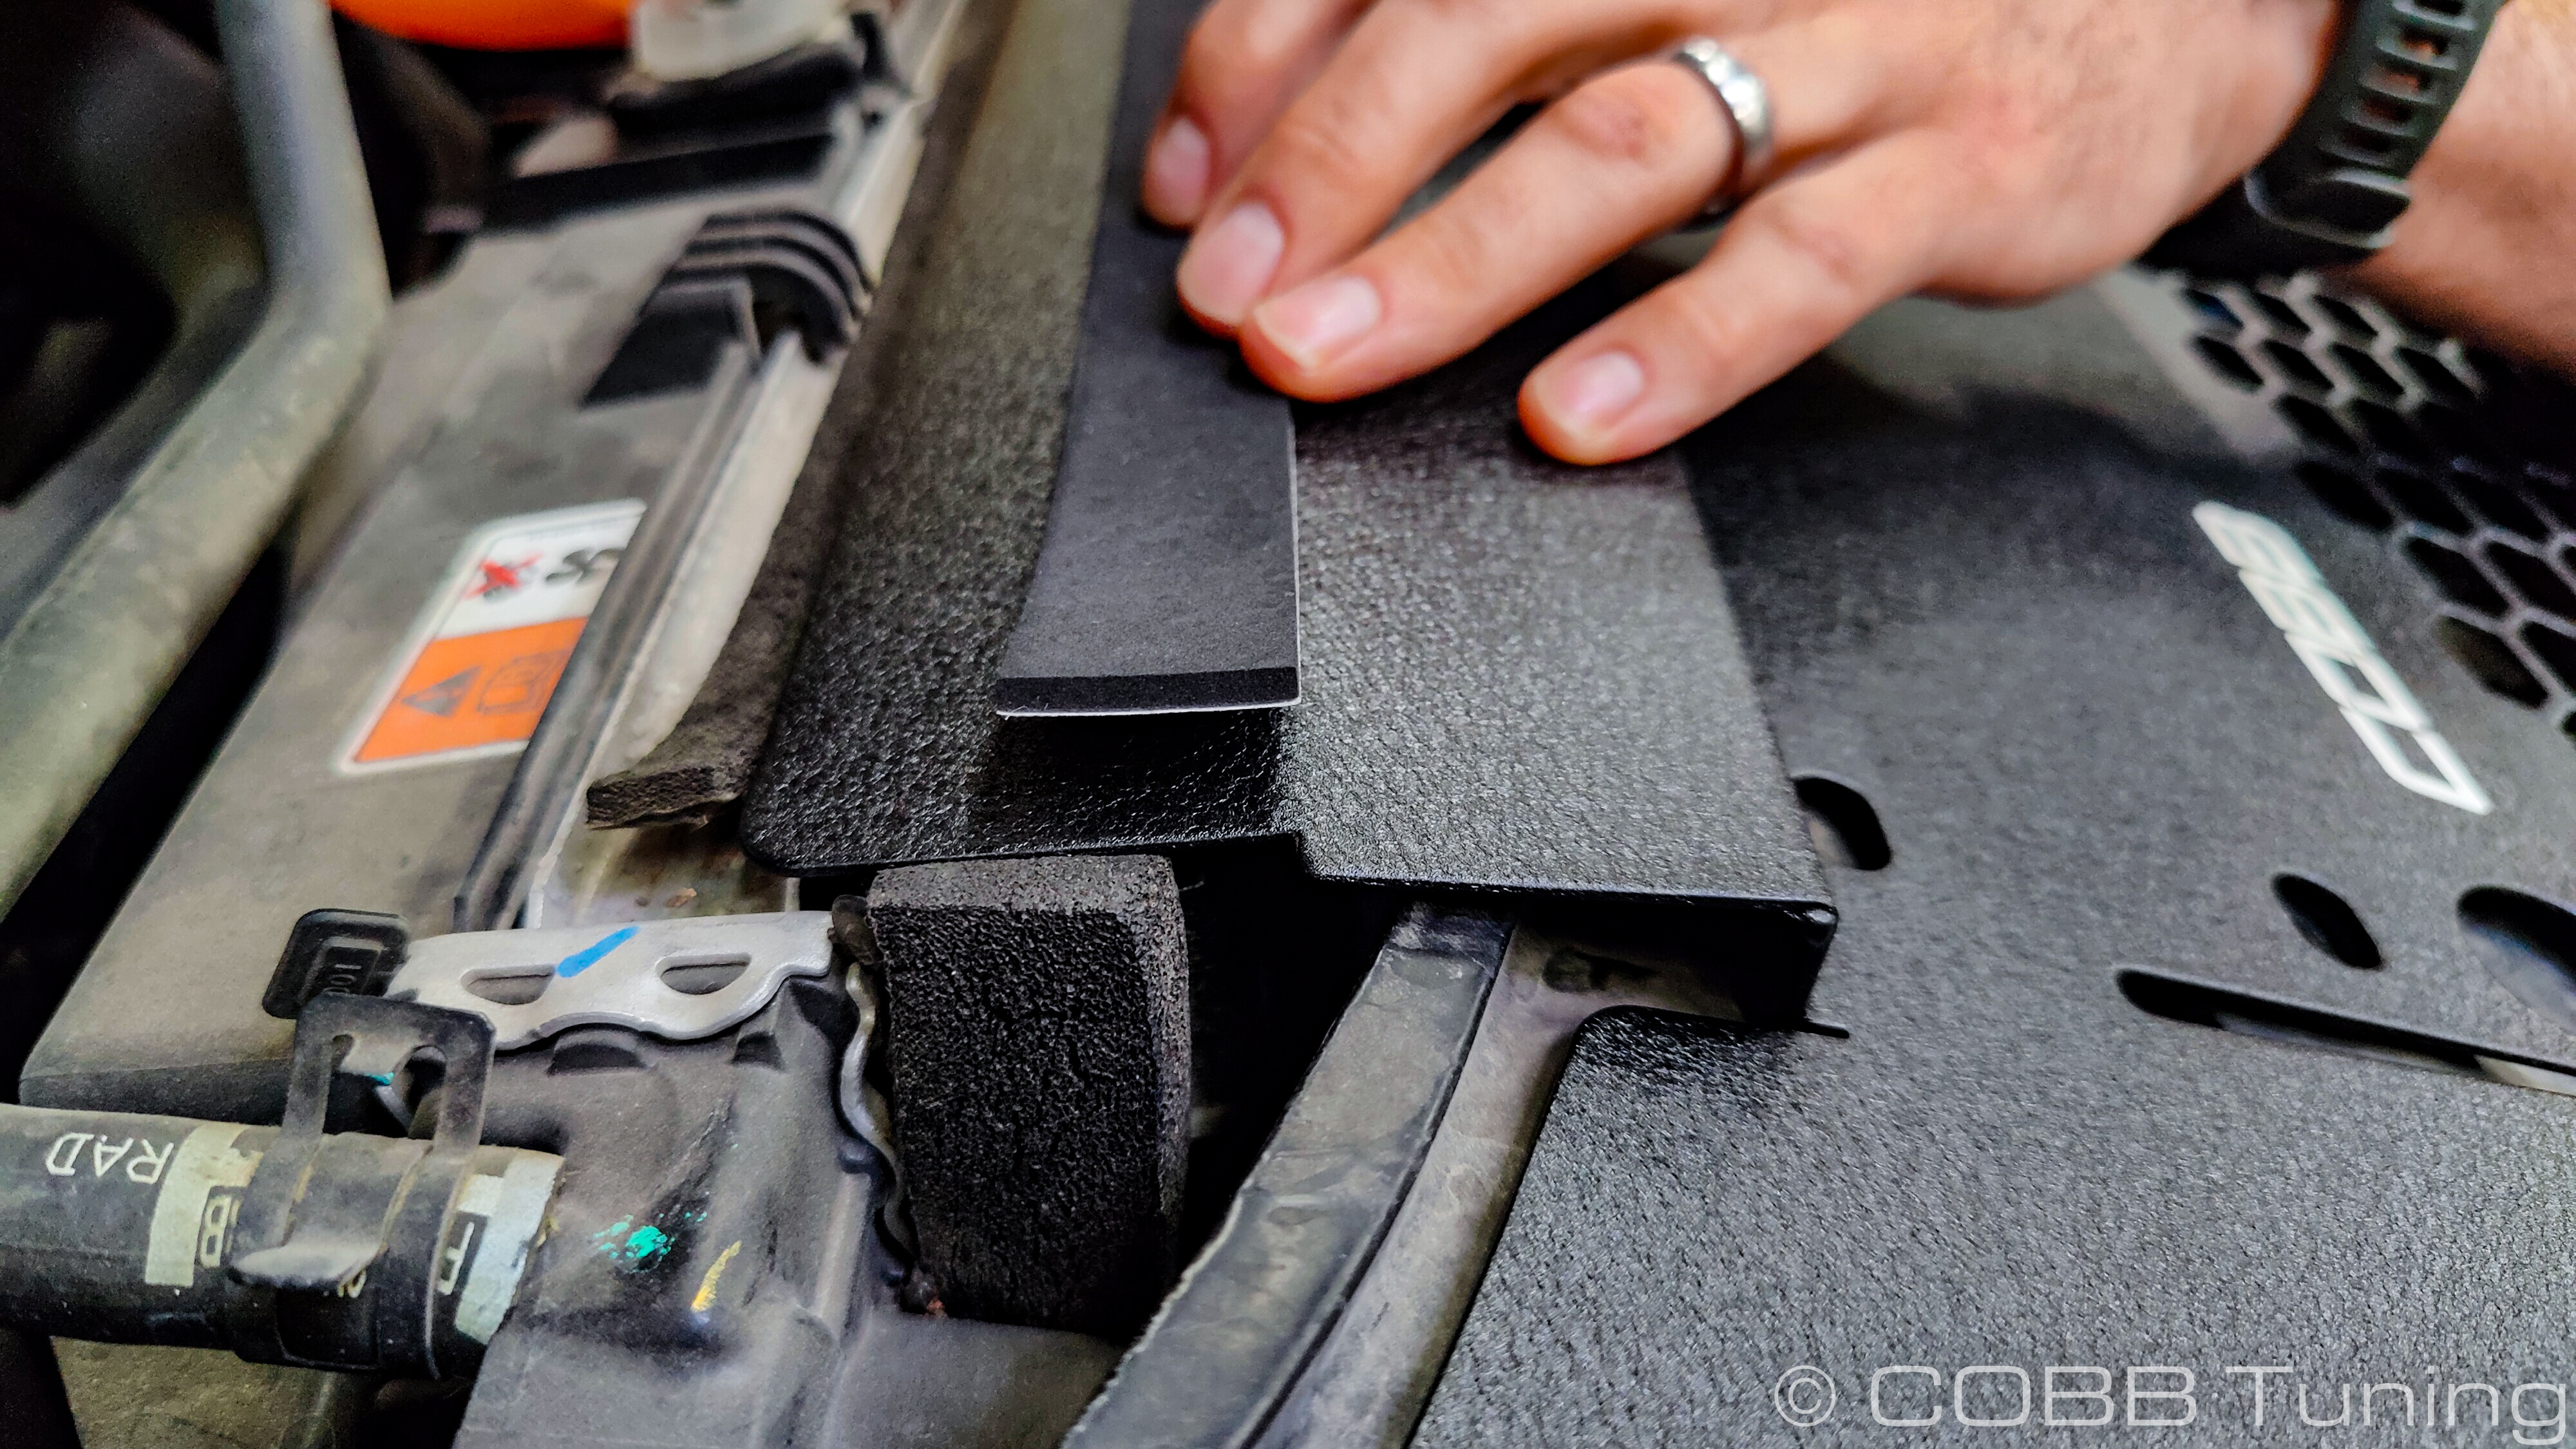
Optional: Apply the 1” Foam tape to the back side of the radiator shroud along the back side of the bend line and cut to length. This can help in vehicles with a non-standard cooling items fitted to keep it from rattling against the AC condensor if it’s in a different position from stock. On most vehicles this won’t actually touch and isn’t needed.
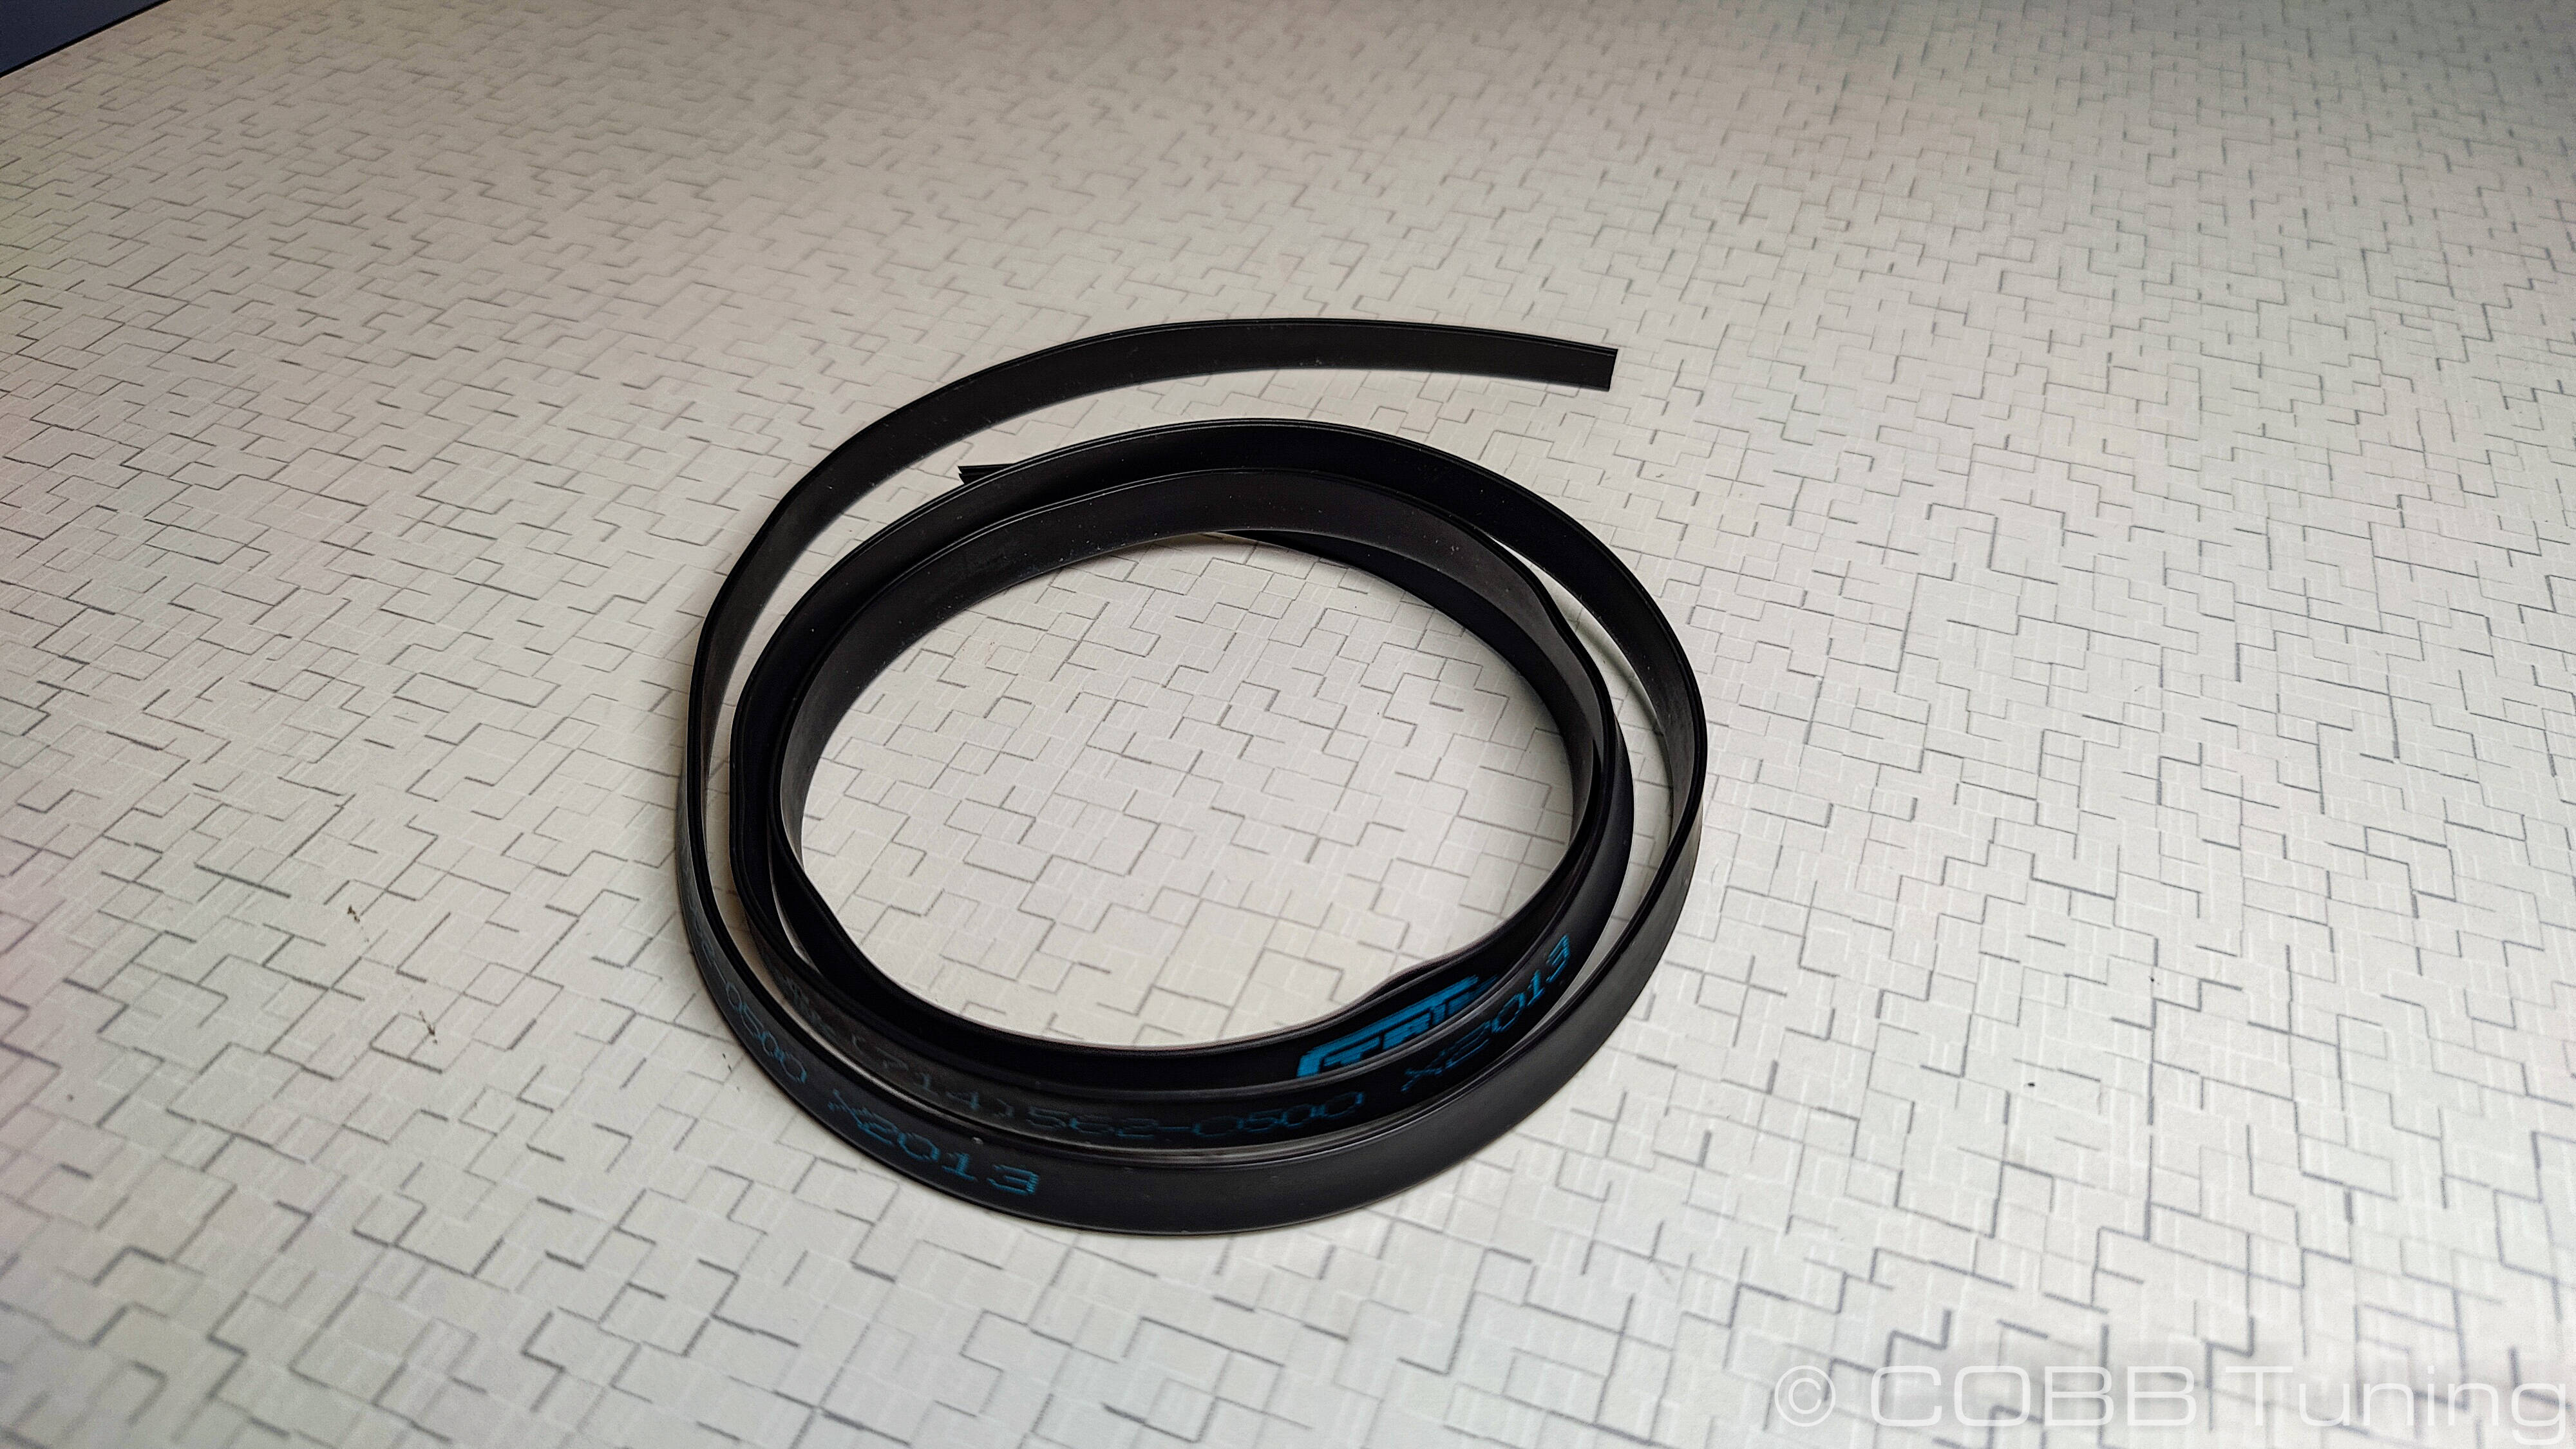
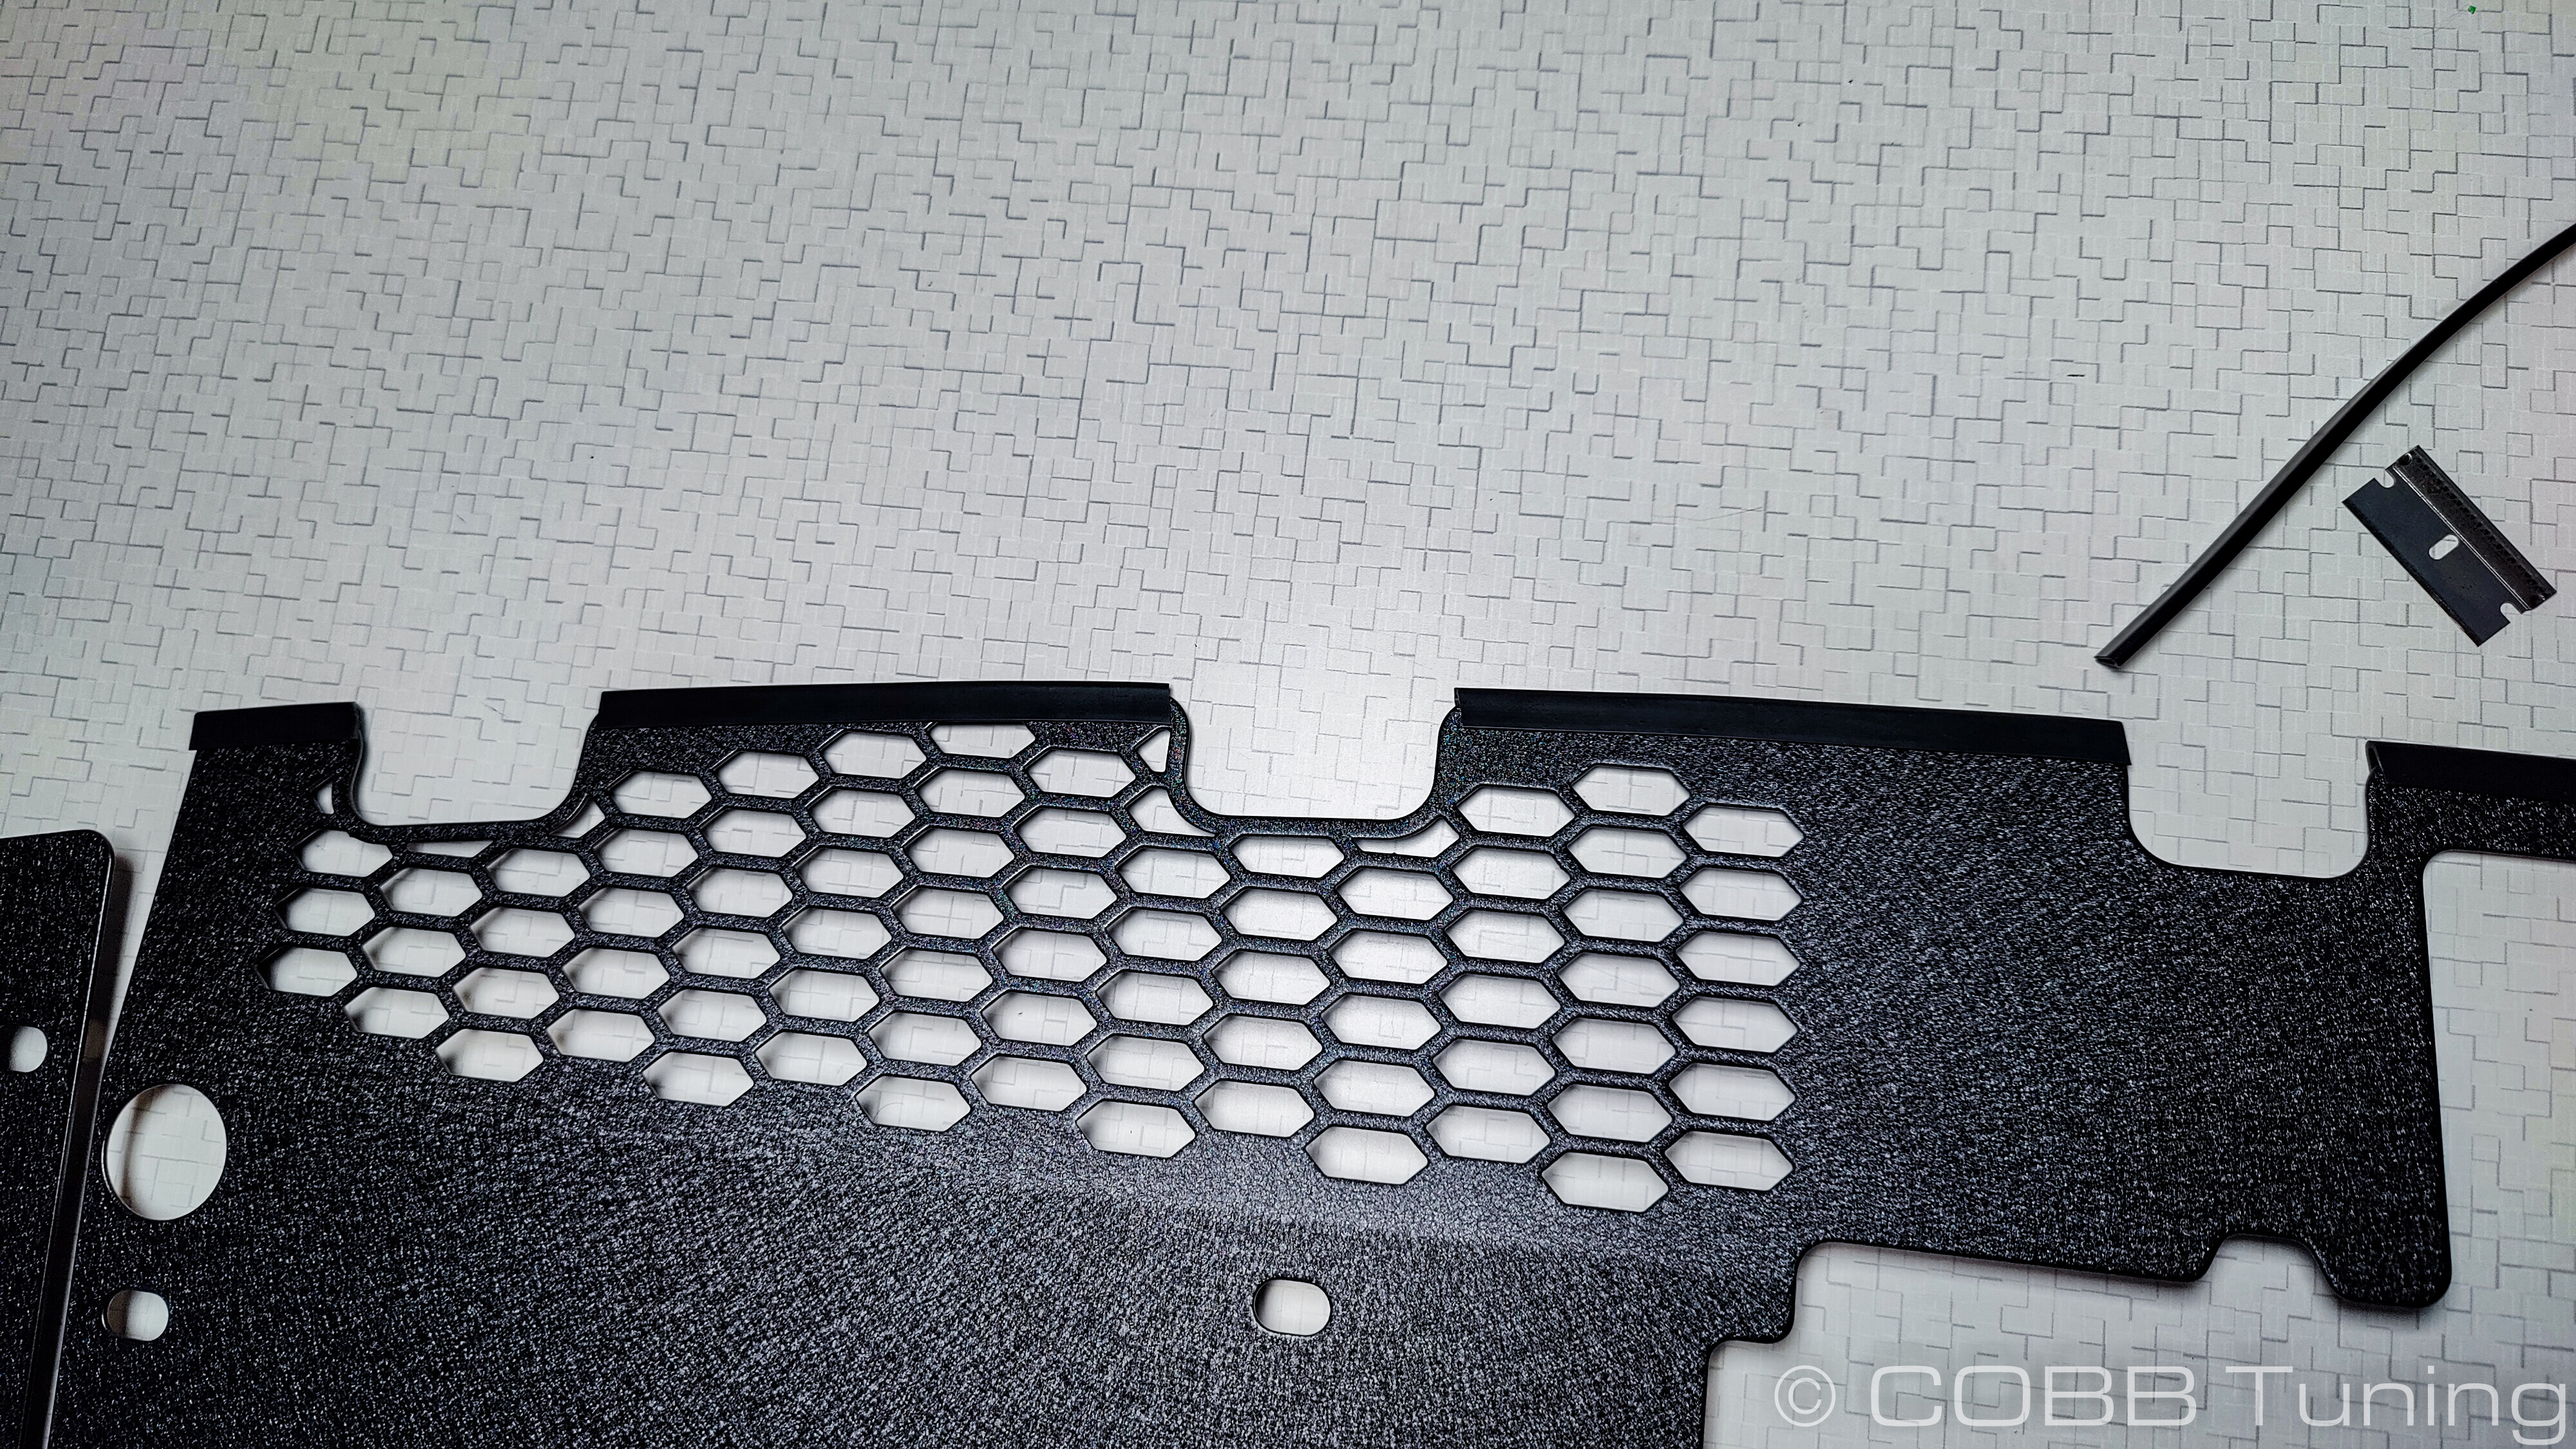
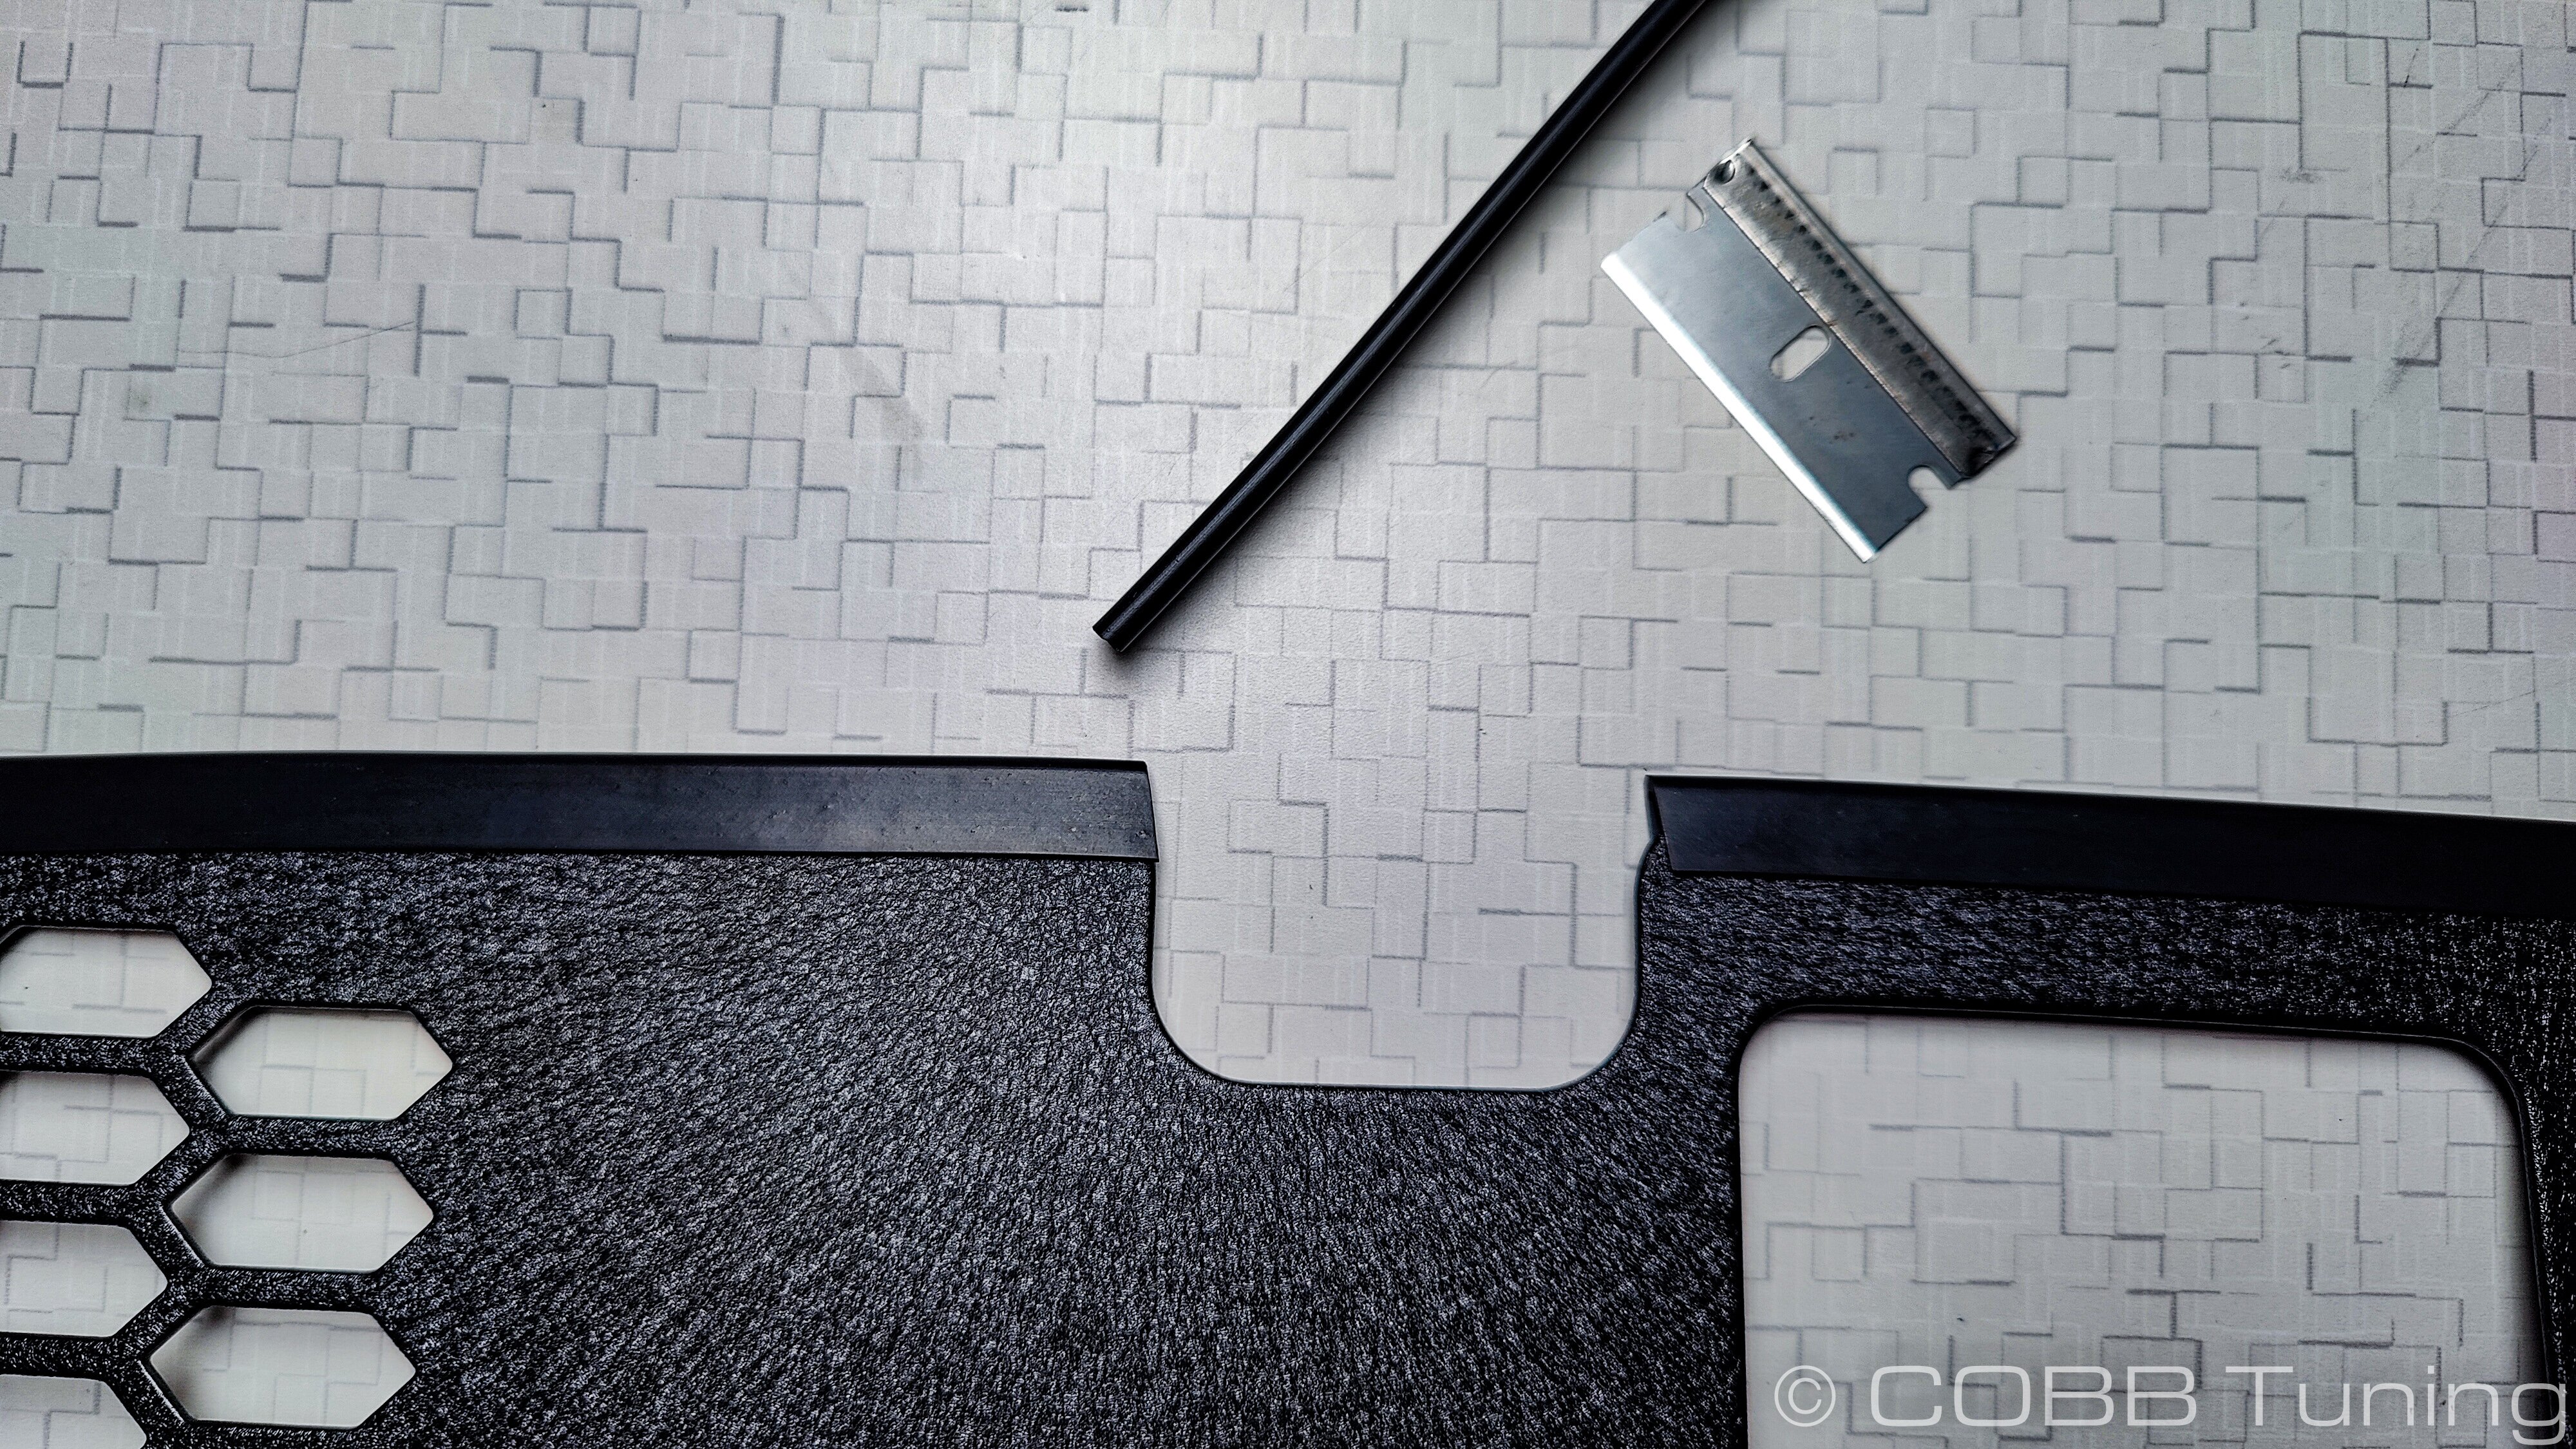
Line up the edge trim on the leading edge of the shroud (with the vents on it). Press it on starting at one end and trim it to fit at the other end. Do this for each of the sections on the leading edge. Don’t worry if your cuts aren’t as bad as mine, they will be covered by the grill once installed
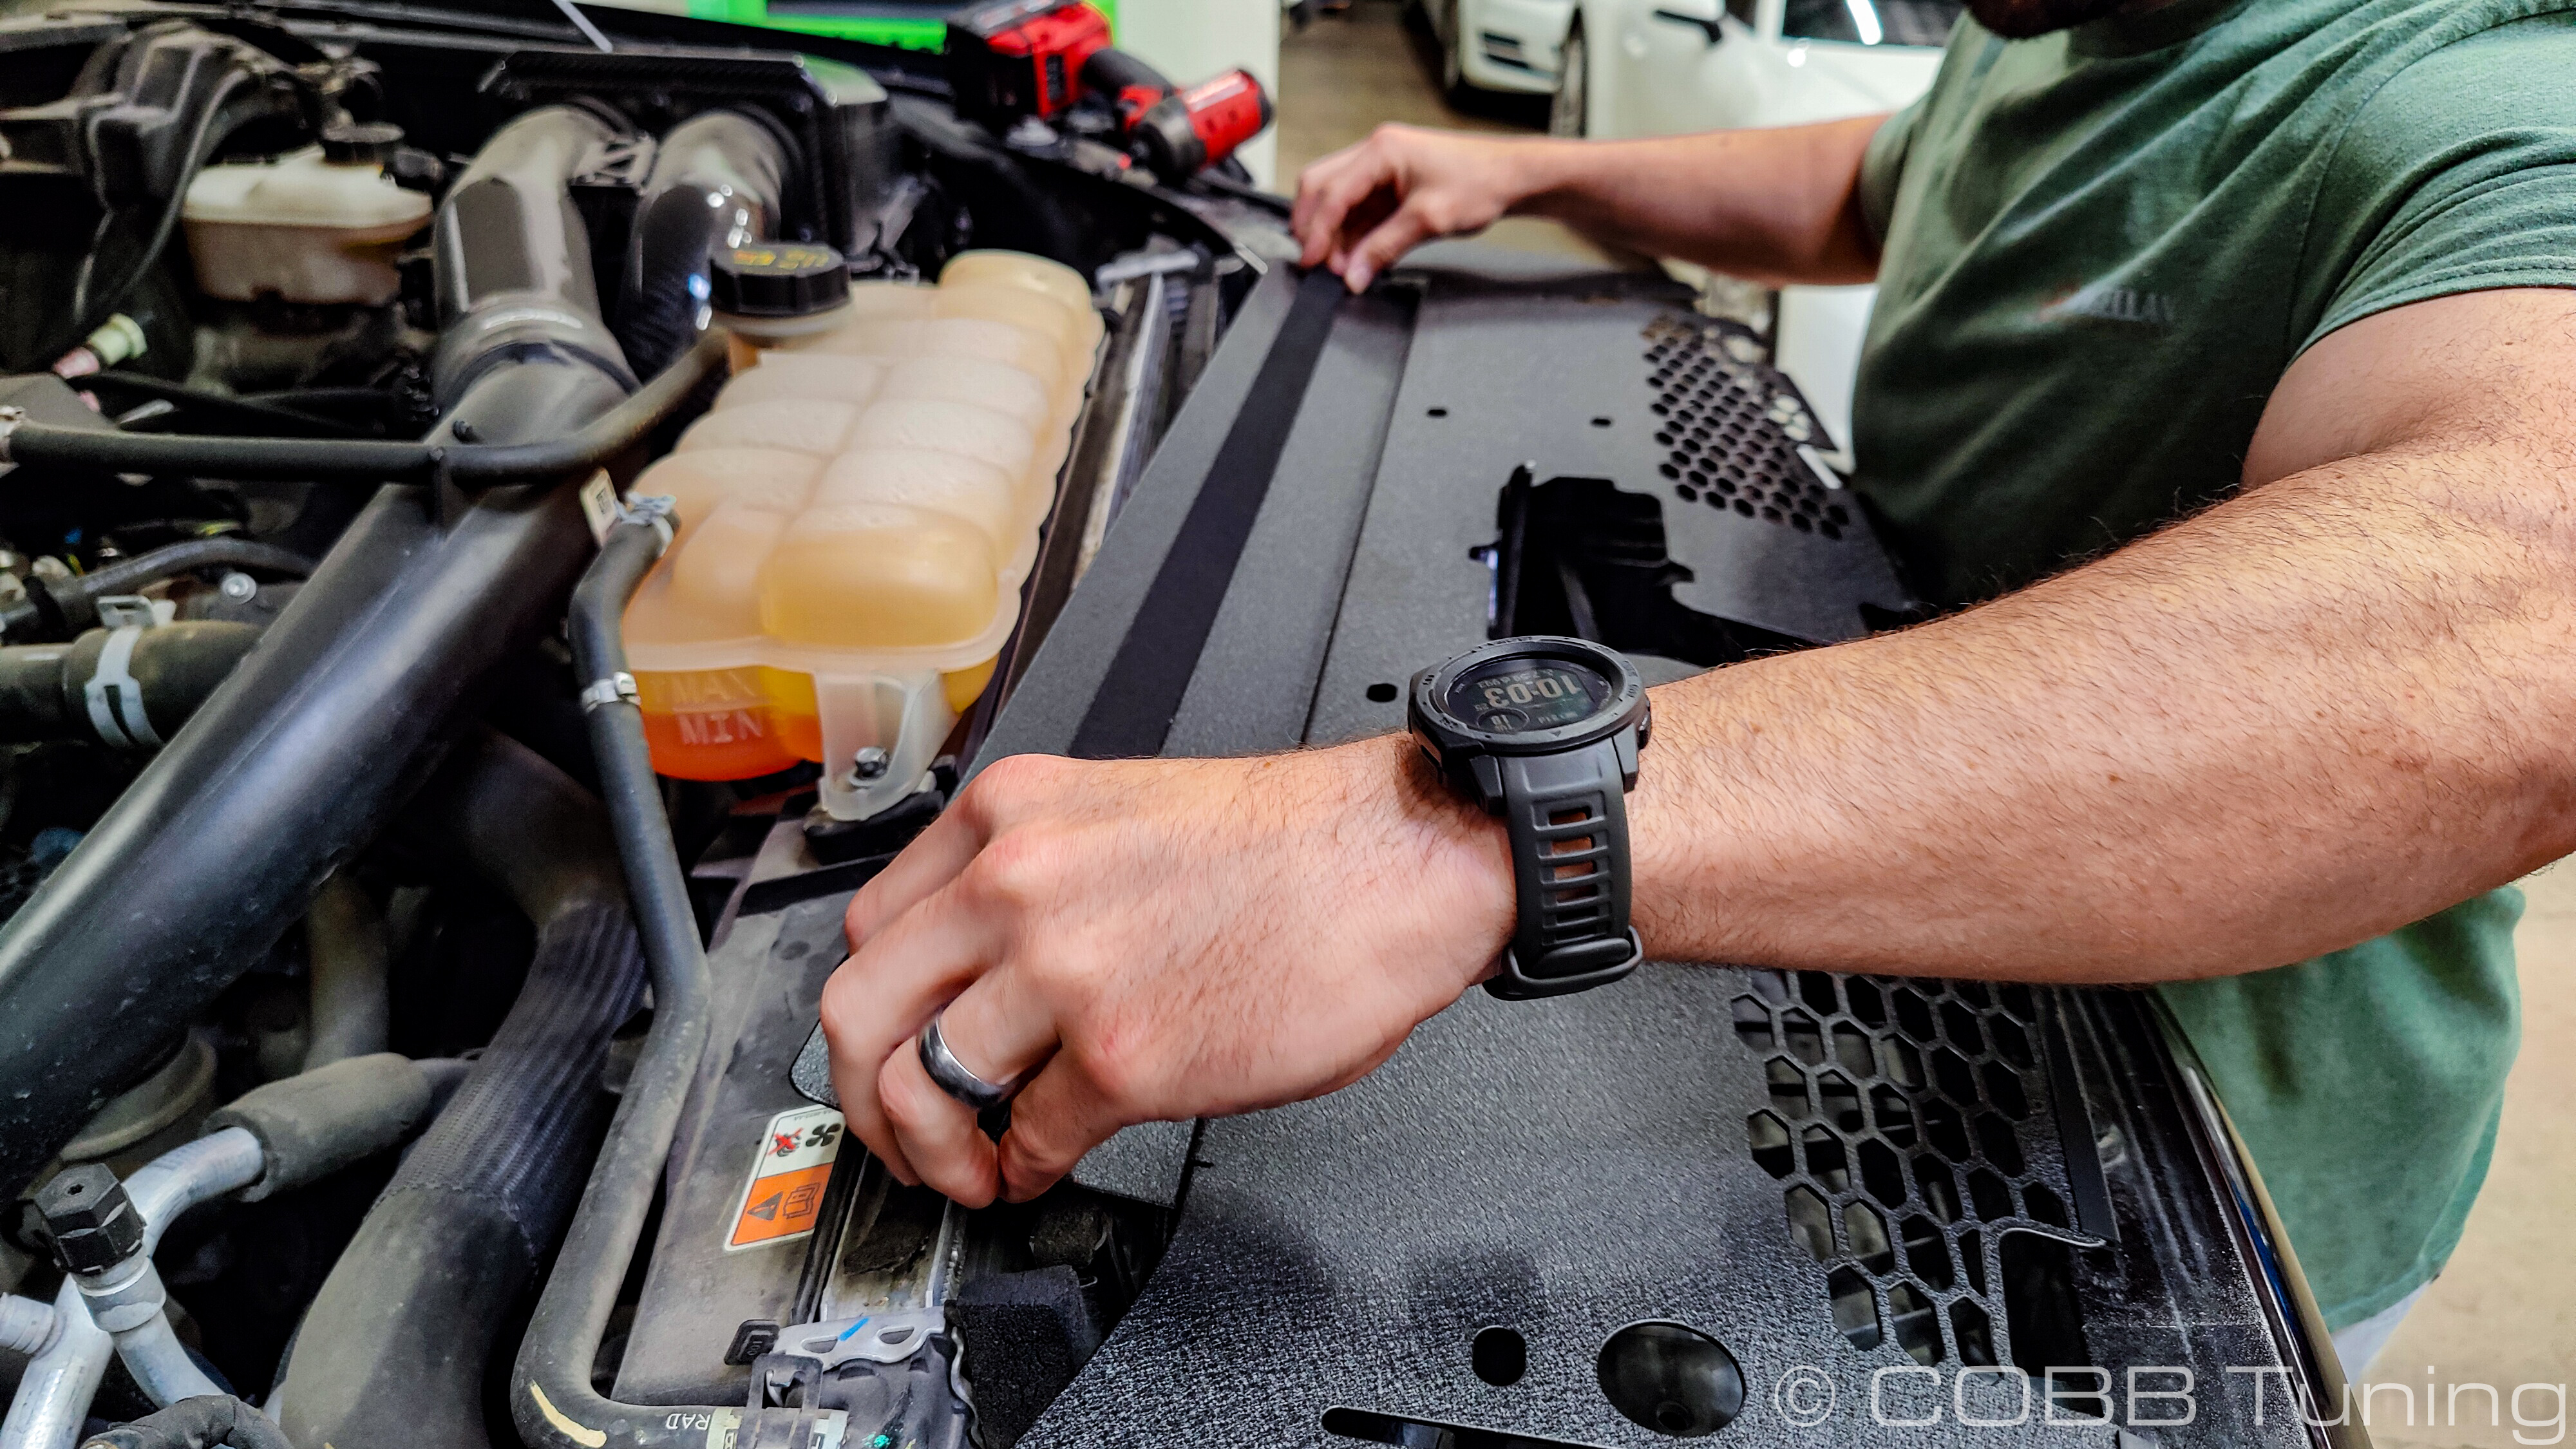
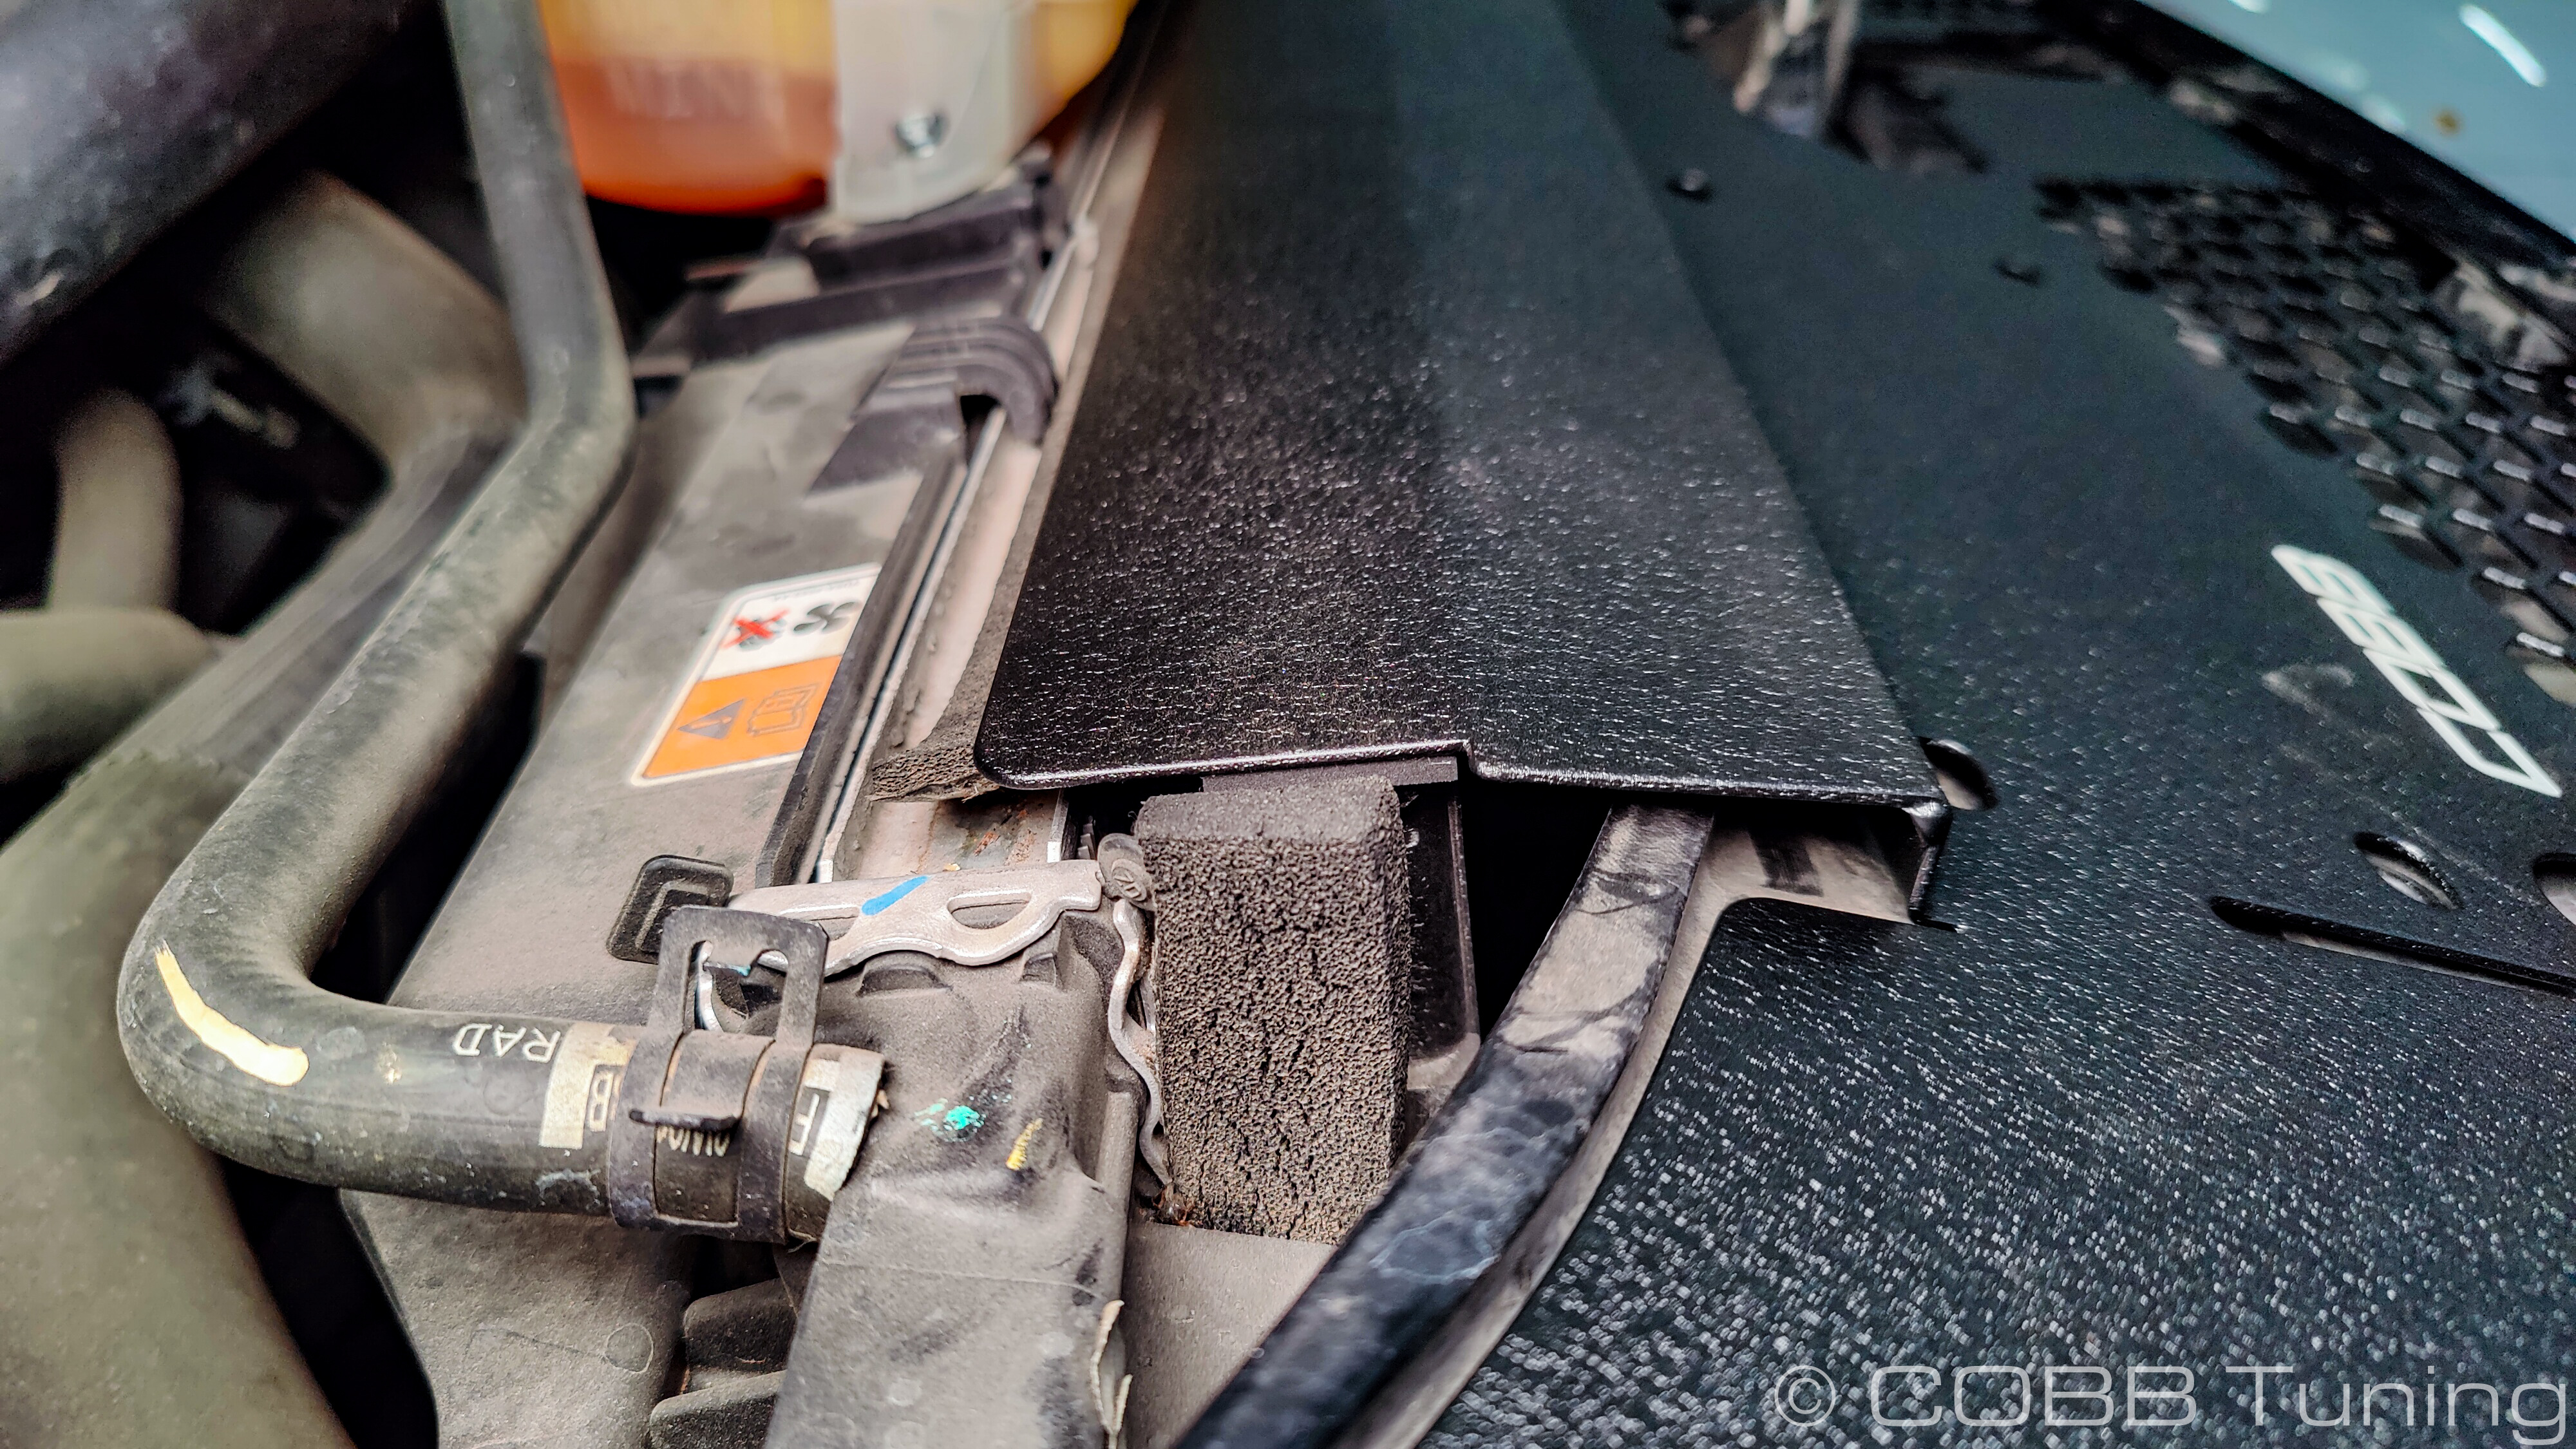
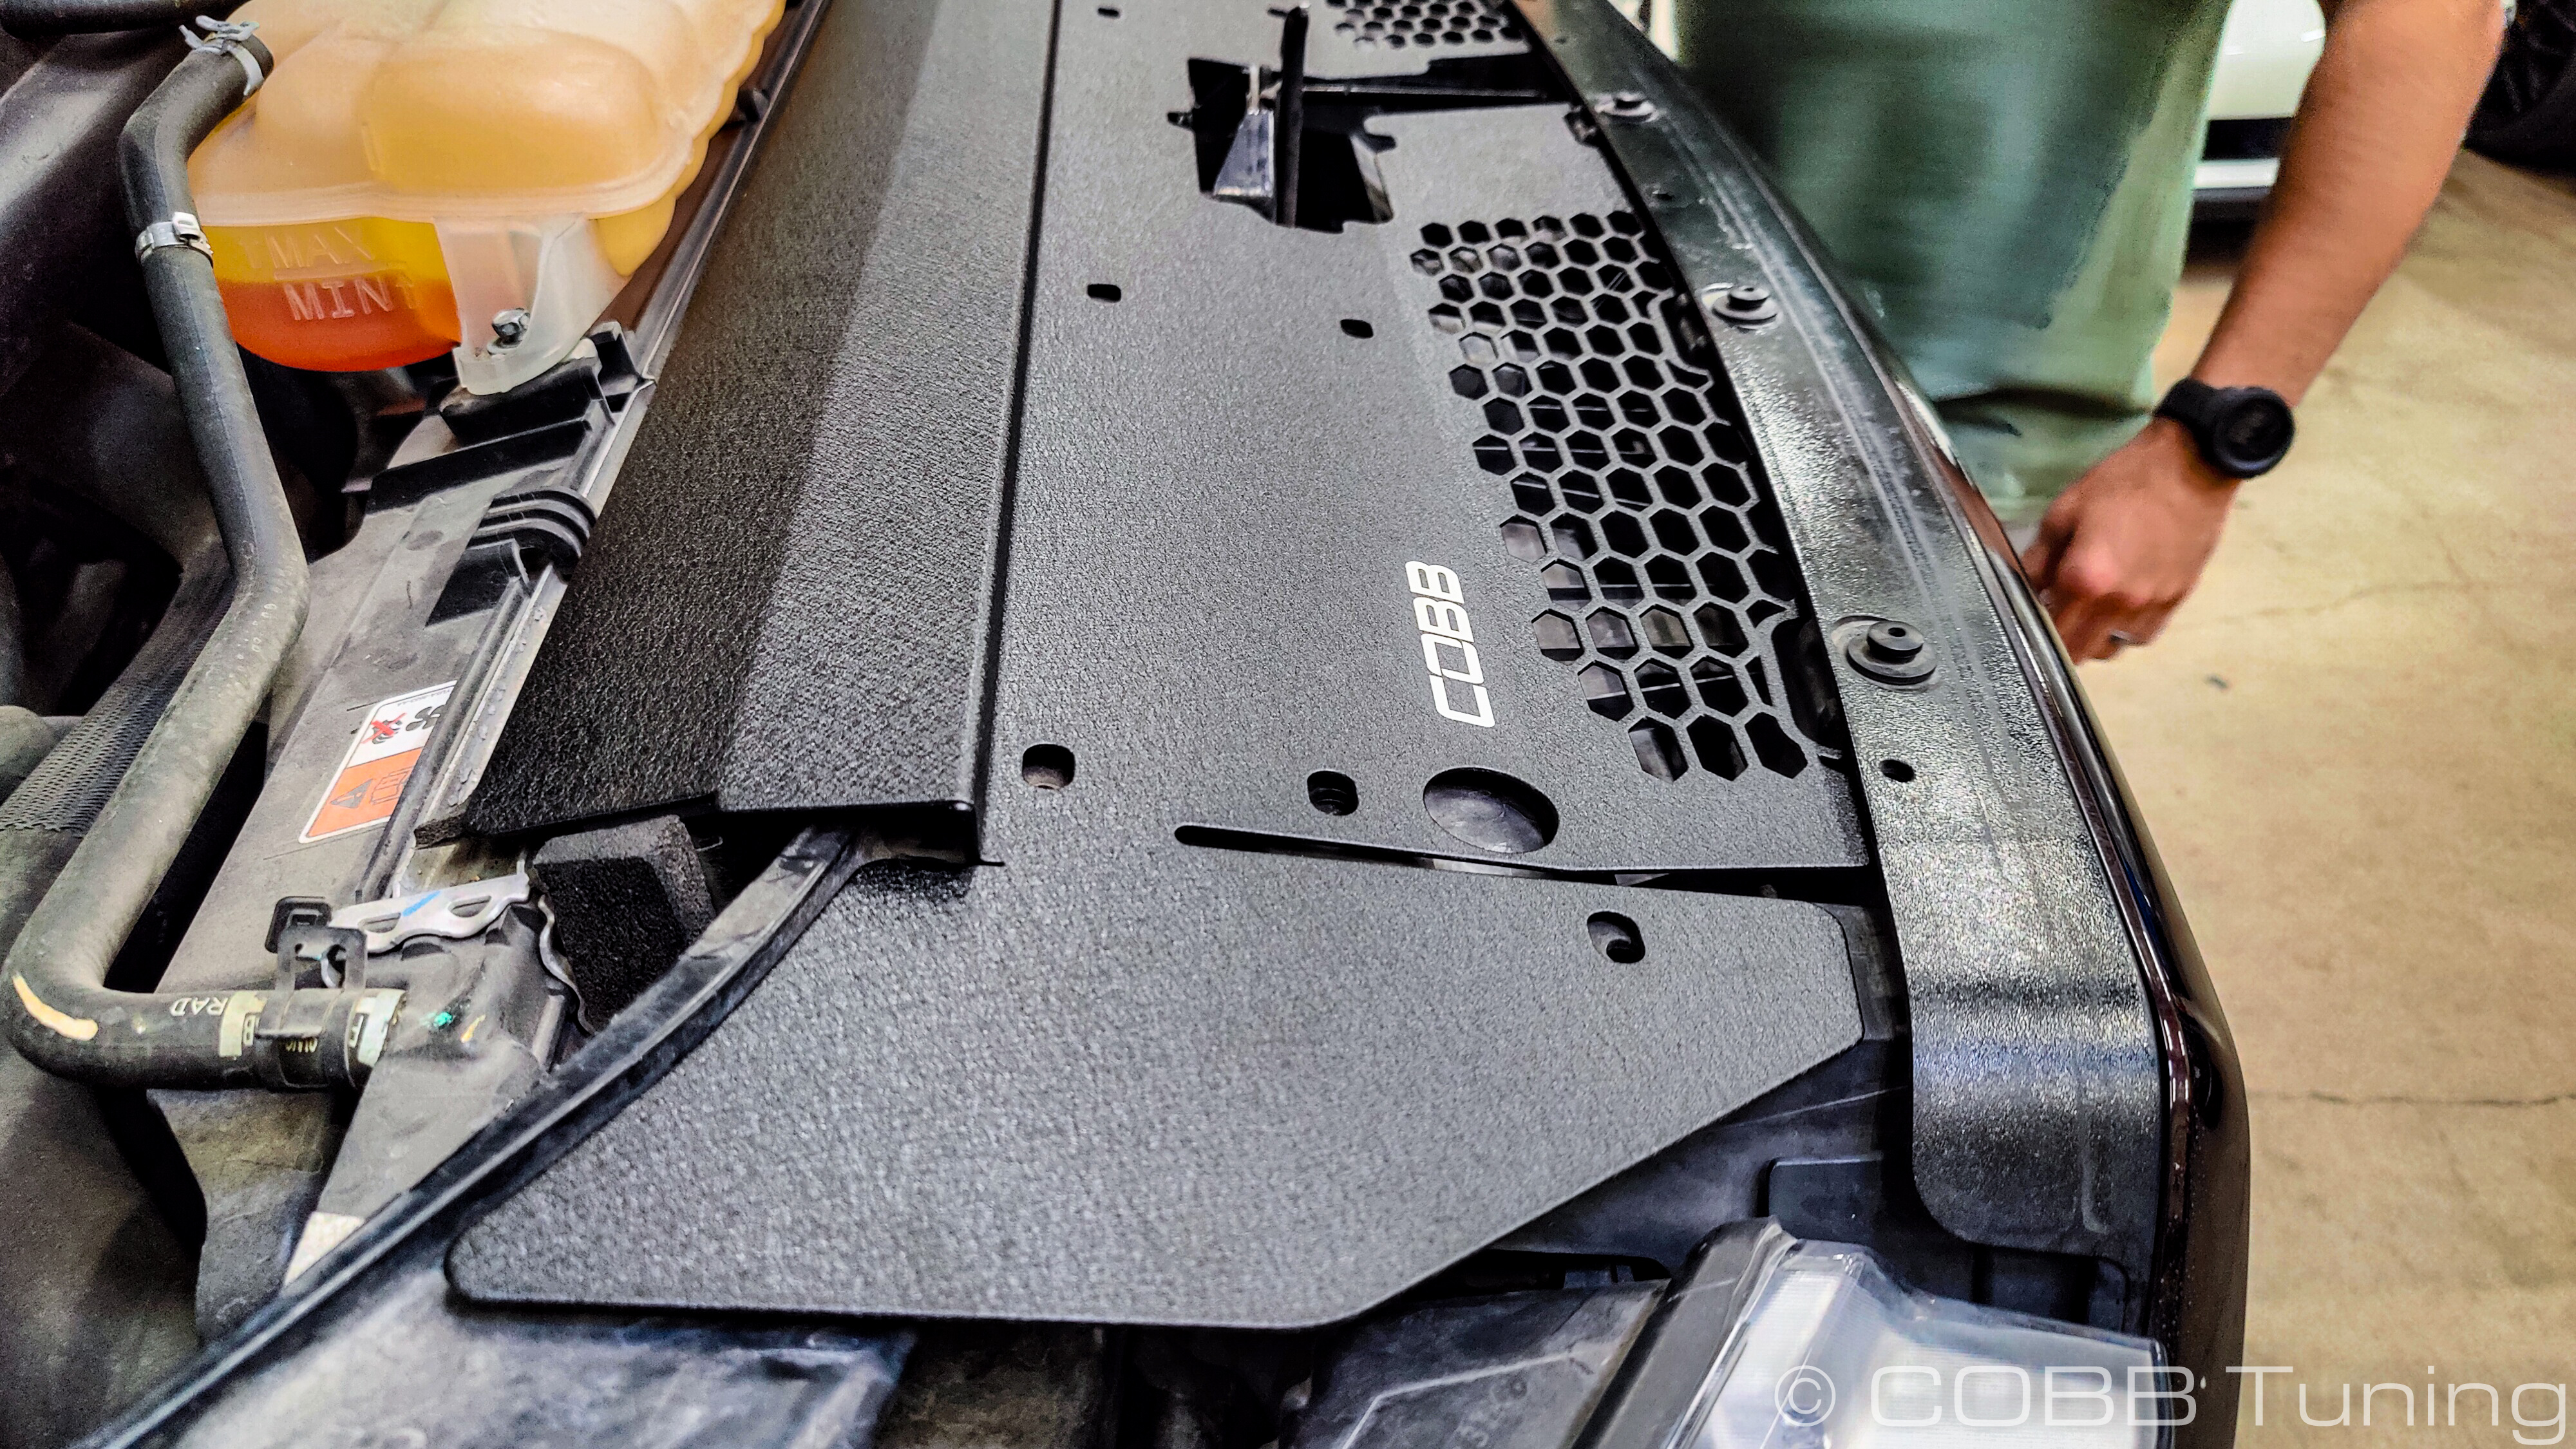
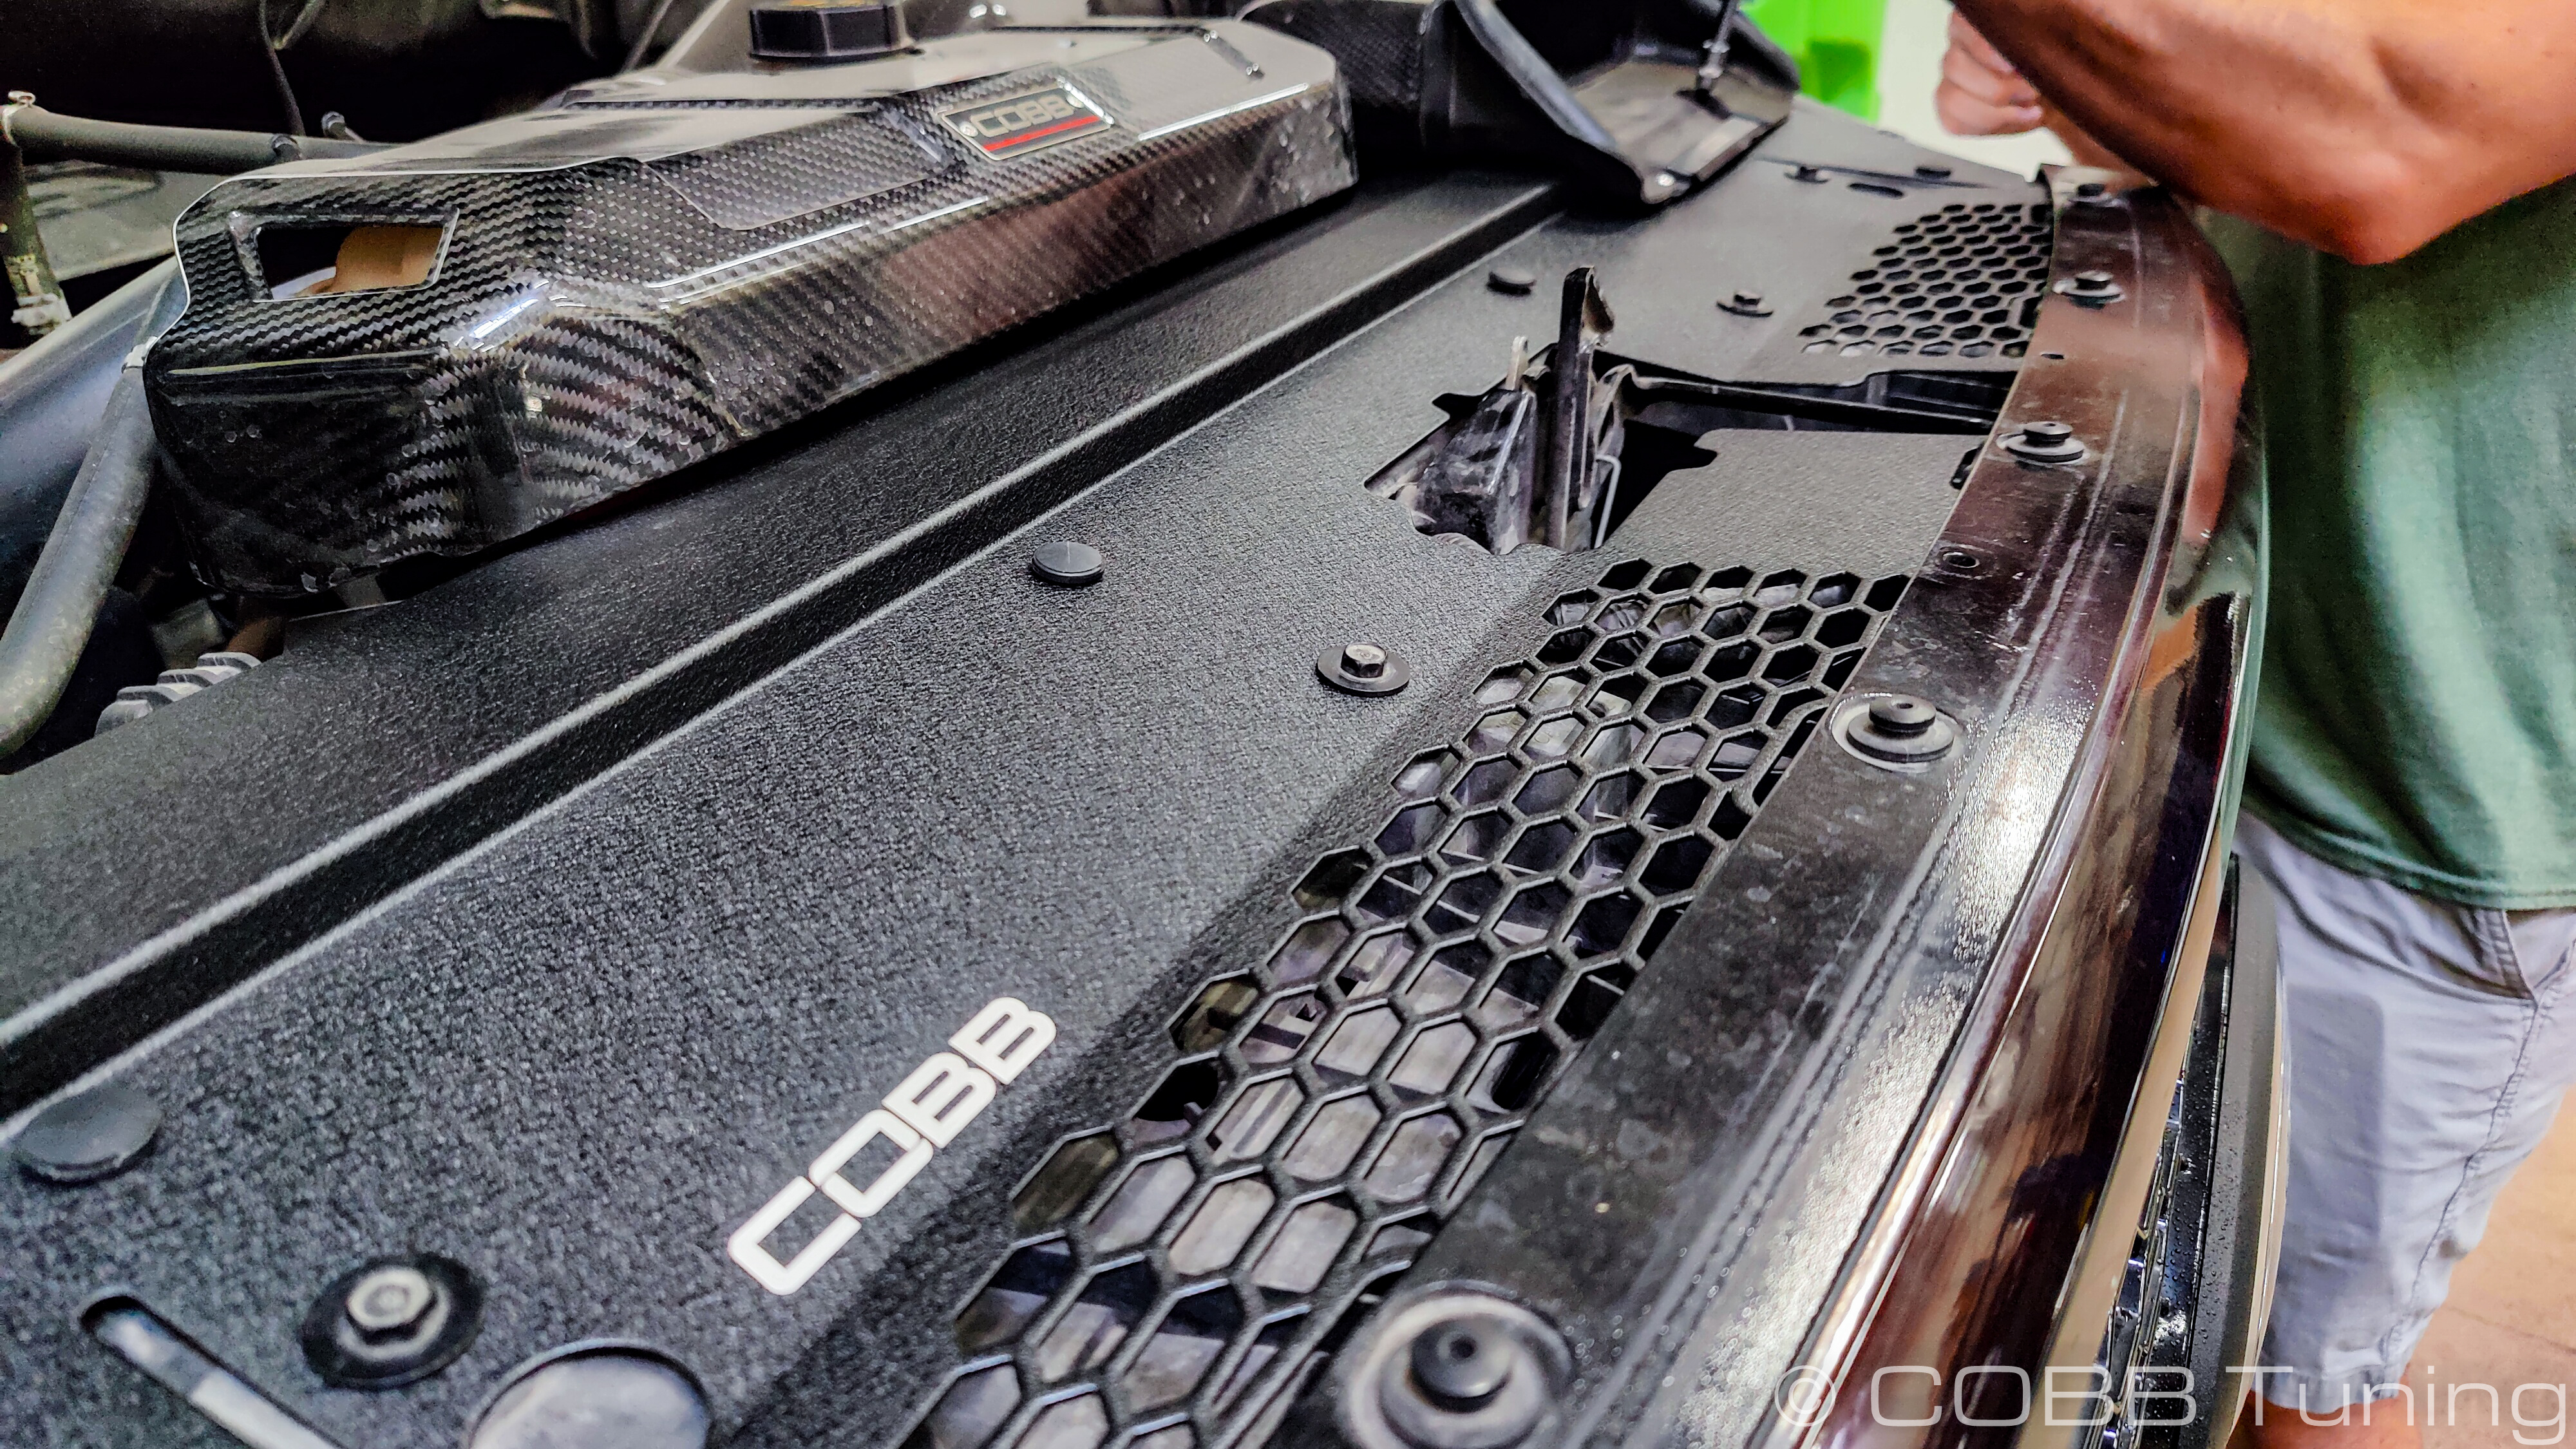
Slide it into place with the front edge you put the edge trim on going under the top edge of the grille.
you may need to stick your fingers through the vent holes and gently wiggle upwards to get the different pieces to go into place.
Loosely install the 4 10mm bolts through the shroud into the grill (these go into plastic so be gentle!
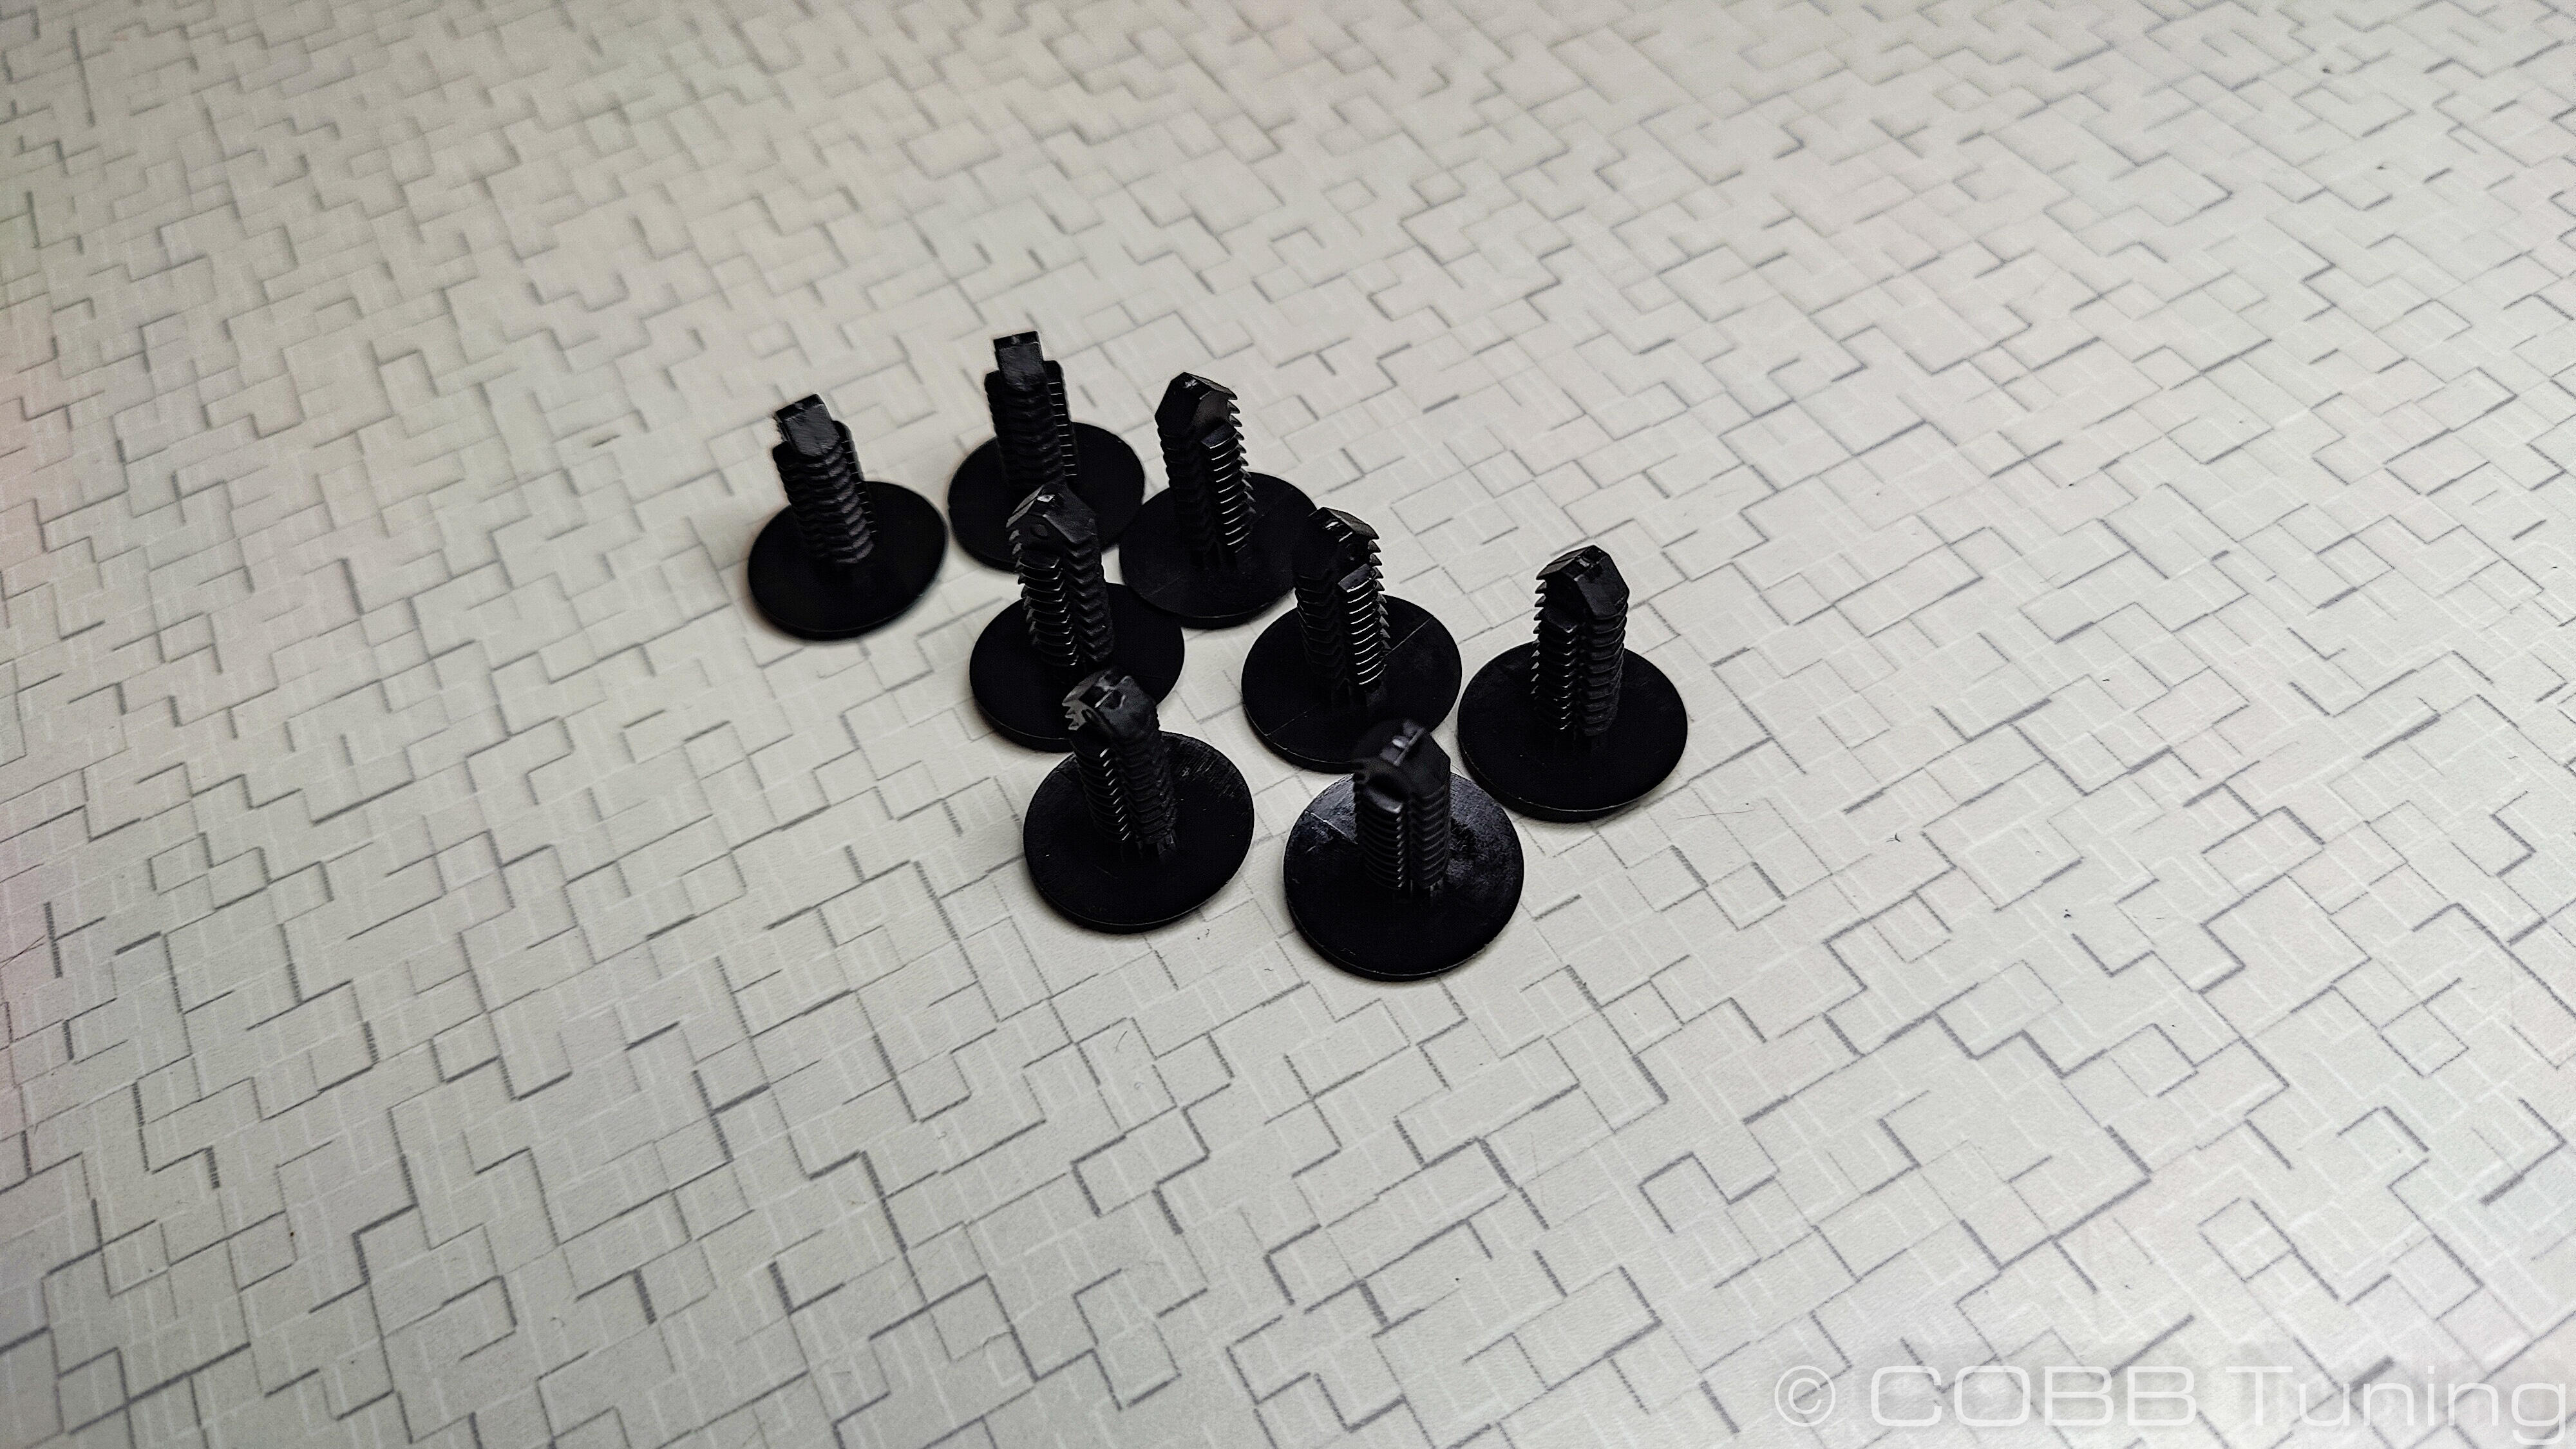
Loosely install the original clips, (If they’re damaged during removal or loose once installed use the supplied ones)
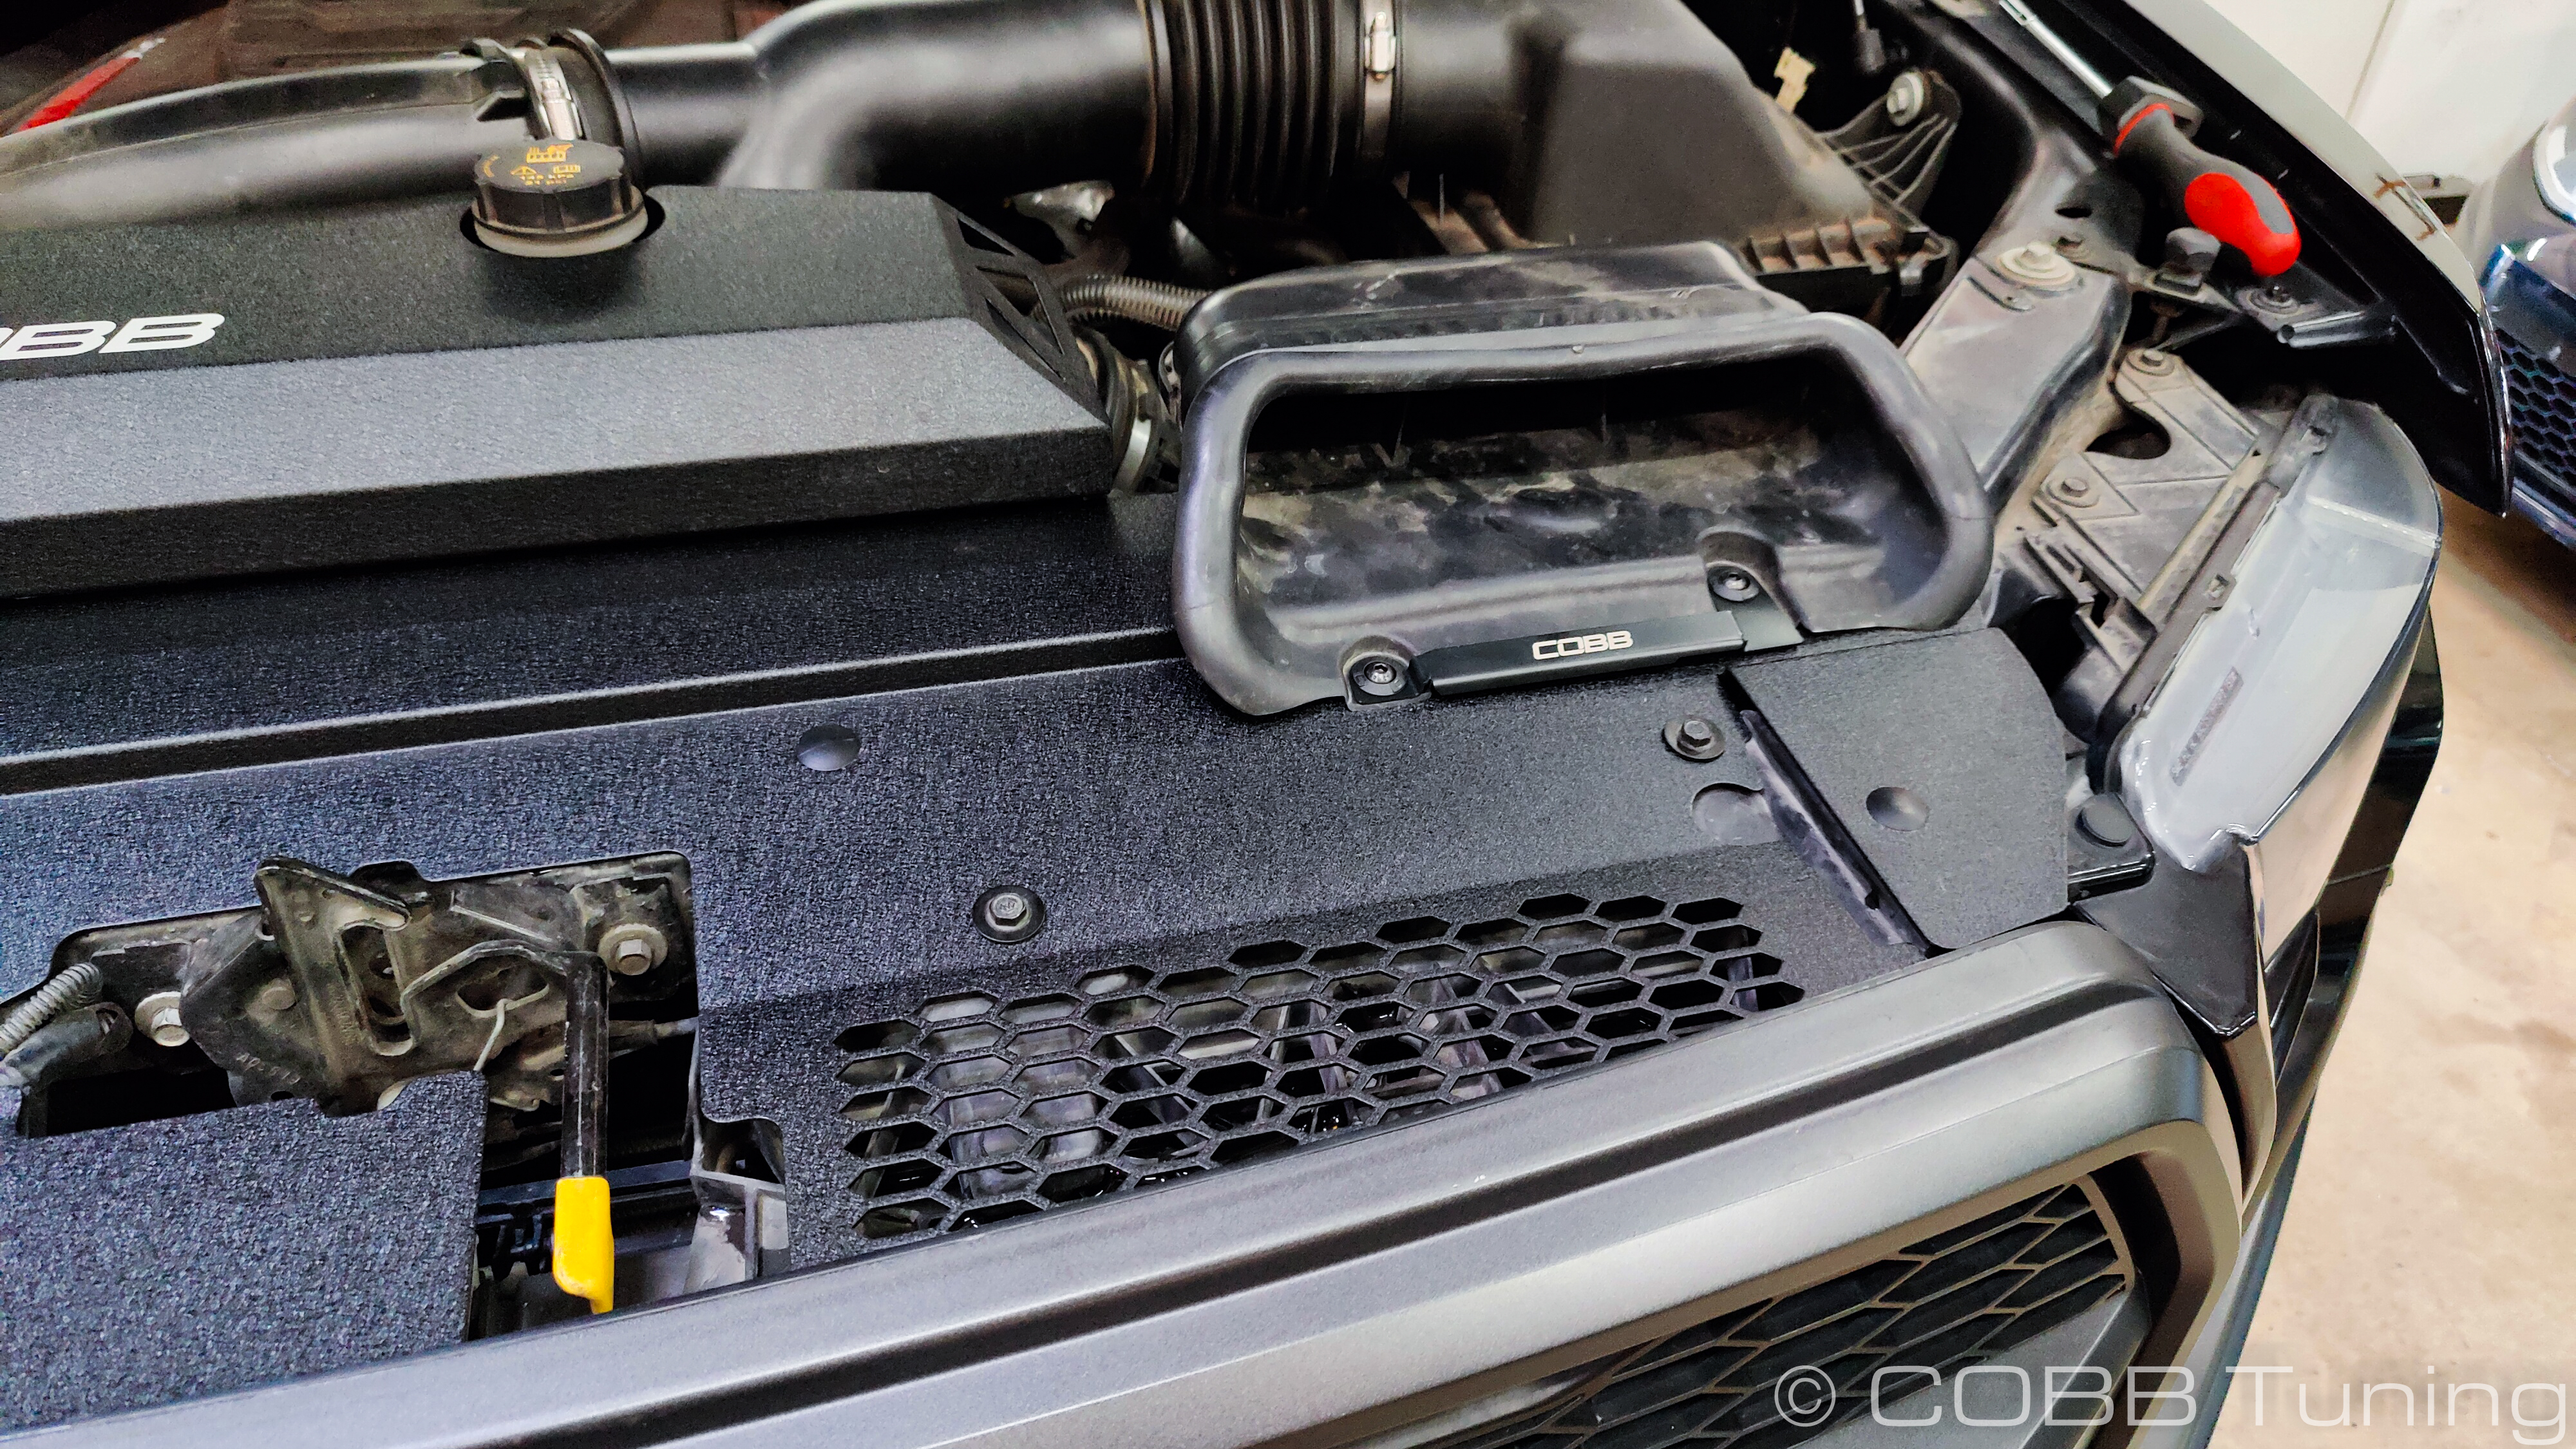
You can now reinstall the scoop and COBB Intake Scoop Bracket if equipped
With all the clips in you can tighten down the 4 10mm bolts on the shroud.
You’re all done! Go out and enjoy!
CARB Sticker Application
(Where Applicable)
Apply the supplied CARB sticker in a clear, easy to find location. Typically underhood, or on the radiator core support.
Links
Gen3 Raptor Issues: Intake Collapse
Raptor ECU Removal and Shipping
