800655 – Subaru GR Coolant overflow Tank
Subaru Impreza WRX, WRX STI 2008 - 2014
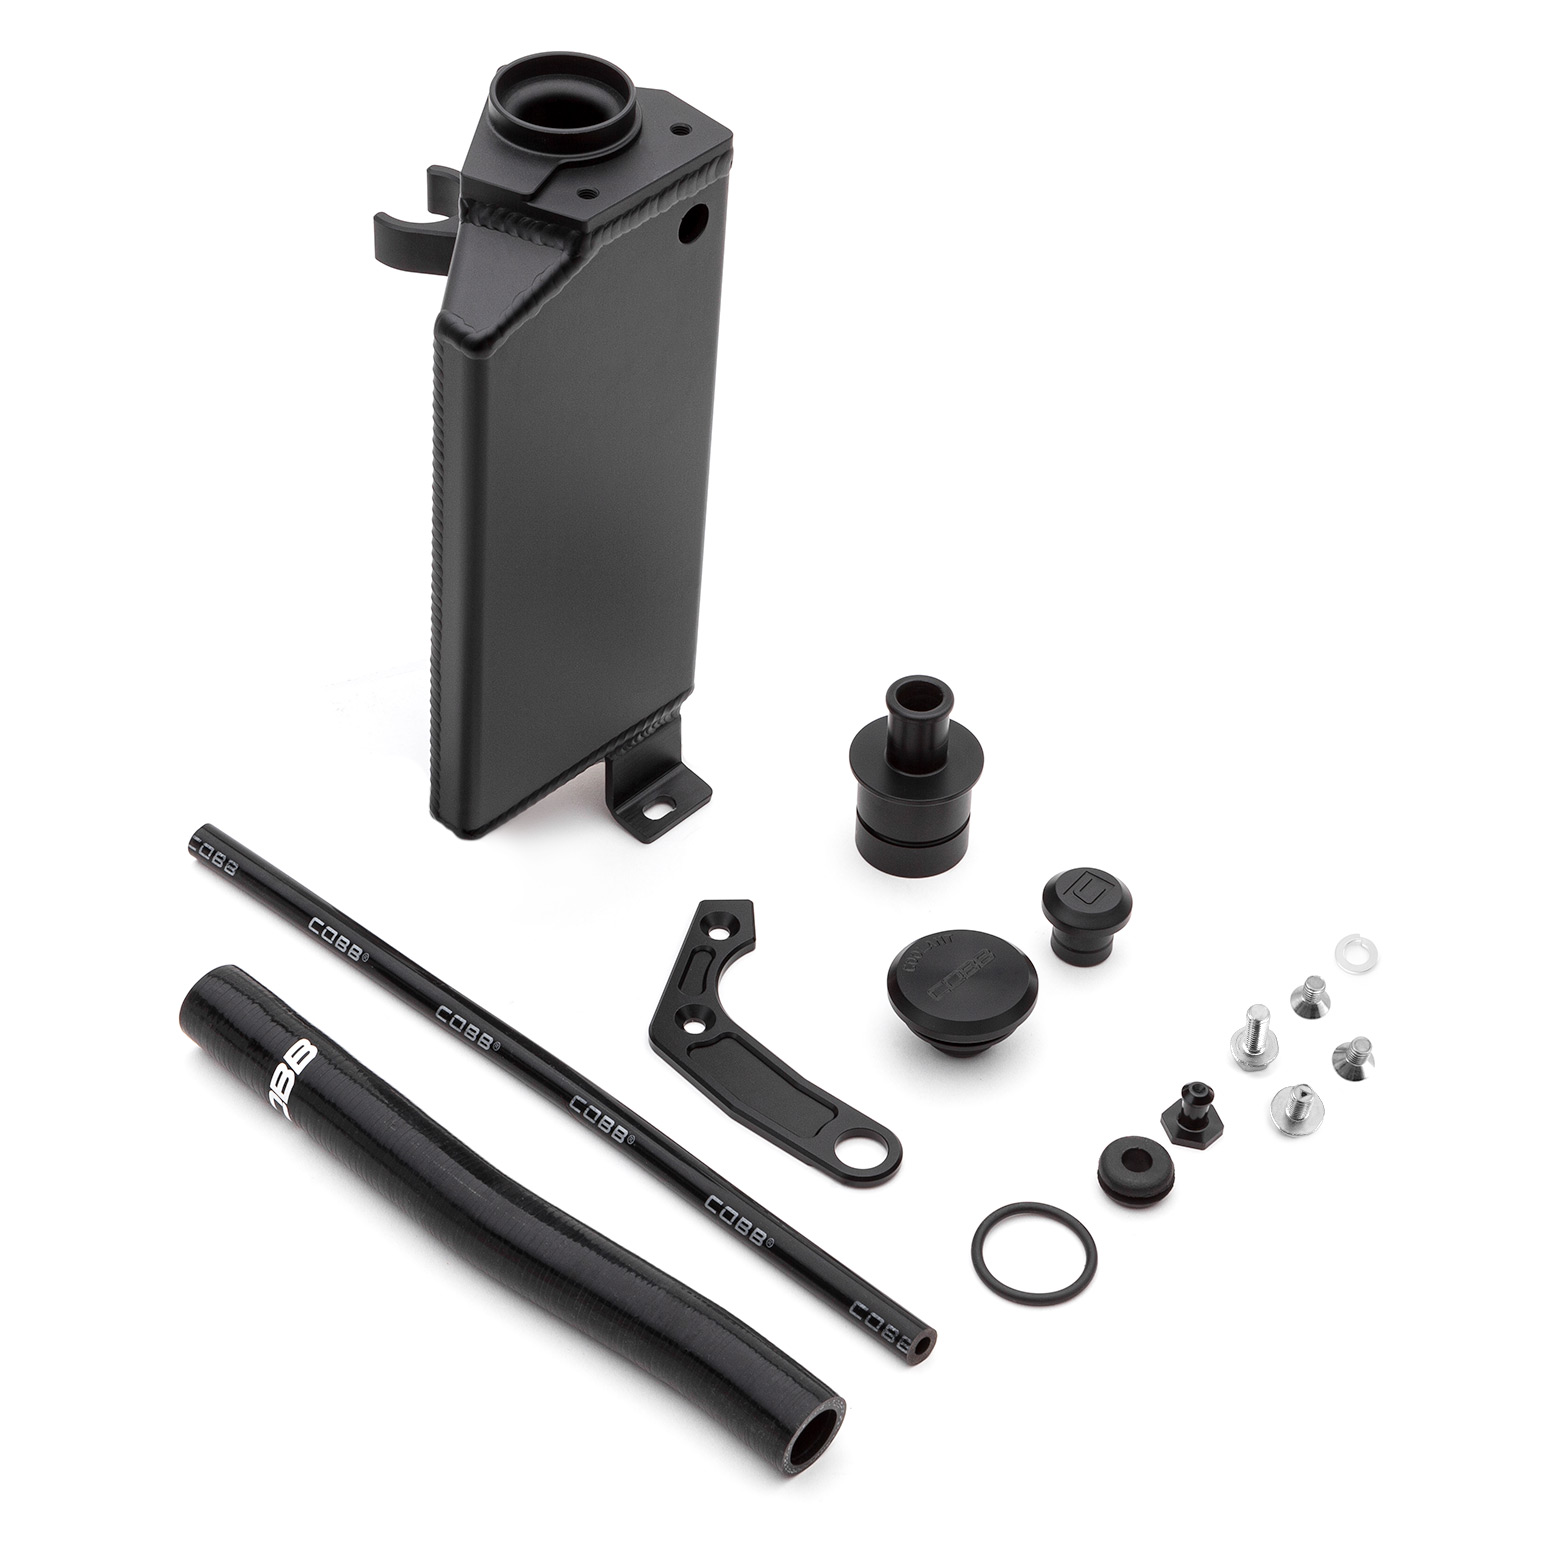
Congratulations on your purchase of the COBB Tuning GR Coolant Reservoir! The following instructions will assist you through the installation process. Please read them BEFORE beginning the install to familiarize yourself with the steps and tools needed. If you feel you cannot properly perform this installation, we HIGHLY recommend you take the vehicle to a qualified and experienced automotive technician.
Parts List
| Expand |
|---|
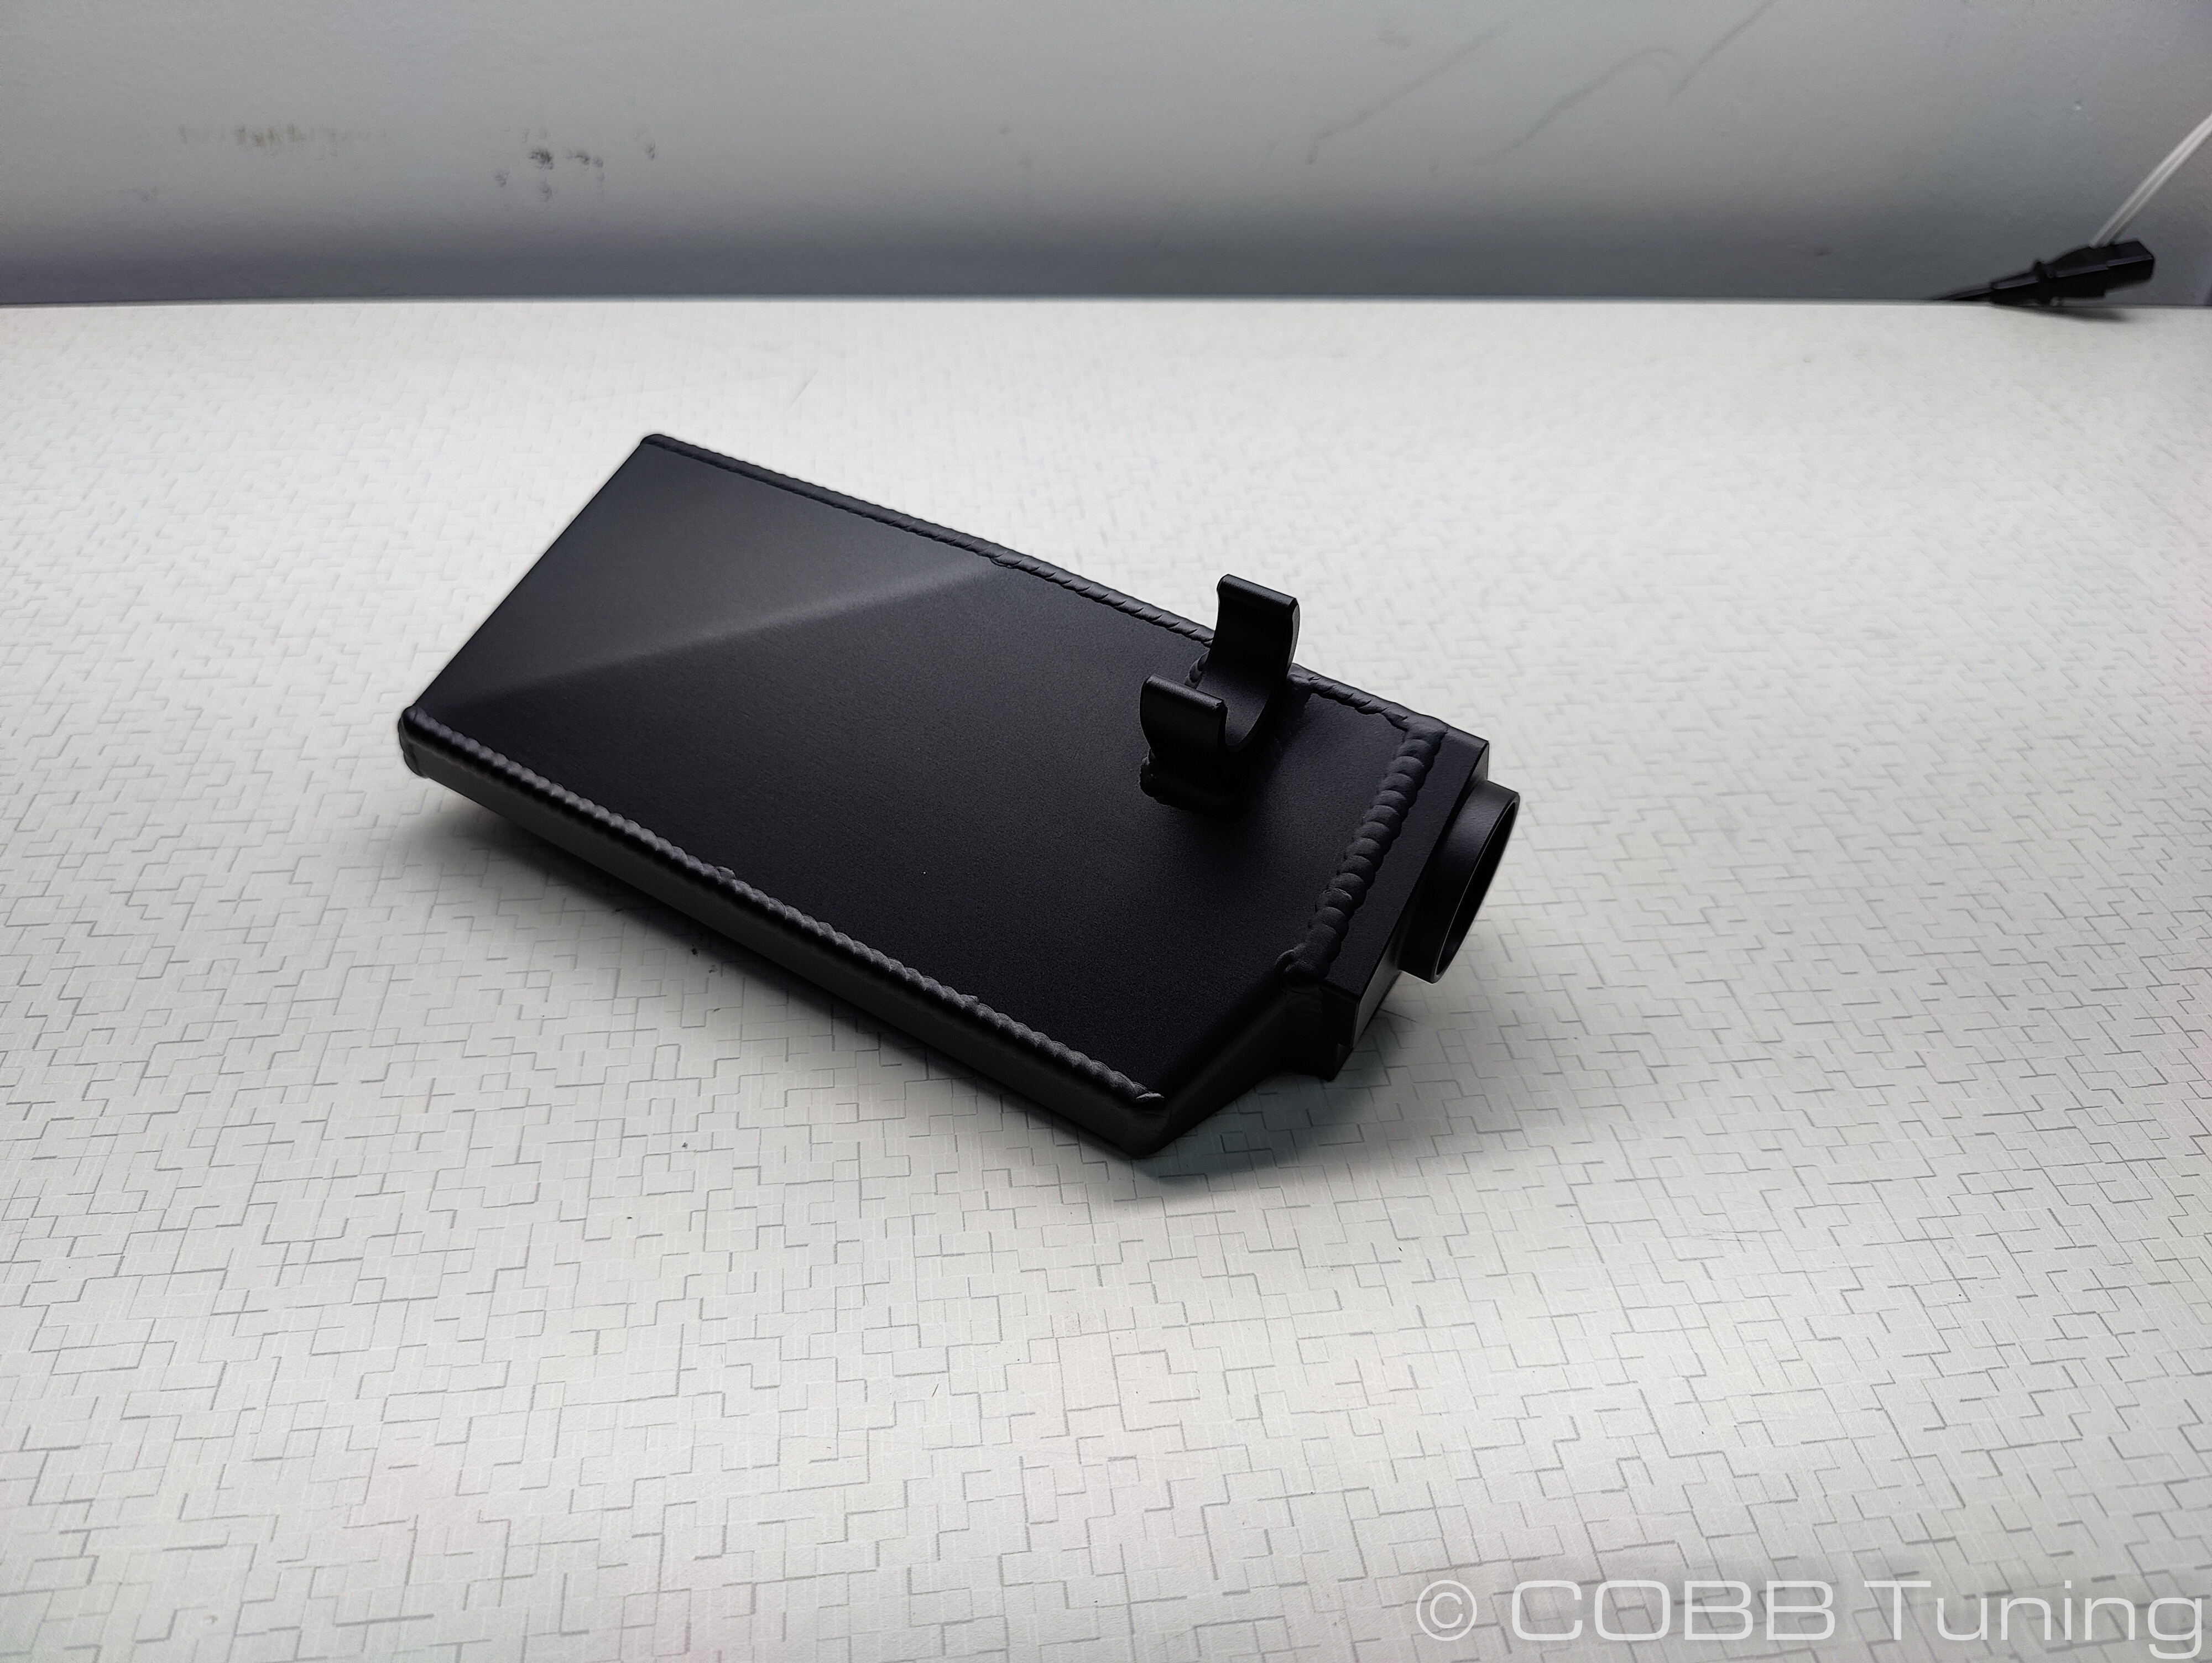
| title | Subaru GR Coolant Reservoir Assembly |
|---|
|
|
| Expand |
|---|
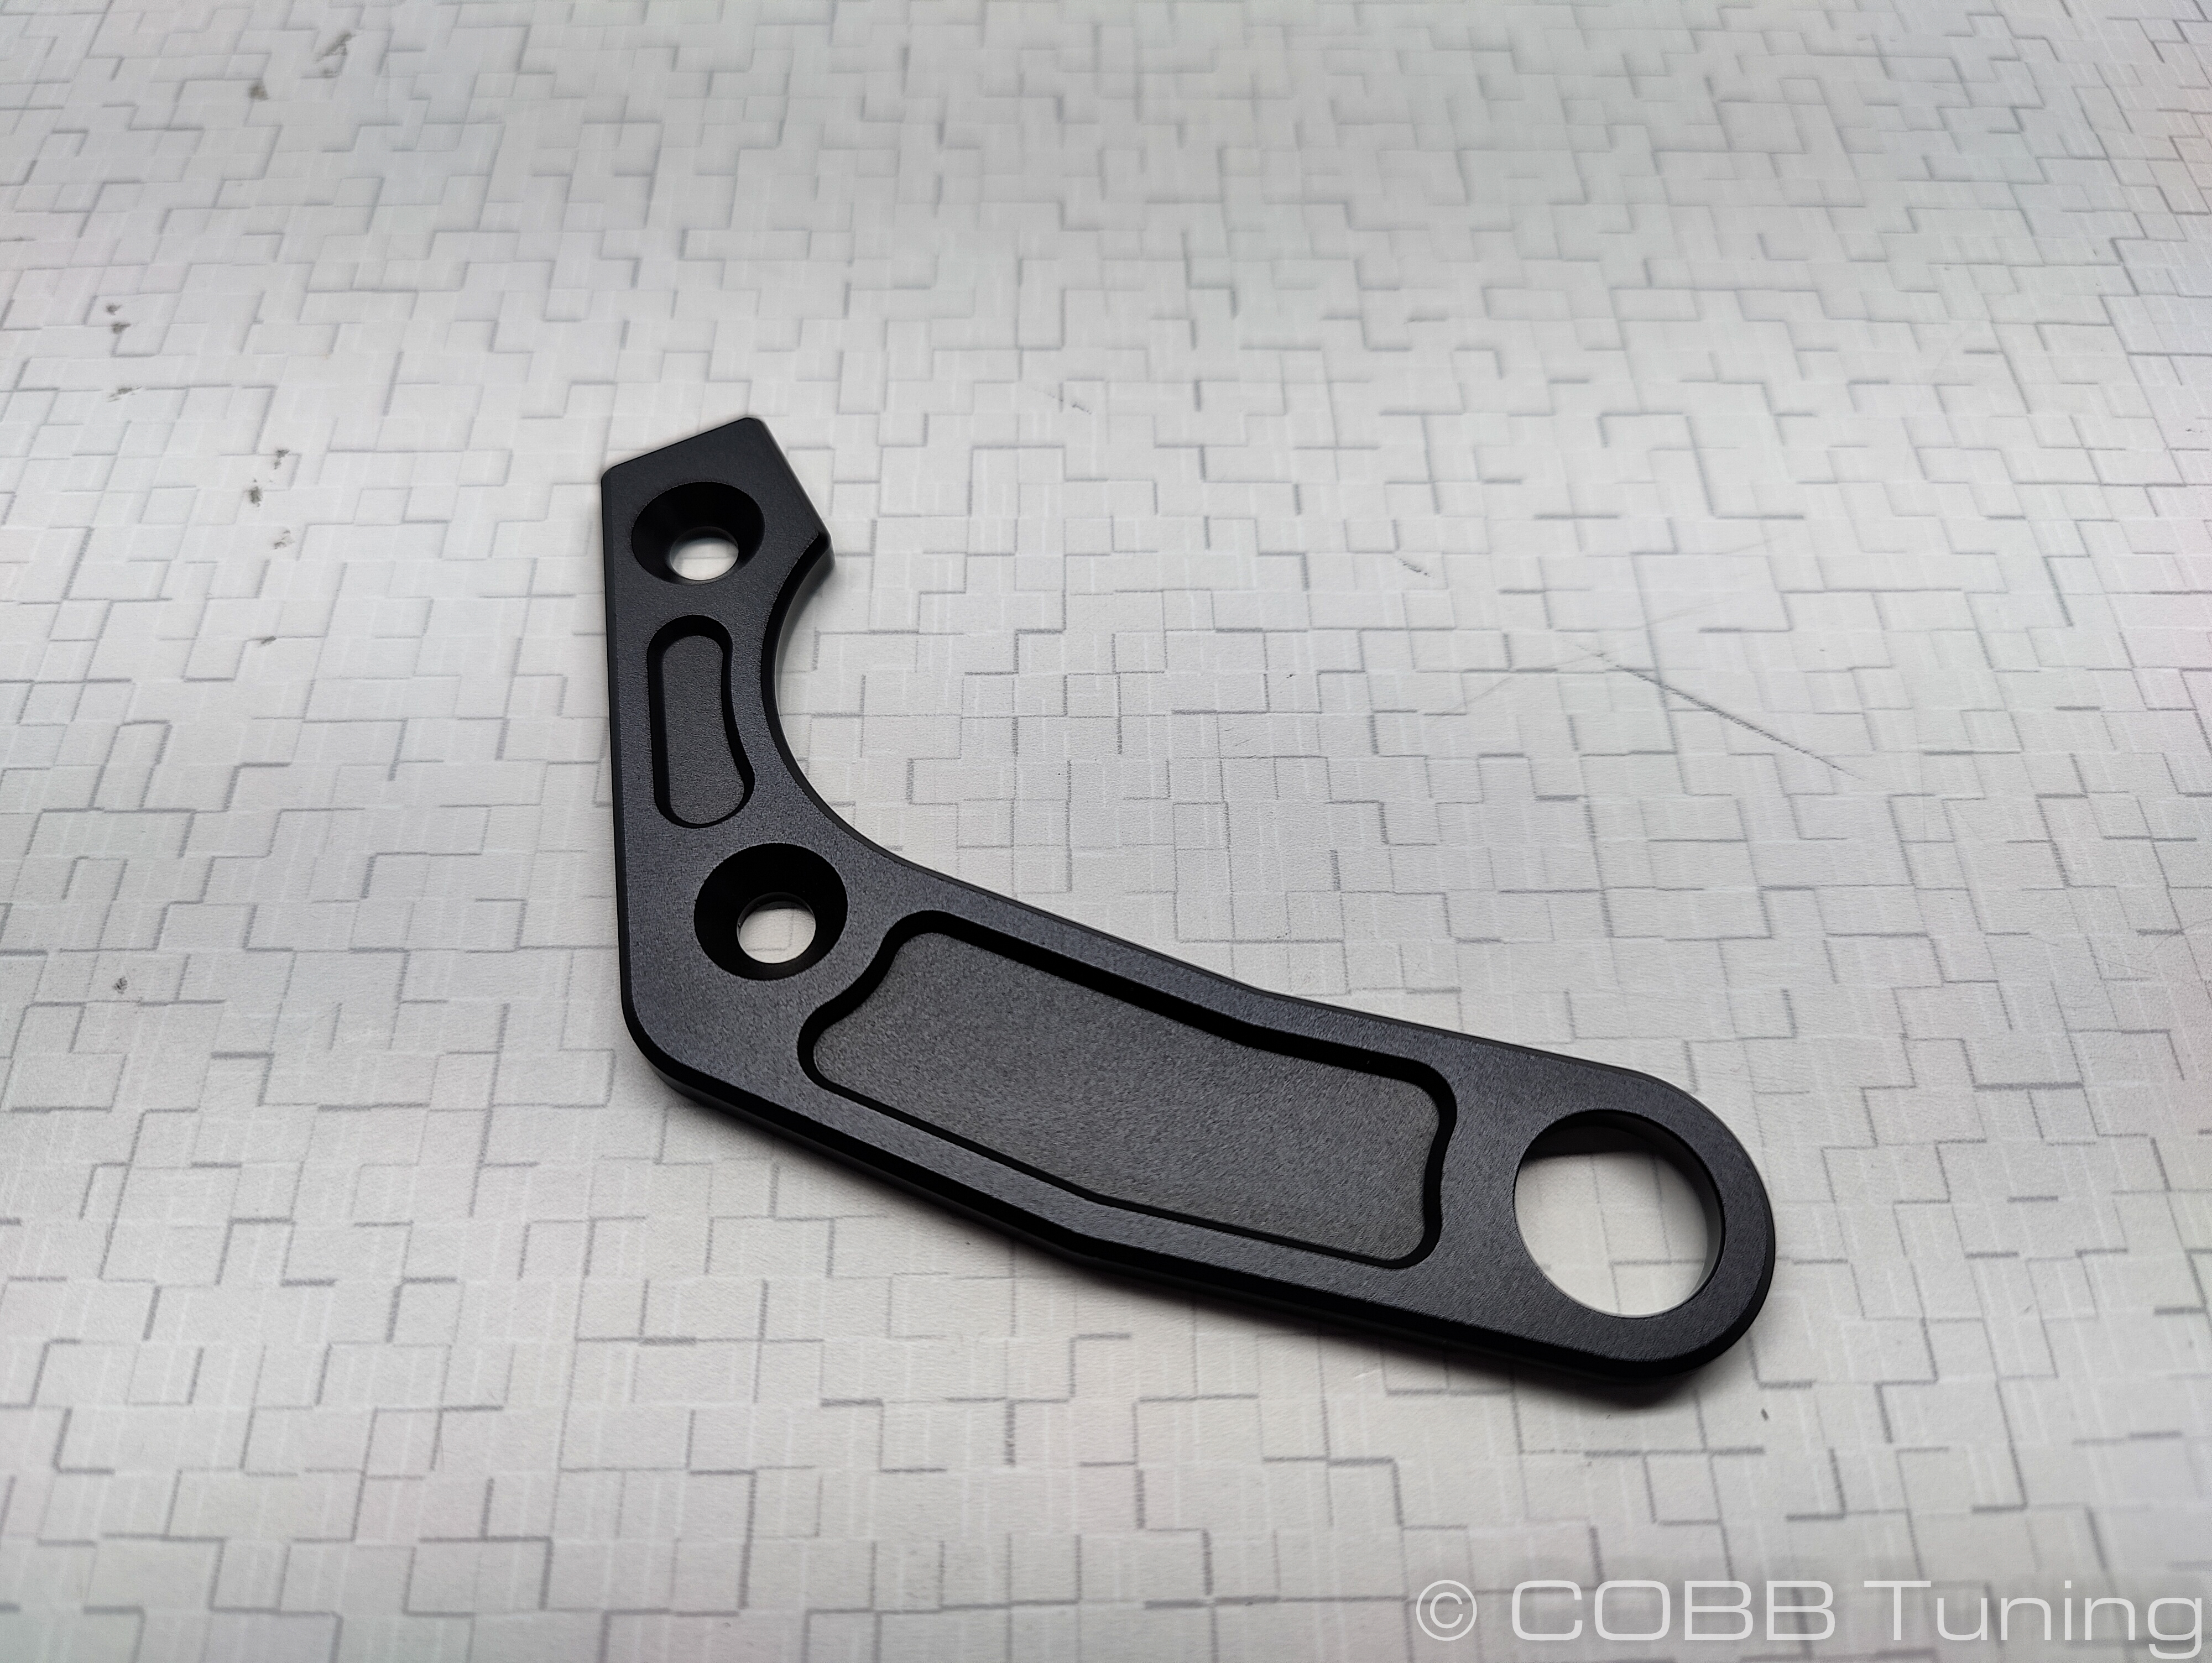
| title | GR Coolant Reservoir Bracket |
|---|
|
|
| Expand |
|---|
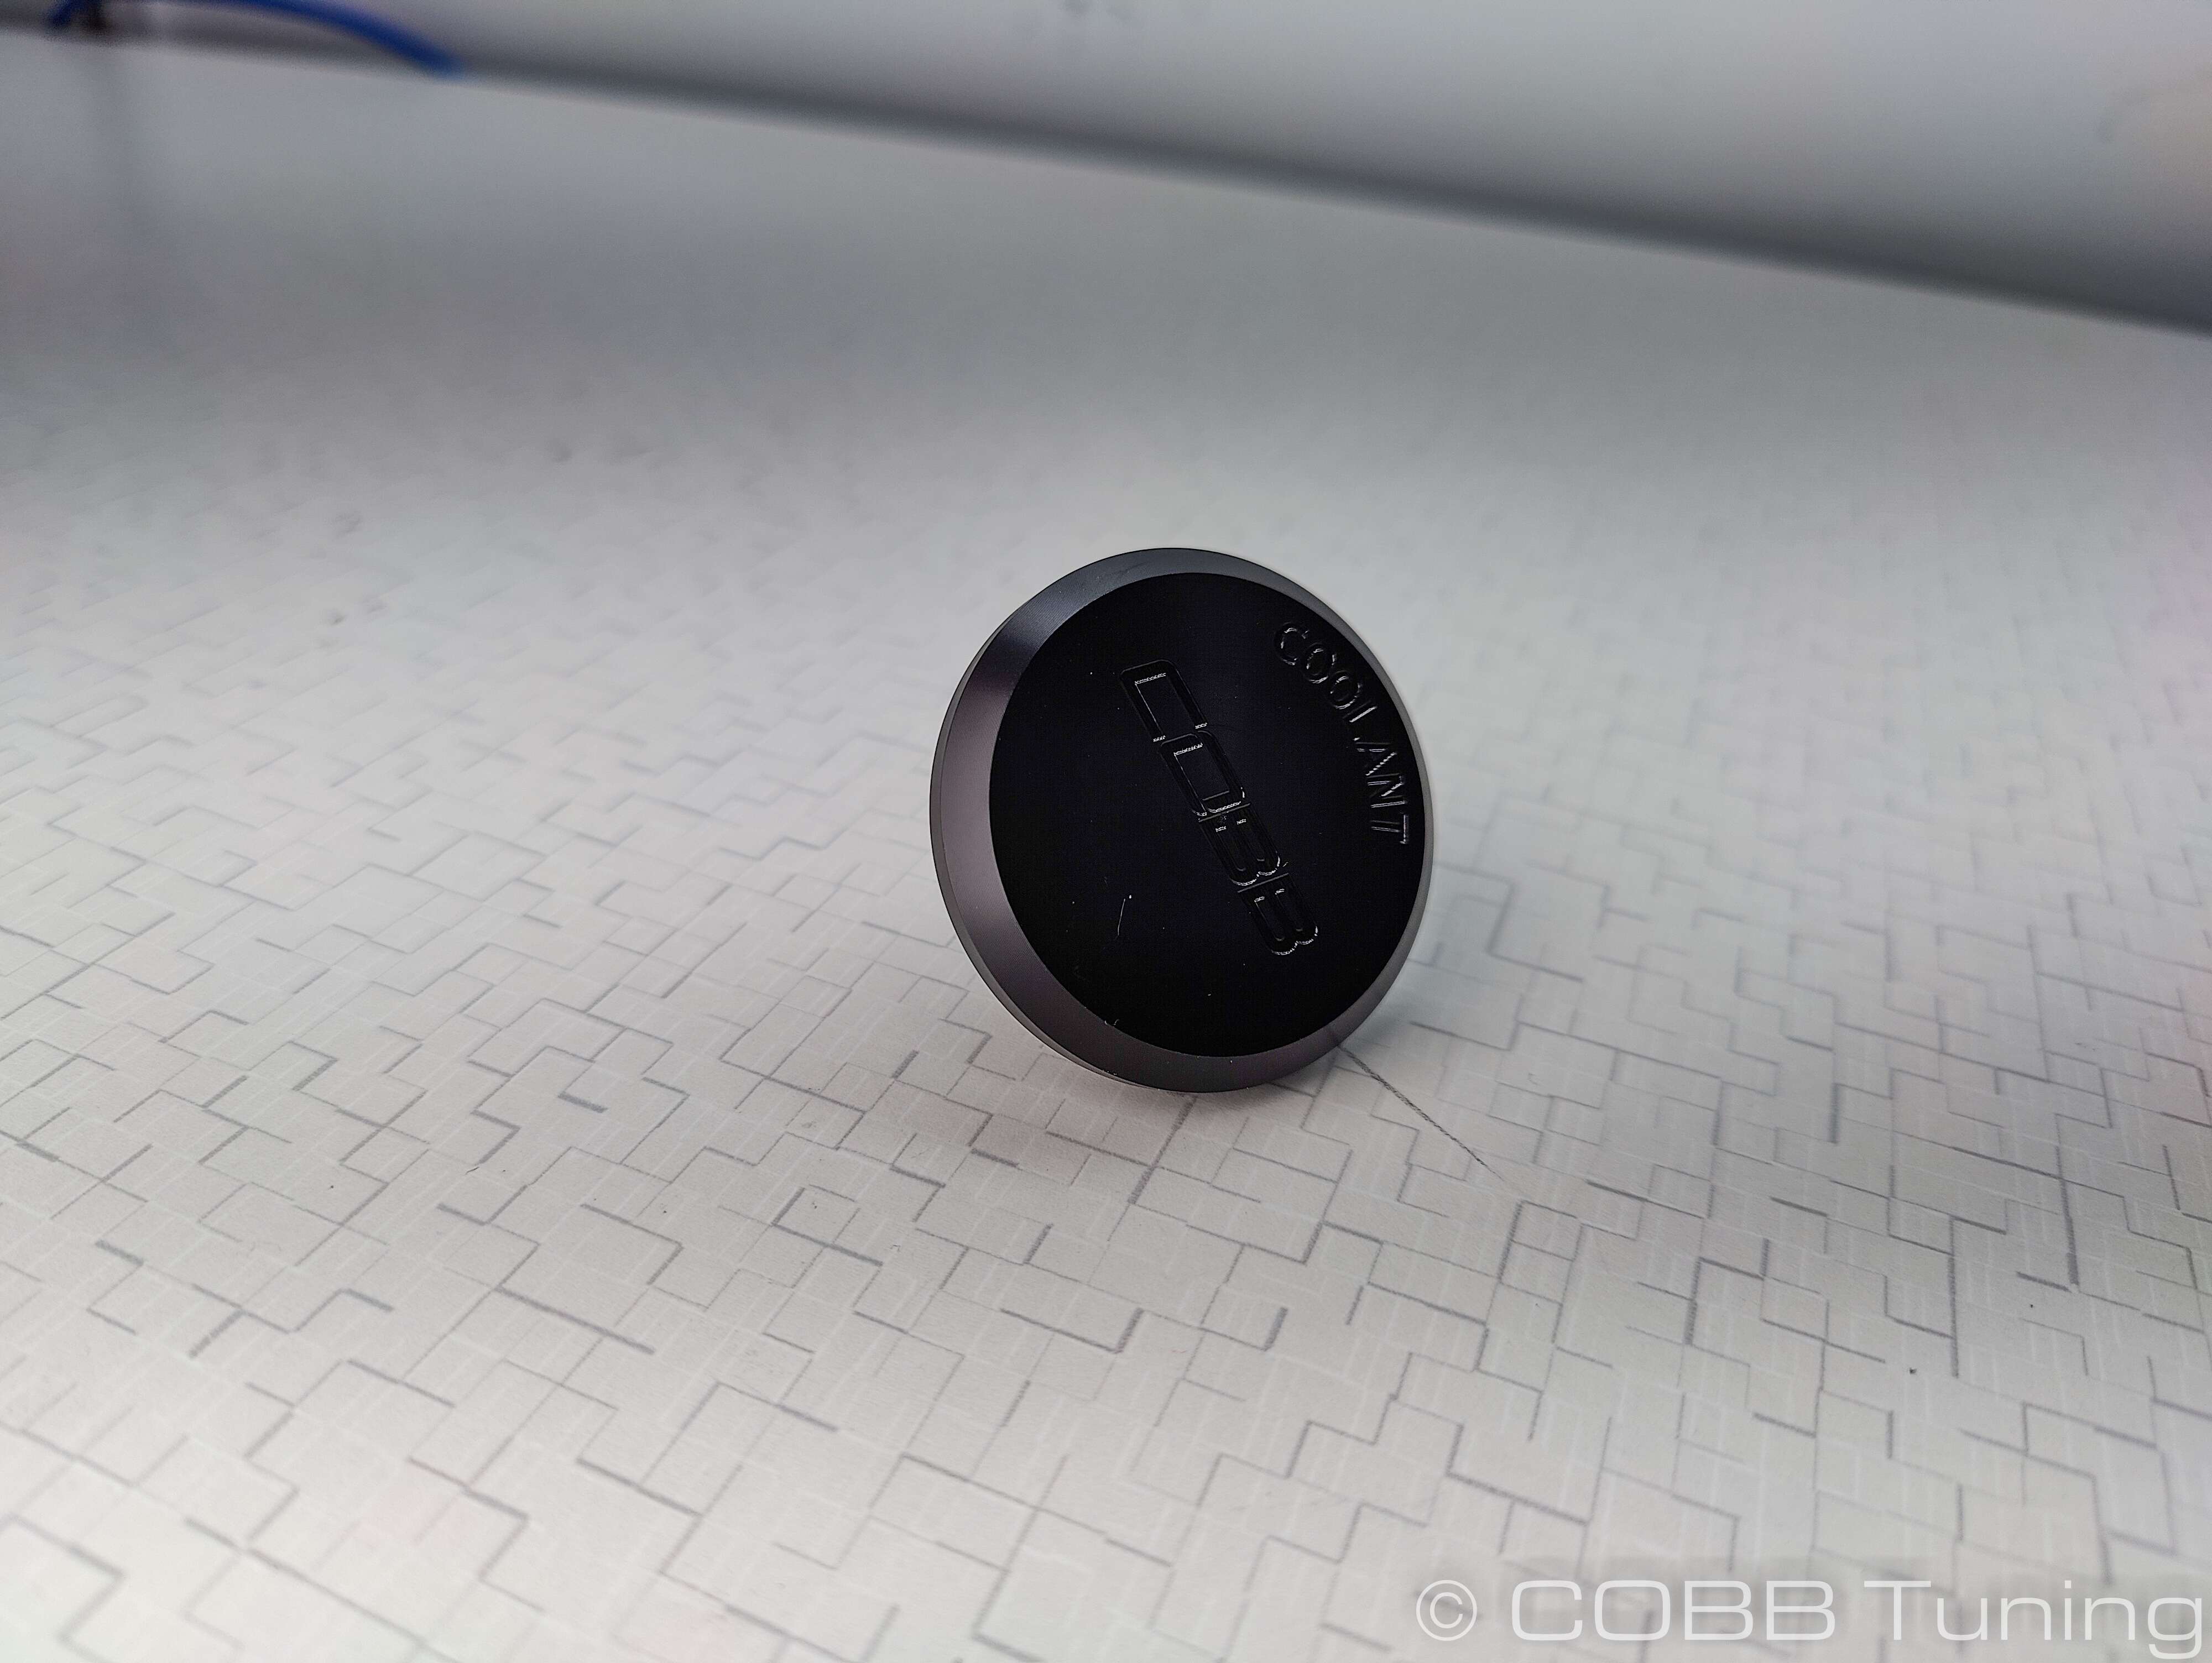
| title | Coolant Overflow Cap |
|---|
|
|
| Expand |
|---|
| title | Washer Fluid Fill Adapter |
|---|
|
|
| Expand |
|---|
| title | Washer Fluid Fill Hose |
|---|
|
|
| Expand |
|---|
| title | Washer Fluid Fill Cap |
|---|
|
|
| Expand |
|---|
| title | Aluminum Mounting Pin Adapter |
|---|
|
|
| Expand |
|---|
|

|
| Expand |
|---|
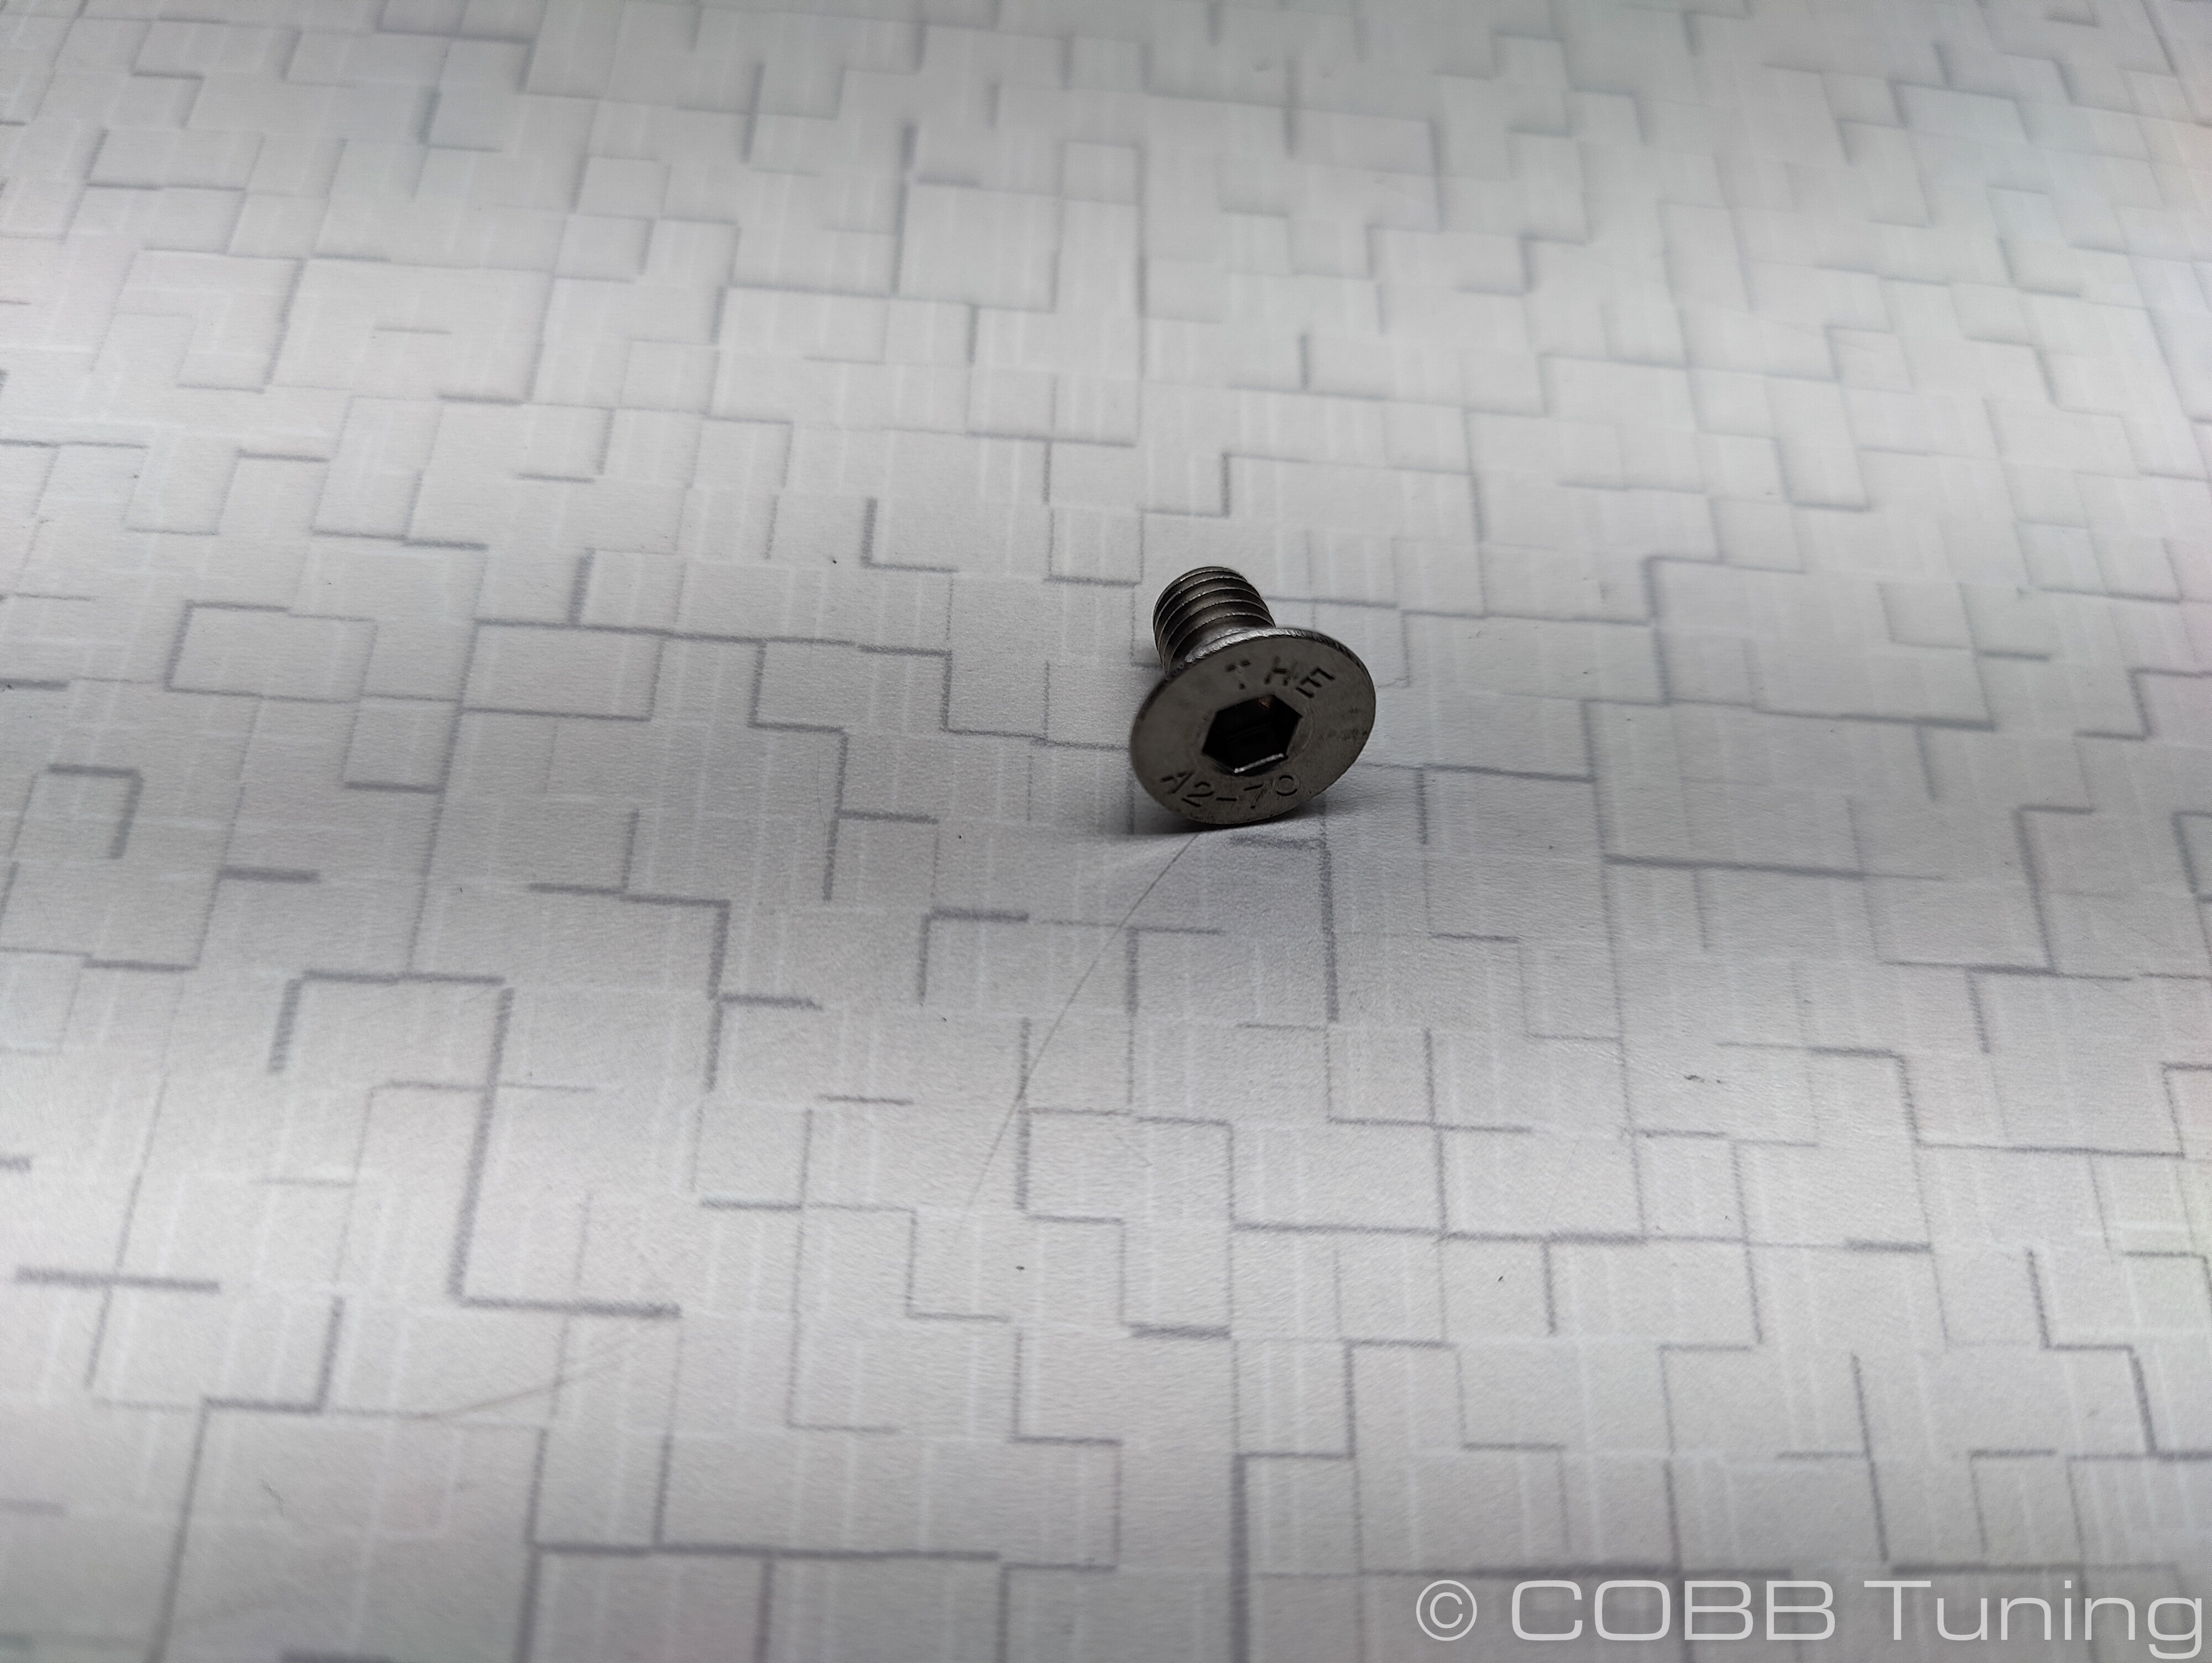
| title | (2) m6x1.0x10 Flat Head Screws |
|---|
|
|
| Expand |
|---|
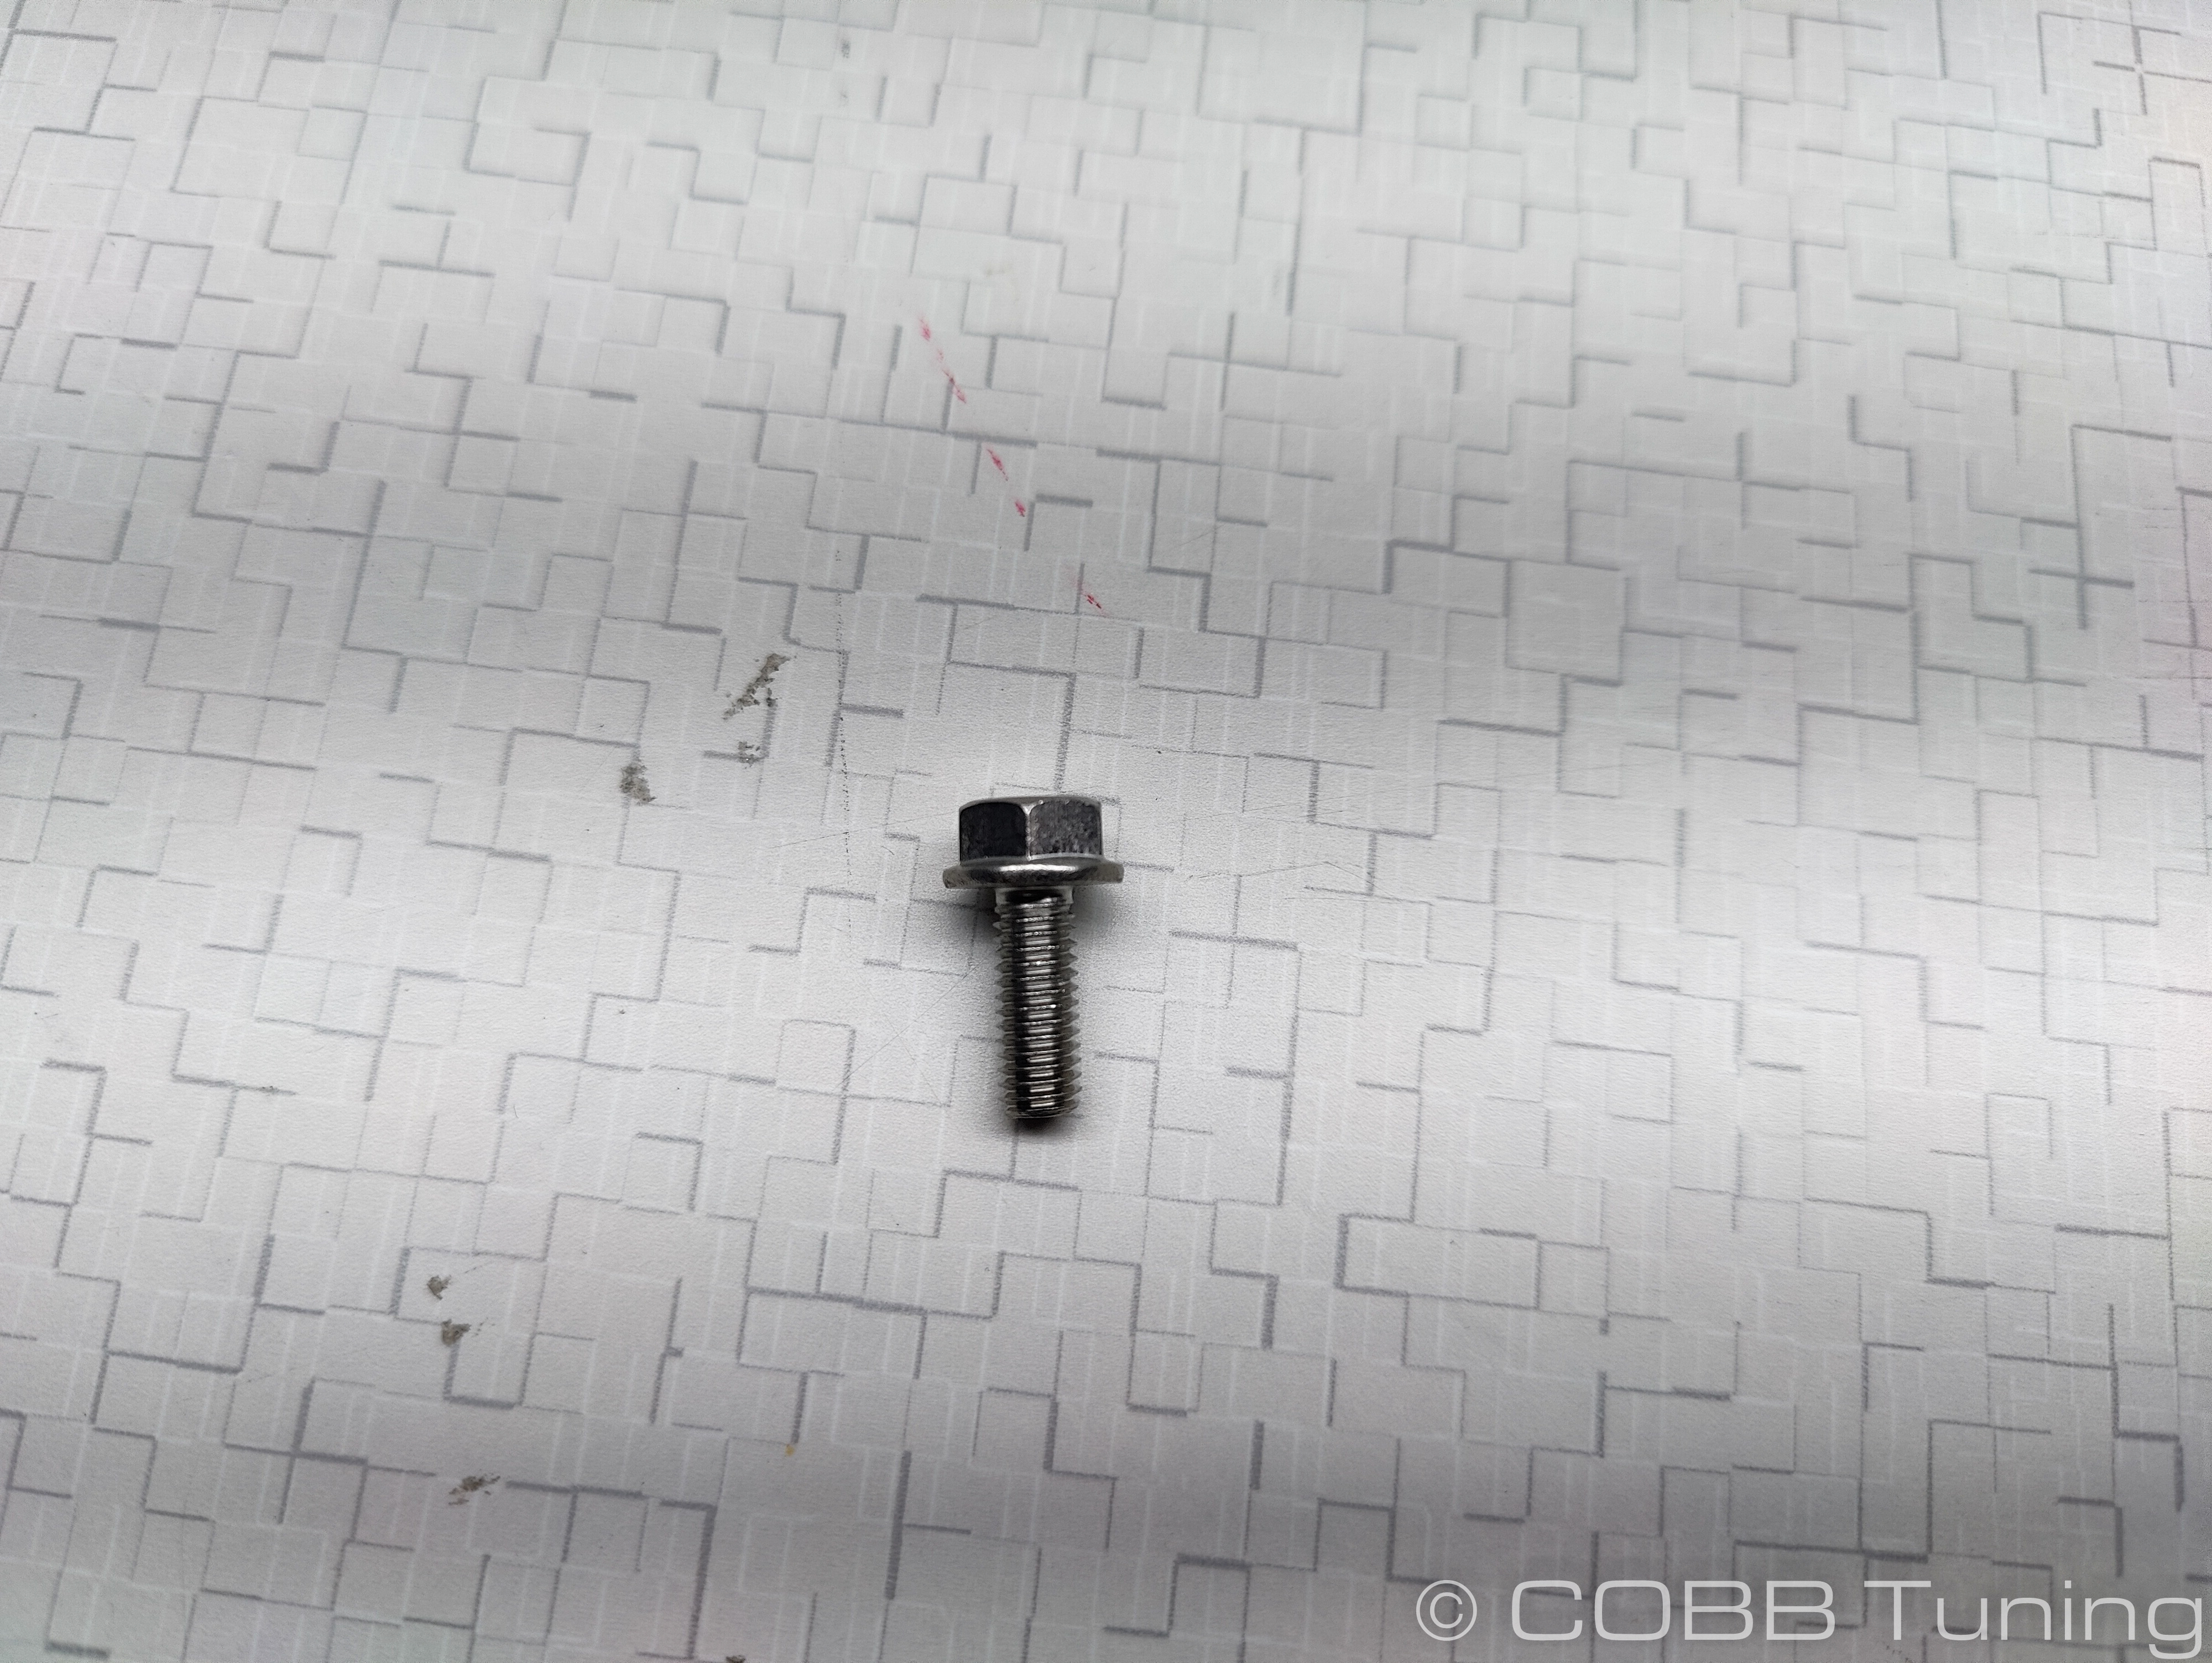
| title | m6x1.0x16 Stainless Flange Bolt |
|---|
|
|
| Expand |
|---|
| title | m6x1.0x10 Stainless Flange Bolt |
|---|
|
|
| Expand |
|---|
|
|
| Expand |
|---|
|
|
| Expand |
|---|
| title | 6mm ID Silicone Hose |
|---|
|
|
Sockets
3/8"
- 3/8" ratchet
- 3/8" 12" extension
- 3/8" 6" extension
- 3/8" 10mm socket
Wrenches
Links
MAP Notes
Helps to figure out which map you should be on given the parts installed to your car
Links for related partsCARB Sticker Application
(Where Applicable)
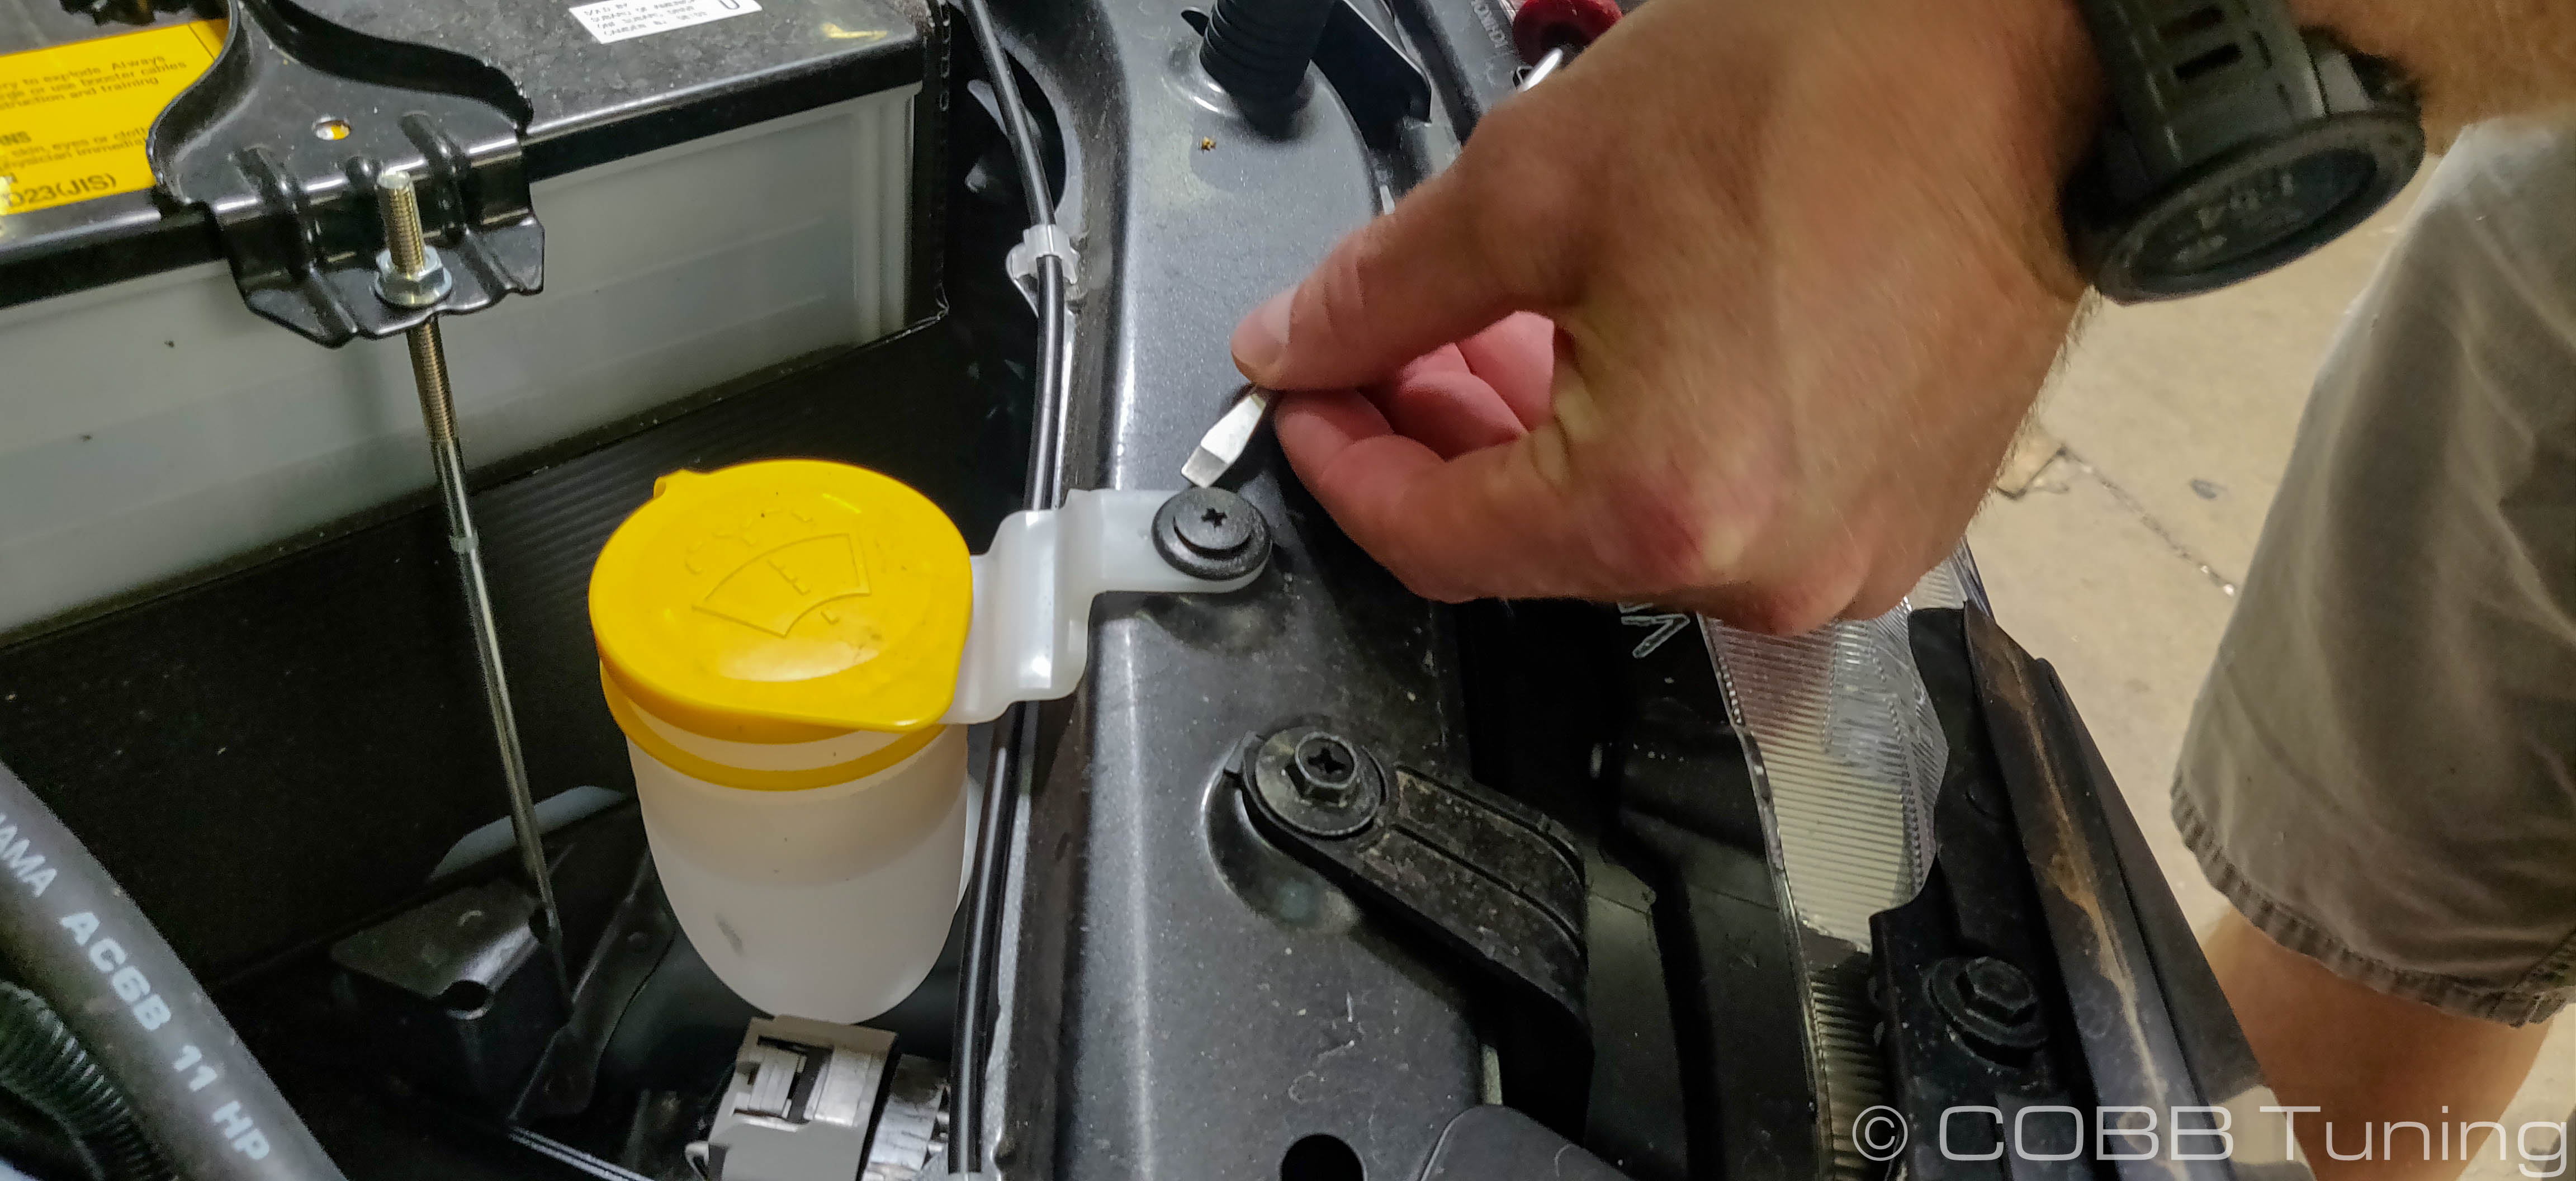
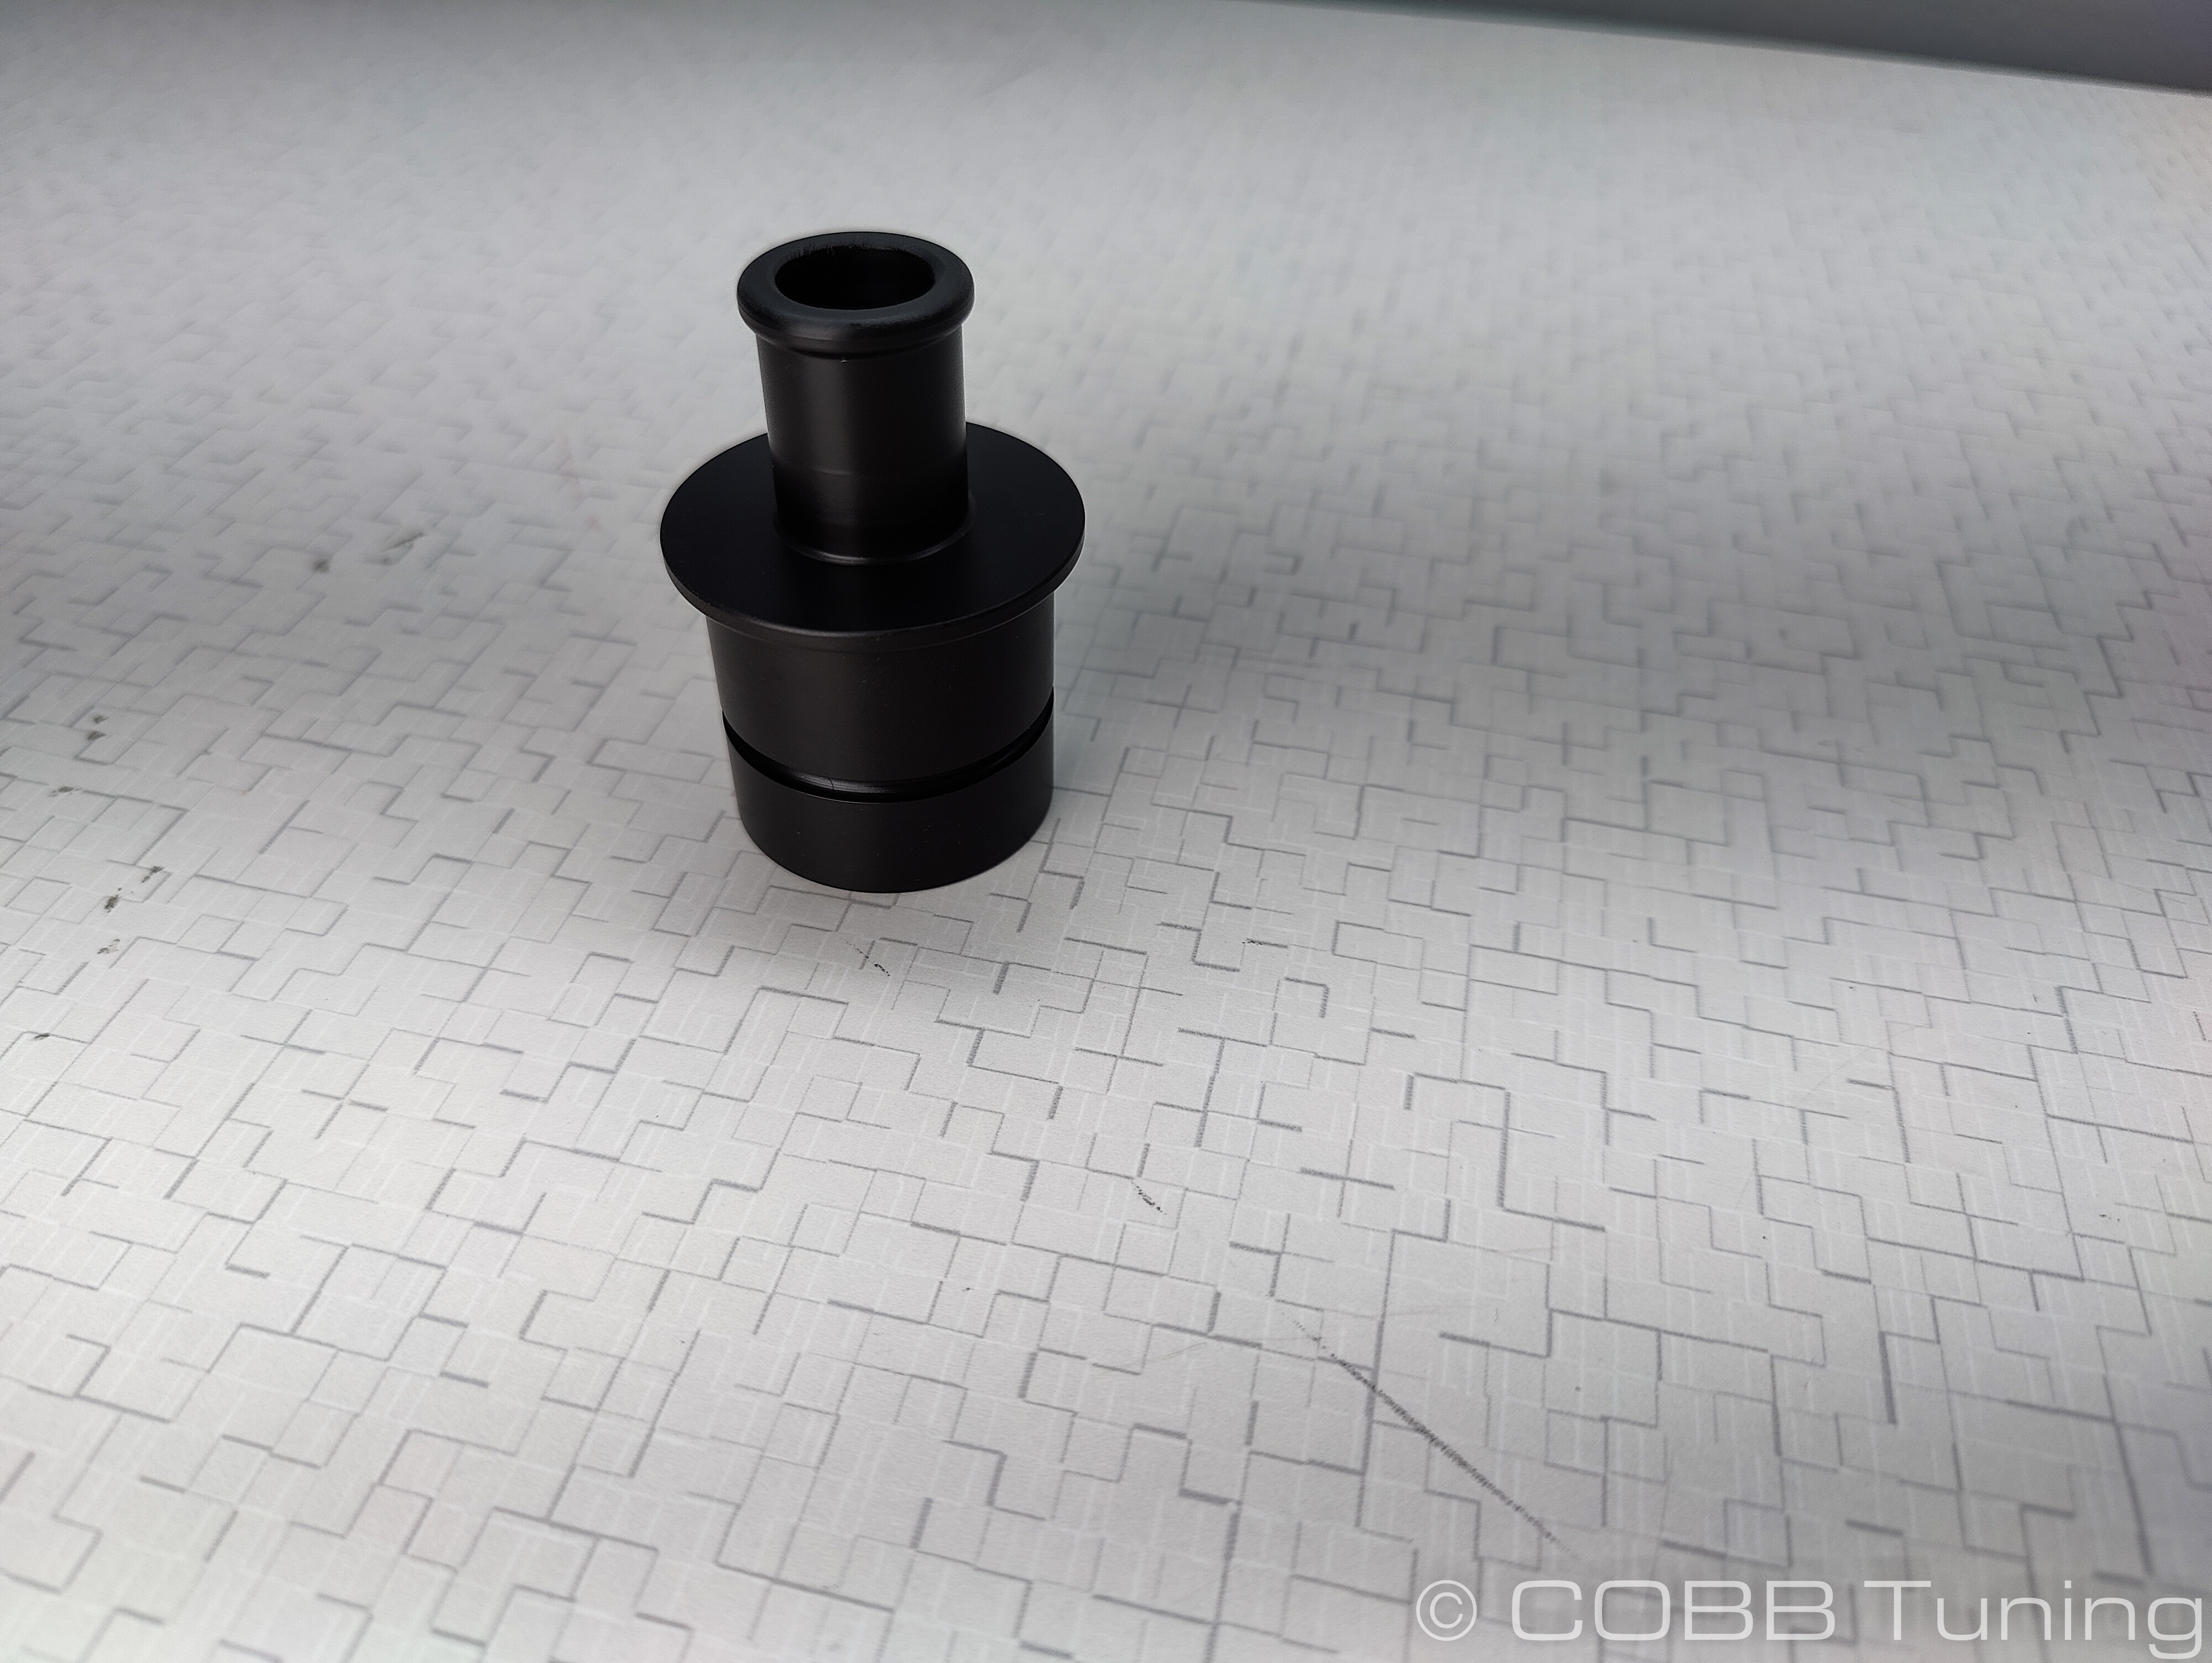
Apply the supplied CARB sticker in a clear, easy to find location. Typically underhood, or on the radiator core support.Washer Fluid Fill Tube Assembly
- Remove the o-ring from the stock fill tube and install it around the COBB fill tube adapter.
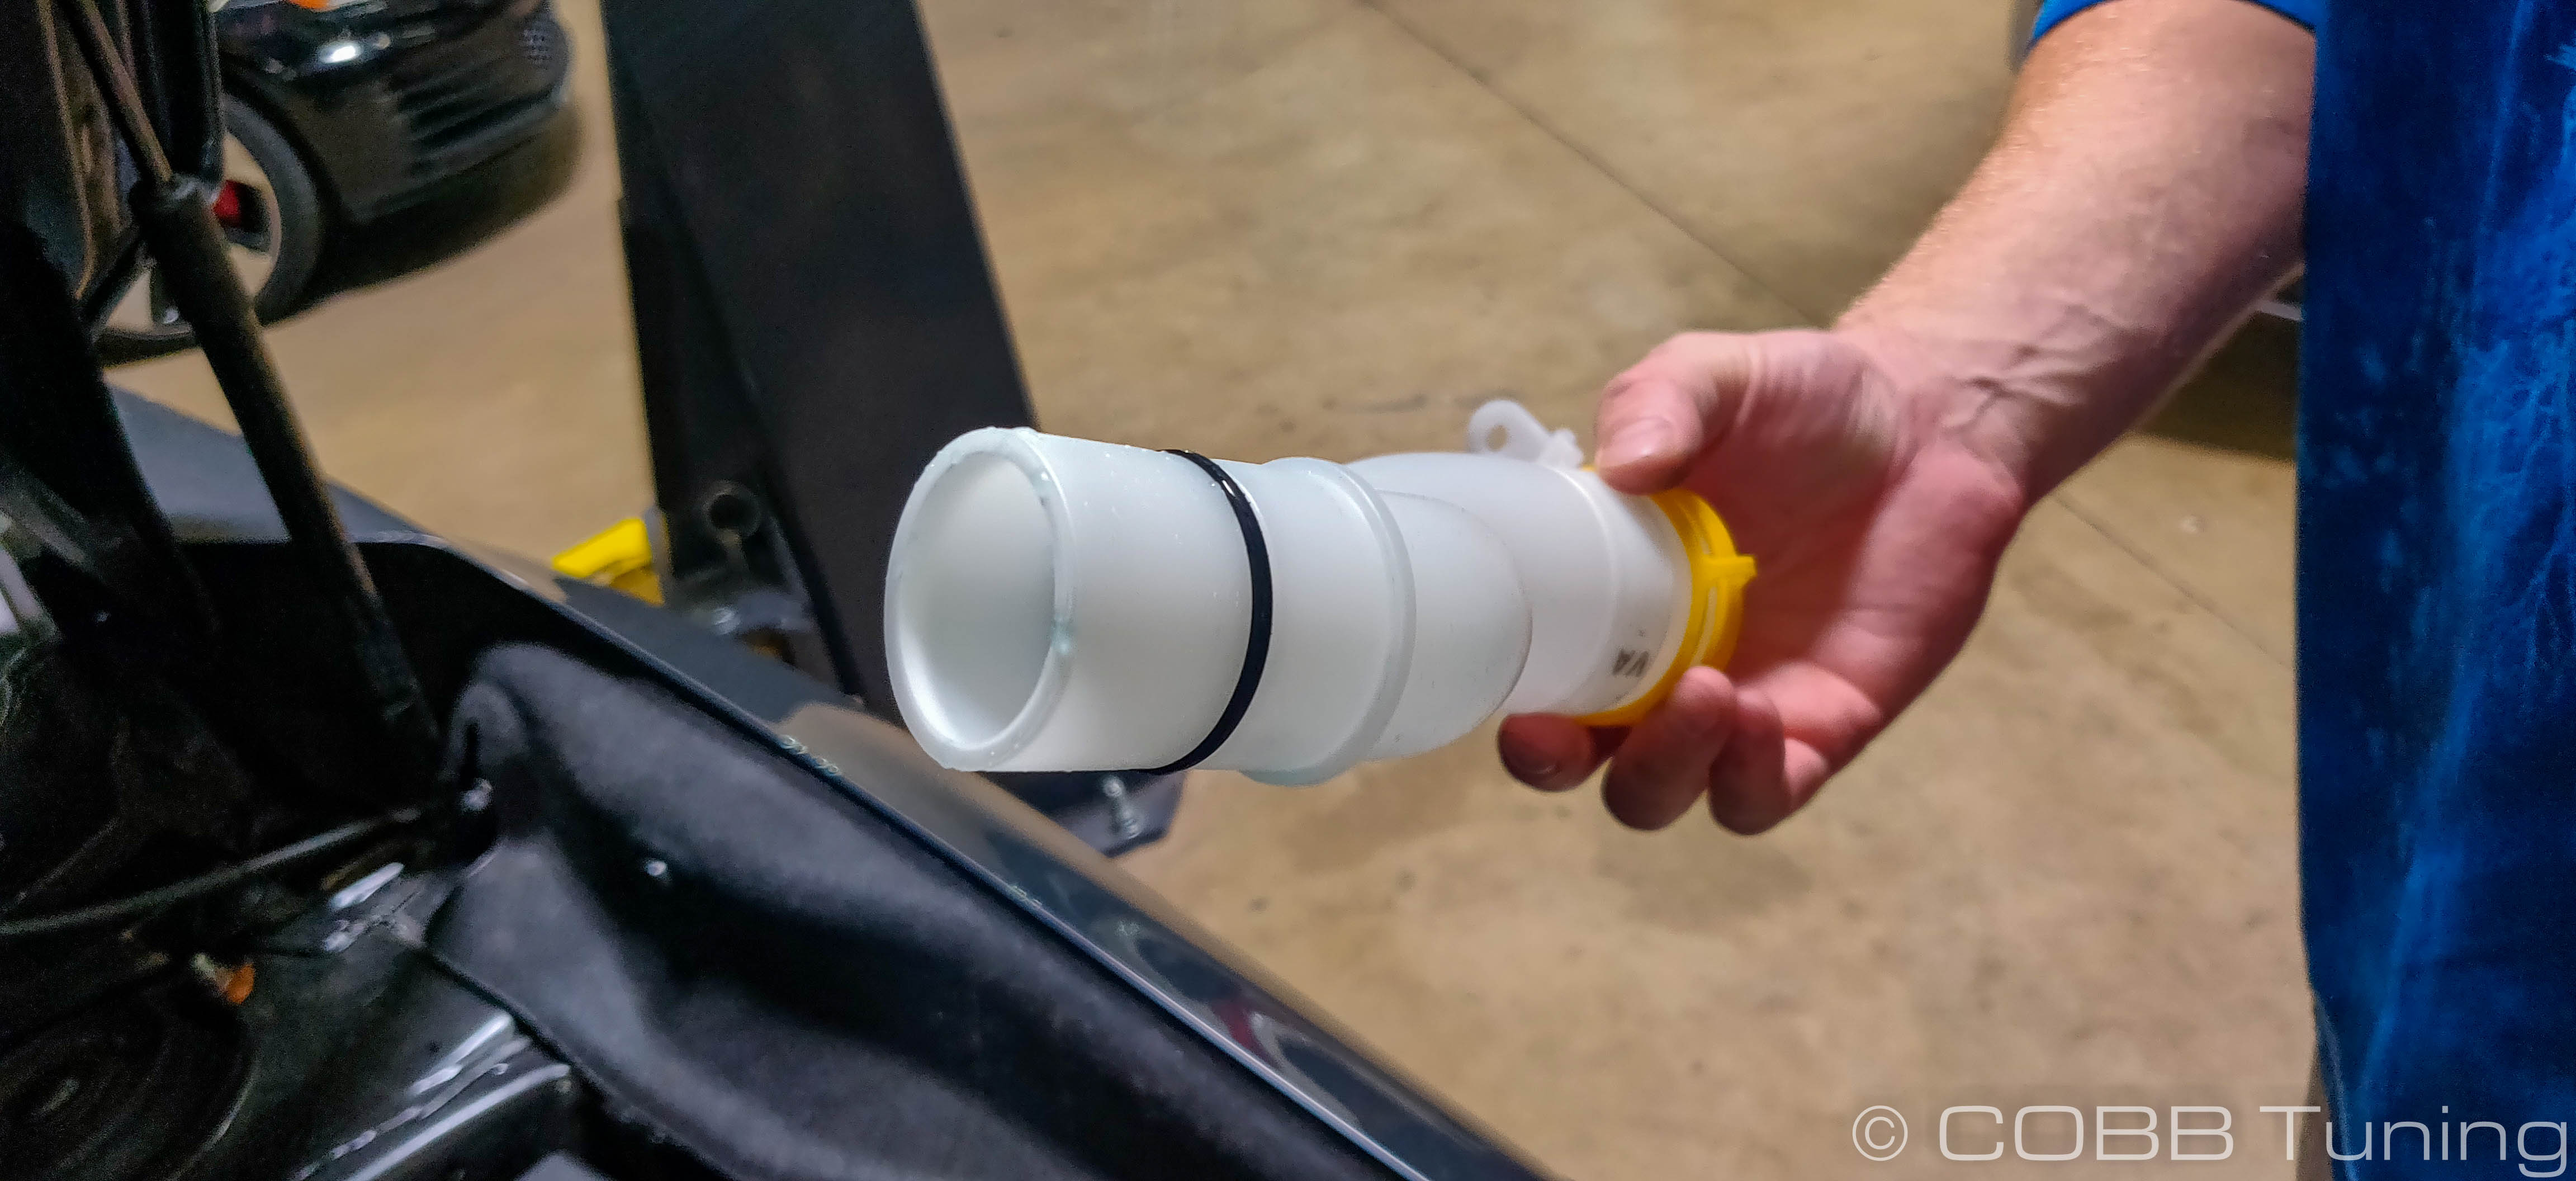 Image Added
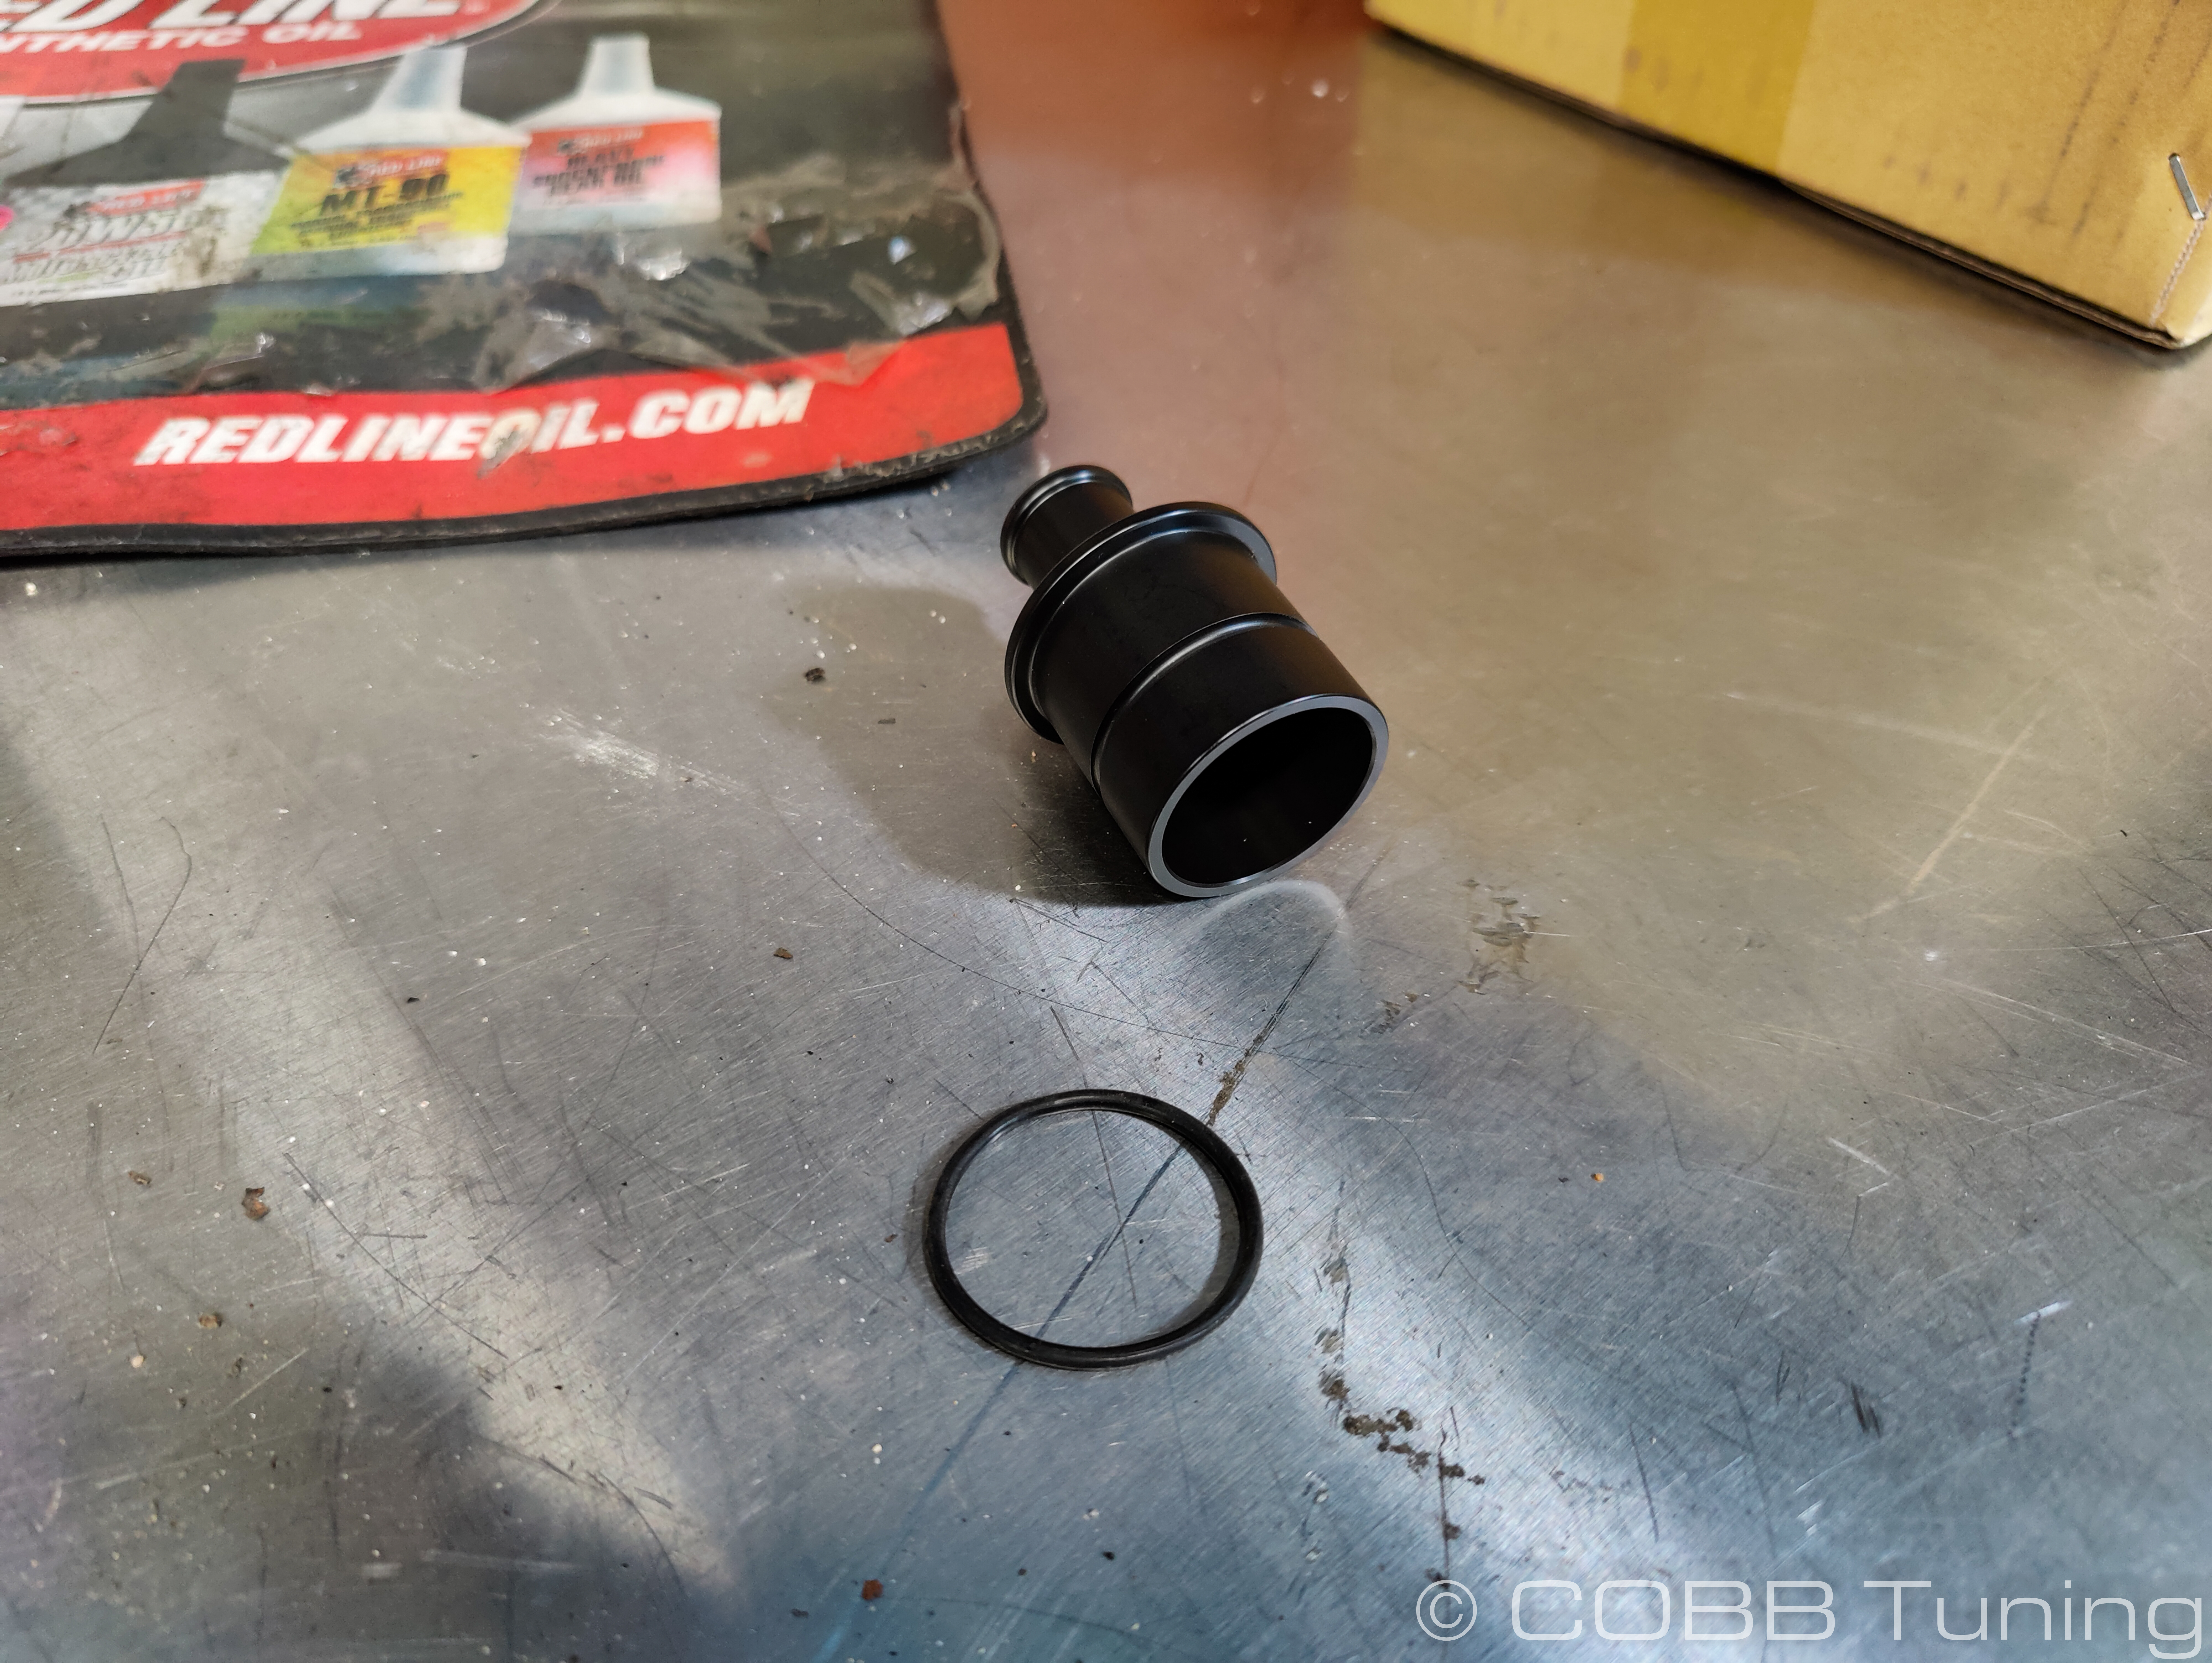 Image Added
 Image Added
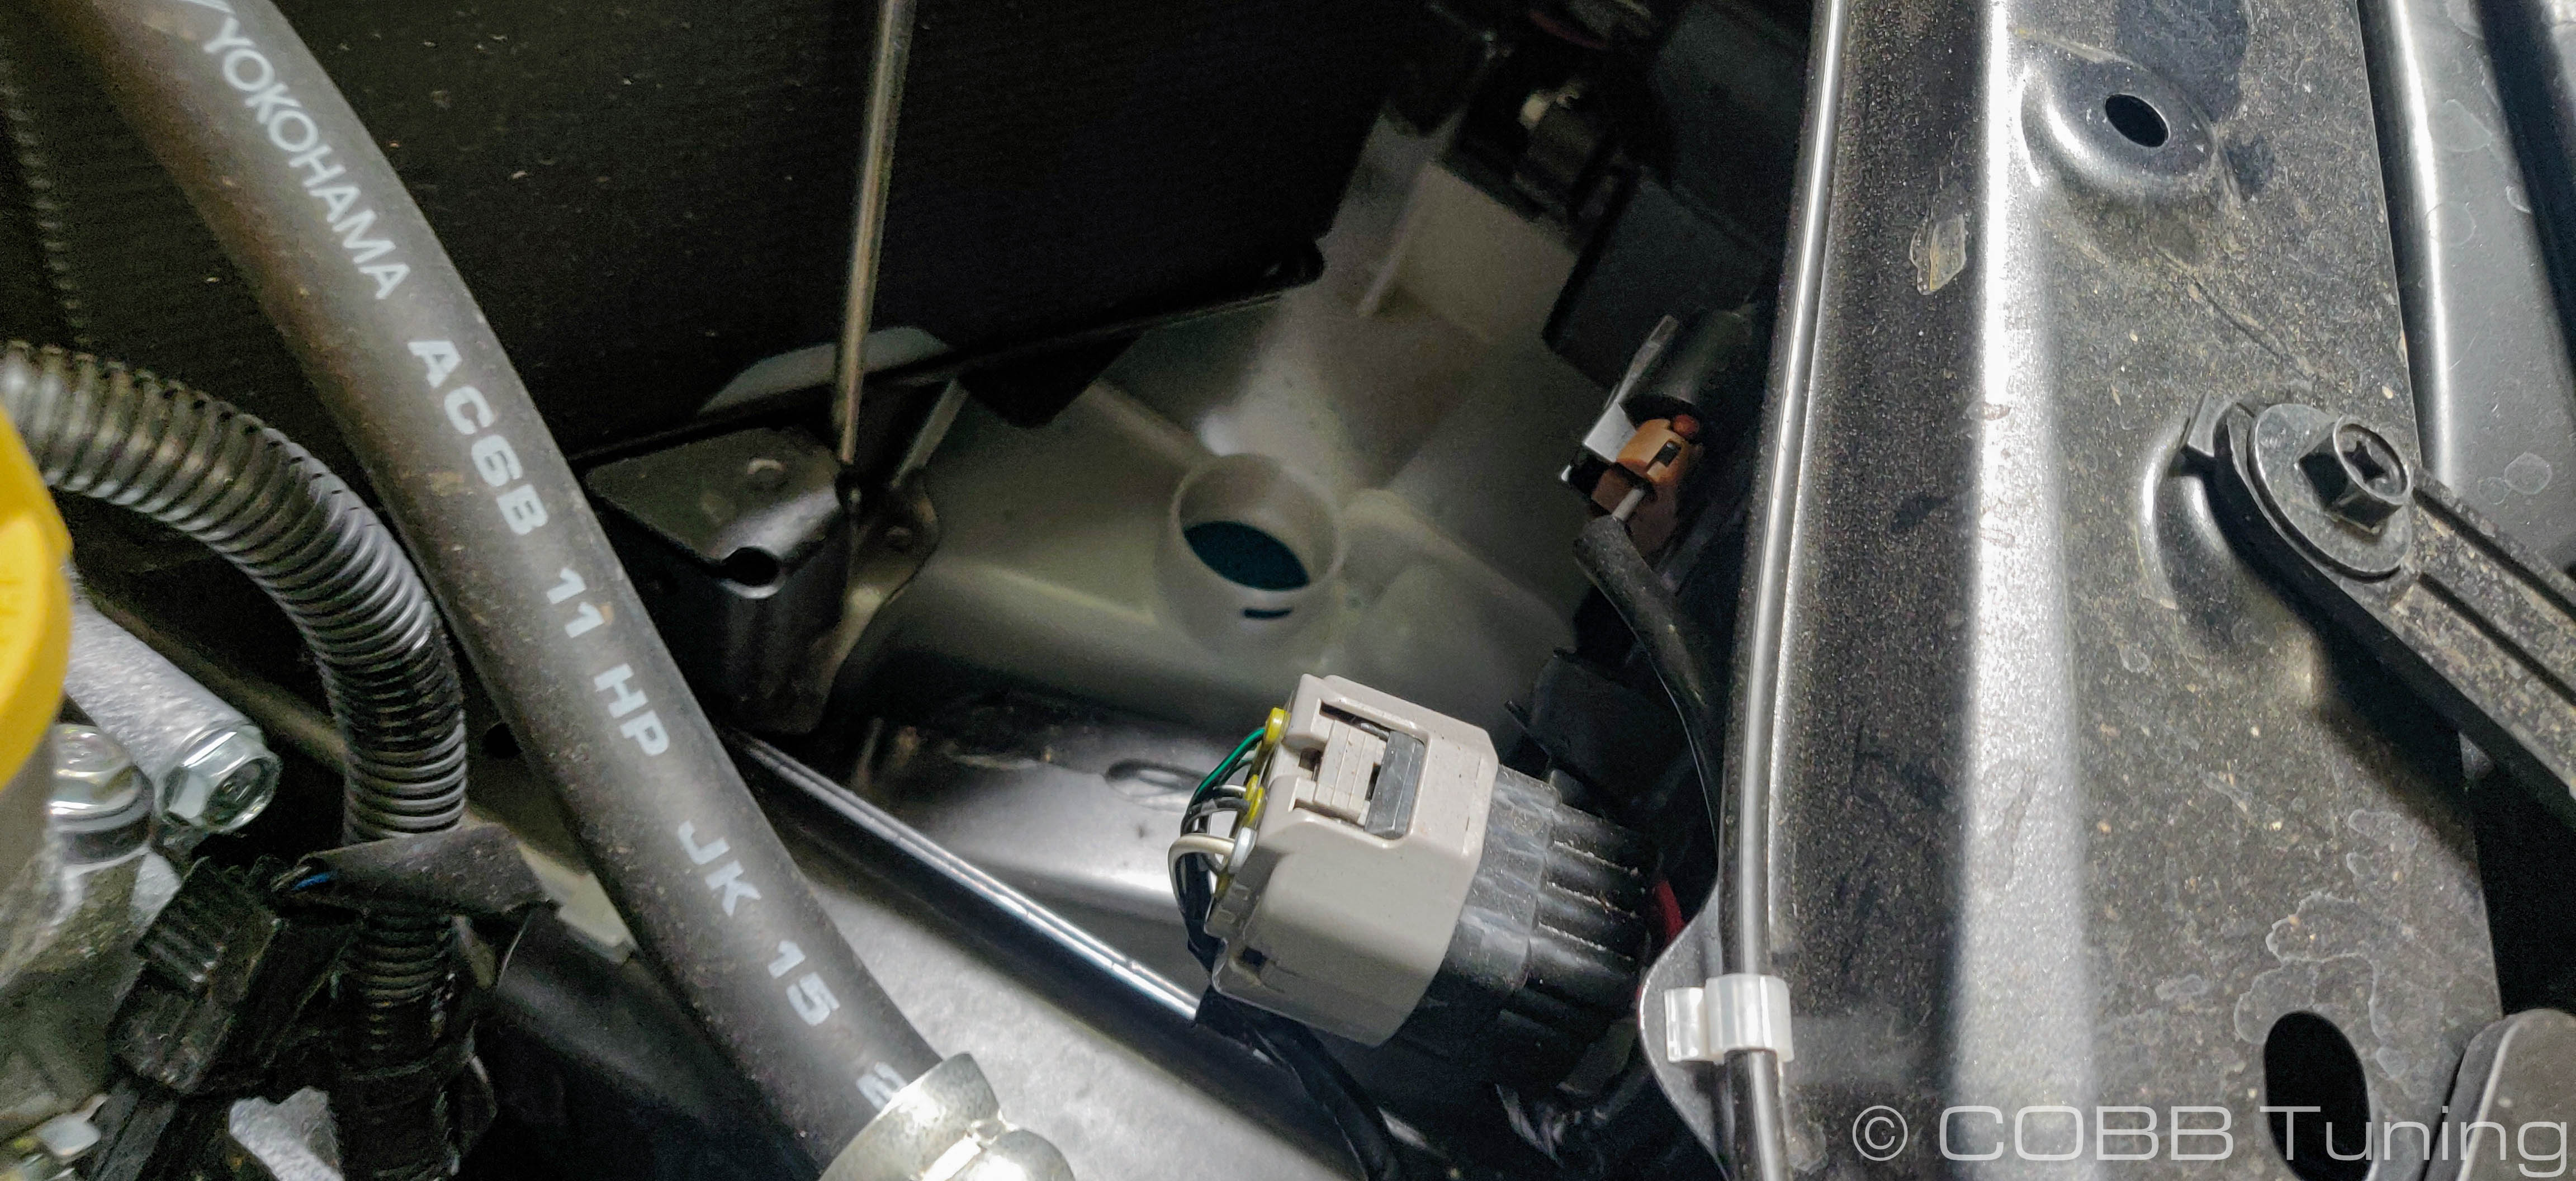
- Gently push this into the washer fluid tank.
 Image Added
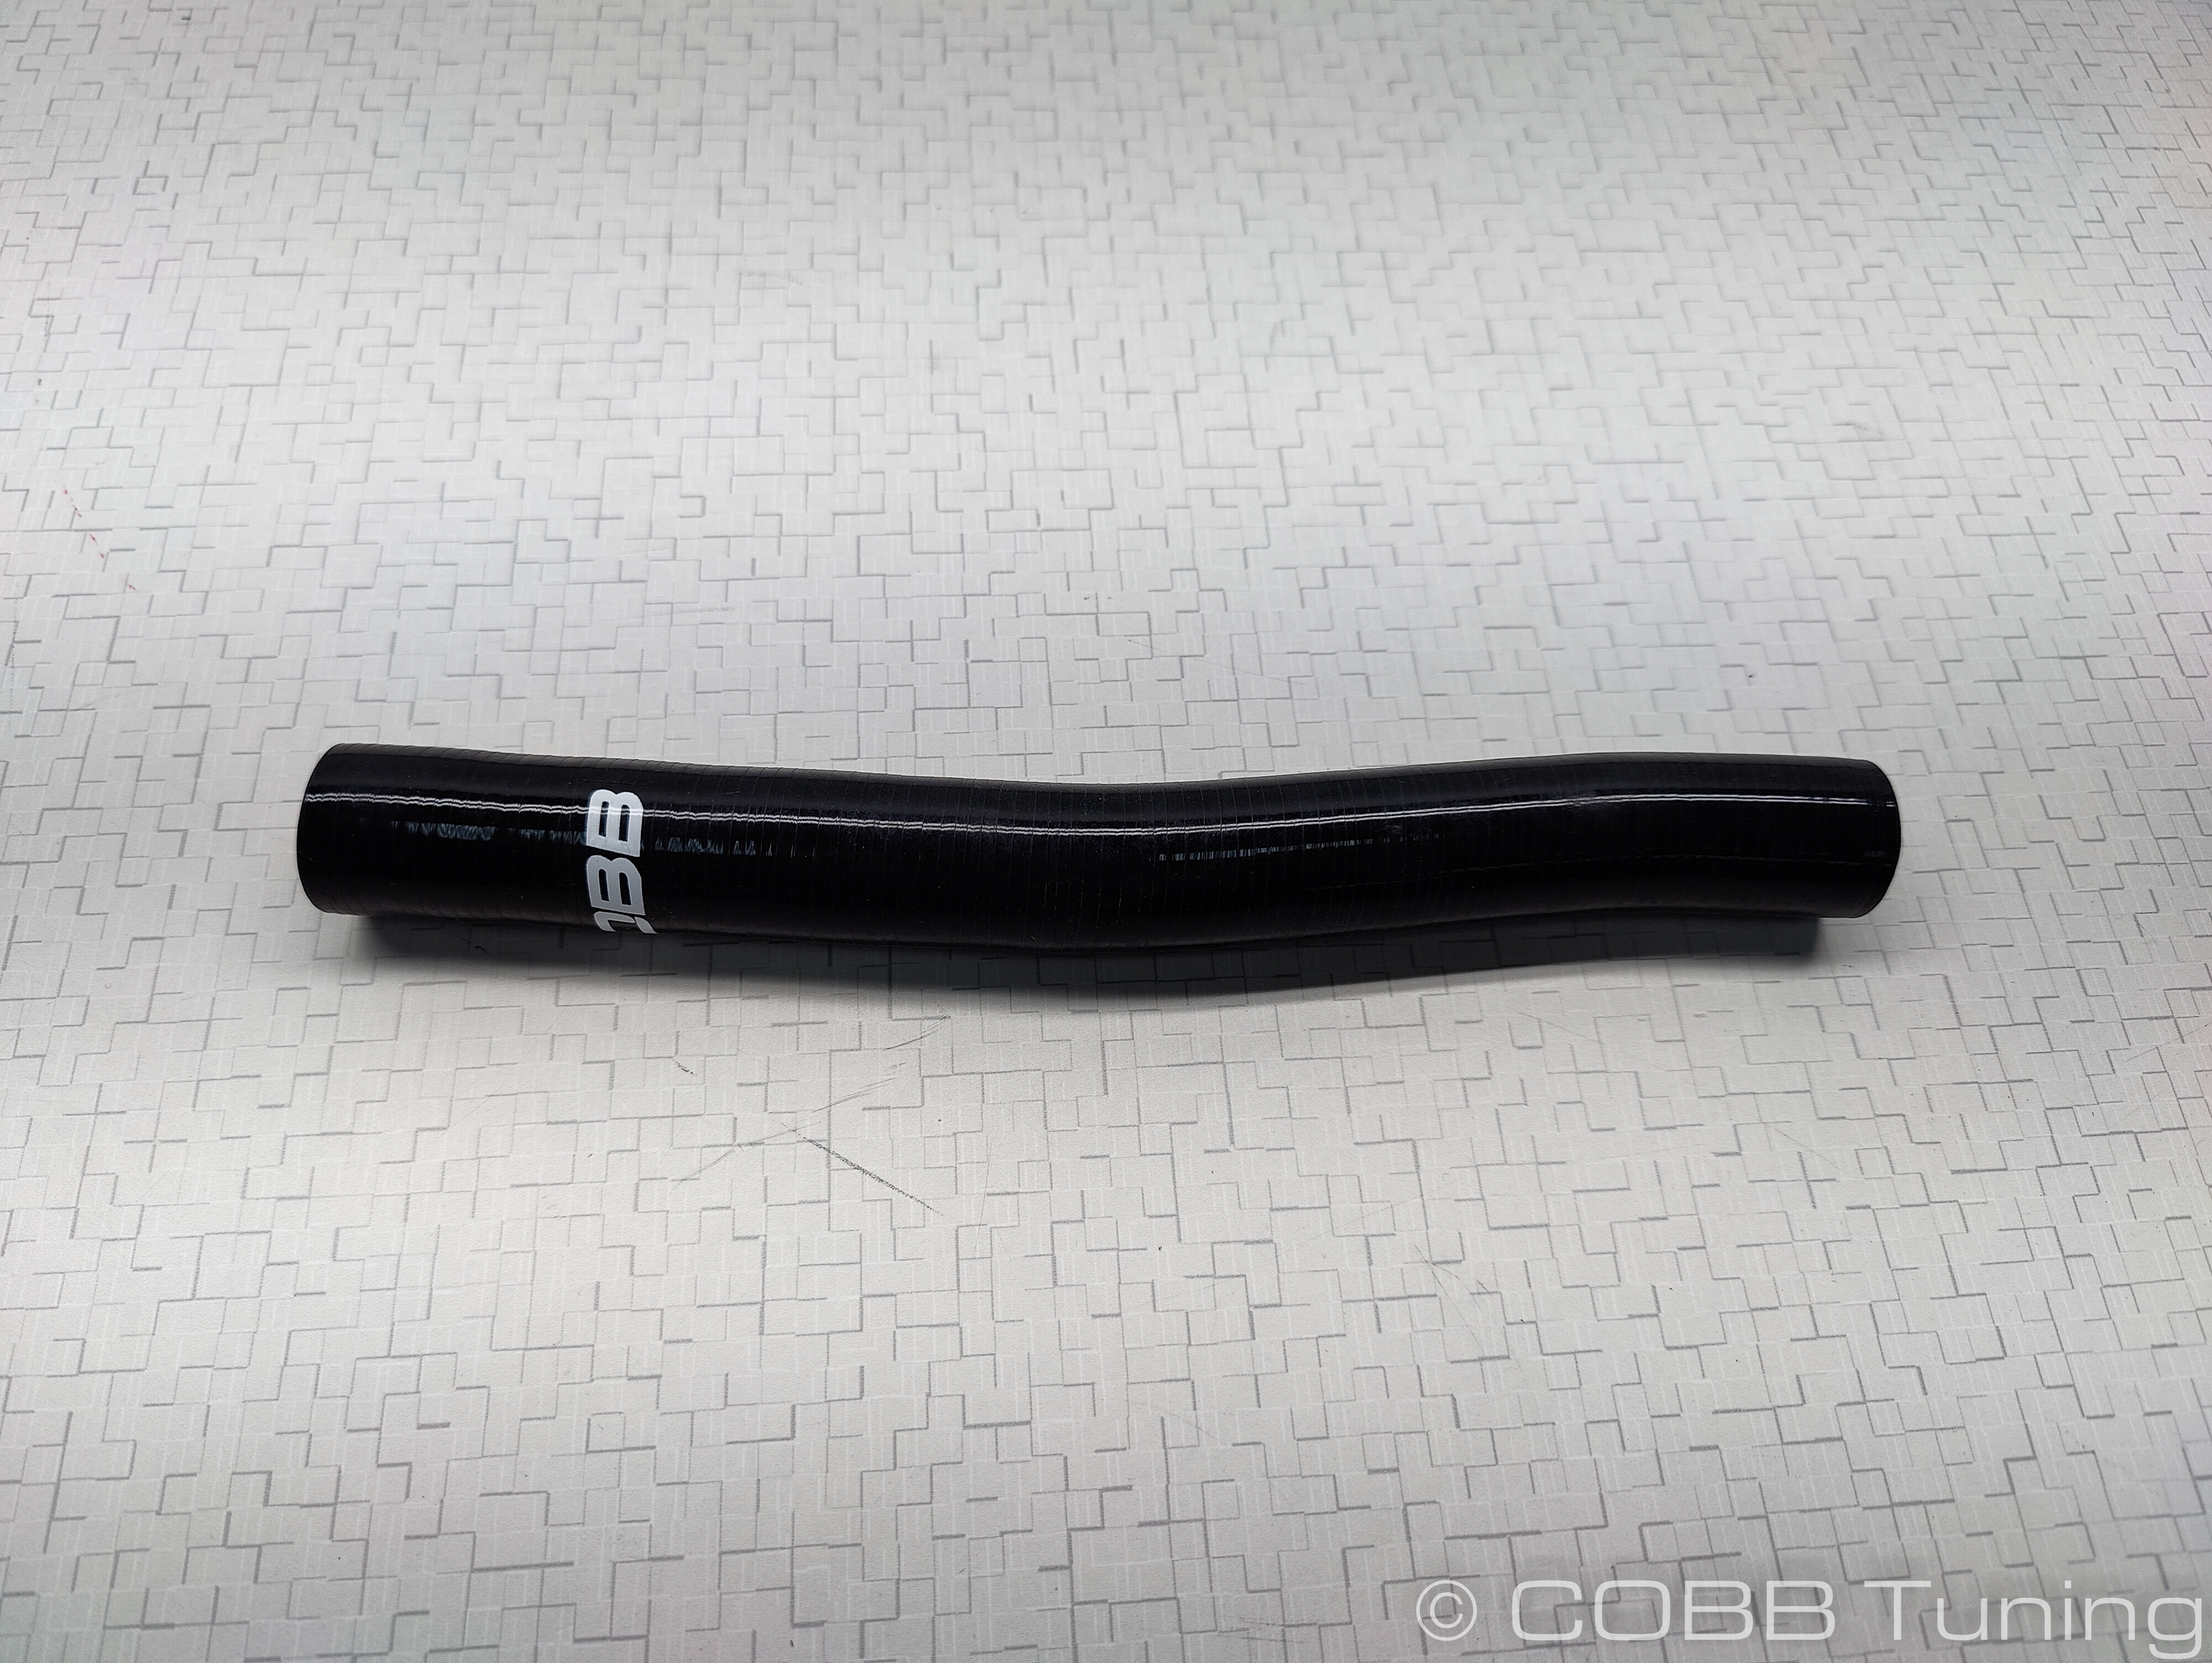
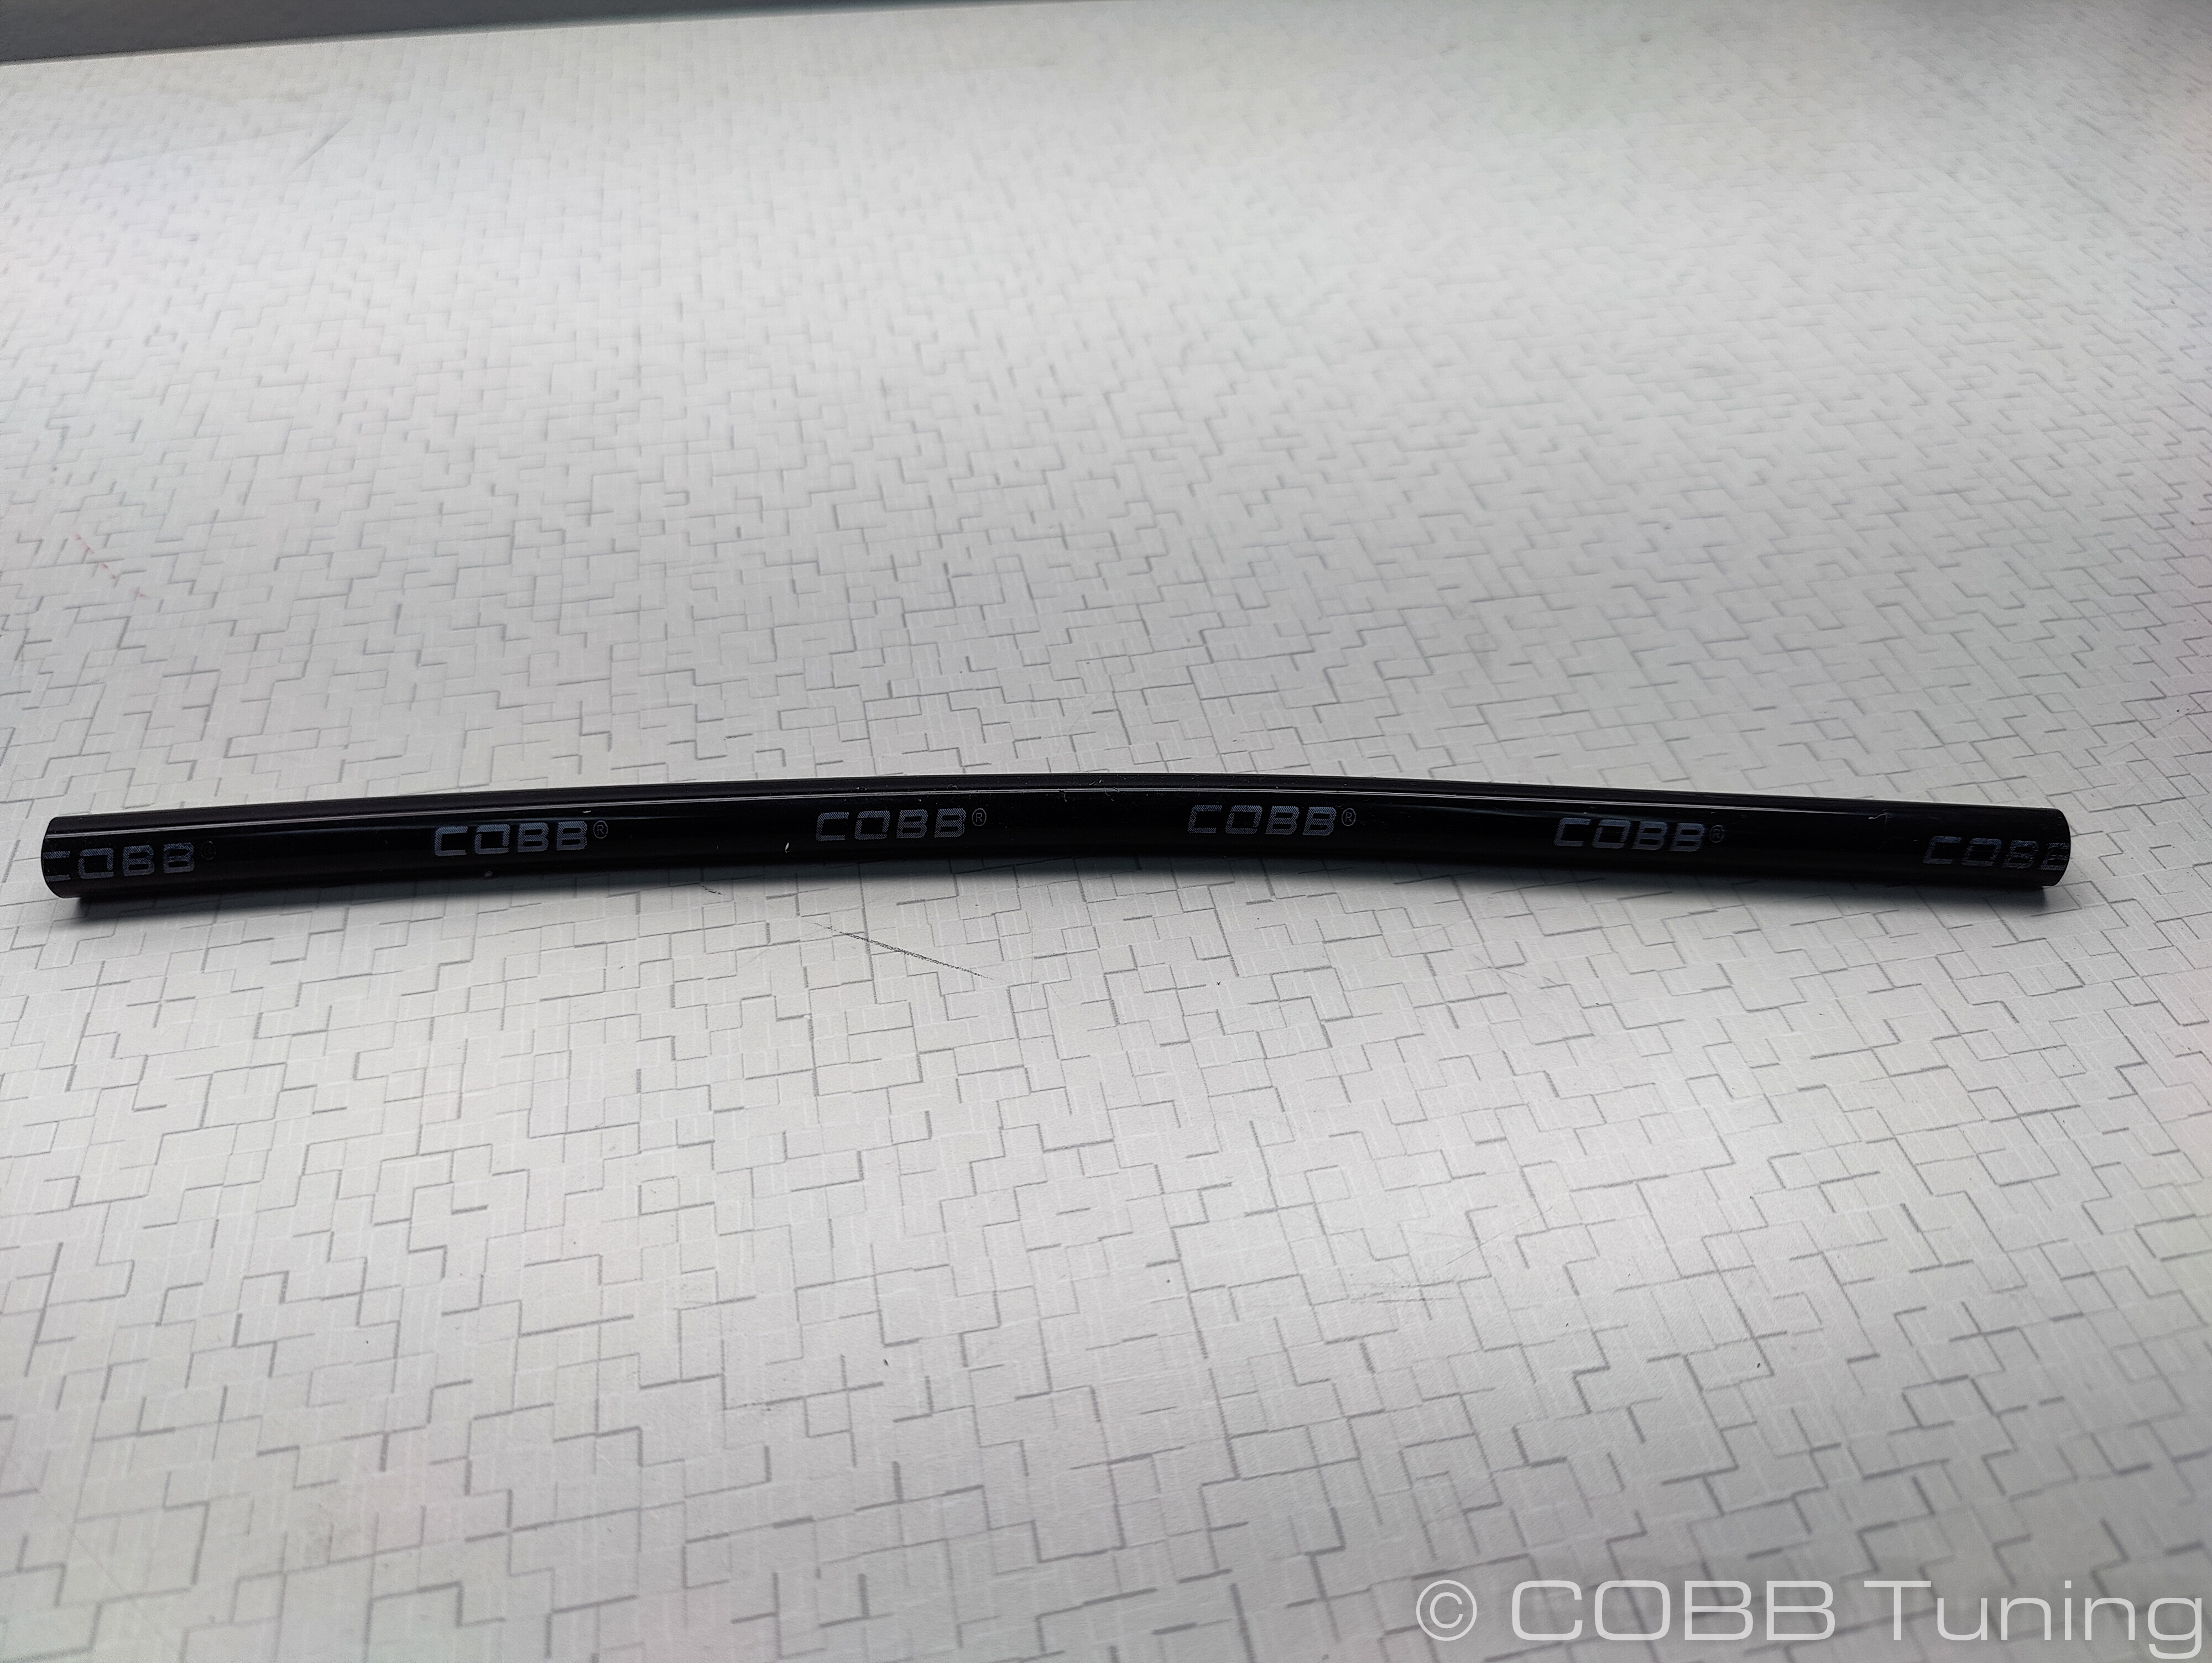
- You can now install the washer fluid fill tube onto that fitting. Make sure the writing with the COBB logo are at the top.
 Image Added
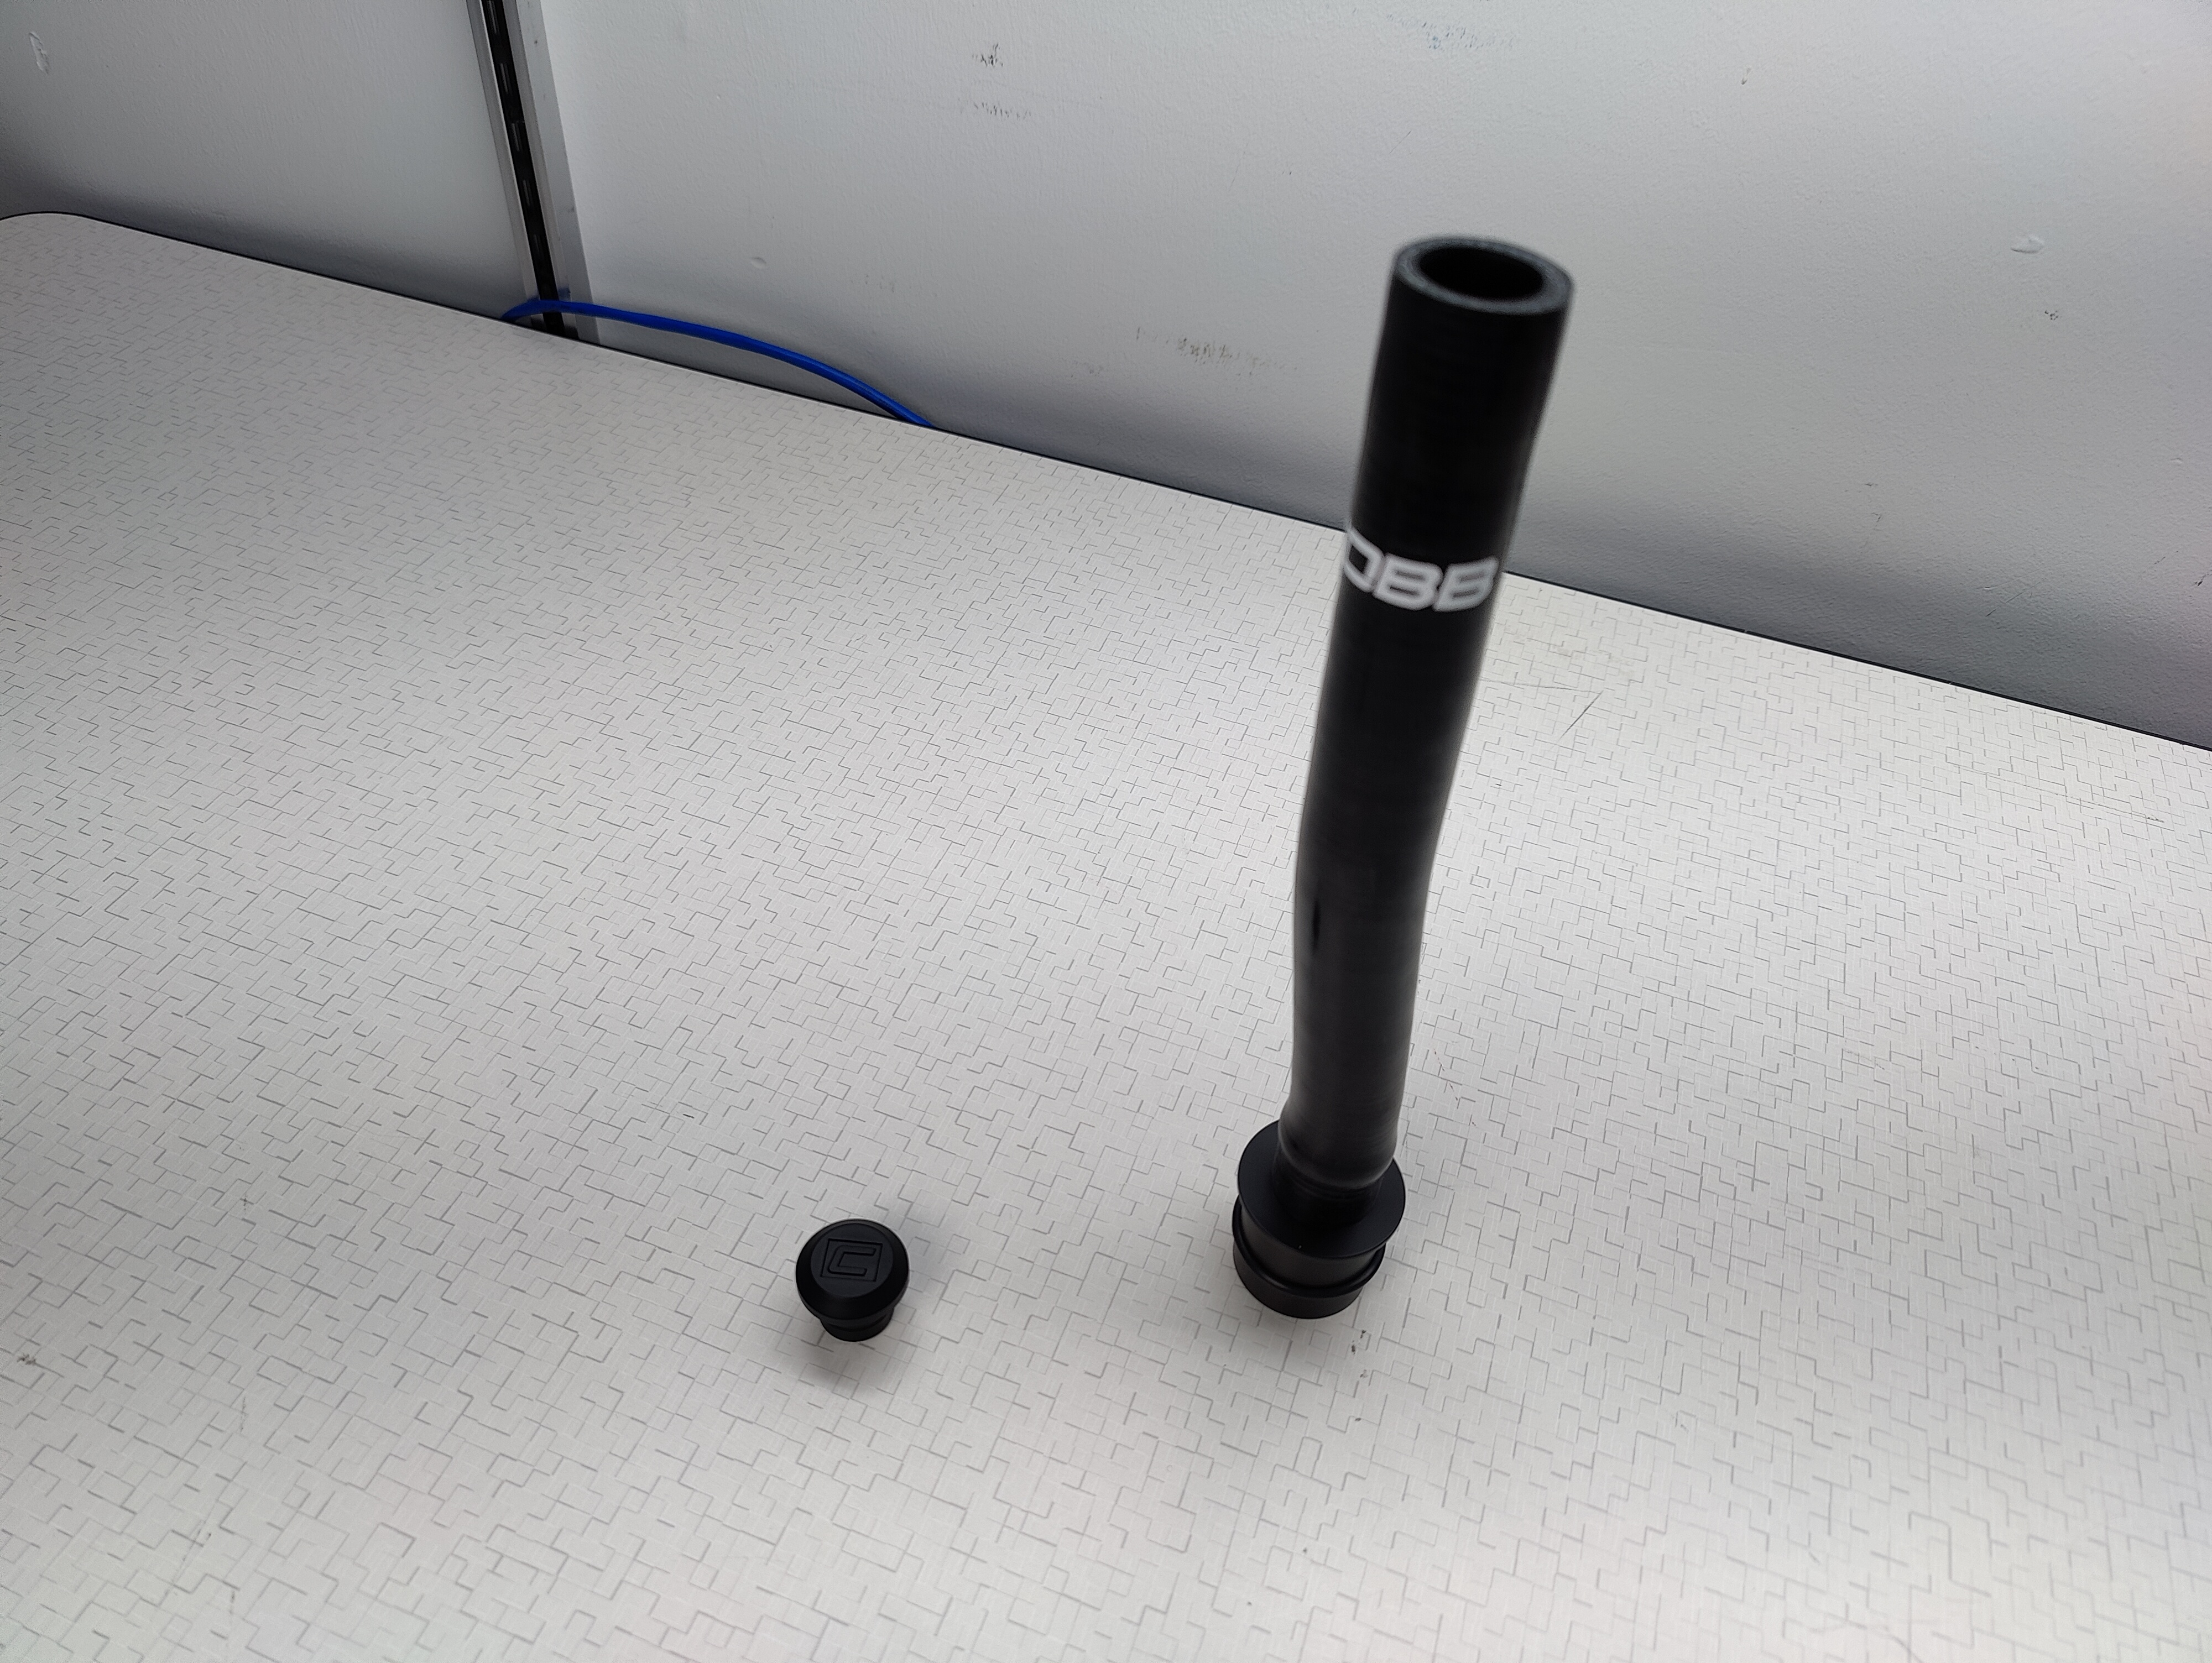 Image Added
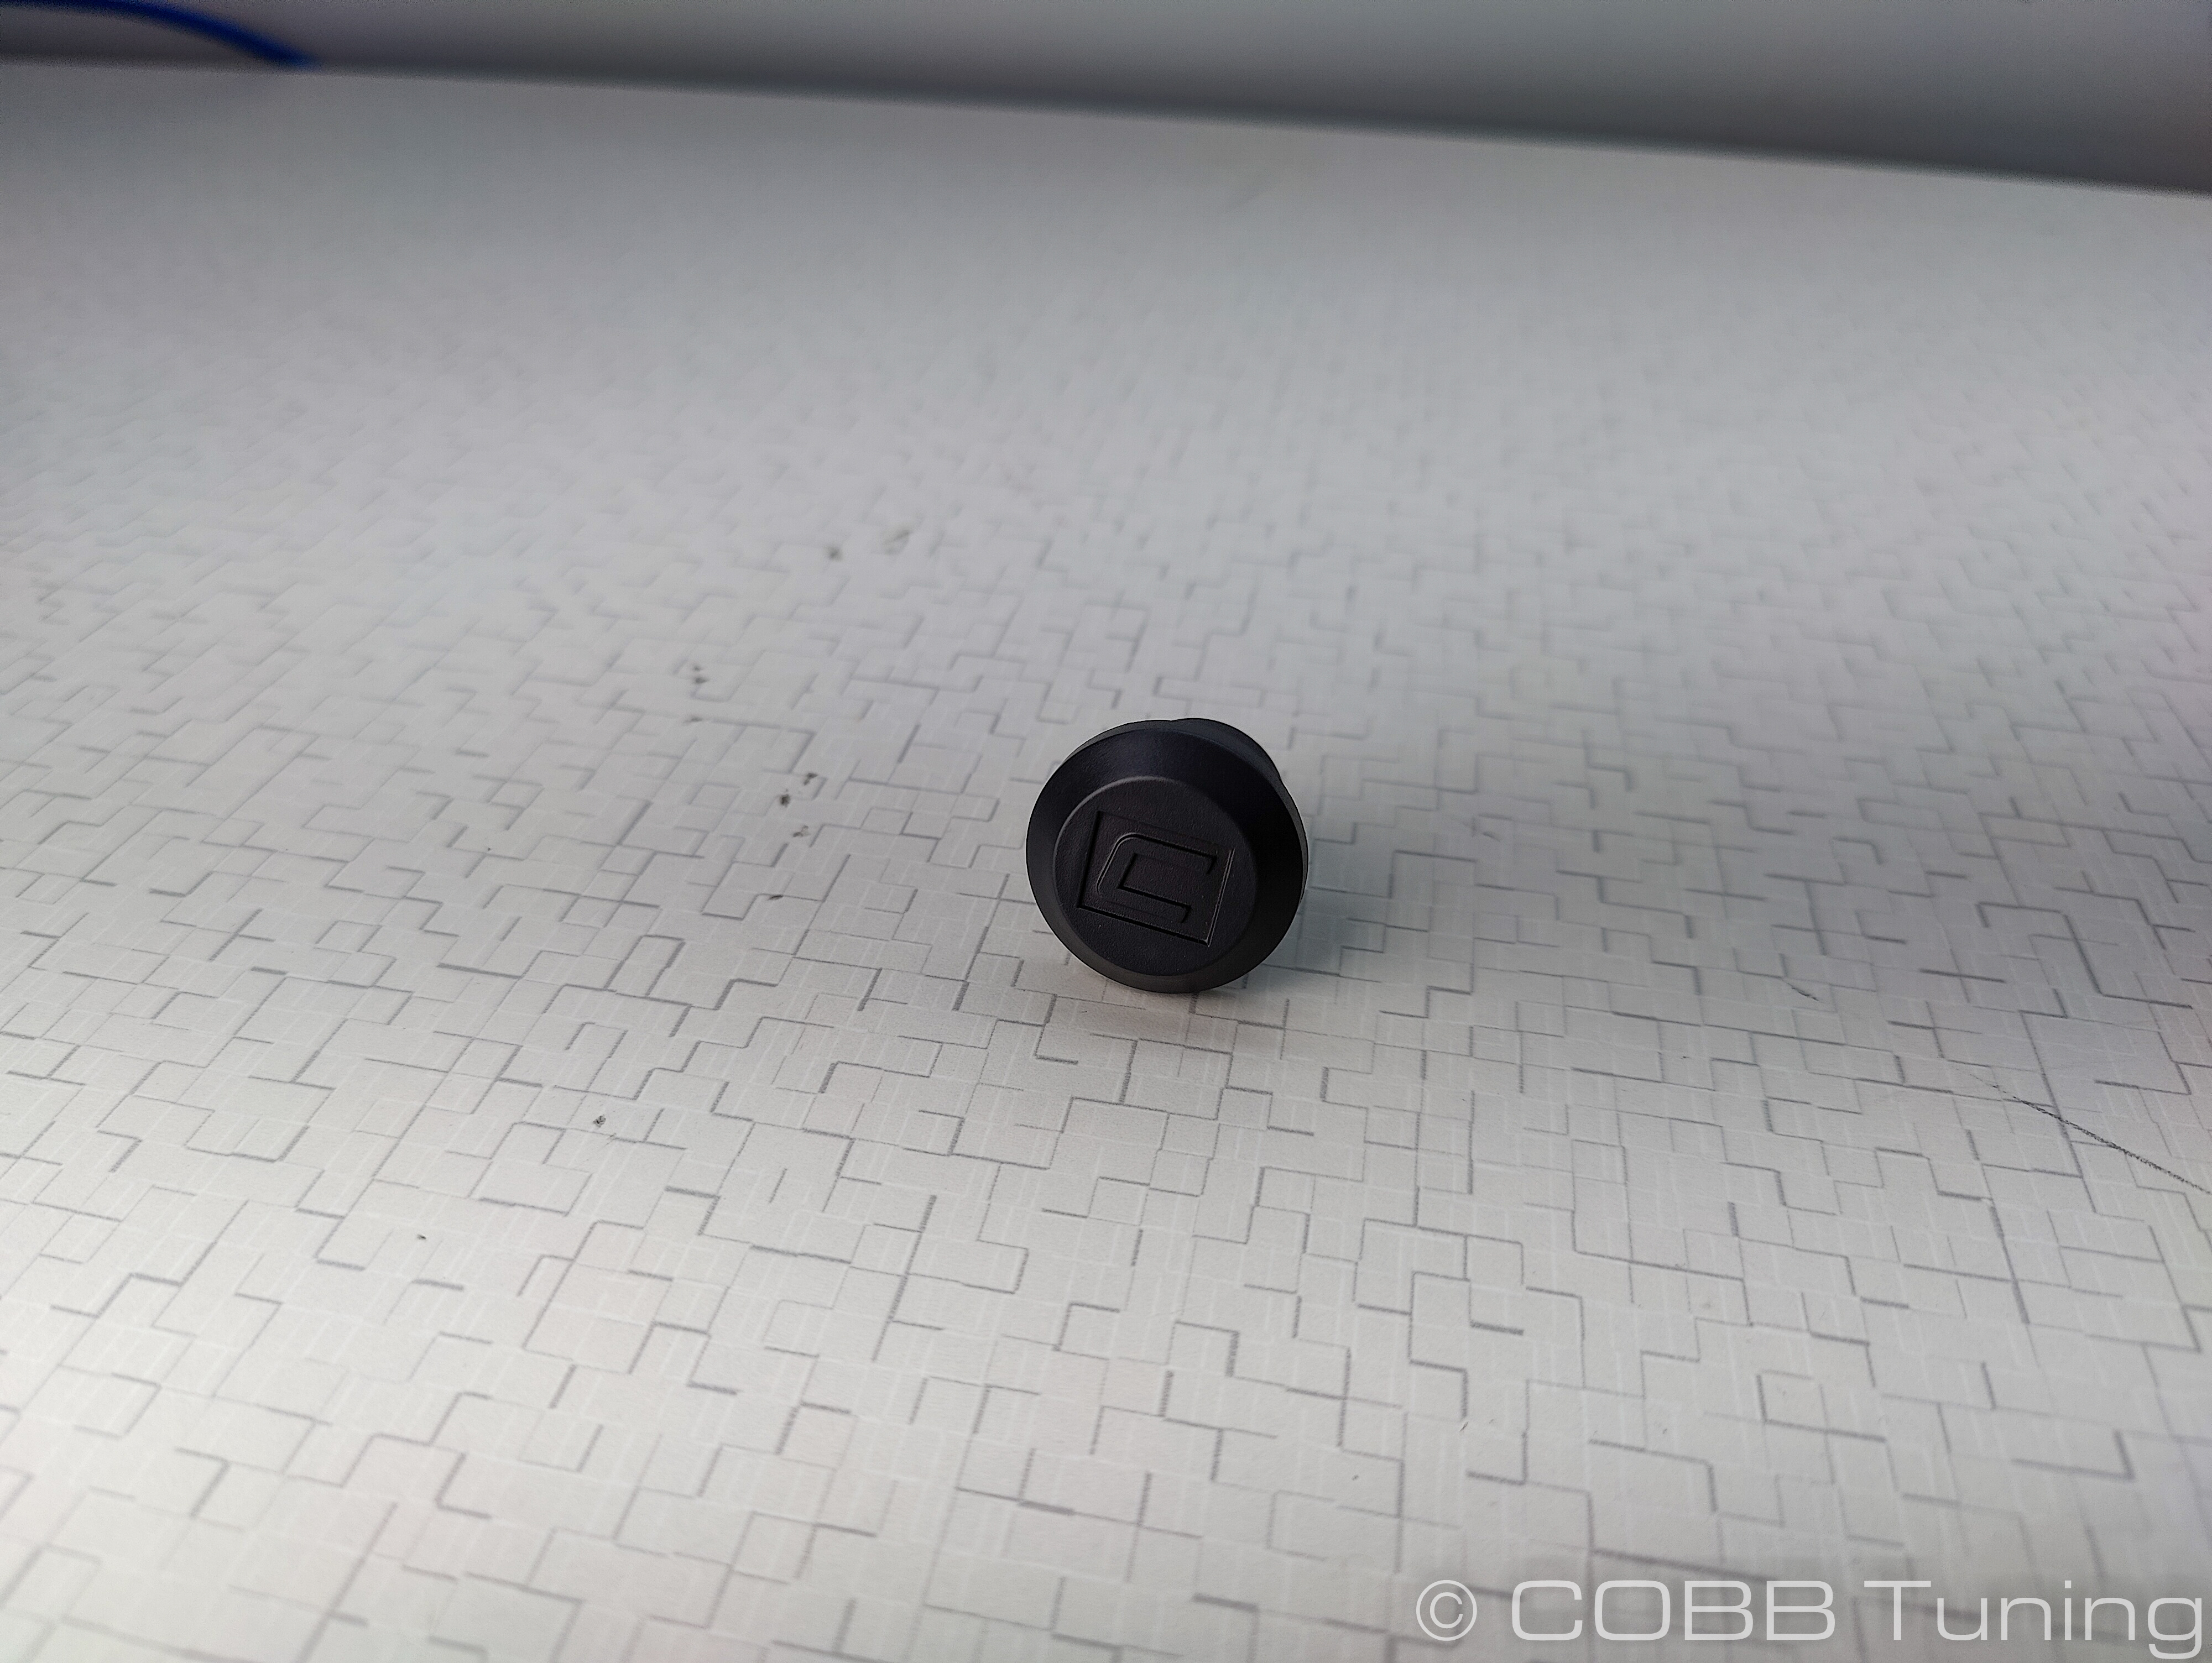
- Install the washer fluid fill cap into the tube.
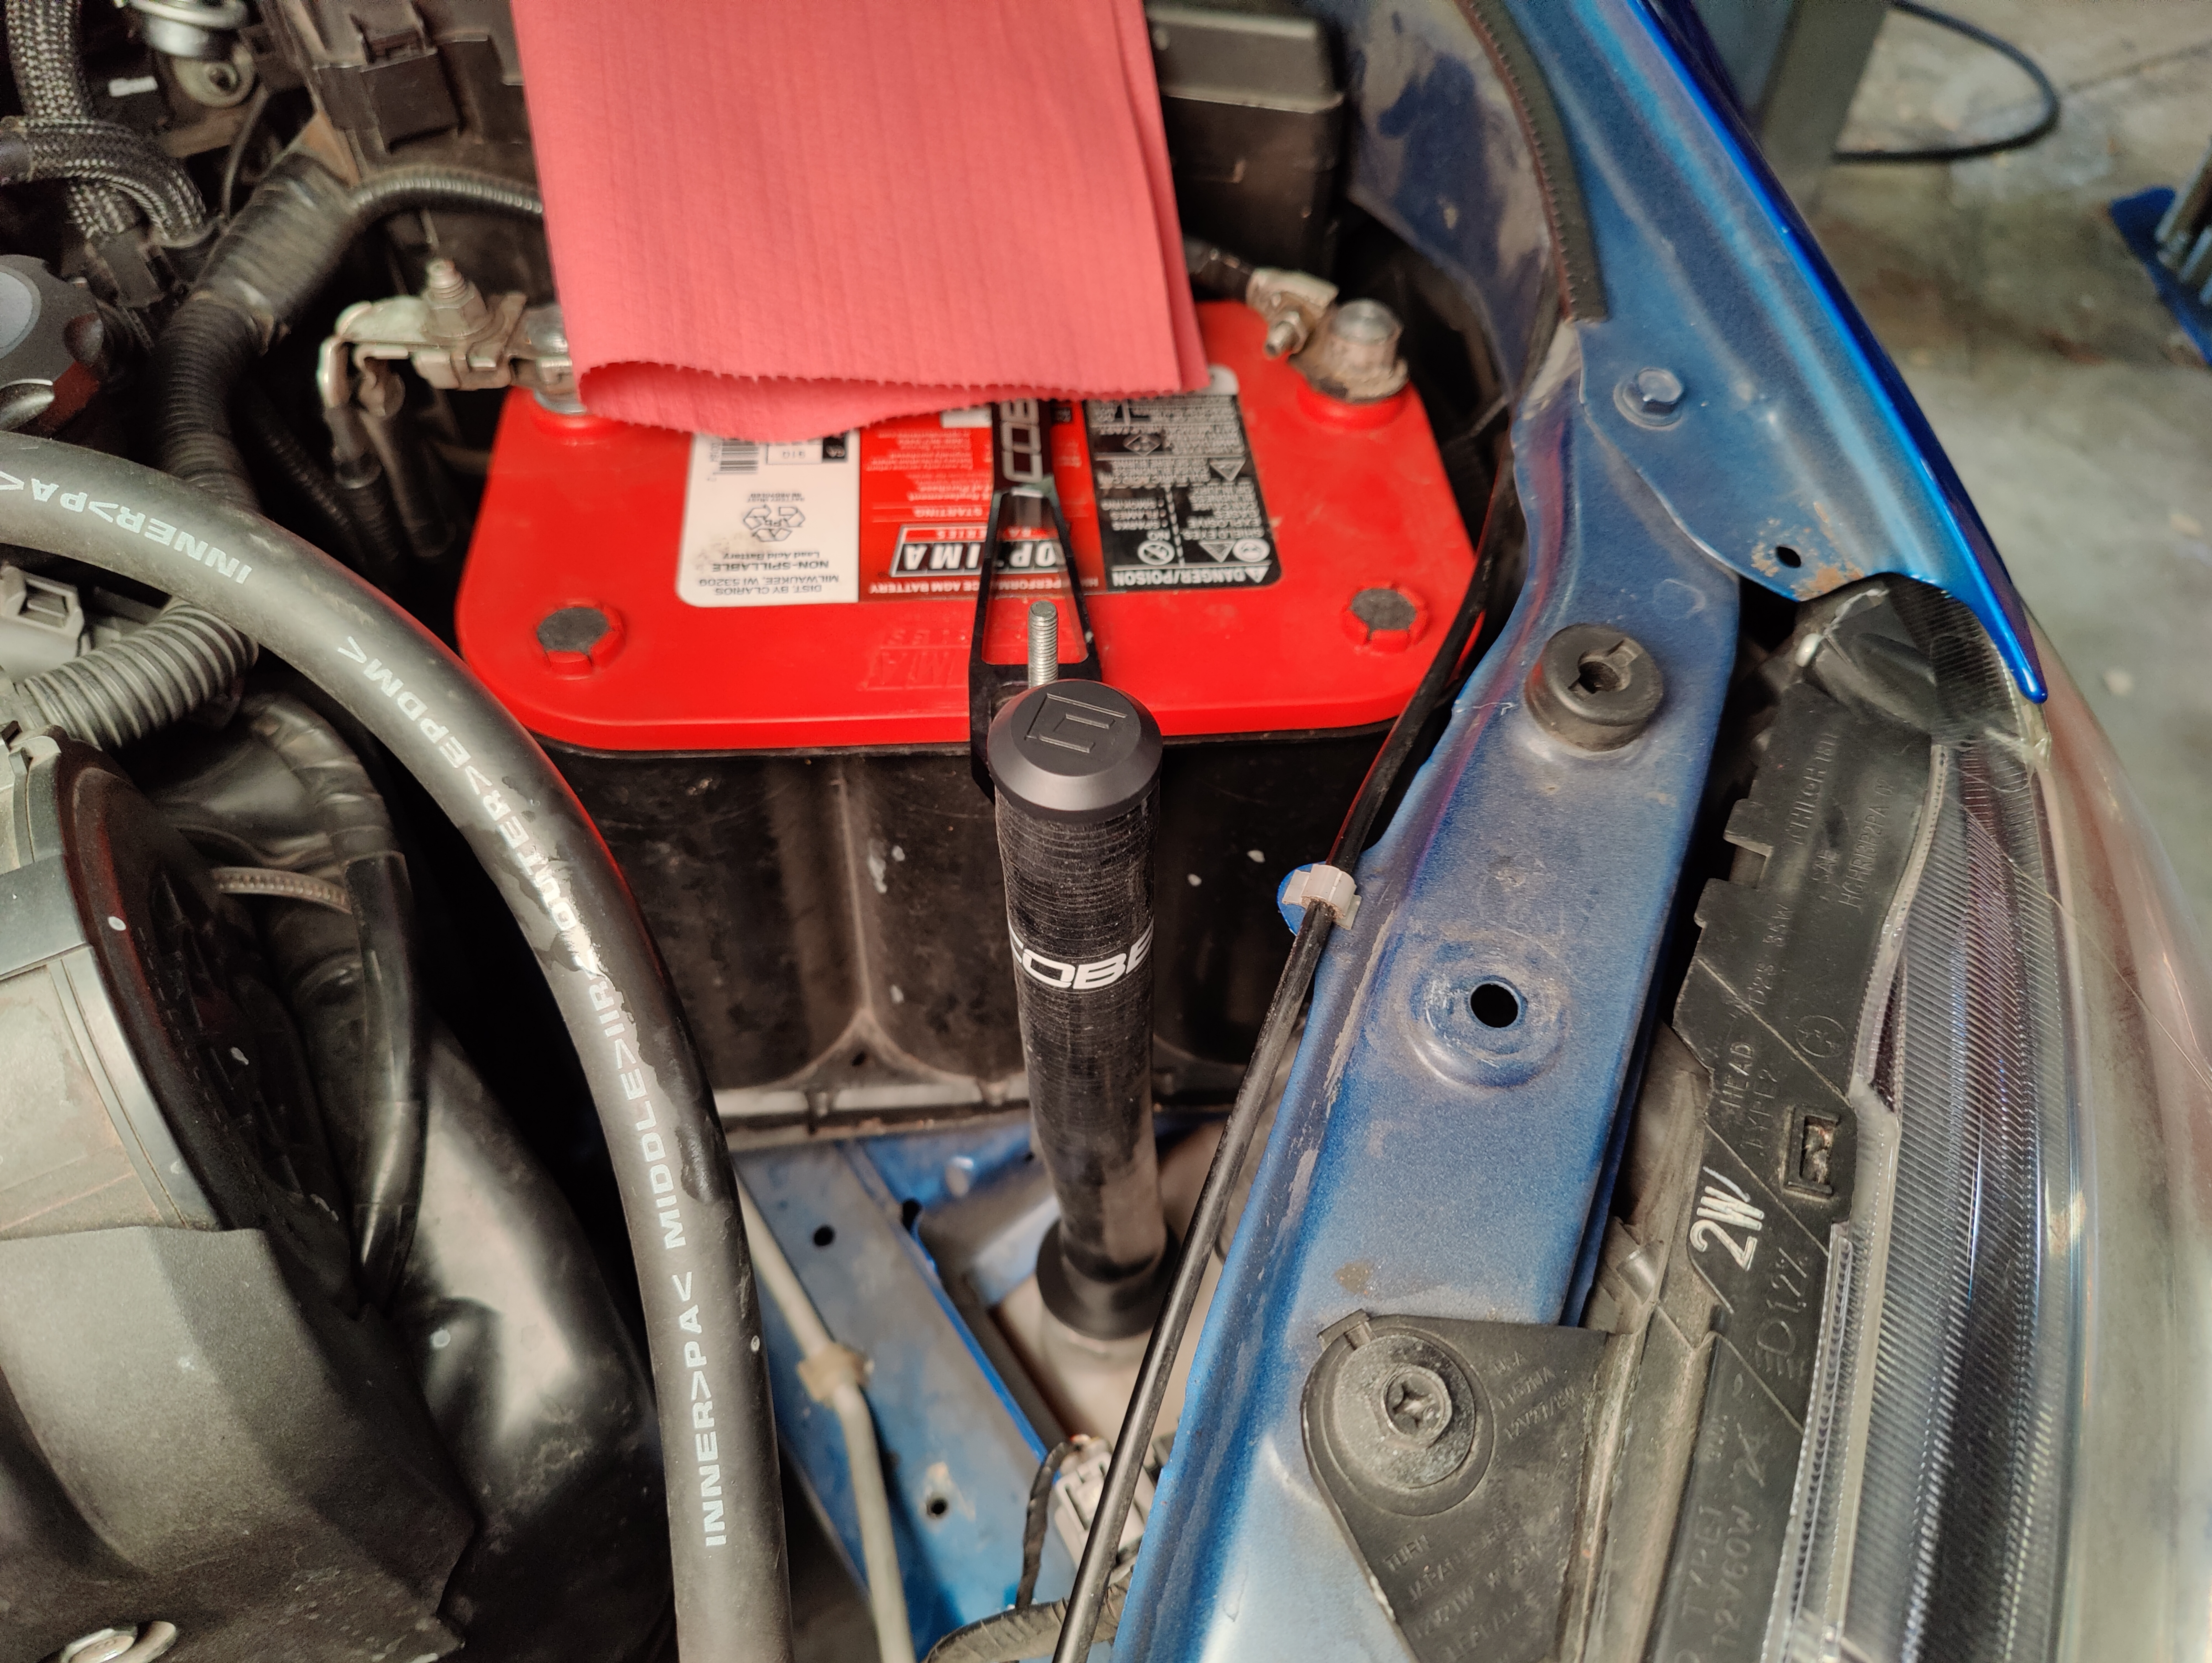 Image Added
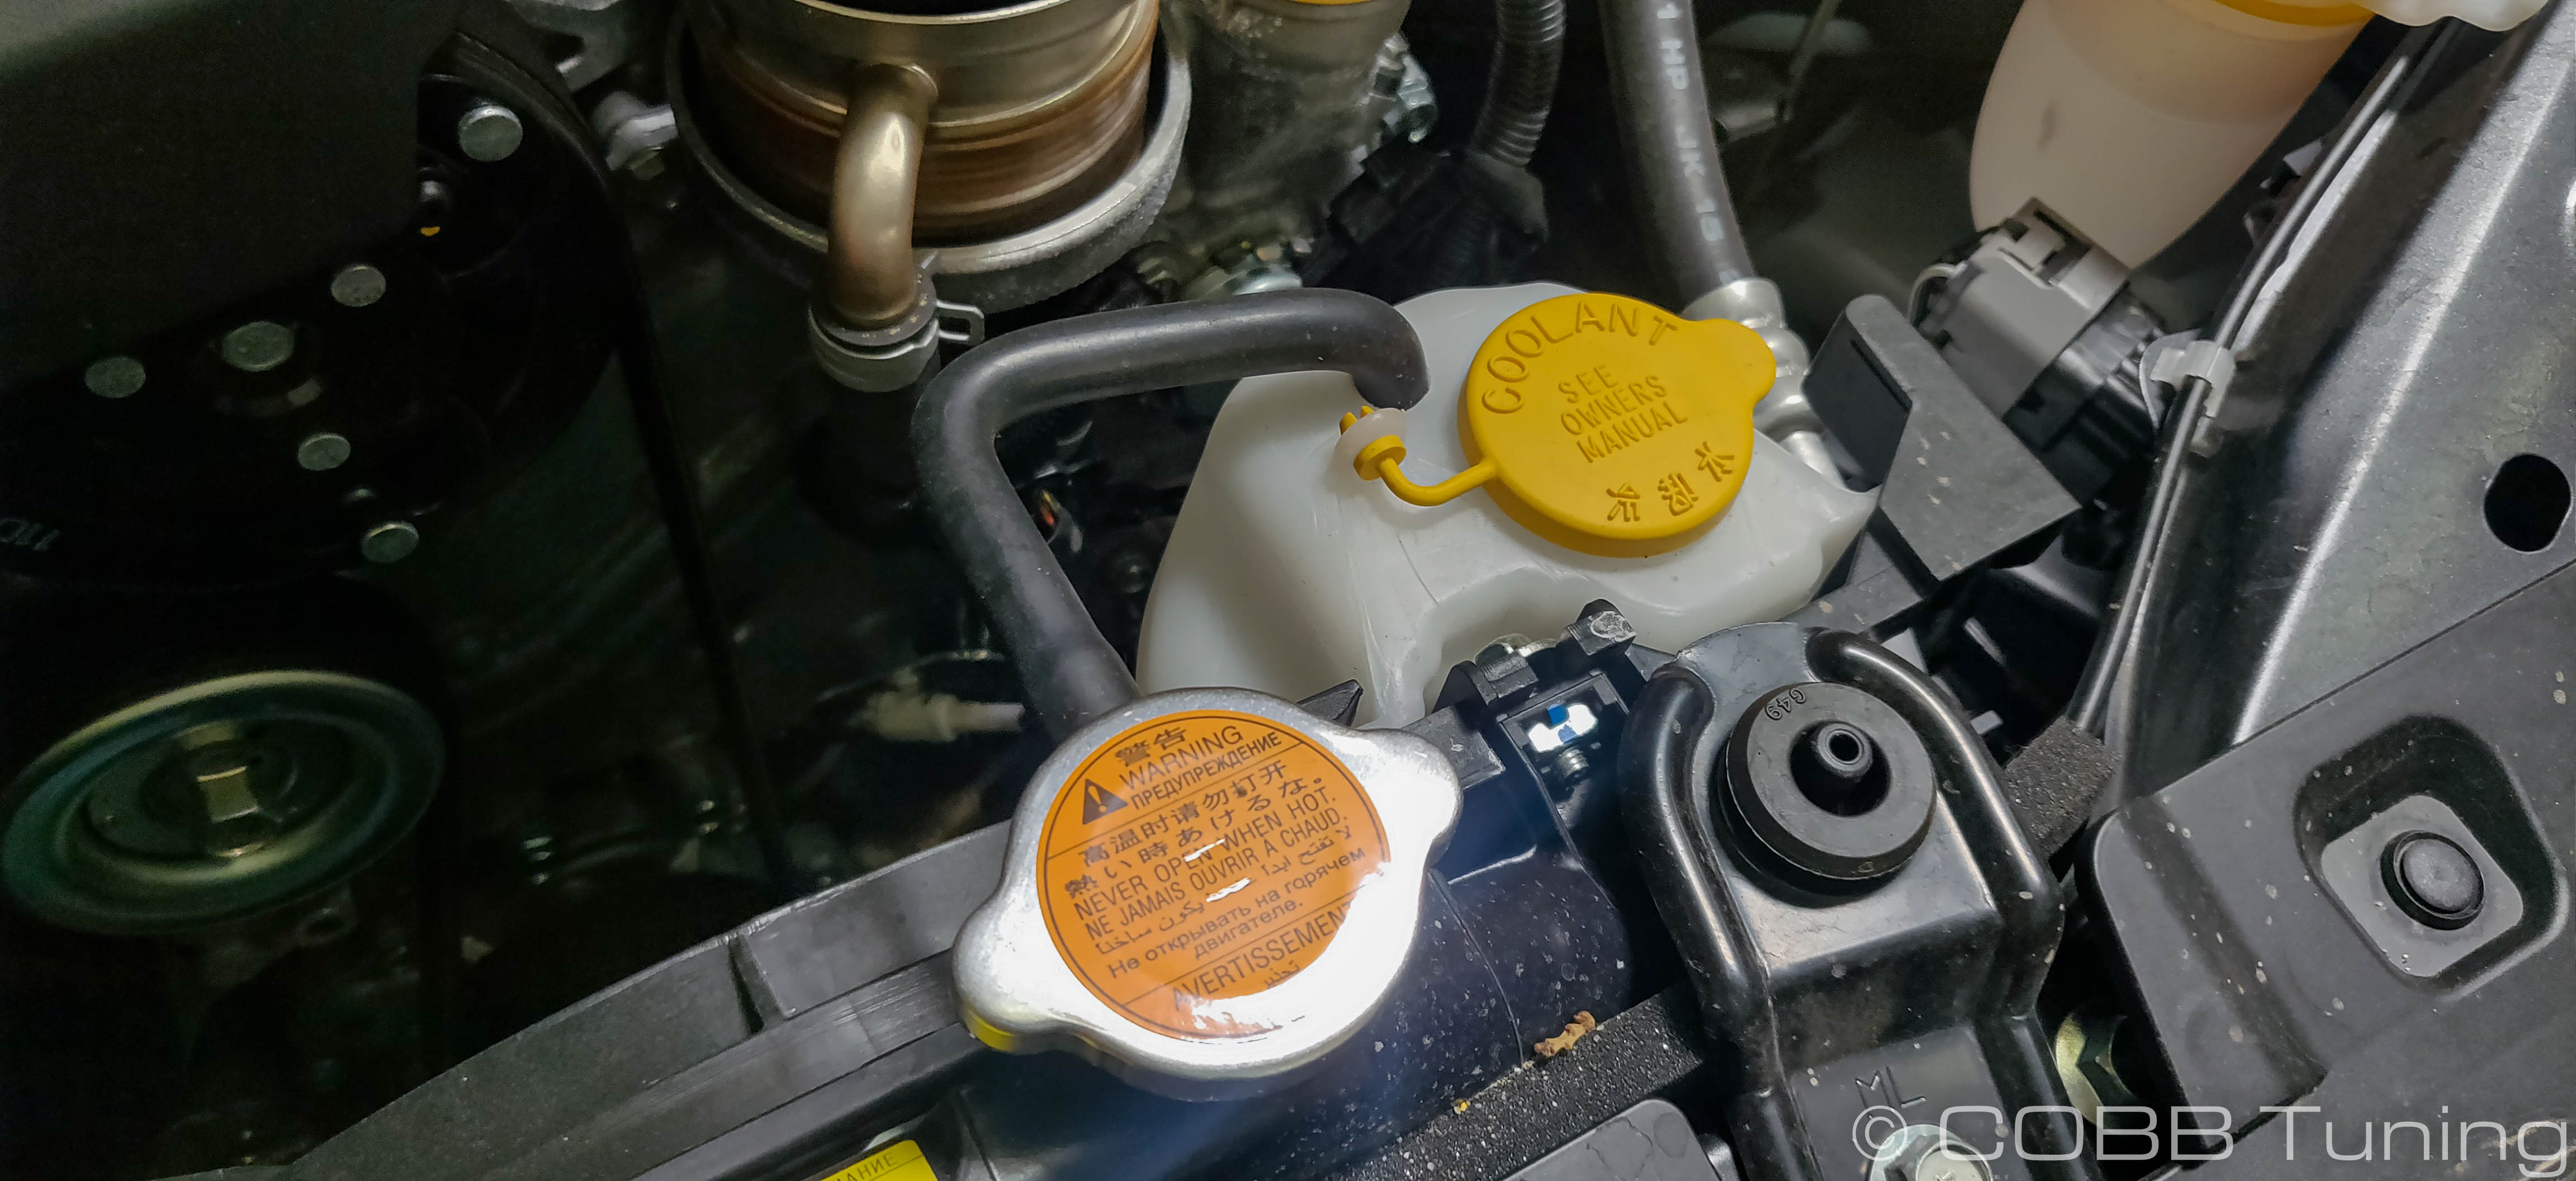
Coolant Overflow Install
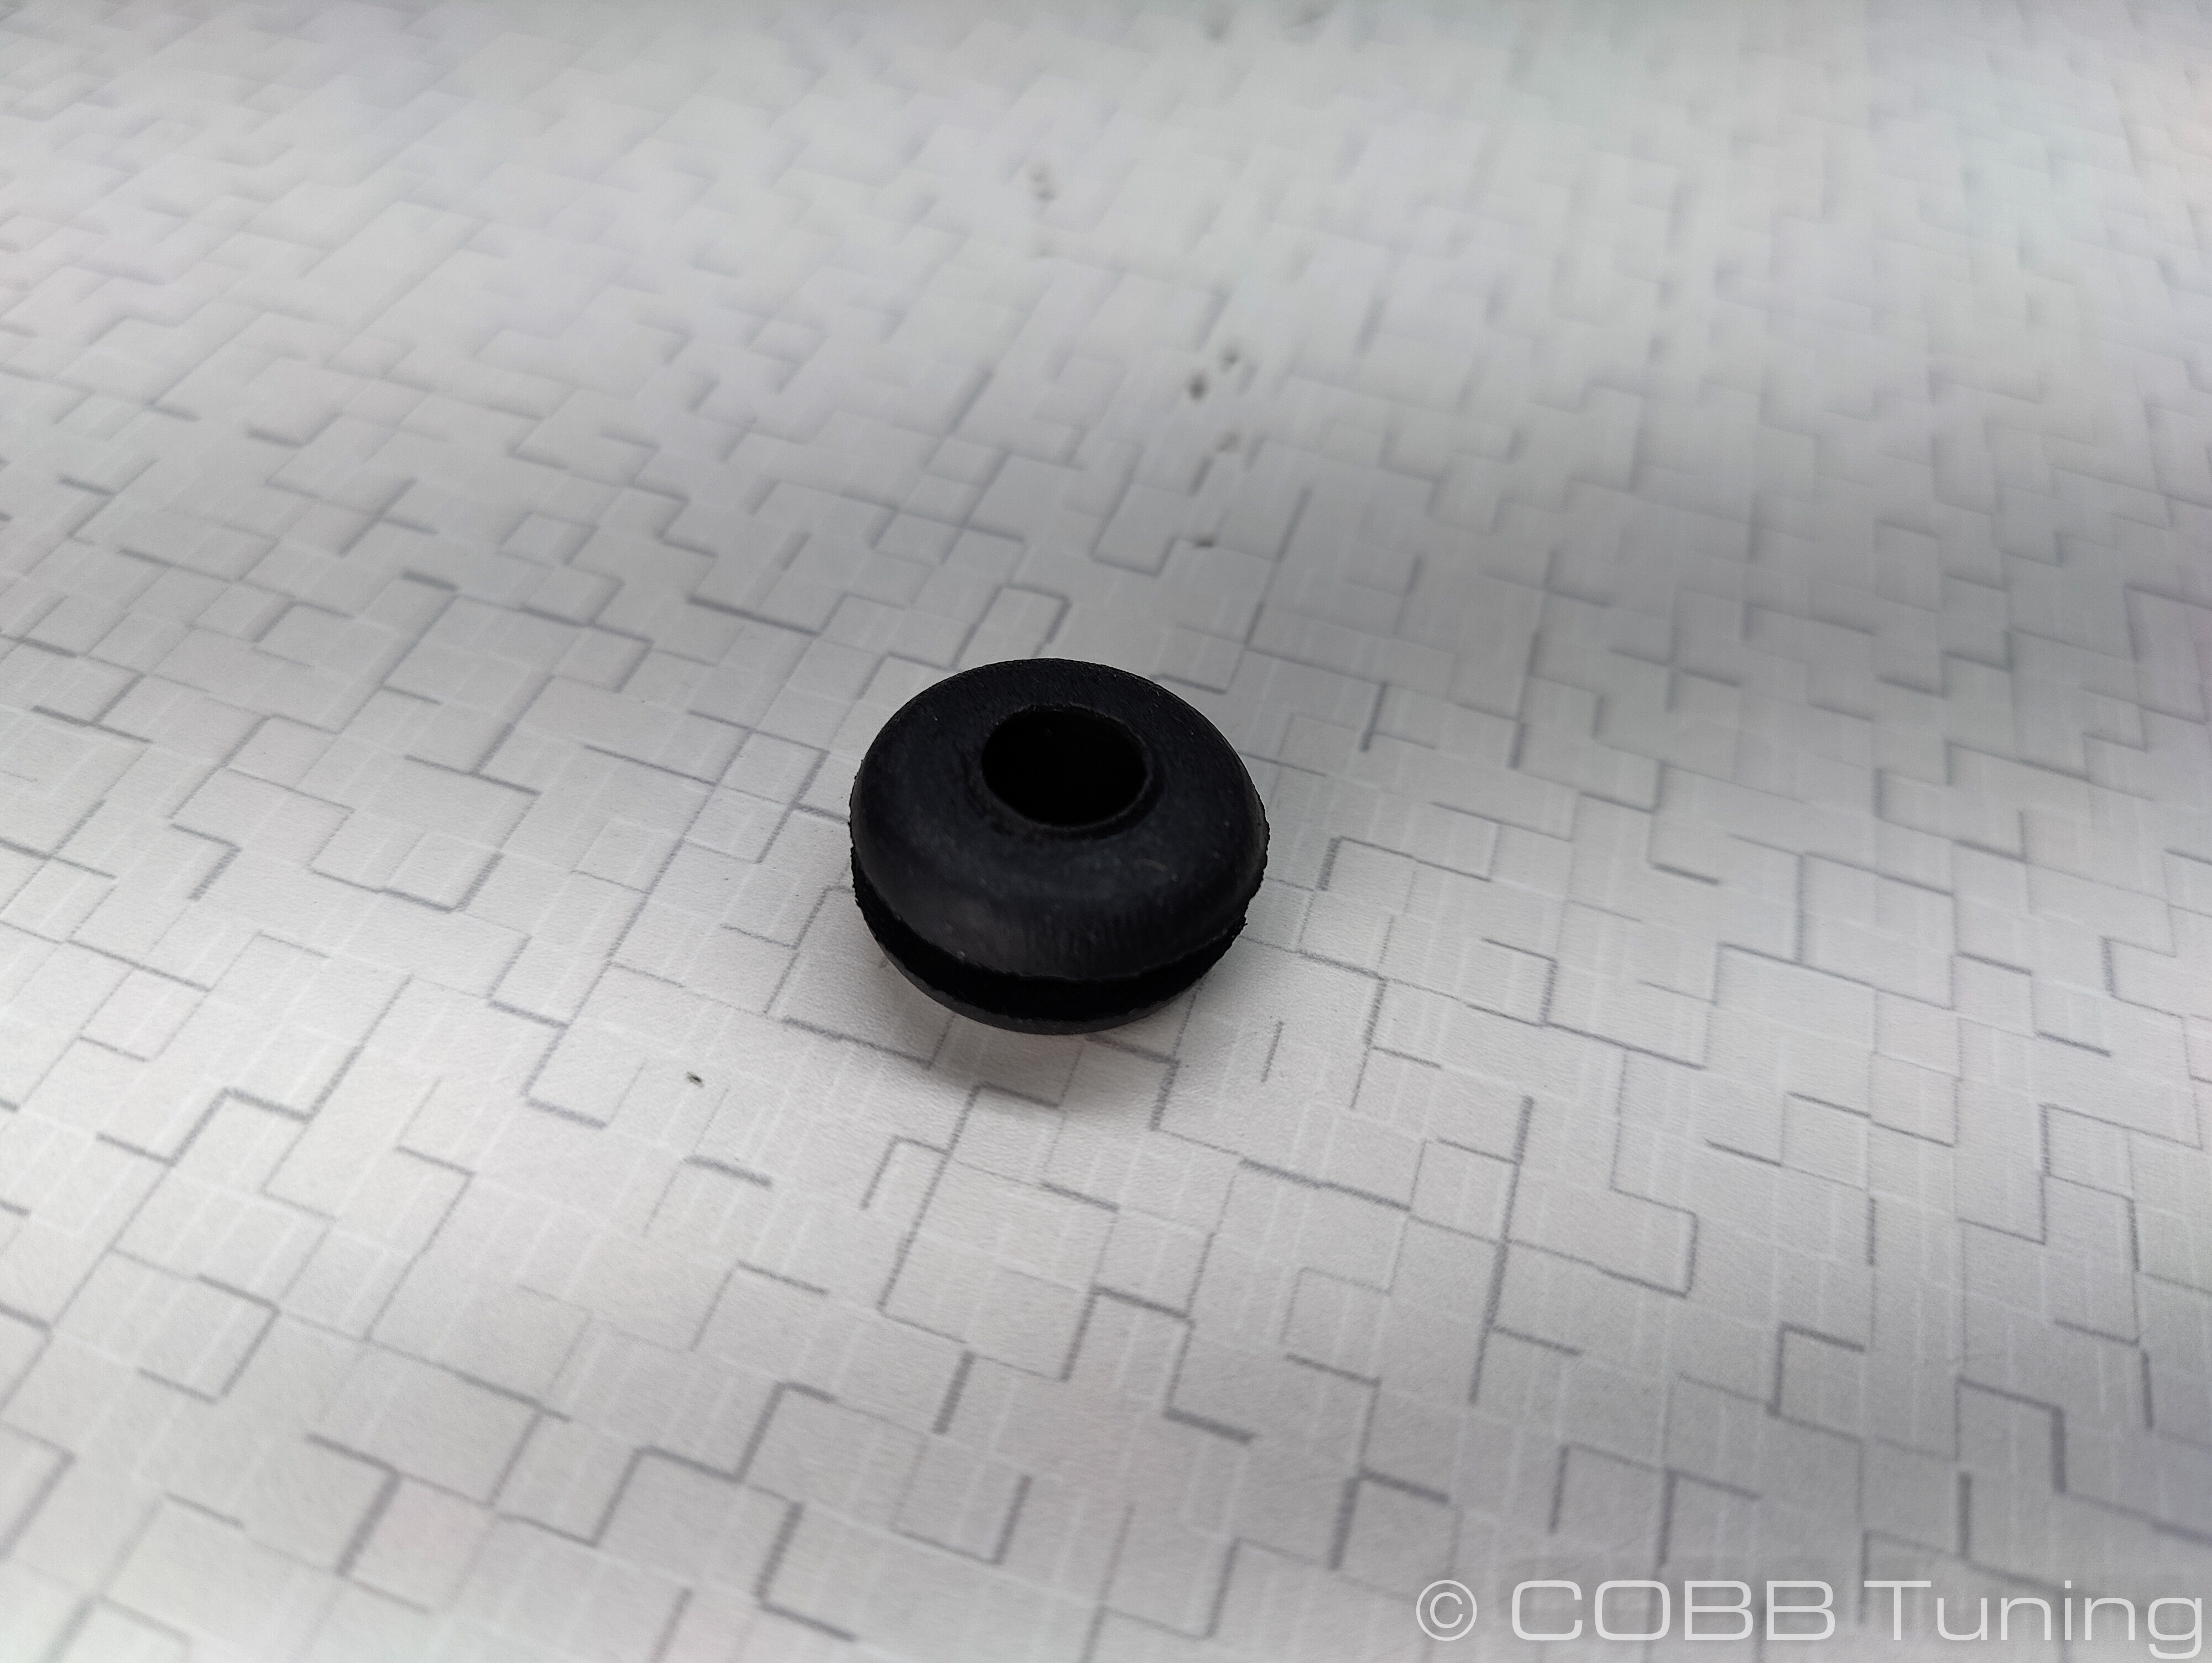
- Install the rubber grommet into the billet top bracket.
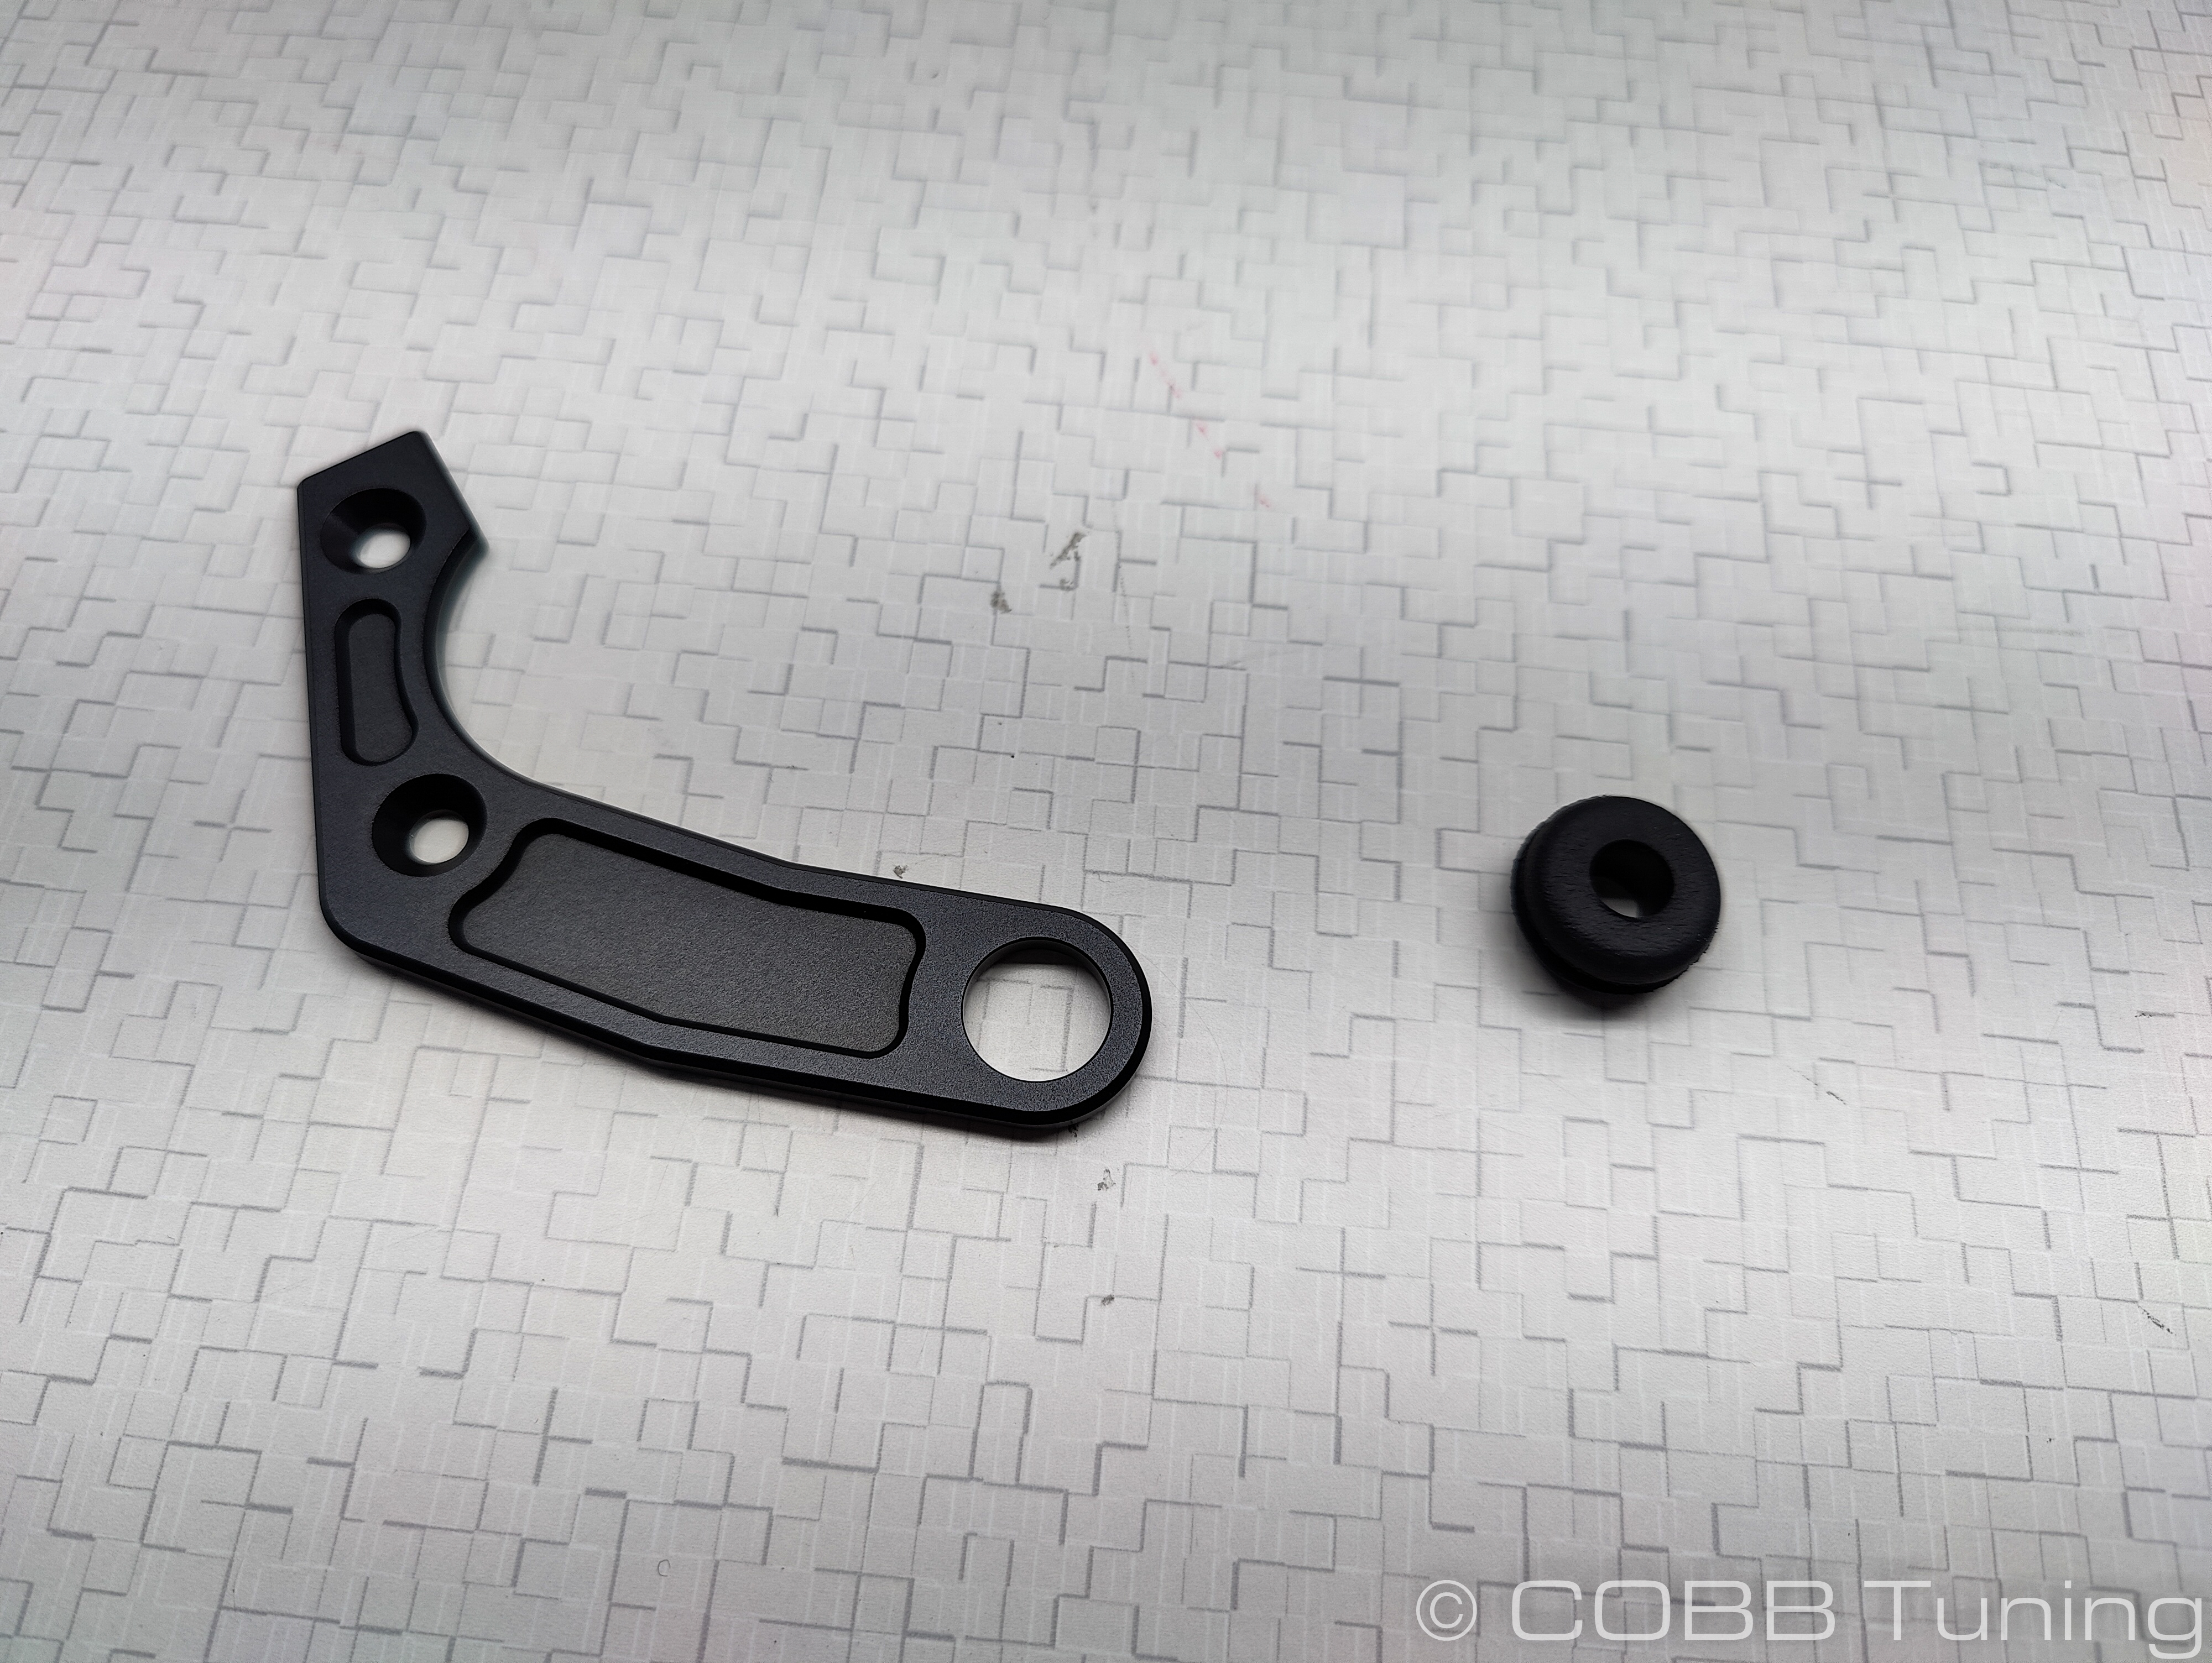 Image Added
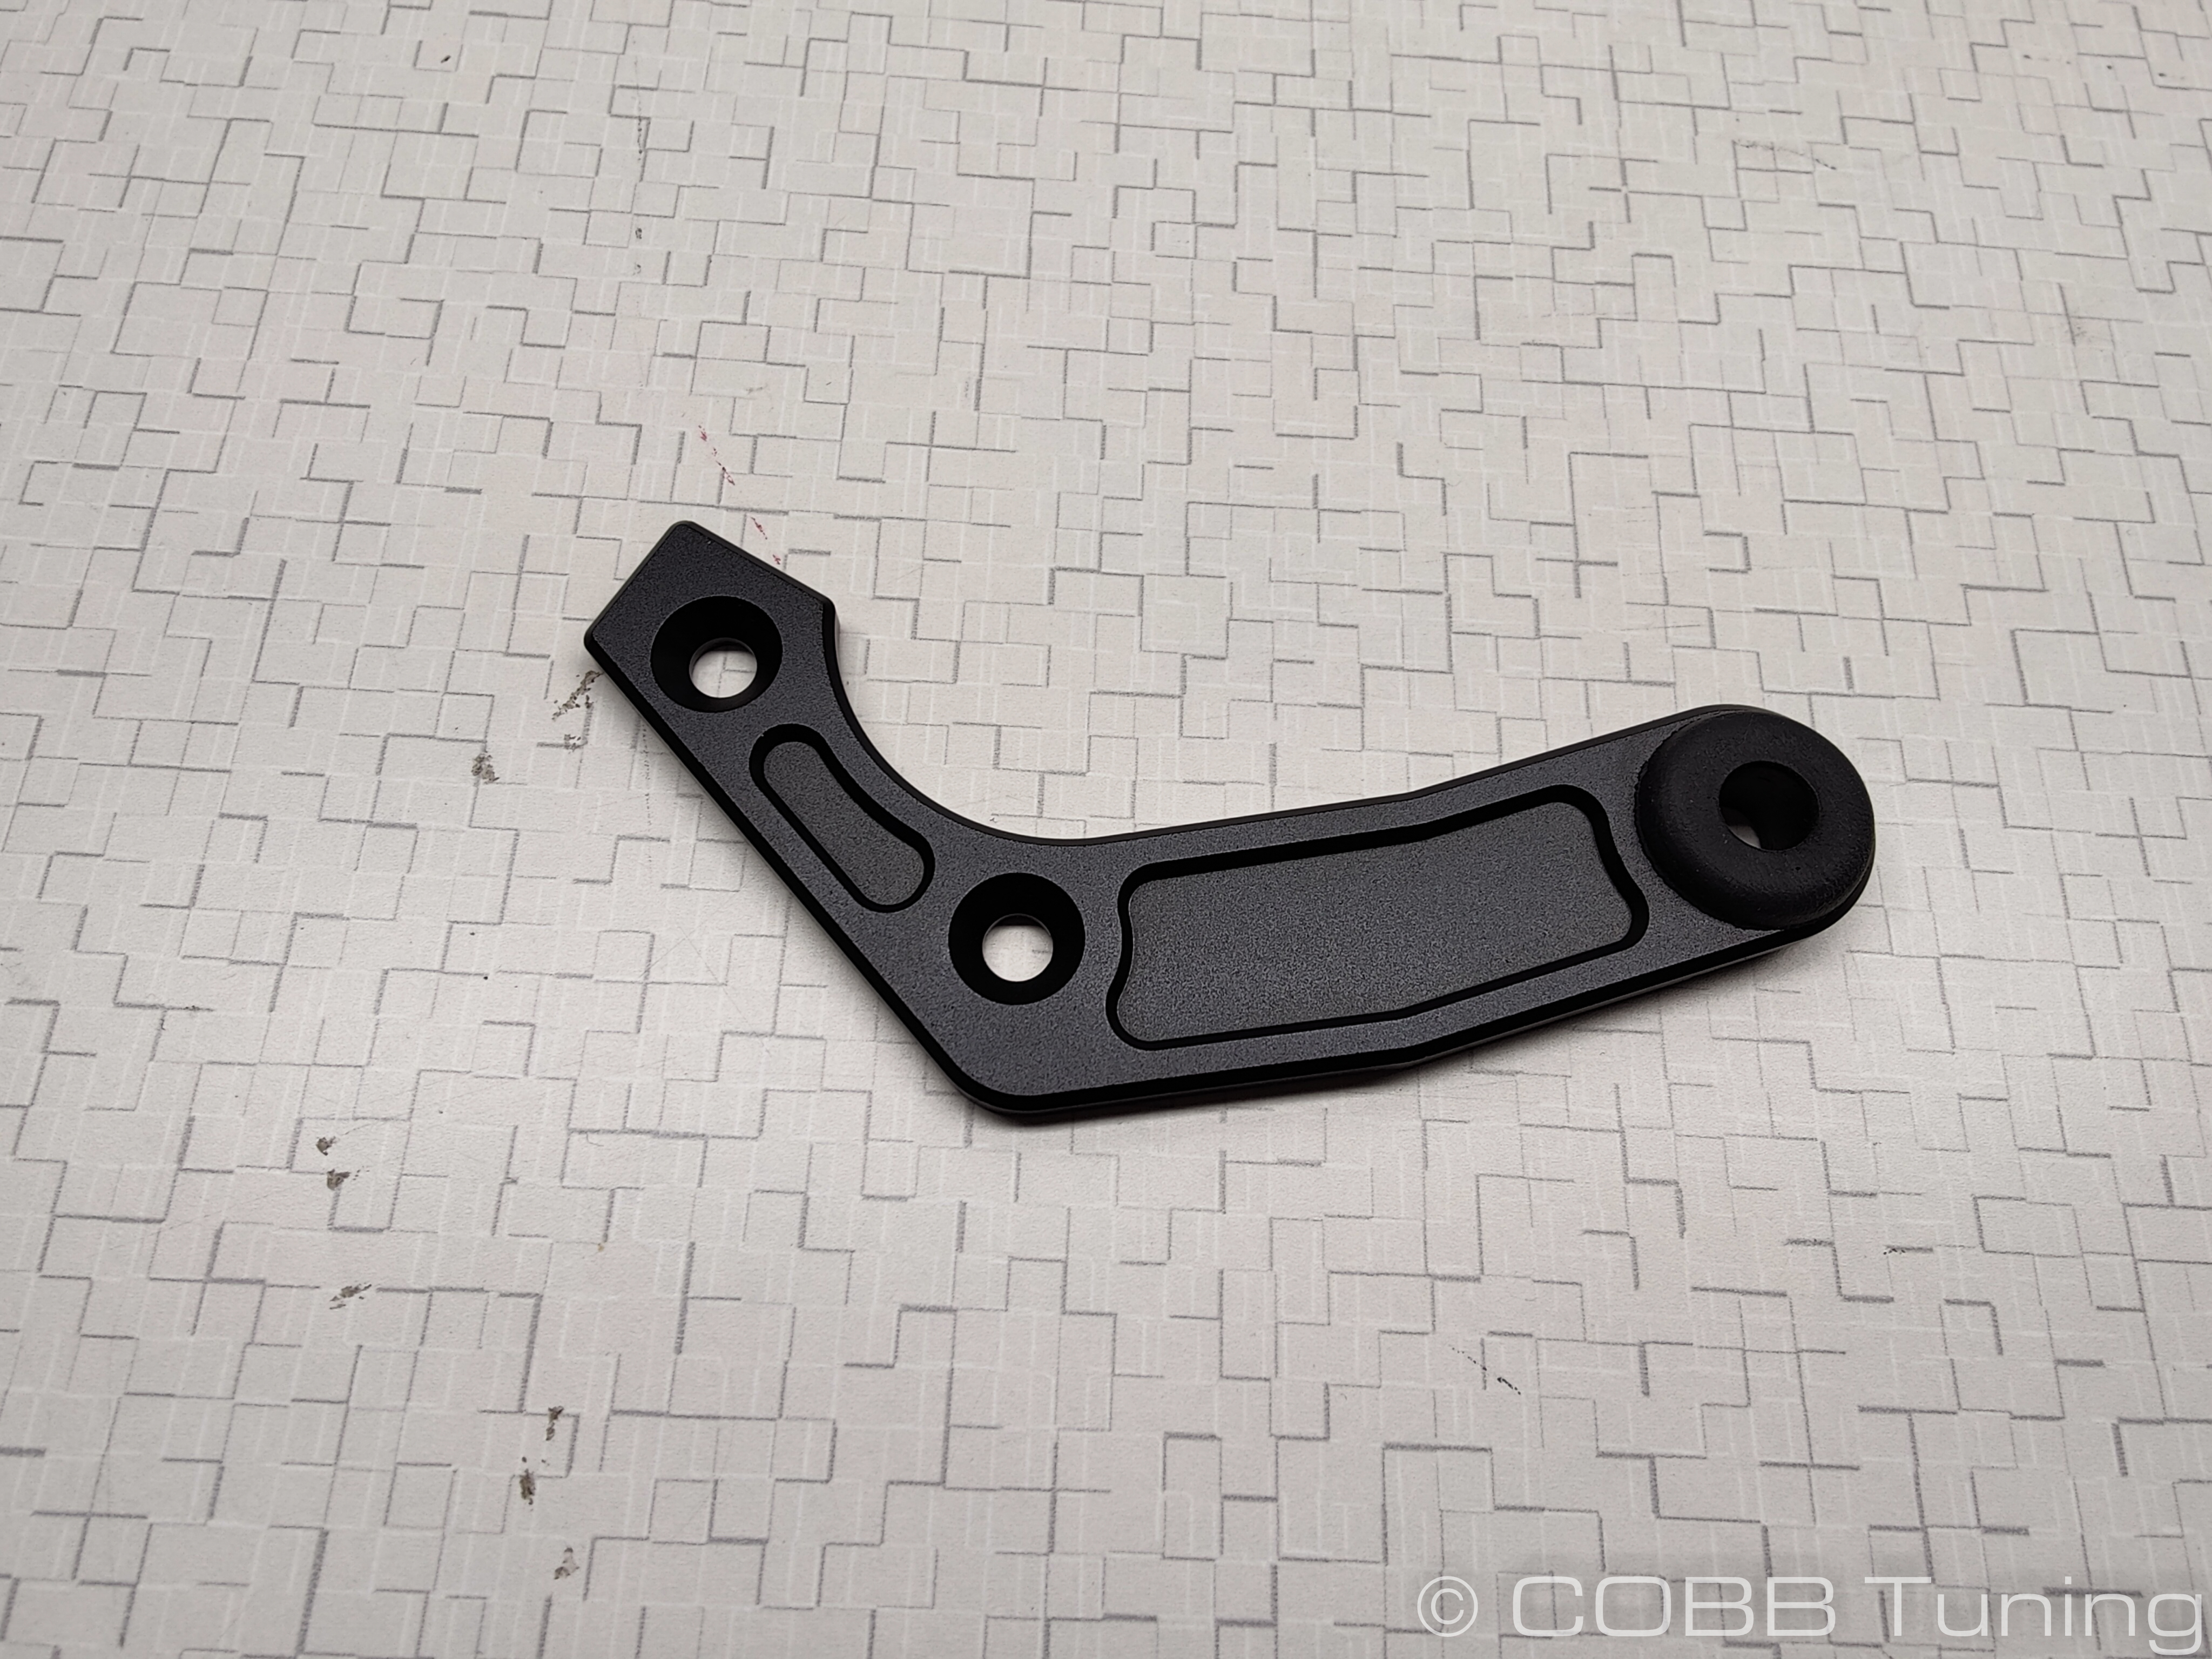 Image Added
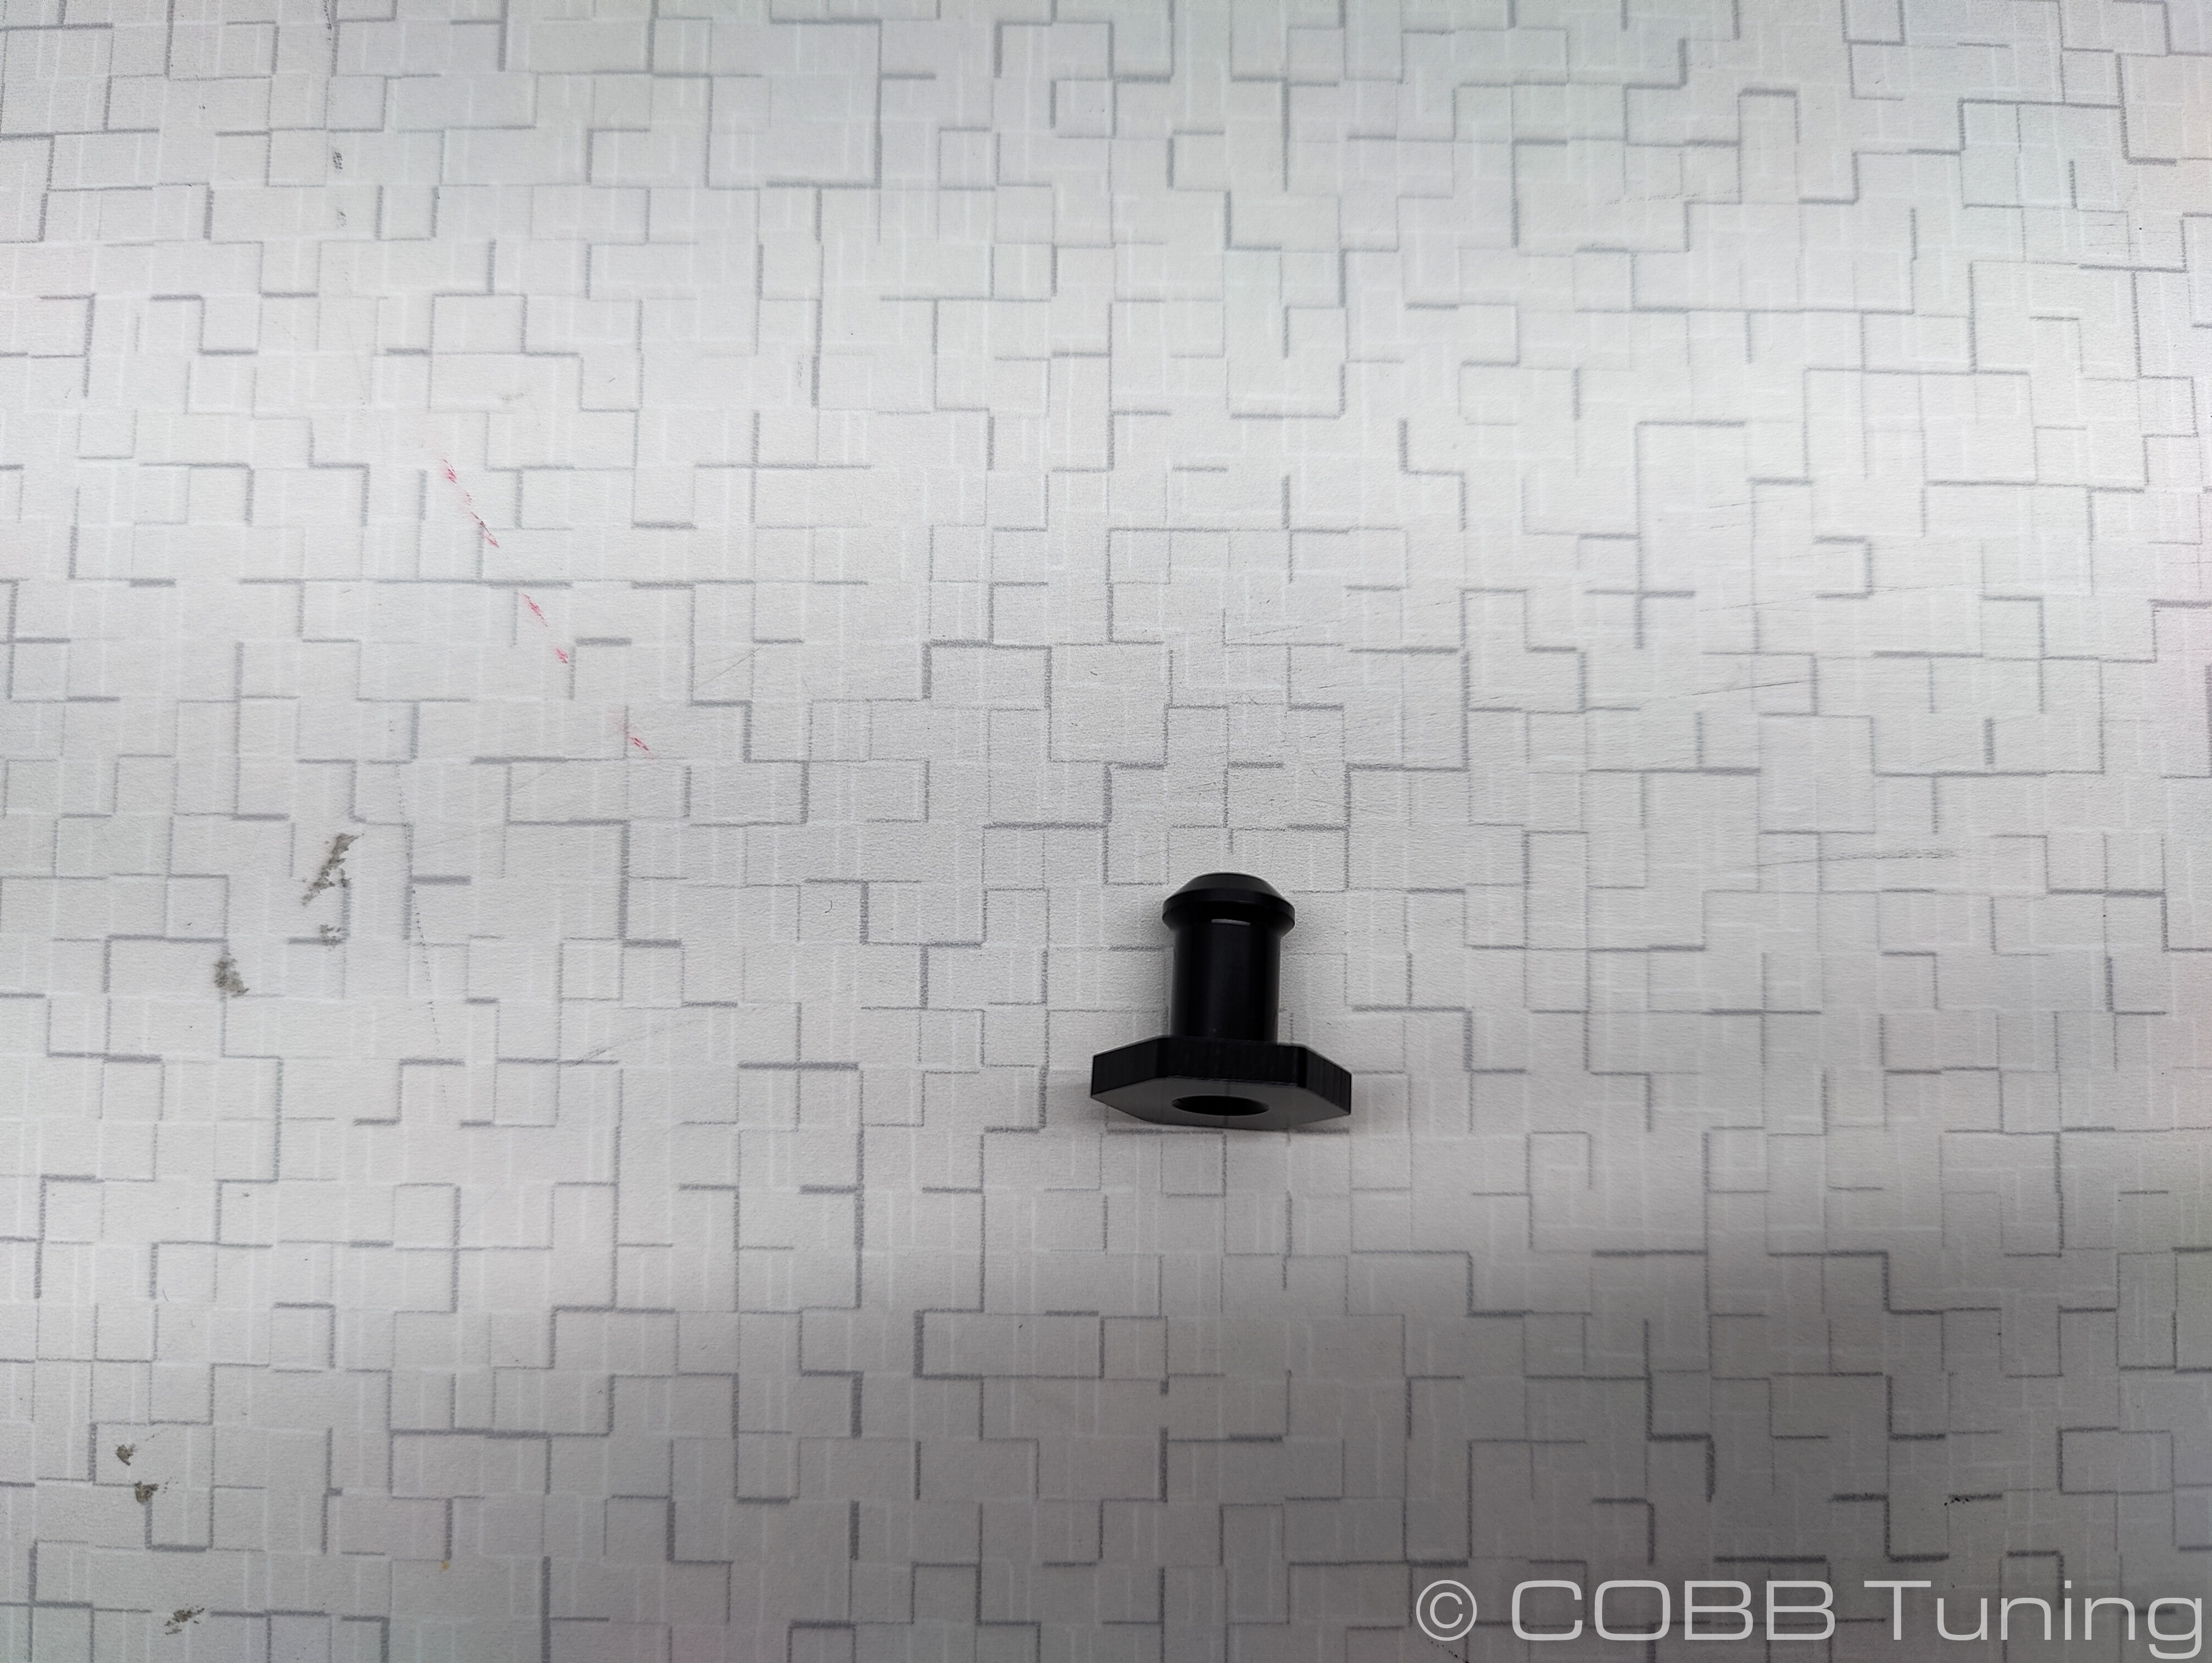
- Grab the shorter of the two provided m6x1.0 bolts. Install the bolt upward through the hole the trim clip for the washer fill tube was originally in. Screw the billet mounting pin in place on top. Screw it on hand tight using a 10mm socket on the bolt and a 17mm holding the stud in place.
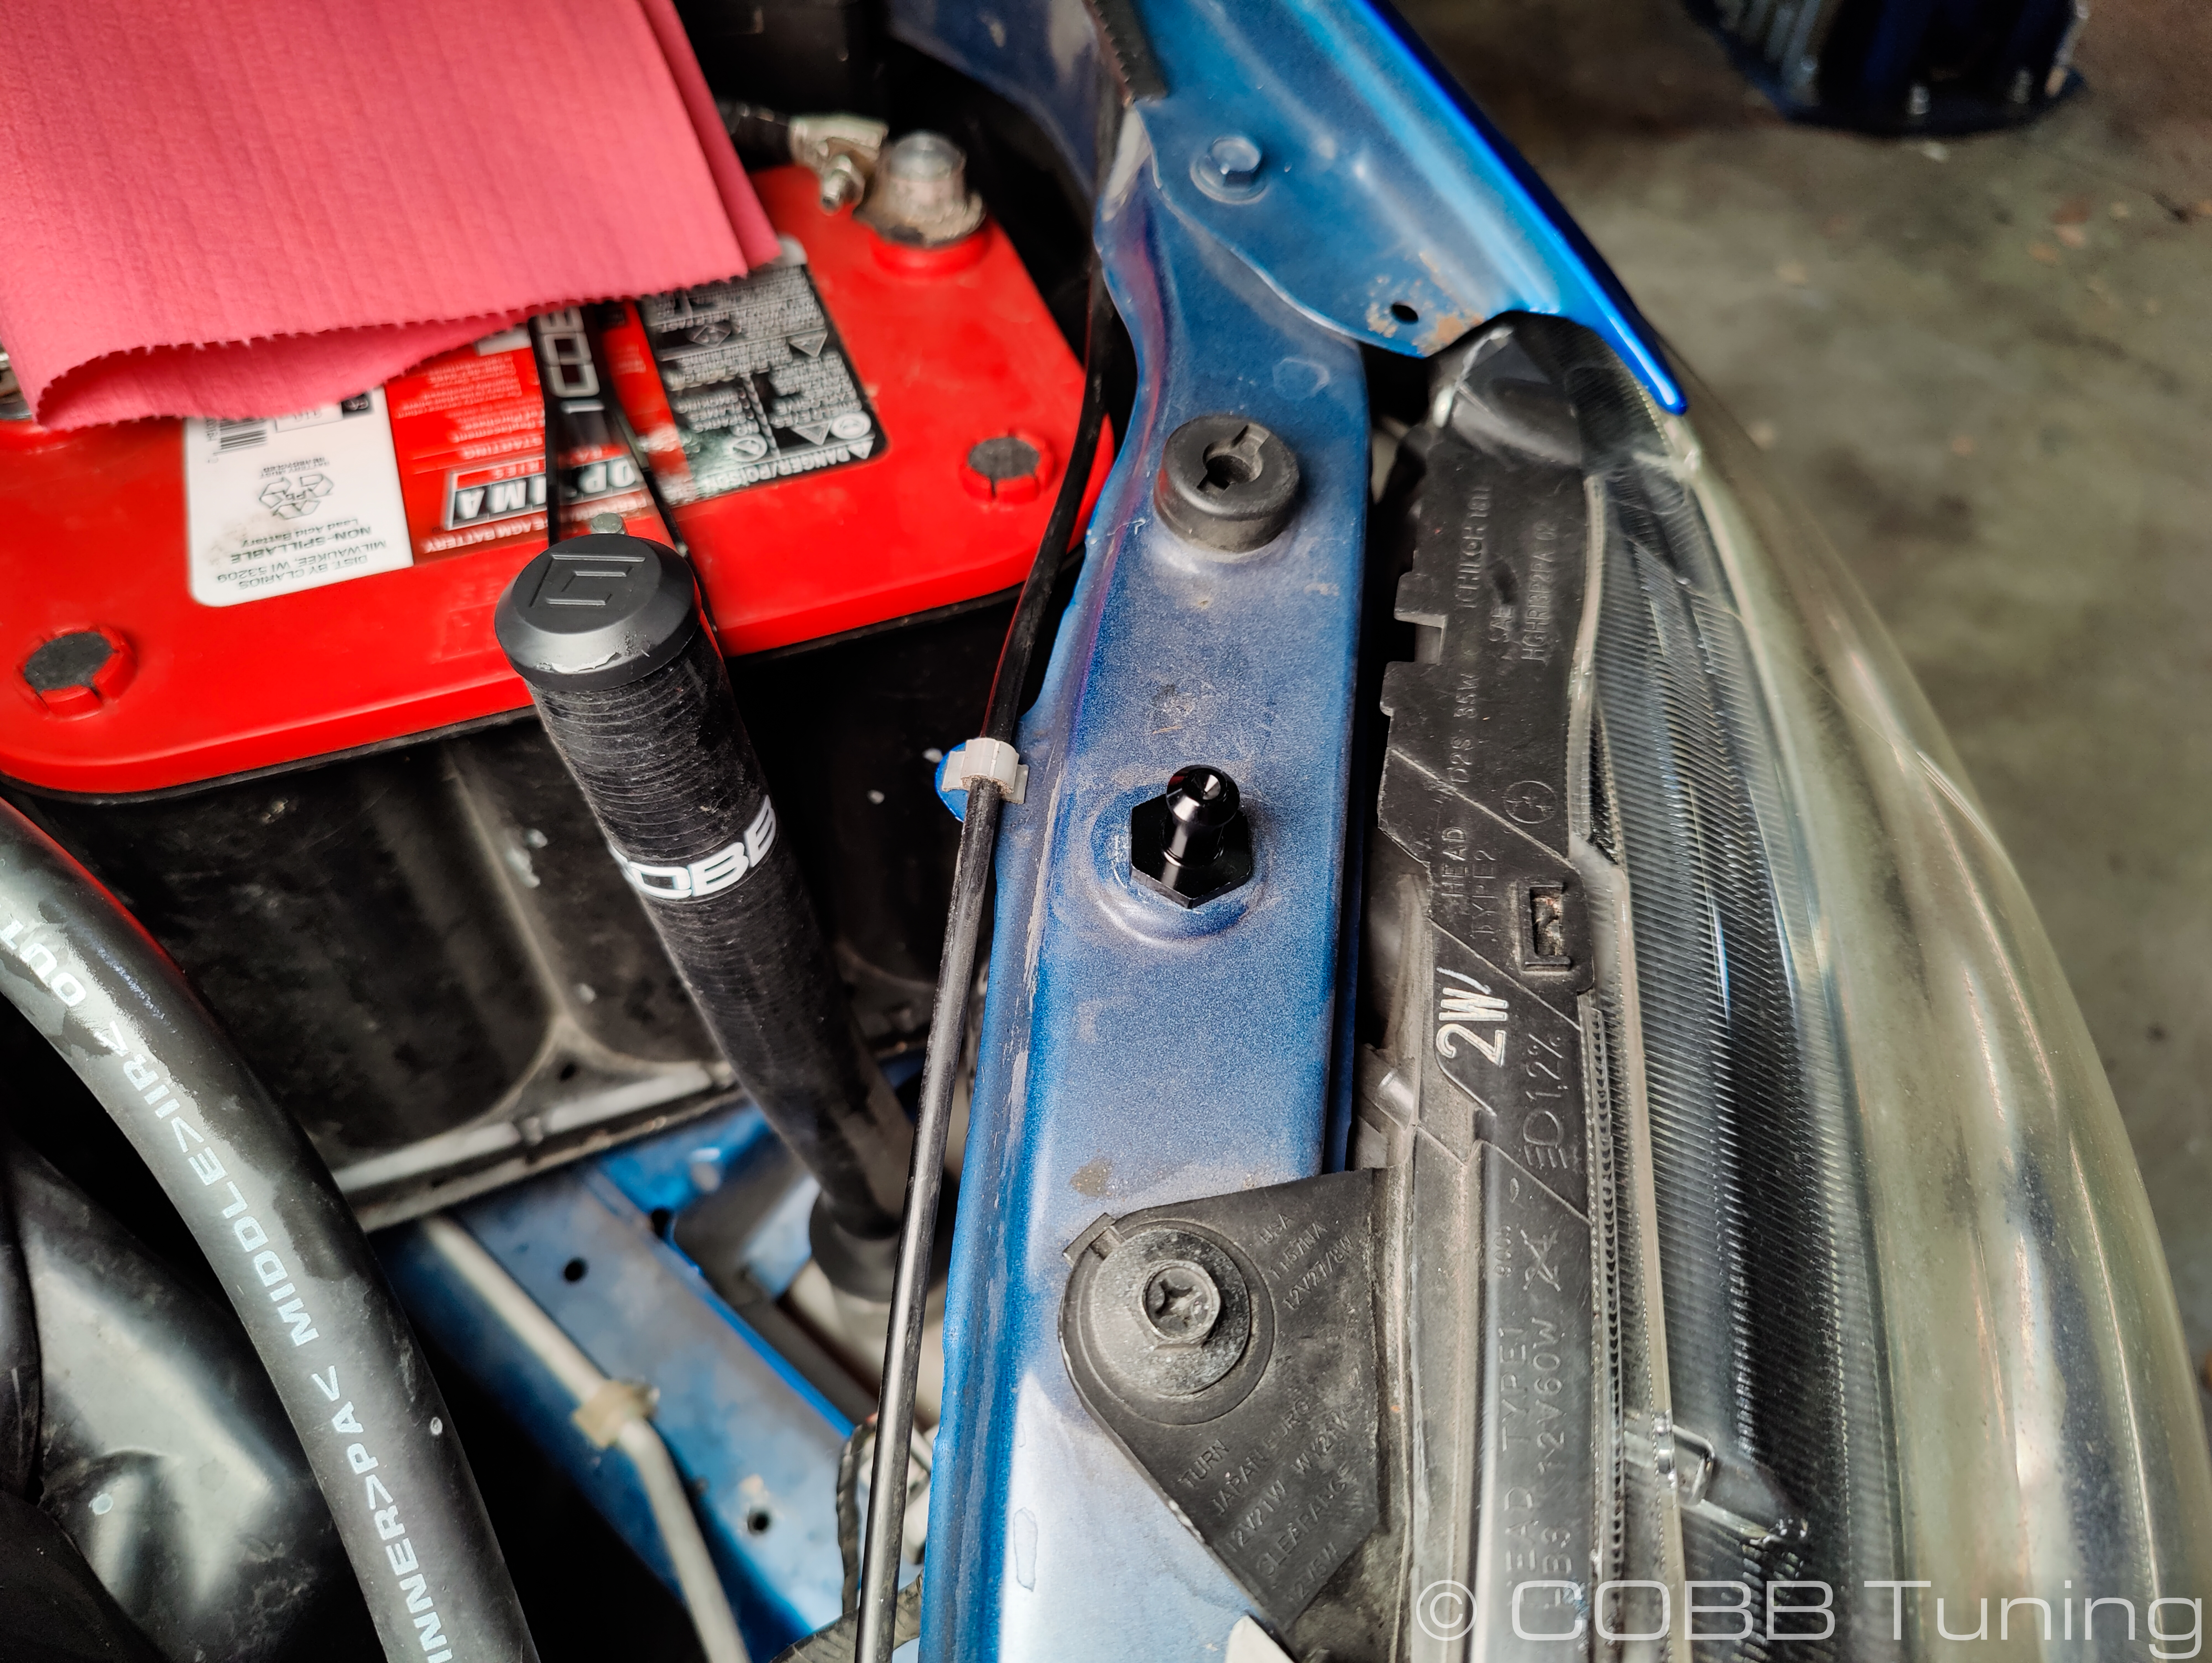 Image Added
- Using the longer m6x1.0 bolt install the overflow tank to the unoccupied bolt hole on the frame rail behind the headlight. Leave it loose for the time being.
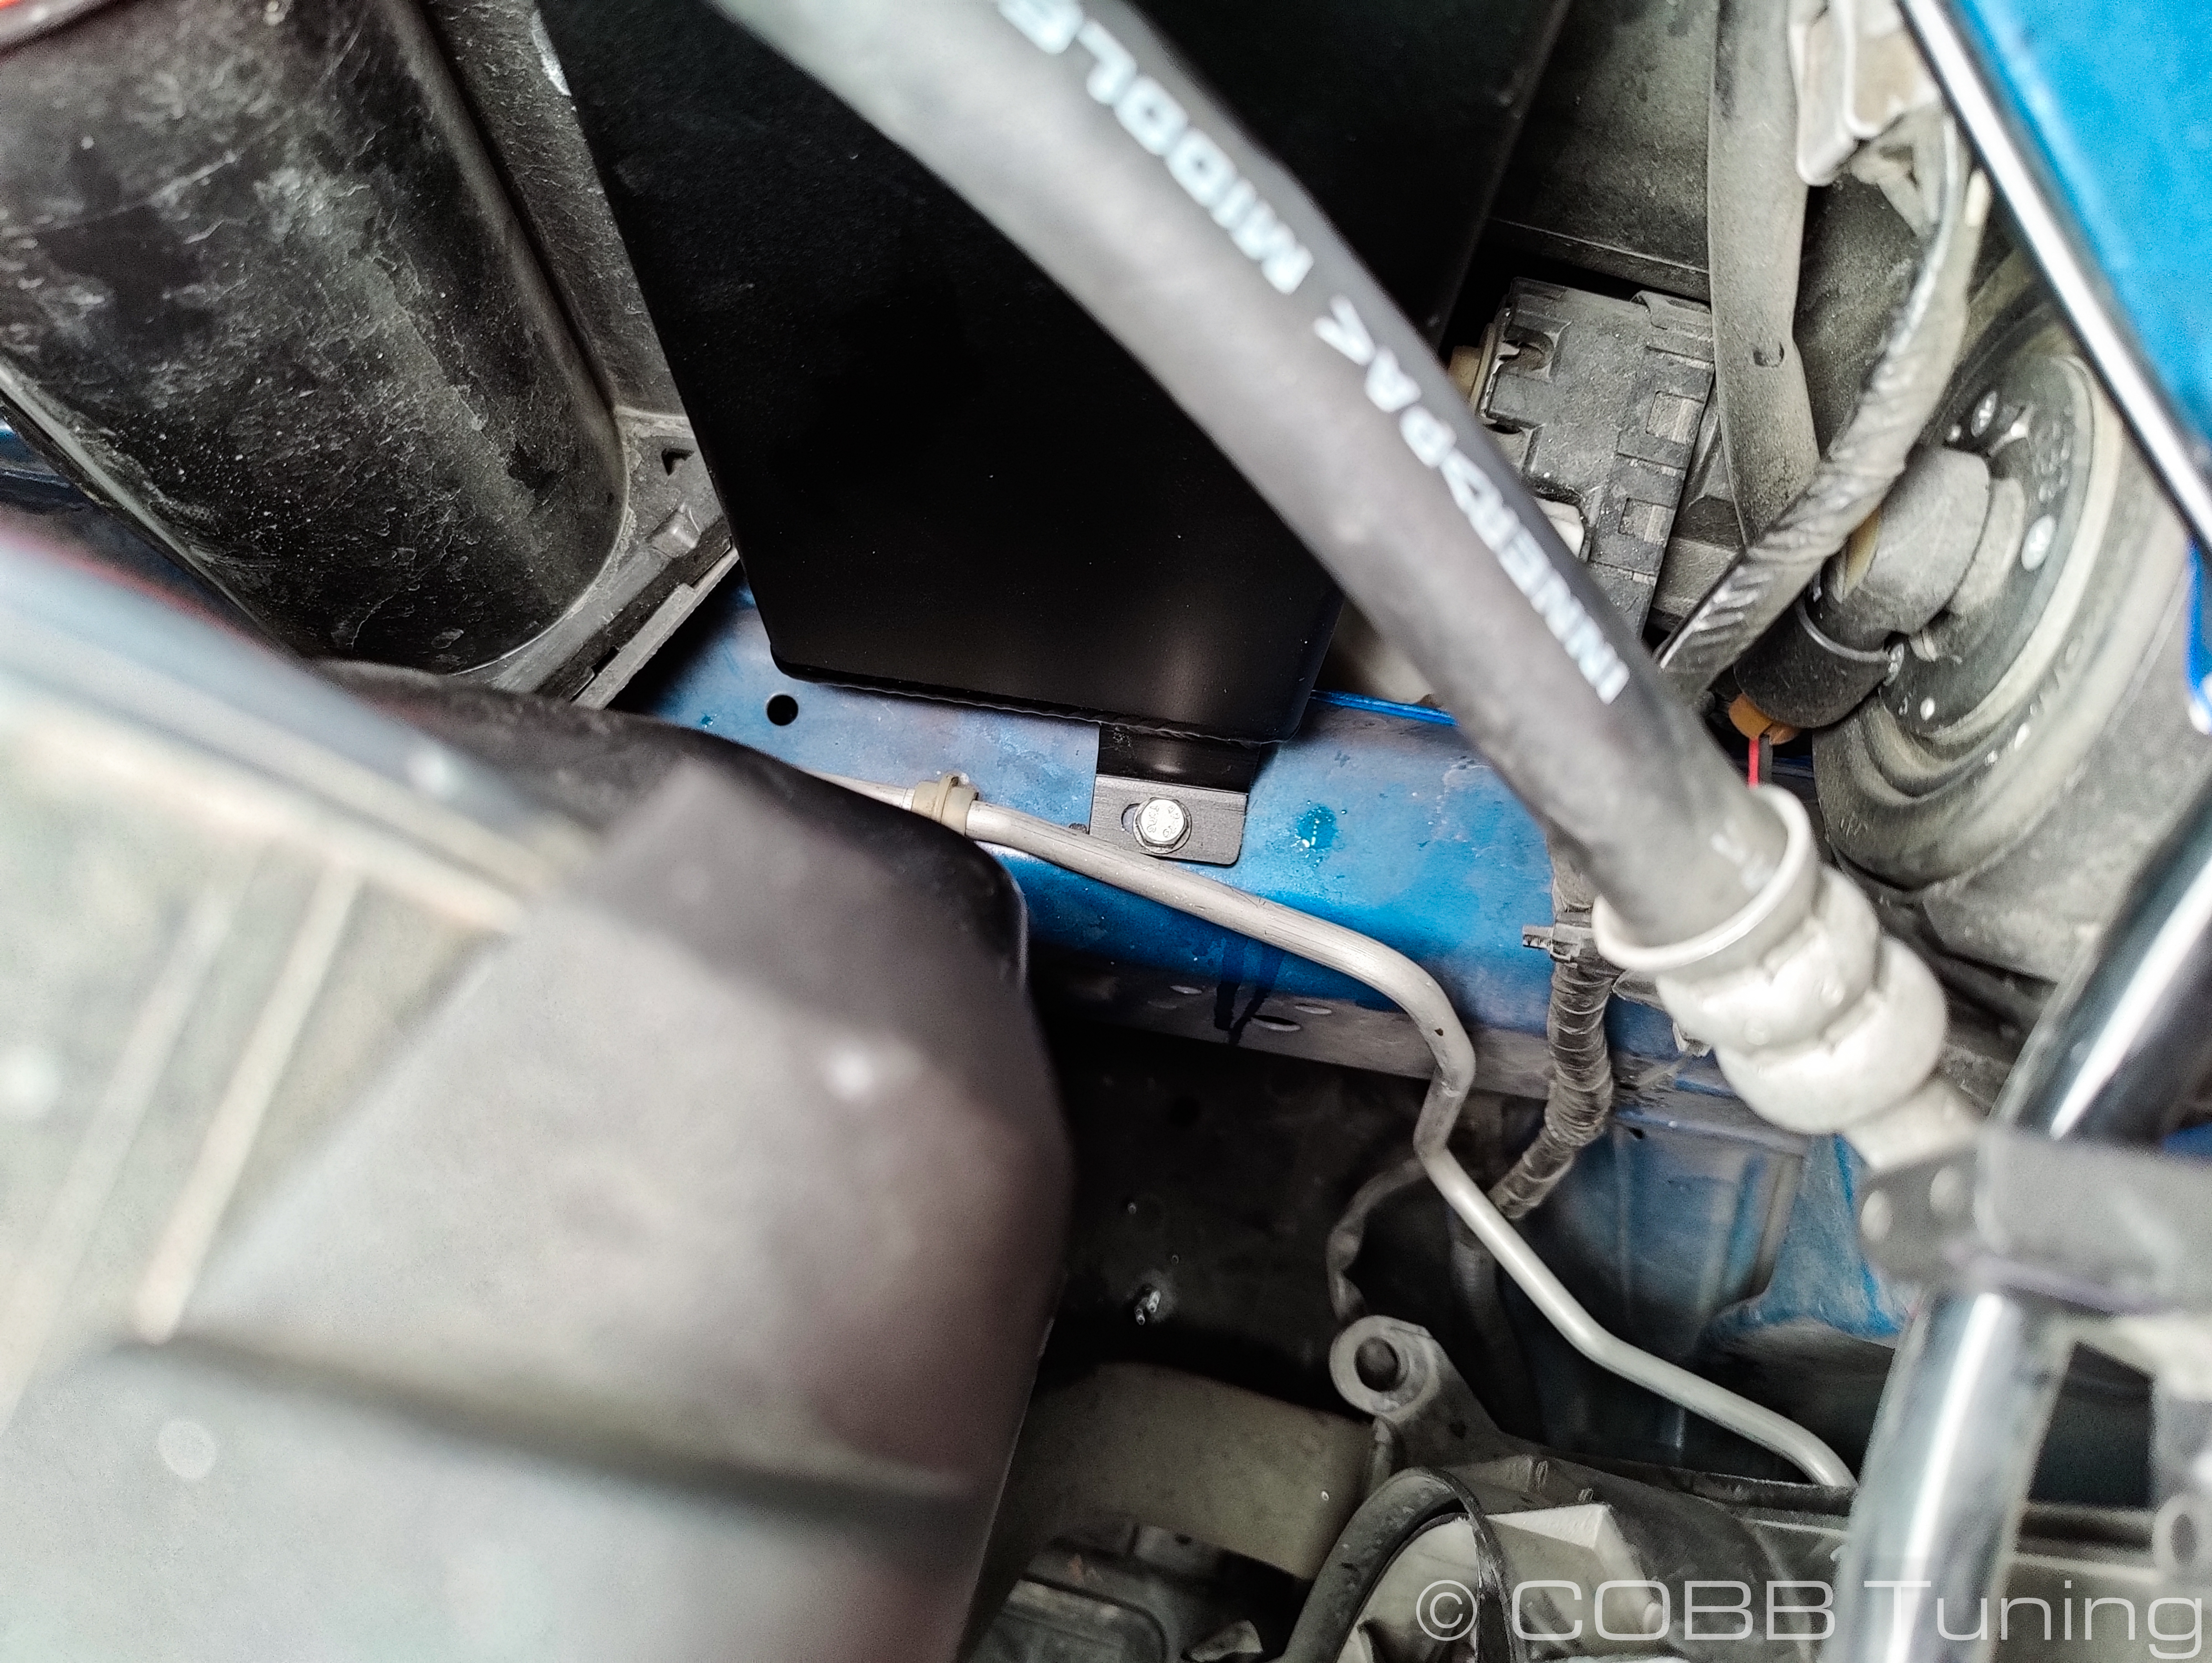 Image Added
- Push the grommet in the billet bracket over the trim pin then slide it over atop the overflow tank. Using the two allen bolts and an m4 allen wrench install the tapered bolts through the bracket into the overflow.
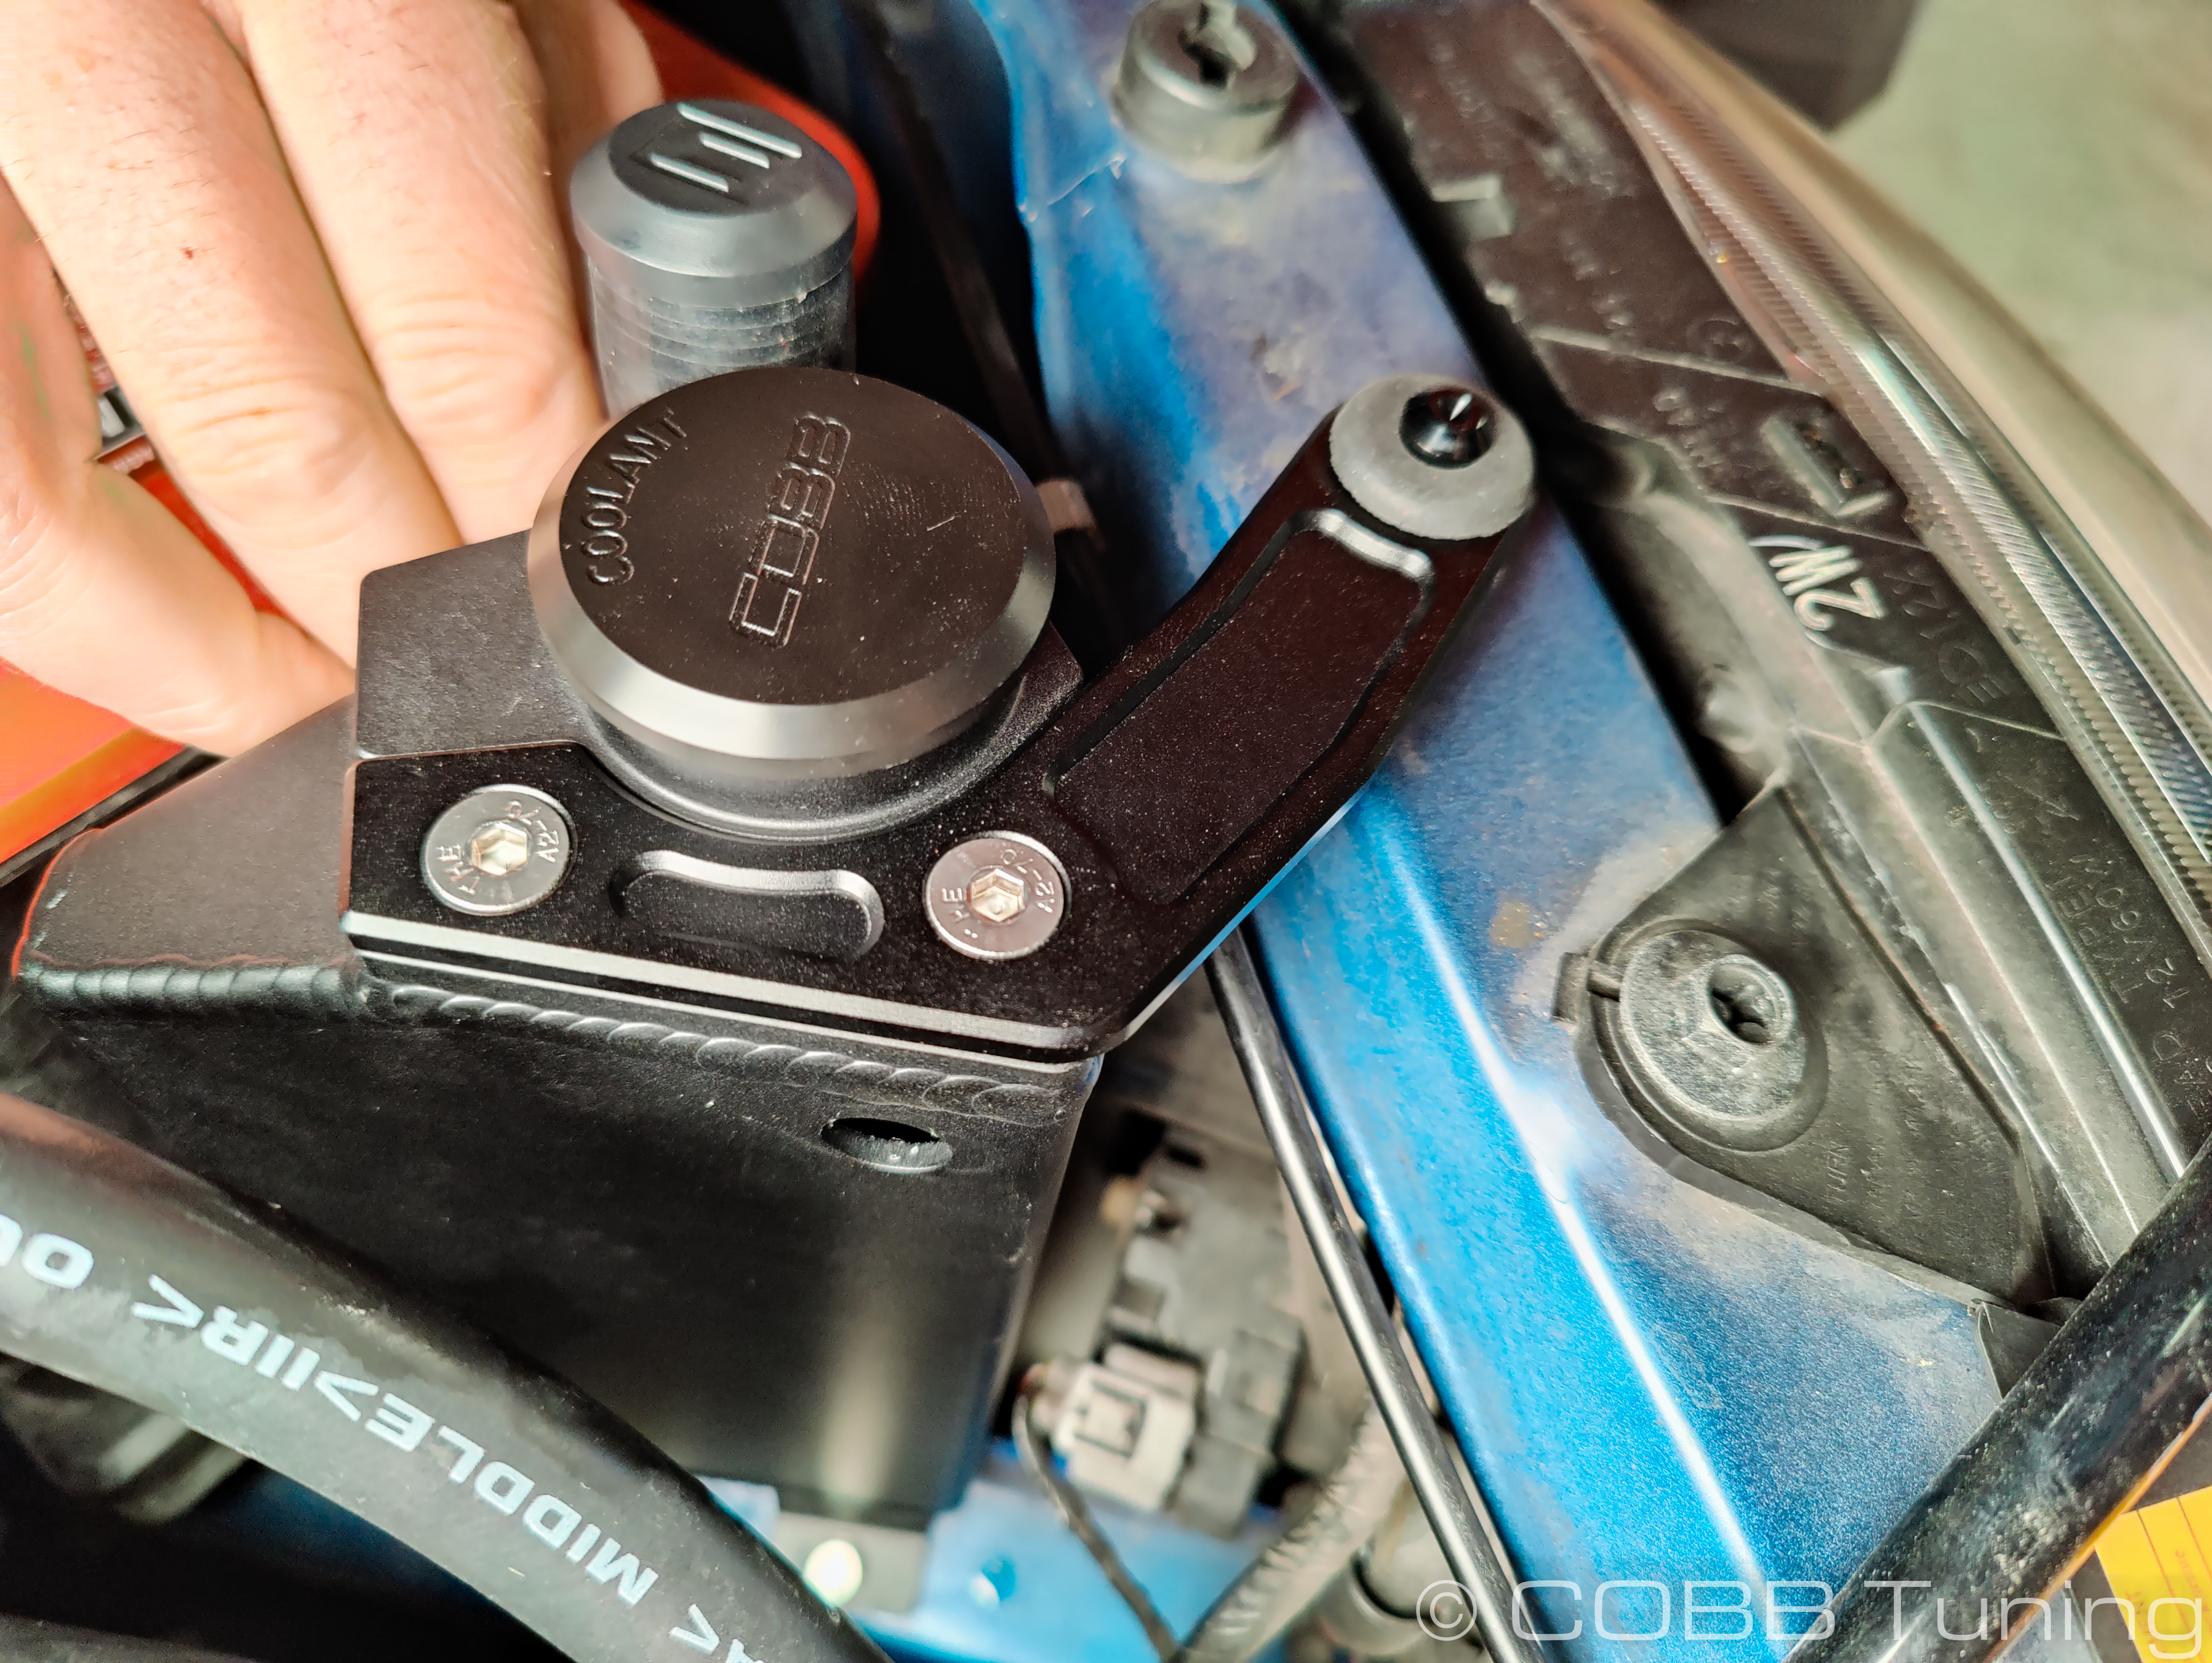 Image Added
- Cut the end of the provided hose at an angle, this keeps it from creating suction against the bottom of the tank.
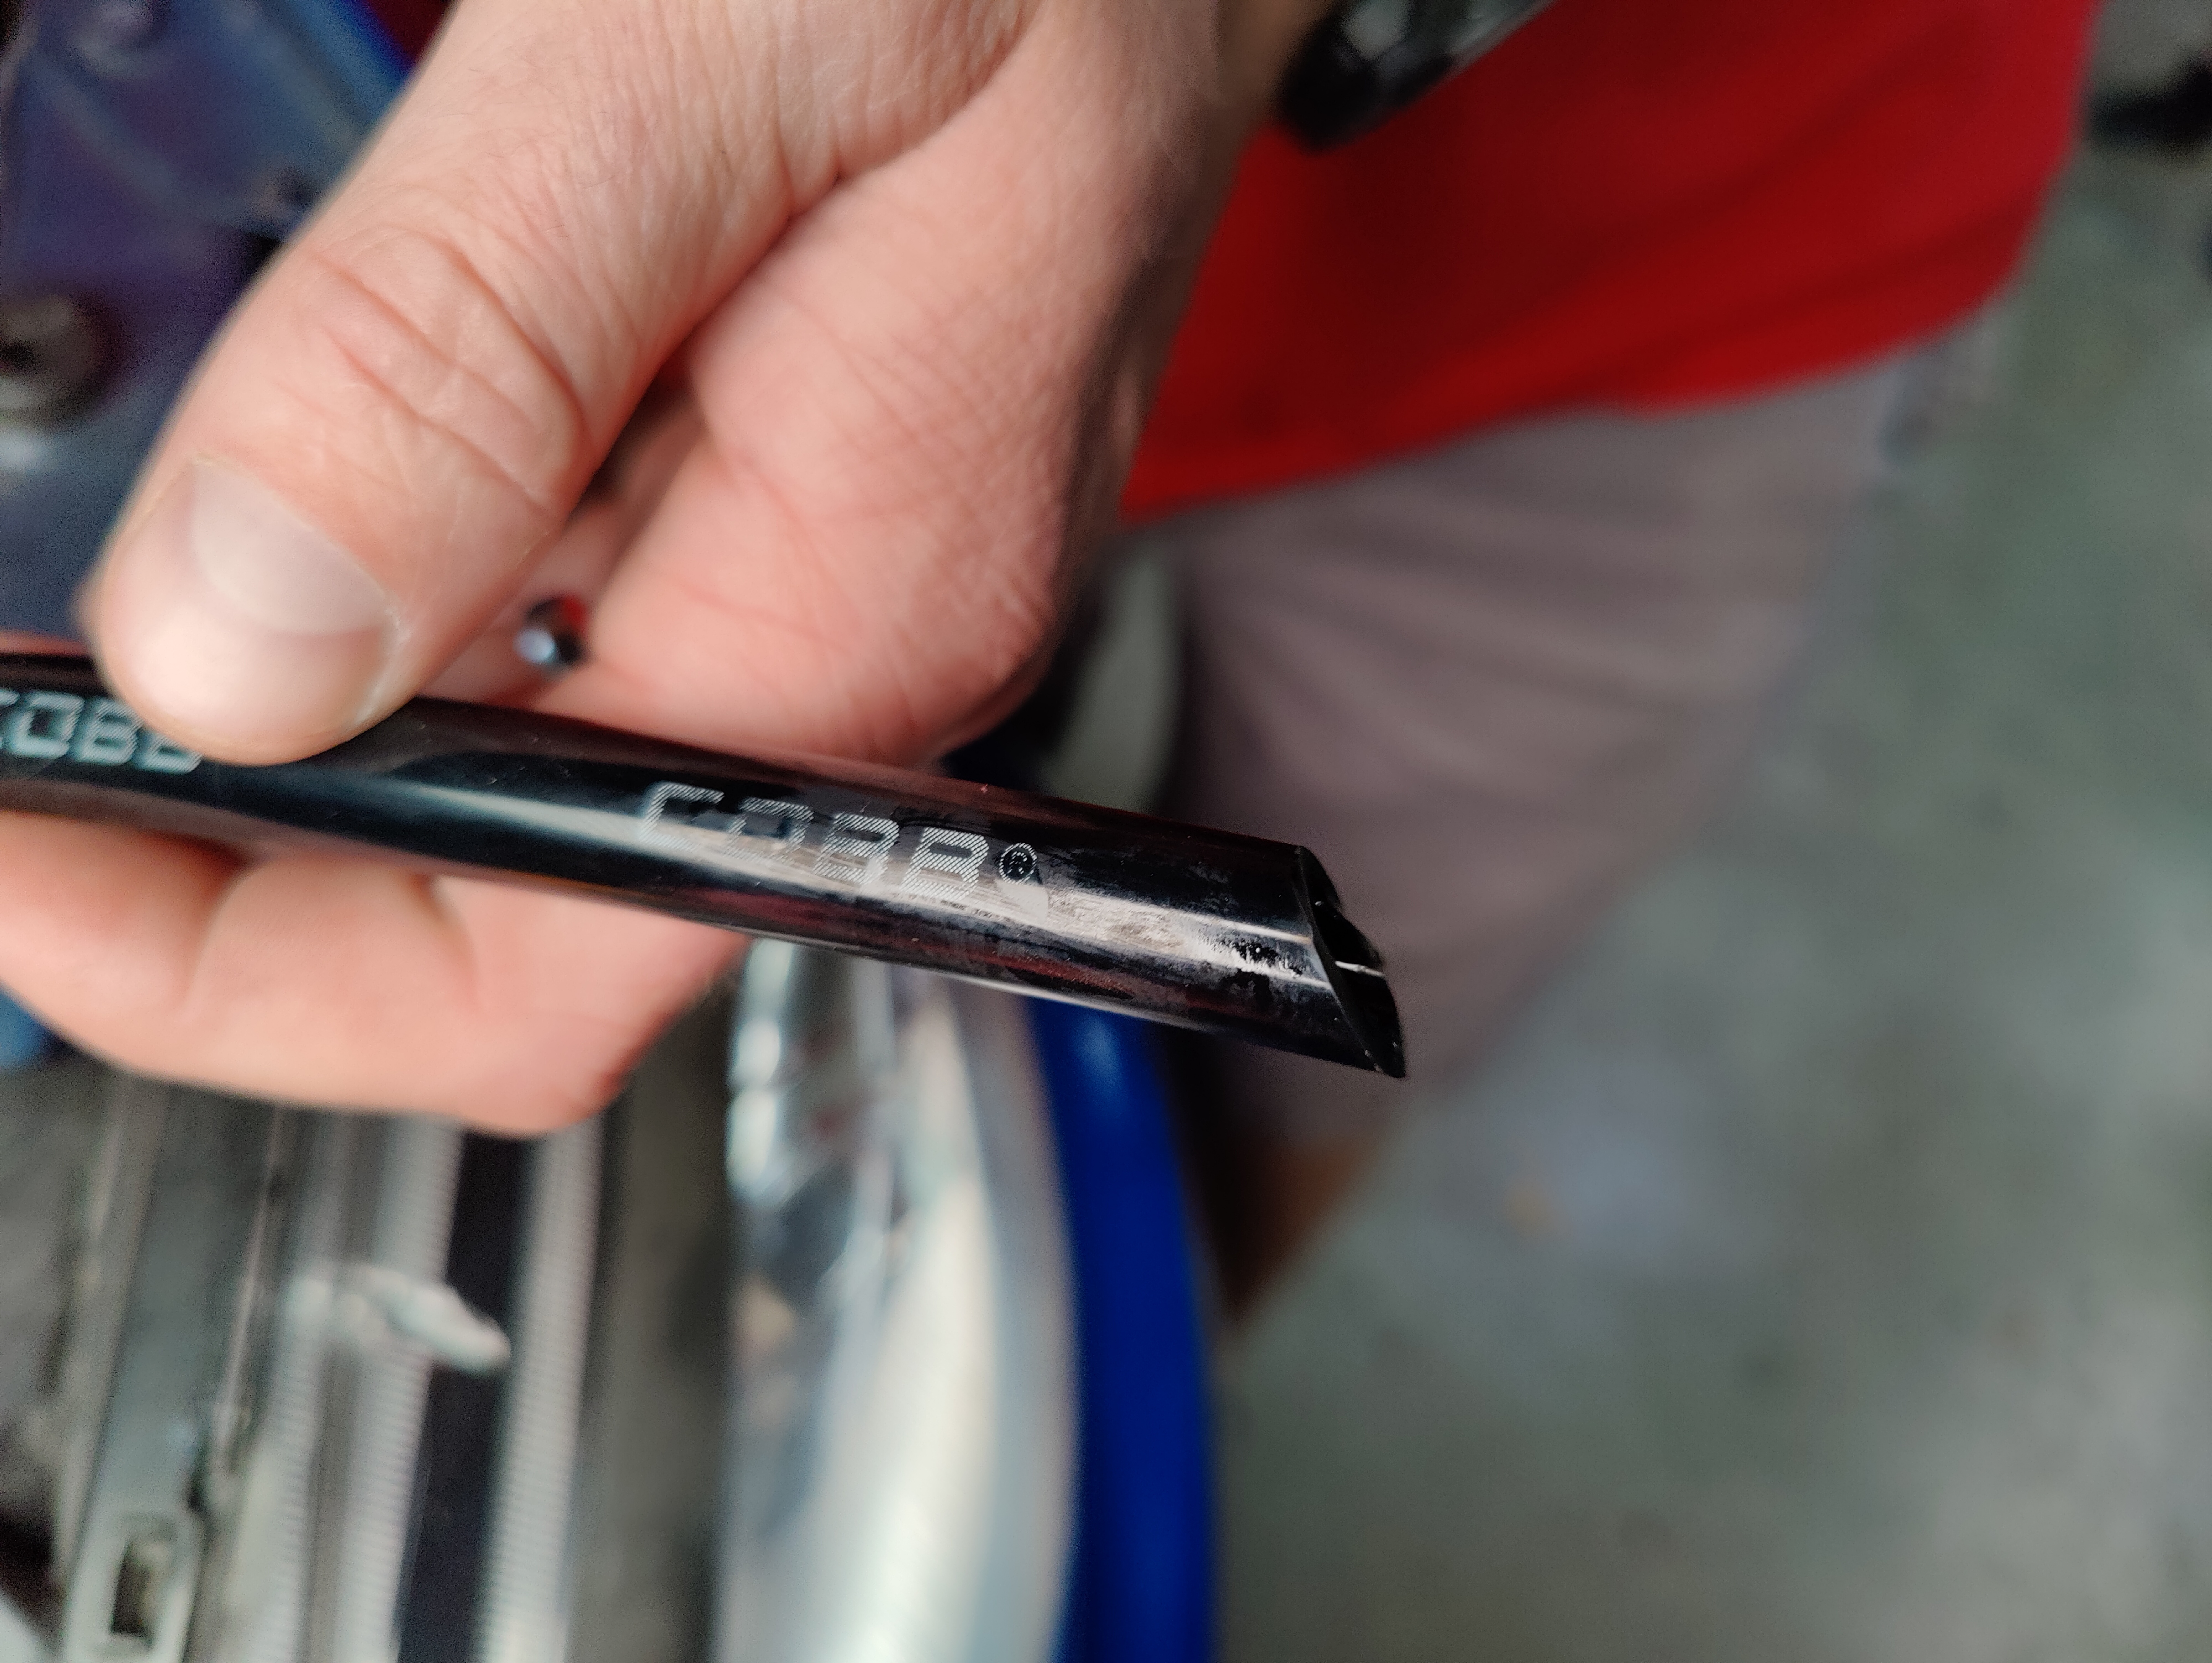 Image Added
- Install the straight cut end of the hose onto the radiator and feed the slash cut end into the tank.
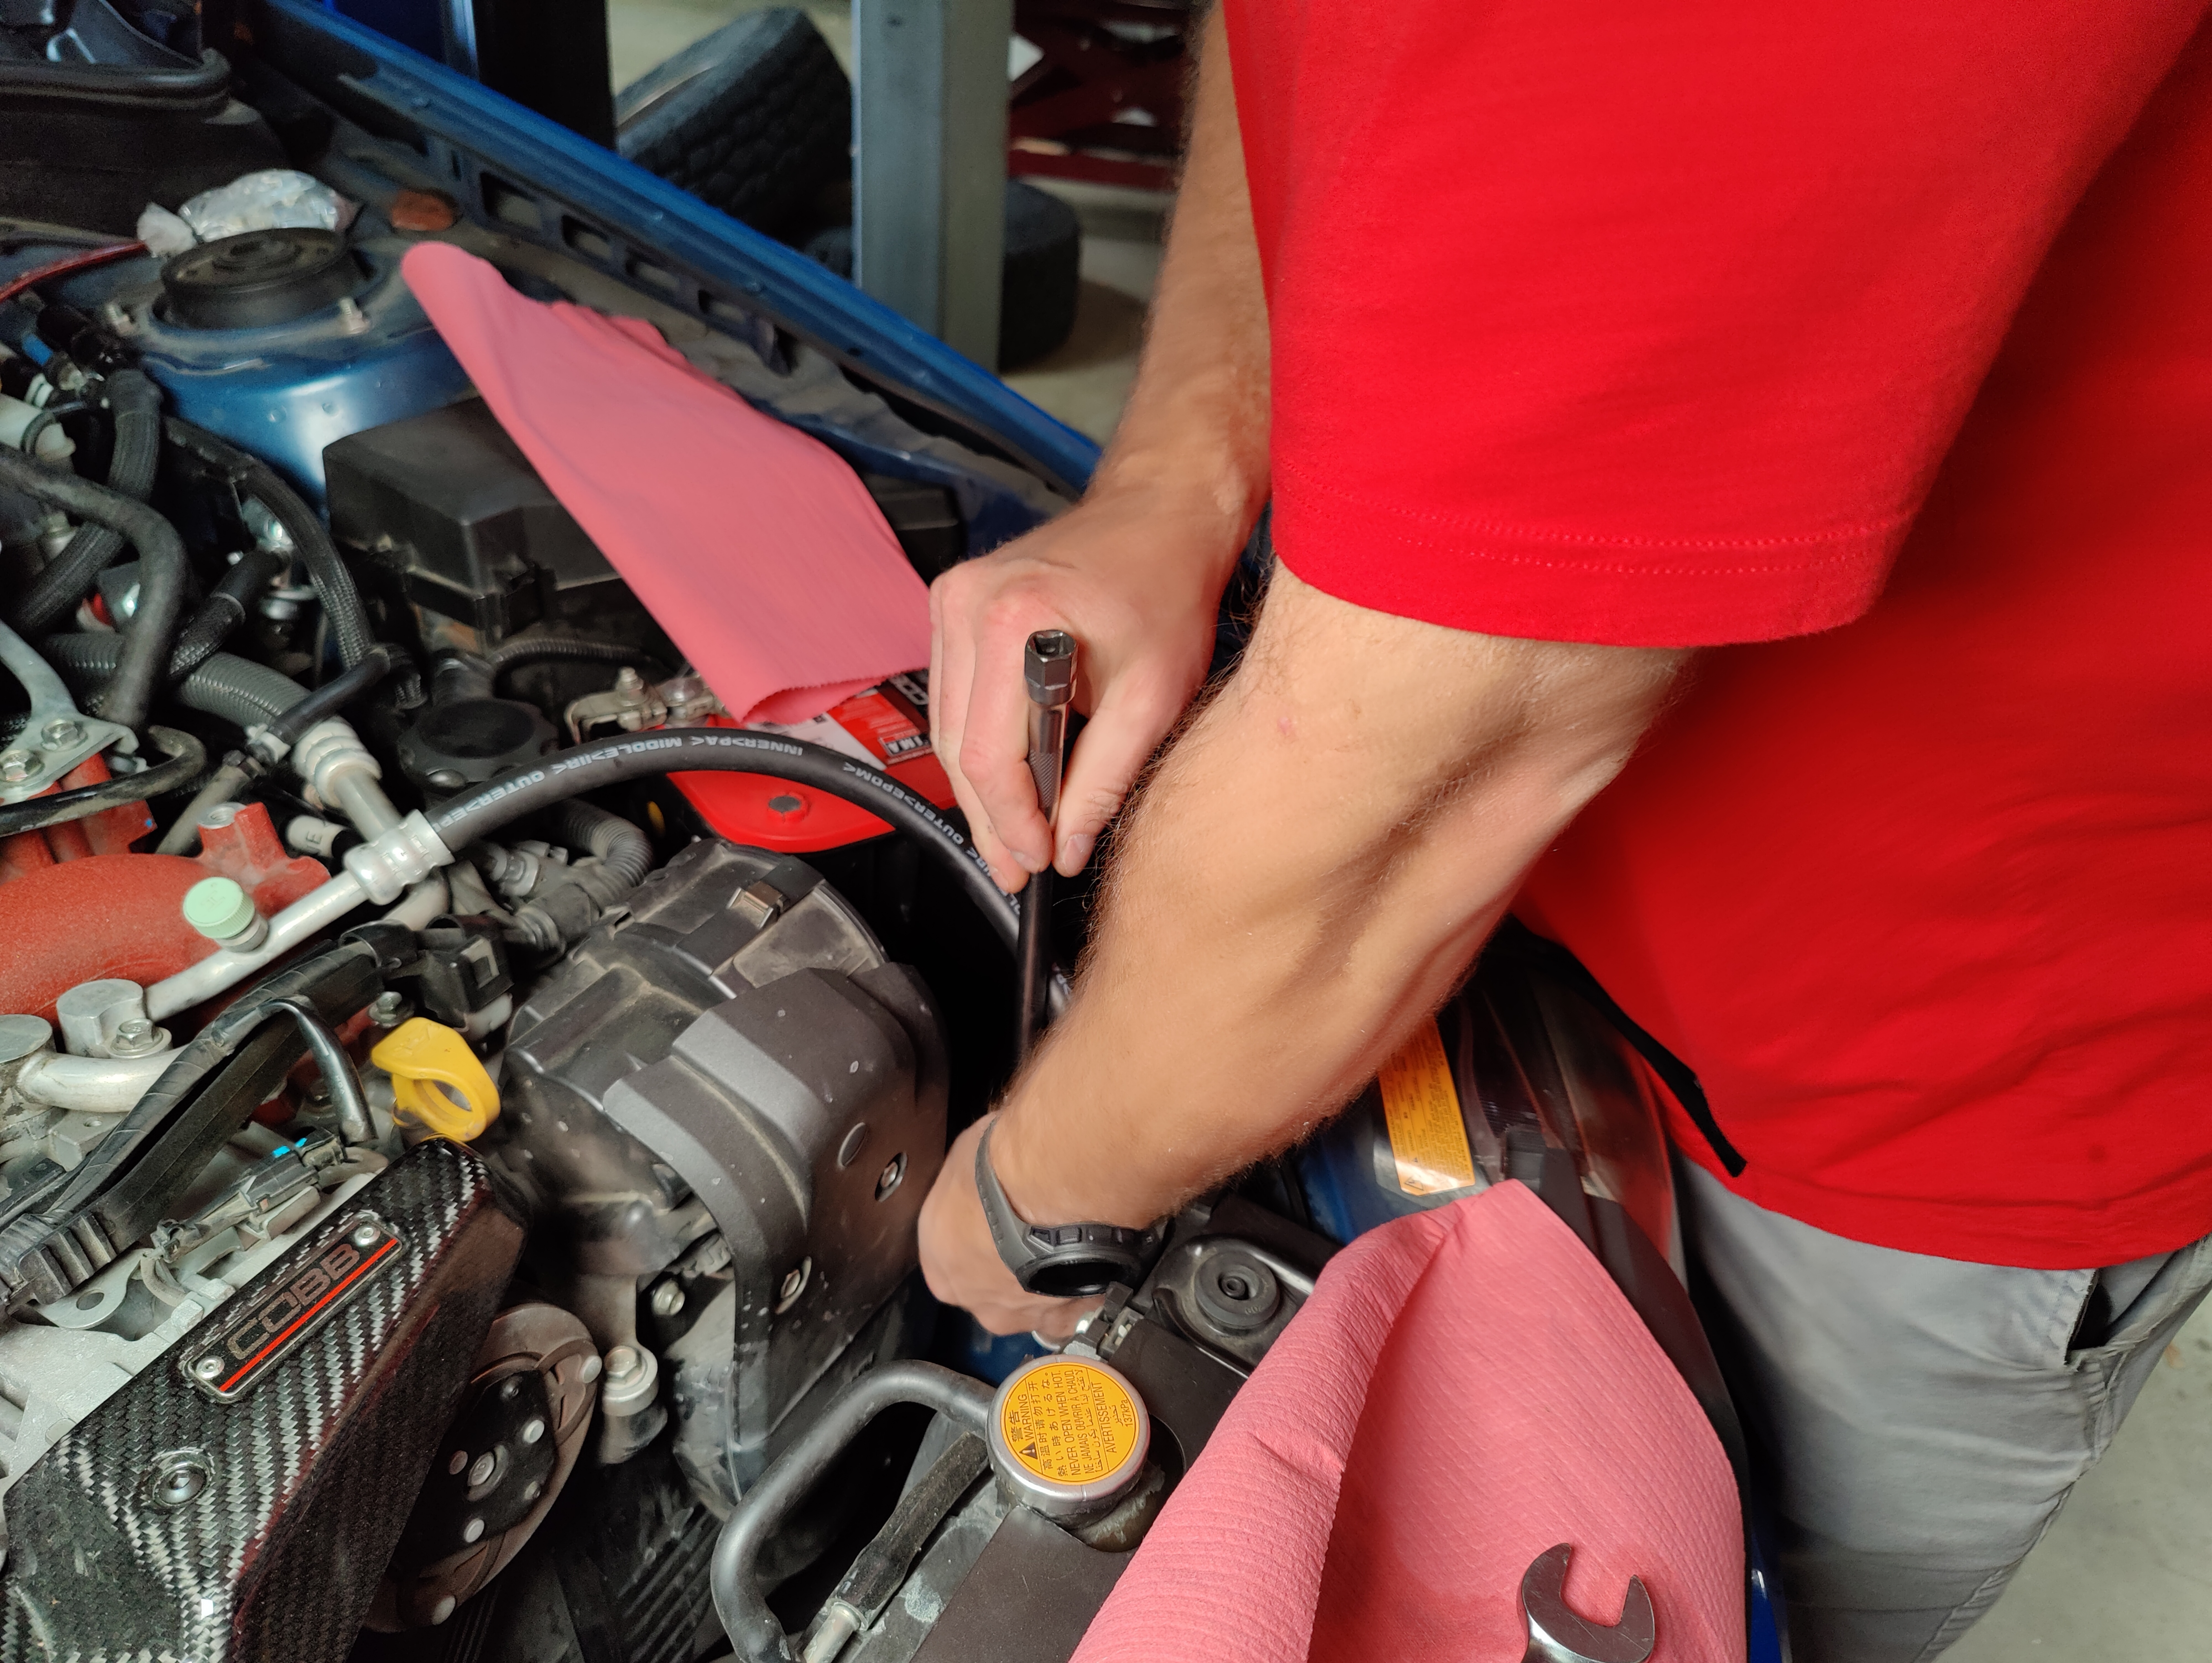 Image Added
- Add the fluid from your radiator overflow into the new tank. If you're doing a complete refill of the system you'll typically want to keep the overflow around 1/3 of the way full.
- Install the provided o-ring onto the new delrin coolant overflow cap.
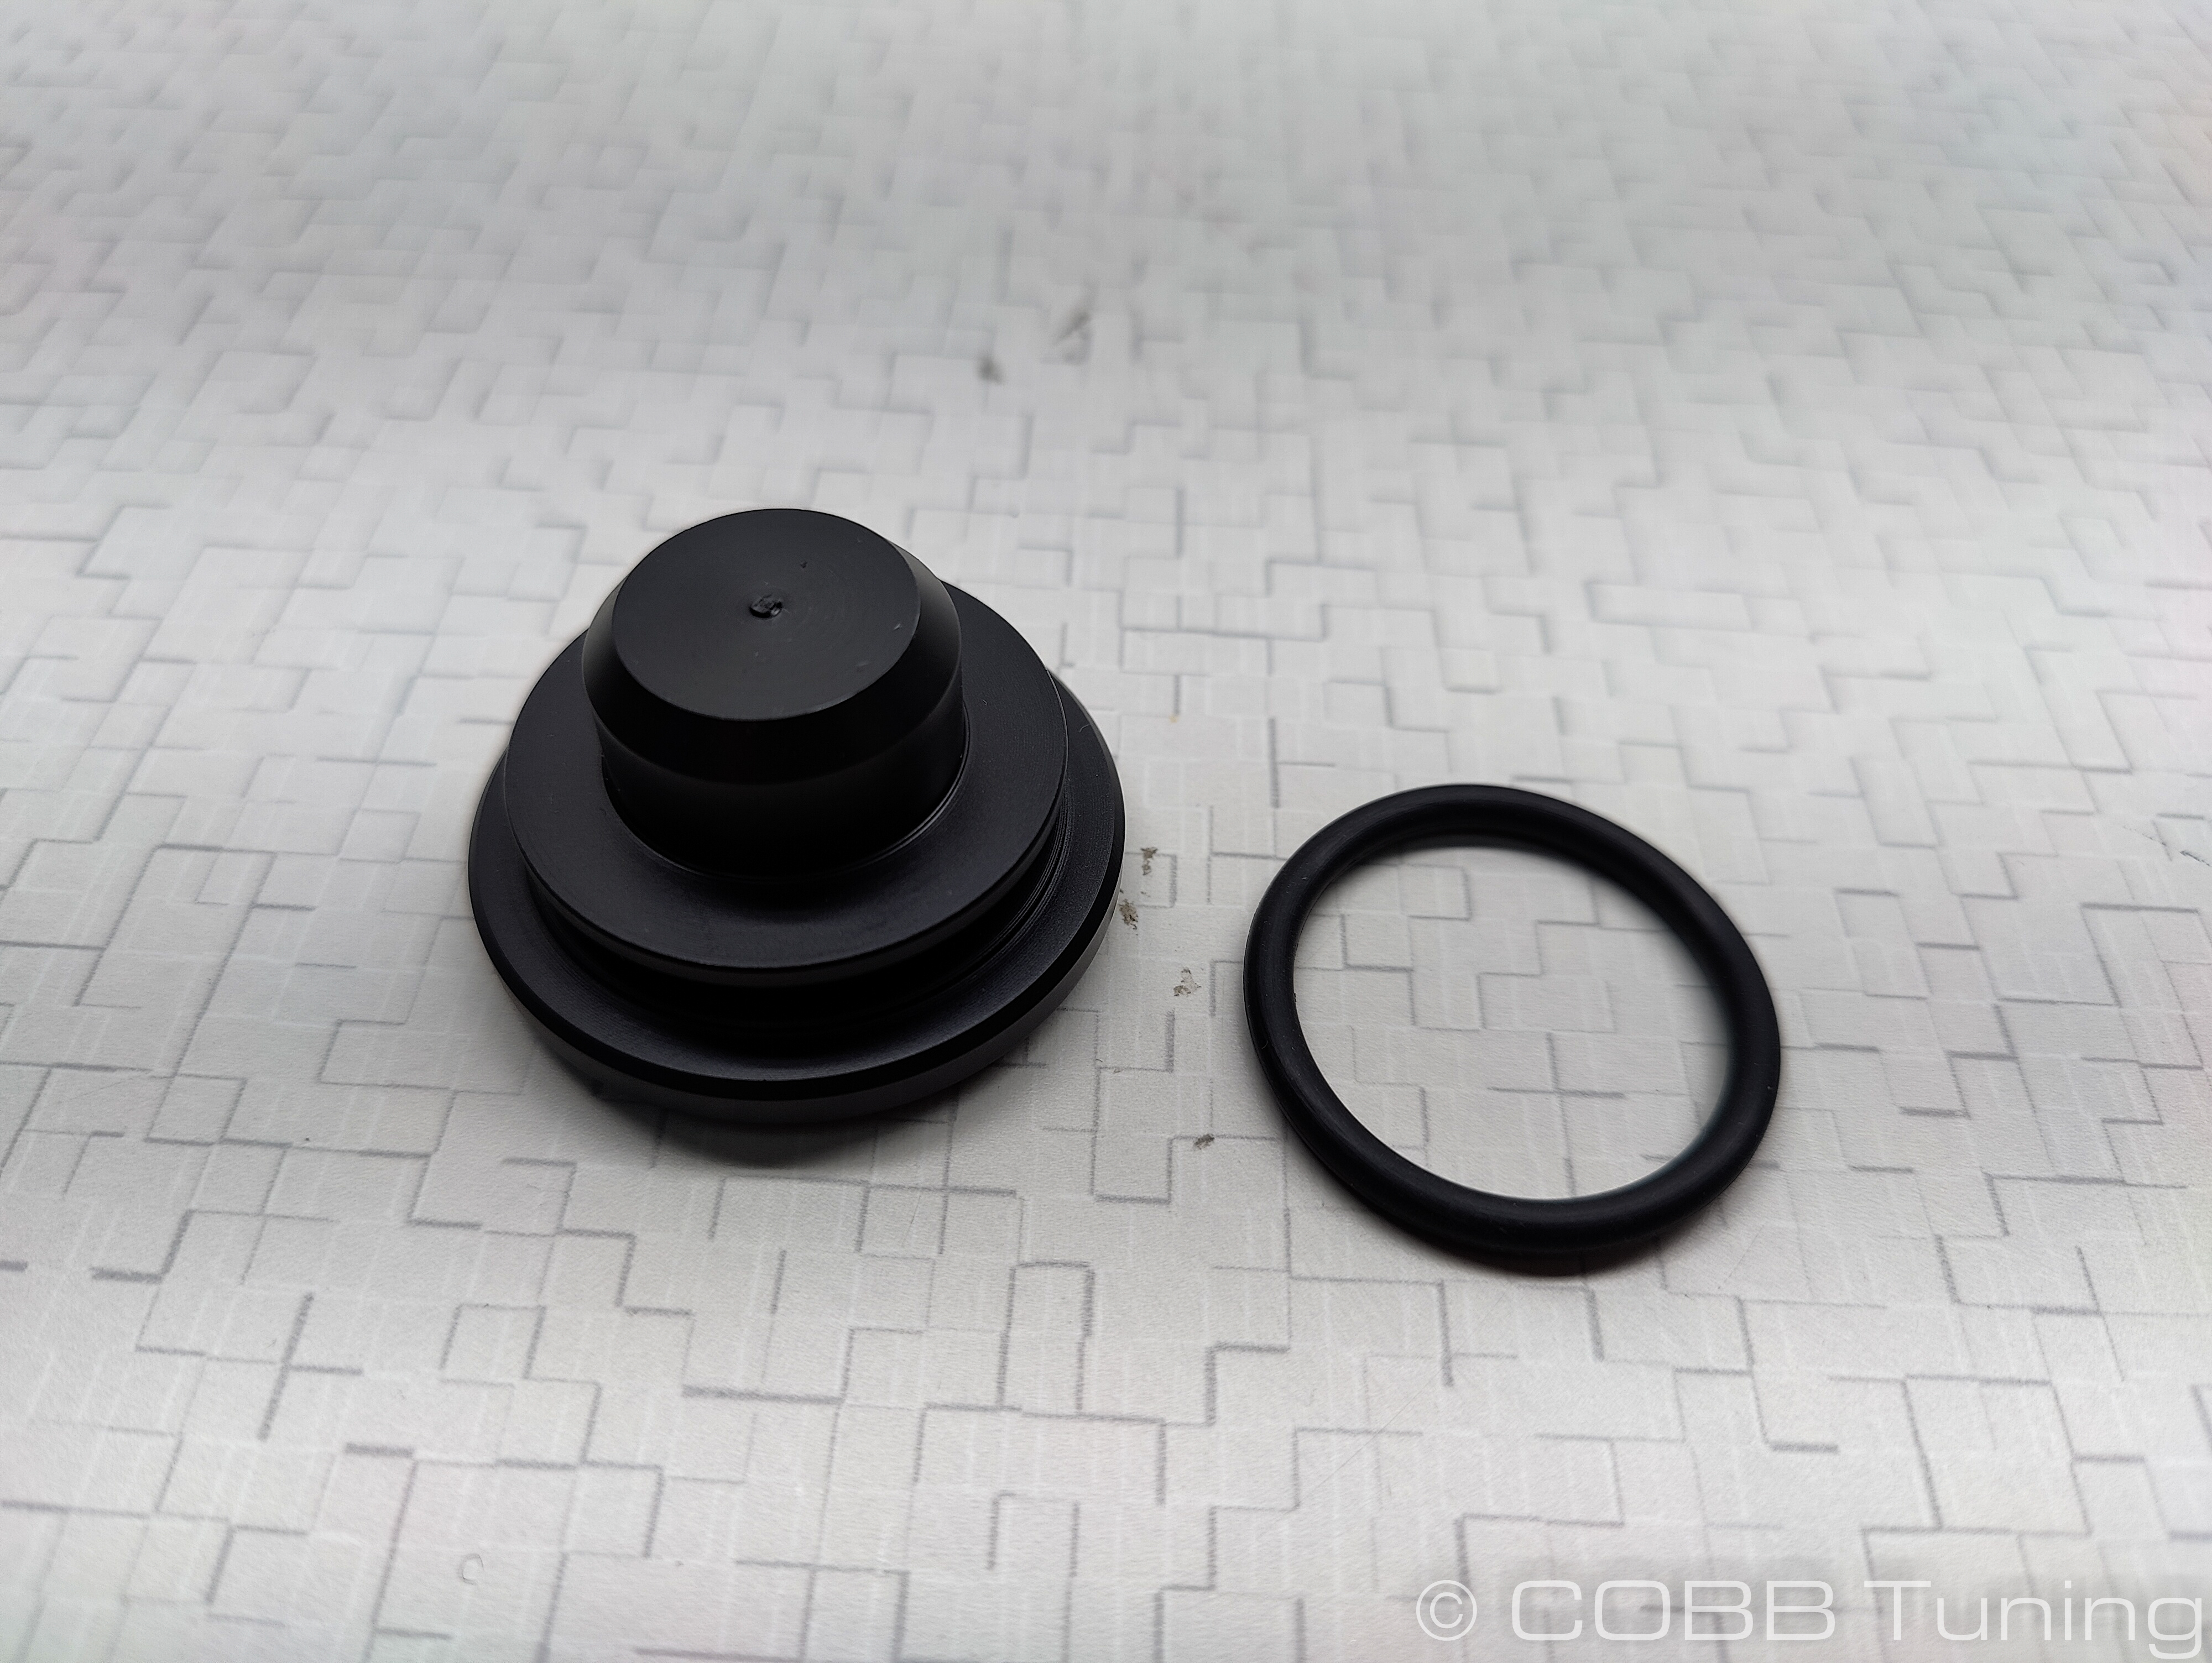 Image Added
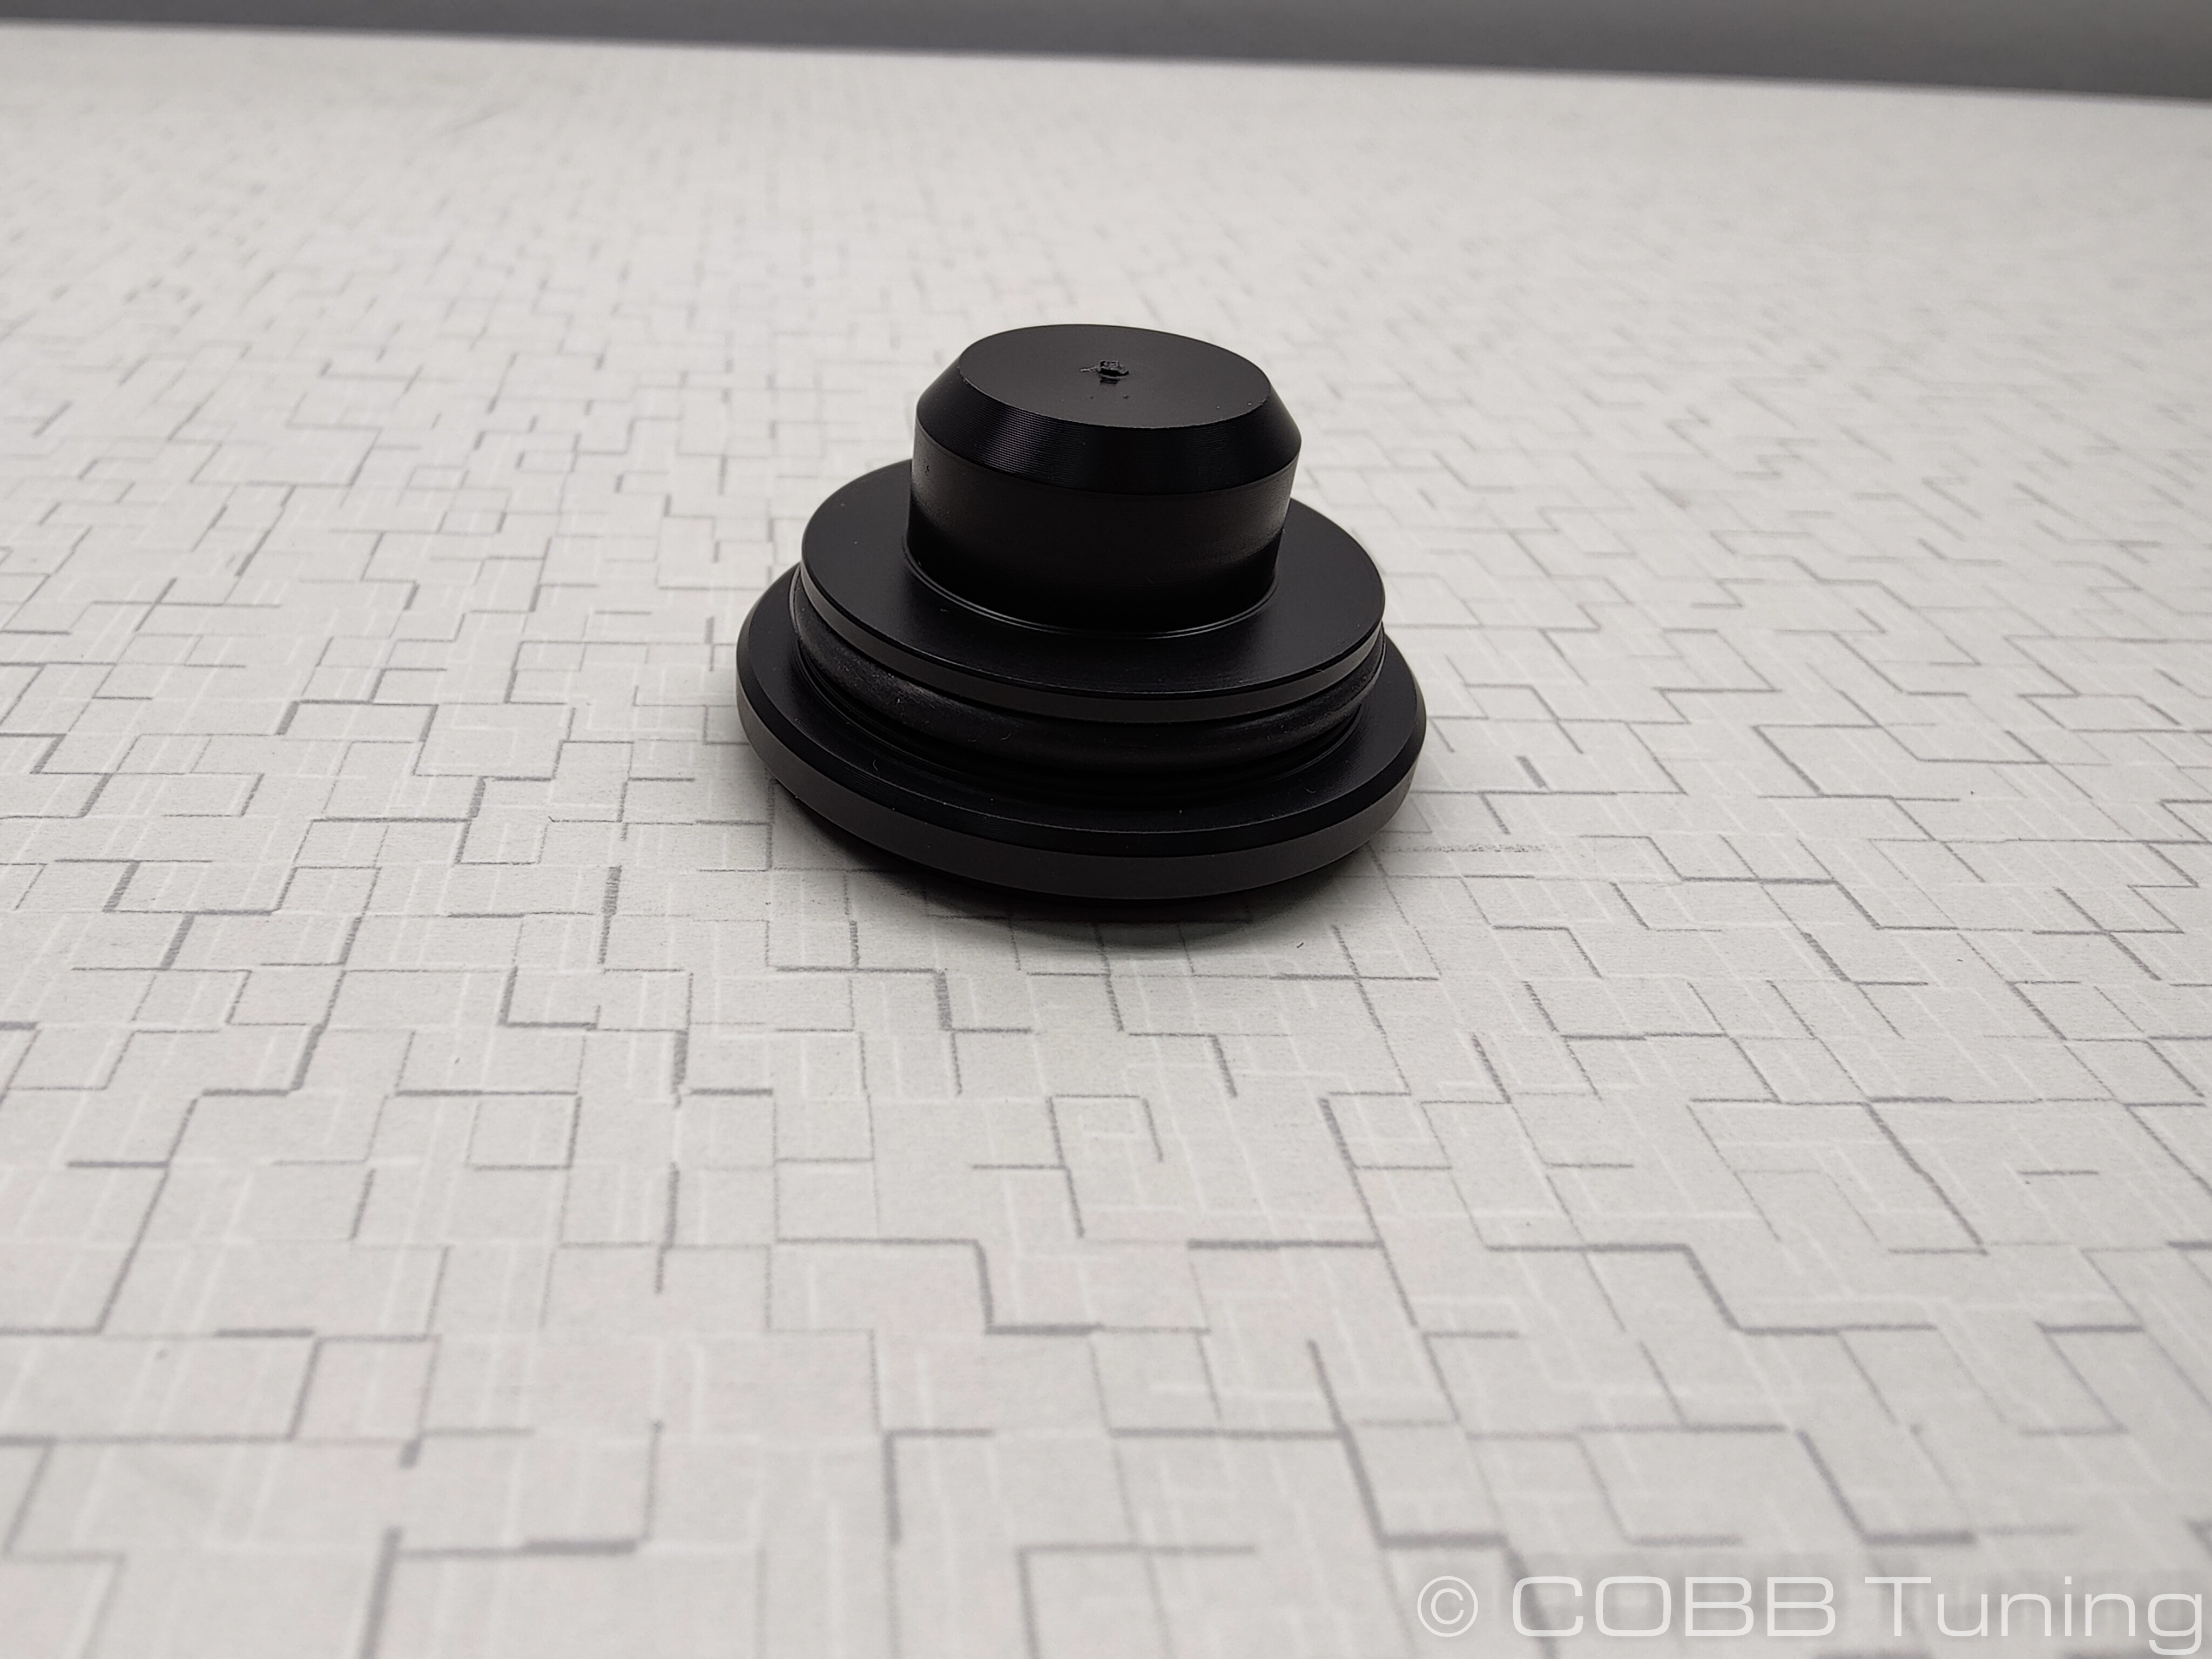 Image Added
- Install it into the overflow.
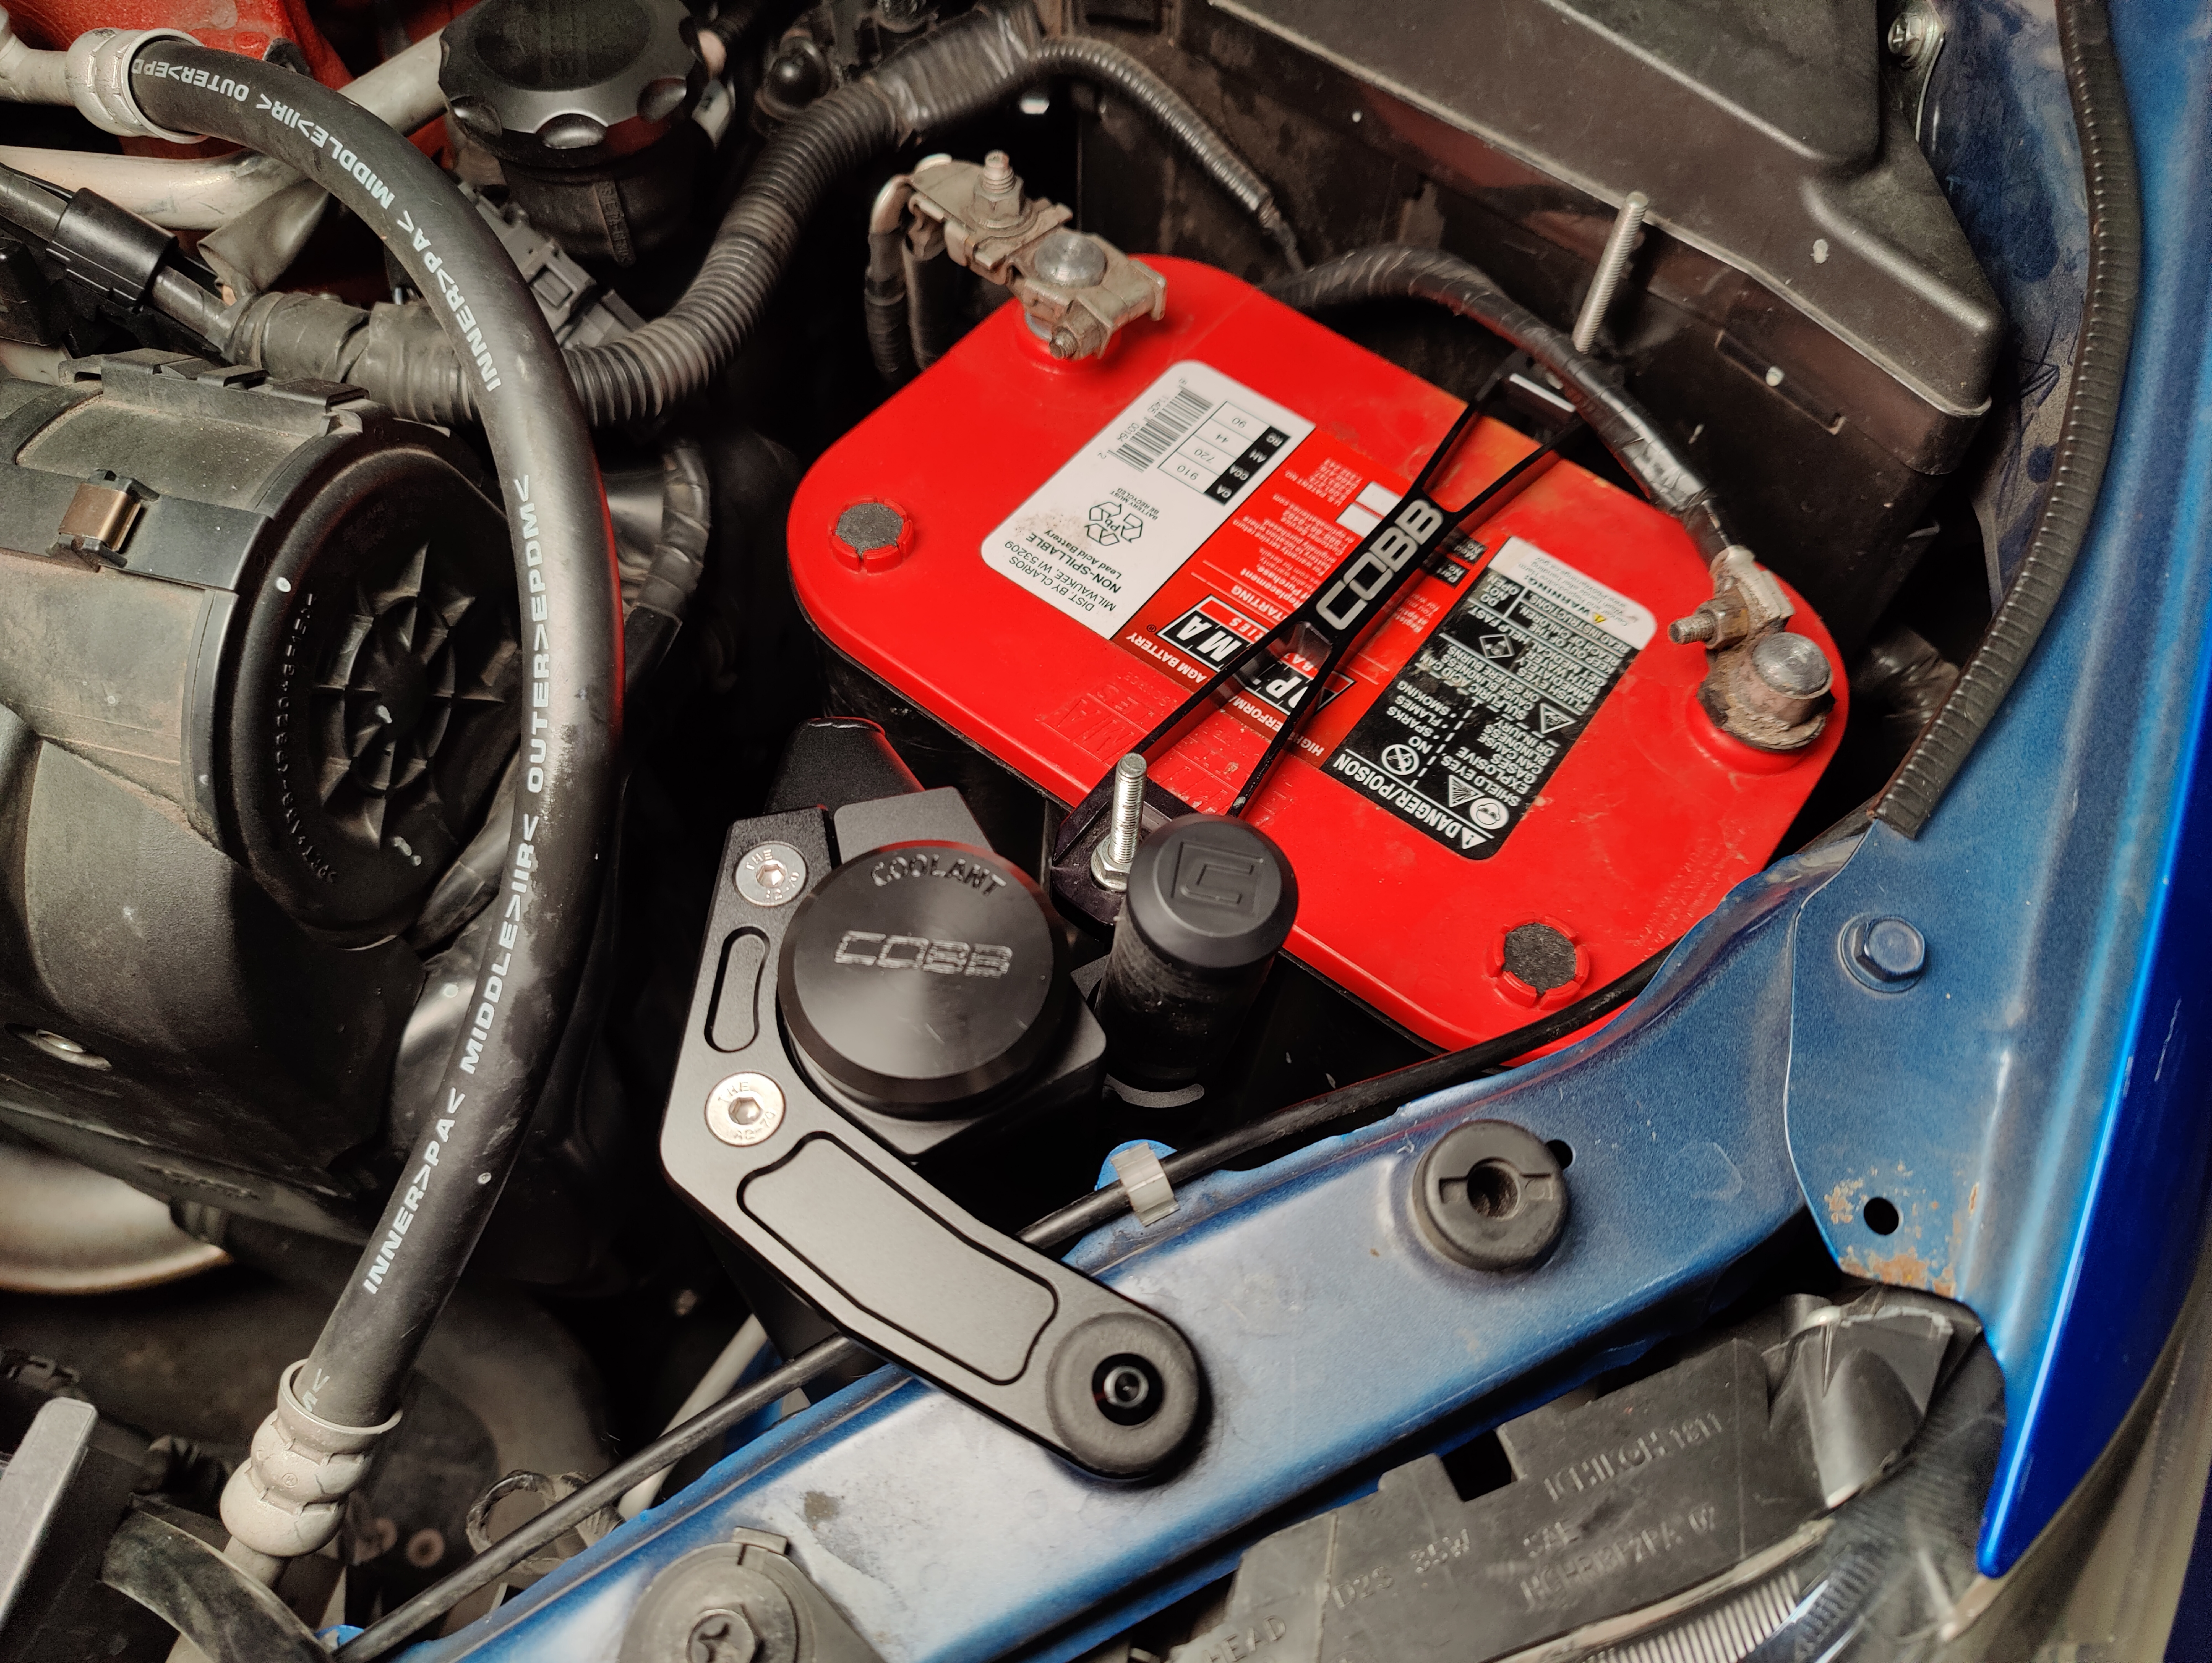 Image Added
- You're all done, go out and enjoy!
| Insert excerpt |
|---|
| PRS:Contact Us: |
|---|
| PRS:Contact Us: |
|---|
| nopanel | true |
|---|
|