
742100 - VA DIT WRX Redline Carbon Intake
Subaru WRX 2015 - 2021
Congratulations on your purchase of the COBB Tuning Redline Intake! The following instructions will assist you through the installation process. Please read them BEFORE beginning the install to familiarize yourself with the steps and tools needed. If you feel you cannot properly perform this installation, we HIGHLY recommend you take the vehicle to a qualified and experienced automotive technician.
Table of Contents
| Table of Contents |
|---|
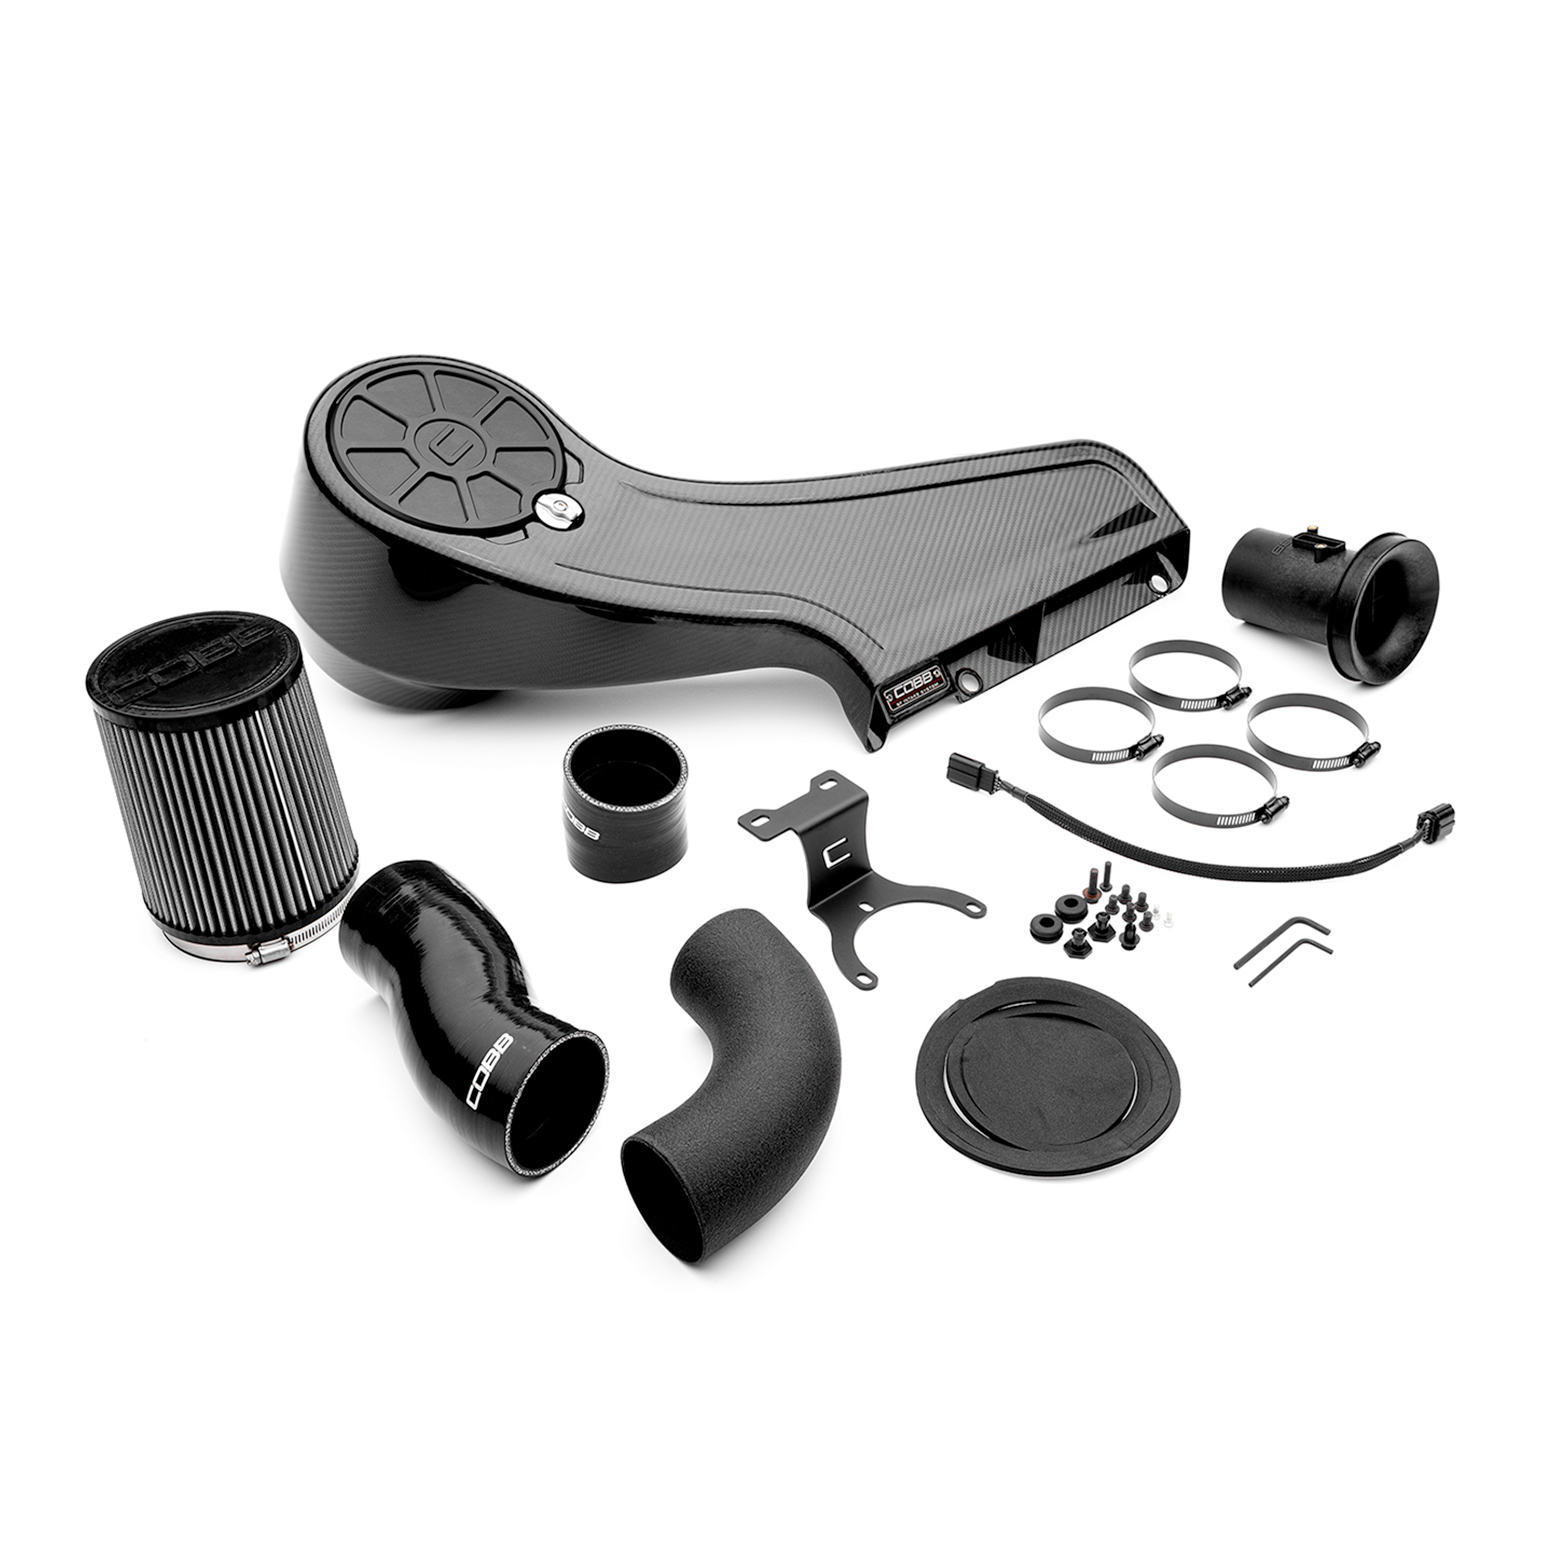
Parts List
| Expand | ||
|---|---|---|
| ||
|
| Expand | ||
|---|---|---|
| ||
|
| Expand | ||
|---|---|---|
| ||
|
| Expand | ||
|---|---|---|
| ||
|
| Expand | ||
|---|---|---|
| ||
|
| Expand | ||
|---|---|---|
| ||
|
| Expand | ||
|---|---|---|
| ||
|
| Expand | ||
|---|---|---|
| ||
|

| Expand | ||
|---|---|---|
| ||
|
| Expand | ||
|---|---|---|
| ||
|
| Expand | ||
|---|---|---|
| ||
|
| Expand | ||
|---|---|---|
| ||
|

| Expand | ||
|---|---|---|
| ||
|
| Expand | ||
|---|---|---|
| ||
|
| Expand | ||
|---|---|---|
| ||
|
| Expand | ||
|---|---|---|
| ||
|
| Expand | ||
|---|---|---|
| ||
|
| Expand | ||
|---|---|---|
| ||
|
Tools Needed
Sockets
3/8"
3/8" ratchet
3/8" 12" extension
3/8" 6" extension
3/8" 10mm socket
3/8" 12mm socket
Hand Tools
- Phillips head screwdriver
- Flathead screwdriver
- 7mm Nut Driver
- 8mm Nut Driver
- Trim removal tool
Pick
Stock Intake Removal
| Insert excerpt | ||||||
|---|---|---|---|---|---|---|
|
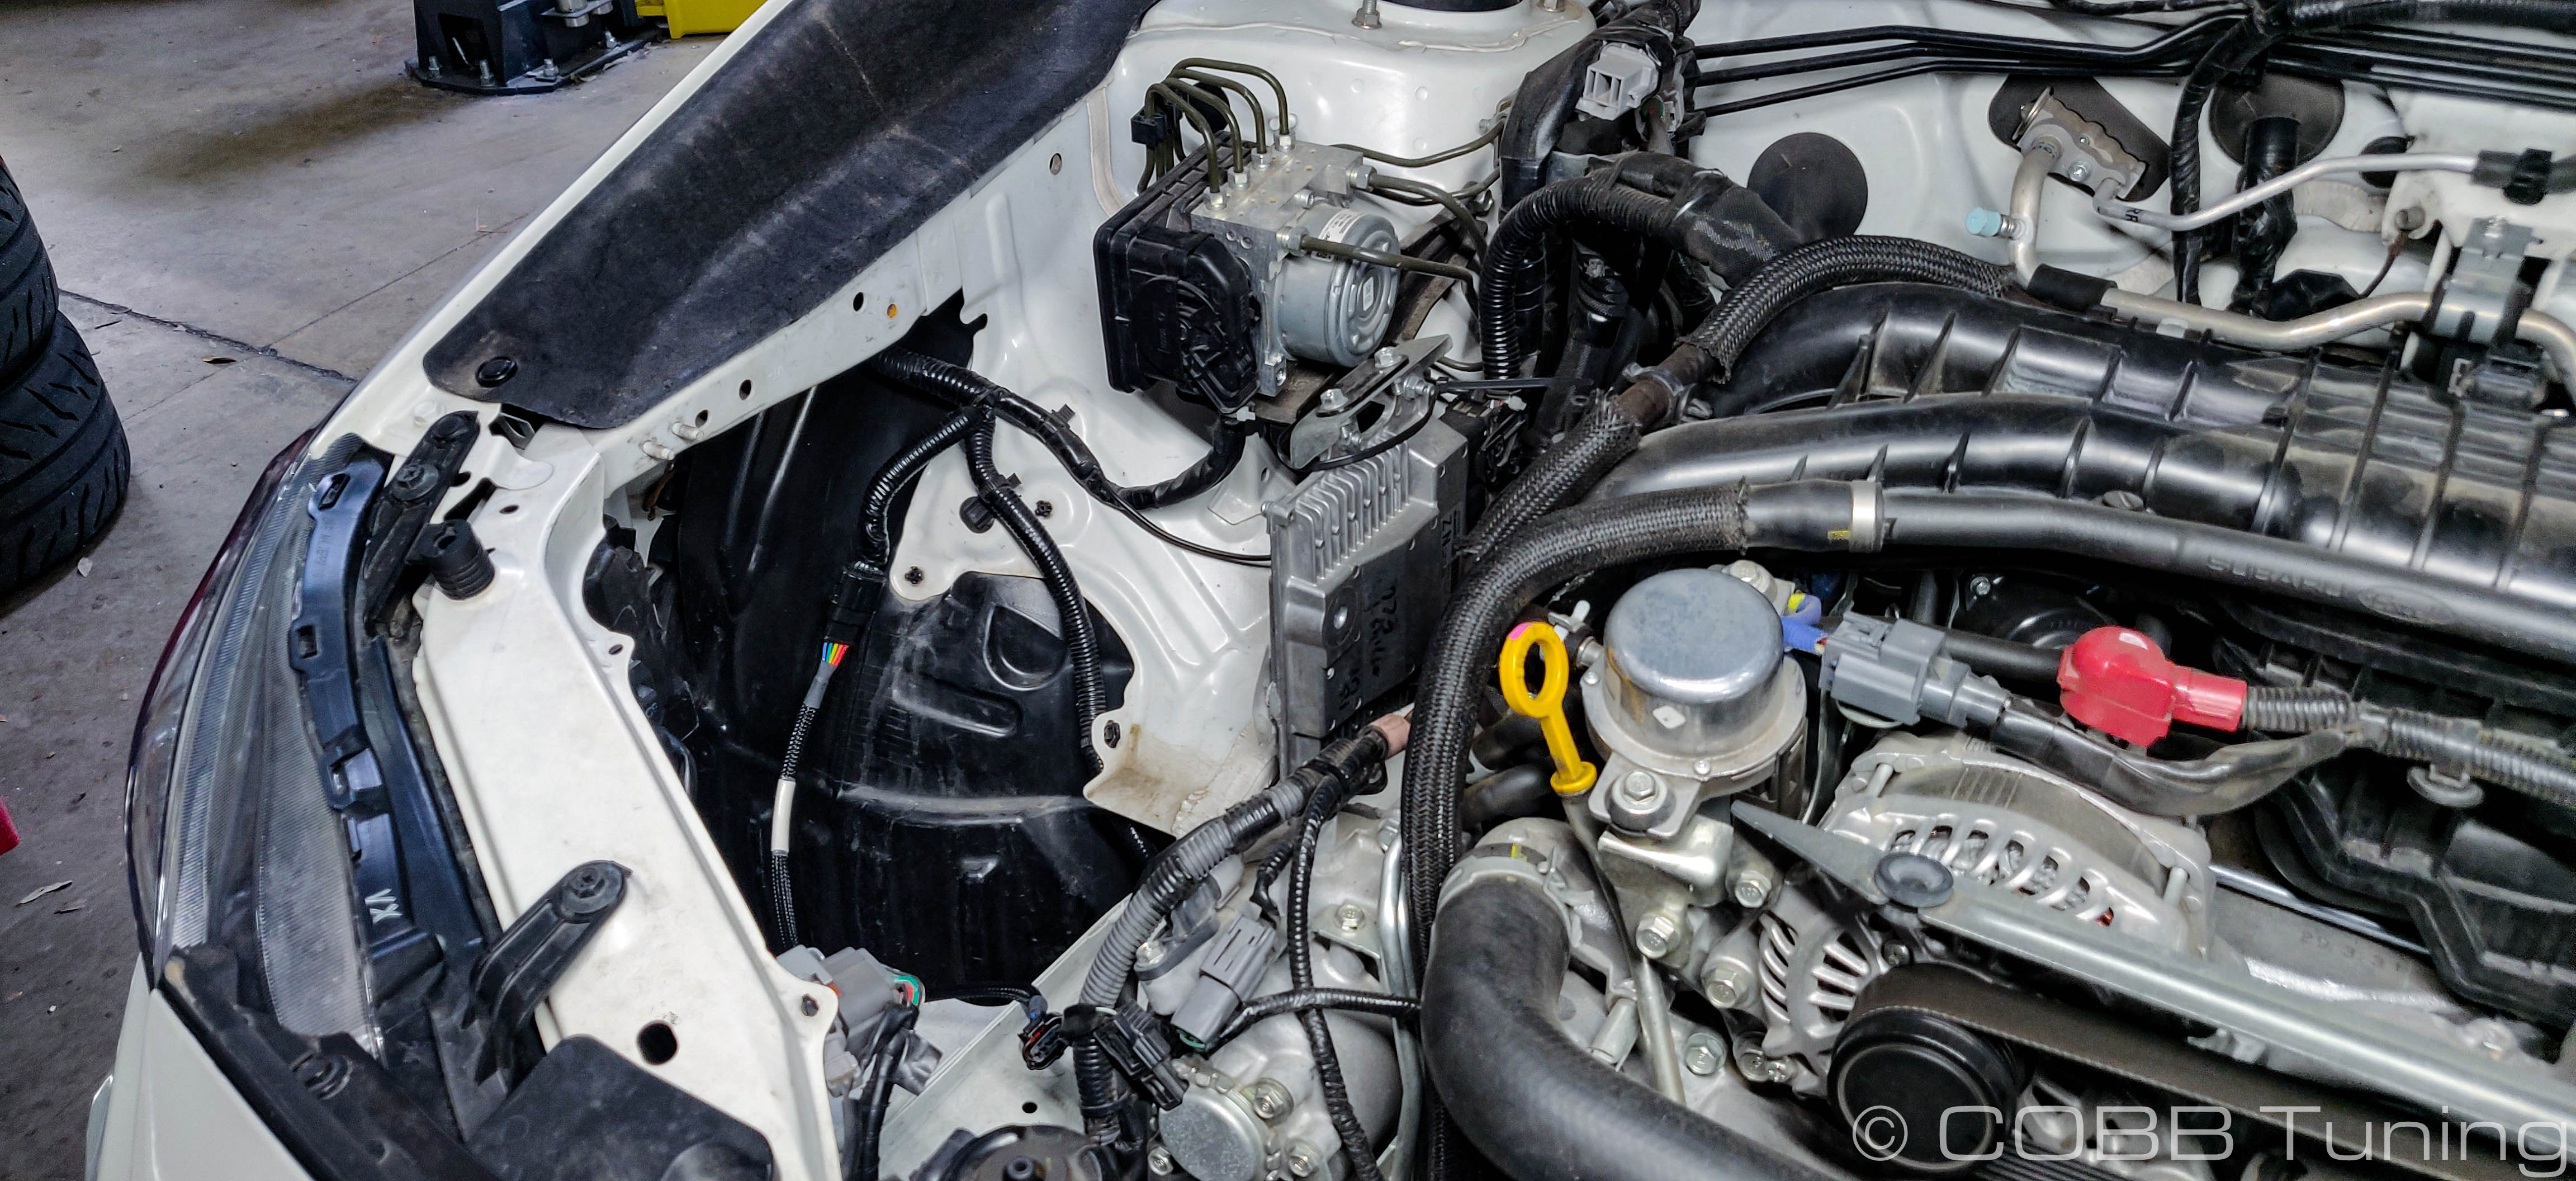
Engine Bay Prep
- Take your 12mm wrench or socket and remove the upper radiator mounts on both ends.
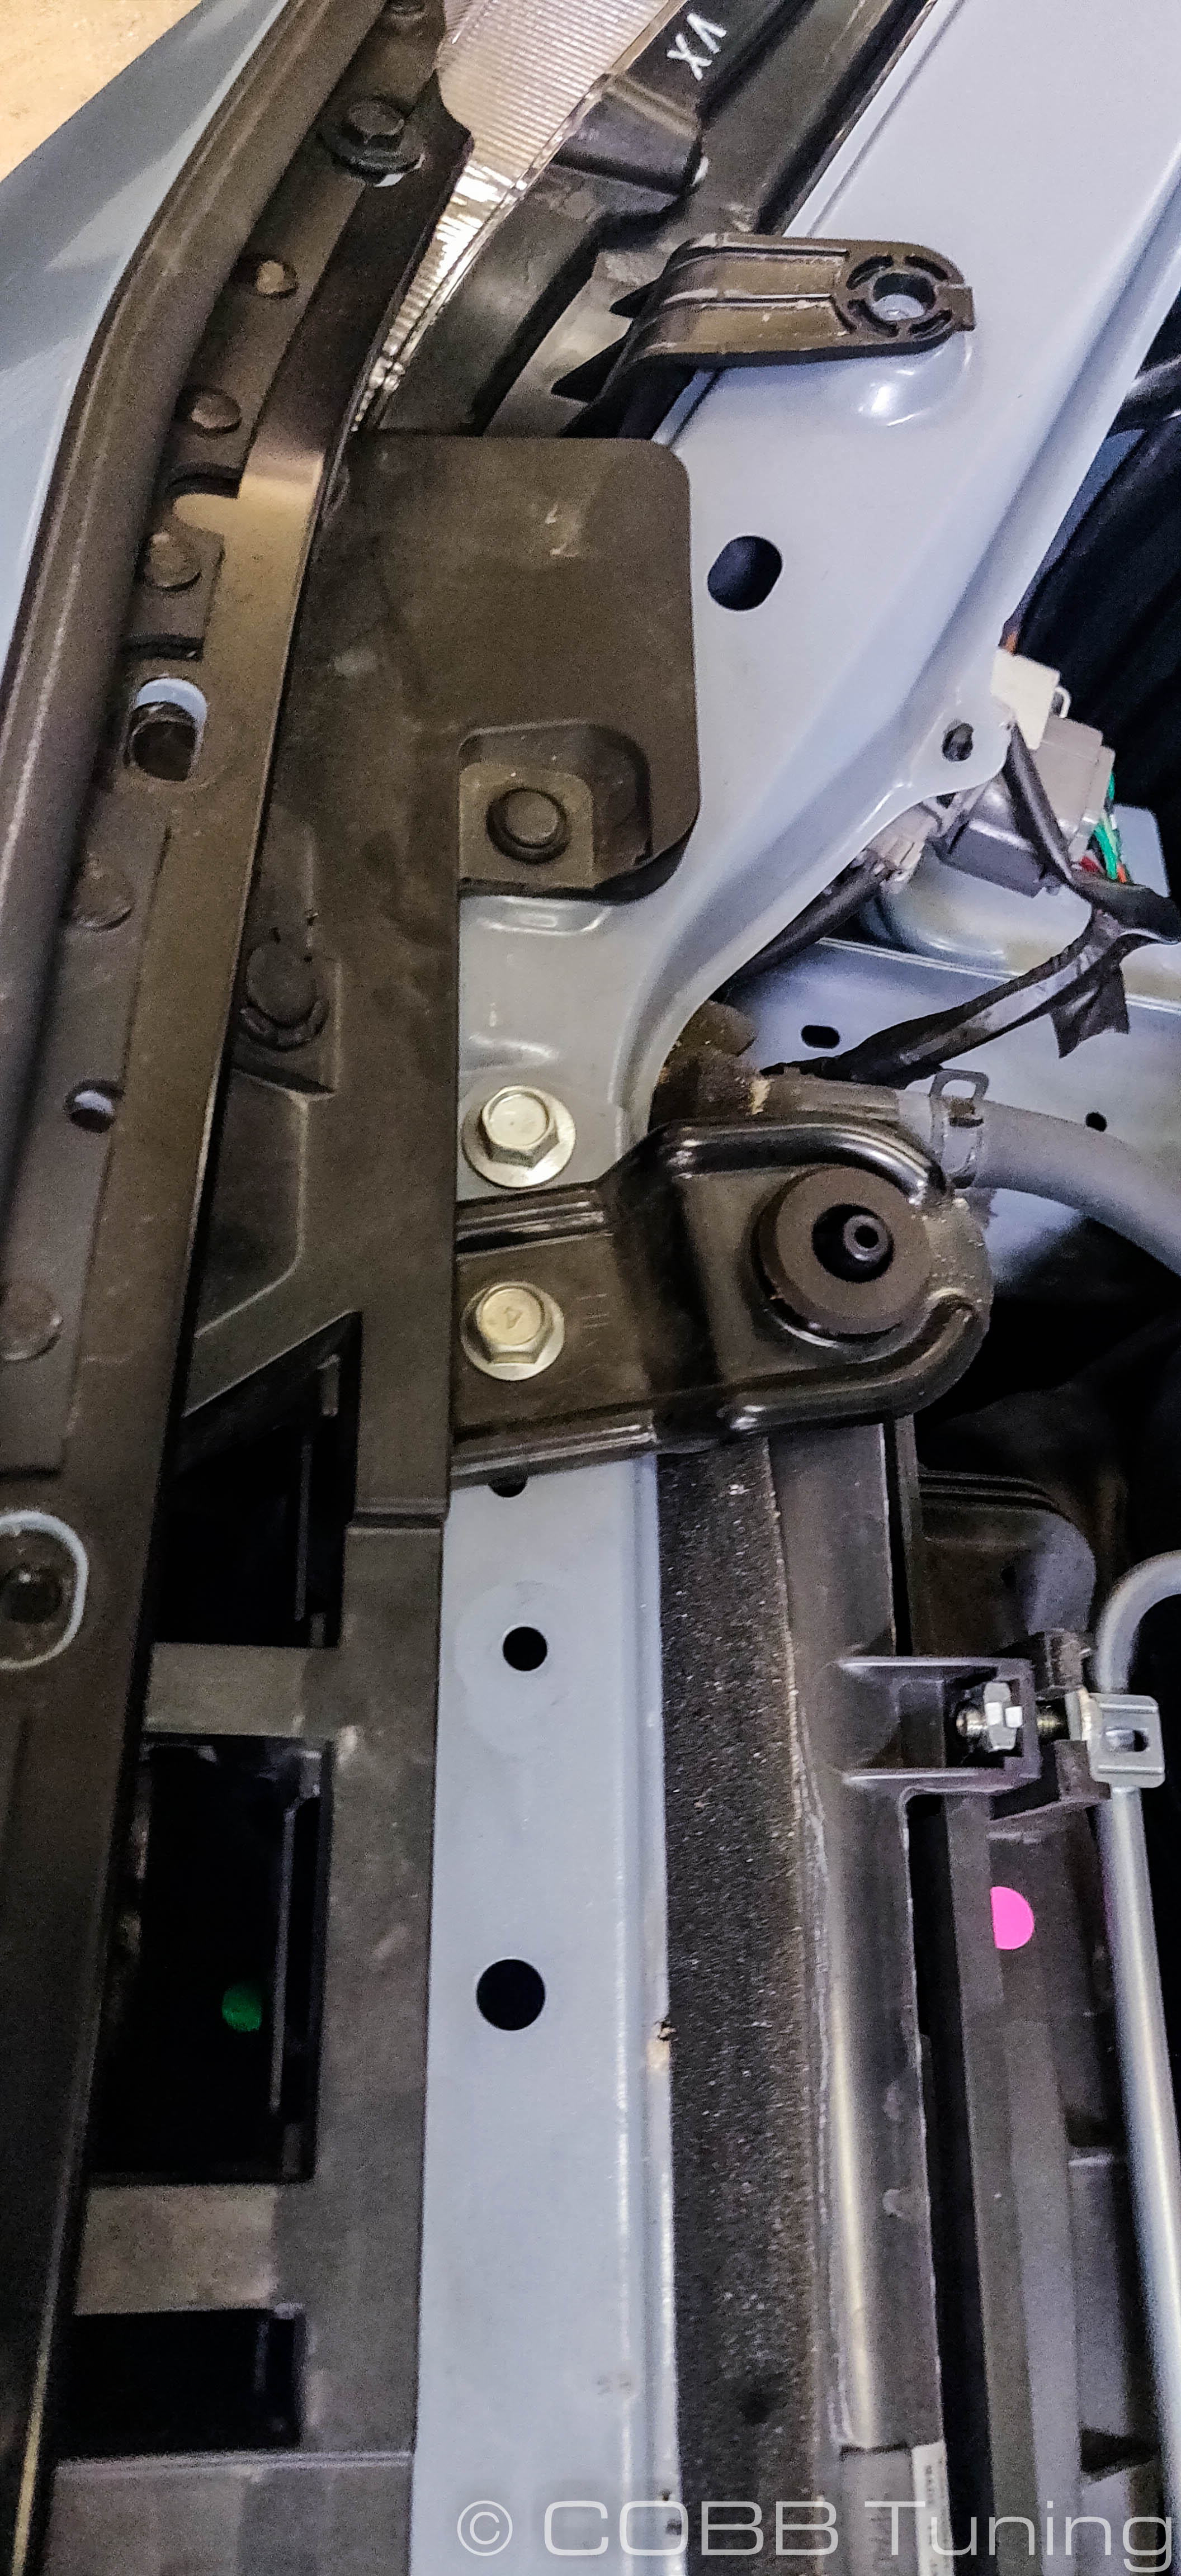
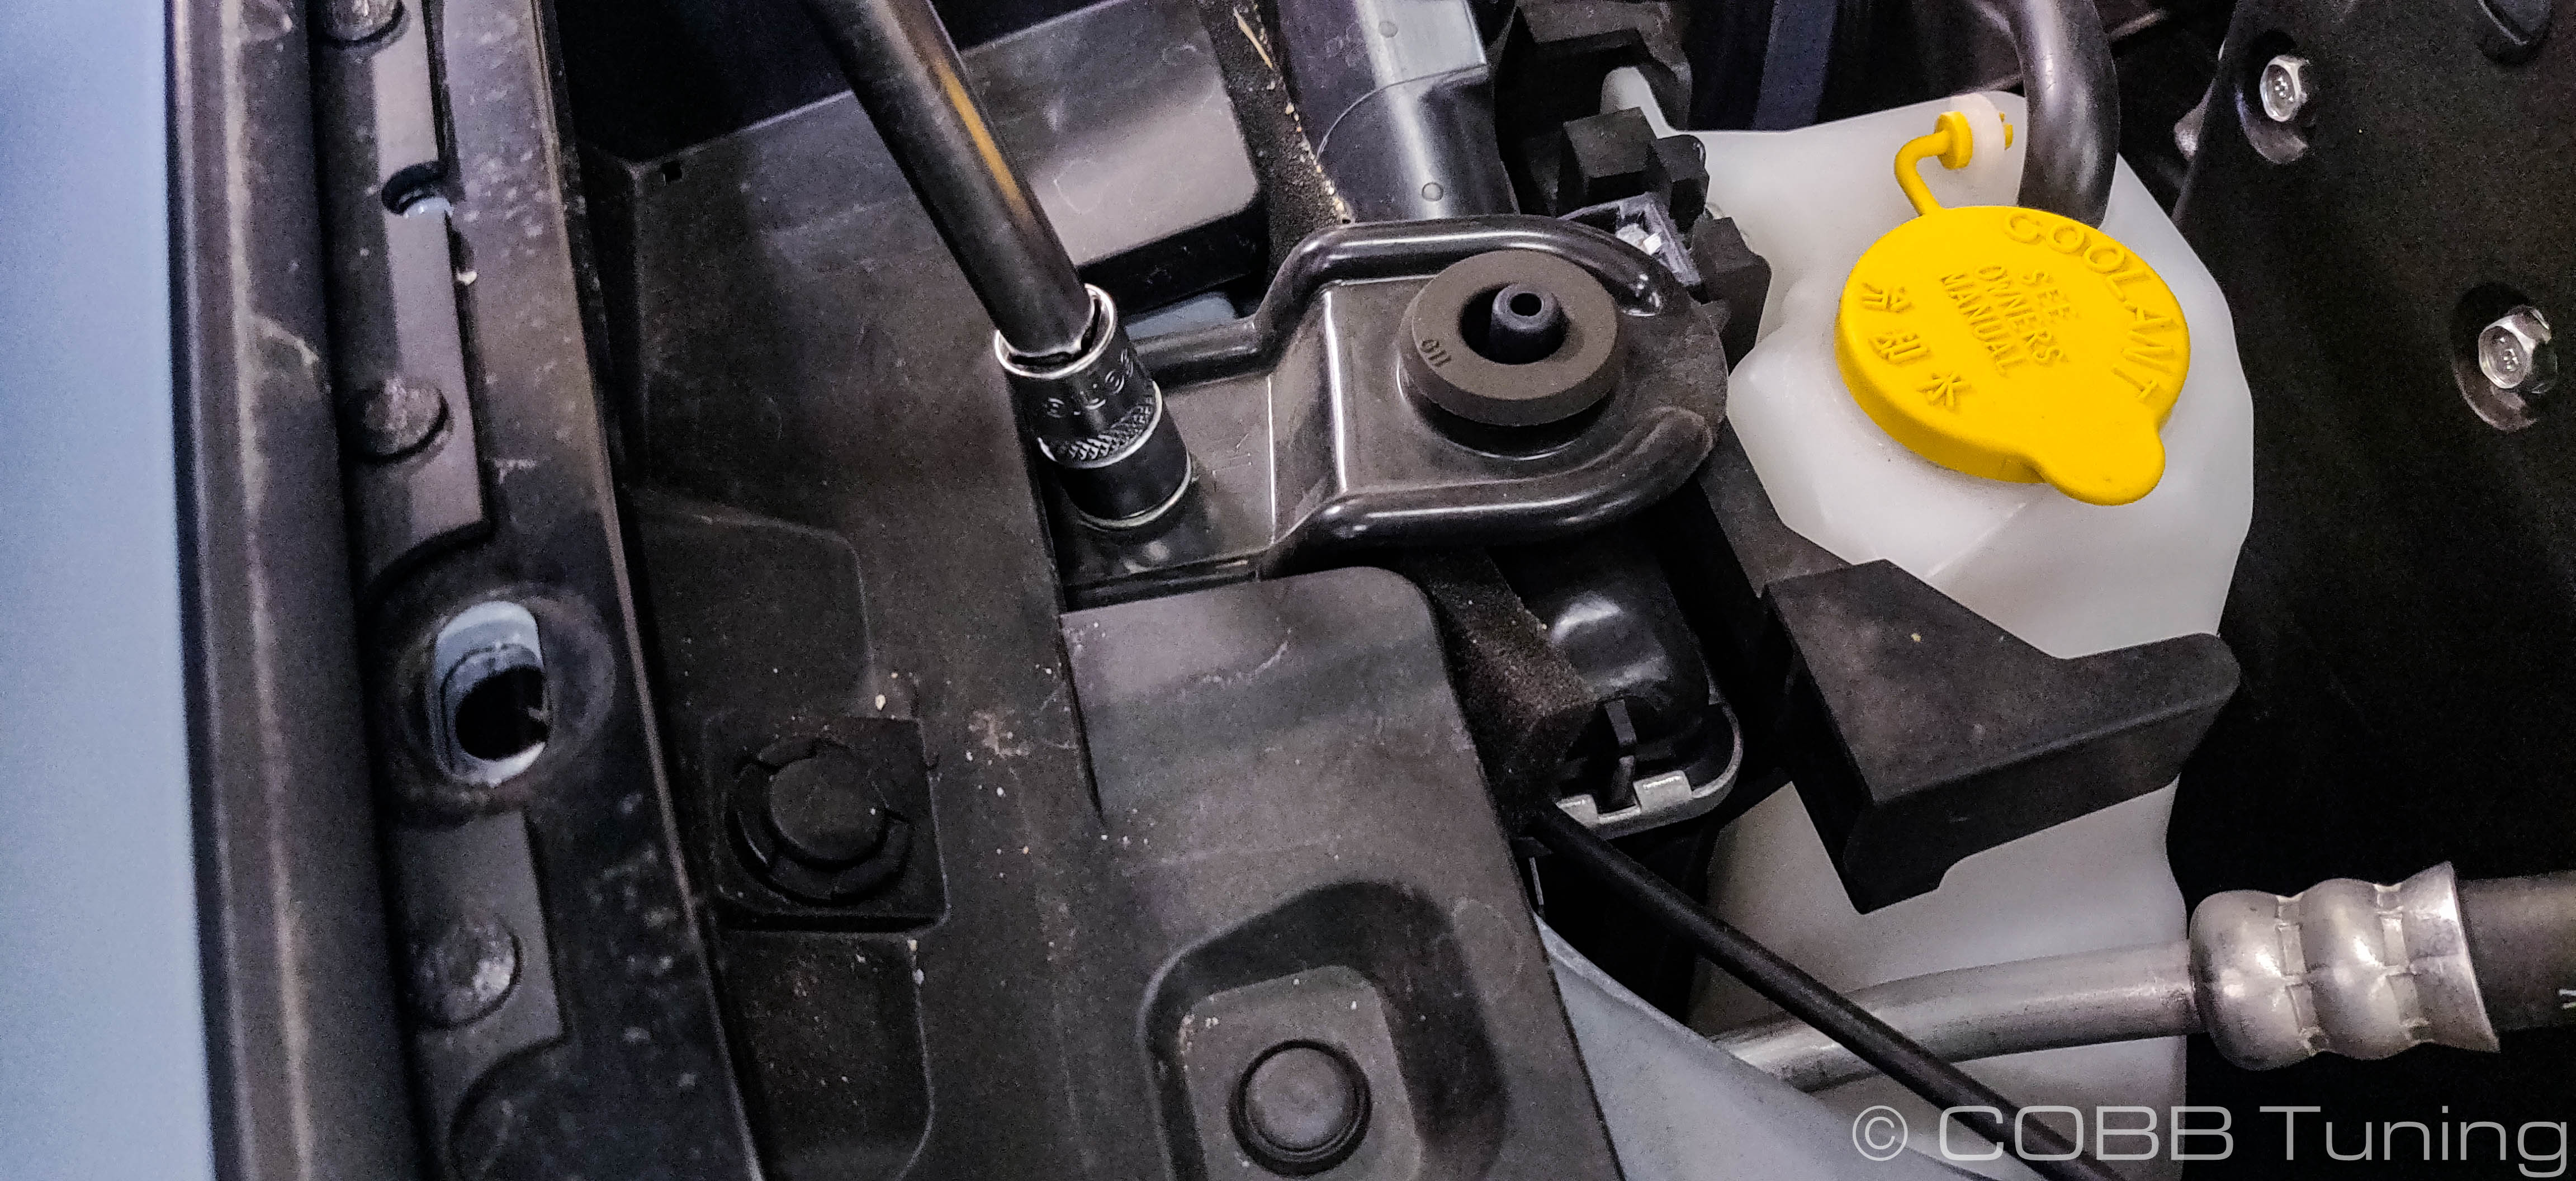
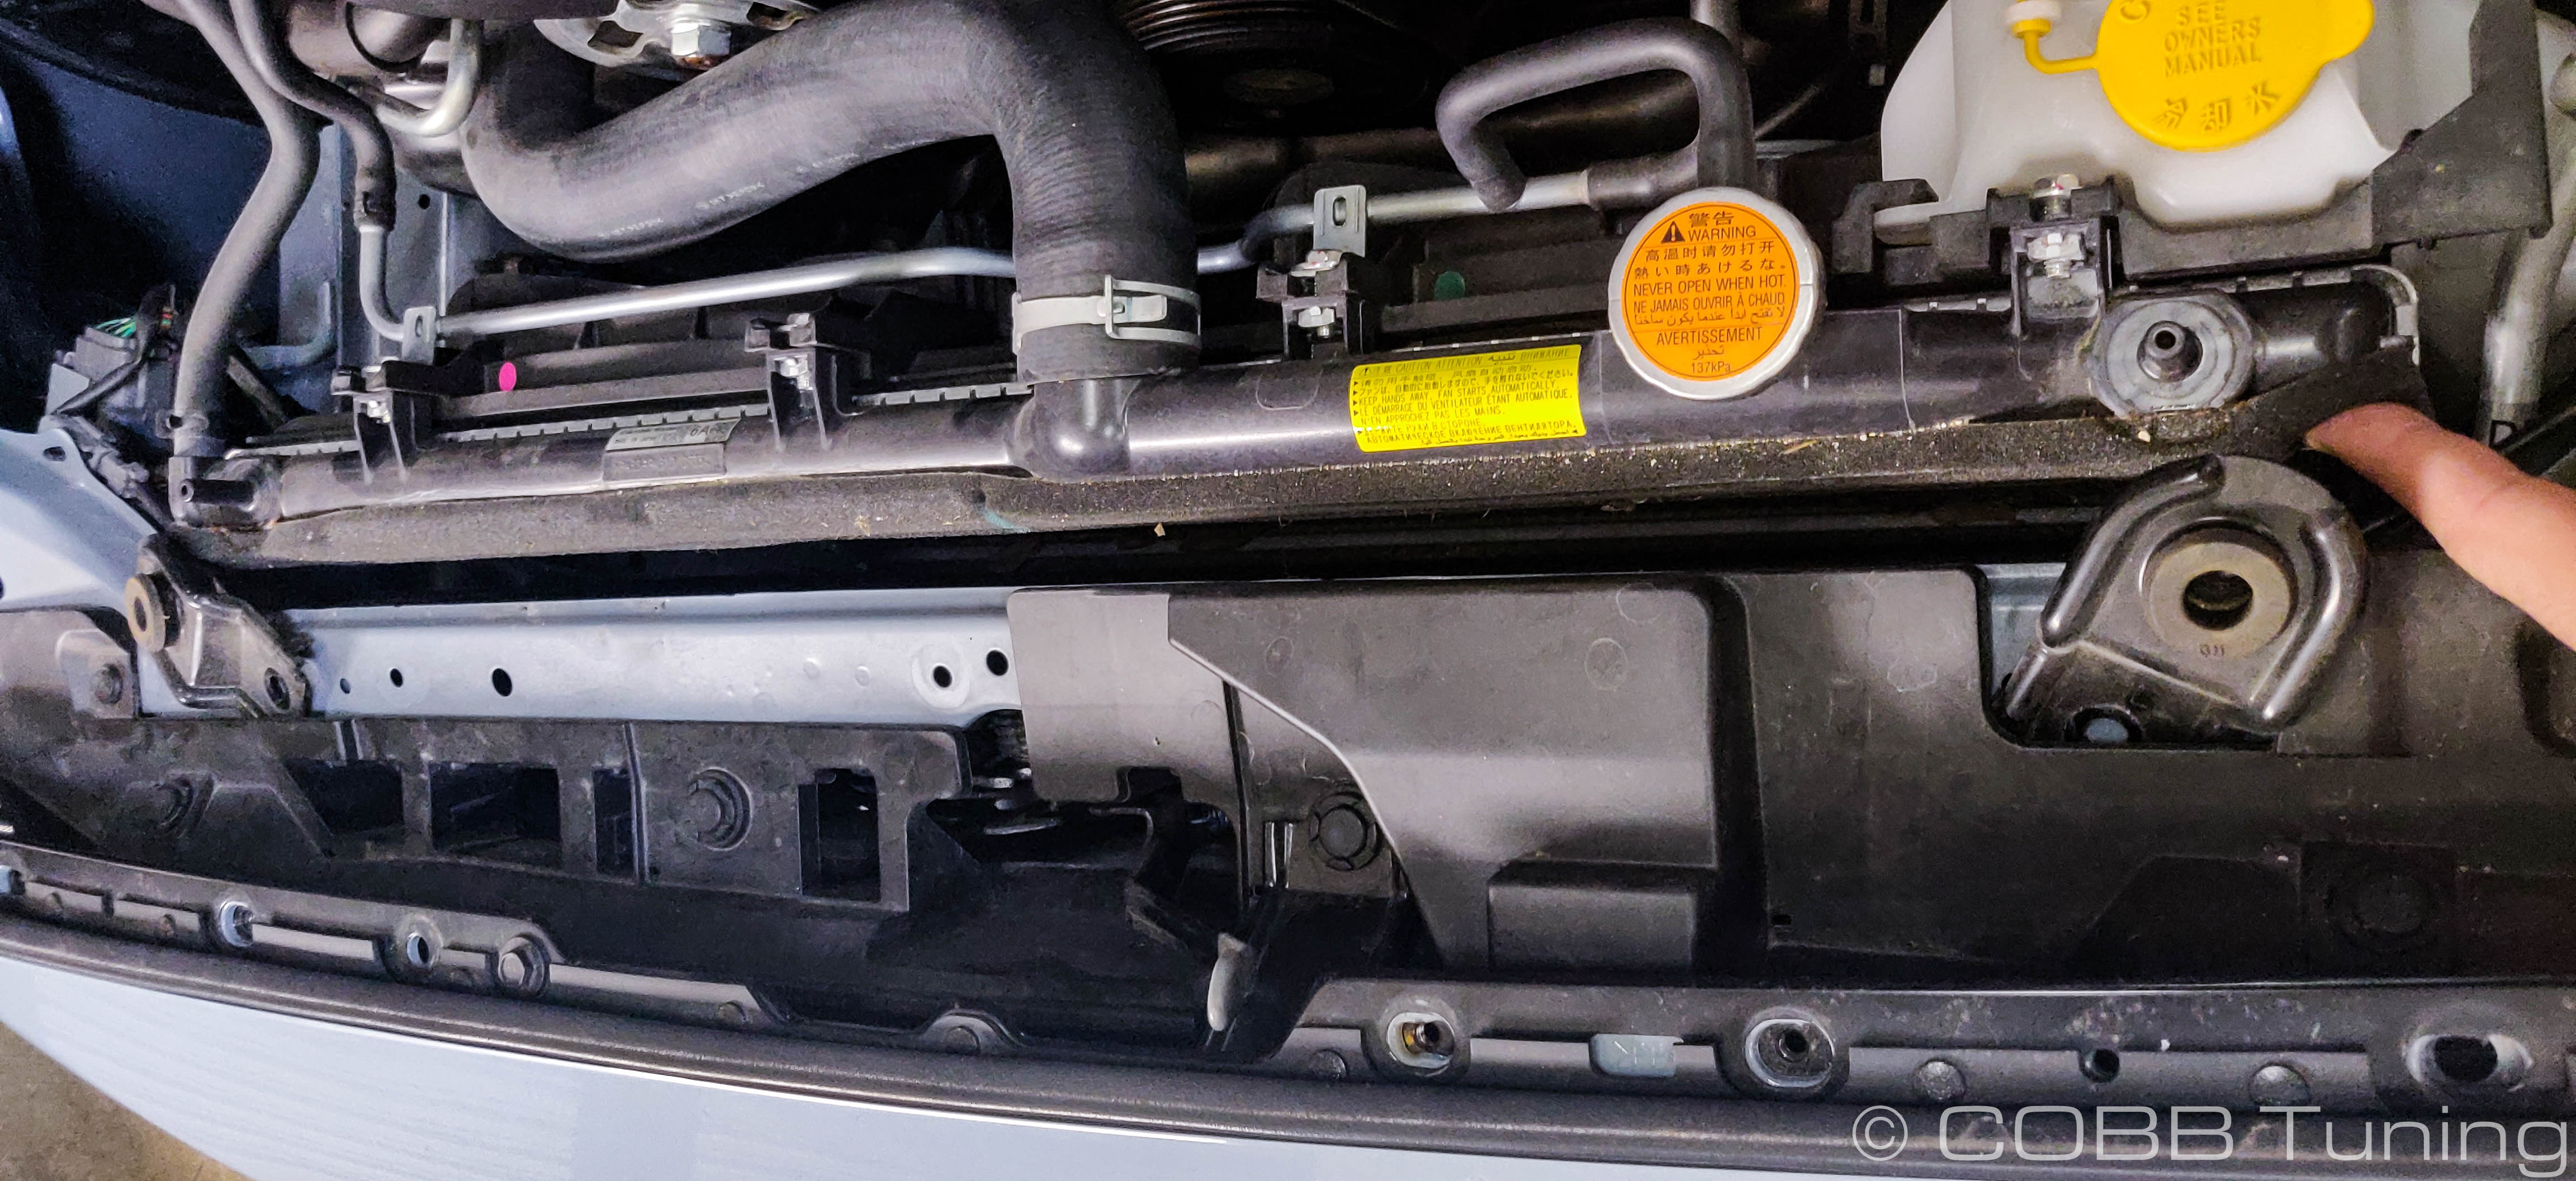
- Note the positions where the original snorkel sat. They'll typically have a light colored ring around them from rubbing.
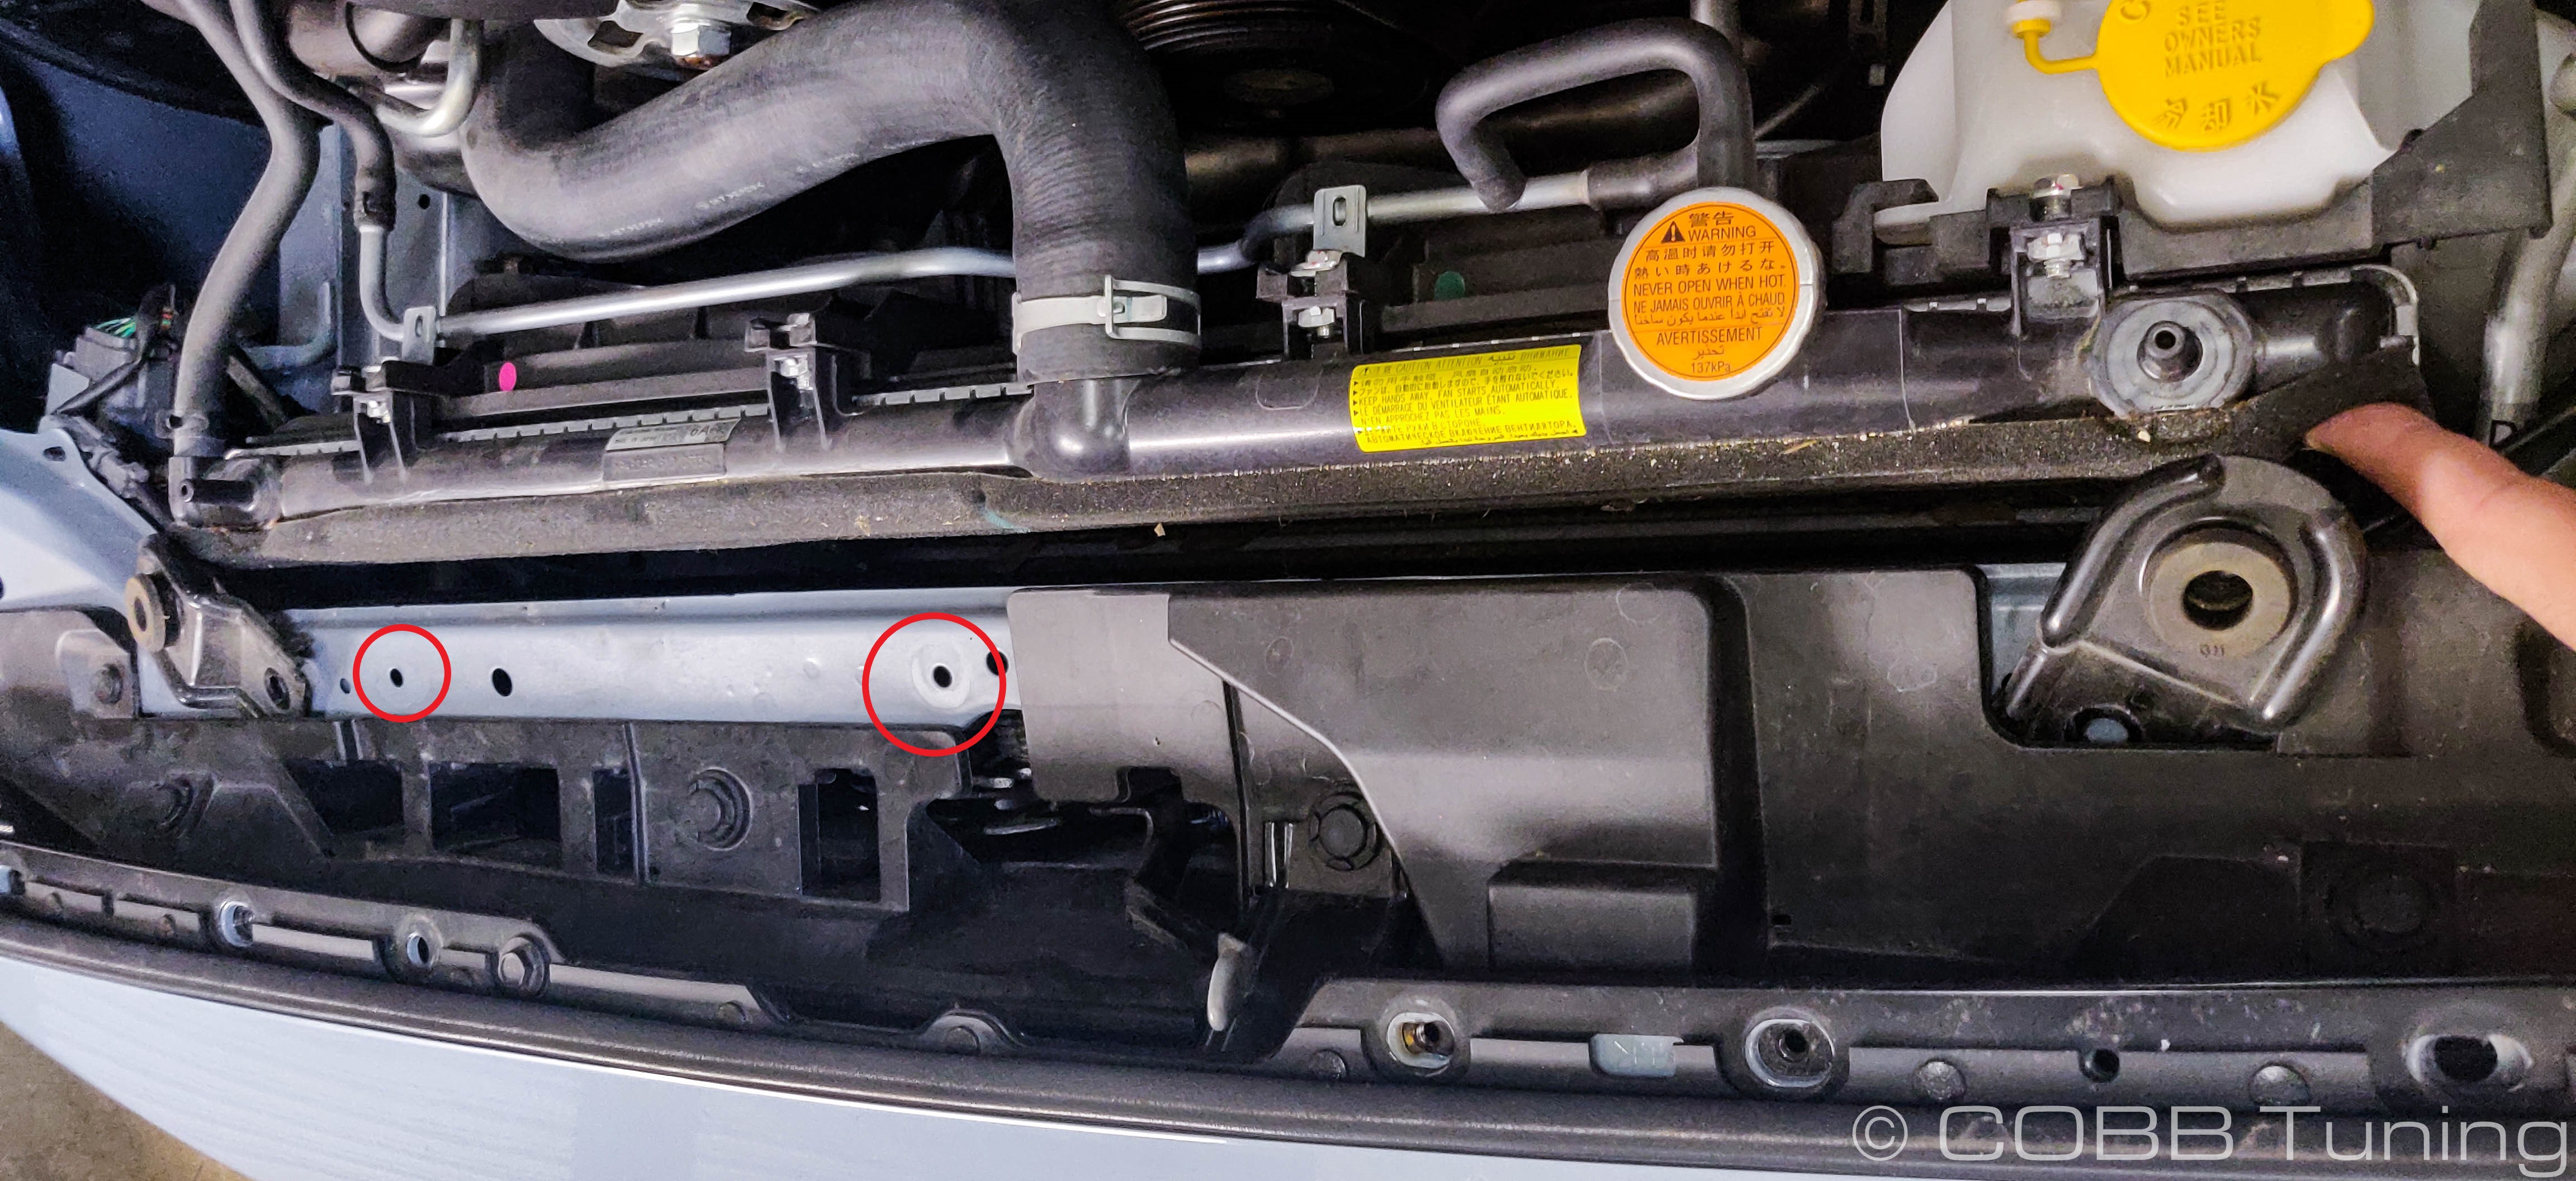
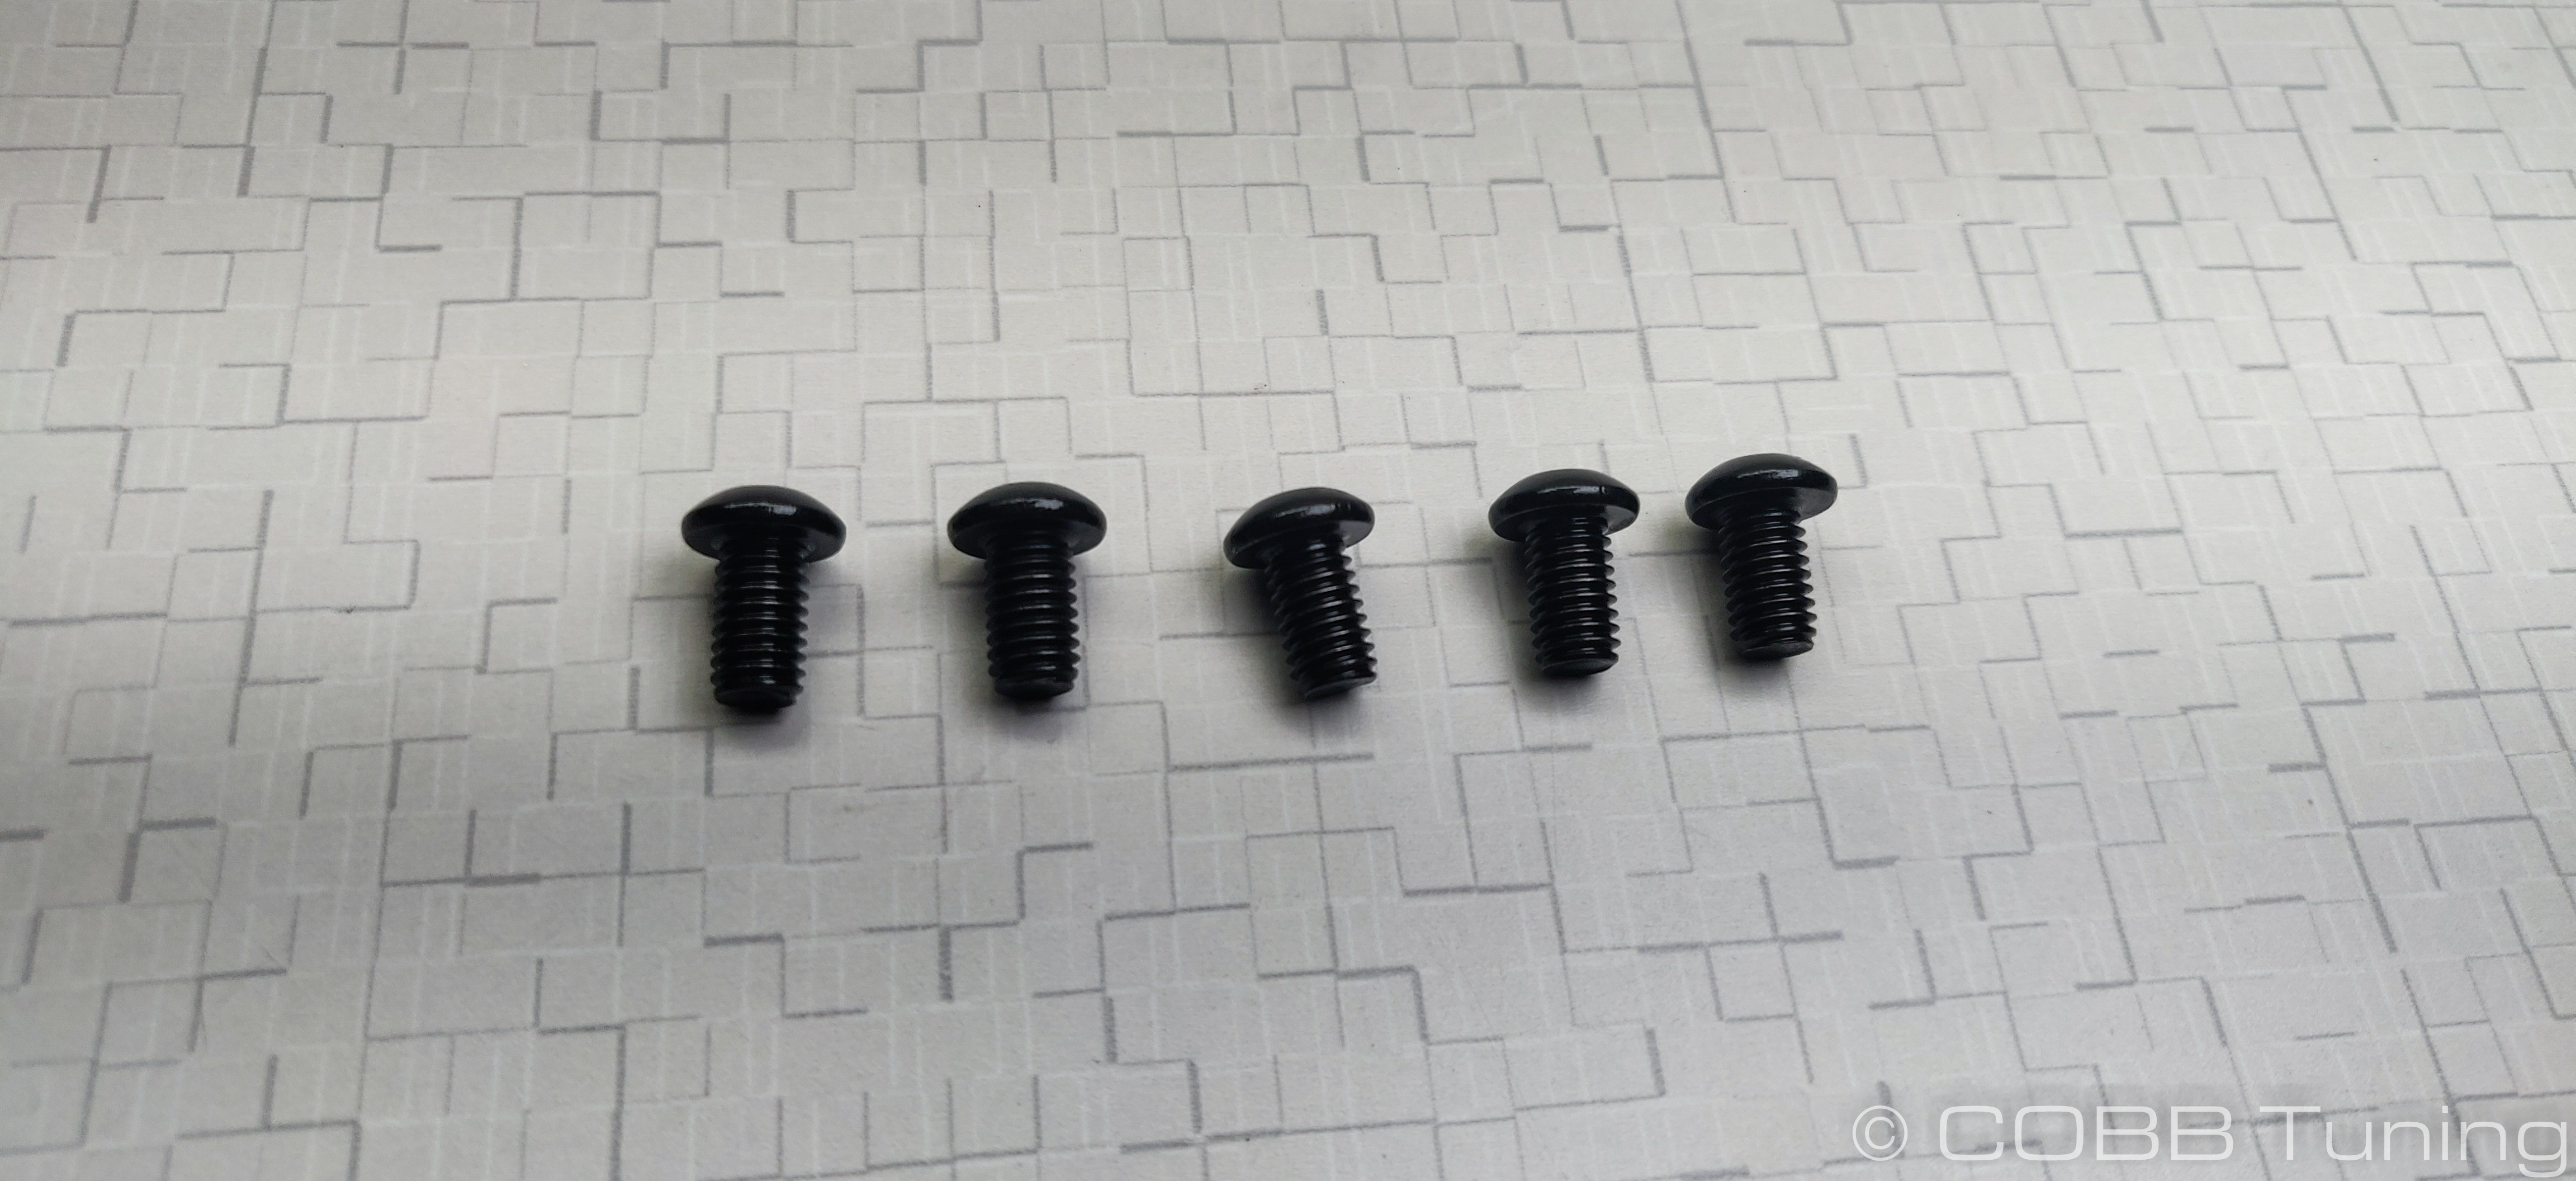
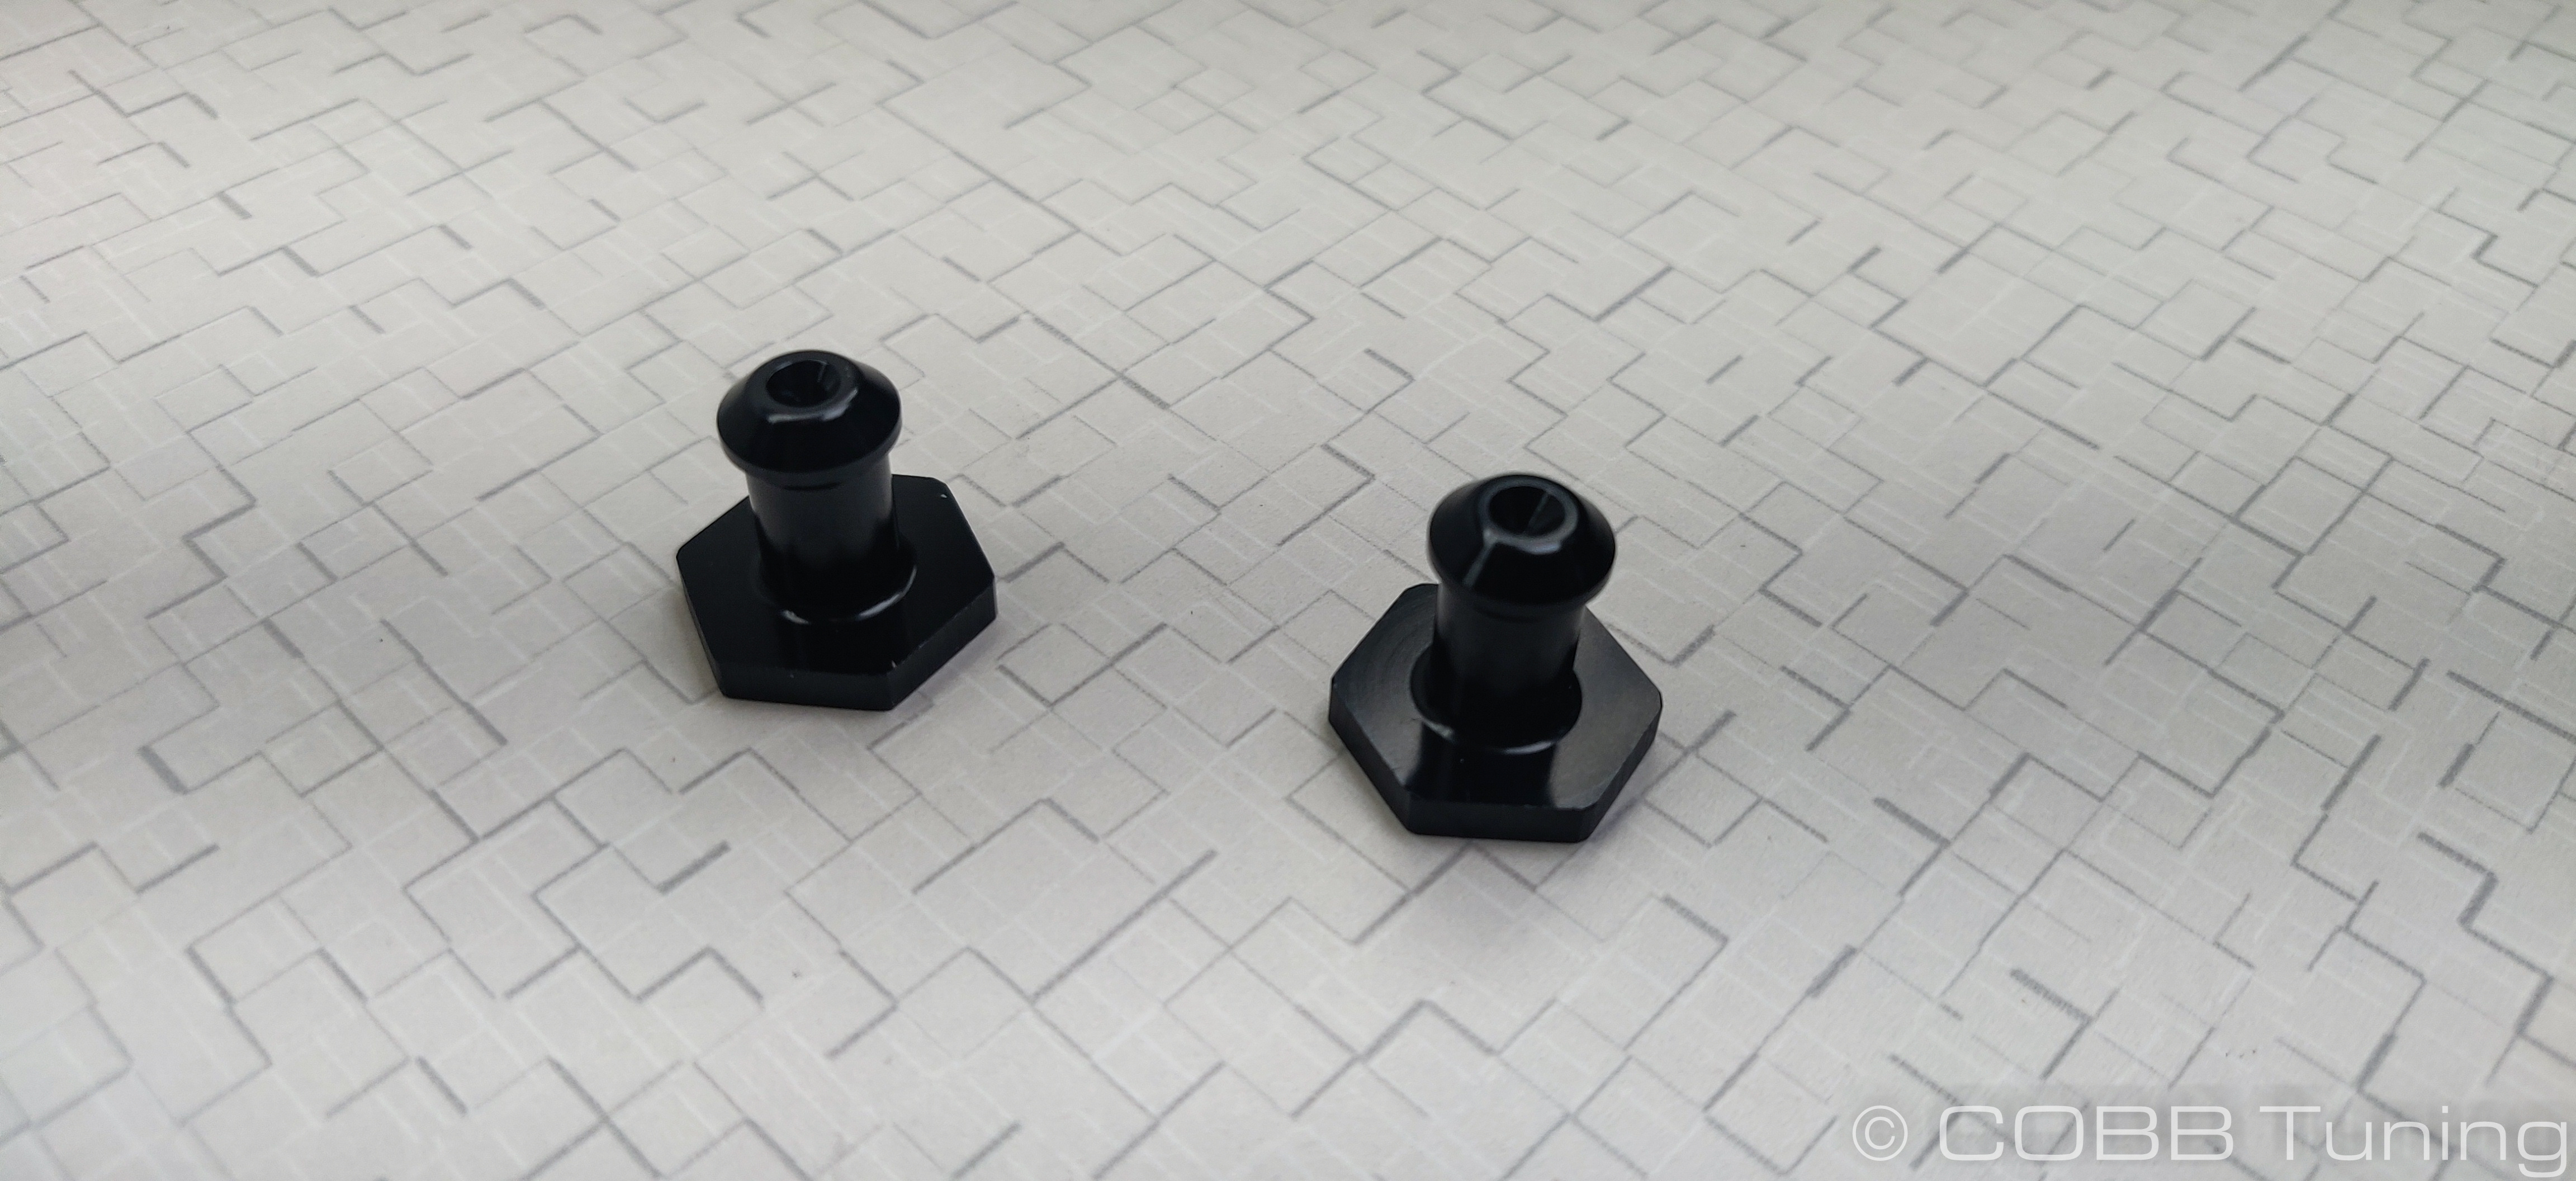
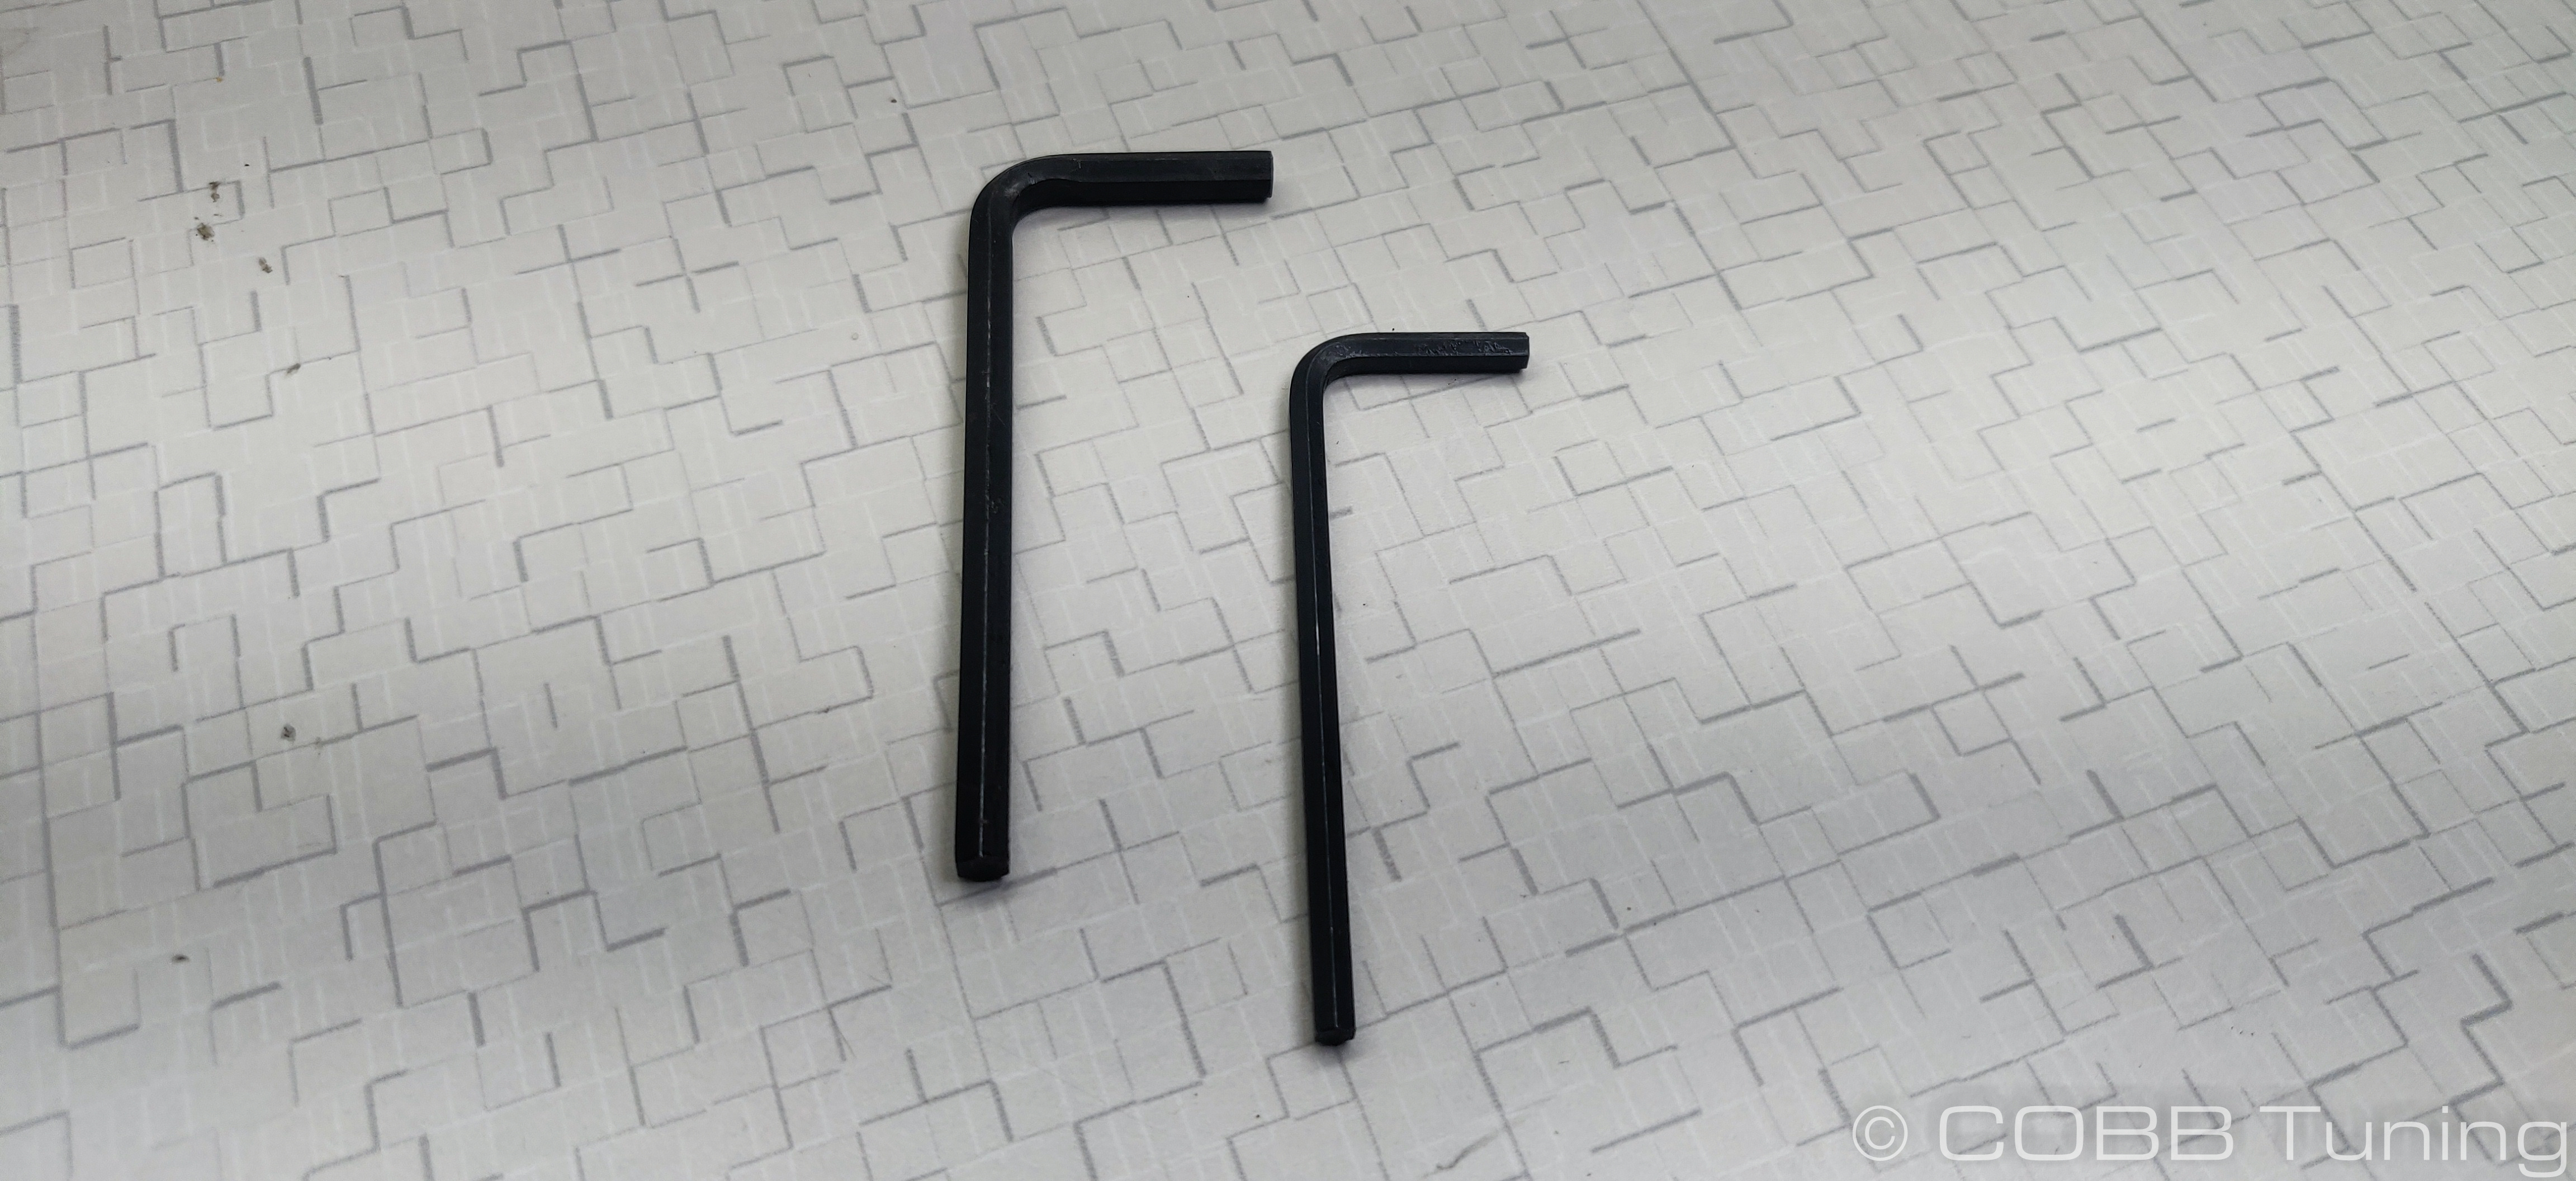
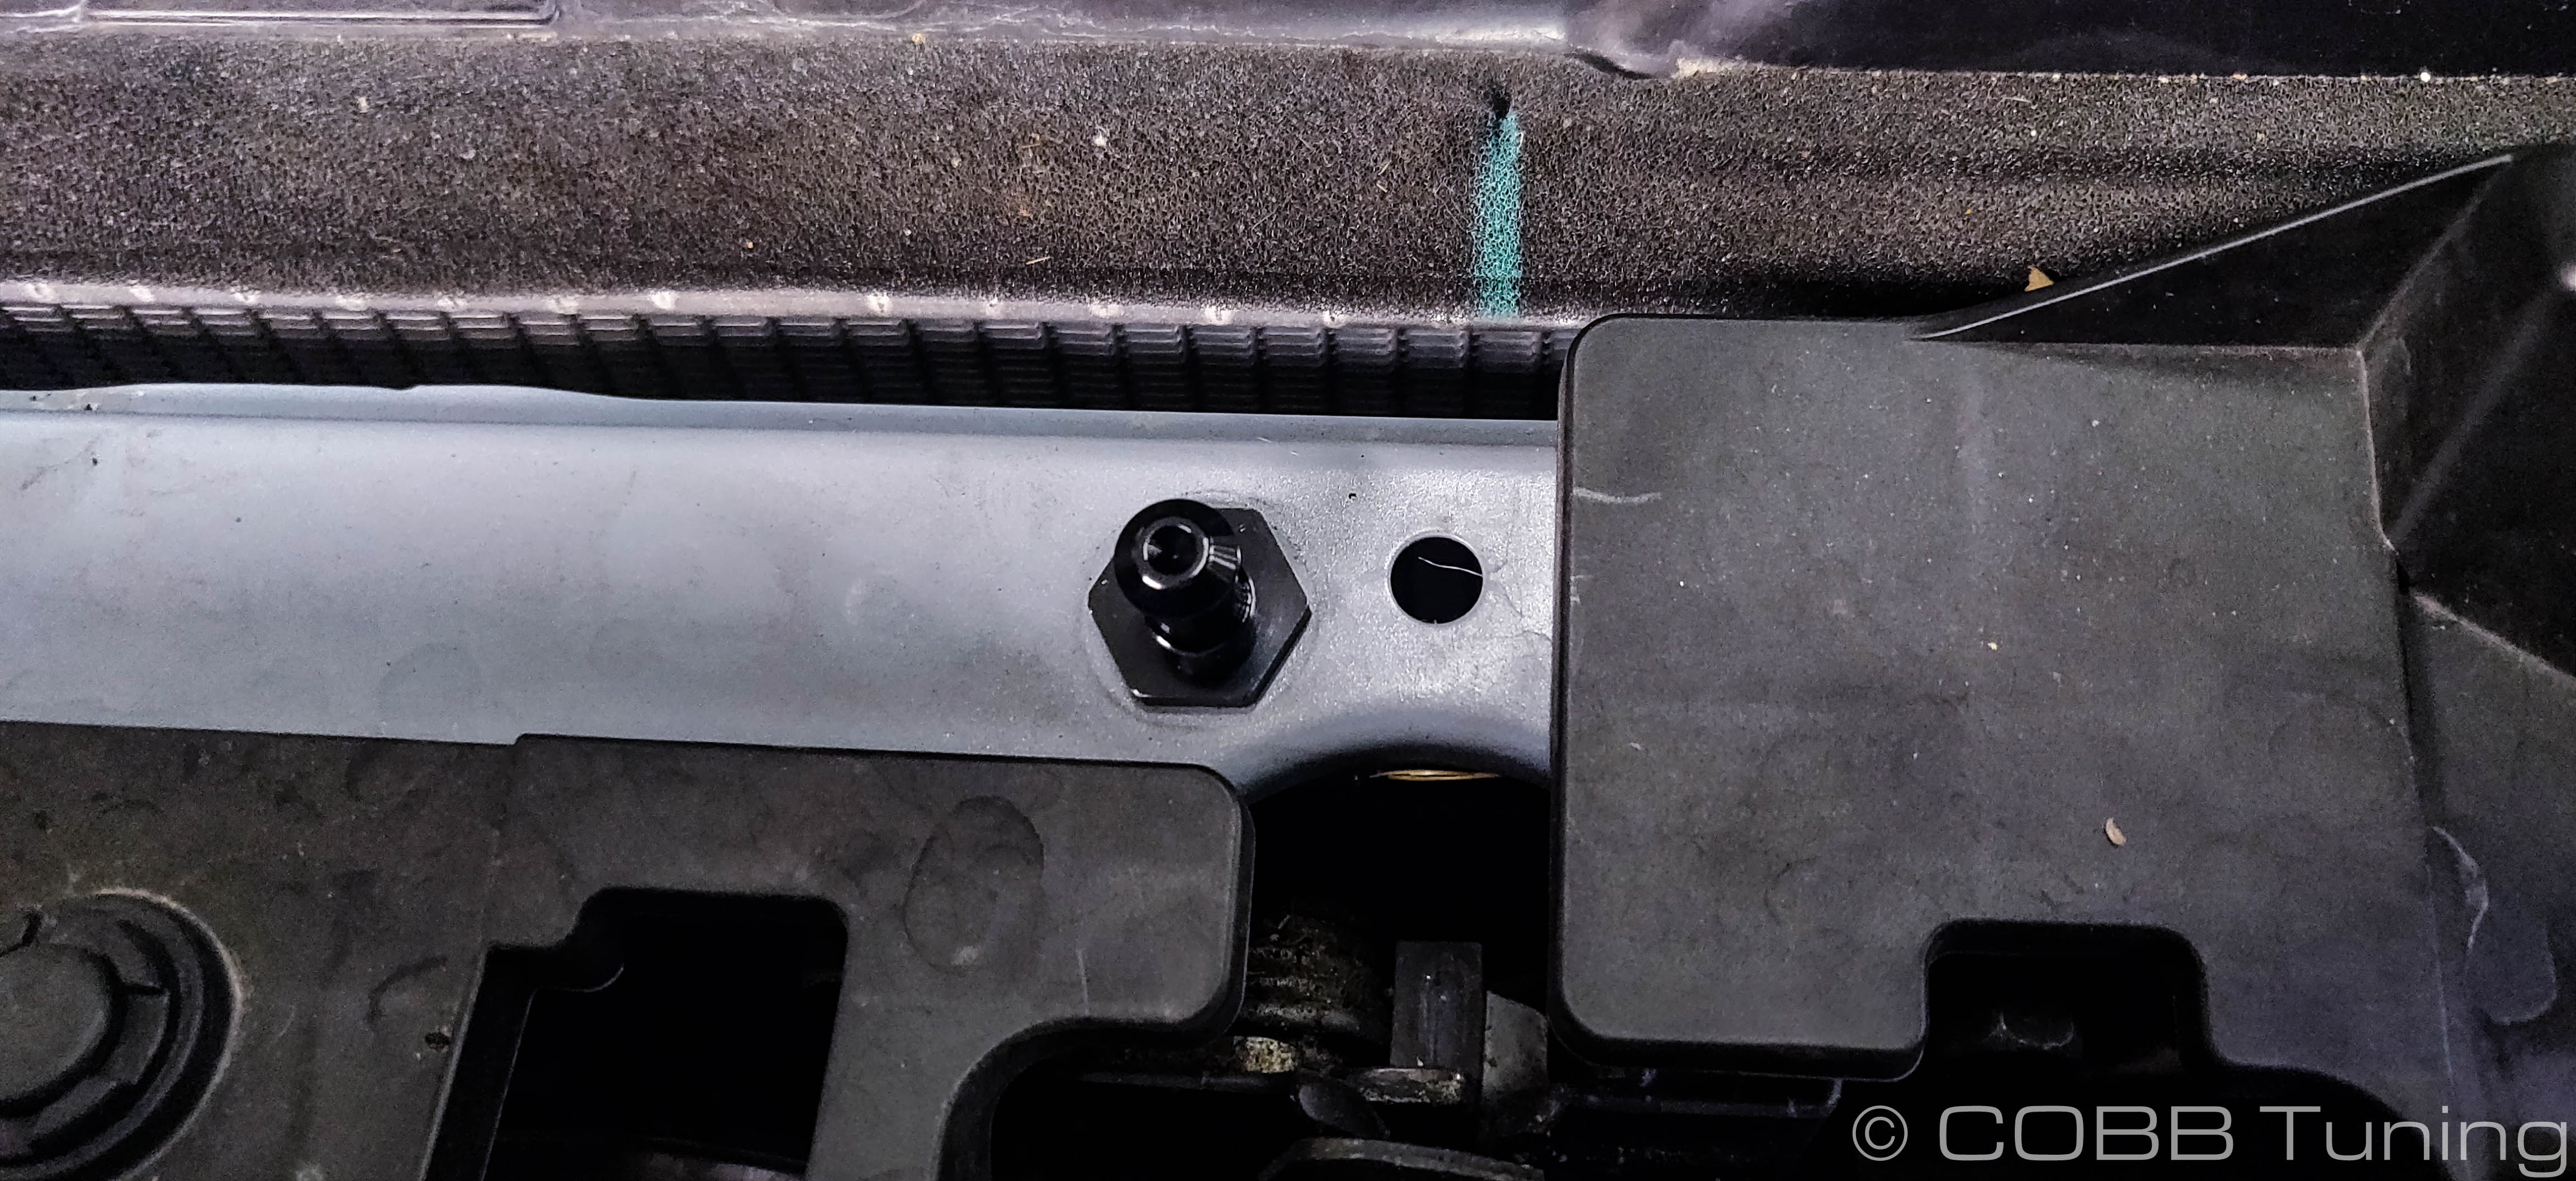
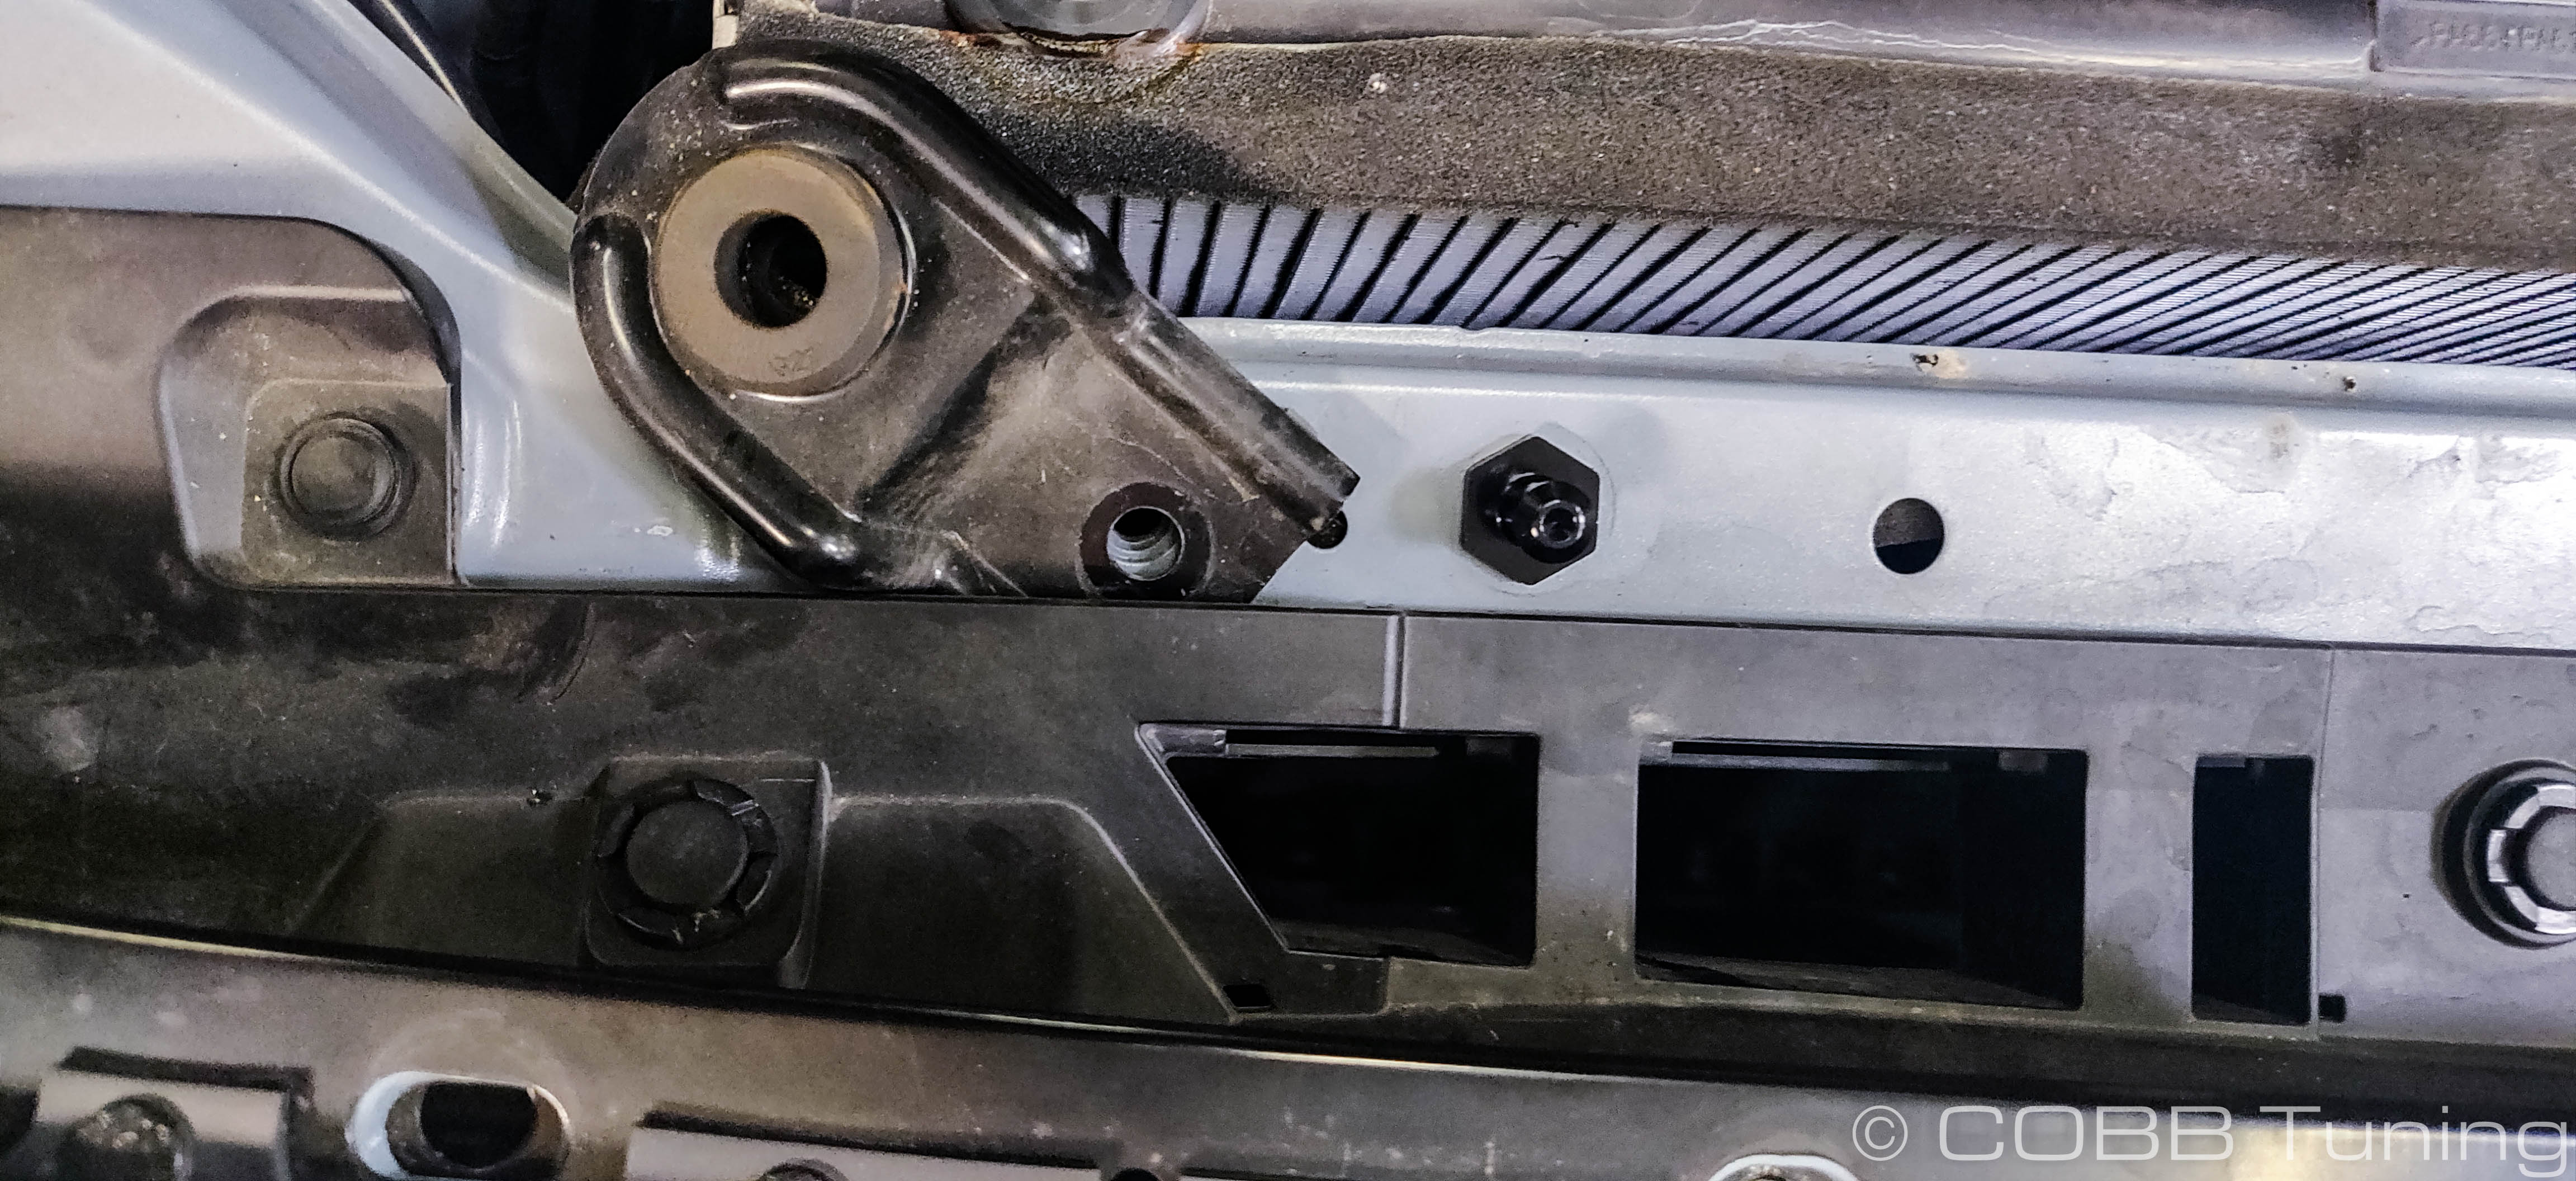
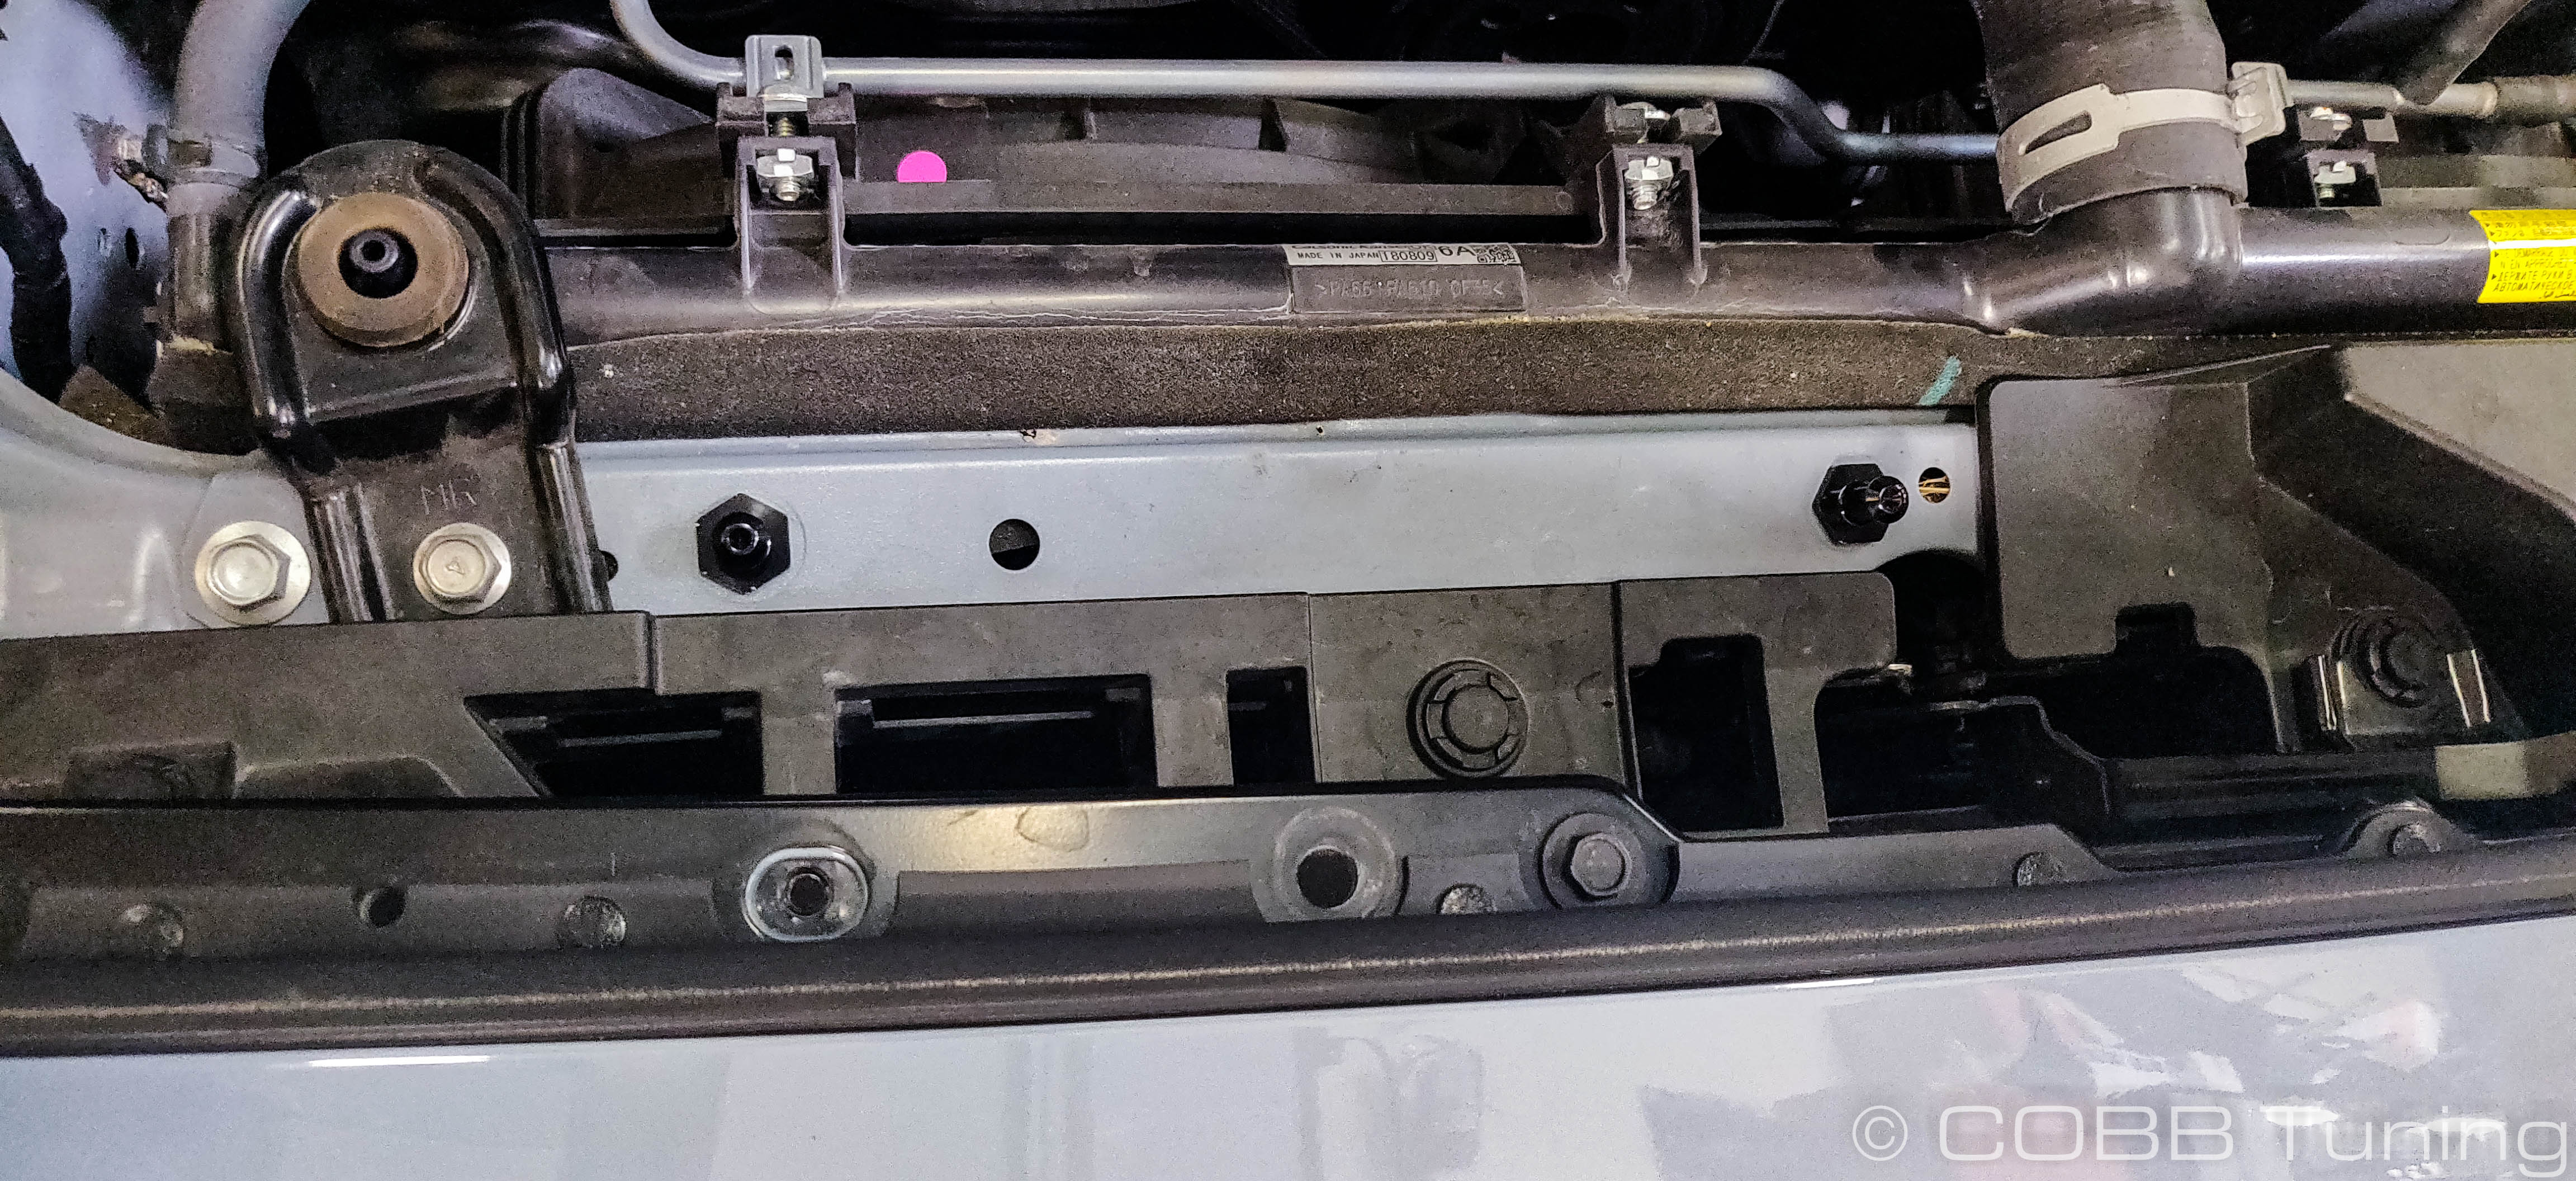
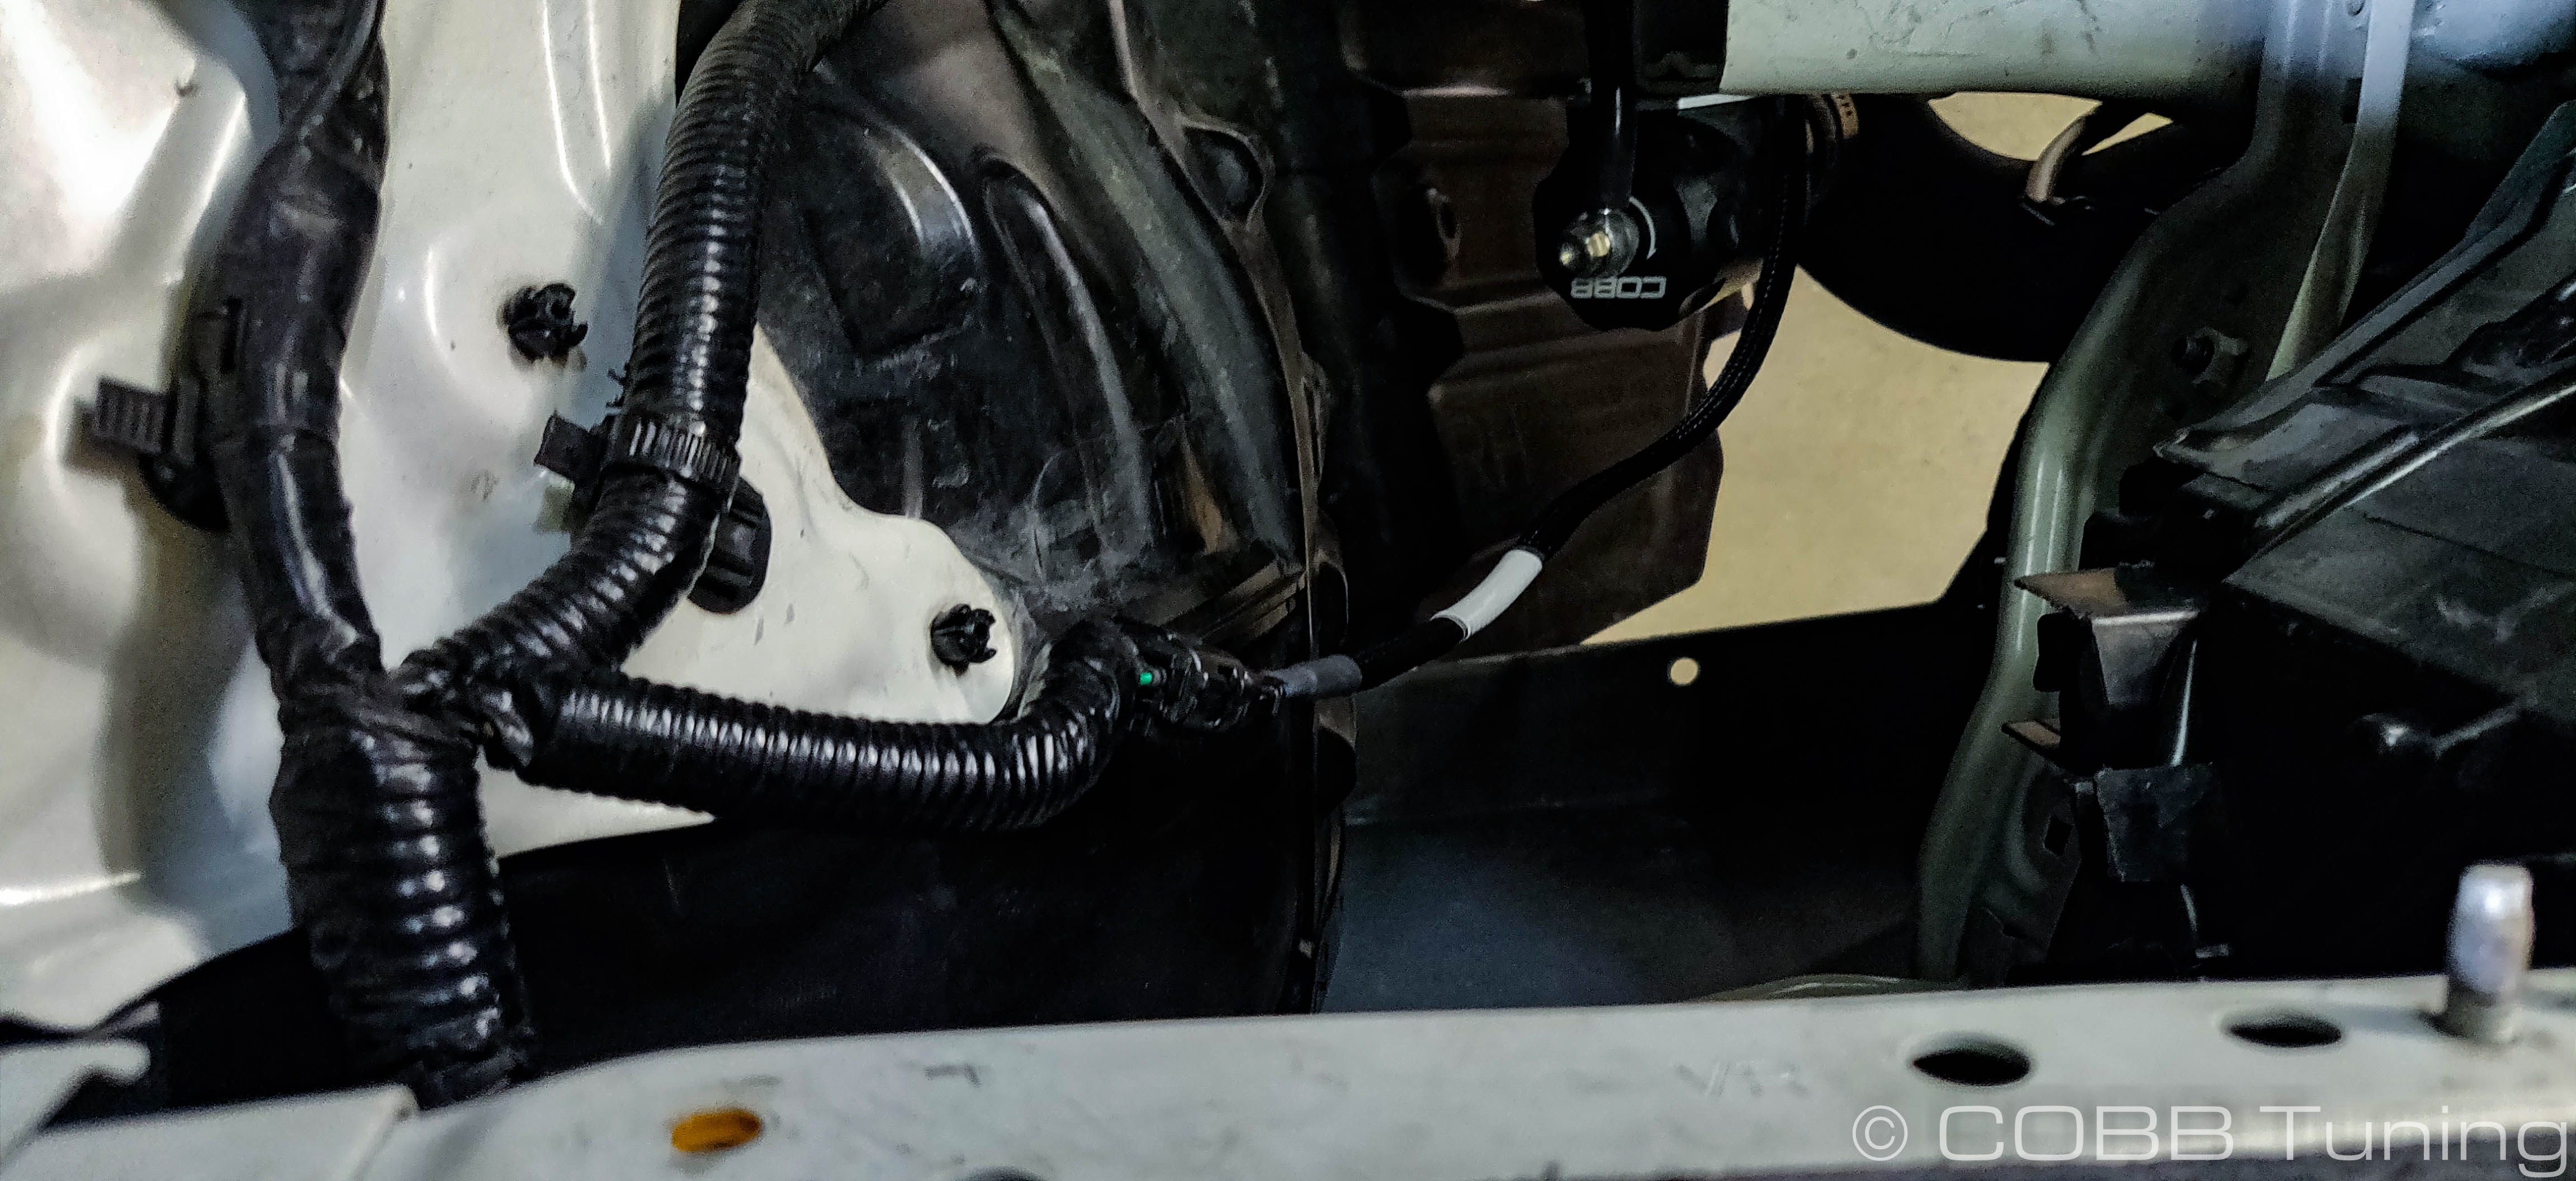
- Taking two of the shorter allen bolts, add a washer to each one. These will go along with the supplied mounting pins.
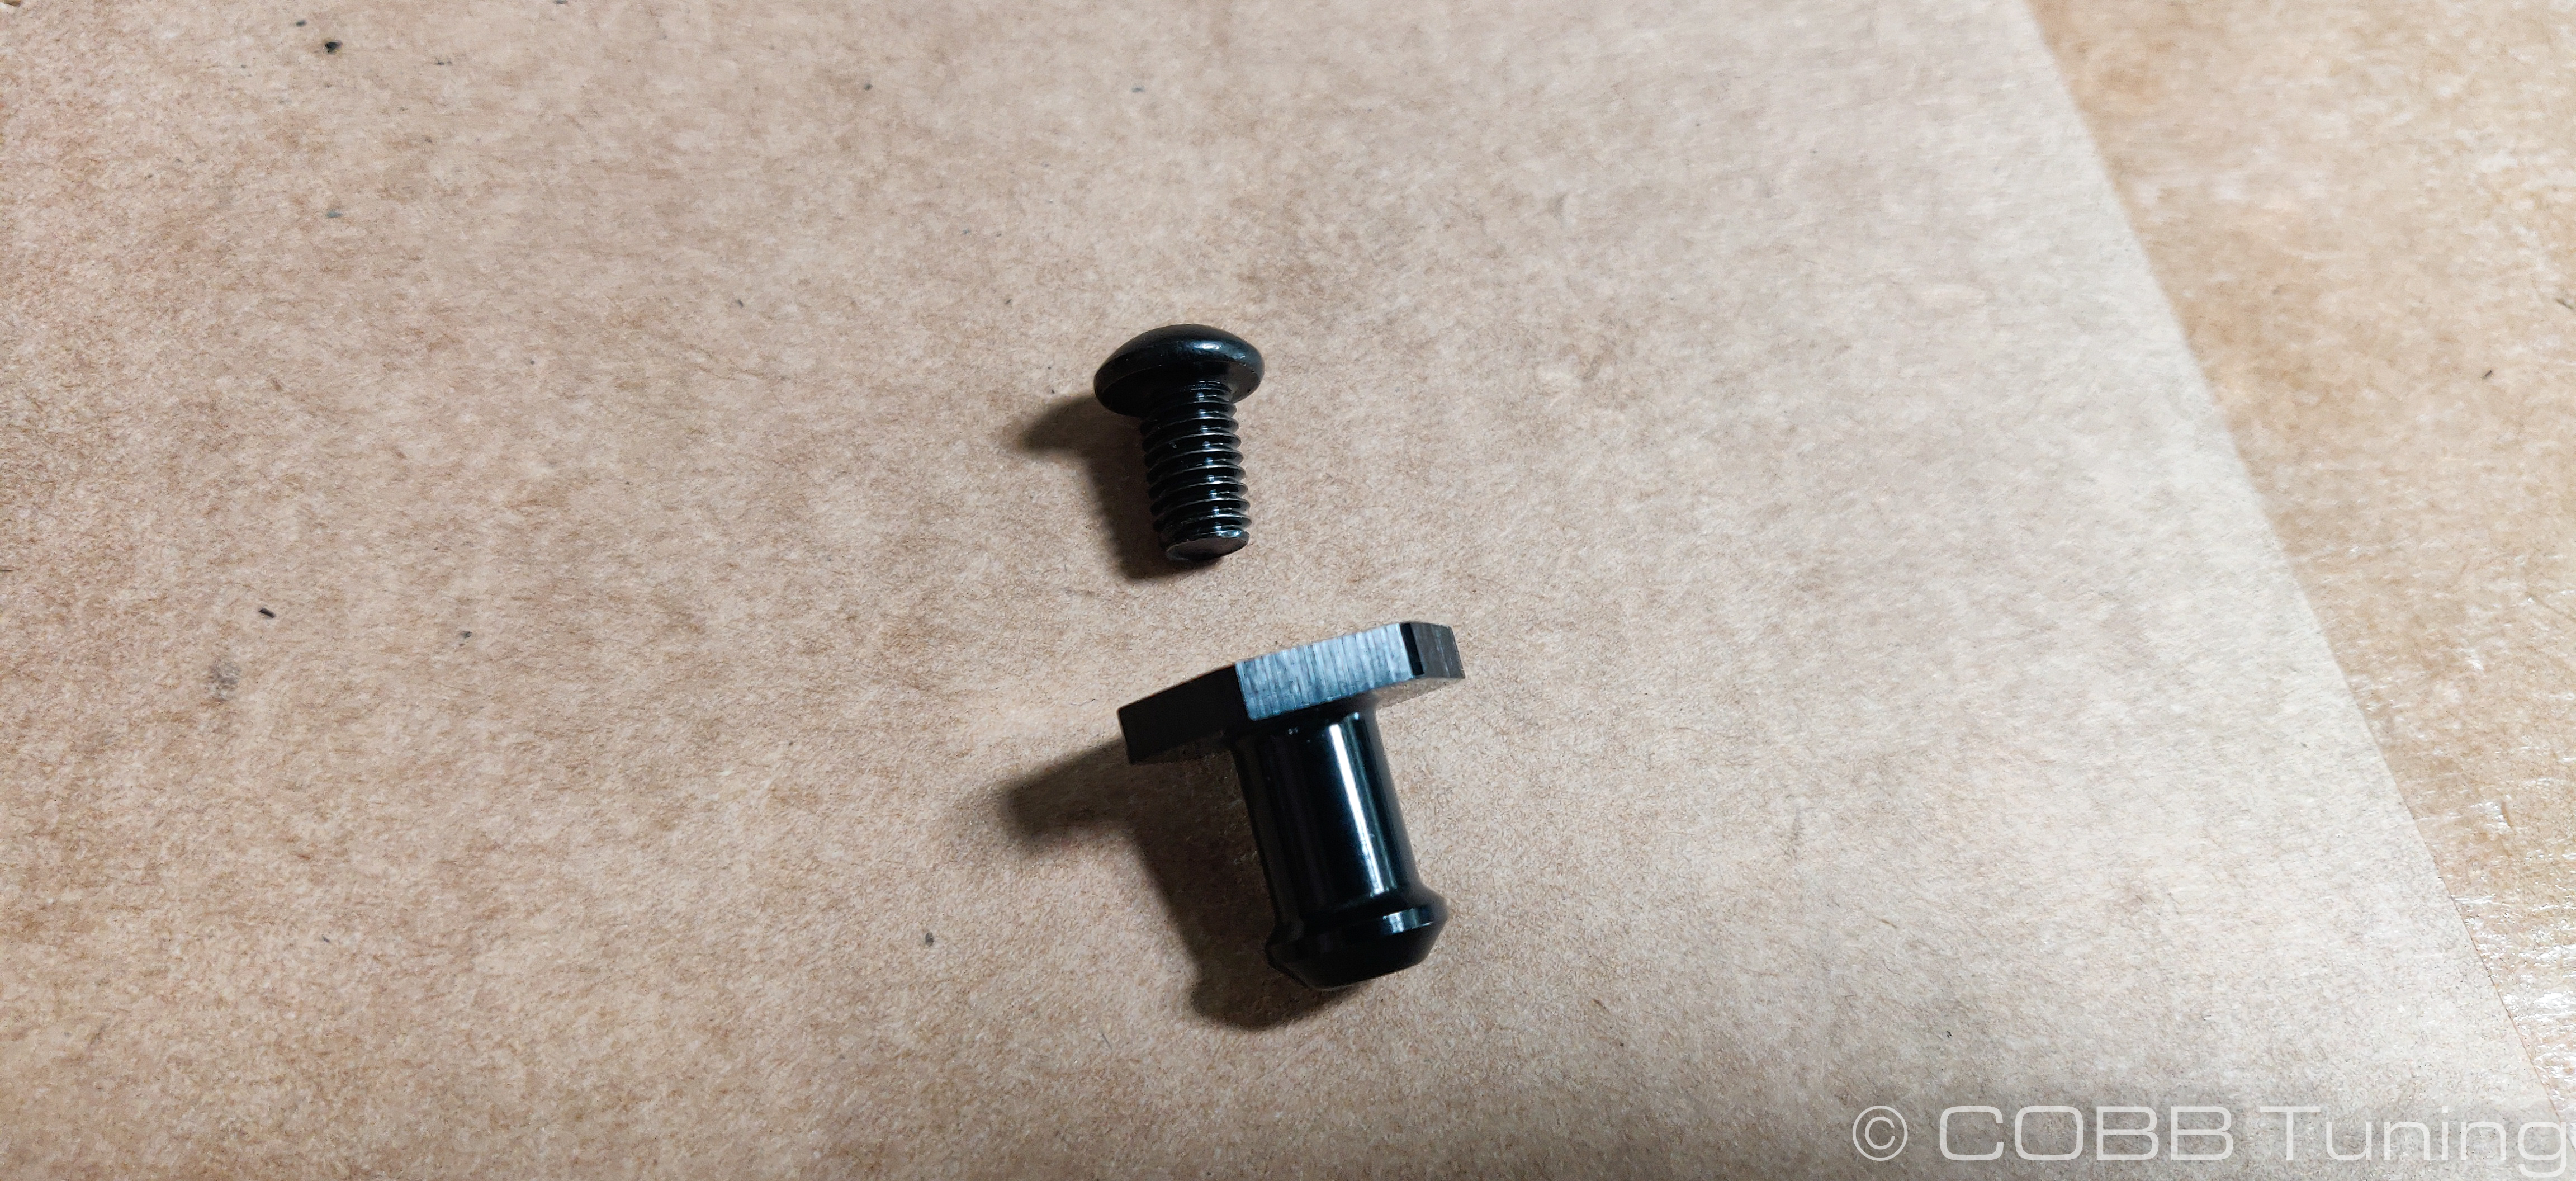
- Stick the bolt onto the short end of your allen key. (A little tape can hold it in place so you don't lose it into the depths of the engine bay.) You'll now gently hold the radiator out of the way, and poke the allen bolt up through the previously noted mounting holes.
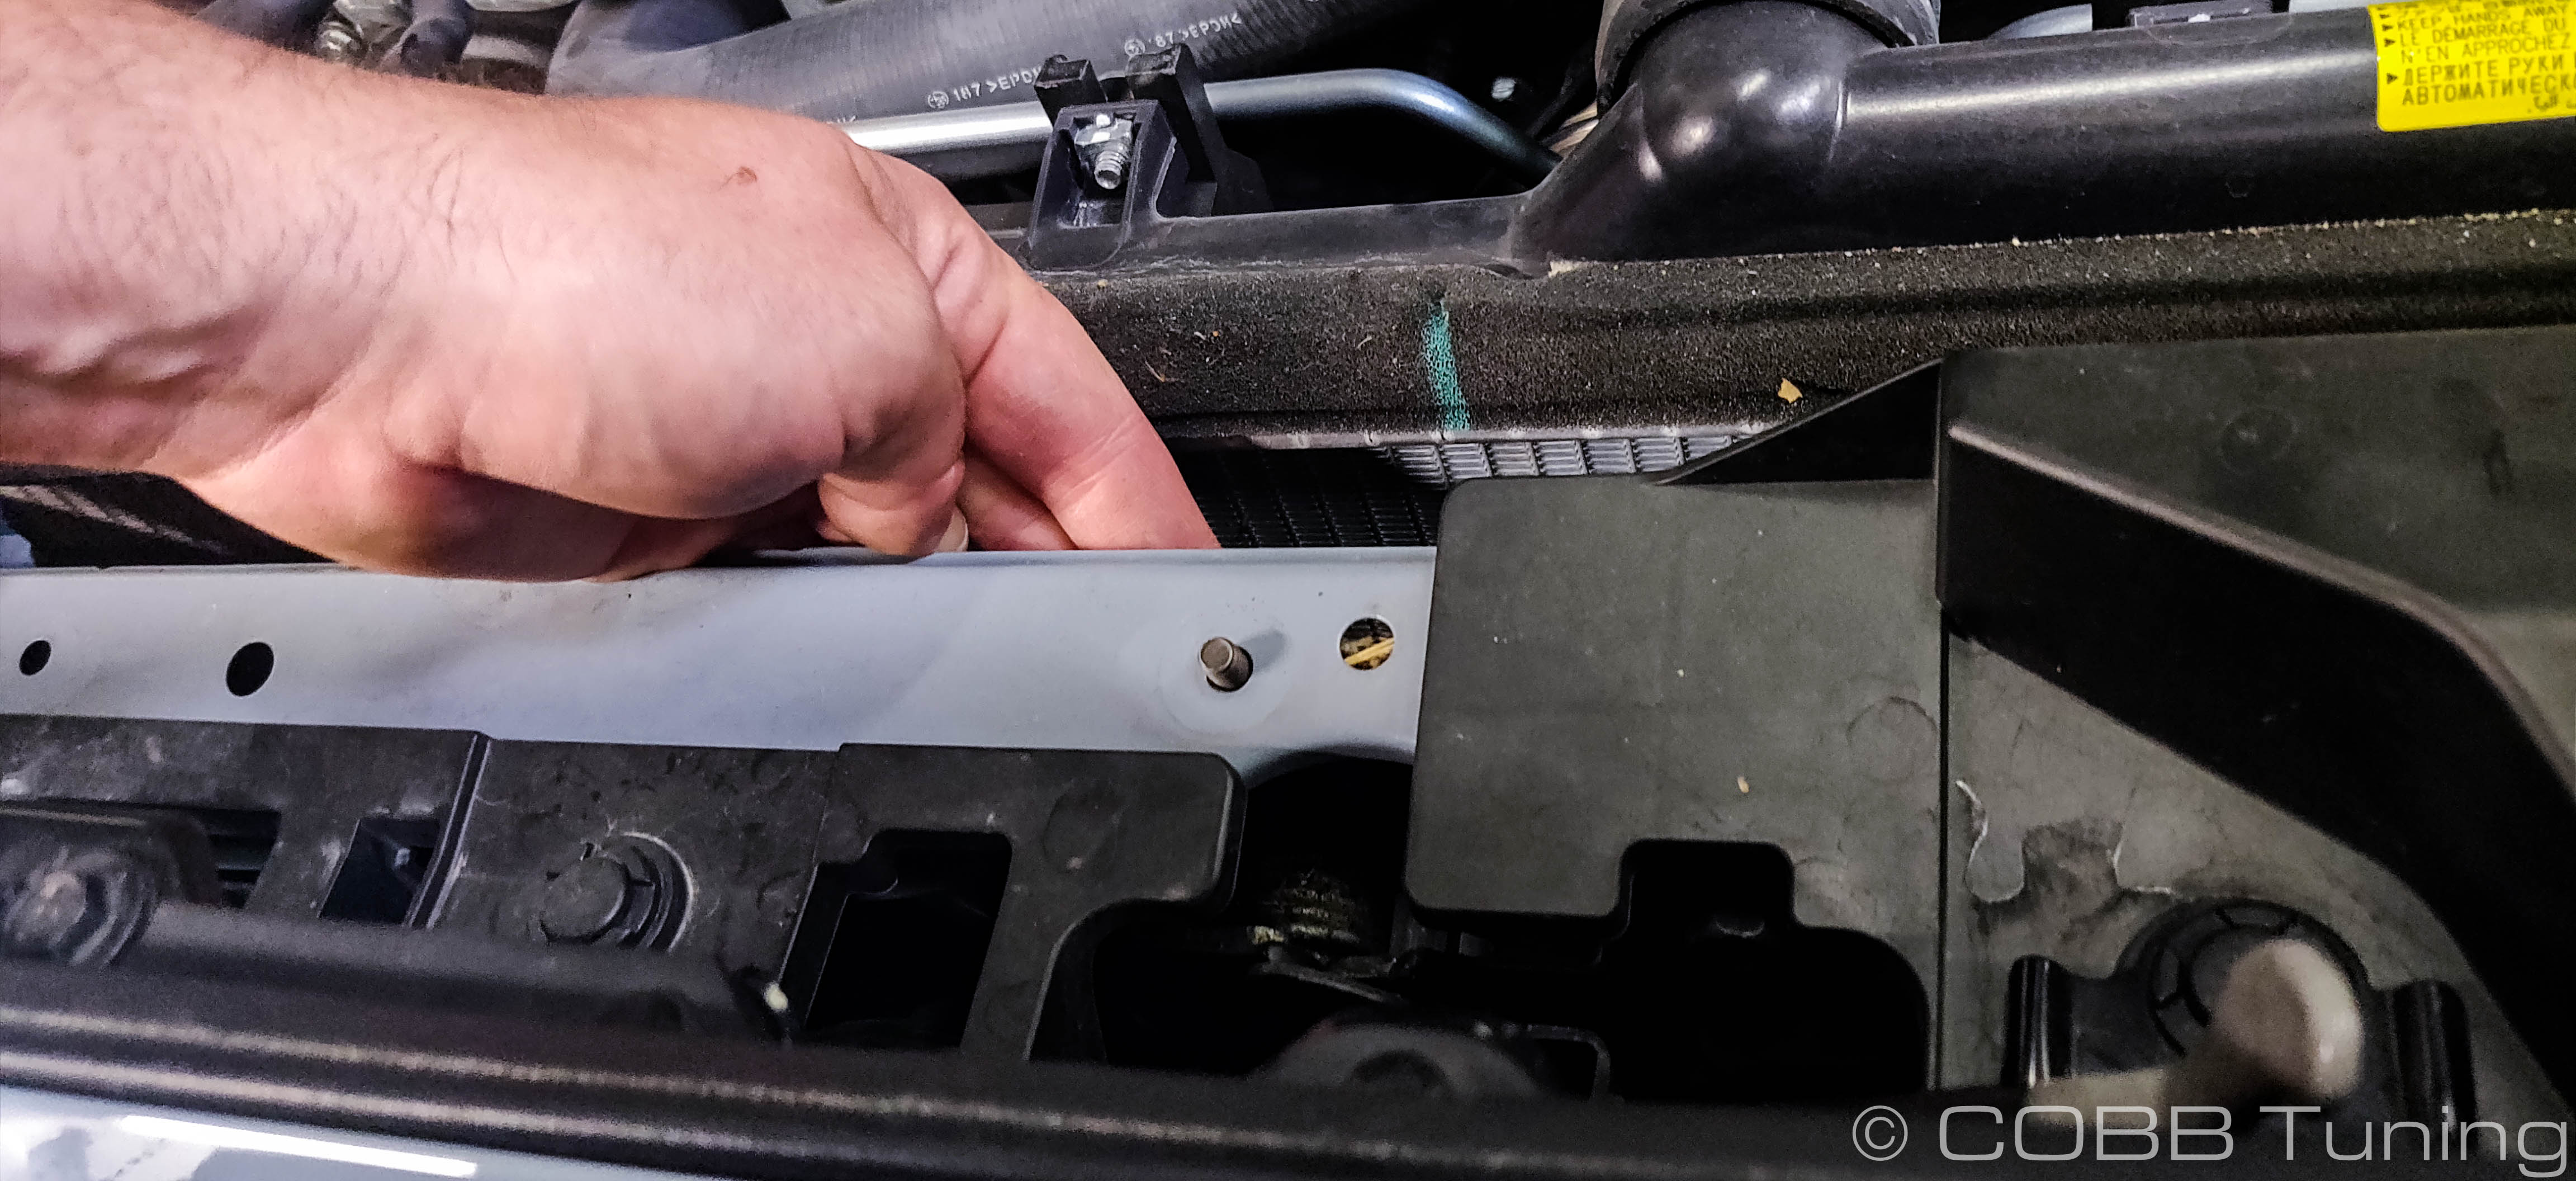
- You can now use your hands to put the pin onto the bolt. Then tighten it down with a 17mm wrench.
- You can now re-install the upper radiator supports.
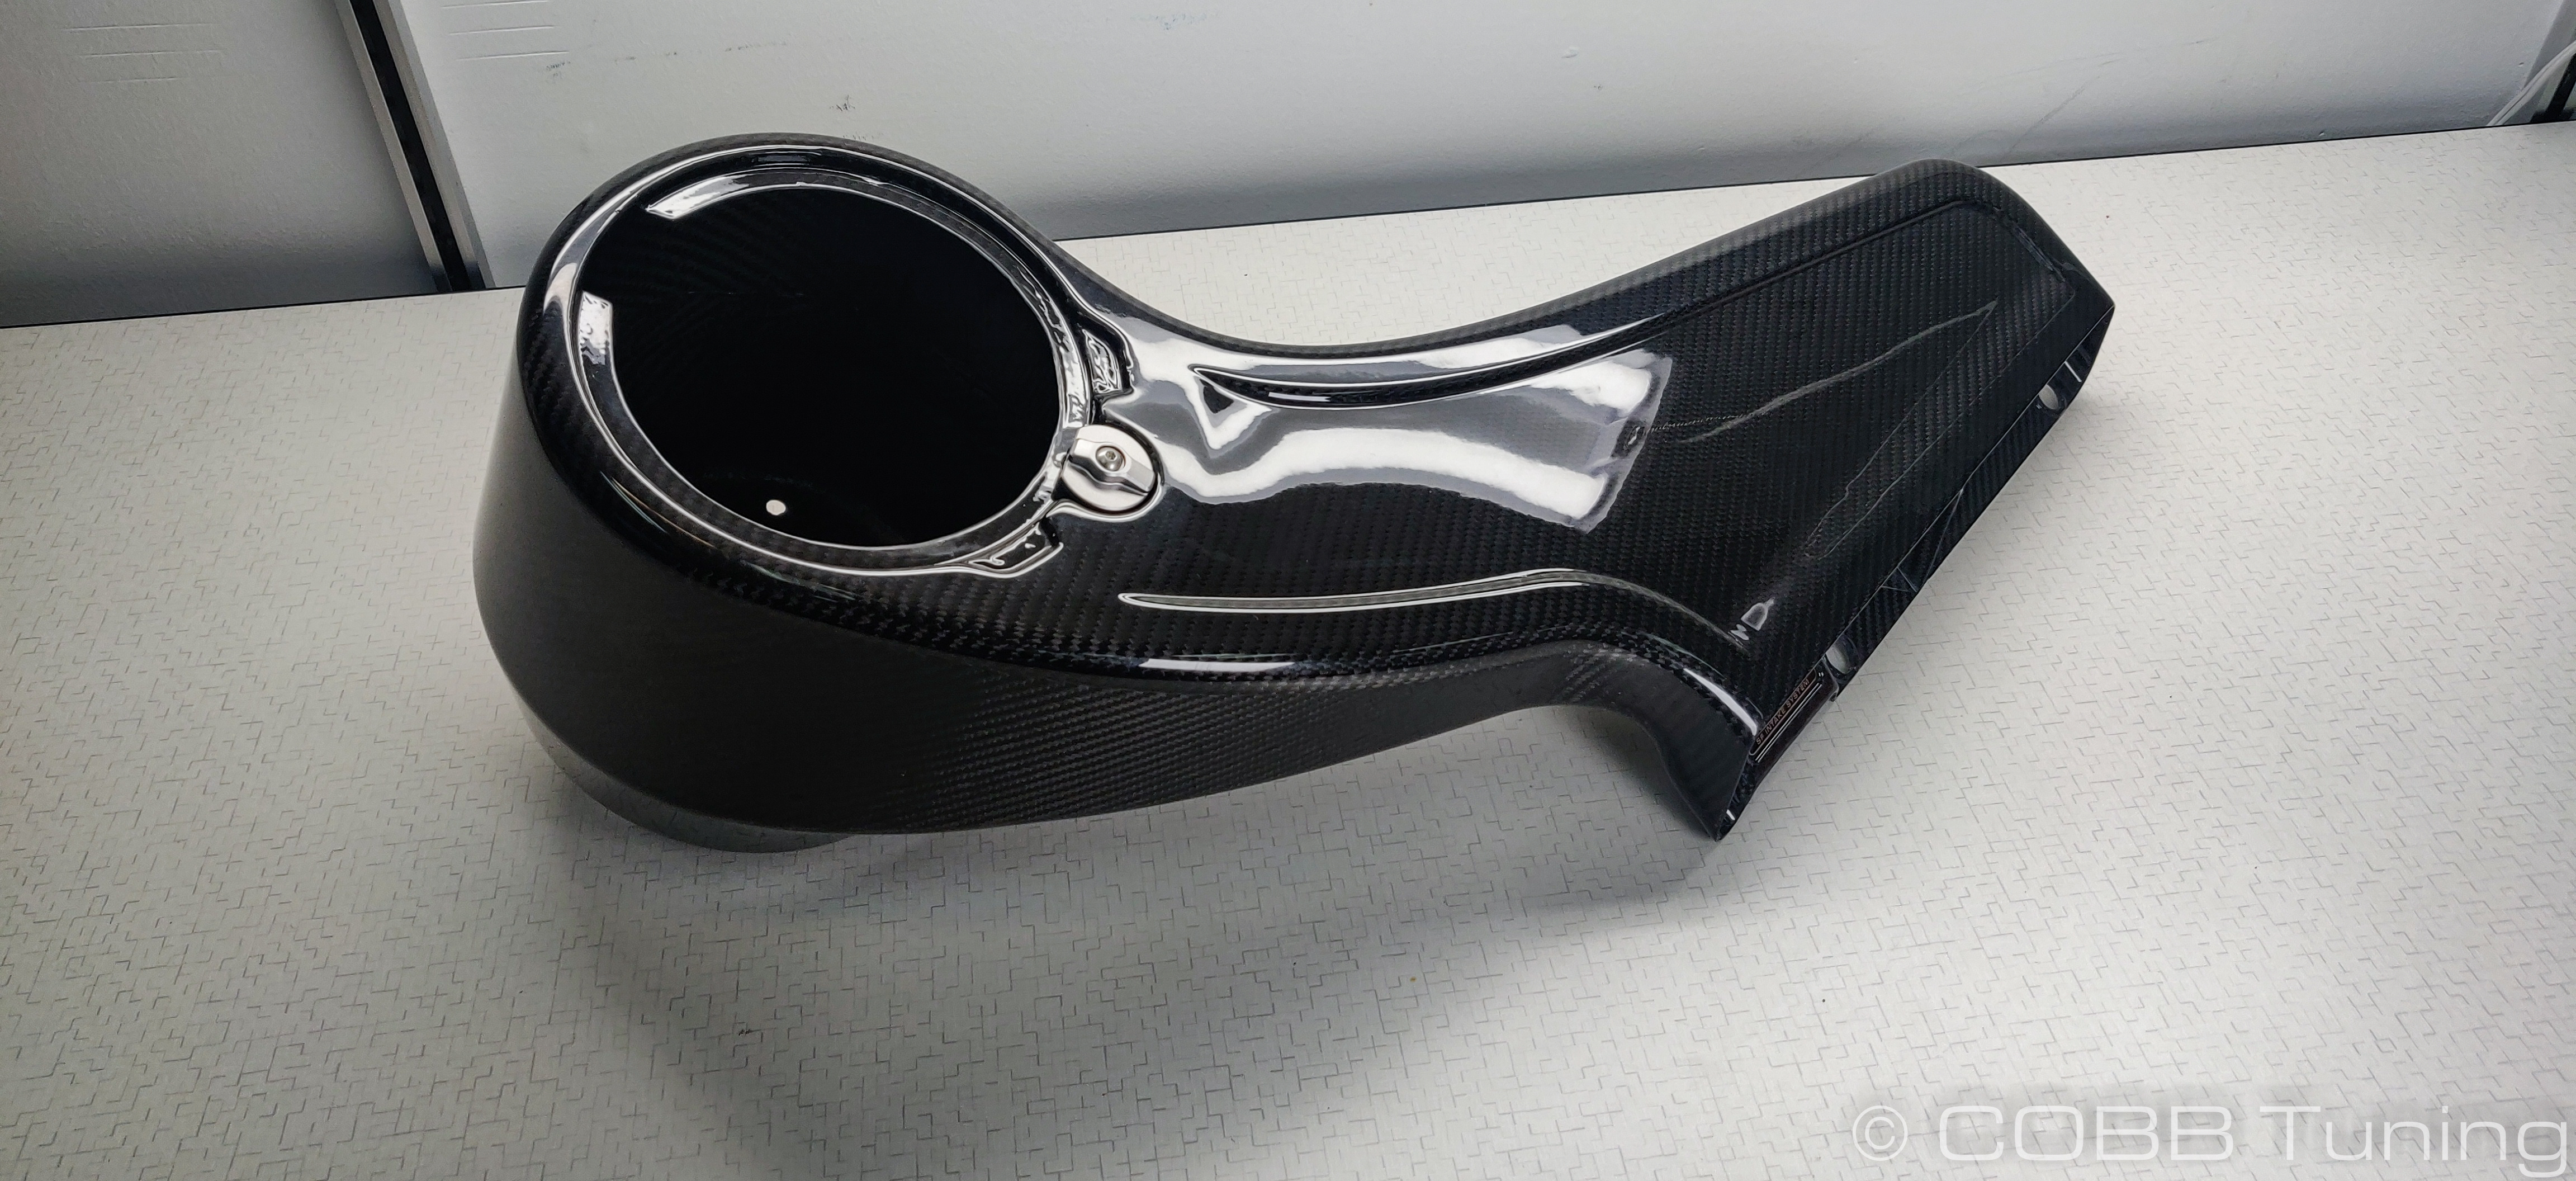
Carbon Intake Pre-Assembly
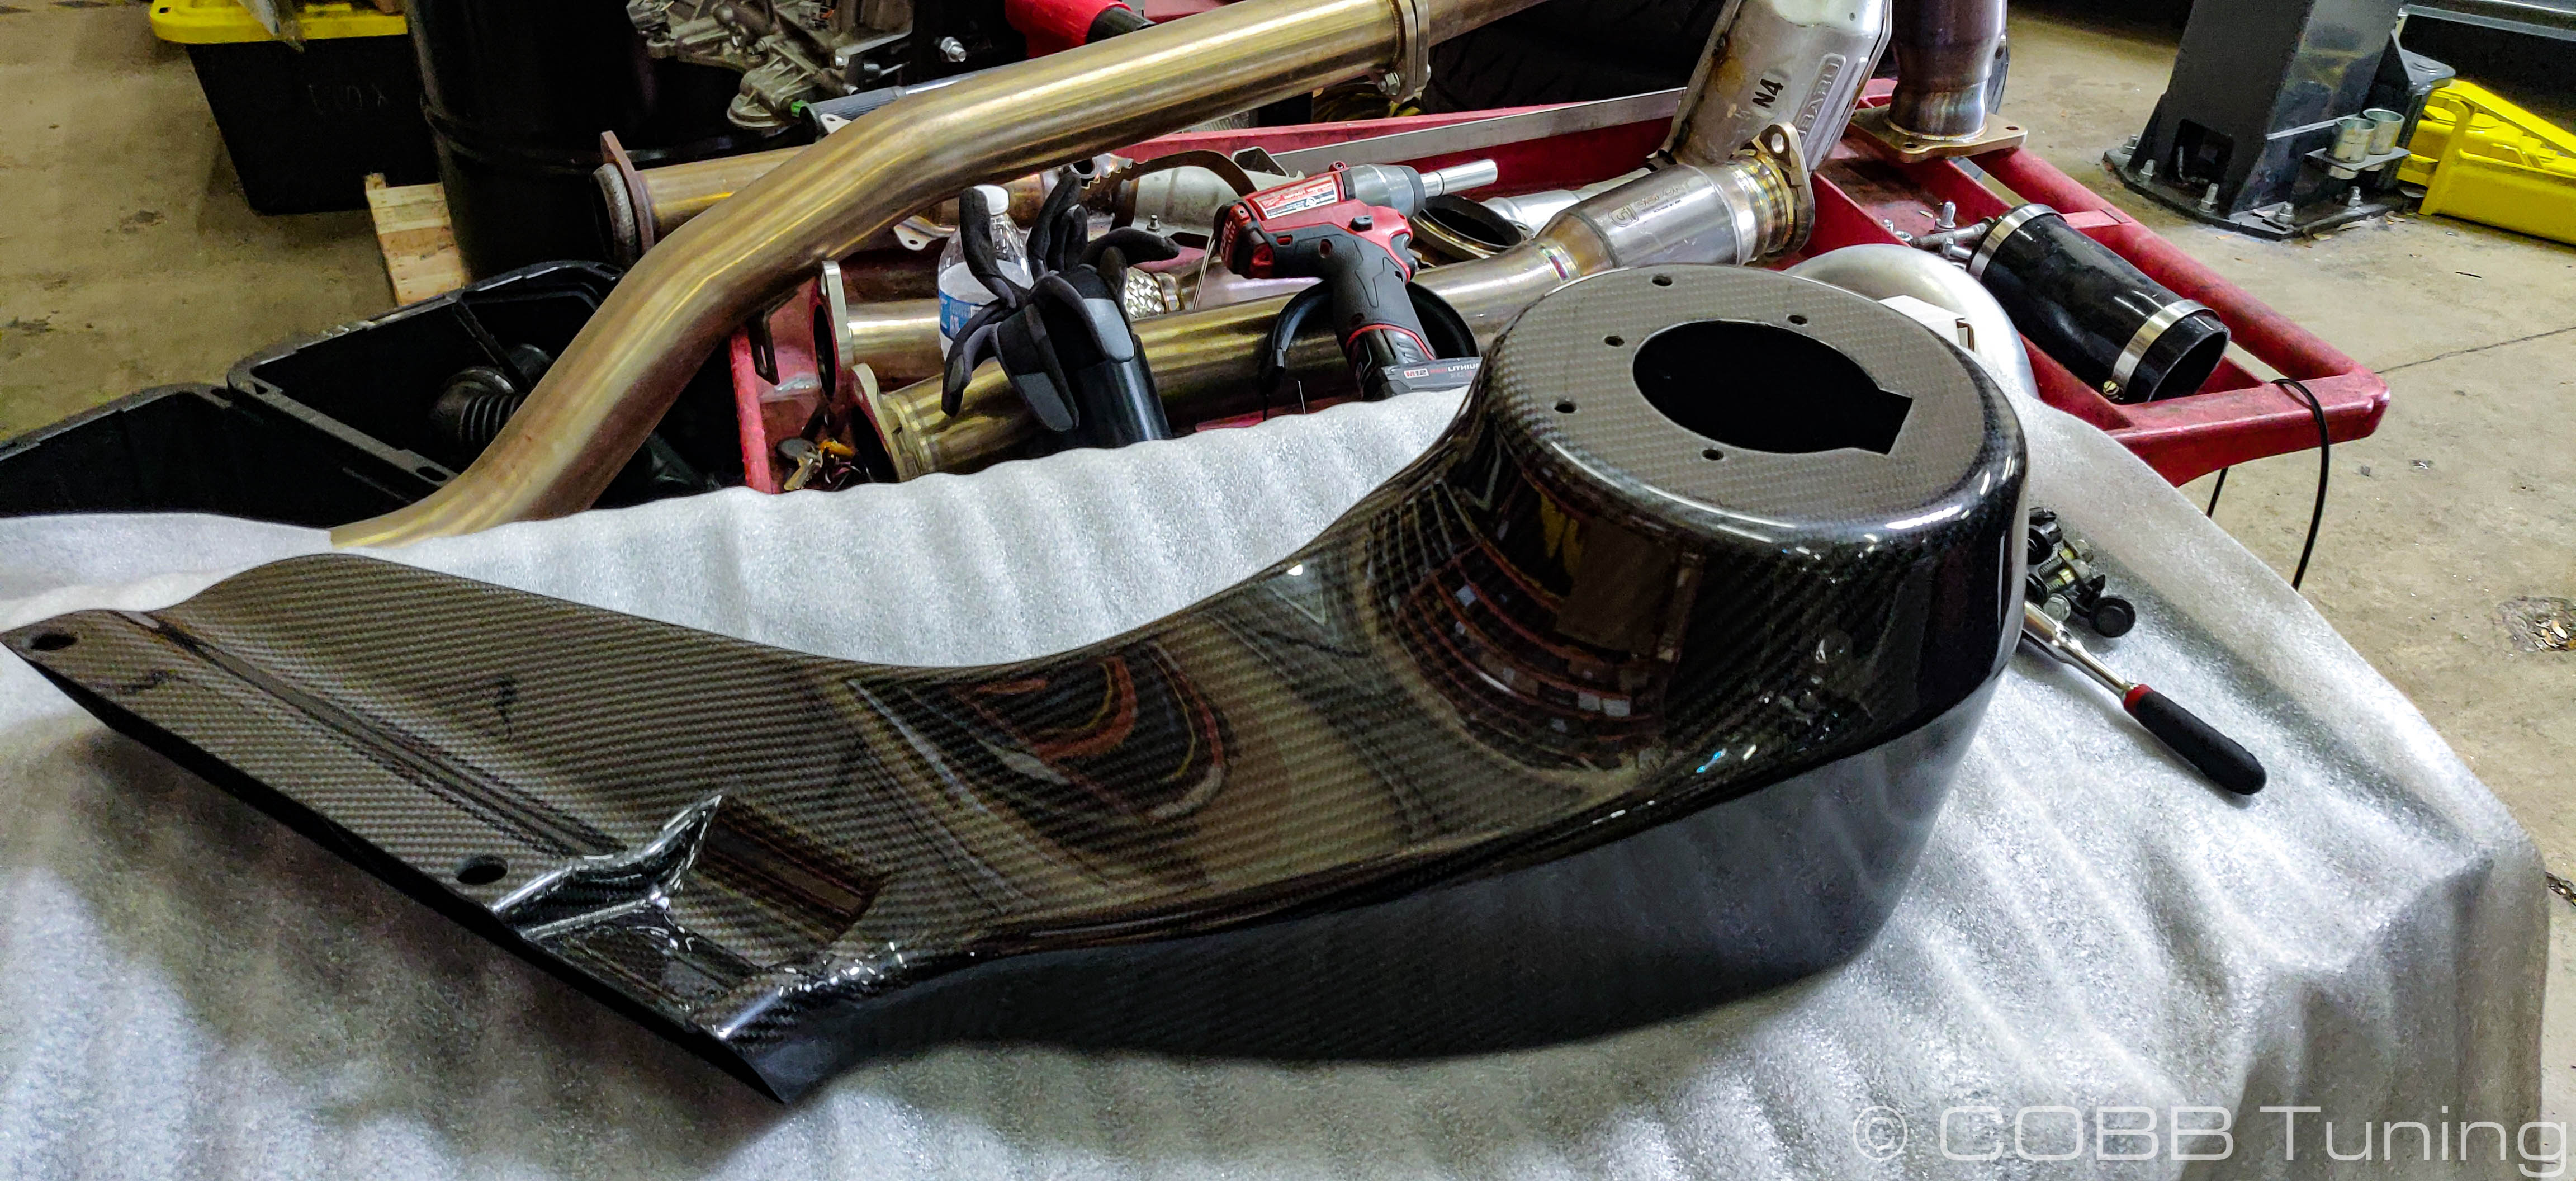
- Clear a safe work area, we recommend using some of the packing material or a blanket to set the intake on and avoid scratches.
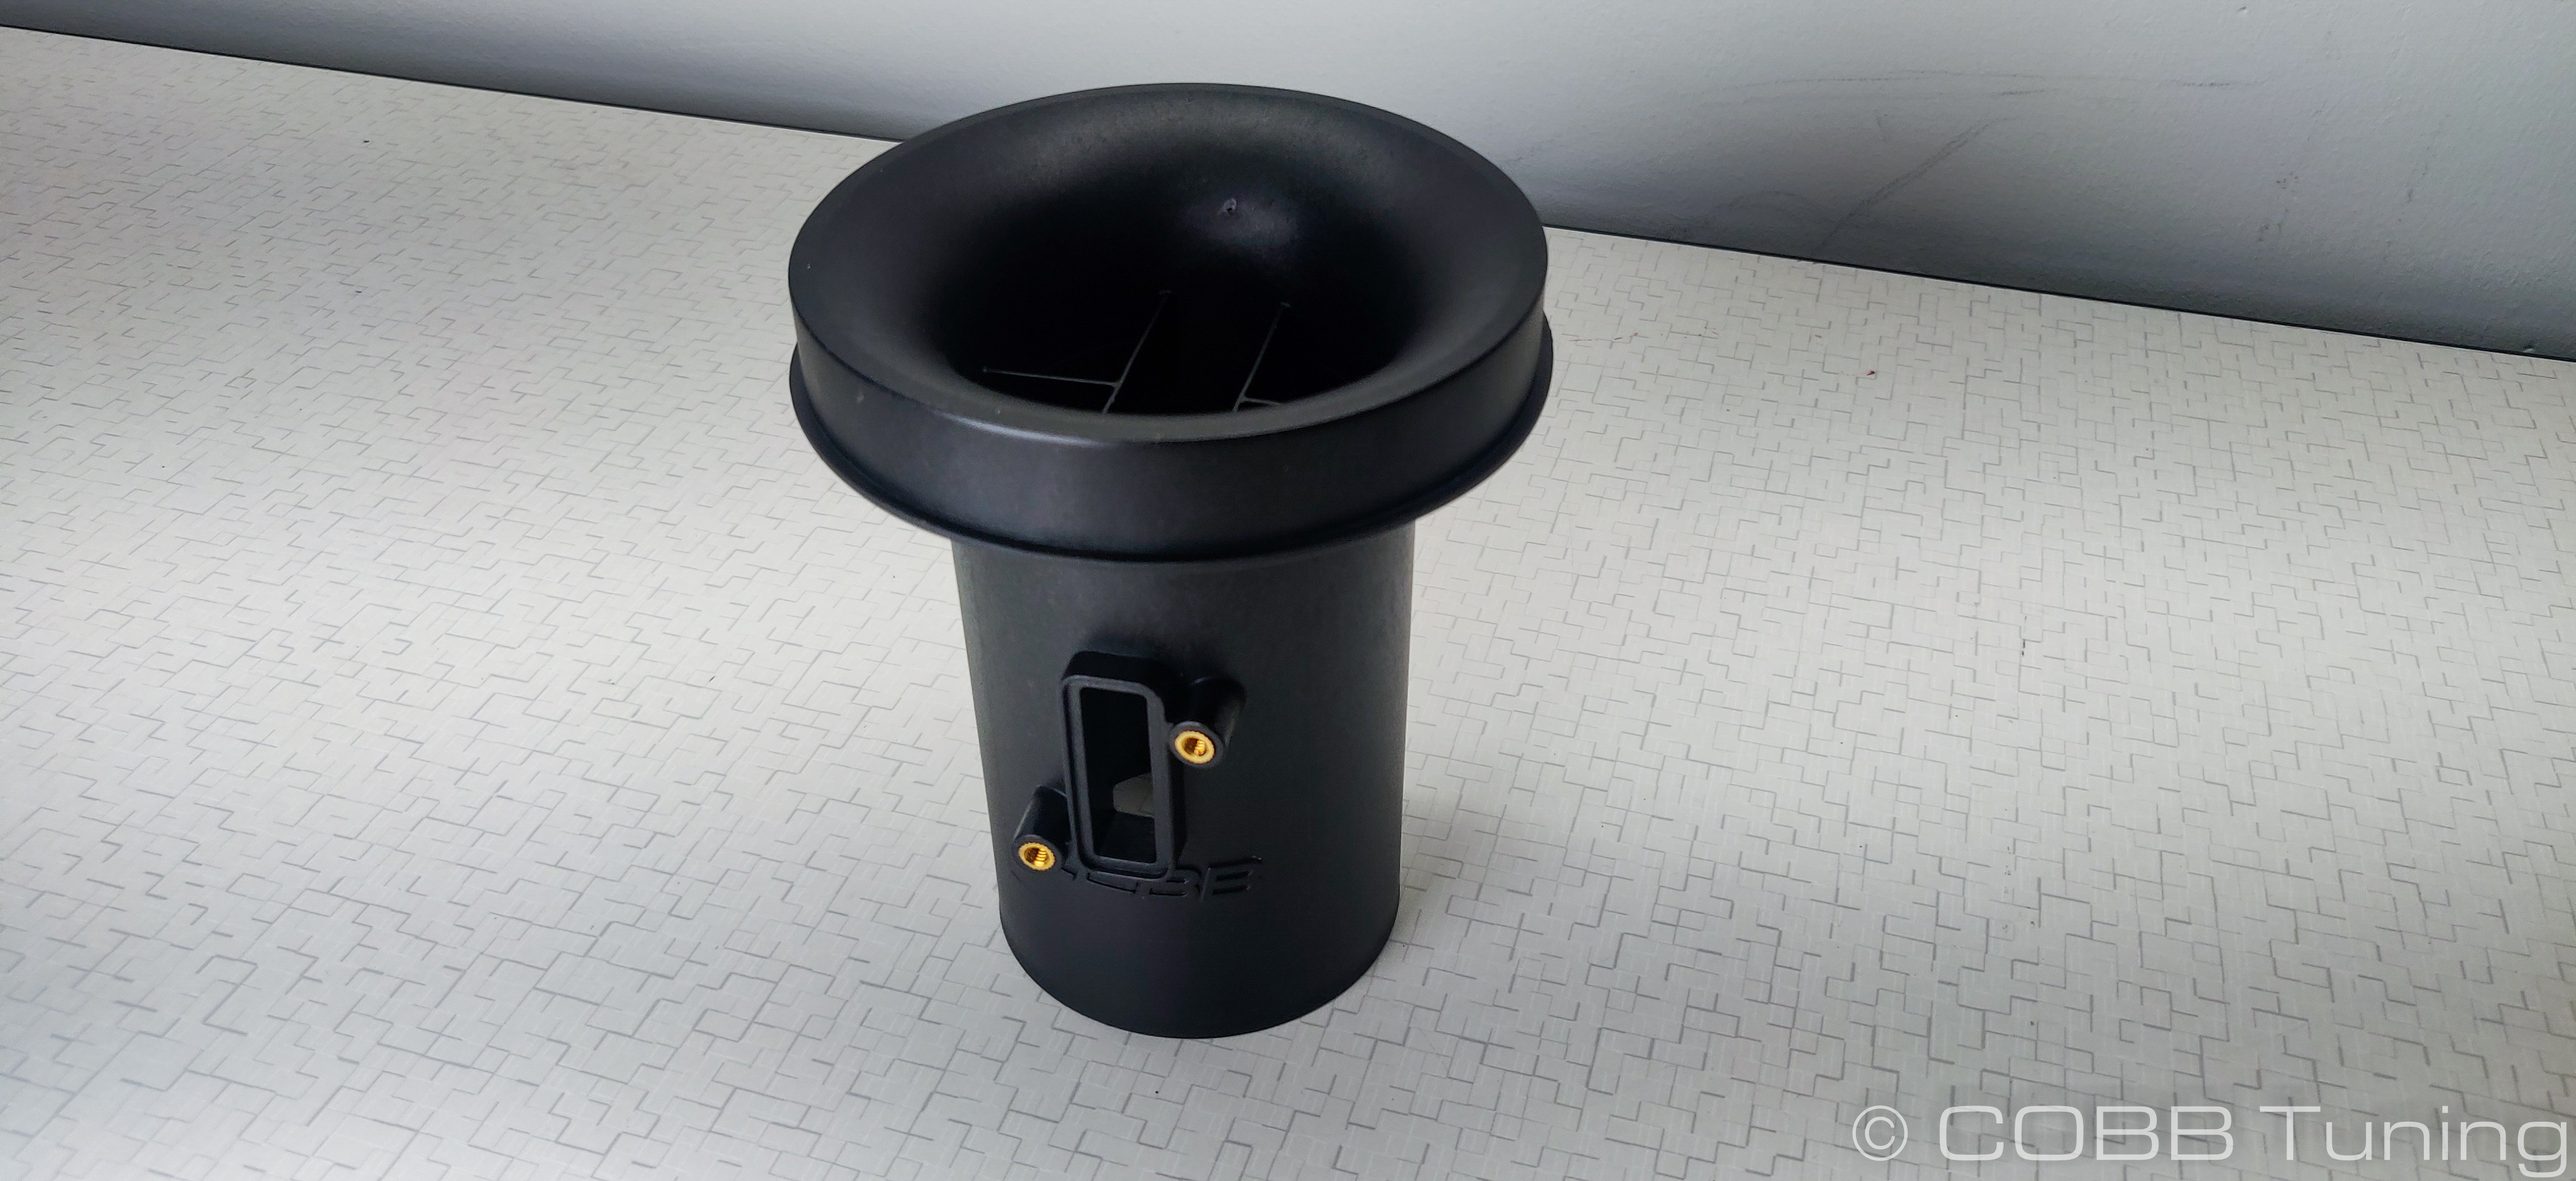
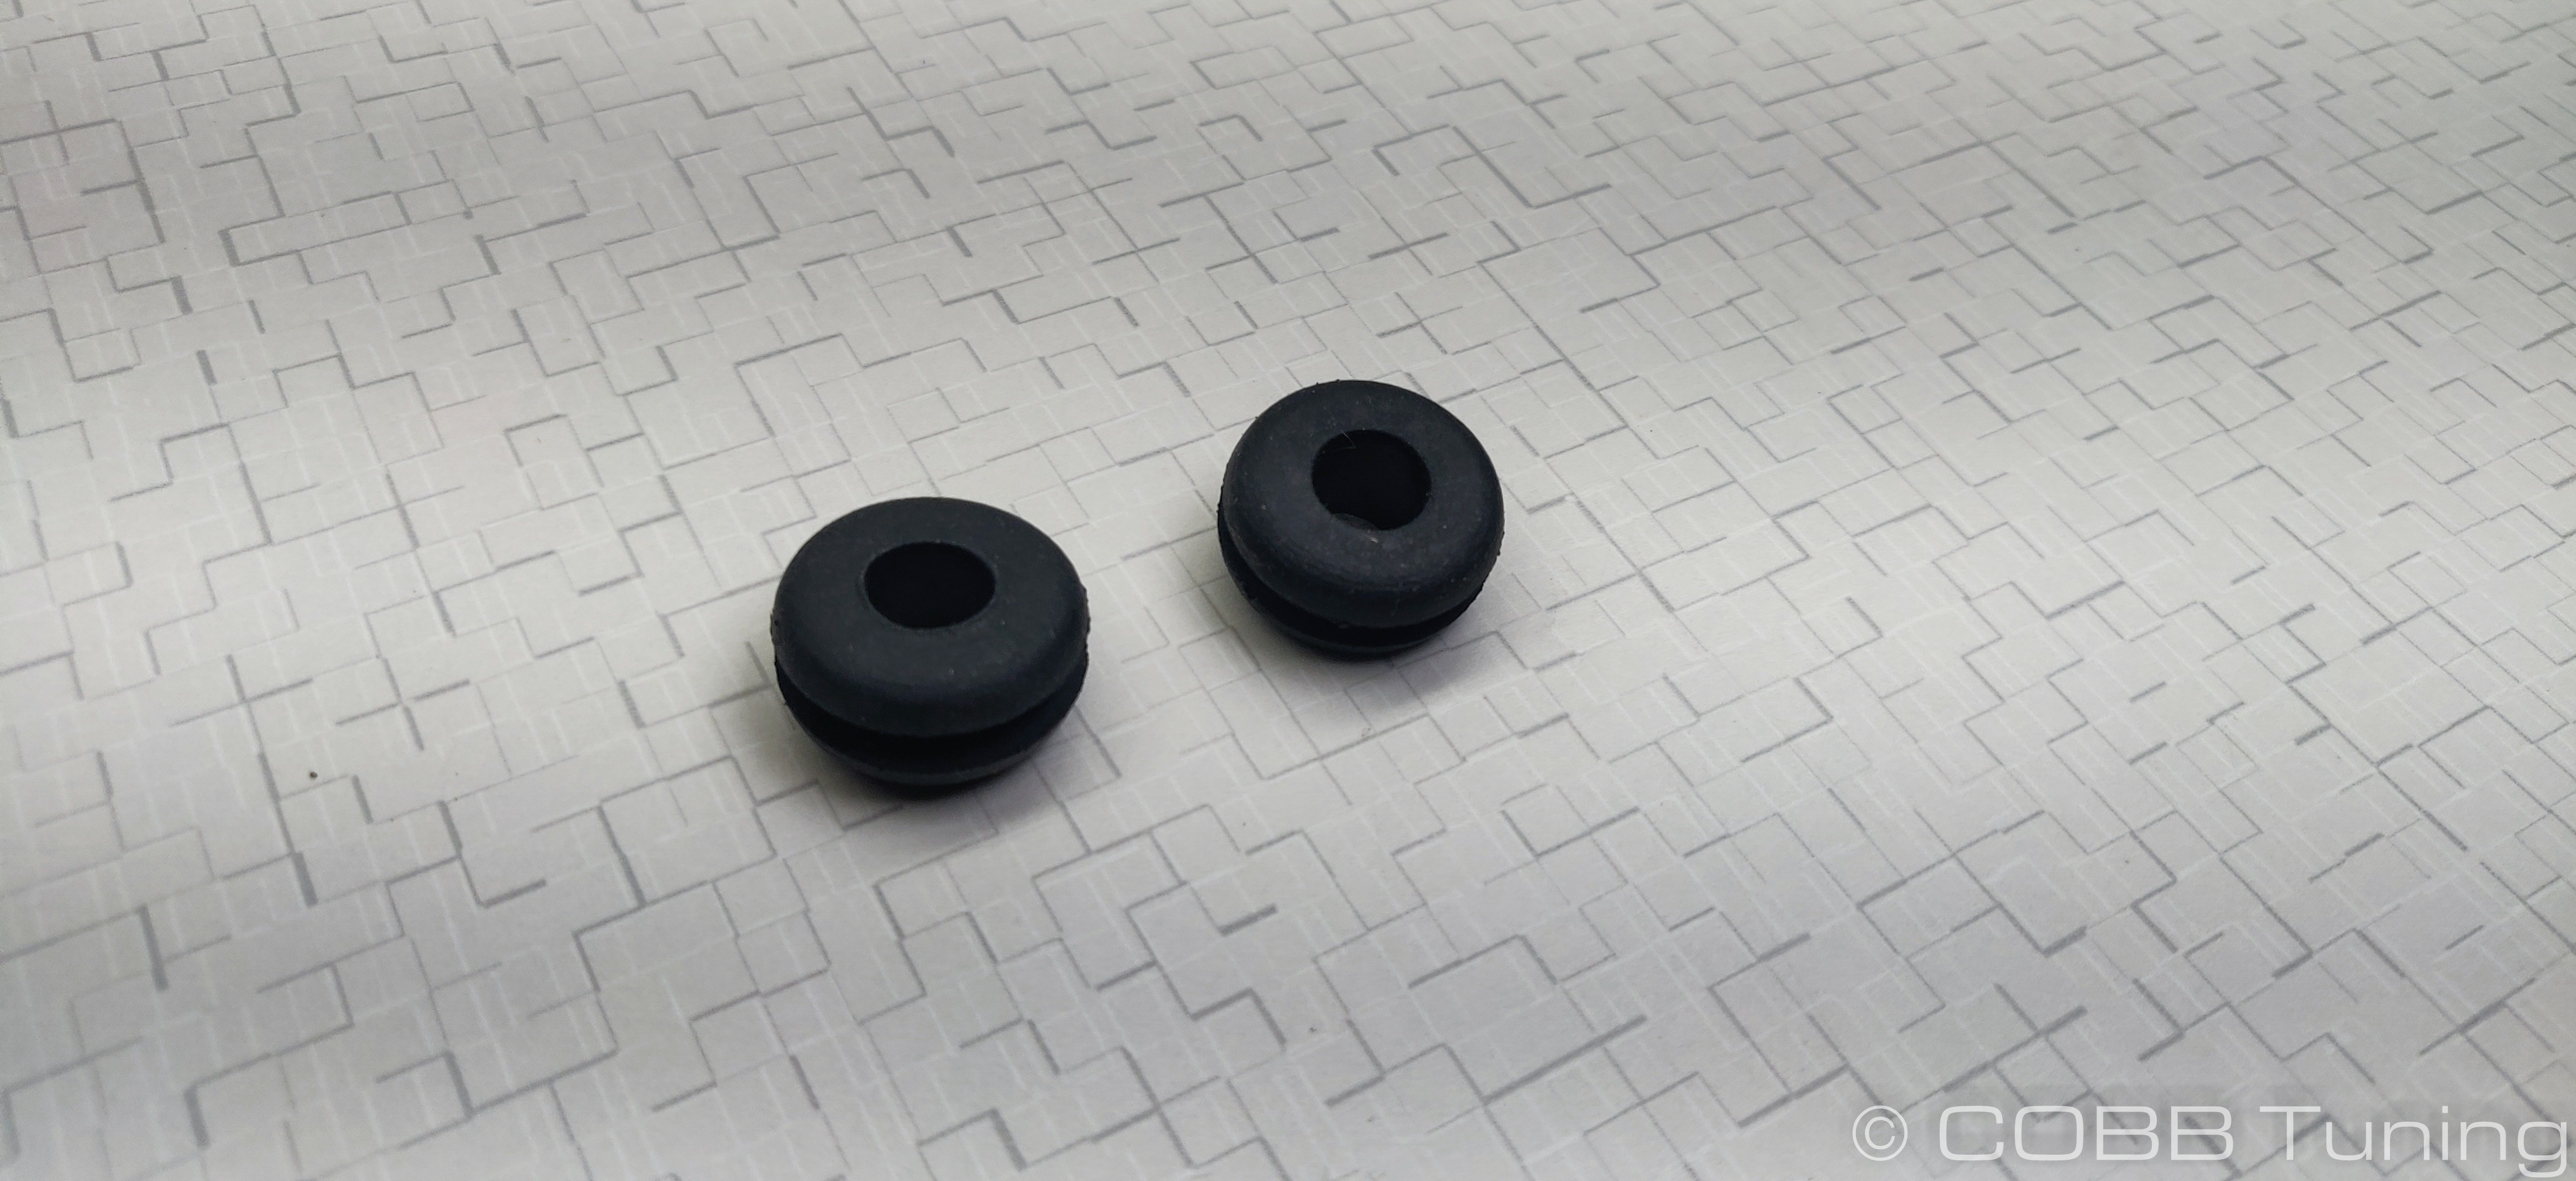
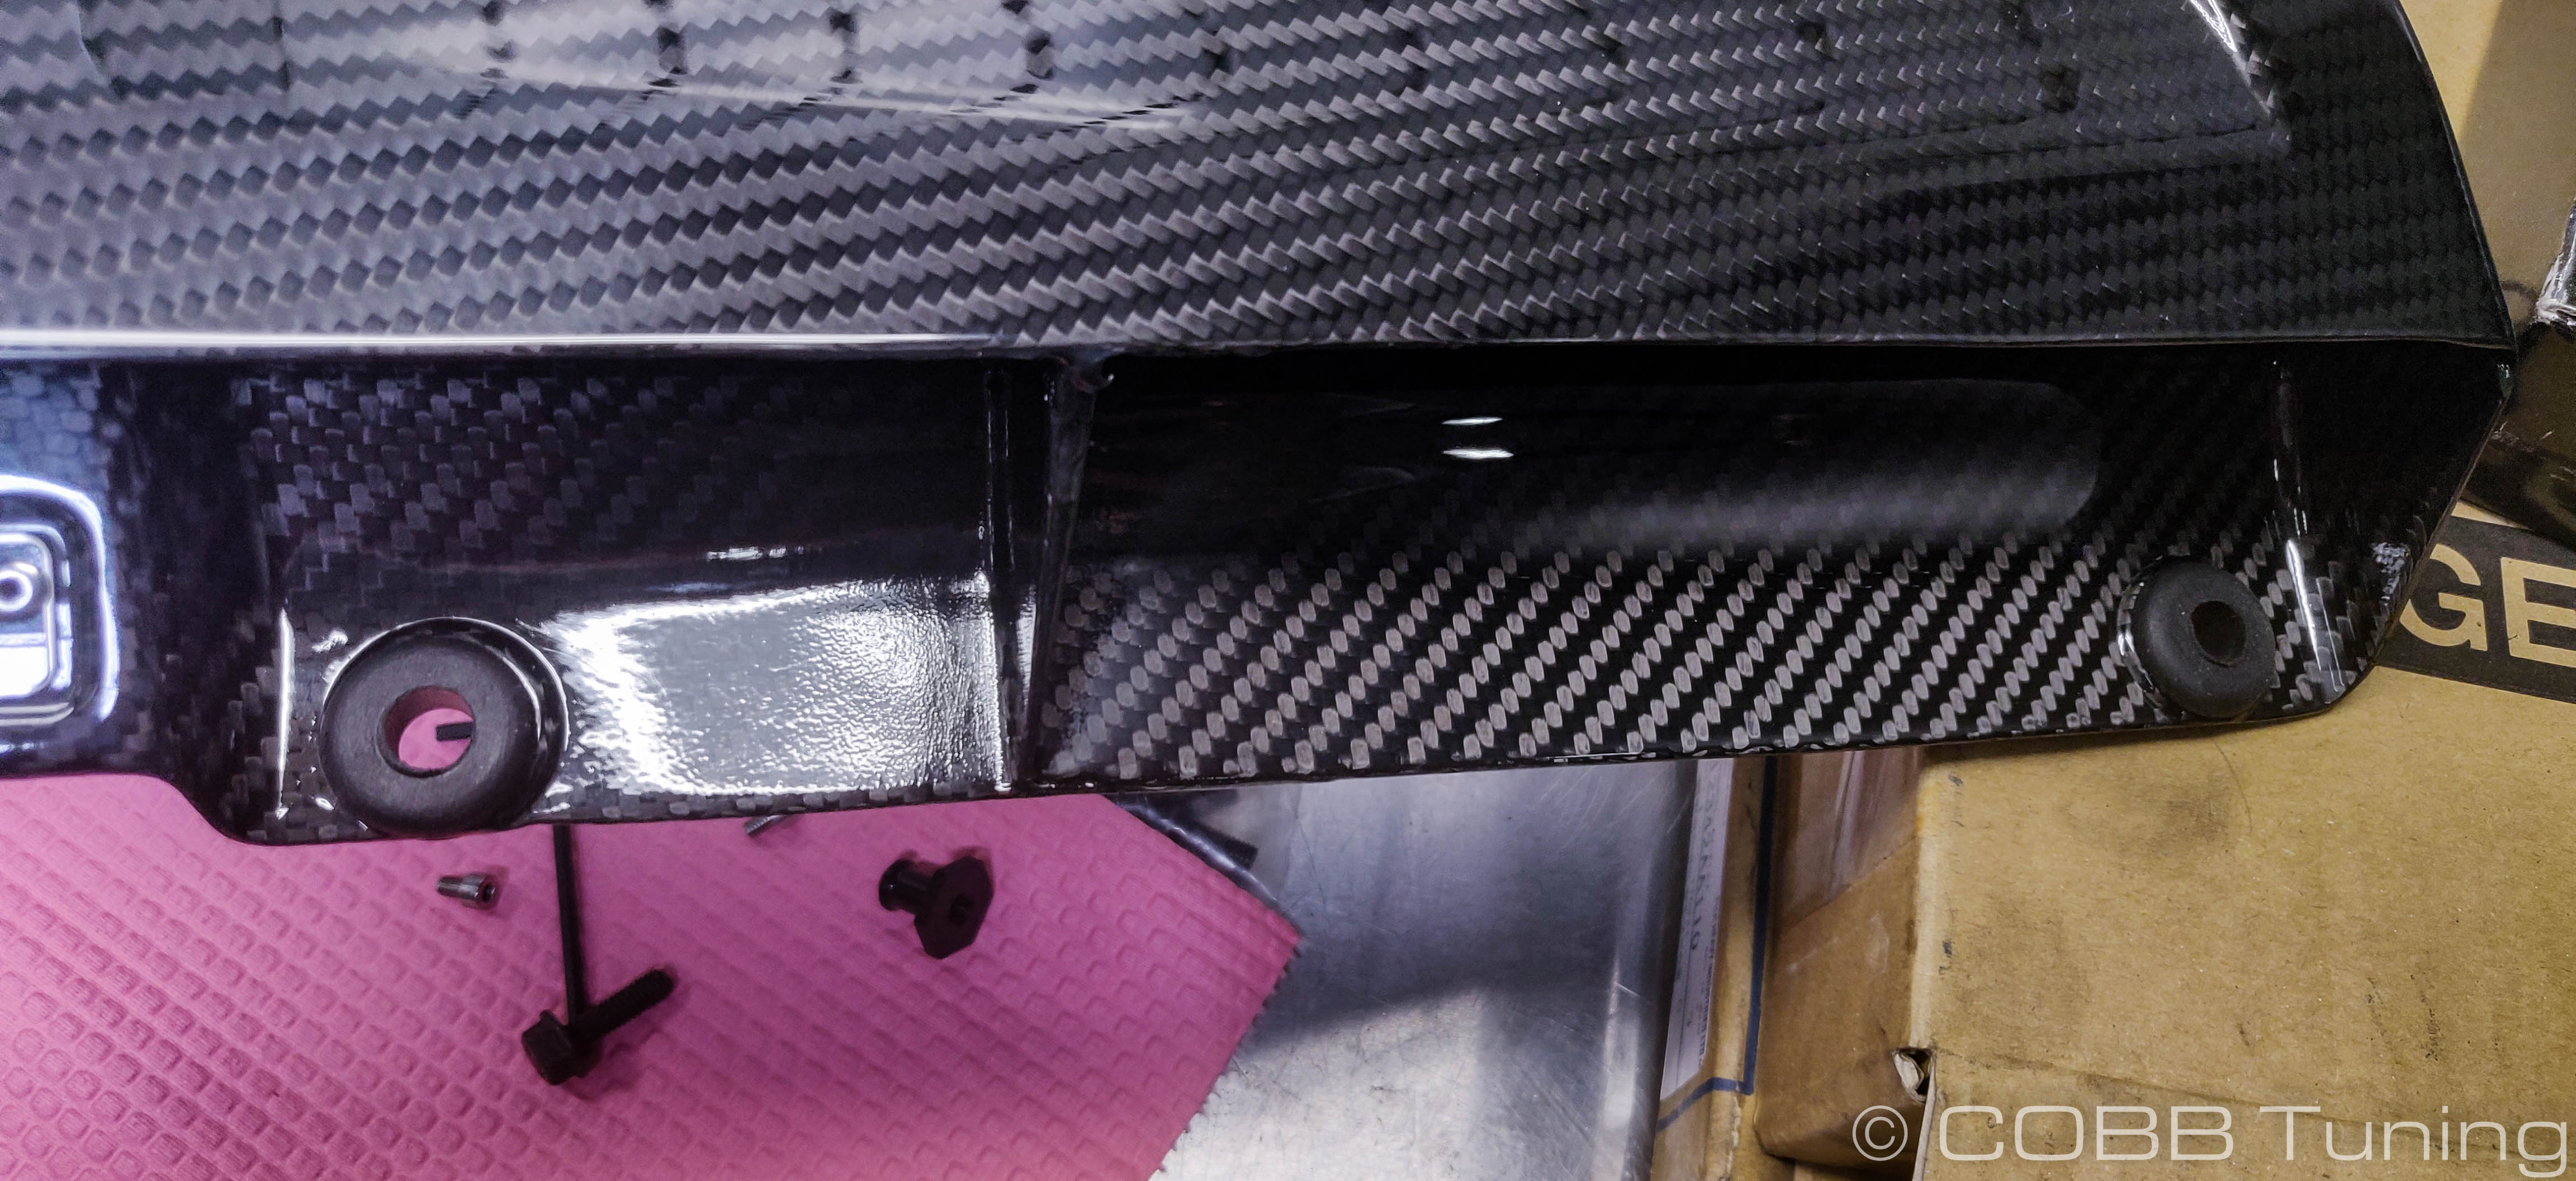
- Gently pop the two rubber grommets in the holes at the entrance of the snorkel
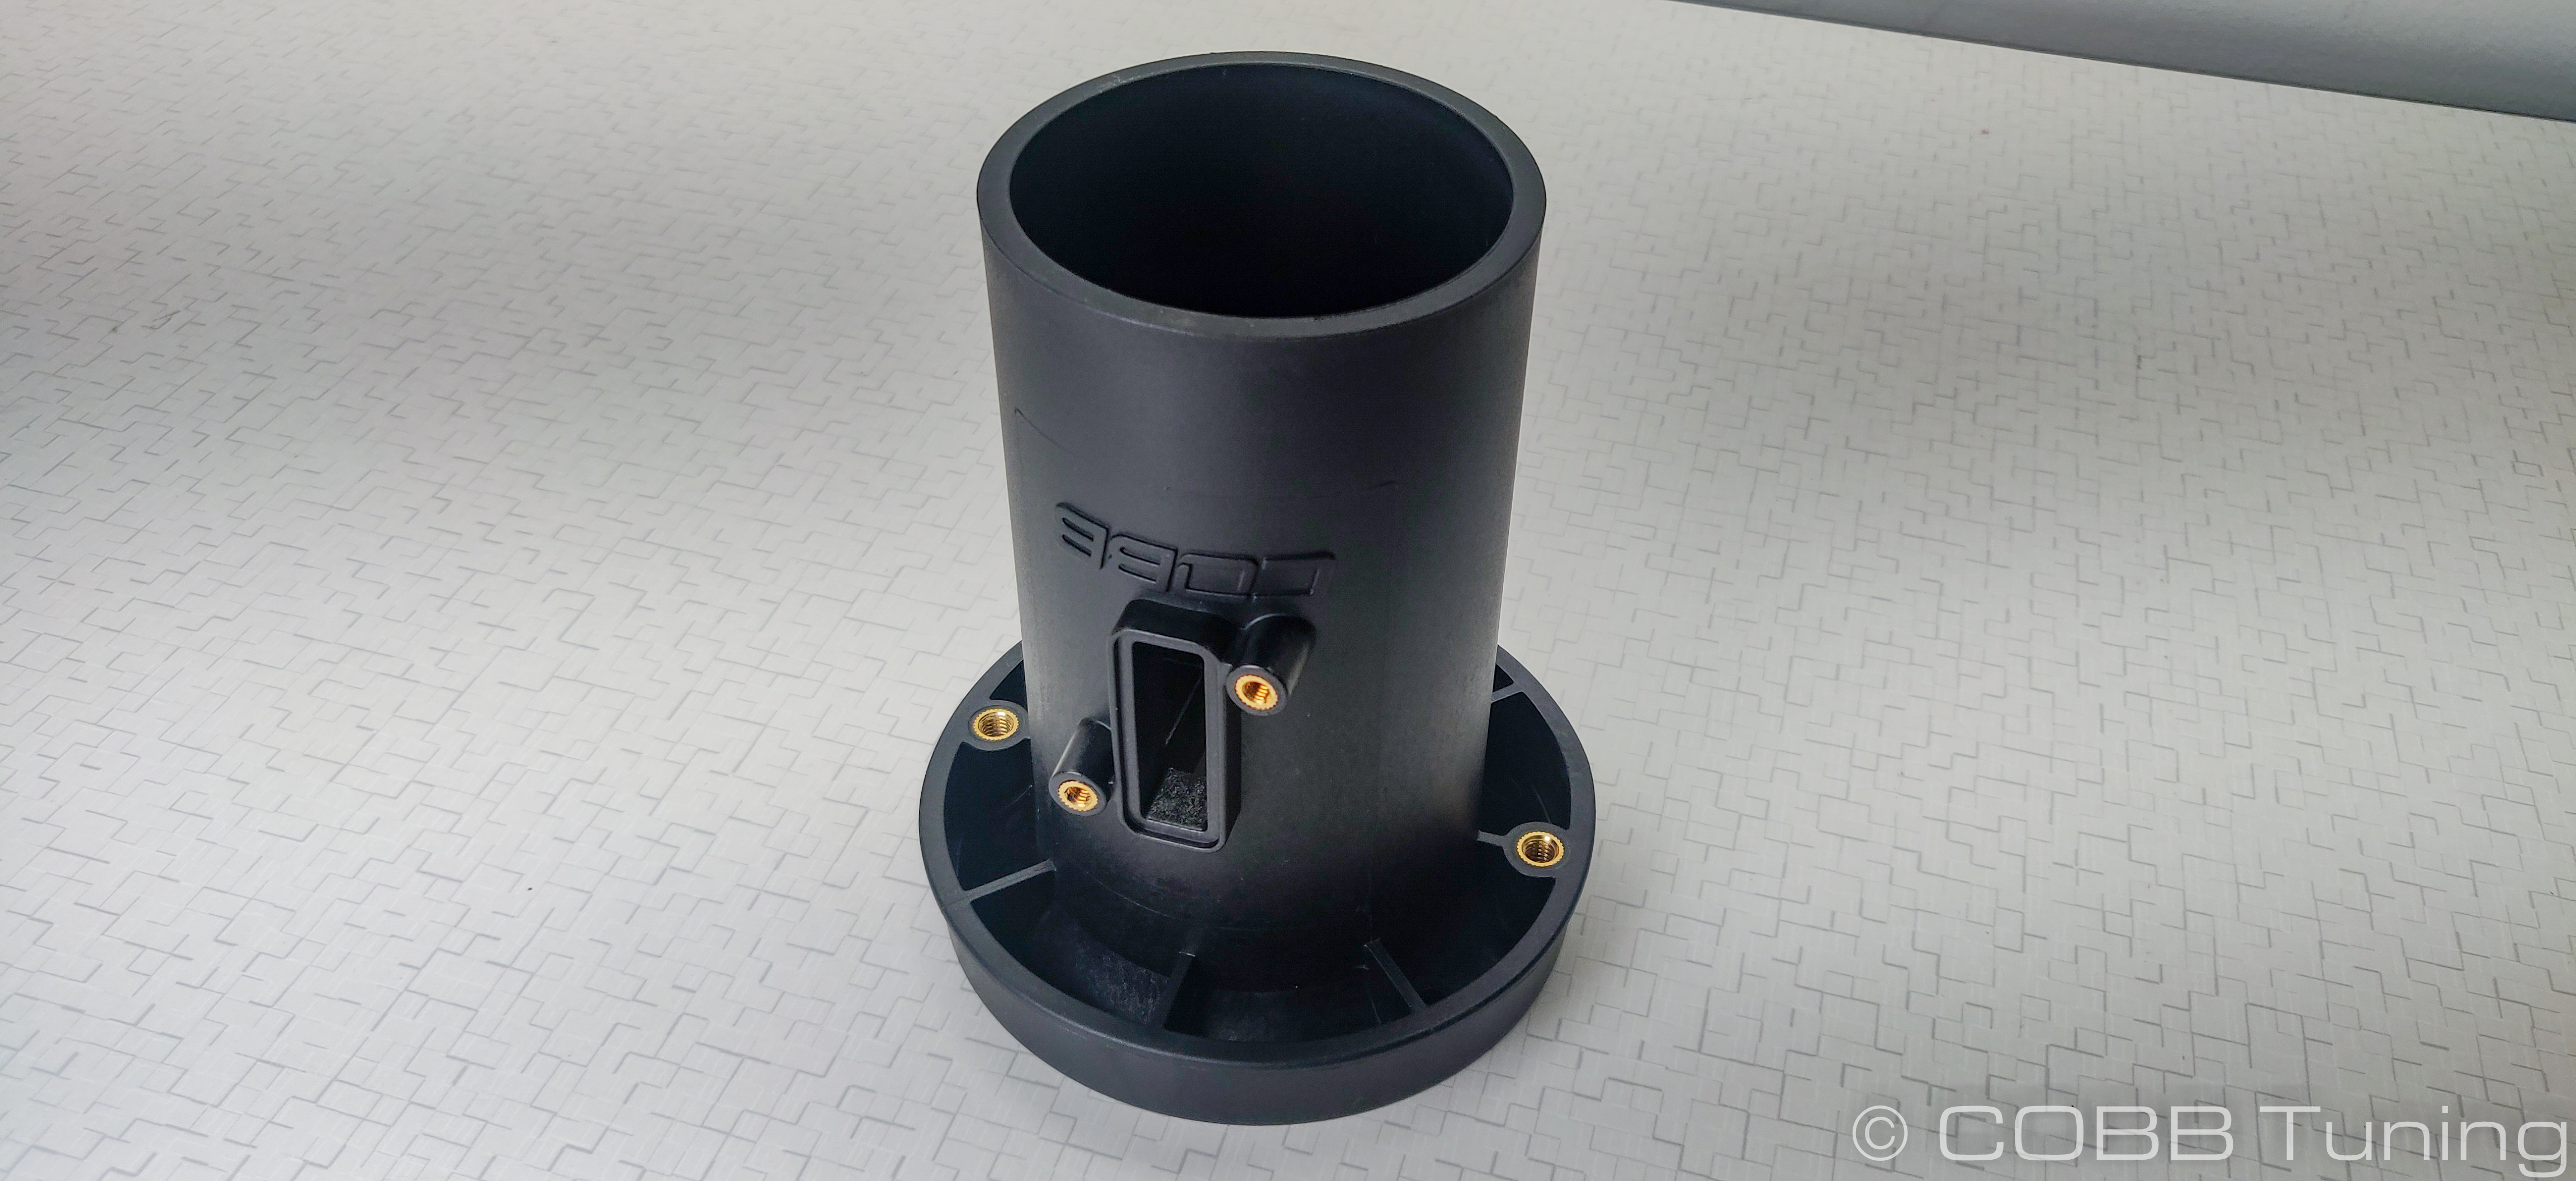
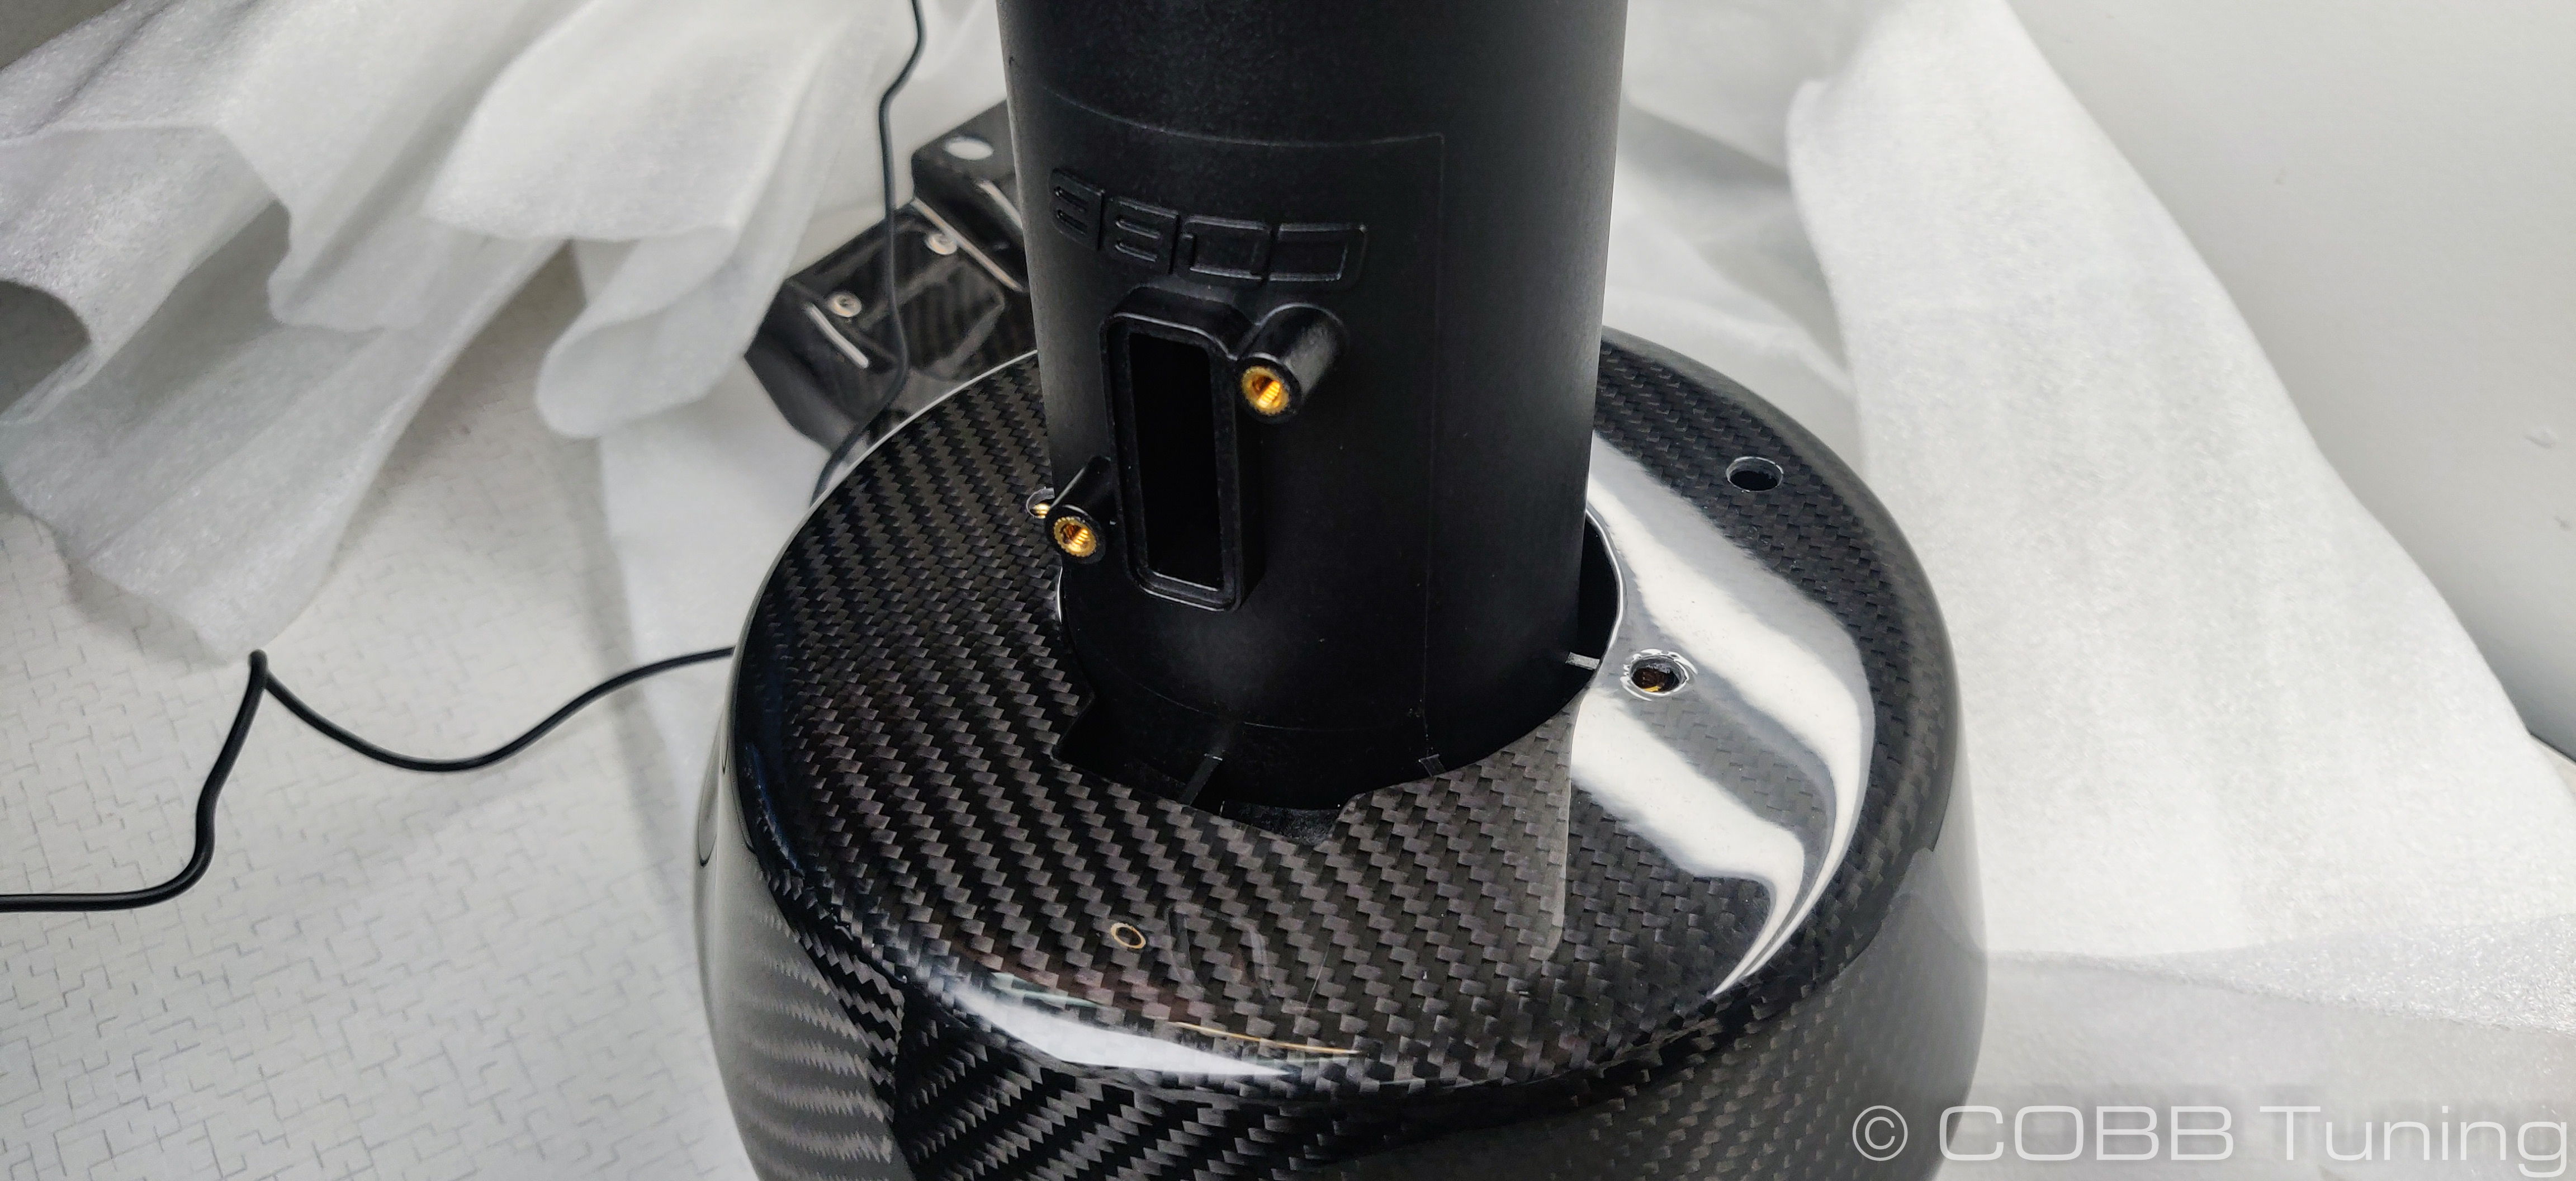
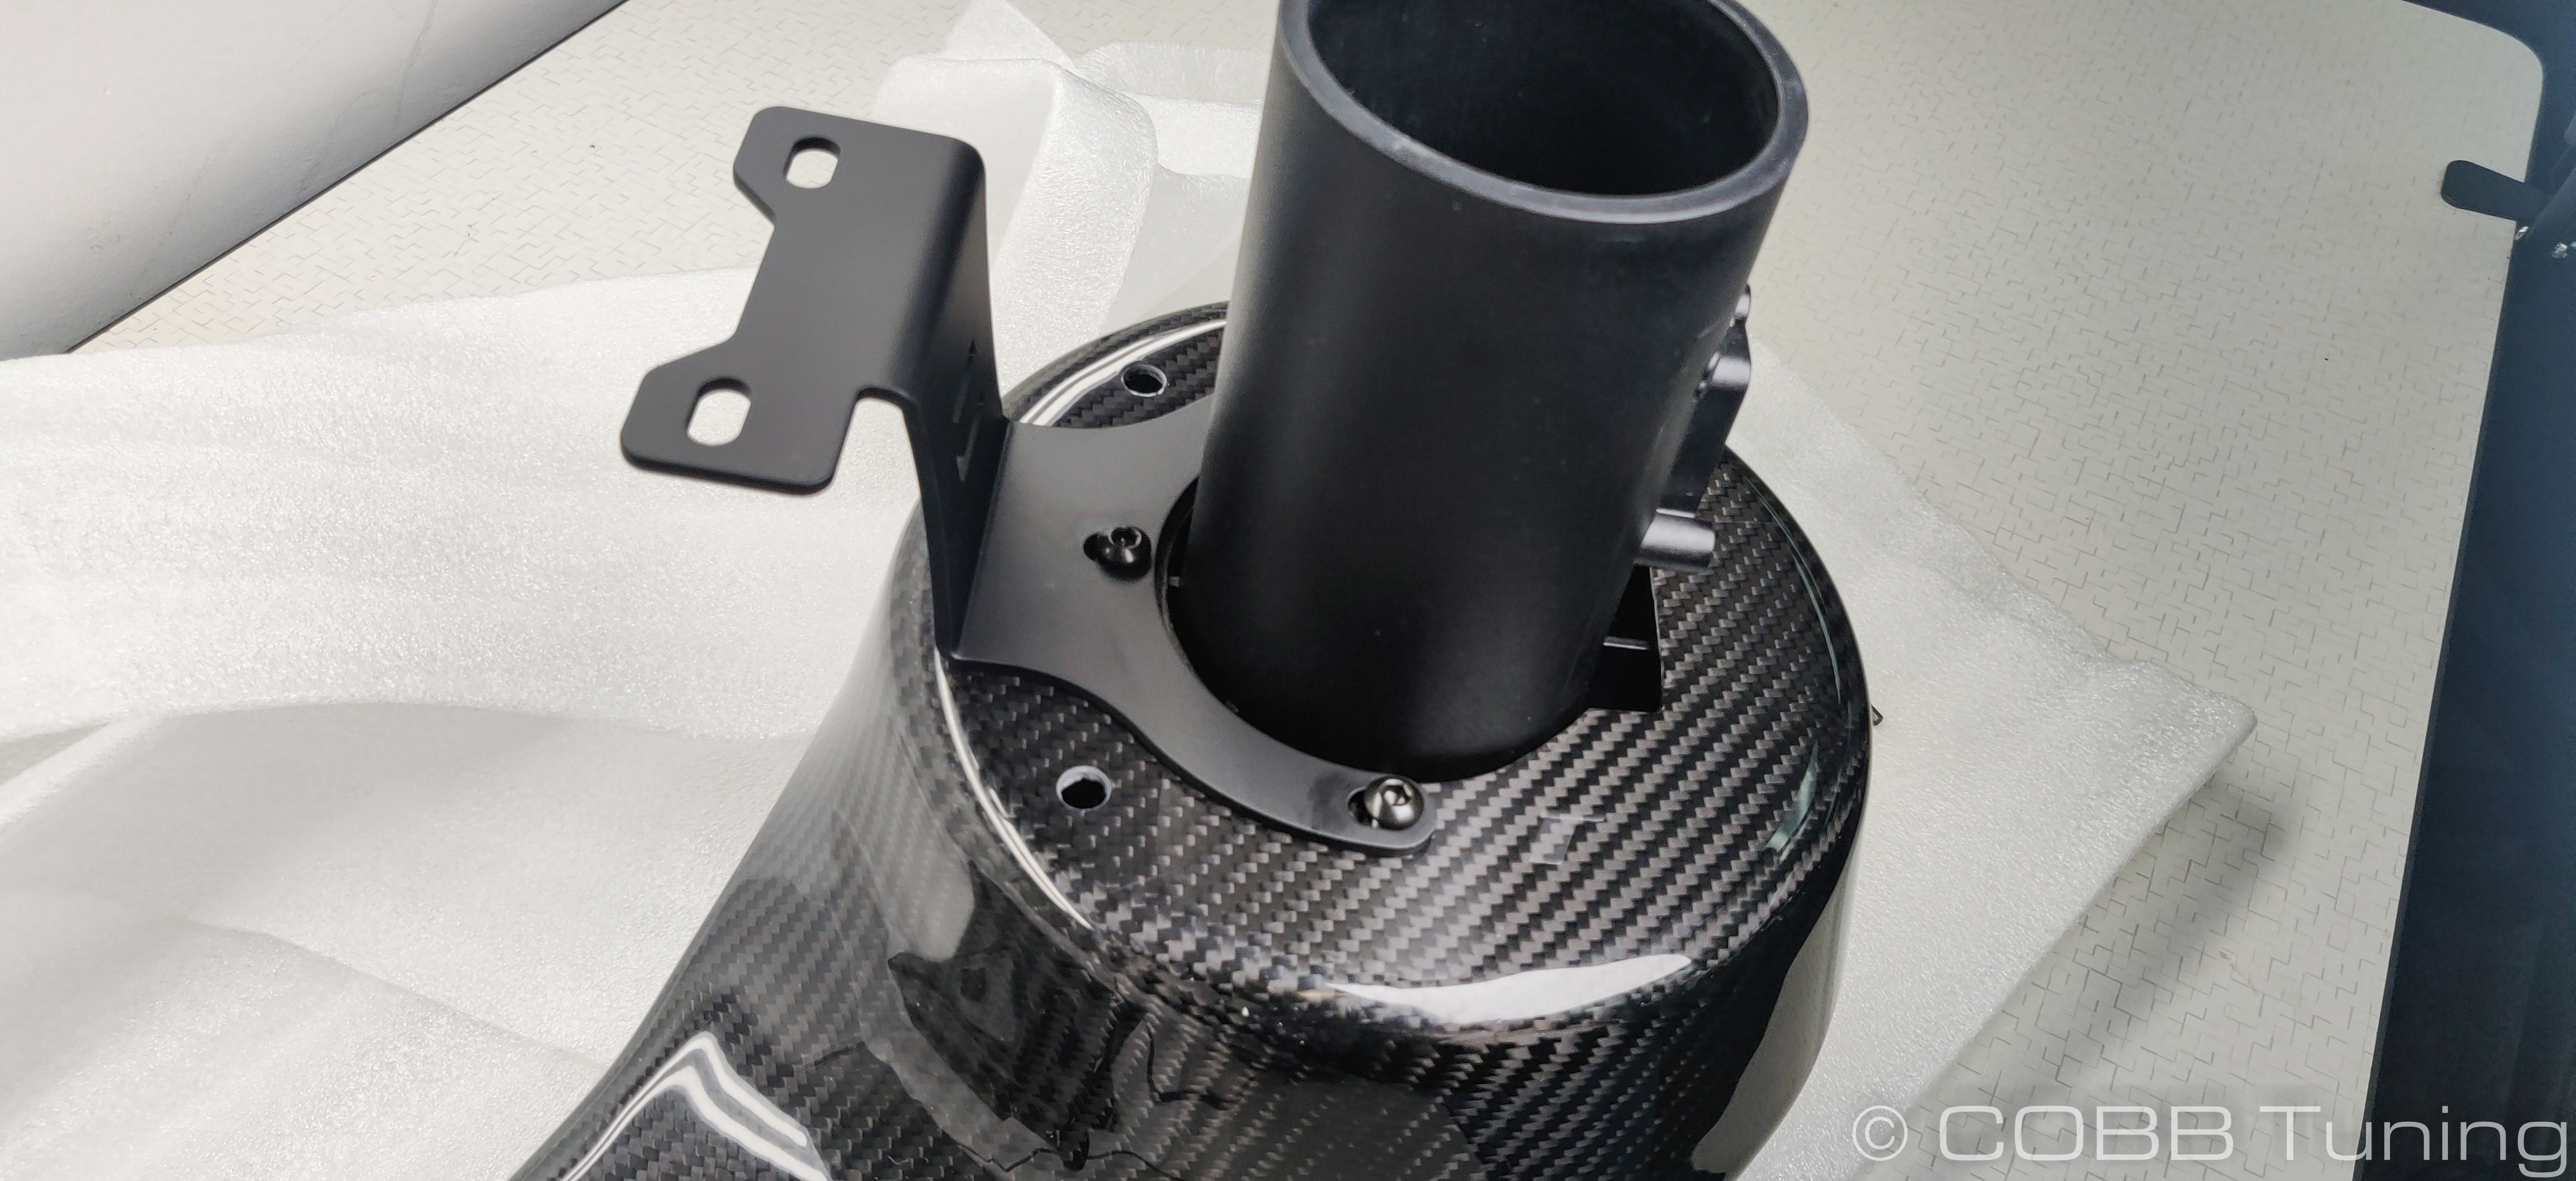
- Take the composite MAF housing and slip it from the front through the snorkel housing. The maf mounting plate will need to go through the slot.
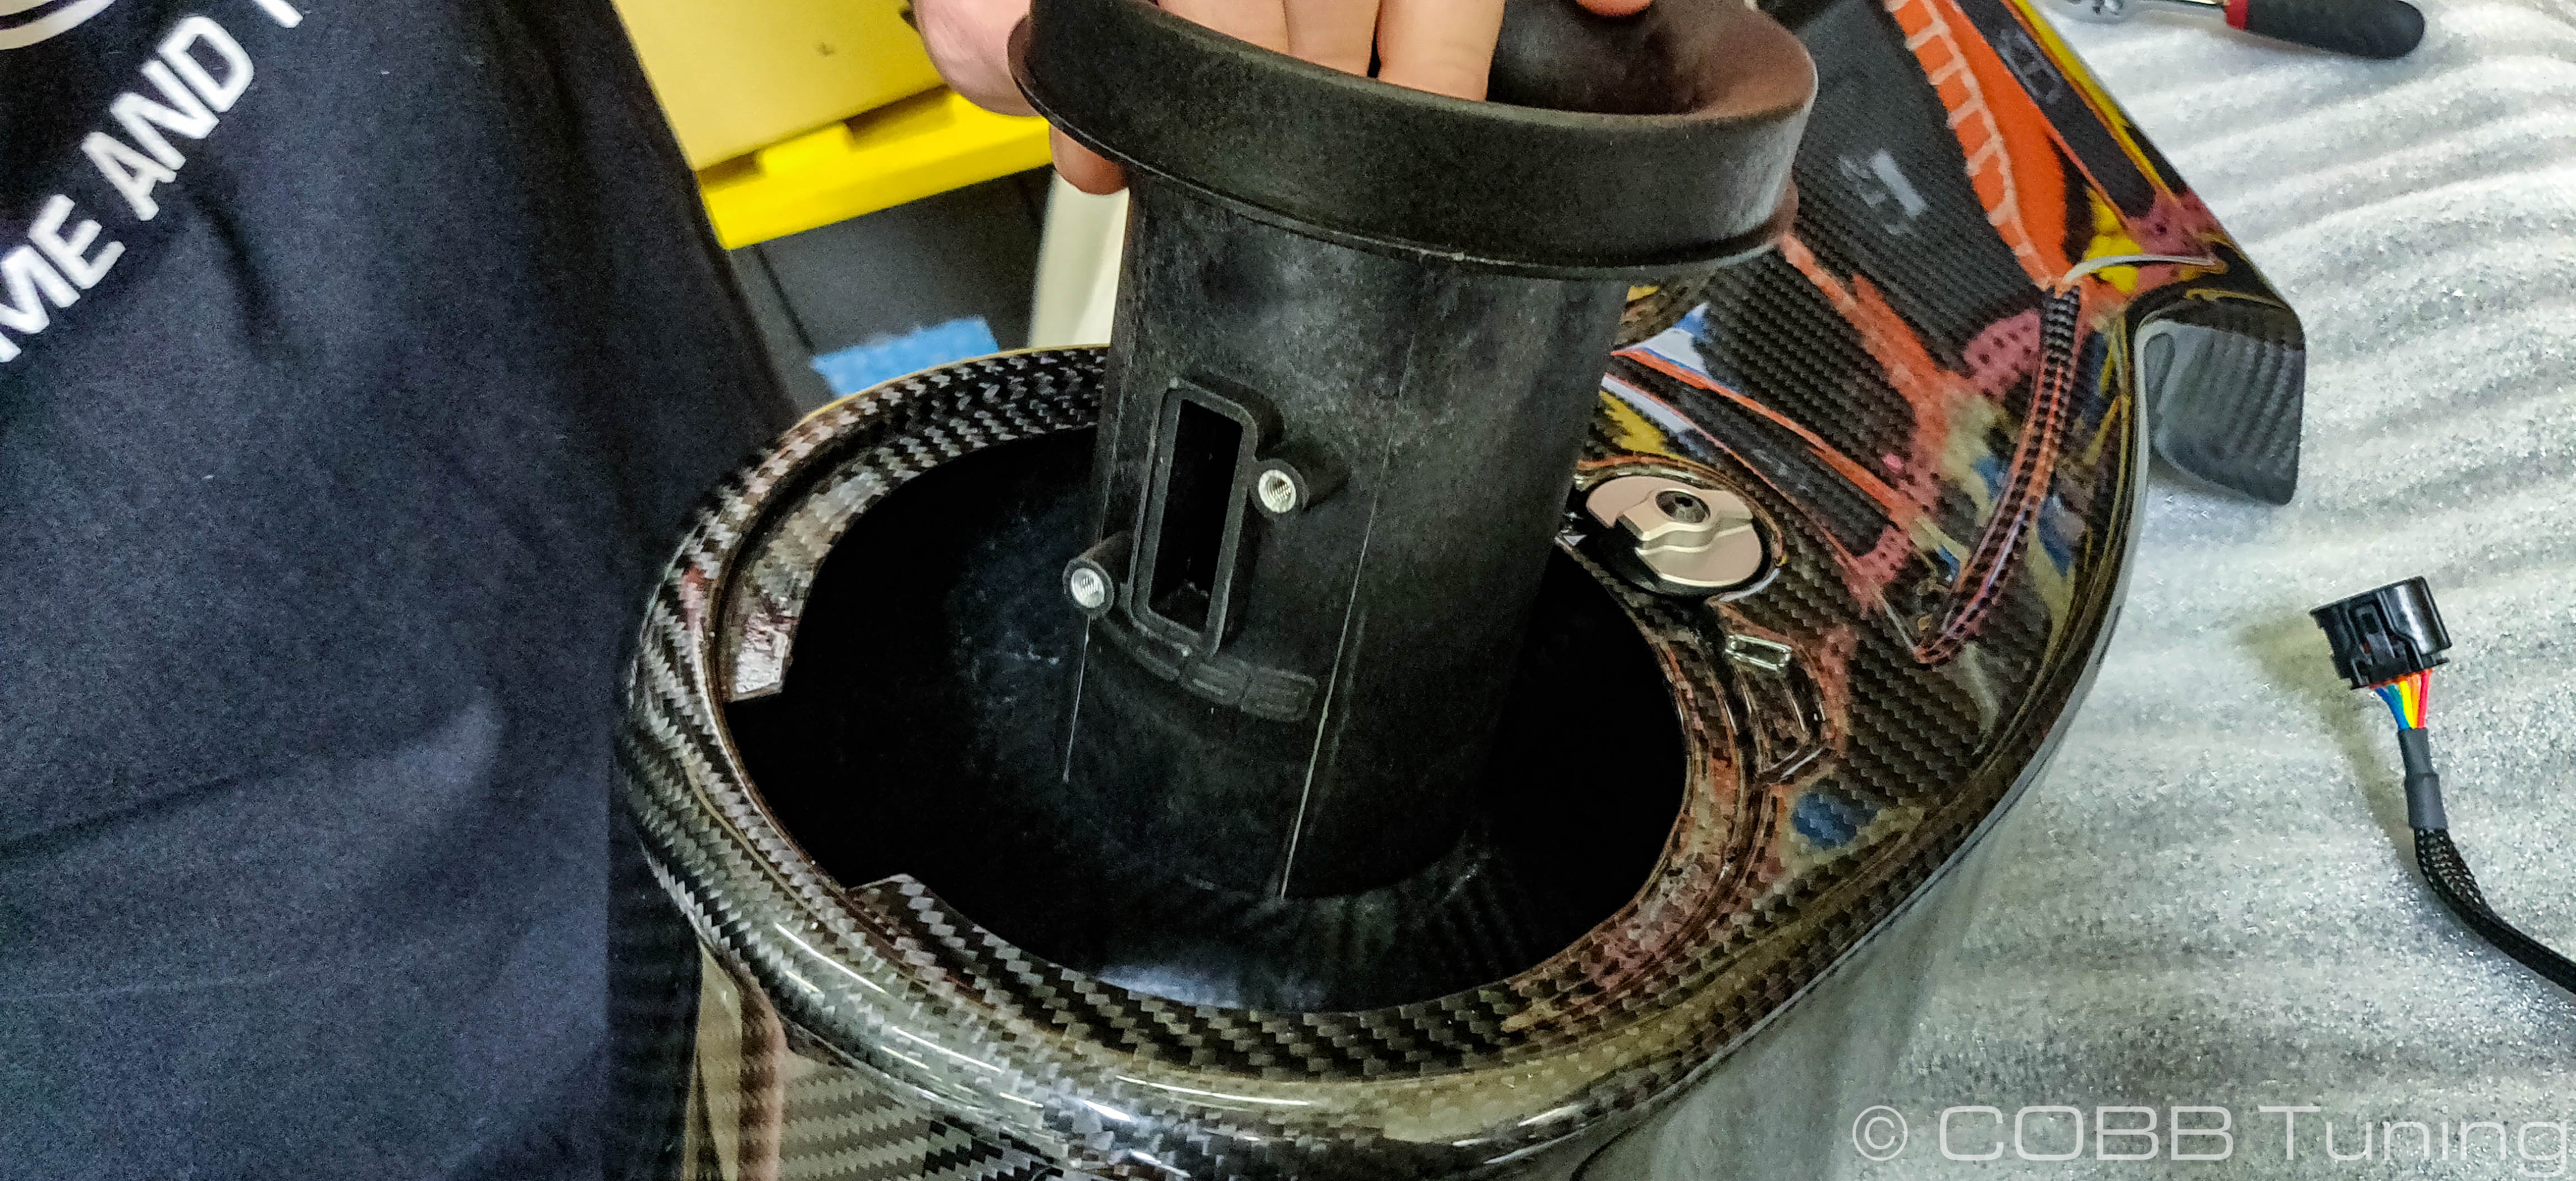
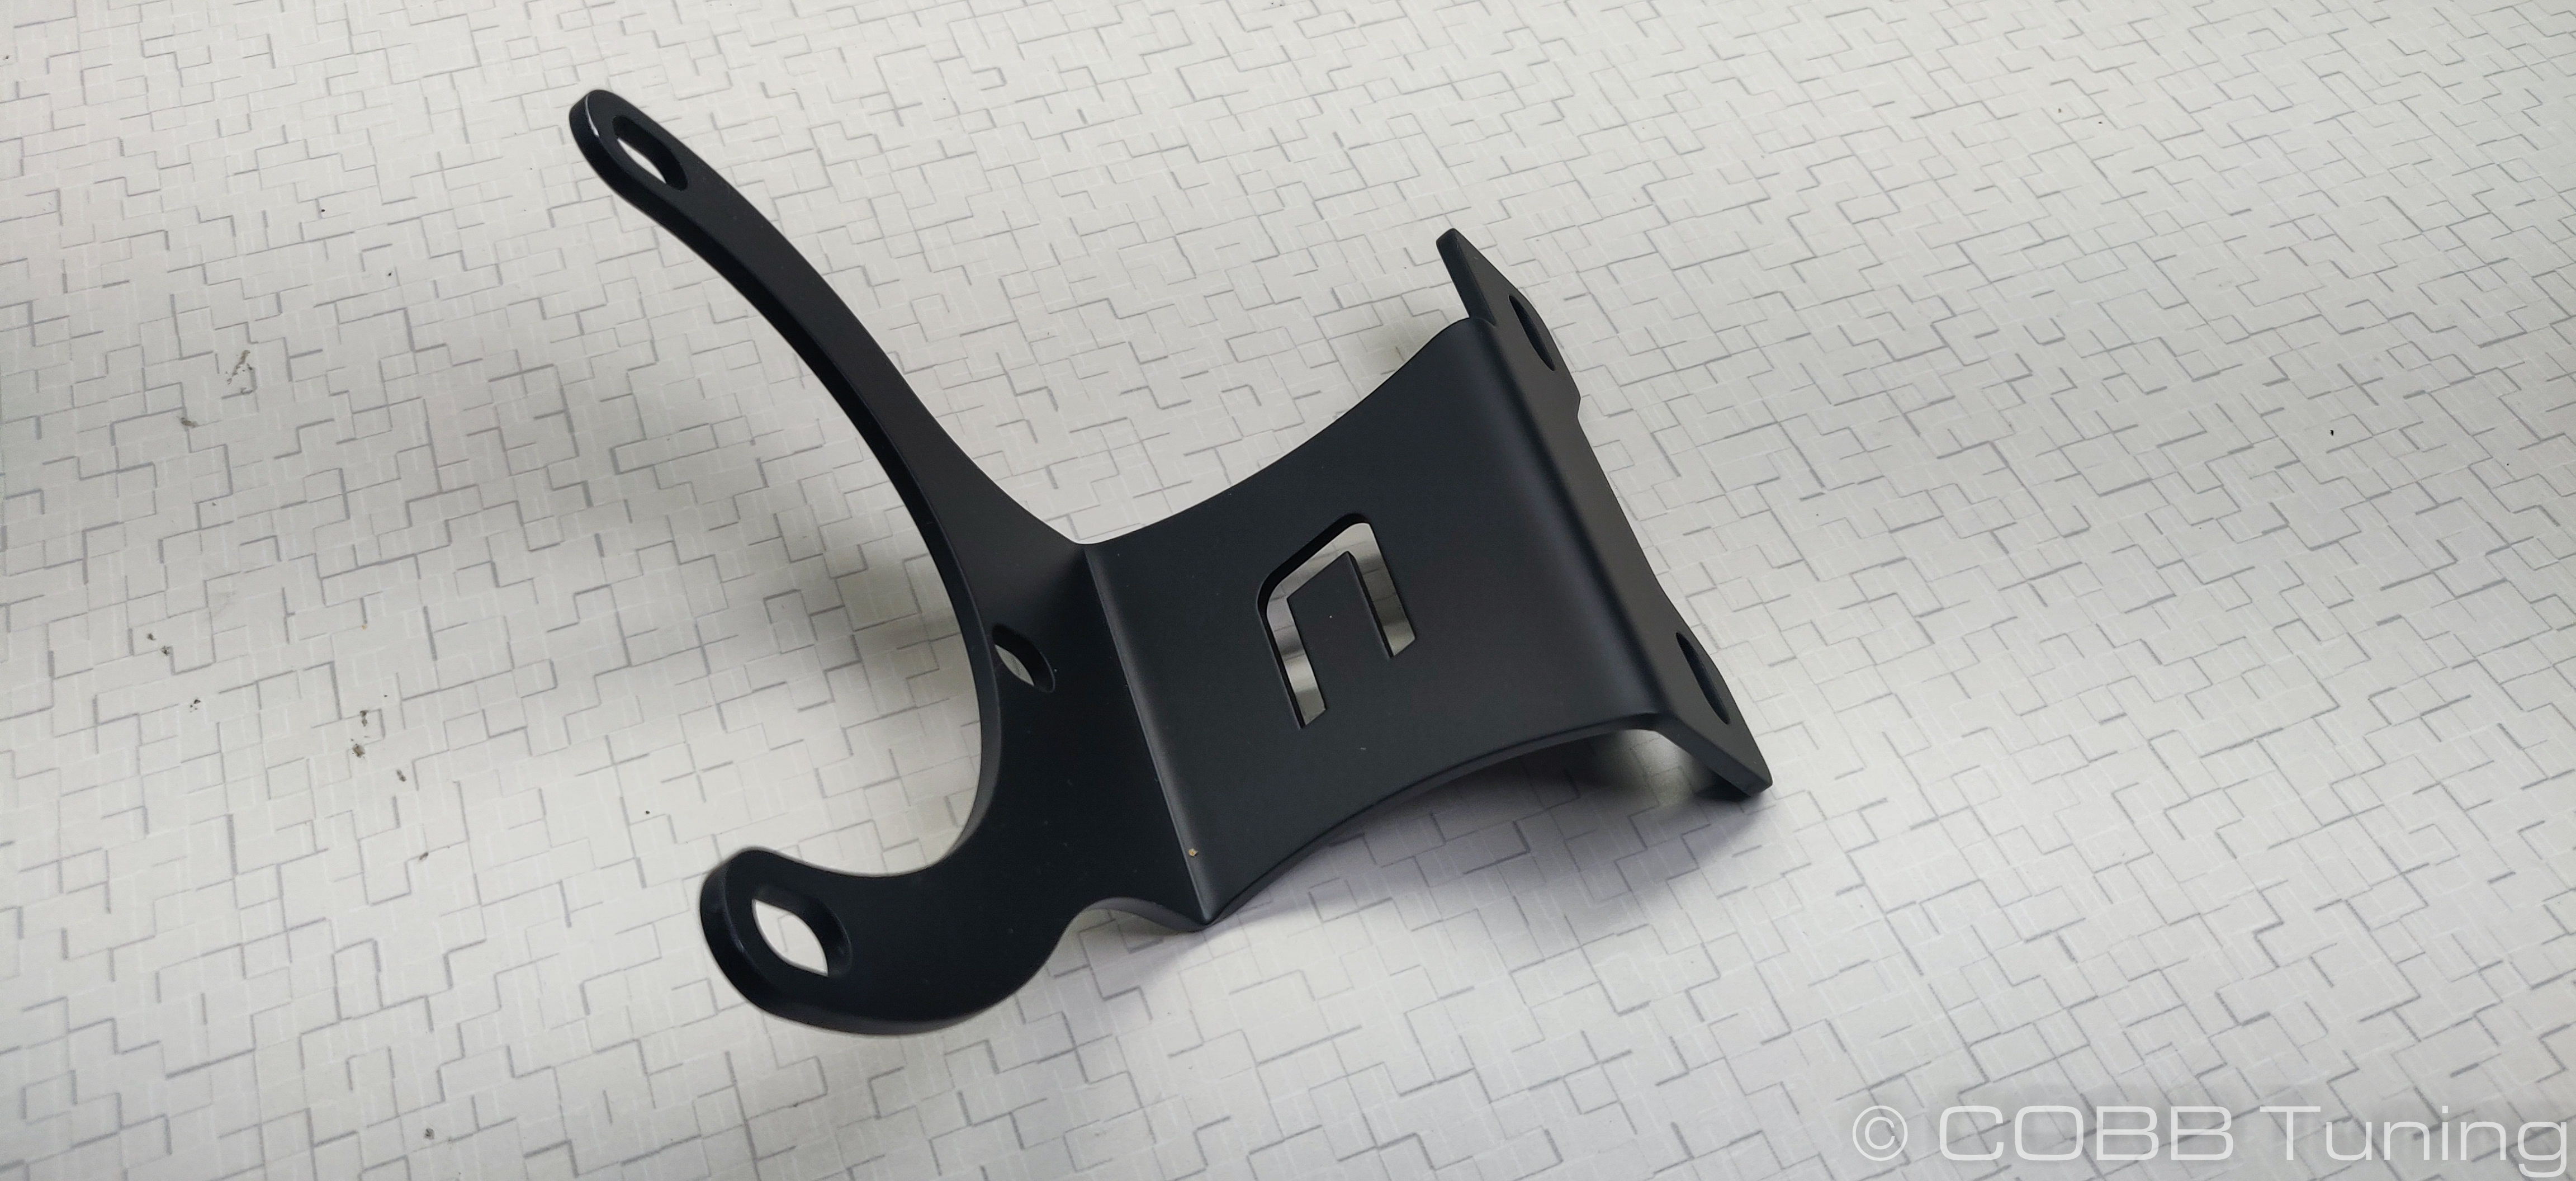
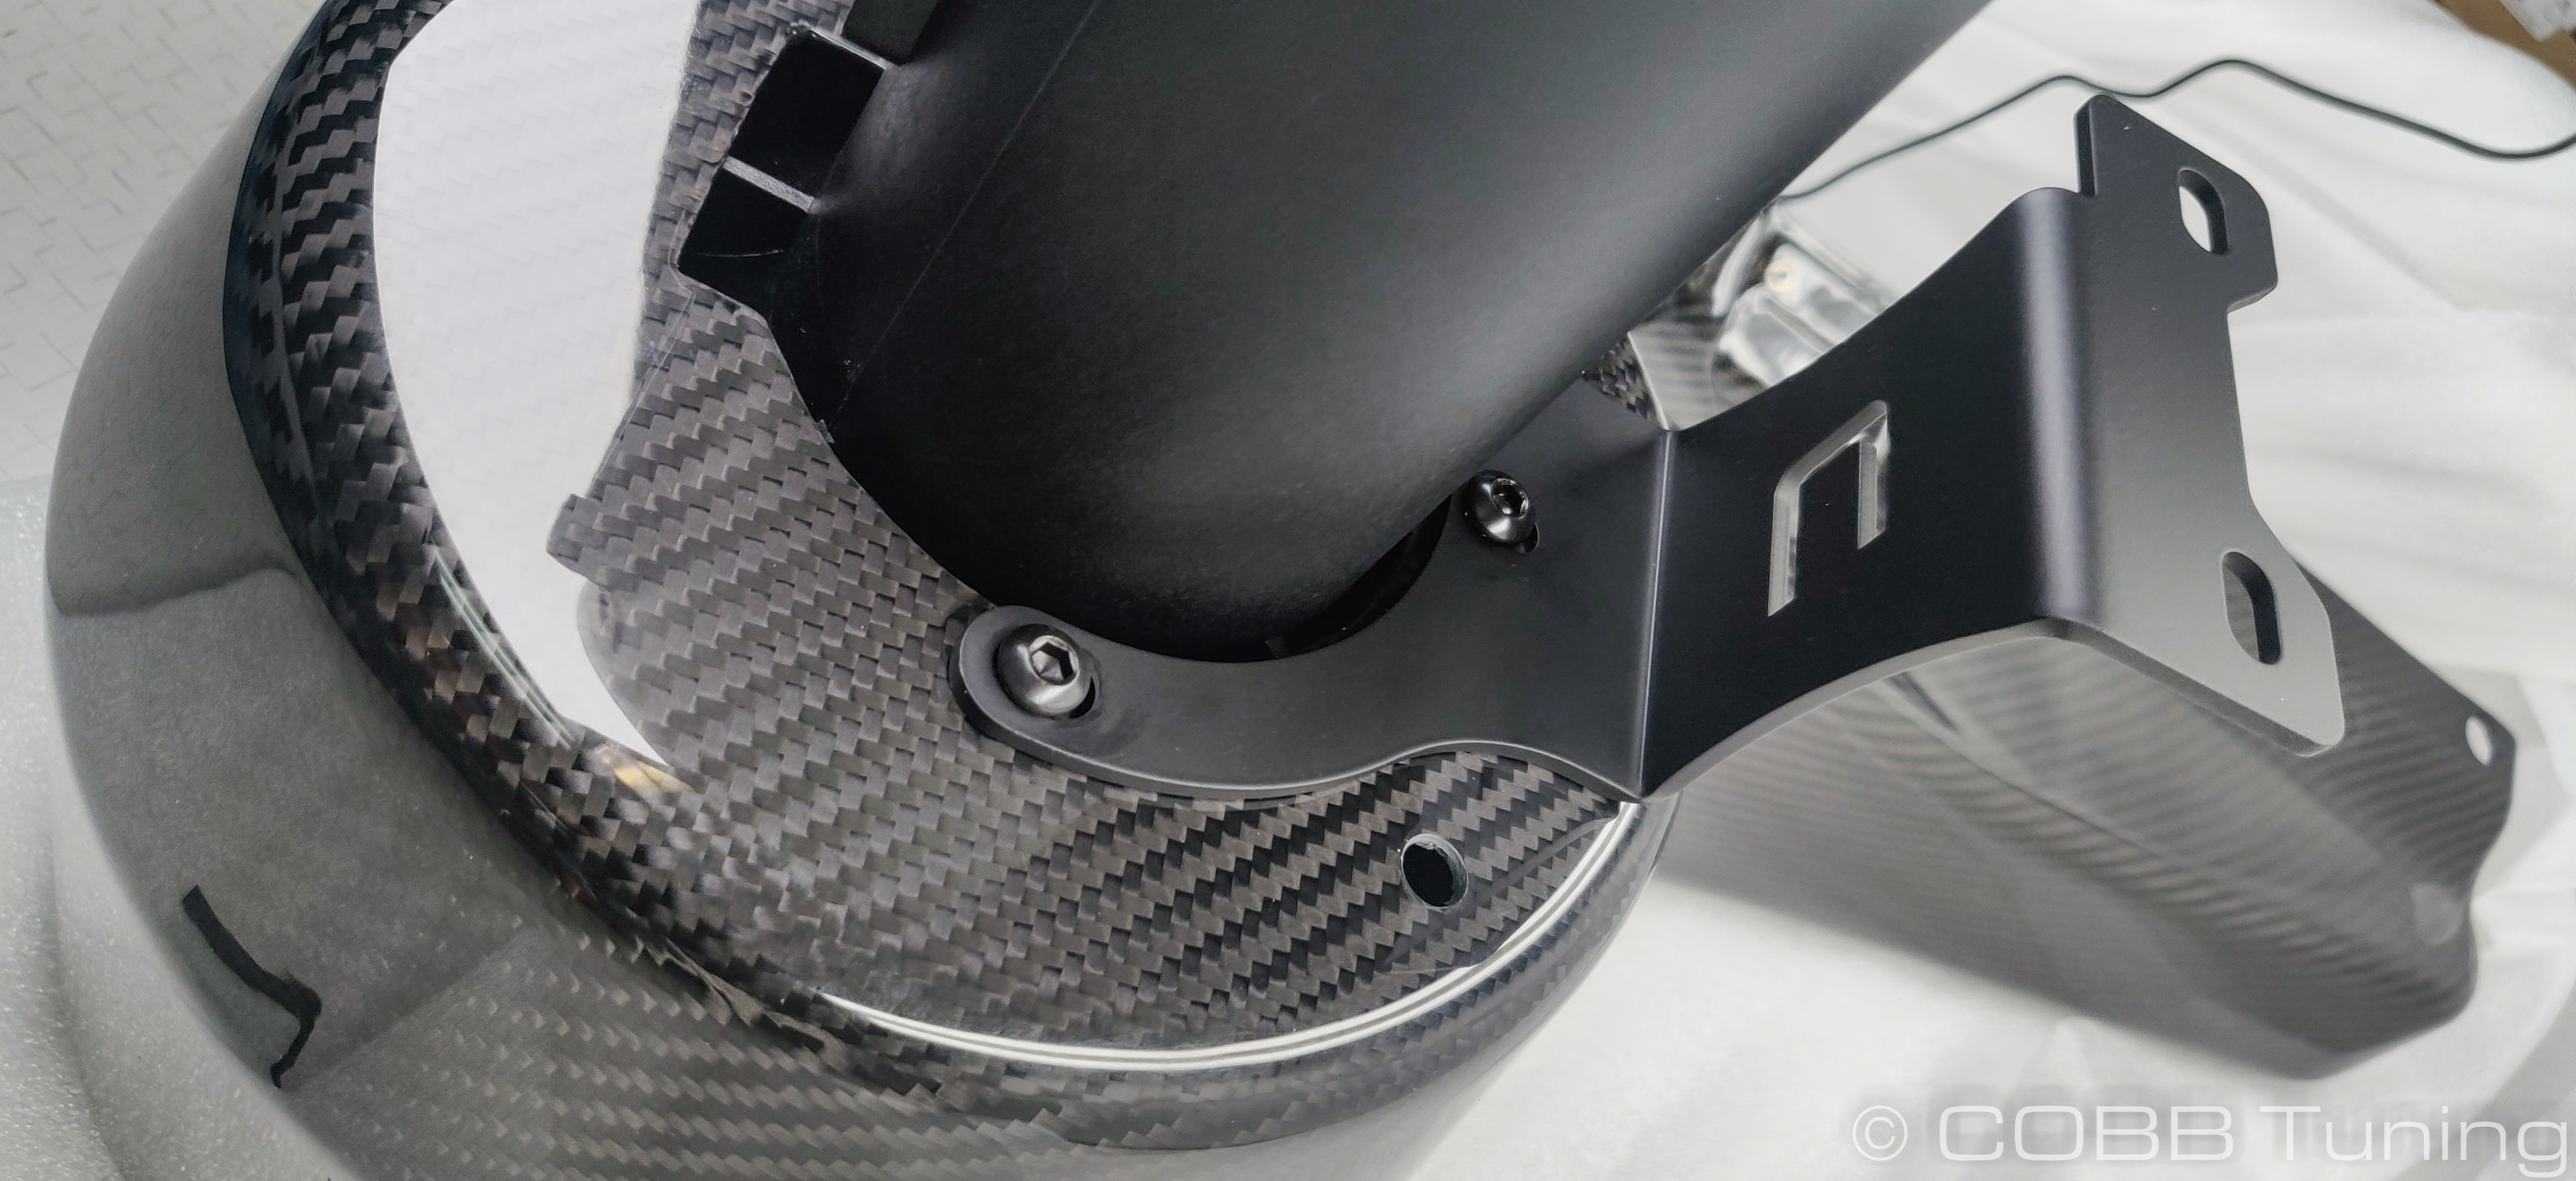
- Set the intake mounting bracket onto the filter/MAF housing lining it up on the side opposite the MAF housing. The two holes that are unused are to allow any water that may enter the front snorkel to exit the filter housing without being ingested to the engine.
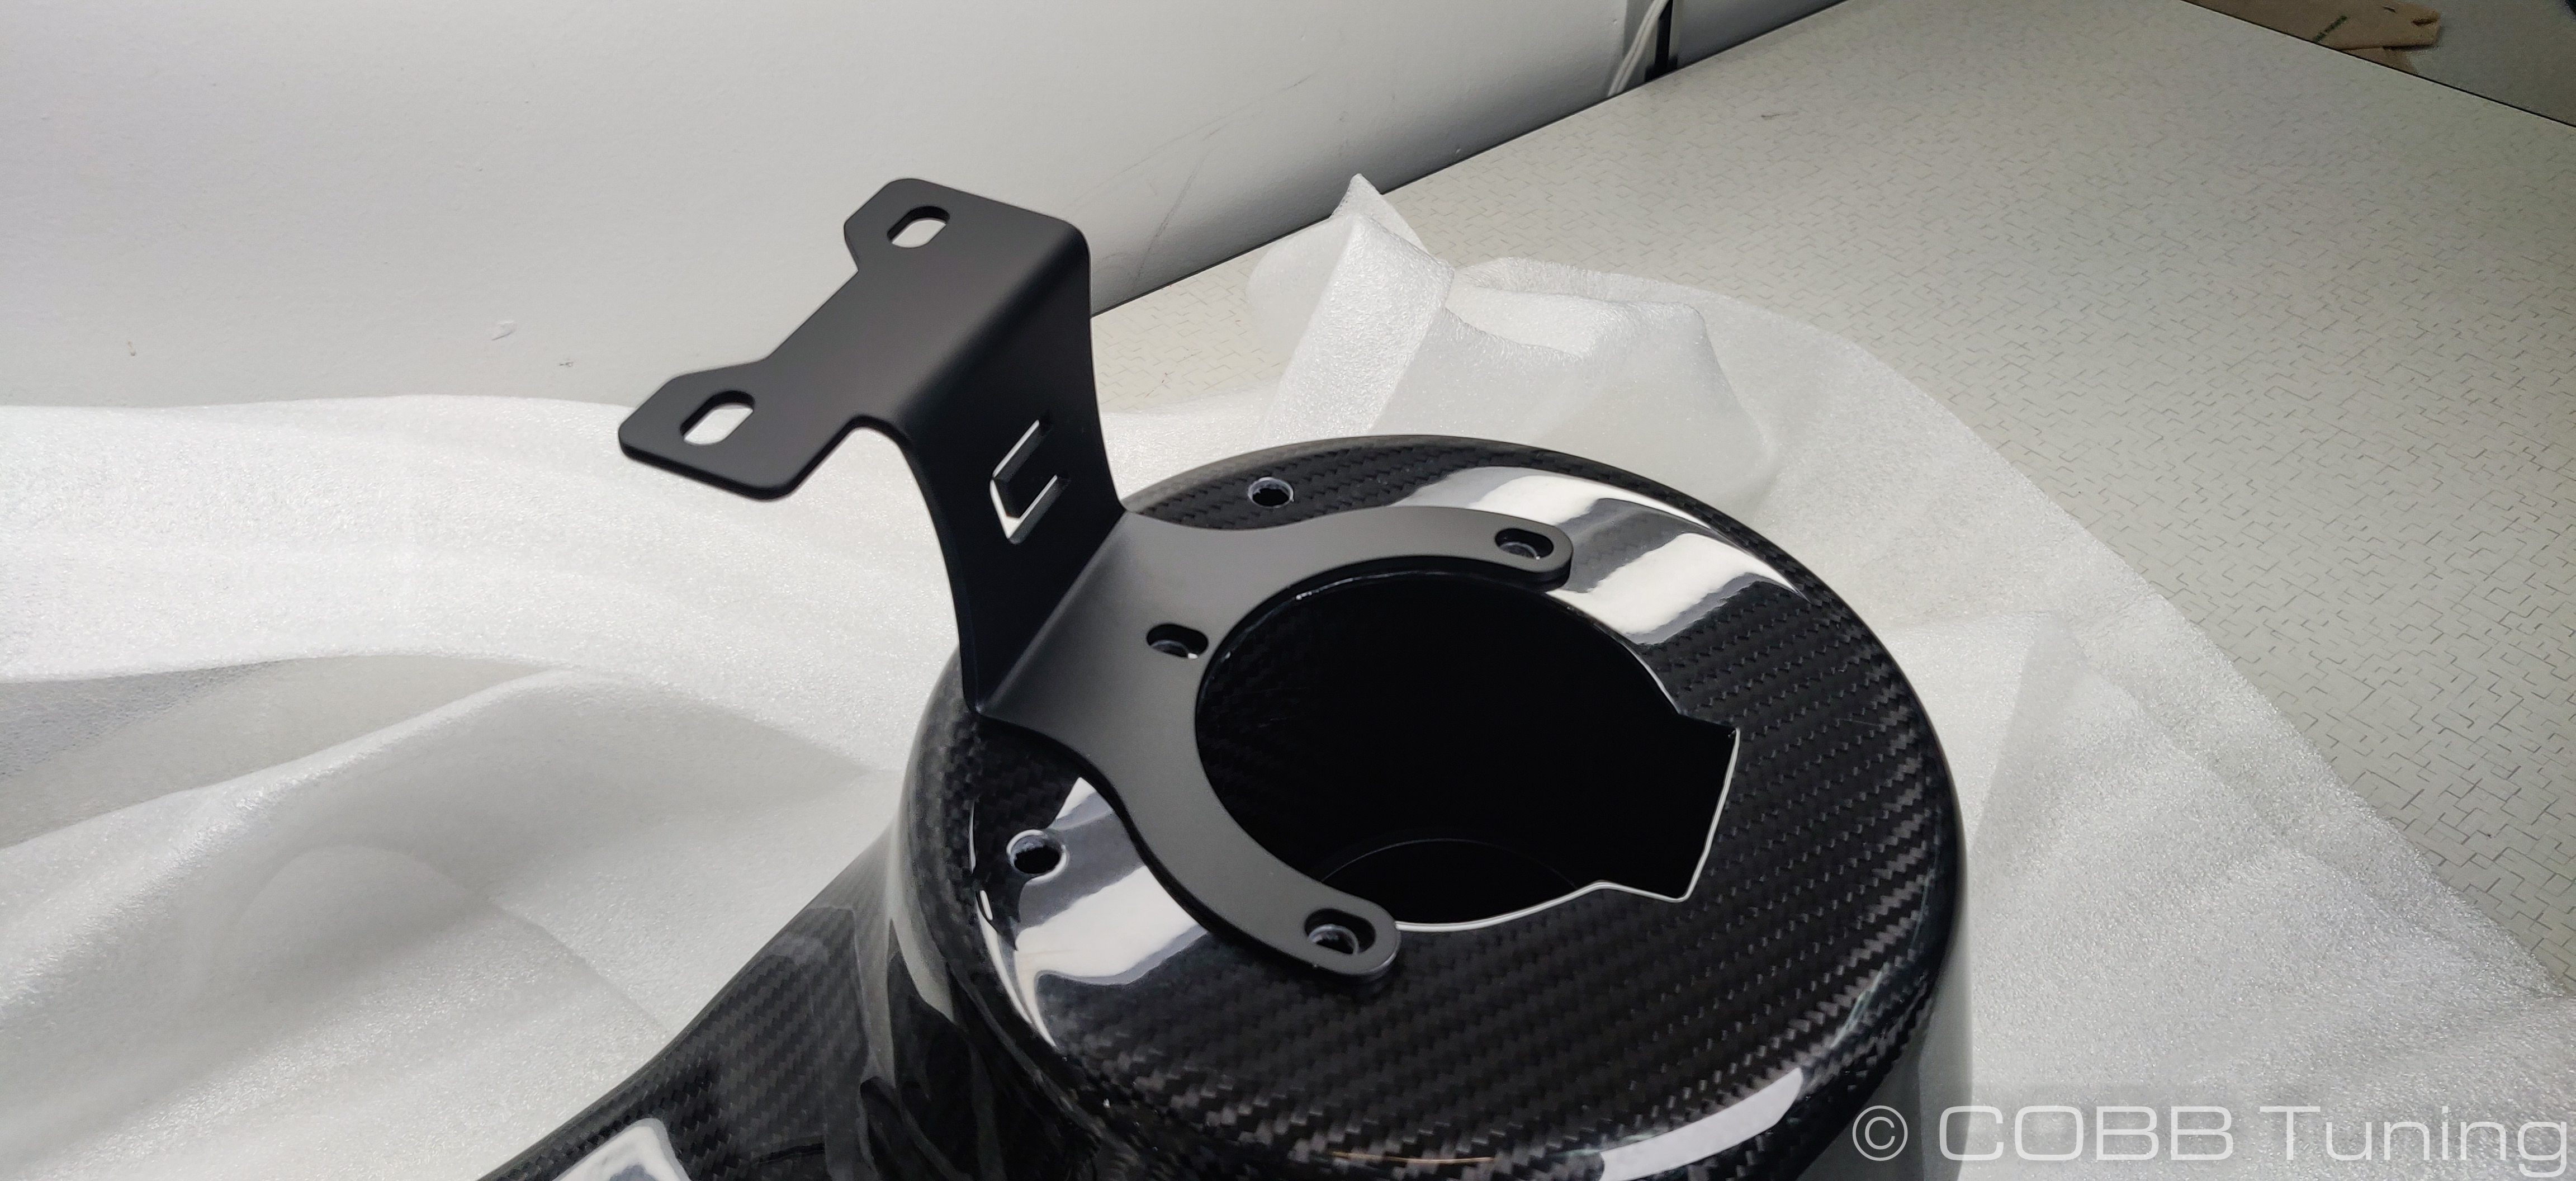
- Use the three provided button m6x10 head allen bolts to secure the bracket to the maf housing through the carbon housing these can be left slightly loose for now so you can get the intake into a good position later.
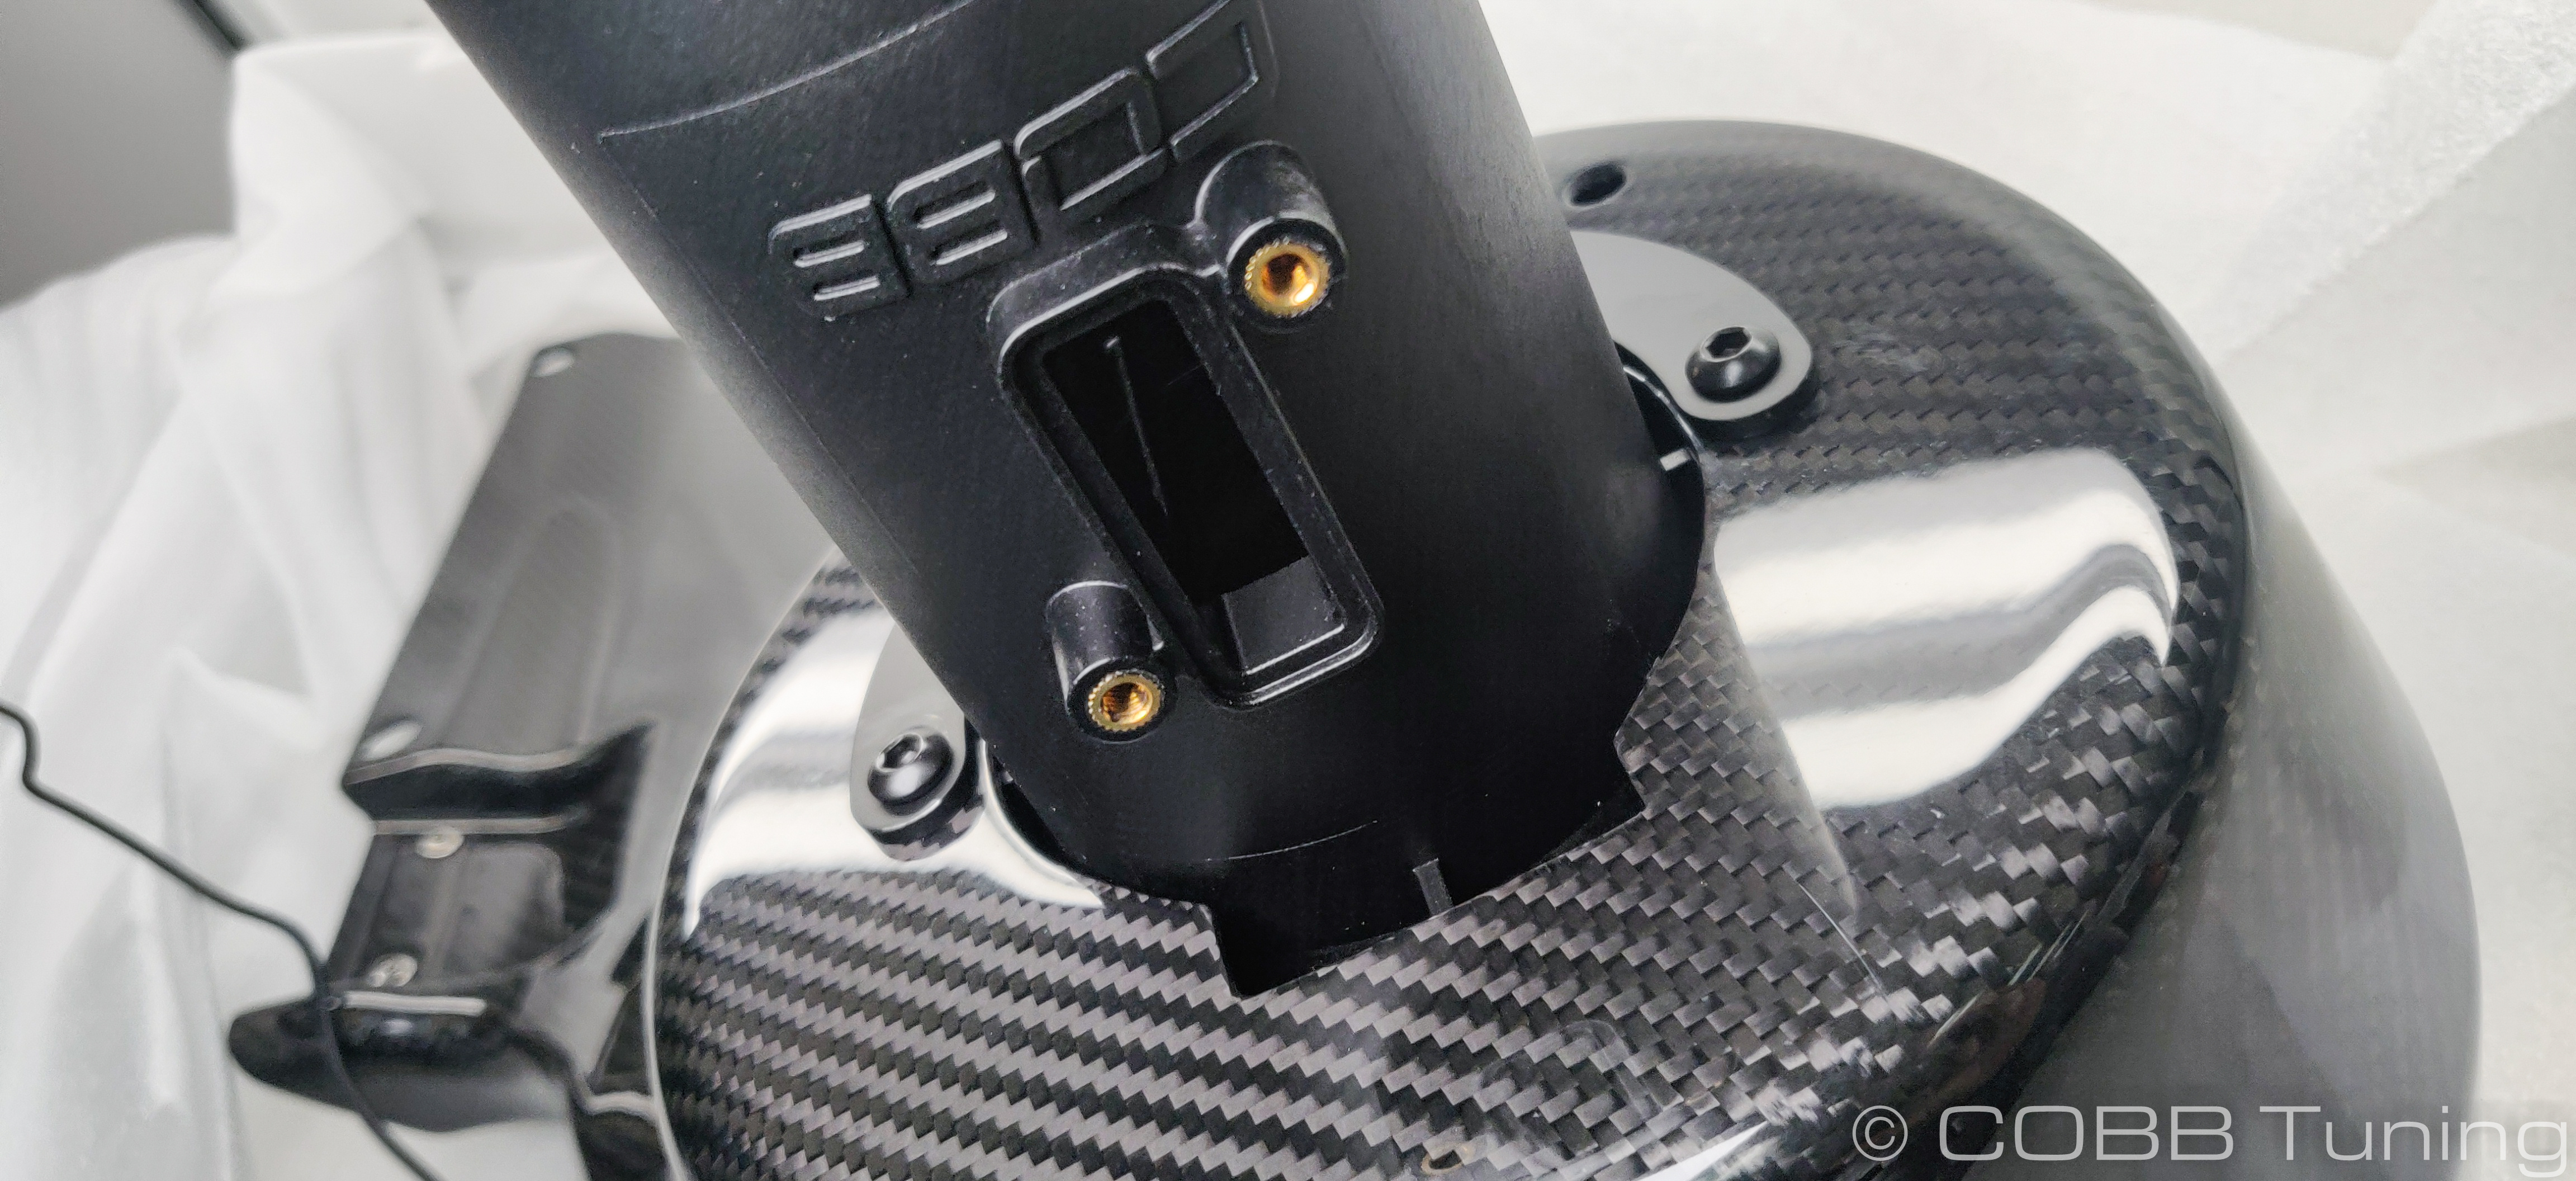
- Using the two provided m4x6mm small allen screws install your MAF sensor into the MAF housing.

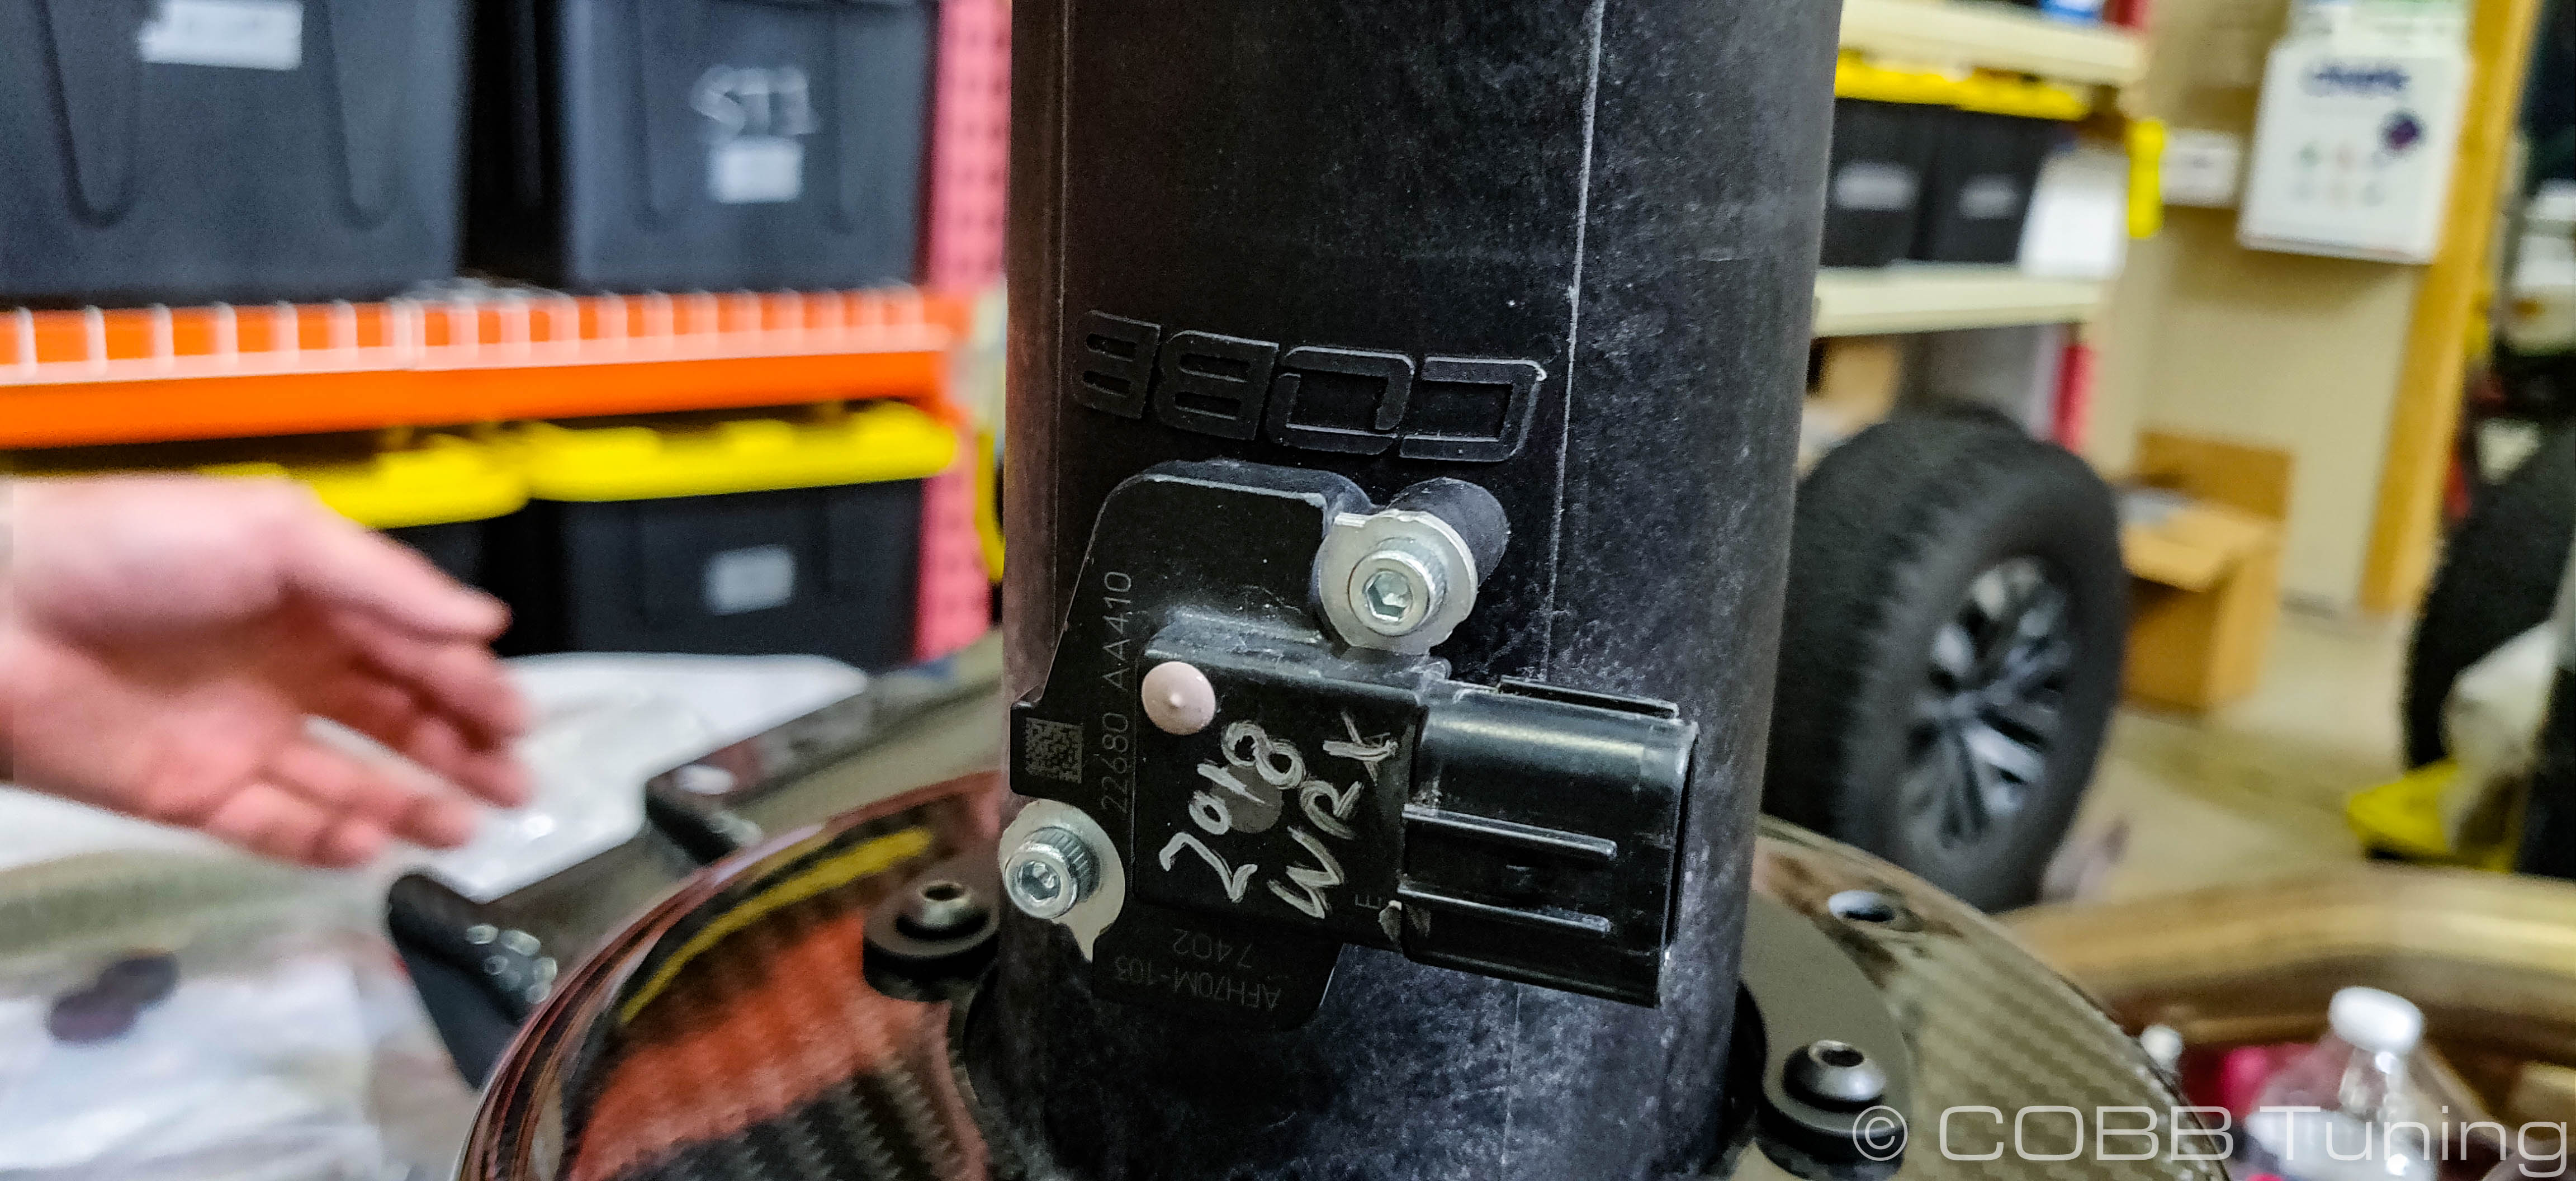
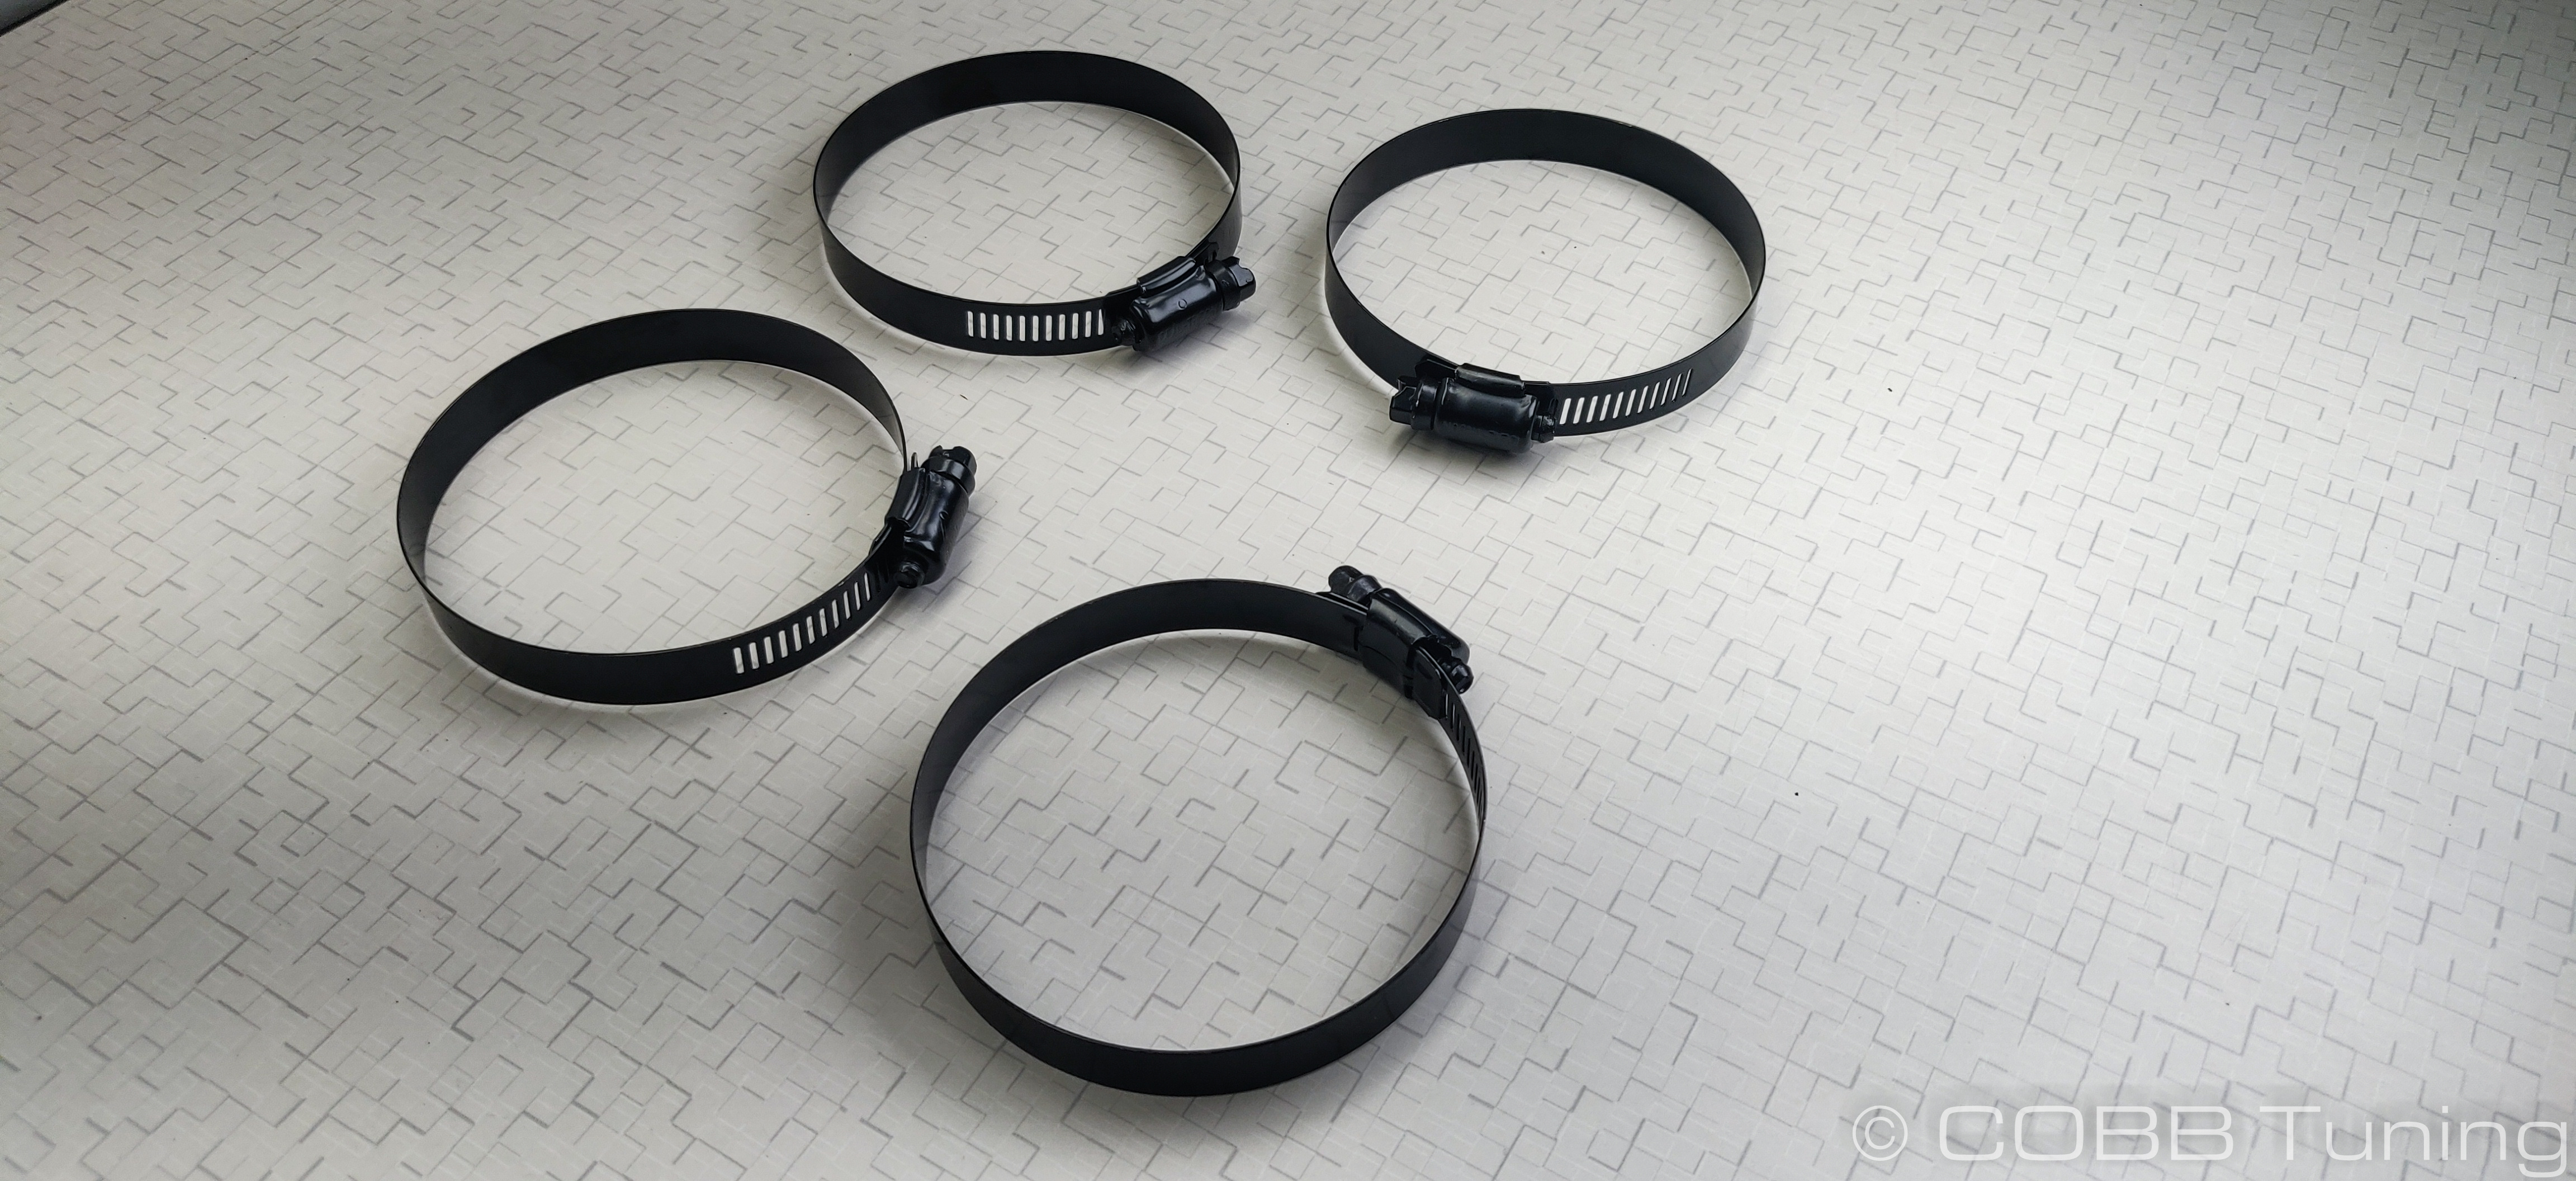
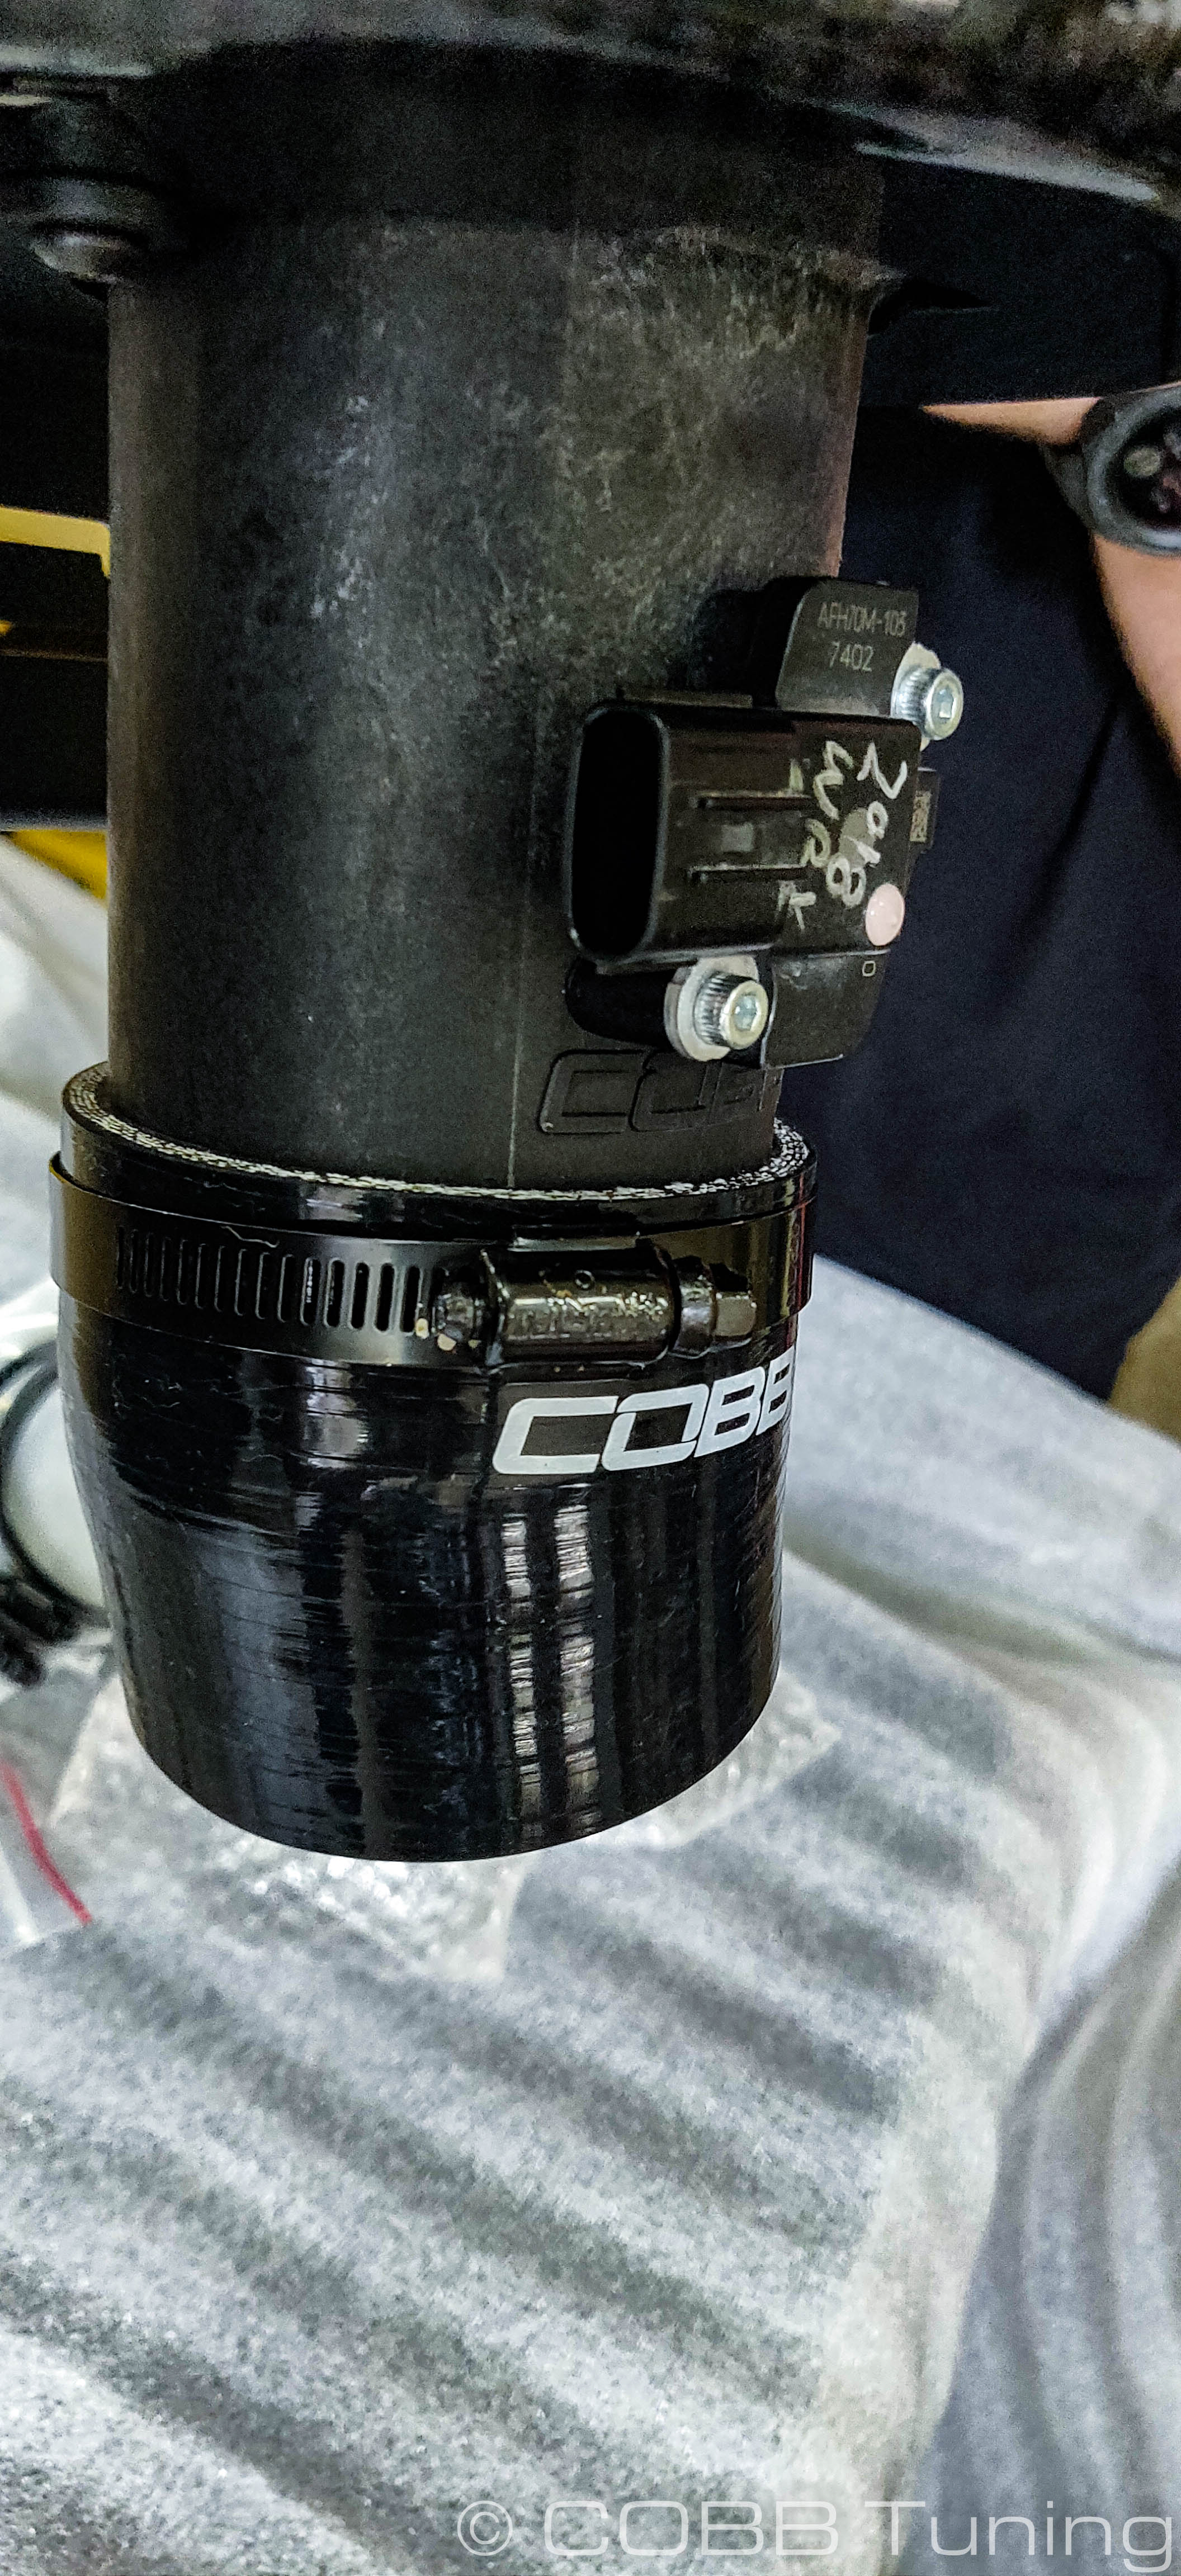
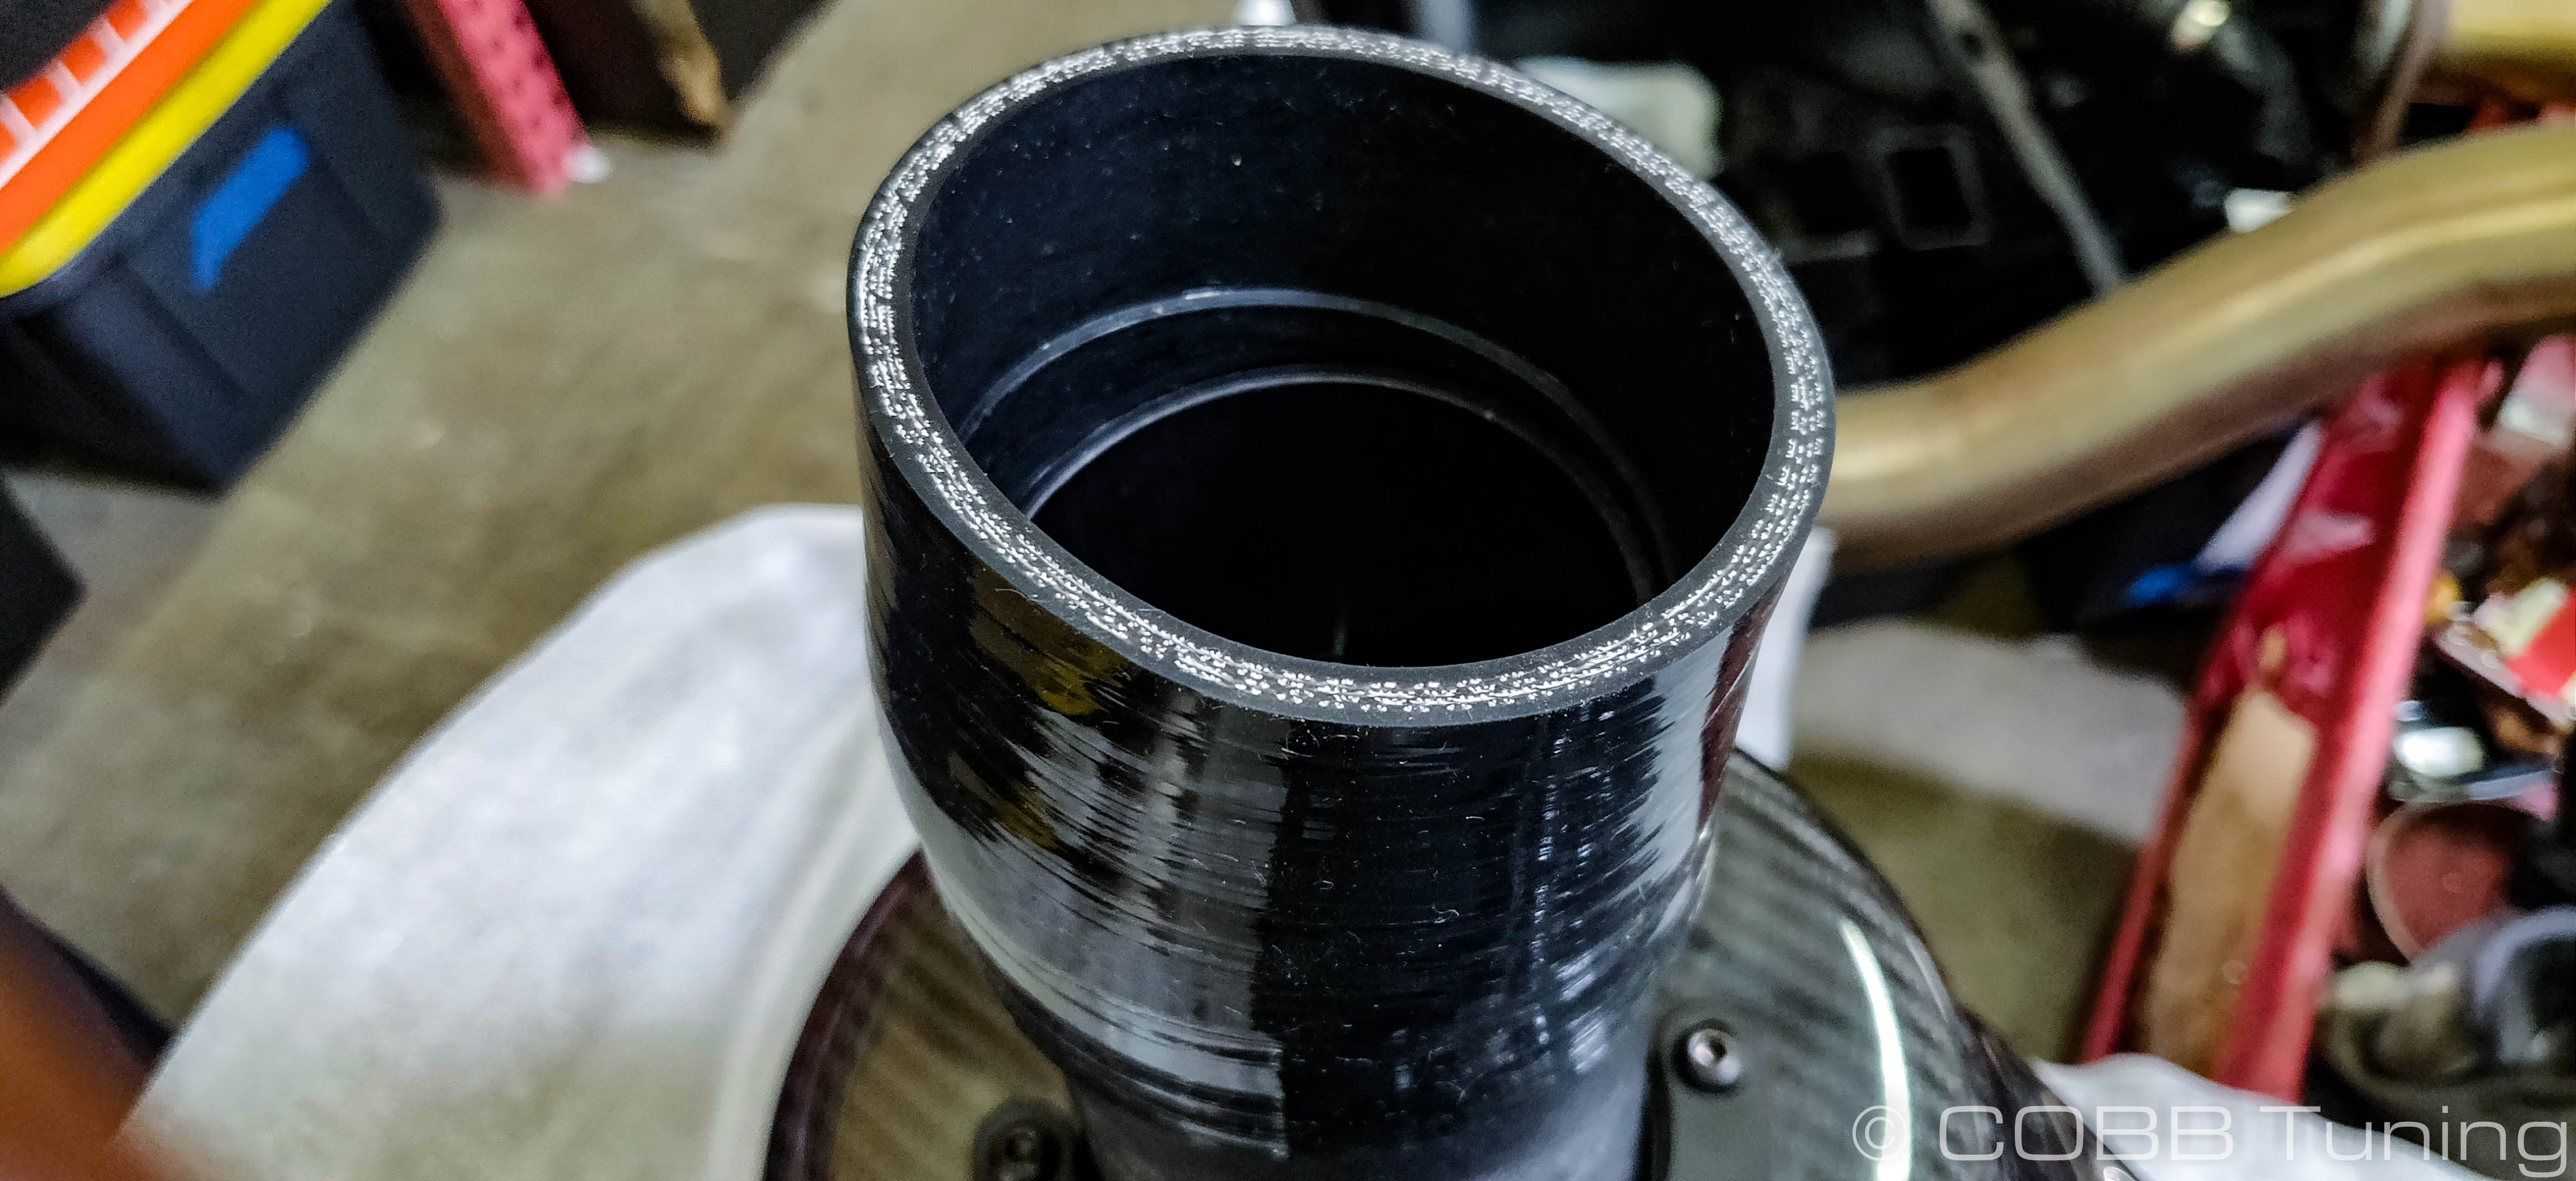
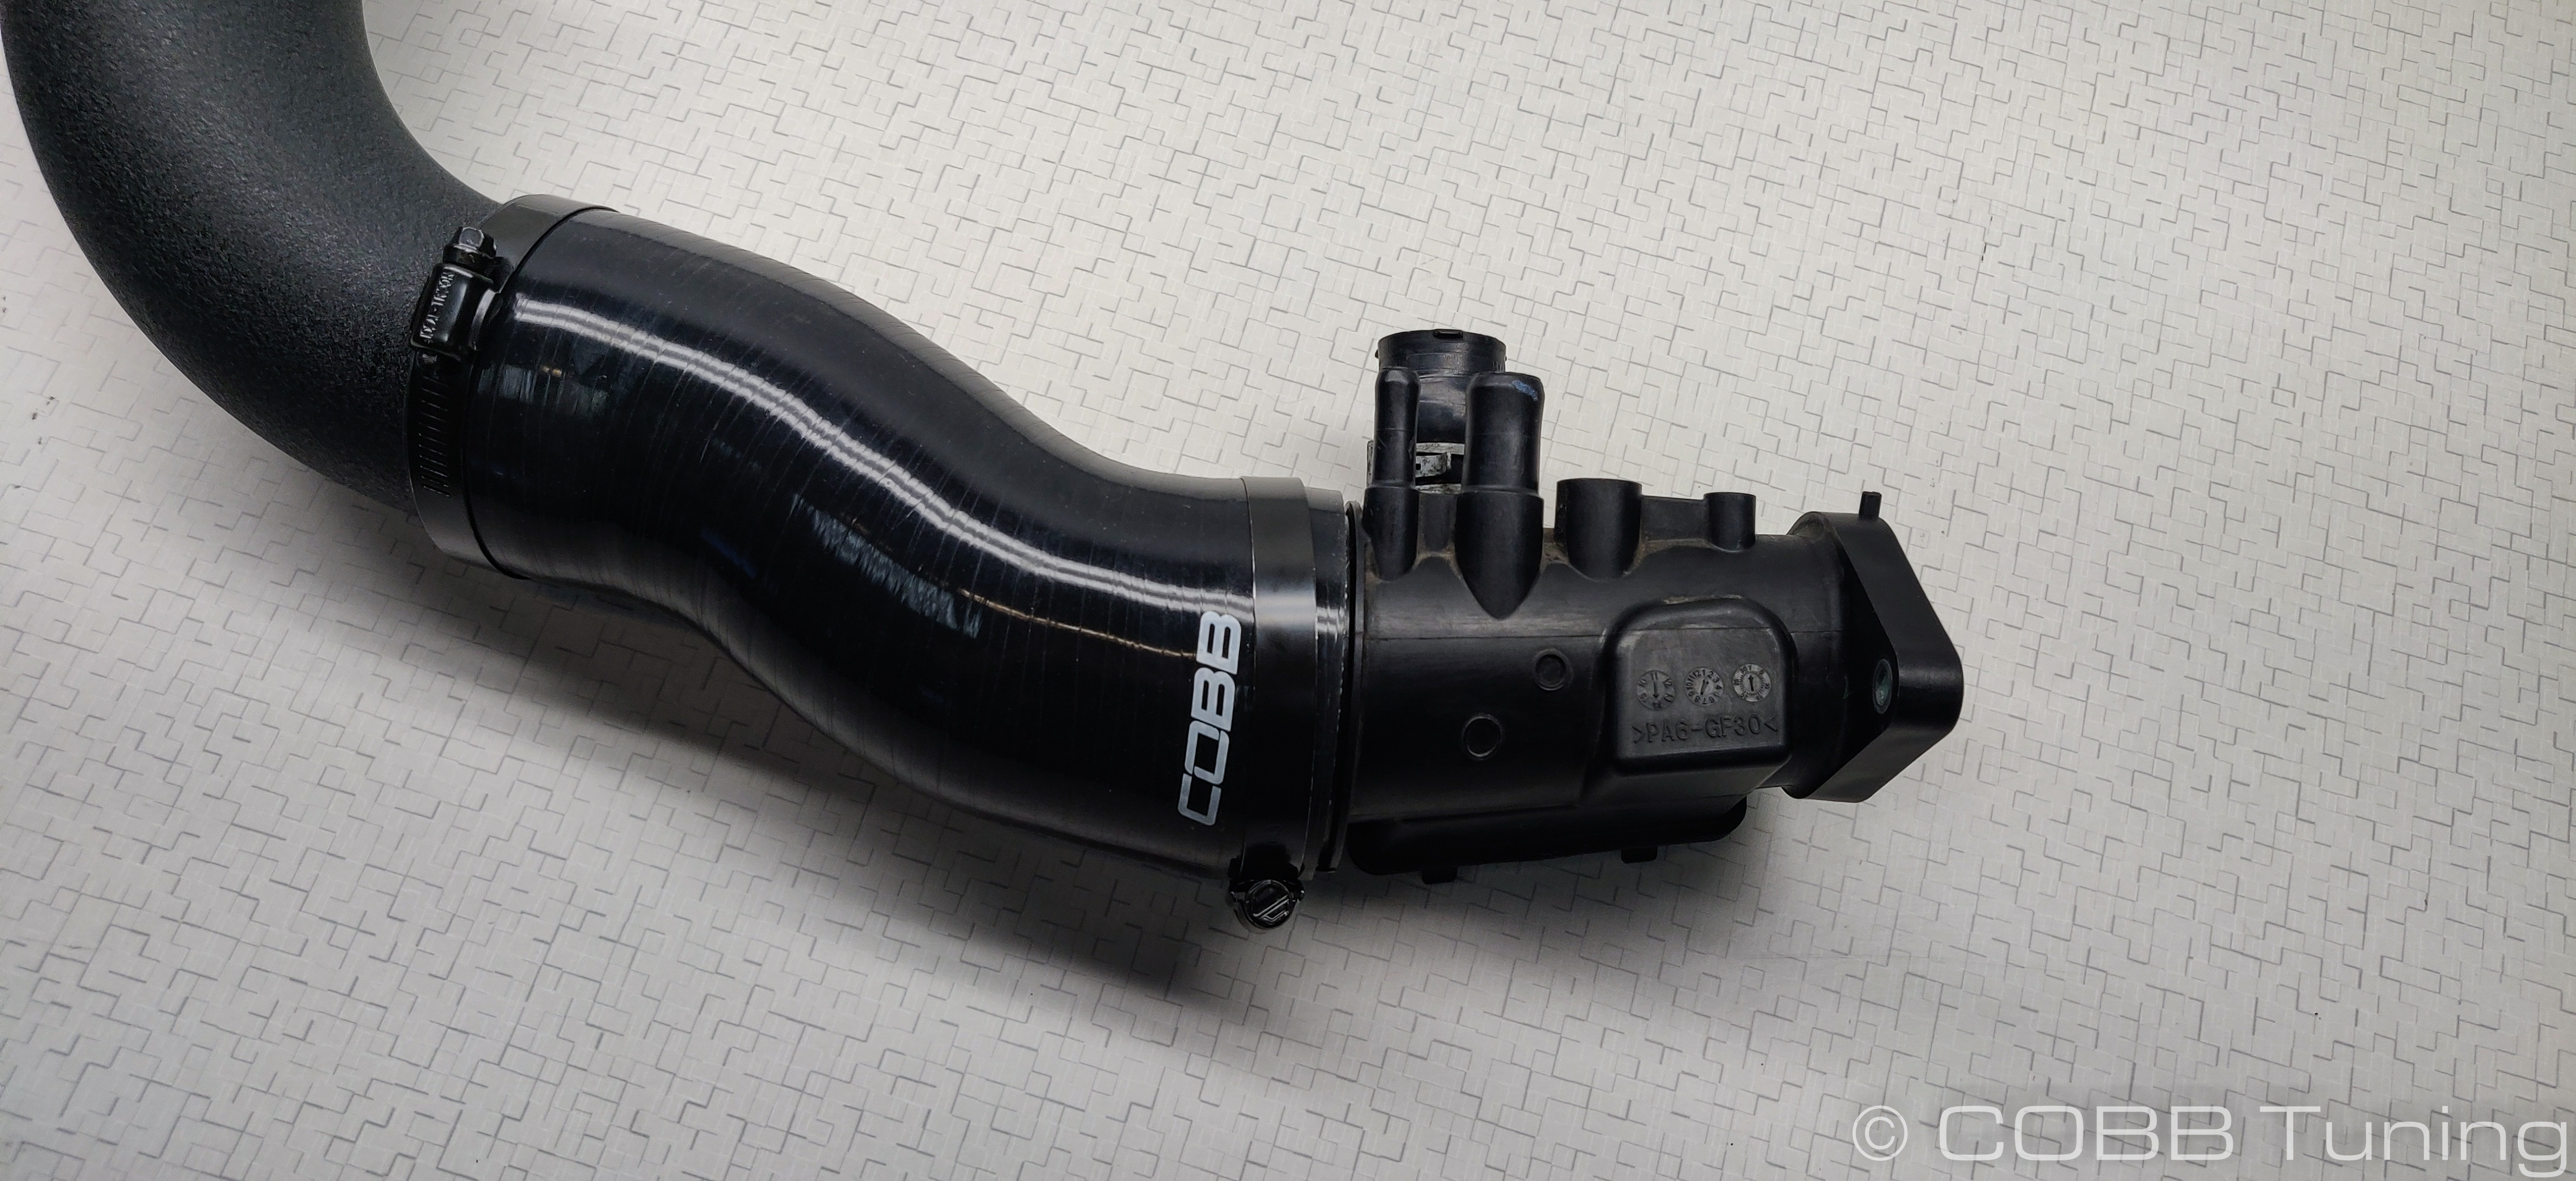
- Take the smaller coupler and slip it over the maf housing with two hose clamps. Make sure the end with the COBB logo is towards the maf sensor and it's angled to go to the side opposite the MAF sensor connector. Leave the two hose clamps loose for now, you'll want to be able to rotate them somewhat freely once the intake is installed so you can get things positioned where it's easy to tighten.
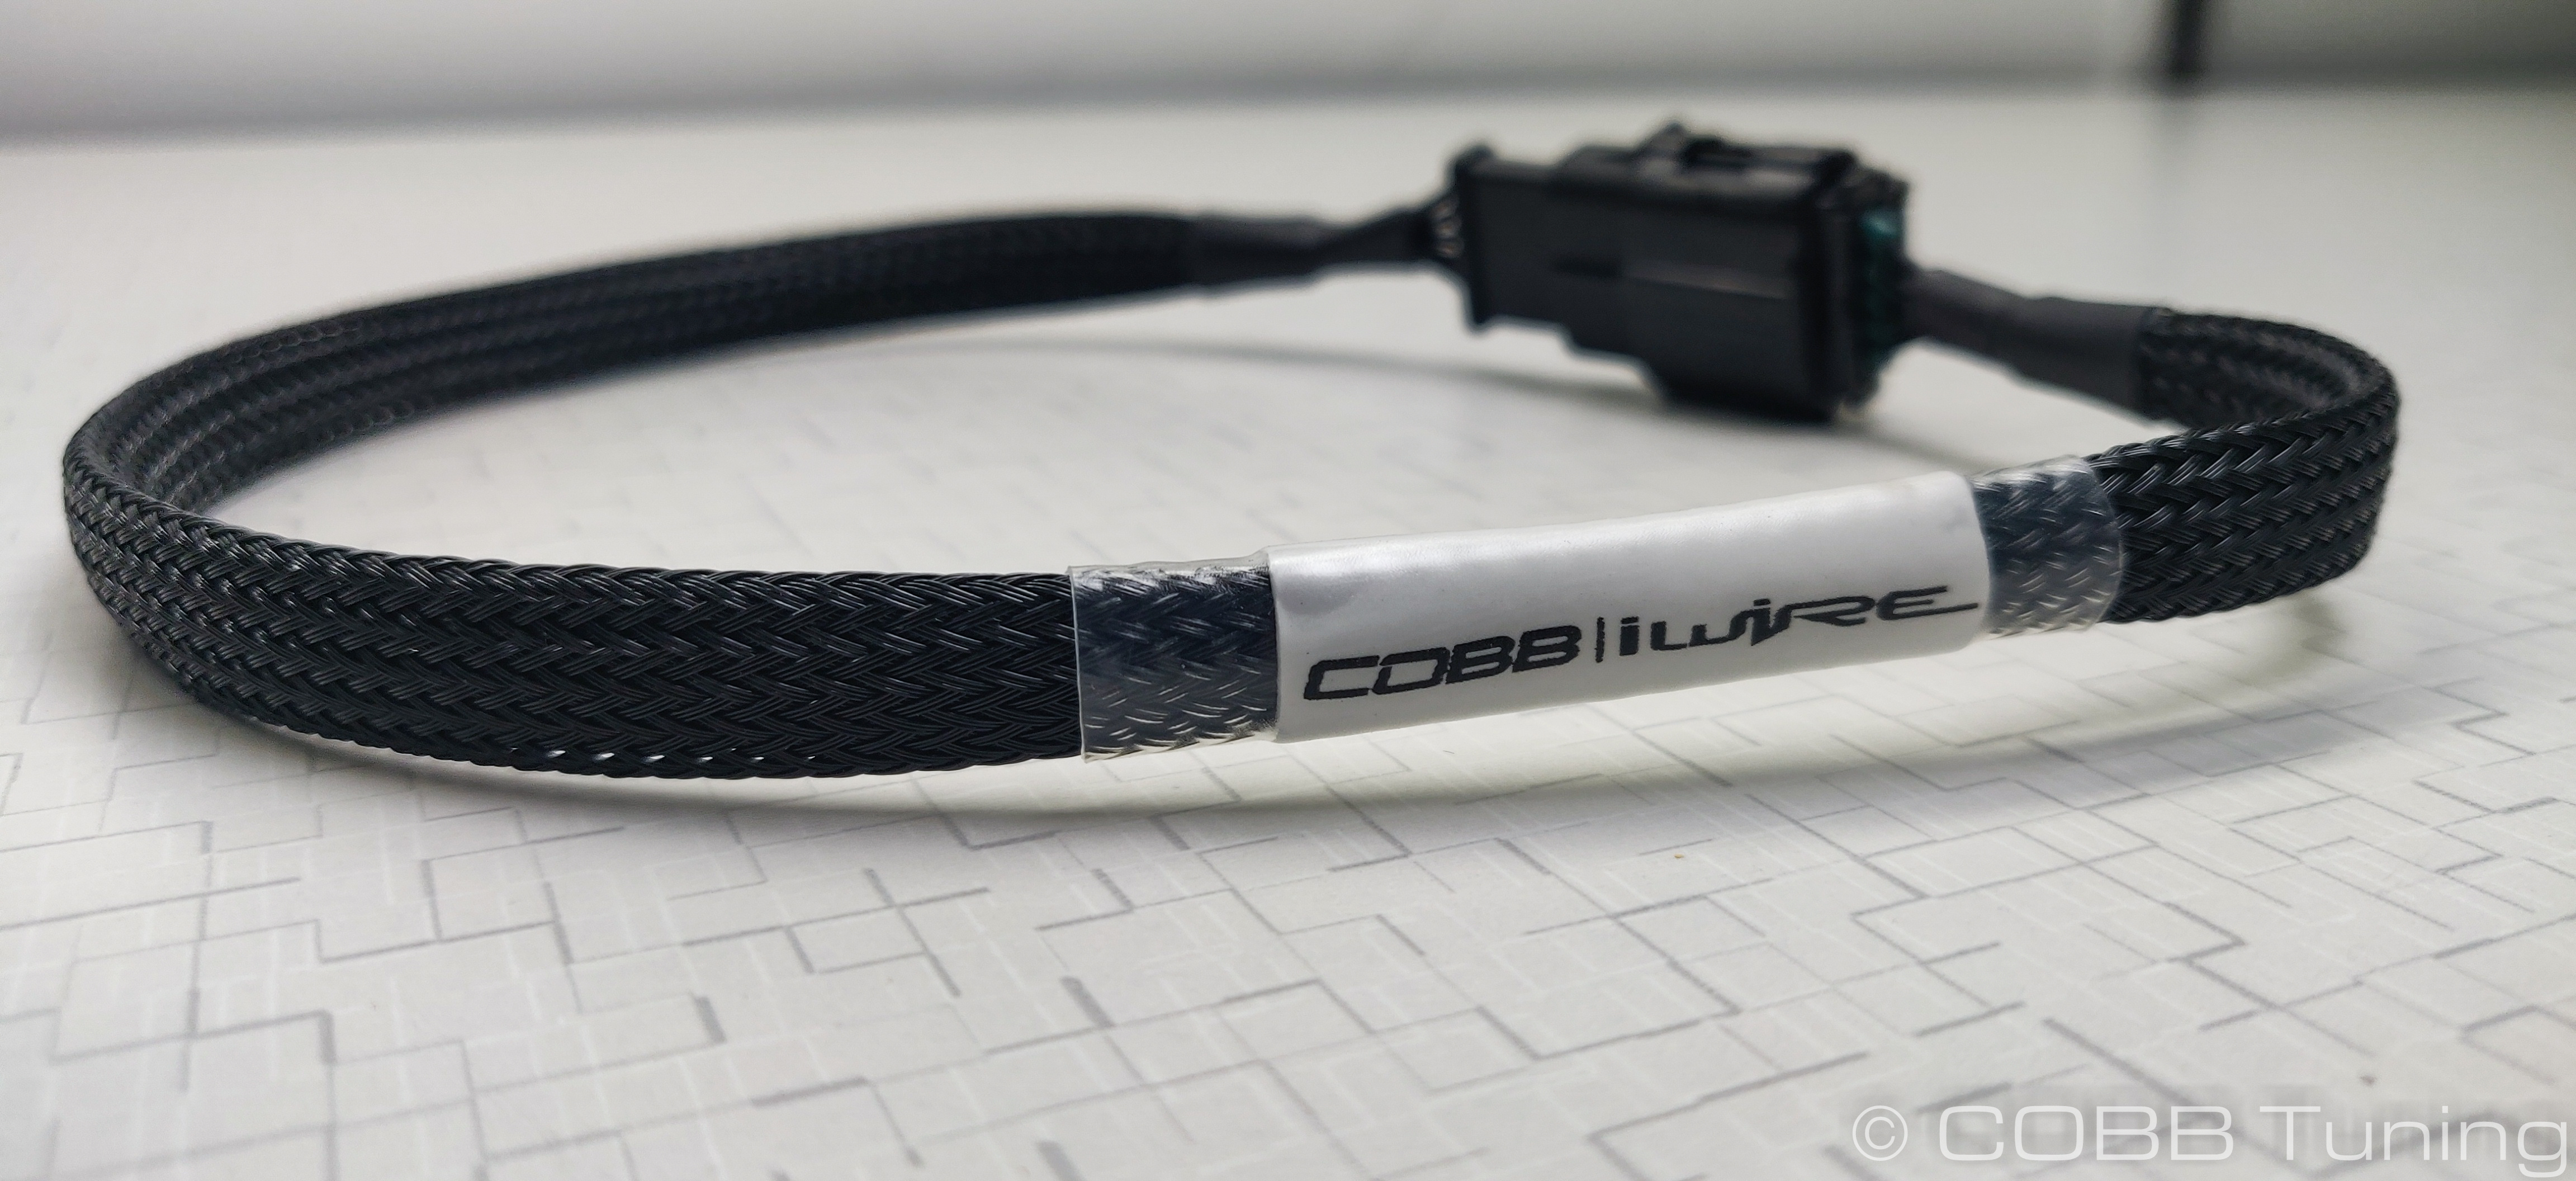
- Install the MAF extension harness and droop the wiring down towards the bottom of the car.
VA WRX Undertray Removal
| Insert excerpt | ||||||
|---|---|---|---|---|---|---|
|
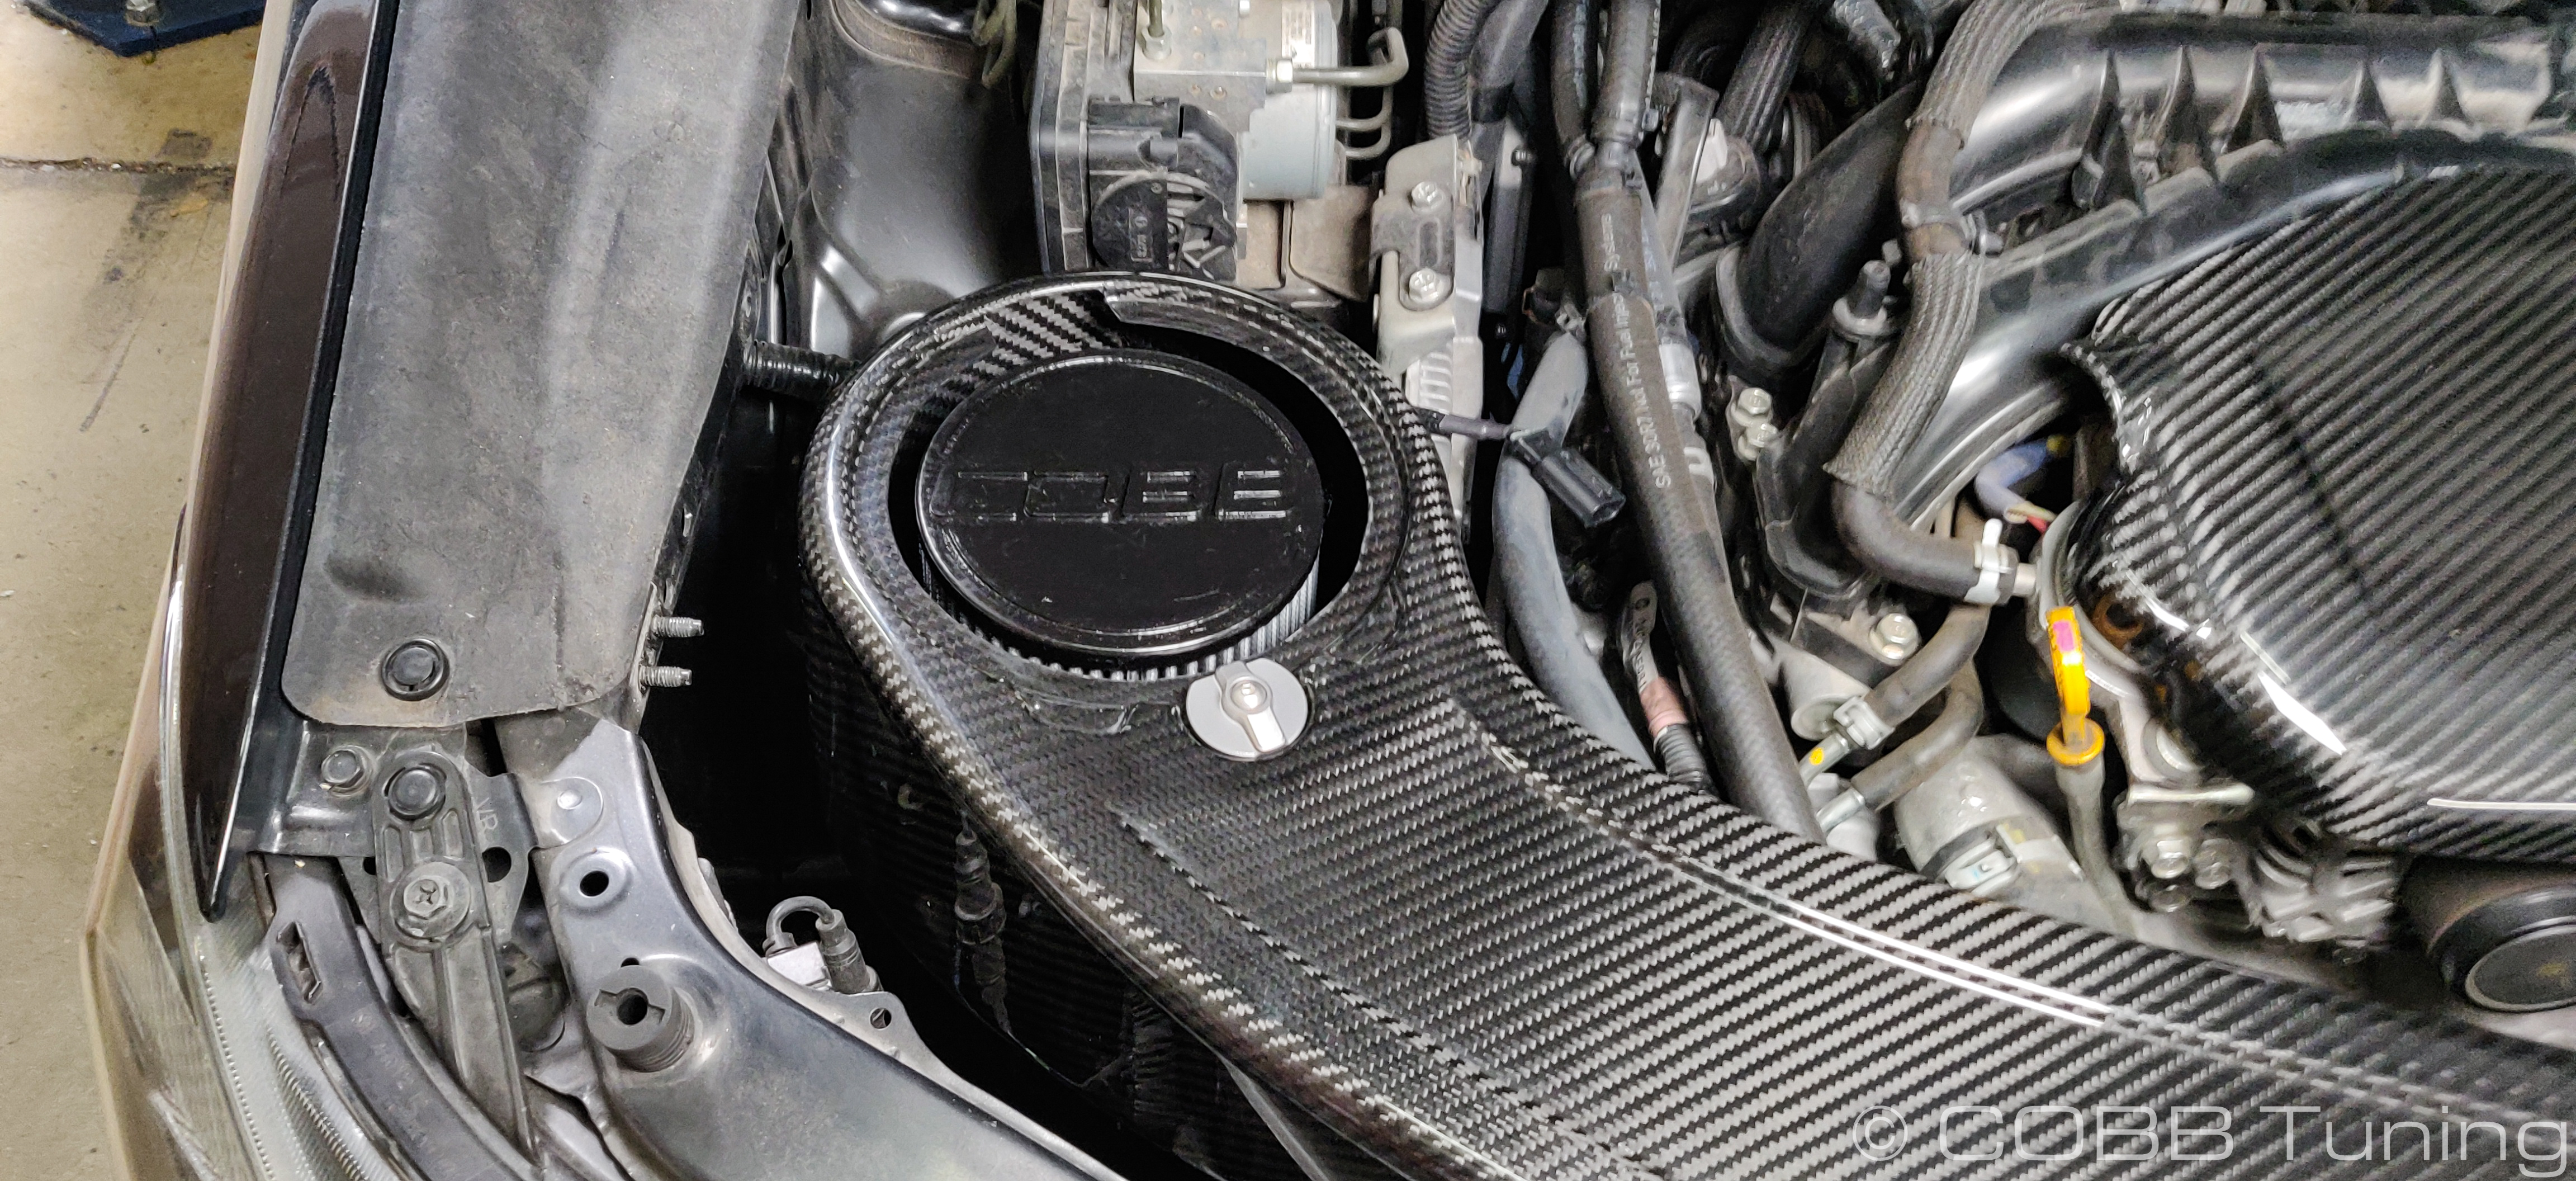
Carbon Intake Installation
- Gently fit the intake into the car and push the two rubber grommets over the two pins you installed earlier to hold the intake somewhat in place.
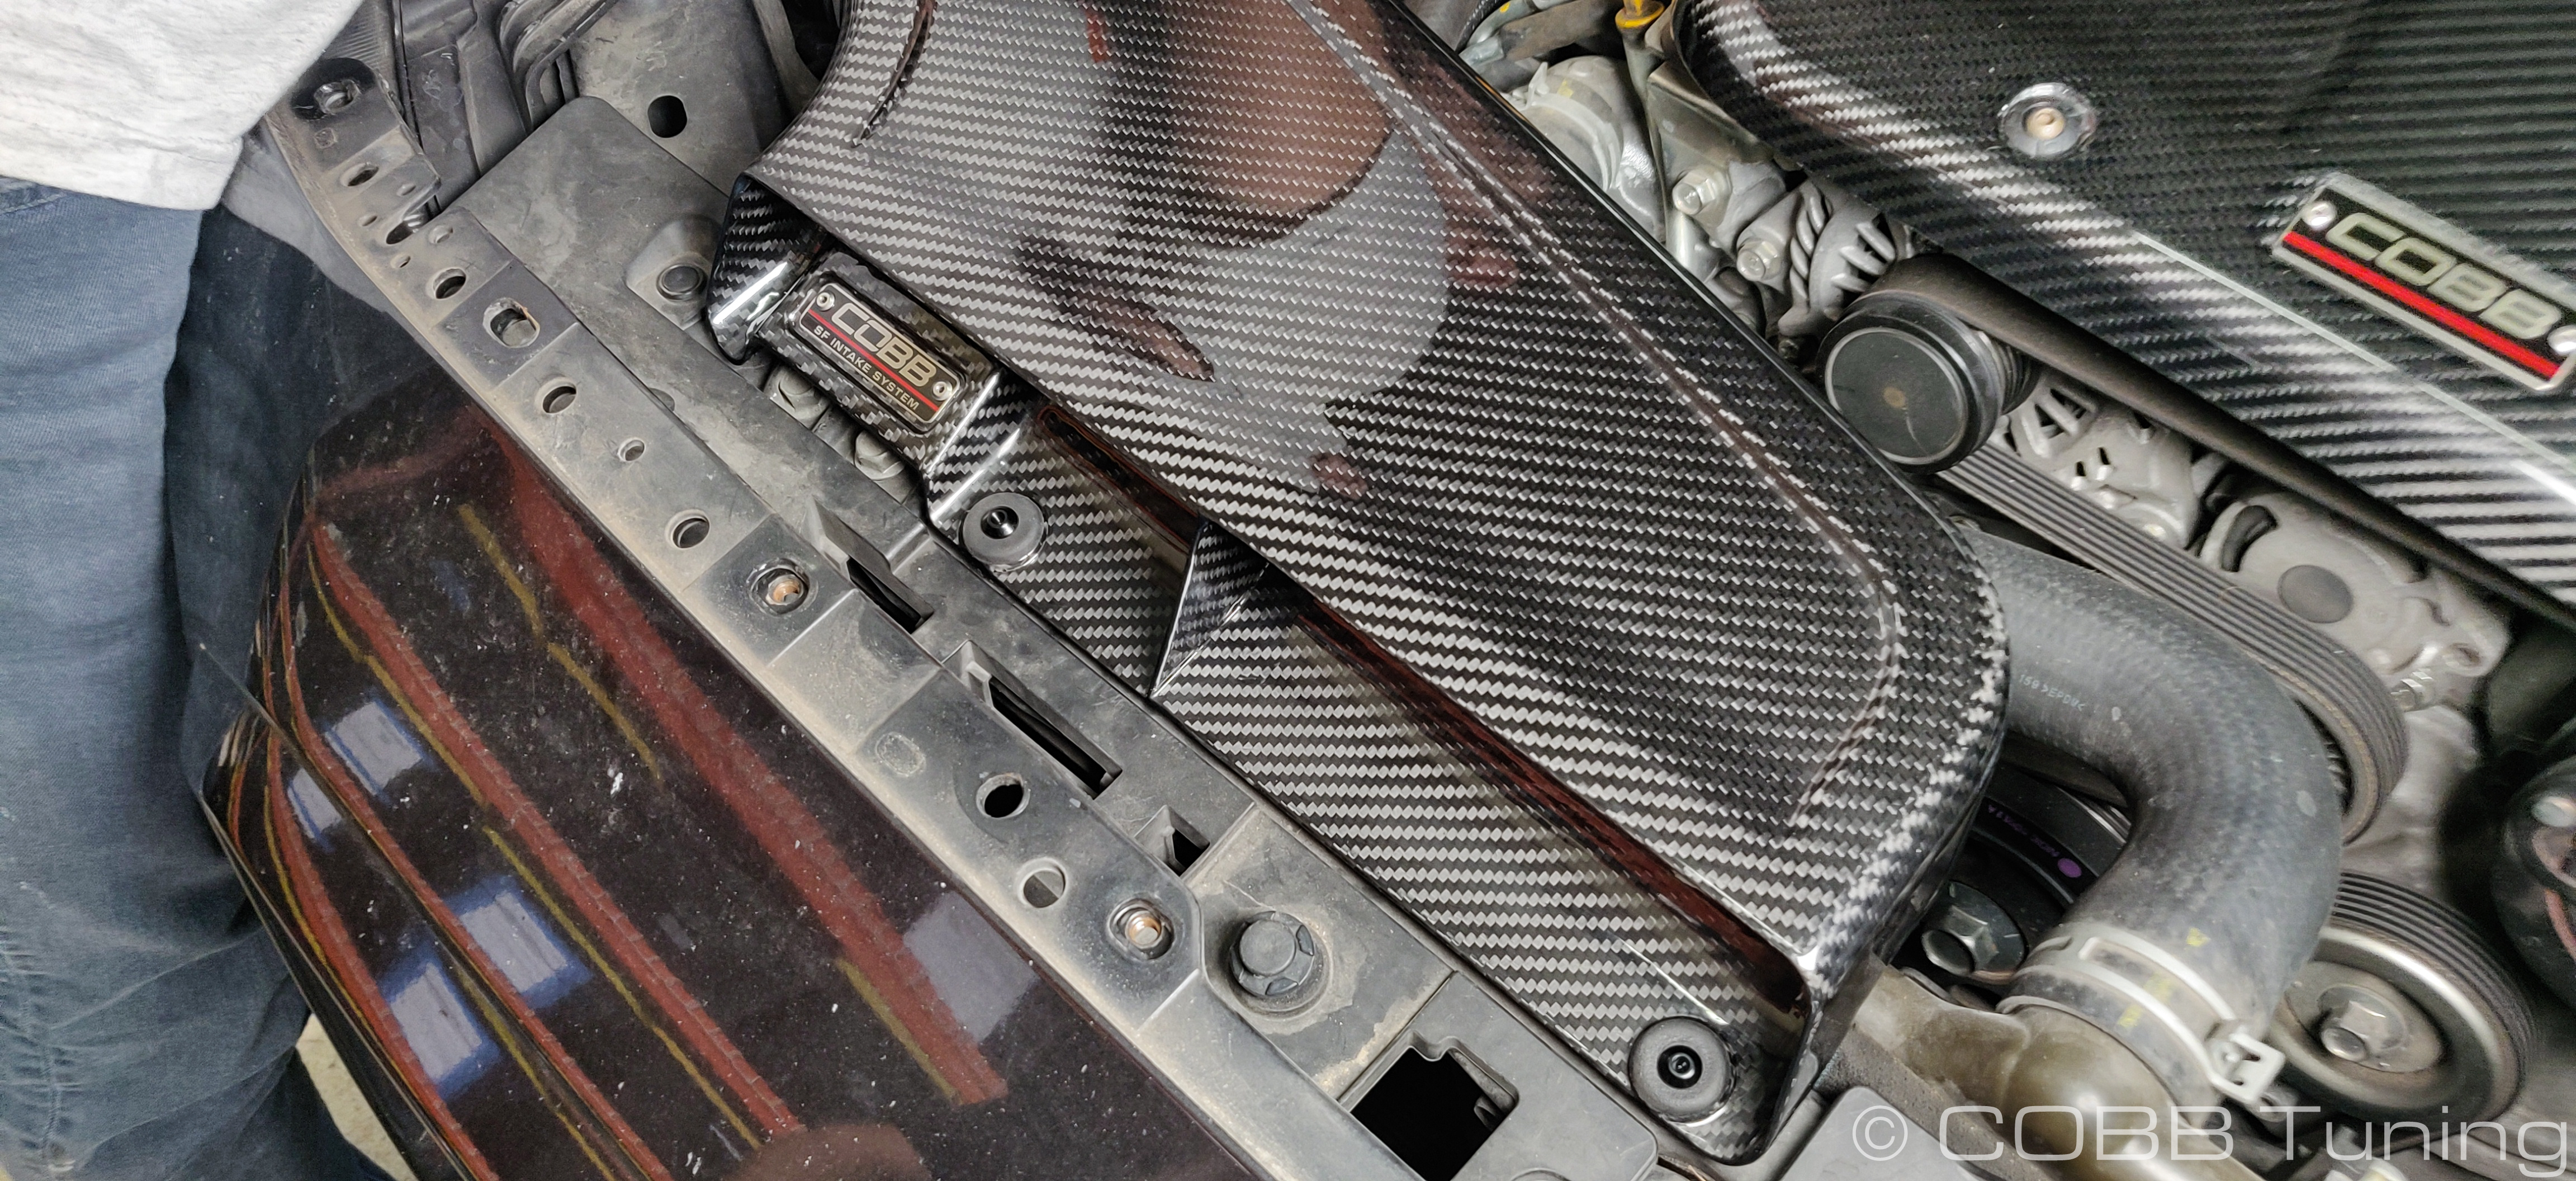
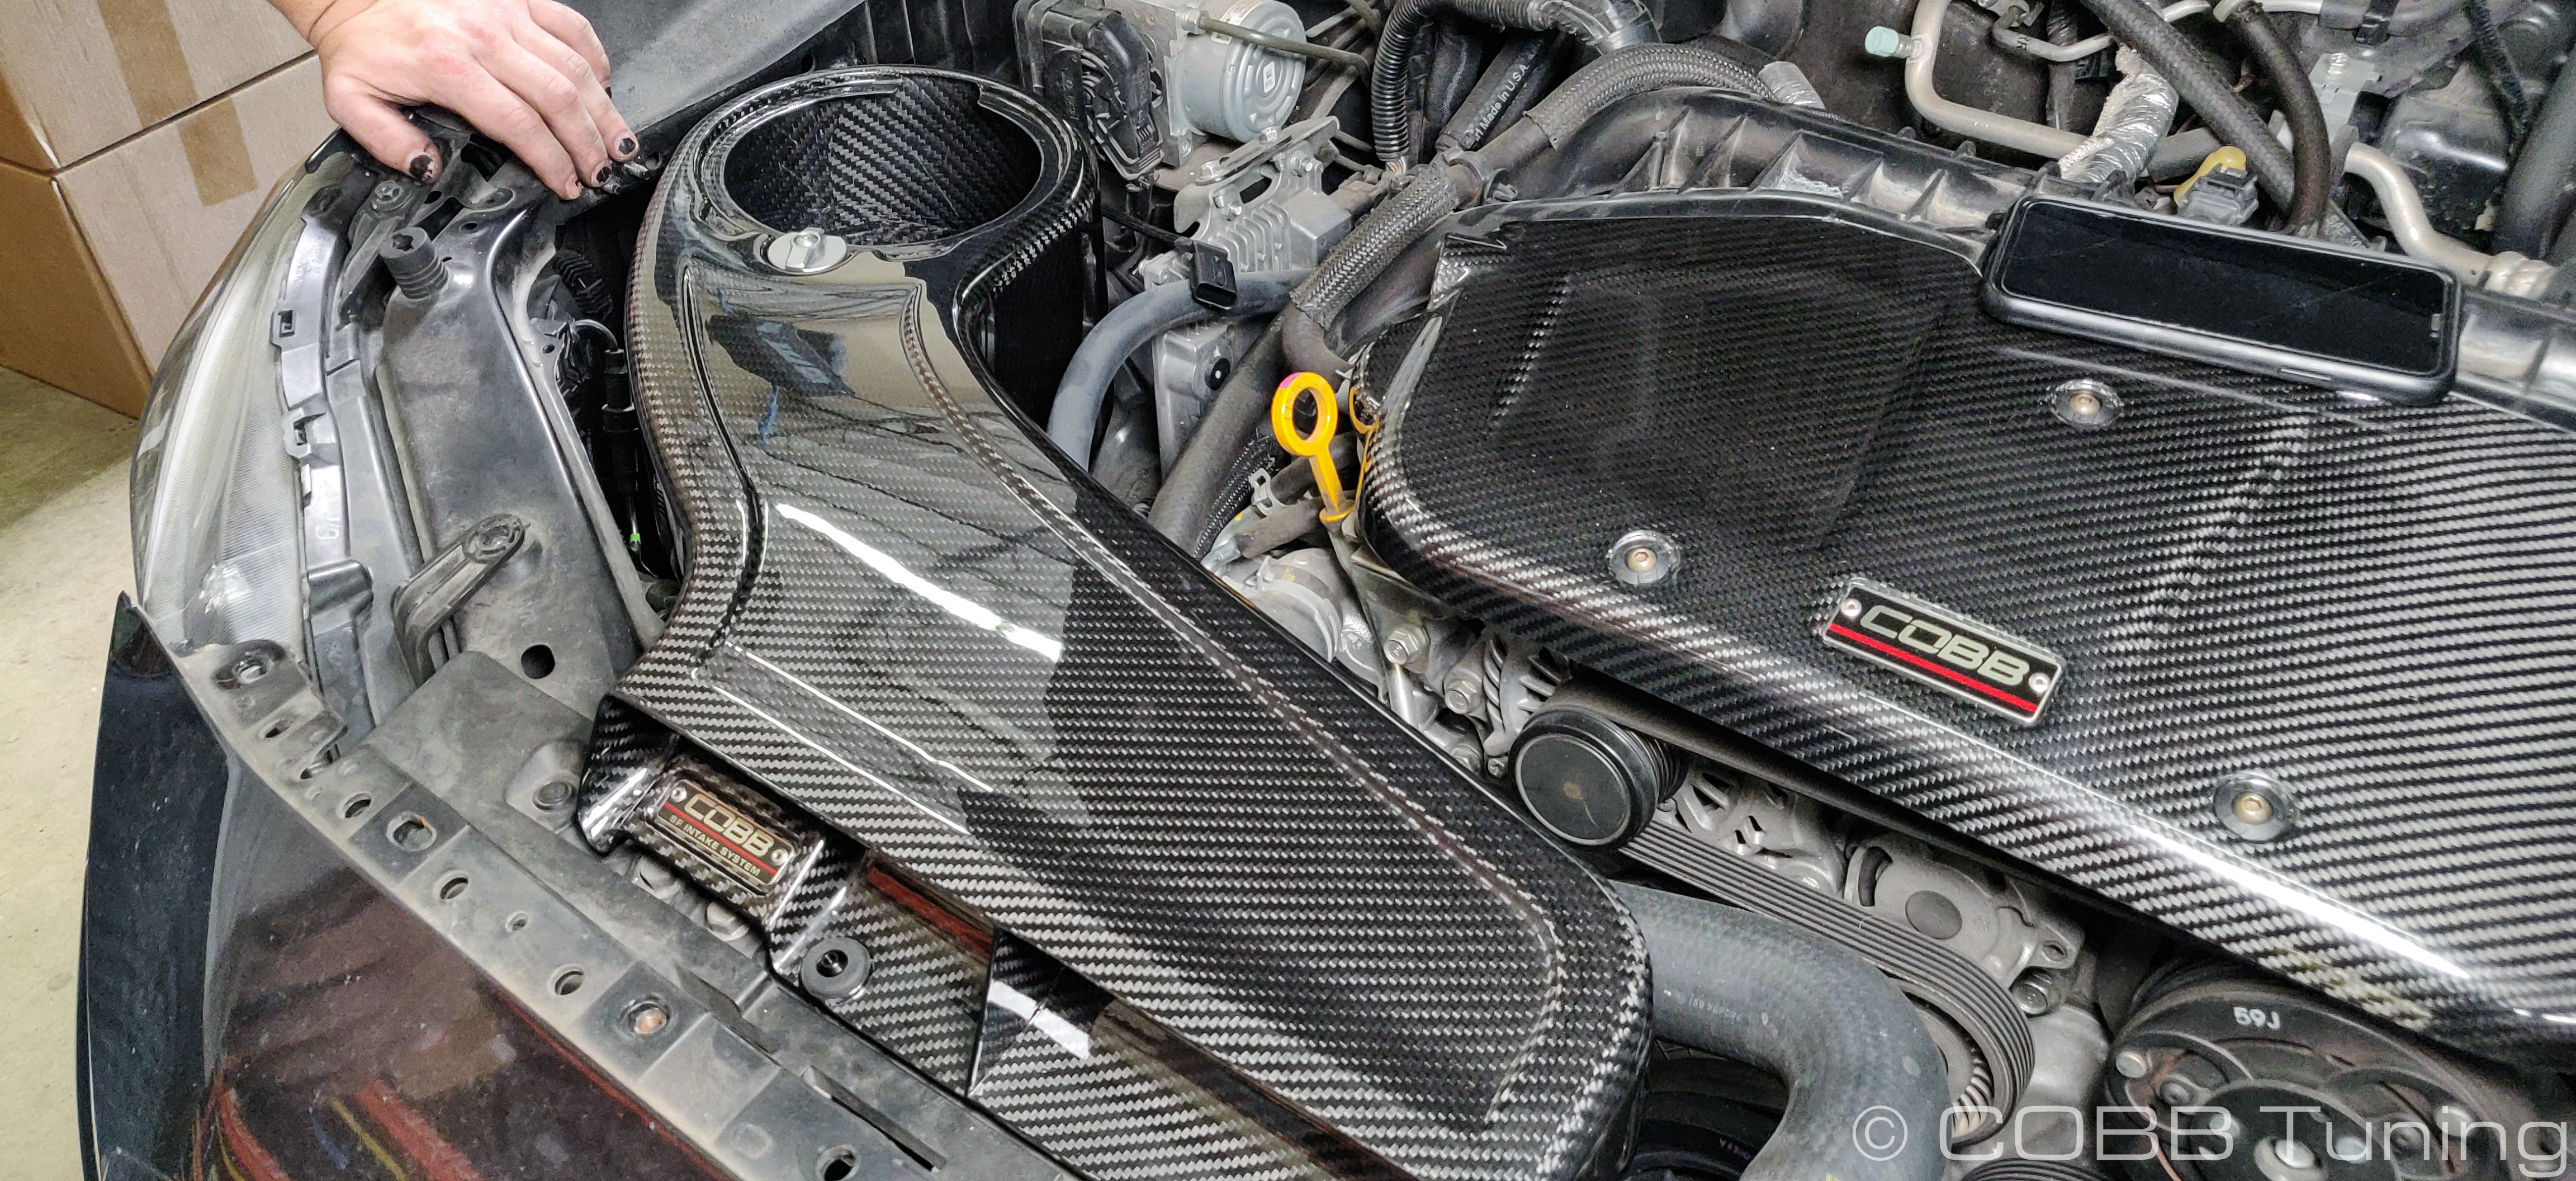
- Line up the bracket with the two holes on the frame. The one towards the rear of the car will be threaded, the one towards the front will not.
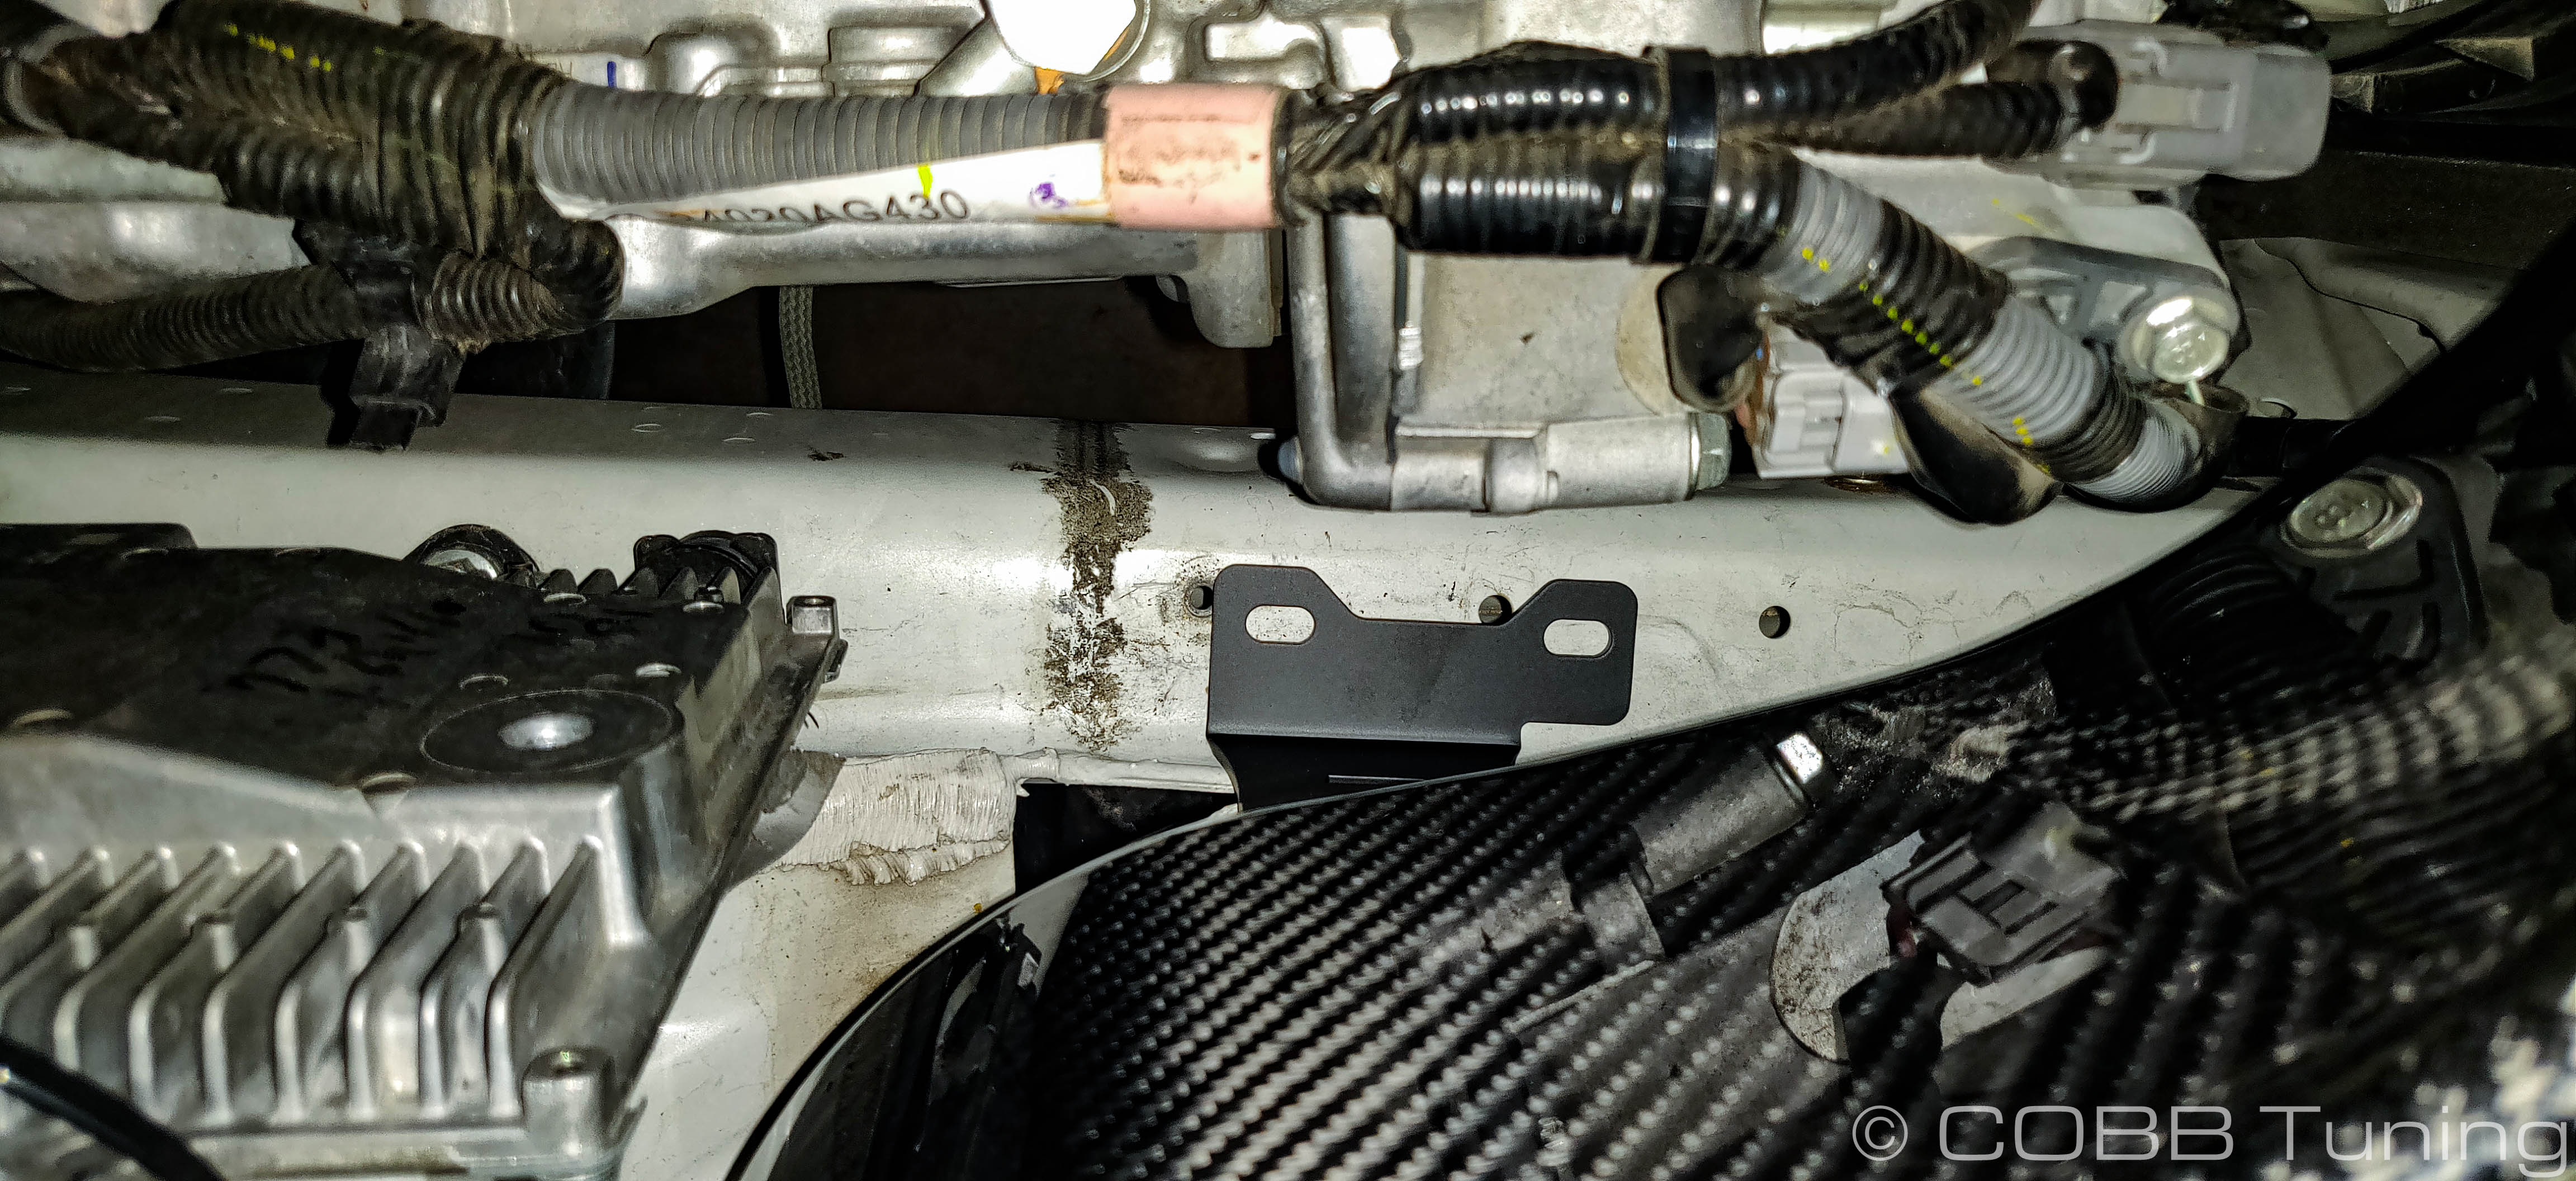
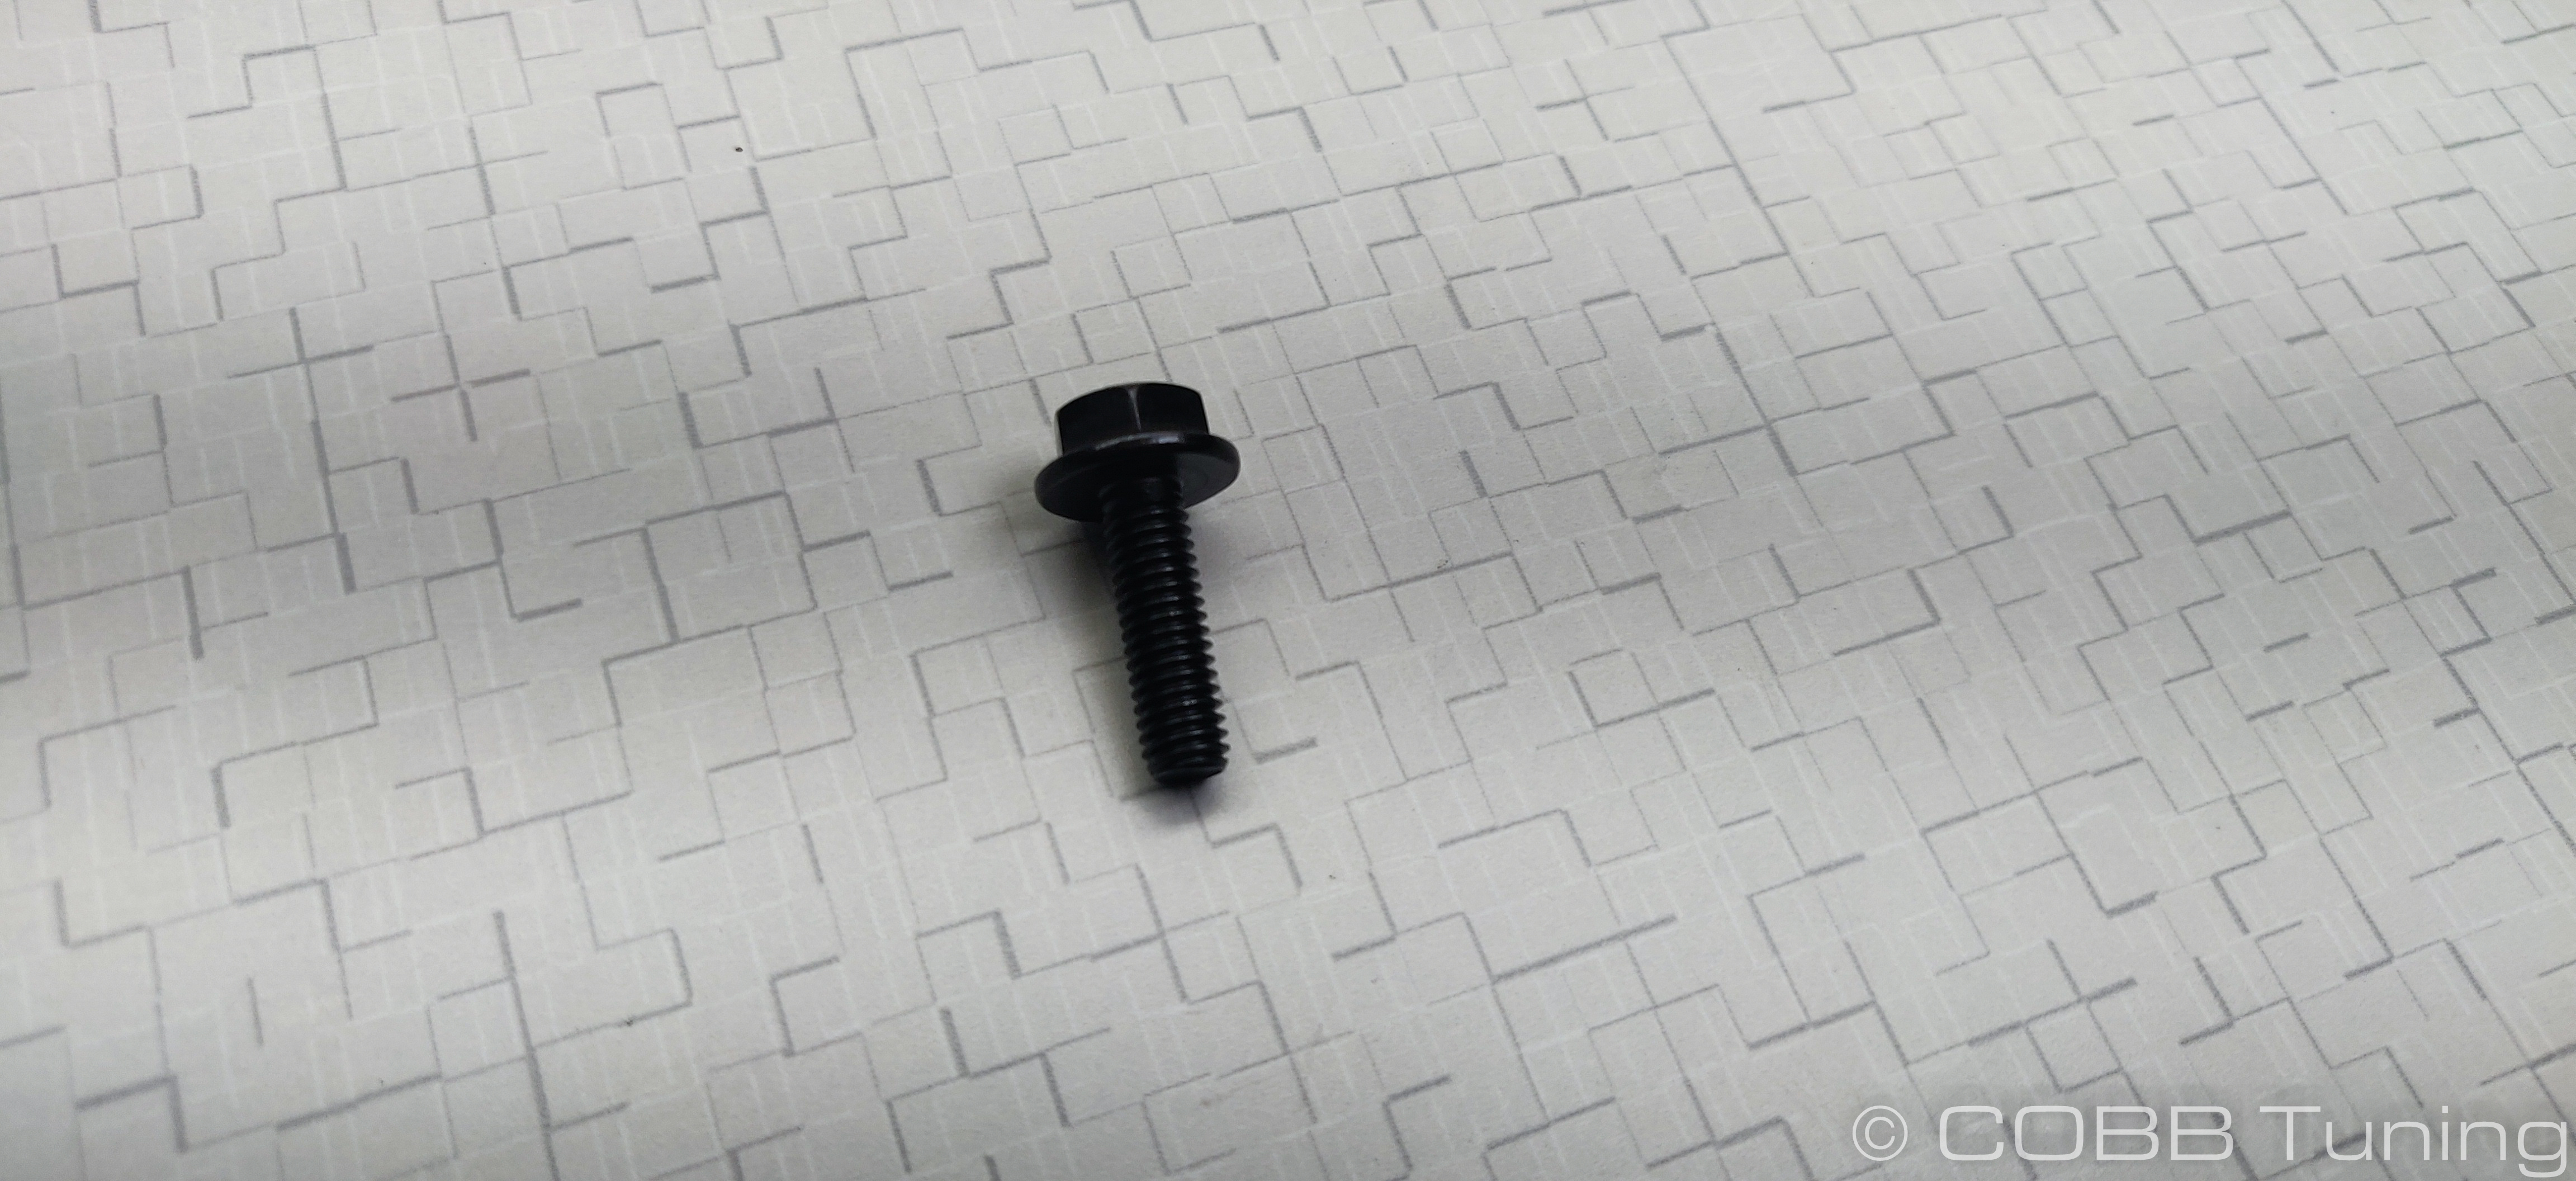
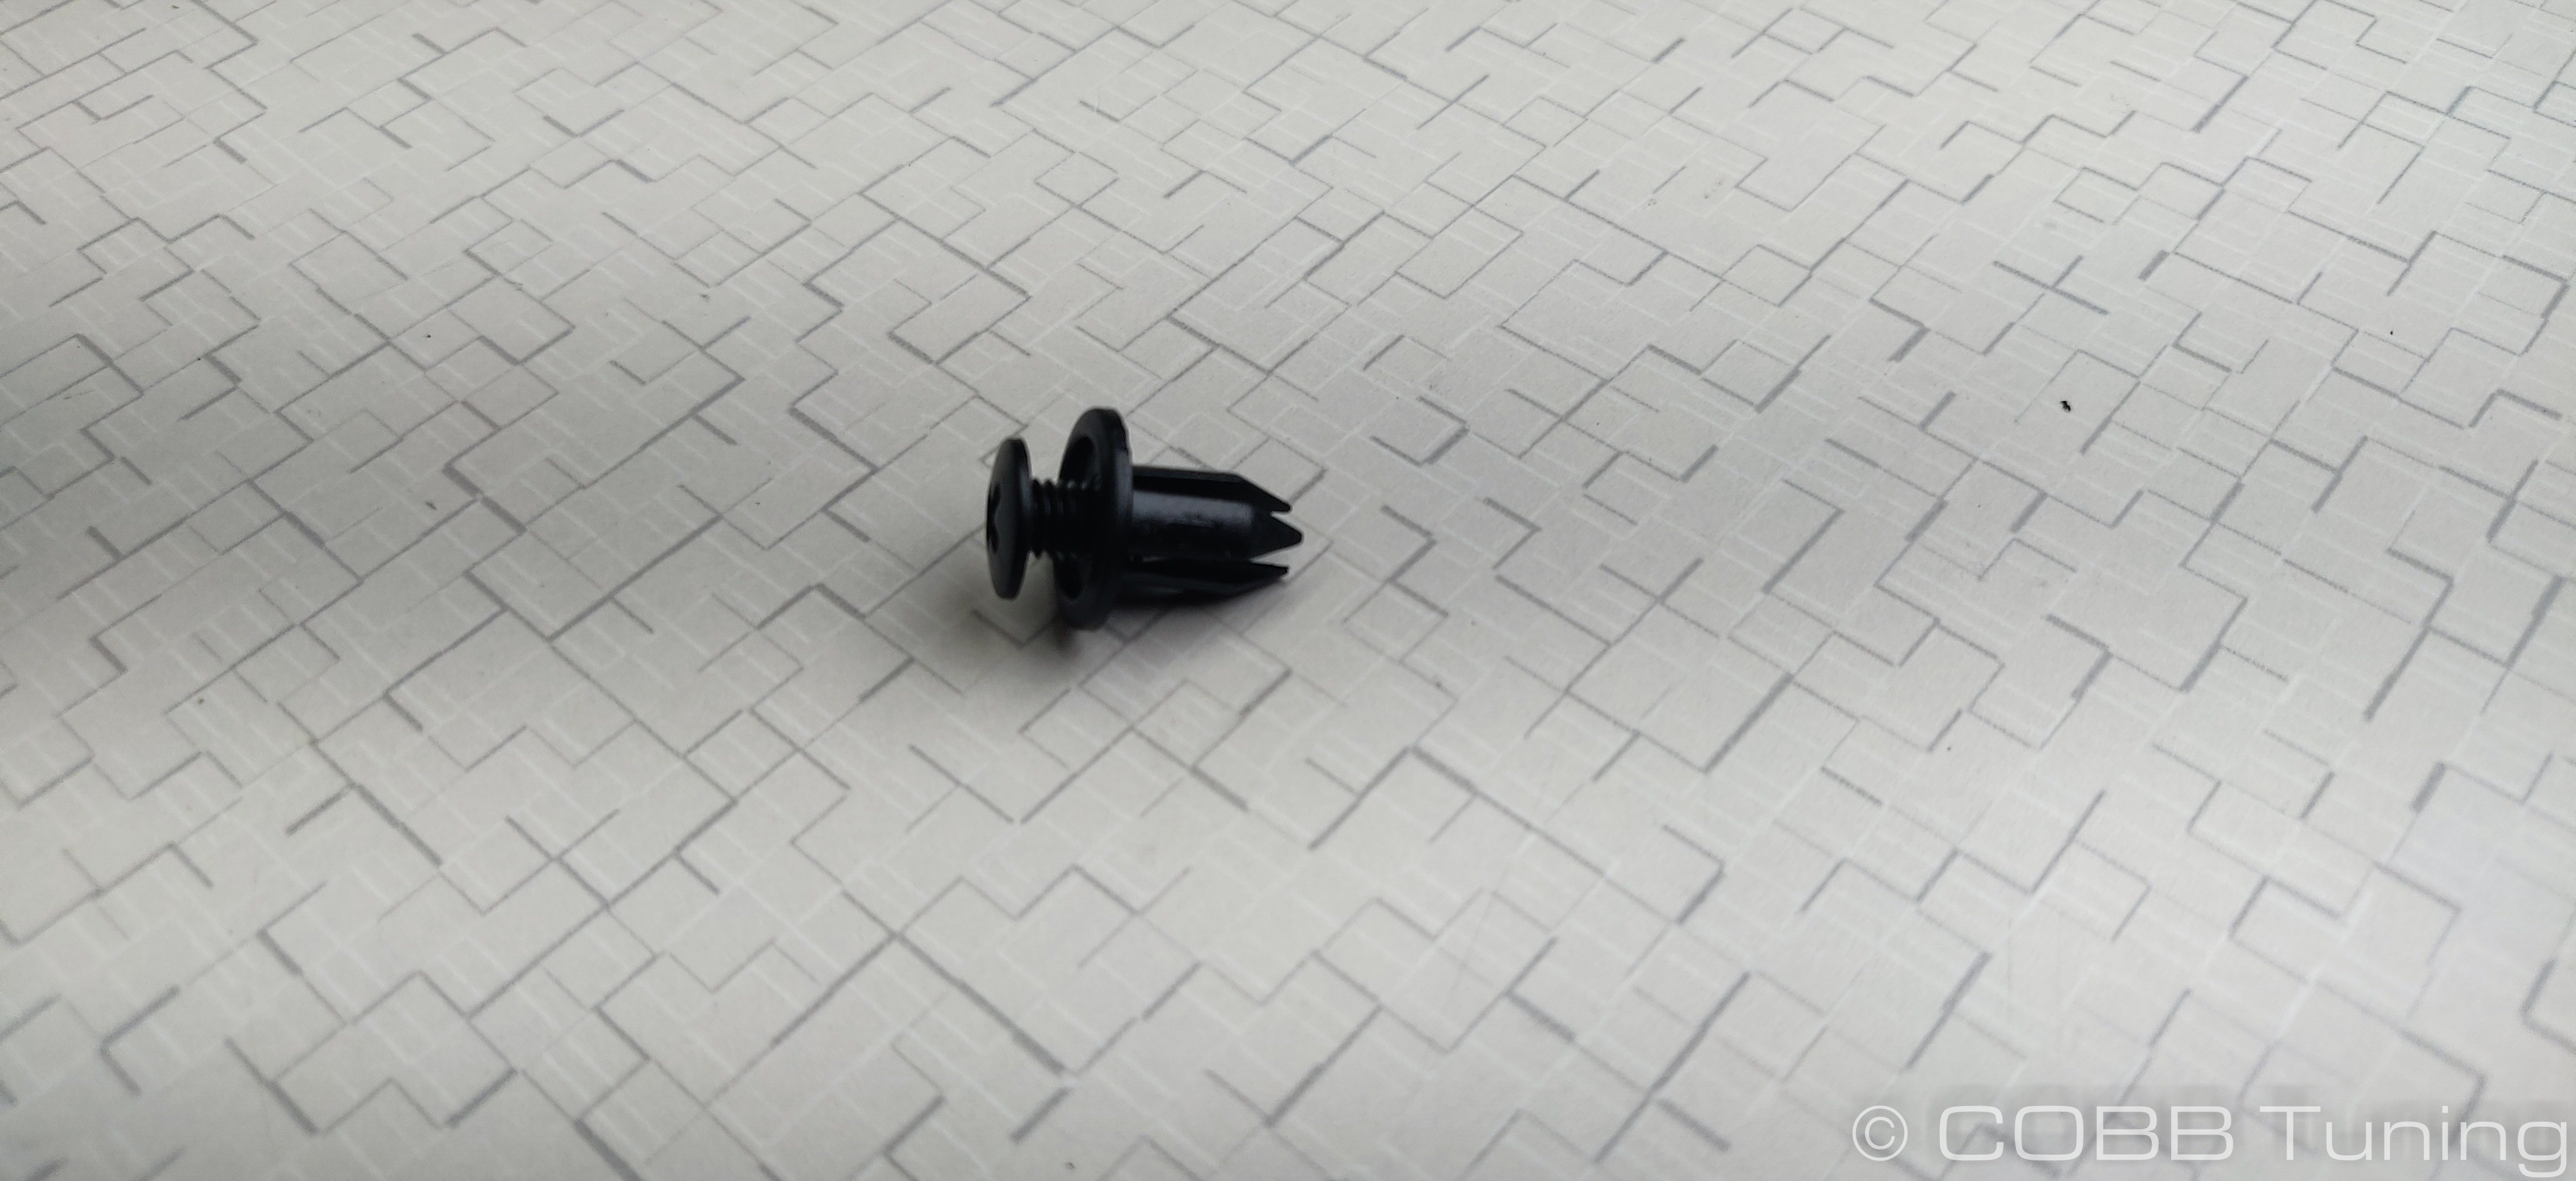
- Use the small push clip to secure the front bolt hole and the provided m10 head bolt to secure the rear.
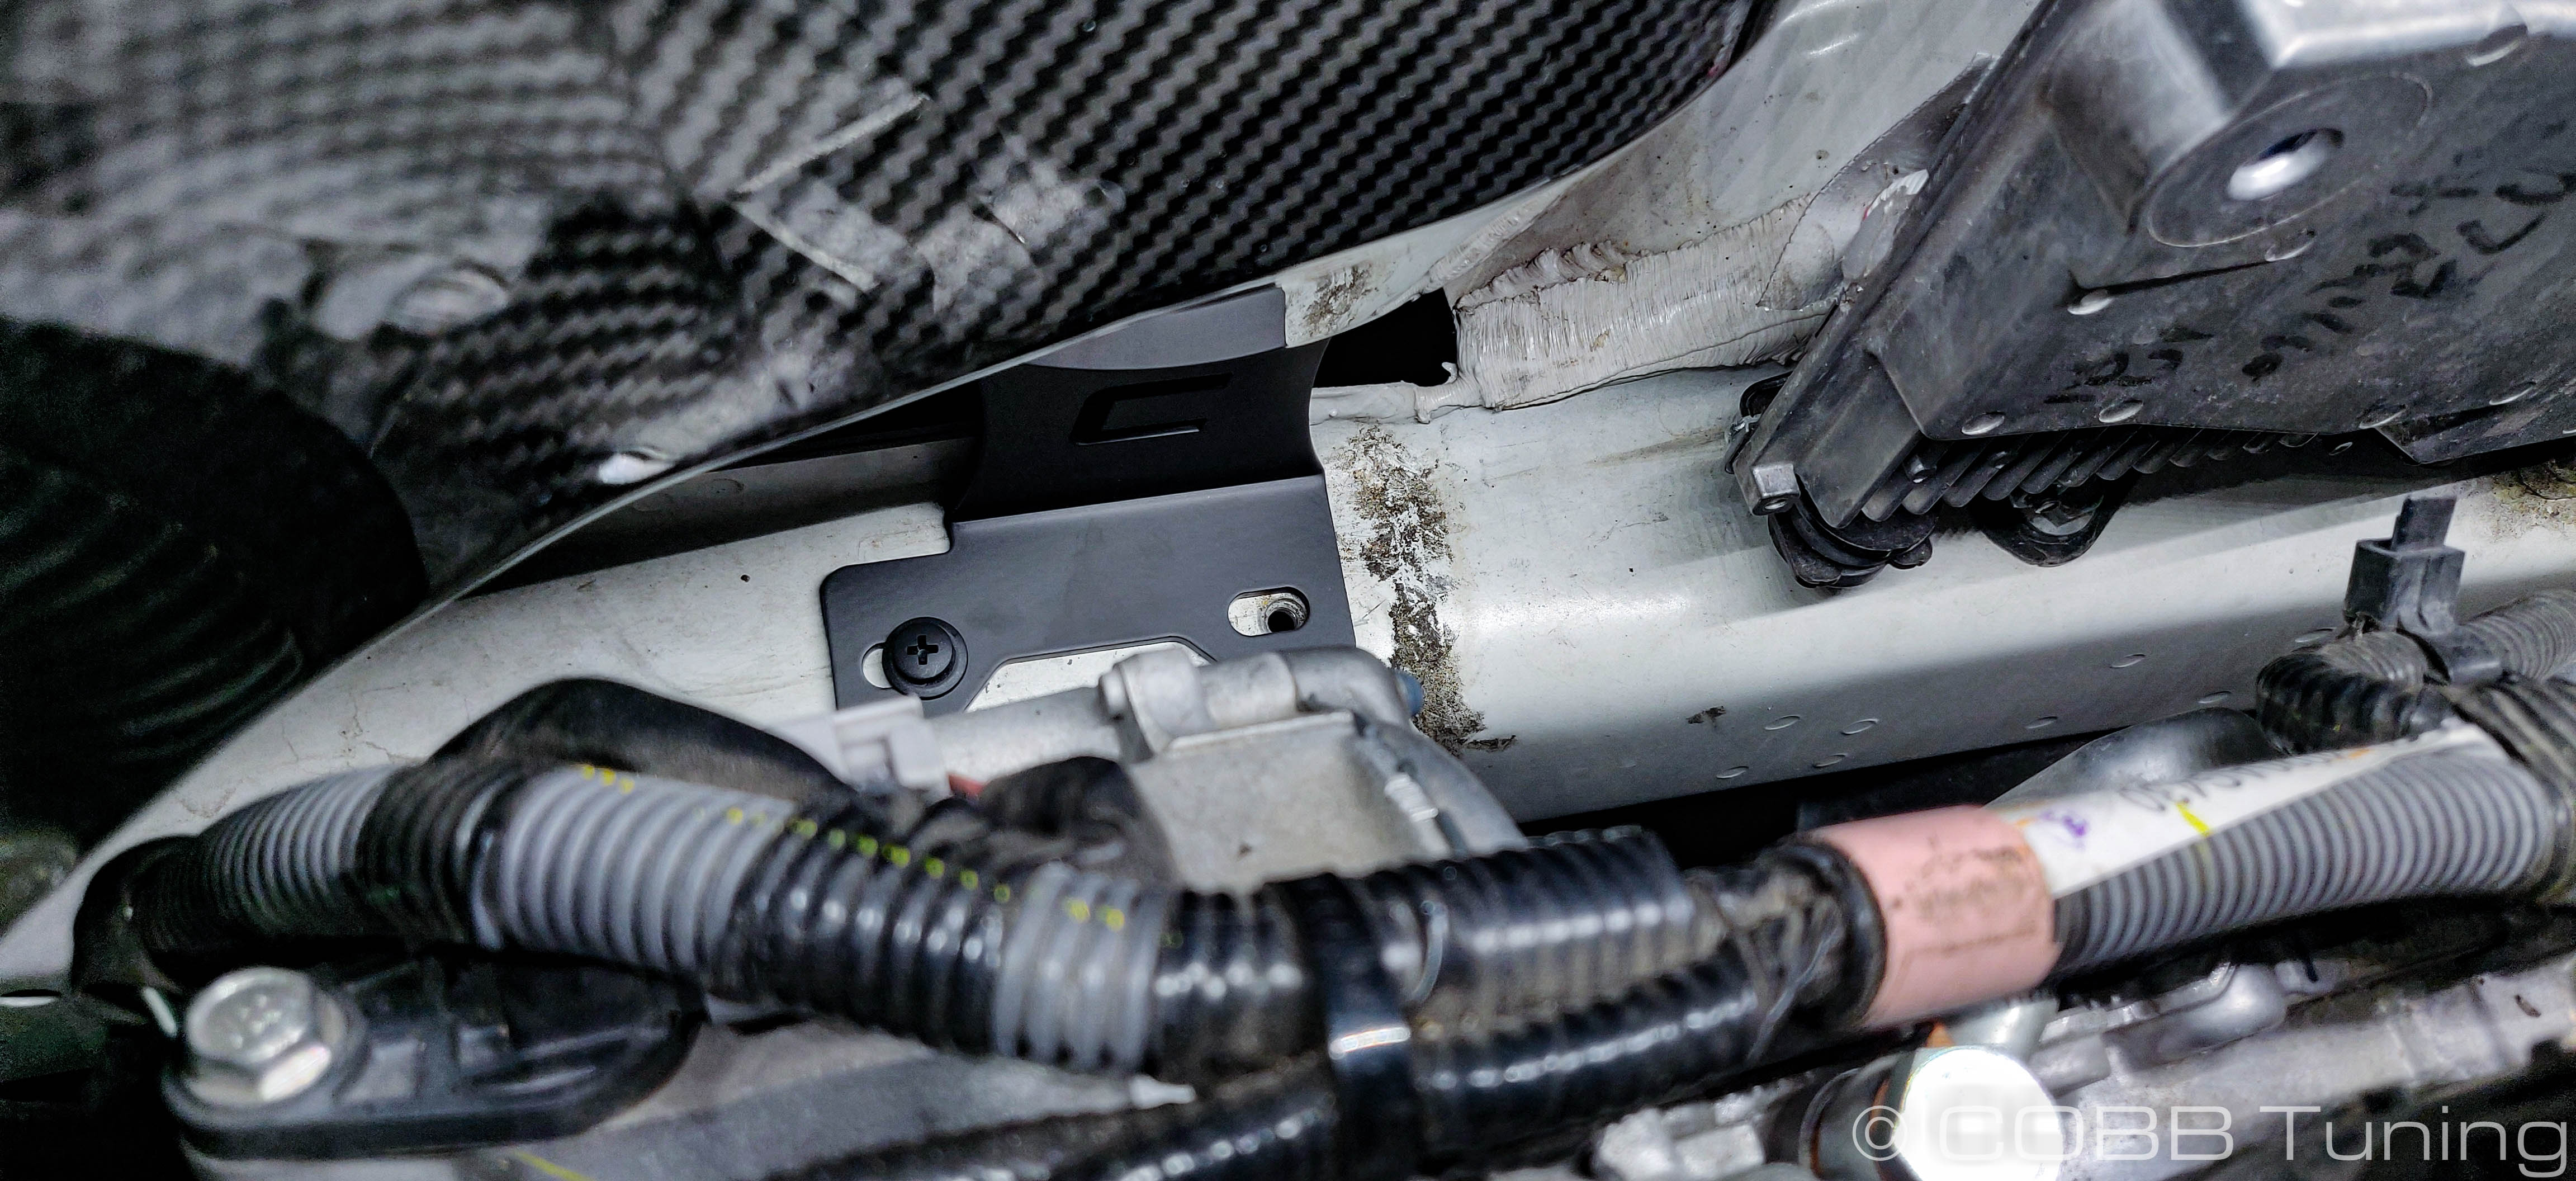
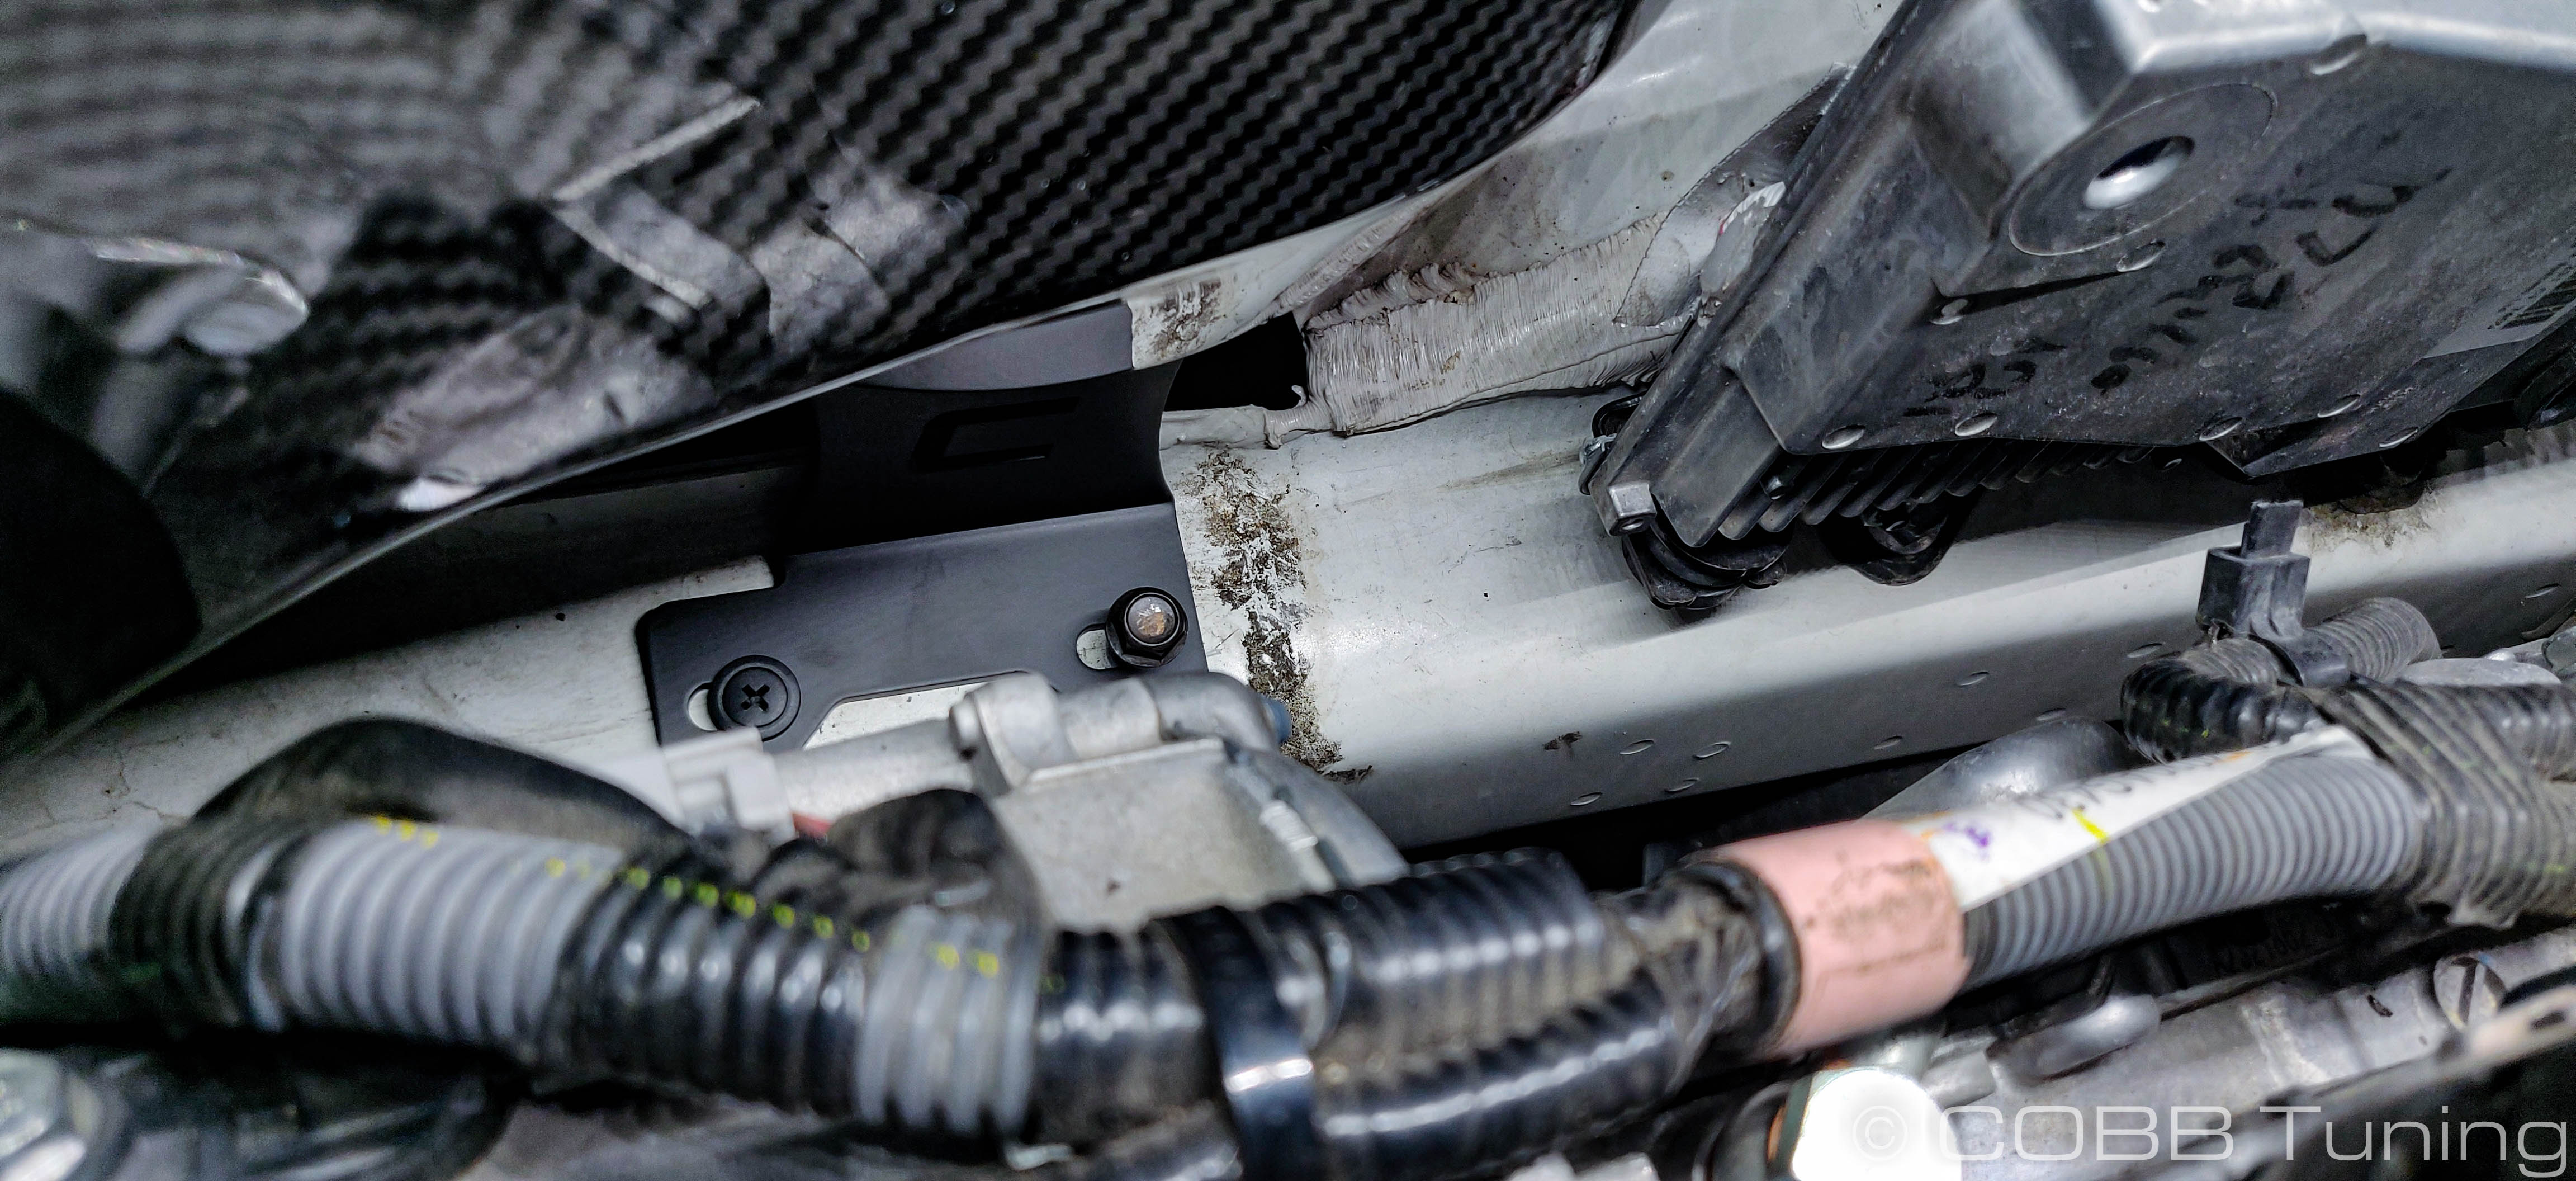
- With those secured, you can head underneath the car and tighten the bolts on the MAF housing.

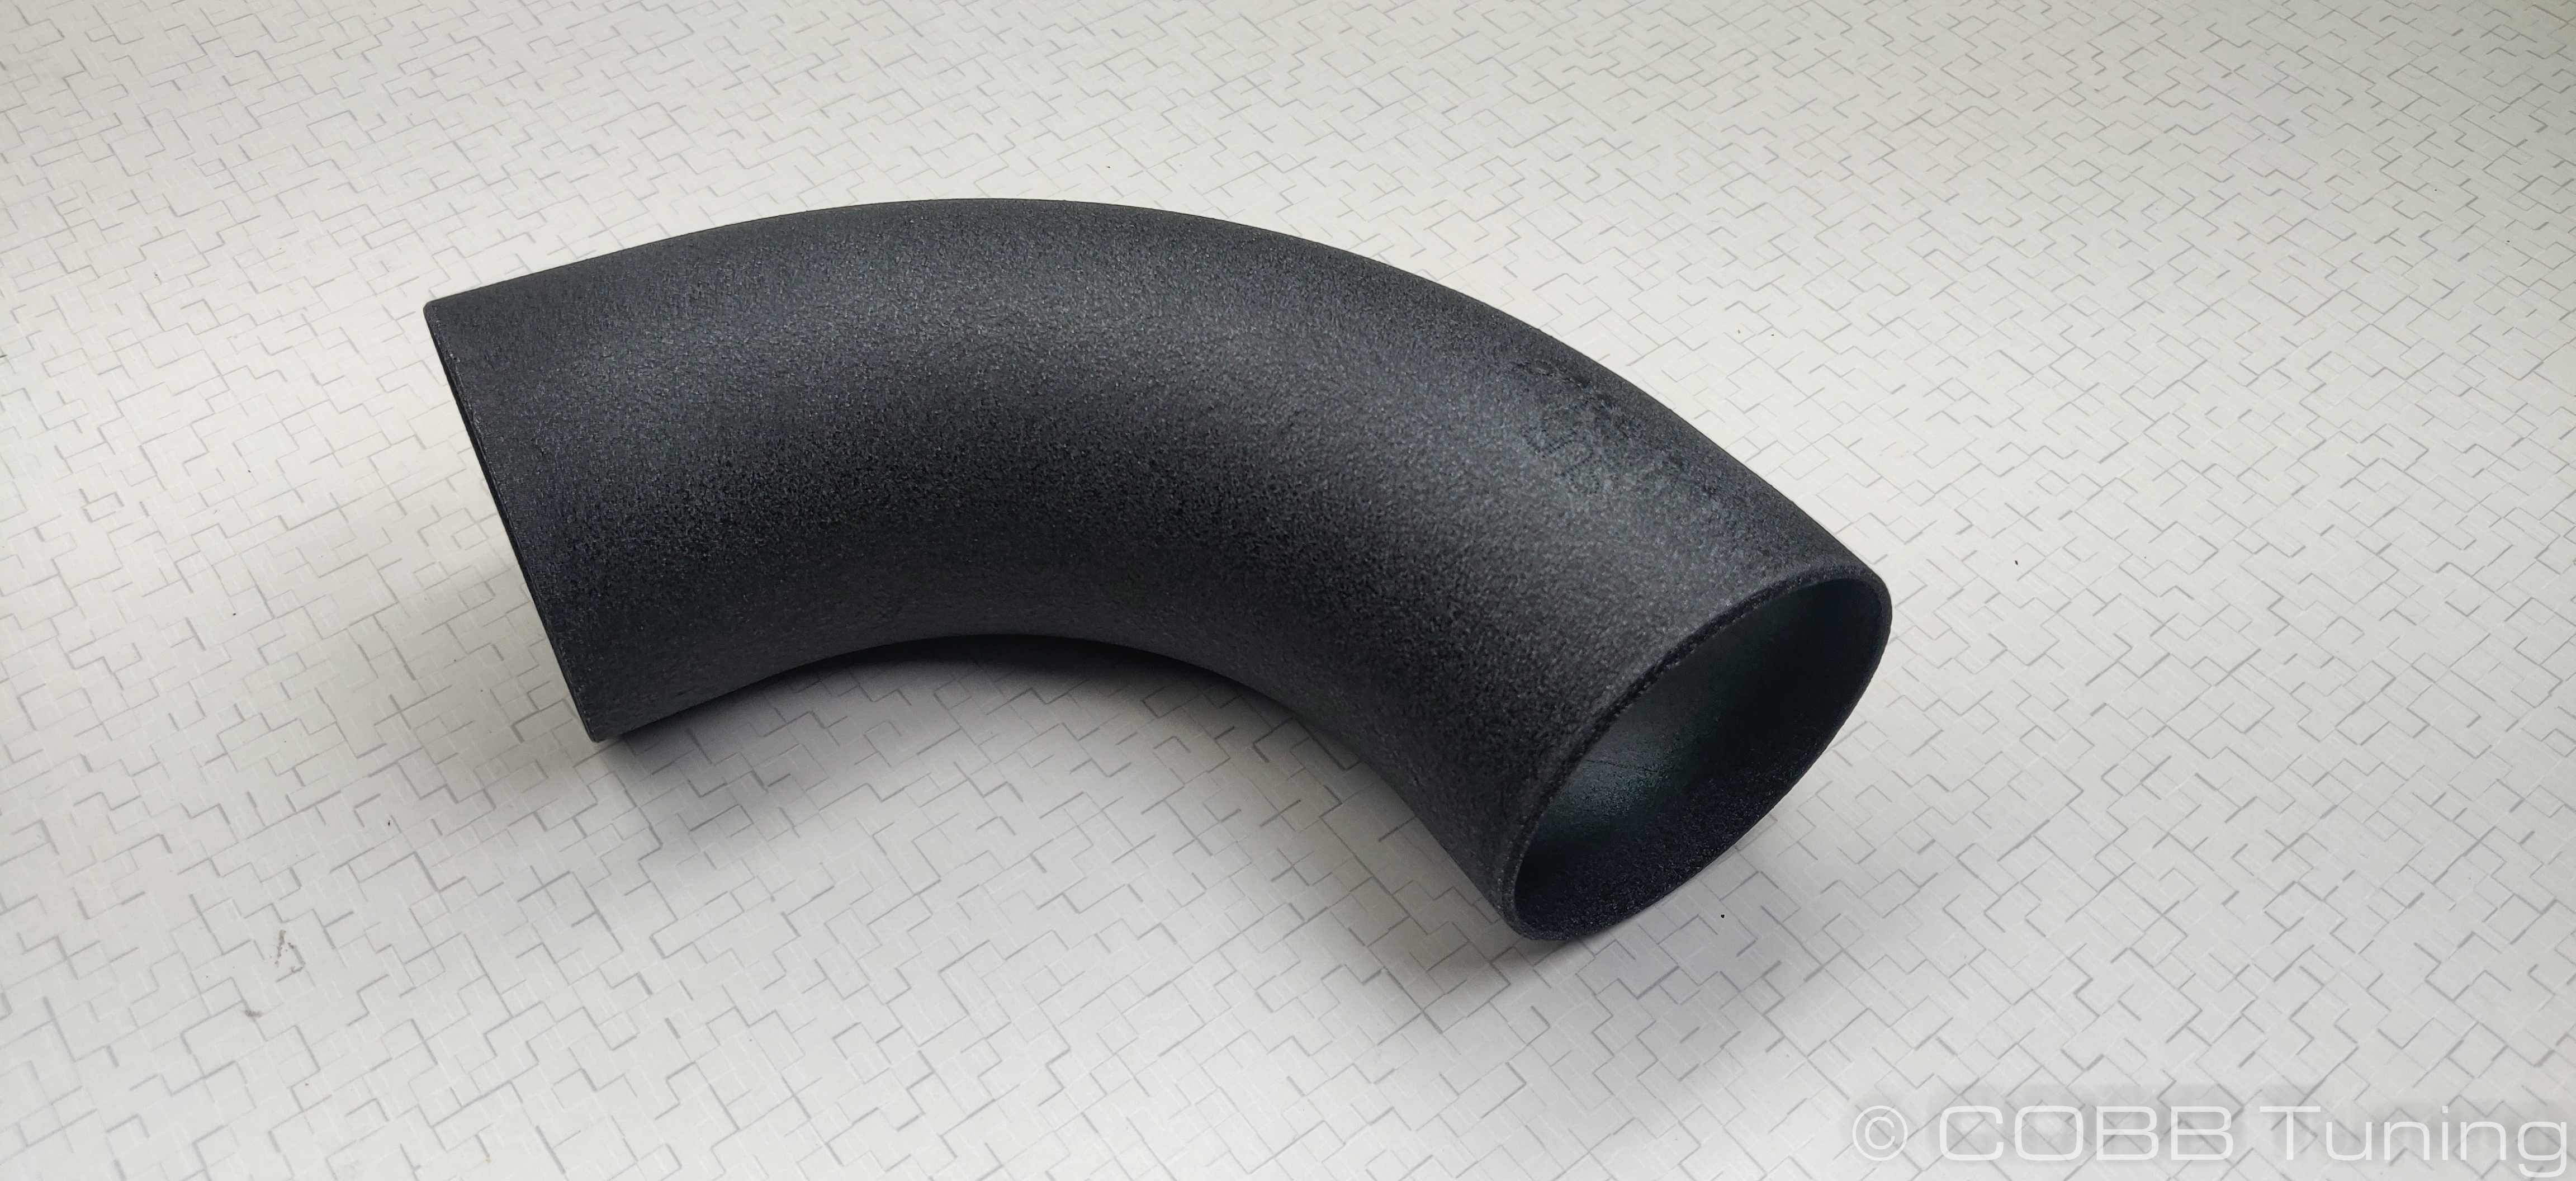
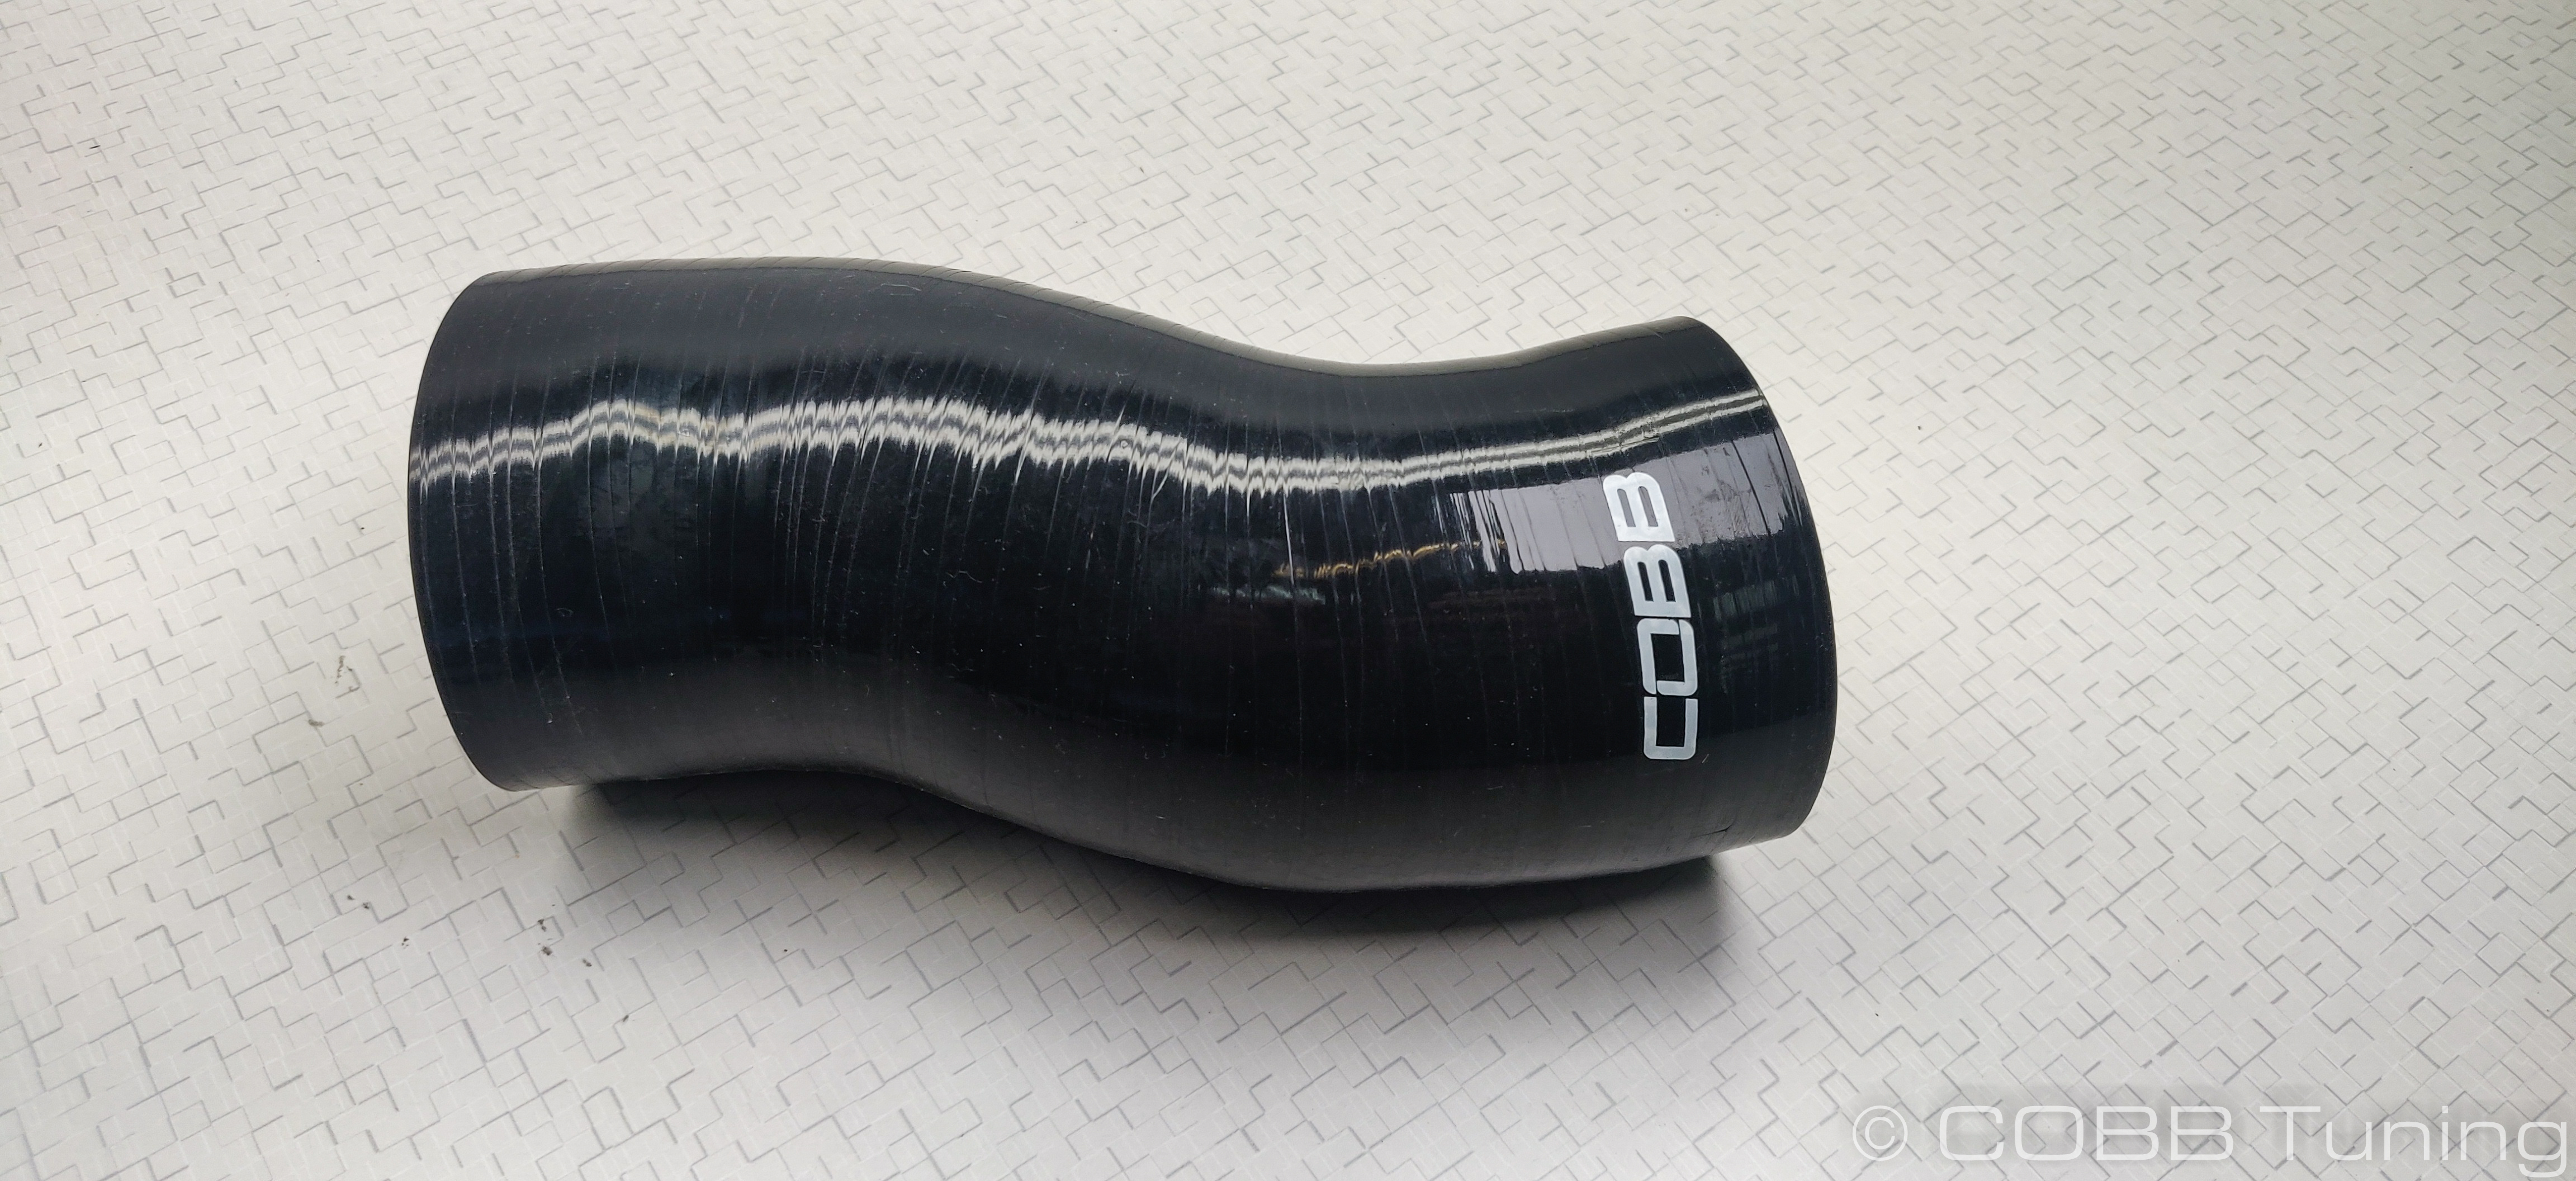
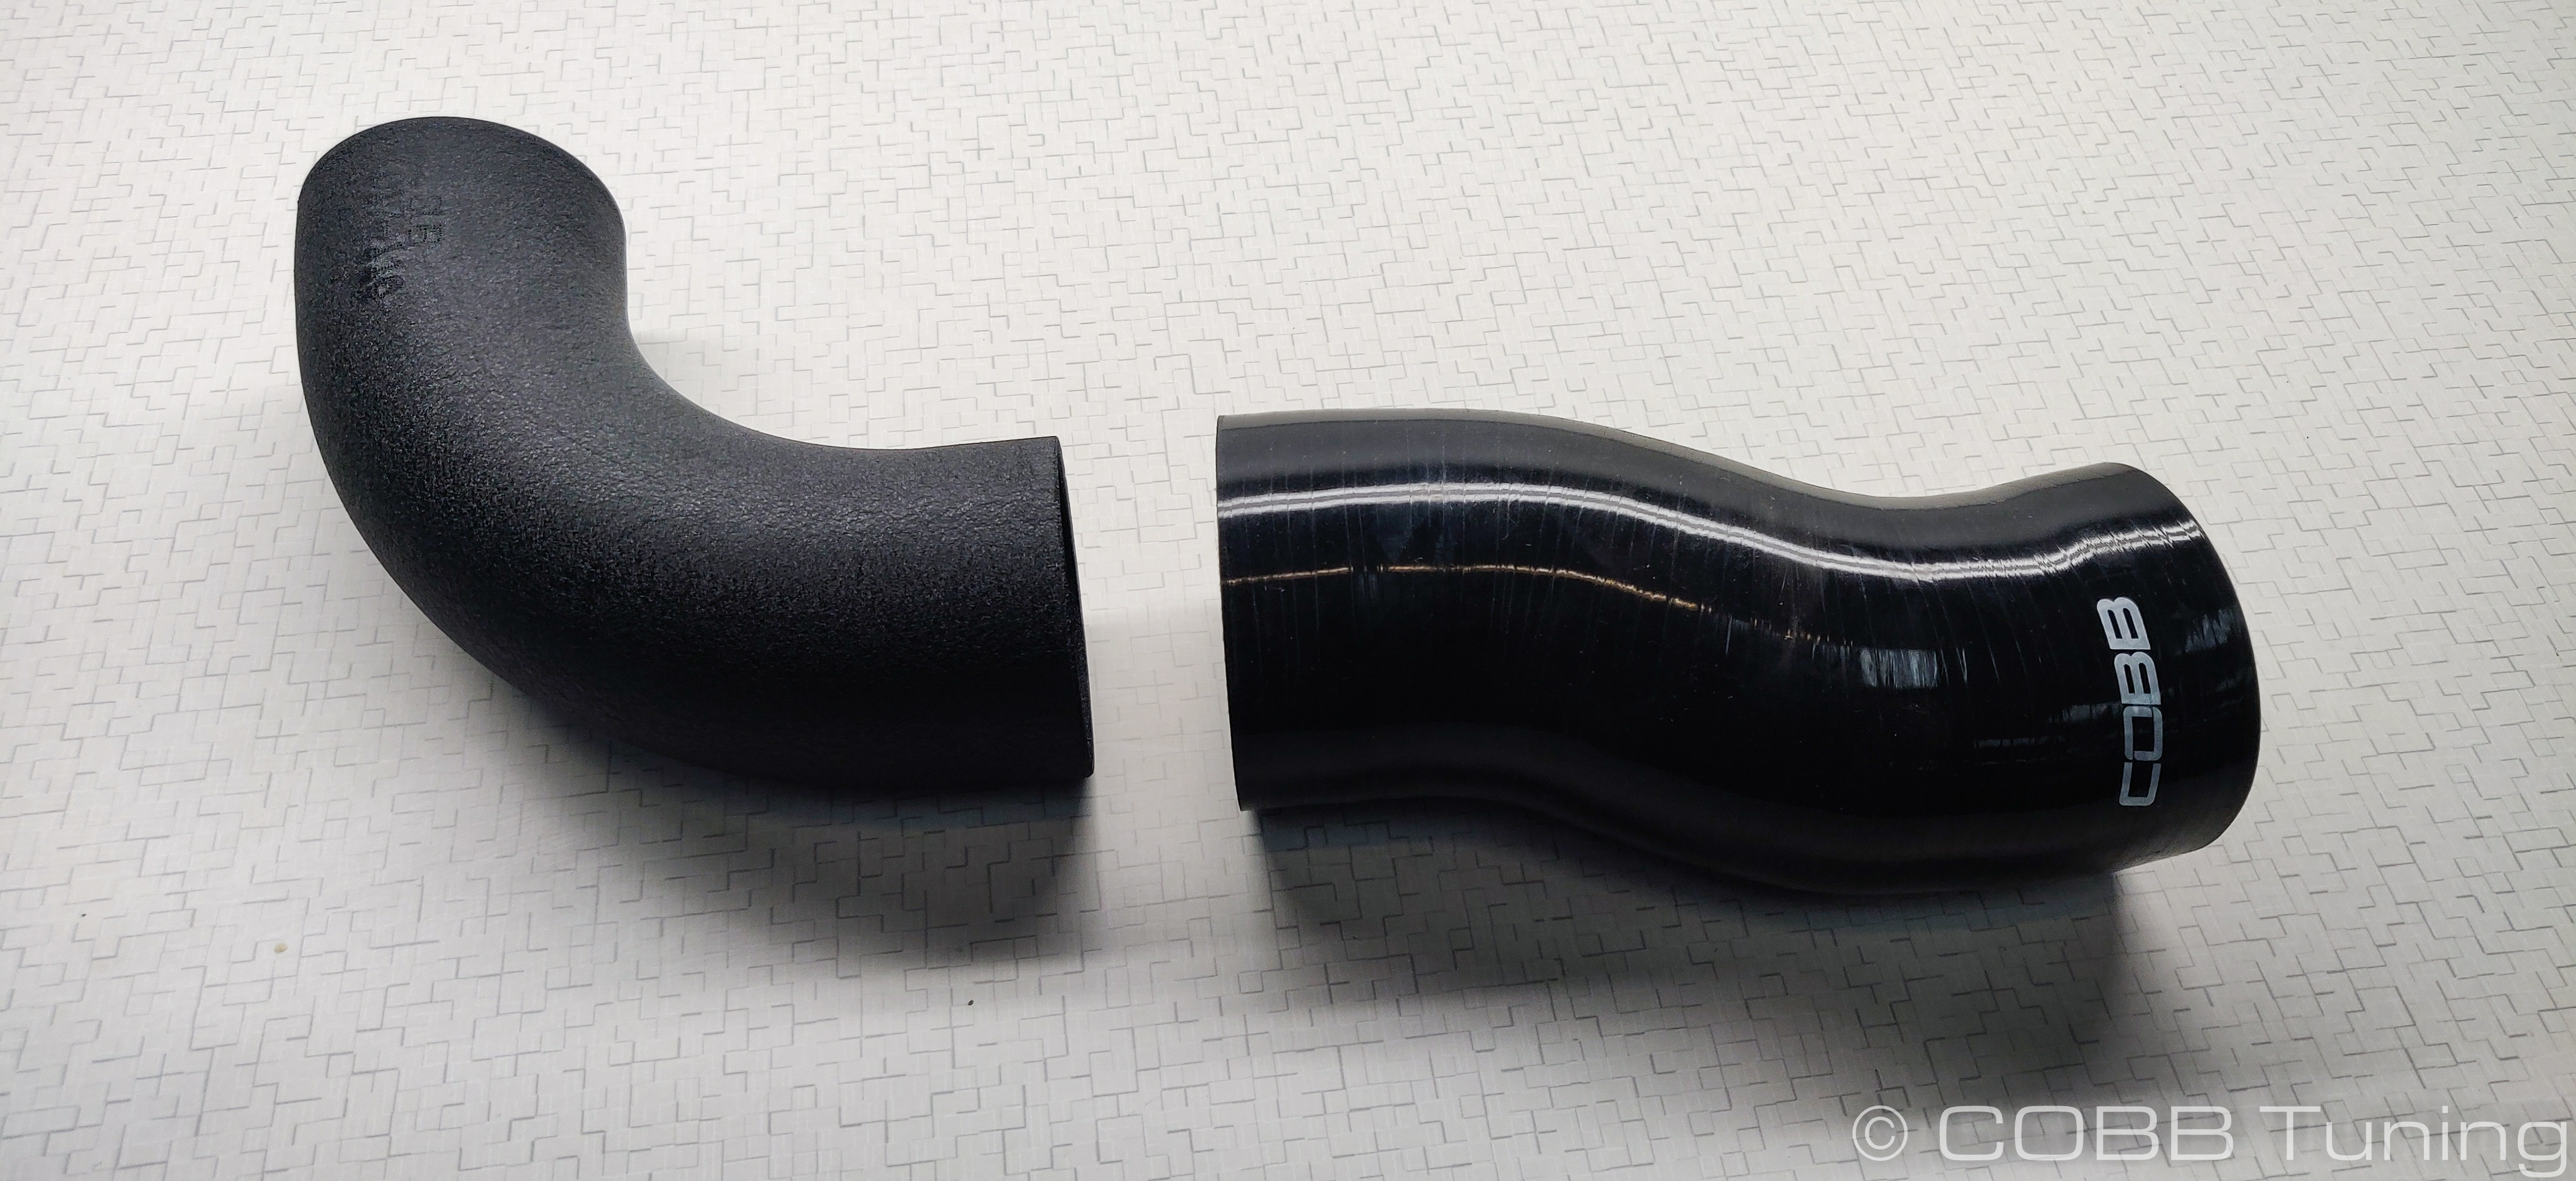
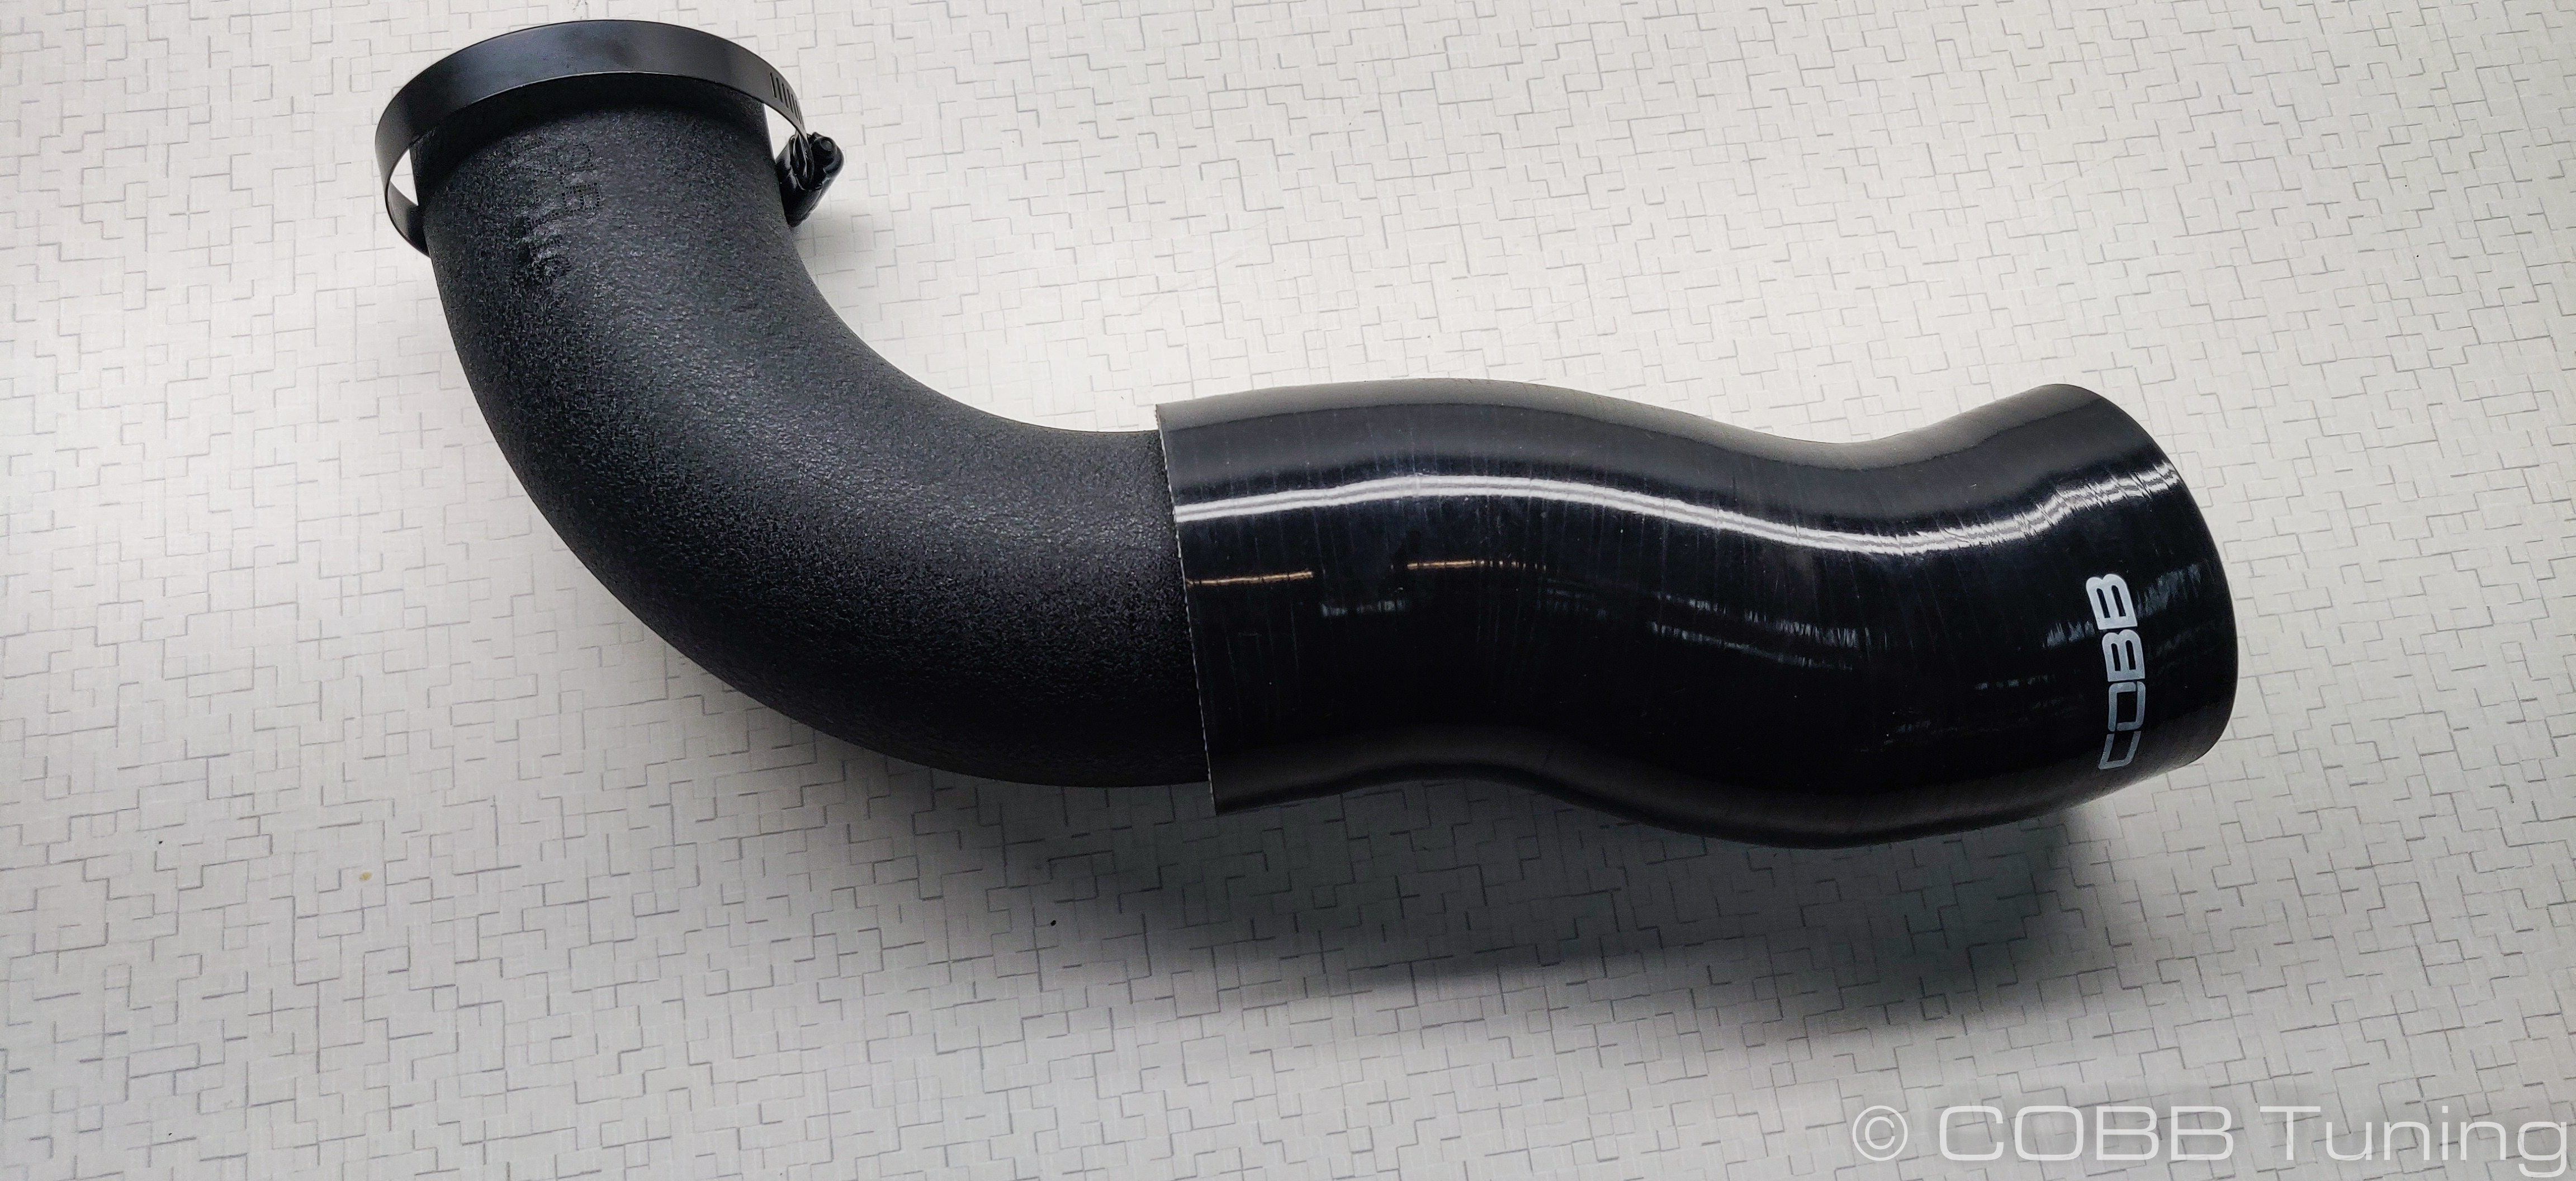
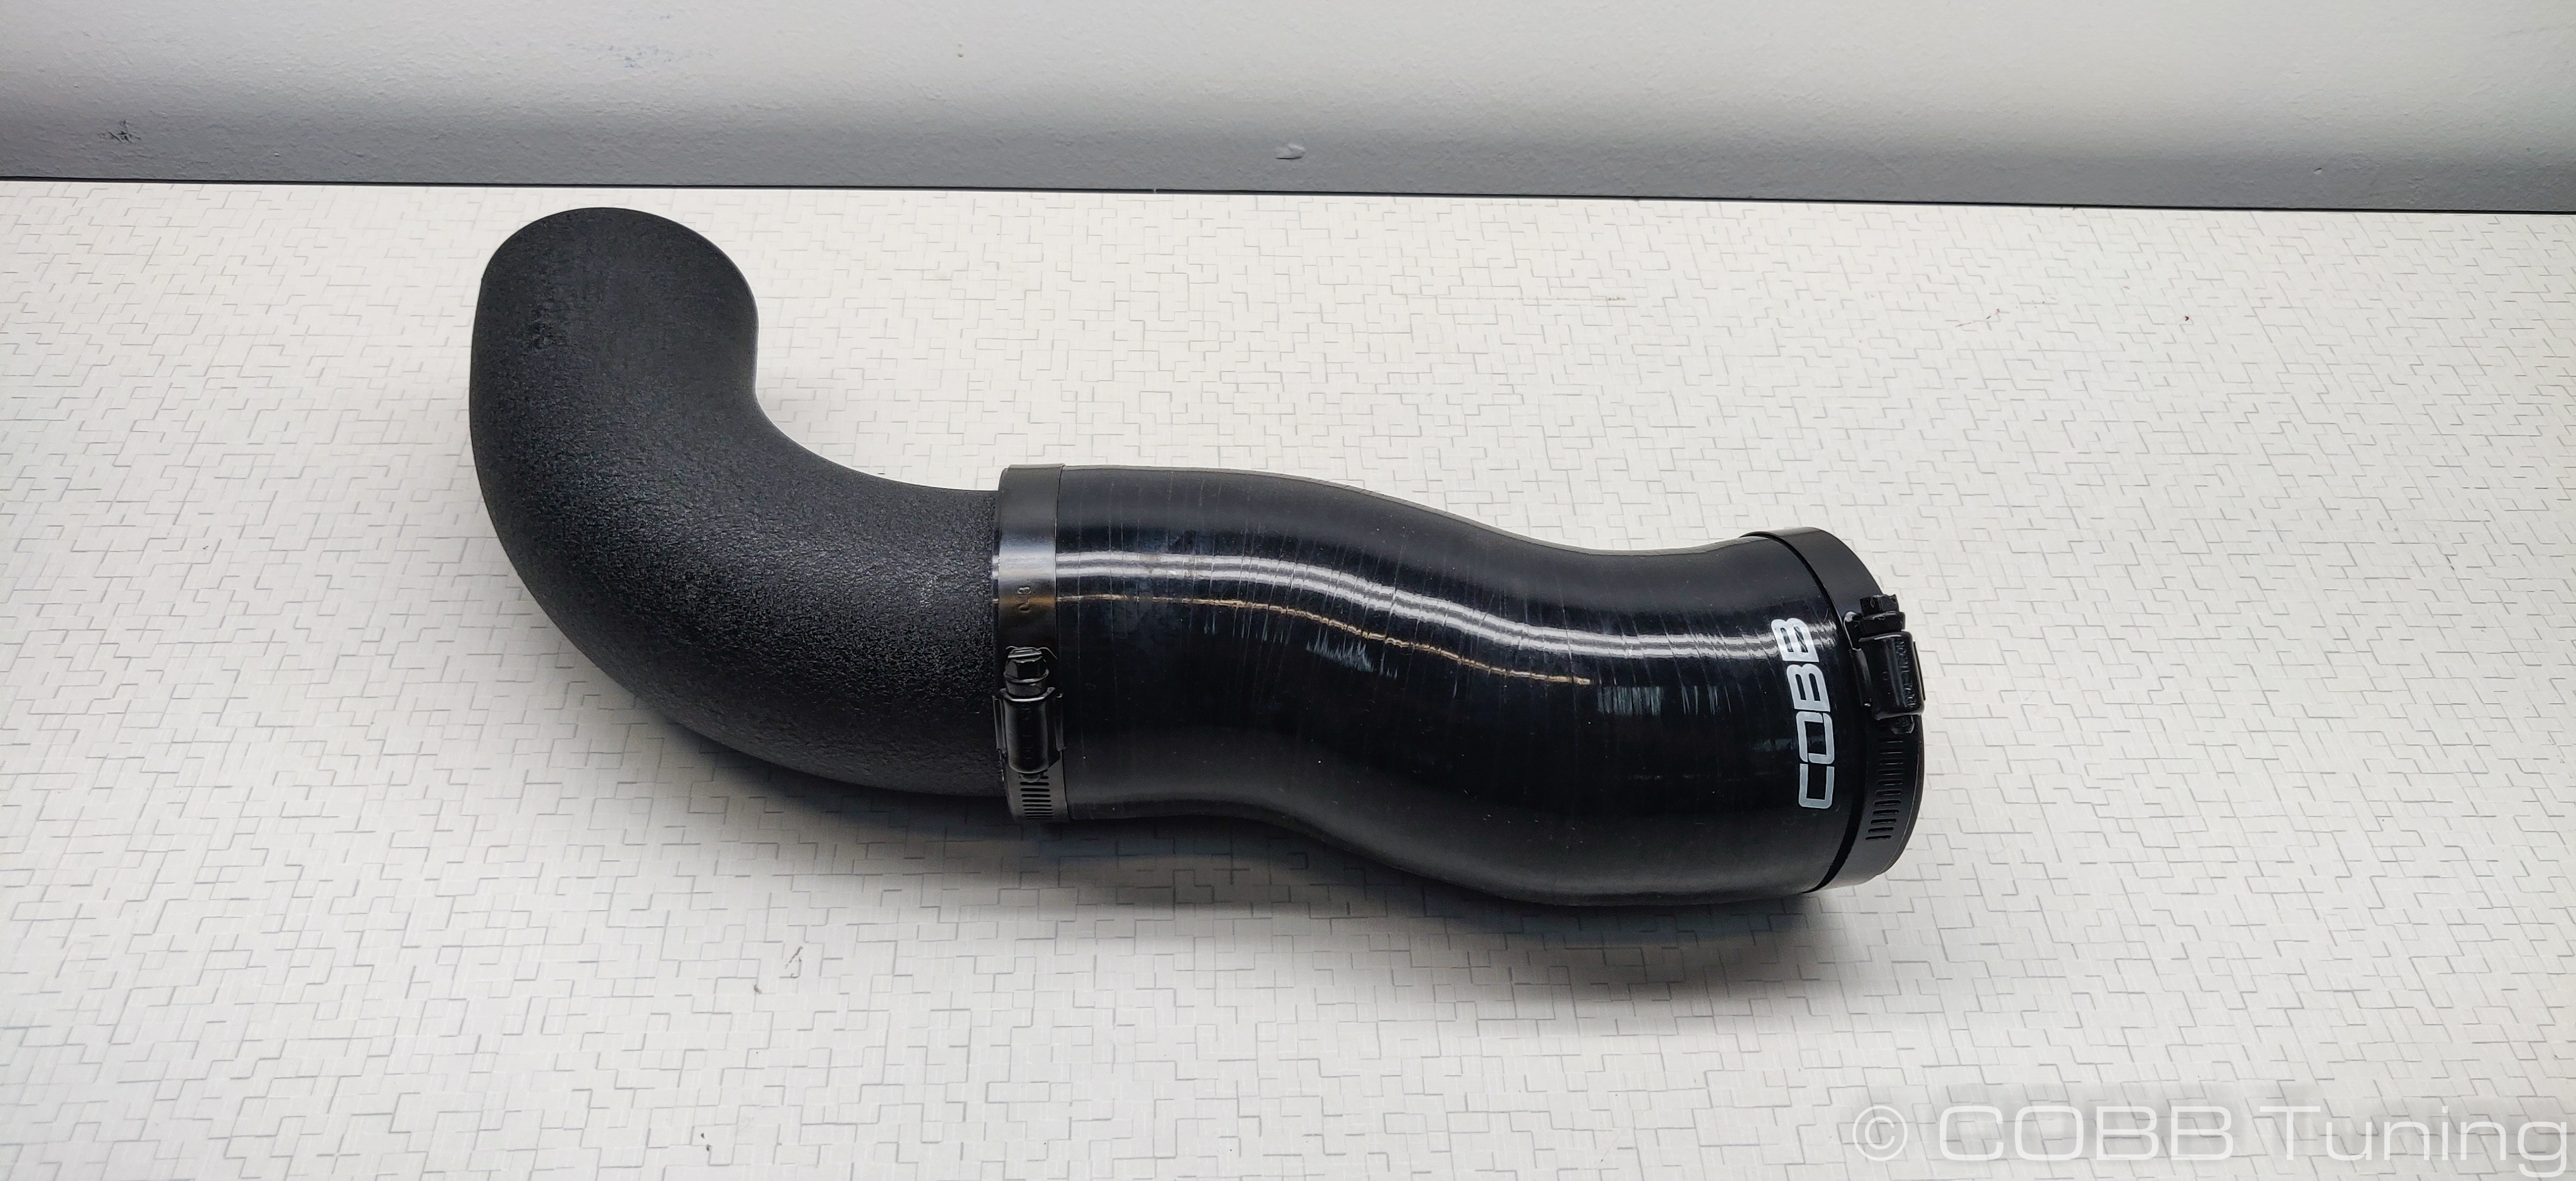
- Take the 90 degree aluminum bend and the zig-zag coupler and secure it in the fashion showed using a hose clamp at either end. The COBB logo should be at the end away from the pipe and it should continue the bend in an arc. Leave the clamps loose for now.
- Install the pipe end into the coupler coming off of the intake, then slip the silicon coupler over the turbo inlet. If things seem a little streched or kined try slightly turning the couplers in one direction or ther other to see if that relaxes things a bit more.
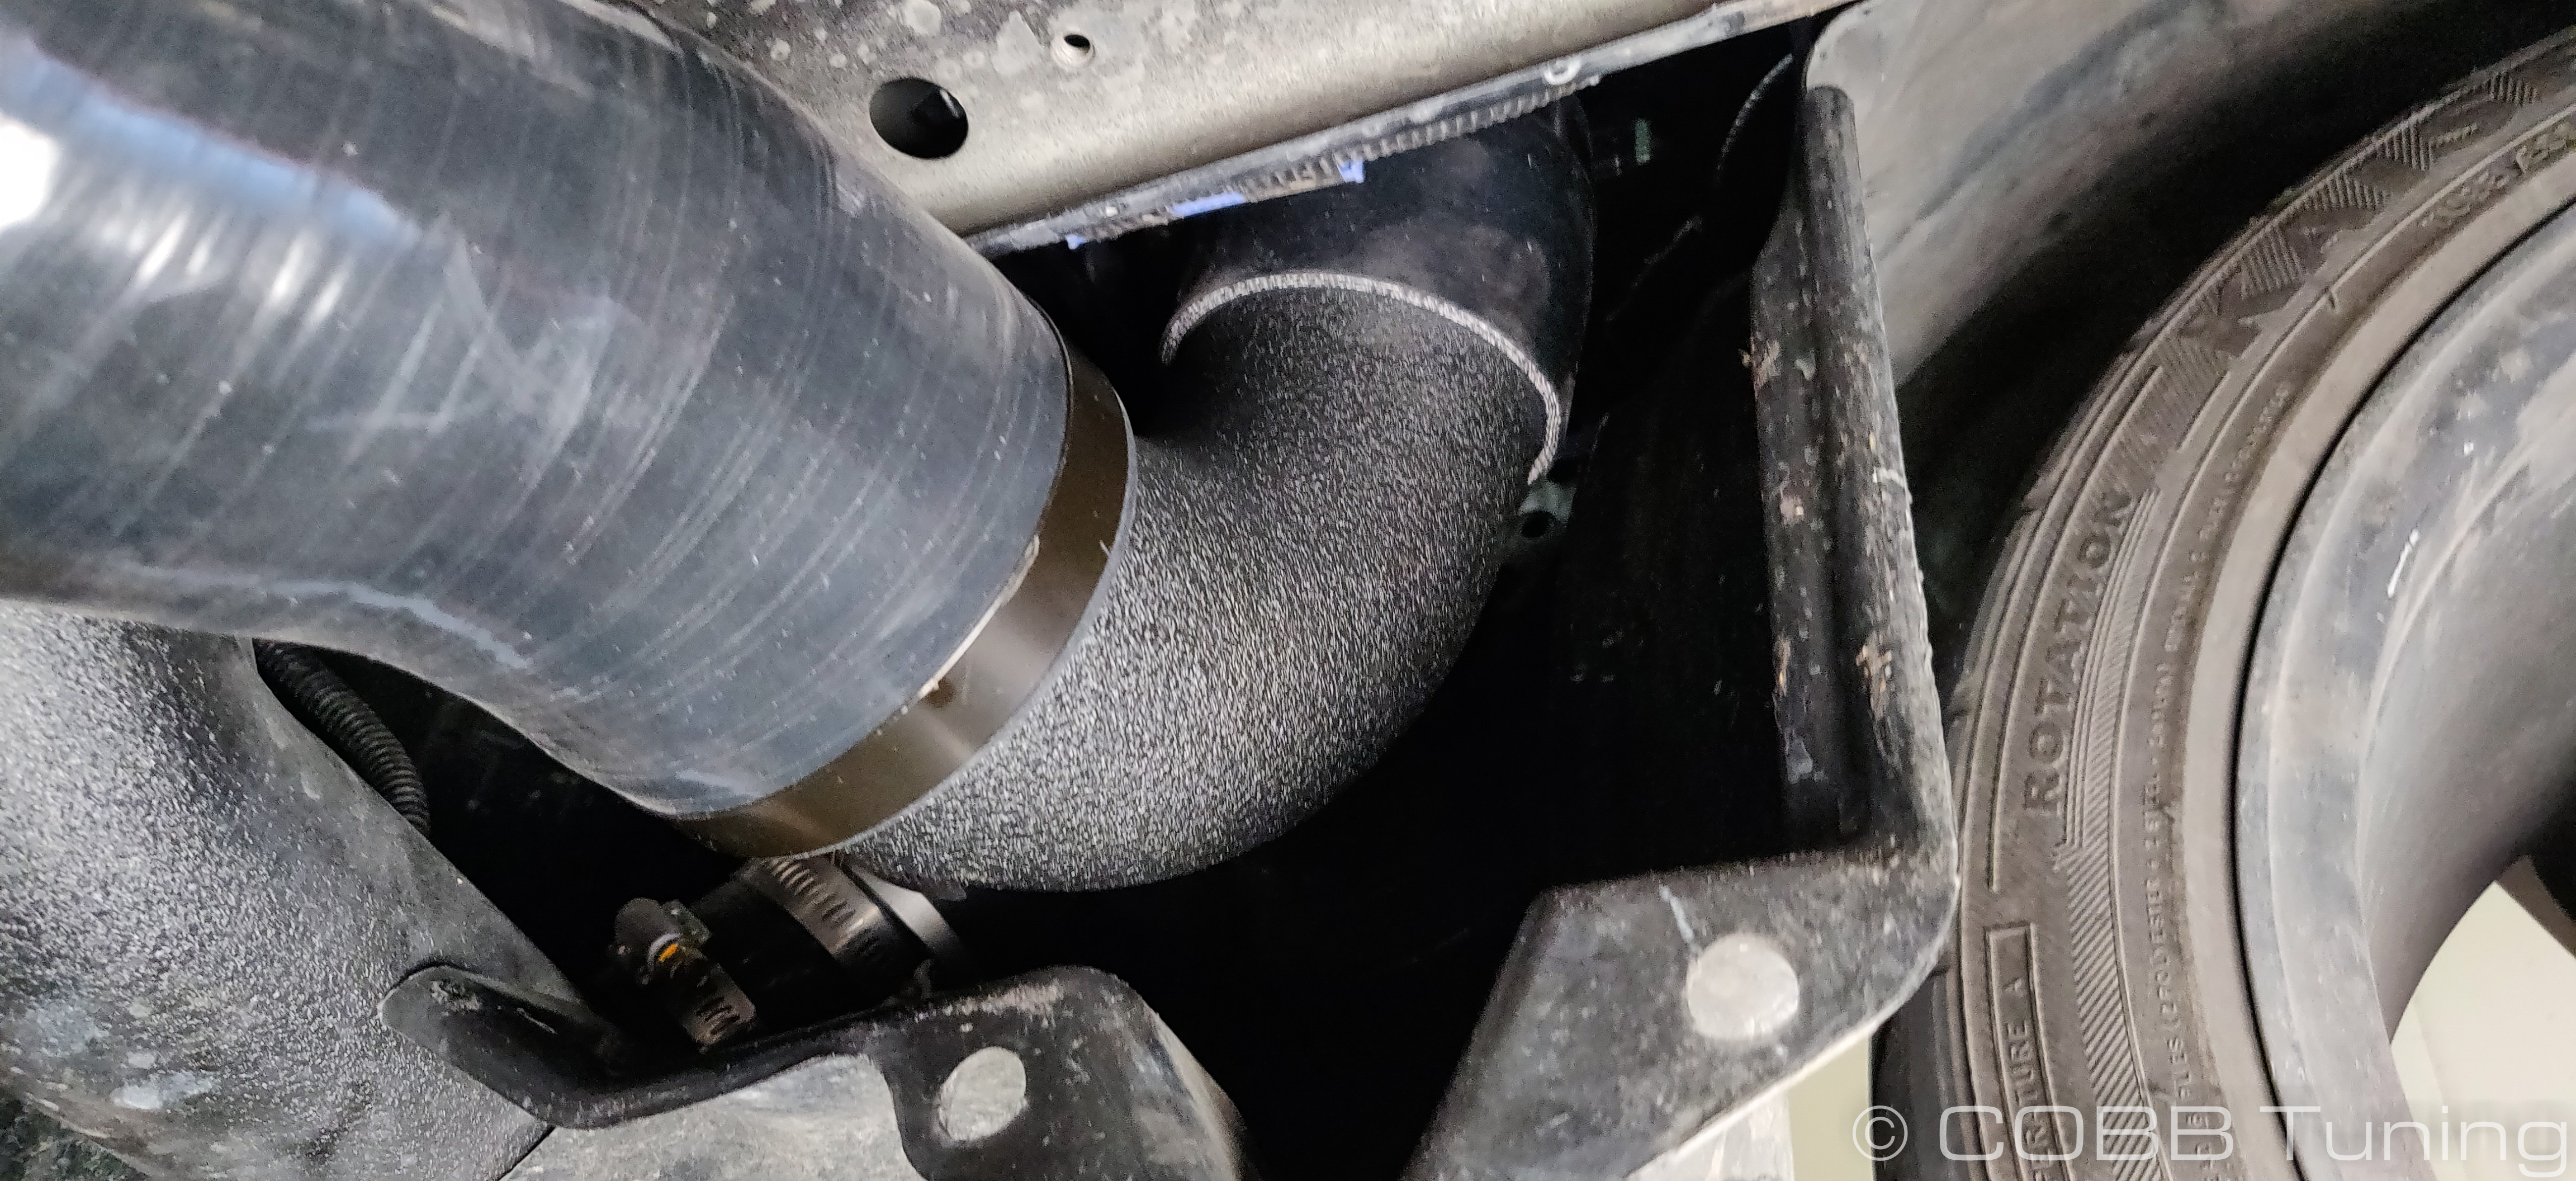
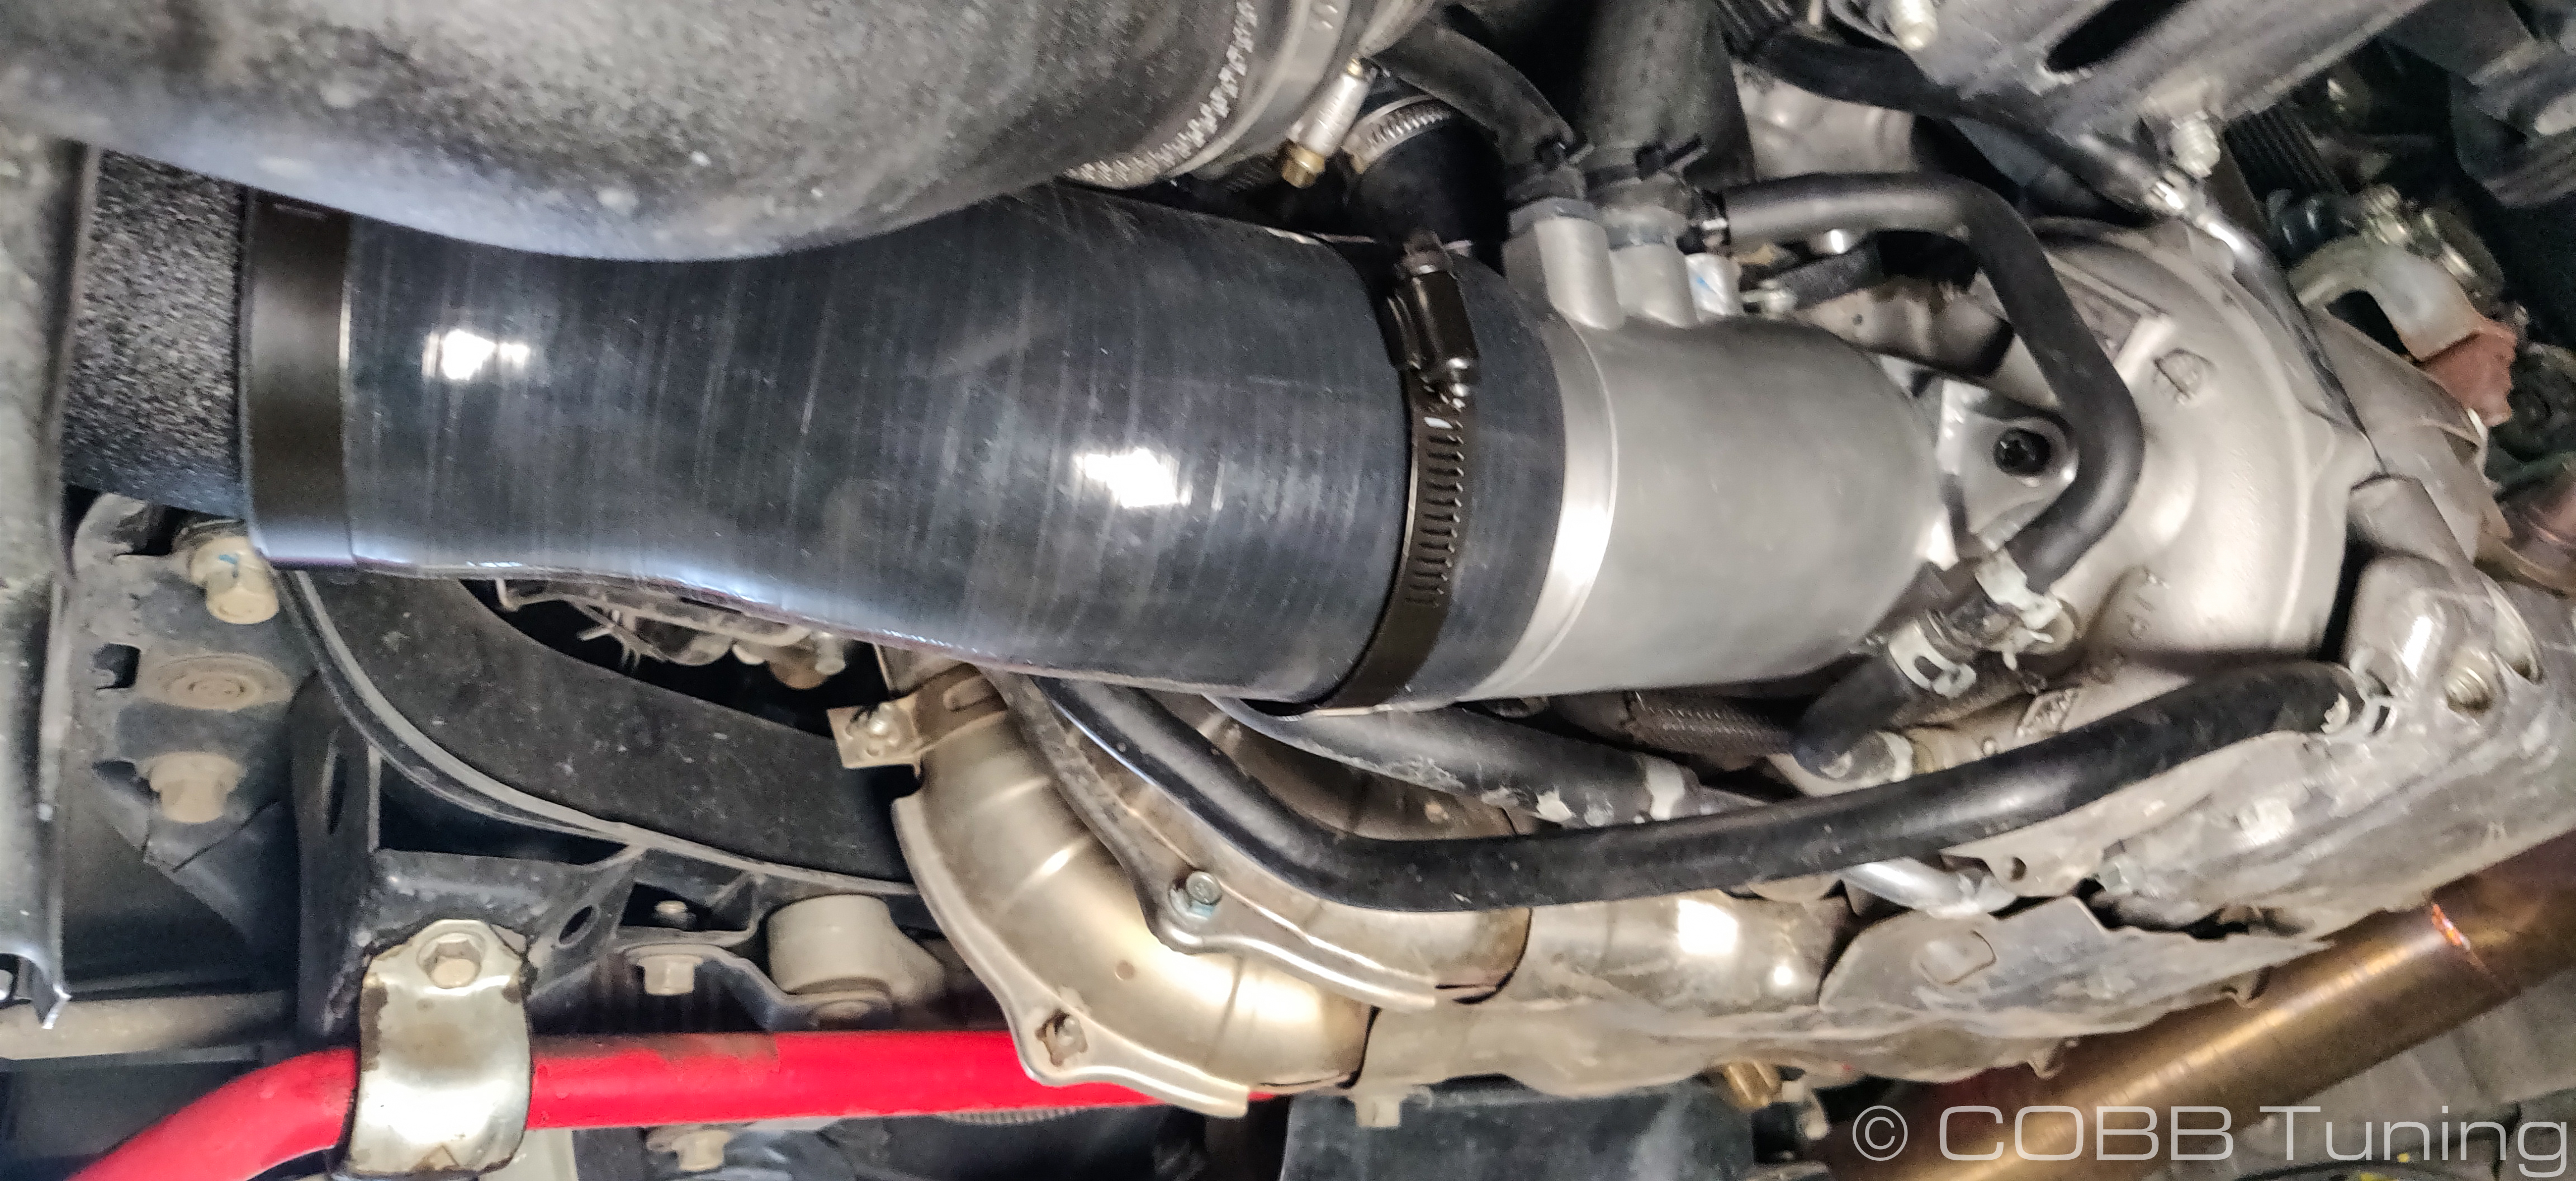
- Tighten down the rest of the hose clamps.
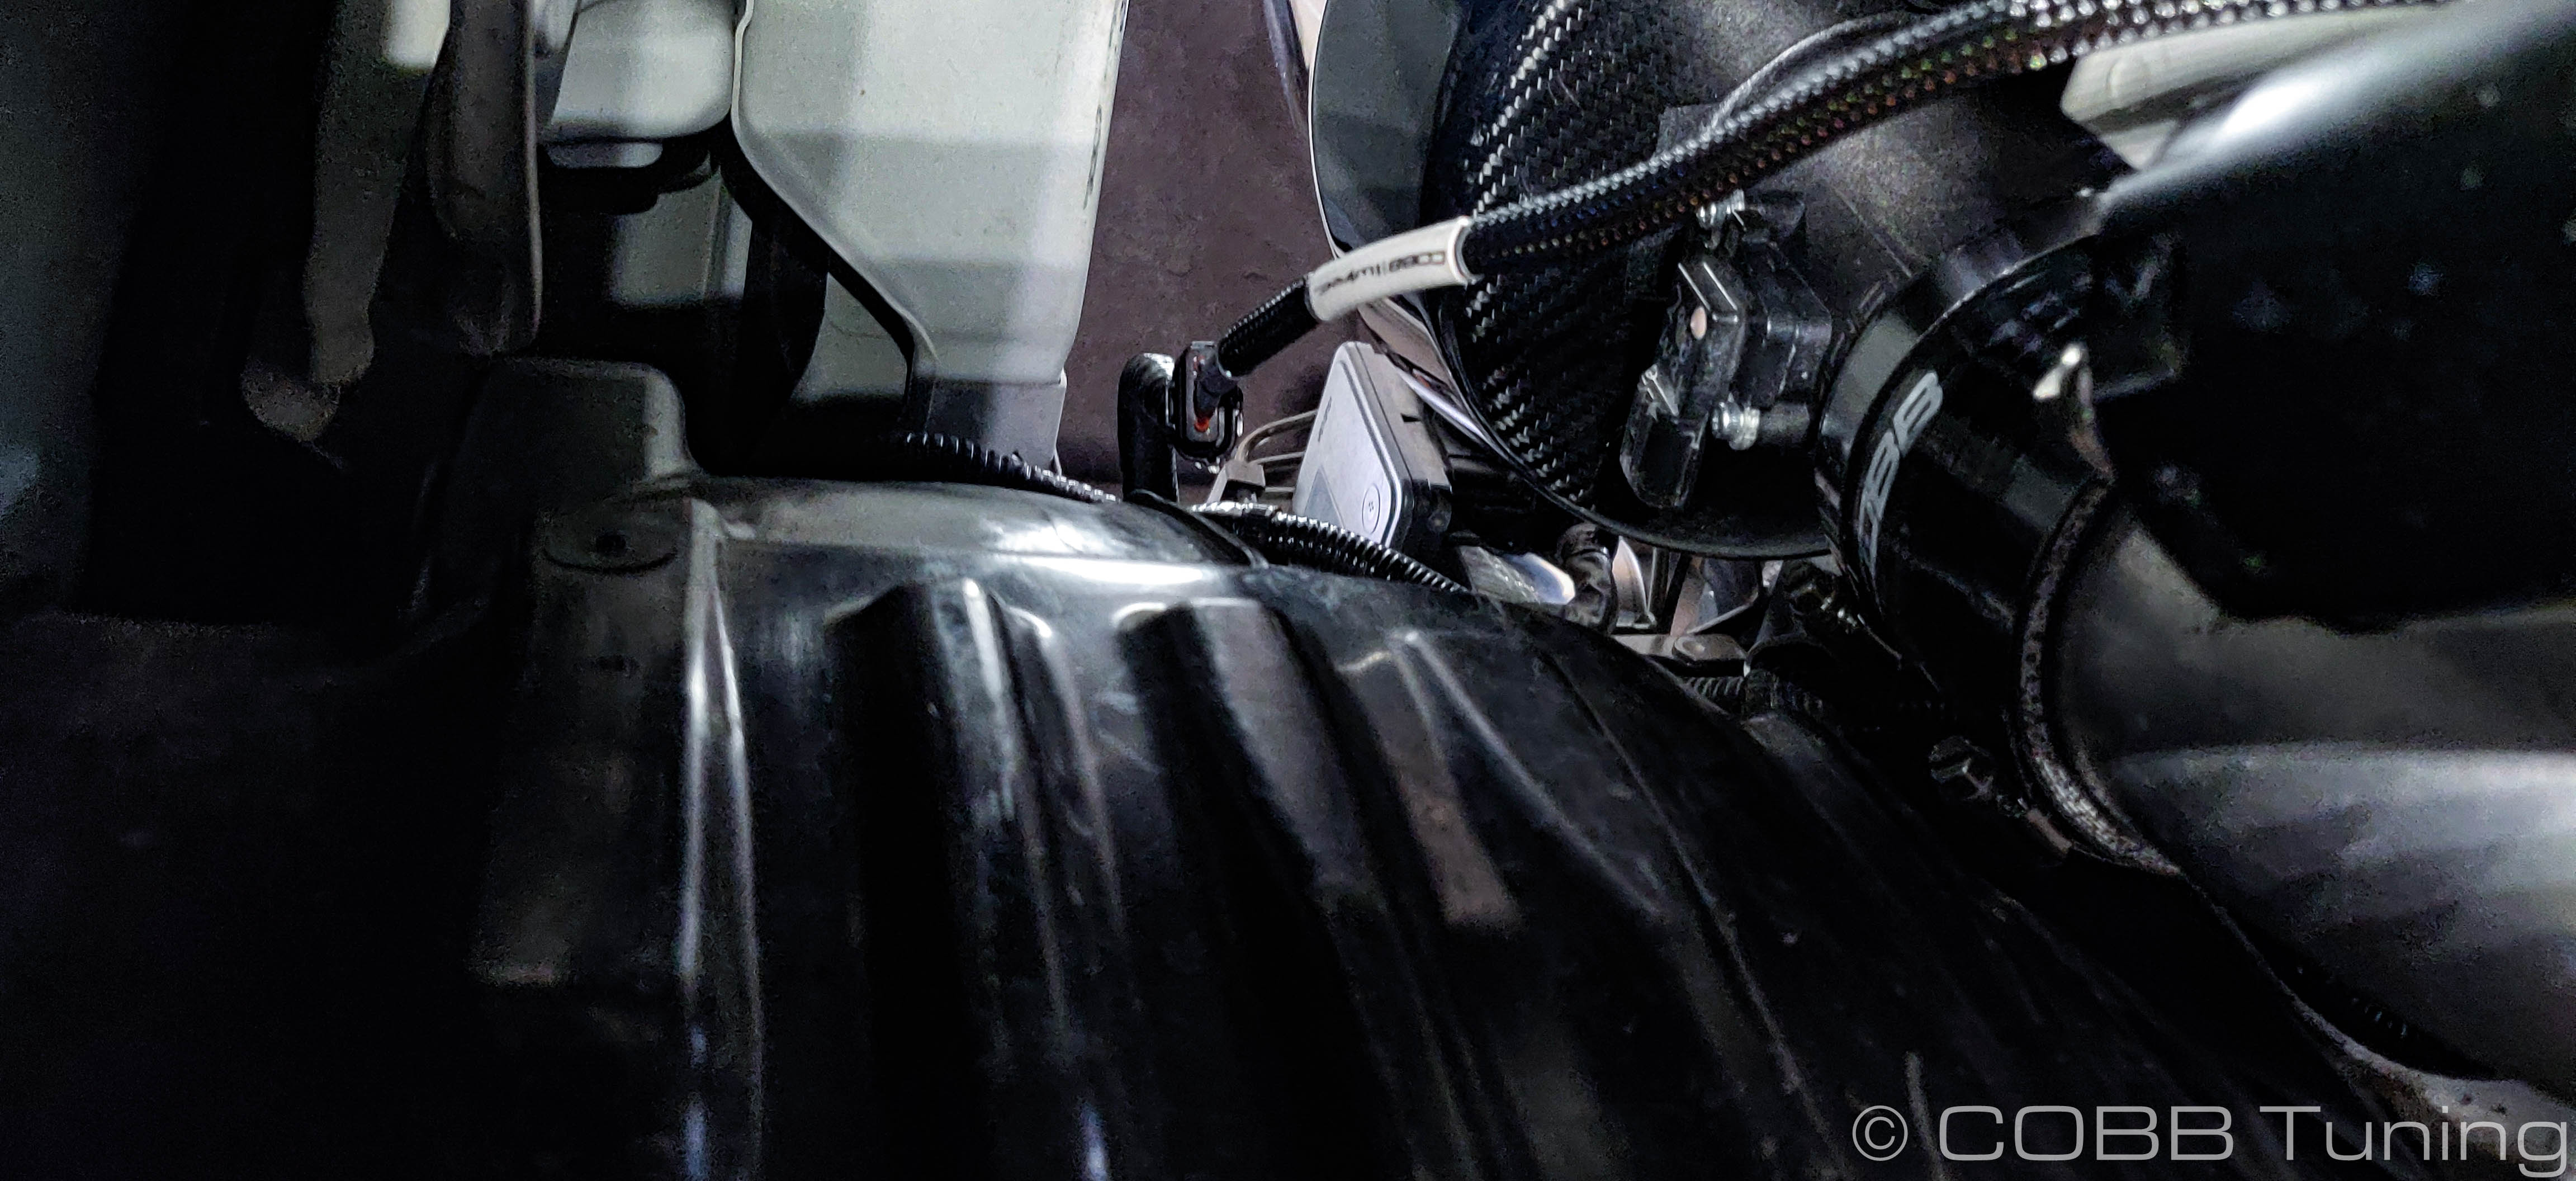
- Plug the MAF sensor extension into the MAF sensor.
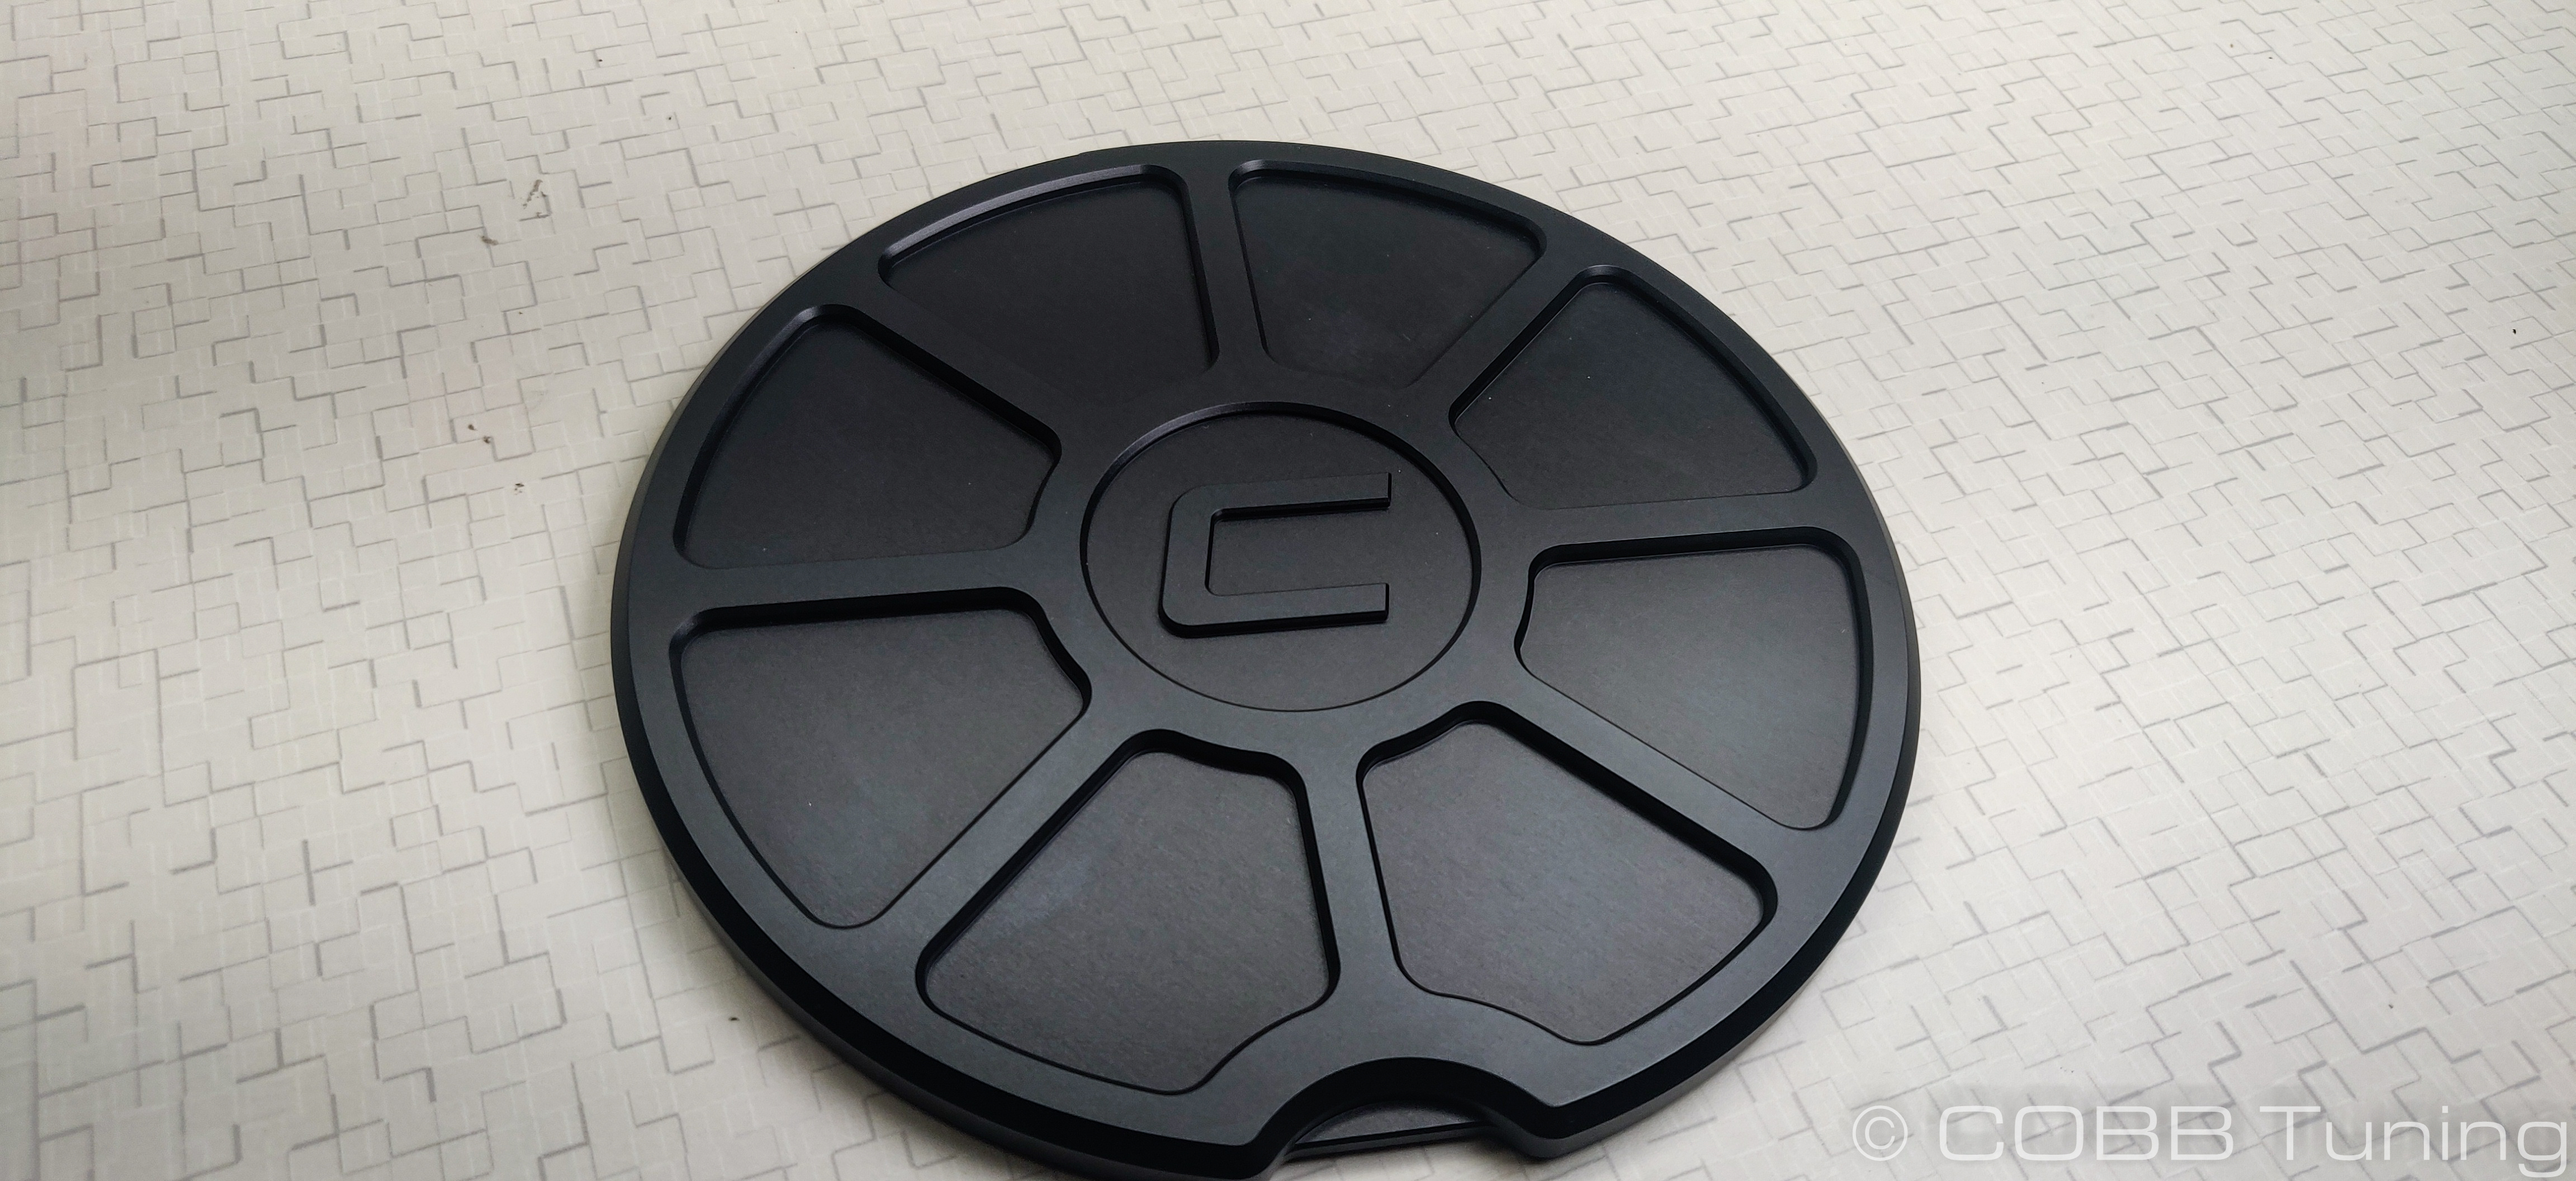
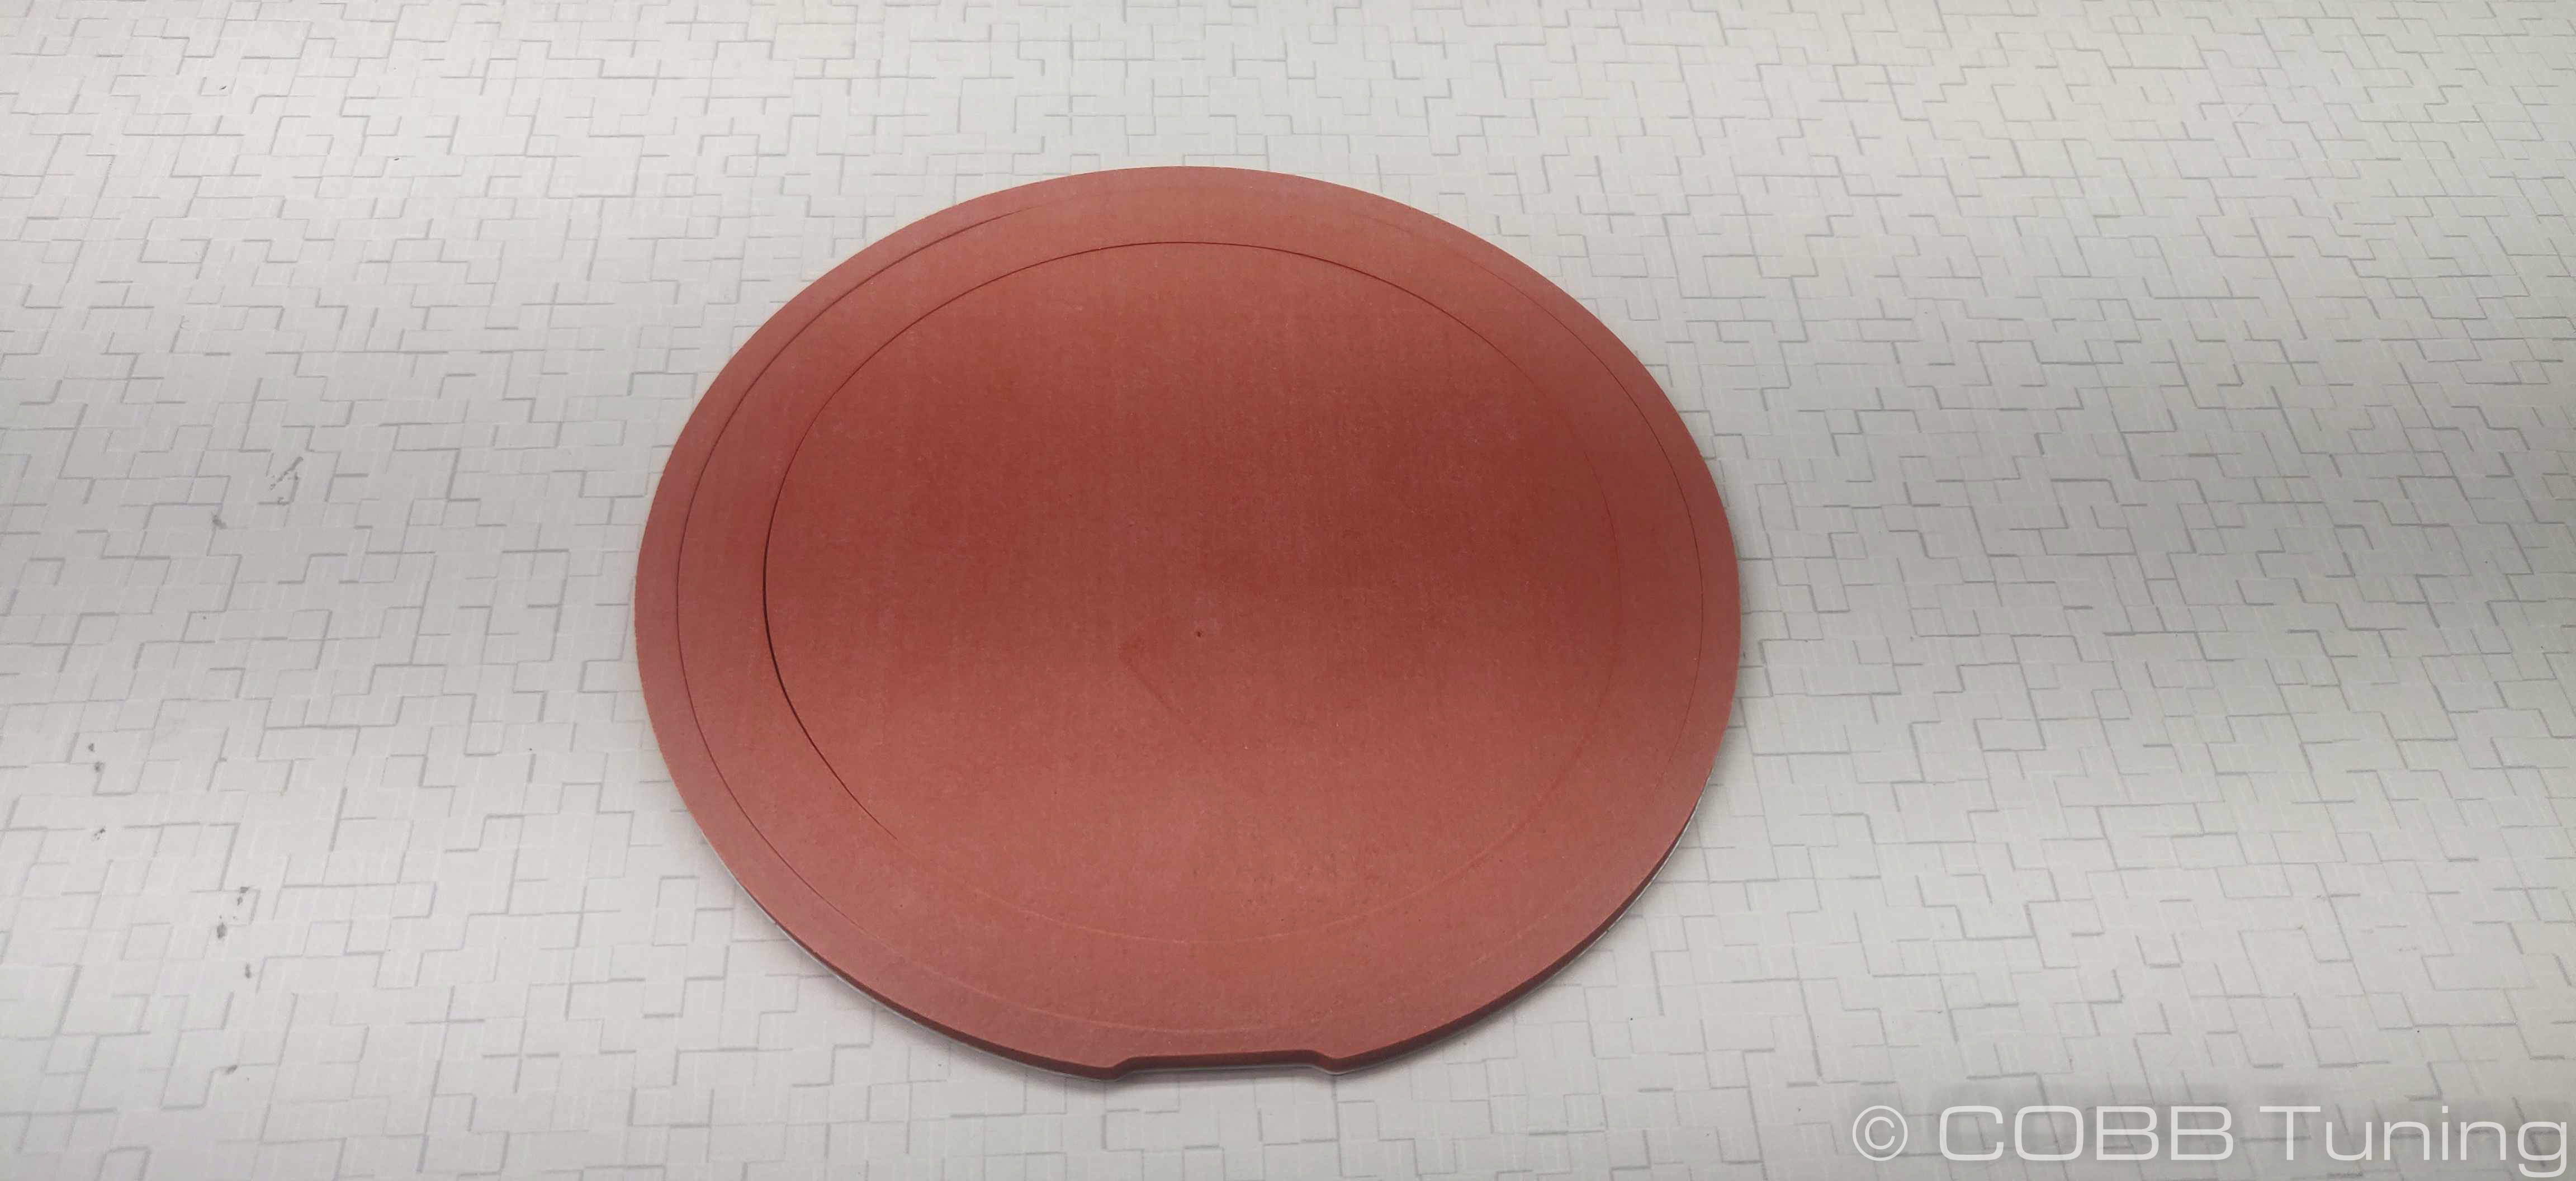
- Carefully pull apart the sections of adhesive-backed foam. Keep the thin outer ring and the large inner circle.
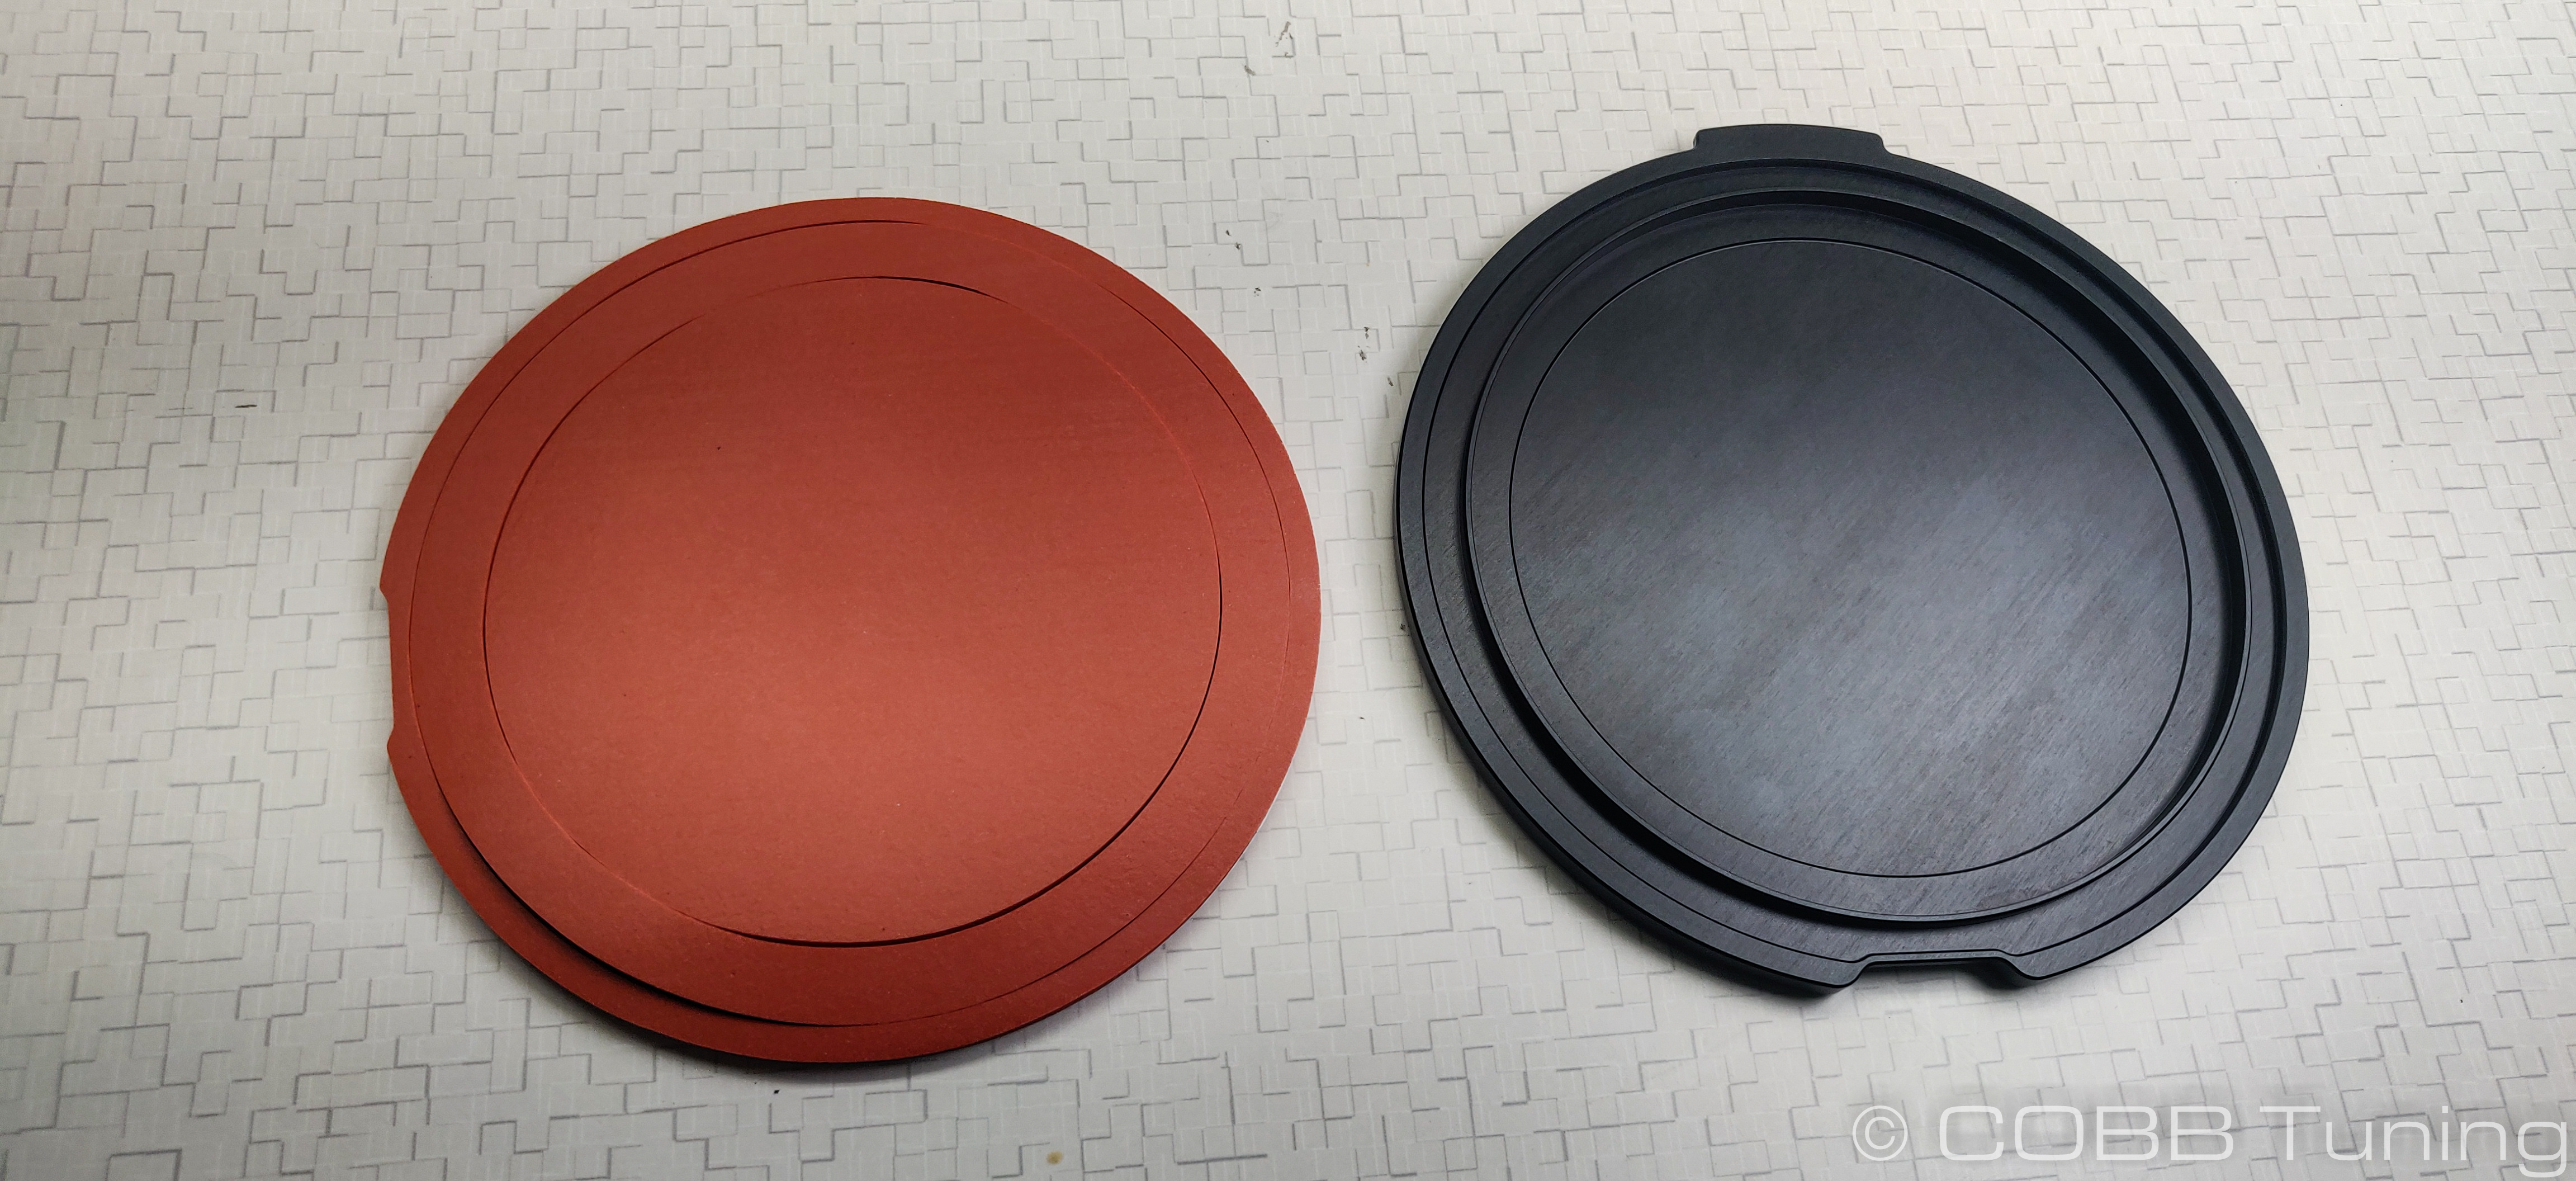
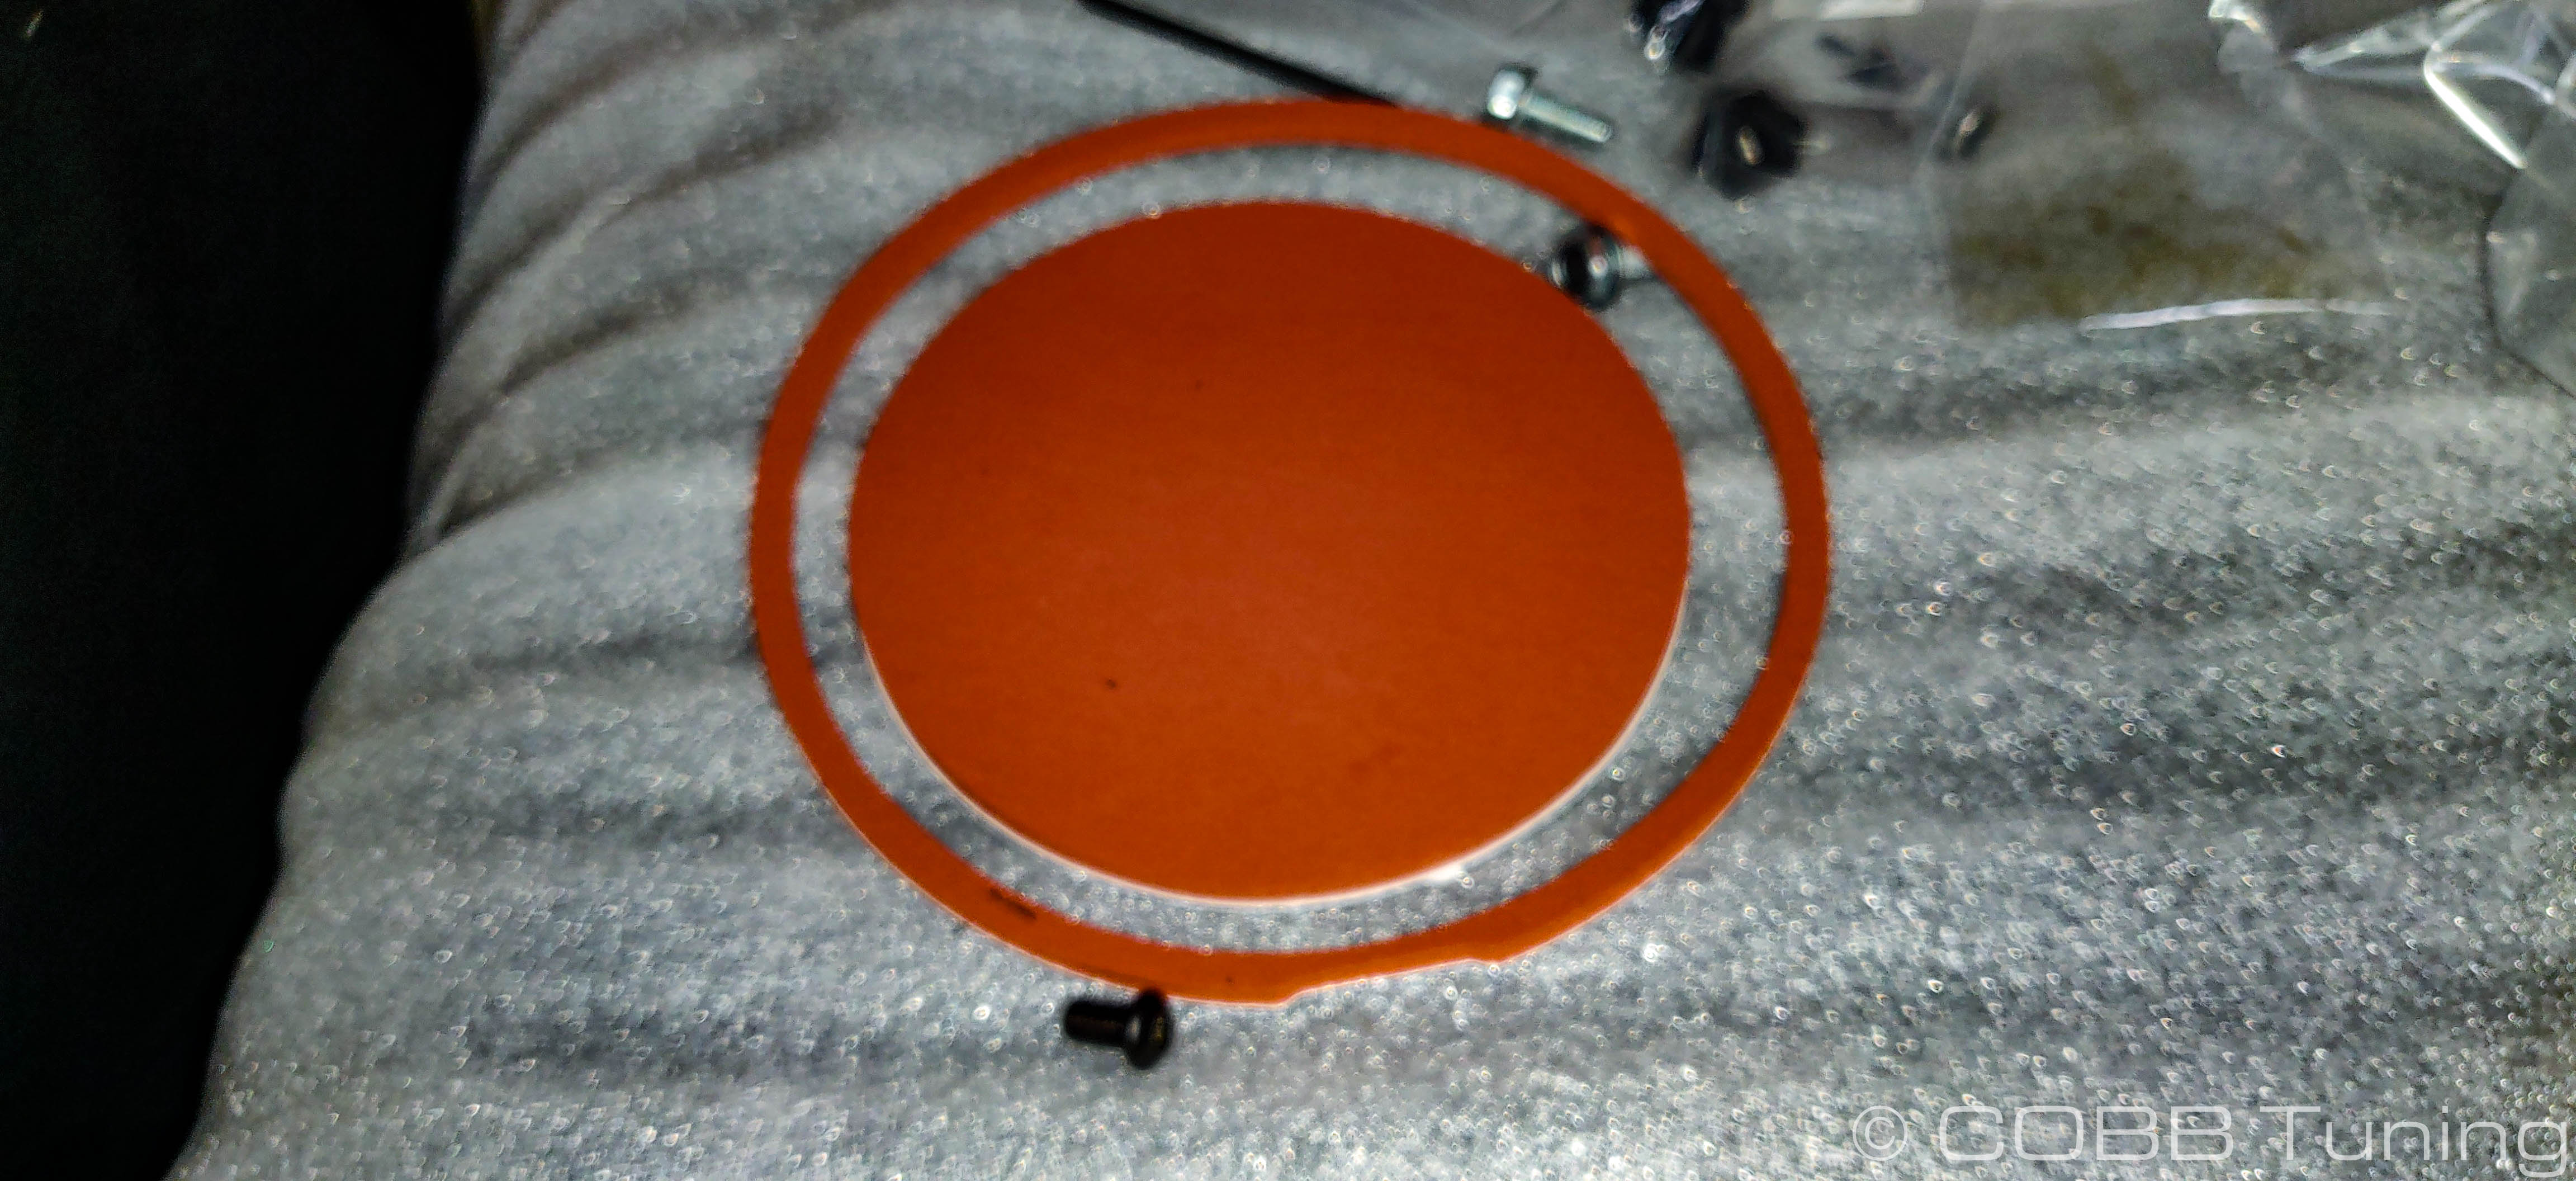
- The large inner section will go into the inner depression on the underside of the filter lid. Remove the backing from the sticky side and carefully apply the gasket.
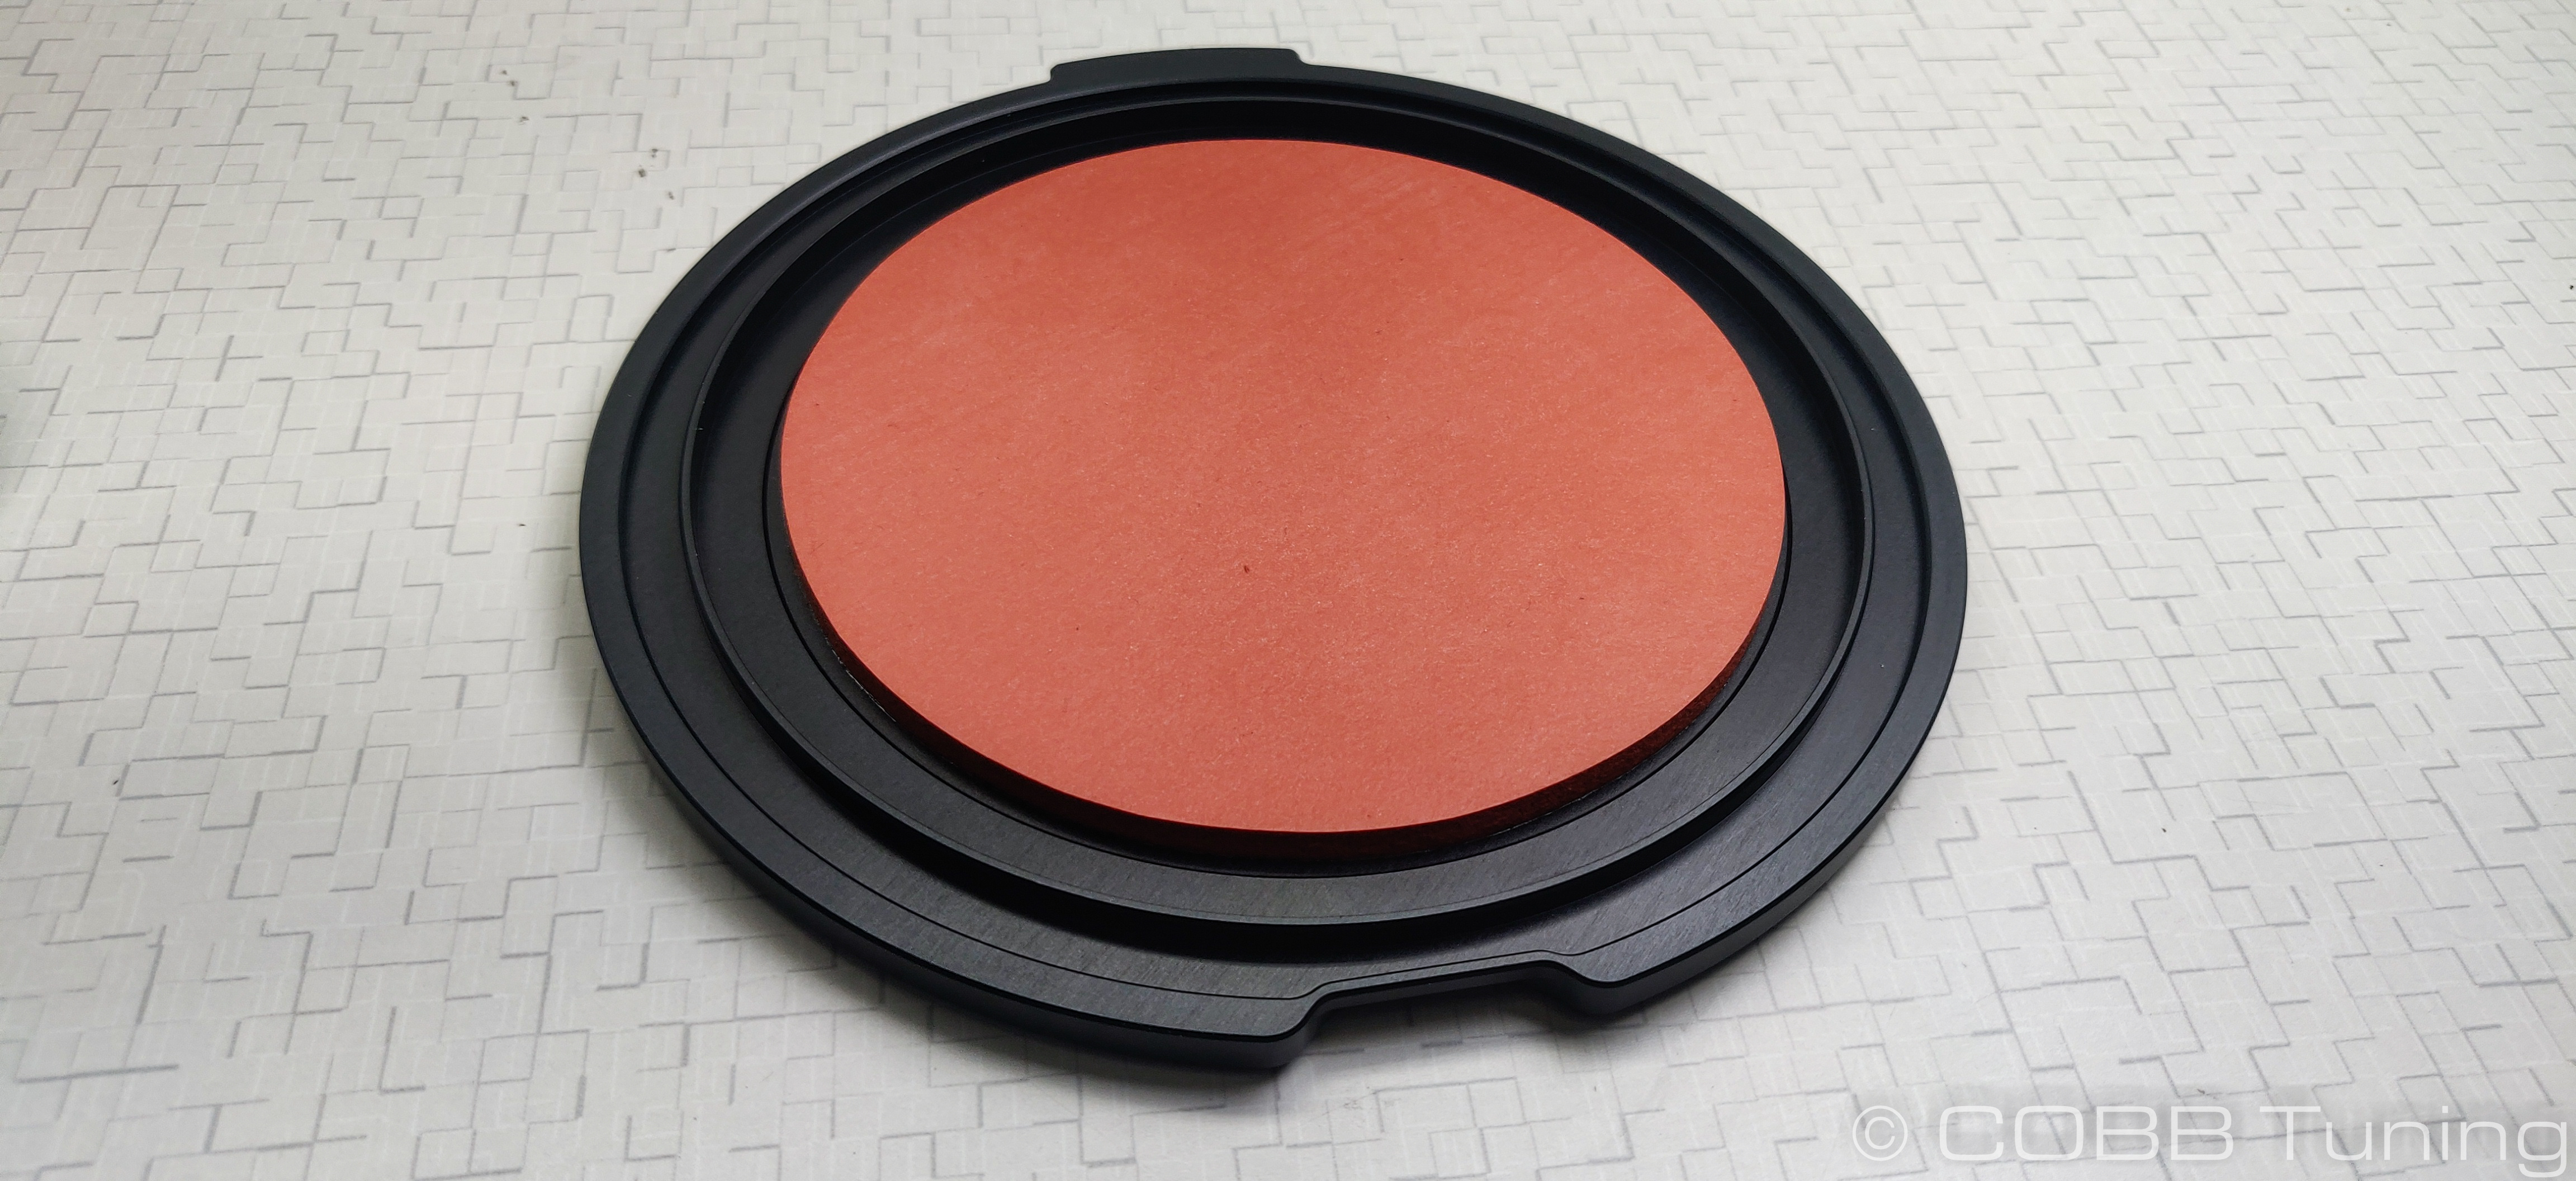
- The thin outer ring will go into the outer depression. Make sure to match the cutout in the filter with the cutout in the foam.
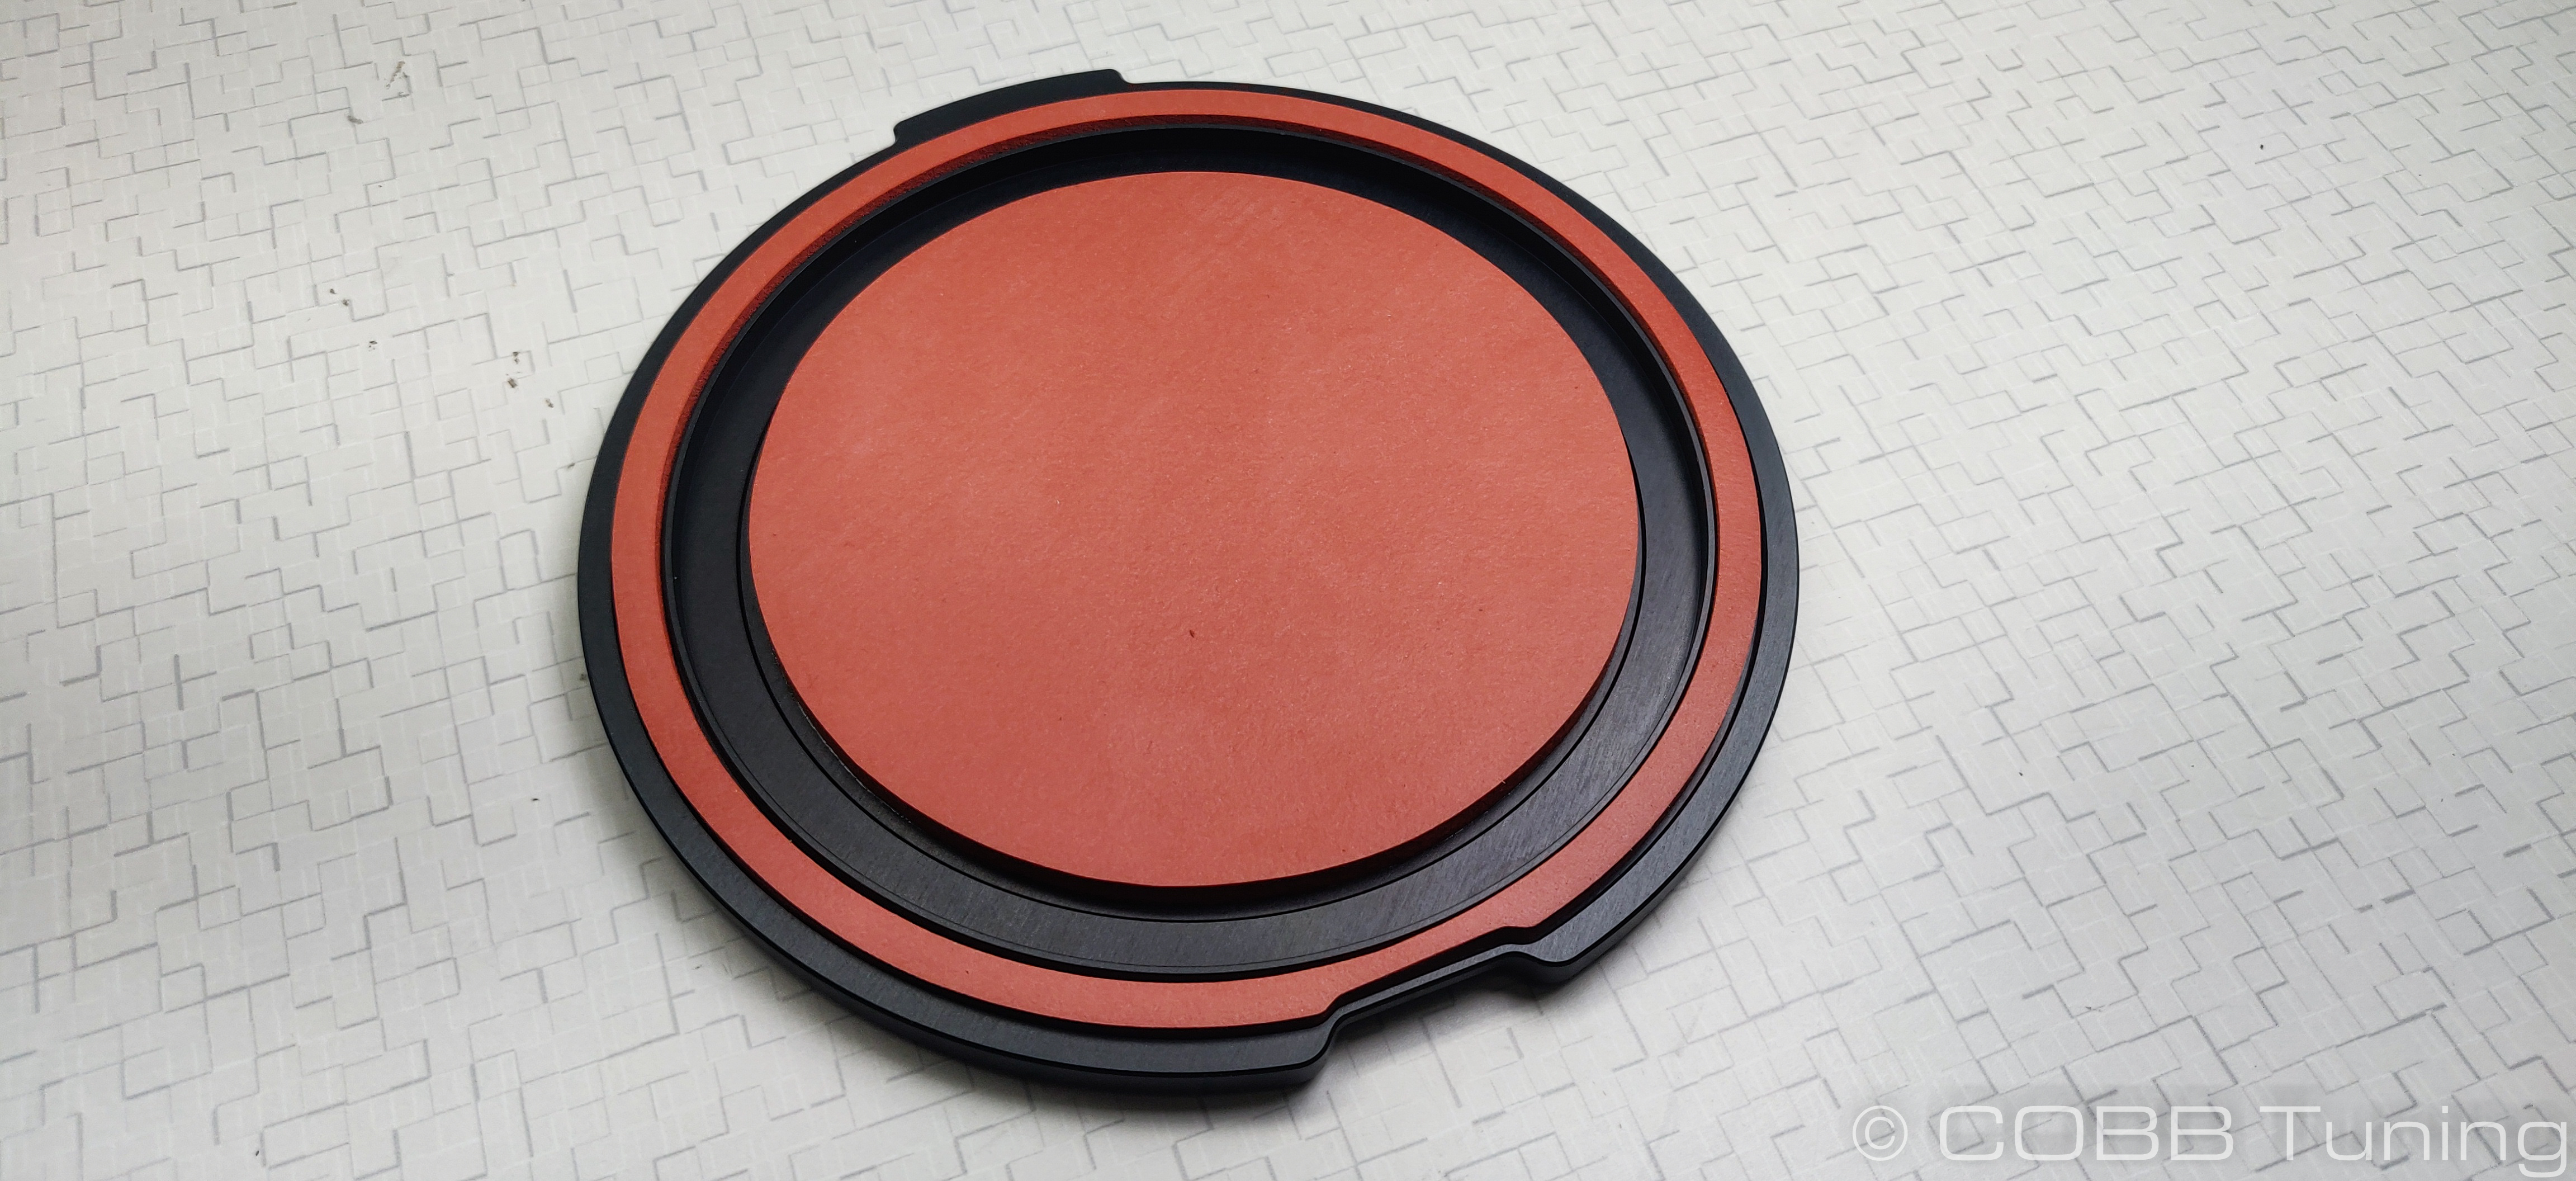
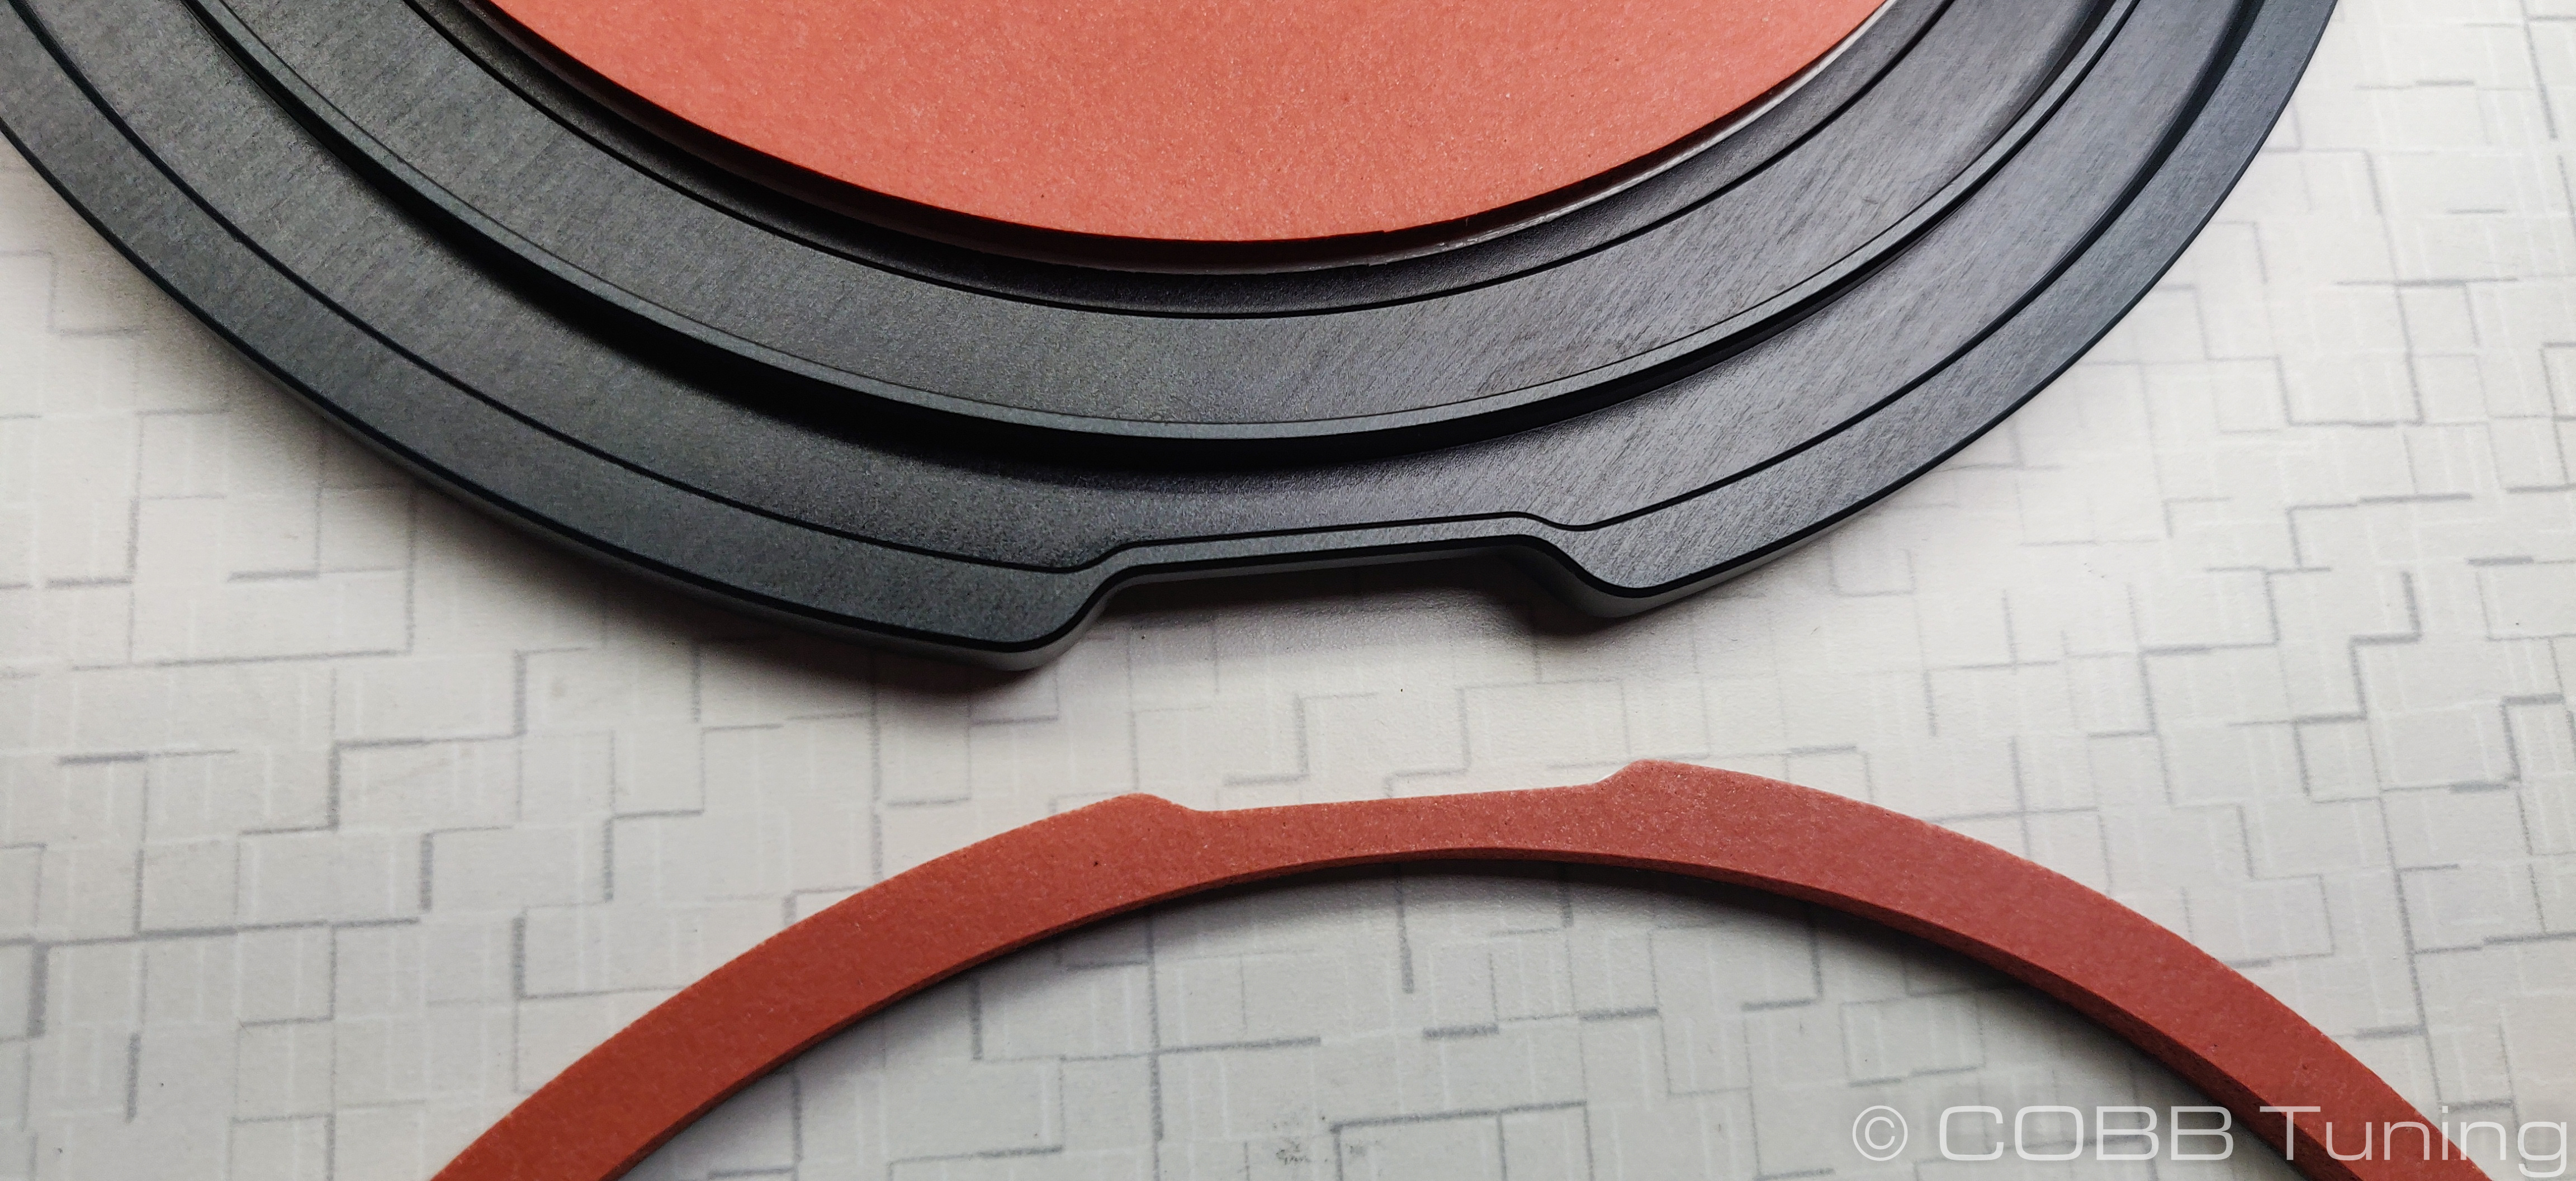
- Dispose of the repaining remaining portion of gasket appropriately.
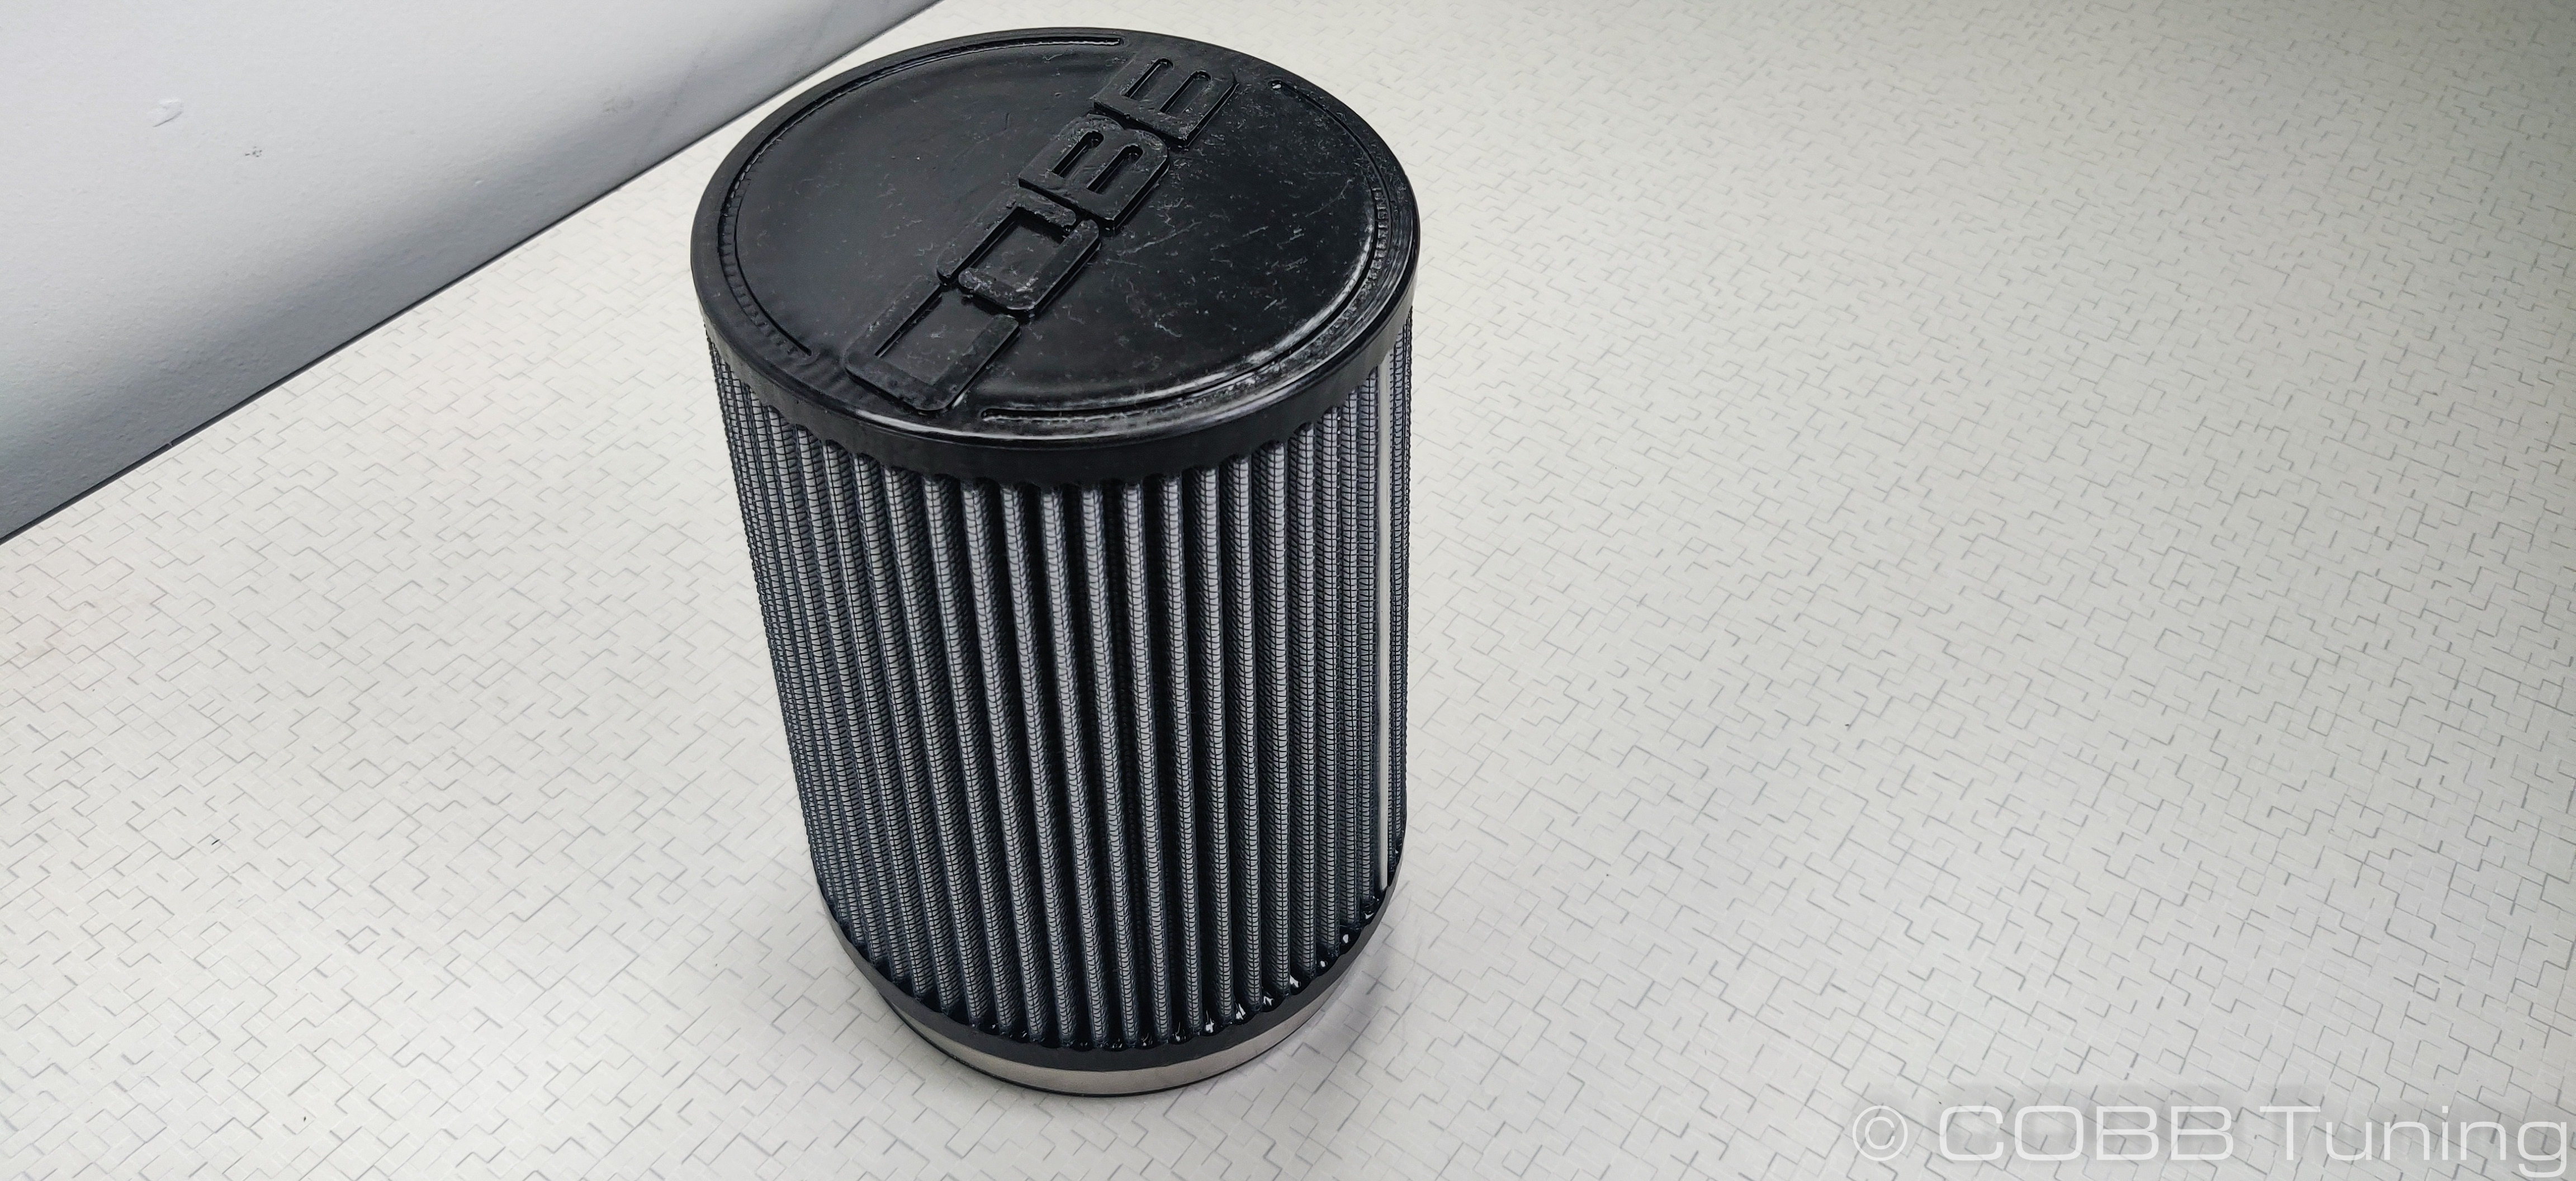
- Remove the provided hose clamp from the air filter.
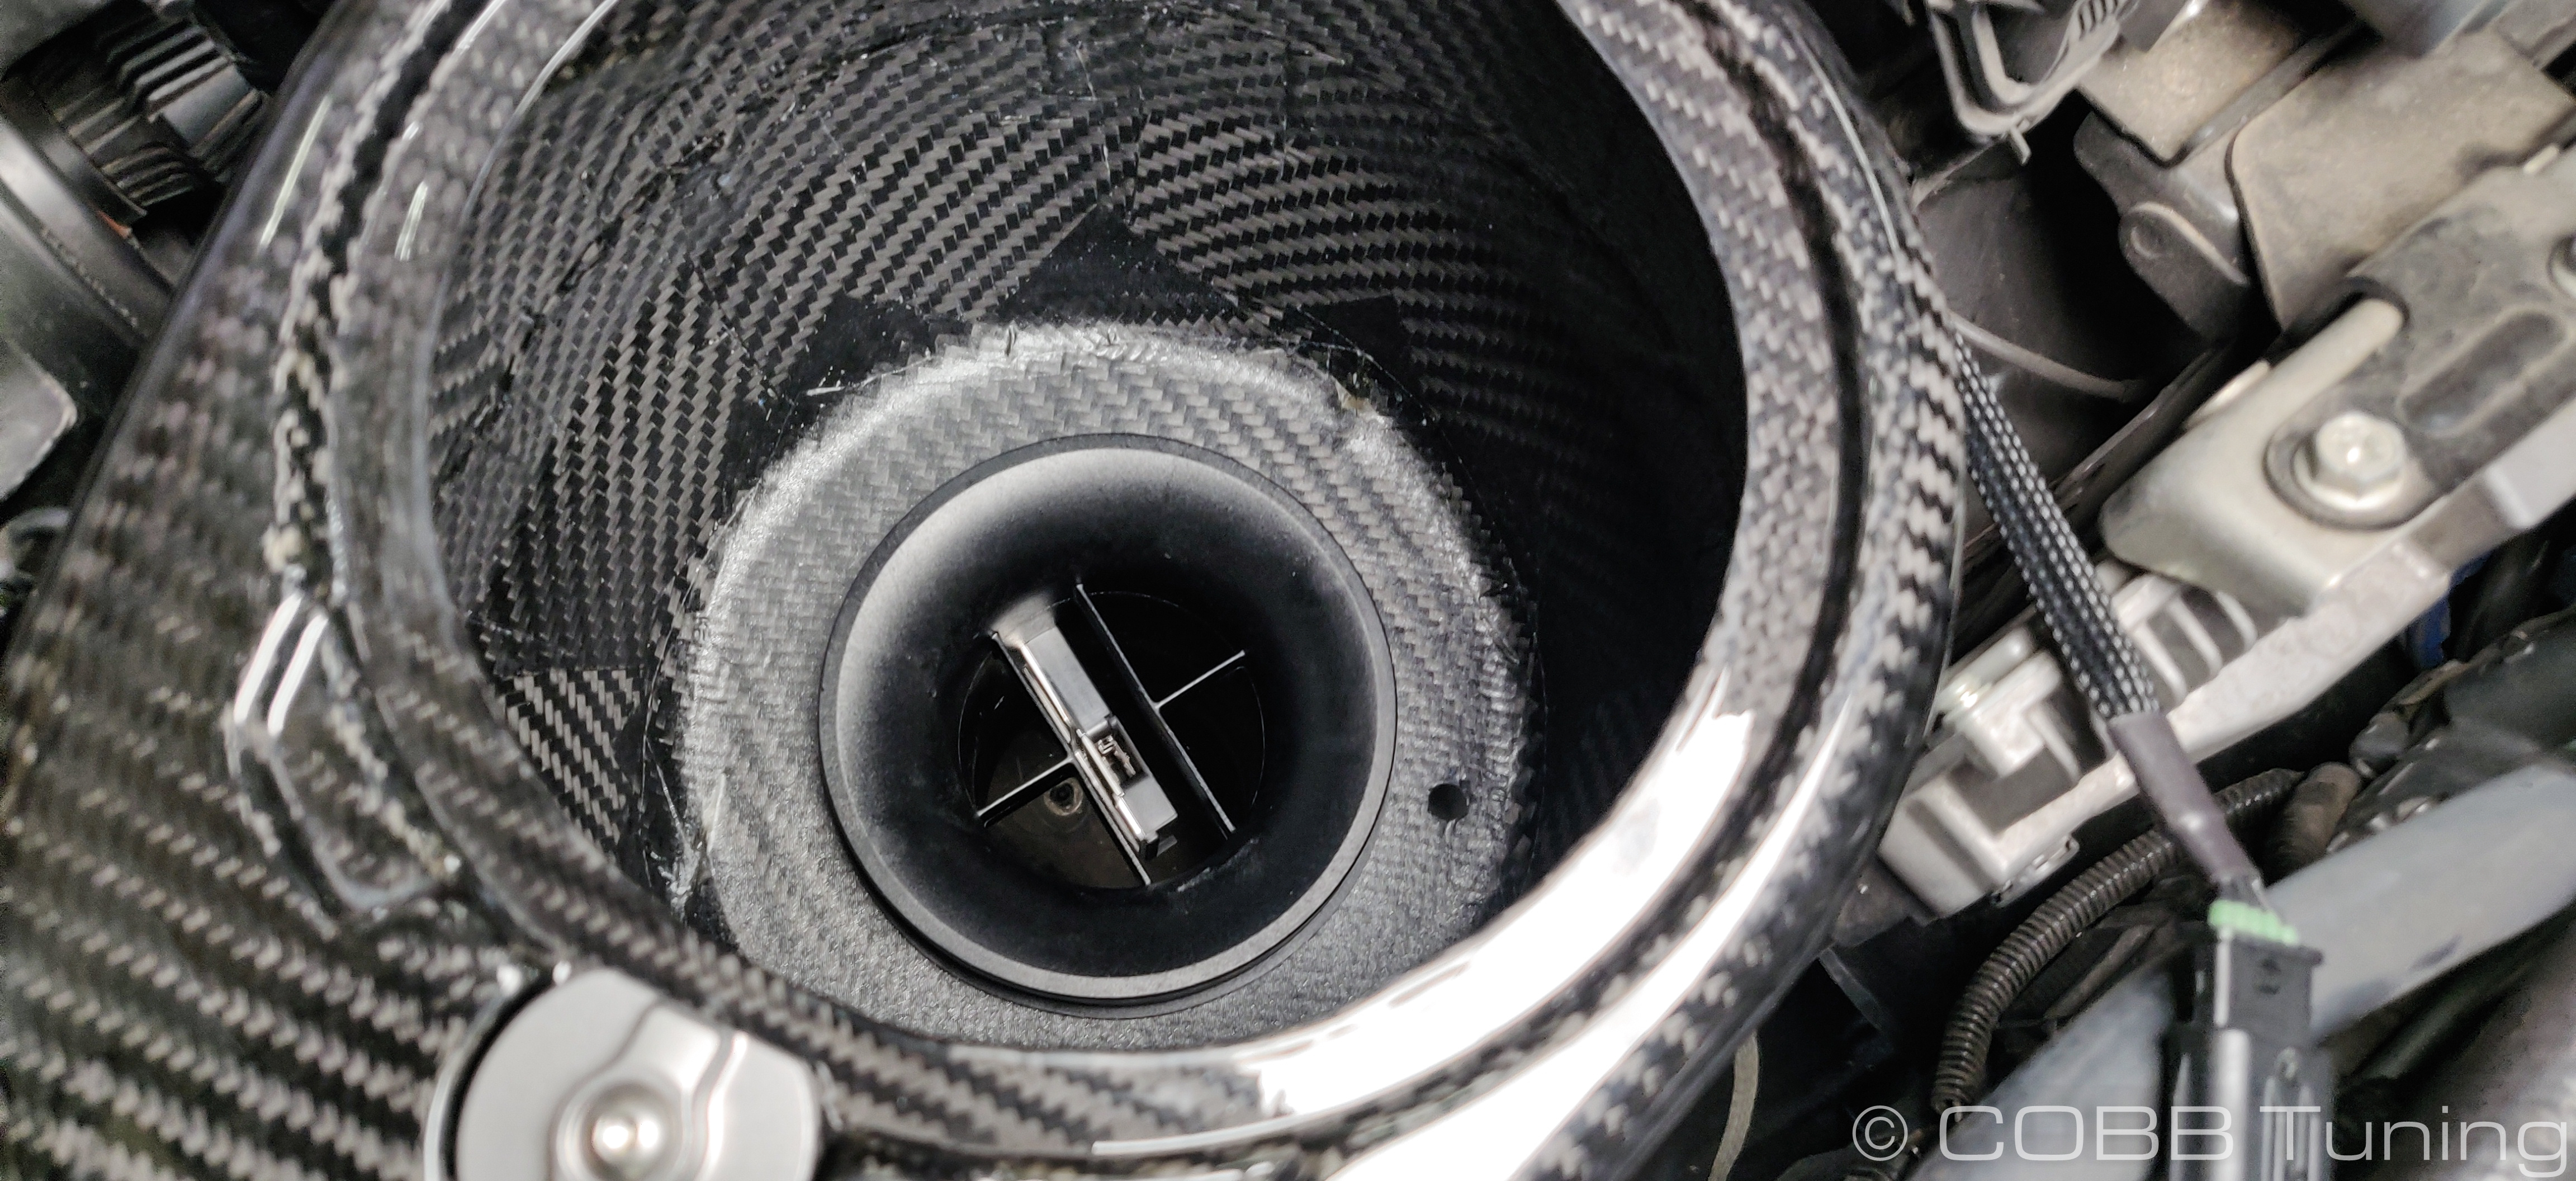
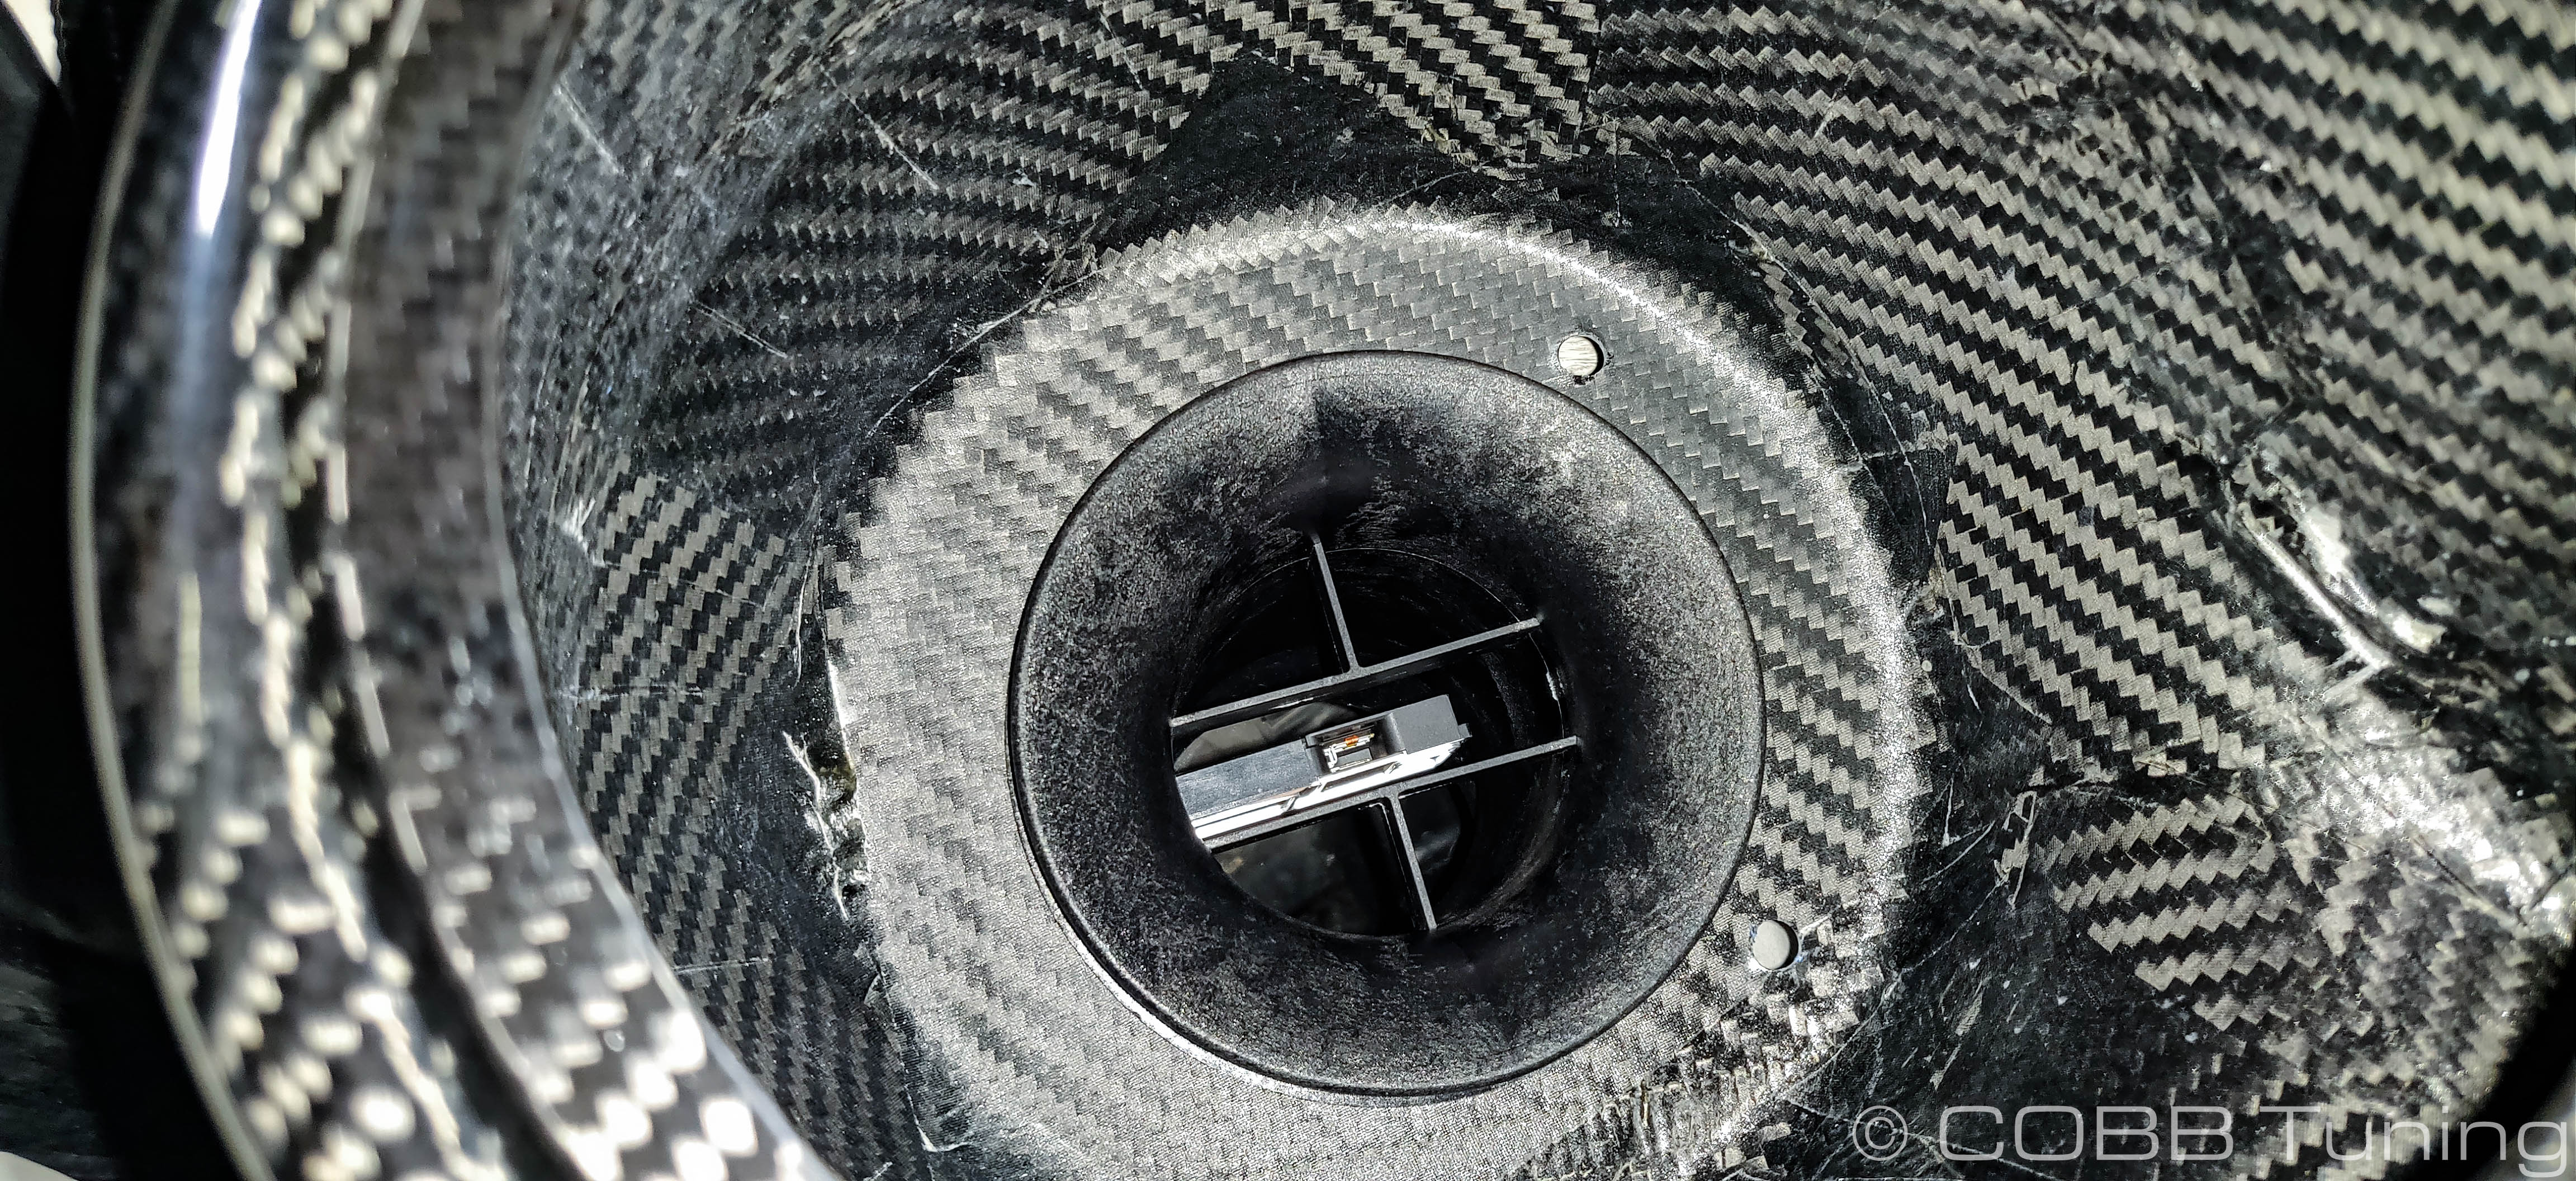
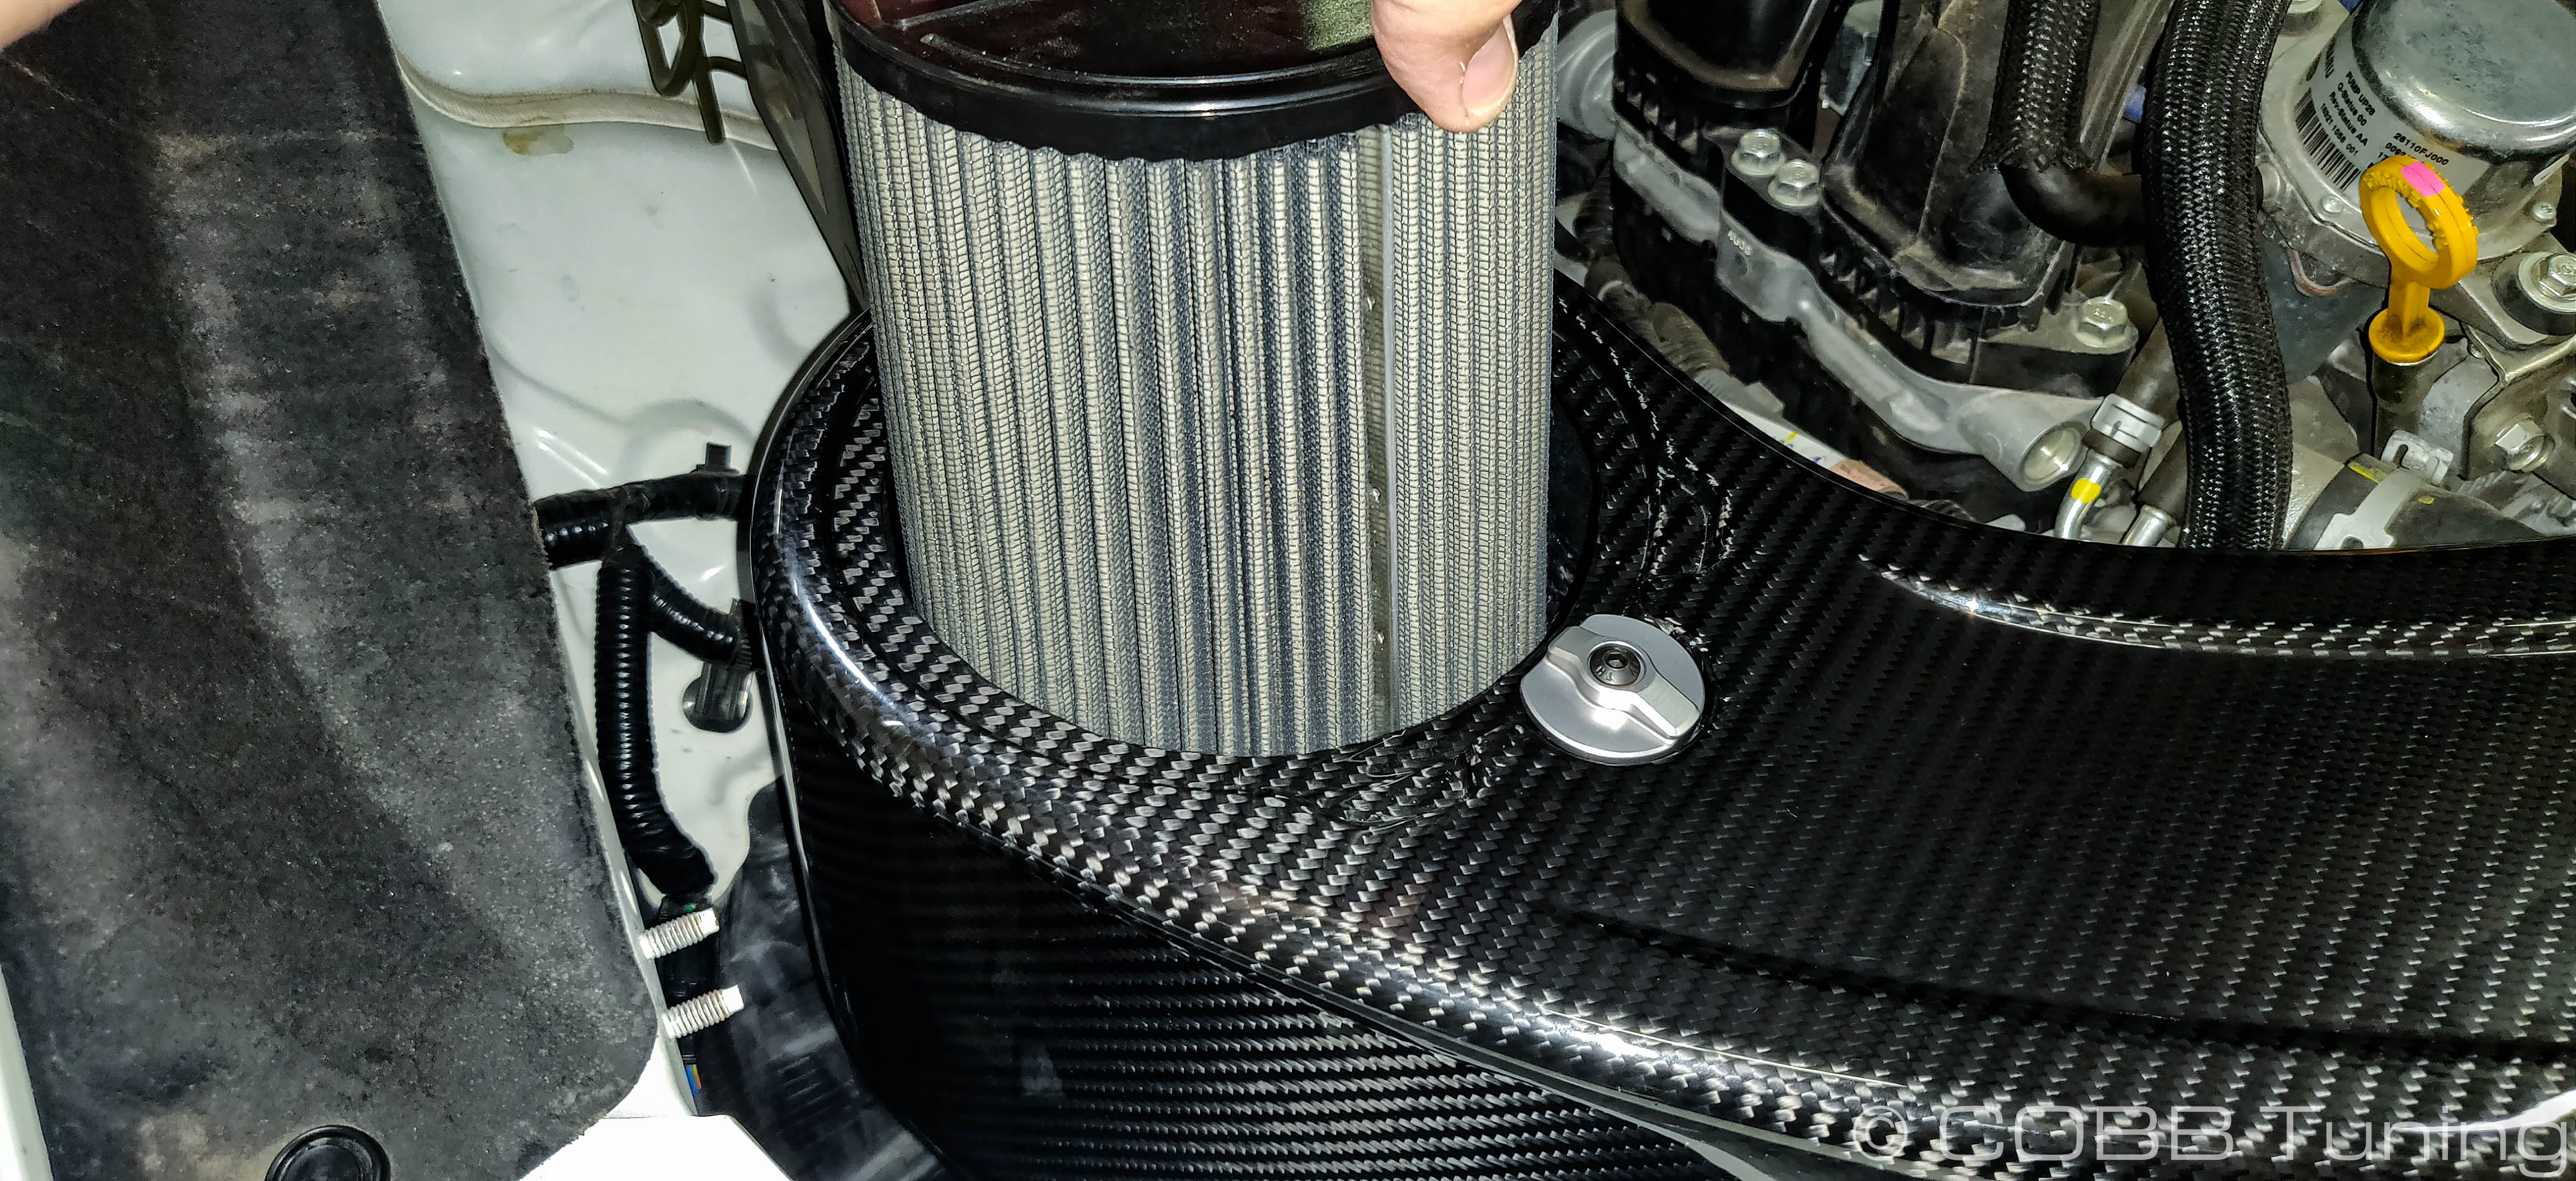
- You can now install the air filter into the housing, gently push it over the velocity stack on the MAF housing.
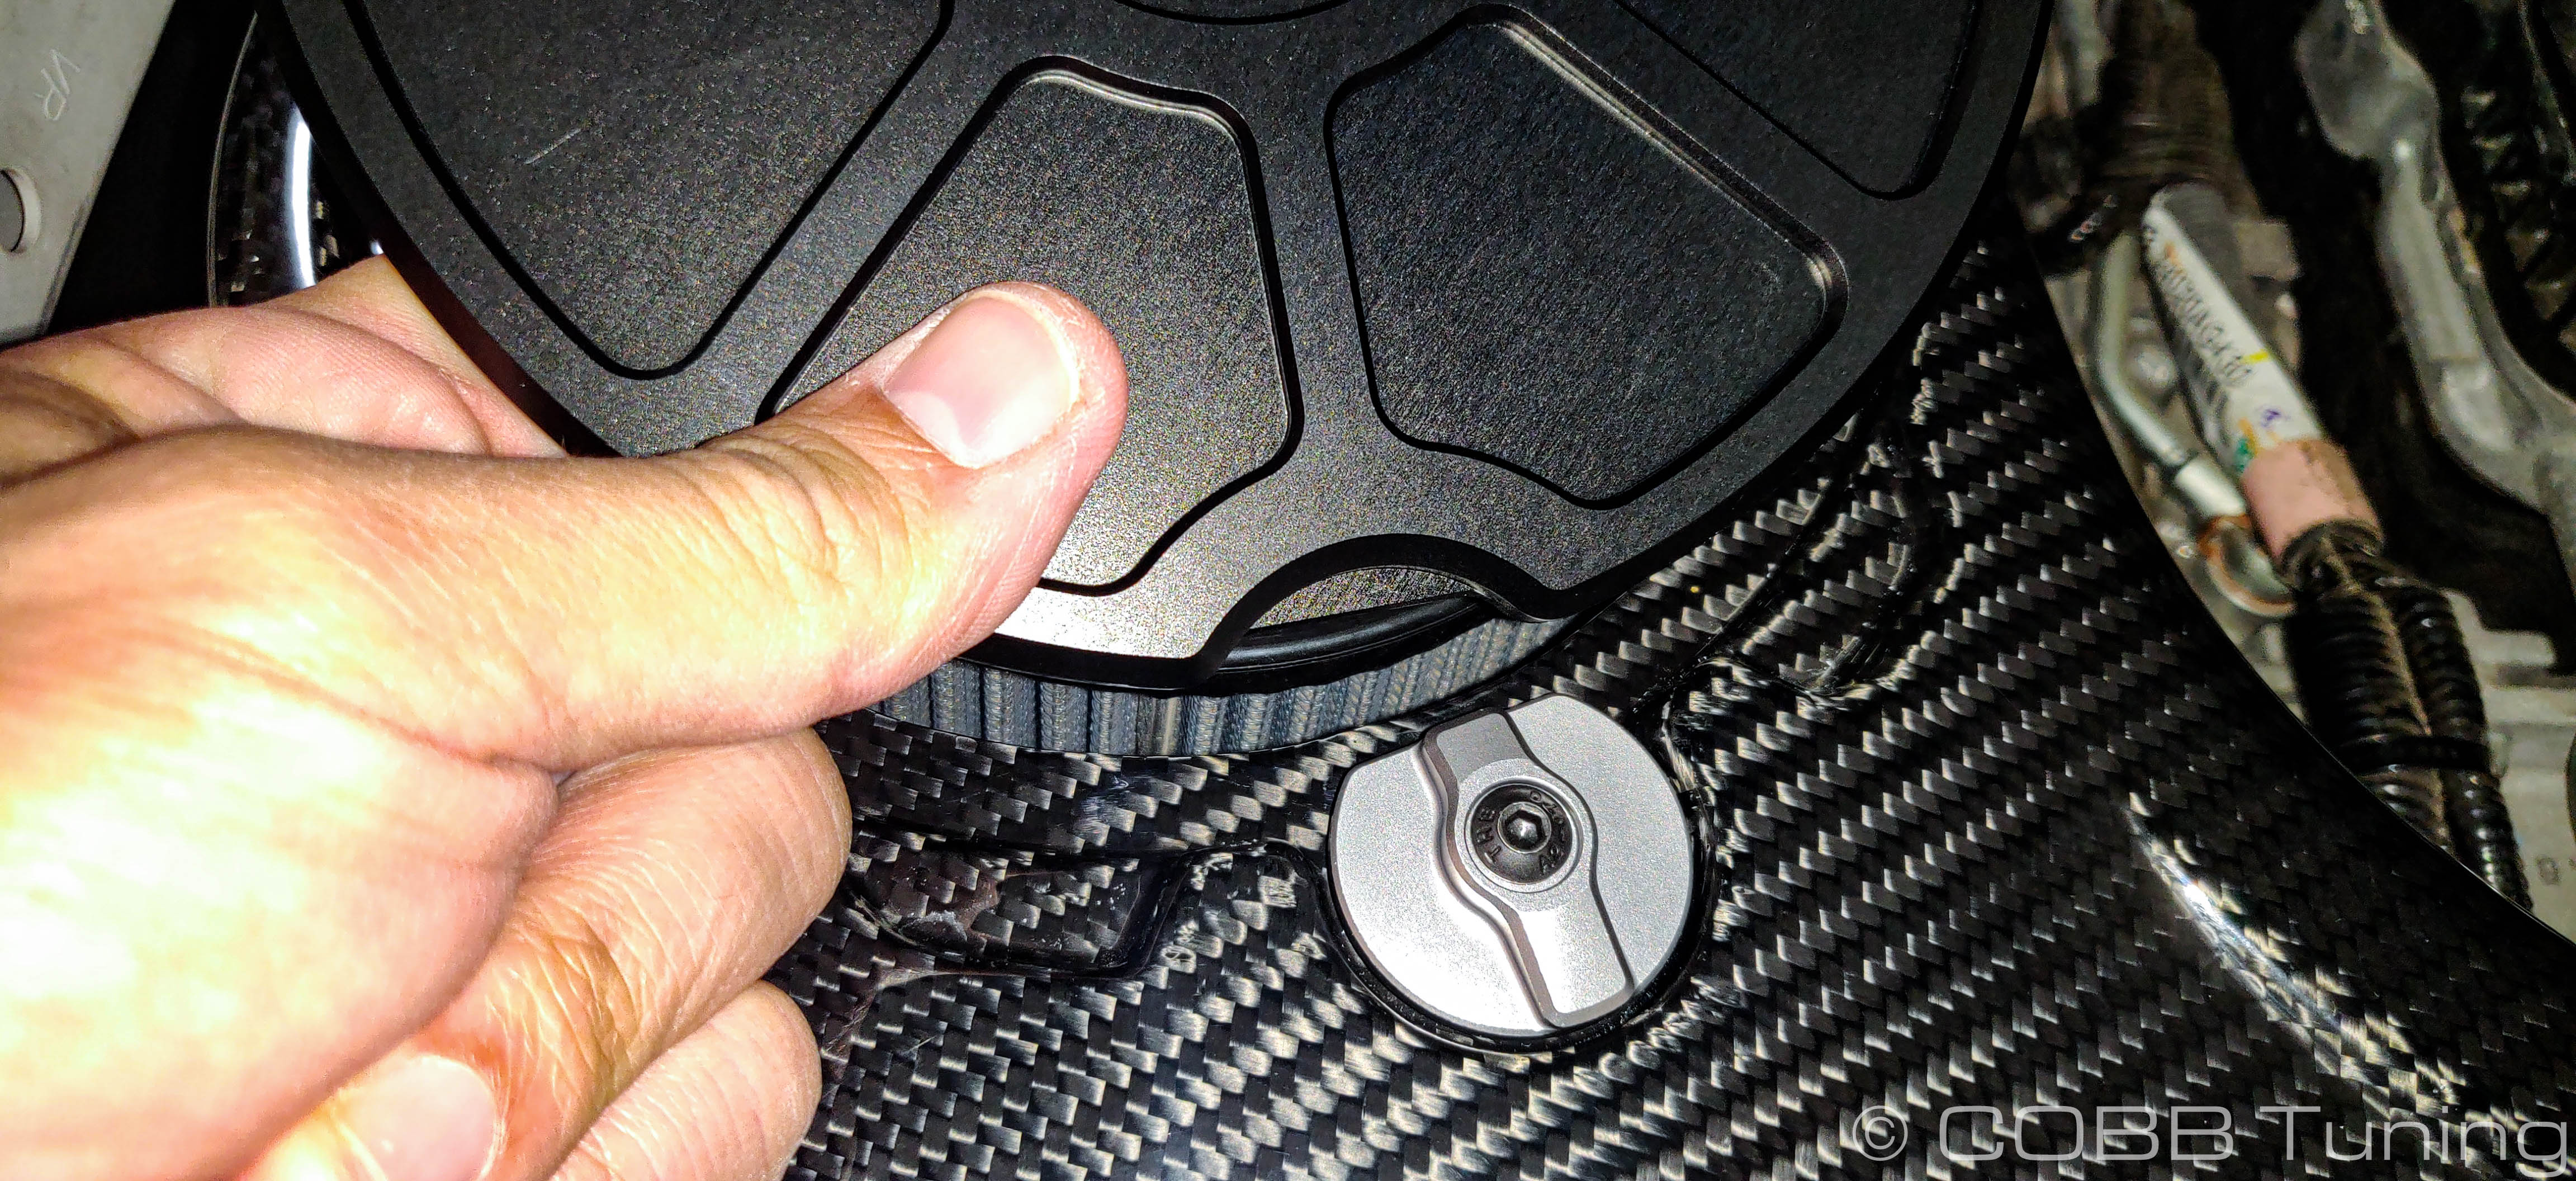
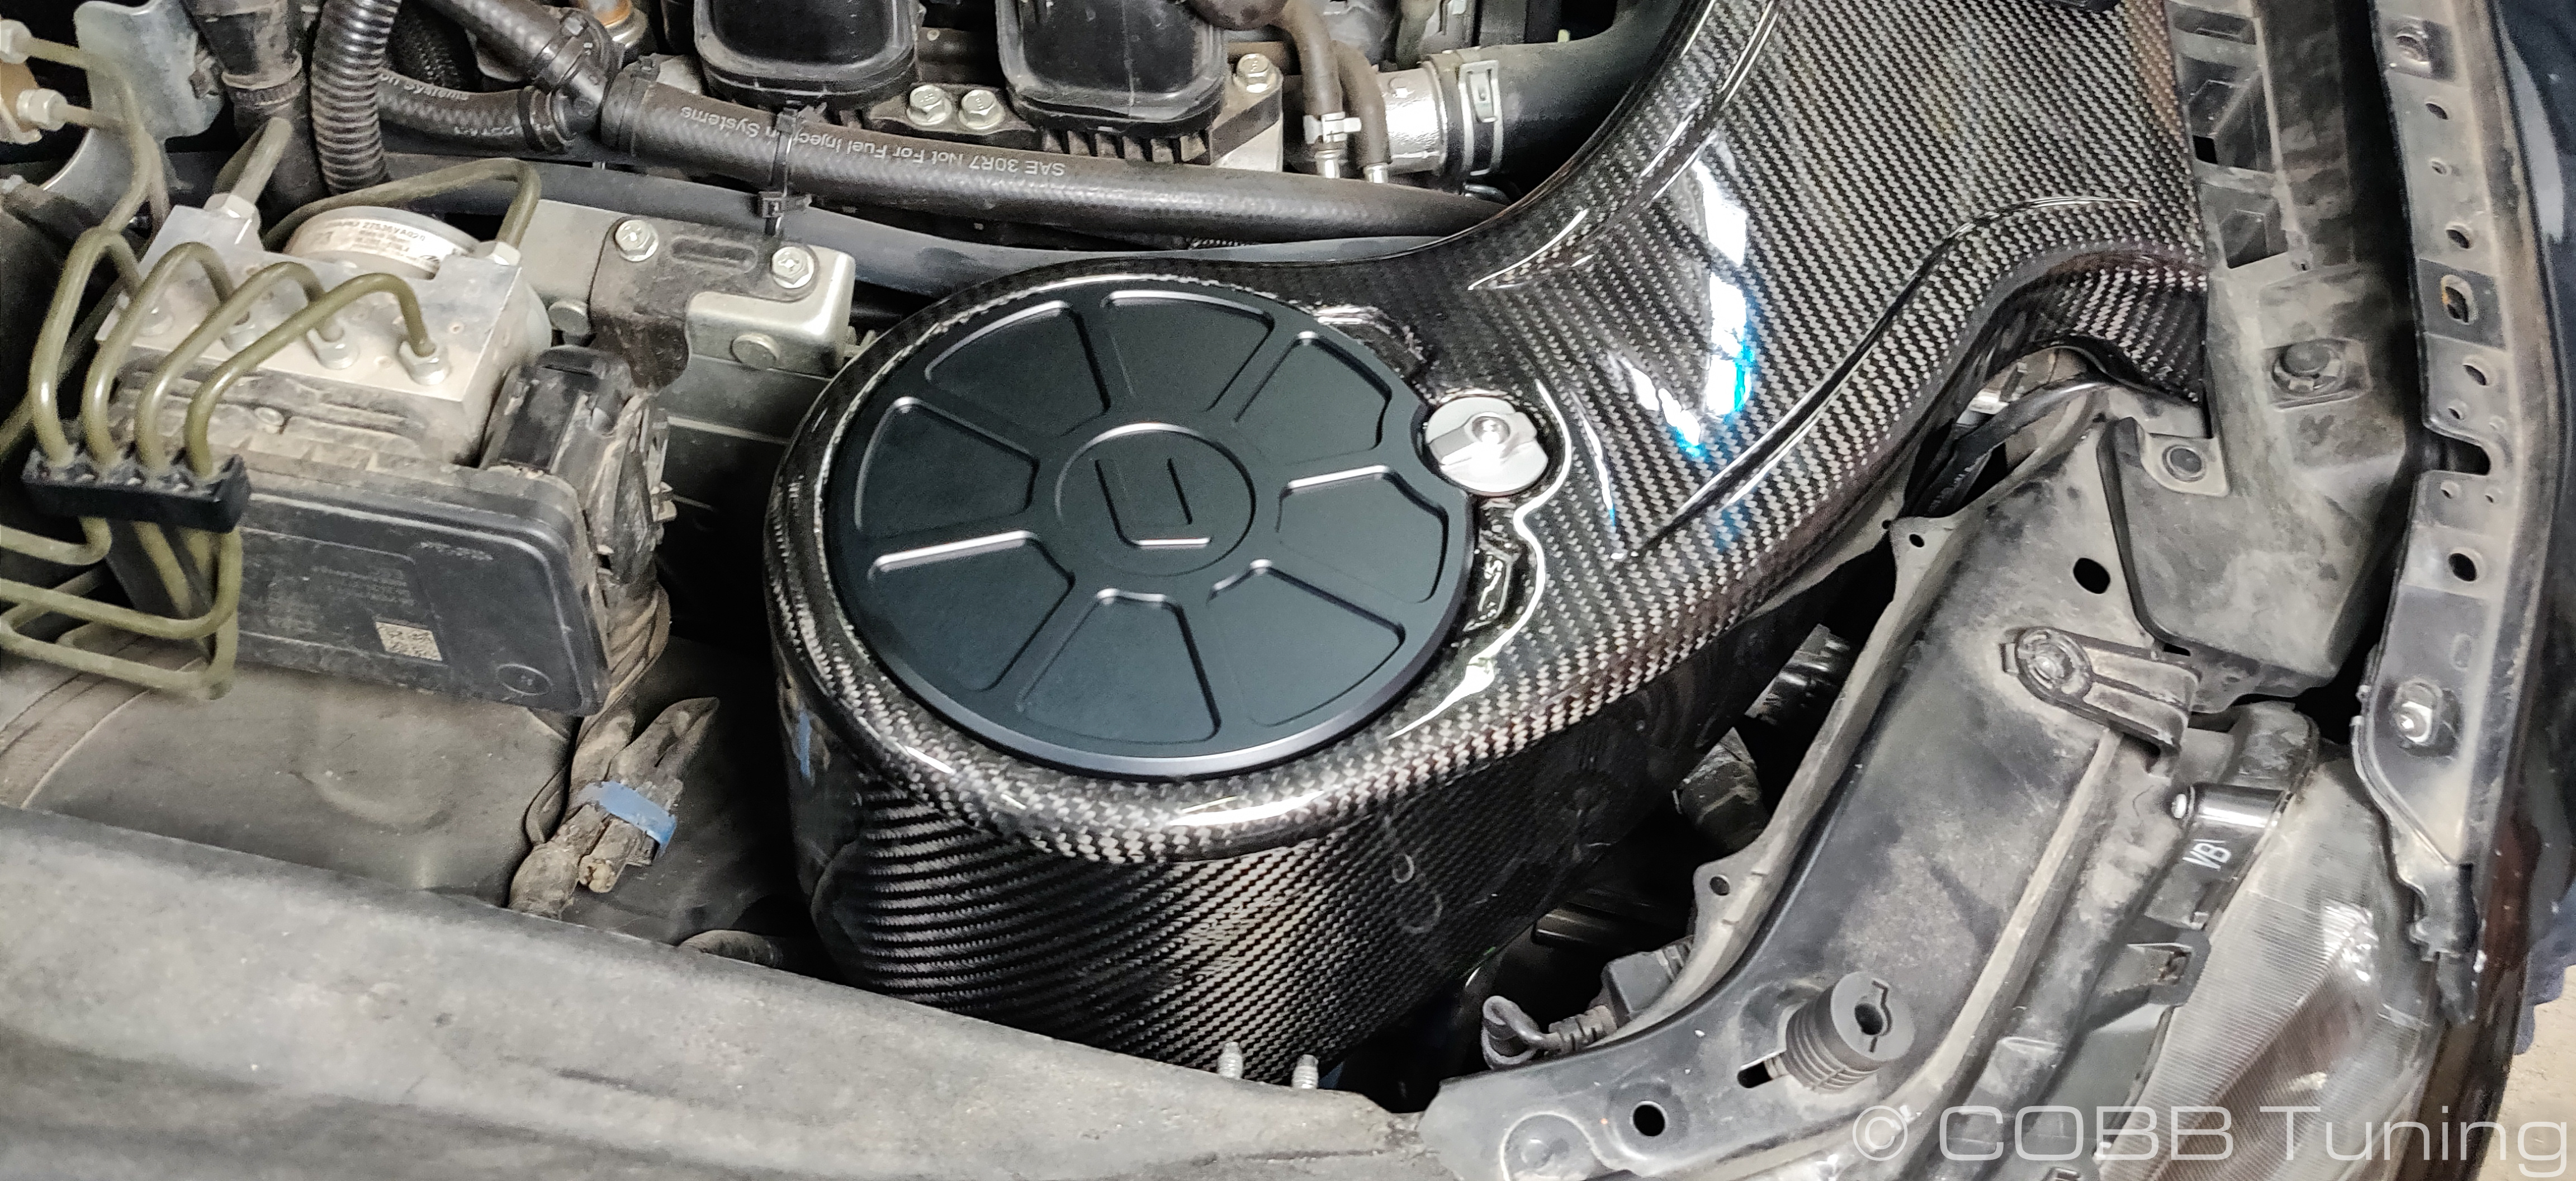
- Make sure the flat part of the airbox lid latch is facing towards the air filter. Then slide the tab on the airbox lid into the cutout and gently push down on the lid. With it pressed down you can turn the latch around until it clicks into place. The lid should keep the filter secured and in place for you.
- You can now reinstall the undertray in the reverse order of removal.