
7P1100 - High Flow Filter for 981 Cayman / Boxster
Vehicle Coverage
Congratulations on your purchase of the COBB Tuning xxxxxxxxxxxxx! The following instructions will assist you through the installation process. Please read them BEFORE beginning the install to familiarize yourself with the steps and tools needed. If you feel you cannot properly perform this installation, we HIGHLY recommend you take the vehicle to a qualified and experienced automotive technician.
IMPORTANT! Installing this kit will require custom tuning or utilizing an appropriate Stage Power Package map if you have a matching mechanical configuration. Please consult with COBB or an authorized ProTuner in your area if you have any questions!
Table of Contents
| Table of Contents |
|---|
Parts List
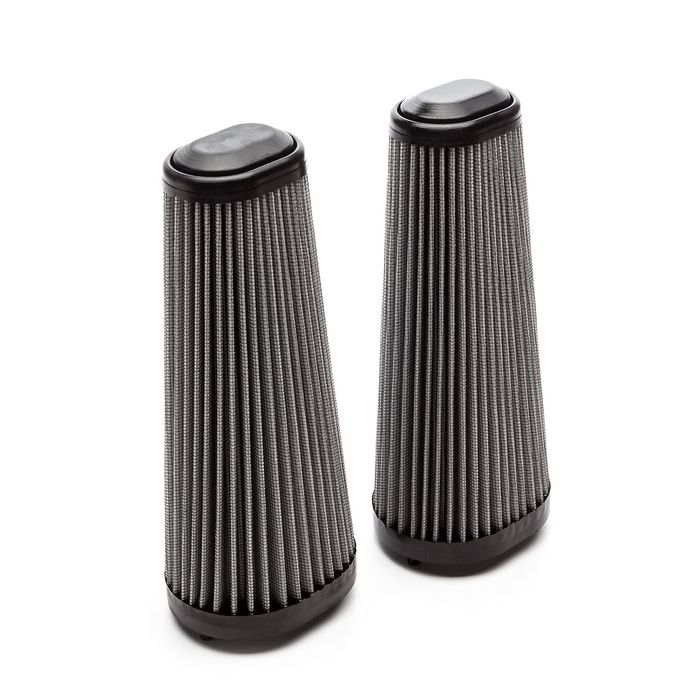
- 2 x COBB High Flow 981 Filters
- 4 x 1/4" Hex Screws
Tools Needed
Sockets
3/8"
Hand Tools
Stock Component Removal
- Park your car in a flat level area.
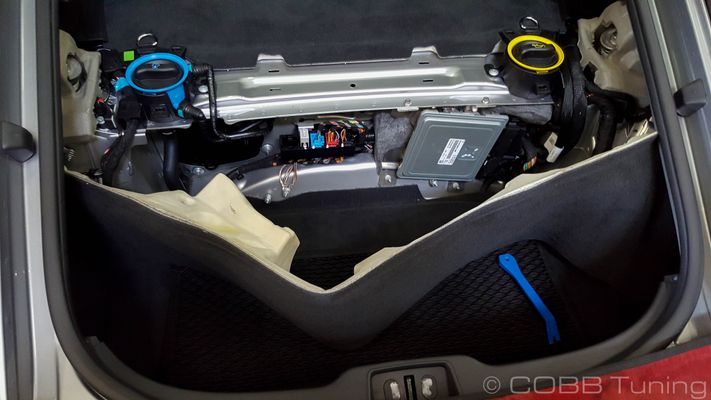
- Pop the hatch open.
Remove the carpeted panel on either side by simply pulling outward firmly.

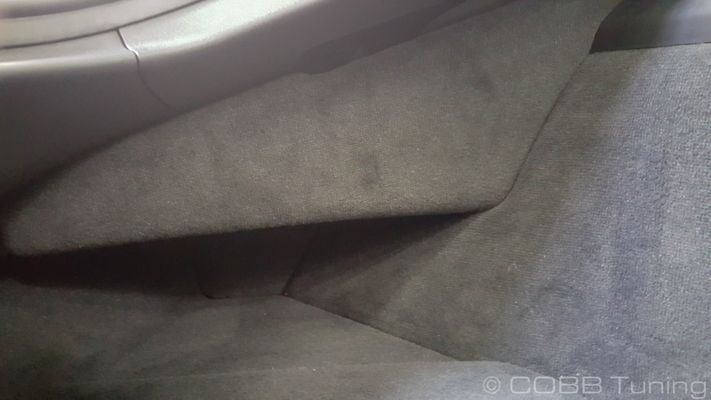


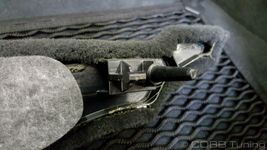
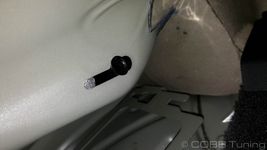
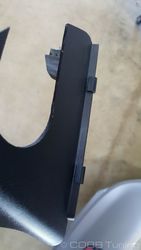
Note Throughout the interior removal keep an eye on the small plastic cones. They are critical for re-fitting the panels and have a tendency to get left behind in the holes or fall behind interior panels.


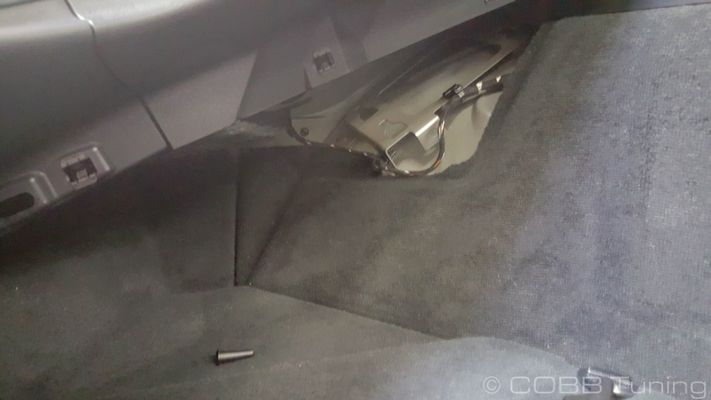
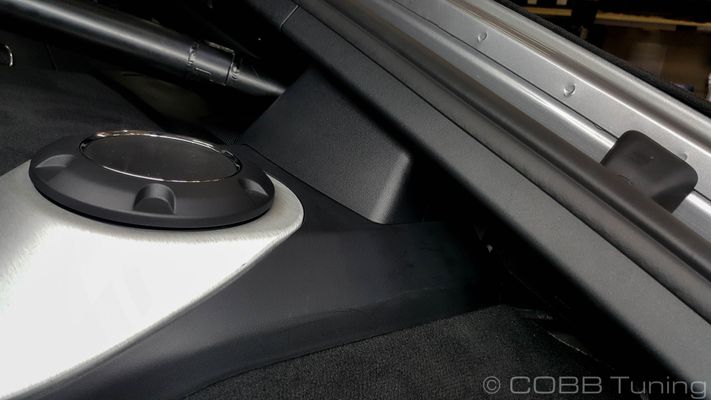
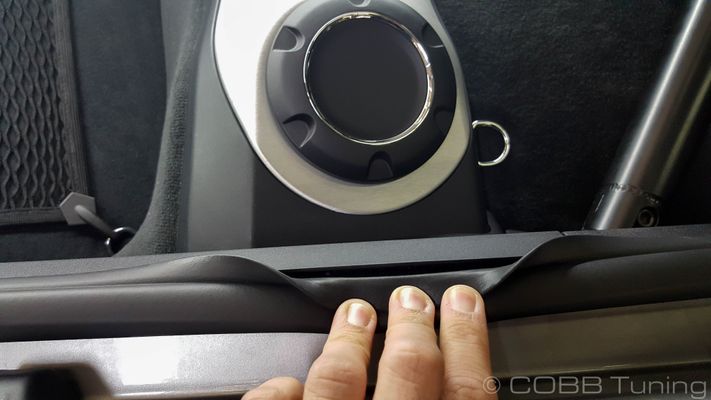
On either side near the trunk rail weather-stripping gently peel it back in order to get a trim tool behind it and remove the trim.

Note In addition to the cones, there are some small plastic bumpers to keep panels from rattling. Make sure to keep an eye on these!
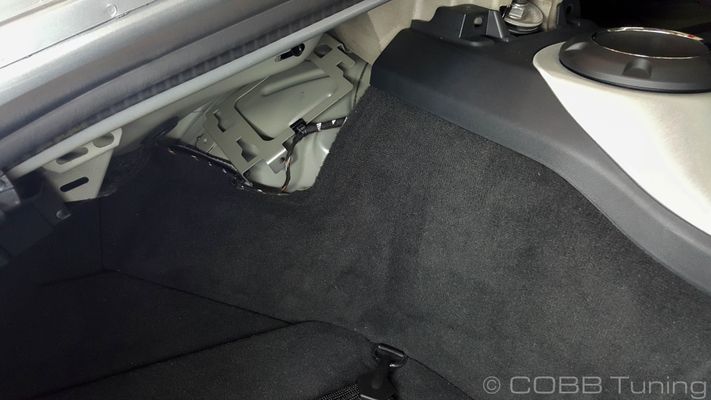
- Starting at the edges, lift up on the center cover and pull it free.

- Gently pull out ward on the carpeting with integrated foam, it should easily fold allowing it to come out quickly.

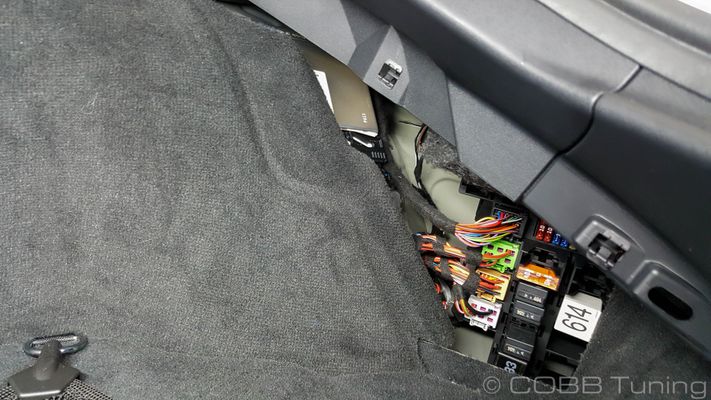
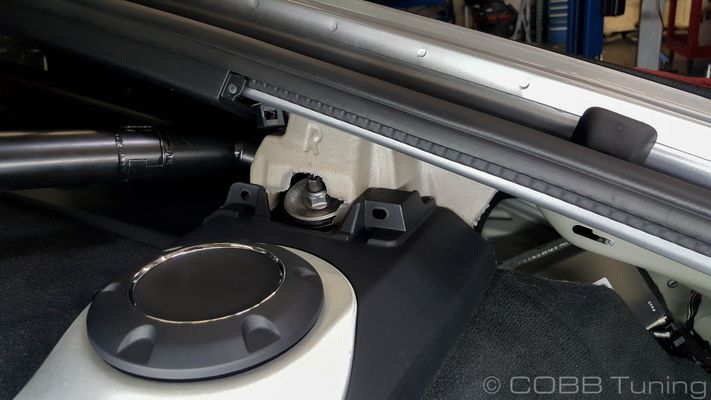
- Undo the two 10mm bolts and two 10mm locking nuts holding the ECU in place.

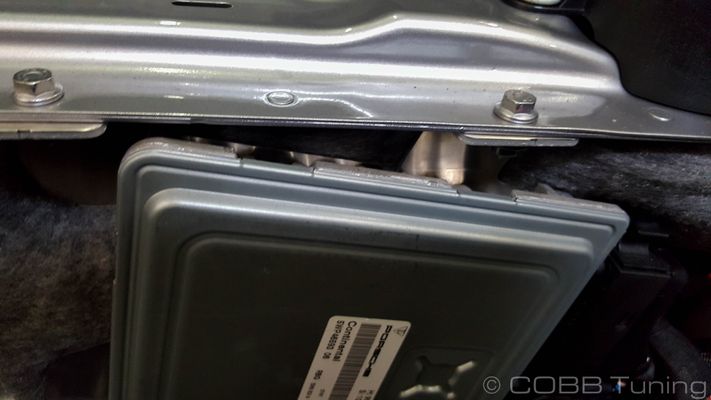
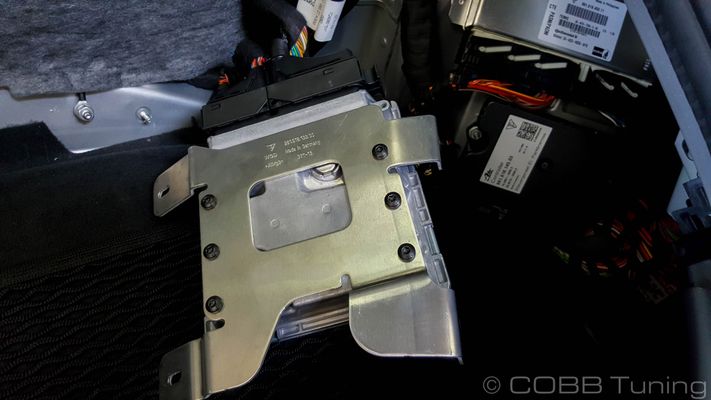
- Gently set the ECU to one side.
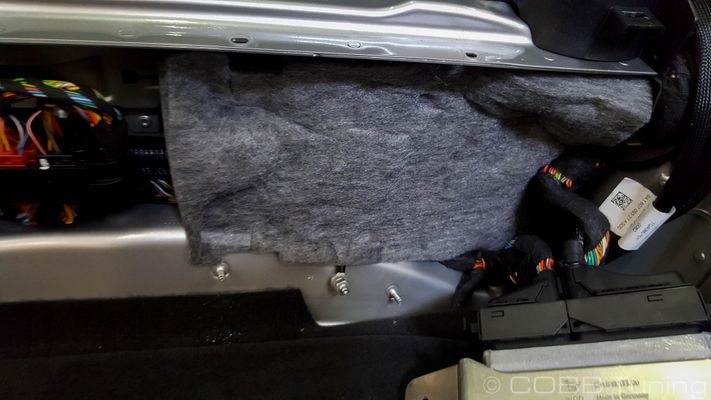
- Remove insulation and set to the side.
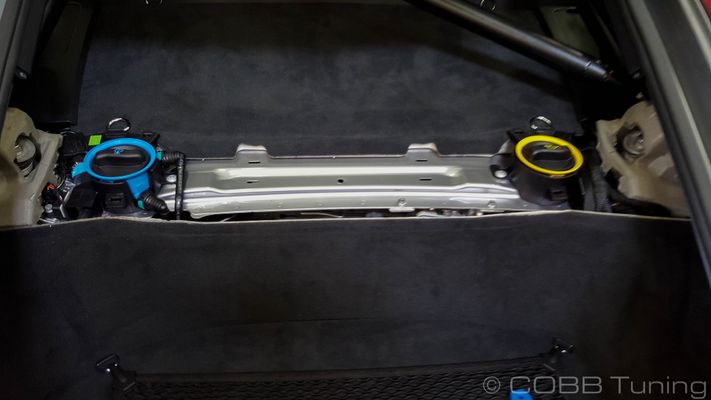
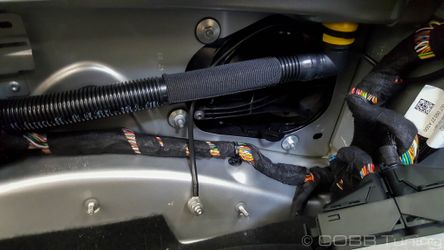
- Squeeze the black clips on the oil fill tube and gently pull downwards.
Filter Installation
Section 3
Section 4
Section 5
Links
MAP Notes
Helps to figure out which map you should be on given the parts installed to your car
Links for related parts
| Insert excerpt | ||||||
|---|---|---|---|---|---|---|
|